Kiwibirdman
-
Posts
1005 -
Joined
-
Last visited
Everything posted by Kiwibirdman
-
Also thinking about your handling issues, From the factory they weren't flash. Heavier springs, better shocks (I stuck Koni's in the front of mine, fully adjustable and cost a kings ransom in 1991), Trans Am W58 sway bars and more aggressive wheel alignment.Some 17 inch wheels and good tires help as well. I had a vibration issue with the Uni's being worn in the drive shaft. Drop the drive shaft out and make sure that th unis move freely but not loose. If they are tired get some one like automotive driveline to replace and balance the shaft at the same time.
-
On the street you need a vacuum advance, does wonders for the fuel economy. One of those MSD Street fire HEI's would be the go. Should be all in for less than $300. The other thing with the HEI is to open the plug gap up to .040 Dont bother with the flash ignition unless you have a motor making 500 plus HP
-
I got sick of replacing header gaskets all the time and ended up with some reasonable cast iron manifolds. The did hurt the top end power. Going to higher profile tyres helped the headers getting bashed on the road, the car had 245/50/14 on the front when I bought it. The factory tires for these Camaros was 215/70/14 Don't waste your time on a second hand cam, and new lifters at the same time. Seeing that a BBC might be on the cards I wouldn't do much more than the intake and Dissy. Another thought, BBC in Camaros make great drag cars, crap for going round corners. An LS motor with over drive trans is a much better answer in my mind.
-
I had a 77 Camaro for a good number of years.Only car that I have owned that would happily sit on the red line in top gear (2.78 diff made it about 130mph). 350 chev is pretty basic. Performer intake is a step up, although with a stock motor the biggest advantage is saving a bout 10 kgs in weight over the original cast manifold. That 600 cfm carby is plenty. A good 2.5 inch twin exhaust is important. Headers are a problem, most hang down low get bashed on the road. If that is a points dissy chuck it away and put in an HEI. Get either a genuine GM one or and MSD. Don't buy one of those cheap Chinese ones, they are junk. Chev motors have really mild cams, put in some thing with around 215 degrees duration at .050 lift. Do all that and assuming the rings are OK you will have something nice to drive, goes well and wont give a lot of grief. Edit. After writing this I looked at the build thread and see headers are already there. Definitely get rid of the cast iron intake.
-
I don't know what the limit is, I do know these motors were popular for pulling off the supercharger and replacing with a turbo or 2. Good strong bottom end and better pistons I believe. If it doesn't owe much rip everything heavy out of the car and give it hell!!
-

Kiwibirdmans 1962 EJ Holden Wagon
Kiwibirdman replied to Kiwibirdman's topic in Projects and Build Ups
A long overdue update. After many promises of the Holden will be next to be finished at the panel shop there has been big progress over the last couple of weeks. Trevor the owner of the shop has been doing most of the work and now 90% of the cutting and welding has been completed. Here is a couple of photos that really don't look that different from while ago. I guess the great thing is that when its finished I know that all the rust is gone and it will be fill with fish oil so it wont be coming back any time soon.
-
That would be me doing the torana front end. Yes there is some cutting and welding involved. Clint, our resident certification genius, is happy with the approach I have taken so far. I am happy to talk you through what I have done so far.
-
Have a look in PCMHacking.net
-
Thanks. They are getting pretty thin on the ground now, lots of EHs round, bugger all EJ's.
-
Kiwibirdmans 1962 EJ Holden Wagon
Kiwibirdman replied to Kiwibirdman's topic in Projects and Build Ups
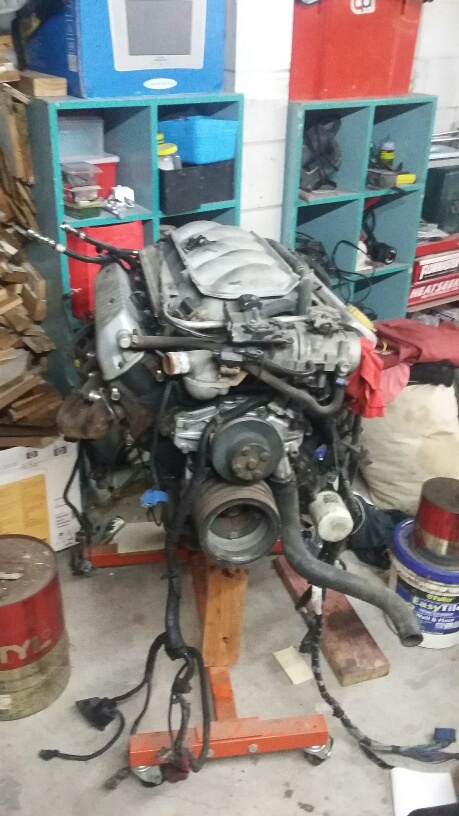
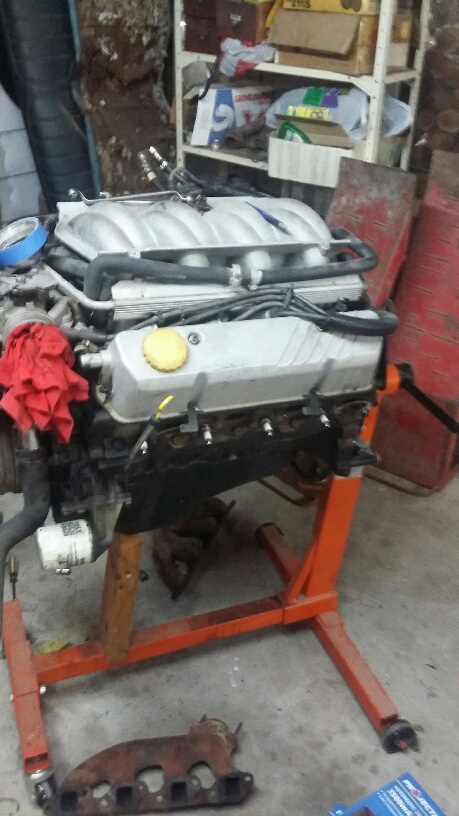
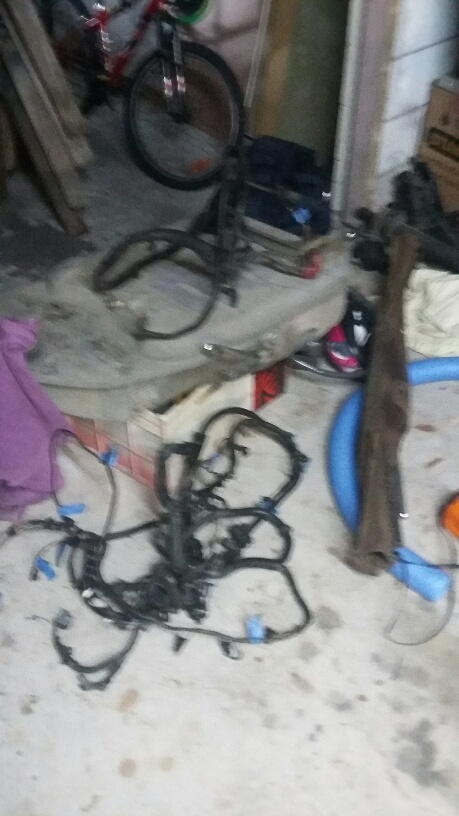
Since it was such a crap day outside I thought a bit of garage time was in order. One of the jobs I had been putting off was stripping the wiring loom of the motor. This is what I started with. After slowly taking things off and managing not to break anything major I found something that looks more like a 308. And here is a couple of miles of spaghetti, one loom on the tank and the other on the floor. Once I got into it the wiring loom doesn't look so bad. There is some stuff that will get removed and a few bits that can be simplified. Next stop finding a decent copy of the VT wiring loom that I can get printed off in A3 size.
-
That isn't a bad idea. Mind you the last puncture that I had that actually required a spare wheel was sometime last century.
-
Kiwibirdmans 1962 EJ Holden Wagon
Kiwibirdman replied to Kiwibirdman's topic in Projects and Build Ups
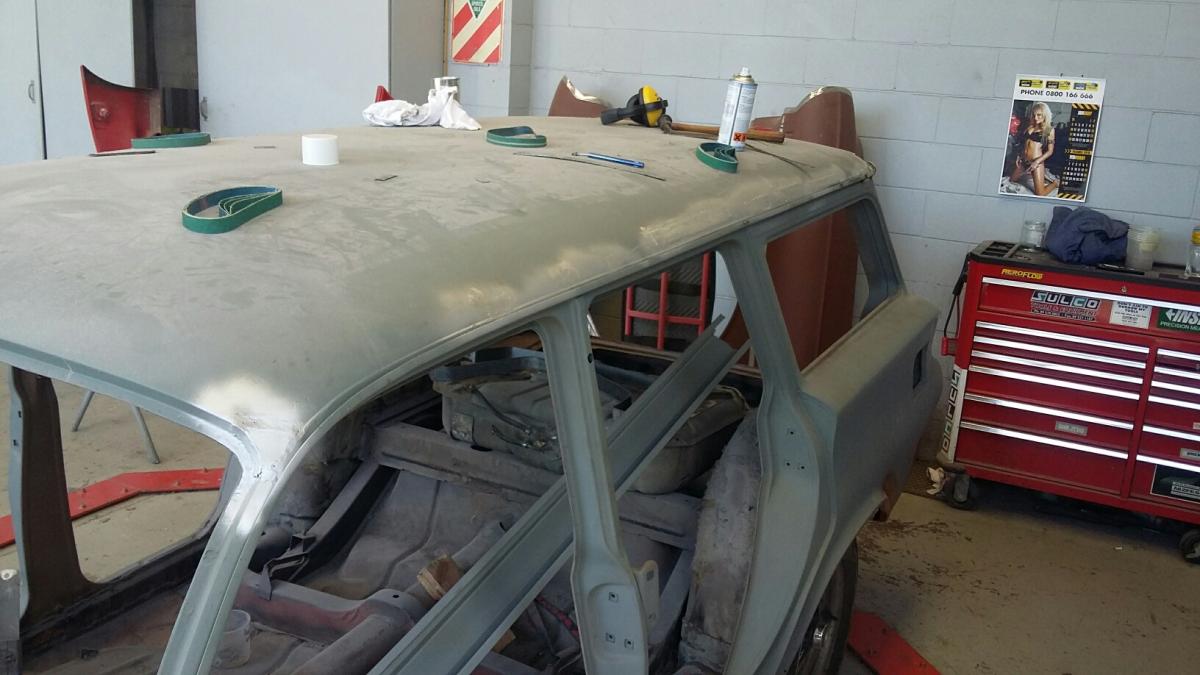
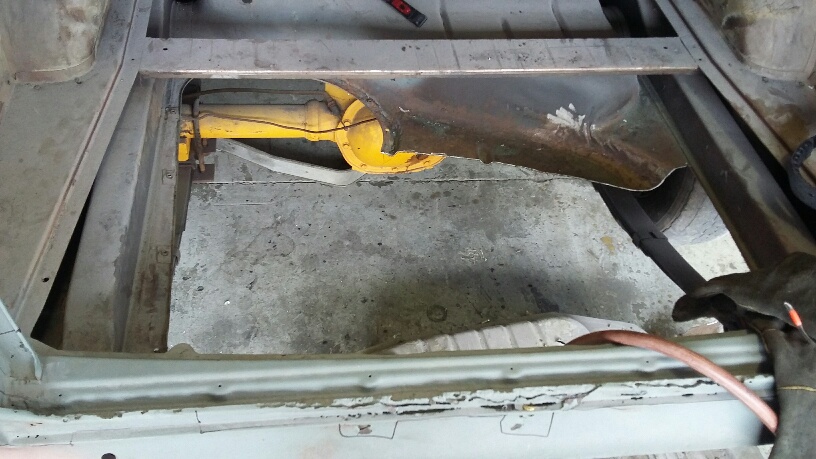
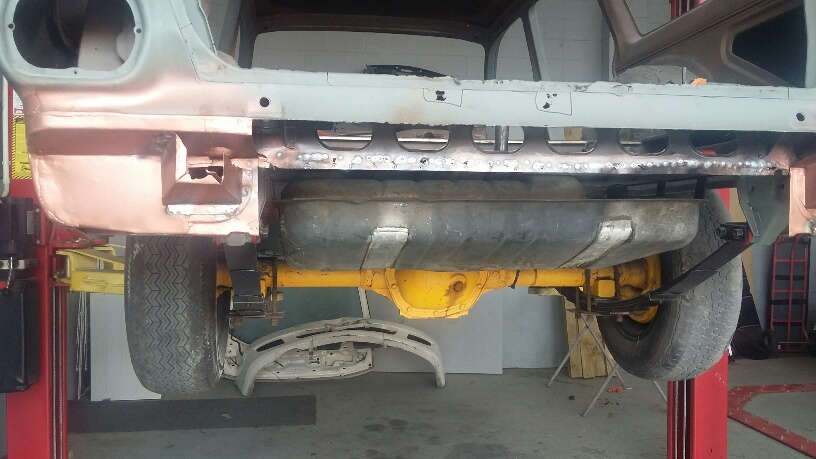
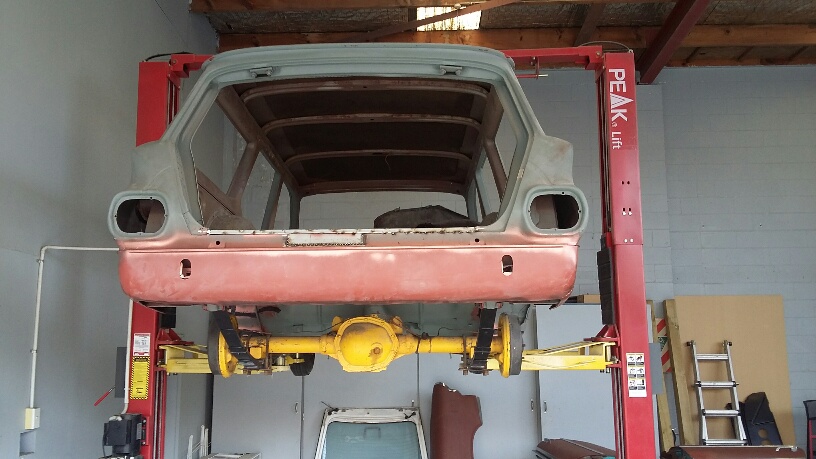
Here are the photos of progress Starting to cut the floor out Floor gone and tank in place New Floor in place. No more spare wheel, plenty of space for dual exhausts. Good to have the priorities right. Rear beaver panel on.
- 129 replies
-
- 11
-

-
Kiwibirdmans 1962 EJ Holden Wagon
Kiwibirdman replied to Kiwibirdman's topic in Projects and Build Ups
Progress today. Trevor, the panel beater was getting really embarrassed about how long the car has been in his shop. It got moved onto the hoist Friday with the promise that there would be progress. This morning I went down and we started mounting the new fuel tank. Trevor had one idea on how it would fit and I had a different idea. What we ended up was a third idea that ended up being better than I had envisaged. The tank is well up, perfect for getting the car down low, and well forward. Everything misses and there is space to run dual exhausts. The only issue is the space for the spare wheel has gone unless anyone knows where I can get a space saver with HQ stud pattern. No matter, I've only had to use the spare tire twice in the 30 something years I've been driving, and the last time was 20 years ago (could be tempting fate). I'll get photos up tomorrow. -
Kiwibirdmans 1962 EJ Holden Wagon
Kiwibirdman replied to Kiwibirdman's topic in Projects and Build Ups
Amazing how fast time fly's by. The pile of parts in the garage is getting bigger, other progress on the car has been just about zip. Clint (aka Cletus the certification guru) had a look at the car this morning. Good news is that fundamentally all is on track and he gave me the right steer on mounting the seat belts. This was the bit that worried me the most and will actually be one of the easier jobs. Bloody work and life gets in the way of getting the car done. any way enough complaining, there is a long weekend ahead to do some stuff, time to write a list.... -
There was a tonner on trade me recently that had a ute tray on it, looked OK. The difference in wheel base can be sorted by using more of the ute body. From memory the wheel base difference is 4 inches. Many years ago I had a ute that had the tray cut off. I think it had been a tow truck for southern districts towing from the remains of the colour. Anyway the flat deck we built was great for carting stuff round. It had drop sides and tailgate that came off easily, best of both worlds. I have seen a few had a tipper decks, that would be very cool.
-
Chasinthemirage's 1974 Chevrolet Camaro
Kiwibirdman replied to chasinthemirage's topic in Project Discussion
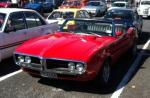
Cool Ride. I had a 77 in the 90's, same car with a big back window that still had some awesome blind spots. That was the only vehicle that I have owned that would happily sit at 120mph the whole way across the Hauraki plains. Those big Aluminium bumpers will take a real hiding, just ask the bimbo who went up the back of me one night in the rain with a Triumph 2500. Biggest issue I had was my one had long tube headers which were only 3 inches off the ground, and the suspension had nearly 4 inches of travel. You look like you have reasonable sized tires so should be OK. -
I wonder how many of those LHD 2 door sedans there are floating around in NZ. My Uncle brought one back from the US in 72. They bought an Olds Cutlas as well as a money maker and sold it as soon as they could . They hung on to the Datsun until the mid 90's when my cousins went overseas and no one wanted it any more. The only rust it had was at the bottom of the rear guards because the back window leaked. Way better that the NZ assembled ones.
-
Depends, some times you get lucky............. www.summitracing.com is your friend.
-
Browndog's 1979 Ford Transit Sundowner (yes another one!)
Kiwibirdman replied to browndog's topic in Project Discussion
Thanks. -
K-Trips 1982 Holden Commodore VH Discussion
Kiwibirdman replied to KKtrips's topic in Project Discussion
You are right, the 2 sets of holes are to allow bolting up to either type of intake. You will need the adapter to run on a spreadbore manifold. I have always used a paper gasket with gasket sealer between the adapter and manifold. Every time I didn't there was an air leak. -
Browndog's 1979 Ford Transit Sundowner (yes another one!)
Kiwibirdman replied to browndog's topic in Project Discussion
How much does it cost to ship a car over from Oz? -
K-Trips 1982 Holden Commodore VH Discussion
Kiwibirdman replied to KKtrips's topic in Project Discussion
Surging and cutting out turning right on trailing throttle. The cheap and nasty stock replacement fuel pump on my Camaro put out just under 7psi. Regulated the pressure down to the book level of 5.5 from memory and all was sweetness and light. I don't mind admitting that one took a while to find because no one would believe that the pump did that much pressure. The other thing to check is the float level, not always set right from teh factory. I'm on my 3rd one of these carbies and they all needed adjustment. An electric fuel pump is a good idea for a car that sits round a lot, the Firebird always takes a while to fire up when its been left for more than a week. Daily drivers not such a problem. -
K-Trips 1982 Holden Commodore VH Discussion
Kiwibirdman replied to KKtrips's topic in Project Discussion
The other thing to watch out is fuel pressure on the performer, they do strange things if the pressure is too high. Also they can be leaned up a couple of steps without any problems, they are calibrated for US fuel which is crappier that the stuff we get here. Otherwise they are top carbs. -
SR2’s 1947 Vauxhall “Rigamortice” Discussion thread.
Kiwibirdman replied to sr2's topic in Project Discussion
Great story. Life was a lot less serious back in the 70s and 80s. Good luck with the build -
A mate of mine built one of these years ago. He put a 650 kit on the motor, extractor type exhaust, twin throat weber carb. He had 2 problems, first was it ran hot, mobile 1 oil was the answer to that, the other was the rubber drive blocks in the axles lasted about 5 minutes with all the extra horse power. He ended up putting proper universal joints in from memory. Cool little car, his wife used it as a daily for a lot of years, until the kids came along and she wanted a 4 door car.