Vidar
-
Posts
55 -
Joined
-
Last visited
Everything posted by Vidar
-
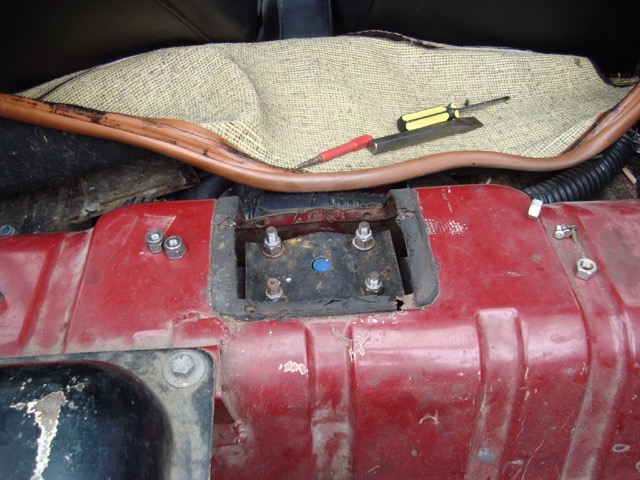
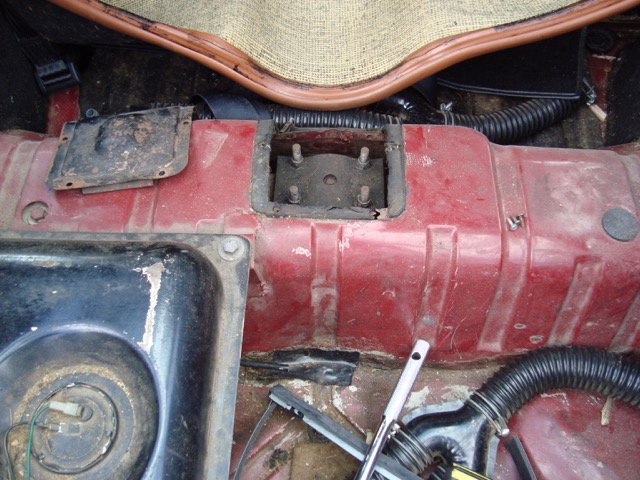
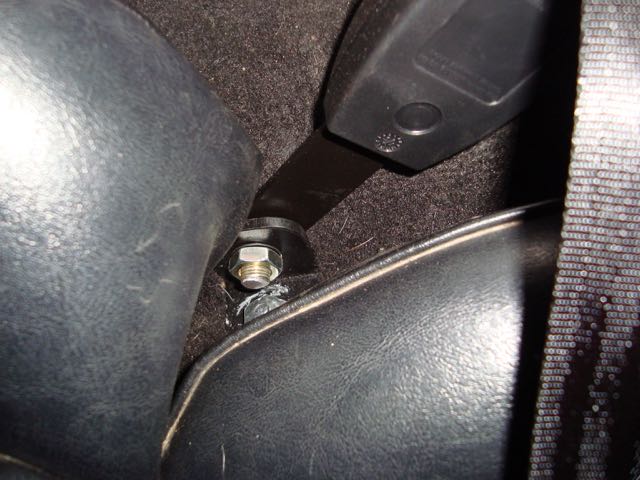
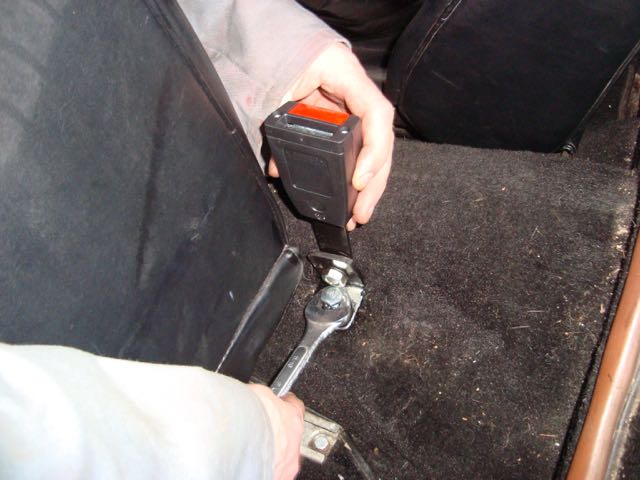
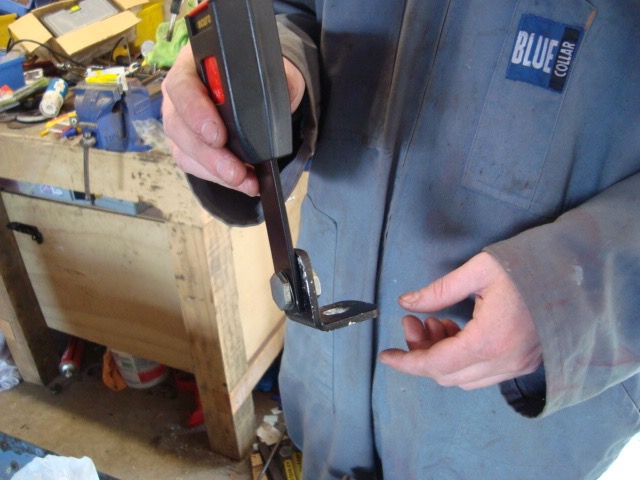
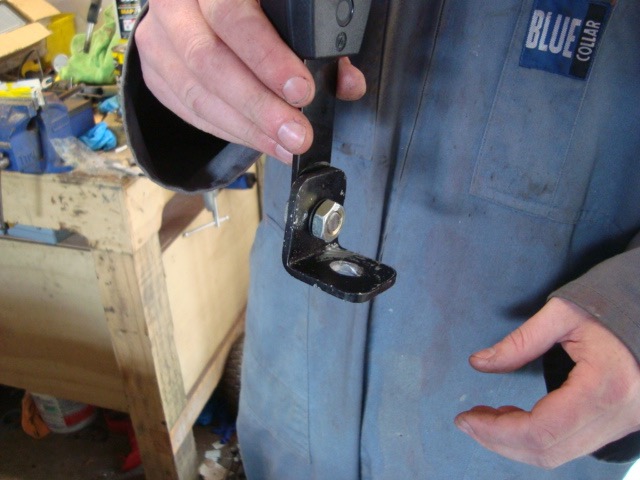
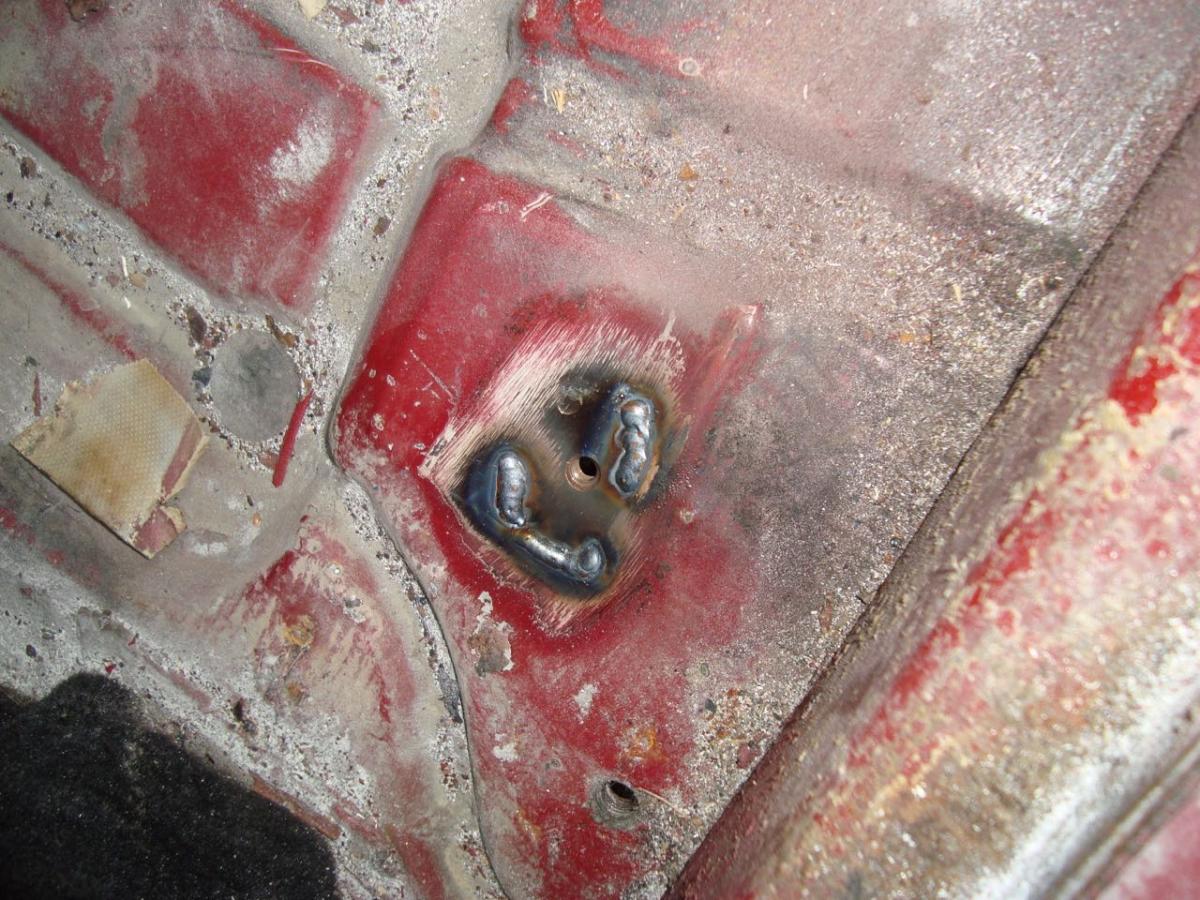
We thought it may become an issue for the warrant but they didn't even notice it The funny thing is the stock mount in the floor is weaker than the bracket.
-
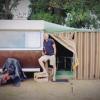
Got this today. Result. This car has taken a huge amount of work to get back on the road. It still needs a fair bit of work to get to where we want it, however Ethan and I feel like we saved one. We have spend about 10 weekends working on it and a couple of grand of parts. It had structural rust around the window that took a lot of work. Most people wouldn't have bothered and parted it out which would have been a shame as its now a really fun car. We took it for a blat and when you stand on the gas it is a real experience. Its a big engine for a little car and always makes us laugh wen we give it a thrash. We will bring it to the next monthly Auckland Meet I think.

-
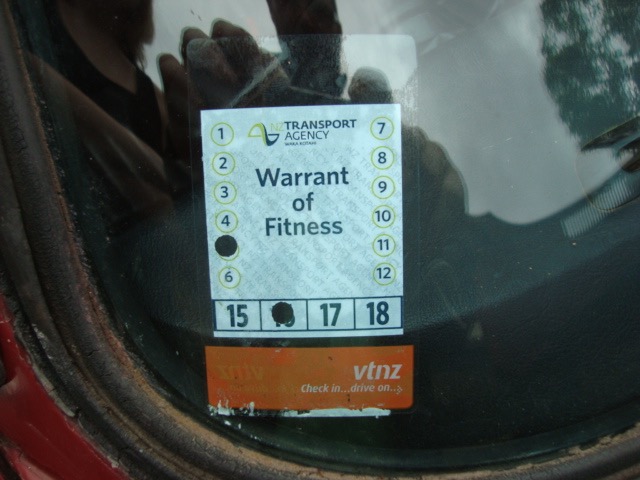
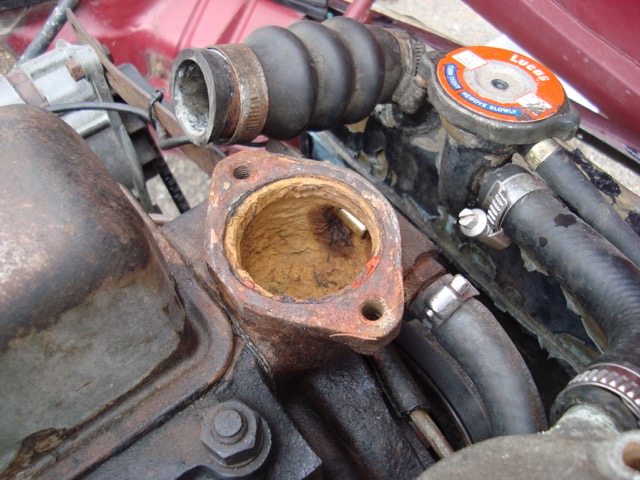
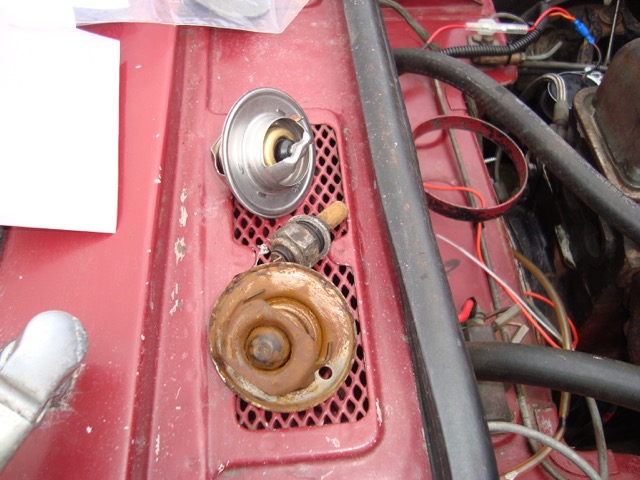
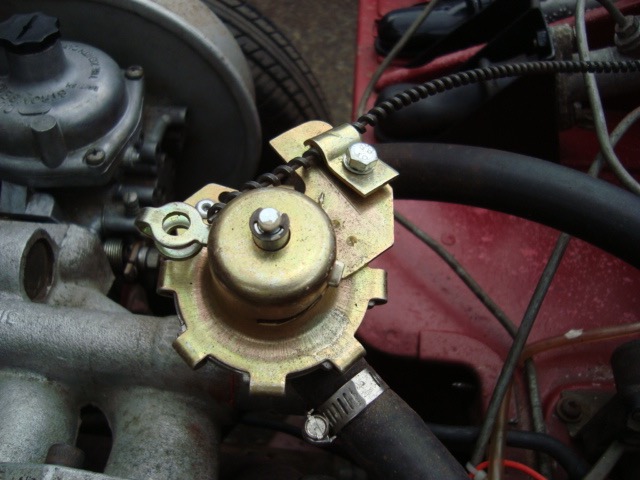
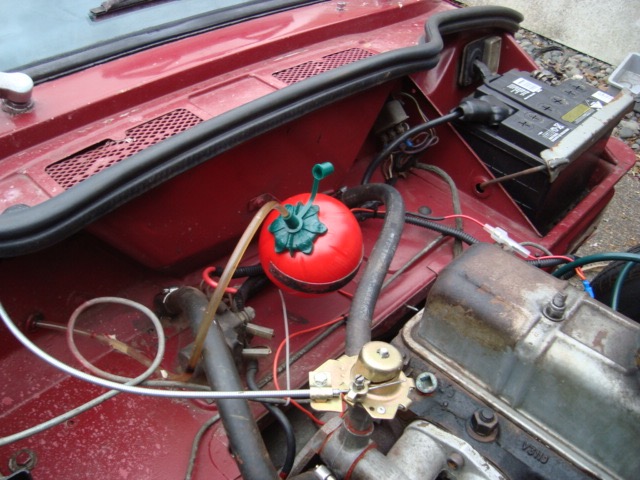
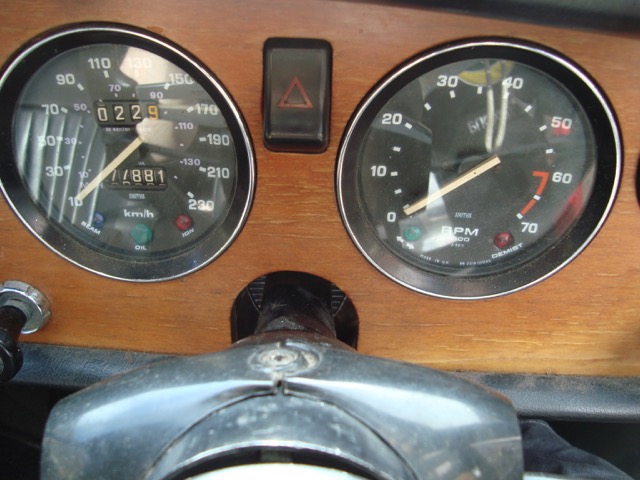
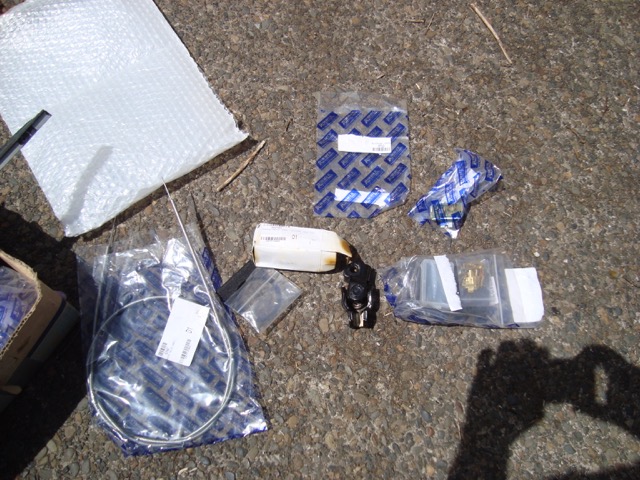
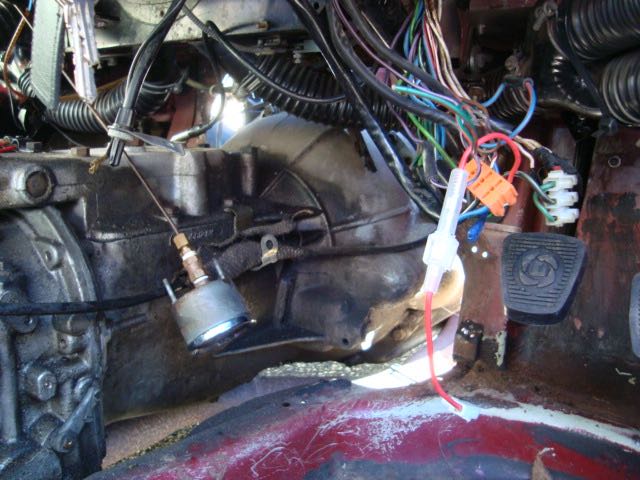
Move on to replacing the temp sender unit and we decided to replace the thermostat also. Temp gauge now works brilliant! On to the heater cable.....problem is we don't have the end for the cable to attache to the valve.... The Ethan said I think I know where it might be. He emptied the ash tray and there it was. Connected the cable and now the valve work perfect. BTW: I hope you like our window washer bottle
-
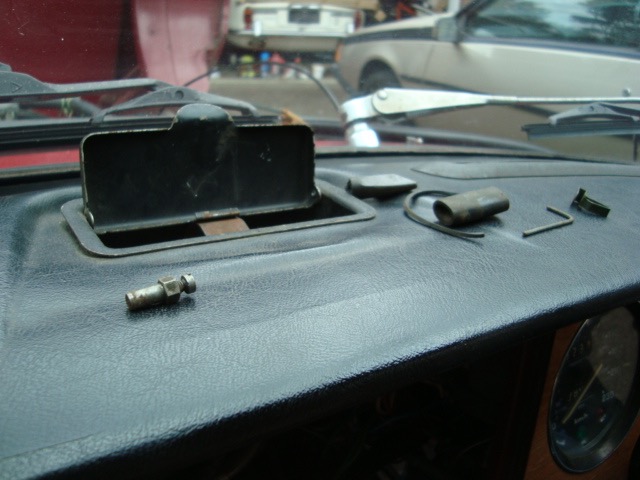
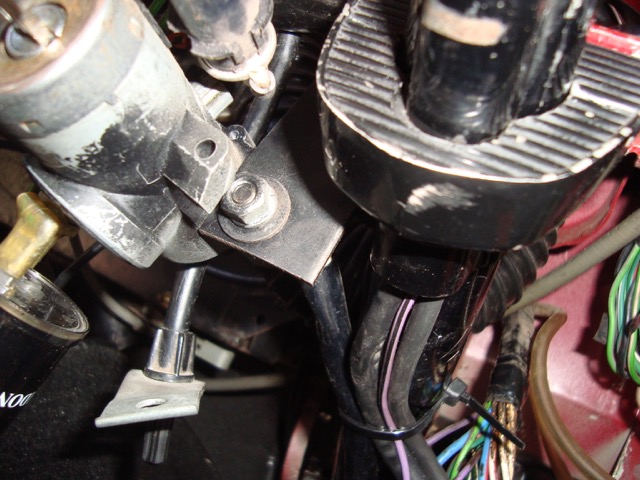
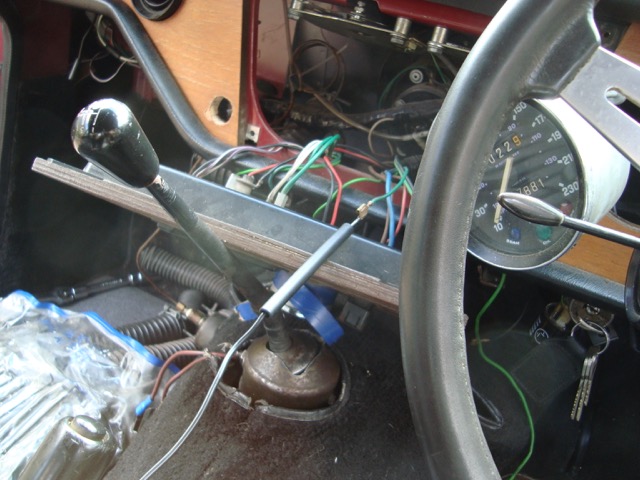
I always felt that the steering column felt like it was too close to the dashboard. I did some reading on the internet and found out that the column is designed to collapse and over the years it can push down two or three inches. I loosened the brackets and pulled it back on its shaft and now I can change gear without my one hitting the wheel.
-
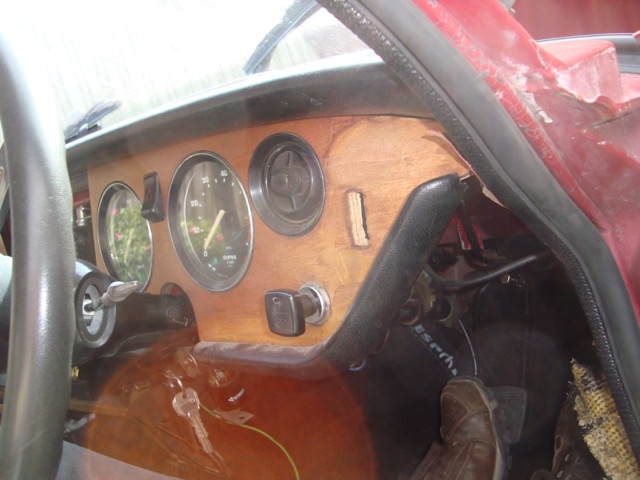
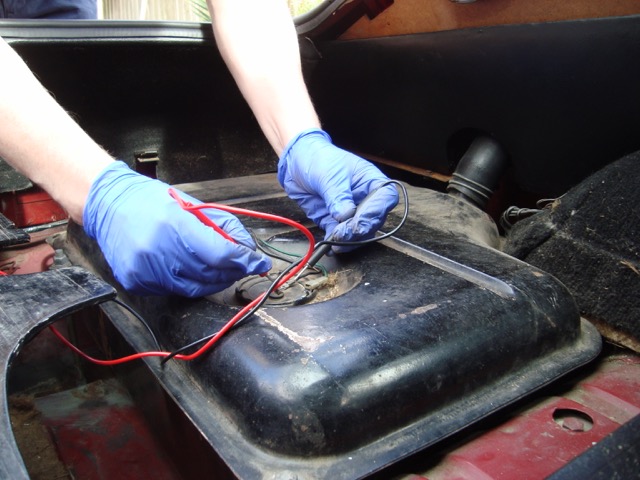
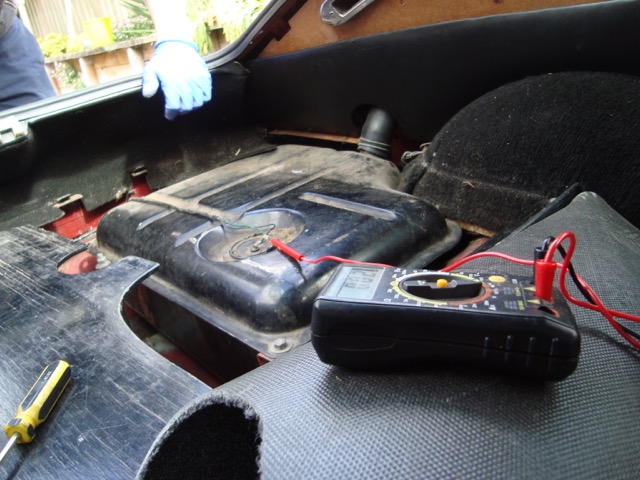
Time to tackle the electrical issues. Indicators didn't work...fixed with a new flasher unit and a couple of bulbs. The fuel gauge doesn't work. The sender seems to work. The wiring is continuous......only thing left is the voltage regulator. Pull the dash out to have a look. Turns out the gauges aren't mounted correctly with brackets so we fixed that. The temp gauge didn't work everything tests ok so it must be the sender. The heater doesn't work. The lever doesn't move.....turns out it is the cable to the heater valve. Time to order some more parts form Rimmer Brothers.
-
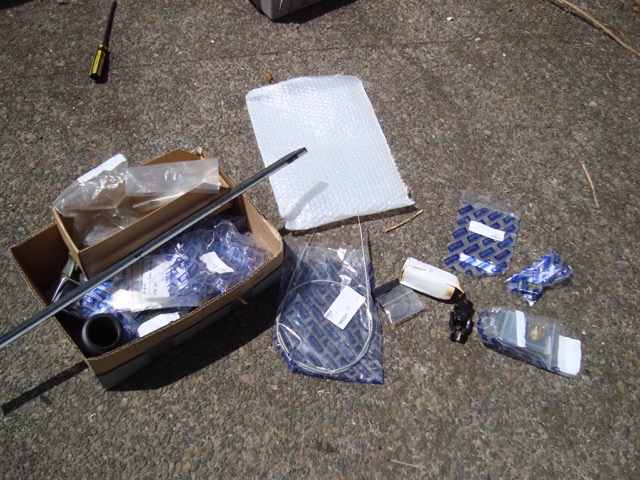
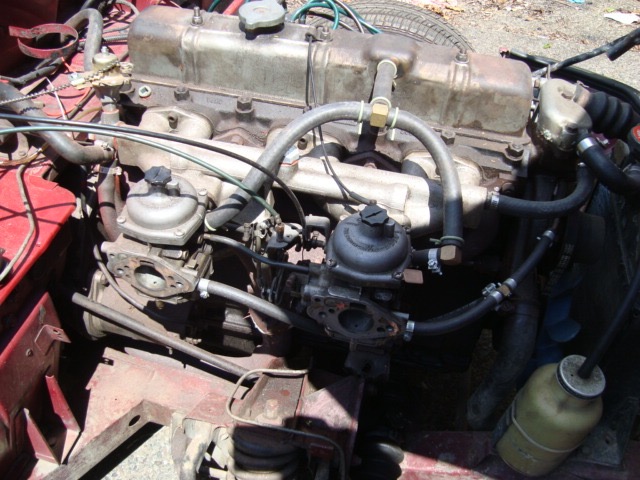
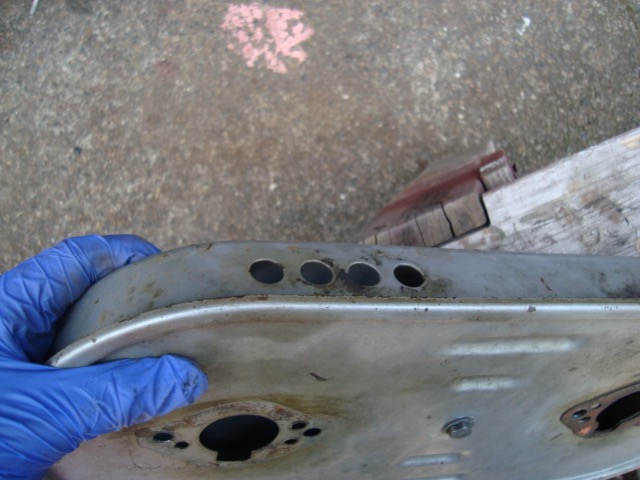
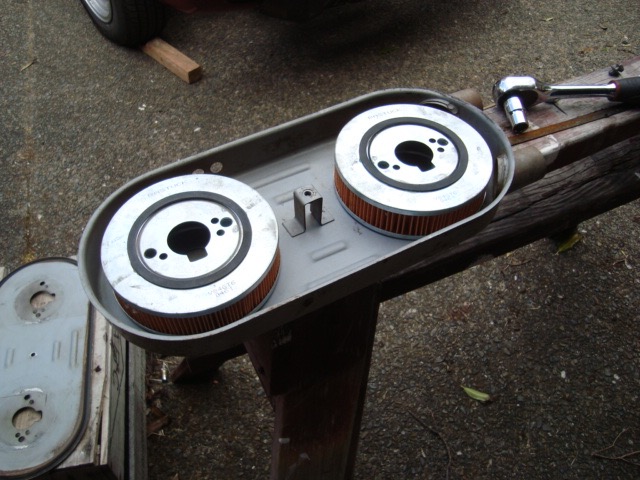
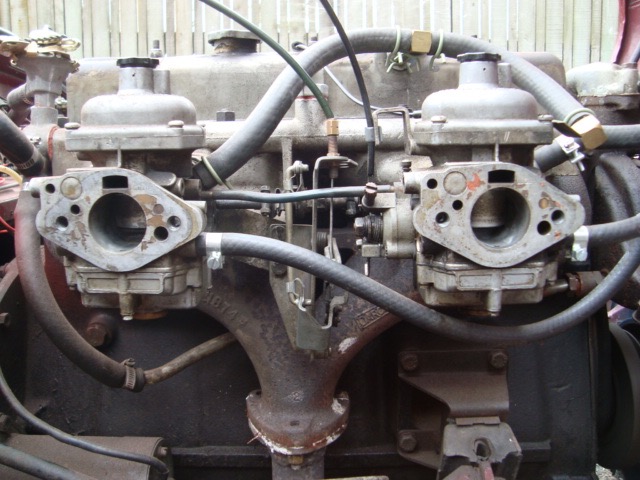
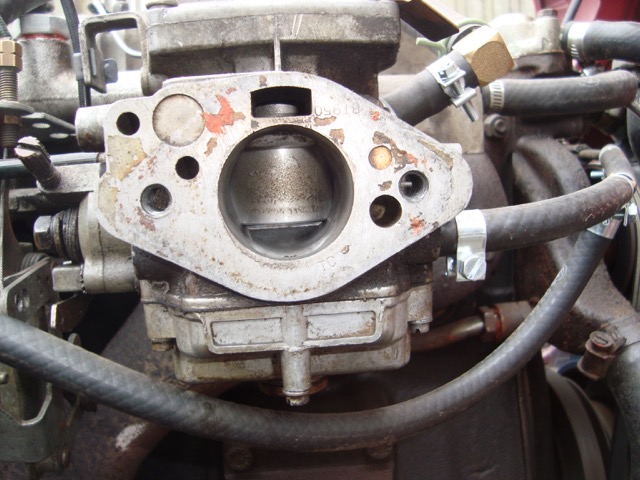
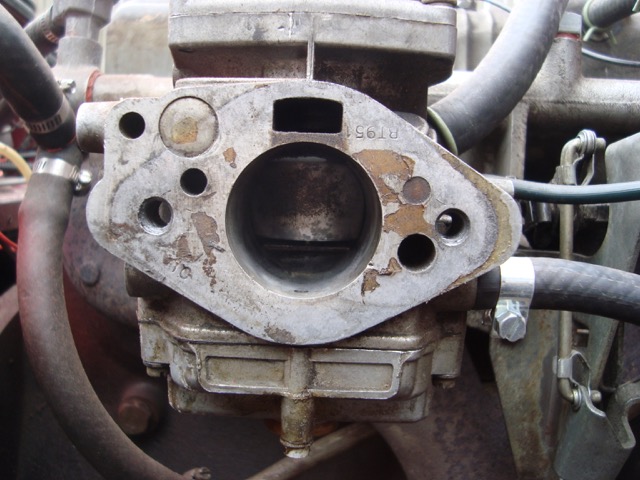
Decided to put new air filters in. Turns out it didn't have any! The air box has holes in the bottom to get more air in. Looks factory. The carbs look interesting. One carb is dirtier than the other. We intend to rebuild these carbs latter and give then a good tune as they are running too rich at the moment.
-
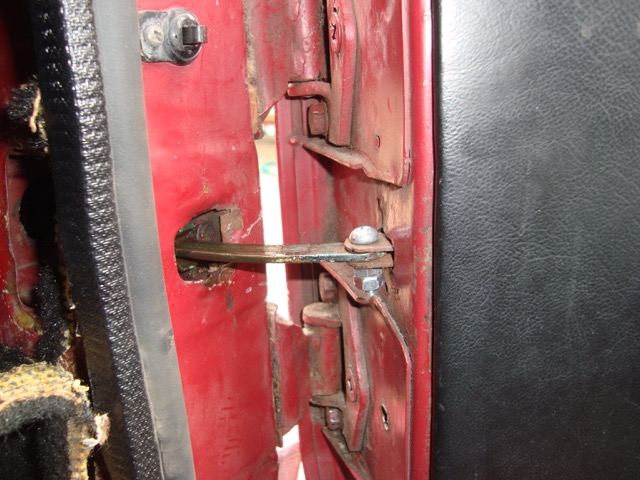
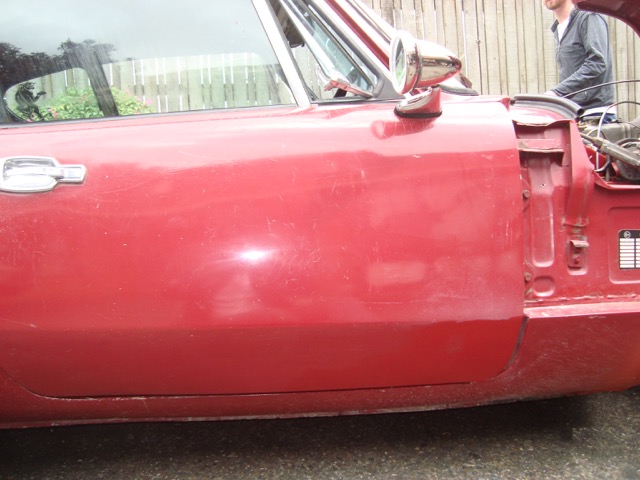
Painted the door finally. And attached the the stop
-
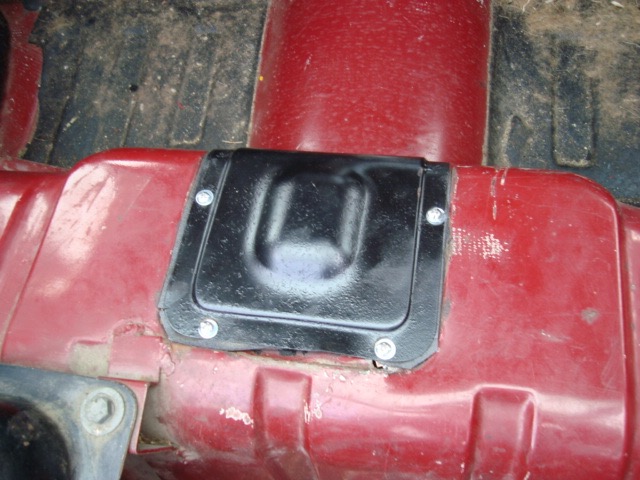
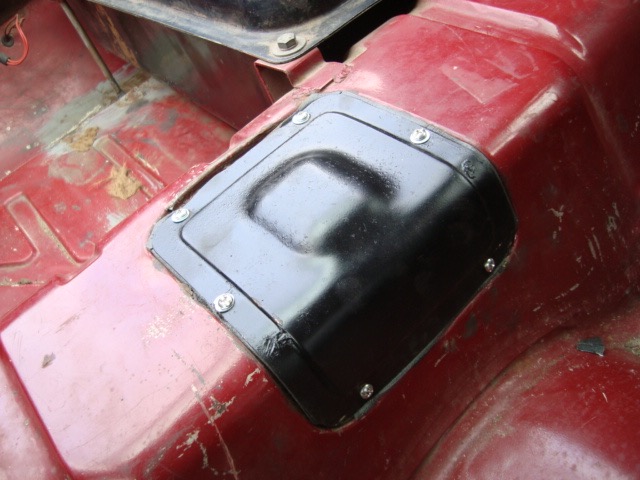
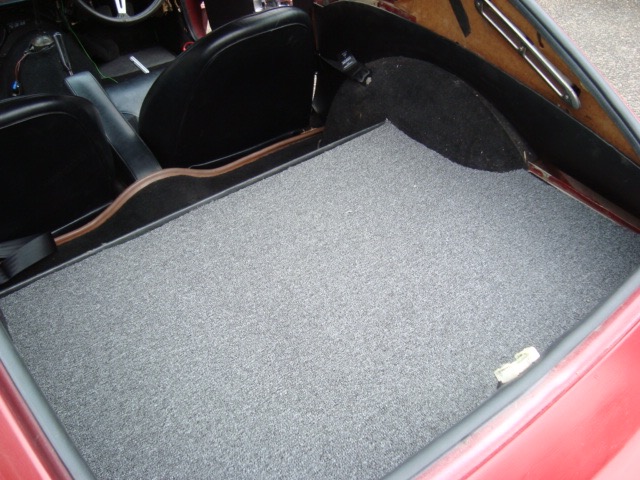
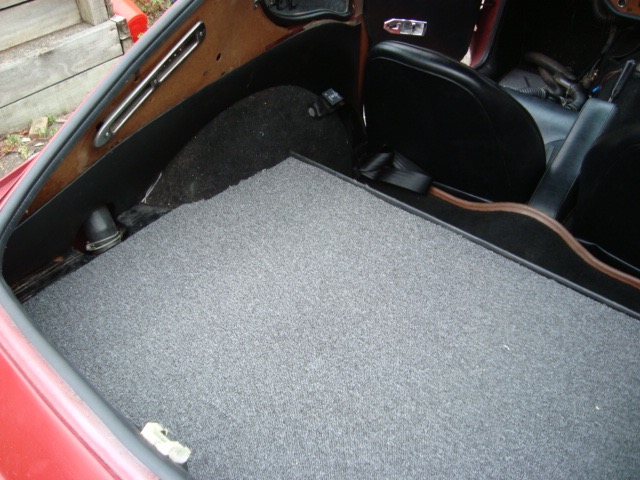
I painted the cover attached some new foam to seal it and screwed it back on with new screws The car never came with a rear carpet so after everything went back together Ethan and I went to bunnings and bought a large carpet square for 20 bucks and chucked it in......nice...
-
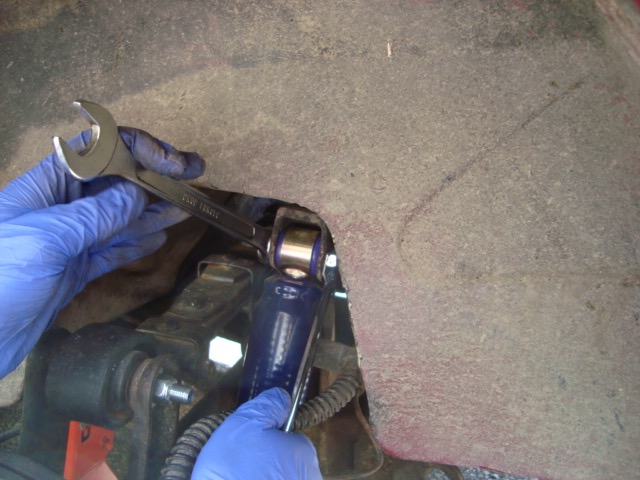
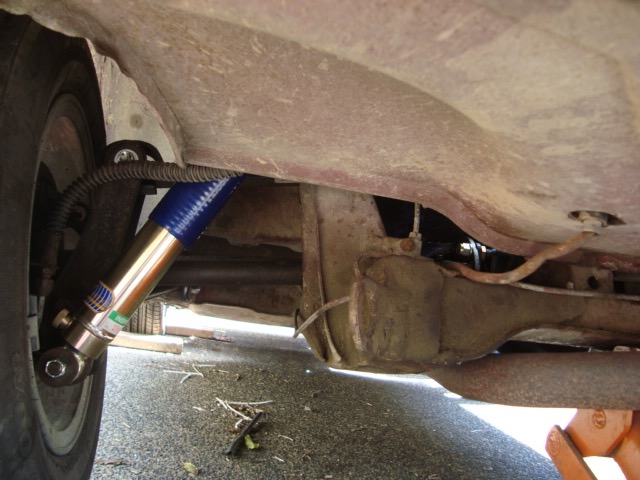
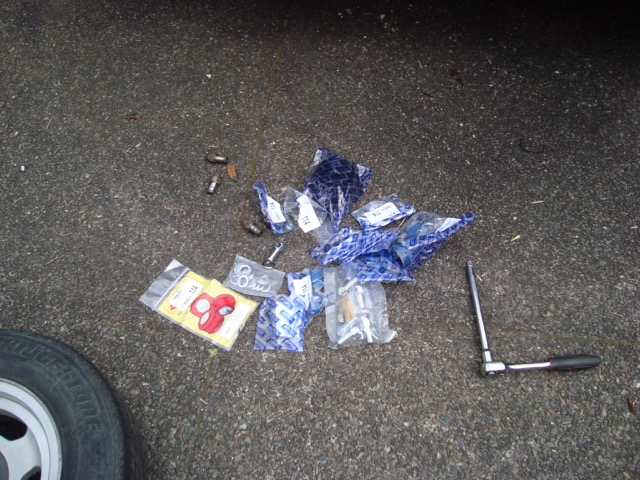
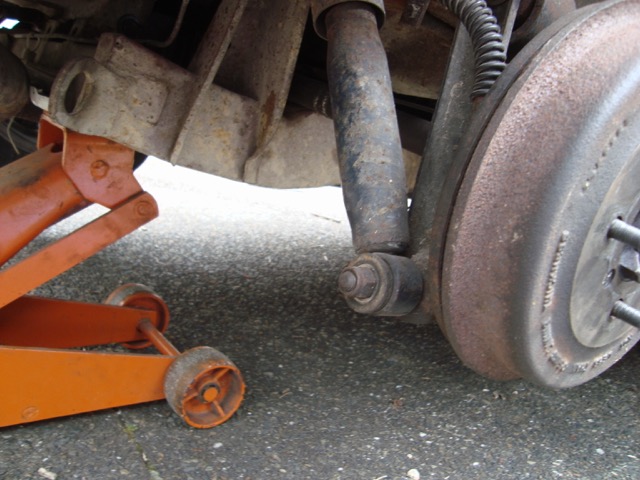
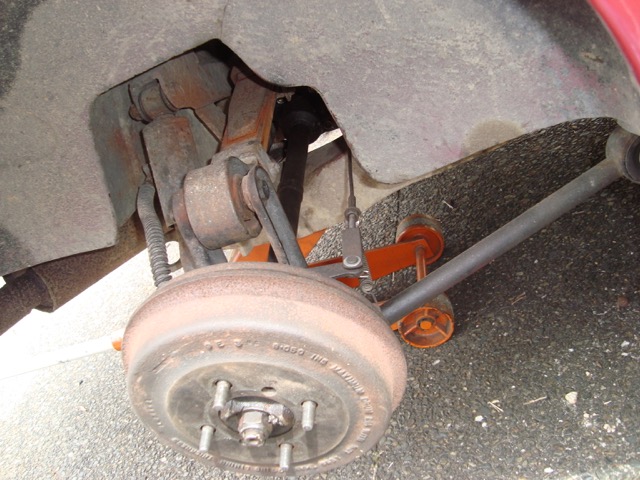
Re-assemble the rear end with all new parts
-
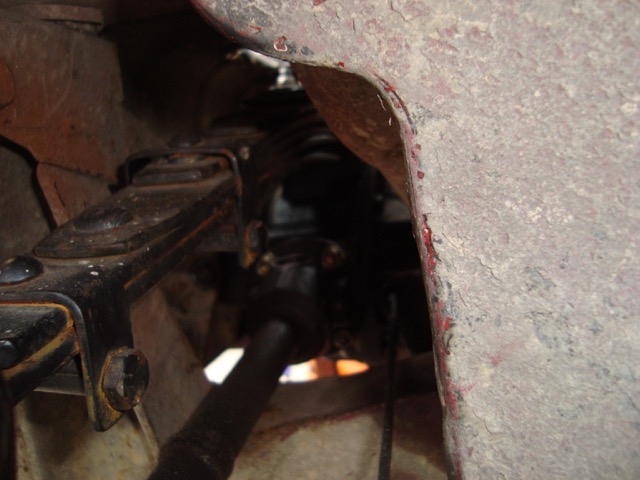
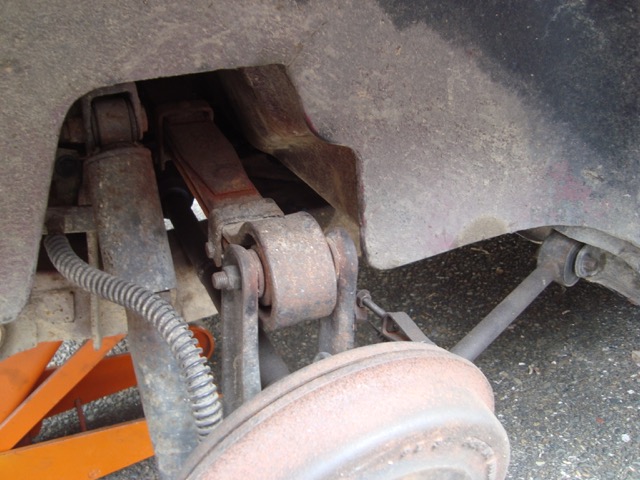
It looks like they have replaced the diff with one form and earlier model and it has more holes to mount a spring (pre swing spring) The holes go into the diff and need to be plugged or it will leak. The meatheads had just used bolts and this meant the swing spring plate wouldn't fit with the bolt head in the way.....so they completely removed it and that was why the back end was all over the place. Ethan cam up with a very simple solution by cutting the heads of a couple of bolts and cutting a groove in them. a little lock tight ensured they wouldn't wind out inside the diff. Time to put is all back together. I ordered a complete bush and bolt replacement kit from rimmers.
-
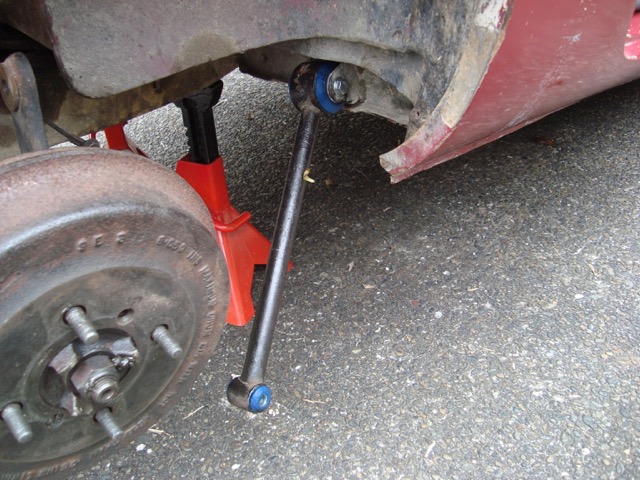
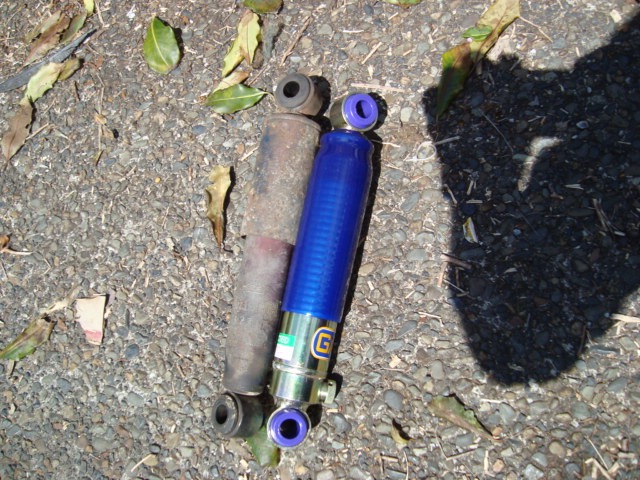
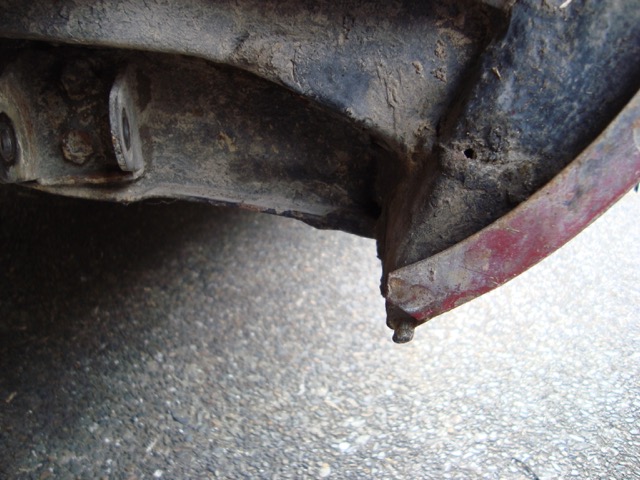
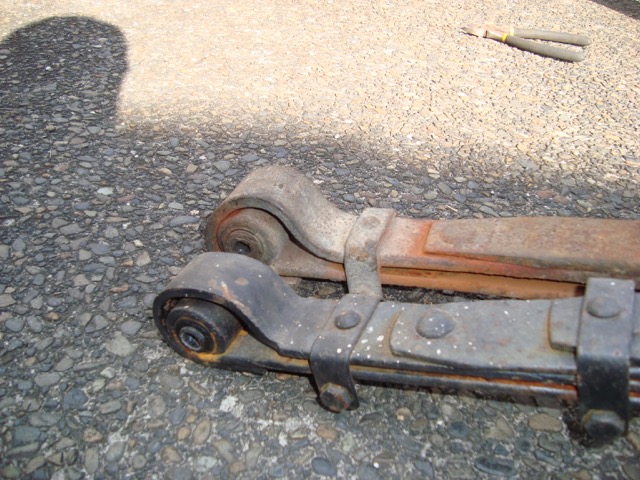
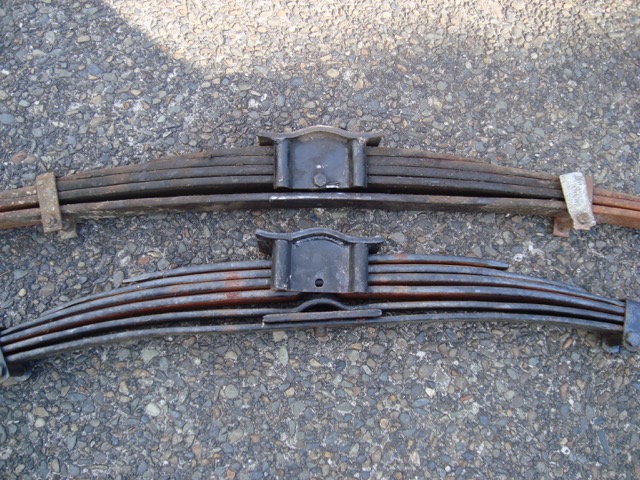
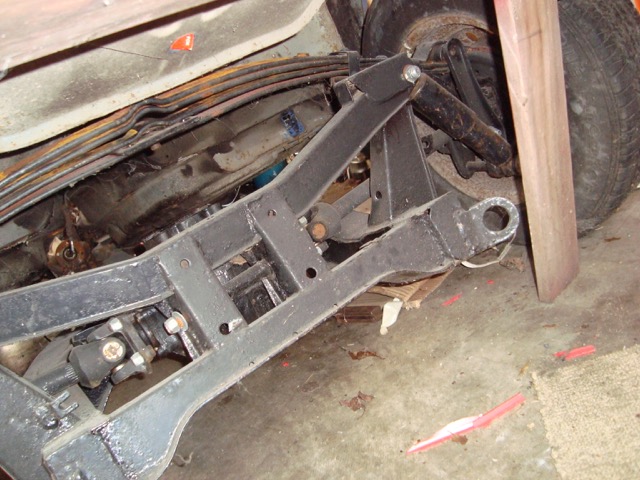
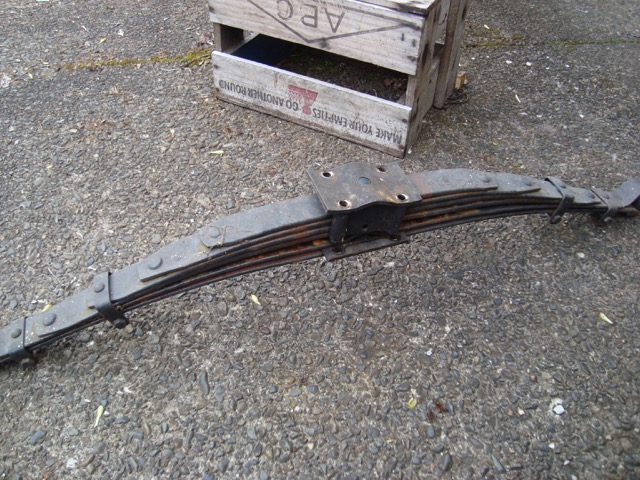
The shocks were rubbish also. Time to take the spring out. ITs bolted to the top of the diff as it is the upper arm of the suspension (the lower one is the drive shaft. The two springs compared. The new looks much better than the worn out old one. The we took the old spring off we found it wasn't attached correctly. These springs a supposed to be able to swing on a pivot to stop tuck under (normally under mid corner lift off and causing snap oversteer) The next post will show why.
-
The rear suspension has never felt right so we decided to see if we can improve it. As you can see the rear spring is very worn. We happen to have a new one in the Spitfire we have been working on so Ethan decided to take it off and look at it.
-
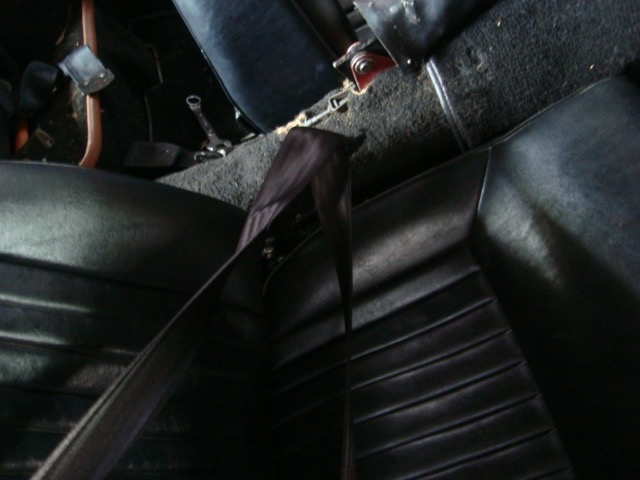
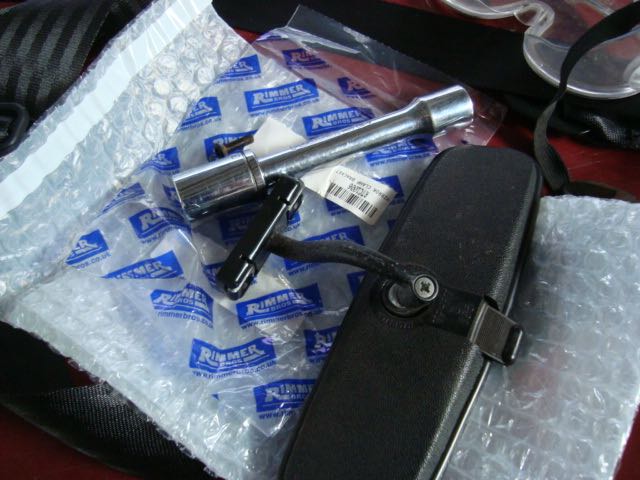
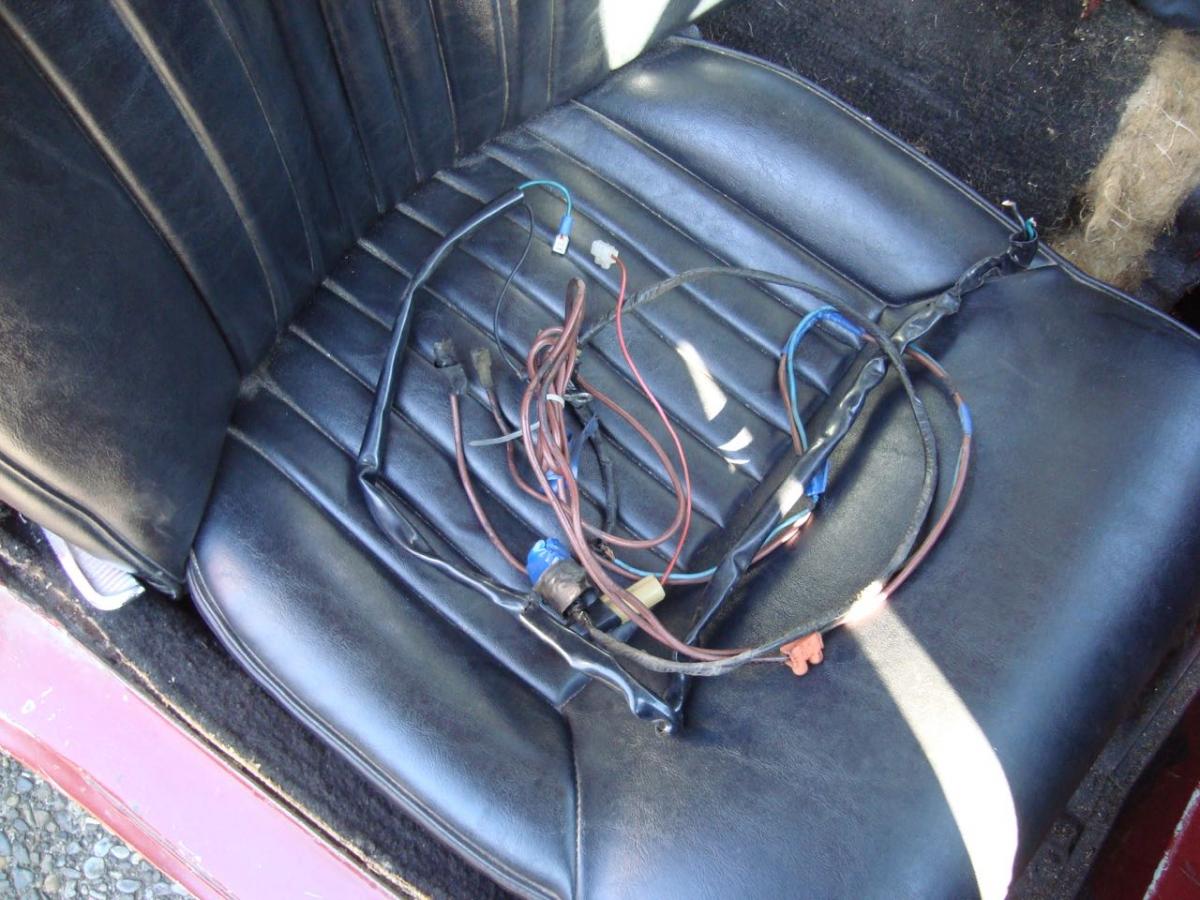
We needed new seatbelt as the originals we frayed and worn out. Thanks to Rimmers we got some replacements at half what they cost in NZ Ethan had to make up a couple of brackets to make them work though.
-
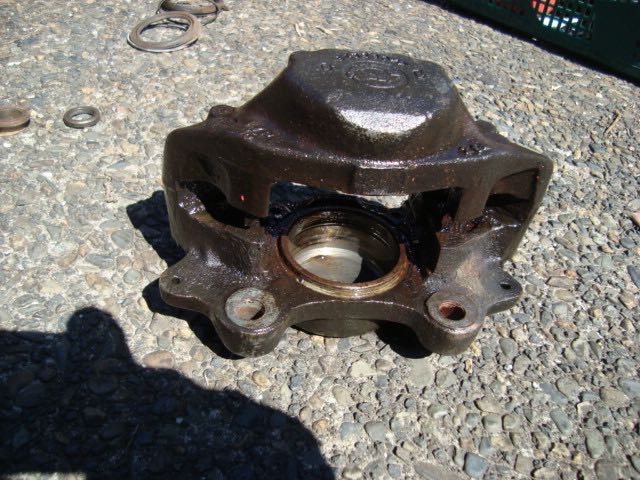
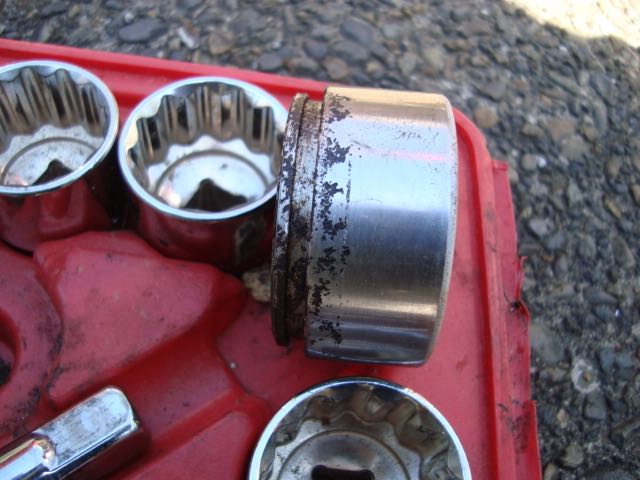
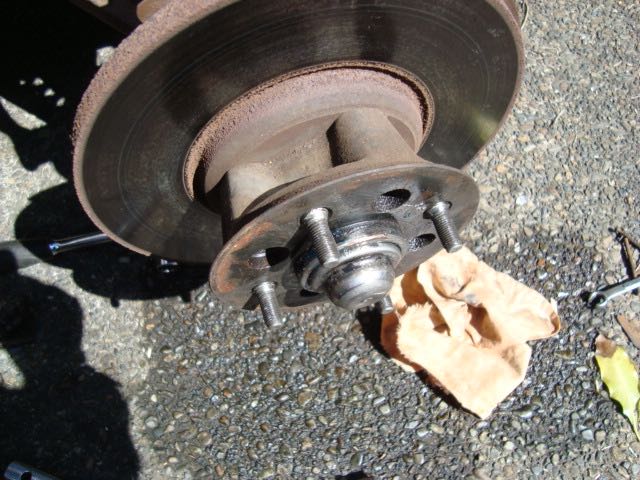
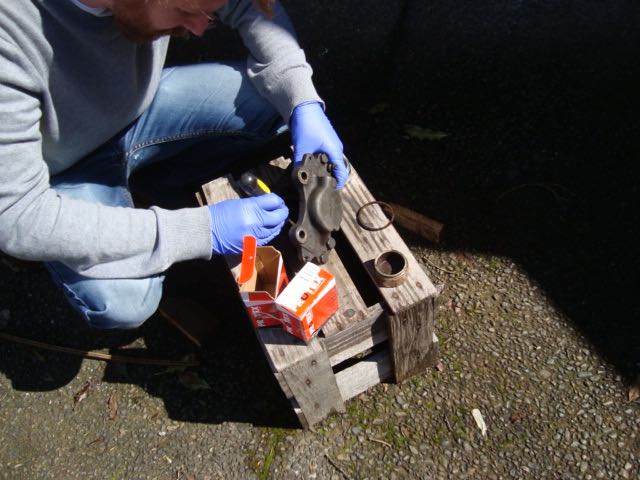
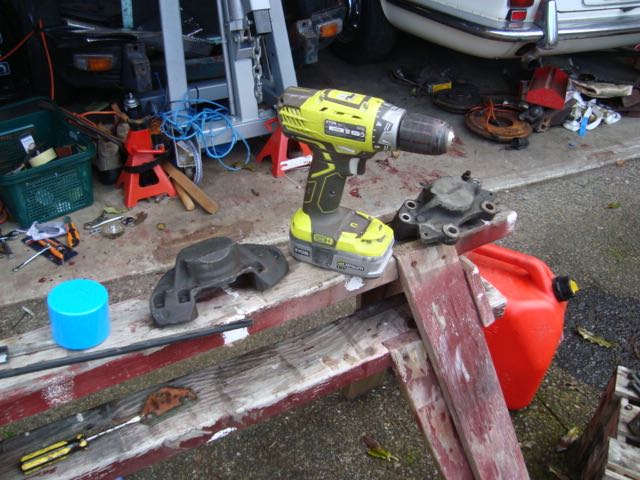
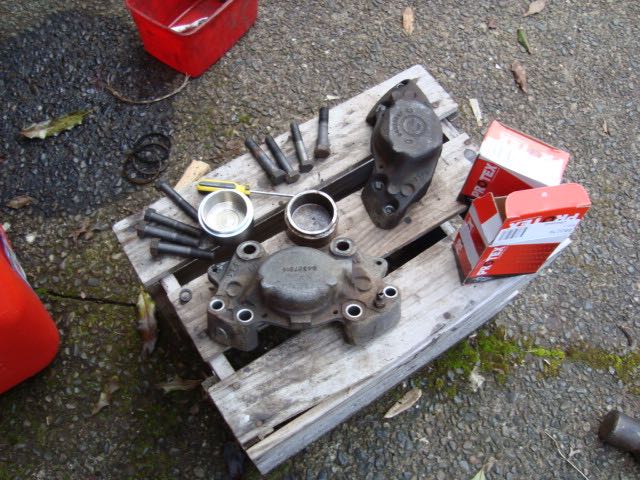
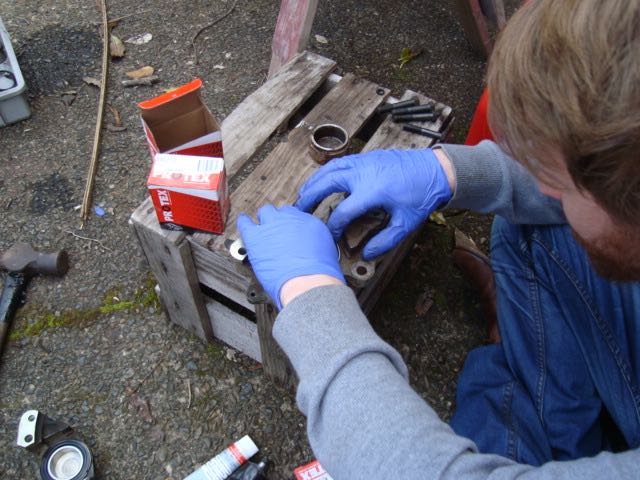
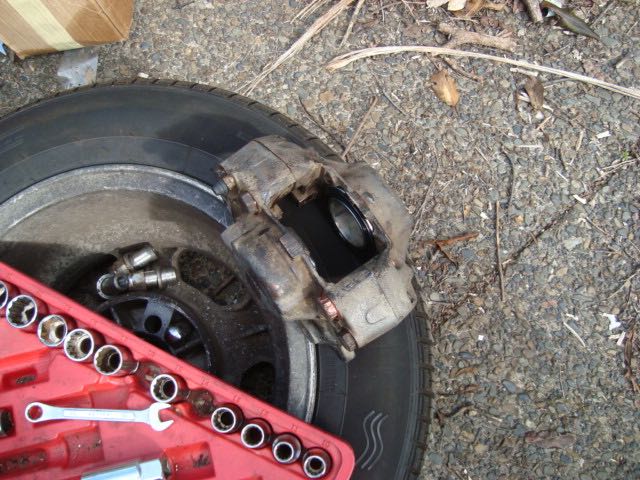
When we jacked up the front and took the wheel off to do the rust I noticed that the wheel didn't turn freely. It was dragging both front brakes. SO we pulled a caliber off and it wasn't in very good condition. IT took a lot of compressed air to get one sides pistons out and it was impossible on the other side. In the end we resorted to connecting them to the brake line again with no pad and used the peddle to get the pistons moving. This is what they looked like. The calliper had to be cleaned but it wasn't too bad. Discs look ok for jammed on brakes. Stripped them down and cleaned them up Got a brake upgrade kit from Sterling Brakes and got started rebuilding them. The look much better with new pistons and seals. Ready to go back on the car. We put them back on and bleed the system and it brakes really well now and goes better without the brakes stuck on
-
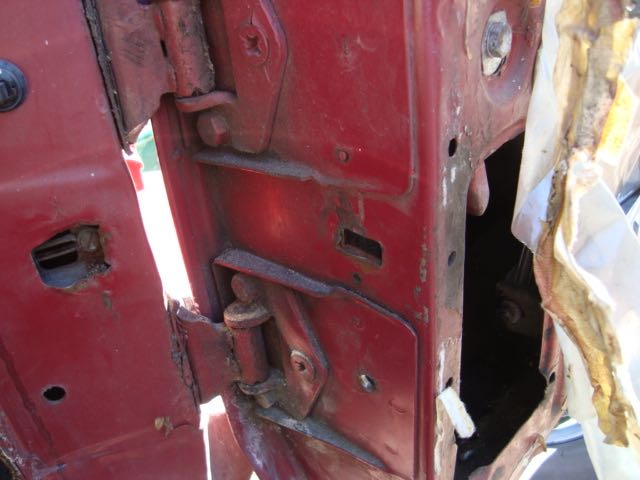
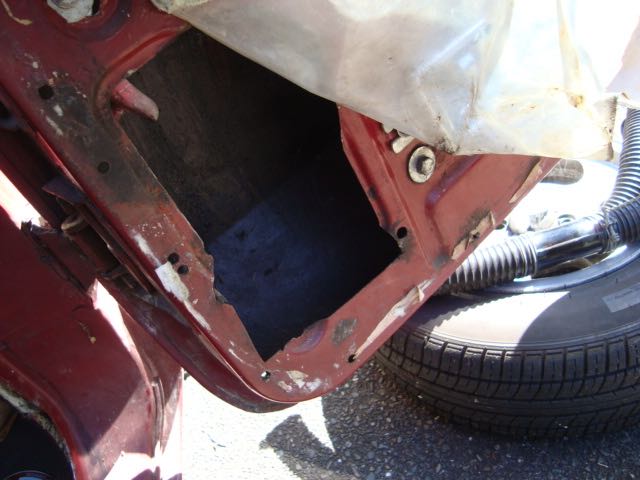
We decided to move on to the drivers door. It was in bad shape with rust and the stop was broken We welded in the bracket of the door stop and then went after the rust in the bottom corner Fresh metal Welded in Primer on the inside Primer on the outside New seal. Will show some pictures of it on the car soon.
-
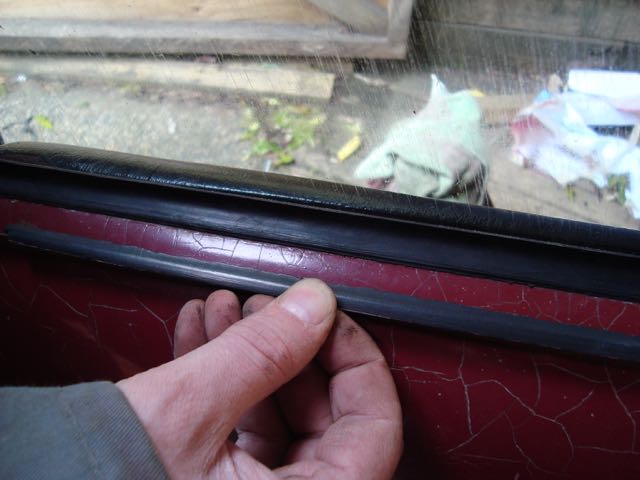
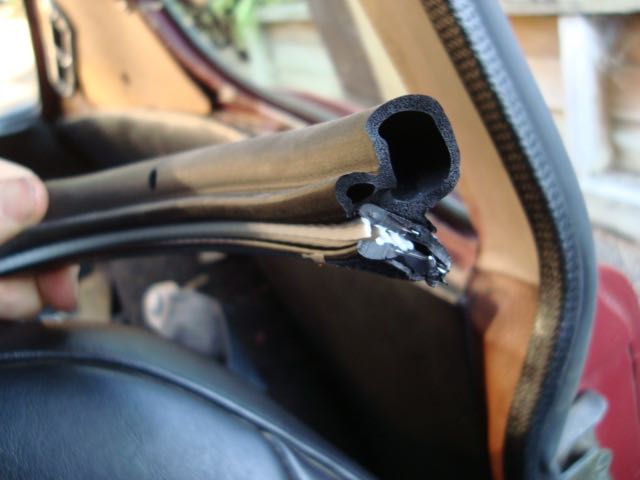
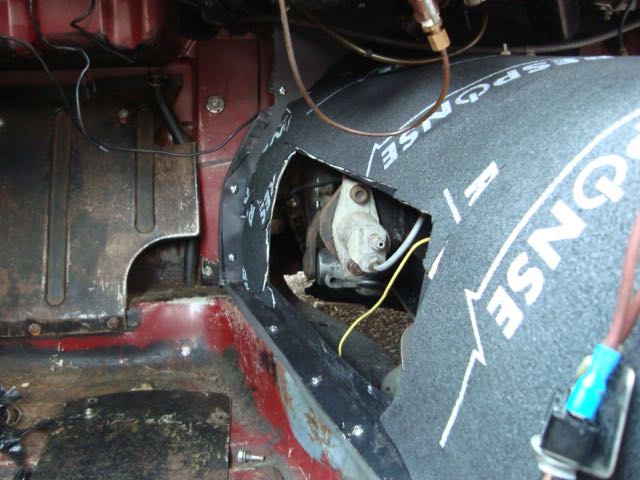
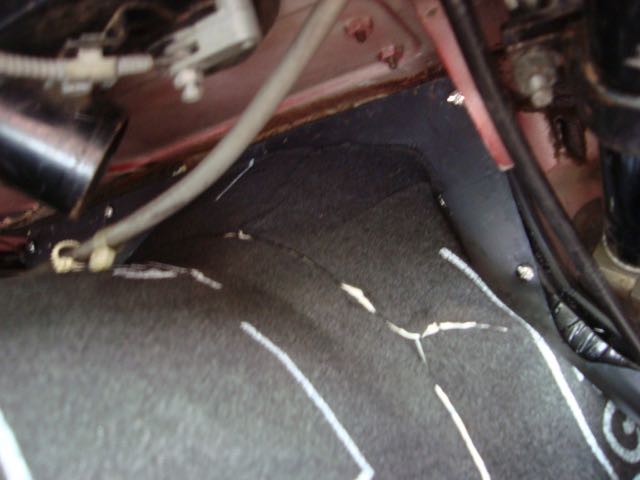
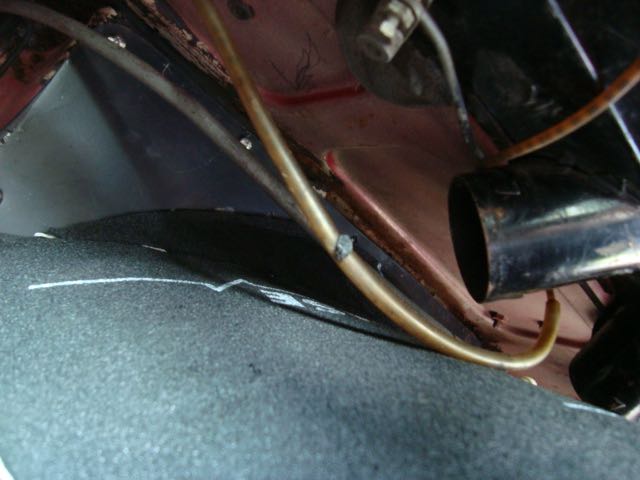
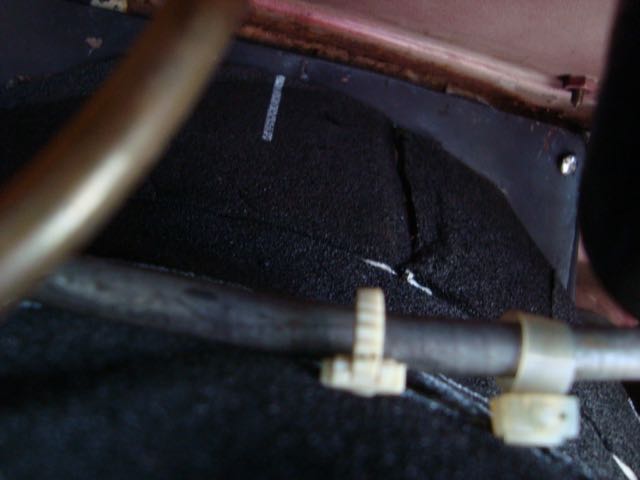
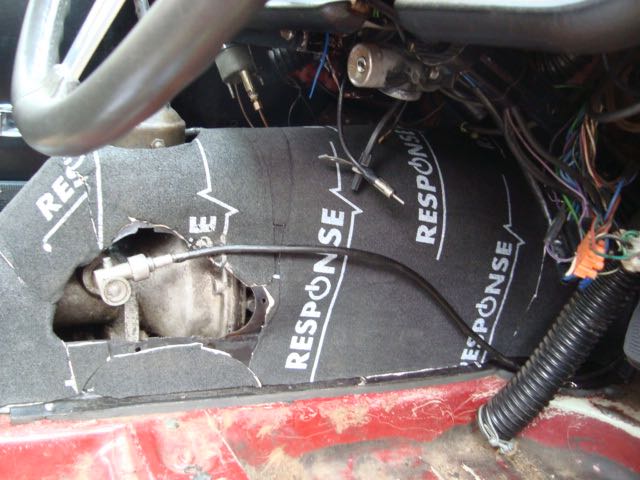
Getting tired of grinding, welding, sanding and painting we decided to do some interior work. We found some cheap door seals from Para Rubber. They are not the prettiest but way better than none. Ethan we put them in the doors and side windows and seem to work OK. I put some sound deadener on the trans tunnel and attempted to secure it in the car. It is hand made and it doesn't actually fit that well. SO with a hammer and two people a drill to locate new screws we did finally get it in place. We decided to run the Speedo cable on the outside as it needs to connect to speedo in the cab and the previous owner had run it through a gab in the firewall that wasn't ideal. Once its covered in carpet it will work way better.
-
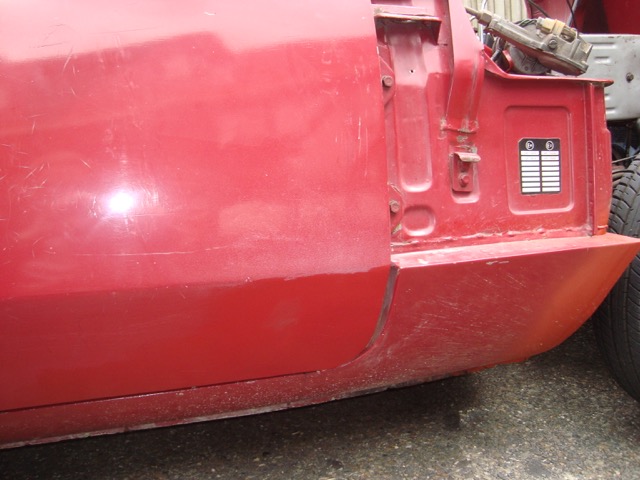
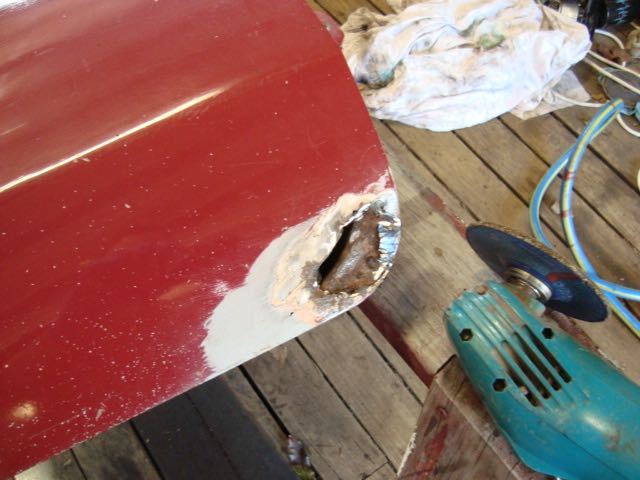
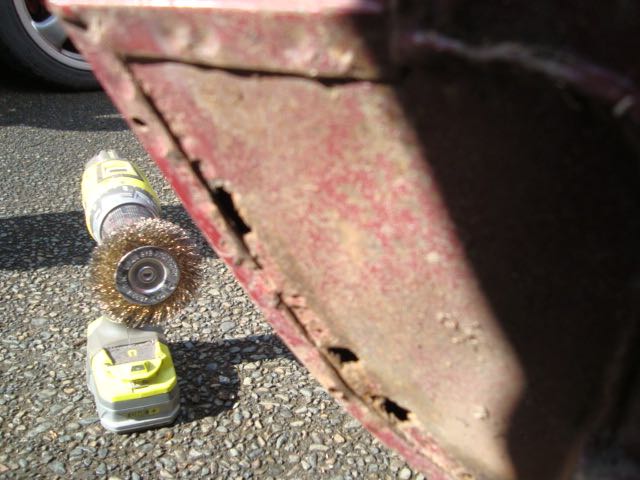
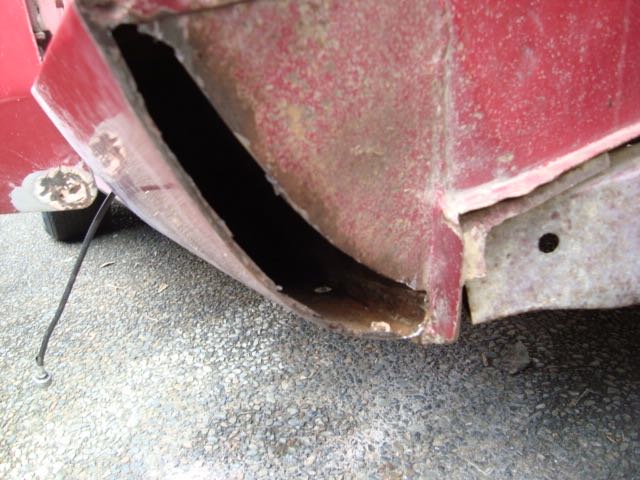
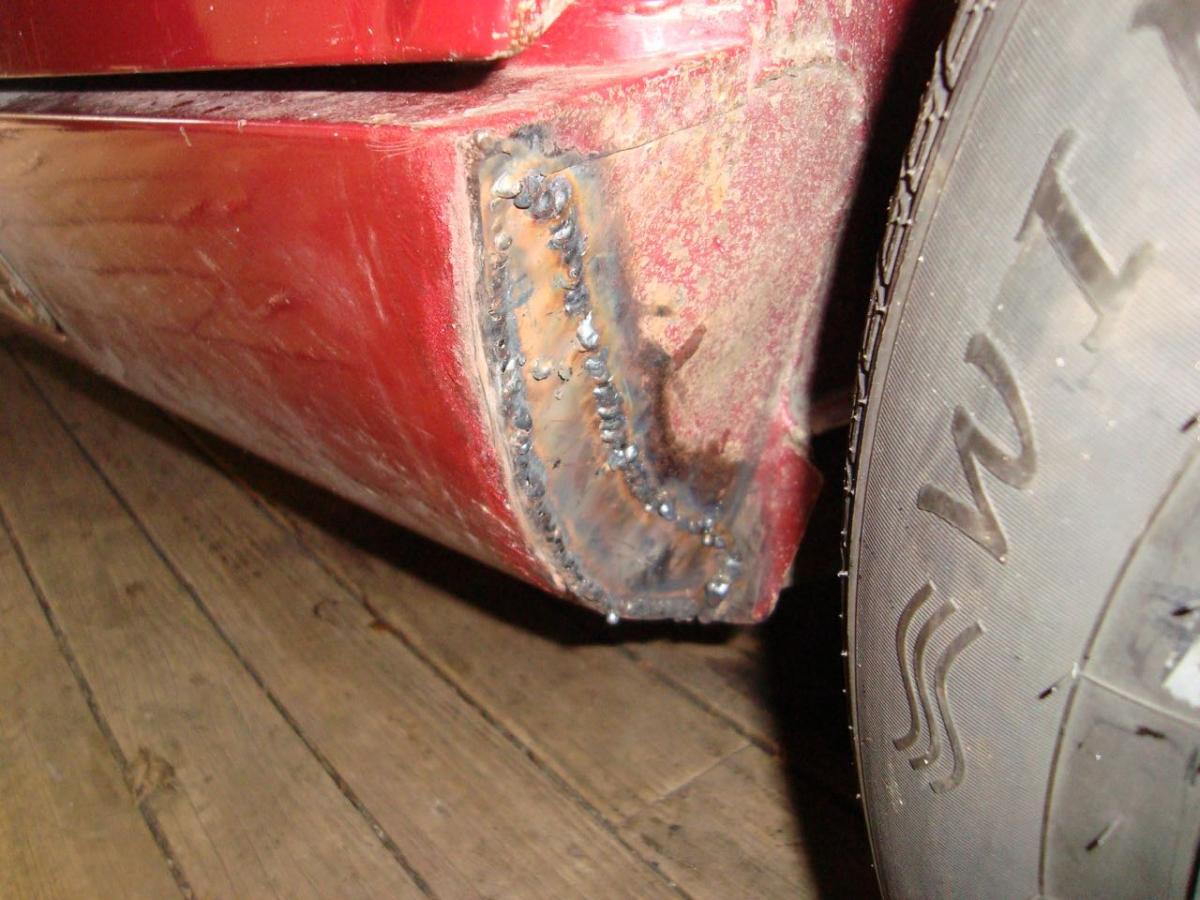
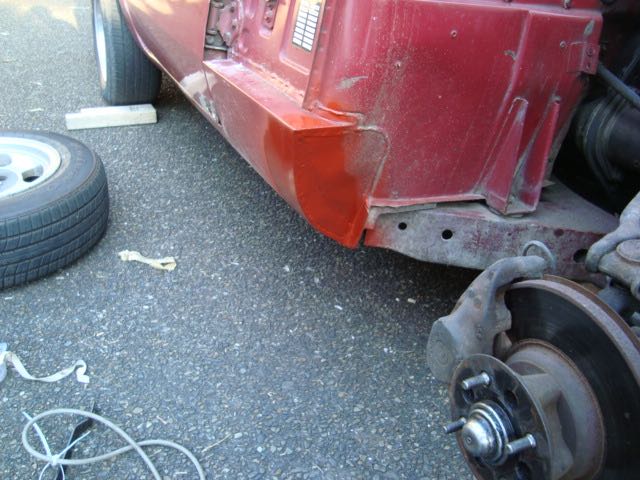
Ethan decided to simplify the wiring under the dash for the overdrive. It was a birds nest and probably wired by someone that had no idea what they were doing. As he was easily able to remove this much from it. Then we decided to get back into the rust. It looks like there were mud flaps at the front and it has caused the from top the sill to rust out. Although only on one side. So out with the cutting wheel And in with some new steel. Decided not to fill it as and just undercoated it
-
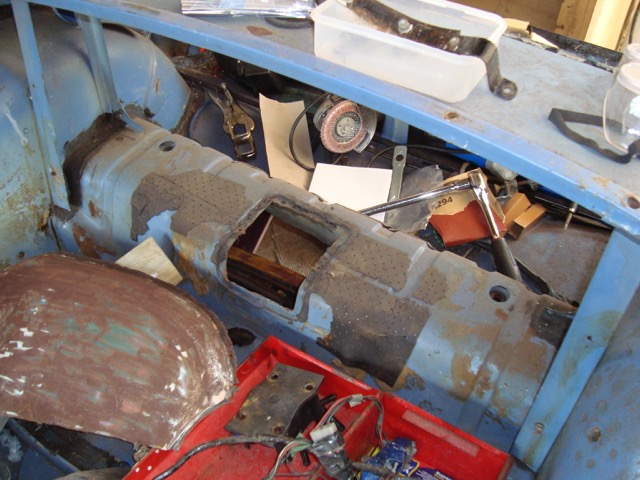
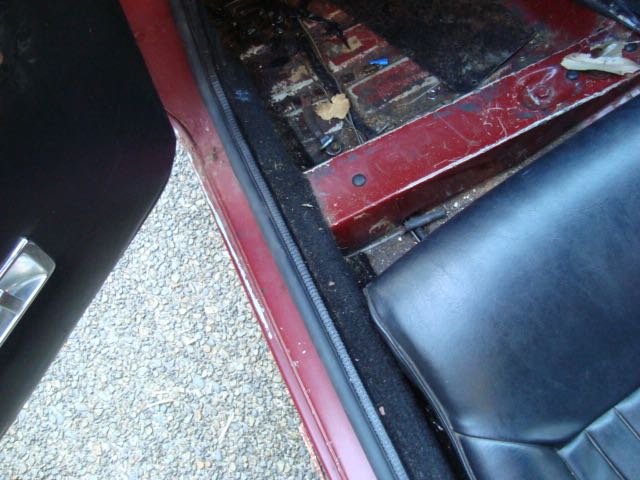
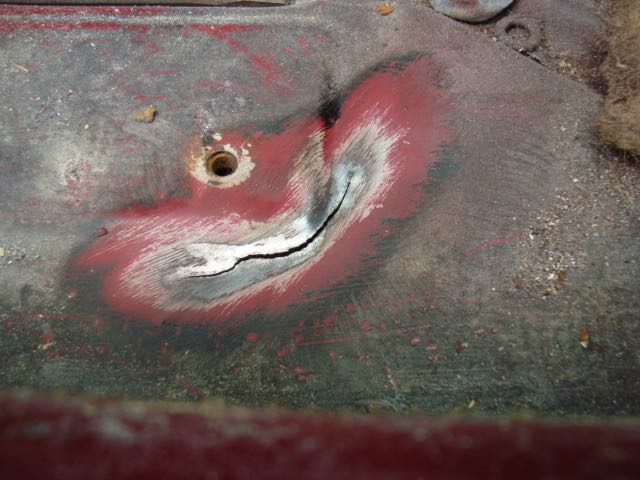
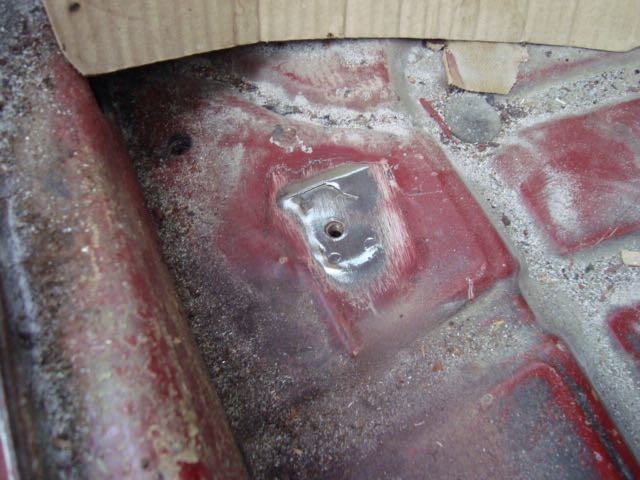
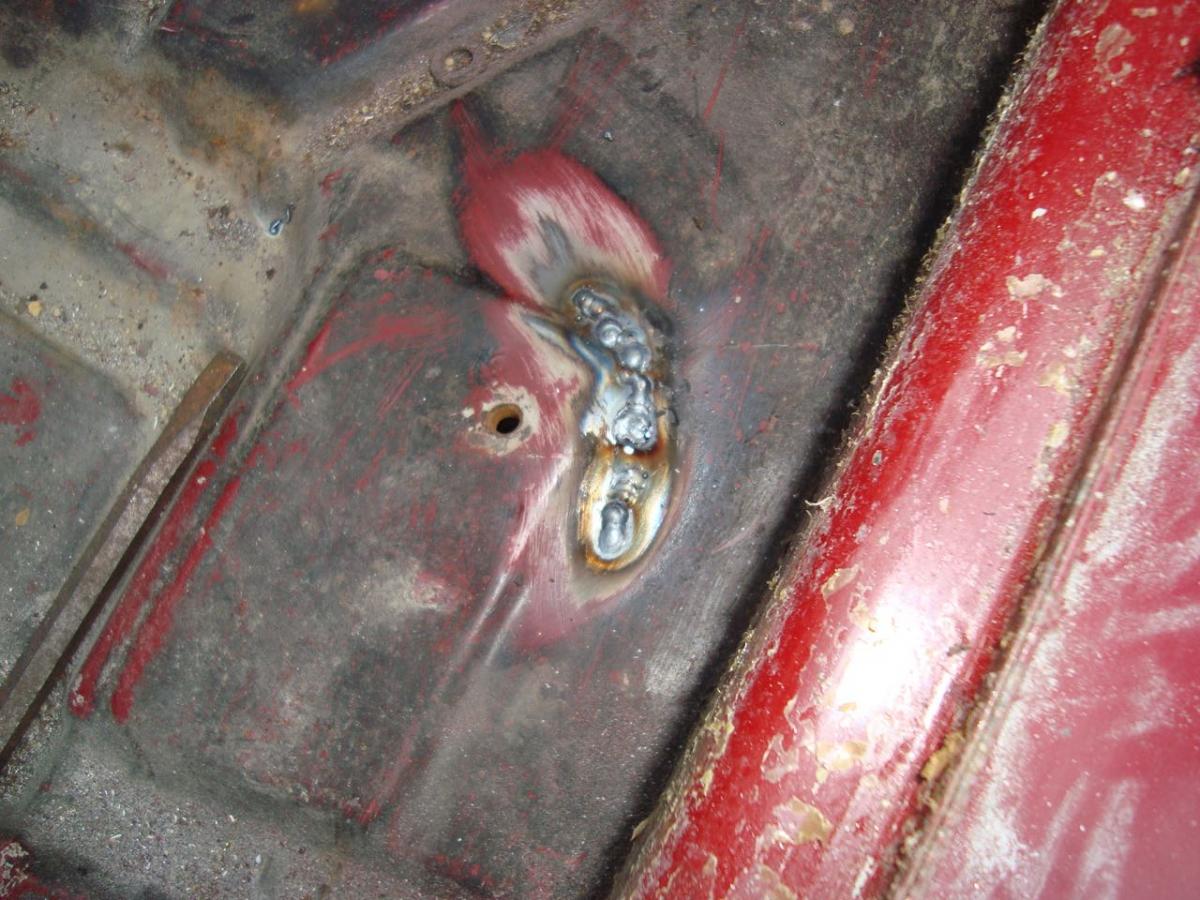
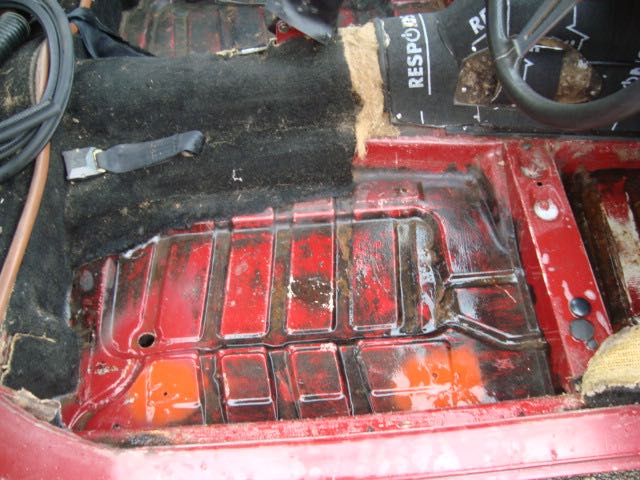
We found some Cracks in the floor where the seat attaches. In fact it doesn't look like a very strong way to attach seat to the floor of a car. I would modify it to be stronger but would probably get flagged at warrant time and they would ask for a cert. SO we welded them up...well Ethan did..... as he is the better welder. Gave then a grind and a coat of paint. Also gave the floor a wash while I had the bungs out.
-
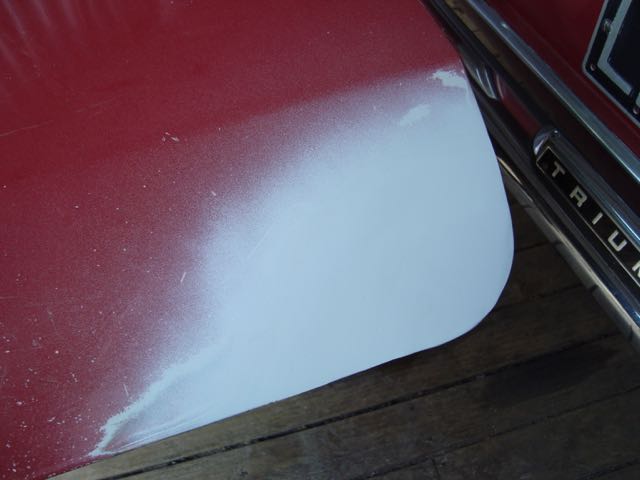
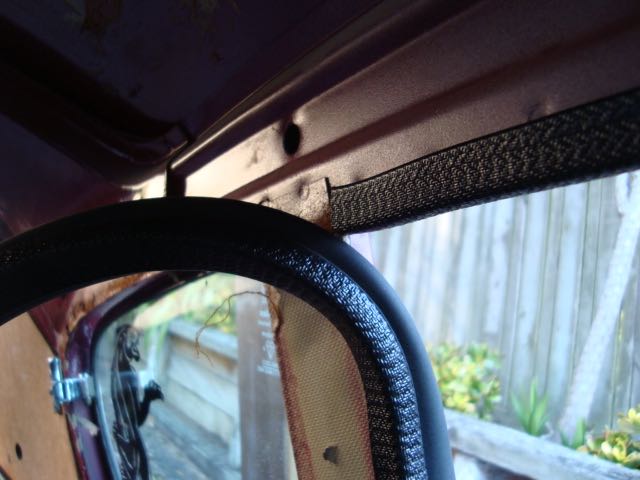
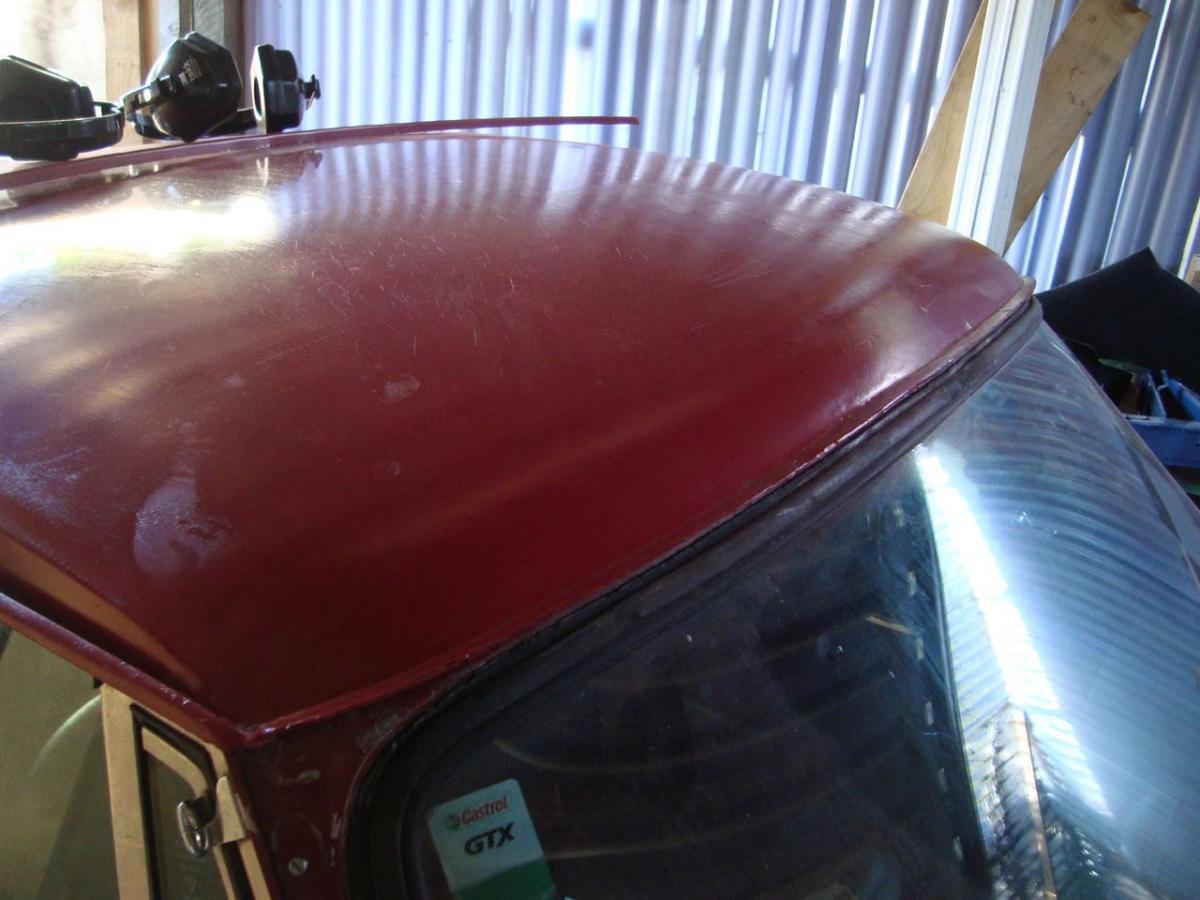
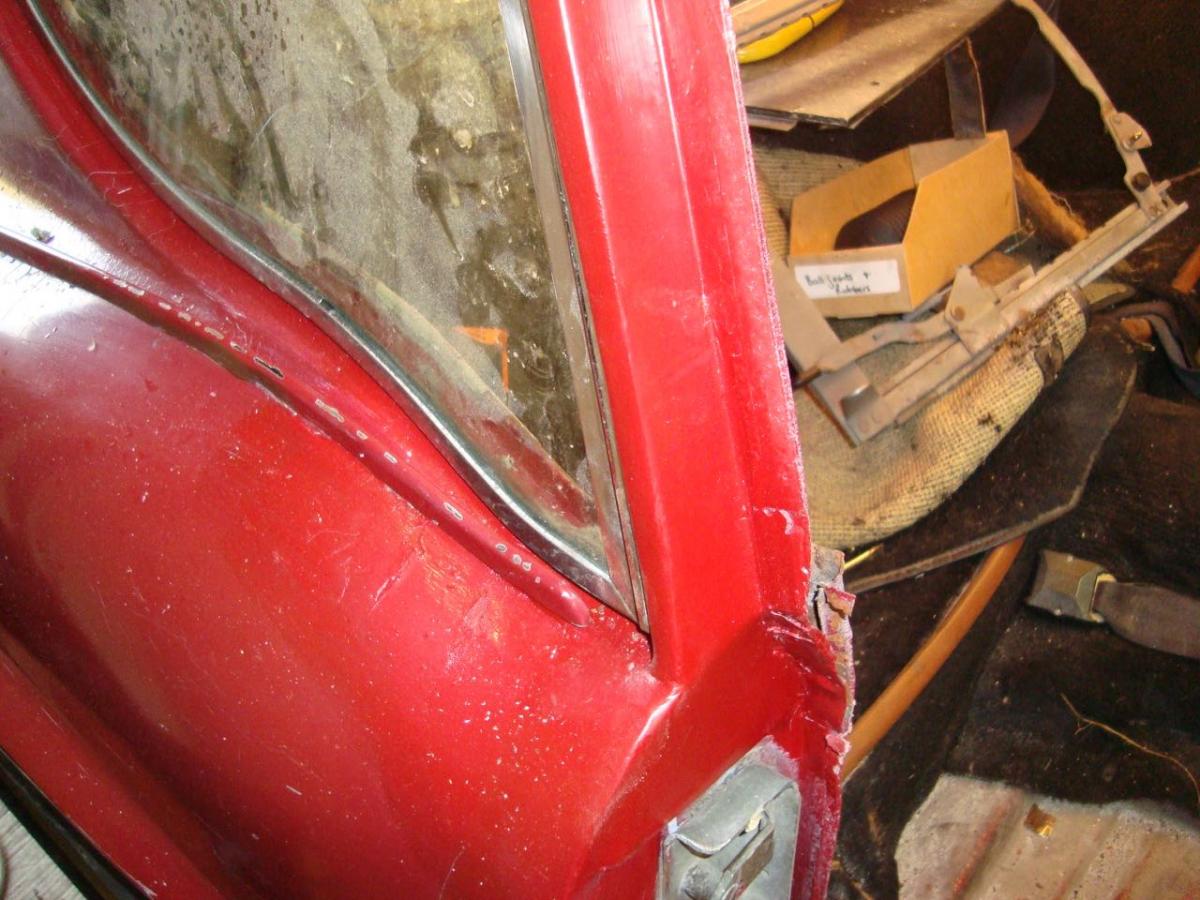
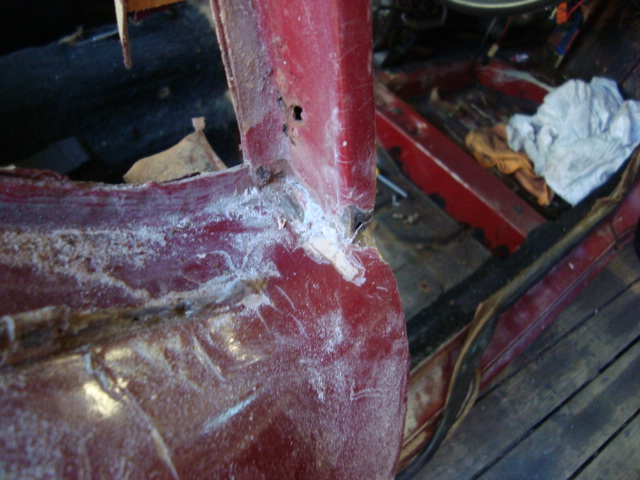
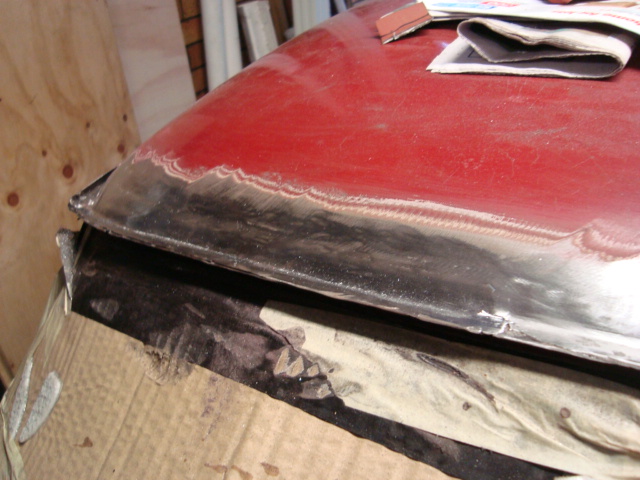
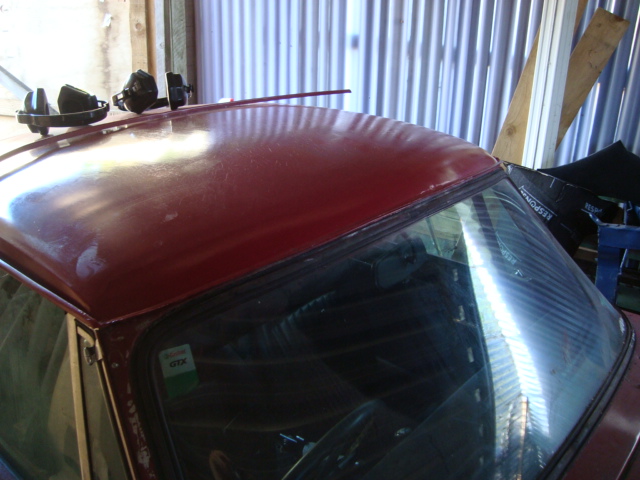
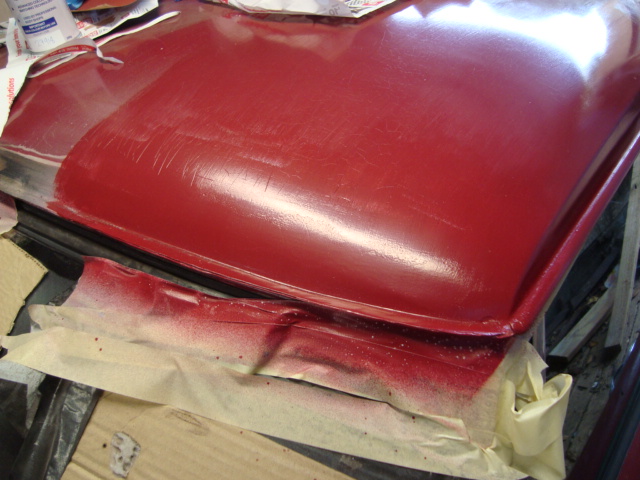
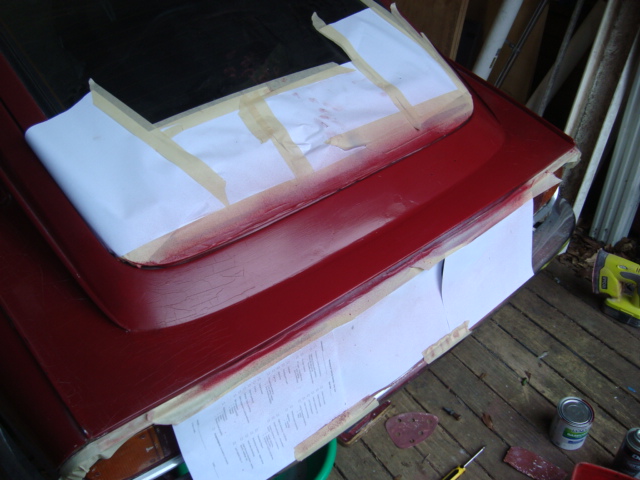
Long overdue update. We finished the roof and it looks really good. The paint doesn't match but its close enough. We also finished the B Pillar repair
-
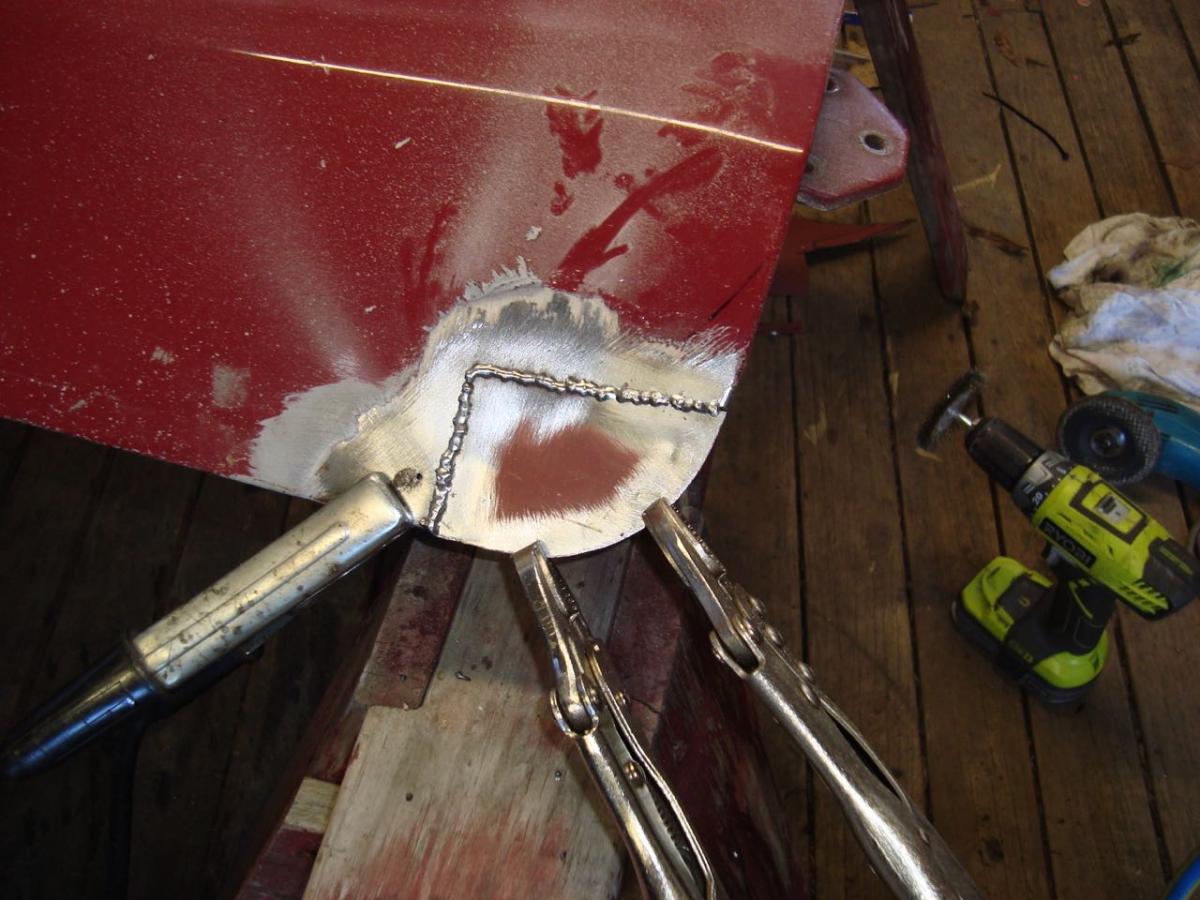
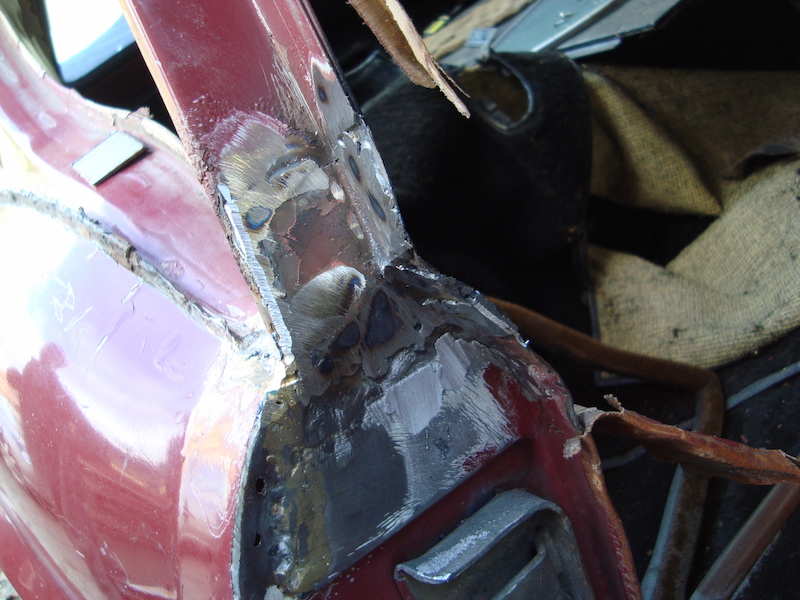
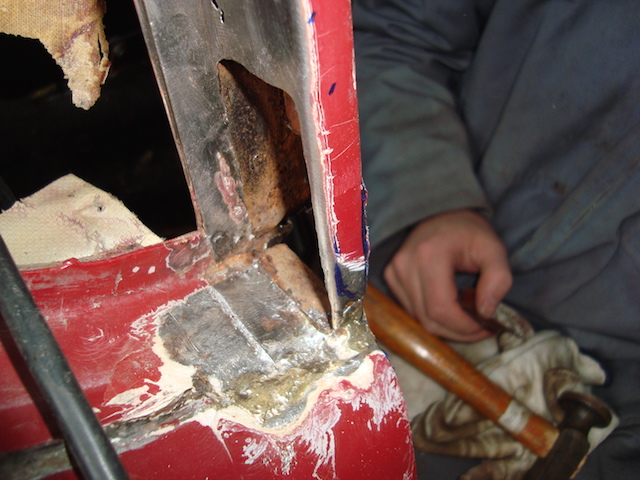
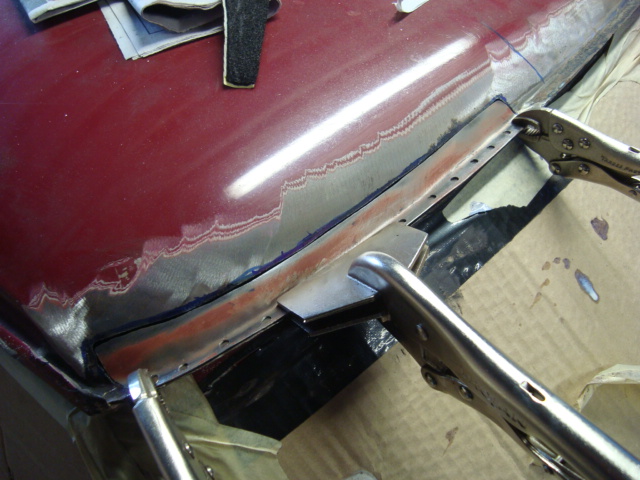
So it was out with the hammer and Ethan spent the next couple of hours making up some patches and welding them in. More to come......
-
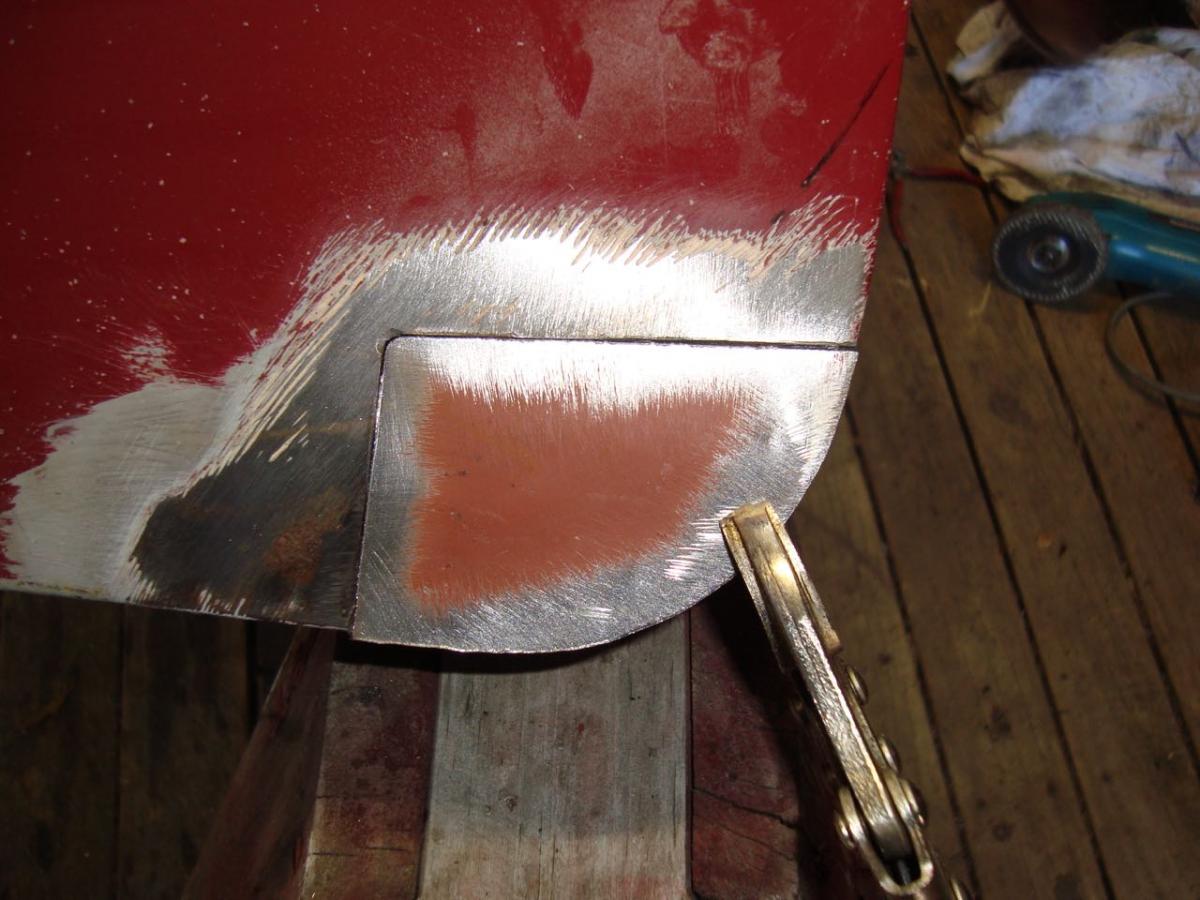
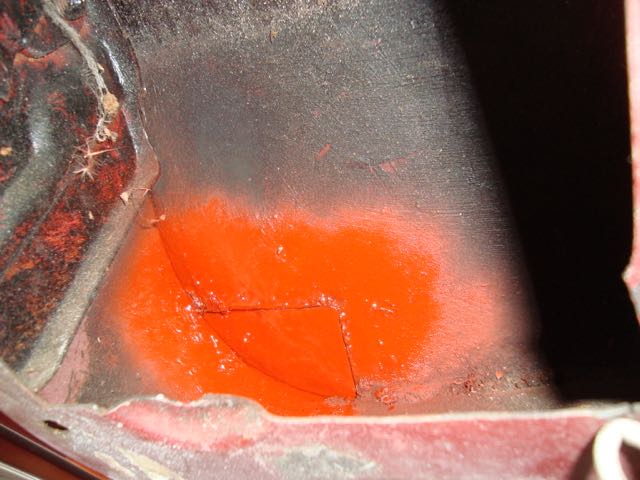
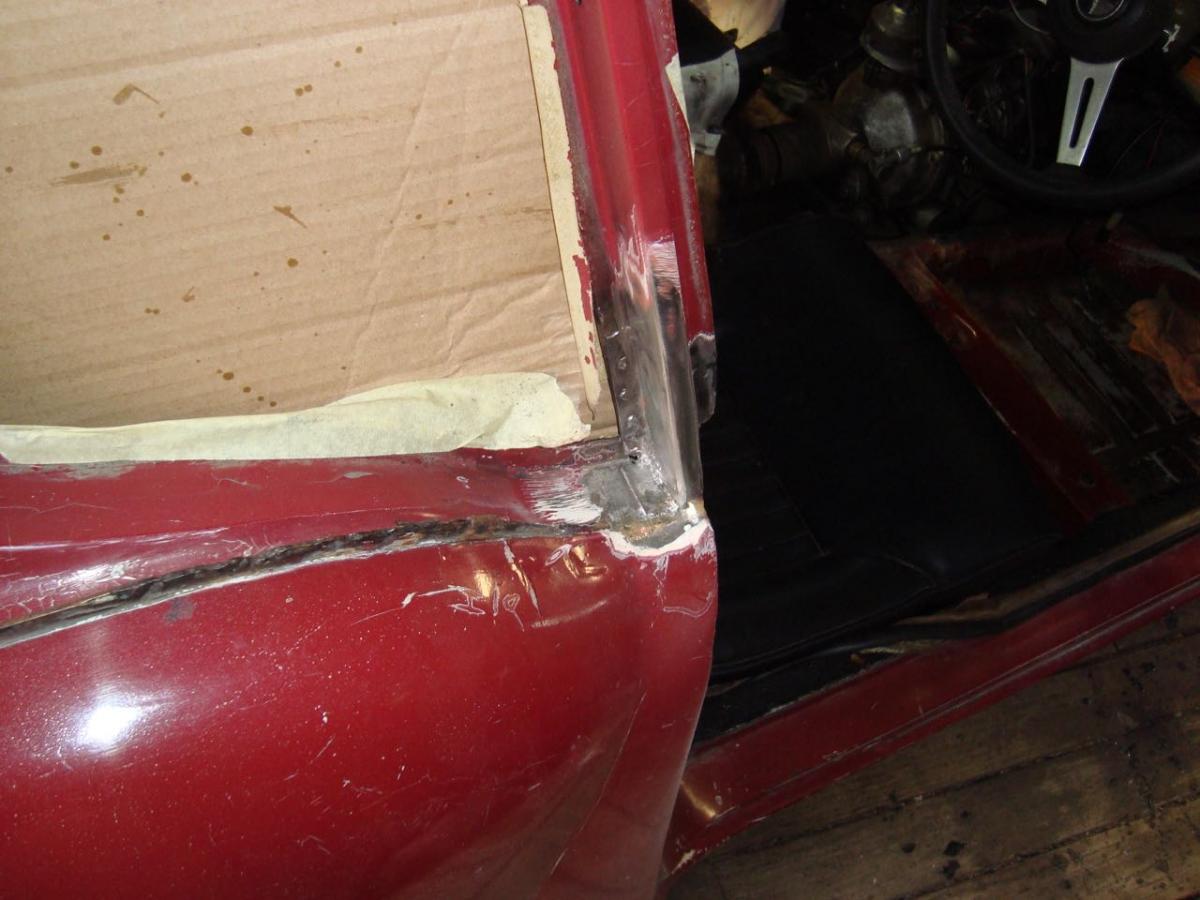
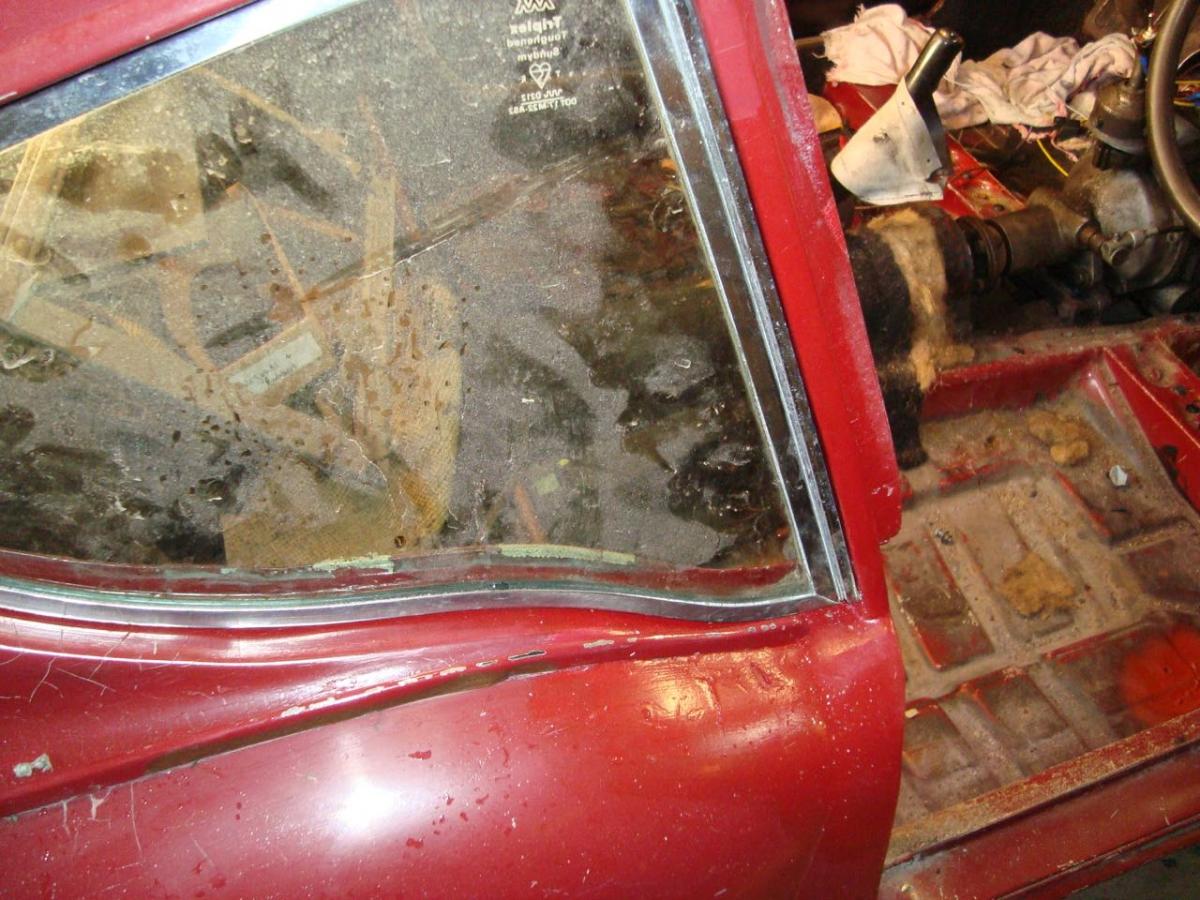
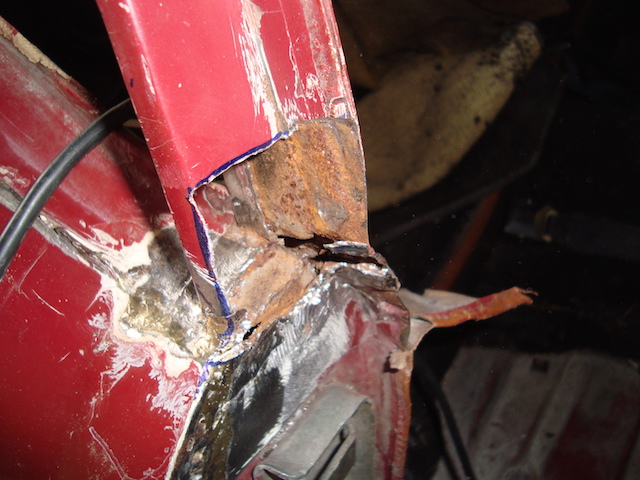
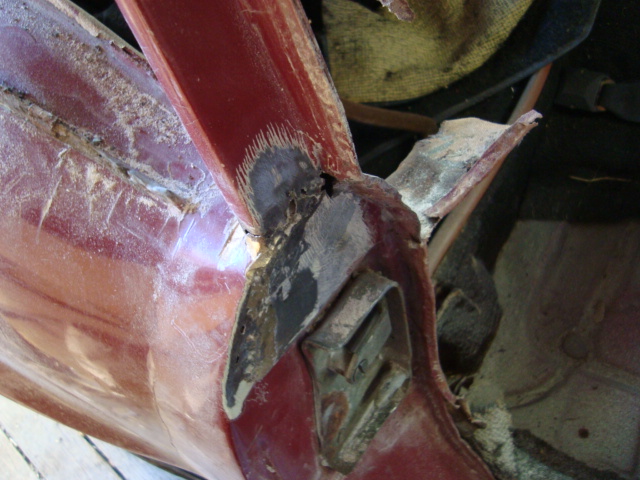
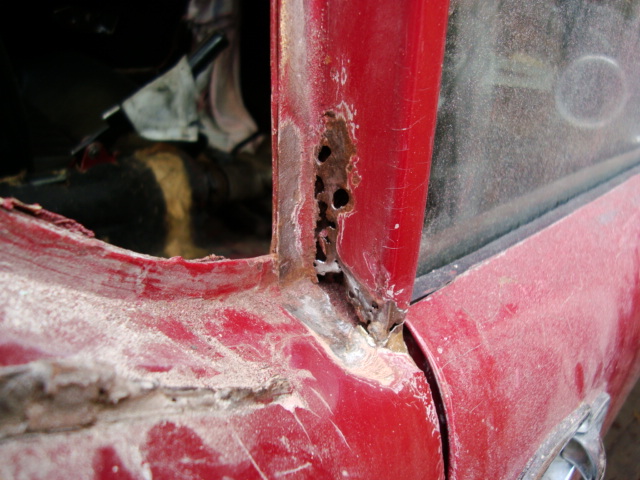
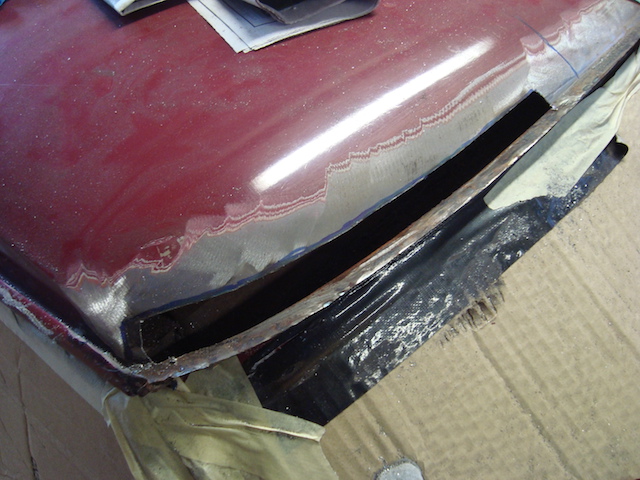
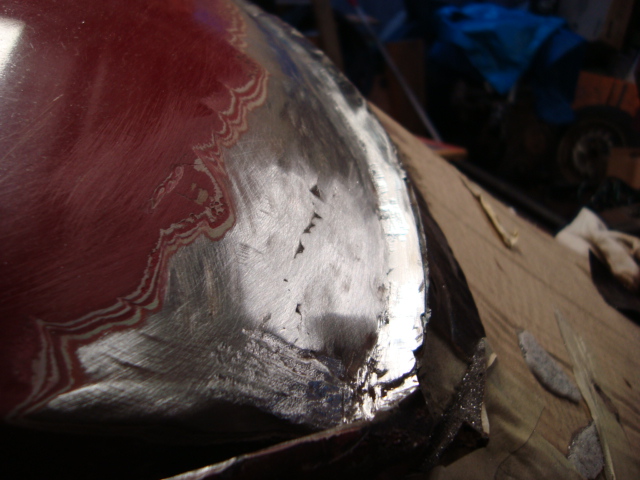
We made the mistake of looking at a crack at the bottom of the B pillar. Once we had sanded it back a little we ended up with this It looks like a little more is going on here. Notice the old repair with Brassing and Lead. The other side looks a little rusty but we decided to investigate further. Oh no.... This is where we ended
-
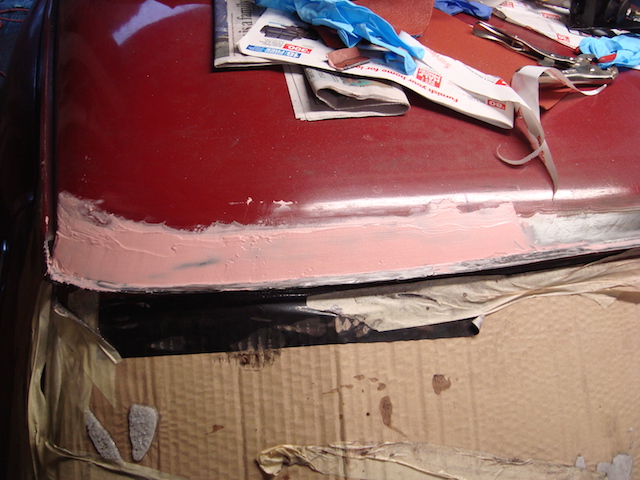
Grind it some more Bog it up Paint it
-
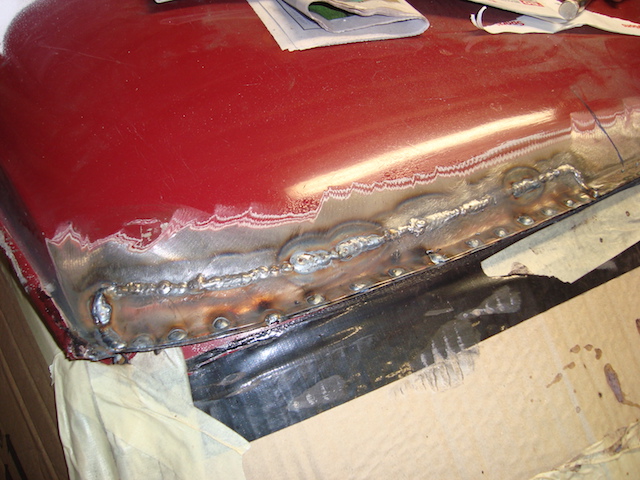
Then it was time to fix the drivers side of the roof. Cut out the rust. Make up a patch. Weld it in BTW: all of the welding is Ethan.....He doesn't trust me Grind it flat.
-
Well, we have finished the brakes (still need to bleed them today though) and it looks way better. the Willwood master fits great. From this To this I am really pleased to have that job done. Like everything on this car, whats looks like a simple job tend to grow into something that takes a couple of days to put right. We also painted the left side of the roof. and tidied up the grey primer mess on the back of the car.
-
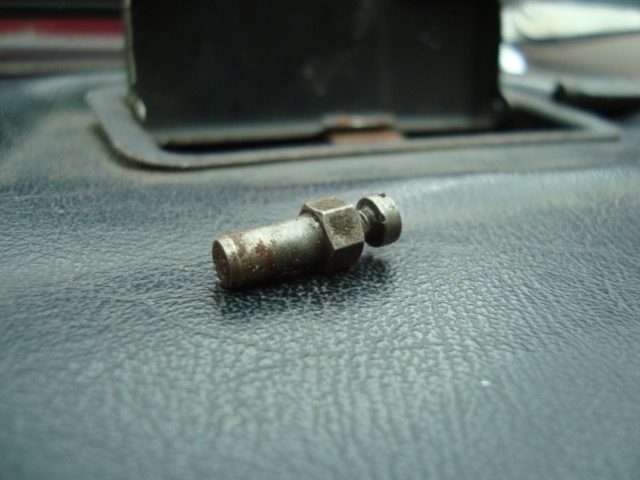
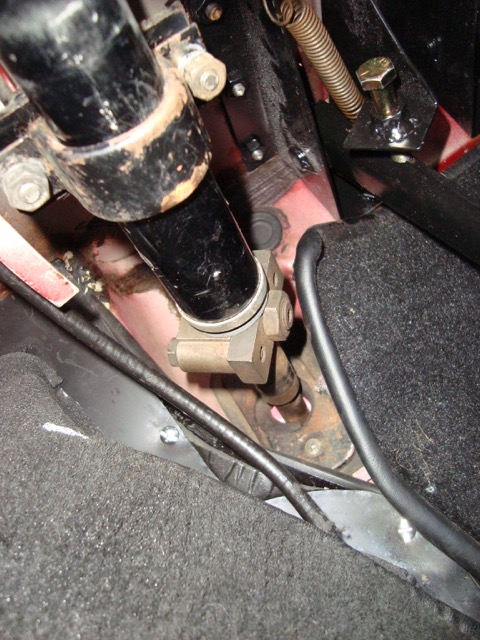
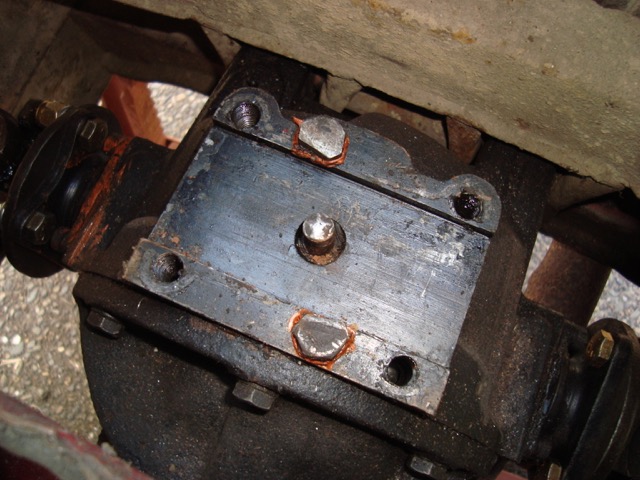
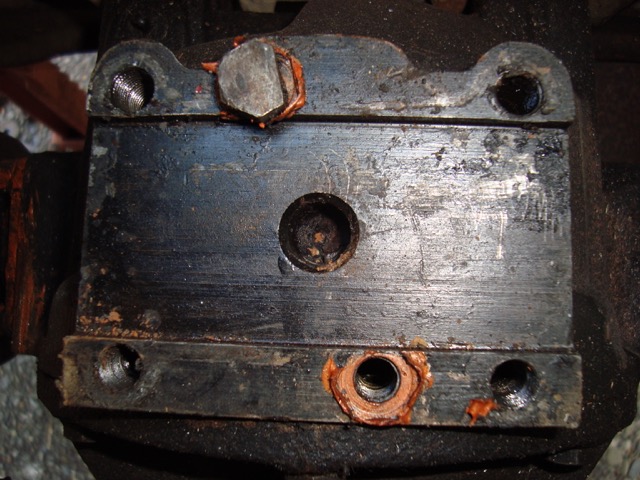
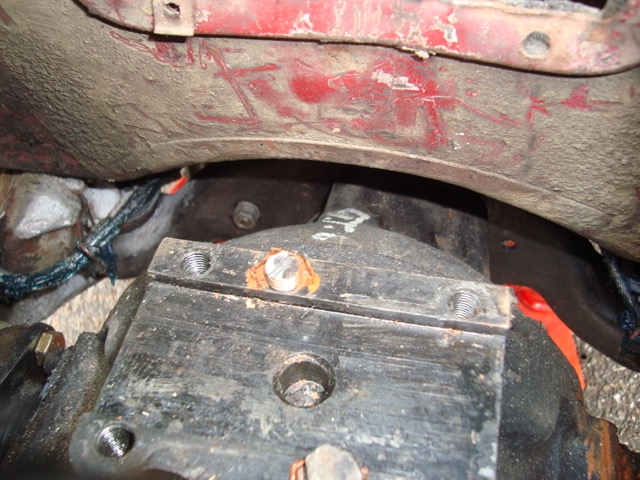
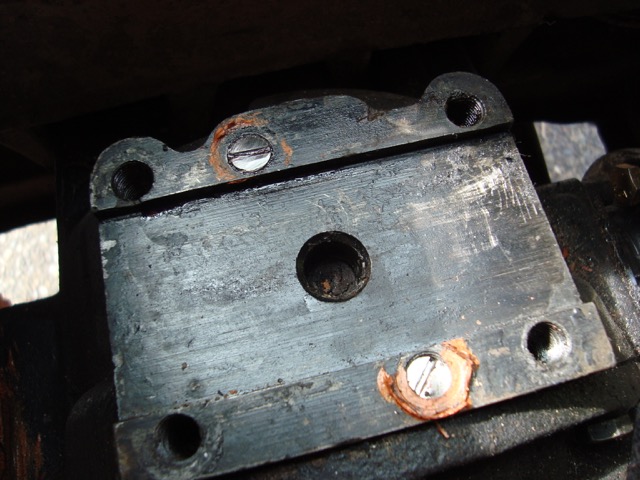
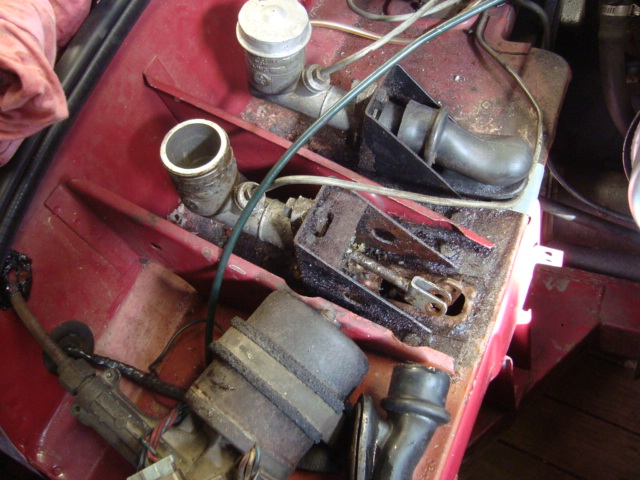
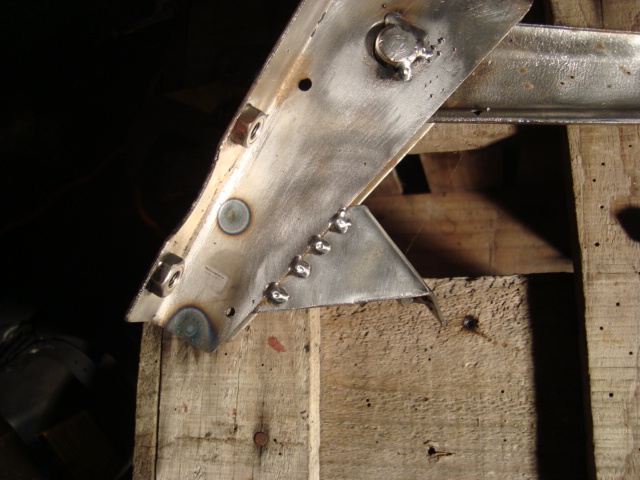
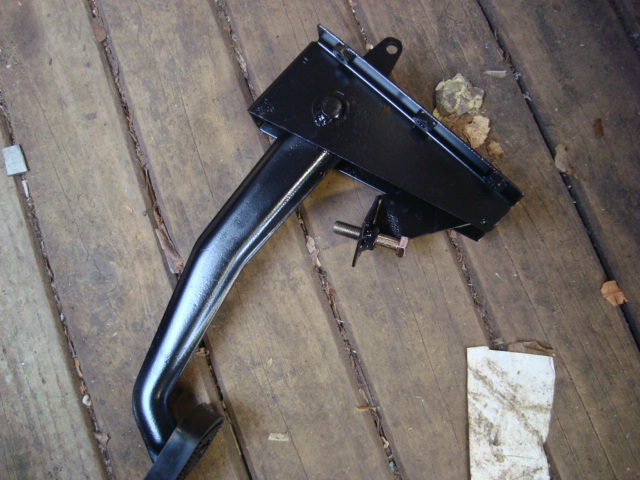
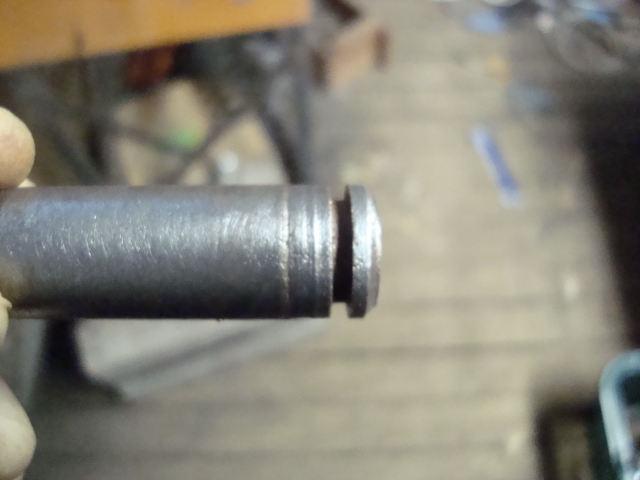
I cleaned up the brake pedals and their brackets. We noticed the shaft was rusted solid and it was rotating on the hole in the bracket and had worn a larger hole making the pedal feel sloppy. The larger hole in the bracket was so big their was no way we could easily fix it so the best fix was to weld the shaft in place. The shaft was worn also so when we welded it the pedal felt 100% better. We decided to make a modification to the clutch pedal. It has more travel than the master and when we adjusted the master to get the full motion it made the clutch sit up too high. What it need was a stop that we could adjust to lower the pedal and still get the full motion. This is our mod. We can use the bolt to lower the pedal down a little and make it more comfortable. It has a spring that pulls it all the way to the top and then when you push down you get a a couple of inches that dont move the master. Now we can adjust that out. The bracket almost looks stock. Especially when painted.