Kimjon
-
Posts
2181 -
Joined
-
Last visited
-
Days Won
1
Everything posted by Kimjon
-

Kimjon's not as cool or epic as Muncie's off-road goped Bigfoot scooter thingy
Kimjon replied to Kimjon's topic in Two Wheels
Sounds good. Be keen to see what you come up with, as clearly imagination is not a limiting factor for you -
Kimjon's not as cool or epic as Muncie's off-road goped Bigfoot scooter thingy
Kimjon replied to Kimjon's topic in Two Wheels
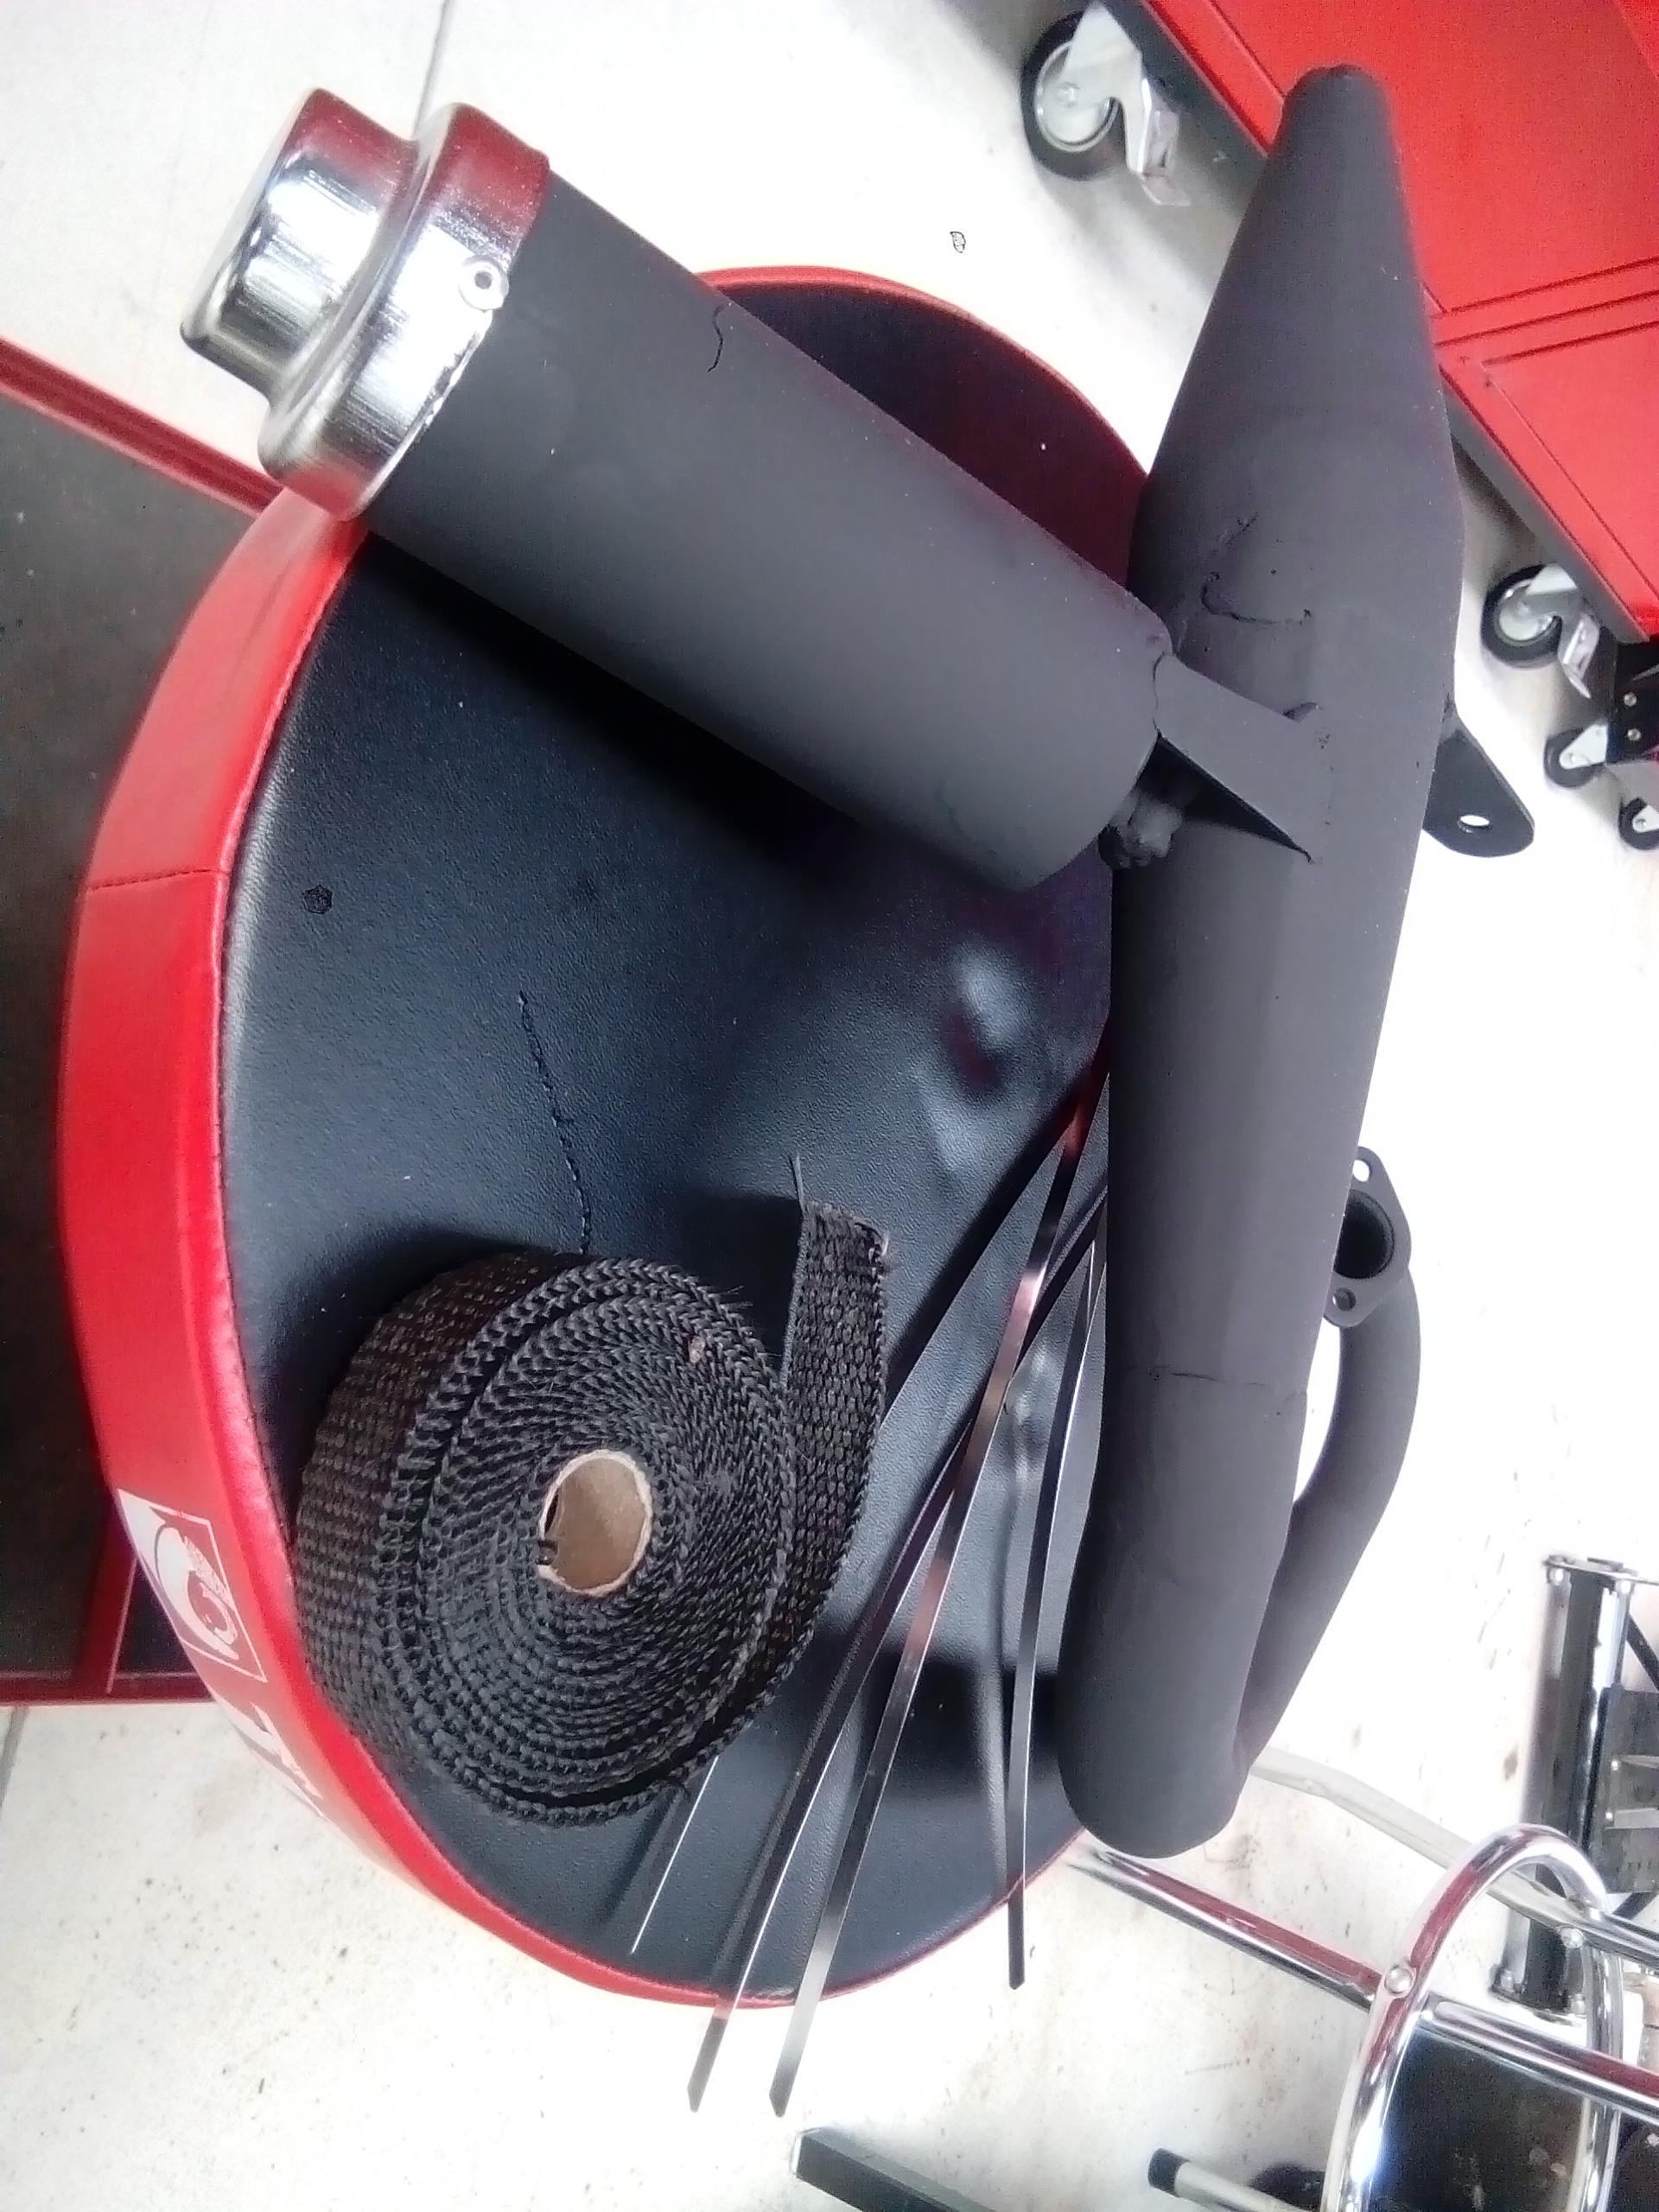
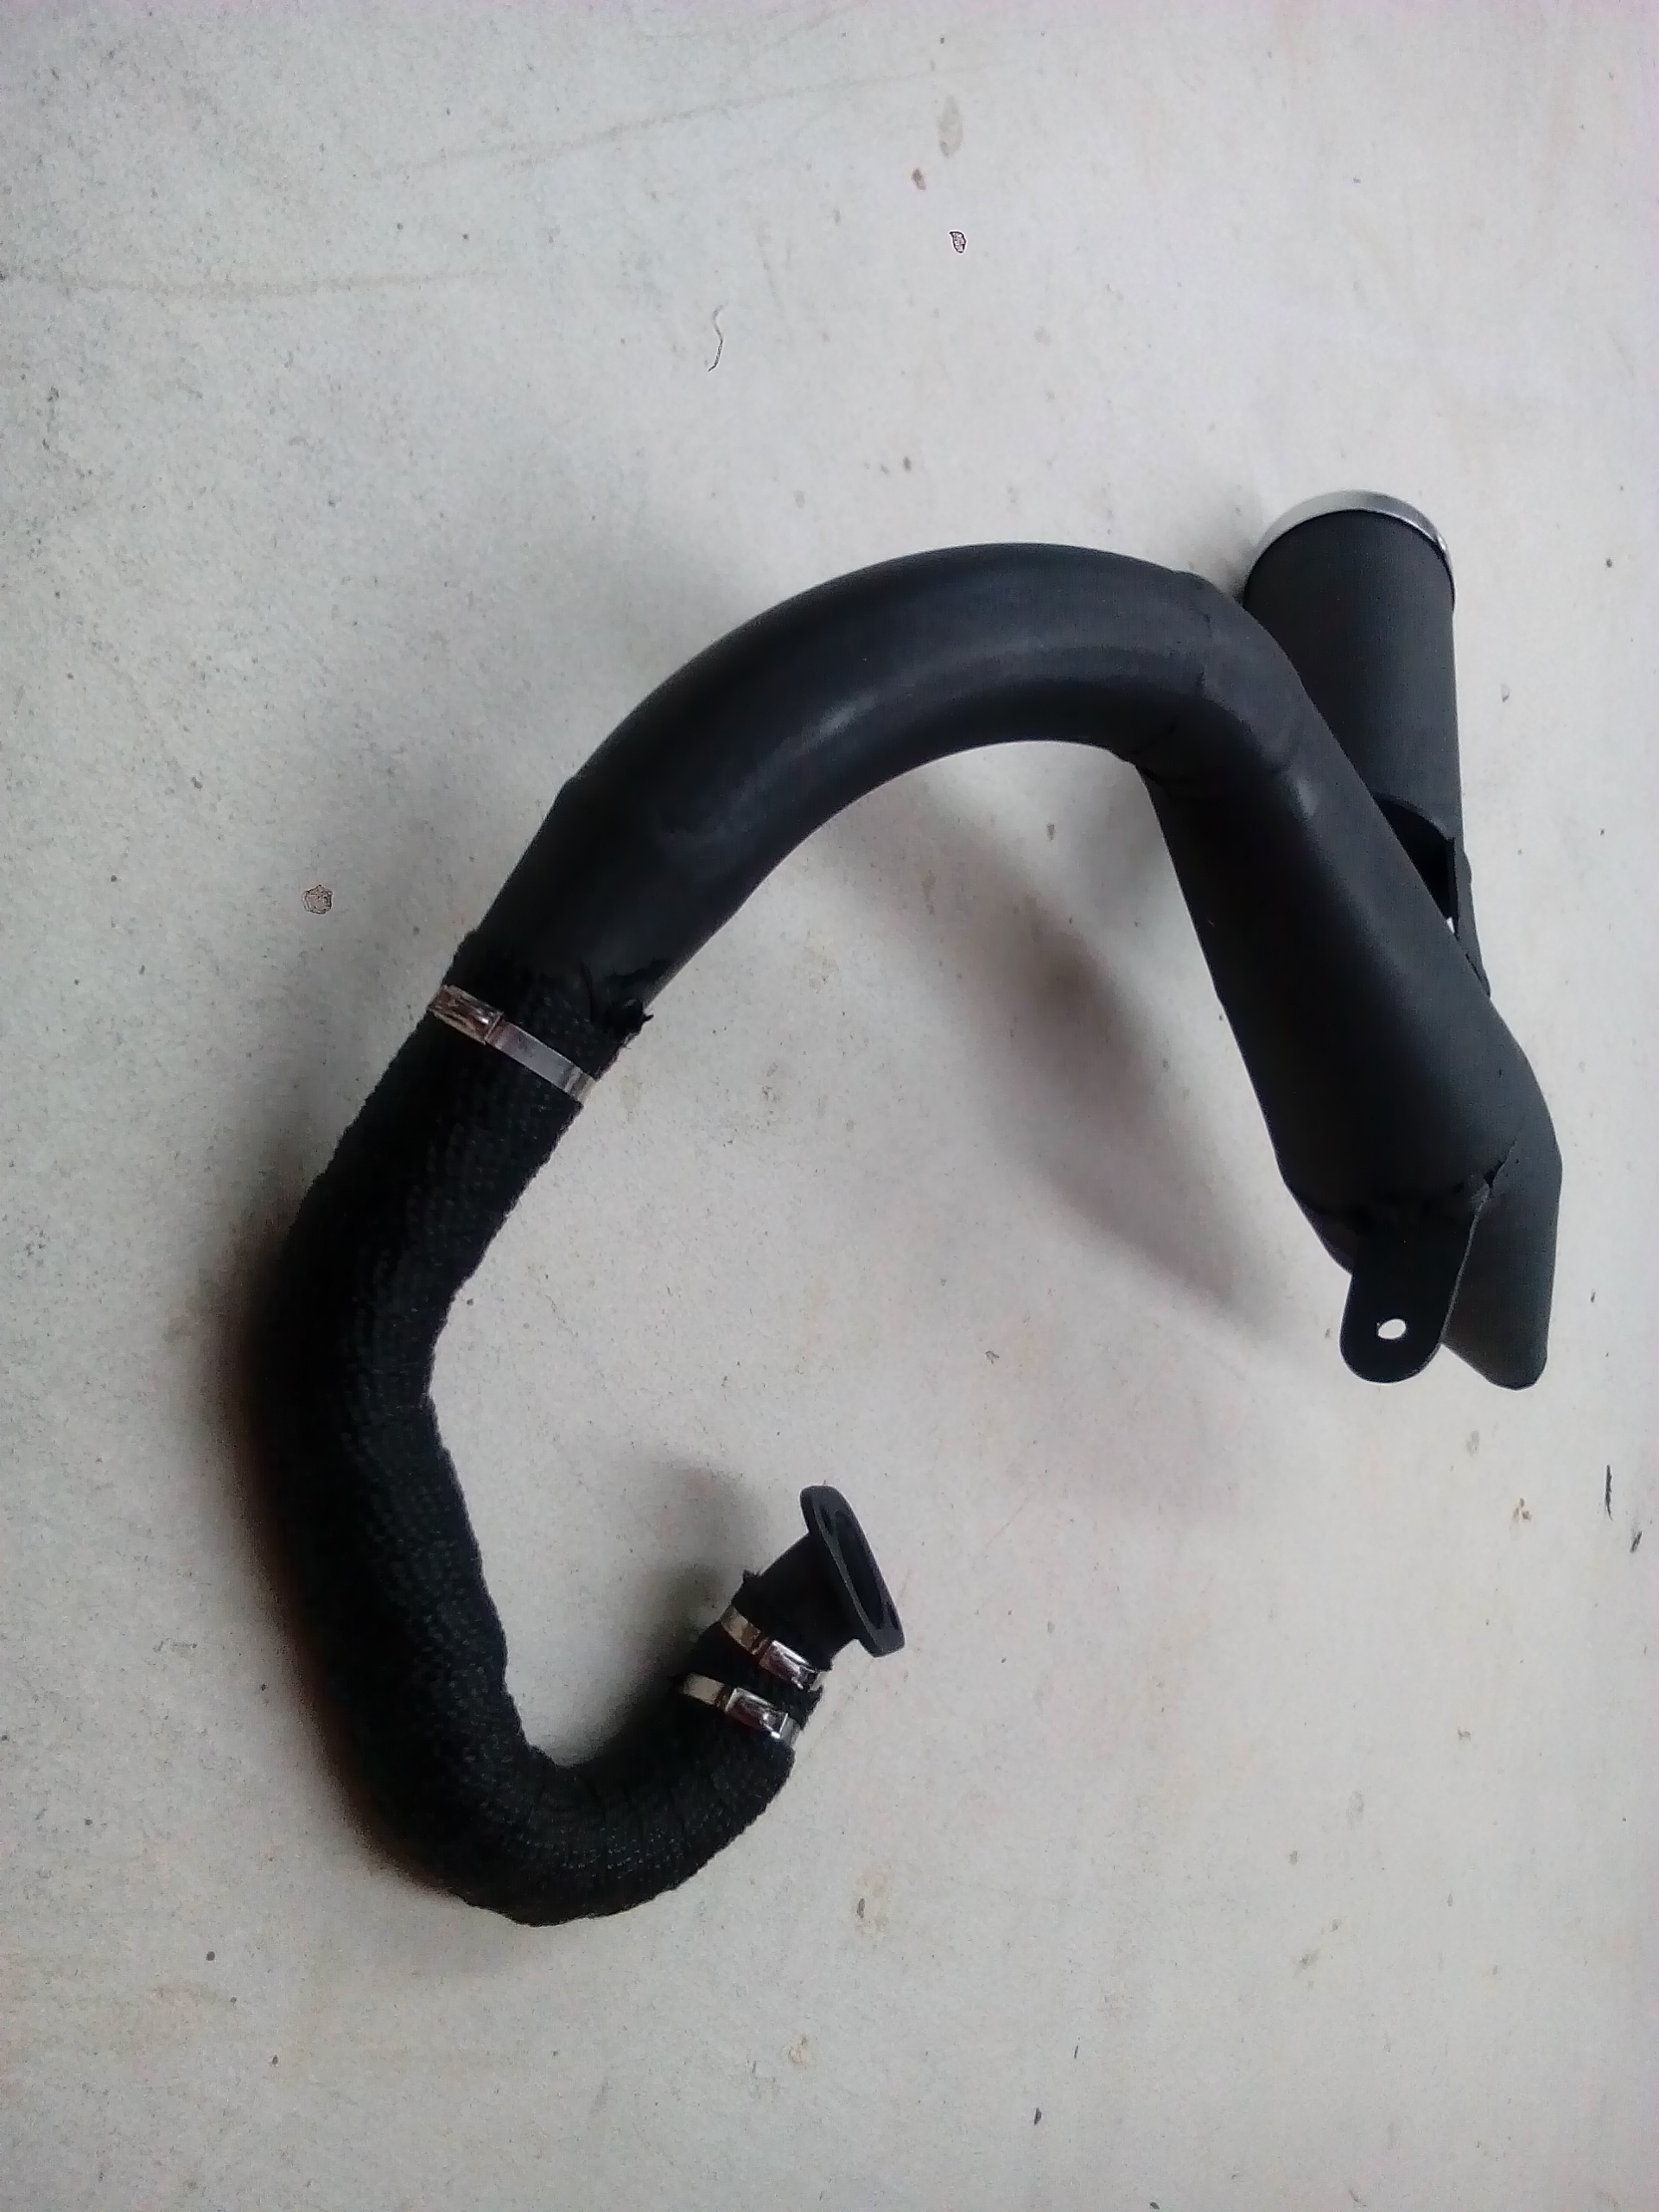
Then I made custom exhaust gasket to match the new porting. And wrapped the exhaust header in fiberglass exhaust wrap. I soaked this in warm water, then wrapped from the thickest end down. By soaking and wrapping it wet, it will shrink tighter onto the exhaust. And by wrapping thickest part and working down to the skinny end it will prevent it from unraveling. Once done, I tied it of with stainless steel bands. Wrapping an expansion chamber is normally a really bad idea. Trapping heat changes harmonics/air densities and is known to decrease performance. However burning the fuck out of your calf muscle is an even worse idea than losing a tiny bit of theoretical performance...So being pragmatic, I opted for self preservation. I only wrapped the header though, not the entire pipe. Seams like a fair compromise.
-
Kimjon's not as cool or epic as Muncie's off-road goped Bigfoot scooter thingy
Kimjon replied to Kimjon's topic in Two Wheels
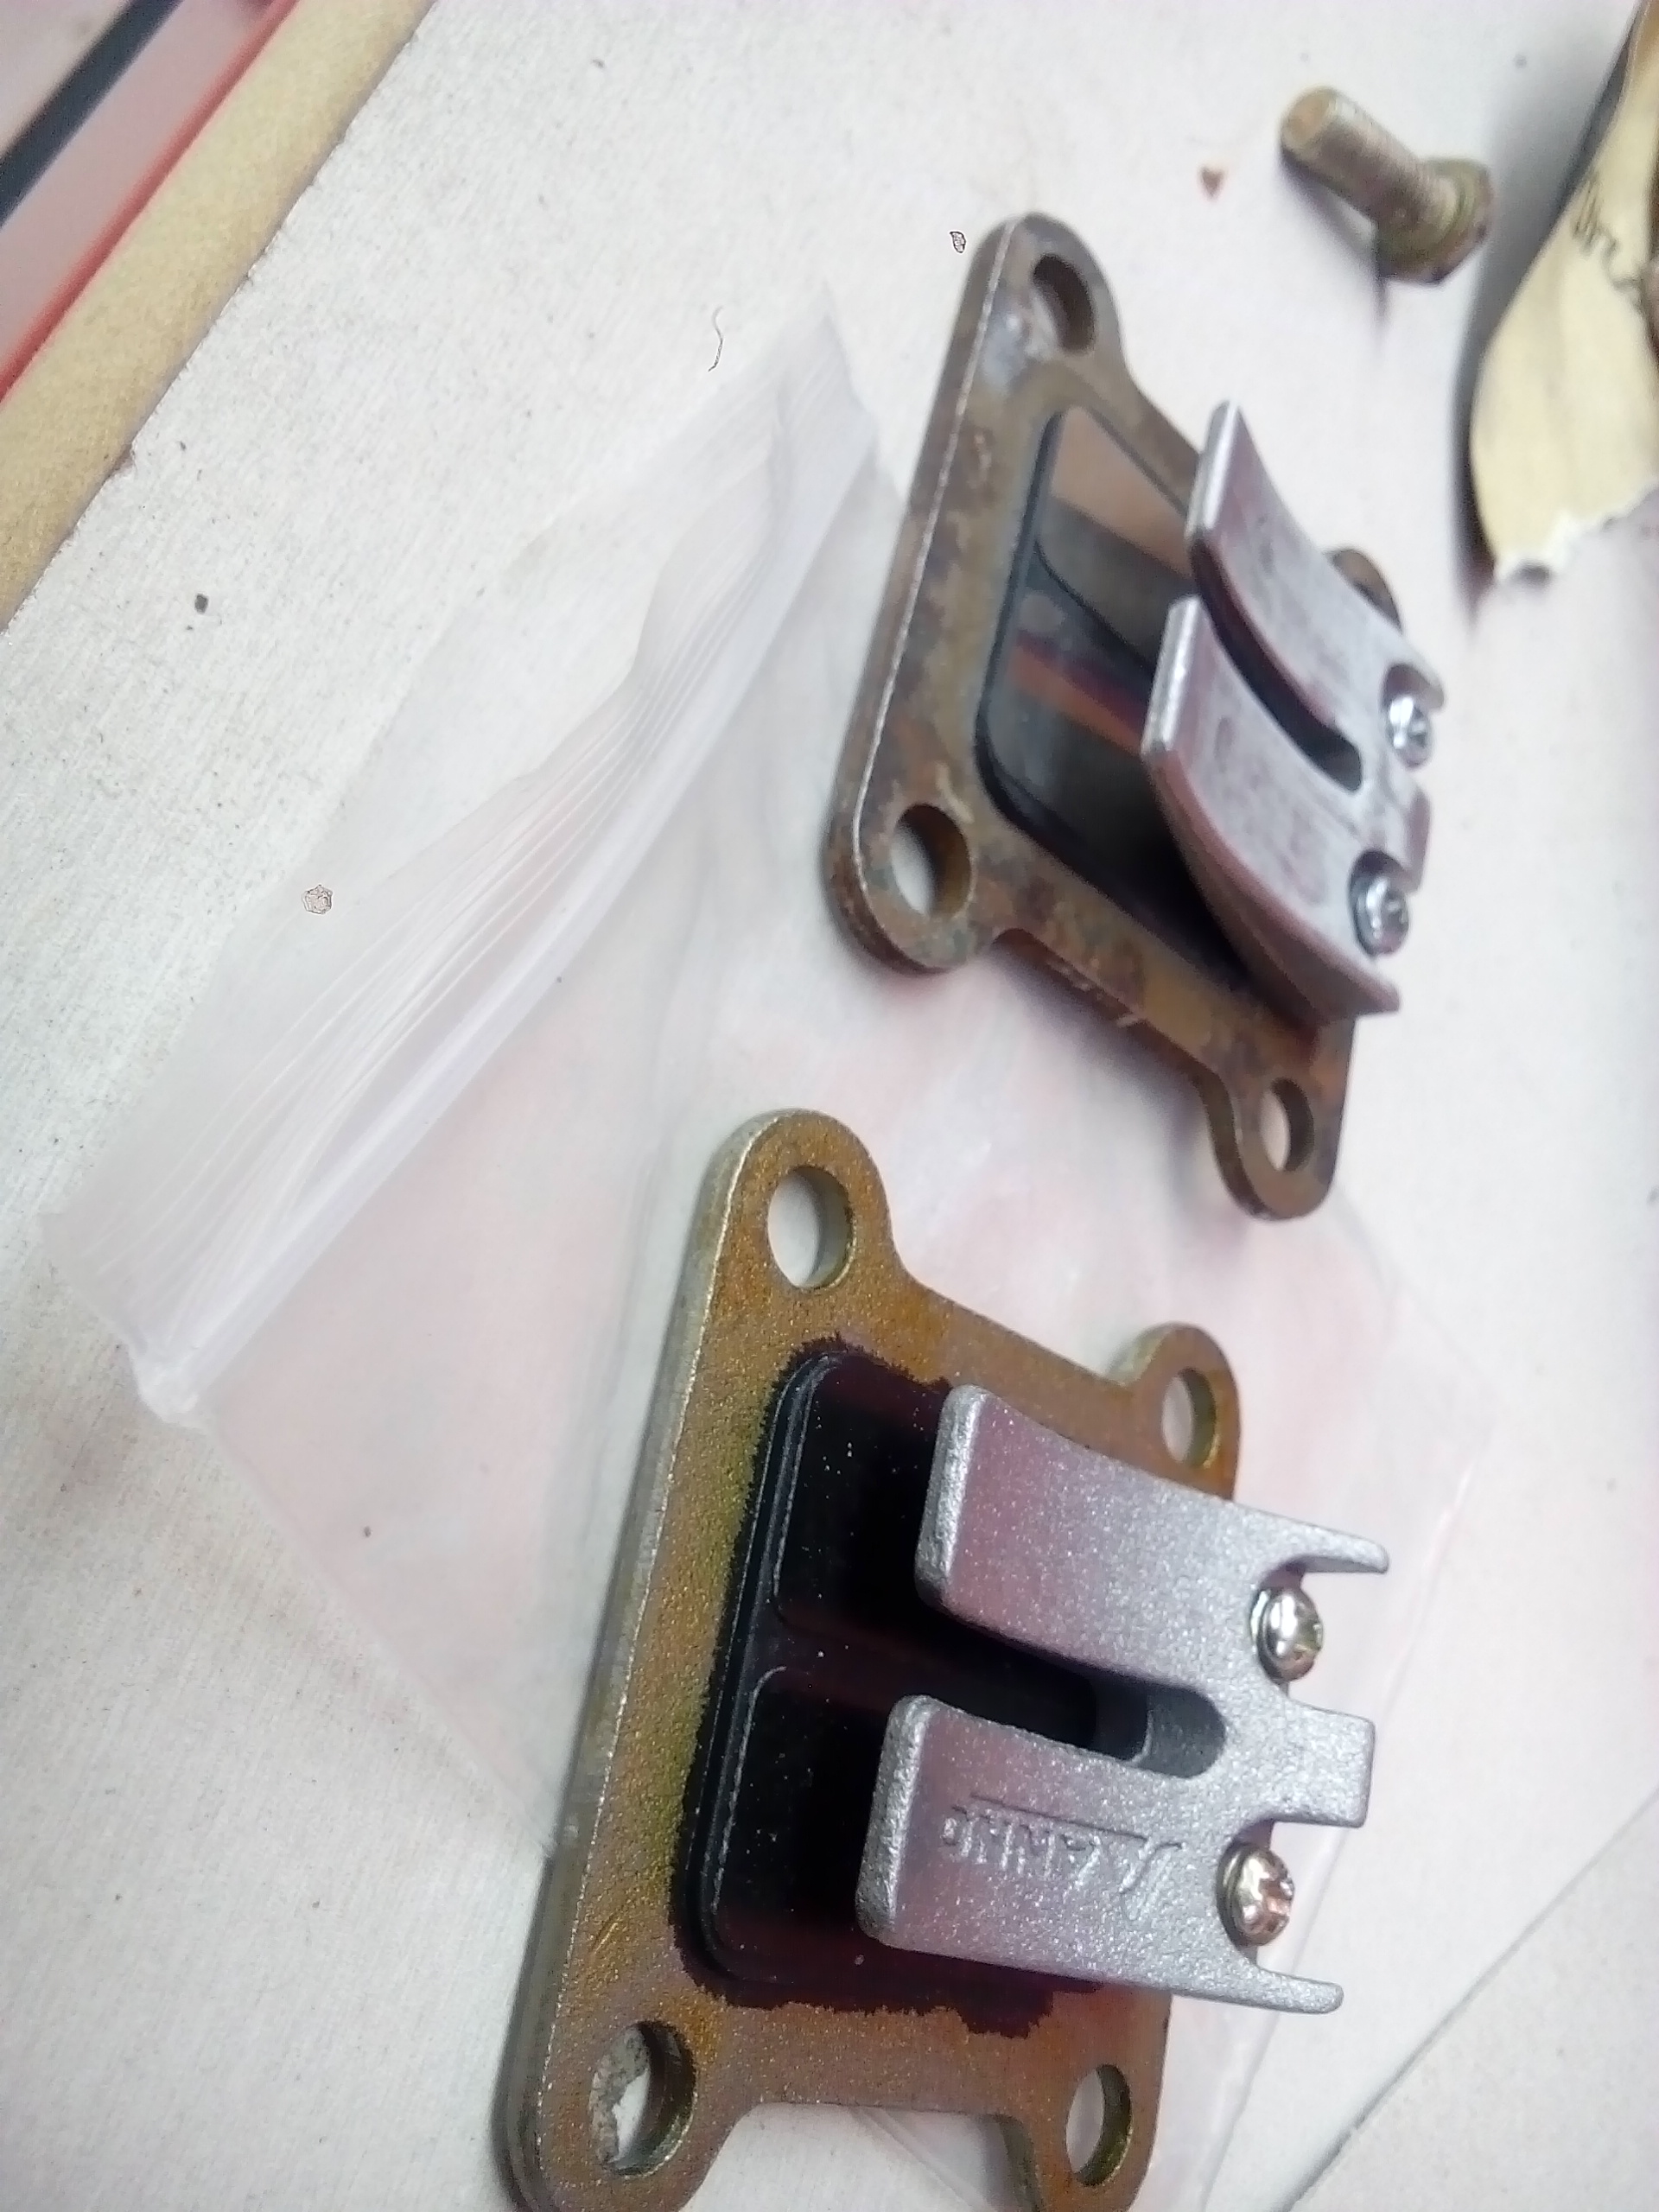
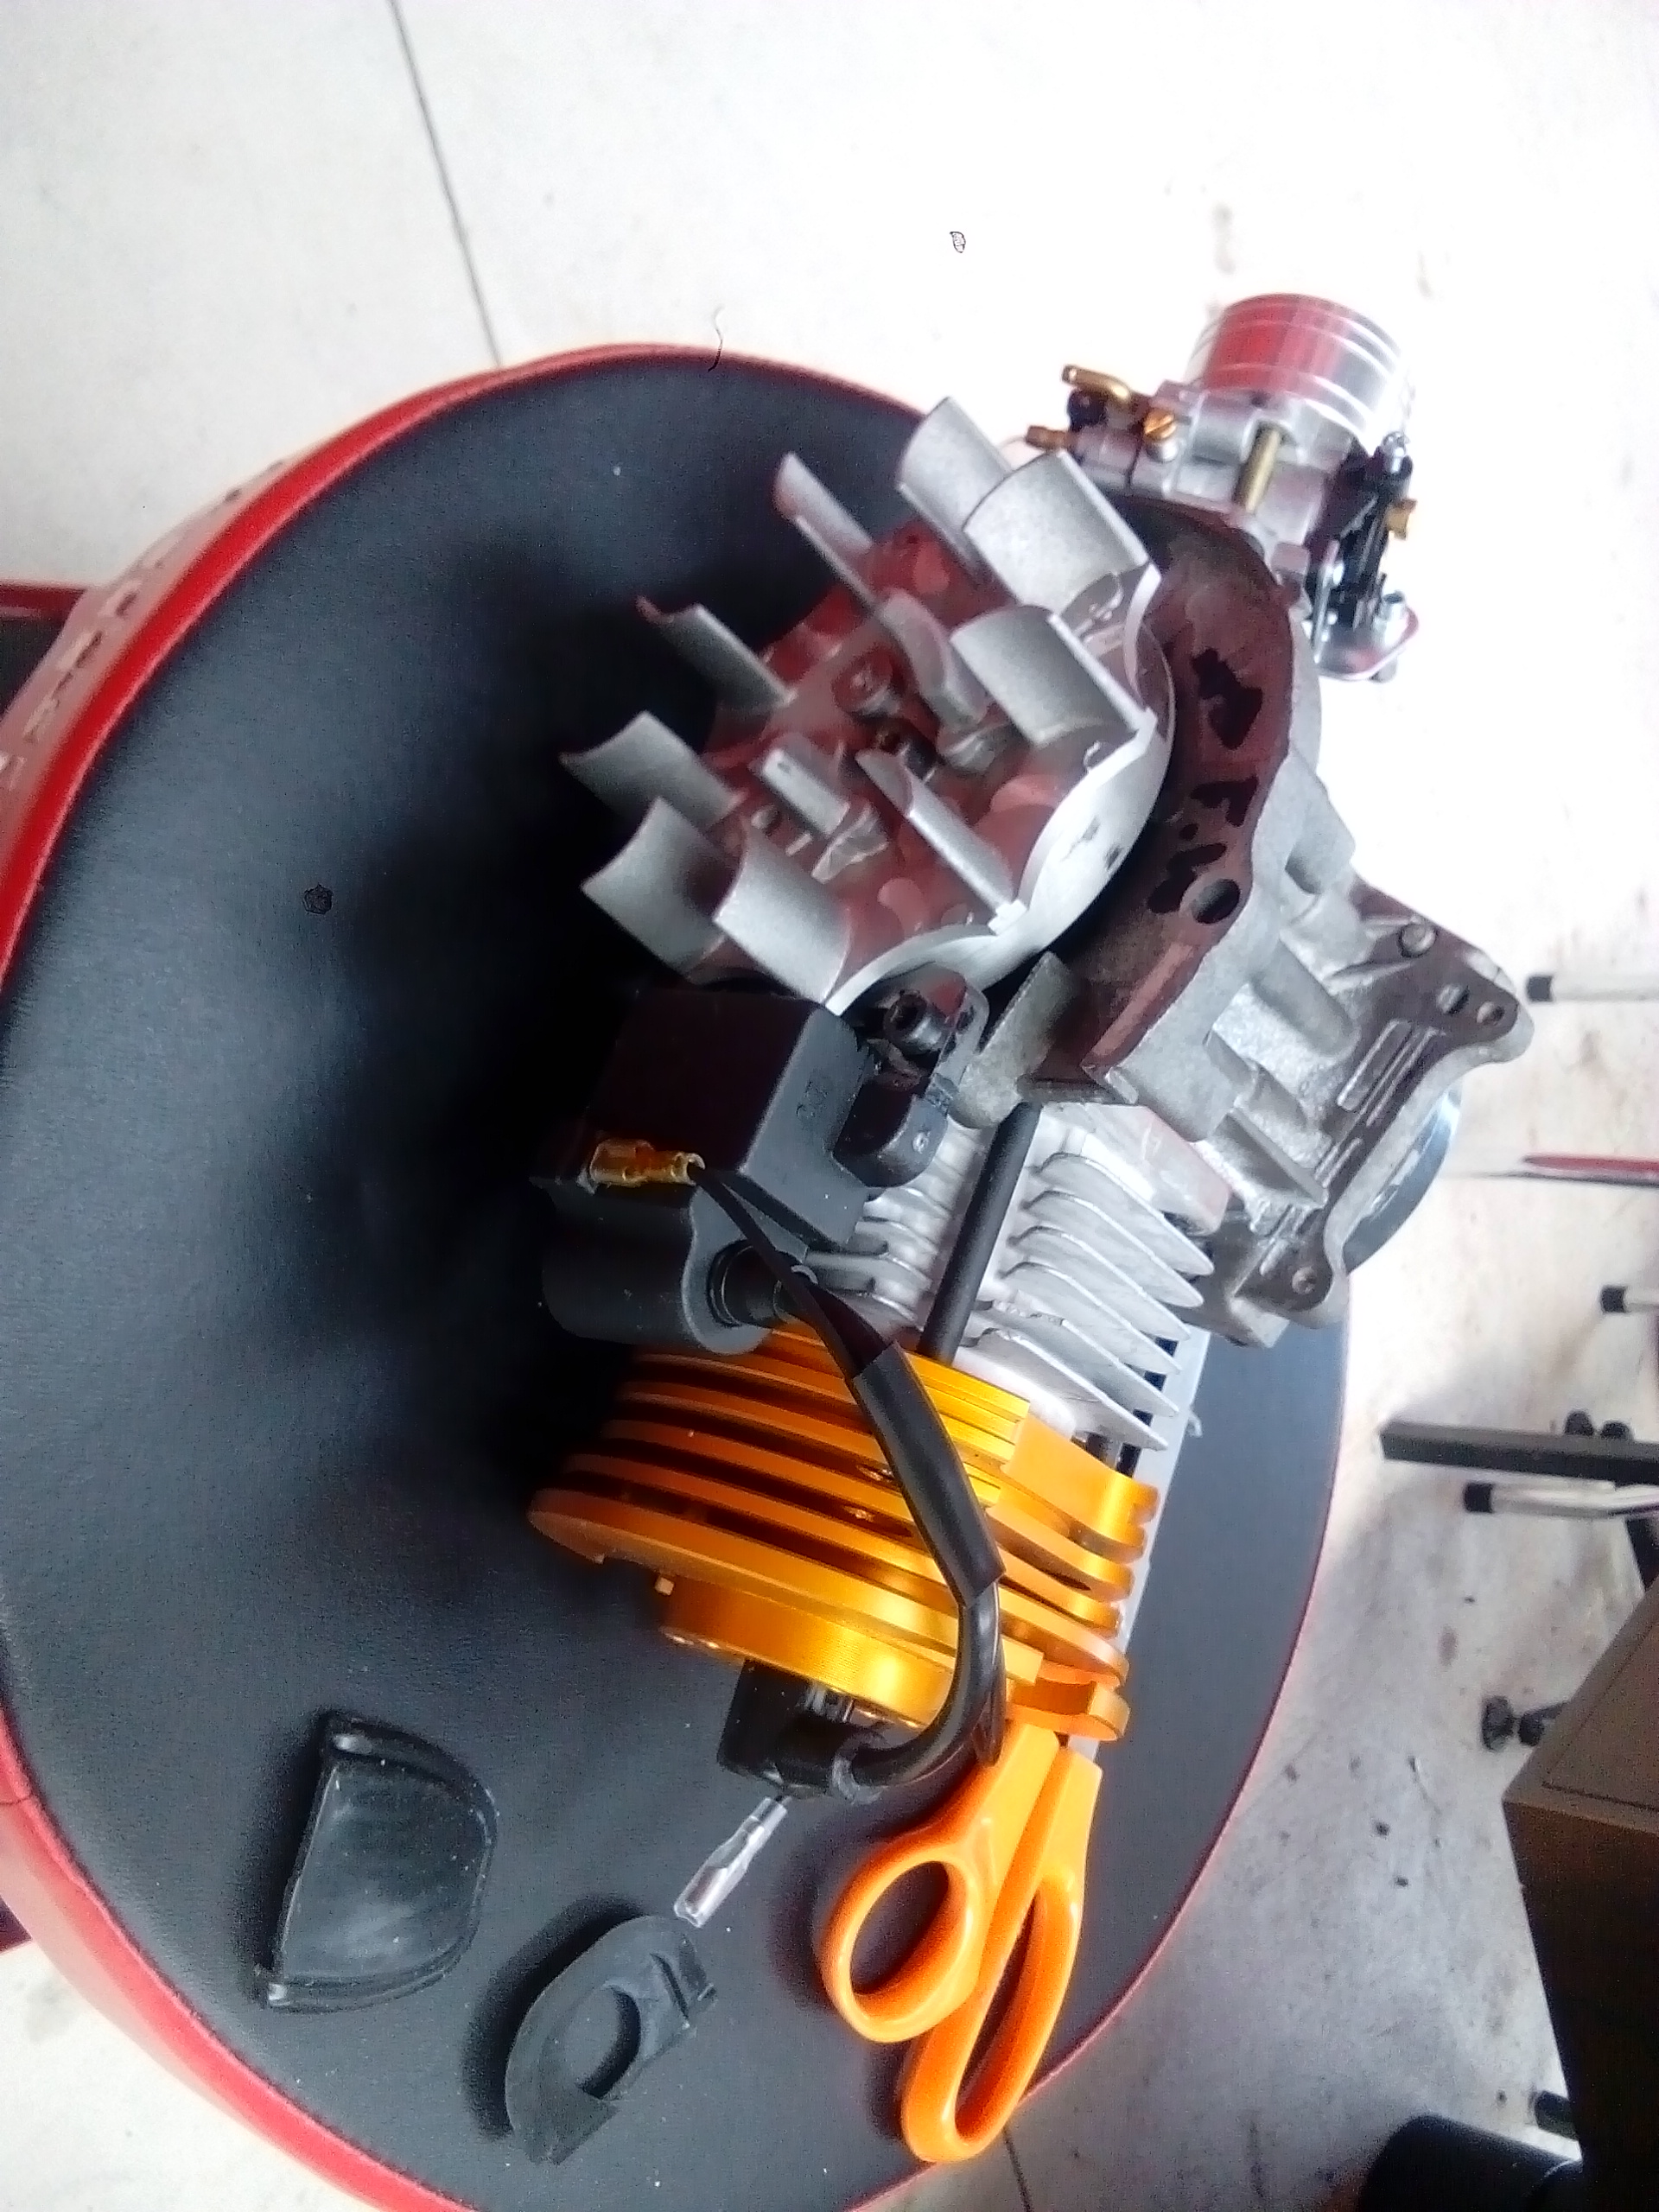
I started assembling motor to final stage. Carbon fibre reeds. I swapped over my custom made reed block. Walbro style 15mm pumper/diaphragm carburetor and my custom manifold. This converts it to pump its own gas from a tank mounted below the carb, rather than gravity fed like the original. It also allows for more tune-ability (yes I know that's not a real word). Lightened flywheel, new coil and modifications done to the spark plug lead.
-
Kimjon's not as cool or epic as Muncie's off-road goped Bigfoot scooter thingy
Kimjon replied to Kimjon's topic in Two Wheels
Daves discount motors. Freight was $50USD... but spread over the total cost of the order it was still a "cheaper" way of getting exactly what I needed/wanted. -
Kimjon's not as cool or epic as Muncie's off-road goped Bigfoot scooter thingy
Kimjon replied to Kimjon's topic in Two Wheels
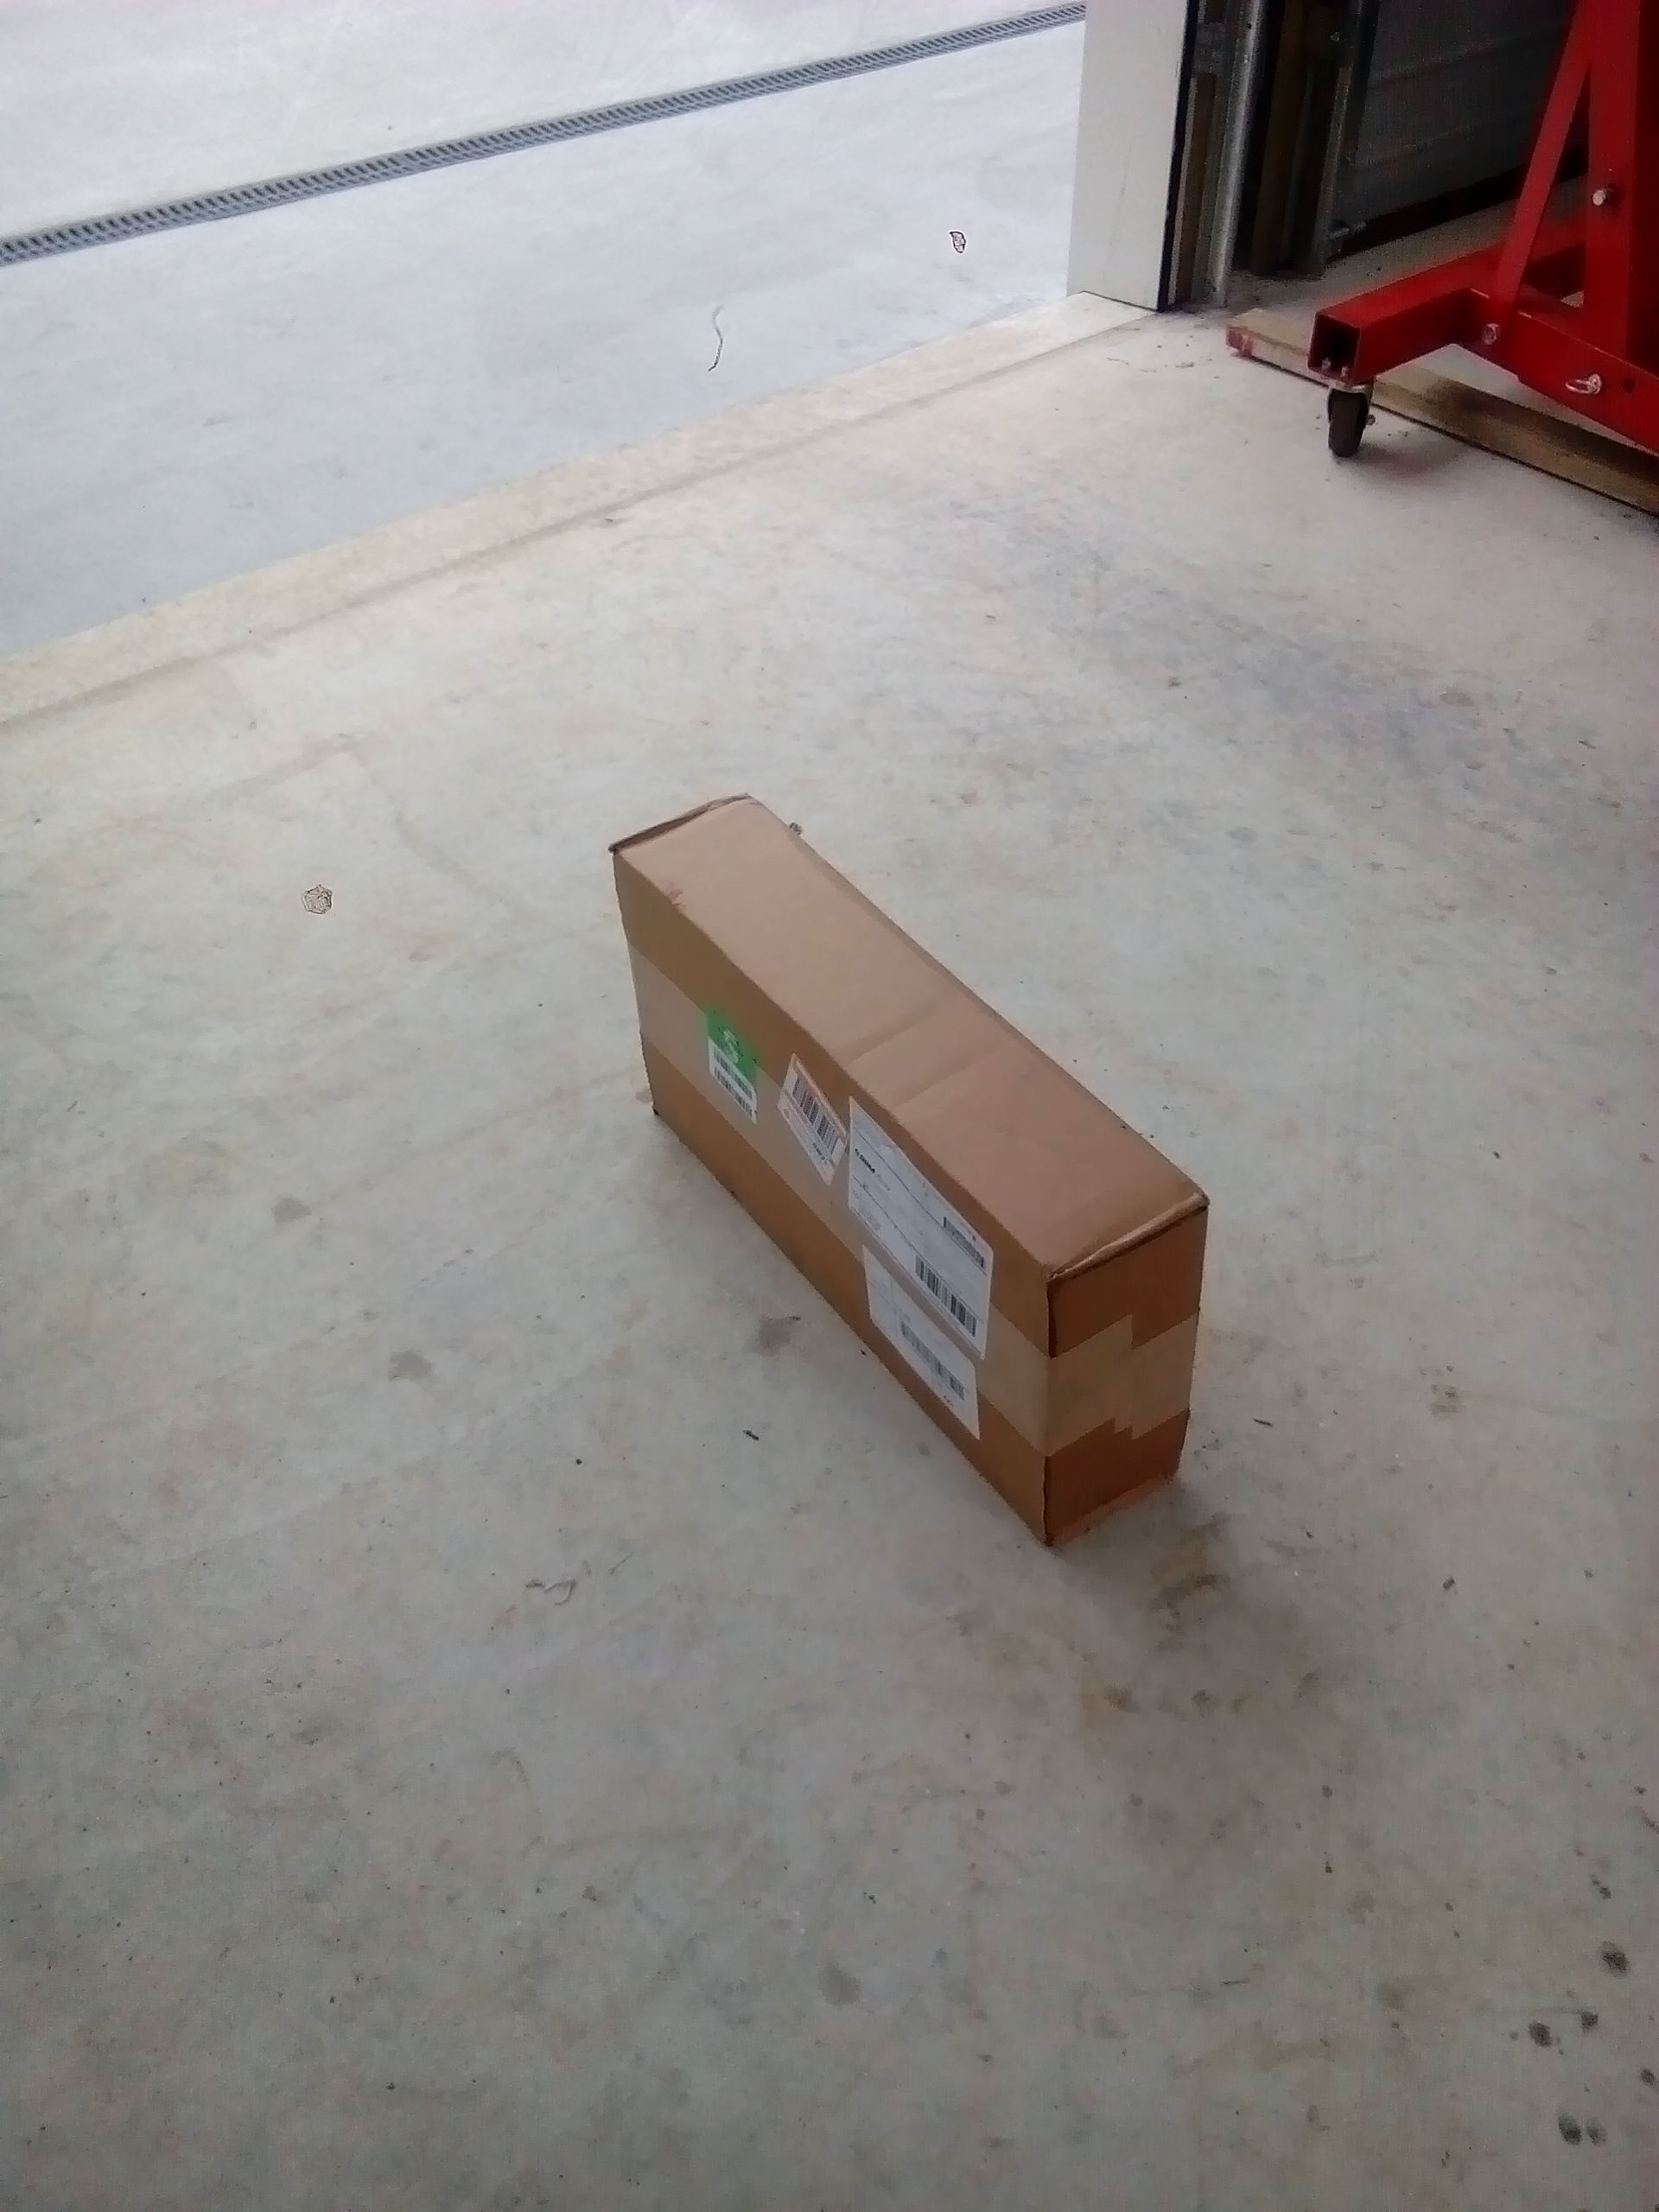
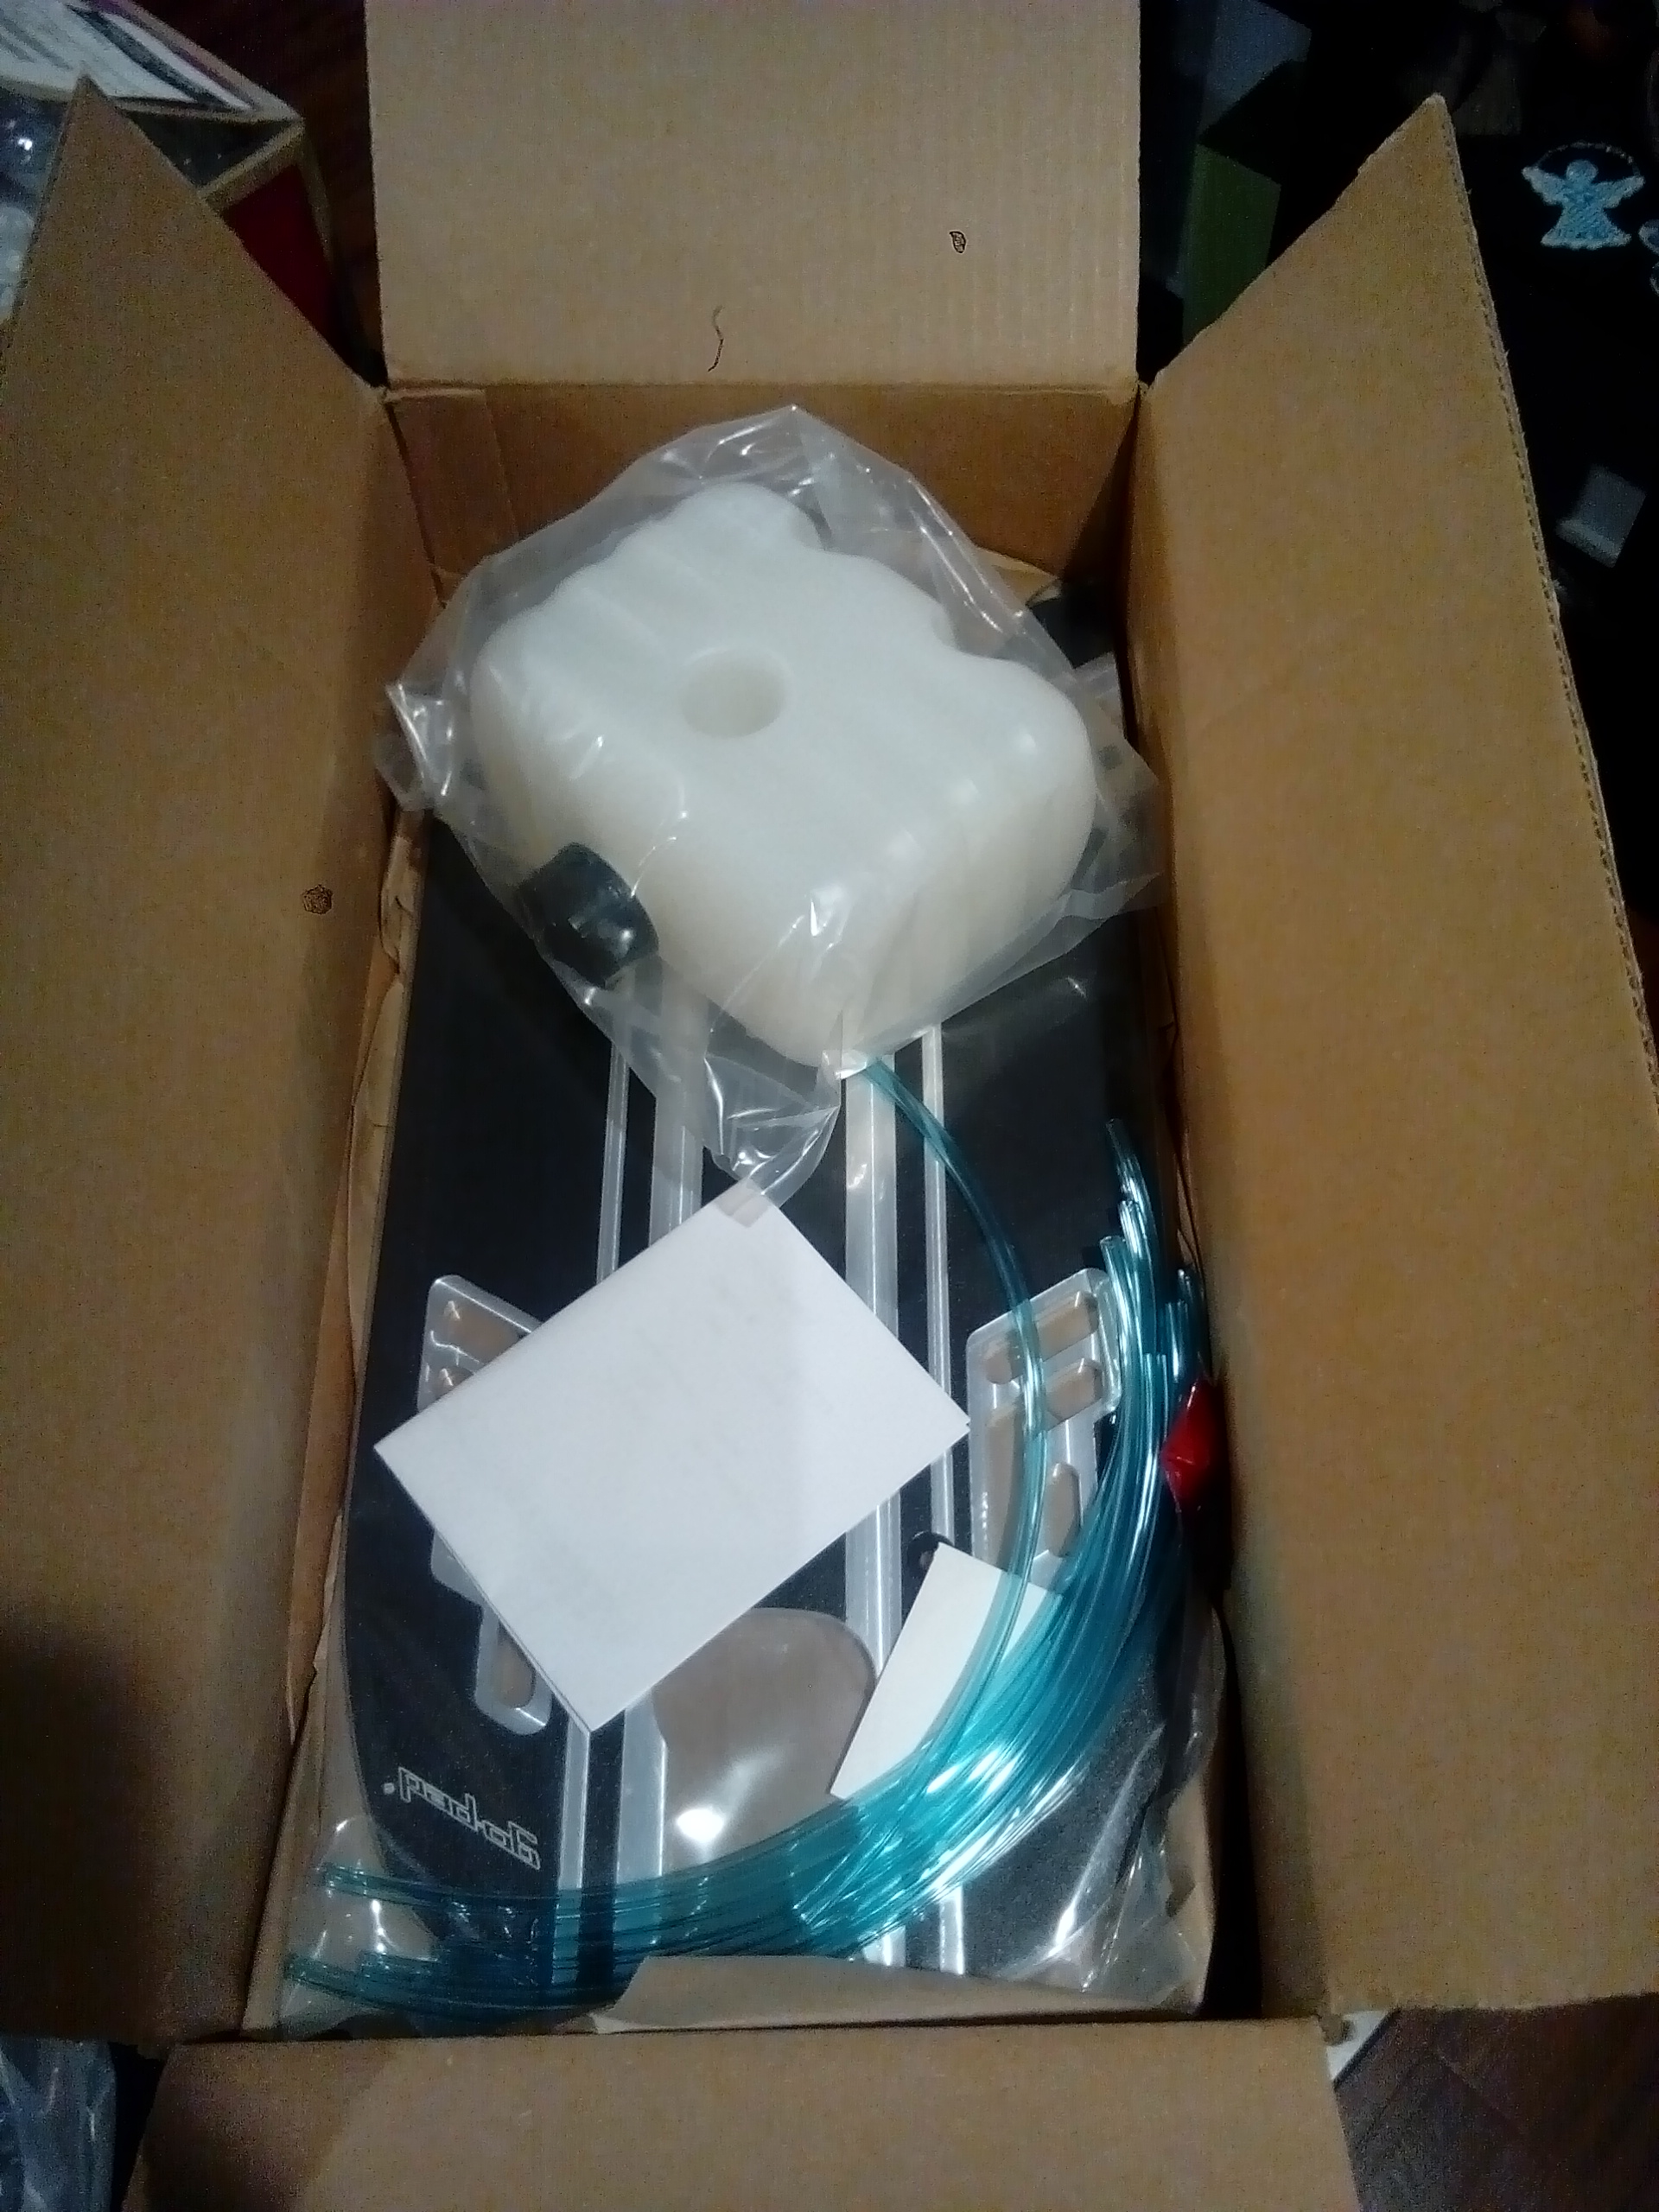
Fuck yeah...best day ever! Seriously impressed...about 3 or 4 days ago I ordered some goped parts from the US. I now have those parts in my grubby (gigantic oversized) hands! Fucking unbelievable!
-
Kimjon's not as cool or epic as Muncie's off-road goped Bigfoot scooter thingy
Kimjon replied to Kimjon's topic in Two Wheels
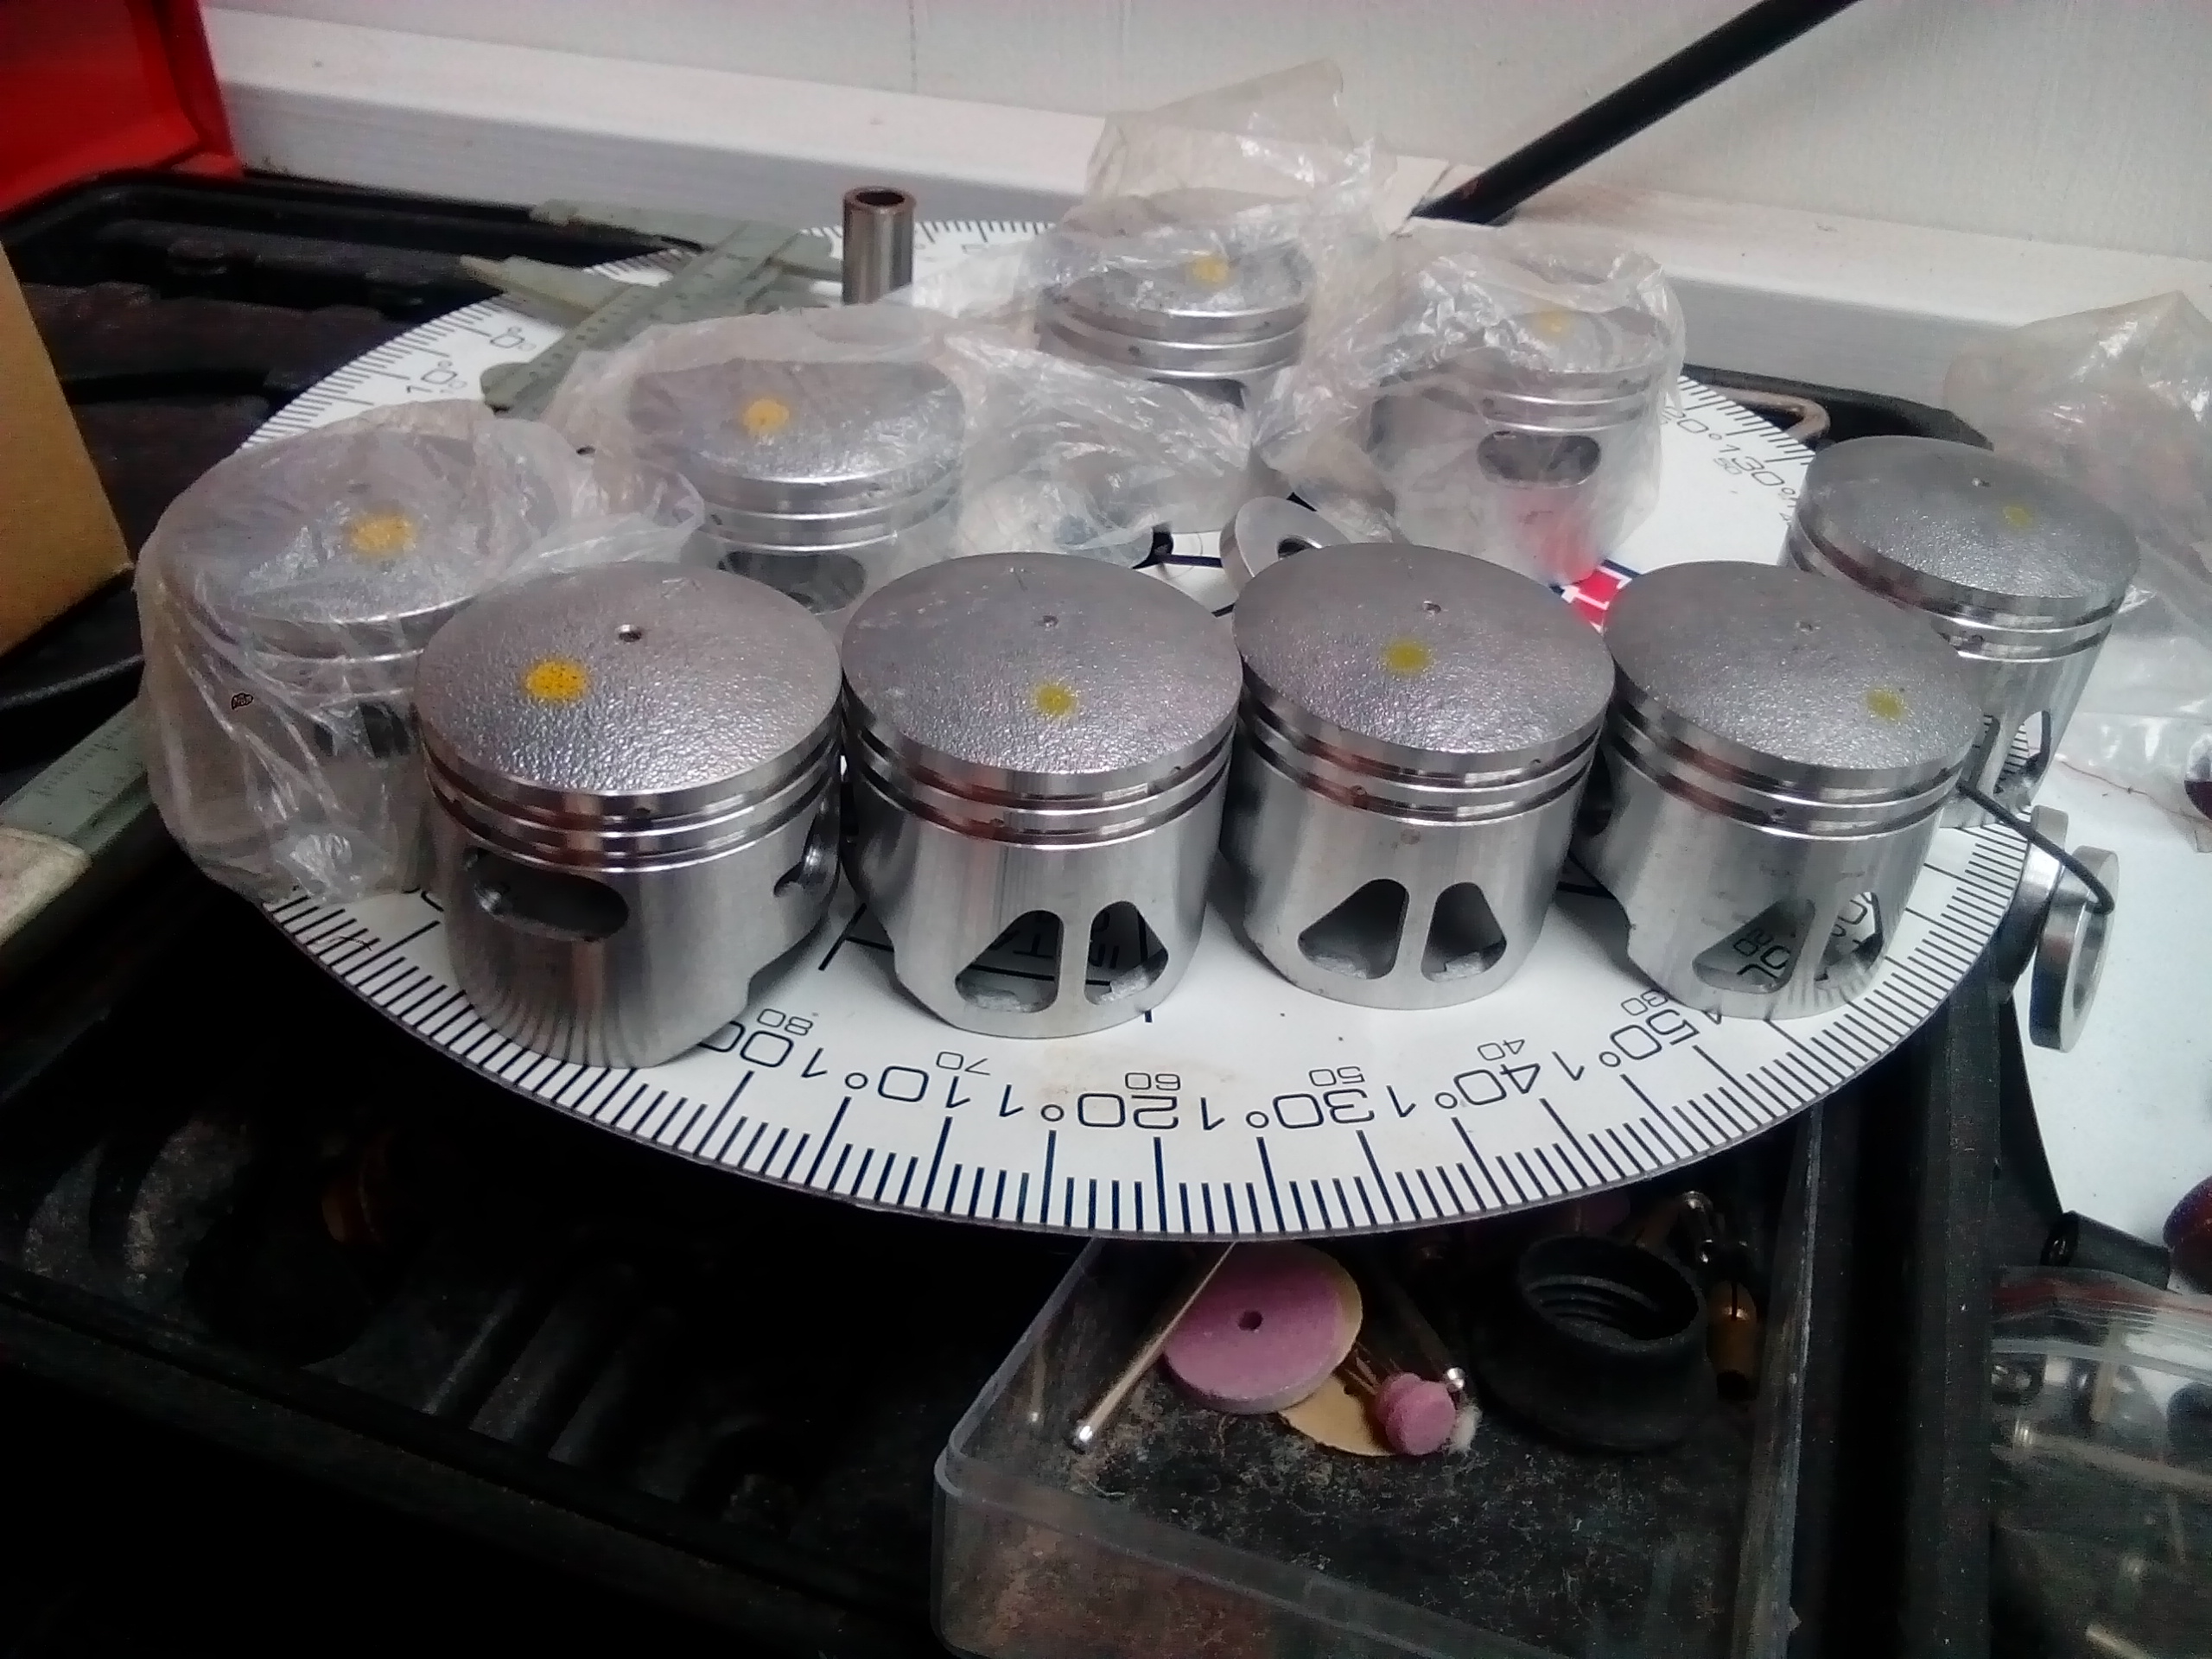
Awesome! Thanks @Raizer great information you've been providing, much appreciated. I'm no expert, so every learning opportunity is genuinely appreciated. There so much information out there that sometimes you become paralysed with overload. I guess I just wanted to achieve a result...rather than getting bogged down in indecision. So I've been building this based on information mostly provided by a championship winning racer. Yeah, the logic part of my brain says go full circle crank...and I'm lucky to have 3 of them to choose from. However the advice I've received from a master builder of this specific motor is differing to mine (and your) logic? I have numerous windowed pistons, cranks, heads...all the performance parts. And after going through all these countless options...he says use: -The stock piston, because it will rev higher with no window. Just polish it, and slightly taper the ring groove on the top side (using fine sandpaper) so it seals better under load. -Use the stock crank, as they produce more power. The full circle is better when stroked, but mine aren't strokers. -Use the stock cylinder, because there's less chance of leaking. But change the port timing, area and add a single large boost port. So far I've followed his advice, however I did go with the two piece cylinder. I did this for practical reasons, as it was much easier to machine and set up in the mill without a head in the way. I'm getting pretty exited, as in theory the motor is done. But I can't run it until I get the frame back etc...So I'll have to wait. The good news is I still have enough parts to build 3 more motors. So I'll do them all differently next time, just to expand my own firsthand knowledge.
-
Kimjon's not as cool or epic as Muncie's off-road goped Bigfoot scooter thingy
Kimjon replied to Kimjon's topic in Two Wheels
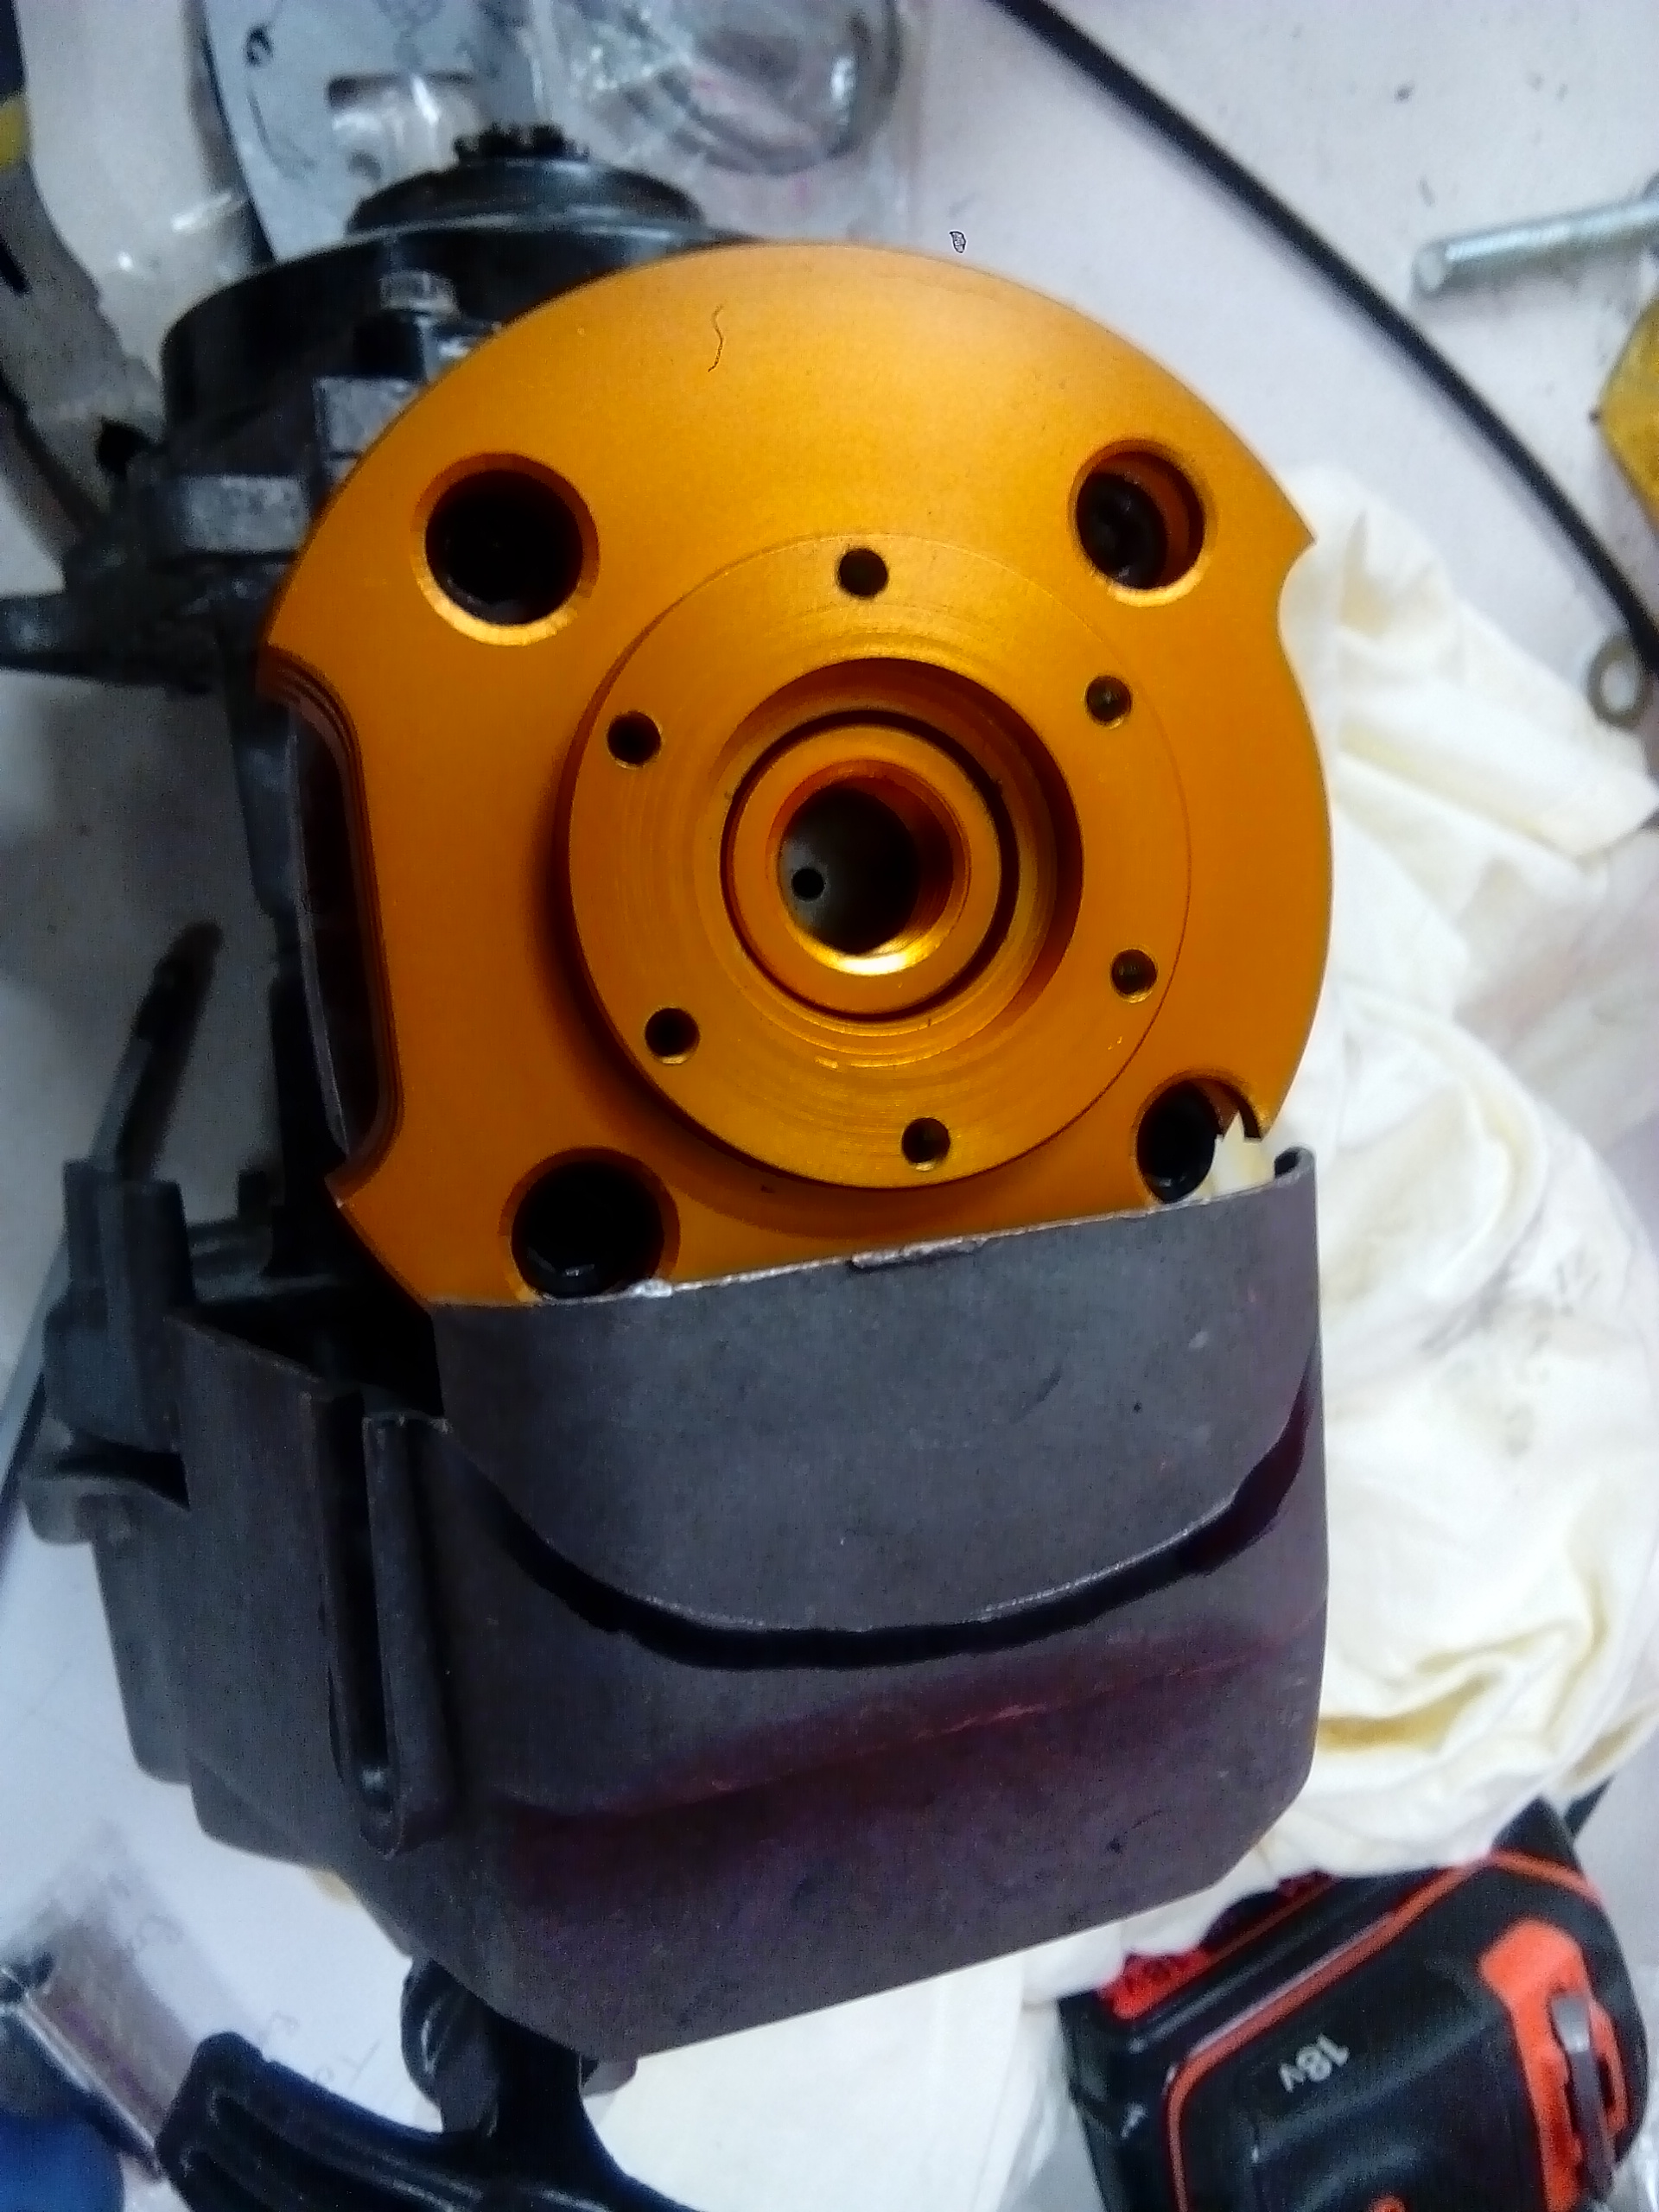
Until I hear back, I've decided to carry on. With the huge head kit now fitted, I noticed the fan cover wasn't going to fit. So I marked it out, then set to work cutting the clearance required. Looking pretty tidy for now. I haven't decided the colour for the motor yet, but I'll figure something out soon.
-
Kimjon's not as cool or epic as Muncie's off-road goped Bigfoot scooter thingy
Kimjon replied to Kimjon's topic in Two Wheels
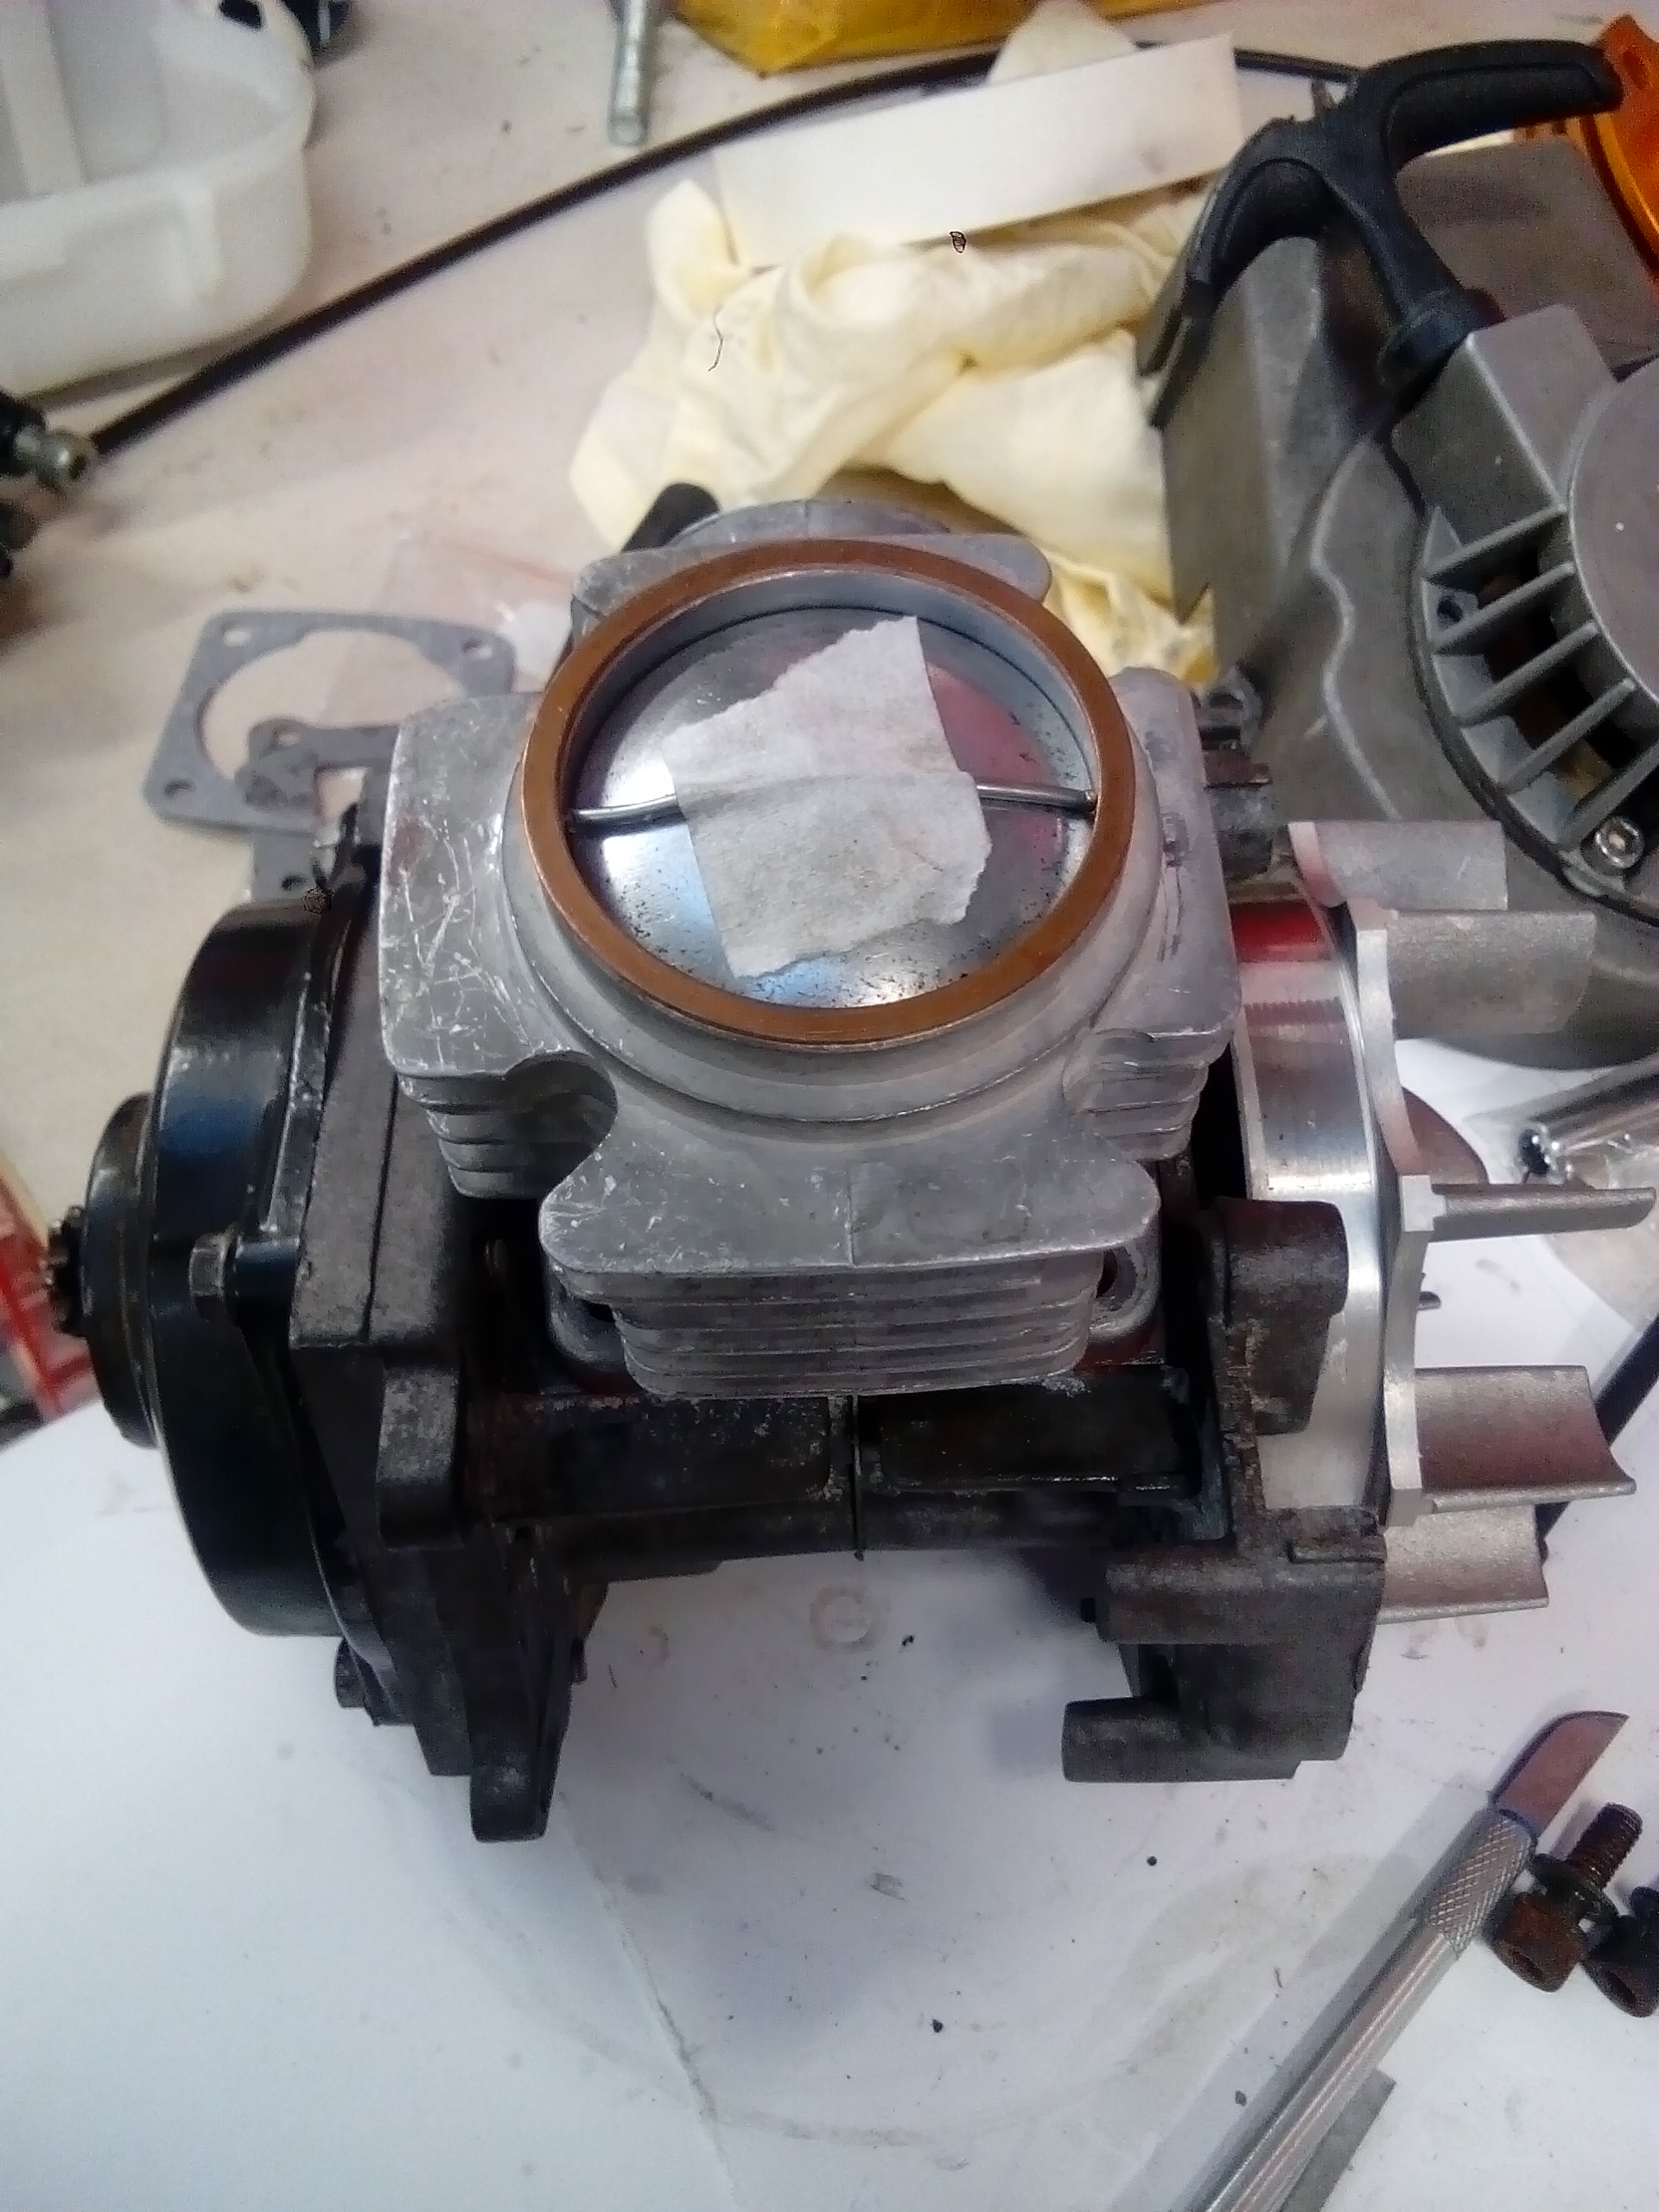
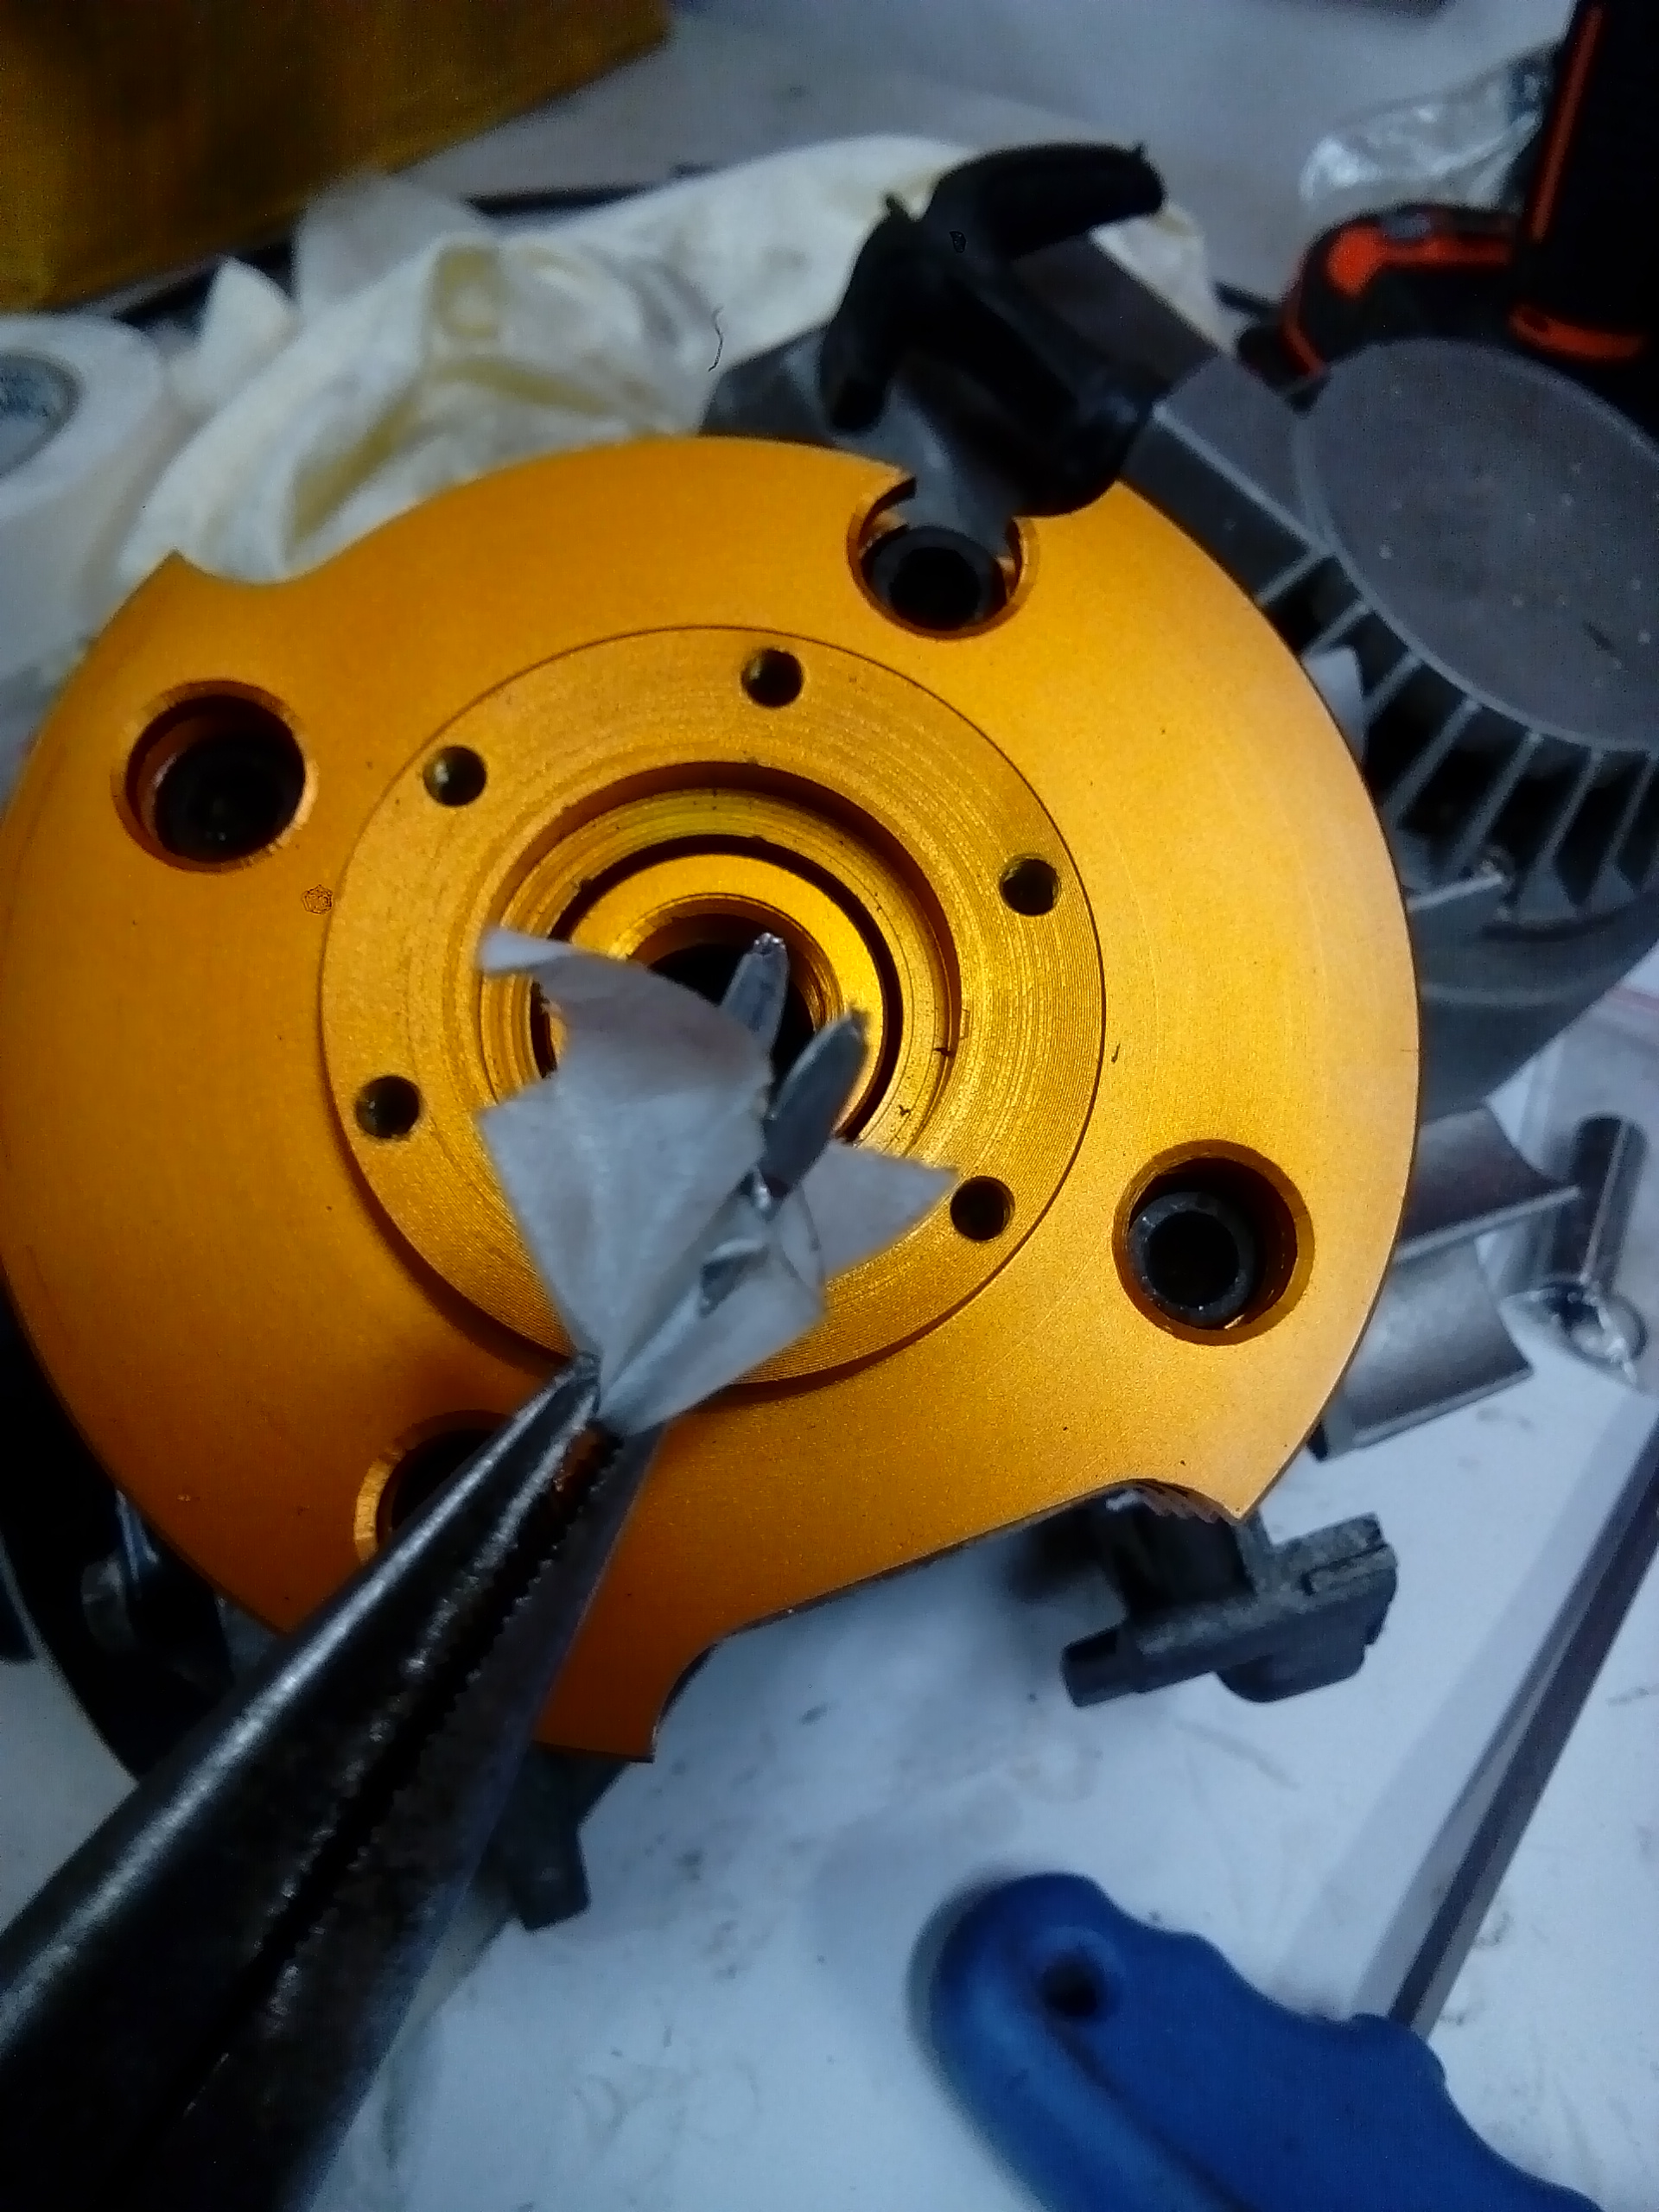
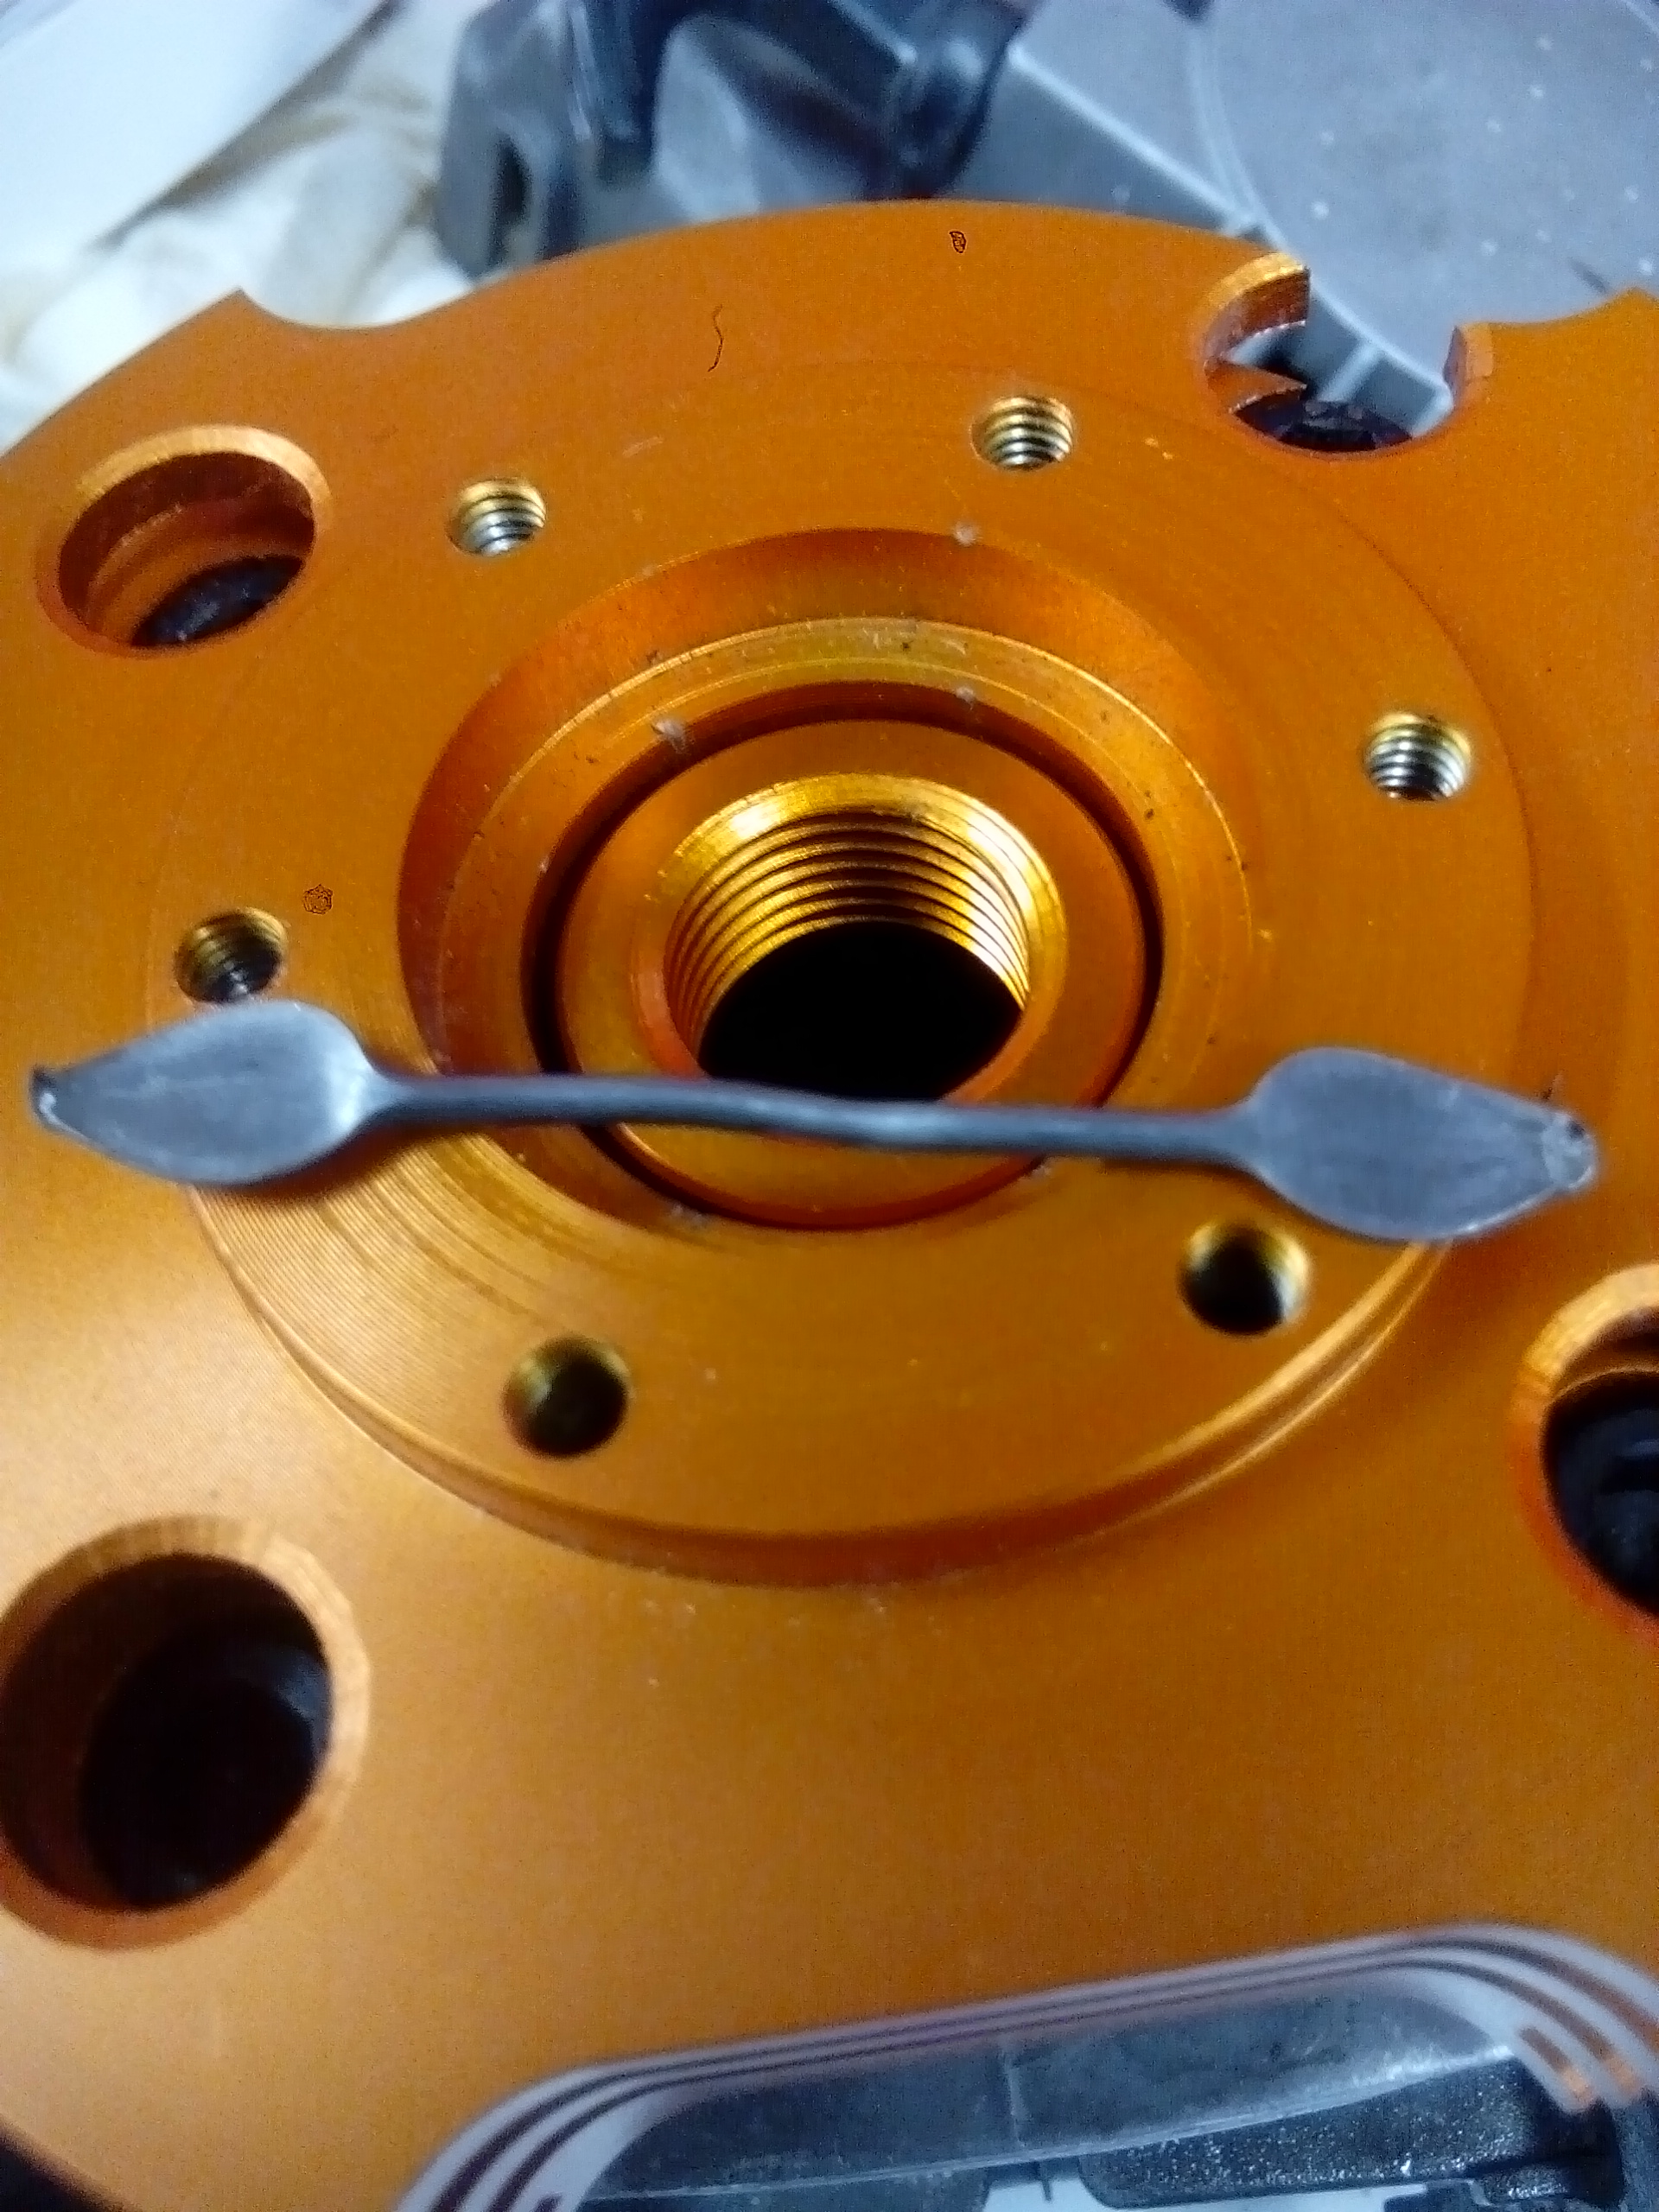
Onto setting the squish band. From all the reading I've recently geeked out on (mostly from pocket bike forums), the ideal squish is going to be somewhere between 0.030" - 0.035". To measure this, there are various techniques. The one I liked the most was this: Tape a bit of solder inline with the pin bearings. Assemble motor and turn it over, squishing the solder as it gets crushed by the piston (hence term squish, as it does this to the air/fuel mix too). Pull out the solder and measure its squished thickness. This was the extreme squish 0.2mm (pictured above). Now I got the following data using layers of copper head gaskets to adjust the gap between cylinder and head: I copper gasket = 0.2mm 2 copper gaskets = 0.5mm 3 copper gaskets = 0.85mm So comparing that to the ideal range of between 0.030" (= 0.762mm) and 0.035" (= 0.889mm). Using 3 copper head gaskets gets me into that desirable range. I've emailed a couple mates who are absolute gurus on these motors as I want to know if it's worth machining the cylinder to get tighter tolerances(?). Hopefully what I've got is good enough... but if they say it's not, then I'll tear it down and machine some off.
-
Kimjon's not as cool or epic as Muncie's off-road goped Bigfoot scooter thingy
Kimjon replied to Kimjon's topic in Two Wheels
Yup...crazy small. Only 49cc. -
Kimjon's not as cool or epic as Muncie's off-road goped Bigfoot scooter thingy
Kimjon replied to Kimjon's topic in Two Wheels
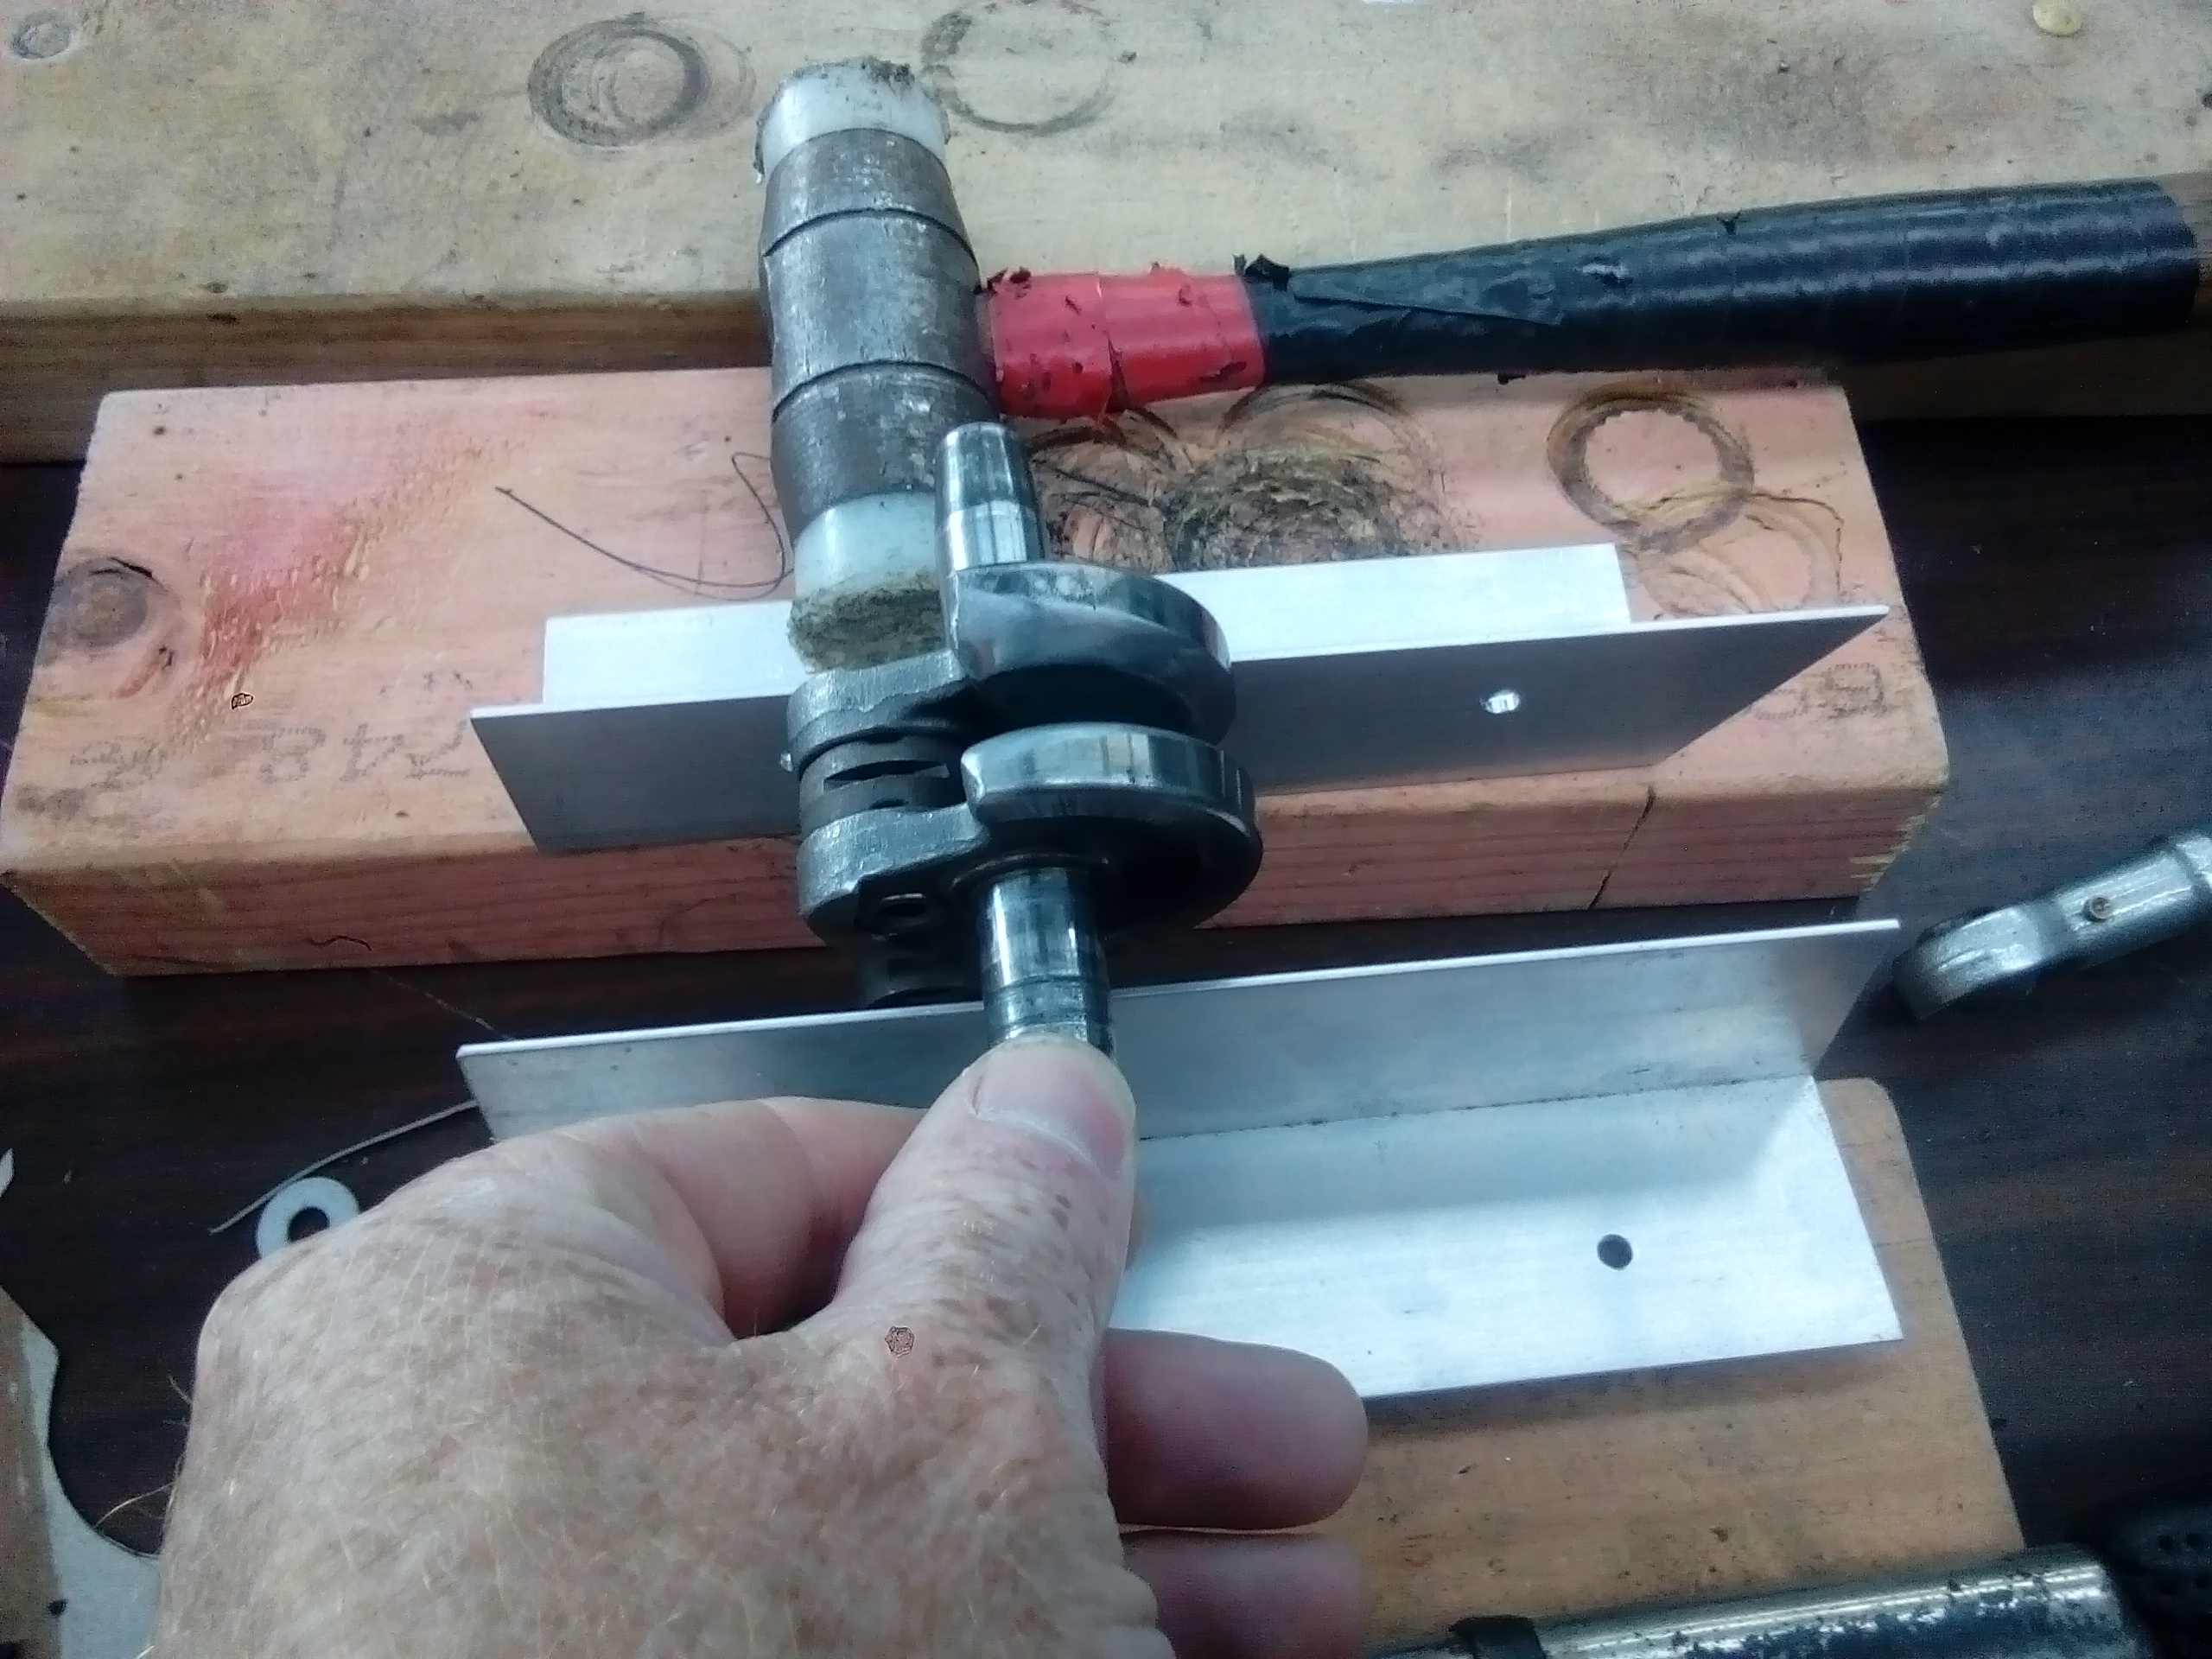
I improvised a crude crankshaft balancer. Keep adding weights (nuts hung from a wire hook on the little bearing end of conrod). Once it stays put in any position, compare the added weight against the weight of the piston, pin and bearings. Then do some basic math and work a percentage. The goal was 55% (as that's what the internet said). To achieve this you remove weight from opposing areas until happy.
-
Kimjon's not as cool or epic as Muncie's off-road goped Bigfoot scooter thingy
Kimjon replied to Kimjon's topic in Two Wheels
I thought the same, but the guys racing the same motors in their pocket bikes are getting much better results from stock cranks V's full circle cranks. I have to credit these guys for all the learning that I've done lately for these specific motors. Apparently the Paloni (excuse spelling?) Motors benefit from the full circle crank which in effect is one way of stuffing a case, but these cag (Chinese) motors tend to go backwards in performance with a stuffed case. The Paloni takes its air/fuel from off to the side and very little actually goes around the actual crank case (bypasses). Versus the cag, which draws it in from the bottom of the crank case and it mostly goes through the middle of the reciprocating crank assembly. Through experimentation, the pocket bike guys have found that these cag motors benefit from increased crank case volume to overcome the poor flow and (restrictive) characteristics of this design. Basically at high revs the piston wants to draw air in...but there's to much shit in the way crammed into such a small space blocking it. On my goped motors, these are different and I've stuffed the cases with aluminum linings. Stuffing certainly increased performance on these. -
Kimjon's not as cool or epic as Muncie's off-road goped Bigfoot scooter thingy
Kimjon replied to Kimjon's topic in Two Wheels
I need to get some bearings and oil seals. I actually brought some today using numbers gleaned off the internet...whoops, bit of a mistake trusting the internet :-), ended up with the wrong sizes. I'll go back tomorrow and get the right sizes, then it's a simple matter of putting it all back together. In the meantime, I dropped the frame off at a powder coaters. And did a bit of internet shopping on an American goped performance website. I figured it hadn't cost a lot of actual money to get to this stage...so splashing out at the end of the project is somewhat justifiable. it may be a couple weeks before I have anything to show for it, but I think it should look pretty sweet once done. -
Kimjon's not as cool or epic as Muncie's off-road goped Bigfoot scooter thingy
Kimjon replied to Kimjon's topic in Two Wheels
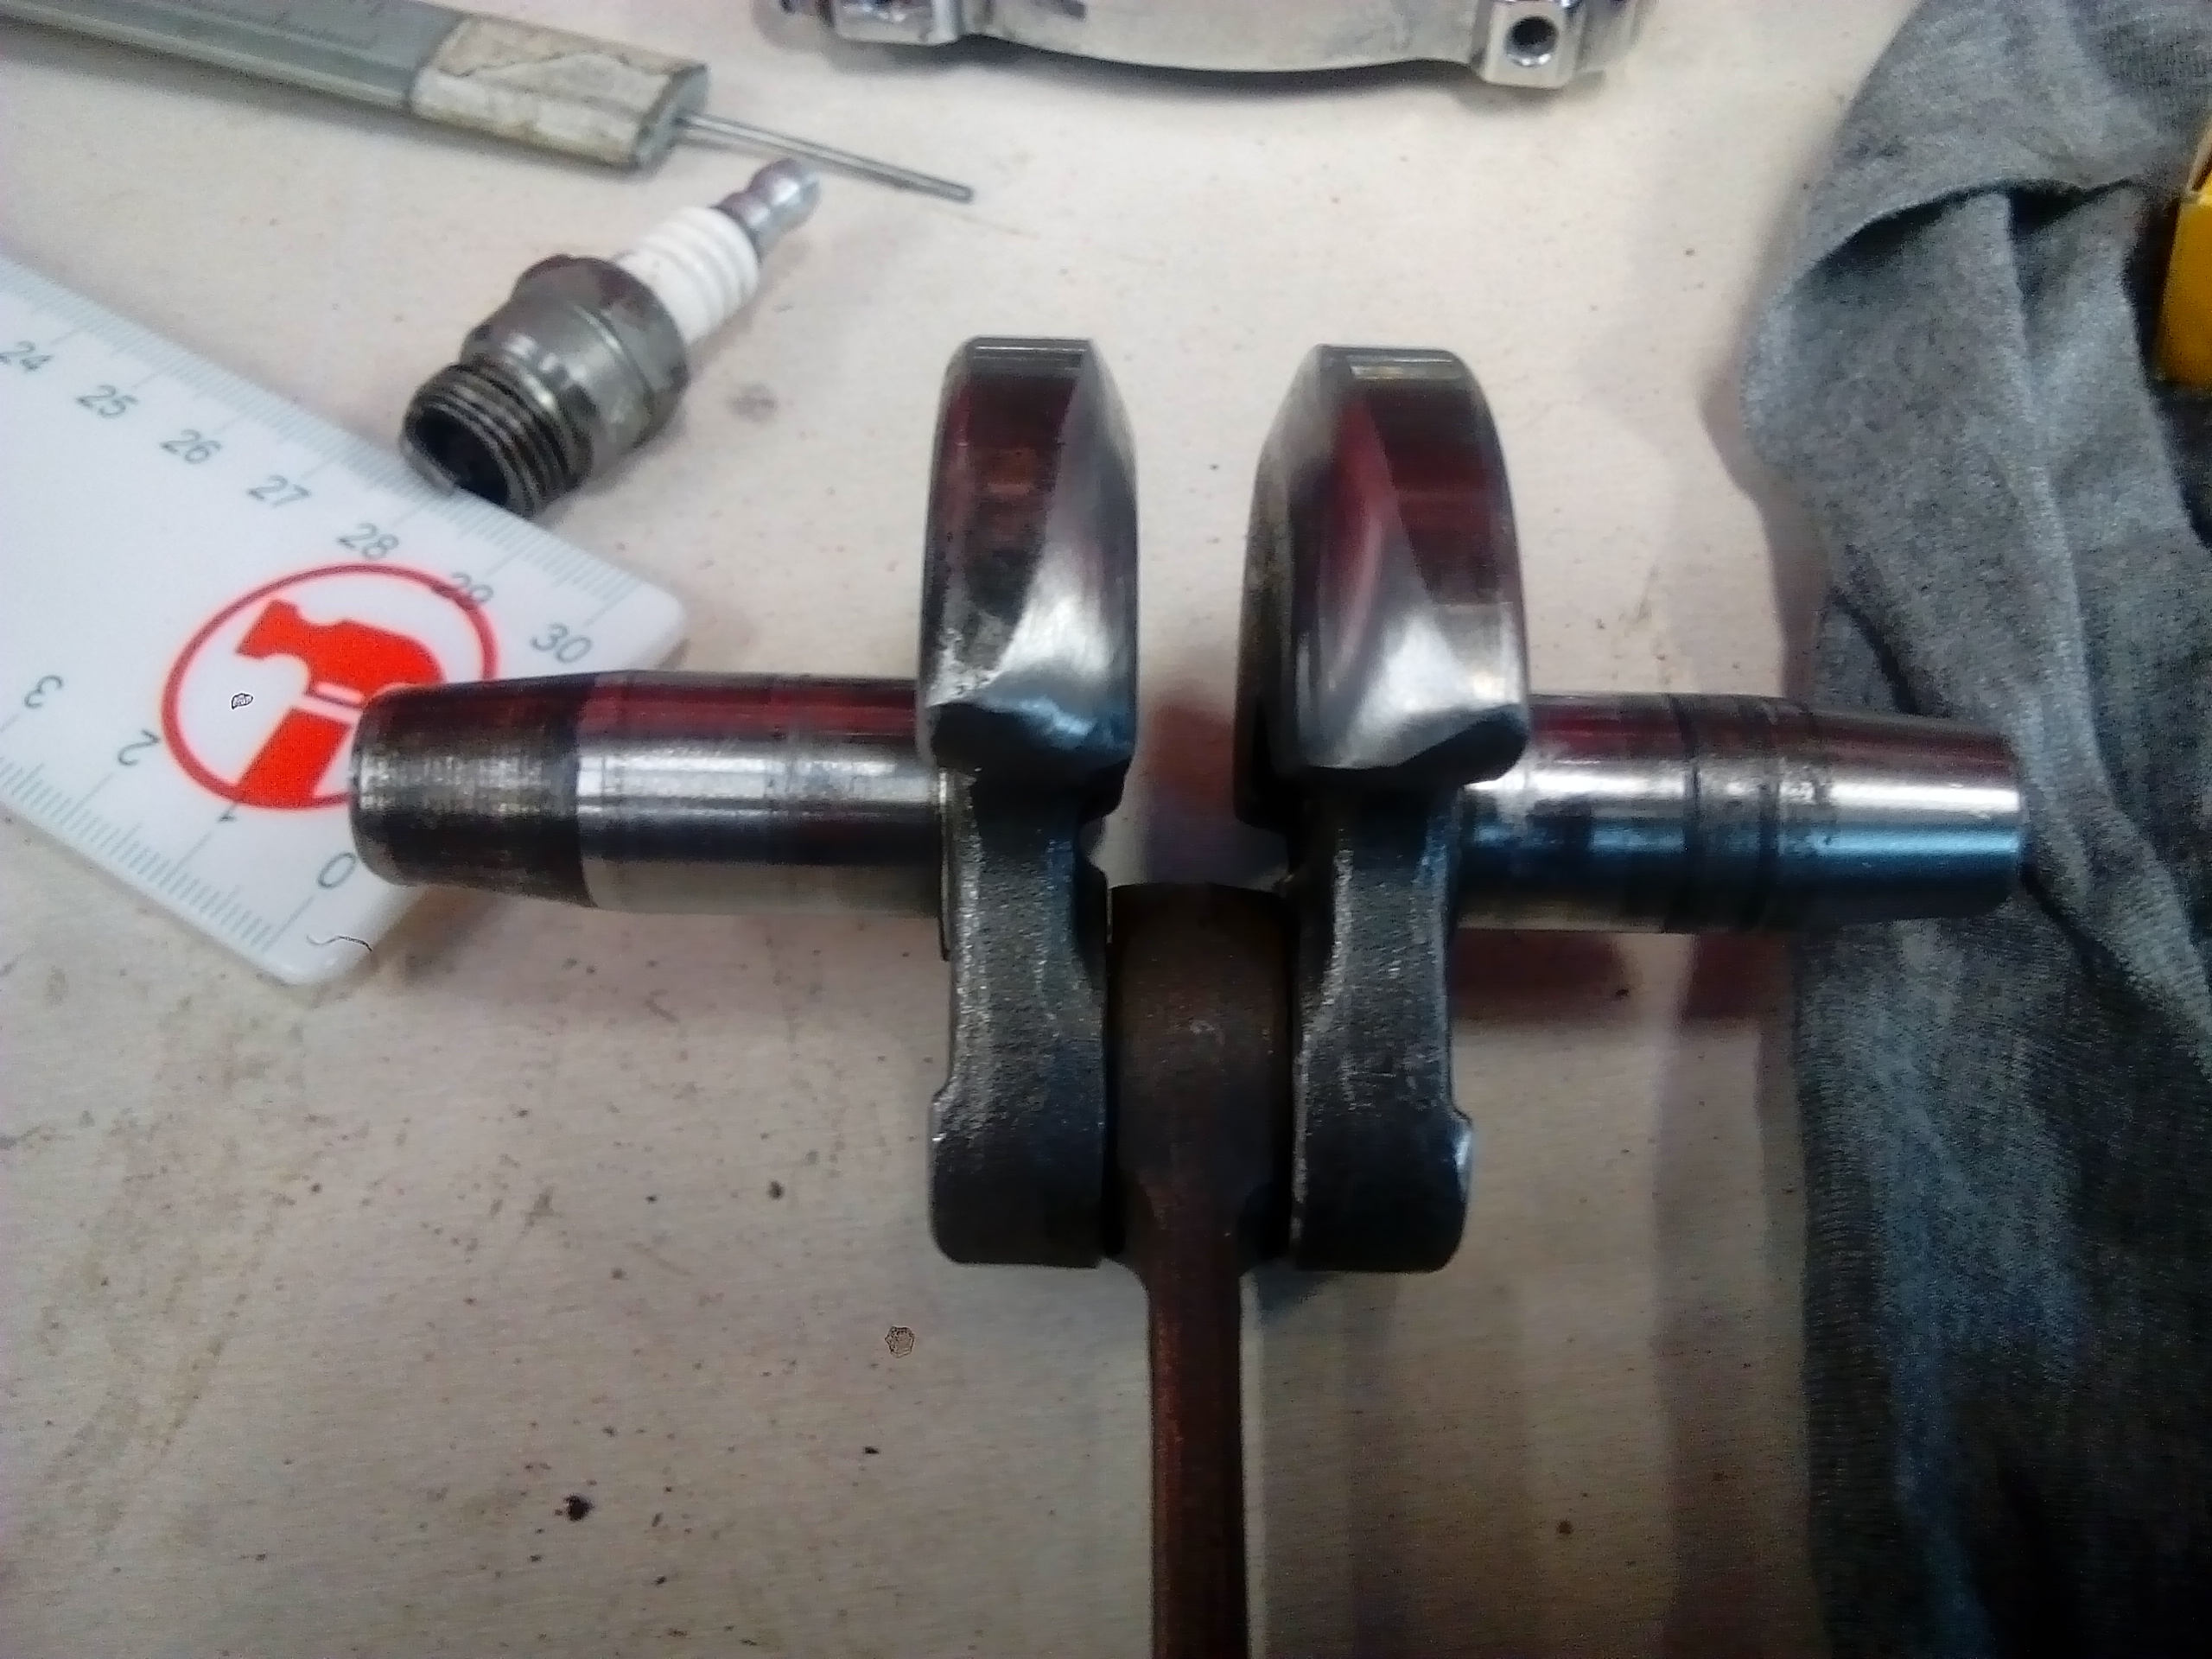
My crankshaft received some grinder love...(okay I knew that would sound dodgy, but I had no idea how bad until reading it back!) Before After The idea is to smooth the rough rotating edges and slightly point them, so it cuts through the air faster. It also lightens the rotating assembly a tiny bit, plus increases crank case volume. Normally you want to "stuff" a case to decrease volume...but that's for a piston port with the intake on the cylinder. This motor has reeds on the crank case, so volume is small and the flow path is restricted by the whopping big crank stuck right in the way, so an increase in volume (I'm picking?) probably isn't a bad thing here.
-
Kimjon's not as cool or epic as Muncie's off-road goped Bigfoot scooter thingy
Kimjon replied to Kimjon's topic in Two Wheels
Checking port timing after porting. All measurements were taken from the top edge of the piston, when it reveled the opening to the port (not from the rings).I then put a dial guage on piston and turned it over both ways until it reached its highest point running in both directions. There is about 6 to 9° window of movement where the dial neither raised nor lowered the piston at TDC...so I split the difference and set the zero in the middle of this flat spot. I repeated this until I was happy with its consistency. With that done, I got the following results for the blueprinted 3 port cylinder. I did this test 3 times over and got exactly the same numbers each time.-Top of exhaust opened at 97° ATDC-Bottom of exhaust at 163° ATDC-Inlets x2, plus boost ports opened at 120° ATDC. -Blow down time 23°I didn't use a base gasket, I'm thinking I'll just use a sealant RTV type gasket maker there? Next up is to calculate the port area. Basically done by shoving a bit of paper in the cylinder, rub the paper with a pencil or dirty finger...leaving an impression on the paper. Do some basic math, and roughly I got the following areas: -Exhaust port area 269mm2 -Total intake area 294mm2 (2x intakes, 1x boost port) I ran those numbers via some experts and they feel only very minor improvements could be made on those results...so stoked! Going to leave it there and look at assembling with new gaskets, bearings and seals.
-
Random slightly cool stuff you built but not worth its own thread, thread
Kimjon replied to h4nd's topic in Other Projects
When's Valentine's day? -
Holly fuck, double the power! Scary!!!
-
Kimjon's not as cool or epic as Muncie's off-road goped Bigfoot scooter thingy
Kimjon replied to Kimjon's topic in Two Wheels
Thanks for the heads up. That's a disconcerting scenario you've got there. Normally the weight transfers to the front and the rear brakes in effect achieve nothing at all...often the rear wheel stops turning all together under emergency braking as it lifts off the ground. Here's a micro view of this in this clip of me riding the kids dirt bike...I stop hard 100% front braking only, feel the rear lifting off, reduce to about 50% front and lock the rear on. Im not too sure why yours is doing that, best guess would be the geometry (or flex) possibly changing under hard braking? I've looked at options for a rear brake on my goped, mainly for doing skids or wheelies with. But haven't come up with an ideal solution due to lack of room. I haven't given up on the idea...just need more absorption time to figure it out:-) -
Kimjon's not as cool or epic as Muncie's off-road goped Bigfoot scooter thingy
Kimjon replied to Kimjon's topic in Two Wheels
Cool, good score. Those motors go okay. That's what's on one of my drift trikes. You can get the pull starts off trademe for about $20. But on eBay they only $8 with free delivery if you don't mind waiting a few weeks. Try searching "G scooter" if looking for parts. You can also start it with a drill too, for a short term fix. I've put a bigger carb on mine and an expansion chamber and its doubled the power. If you want crazy power then another motor would be the best option.
-
Kimjon's not as cool or epic as Muncie's off-road goped Bigfoot scooter thingy
Kimjon replied to Kimjon's topic in Two Wheels
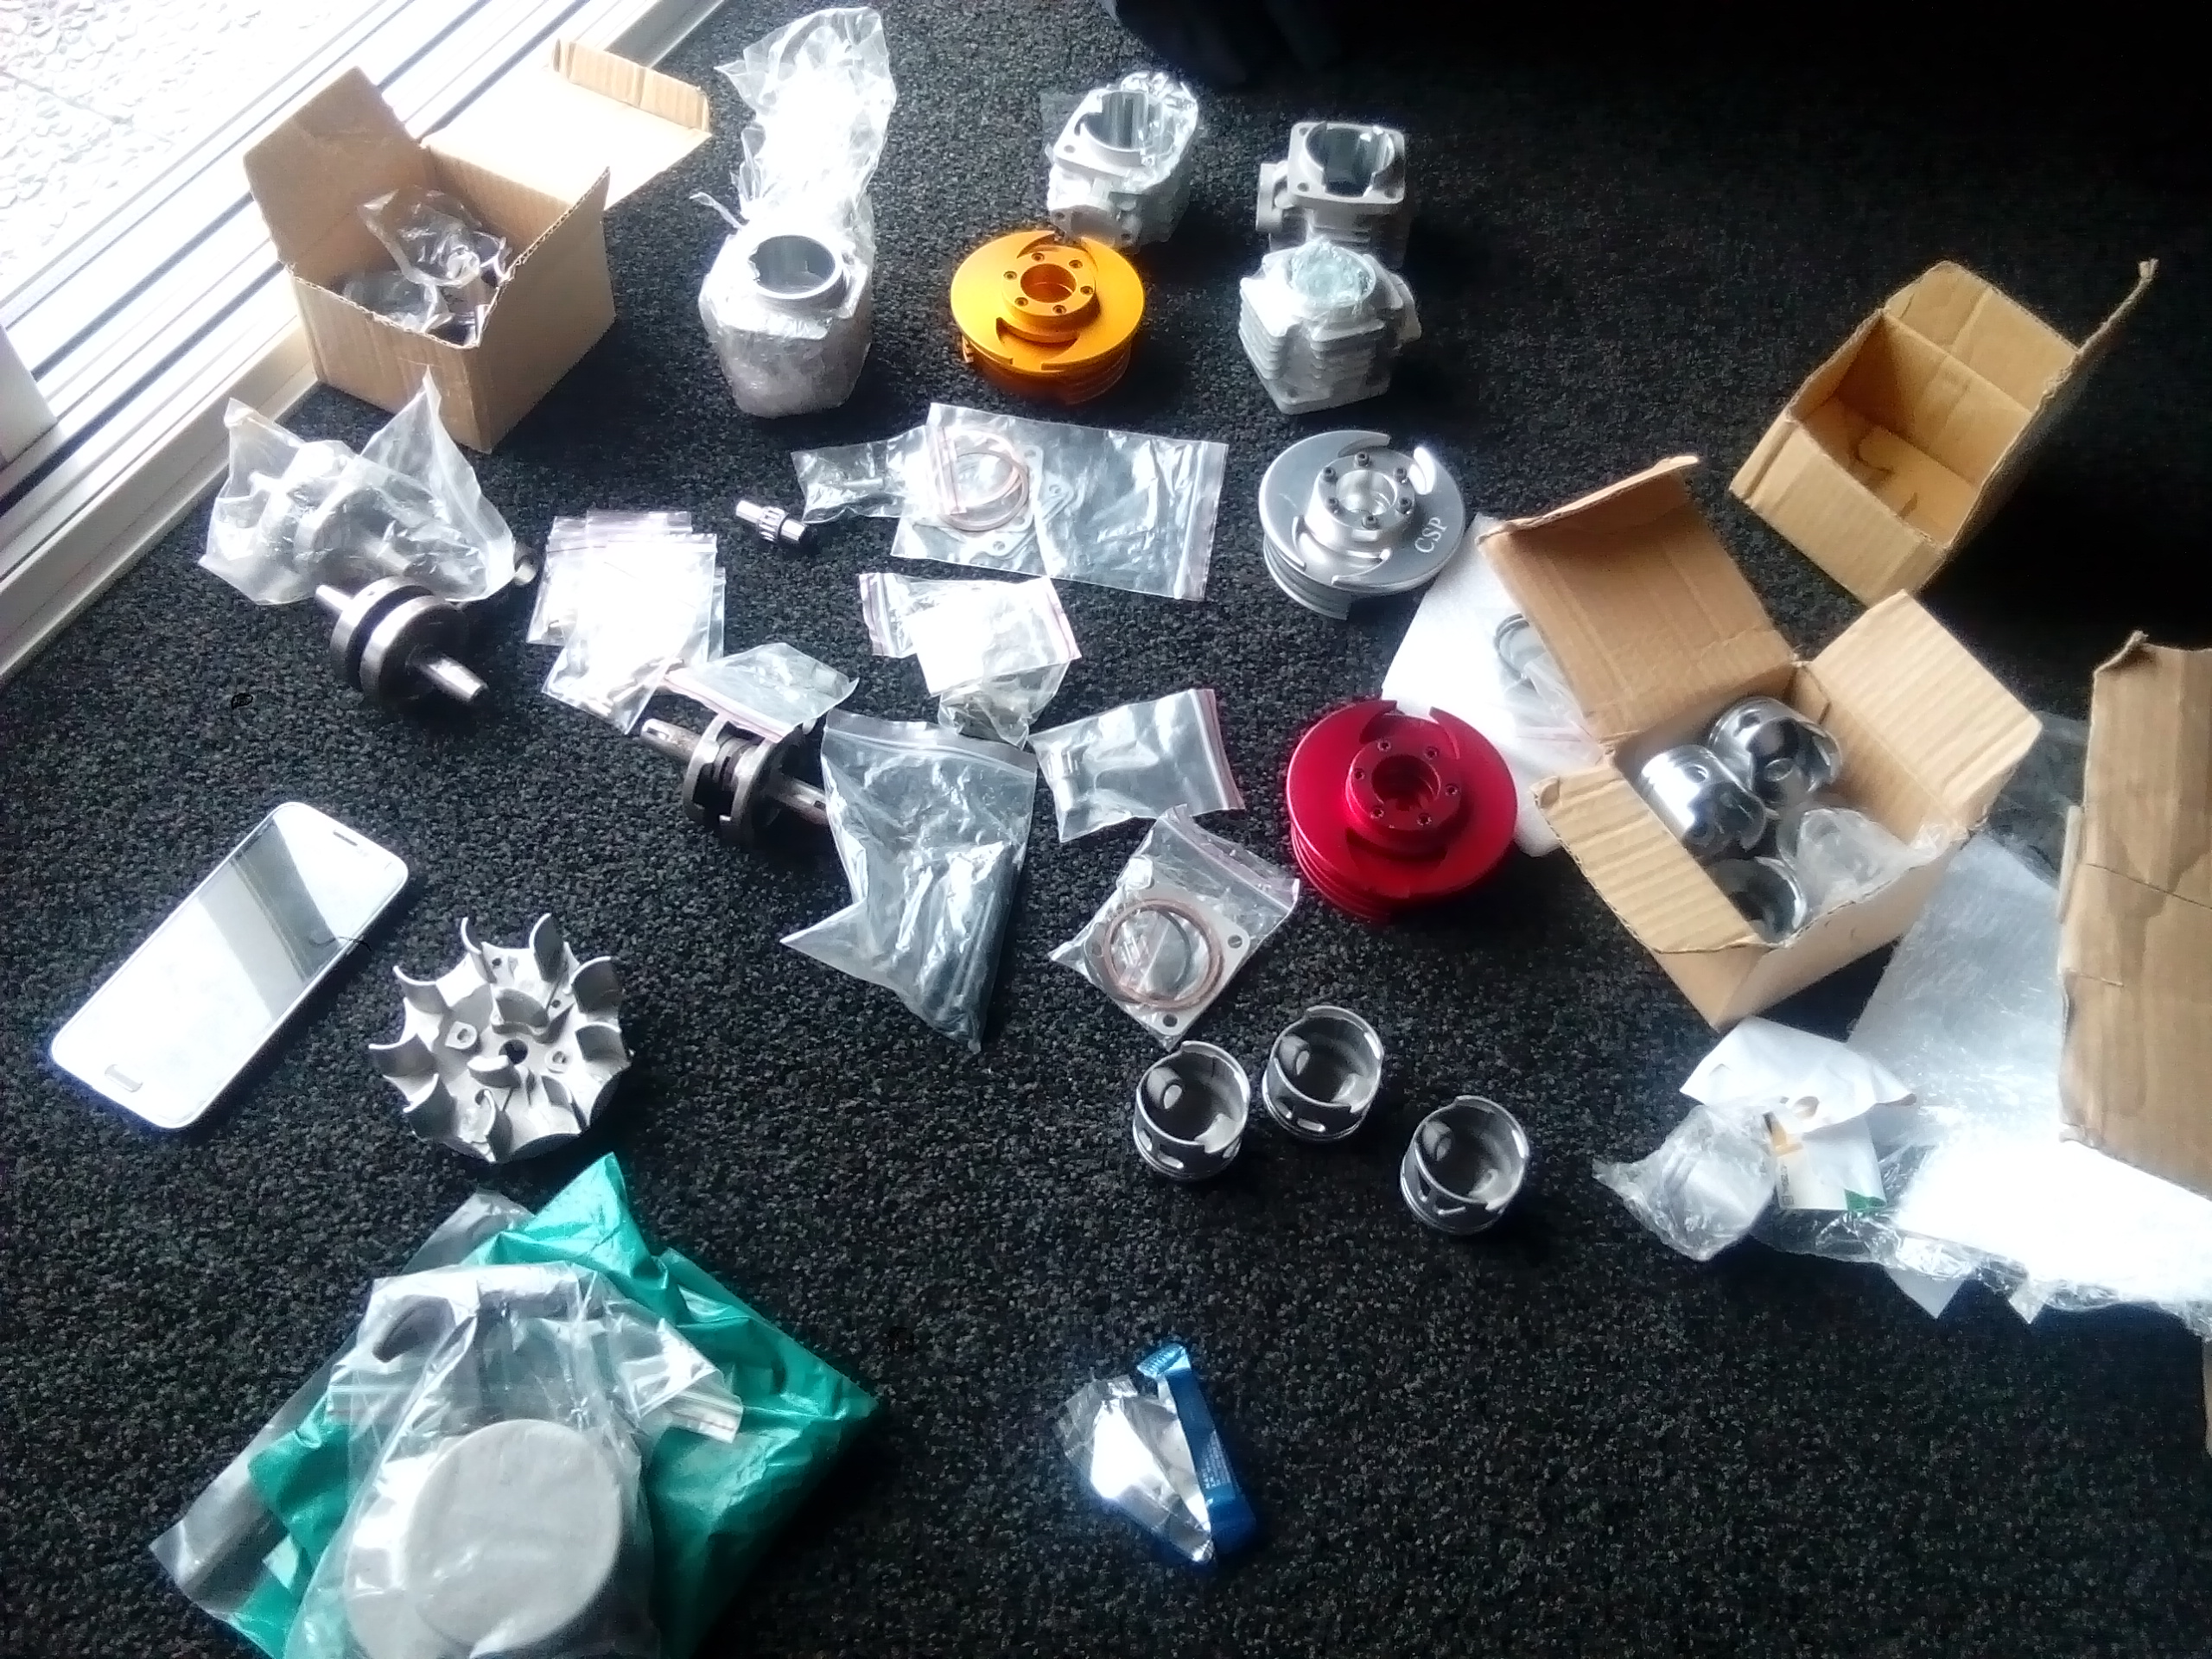
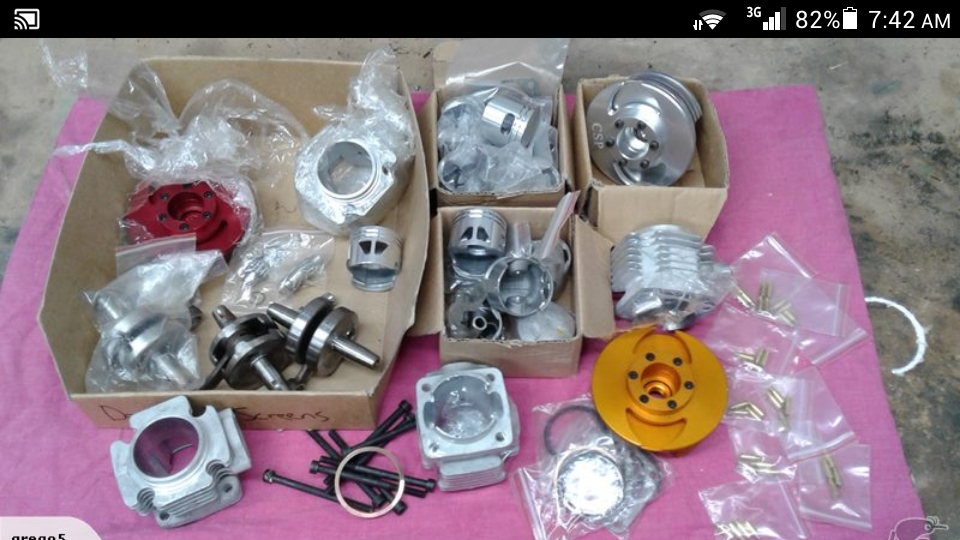
As all of us know, NZ is a small country. In other countries say the USA even if only 0.00001% of the population was into a niche activity (like gopeds) that'd still equate to over 3,230. In NZ 0.00001% of the population would only be 45 people. You can see why no one would make a living here doing anything that's not mainstream. So that's my long way of saying I was unbelievably lucky, to find/buy this on trademe last night! Seriously...I couldn't believe my luck, a box of go-fast bits for my motor. Fuck yeah! Stoked!!!
-
Kimjon's not as cool or epic as Muncie's off-road goped Bigfoot scooter thingy
Kimjon replied to Kimjon's topic in Two Wheels
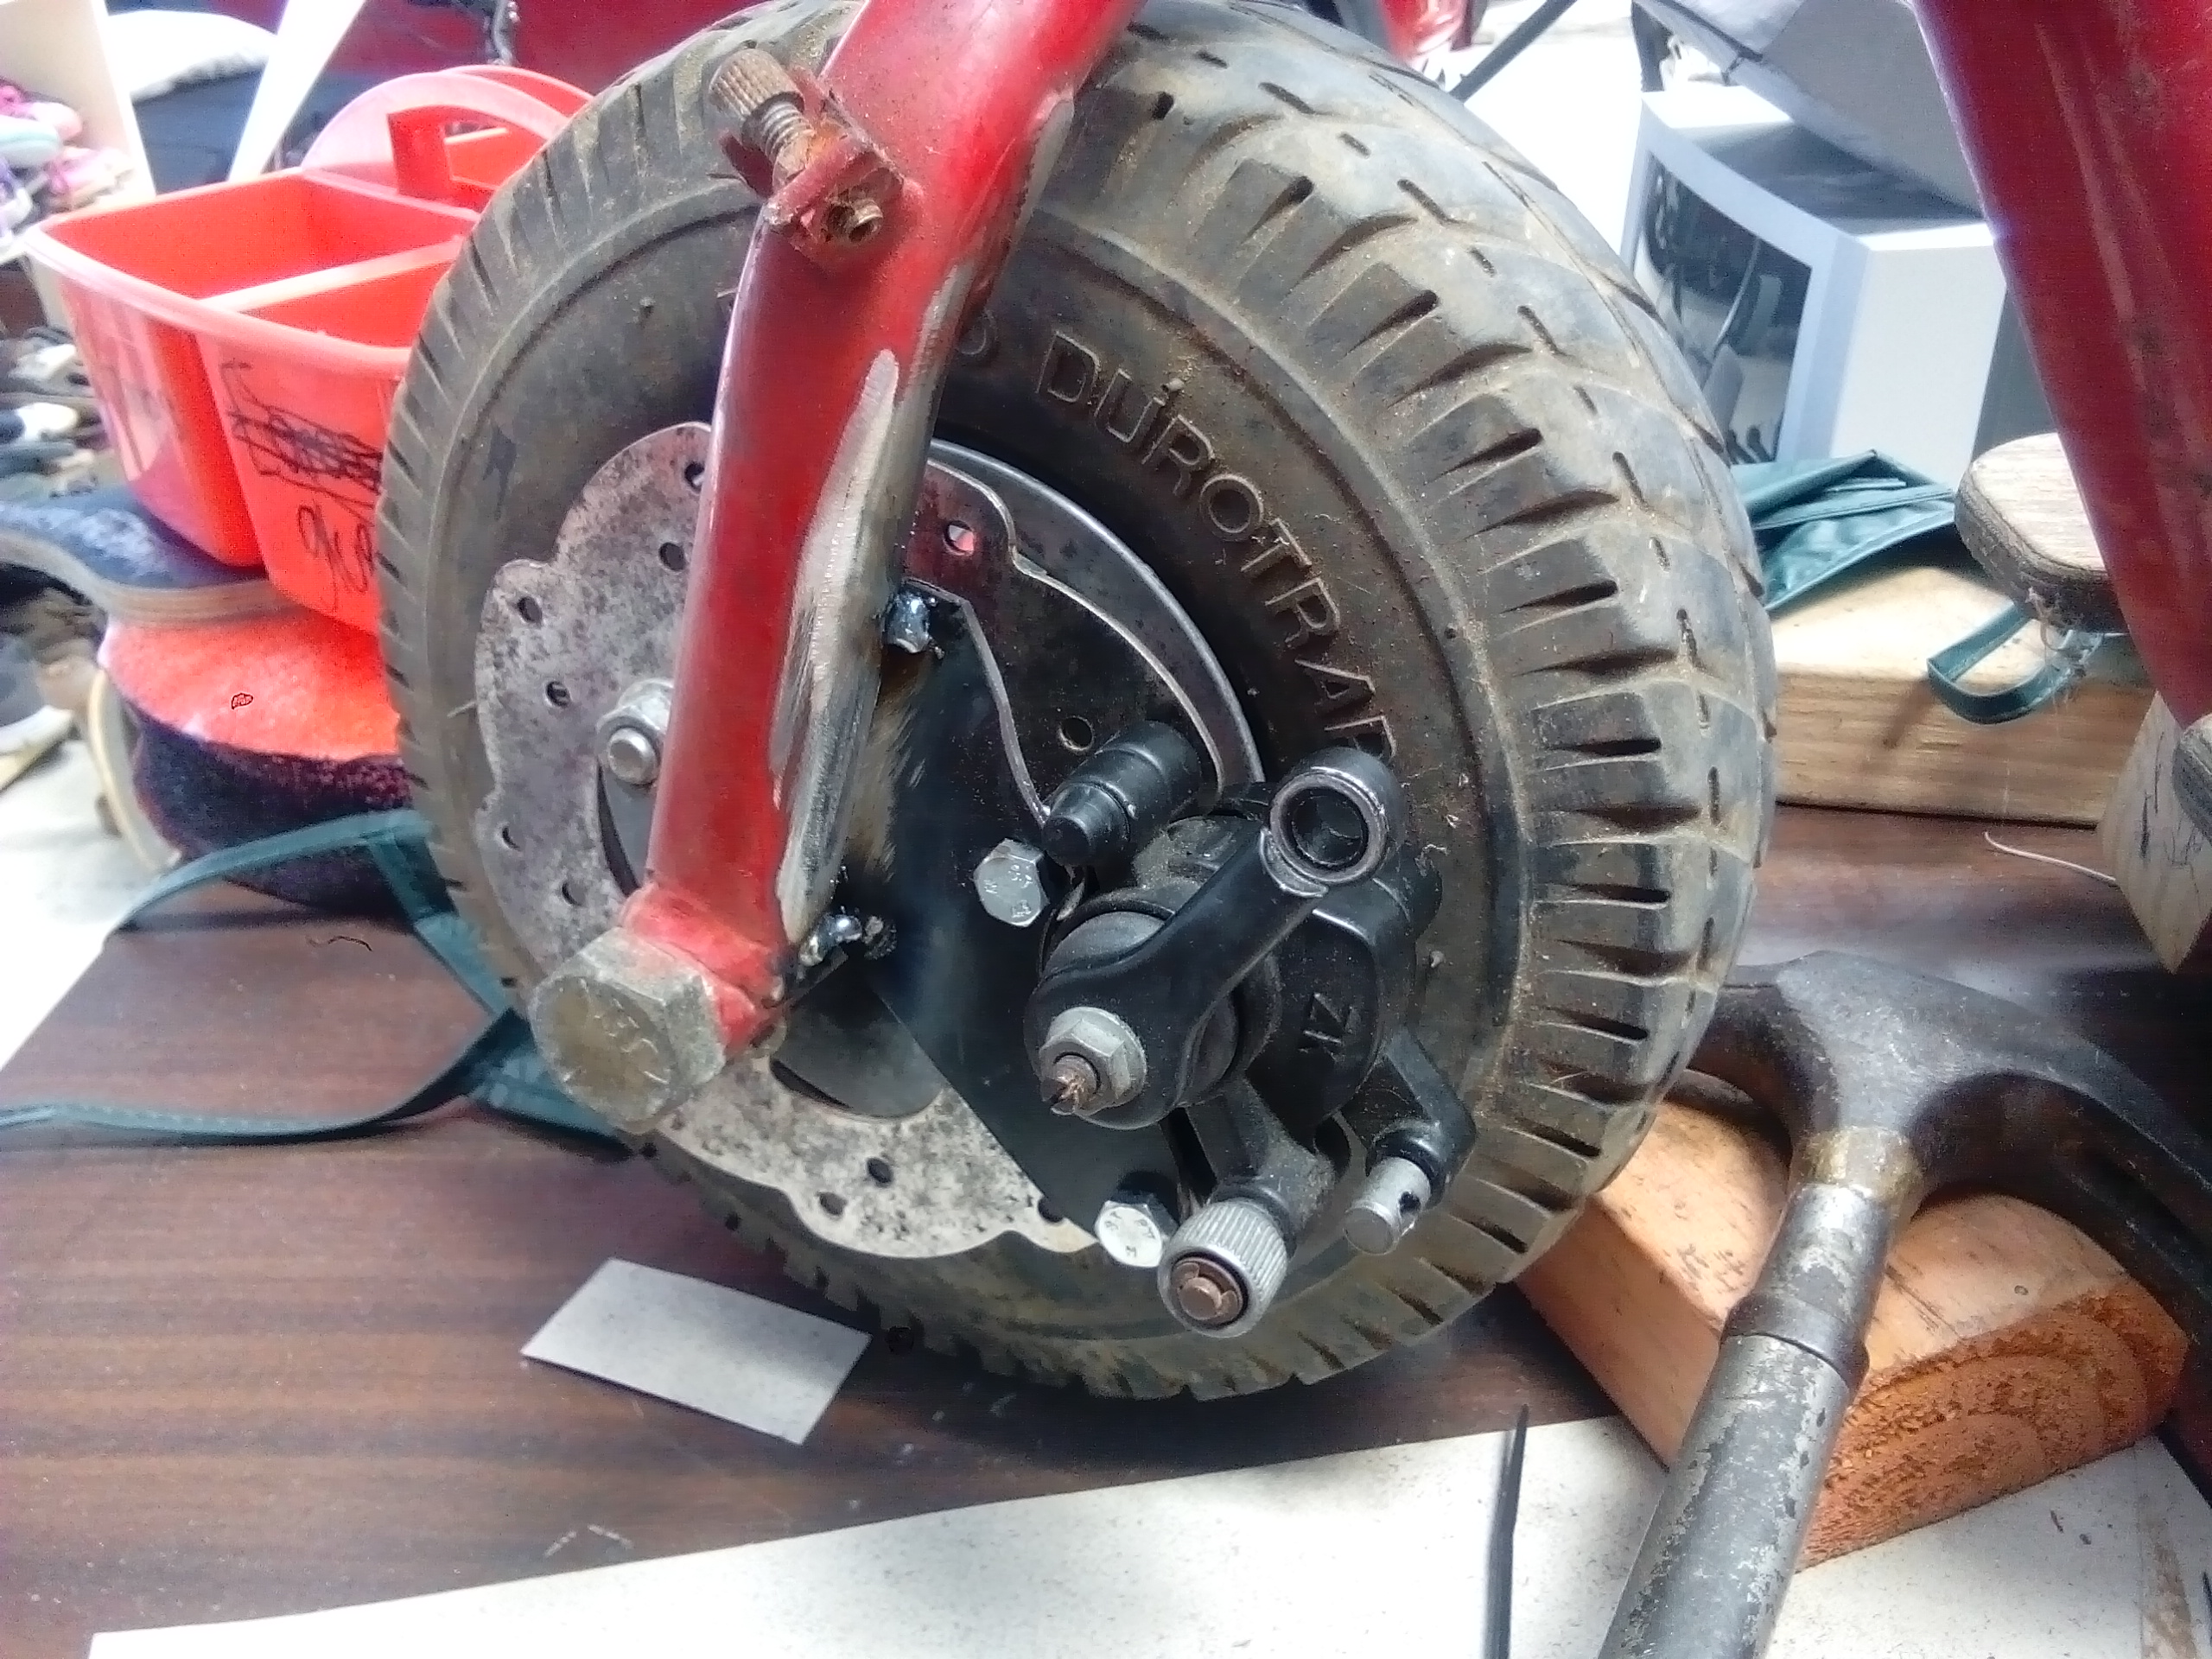
Welded both sides for extra over the top strength. I'm not too keen on coming off like @Muncie at top speed and braking my neck. And done! It's all getting a paint job later, so that will tidy up the ugly.
-
Kimjon's not as cool or epic as Muncie's off-road goped Bigfoot scooter thingy
Kimjon replied to Kimjon's topic in Two Wheels
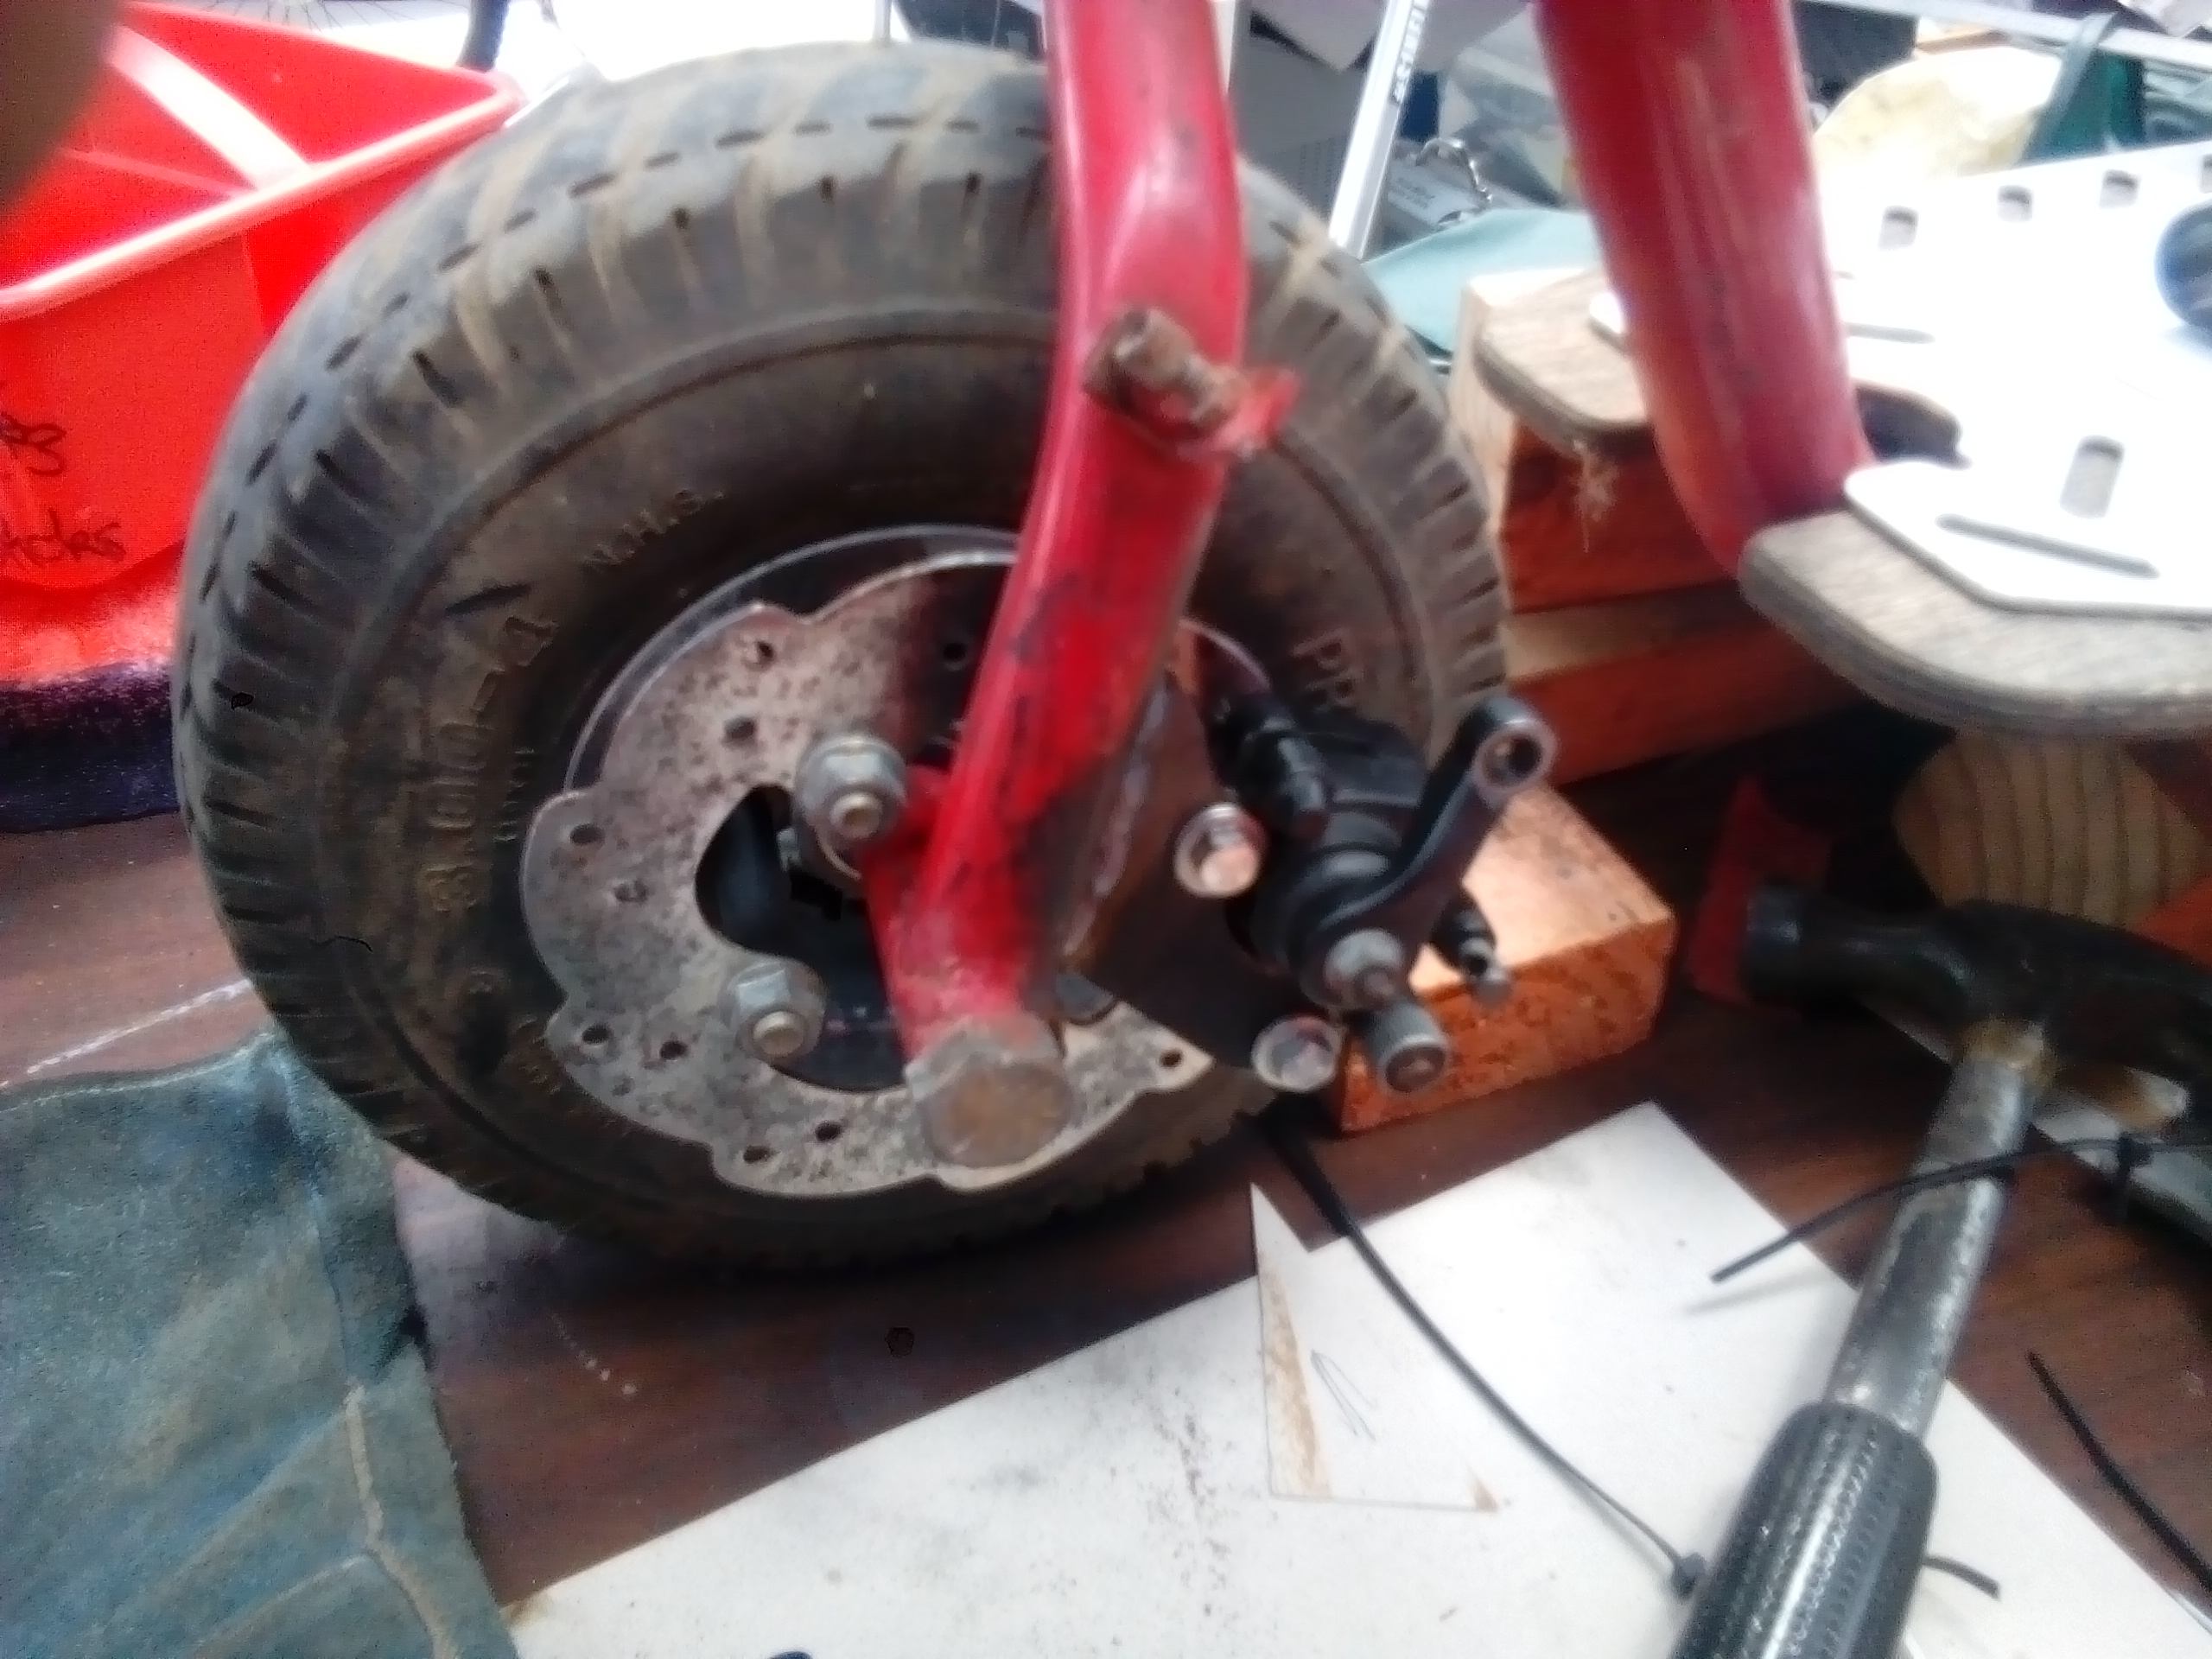
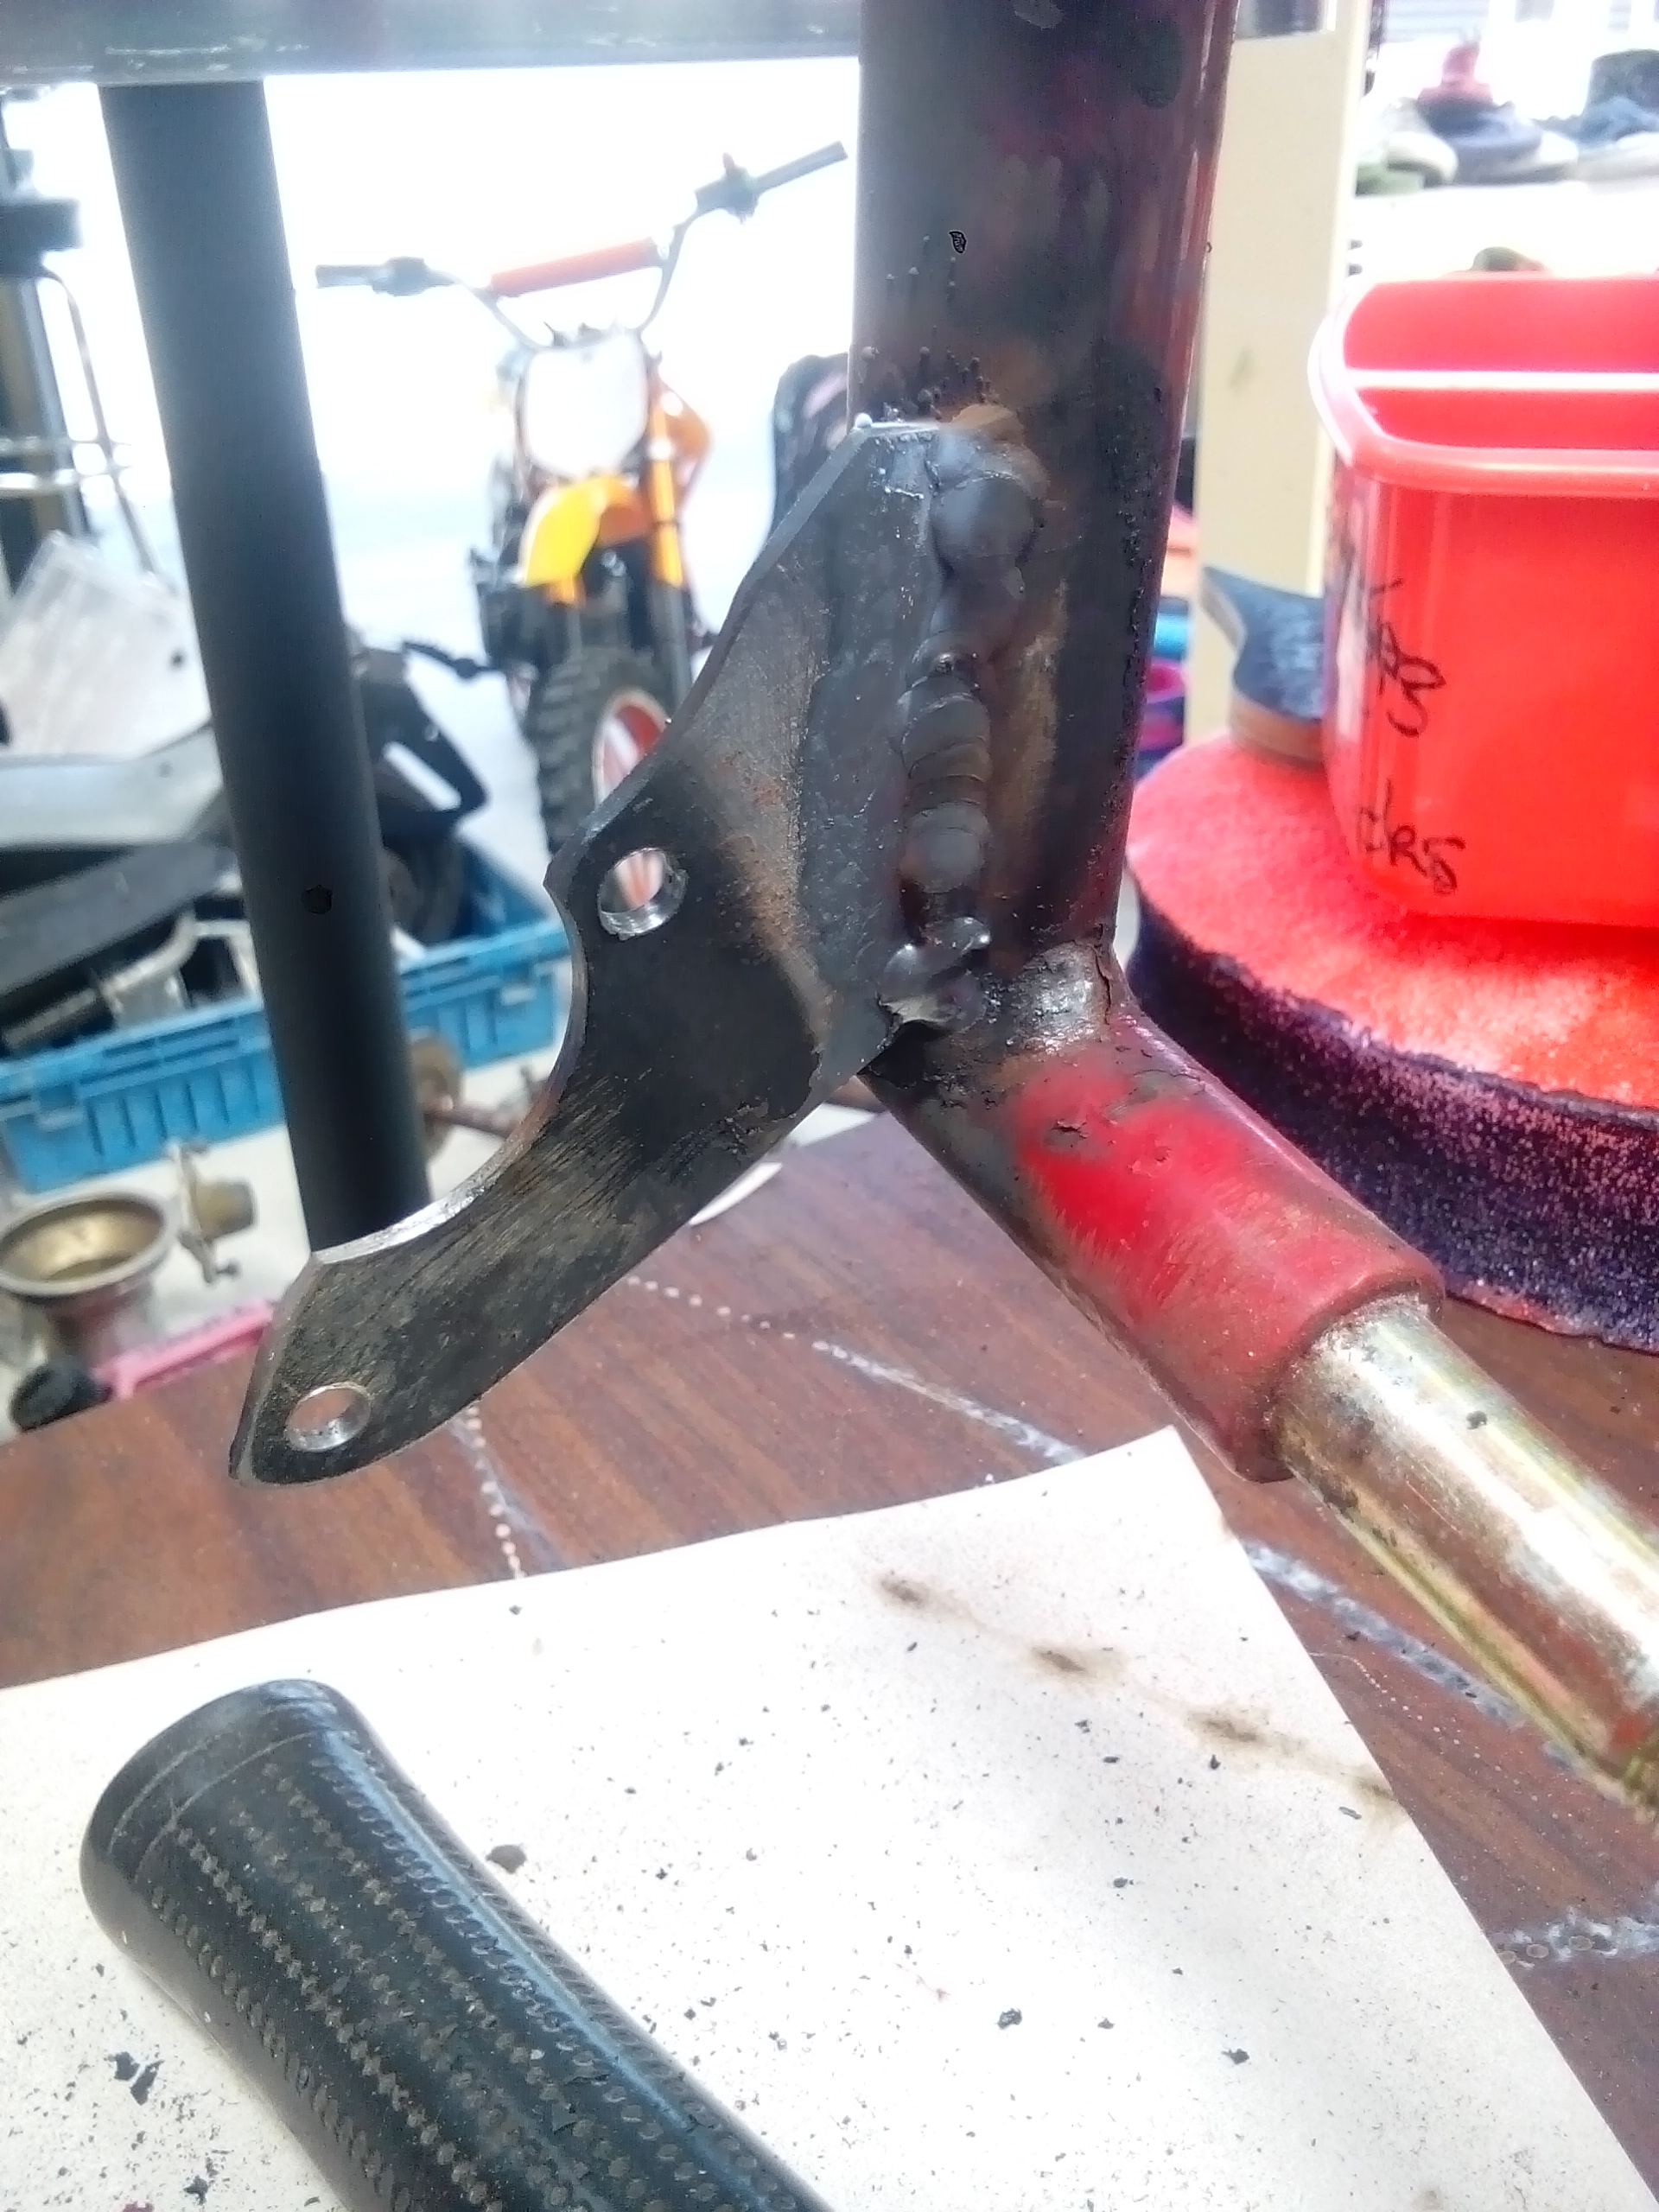
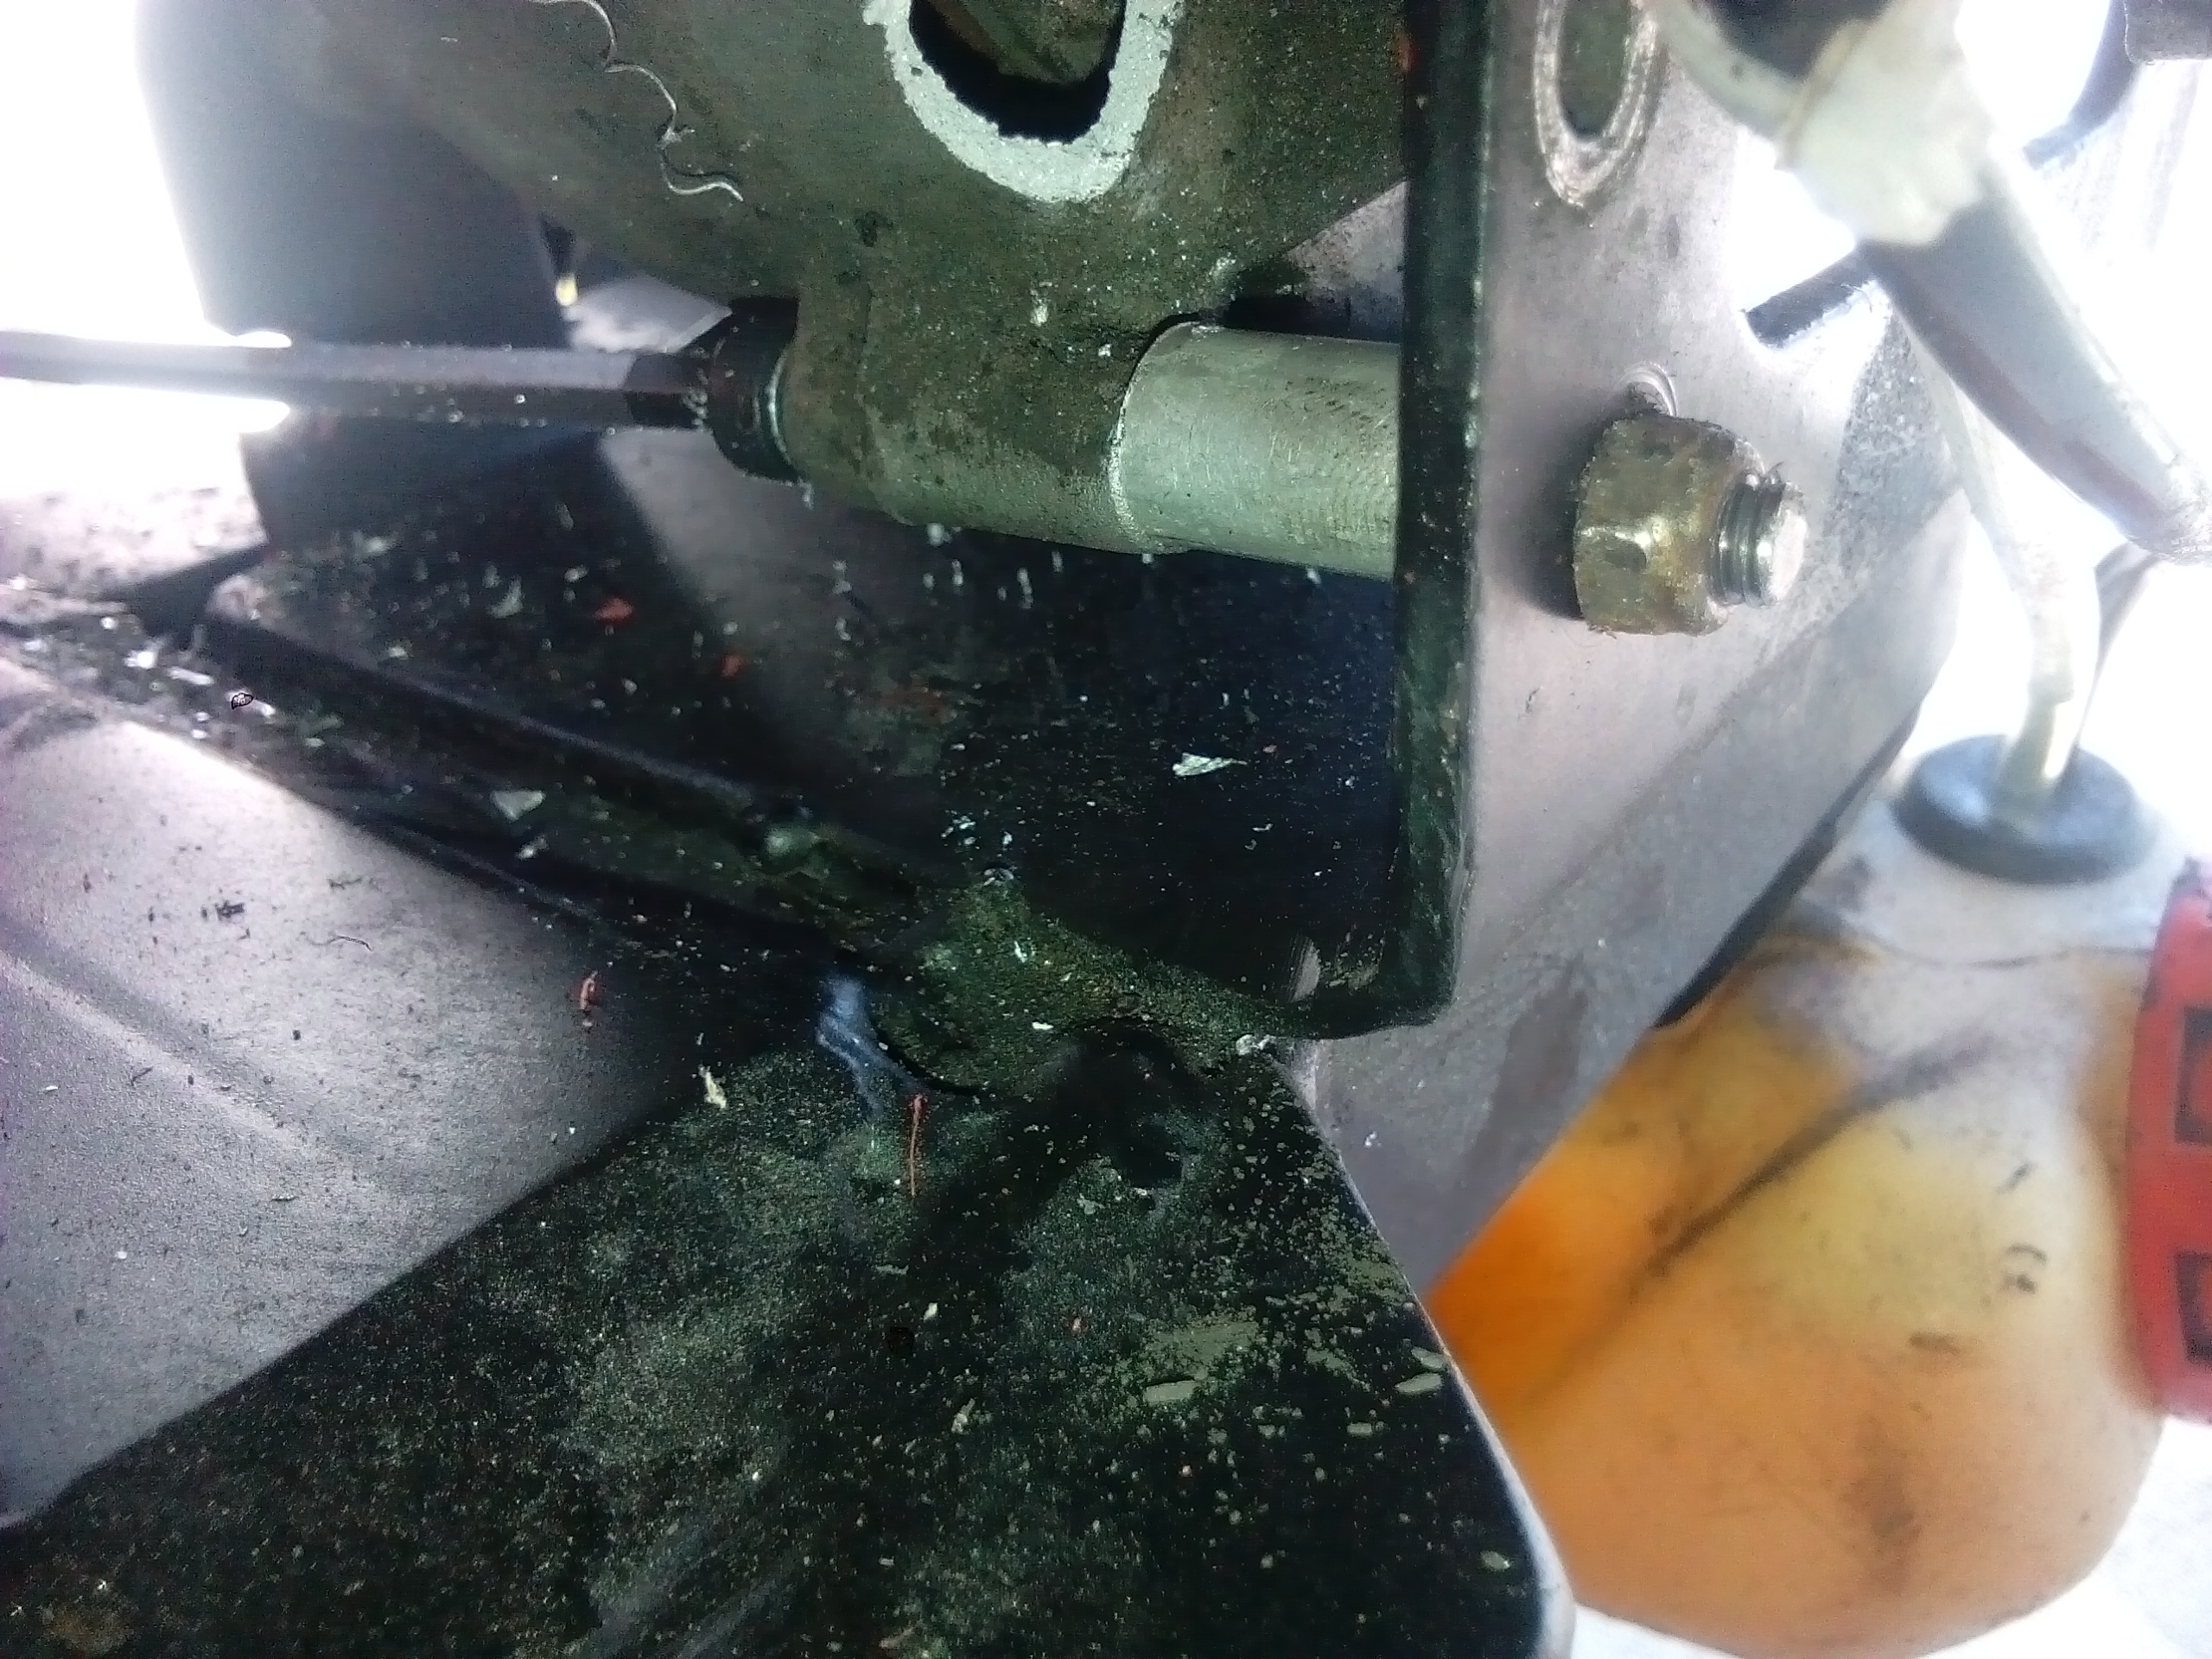
Now jumping on to brakes. I've added a disc brake to this goped. It was missing its brakes, so I hacked off whatever brackets were there and started again: A few holes and a couple minutes with a grinder made this sexy bracket. Gotta love a good bracket! Tacked in place.
-
Kimjon's not as cool or epic as Muncie's off-road goped Bigfoot scooter thingy
Kimjon replied to Kimjon's topic in Two Wheels
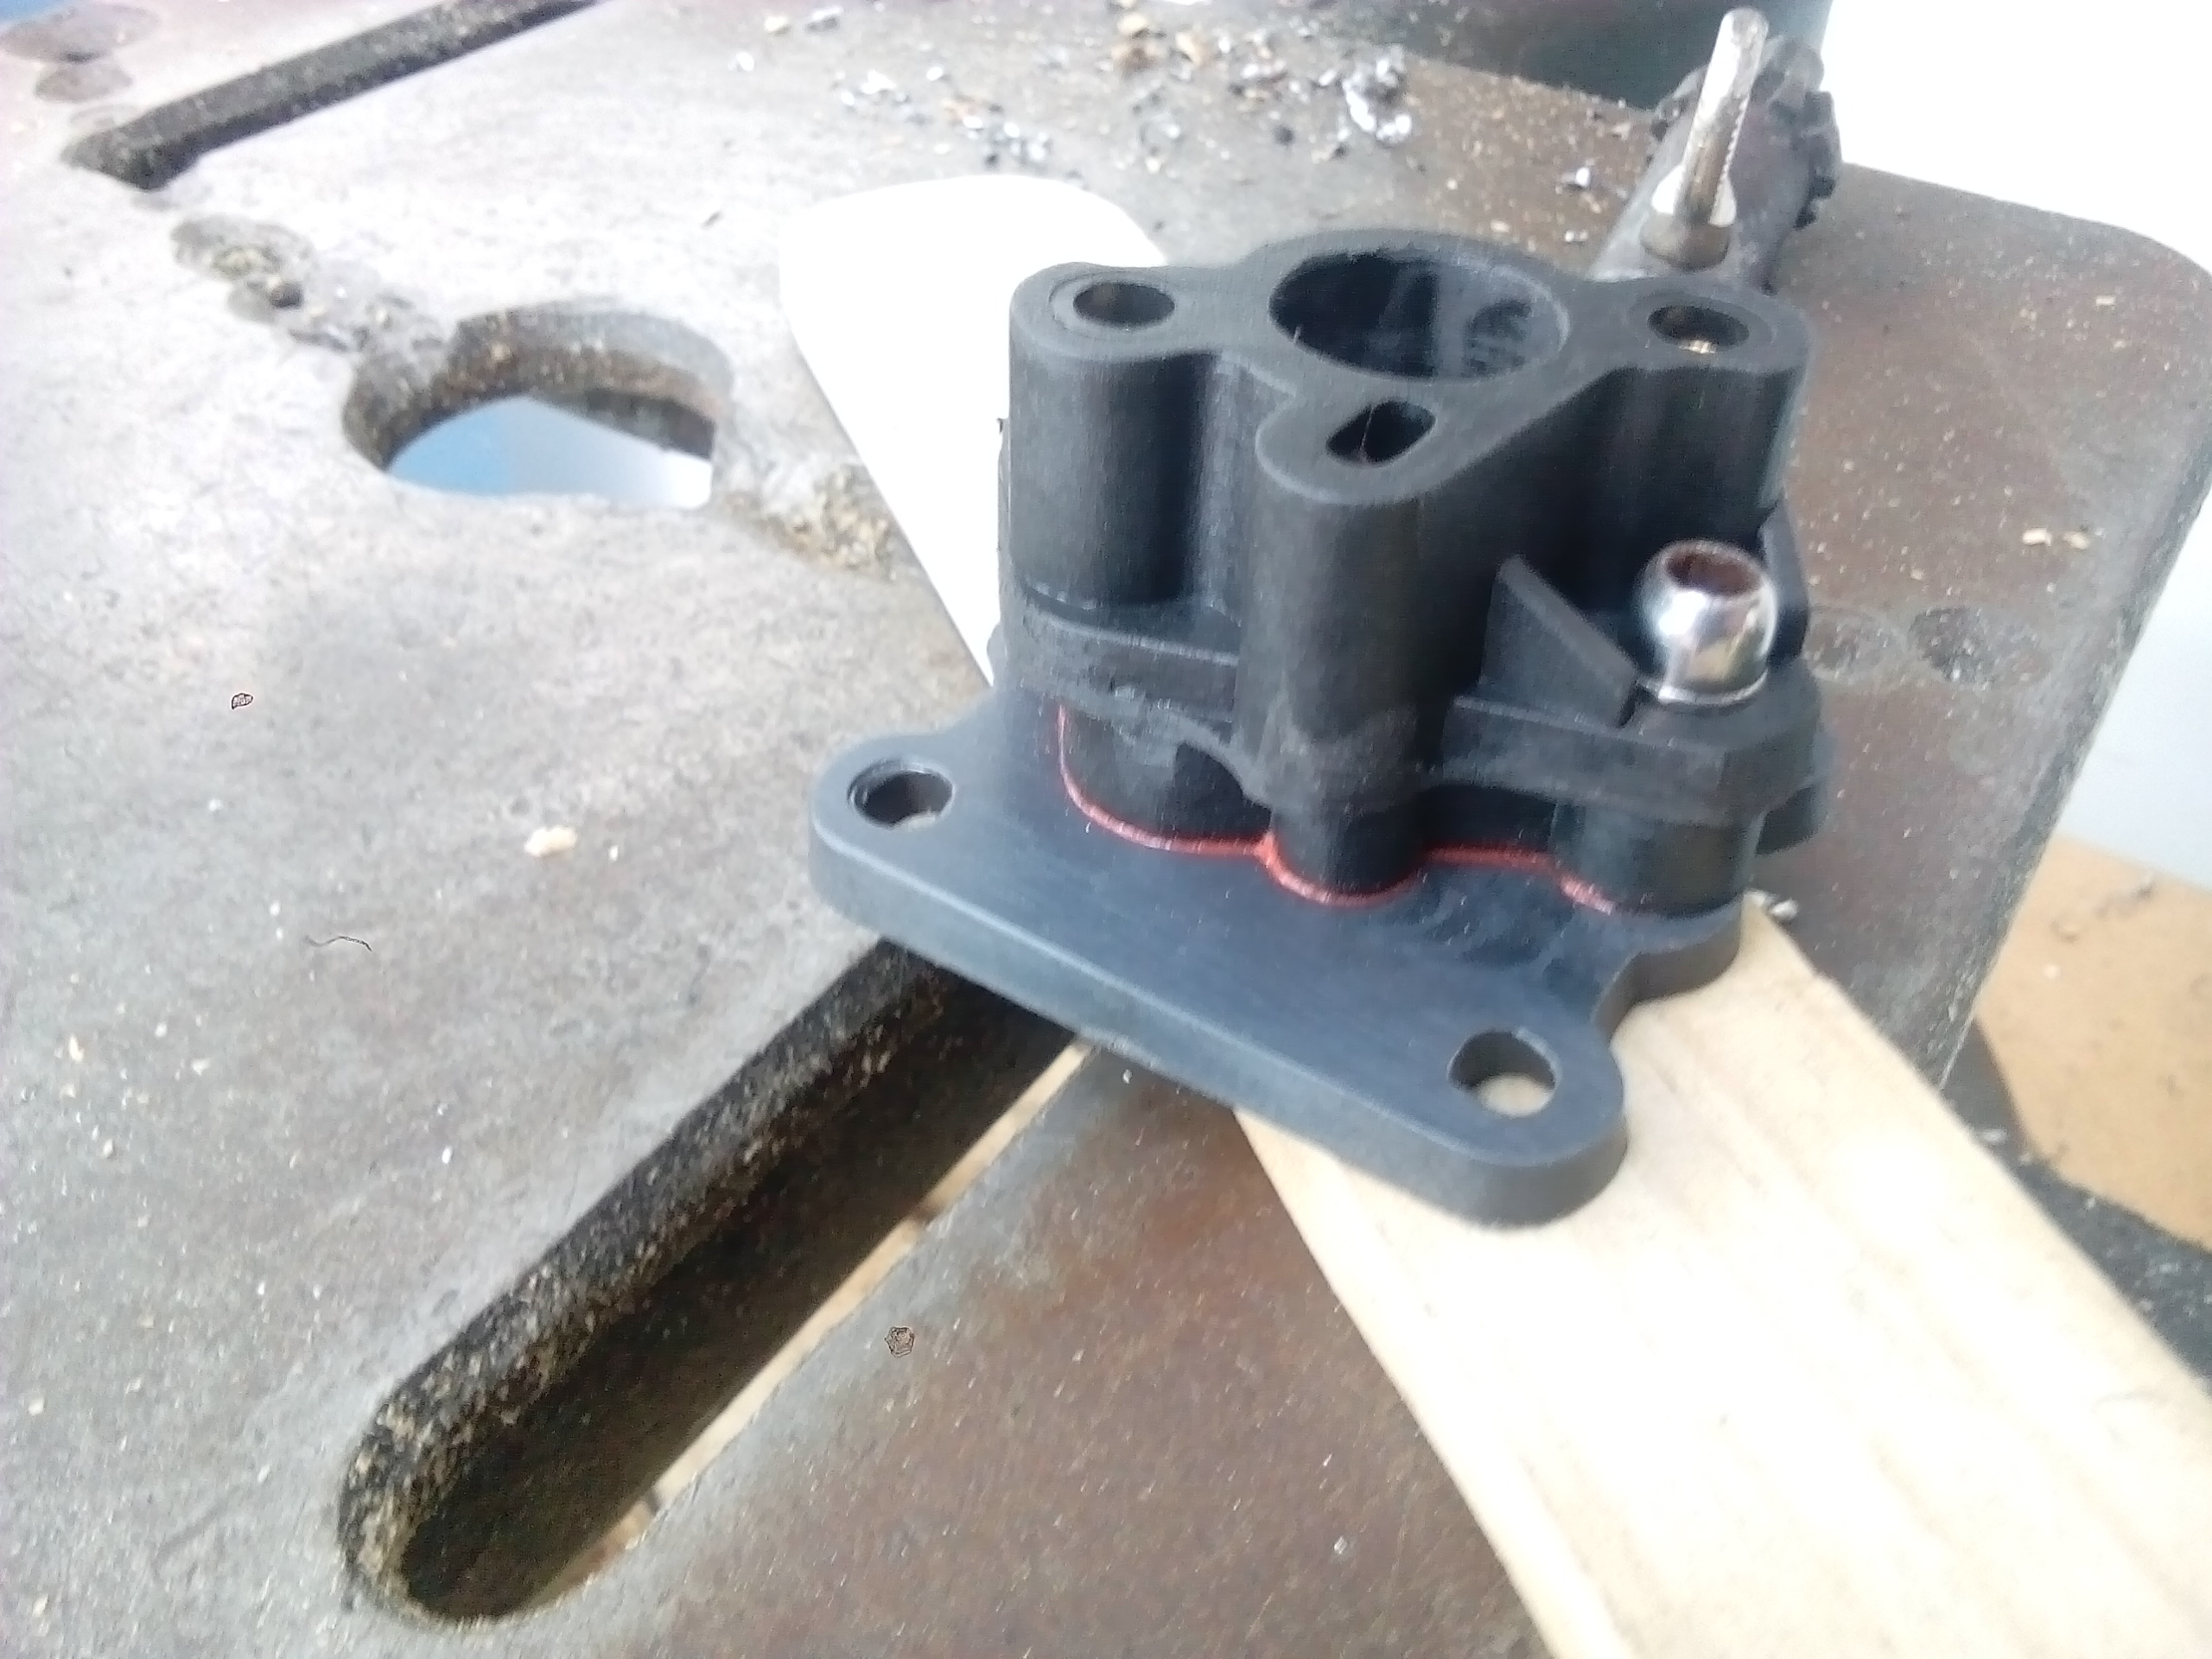
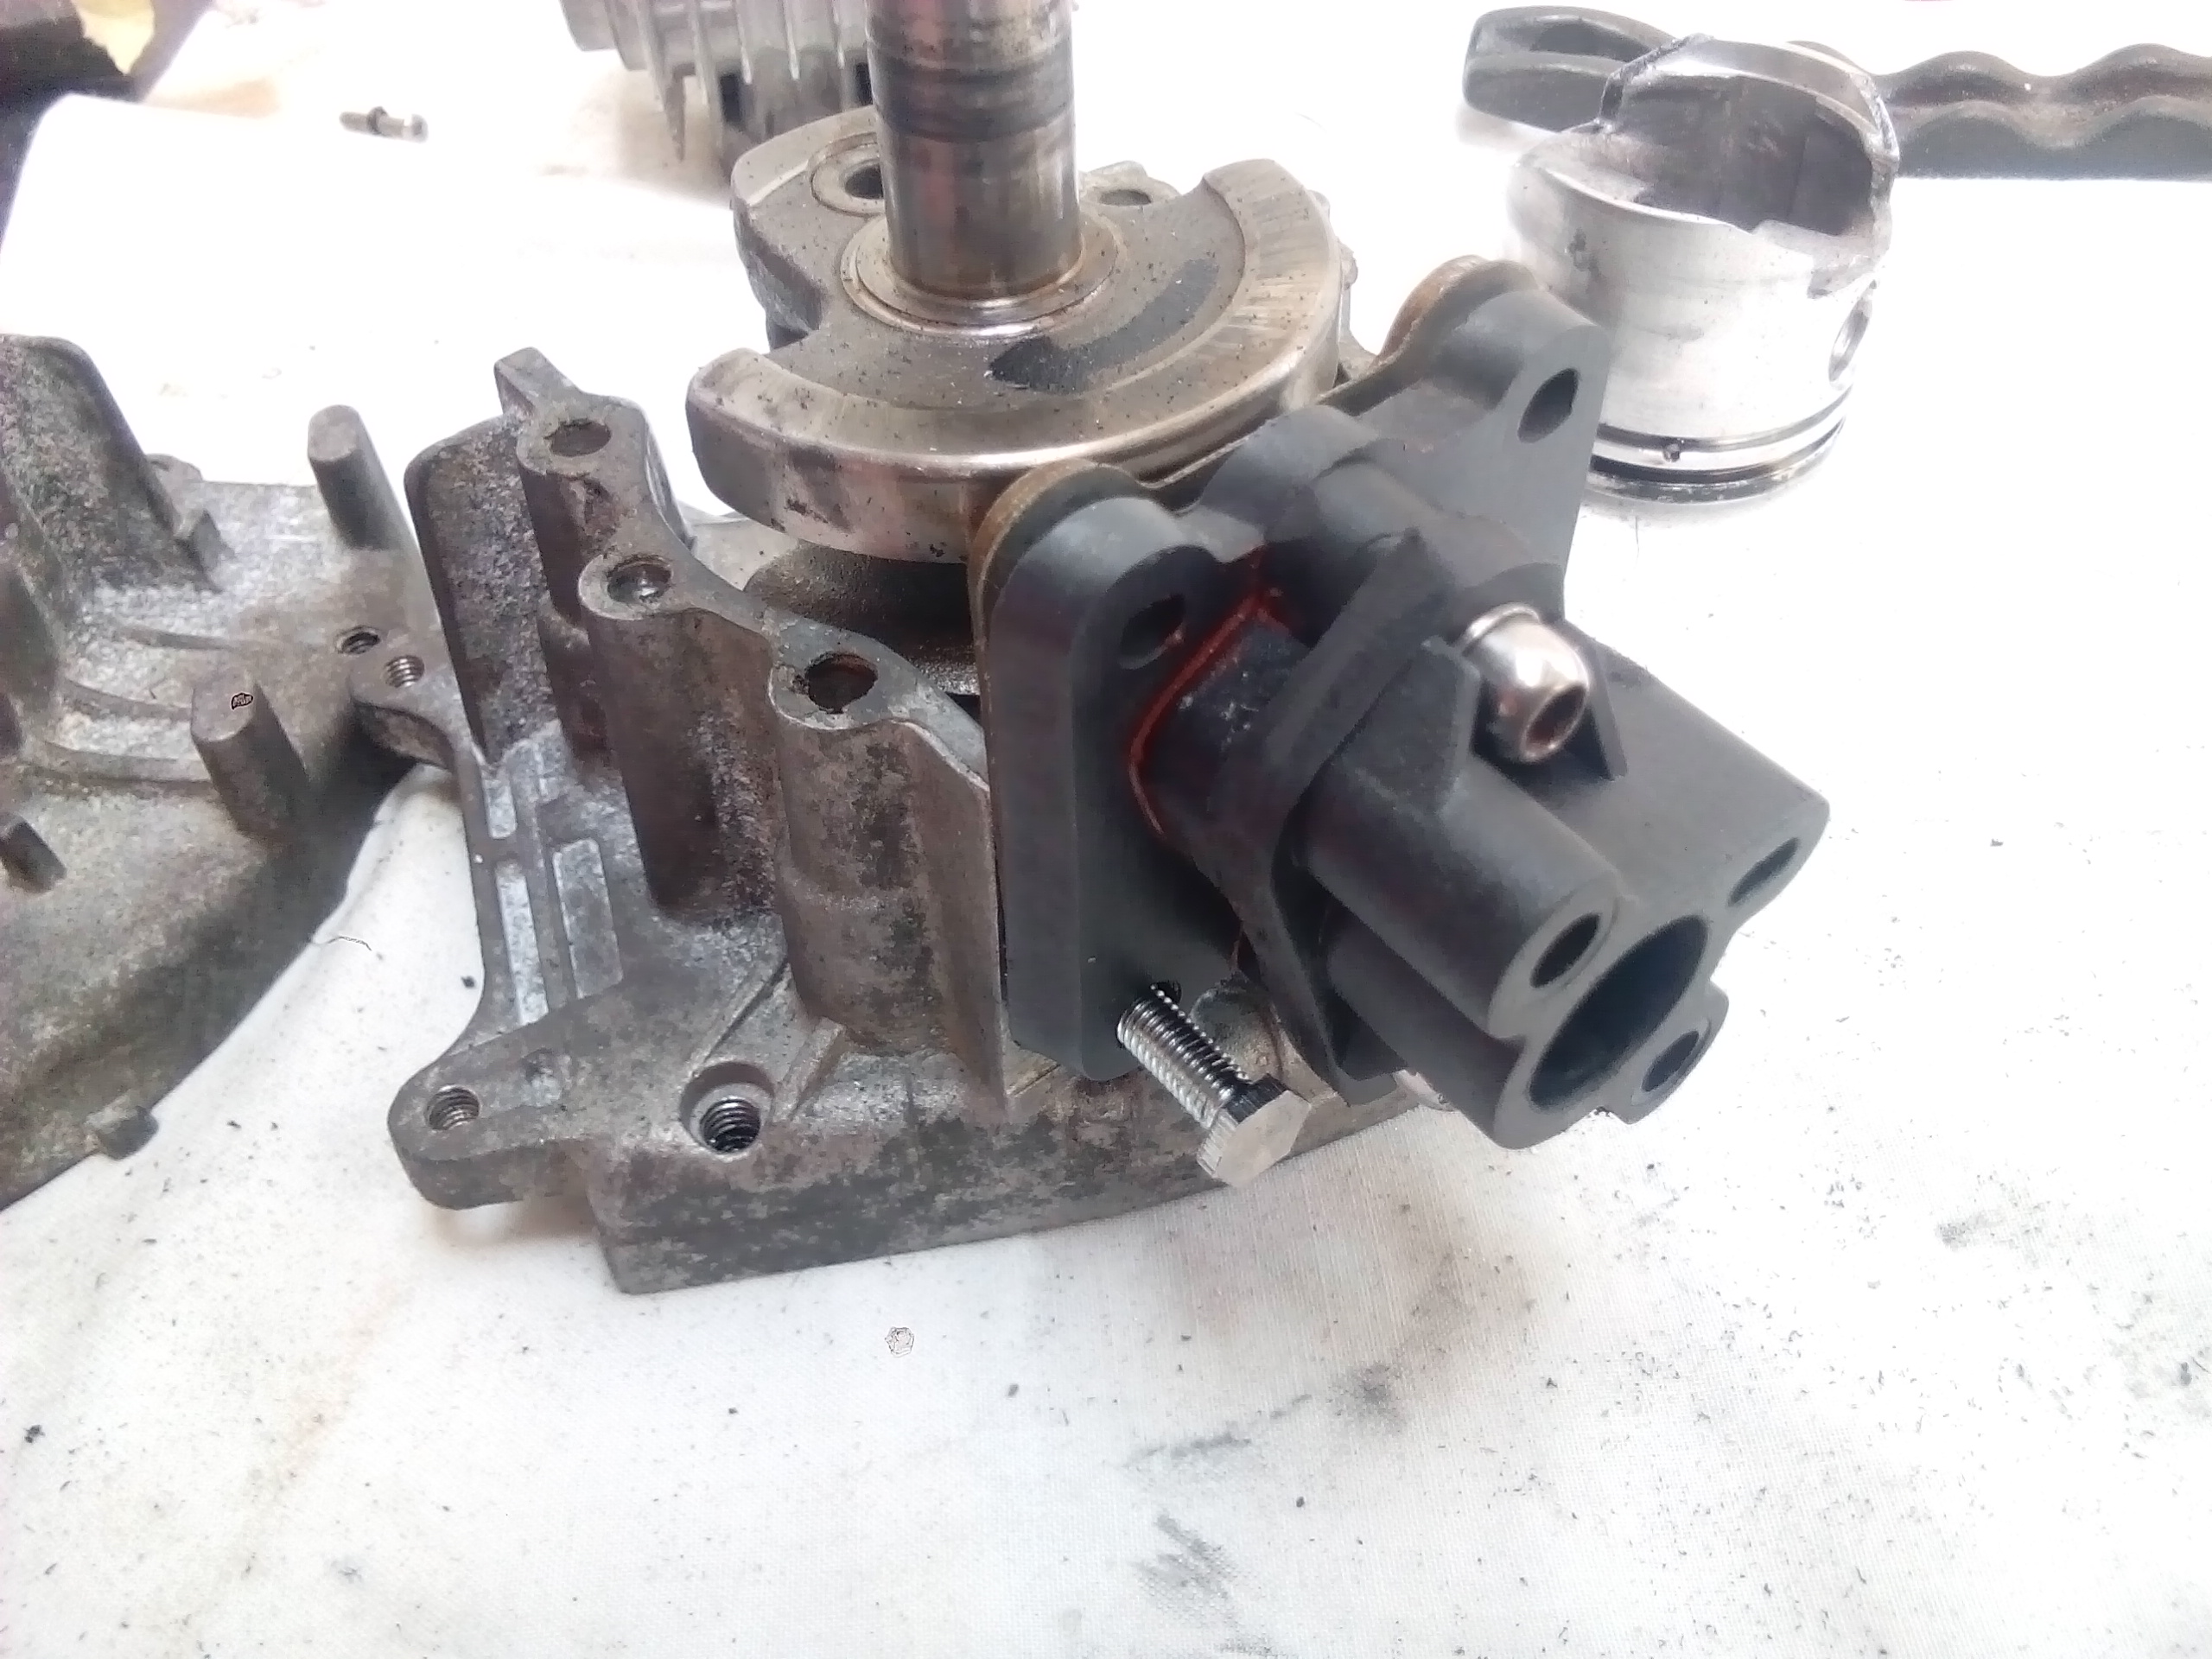
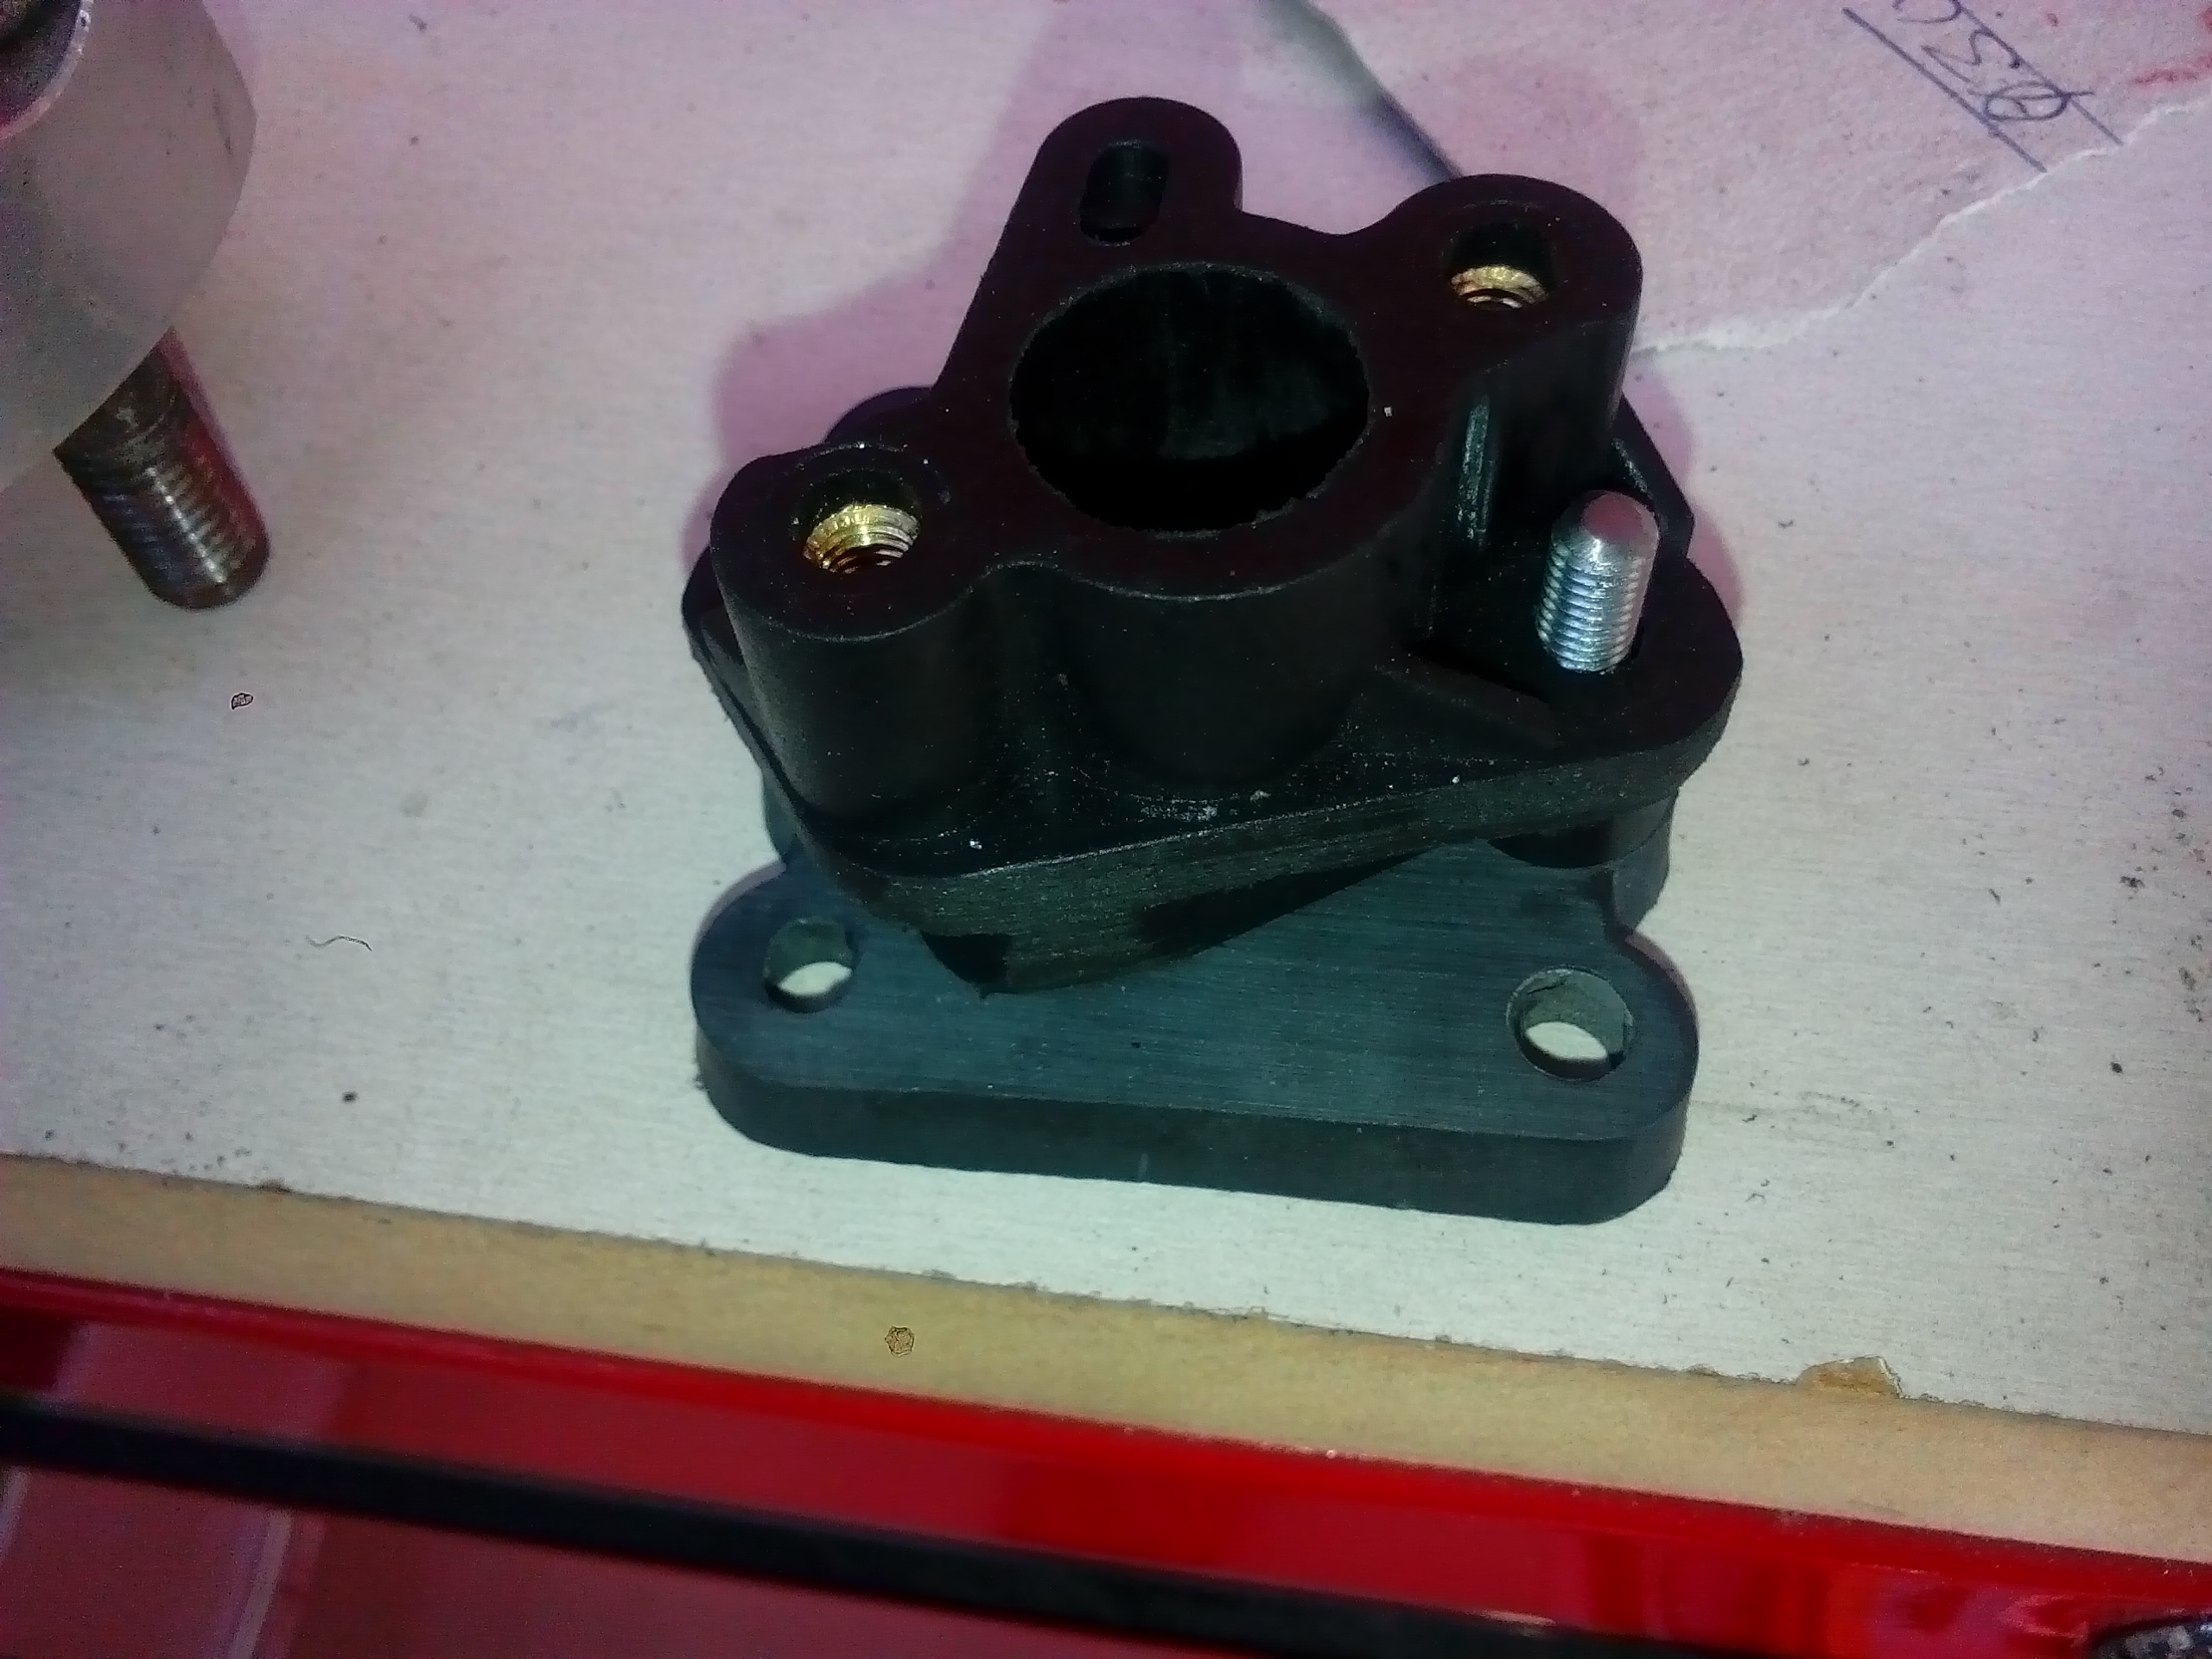
Finished the manifold. I'm pretty sure its going to work. Here it is loosely in place
-
Kimjon's not as cool or epic as Muncie's off-road goped Bigfoot scooter thingy
Kimjon replied to Kimjon's topic in Two Wheels
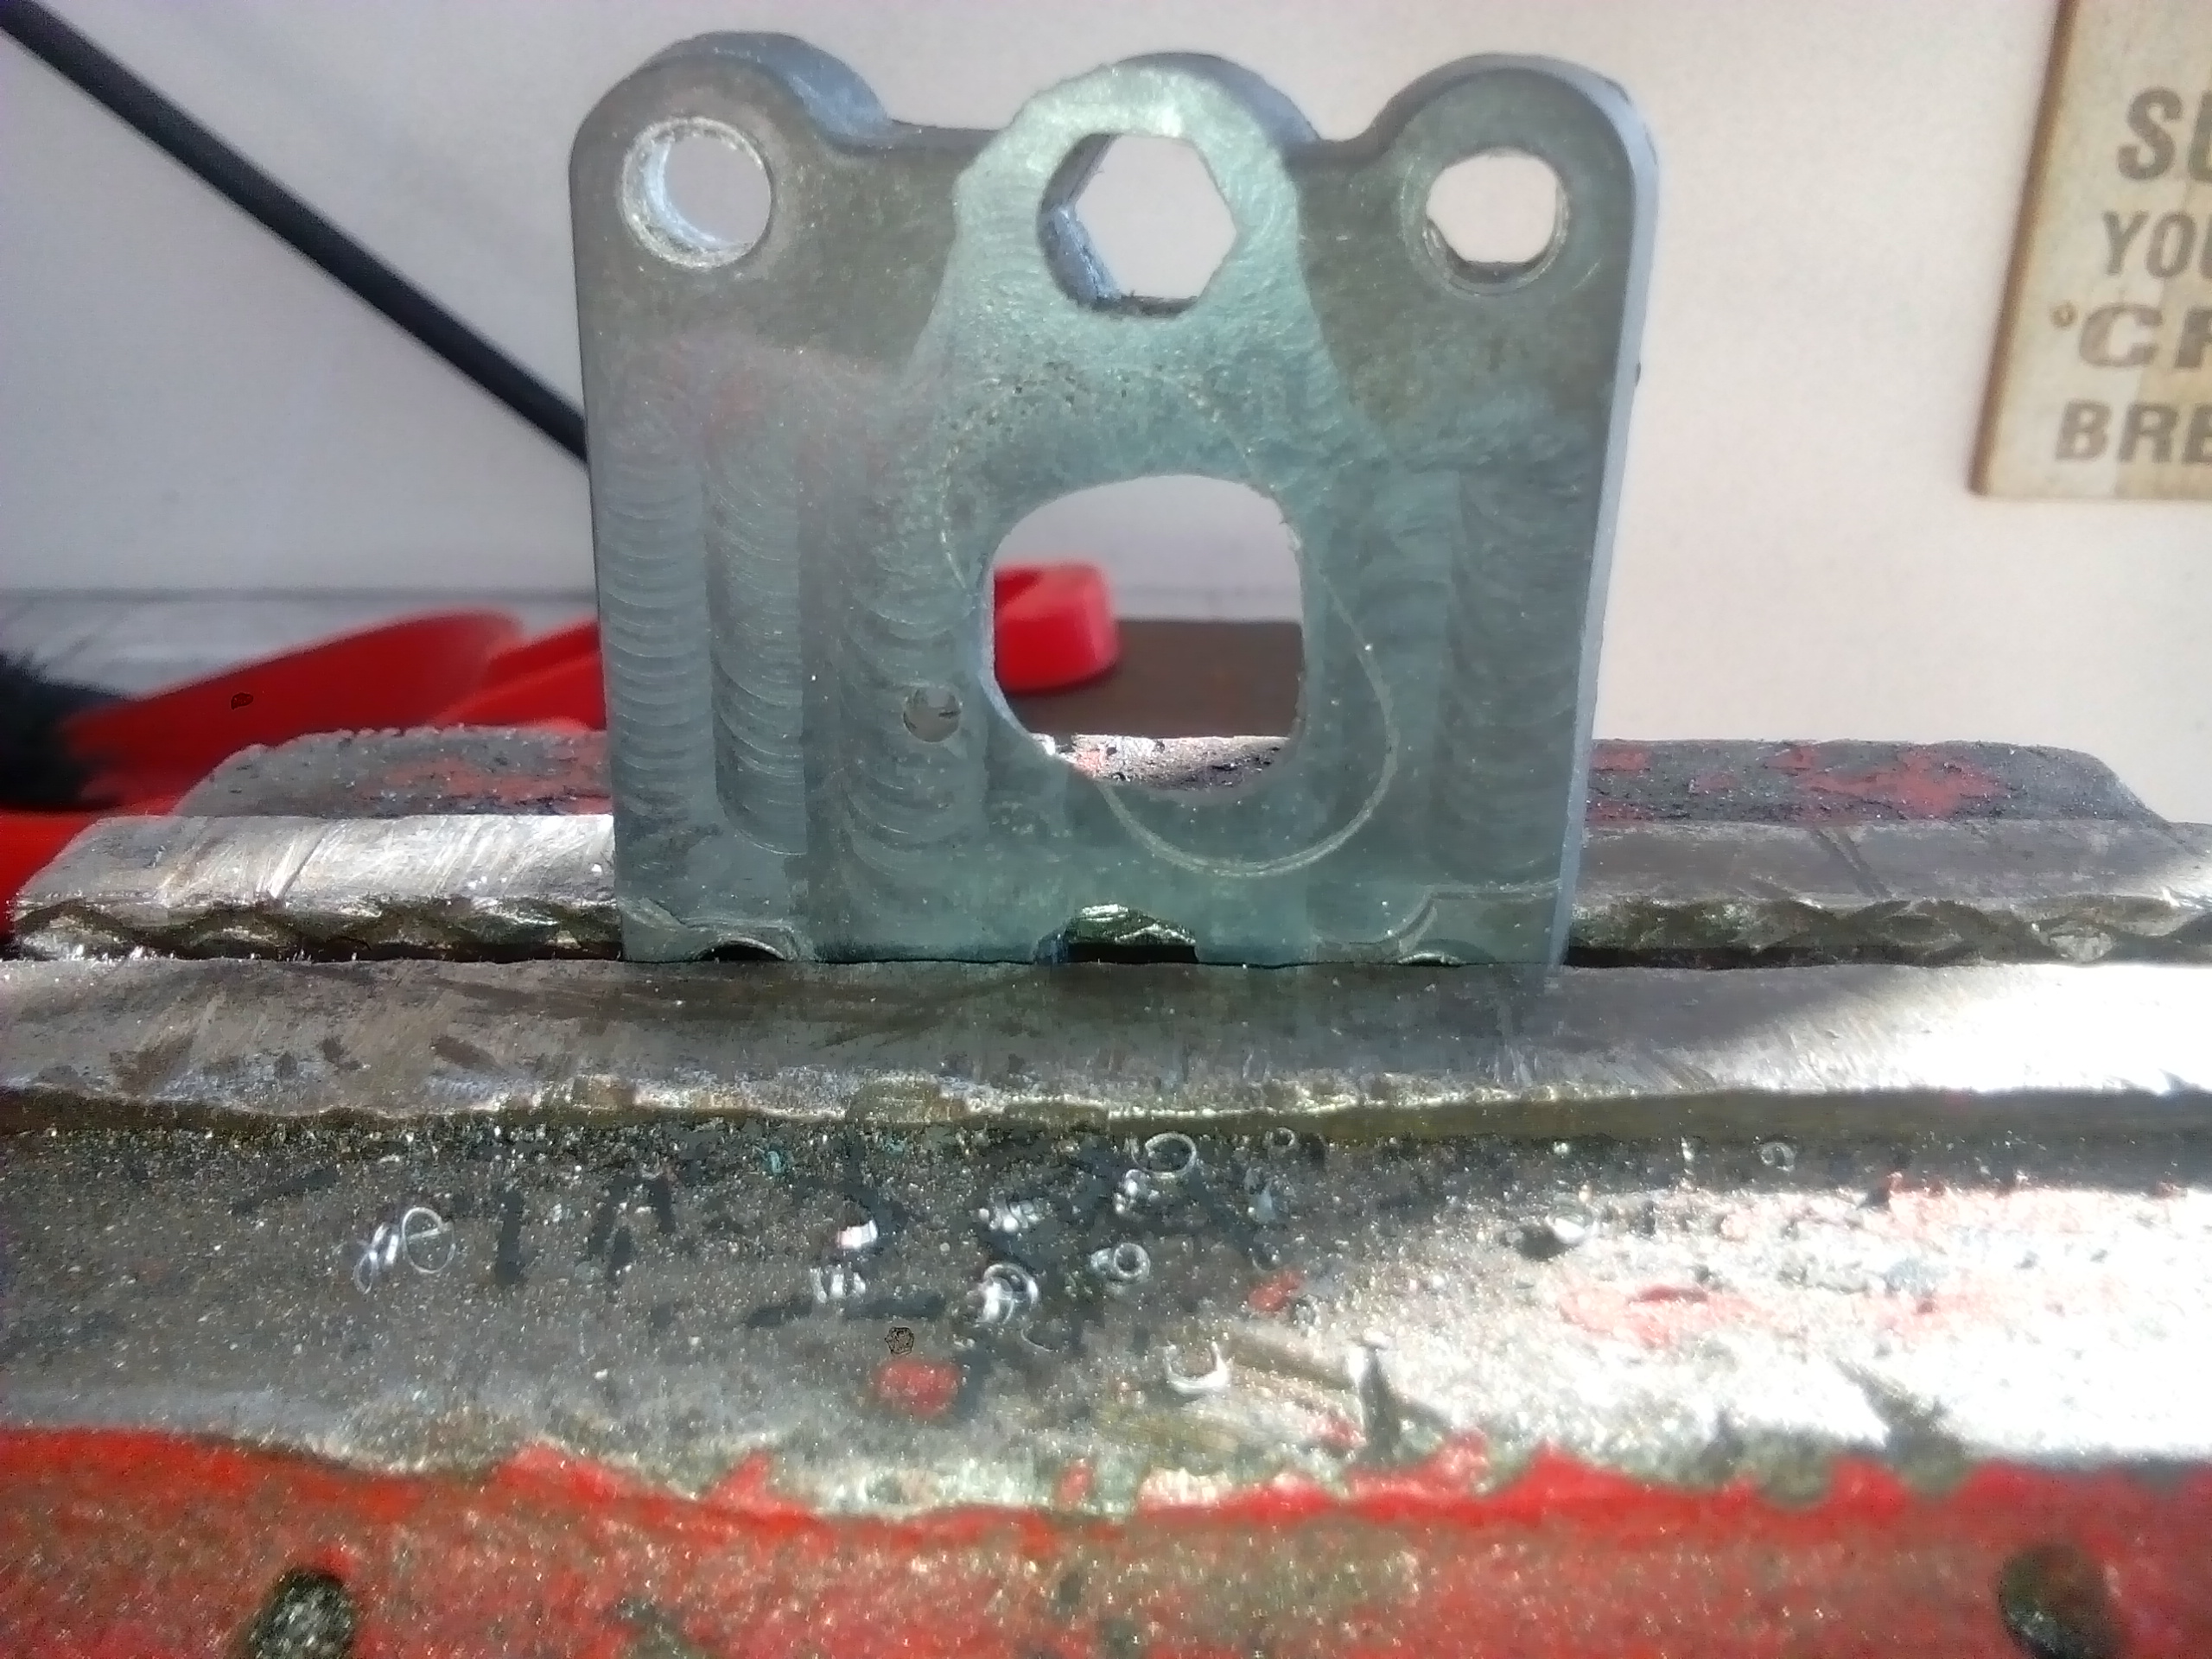
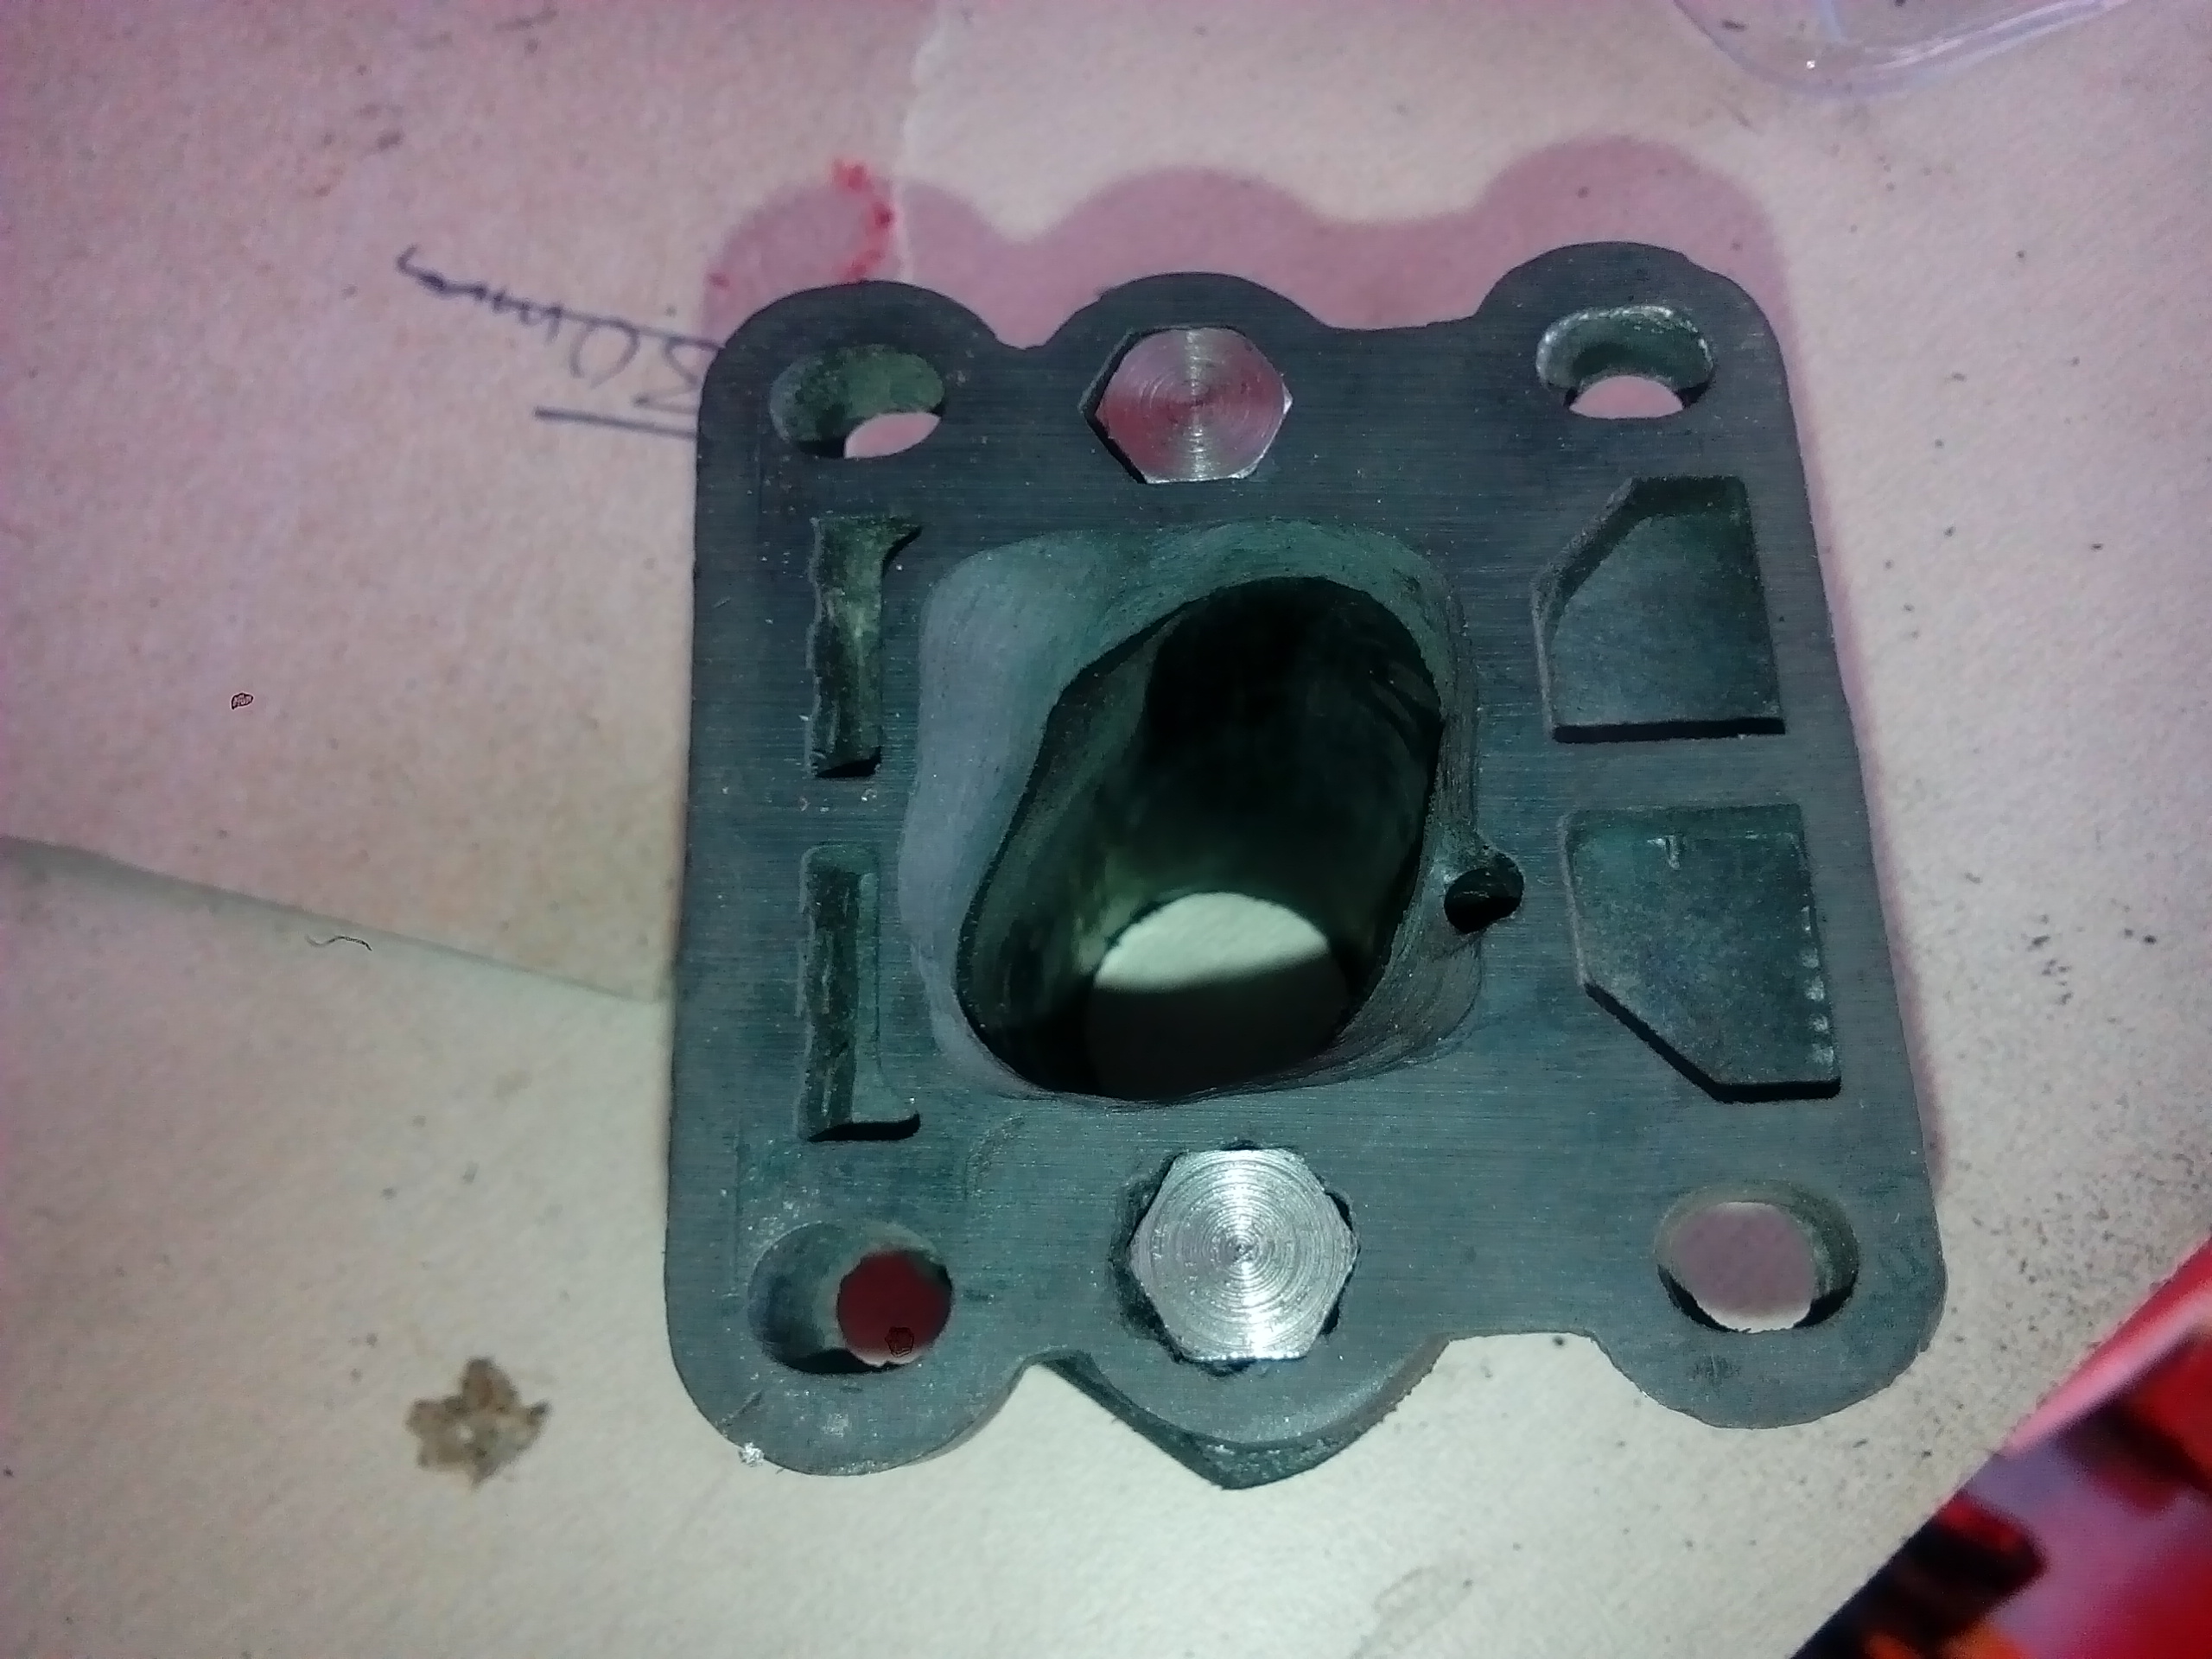
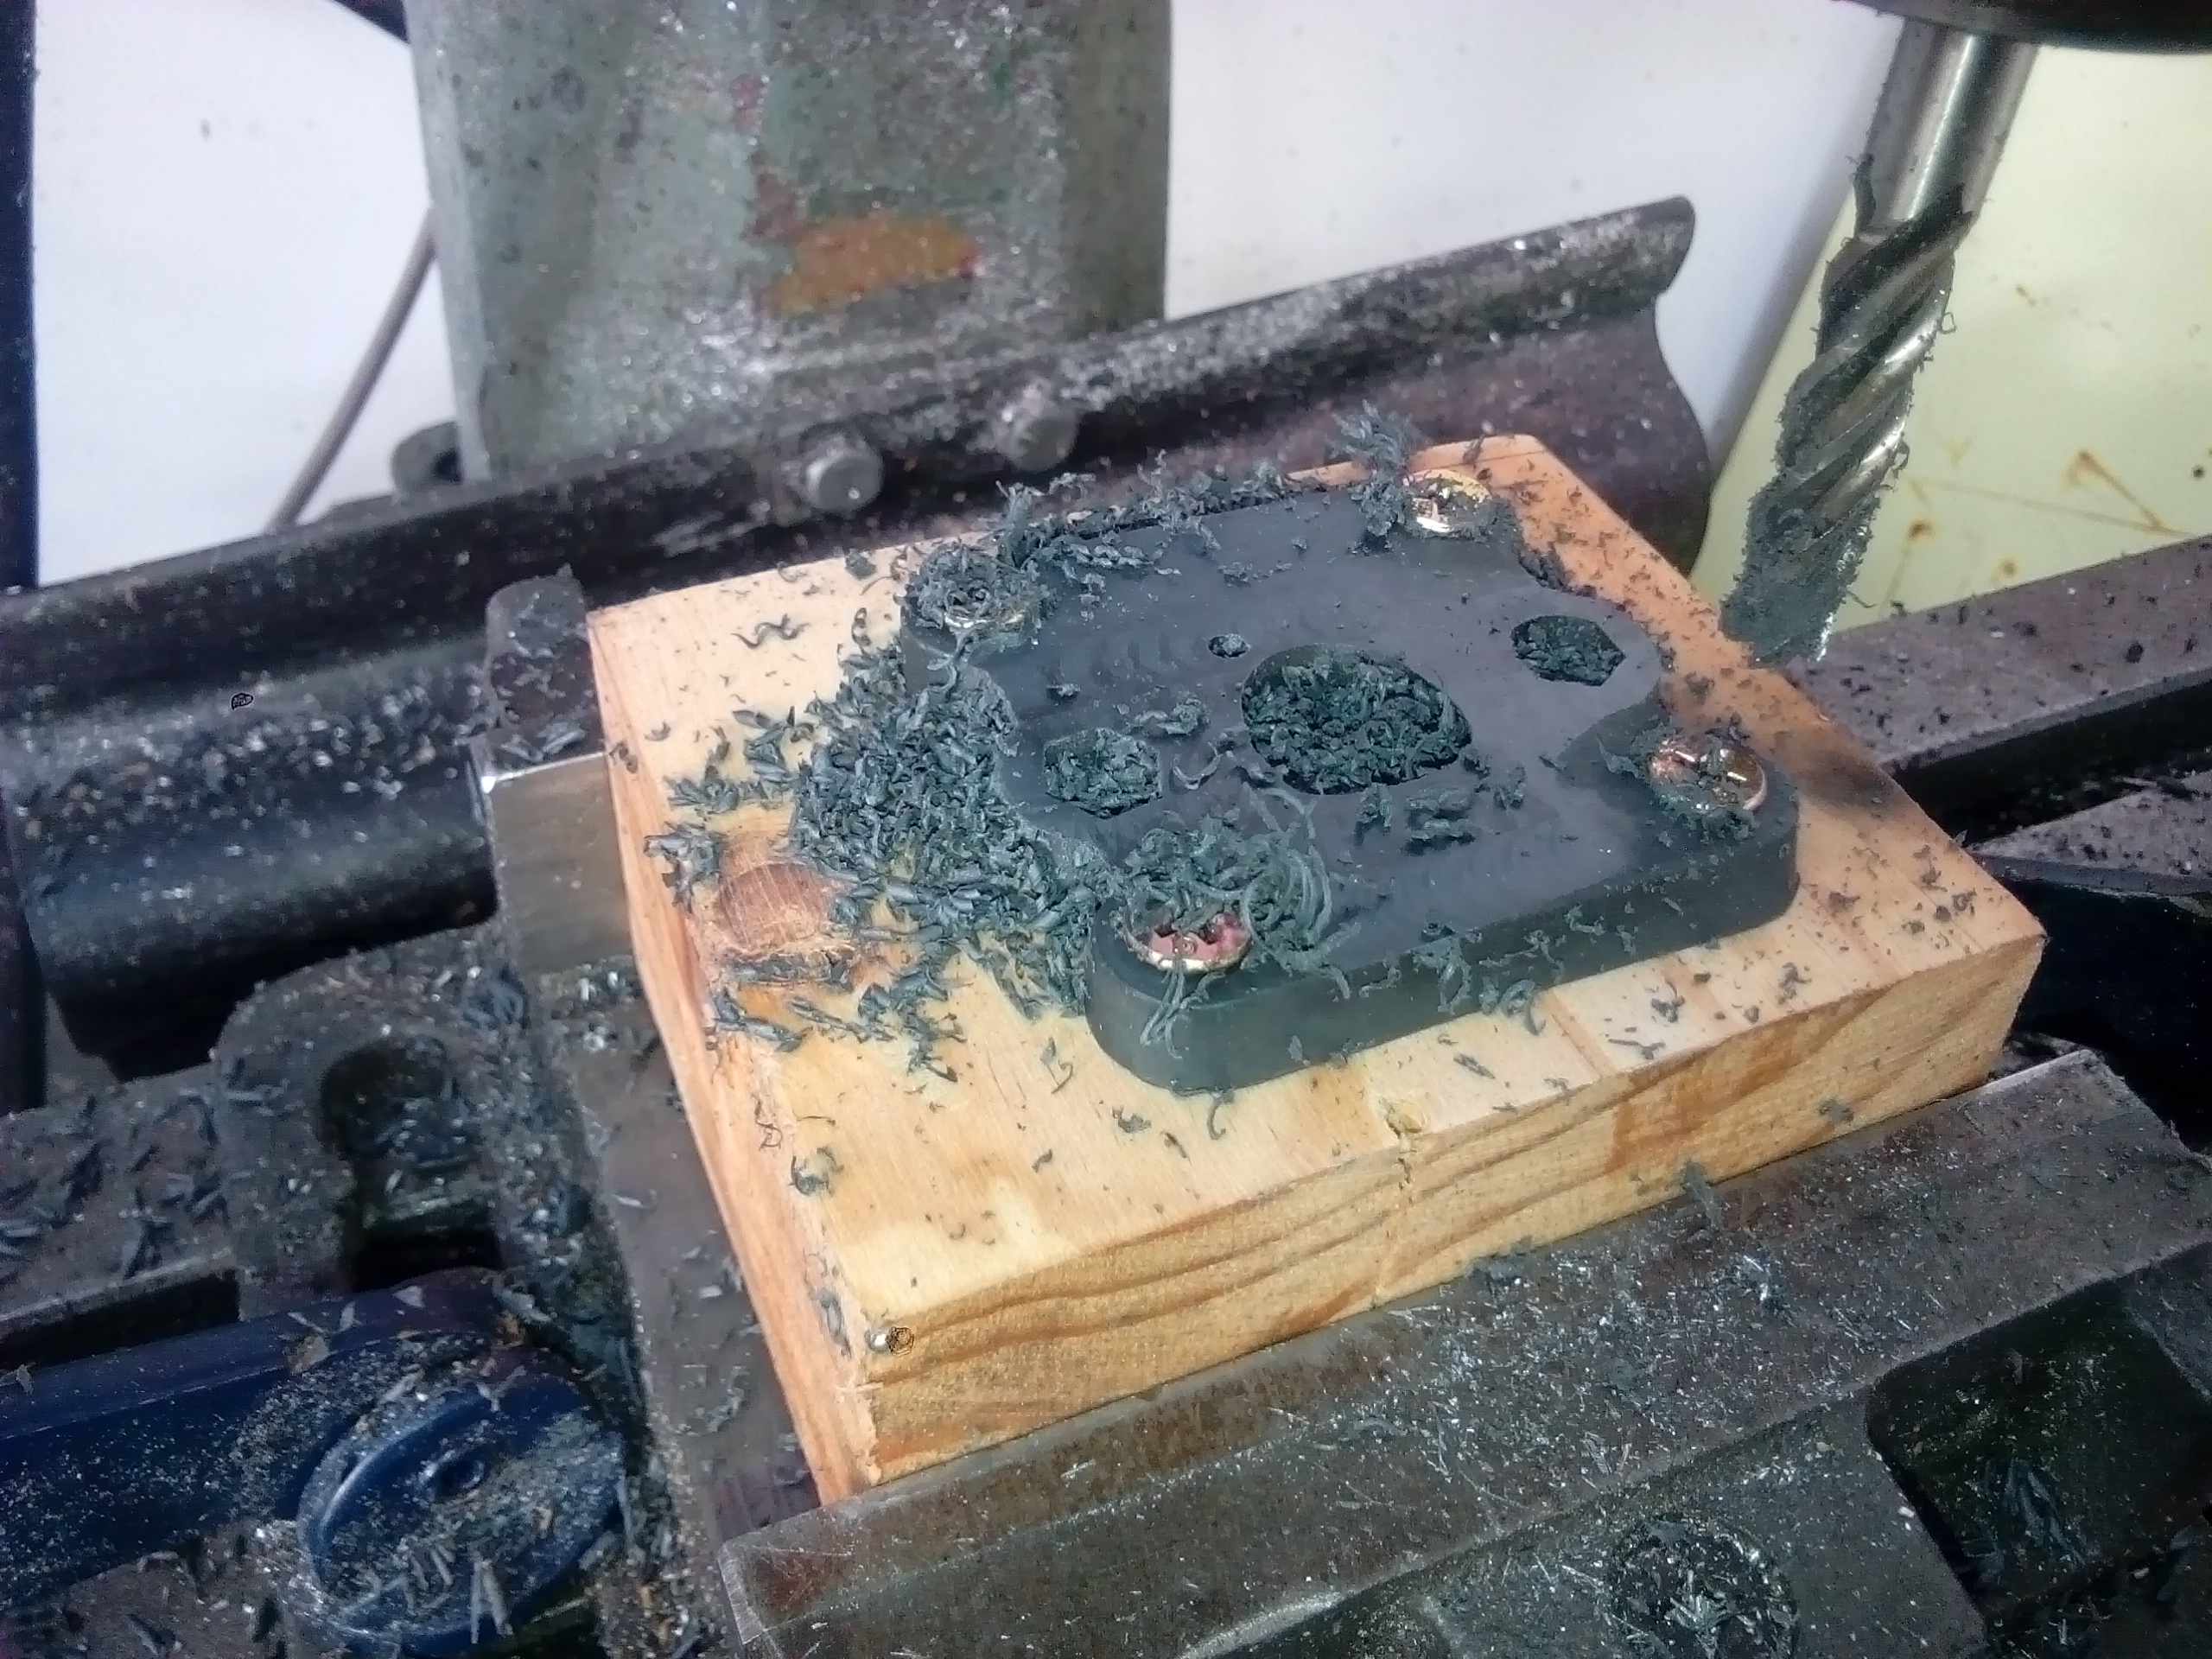
Original manifold milled down flat, this will bolt to the motor. Port matching to the other manifold shape. A pulse port drilled in the side to run the fuel pump/diaphragm. Test fit...Fucking ugly as sin, but should be functional. I'll grind off any excess material later to try make it look a wee bit better than it currently does.
-
Kimjon's not as cool or epic as Muncie's off-road goped Bigfoot scooter thingy
Kimjon replied to Kimjon's topic in Two Wheels
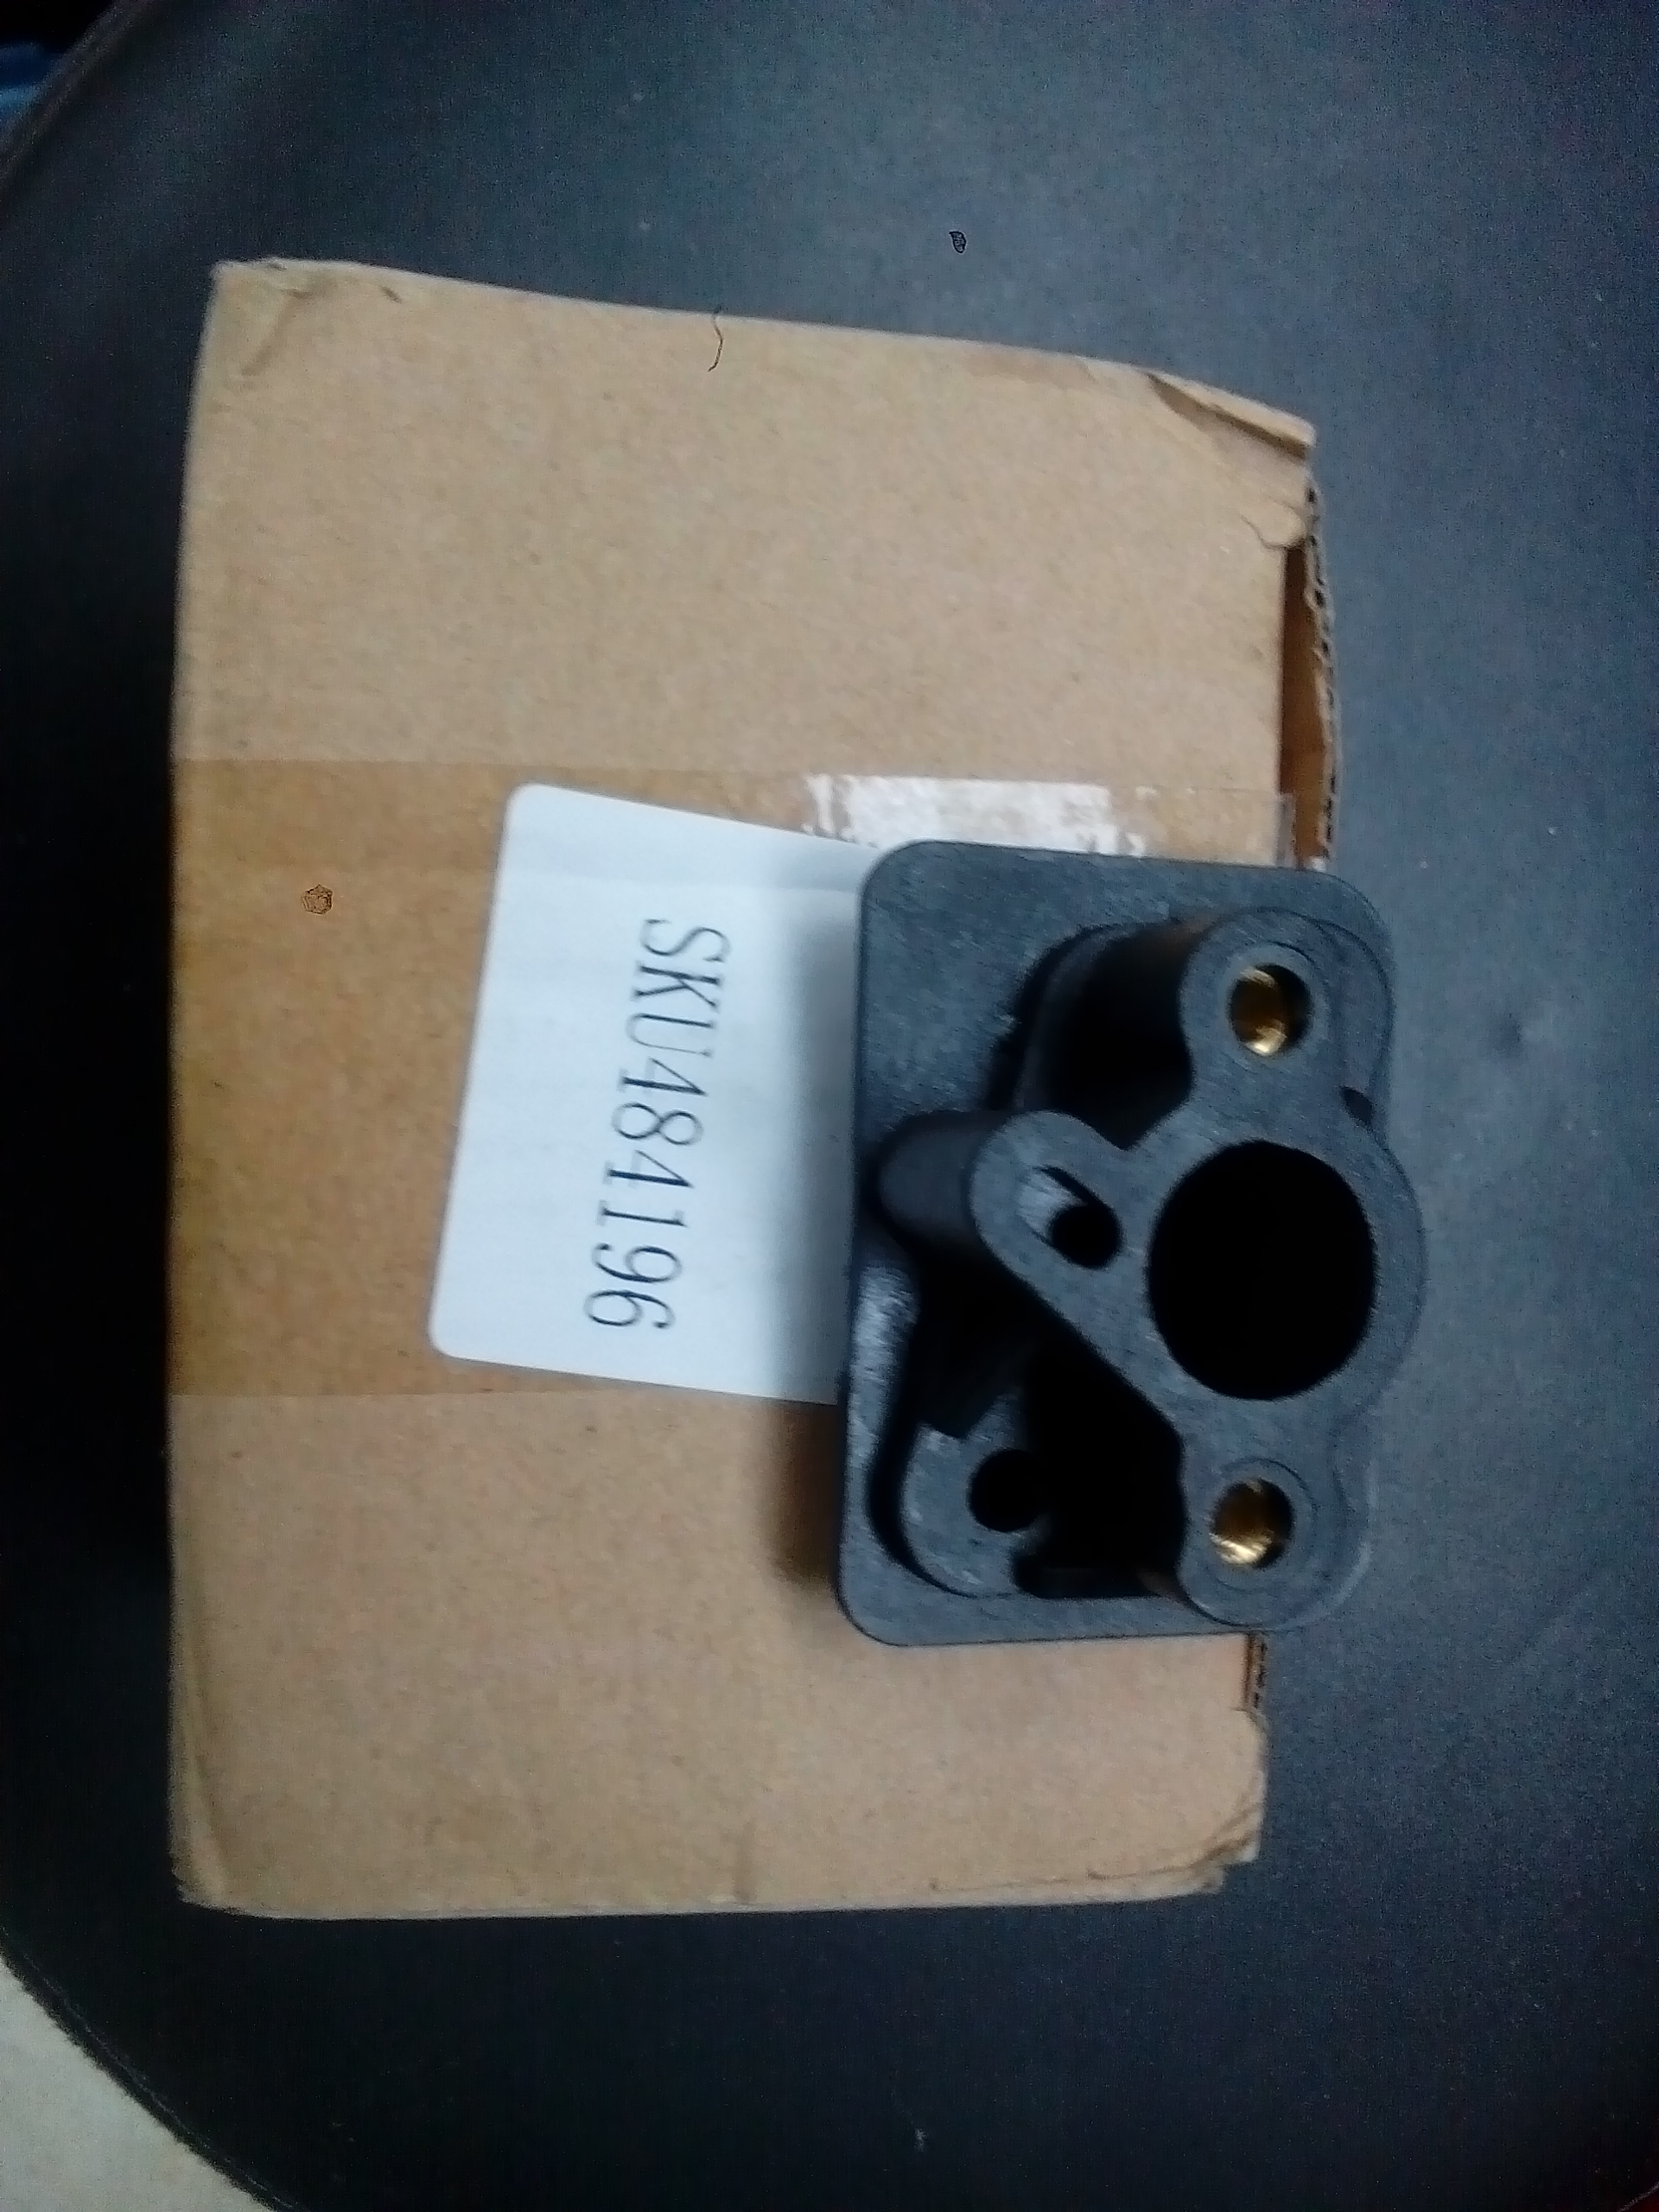
I ordered a diaphragm style carburetor kit from eBay, it arrived in record time...But it would have been awesome if they'd sent me the right one. The manifold in the kit was for a completely different motor! It only has two mounting holes, but my motor has four. Countless emails, achieved nothing in the end...I just wanted the shitty Chinese manifold for fuck sakes...But in the end they offered a part refund instead, which leaves me no further ahead. So, solution:
-
As they say...you can't keep a good drift trike down. I bent it back into shape, and got it ruining again all be it with different mounting holes on the motor as the old holes broke off. Crack in case, but it's just the fan cover side, so this was my solution. Got in tuned, but the power band is way up in the rev range so I'm not seeing its potential in my driveway (not enough room)...But it increased power all the way through the range as well, so still way better... I'm happy its only 49cc.