Kimjon
-
Posts
2181 -
Joined
-
Last visited
-
Days Won
1
Everything posted by Kimjon
-
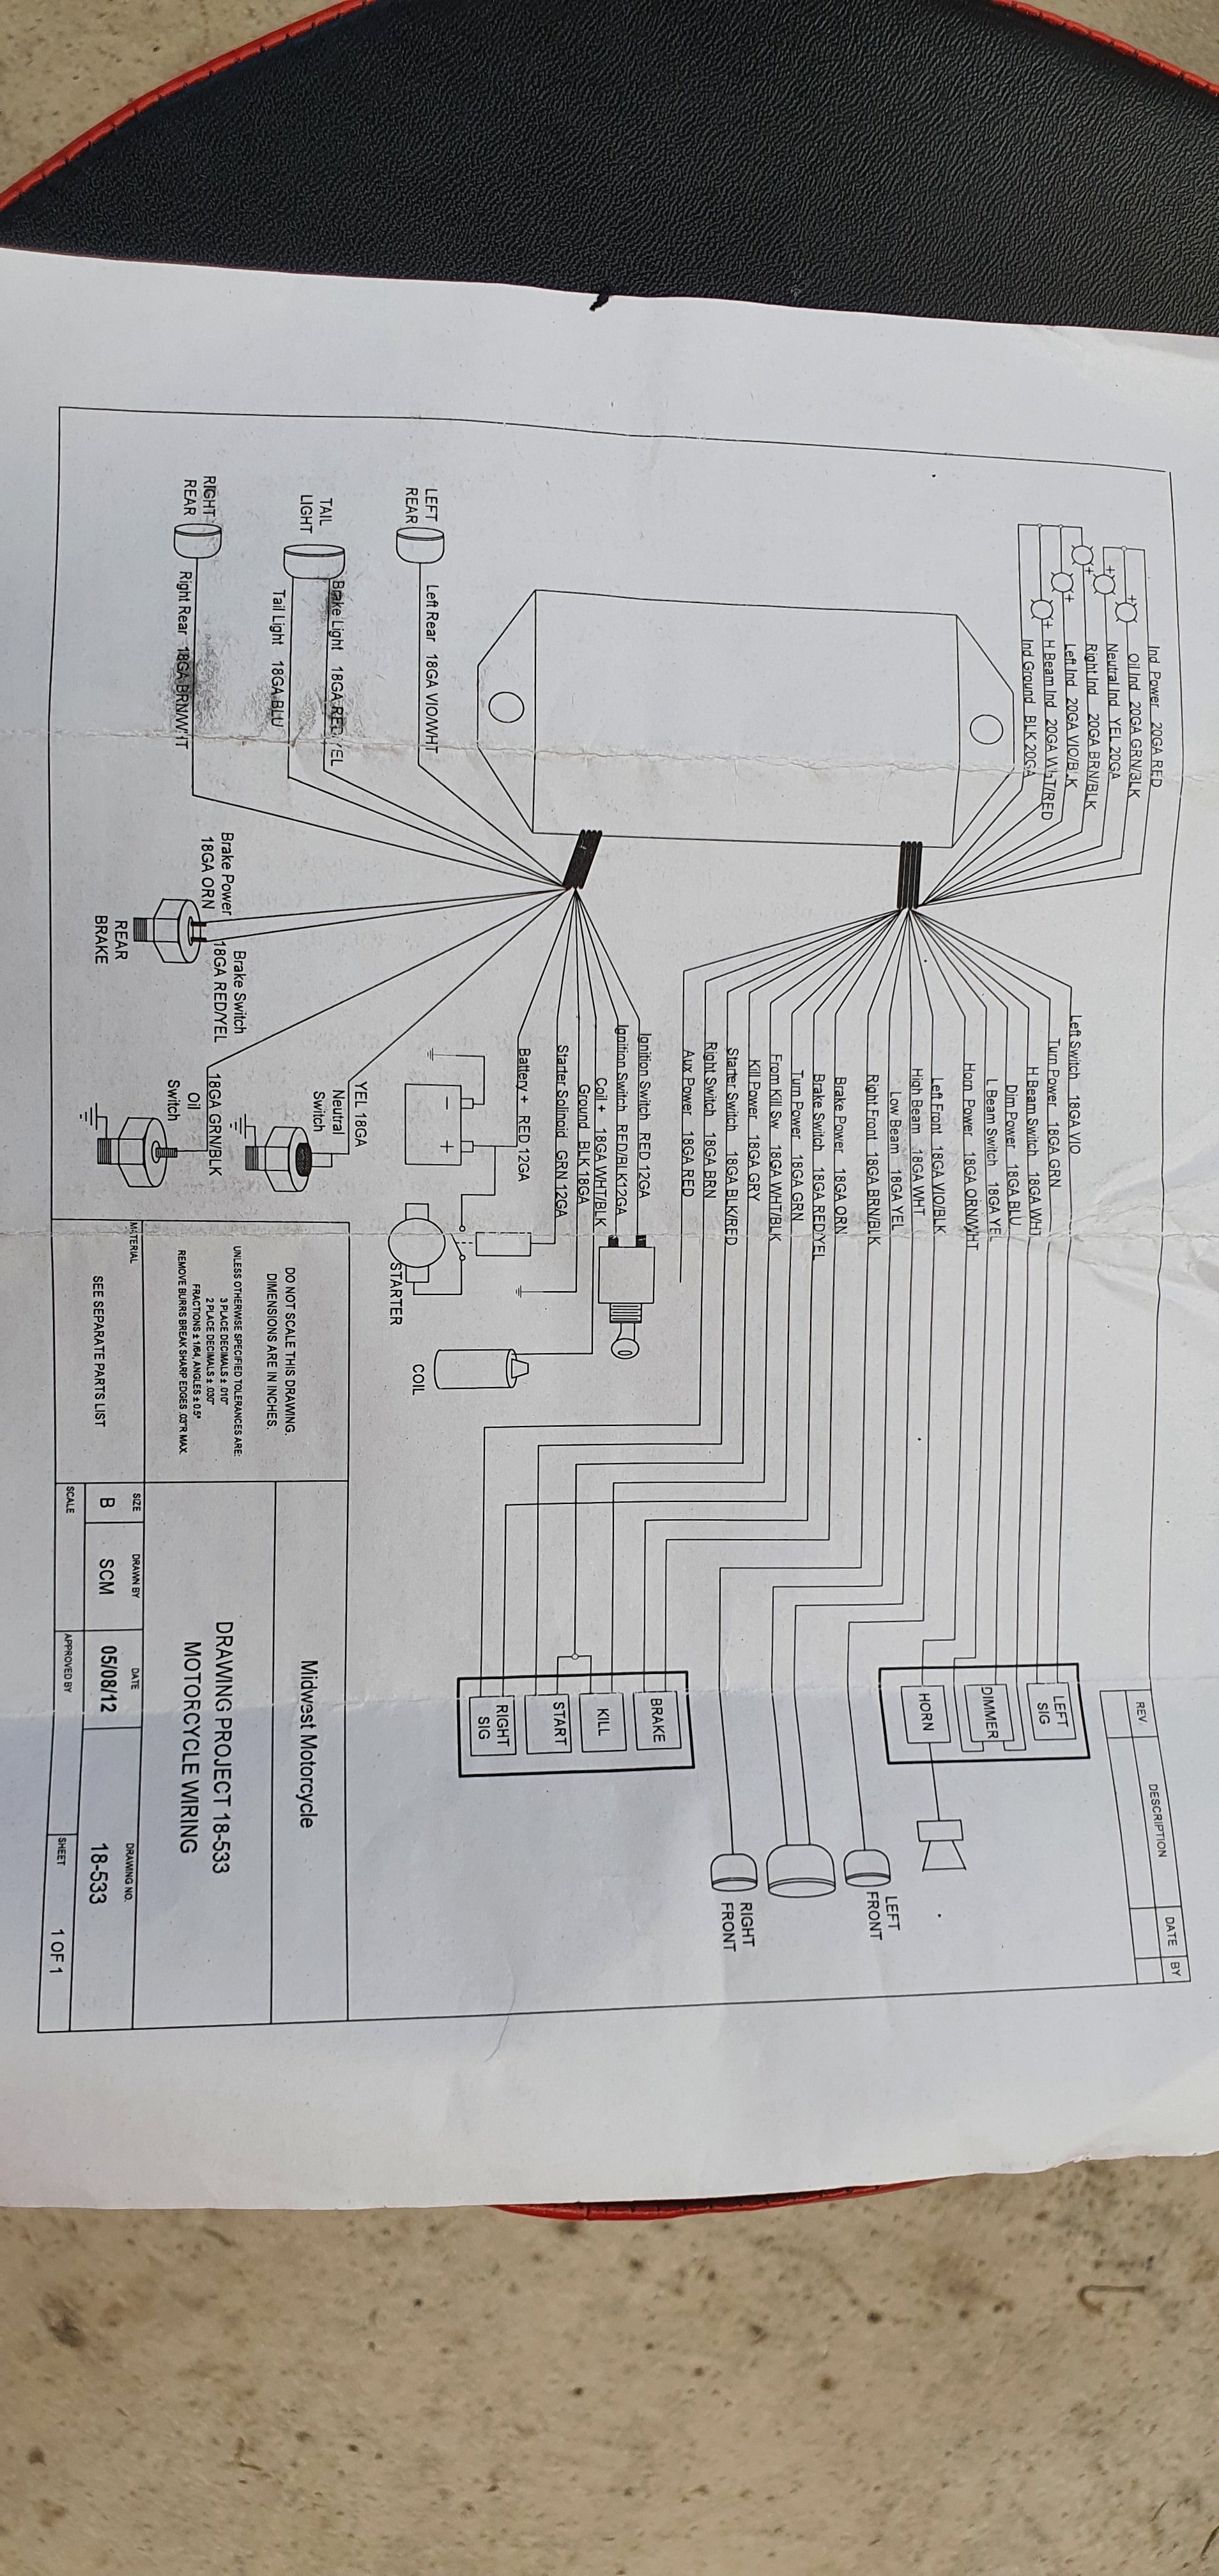
Thanks, yes I'll post up diagram. Any advice will be much appreciated thanks. Part number is 18-533 ultima wiring harness.

-
These were on trademe, nz stock, so should have by Friday? Same price as Aliexpress but $10 freight, so about $60 for 2x sets including freight. Repco and jaycar were like $30-$70 per fitting and I need 7 plugs, which adds up stupid fast!! I found a few other shops selling them for around $30, but nothing really cheap. The kits I brought were $25 per kit, and include about 20 random fittings per kit. Considering I'm not working to NASA tolerances, I think these cheap plugs will be fine. I'll just try them and see.
-
Not yet. I'm unsure if my relay box has built in fuses, information is sketchy at best. The wiring diagram doesn't show any additional fuses. I was going to put some in to cover the main parts. More reading I guess on Google??
-
Awesome, good advice thanks. Its not like I'll take it out in the rain, so I could pretty much twist the wires together and wrap in tape and it'd be fine hahaha
-
Ordered 2 of these kits. Should get it done. Works out much cheaper than paying $30 a fitting at jaycar or repco etc.
-
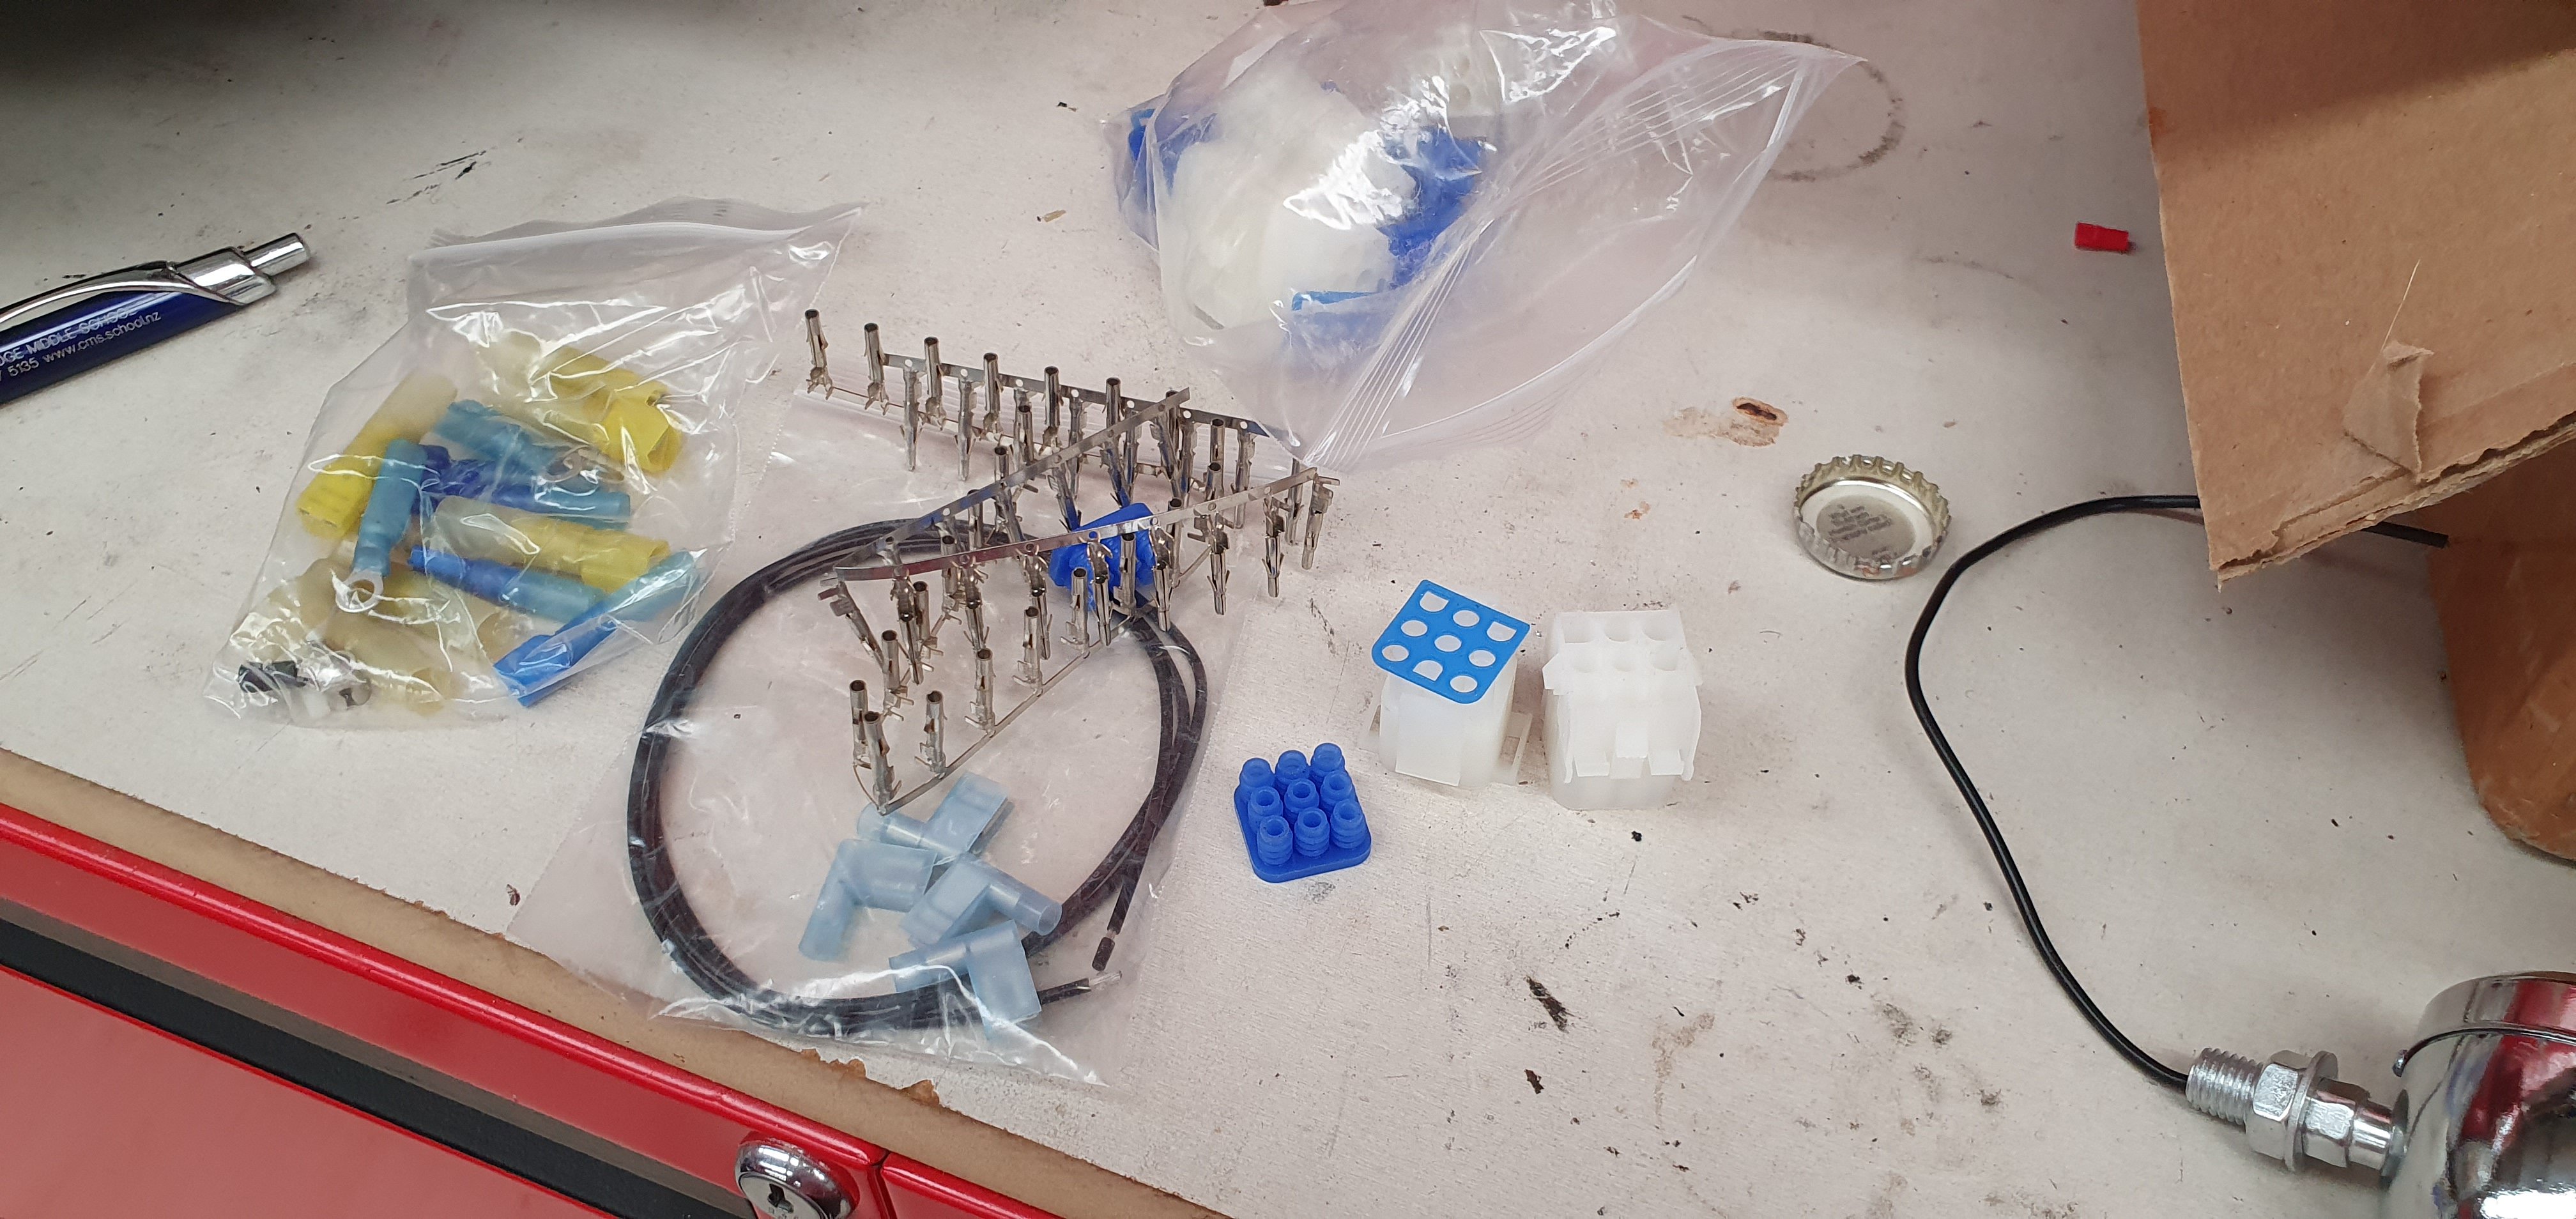
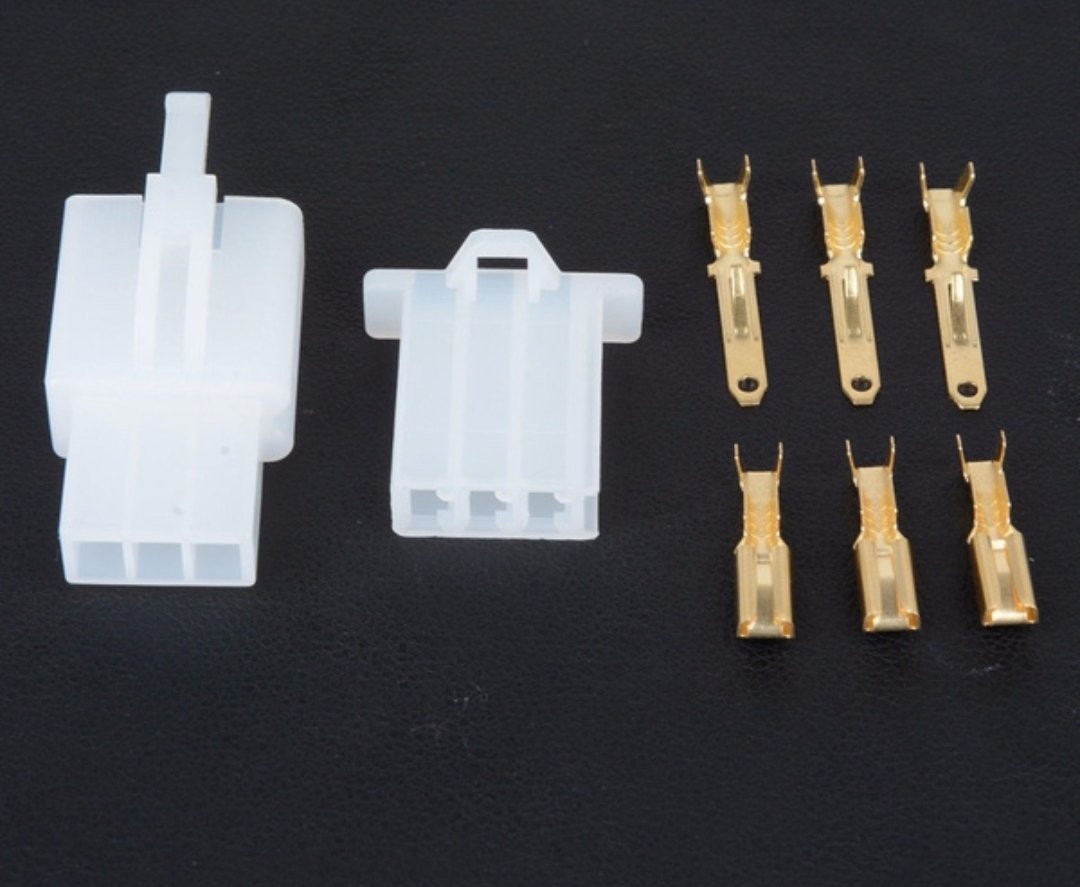
Okay, neither maths nor English are my strongest attributes. However there are 48 wires that need a connection block, required to make this wiring loom work. There's an additional half dozen that need an eye terminal for things like battery, coils, starter motor, horn etc. So when you buy a "complete kit" that has in excess of 50 wires and that kit only has enough connectors to do 22 wires, it leaves you scratching your head wondering if the difference between American English and the Queens English we use in NZ is really that far apart? FFS this kit has 50+ wires, but only 22 connectors!!! WTF. This is a carburetored engine, no ECU or injectors, sensors to consider, its as basic as it gets. A handful of their shitty connectors would have gone a long way towards finishing this today. So off to jaycar with my crippled arse I go again.
-
Mail arrived, so my list of excuses is fast running out! Strangely satisfying click sound and accompanying mechanical movements...hypnotic...
-
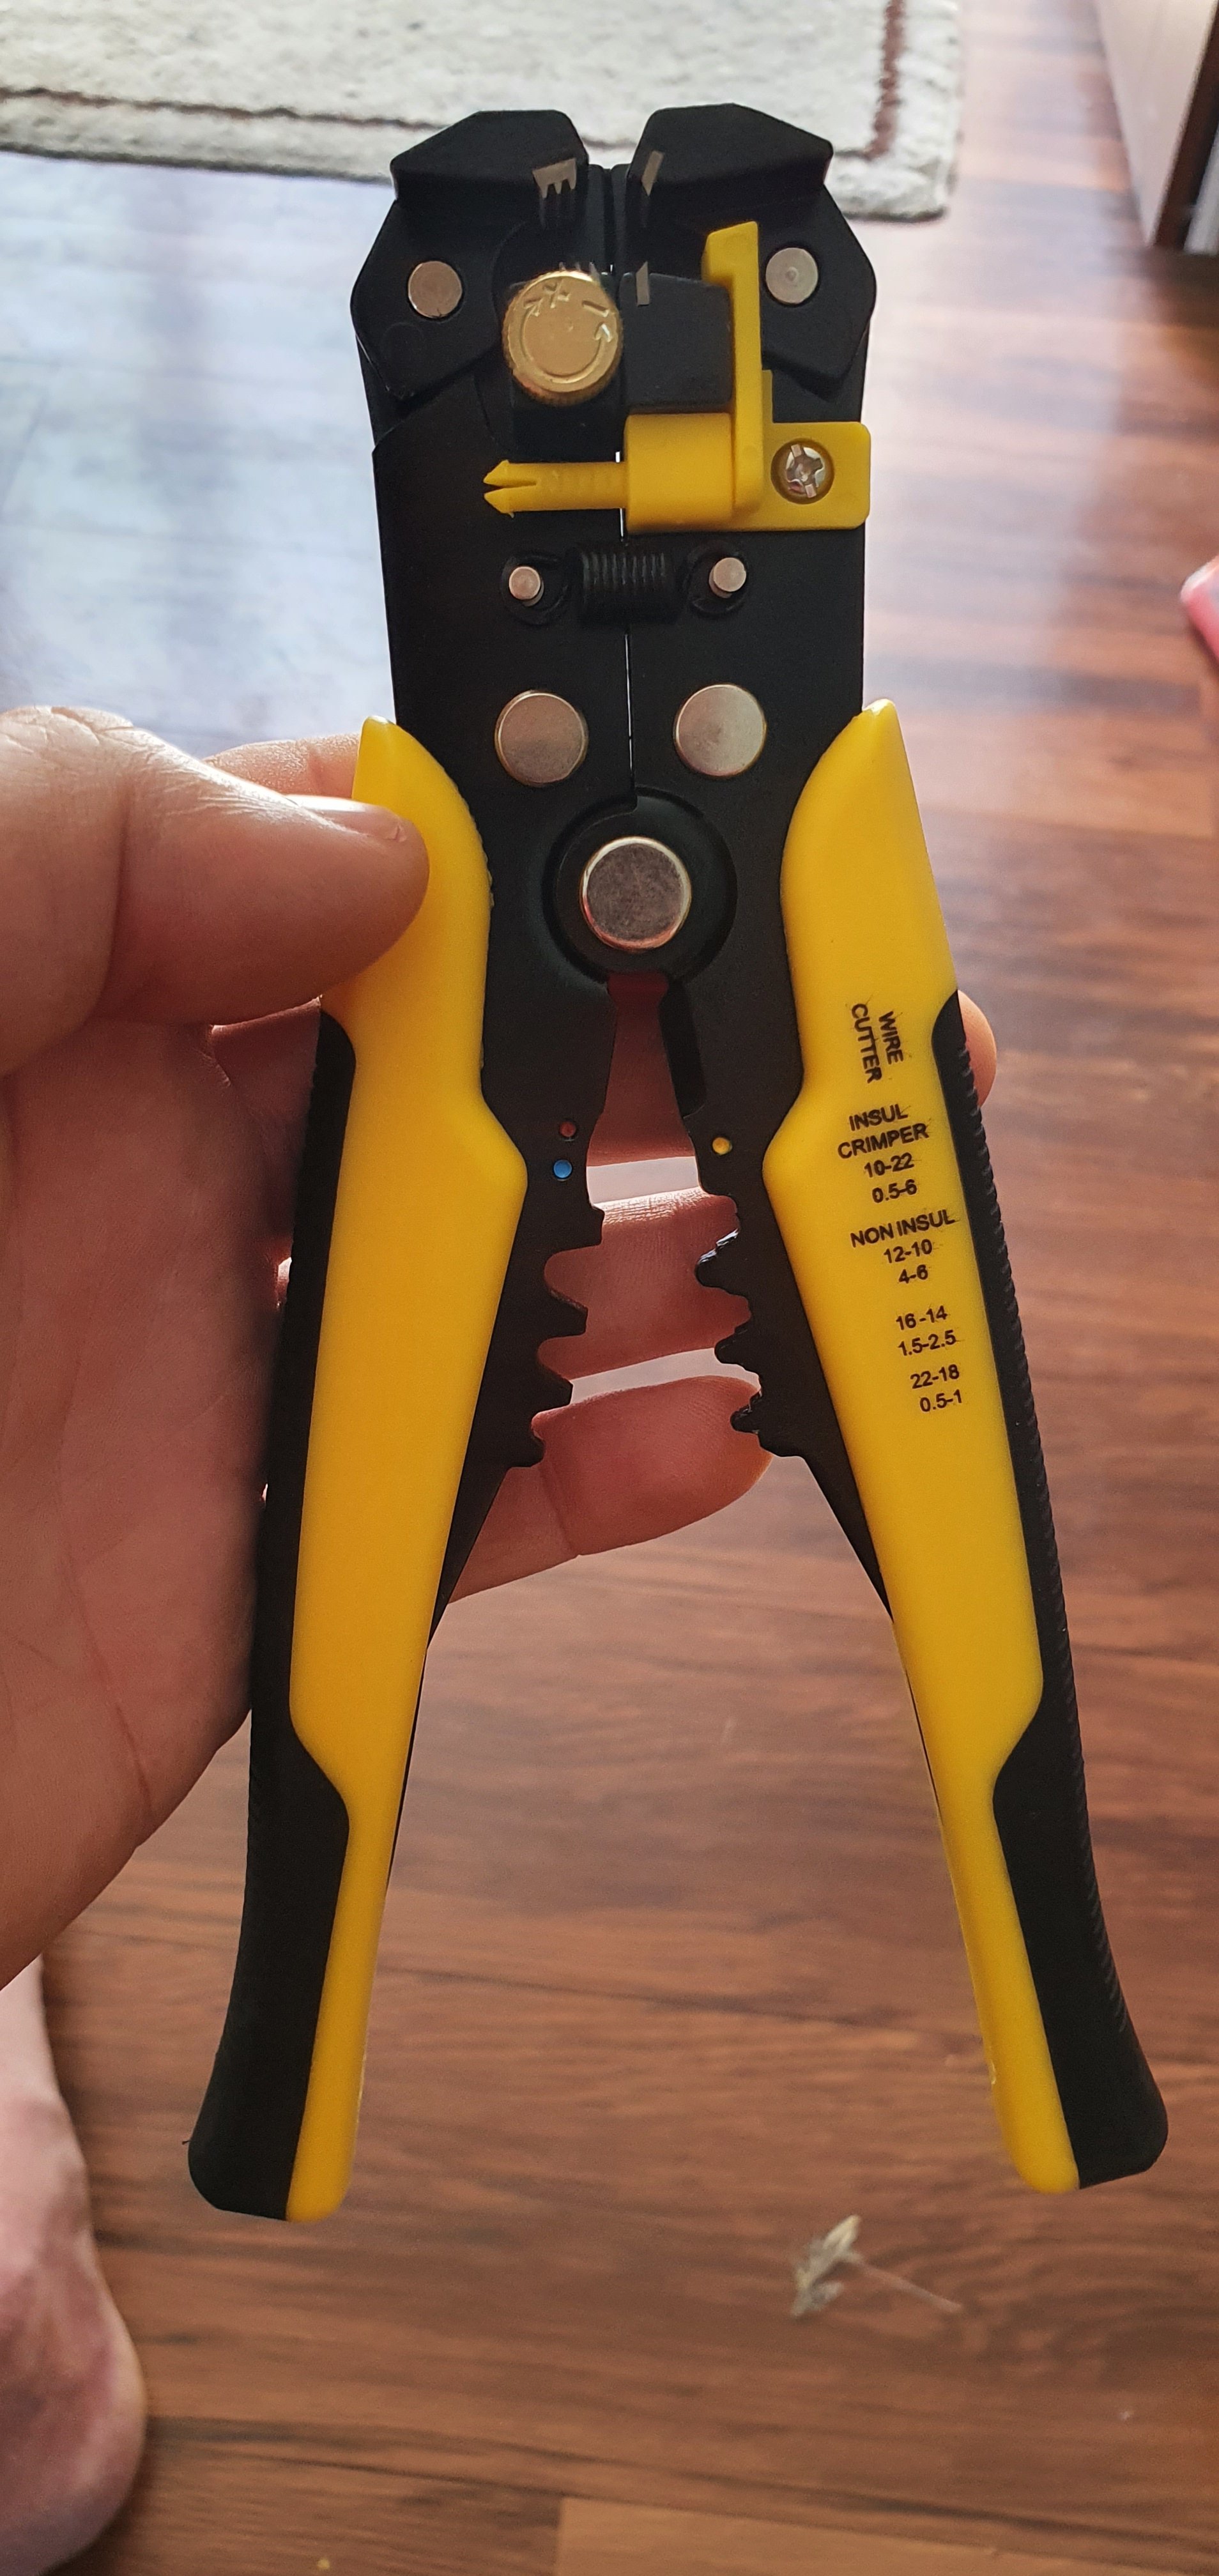
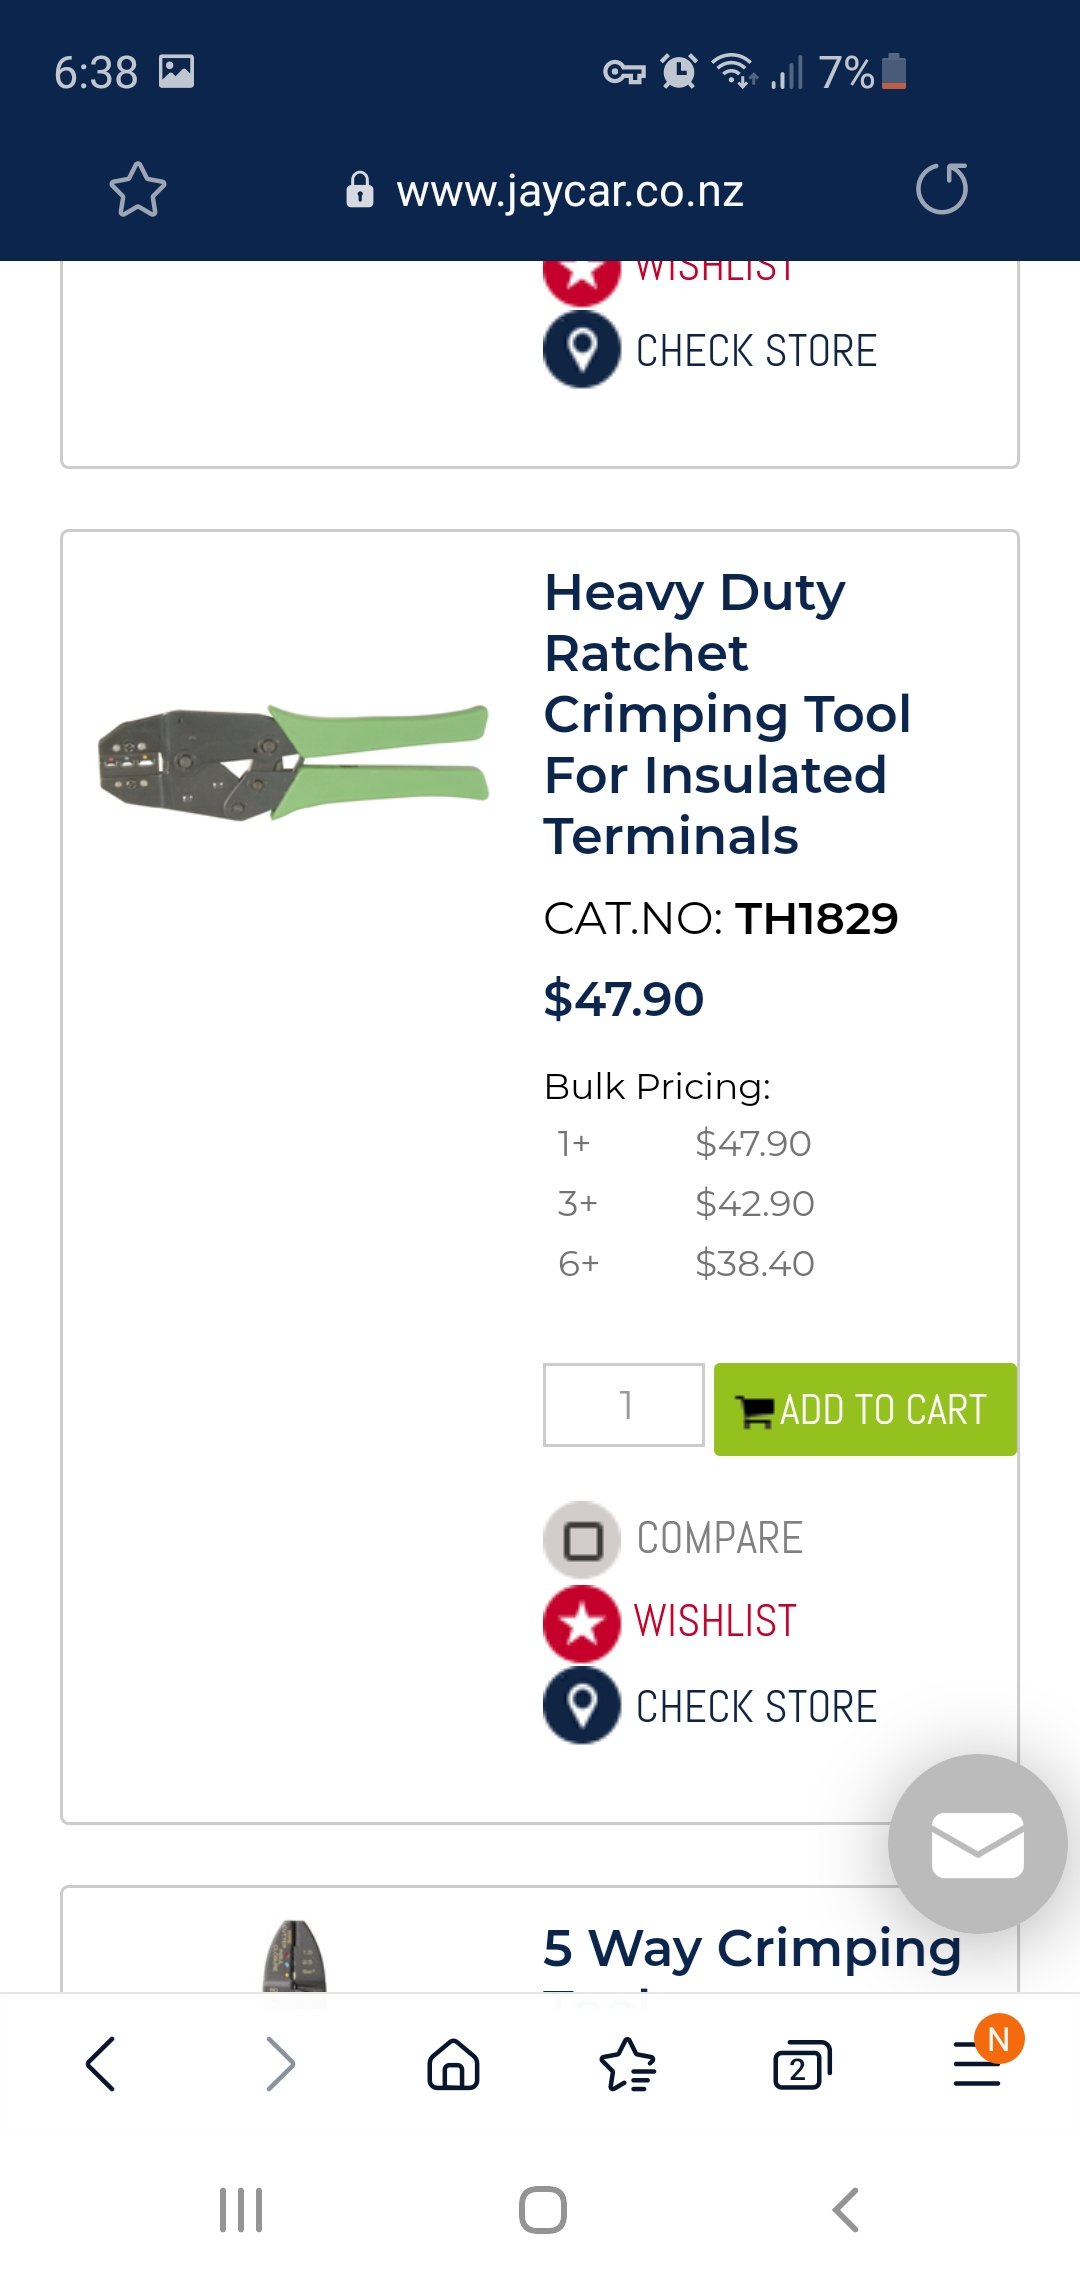
Brought these from jaycar. They work amazing!! Only $20, super happy with them. Im sure there's much better ones, but even on insulated connections they make an unbelievable tight grip. Wish I'd had these years ago. I have 4 other sets of crimping tools...they're all just rubbish compared to this.
-
Brought these today. They work amazing!! Only $20 from jaycar, super happy with them.
-
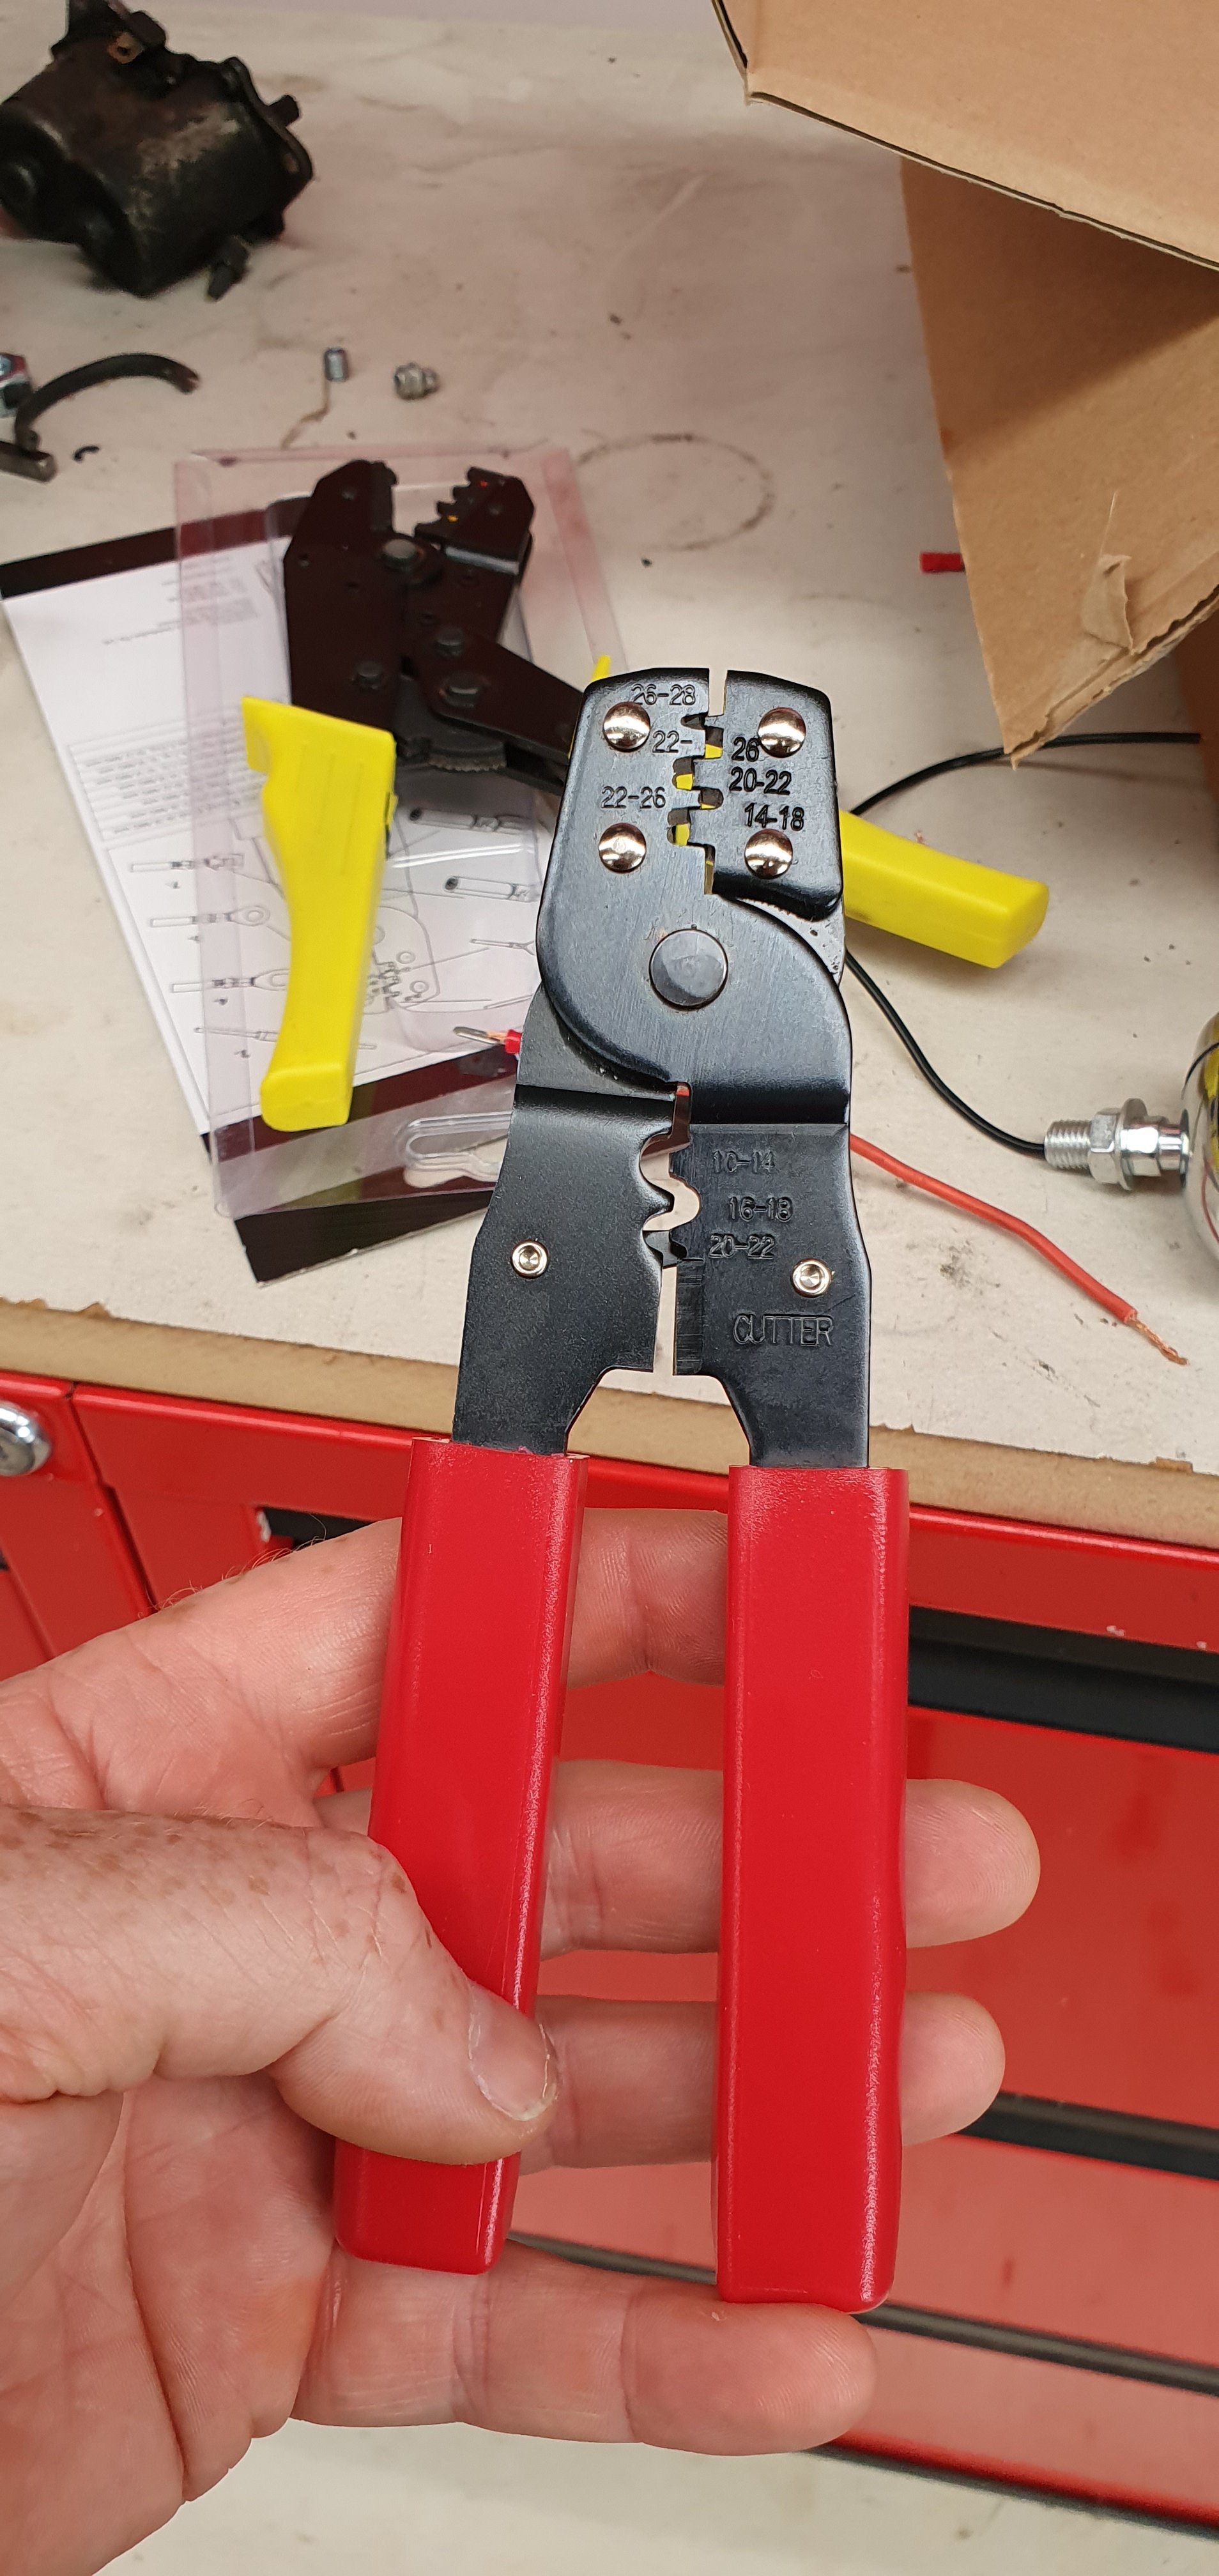
Thanks for the responses ^ This is the kit I brought. I'll pick up some of those non insulated crimp tools as per links supplied. Cheers
-
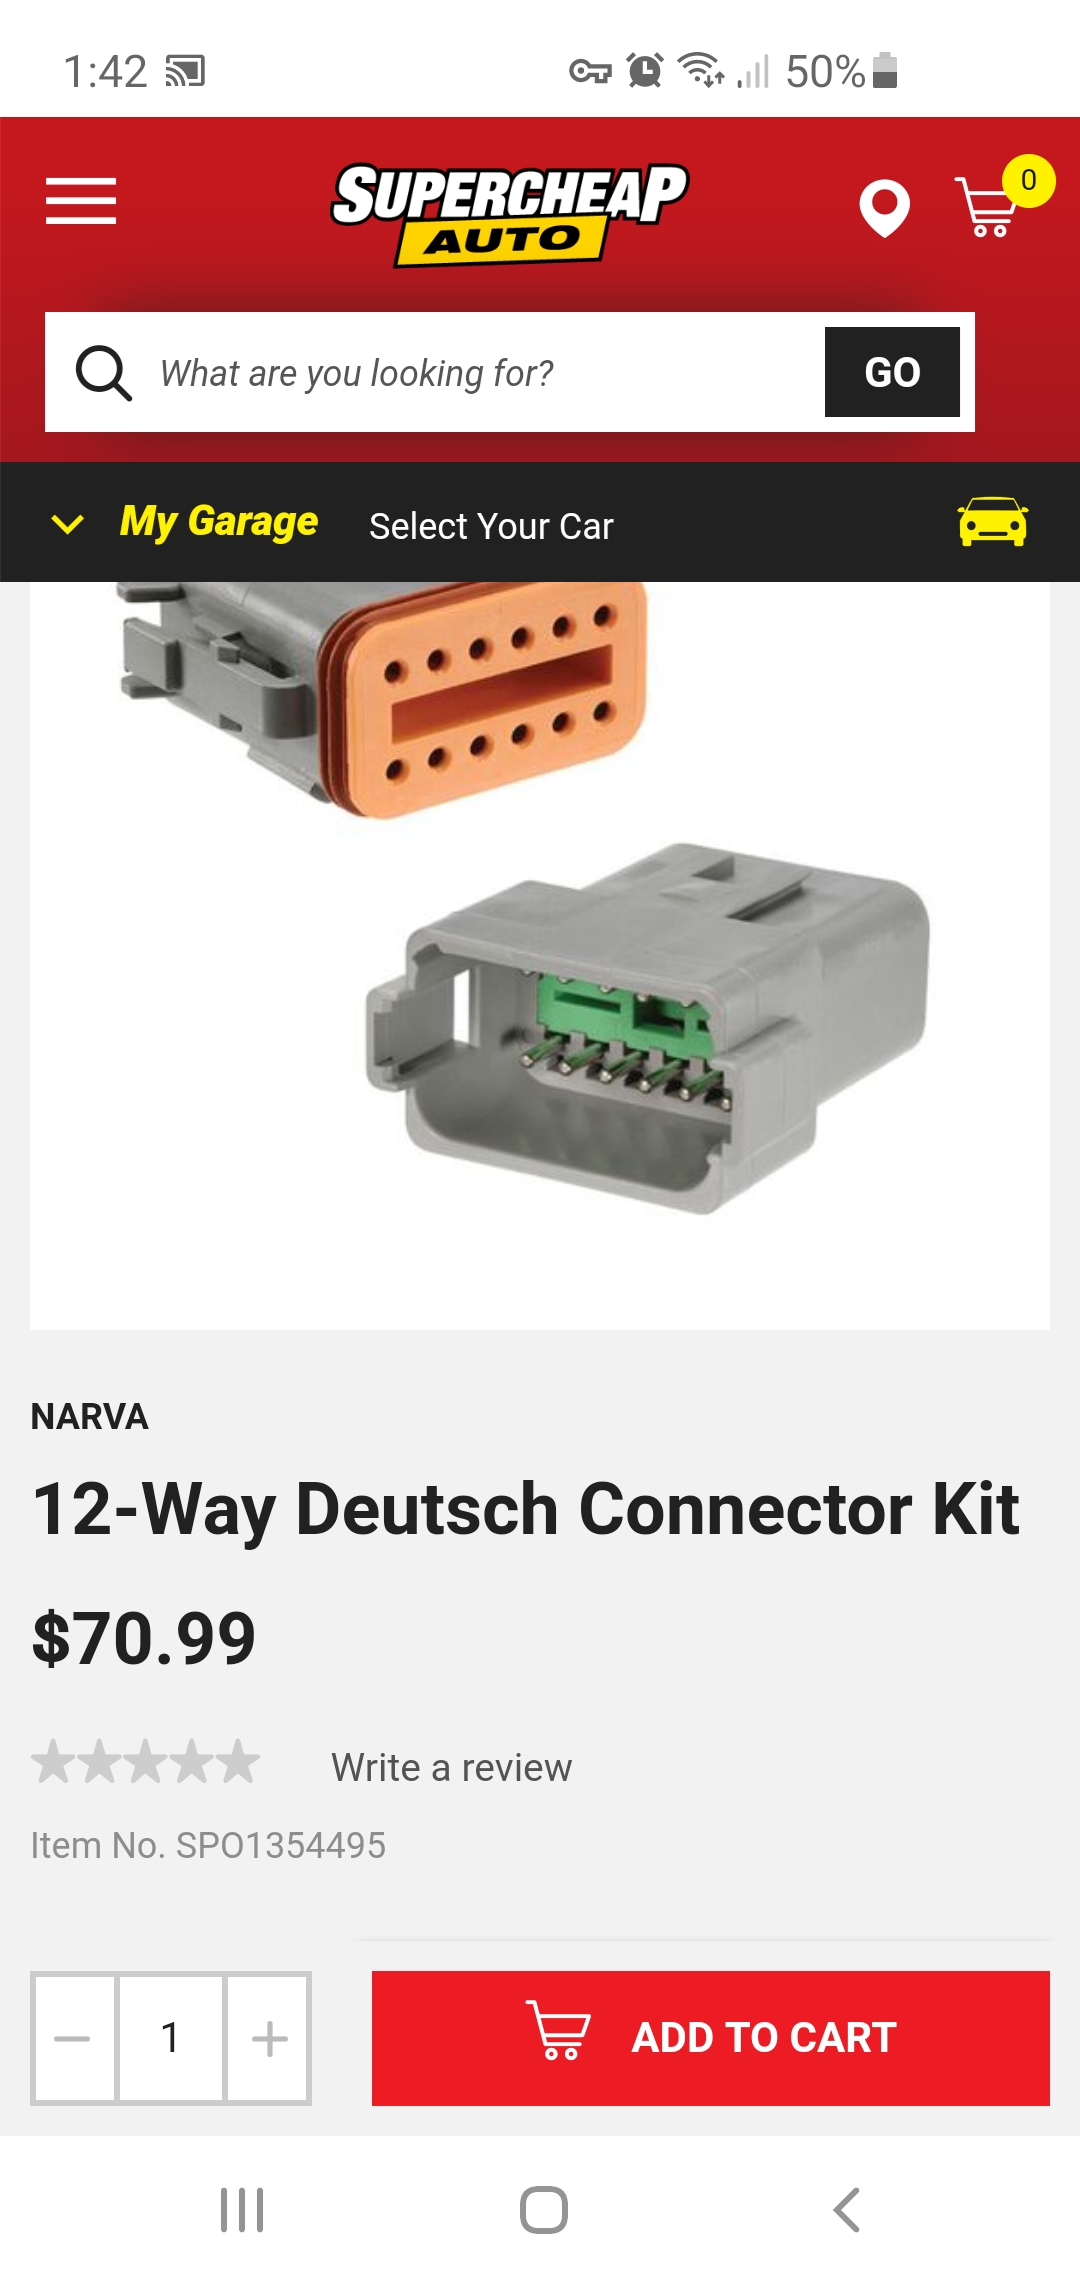
I need to crimp small pins onto wire. The type that go into plugs like this: What tool do I need? I have one of these, or close to this: ... and I've had zero success with it on those shitty multi packs of insulated connector kits you get from Repco. Any advice???? Cheers
-
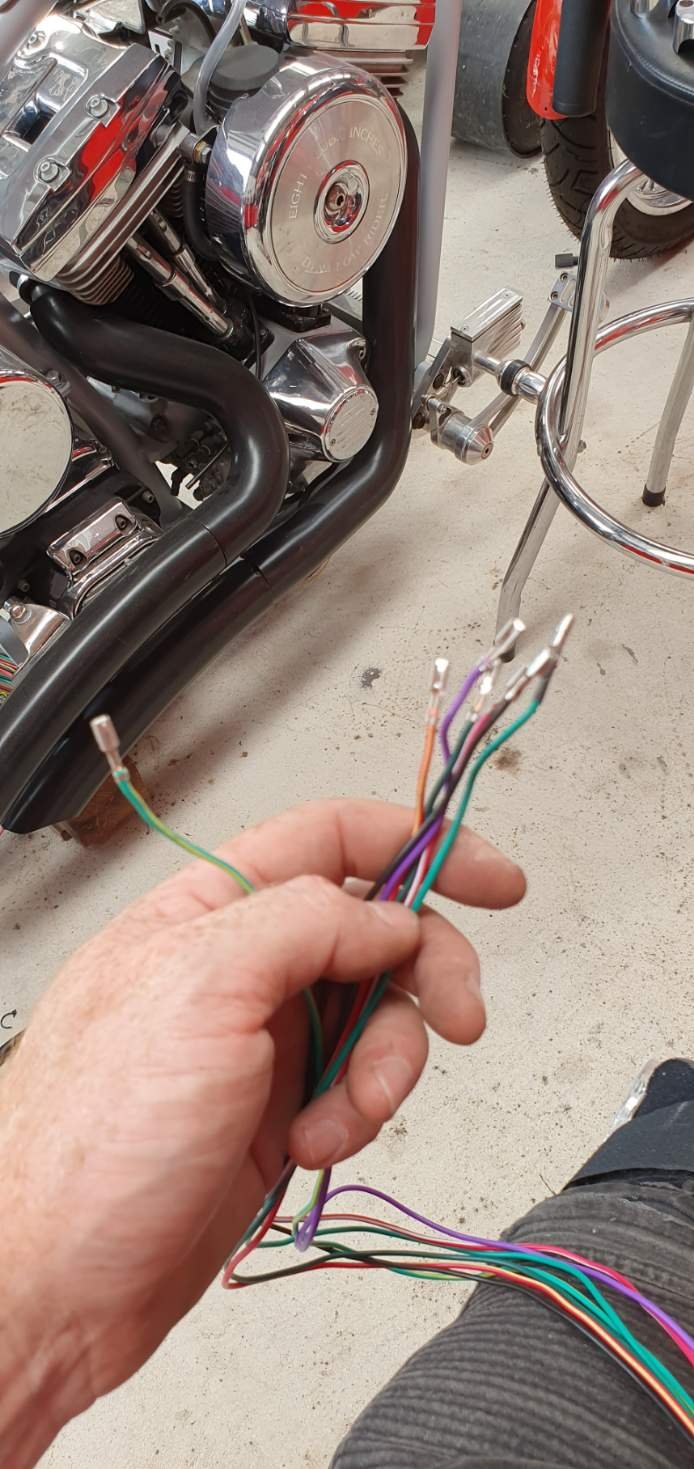
Yip, thats how I was feeling as I figured out that a lot the wires are spliced and share common power/earths etc. But by testing the resistance (ohms) through each circuit using a multimeter, i got there in the end. Pretty common shit I guess...but for an electrically retarded person like myself, self teaching as I go along, its a lot of condensed learning to fit into my already closed mind. That said, I'm there now. Each wire labeled and each corresponding circuit tested and working via its switch. so I'm now ready to buy expensive tools to strip and crimp the wires and then try installing OEM style connectors, yet another thing I've never done...but will soon have to figure out quick smart If I want it to work.
-
Excellent, thank you. I can't see anything on my clutch control lever. The brake one is obvious, but nothing here? I'll delete it.
-
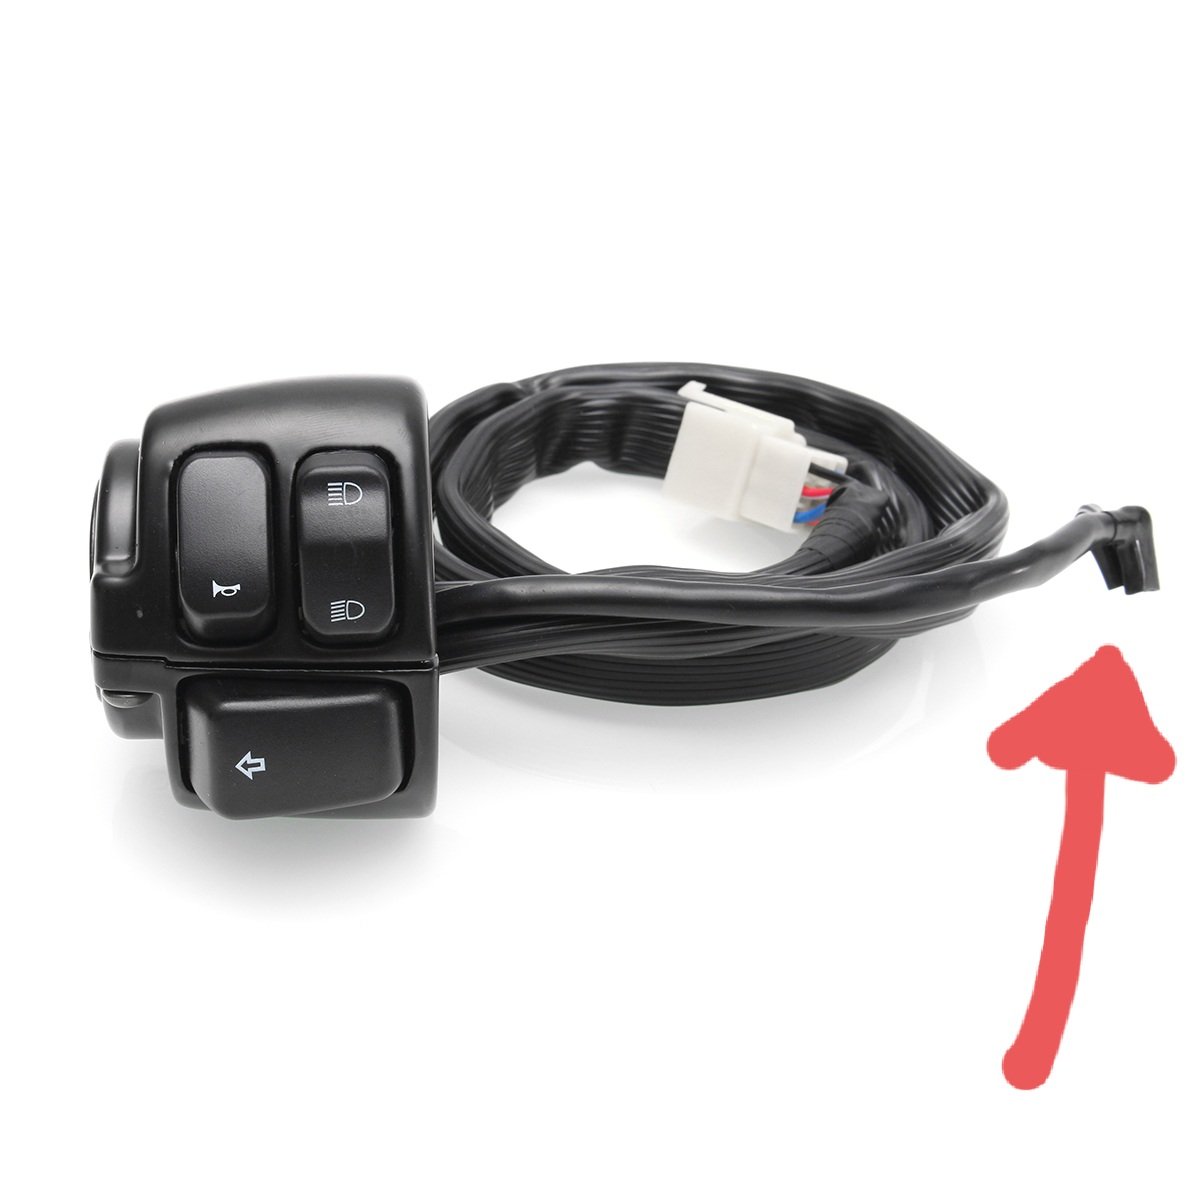
Okay, Longshot...but does anyone on here know what these 2 wires are for? Im at a bit of a loss? Maybe a clutch switch so you can't start it without clutch in? My clutch lever has no switch on it and it's a factory part off a harley. Maybe a model without this feature? Fucked if I know? Help???? Anyone????
-
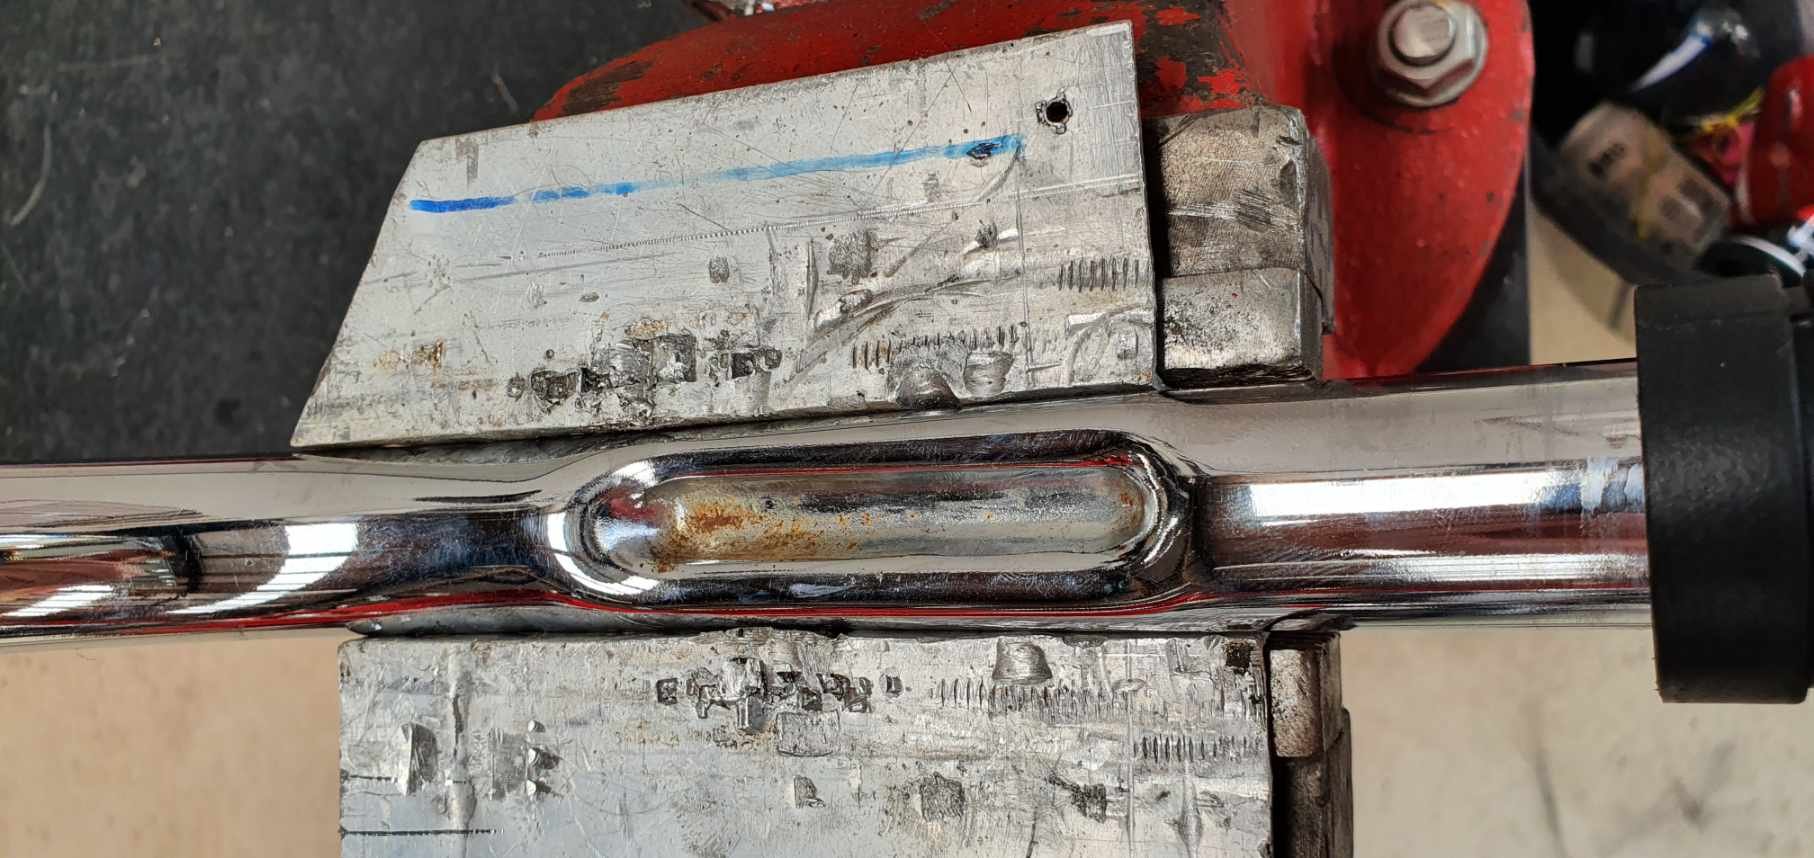
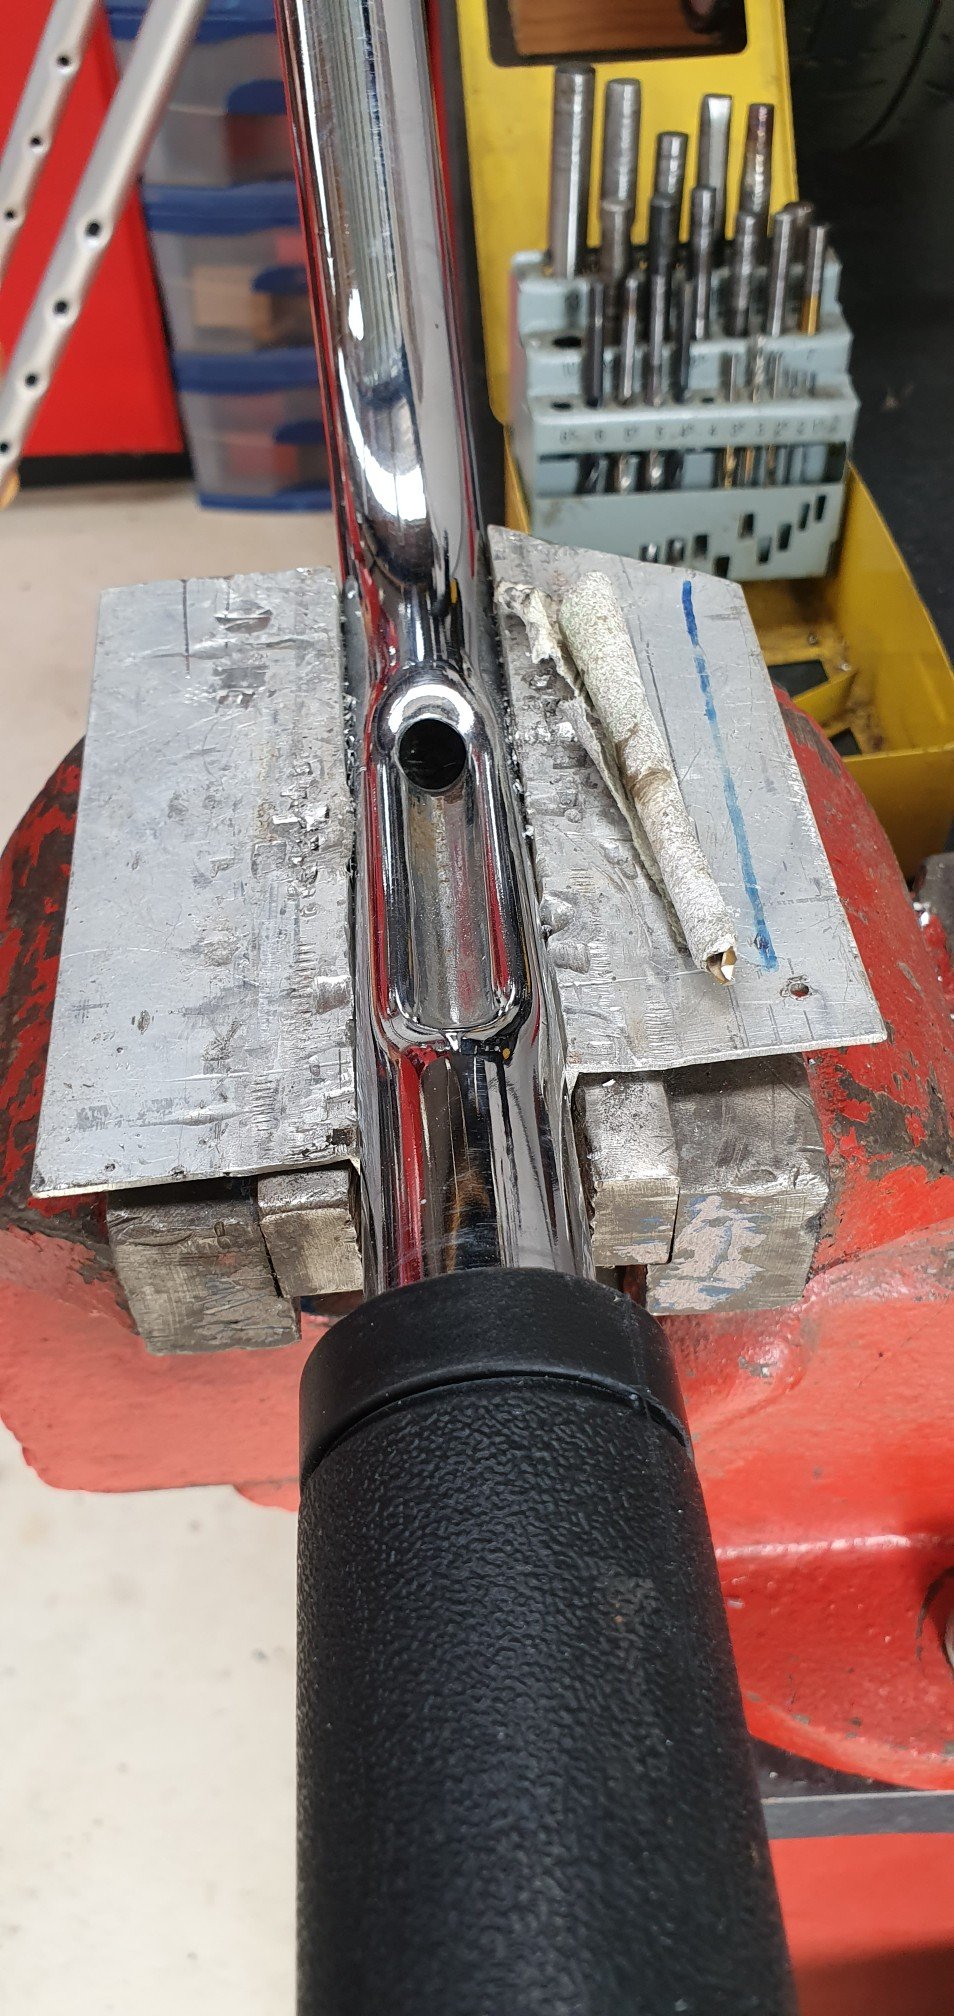
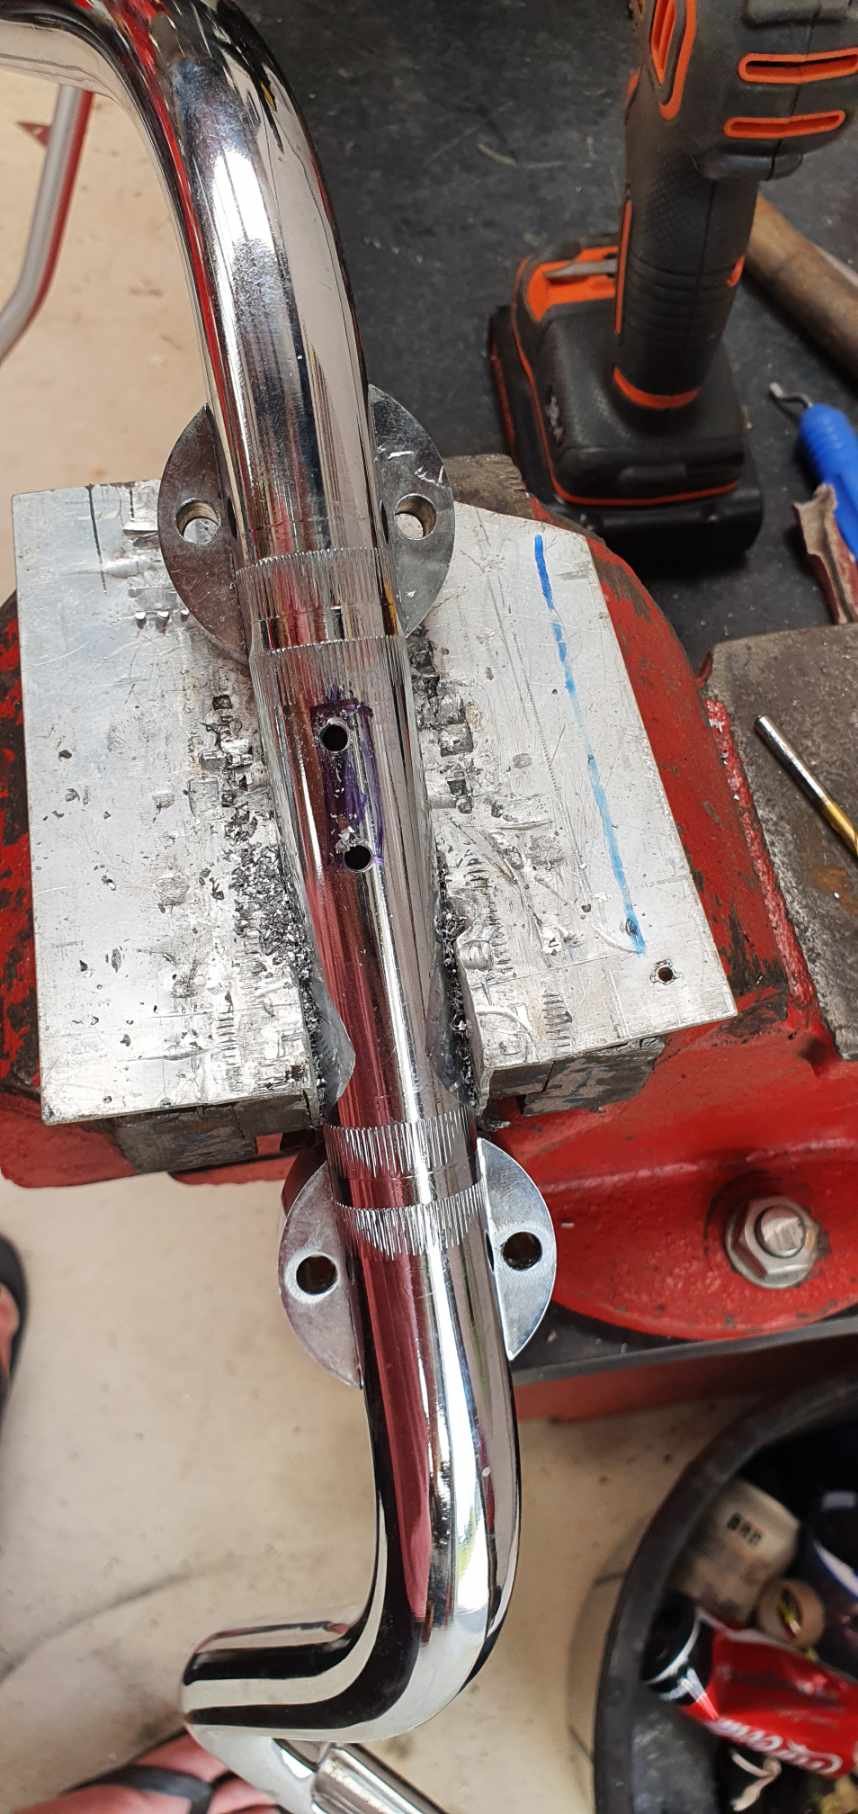
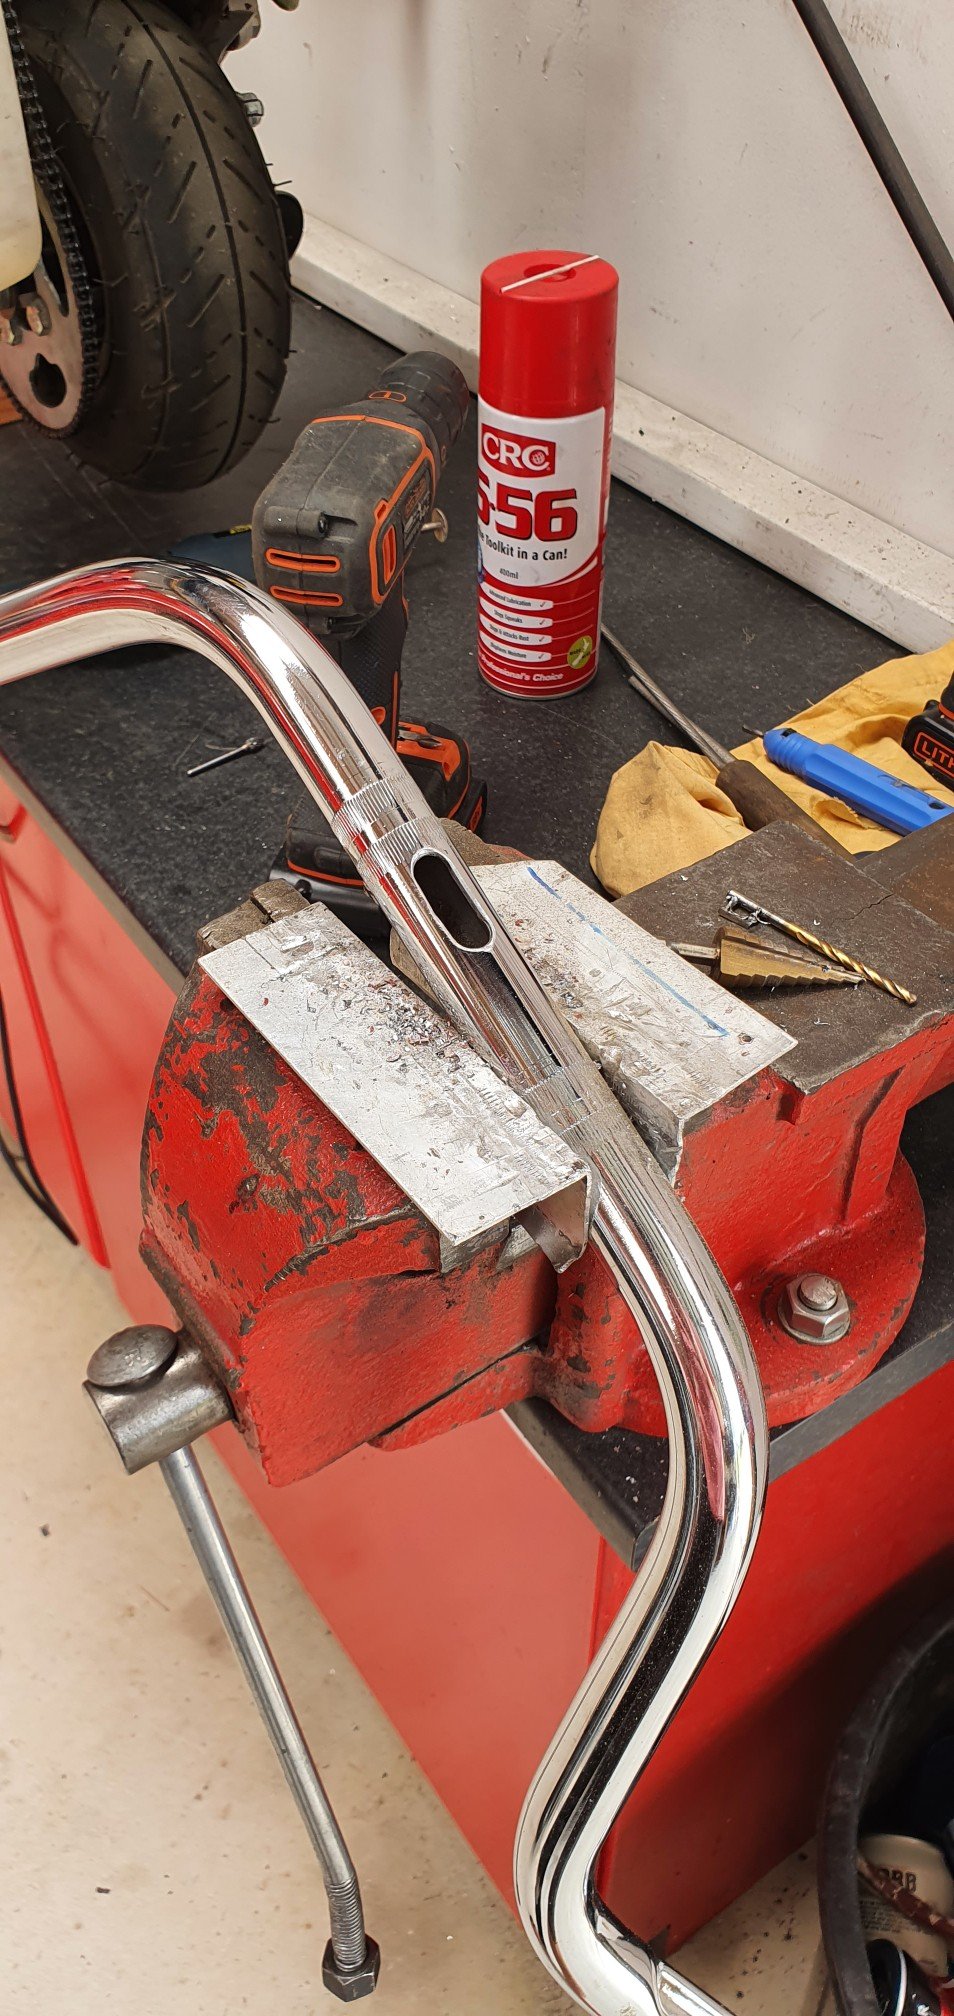
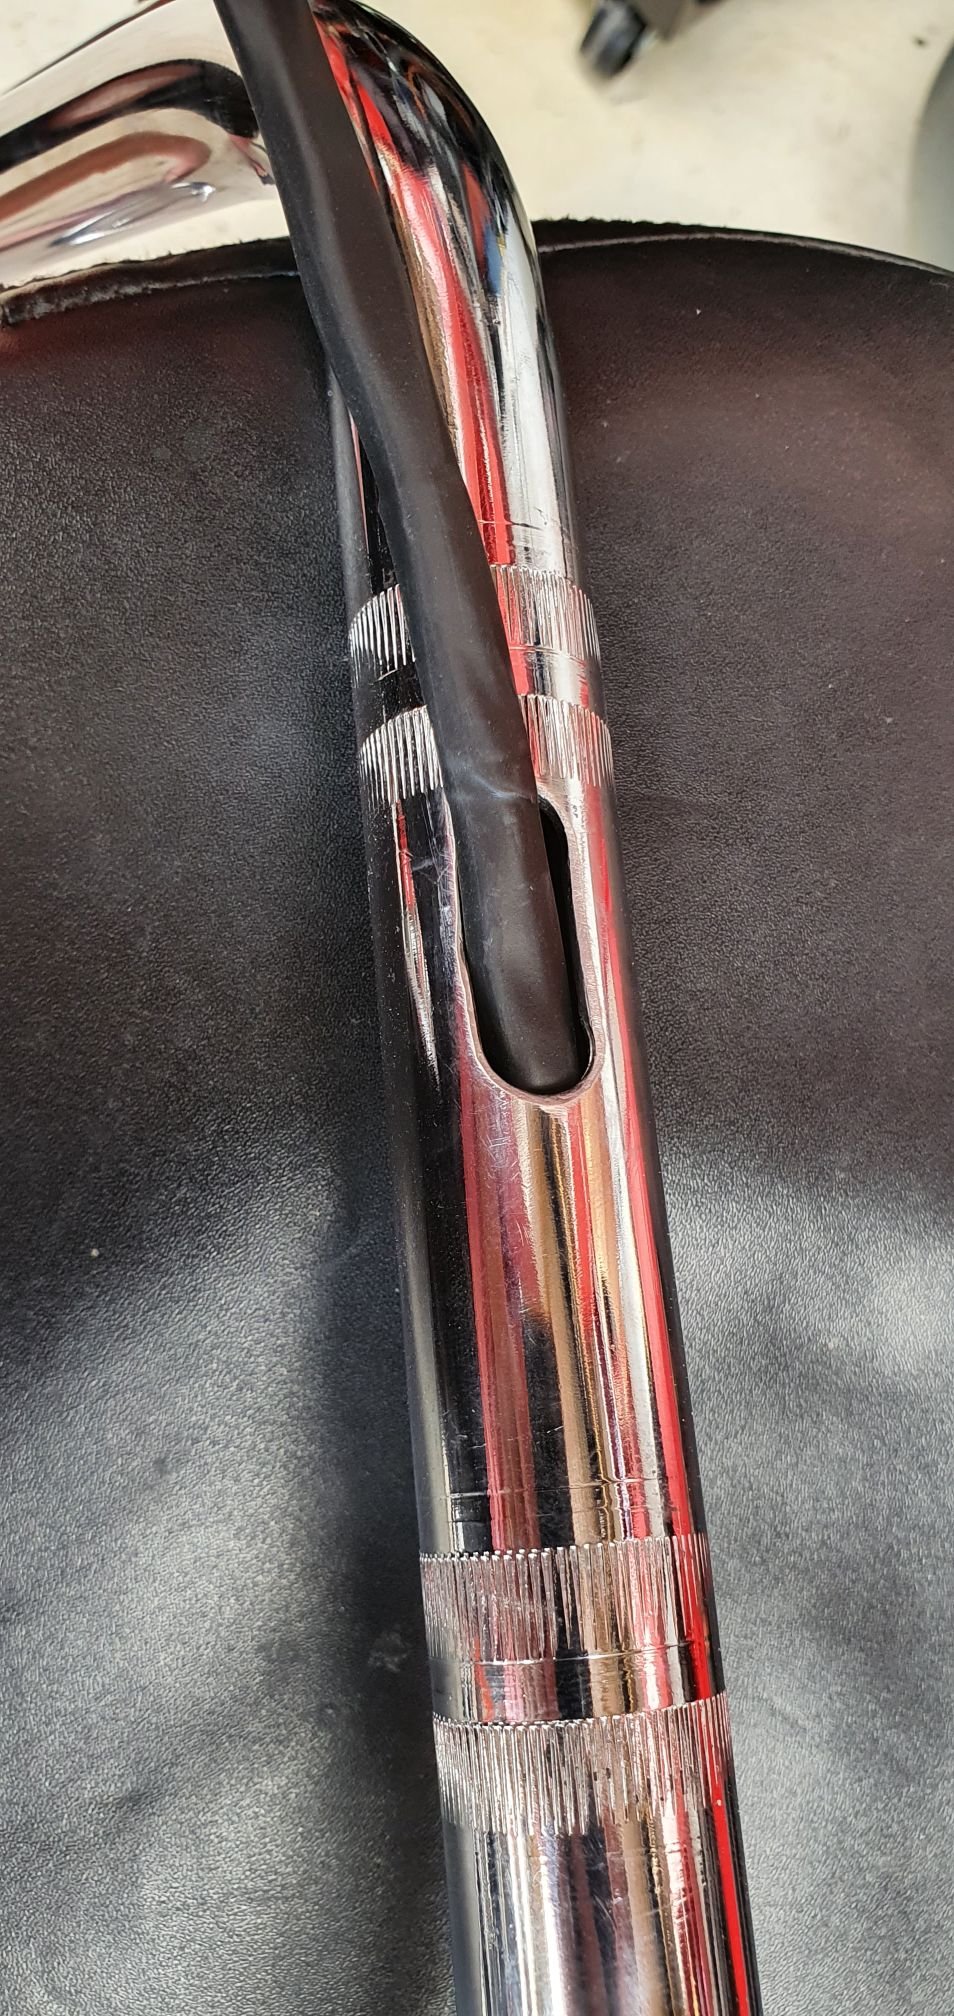
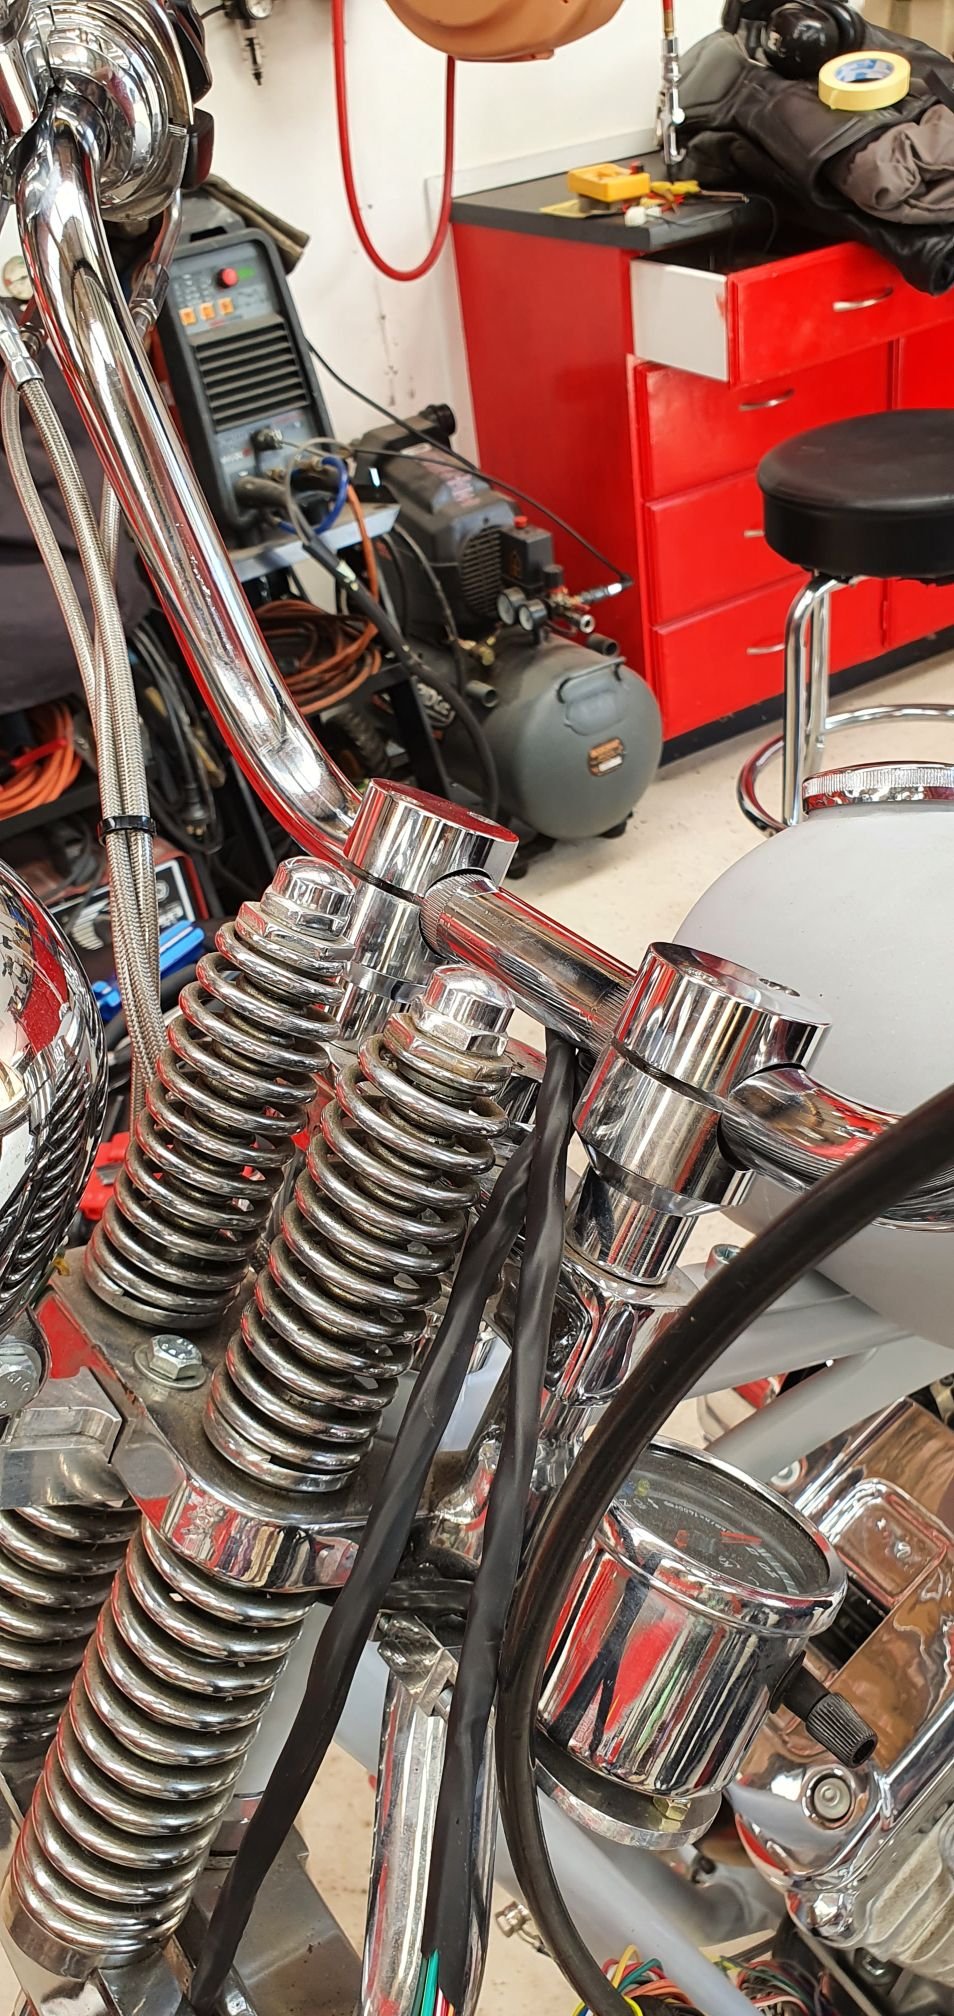
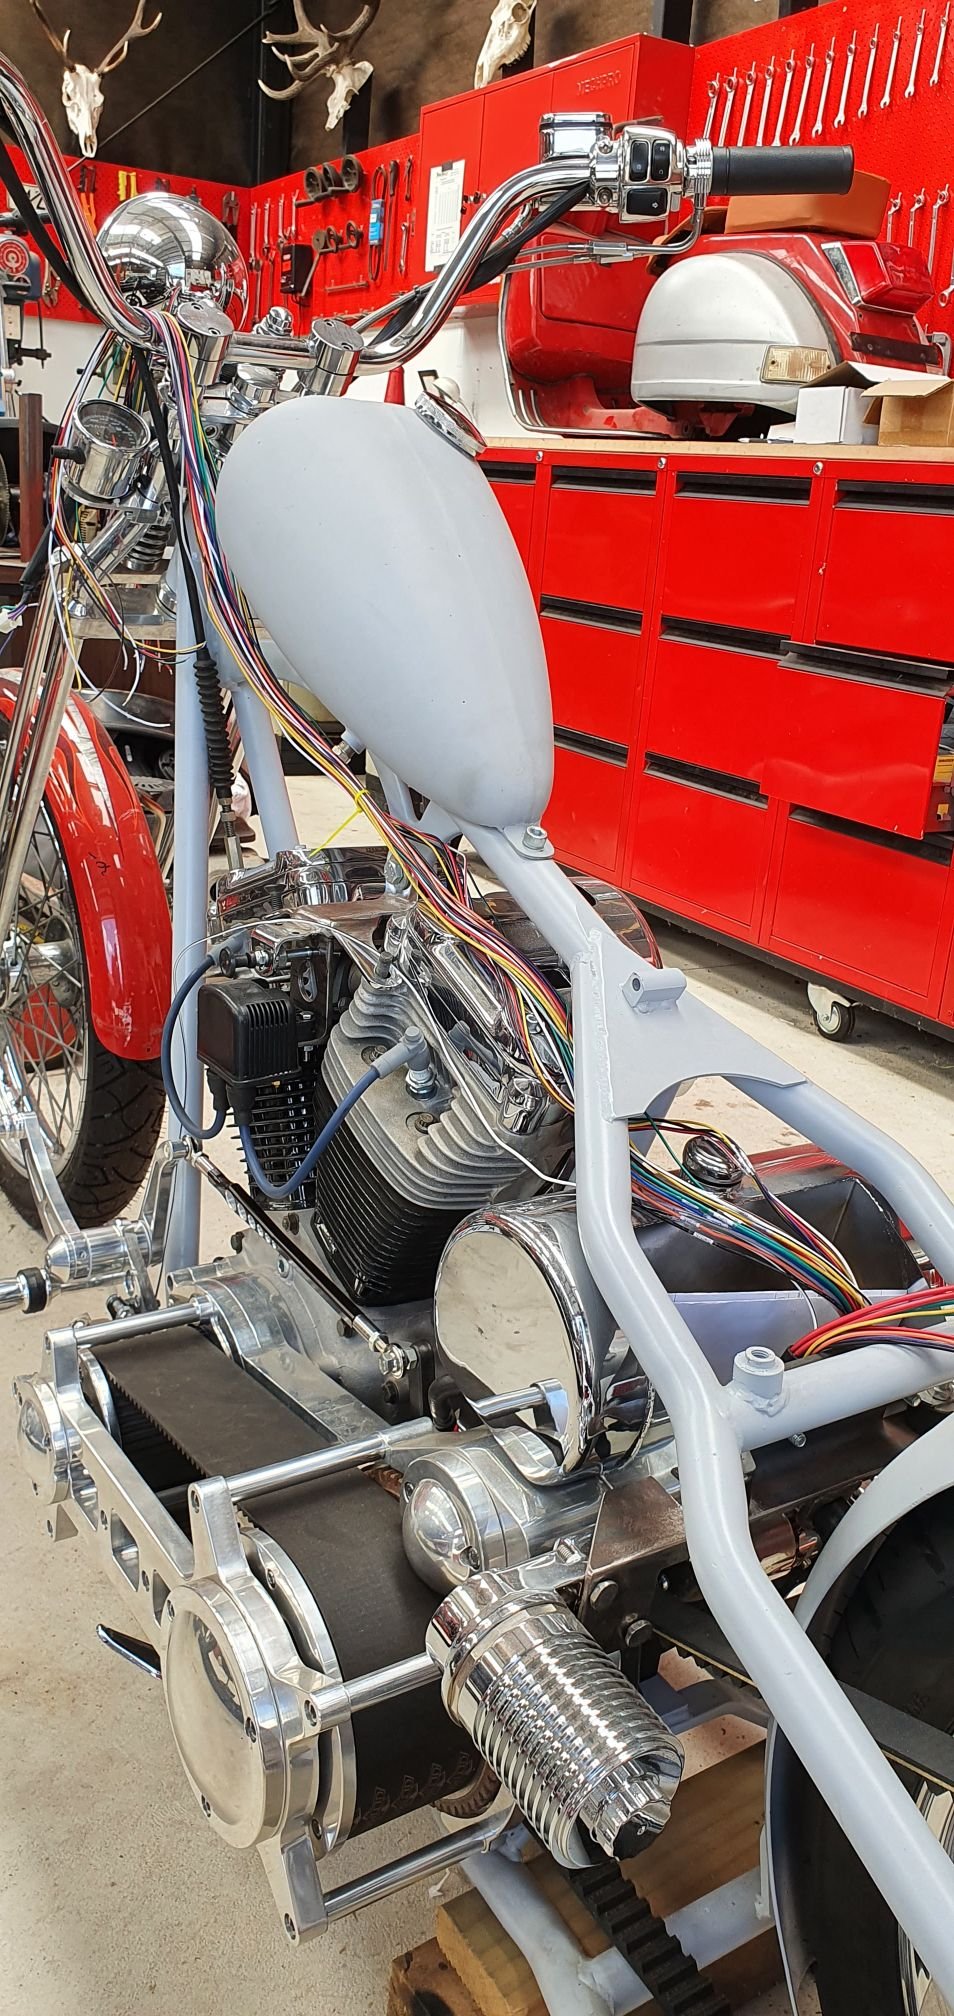
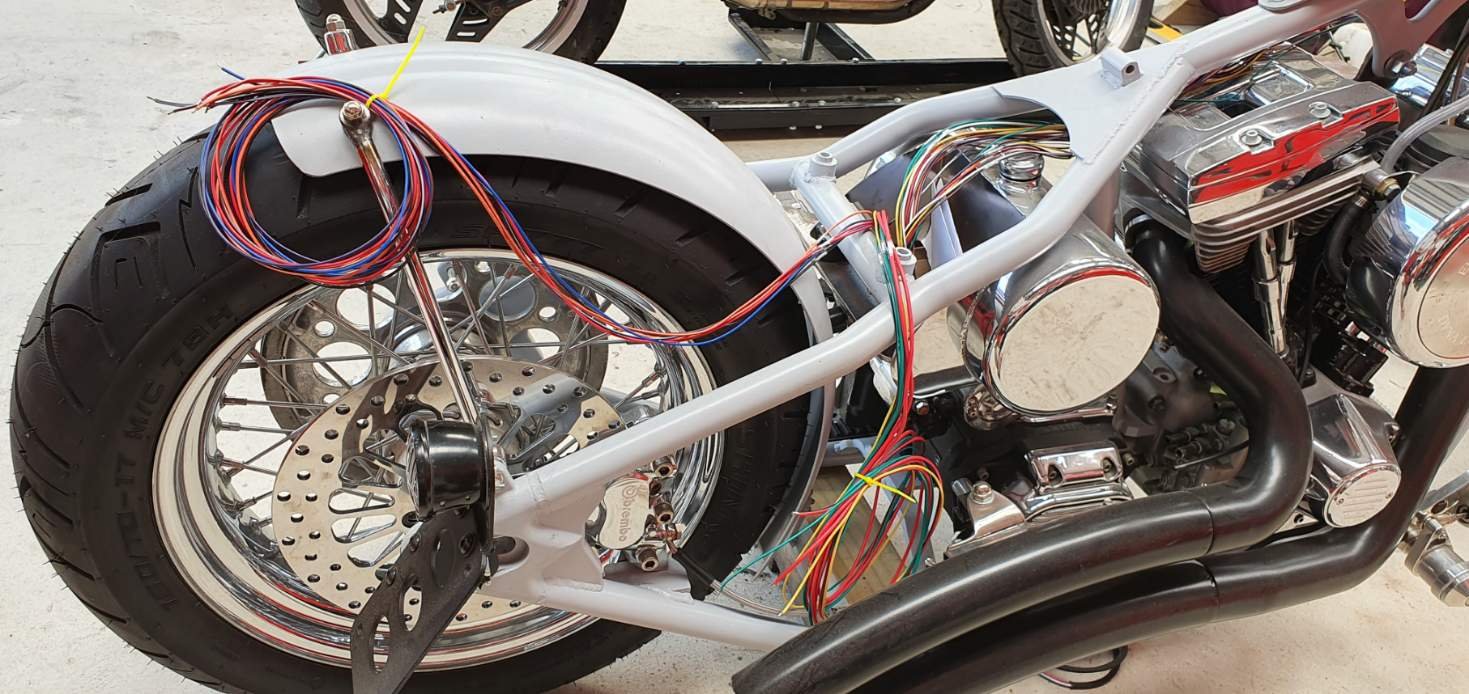
Doing the practical thing and hiding my wiring, so if there's a problem its impossible to get to it...oh, fuck...yeah...ummm...why do we do this again??? I googled and googled and the general consensus was that upto 1/2" (12.5mm) hole is fine, people have been doing that for years without any issues. I decided that 3/8" (10mm) was enough to get the job done and would leave a little bit more meat on the bone, so thats what I did. Offset slot to the left. Everything is going to run down the clutch cable once done. I spent ages sanding everything down so there's no sharp edges to cut the wires. Now I've just gotta heat wrap this mess and shove it down the inside of the bars. Oh and the other side has double this amount!! Ummm... for want of a better phrase this was my "first pull". Hey, sounds better than "tug"?? Boom, both side done. New loom pops out right by clutch cable, I'll cable tie it together and run it down to my new wiring under the transmission. So that's a good start on something I've been very much procrastinating. Winner, winner...chicken dinner!!
-
Just brought a banjo bolt with inbuilt pressure switch, this will send a signal to indicate that the rear brake is applied. And a nice little ignition switch (key). I realised I would need these parts after reading the wiring diagram fror the 50th time and wondered how to get a brake signal to the rear, I figured there'd be an existing solution for this problem, so happy to pay the money for it.
-
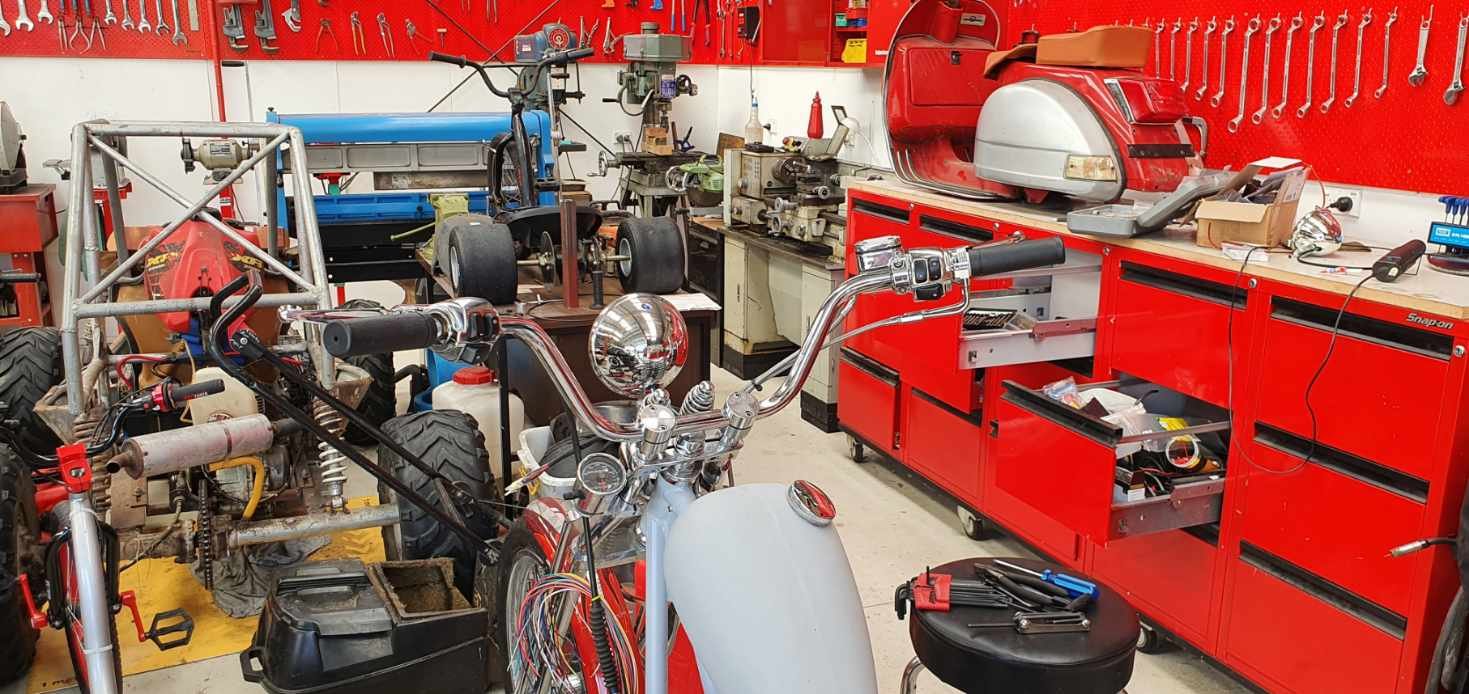
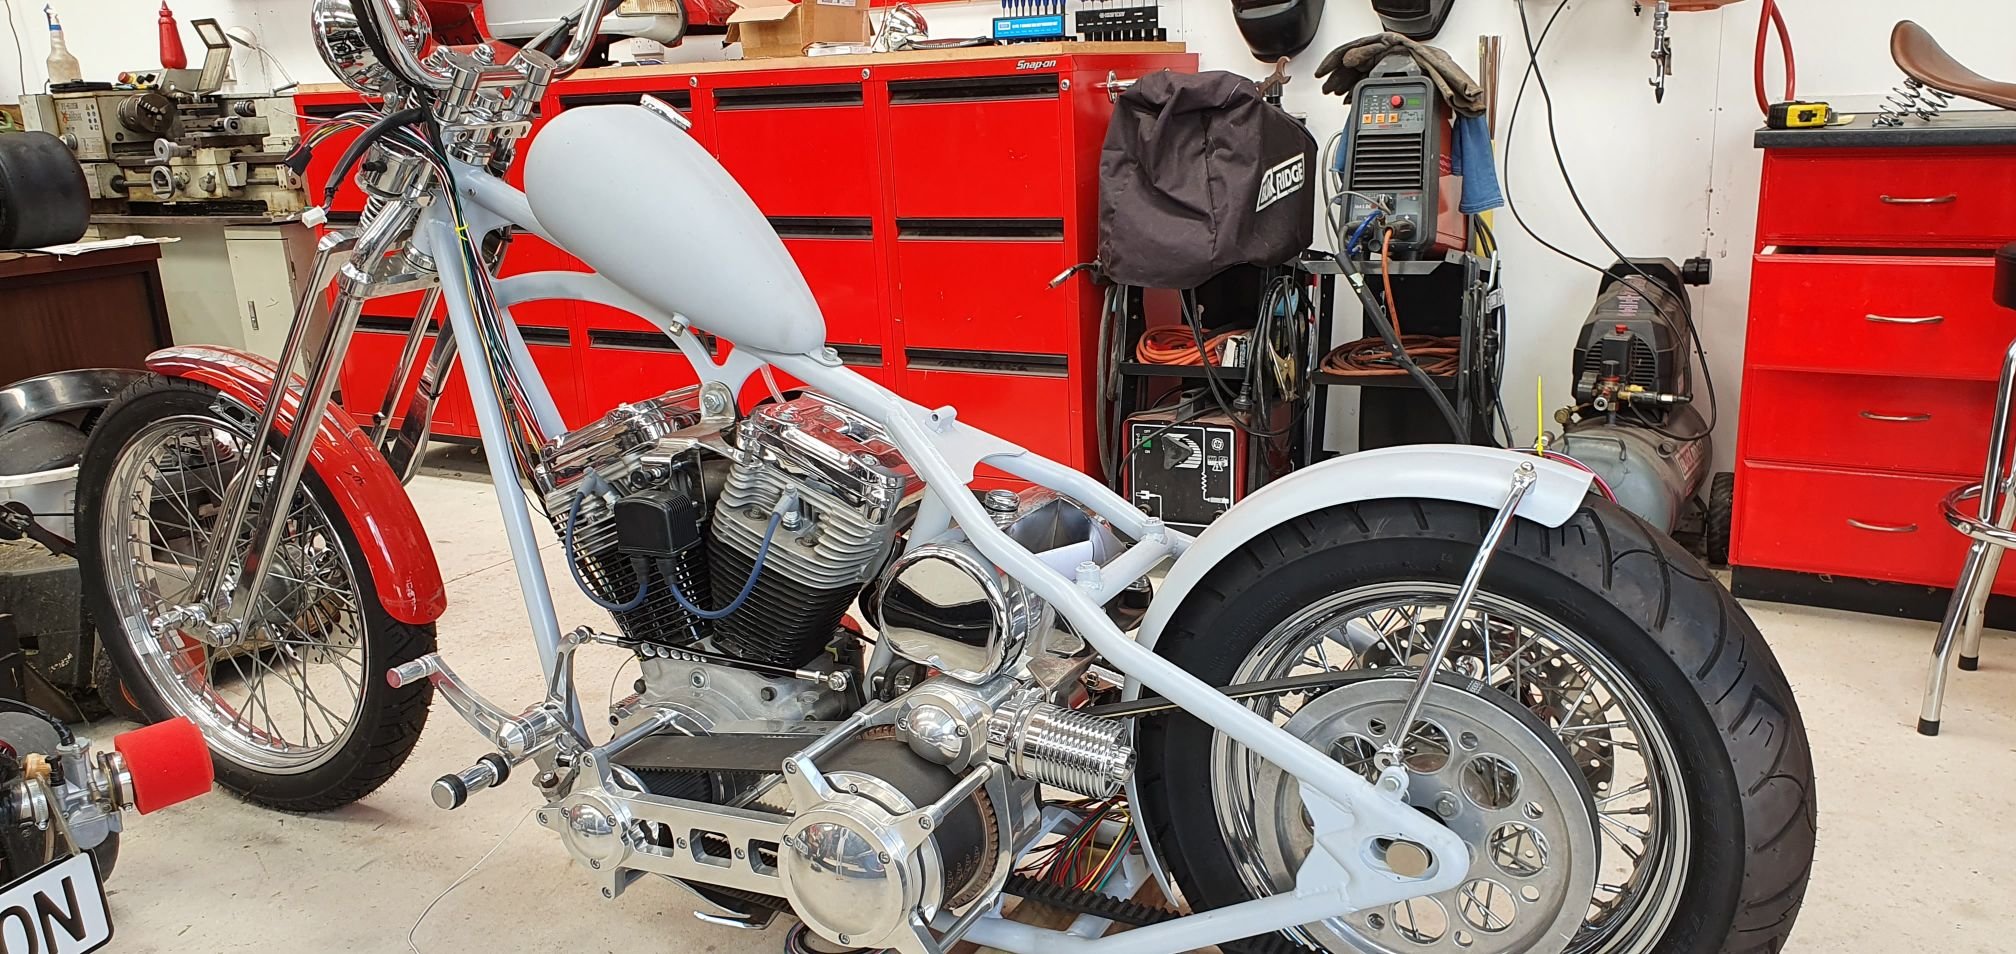
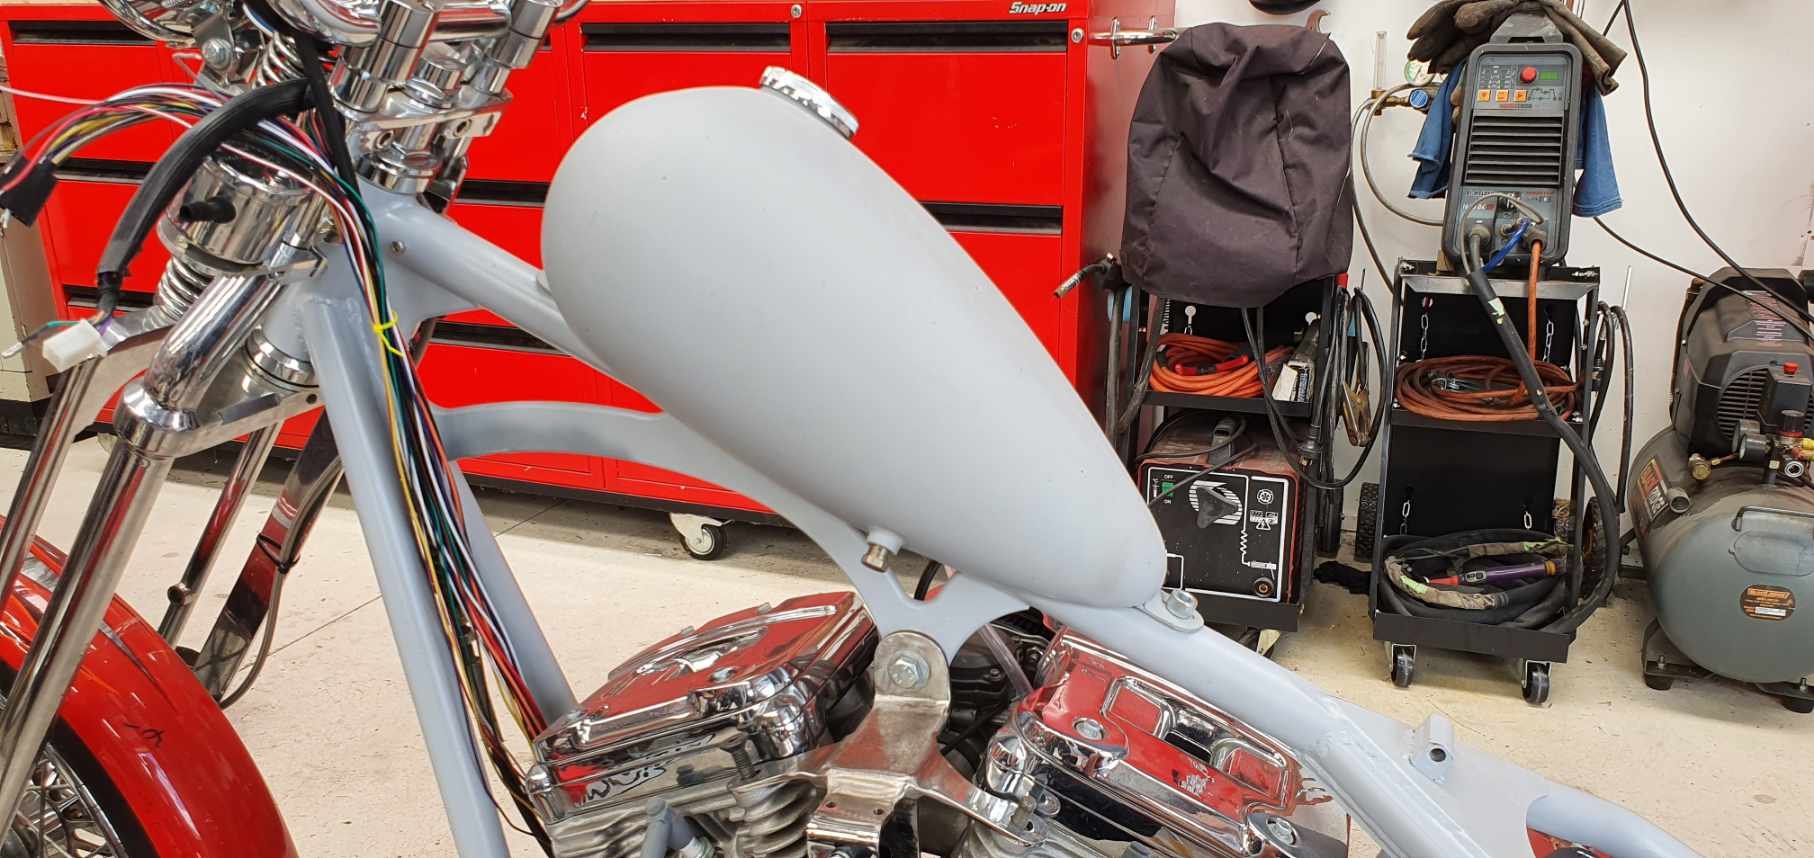
Wiring is for dicks!! I wish I just kept my "Bluetooth" Wiring as it looked much better without real Wiring... Anyway, reality dictates I will actually need to do it, despite how much I want to avoid it. Take 1: Relays in the battery box. Seemed like a good idea, and was reasonably tidy. However I was unable to run the wires internally up the backbone of the bike as I envisioned, as the loom has too many wires to all fit in there with other stuff going on like fuel tank threaded inserts and the way the saddle tube connects and blocks the spines opening...arghhh...grrrr!!! So, take 2: Try shifting everything under the transmission. Sweet, rear wires = very tidy, I can easily hide those. Front wires can be run alongside the clutch cable (heat shrink to keep it all coved of course). I can even use OEM fittings for connecting everything up, which was always my plan if possible. Yip, standing back it looks fine. 100% better than my first attempt, which was just fucking ugly. This is much better, no ugliness along the backbone distracting from the clean lines. The naked spine and tank are this bikes main feature and cable ties and a honking big wiring loom there would have looked shit!! Calling it a win.
-
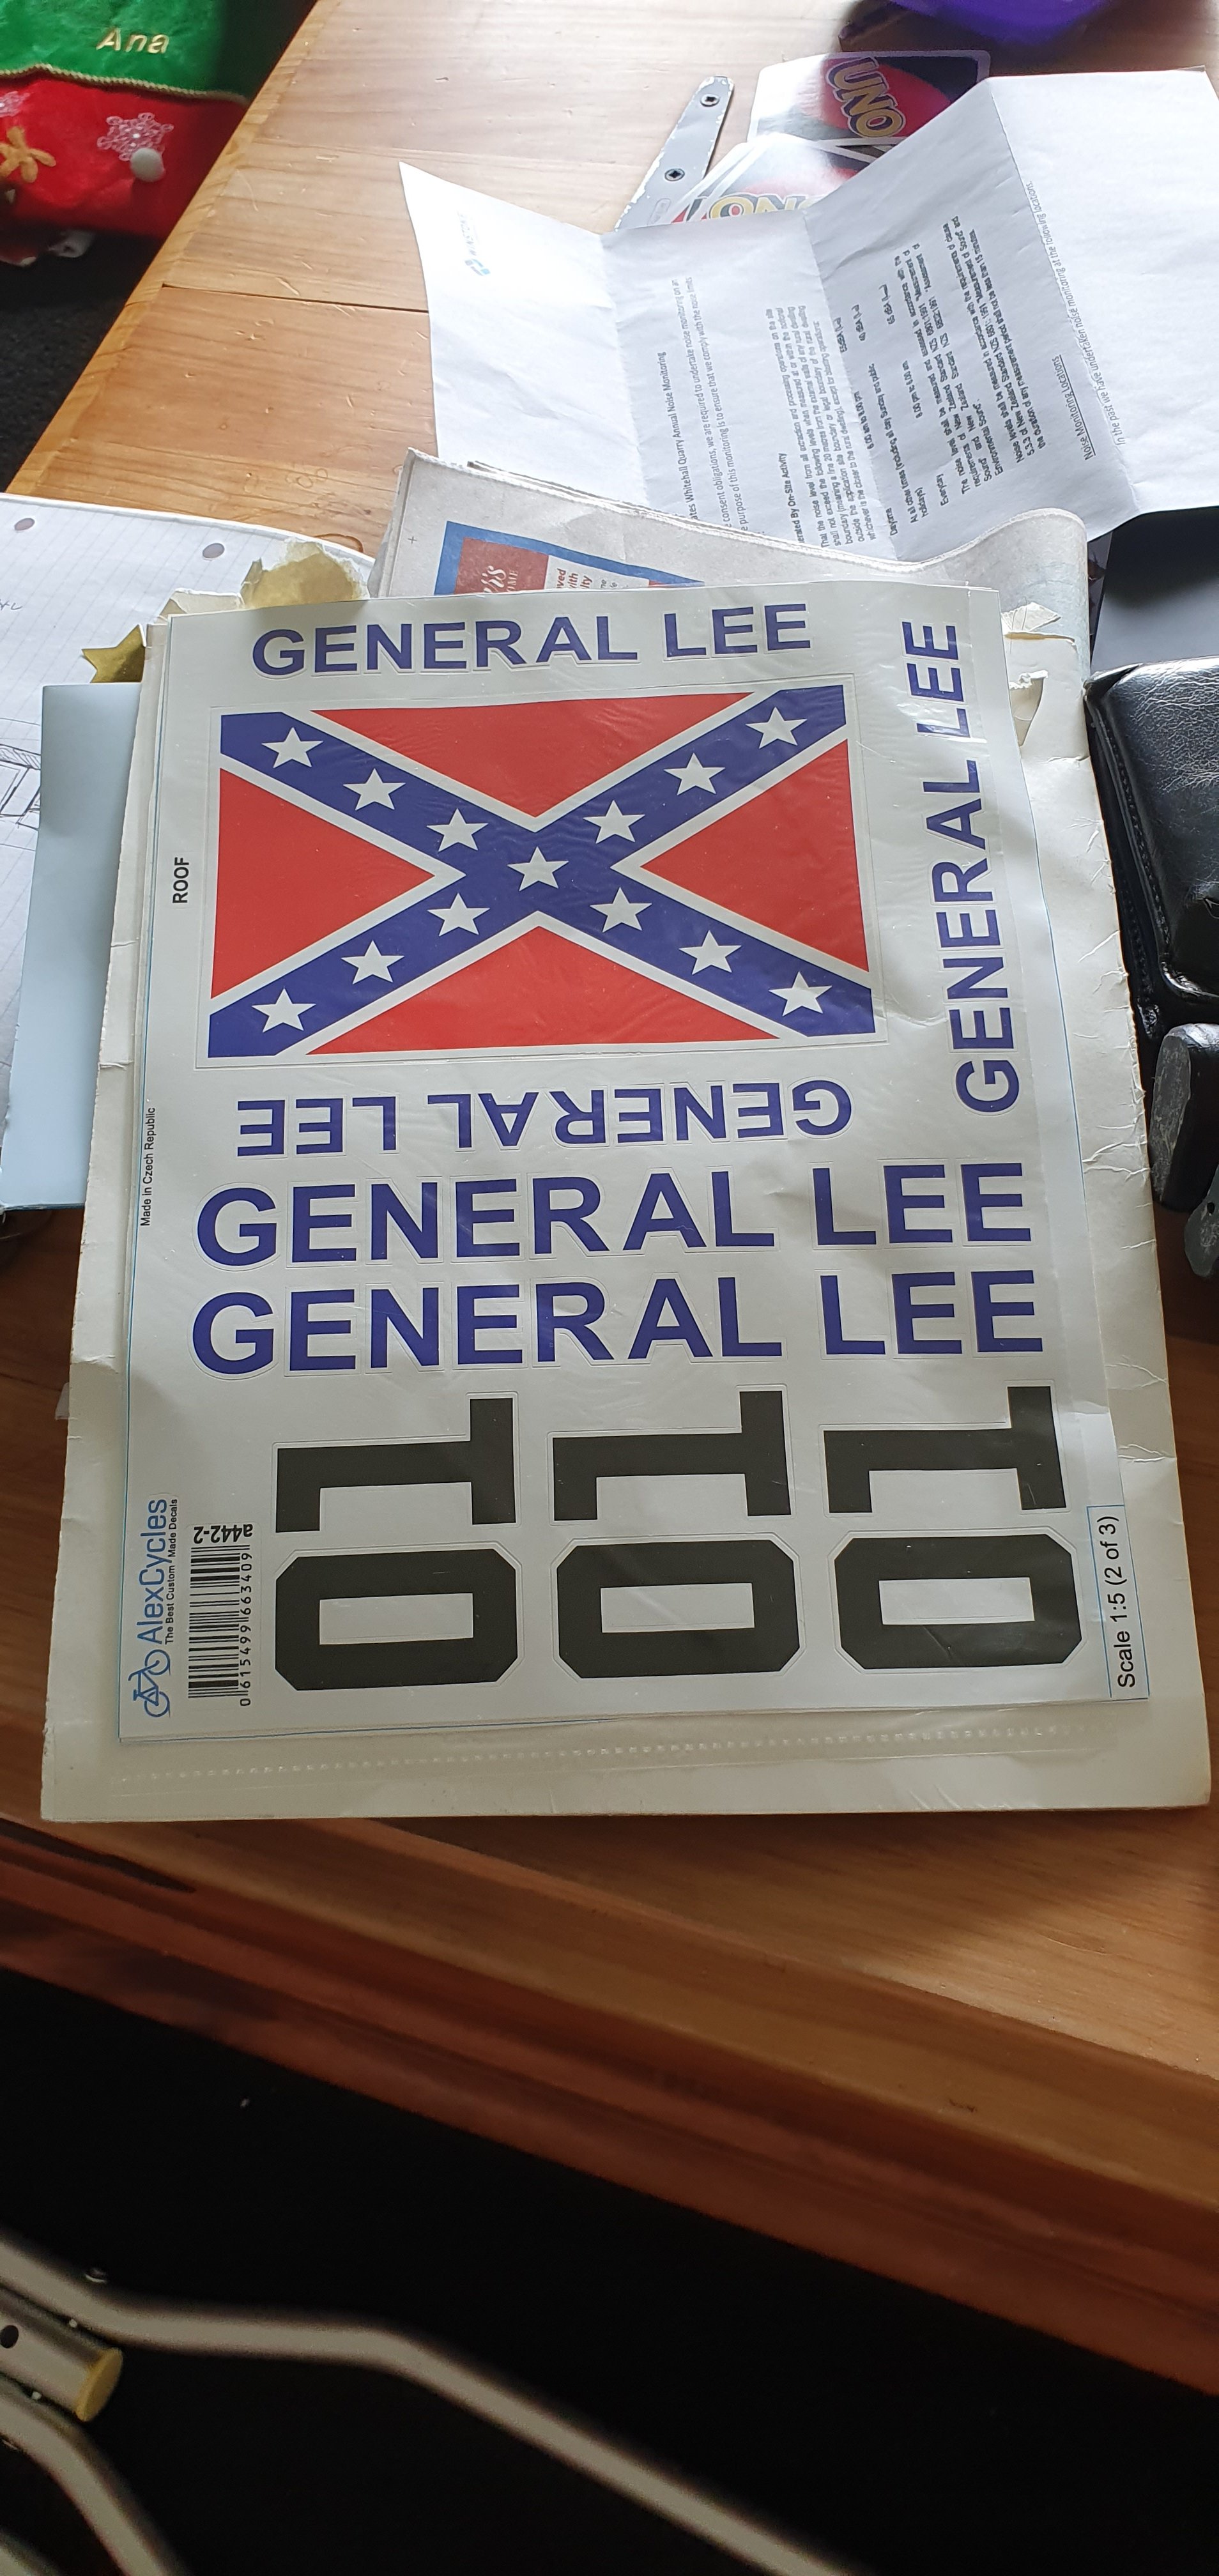
Crazy expensive, but worth every dollar. 3 A4 pages of custom decals made to order. Dah dah da dada da dada da dahhhh...
-
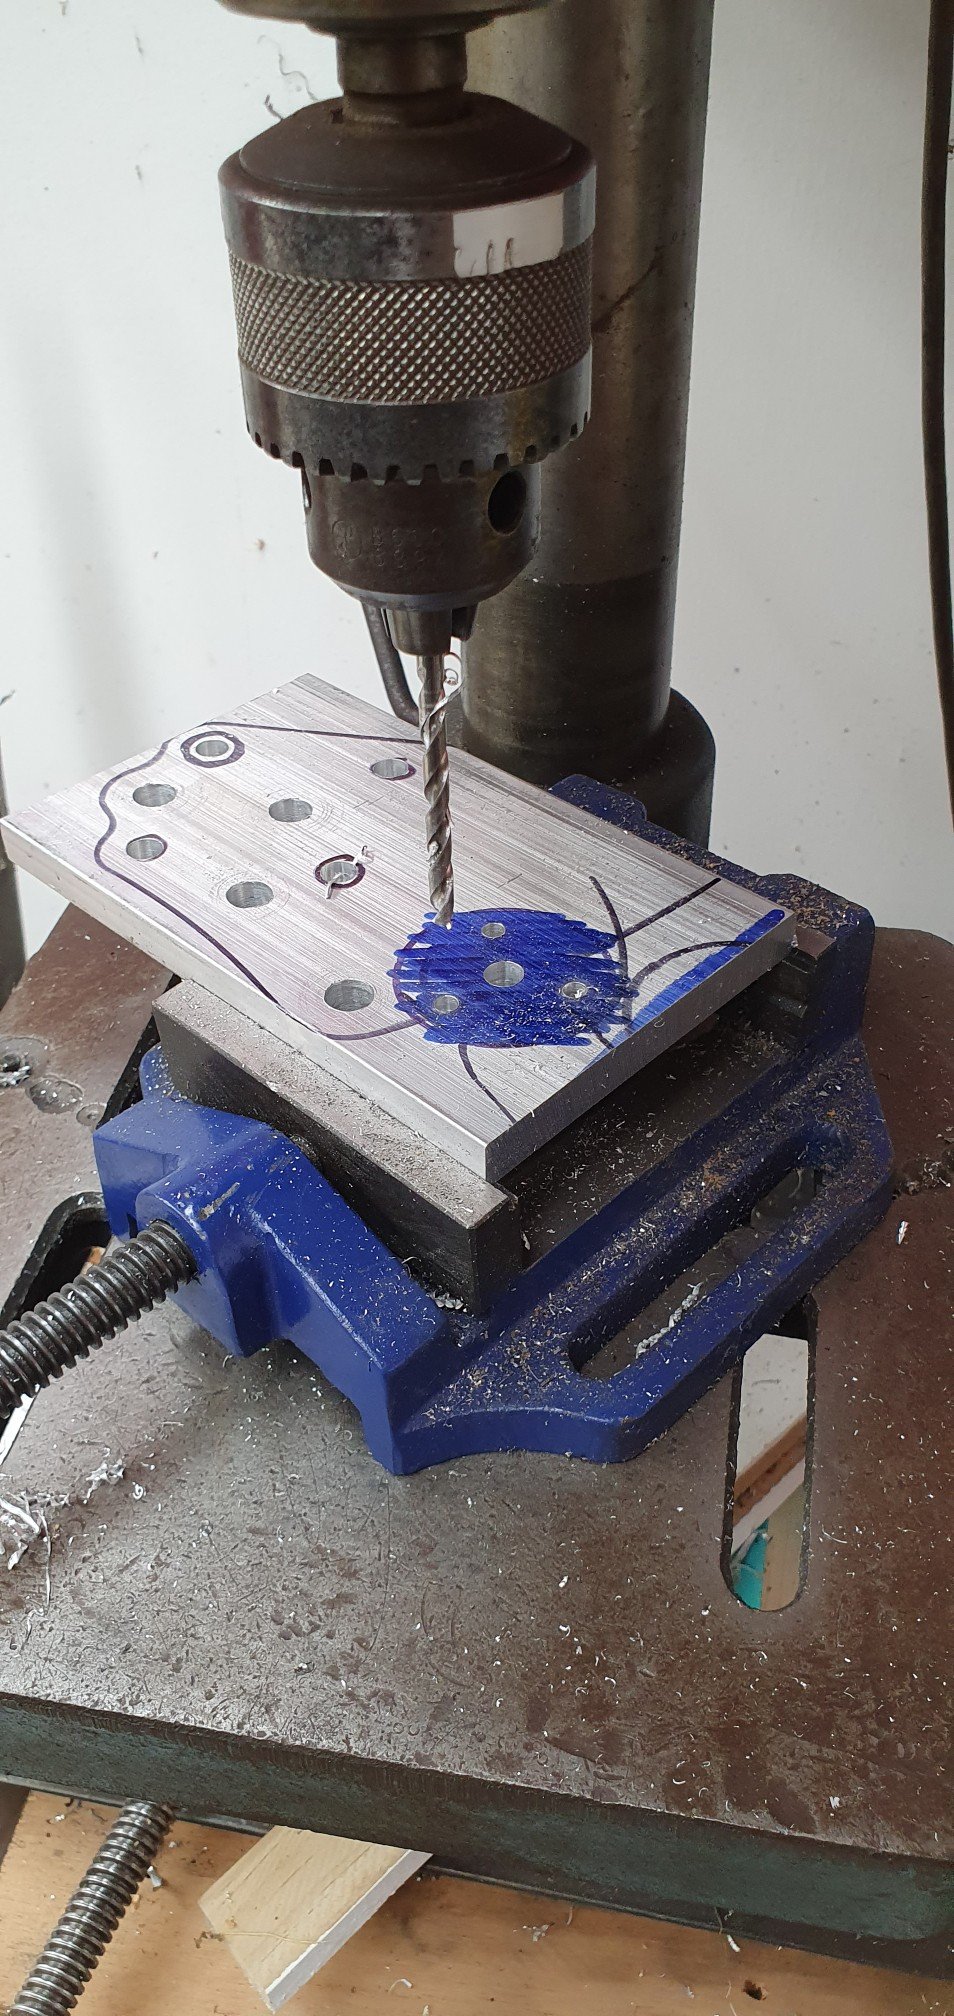
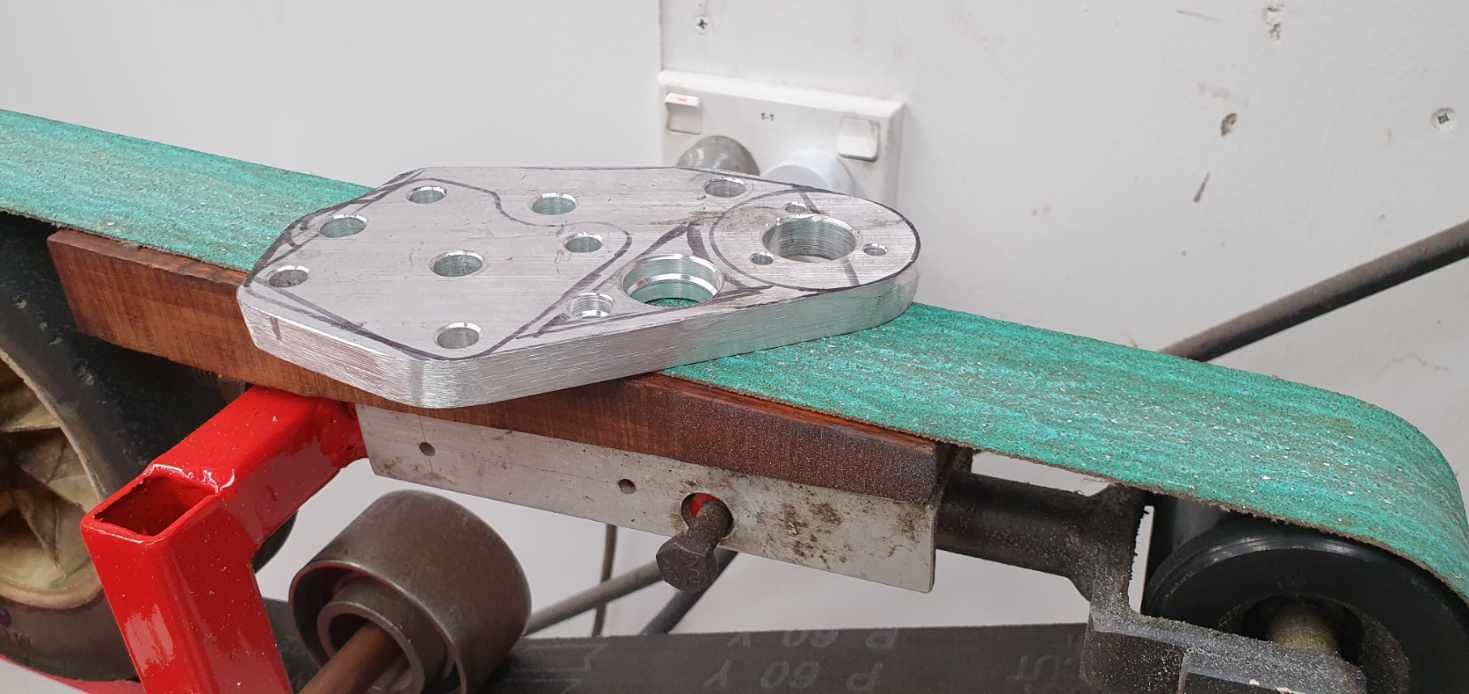
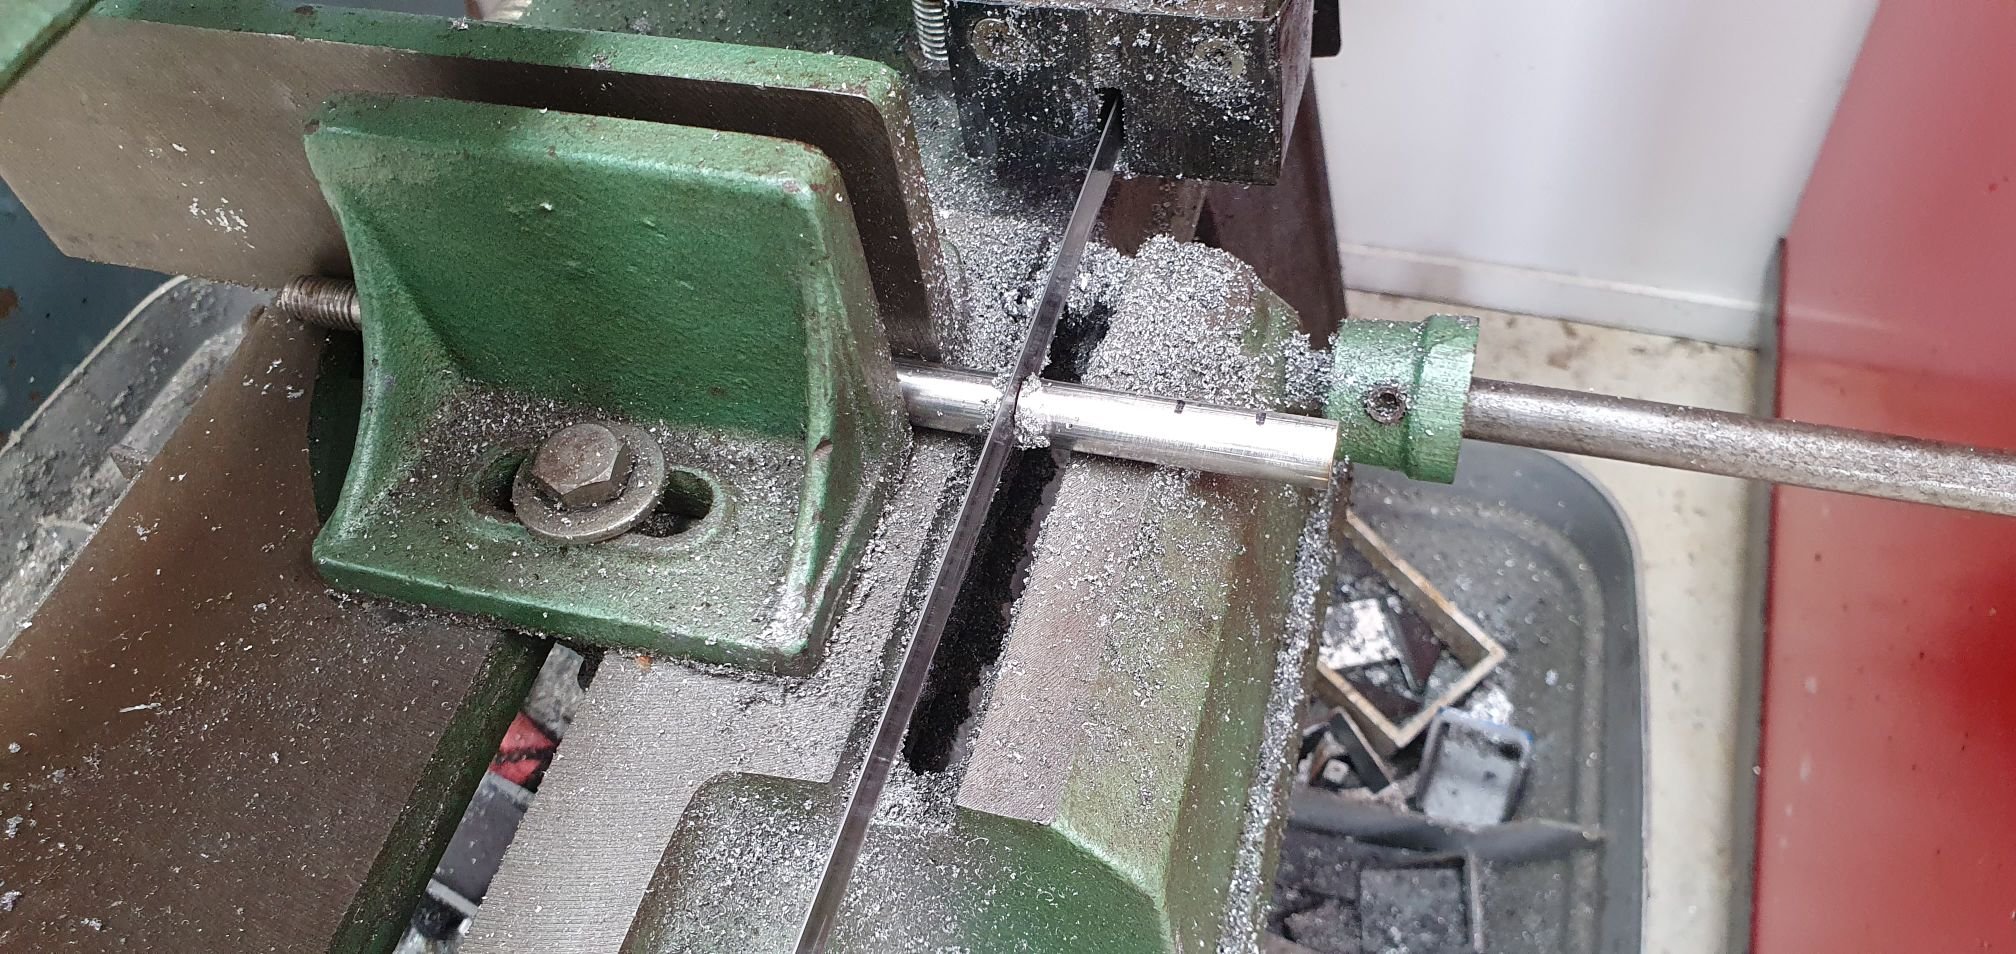
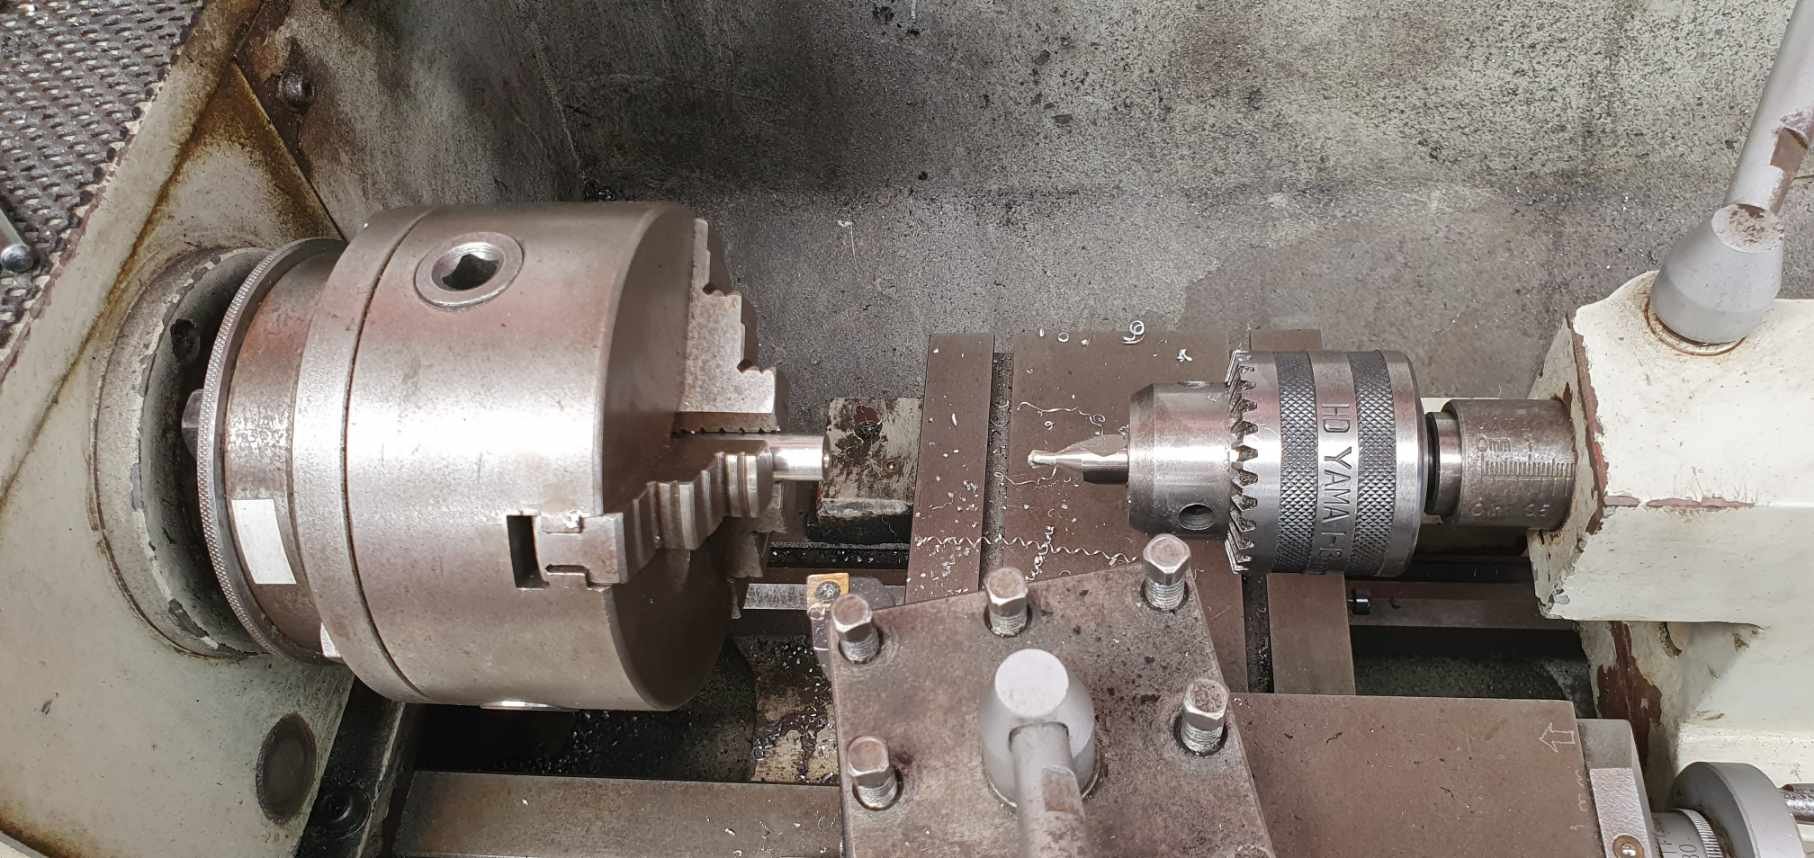
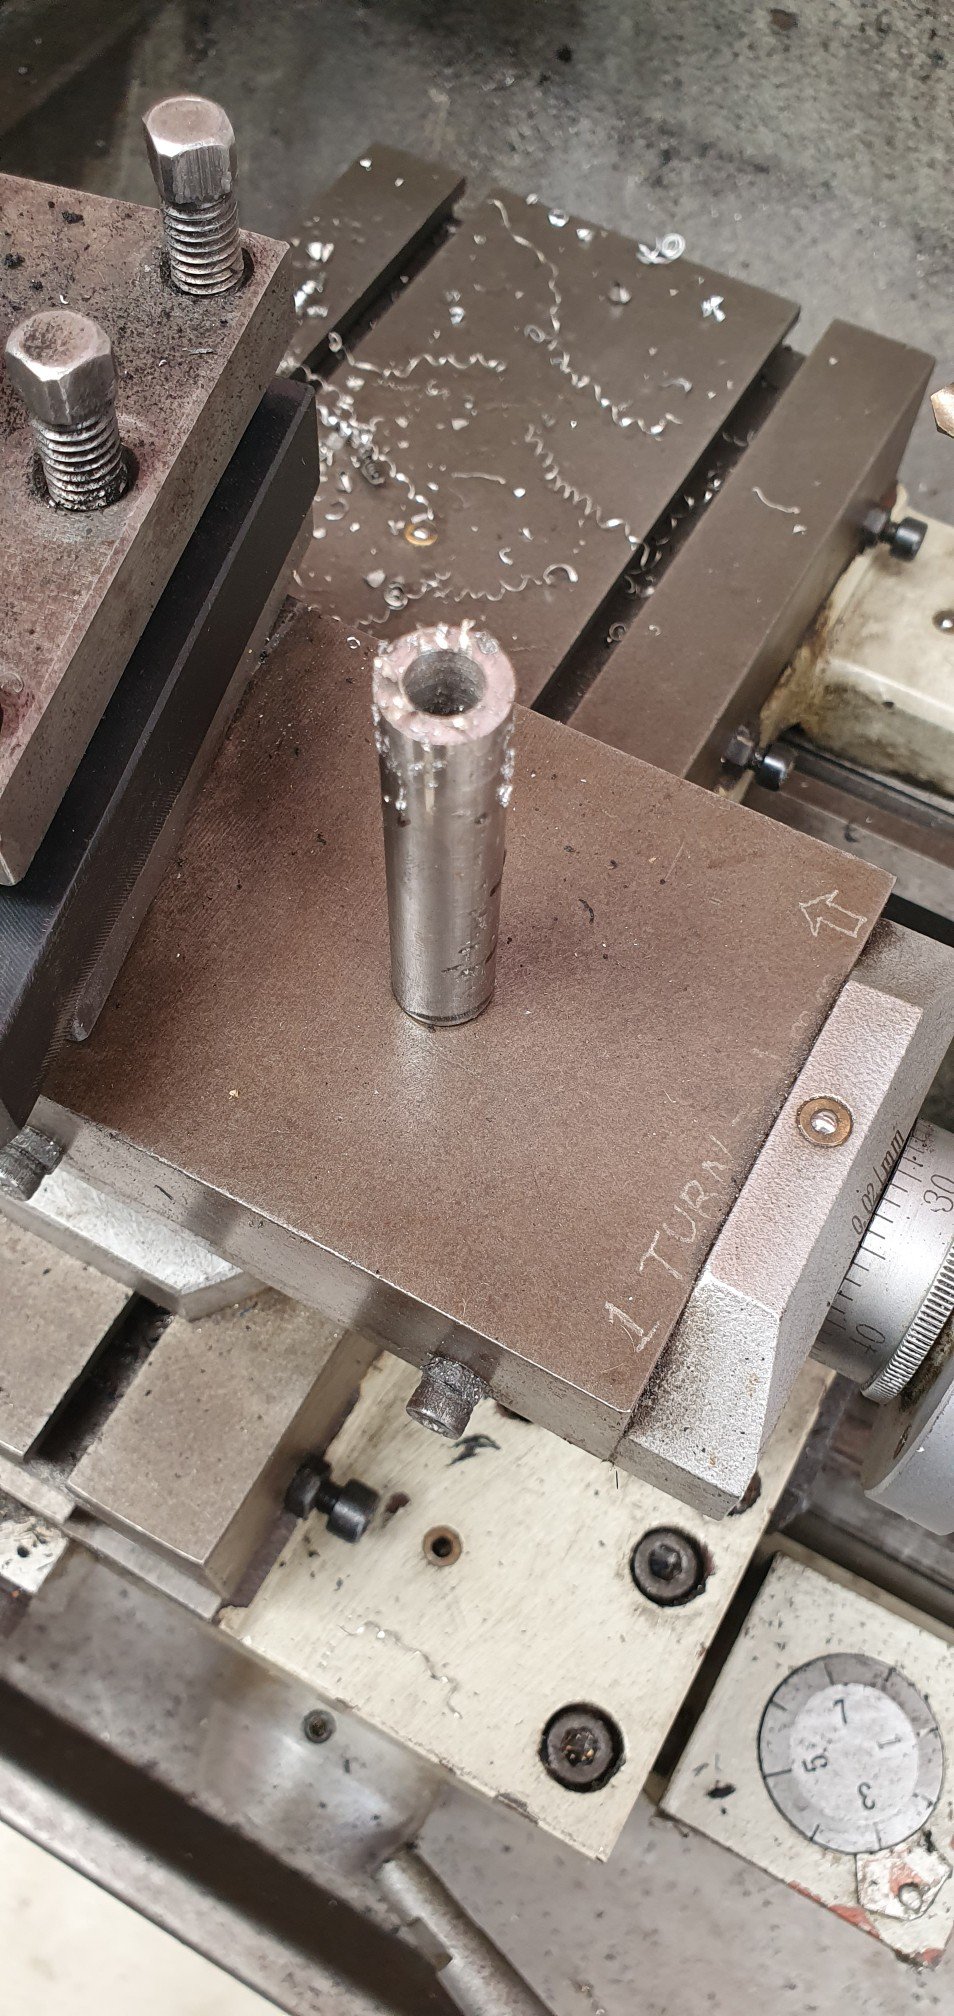
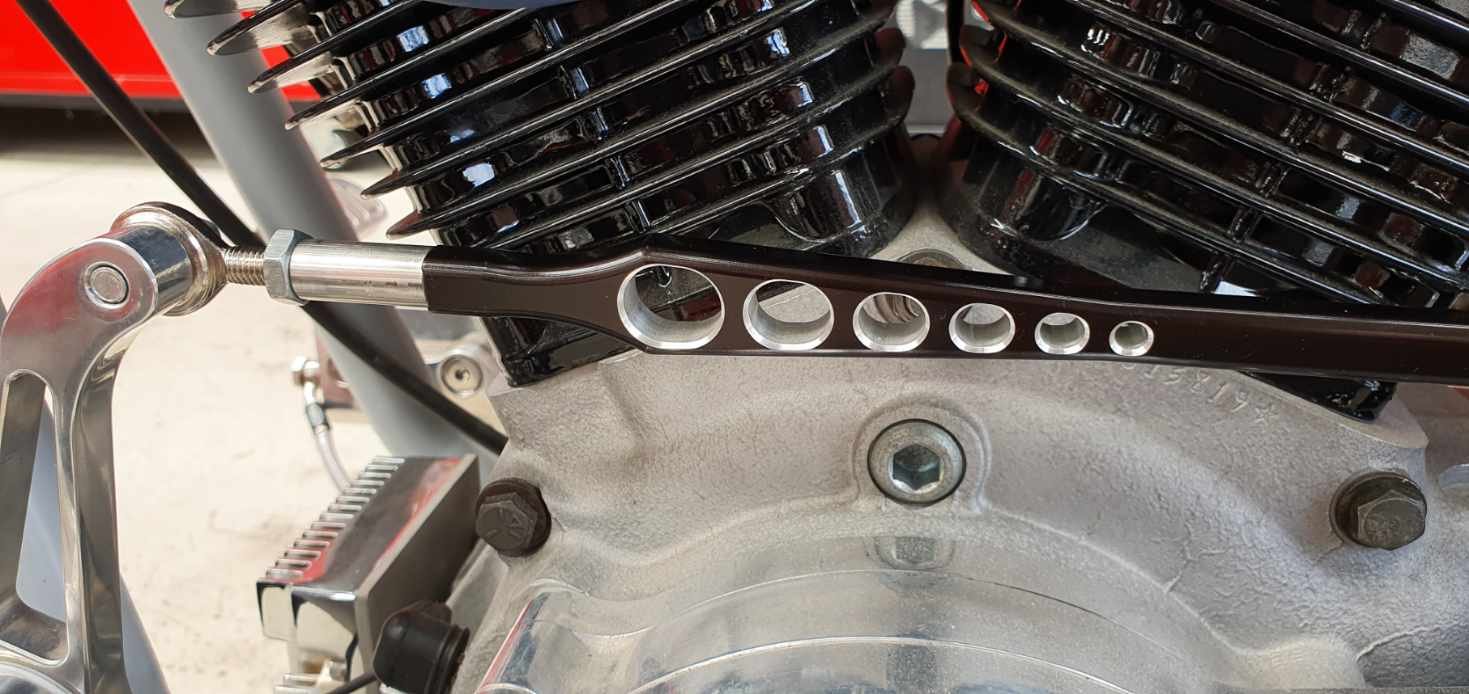
The shift linkage ended up on a less than perfect angle after shifting the centre point about 100mm. It worked, just...but was shit. So I machined up some stainless rod to extend the length, as hey let's be honest, a little more length is high on most guys wish list: I then tapped an M8 thread through it, and used about 30mm of M8 threaded rod to connect it to the existing linkage. This added ~60mm in length and i made the rest up by having the threads out a bit on the rod ends. Boom!! Now the linkage has near 1:1 give or take mechanical advantage, so about as positive as you could get in a set up like this. how does it work now? Perfectly...Fuck yeah!!
- 299 replies
-
- 14
-

-
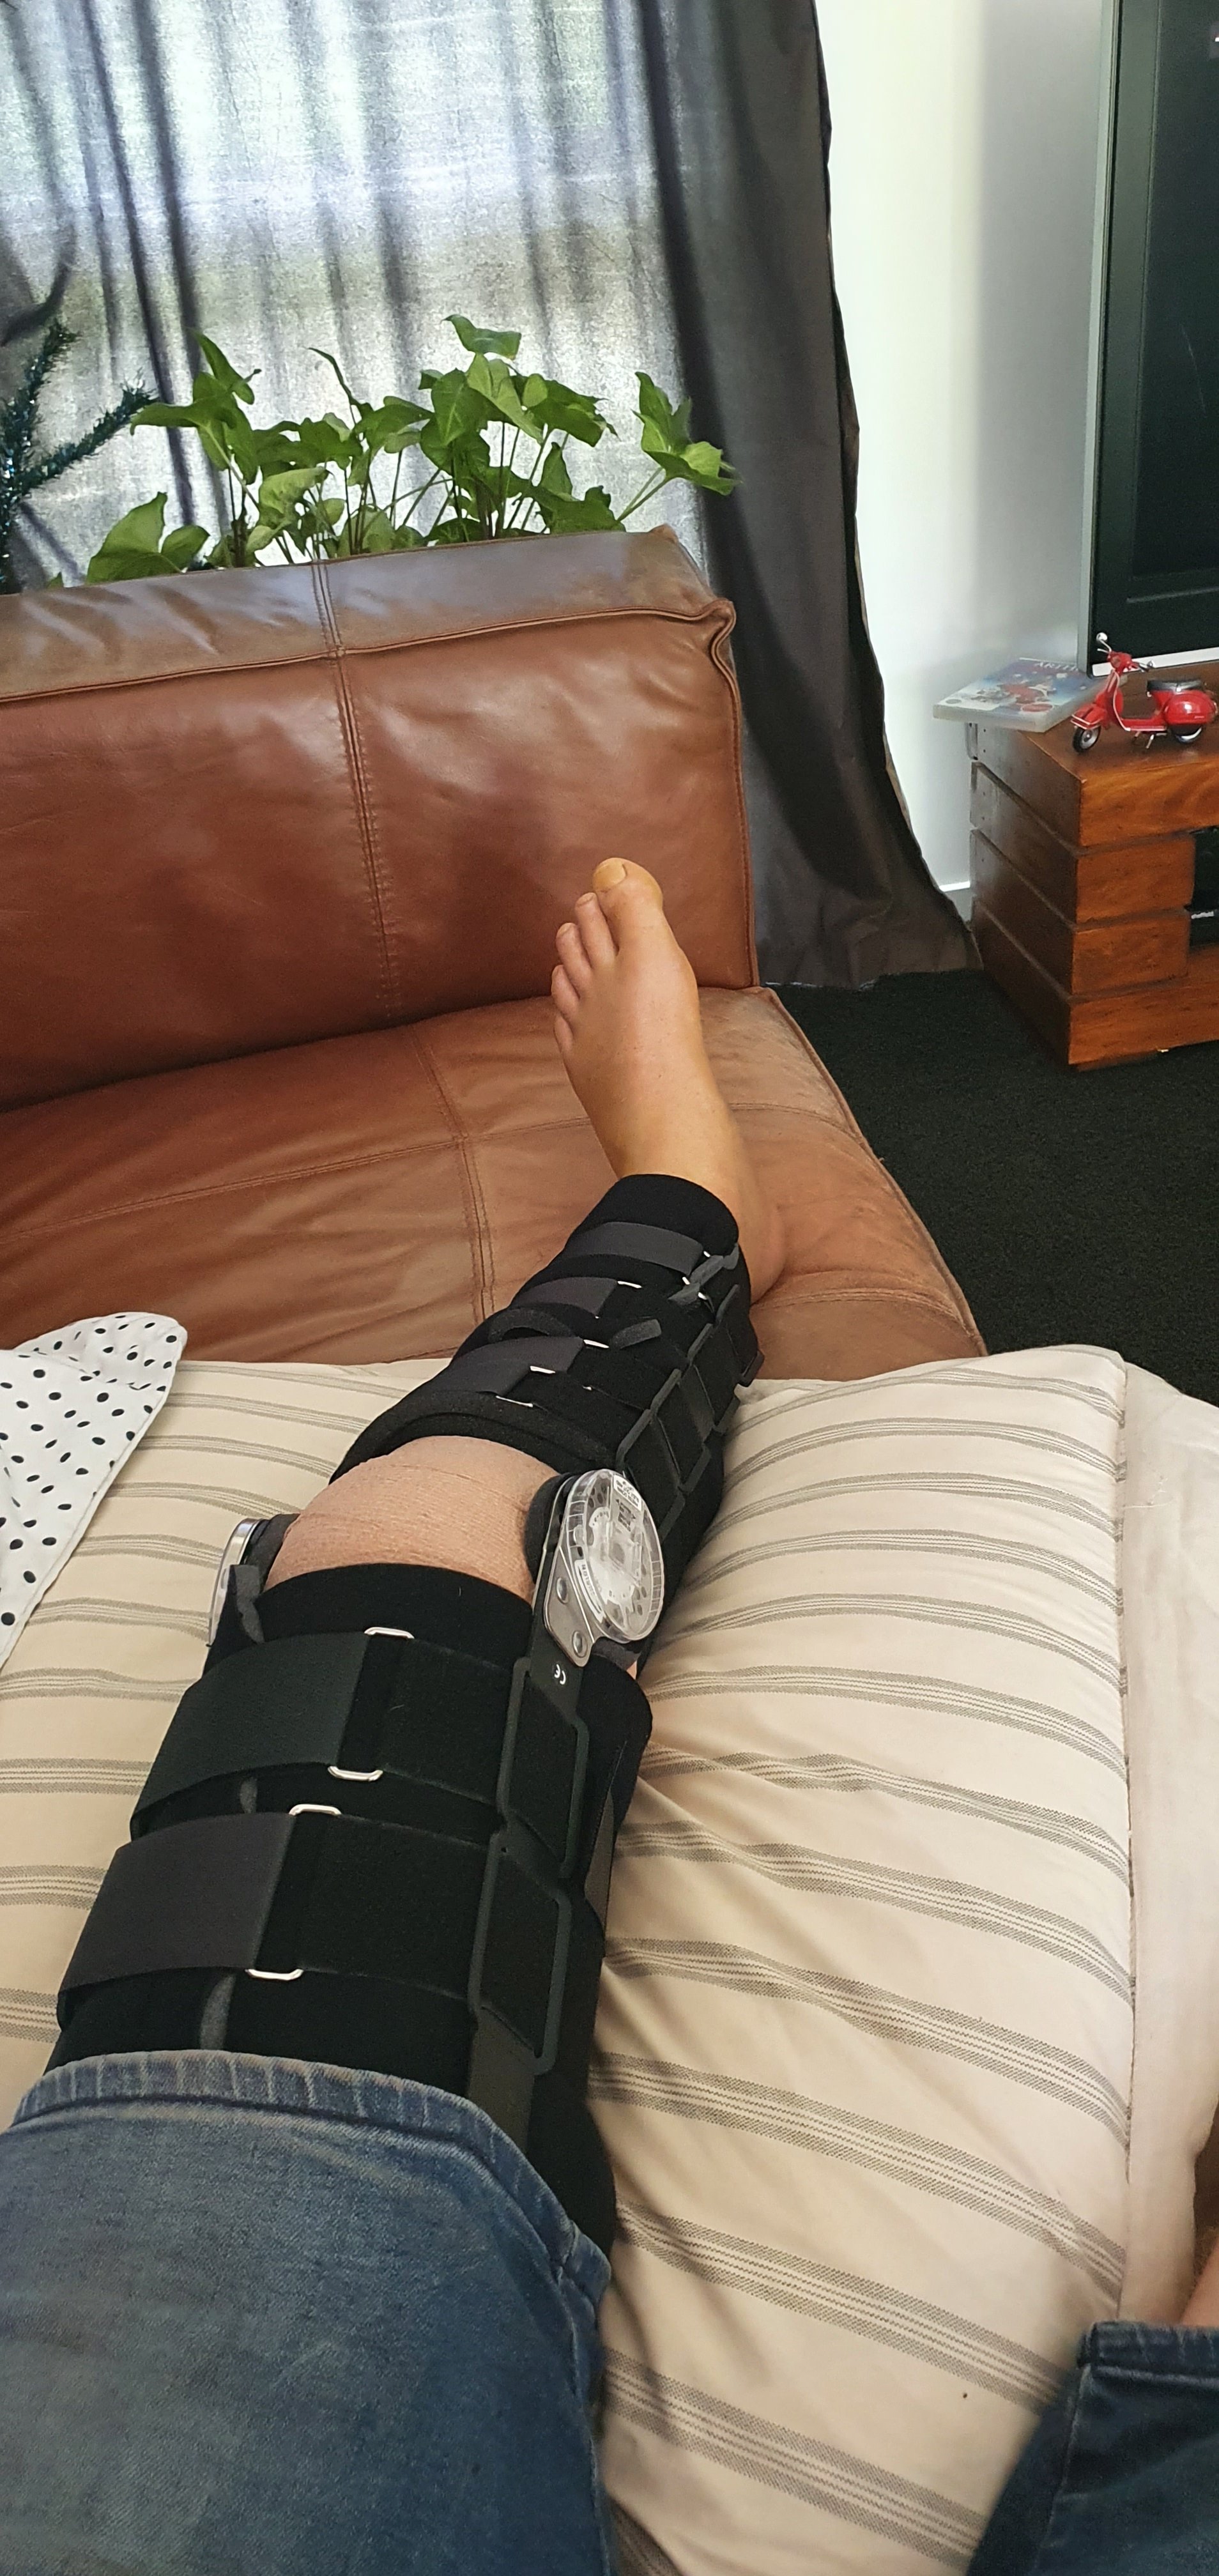
Maybe? My leg already looks like this, so I'm keen to try retain it and not take it off the foot peg more than necessary The wiring is the big job. I started it, way back in L4 lockdown, but its not something I enjoy doing. Just gotta get over myself and do it. Its all there, no excuses.
-
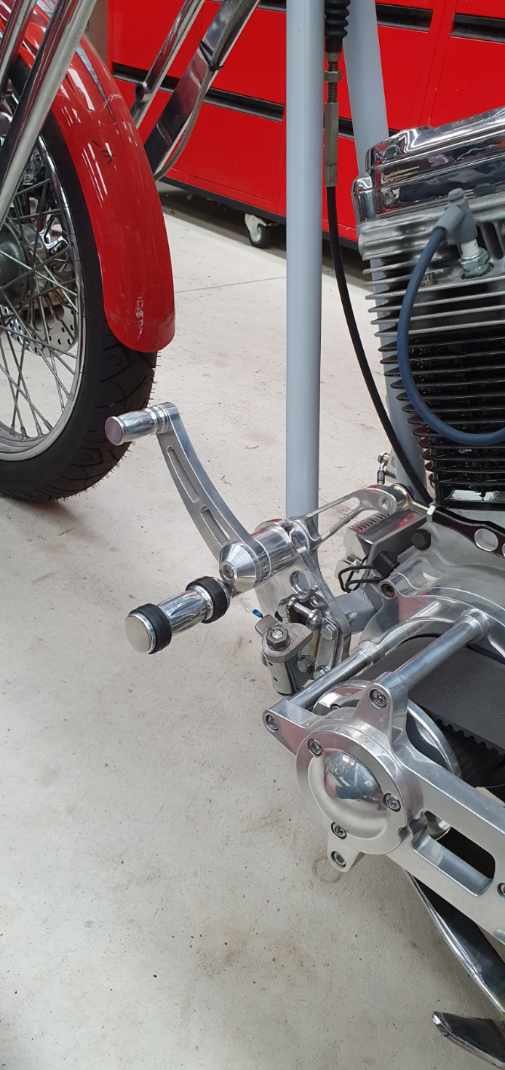
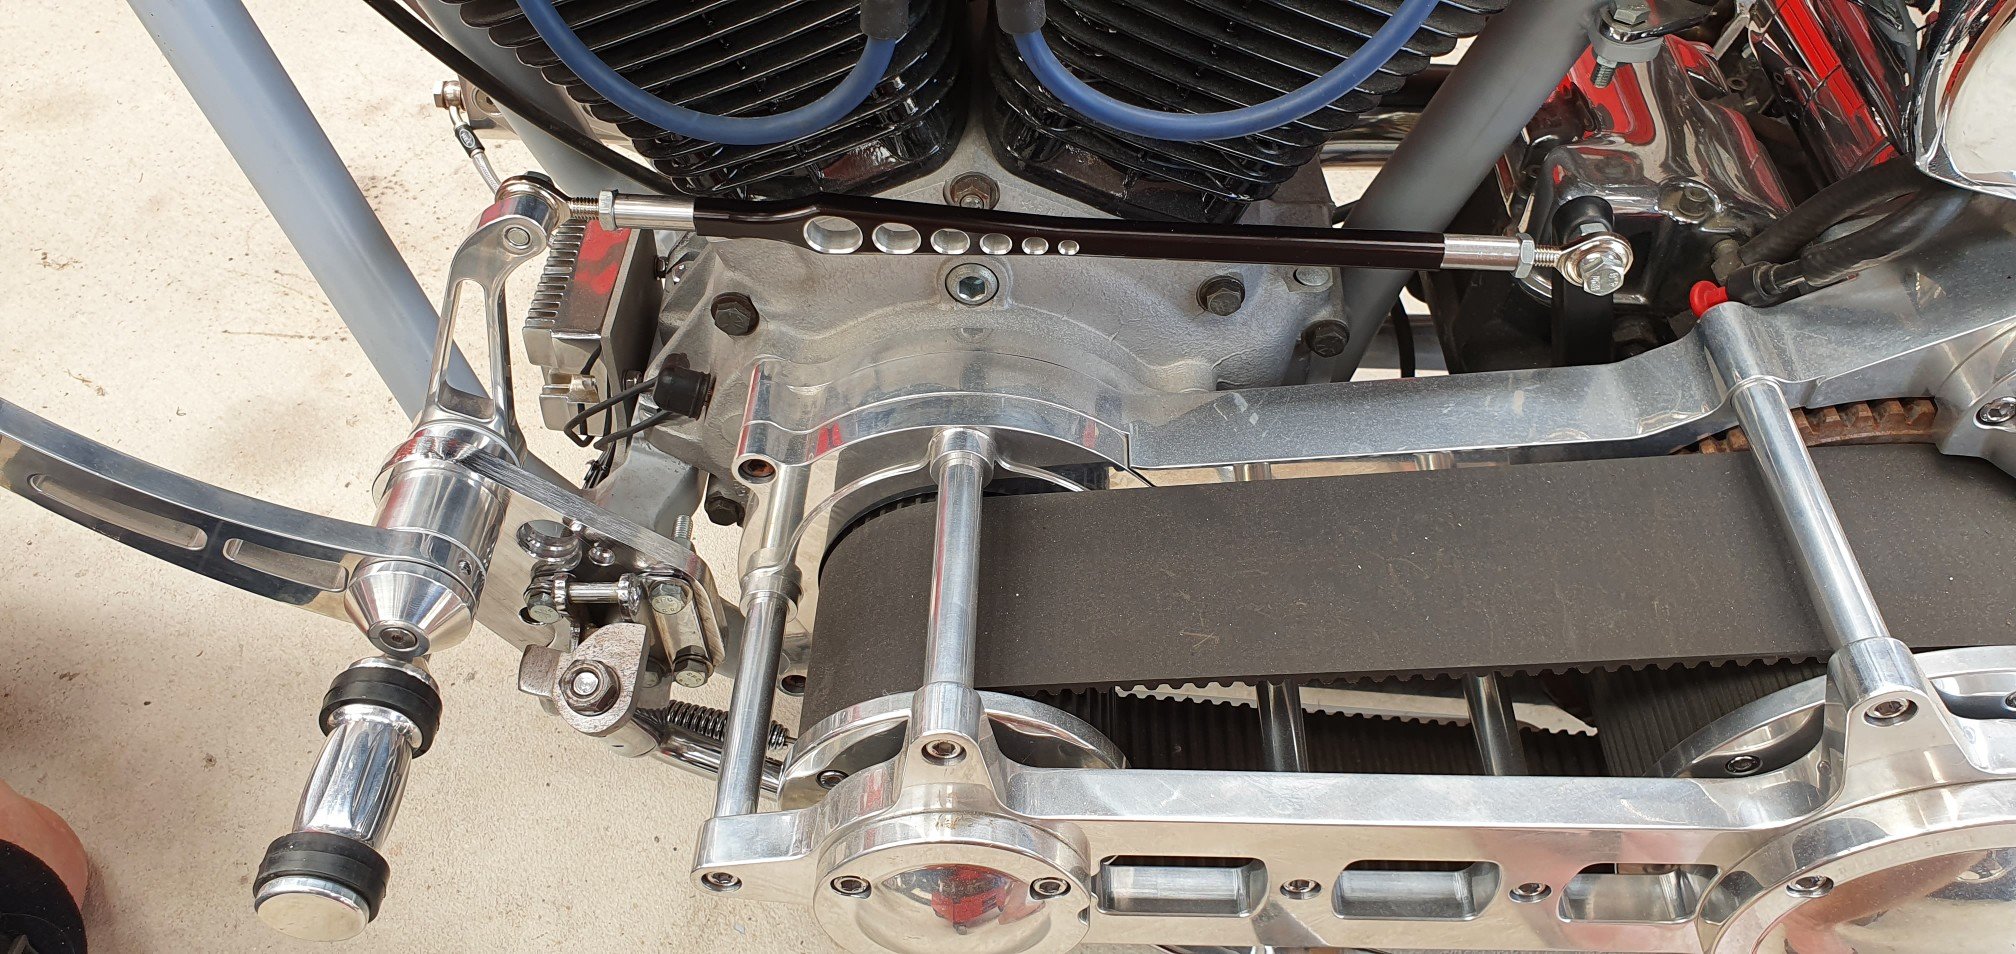
The forward controls looked awesome, I figured someone must have done some kind of R&D on them, or at least tried them out, but whoever designed these was a fucktard!! Seriously, the shifter arm had its pivot center about 100mm behind the foot peg. The arm was only about 150mm long, so 150mm - 100mm = 50mm of room to squeeze your foot in. ○Basically you had to lift up with the shifter here. ○Then, you had to lift your entire foot off the peg and lift it up and over the shifter, put you entire foot on top of the shifter to shift down the gear, with no heel contact on the peg at all, your foot literally floating in thin air with only your toes sitting on top of the shifter as you brake and down shift!!! Most forward controls have the shifter share the same pivot centre as the foot peg. I checked all my measurements and think I can get away wwith moving them very close together, as the arm is quite long. Re engineering the mounts. Now it work more like this: Only the tip of your toes has to flip around the shifter, maintaining heel contact all the time on the footpeg. Much better, it actually works now. You can simply pivot your foot, maintaining contact with the foot peg and shift gears up or down, just like a real motorcycle should. I'm happy now, much better.
- 299 replies
-
- 13
-
-

-

Kimjon's 50cc (then later ... 150cc and 400cc...then 1000cc) of awesomeness!
Kimjon replied to Kimjon's topic in Two Wheels
Yes, 400cc of Japanese v-twin 1980's goodness -
Kimjon's 50cc (then later ... 150cc and 400cc...then 1000cc) of awesomeness!
Kimjon replied to Kimjon's topic in Two Wheels
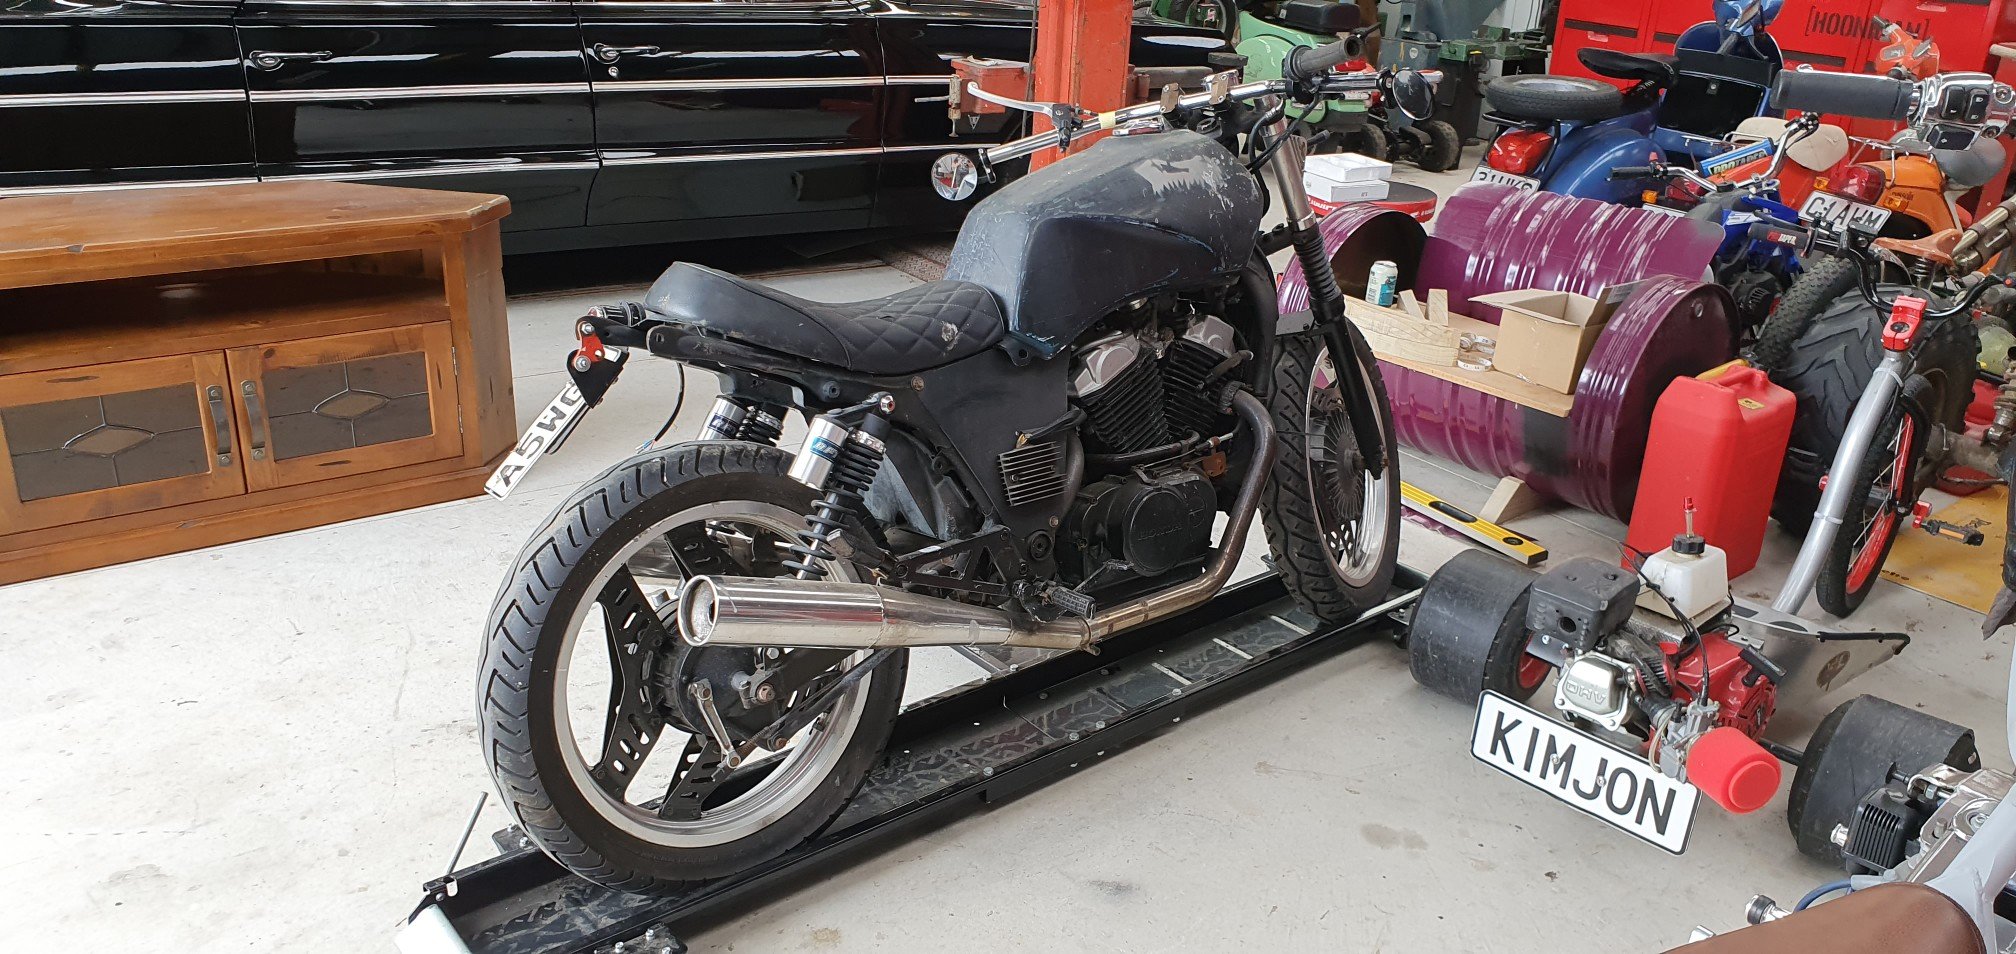
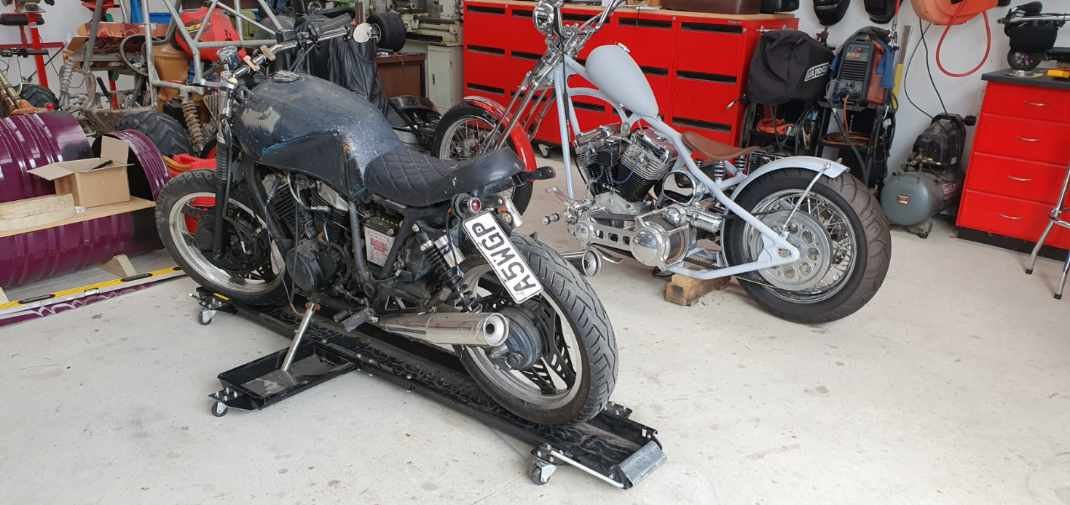
Its growing on me, its actually a very solid bike under the 20 layers of rattle can paint jobs hiding its past, like an old hooker smeared in makeup and cheap perfume. I bobbed the tail to tidy it up, looks much better already. All I did was unbolt shit. Then added some bar end mirrors i had left over from projects past. Today I purchased a motorcycle dolly, because I've always wanted one. I'm not sure why, as apparently motorcycles come with their own wheels and aren't that hard to shift on your own...who knew?? But hey, I achieved a life goal of owning a motorcycle dolly, so I'm still calling it a win!!
-
Kimjon's 50cc (then later ... 150cc and 400cc...then 1000cc) of awesomeness!
Kimjon replied to Kimjon's topic in Two Wheels
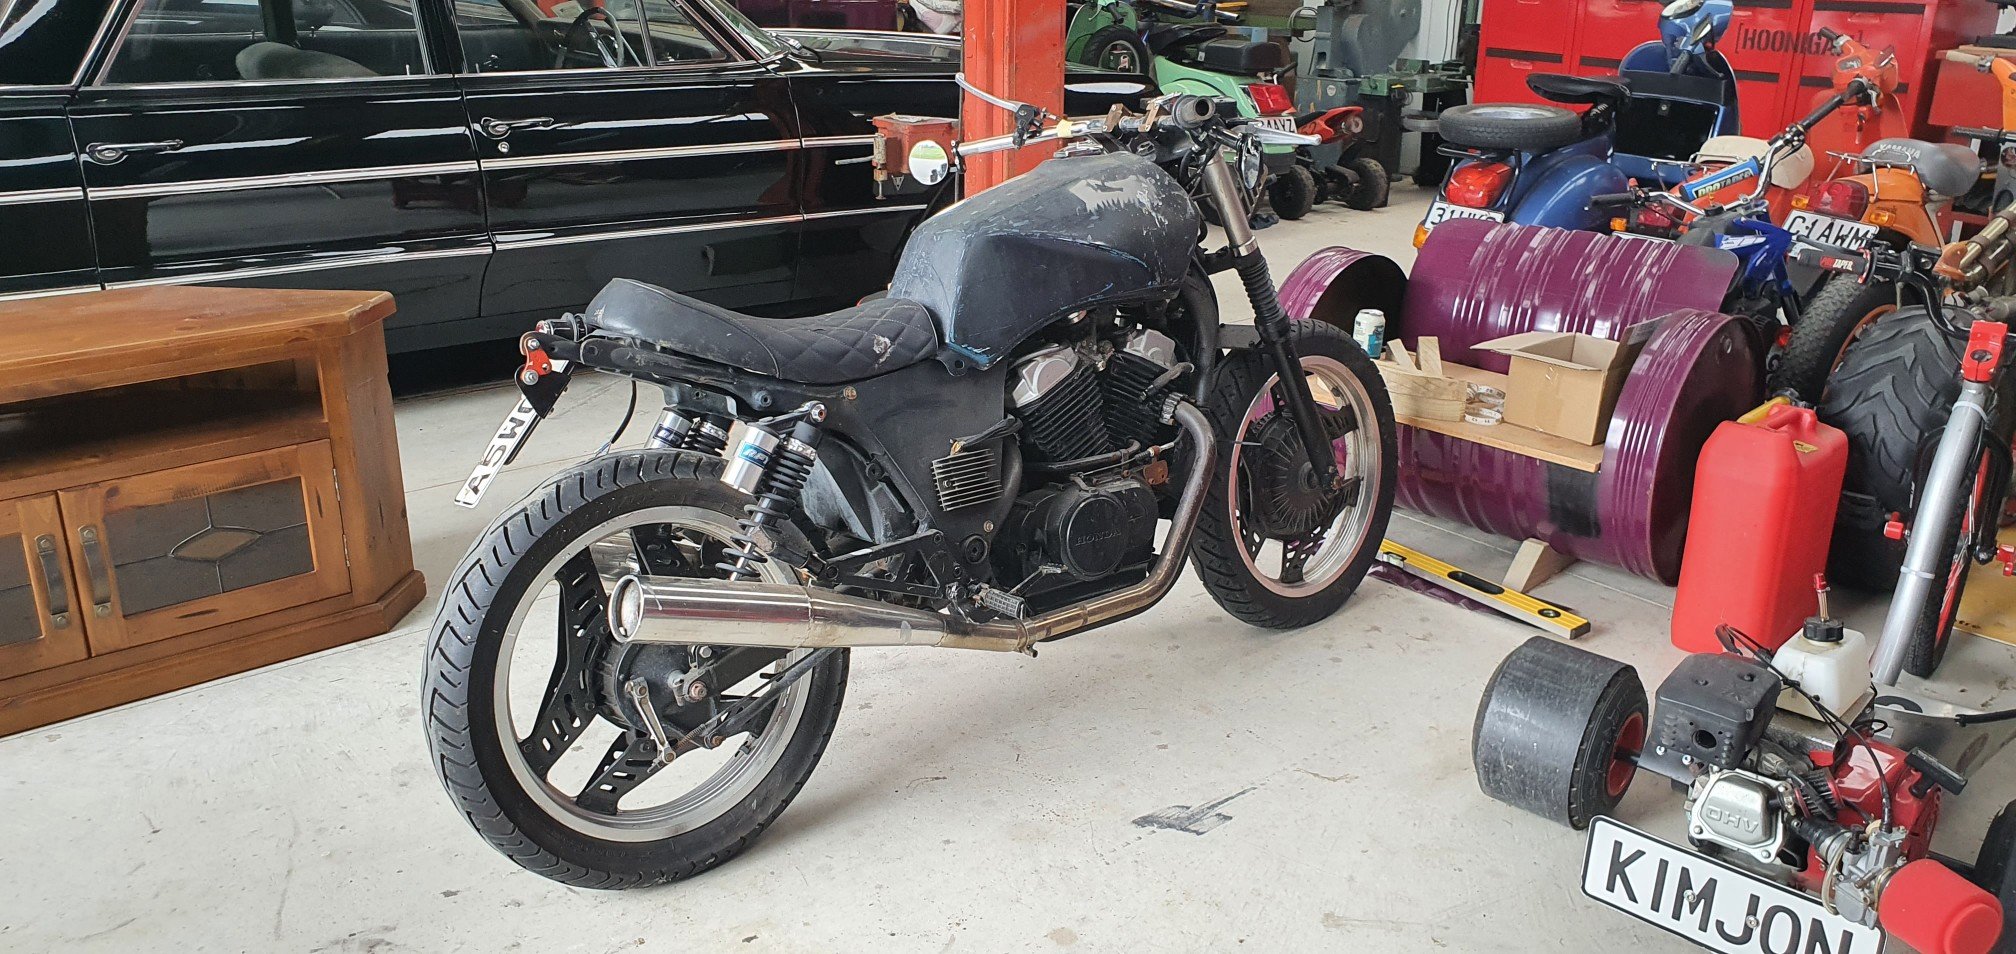
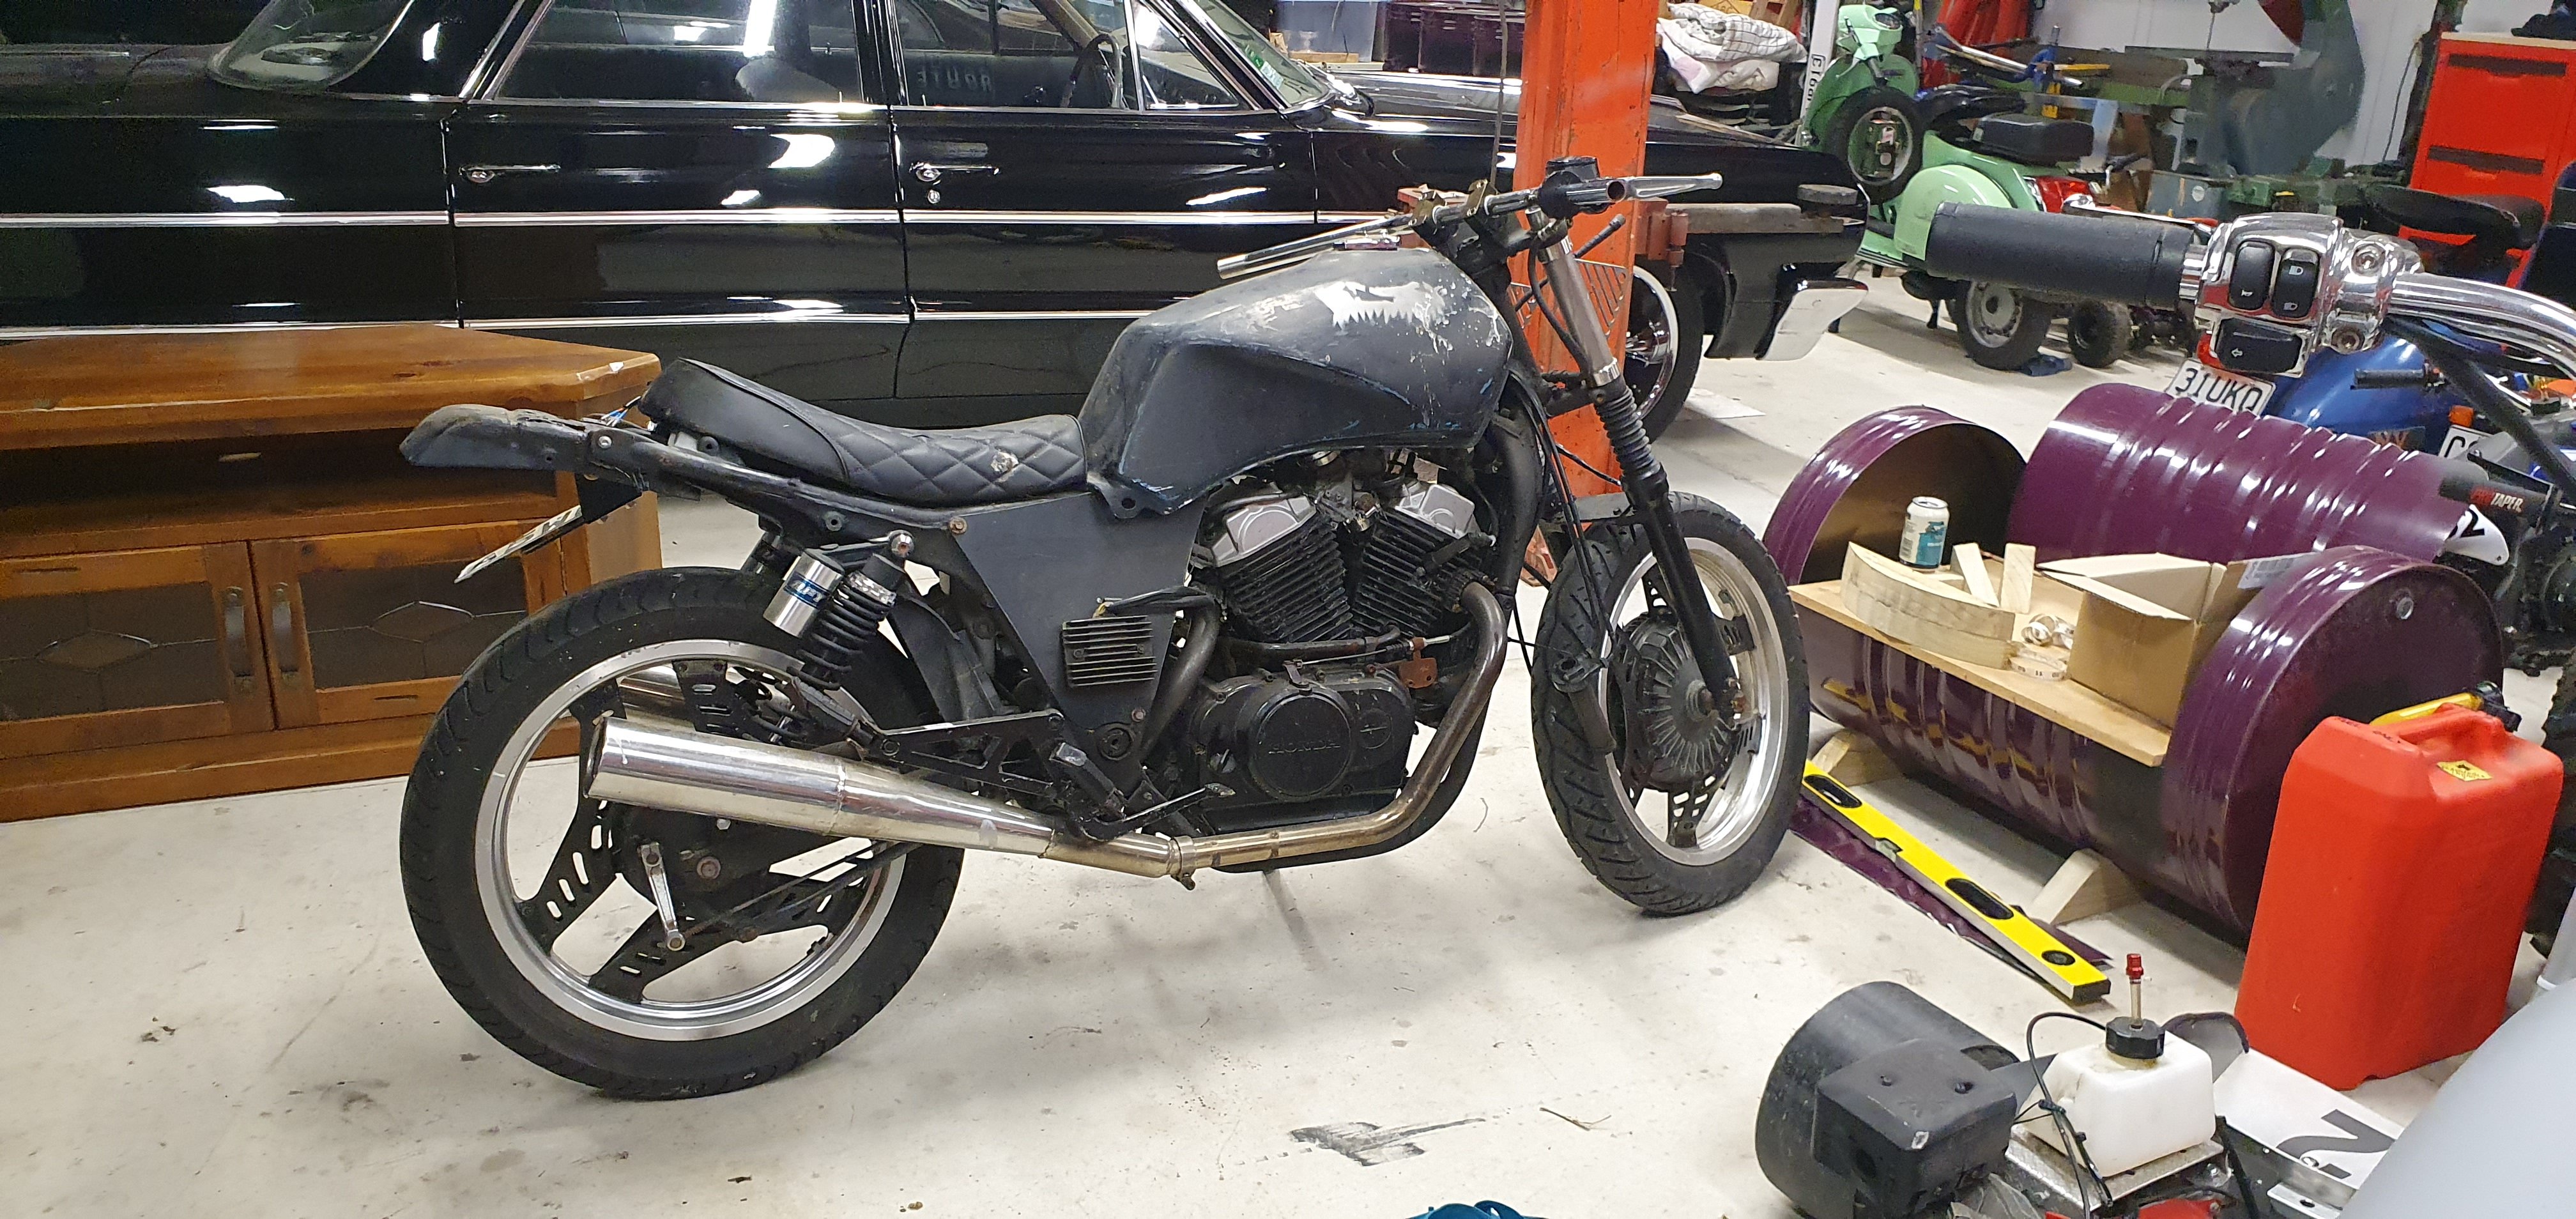
Okay, slight u-turn... Some v-twin Japanese nostalgia to add to the collection. Tho the cunt who sold it to me did a runner with a box containing the wiring loom, headlight and a heap of good stuff promised in the sale. Long story, but just yet another sad reminder that in life you're going end up doing business with a cunt every now and then. Anyway, the bike has good bones. I have steel, a grinder and a welder, plus about 100hrs this week alone of watching YouTube on cafe racers...so let's get past that small hurdle and start planning a cool build. No time frames, no budget (As in zero).
-
Kimjon's 50cc (then later ... 150cc and 400cc...then 1000cc) of awesomeness!
Kimjon replied to Kimjon's topic in Two Wheels
I like the sound of that advice


.jpeg.97bcae224baa660788ecbe5c66ea2d3b.jpeg)
.jpeg.45b1f882a00612b6bf0bbf14723ea704.jpeg)
.jpeg.f7d3c5b4d407d307c18cca7c933f5bd0.jpeg)