Sunbeam
-
Posts
958 -
Joined
-
Last visited
-
Days Won
1
Everything posted by Sunbeam
-
Interesting. A turbo?
-
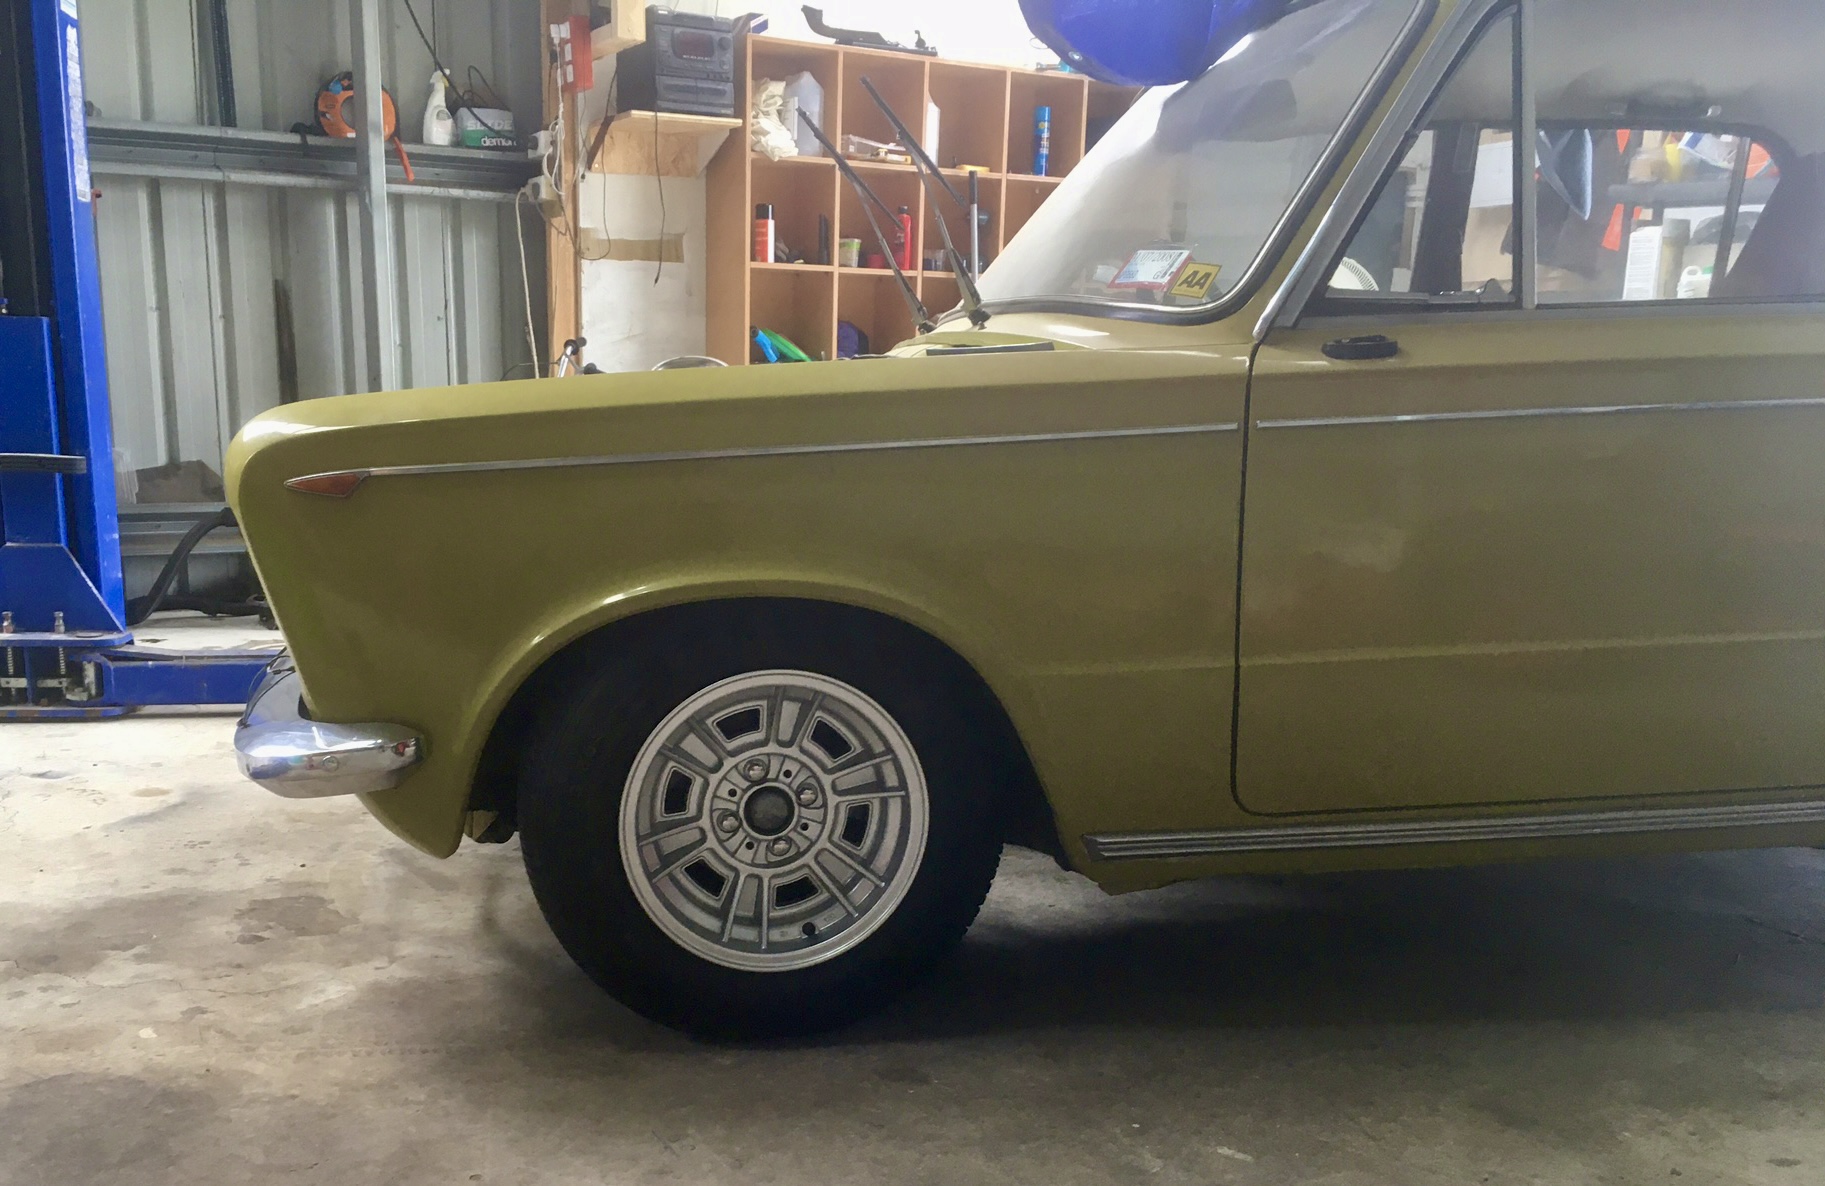
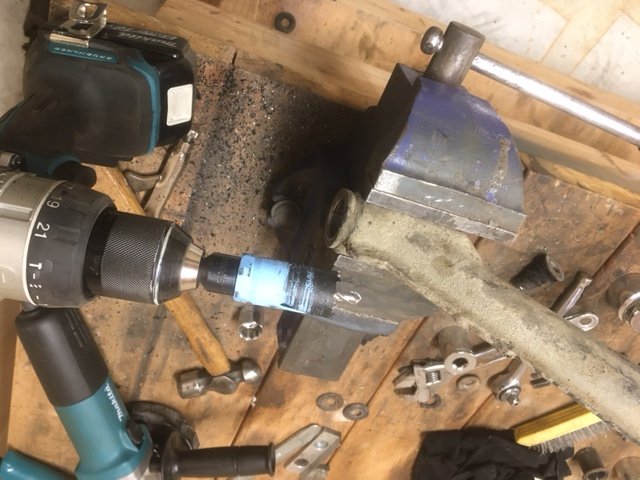
Useless update time. It’s on its wheels. What I discovered is that the Fiat 124 shocks are close but not close enough for the rear. The eye sleeve has a 10mm hole in it, not a 12 as I require. The sleeve itself has a wall thickness of just over 4mm, so I thought no problem, just drill it out. Well, even in a vice etc and stepping up in 0.5mm increments, the bush moves around enough that the hole in one side ended up not quite on centre. Close enough for government work though. Combing through kyb online catalogues though, I have found a couple of very close matches. FB RX7 rears would be perfect, but hardly anyone has any. A 1995 Kia Sportage is also bang on, but maybe too stiff for a light car? And lastly an NA4W Mitsubishi Grandis also fits the bill dimensionally. Leaning towards the Kia as they are readily available (cheap) from Rock Auto. 124 jobbies are in for now. Pointless edit: I rolled her outside and the last couple of years’ worth of shed dirt got washed off too. Now using an indoor cover. I’m still waiting on some new gallery plugs. That’s the only thing stopping me from slinging the engine in although I might do the valve clearances on the engine stand too to save my back. I can’t fit my thinnest feeler gauge under any of the tappets, so some big changes required.

- 126 replies
-
- 13
-

-
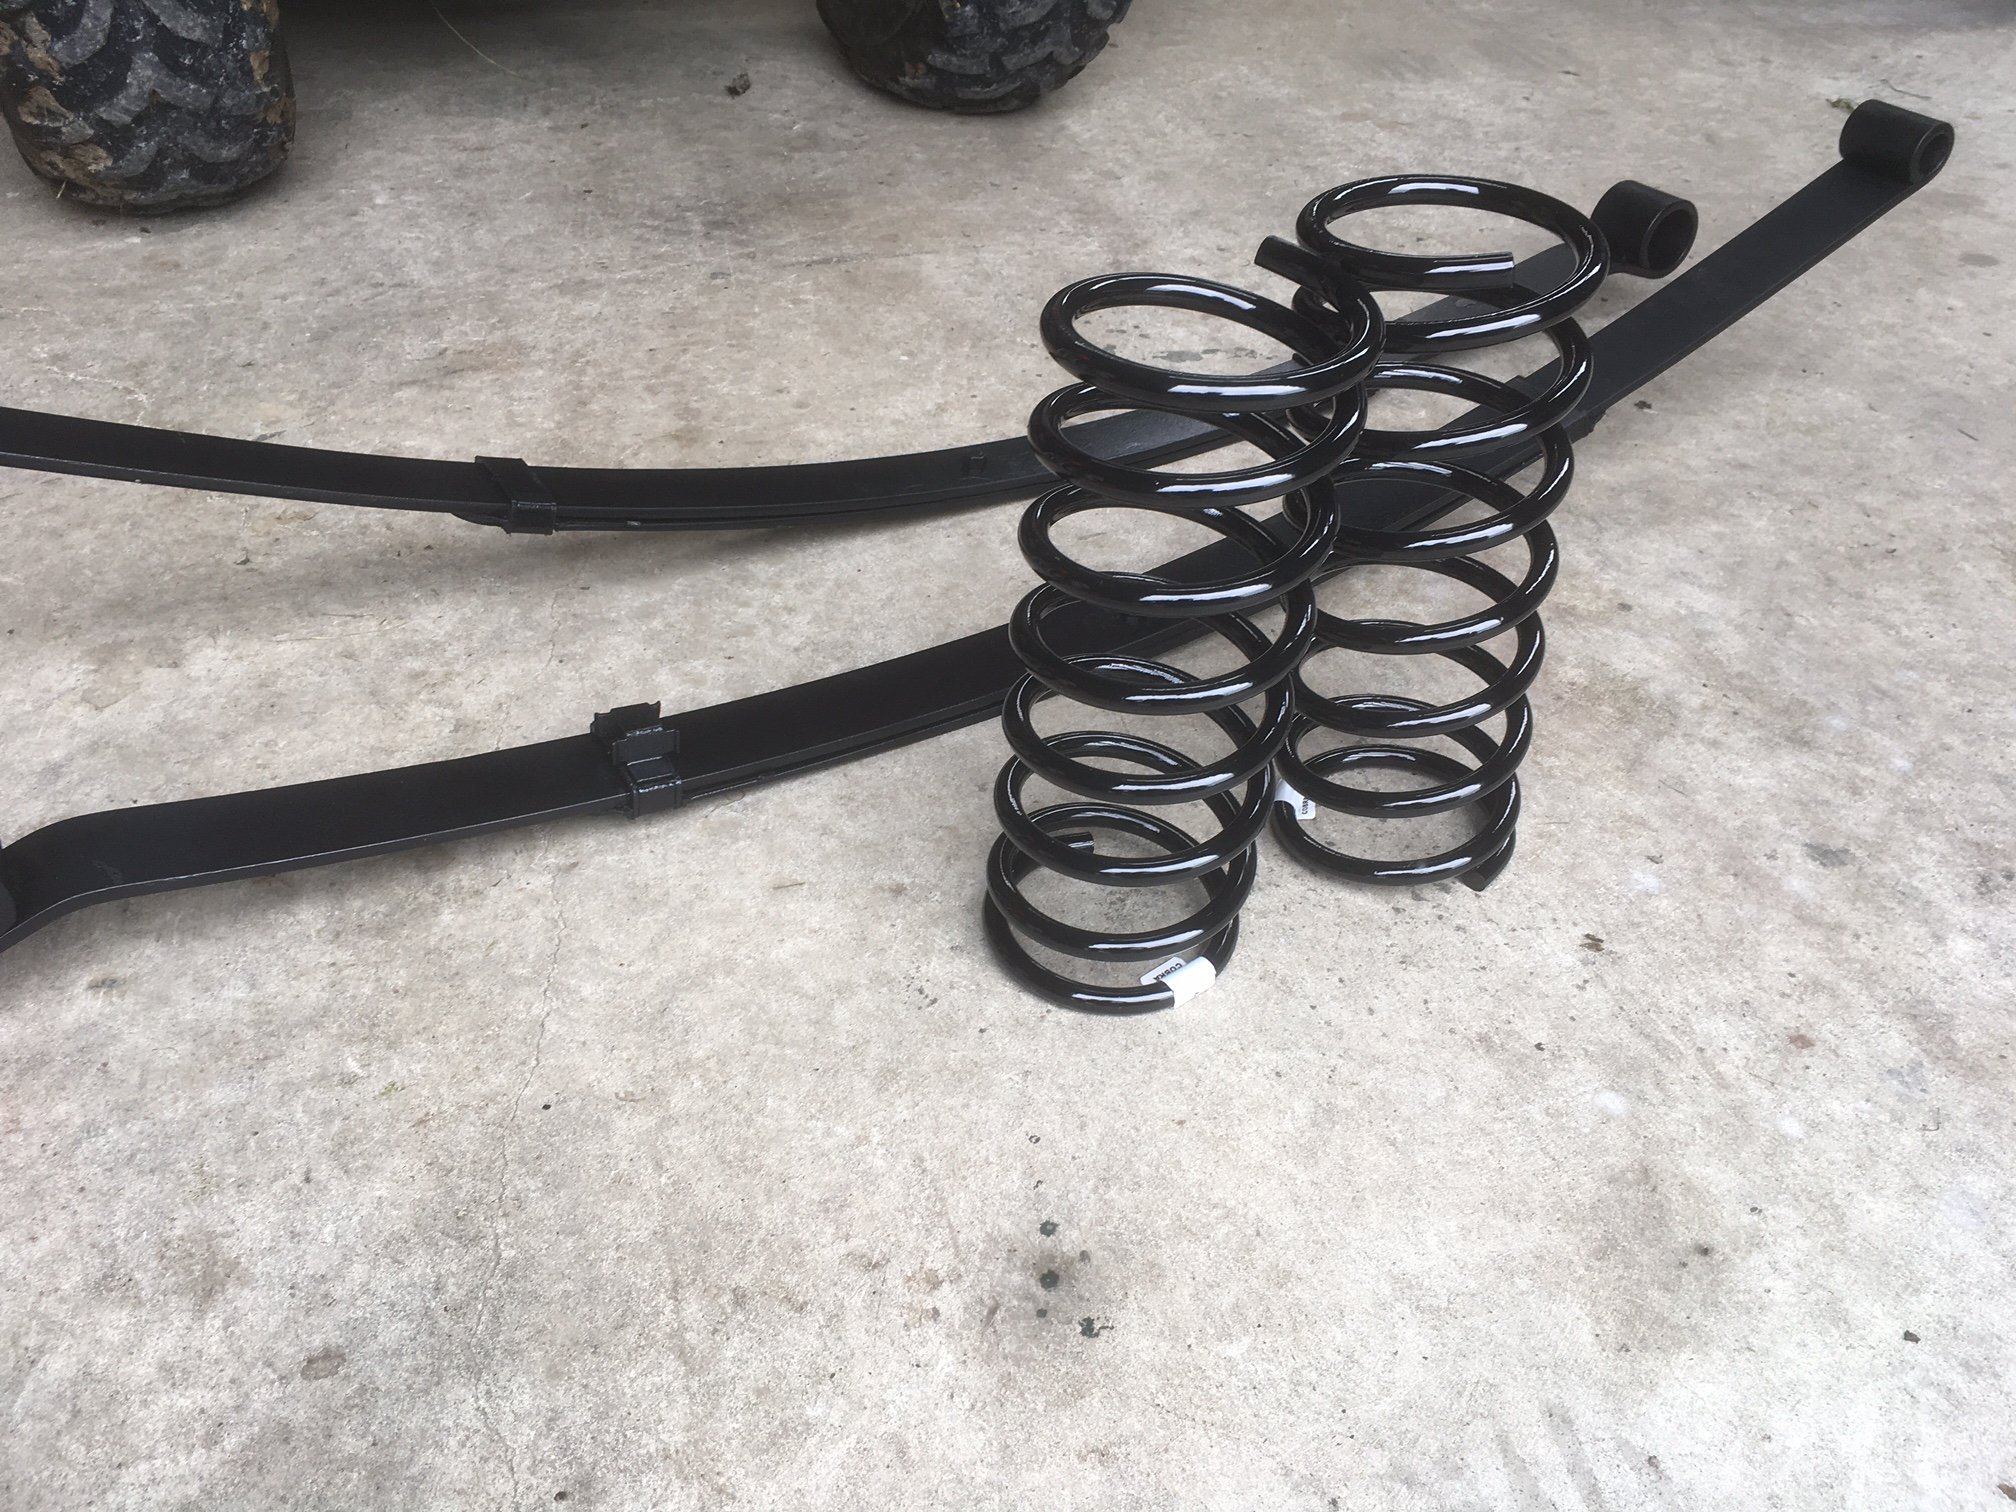
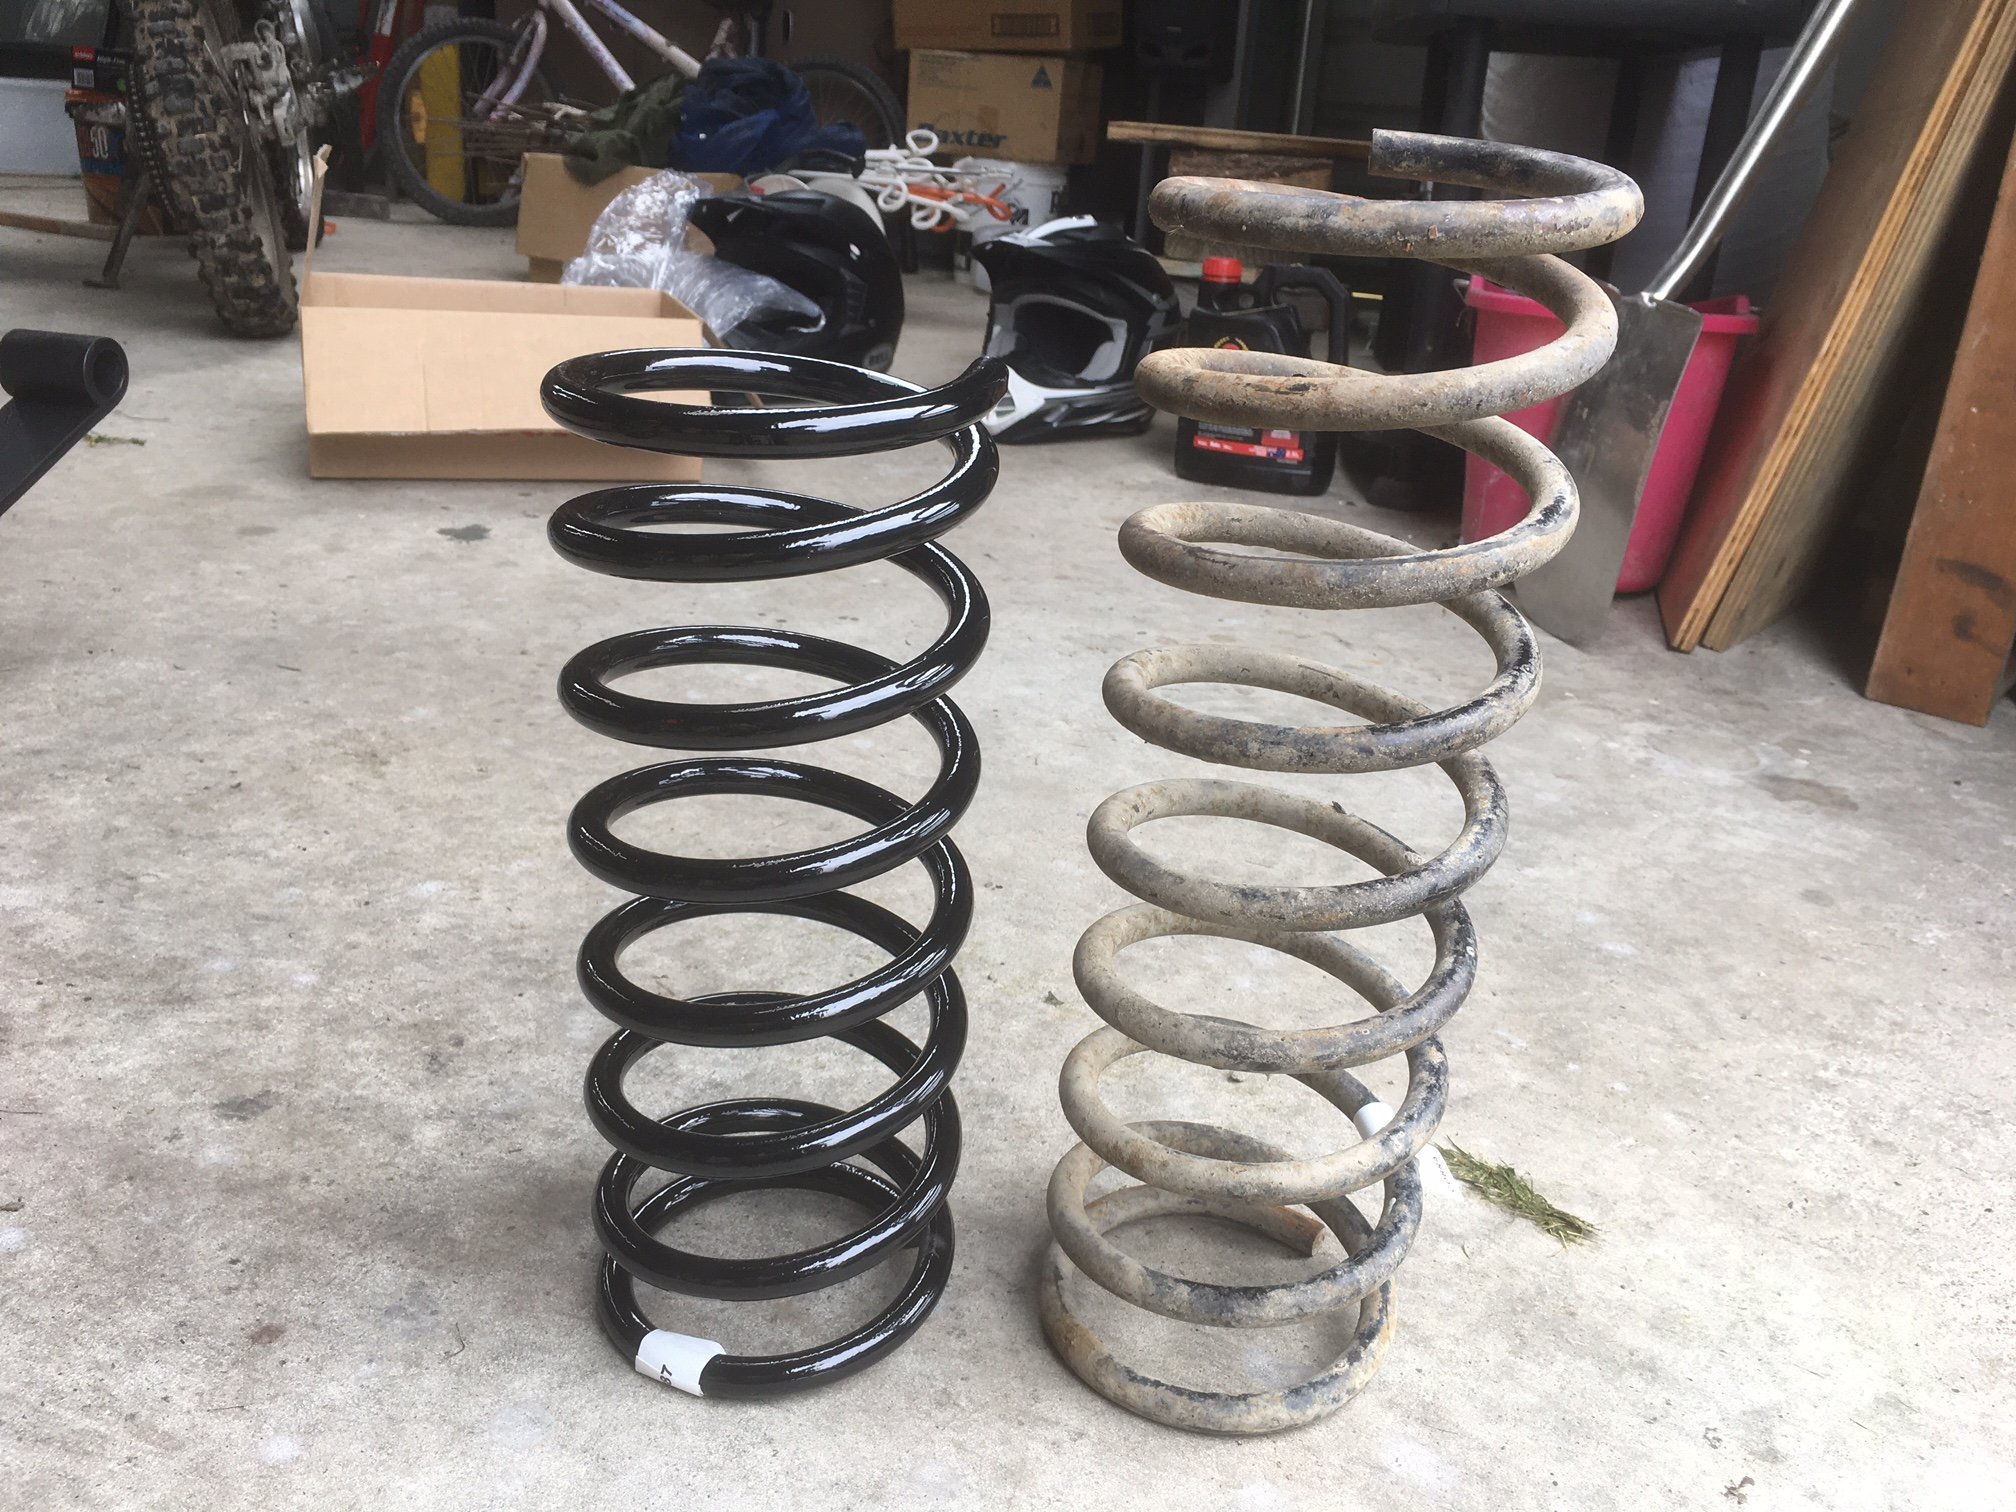
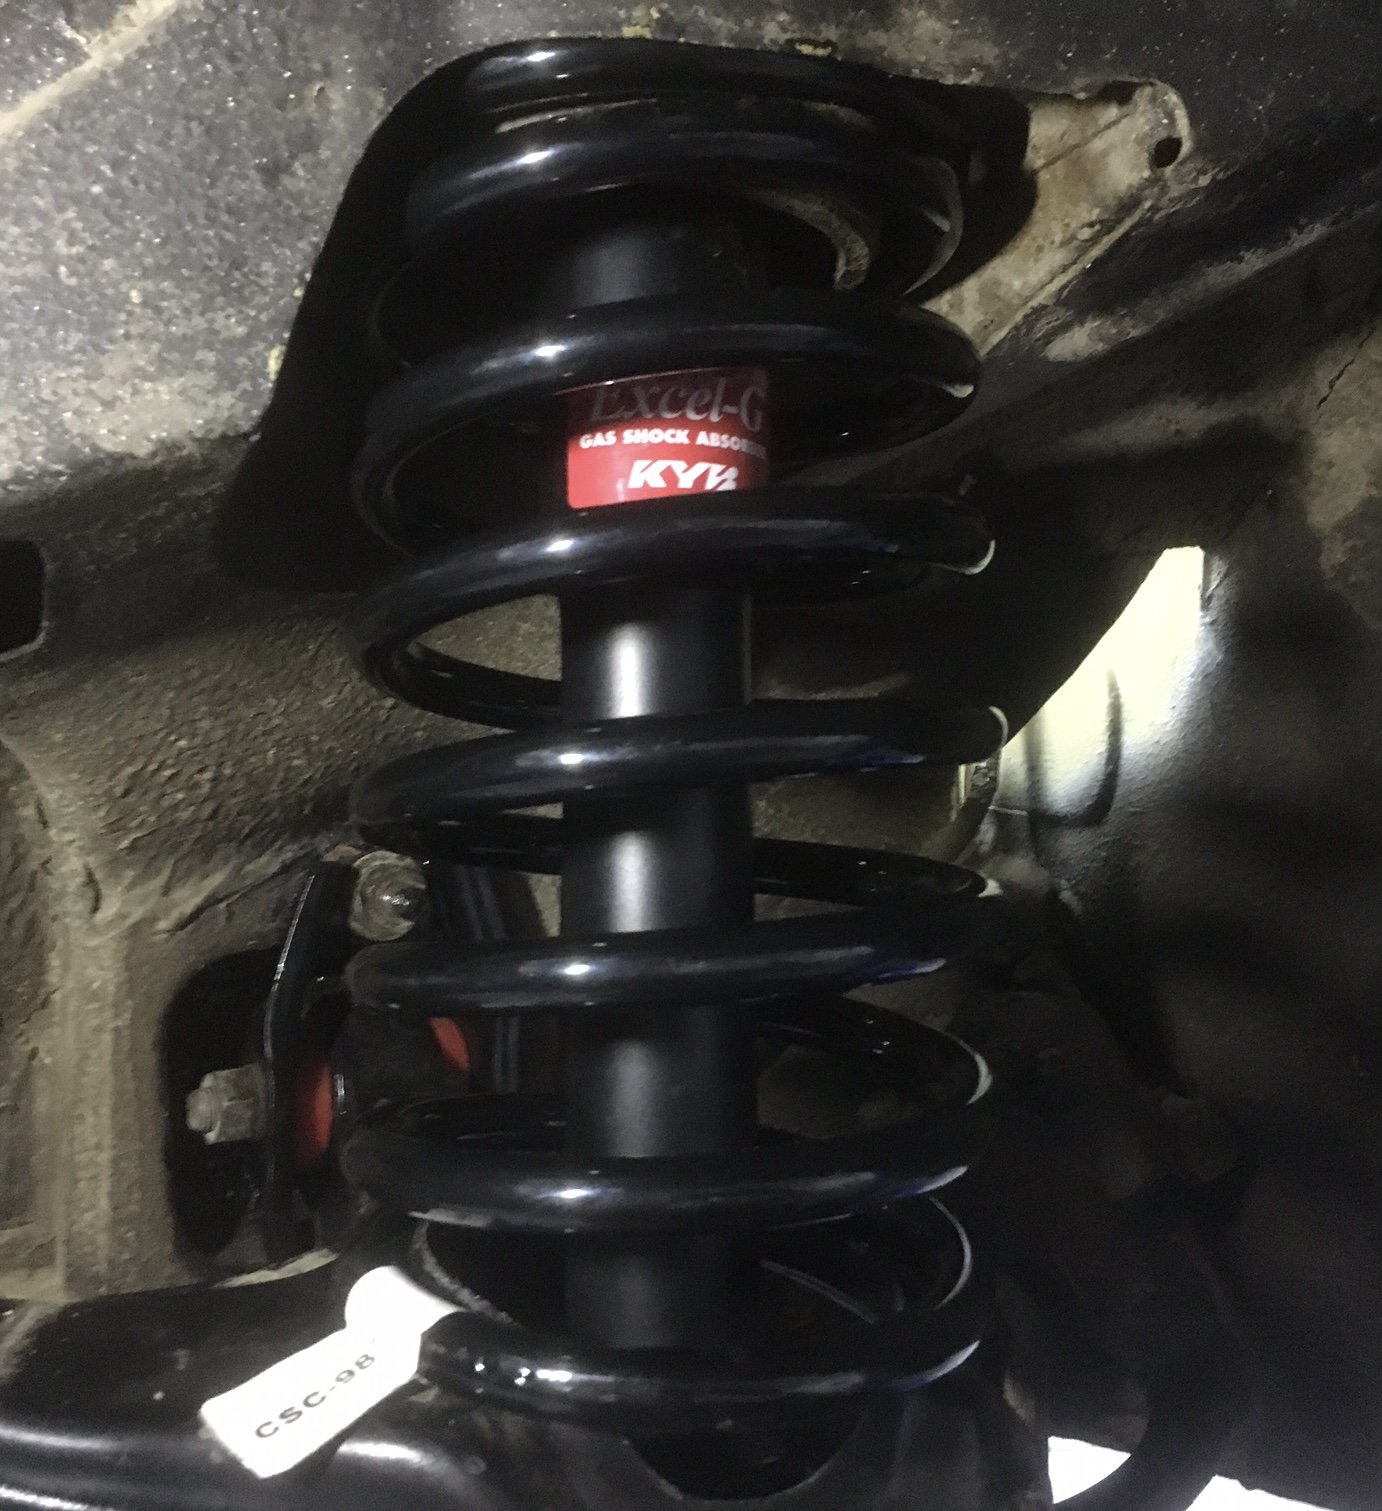
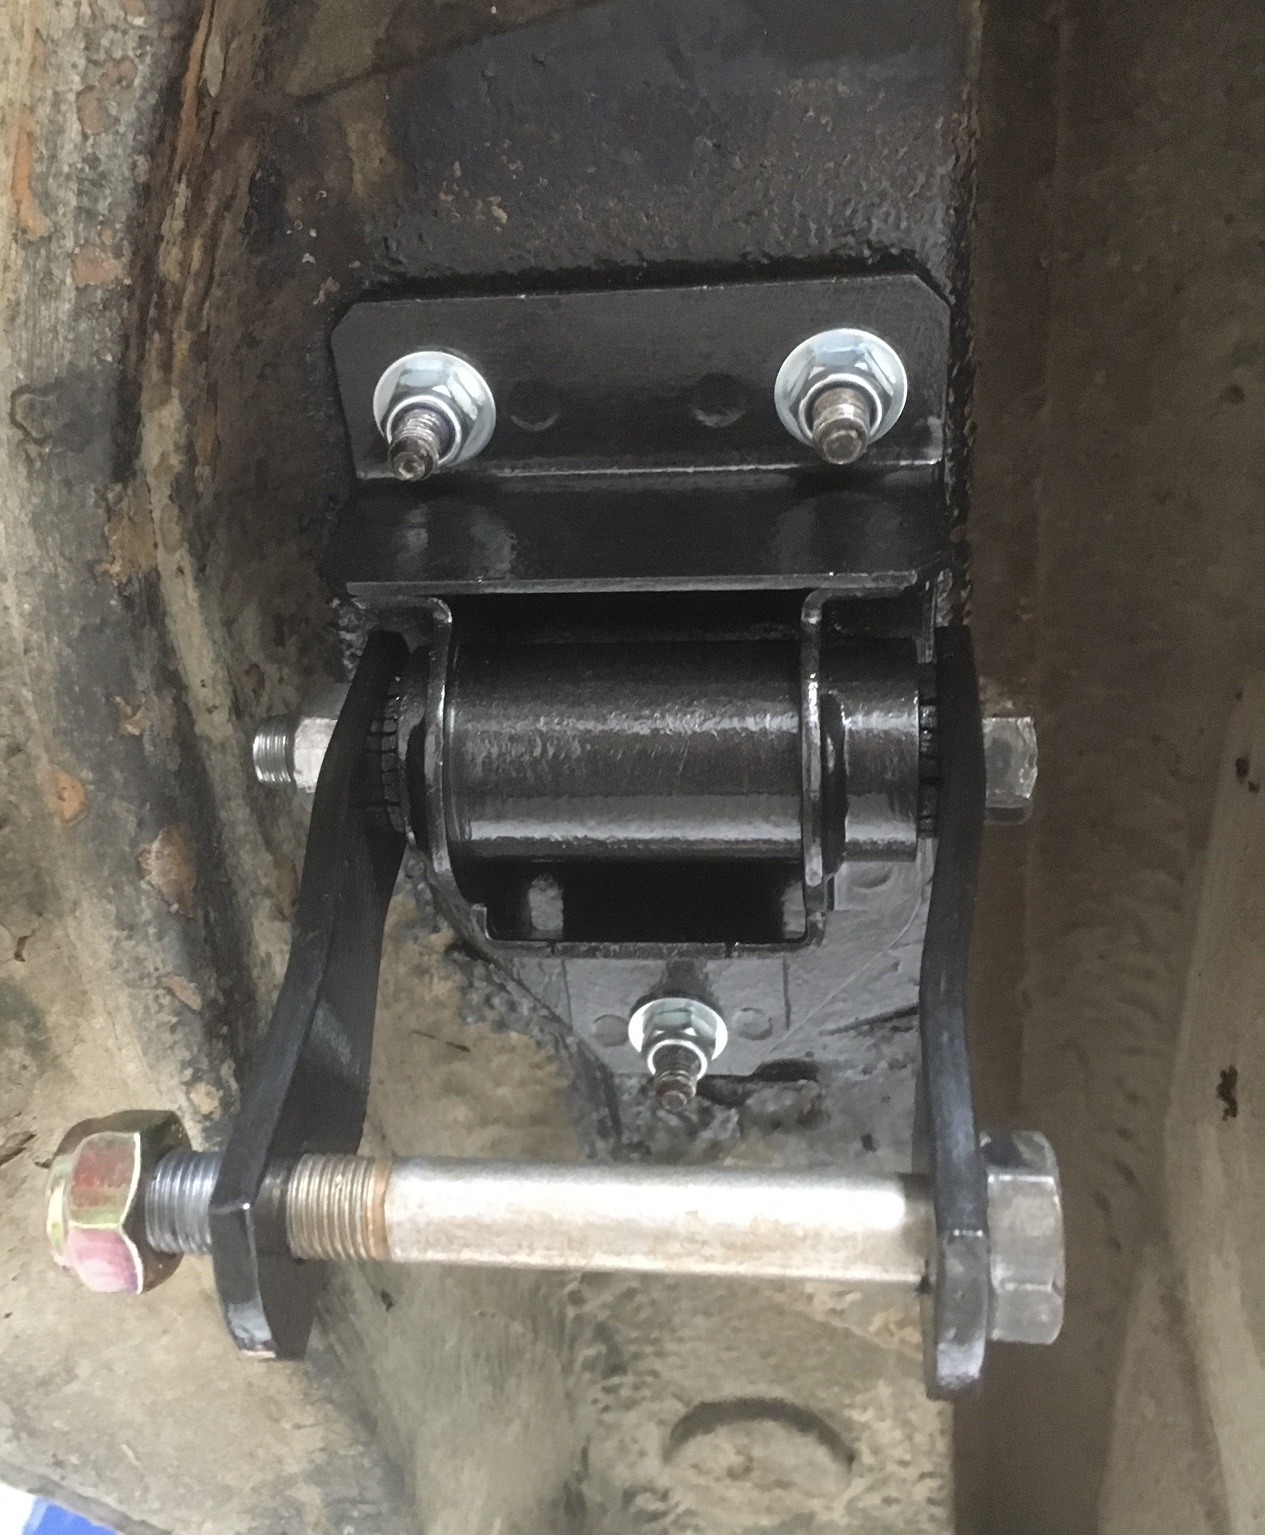
More goodies to pick up! Custom made coils and reset leaves. New vs old: And fronts installed! The leaf mounts need cleaning and painting, so aiming to have it on its wheels next week.
- 126 replies
-
- 10
-
-
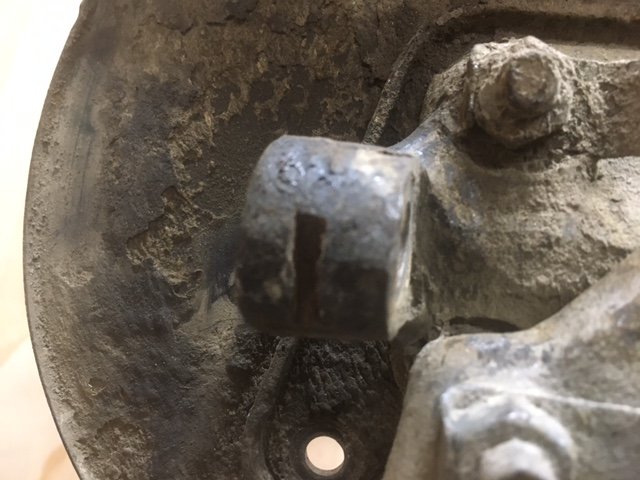
Got her out, yeah. It was actually welded in! They’re a funny wee thing with two little pimples on the flange/head. I’m guessing the factory probably used some kind of electric welding process to melt the pimples. Combination of hammer and chisel got it done.
-
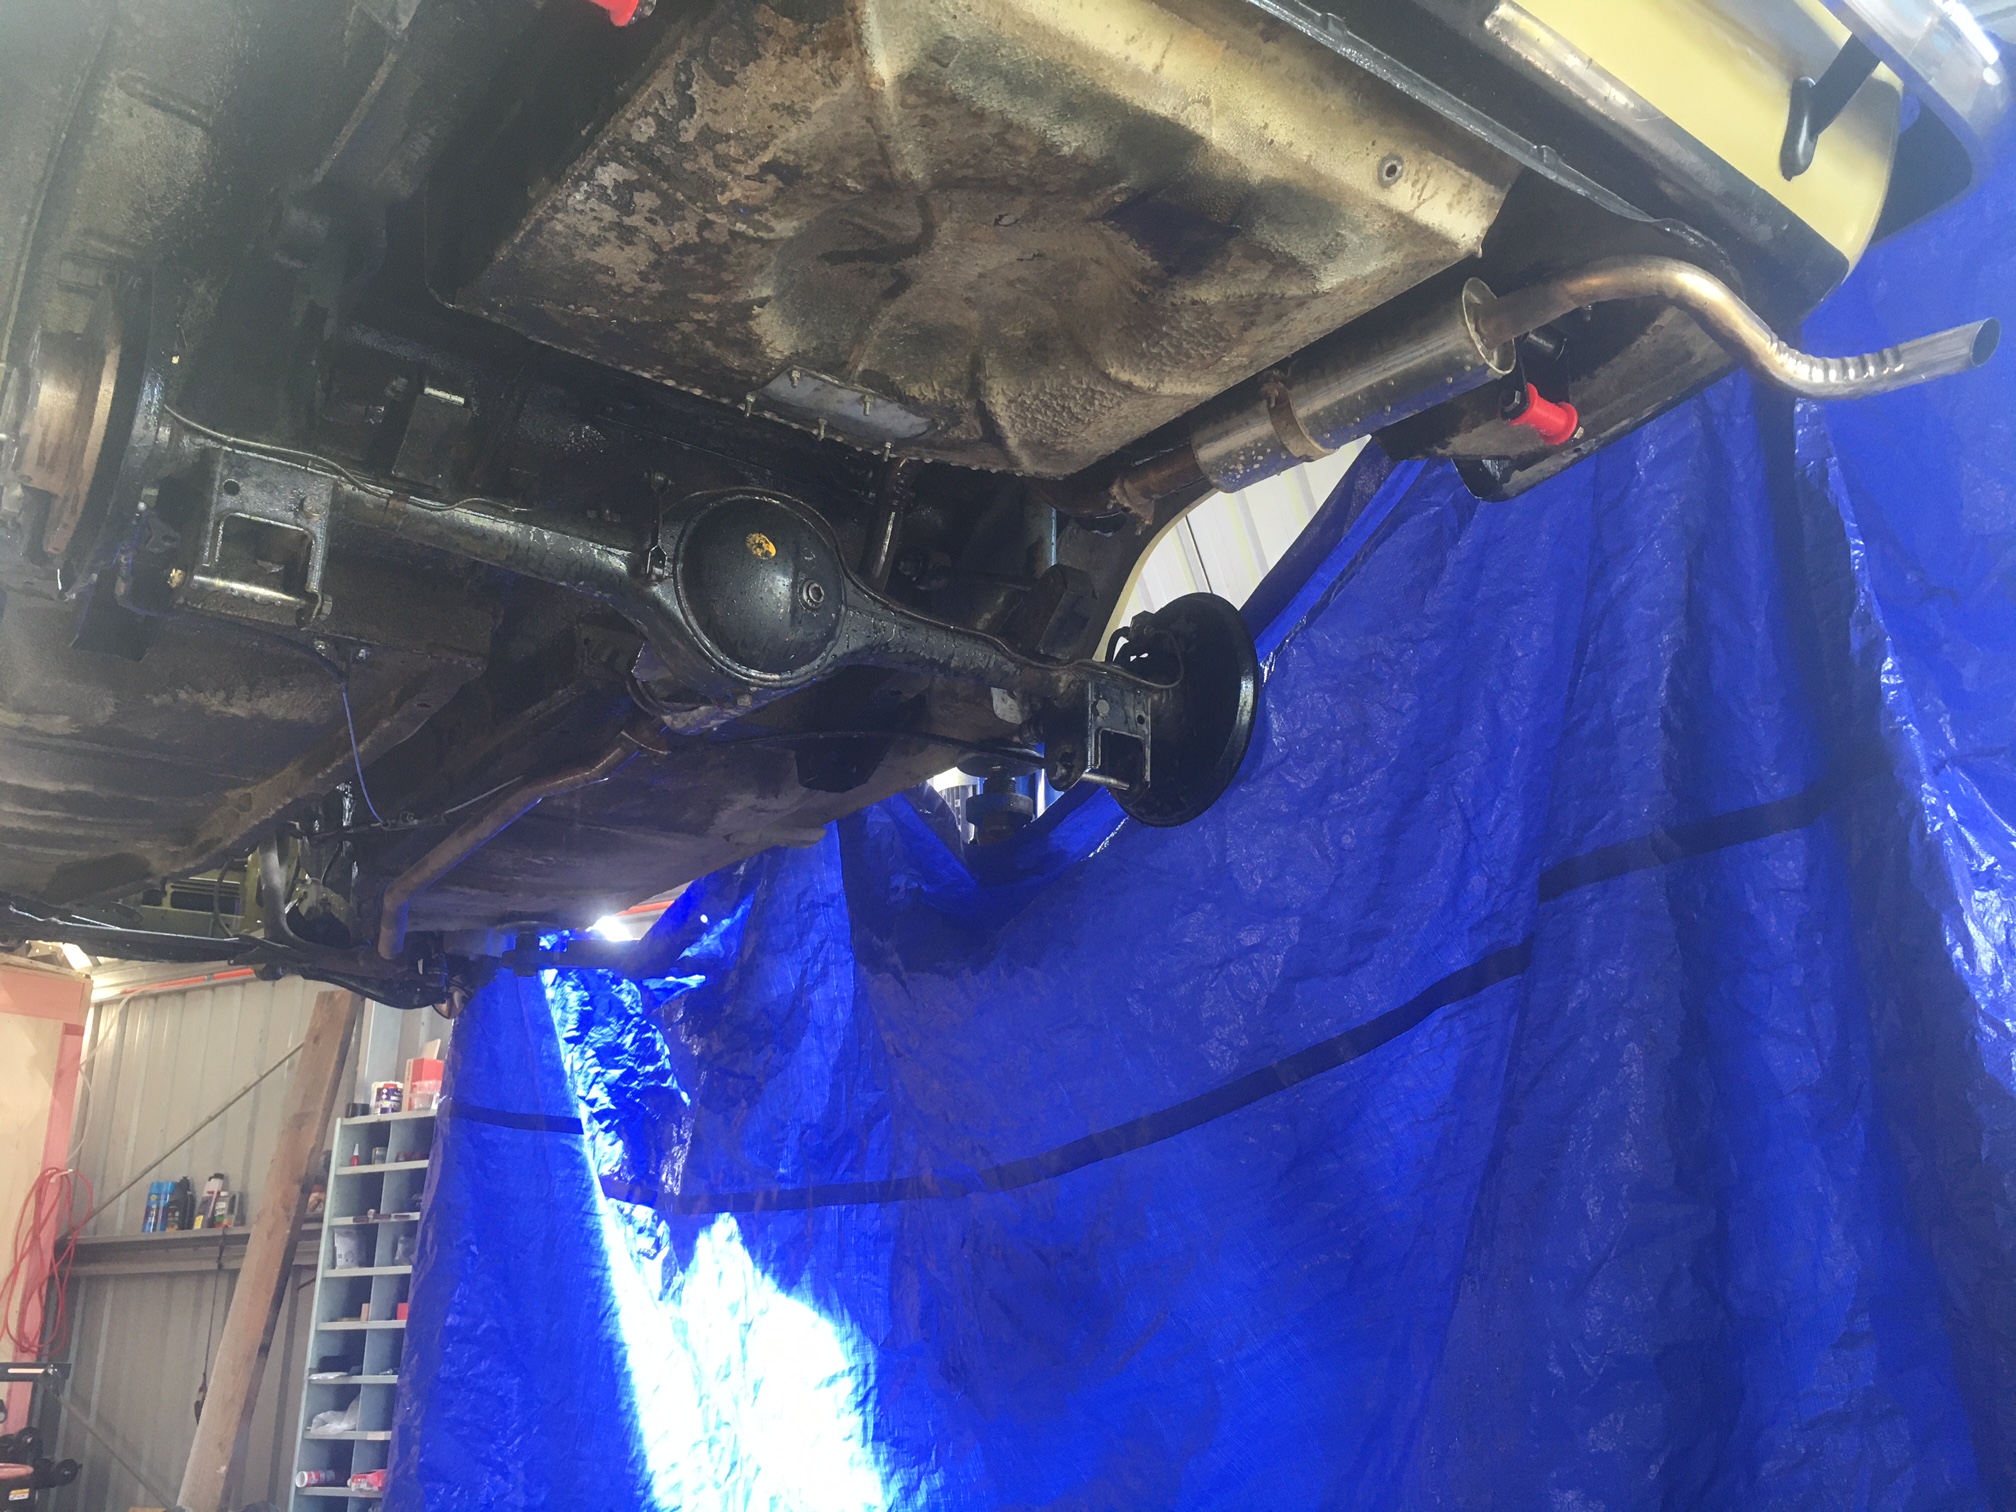
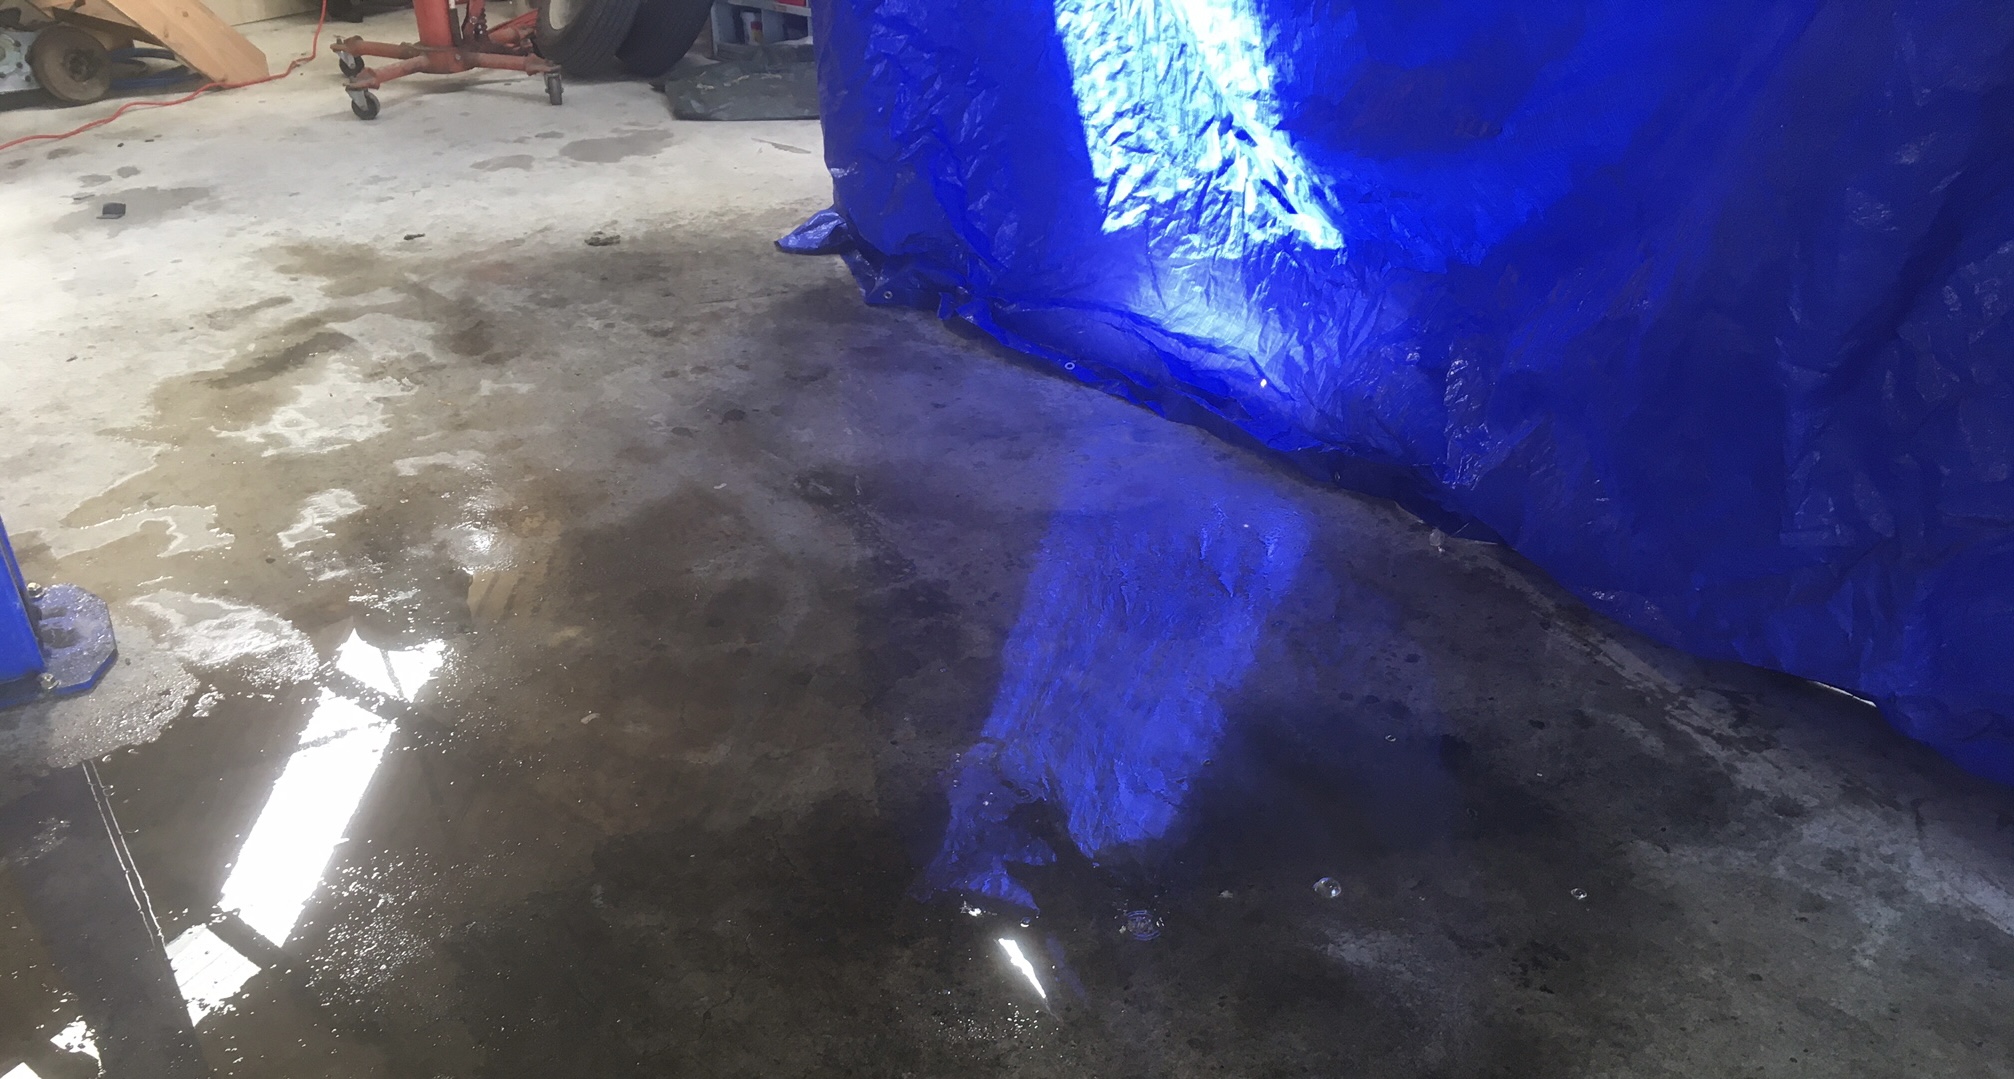
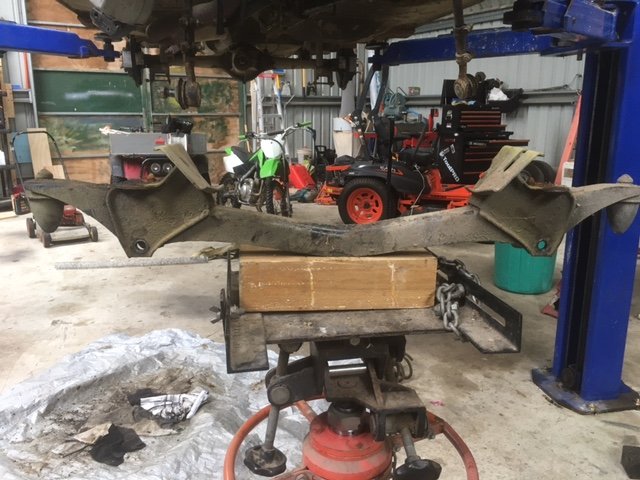
While it’s up in the air, I thought “why not give the underside a clean?” Because it would be a horrible job of course! So I did it anyway. The whole underside has a layer of gravel road dust on it for some reason. Now it does not. Btw, waterblasting inside the shed doesn’t make as big a mess as you think as long as you’re careful with your aim and you squeegie excess water out the door before it can flow under your workbench/tools/other treasure.
- 126 replies
-
- 13
-
-

azzurros 1966 FIAT Duemilatrecento Familiare Discussione
Sunbeam replied to azzurro's topic in Project Discussion
It’s alive!! Ooooyeah. -
Shiite! Why so spendy? Is that just Prado/Hilux tax?
-
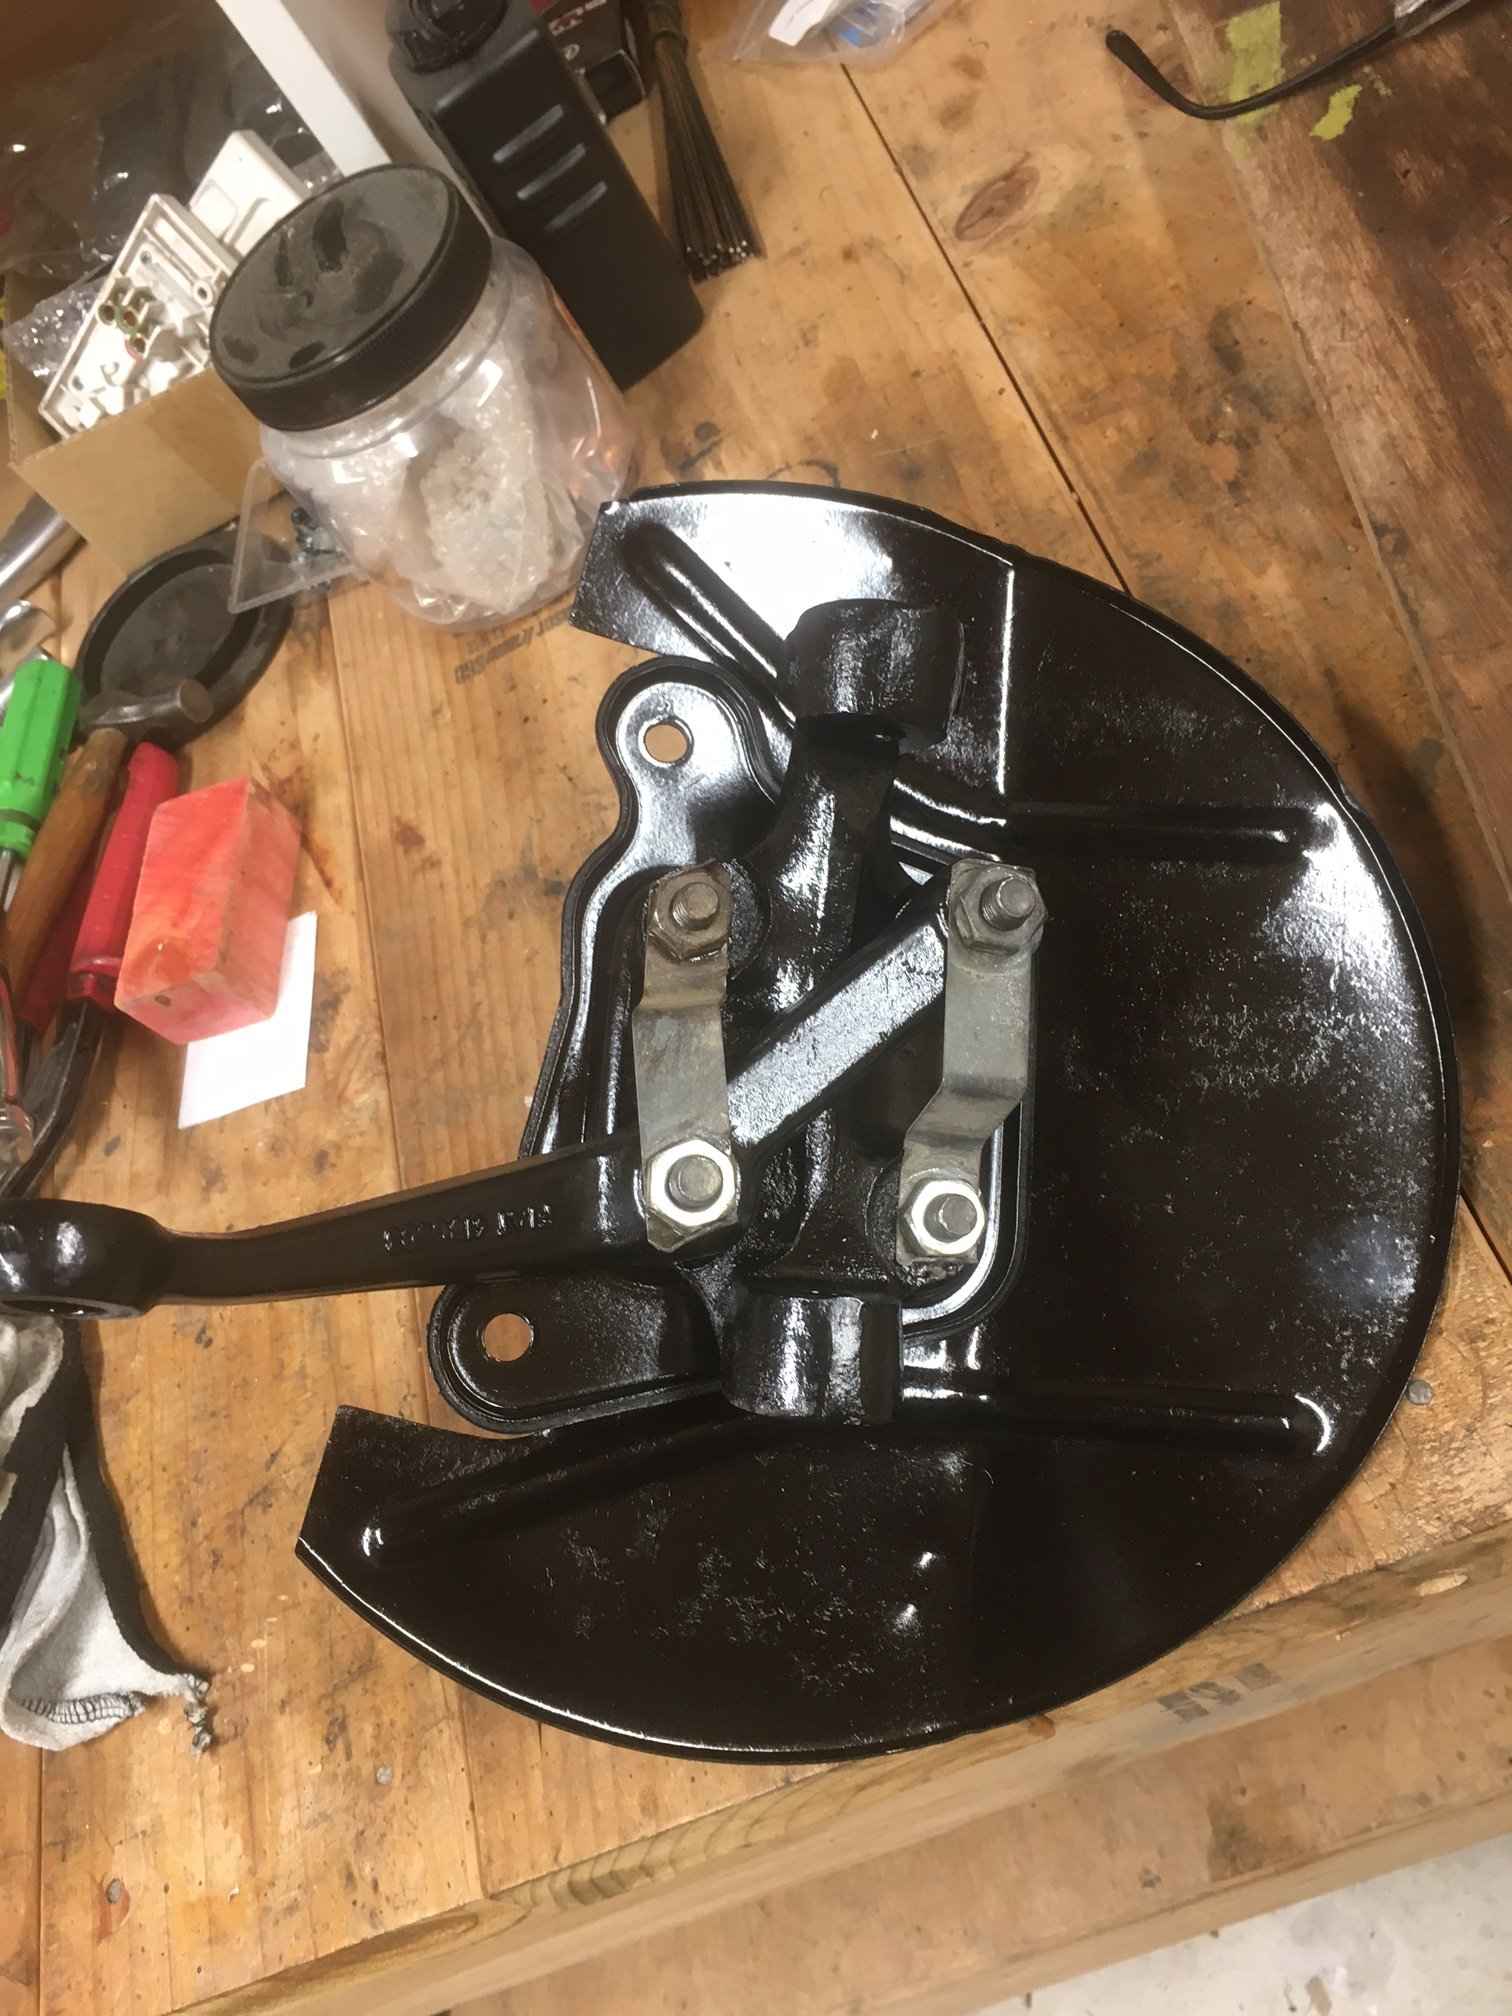
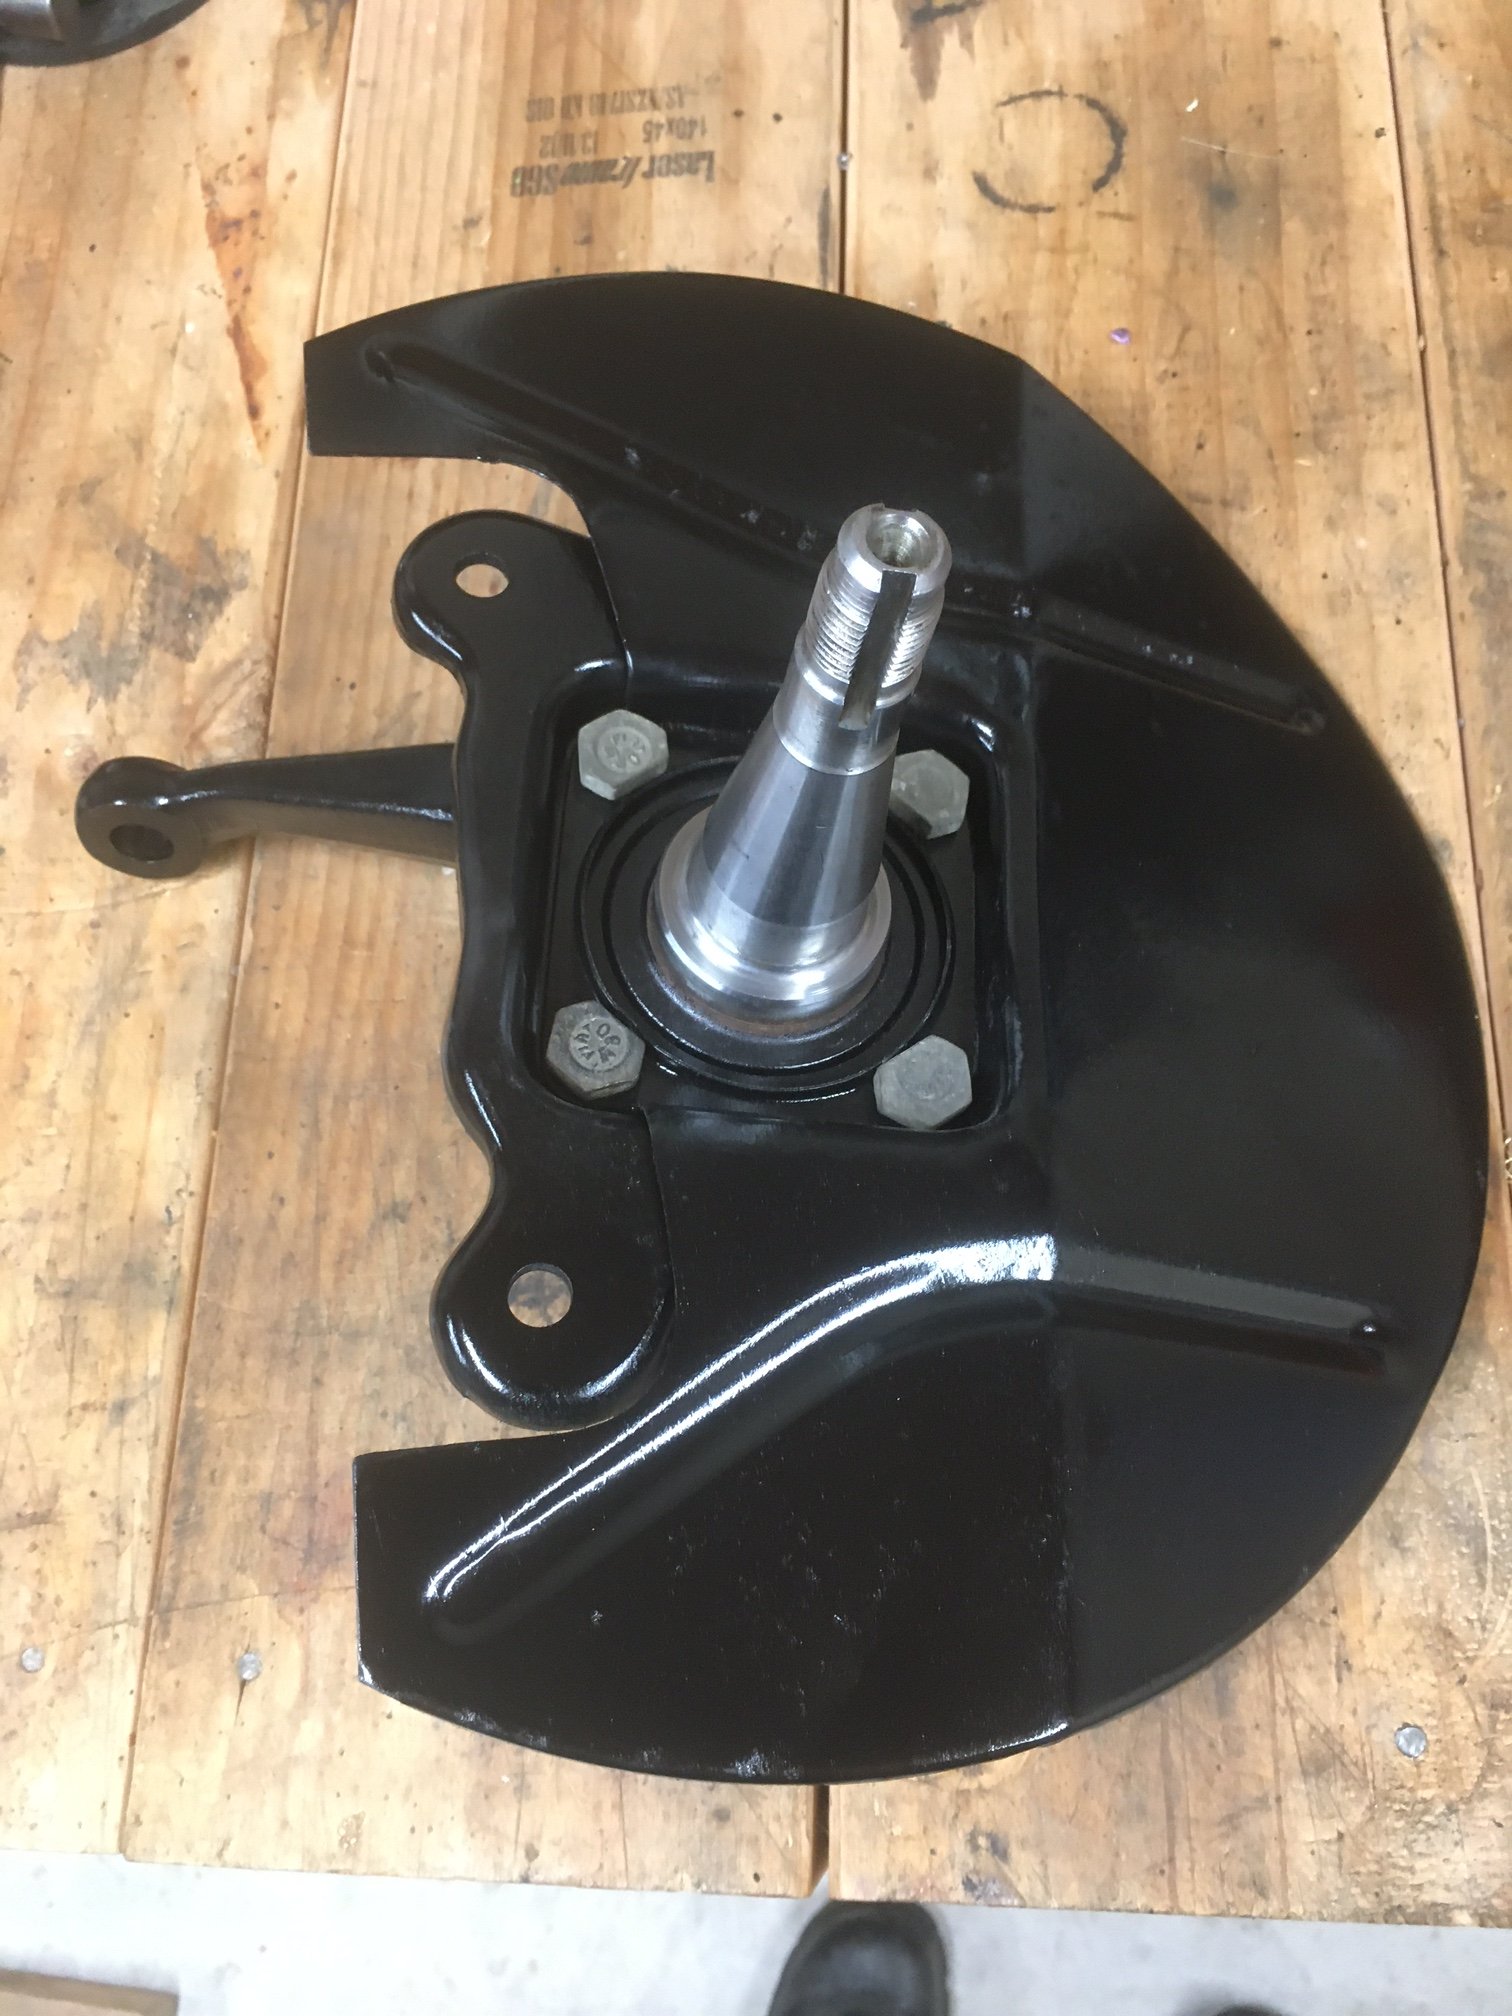
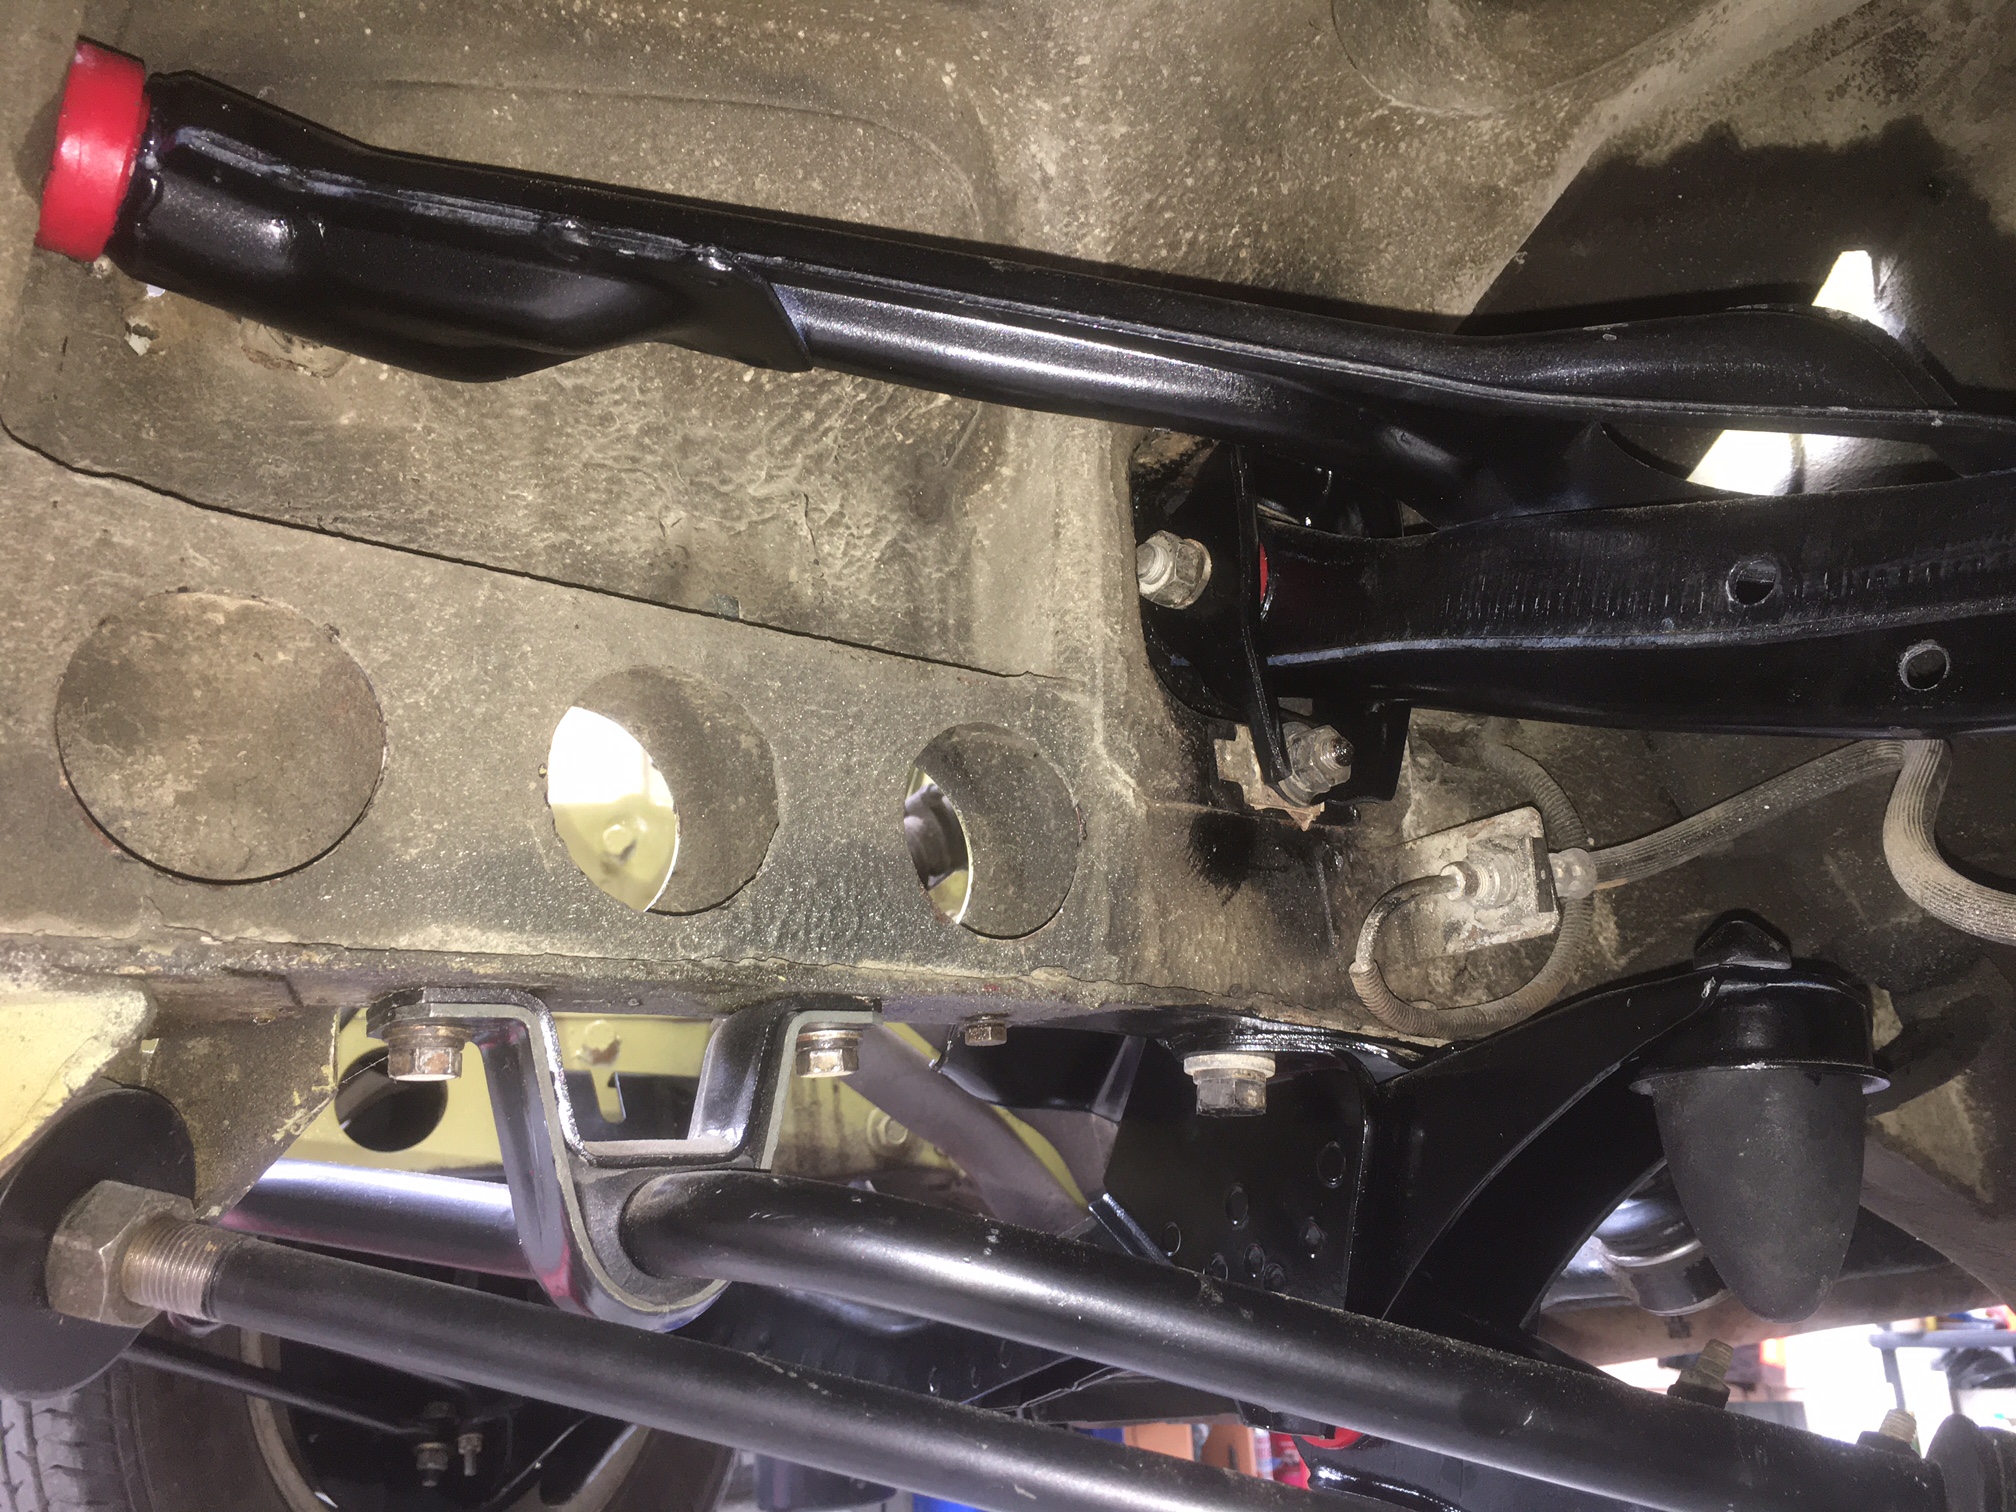
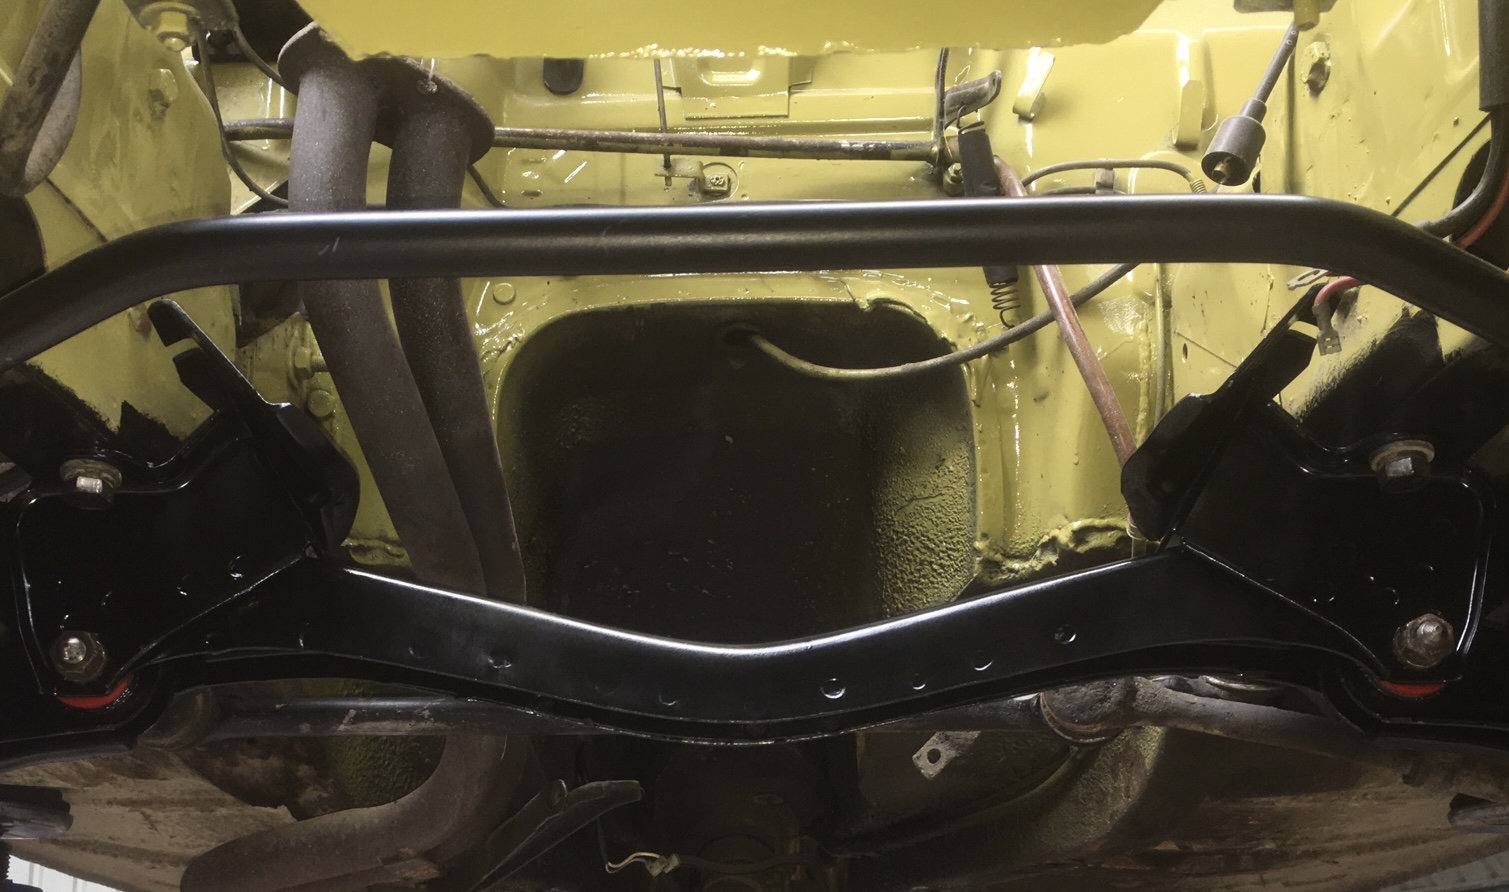
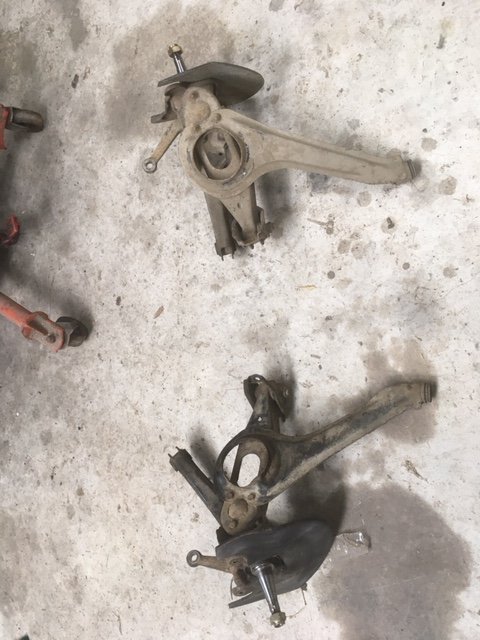
I’m not very good at taking photos of my process of cleaning things up and mostly I think folks might find them boring anyway. Here are some after pics. Uprights and stub axles front suspension arms New handbrake cable inner (thanks Digger) Leaf spring mounts And clean cross member. This hole is ready for an engine but the engine’s not quite ready for the hole! Summary: New ball joints, all new bushes (polyurethane) re-booted tie rod ends and thorough de-scuzzification of components.
- 126 replies
-
- 16
-
-
Been there. I backed my Fiat into the bullbar of my quad. Did a bit more damage than you’ve done. Uninsured too because it’s been off the road for ages.
-
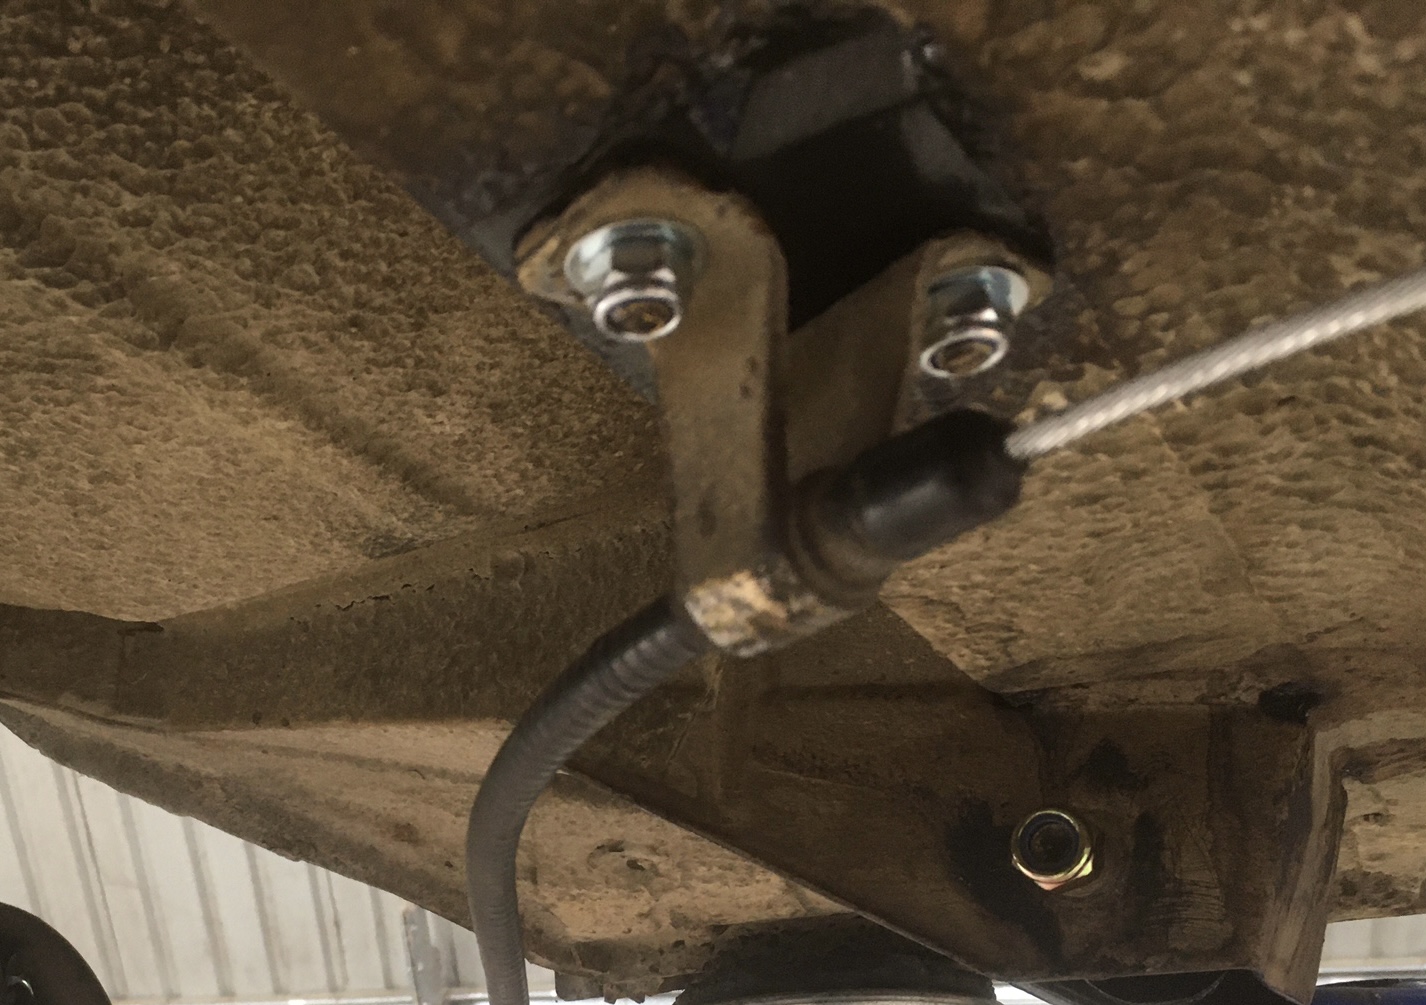
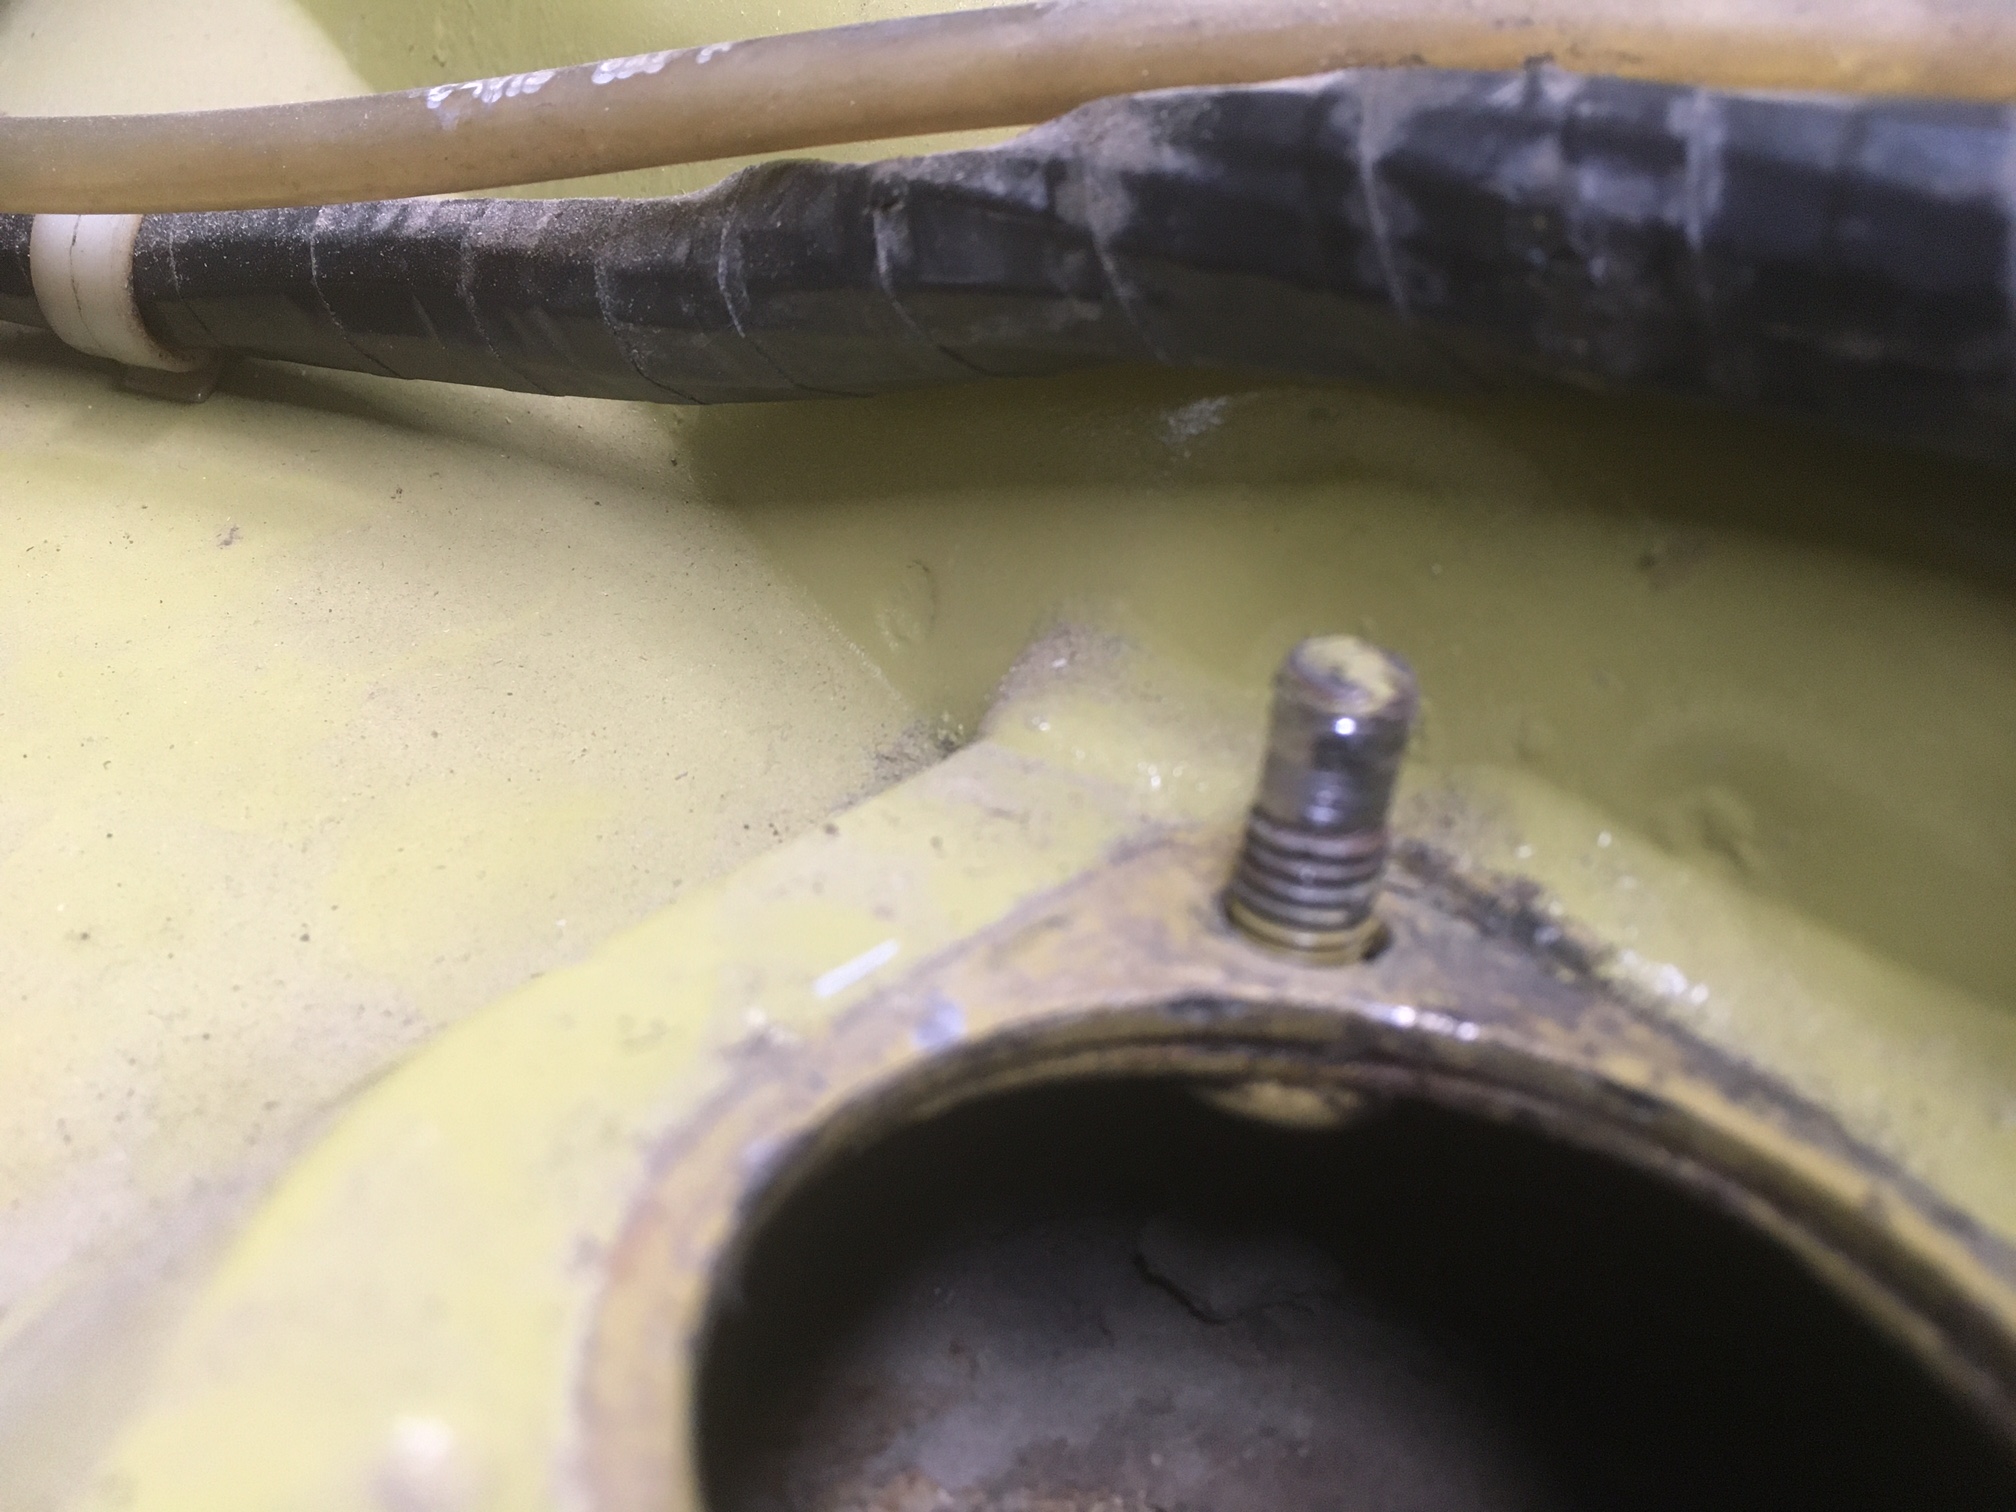
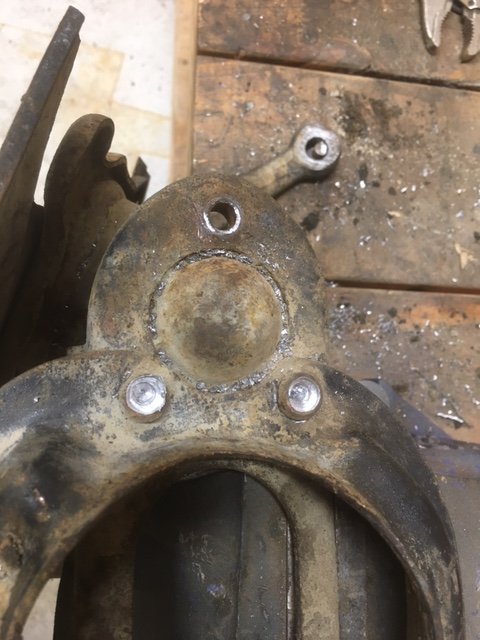
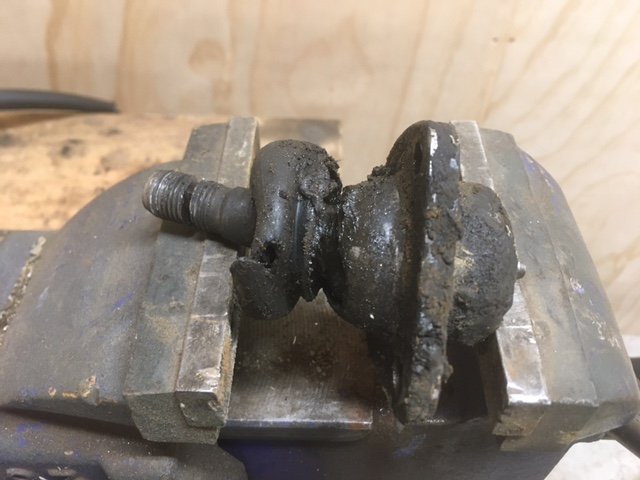
Next head scratcher is how to remove this stud so I can replace it. It’s for the top shock mount. I ended up having to split the nut to get it off back in the day. Any ideas? I also promised to give my mate a hand putting new suspension in his work ute, so I was keen to free up the hoist. I put some blocks between the rear axle and bump stops and just let the front sit on the bumps… The steering is unbelievably light with all new ball joints!
- 126 replies
-
- 10
-
-
Submitted for @Adoom’s approval.
- 126 replies
-
- 16
-
-

-
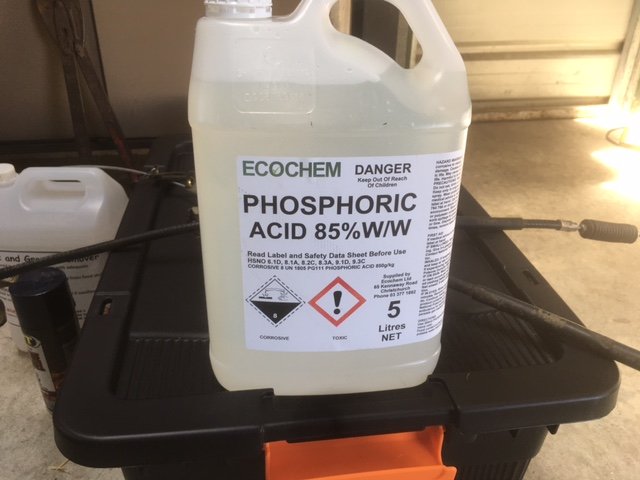
A paint prep Q. Ihave had some suspension arms etc in a phosphoric acid bath for a couple of days. The steel is now fantastically clean. However, as soon as I rinse in water, no matter how quickly I dry the part (talking a matter of minutes) it starts turning orange in front of my face. Am I doing it wrong?
-
Since you asked so nicely I’ll consider it.
-
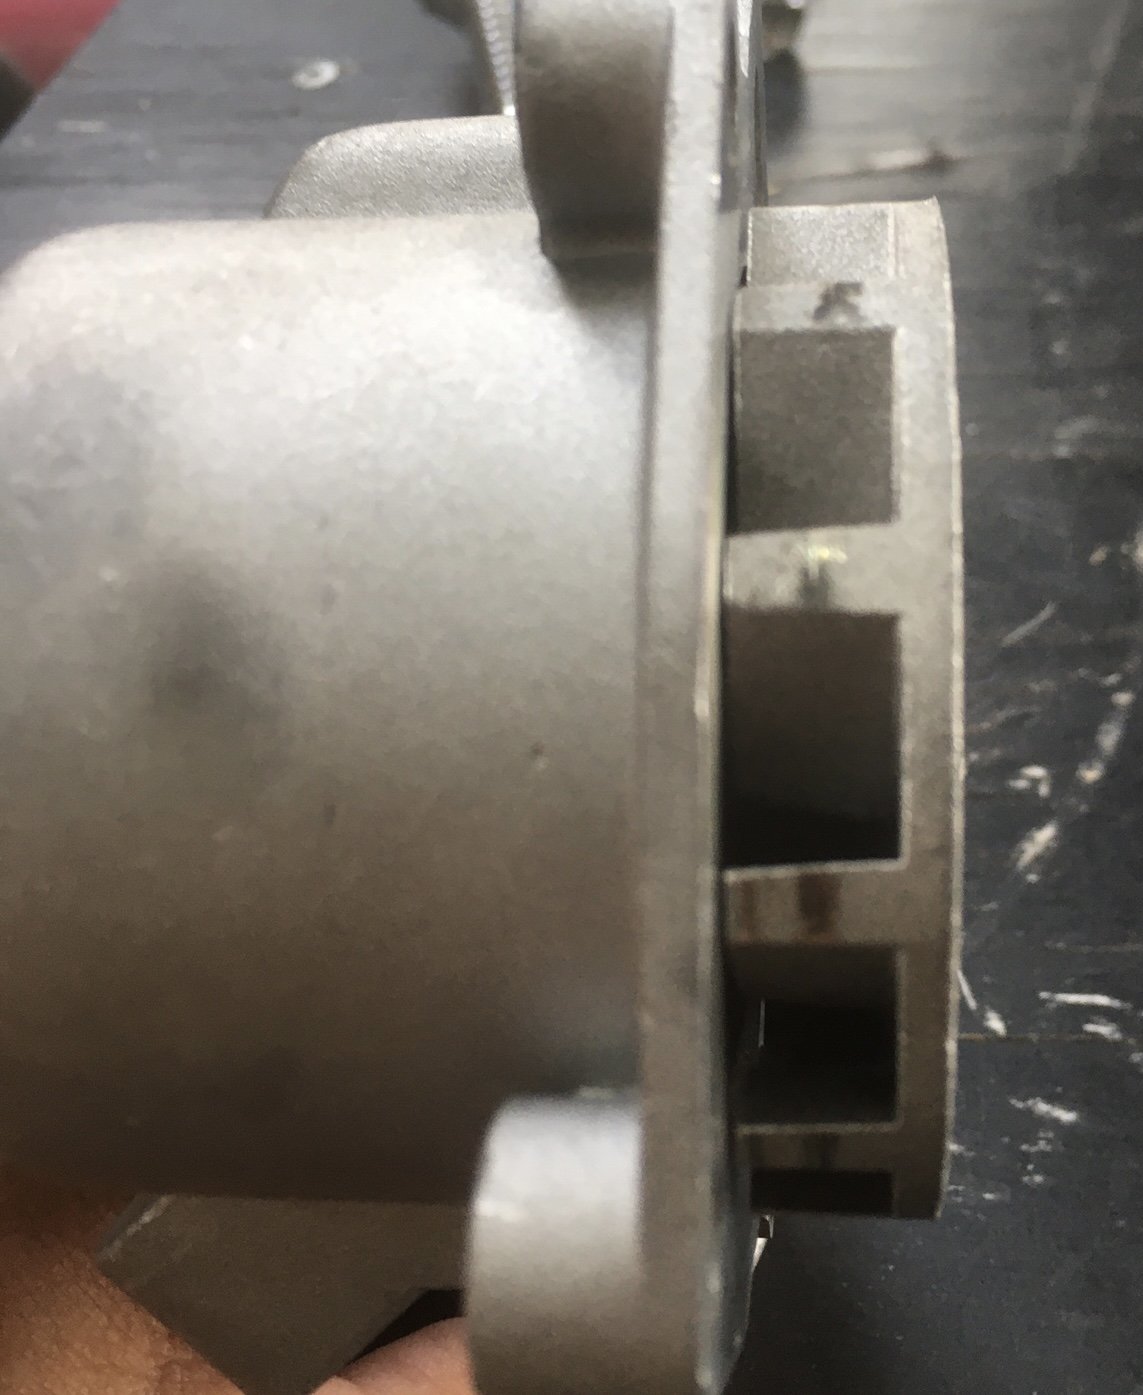
So, I did this except I used a file so it clears now. I’m not really happy though because the impeller is way out of round which is why it was catching. It’s still out of round, just a smaller diameter. I’m imagining it spinning at 9k rpm and it doesn’t look nice in my brain.
-
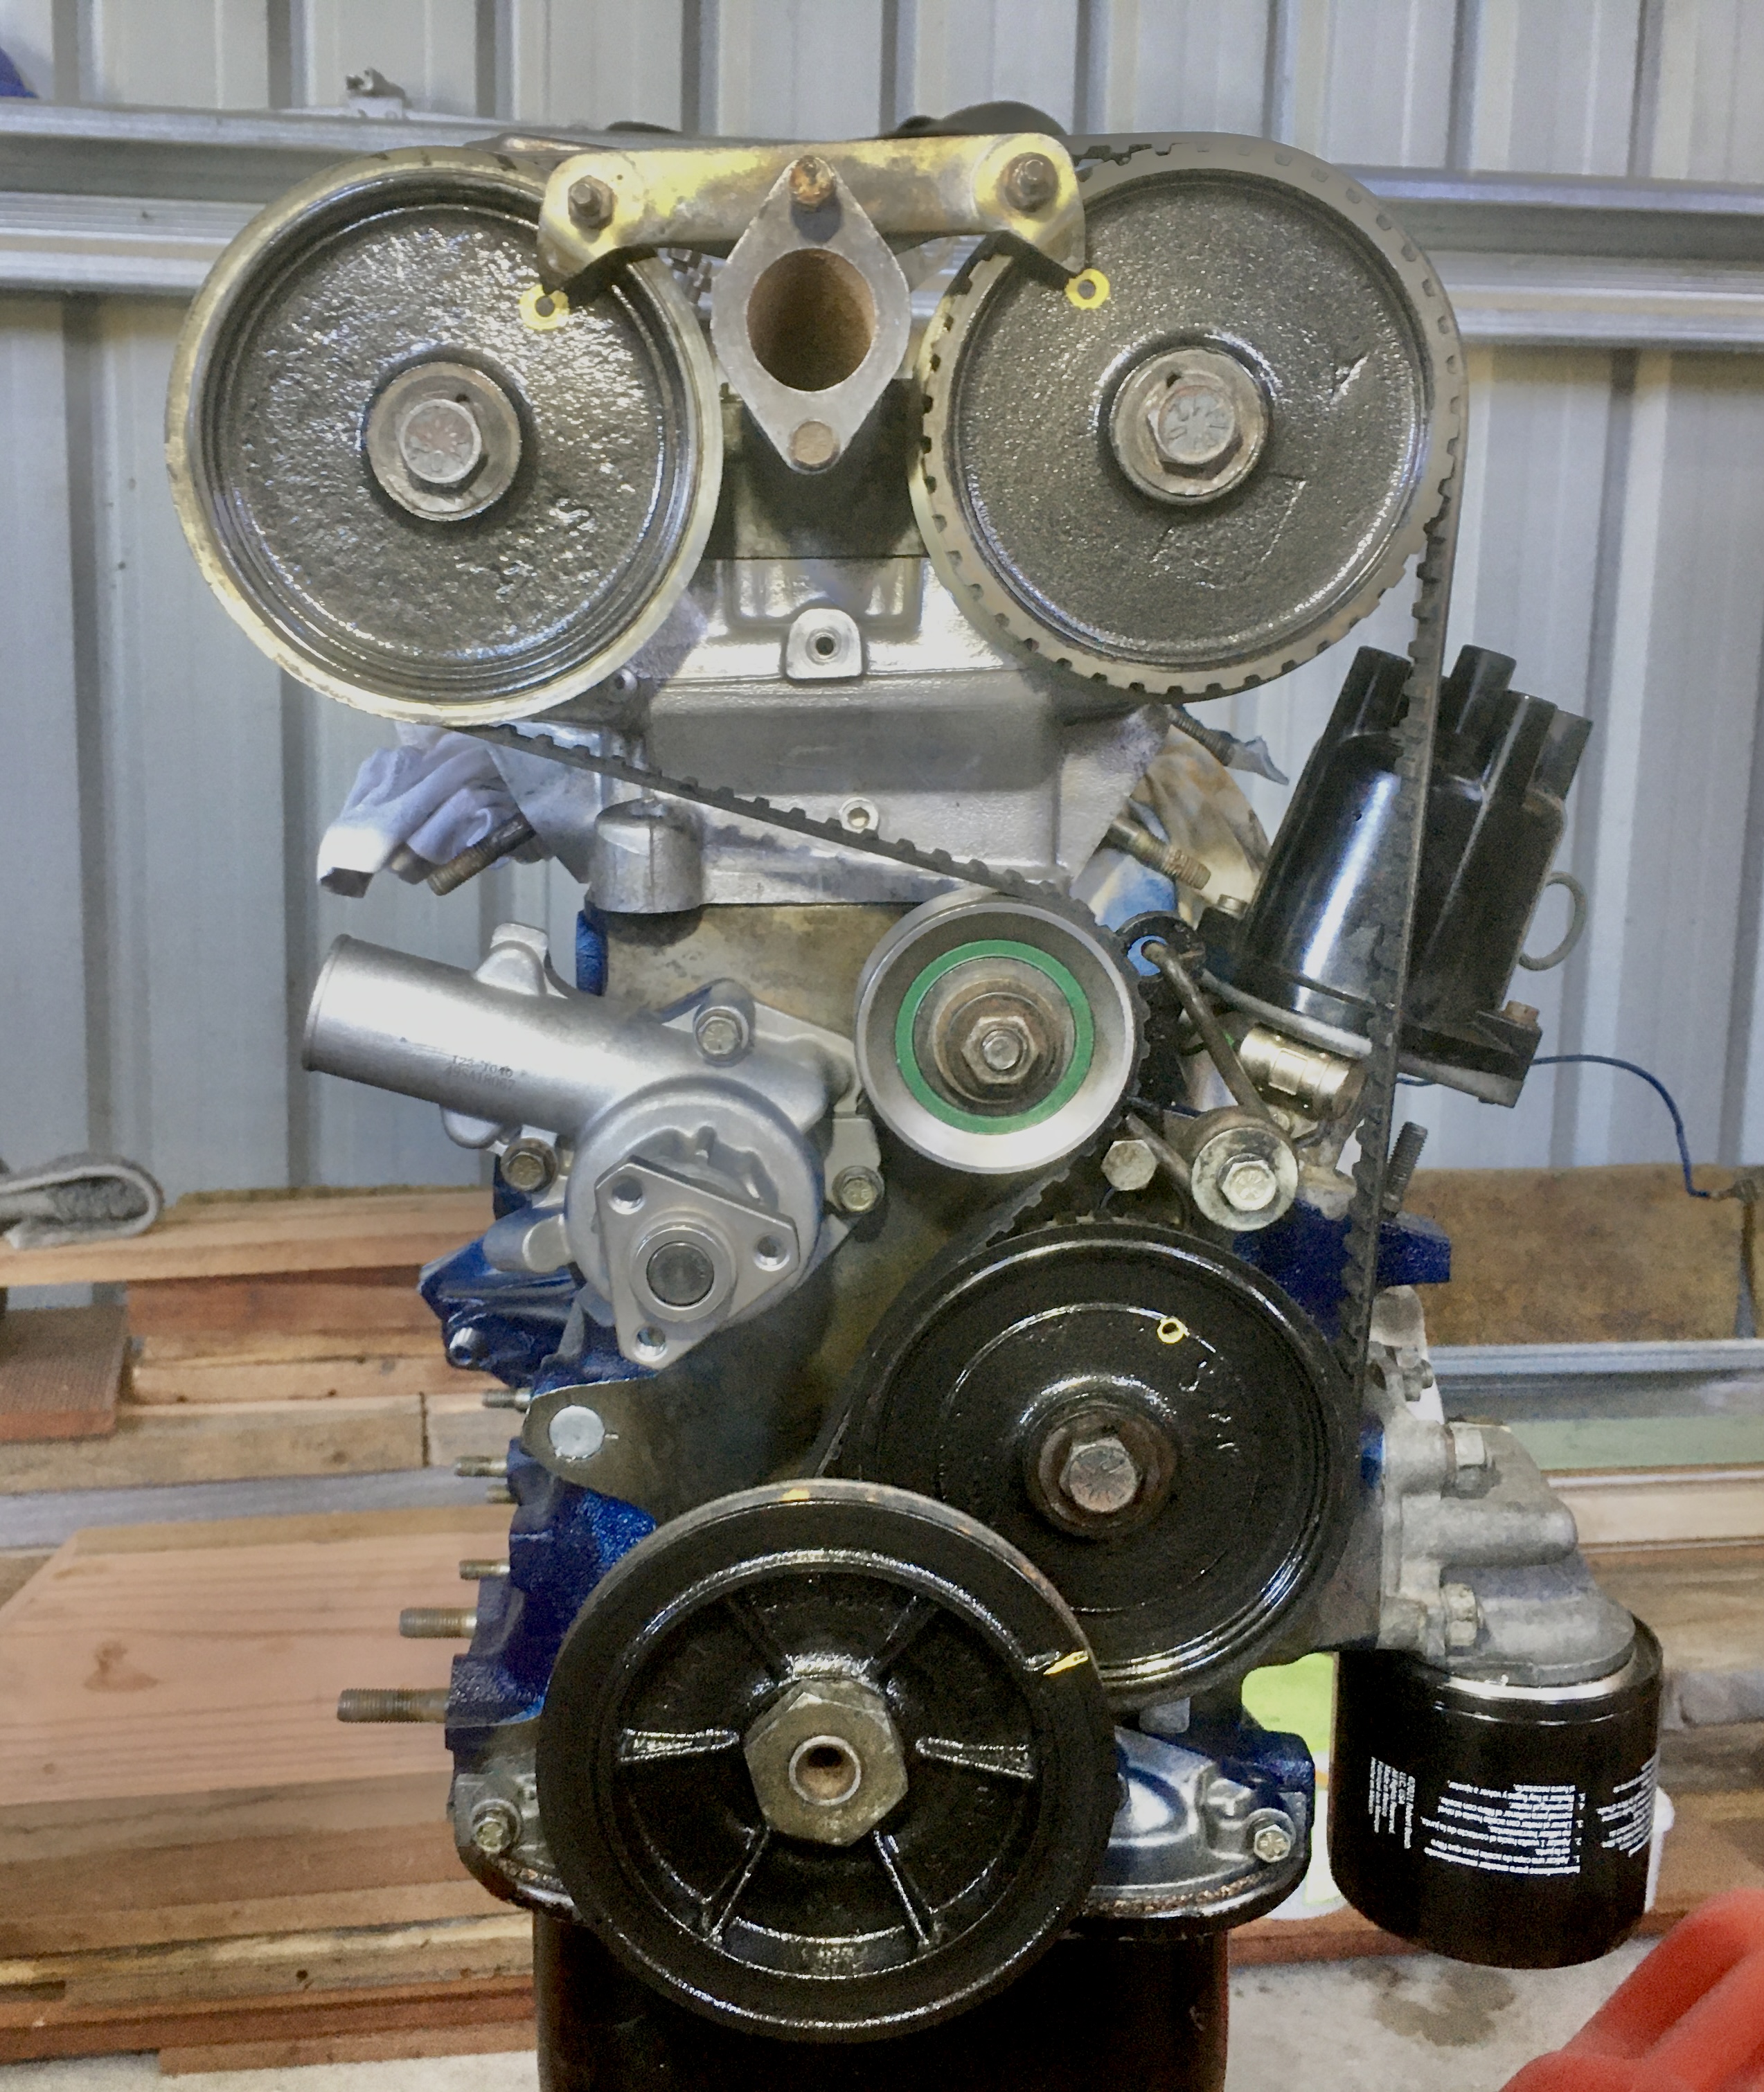
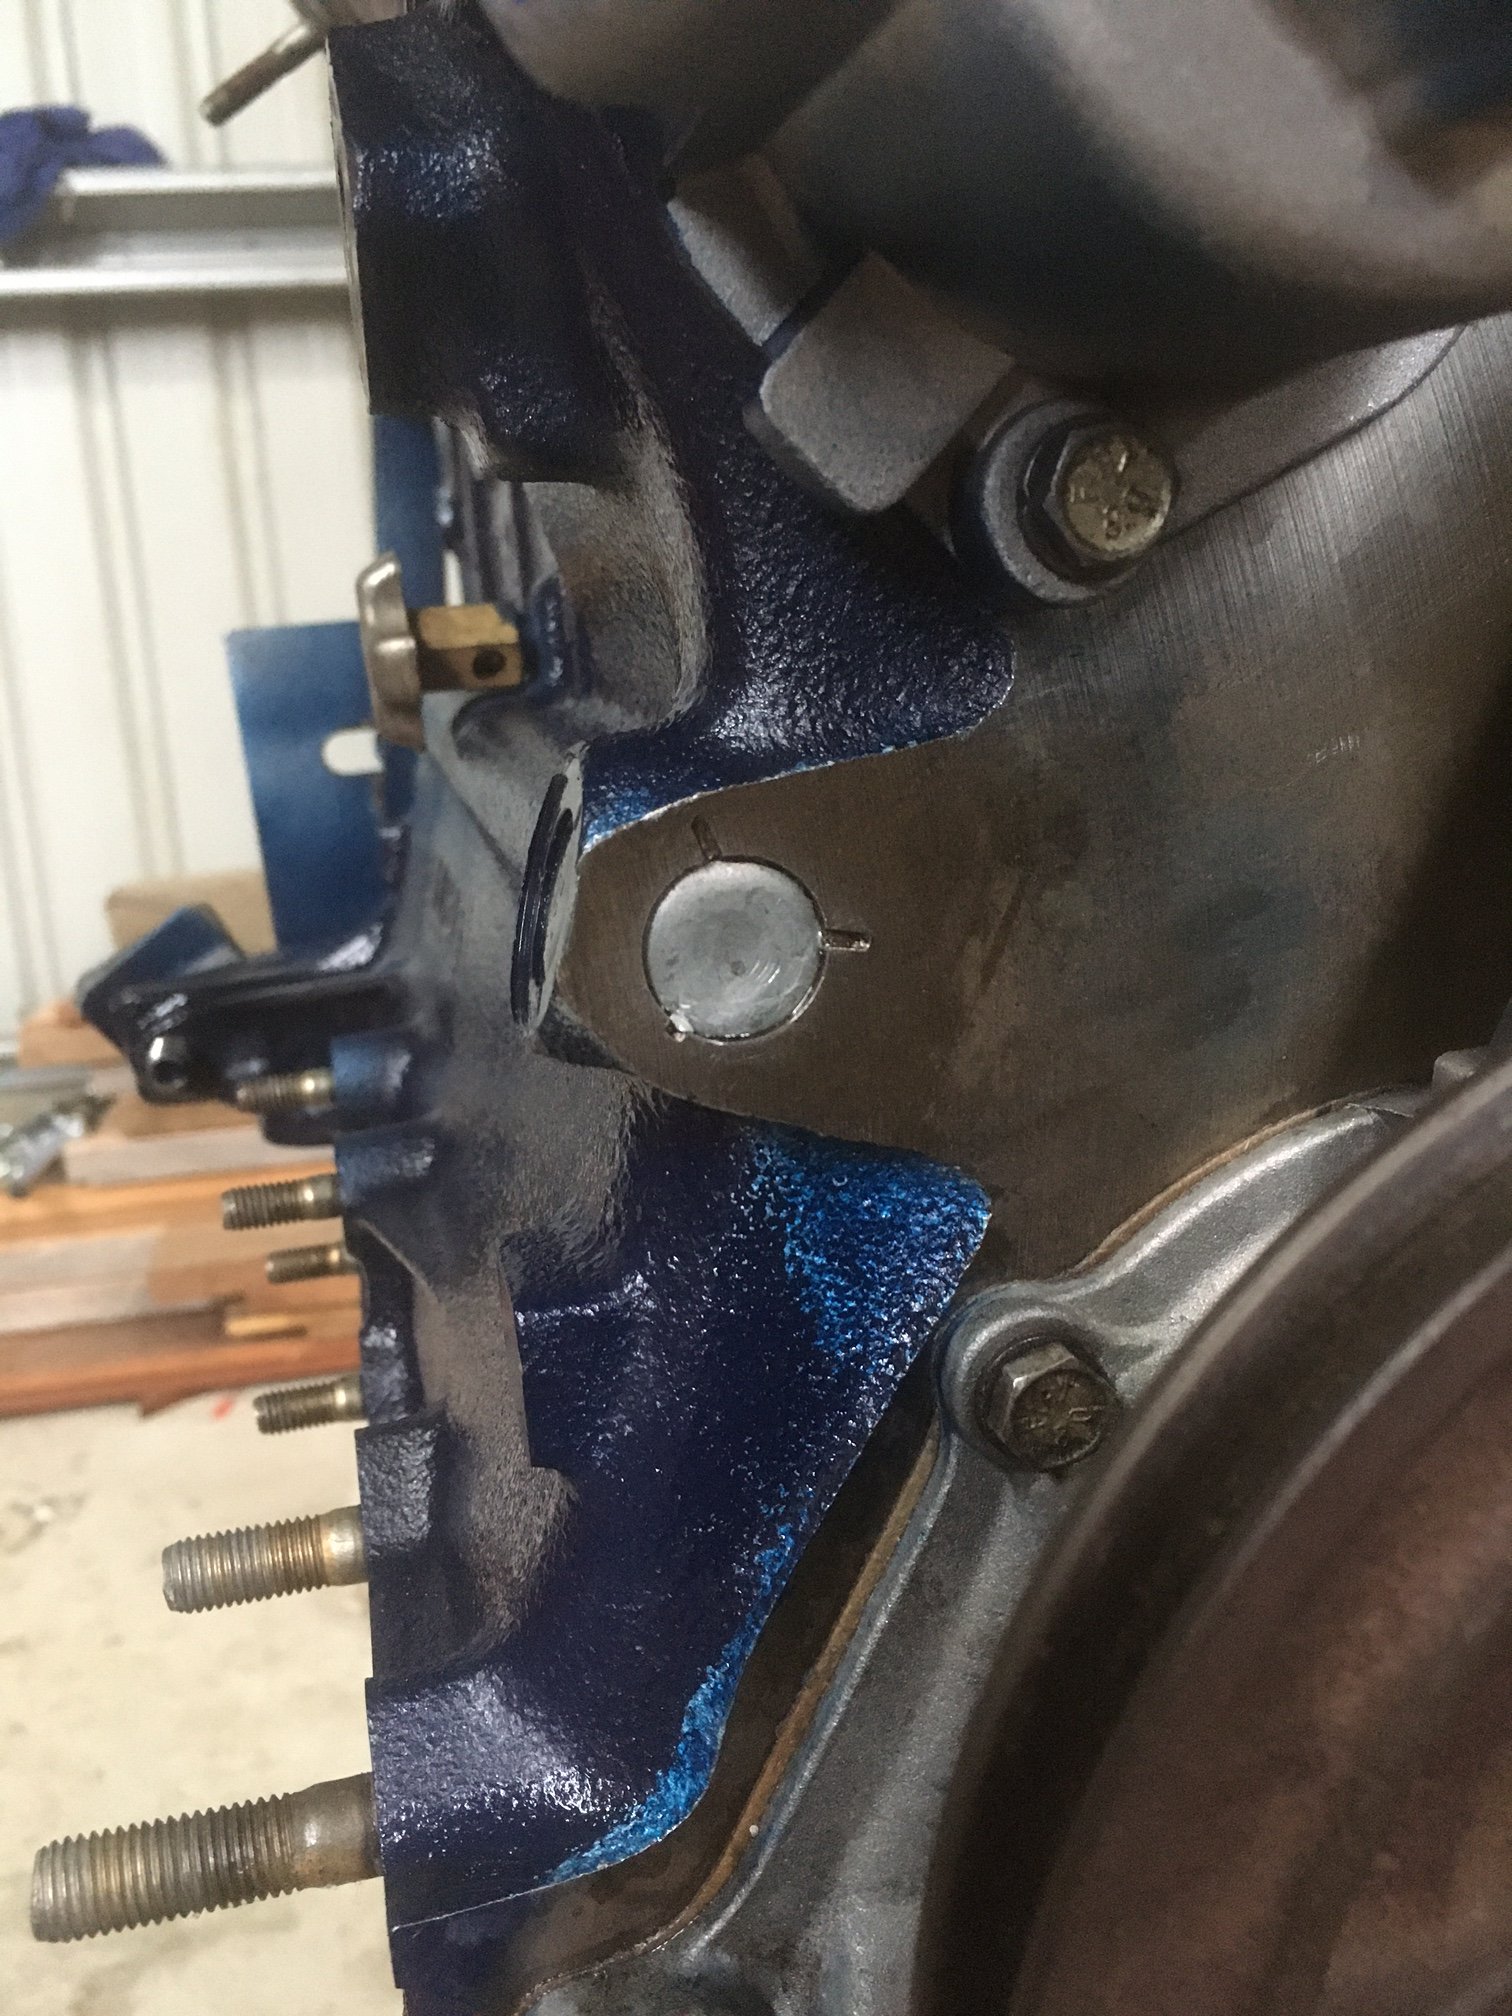
I got the engine buttoned up today. I was a bit wary of the head gasket. This is how it came out of the packet: Best mate #1 who is a good mechanic said send it, so I did. When I was torquing the head bolts, one of them didn’t feel great but still made the wrench go click. I did send a thread chaser through first. Then I put the cam boxes on and lined everything up. At this point I became confused (not difficult) because it looked like no1 was at the end of the exhaust stroke. Back to the books…oh that’s how they’re meant to go. The Fiat twin cam isn’t timed with no1 at TDC on compression, but on overlap, so no4 is on compression. Ok, good. Then I threw some oil down the distributor hole and spun the auxiliary shaft pulley with my drill and got the oil pump primed and pushed some oil to the top of the engine. This revealed a fail. That little gallery plug has failed to seal, so I need to extract it and and find another. These plugs are lens shaped and you put some loctite 515 on the mating surface and then you pop the plug in convex side out and smack it flat with a hammer and drift. You only get one go, and it looks like I stuffed it up somehow. It looks like the edge of the plug snagged on one of those staked bits. I’ll come back to it. In the mean time I popped the timing belt on with a new tensioner bearing. Turned it all over a few times, and nothing hit anything, yay!
- 126 replies
-
- 20
-
-
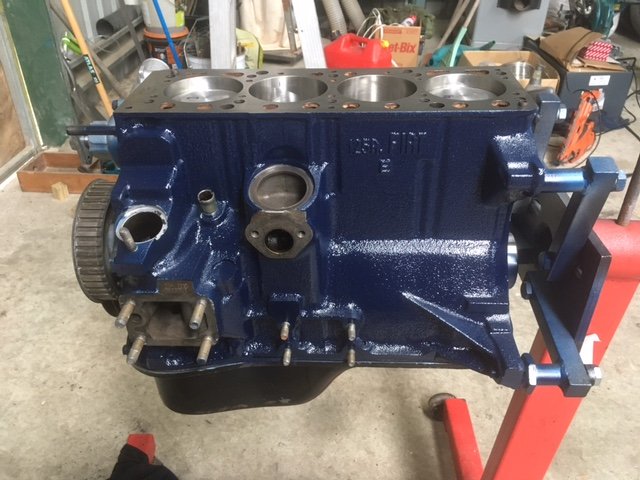
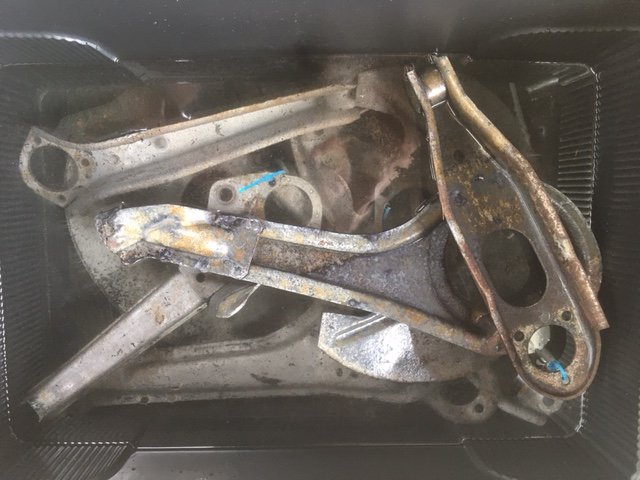
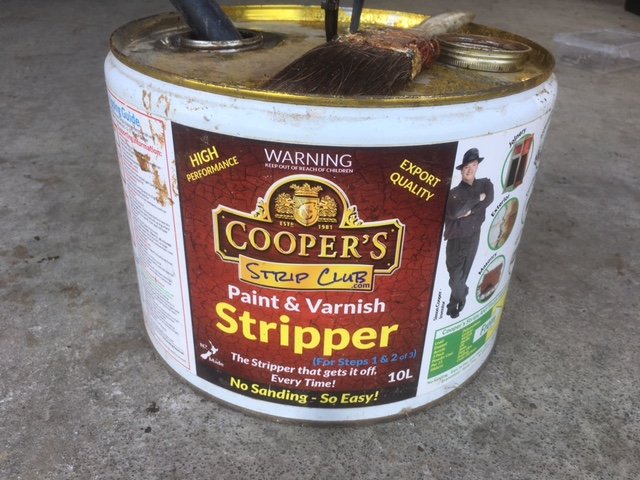
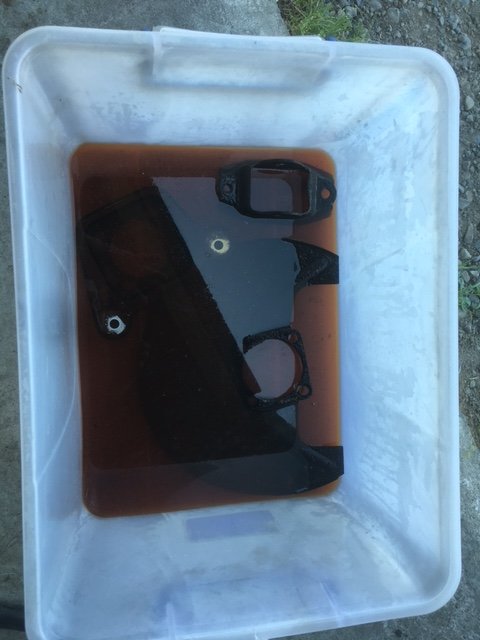
With the bushes removed, it’s cleanup time. Degreaser, scotchbrite, water blaster. Then I found this under the workbench, I have had it leftover for about 14 years from a bungalow renovation… Which went into a plastic tub where all the suspension arms and bits and pieces had a bath. The stripper still works! Out of the bath and another water blast… Soooo much rust under the old paint. I’m glad I’m making the effort. I also bought this with which I made a 20 litre bath for all the bits to fizz for a day or so While all this was happening, remember the engine paint saga? Well, over a month later I still can’t get any Ford Grey, so I went blue instead! Good from far but due to catastrophically lazy masking I shall need to rub a bit off here and there once it’s cured, but 100% better than silver.
- 126 replies
-
- 12
-
-
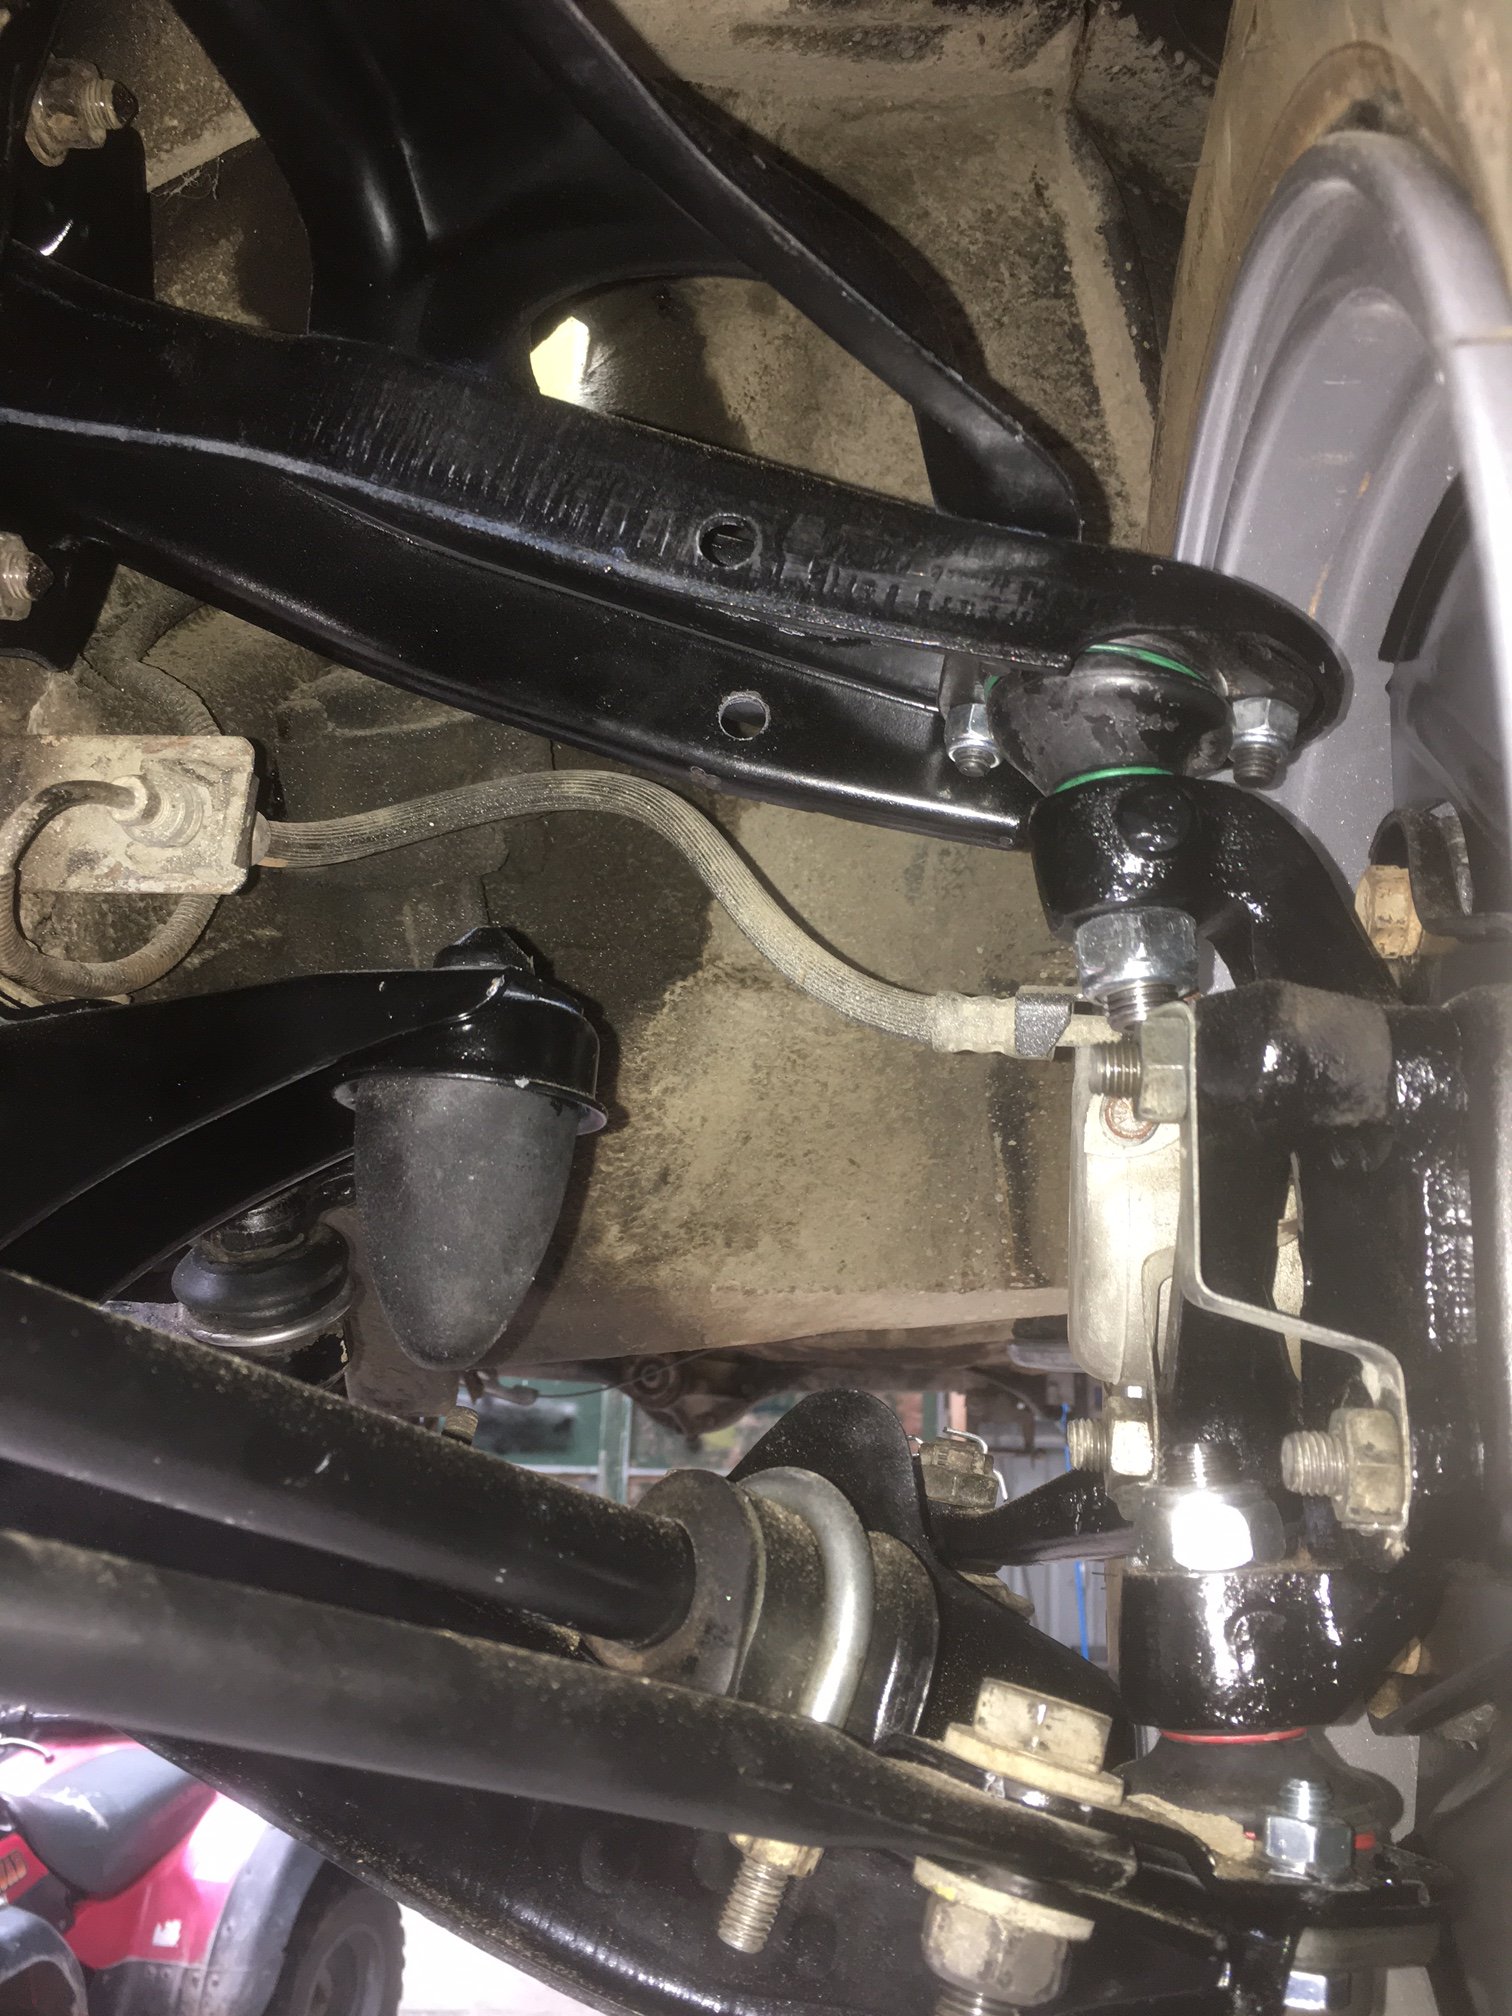
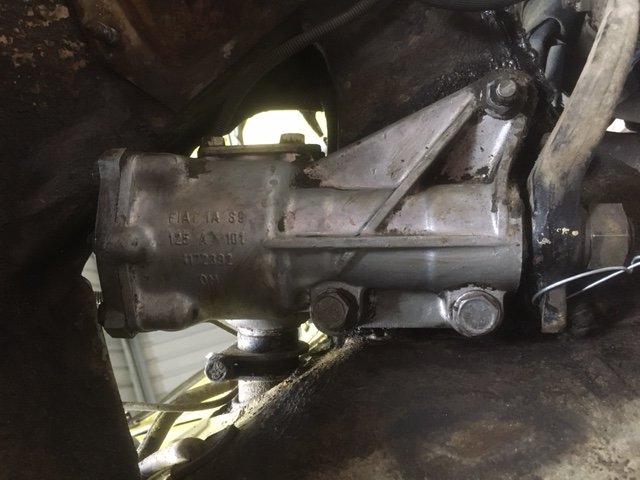
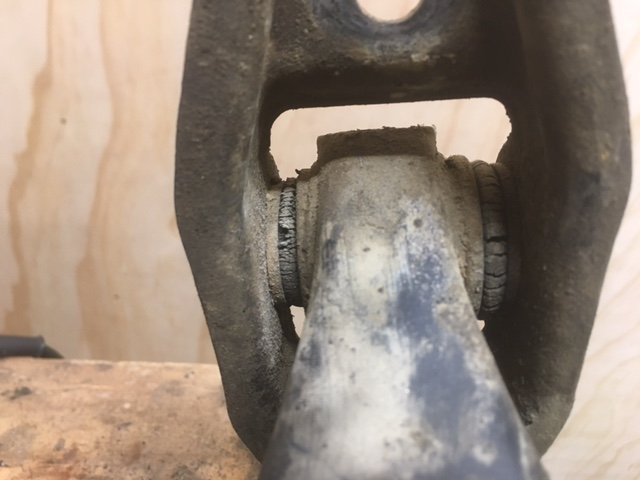
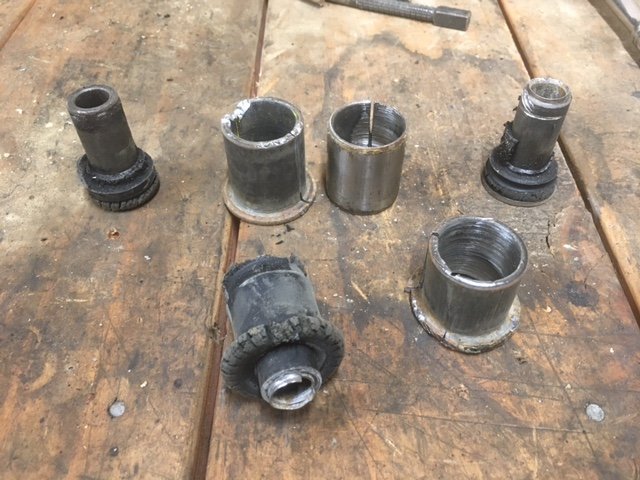
Scope creep. It happens to the best of us. I was going to run the steering and front suspension as is with just some new bottom ball joints, but after a close inspection I just couldn’t do it. Also, you couldn’t even see the shape of the steering box under all the crud and filth, but you can now! To get it all apart was a mission. I decided to remove all the bushes as they looked yuck. This took spanners, a heat gun, hole saw, hack saw, sabre saw, hammer and punches and about 5 hours! And this is a bit baffling, it looks as though some creature has cut into the lower ball joint spindle on the upright…
-
Mr.mk1's Mopar or No Car '70 Dodge Coronet
Sunbeam replied to RUNAMUCK's topic in Project Discussion
Wow! From what it was when you picked it up… big congrats on an epic job! Will probably take the kids down to the show for a nosy tomorrow.. -
Tomble's 1983 Starion GSR-X fumbling / hand-holding / discussion
Sunbeam replied to tomble's topic in Project Discussion
I admire you tackling the steering box! I hate those kind of jobs. -
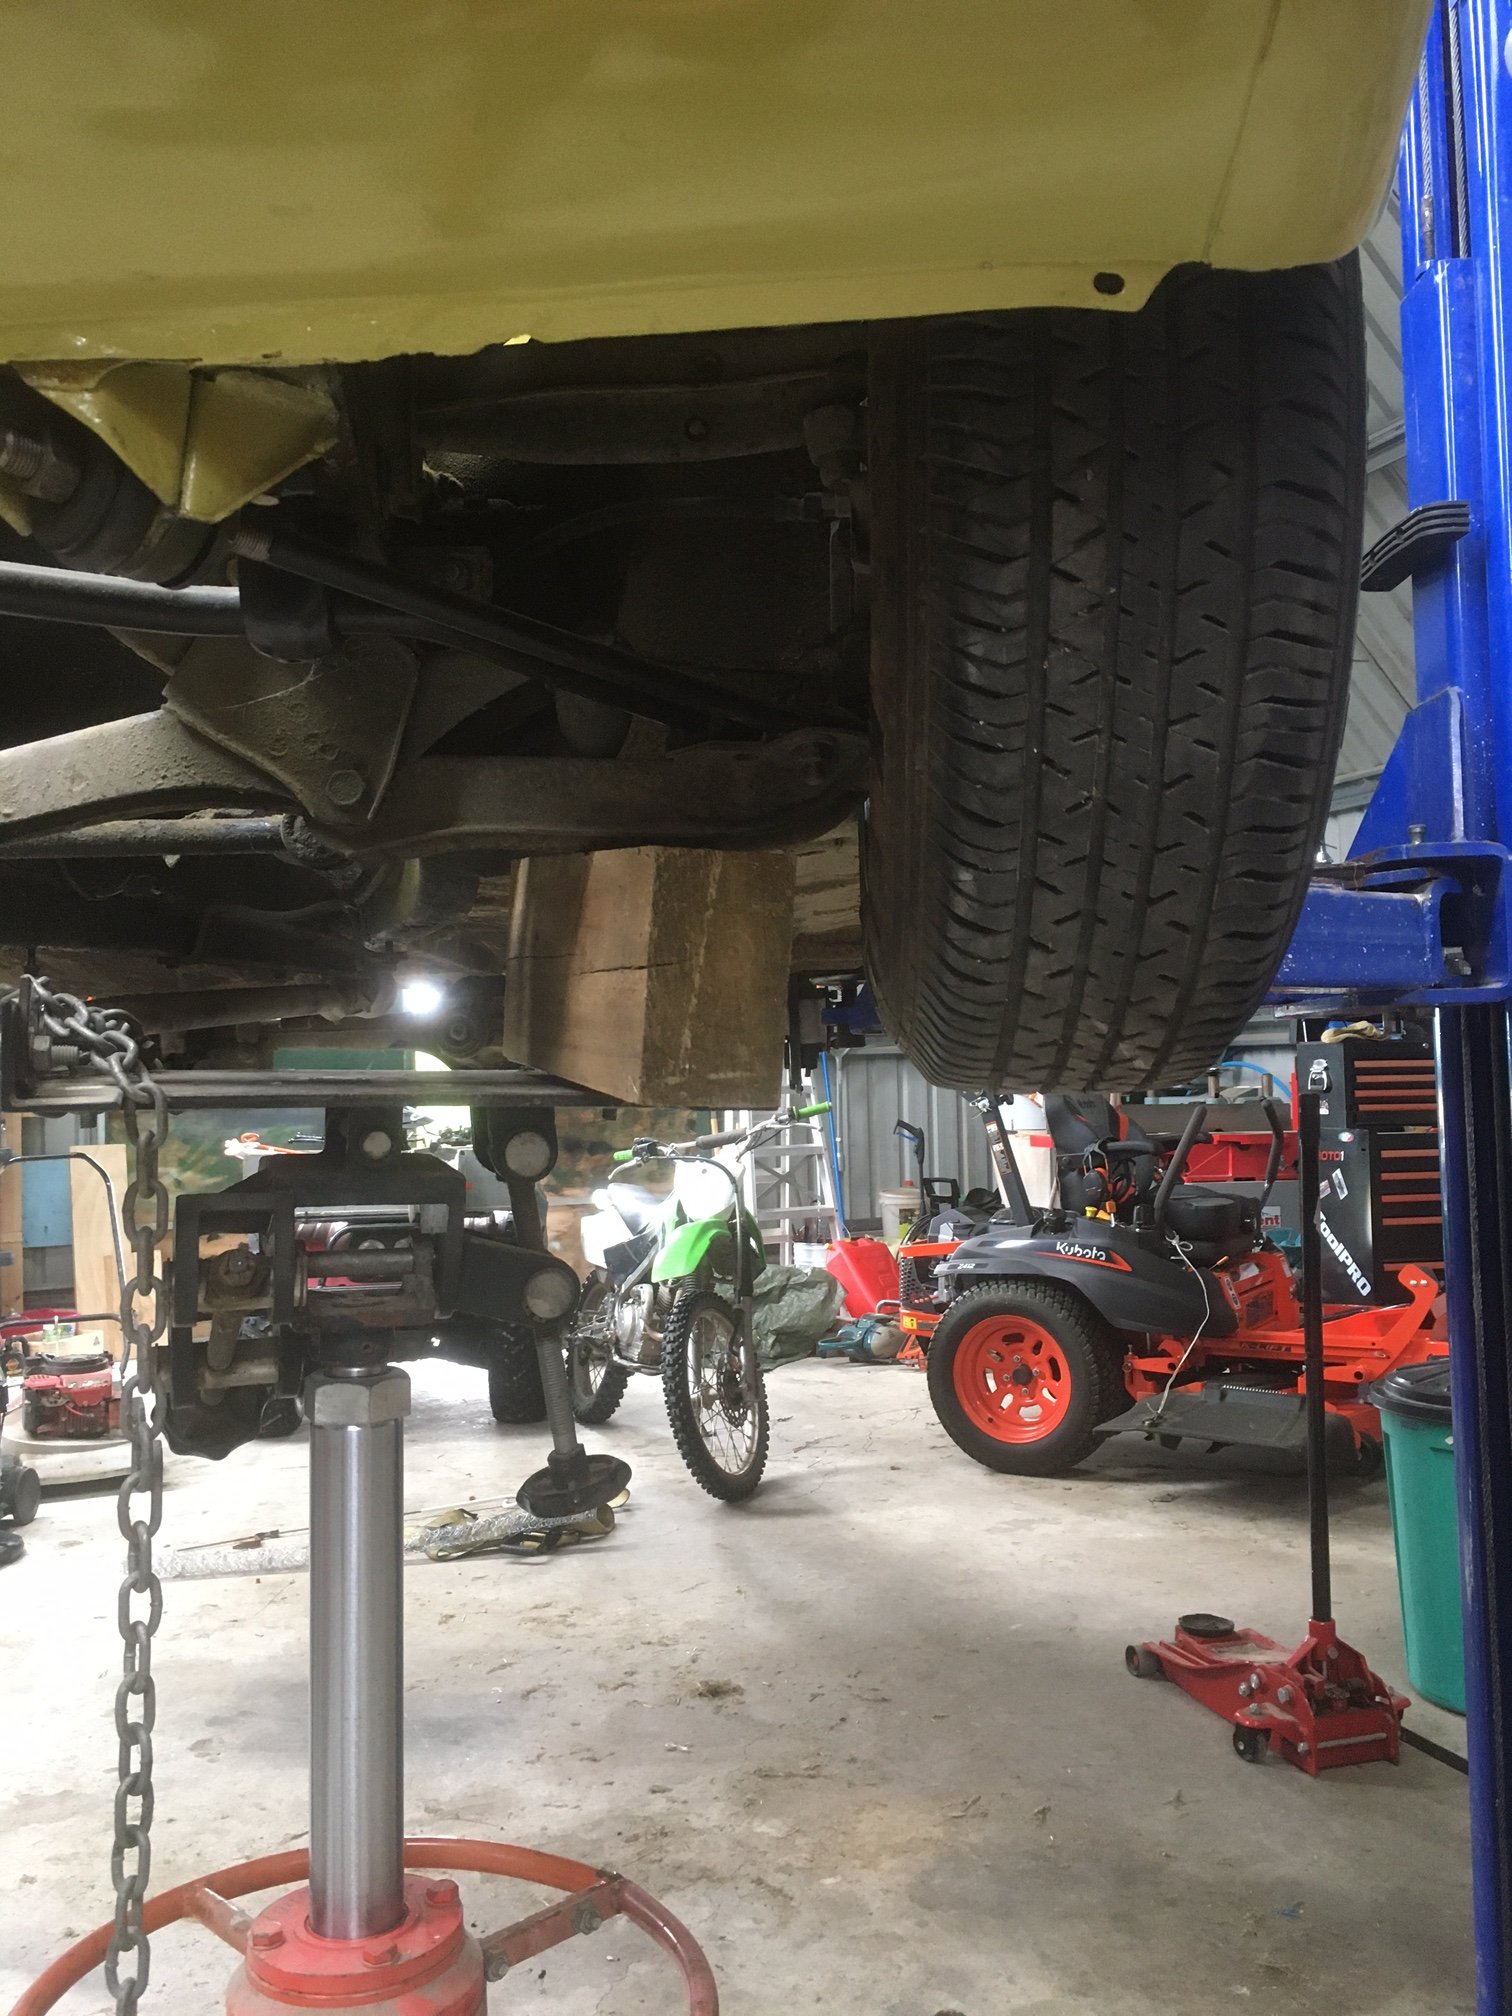
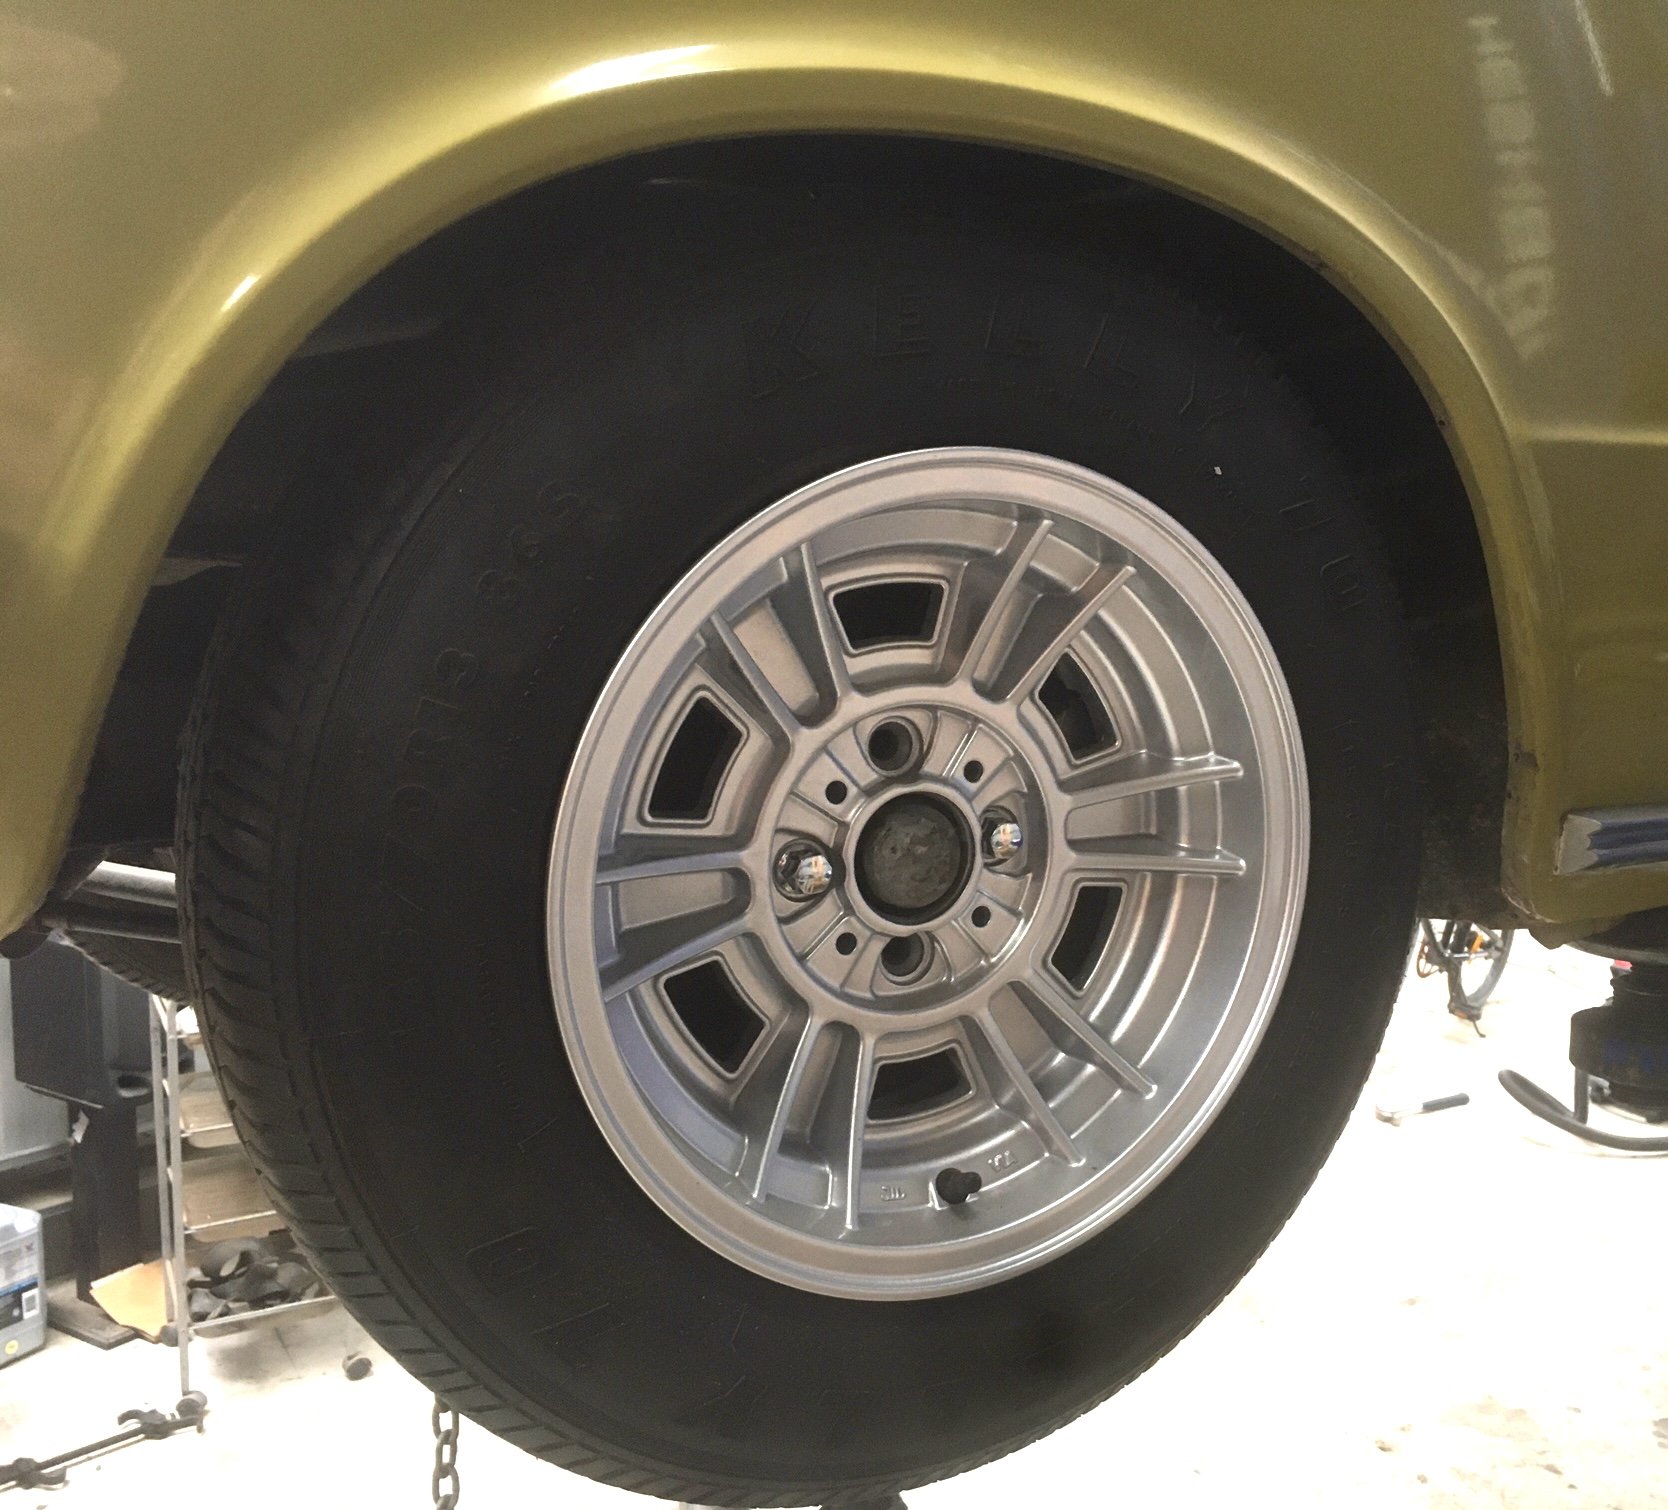
This afternoon I dropped the handbrake cable off at Digger’s Cable and brake in Christchurch. He surely must know what he’s doing because you certainly don’t go there for dynamic customer interaction… After this I went to Chamberlains to drop off the rear leaf springs, one stock coil and the recipe for the 125T springs. This will be less easy than I thought. The spring specs for the T are quite comprehensive, but the nice man at Chamberlain’s shot me down immediately by saying the spring steel of today is much different, rendering my data sheet next to useless. He said that if I could get an installed length for the stock spring, they can gather test data on the stock spring and their computer will spit out a recipe for a shorter slightly stiffer spring which is what I’m after. Ok….small problem, the car is on a hoist, no engine or springs fitted. Then I had a brainwave. Hoist plus transmission jack plus spirit level plus tape measure! I can replicate the static suspension data from the manual. The manual has a diagram of setup data using special tool A.74.144/1/7 (flash axle stands) which then gives static ride height data. Now, I could jack the front wheel with the transmission jack and using a spirit level and tape measure I could measure the height to “ground” from the sill pinch weld and the bottom of the engine crossmember. Then, locking the lower A arm in place, I took the wheel off and measured the distance between the spring seats and voila! 215mm. Remember the free length is 416mm!! Setup: Maximum slam, on the bump stops: which gave me the opportunity to check for clearance at full lock both ways bearing in mind that’s a 185 tyre and I’ll be running 205s. Nothing touches, but then I can’t check clearance to the spring either.
- 126 replies
-
- 12
-
-
It’s not a depth clearance issue, the impeller is just a couple of thou too big/slightly out of round. I think I can fix it. GMB quality control maybe isn’t what it used to be.
-
Yes, metric 8mm. Must be hollow though as I’m fairly sure they sit in an oil or coolant passage. The head gasket is reinforced around the holes anyway. I’ll try a few more reconditioners and failing that make something up.
-
Just minor interference from the impeller. I’ll deal with it in my usual farm workshop way. Yeah not keen to run dowelless.
-
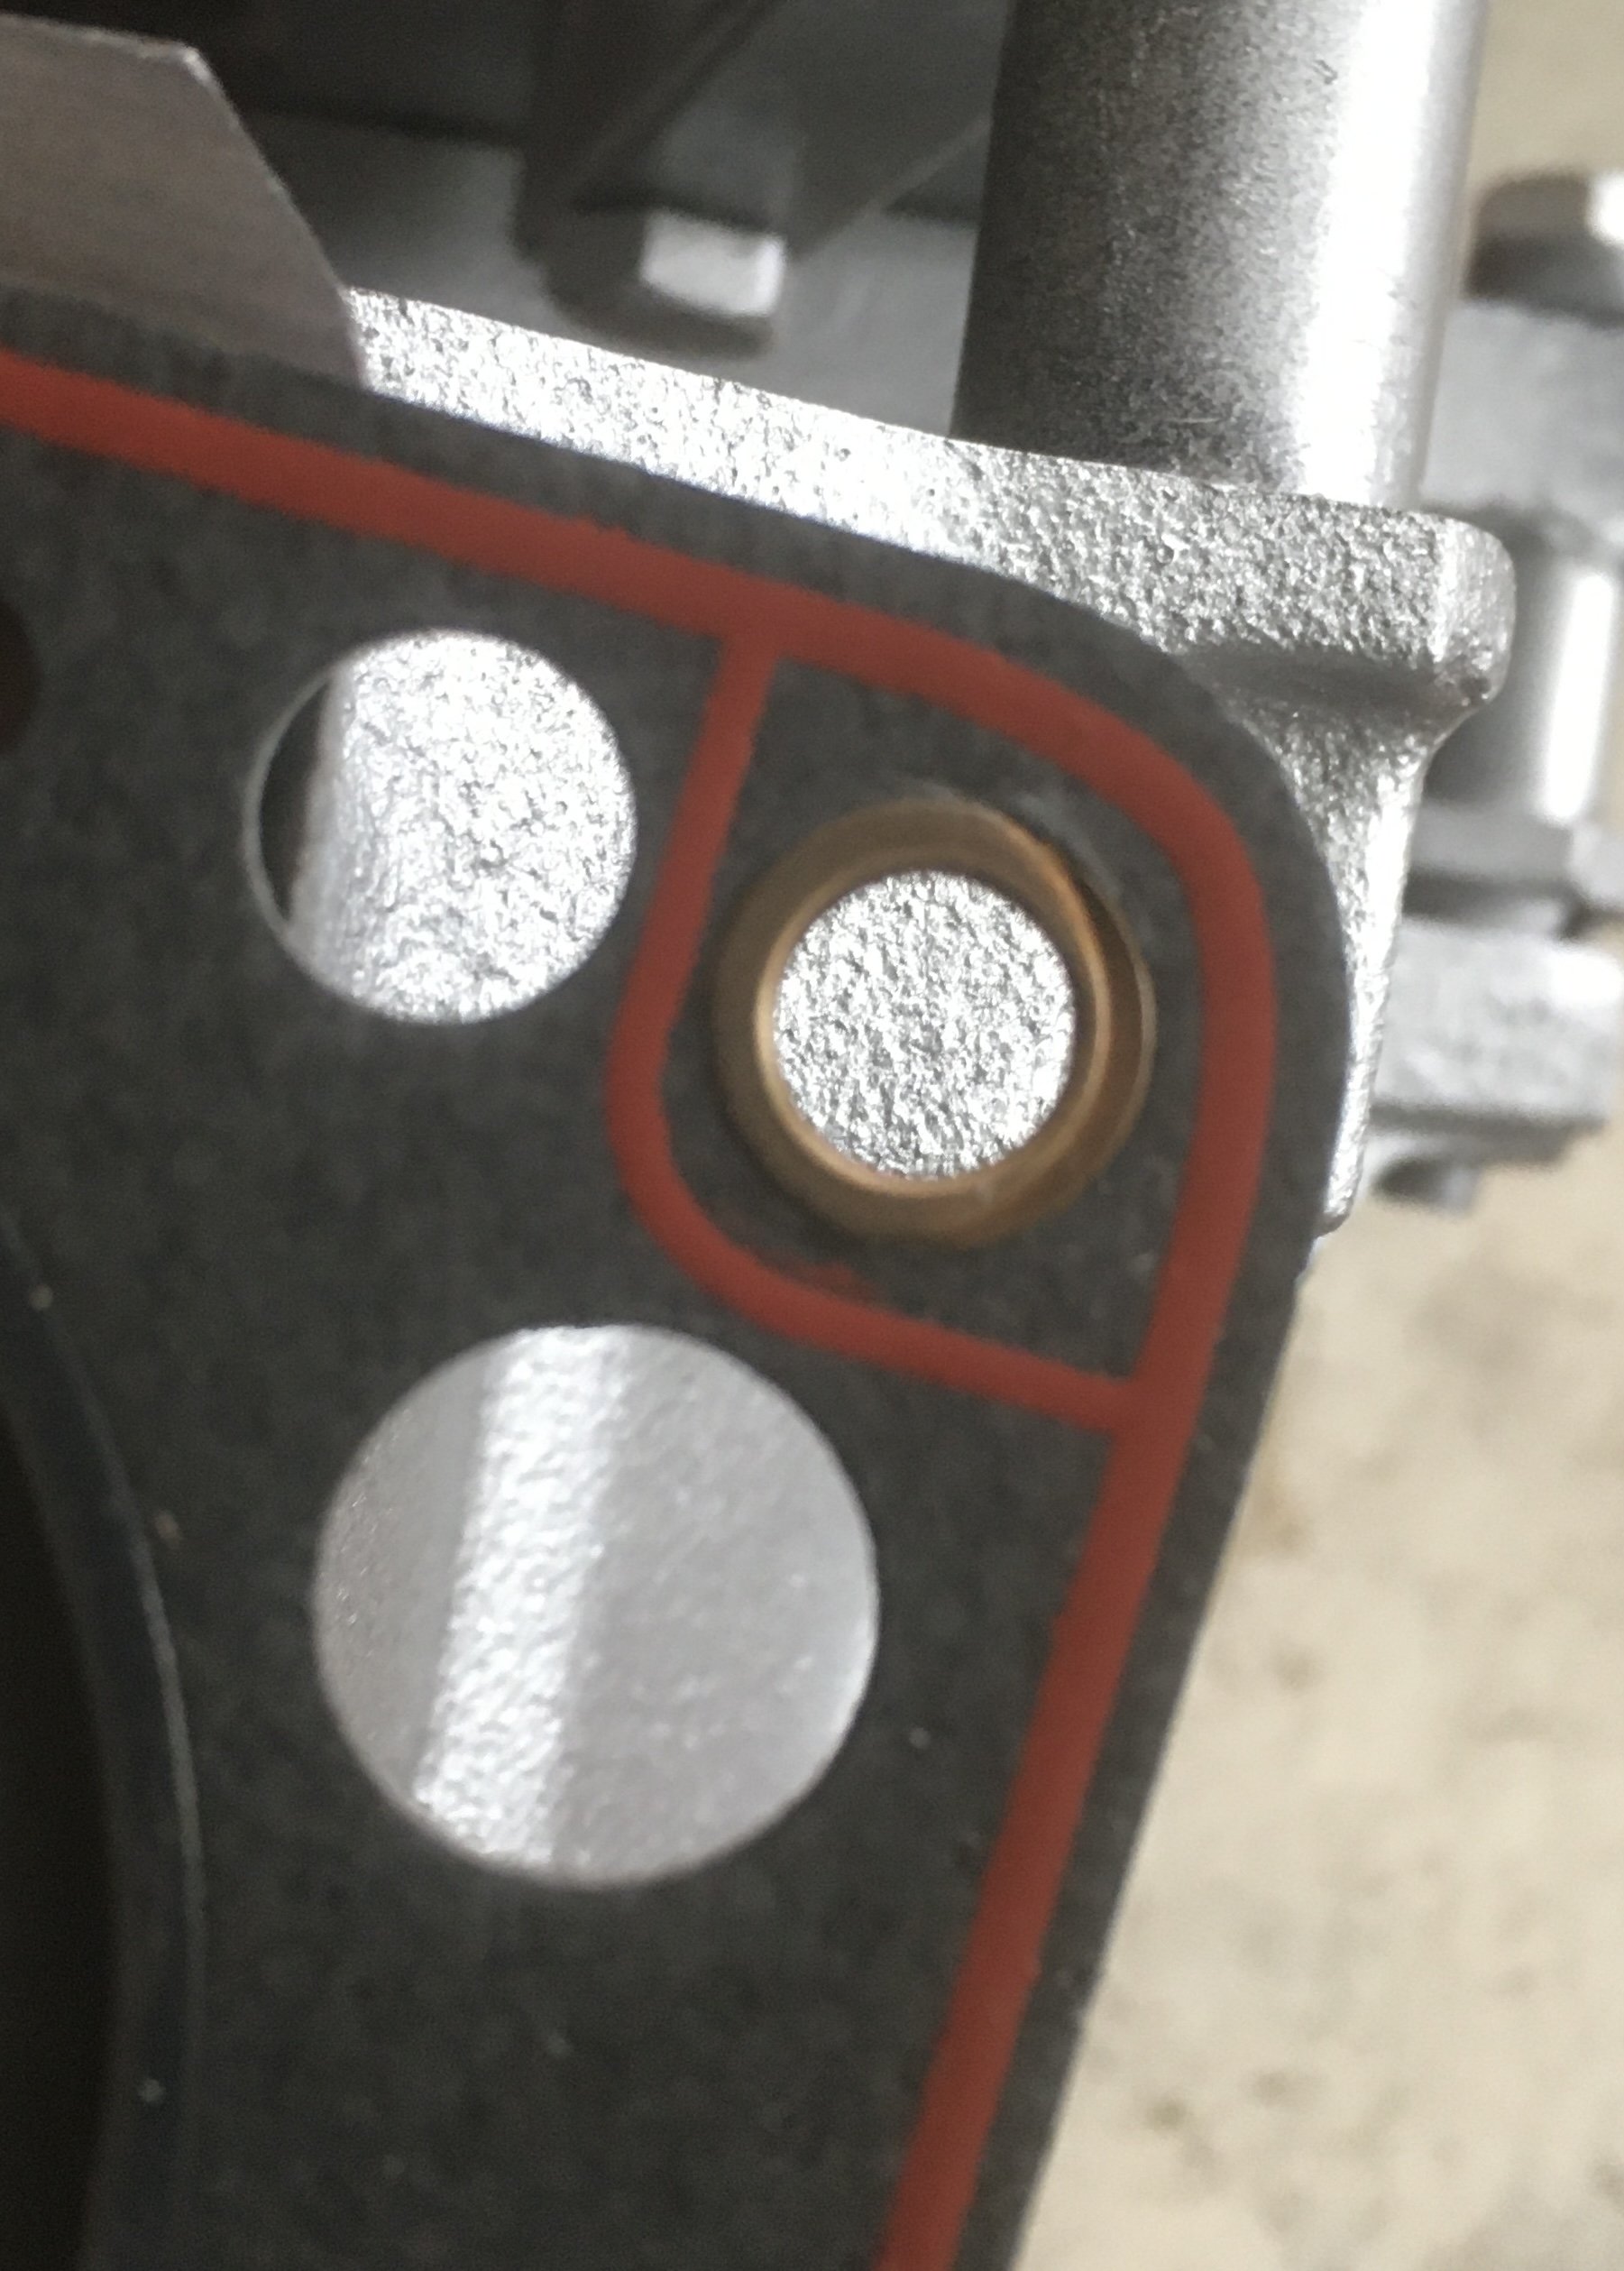
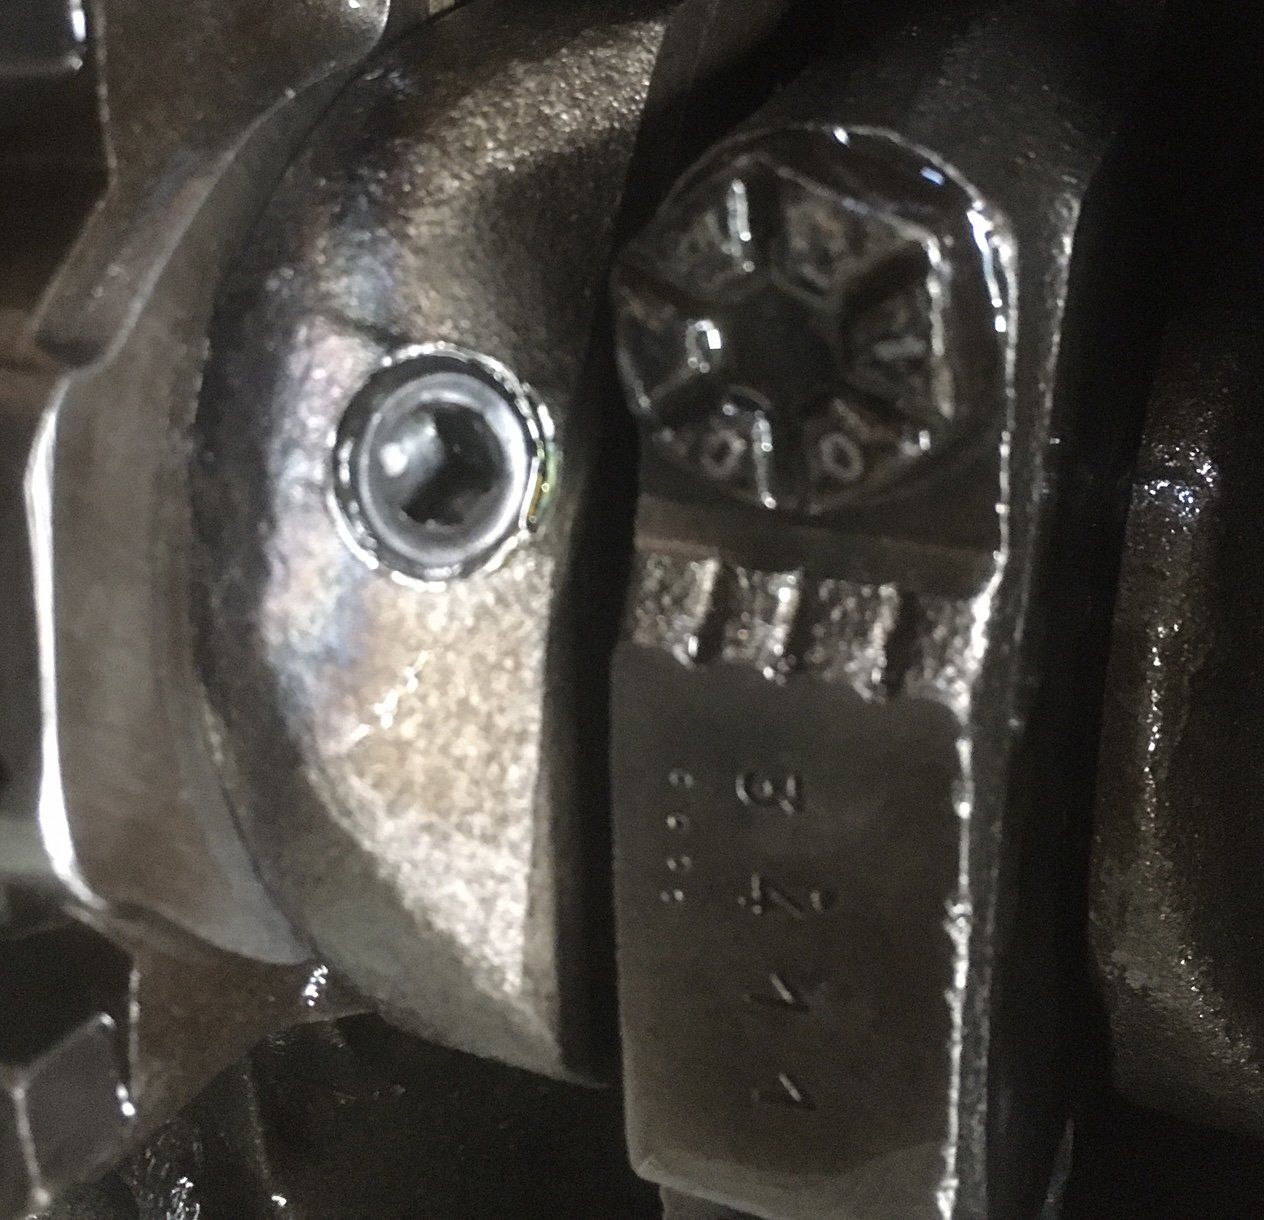
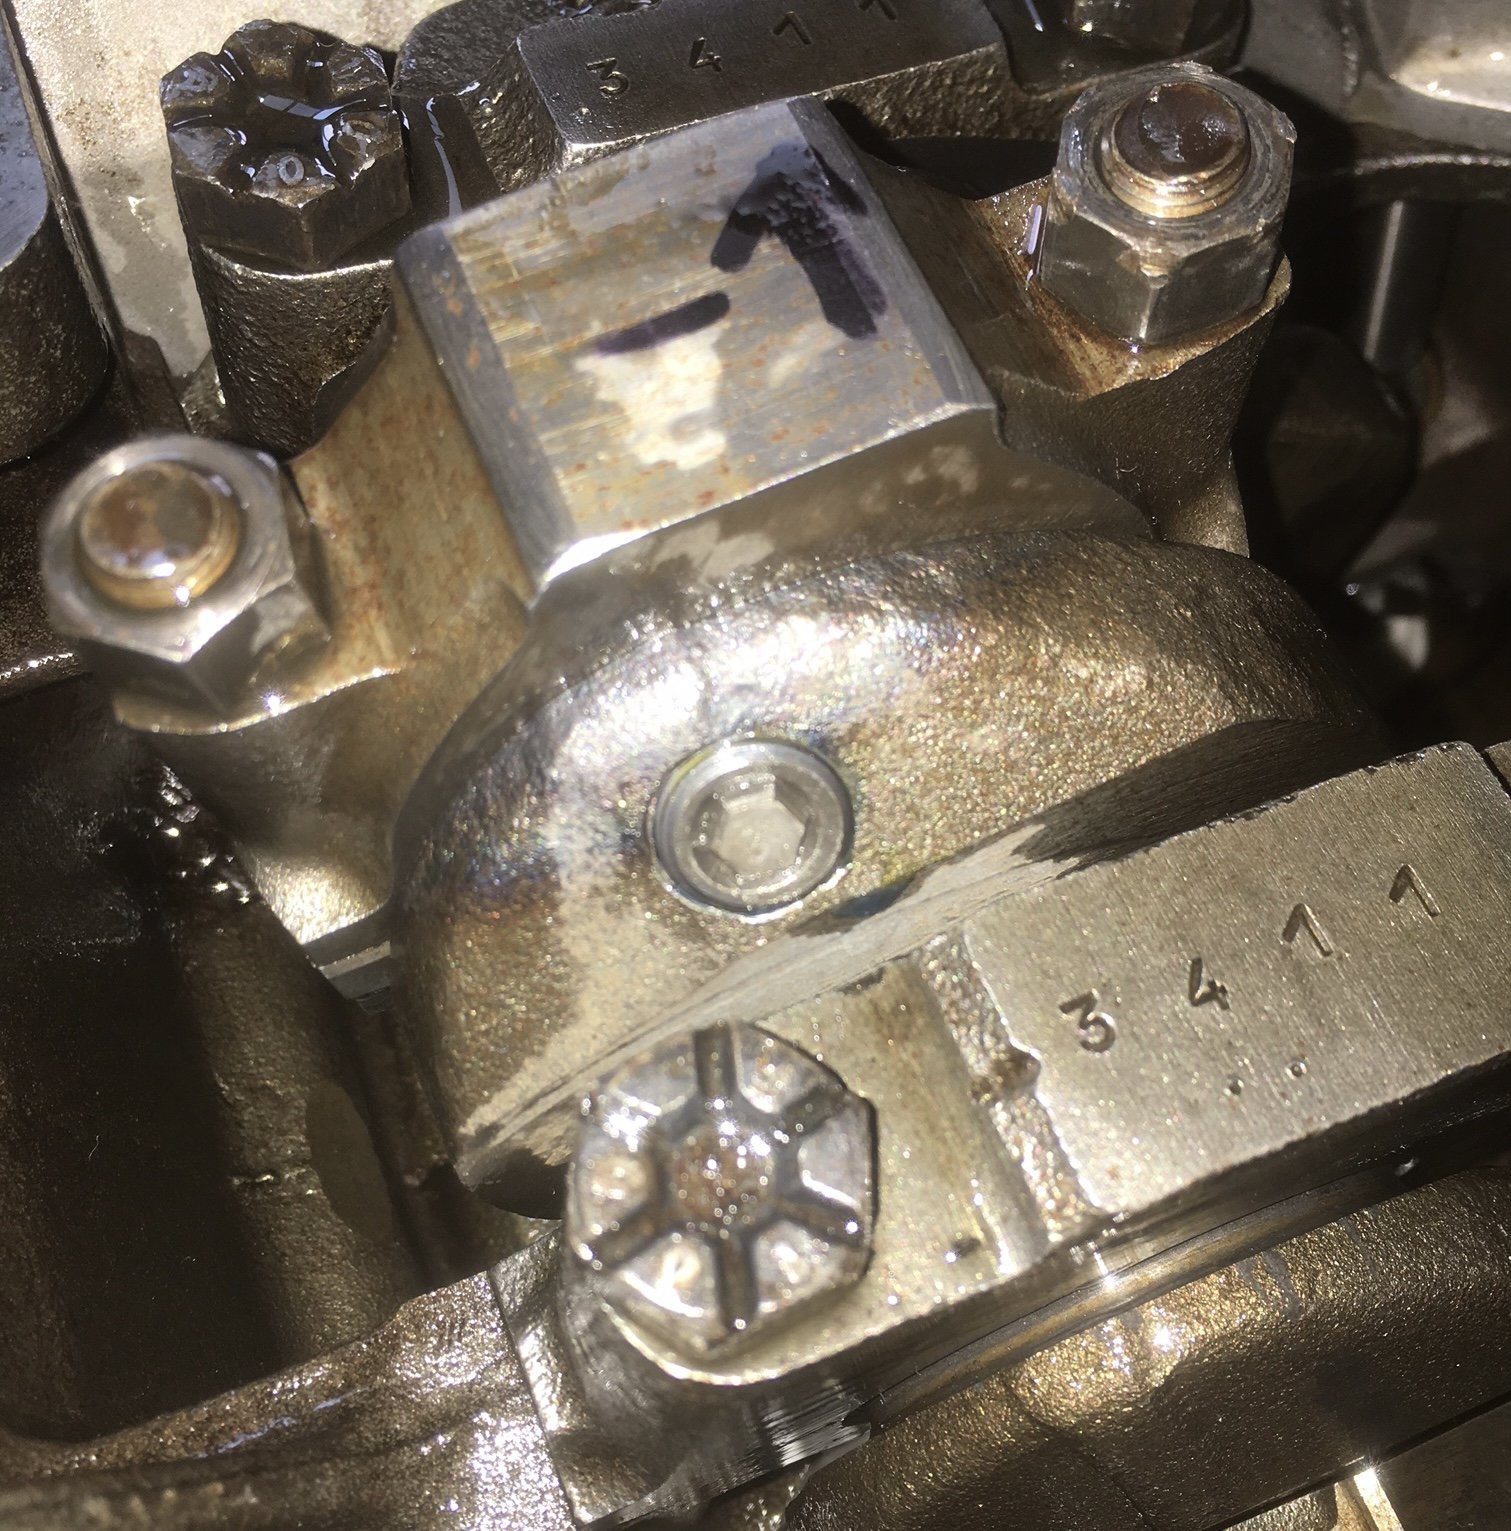
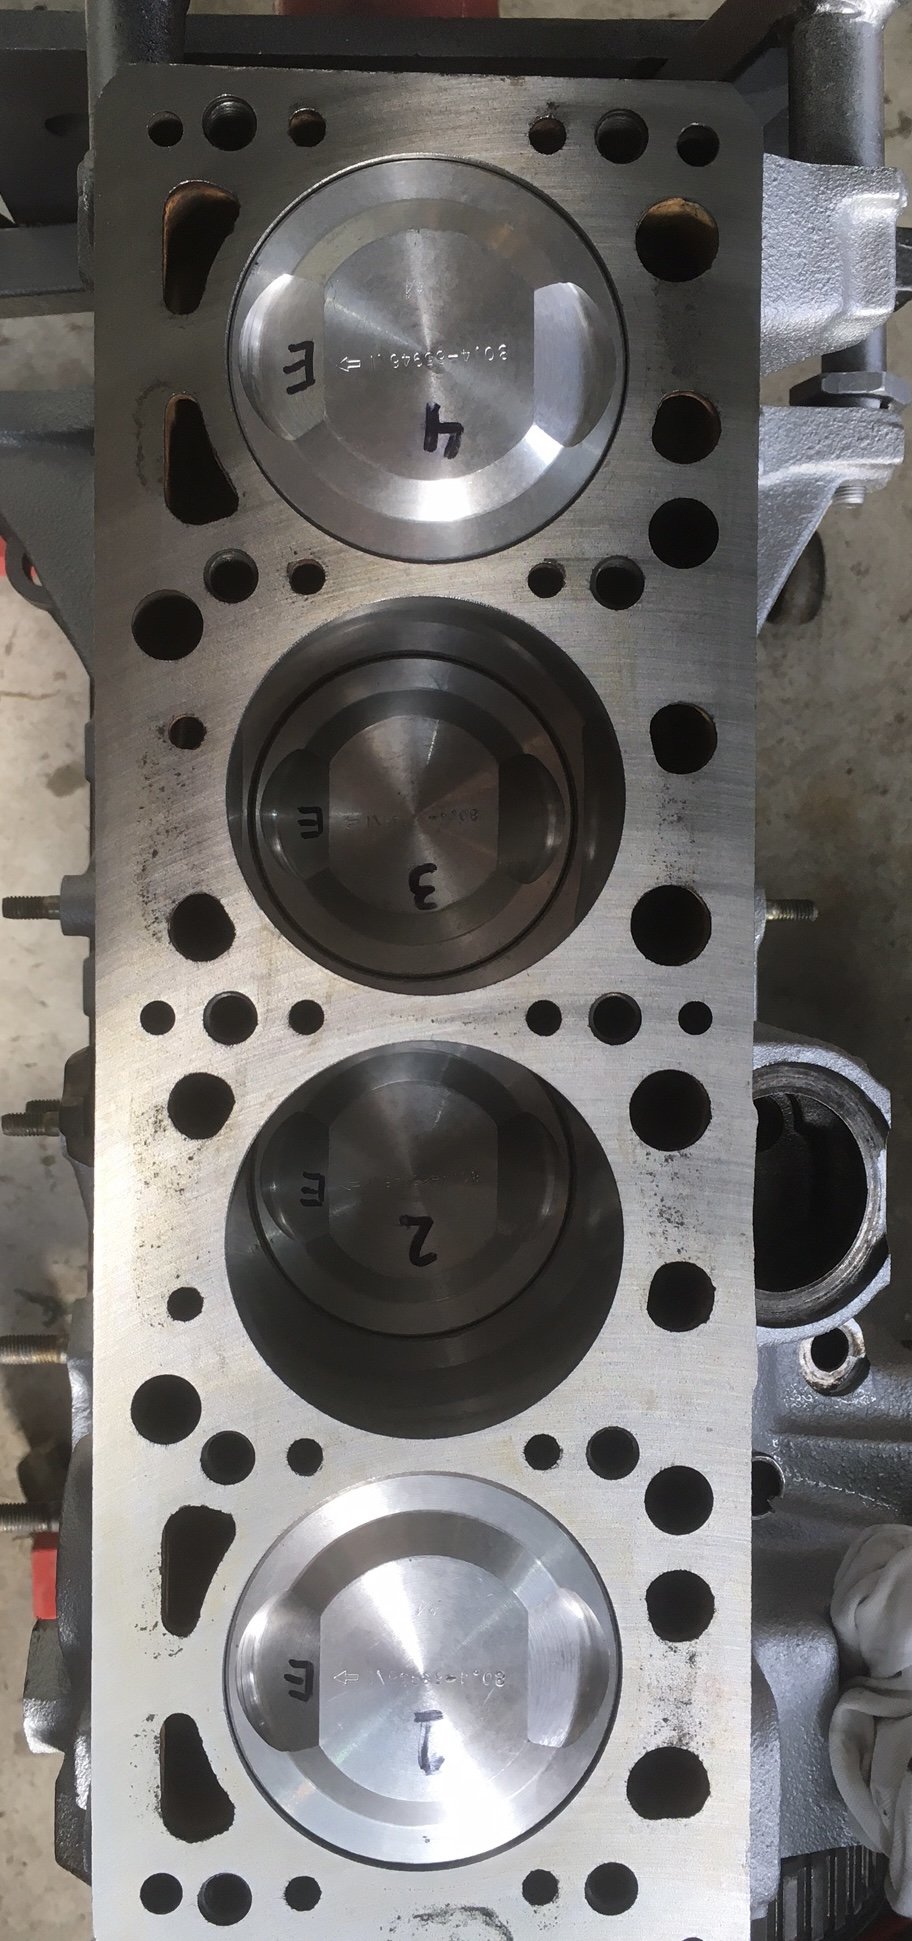
Engine assembly came to a halt very quickly due to the wrong rod bearings being supplied. Bowden Engine parts to the rescue for a princely $50! Not NOS genuine, but very old Repco with great wax paper packaging! Number 2 daughter then gave me a hand to put the pistons in. Then it was time to flip it over, torque the caps and fit the crankshaft gallery plugs with a bit of blue loctite. To my horror it appears the engine shop has defiled my engine with imperial plugs! Aaargh, the shame. This mod will cost me horsepower and probably make it leak oil too. This operation was not without issues, however. Some way short of the torque wrench going click, the 1/4 inch hex key sheared off and was left flush. My magnet would not retrieve it either! The broken end wasnt in super tight, but it wasn’t letting go either. I contemplated welding a wire to it for more pull, but discarded that idea. I couldn’t drill it either because the tool steel is very hard. In the end creativity won again. I heated the crank web with my heat gun, and then blasted the broken hex with contact cleaner. My reasoning was that the rapid evaporation of the solvent sucks a lot of heat out which worked! Cold hex, hot plug and out she popped on the end of my magnet. Whew! I also smashed myself in the nose when the hex driver let go and 2 days later my nose still feels bruised. I really want to get the head on because the engine has now been sitting partially assembled in my very drafty dusty shed for over two weeks. This brings me to the next problem. The head dowels were wrecked when they were removed and now I can’t find replacements. I’ve phoned a few outfits but nobody seems that interested in helping/too hard basket. The dowels are quite small at 8mm od and quite short (about 15mm) and they are thin walled and hollow. They need to be hollow as it seems they are located in the oilway… Now I’m not an engineer so I’m just spit ballin here… but is it a dumb idea to cut up an 8mm roll pin and use that as a dowel? Anyhoo, to plug another hole I offered up the new water pump to the block aaaaand bugger… The impeller fouls the block! Run it and let it create its own clearance? Skim some material off? Get another pump? Advice welcome.
-
I just got the Fiat head back from Kenelly’s before Christmas. Took a while, but no complaints. Decent price.