-
Posts
1157 -
Joined
-
Last visited
Everything posted by bmxnz11
-
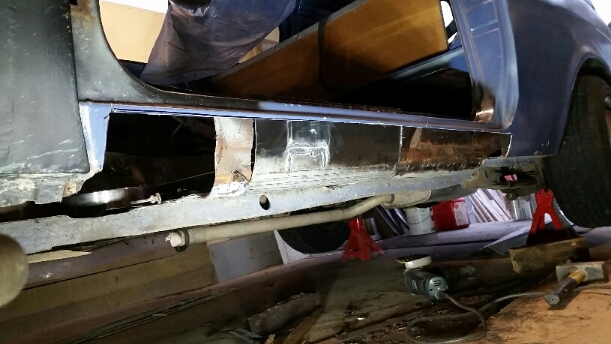
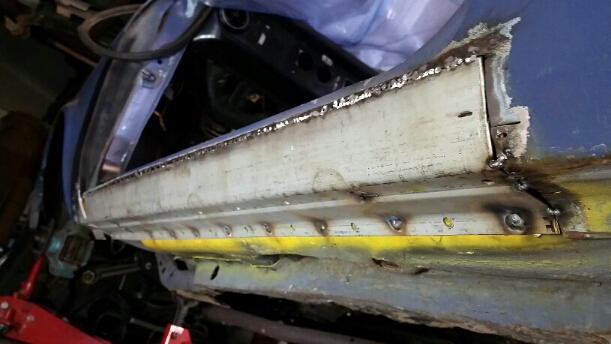
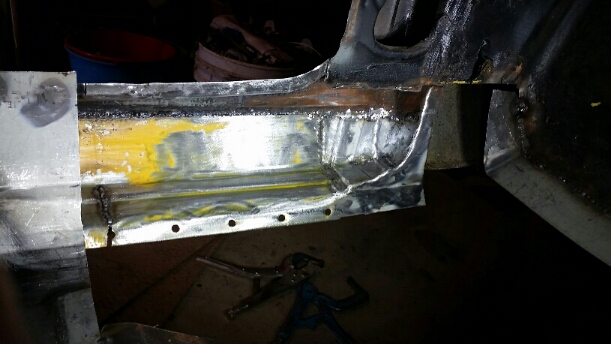
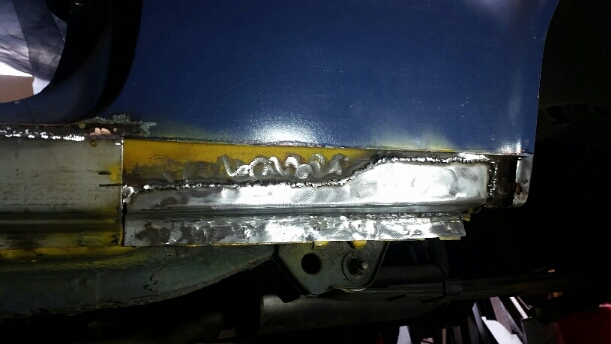
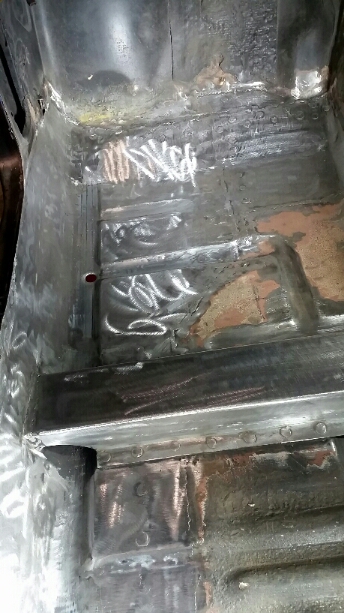
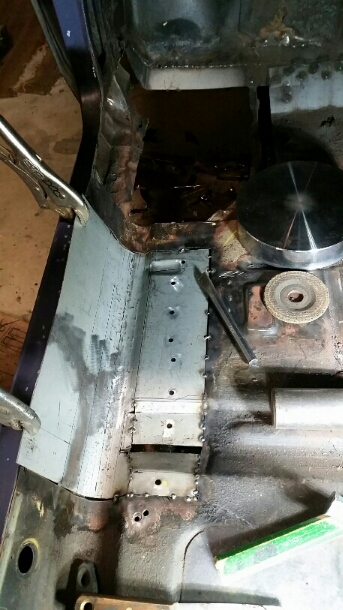
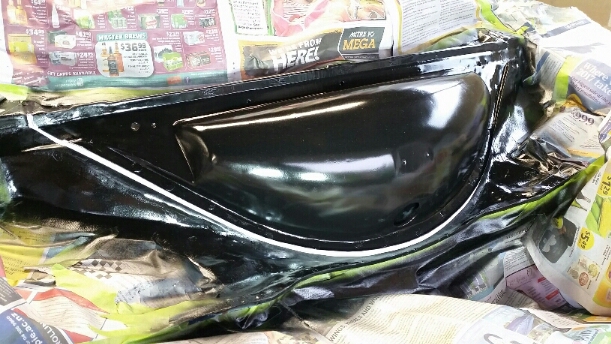
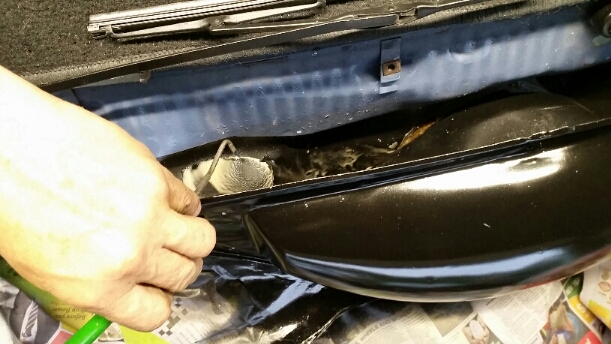
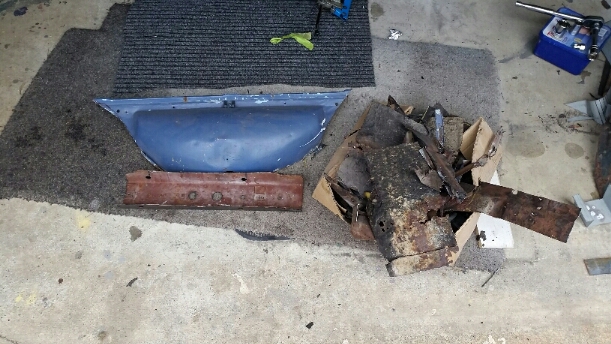
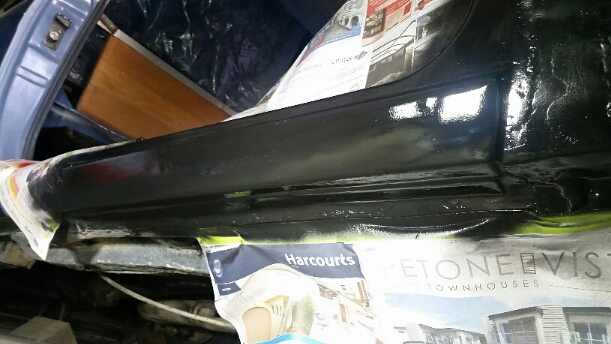
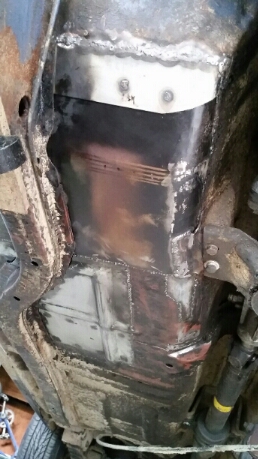
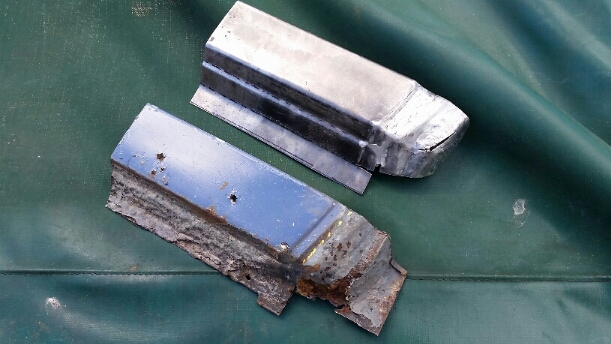
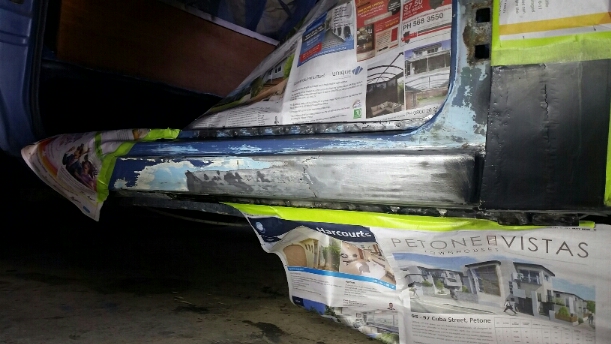
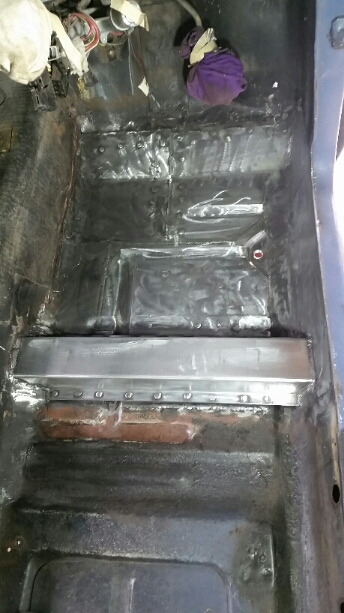
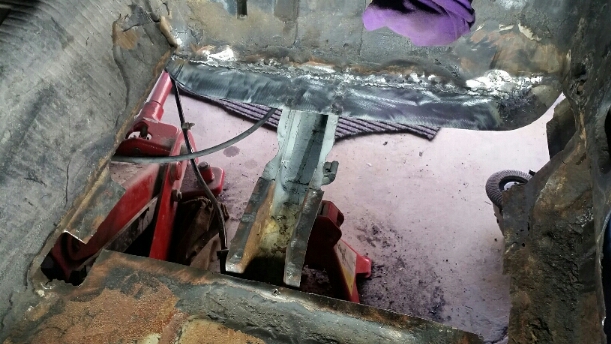
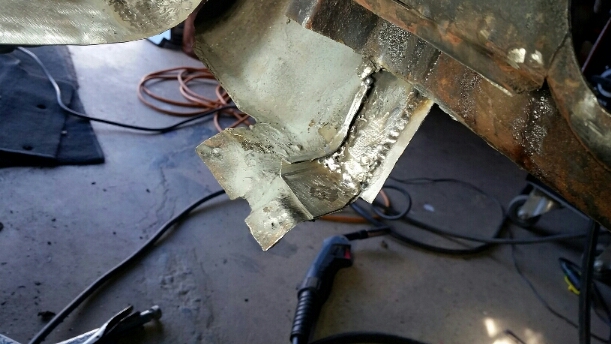
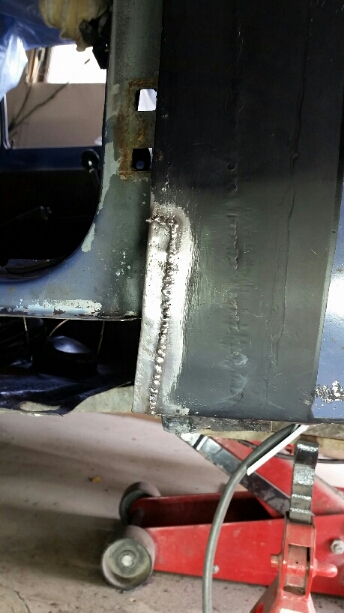
Bit slow on updating but that doesn't mean I haven't been working. I made up and welded in another seat rail. I then folded up some sills out of lengths I had laying around, which happened to be thicker then the original steel. I also replaced the bottom of the guard, and made up the remaining floor panels. Photos or it didnt happen. Cut the drivers sill out. Replaced with a new sill. The remaining original sill was cut out after this. Back of the sill and guard before being primed etc. There was a crazy amount of dirt in behind the sill. Replaced the inner rusted strengthening piece. The passengers floor looking better.
-
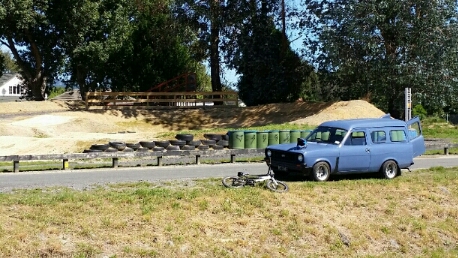
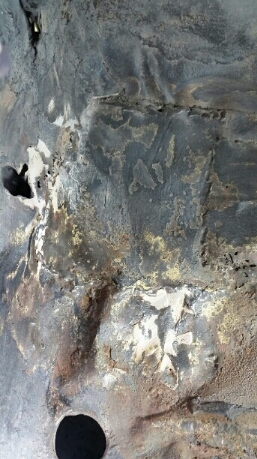
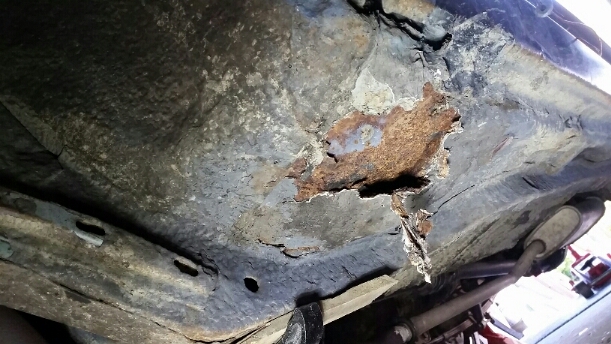
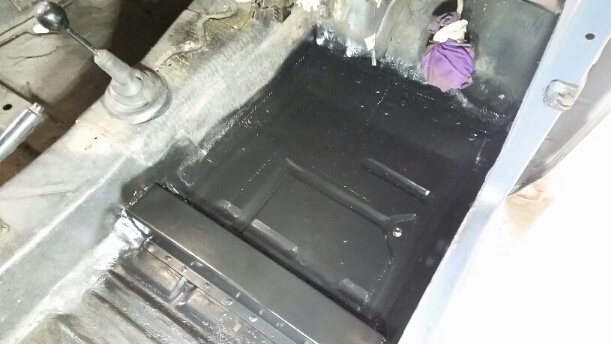
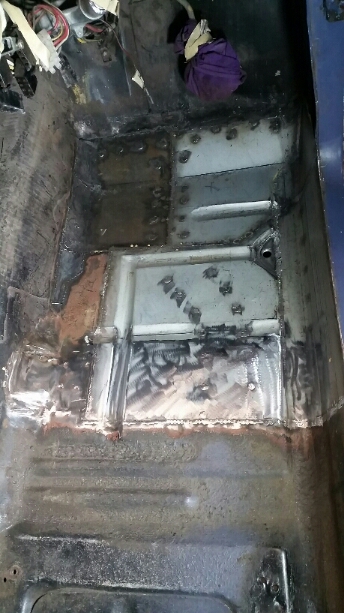
This only lasted a trip down to the bmx track and the monthly meet before I got stuck into it again. The passenger floor has always bugged me so it was time to get into it and repeat what I had done to the drivers floor. The passengers floor was covered on the inside and outside in bog. Underneath were just patches tacked on top of the original floor. Ive cut most of this out. I've replaced the lower section of firewall with new metal, put a new piece in by the gearbox tunnel and now I'm here. After the floor is done, I'll put in the new seat rail and take the sill out. It's rusty from the front to the rear, so I've decided to replace the whole thing.
-

Wellington Monthly Meet - Discussion thread
bmxnz11 replied to KKtrips's topic in Lower North Island Region
Was good to meet everyone, you guys and gals are a friendly bunch. Would trade again. -

Wellington Monthly Meet - Discussion thread
bmxnz11 replied to KKtrips's topic in Lower North Island Region
I'm keen to come along. What time does everyone show up? -
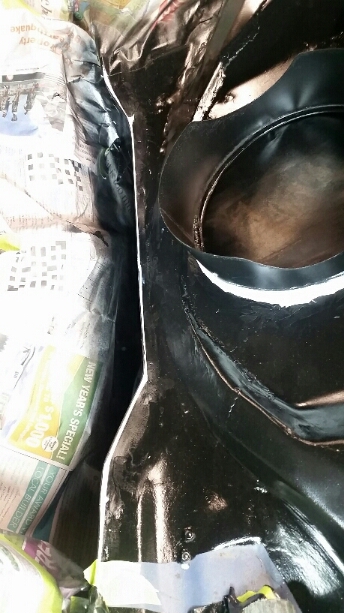
Cleaned up a better heater bubble I had cut off a wreck a few years ago. Plug welded this in, rattle canned it, seam sealed it and canned everything one more time. 100x better. Every new panel was painted inside and out, sprayed with this 2k epoxy everywhere and seam sealed where nessecary. Its so much more solid and the cunty repairs are now finished. Long story short, it failed a warrant and I changed chicken mesh into metal to gain road legal status. Stoked. Most of the garbage I replaced.
- 37 replies
-
- 13
-

-
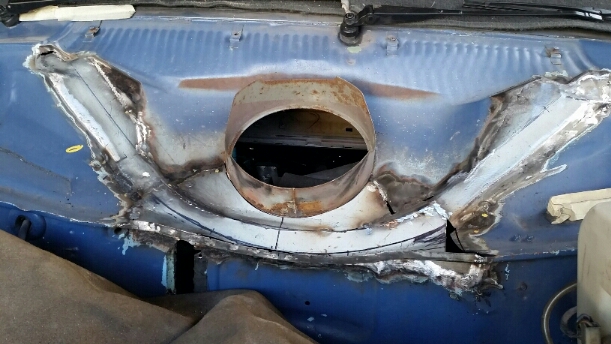
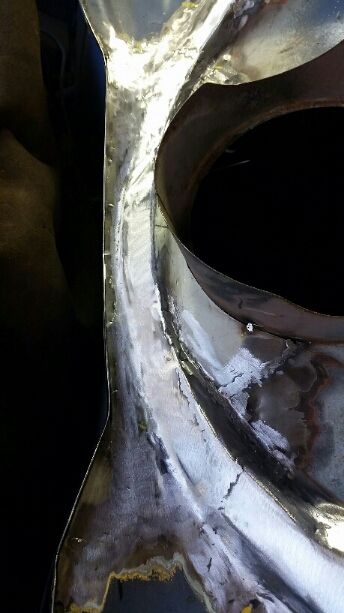
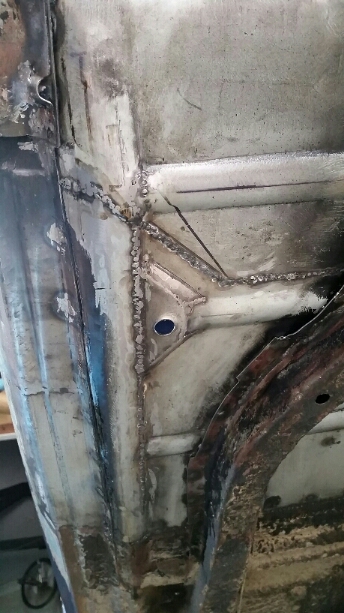
I cut out the top sections and made up repair panels. Then I made the awkward last piece. Lots of cutting and bashing to make it a good fit. Smoothed everything out. Gave it a couple coats of the rattle can and some sealer.
-
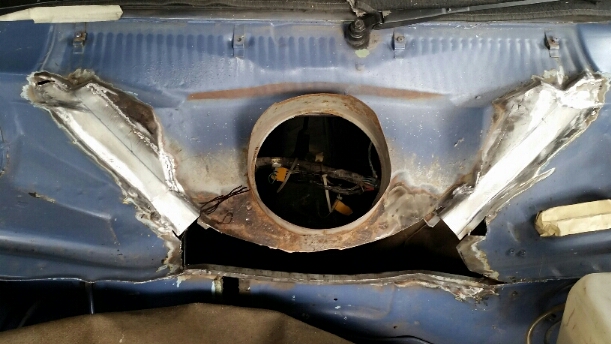
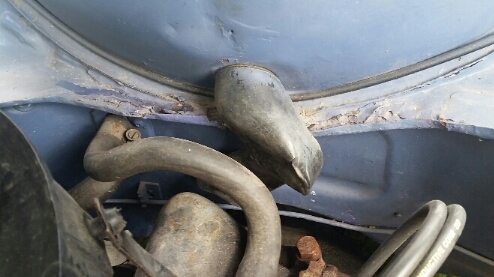
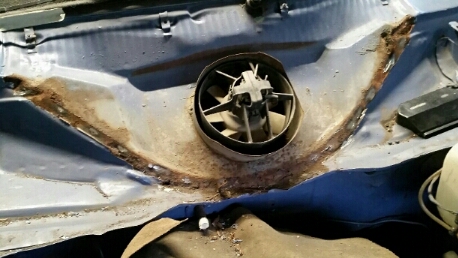
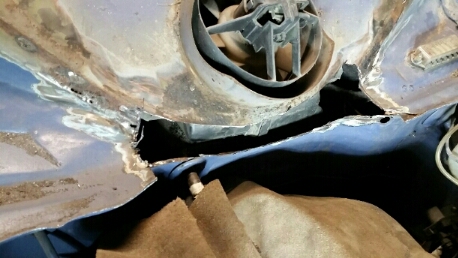
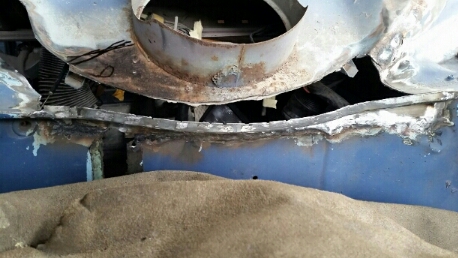
The second part of the rust work was done here. Bottom of the heater bubble, to of the firewall. EVERY escort rusts here. It's a prick of a place to fix and theres 3 layers of metal to replace. I felt comfortable fixing this though, having done the same repair on my other van. Took the heater bubble off to assess how much rot there is. There was a fair bit. It followed the join of the heater bubble quite far up. I started with the top of the firewall in the centre. Cut out as much as it needed. Replaced with a new lip I made up. The top of the lip was later trimmed to match the sides.
-
-
Front sill section. I also made another piece behind this one after it was welded in. Floor pieces all welded in. This was made up in 4 sections. It made sense to replace everything at the time. I also made up a new seat rail since the old one was a tad rusty and splitting around the nuts on the underside.
-
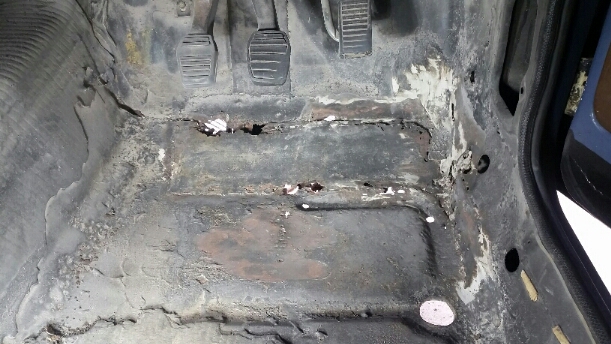
So I got back from my trip and decided to get this thing road legal. Wof man failed it on a couple of things including rust, which I already knew about. Having no job ment I was able to get into it, take my time and do a really nice job. Photo dump coming up. The first place of rust to attack was the drivers floor. This area had been 'fixed' by the previous owner by layering bog and chicken mesh over the original rust. All of this and some was cut out. I first replaced the lower part of fire wall which meets and overlaps the floor. Whilst I had access here, I cut out the support and lower section of the guard, and the front section of sill. Replaced the support section with a new piece. The skin of the guard was replaced.
-

Trentham British Car Day - Sunday 12 Feb
bmxnz11 replied to Nominal's topic in Lower North Island Region
Just finished putting the van together, will be there too. -

Kaiser X4.. Oldschools most ridiculous project ever?....
bmxnz11 replied to Bombsquad's topic in Other Projects
Oh man that's sweet. I worked on a site in days bay for awhile where they had this one. Was able to maneuver itself between anything. I believe there were/are only 2 of these in nz? Good luck with the build. -

azzurros 1966 FIAT Duemilatrecento Familiare Discussione
bmxnz11 replied to azzurro's topic in Project Discussion
Shit that's some top metal work! -
That paint looks sharp!
-
Nice color man, coming along nicely
-
The roof was long boarded down and any imperfections were sorted out. Also seam sealed the two edges where the roof panel meets the sides. This is the rear corner looking over the roof. Sprayed on the final primer, dried very quickly but was able to keep it wet and glossy. Looking very straight now.
- 104 replies
-
- 10
-

-

Wellington Monthly Meet - Discussion thread
bmxnz11 replied to KKtrips's topic in Lower North Island Region
Also arrived a bit late but it was good to meet a few of you guys. Will be back for more! -
Thanks man. Yeah I saw the ones in your thread, must have been running 175/50s? They suit the mk1 very nicely. I'm using the Neweld Turbo 220 mig welder. Can't find any info or pictures sorry. I'll take one tomorrow.
-
Kudos on the repairs! Agree with the bottom outer skin on the door, it is a hard one to get right. I did my rear door in the van and it was a mission to get half right, even though its narrower then your door. Keep up the door work though man. Do it once, do it right and hopefully you wont have to make repairs for years to come.
-
After the holidays and getting the blue van up and running, I got back into this one. Started with the long job of bare metalling the roof. For a little van it has a big roof!! Got it down to bare metal and scratched up the areas needing nuetec. Brush painted on the 2k primer. Bit of nuetec, skim of bog and then it was all long boarded down. Pretty simple doing a mainly flat roof. Tonight it was prepared and had 5 coats of high build primer applied. Came out really nice, too bad it'll be sanded back.
- 104 replies
-
- 12
-

-

Project Alan Mann (escort74's 1974 Ford Escort Mk1)
bmxnz11 replied to escort74's topic in Project Discussion
Cant believe how quick you got this thing built up, racing, disassembled and painted, and all to such a high degree of craftsmanship!! Really shows your dedication to getting it done. Top work man. -
Its mig. Its a real nice welder to use, never had any trouble with it. Those repairs took me a week though so i was taking my time lol Ha, i'd sell the van before i sell those wheels! Cheers! I just use it to potter around the hutt. I'm too afraid to take it on the motorway ha I purchased wheels already widened. Looks to have been done a long time ago. The centres were punched out and welded into new 7inch bands so technically no widening? Who ever did it, did a real nice job though.
-
..Just in time for the british car show. Hardly touched it since, just been driving it most weekends. I'm Dan and thats my story.
- 37 replies
-
- 18
-

-
Booked a WOF for the following Monday. Waited patiently expecting a big list of jobs but to my surprise it failed on front tyres rubbing on sway bar full lock (Had to use the hotties with big tyres because standard wheels had cracks), window wipers and driveshaft uni. Changed over the driveshaft to a spare one, purchased wipers, borrowed wheels and I had myself a WOF in time for the weekend. Not bad for a weeks work. Sporting a new WOF, it was time for some changes. So before the weekend arrived I returned the borrowed wheels, put my wide rostyles on, and changed the standard rear springs for some reset springs. Again this was used as a test van to see what combinations would work. Standard vs rest Threw in some rear air shocks to compliment it. So hard in the back now, rubbish as a shock absorber but nice to have height options and corners like a champ. Mocked up my sport rubber spoiler and decided it tidied up the front alot. Had to make a repair on the bottom of it before it could be attached, where it had split. Prepped and painted bumpers and spoiler. Attached a drivers chrome mirror since the holes were already in the door. Tidied up a few other bits and peices and we had a not so ugly van anymore...
-
Other then this, the A pillars are really tidy show no sign of rust. This is the the passengers door jam, bottom of A pillar. Cut out, cleaned up, sprayed epoxy etc and new patch in Bottom of passengers guard. Cut out, patch made. Cleaned up. Also put a patch in the bottom of the drivers door. All the patches were just primed and later painted black. Didn't feel this van needed any more bog thrown at it. Also did lots of little jobs over the week that didn't require photos. - Rebuilt the drivers side caliper as it was grabbing and not releasing. - Put new door pins the drivers door while it was off. - Changed over leaking oil pump with a new one. - Changed alternator 3 times until I found a good one. - Fixed leaking carb. - New plugs and leads. Condenser and dizzy cap look very new. - Flushed radiator. Still need to fix crack in top tank, stop leak putty stuff on it atm.


