enzee
-
Posts
217 -
Joined
-
Last visited
Everything posted by enzee
-
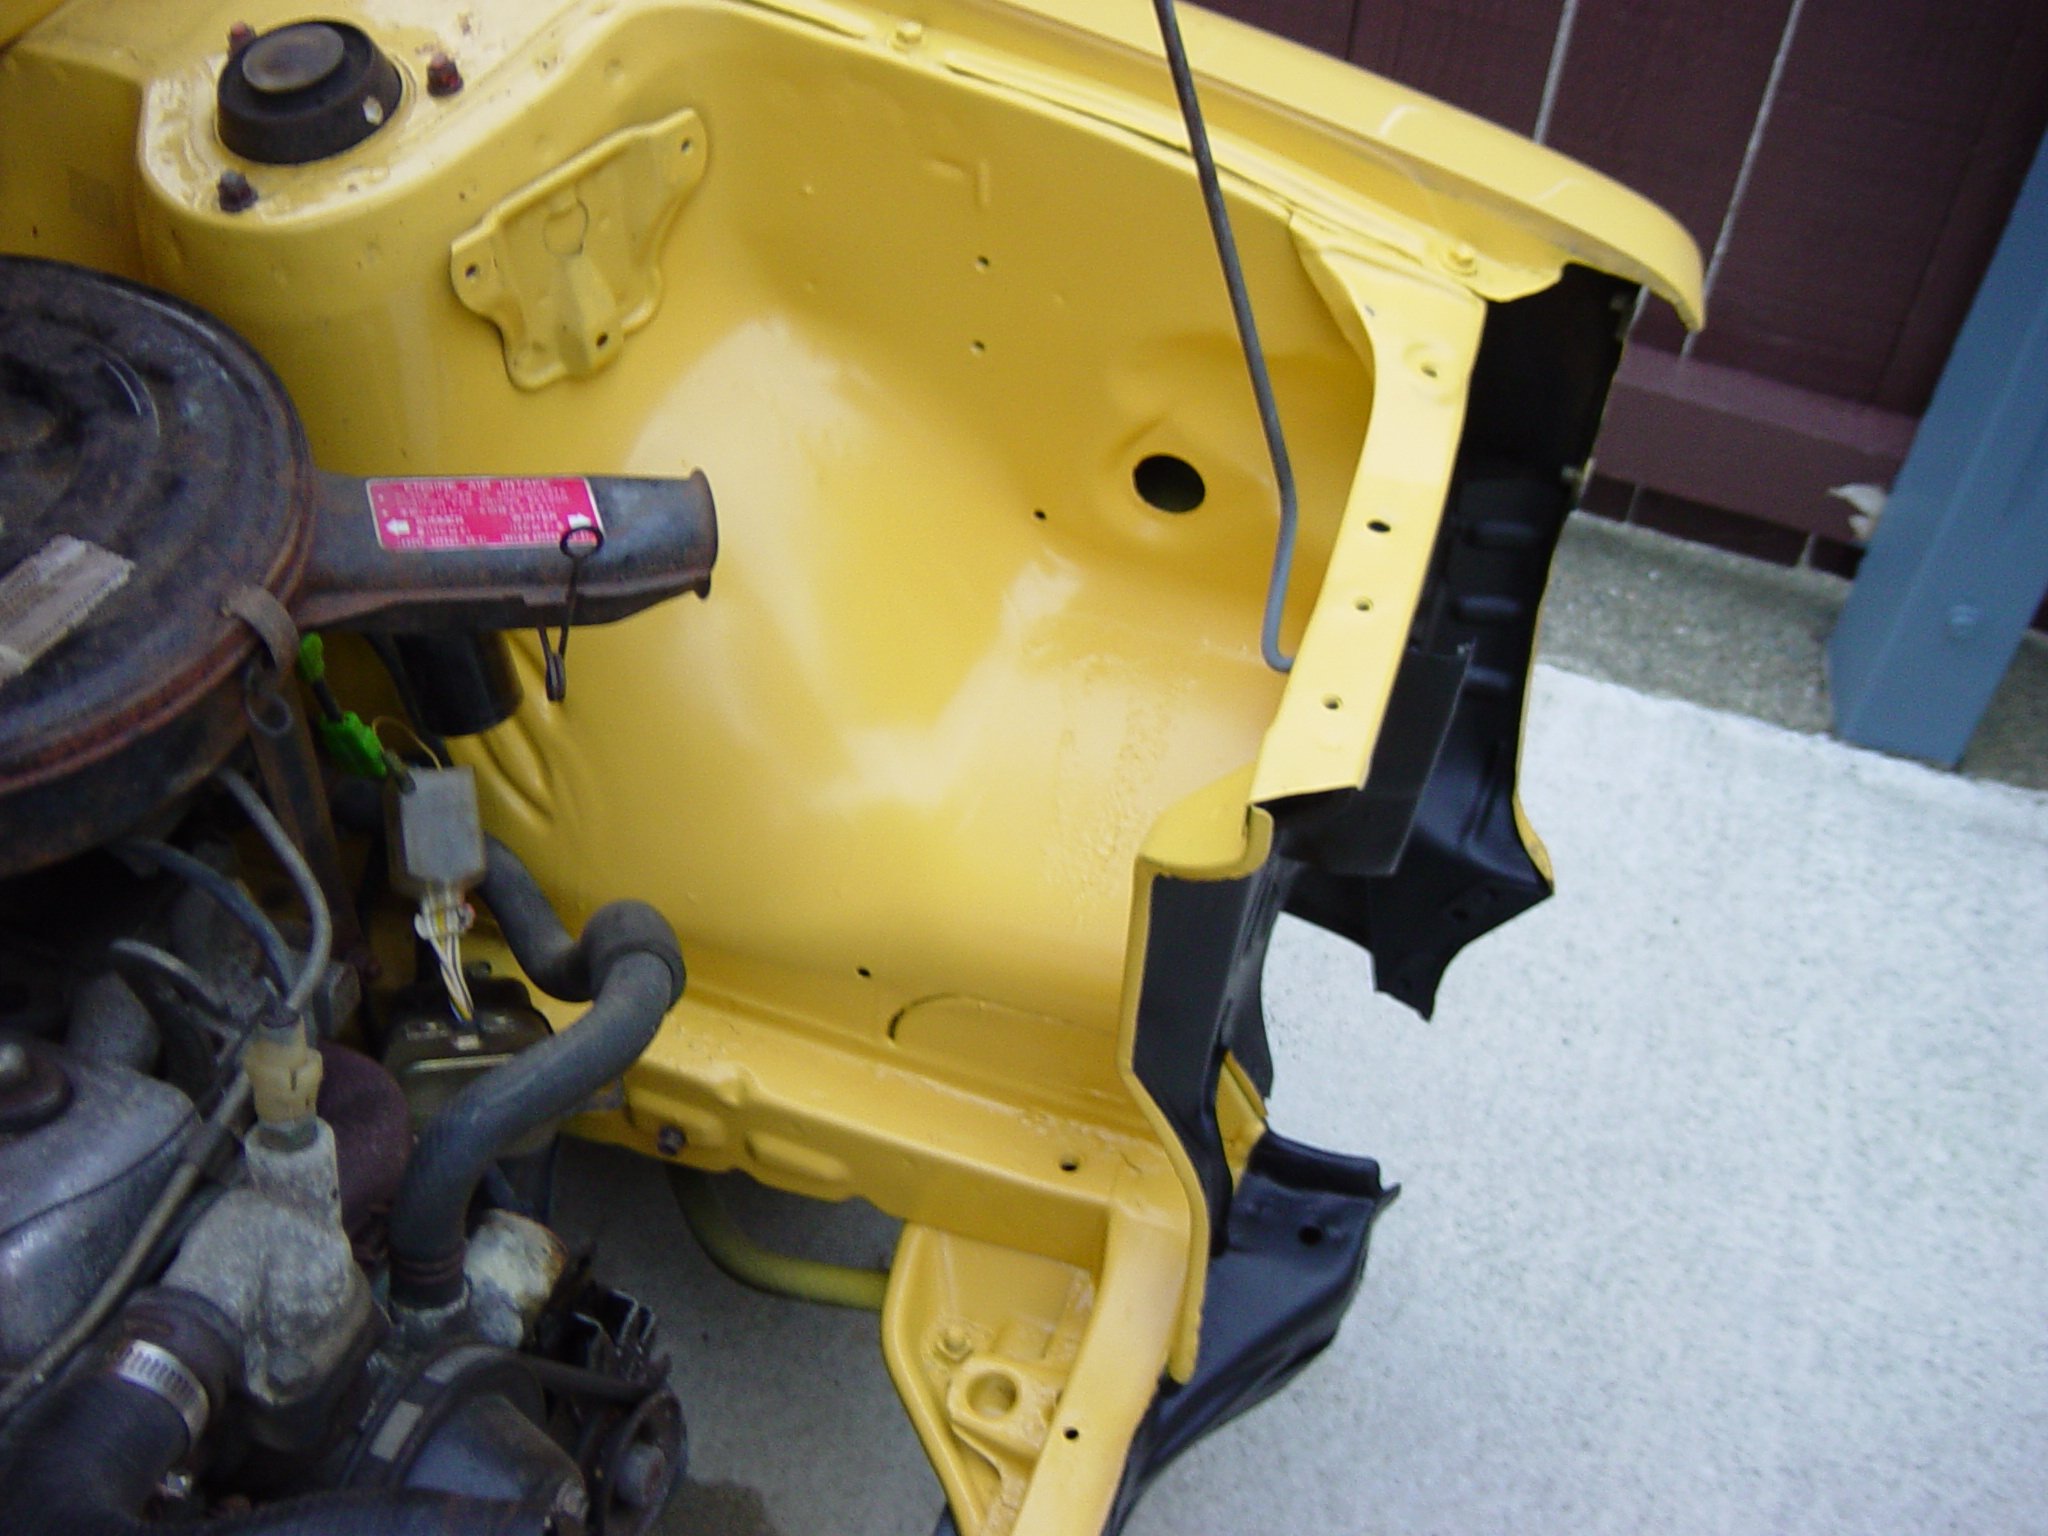
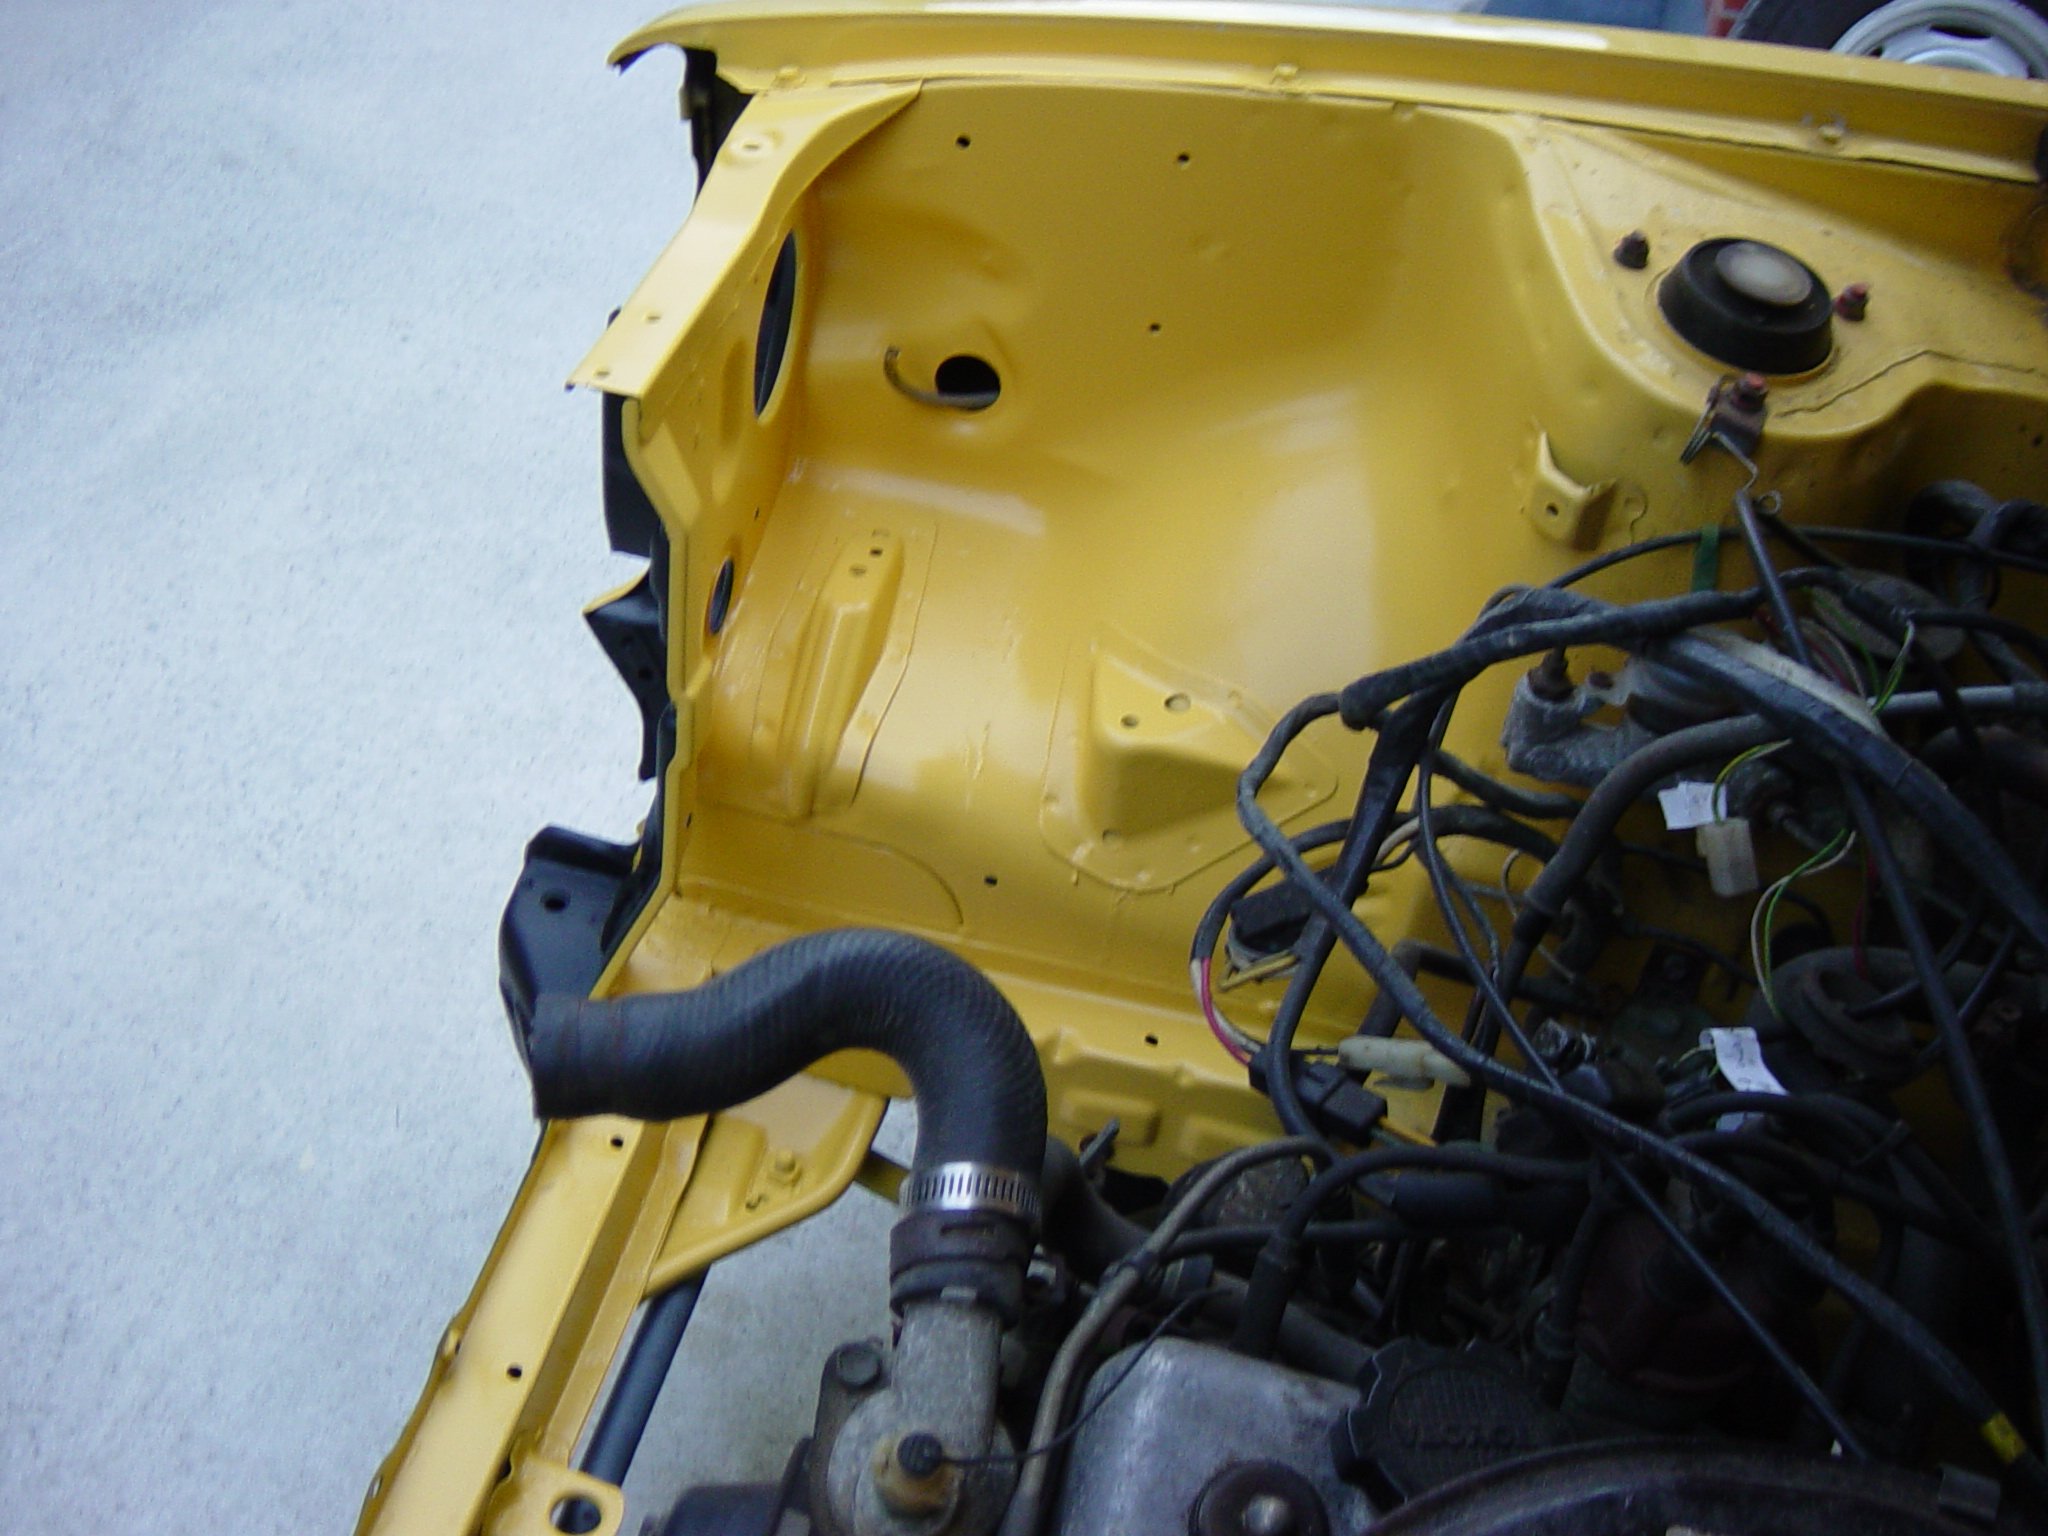
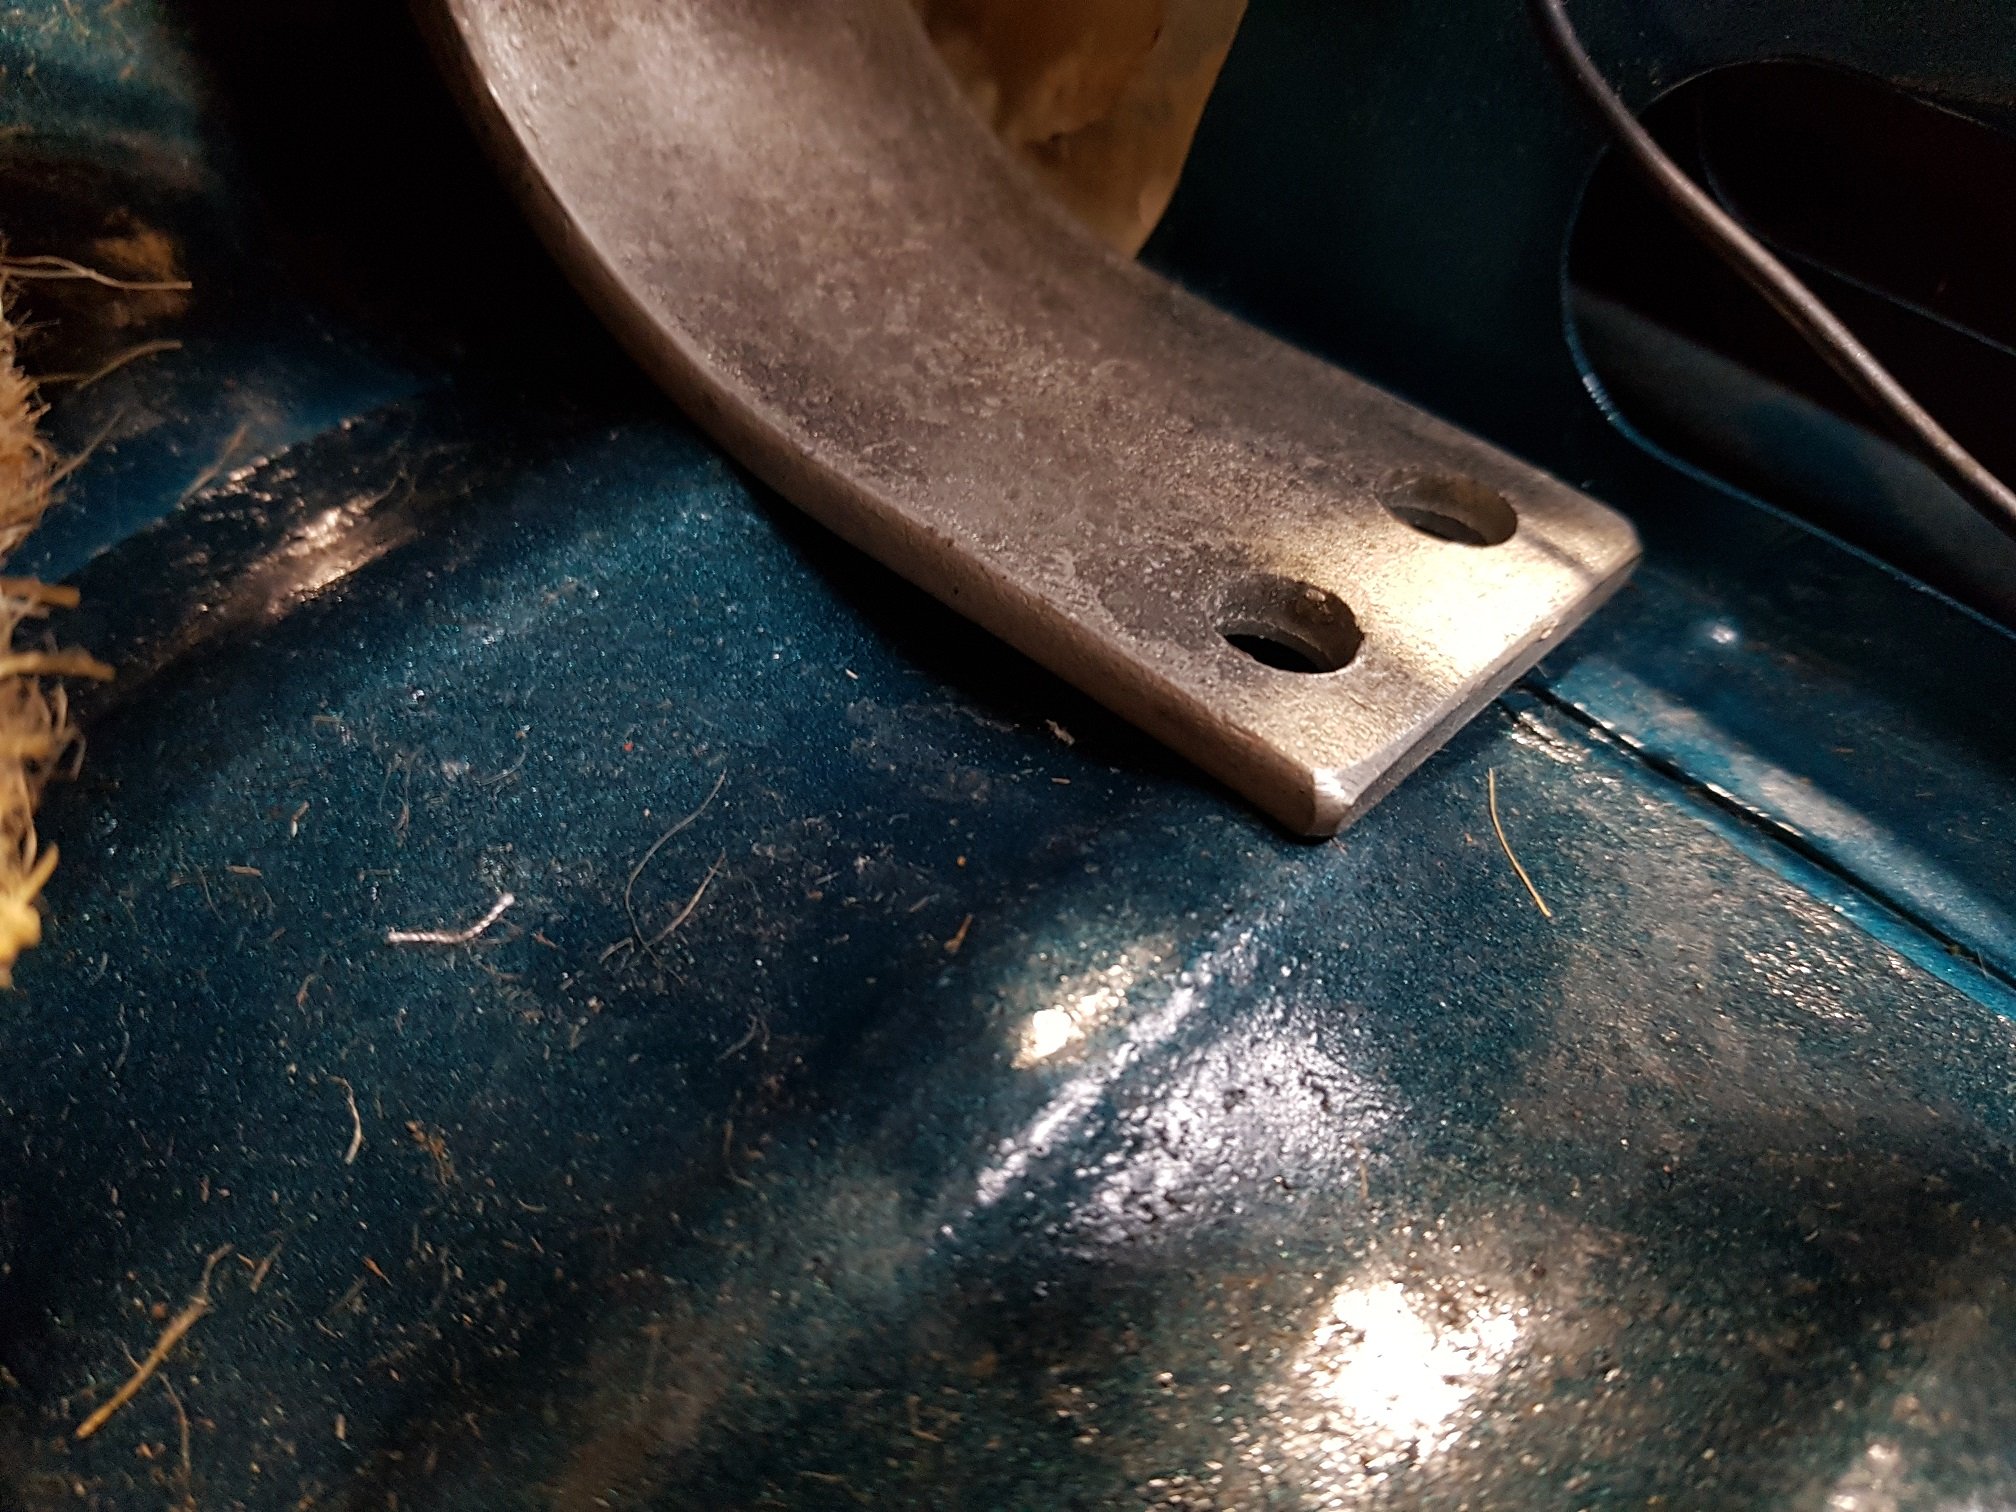
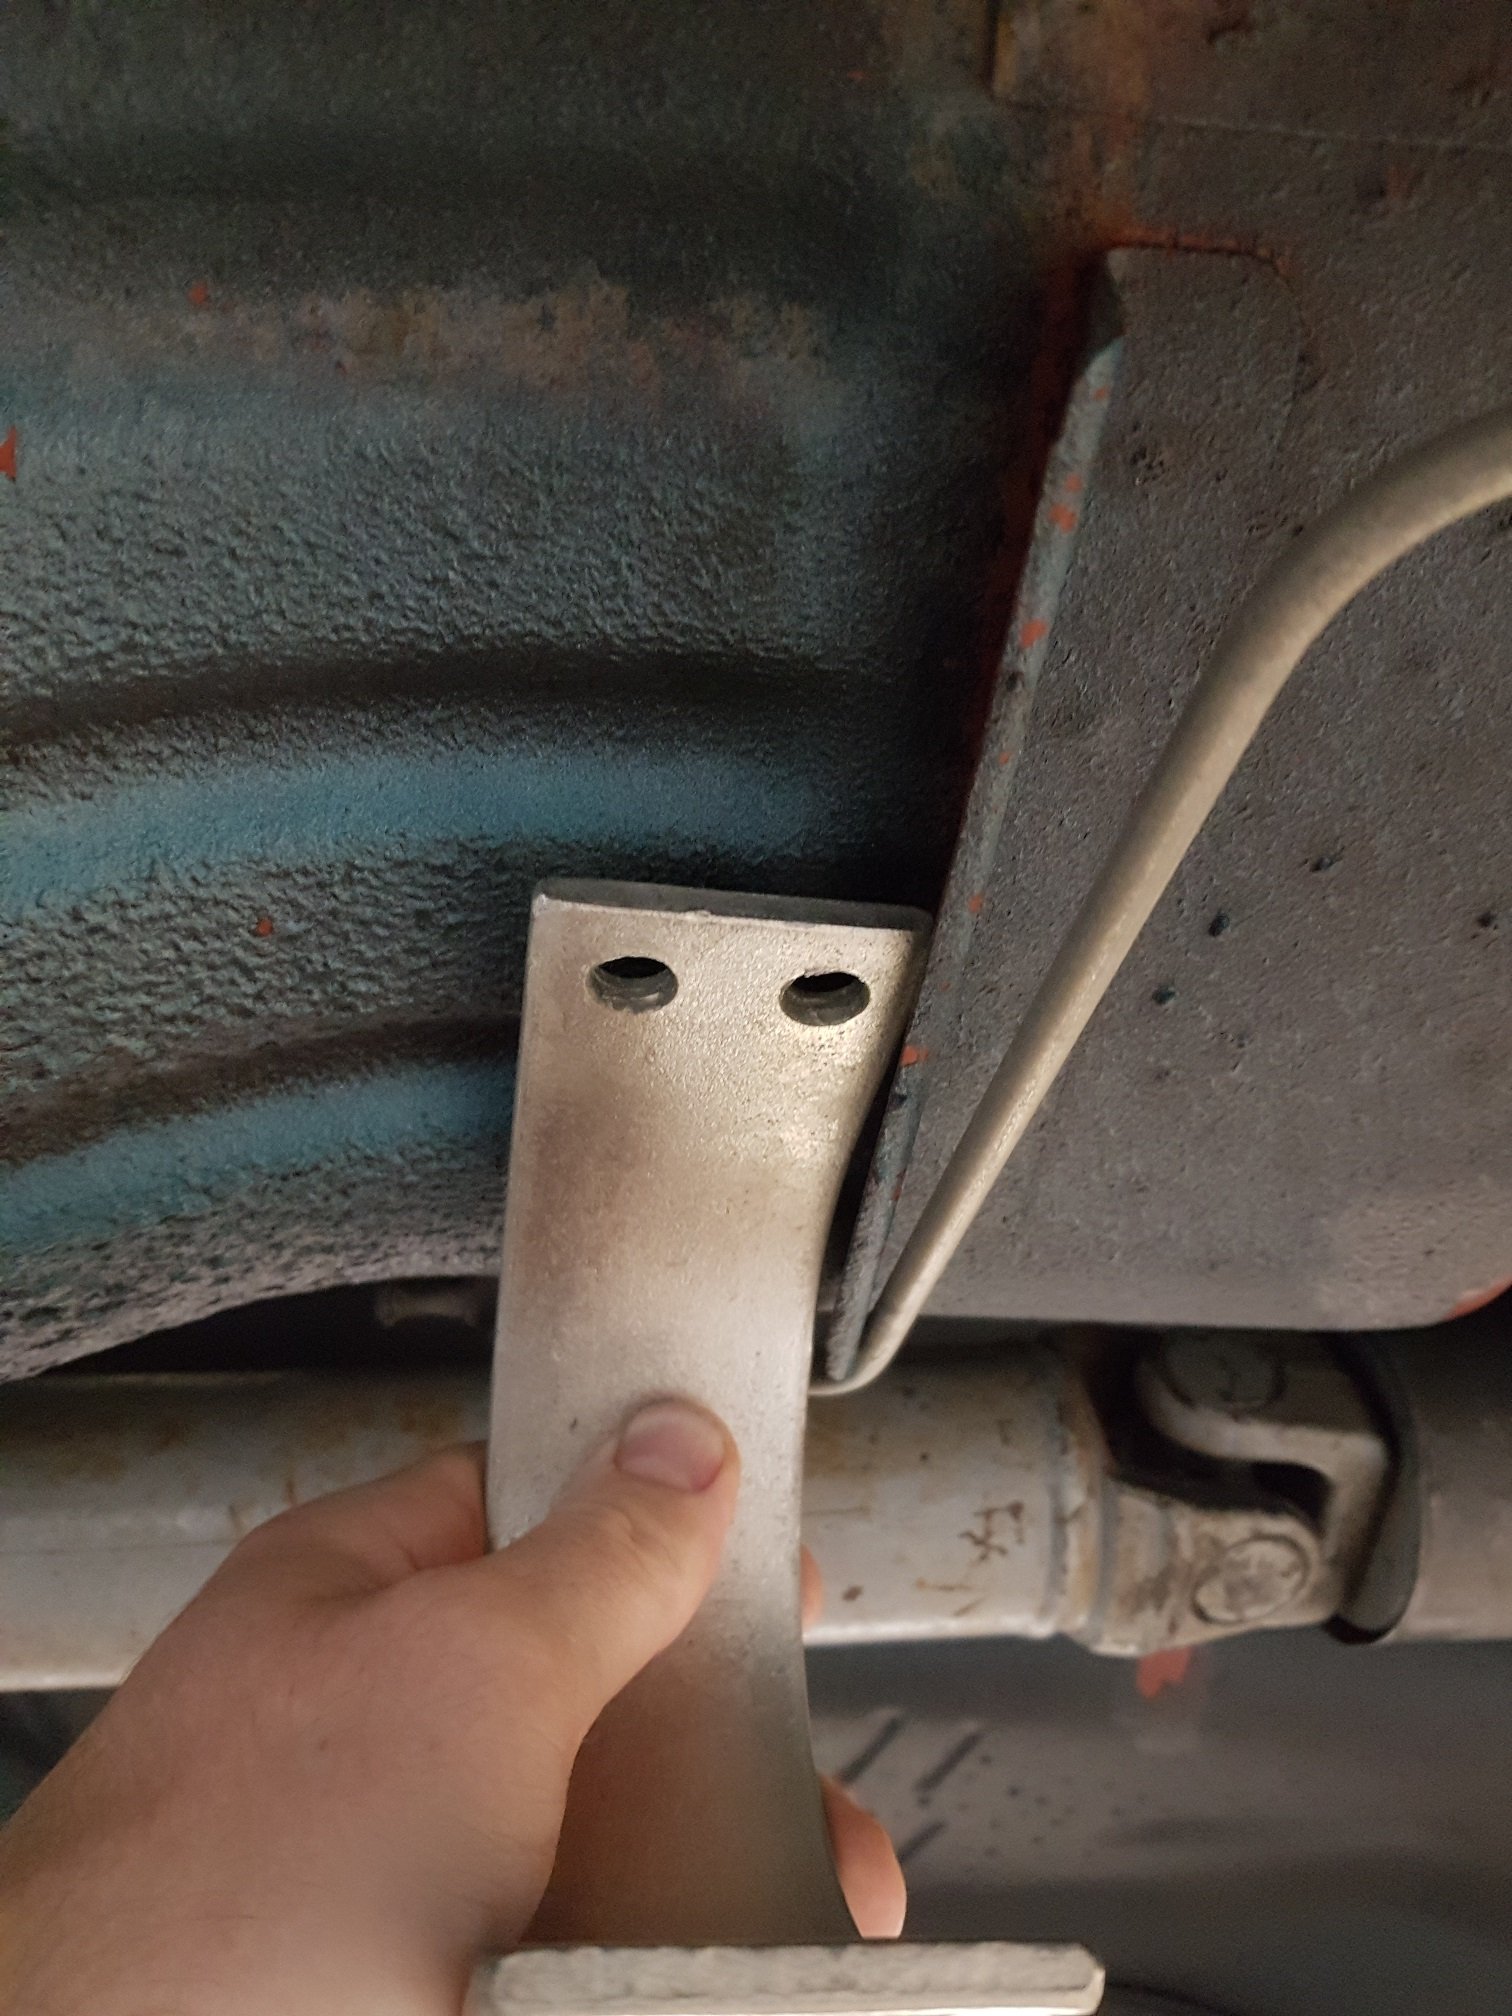
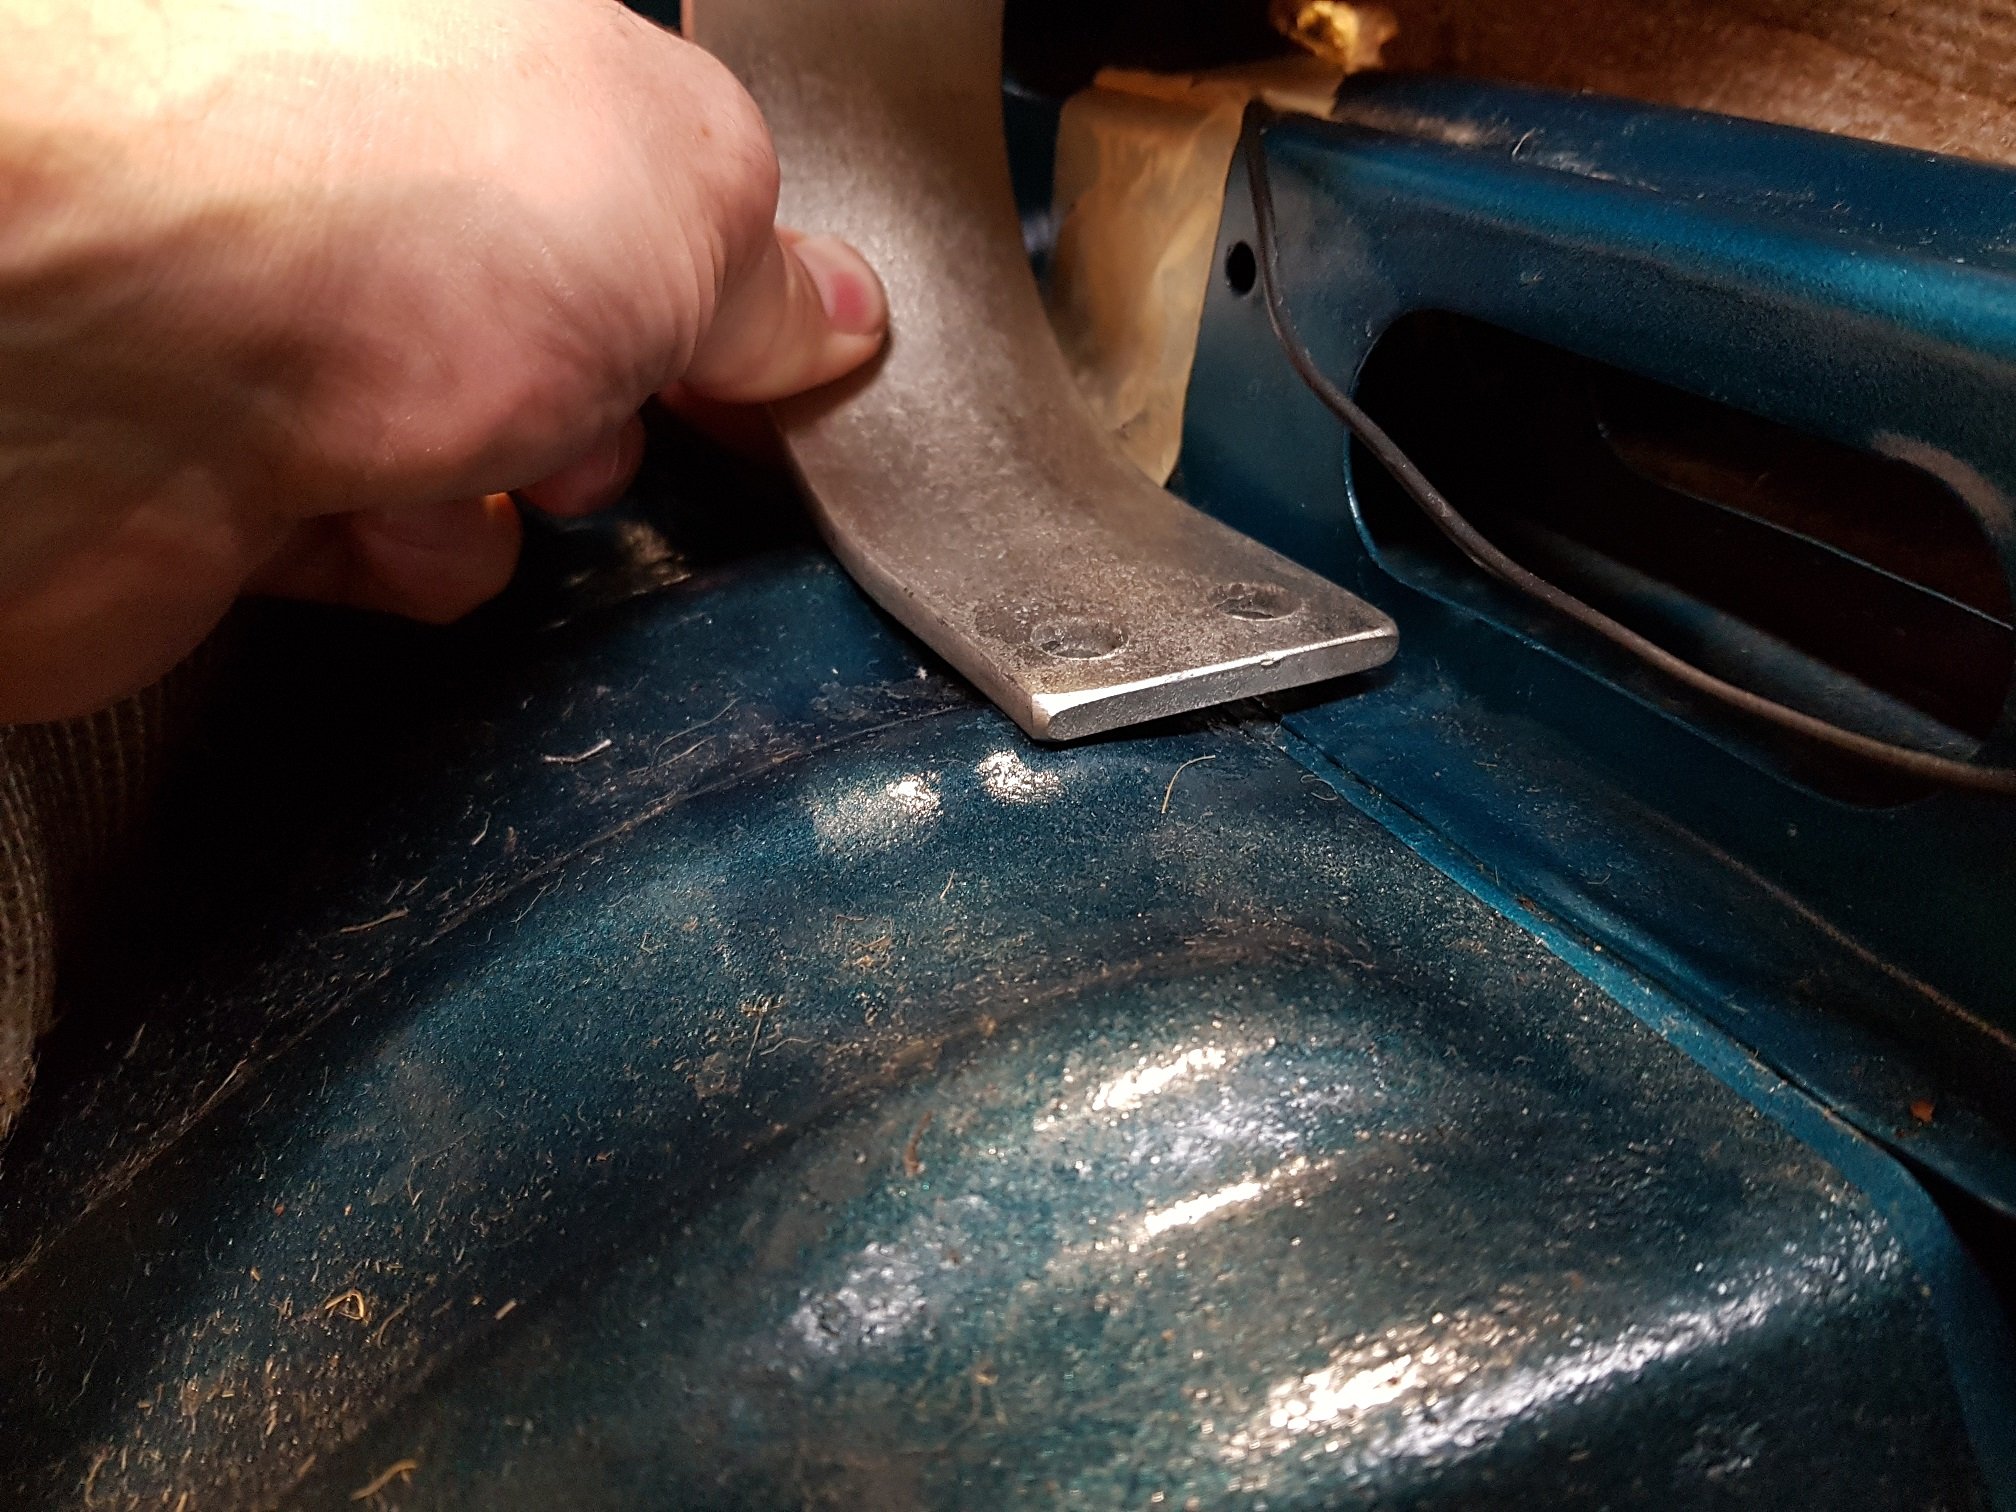
hey oldschool, In the process of fitting a universal bolt together type driveshaft loop to my KP starlet and need some advice. Starlets are uni-body so needing to mount through the floor with top plates. There is nice flat spot in the floor pan on passengers side but on the driver side the only position within the required 250mm distance from the yoke has ribs in the floor pan. My question being is mounting over the ribs like this acceptable with the additional minimum 3000mmsq plates on the underside? I used the curved section of the loop as it was easier to hold for the photos, but will obviously use the flat section for mounting to the floor. Will do a single bolt through at each rib with the appropriate plates. I will be removing the sound deadening top and bottom once I've got the final position sorted, fuel line shown in photos will be getting re run out of the way so can ignore that issue. Cheers

-
Yep definitely repainting original colour, I already have the paint. For sure man, be good to good to get the 2 KPs together once mine is up and running
-
@myk00l yep, that's the colour!
-
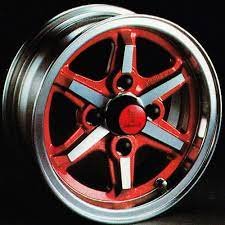
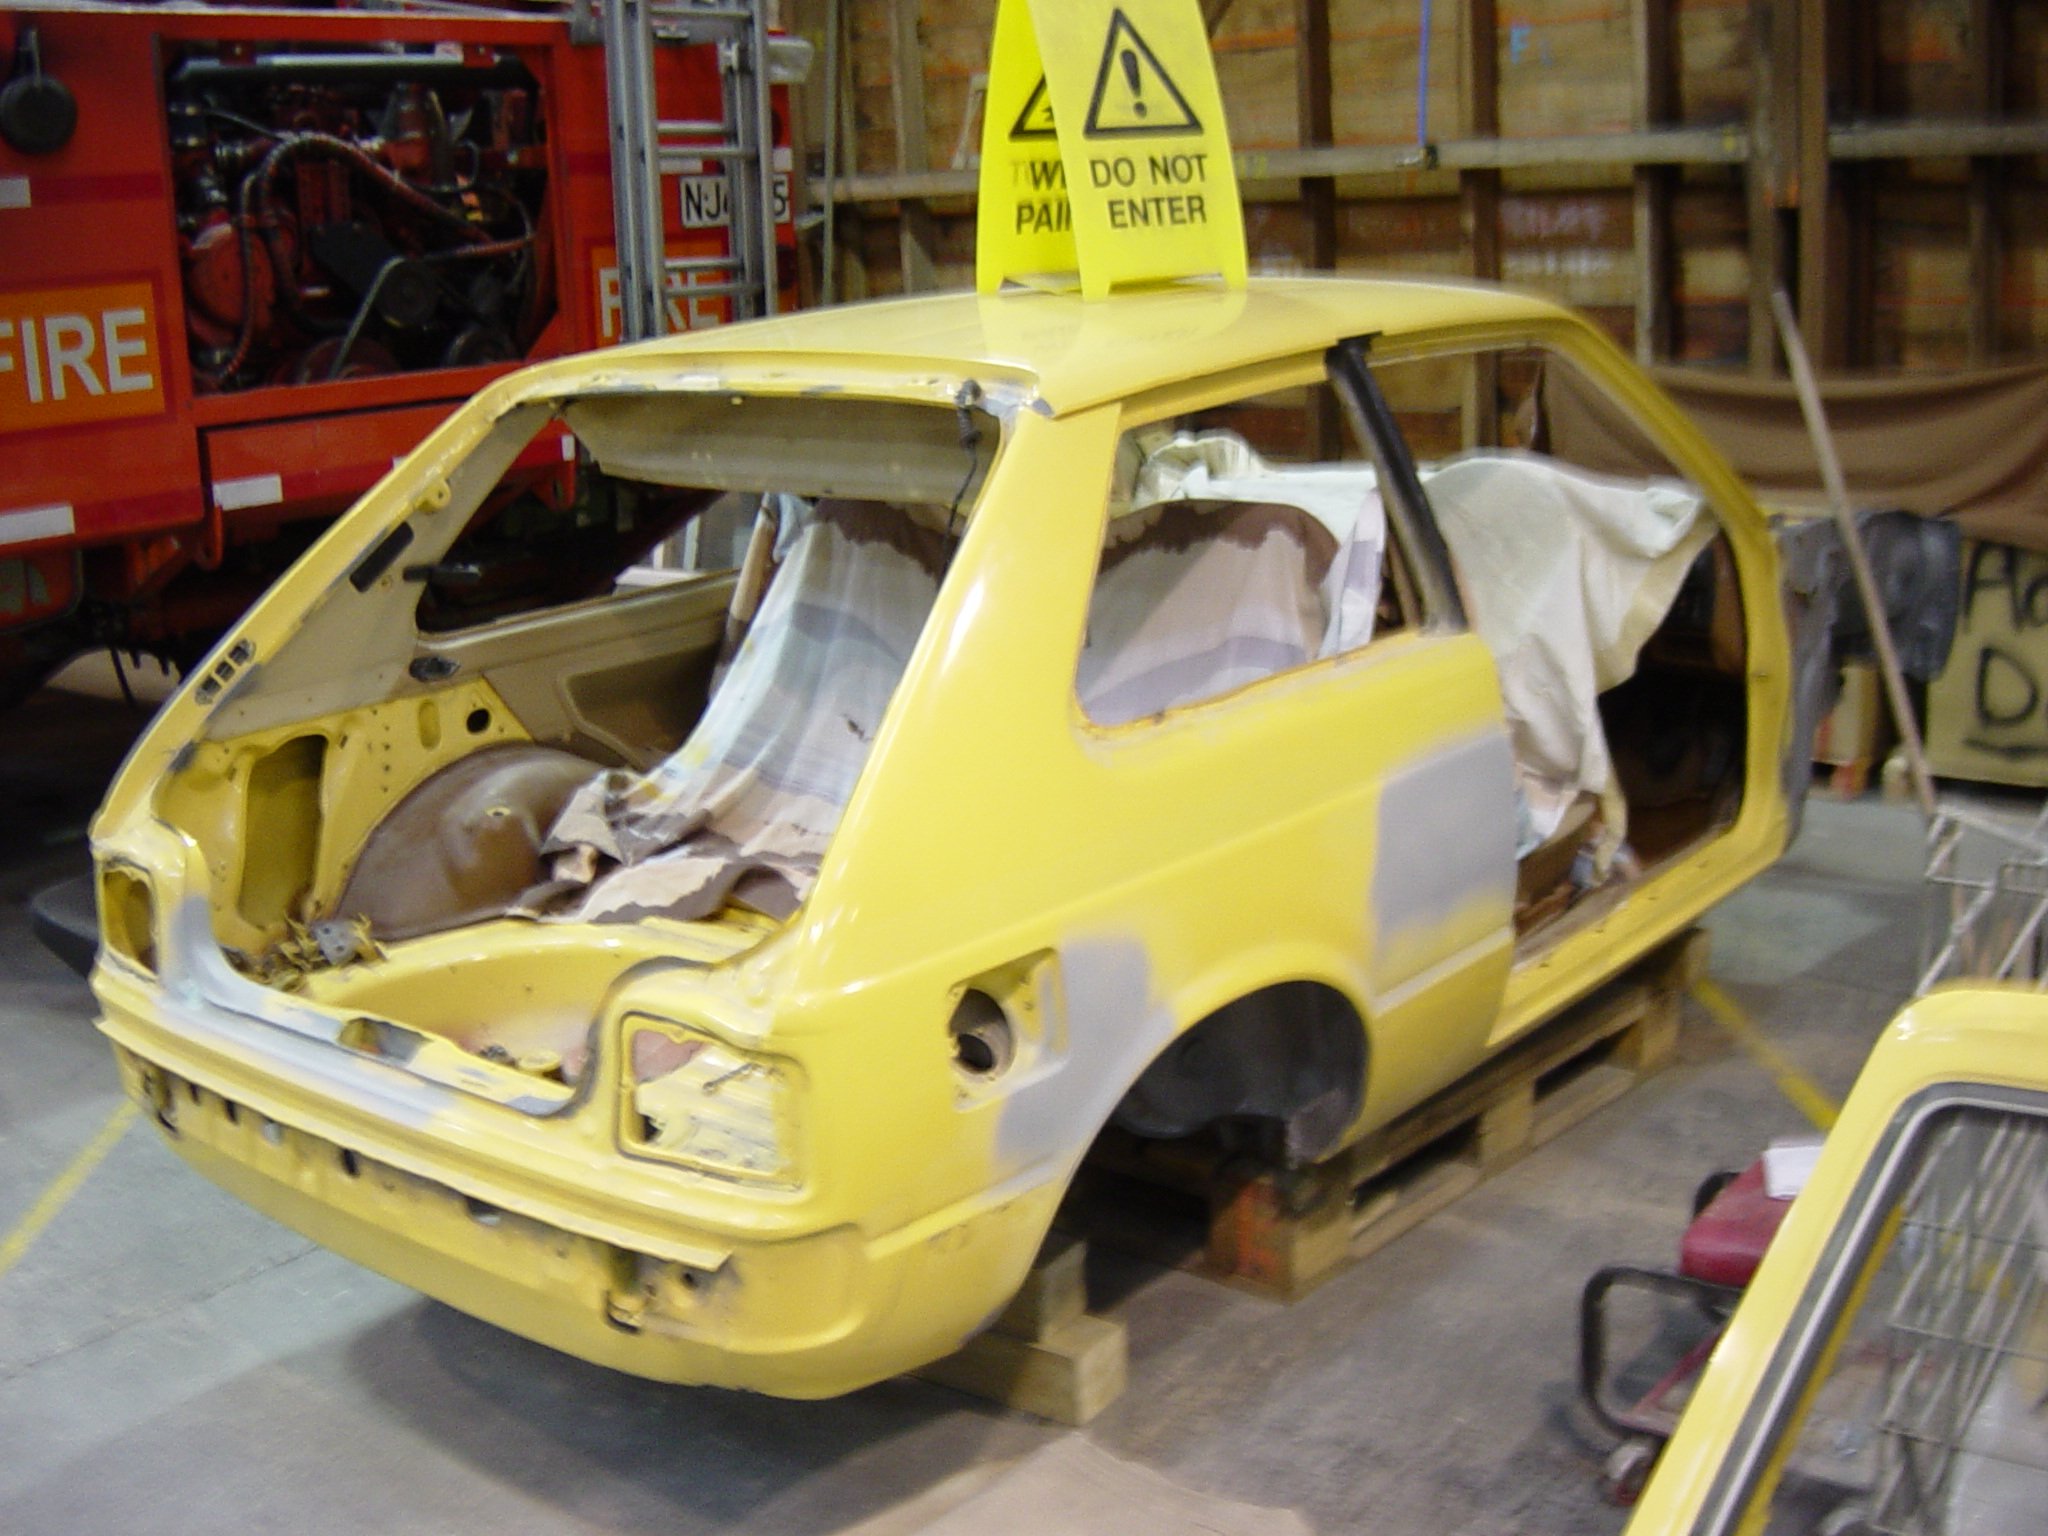
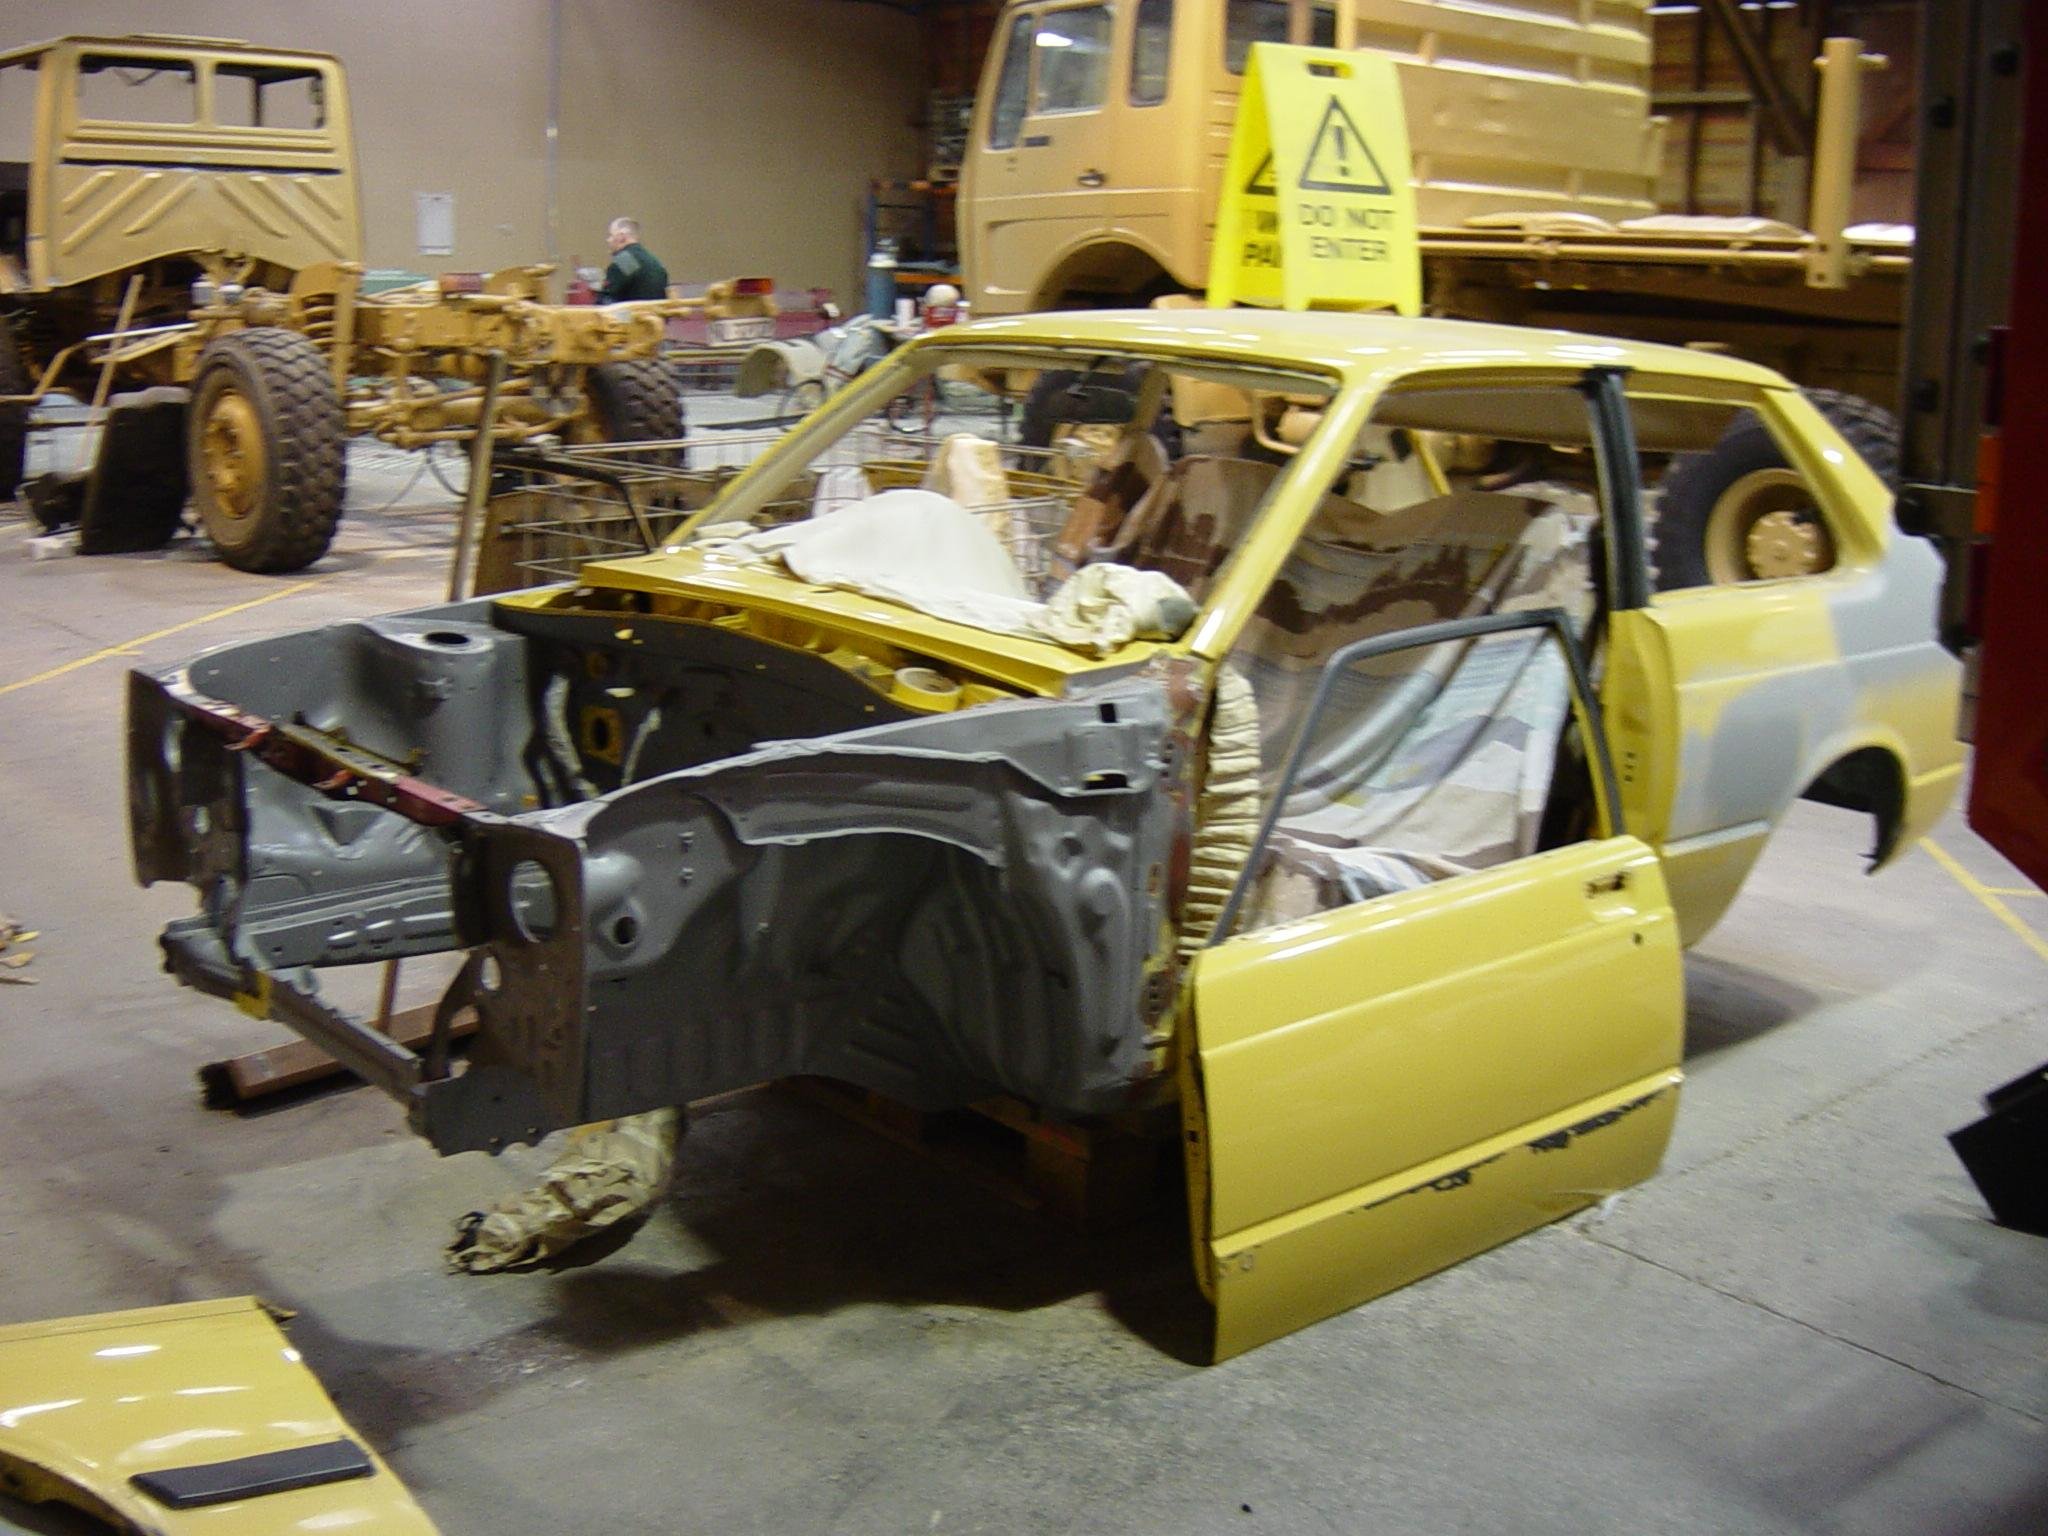
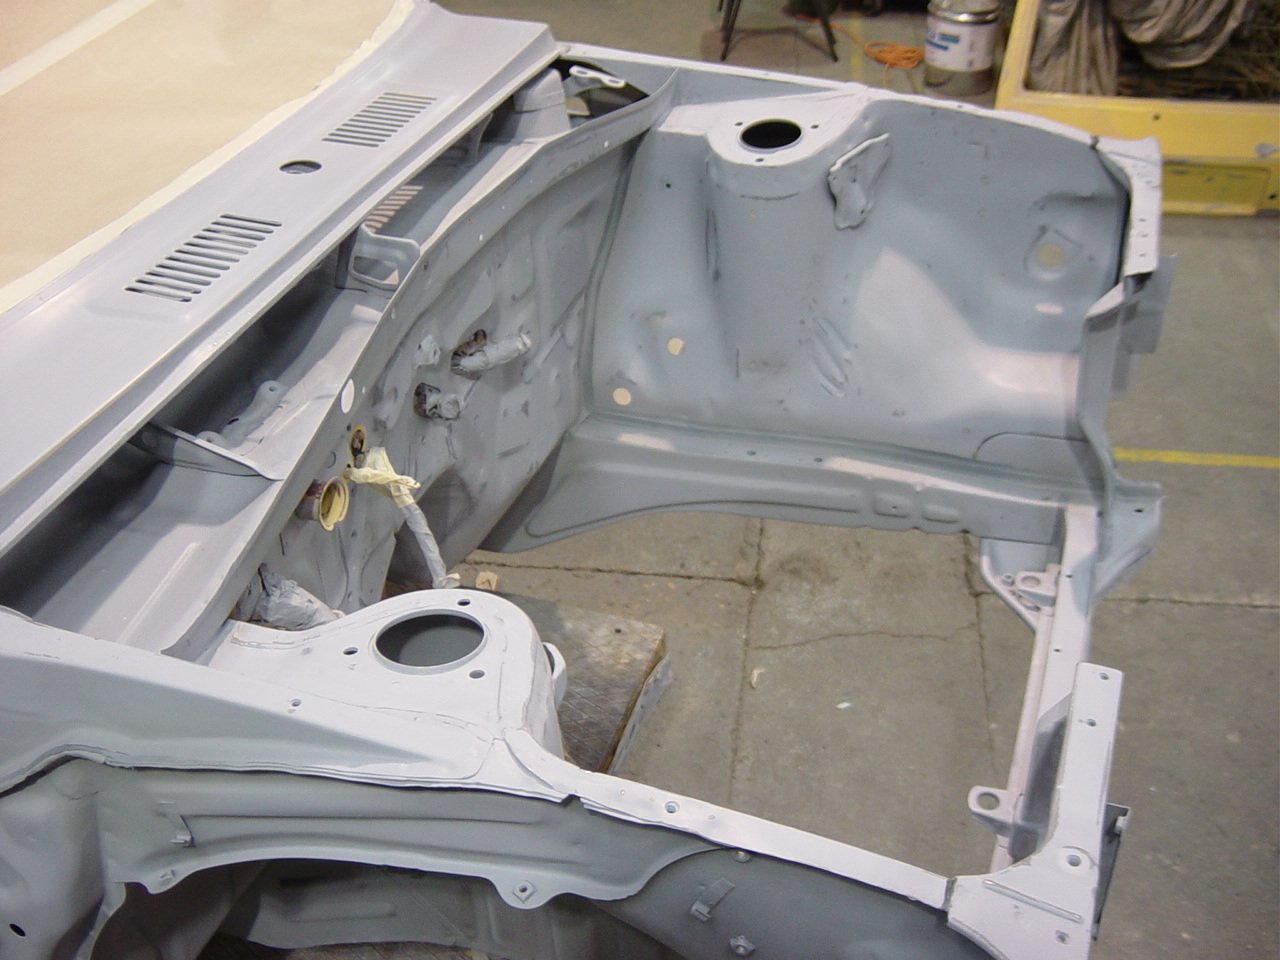
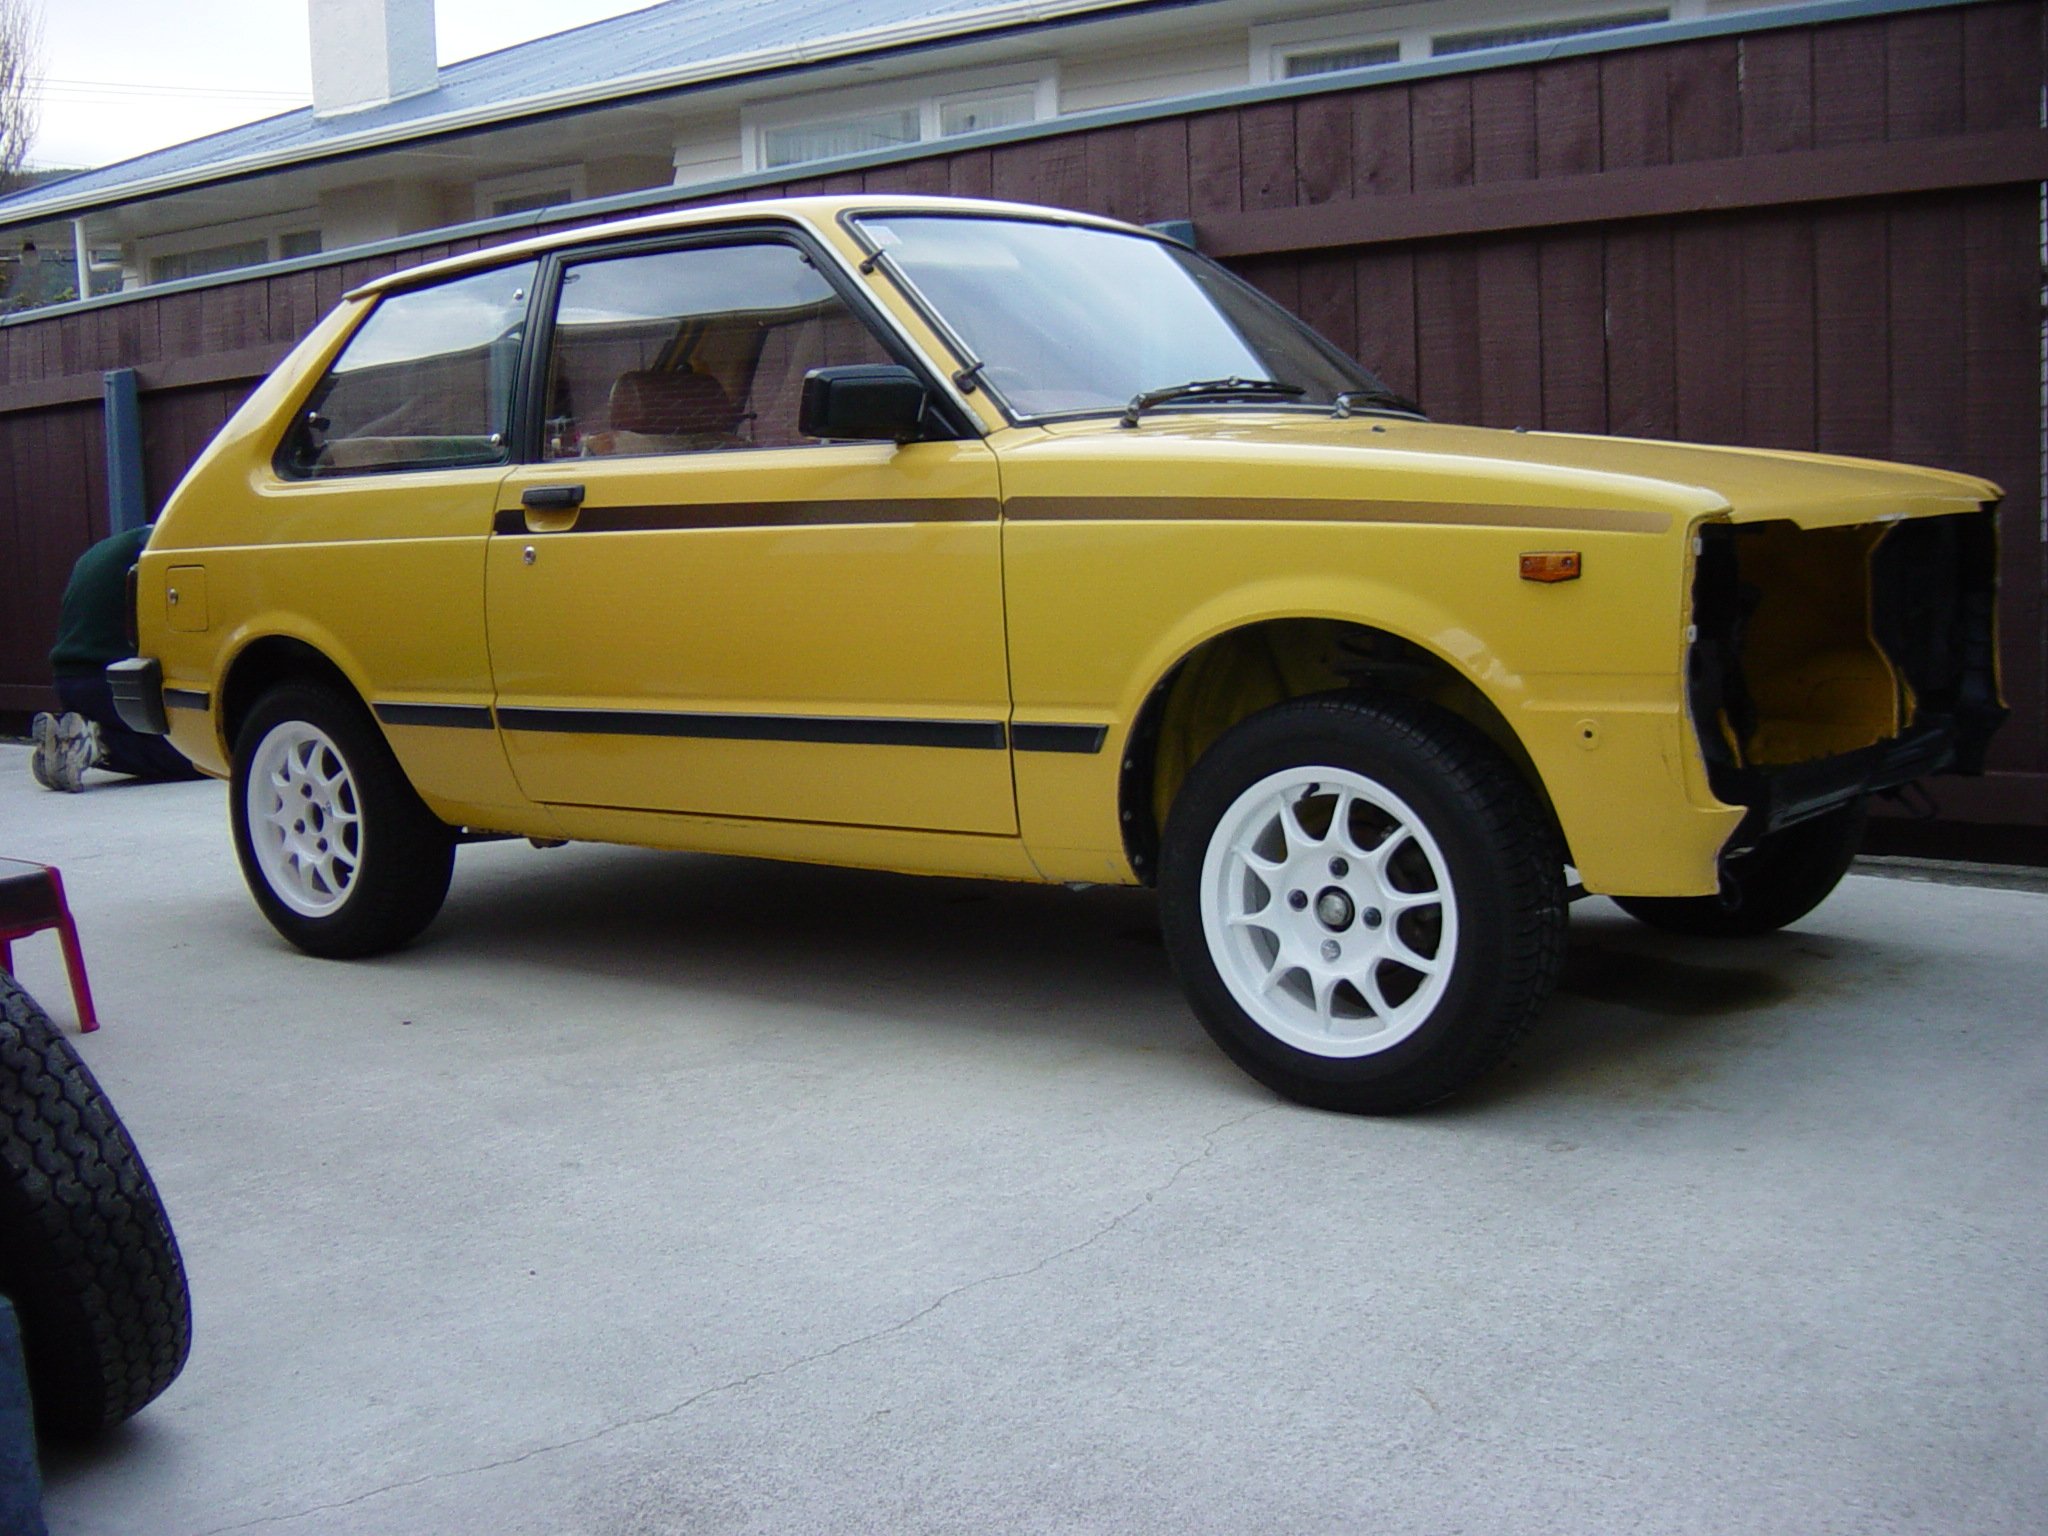
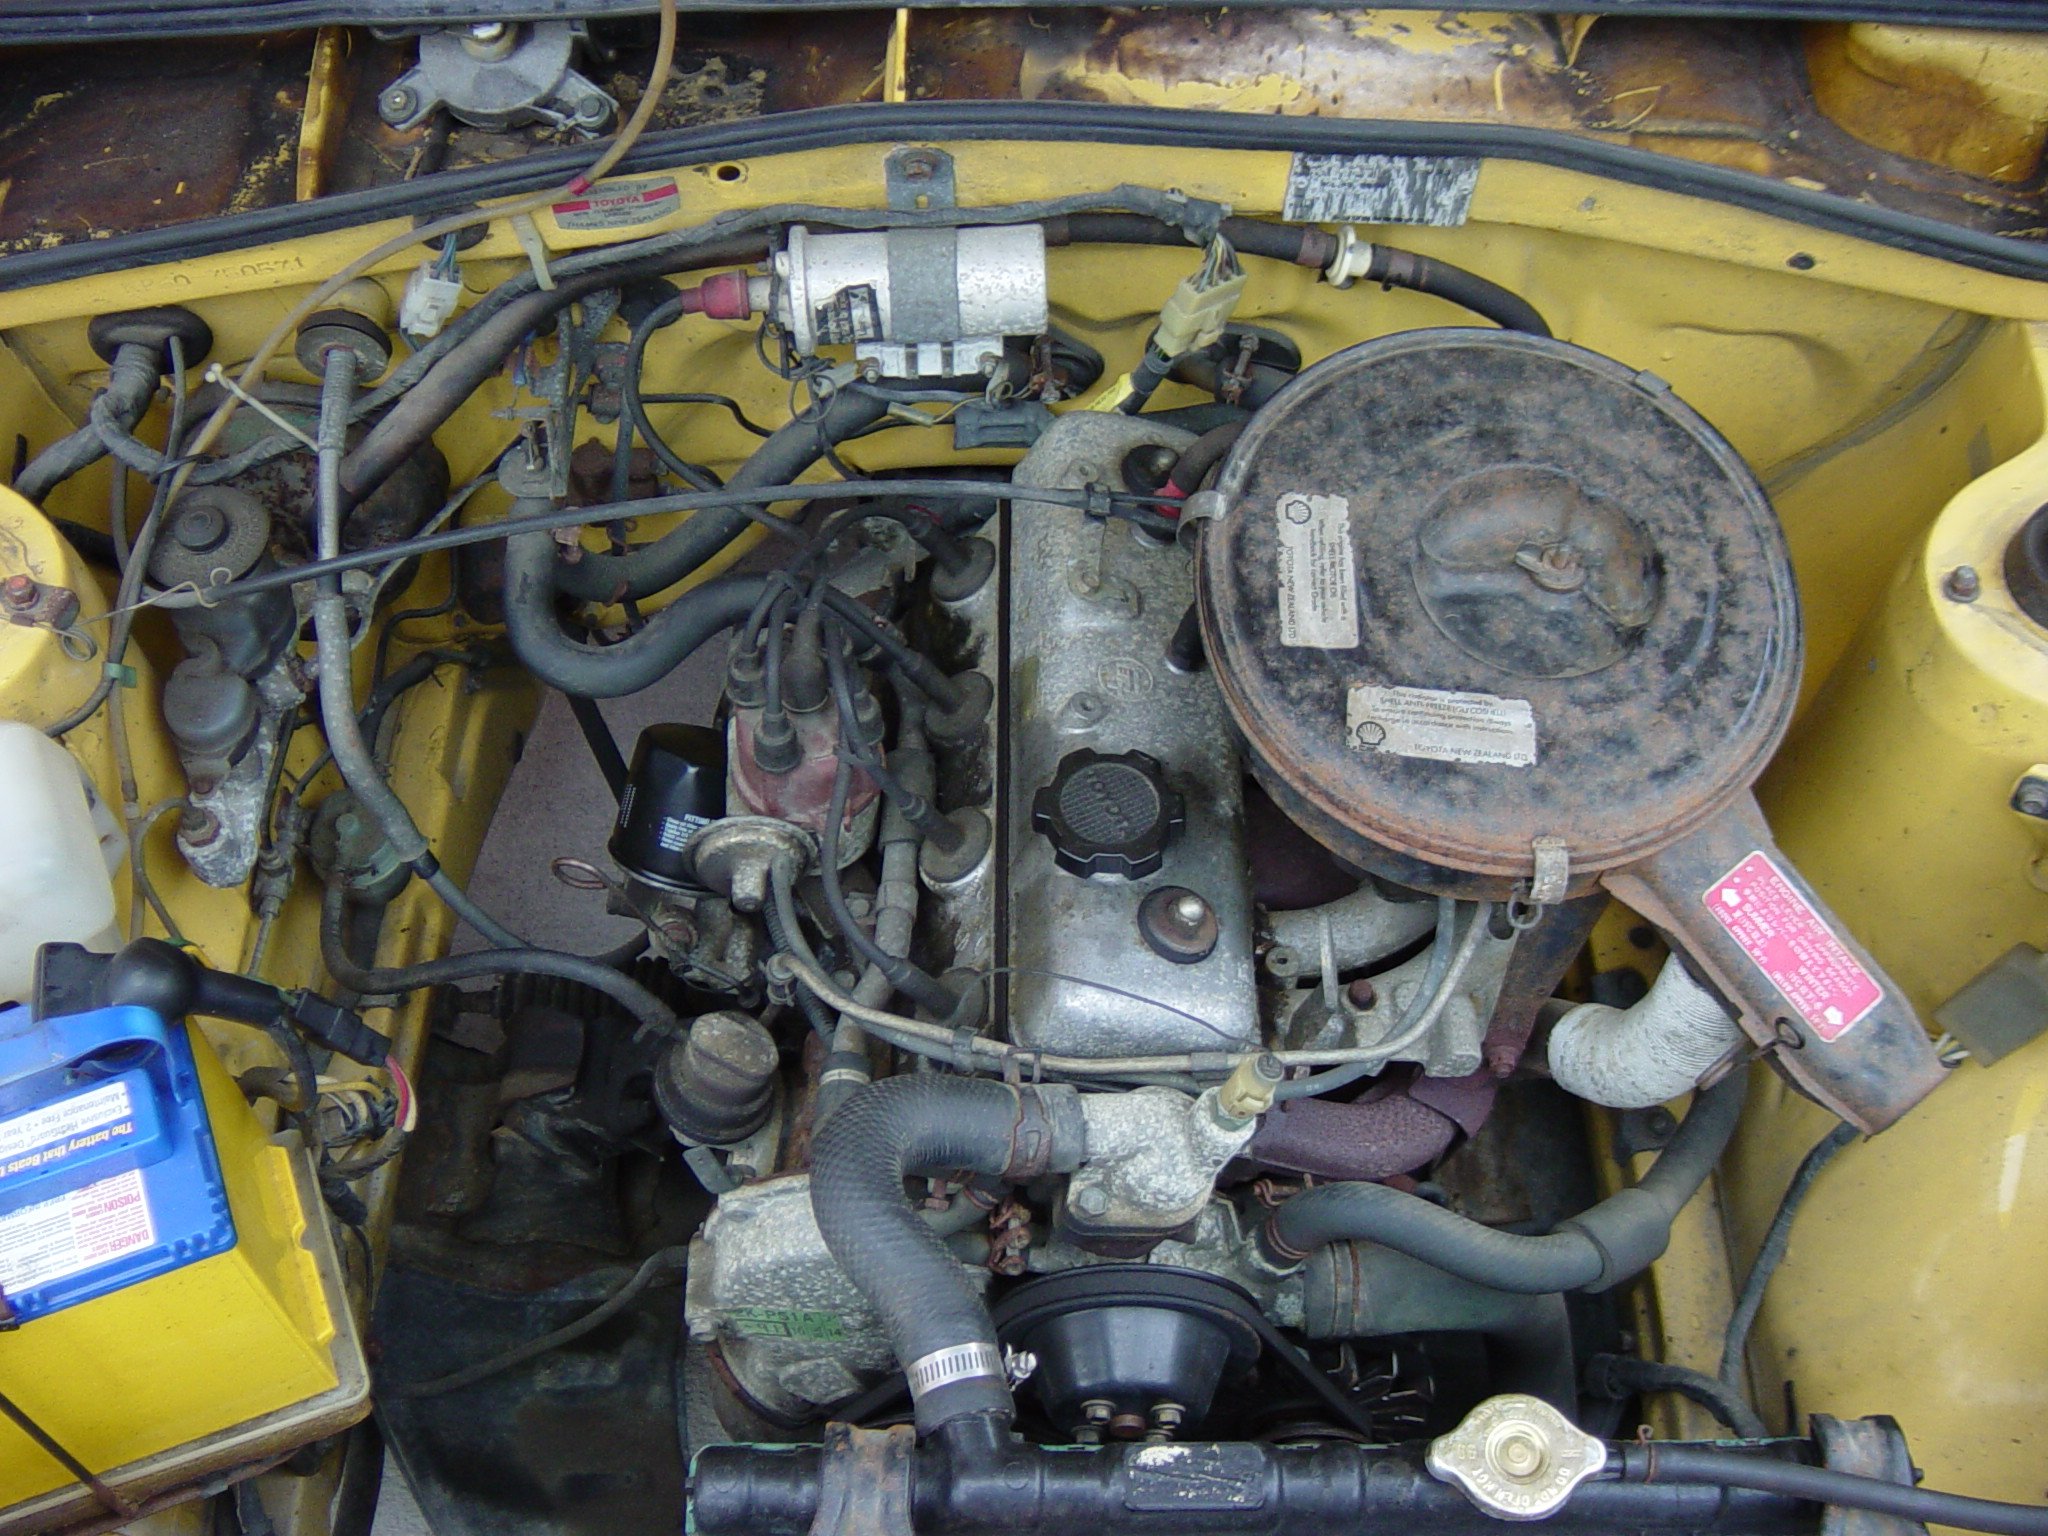
I've had this 2 door 82' KP since 2009 (I think..?) I'll have to check the ownership papers. It has sat in my lock up since the day I brought it. It came to me tidy as and all original with a 2K and K40. Everything complete, front & rear parcel shelves, Toyota tool kit and jack, all the old ownership and dealer paperwork etc. I'm the 3rd owner and its lived in Upper Hutt its whole life. The first owner was an older local lady, who then sold it to a local garage around the corner from my lock up. They used it as the workshop run about to pick up parts and sausage rolls etc. I picked it up from the garage after a customer unfortunately reversed into the drivers door and drivers side rear quarter. The damage wasn't that bad but the garage couldn't be arsed to fix it. Instead of a quick tidy up with a new drivers door and sell on, I couldn't help myself and went about starting a full panel and paint in original colour, sorting a 5K and K50, lower springs and picking up some wheels for it etc. I don't have any picture of when I first got it because I'm useless, but it is factory a dark green metallic colour called peacock. This is how it sits at the moment, body work 90% complete and in epoxy primer. It doesn't looks all that flash at the moment, but it really is a very tidy car and will finish up really well. The only rust was the typical flat hatch rust under the rear window rubber, and some small patches under the hatch rubber. And a sample pic of the wheels I have for it. Really all that is left is to finish the 10% of the body work, paint, reassemble, driveshaft loop, refurbish wheels, then get a WOF, Cert and Rego... so a fair amount. Once finished final specs will be something along the lines of : - Standard interior - Standard reconditioned 5K with Kennelly cam grind - 1.75" exhaust with factory twin front pipe. - K50 with KP shifter position - Lovell lowering springs with KYB gas struts to suit, MRP RCAs - Endless front brake pads (hopefully these are suitable for certification) - Refurbished Sharak X-1 13x5.5 +20 with Advan A539s As I mentioned in my other KP build thread, I've just got back from 4 years in the UK and this is the stage I got it to just before I left. I'm looking forward to getting this car finished and back on the road! This KP will be for sale once complete. Discussion thread here:
-
Discussion thread for my quick tidy up and sell on KP build that has taken 12 years so far...
-
Discussion thread for my near on 20 year KP build of teenage dreams. Keen to hear your thoughts on wheel centre colour, cobra springs or how this will still not be finished in 2031
-
So end of 2004 the paint work was finished, the standard suspension tidied up and put back in to get it rolling. I finished high school and the awesome after school job. Unfortunately the Sony digi cam also stopped working and since cell phones didn't have cameras yet there are no photos from 2004 to about 2012. In all honesty next to nothing photo worthy happened on the car in this time. I sold the 4K and K50, and brought and sold, traded, wrecked about 10 or 12 other KPs. I still collected parts and pieces for this car, tided up all the interior boxed it safely, had all the nuts, bolts and brackets blasted and replated, imported new molded carpet from US, picked up some new wheels etc etc, but for the most part it just sat on jack stands in my parents garage. In 2017 I quit my job and decided I was going to move to the UK. I had a 6 weeks before I flew out and spent sometime working on the KP. Made good progress and some serious decisions about what I wanted the car to finish up as, but its still a long way form done. The specs are roughly as follows, which I'll probably change my mind on before its done... - Flat front conversion, full headlight panel graft and front and rear metal bumpers etc (this still needs to be fitted and painted) - Rebuilt 7K with Kennelly Cams street grind and brand new 32/36 DGA weber - K-T bell housing with 20 spline T50 and forward shifter position - U code diff (Imported a TRD lsd from Yahoo but not sure if I'll fit this) - AE111 master and calipers, E30 front rotors & S14 rear rotors, wilwood prop valve - Bug eye steering arms, T3 RCAs, cobra super low springs (what are these like to drive on?), KYB gas struts to suit - Recaro fish nets (cant have the early 2000s escape this build now can we?), factory sprint rear seats - Refurbished 14x6 +15 Gallop Racing welded 2 piece This is the only photo I have access to at the moment of its current state. I do have some more photos from the work I did in 2017 which I'll update later. So this sharn down memory lane pretty much brings it up to current state. I've just moved back from the UK (4 days left in MIQ) and I'm hoping to take 3 or 4 months off before starting a new job to get this finished and back on the road. The to do list is still pretty long and there is another KP to finish, but we will see if I can finish in 3 months what I haven't been able to do in 18 years... hopefully this post isnt on page 14 by the time I update it next. Discussion thread here: Keen to hear your thoughts on wheel centre colour, cobra springs or how this will still not be finished in 2031
- 3 replies
-
- 17
-

-
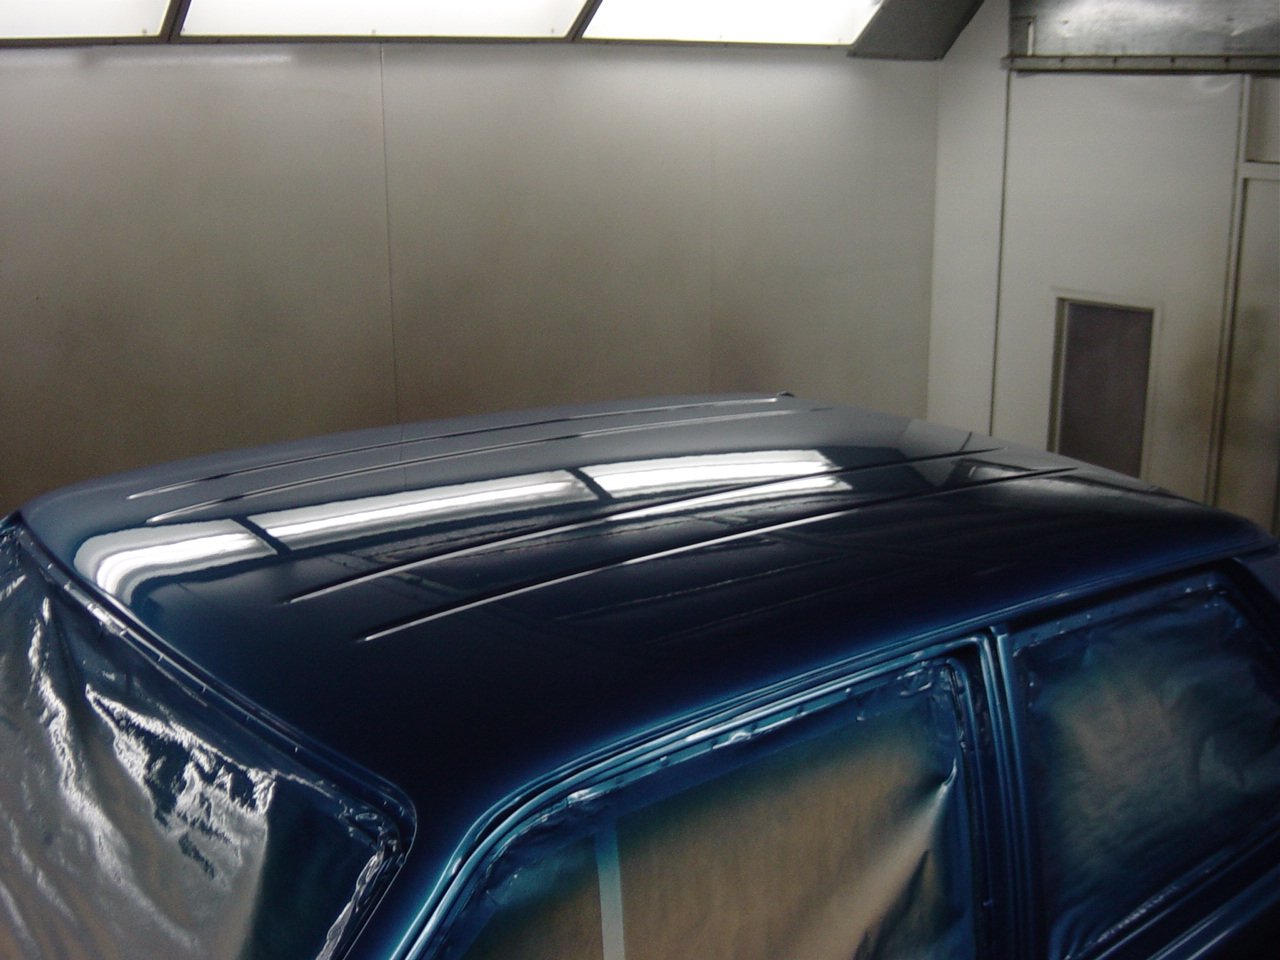
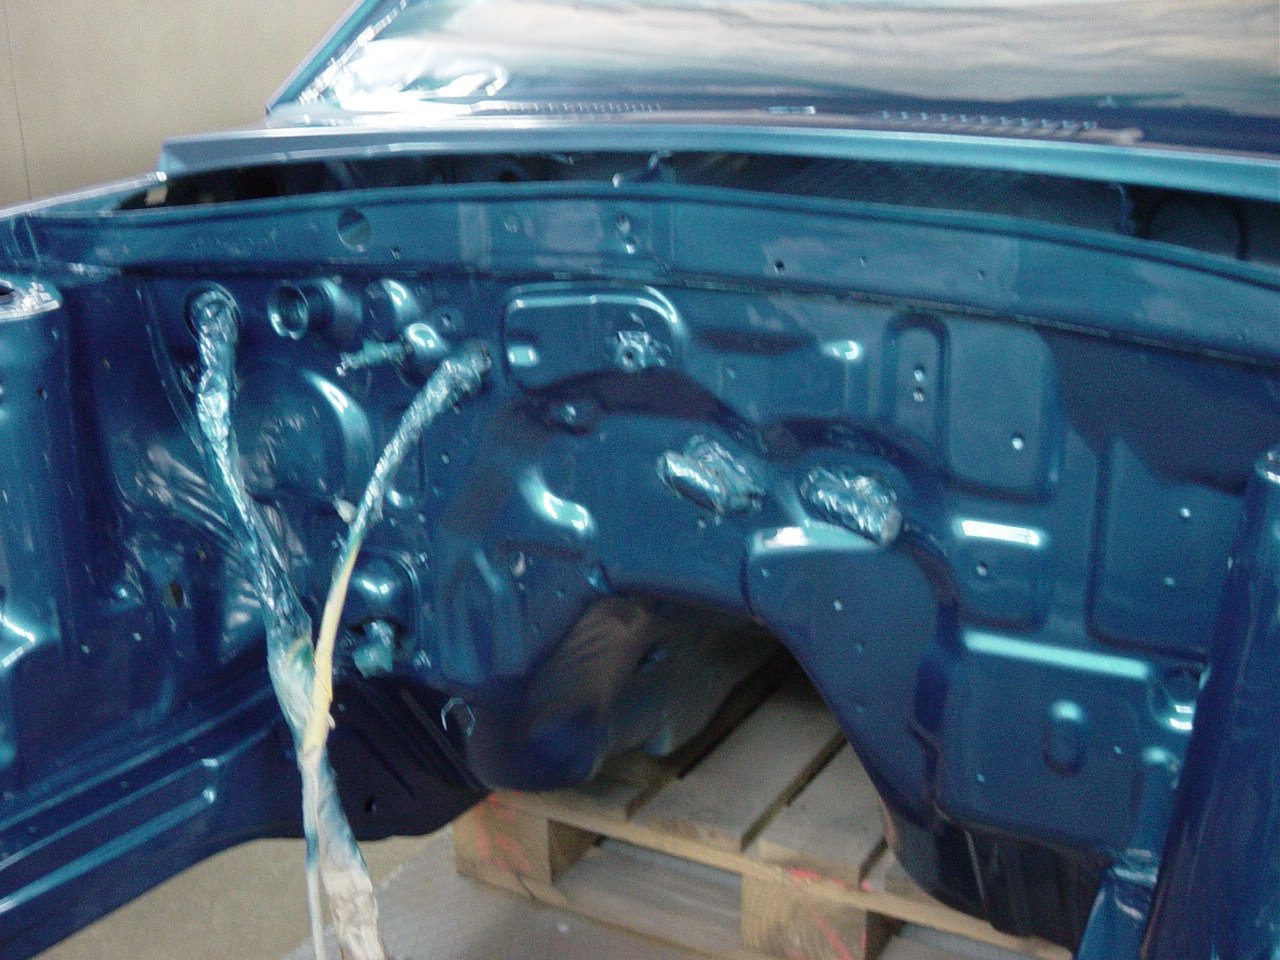
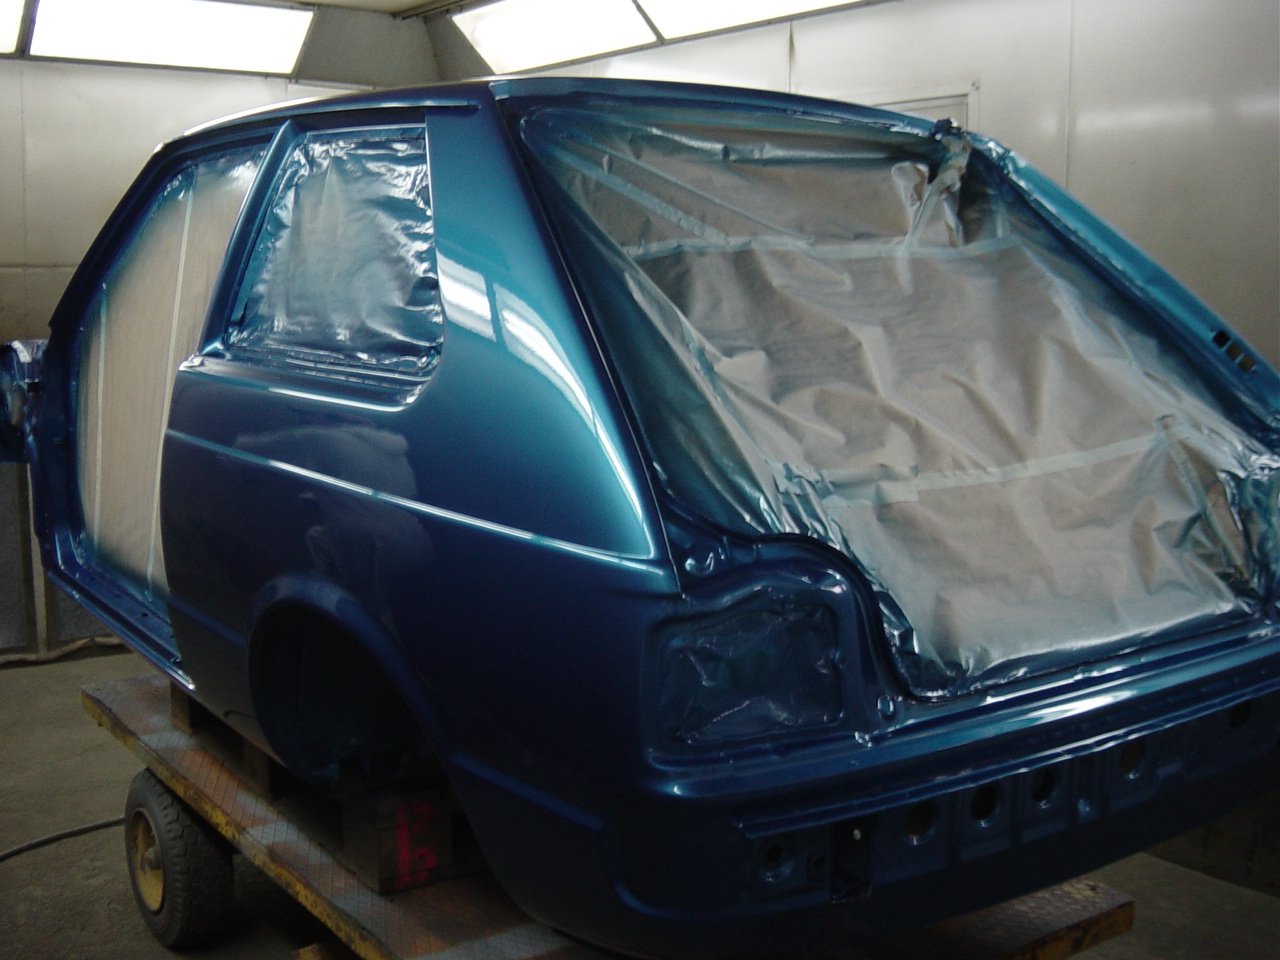
About 2004 I took it off the road for panel and paint. I was lucky enough to be working an after school job at a full engineering workshop with a panel shop, paint shop, sand blasting booth, reconditioning shop and some talented old school tradesmen that were keen to help. It was stripped right down to pretty much a bare shell with all the running gear removed, the underside sand blasted painted with POR-15 and under coated. A couple small bits of rust fixed up under the hatch rubber and drivers side door inner and the shopping trolley dents straightened out. Some more shaky Sony digi cam pictures of it in panel stage: Because it was the early 2000's and RX-8s were new and cool I picked Mazda winning blue for the new colour. Some Pictures of it painted in the booth: At the same time one of the painters noticed the KP in the panel shop and said his step son had a rusty 4 door that had failed its WOF and he needed to get rid of. $120 was exchanged for an 83' GL trim with a 4k and k50 which I intended to swap in.
- 3 replies
-
- 11
-
-
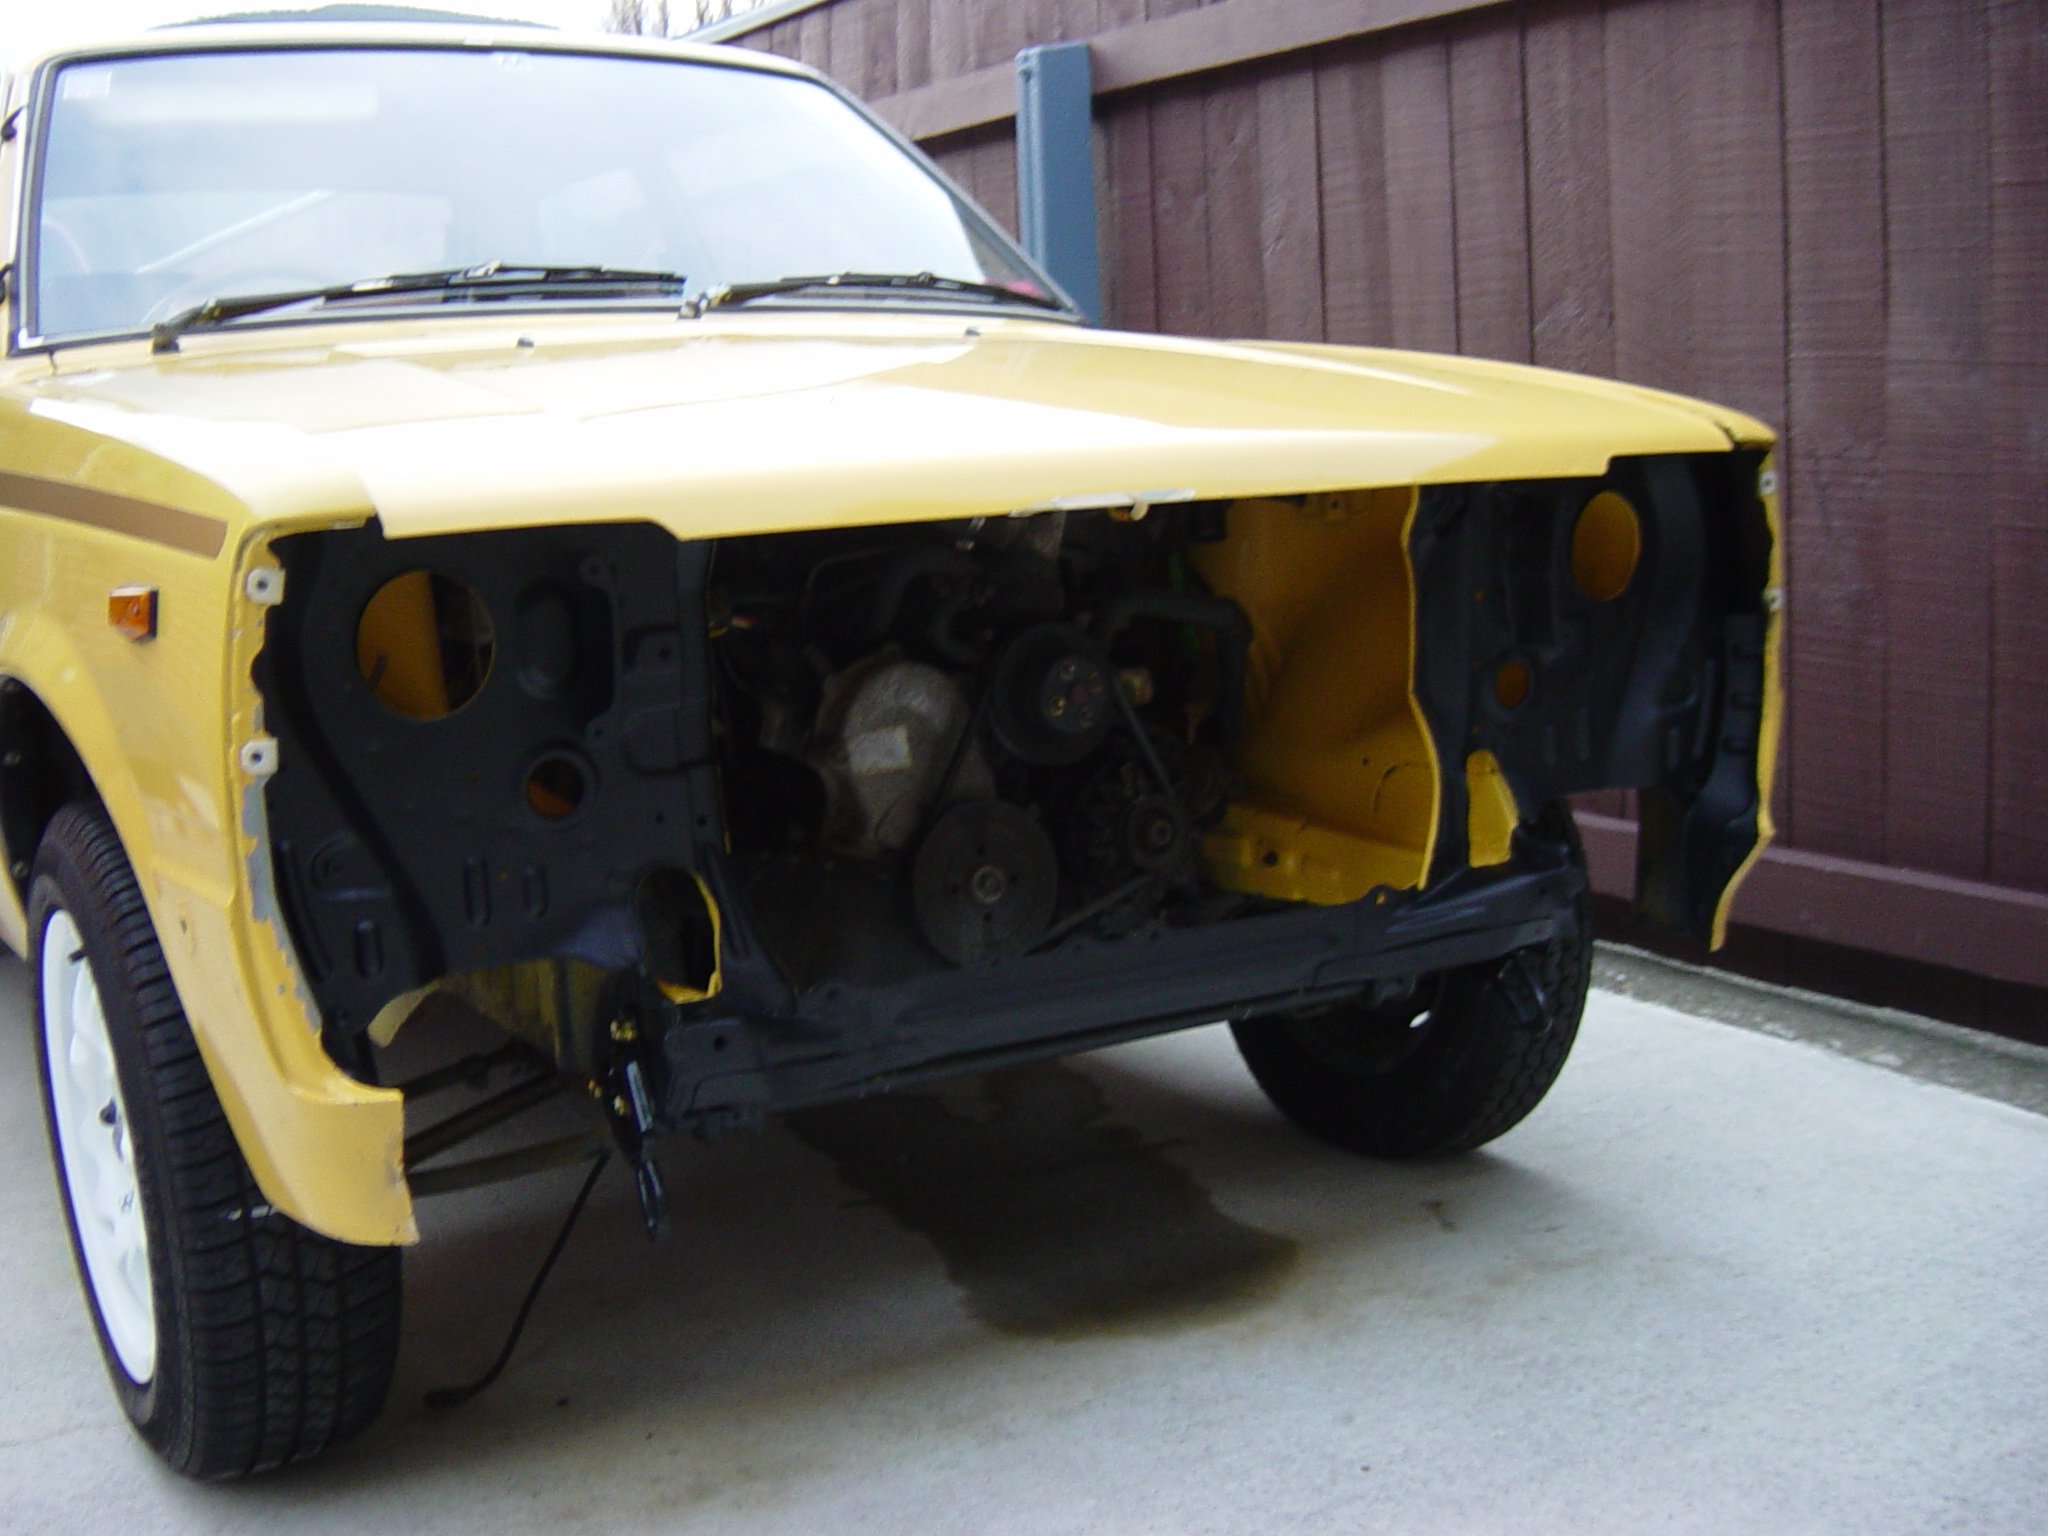
I got my restricted licence and drove it for a year or so. Did a few little bits and pieces tidied up the front and brackets powder coated, recored the radiator, took the side graphic off. and put these Enkei wheels on it to complete the roller skate look.
-
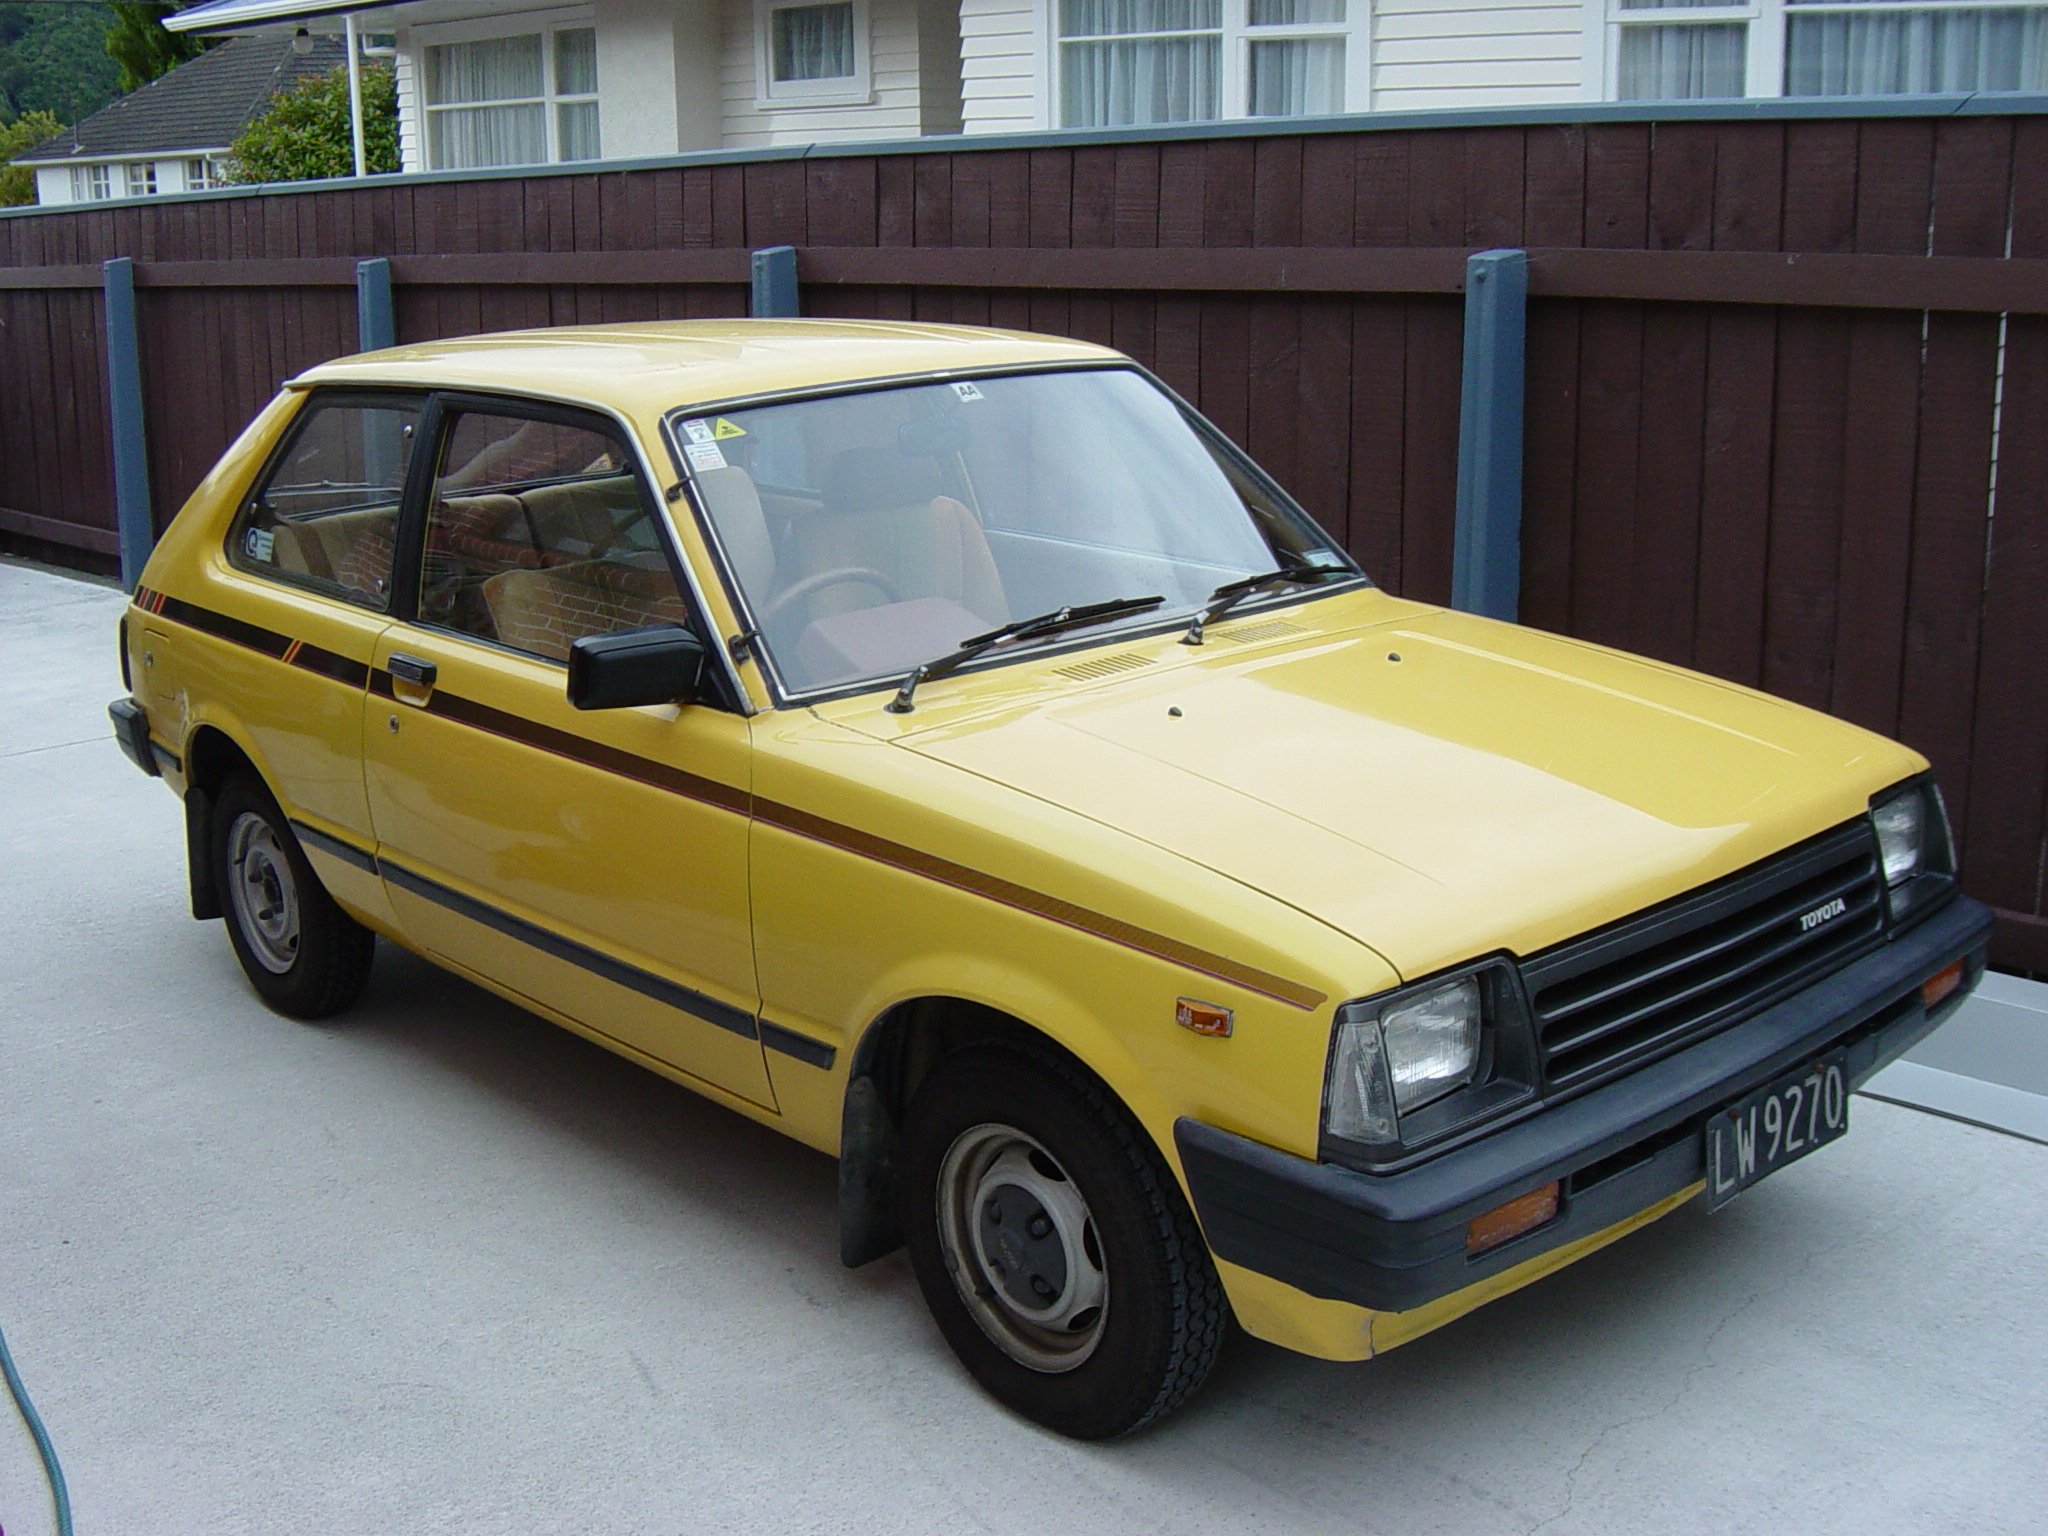
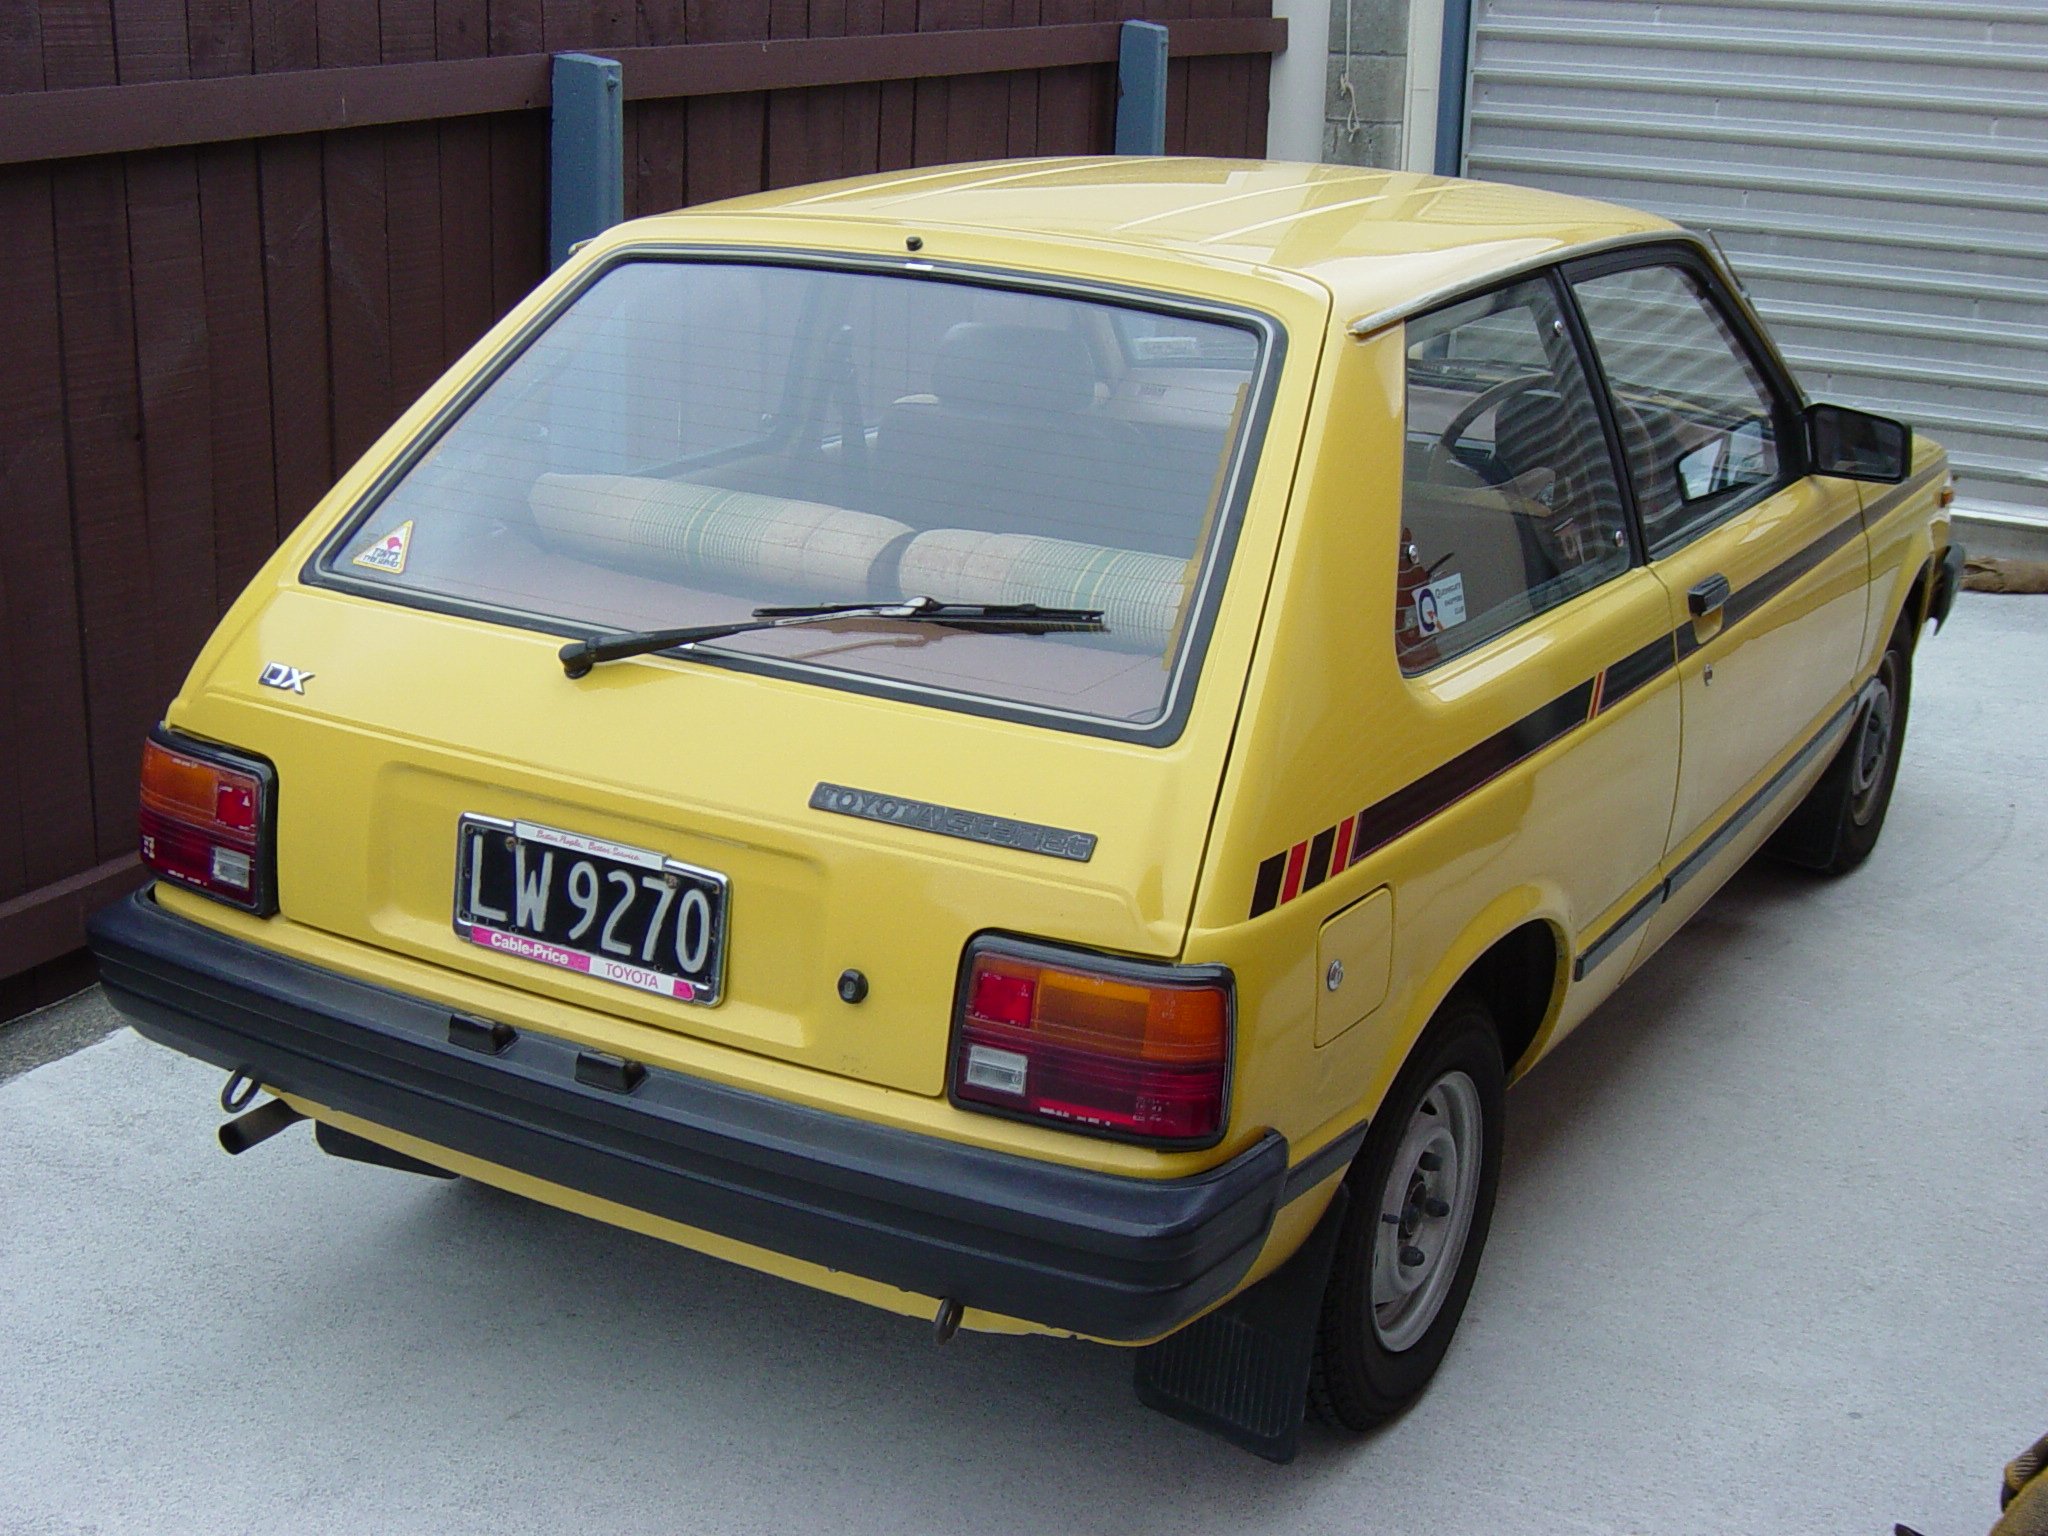
This was my first car that I picked up sometime in 2003 when I was 16 years old at high school, and when the Trade & Exchange was the best place to pick up a deal. I took the Thursday off school with my old man to go check it out. It was completely factory original and head been well cared for and garaged. 2K, K40 and U-code diff, DX trim level, 98,000k with mostly original paint. Most importantly, having already looked at a number of absolute rusty shit heaps this one was rust free. We paid a deposit and came back later that day to pick it up. The lady cried as we drove it off. Some pictures taken from the finest Sony digital camera at the time.
- 3 replies
-
- 10
-
-

-
Where have you sourced the windscreen seal filler strip from? Basis https://basisnz.co.nz/products/sku217-405?_pos=6&_sid=fe4b1df7d&_ss=r Be interested to see how it works out as I've got a couple of screens to do
-
Interesting, wouldn't have thought of that! But no tints so all good.
-
cheers @Raizer, internal rearview mirror will do for me!
-
What mirrors are required for a wof? is the internal rear view mirror enough? or is a minimum drives side door/guard mirror required? does age of the vehicle come into it?
-
It doesnt seem to link to pics when clicking on grey lines, just highlights to quote the section
-
not sure if just me, but your last couple of updates the pics arent loading? apart from old mate Jack Sparrow can only see faint grey line where a pic should be...
-
Assume you've checked thermostat is working correctly? Or tried running with no thermostat? I see you had head gaskets off, what about other water passage gasket? No gaskets wrong size restricting flow?
-
Did you change the water pump when rebuilding the motor? Or had it off since adding super charger? Nothing silly like the impeller has dropped off the shaft? Did you reroute belt arrangement? Belt turning the water pump correct way? Probably all ready covered these off, just spit balling ideas
-
Gun mounted light sounds interesting... shall investigate. Reading back in the posts you wernt sure on what dry areas were, you've probably watched enough YouTube now to see, but it's exactly as it sounds. An area where you don't have enough clear on for it to self level and form a mirror finish, it looks almost like a Matt or satin finish. First coat of clear almost looks dry/satin. This can also happen when you over spray onto a dry area and the over spray can't bite into the dry area. I find it amazing how the clear can self level, I was doing some gloss black bits in 2k ppg CT with clear over, after doing the gloss base coat and having a mint mirror finish I then red scotch padded it back to flat to key the base coat. Red scotch was advice from paint supplier, which seemed like madness to me. Followed advice, light coat of clear to a satin finish first coat then 2 heavier coats to gloss and the clear just brings it back to a mirror. Take your time, build it up to a good finish in 3 or 4 coats. Leaving time to dry in between. Keep the gun consistent height, spray pattern at right angles both left/right and up/down to the work. Move the gun at a constant speed across the work. To do the the heavier coats of clear, I try to keep my speed across the work and paint flow out of the gun the same as base coats and first coat of clear, maybe a little more paint flow. To get the thicker coat over lap the fan a bit more to the previous run across and build up this way. Going slower over the work to get a heavier coat has never worked out for me. Don't have the garage too hot or directly heat onto the panels like the guys said ealier. You'll burn the outside of the cake and leave the middle raw! Leave the heaters on a few hours before to hopefully to warm everything up around garage to keep the heat in the space. As I say this is all unprofessional garage advice which I'm happy for the pros to tell me I'm wrong.
-
Hope the reclear job goes well. Lighting looks a million times better. I find it's good to have a high power LED hand held/wand light to inspect darker and hidden away areas between coats to make sure you have covered all areas. Be careful that the magnet in the light doesn't stick to the wet body though! Some unprofessional garage experience advice, I hope is useful and not telling you to suck eggs. The first 1 or even first 2 coats of clear dont have to look mirror finish. A satin finish is ok as youre building up to mirror, and the clear will 'bite' into layers as you go and level off. I find it's easier to be light on the first two and then finish with a heavier coat or 2. You also want to be sure you're leaving enough time between coats for the clear to hang on. This way you are also into you groove with using the gun and can control the thicker layers at the end. Have you got a pressure regulator at the gun? I found this was really useful if you've got a smaller compressor that struggles to keep up on the big panels. Can make quick adjustments if needed to finish a big area. Sounds a bit stupid but if it's tight space like a small garage, suit up, mask on connect air hose, every thing but paint in the gun and have a practice at doing an air coat over the car. Youll find any tight spots where you cant keep the gun at the right angle or height from the surface or it's generally difficult to do what you want. Places where the air hose gets snagged and you gitter the gun. Gives you a chance to think about it or change layout to avoid hang ups. Are you going to doing the wet the floor of the garage trick to keep the dust down? If you do watch out for any drips off the air hose when doing the roof etc where you hold the gun above the surface.
-
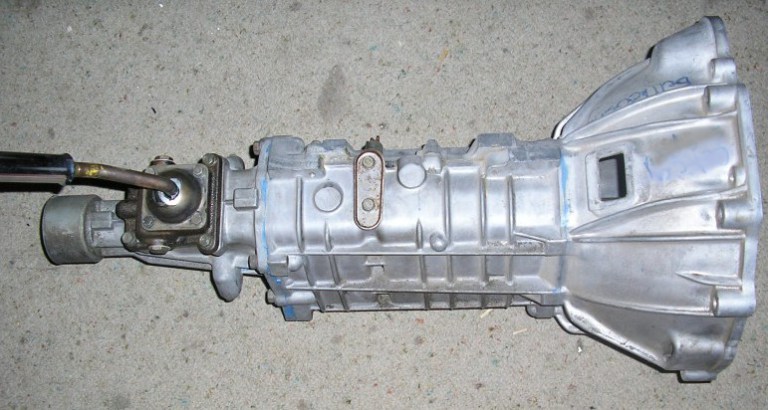
Box will be an early 20 spline T50 with the forward shifter position. Unique cast iorn shifter base not interchangeable with rear shifter t50. TA2* etc TE3* got them, think a few KE3* delivery spec wagon maybe aswell
-
mtbtimr & Sammy1222's 1972 Austin 1300 Discussion
enzee replied to mtbtimr's topic in Project Discussion
might be worth fitting a blanking plate to the gap between the shroud and new radiator? fan may be drawing air mostly through this gap rather than through the rad? path of least resistance
.jpg.84d9d564015db35e90b66fa13a95c2ab.jpg)
.jpg.504b97a3d07f1f1eb861552a04c832bd.jpg)
.jpg.8494b36db33a7e9c31dd93fce5cbcde7.jpg)