vwthomas
-
Posts
30 -
Joined
-
Last visited
Everything posted by vwthomas
-
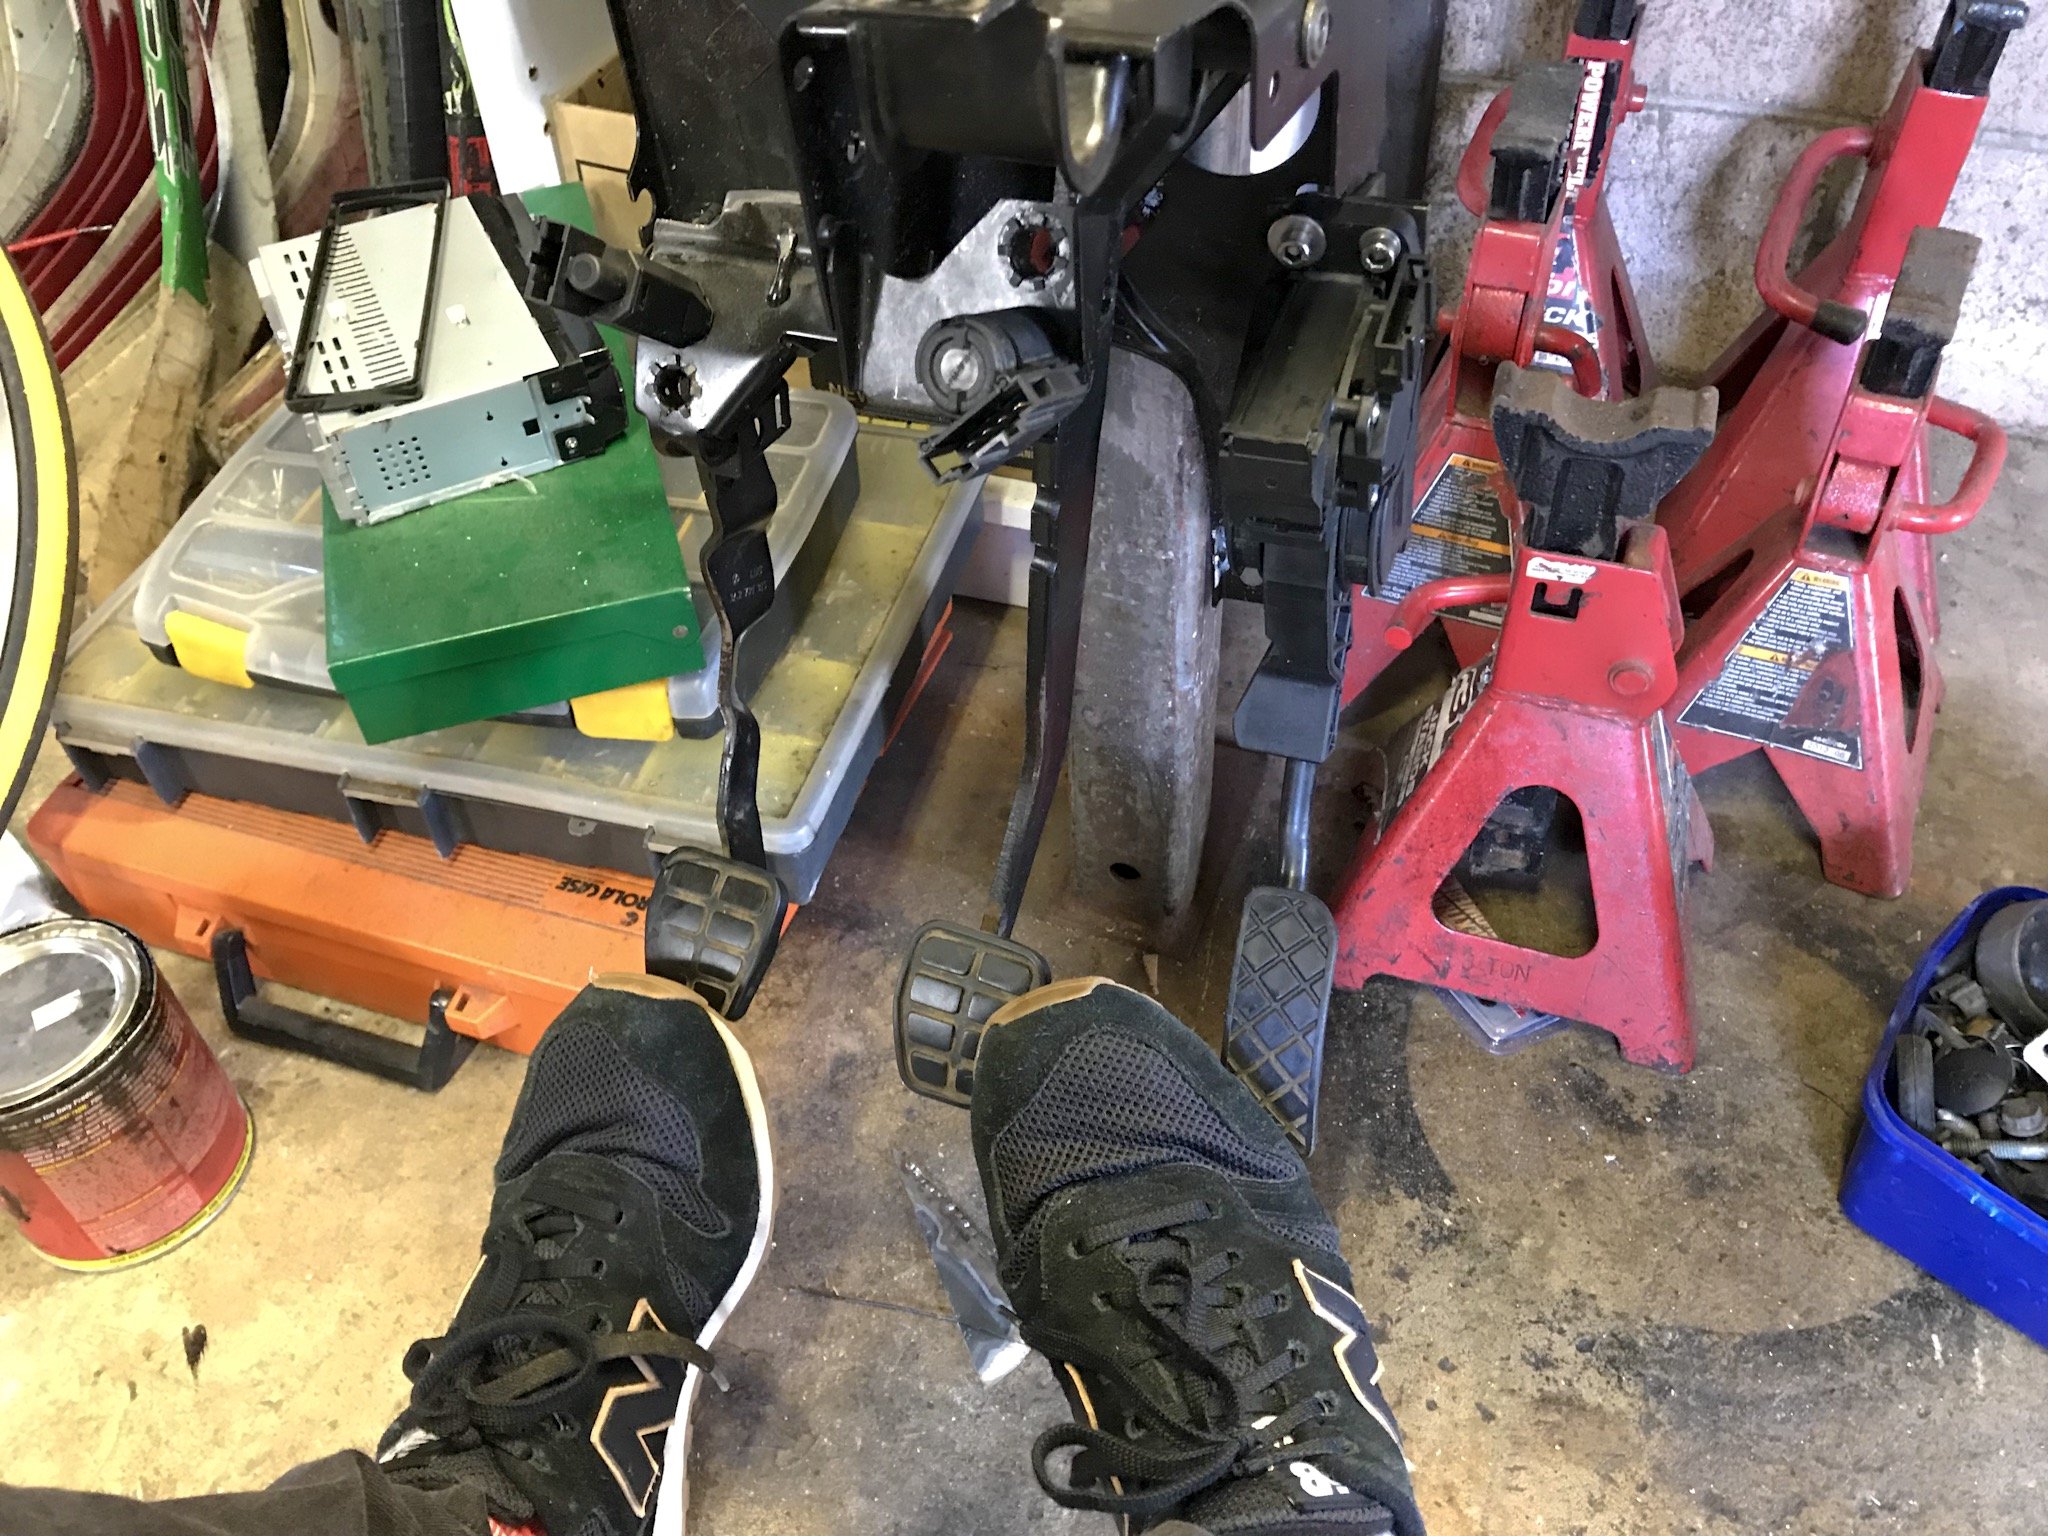
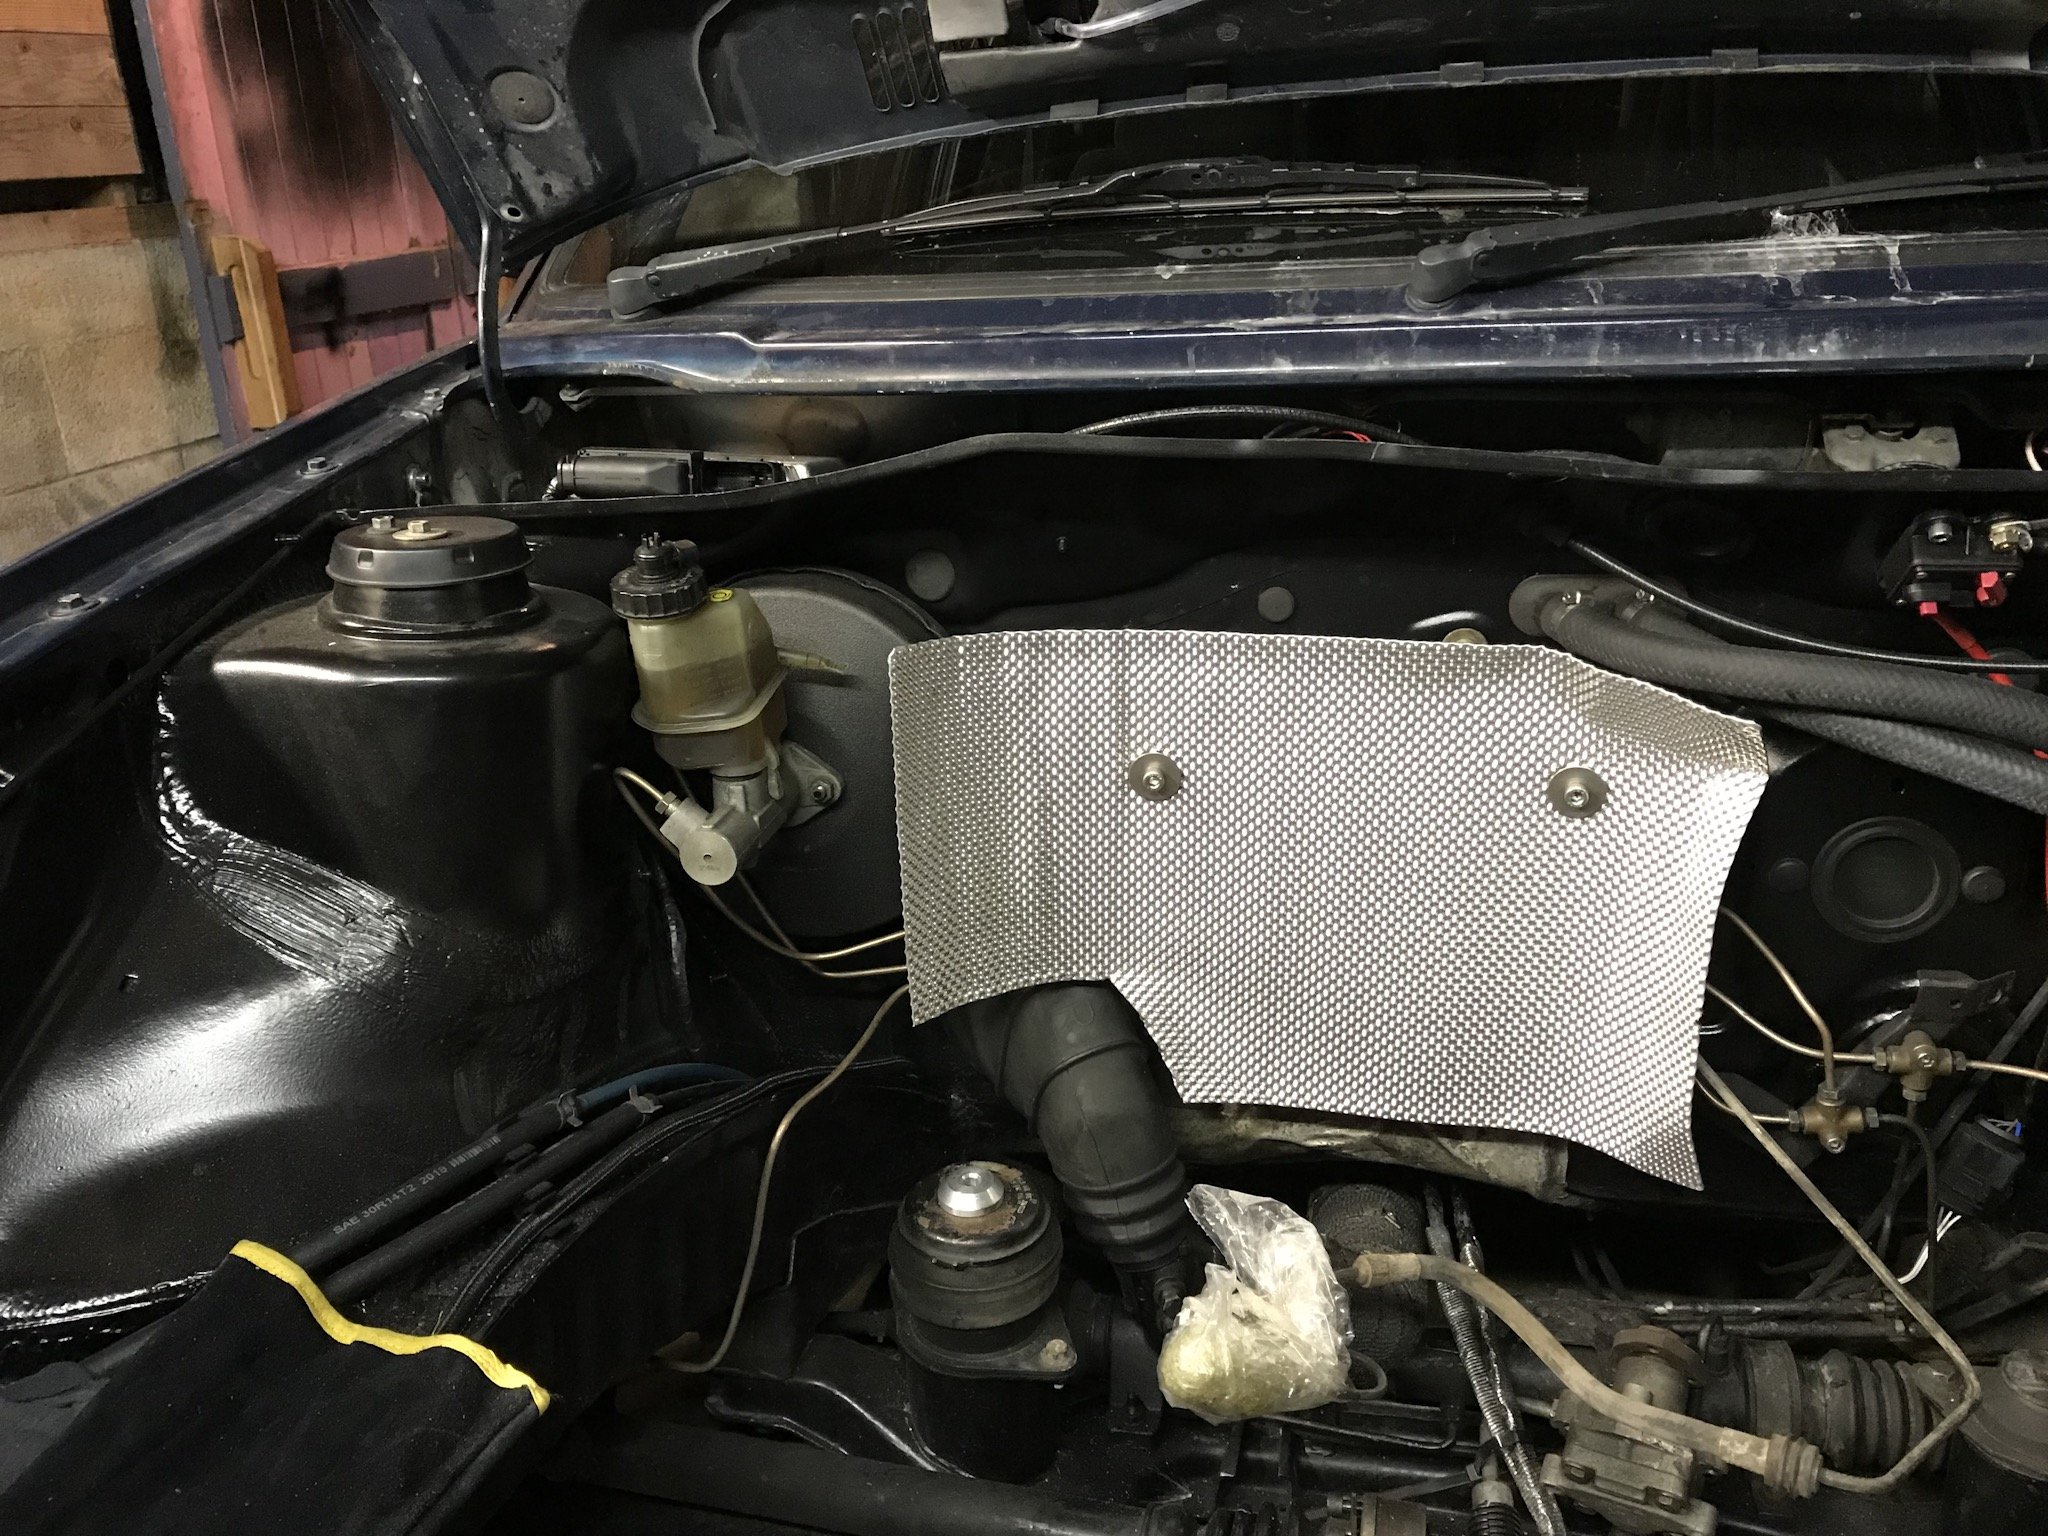
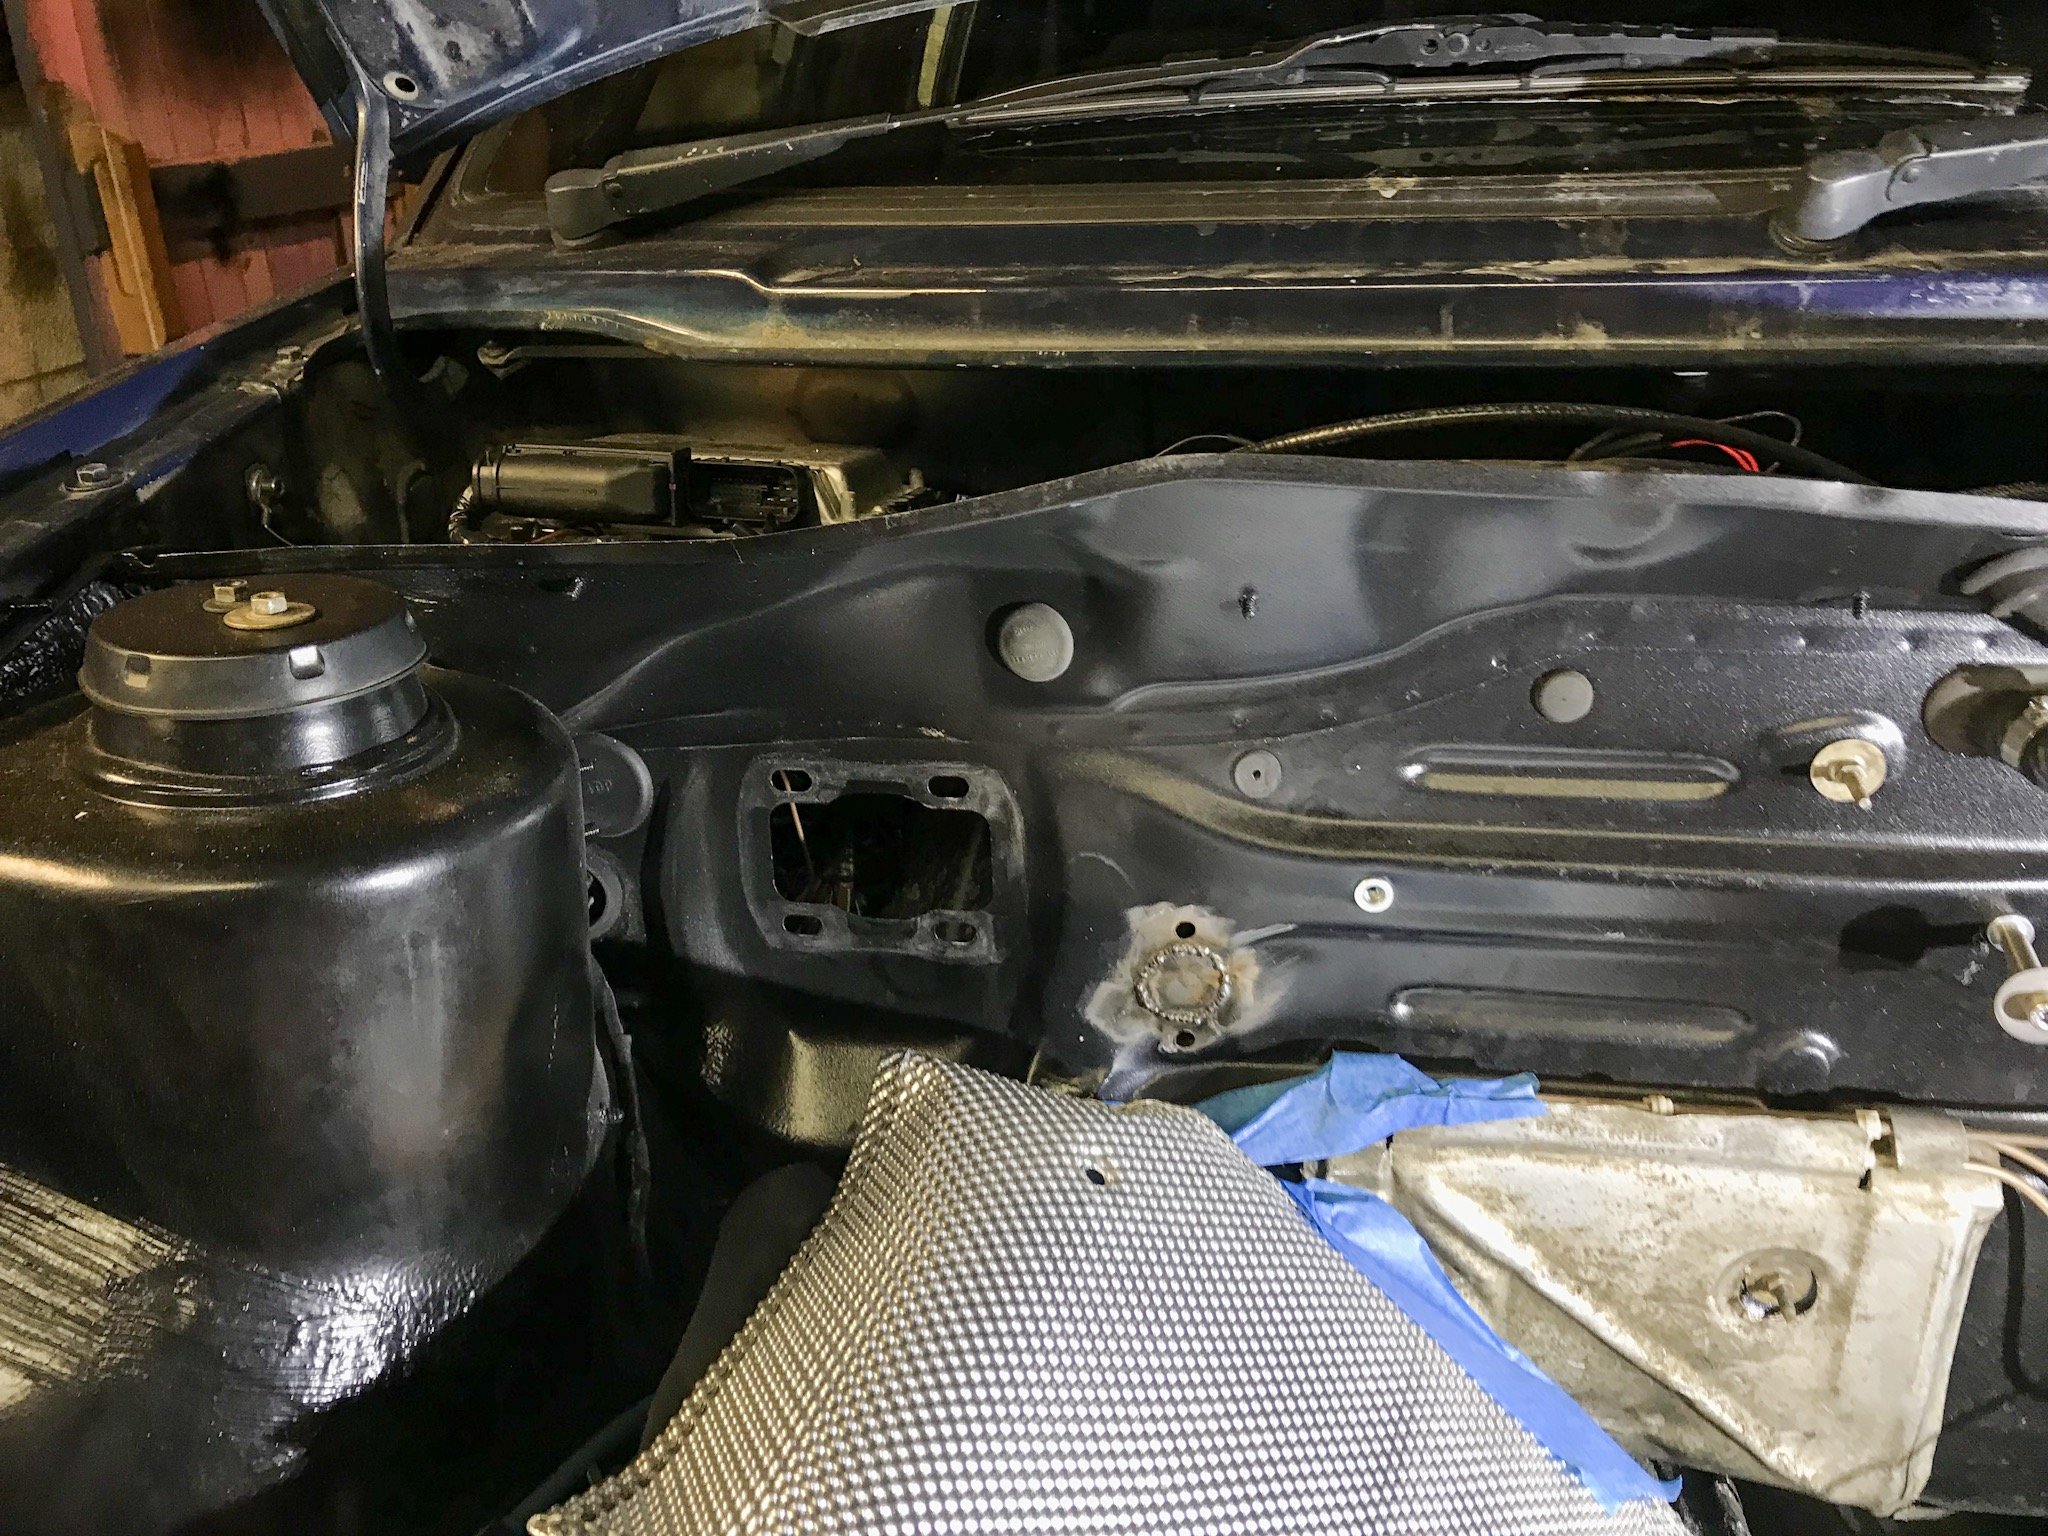
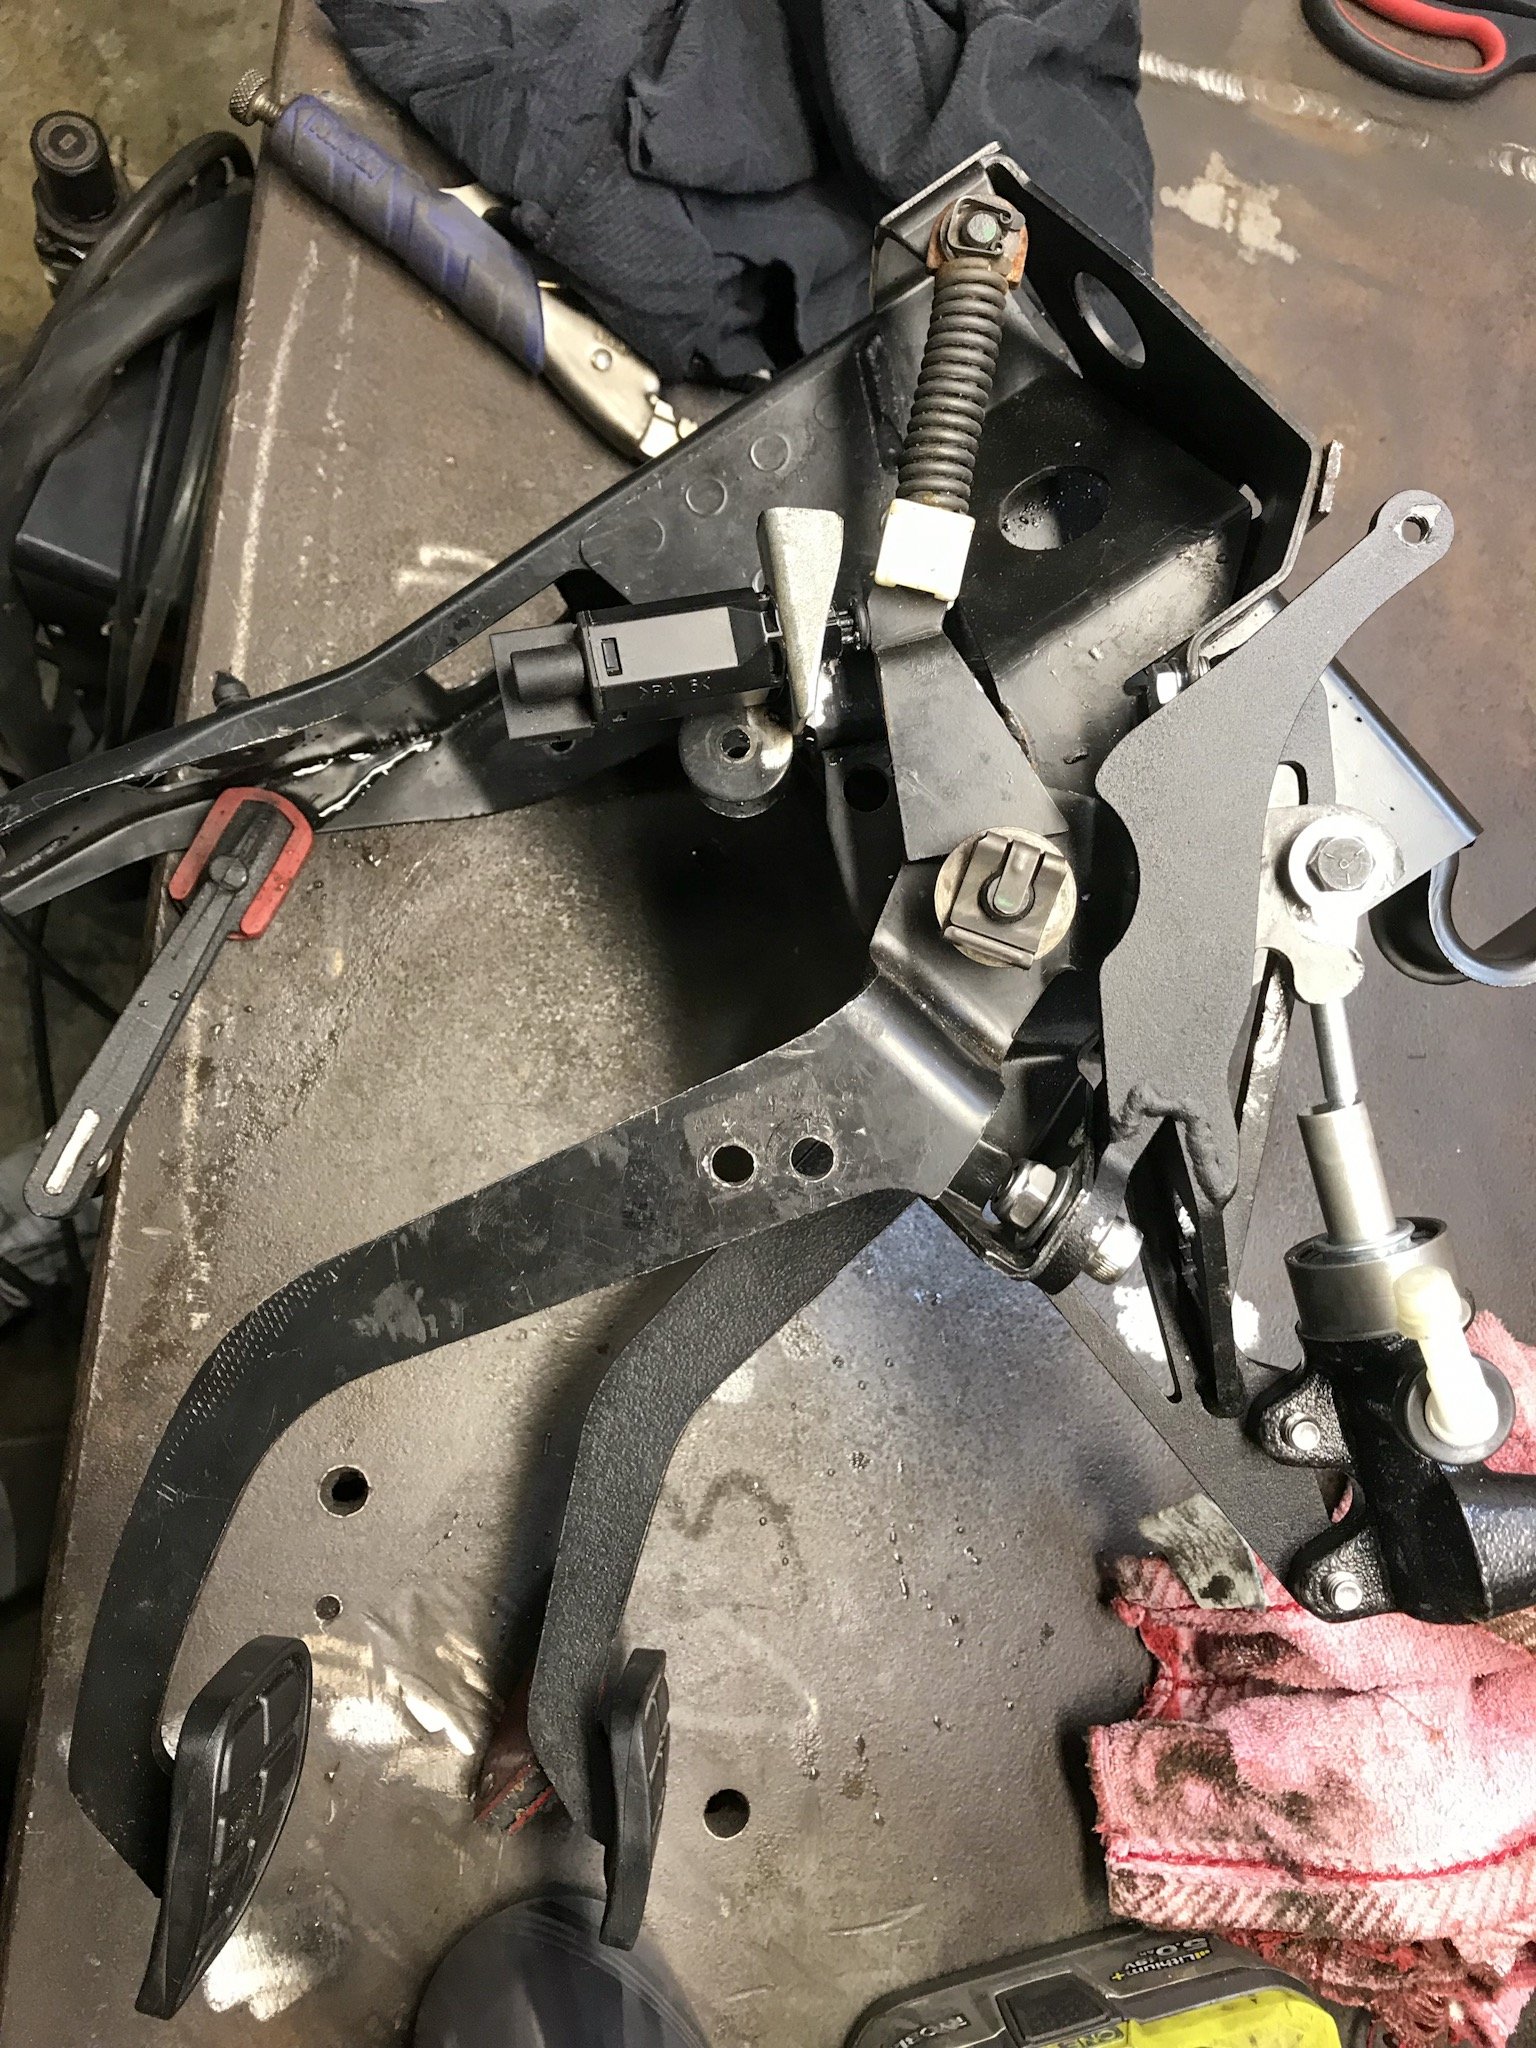
theres a fair amount of beating of the firewall and it was never going to look completely factory but I’m not worried (function over form) on that note I spent a lot of time trying to get my perfect pedal position for some heel toe action as I have to mount the drive by wire pedal to the pedal box again. clamped to my work bench you can only make car noises and pretend to heel and toe for so long before you realise you should get something done. As far as I can see now I’m very happy with the result now that I have it back in, although I really hope I get a good pedal feel. It’s all completely hidden behind the heat shielding cause the exhaust manifold is right there. I think that’s enough for tonight as I’m trying to tidy up an mistakes I’ve made so want to keep on going while I’m fresh. Hopefully the motor should be back in and running again soon.

- 21 replies
-
- 5
-

-
- 20vt
- volkswagen
- (and 3 more)
-
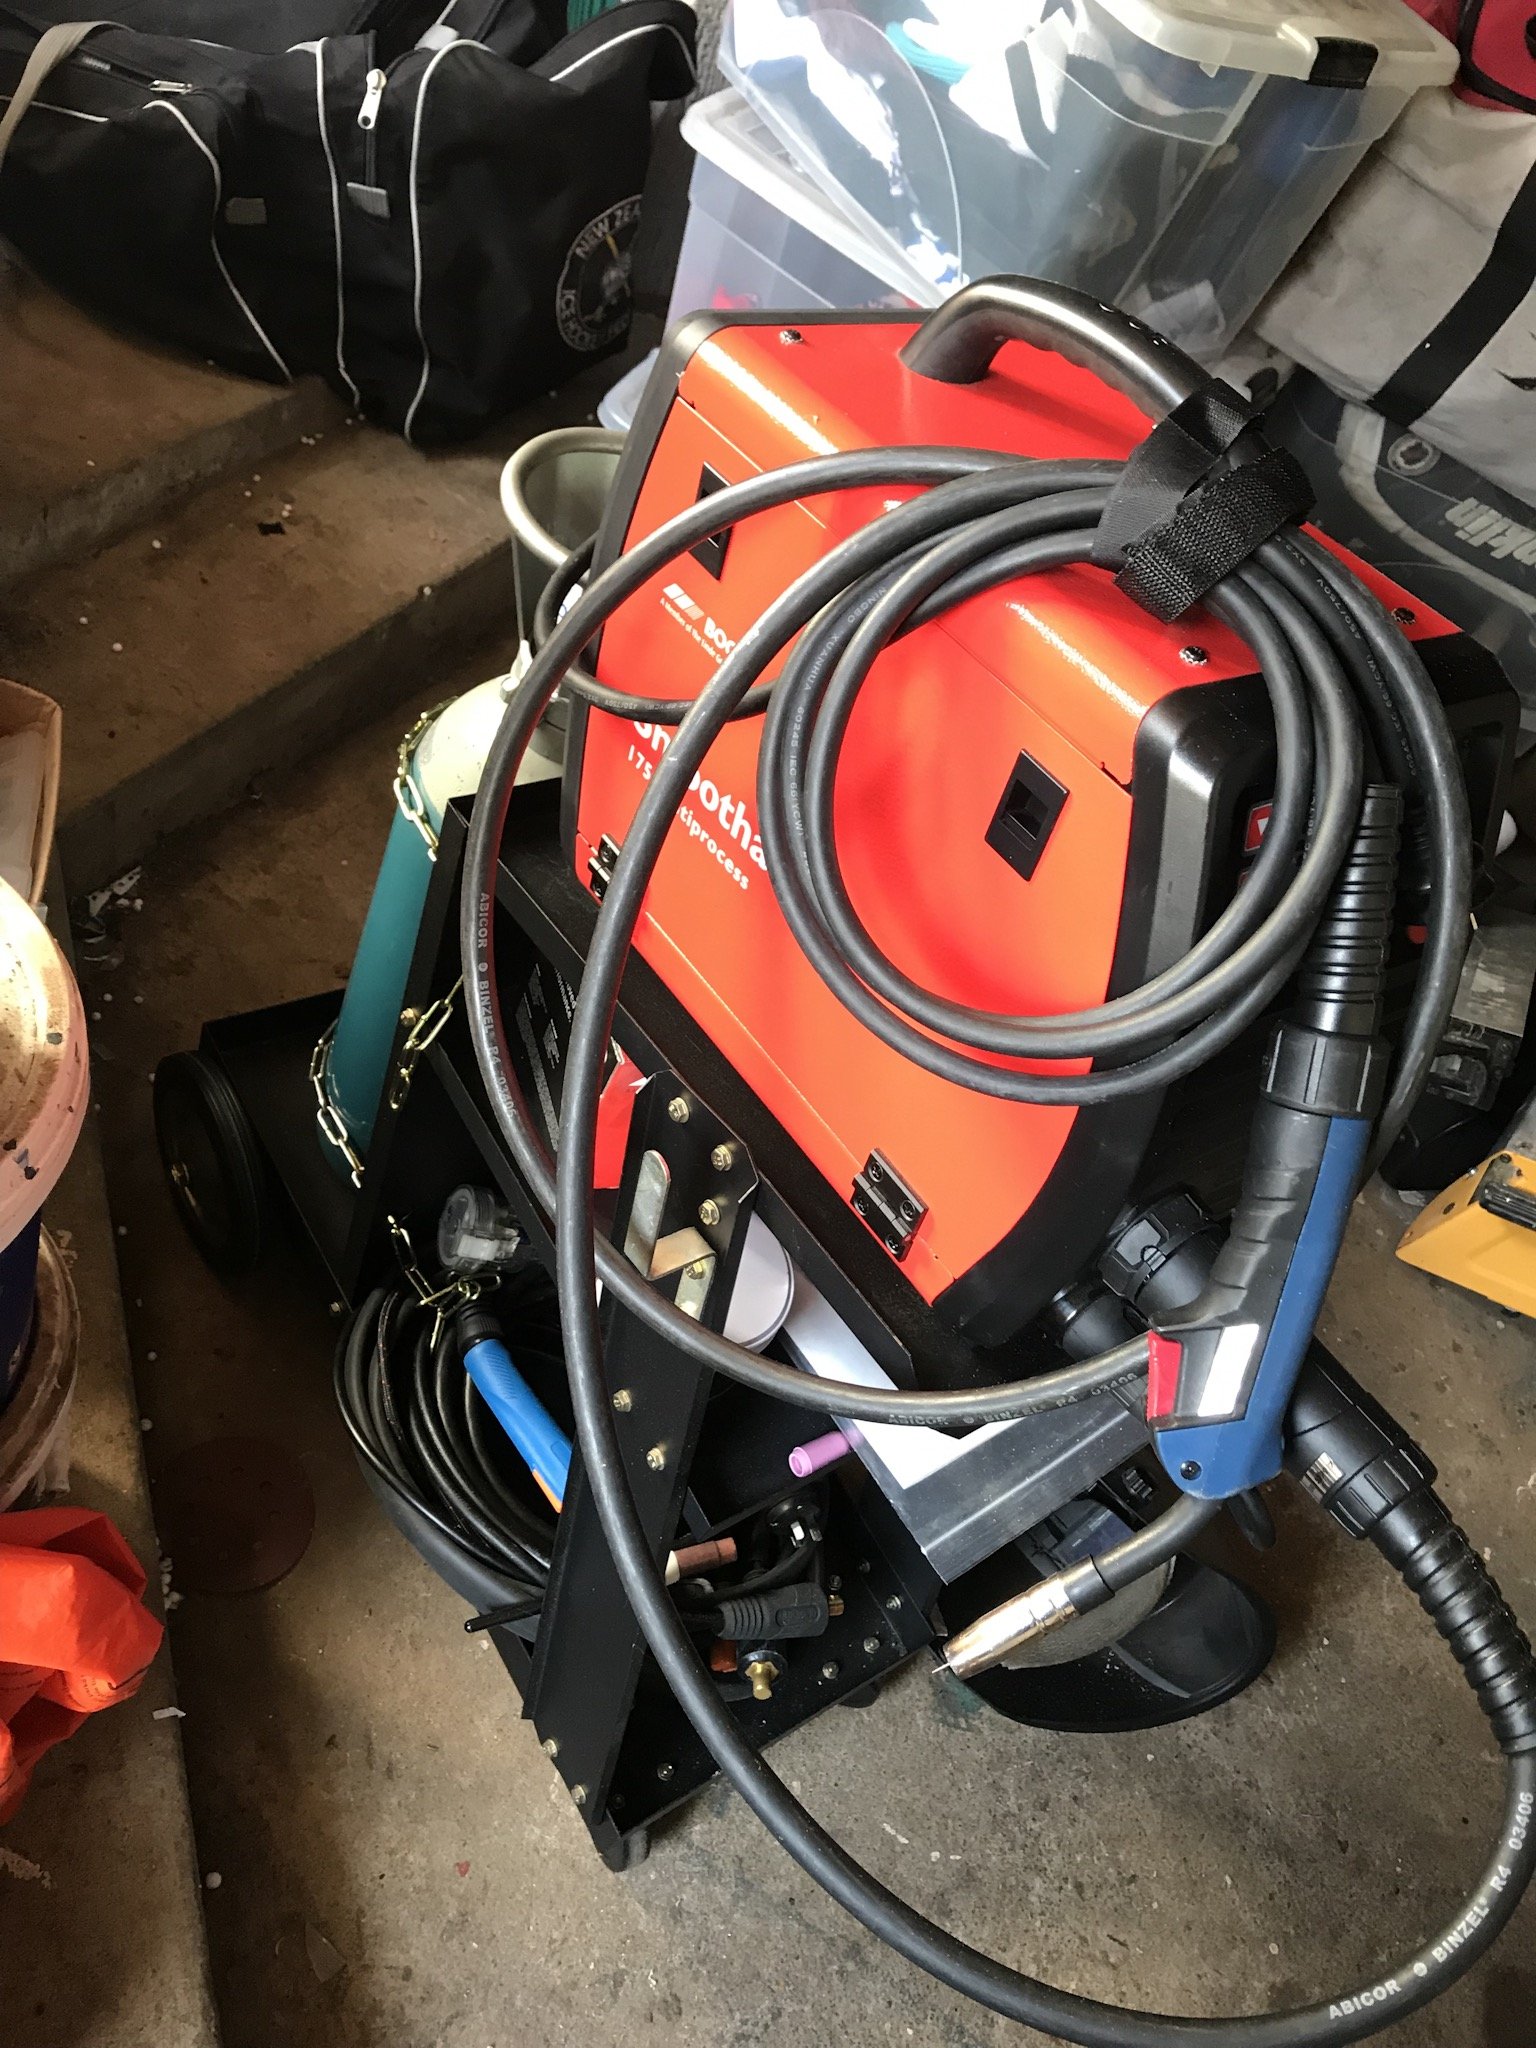
So I’ve been having issues with the clutch either the pedal was really light (a combination of possibly the wrong master cyclinder and then also parts coming loose) I did know there was a factory solution from a different VW but I had been putting it off as the pedal boxes are hard to find and some what expensive. Anyhow I have been waiting a month for this to arrive from the UK. have recently upgraded from the flux core to a proper welder. (Nothing wrong with flux core but I wanted to up my game) Ground down
- 21 replies
-
- 5
-
-
- 20vt
- volkswagen
- (and 3 more)
-
Hey guys I’m looking to get my car certed in the upcoming months and I was wondering if anyone knew of a brand of tire that had a tech sheet that allowed a bit of stretch. I have a 3 piece wheel that (I think) is 8 inch wide. So worst case scenario I will buy some smaller lips for the wheels. But I’m currently running a set of 195 50 15 not a huge amount of stretch but outside of the guidelines non the less. So just trying to gauge what my best option from here (trying to be legal)
-
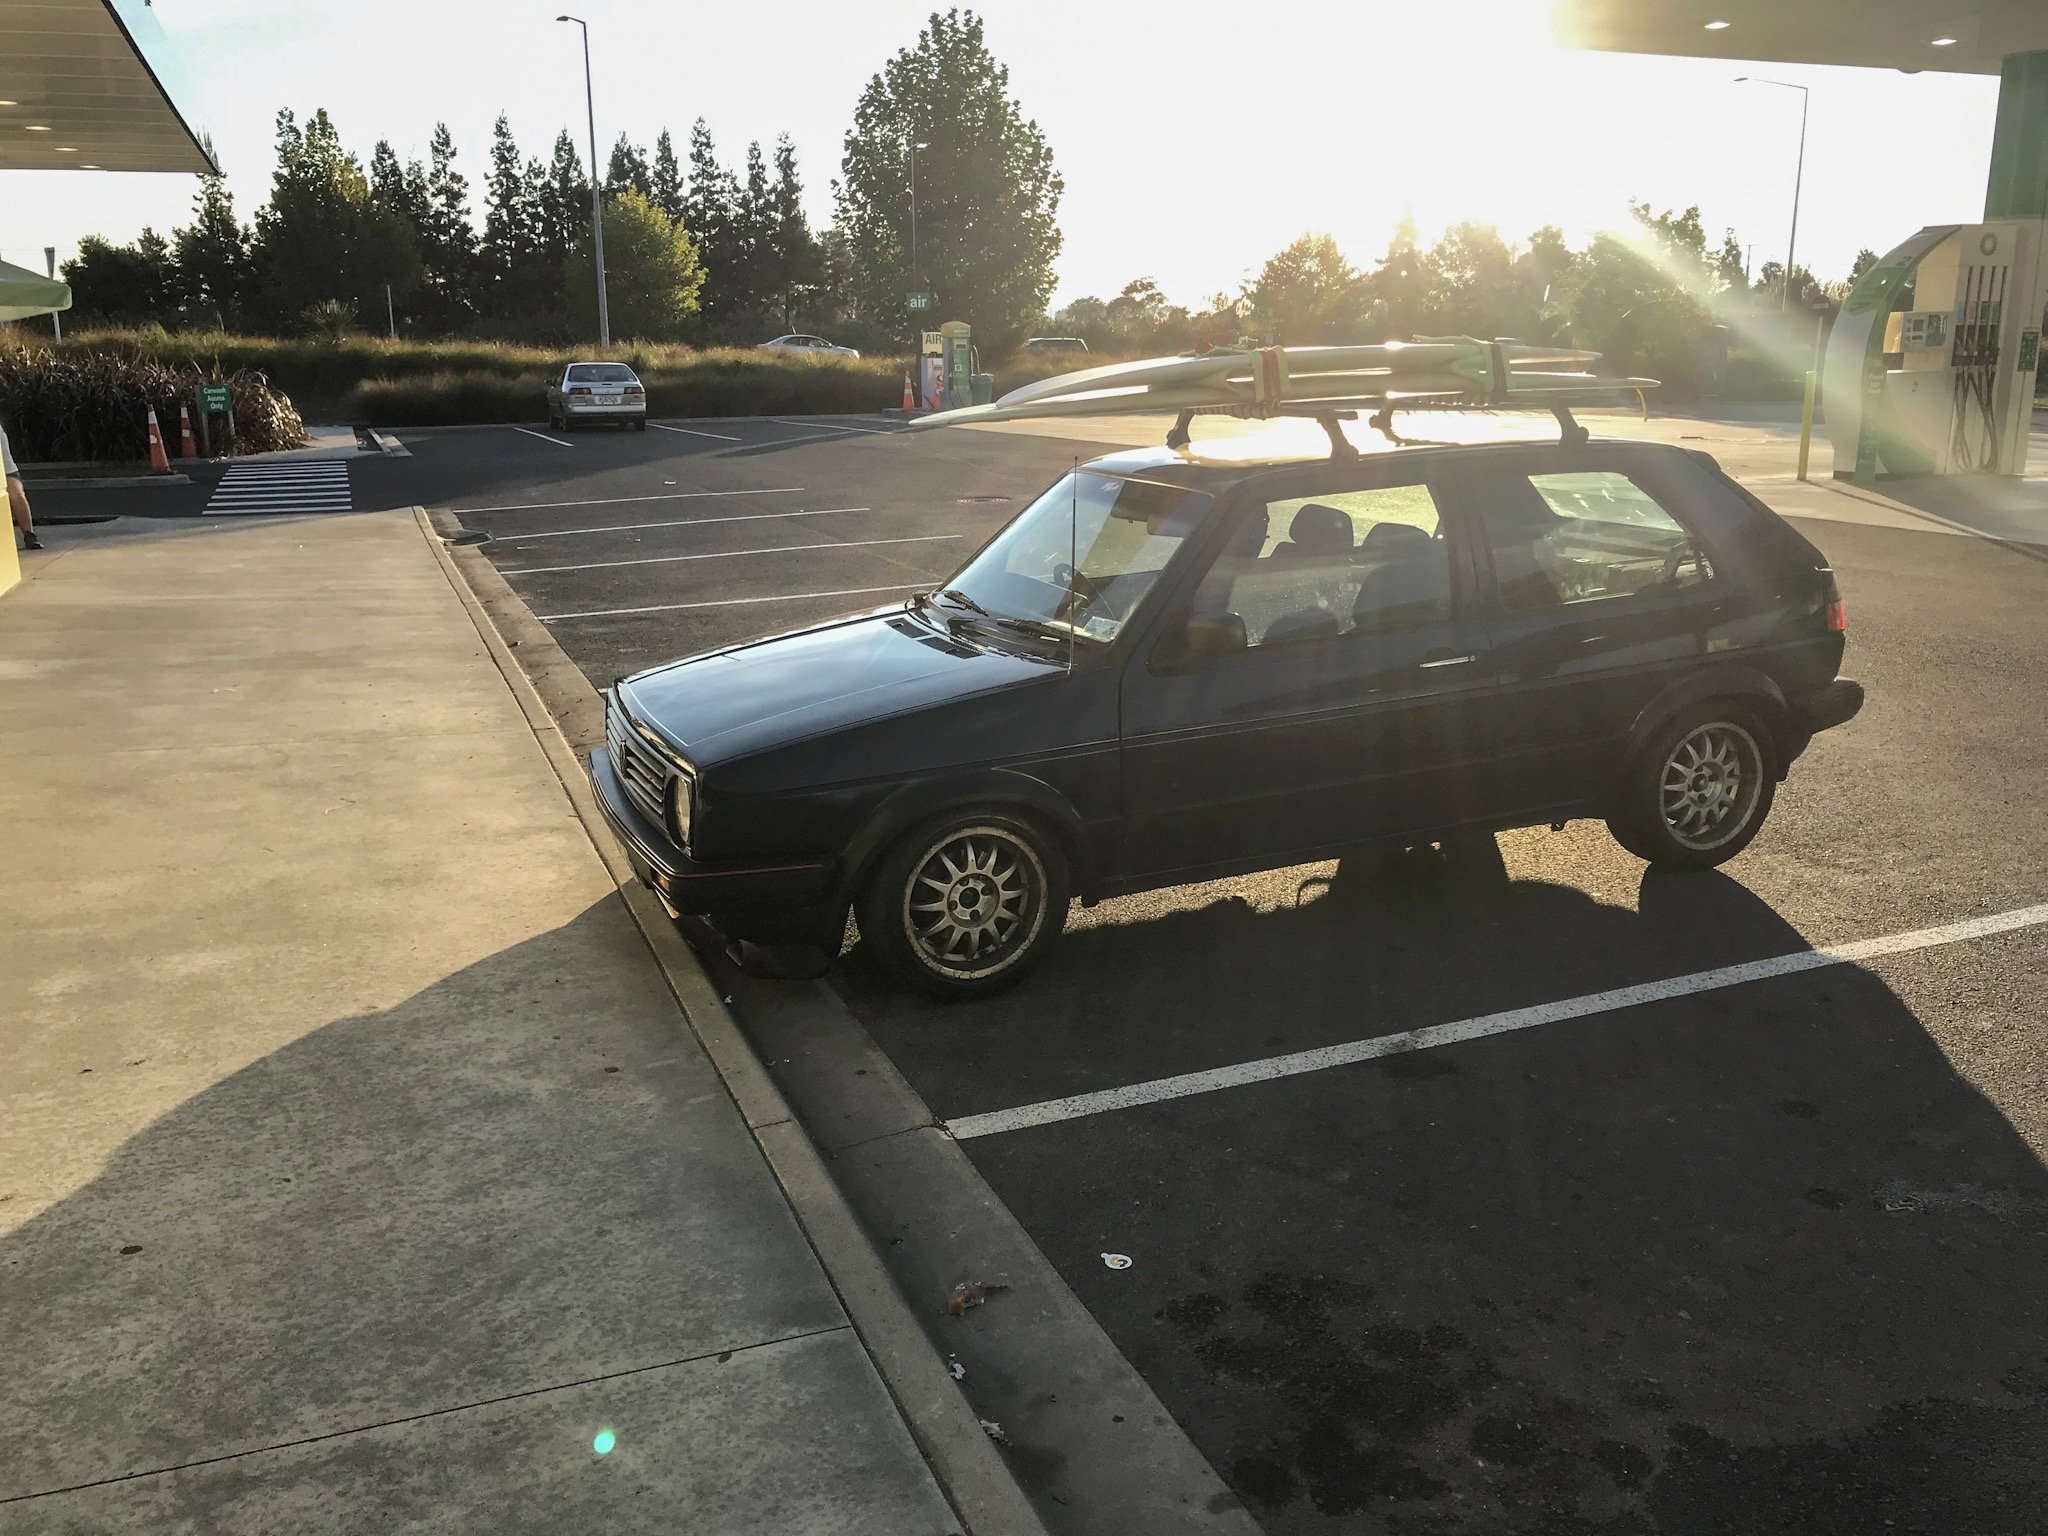
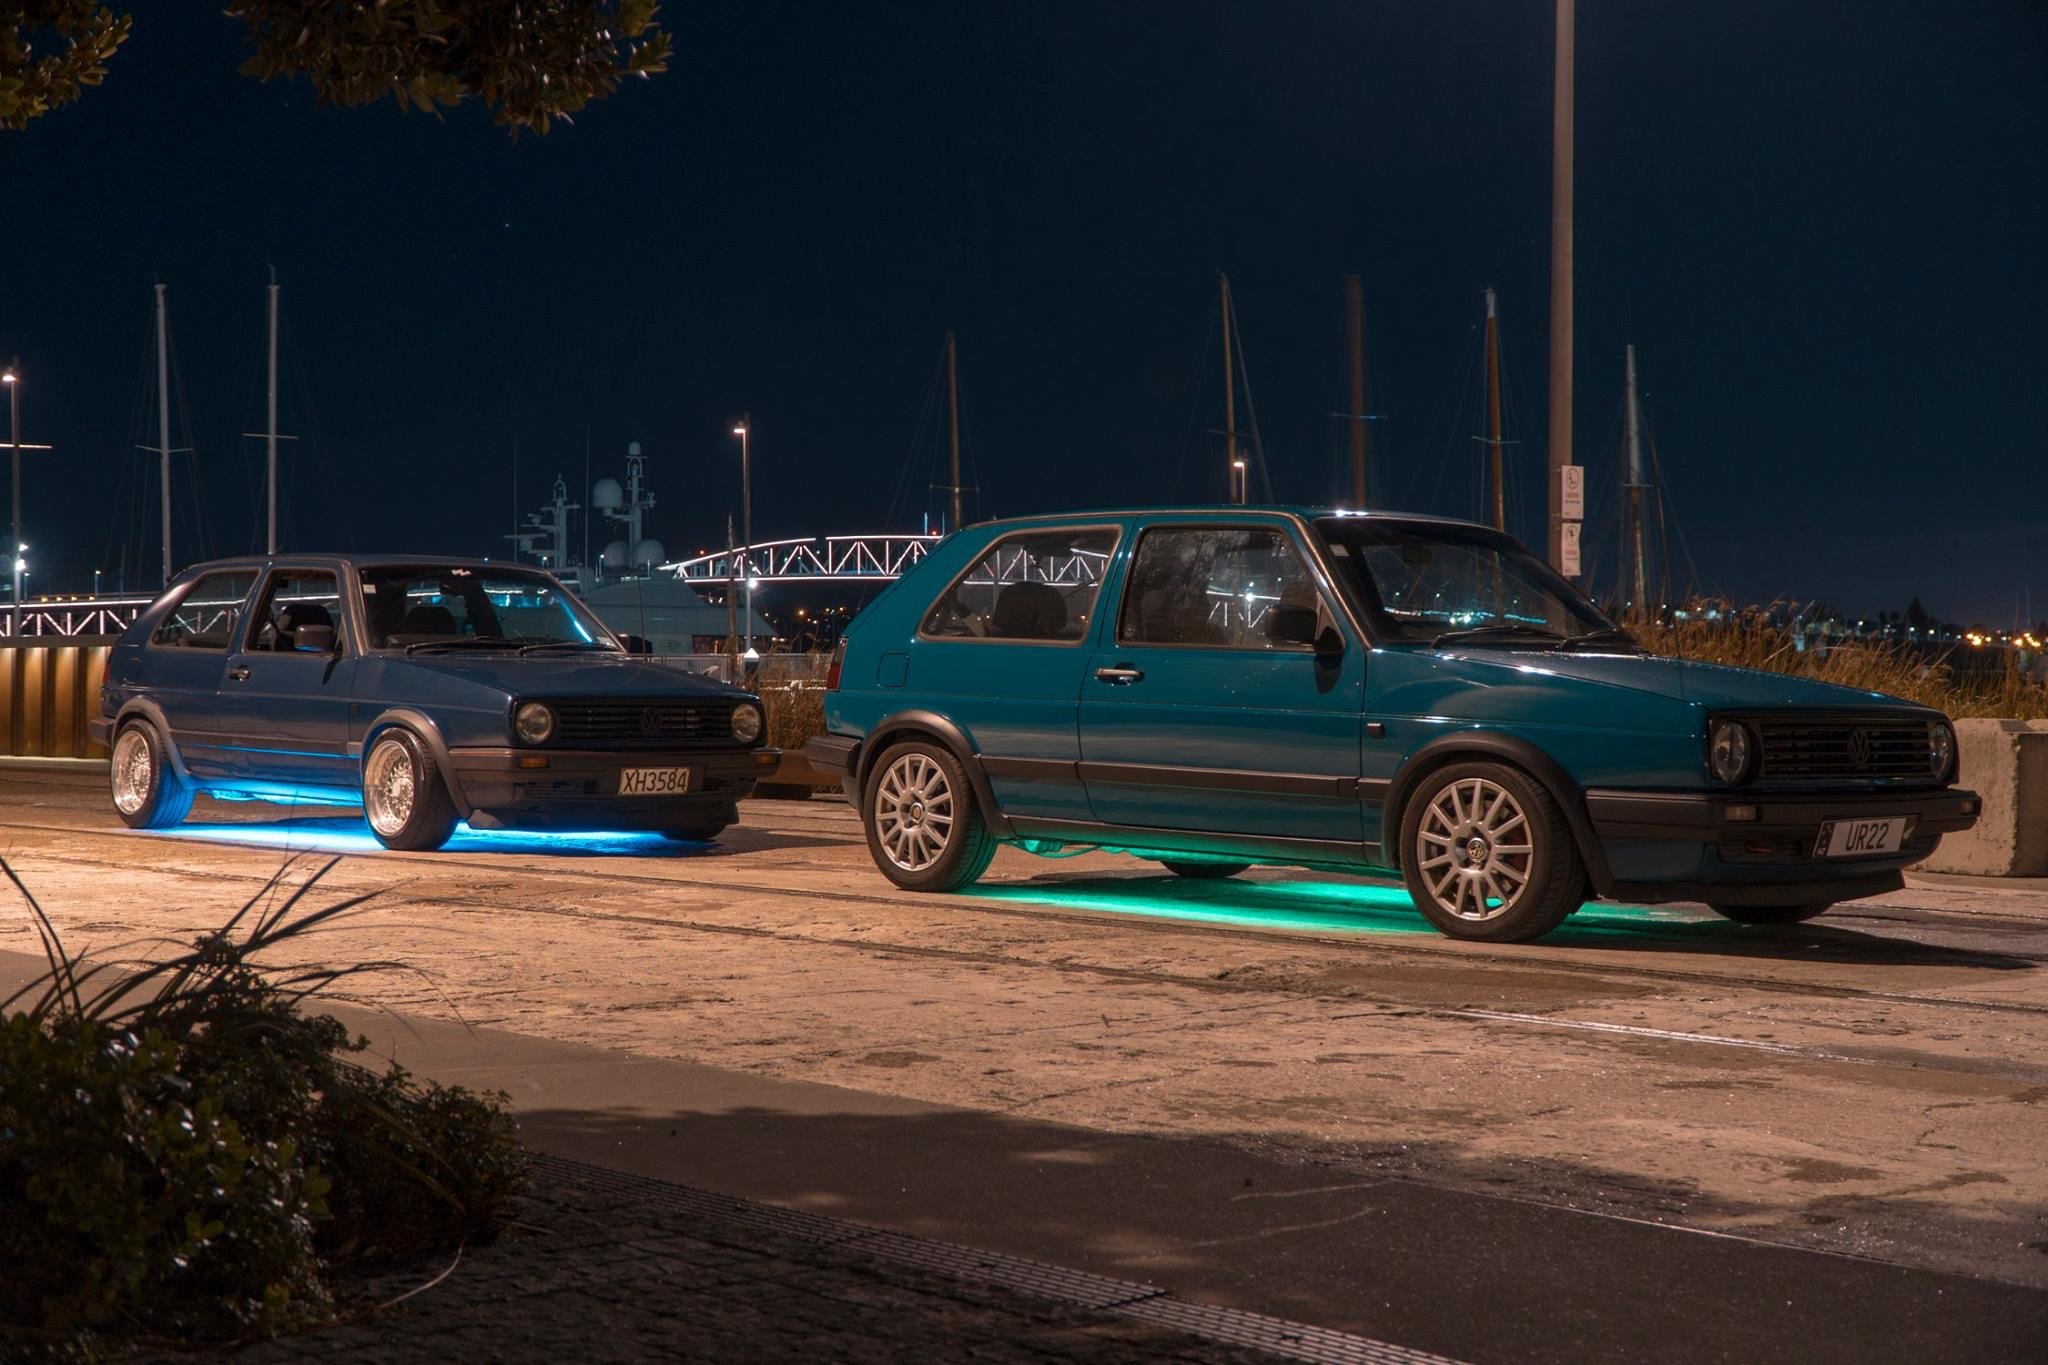
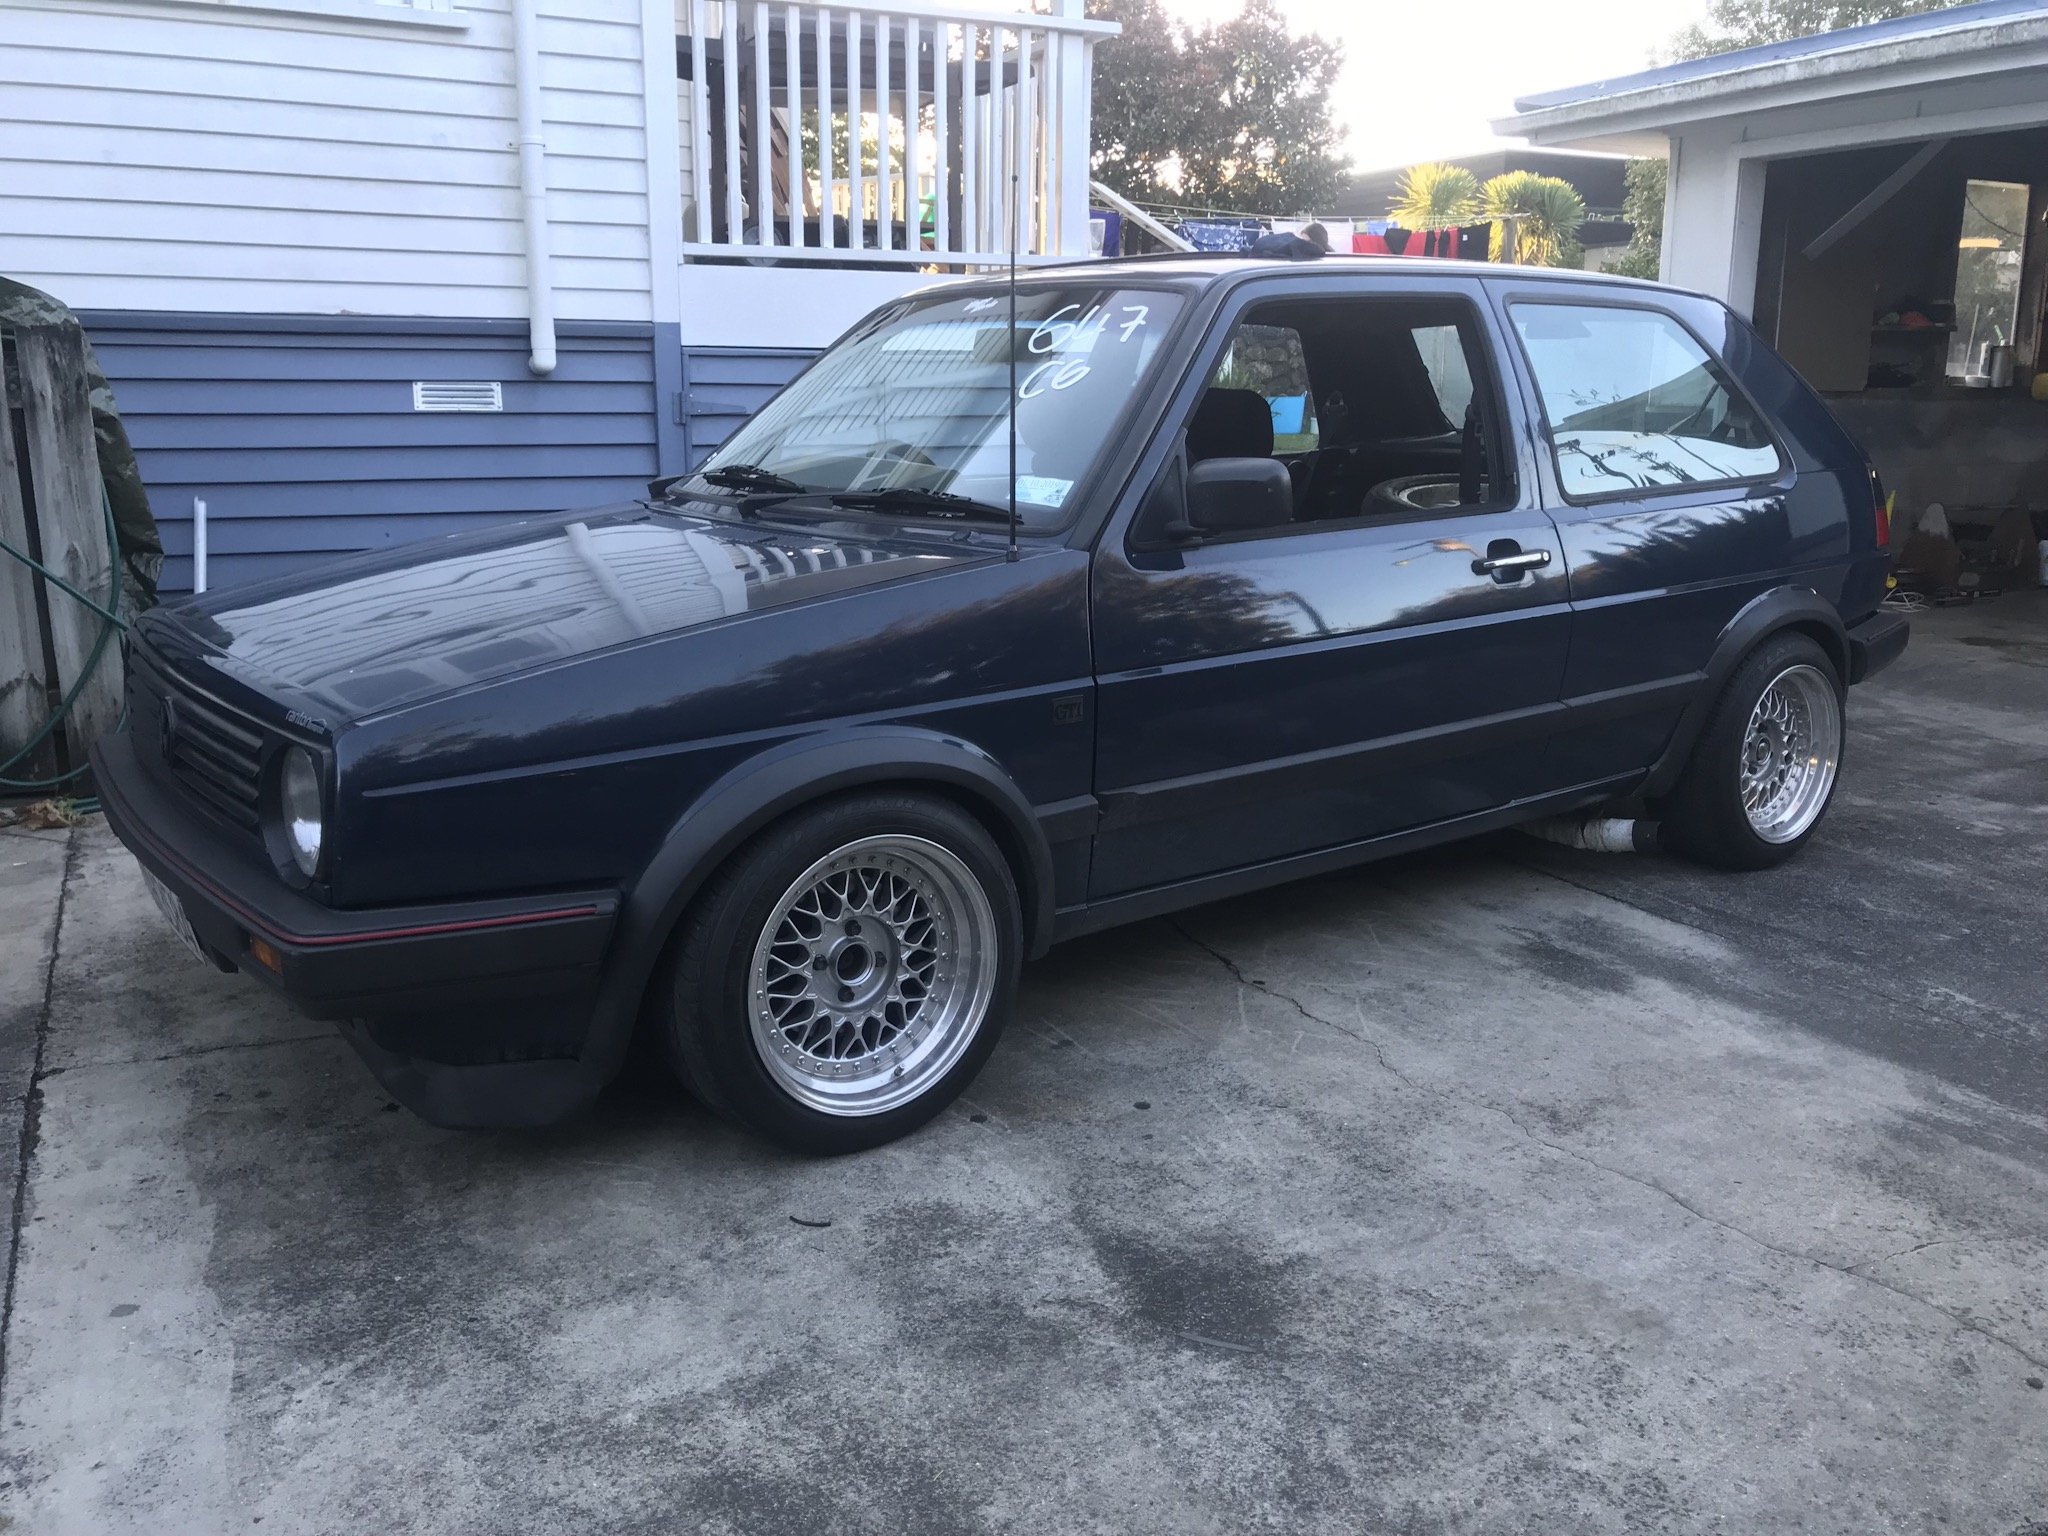
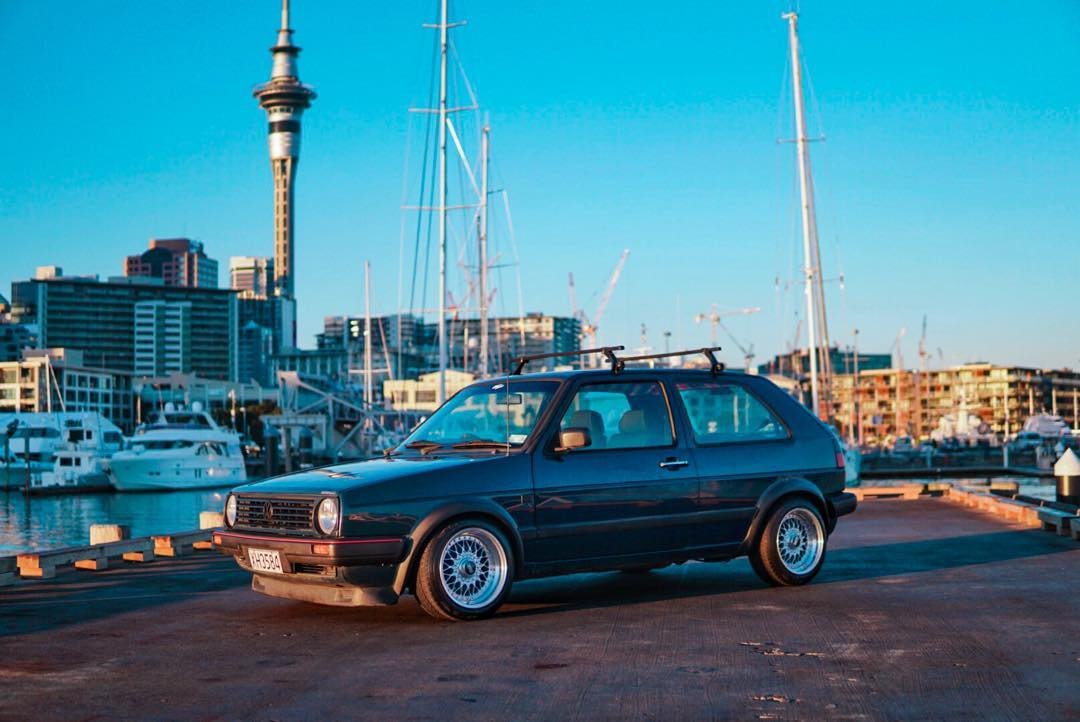
Made a bit of a drive to raglan so we could go for a surf. Made for a brilliant cruise, really couldn’t be happier, would be nice to put a lower 5th gear in it for cruising but I’m not to fussed. Also made sure to take the piss a bit with the neons
- 21 replies
-
- 16
-
-
- 20vt
- volkswagen
- (and 3 more)
-
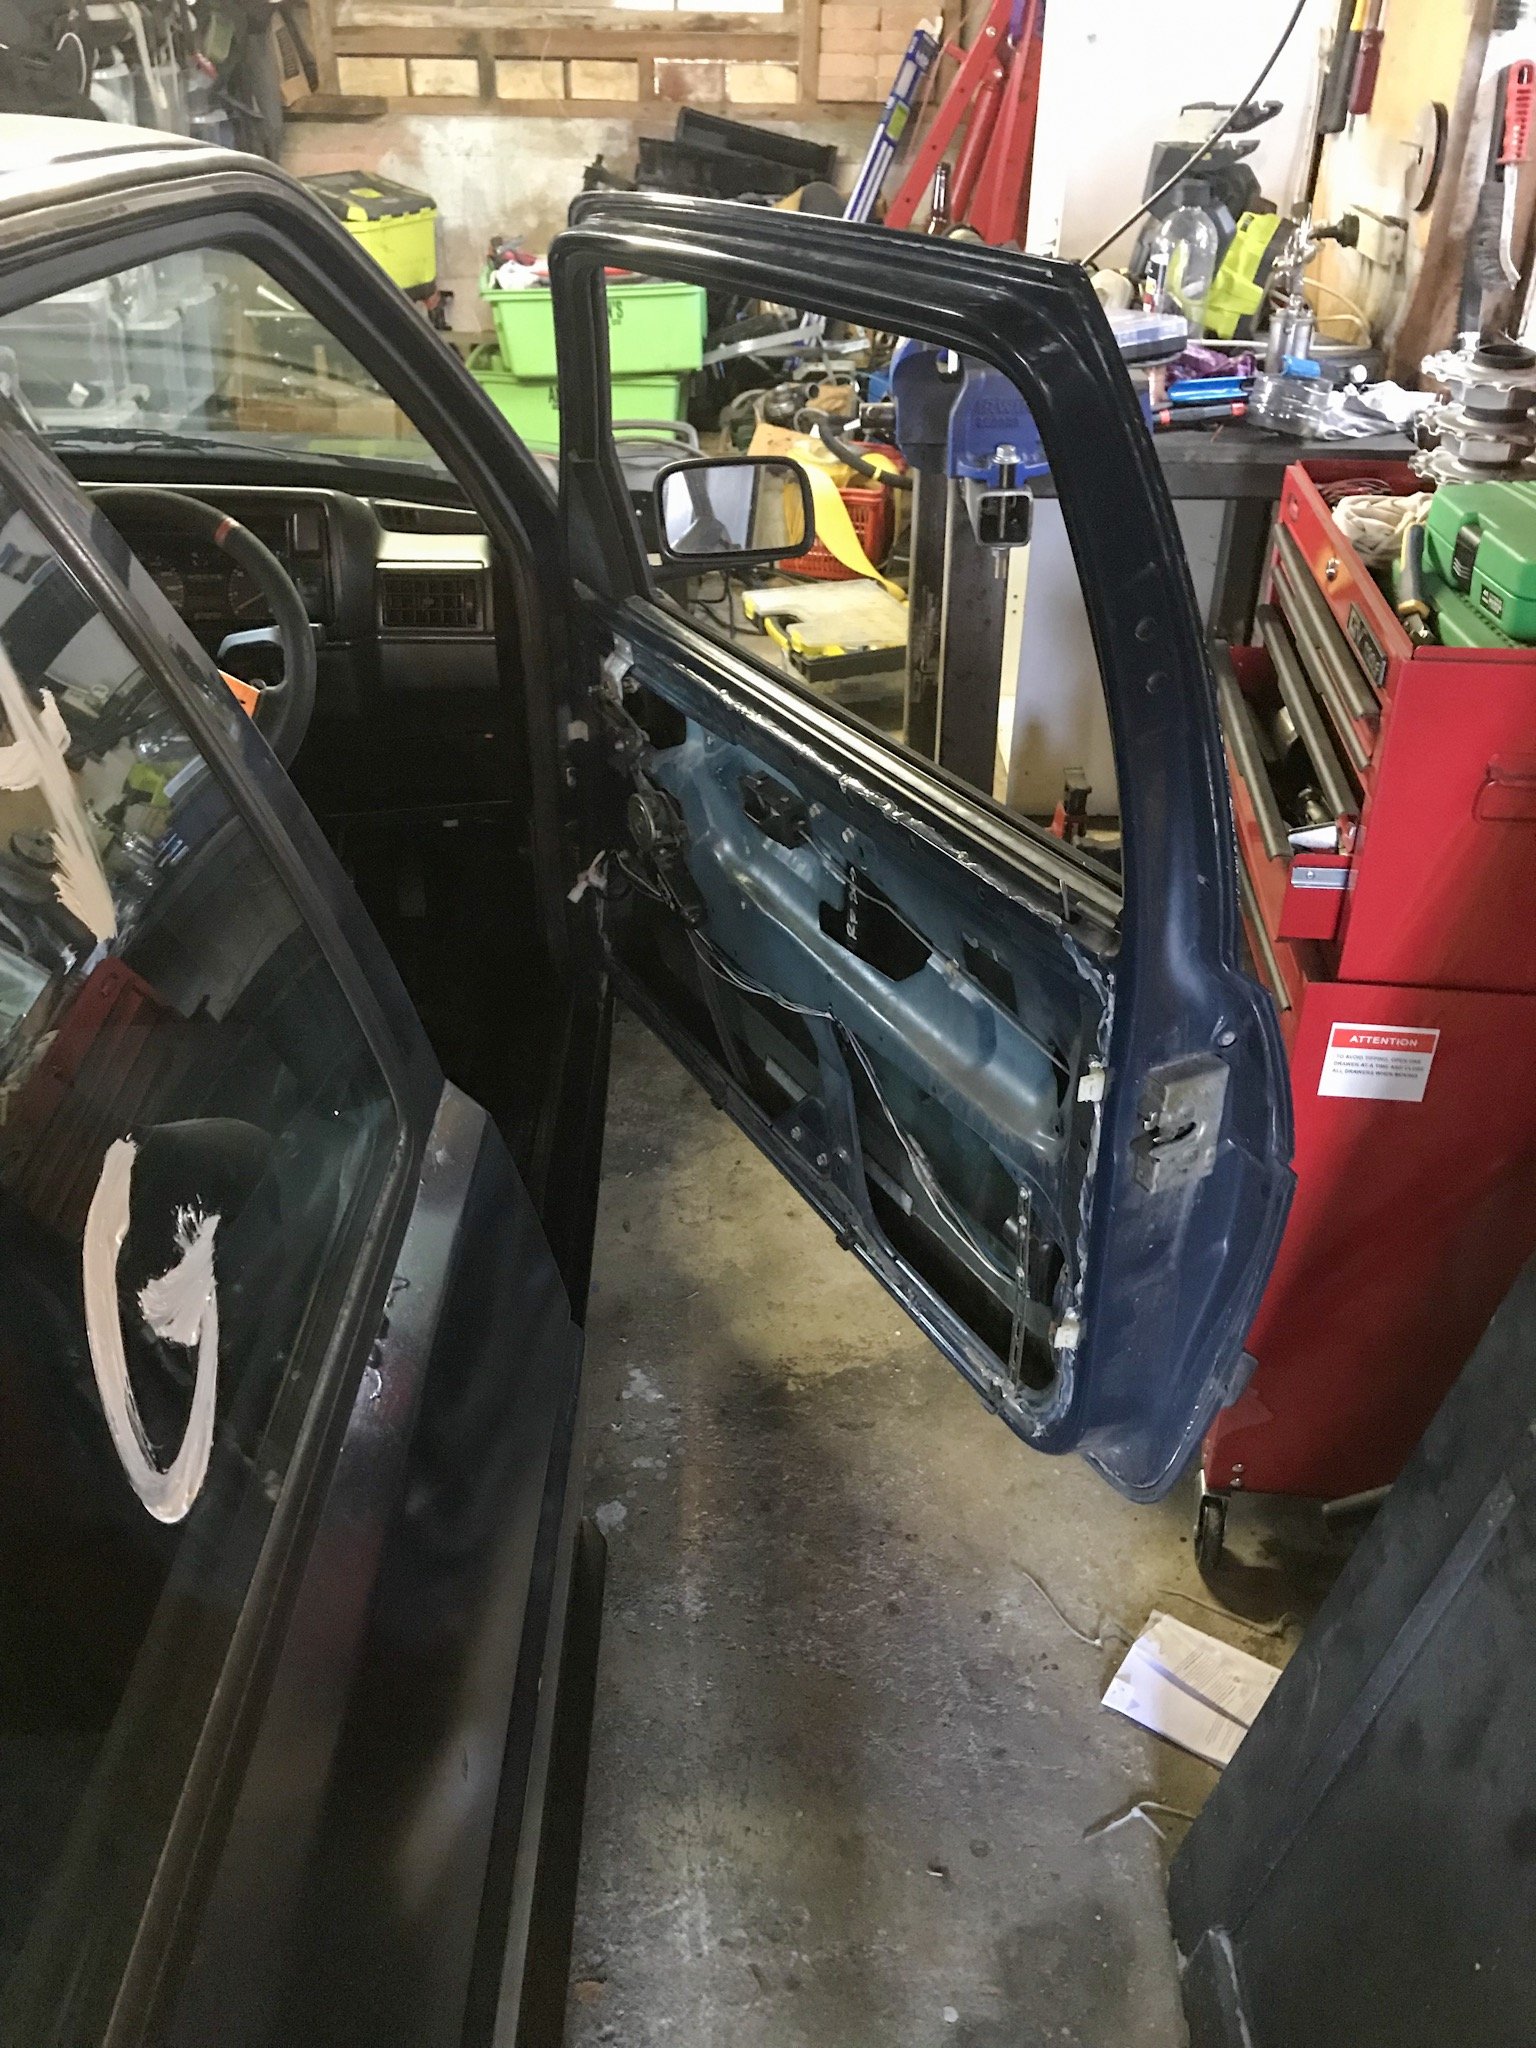
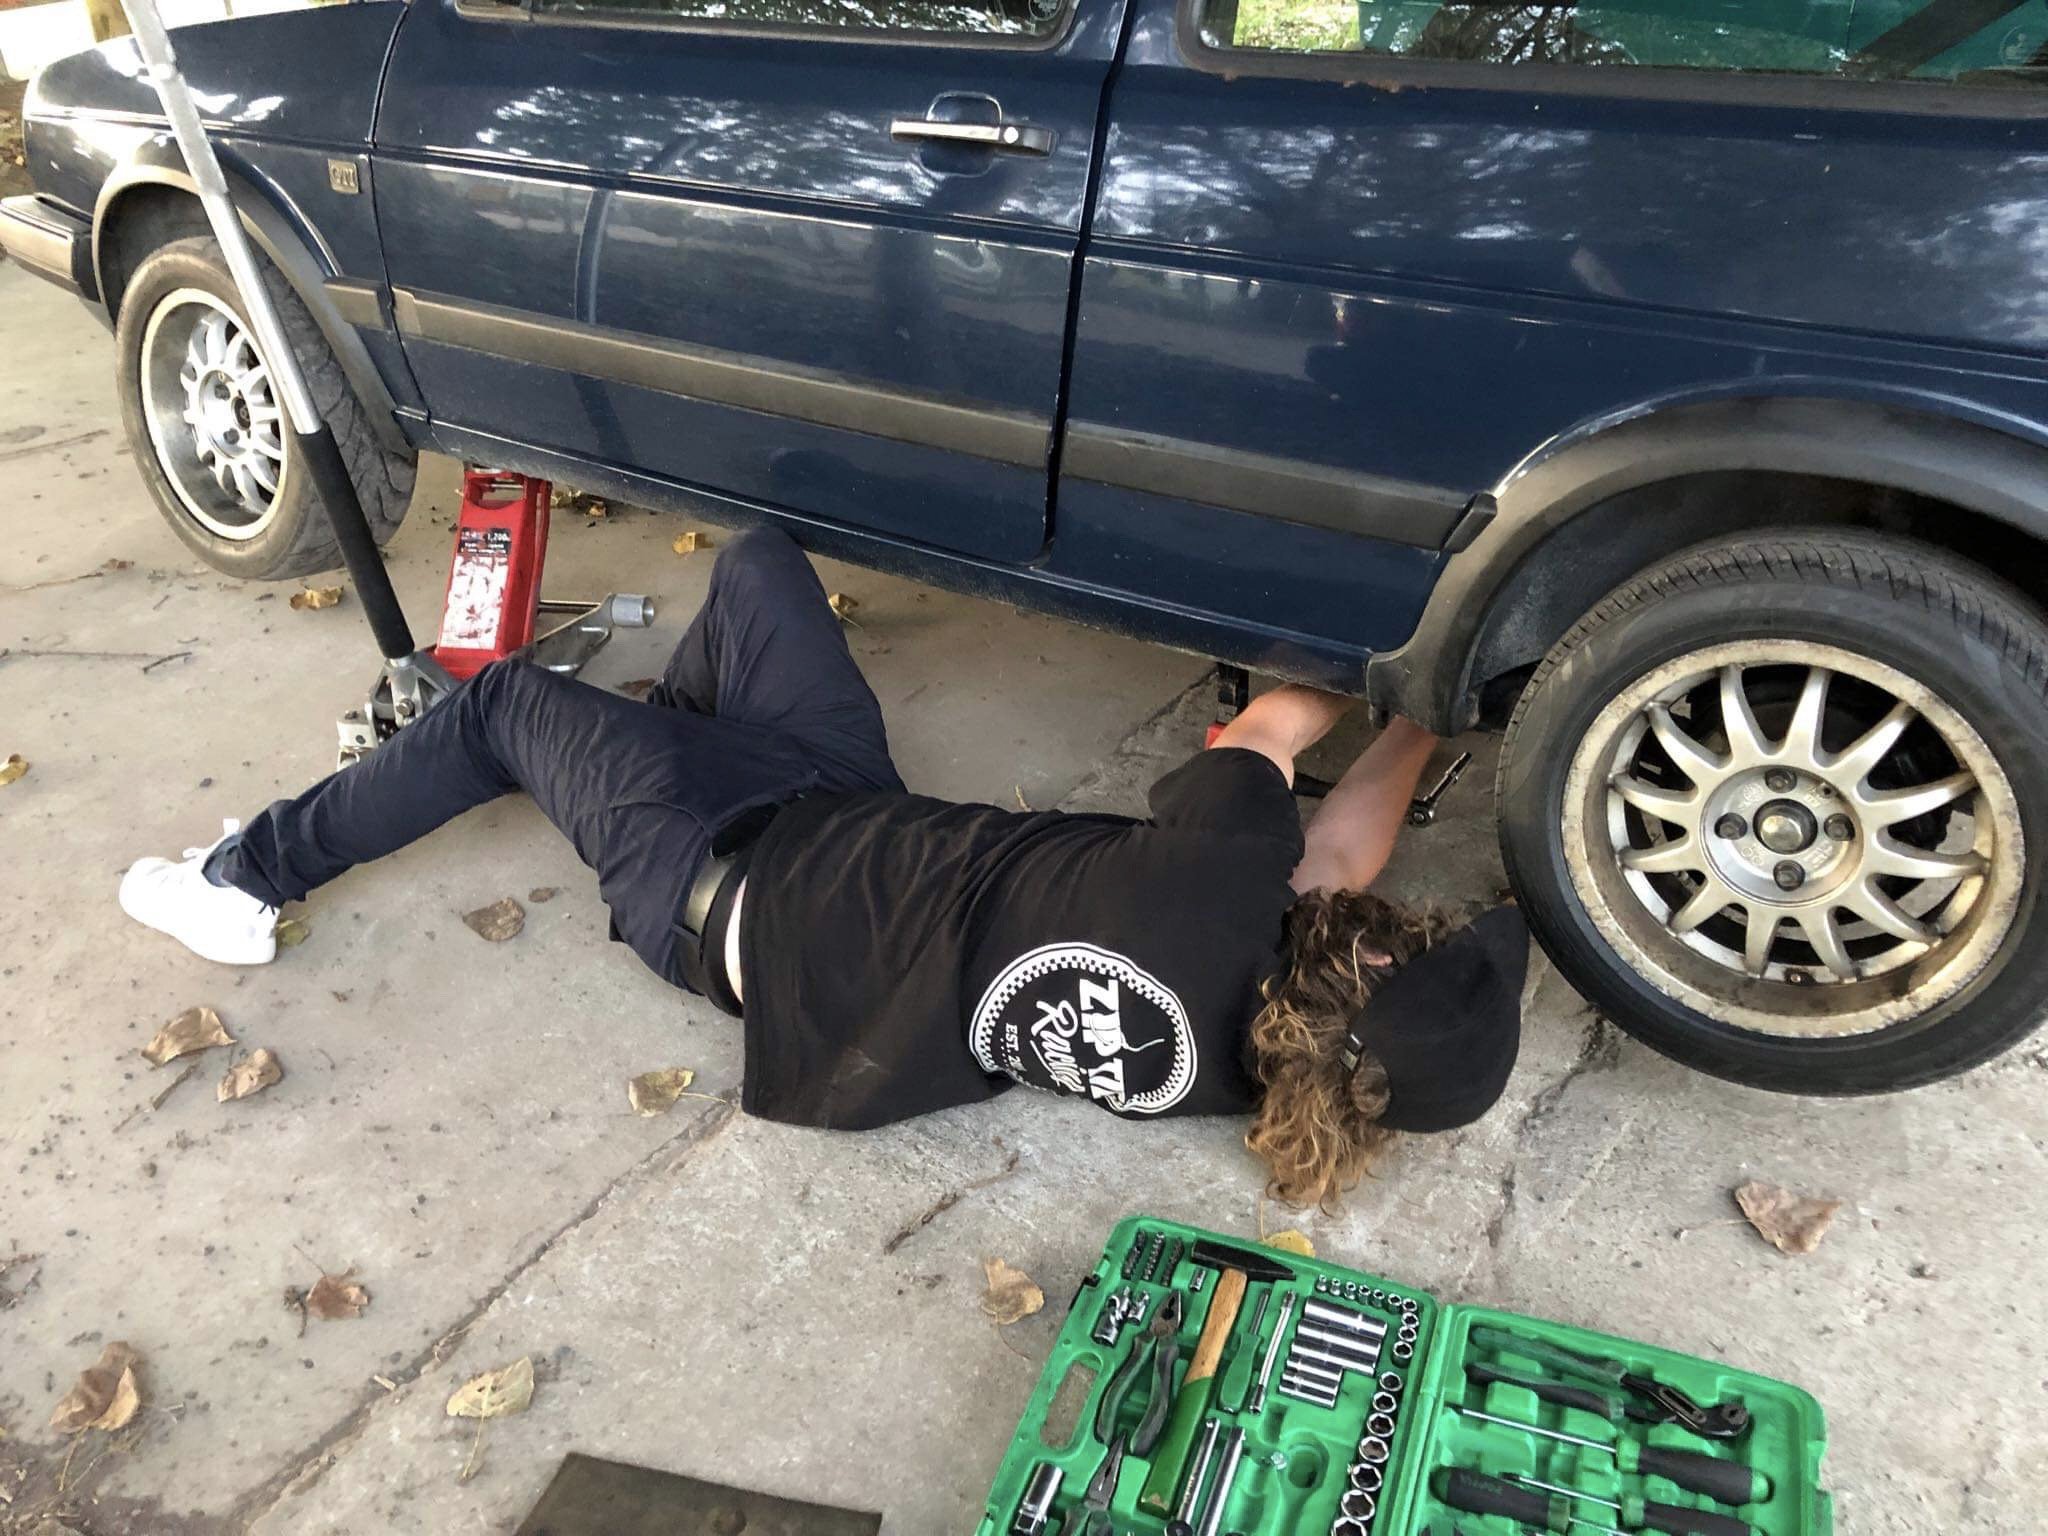
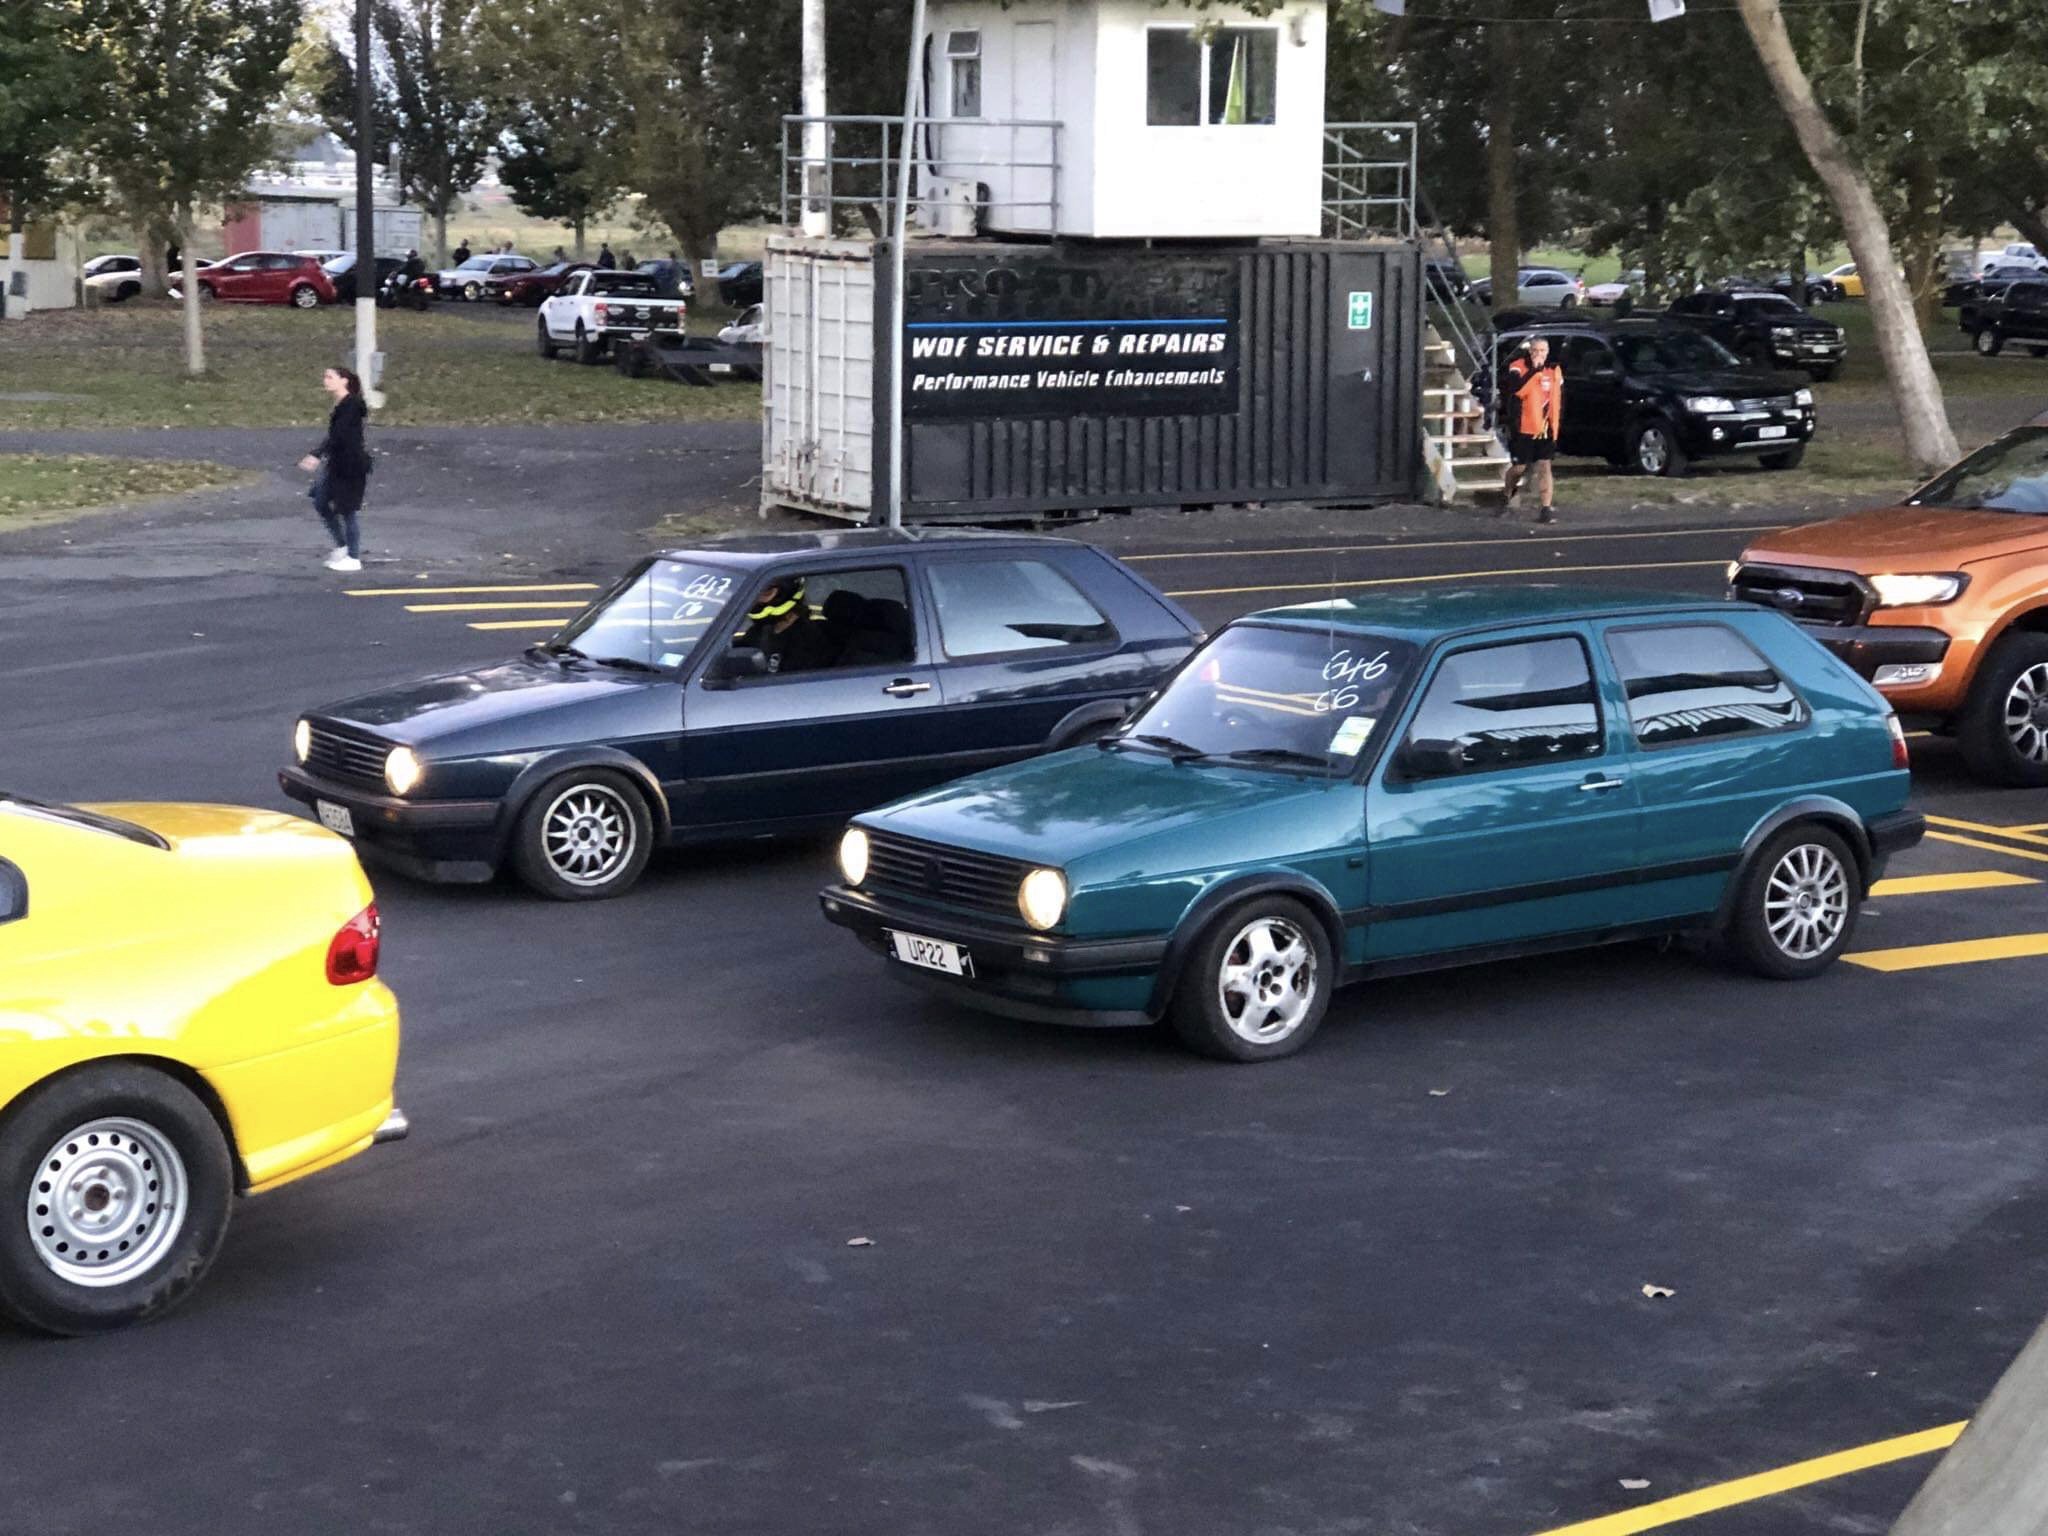
Still having issues refining the clutch but I took the dash out and removed the pedal box completely so I could sort things out such as master cyclinder binding up. Aswell as my quickly engineered clutch switch I did the first time was a pretty flexible bolt on option which put a lot of strain on the switch itself. So with the pedal box out I was able to weld my little bracke in place. Went drag racing again on cheap street tires, Got a new pb of 14.3 I had a bit of issue trying to shift quickly so thinking I might need to get a rebuild kit for my shift tower but had a bunch of fun. As we got to the drags my window fell straight to bottom of the door which was a bit of a pain, had to cable tie it in place so I could race for the day but fortunately I had a old regulator so just swapped it over a couple days later.
- 21 replies
-
- 2
-
-
- 20vt
- volkswagen
- (and 3 more)
-
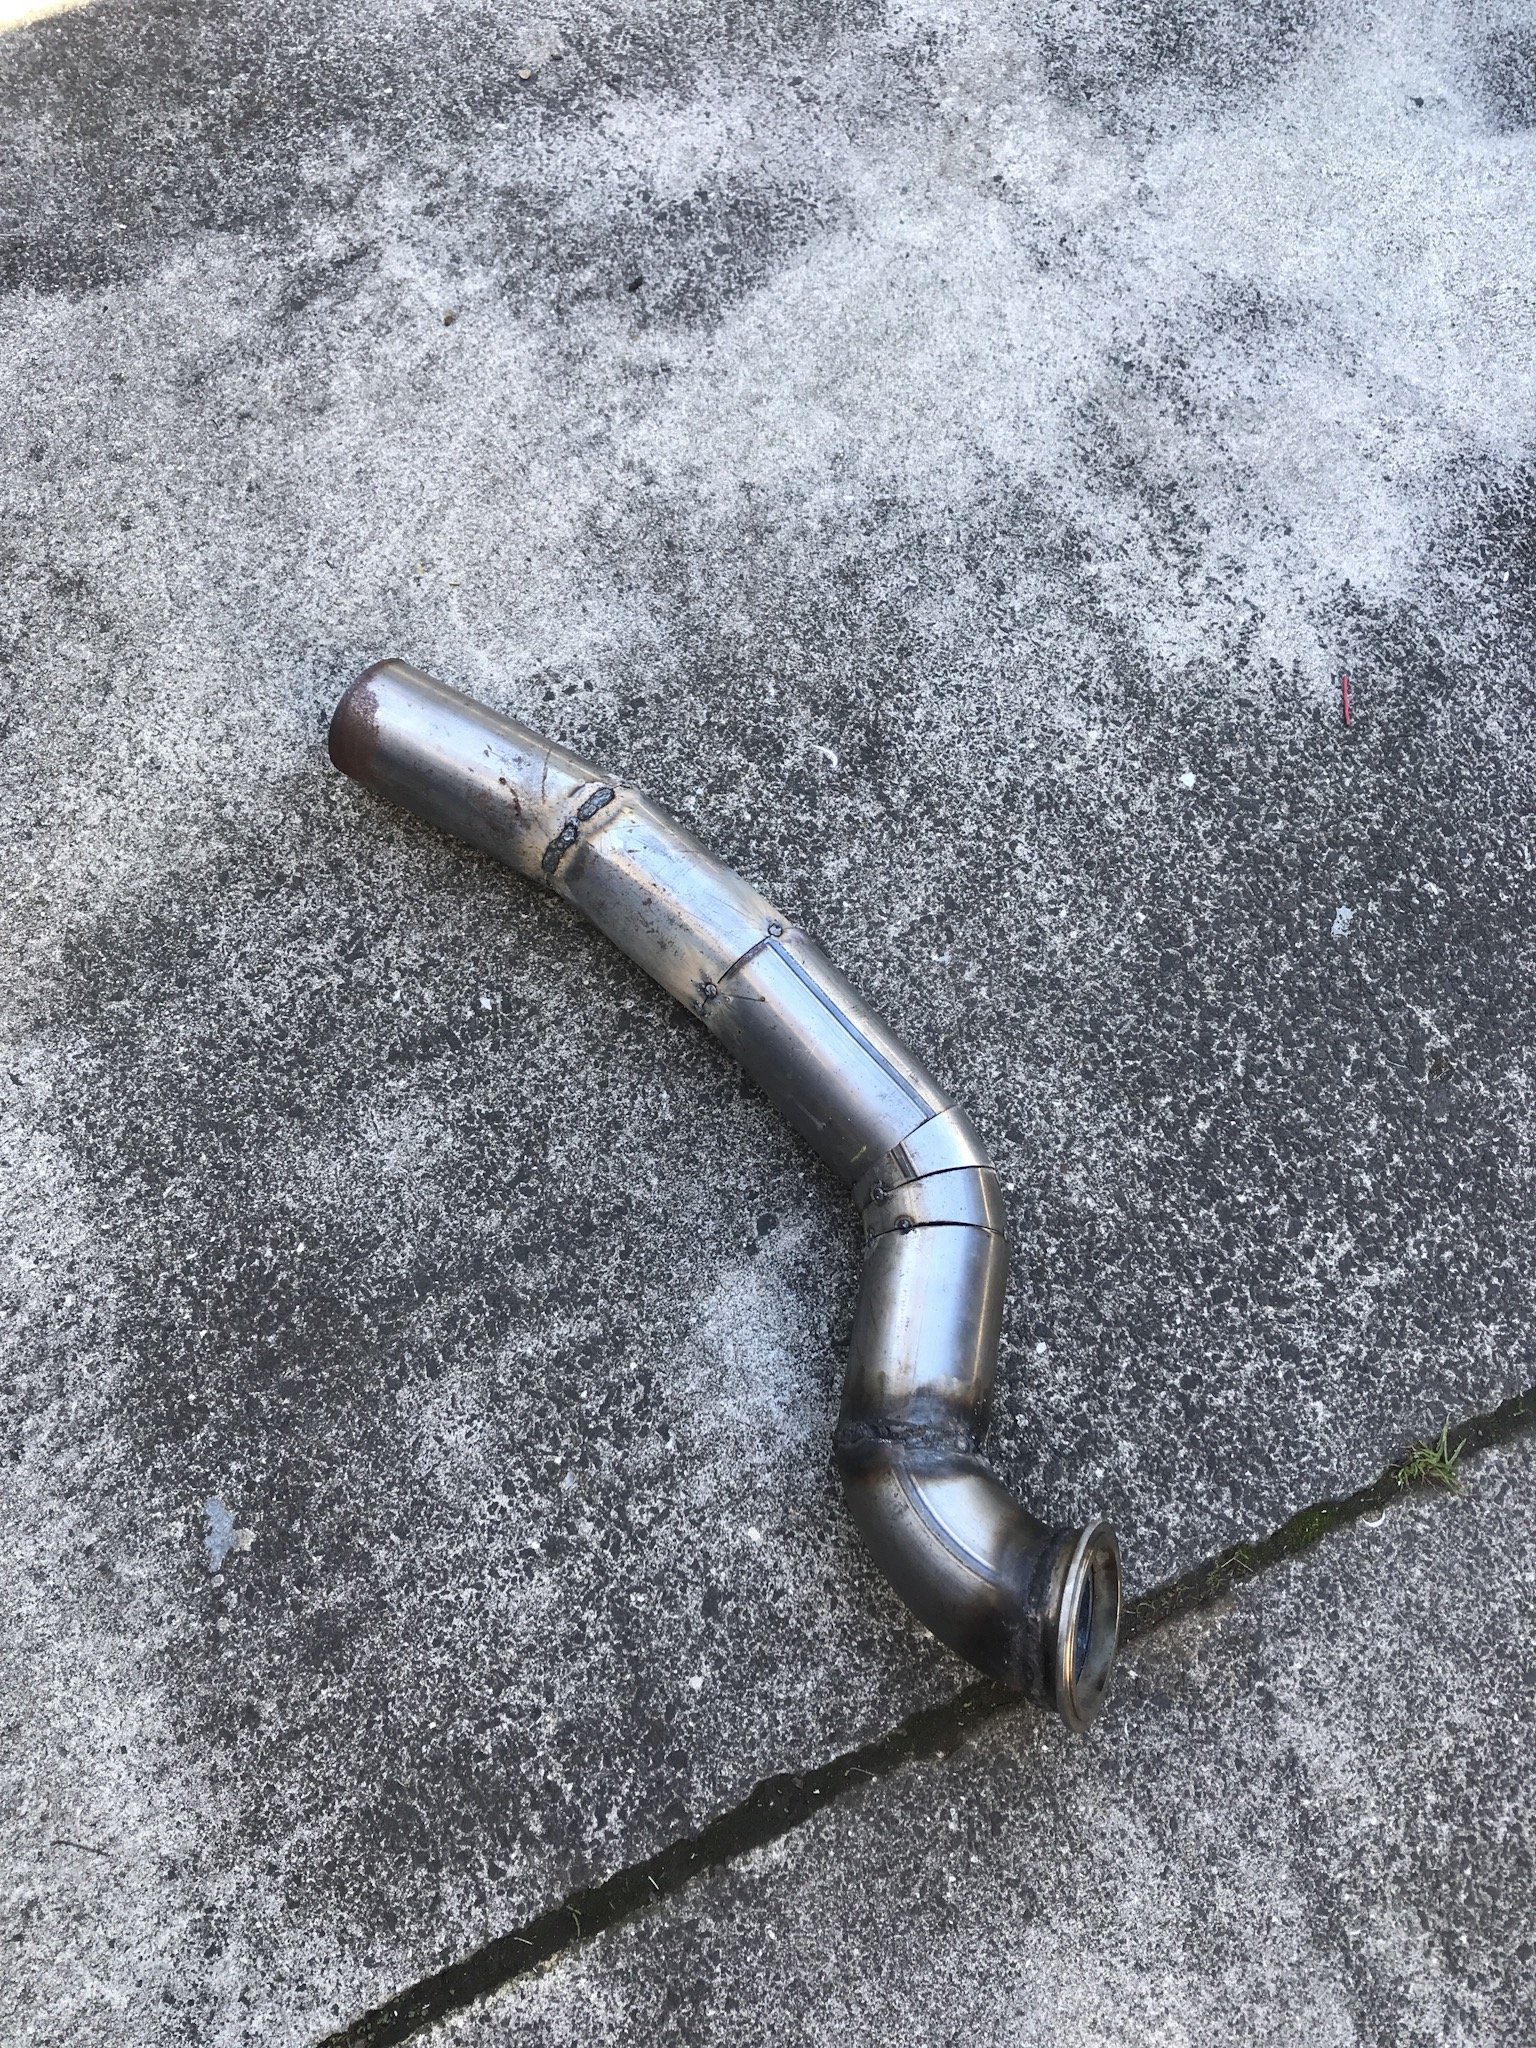
So first driving impressions were ‘who the hell thought it would be a good idea to put this much power to the front wheels’ but I’m very happy with not going any bigger of a turbo as it seems to have the power right where I want. It has great low end torque and a decent top end aswell. Anyhow, the car was running so good and even though I never really intended to build the car for it the last night speed drag was were coming up. There were import things to do like change the engine oil and get some semi slicks mounted up. But I did also have a bunch of left over exhaust pipe and a spare v band so it would be silly not to make a side pipe first? don’t worry I finished welding it and then gave it a bit of exhaust wrap and paint. installing it at the drags cause I didn’t need any attention from the police. had a tonne of fun, only managed 4 runs and blew a tire on the last run. First time ever drag racing so times were nothing special (14.6 was my best and I missed a gear) but I’m already looking forward to next season night speed wars.
- 21 replies
-
- 15
-
-
- 20vt
- volkswagen
- (and 3 more)
-
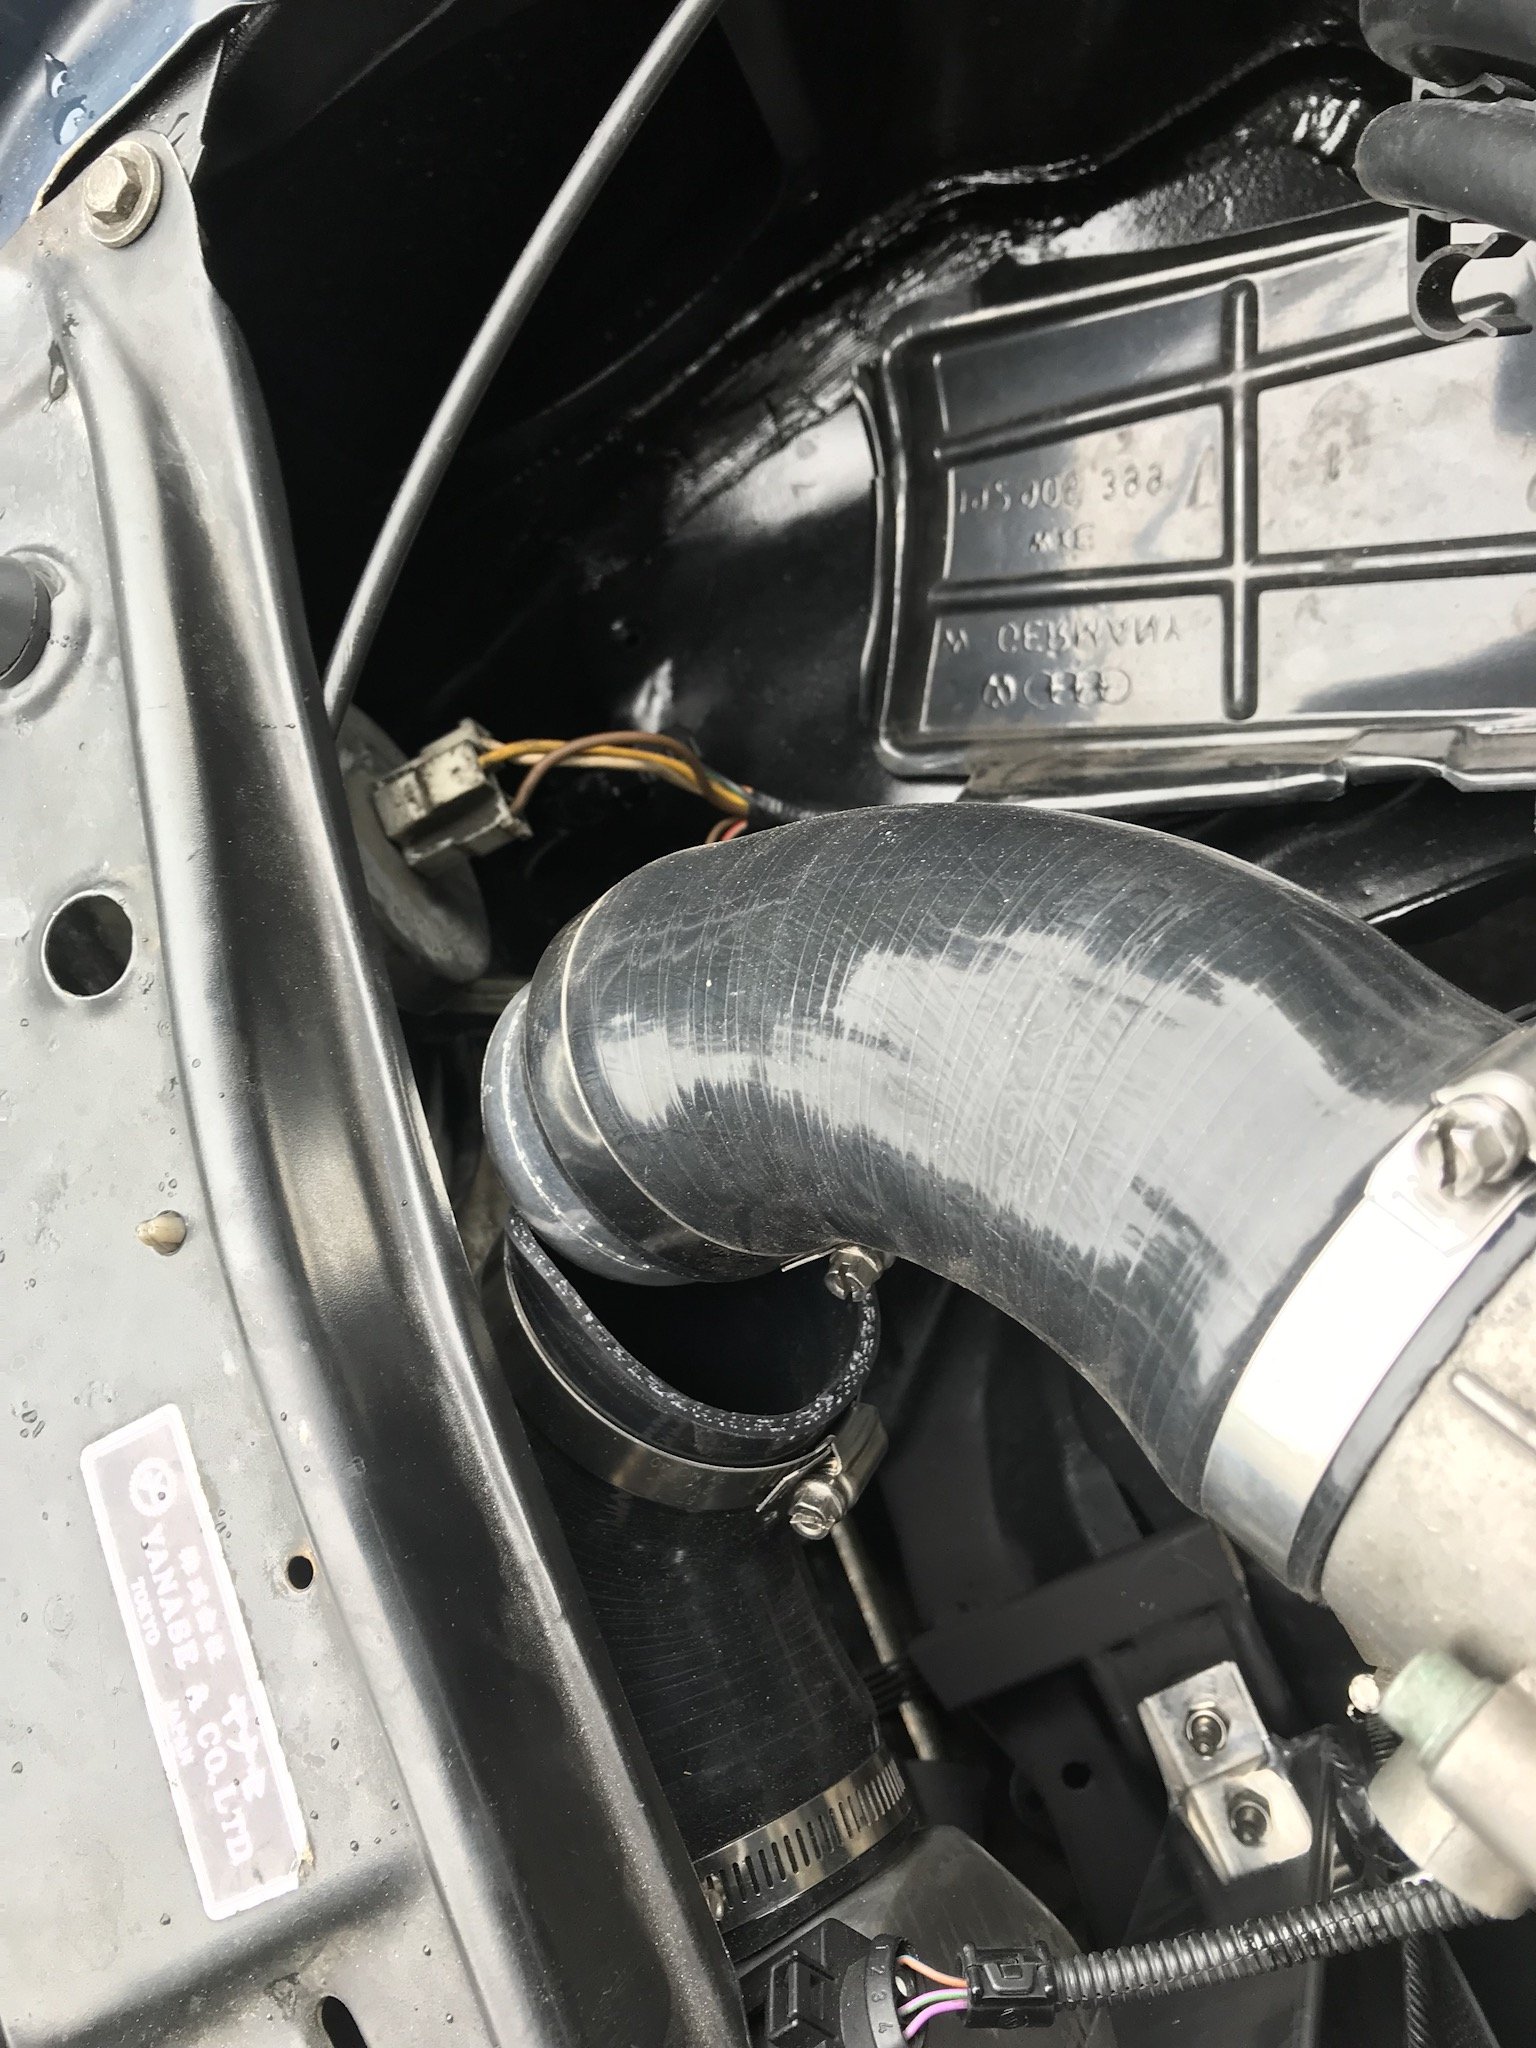
Car was closer to driveable, clutch feels great apart from it doesn’t go all the way to the floor but the tune was a bit of an issue the car would surge a bit from 3 - 4K rpm. Got a friend to log it as I drove around the block, did a little pull and lost power he said I was making 18psi then nothing almost like the map sensor had blown. Got back to the driveway thinking the worst, turns out I’m just a muppets and couldn’t do a hose clamp up tight enough. With this done we were able to send some of the logs off to some people overseas who did some wizardry and came back with the first solid tune that I am running and the car drives awesome! After this I did some of the usual spanner checks as well as changing the gearbox oil and checking fluids.
- 21 replies
-
- 9
-
-
- 20vt
- volkswagen
- (and 3 more)
-
Hey Duncan, sorry only saw this message now, the car goes awesome, I’m slowly updating the progress a little after it happens, I started the thread a bit late. Come by sometime and you can take it for spin some time dude!
-
So the car was running but the clutch felt horrible trying to get it in and out of the driveway, combine with a bunch of mods that hadn’t really been accounted for in any sort of tune the car was not drive able. I was pretty frustrated to say the least so I bit the bullet and ordered a kit online that is designed to mount a van style clutch Mc under the dash. I never really took any photos of it installed but it ran for a little (a couple laps of the block) then when I tried to bleed it some more the mc blew a seal, I ordered a new one but either it was different or possibly a different brand I have managed to make it work but it was binding up near the far end of the pedal travel so I put a stop in. As currently this is working but I’m tempted to fiddle with this again at a later date. Anyhow I needed to stop annoying the neighbors and I bought all the stuff to make an exhaust so long ago so I set to work.
- 21 replies
-
- 7
-
-
- 20vt
- volkswagen
- (and 3 more)
-
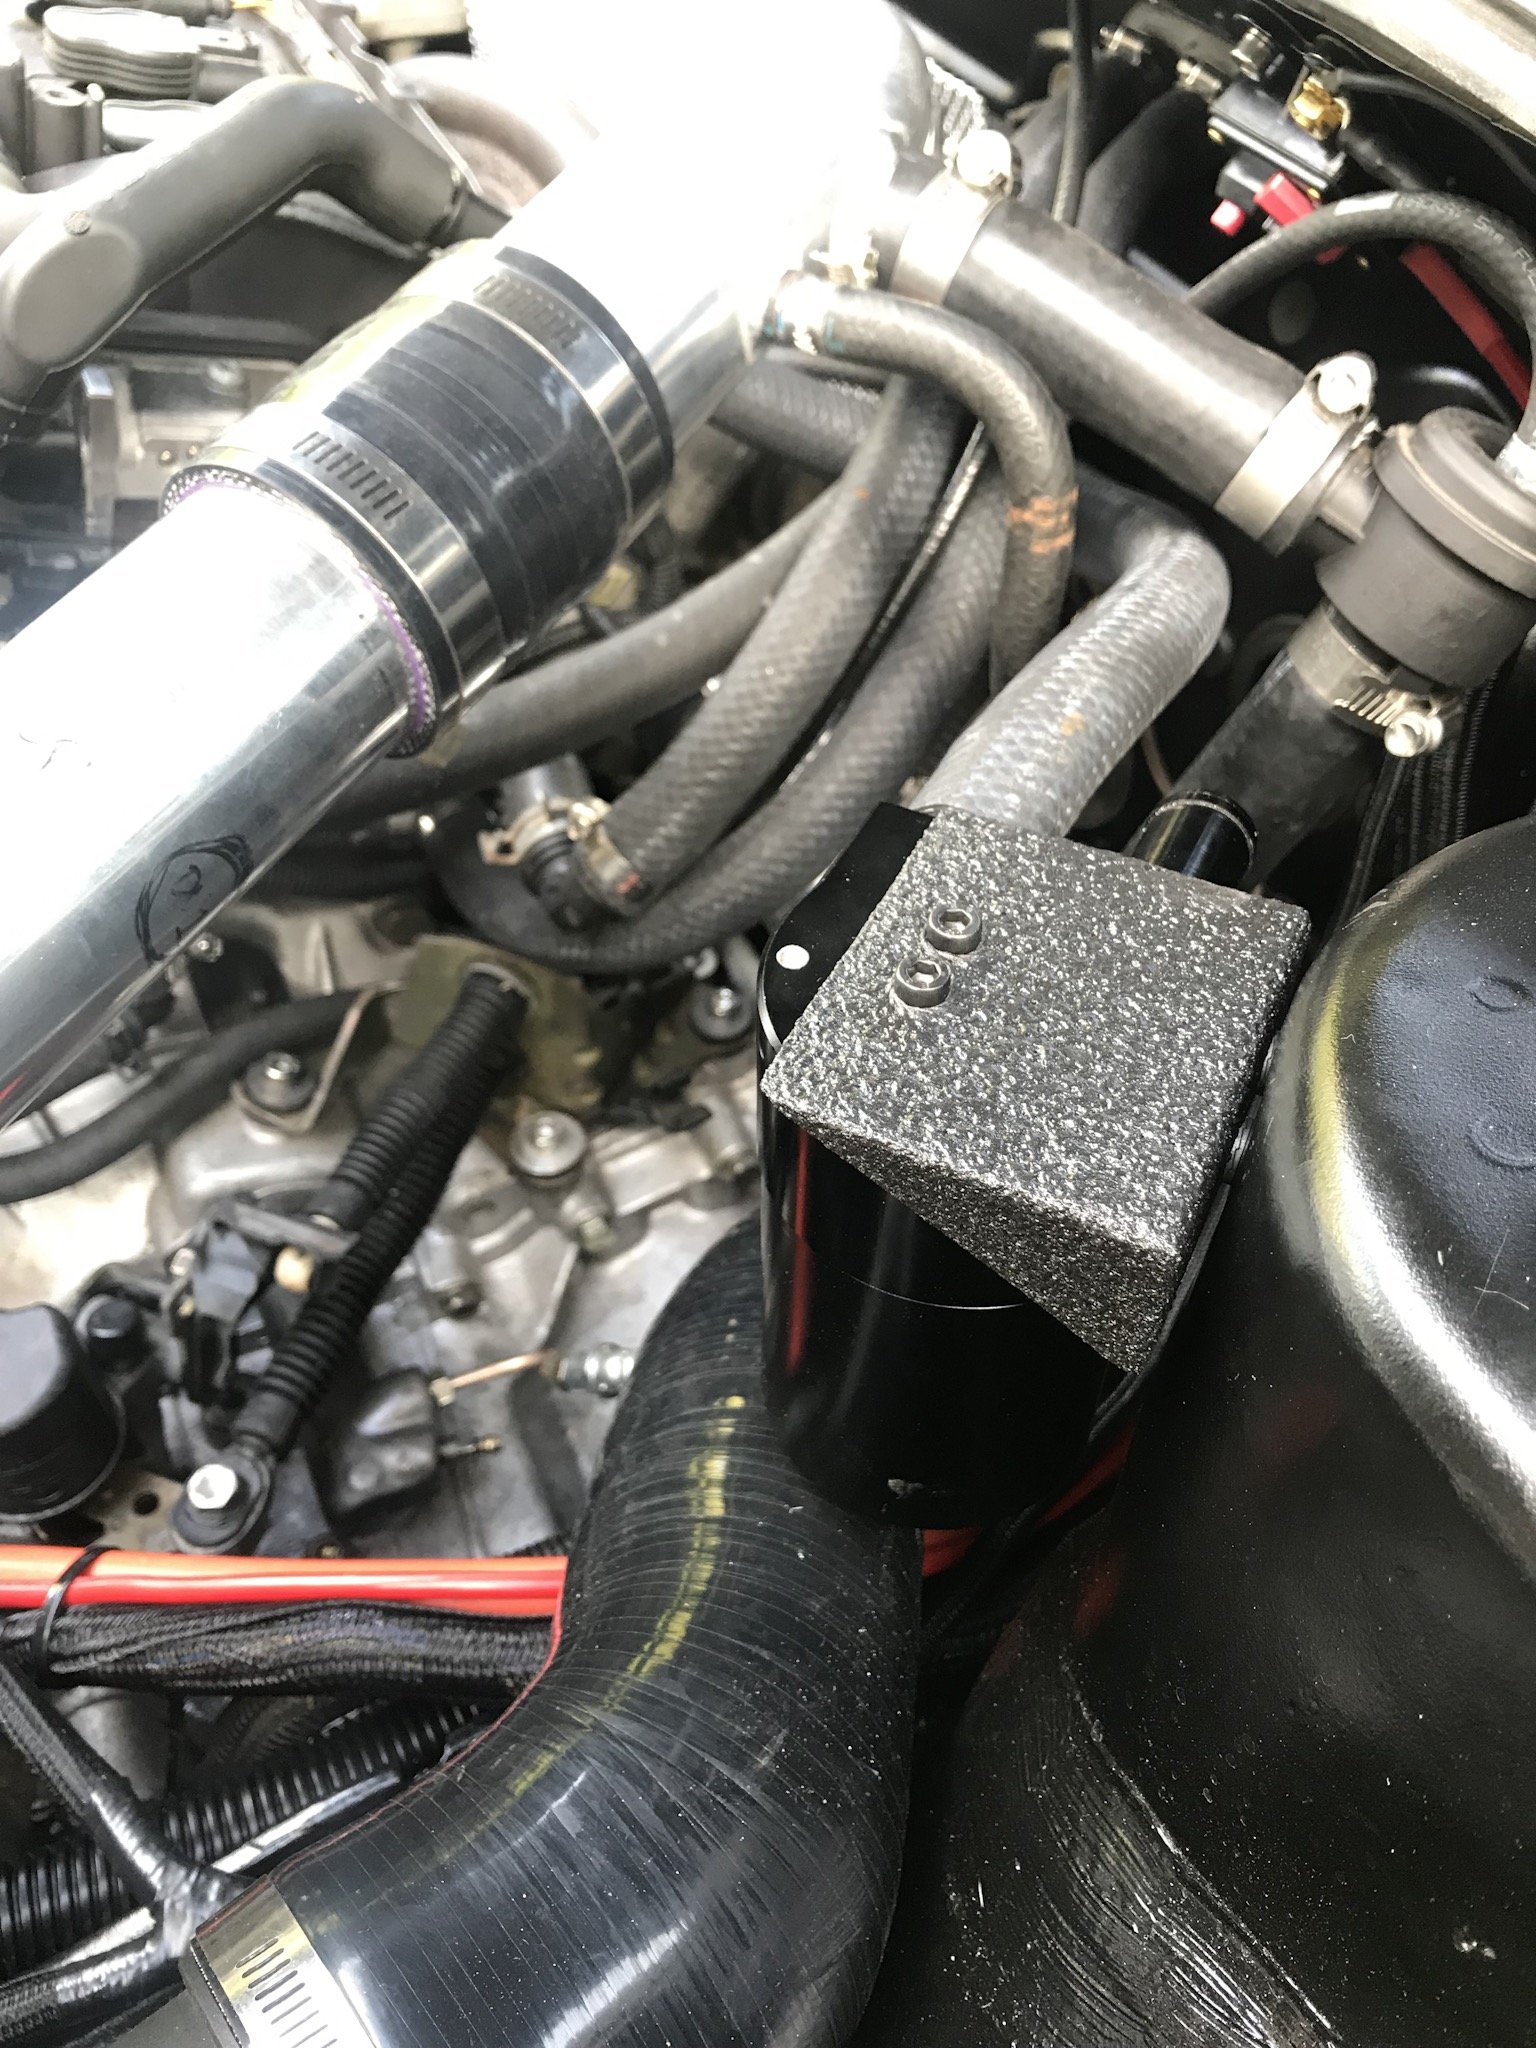
So the car was running, not good (needed a tune to manage those big ass injectors) but was back to fixing and problem solving. I never knew how brilliant having some sheet metal and a weldering was, bit of Pajero bonnet and utilising some cardboard aided design I managed to make a catch can holder added some textured paint and installed. It still needs the return to the intake for cert but for now it’s just breathing to atmosphere. Also my first radiator was leaking and it was from a mk1 so I had to try and source a new one. Turned out to be difficult but I got one similar because we had already raided partsmasters rad hoses and have it all positioned perfectly.
- 21 replies
-
- 8
-
-
- 20vt
- volkswagen
- (and 3 more)
-
We had kind of got it started previous to this but were having problems with the immobilizer. The car would start for two secounds and just die so we leant the ecu to a friend who is a wiz with this stuff and he was able to de immobilize the ECU.
- 21 replies
-
- 6
-
-
- 20vt
- volkswagen
- (and 3 more)
-
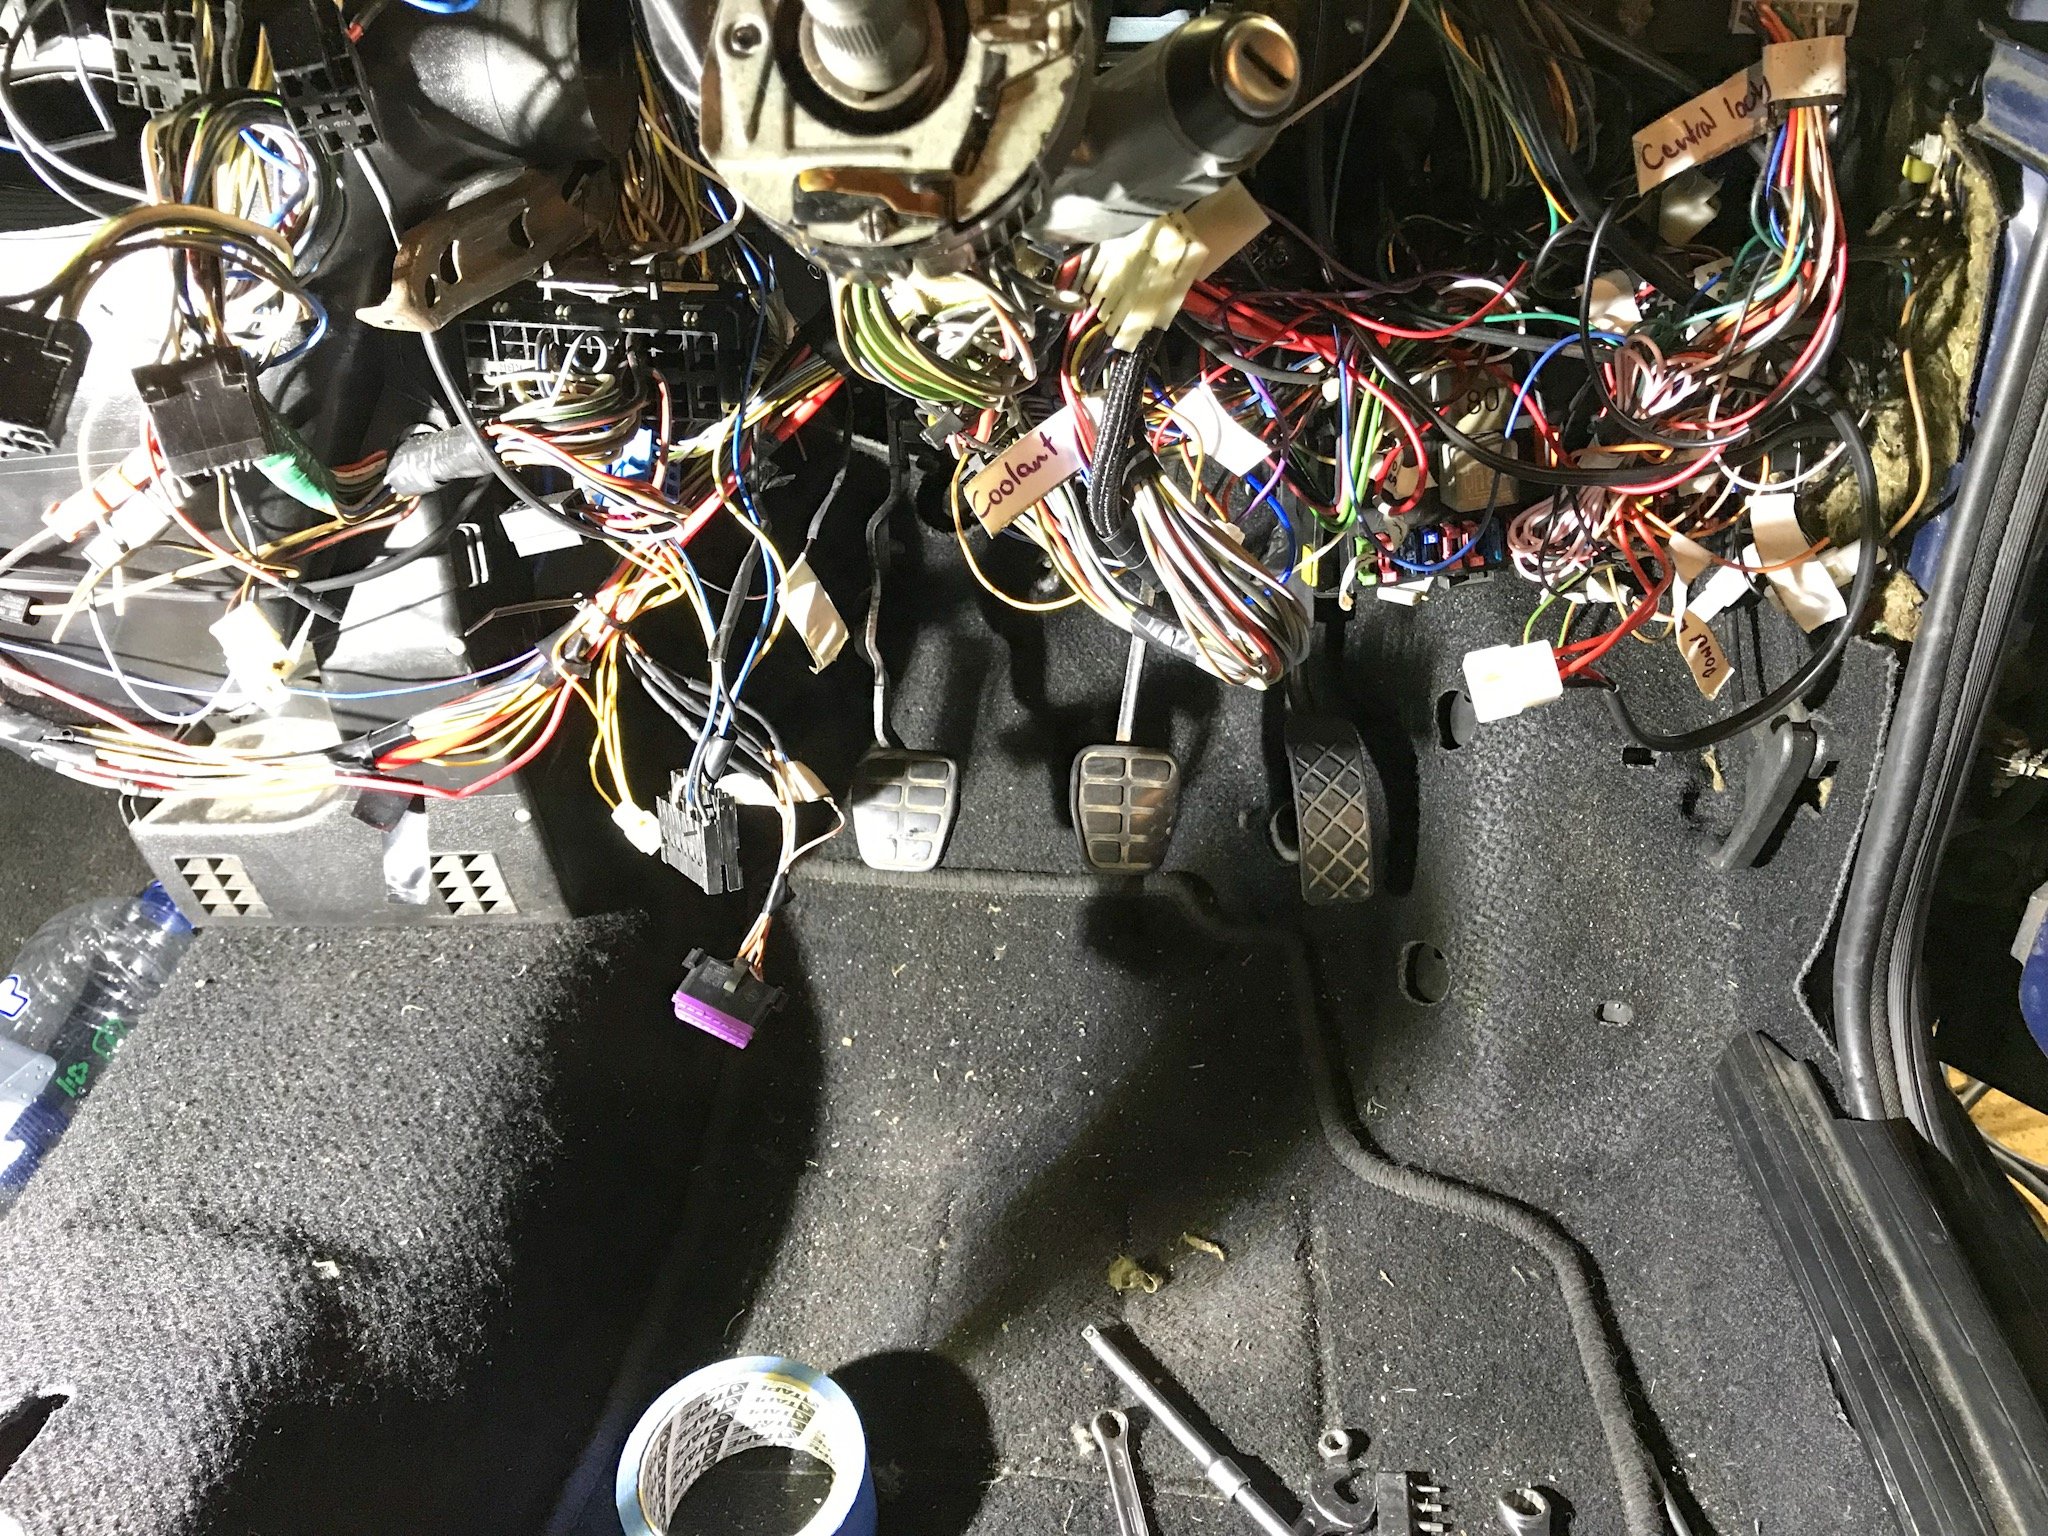
This is a little in the past but I should show some of the wiring as this was more than likely the most time consuming part of the project because 18 year old me just and spliced into anything i needed during the first swap. So armed with alot more knowledge and the biggest set of crimpers one could ever need we set to work rewire a fair amount of the car. The battery was relocated in the boot and we used 4m of welding wiring to link for the front to the rear. Running a jaycar breaker from the starter where the main power is run too, then to inside the car to run the ecu and fusebox power. I do like having the ability to switch the power off and on to the ECU/car as the vw ECU seems to always be awake. Will possibly 3D print some plastic pieces to cover the positive powers so nothing can short out to easily.
- 21 replies
-
- 2
-
-
- 20vt
- volkswagen
- (and 3 more)
-
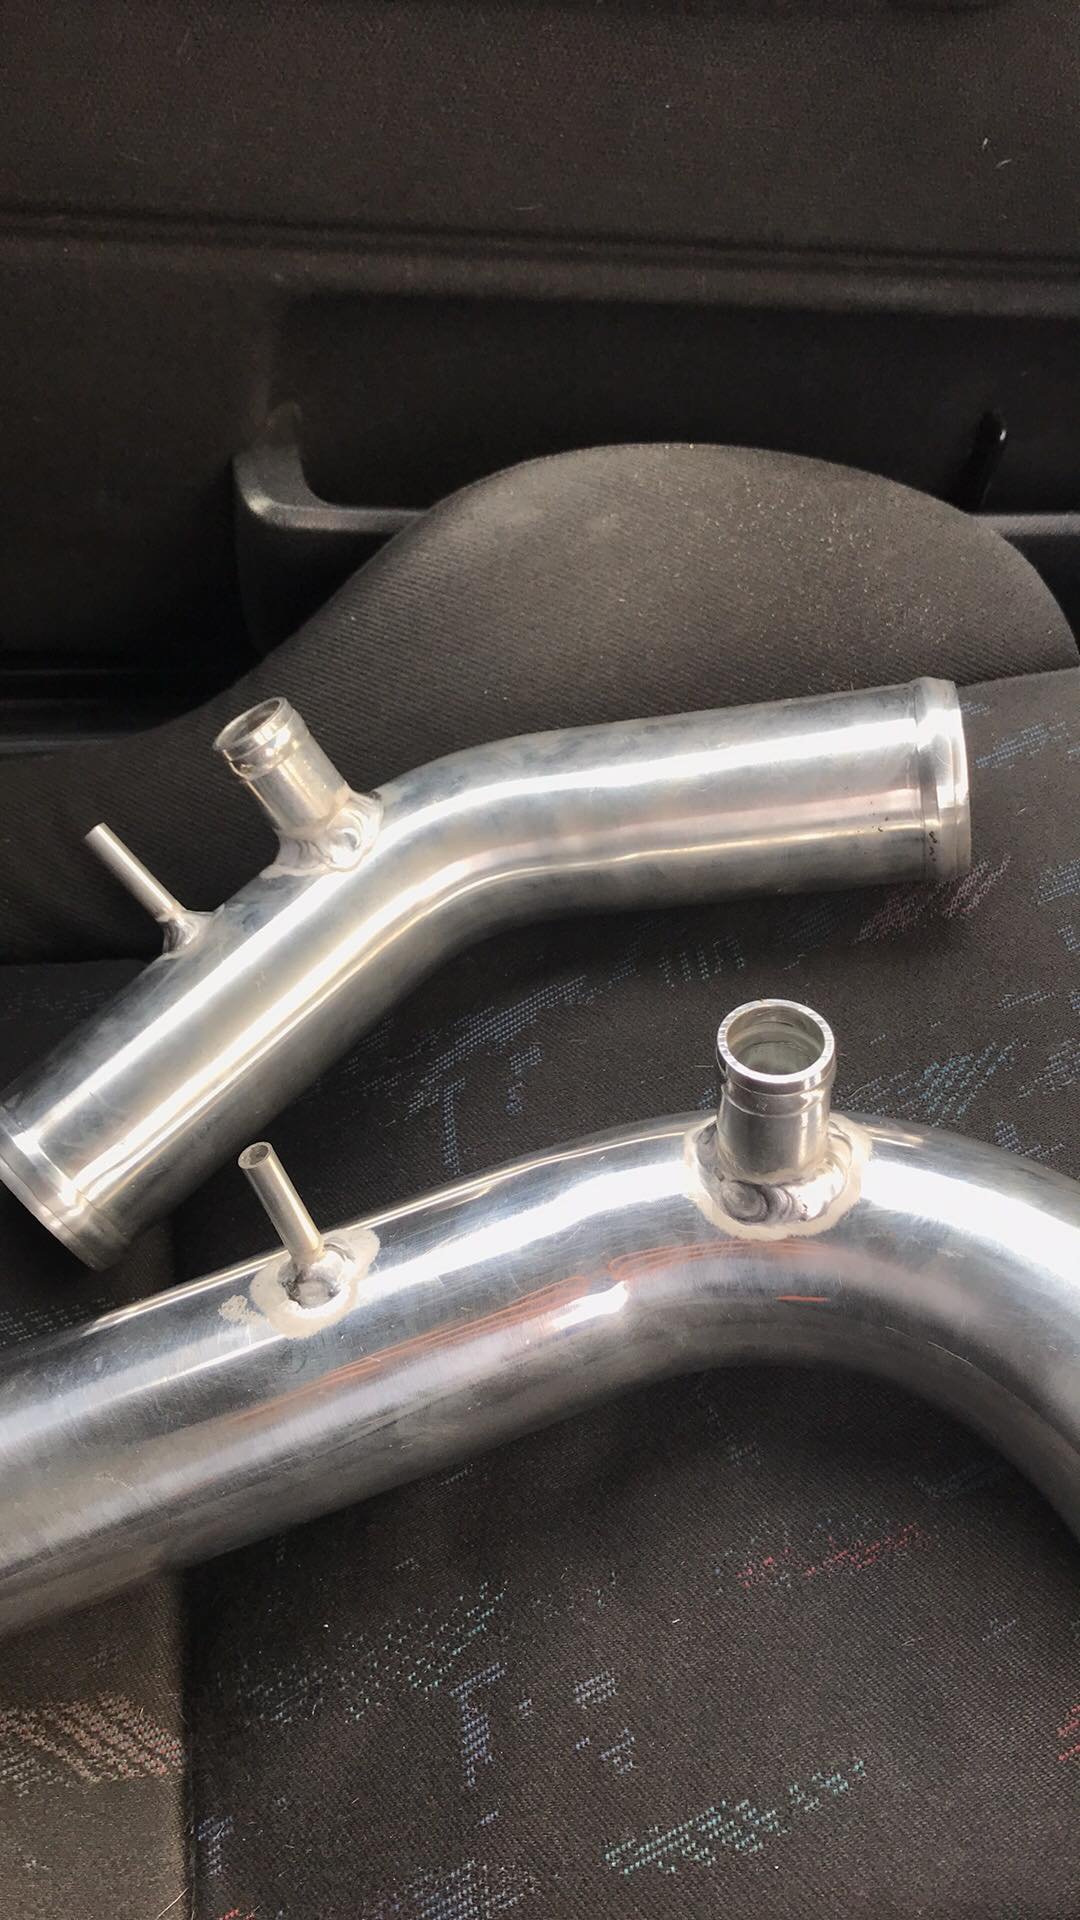
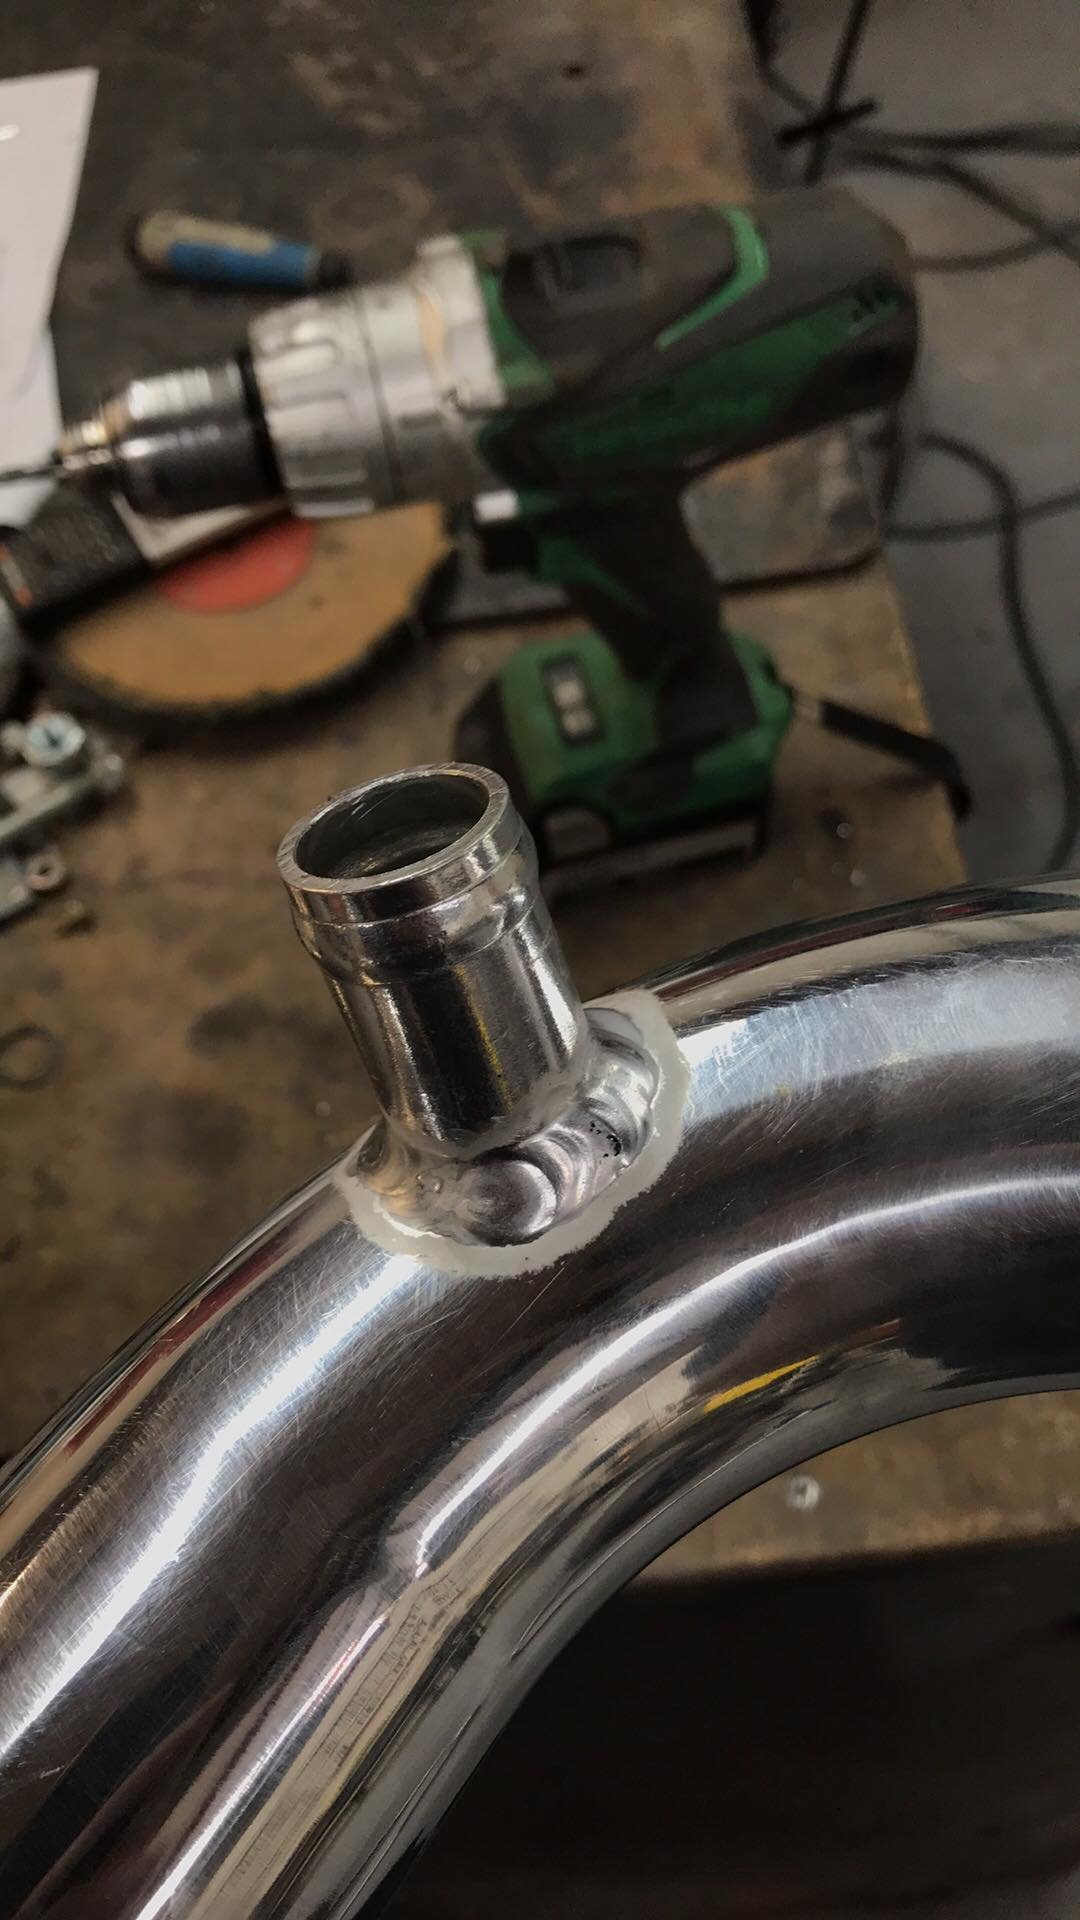
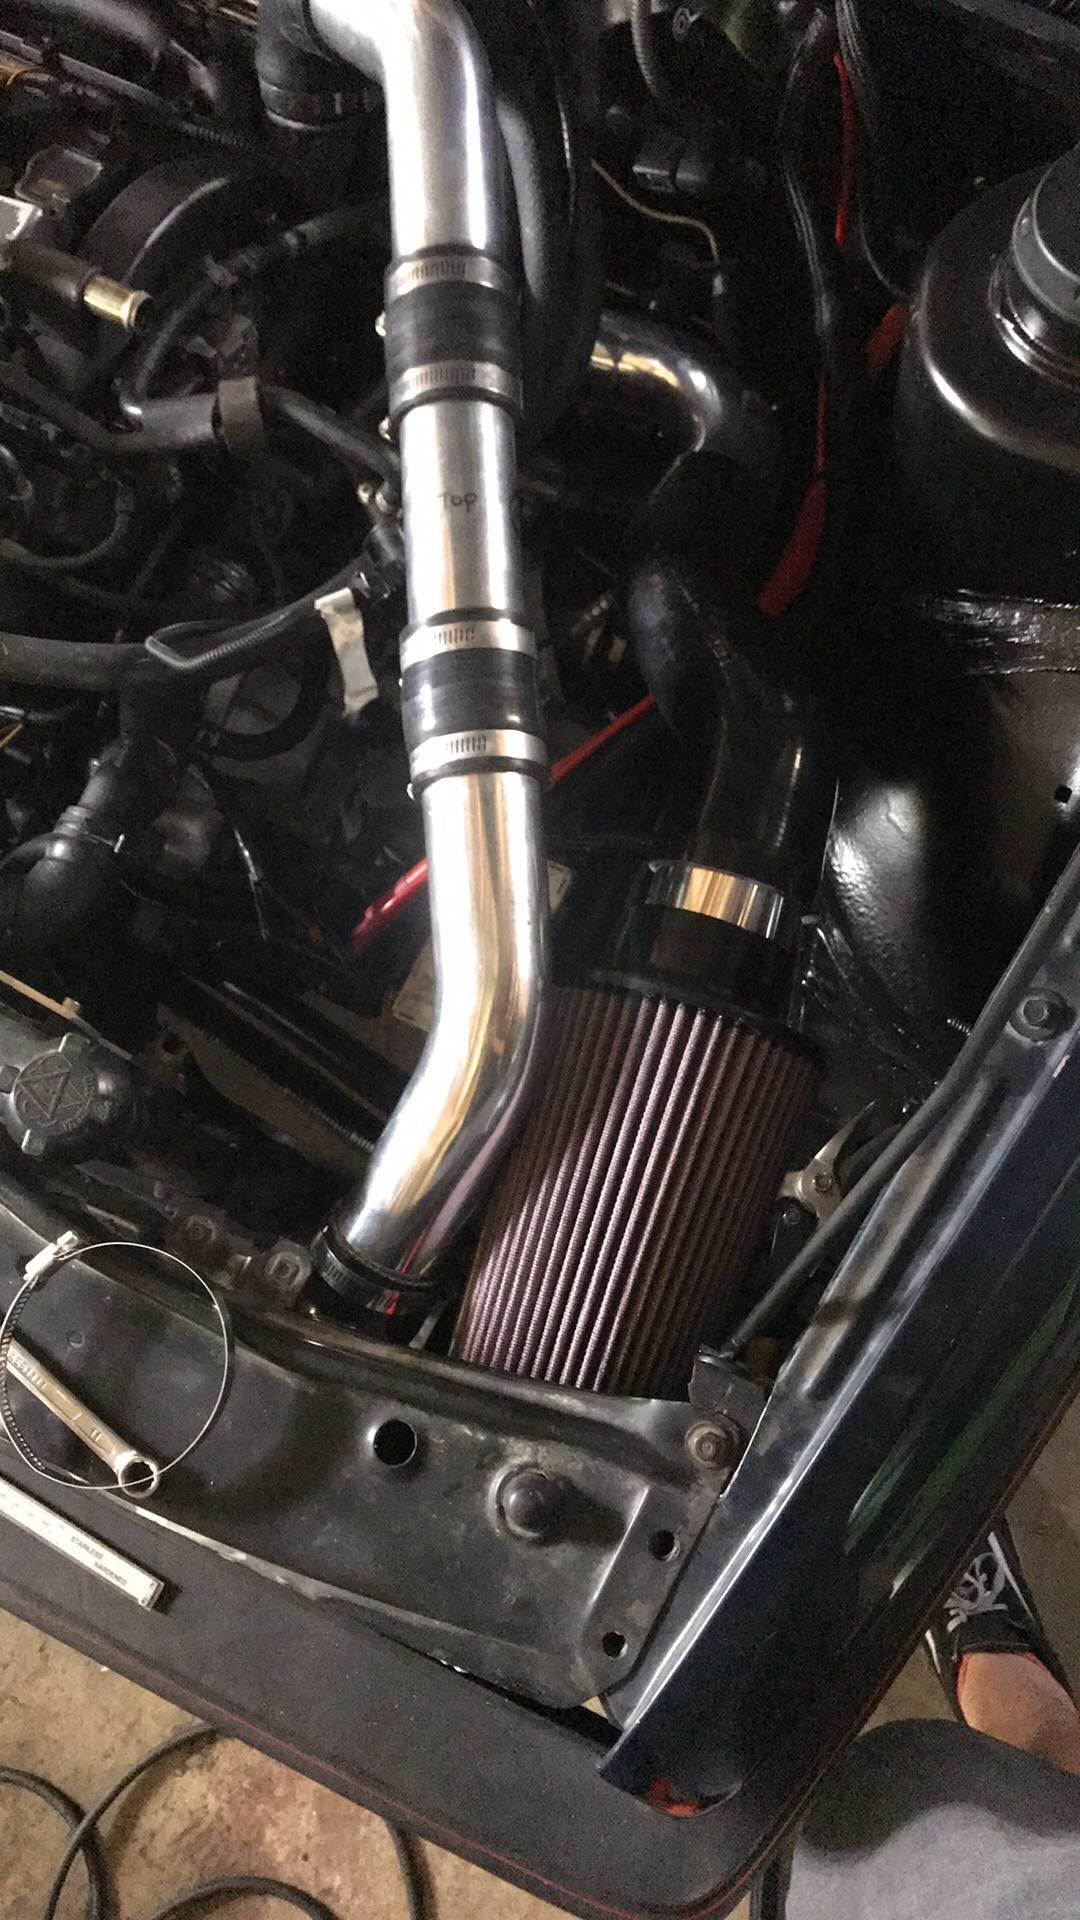
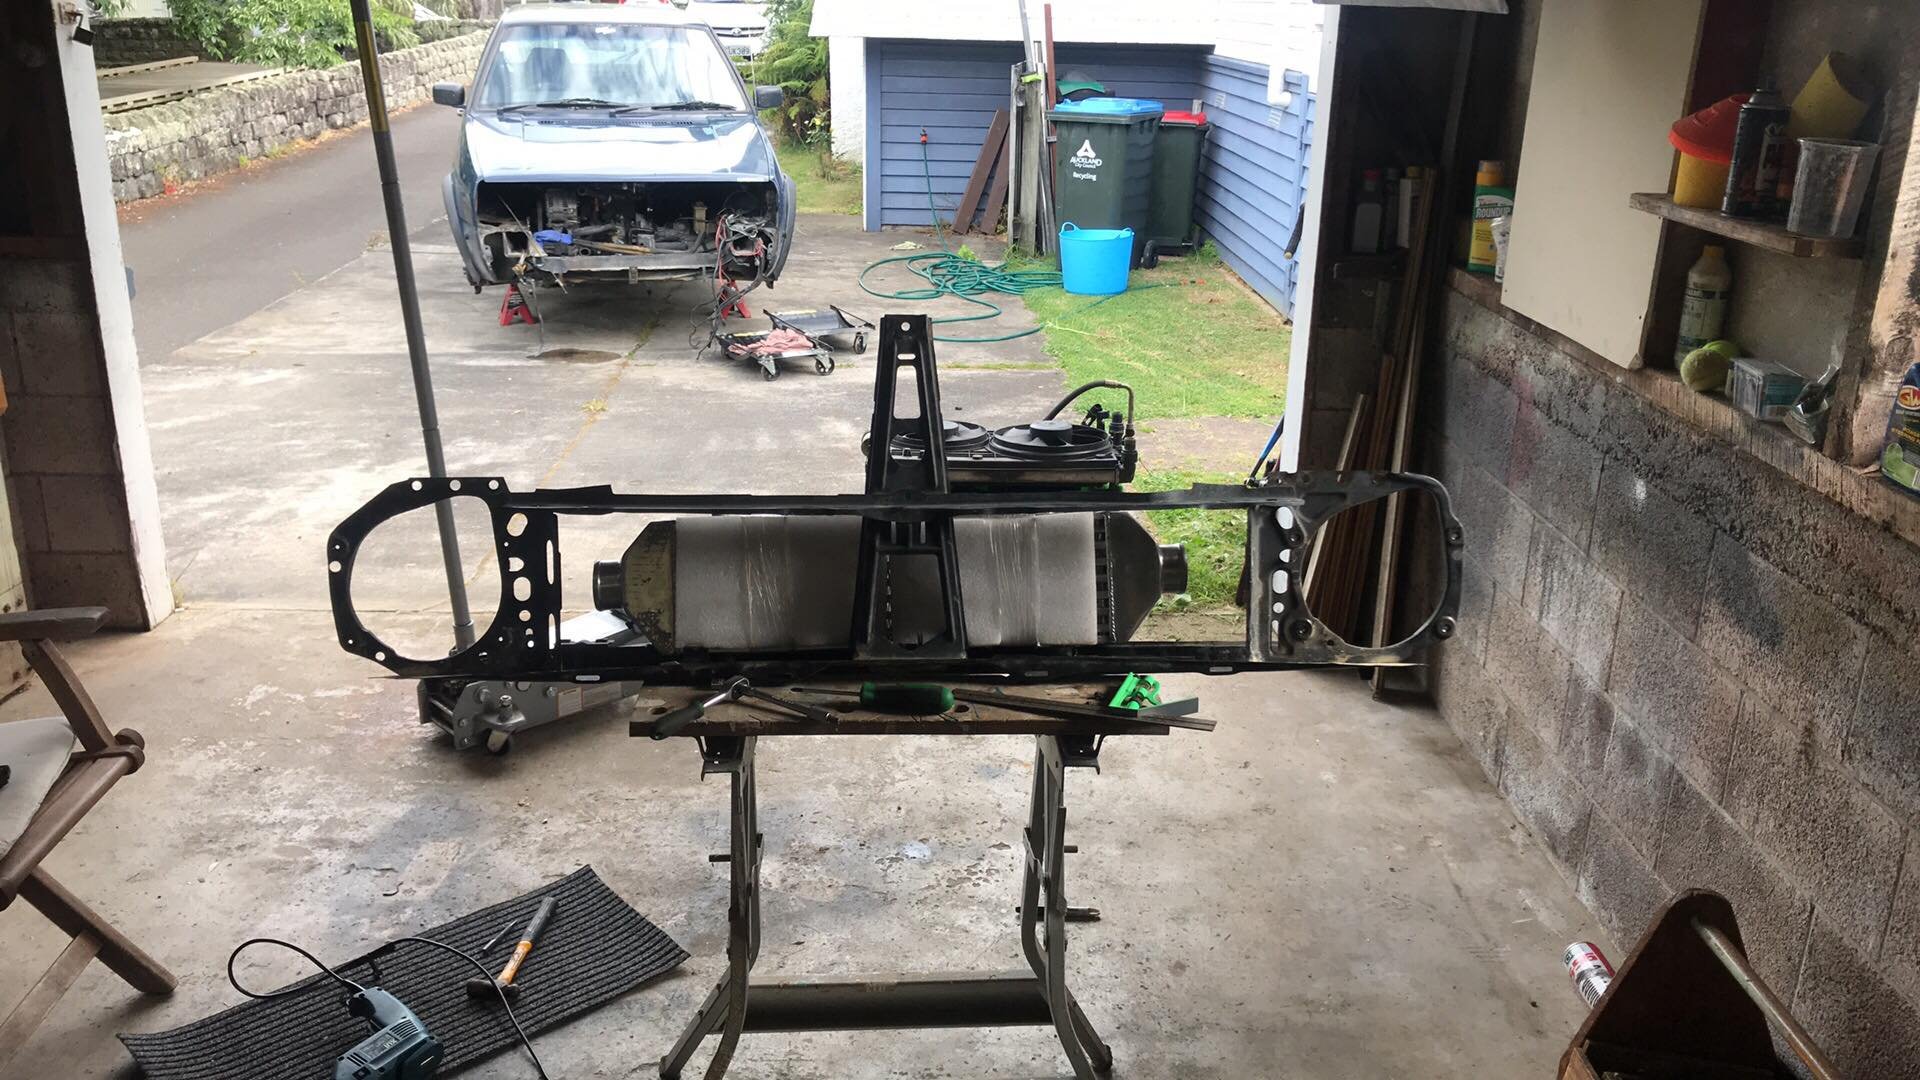
With the engine and Intercooler in place we were able to make a plan with how the boost piping would be run. Trying the keep everything as cheap as possible we used a couple old silicon pieces we had lying around as well as shooting across town to the mount shop to get the last little bits and pieces. A lovely guy whos name eludes me offered to help for a box of beers was able to help weld some bungs on for my diverter valve as i had no hope in hell of welding alloy.
- 21 replies
-
- 6
-
-
- 20vt
- volkswagen
- (and 3 more)
-
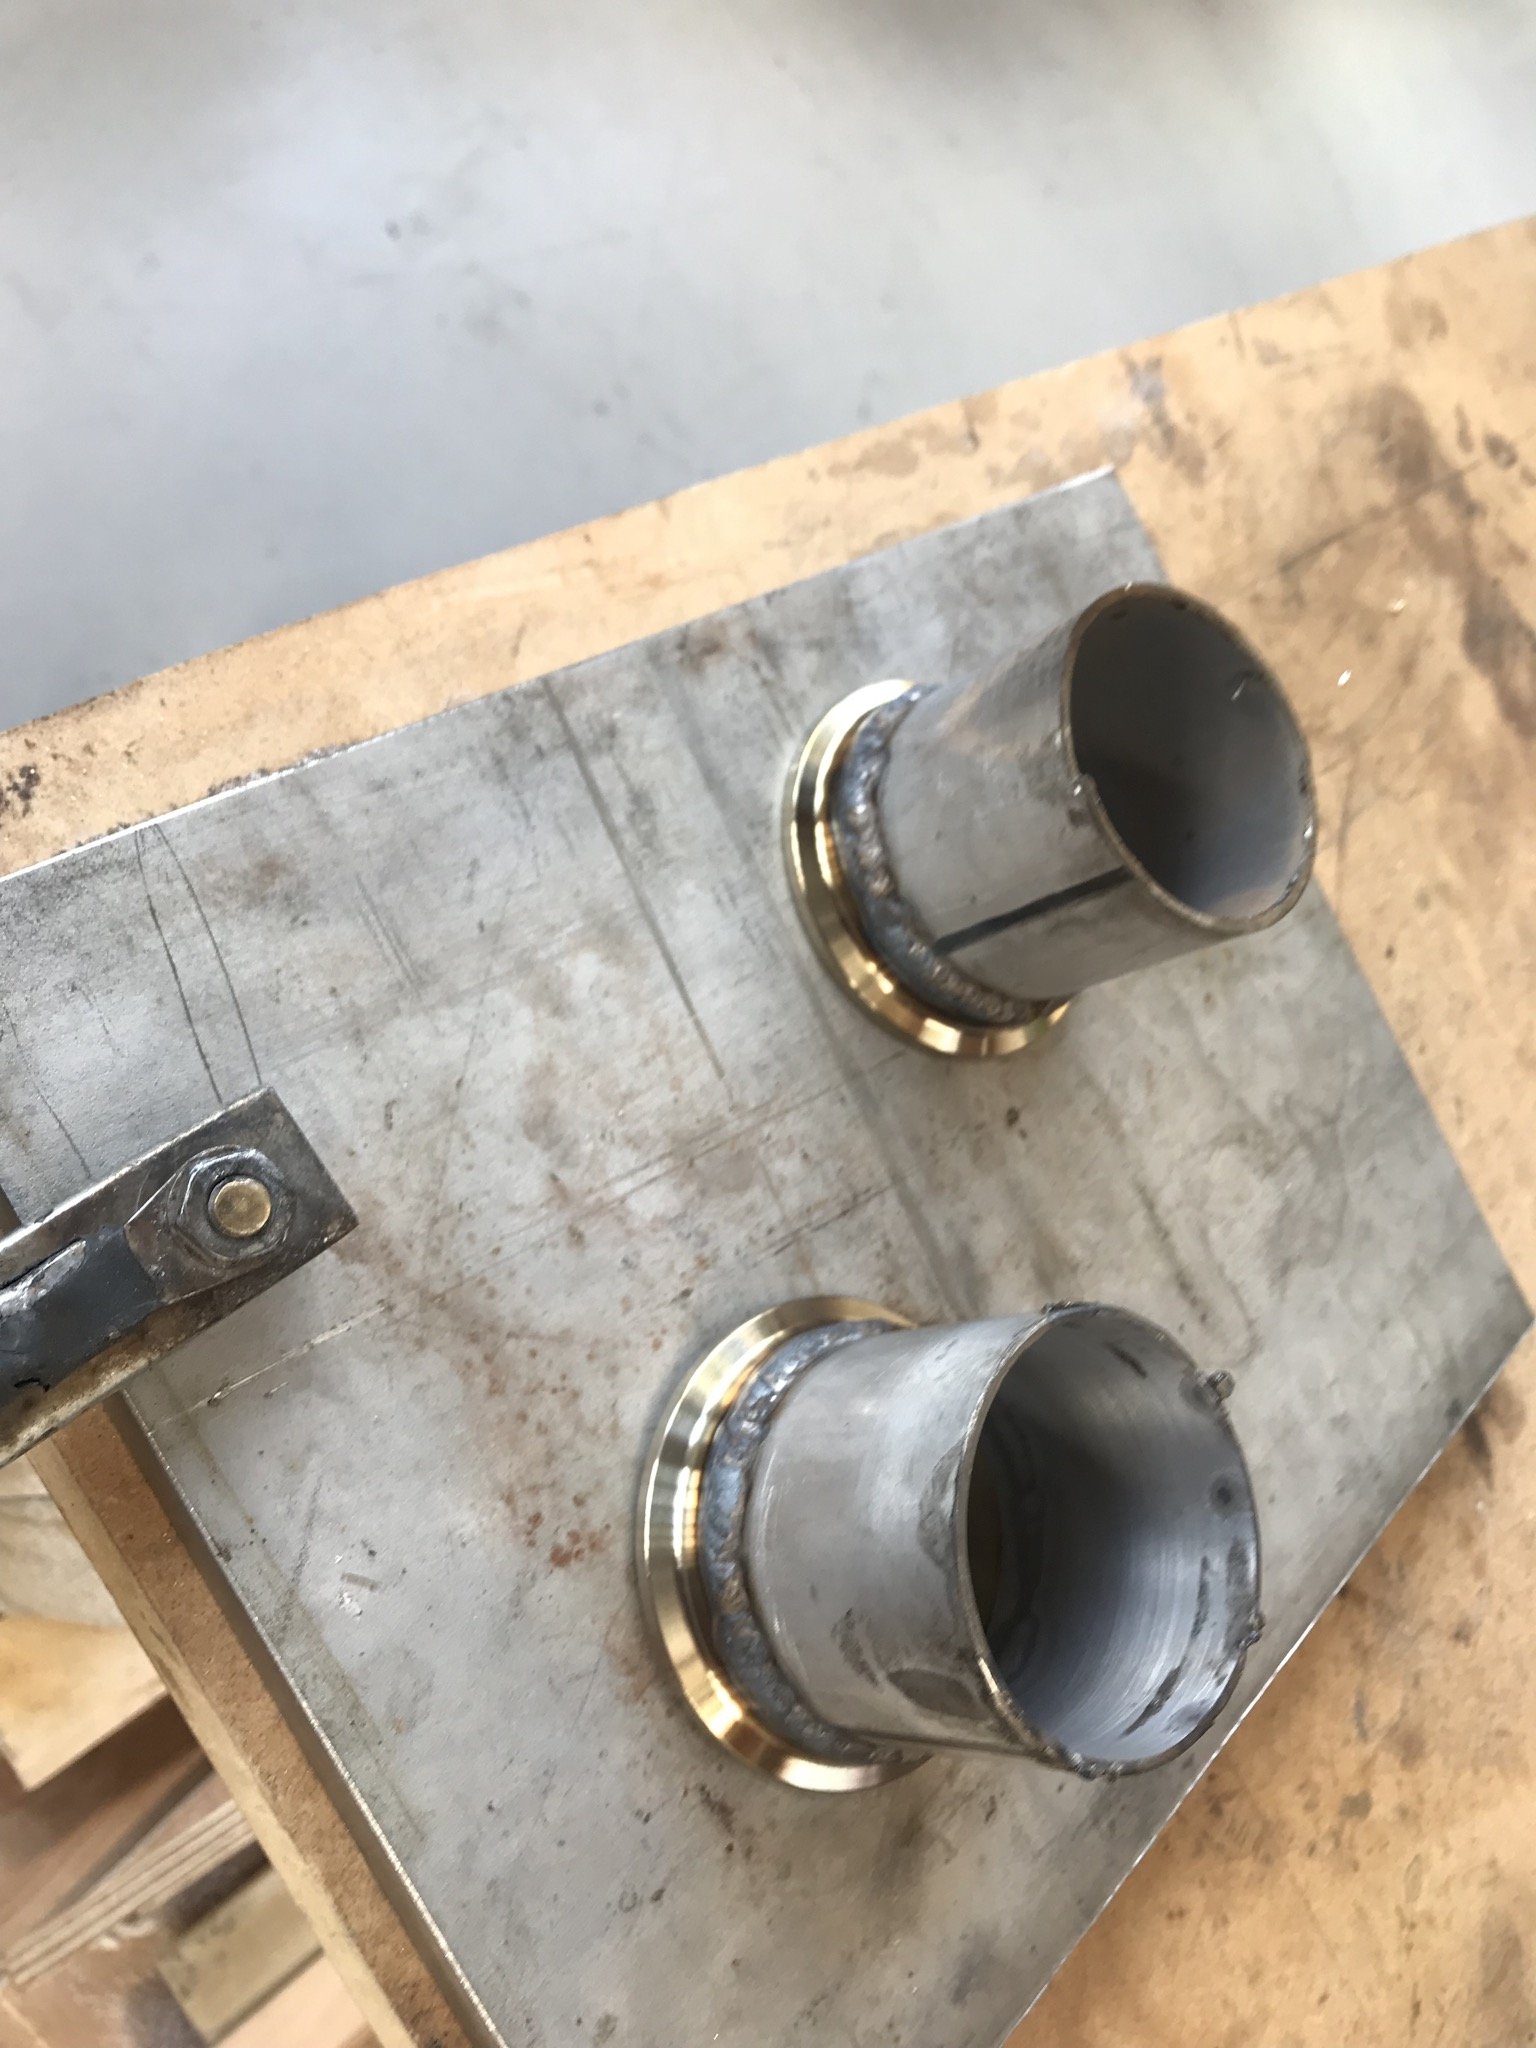
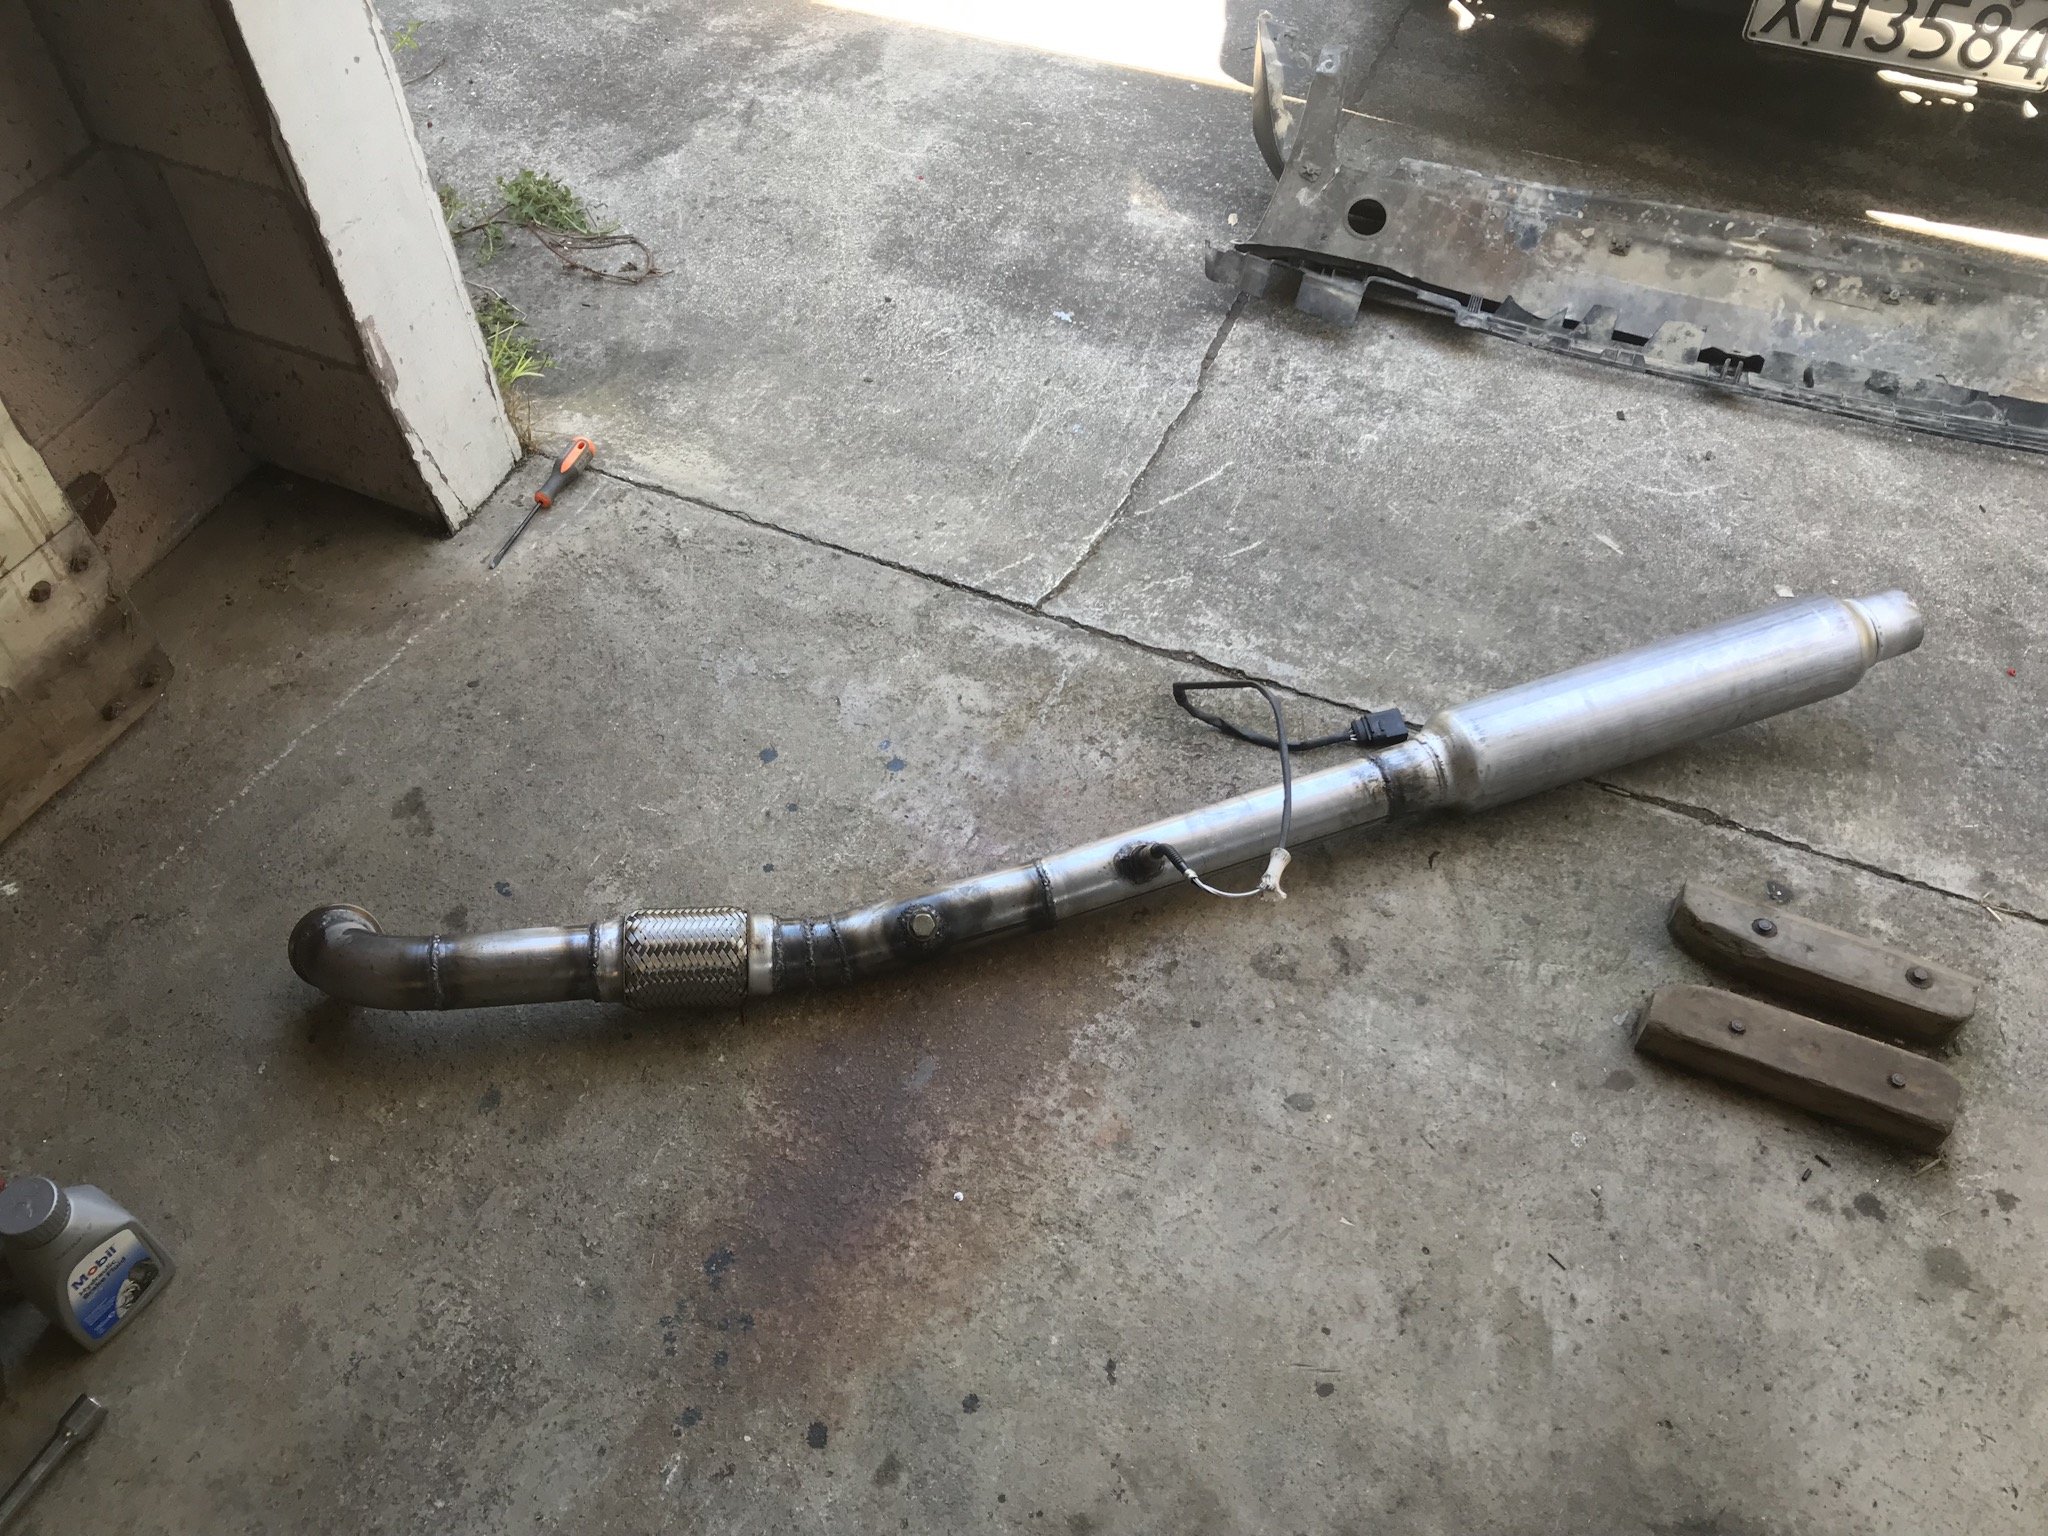
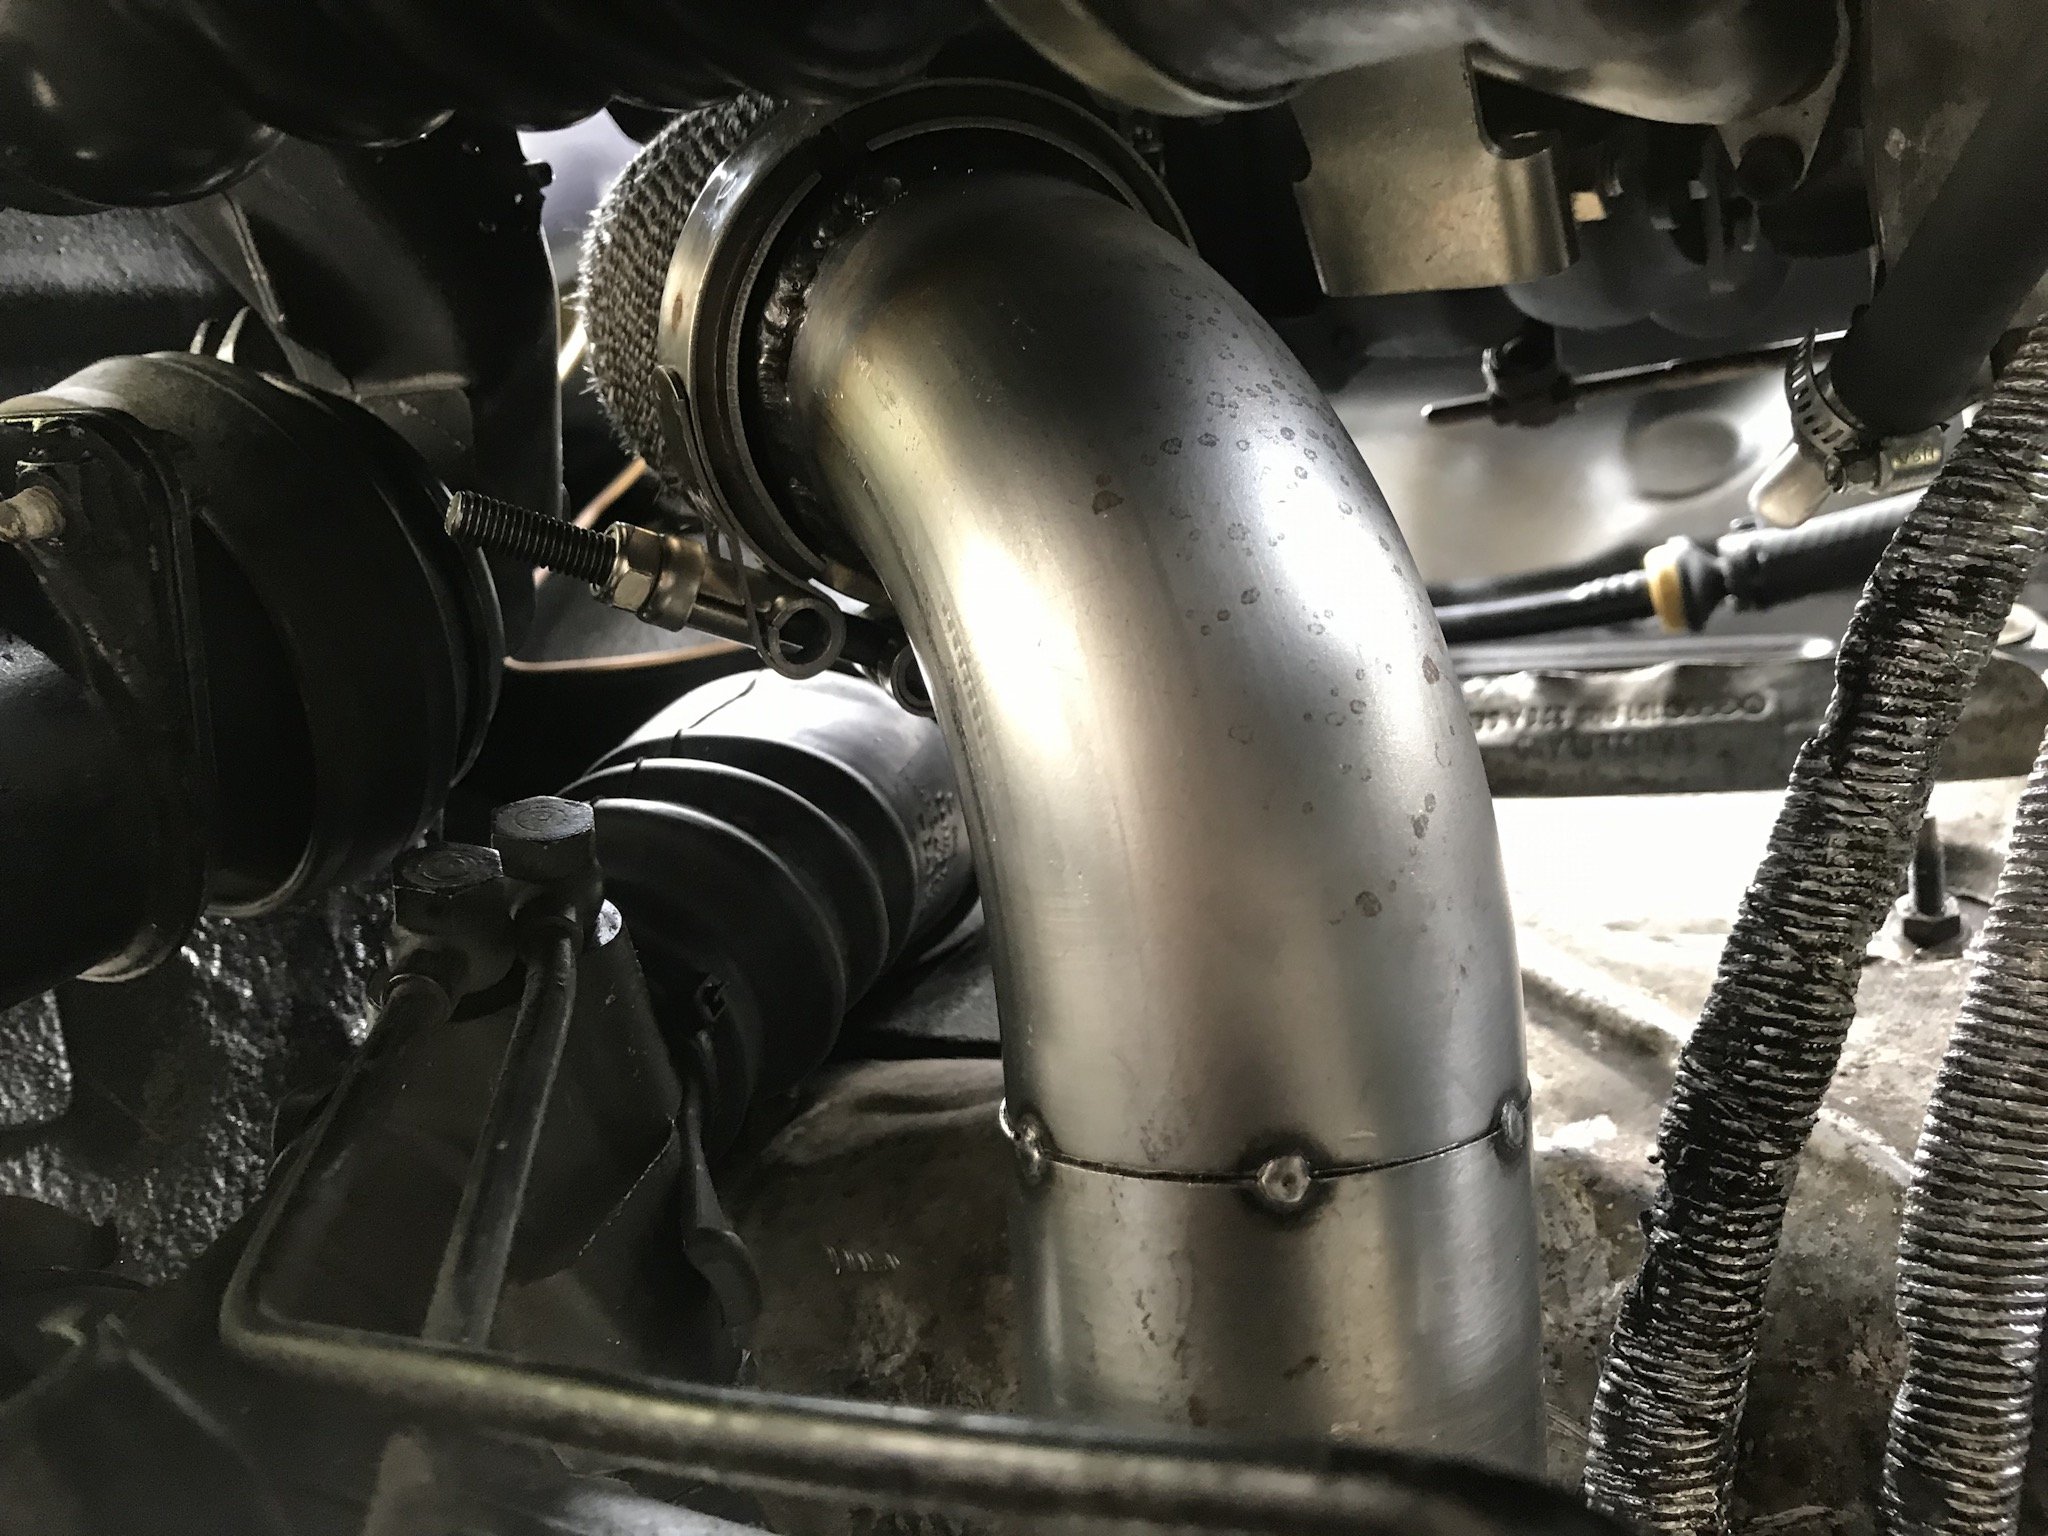
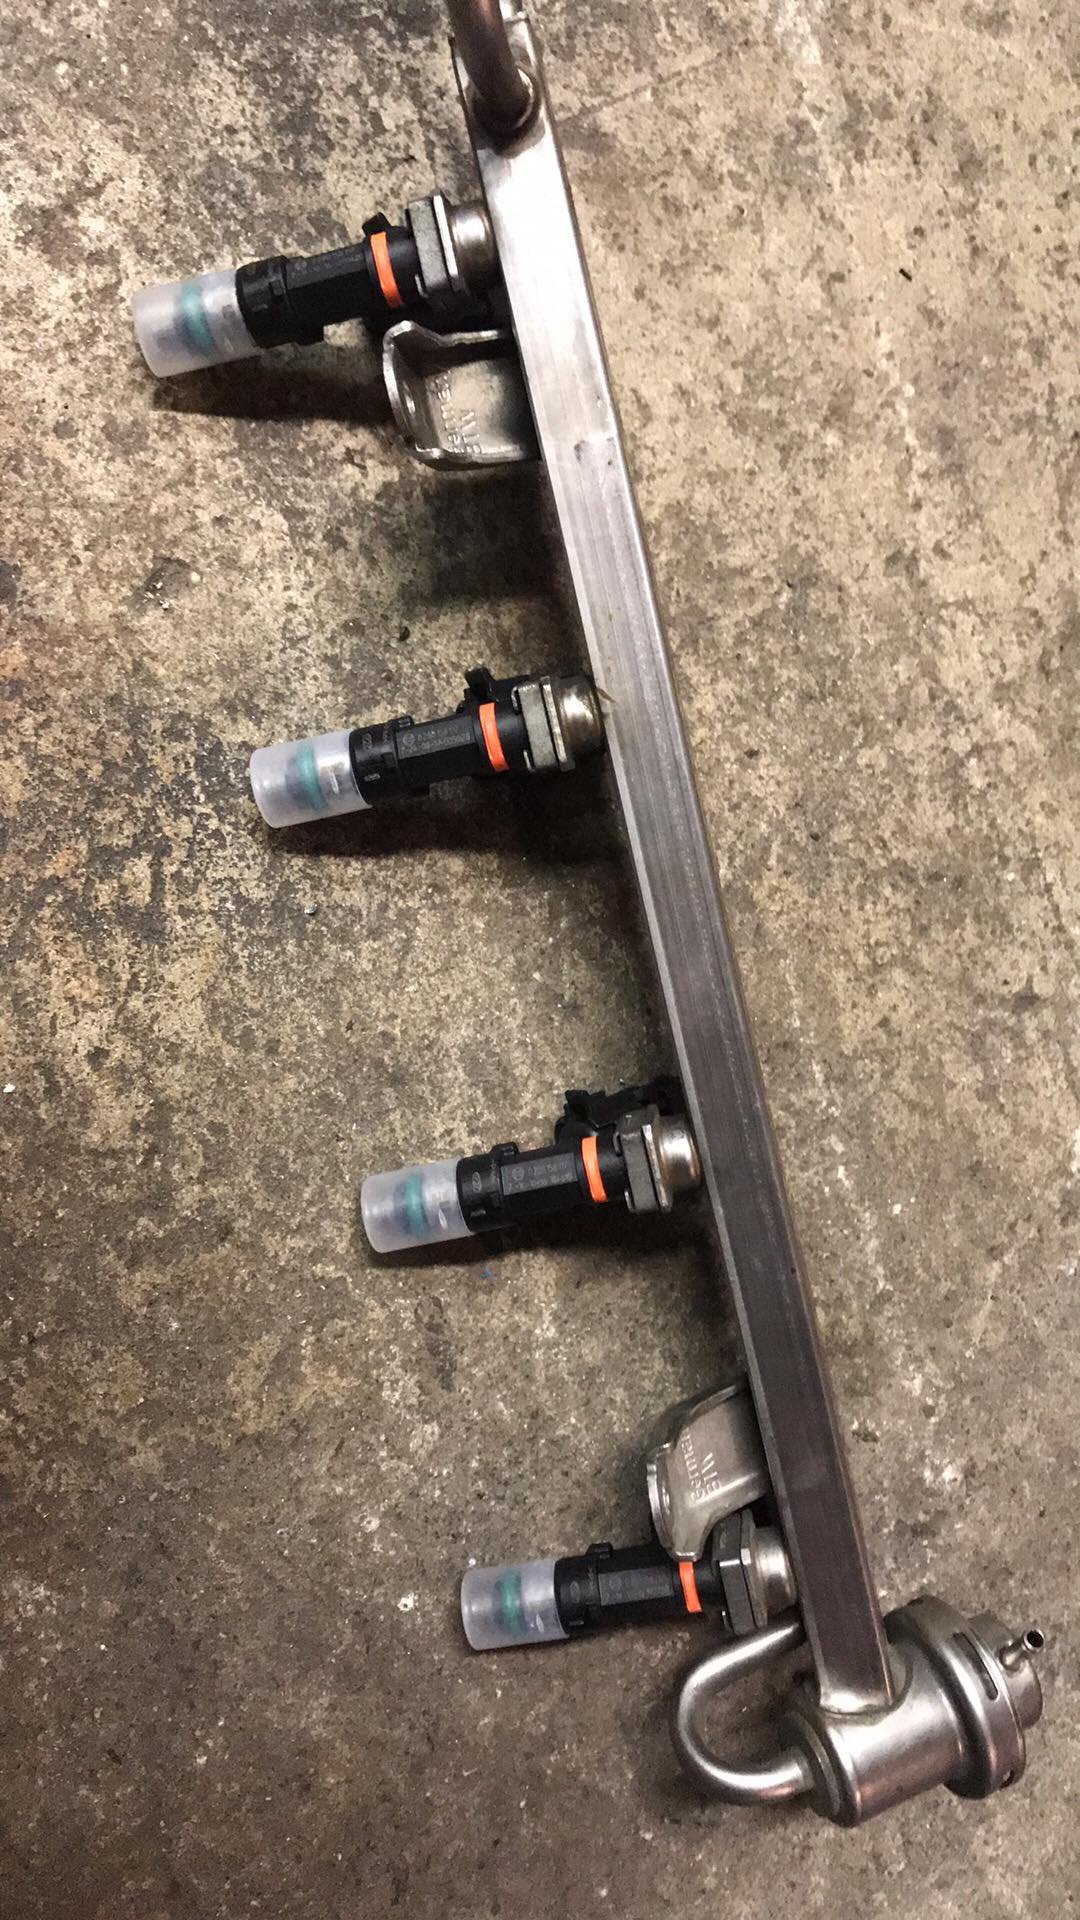
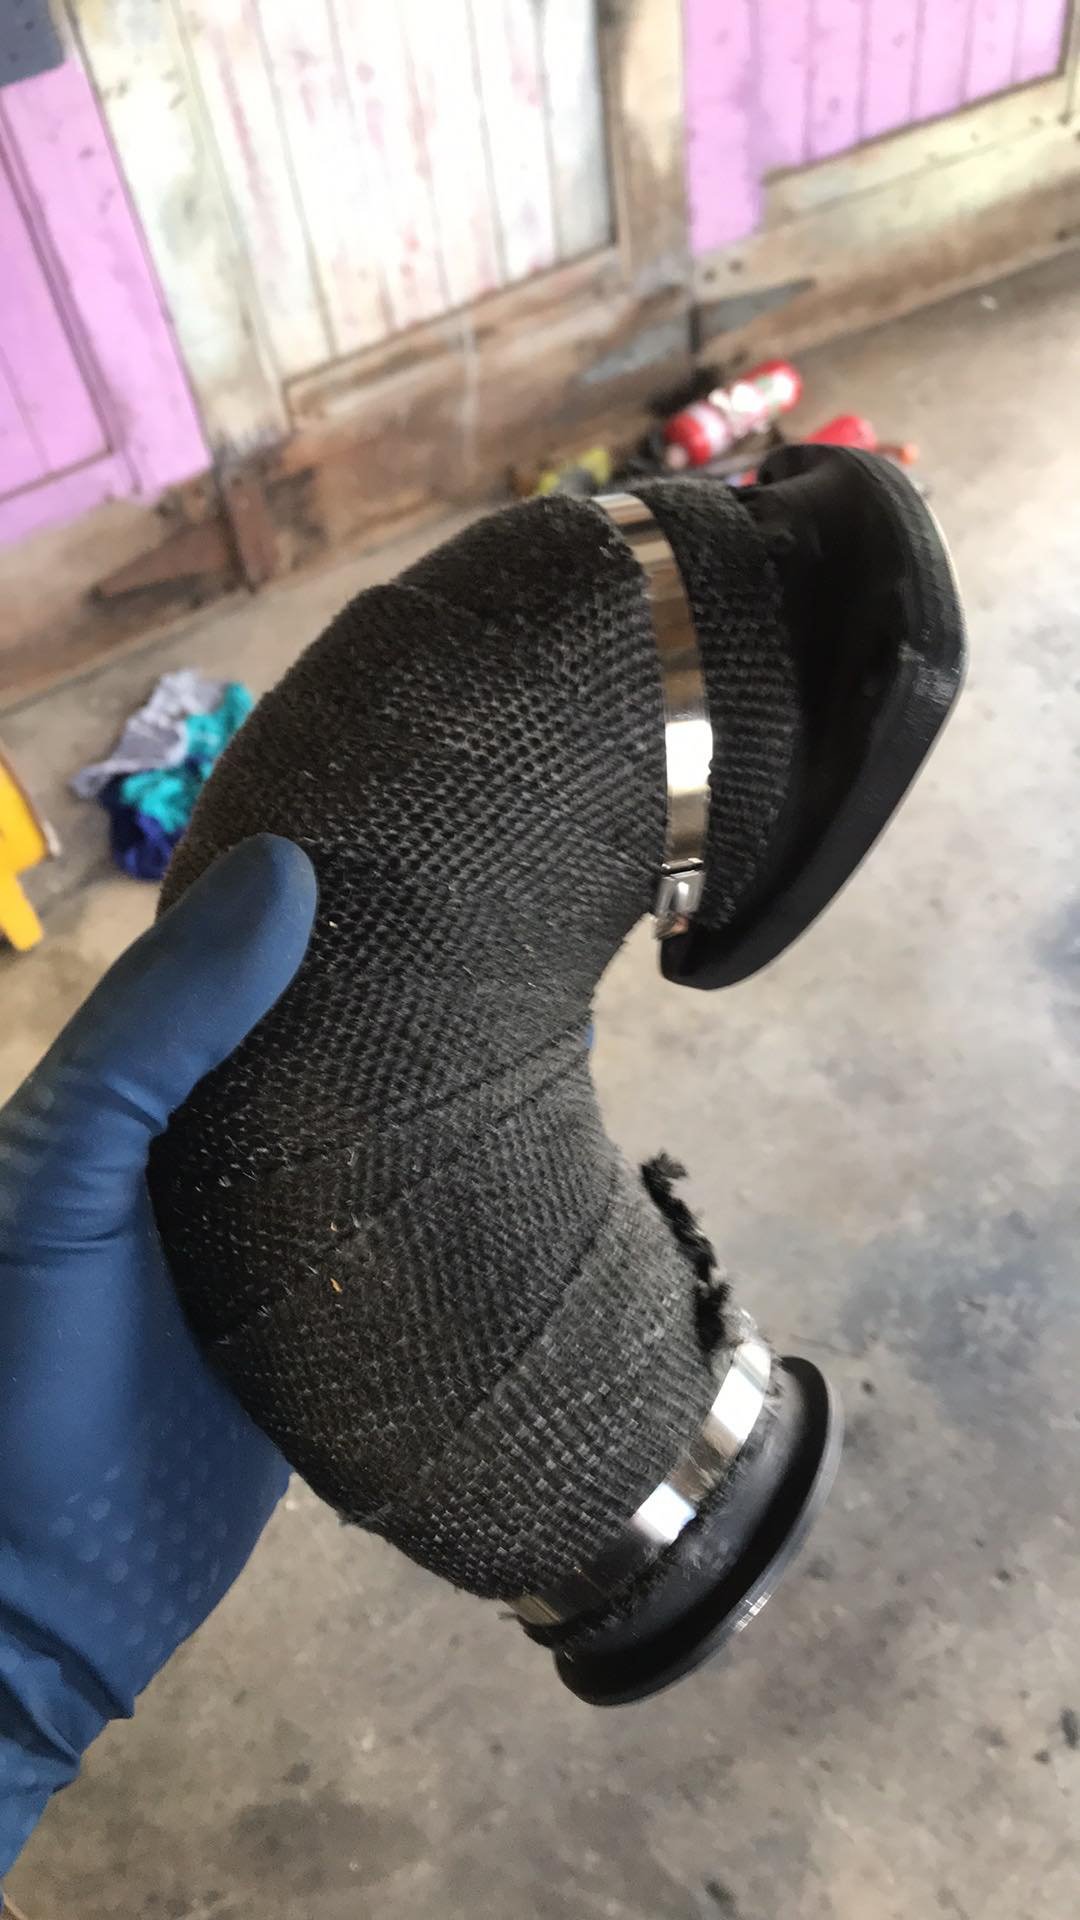
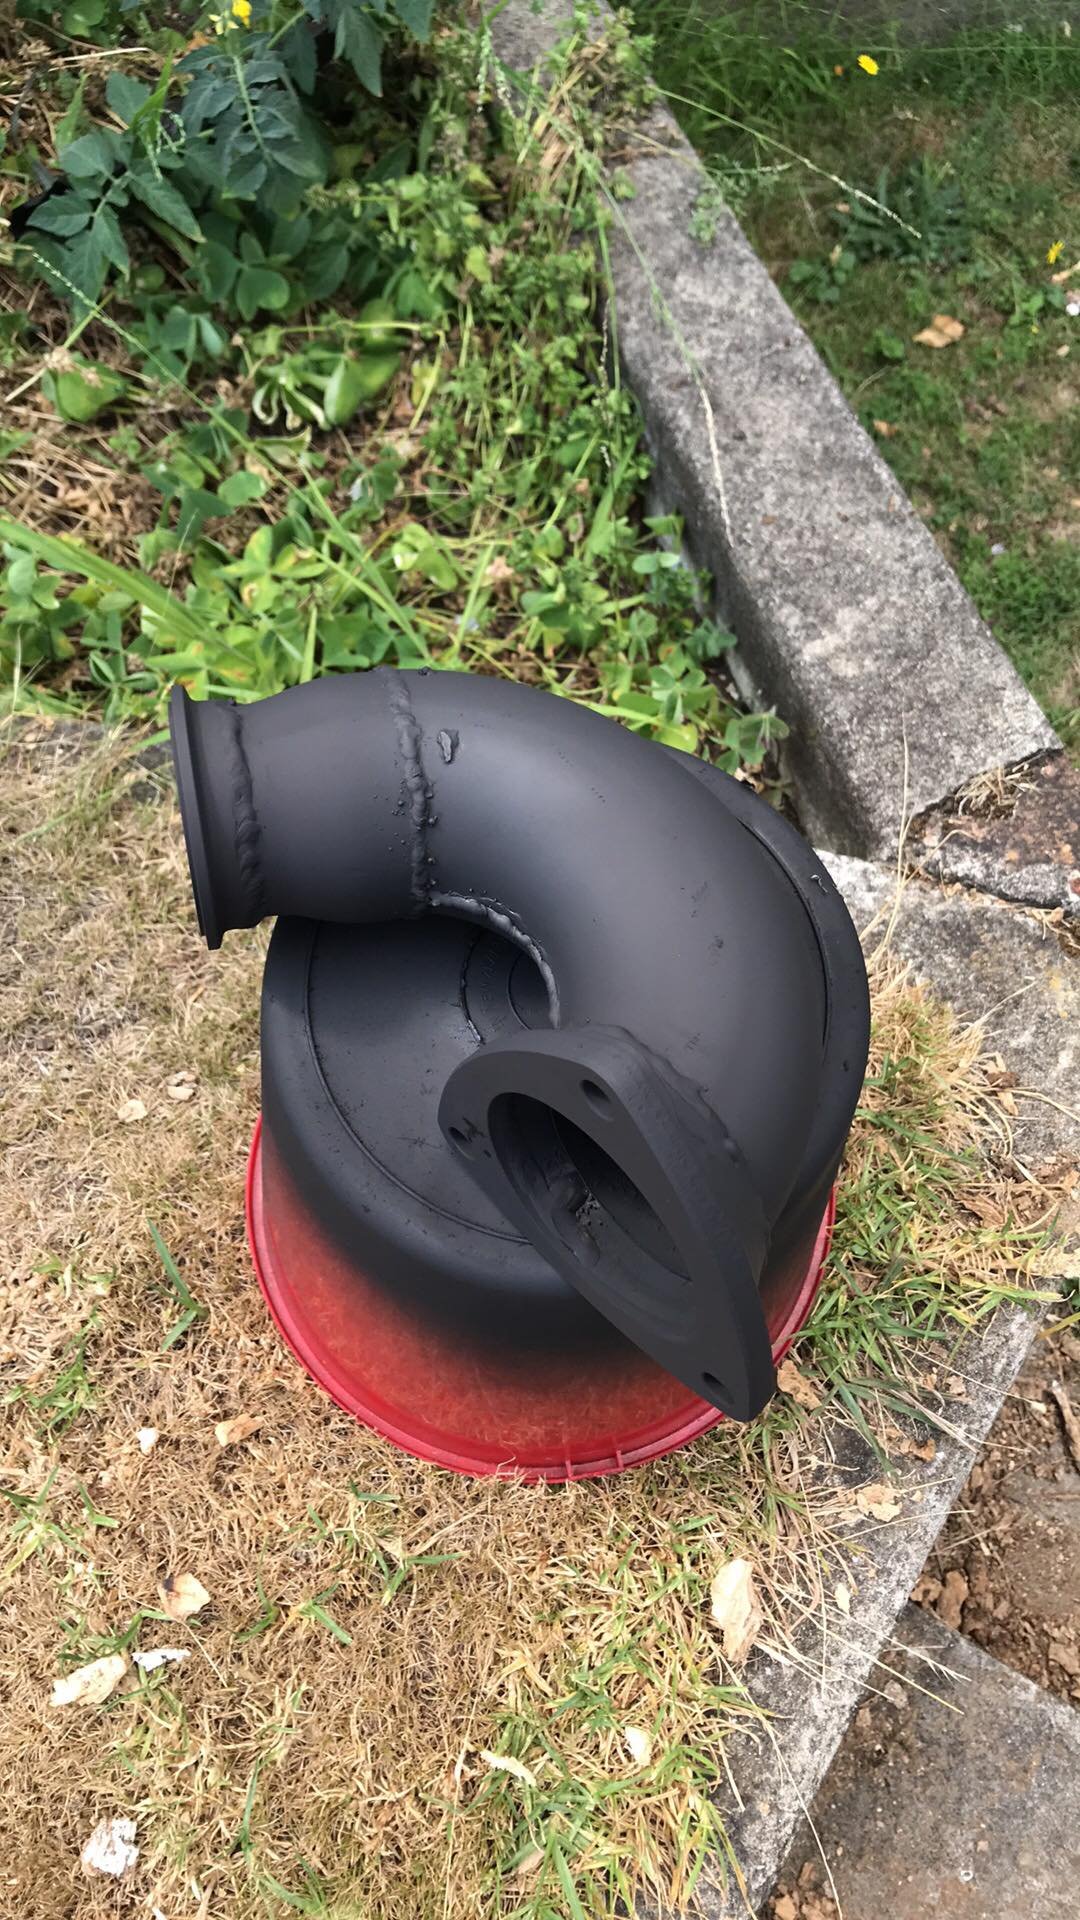
Some 550cc injectors and a 4 bar FPR to keep up the fuel. Have also fitted a mk3 fuel tank and pump which should be sufficient for the power being made. With the engine in place I was able to get an idea of the down pipe situation. The previous turbo would have run the exhaust gas straight out and down towards the tunnel. The new one runs it straight towards the drivers side shock tower. So i really needed a sharp 180 bend to turn away from the shock tower and engine mount. Excuse my crappy Tig welding, pretty new to it all so just having a go. There is also a reducer from 3 inch to 2.5 and then a Vband for easy repairs/engine removal. All painted wrapped and good to go!
- 21 replies
-
- 3
-
-
- 20vt
- volkswagen
- (and 3 more)
-
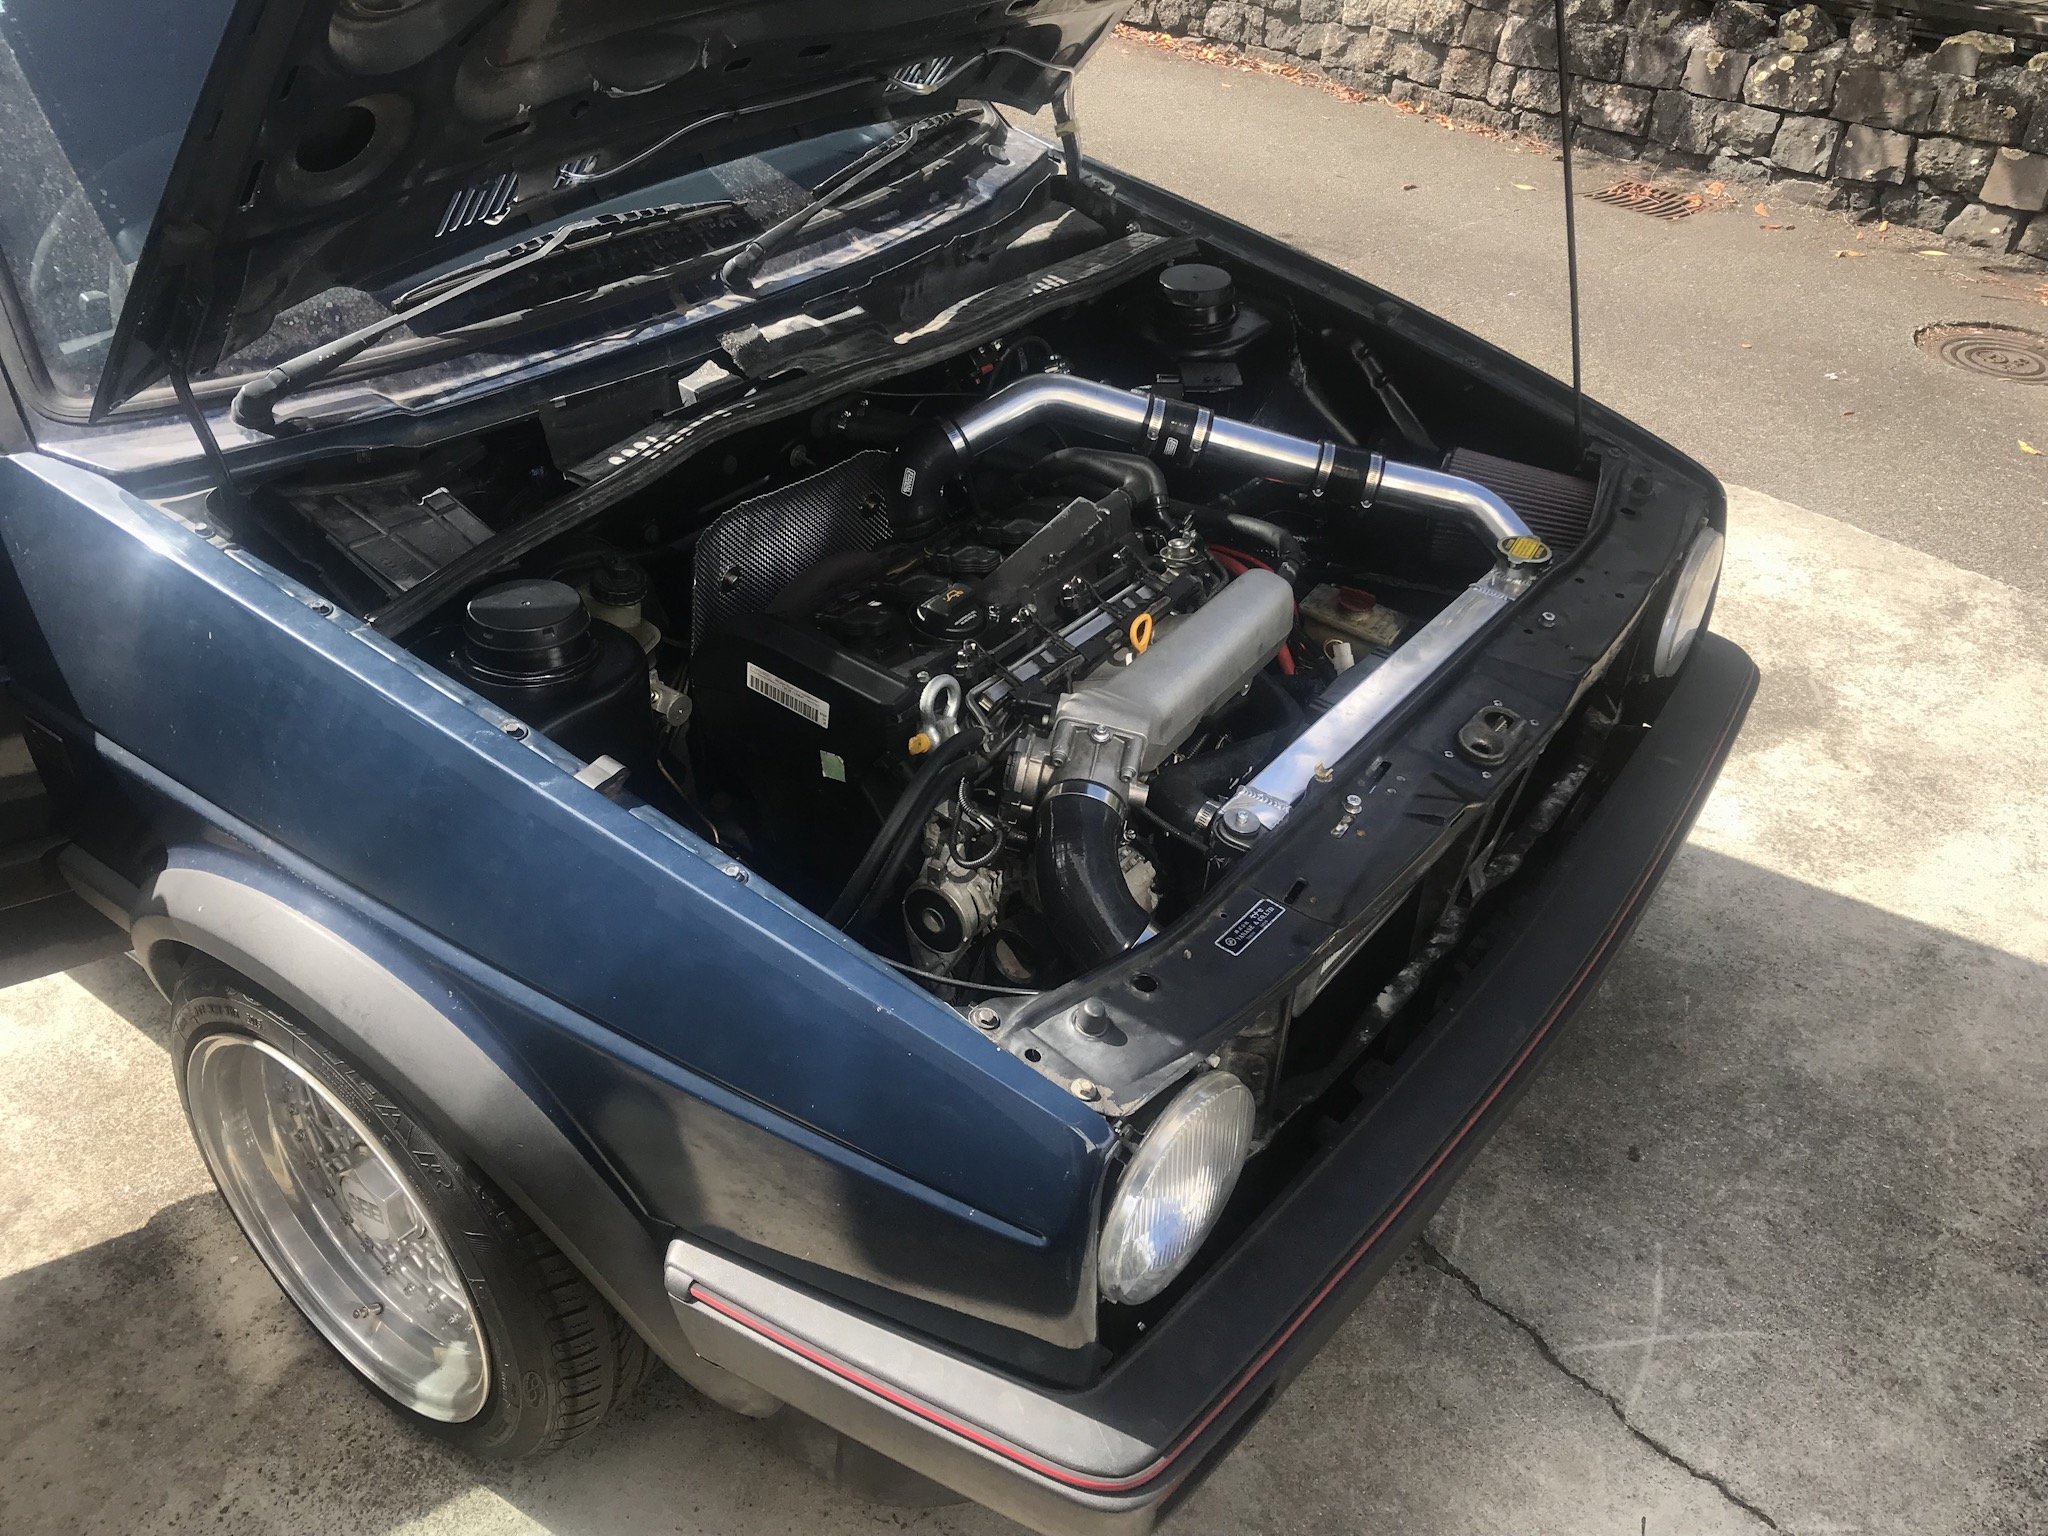
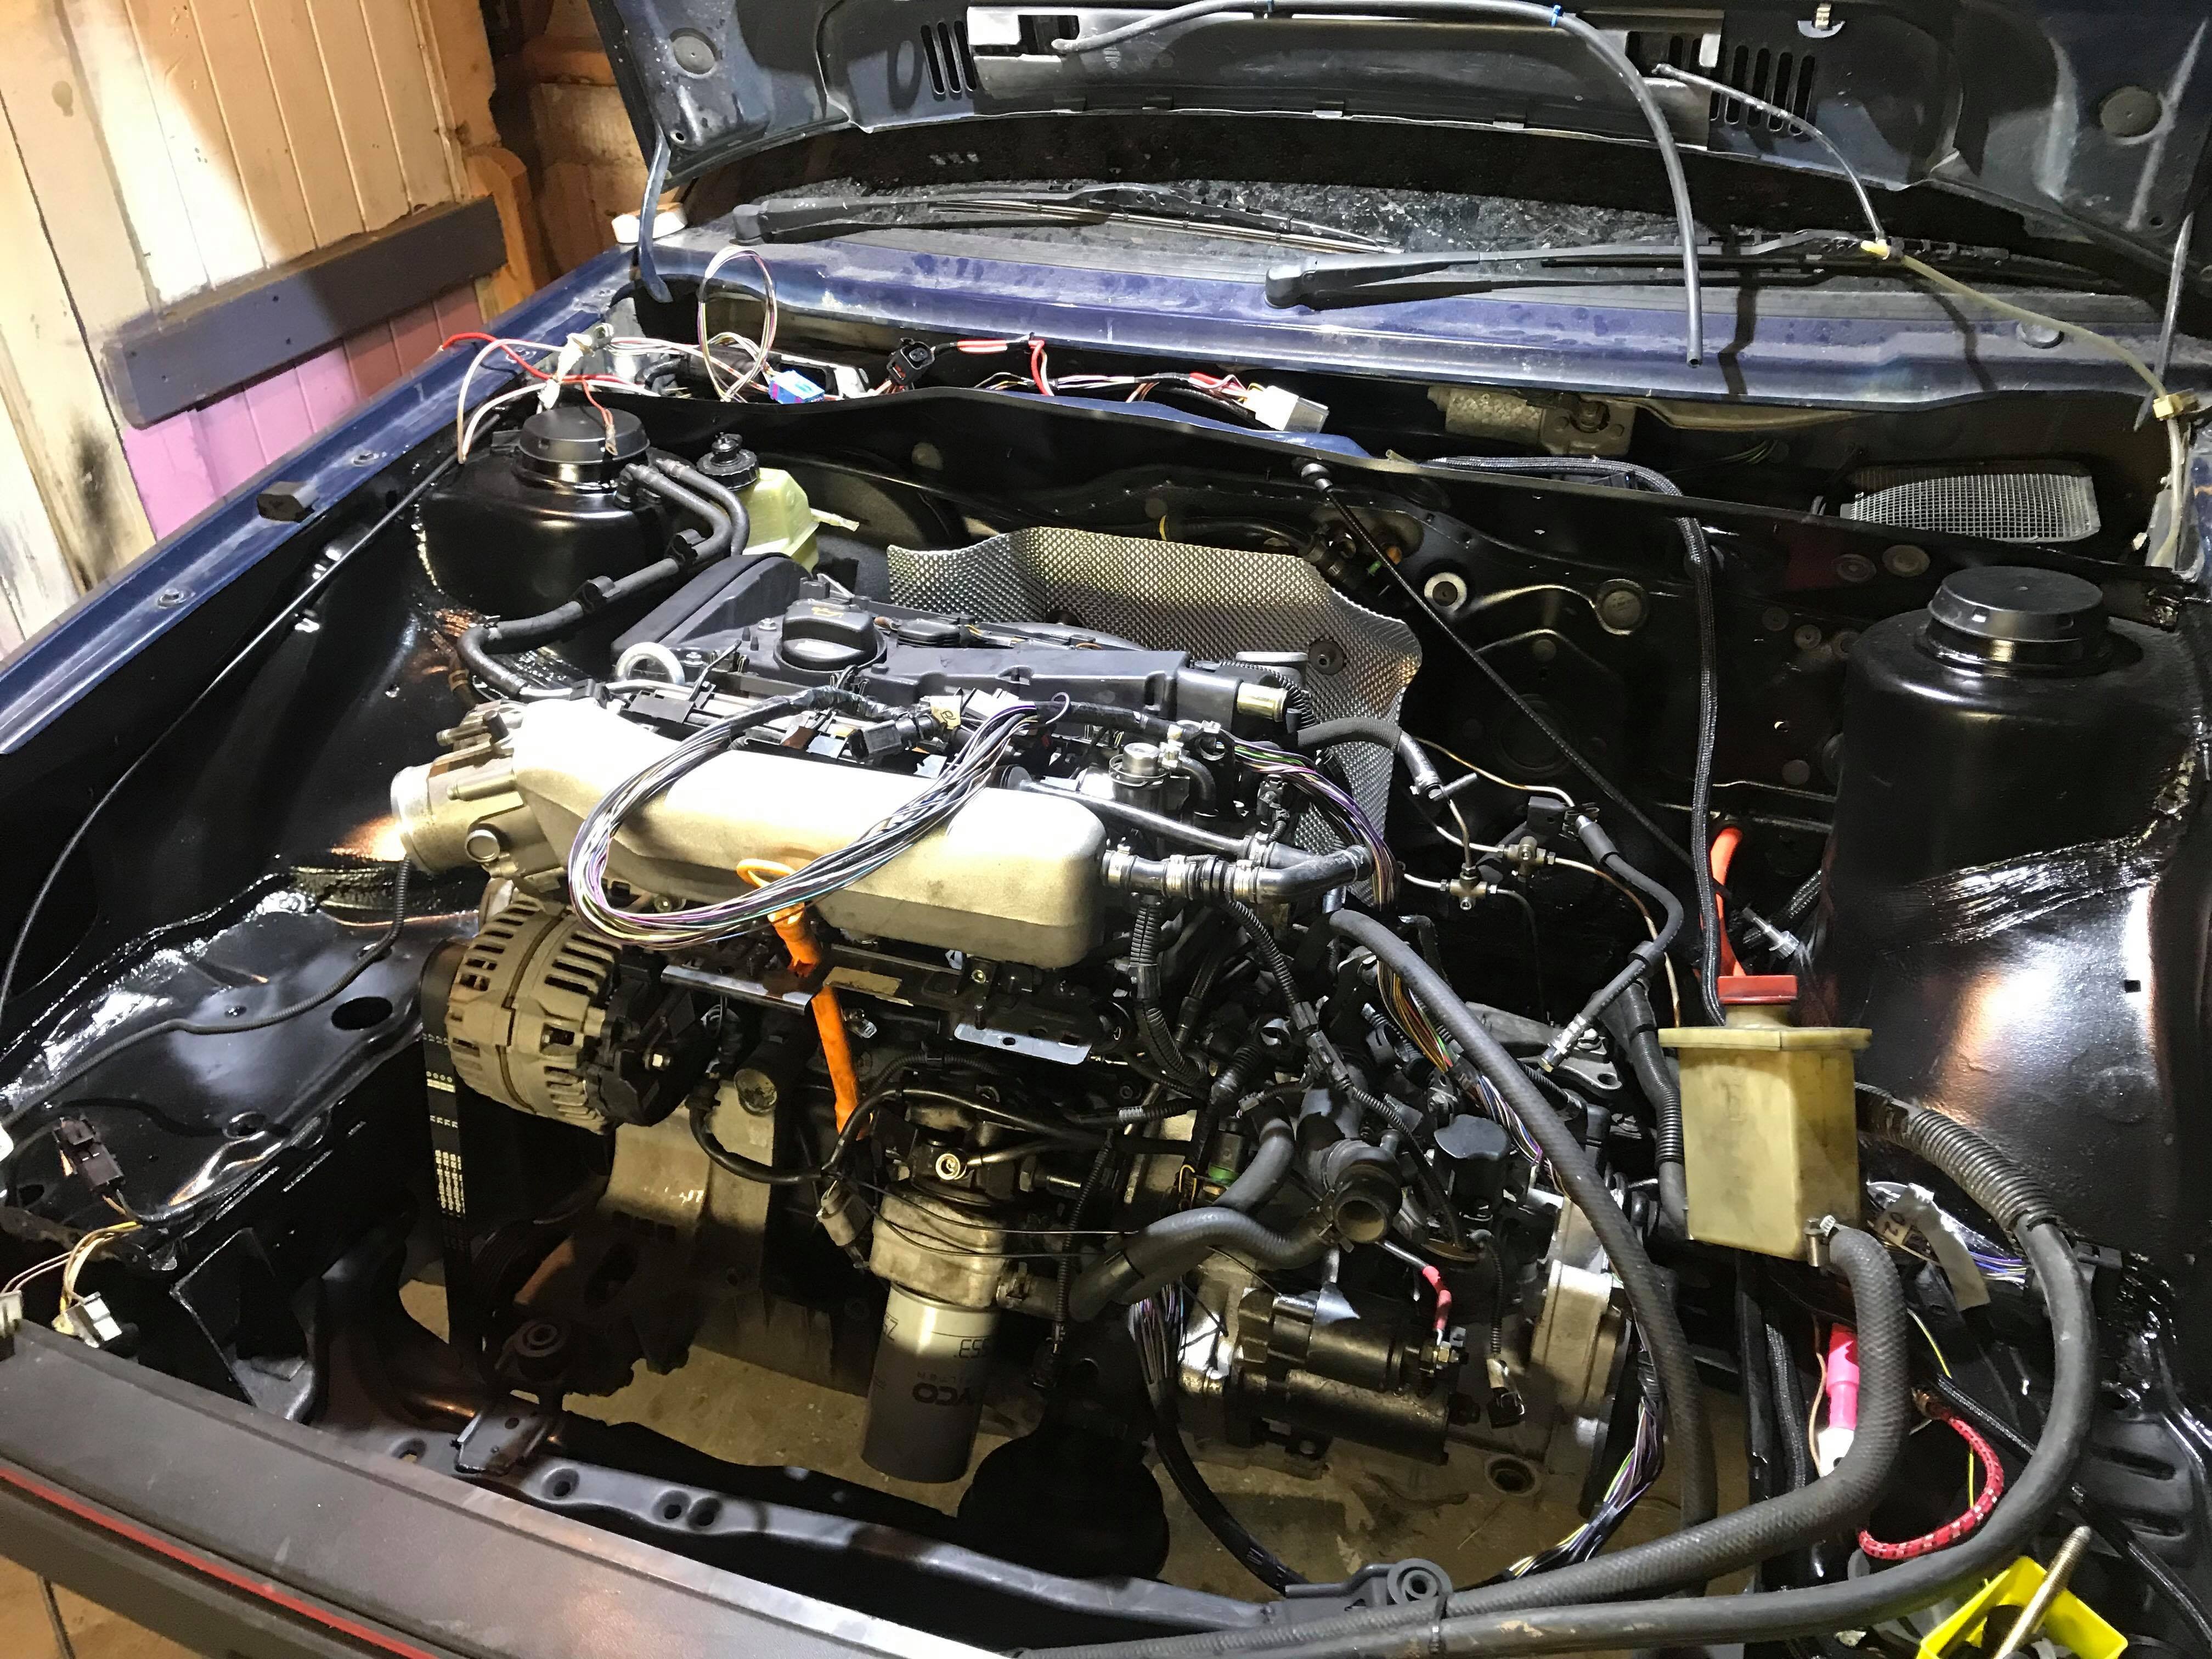
So time for a bit of a test fit. Im using all existing mounts from the mk2 which worked but the brake MC touched the Cam cover and although im sure it wouldn't move to much i really wanted to be sure so i went to the wreckers and got a mk3 subframe (uses one mount that is slightly different) but still a direct bolt up. I don't have any great photos of it maybe because I was too excited but managed to track down a K04 turbo out of an Audi S3 so here we are shooting for a hopefully very drive able 260hp worth of fun.
- 21 replies
-
- 8
-
-
- 20vt
- volkswagen
- (and 3 more)
-
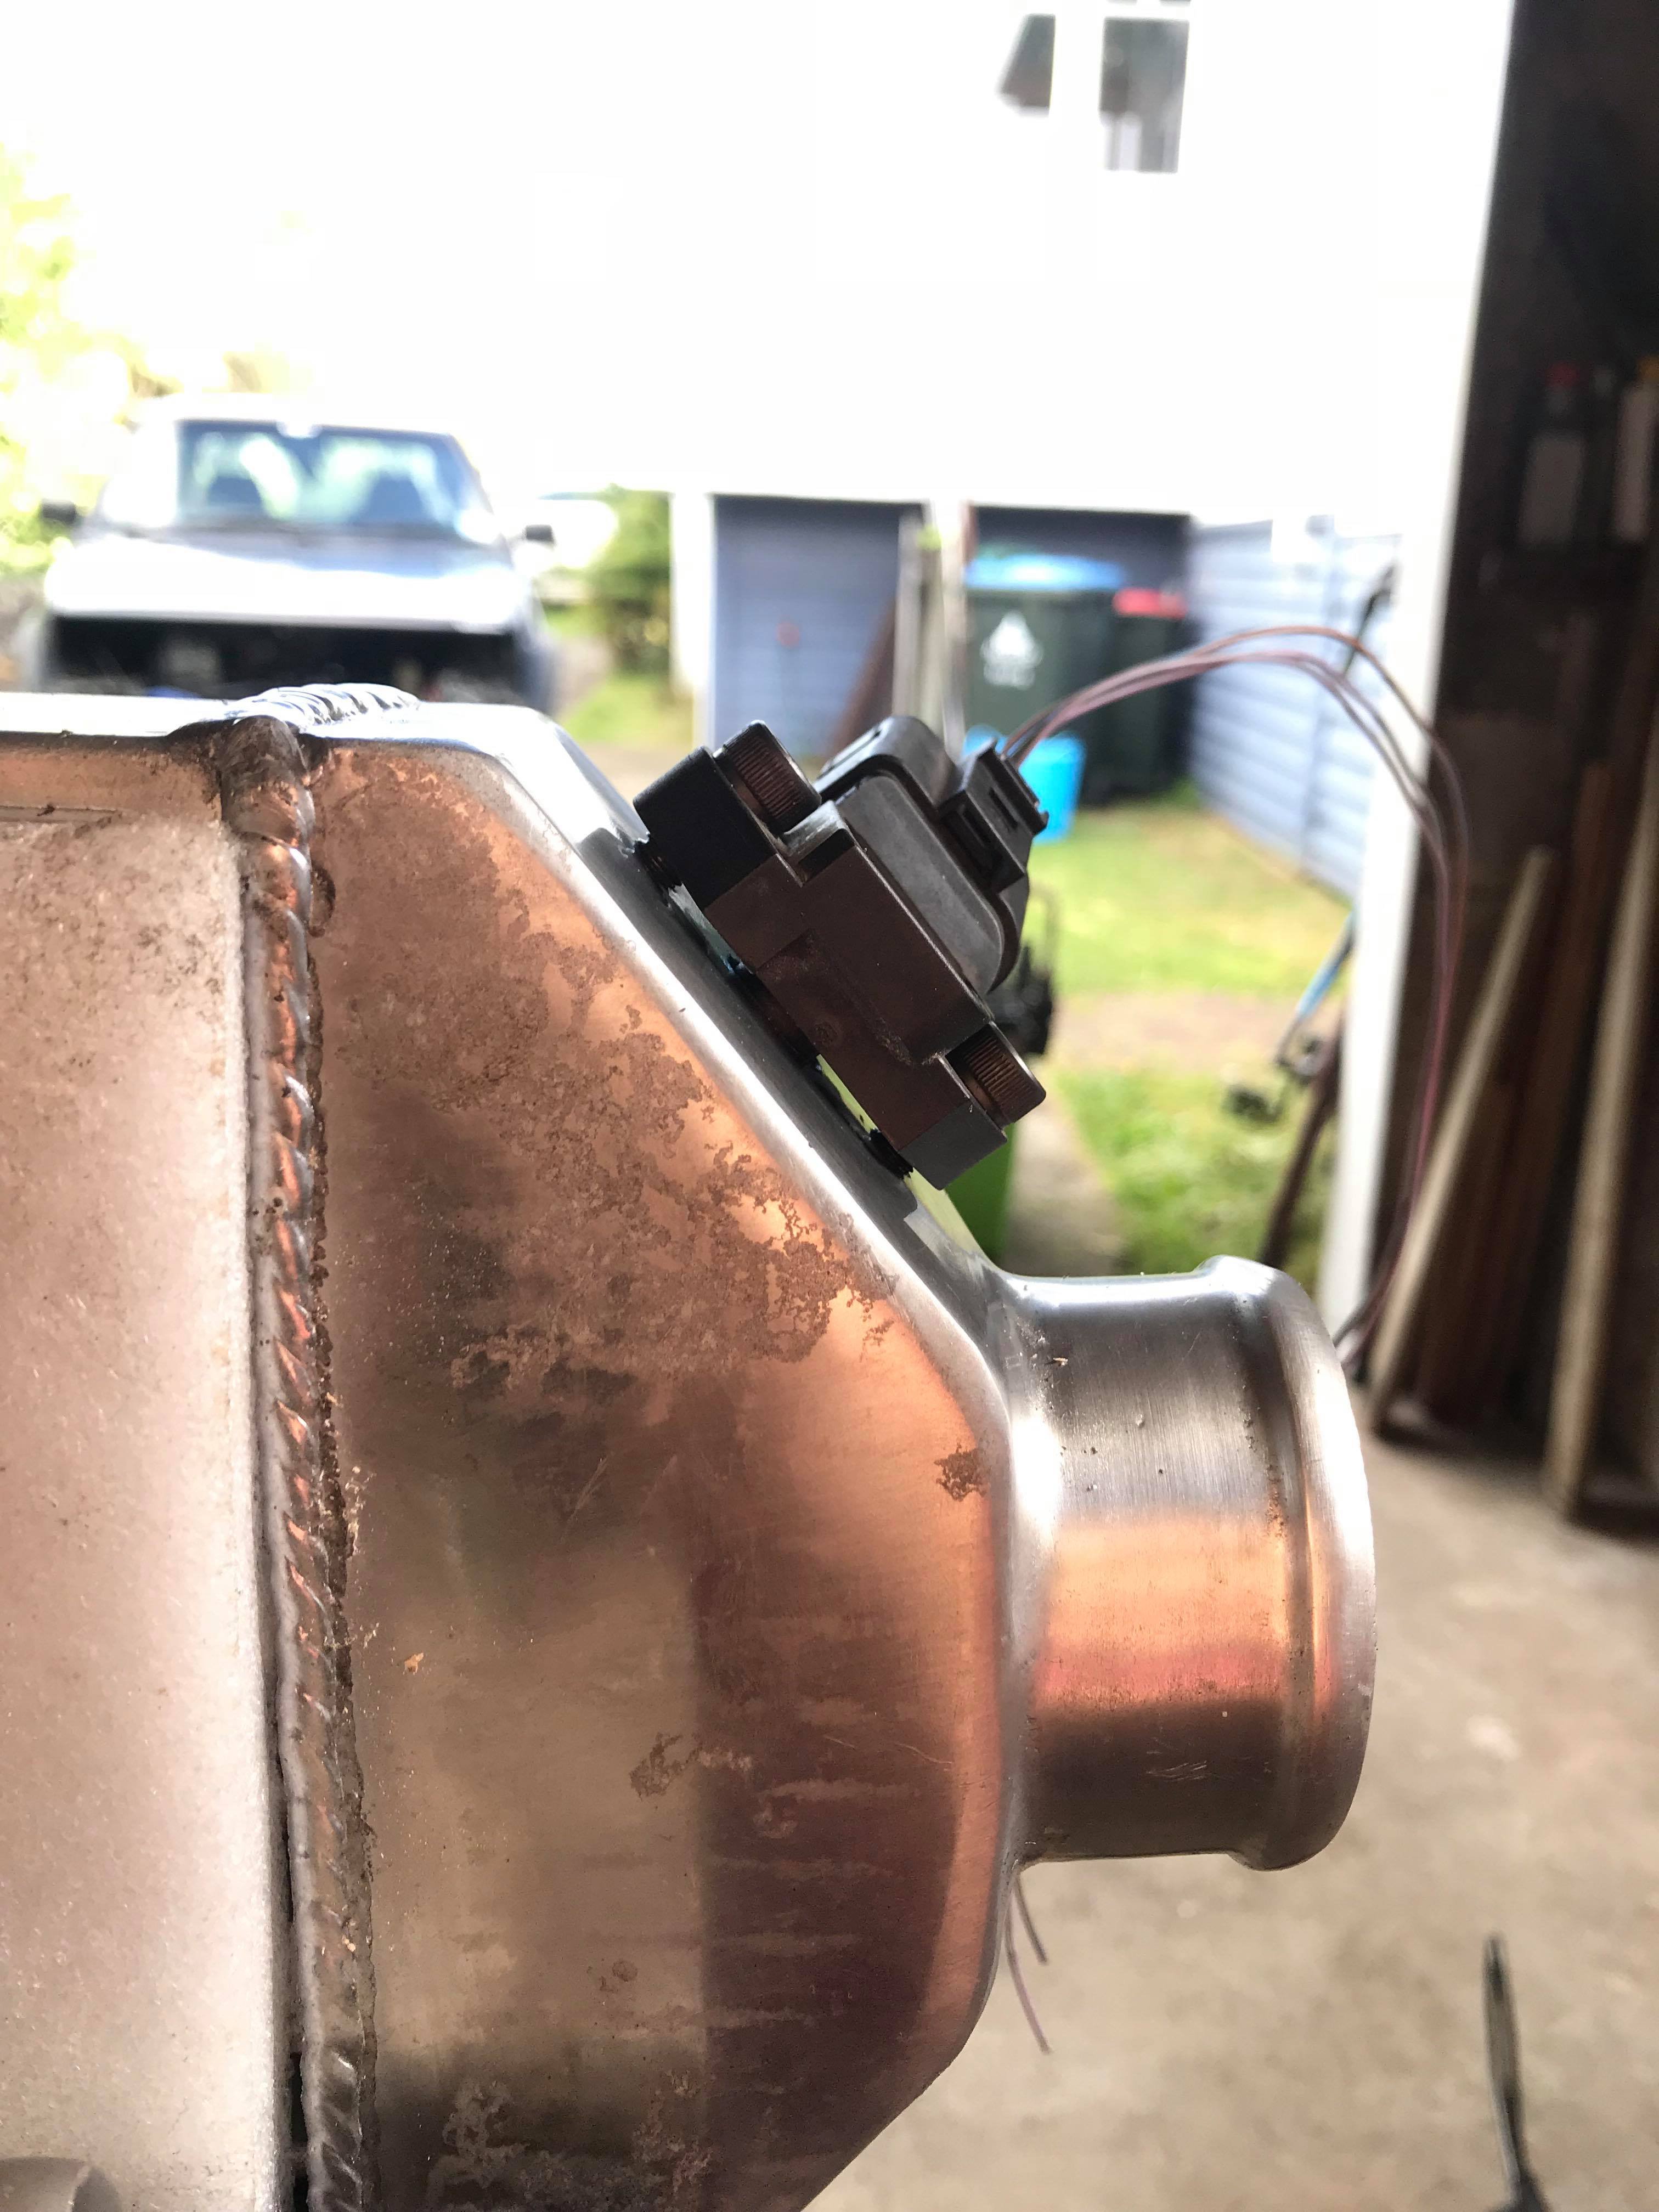
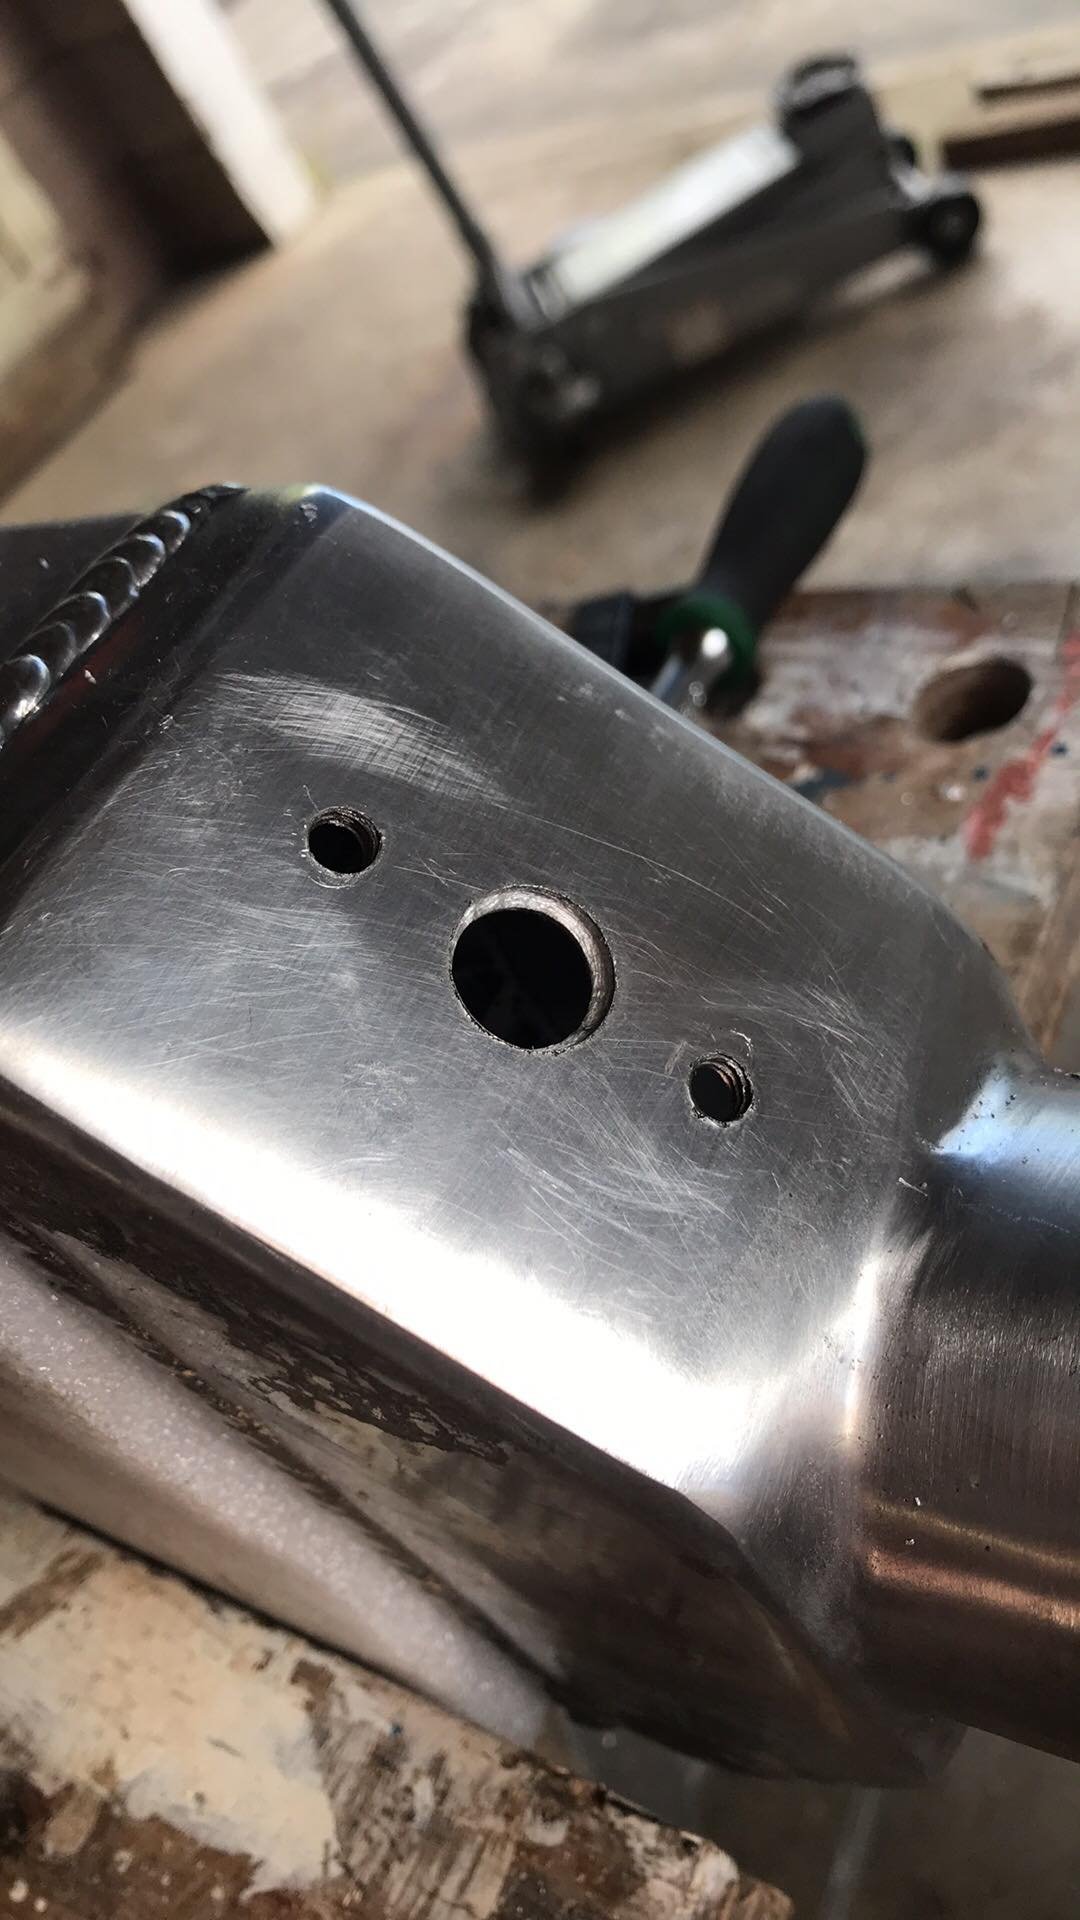
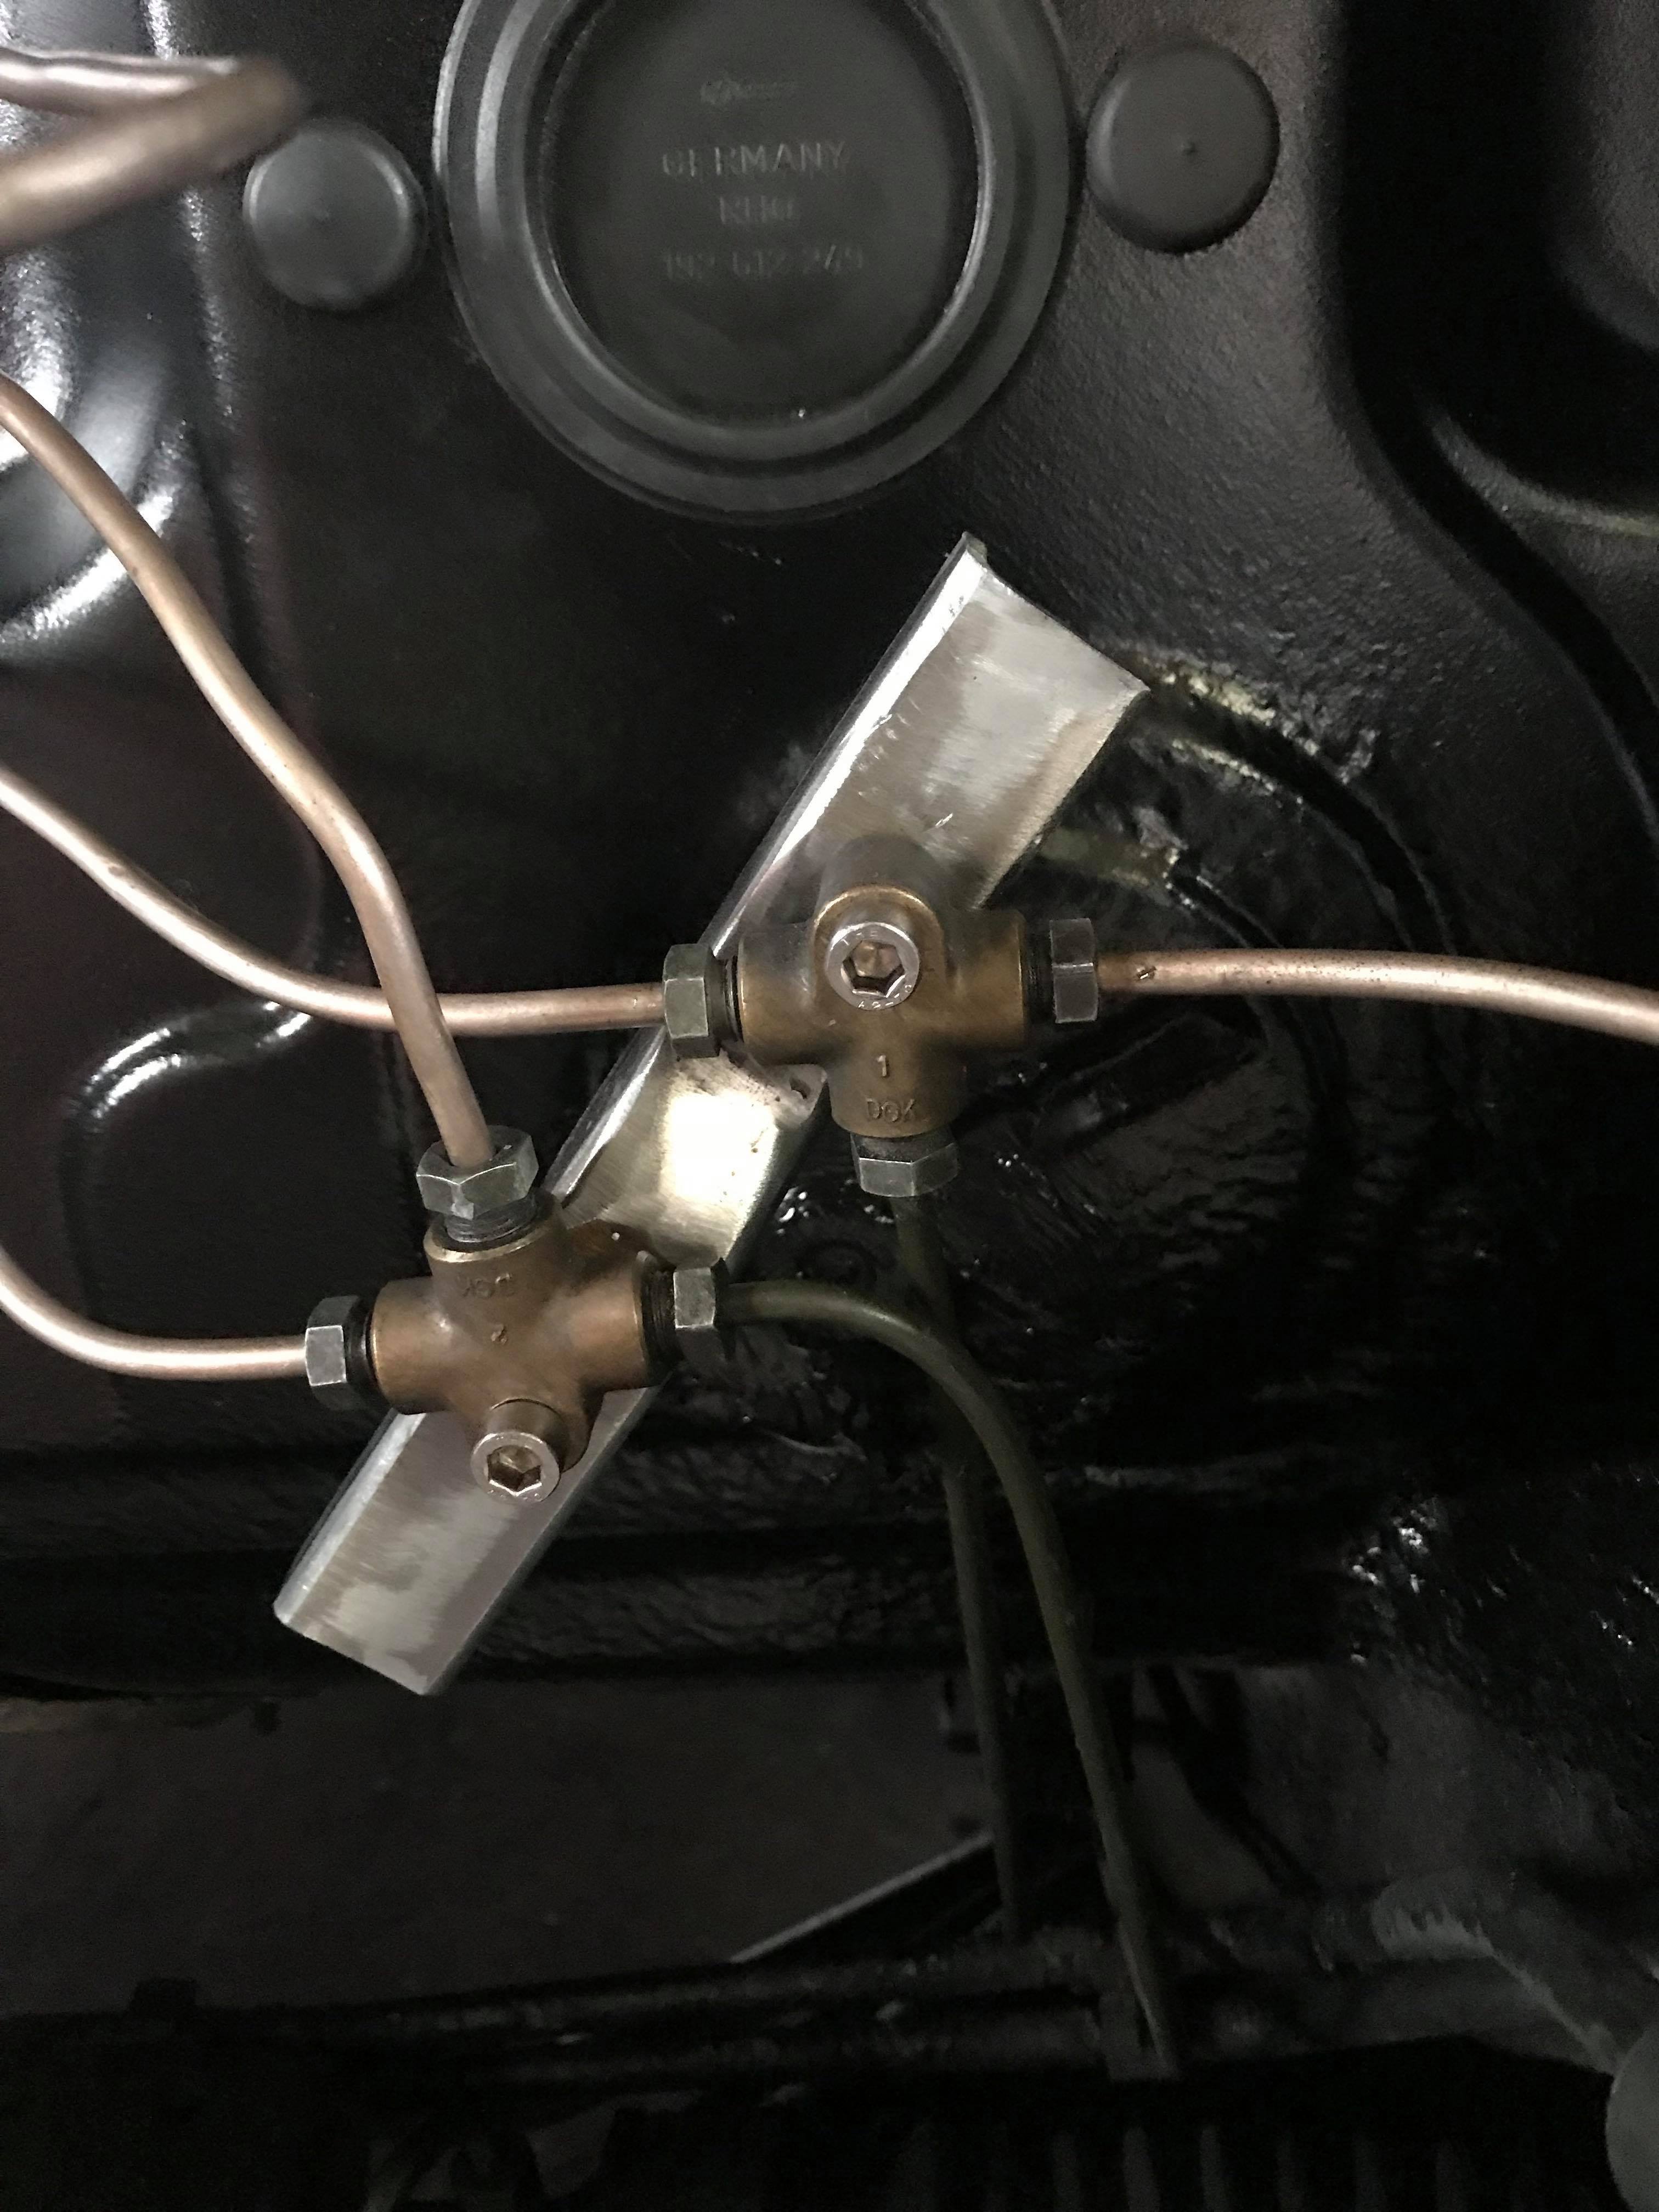
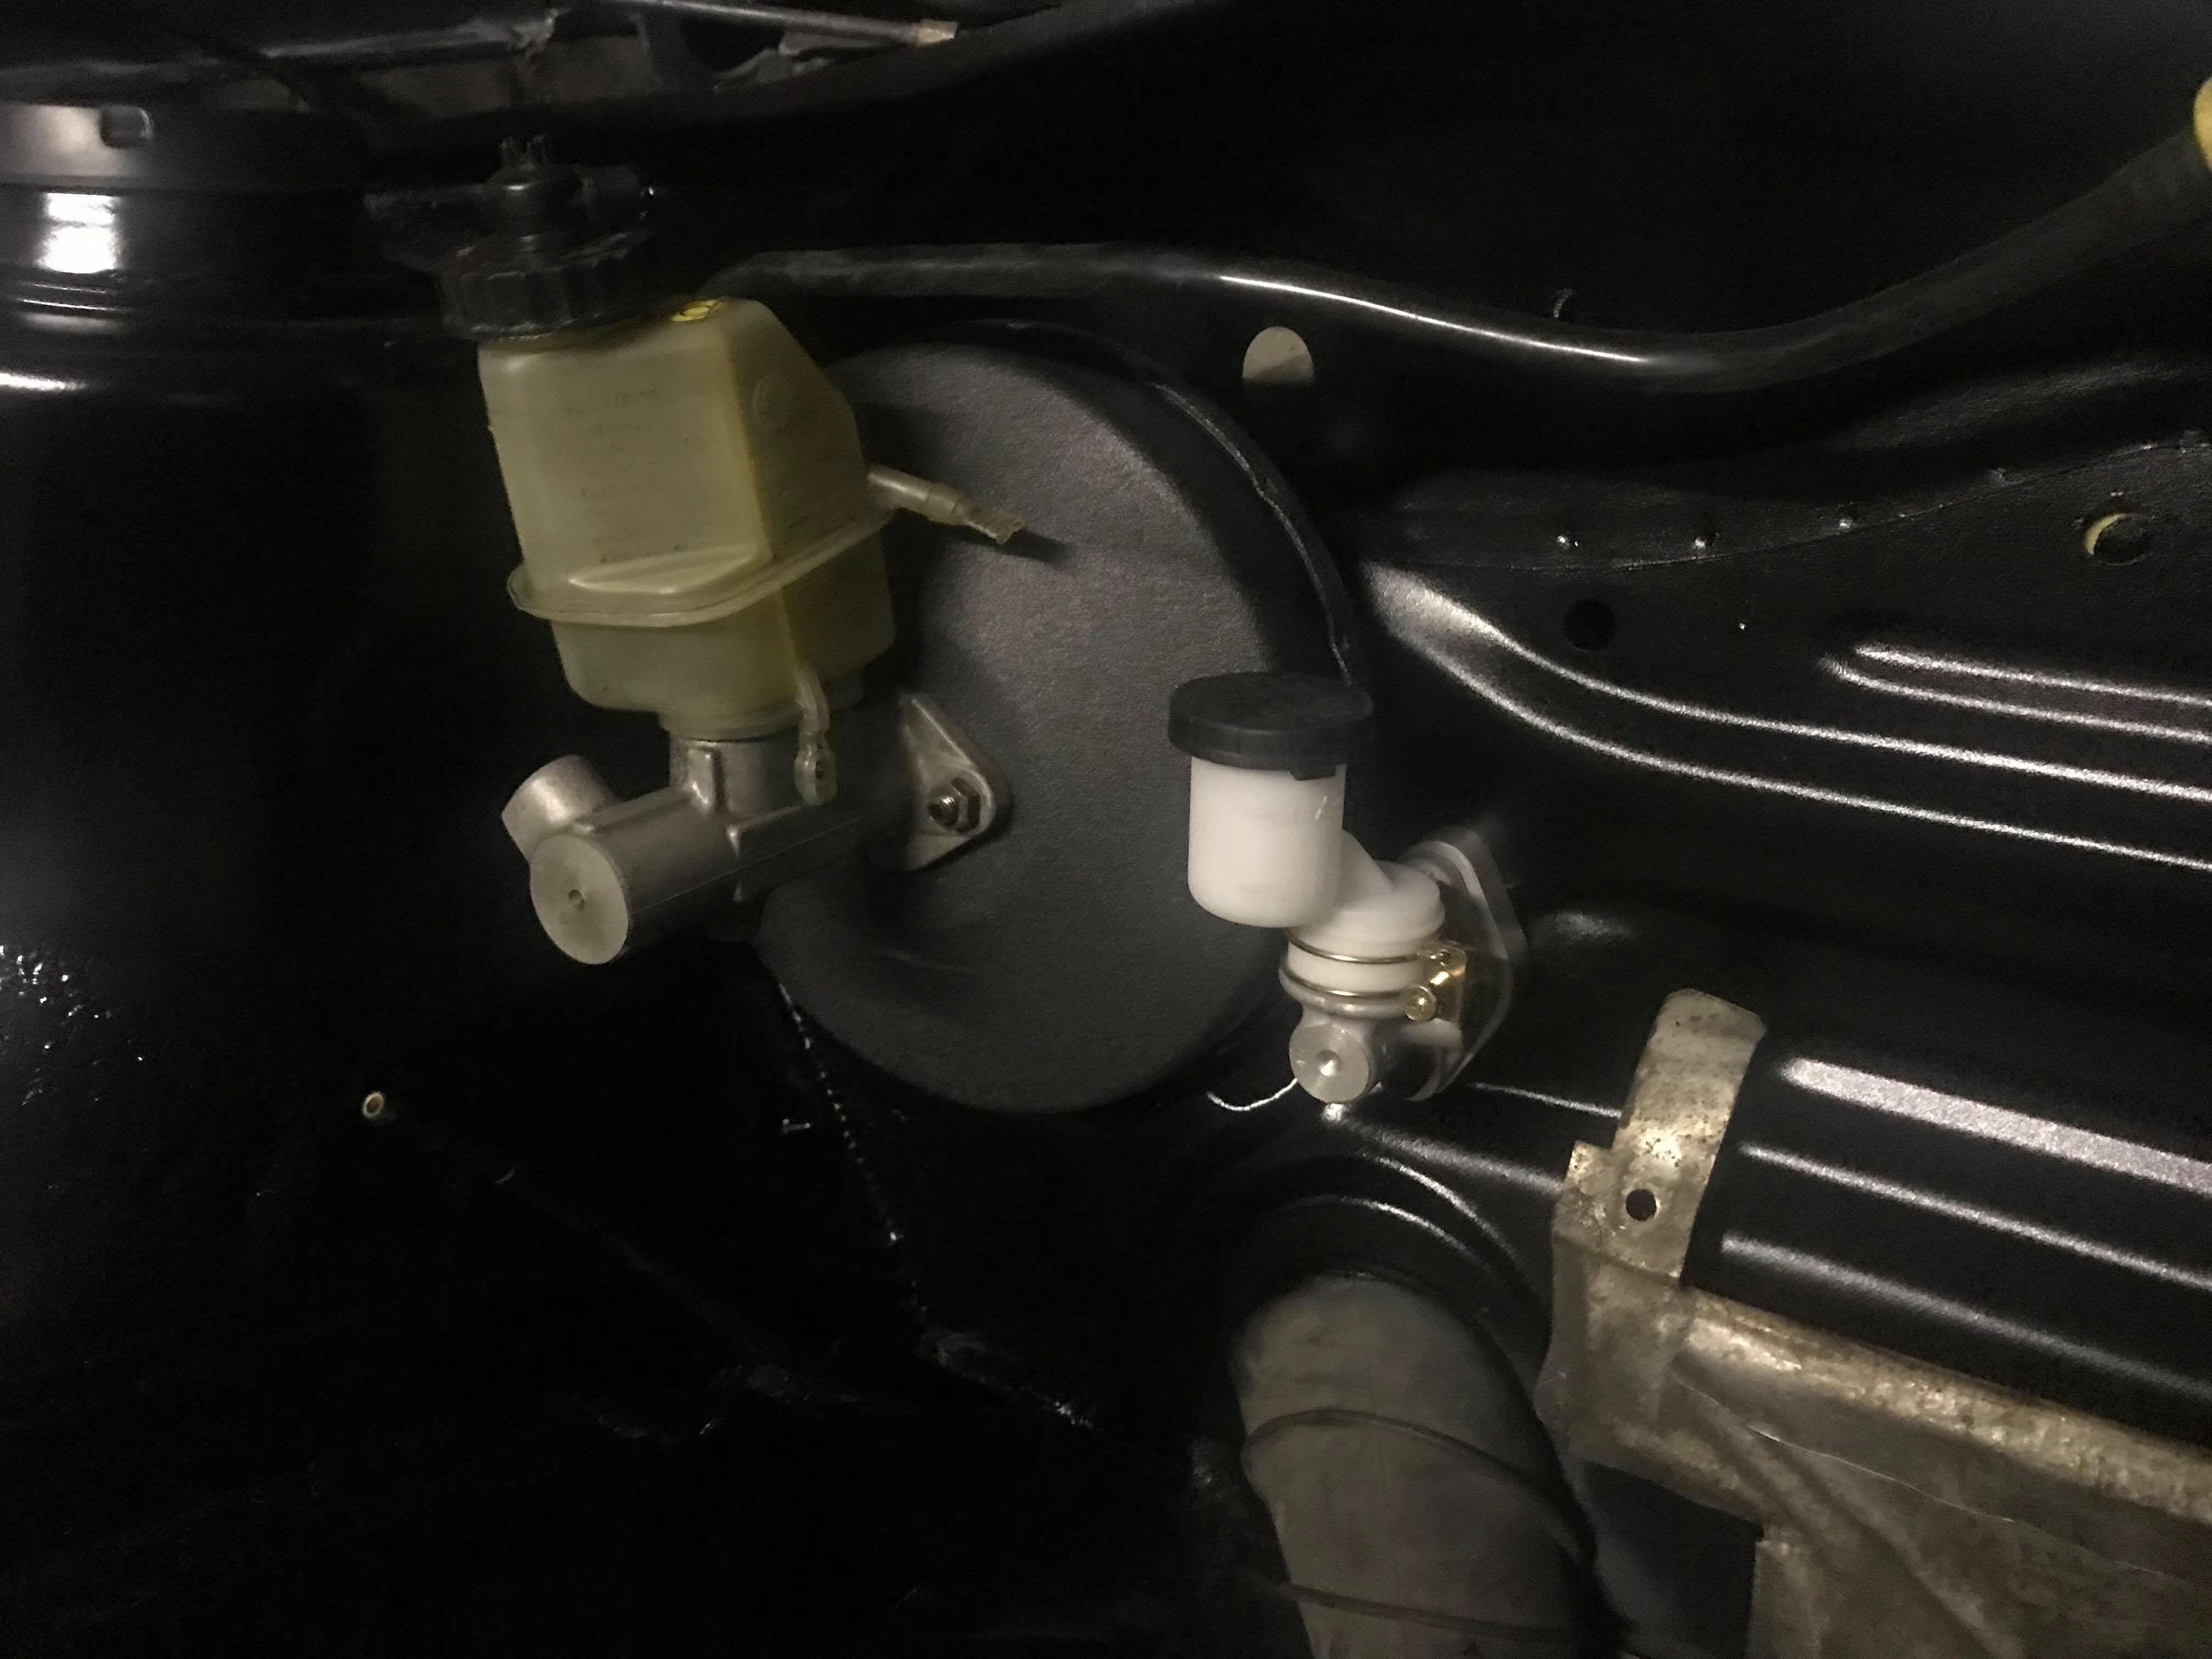
This might be a little bit of a hack job but i needed the O ring on the MAP sensor to sit nicely and one of the best spots I could find to use without to much work was directly into the intercooler. So armed with a stepper drill bit and a set of taps I managed to make something work. Fortunately it only required 3 washers either side to space the sensor nicely so that the o ring seated. Ideally i would have made a new aluminum part with the CNC and welded it on but I didn't really have the time and the skills for the aluminum welding so this was a nice simple solution. I installed a larger Brake MC for more brake feel as the standard one was so soft and you had to do a lot of work to make something happen. Ideally I would like this car to be able to be taken on track days and drag meets (drive ability is pretty key/vital as this is not some show car) so I need some effectiveness from the brakes. Also spent a lot of time position the electric throttle pedal for a good heel toe operation. I had spent a lot of time trying to make this Clutch MC work (its from a Pajero) as people spend a lot of money getting a specific pedal box just to make it work and getting one hard enough let alone paying for it to get to New Zealand. I was convinced that armed with a brake line flaring kit and a bit of thinking I could make something that would be effective. In hindsight this was really not the case and after a bit of research and failing miserably I found that i actually needed to do a lot more bench testing. I think that i mounted the MC inline with the pivot point of the pedal making the clutch have a incredibly light feel, it seemed to function but did not feel anything like how a clutch should. I also think I needed to spend a lot more time researching throw/movement lenghts of the MC vs the Slave. It might post something in a technical thread as i really would like to know what to do next time but I ended up buying a bolt on solution for the time being. (above picture is not it this is my pajero mc with a spacer made with the CNC at work. Meanwhile that fail was going on I was atleast able to work on my welding skills. If i can say anything as i come further through this project is that my mig welding is getting so much better even just with the flux core. This is a little brake line bracket i made and tapped with two pieces folded and welded together.
- 21 replies
-
- 6
-
-
- 20vt
- volkswagen
- (and 3 more)
-
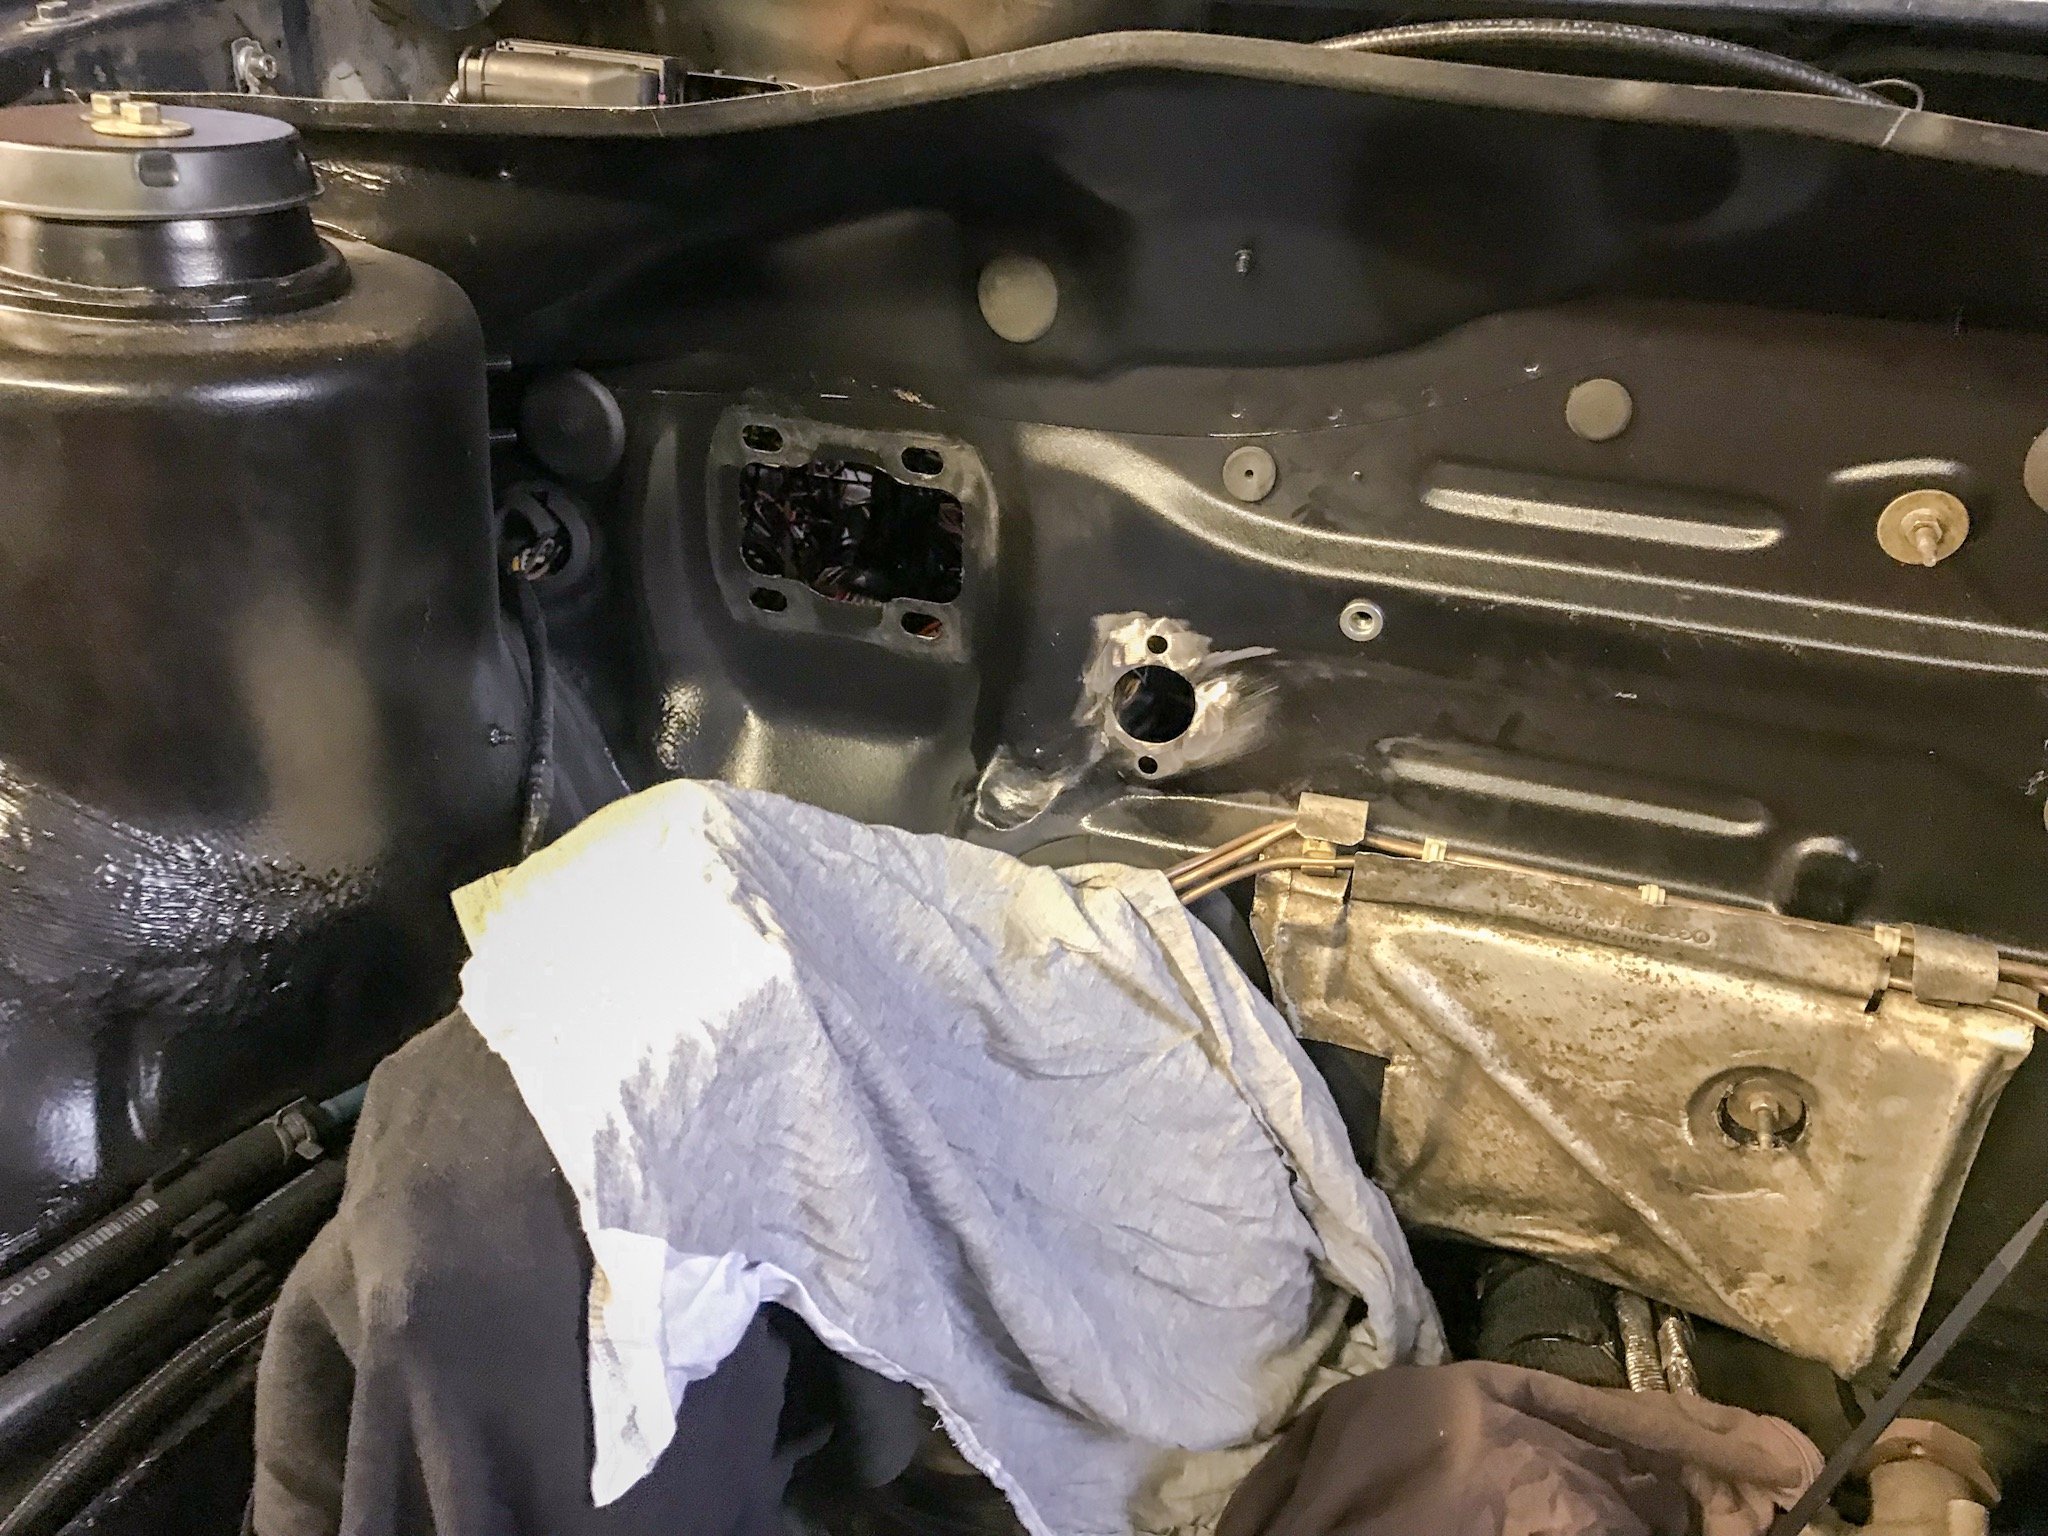
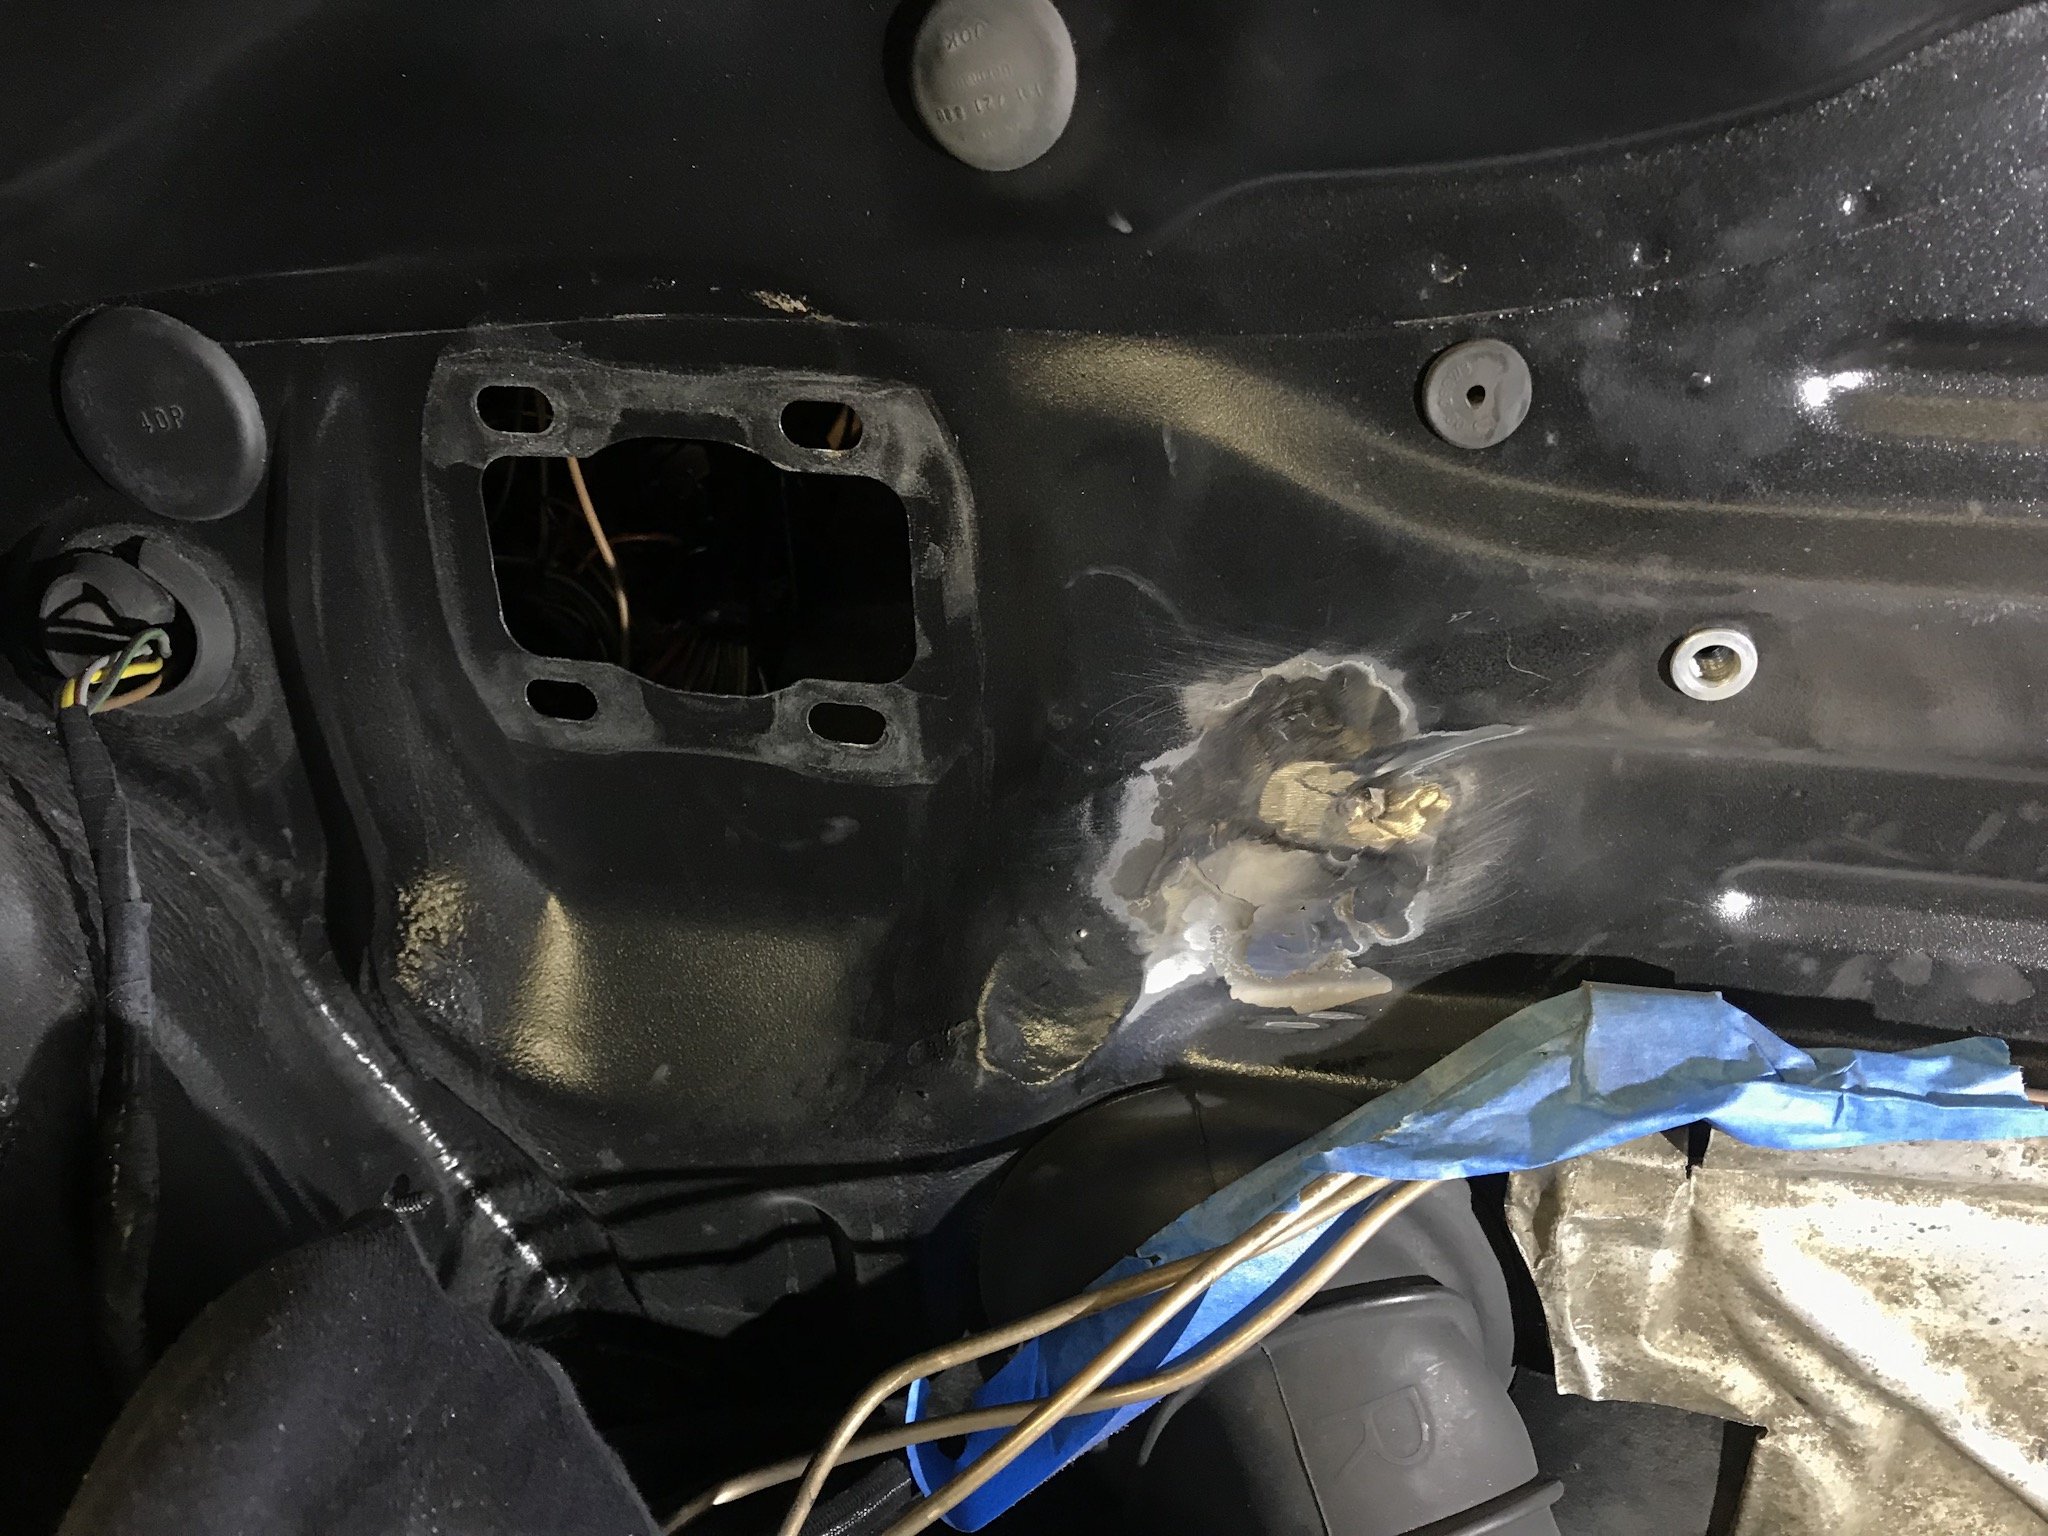
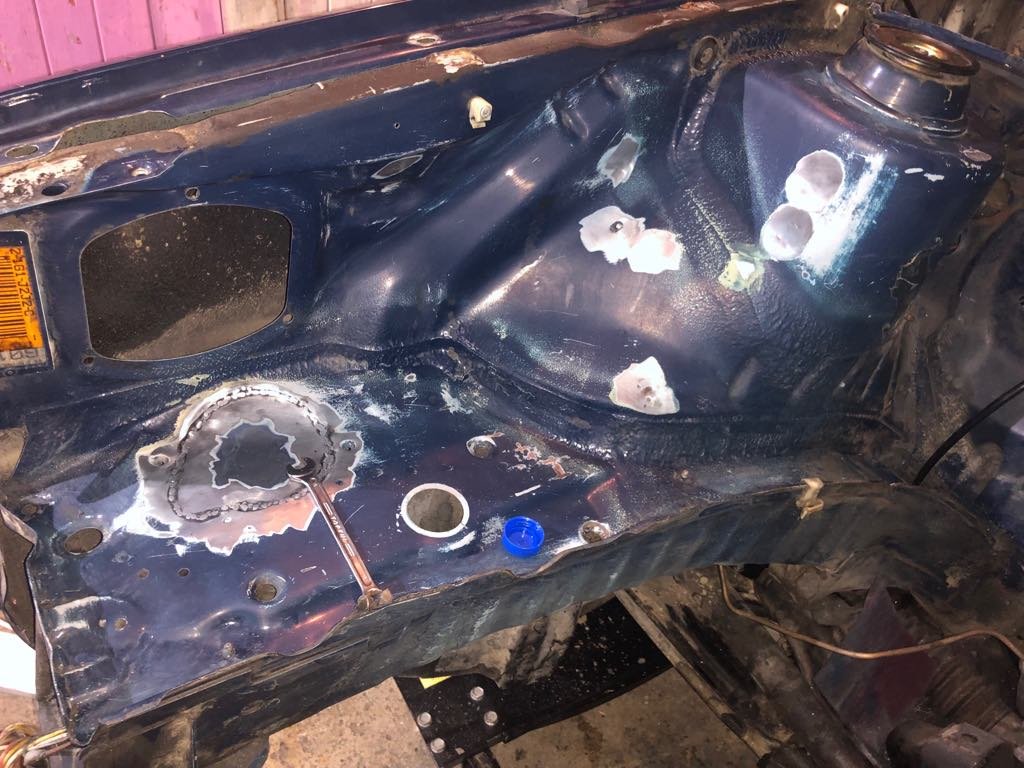
Gave it some love with a bit of paint Anton filling in the last of the little holes with a little bog All done with final coat, very happy with the industrial look
- 21 replies
-
- 6
-
-
- 20vt
- volkswagen
- (and 3 more)
-
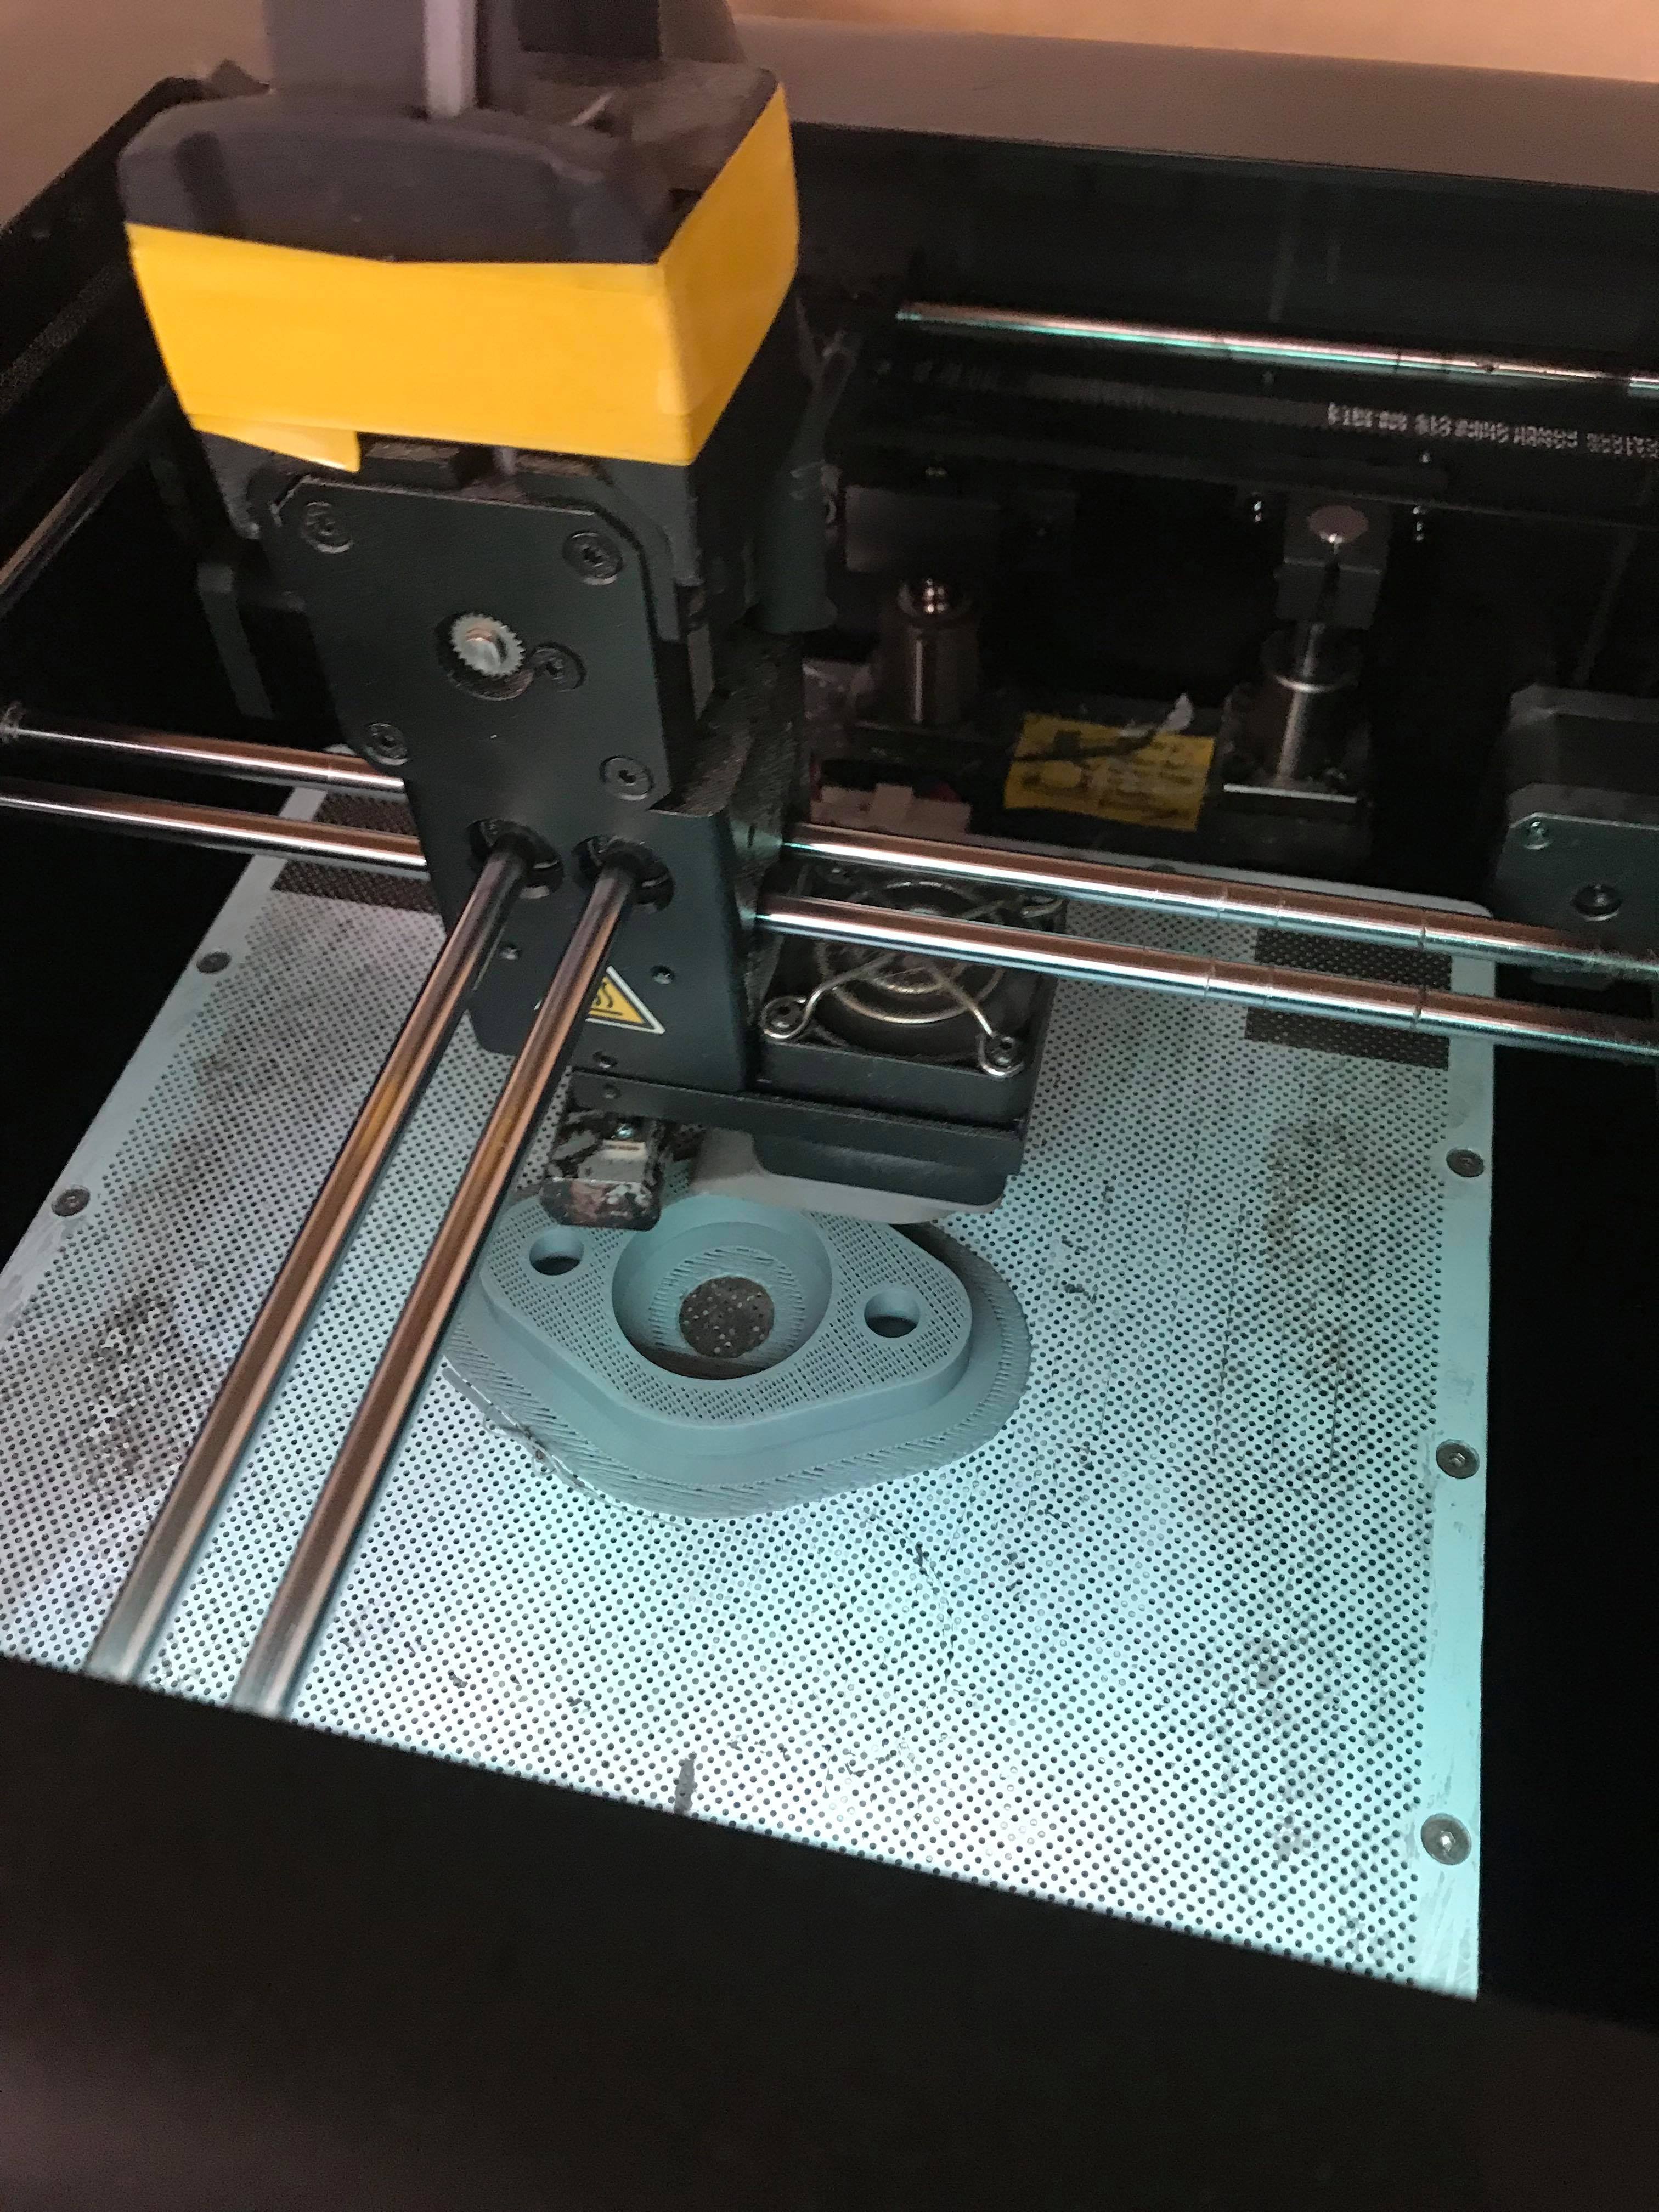
Started retro fitting a Pajero clutch MC to my firewall so we can convert the car to hydro clutch as the new gearbox requires in. 3D printed a spacer to make the distance between the clutch pedal and MC correct Also began filling any unused holes, and bits and pieces that weren't needed. Got to learn to mig weld during this which is something ive not really done before.
- 21 replies
-
- 12
-
-
- 20vt
- volkswagen
- (and 3 more)
-
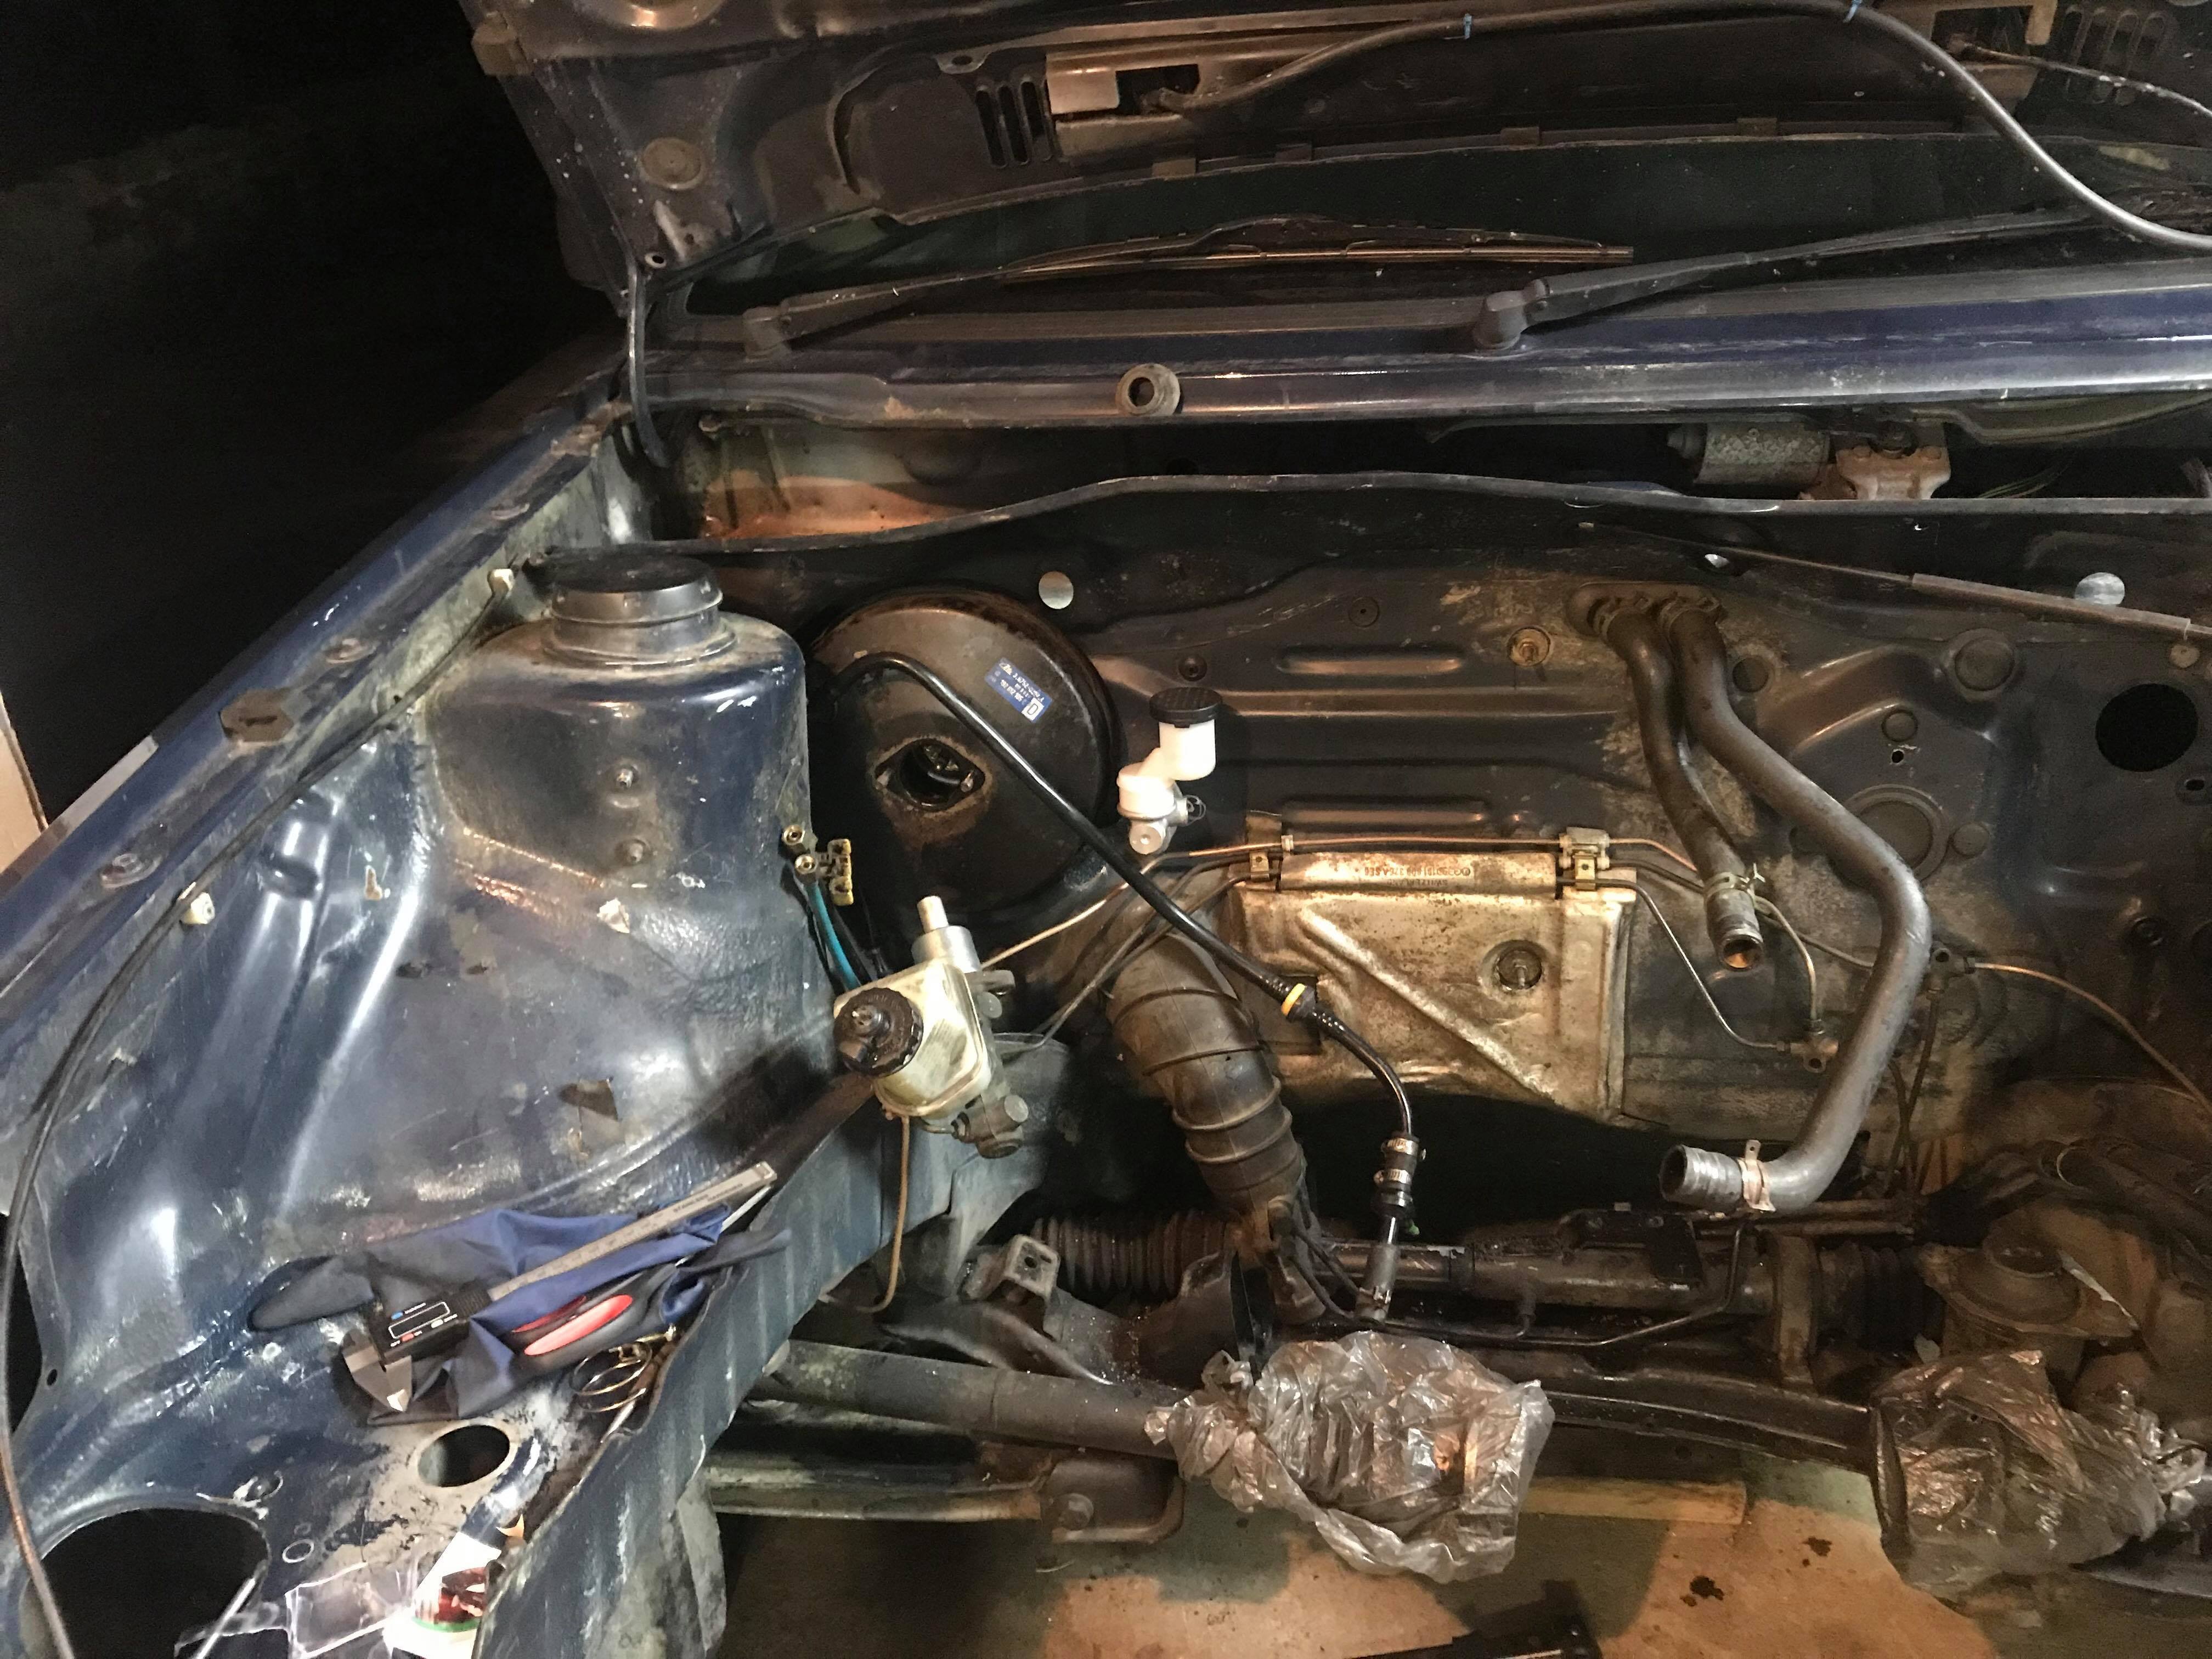
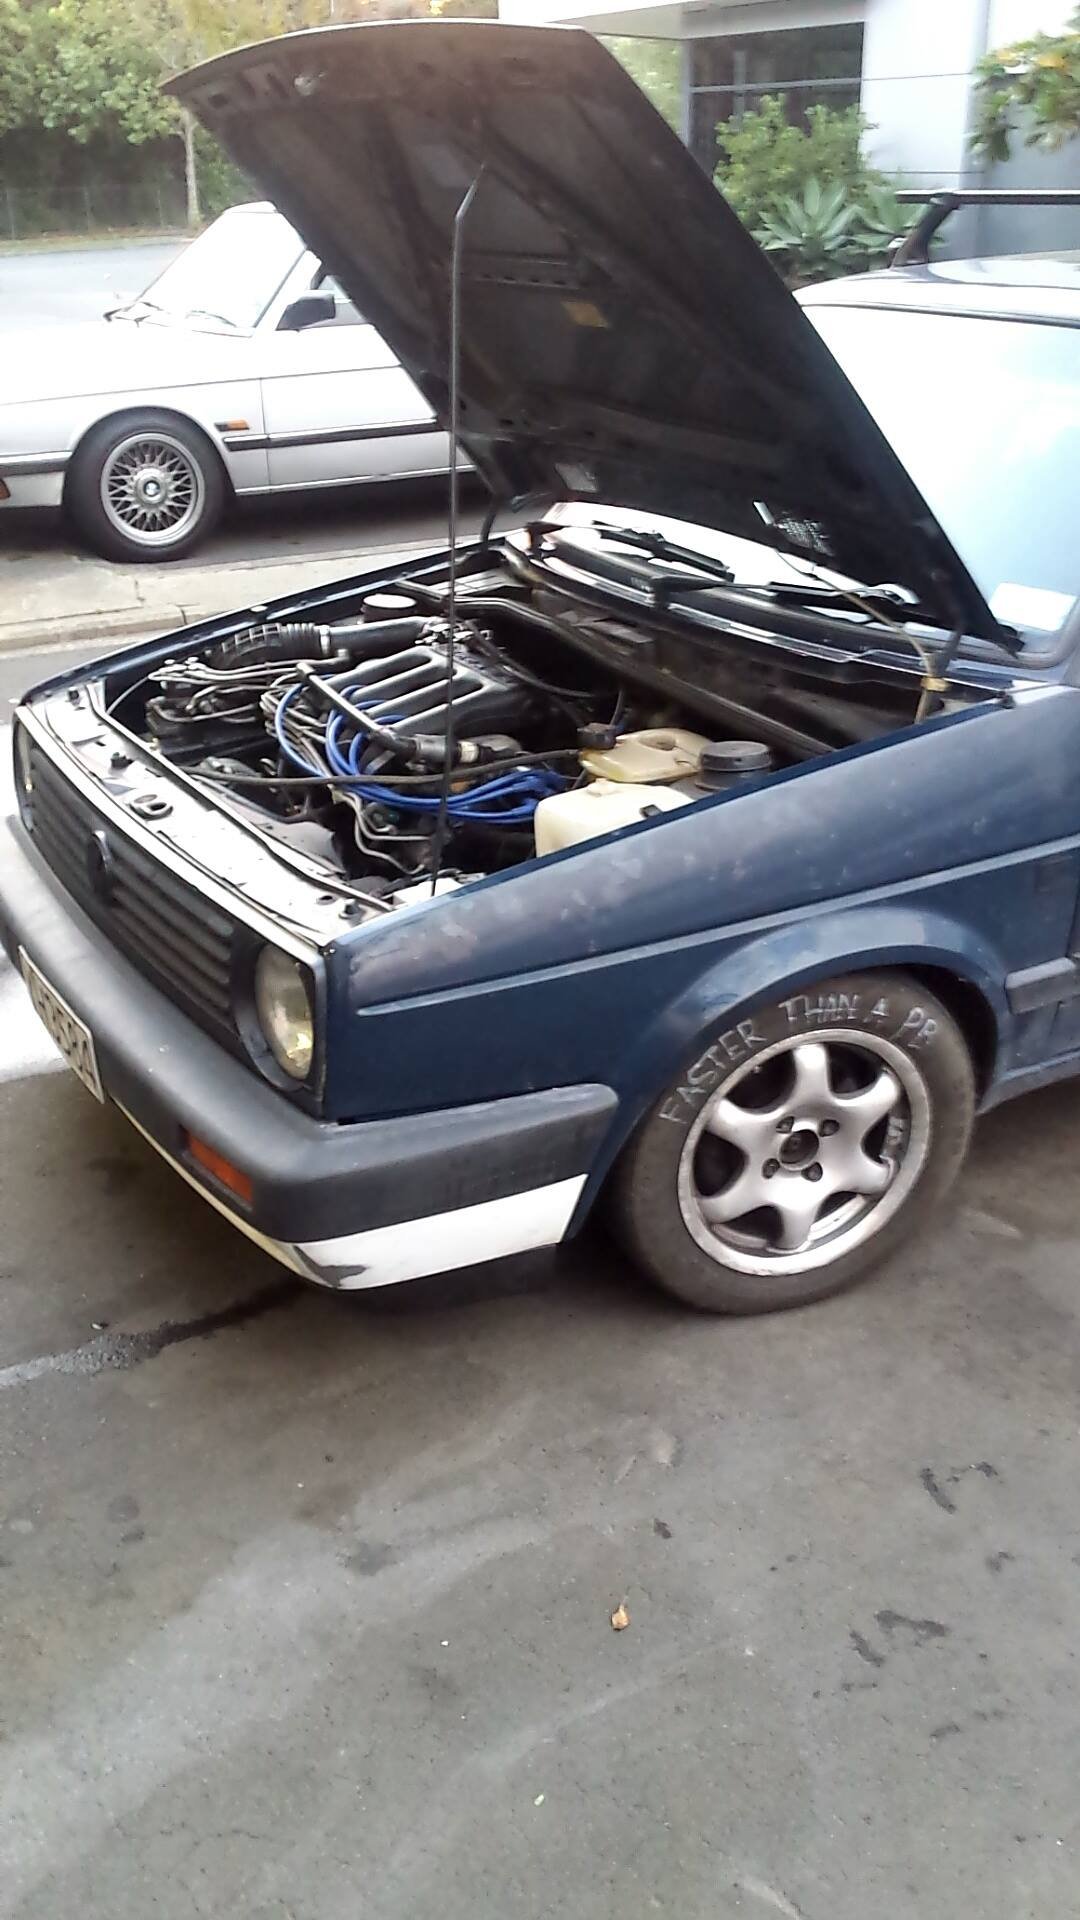
So November 2018 after a little bit of time collecting parts I decided I wanted a little more power and a new challenge so the plan was set for a 1.8 20v turbo setup to be swapped in from a mk4 gti. Anyhow here is the disassembly.
- 21 replies
-
- 3
-
-
- 20vt
- volkswagen
- (and 3 more)
-
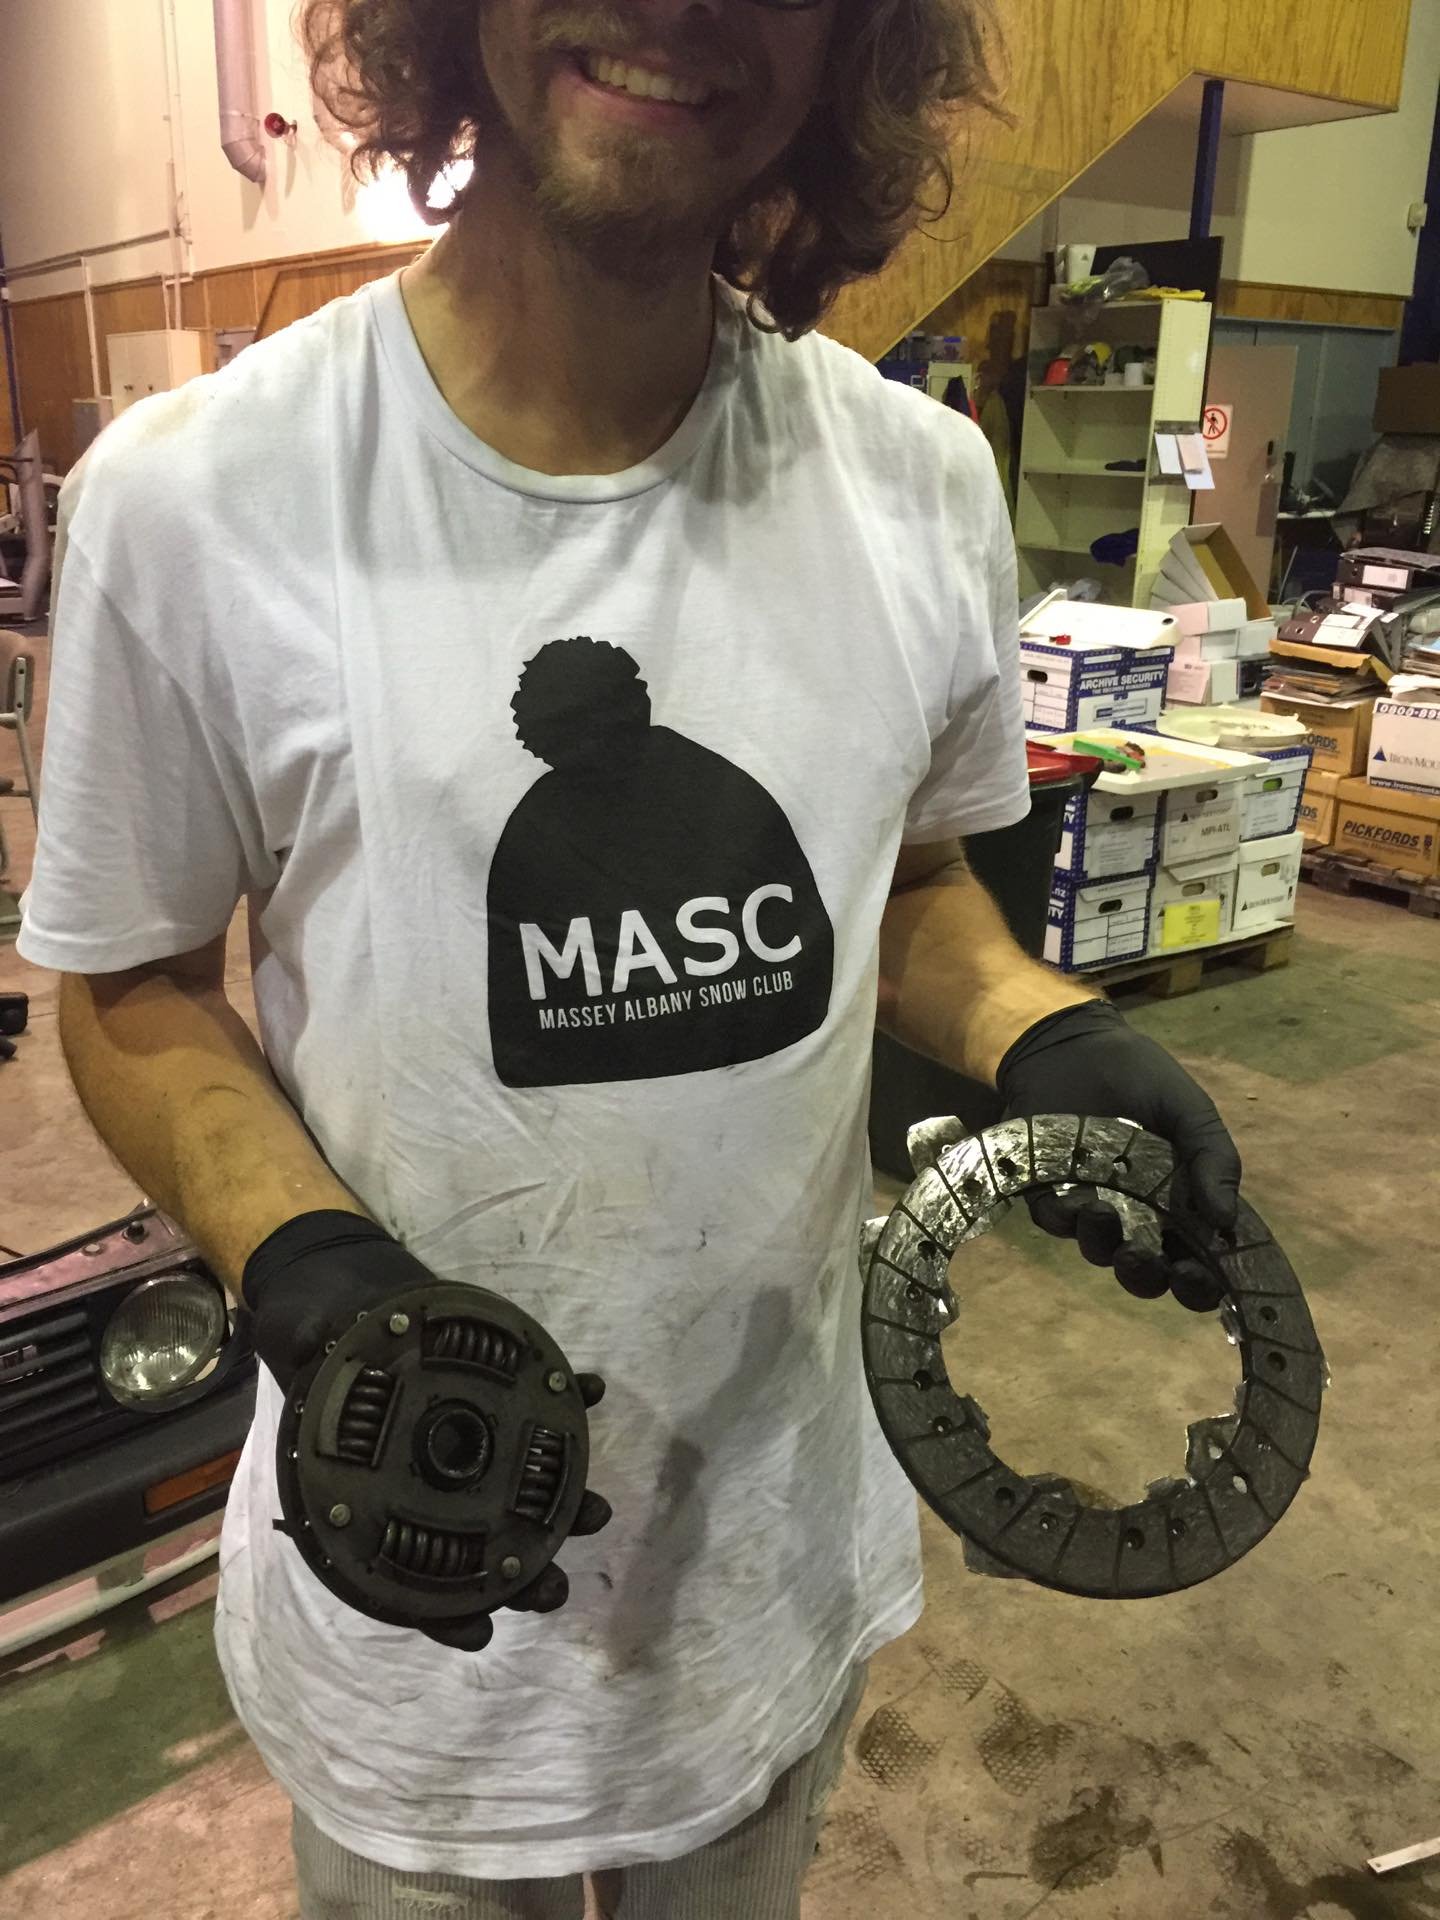
Here was one of the bad things 18 year old me must have done, possibly not bolt the gearbox on correctly... (i drove it for close to a year) so could have come loose but either way I was asking my friend if he could see the clutch cable moving, he cracked up laughing, saying that the cable was moving but the gearbox was pushing itself off the engine!
- 21 replies
-
- 13
-
-

-
- 20vt
- volkswagen
- (and 3 more)
-
Ive seen a tonne of people have success with them. I should have really stuck with it but the engine did sound awesome on kjet. Nar im a sucker for mk2's \so I bought the girlfriend one. Thats the next project, might as well put the 16v in something else.
-
are you sure?
-
Im glad its not just me. I actually had it running and got it tuned to a drive able standard, the bigger problem I think i had was with voltage variation. I do want to have another try at it but not now. You know i still have the parcel shelf you sold me. Still looks mint. Drop around next time you're over this way man!
-
After all this I ended up never being able to get the megasquirt to be reliable, so a friend had a kjet setup which we put on, it ran awesome and i drove it like that for a couple of years. Did little bits and pieces including suspension and wheels. just drove it everywhere
- 21 replies
-
- 18
-
-

-
- 20vt
- volkswagen
- (and 3 more)
-
2011 (2l 16v swap) Engine and gearbox installed and the car back on its wheels. Mega squirt setup, despite this not being my final solution i was really happy i had a crack at this. Really taught me that all wiring looks horribly daunting before you start but after going through and labeling and sorting out each little bit step by step its nothing a good system cant fix There was a nice useful pin out so i actually made the megasquirt loom just connect directly to the existing factory loom for easy removal.
- 21 replies
-
- 7
-
-
- 20vt
- volkswagen
- (and 3 more)