-
Posts
5583 -
Joined
-
Last visited
-
Days Won
1
Everything posted by Shakotom
-
Yeah am thinking about it if I find a cheap enough donor bike
-
Tips on how you managed to get the brake calliper mounts square/aligned? bikes looking great!
-
Wanted: someone with a mill, Hamiltonish
Shakotom replied to Evan's topic in Upper North Island Region
@Geophy? -
Eastcapescapade 2021 November 12th, 13th, 14th
Shakotom replied to johnnyfive's topic in Upper North Island Region
-
Eastcapescapade 2021 November 12th, 13th, 14th
Shakotom replied to johnnyfive's topic in Upper North Island Region
Went gravel/adventure riding on the weekend. Man I need to go ride a bike more before cape. Also dropped Adv50 off for some work before cape / to get it ready for some pre cape missions. F I Z Z I N G -
Eastcapescapade 2021 November 12th, 13th, 14th
Shakotom replied to johnnyfive's topic in Upper North Island Region
Yeah please, Thanks! /end spam -
Eastcapescapade 2021 November 12th, 13th, 14th
Shakotom replied to johnnyfive's topic in Upper North Island Region
I’ll be on Adv50 again. It’s packed in the Corolla to go to Tauranga tonight. Ride what you want, but just please be observant if you’re on a bigger bike after you do a water crossing and please don’t run over the guy on a small bike who’s just trying to park on the side of the road. thanks -
New tag system at work works great, had a car come through the shop the other day with one of the new RFID tags, -only issue was my iPhone 7 Plus didn’t like reading the NFC, but another workshop guys read it fine. Easy as to scan, look at the pictures and make sure car looks the same as it does on there / see what it’s certed for. Waaaay more info than on a CERT tag. Even ment I could tell guy had changed his street tyres to the equivalent mud tyre versions on the same rims because it looked different from the photos.
-
Eastcapescapade 2021 November 12th, 13th, 14th
Shakotom replied to johnnyfive's topic in Upper North Island Region
Yeah fine guess I’ll come if I have to -
Te Urewera Undertaking, 2020 Nov 27th, 28th, 29th.
Shakotom replied to johnnyfive's topic in Upper North Island Region
@GuyWithAviators -
Can I come too
-
Te Urewera Undertaking, 2020 Nov 27th, 28th, 29th.
Shakotom replied to johnnyfive's topic in Upper North Island Region
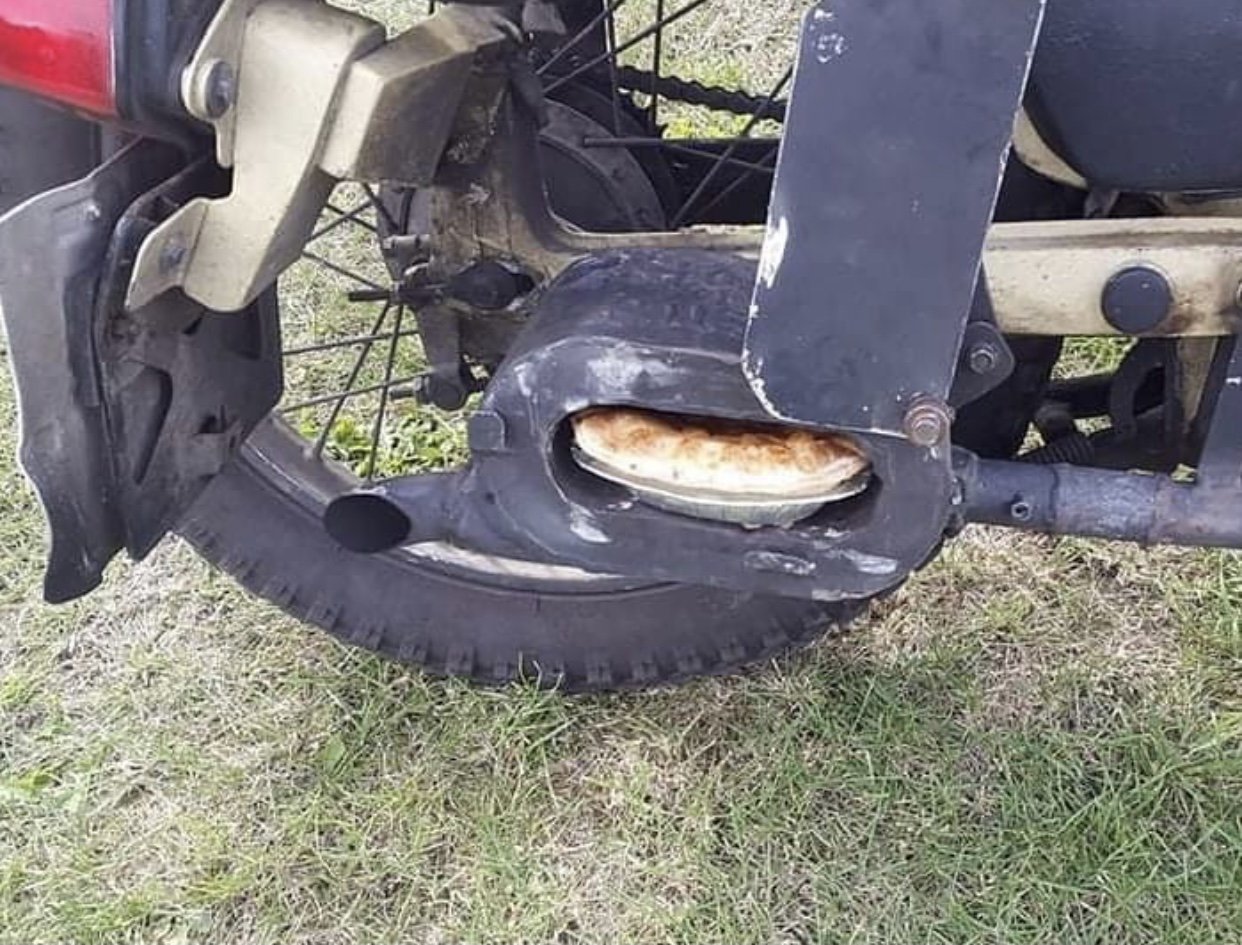
Something to watch out for when after a Ford crossing -
Flapper on the top is mandatory too thanks
-
Te Urewera Undertaking, 2020 Nov 27th, 28th, 29th.
Shakotom replied to johnnyfive's topic in Upper North Island Region
Bump? -
adv boomer blizzo cant wait to see you standing up on the foot pegs on this eh
-
Just because there seems to be a increased level of dumb lately. here’s the virm https://vehicleinspection.nzta.govt.nz/virms/in-service-wof-and-cof heres the hobby car manual. https://www.lvvta.org.nz/shop/new-zealand-car-construction-manual-full-version/ and they’re both free!!!!!!
- 8973 replies
-
- 10
-

-

-
Also you bunch of potatoes. if youre building a car, and going through cert process, provided you have the wheels at cert time, you can get your car certed for multiple wheel sizes. But again boss=costs
-
Wat no unless it has a CERT plate attached to the vechile that specifies the modifications / vechile specs for what it was certified. if no CERT, can do what ever as long as it doesn’t exceed 5% tyre rolling OD from OE
-
I got told when my car failed on rust, I could either bring back a receipt from a panel shop for the repair or bring the car back with that area in bare steel to show the wof guy the repair. I paid a panel shop and just returned with a receipt and got a wof
-
Man you need to get this out in the mud with @kprs hilux. that would be a killer combo. Man I enjoy this truck!
-
Boat looks in scale for jimny. Great combo. ‘The TrashTorquer’
-
Adjustment process Ive followed is here Put slack in the cable.... I recommend you "set" the threaded adjuster at the handlebar perch at about 1/2 way in....That way you have some adjustment left in either direction.Cable bottom adjuster (at case cover): thread it ALL the way in so you have maximum slack inside......With case cover off engine, VERIFY the #10 ball bearing is in place (grease it in)....Loosen adjuster locknut on case and screw the slotted bolt FULLY CLOCKWISE until it stops (This is the maximum clearance point, "Arm" should be fully " down" as pulled by the spring).....Replace cover and snug the Phillips head screws...... Tighten the slotted adjuster COUNTERCLOCKWISE (anti-clockwise) until you feel it start to apply pressure to the clutch (you actually feel the springs push back)... Turn it CLOCKWISE until the pressure JUST releases, Then 1/8 turn CCW, and snug the locknut......Pull the clutch lever against the grip..... Tighten BOTTOM cable adjuster (out) until the lever JUST touches/closes at the perch.....Lock it in place......Minor adjustments for desired lever "reach" and release points can now be done at the UPPER (perch) adjuster........ is there a likelihood that from sitting unused for so long that the clutch plates / springs may have failed? Or any other tips for what to look for? Admittedly, the idle is incorrect at the moment as the flexiable drive screw that adjusts the idle speed is broken. (Will be pulling carbs off again to see I can repair soon) and would also like to find someone with a big enough ultrasonic cleaner that I can drop the carbs in for a thorough clean / order a overhaul kit from the states with my next part order attempt in the new year . (there’s a few other shiny bits I’d like To get/upgrade/replace but really want to just ride the bike before spending the money -Common motor does a very nice electronic ignition upgrade for these that would be primo)
-
Attached handlebars, spent an hour making a mount for the headlight and I’m pretty sure it’s still crooked. Attached small trademe special speedo assembly which has integrated dash lights -much better that the HUGE factory assembly which looked odd with the headlight. Welded the end of the broken tacho cable shut to plug the tacho drive hole in the motor. Removed carbs, gave them a clean out. - replaced the broken throttle cables with the new ones that came with my parts from USA, quick check to make sure points were doing there thing and making spark (I need to find a source for the rubber bungs under here that are loose/leaking oil) Drained the oil, Removed the right side motor casing, cleaned out the oil spinner, reassembled with a new gasket. I spent a couple of evenings repairing the cut up loom, fitting a tail light and indicators (not happy with any of these but will do for now) , cleaning up the factory controls and making sure they all work. Have replaced the fuel hose to the carbs, fitted new spark plugs and spark plug caps, Jammed the fuel tank on with some fresh gas. Spanner checked the rest of the bike, attached the repro side covers from retrocb.com Kicked it over and got it running, took it for a couple of laps of the block and it goes alright eh. Low down torque is different to the FZR and riding position seems pretty sweet. I didn’t really take many photos through this process, but here’s a photo as of how it sat when I returned from the laps of the block. (Aesthetically nowhere near where I want it, and I’ve already written a list of things that need changed/redone) Unfortunately on the last lap of the block, it started popping out the exhaust, started surging and dropped power -seems to have lost the RH cylinder. I had to shoot home so just put it back in the shed and left. The next day I started it up again and it ran on both fine. Ive ordered a new condenser, and grabbed my timing light am going to properly check points /timing rather than just checking for spark. The only other issue I’ve noted is irrespective of what I do in regards to clutch adjustment, (have adjusted it both via spec in my workshop manual and via ways members on CB forums have suggested) when you initially click it into first it’s quite harsh and almost lurches the bike forward slightly only on the initial click into gear -but clutch still functions fine eg disengages drive and can hold bike still in gear with lever pulled no brakes and it doesn’t stall / try to drive forward. Looks like my plan of getting a WOF before xmas/ by 2021 might be on hold for now
-
I sent the original brake hose/pressure switch down to Apex automotive in Hamilton as per Callum’s recommendation to get a new hose made that goes directly from the master to the brake calliper. -new master I ordered has a switch integrated in it. A couple of days later, my box returned with a fresh braided brake hose made to my specs. Rushed home from work, assembled the brakes and found that it turns out that at some point, the front brake calliper has been barryed and a imperial grease nipple fitted instead of a proper bleed nipple. And of course, now the brakes work the nipple doesn’t seal. Luckily a guy I know had a few CB parts kicking around and happened to have a spare calliper. Cue round 2 of calliper rebuild with cleaning and swapping my piston and seal into this housing. Assembled and bled brakes with no issues this time. Also managed to acquire another top clamp that wasn’t broken so have swapped this over too along with new rubber bushes for the bar mounts which got rid of all the slop/movement the old hard ones had
-
Te Urewera Undertaking, 2020 Nov 27th, 28th, 29th.
Shakotom replied to johnnyfive's topic in Upper North Island Region
- 1225 replies
-
- 12
-

-

-


