
Leaderboard



Popular Content
Showing content with the highest reputation on 13/07/26 in all areas
-
Hi All, Should probably introduce myself, I'm colin, long time fan of old cars but have been without ownership of anything oldschool worthy for about 10 years now, but recently managed to snag what appears to be a decent DR30 at auction in Japan, it's yet to show up so time will tell if it's a patched up rust bucket or a genuinely good car. have previously had a number of R30 skylines, one '84 four door L20ET, one '83 Paul newman version Coupe (much regret losing that looking at prices now), an '82 DR30 RS2000 with a FJ20ET fitted, which is now somewhere in blenheim i believe, and a red coupe we put in someones paddock for storage about 10 years ago, which we now can't find, so if you find a mostly stripped red R30 coupe near Tai Tapu somewhere, sing out. Plans for the DR30; -Fix whatever rust and corrosion is stopping it from getting through compliance (I know f**k all about panel repair work which is crazy consider Ive owned a number of one of the rustiest Nissans ever made -Cert for coilovers, appears to have R31house coilovers fitted, this could be a rigmarole in itself, given that no welding on steering parts is certifiable, and thats what these look to be, if you have any intel on that situation, please let me know! -15x8/8.5 Watanabes, looks like ex-japan is the only option, as the right offsets are to hard to find 2nd hand -Facelift tails (dear god these have got expensive since my last car, if you have a set floating around at a reasonable price, get at me) -Some period correct front seats, similar in style to recaro fishnets, square shape, good side support etc, open to suggestion on this -Drive it! I've been to car meets with friends etc over the past few years and that is far more accessible fun as I get older Some pics of the car and some underbody stuff to give an idea of general condish, tried to buy a number of these, and they were all pretty rotten in comparison to this car, and for some reason this car we got for alot cheaper than we expected to pay, so i'm losing sleep over that, ah well. Yolo or whatever they say these days.
 24 points
-
A day or so after that, decided to swap in another inlet cam. I only had one stock shim cam hanging around. being a 193b exhaust cam. which is a 278 advertised 8.5mm, pretty small in the scheme of things but bit of a jump up from the weak 232 7.1mm stock cams Just throw that in the intake side and happy days.. turns out the supertech valve springs and ti retainers i had hanging around, that i threw in this head. weren't agreeing with the stock buckets note the shiny ring around the edge. not the swaf, was rolling around on the floor before took picture stock retainer left. supertech right, bigger so can take dual springs lucky it didn't drop a valve. Was only an issue on the intake side as the valves had been tipped when it got a valve job. but must be super close still if everything was 100% stock. with shimless buckets, non issue also, as they have more clearance under them Pinched the springs and retainers out of the big valve head. Then done the super fun job of changing them in place. So 30min job into a day job, results 278 intake cam stock exhaust; Pretty good considering stock exhaust cam and ports. thats it for this head. It can stay on there until the other one is finished. which Ive already cut up. no going back now
18 points
-
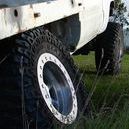
One day after the last update the garage got flooded and filled with silt at 1am from an overflowing stream nearby, suboptimal. Anyway, got all that tidied up, new seal kit and swivel hubs fitted and passed the first annual wof. Took it for a drive on a nice day a few weeks ago and heard a clunk, looked in my mirror and saw several pieces of shrapnel flying through the air. At first I thought I’d run over something on the road, got home to find the left side free wheeling hub had disassembled itself. That’ll be the shrapnel I saw then. Back down the road for a treasure hunt and managed to find the mangled bits . Tried to find some spare parts but they only seem to sell seal kits. I did some googling and found Vincent truck parts online, they had a listing for AVM series Land Rover hubs on clearance, so picked up a new set for $150.00. New old stock anyway. Other places wanted $500 a set. I made a stupid mistake on disassembling the old ones and damaged the threads on the half shaft removing the nut. Of course it was a weird 16 TPI thread that wasn’t listed even on DTD’s spec sheets, so I cleaned it up with a thread file and some patience. The tyres on it were 16 years old, so decided to get the wheels powder coated and find some new tyres, went for hankook dynapro mt2 from hyperdrive. 30 9.5R15 Action shot of the tyre inspector All back together again, looks pretty good I reckon
13 points
-
Welp, you win some you lose some. I was all barred up this long weekend to get this car painted, but the car had other plans. I spent all day Friday, 9am-11:30pm filling, sanding, filling sanding and then finally priming. By the time I got to priming I was absolutely exhausted and about ready to fall over and just go to sleep but I had my friend who's a painter coming at 9am on Saturday morning so had to get this ready to just sand with 500 grit in the morning. Now I can paint, I did the engine bay, door jams, primer etc. all myself. But I am not a trained professional, just a hobbyist. Being silver I'm not super confident that I'll get it right first go, especially on large panels like the roof and bonnet, so I'll leave the most important part to my friend who is a fully qualified painter with many years of experience. Well the morning comes and my friend comes all the way from Tauranga to spray this car for me, he runs his hands all over the car starting with the roof, his first sentence... "This roof isn't straight." Even though I block sanded the roof and was pretty happy with how it came out before priming, the roof STILL had waves in it! F***ing unbelievable, I spent hours of Friday on just the roof, turns out the wooden block sander I was using was not the ideal weapon of choice for the curved panel, even with guide coat... He also found waves in the door and the bonnet/guards still had a couple of dents as well. To be fair though, I had done all the panels that were off the car AFTER I thought I had finished the shell, so I was completely shattered by the time I had gotten on to them. I did get the rest of the car mint though according to him so thank god for that. So we spent all day Saturday just doing more and more prep work and there was no way we were going to get the car painted that day. It's now 95% there, I have to work on the guards as they both had door dings in the curve of the guard which tbh, has been an absolute b***h to get the original shape again, the door just needs a little bit more block sanding and then it'll be good and I'm still working on a couple of low spots on the roof.... This f***ing roof man, we've literally spent hours on it and it's still not quite there yet. I'd say the car is 95% ready for paint now, I was definitely too ambitious about getting the car painted this weekend and I'd be lying if I said I wasn't absolutely guttered that it didn't happen as my friend isn't available again until after my second child is here which then, I don't know when I'll be available to do it, but hey, that's life. I'd rather the car was done right rather than done quick, especially for what the car is, there are none of these on the road here, so that makes this something special. Plus I know that if we'd done this awesome paint job and then I could see waves in the paint I would be pretty disappointed, so I'd call it a blessing that he was so strict about having the car perfectly straight.
13 points
-
Finally, to do list time! I avoid making lists on big projects as it tends to be more demoralising than helful, instead focusing on chunks at a time to shield my fragile self esteem from reality. This would probably be why i've been saying just one more weekend for the last 6! Anywho, the time came to scribble up a pre wof list and it wasn't really that big: Oil catch can Rear shock nuts tighten Spanner check all suspension nuts Drop arm nut (Can't torque it easily off the car) Steering wheel alignment and trim Dash secure Radio trim Refit heater controls Fusebox clean and confirm correct fuse values Refit exhaust Spanner check seatbelts Refit firewall rubber bungs Floor mats and trims Drivetrain grease Transfer case alignment check Engine mounts spanner check Engine bay hose clamps check Wiring harness secure check Mudflaps and wheel flares fit Refit front bumper Fit new cambelt Tail light nuts check Tidy up fuel hose lengths Fit number plates speedo drive oil leak Fit new service parts on carbs Fit inner guards Check wheel alignment And all the other usual stuff found along the way I haven't listed. Guess its worth adding I made a new exhaust, 1-3/4 tube from the header back, joined up with V-bands so if it sounds shit, I can re do it. Muffler acquired from a pile of damaged Nissans in a paddock, perfect size and low profile enough to not be the lowest part of the undersides. Floor mats i've done the same as the Datsun, 7mm treated ply wrapped with garage carpet. This time I got the 3d scanner out so the CNC can do the chopping. Was it quicker than beerbox templates? probably not, but I did minimise the amount of time spent out in the cold so thats that. Check the fit Spray some contact adhesive everywhere and away we go Time will tell how well it holds up in a car that often goes swimming, if needed i'll recut them swapping the ply for Ali sheet.
10 points
-
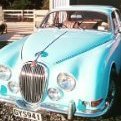
Correct. The S has a similar rear to the 420 but the 420 has the front of an XJ6. The 420g looks like an S and a 420 had a baby and the baby was born fat. Then the Mk2 looks like a compact version of the S...kinda. The e-type suspension looks very similar to the S but when you take the bonnet off it looks like a space frame holding it all together. Being a designer at Jag must have been a fascinating job back in the day. When I look up engine swaps I just look for the Mk2 as they are similar but far more popular. Jags were a weird bunch with mixing and matching models. The main difference between the S and the II mechanically speaking is that the S has the famous IRS and the II has a live axle. They are easy to tell apart from the front by the headlight surrounds. Also by the person driving them as the Mk2 owner will be actually driving his and the S-type Barry will be white knuckling it on a 1 meter strop behind a Safari.7 points
-
I've been driving this despite the cam sensor error, the engine check light for the 2 cam sensor codes are: P0340 and P0365 Interestingly the check engine light only stays on at low rpm, and there is an exact rpm where it turns on or off, but it changes that point each time (may be heat related), while always being under 2000rpm. So it seems fine under most driving conditions. For example as soon as you start the engine, it has the check engine light and it turns off at around 1800rpm then back on as soon as it drops below that. So while driving it is almost always off until you are idling or even between gearshifts if you let the rpm's drop that low. There are 2 cam sensors which are located on the back of each head at the top and another sensor on the passenger side behind the top cam gear. I have tried: - cleaning all three sensors. - testing ohms readings: the 2 main ones are around 1950ohms (identical) and I can't remember what the third one was (the cam gear one). But all within spec. - replaced split wiring and connector on the drivers side one (I thought this solved it originally but it came back). - passenger side wiring looked fine. - cleaned all loom plugs and pins. - the alternator is noisey but still good voltage. Tried removing the belt to just run off battery but no change to the check engine light. - one internet theory was bad grounding on this gen wrx. So I added three thick ground cables, but made no difference. Some possibly reasons according to google: - Alternator amp's could explain it going away with slightly higher rpms (but removing drive belt kind of defeats this theory). - one guy with a oscilloscope found noise being generated so directly soldered extra grounds to the ecu pcb itself. I could just buy 3 new sensors, at around $100 each. But heaps of reports that this didn't solve the problem for other people and it seems weirdly unsolvable? I decided to take it for a reasonably spirited drive through Ohariu Valley > Takarau Gorge > Karori, it goes very well for basically stock. I don't know what the stock heavy flywheel would have been like but this light one makes it really fun to rev match and quick down shifts etc. Absolutely no problem in heavy traffic like some internet people suggested. Some things I'd like to change soon: - Remove old alarm system (20-25 years old, randomly going off and only one remote) and probably install something else. - Seems pretty understeery, so want to try change the rear sway bar (only 17mm on wagon, but 20mm on some sedans of same gen) - Most speakers are buggered. - Tyres that came on the BBS wheels are almost full tread but are definitely not performance tyres, ok in the dry but first wet roundabout felt like it just wanted to understeer. Just managed to catch the Sun going down: I put in it's first full tank of 98, will be interesting to see what the fuel consumption is like. Maybe I'm kidding myself but with the brand new o2 sensor, maybe it'll be decent?
7 points
-
Milestone!! Floor is finished and sanded up, few coats of etch-in-a-can to seal. I also stripped the headlights out of guards and swapped the dip lamps ready for compliance, put the buckets in the molasses (which I agitated and moved into the sun as shes slowed progress in the cold and shade) Tapped the front pot-metal boomerang chrome trims to accept a matched set of galv metric flanged bolts I had laid up. It’s cold.5 points
-
Update: Exhaust is of at the blasters now - will prime it as soon as I get it back. VHT Flameproof paint ordered - got pacemaker blue (hopefully) according to the part number and interwebs ISKY cam that came with my engine is at Auckland Camshafts now and Henry is evaluating my 2V closed chamber heads, as they are double sprung for a decent HP motor. It could prove to be too much for my build, so he is going to let me know. Possibly regrinding the ISKY to a Thumpr spec cam, as performance cams are excellent to use for a re-grind, providing there is enough lobe meat to work with. When the cam is sorted, I will get the re grind, then Henry can press out and in my cam bearings Might need a new set of flat tappet hydraulic lifters, as they are relatively cheap - he is assessing whether a roller cam upgrade could be "worth it" based on my current set up, but that ain't cheap. 14x8 tridens are buffed up as much as I could be ar5ed doing, and next step is to get the eagers on. Oh, and I've not painted the bay yet..... 9" needs new spring perches welded on and a fixture point for the new soft line brake line from the hardline on the diff to the end of the hardline on the body.
4 points
-
4 points
-
Waterblasted and degreased the chassis multiple times , then applied paint stripper with cling wrap around it to help it do its thing. Worked okay, didn't get it all off. Tried wire wheels and sanding disks Then just cut the bullshit and took it down the road to get blasted and painted. Very happy with results, obviously it isn't the cheap option but they did it quicker then I ever could. First blast is the company in whangarei, ild definitely use them again. I have my own blasting cabinet as you can see in background so been doing all the small parts myself, do wish I had a bigger compressor though
4 points
-
I have owned this for maybe 8-9 years. Have never had it wof'd but I have driven it around a fair bit. Enough to know I don't like it as it is. I have tried to sell it about 8-9 times and although I came close to swapping it a couple times and even outright selling it, it still remains in my possession. Somebody please buy it and end this madness. Here is how she looked when I got her home. Didn't run and rear brakes seized. Had a few rust spots in it that I had to weld up. Still does underneath which I have only just found and need to attack. So where are we now? The gearbox is a 4 speed od and the od works effortlessly which is nice. The clutch master I had rebuilt and it works very nicely now. Really responsive and classic jaguar engineering. Also CJE is the bullshit rear main seal. Or lack there of. It uses an Archimedes screw to sling it back into the sump. 50% of it seems to miss and end up on my garage floor blardy fuck you blardy. I have read into the rear main seal conversion kit which requires the crank to come out and it has mixed reviews. Some say it is worse than before and others love it so maybe it's a machine shop skill issue or luck of the draw. I am planning to semi retire in a few years and after 8 years of wrestling with the jag bits of this stupid jag I need to make it more reliable and reasonably economical. I have never been able to get much better than 20l/100kms out of it and that's when it is actually running. The goal is to put some running gear into it that will outlive me. Something I can turn the key on and just drive across the country without having to bring a tow vehicle support crew. I'm going on a magical mystery journey in the diesel spam thread as to the options which is food for thought. @Bearded Baldy thinks it should have a jag engine. Of which a 4.2 XJ6 bolts in (after I swap over all the 3.4 parts and get a new manifold that will fit) and an AJ6 and AJ16 have been done before. The AJ6 is one of my all time favourite engines but even they are getting long in the tooth at around 30 years+ these days. Great torque and decent on fuel. My old XJS would take a hill on cruise control and not even shift down. I'll open a discussion thread and might start a poll there to chew the fat. The budget is whatever I can sell the Imp for which will probably be around $10k in this market.
3 points
-
*Probably a better place to post this here than the build thread as i can imagine build updates will be few and far between! Hi All, Should probably introduce myself, I'm colin, long time fan of old cars but have been without ownership of anything oldschool worthy for about 10 years now, but recently managed to snag what appears to be a decent DR30 at auction in Japan, it's yet to show up so time will tell if it's a patched up rust bucket or a genuinely good car. have previously had a number of R30 skylines, one '84 four door L20ET, one '83 Paul newman version Coupe (much regret losing that looking at prices now), an '82 DR30 RS2000 with a FJ20ET fitted, which is now somewhere in blenheim i believe, and a red coupe we put in someones paddock for storage about 10 years ago, which we now can't find, so if you find a mostly stripped red R30 coupe near Tai Tapu somewhere, sing out. Plans for the DR30; -Fix whatever rust and corrosion is stopping it from getting through compliance (I know f**k all about panel repair work which is crazy consider Ive owned a number of one of the rustiest Nissans ever made -Cert for coilovers, appears to have R31house coilovers fitted, this could be a rigmarole in itself, given that no welding on steering parts is certifiable, and thats what these look to be, if you have any intel on that situation, please let me know! -15x8/8.5 Watanabes, looks like ex-japan is the only option, as the right offsets are to hard to find 2nd hand -Facelift tails (dear god these have got expensive since my last car, if you have a set floating around at a reasonable price, get at me) -Some period correct front seats, similar in style to recaro fishnets, square shape, good side support etc, open to suggestion on this -Drive it! I've been to car meets with friends etc over the past few years and that is far more accessible fun as I get older Some pics of the car and some underbody stuff to give an idea of general condish, tried to buy a number of these, and they were all pretty rotten in comparison to this car, and for some reason this car we got for alot cheaper than we expected to pay, so i'm losing sleep over that, ah well. Yolo or whatever they say these days.
3 points
-
I spent a bit of time doing the fag packet calculations of what is needed for the SOHC swap. The height and width of the Barra looks like too much for the tight engine bay although the length is fine. Interestingly enough, the SOHC 3.9 has very similar specs to the 3.4xk in regards to size and weight. Both being iron blocks with alloy heads. Where it comes unstuck for me is the sump mods required and wiring. Although I'm slowly starting to realise that I may have to get over my fear of wiring unless I go turbo diesel with a mechanical pump. In that case, rather than comparing the EA 3.9 to the XK, might as well compare it to the AJ6. What isn't on the table here is future proofing. I could stock up on AJ6's as they are really cheap, but the EA's parts availability at Supercrap and Ripco will outlive me.
3 points
-
Some progress over the last week and a bit: Confirmed the engine had oil in it, and managed to get the engine to turn over using the rear wheel, followed by turning it over by using the starter motor (directly connected to a battery). Was hoping to do a compression test, but my tester only has the 14mm and 16mm adaptor and not the 12mm I need. Will need to order an el cheapo kit from tardme to get that sorted. Got the wiring loom mostly installed, there are a couple of outliers which i need to figure out where they go - Have got lights, indicators, horn, brake lights and the voltmeter button is working. I can't seem to get the bike to turn over using the starter button (this could be due to some outstanding wiring needed to be sorted - or that the start solenoid is rooted). Likewise, still no neutral or oil pressure lights, so need to get them sorted. Made an order for: anti-dive rebuild kit, carb rebuild kit (x4) and a new air filter - currently enroute from the UK.
3 points
-
Grafting the front guards together. First off i had to trim around the mount area at the top and the area by the scuttle panel/a pillar, this was to get the repro guard to fit better as it had a bit of excess material, fouling on the body. Next, working out how to go about cutting up the guards. I thought it would be a good idea to make the cuts around the body lines where possible to try and reduce warping. Measure and mark it out close-ish. Cut and mock up. Welder up and clean the welds up. I wasn't super happy with this. Turned the mig down as much as I could, running 0.9 wire so probably too big for panel steel. Had a prick of a time chasing holes from blowouts even when trying to stagger it. I don't have much experience with panel steel, usually work with 3-20mm but atleast it won't need too much bog. Mocked up. I still need to clean up the inner of the guard. May even send it to the blaster up the road to strip and epoxy it but we'll how it goes. I'll get started on the rh guard next week. Also I ordered the programmable vss speedo from speedhut, then received an email saying that can't make one to suit their older style gauges as they have different leds and tech, so it won't look right. They suggested for me to post my current gauges back to them in the states and they can upgrade all of my existing gauges and convert my gps speedo to vss programmable for the same price as the new gauge, so that's what I'm gonna do. I'll try and send them off next week. Chur
3 points
-
Big day today! The roof finally has some colour after a year in primer. We set up the inflatable booth at work this time. It's so much nicer than using the dusty fab room. Got it prepped and masked, then Brandon gave it a spray. And Voilà: All ready for the big adventure to Christchurch.
3 points
-
Haven’t done much to this since being certed. Has been pretty faultless. off to 4&Rotary next weekend at Hampton downs. but did modify the wallpaper of the head unit haha i have ordered some pretty cool parts from overseas that have arrived, and some other bits from a couple of local stores. Once 4&Rotary and Te Poi is done with, it will be back off to SprintRE.
3 points
-
Another huge update, Backs broken, tired asf. But it’s all one colour (primer) and 98% straight, just needs a tickle in places with fine filler, not long to go now before hitting the booth 😌
3 points
-
Skyline is now in it's final (for now) resting place. Just needs slam and wheels basically and done..
2 points
-
Cheers! House is all good thankfully, it’s above the garage space so stayed dry2 points
-
In an attempt to not shower the track with 4l60E parts i decided a Launch control routine would be THE SHIT!! so no social media tonight and a bit of AI and my intervention parsing the results i got a patch created and flashed into the PCM. Bugger me it worked with a few bugs first time. Check it out @Roman Logs and everything red trace is TPS is purple is RPM it pegs at 2500rpm and hits a hard fuel cut and oscillates between 2475-2500 RPM once you roll and Road speed hits 1kph it drops and your off. seeing as there's no normal reason to be stationary at 2500rpm i can leave it active and use it to smoke VW GTI Golfs. Will help dial in grip if track is a bit shit too
2 points
-
Wof mode achieved today so as long as (not going to jinx myself) im there on the day ill be racing even if I have to run the 400m2 points
-
There was a factory EFI version on the series 3 XJ6 and maybe even early XJS. Created to meet US emission regs rather than performance but seems to be regarded as an improvement in most respects. Uses Bosch L-Jet which is pretty primitive analogue stuff, but that hardware in combination with even a fairly basic modern stand alone ECU to include 3D ignition control would be the easiest/best route to an EFI XK engine. It’s still a basically fairly inefficient engine though. AJ series much better, especially the 16. @BiTurbo228 put a BMW 6 pot deez in an XJ40. Was a bit of a mission, but seems to have been very successful. Not sure if he put a build thread on here but the is one on RetroRides. https://forum.retro-rides.org/thread/216608/1992-jaguar-xj40-superturbodiesel2 points
-
I beg your pardon sir, the one i looked at was a mark 2, not an s type Information may not be relevant2 points
-
$450 later and I have a bolt on set up (Pacemaker headers and Hooker Mufflers. I prob will get the rear pipes added I will blast it up and heat paint it - should look schmicko
2 points
-
The handle on the $26 knife I bought in 2014 on @h4nd recommendation cracked over the years so I finally got around to repairing it. It took way more time than the knife is worth but should last a good long time
2 points
-
6 monthly update for @Nominal No actual progress, but still runs and drives. Spotted a leaky frost plug though, source of coolant on the floor. At least this one is accesable without pulling the front cover and taking belt off....
2 points
-
Spicy(ish) noodle time! Its easy right? Just install one fuse at a time and clear each circuit one by one... Except it aint, I got the engine running but as soon as I looked at the light switch its all over with multiple fuses poping, some times. When things started to go better the new front indicator/parklight buckets had no light, no worries, I bet they cheaped out and ship with no bulbs, install bulbs and still the same but the fuses now aren't blowing, eh wot? so open up the new buckets to find not only did they ship with no bulbs, no one bothered to connect the wires either! Yeah that'll do it. So easy job just hooking up and going for it right? 3 wires, park light, indicator and ground, except the new buckets needed two ground wires, eh wot? Original left, new right. In original form, the aluminium housing only needs the one ground connector. So new plan, polish up original units and combine them with new rubbers and lenses. Goodness, driving must be getting close now!
2 points
-
Got this going yesterday, after spending way too long making a new throttle linkage /pull this is the most ive made on stock cams - 125kw, the 129kw blue is uncorrected. the dyno over corrects a bit. so on a cold day the corrected power is lower than the corrected power on a hot day. so probably around the 127kw mark. which is pretty silly on the little stock cams. head also has pretty much stock exhaust side, i just zing'd a couple bumps off. still has the og toyota valve job. So looking good to do the same to big valve head
2 points
-
so the last few days went like this In that order. I found some pictures of that port and that hole wasn't there when i put the head on. so was thin enough, that in the 20 sec the engine ran, vac pulled what little material there was there out. managed to slide hammer the insert out, so could get tig down there to weld the hole. hole was in head not insert. Seemed to have a bit of material around the hole. so just a thin spot in the casting. fun times. but that's why this head is a test run
2 points
-
not bad
2 points
-
Jag Roadpacer! /end thread......1 point
-
1 point
-
This is a true fact. We really wanted another one but have ended up a bit gun shy after our various ownerships. It's a real shame coz I reckon they are one of the nicest driving cars around. Just need a time machine so you can go back & buy them new.1 point
-
thats true, if you like looking at your vehicle while its stationary. like, stationary on the side of the road waiting for the tow truck.1 point
-
1 point
-
Seen lots (in my 2000s sex spec research) being made out of polarfleece1 point
-
After being off the road since at least 2012, the Nugget passed its WOF today. I need to get some rego and sort a couple of advisories, but it's time to properly start the run-in.1 point
-
hows the fucking state of it. last weekend i noticed that the radiator might be about to begin its journey towards leaking. so i ordered a new radiator from silverdale radiators (pretty good unit tbh, well packaged and delivered rural in two days - not bad.jpg) and a new overflow bottle (30 bux, why not) and some new hoses and tonight i threw open the bonnet to change it all out. fucking get a load of the radiator already shitting itself and puking everywhere. classic. so anyway, new radiator, new radiator hoses, new trans cooler lines, new clamps on all the hoses and new overflow bottle. while i was in there i put the new AC compressor i had for it in, the old one (which is only two years old but didnt get a lot of use tbh, why turn on AC when you can roll the back window down and cruze in the greatest cool breeze and also style) had fucking shit the bed so i rock autoed another one. all done. didnt have enough antifreeze to fill it properly so itll get filled and leak checked tomorrow.
1 point
-
I Have been trundling up and down the road a bit to see what falls off / what sucks / etc. What falls off: Exhaust off the one hanger at the moment. So will add a few more. What sucks: Getting a cramp in my leg because the ethrottle pedal is on a stupid angle. So I shortened that, and now its mint. I'm getting a general idea of fuel economy now that it's driving nicely. Including cold start, I'm getting around 10.9 liters per 100km when leaving my driveway and doing a few laps up and down the road driving gently. Not great, not hugely awful I guess. Will probably see some improvements diddling the VVT, afr target and ignition timing a bit. I could probably get it to mid or low 9s with some effort... But then I'm gonna jam in a 5.3 final drive ratio so it's all going to turn to crap anyway haha. I'm a bit better prepared for the dyno this time, I've got a full set of each of these to try out: doing some testing where I'm just looking at air fuel ratios though, it looks like the absolute shortest ones might be the winner. I keep getting sidetracked from finishing my airboxes, but a big milestone is having proper baseplates finished, and figuring out how it can go together and still be easy to put together. I have finalized something where there will be two alloy base plates that sandwich together. One half will be fixed onto the throttles, which will help make the whole assembly rigid which is good. Then the other half will be bonded to the airbox. Both made out of 6mm plate but milled down so that the perimieter profile locates the box correctly, then it only needs a few studs and cap screws to hold the halves together. Big thanks to Stu who is cutting these for me, much appreciated. Fusion 360 is looking preeeeetty fancy with its rendering these days! Unfortunately the real life versions are unlikely to look quite as pretty. But I'll do my best. Also I've been working on some branding for my products
1 point
-
Completed a couple of engine sets of cam finger followers Theyre EN36A. Copper plated to mask. Remove the coating on the running surfaces, heat treat and carburize, then ream and hone the pivot bore. They have a small oil gallery up the middle of them that lines up the oil feed tube that theyre pivoting on to intermittently oil the cam lobe. Note: Im testing out Google Cloud 'Buckets' for image hosting. Hopefully that works in the UK. I havnt figured out how to size the images yet though.1 point
-
I don't know why but I saw this Green Phosphor CRT (Dick Smith Electronics brand) on Trademe and I just had to have it. Thew up some real nostalgia for me. Then I had an idea. I have seen people generate their own TV stations / retro CRT playlists. There is something about the Fallout PC games asthetic - the dystopian future with retro tech (terminals and green phosphor screens) that just made want to do it. I also love the nuclear fallout theme and whimsical nature of the VAULTEC cartoon learning adverts they use featuring the pipboy character. Anway, lots of research, some Youtube downloads, a few tools + a Rasberry Pi, which I hooked up to the video input. No sound (single AV input and no speaker) but that could be the next step: It is a lot chrisper IRL.1 point
-
Shit yeah excellent use of space I made a Ministry of silly walks clock yesterday. Quite pleased with my $5 charity shop clock modification...
1 point
-
I did in fact fill some with cold tea. Mate came round and we were having a beer and he asked about the whisky. I casually popped the cork and sculled about a quarter of the bottle looking him in the eye to assert dominance...1 point
-
Wif wanted something on the fence to look at so I got some of @JoKer's fine products Native Woodcraft - Specialist manufacturers of creative garden panels I did quite a bit of tidying up, using a router where I could to put a small bevel on the cutout edges And paint, the outer face got a mid-green, with white on the back. And a solid back panel in kermit green (tree frog is the exact colour I think) Then some edge pieces to make a light box with ali-x white LED strip Pretty happy with how they came out. They look better irl at night, bit tricky to get a photo on my potato. Just need to add a timer to 24v supply.
1 point
-
Not bad.
1 point
-
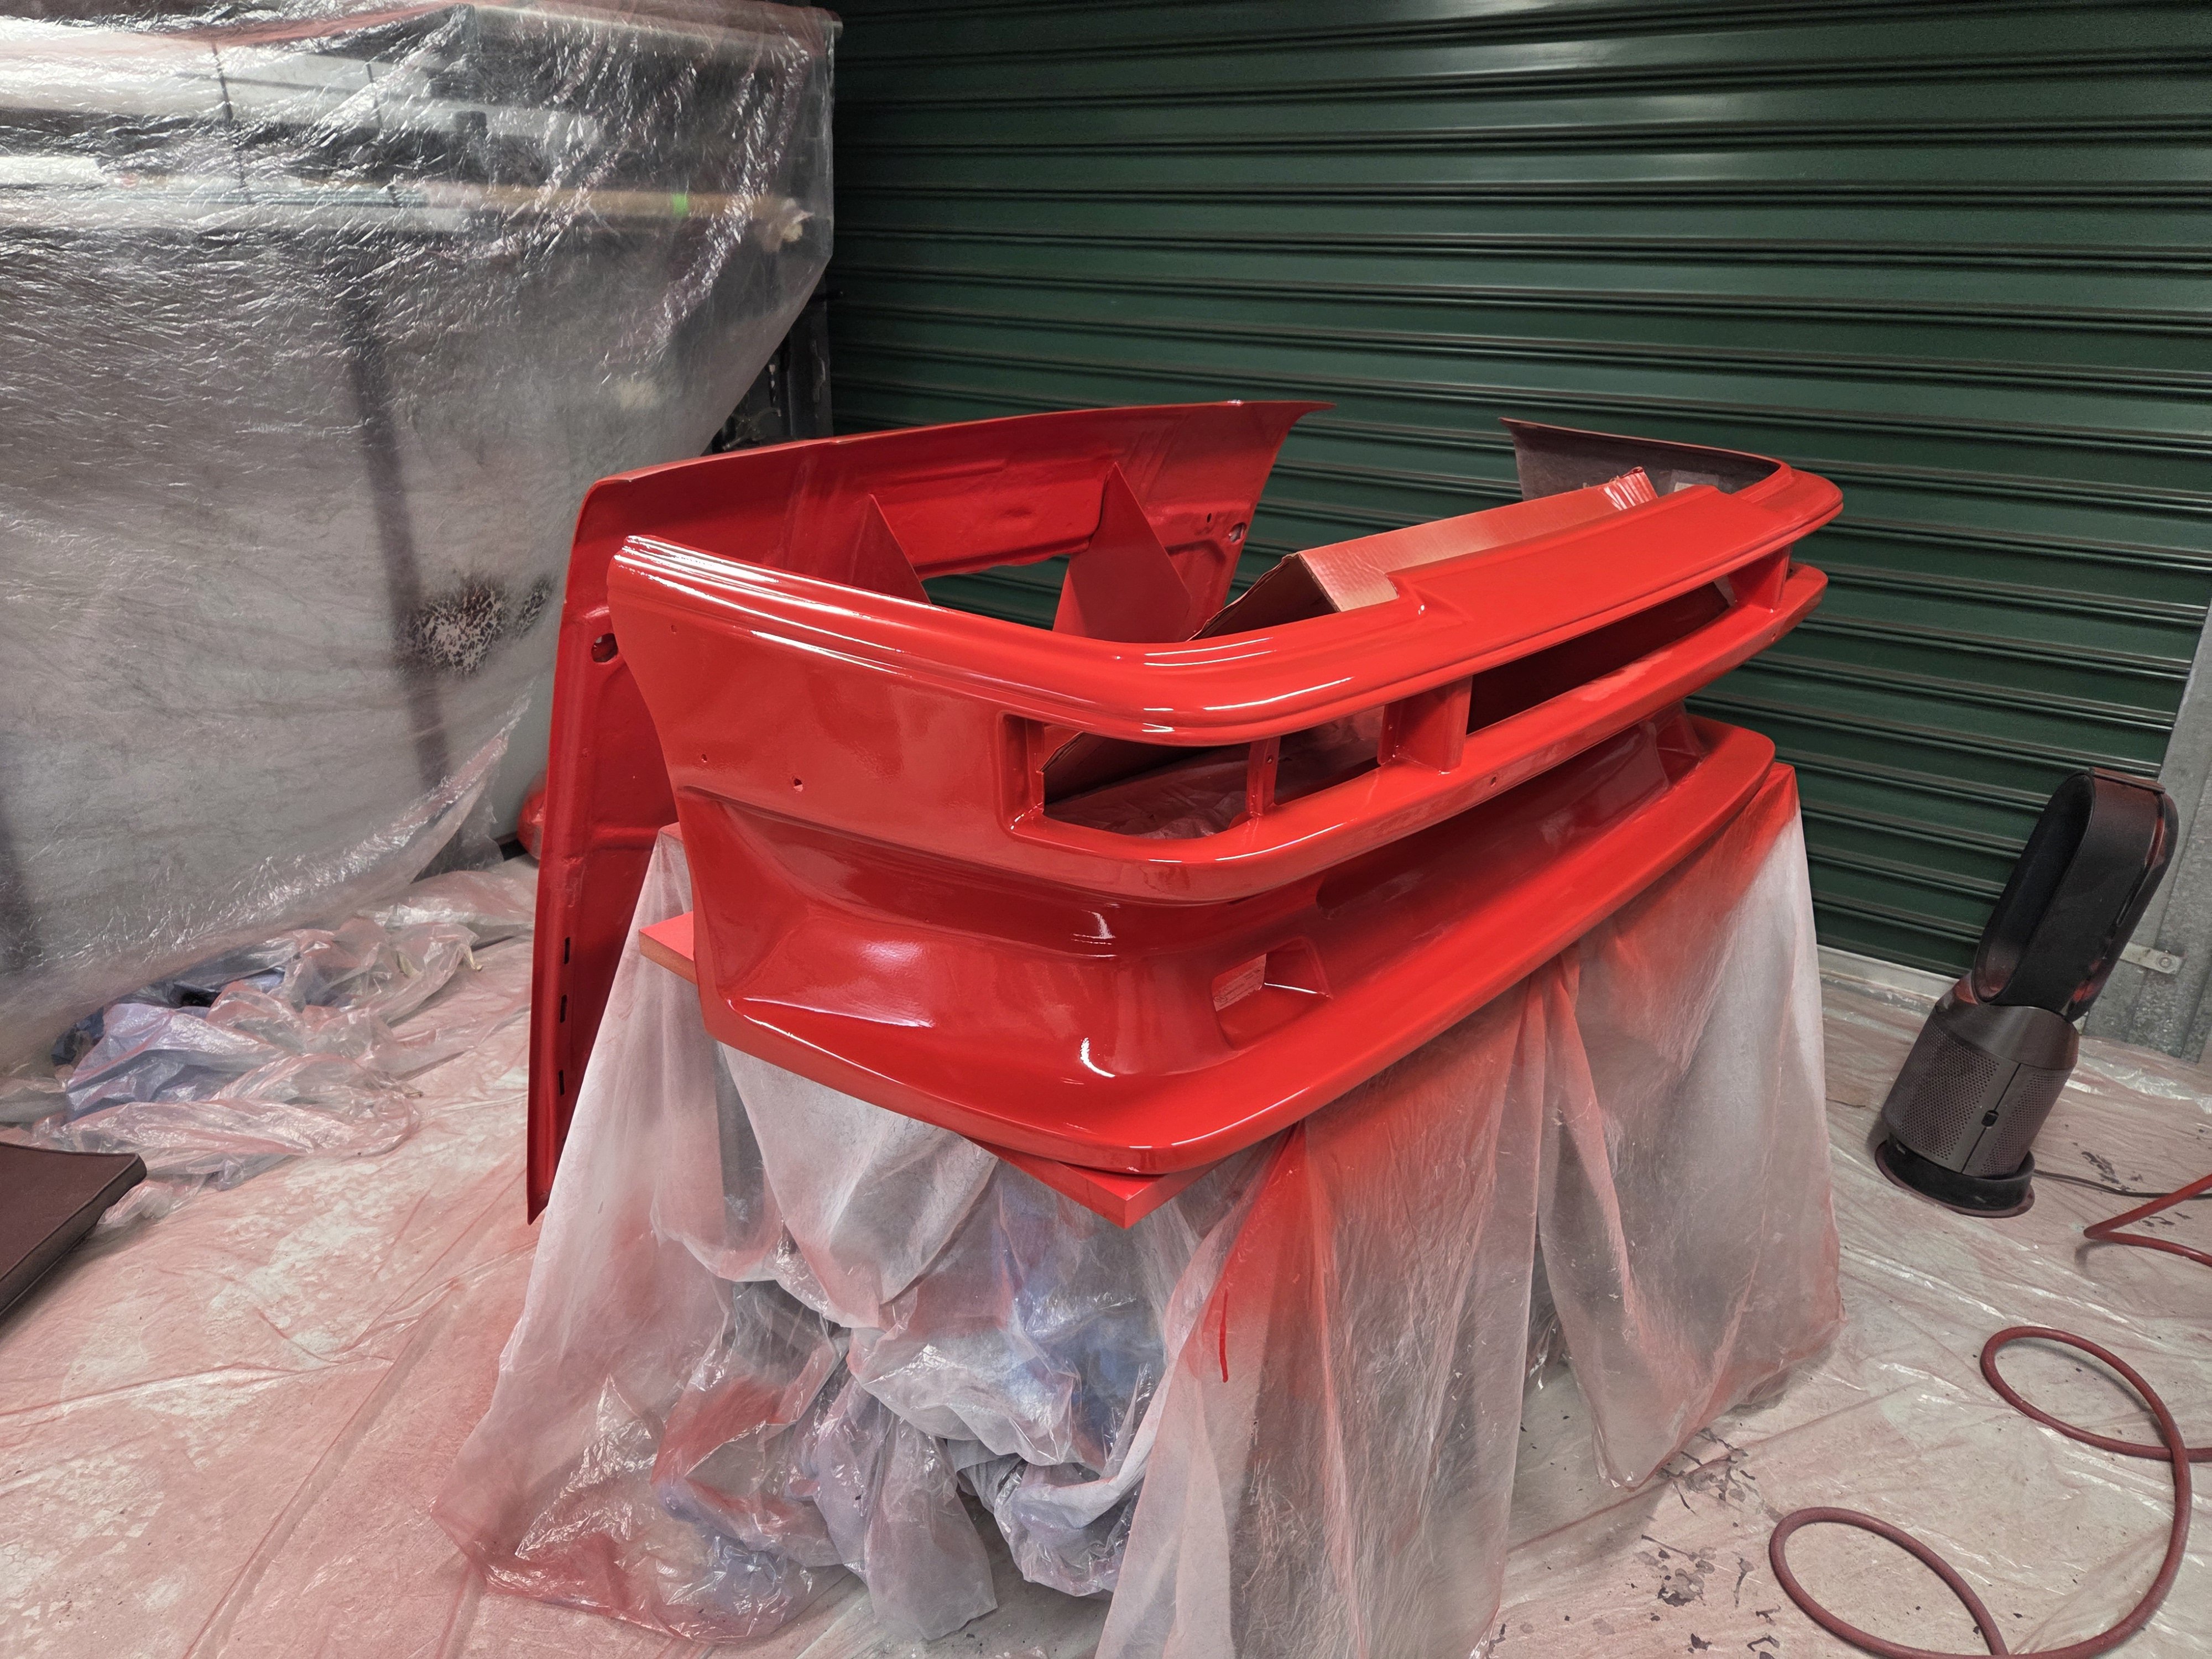
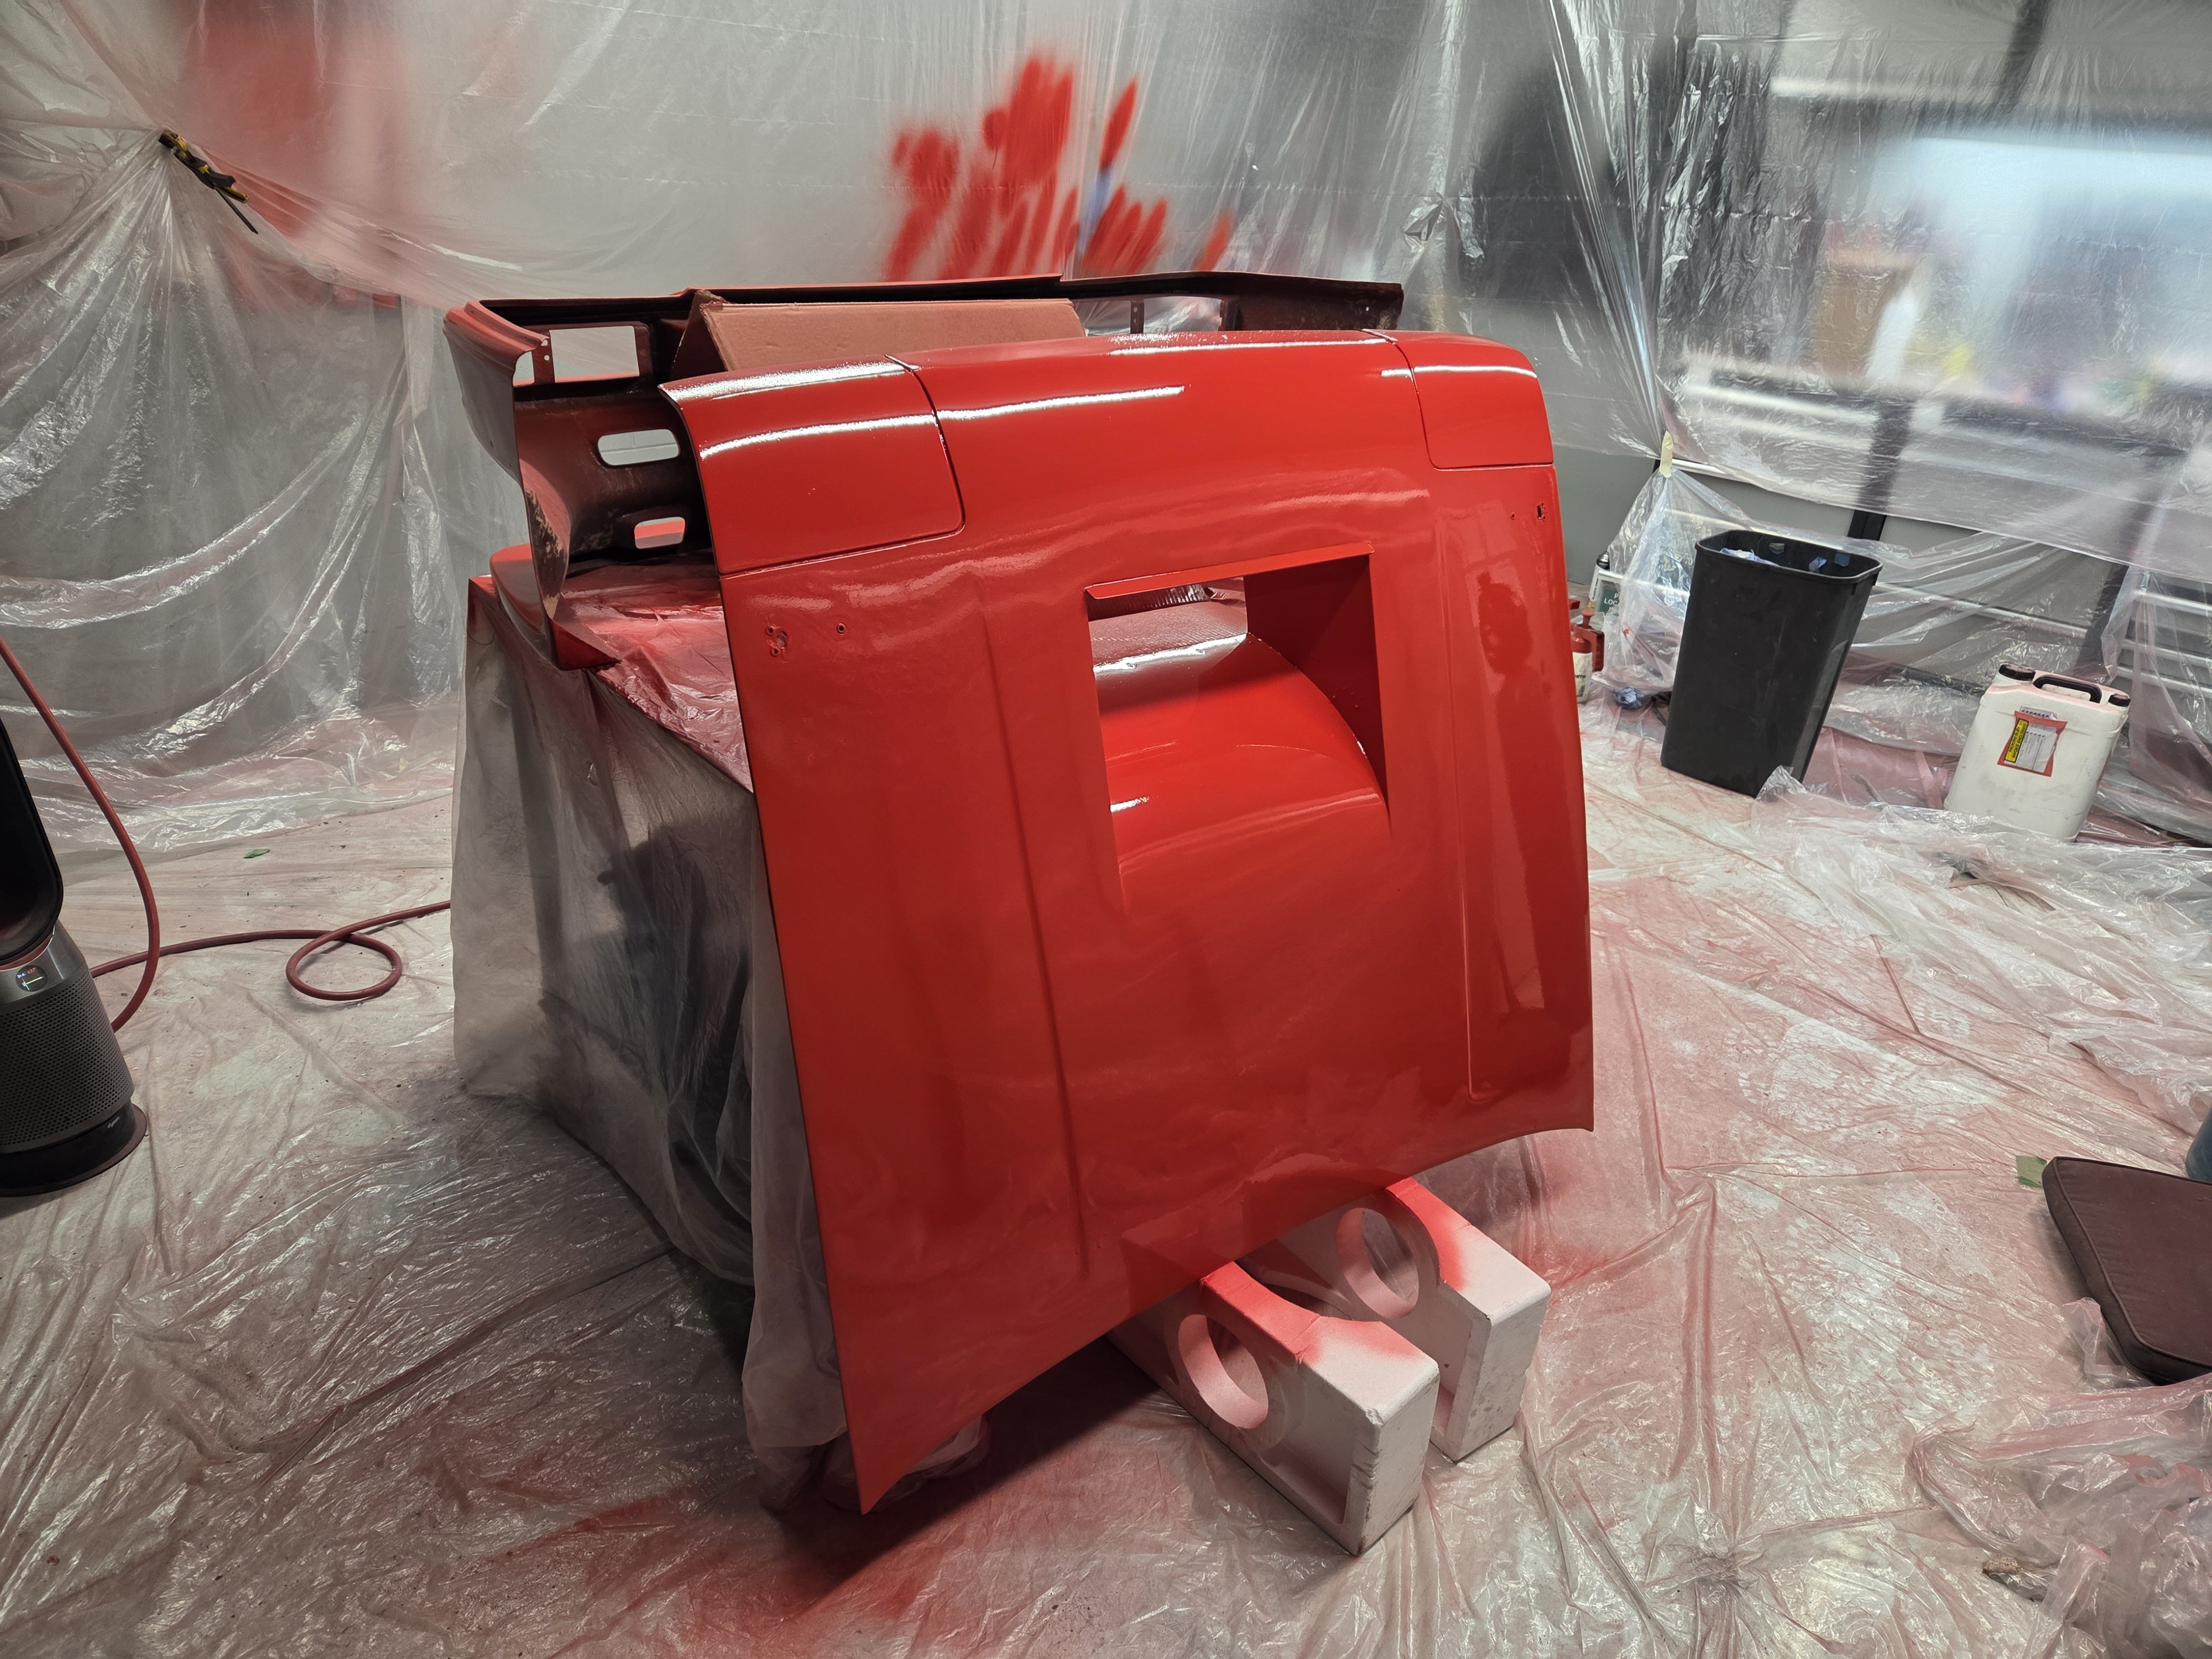
Bit more red today. Man, the overspray goes everywhere! I was aggressively pink after this one. I'll need a bit more paint to do the roof. So far we've used about 700ml of the 1L colour.
1 point
-
It's arts and crafts night. Roughed out the shape I want from the PU foam ACM and added ramps using basswood... all great racecars have at least one piece of wood somewhere 😉 The foam and the wood have both been surprisingly nice to work with. Offered it up to the car for a sanity check. Underneath: Gave it a trim and sat it on the ground for a squizz. 👆 In this pic it has ~75mm of stick out from the bumper. It looks aggressive, but I think the intended 50mm will be the smarter choice if I want to keep it off the ground under brakes... There's still a lot of work to do. I'll be double layering a lot of it for extra rigidity, adding extra foam and shaping it to have a nice rounded lower leading edge. Once I'm happy, it'll get a layer of carbon.
1 point
-
Got the car back from the panel shop. He did really nice work on the roof and bonnet, then he told me the painter wanted $2k to spray the roof, bonnet and bumper 🫠 I pulled the pin and will try to paint it myself instead. I kinda like the grey 2 tone....
1 point






































This leaderboard is set to Auckland/GMT+13:00