
Leaderboard


Popular Content
Showing content with the highest reputation on 03/01/22 in all areas
-
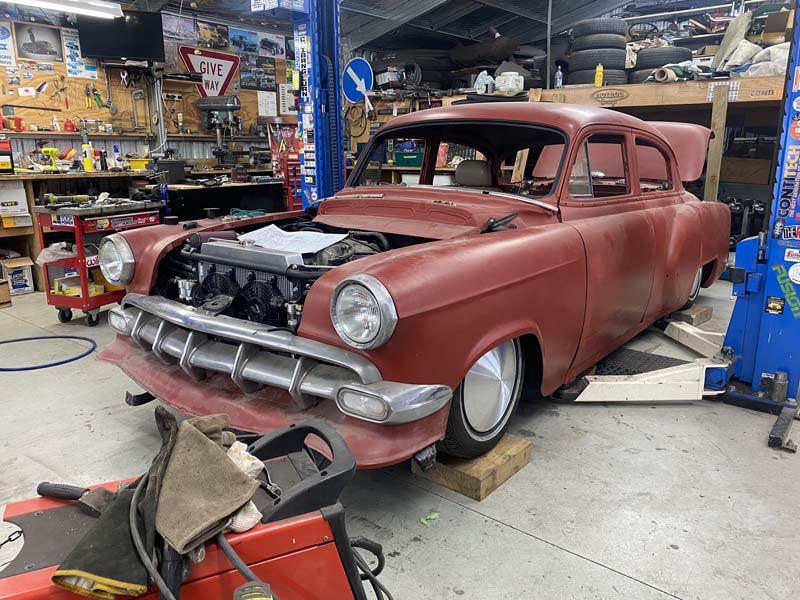
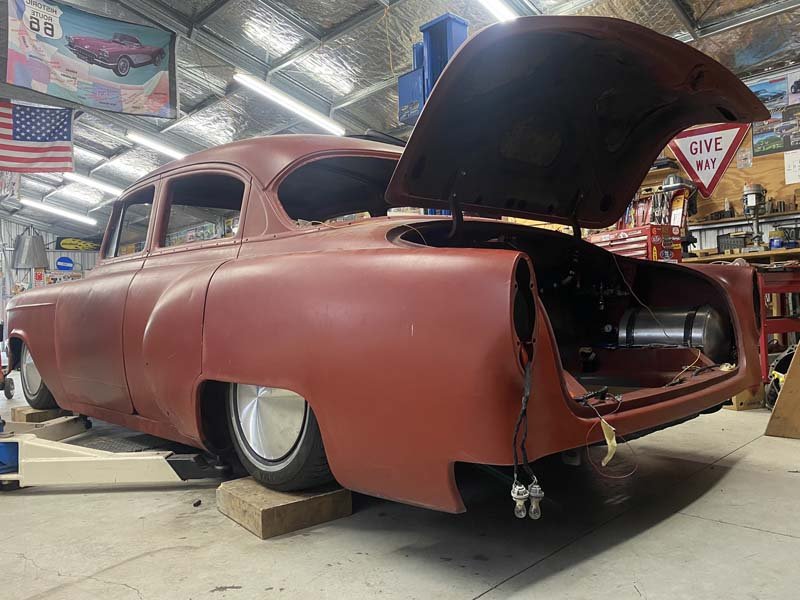
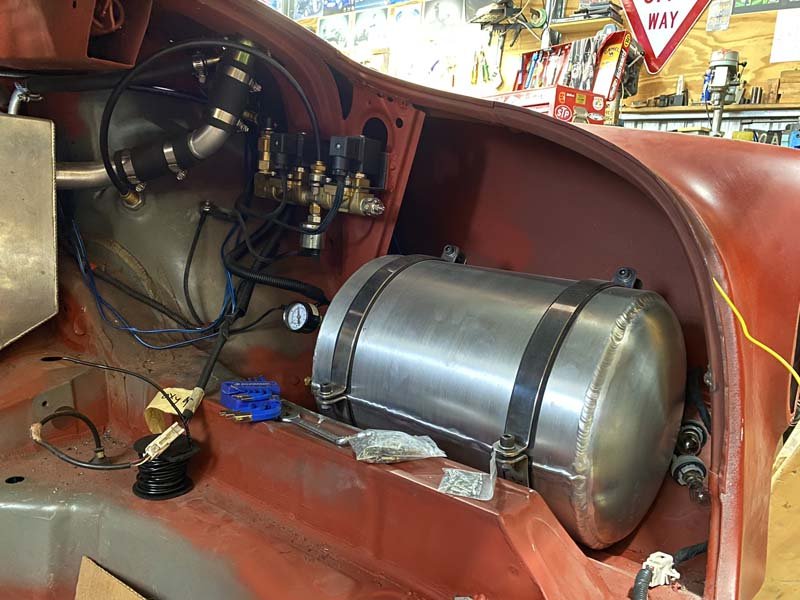
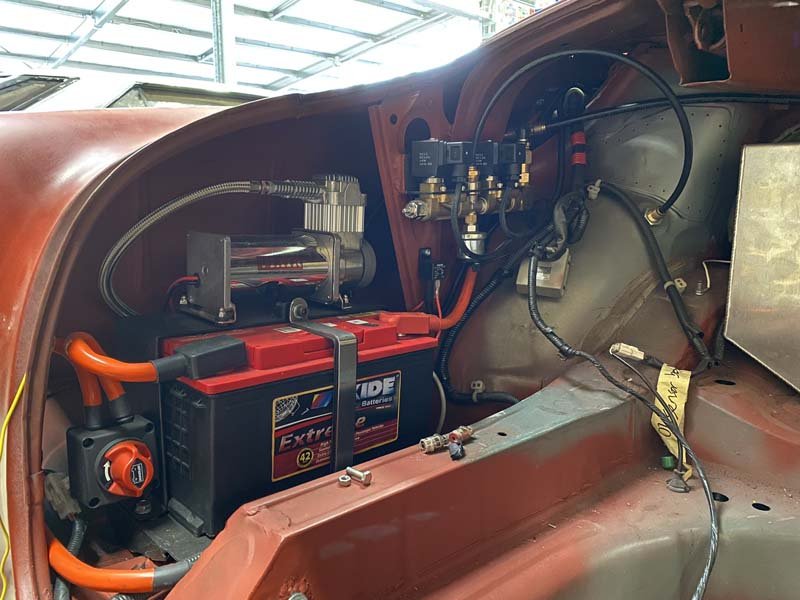
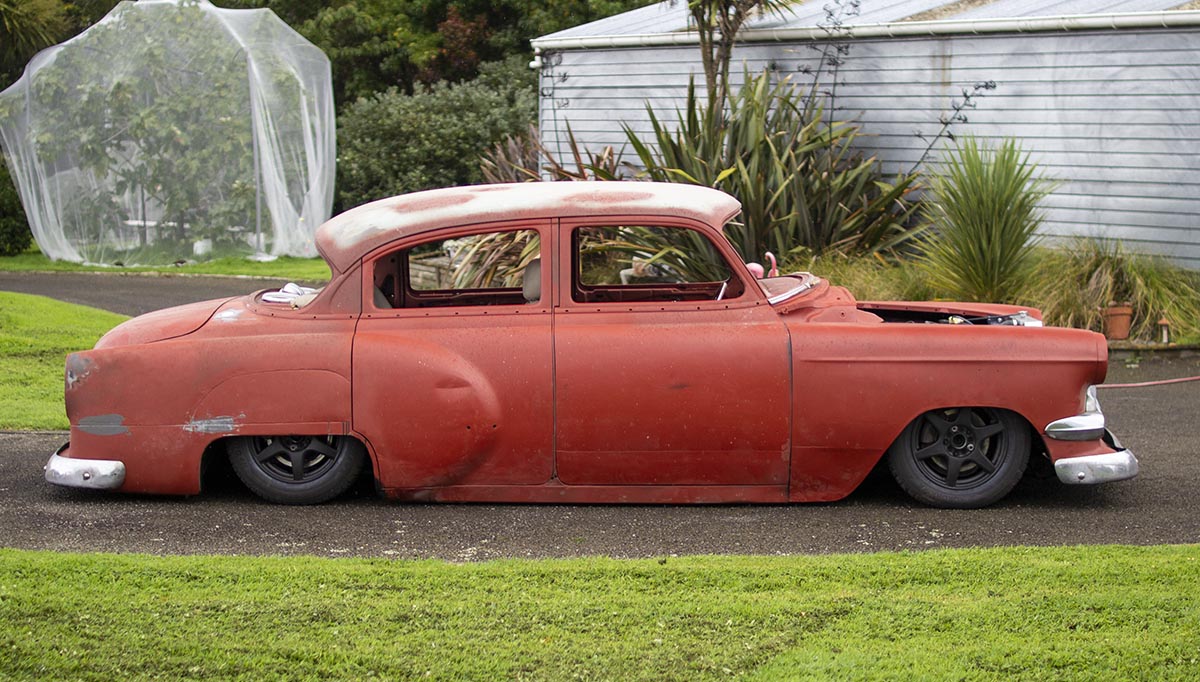
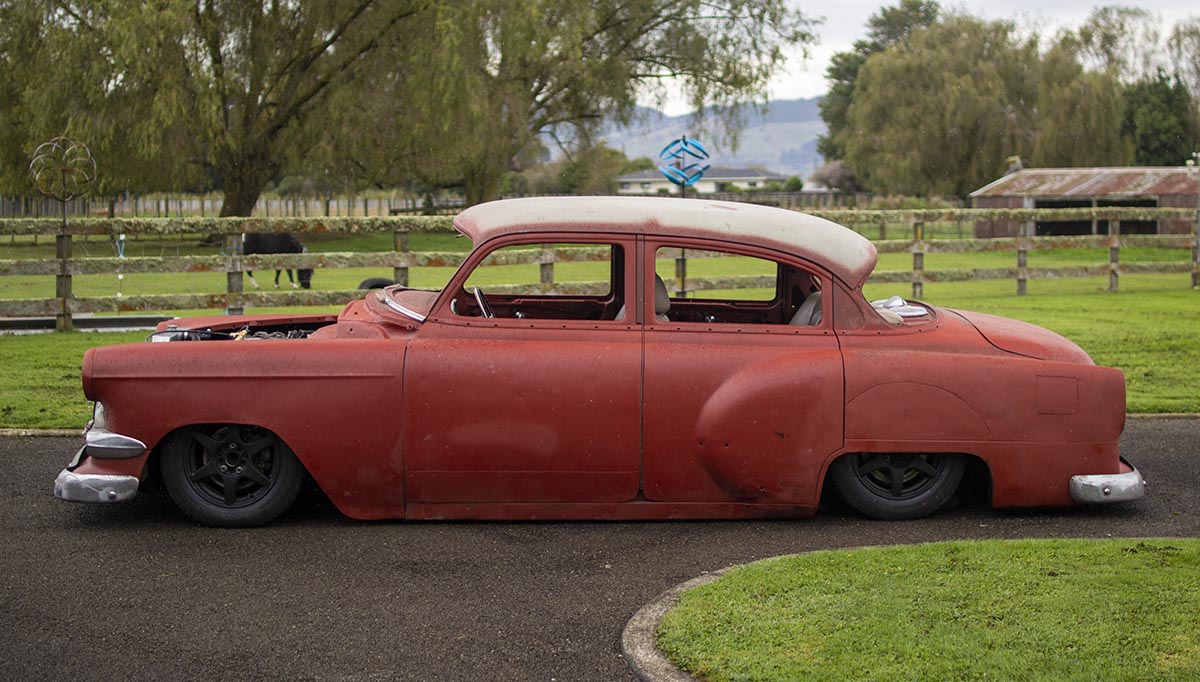
Fitted the rest of the moon discs. To hide the 15x6 alloy wheels. Real White wall tyres will be purchased soon, to replace the snow tyres. Wiring is well underway. Just waiting on a few components to finish up the air suspension side. Battery and back up compressor all mounted and working. New park light lenses on the front too.
 15 points
 -
Nothing like a tauramanui meth head petrol station brawl to start your day
12 points
-
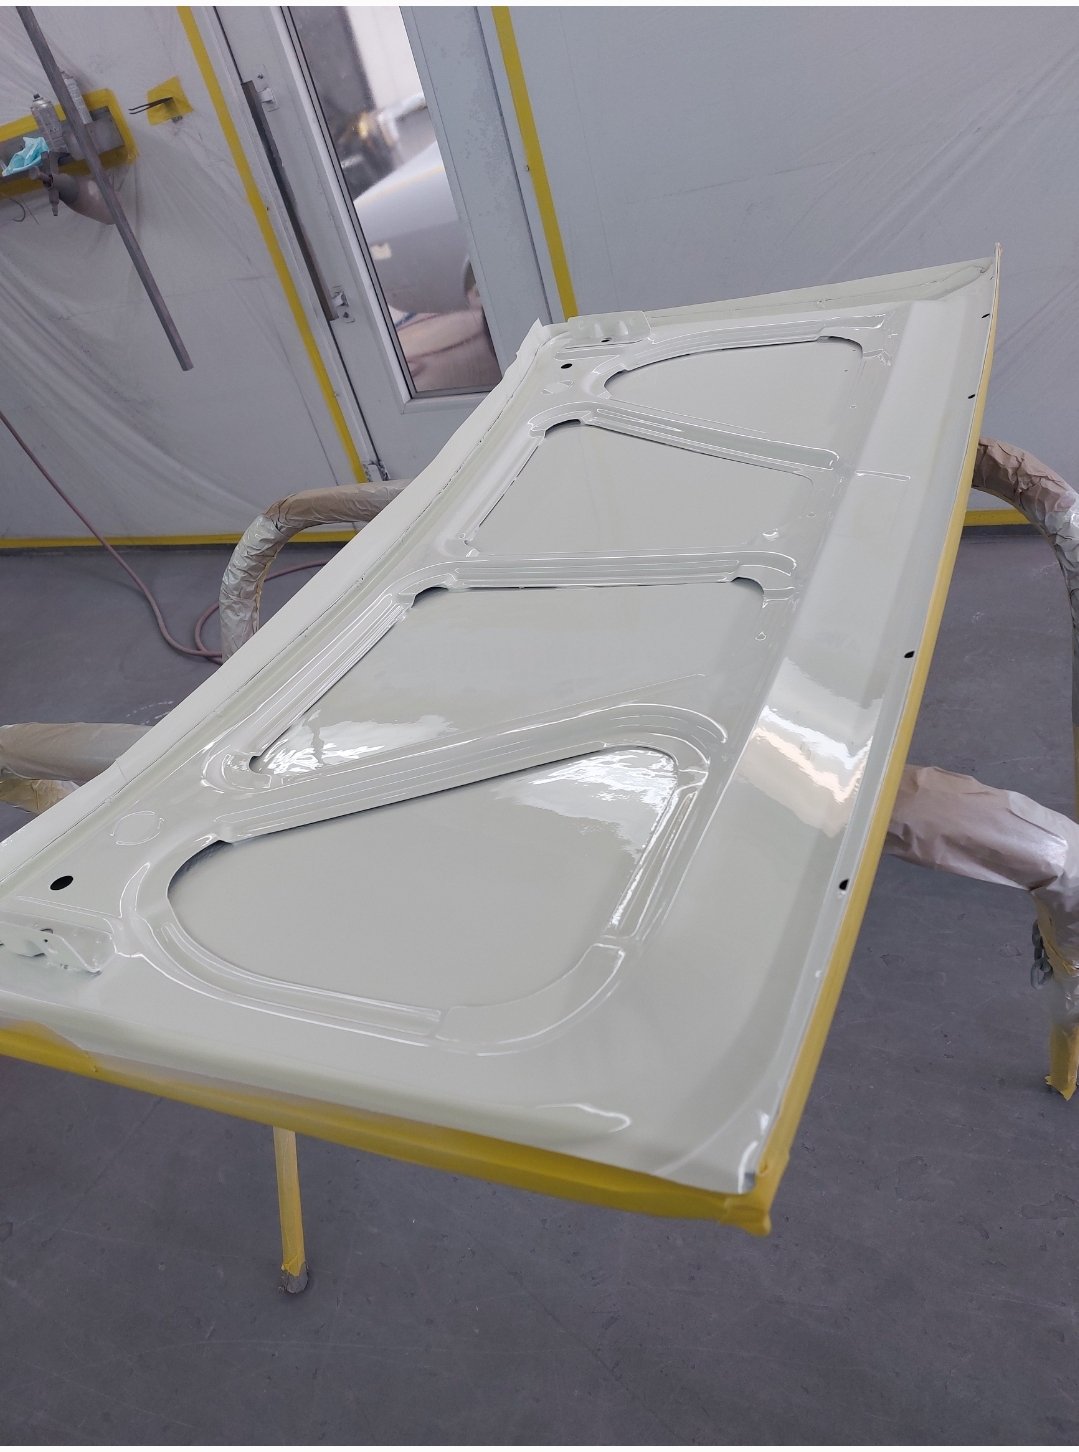
Picked up paint & supplies today too.11 points
-
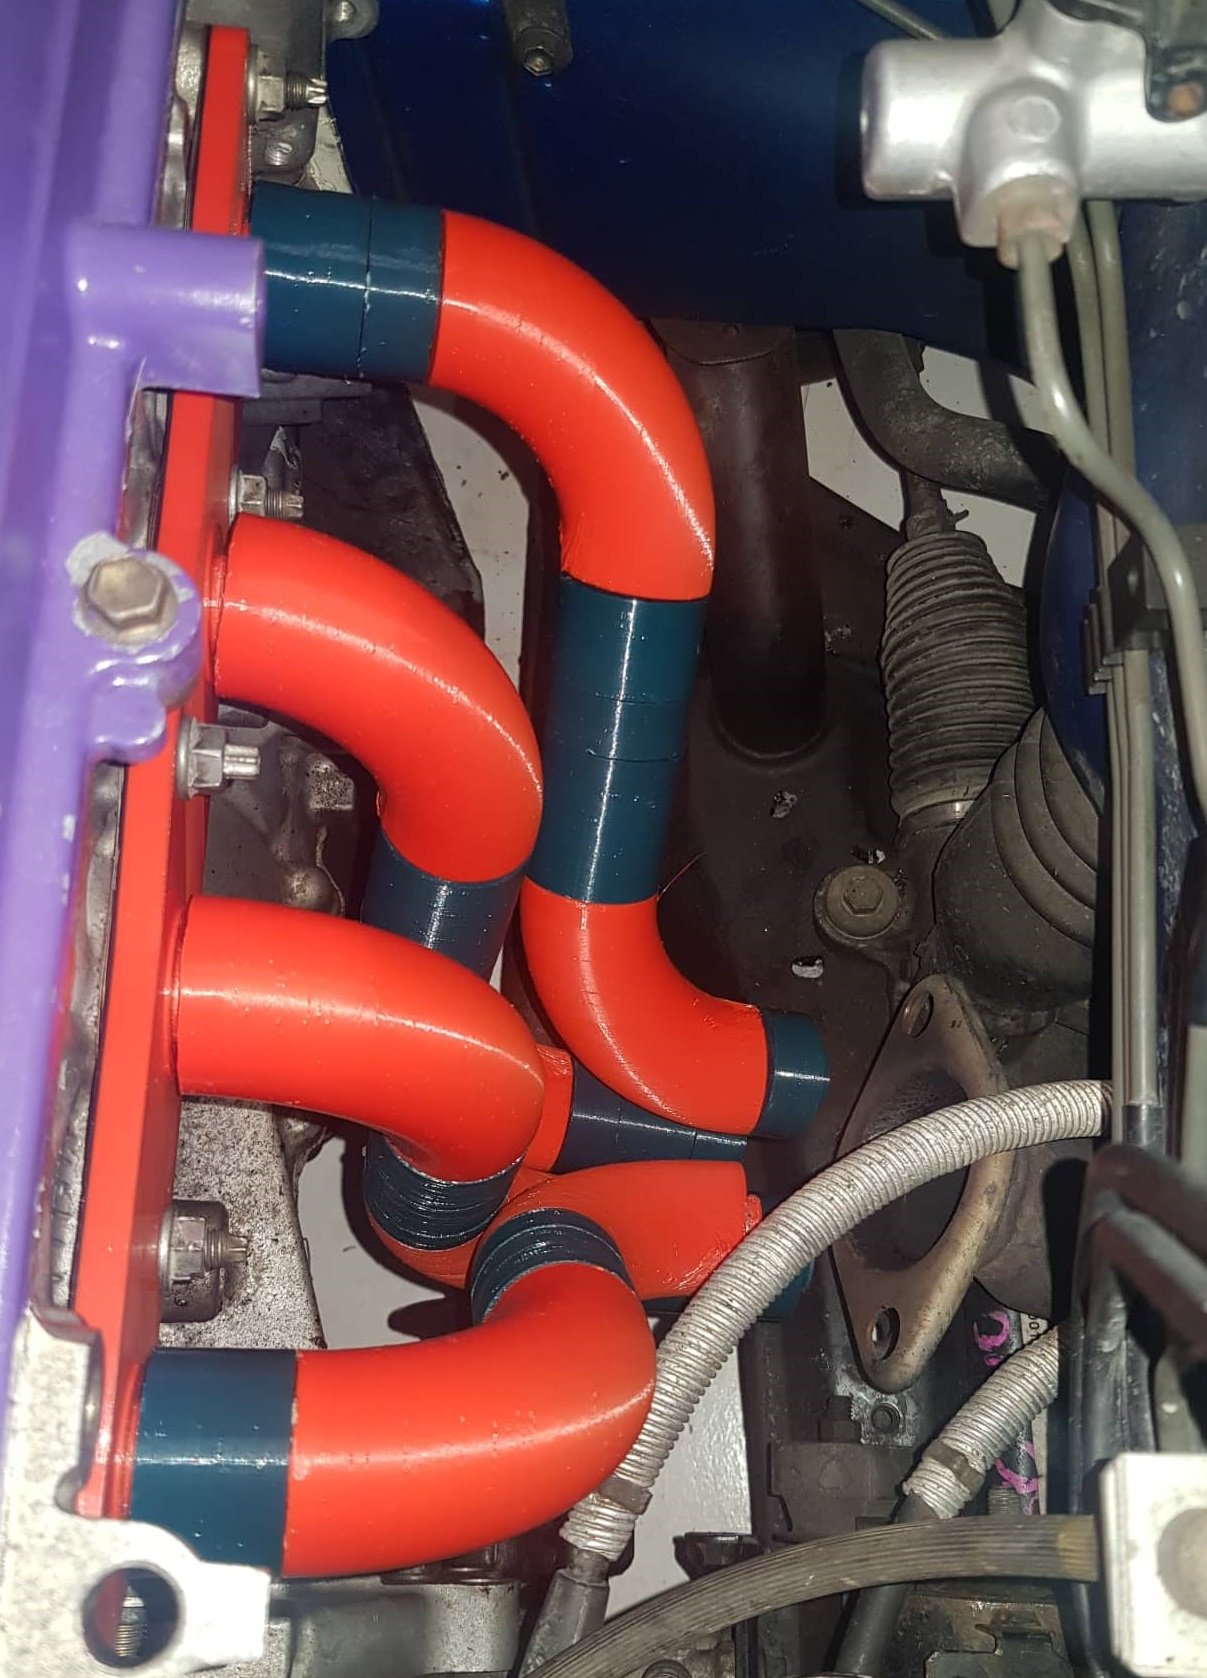
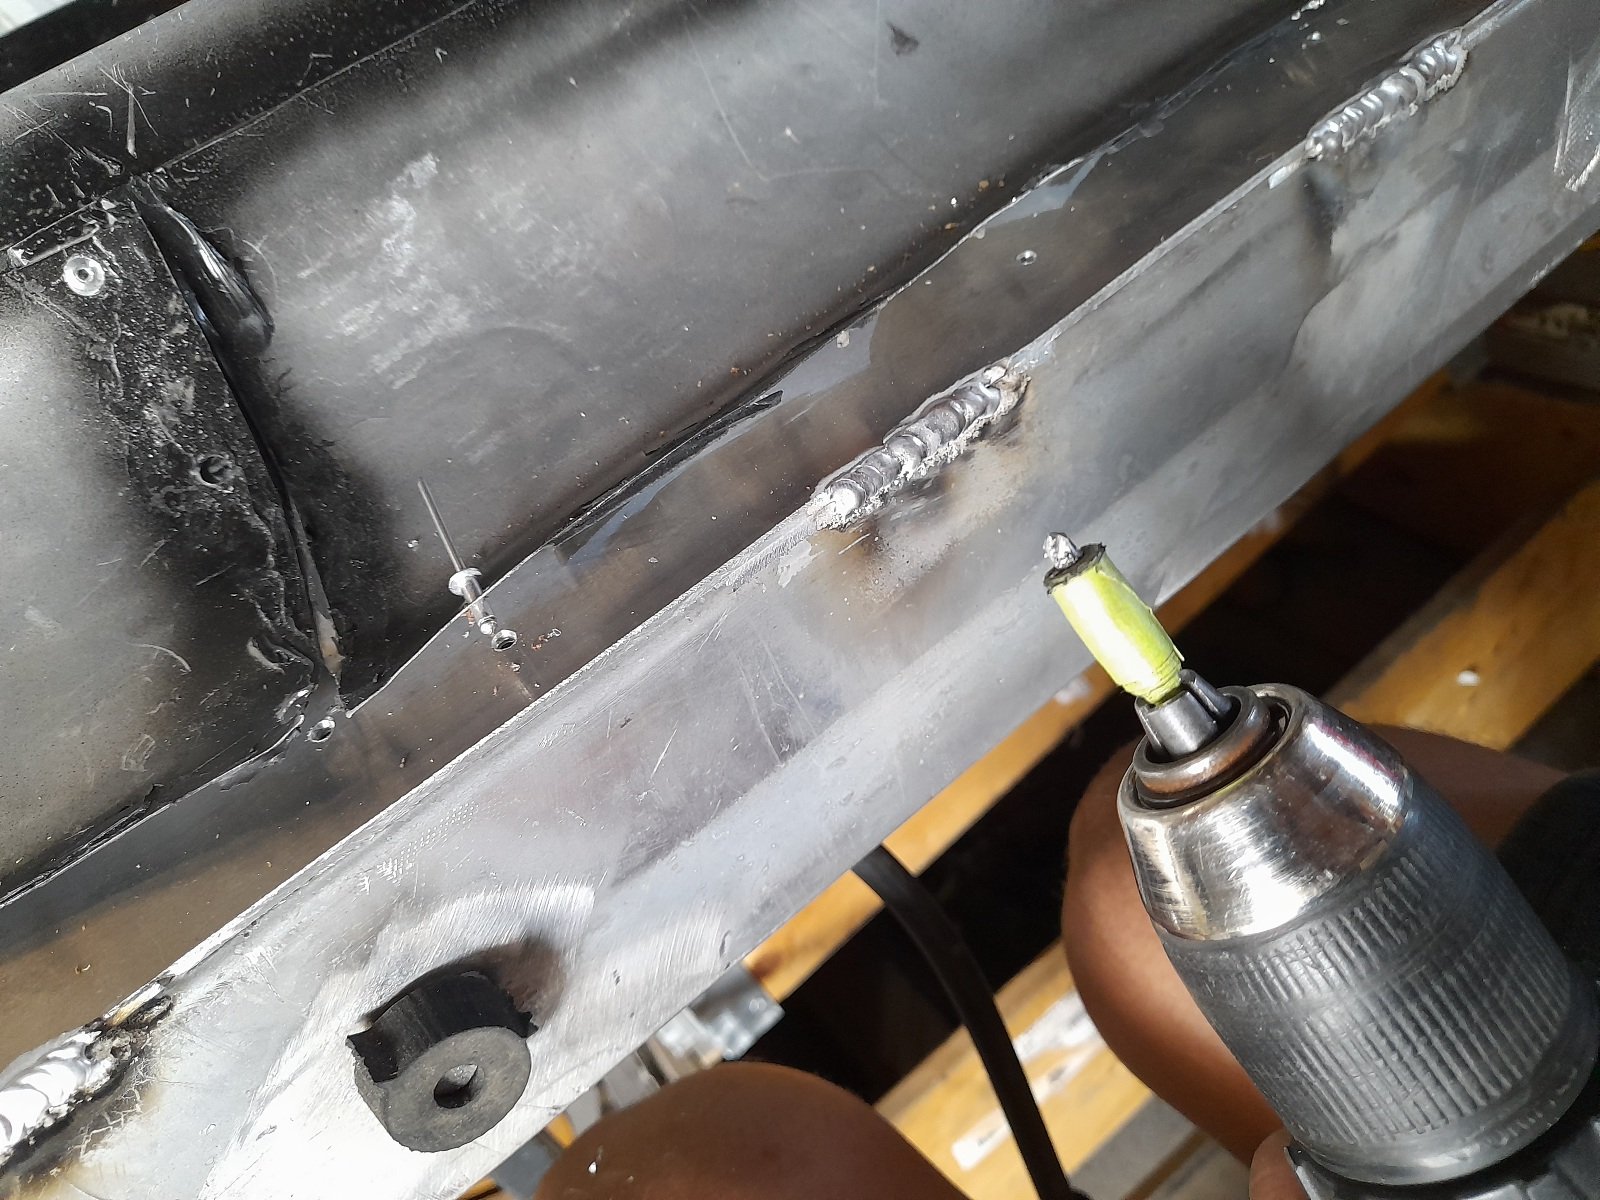
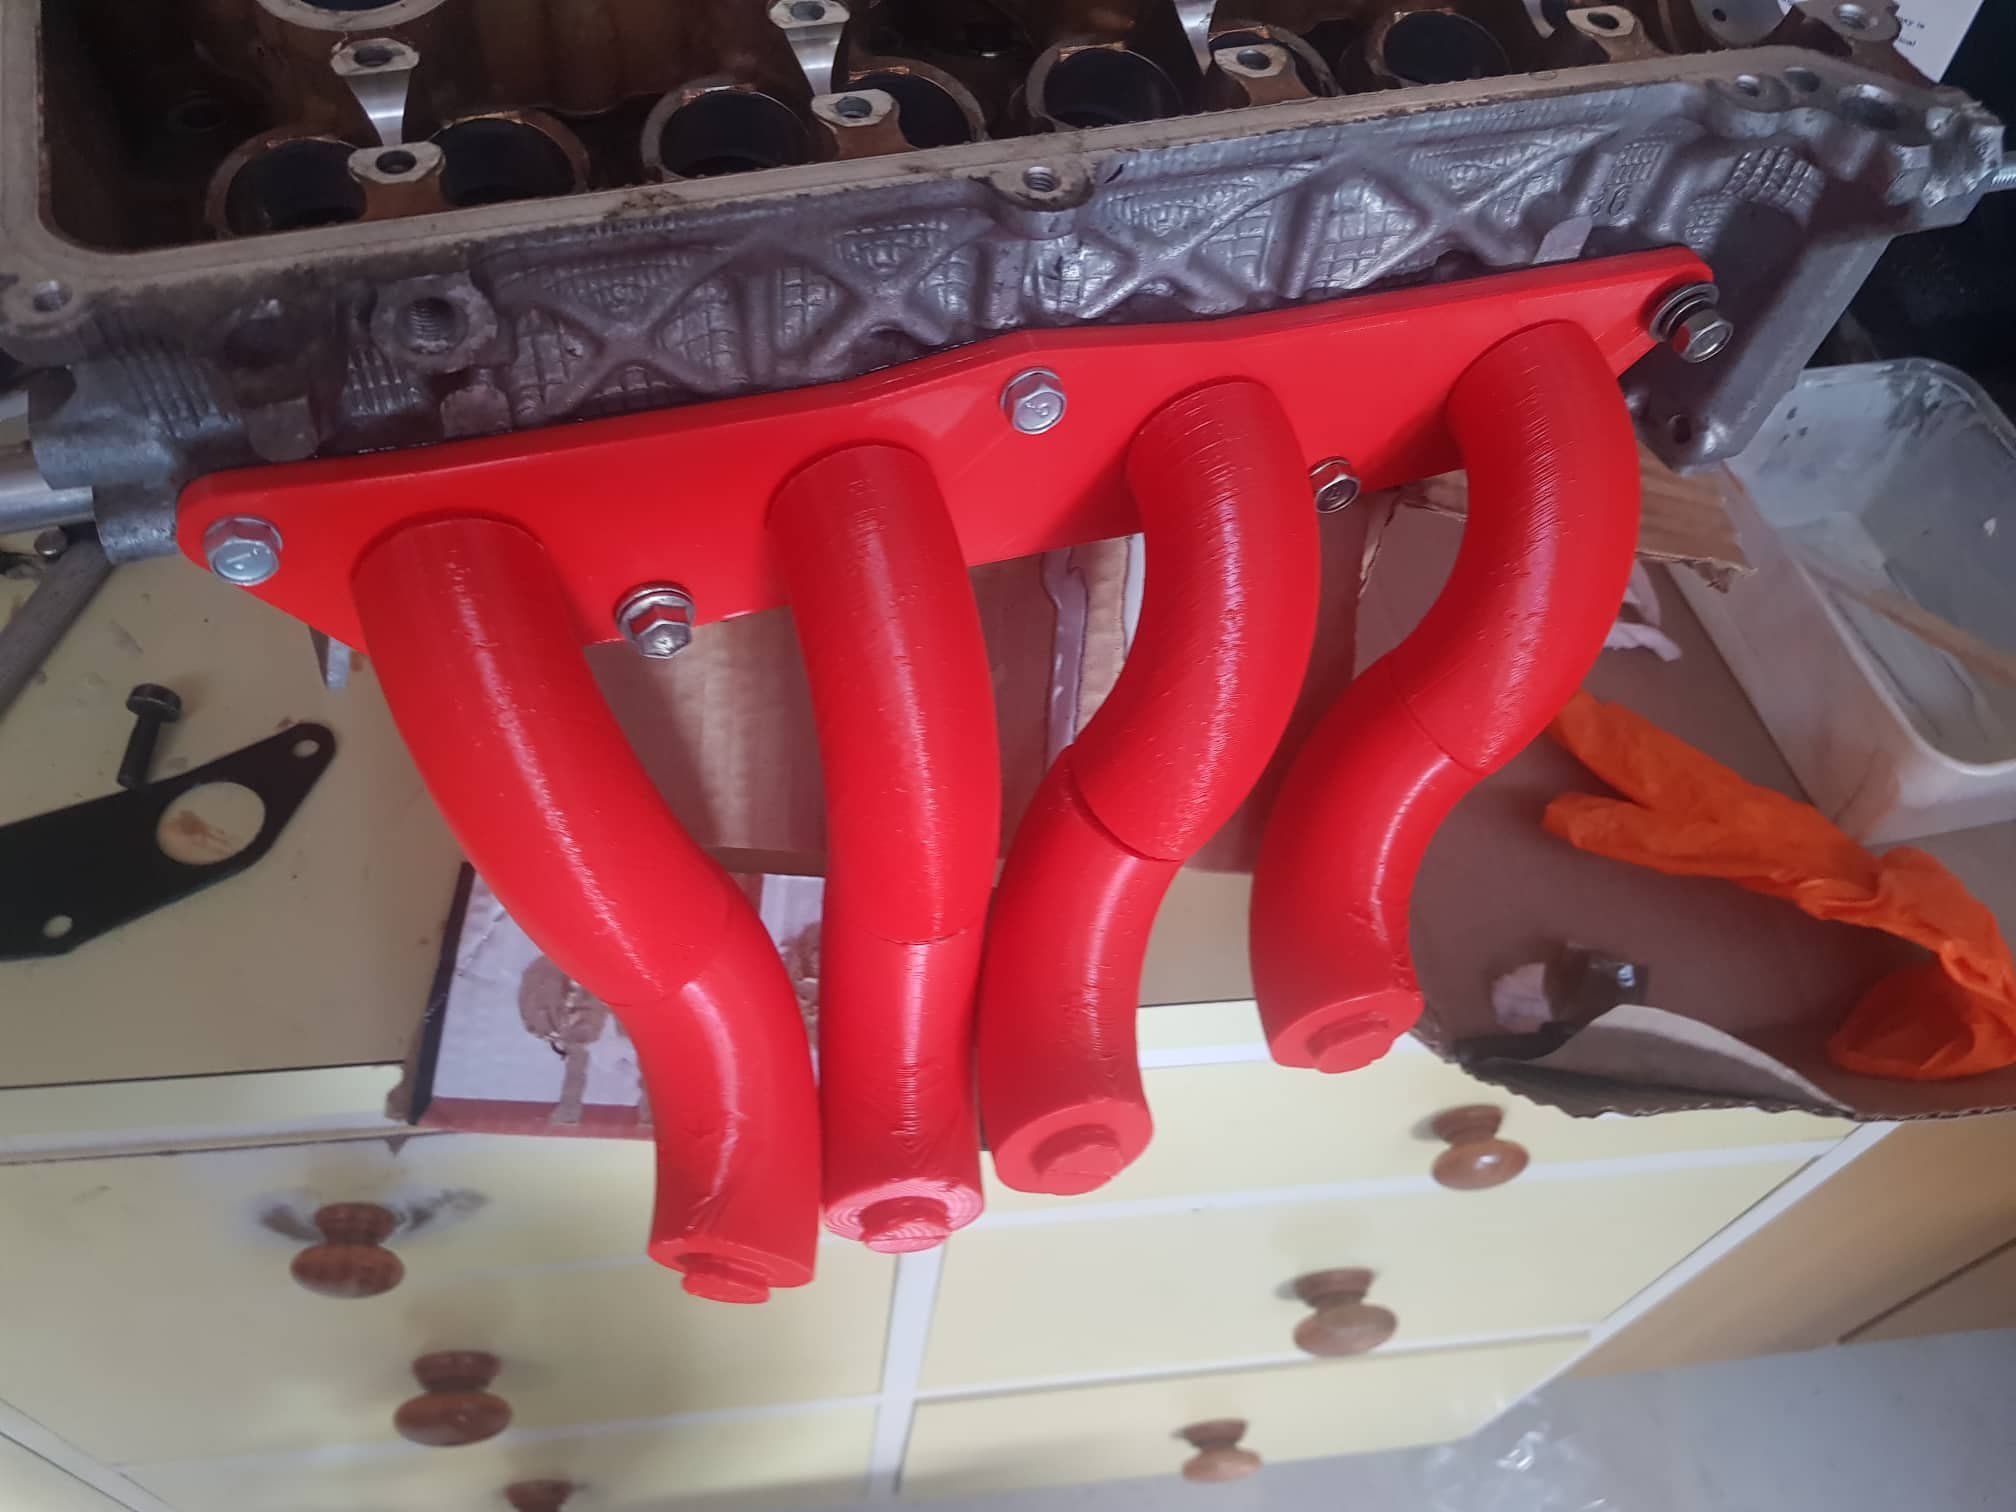
I've been fondling some plastic shafts in the garage some more, reminds me of my childhood (playing with lego) Looks like I've got a good scheme coming together. Might need to push the whole lot over away from the shifter cable a bit more. Will need to take the middle part of the exhaust out to see what sort of angles I'll need from there. As all of these pipes will be much longer (but all straight hopefully) God bless rear facing FWD exhausts, eh? So the idea from here is that I will hopefully have a shape for each runner that can be made out of only two of these, so only 3 welds needed on each runner prior to the collector: So I'll put these lengths back into my 3d model with the exact cut lengths, then I'll print the a 2d profile of each part onto some paper and cut the parts to exactly the right lengths needed. I also need to buy or fabricate a flange, you can buy them for about $80usd but maybe it'll be cheaper to get one cut locally? As I've got the cad file for the shape. For the collector situation, no idea yet but I'm just going one step at a time
6 points
-
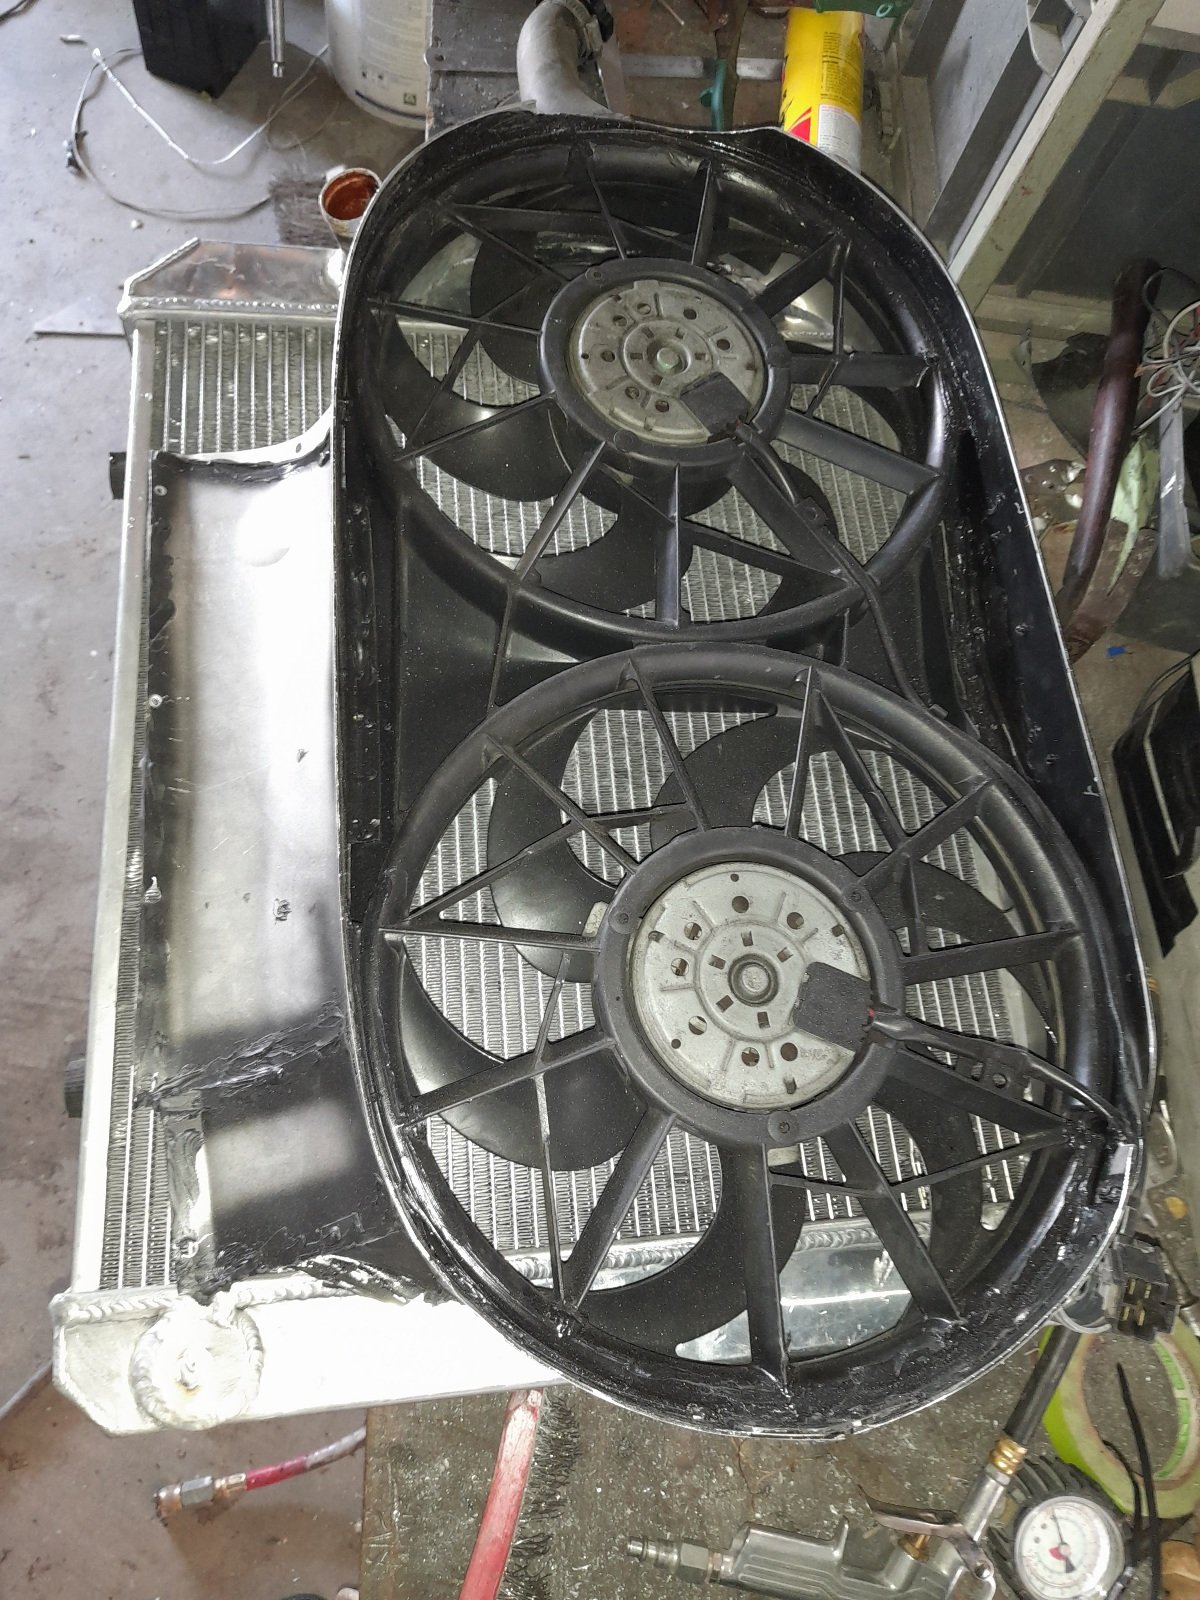
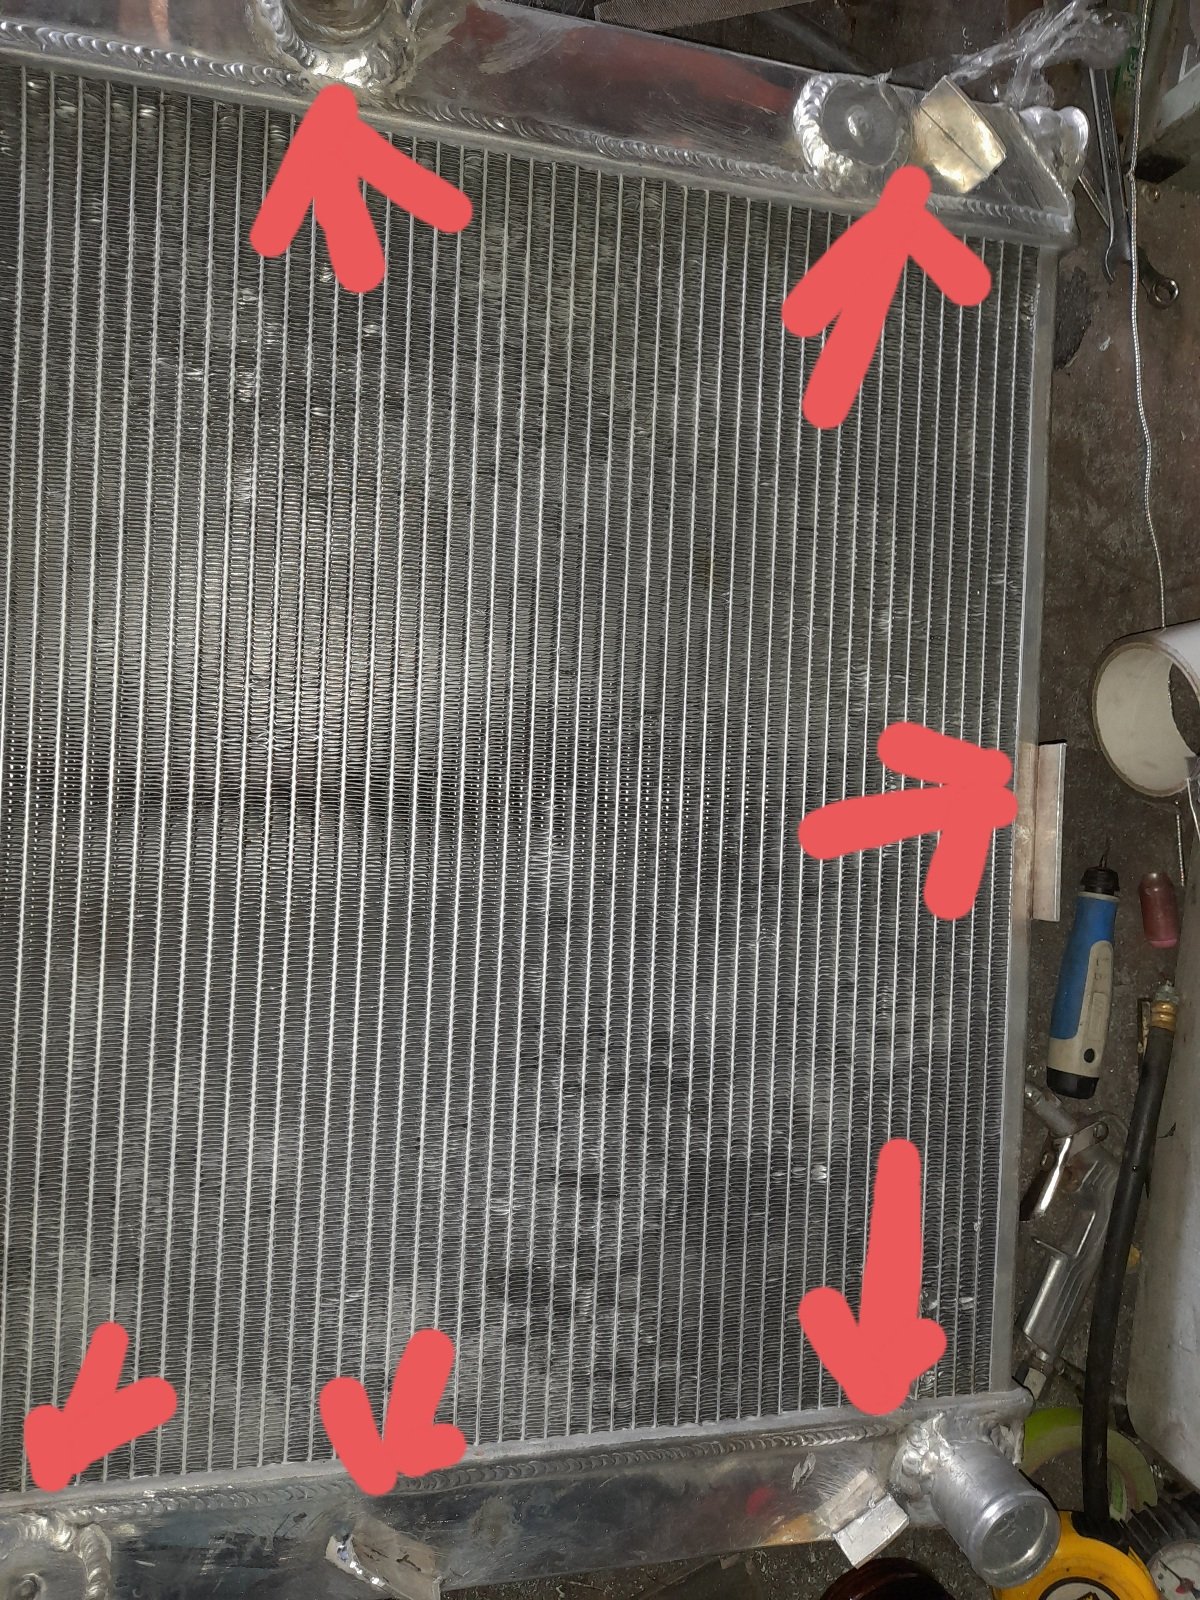
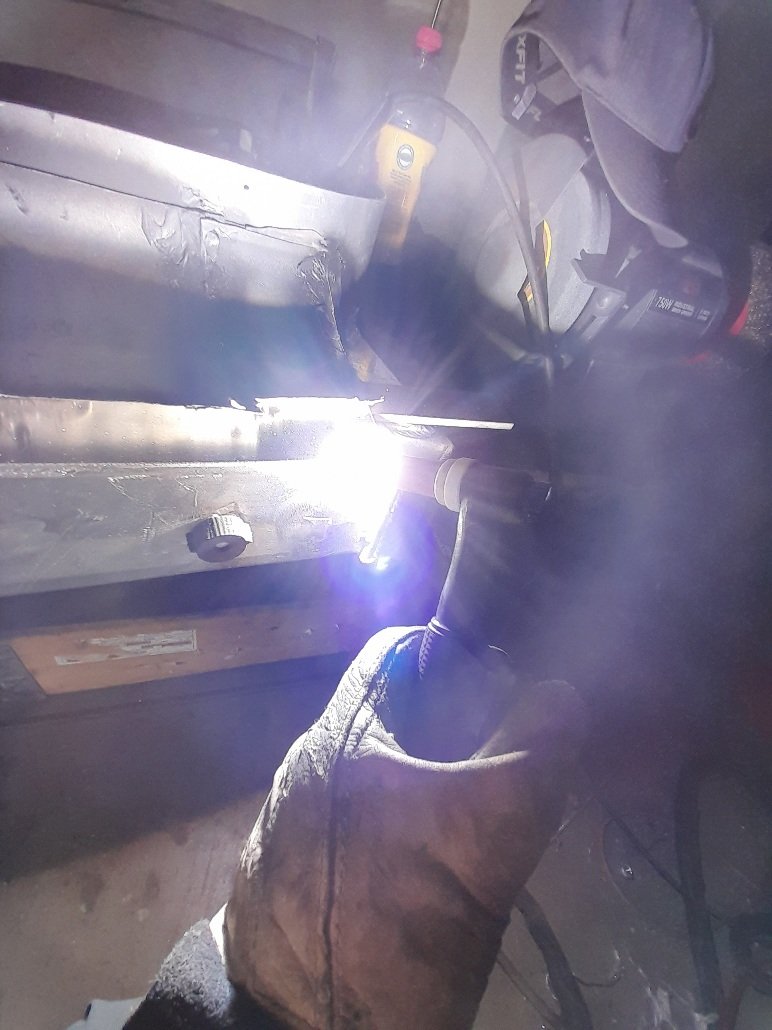
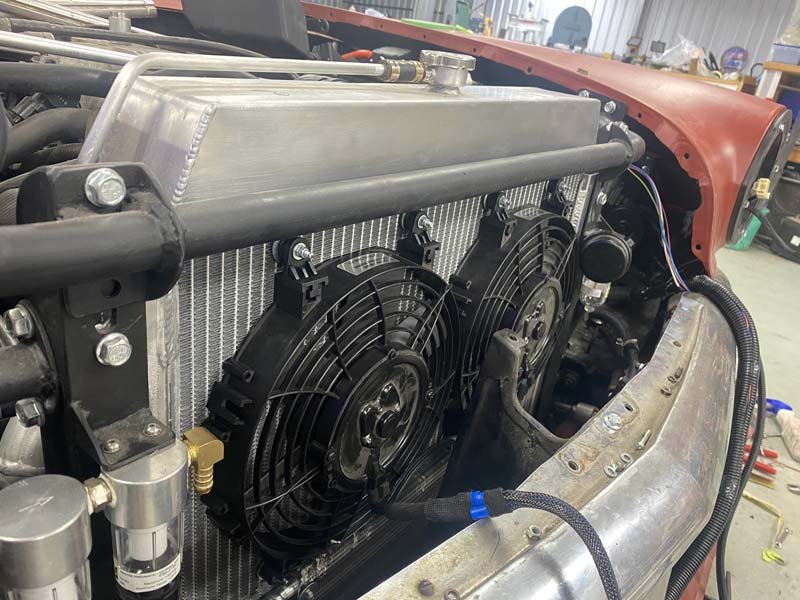
Then got to putting all the stuff from other one onto new one etc etc, this one i welded tabs on so the fans are removable, what a fuckaround for one rivet, anywho i learnded and put tape on my drill piece to prevent exessive penentrating Pressure tested the whole thing with compressed air in a wheely bin full of water and no leaks ! I wanna keep this build thread thing accurate, not taking out all the misfortunes that evidently come with doing this stuff cheapishly ( with me anyways lol) Live and learn, or something like that
6 points
-
I’d lend you the rear wheels off my L250 Mira for drag runs. 12 inch skinny boys
6 points
-
This brought back memories of the many many hours mowing on our yellow one. One time a screwdriver dropped through the gearbox cover and into the blades, launched it 40m across the road and through the neighbors window....6 points
-
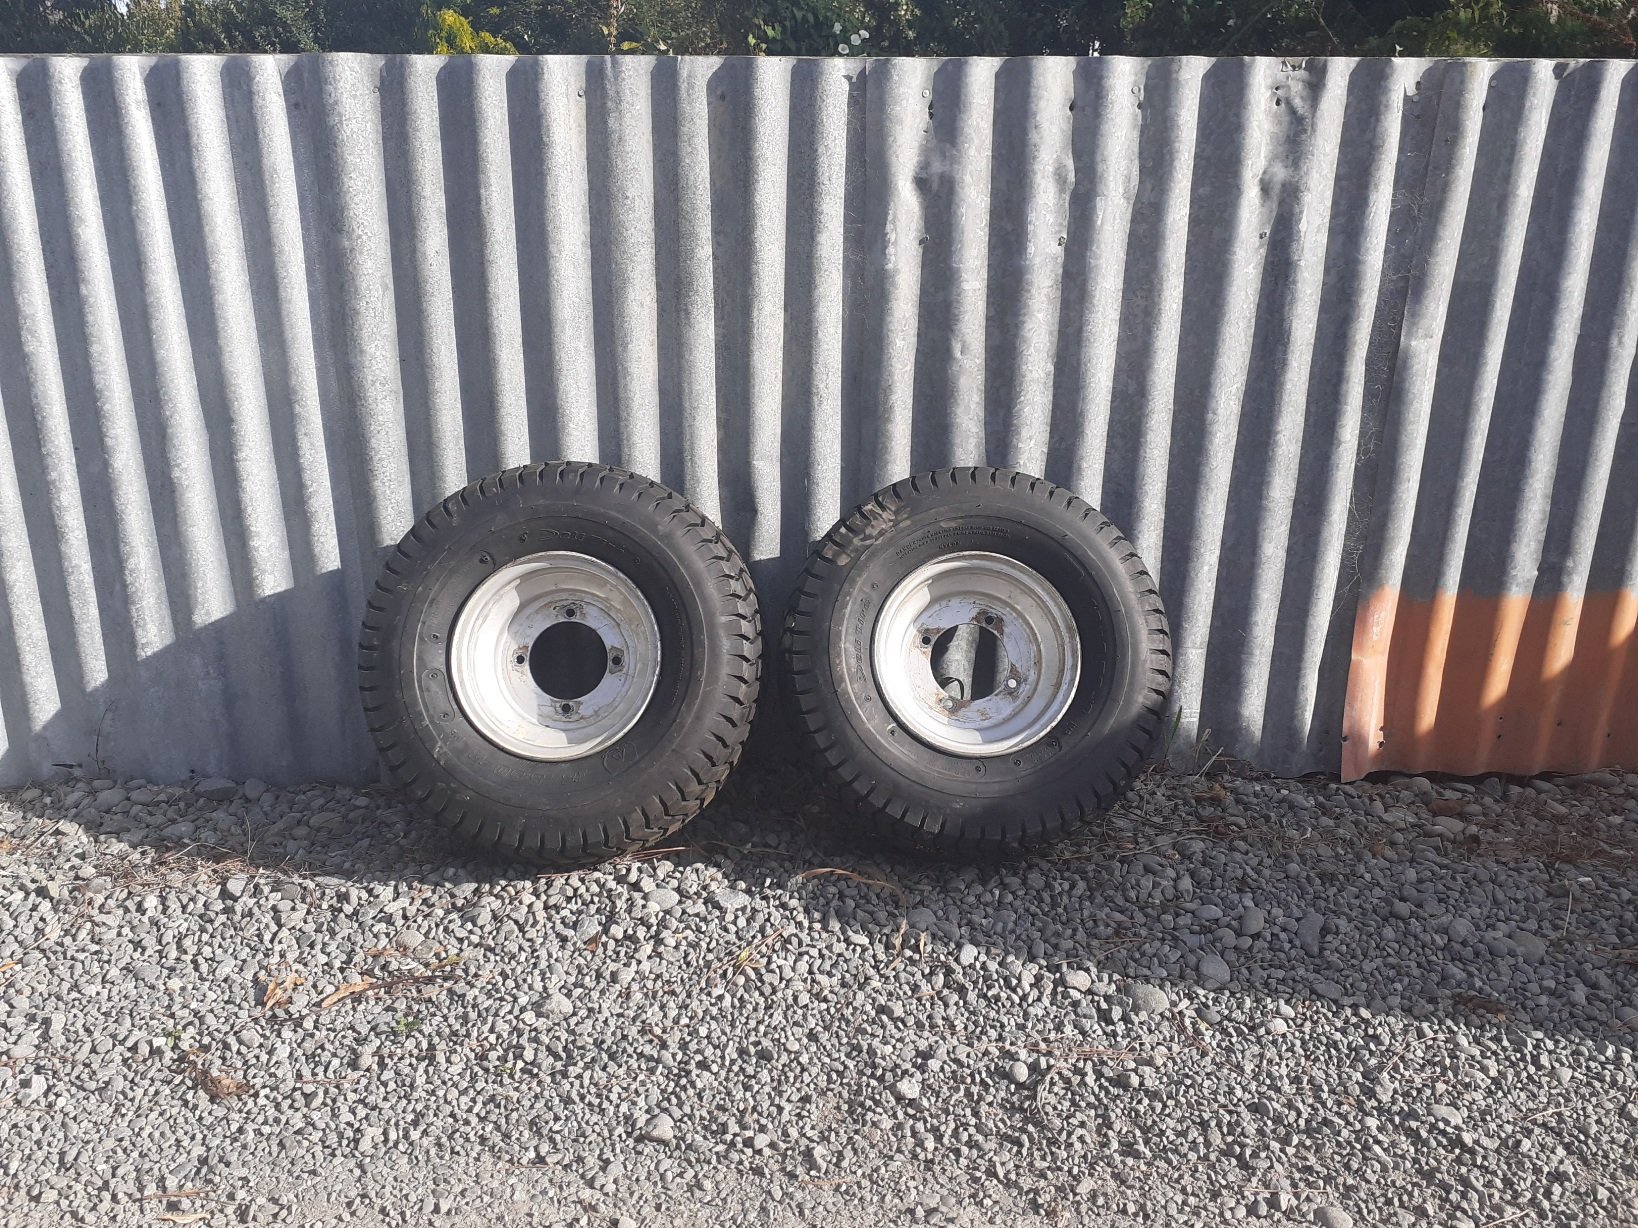
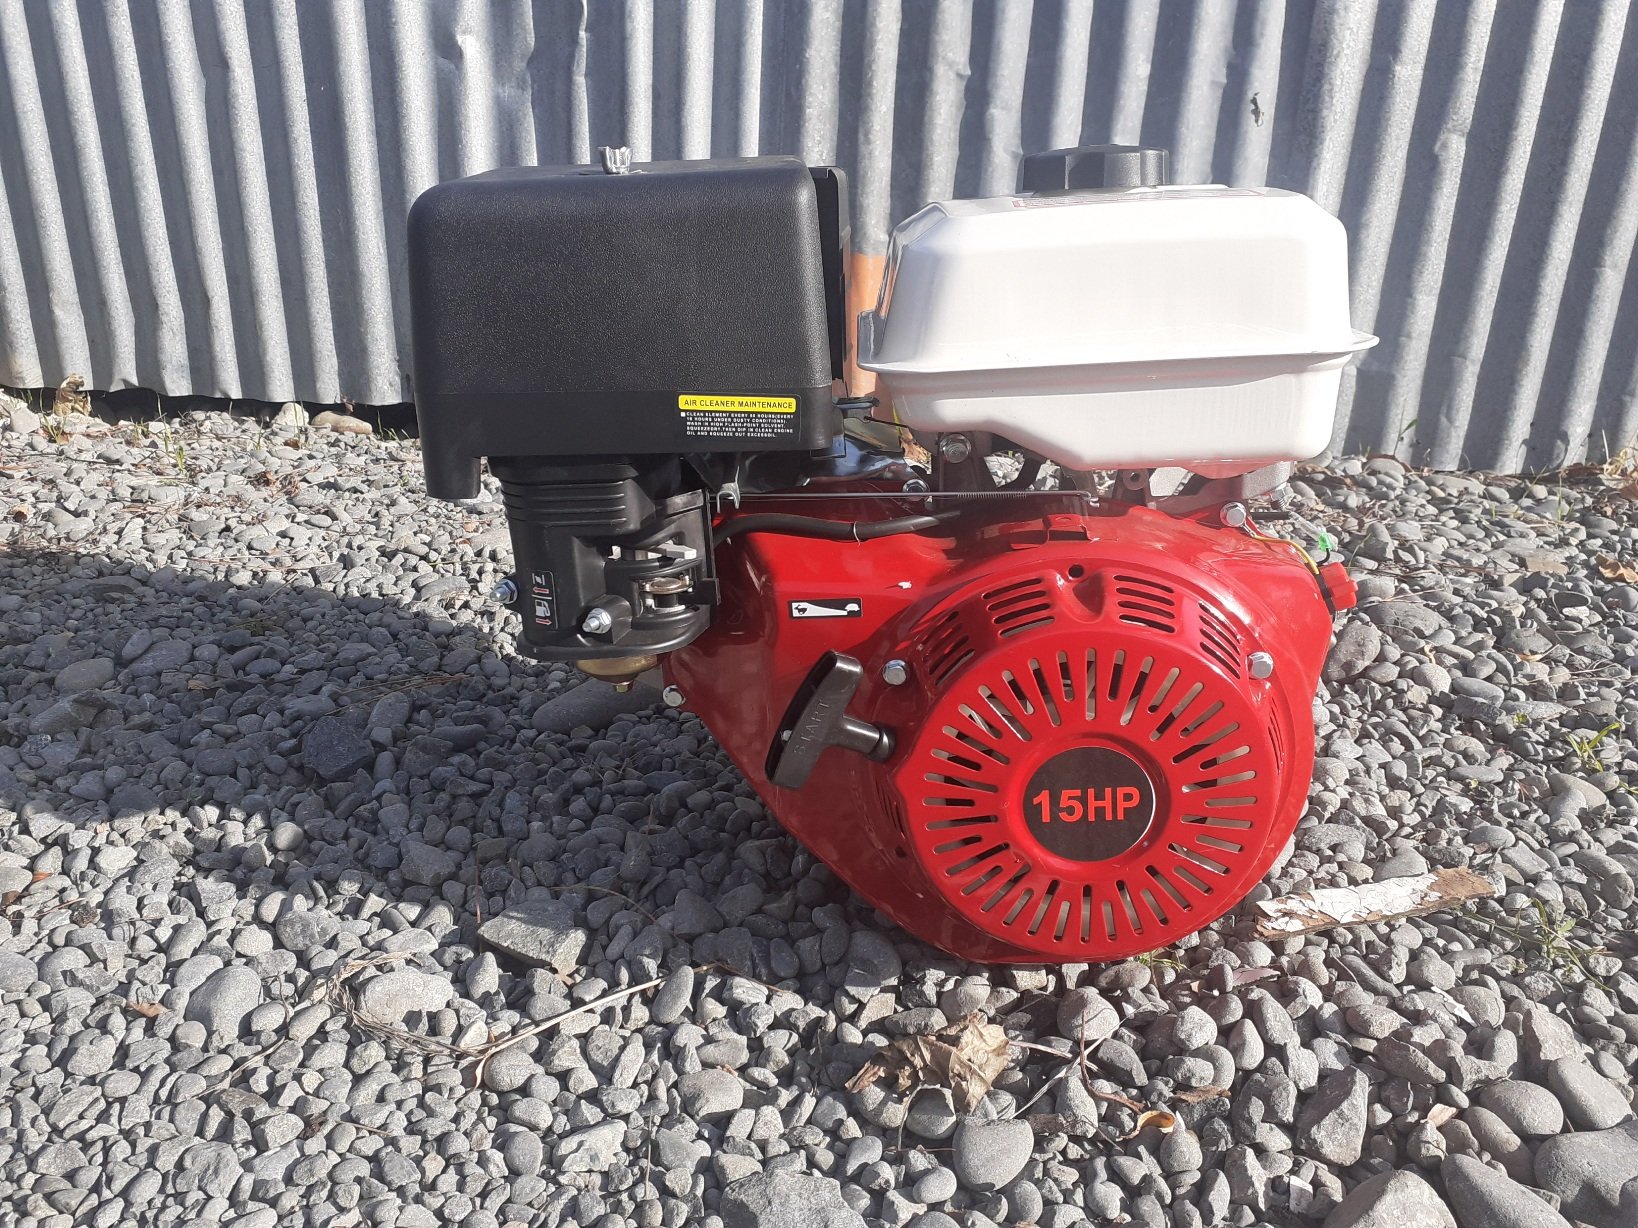
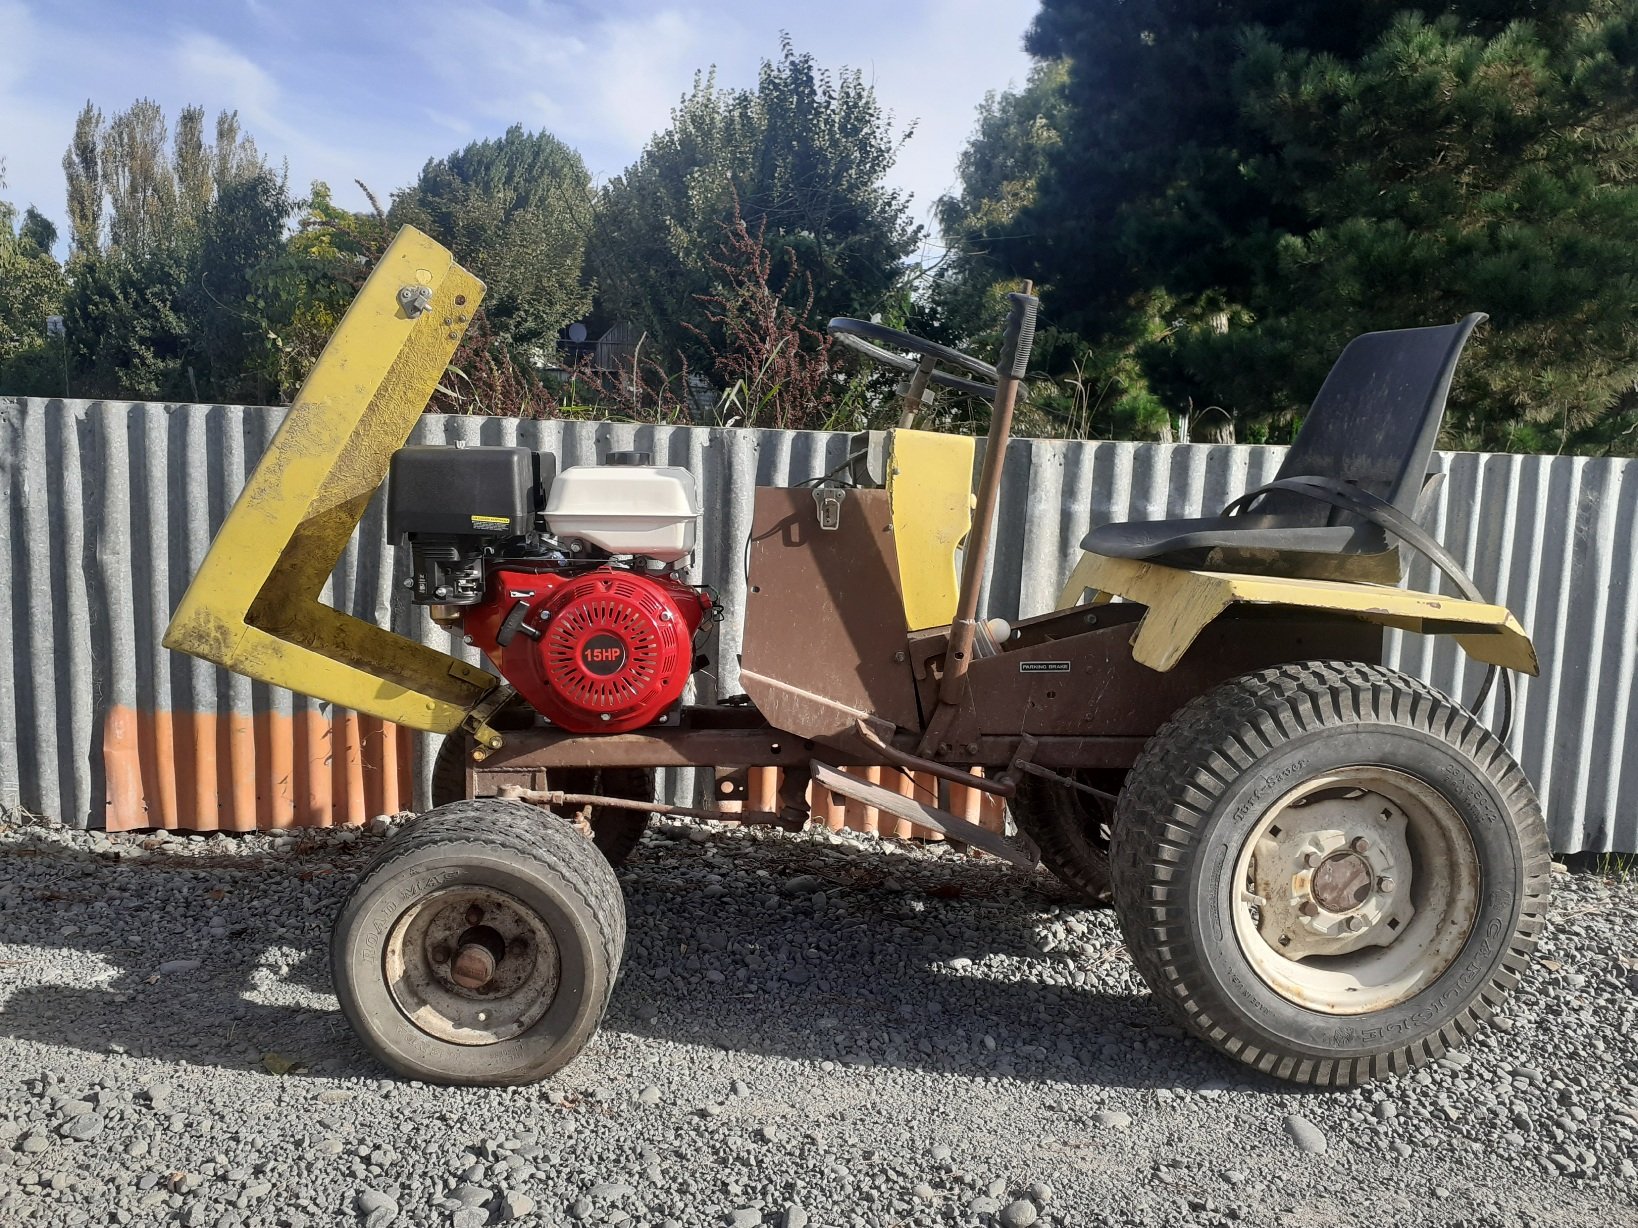
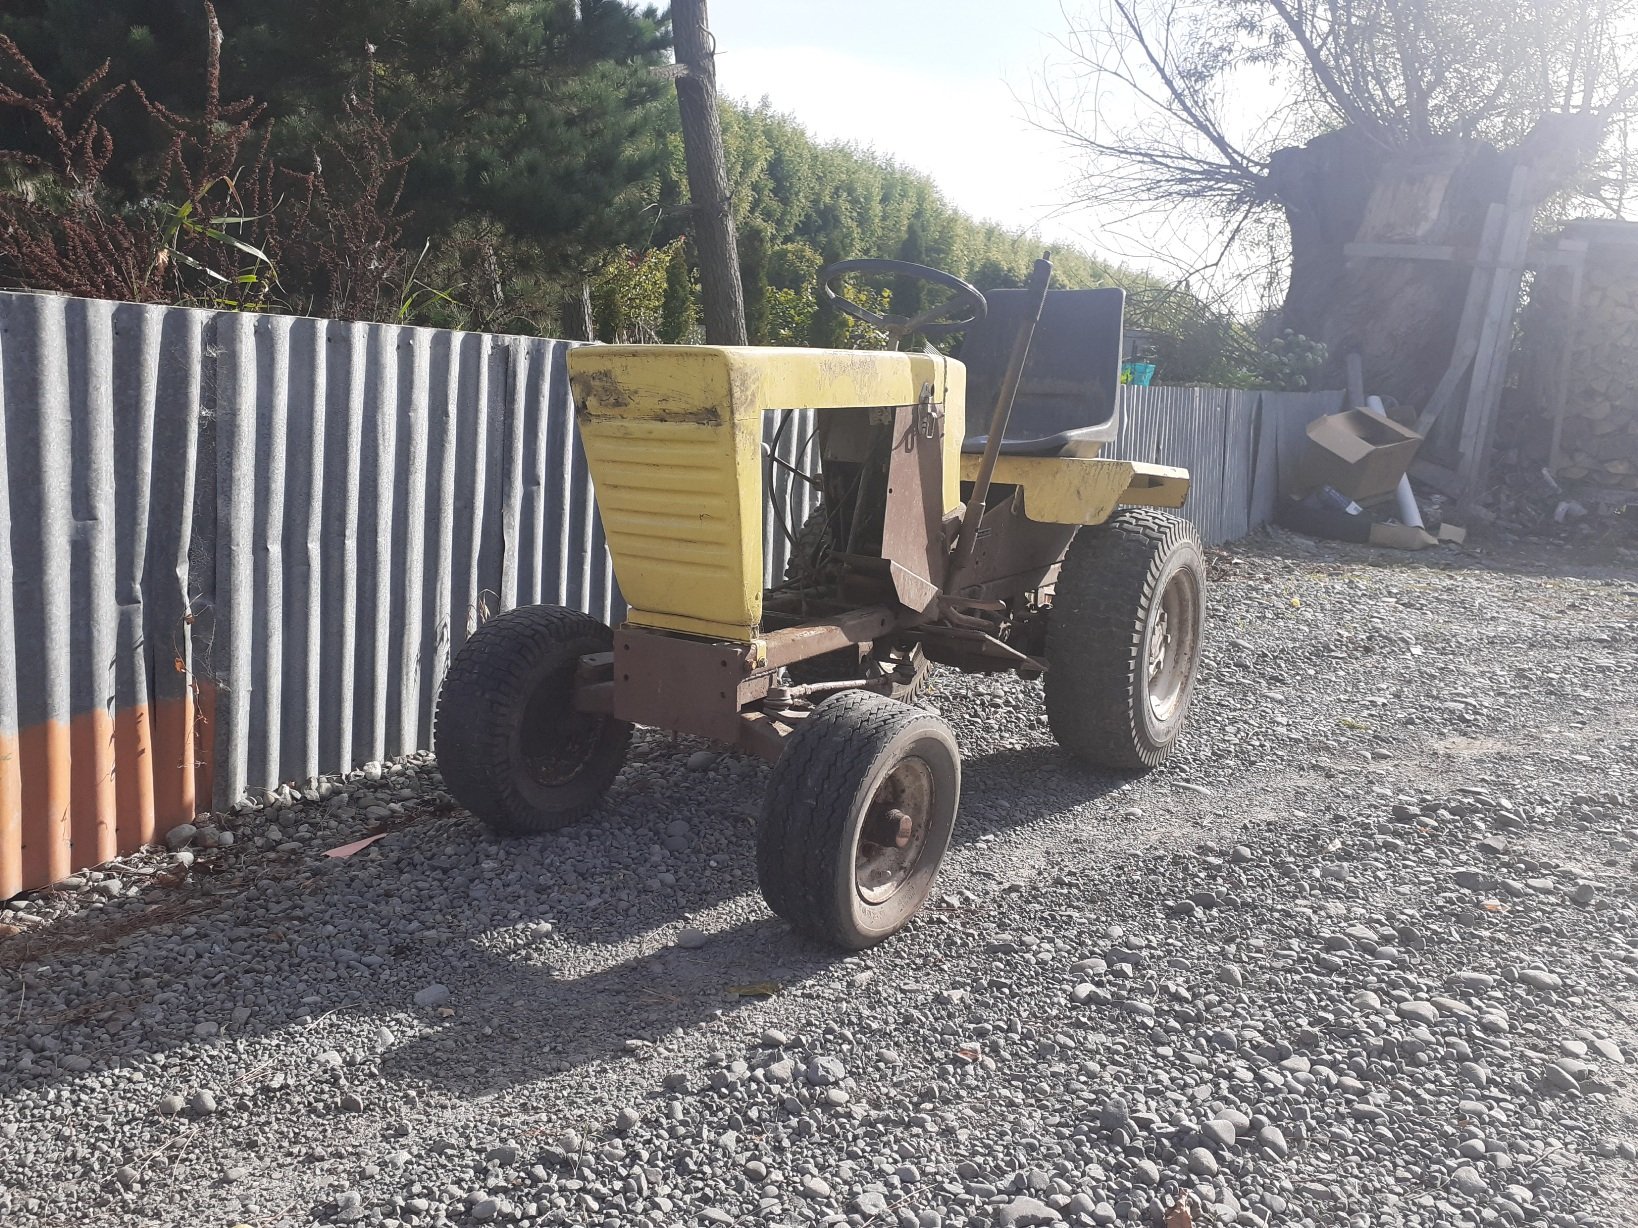
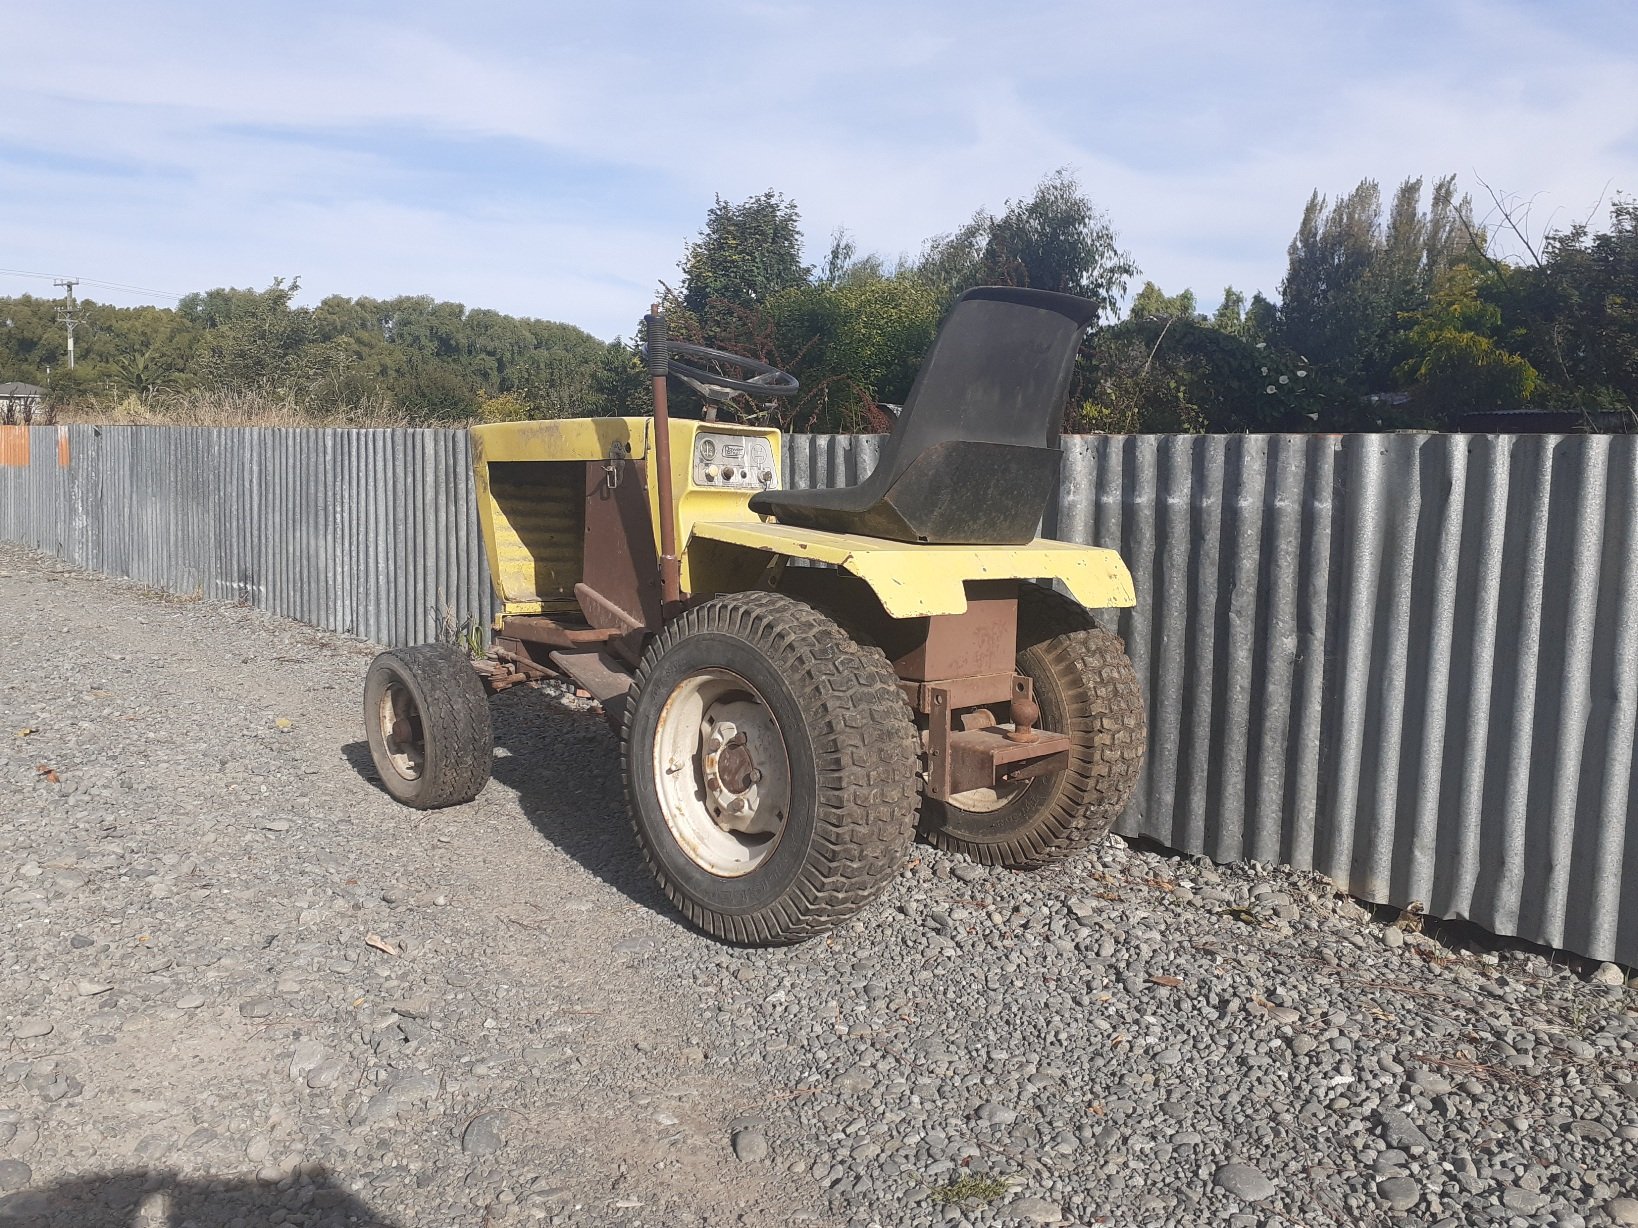
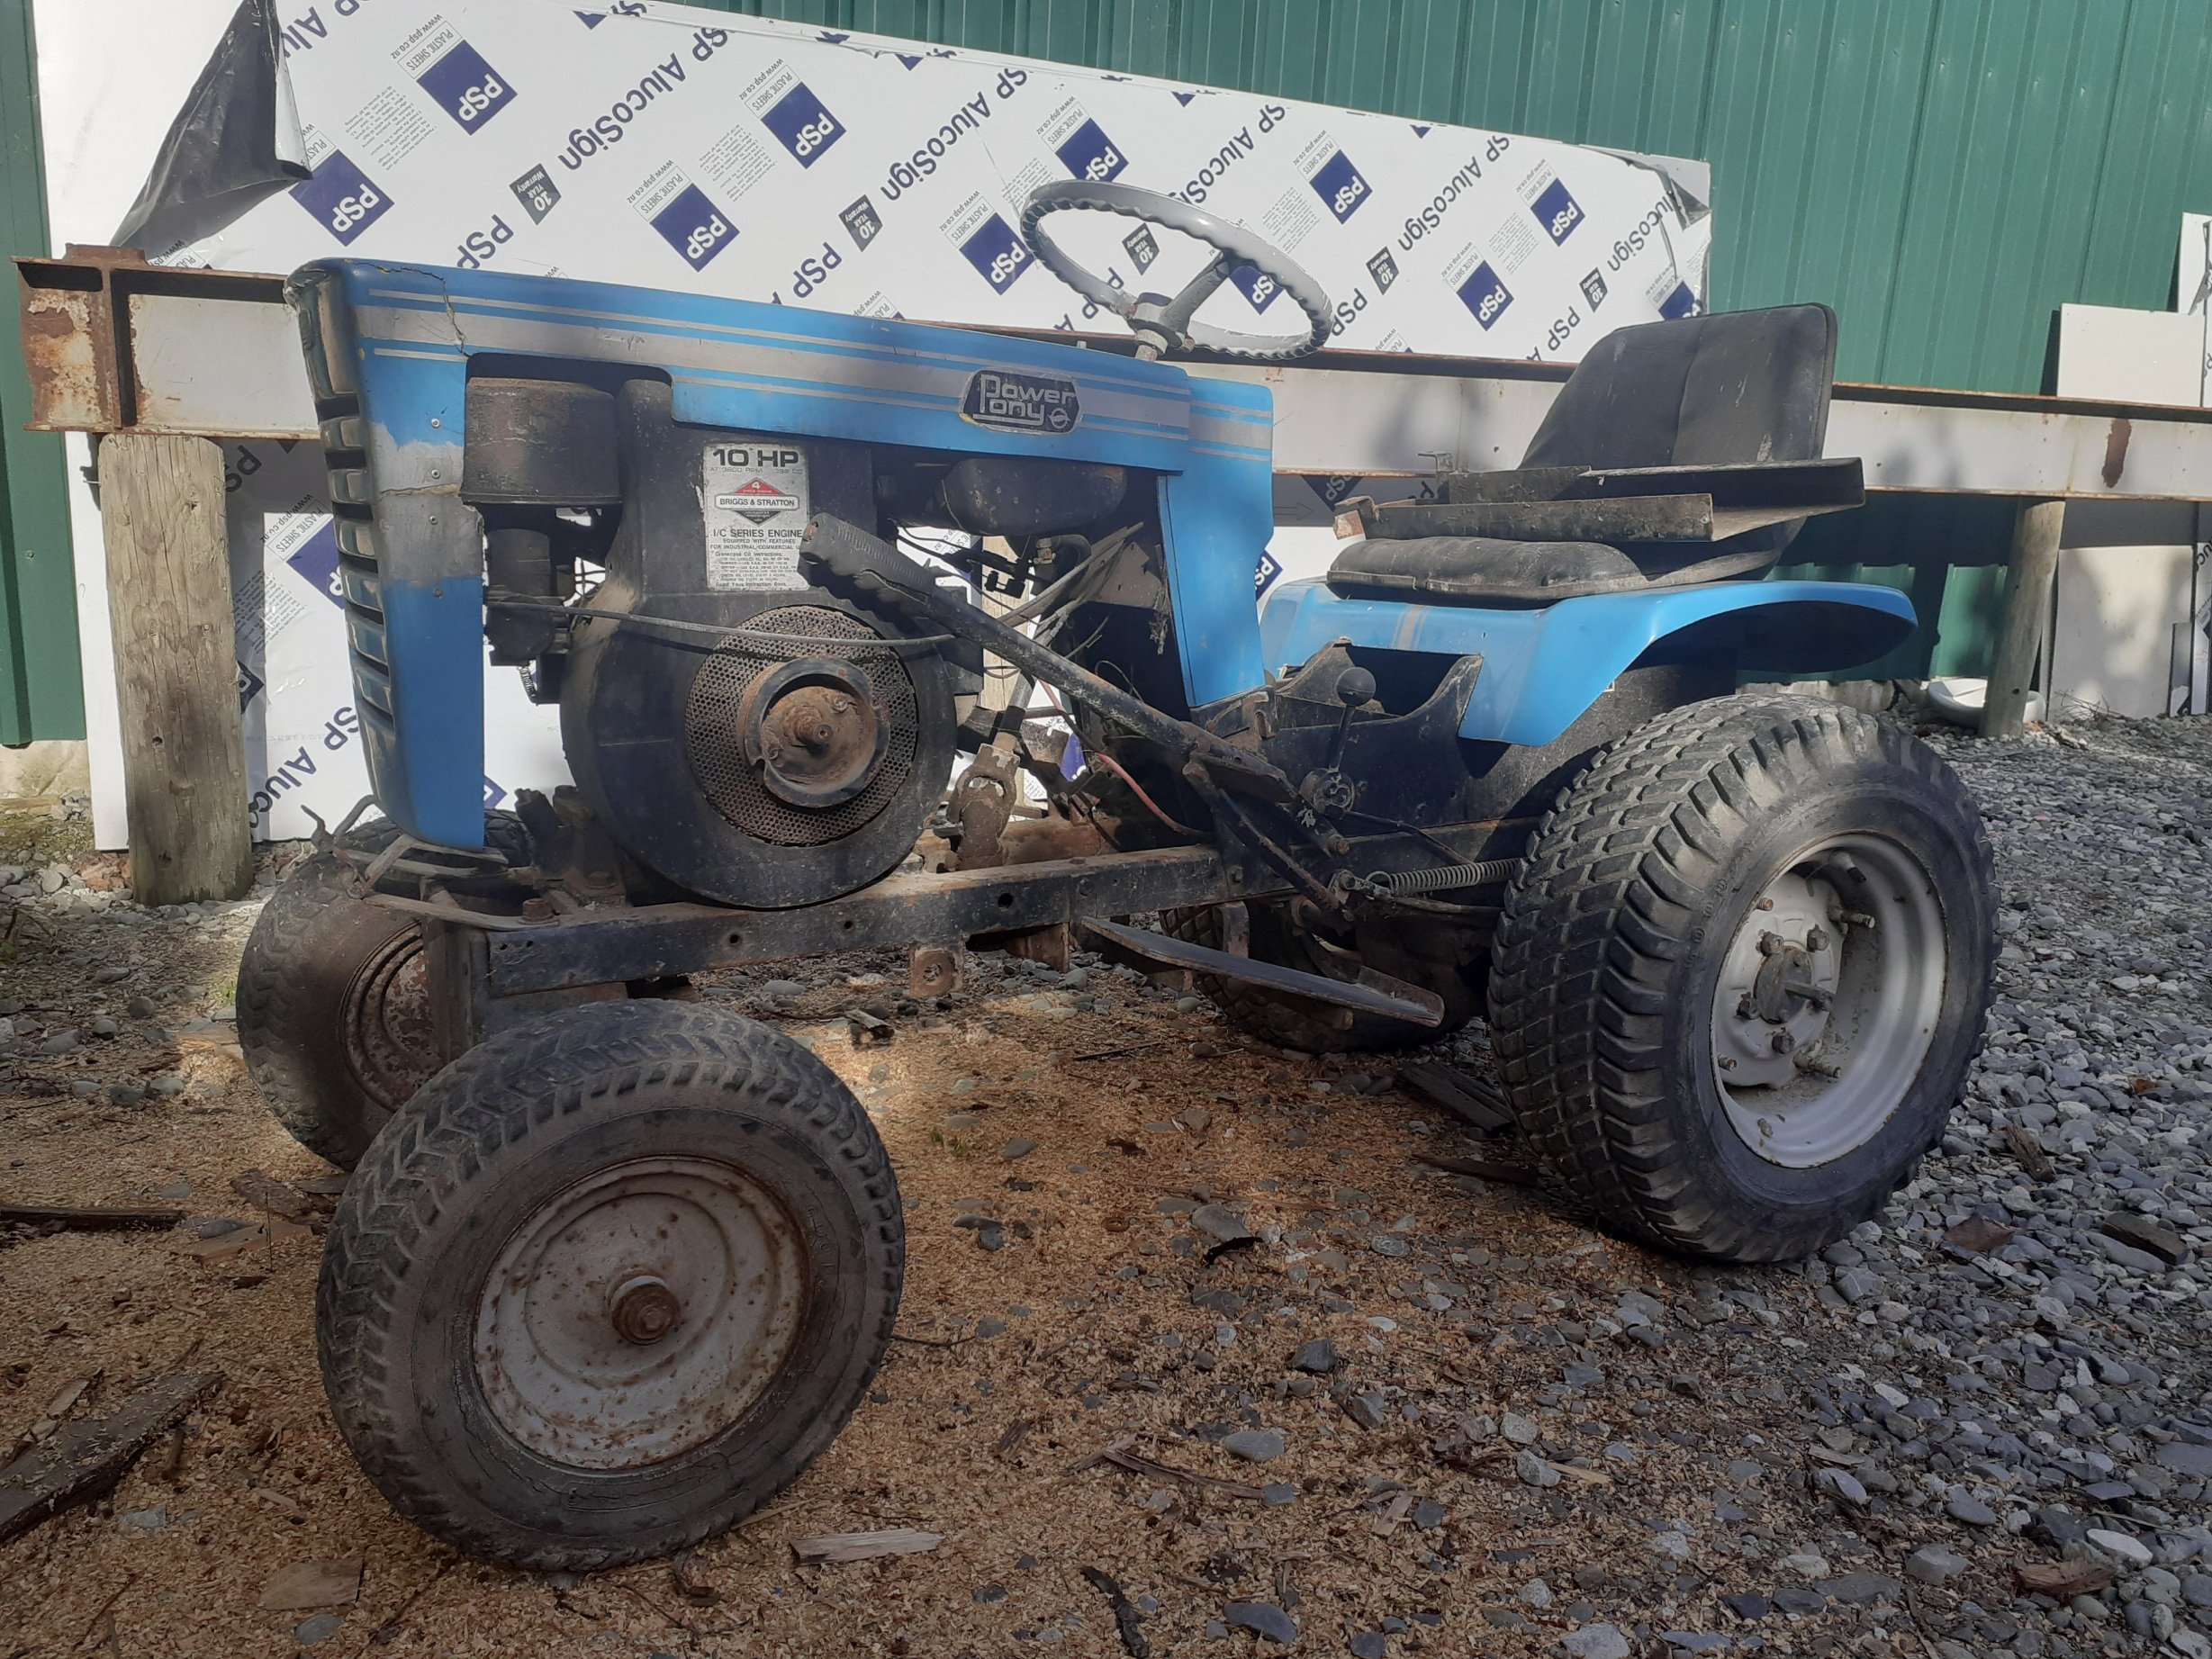
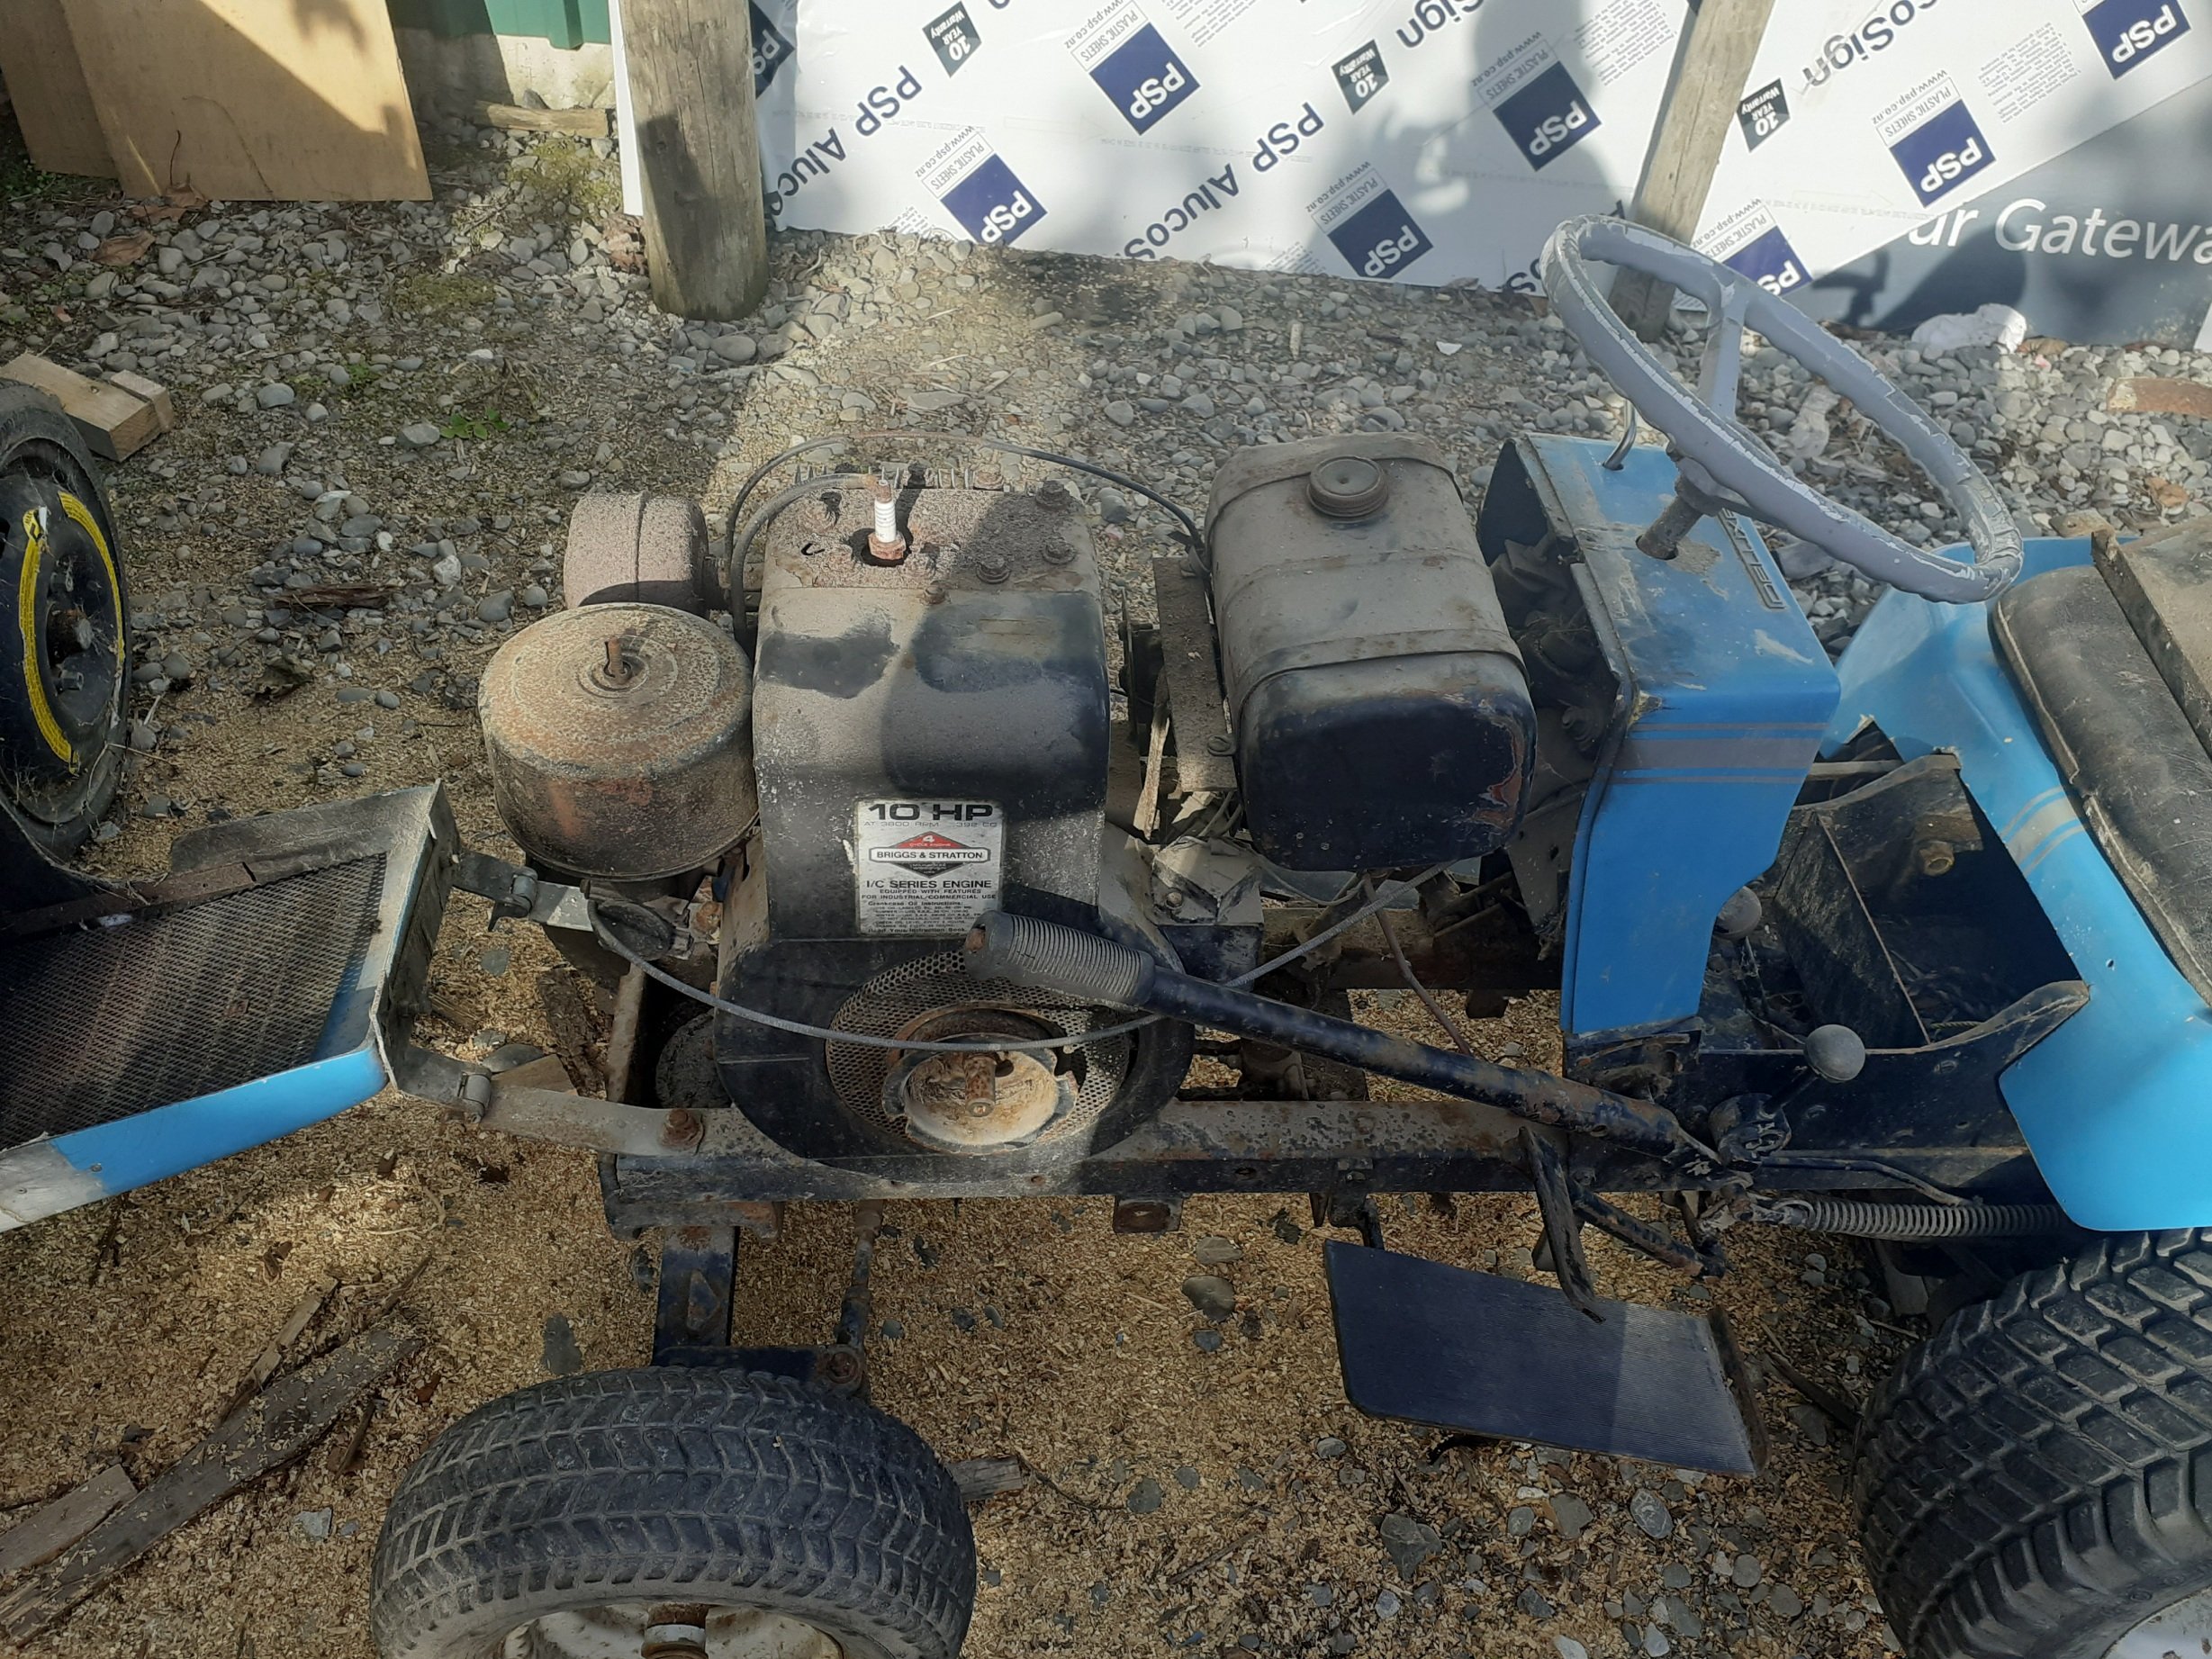
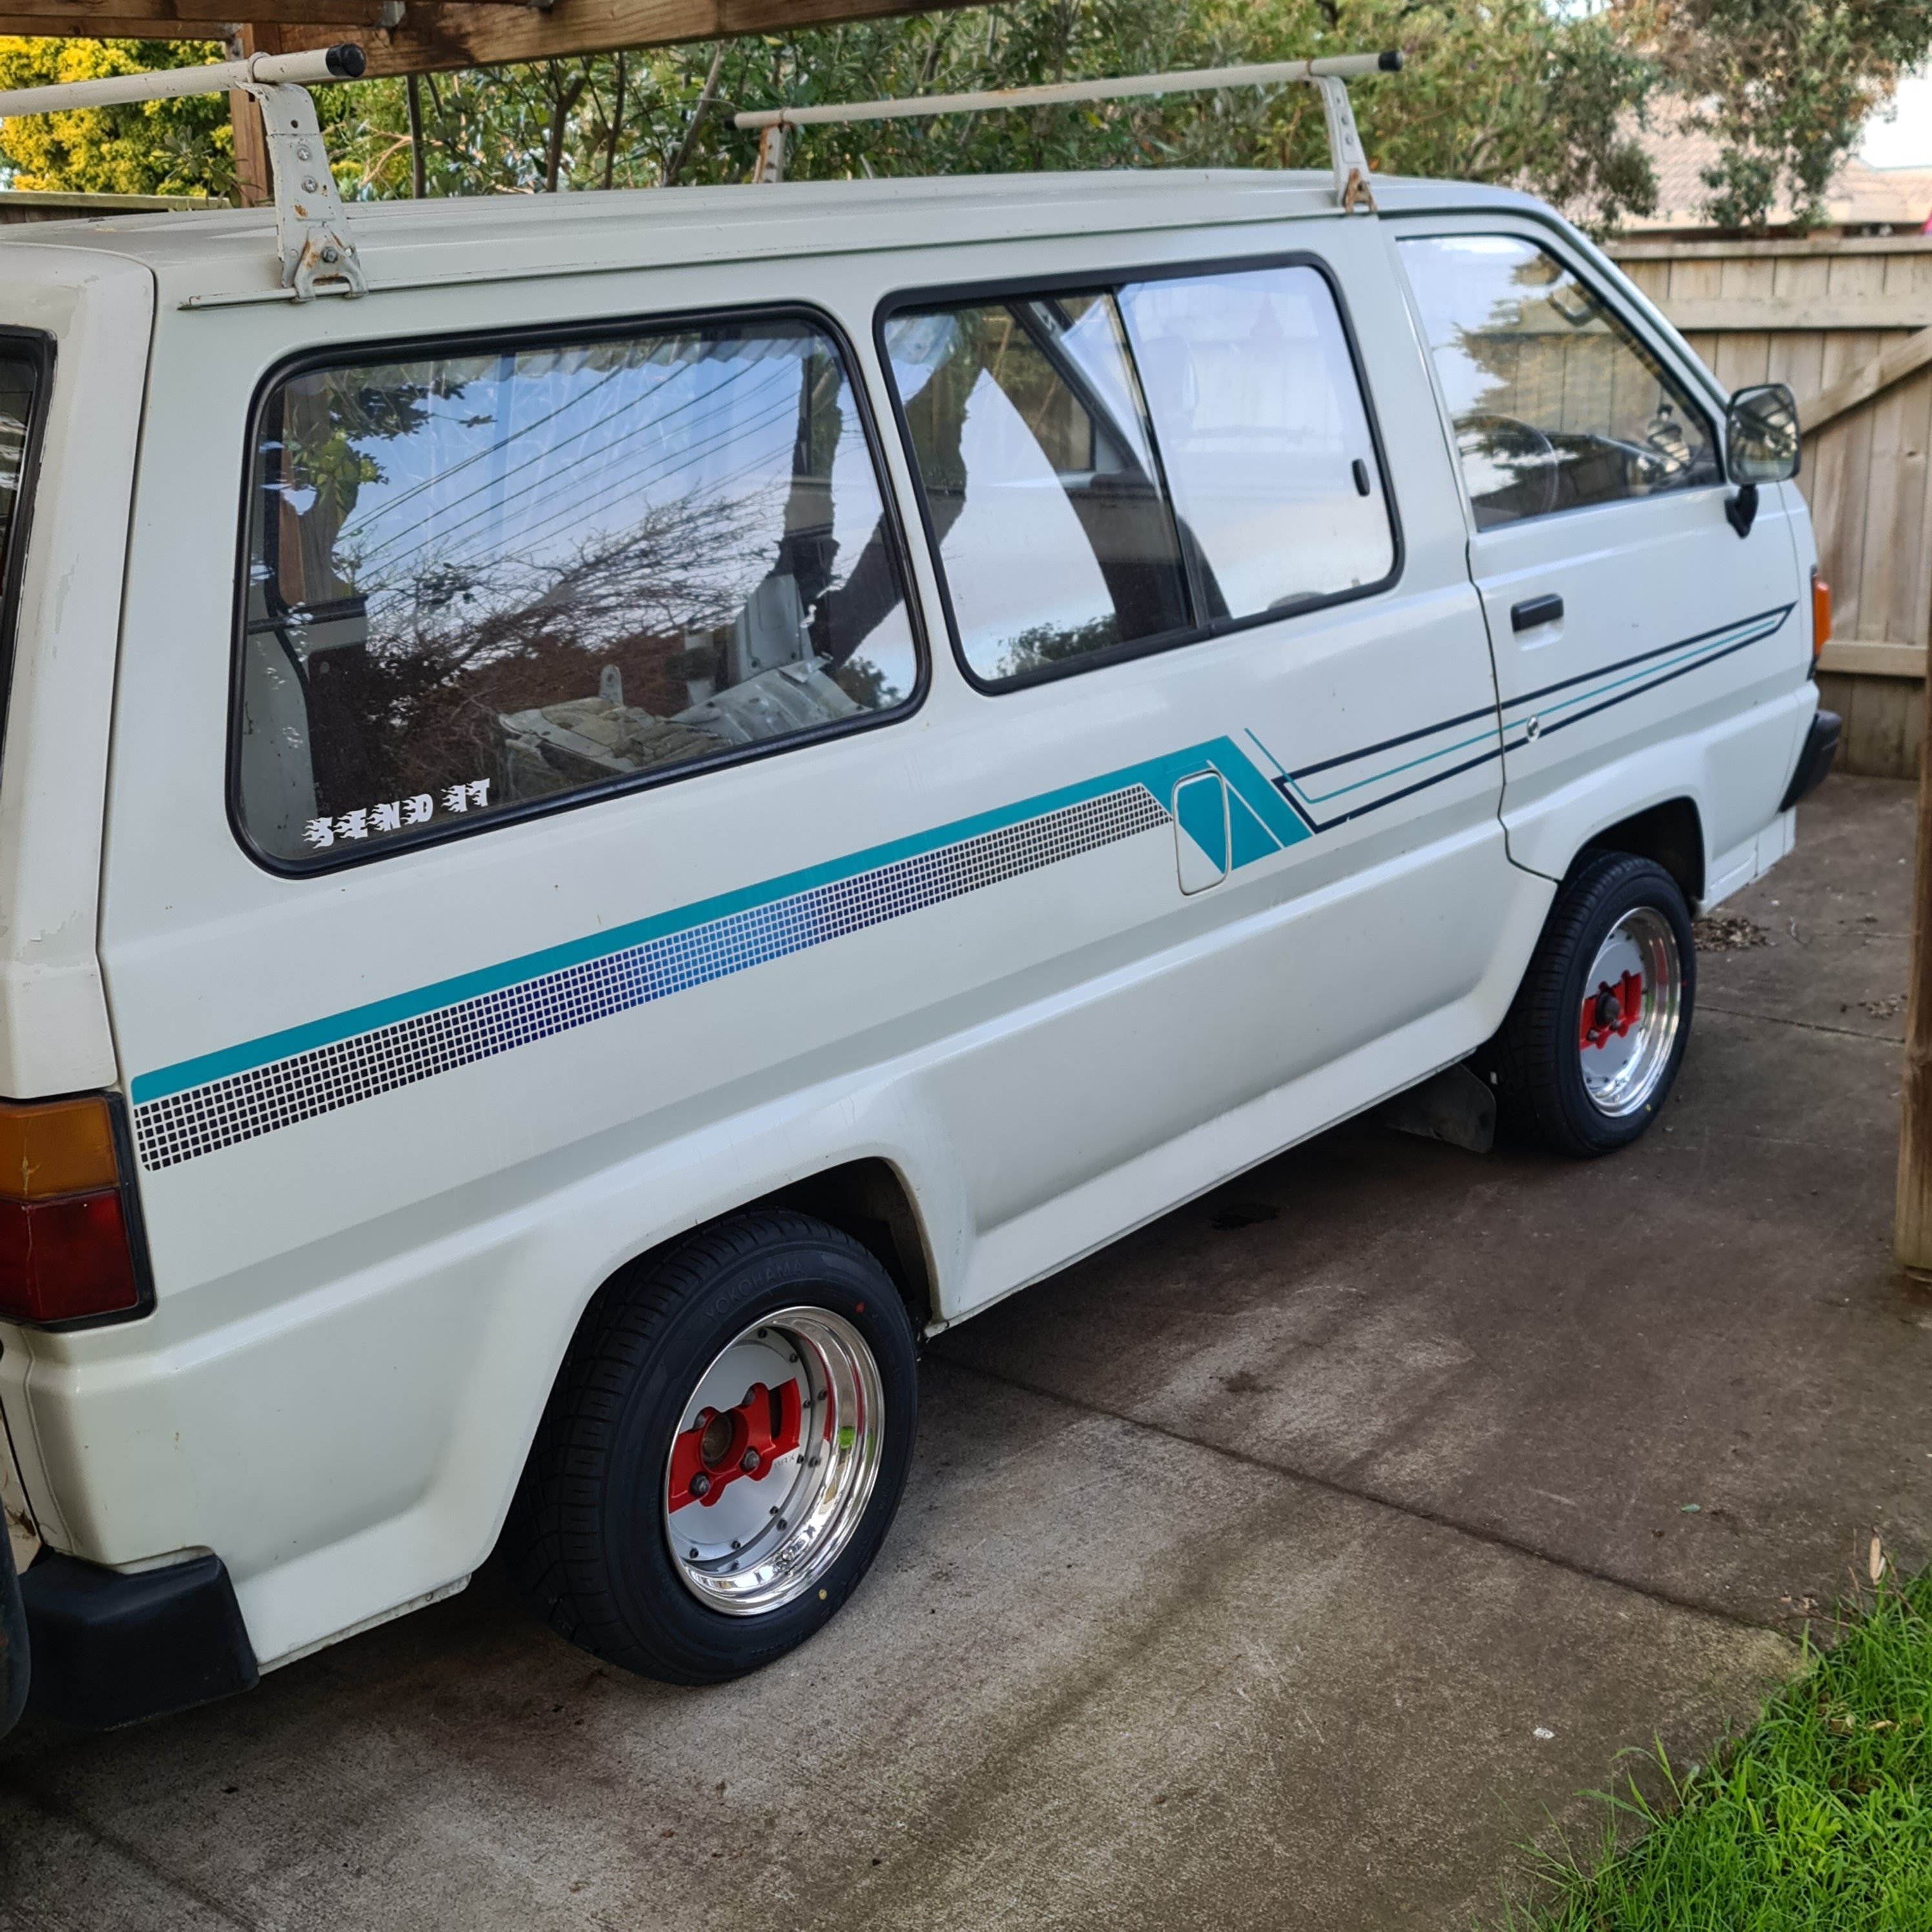
So far I have brought a pair of new front tyres that are a bit taller/wider than the original, I think I will redrill the front hubs and fit the ride on wheels and tyres. Failing that I'll see if I can put the larger tyres on the original wheels. Lastly I need something to make this go. That's where the cheapest 15hp Chonda I could find on Trade Me comes into play. Hopefully I'll be able to make it all work, it's a long way from clearing the bonnet at the moment, I think a home made power pony spec exhaust and an air cleaner rework should solve the clearance issues. I'm tempted to paint the engine tinware brown to match the 70s styling. Time will tell.
6 points
-
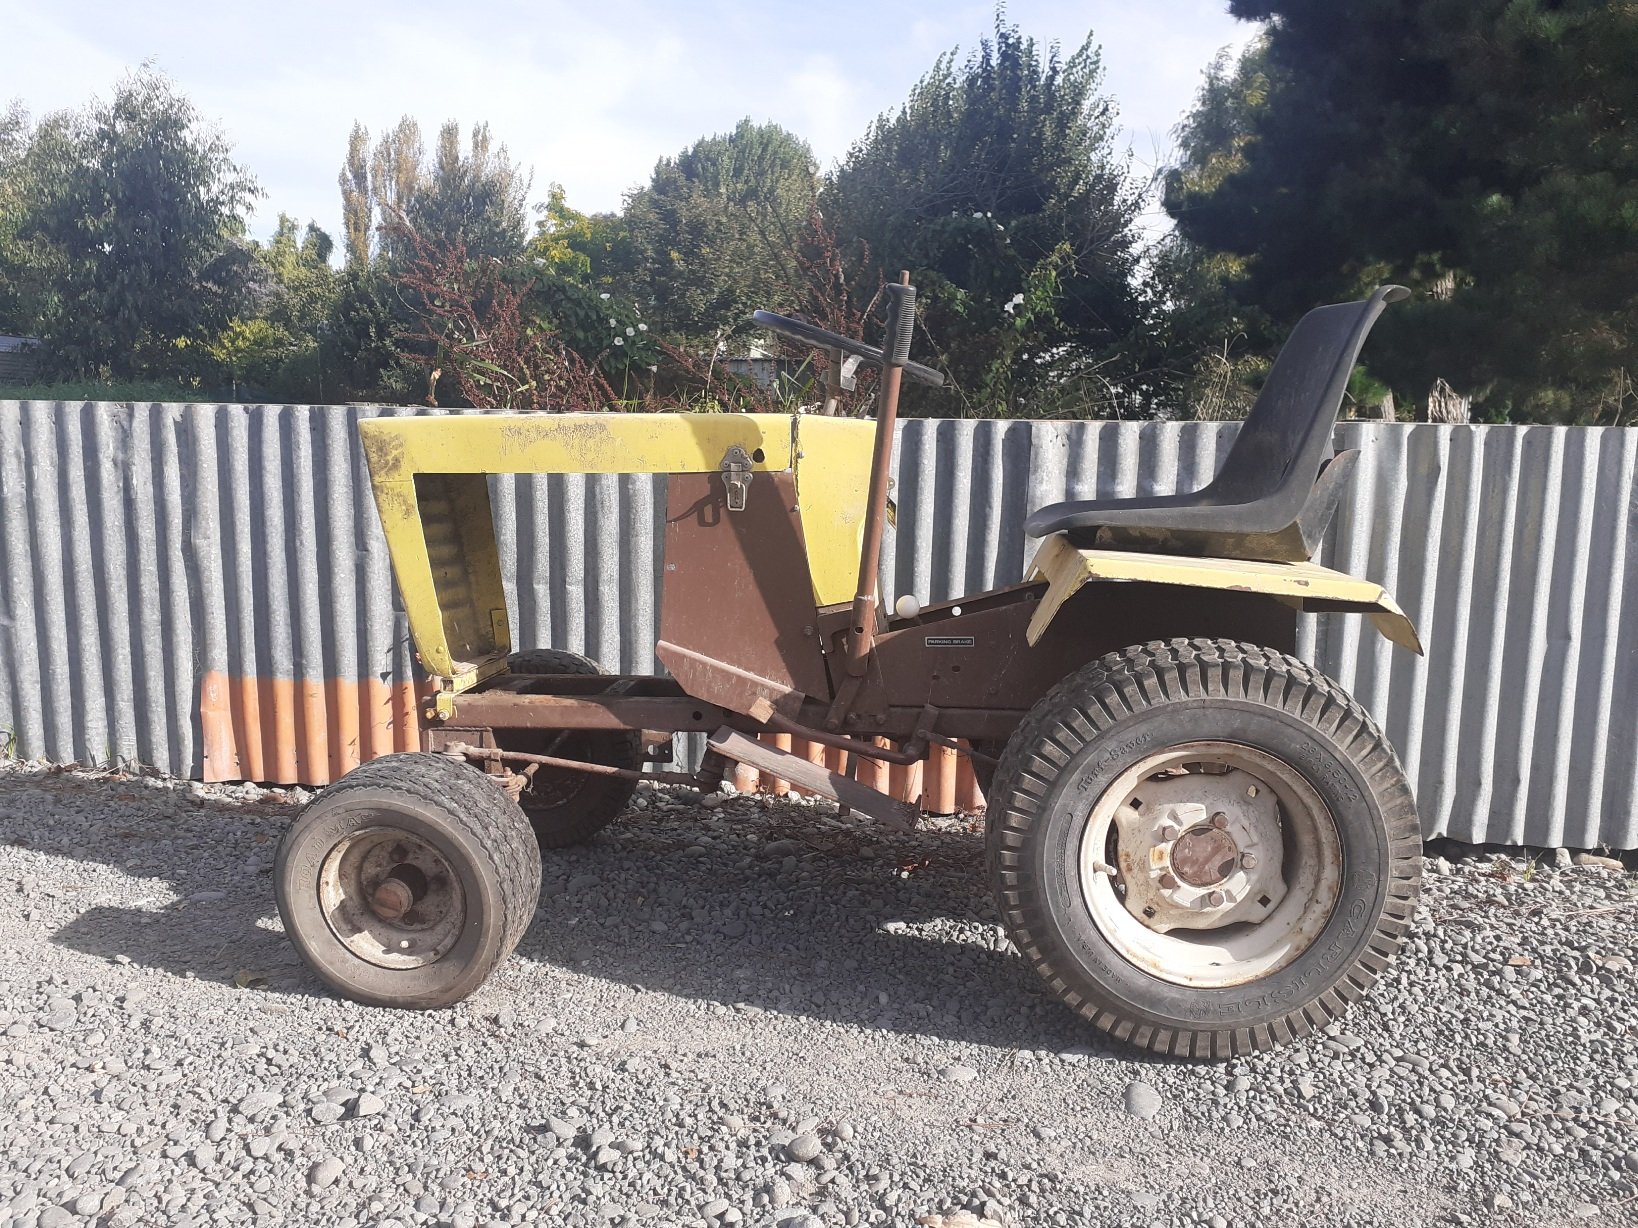
My yellow one is the cooler of the two (in my opinion) it's tidier, more original, but mechanically less complete. It came with the remains of a 12hp Tecmseh ohv engine, the original I suspect. The front tyres are stuffed, a few covers and guards are missing but it's pretty much all there. I think this one is Is a slightly later production it has quadrant steering, non cut out grille and front hubs/wheel bearings.
5 points
-
like all good OS car/wheel combos4 points
-
There's no such thing as 6.30 on a Sunday3 points
-
I have pined for one of these for like 25 years. I shall now live bi-curiously through you.3 points
-
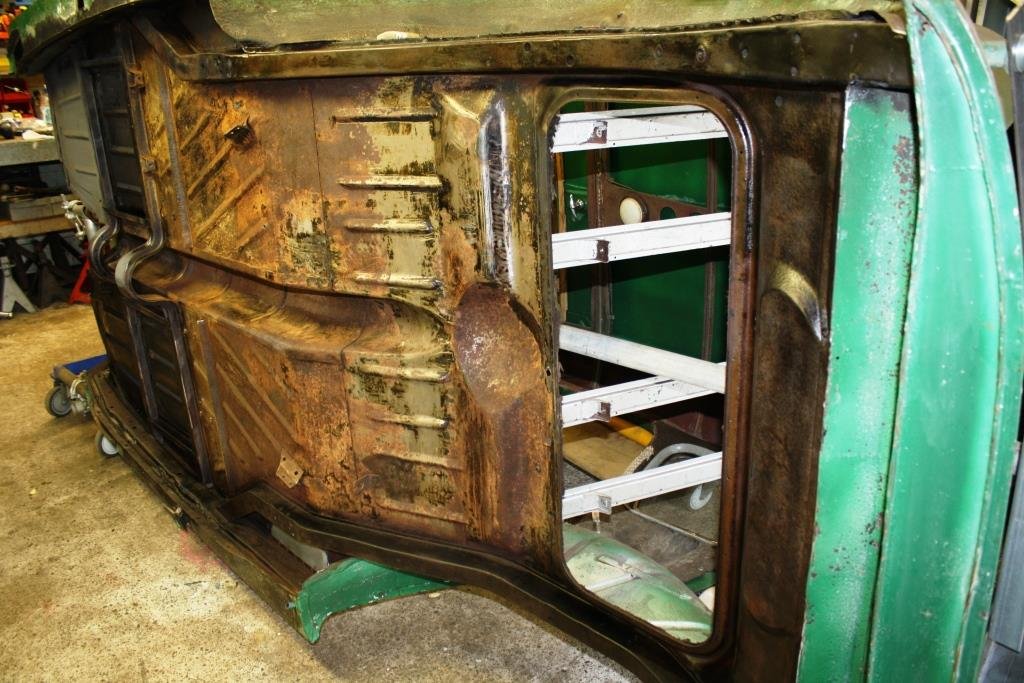
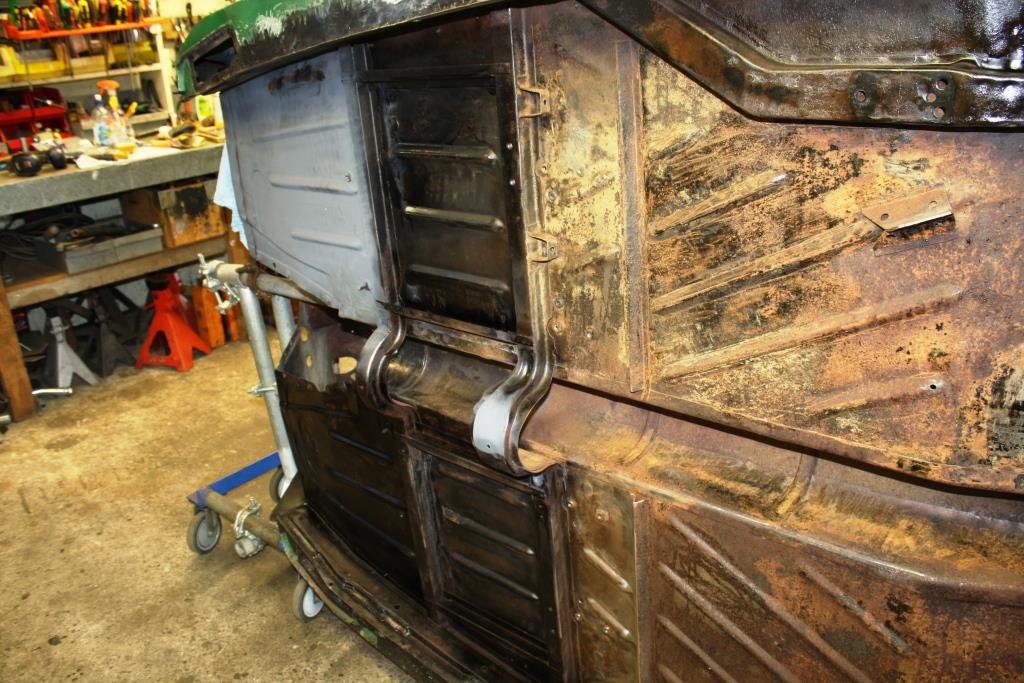
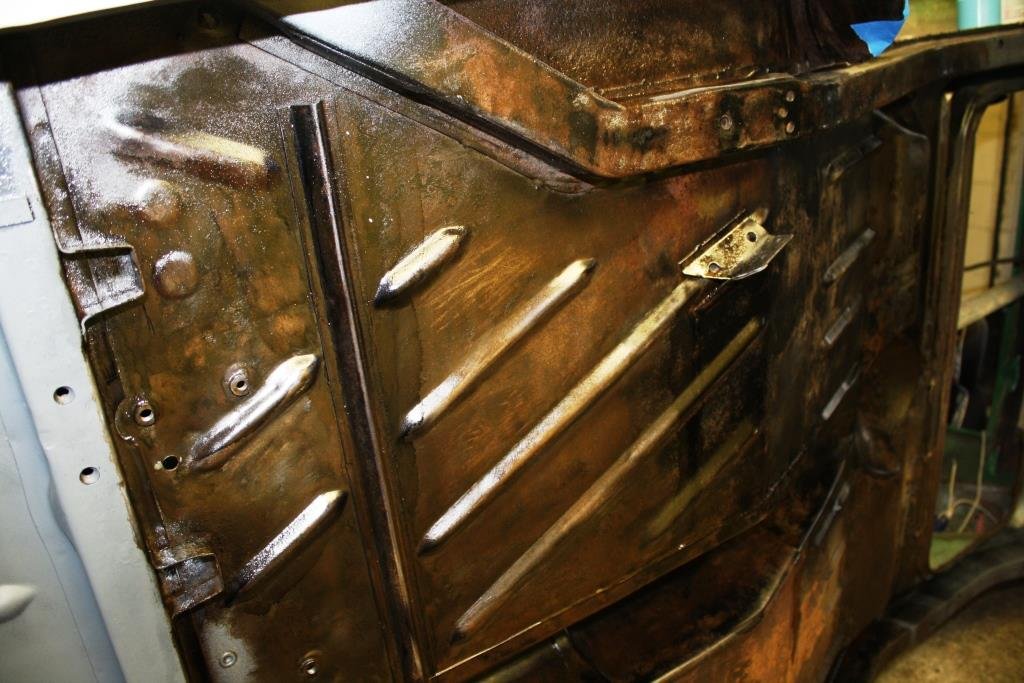
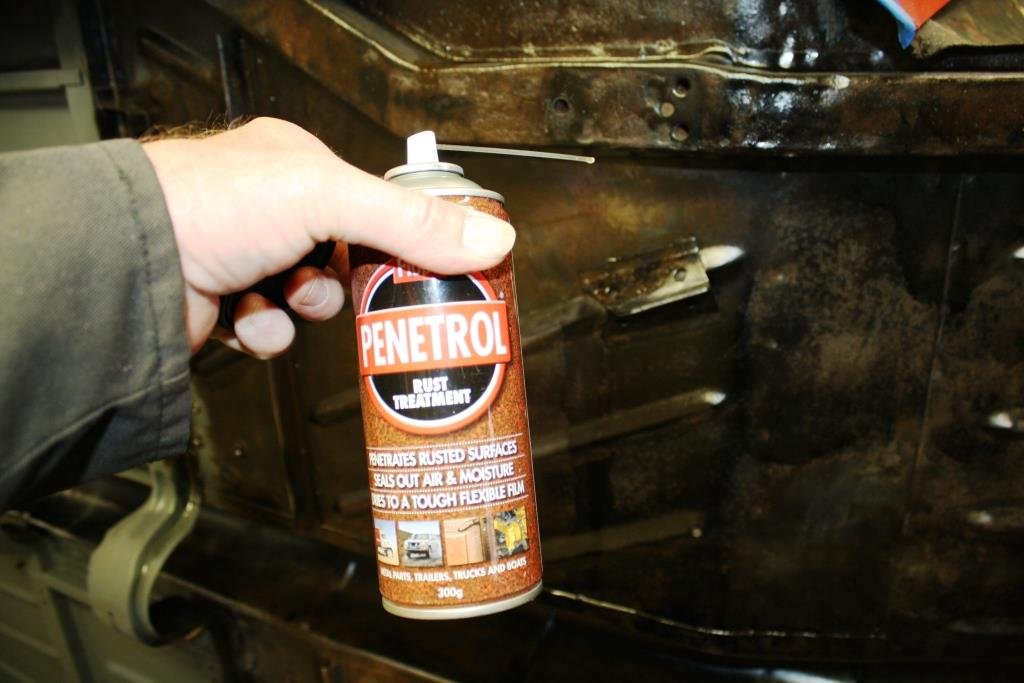
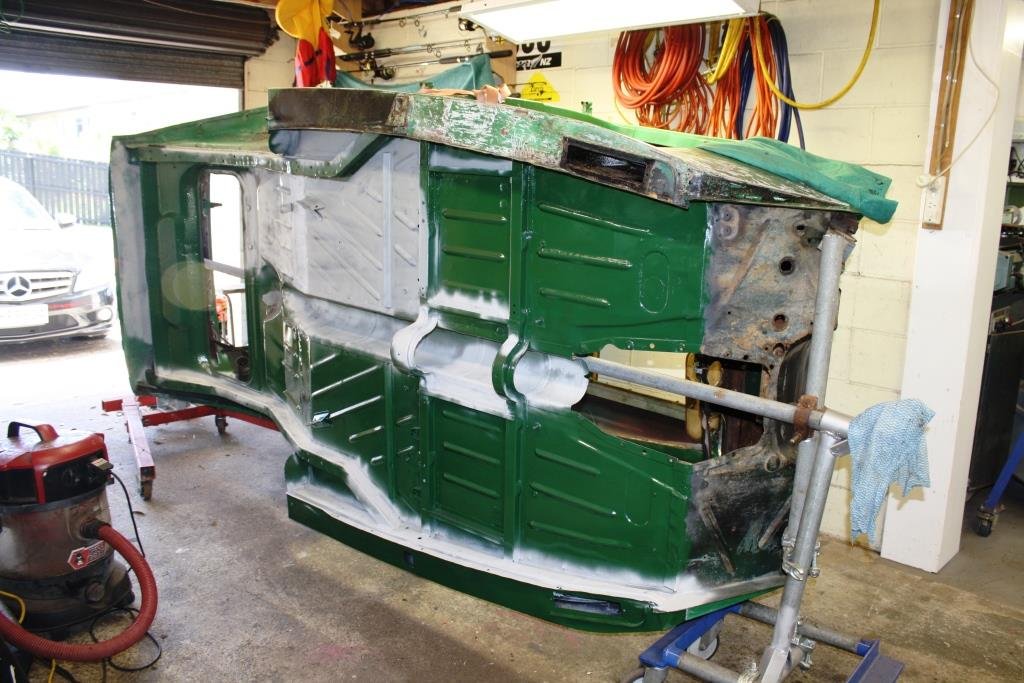
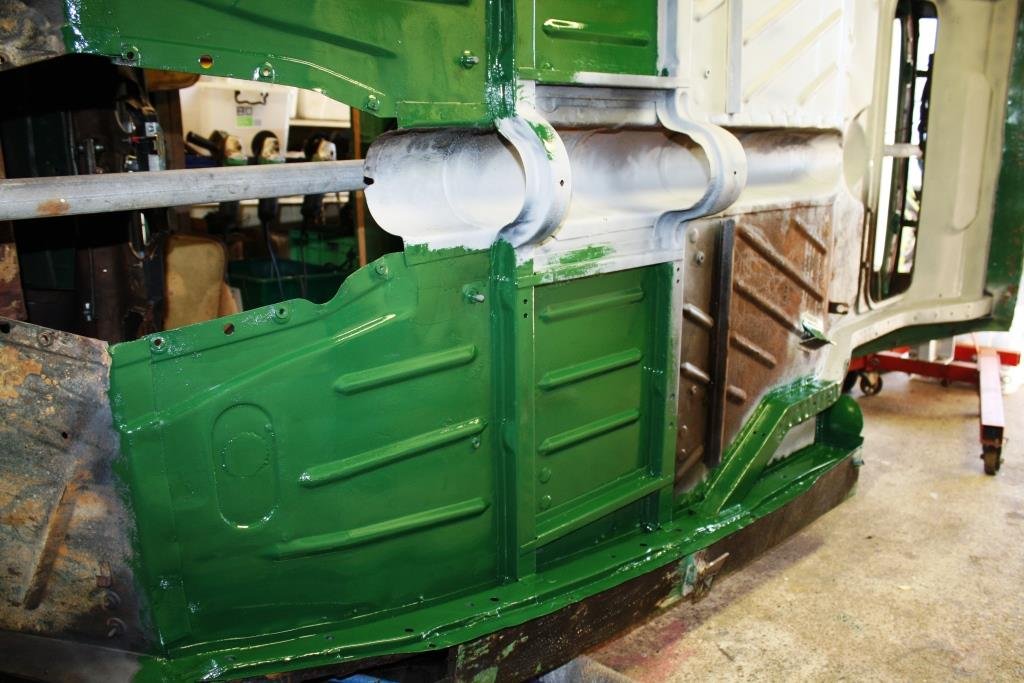
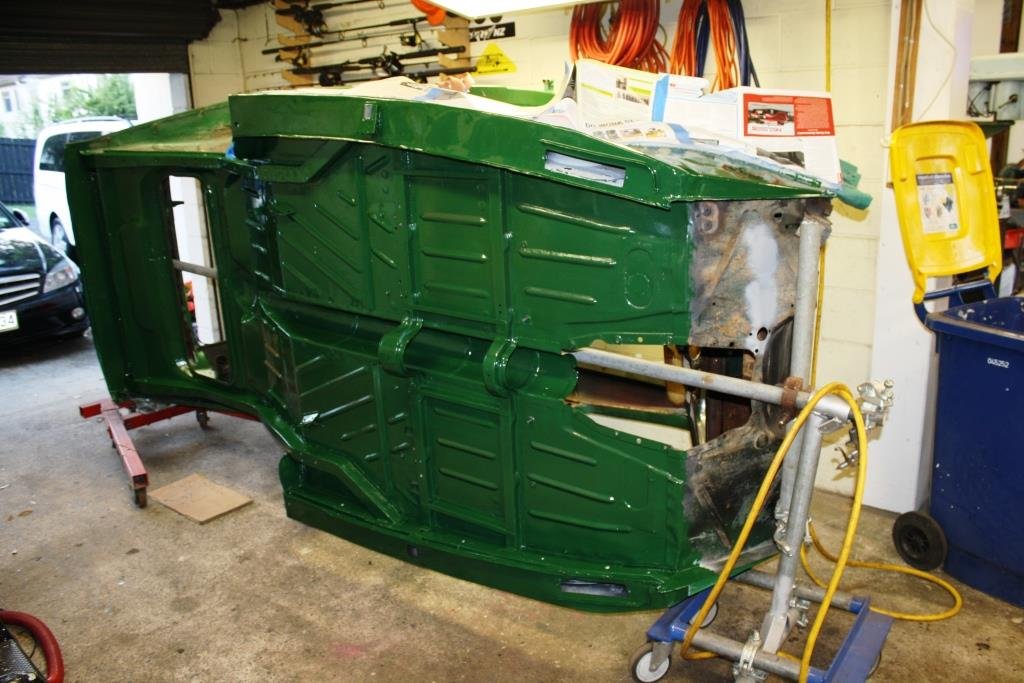
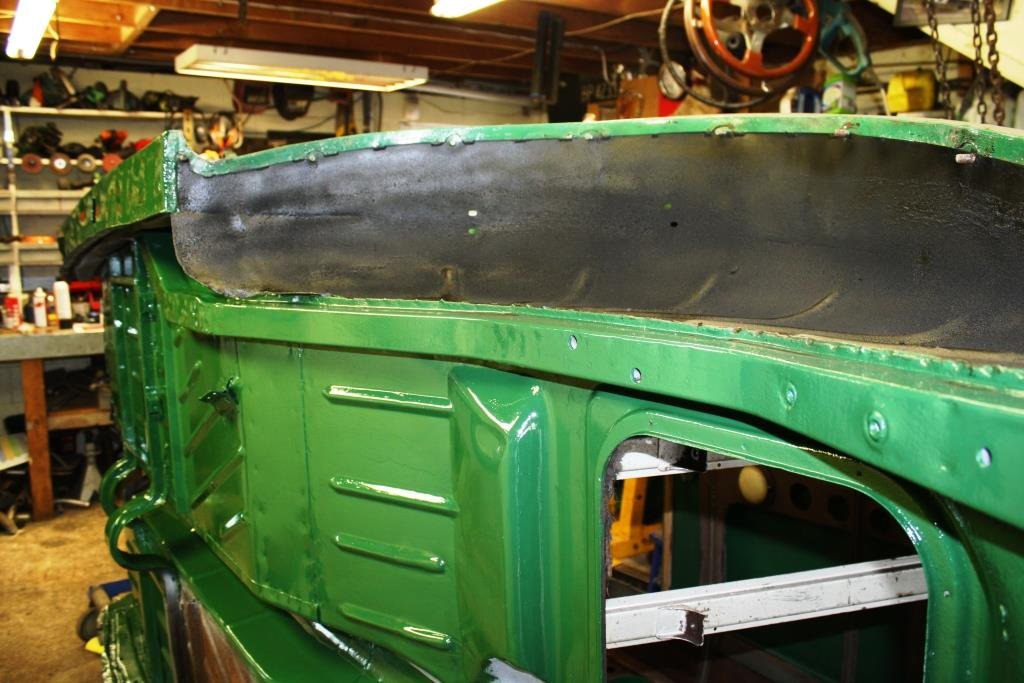
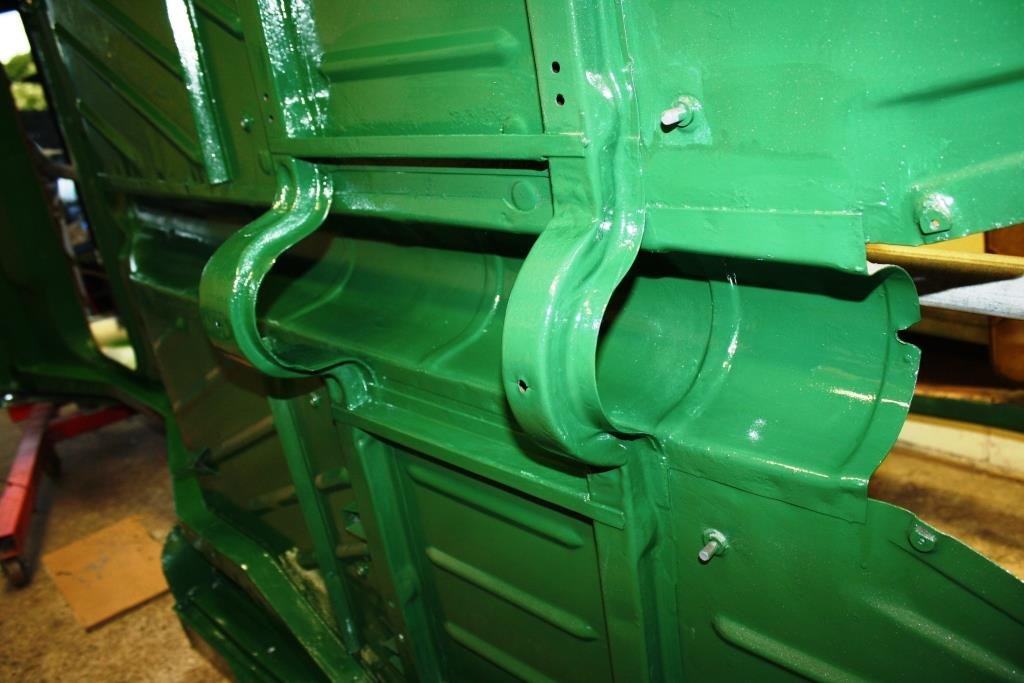
I’ve been putting this bit off for too long. Time to start scraping and wire brushing…….. And more scraping… More CRC Rust Convertor… And more…… Can’t beat Penetrol for getting into the seams. Great product with unbelievable capillary action. Etch priming and then painting with Wattyl Killrust Epoxy Enamel. Undersealing the wheel arches. More painting…. Not too shoddy for a brushed finish.
3 points
-
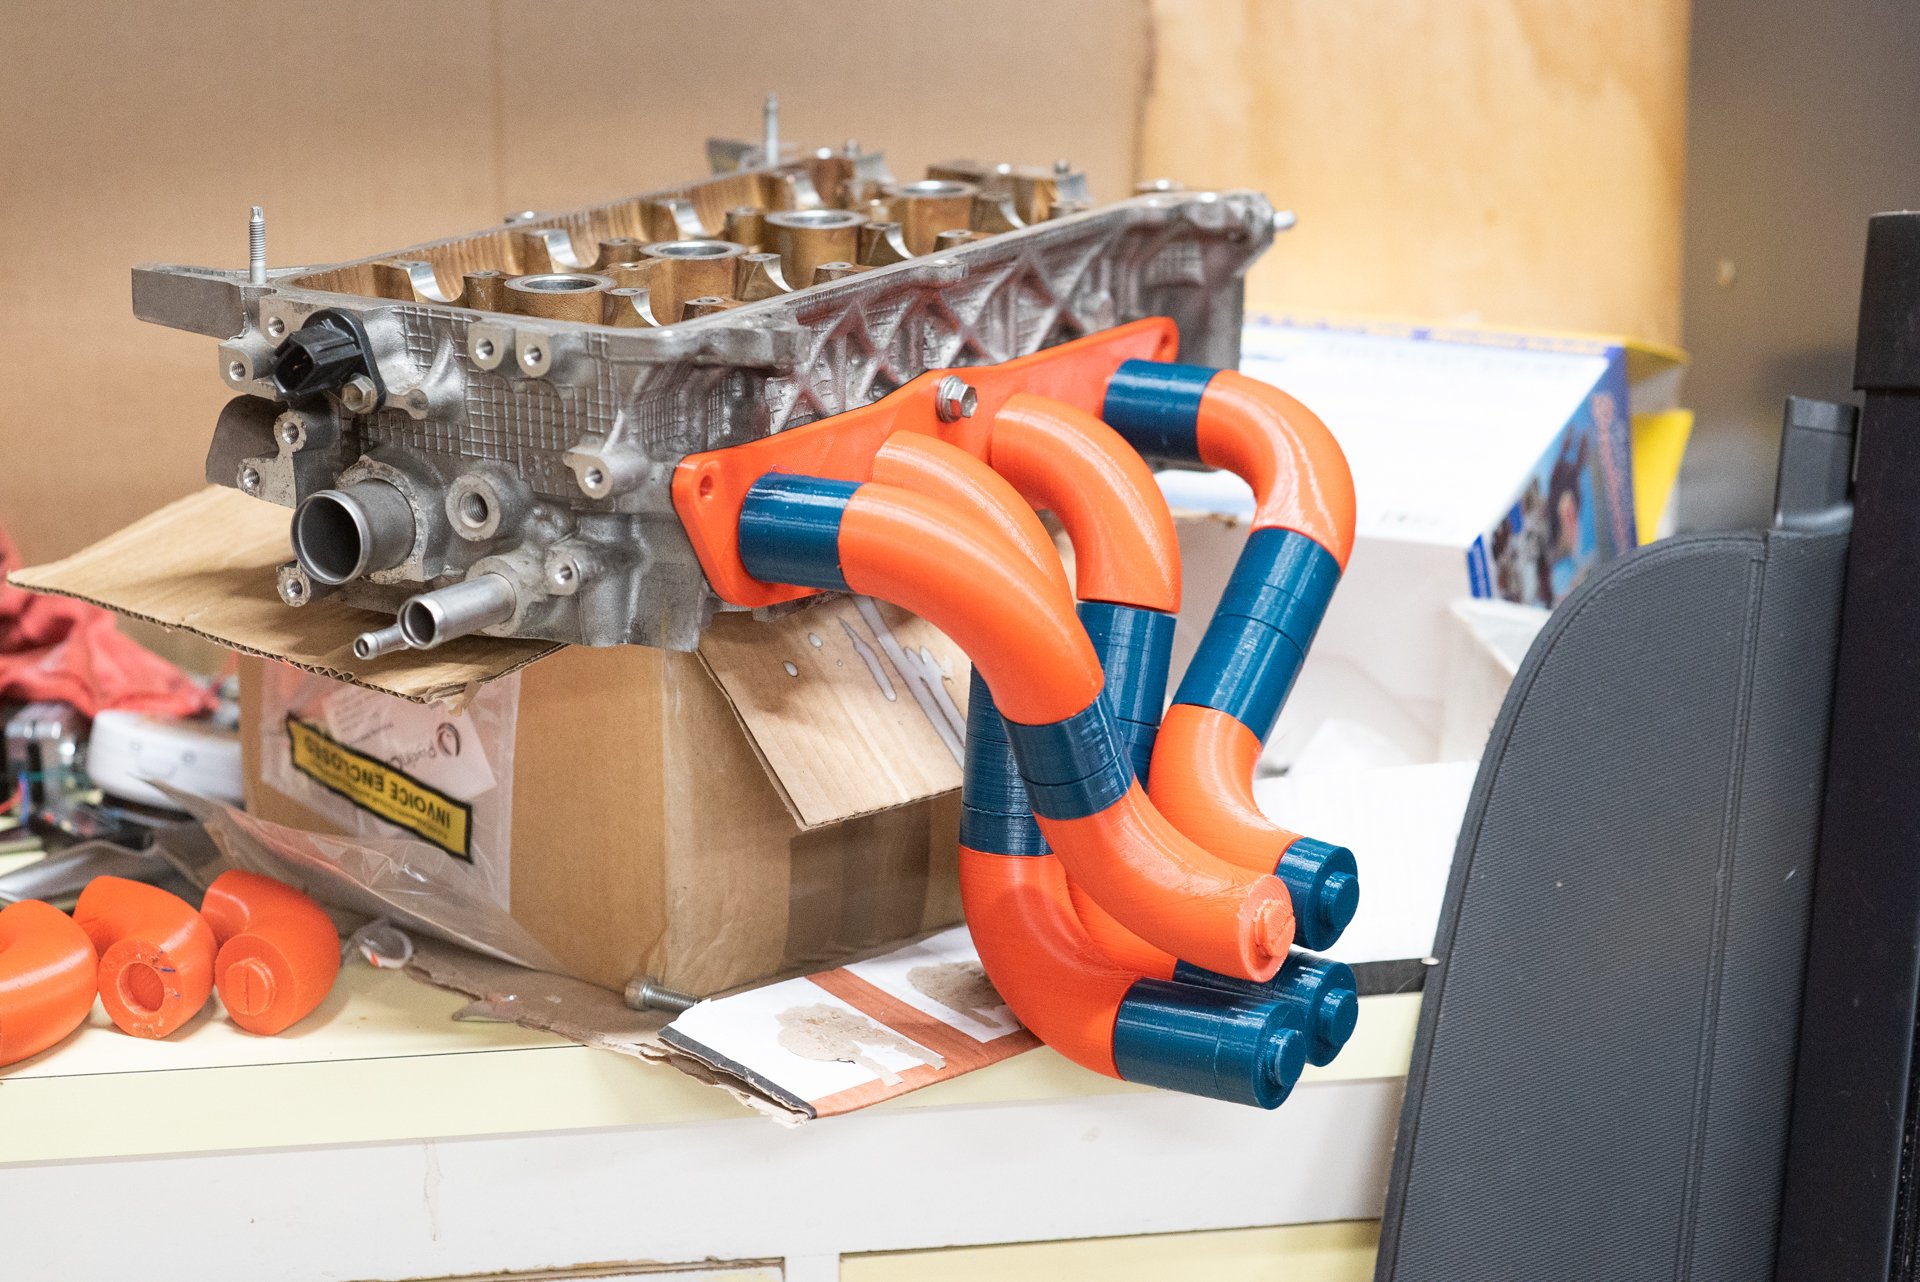
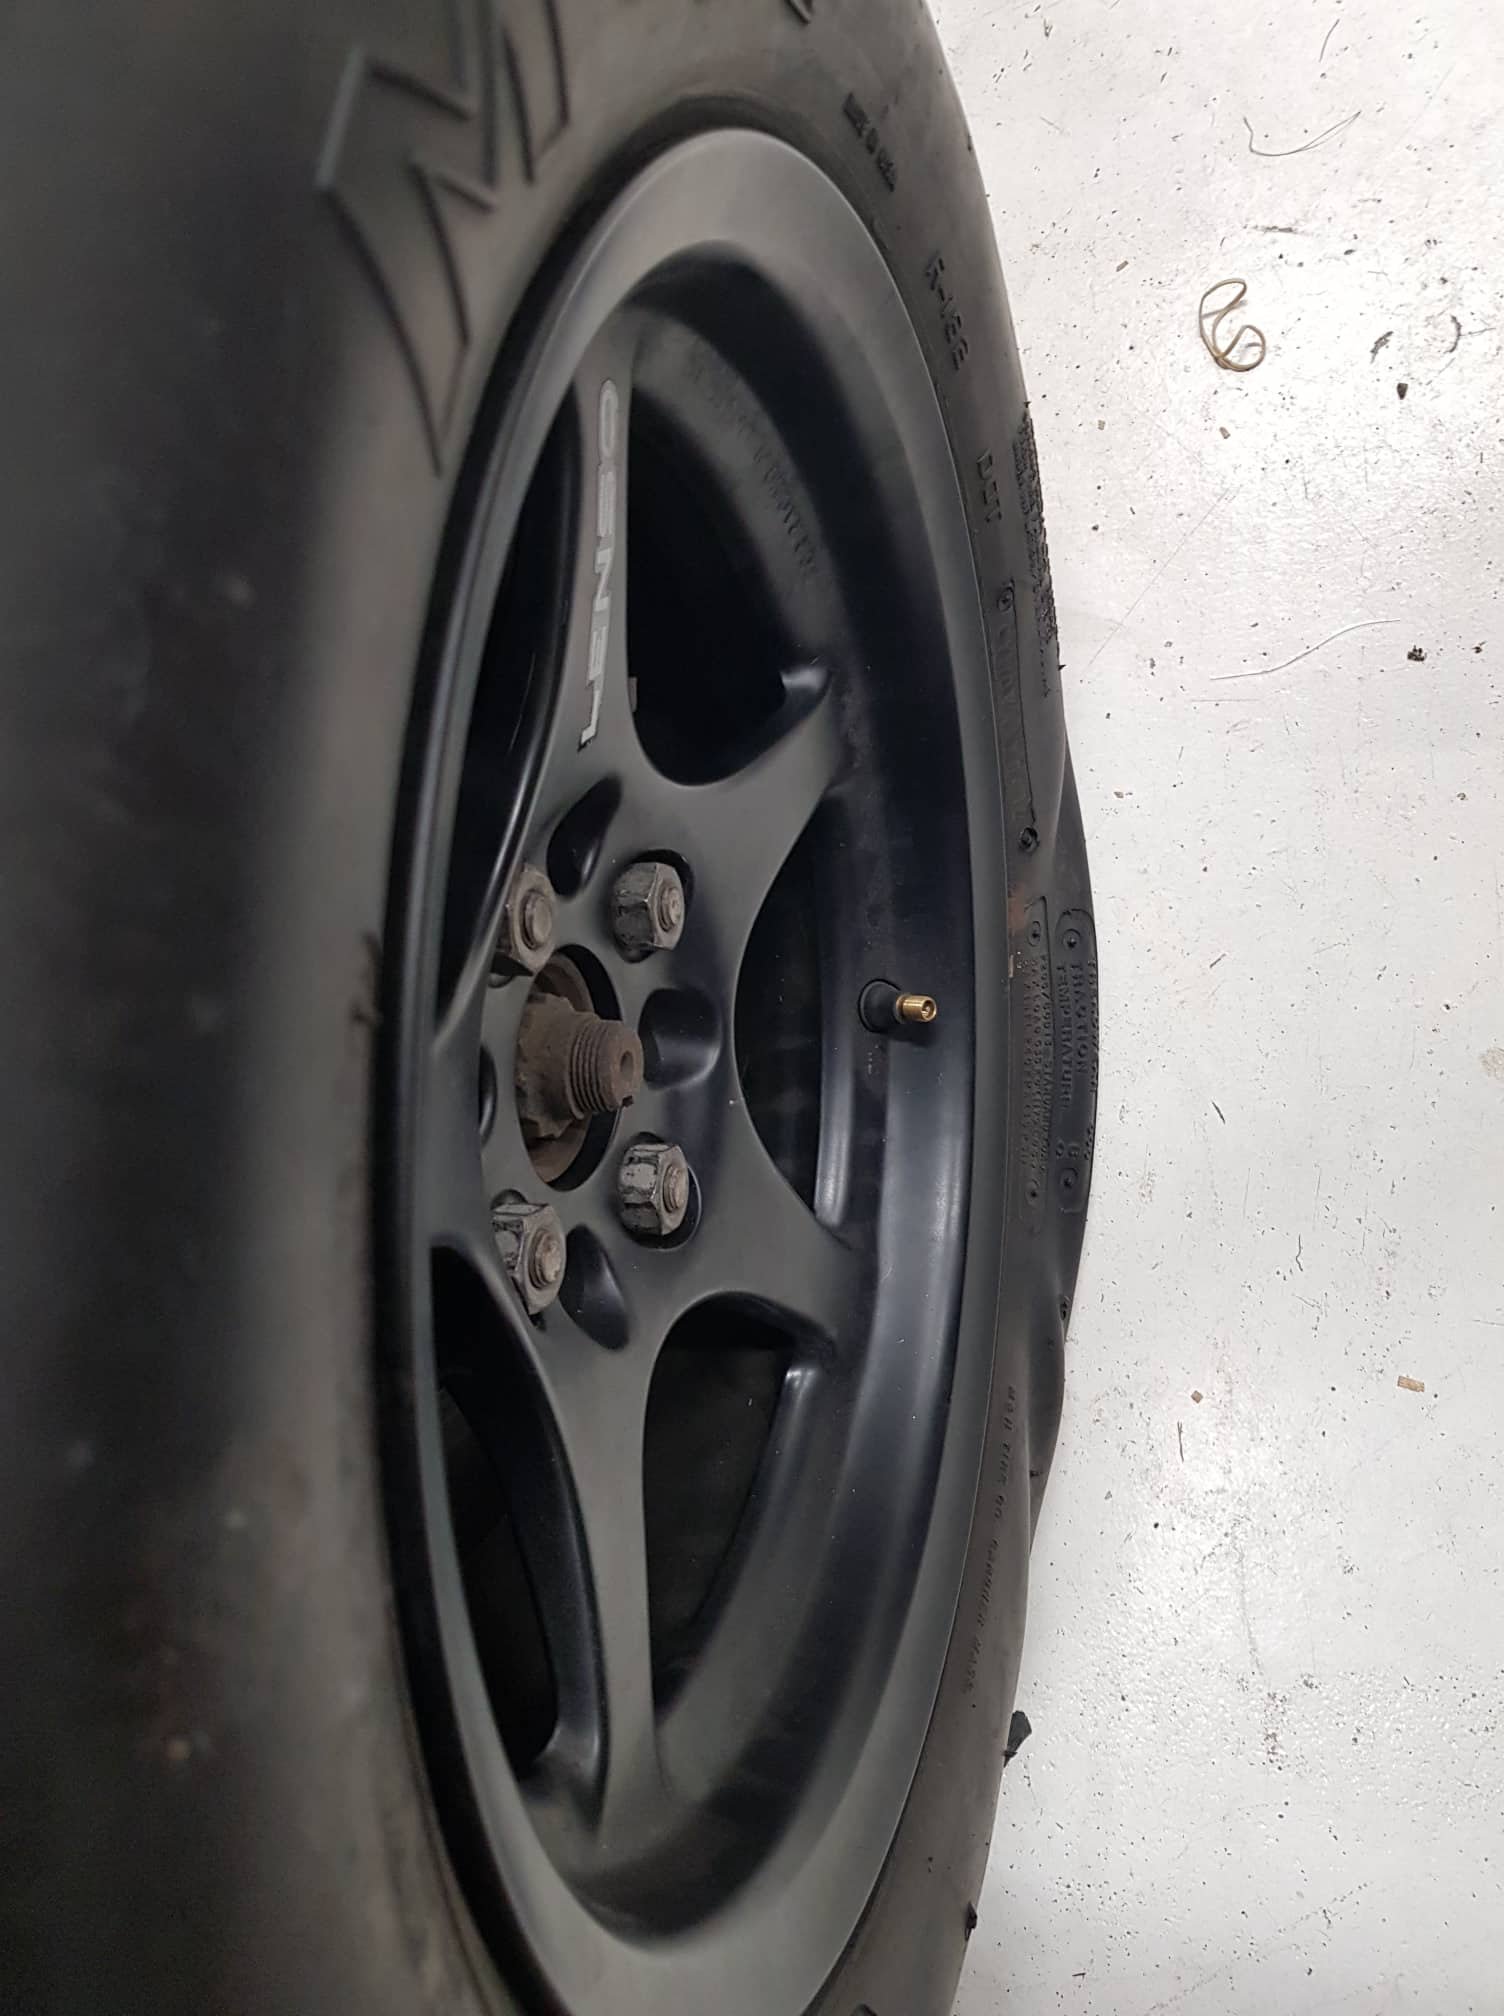
A few developments (not really) Have mentioned a few times that 4x100 wheels in 13" are incredibly hard to find. Apart from options from America drag honda scene if I wanted to buy brand new. So although I've known already what tyres I want to buy, need to make sure I could get wheels first. So guess what @Snoozin found for me on Marketplace? Lenso 7.5" wide 13" wheels with the 205/70/13 M&H dot rated tyres already on the bloody things... for less than a set of these tyres brand new. Stoked! Stoked to see that they clear the brakes, and have miles of clearance to the strut. These are a +25 offset so +35 or so would have been perfect to fit in the guards better... But I'm not complaining what so ever. Can. not. wait. to get back to the drags. The sidewall squish is just delightful. It's like these tyres are made out of dish washing gloves. Big thanks to @Stu for lending me the Stusiers and convincing me that drag tyres are 100% the way to go. Will be interesting to see how they compare. This combo is incredibly light, havent weight one yet though as I was keen to see if the brakes cleared or not. EDIT: Under 11kg for these, vs 14kg for 14" wheels with R888R. Sweet! There's a guy in Australia who races a stripped out Echo with a fairly standard engine, on standard ECU - runs 14.7s but with an absolutely incredibly 1.9 second 60ft. I'm currently closer to 2.2 60ft for a 13.8 at the drags so there's potentially still a bit left in the tank! Also in aid of finally ever making an exhaust (after just blowing this months exhaust budget on wheels) I've started printing some dude noodles to try figure out headers shape. Need to print some straight bits so I can lego something together on the car and see clearances etc. But it's exciting to see some tangible progress anyway. There's a reasonable amount of room for these, just have to try wiggle things around to find the best shape that gives good clearance to shifter cables and the steering column. So hopefully I can come up with a scheme so someone can help me weld a final version together without wasting too much of their time. Exciting!
3 points
-
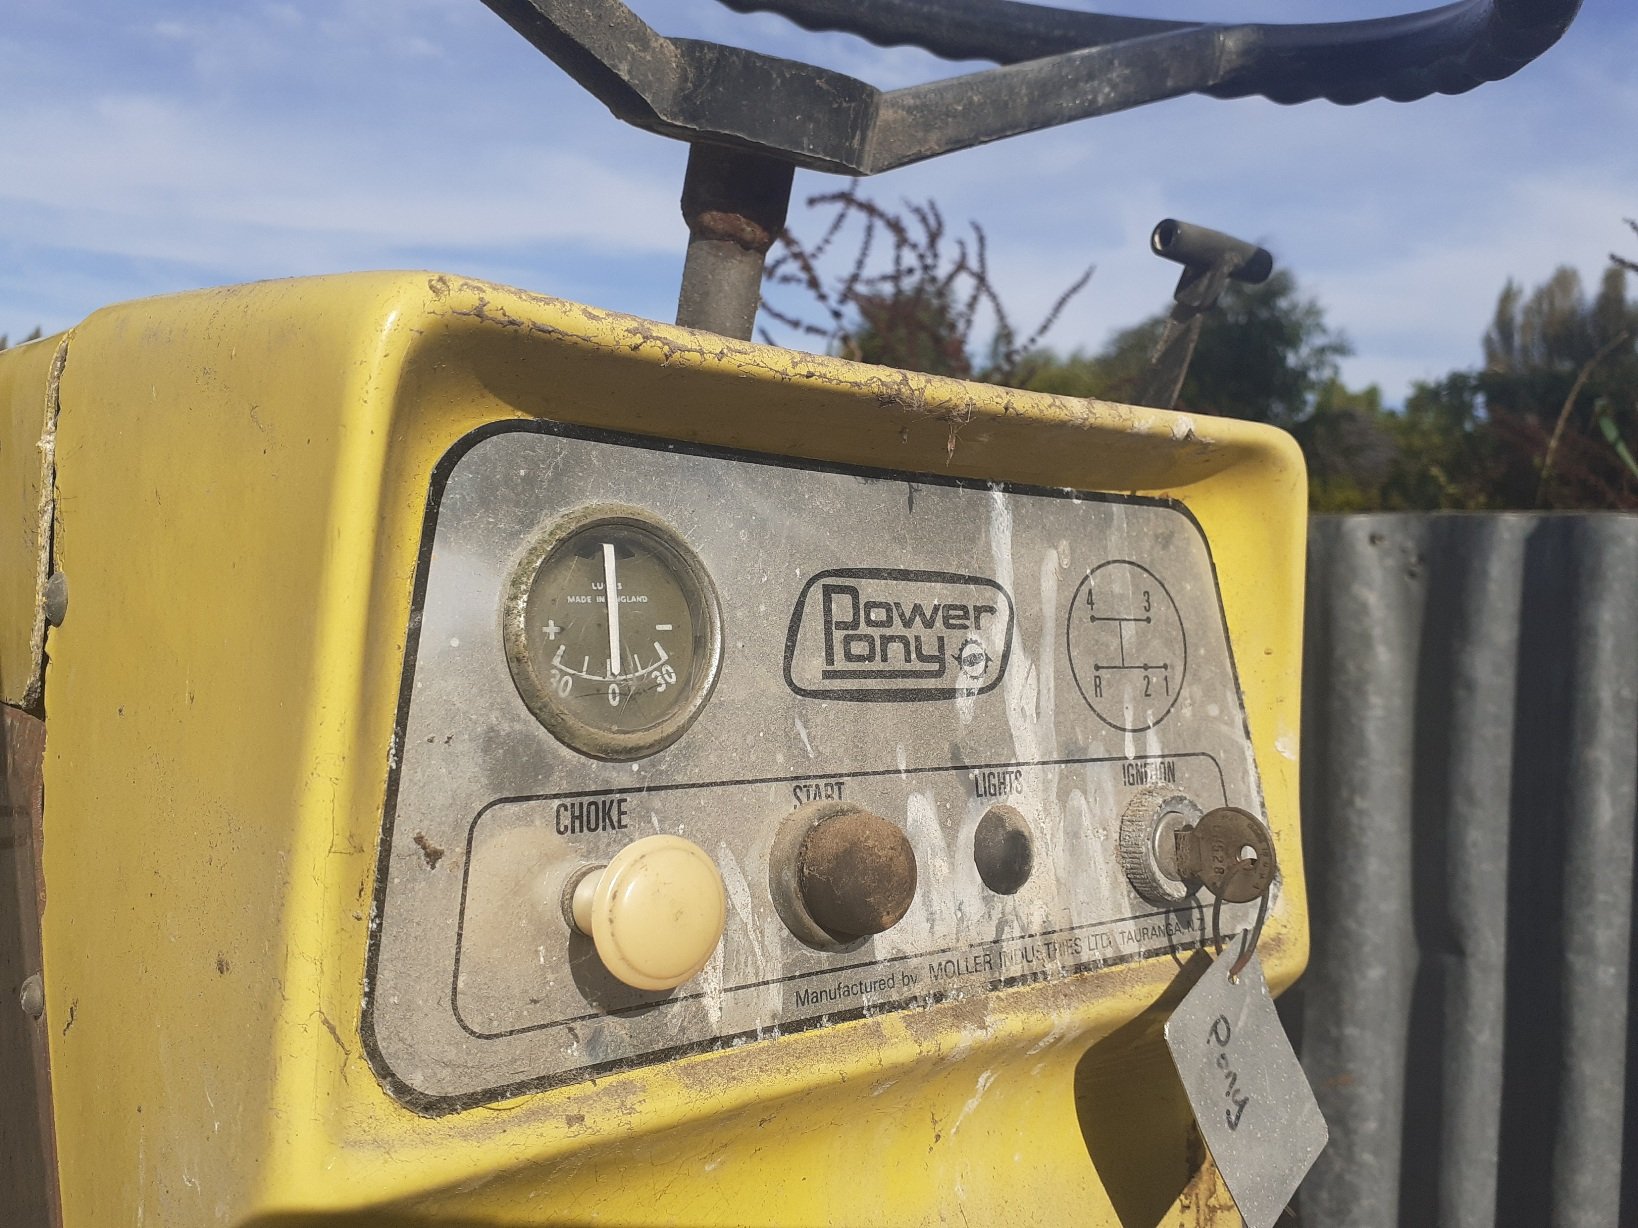
A friend of mine has had these lurking in the back of his shed for years, the shed got demolished recently and both of them were sitting in the yard. We made a deal, if I get the blue one going for him to use I can keep the yellow and brown one. Seemed like a sweet deal so they have both arrived at my place. They blue one I think is an early production Power Pony, it has chain steering and bushed front wheels. Someone has fitted a 10hp Briggs and Stratton to it. We have a 11hp Honda to fit replace the B&S. It needs some new bushes in the front wheels, a good tidy up and we should be good to go.
2 points
-
Everyone should have got not one but two emails with some information about ride tonight. It's getting close now!2 points
-
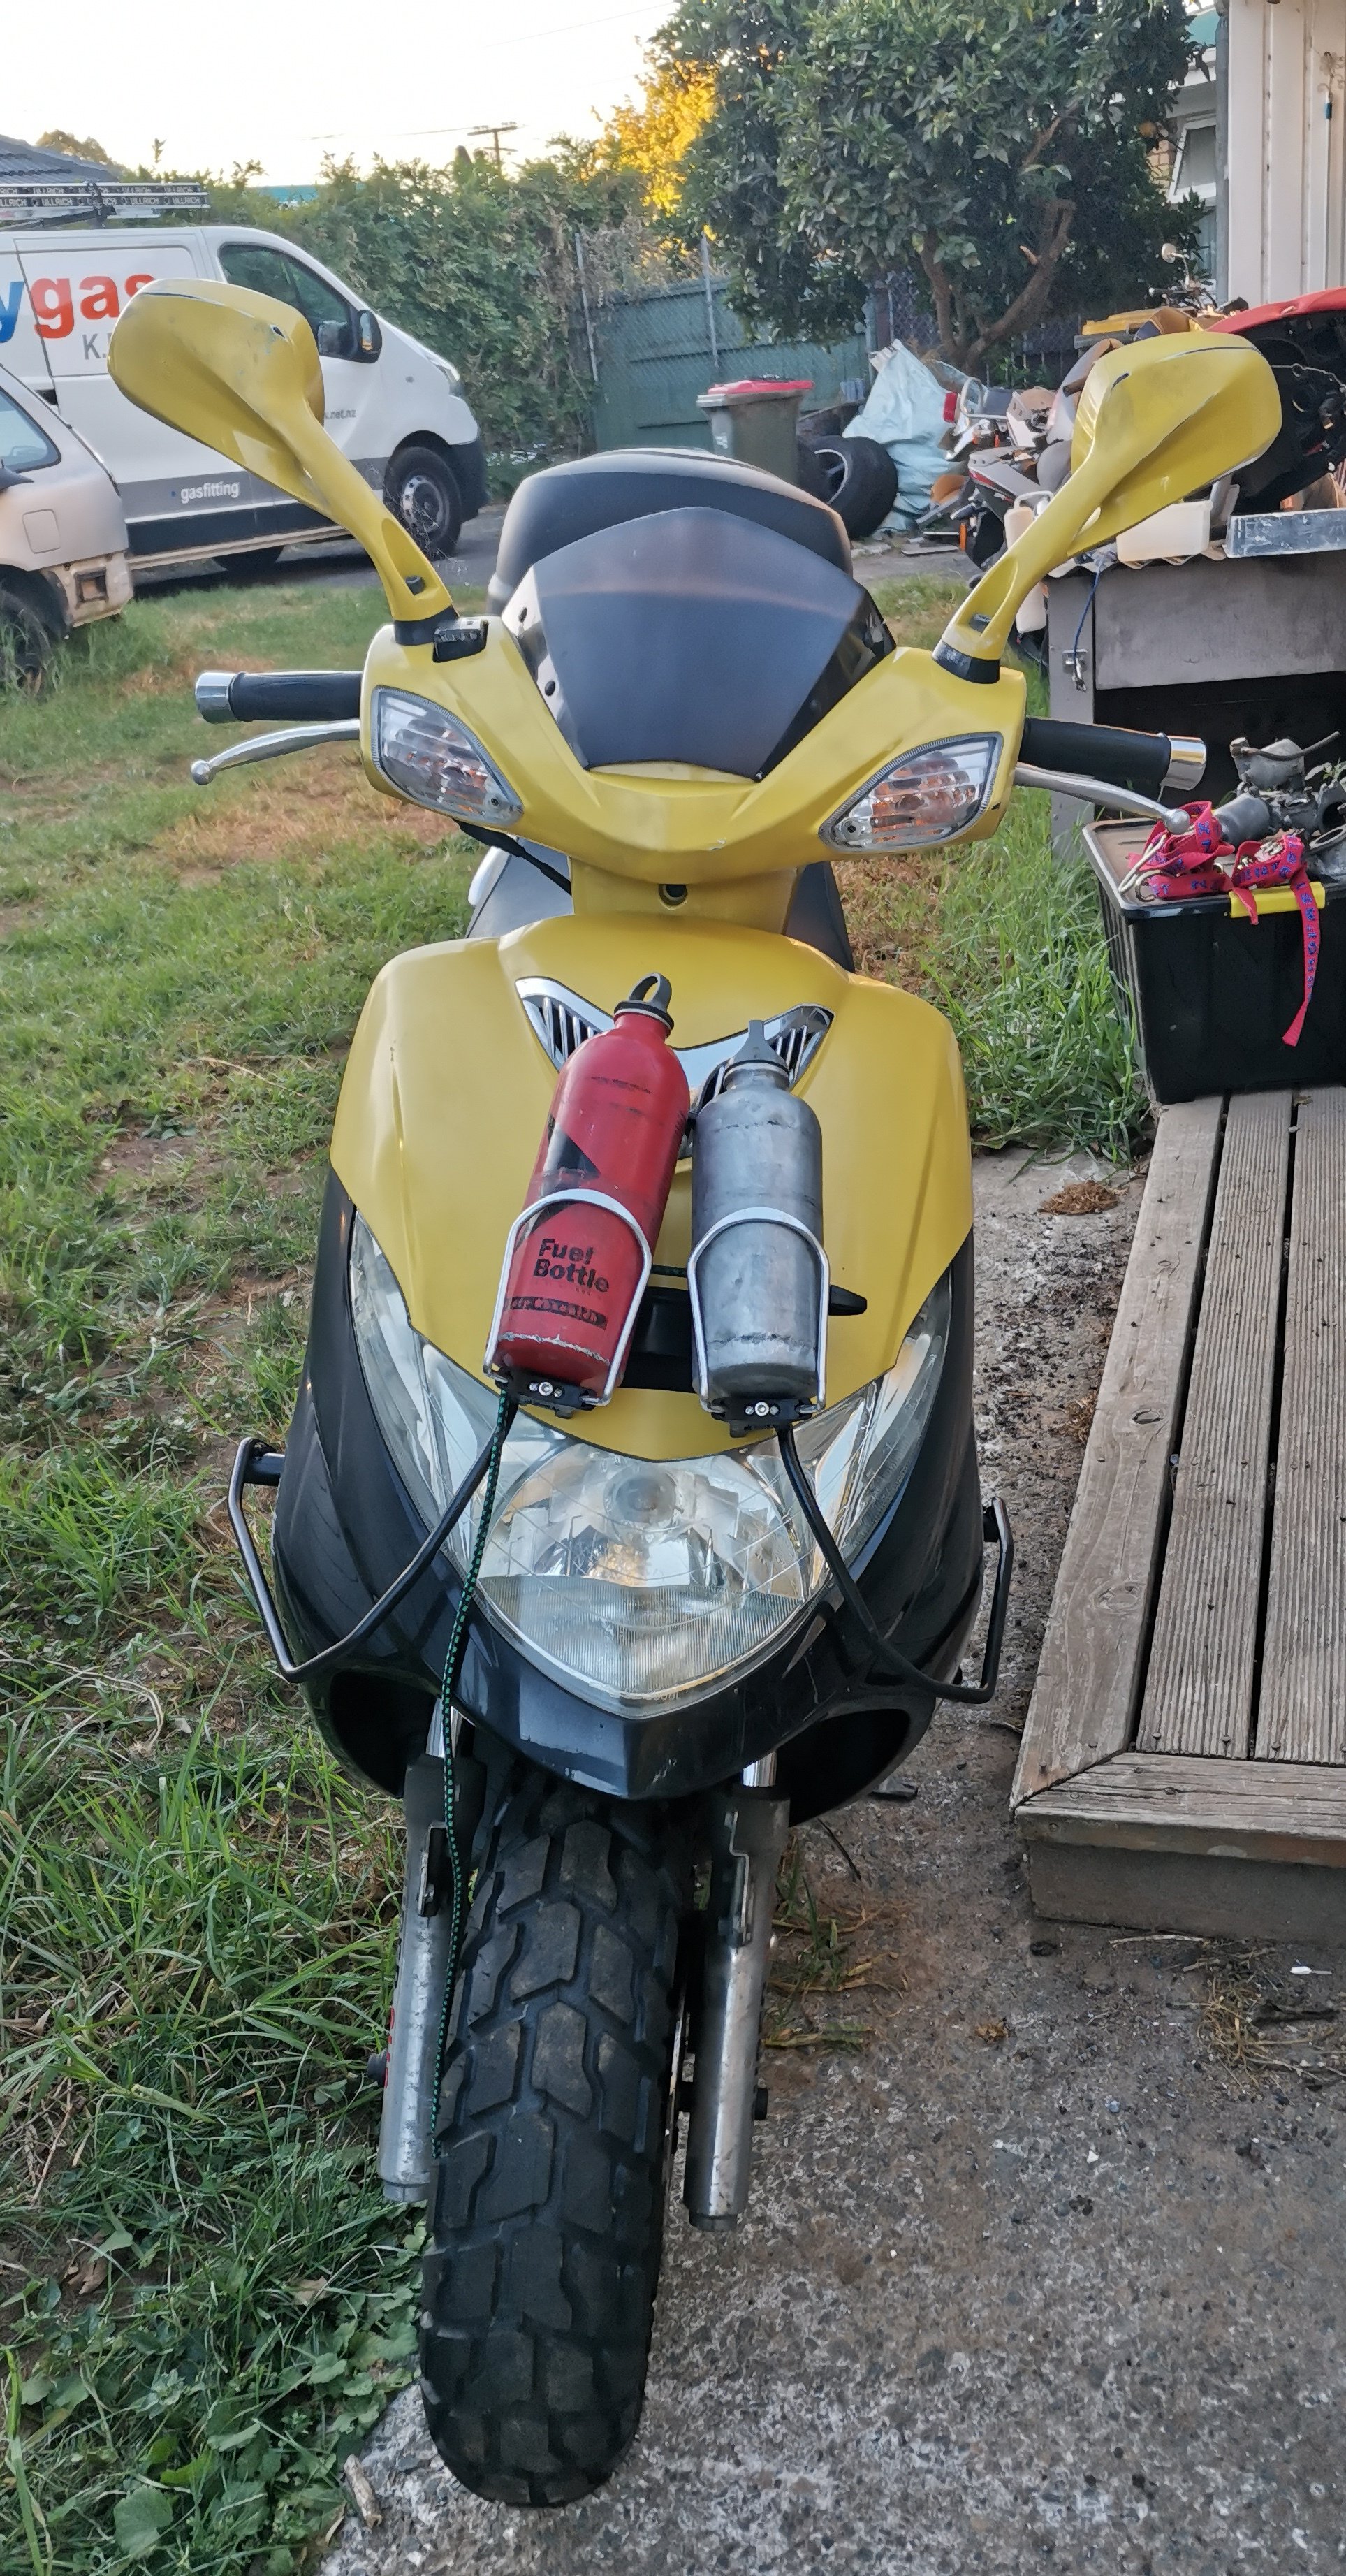
Needs a road cone + 90deg ram air into the shroud to help cool it down2 points
-
oosh looks like it has trojan MK3 calipers, so you can buy brand new cunts that'll bolts straight on. my pioneerhad mk2 which you cant buy much for anymore, so i bought conversion set to go to mk6, but they didn't fit without lots of clearancing. weird.2 points
-
This is oldschool! It doesn't matter when "Nah mate, I'll never sell it" and/or the good old "For sale. BYO wheels"2 points
-
Run big cable directly to starter, then smaller cable to fuse box/alt etc2 points
-
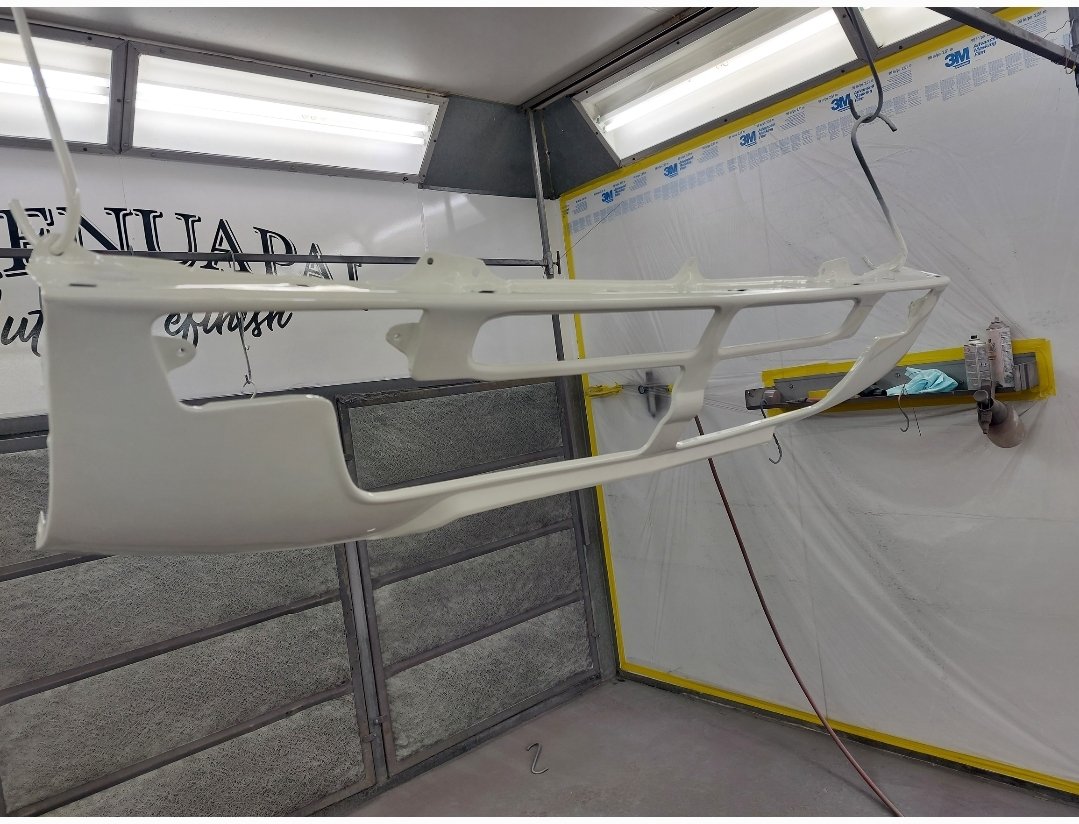
Just need to fit the front Bumper (Still need to give it a trim) plus get a Tune and we are finished I have owned this car for 10+ years and ever since i first saw the Top Fuel EK9 I have wanted a turbo Honda (Goal Achieved)2 points
-
2 points
-
Nearly there. A few minor details to go.
2 points
-
Autobend in east tamaki do a range of collectors and flanges (teeheehee) Thanks for clarifying1 point
-
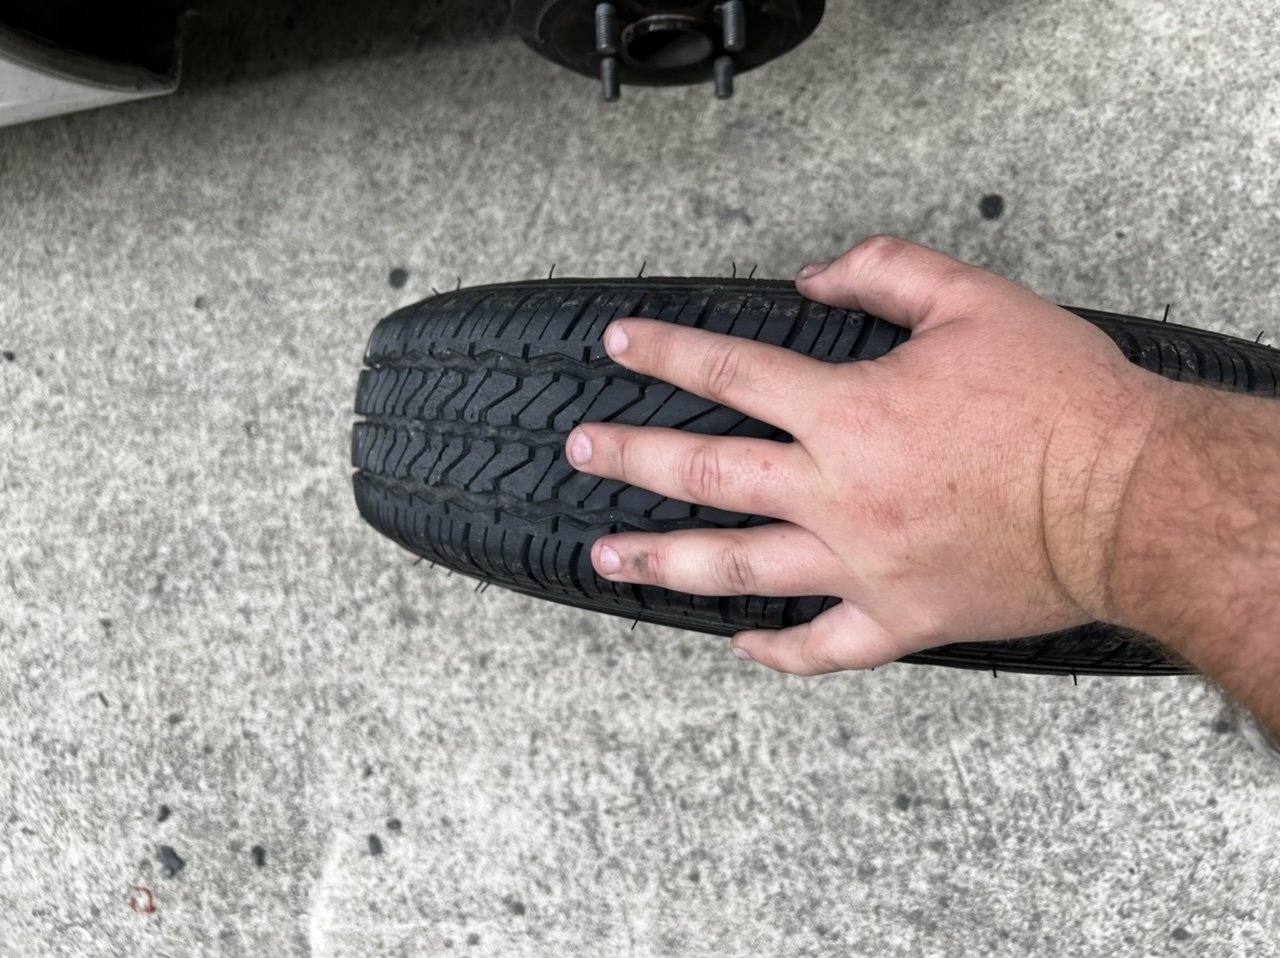
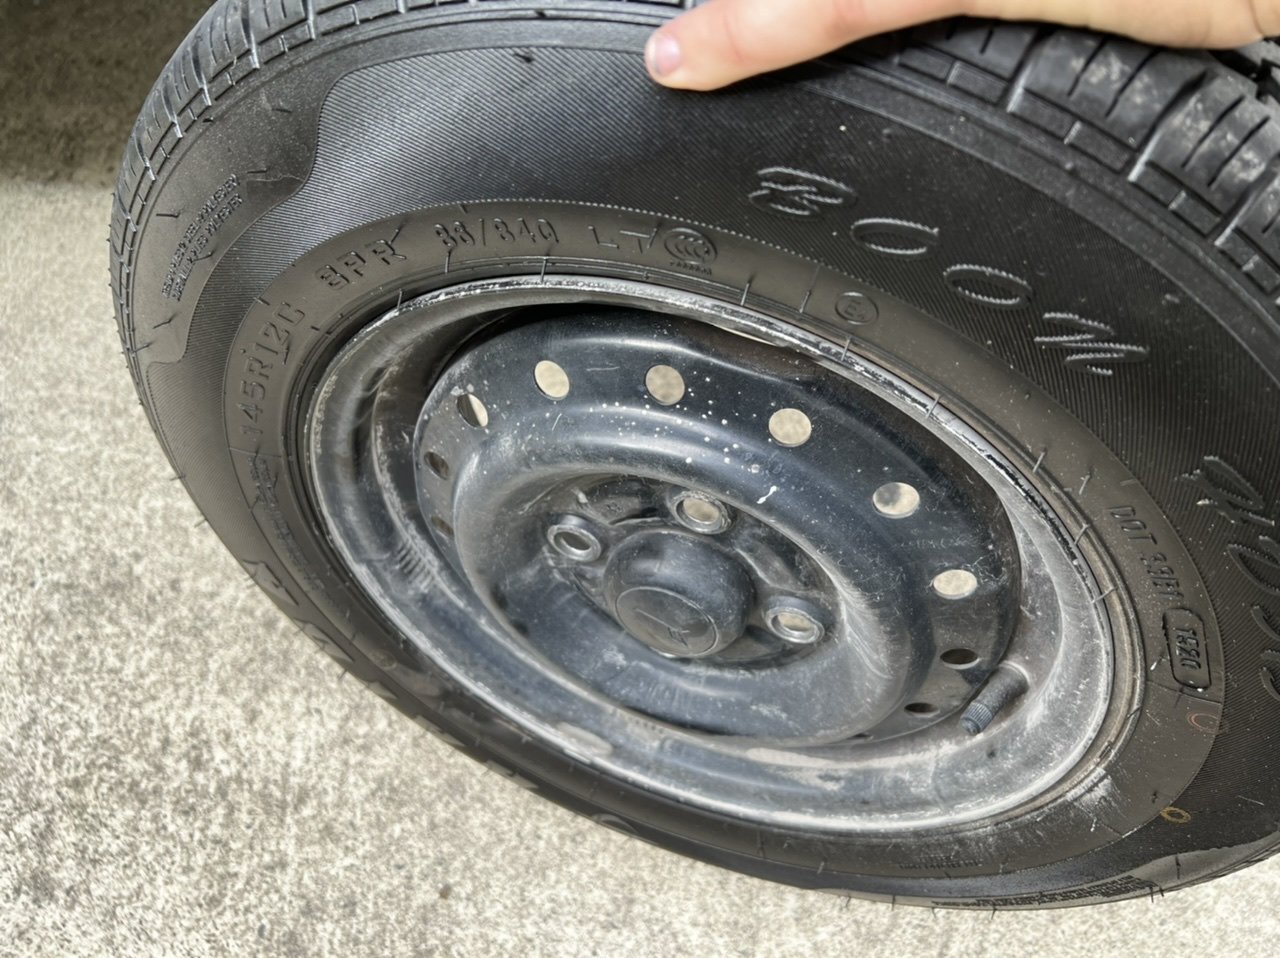
Holy crap, that's tiny! haha. I think the 155 wide tyres with the 13" steelies should do - this way I can get a matching set of hubcaps on front and back1 point
-
Talked to a few people including VTNZ and issue is resolved. As above replace like for like - was using original mounting points but not like for like. Just rubbed me the wrong way when i was told i would need to go through cert again. Was a 83 celica.1 point
-
Thank you Cletus. It does have a 4 speed gearbox which is driven by V Belt belt from the motor, the clutch adds tension to the belt to engage drive. The diff is belt driven off the transmission it also has a "clutch" that is engaged when the brake is pressed. Also the brake is a band style that holds a drum external to the final drive.1 point
-
If that’s the photo of the Tauramanui petrol station, you’re in for a treat Sunday morning at Caltex Nelson. We might not do meth (in the carpark next door they definitely do), but we do a good coffee.1 point
-
Ah OK, I thought that was what the "Tracker" model was. My caravan is a Zephyr, so I have been trying not to get too barry about lightweights!1 point
-
I'm literally in the throes of doing this right now. Auto sparky mate said those fusable link wires aren't a thing anymore. Gave me a nice 80A plastic fuse. I'm also running an isolator switch between the battery, and the starter. Ain't nothing worse than when the smoke escapes from the wires, and you cant easily unhook the battery.1 point
-
https://www.trademe.co.nz/34877634981 point
-
I swear there used to be some low positive offset 13" Cheviots for chevettes1 point
-
Most vehicles that have factory battery in the boot seem to have some sort of fuse, battery in engine bay is such a short run its not worth it1 point
-
You could always wind it out on the starting handle @yoeddynz.1 point
-
OK, so I have a plan to try save the head. Its a bit too rooted to try the method @tortron posted, so I'm going to try machine the rooted bit out on the BIL's mill, and slap a needle roller in there, that has an outer shell (so it doesn't have to run on the alloy) I can't think of a reason this wont work, as long as I can find a suitable bearing, and the cap has enough meat in it, AND I don't fuck up the machining. I think the oil supply to that journal comes through the cam, so I may just have to restrict that a bit or something? Can't really fuck the head anymore, so worth a shot eh.1 point
-
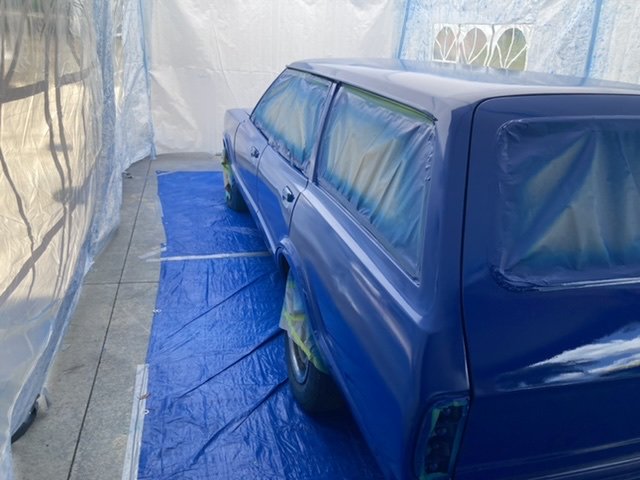
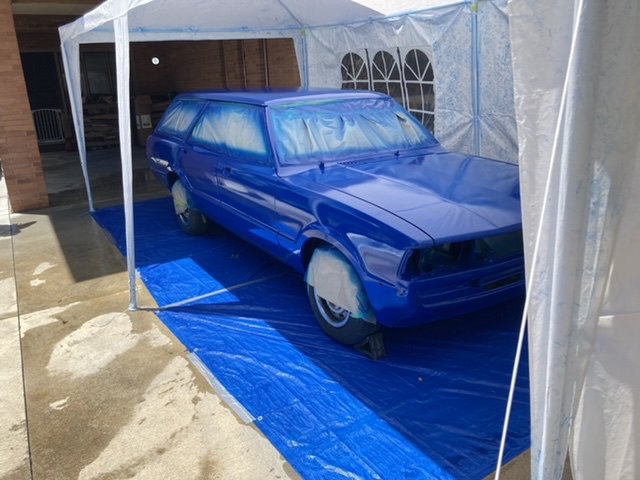
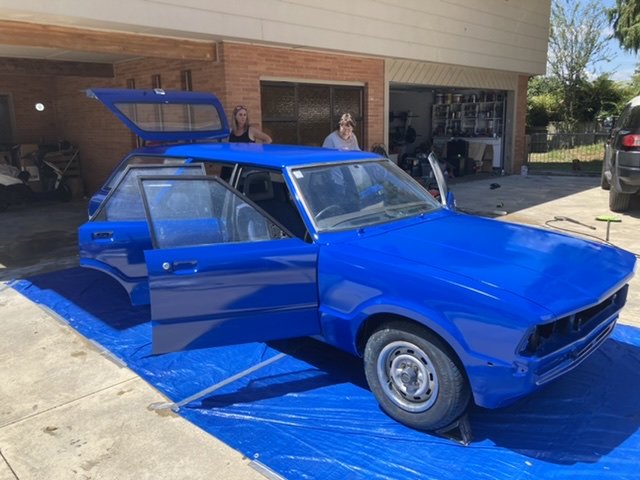
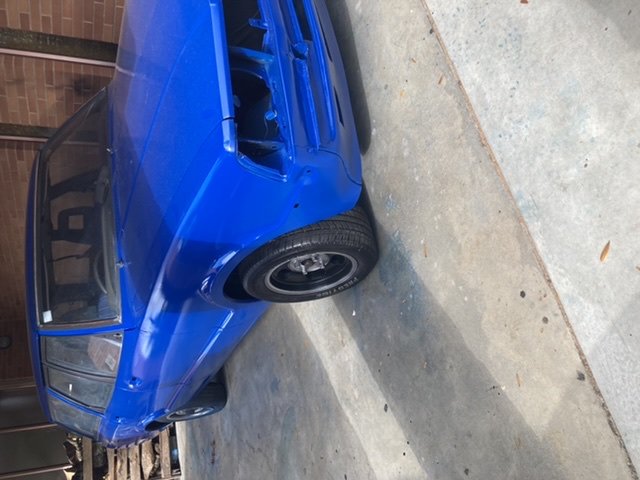
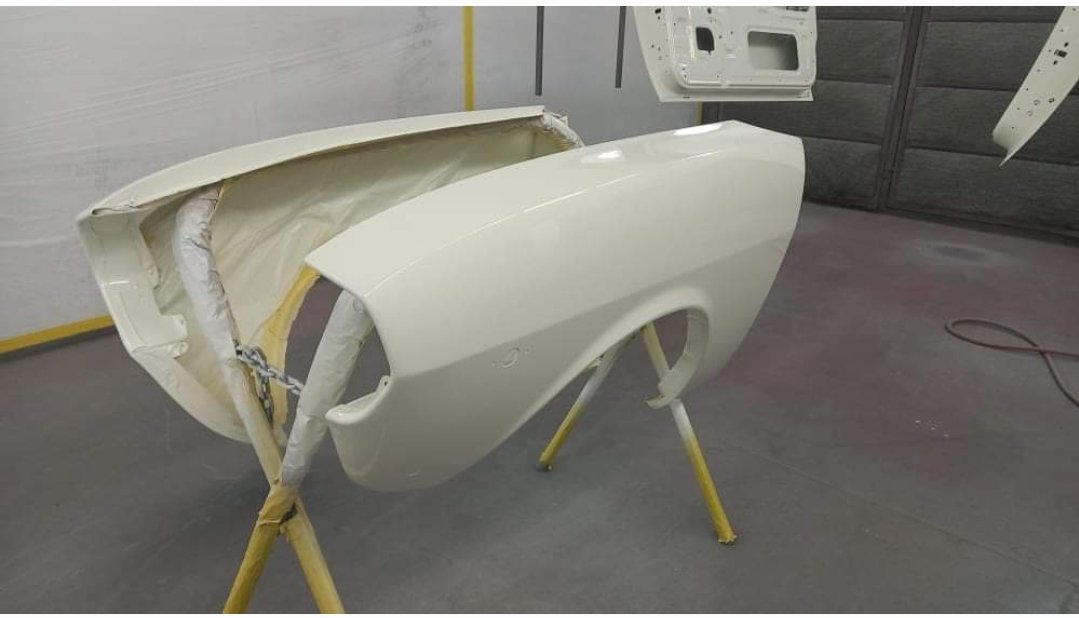
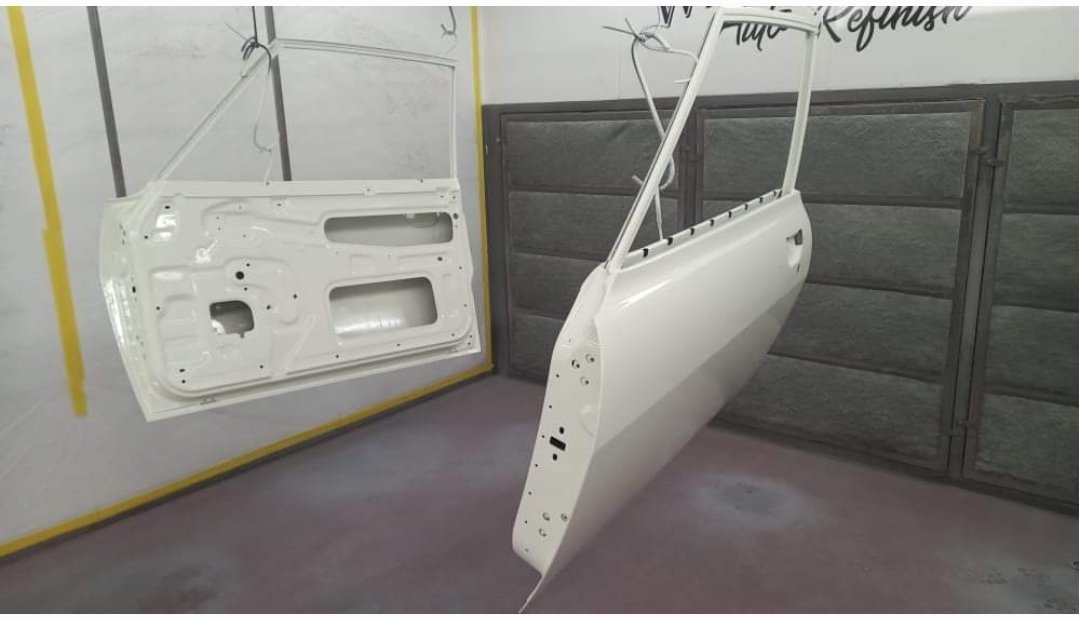
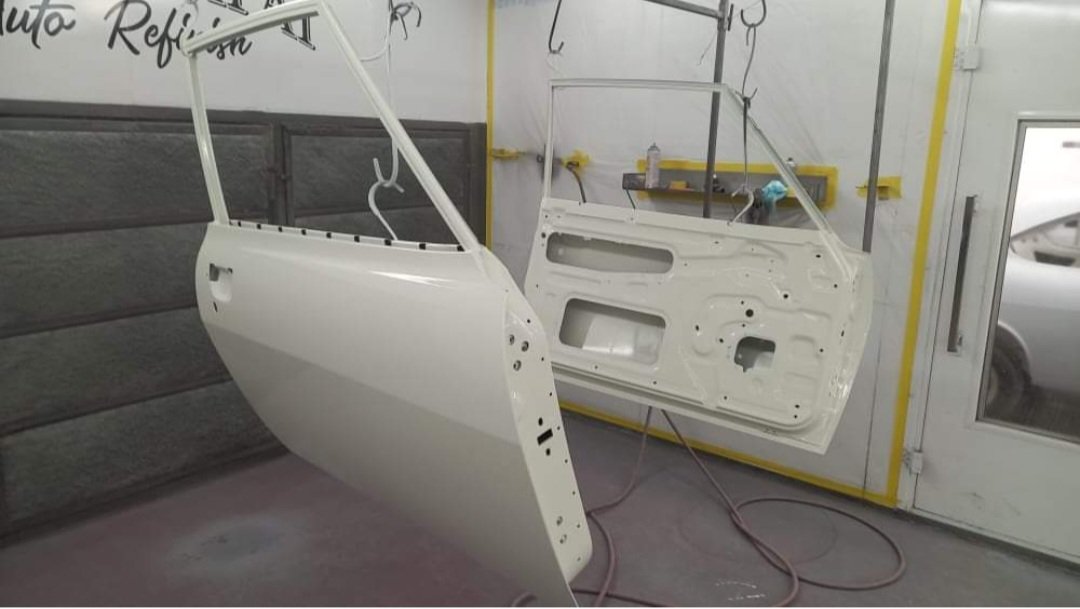
Next up for colour is, valance and inside boot lid
1 point
-
Notice I picked my words carefully "I've stopped the valve cover leaking" No doubt it'll find another way out of the engine. I really need to get under the car and clean it, gosh it's oily under there. Years of leaking from the top down.1 point
-
Couple of videos. Finally got it running well. Cold start https://imgur.com/mt0axWX A few revs https://imgur.com/T7NPQKq ---> I cant figure out how to embed an Imgur video on this forum. Usually theres a media button. Anyone know how to do this? Is there a more advanced reply section? <---1 point
-
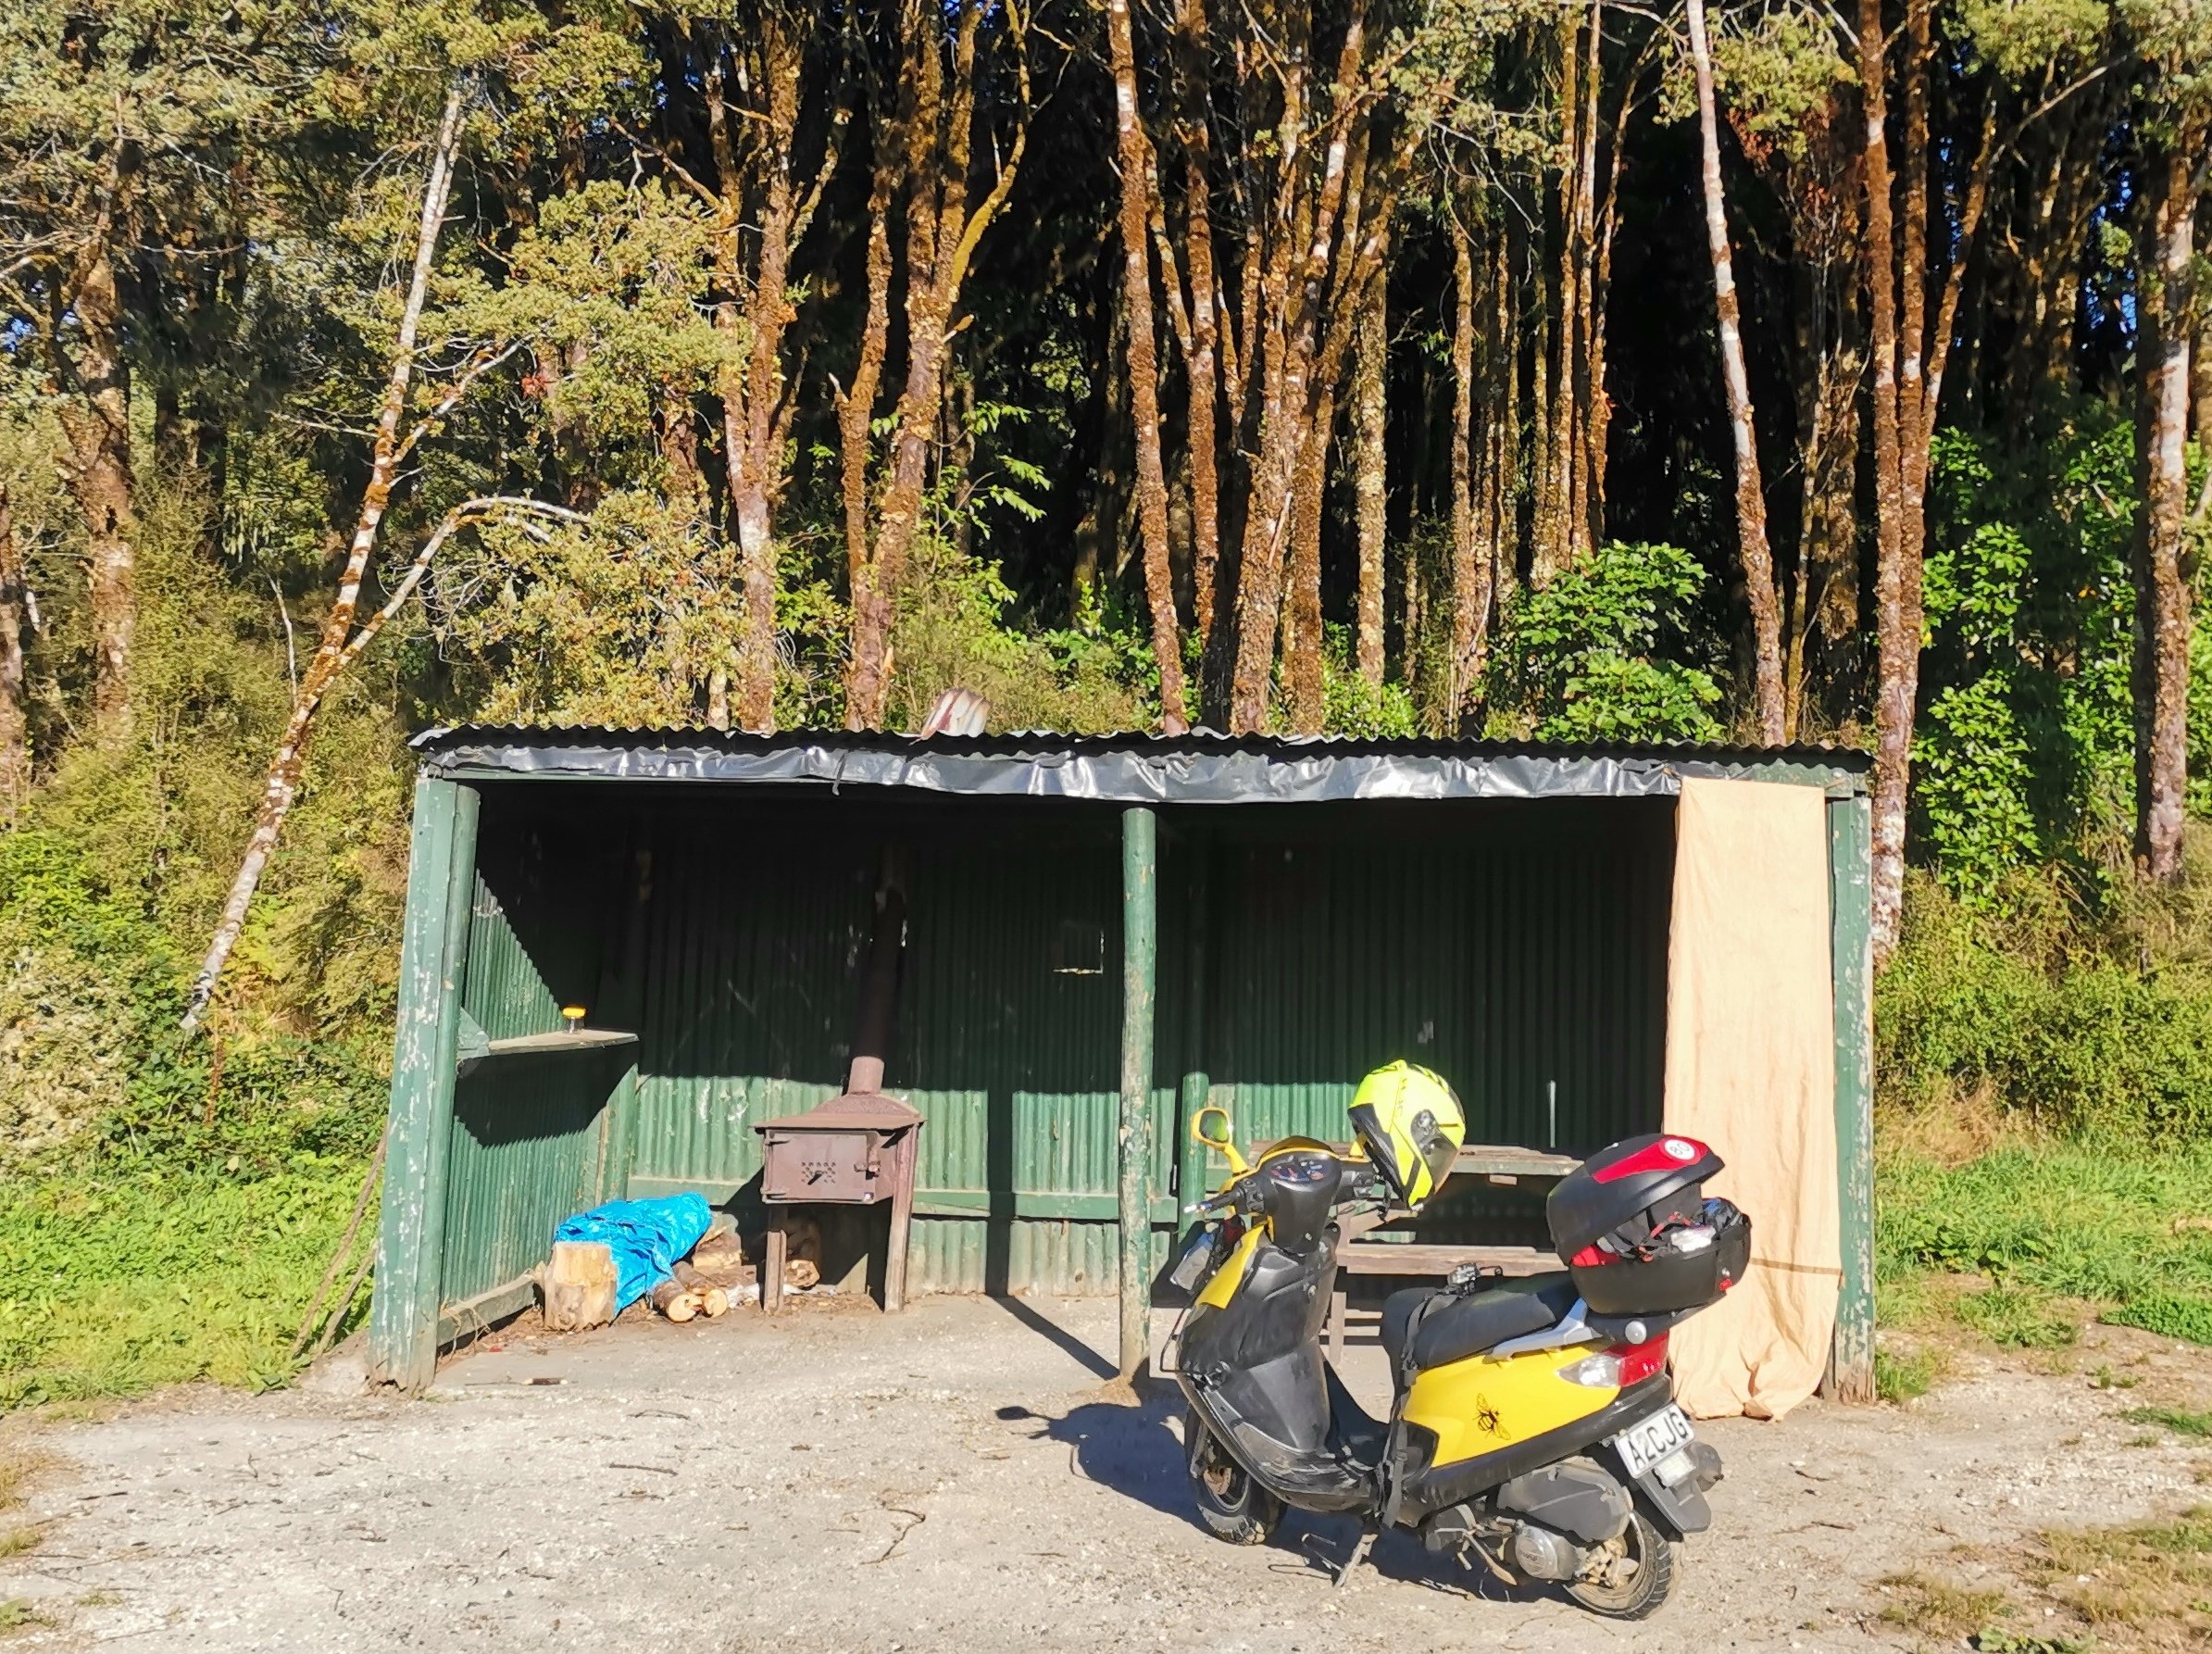
i managed to plan leapfrogging 4 free doc camp sites on the way down. how bout that economy. might plan somewhere with a shower tho for everyones sake
1 point
-
More paint!
1 point
-
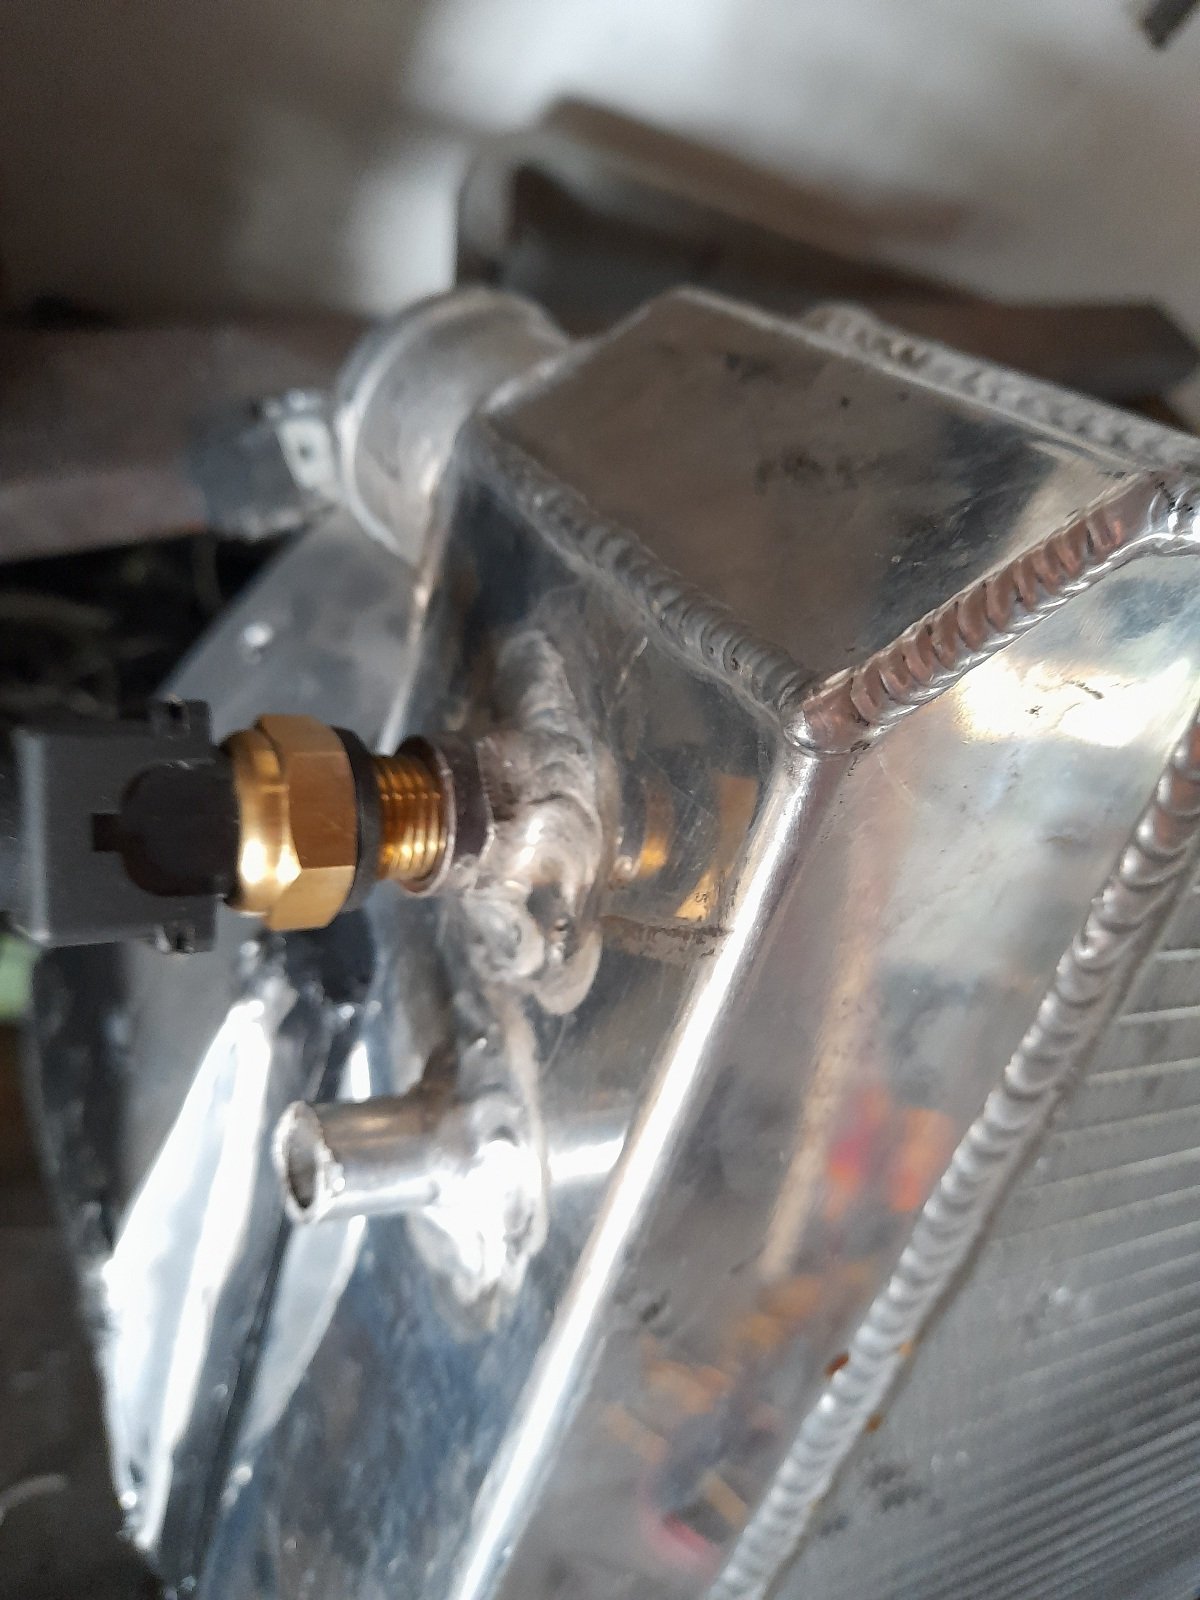
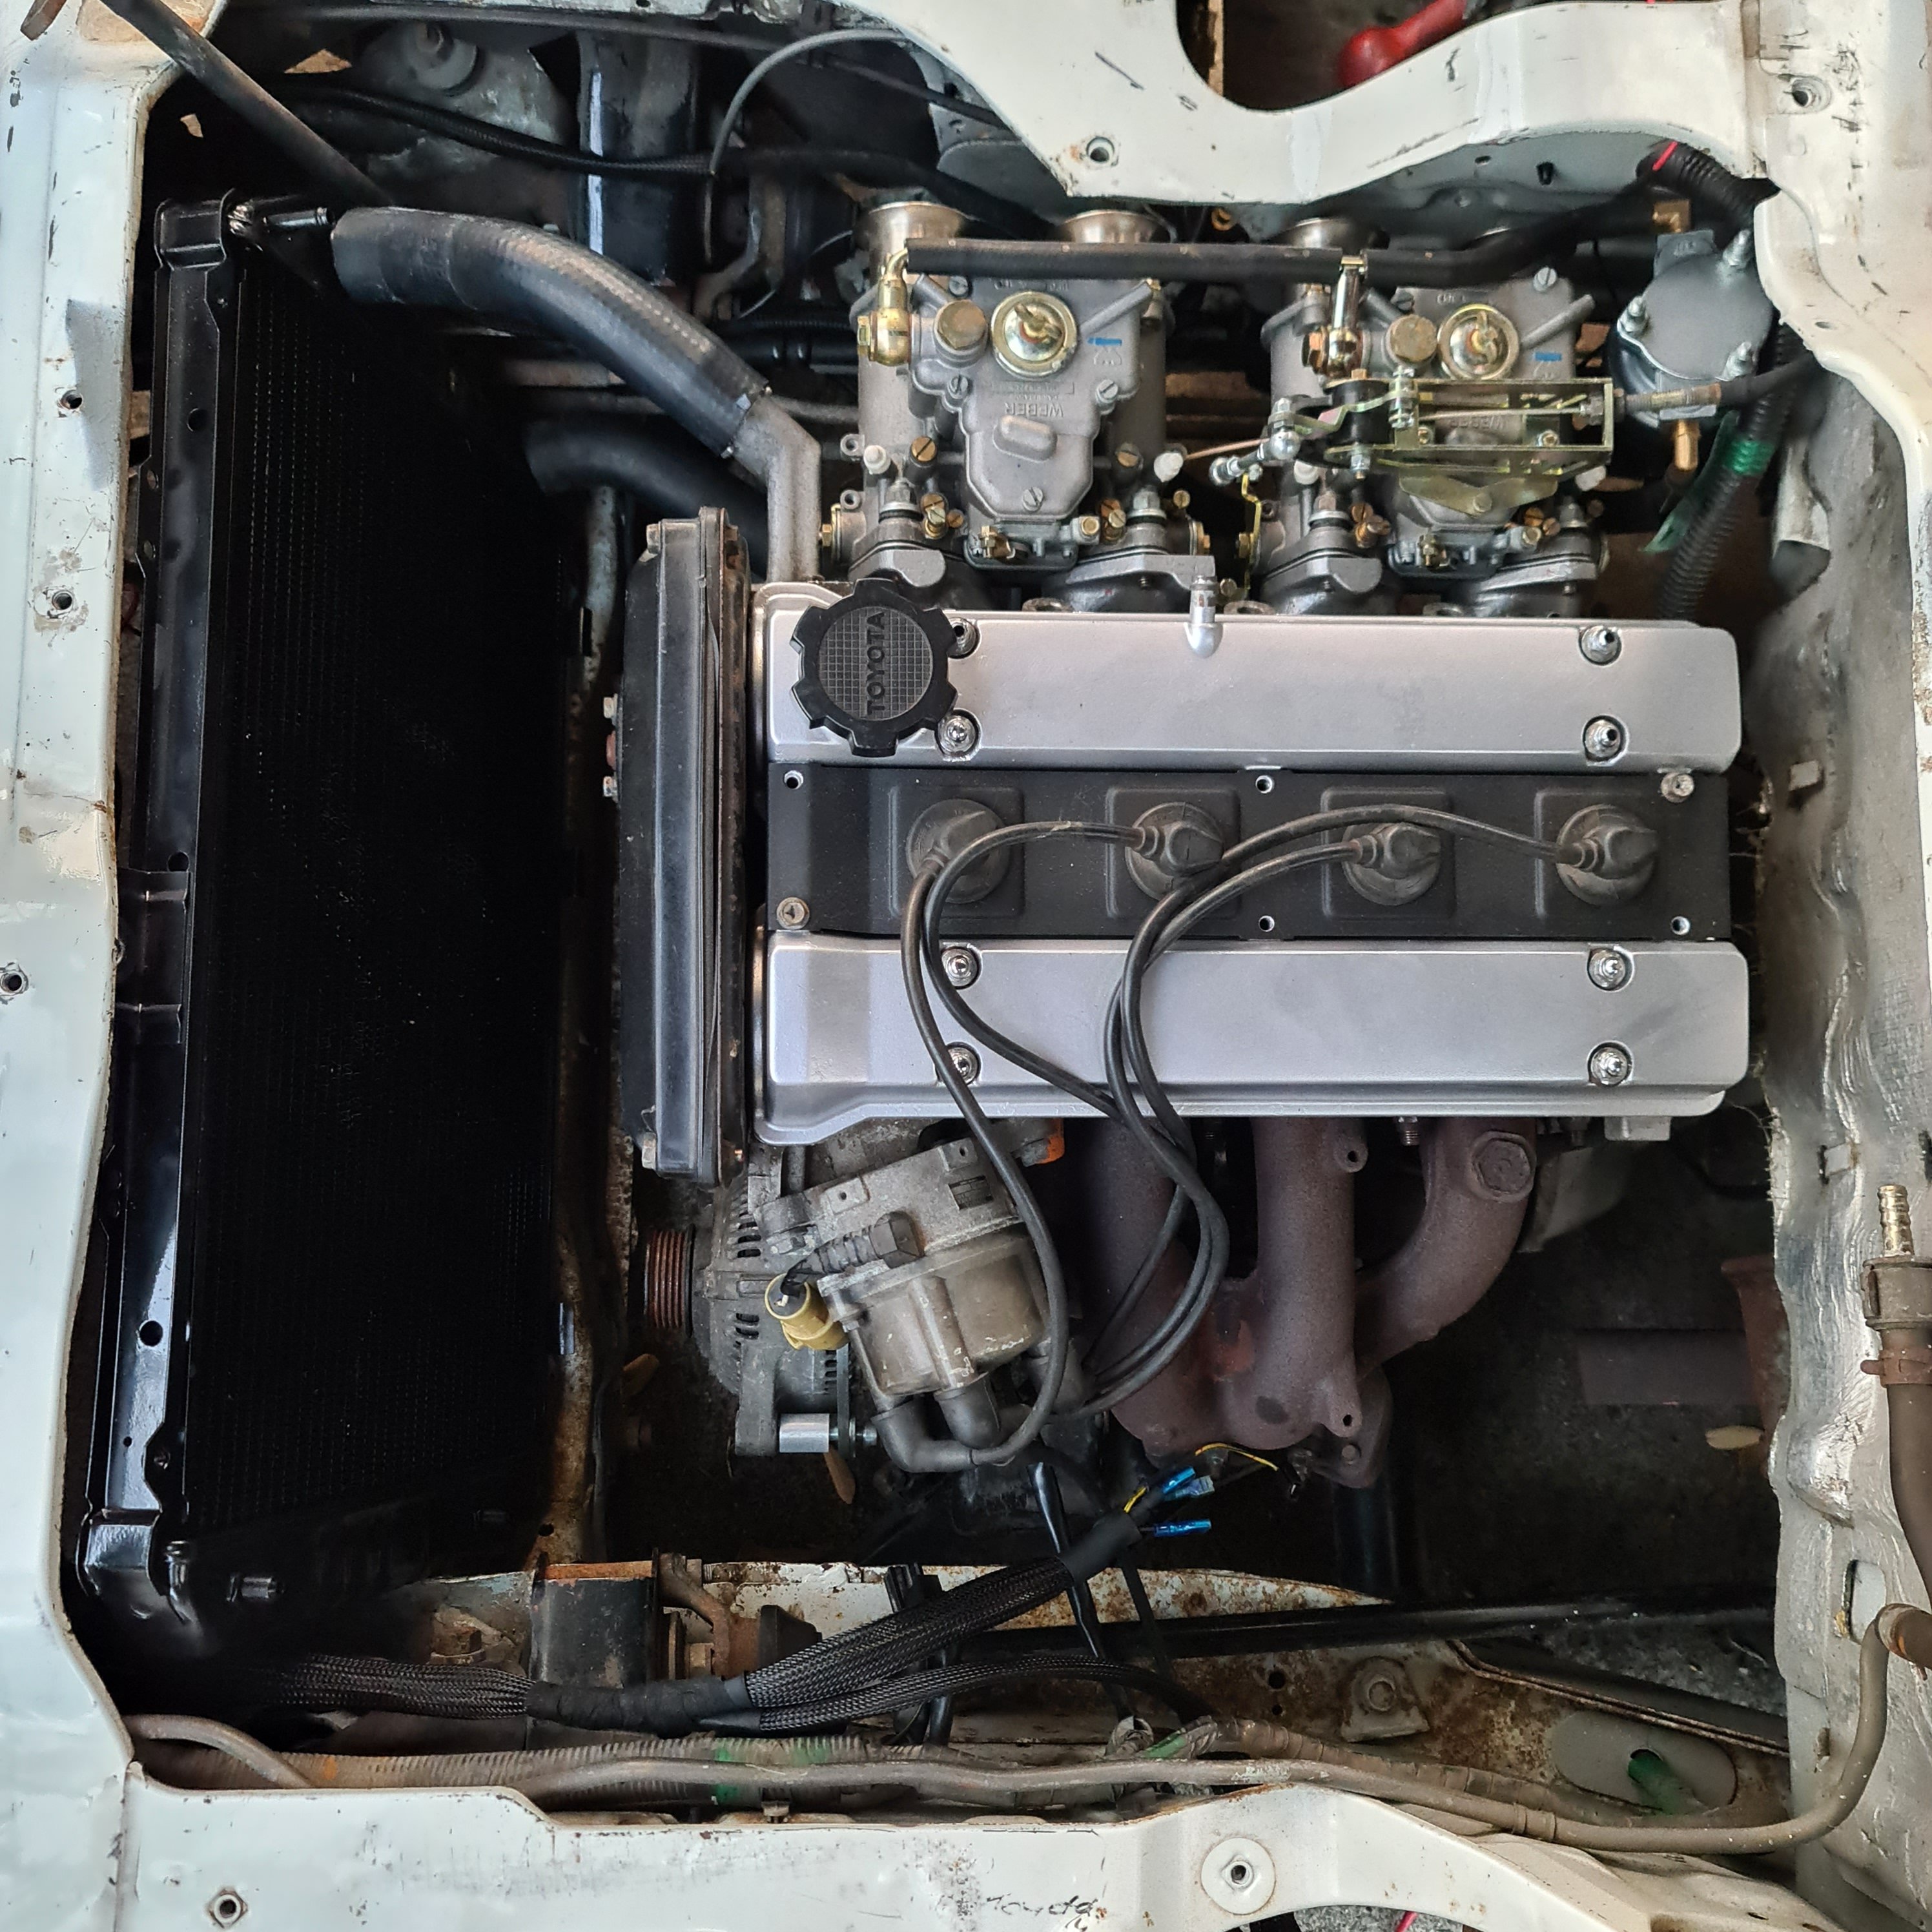
Decided that since I had my money back from parts van I should invest into changing radiator bottom hose to the correct side. I also had them size match to the 4ag as there was a 2mm variation between motor and radiator. Quick plumb up and I am happy with my investment. Of course i need to add my inline remote filler into the top hose mix but you get the idea. Also dropped the heater pipes down to same guys to get them where I want without unnecessary hoses. If it works out they will just go straight across back of engine bay to join either side and one running parallel to the back head outlet.
1 point
-
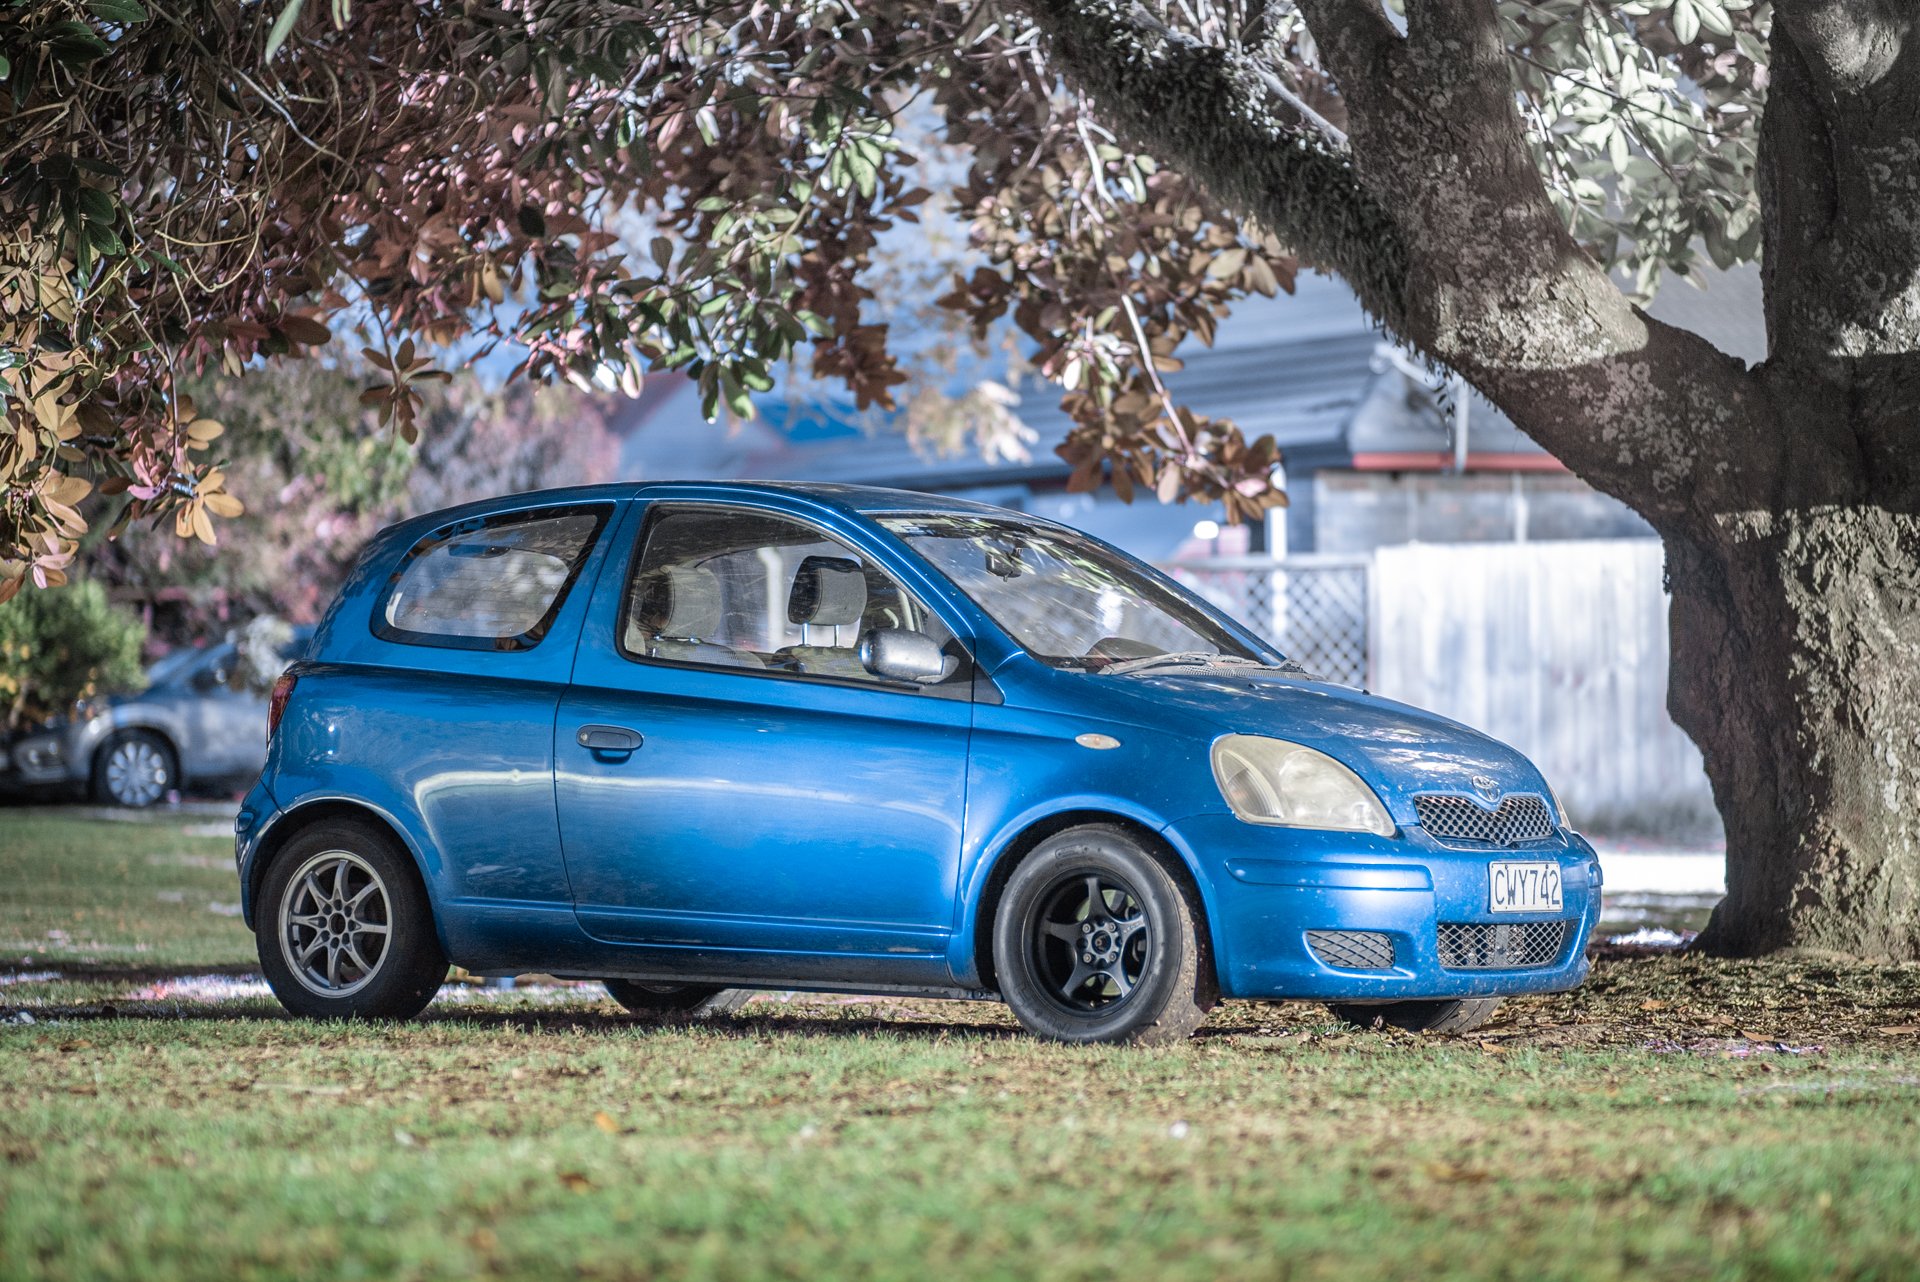
Sadly those wheels I found were just not meant to be. When I went back to get a tyre fitted I double checked the other rims on the balancing machine and discovered that two were bent- one really badly to a point I'd not want to attempt to rescue. So that sucks. Back to the search then. In other news @Sanfiddy came round and helped us take Mollys skeleton to the grave. Once there at the dump Hannah and I stripped off the doors which will be heading to @Willdat? and the hatch as a spare for when the a ford ranger (insert other penis enlarging device) backs to into our tiny car at the supermarket because he cant see beyond the girth of his massive machine. We also grabbed the front struts, rear springs and steering rack. The front springs from this G#/autostrada model I have discovered have a higher rate. The steering rack might possibly be geared higher - it showed 100mm less travel at the rim lock to lock. Even if it isn't actually quicker, and I can't yet find any definitive proof on internets that there is a quicker rack on some but for rumours that the UK super S / JDM G# might be so equipped. Anyway- its still good to keep a spare. We were both a little sad to see Molly sitting there, soon to be turned into a Nissan Cube. She was actually a solid as little car, a rare model at that, with which only half a day of work would have made roadworthy. But can't turn back time and the goal was always a 2 door yellow PFL which is now even better equipped than we first dreamed. Mollys heart and other organs live on in Minky and Milly anyway1 point
-
Well here it is the first run! I have to say I am impressed with the Holley throttle body fuel injection system, the set up was simple and the engine started first turn of the key. It drives pretty well and I expect it will only get better as the self-tuning software dials everything in. Currently only making about 5 pounds boost but is already a huge improvement over the N/A set up. I will run it for a while on low boost while I get the tune sorted and then install the 15% overdrive pulley to see what happens.1 point
-
1 point
-
Dear DaveScienceTM, I feel that with the forthcoming higher level of data acquisition (via strain gauges) that we the viewers need to blessed with higher level MS Paint graphs... these screenshots of Link fuel tables and VVTI vs VE tables are just not cutting it. Bonus points for incorporation of cock and balls insignia into said MS Paint graphics. Kindest regards Stu1 point
-
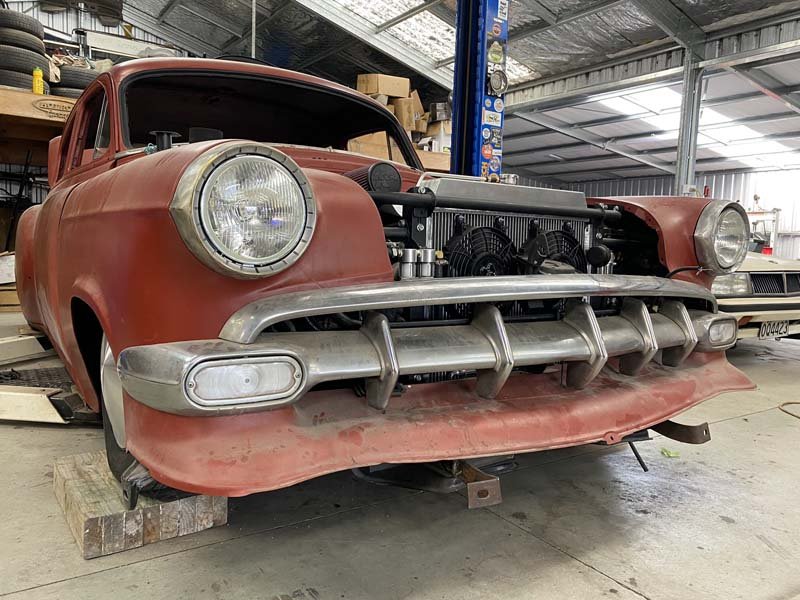
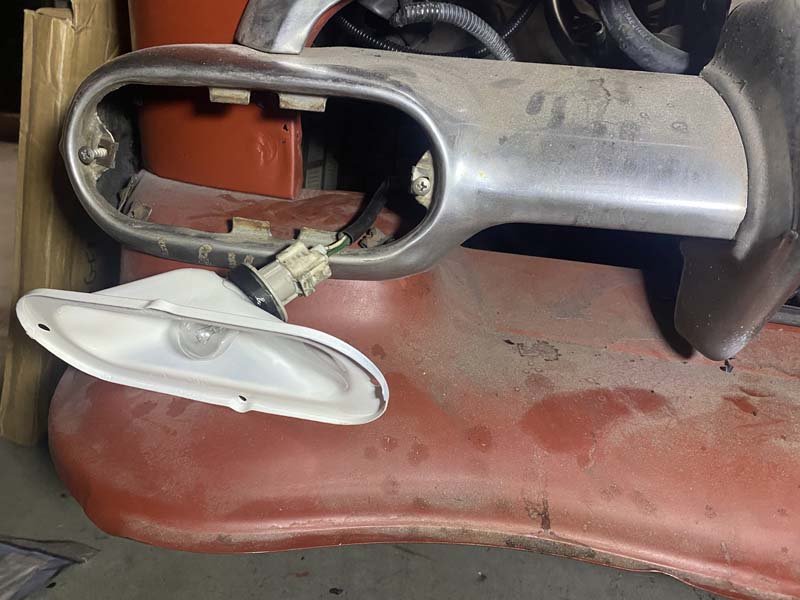
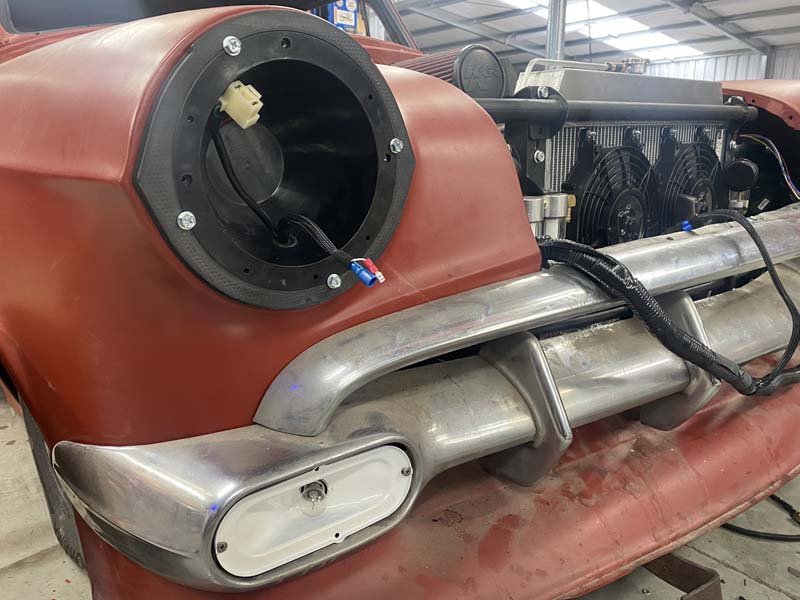
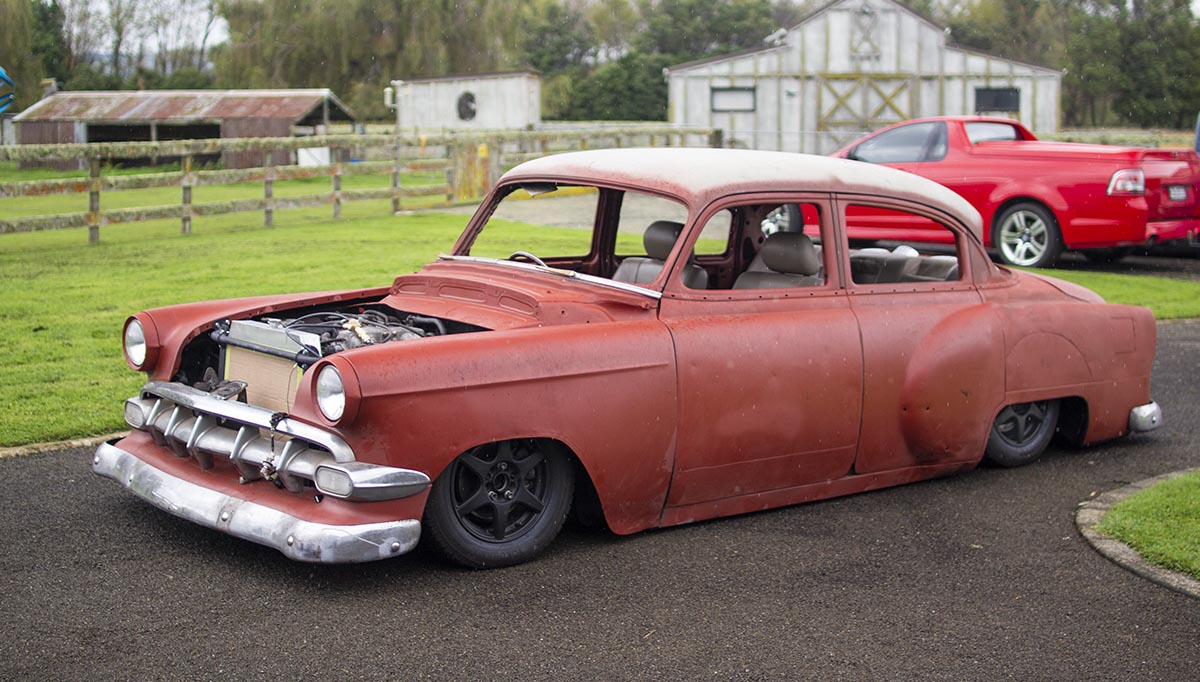
Sandblasted, and painted the Chevy factory park light enclosure. Drilled out the 50s bulb holder and epoxy glued the Lexus bulb holder with plug in. New Park Light lenses are on there way from America. Wired in the h4 plug and pilot light into the Narva 7inch buckets, with their new ABS 3d printed adapters. And just waiting on some pilot light bulbs to fully assemble. Have also Wired the Davis Craig fans into the Lexus loom. And mounted through the Radiator with m4 allthread.
1 point
-
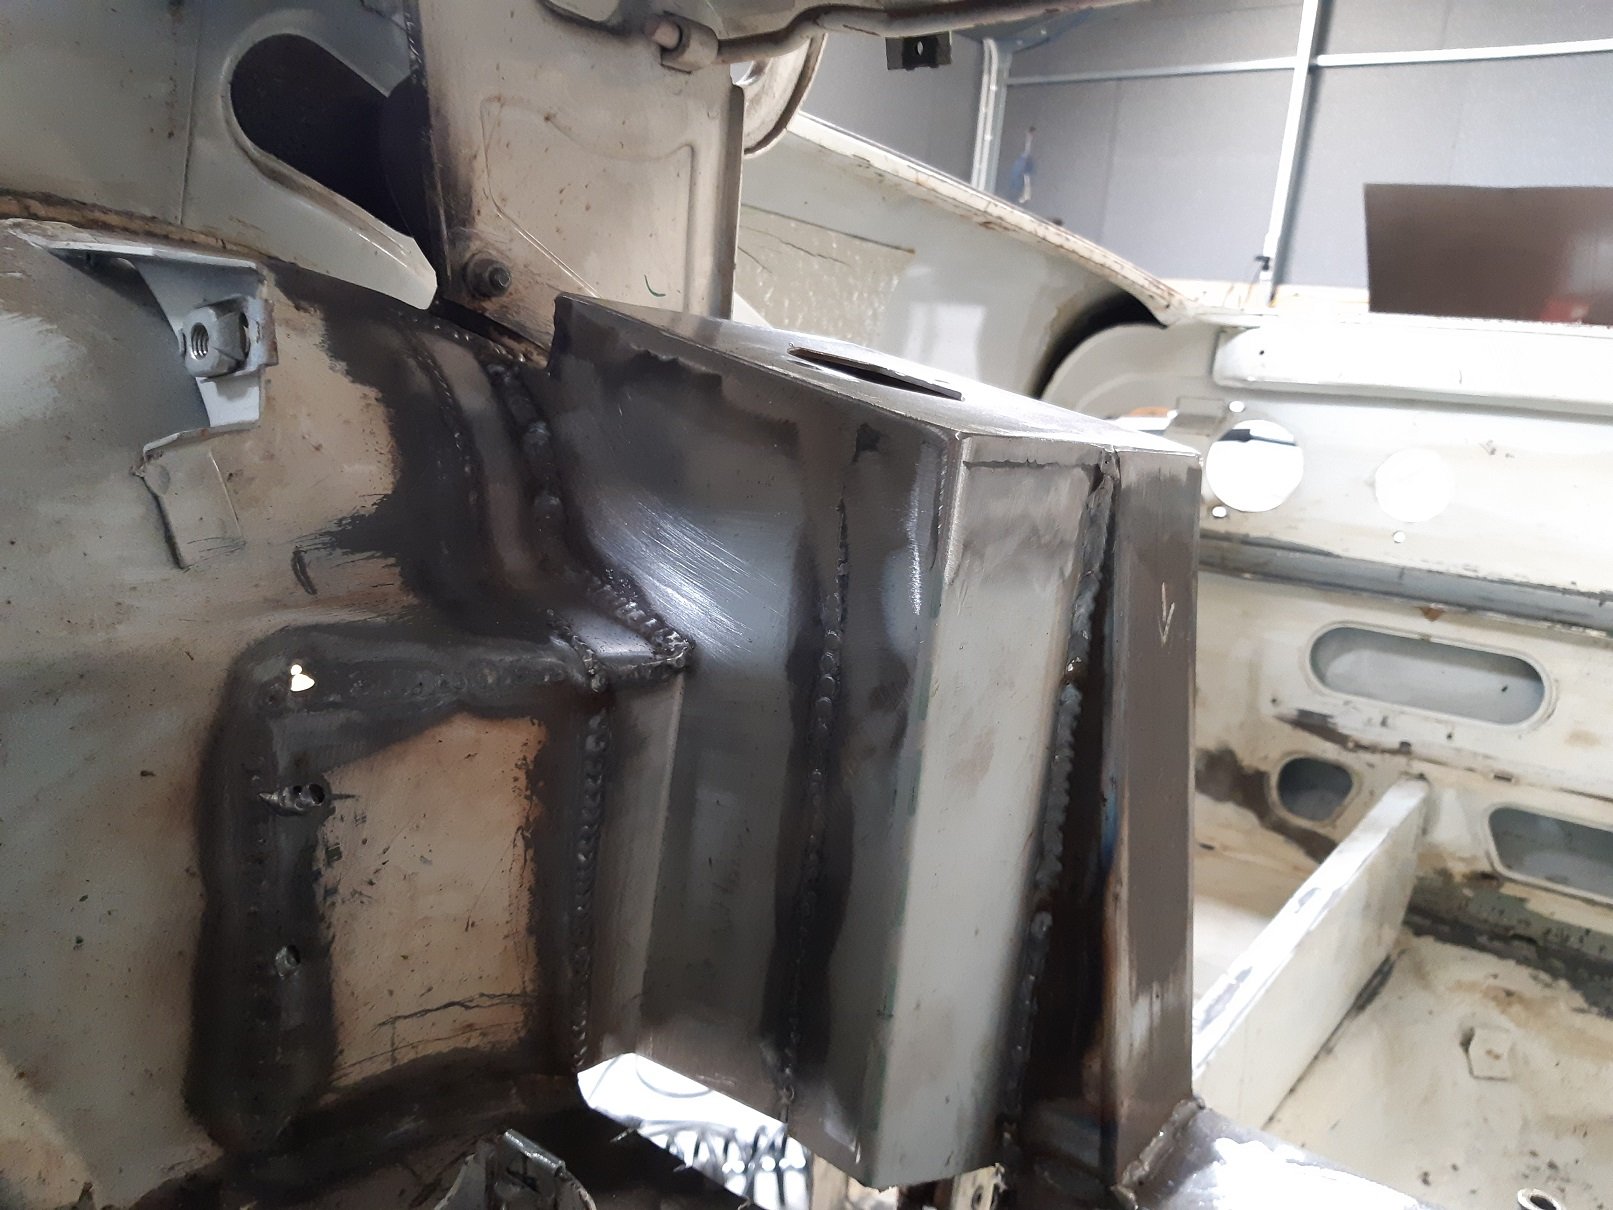
Cut cut bend bend weld weld. And filled some holes.
1 point
-
Went with black wrinkle. I think it looks good. Always a fan of the Lotus TC look. So thats the inspiration.1 point
-
1 point
-
FYI Moondiscs are coming soon.
1 point


.thumb.jpeg.384ff72c8d2b0ee0d34a7bdedb55bdcf.jpeg)


.jpeg.aa95682d4cff763bc0b5ad781fbf45a8.jpeg)


This leaderboard is set to Auckland/GMT+12:00