
Leaderboard


Popular Content
Showing content with the highest reputation on 01/25/22 in all areas
-
It actually would be a bit of fun to make it a dedicated drag car. But then it's the same old problem, need to trailer it everywhere and it just sits around for 99.999% of its existence. Also
 22 points
 -
I kindof lied about being finished, there always seems to be shit to sort out that I have forgotten about. Some of the reason I am still hanging on to the wee Townace is that it is awesome for transporting dirt and bark etc. So obviously I needed this functionality on the big truck. I decided to recess the side trailer hitches so they don't get wiped off. I got some treated rough sawn pine for the fill; Doesn't look too shabby.. I will get those coated at some point, along with the tow hitch, top rack and front bumper, these are all just black zinc right now. That will be later as it will no doubt be spendy.18 points
-
13 points
-
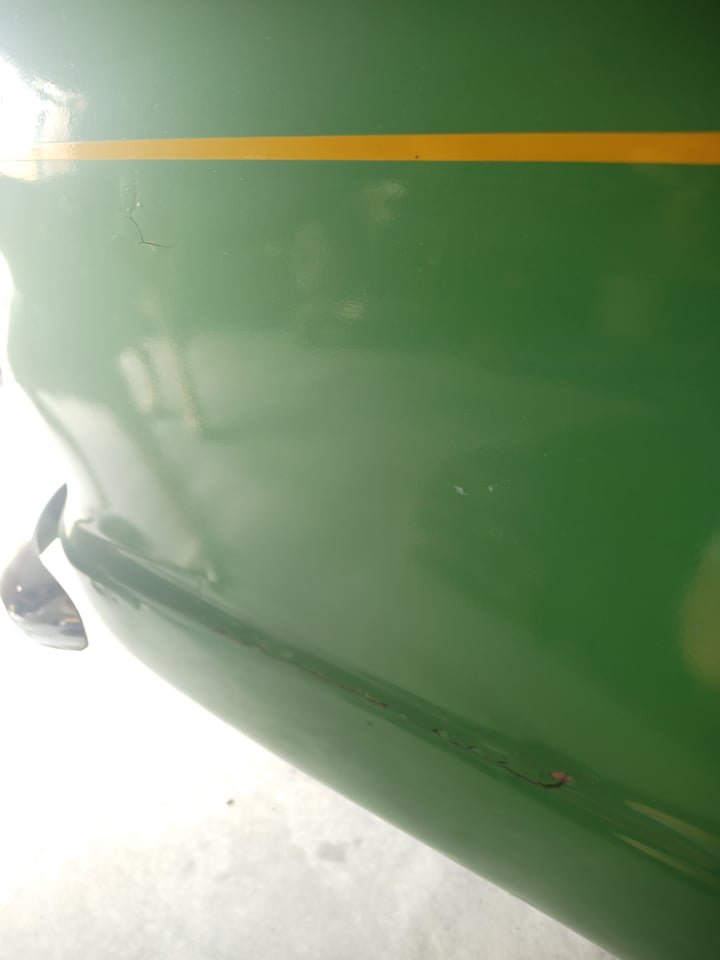
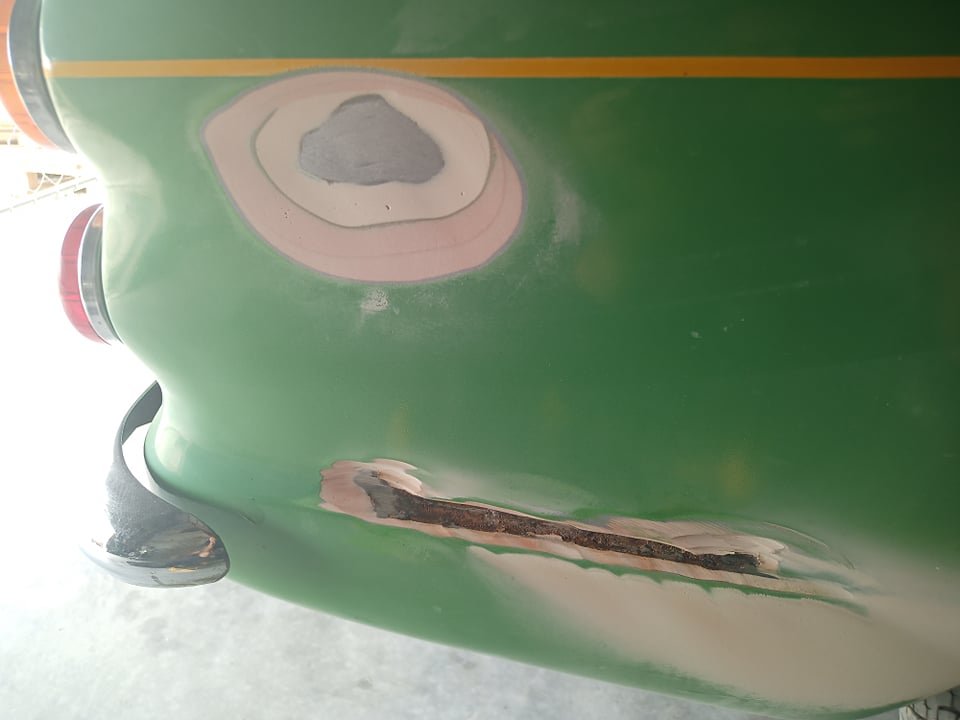
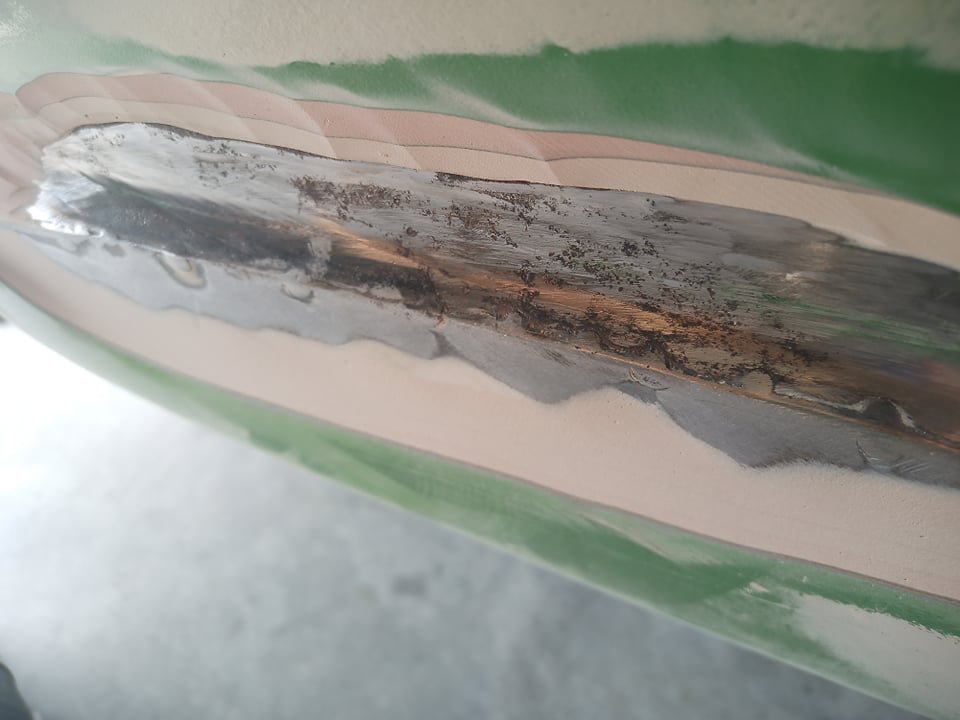
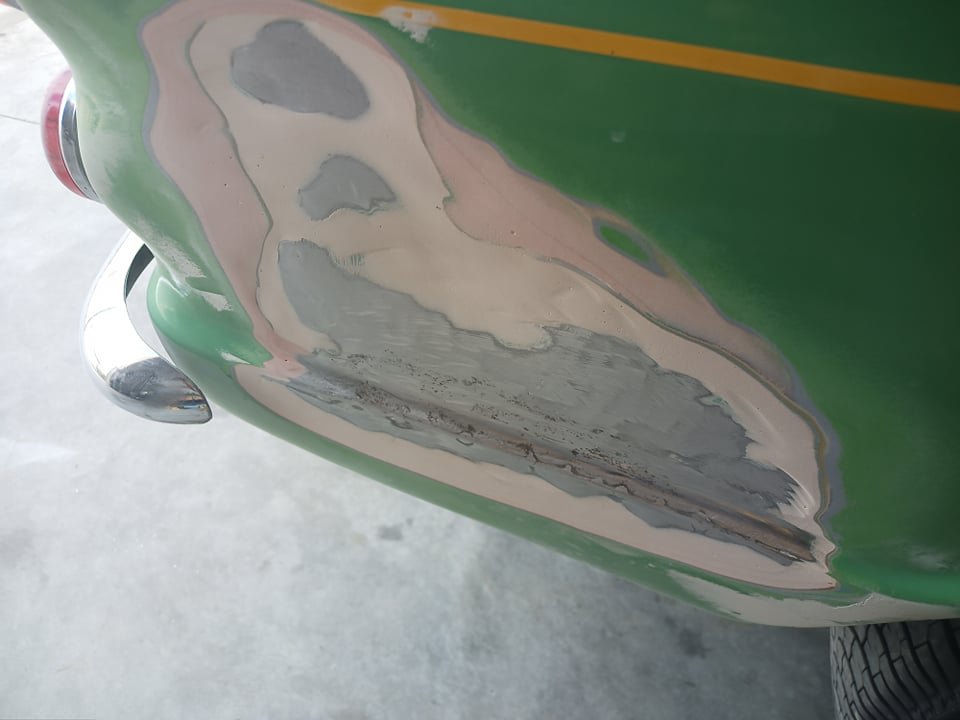
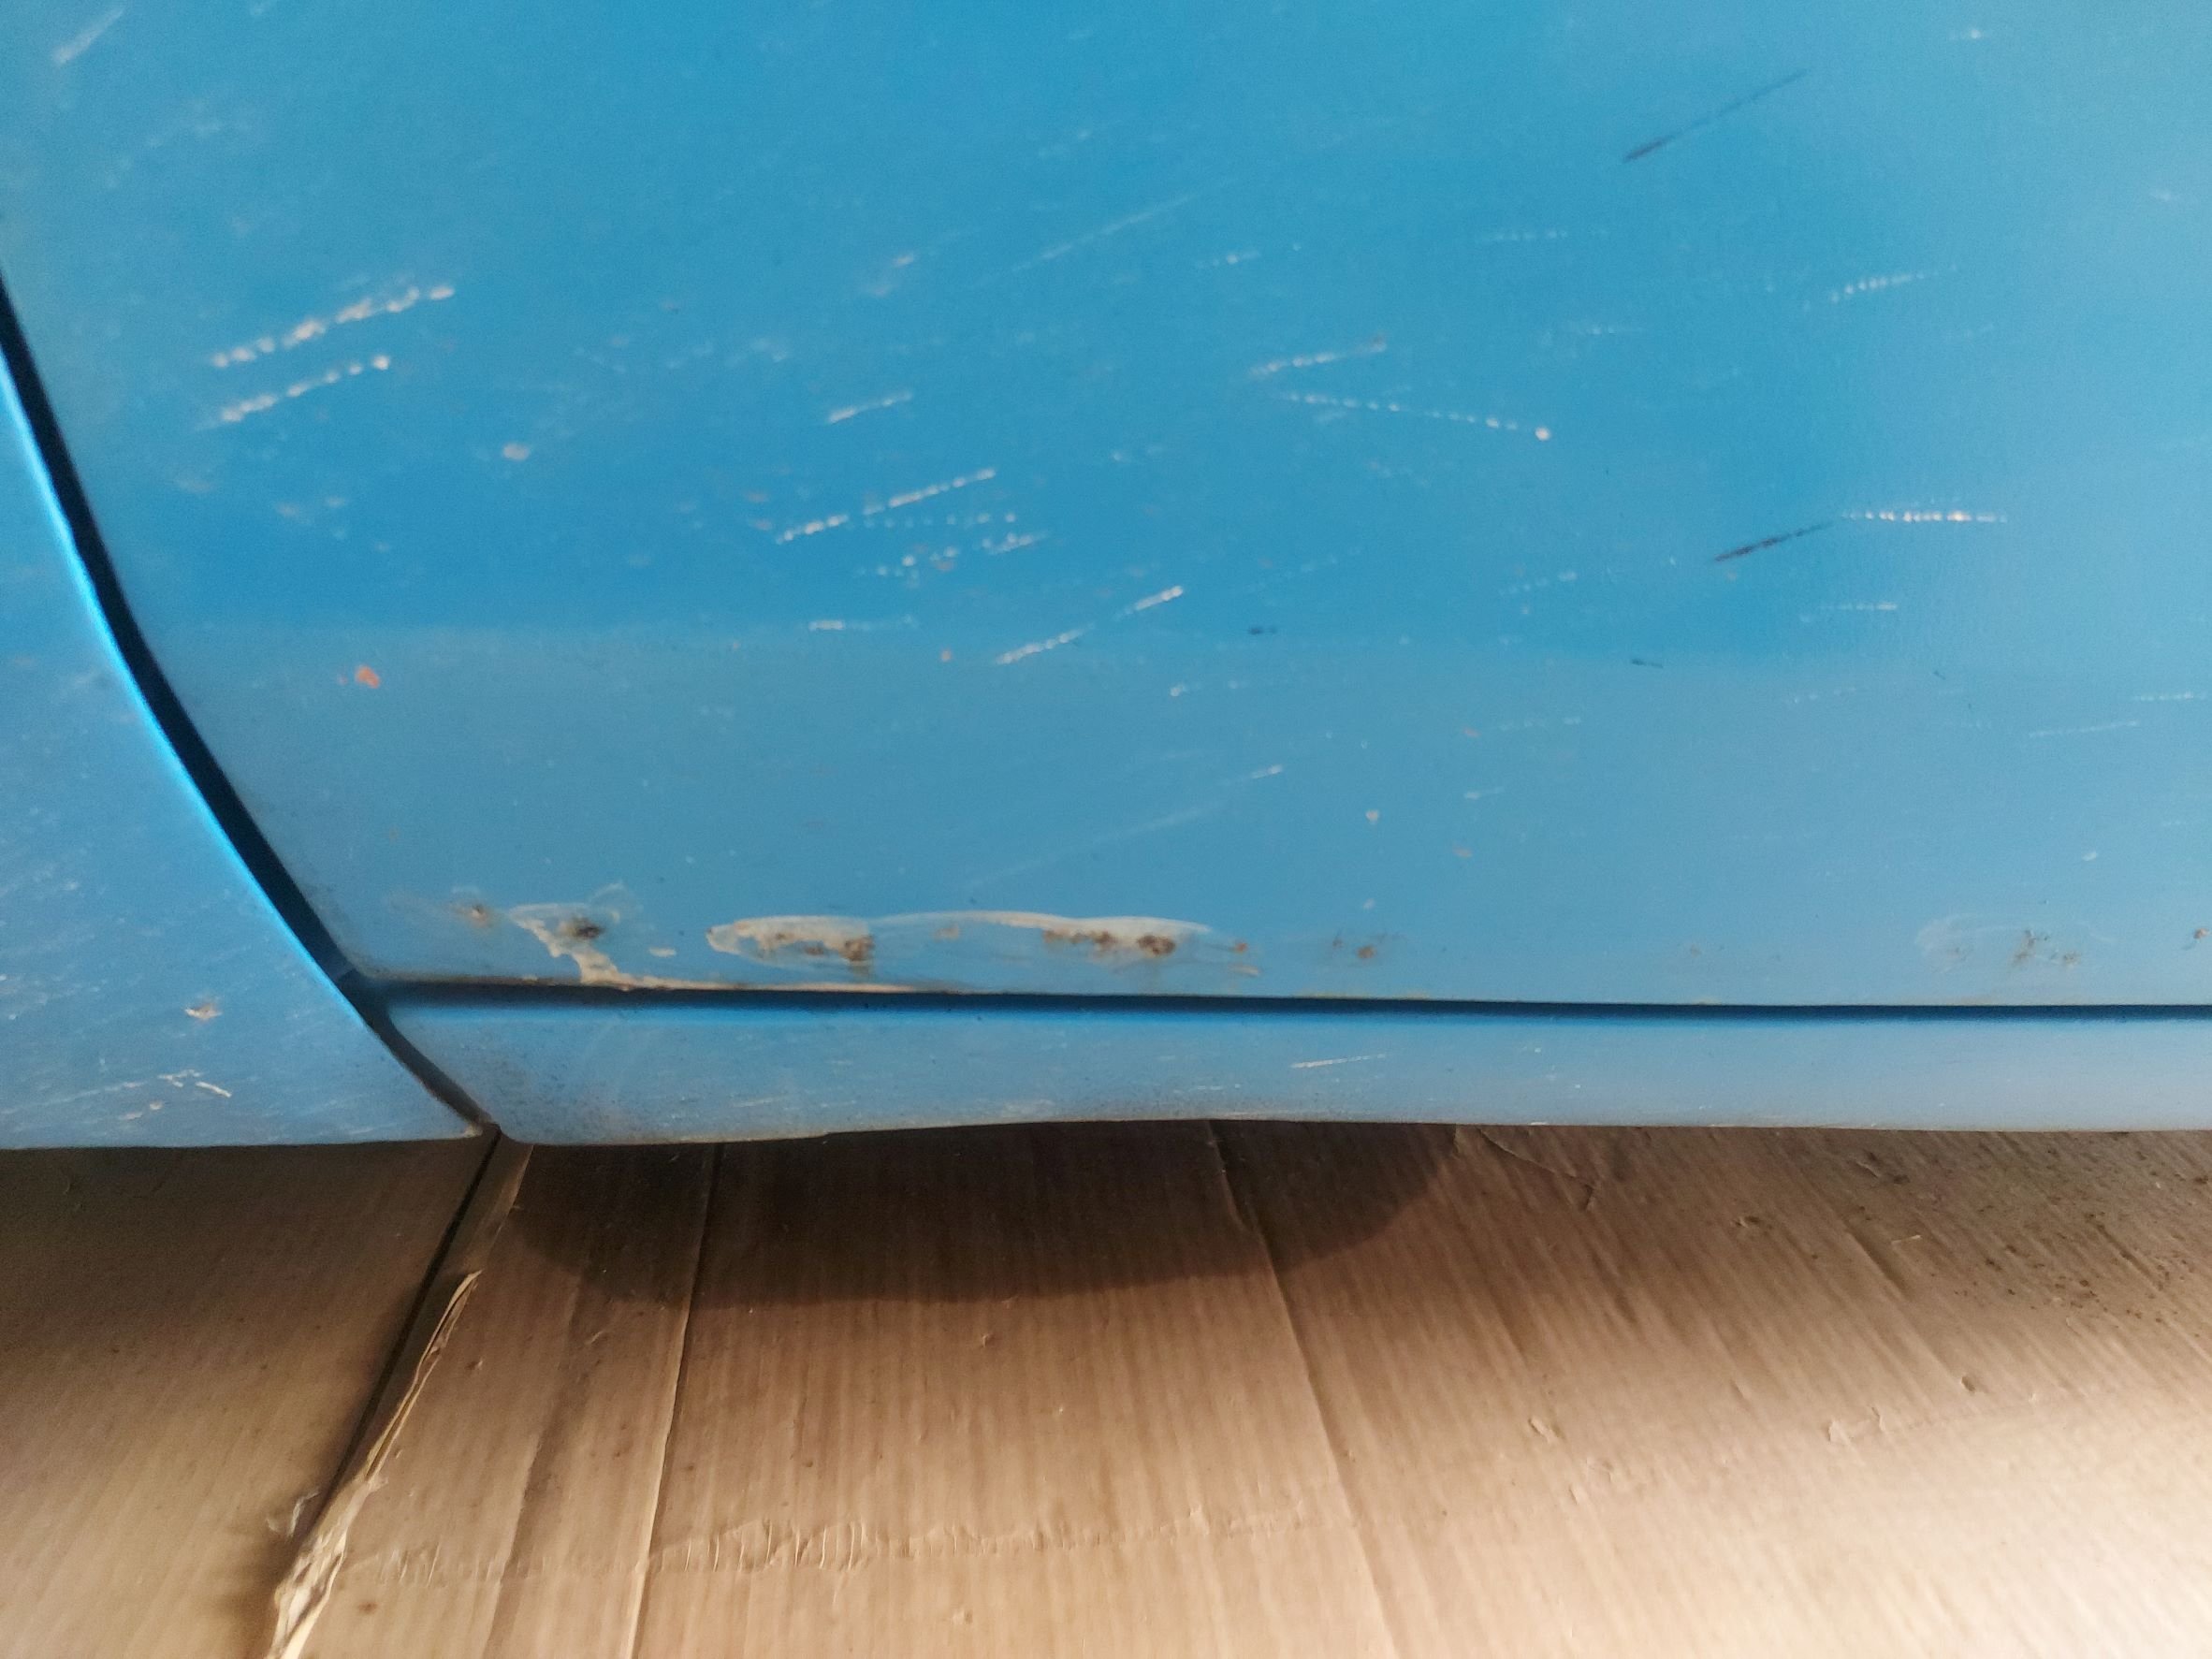
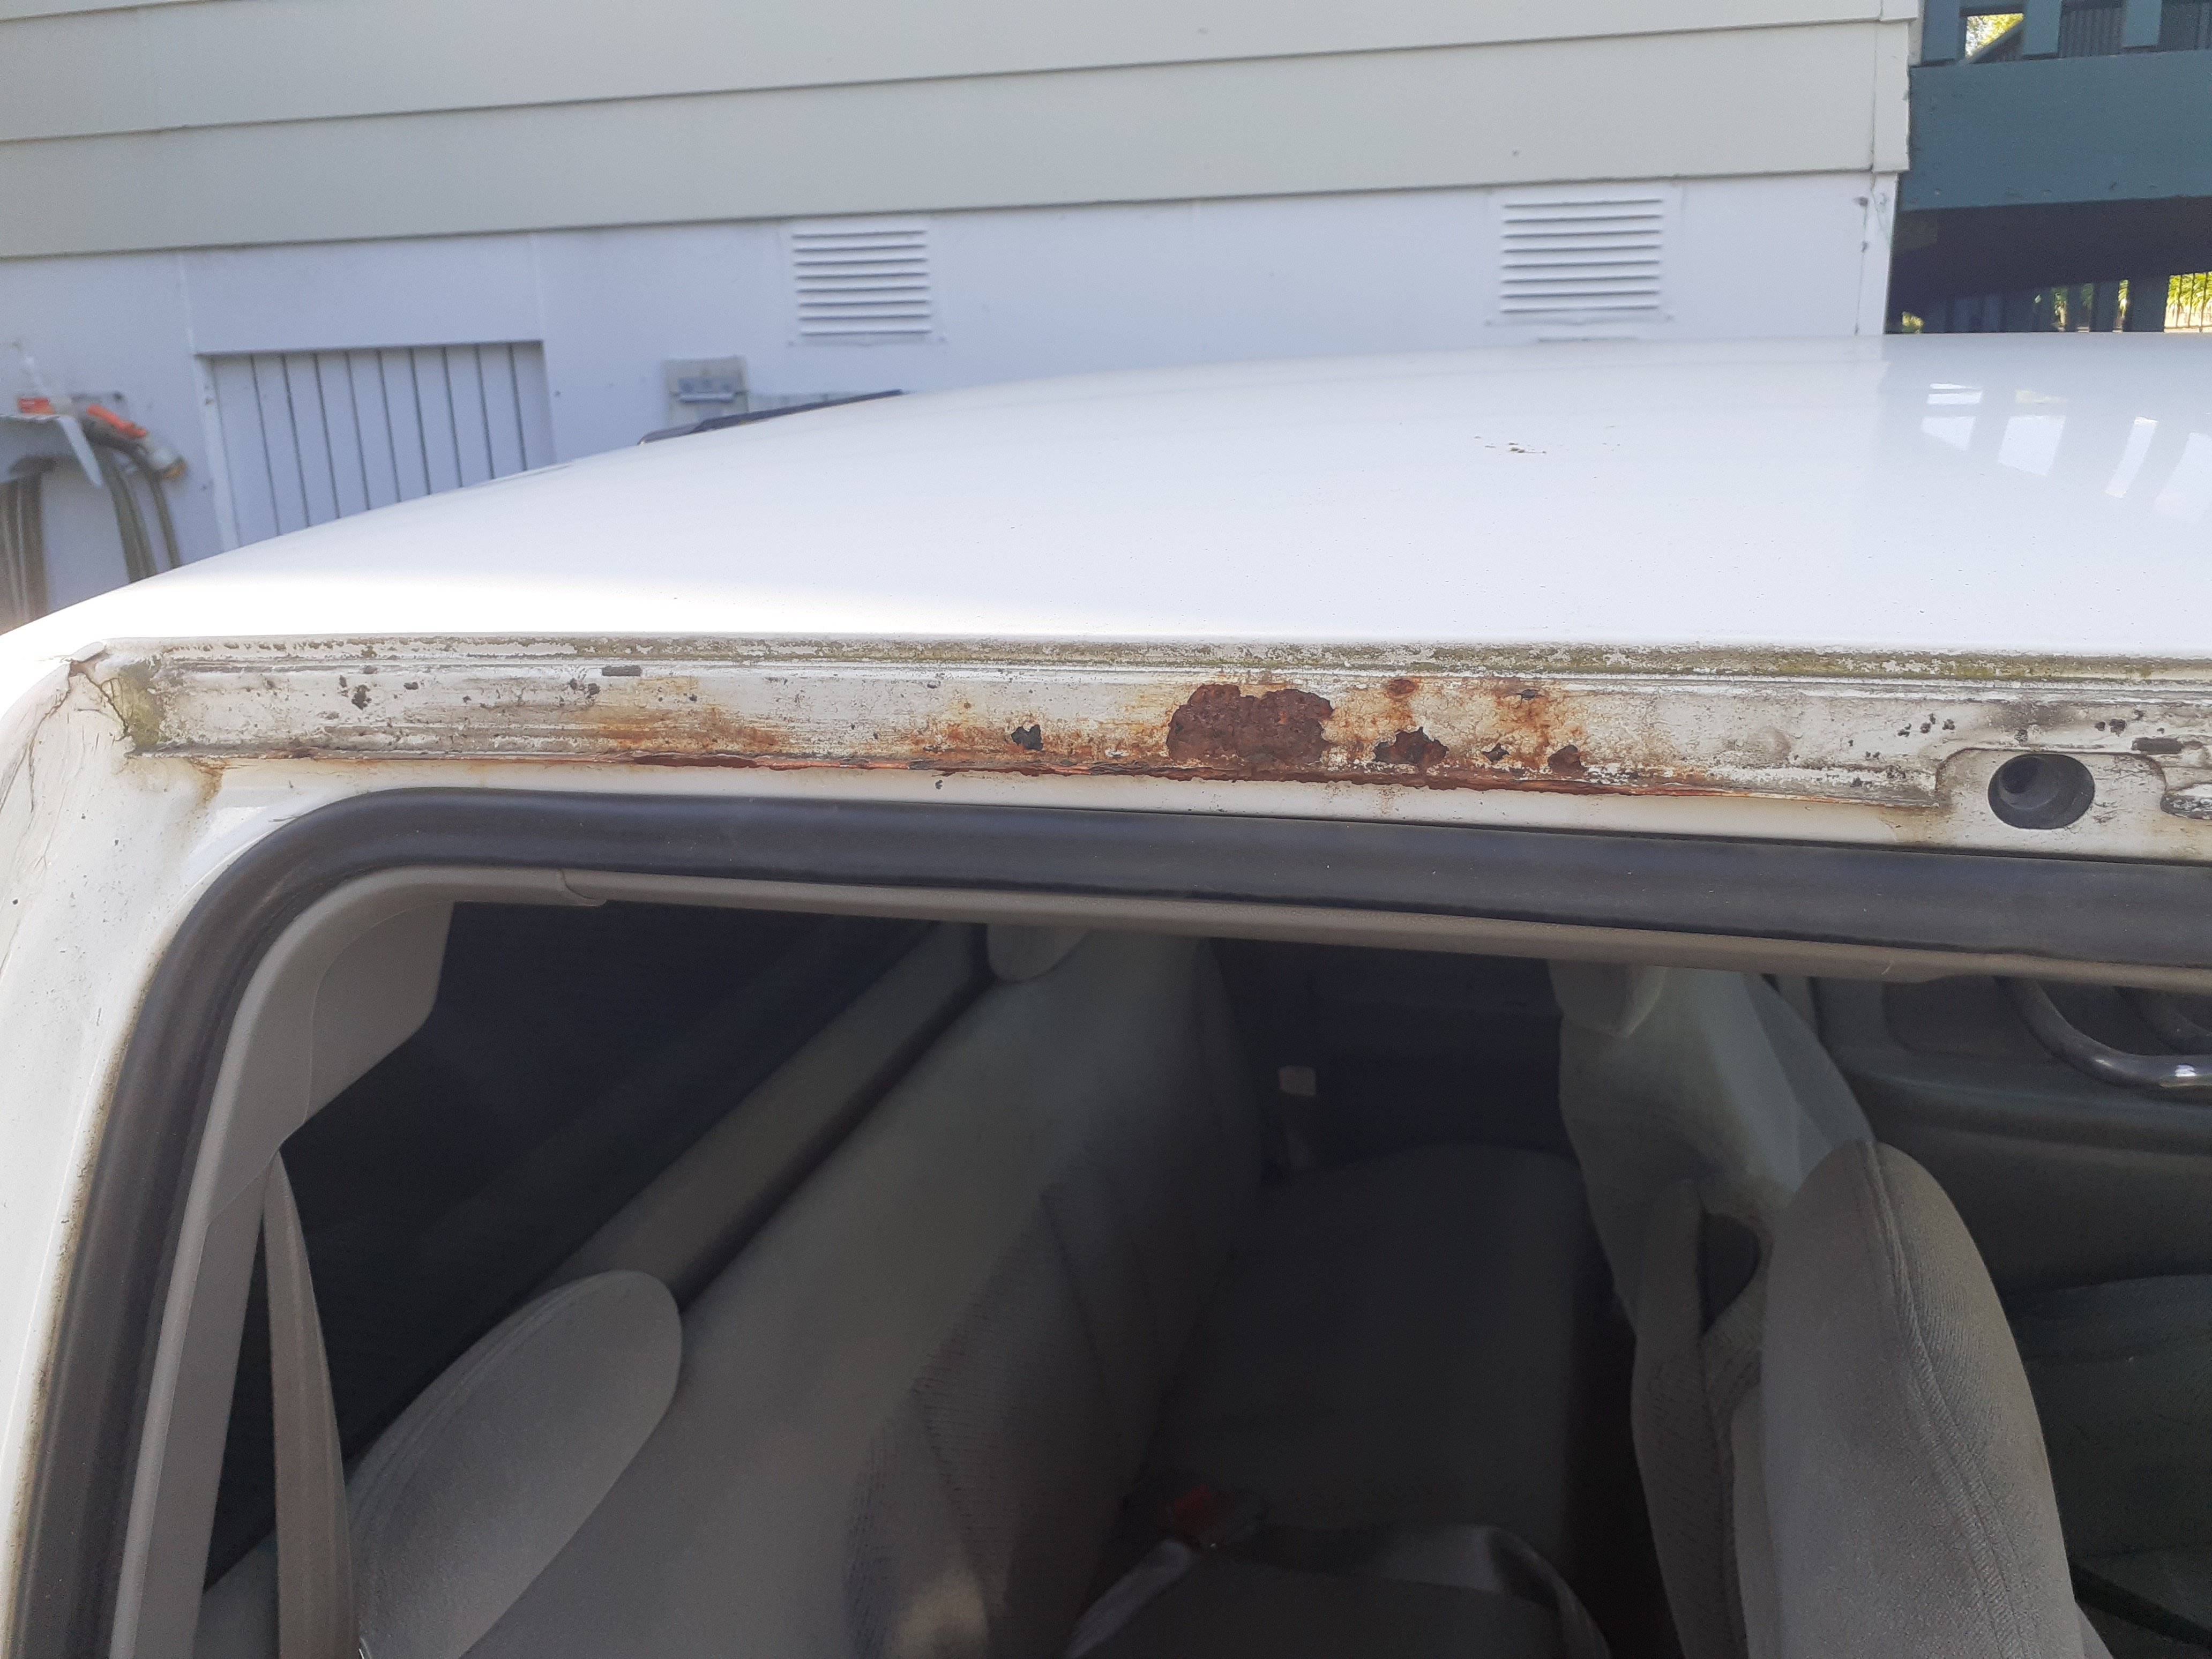
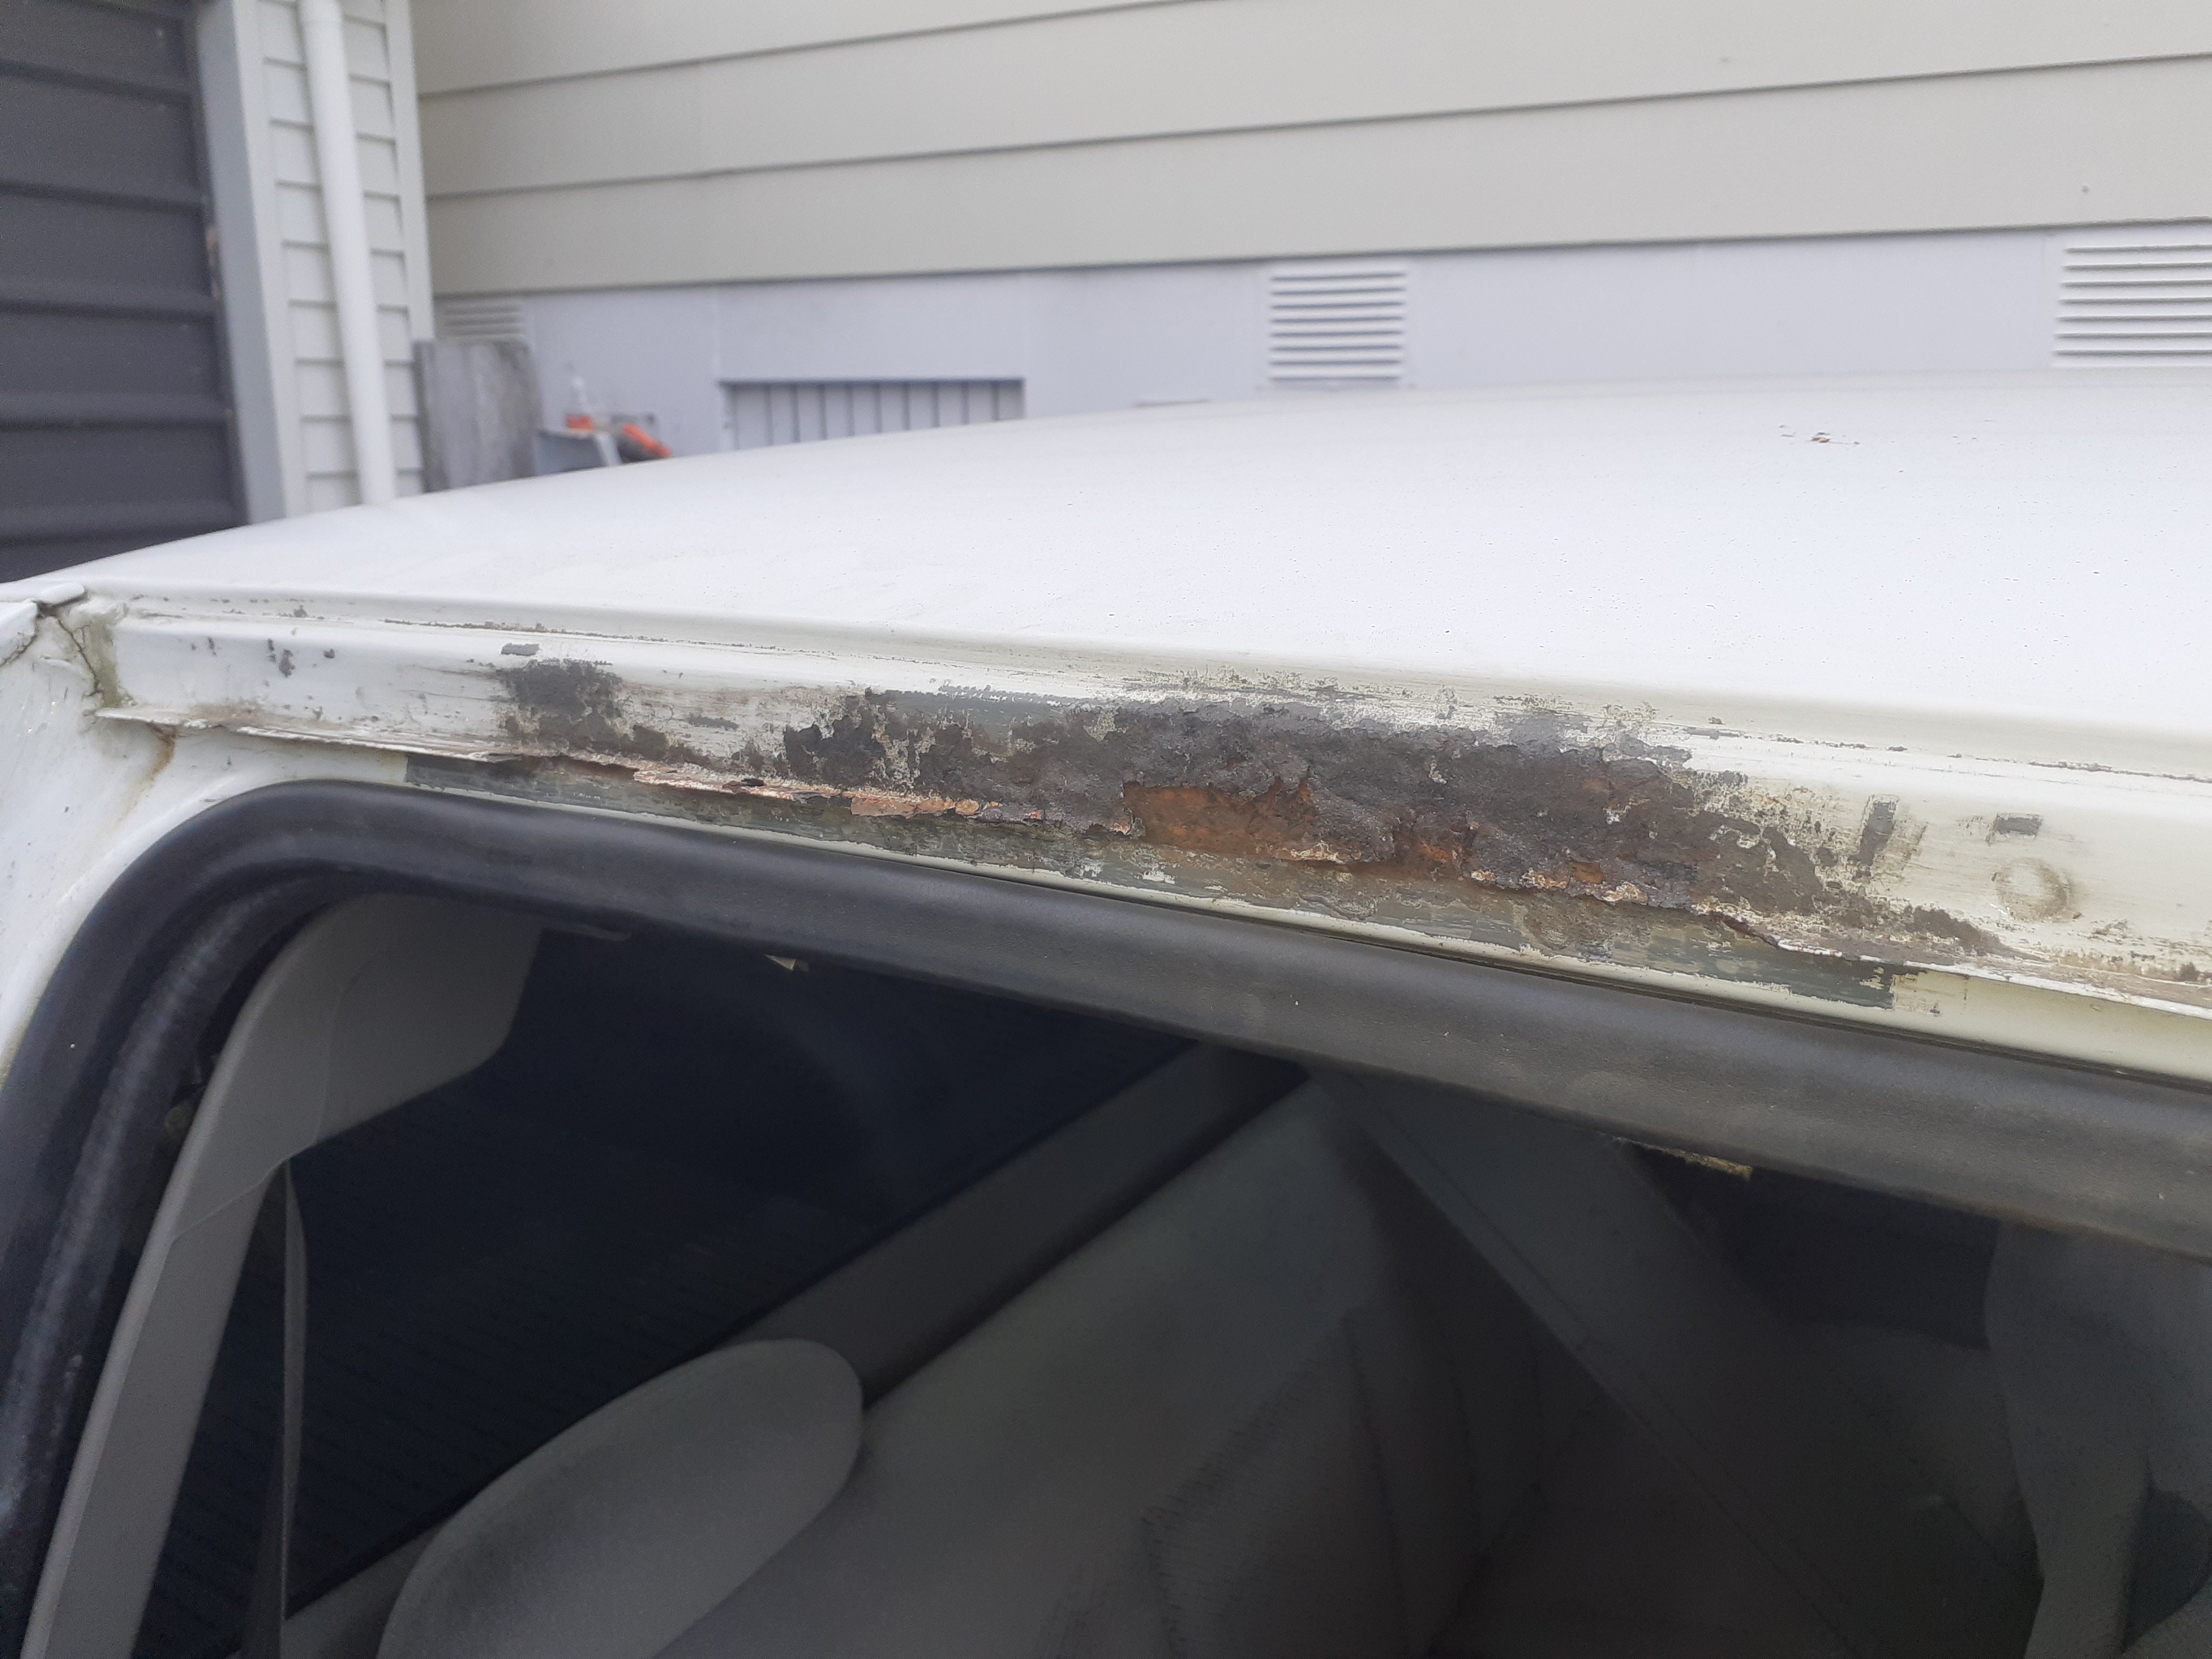
So I thought I'd have a peak under the skirt on the worst of the panels. Not too bad and I have certainly seen worse. Looks to me like a new patch was welded in and then the bog was applied over the bare metal and left for a period of time for moisture to get in. Should be an easy fix and no welding in this corner thankfully.
11 points
-
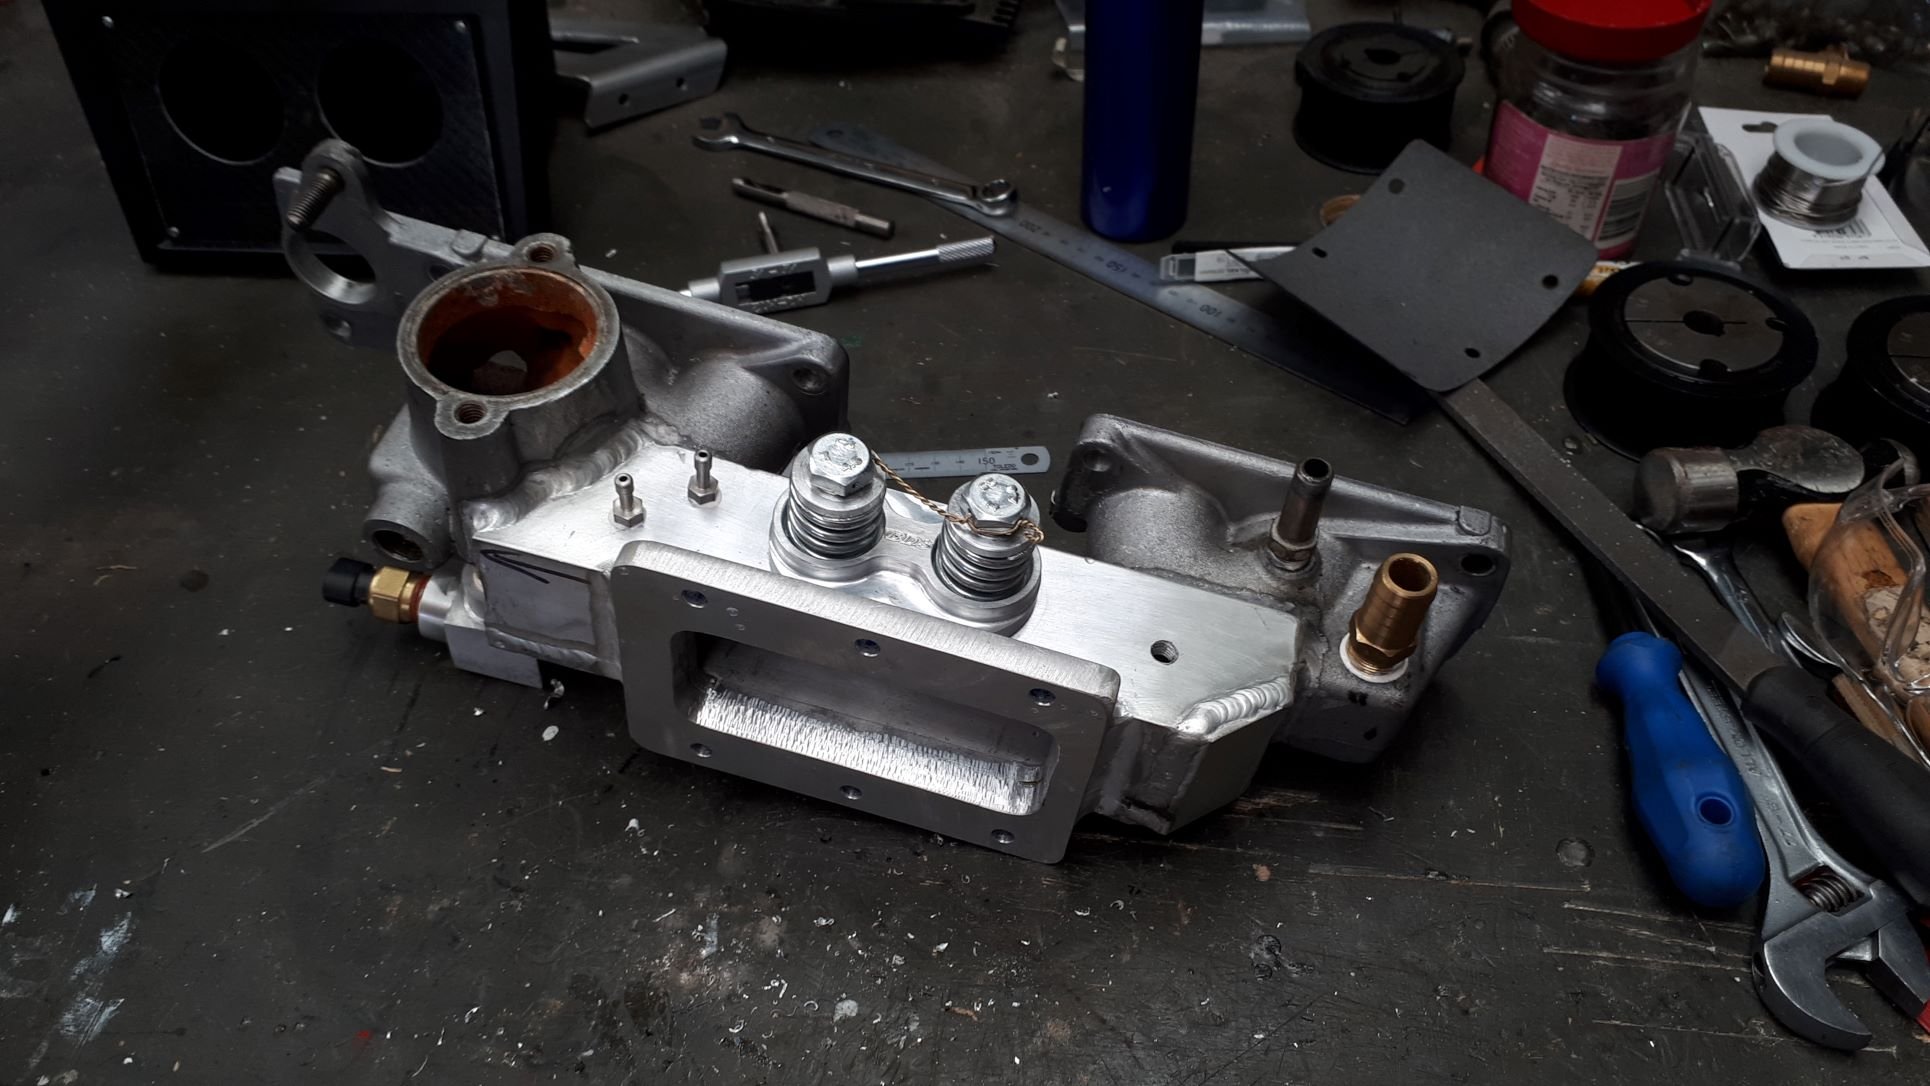
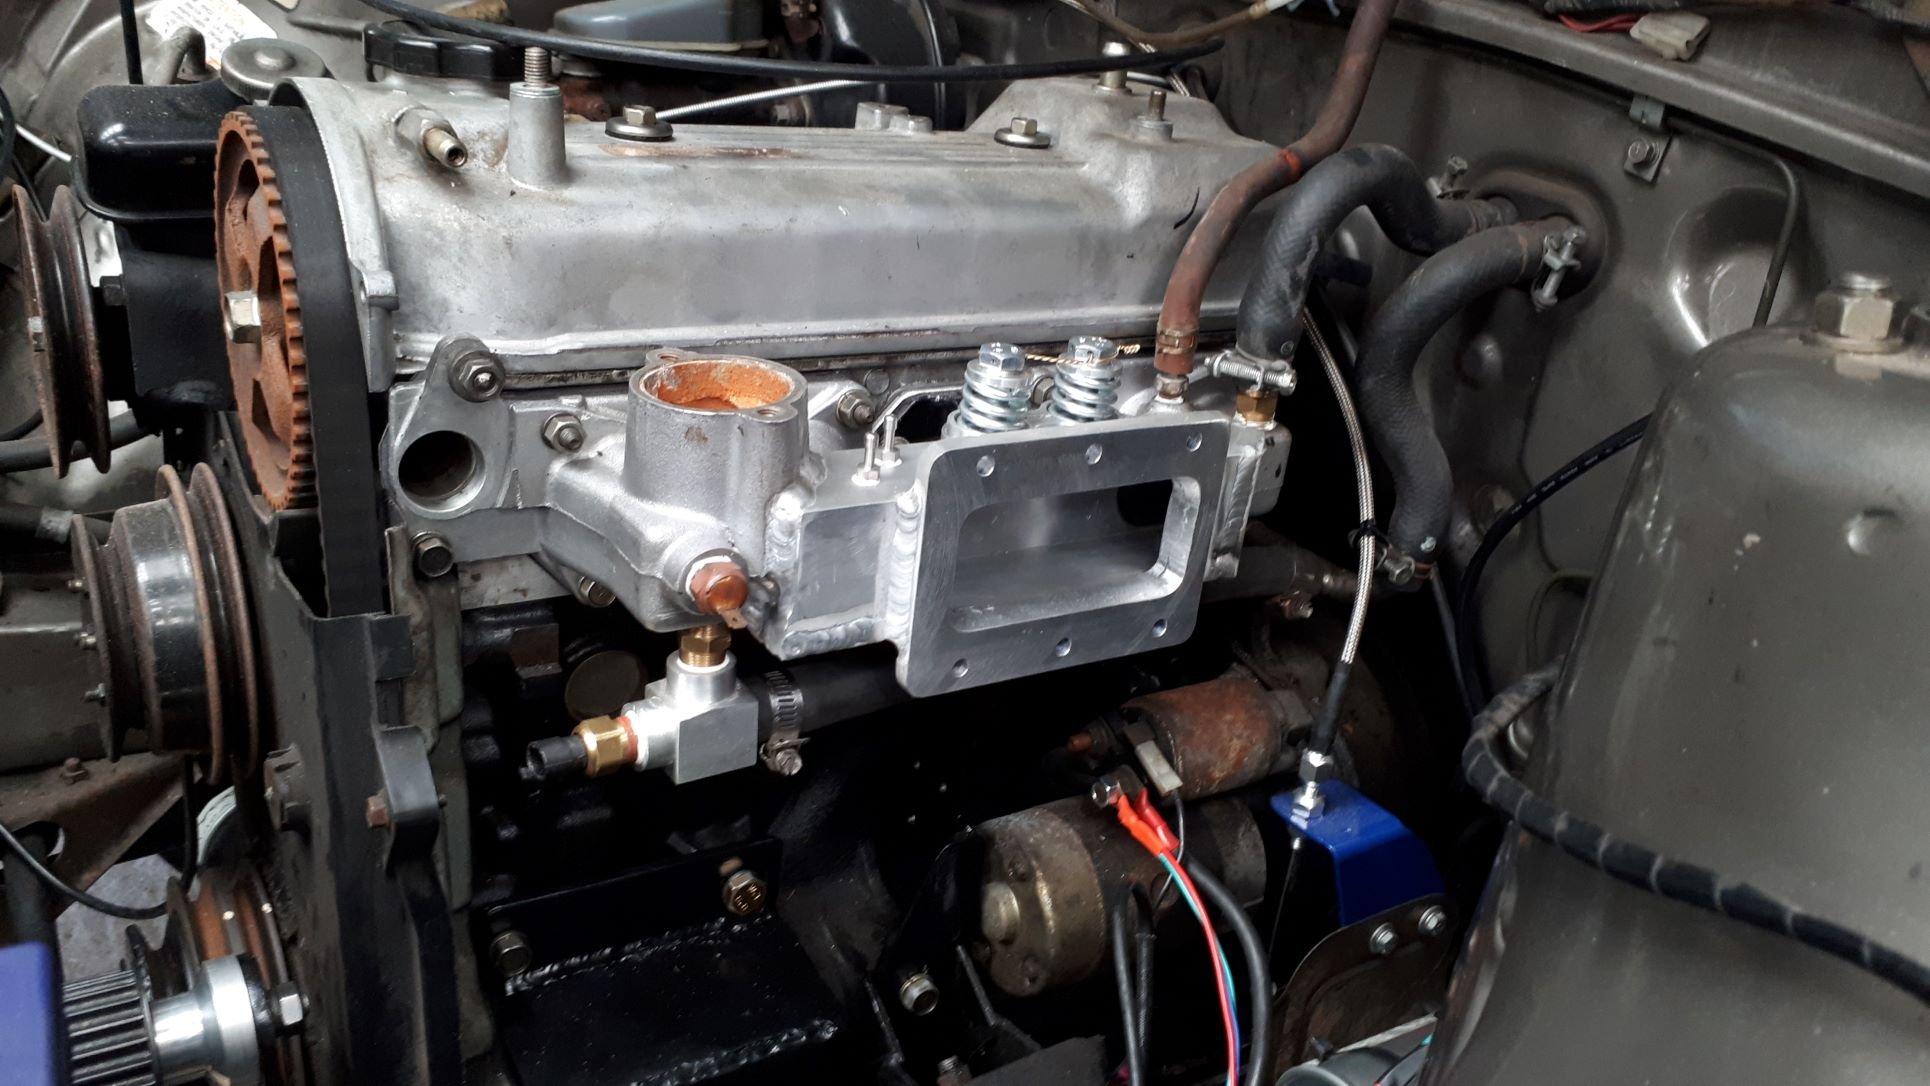
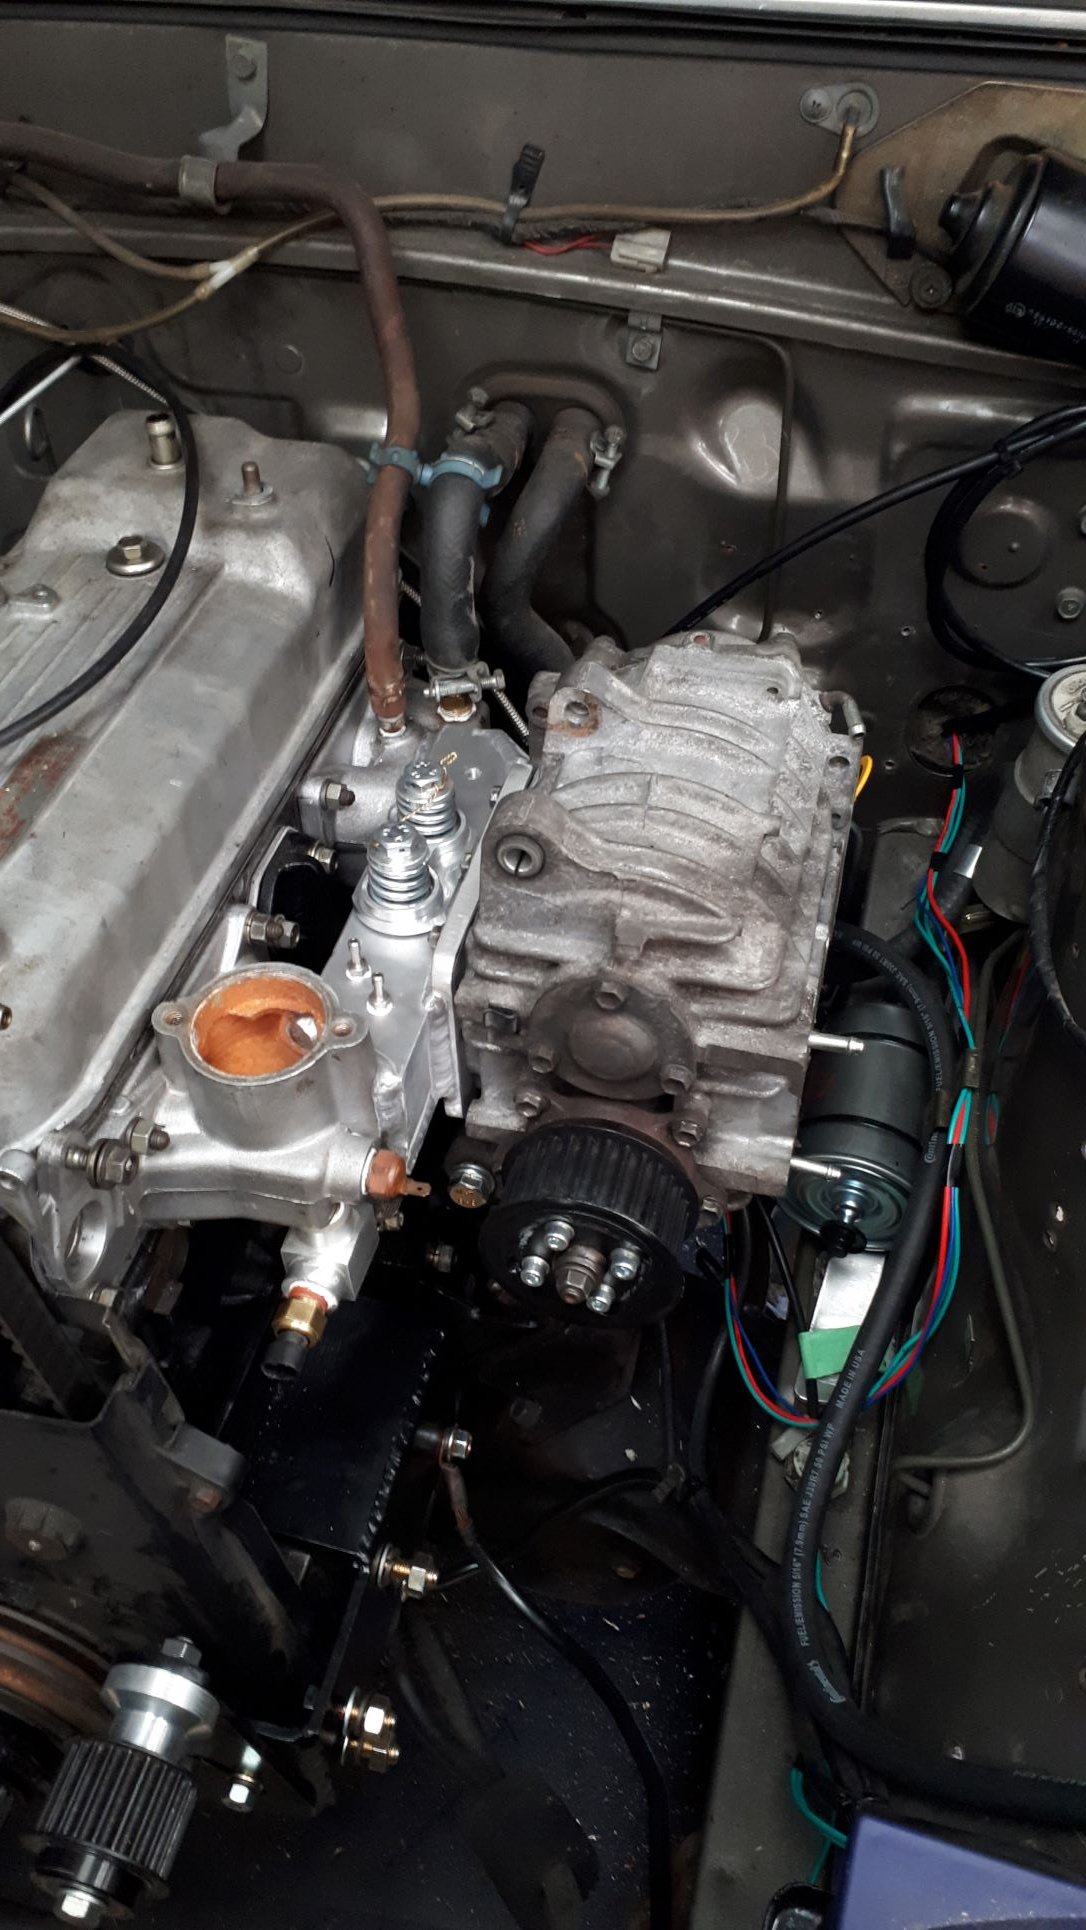
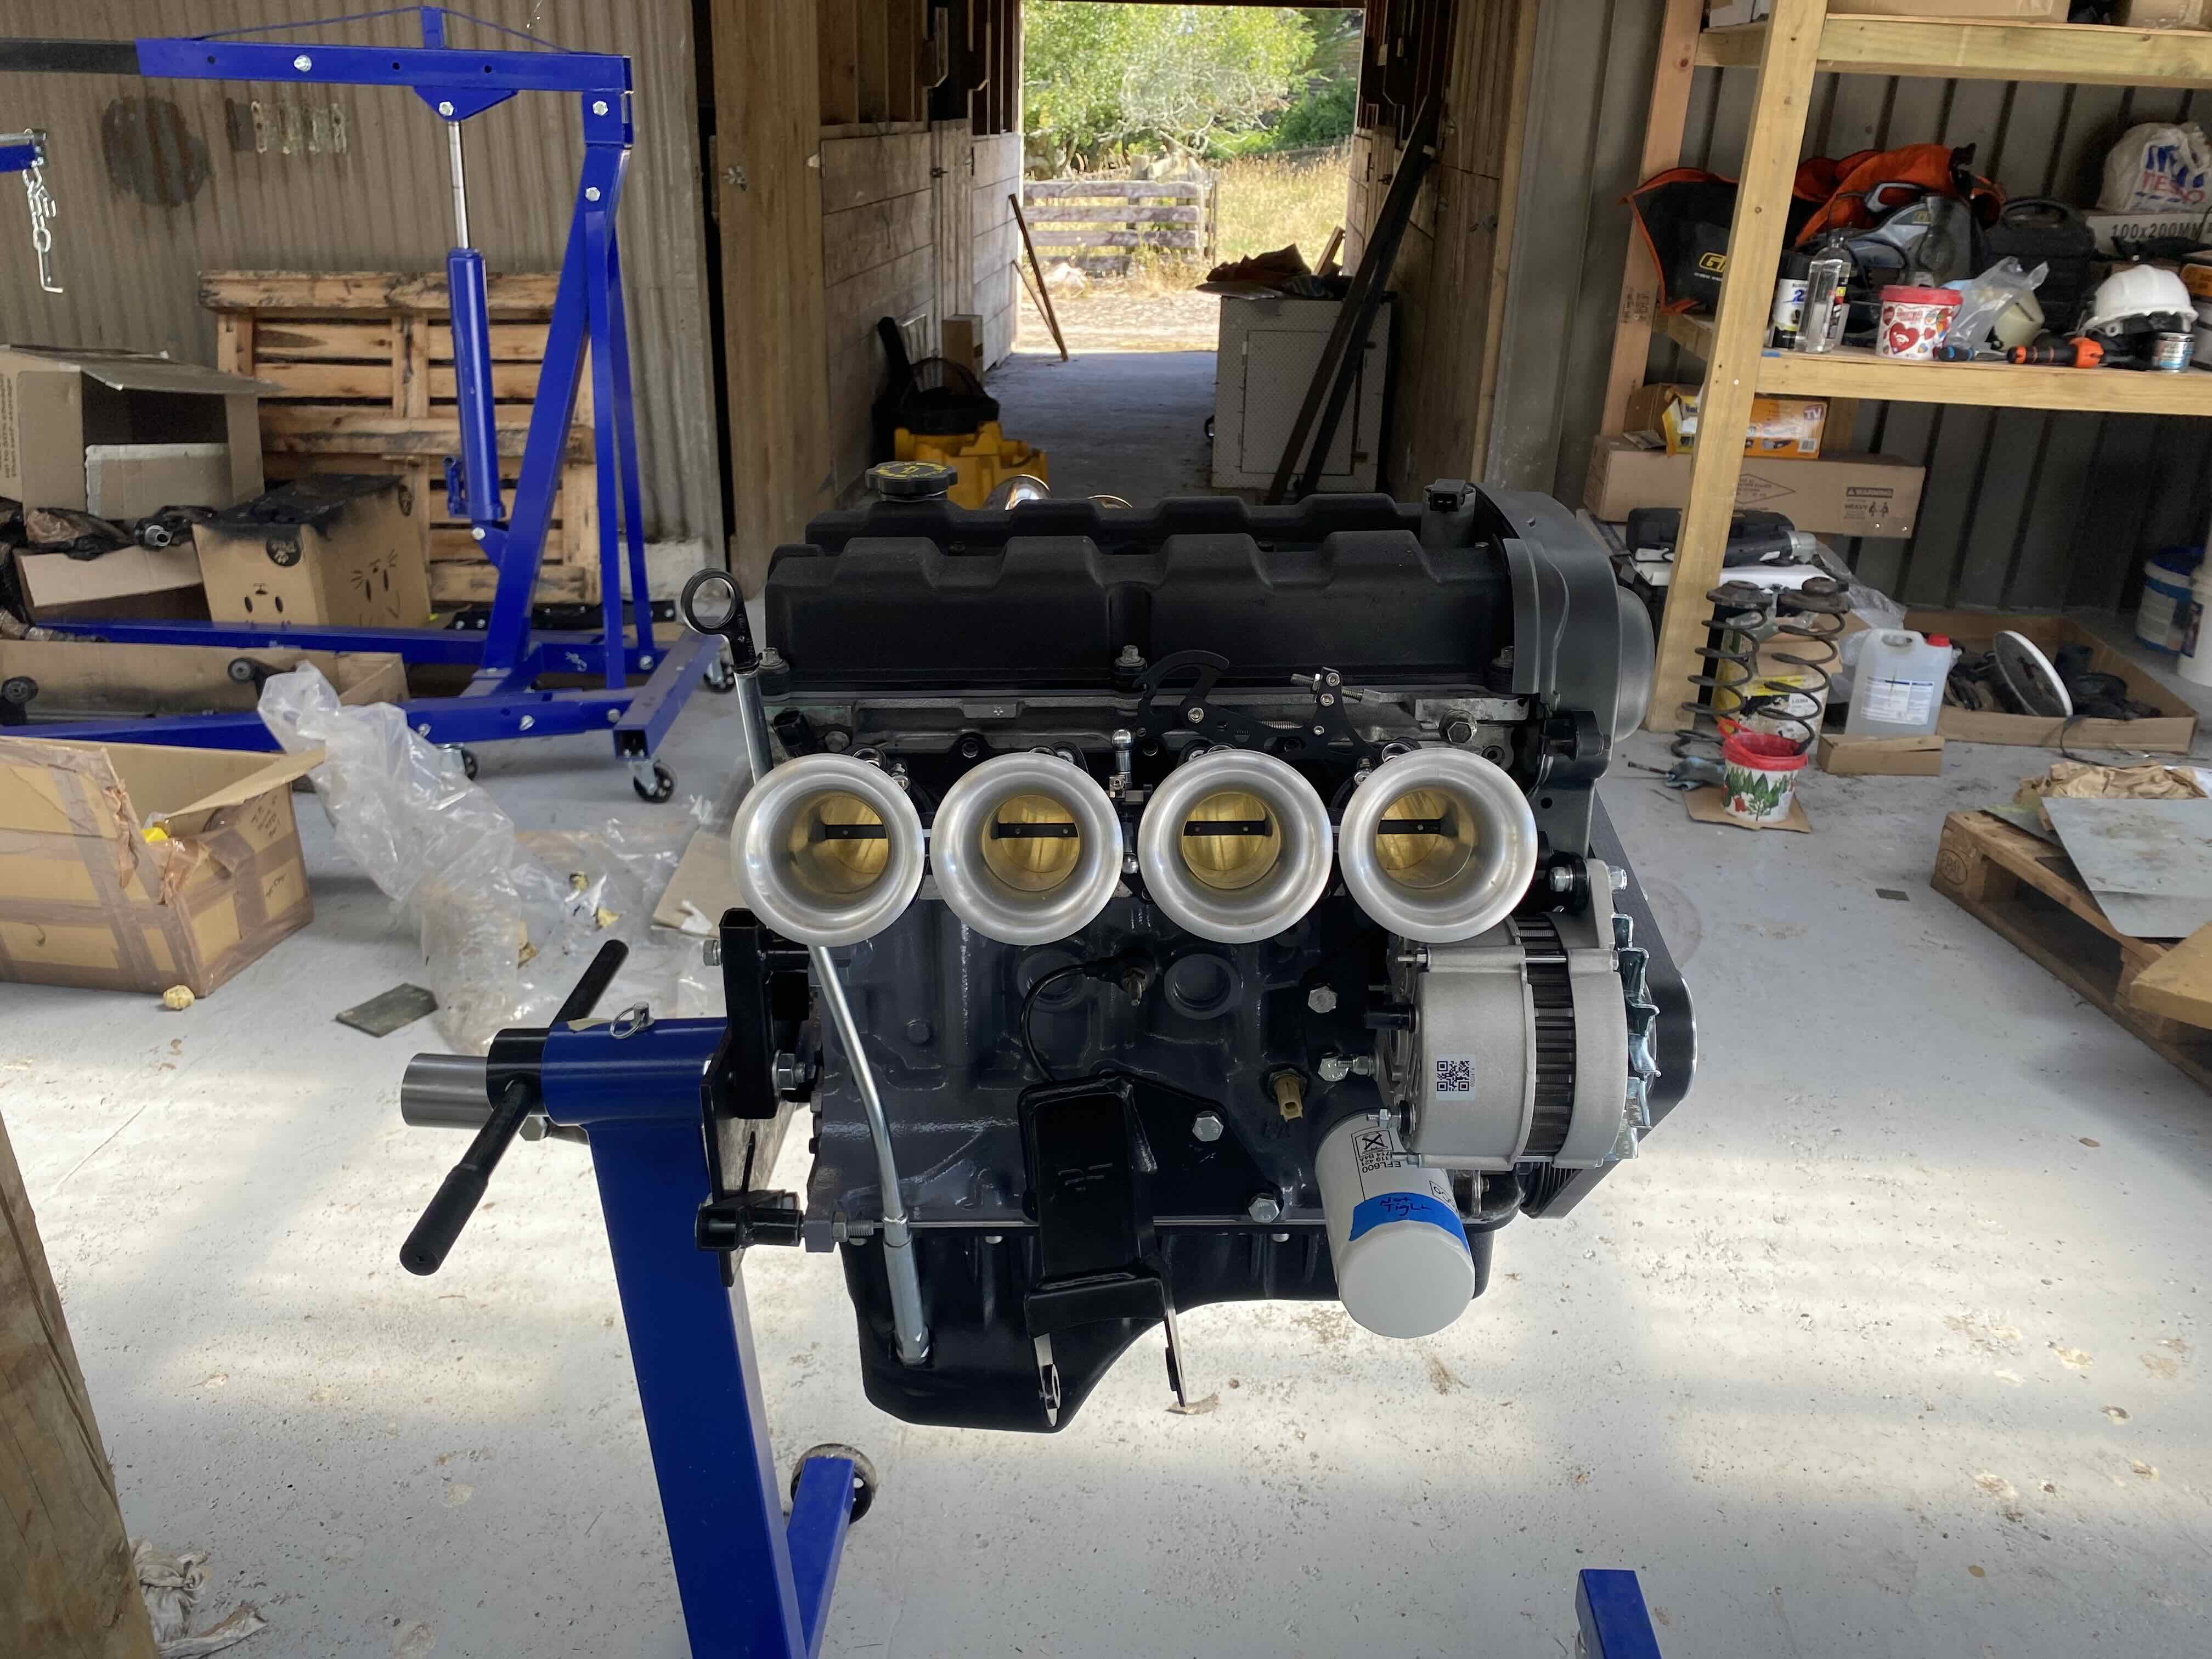
Now I am making real progress! I had all of the gasket faces on the manifolds machined flat because everything had distorted just a little through all the welding processes. I installed all of the fittings and hardware on the inlet manifold including a backfire valve (just in case). Made up some gaskets and installed the manifold and the supercharger on the engine for good this time.
8 points
-
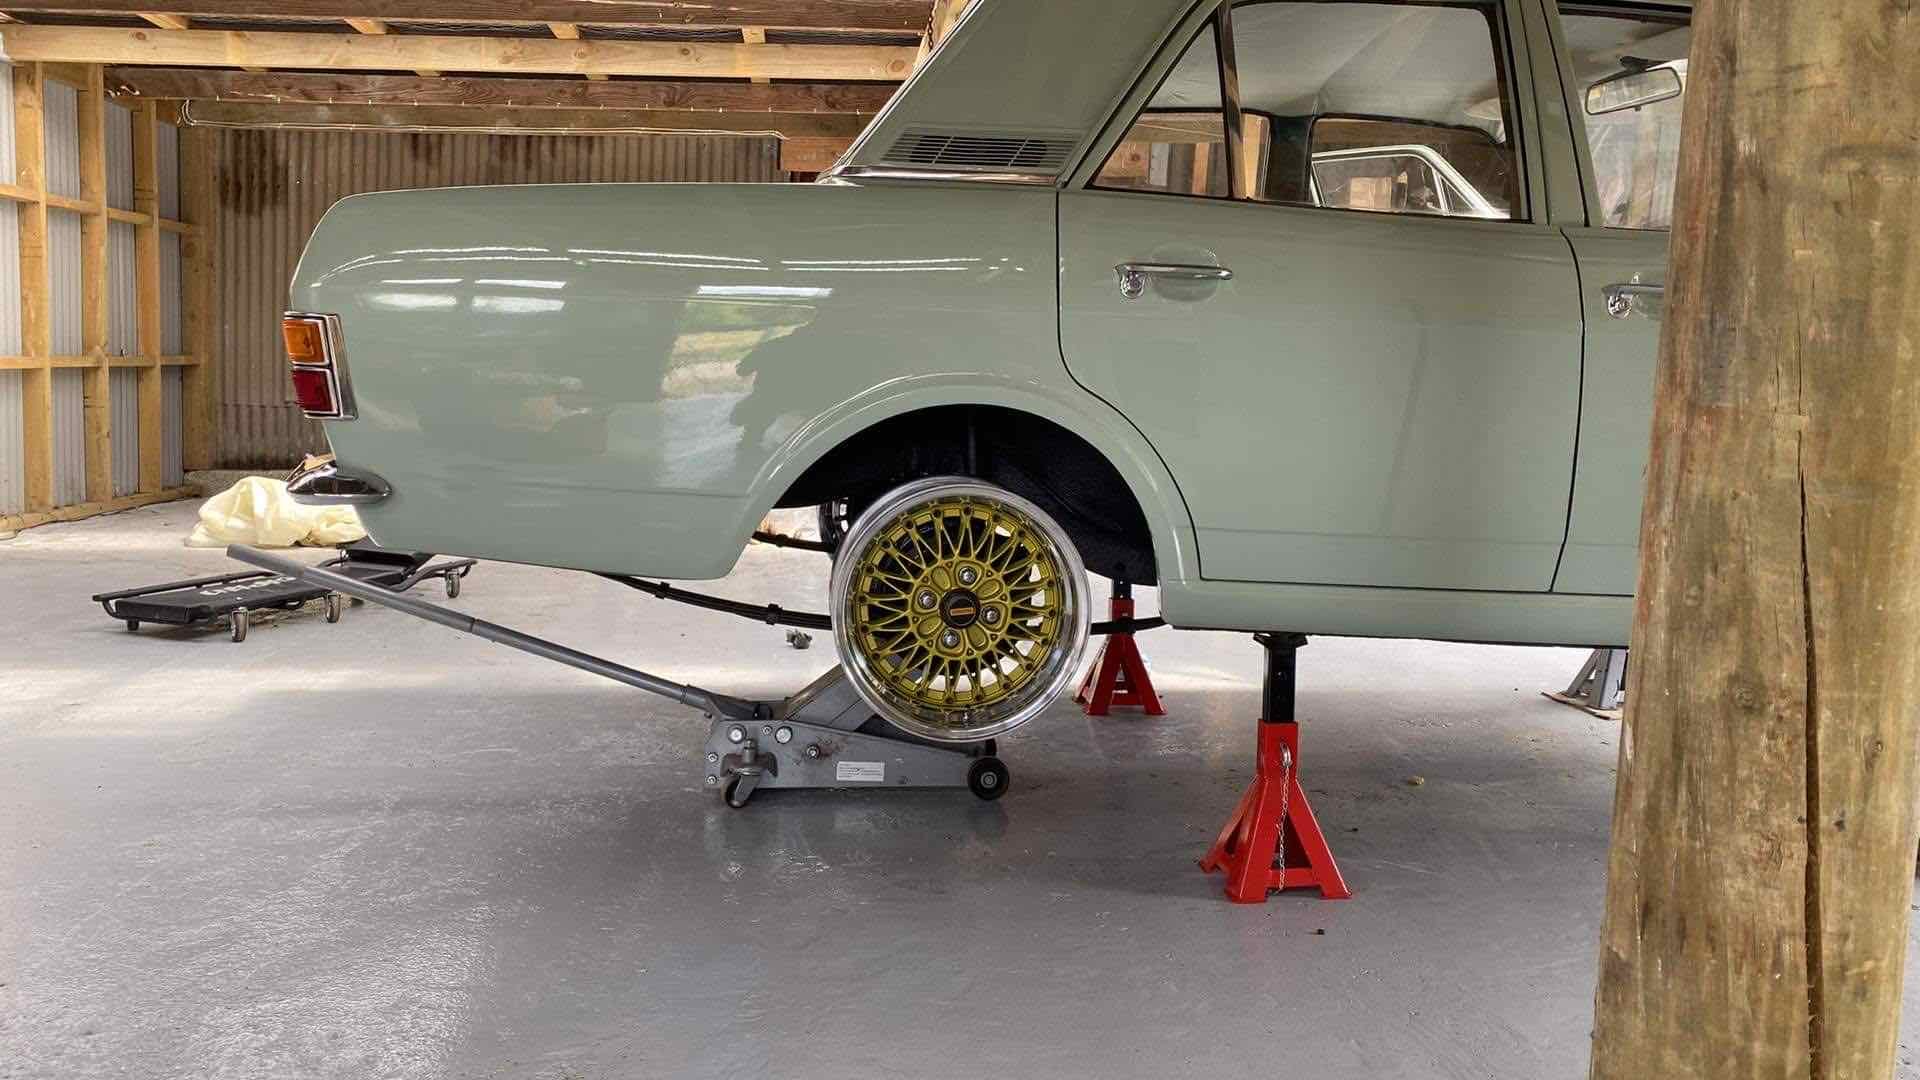
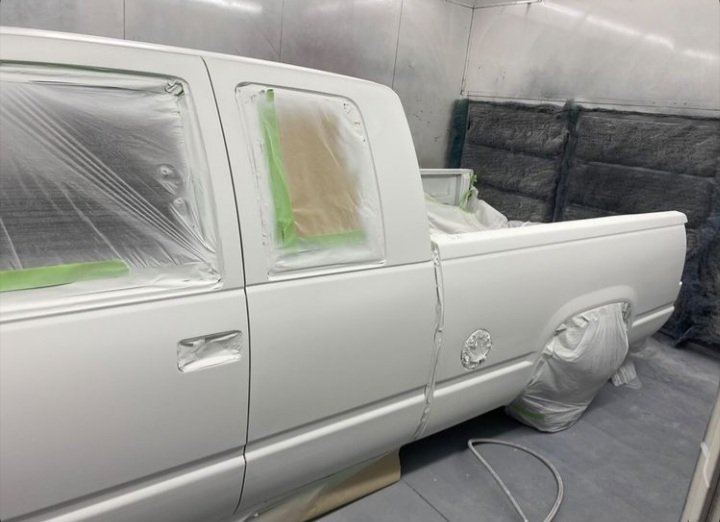
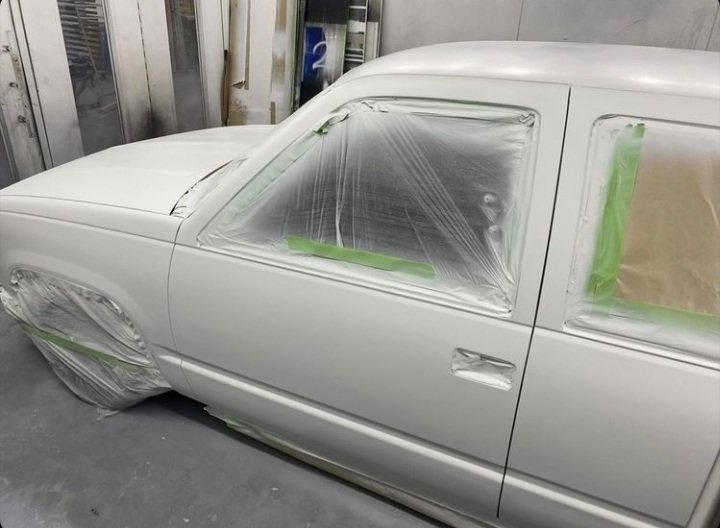
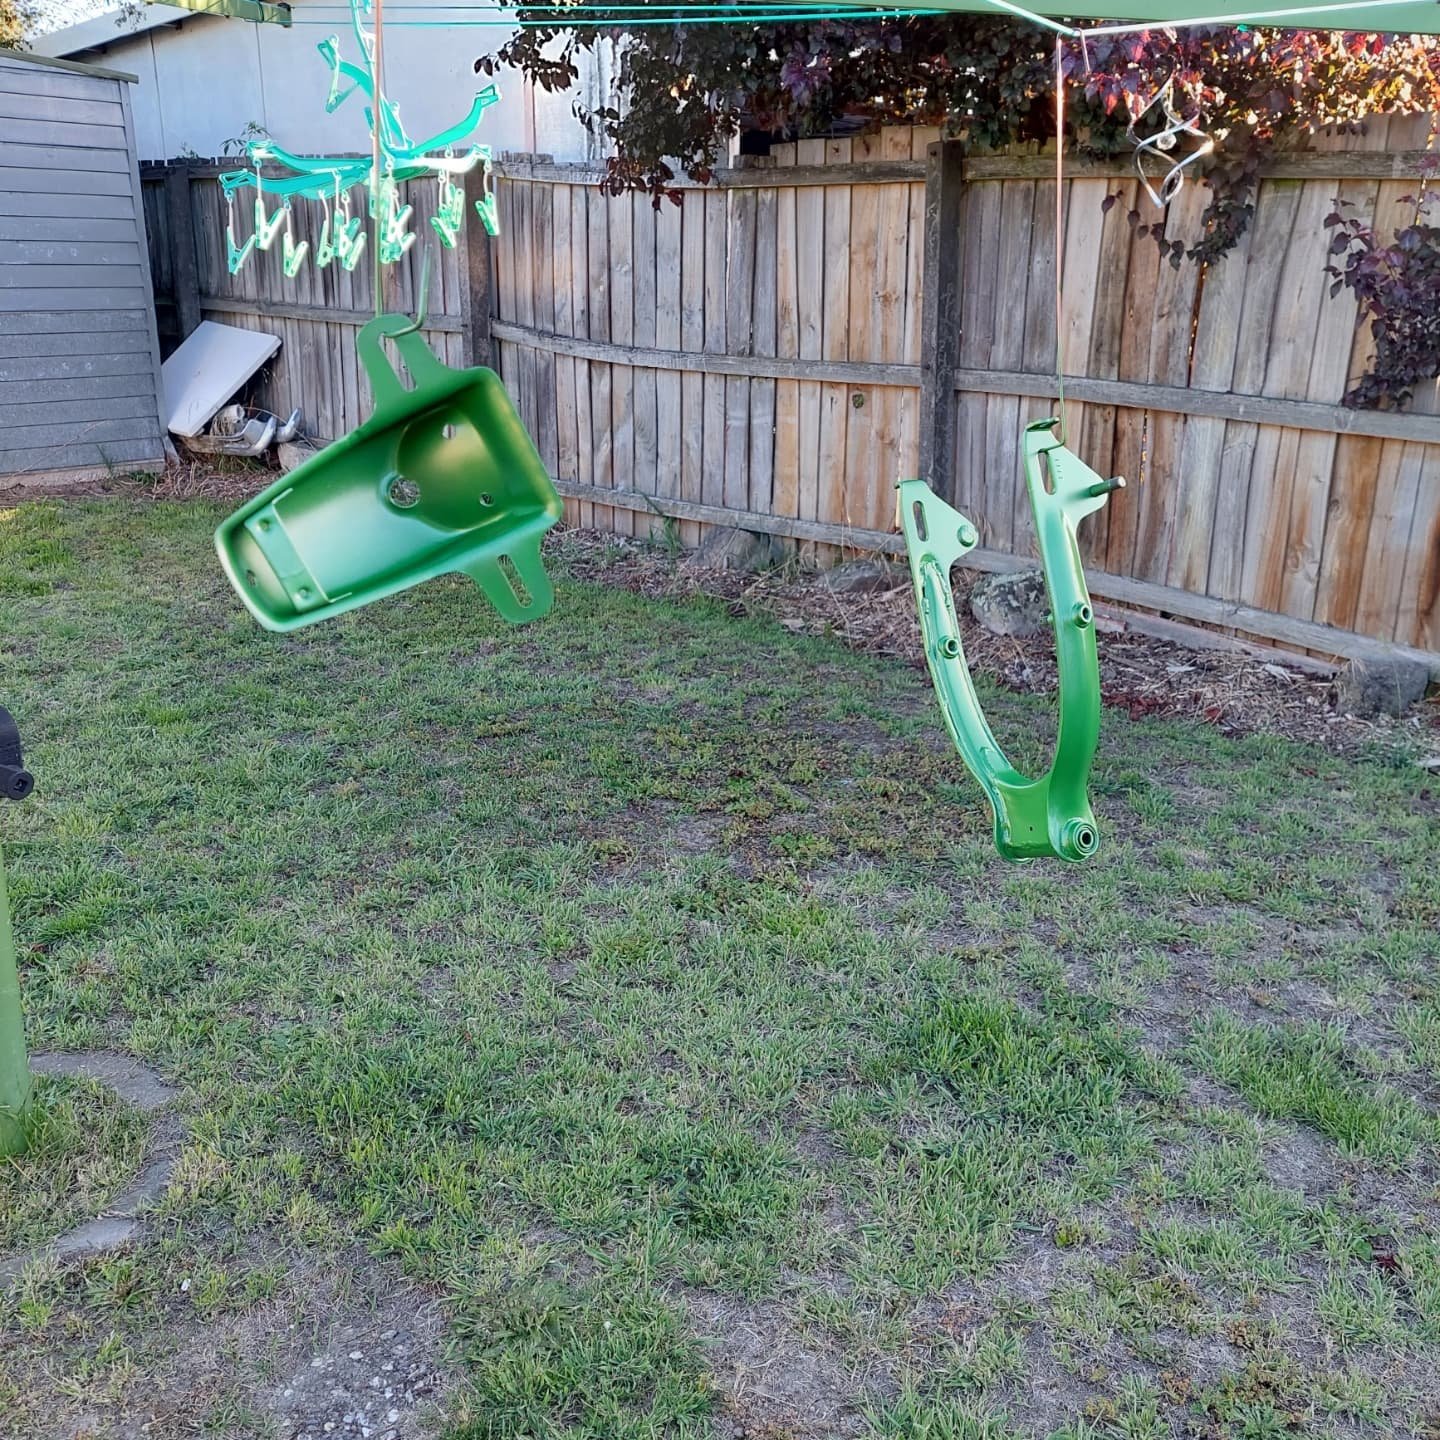
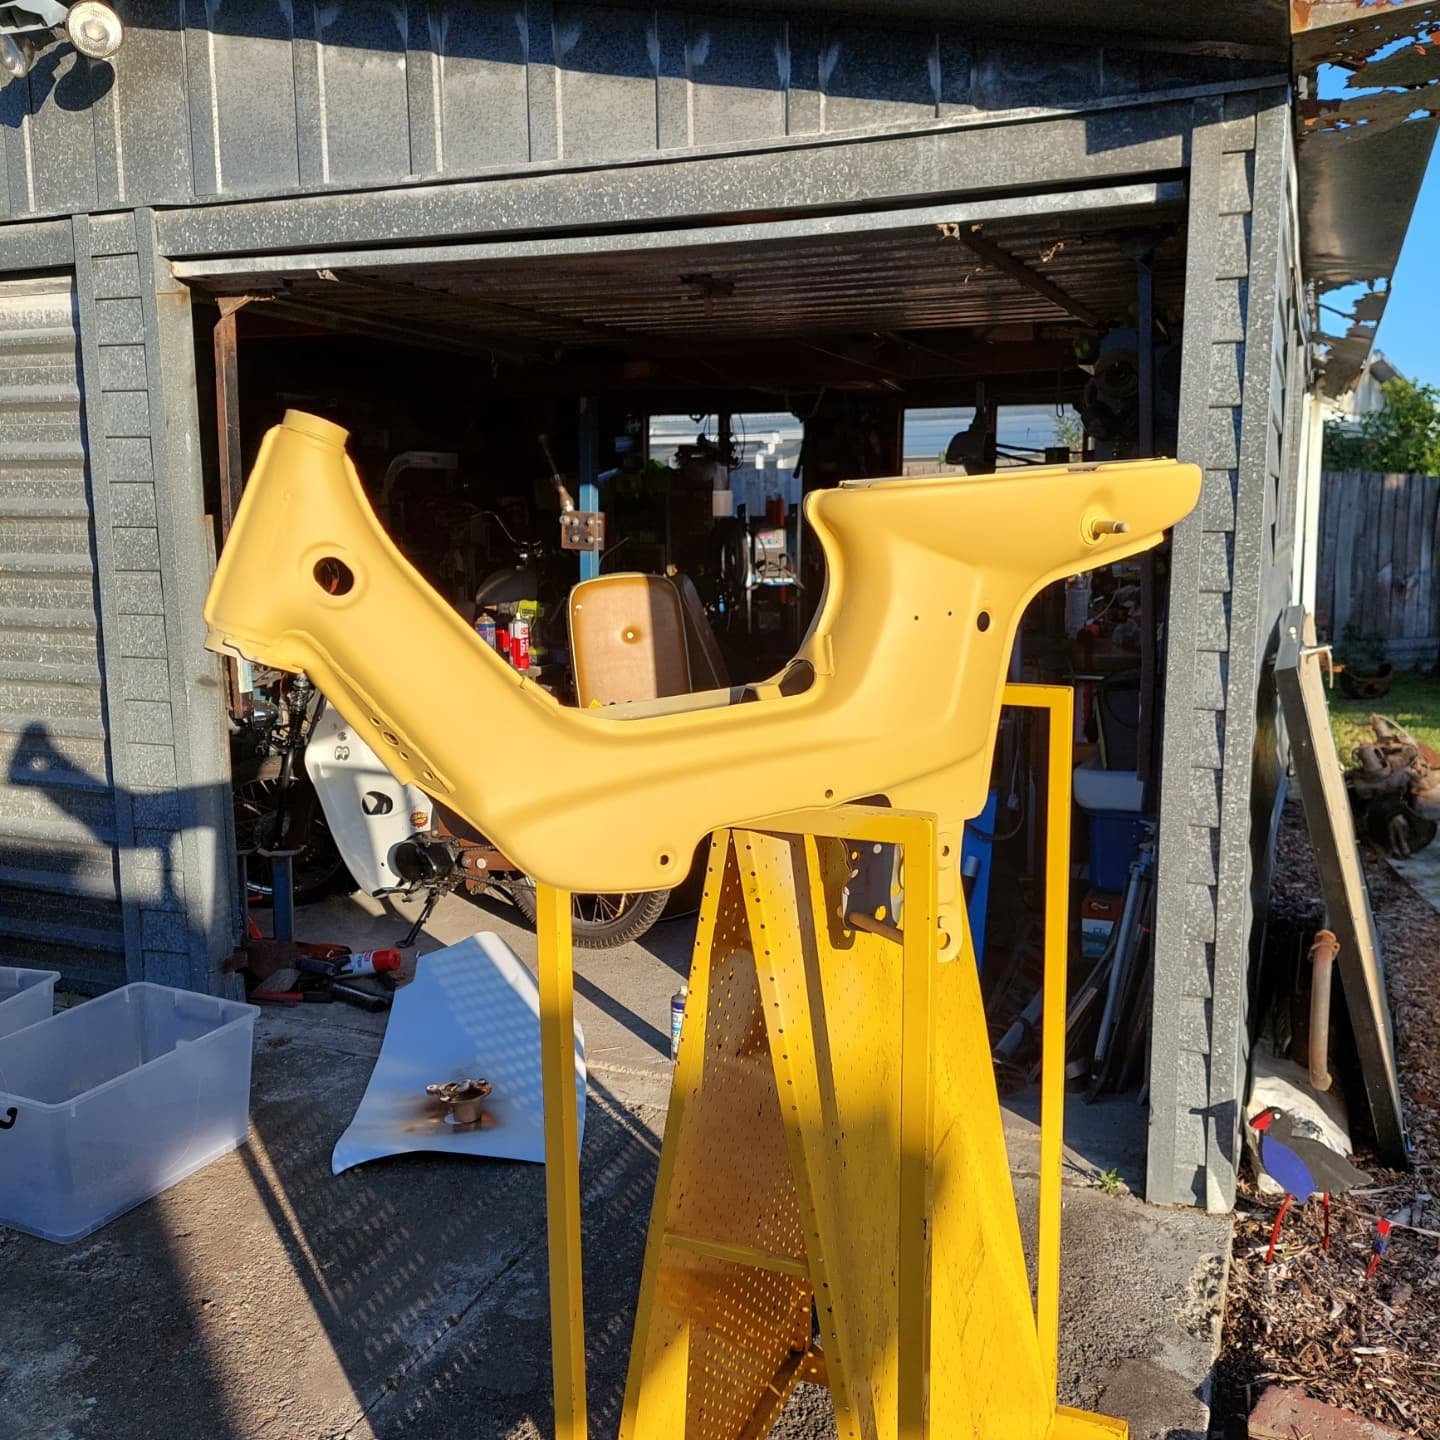
Picked it up Sunday evening, leaving it for a week in the garage for the paint to go hard before I start fitting parts back on it
7 points
-
I don't often remember my dreams when I wake up. But last night was a good one. It was the east cape ride. My GT50 was running like shit and I'd been fucking about with my gopro, so I was late to the lunch stop. When I finally got there, @HighLUX had shot a deer and was cooking it over an open fire on the side of the road. For some reason it tasted fucking awful. Weird dream, but its got me pumped for this November7 points
-
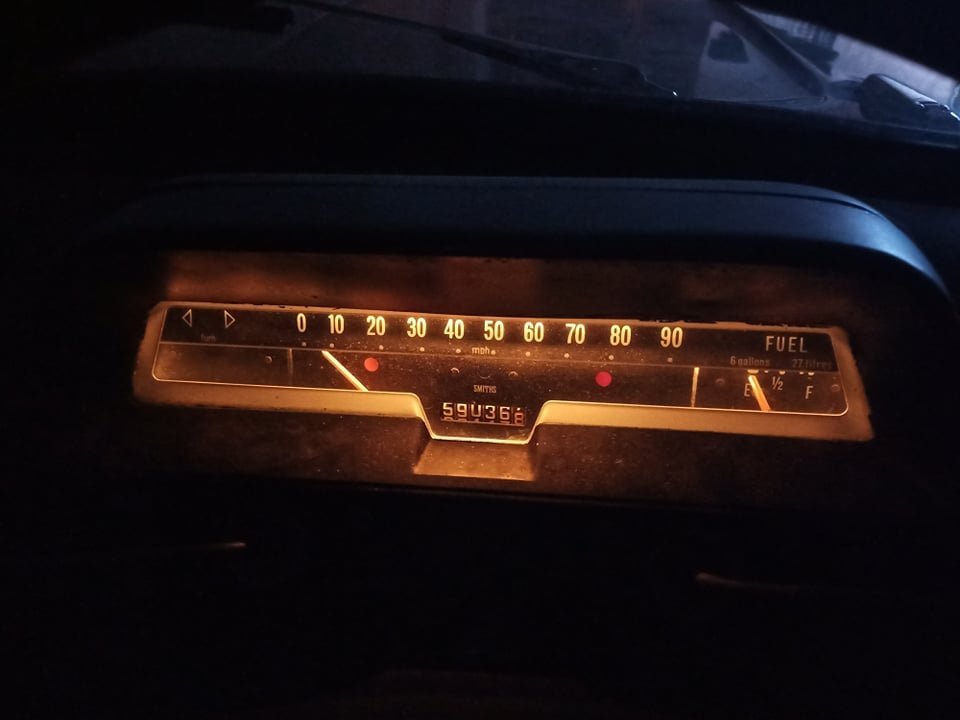
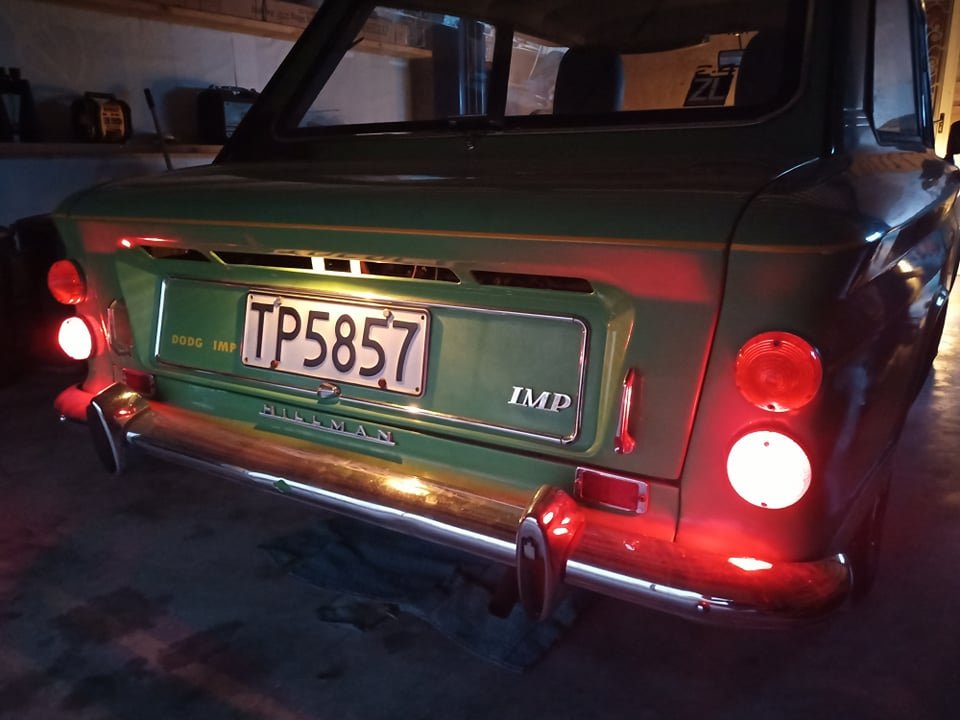
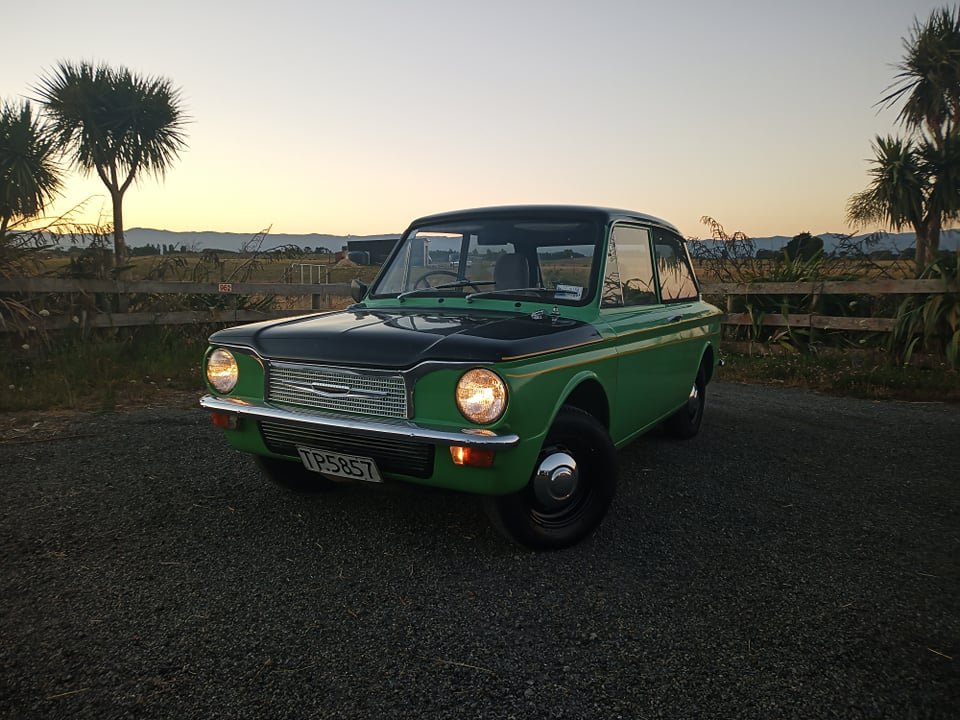
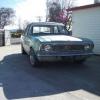
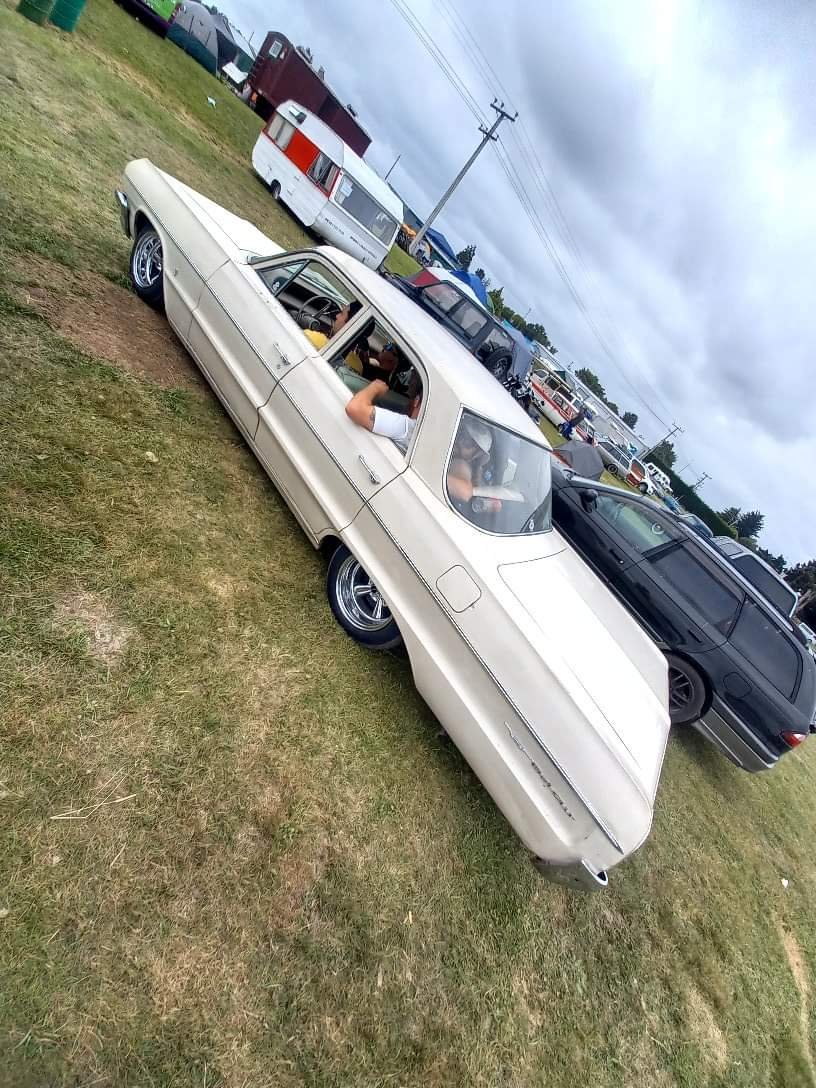
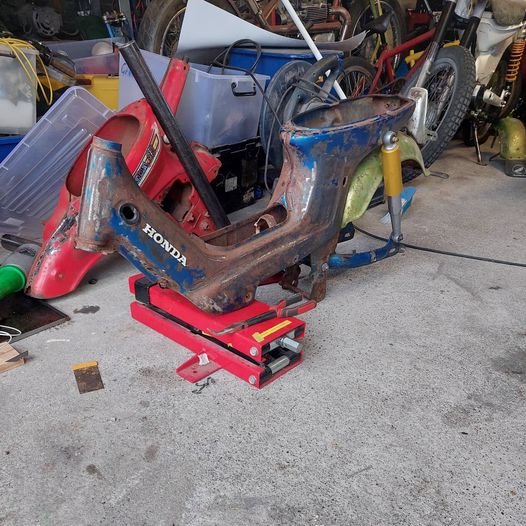
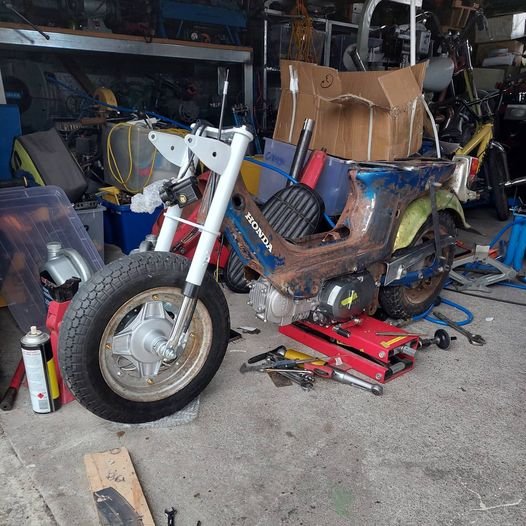
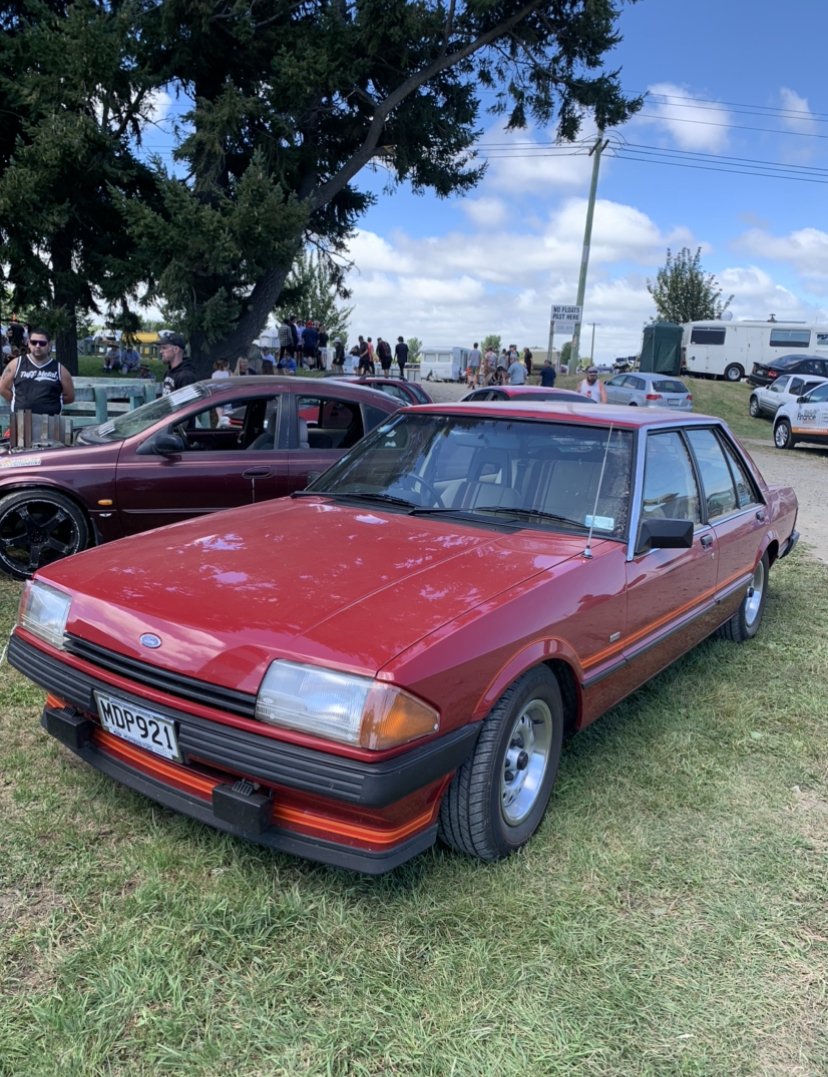
This followed me home. It's a 1965 mk1 and reasonably stock. Plan will be to get it back onto the road and then upgrade bits and bobs here and there until the engine kicks a leg out of bed and then see how I feel.
5 points
-
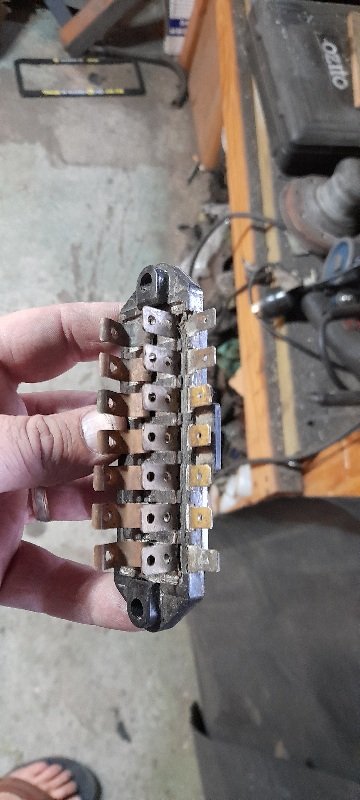
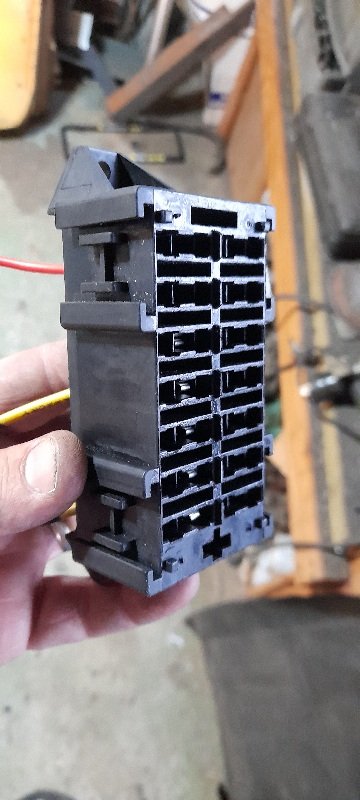
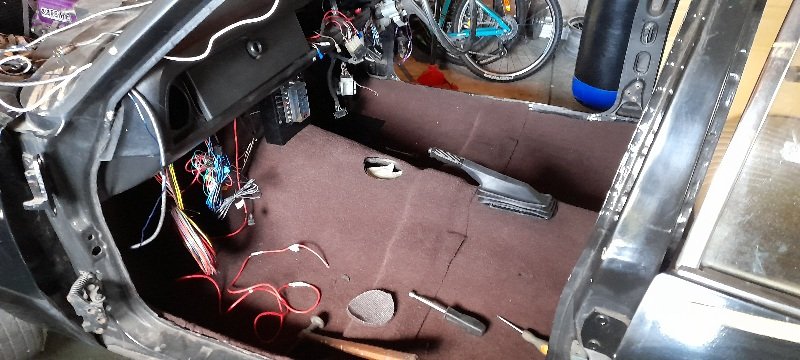
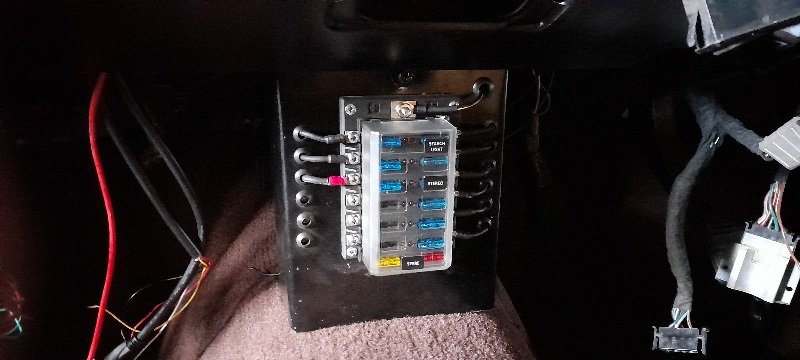
after @Raizer pointed out that the cert man will want plates ontop of the floor as sandwich for the driveshaft loops I changed both front and rear ... and then got the rear part of the carpet down for good. then I moved my attention to the fuse box.... I had already got shot of the factory one when I reworked all the wiring .. I also had moved the wiring around a few time and blown some and while I was changing them I couldn't help buy notice that the wire in the back were becoming lose and sometimes getting pushed out all together and I can't be fucked with that. so I bought one for a boat/race car. way more sturdy and even has LED to let you know what one is blown... also easy to add wires when needed. so I mad a panel for it.....and finally hot the front section of carpet in for good. and the fuse panel you can see in the center under the dash.......and my miss 11 calls the Flux capacitor
5 points
-
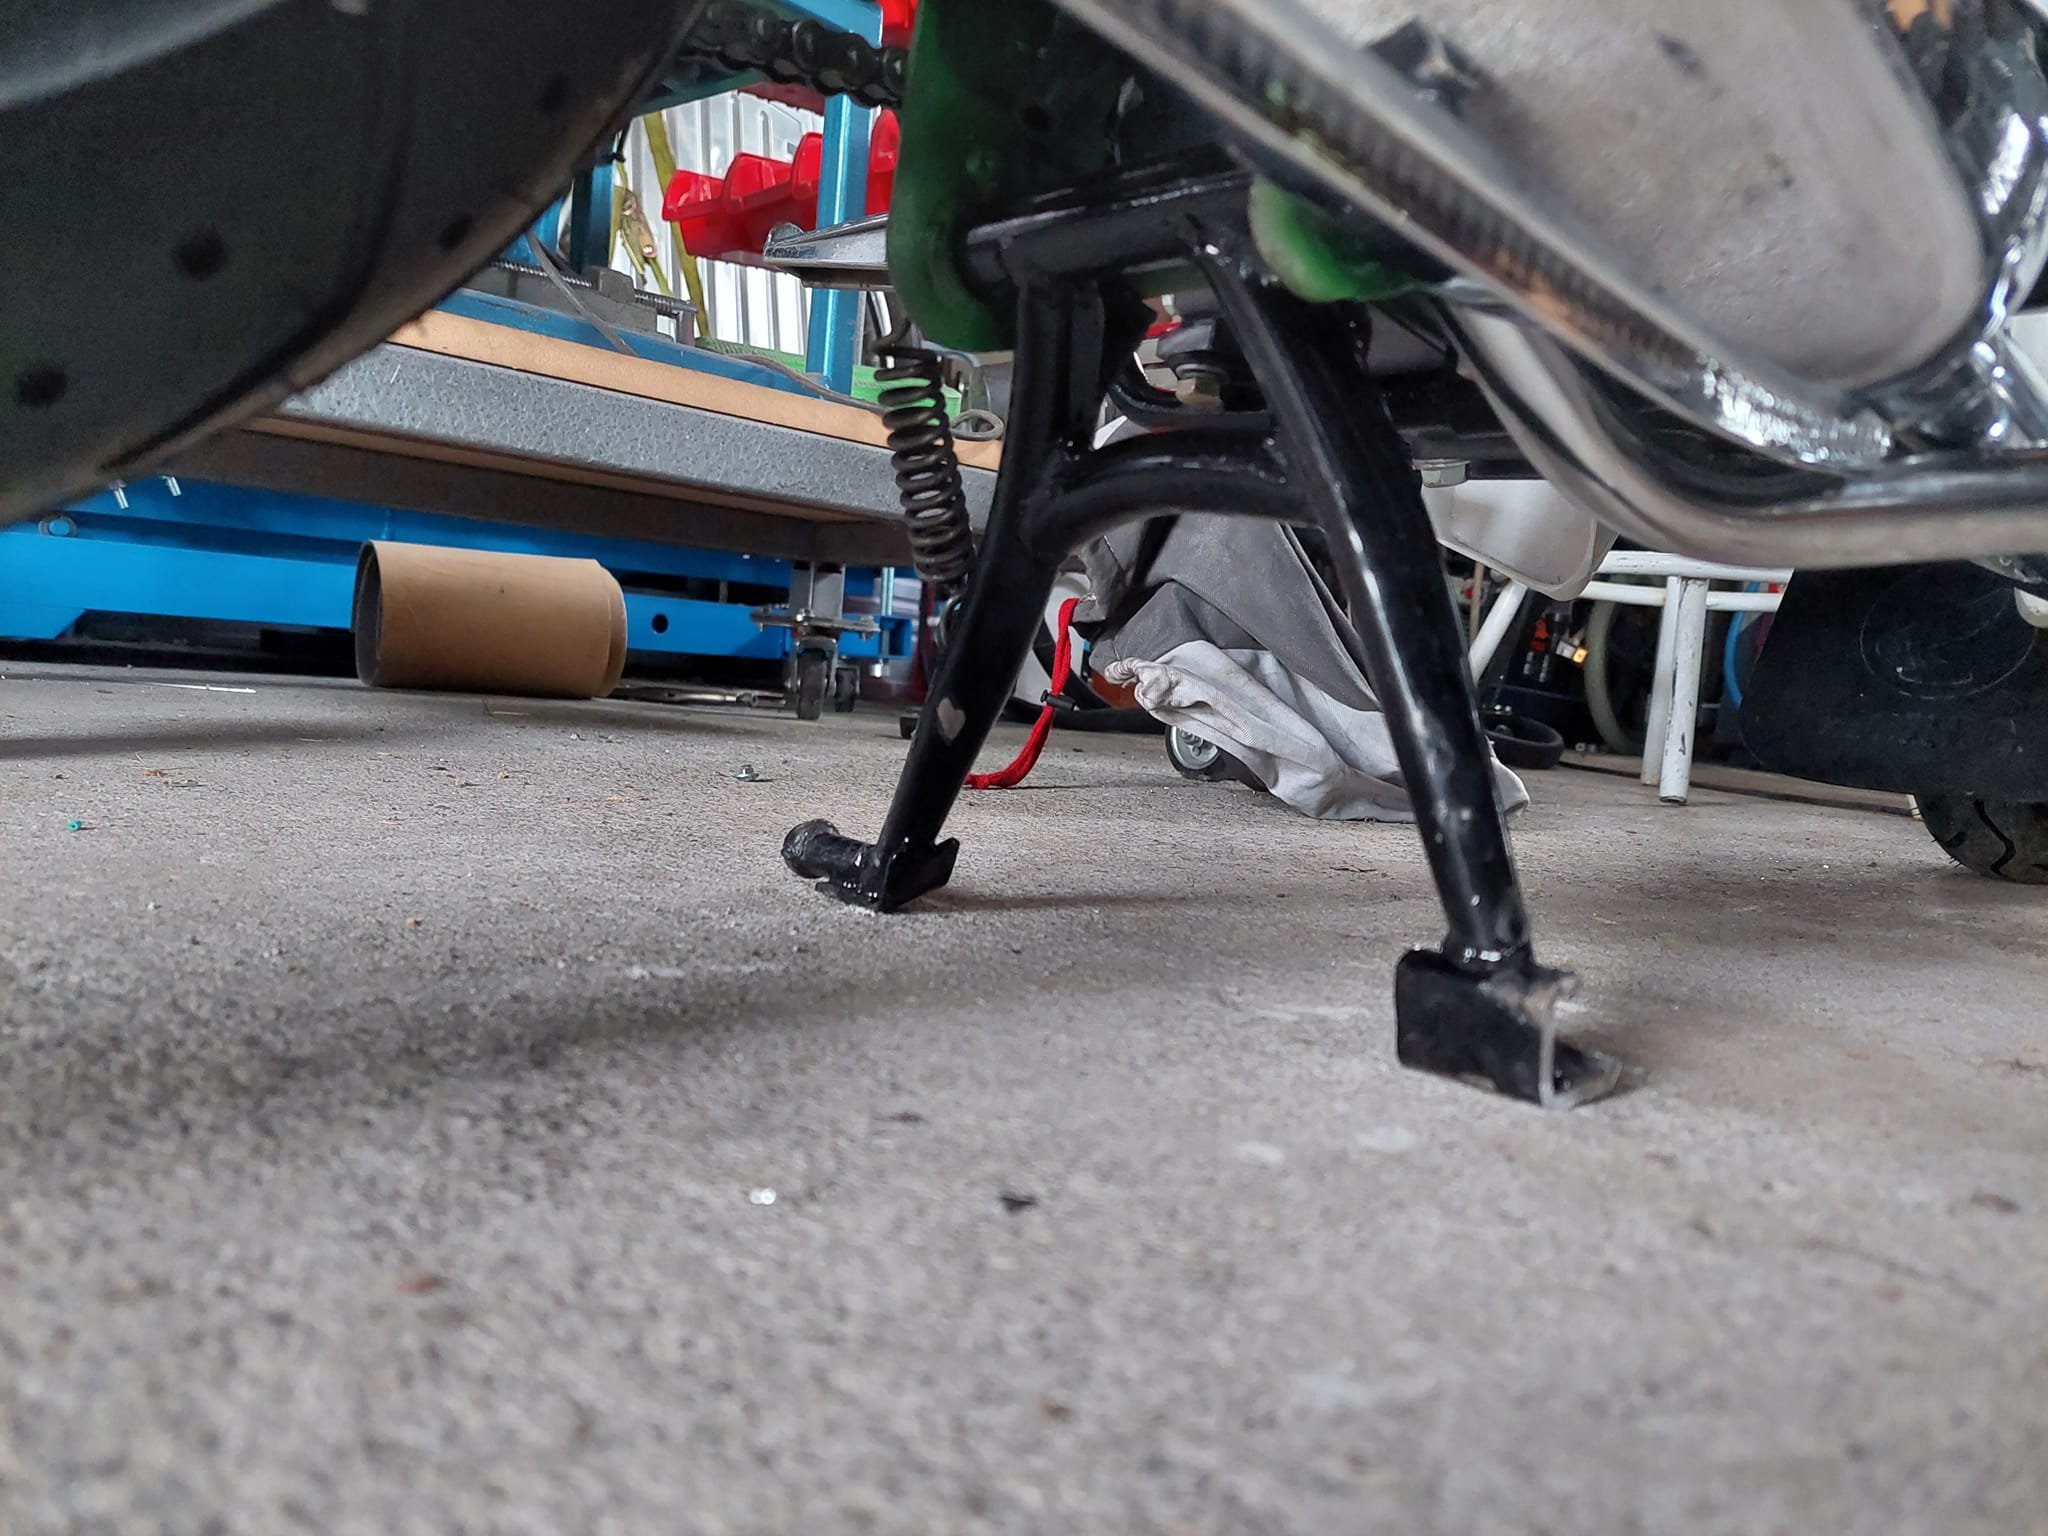
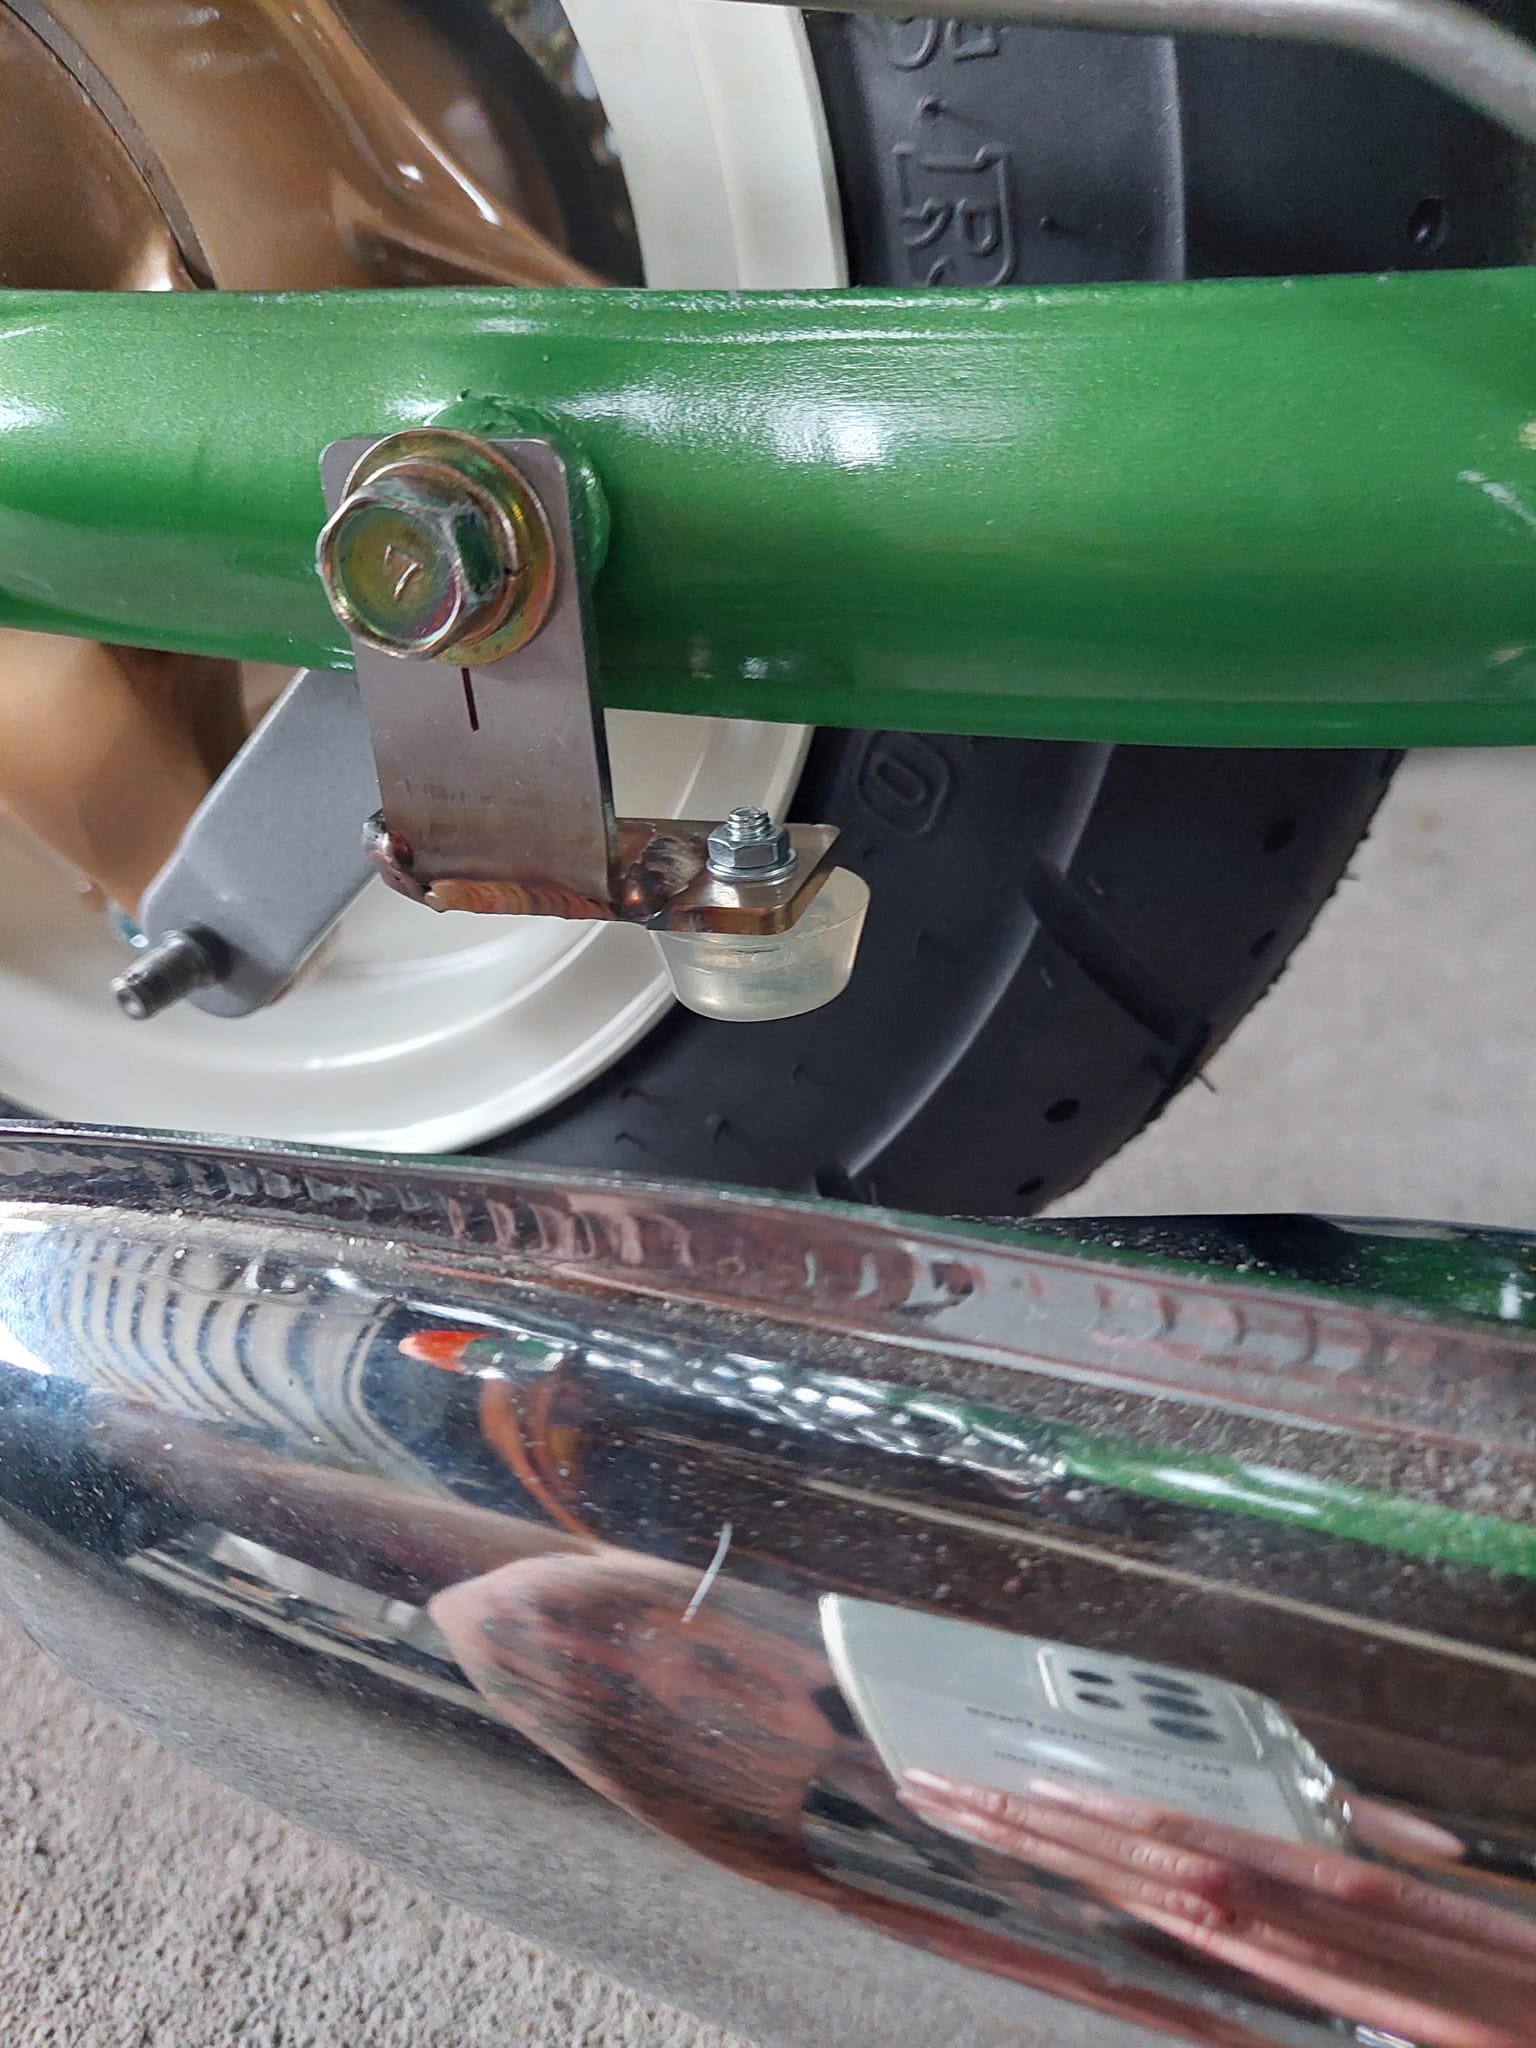
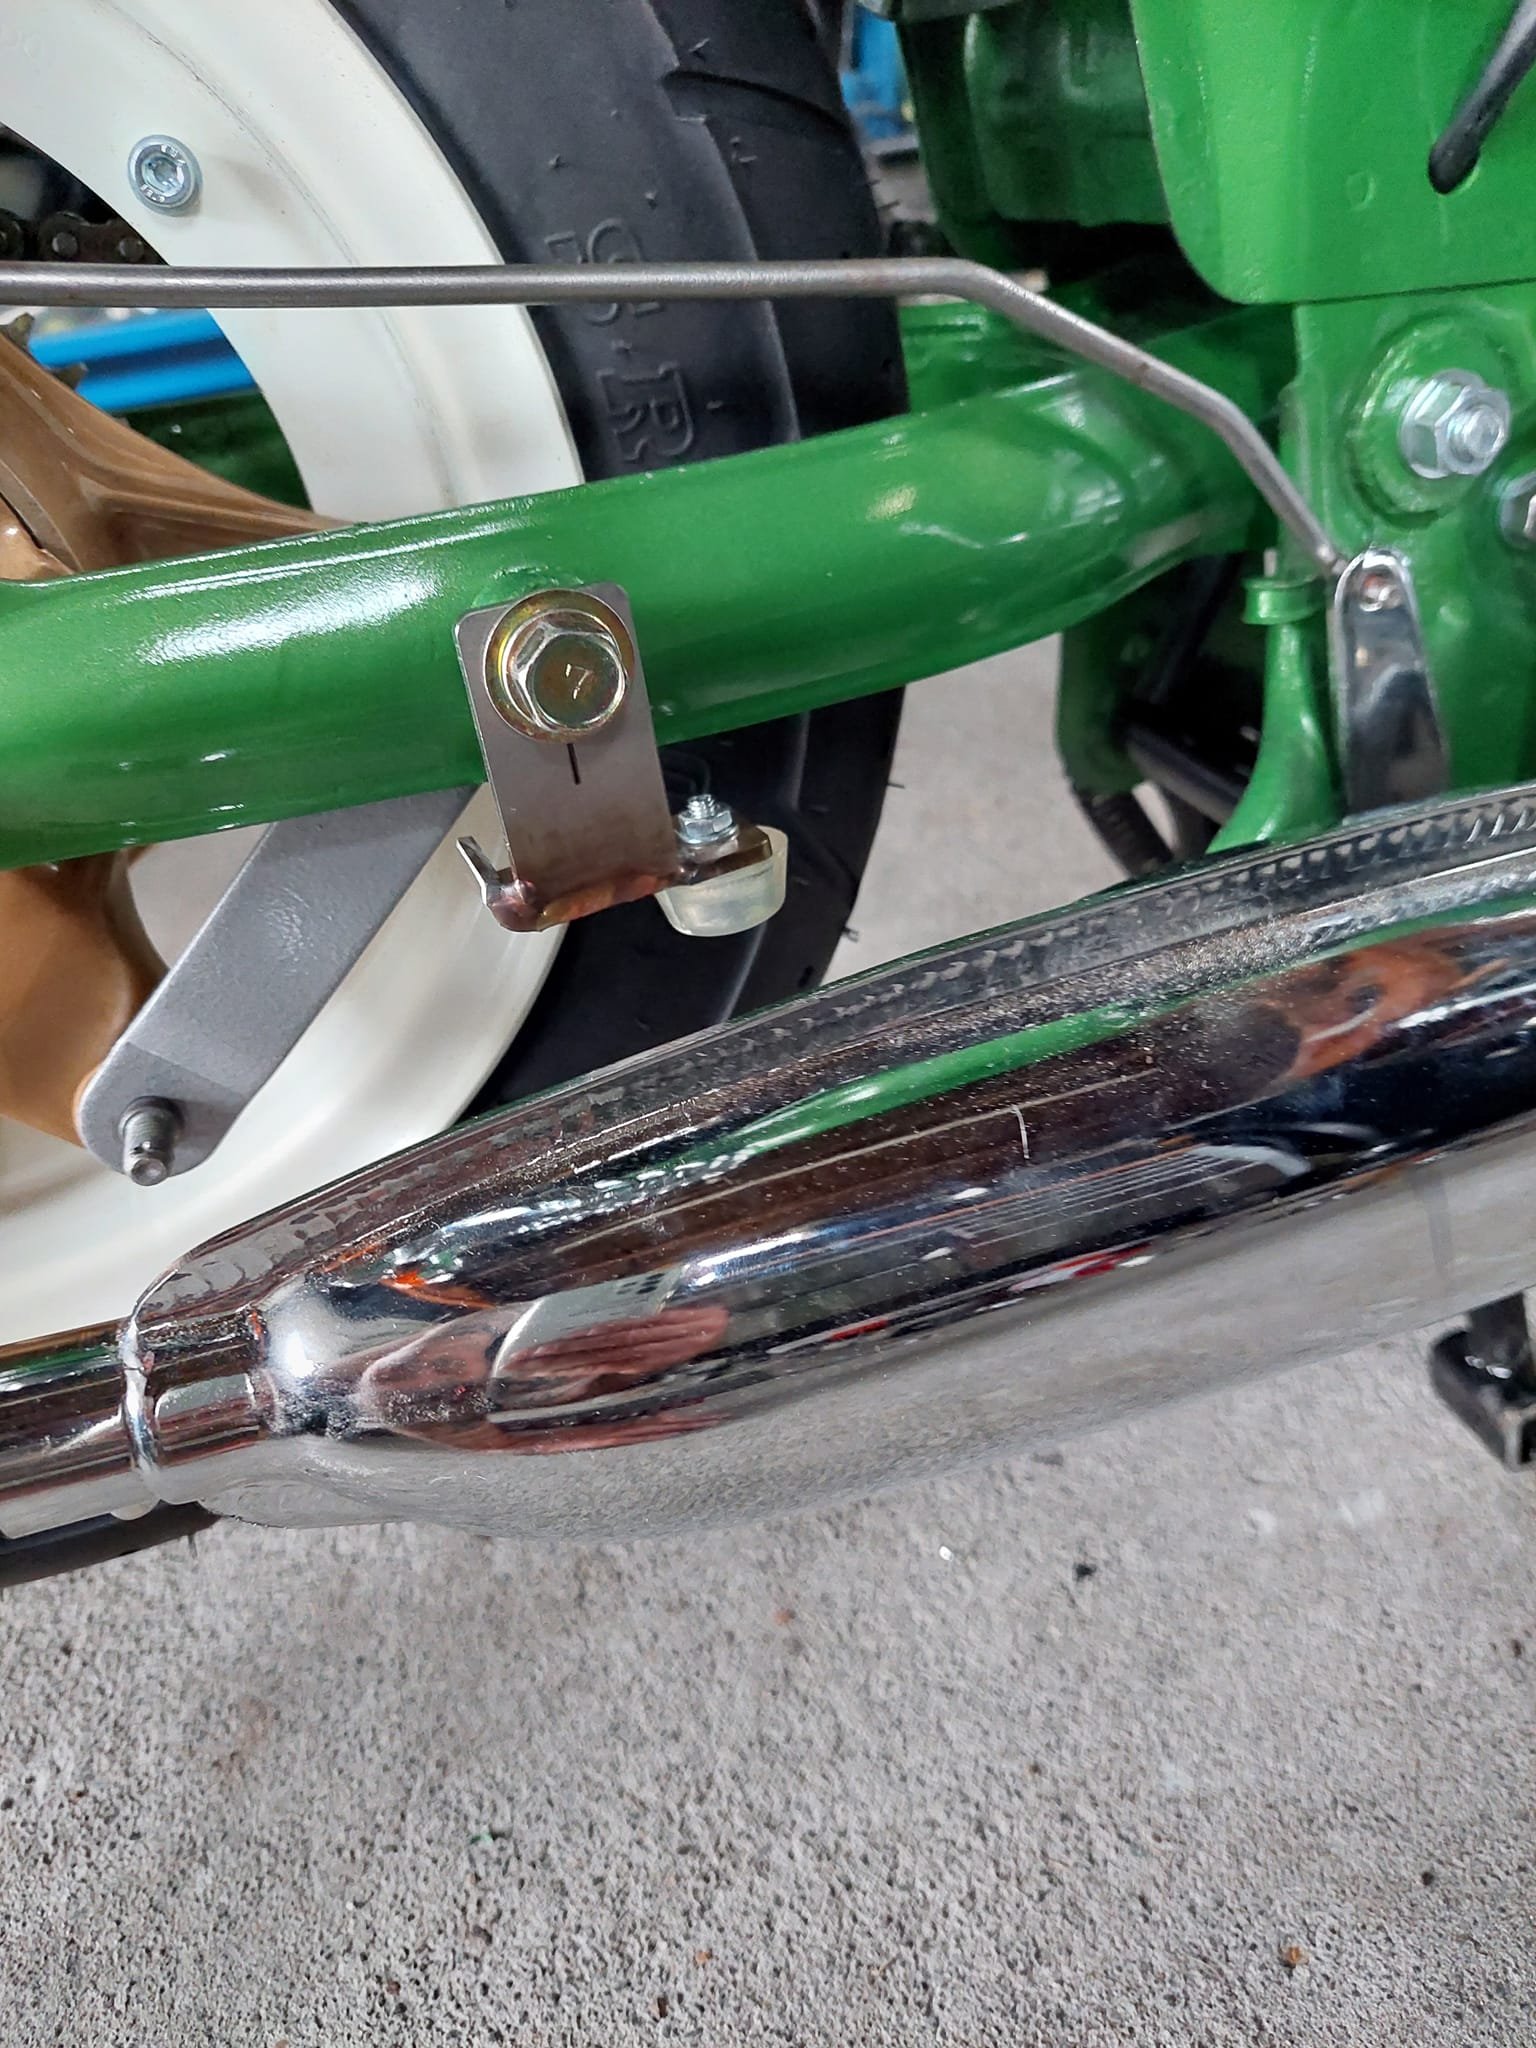
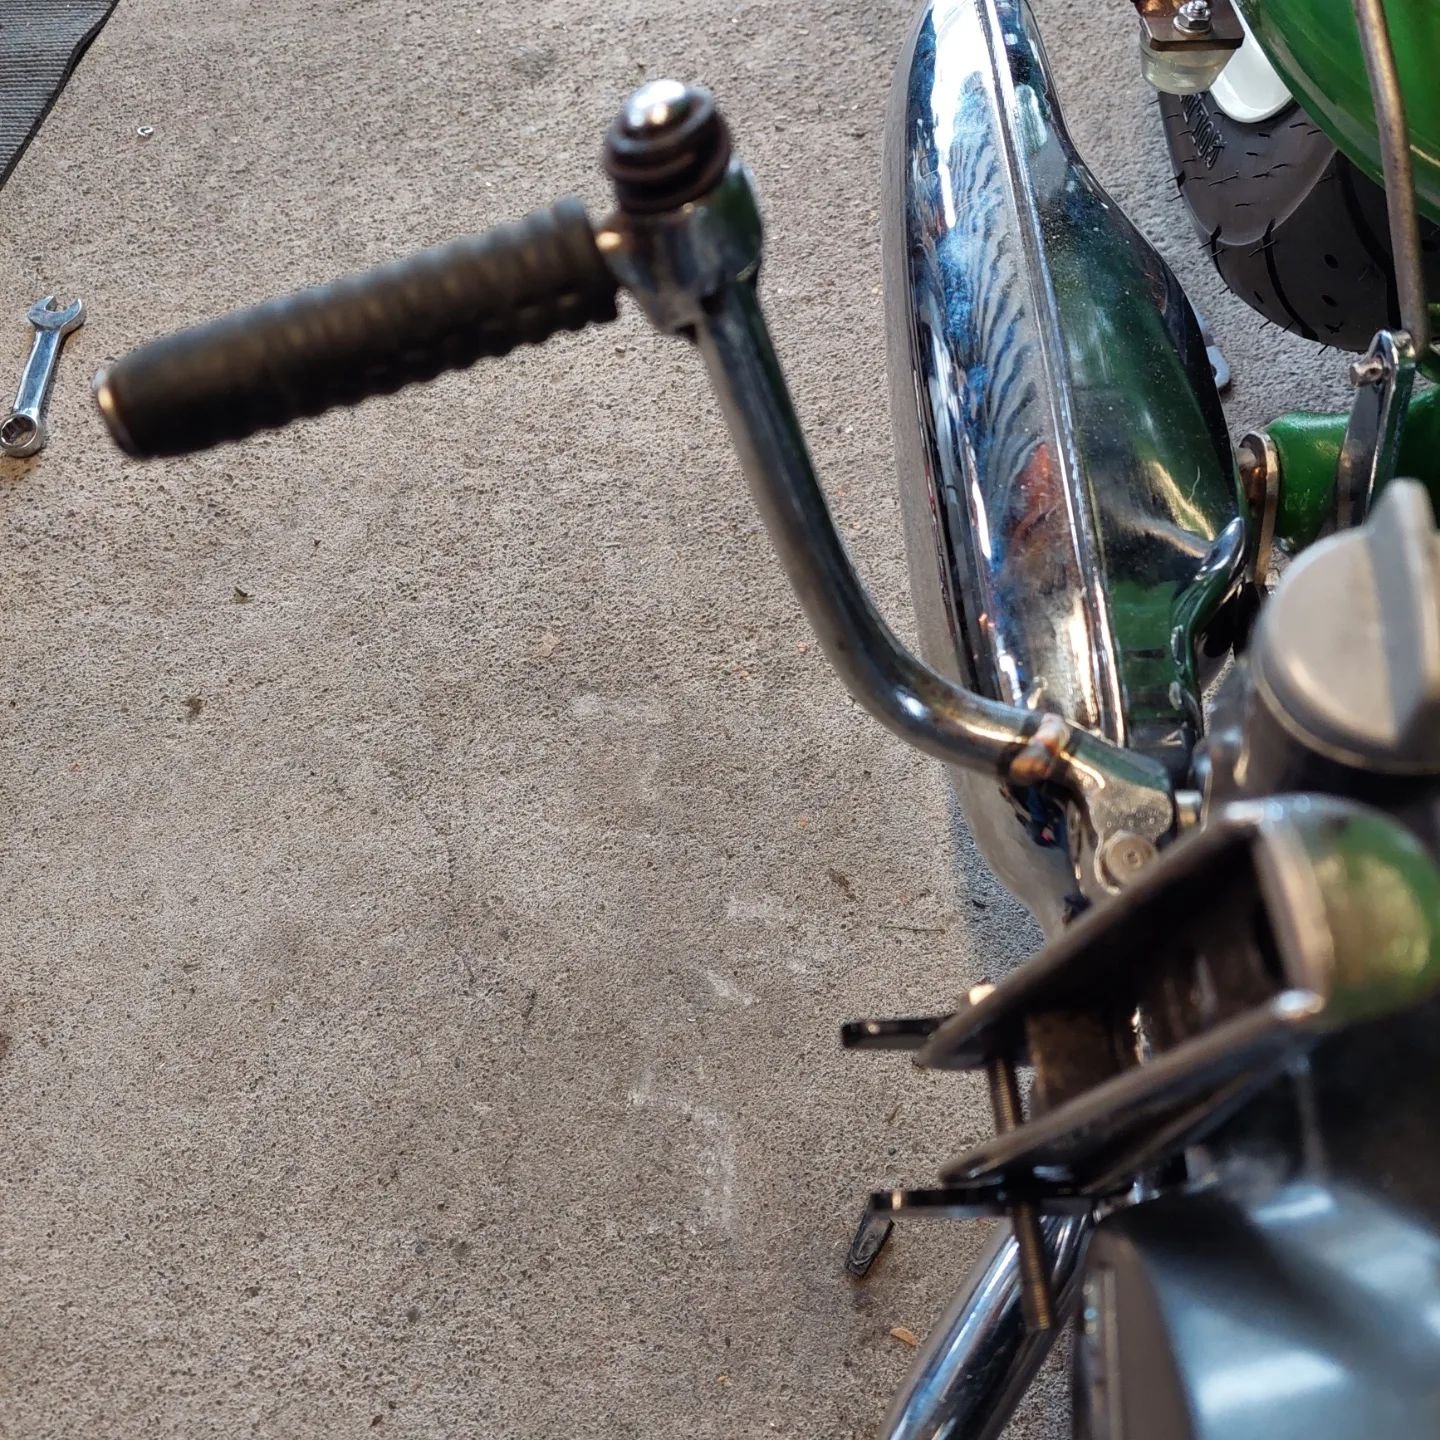
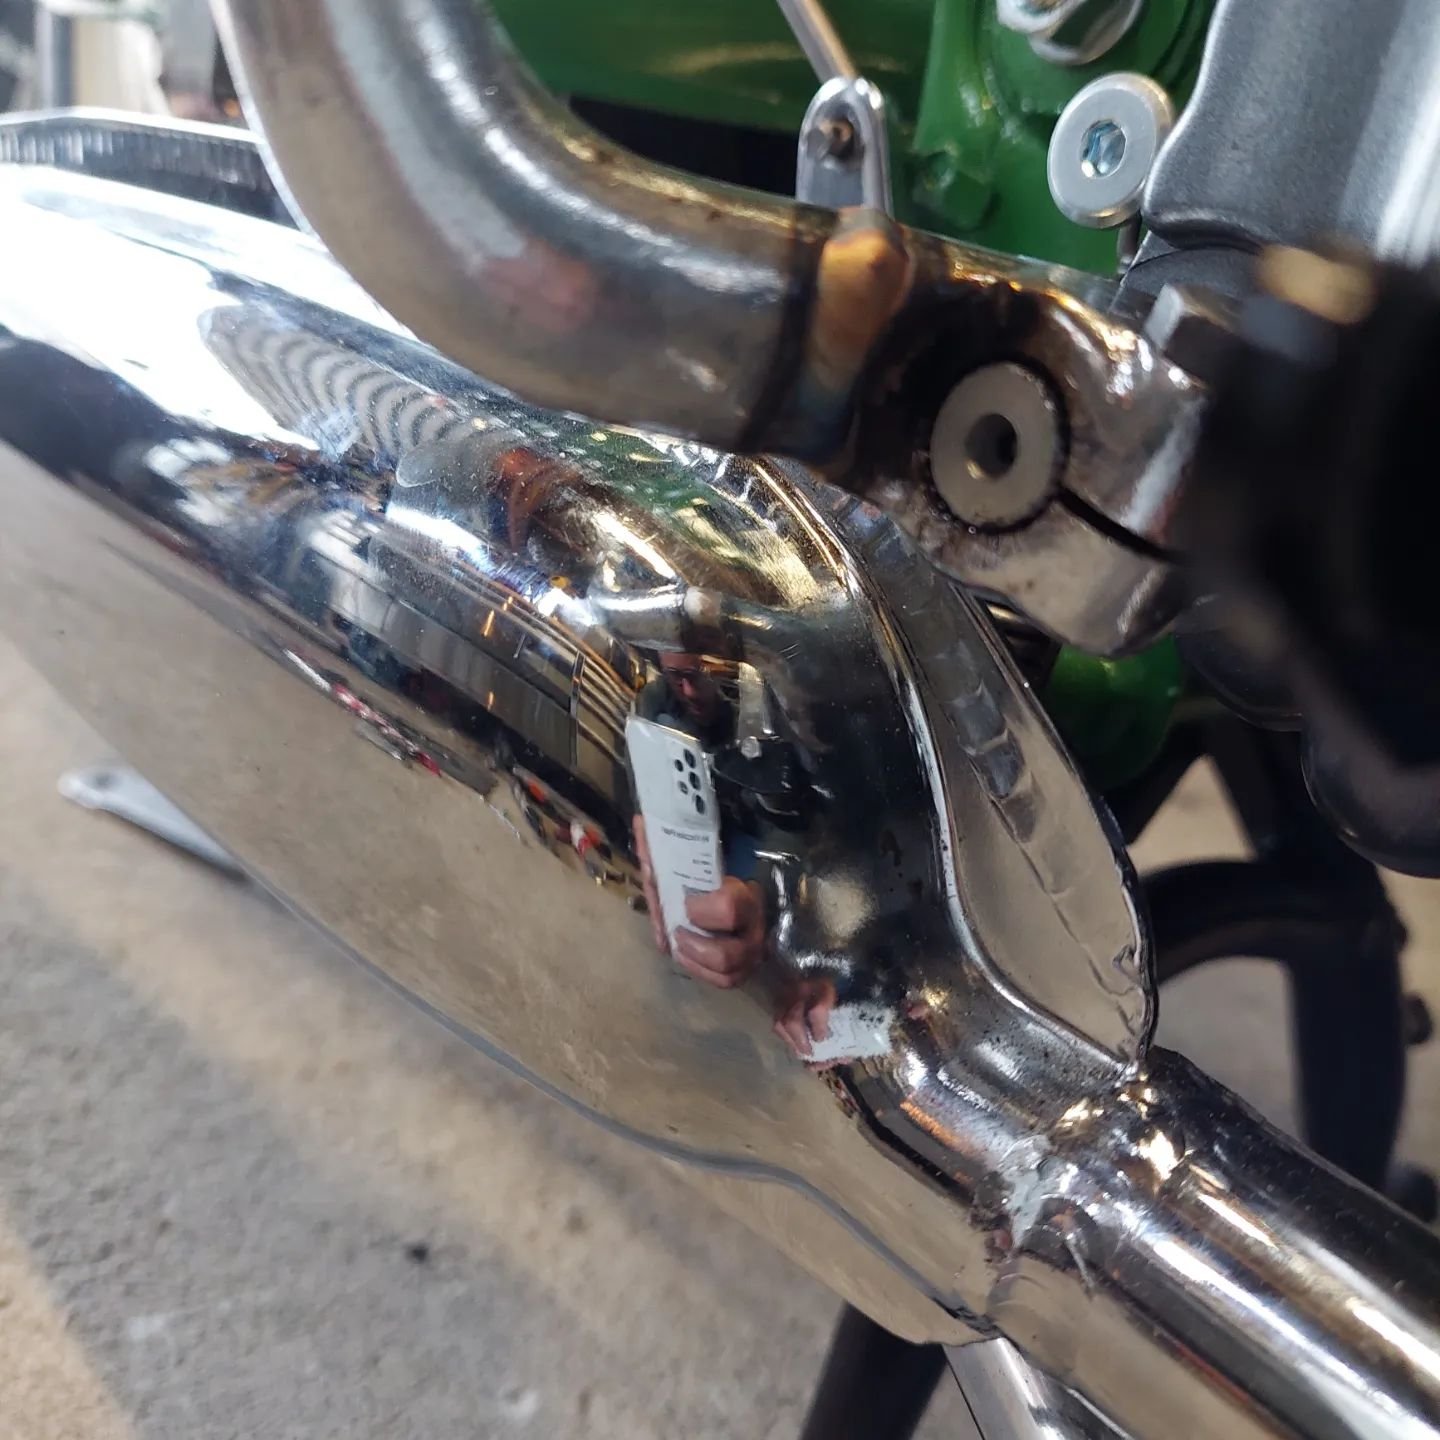
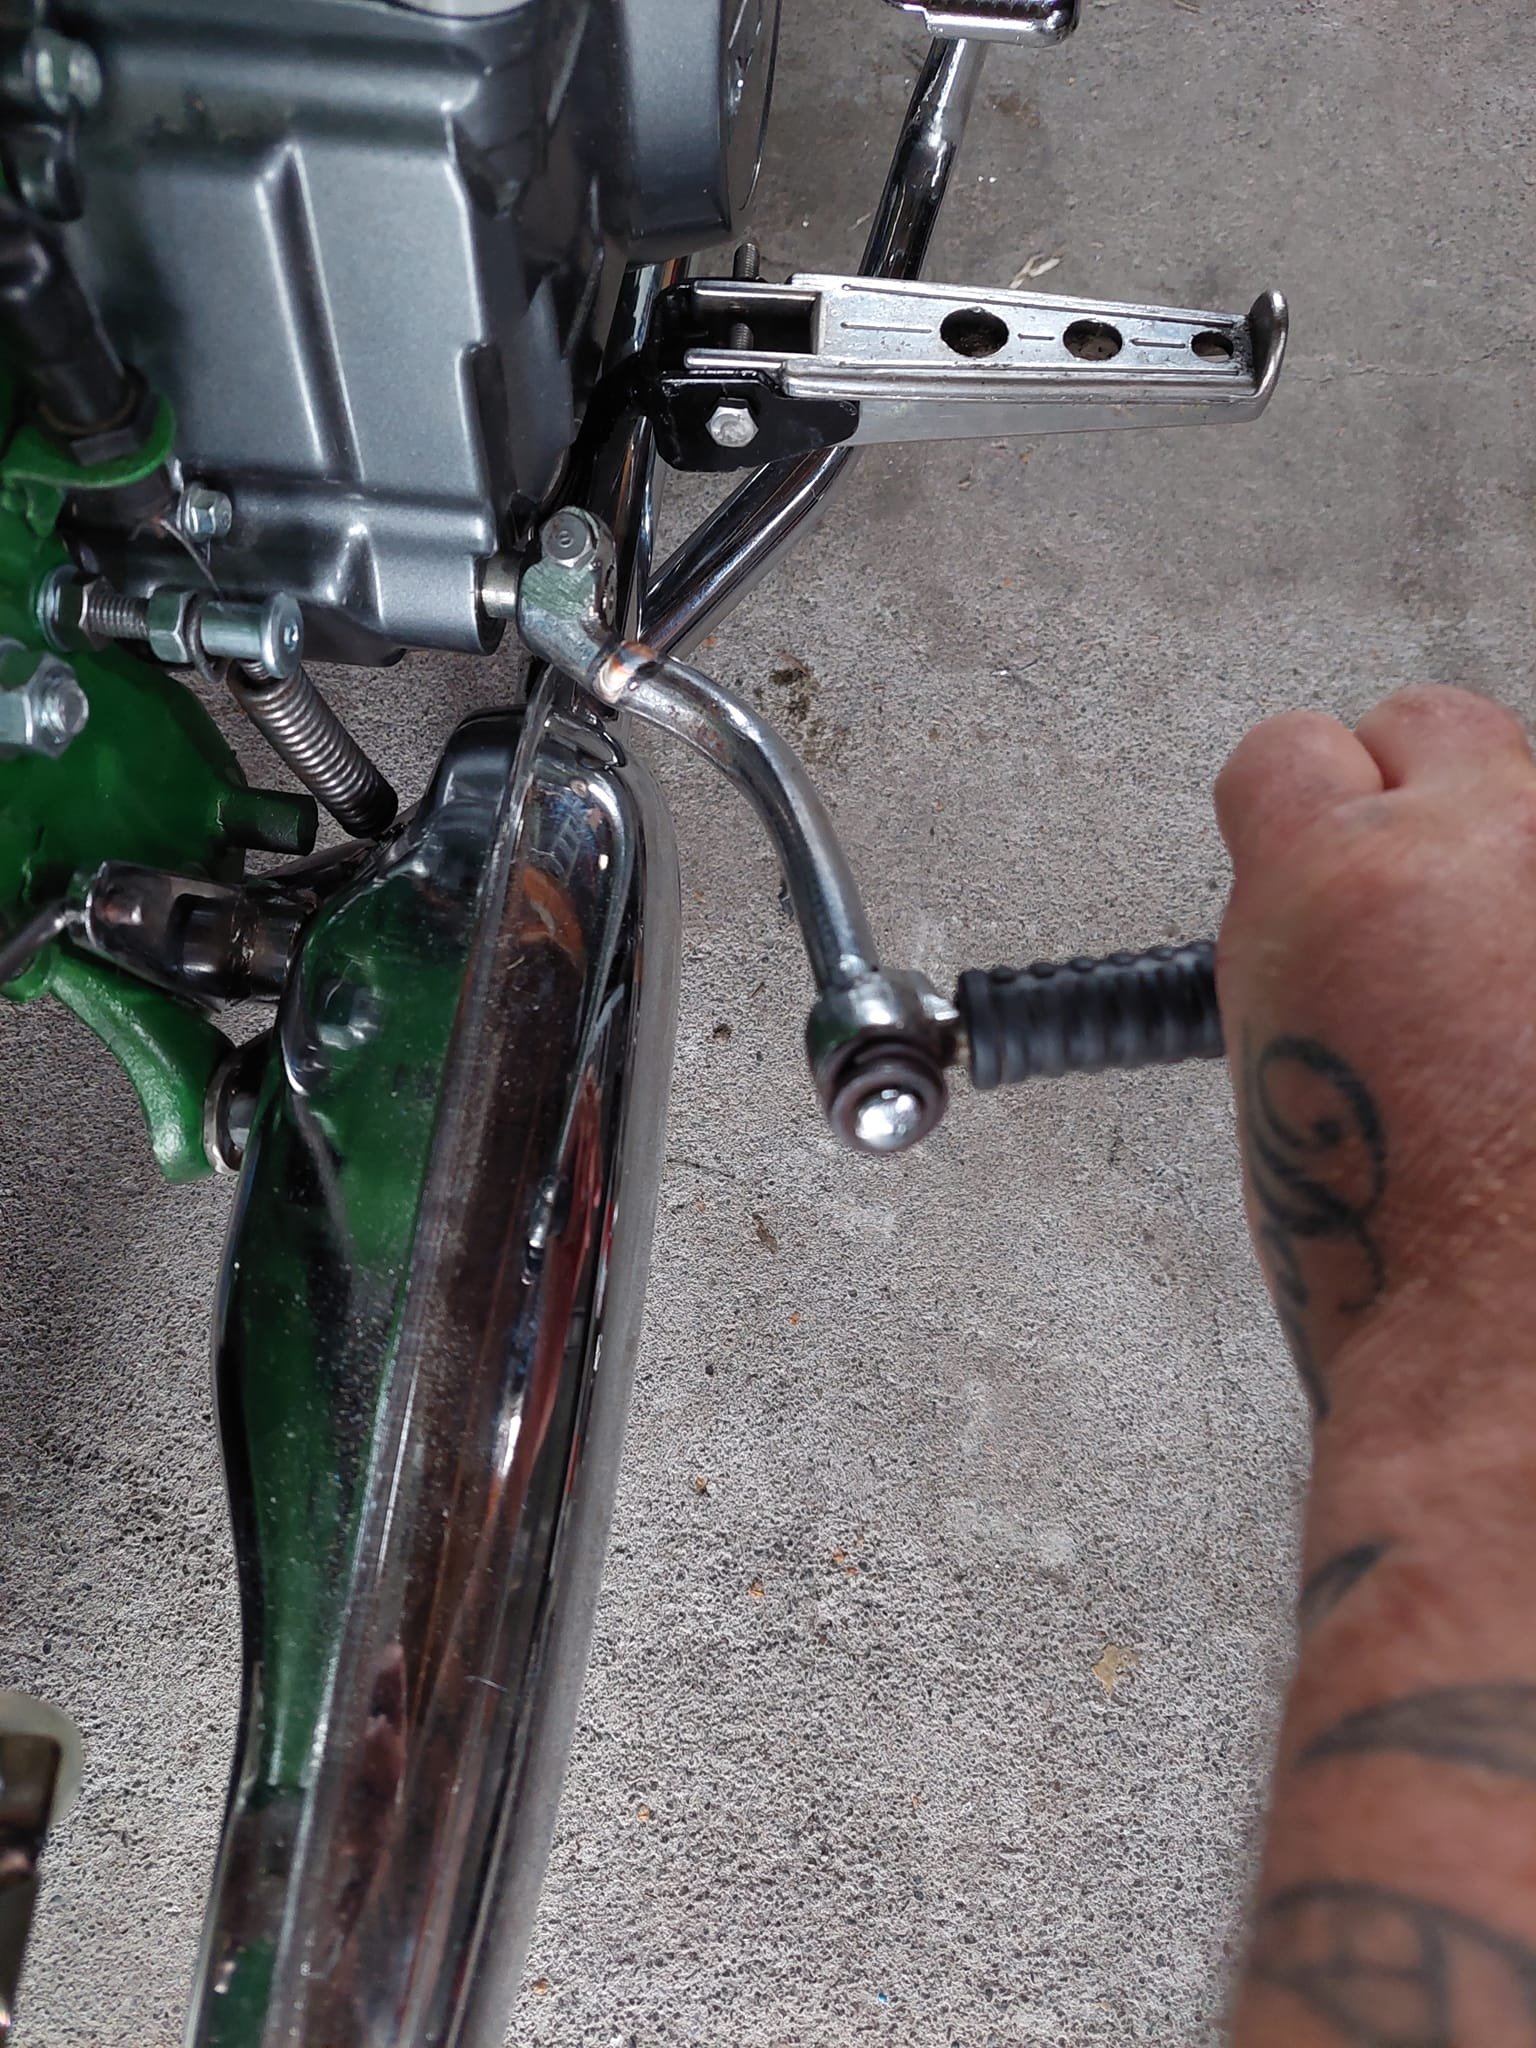
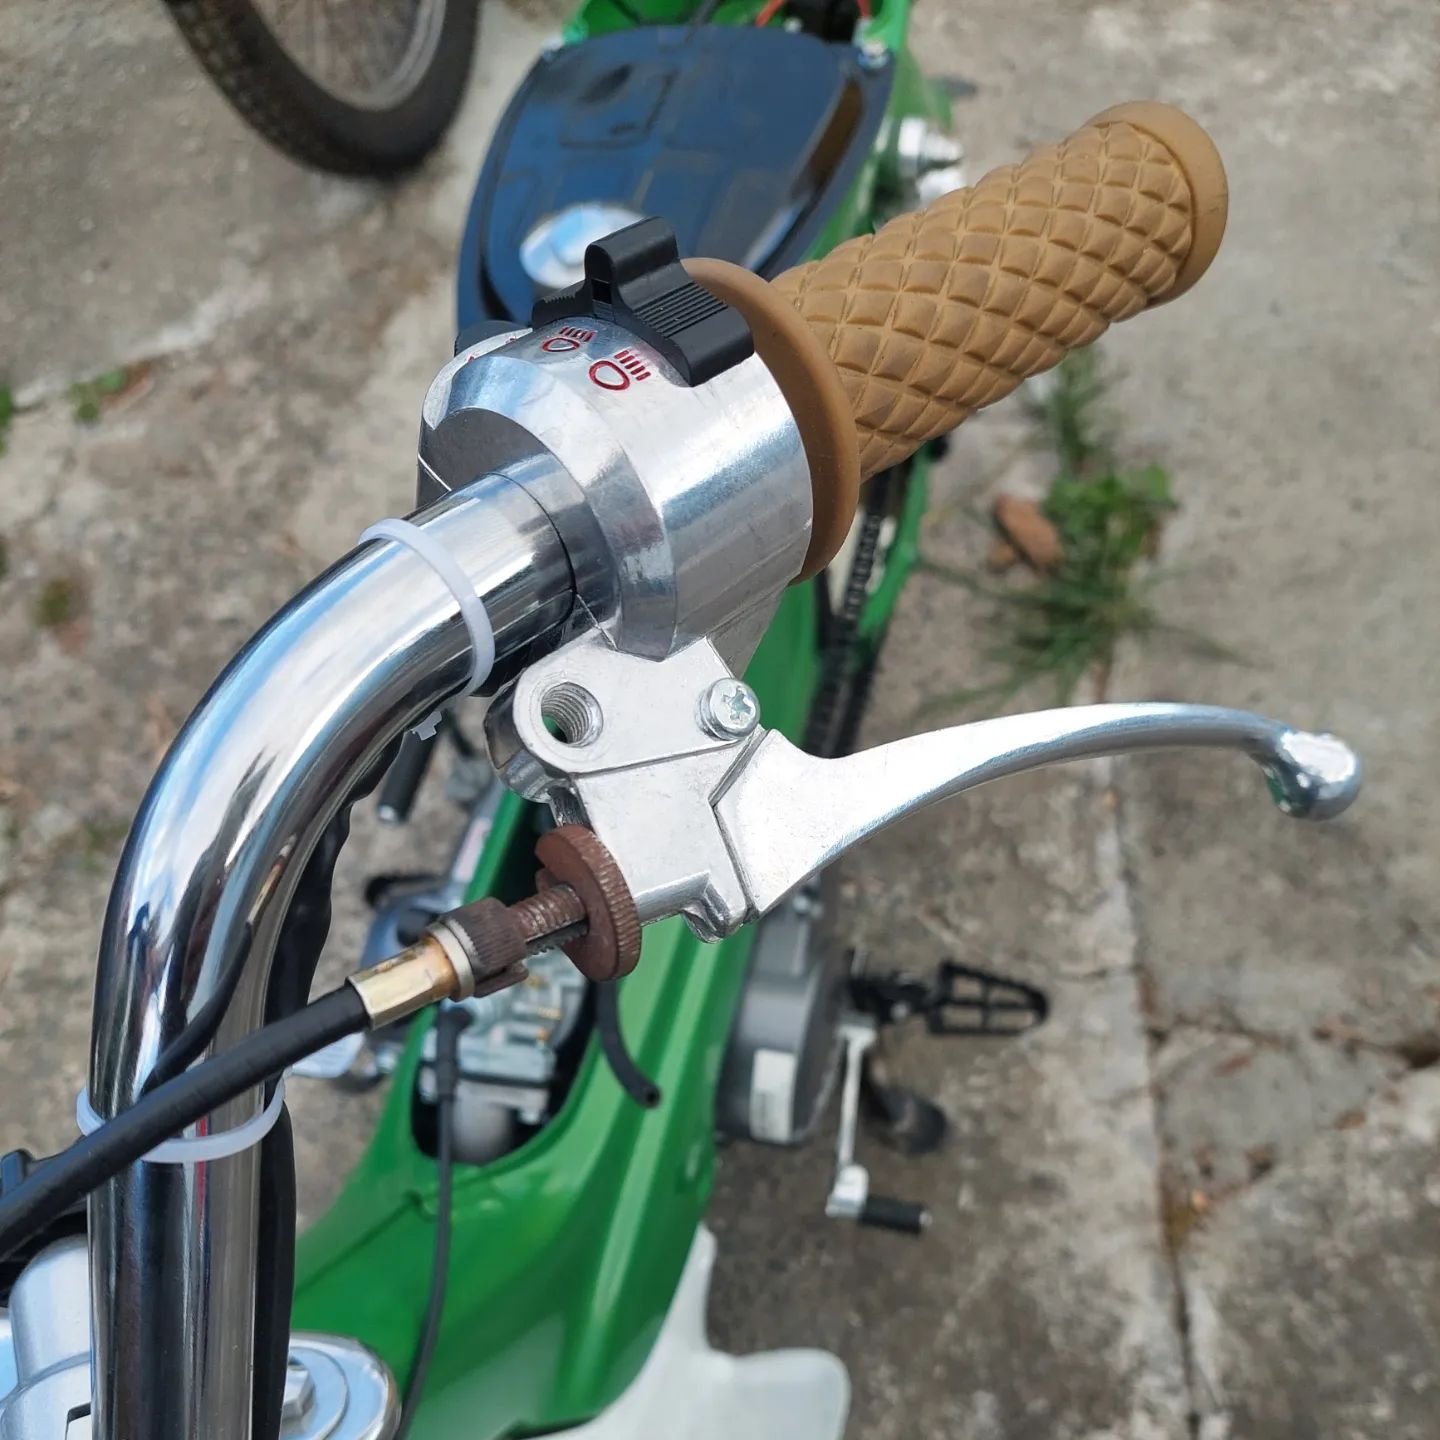
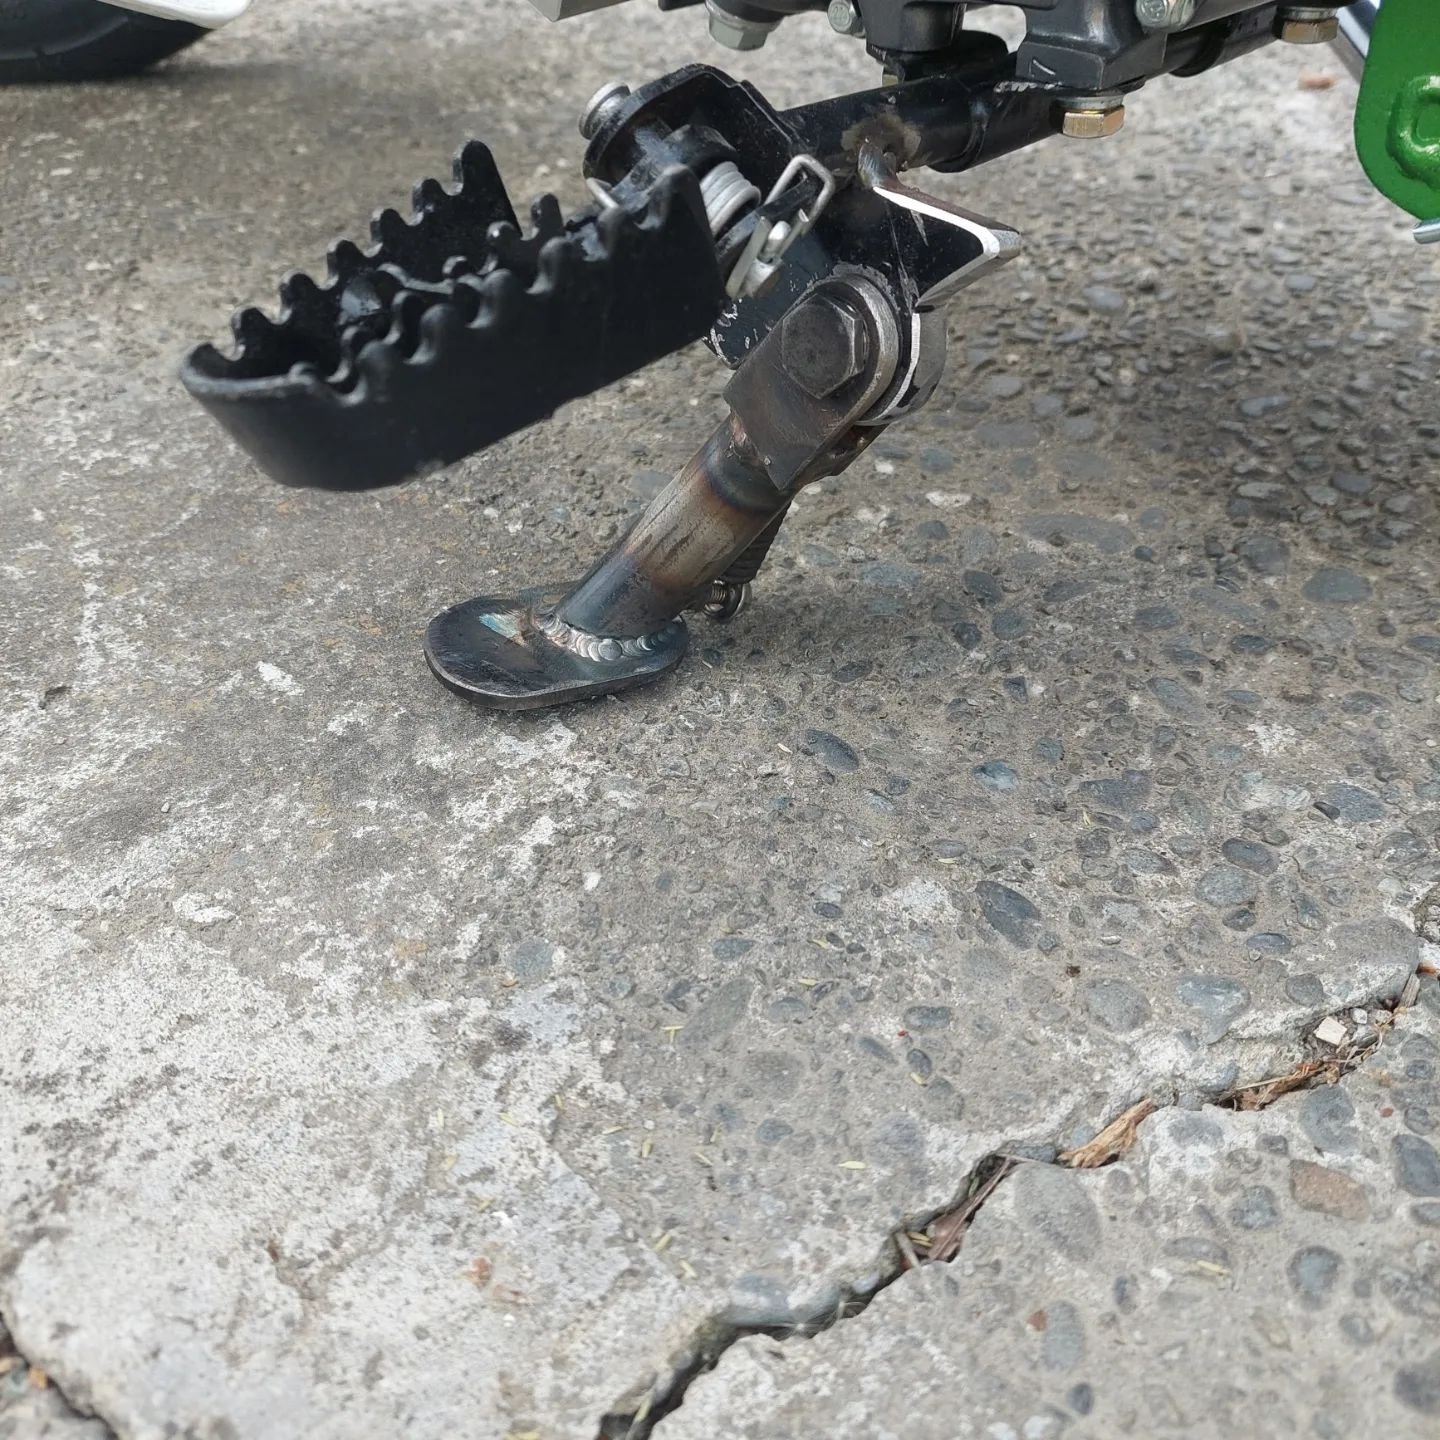
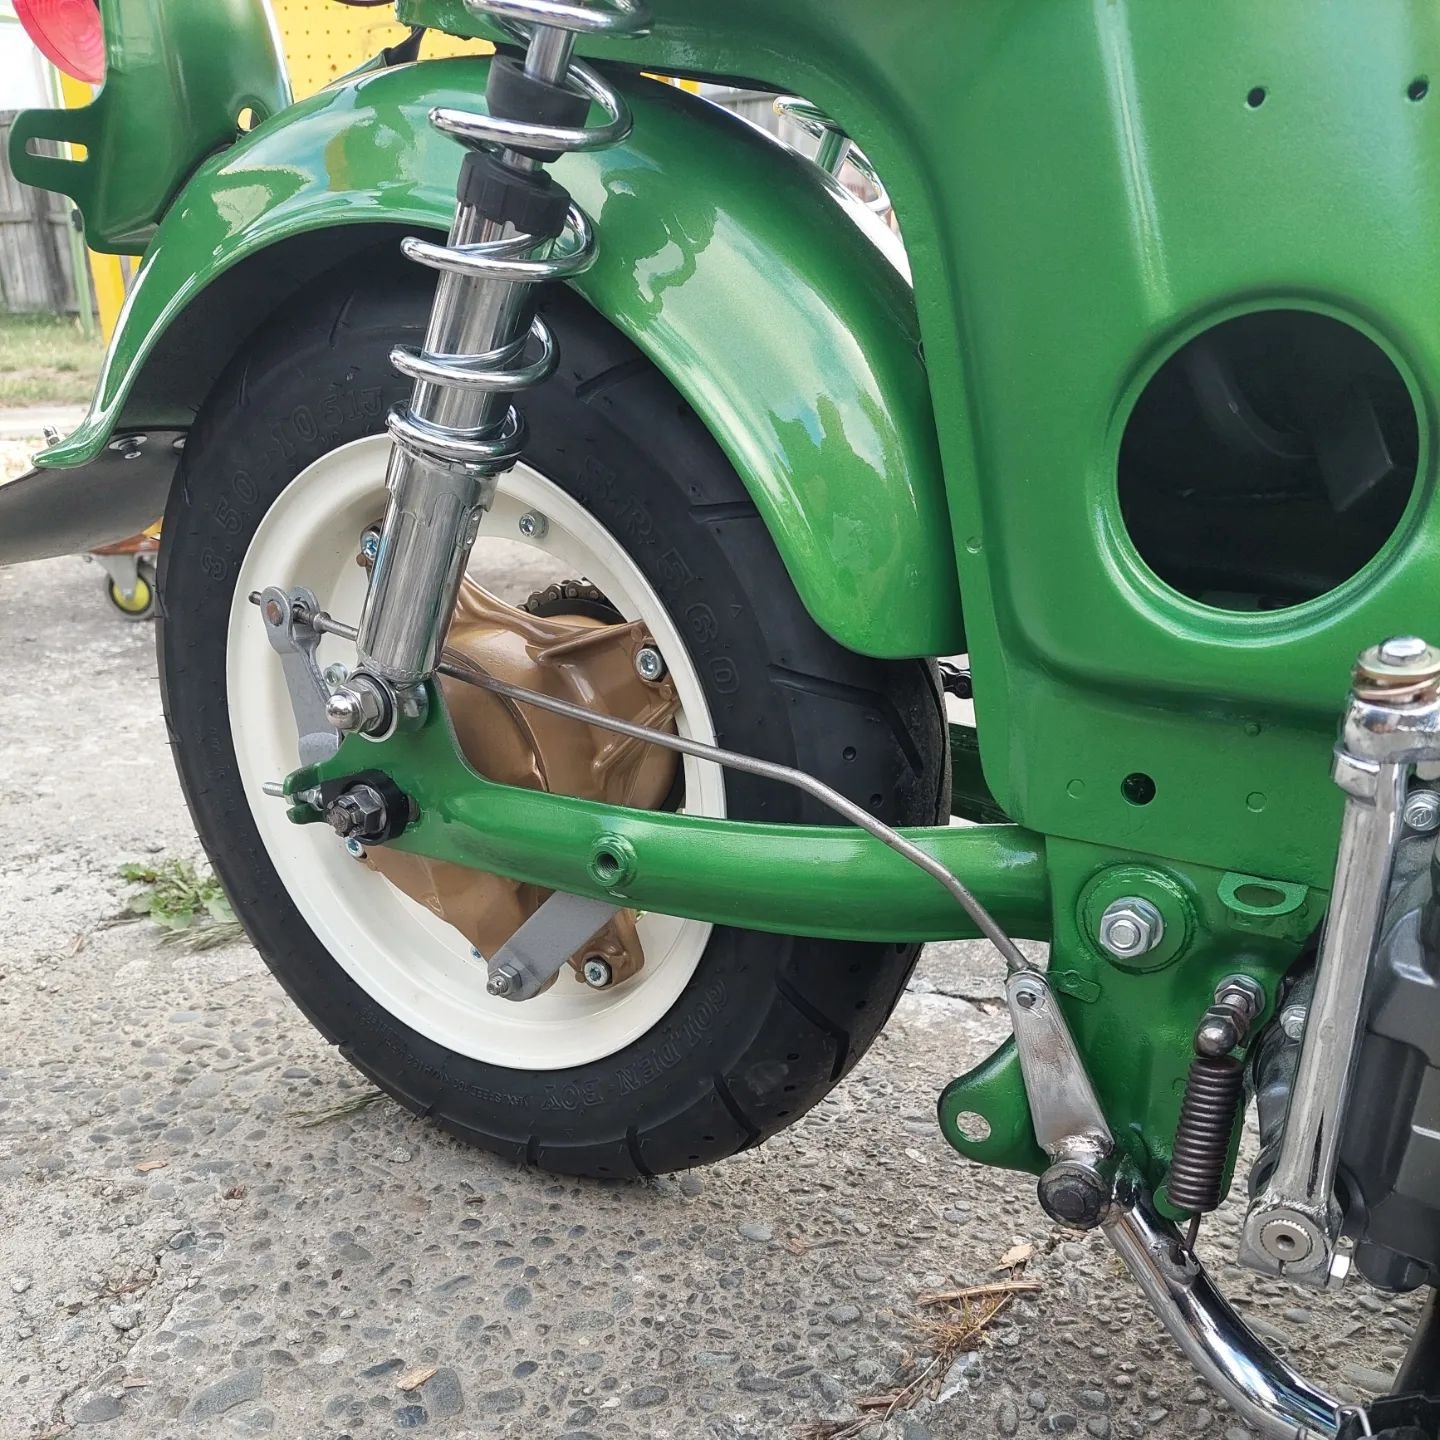
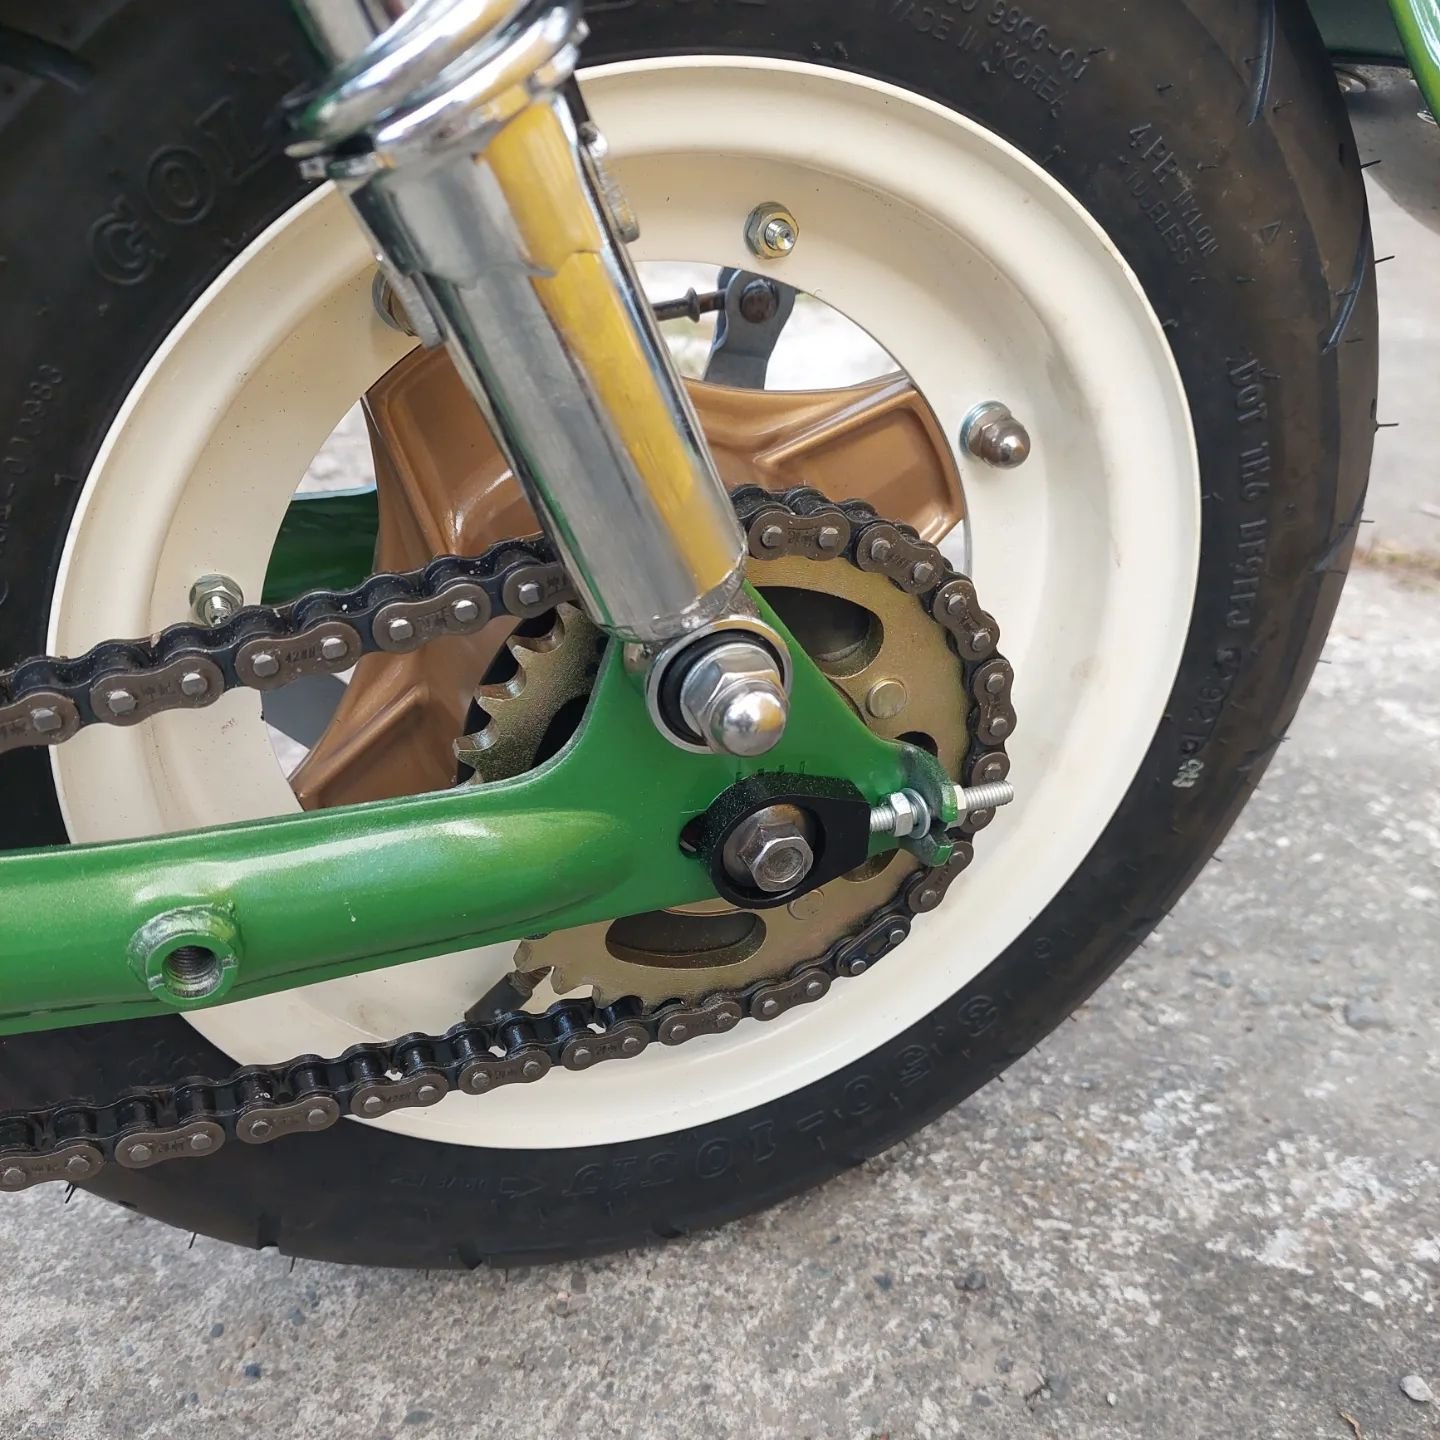
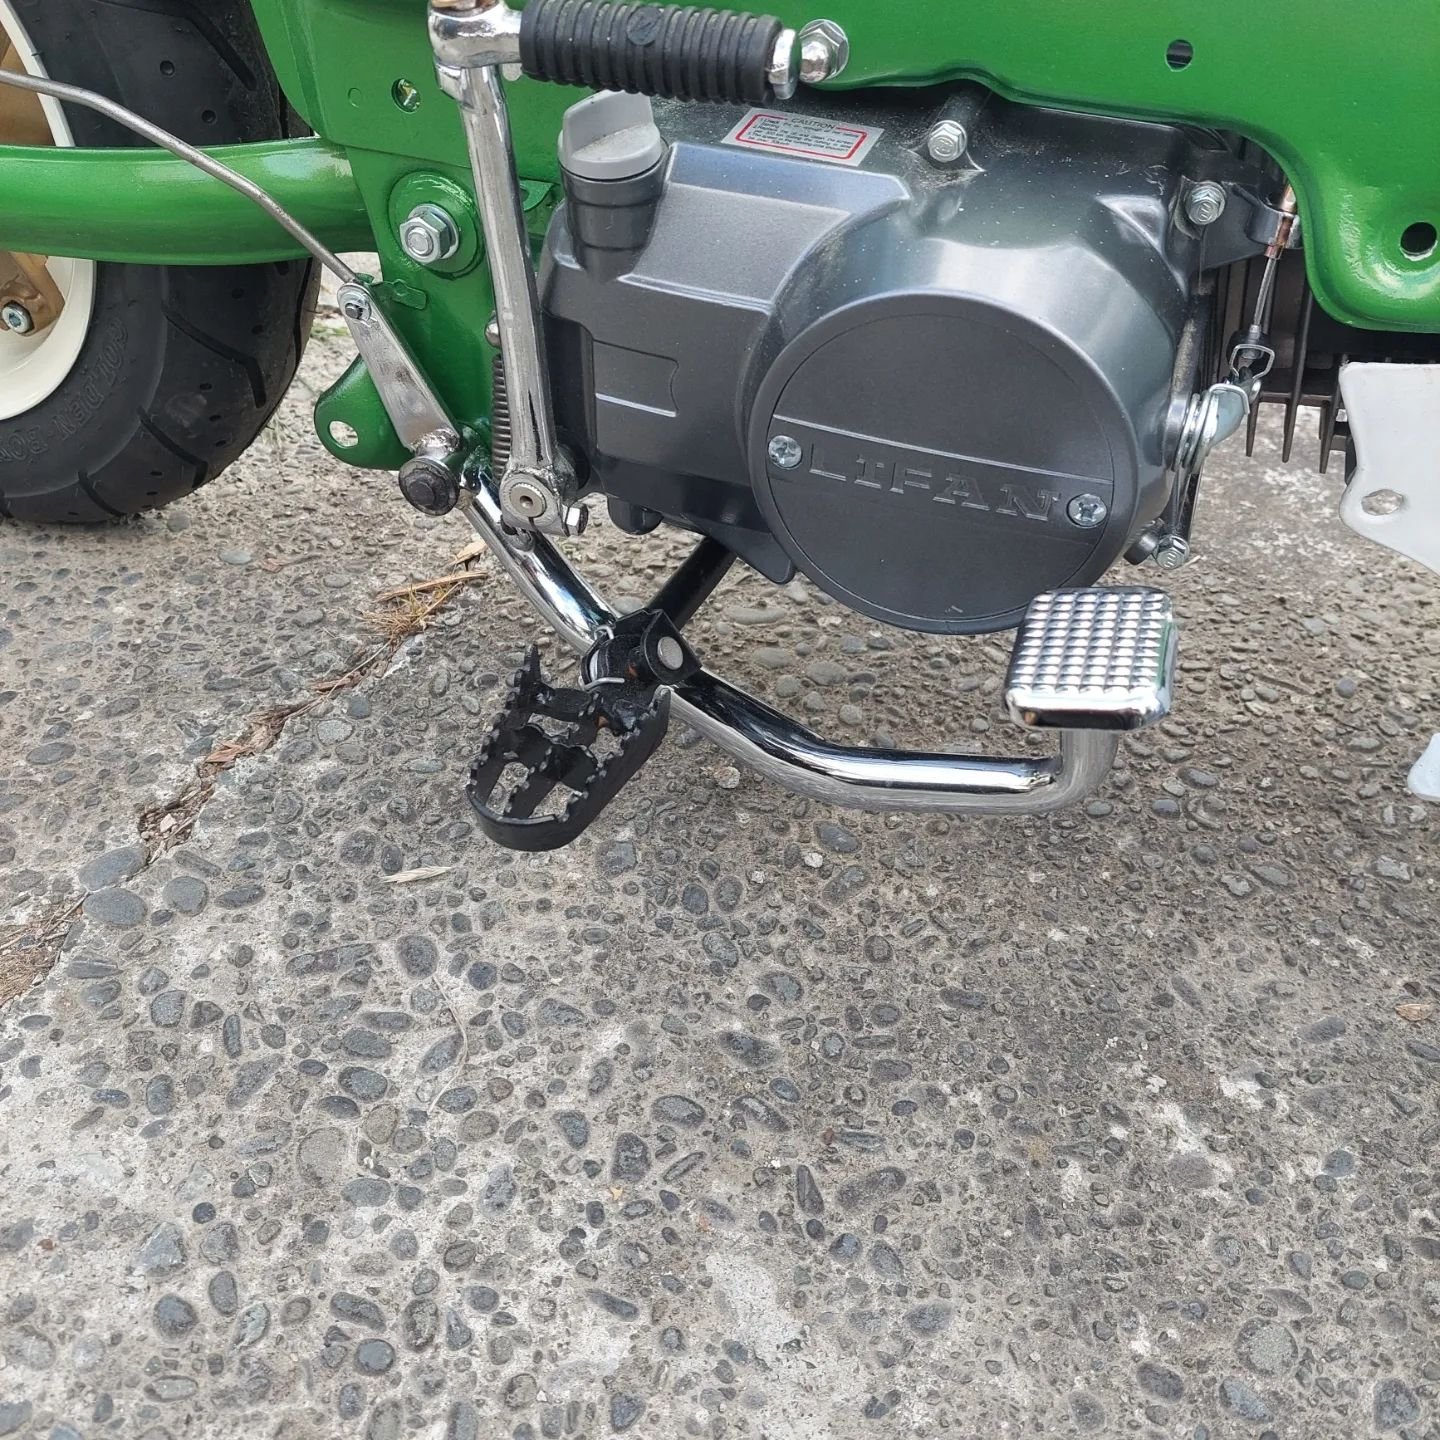
I really wasnt feeling the tiny side stand and it was pretty pointless to be honest. So I opted for the centre stand. With it being lowered quite a bit it lifted the rear wheel so far off the ground it became unstable. I cut off 25mm from the bottom and made new pads from some 25mm shs. I purchased a chaly big bore exhaust from mbike, its for a standard chaly so the rear mount doesnt meet up due to the bigger engine. Other than that it looks pretty sweet. To stop the centre stand from hitting the swing arm and the chain i whipped up a small stainless bracket with a rubber stop and bolted it to where the passenger pegs would go. I tried the kickstarter from my C50 to see what the fitment would be and it was touching just by millimeters. I didnt want it scratching my new exhaust everytime I kicked it over so I managed to get an old c50 kickstarter from my mate Jeremy, pie cut it and bent it forward and tig welded it up with stainless rod. Plenty of clearance now!
4 points
-
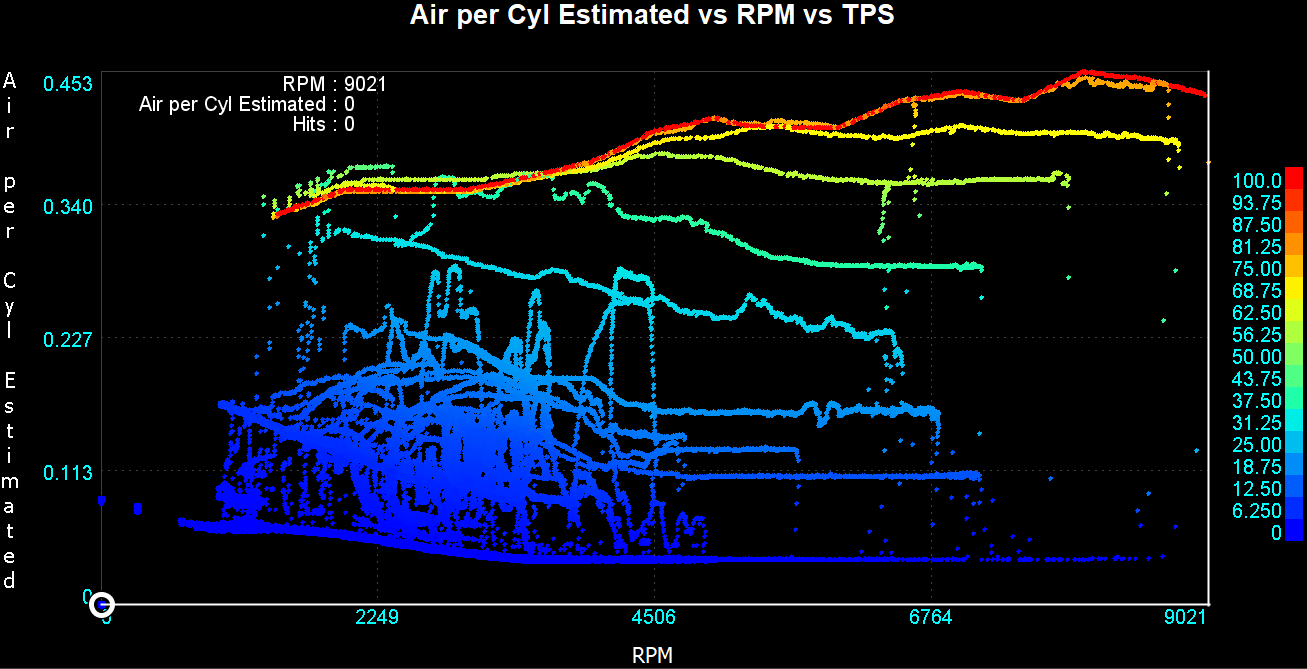
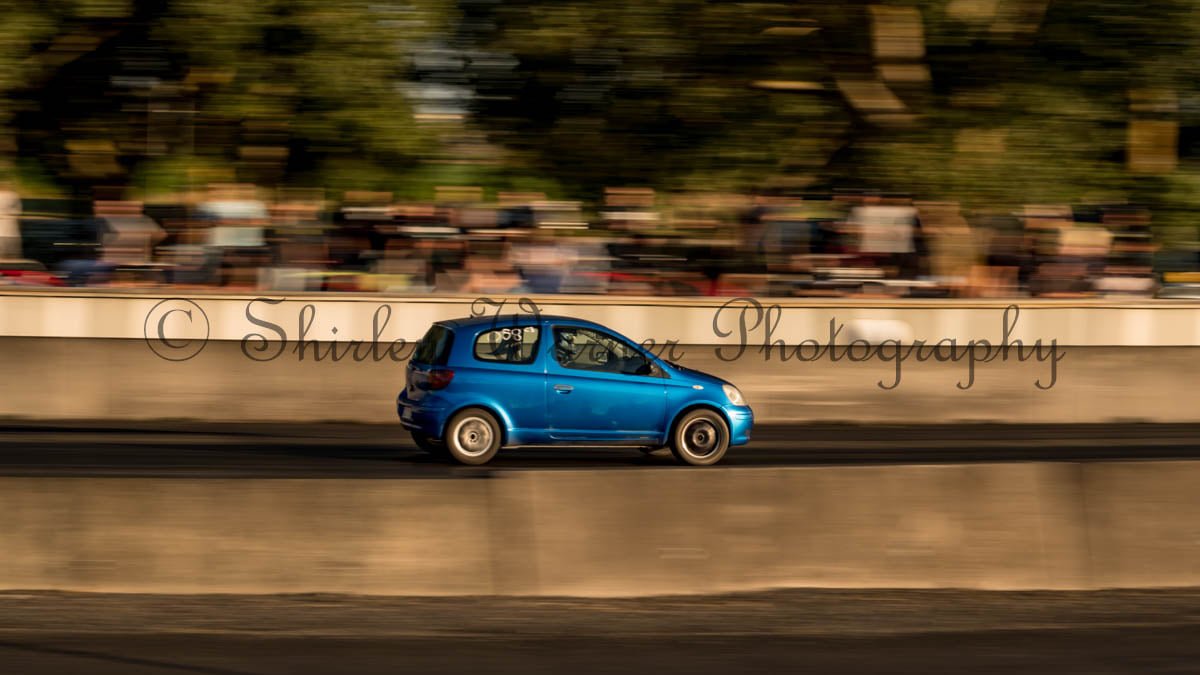
I found out the issue with the wideband readings being wrong by heaps. Originally I bought the Spartan 3 wideband from 14point7, and this uses ONLY the LSU-ADV sensor. However canbus didnt work on it, so I got a replacement sent under warranty. The replacement controller was the new version - which can run the LSU-ADV sensor, or, the LSU-4.9 sensor. As they share the same plug. cool right? Except I wasnt aware that it could run both sensors - The replacement was set by default to the 4.9 sensor. D'oh! The calibrations are wildly different between them. The further you go from stoich the worse it gets. I adjusted the controller to the right sensor today, and instantly the lambda values that I was seeing went from 13.9ish down to 12.8ish which is what we tuned for with the tailpipe wideband on the dyno. So thats good, and I'm glad this mistake wasnt the other way around, or it would have run dangerously lean and probably blown itself up. As a side effect of this, all of my VE values are looking more sensible now. Getting a peak VE value of just under 98% at 7500rpm. Here's a visualization of estimated airflow through the motor, with the colour scale being throttle position. Notice how up until about 4250rpm, right down to nearly 50% throttle it's same airflow. Then at low rpm some part throttle areas are flowing more air than full throttle - thought this was weird, but then noticed that on the dyno runs we'd adjusted some full throttle VVTI values, but not reduced them at the part throttle segments too. So I reduced these down so it'll be max at full throttle instead. My next hope of getting anywhere is the nightspeed drag wars in about 2 weeks time. Will have to see if it can go ahead with current restrictions. Today was my birthday so I celebrated by going on some backroad hoons to Waihi Beach for a swim. Was glorious on both counts!
4 points
-
A few pics from drags, just in case your eyes havent been punished enough already
4 points
-
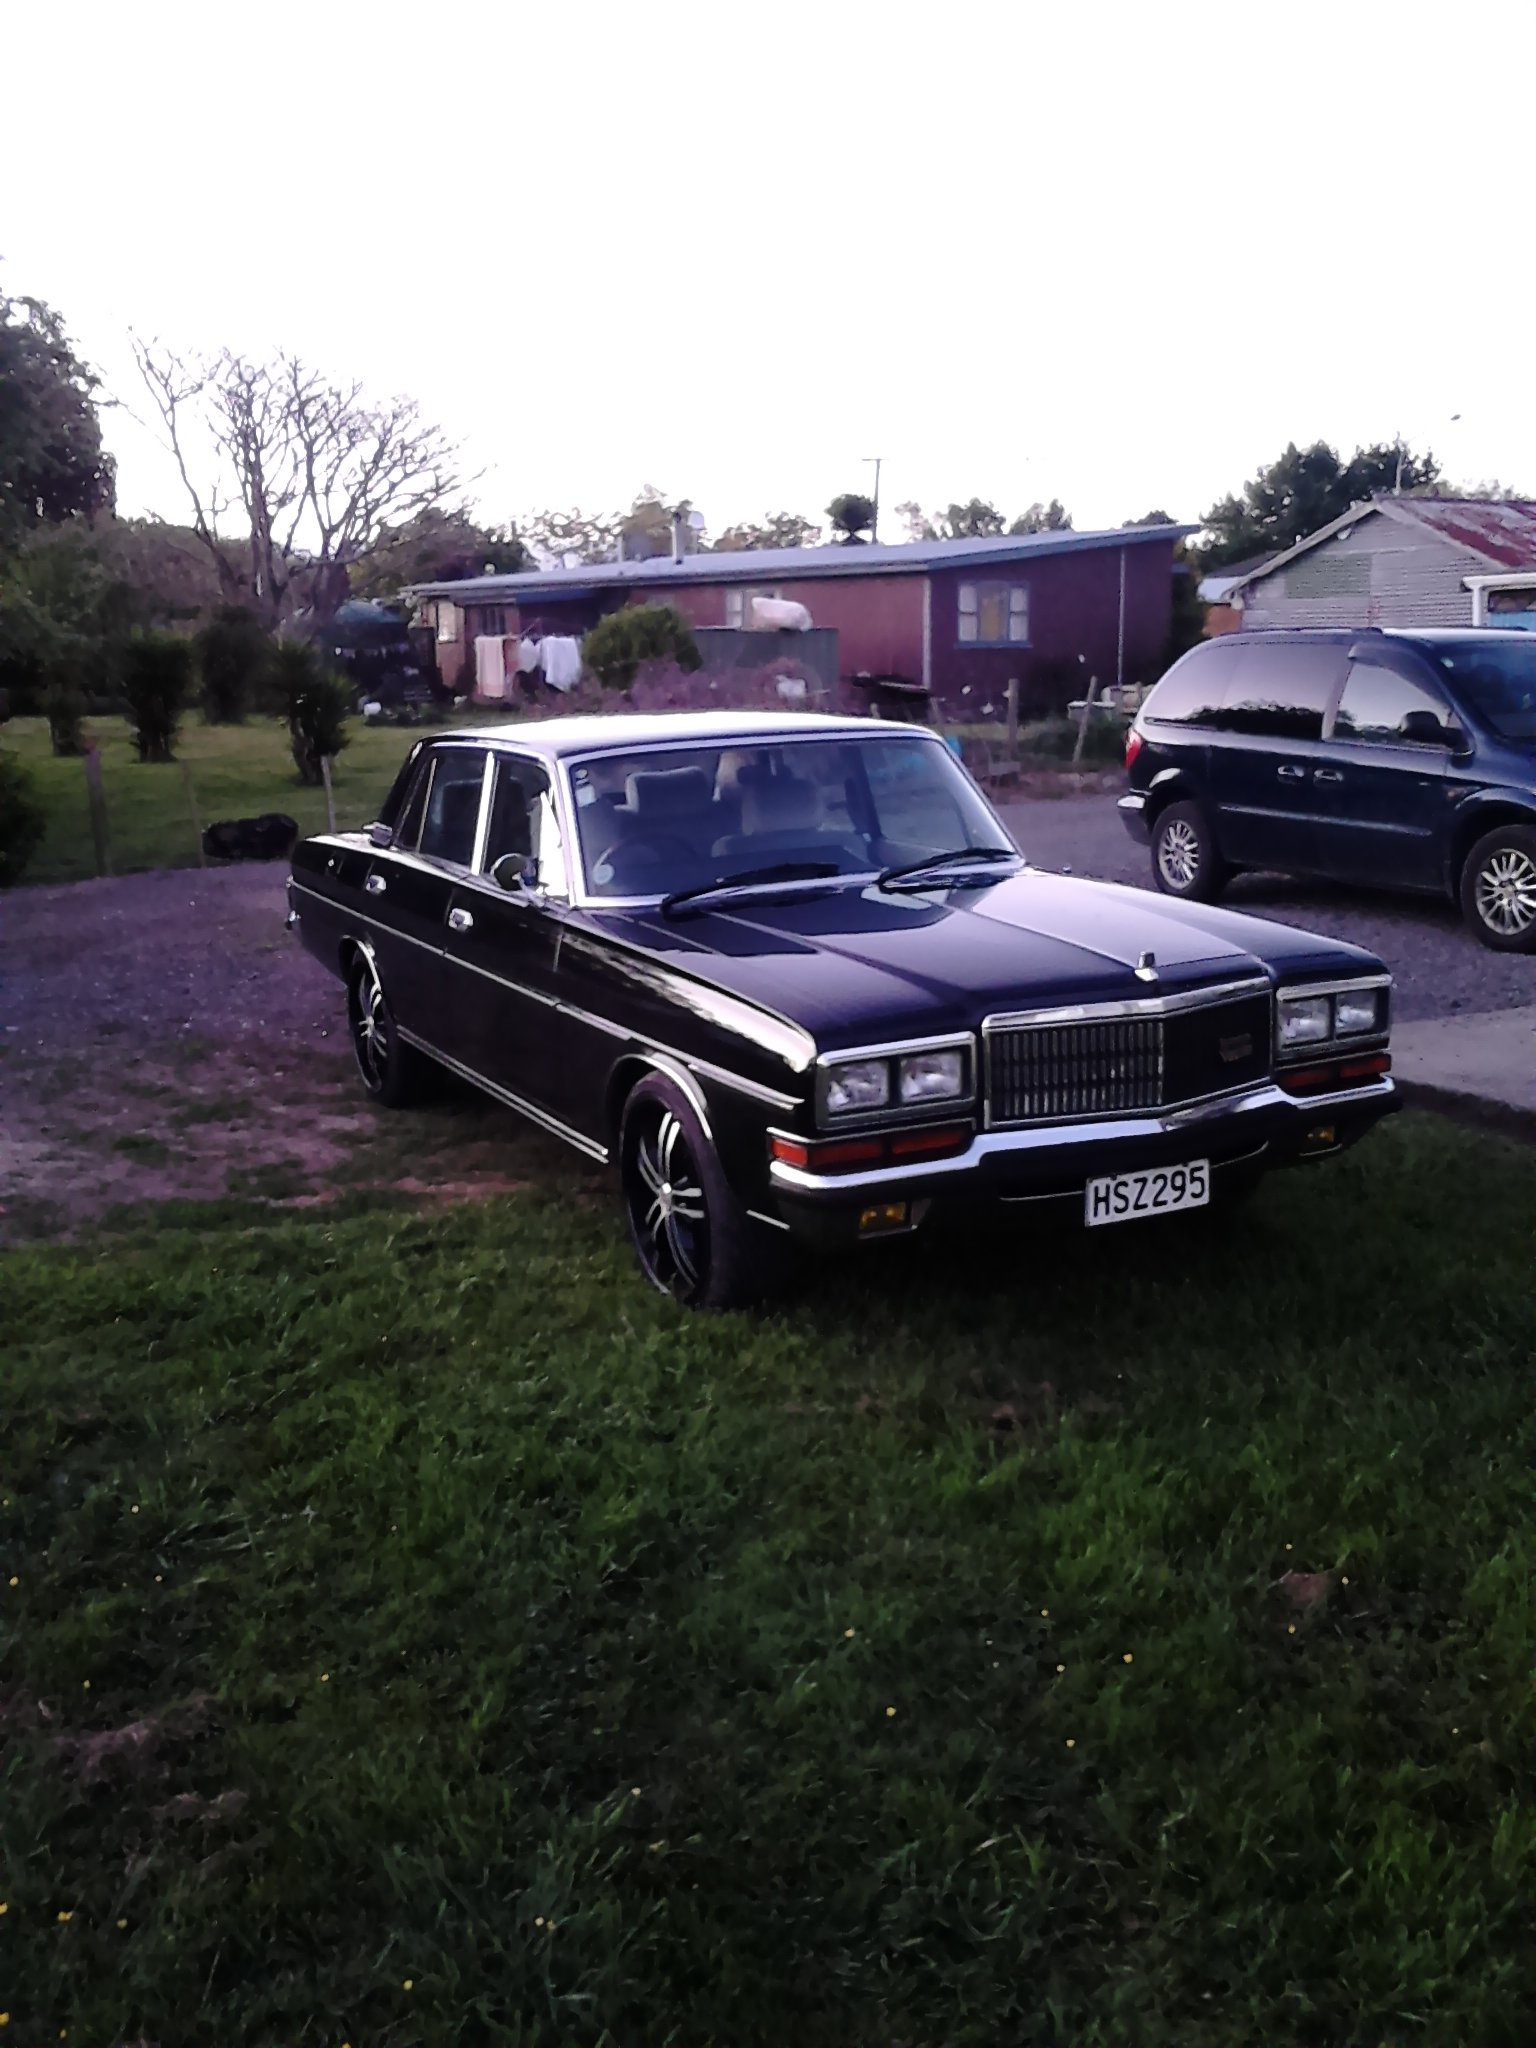
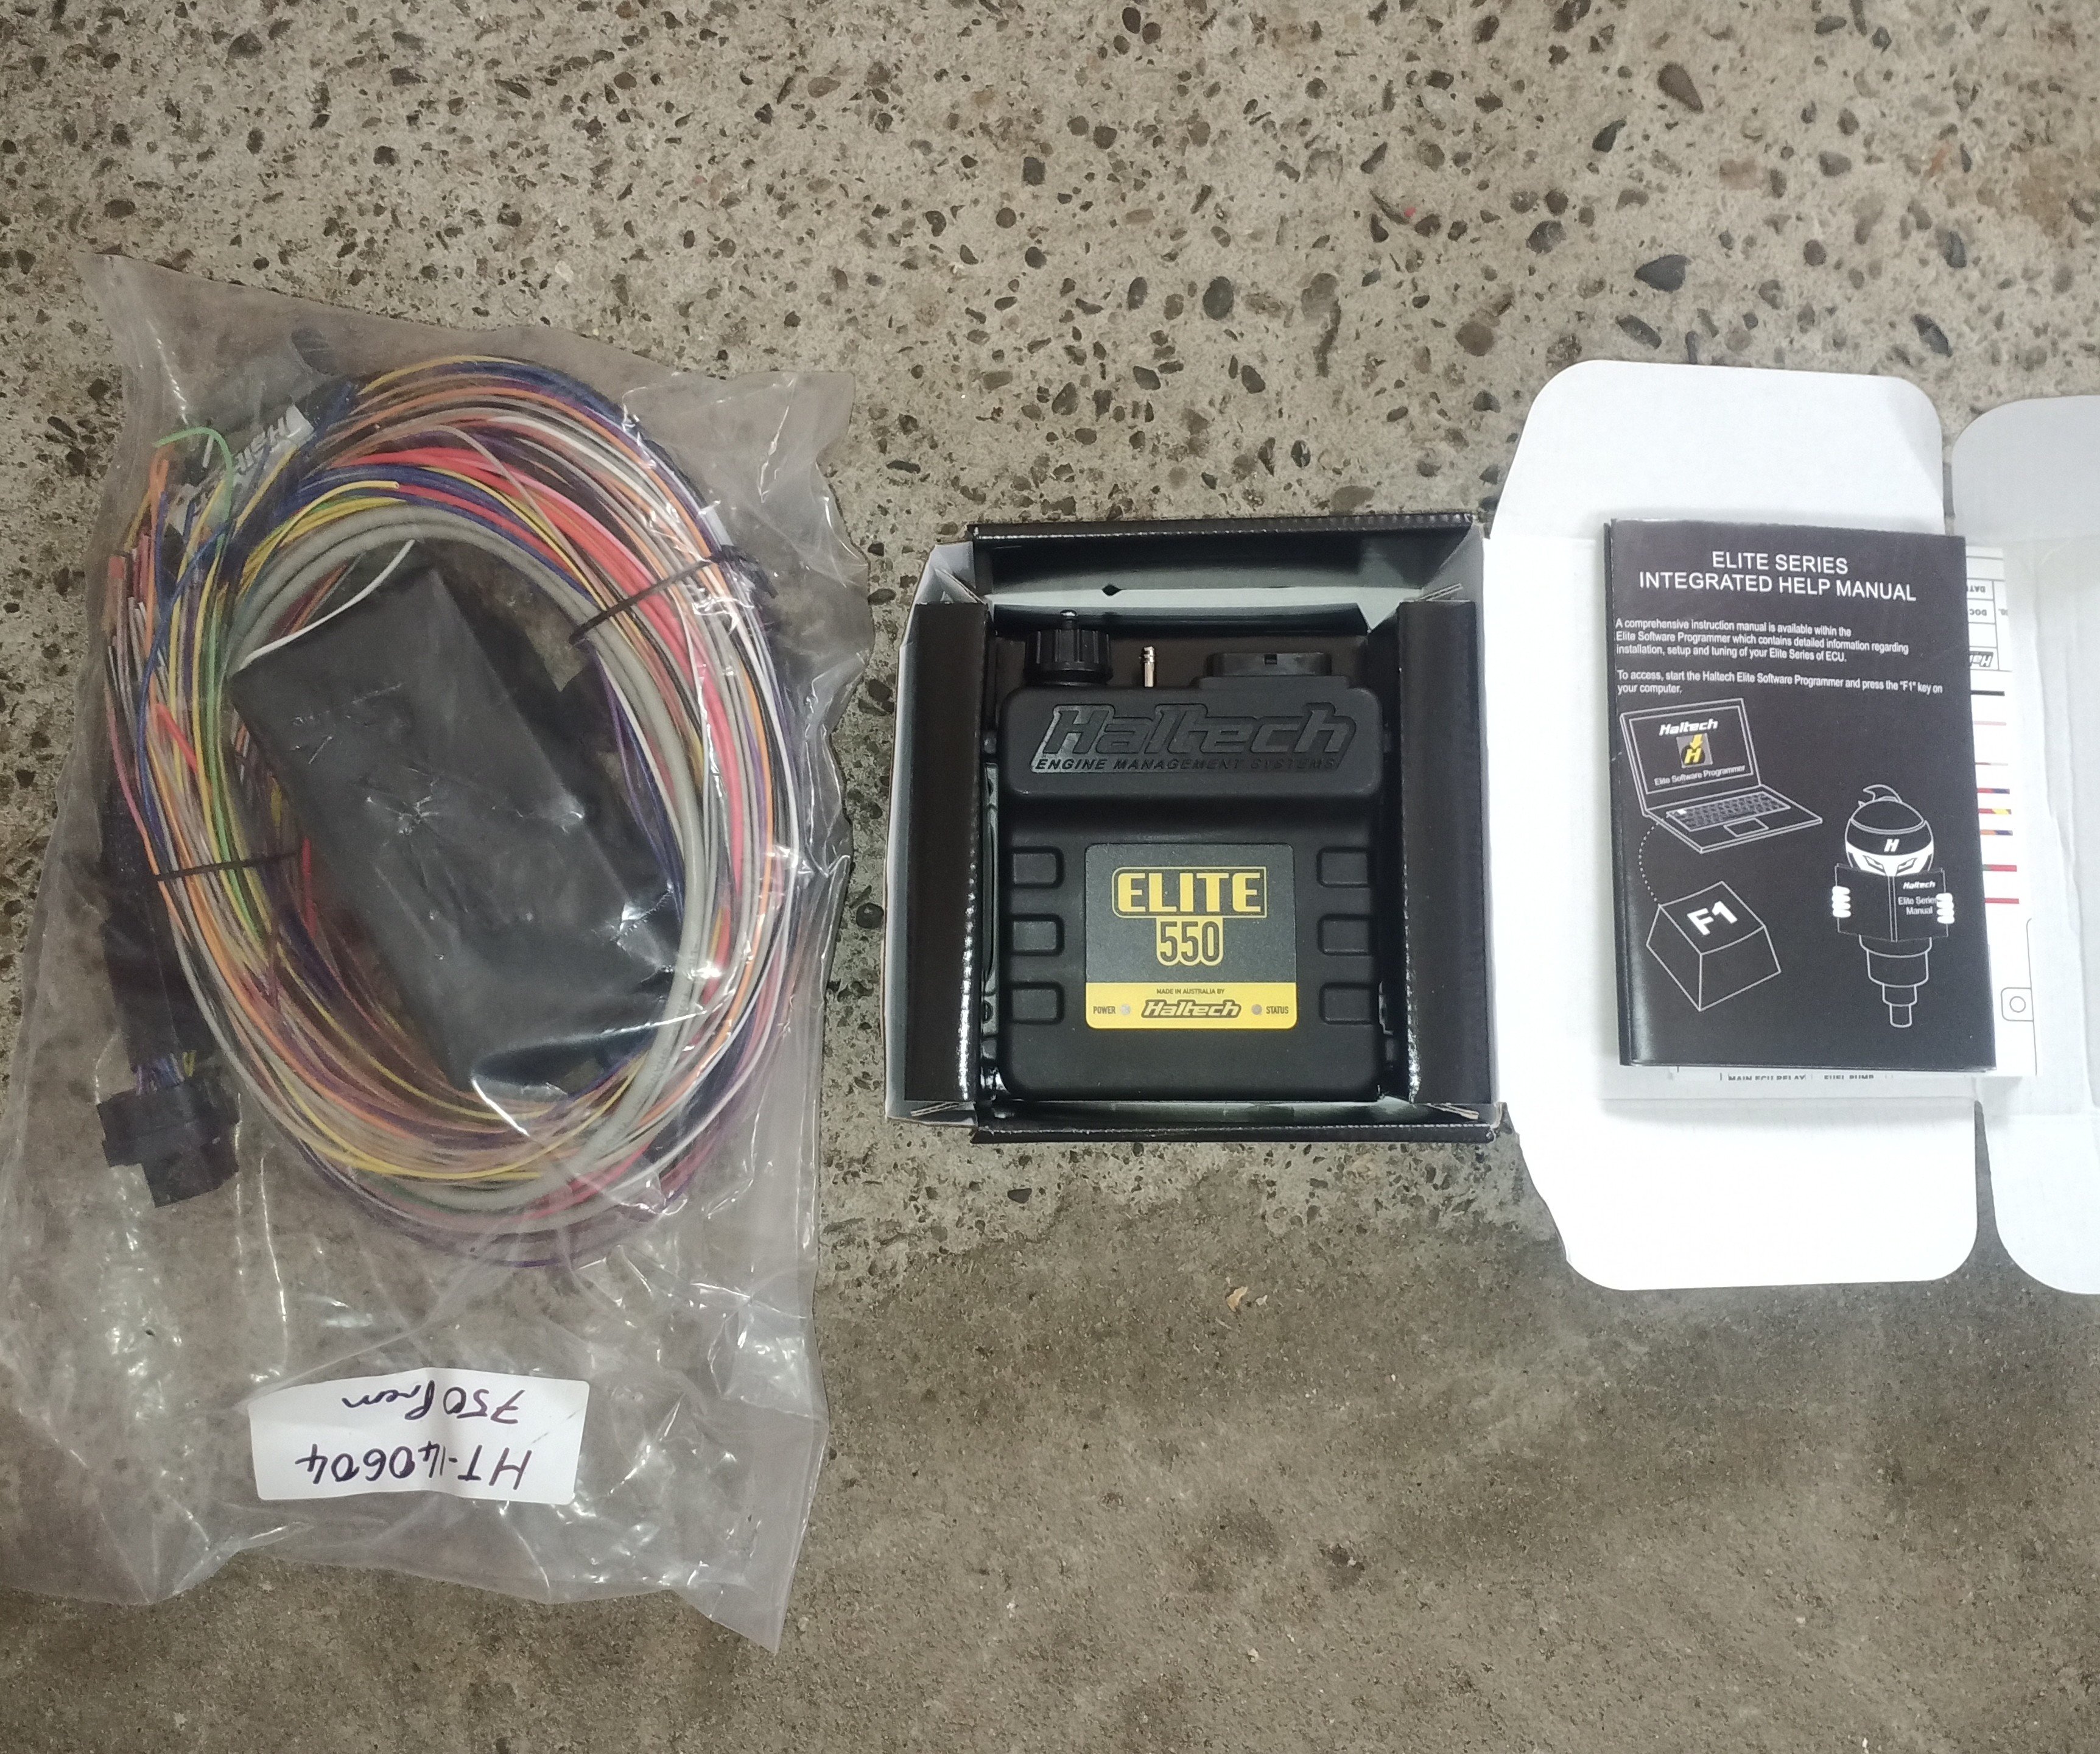
Turns out I only have 3 photos of this on my phone and this is from 2015, but anyway this is my 87 Nissan president Have done a few bits and pieces on it in the time I've had it, and generally it's been pretty unreliable, the latest problem it's got is running issues so a haltech 550 and wiring kit has turned up for it now. Fun fact- I don't know what I'm doing. Next step I guess is to gather some electrical bits like plugs idle control valve and some sensors of some sort. Going to try and follow to a degree what skid factory did on YouTube, looks easy on the internet, what could possibly go wrong?
3 points
-
Guess we'll sort the boys from the men on this trip then3 points
-
I have some 15inch Wedssport TC's that weigh 2/3rds of 5/8ths of fuck all if you want to run them on the rear? These ones:3 points
-
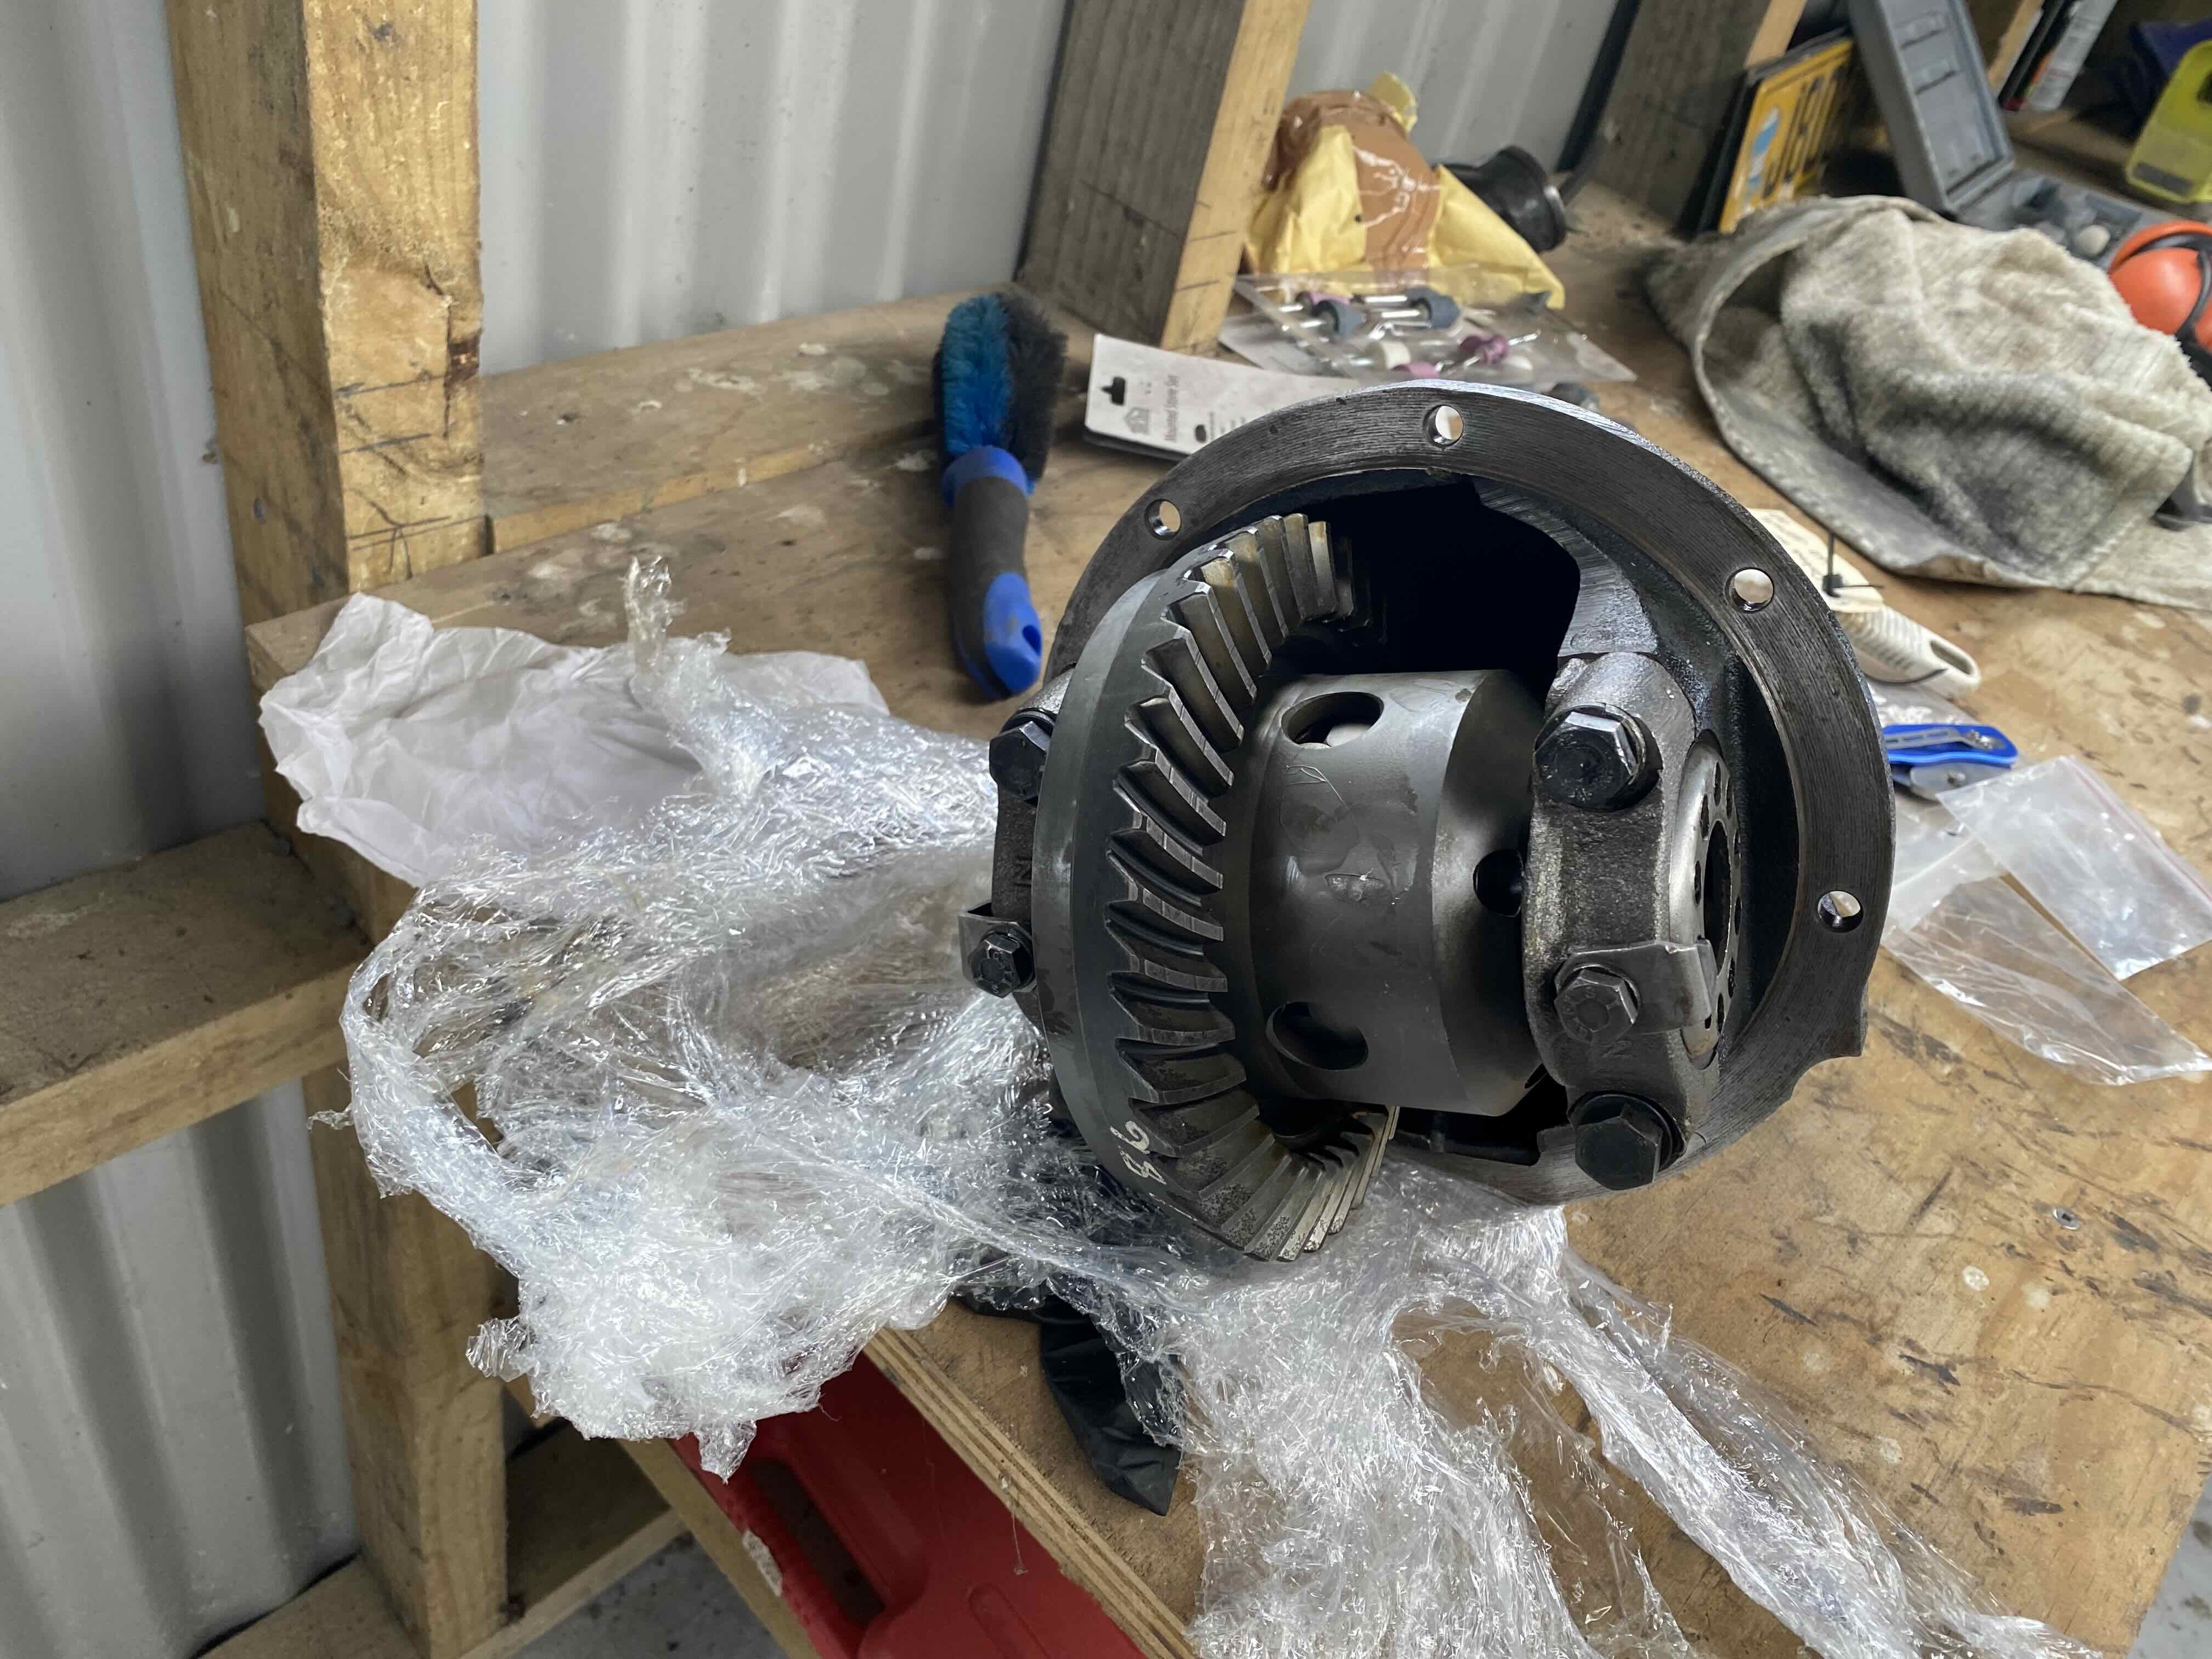
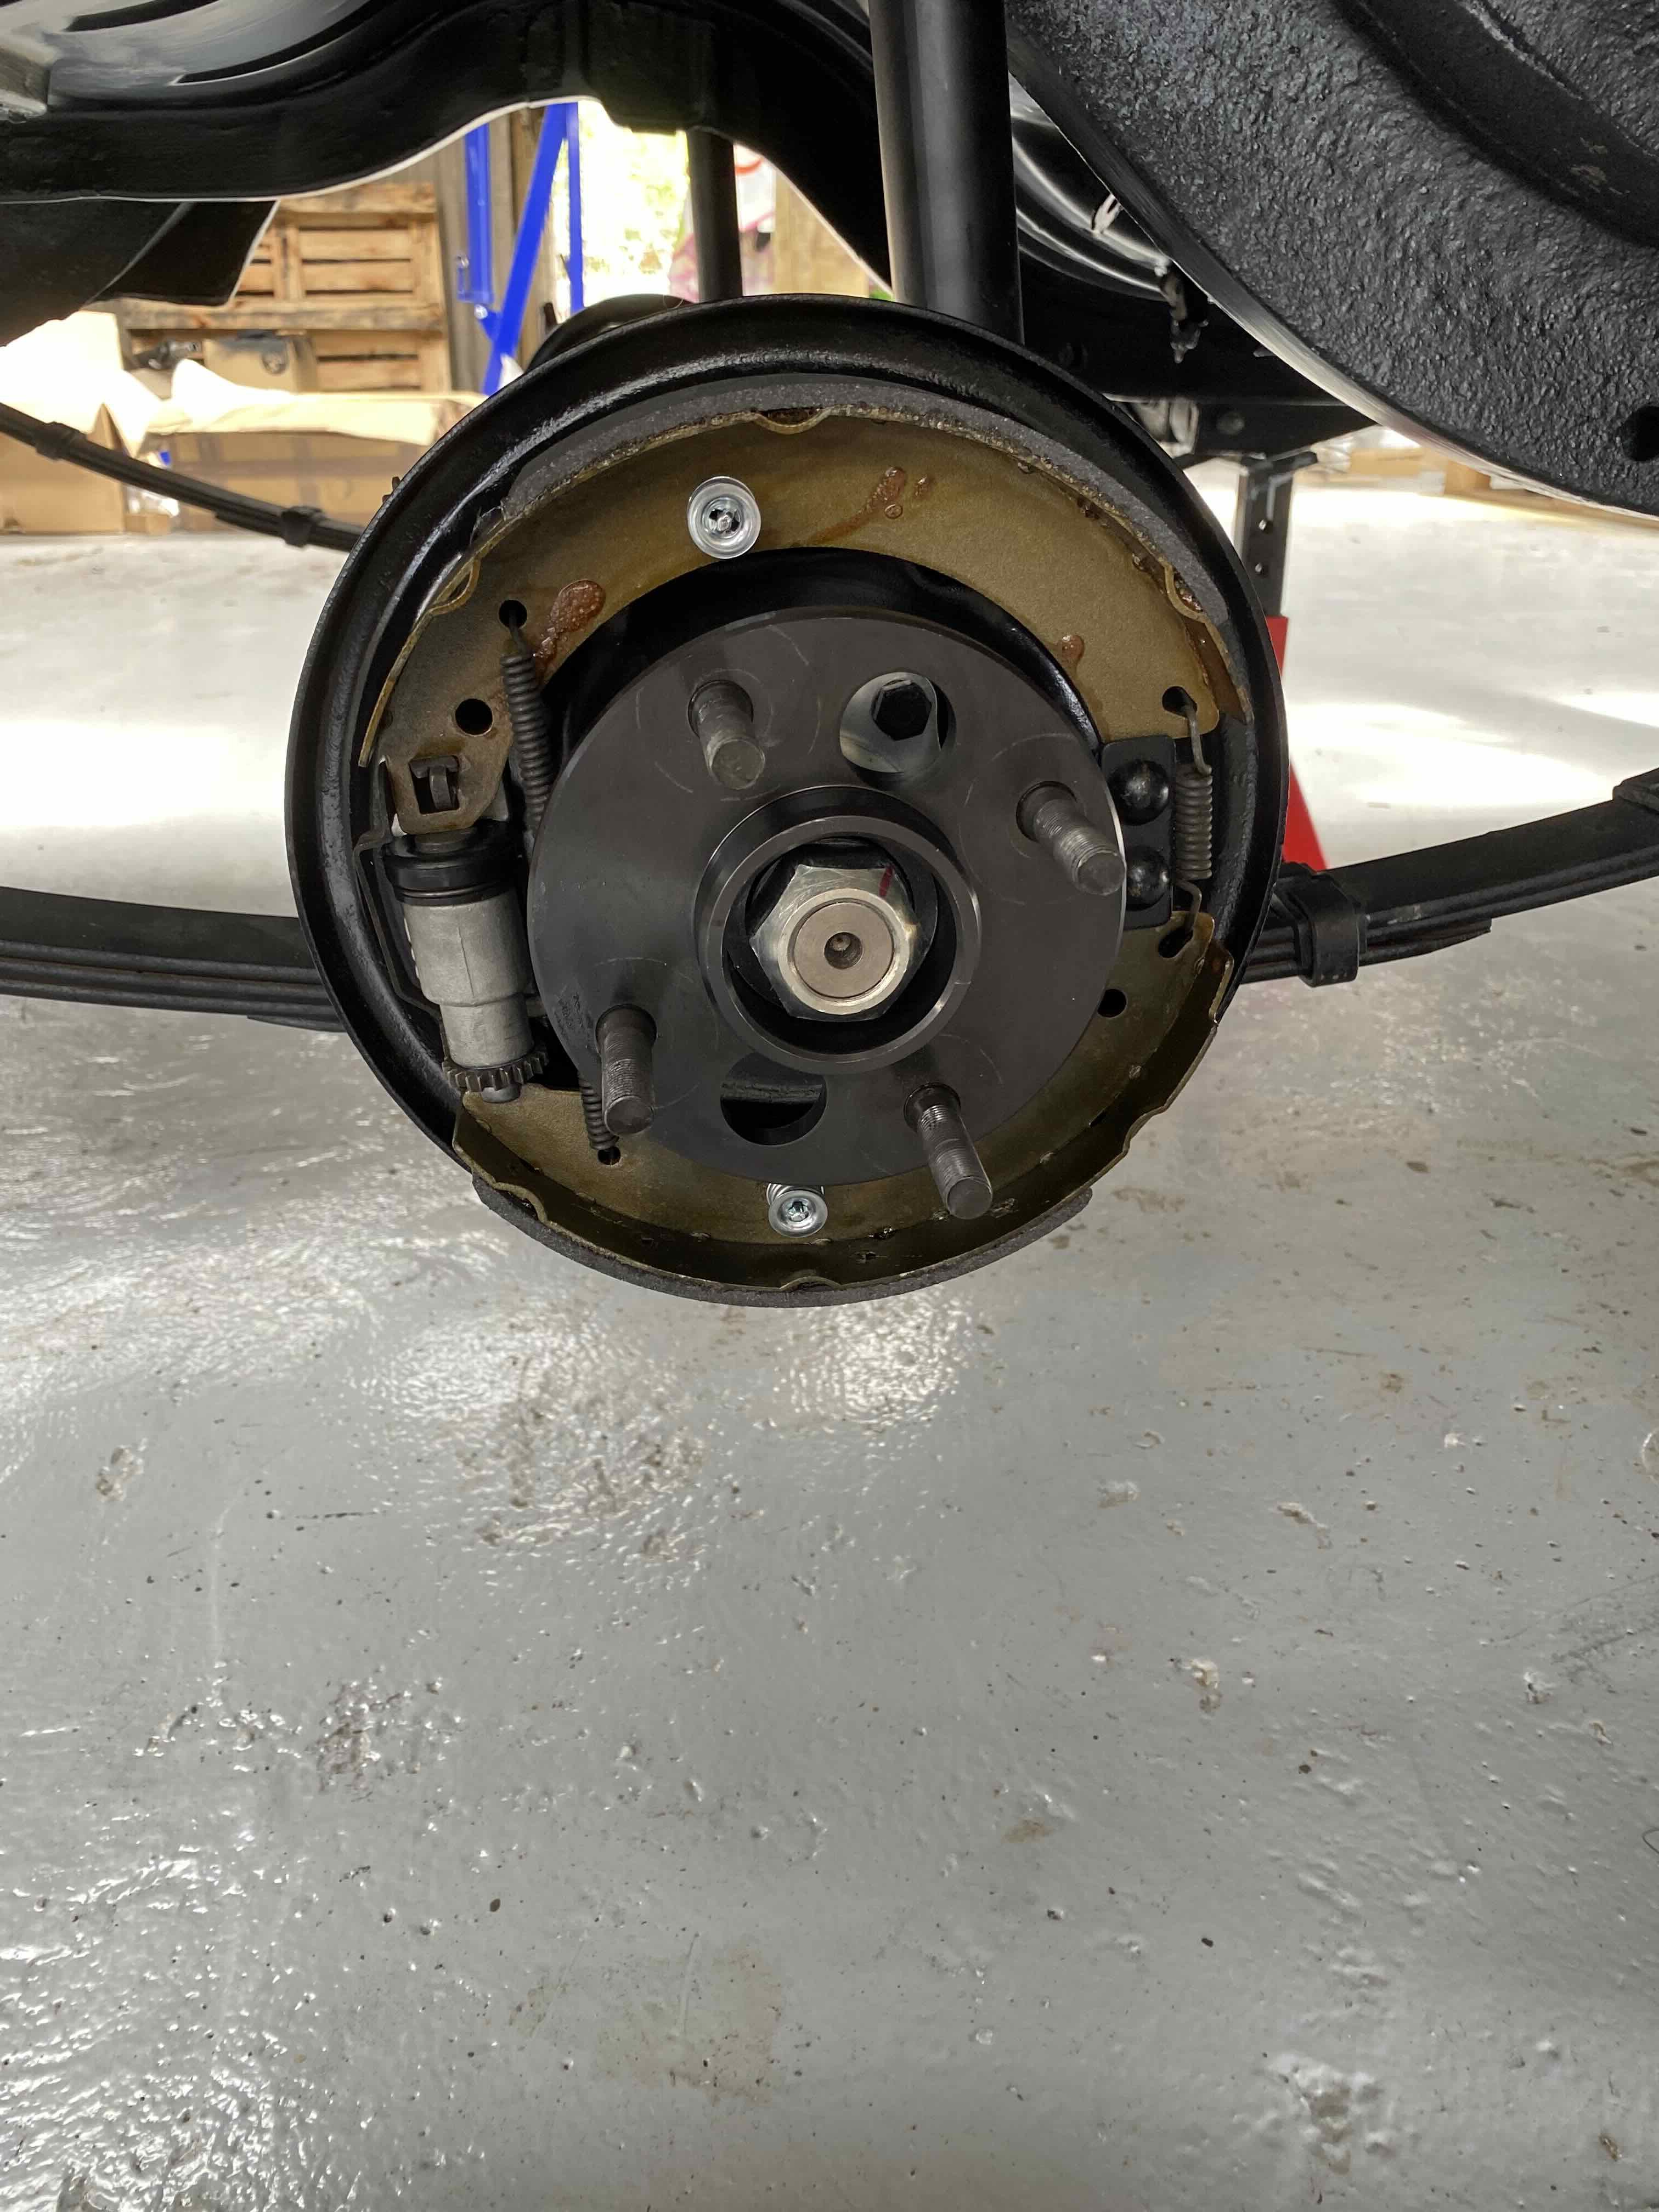
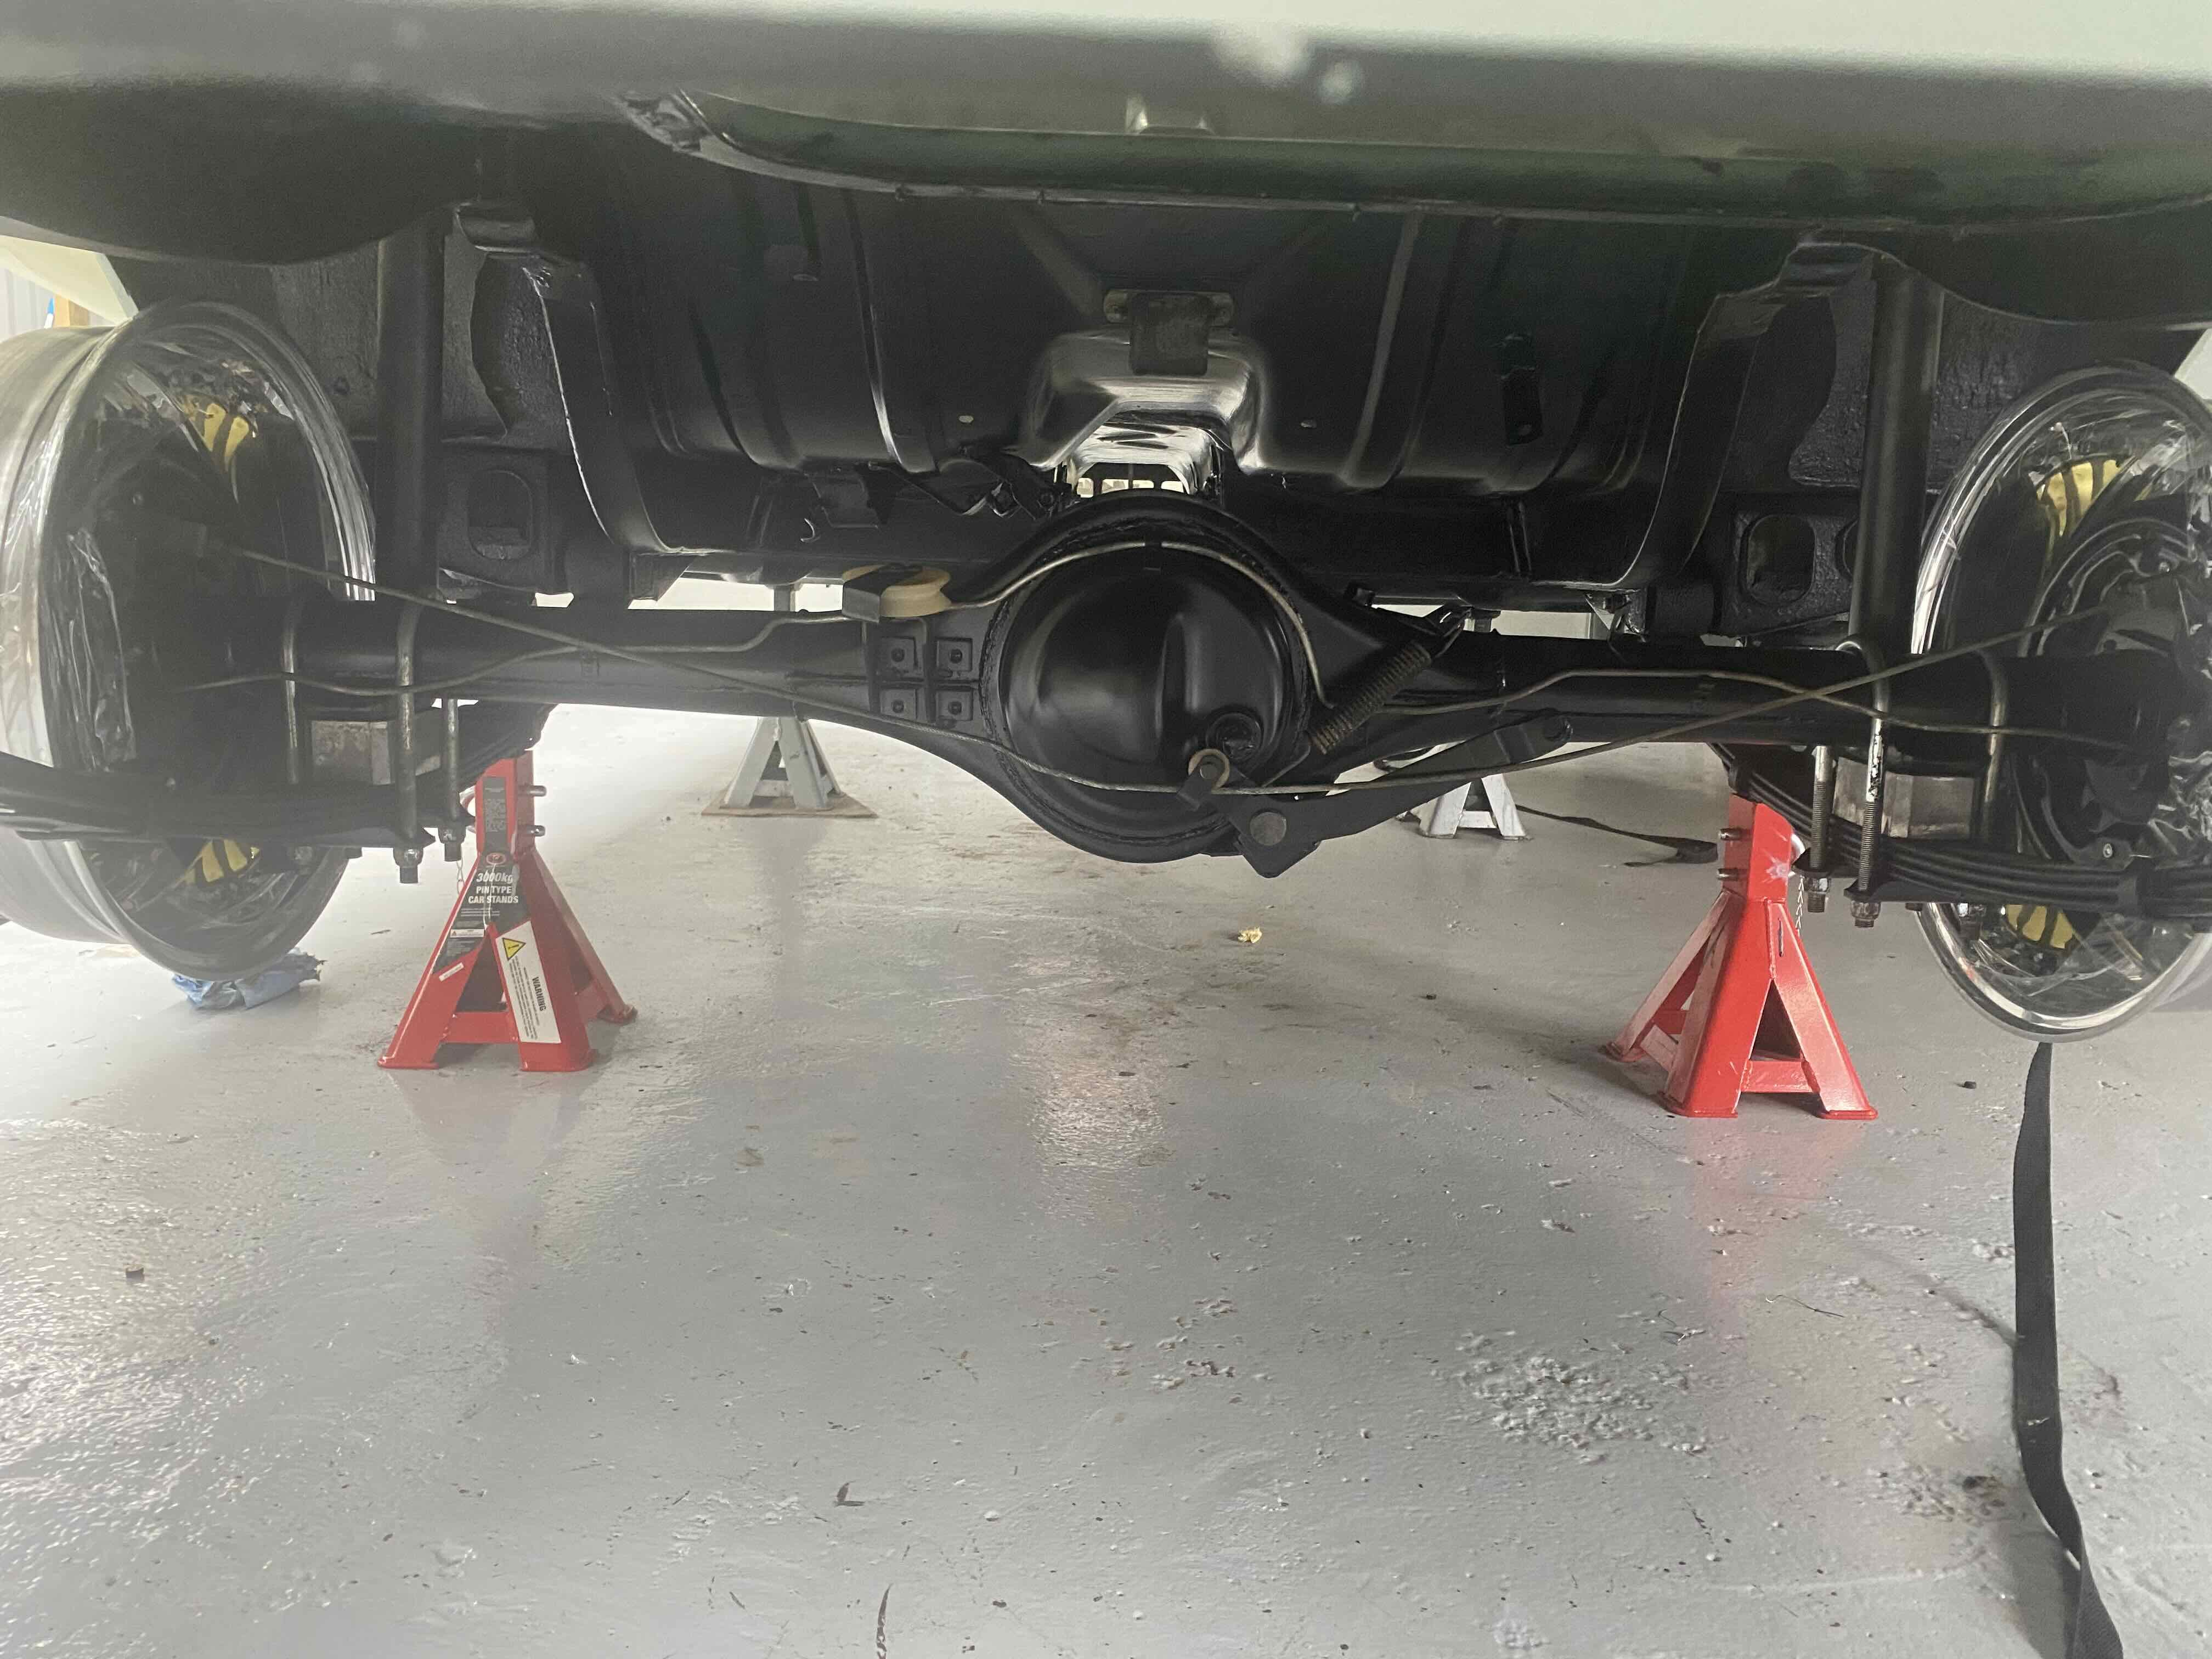
Then it was onto actually fitting stuff - hopefully for the last time. Diff head was treated to new bearings and an LSD. New oversized axles and new bearings fitted. New brake hardware and new shoes fitted after stripping and tidying up the cylinders. Test fit shininess.
3 points
-
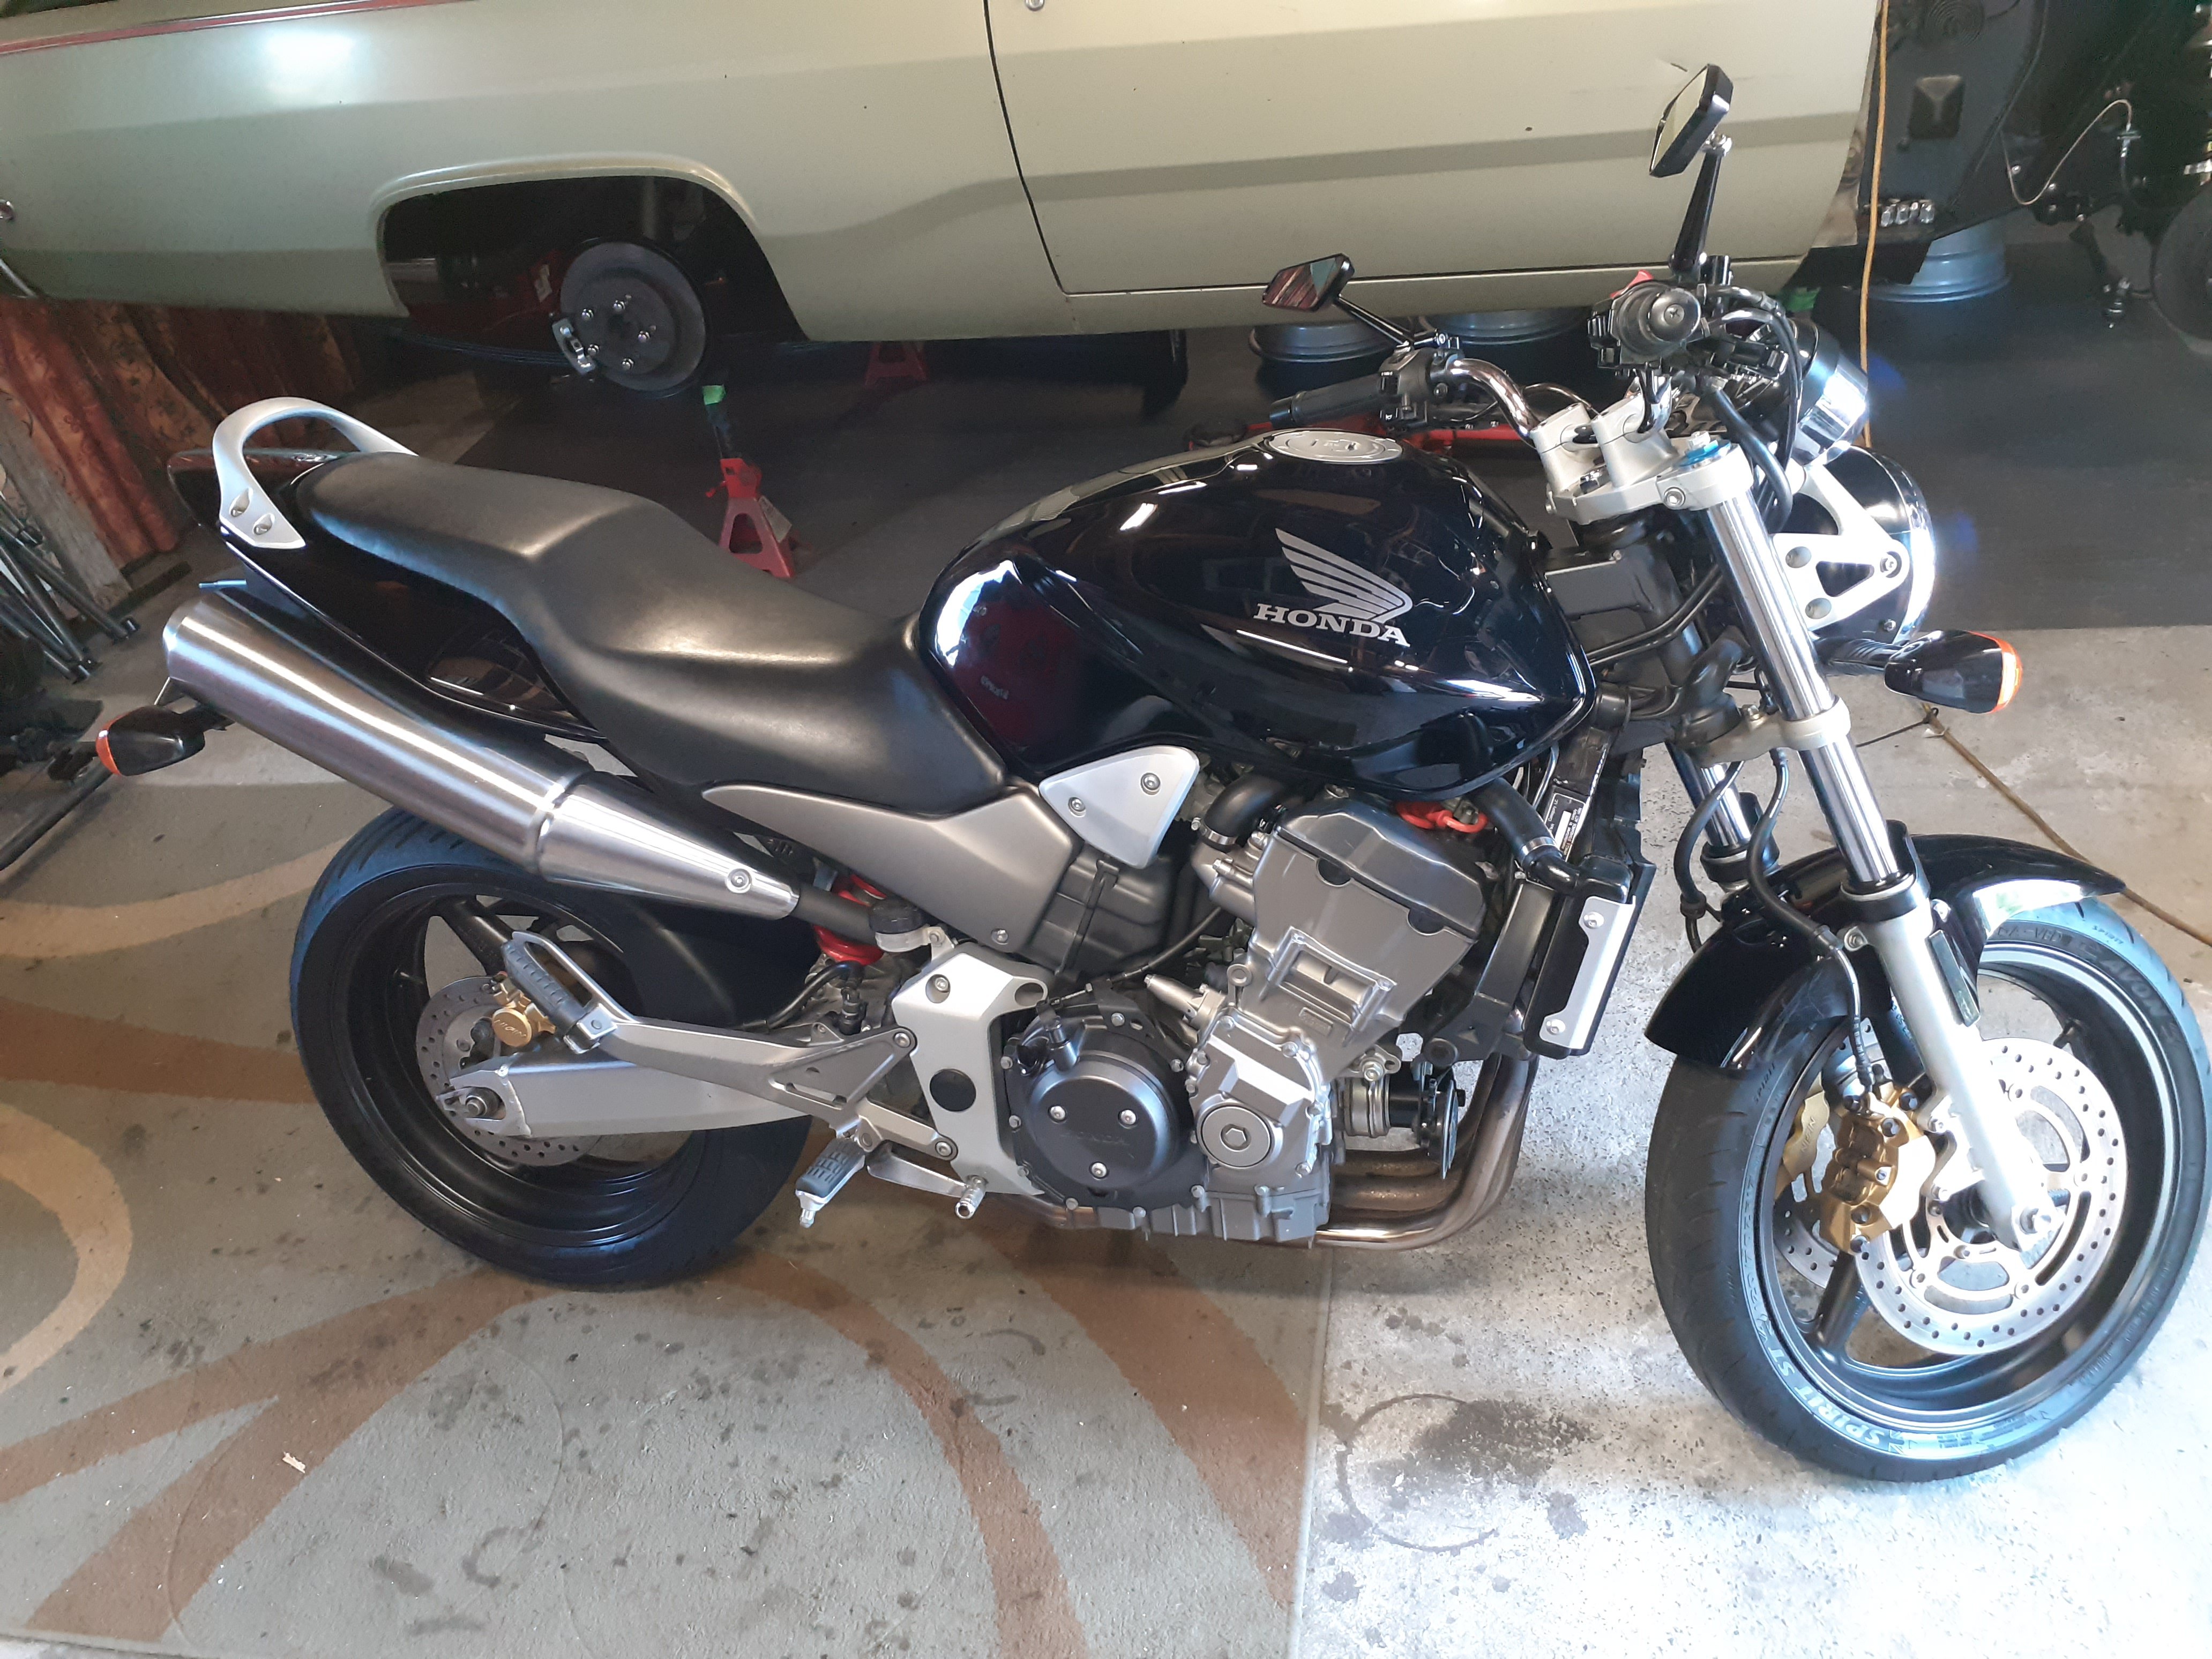
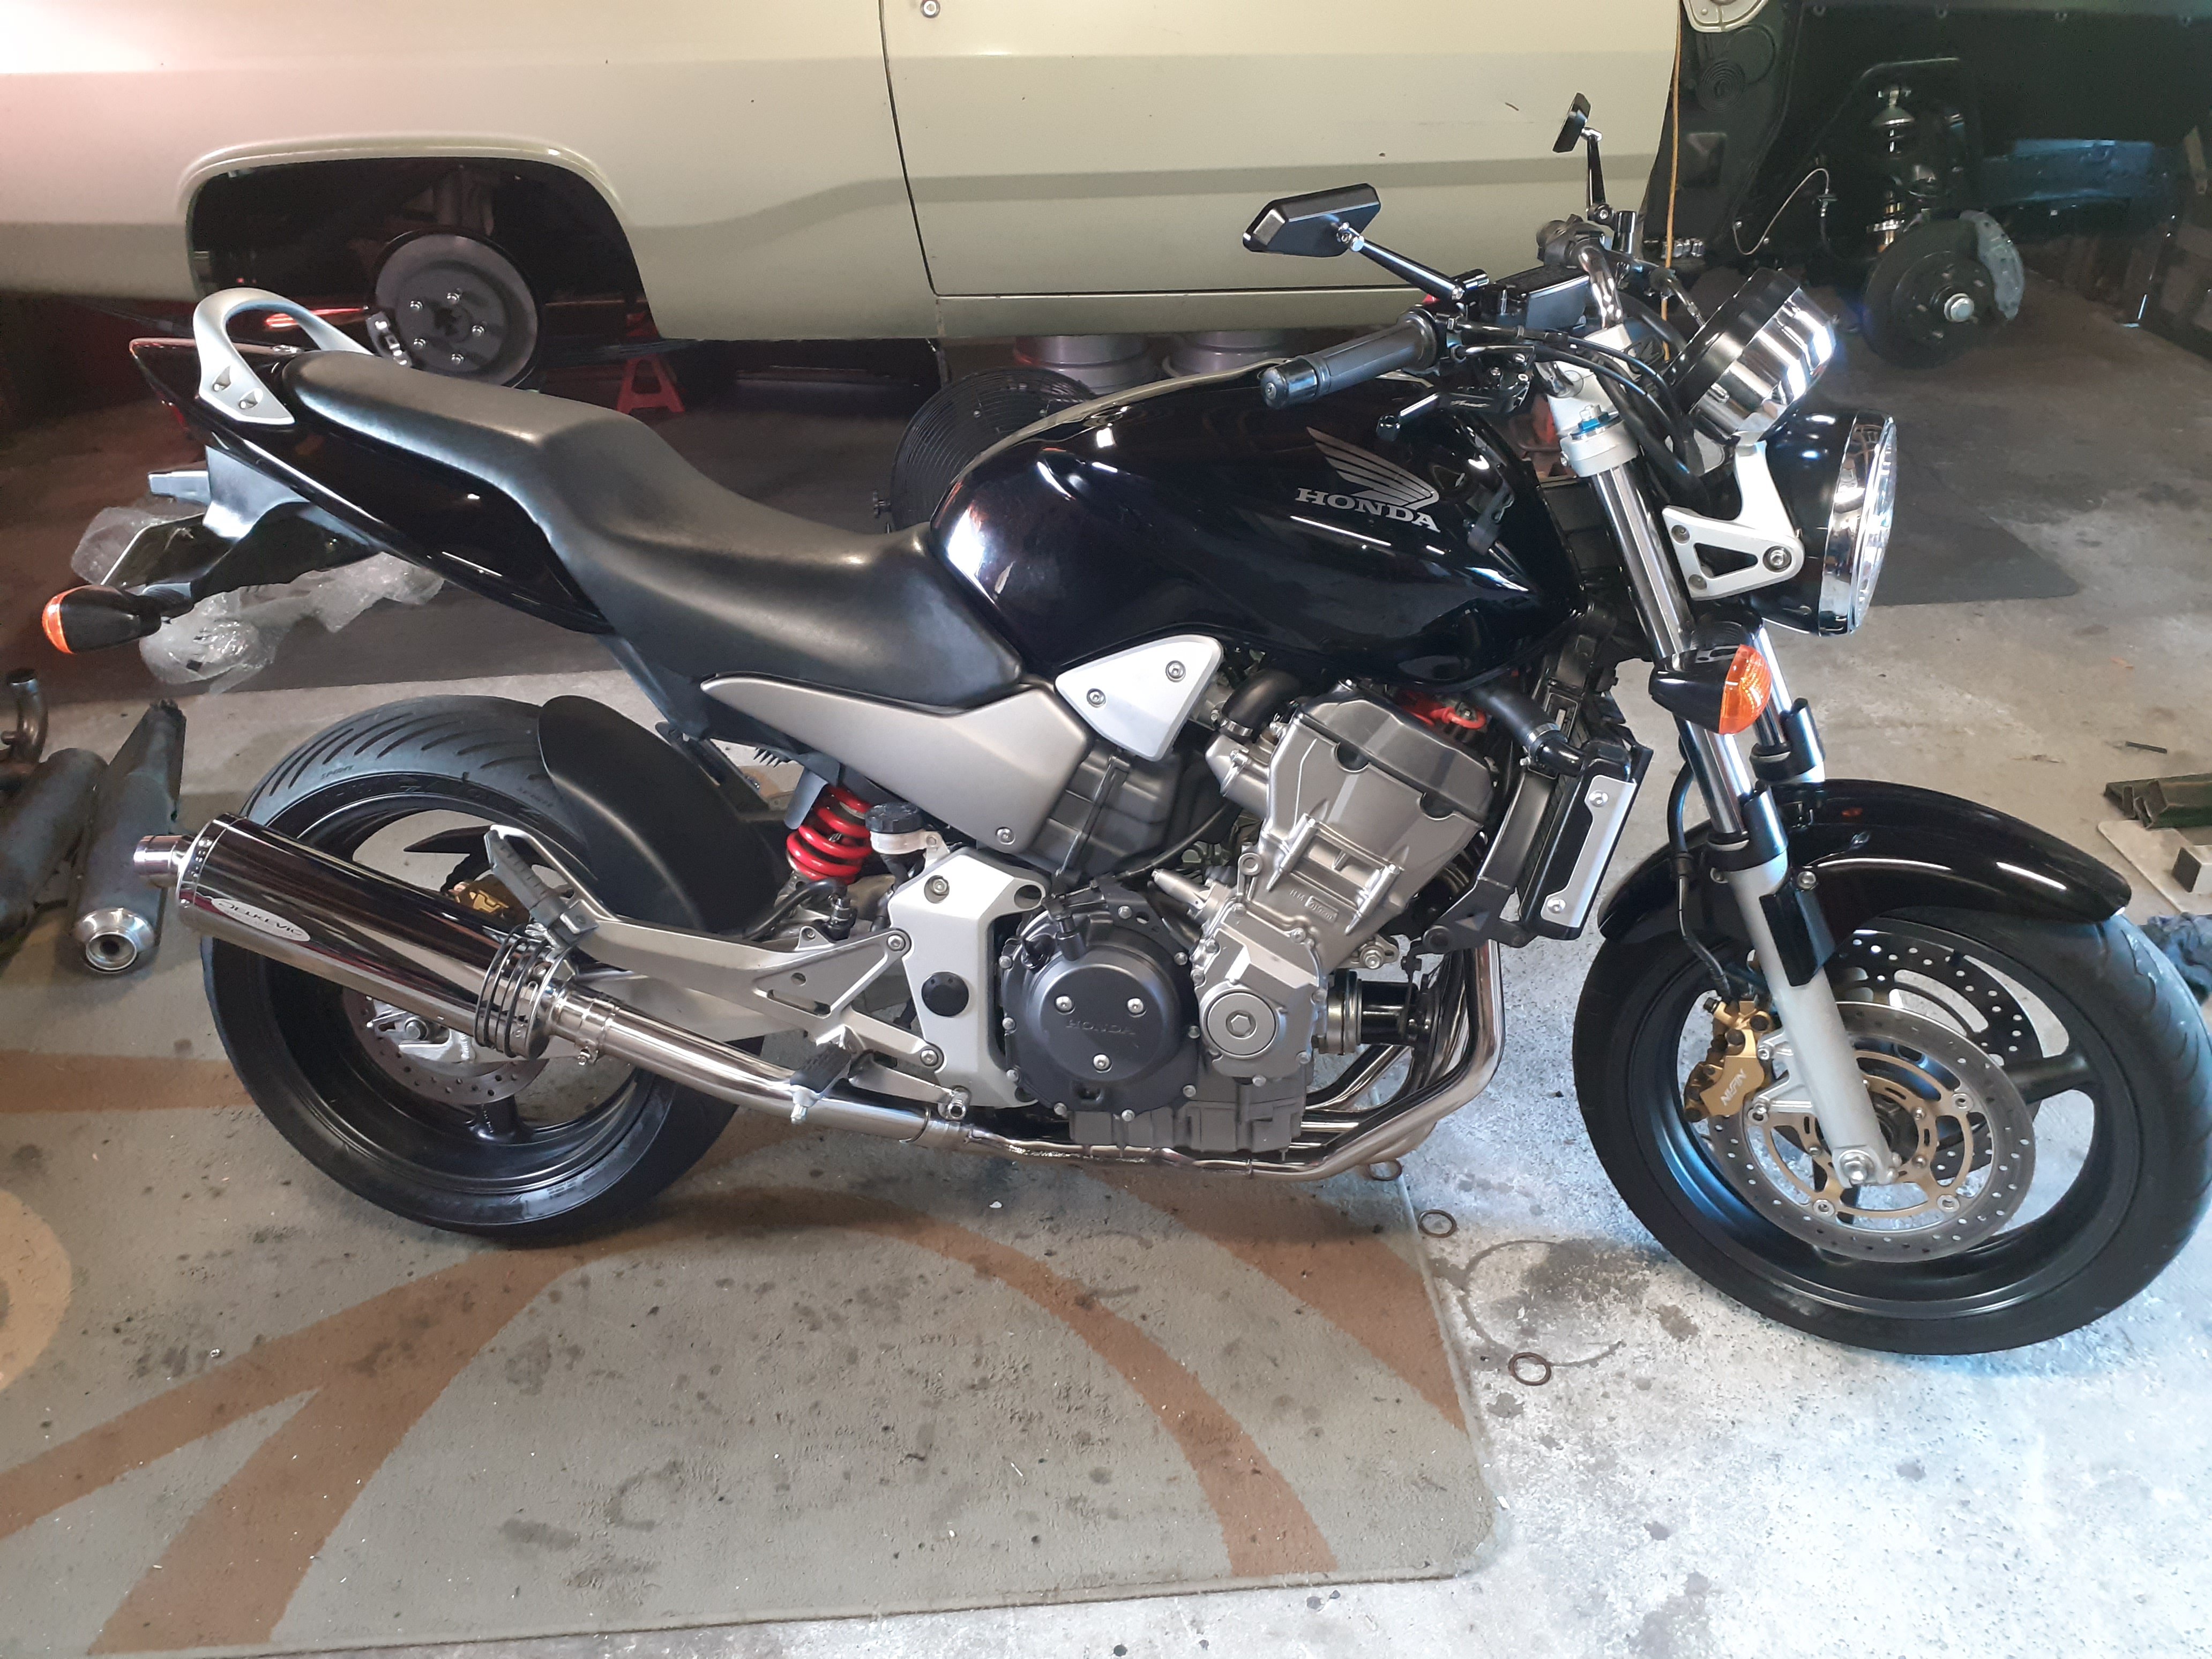
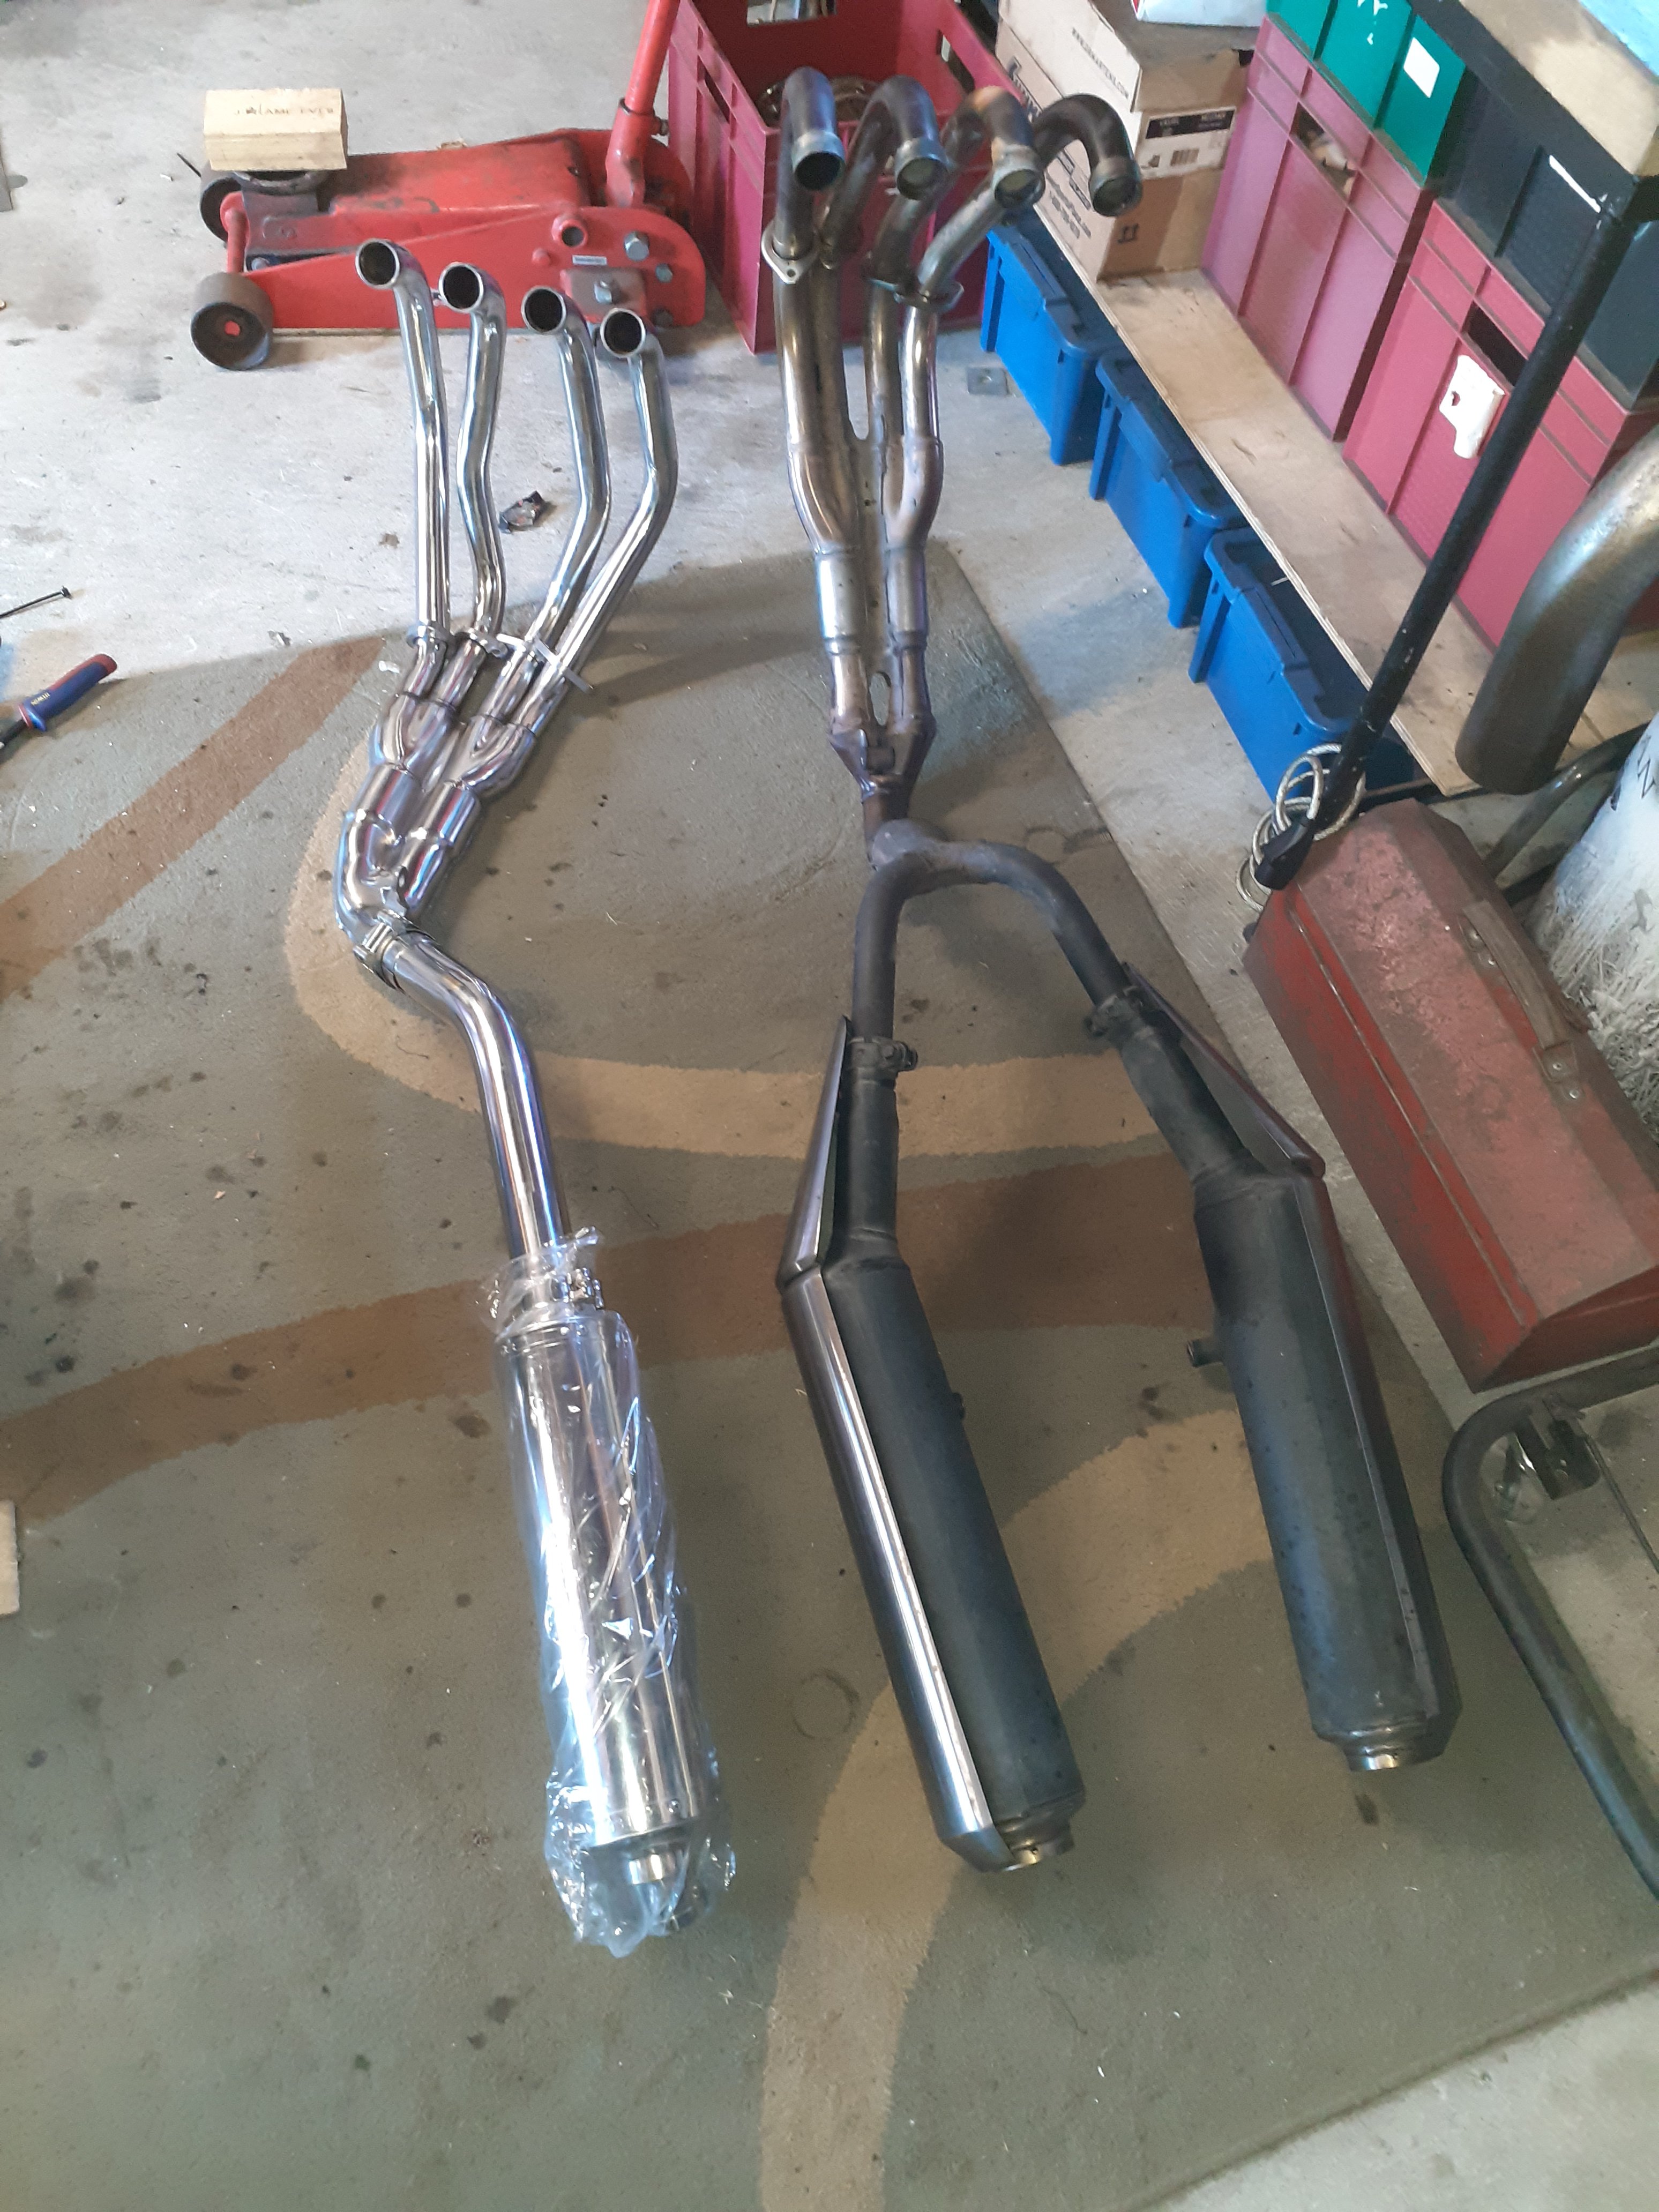
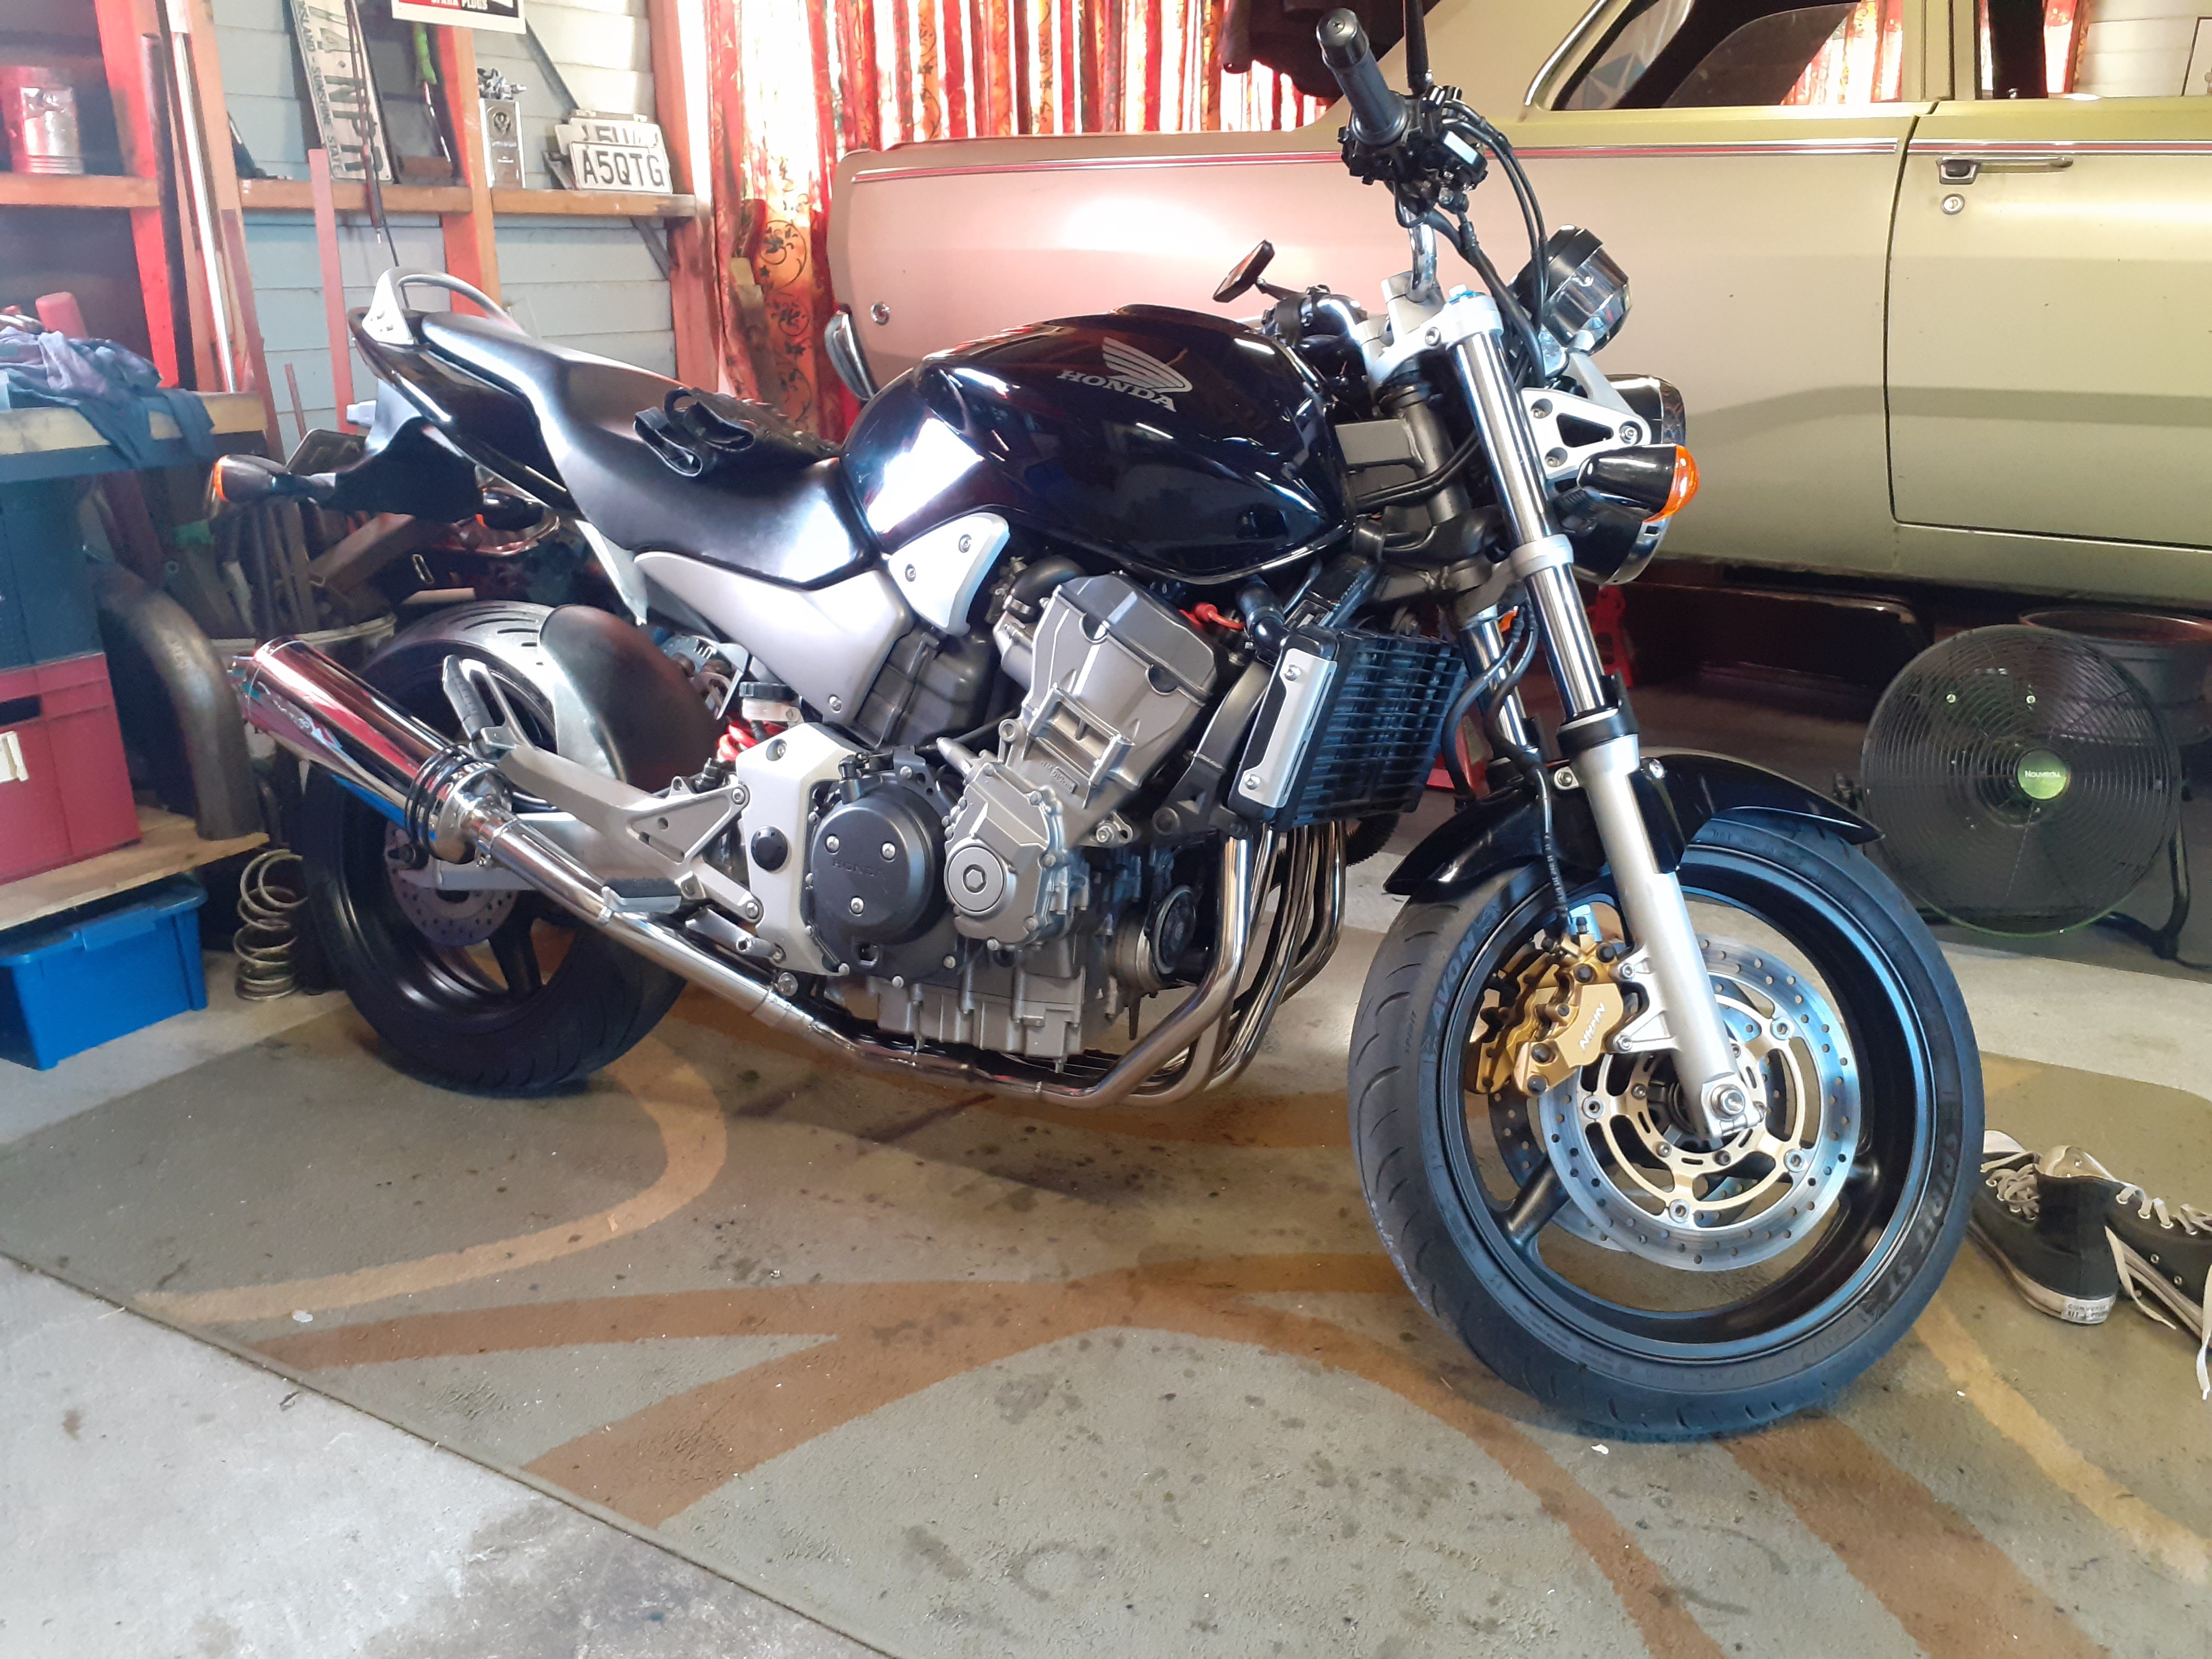
Looks better I think. Quite a lot lighter and sounds good, about where I wanted it, not obnoxiously noisy but enough to be able to hear it Start Finish Was pretty straight forward to fit, bolts on apart from the mount brackets, I made 2 aluminium brackets to attach it to the bike and job done Am just waiting on some small indicators to arrive then I can get rid of that ugly bit at the back
3 points
-
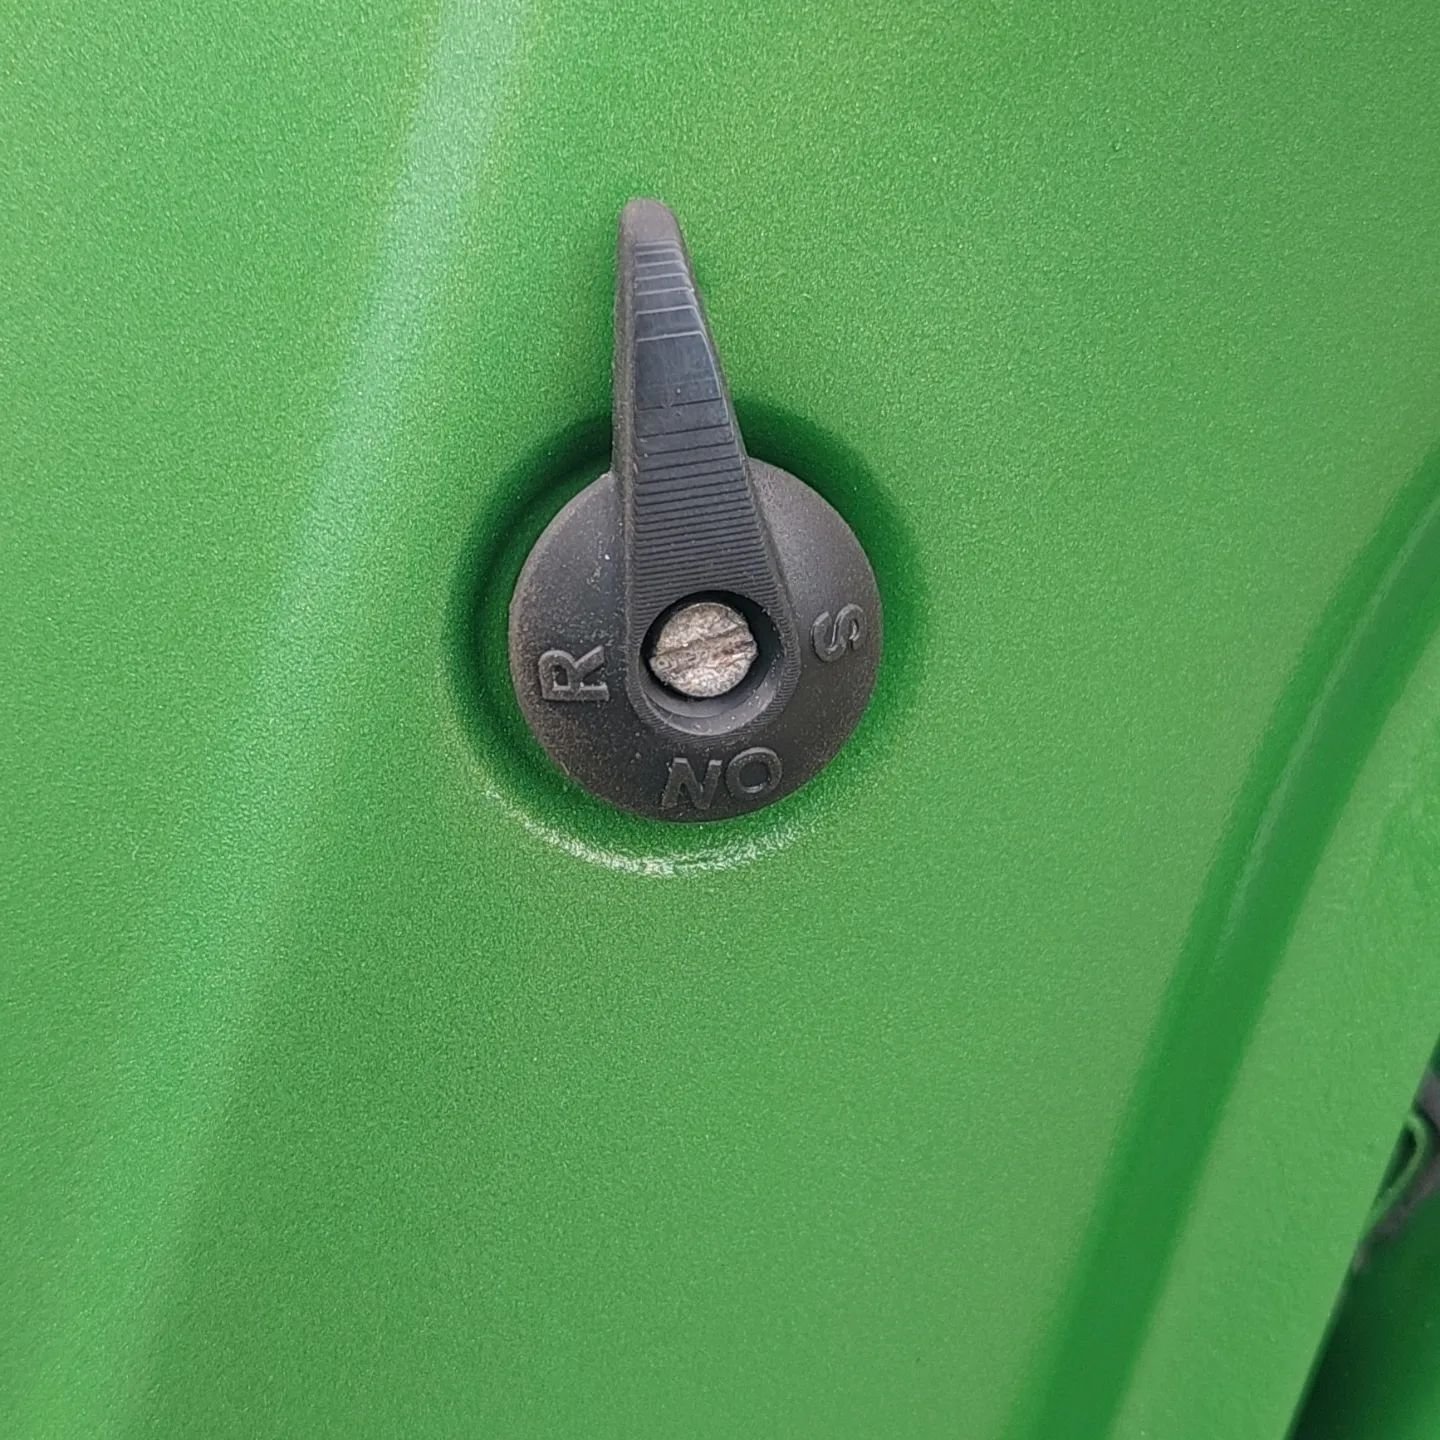
A few more jobs ticked off on the chaly over the past few days. A big hurdle was the wiring as I'm pretty shit at it but getting better, with the help of my dad we got there. I had to cut down the side stand considerably, the footpegs will be changed for Anderson style pegs I had to put an adjuster on the clutch lever as I've routed the cable through the frame and can't access the inline adjuster. New chain, rear sprocket and chain adjusters mounted too. @dvsdev.chaly on Instagram 3d printed me a fuel tap handle which is awesome
3 points
-
Porika is fine, if old mate is crying about it in a CT he must be a pretty new rider. The first time I did it Blinky bill did it on a CB350four, hayhole on a gn250 with road tyres. Mitch did it on a BMW r80 road bike on our brass monkey trip in winter and it was a walk in the park on my 200kg africa twin with 40kg of luggage. My father in law rides it both ways with the cook on the back of his africa twin. Mangatapu is far more technical than porika2 points
-
Got some liquid gold today Strangly enough with the correct type and volume of fluid things work much better. It was two litres low, shudder is gonw now, it still surges a bit but I'll ignore that until it gets worse. Changed the atf in the orthia while I was on a roll2 points
-
Sounds legit to me2 points
-
So as expected the spark plug change fixed the hard starting issue. There is still some hesitation on the throttle which is down to one of a few things in my mind. Either the choke needs to be connected (I haven't really driven it that far but it does seem to get better the more it drives), there is a blockage in the carb, or the car just needs to stretch it's legs and blow off some cobwebs. In prepping for a pre-wof I found a light out (you can see it in the first pic of this thread) so raided my stash and went around the car putting in new lights. I changed my s-type bulbs to LED and had a few left over so changed the dash globes for them. Talk about a difference! I still need new gauges however so I'll sort out the dash properly when I get a chance. The fake radiator grill comes off this week so I'll likely get started on prepping for a quick and nasty paint job then. Hmmm pics aren't working so I'll put them up when it works for me.2 points
-
enter here: https://www.emailmeform.com/builder/form/pIdgamPB4En6388S?fbclid=IwAR1zInCTCA8XtPSJYGk4tffYkUTZuSuSdocE1pm_N6dLLAkx_bdyFUEjAps2 points
-
Yeah they are an interesting machine these twin table vertical's. Since you are working from the side window for setups they are a bit ergonomically inconvenient for job shopping/prototyping, but at the same time you don't get the advantages that a twin pallet horizontal does (a tombstone with lots more surface for parts and good chip clearance). The 15k rpm spindle only goes down to 150rpm, and looses a bit of torque down low, so you have to focus your machining strategy towards high speed/constant engagement tool paths. I think that's why this machine didn't have a lot of interest and went for what I thought was a good price and because of that I'm willing to put up with the inconvenience and extra floor space vs a standard BT30 machine. For reference it went for a more than a new Shapeoko and much less than a starter package Tormach 440, so if you have the power and space buying a used industrial machine will get you a bunch more than a hobby grade machine. You may have to put up with Fanuc... but once you get over that you're golden. In terms of my plans, I'm an engineering consultant and I felt that it might be nice to have a bit of capacity to do odd jobs for clients (so no need to keep the spindle busy). I have a bit of background in machining from years ago, so its something I'd like to be able to do again because I really enjoyed it. Sometimes I have errant dreams of completely transitioning out of being a consultant to making parts (I probably incorrectly feel that will be lower stress), so this is kind of a way to test out the market/feasibility/enjoy-ability of that as a revenue stream.2 points
-
2 points
-
Ac doesn't work in the accord and the beagle has a intermettent miss/still is leaking oil. I was trawling marketplace for a manual crv to pillage for parts and saw something tempting. The guy was hard to deal with and a bit abrupt/rude. We took it for a spin around the block, tired a lowball and he didn't accept it. We counted out the cash and he kept ignoring us. His kid came up to us and was like "excuse me are you going to buy the car or not" umm yes we aren't standing here with cash for no reason Ticks all my boxes, cheap uncommon, awd high km, ex damaged auction. Had typical cvt shudder but I'll service it and ignore it. Lisa loves it and has claimed it, she wanted something tall and small ish so it Ticks those boxes too2 points
-
Longboi, not much room in the booth left
2 points
-
please put your shed build into the shed building thread, i for one would be keen to see what/how you built it.2 points
-
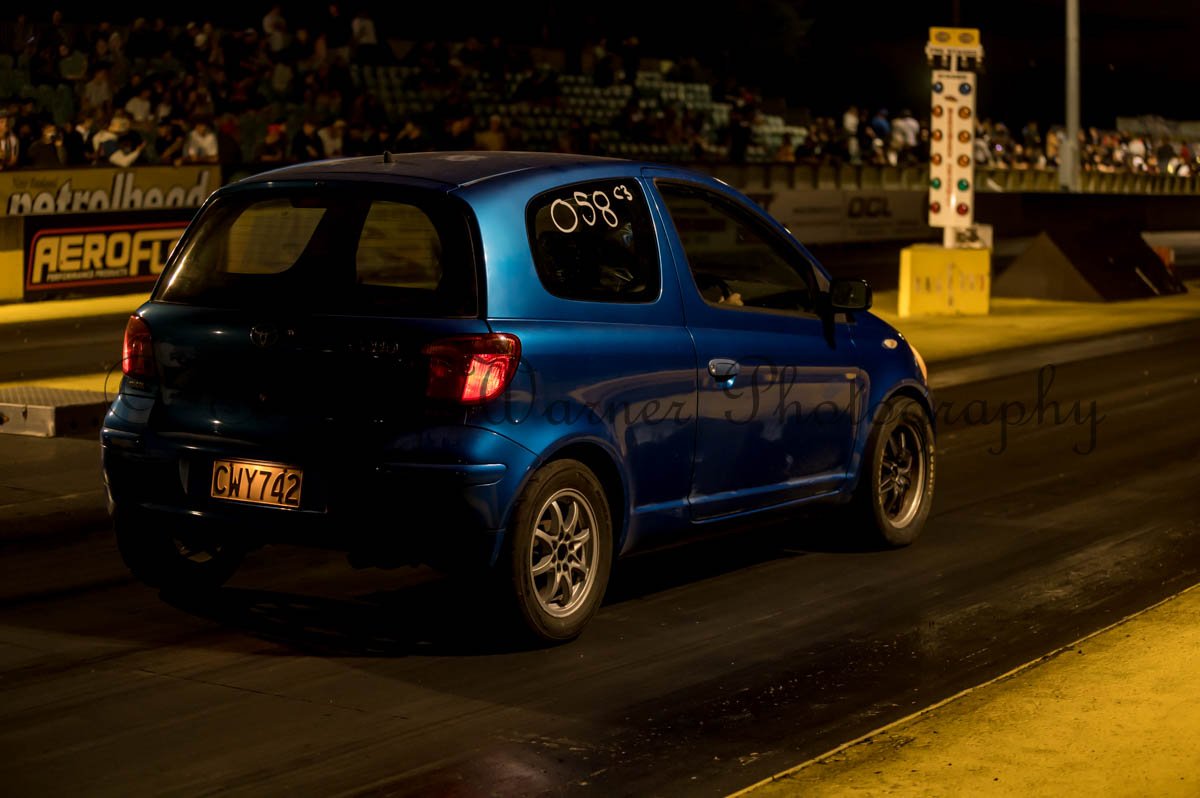
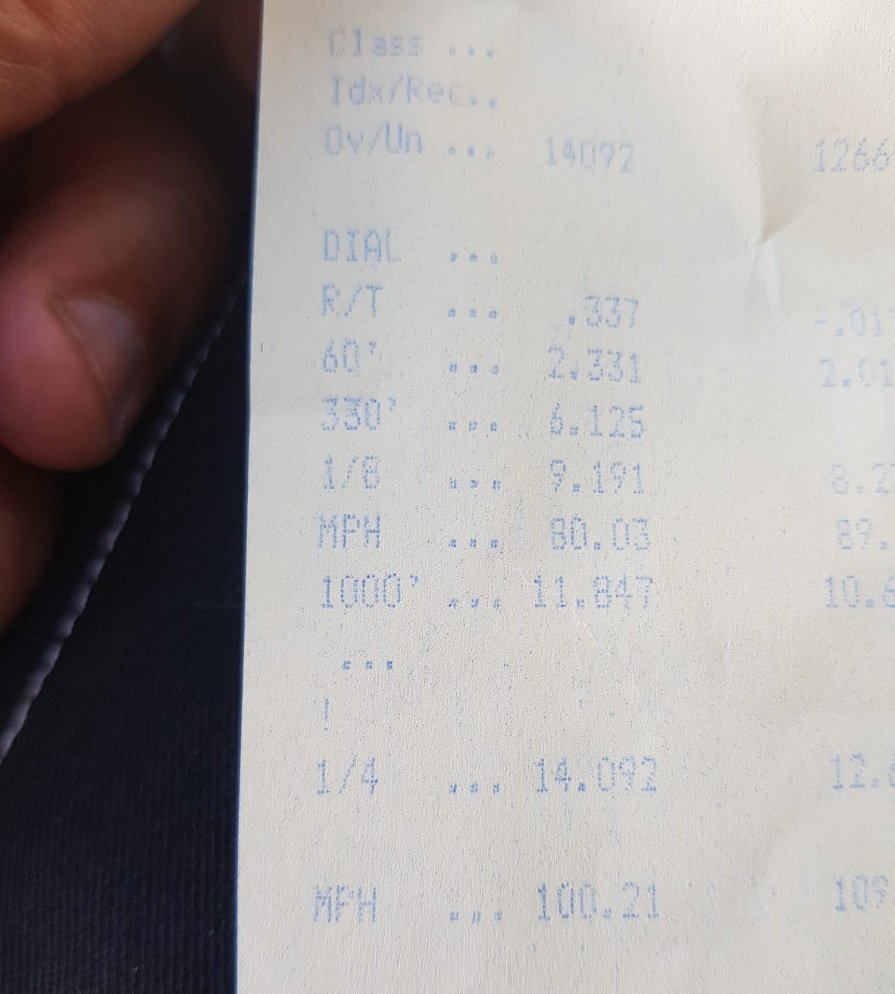
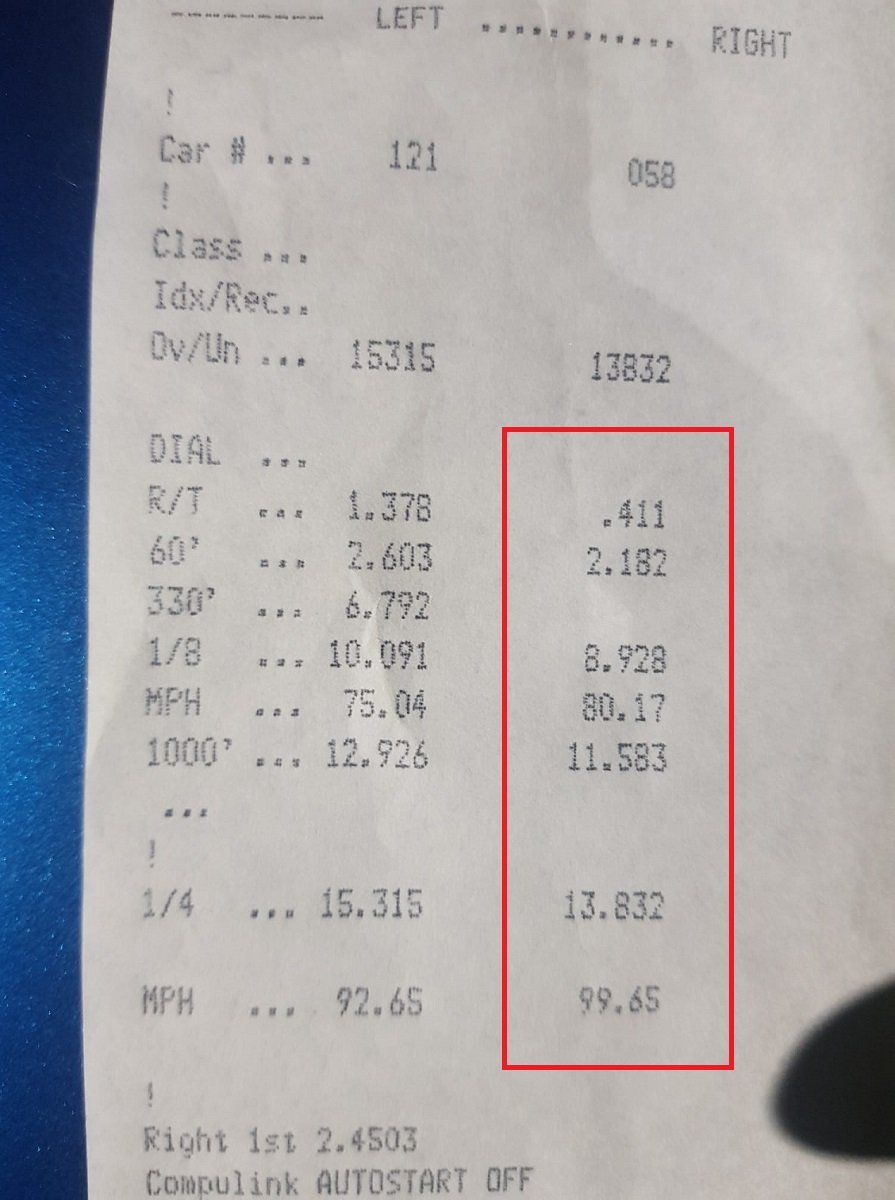
Last night at Nightspeed. Suuuper busy, but it was really awesome to see a big crowd at the drags, lots of spectators too. Was a cool atmosphere. So first run, set the hoosiers to around 20psi which is very high, but wanted to start out conservative. Ran a 14.092 @ 100.21 mph with a 2.33 60ft. So first run and I've beaten the Carina by every single metric. What the hell! But so stoked! I was convinced at this point that I'd get a 13 tonight. Second run we dropped the pressures a bit, launch wasnt so good and I ran a 14.1 with a higher 60ft. At this point I figured I'd probably cursed myself saying I'll get a 13. Looking at the logs of both runs, the motor was bogging a bit when I was trying to roll into the throttle and clutch. So third run, set a launch limiter at 5500rpm. Full throttle sitting on line, dump the clutch. And holy fucken shit. No wheel hop no big spinning, just felt like stretching out and releasing a rubber band. It felt so much faster than my first run, I crossed the line realizing it must be a 13. Absolutely fucking stoked beyond belief Get my time slip and was blown away 13.83 @ 99.6 mph with a 2.1 60ft Was in about 5000 out of 100 fizz mode, it was so cool. I didnt get any more runs, because it was incredibly busy and was already 10.30pm or so by the time they started the eliminations. But it's incredible to think that it could still possibly go faster yet. Even just doing that time was incredible. It felt like it could have easily launched another 500rpm or 1000rpm higher and hooked up good. Will be back!
2 points
-
2 points
-
So my partner and I enjoy camping, its great exploring and finding new spots etc. But due to the large number of kids we have somehow acquired, there seems to be a not small mountain of shit that needs to be associated with taking them away anywhere. Gone are the days of just chucking the swag in the back of the car and splitting 10mins after getting the idea to go somewhere. These days its more like "lets spend the next 24-48hours stripping the house and packing the car to the roof till there's literally breathing space only", and its been seen for all passengers to have bags or cookers or boxes of shit on the knees when driving anywhere. And there's also the required clean up afterwards, including storing tents and chilly bins and crap under the house where's its not quite tall enough to stand up. It usually takes me a good 10 steps to straighten my spine out enough to stand upright after crawling out of said under house void. Last year we semi remedied the situation by stealing the in-laws trailer. Its a pretty well built generic box trailer that we've been using while landscaping etc So for summer 20/21 we loaded it up to the gunnels with gear, threw a tarp and cargo net over, and hoped that nothing fell out. Its worked reasonably well but we still managed to have too much shit and the car was still pretty full. It was super handy though, and at one point we had to change camp sites so instead of taking the tent down we threw it on the back and towed to the new site much to the amusement of other campers. Anyway, late last year I decided that our setup was still dumb and that I'd close the trailer in and make it actually work. The whole idea is that it all needed to be removable so the sides etc can come back off and the it can be reverted to tip dump duties etc. Luckily the trailer has the vertical square tubing in the corners that you can see in the top photo so I figured I could make sides that slot into those, then make the ends and top slot into the sides. Here's the loose drawing: Then got to work: Its a bit hard to tell from the photos but the ends have welded on plates with key ways so they slot onto fixings in the longer sides and tighten up. Basically loosen the bolts and then lift the end up and it will pull out for flat packing. The roof has 32x32mm SHS down inside the 40x40mm SHS corner uprights so it can be removed too. I picked up some hinges, door seal, and lockable latches from UES and started to make doors and clad the thing. I was fortunate to be given a couple of fucking huge solar panels for free so slammed one on the top to run the electrics. And this is pretty much what it ended up like. I also got a couple of lockable drawer slides and made up a support frame that runs across the trailer and supports 2x 12v fridge/freezers Ive got. One of them is a very old Waeco which we use as a freezer so put that at the back and the newer unit on the front as a fridge. I bought a solar charge controller from Jaycar, and mounted up a switch board, inverter, washdown pump and large AGM battery that I'd be given, along with some LED lights inside. End result looks like this: So this year we had all our shit thrown into the trailer which took half the time, and hardly anything in the car. It has been a total game changer and now we leave all the gear in it ready to go for next time. We've been a few places so far and looking forward to using it as often as possible. Its pretty much glamping now. Next step is to make a enclosure that fits on the draw bar that holds a couple of 25litre water tanks and houses the water pump rather than pulling it out when we need it, and make a triangle shaped board that a collapsible sink can go it. I'm also going to put a flood light on the front over the sink and possibly look at a retractable awning rather than taking the gazebo. #glamping1 point
-
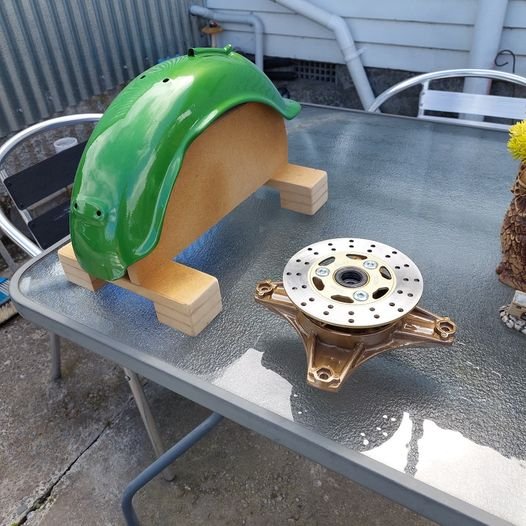
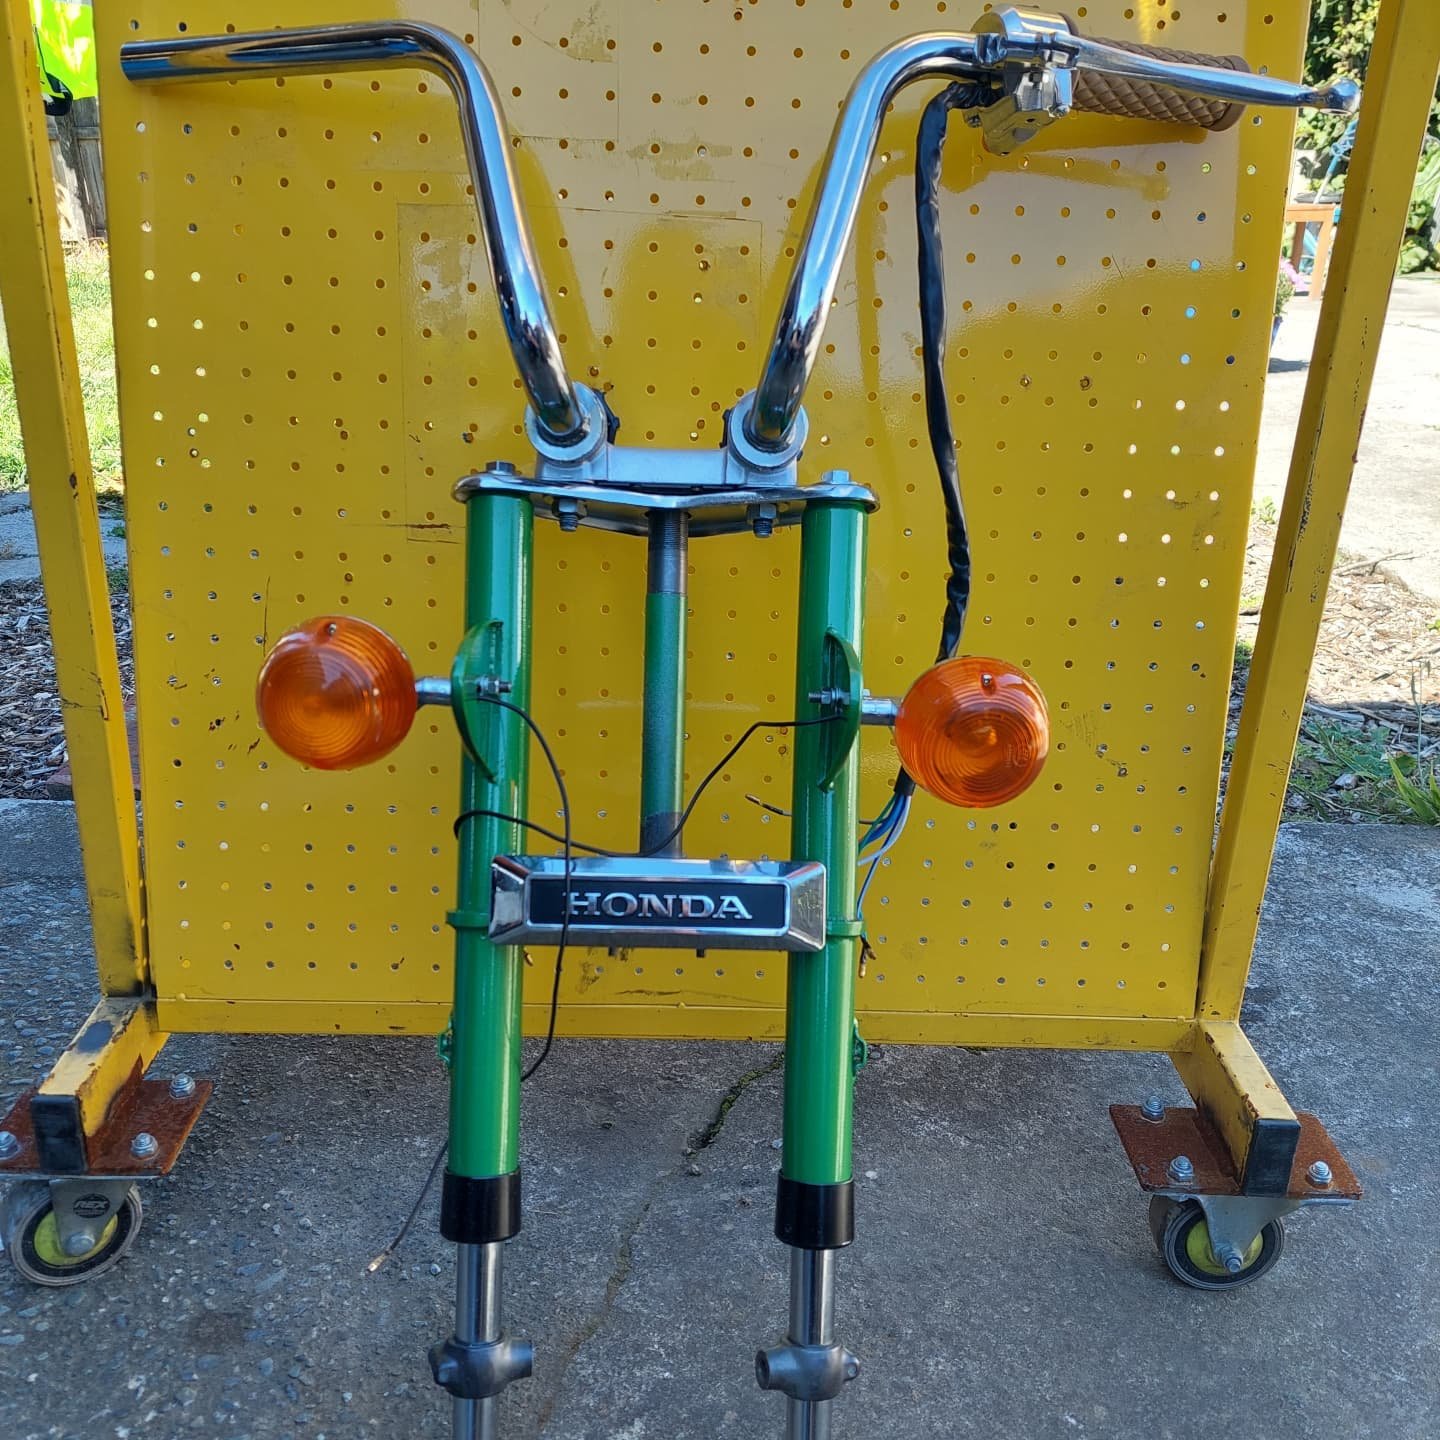
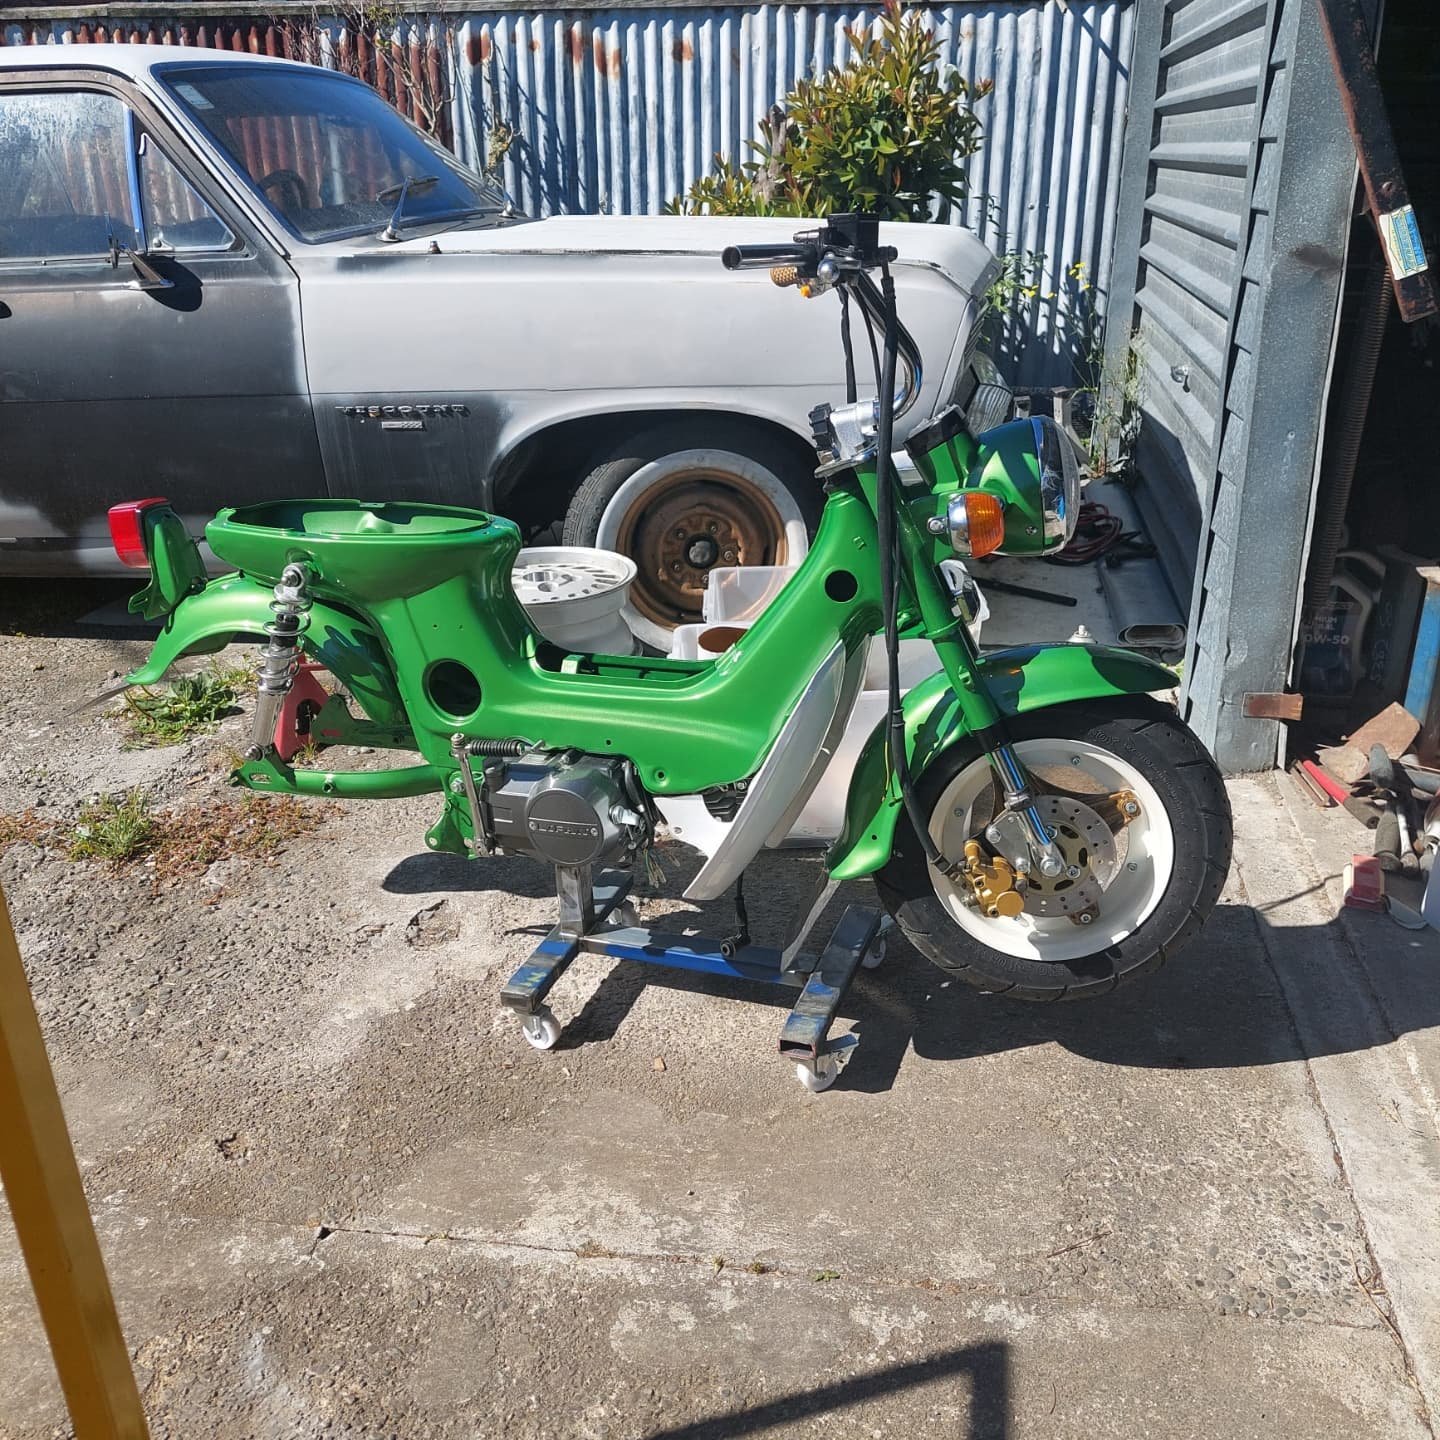
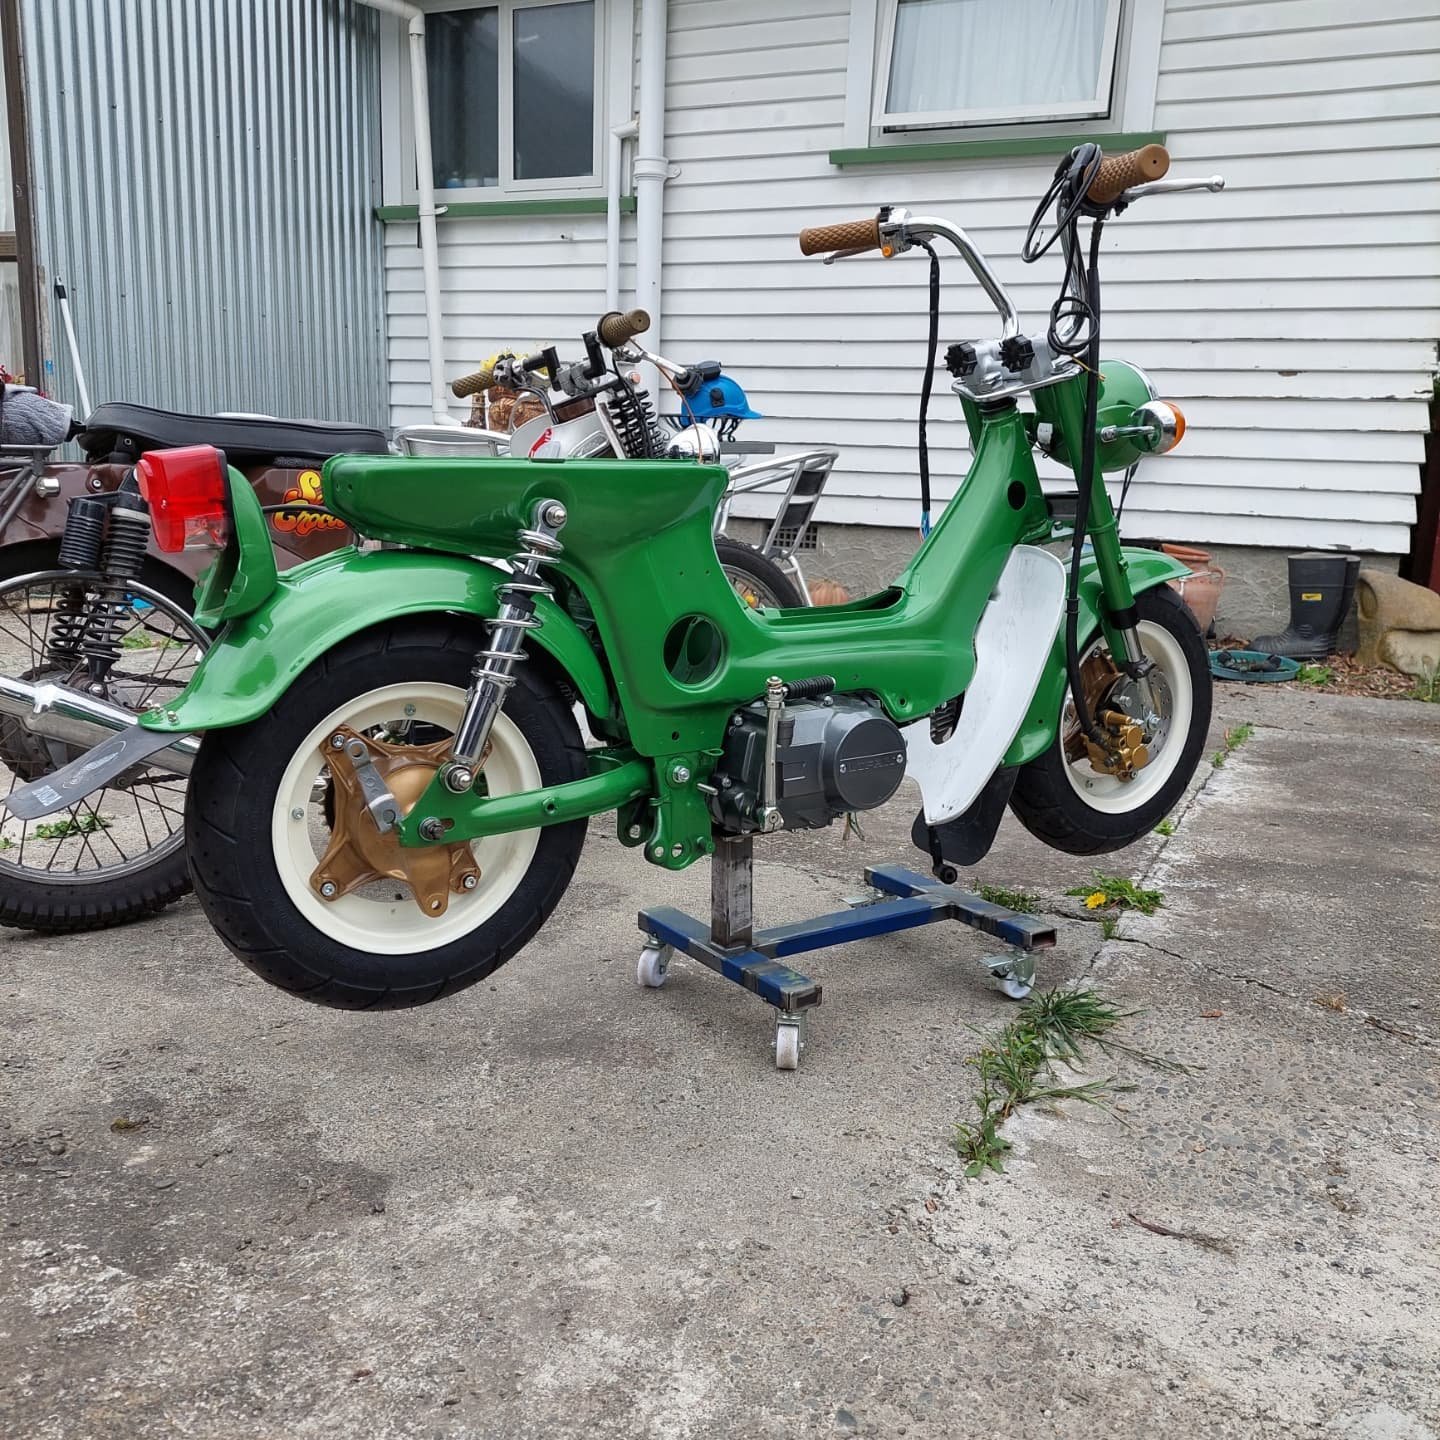
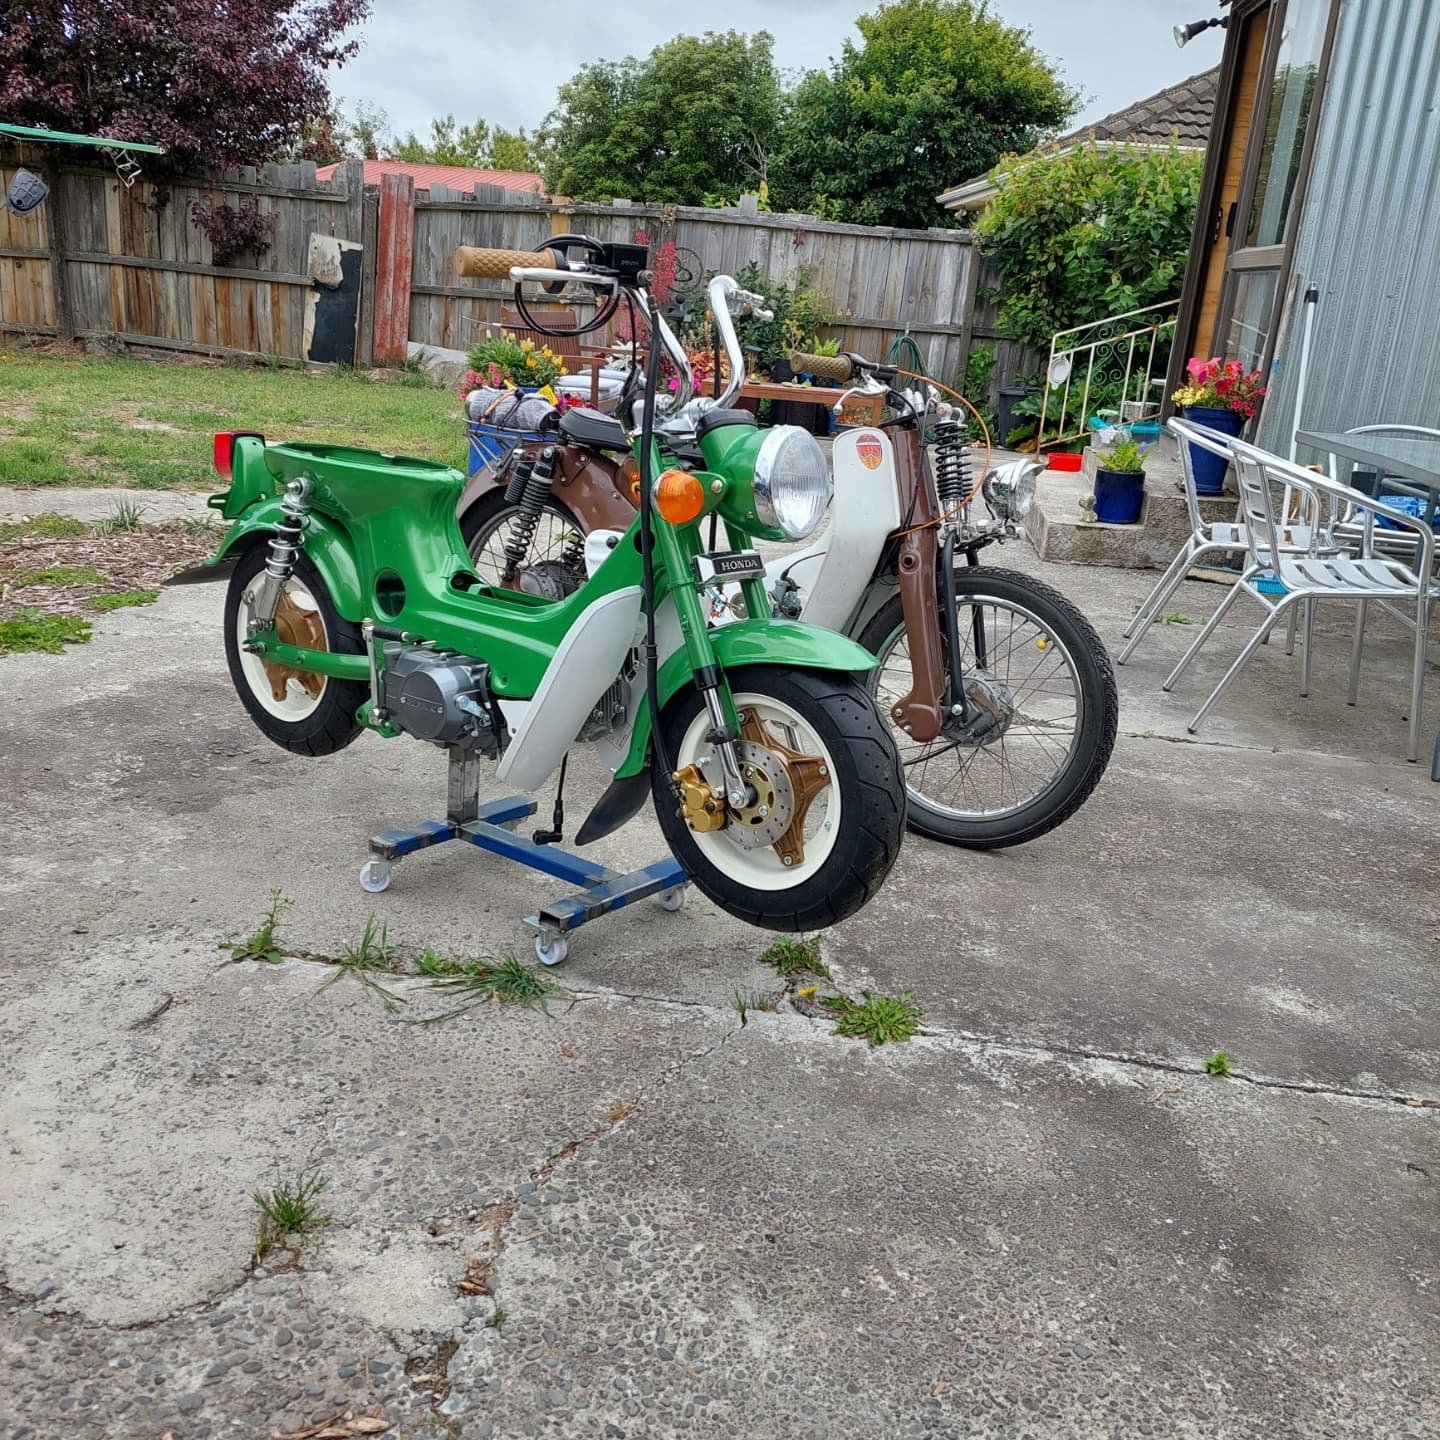
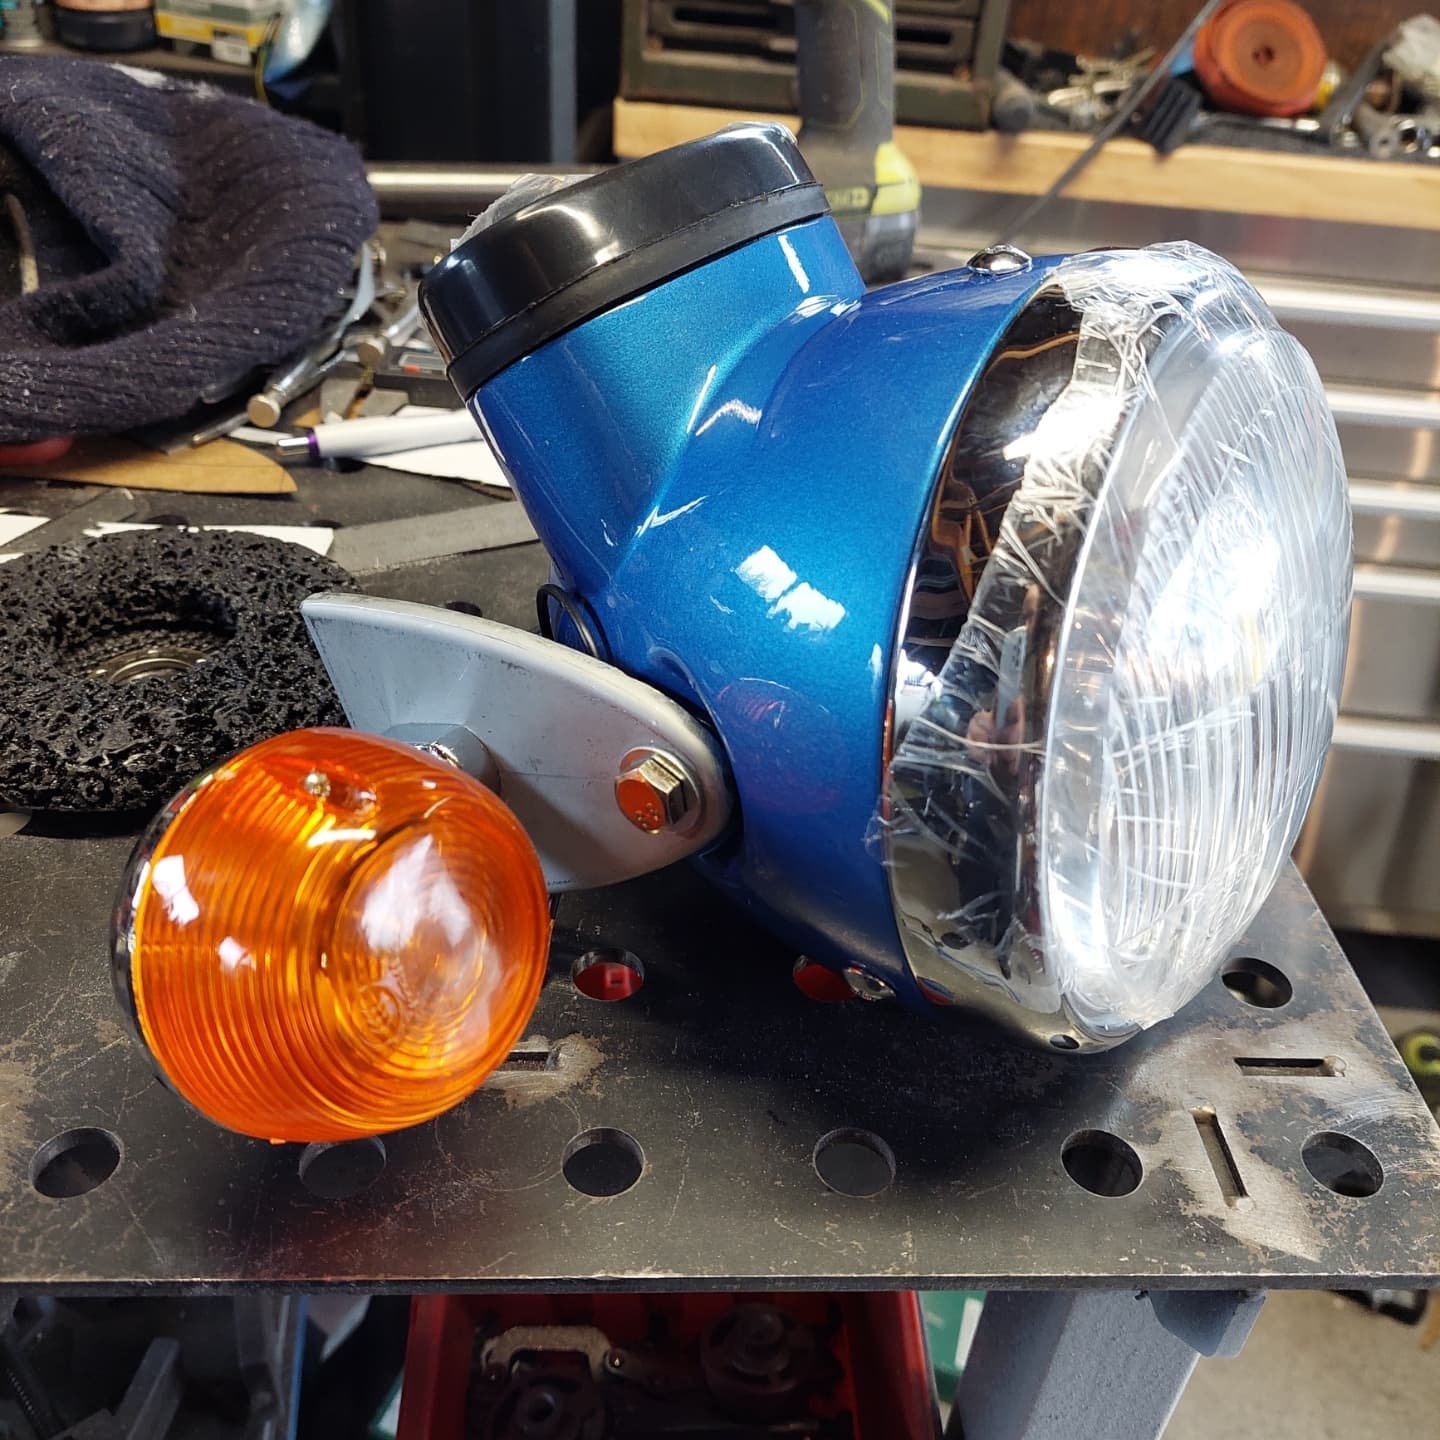
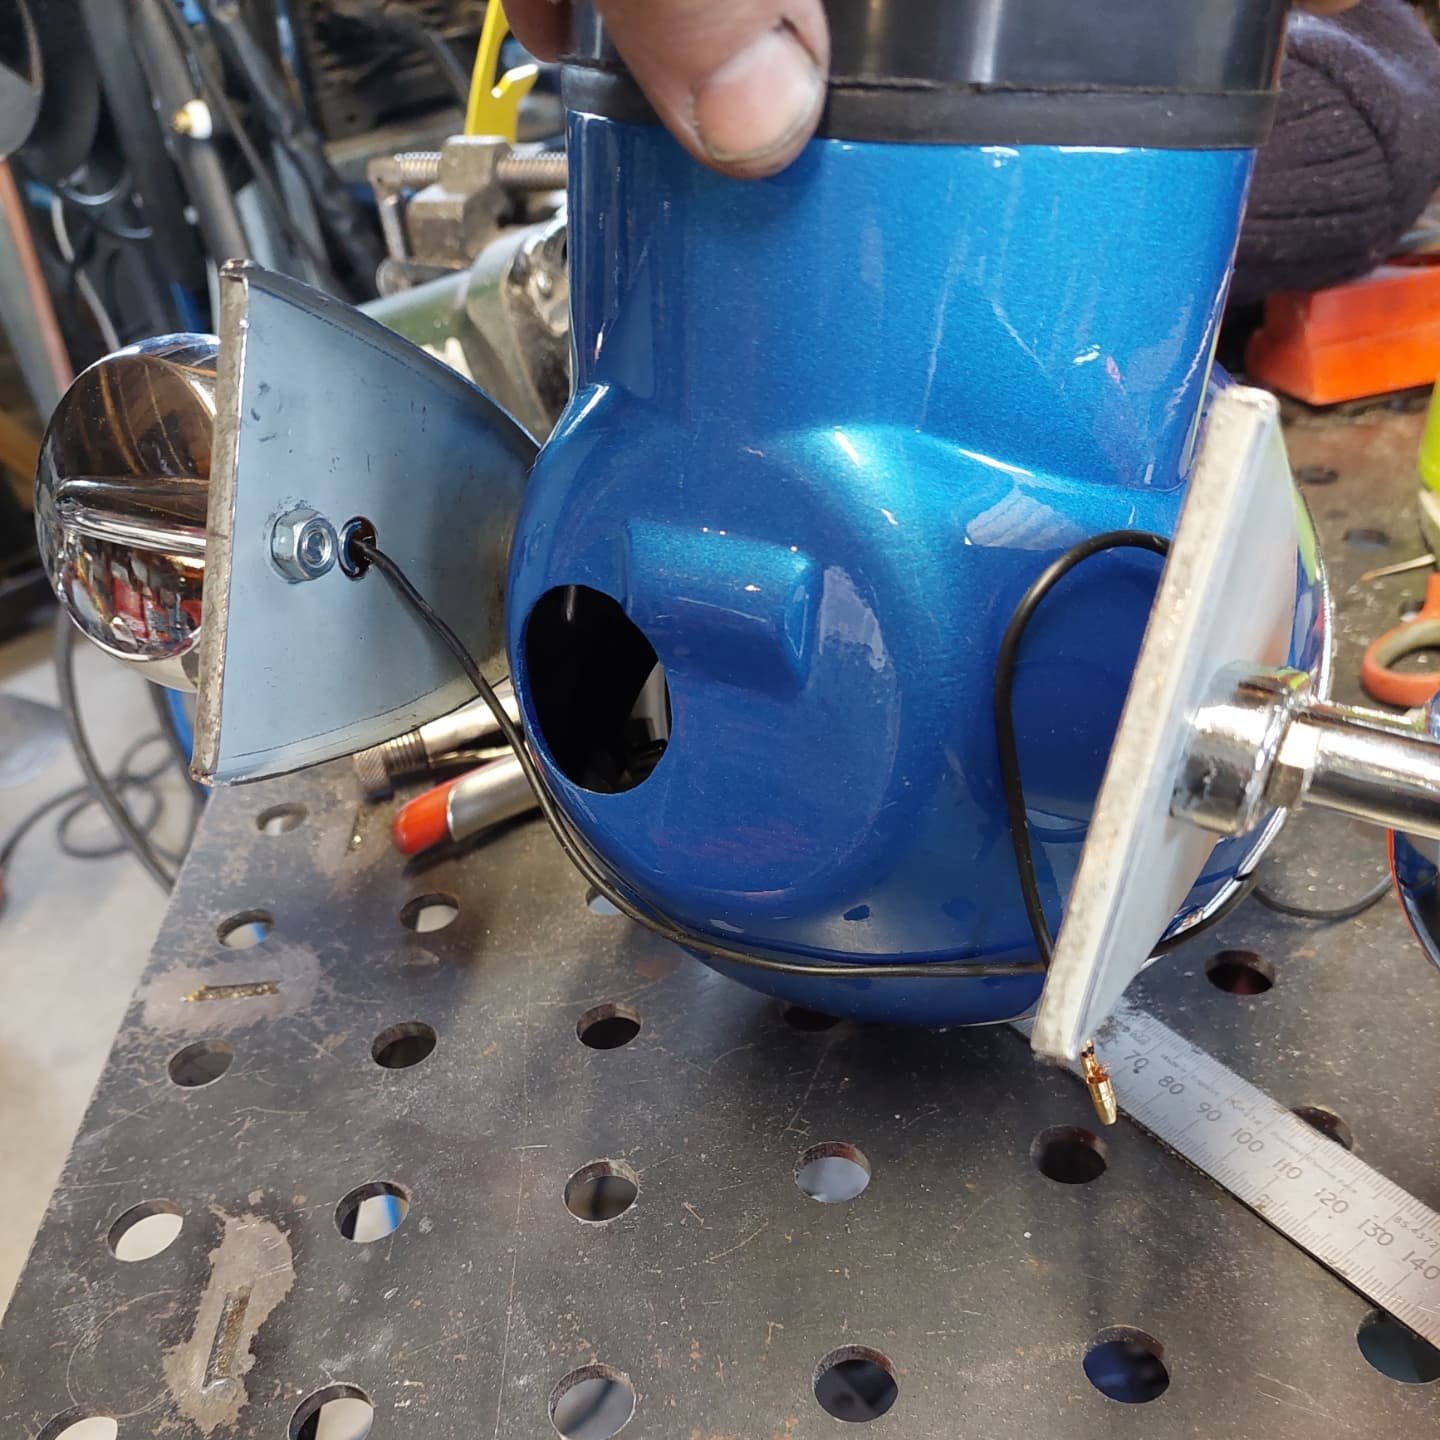
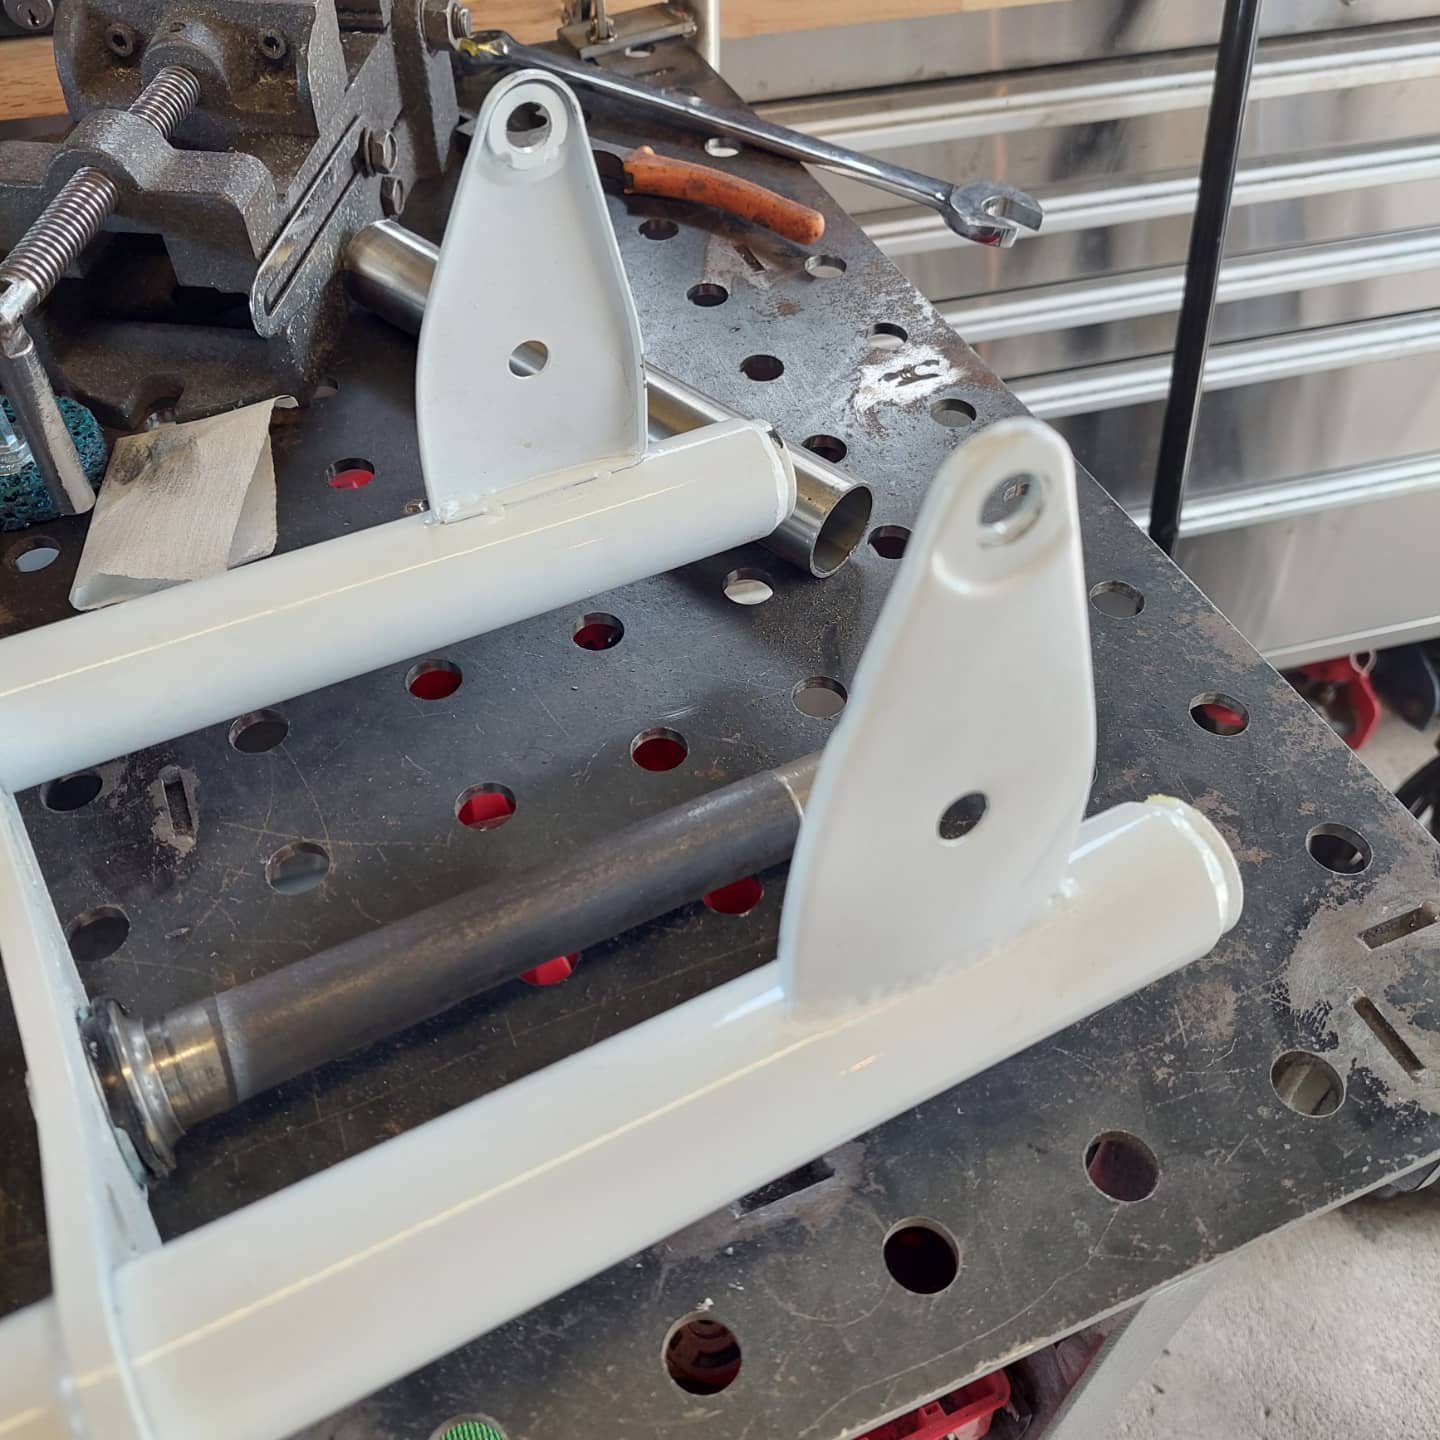
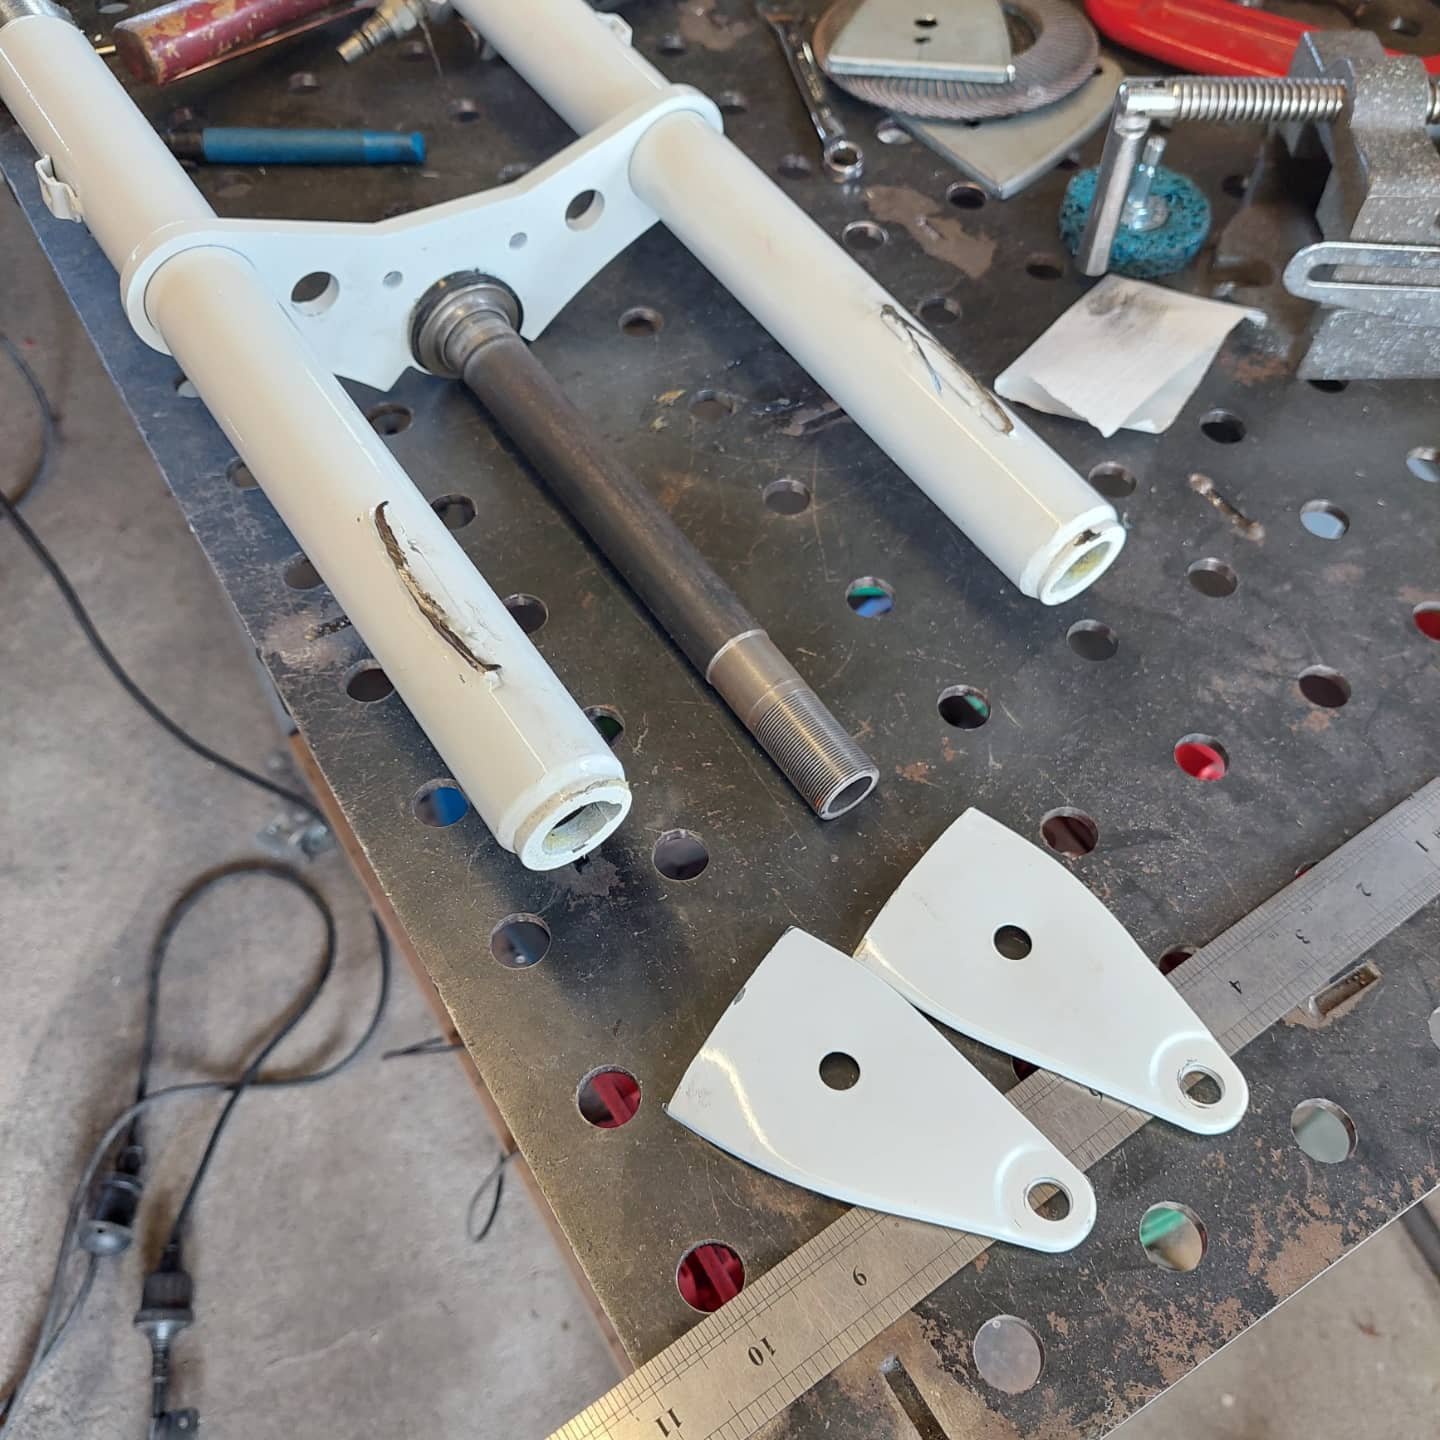
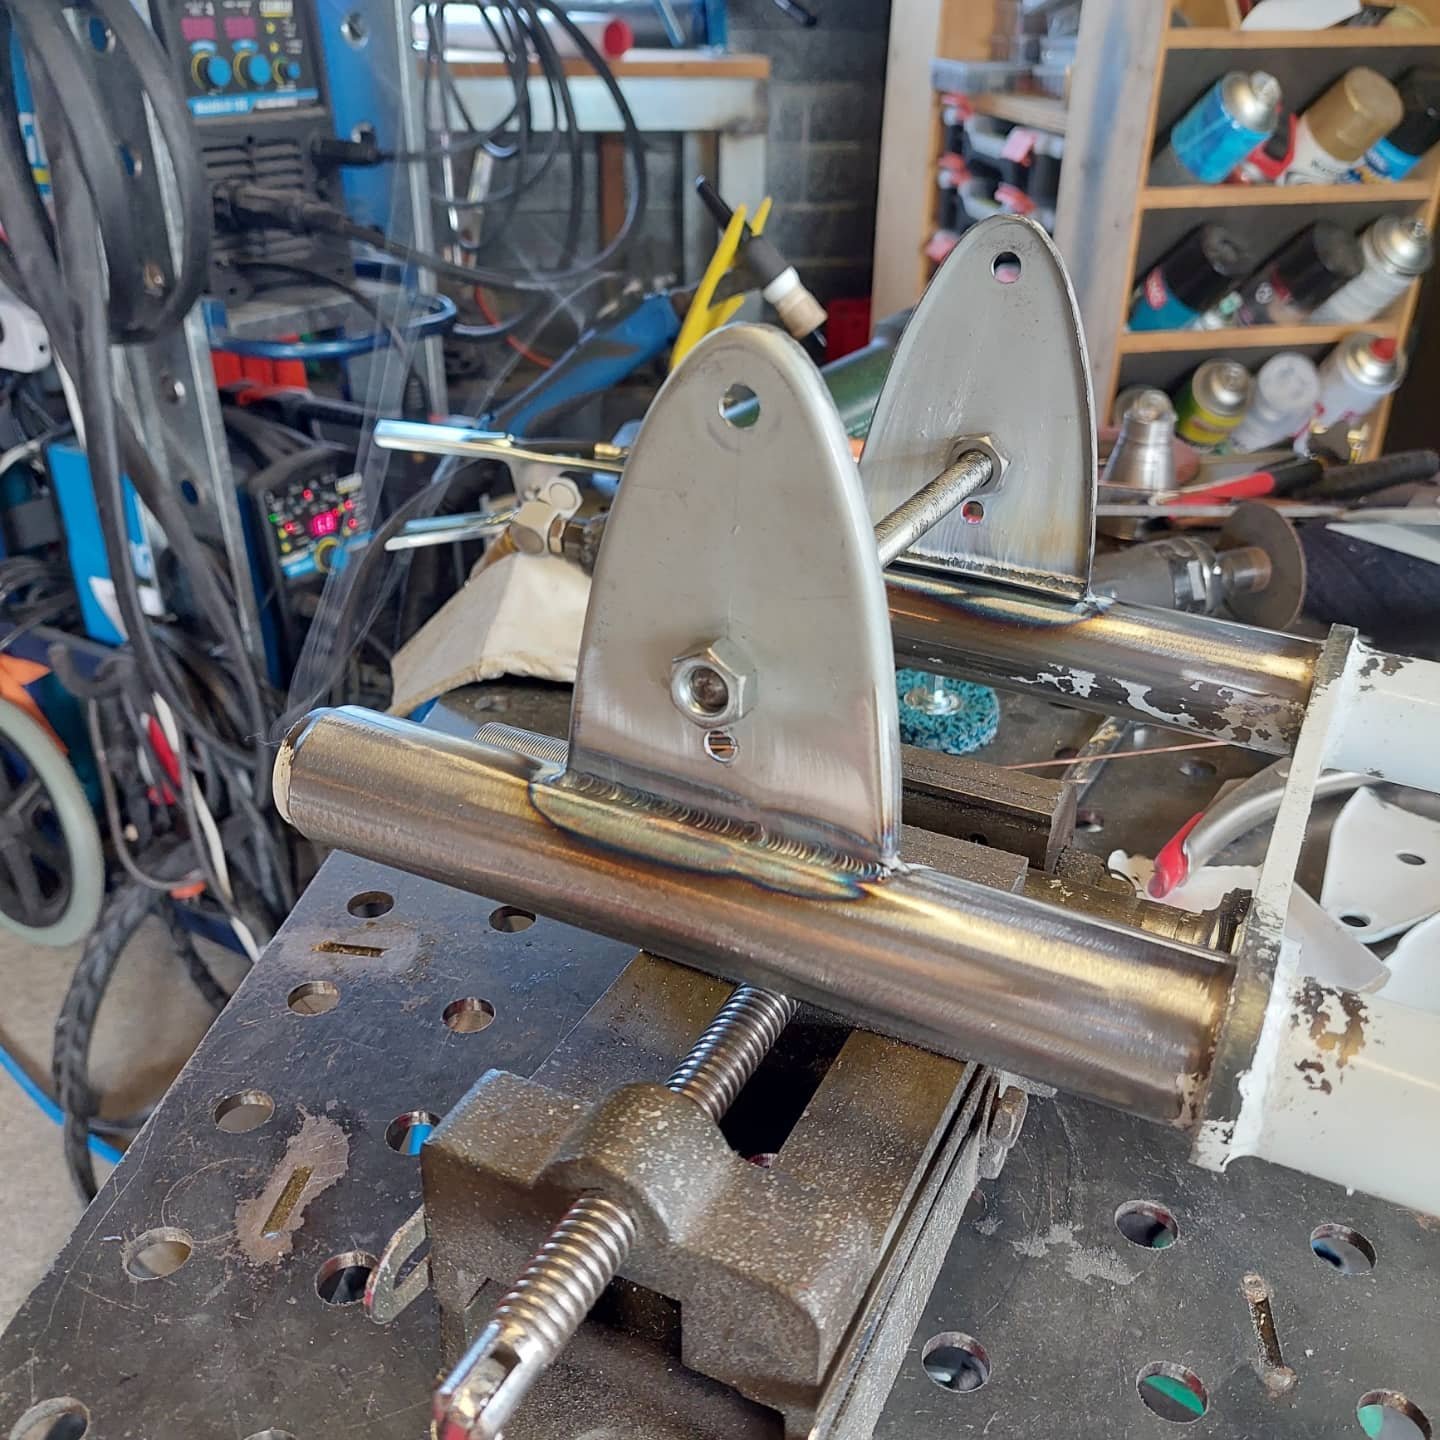
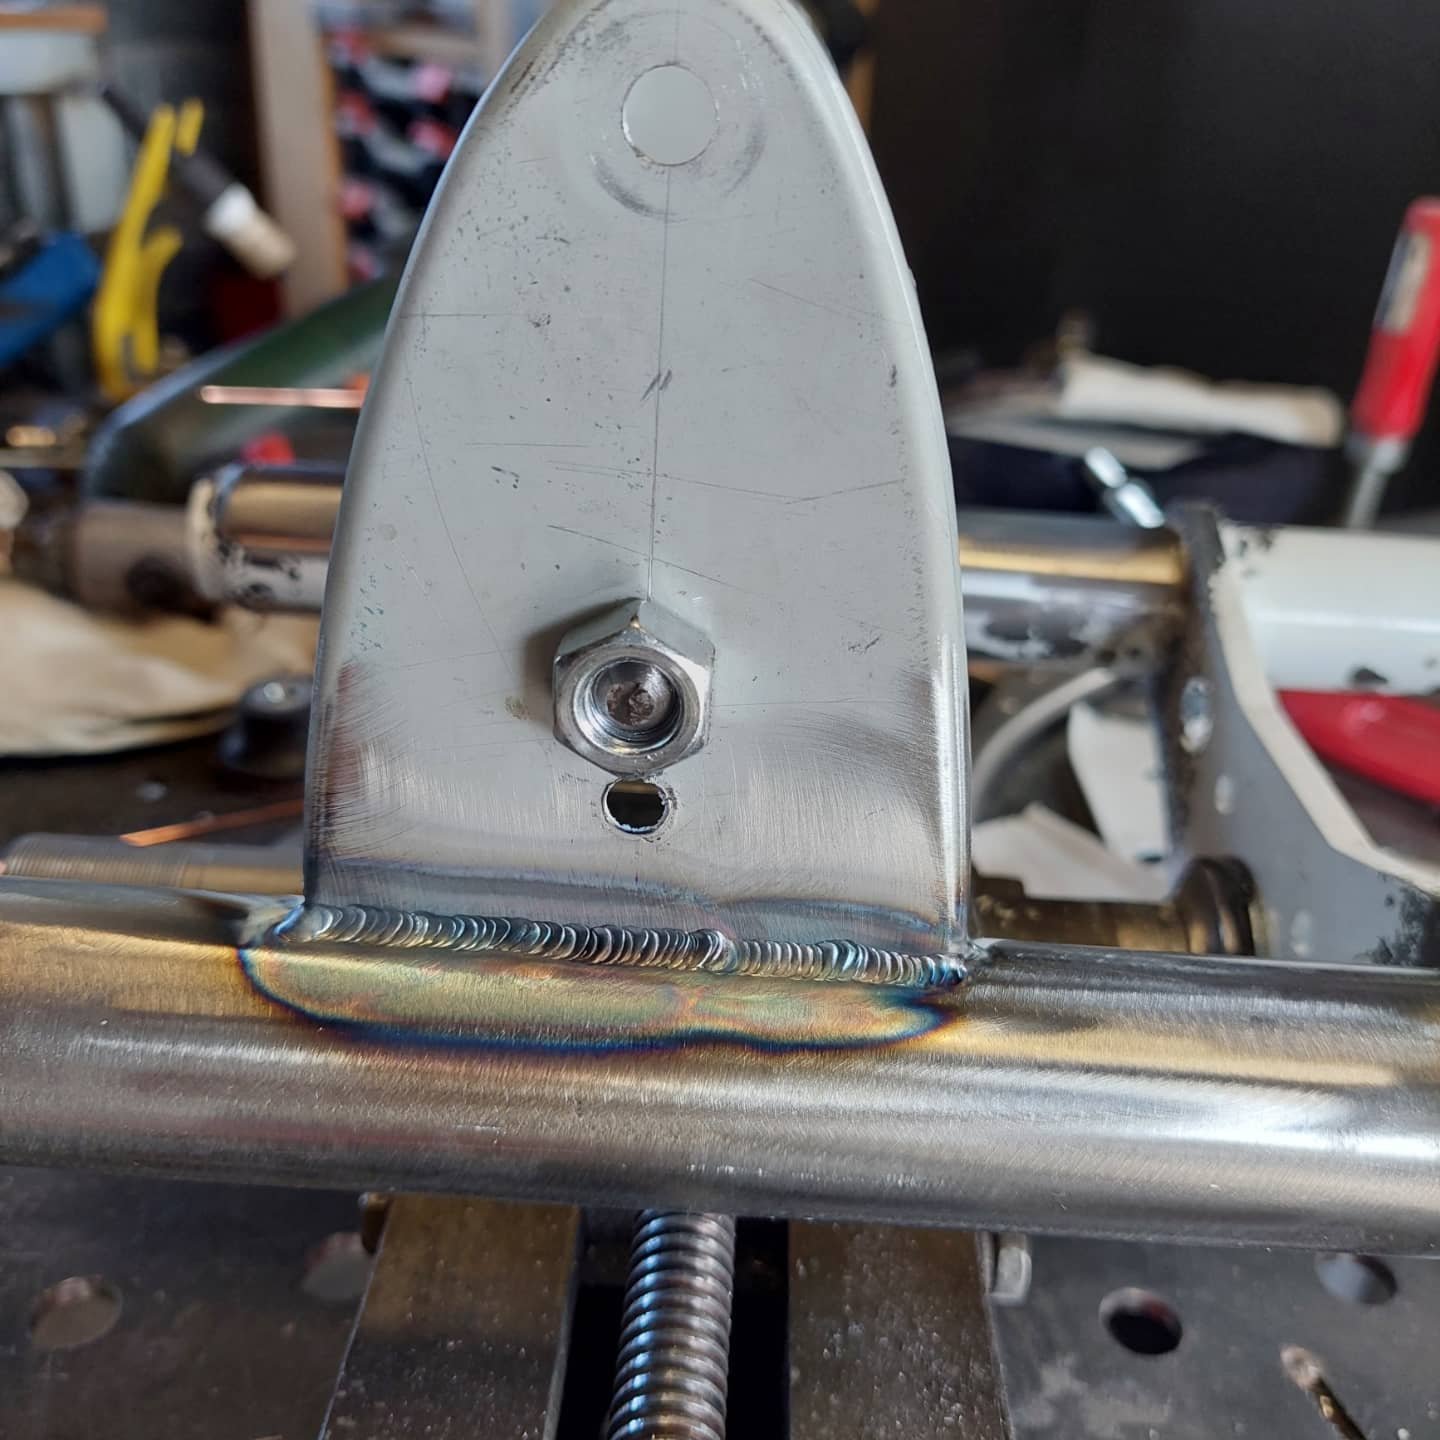
So 2021 was a bit of a shitter for me, recovered from collarbone surgery after being hit by NZ Post on my C50, broke up with my long term girlfriend and finally moving house twice! So to keep me from getting anymore depressed I like to my mind occupied so that means fucking around with small Japanese bikes. After selling my 2 Honda CBX250RS and 2.5 Kawasaki KV75 I had some spare coin so I thought I'd do what alot of others do on here and thats buy another project before finishing the others. The others being the white CT90 I was building. To be honest I wasnt really feeling the CT and have really been thinking of building a chaly since my accident. So I put the feelers out for a Chaly, there were few on trademe but they were a bit spendy for me and it was a shame to do to them what I wanted to. Anyways a mate hit me up with a frame he had the he was going to convert to electric, a deal was struck and I paid him what he paid for it. I'm sure this frame has passed through a few hands of people here in CHCH. Overall the frame was in OK condition. At some point someone has removed some of the paint causing heavy pitting but no terminal rust causing me to have to get the welder out. Within the space of a week I'd managed to piece together parts to try and get it in to a roller. Wheels, mudguards and swingarm were sourced from my mate Jeremy and the forks are a disc front end from the guys MBike. The overall quality of the forks wasn't too bad but the strength of the headlight ears was really average. I didnt like the position of them as they were a bit too high and too pointy and thin. so that got remedied by hammer forming some new ones and welding them in a lower position.
1 point
-
Wrong Fred Ken for small bikes and venison tho1 point
-
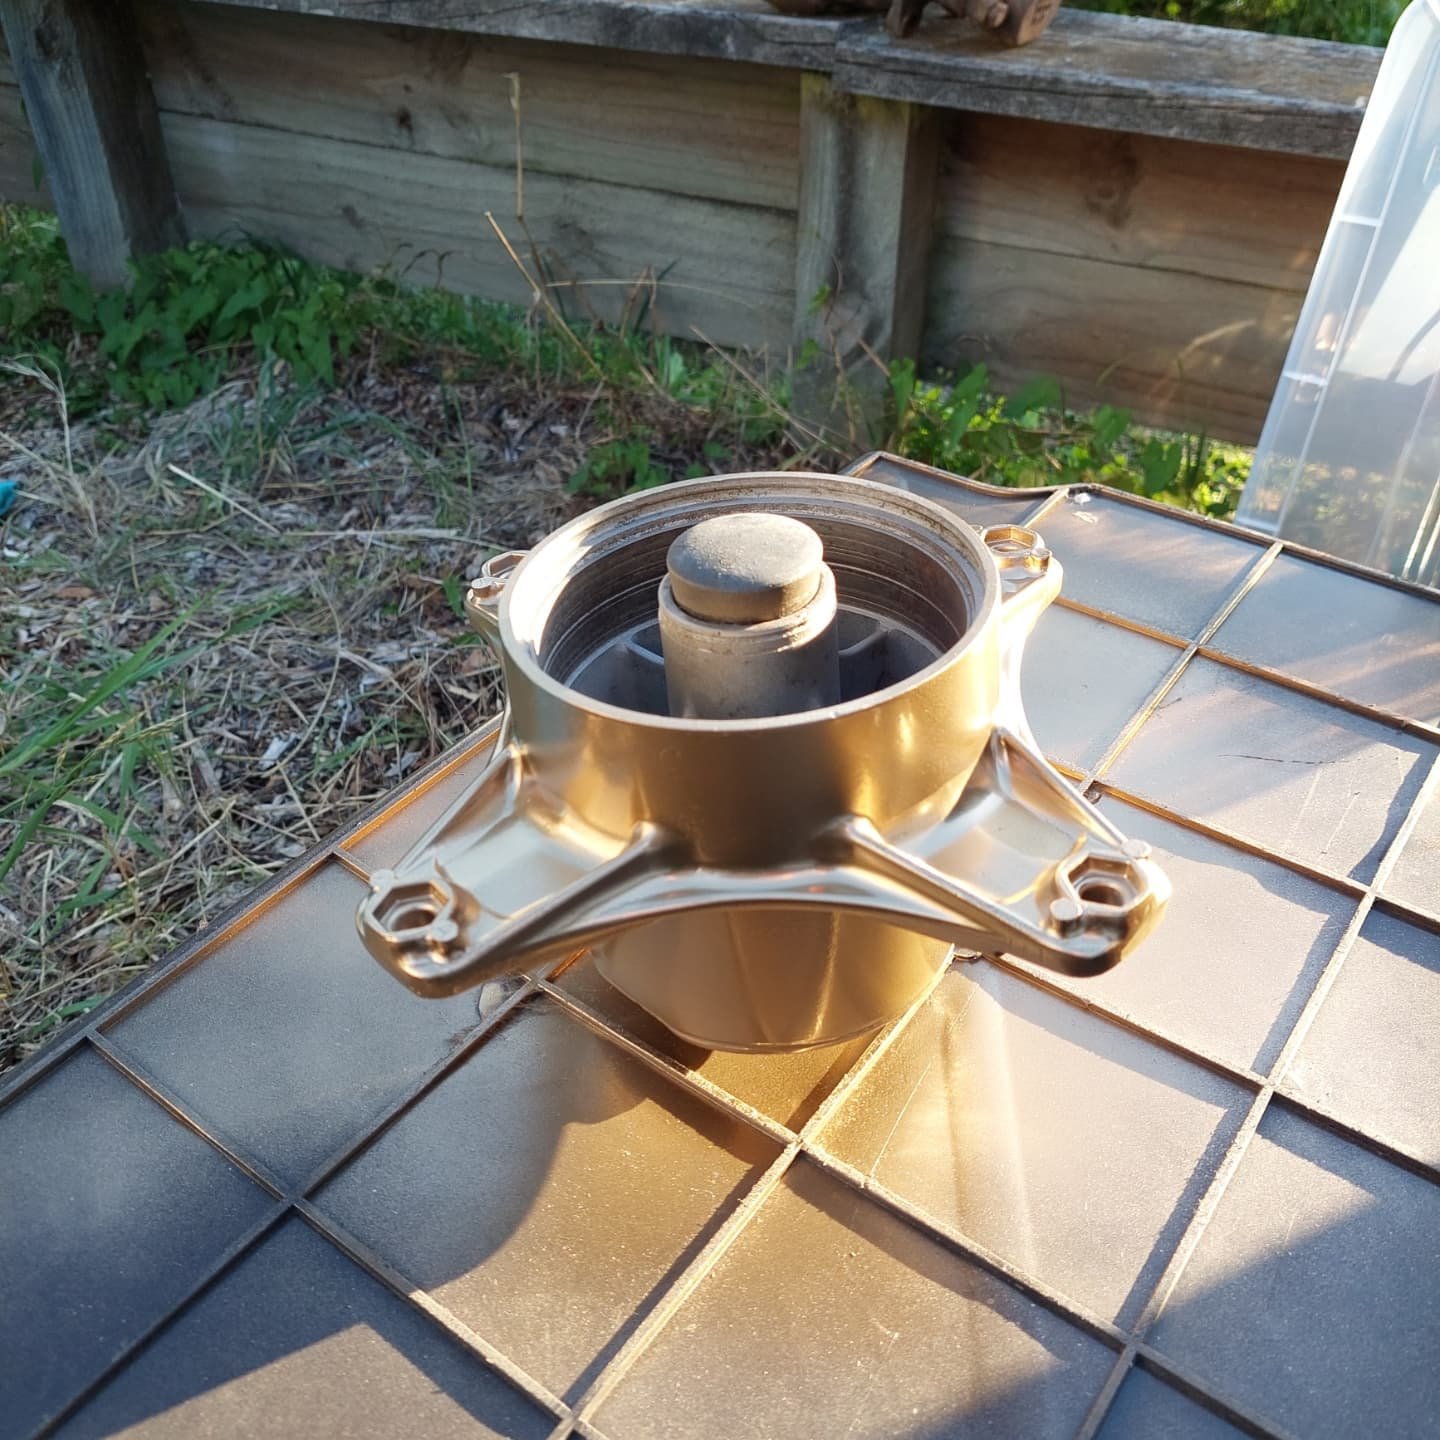
As a rule of thumb fans fitted to the front of a radiator work well at low speeds but eventually will impede the flow of air through the radiator once the vehicle is underway.1 point
-
A guy on a forum I used to frequent reckoned you could get used titanium bolts from aircraft (helicopters maybe?) Where the bolts all had to be replaced every X number of hours. All cheap AF.1 point
-
Fix the Landau......1 point
-
1 point
-
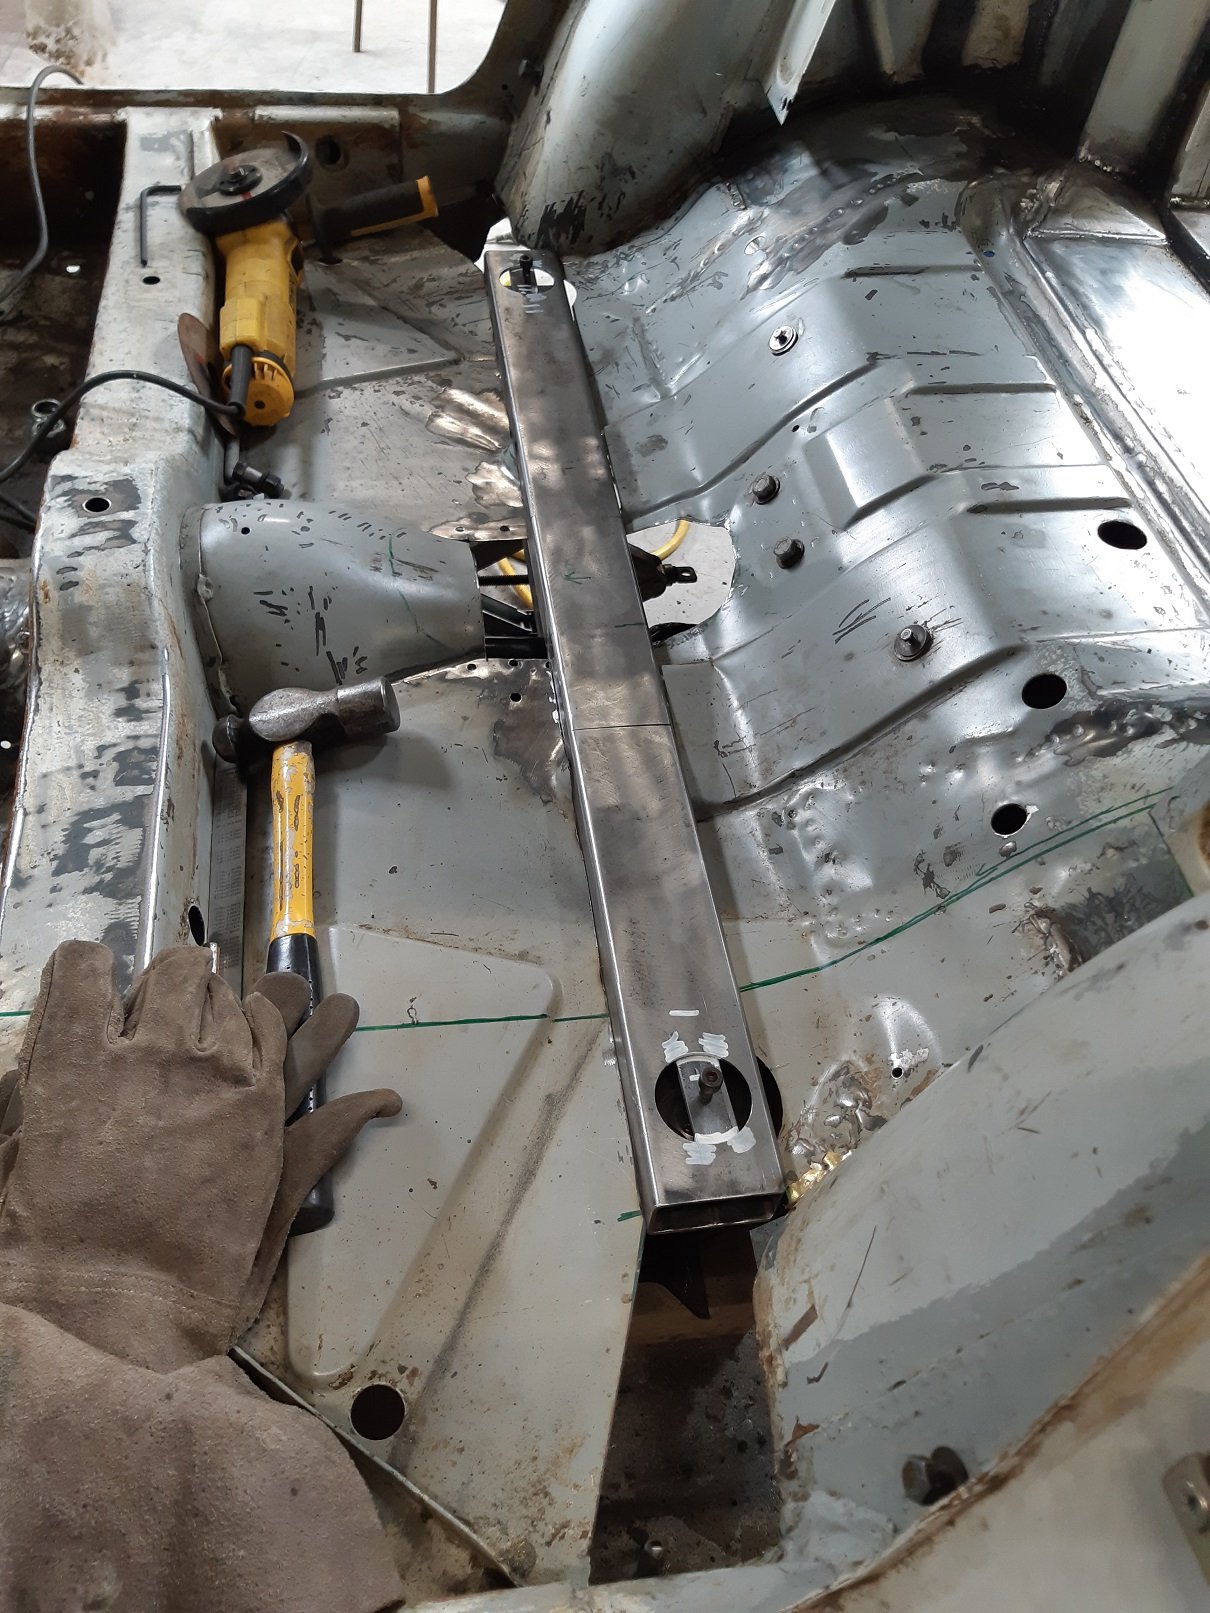
I discovered that my original plan to create internal chassis rails to support the front subframe mounts was going to intrude far too much into the seat base. New plan is to make another cross member that ties in with the sills and leading edge of the wheel well. There will be a hump in it for the driveshaft. Oh yeh. I got a driveshaft made.
1 point
-
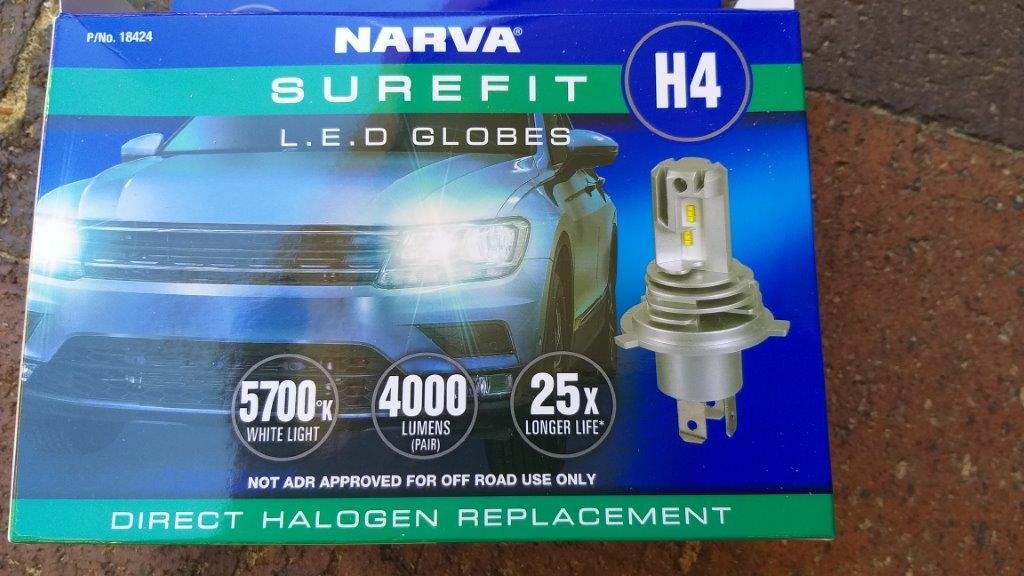
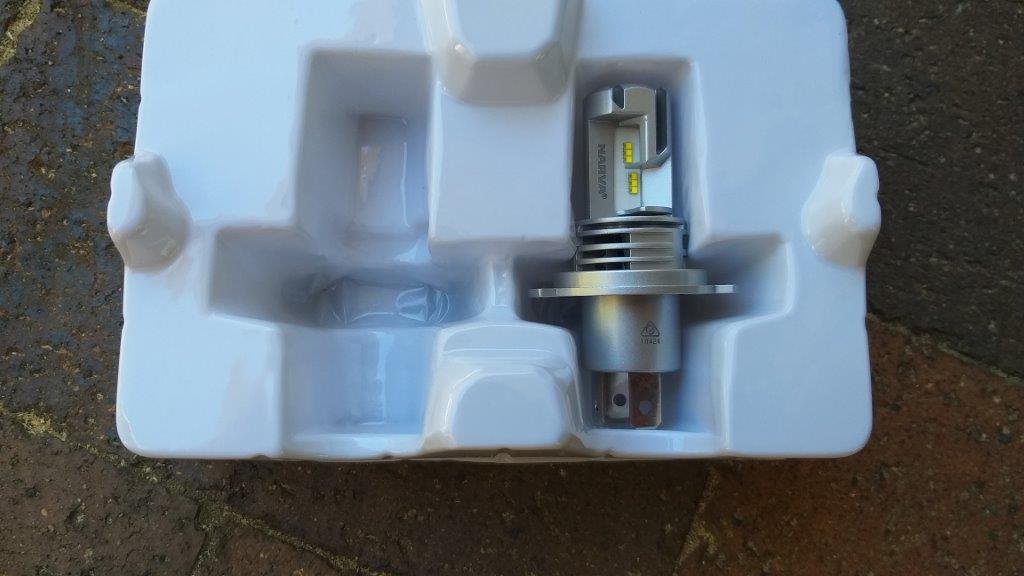
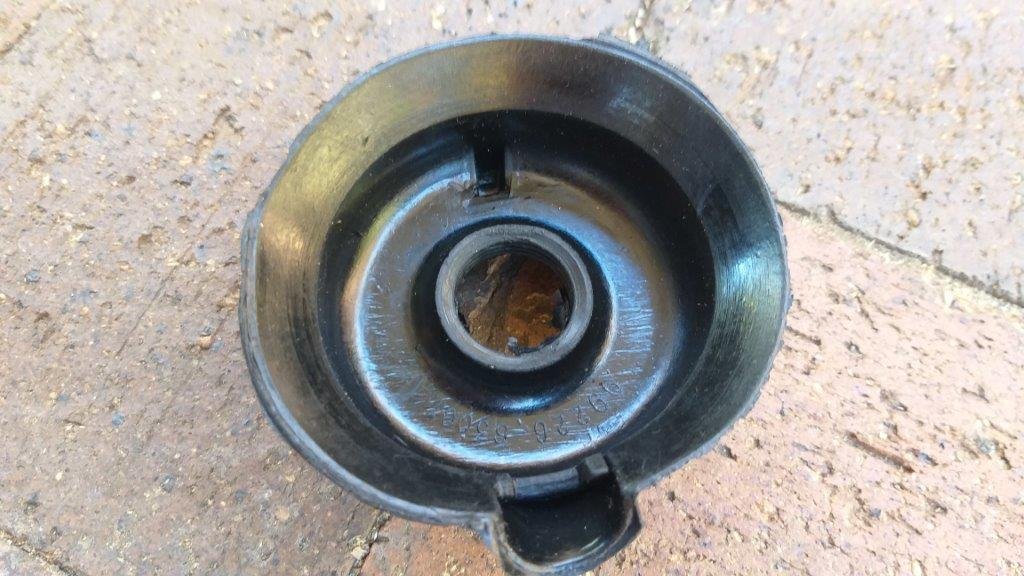
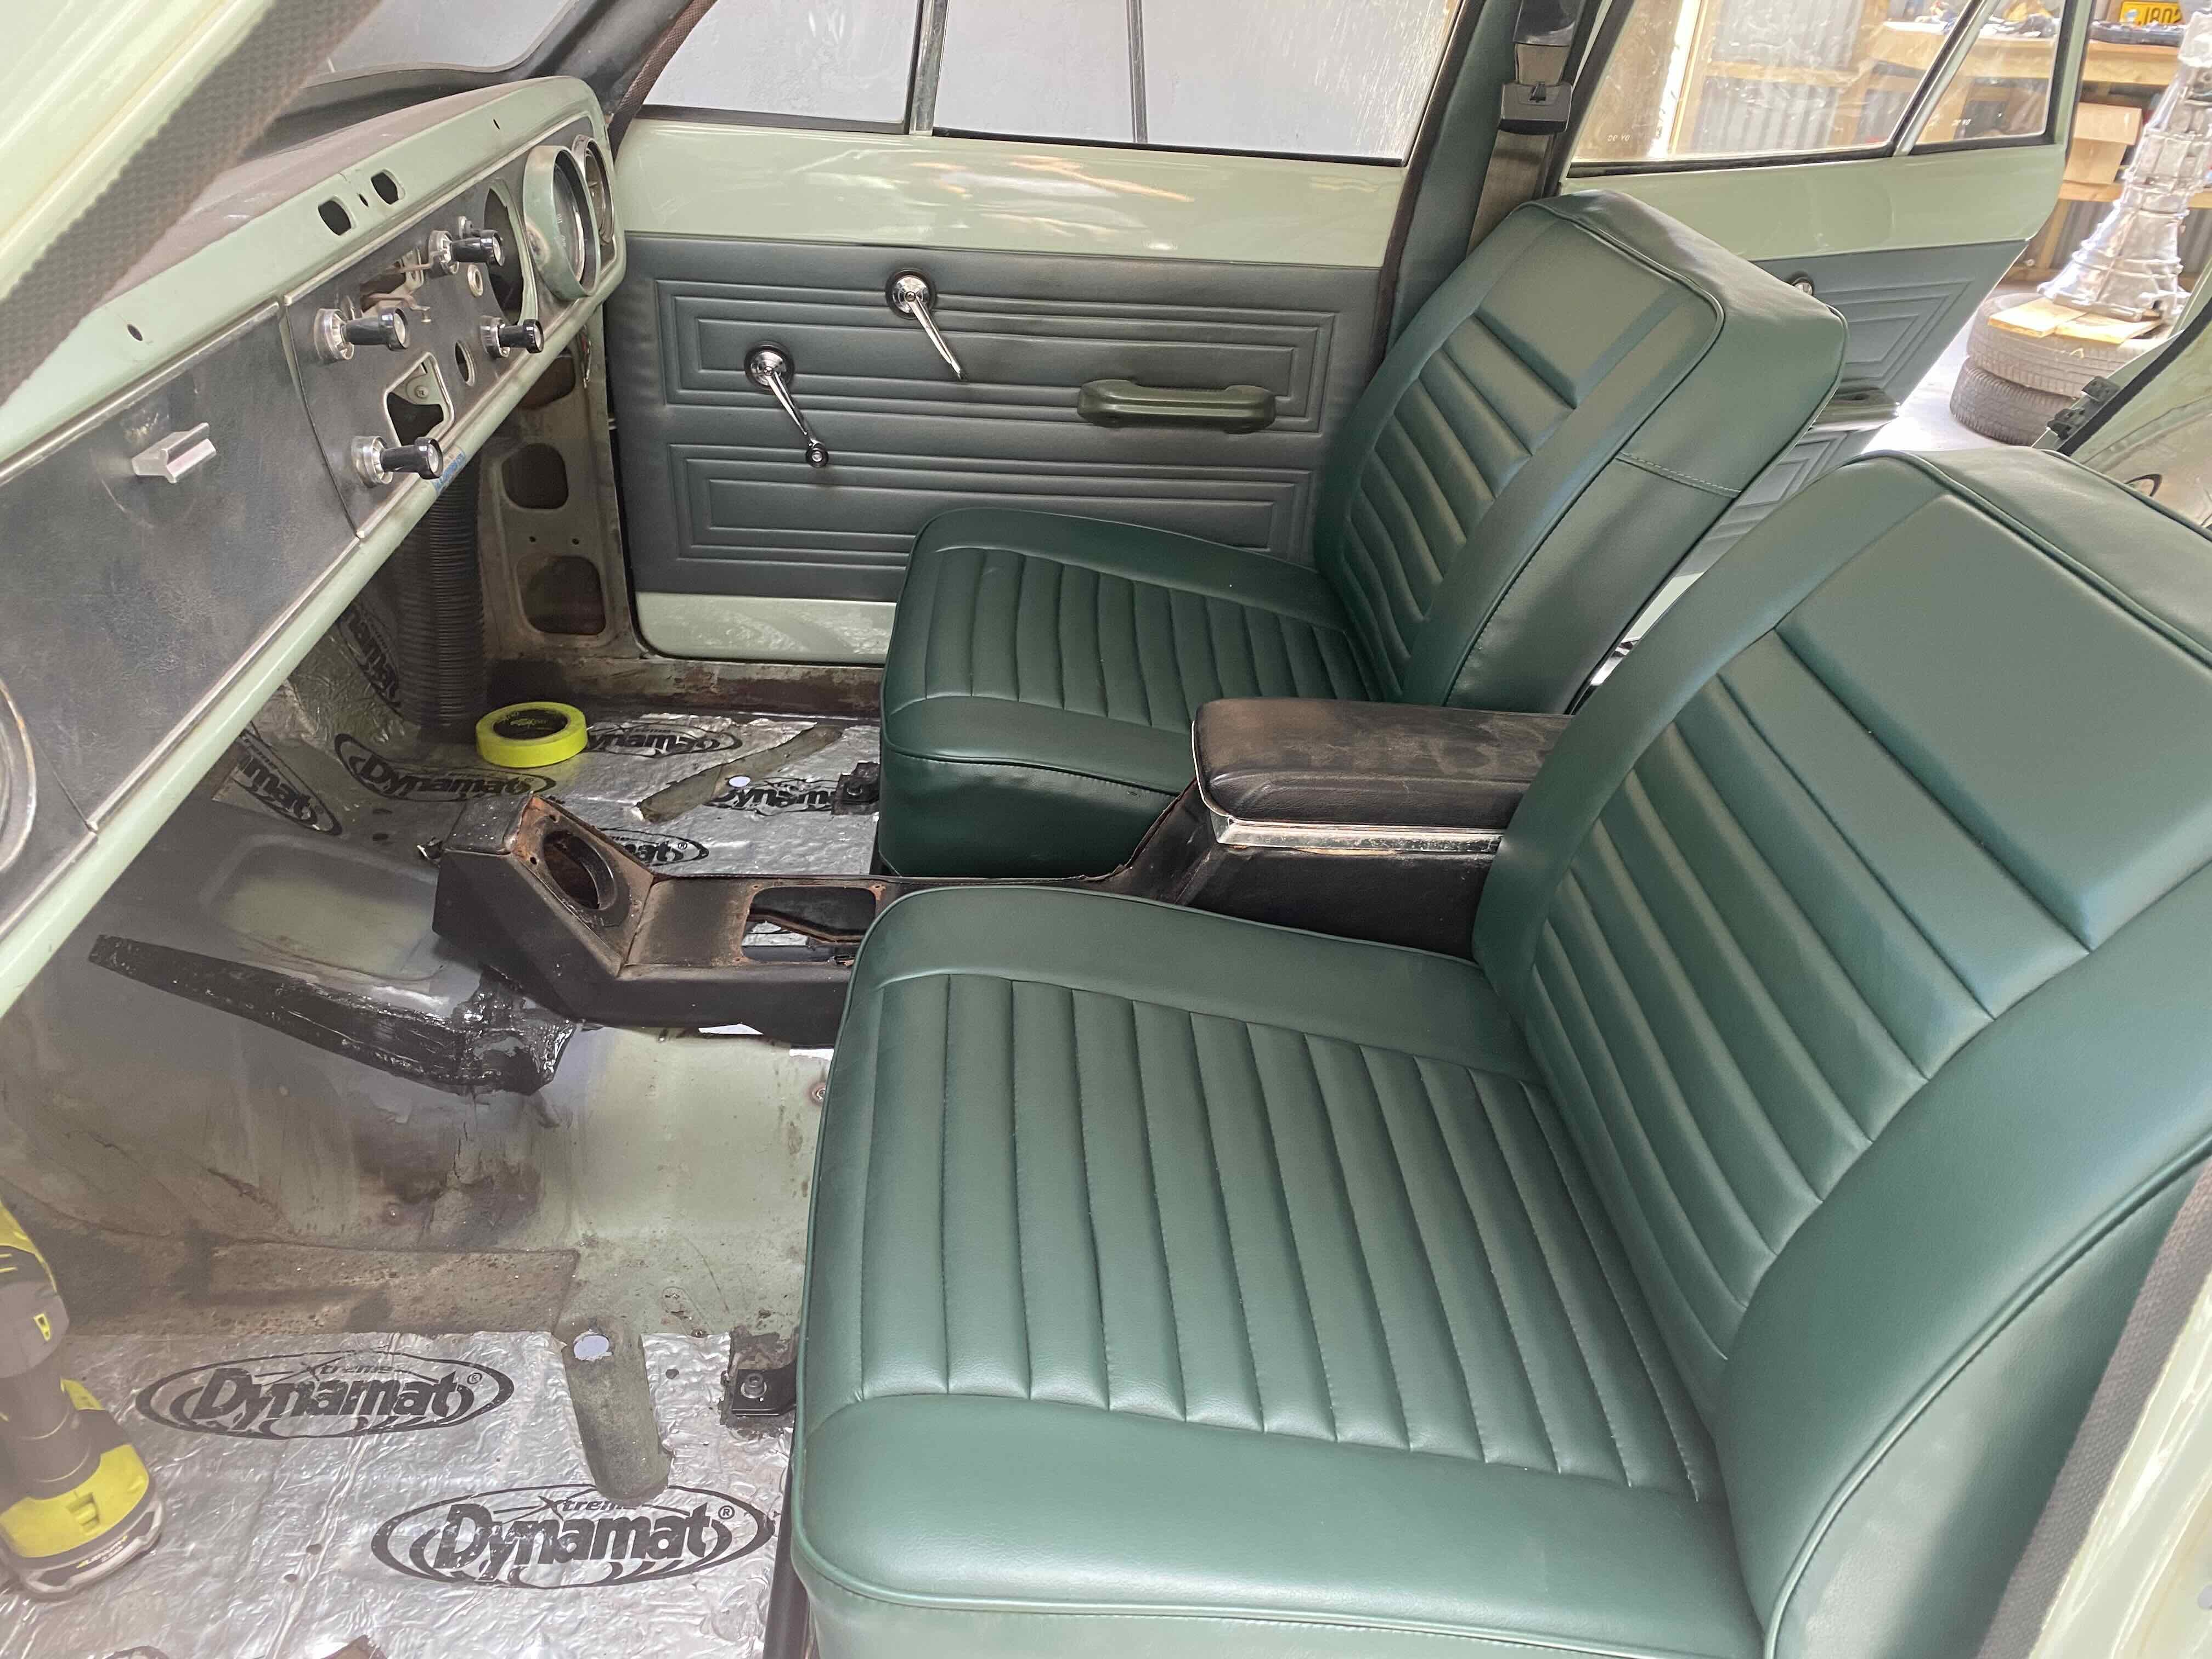
Yesterday was my first day back on the cars, so I spent the morning giving the Moke and the Mustang a good bath. Over the past few weeks I've been gathering a few bits and pieces for the Mustang so this morning I thought I'd start off by fitting a new set of semi sealed beams and Narva LED bulbs up front. First off kudos to @raizer for pointing me in the direction of the Narva LED H4 globes. What a fine piece of kit they are. The box is marked "not ADR approved for off-road use only" but I'm going to pretend that I haven't read that. Only mod I needed to make was to open up the hole in the rubber seals as the LED globes are a bit fatter than the standard H4 jobbies, but apart from that it was pretty much plug and play. Finished off the job by fine tuning the adjustment on the high beams. The light is nice and crisp and makes the old sealed beams look like candle light. Thanks for looking.
1 point
-
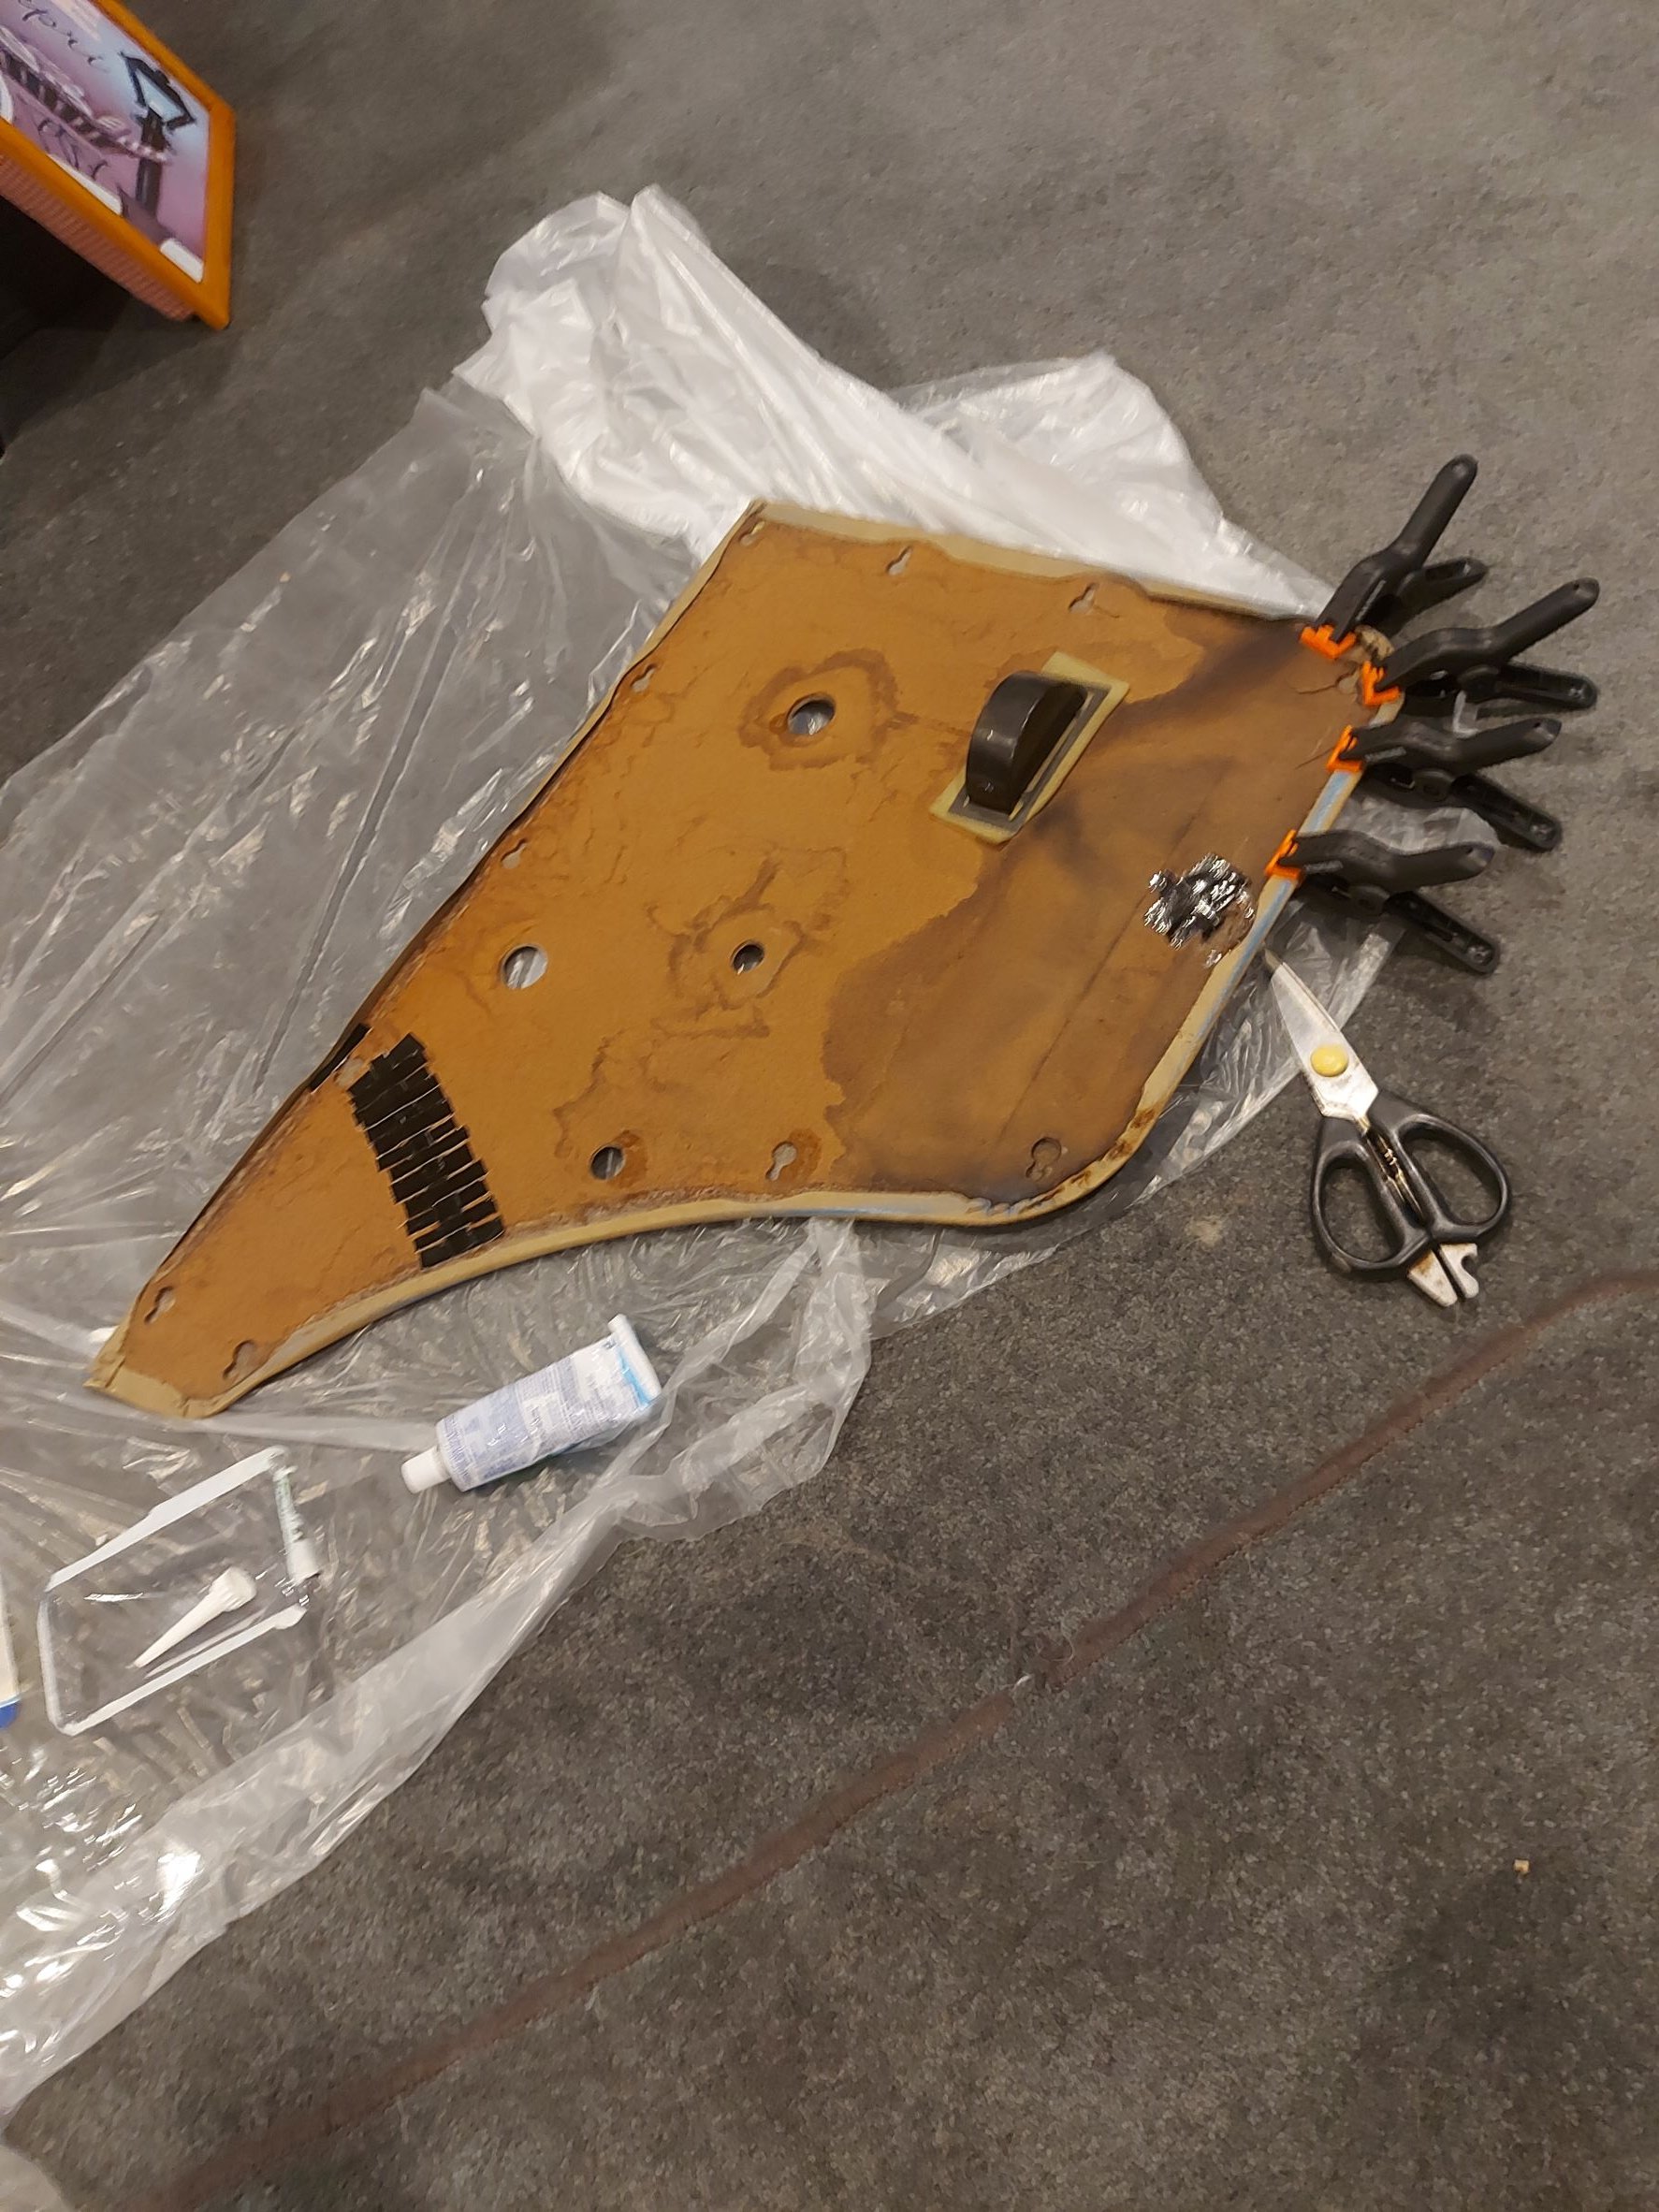
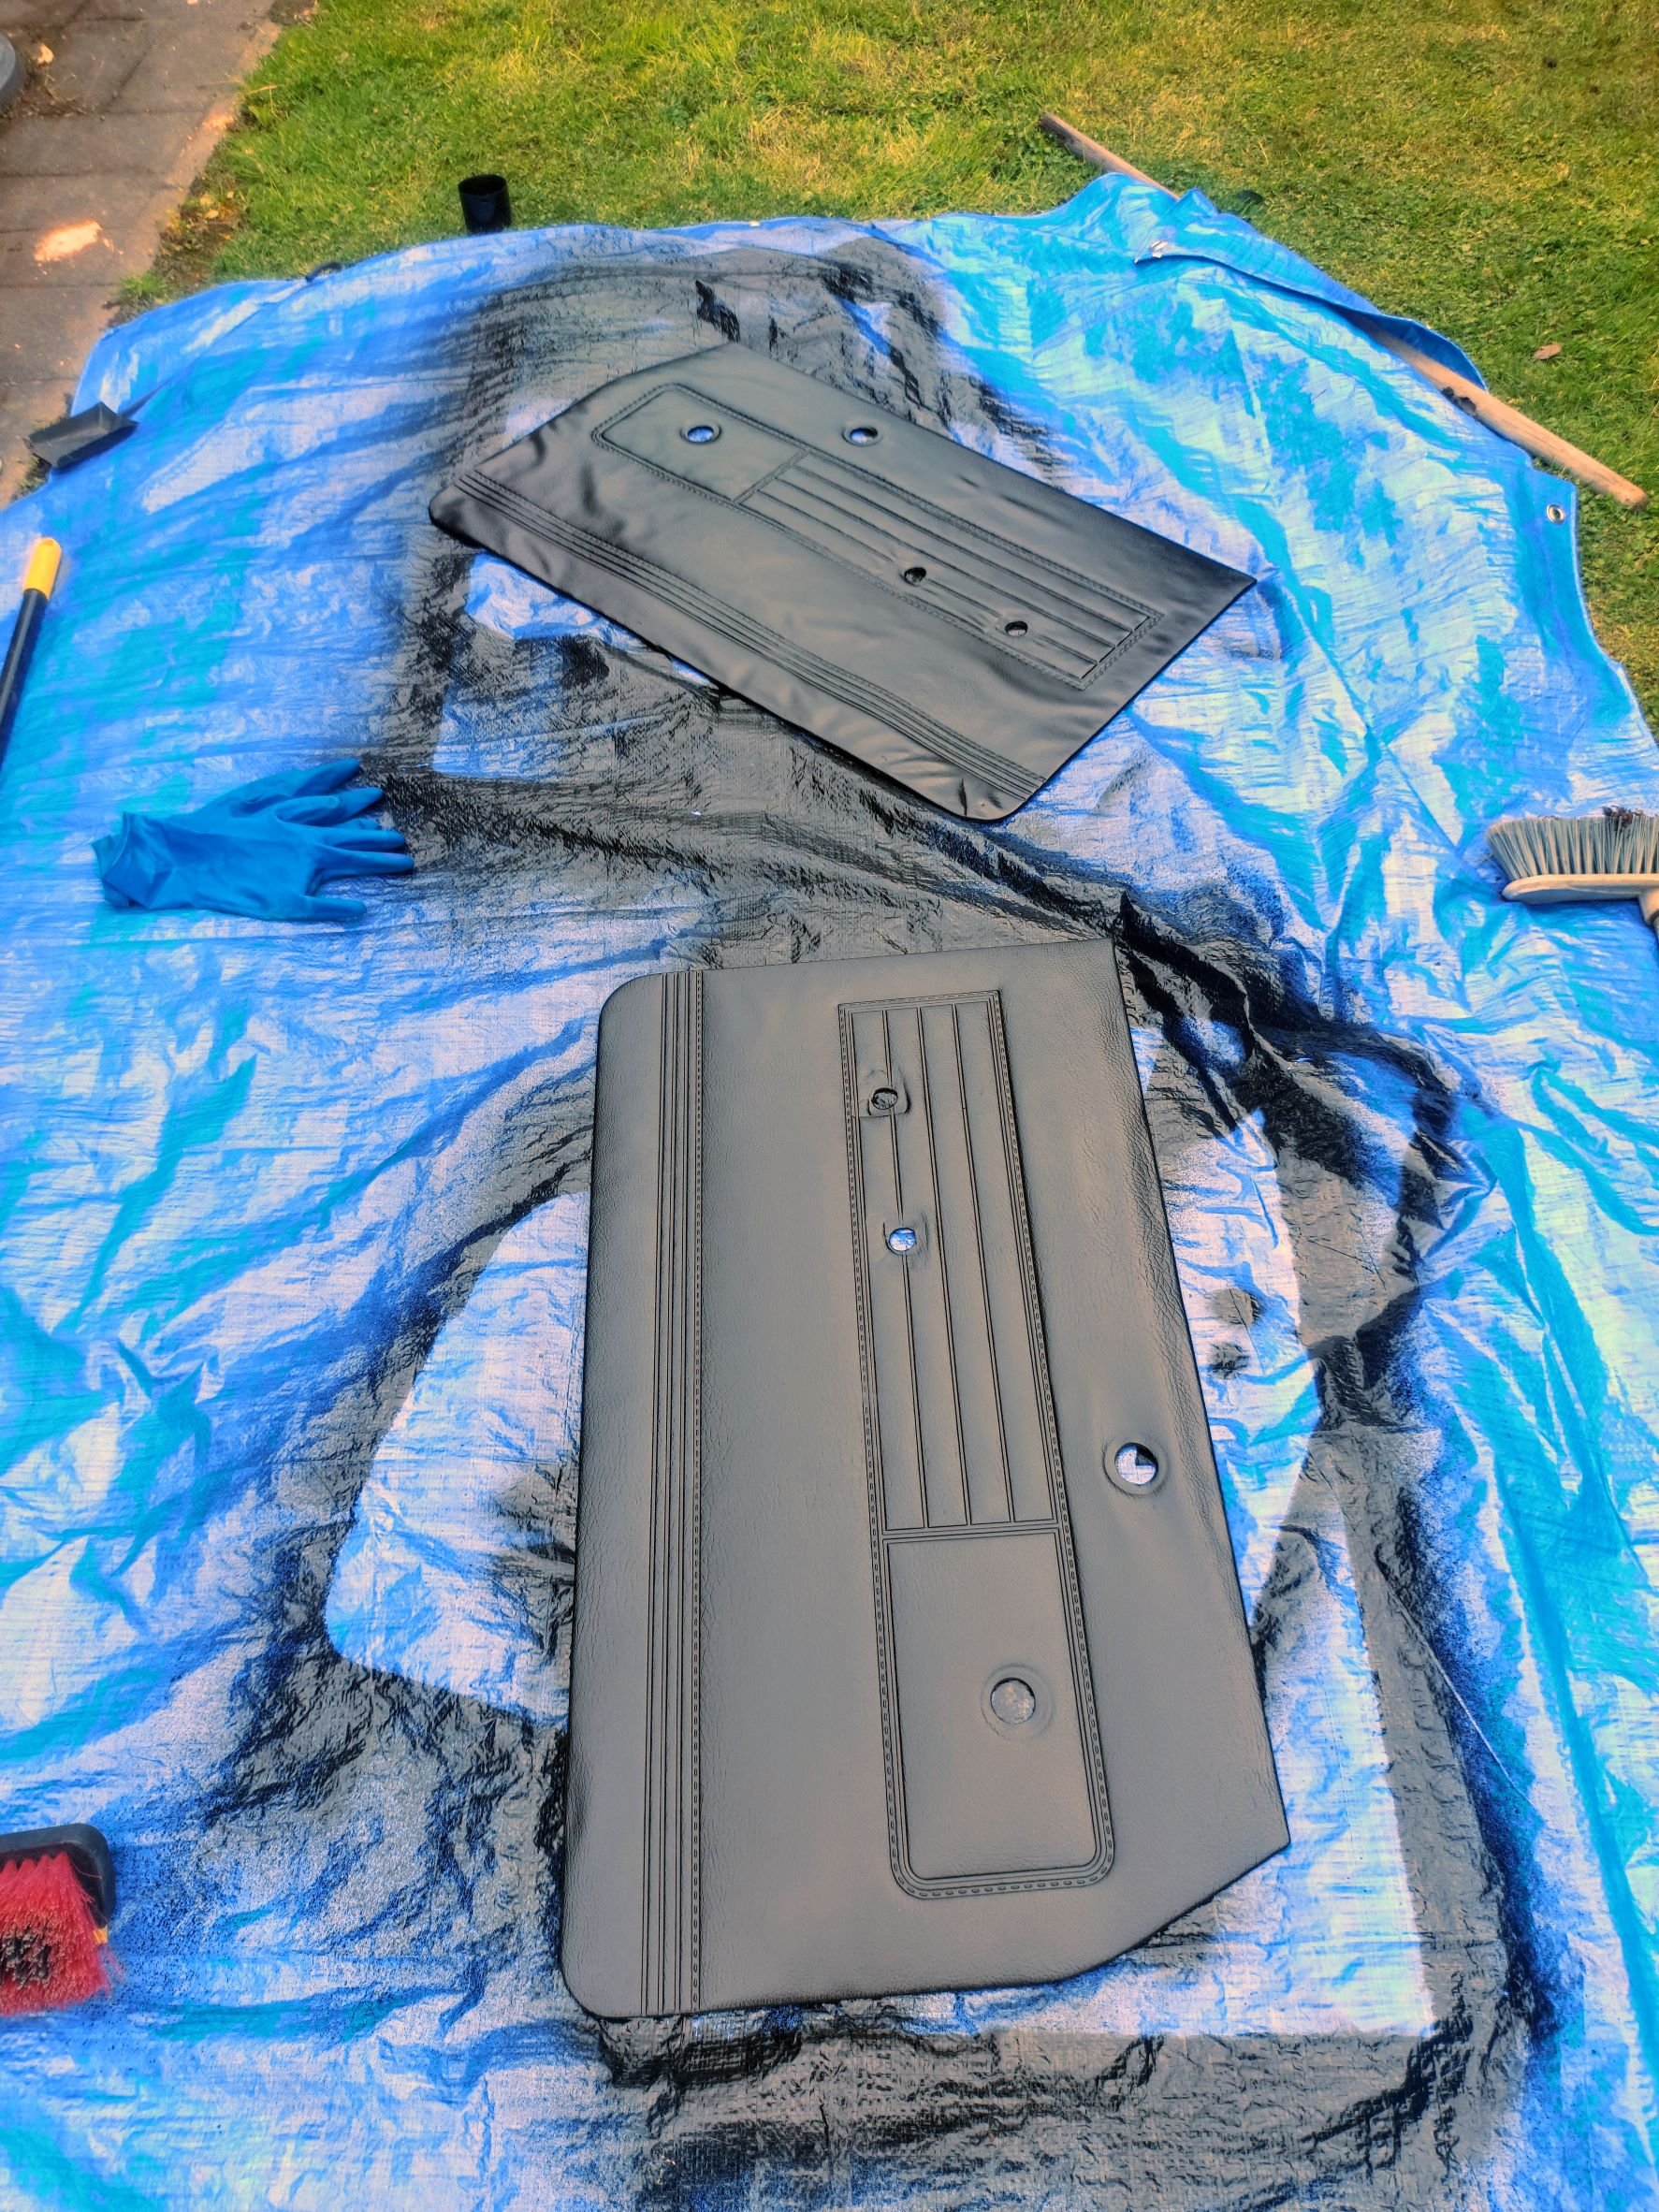
The silly season certainly slowed down progress on the old girl... who am I kidding my lazy ass slowed down progress. A few too many nights on the wines and late dusty sleep ins slowed down progress. But.. some progress is better than no progress am I right? Finally got around to fixing up the door cards, used the old engineers trick, if its broke fix it with duct tape and glue. We used a wood glue on any cracks or stress and duct taped over them, some clamps from supercheap auto to stretch the vinyl out and glued them down too.. #boganhomejobs A bit of black vinyl paint and they are looking banging, I was a bit hesitant at first, not really something you want to leave runs on, but ya girl came through. Woooo i should be a painter with this skill haha Highly, highly recommend the VHT Vinyl paint, beautiful to use, easy and super clean *chefs kiss* We did find some pinhole rust/holes on the passengers door in the process so we will look into whether it can be welded up when we eventually start to think about panel work. Next on the the to do list - Put said panels back on with the shiny new door handles and window winders that arrived in the mail box not too long ago.. not a job I'm looking forward too, if taking off them off was anything to go by putting them back on is going to involve alot of swearing and maybe another almost black eye..
1 point
-
shit i was confused here - (this is dave) @Lt Danand @Lt. Dan theres two of you!! what are the chances one of them fixes the ambulances, and the other is doing his best to end up in one. did they have to back that truck all the way out?1 point
-
1 point
-
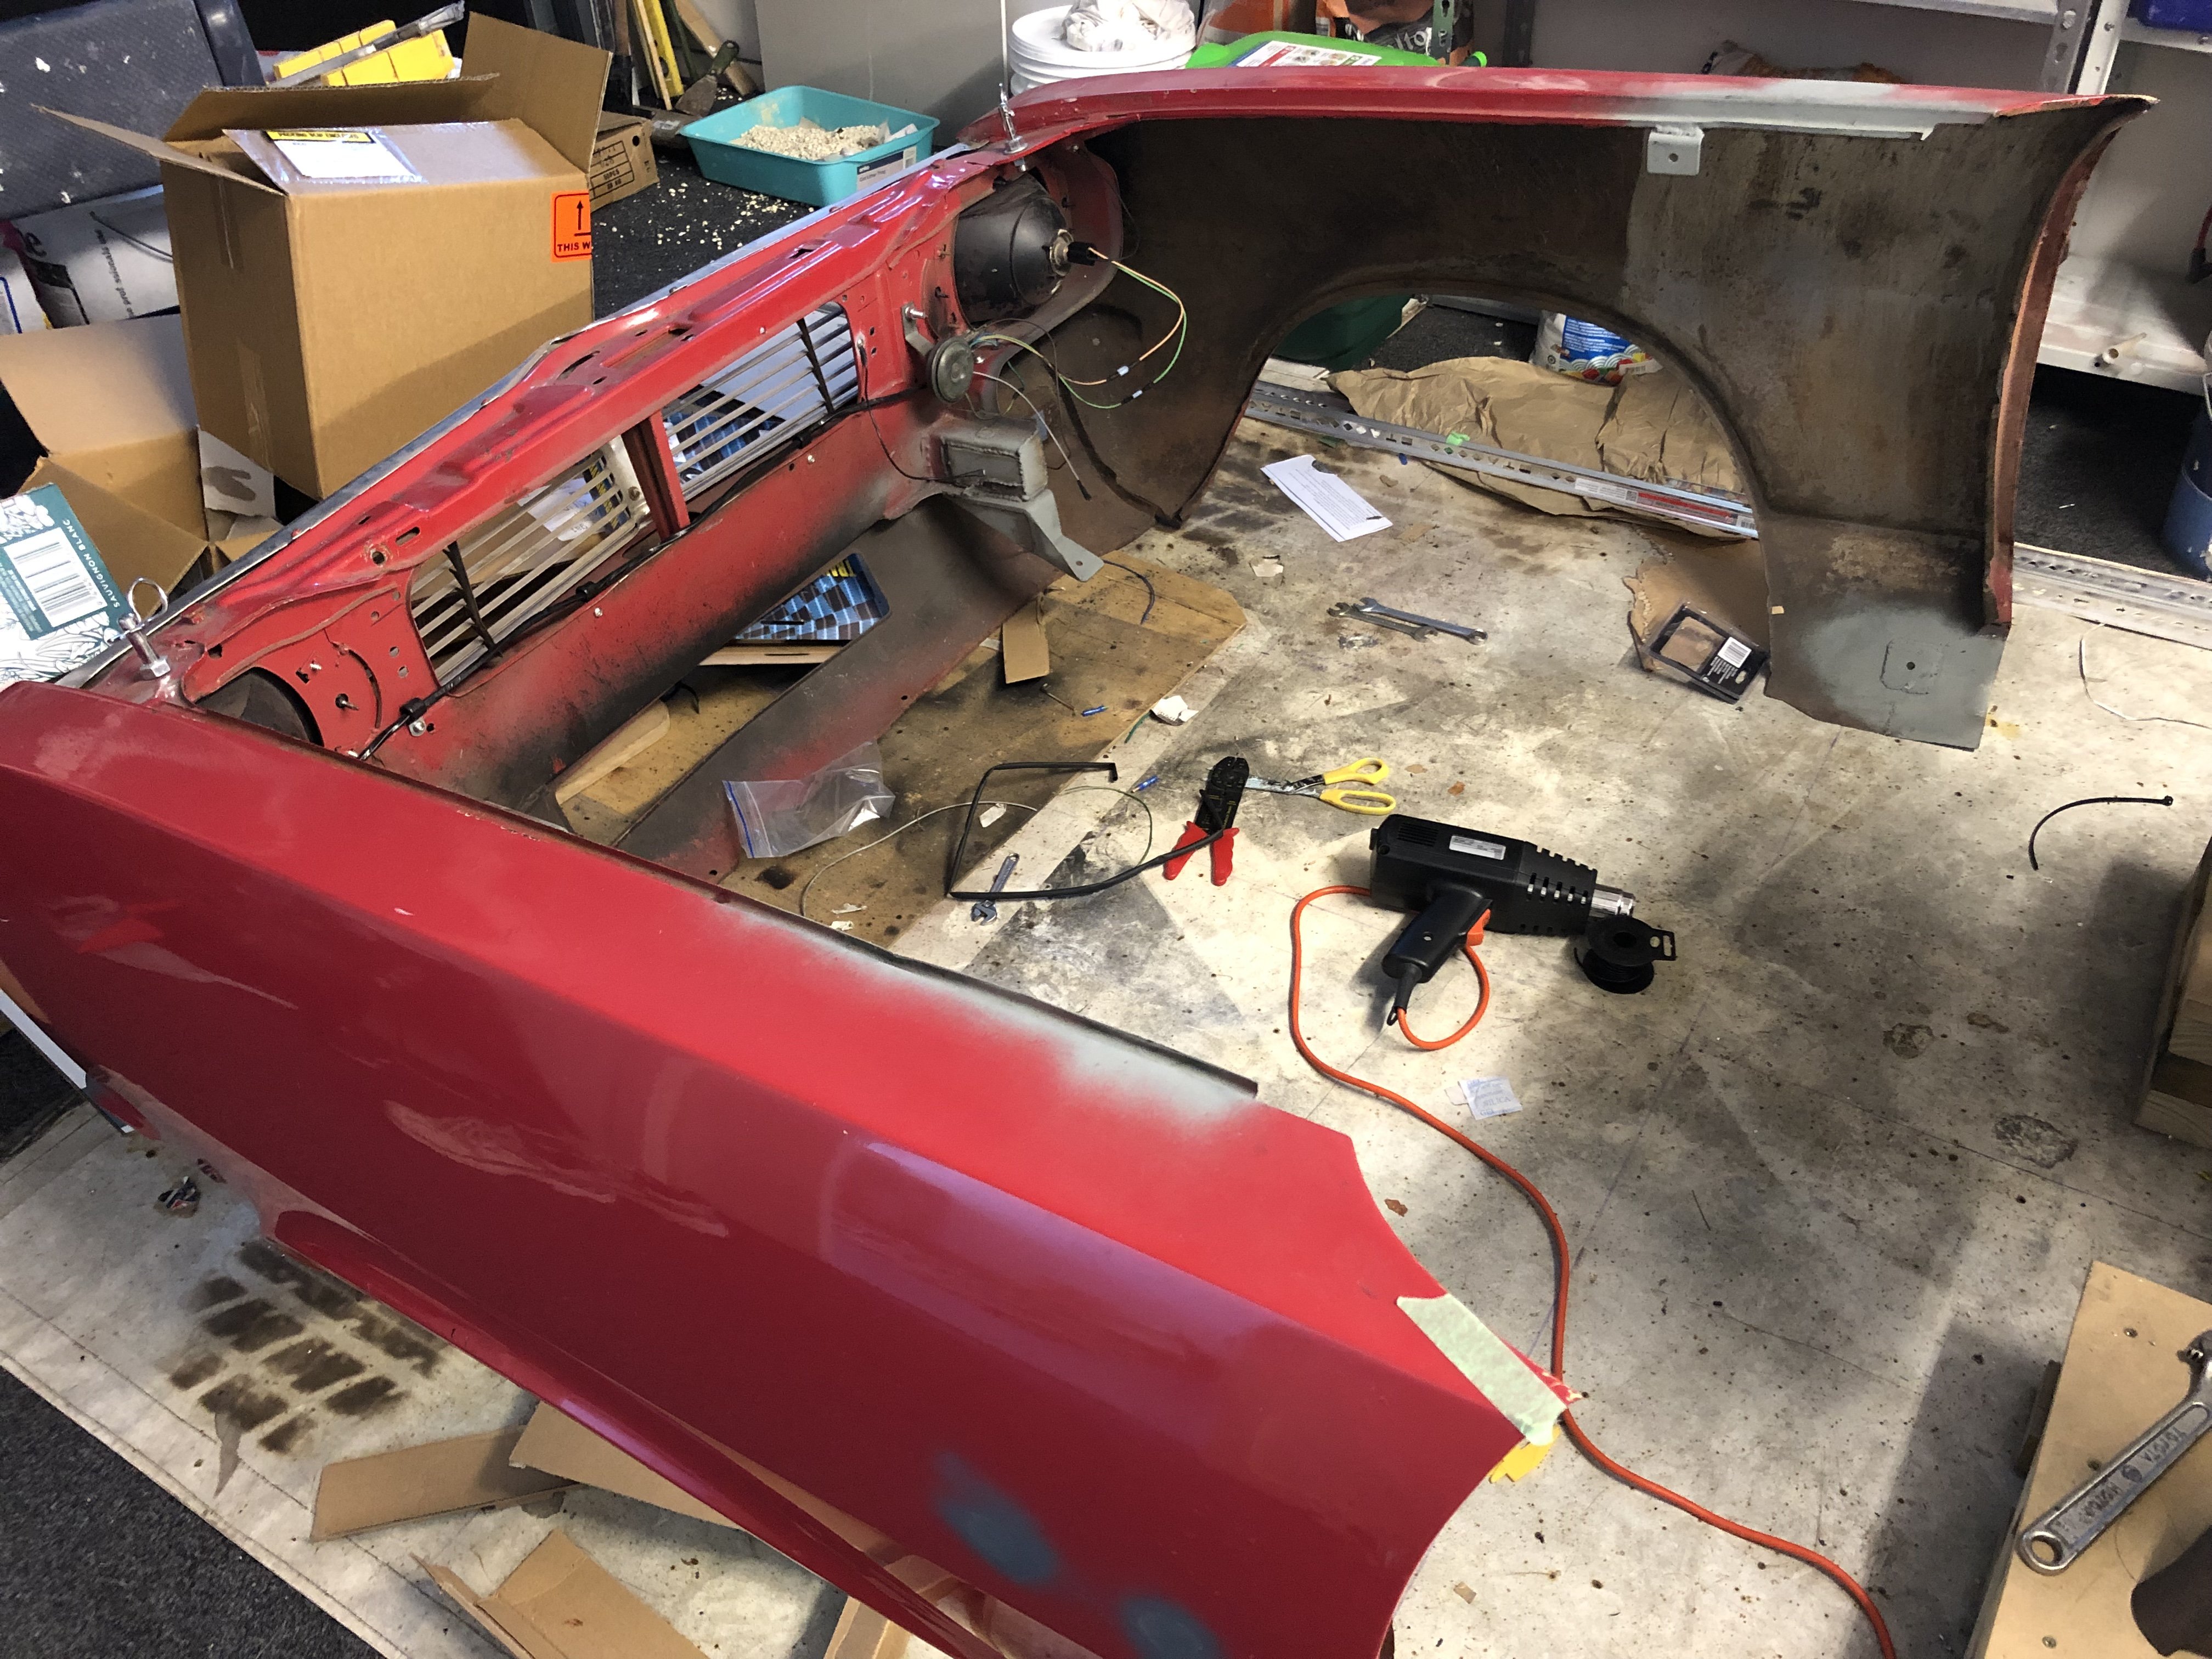
Can’t wait to fire this thing up. Added a trailer plug for the front wiring so we can pull the front whenever we need to.
1 point
-
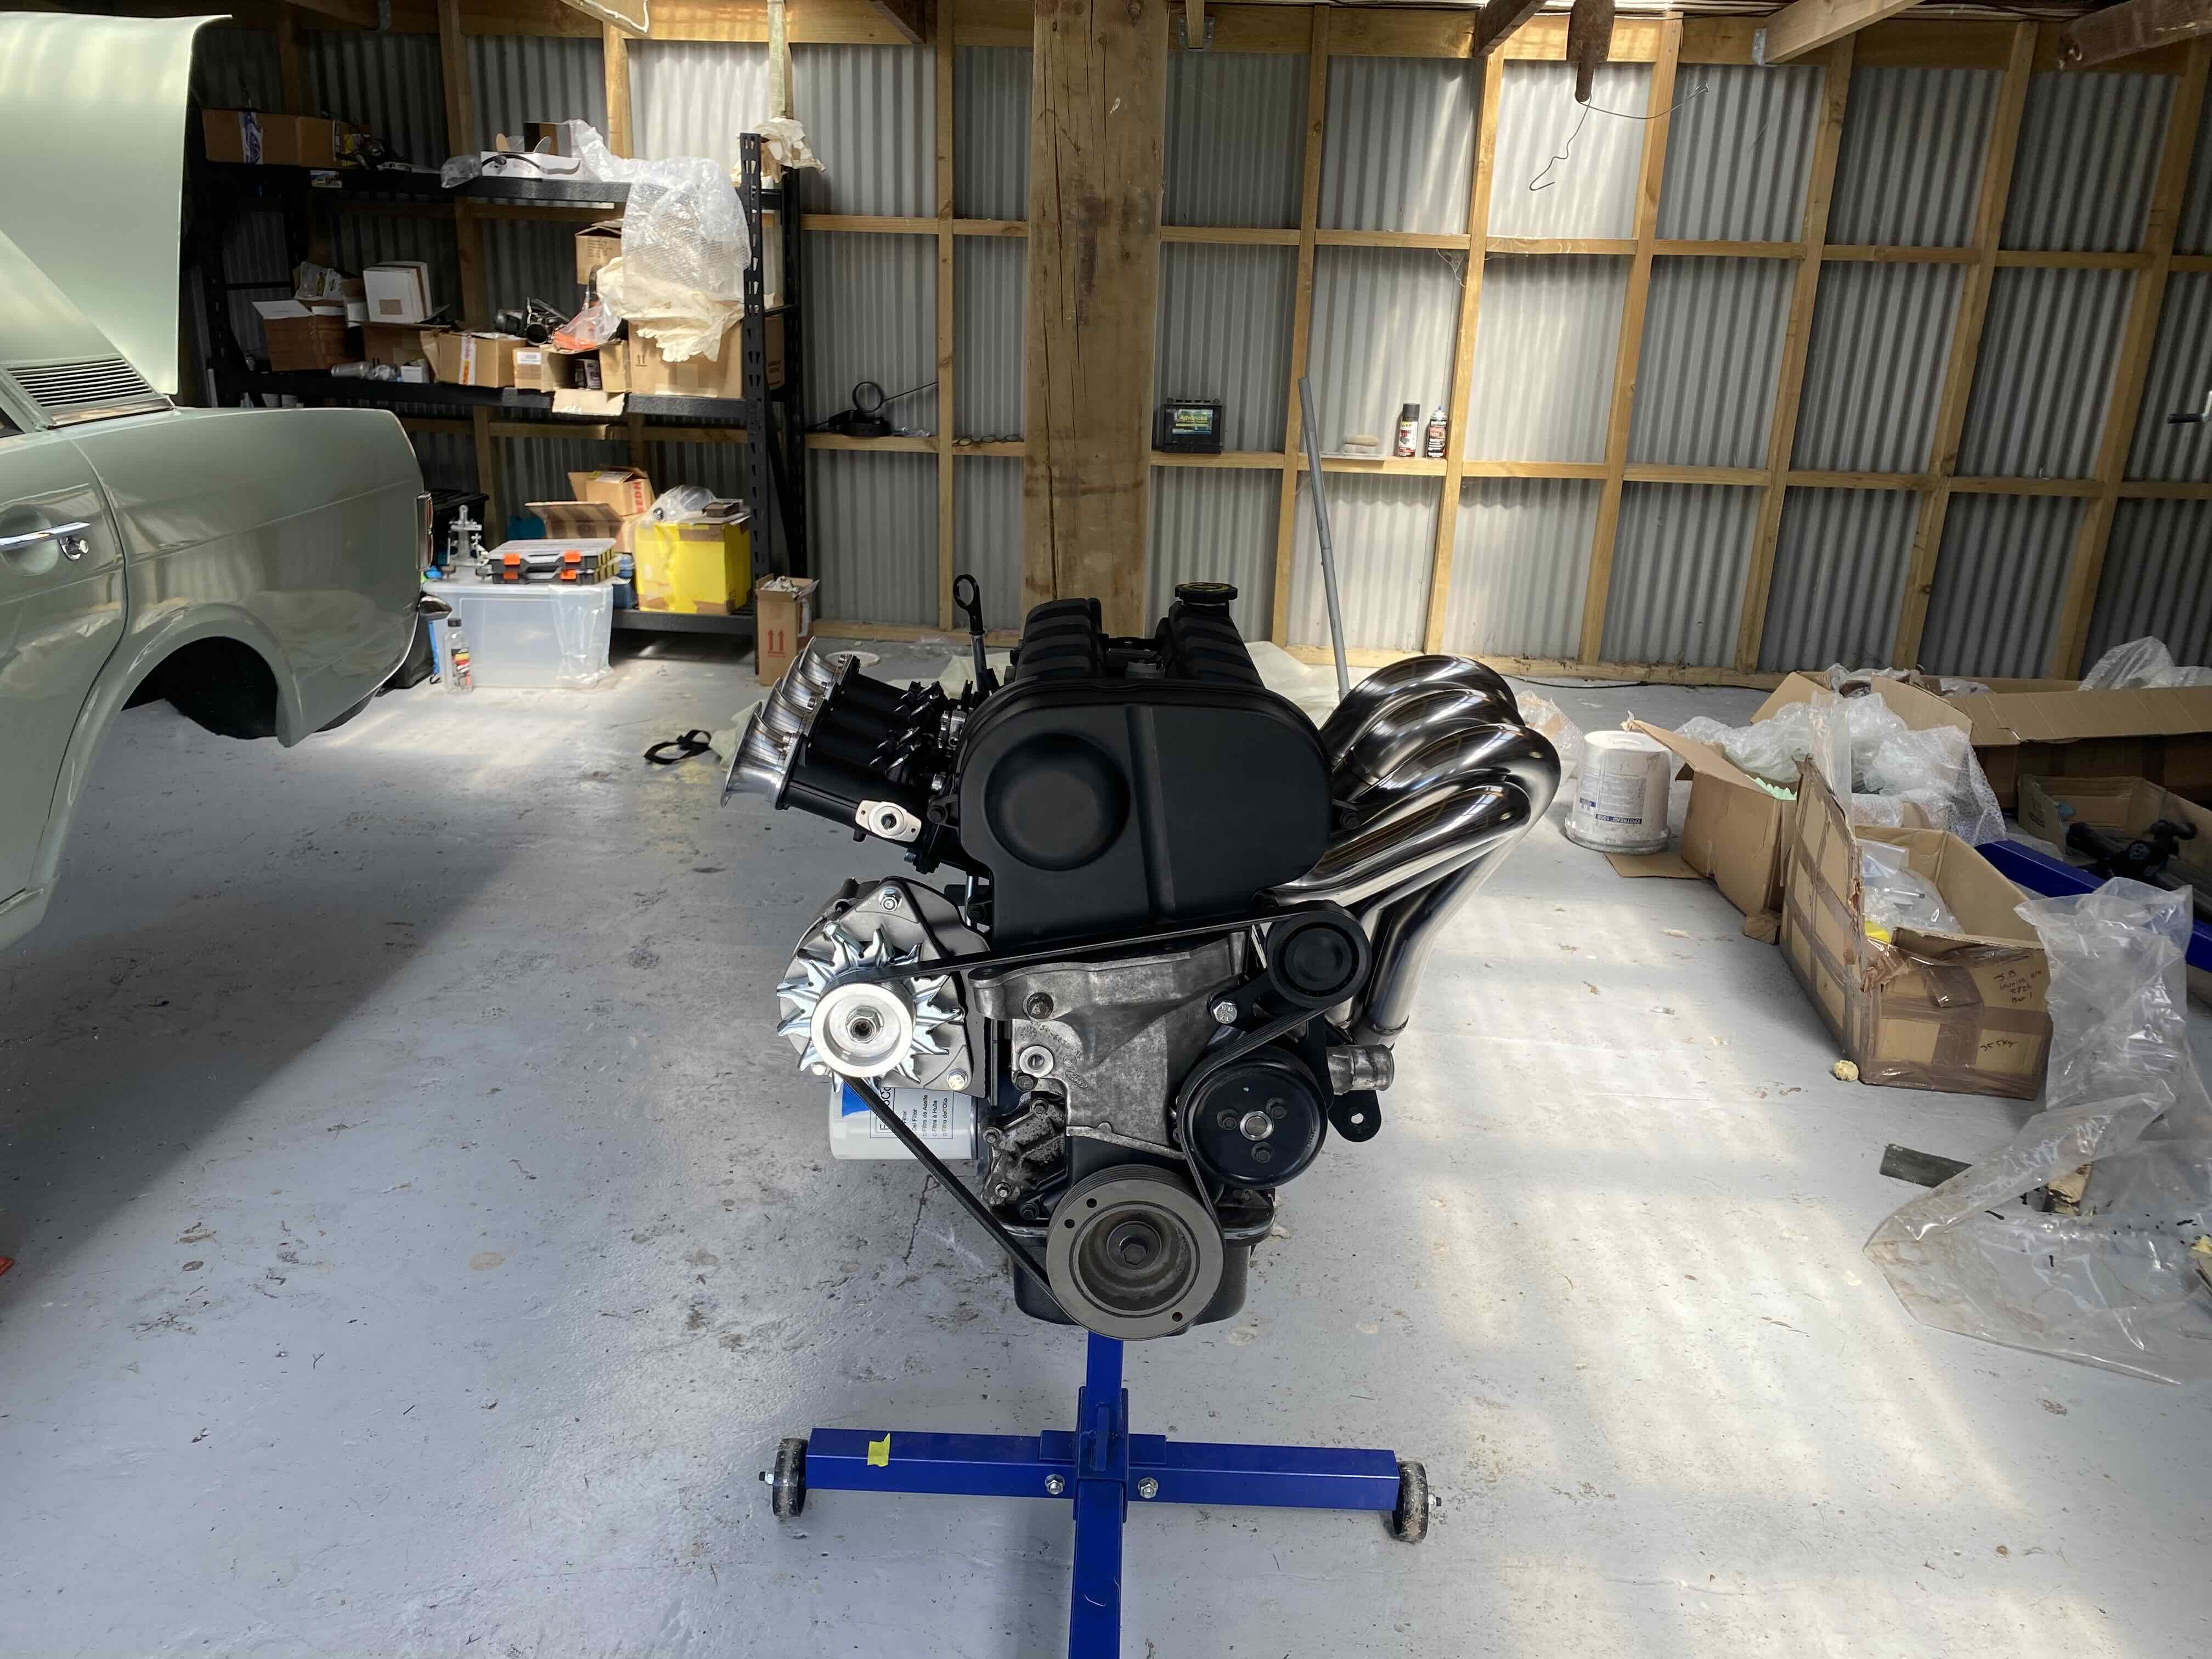
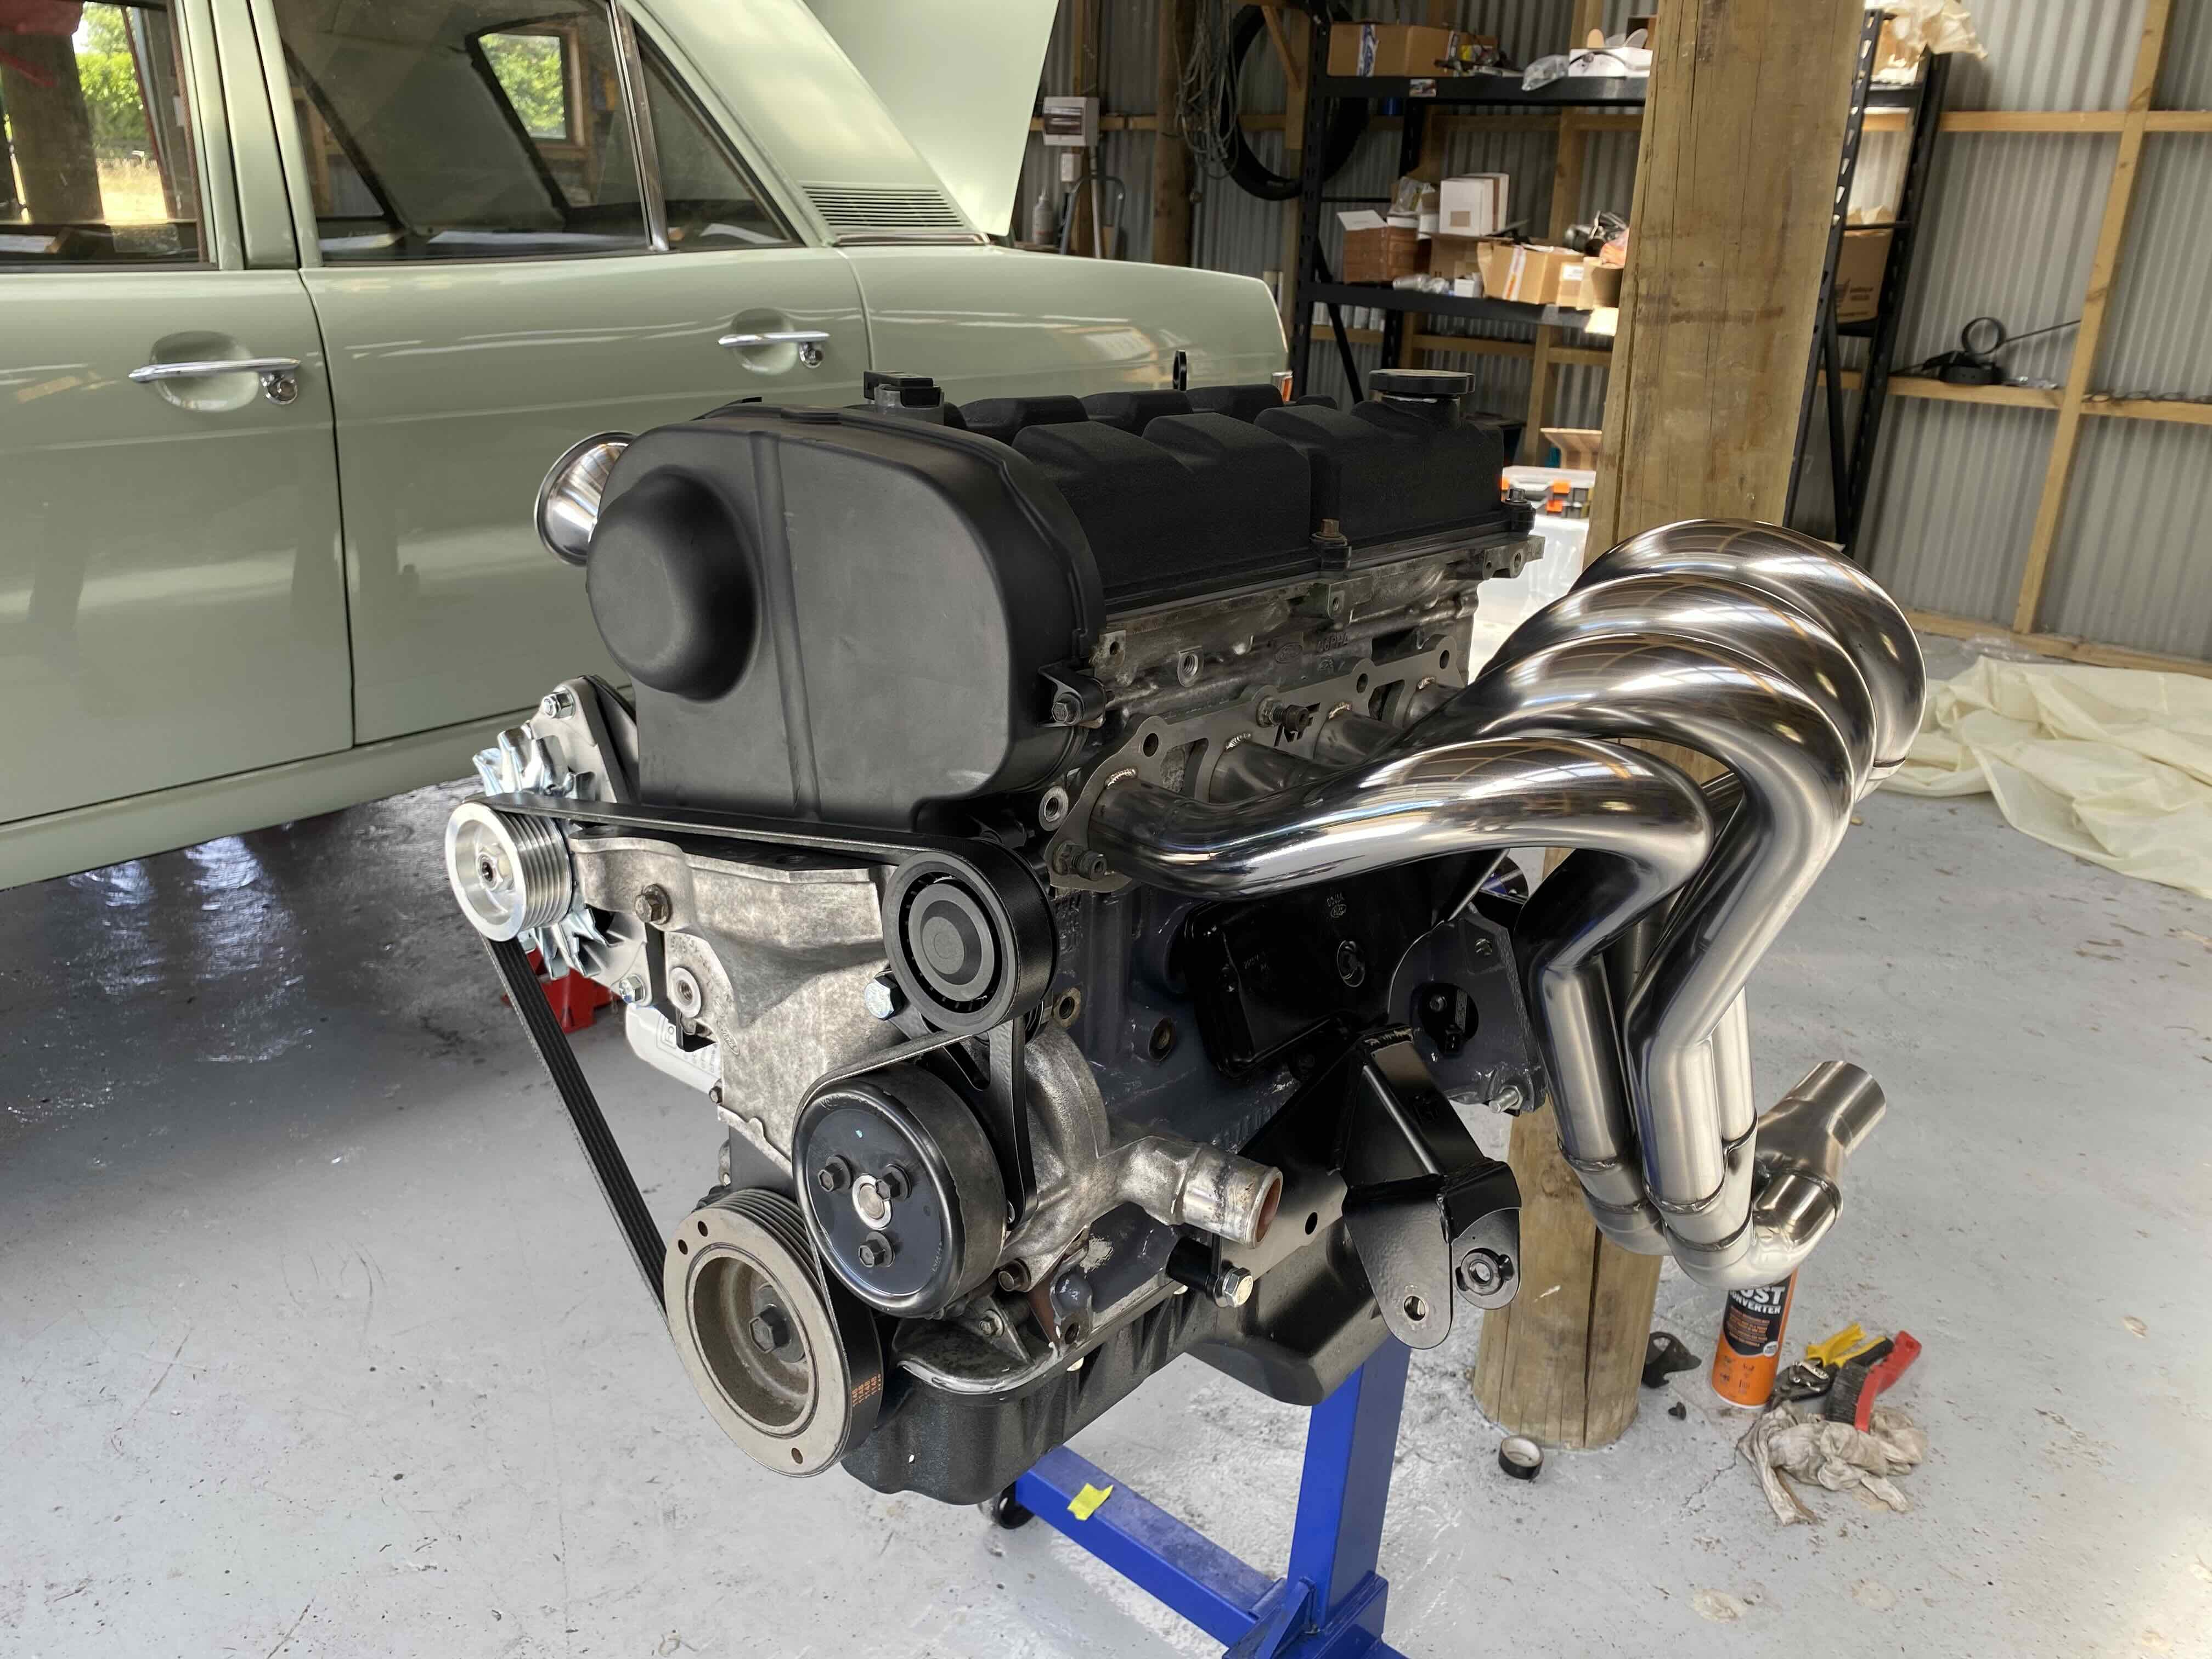
Making good progress. Pedal box ordered this week after discussions with LVVTA and my certifier- will need to get the brake pedal remade but otherwise should be good. Seats are in, new seat guides in the trans tunnel made. Just need to make doubler plates for under the floor now. Spent some more time on the engine, new oil pick up, sump and dipstick assembly fitted, new cambelt and water pump fitted and painted the cam cover. Spent some time sanding and polishing the exhaust manifold too. Also added the accessory drive assembly. The Retroford stuff isn’t cheap but you get what you pay for, everything fits nicely and is really well made. Have also seam sealed and painted the floor pan, in hind sight probably should have sprayed it but not too many people will see it.
1 point
-
Yeah, after my second run I had a sinking feeling I had some beginners luck and I wasnt going to dip into a 13. I was praying for like a 13.999999 haha. But then when it hooked up like that I just knew. Man it was awesome. And yeah, my last run was the fastest and I only got 3, so it's potentially not even tapped out as it is. Still just blows my mind that it's even possible for a 1500cc NA setup to do anywhere near that sort of time. Also just like my first time going on a track with semi slicks. It goes to show just how important the right tyre is. See people spending $$$$$$ on their car but then on the wrong tyre for the job. Cheapest way to go fast. Especially when you borrow them from @Stu haha I just had a look through logs from my fast run. Looks like after dumping the clutch the rpm falls to minimum of 4500, which is great as below that is the area I really need to avoid. So I'm 100% keen to go back and try a higher launch rpm. And now super keen to get the exhaust done.
1 point
-
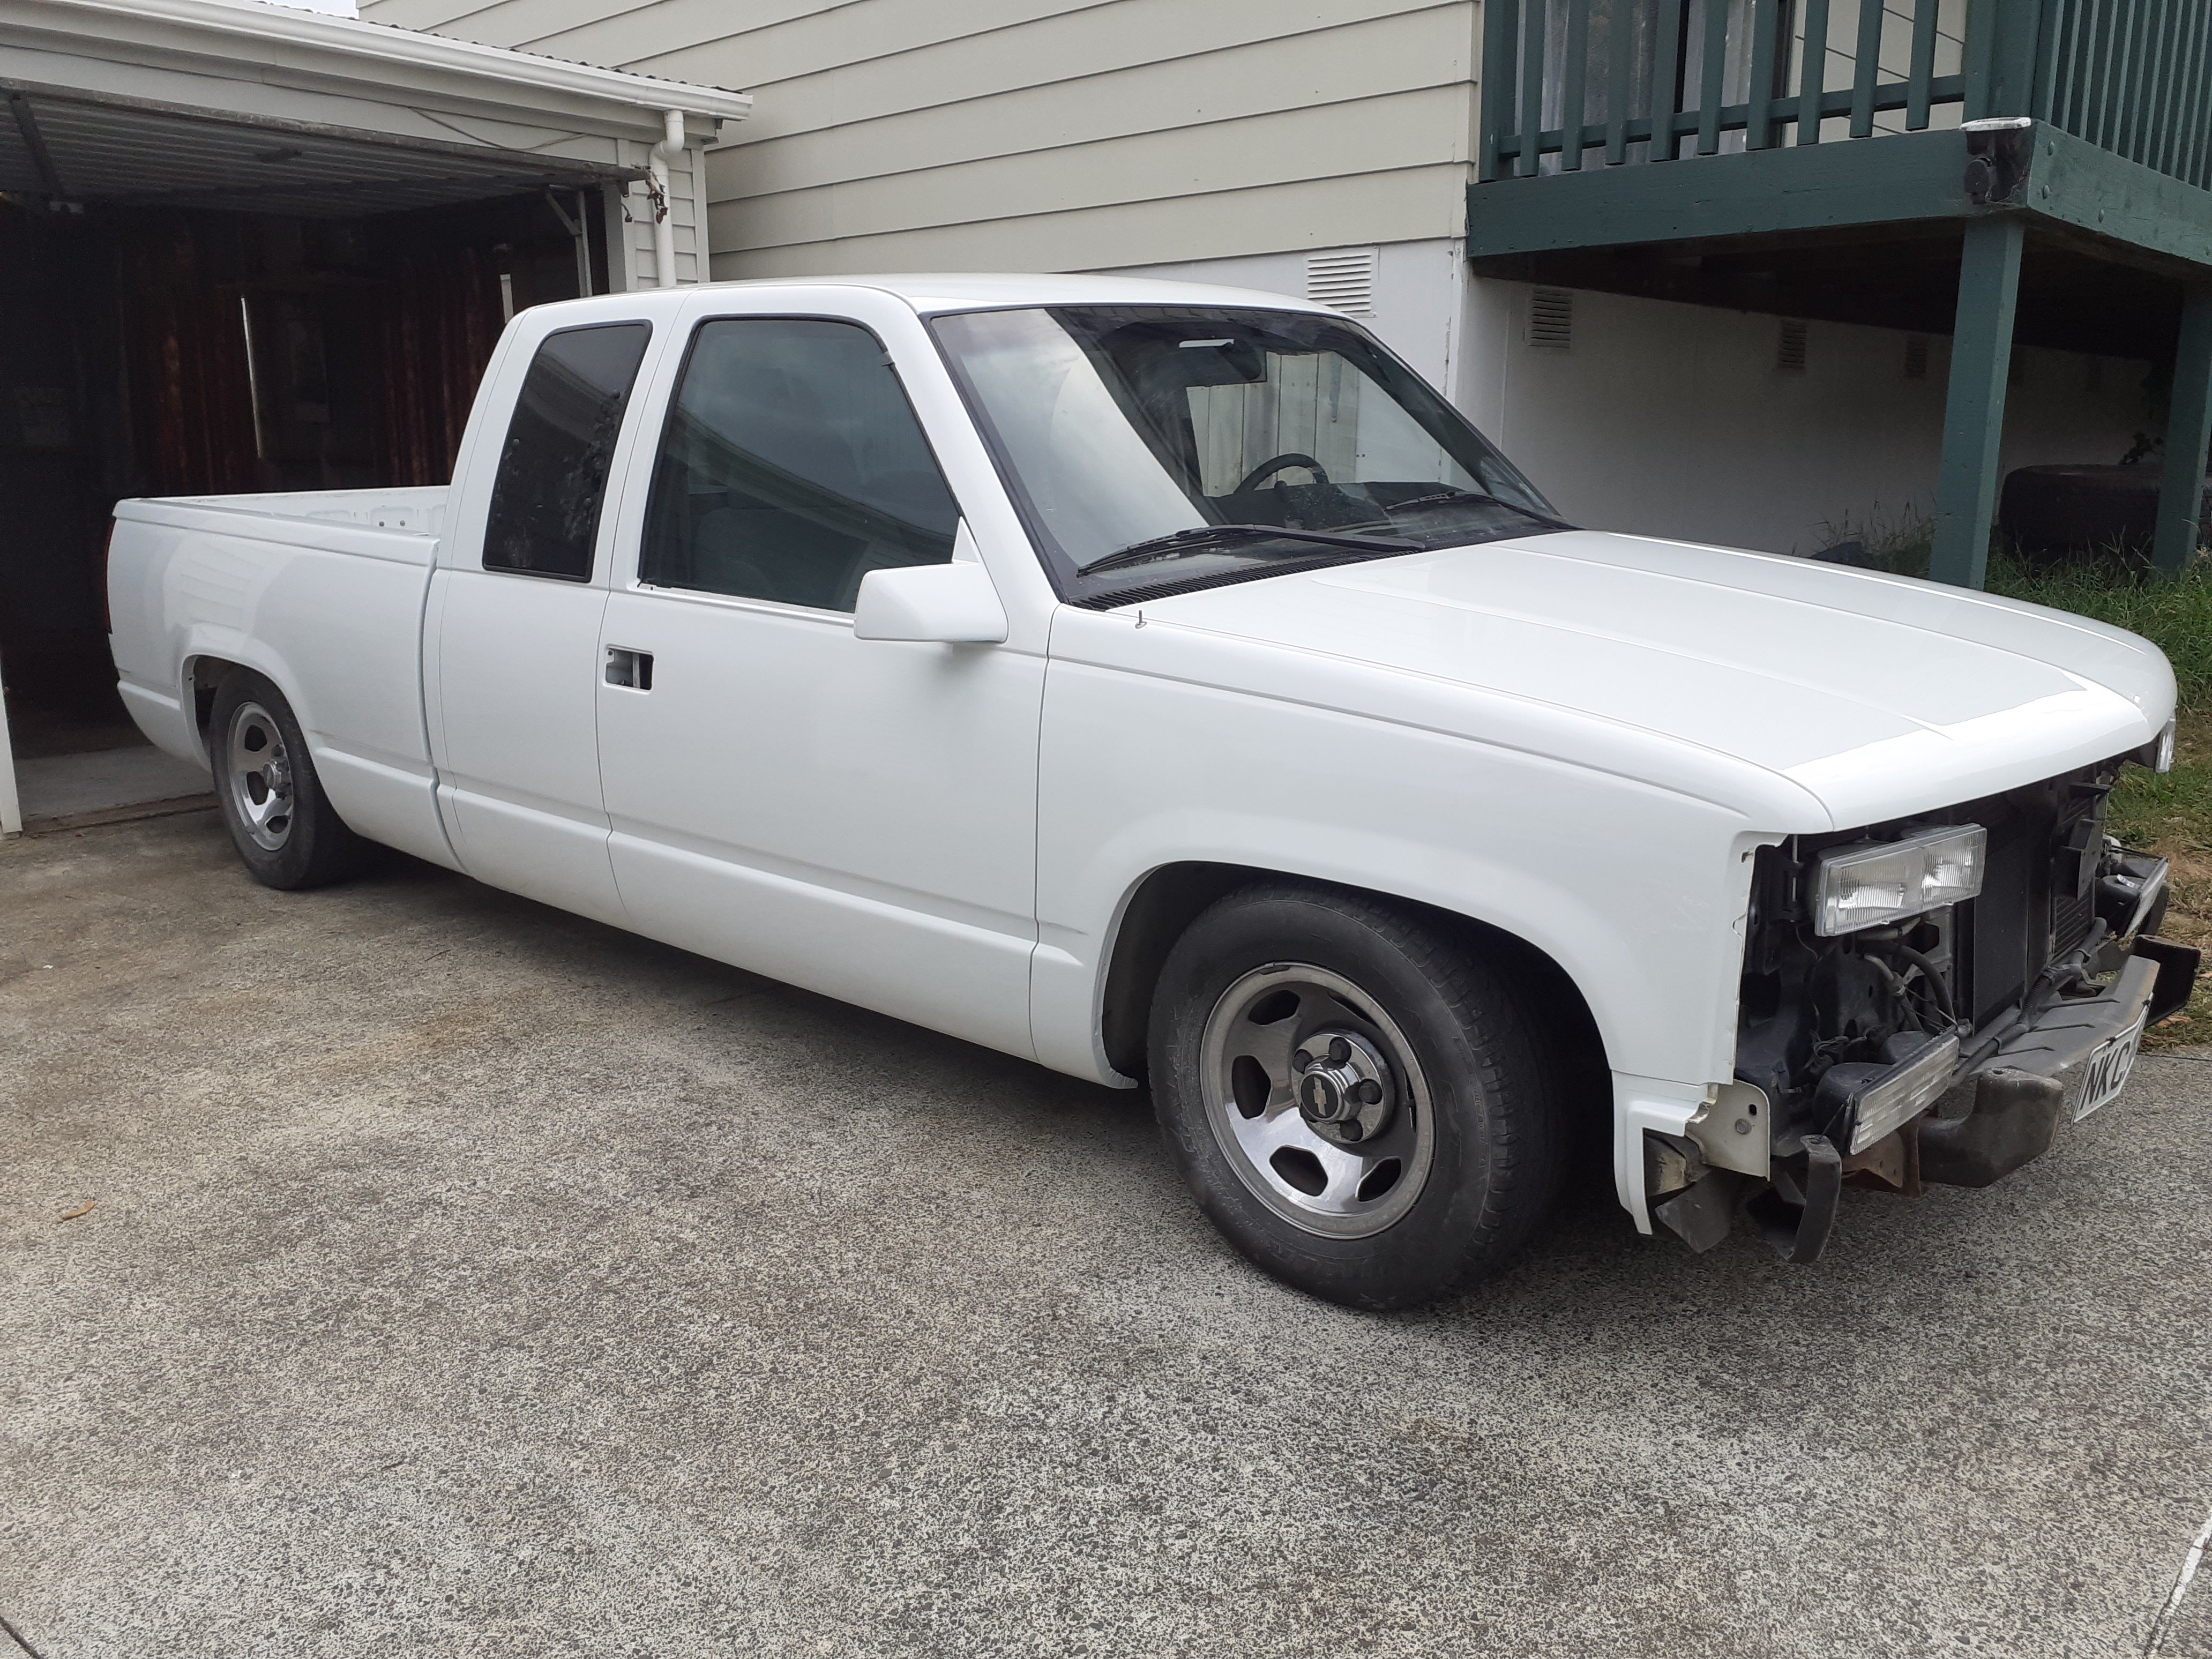
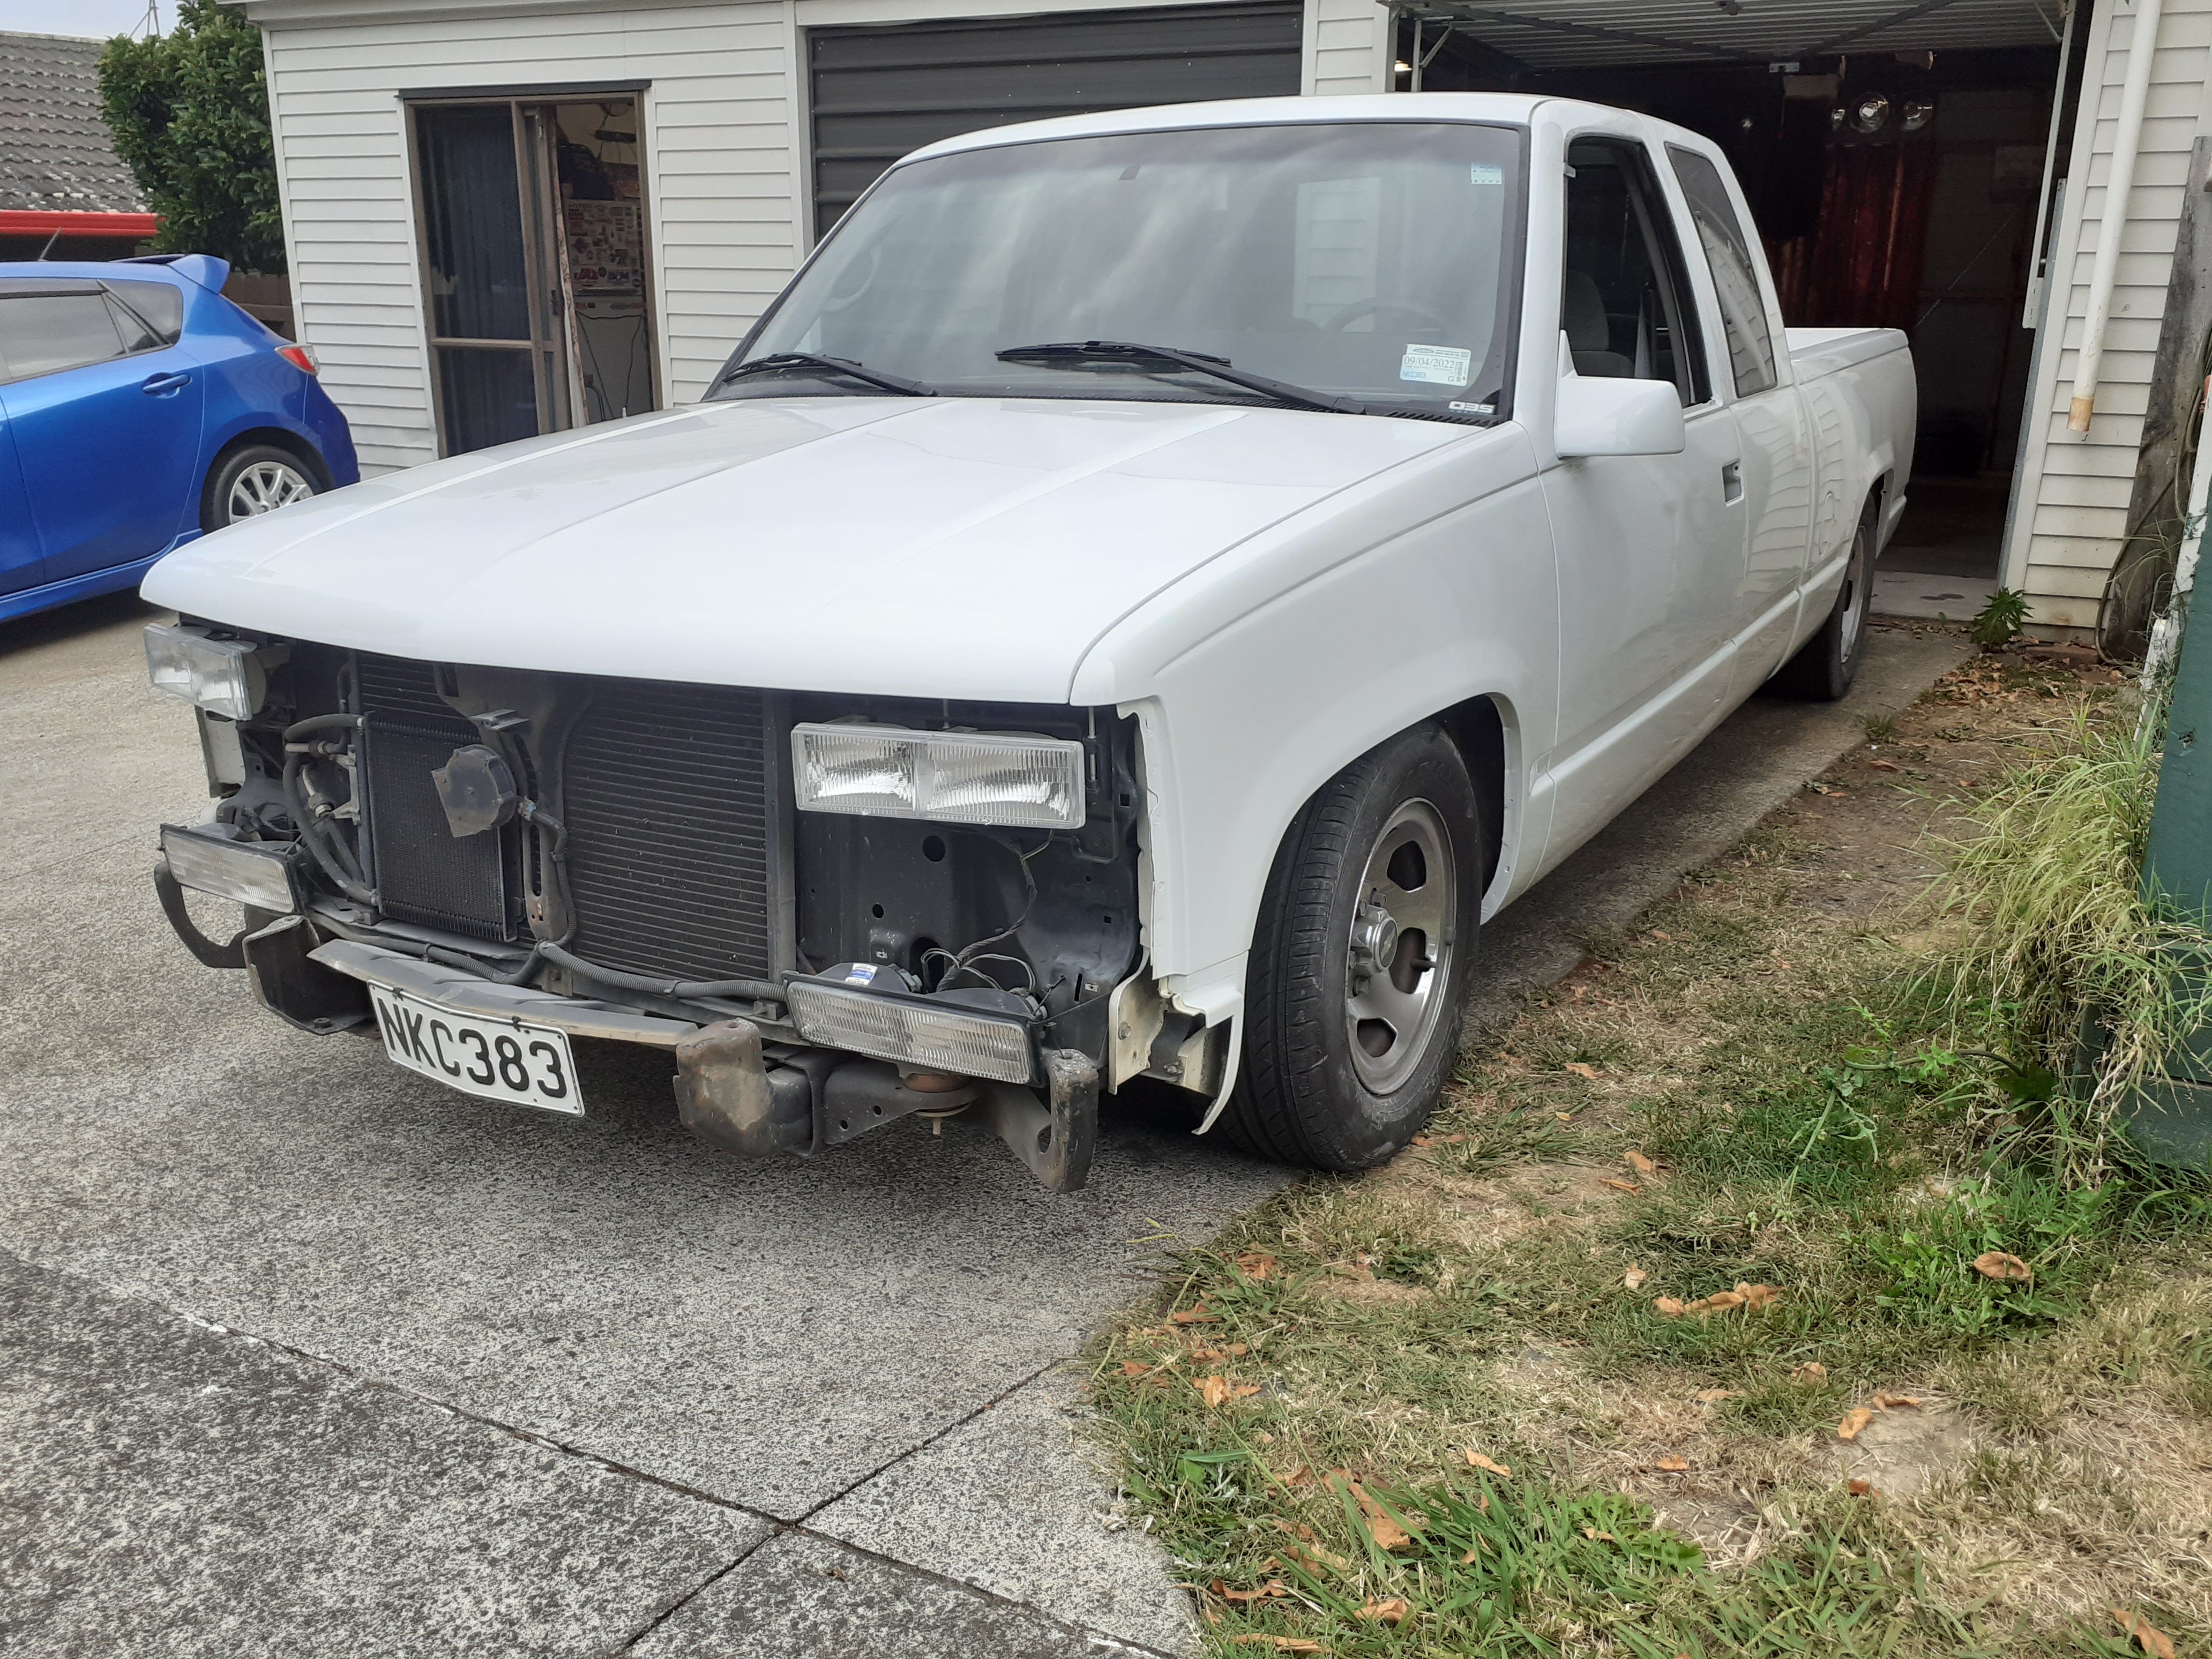
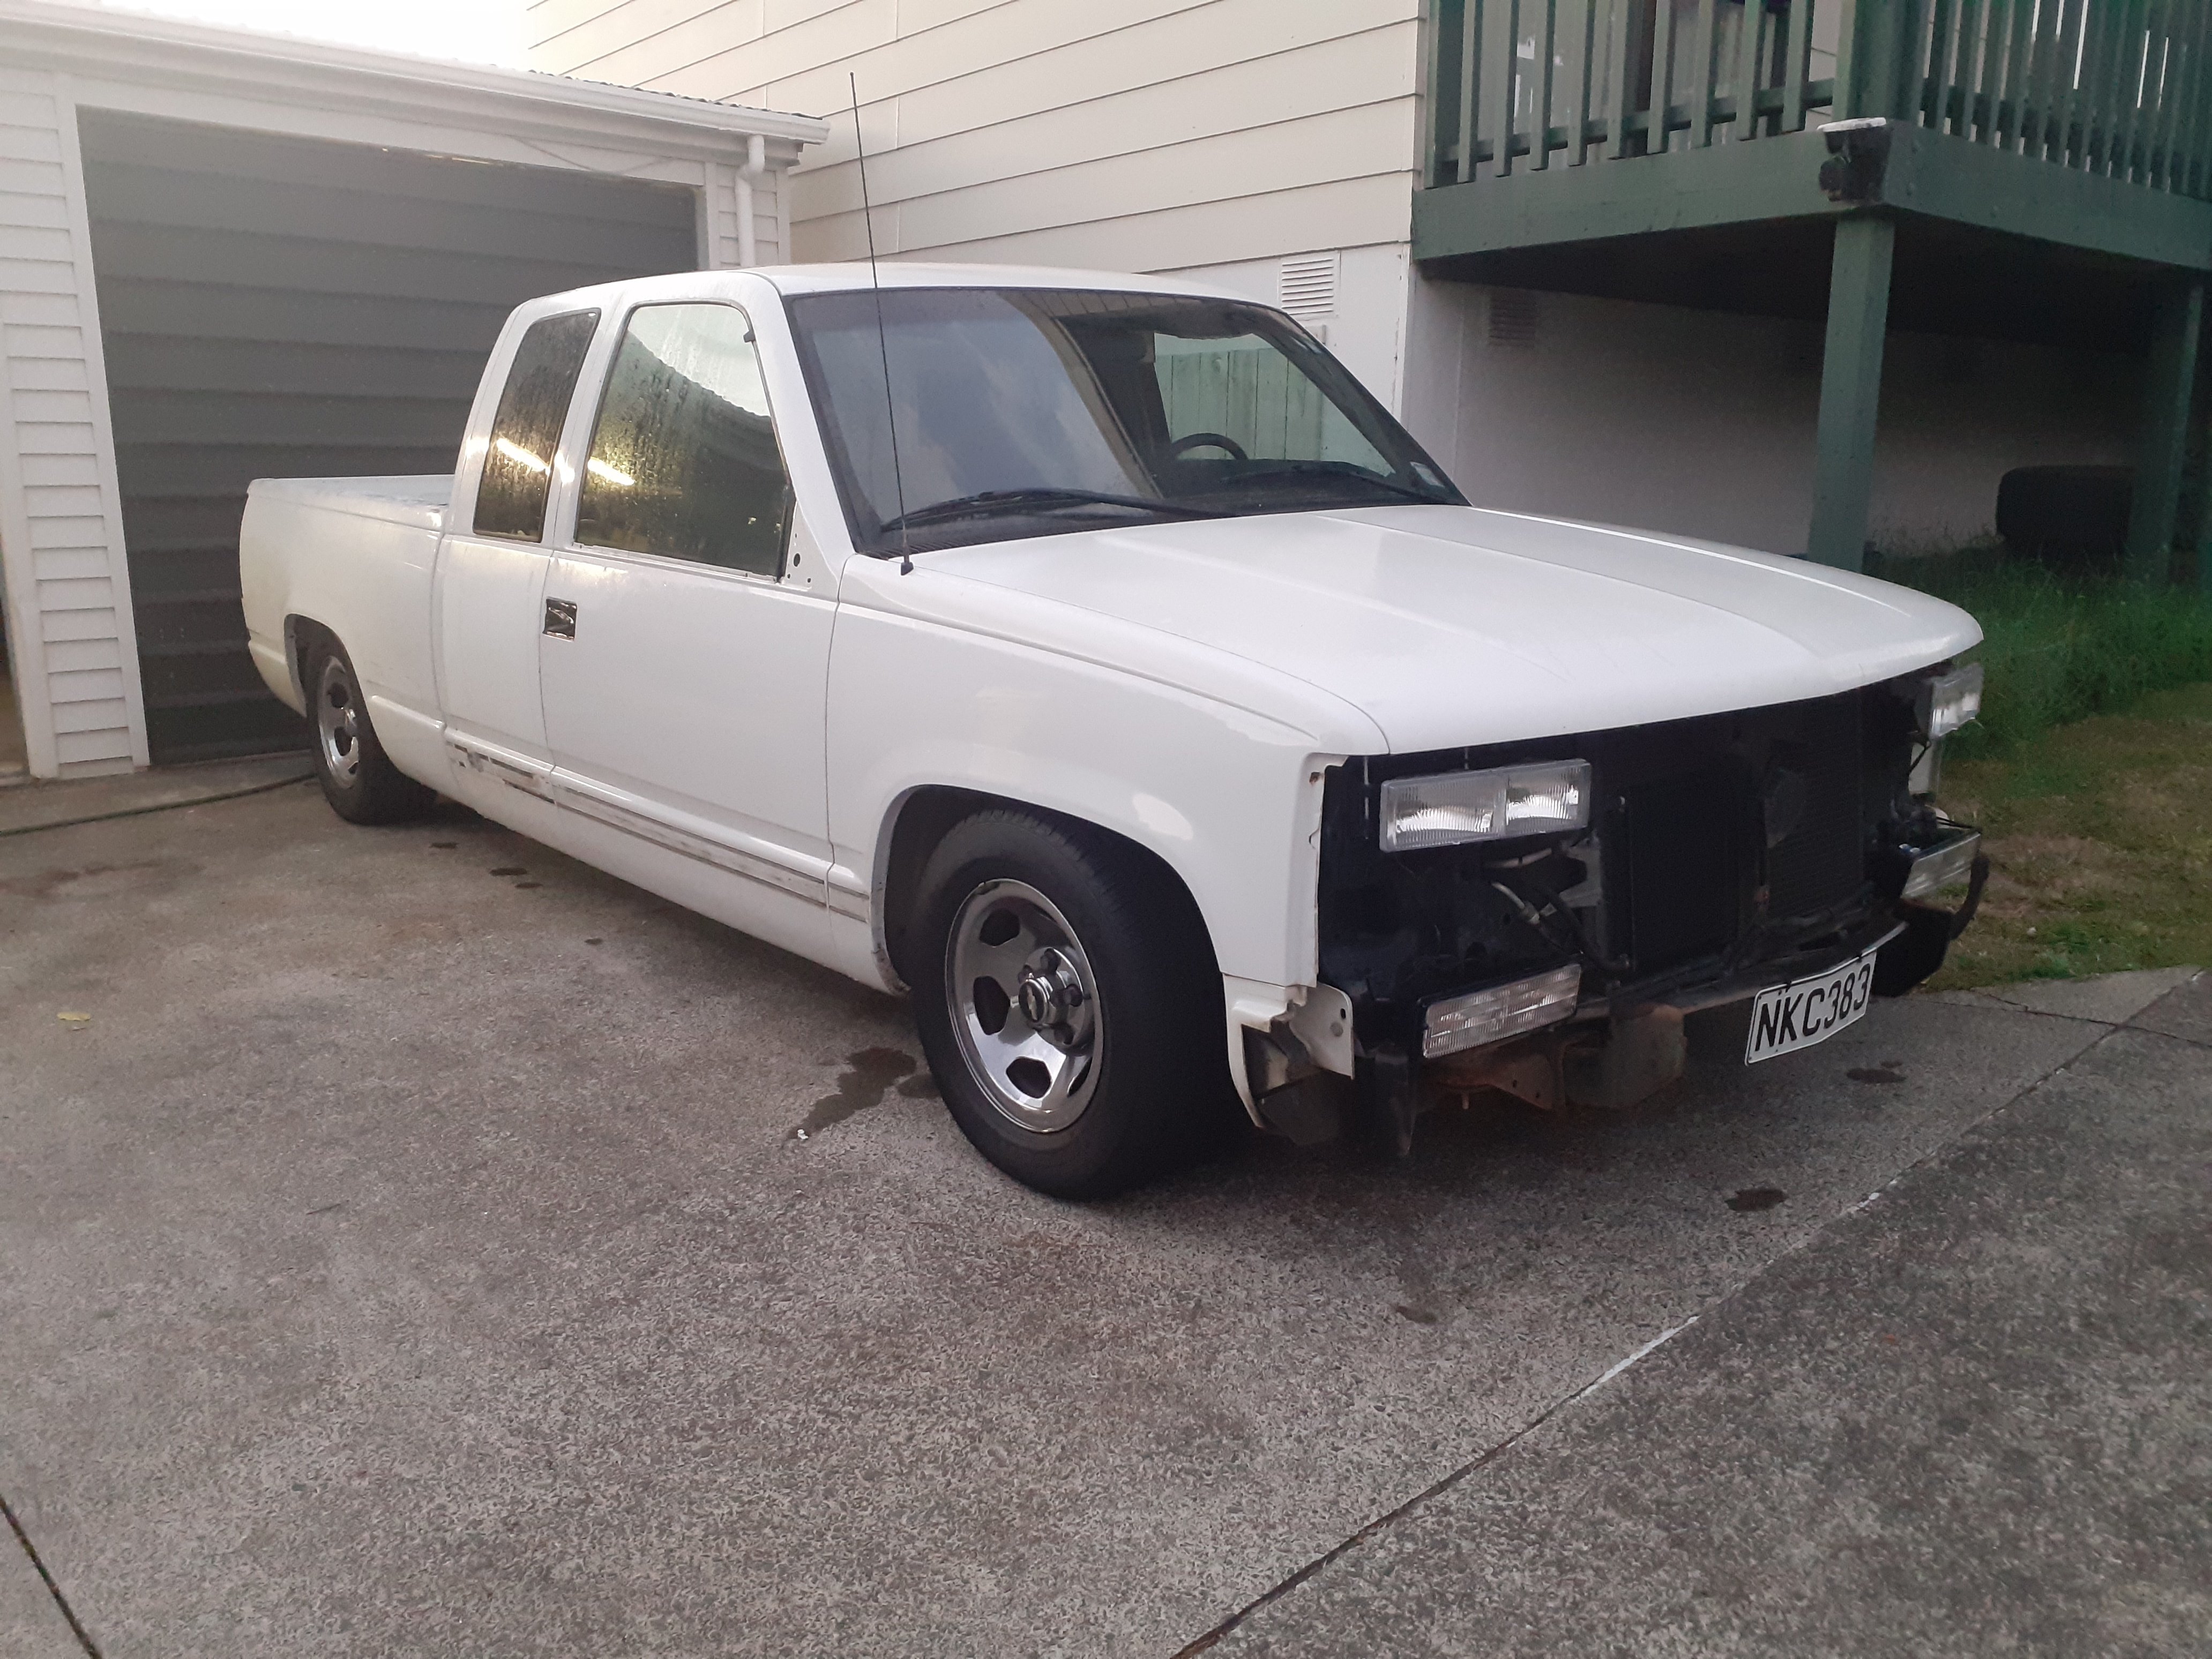
Chev is off to get painted next weekend so spent a day removing as many bits as possible while still keeping it legalish to drive to painter 2 side windows and tail lights are 8 screws so I'll do that when it gets there Found some greeblies hiding under a door rubber so it's off to tin tricks @RXFORD this week for him to once again fix my panel related problems, what a top gentleman
1 point
-
I went into the cupboard and found a hat just so I could raise it to you sir. So it's as quick as a sr20det Hilux and faster than anything I've taken down meremere1 point
-
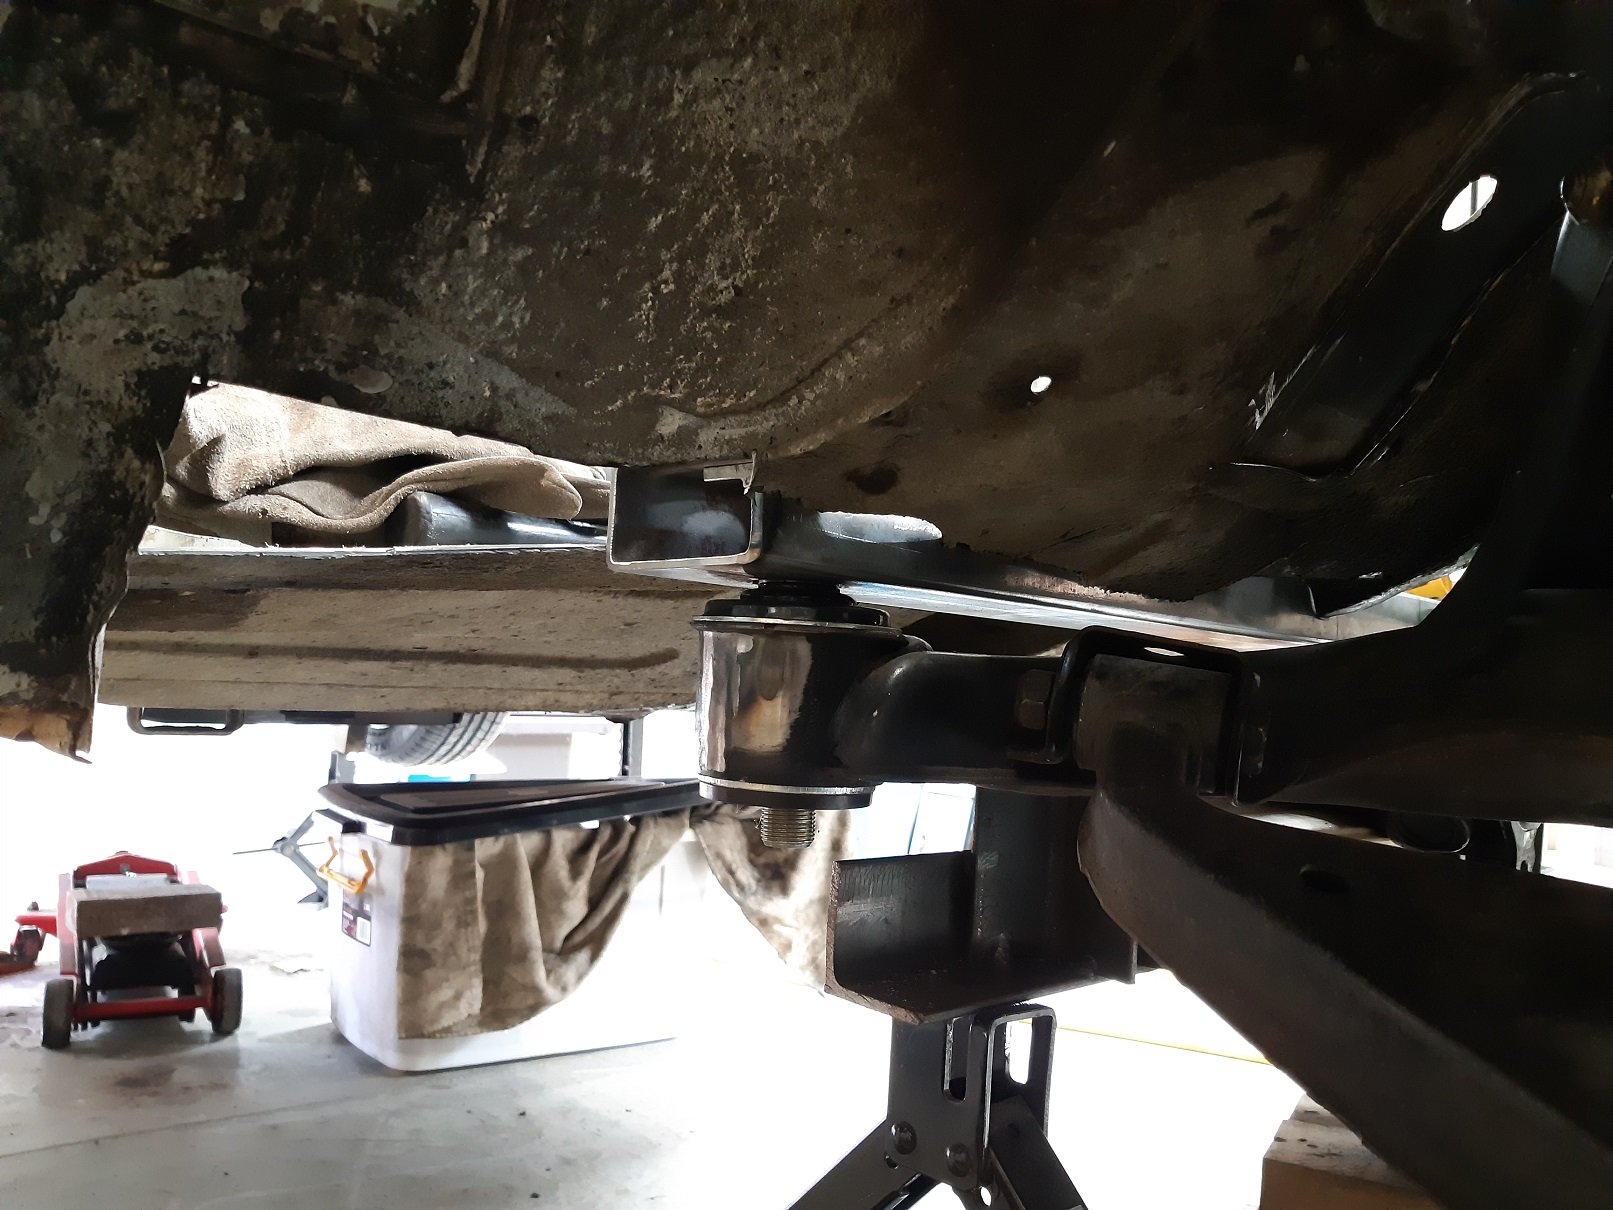
So I took heed of @NickJ and thought I had better sort that turbo drain sooner rather than later. I bought some fire rated oil hose and also made a complicated wee shield that should vastly increase the longevity of the hose; In other news, a few days ago I went through the options for front springs. This is because the original ones from the donor had sagged a bit and the front was sitting 15mm or so lower than it had been when certed. I may have mentioned this a while ago as I bought some springs that ended up being at the same height as what i had just taken out. So I chucked the old ones back in and sold the new ones on to a boy in Blenheim. This was good though as it gave me some context for deciding what to buy next. I ended up getting some heavy load rated 3" lift Dobinsons from Trundles, these arrived yesterday so I chucked them in tonight. This has lifted the front about 25mm, so by the time they settle it should be right on the correct height.... You can also see the guard I made a while back to protect the brake and clutch lines from wayward mall potholes. The axle droop in the front is currently restricted by the sway bar - probably not the most satisfactory situation, so I think I will get some extended links for this. As for a running report, it is sweet as a nut. It is such a pleasure to sit at 100kmh without; a. going a bit deaf and b. wondering if the engine is on the brink of grenading itself. I am gagging to turn the wick up a bit, 700odd km to go before I am allowed. So in a way it is kind of finished now...? What the fuck am I going to do with myself? I mean there is still a list of things to do but these are mostly optional. I shall have to consult the master list of projects.1 point
-
Rust aye? Am I right?! I found this little bubble of rust making party on the firewall next to the fuel reg. Awww noes The bit betwixt the firewall and this heater duct was chock full of factory seam sealer, it's pretty tricky to get to, so fair enough I guess. But all that seam sealer trapped water, leaves etc. So I cut it out and made a new duct by beating the living bejeezers out of it around some wood. Welded some more bits to it Removed all the old seam sealer & rust along the length of the scuttle. Welded and ground in the new duct. Seam sealed and painted. So lovely.1 point
-
I've had a tiny amount of play in my rear wheel bearings so decided to rebuild my whole rear-end New CVs, bearings, aftermarket stub axles & companion flanges to take a 108mm CV. Old vs new stub axles. They have a larger splined diameter and are beefier at the wheel flange. This now shifts the weakest point in the driveline to my r180 diff, but it should be good enough for my engine. I also replaced all diff seals & o-rings so hopefully it stops leaving little puddles on the floor now. I couldn't get a micrometer inside the hubs to confirm, but I've assumed the play was from the bearing spacers getting overtightened and mushrooming slightly. So I cut some 0.05mm shims and torqued the hubs up and things feel right now. The left hub required two shims. Everything seems to measure up correctly and there's no play anymore. Rad! However. At this point I realised I have a problem. Since my new companion flange accepts a 108mm CV directly, I no longer need to run the CV adapter plate I used to use. This means my axles are now 25mm too short. FML. Cars aye!1 point


.thumb.jpeg.e0a4bff61111e0c8c7396950fcc94da1.jpeg)


This leaderboard is set to Auckland/GMT+12:00