
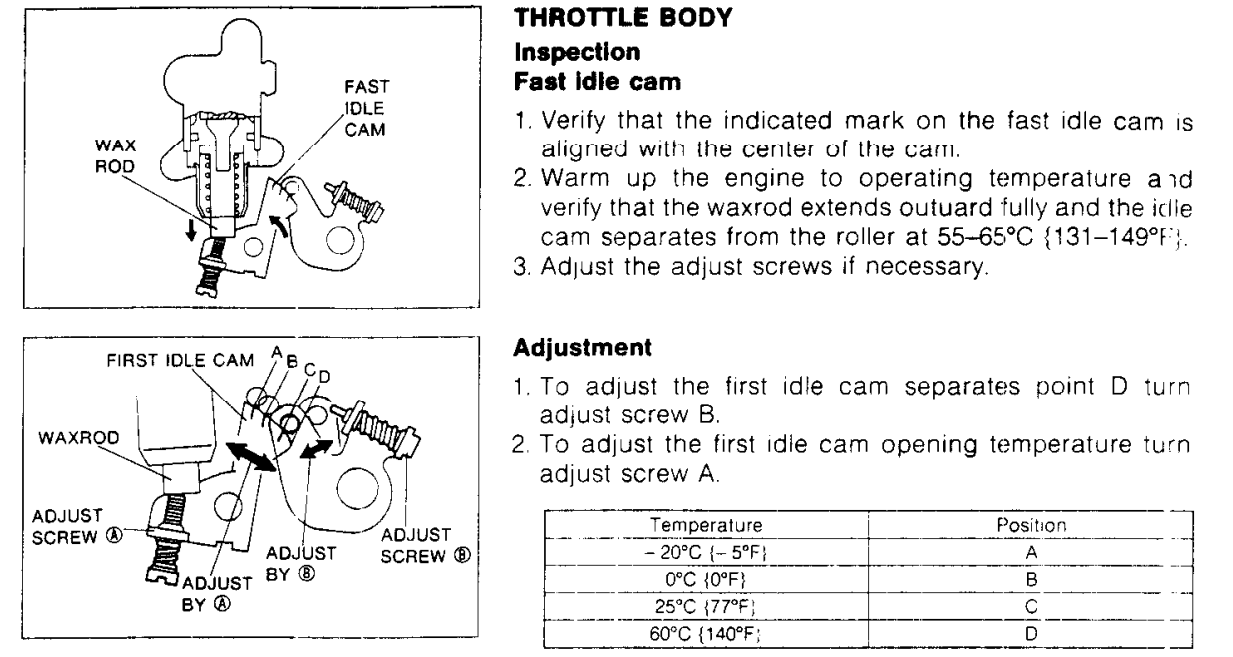
Leaderboard


Popular Content
Showing content with the highest reputation on 01/19/22 in all areas
-
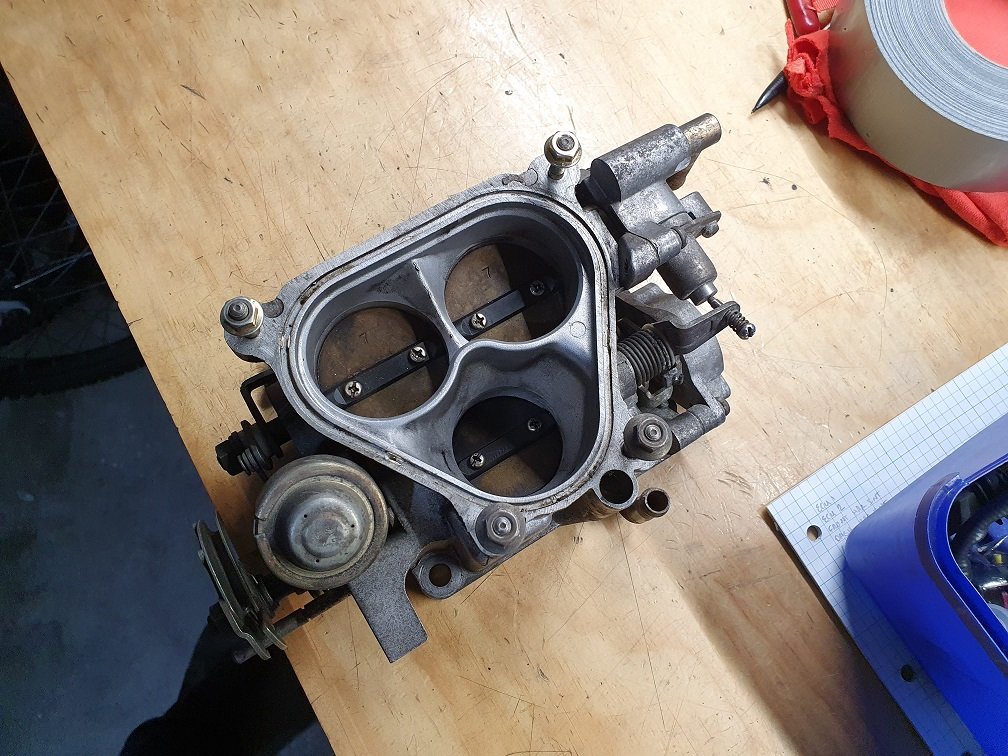
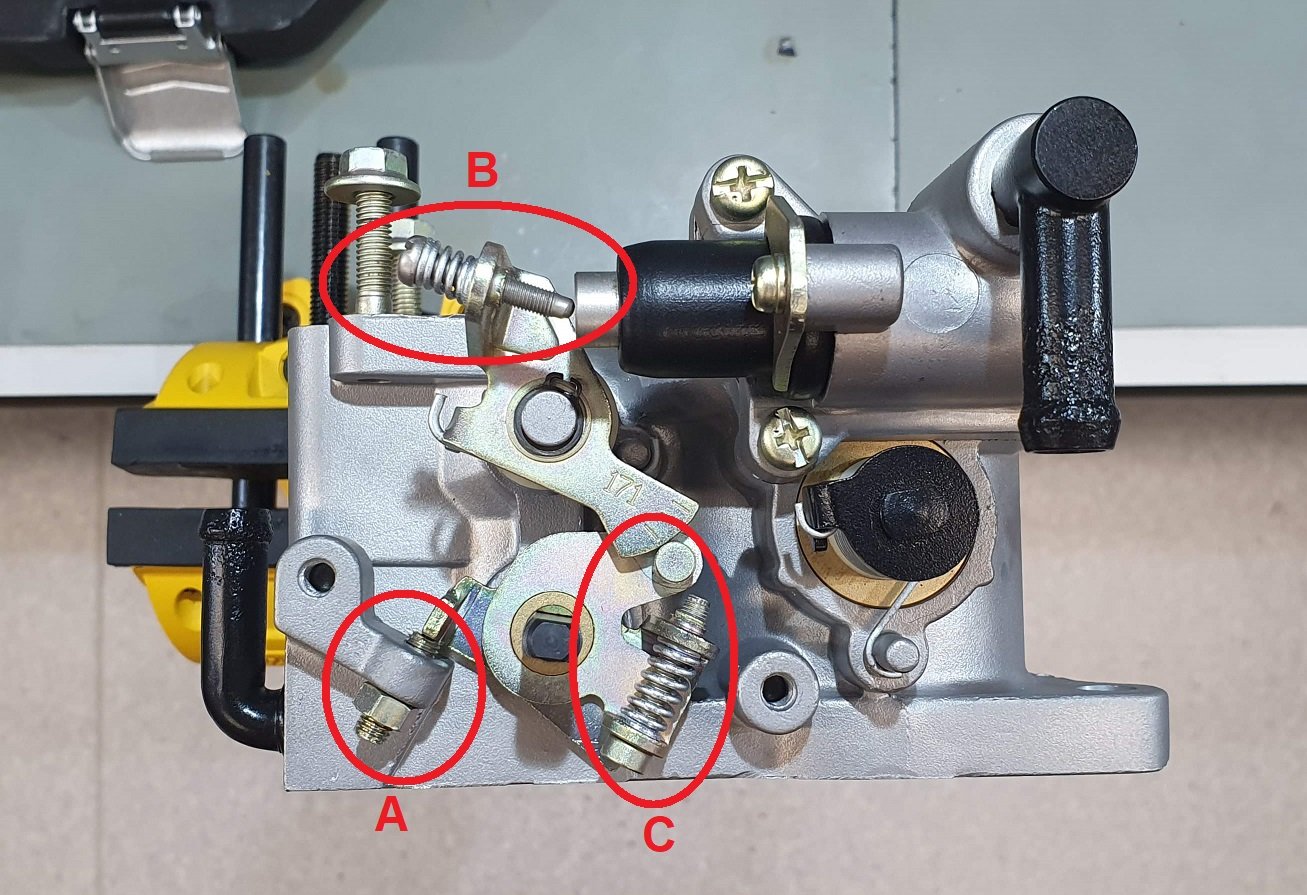
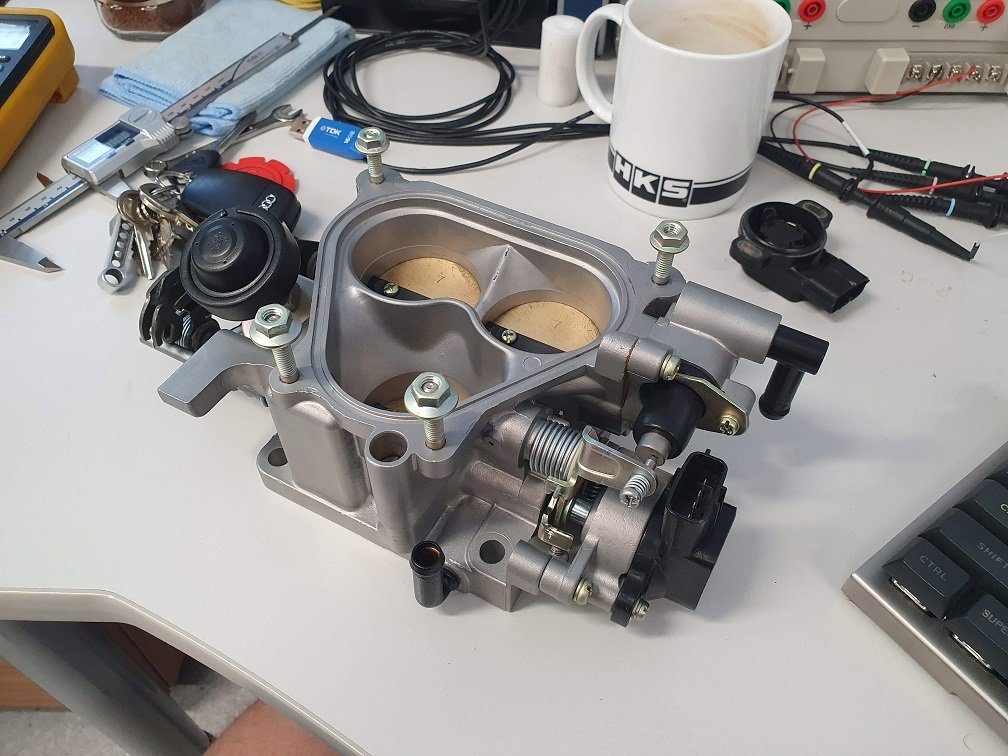
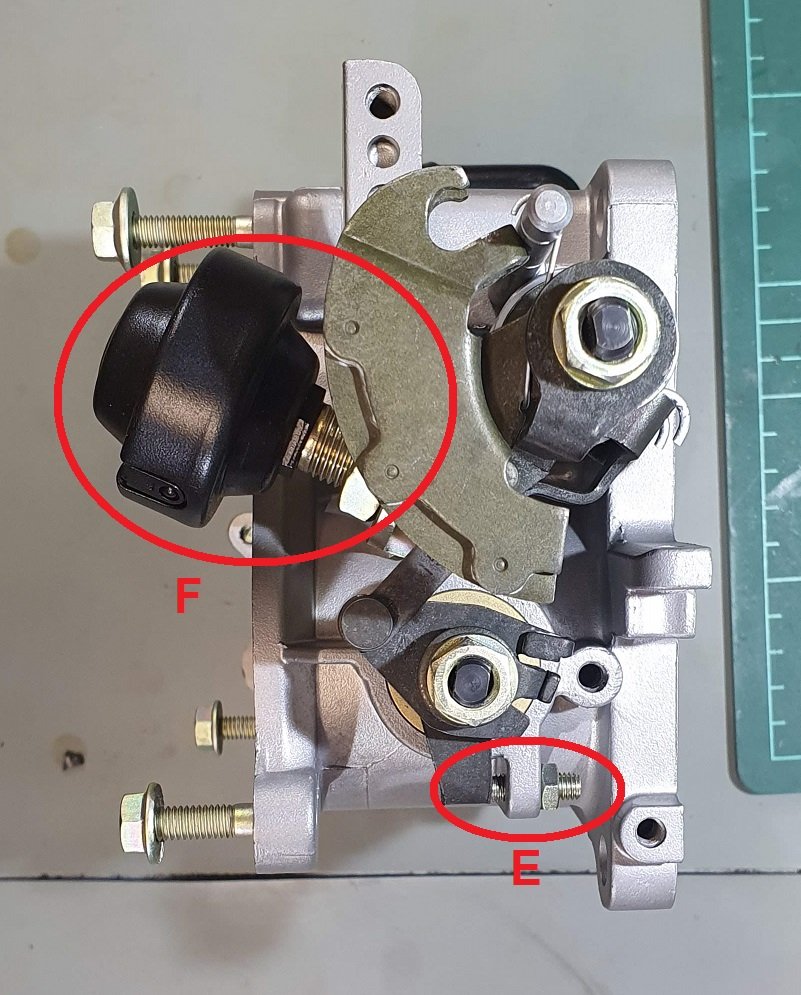
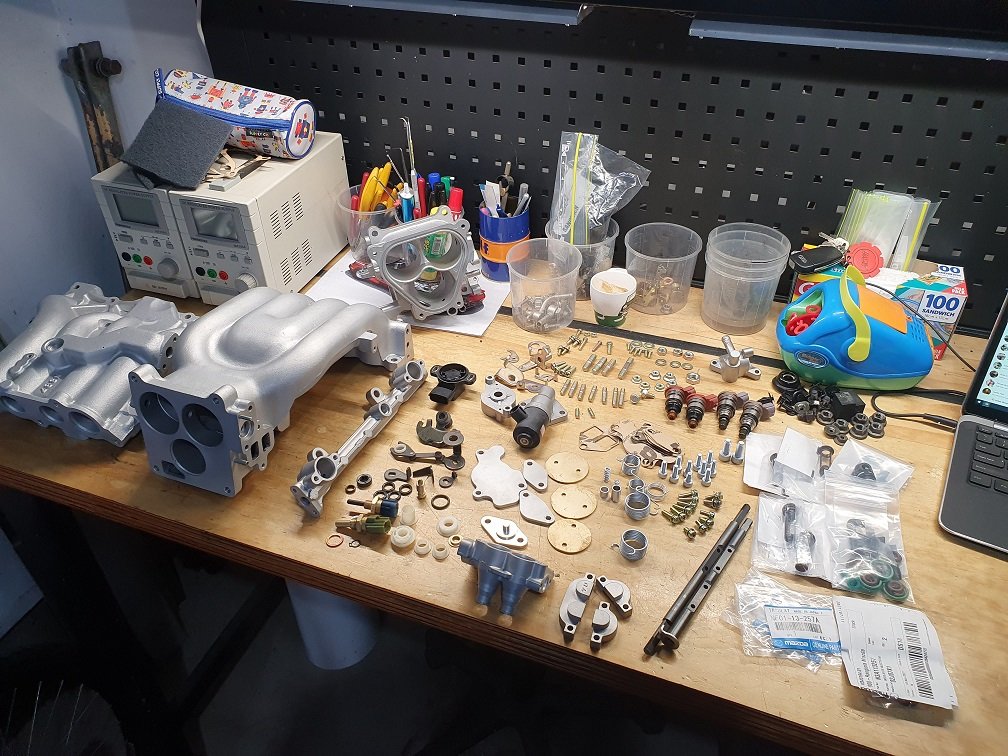
Whoa, the throttle bodies on these things are a..... thing. I got the above jigsaw all back together. Turns out I'd lost one of the plastic spring bushes, and the flange on the other was cracking off, so I grabbed an off cut of acetal from work and turned up a couple of new ones. That let me get the thing reassembled. I took a heap of photos of how everything came apart, so getting it back together wasn't too much of an issue. Kinda fiddly in spots, but follow your nose and it goes back together reasonably easily. The throttle shaft seals still seemed pliable and plump, so I didn't replace them... Time will tell if that comes around to bite me in the ass. Ideally I'd like to go with some sort of e-throttle setup in the future. There wasn't actually a complete throttle body with the car when I got it, so I purchased this one secondhand, and it was pretty filthy: But, it was complete, and moved smoothly :-). After stripping, blasting everything (lots of careful masking involved), kind of a pain in the ass.... Much better. But holy crap, there are a lot of adjustments on these things! There are threads all over the internets of people having problems setting these up, so I thought I'd better develop a plan to follow. Not saying the plan is a 100% way to go, but I need something to follow so I can go through a process and collect data, and iterate from there. Going to write this plan out here so I can refer back to it later when I've forgotten all this again. The first screw I've set is screw A. This is the stop that the single butterfly stops against. This single butterfly feeds the primary intake ports. As it's in the name, these port are the primary ones, so they're used all the time, along with the primary injectors always delivering fuel. My initial setting for this is that the primary butterfly stops against this when it is fully closed. After aligning the throttle blade, and thread locking the screws in place, I let the throttle close as far as it can against the housing. I then advanced this screw till it was just in contact, then about 1/10th of a turn more. This should mean the throttle blade is never eating the throttle body housing, but closes as much as possible. Screws B and C adjust the cold start warmup system. You can see the two black pipes in this picture. Coolant flows through these, which warms up and extends the wax pellet push-rod screw B is pushing against. Unfortunately they're a little corroded on the outside, but there is still heaps of metal there. Will always run anticorrosive coolant in this, so should progress any further. This wax pellet rod extends as the coolant gets hotter, and retracts as when things cool down. This screw is threaded into a cammed bracket, which has three marks on the cam (one of them is obscured by the red oval I've drawn, but its there). The FSM has specs for the relative positions of the roller on the bracket screw C threads into (we'll get to this one in a minute) and the cam at different temperatures. The upper most (in my picture) mark should be central on the roller at -20degC, the next one down at 0degC, the next one down at 25degC, and finally off the lower edge of the cam at 60 degC. It's pretty hot in my office today, so I've adjusted screw B such that the roller is lined up with the third mark. Screw C adjusts how much effect this cam actually has on the throttle blade position. As you screw this in more and more, it opens the throttle blade more and more, as long as the roller is contacting the cam. I suspect the final setting for this will be such that the roller separates from the cam just as it is passing over the lower edge, with without a sudden jump in its movement. Currently, I've set it so the roller is only *just* touching the cam at this 25degC position, for reasons that will hopefully become clear :-). Cold start systems are important, but they're only ever going to work properly if the base idle speed with the engine at normal operating temp is setup correctly. The throttle obviously has adjustments for this as well. Screw D is called the Air Adjust Screw (AAS), and screw E is called the Throttle Adjust Screw (TAS). Screw D has a tapered end on it and fits into a matched tapered orifice. This orifice is connected across either side of the primary throttle blade, so as you back the screw out, it allows more and more air to bypass the throttle blade. Screw E is the stop for the the secondary throttle blades, and sets their closed position. In practice, these screws have the same effect on the idle, in that they will let more air into the engine. There is a slight difference though, as at idle the ECU wont be using the secondary injectors, so adjusting the idle with screw E will let more air into the engine via the secondary ports, but this wont have any fuel injected with it. This wont be an issue though, as at idle things are happening very slowly, and there is heaps of time for the charge to mix in the combustion chamber as it whizzes around to the other side of the motor to make brap brap noises. Reading the FSM, what I can parse out is that you use screw E to broadly set the normal operating temp idle speed, and then screw D to fine tune it. I've set screw E in the same way I set screw A, such that the secondary throttle blades fully close to within a bee's dick of the throttle body housing. I've wound screw D all the way in, so there should be no air bypassing the primary throttle. The last adjustment is the damper dashpot, F. This is a damper the throttle closes against. It's hard to push in, but extends with no effort. Lots of bump damping, no rebound damping. This needs to be set with the motor at normal operating temp, and such that the throttle breaks contact with the plunger at an engine speed of 2600 - 3000 rpm. Obviously this will need the engine running properly at N.O.T. To setup, so I've wound it out so it doesn't contact the throttle at all. Reading through that, there might seem like some odd decisions, as I've essentially set the throttle up in such a way to ensure the thing isn't going to idle. It's going to have almost no air bypassing the throttle, will starve and die. This is for a reason however, and comes back to how I like to tune a setup. First thing is to get the engine firing and running, probably with some throttle manually applied. Then I can get it up to temperature, check for leaks, fires, all those things. With the engine up to temp I can use screws D and E to set the normal operating temp idle. It's really important this is done without the cold start system having any effect whatsoever, as if it is, when you go to set the cold start up, your normal idle setting will also be effected, and you'll end up chasing your tail. Now, the FD also has an ECU control idle air solenoid which can allow varying amounts of air to bypass the throttle, but for all this initial mechanical setup, I'll keep this unplugged to eliminate it. AFAIK the ECU only uses it to idle up the motor when the A/C, power steering, or alternator are loading things up. There is also the TPS to think about. The FD TPS is a little odd in that it has two analogue output channels, narrow range and full range. Talking to Ray (arghx), it sounds like this is a throwback to the FC3S days, and probably something to do with Mazda re-using existing code in the FD ECUs. Total speculation, but having been an engineer on a few evolving projects, this is totally something that would happen. The FSM has specs on setting this up. With the throttle closed, adjust it so the narrow-range signal is between 0.75V and 1.25V, and the full range signal is between 0.1V - 0.7V. I powered up the TPS from my bench supply and set it thusly. Strats: Stock ECU initially, to get things running, proof the rest of the system, and ensure it doesn't burst into flames. It's a 'known quantity' as such. Make the thing run, will need the throttle manually opened to keep running. Get it up to normal operating temp Make sure everything is functioning like it should. No error codes from the ECU, so no limp modes or anything (exception to this is the idle control solenoid, but I can trick the ECU into thinking this is fine with a resistor in its place). Adjust the warm idle speed to just below target (~750RPM) with screw E Adjust the warm idle speed to the final target with screw D. Adjust dashpot F so the the throttle breaks away from the plunger at an engine speed of 2600RPM. Turn the thing off, go inside and have many whiskies. Recover from hangover. Remember: You're old now, this might take a couple of days. With the thing dead stone cold, try to start it with no throttle applied. Expectation is that it will not start. Advance screw C 1 turn, try again. Repeat this procedure till the engine starts with no manual throttle opening. Idle speed should be higher than warm idle target. Allow the engine to warm up, idle should reduce gradually as it does and the wax pellet rod extends. Iterate from here. The only screw that should need adjusting at this point is screw C. Hopefully I can pull that off. In other news, most of the supplies needed to build the EM (main engine) harness have shown up! Huzzah! I'm going full ham-spec on this. The car doesn't need it at all... But I've built lots of high-tier harnesses before for other people, and I really want something totally schmick for my own car for once. M22759/32 throughout, twisted, DR25 sheathed, booted, sealed.. All the good things. As much as can be with using OEM automotive connectors also. I've designed it with lots of extras in mind down the road, as I don't want to have to build another one for this car, ever. When I want to change out the ECU for something other than the stock one or a power FC I can just make adaptor harnesses at the ECU end, nice and easy. Just got through the design process for the layering, built a test section for the main core to make sure it was going to lay up nice, looks lovely :-). Progress is progress?
 18 points
 -
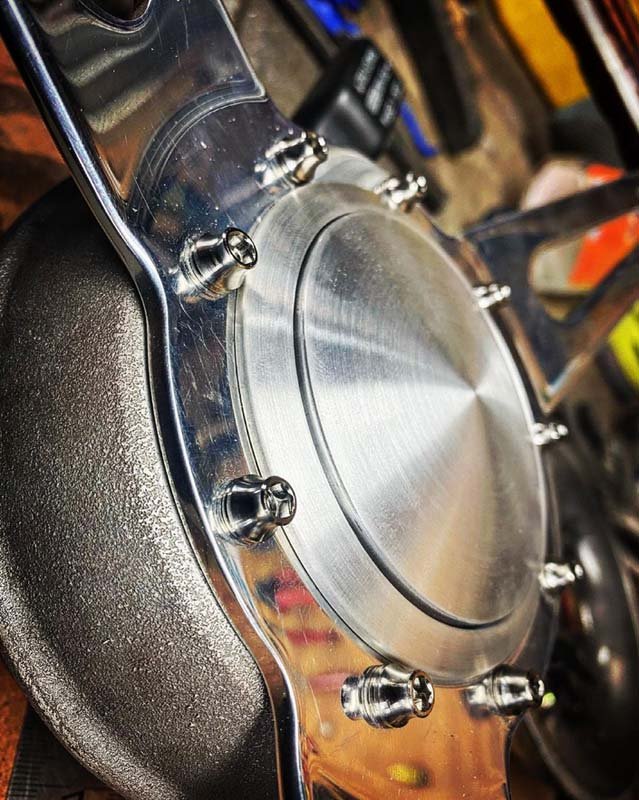
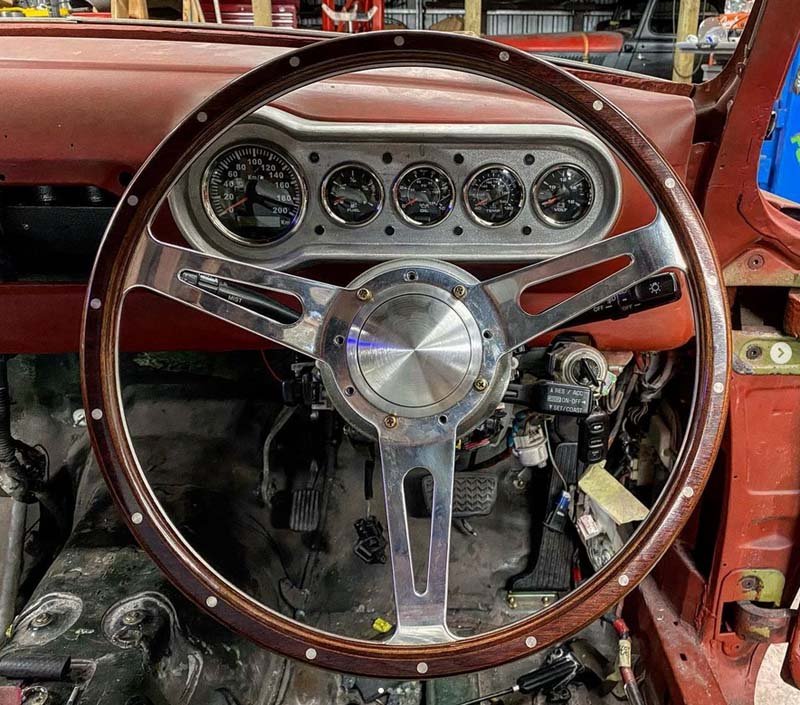
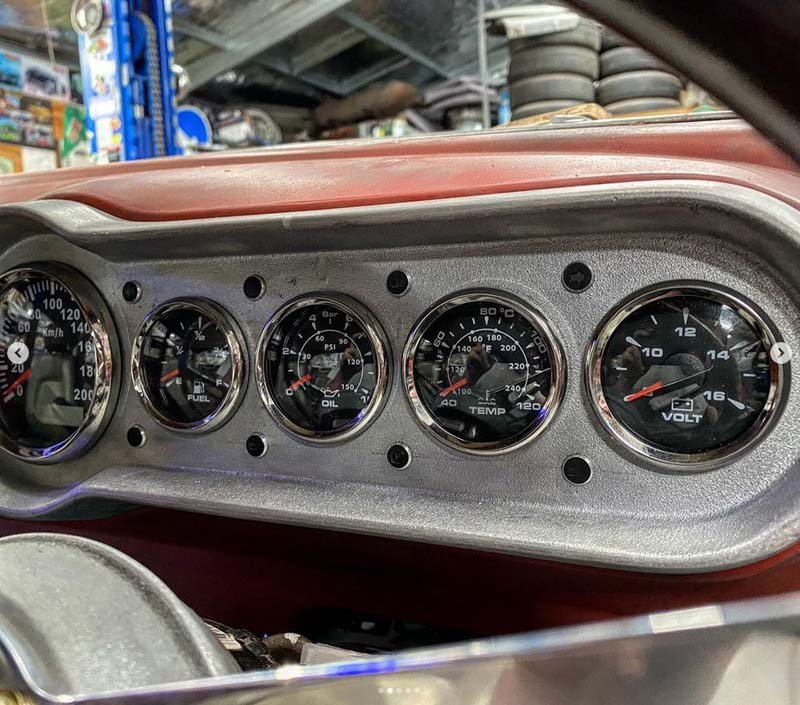
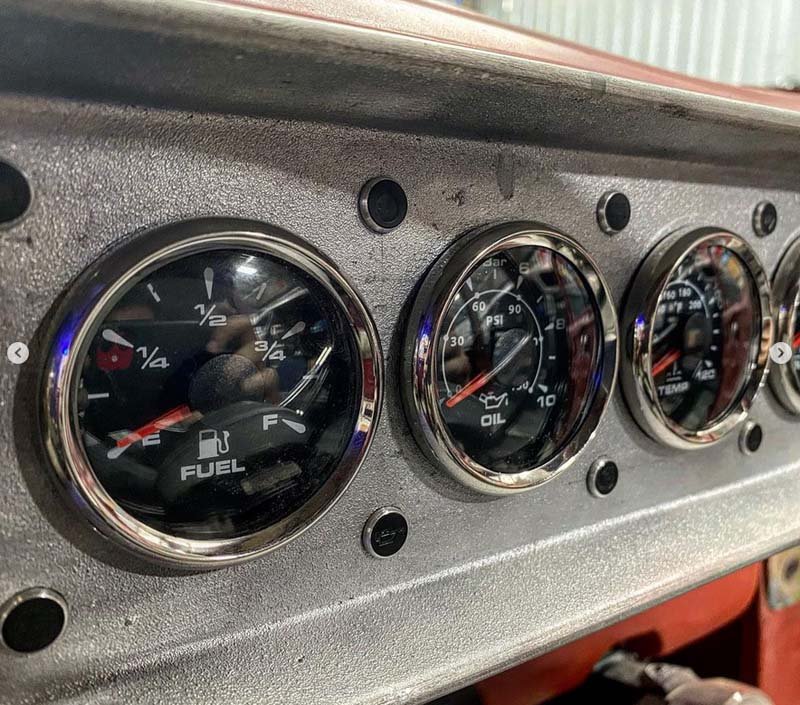
Realized i never put these photos up on here almost a year ago. decided to give some aliexpress gauges ago. Visually they look great. Time will tell if they are any good. Although it seems its not to hard to be better then expensive American branded gauges. Yet to decide what finish the boss kit and dash insert will end up being. Thinking shot blasted or tumbled. Not likely to be polished. Also picked up some titanium bolts for the steering wheel. Mostly due to the shape and finish on them. Heaps of other progress has been happening too since the last update. Mostly electrical stuff that isn't too fun to photograph.
7 points
-
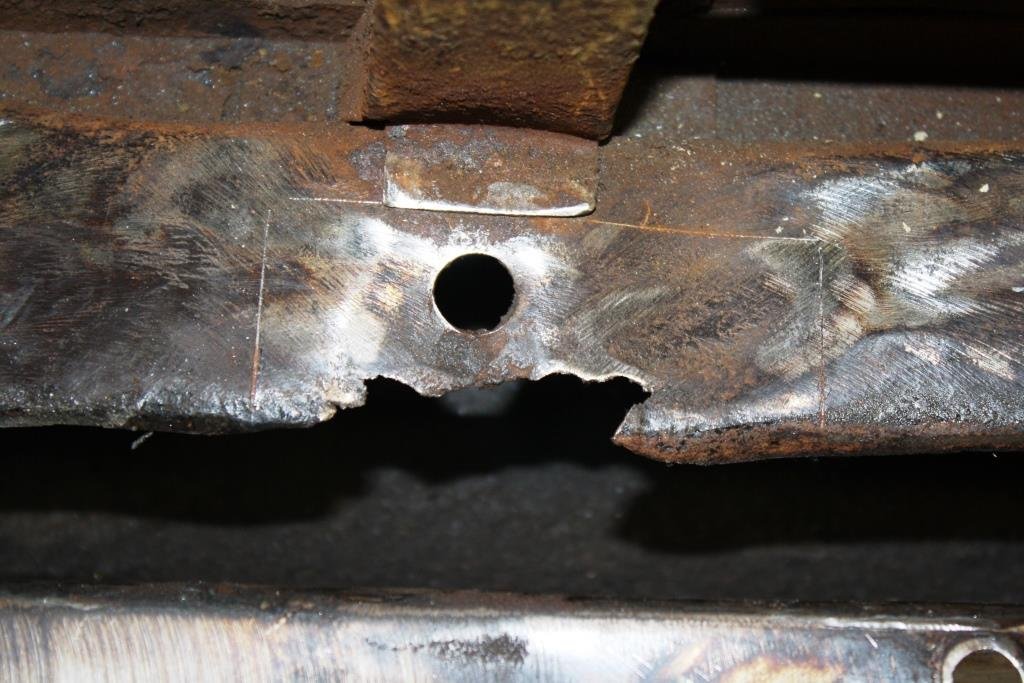
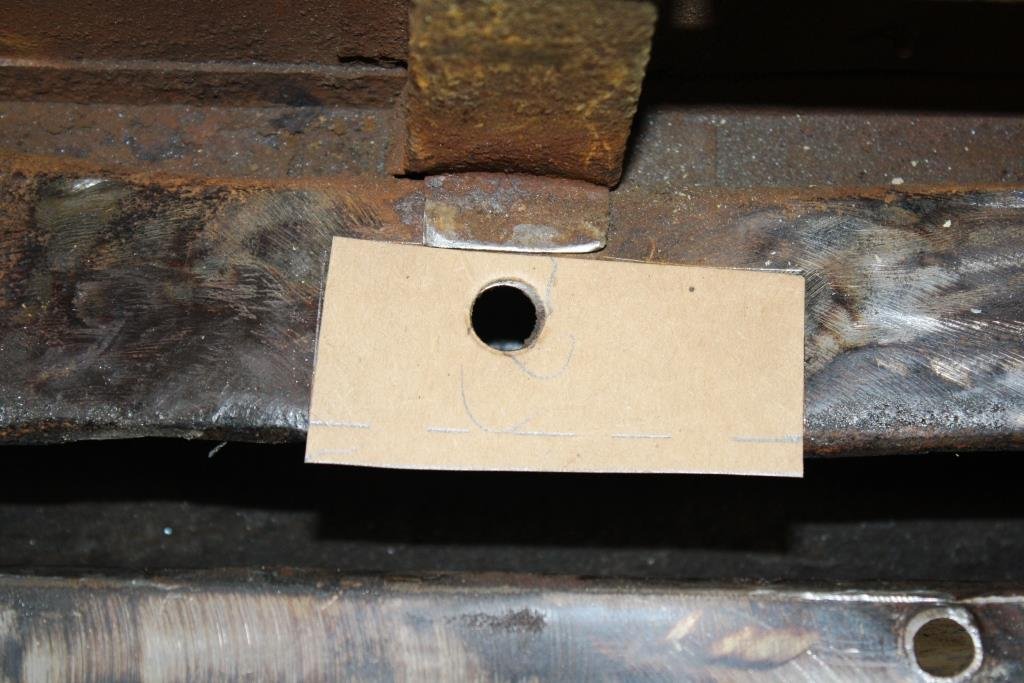
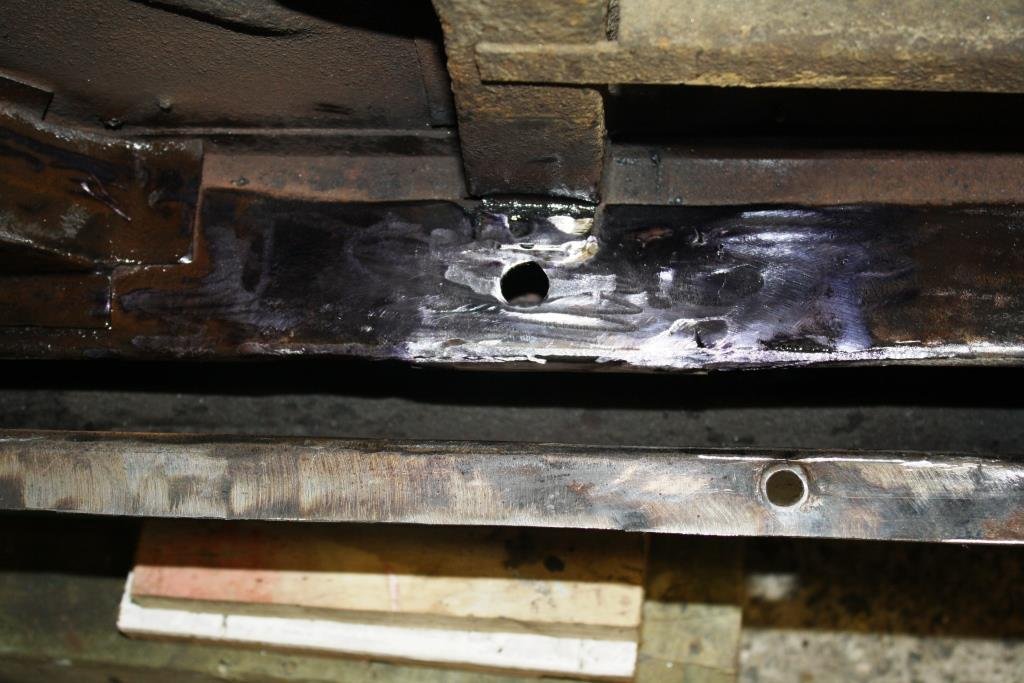
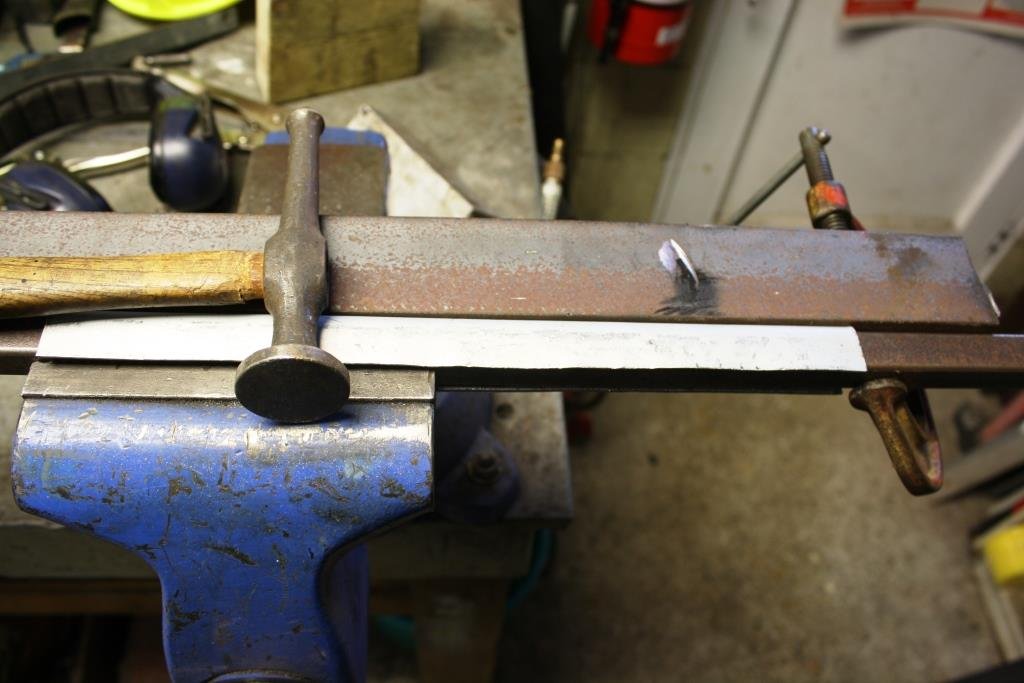
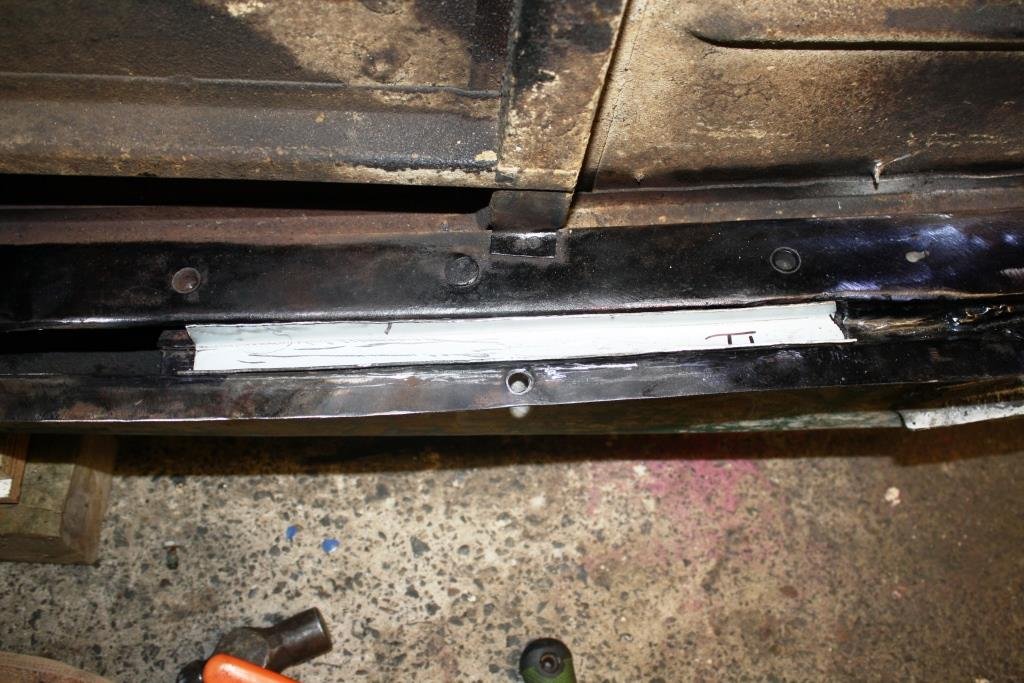
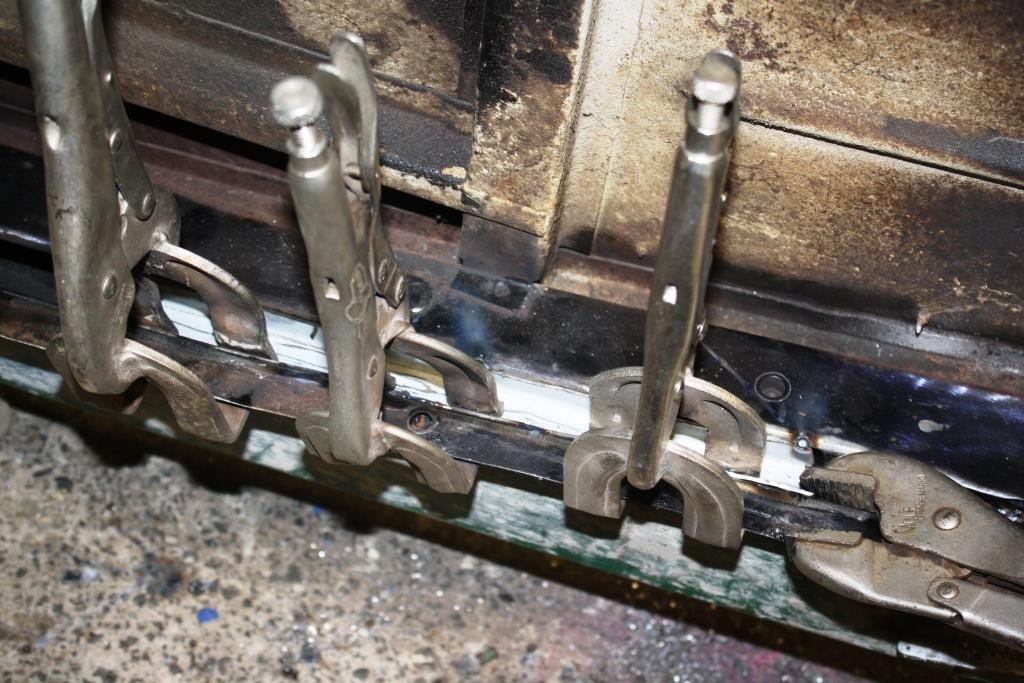
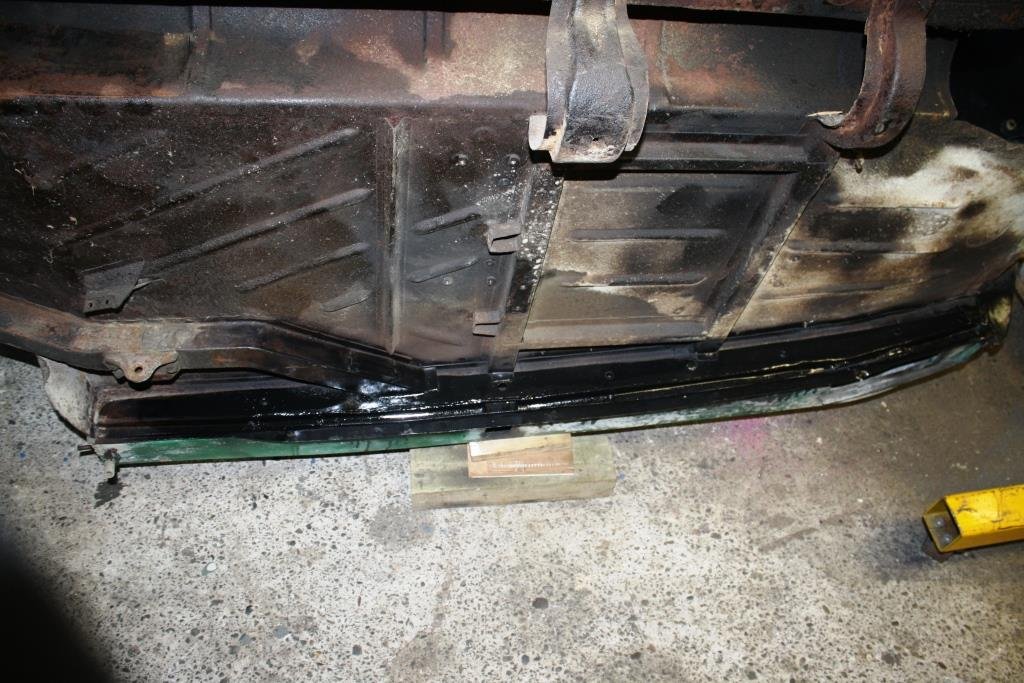
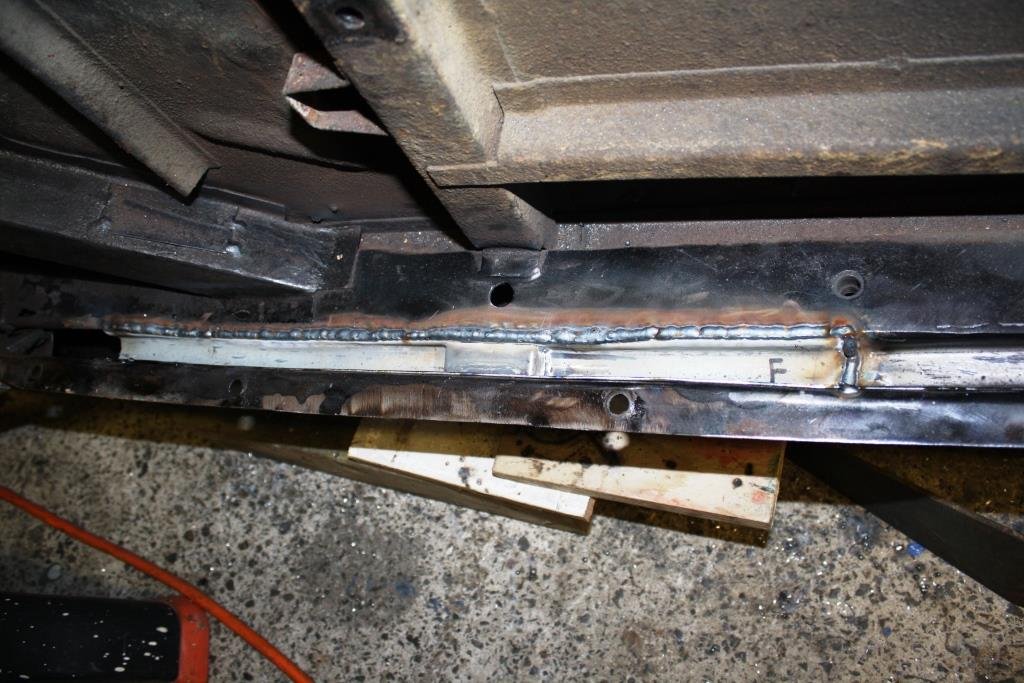
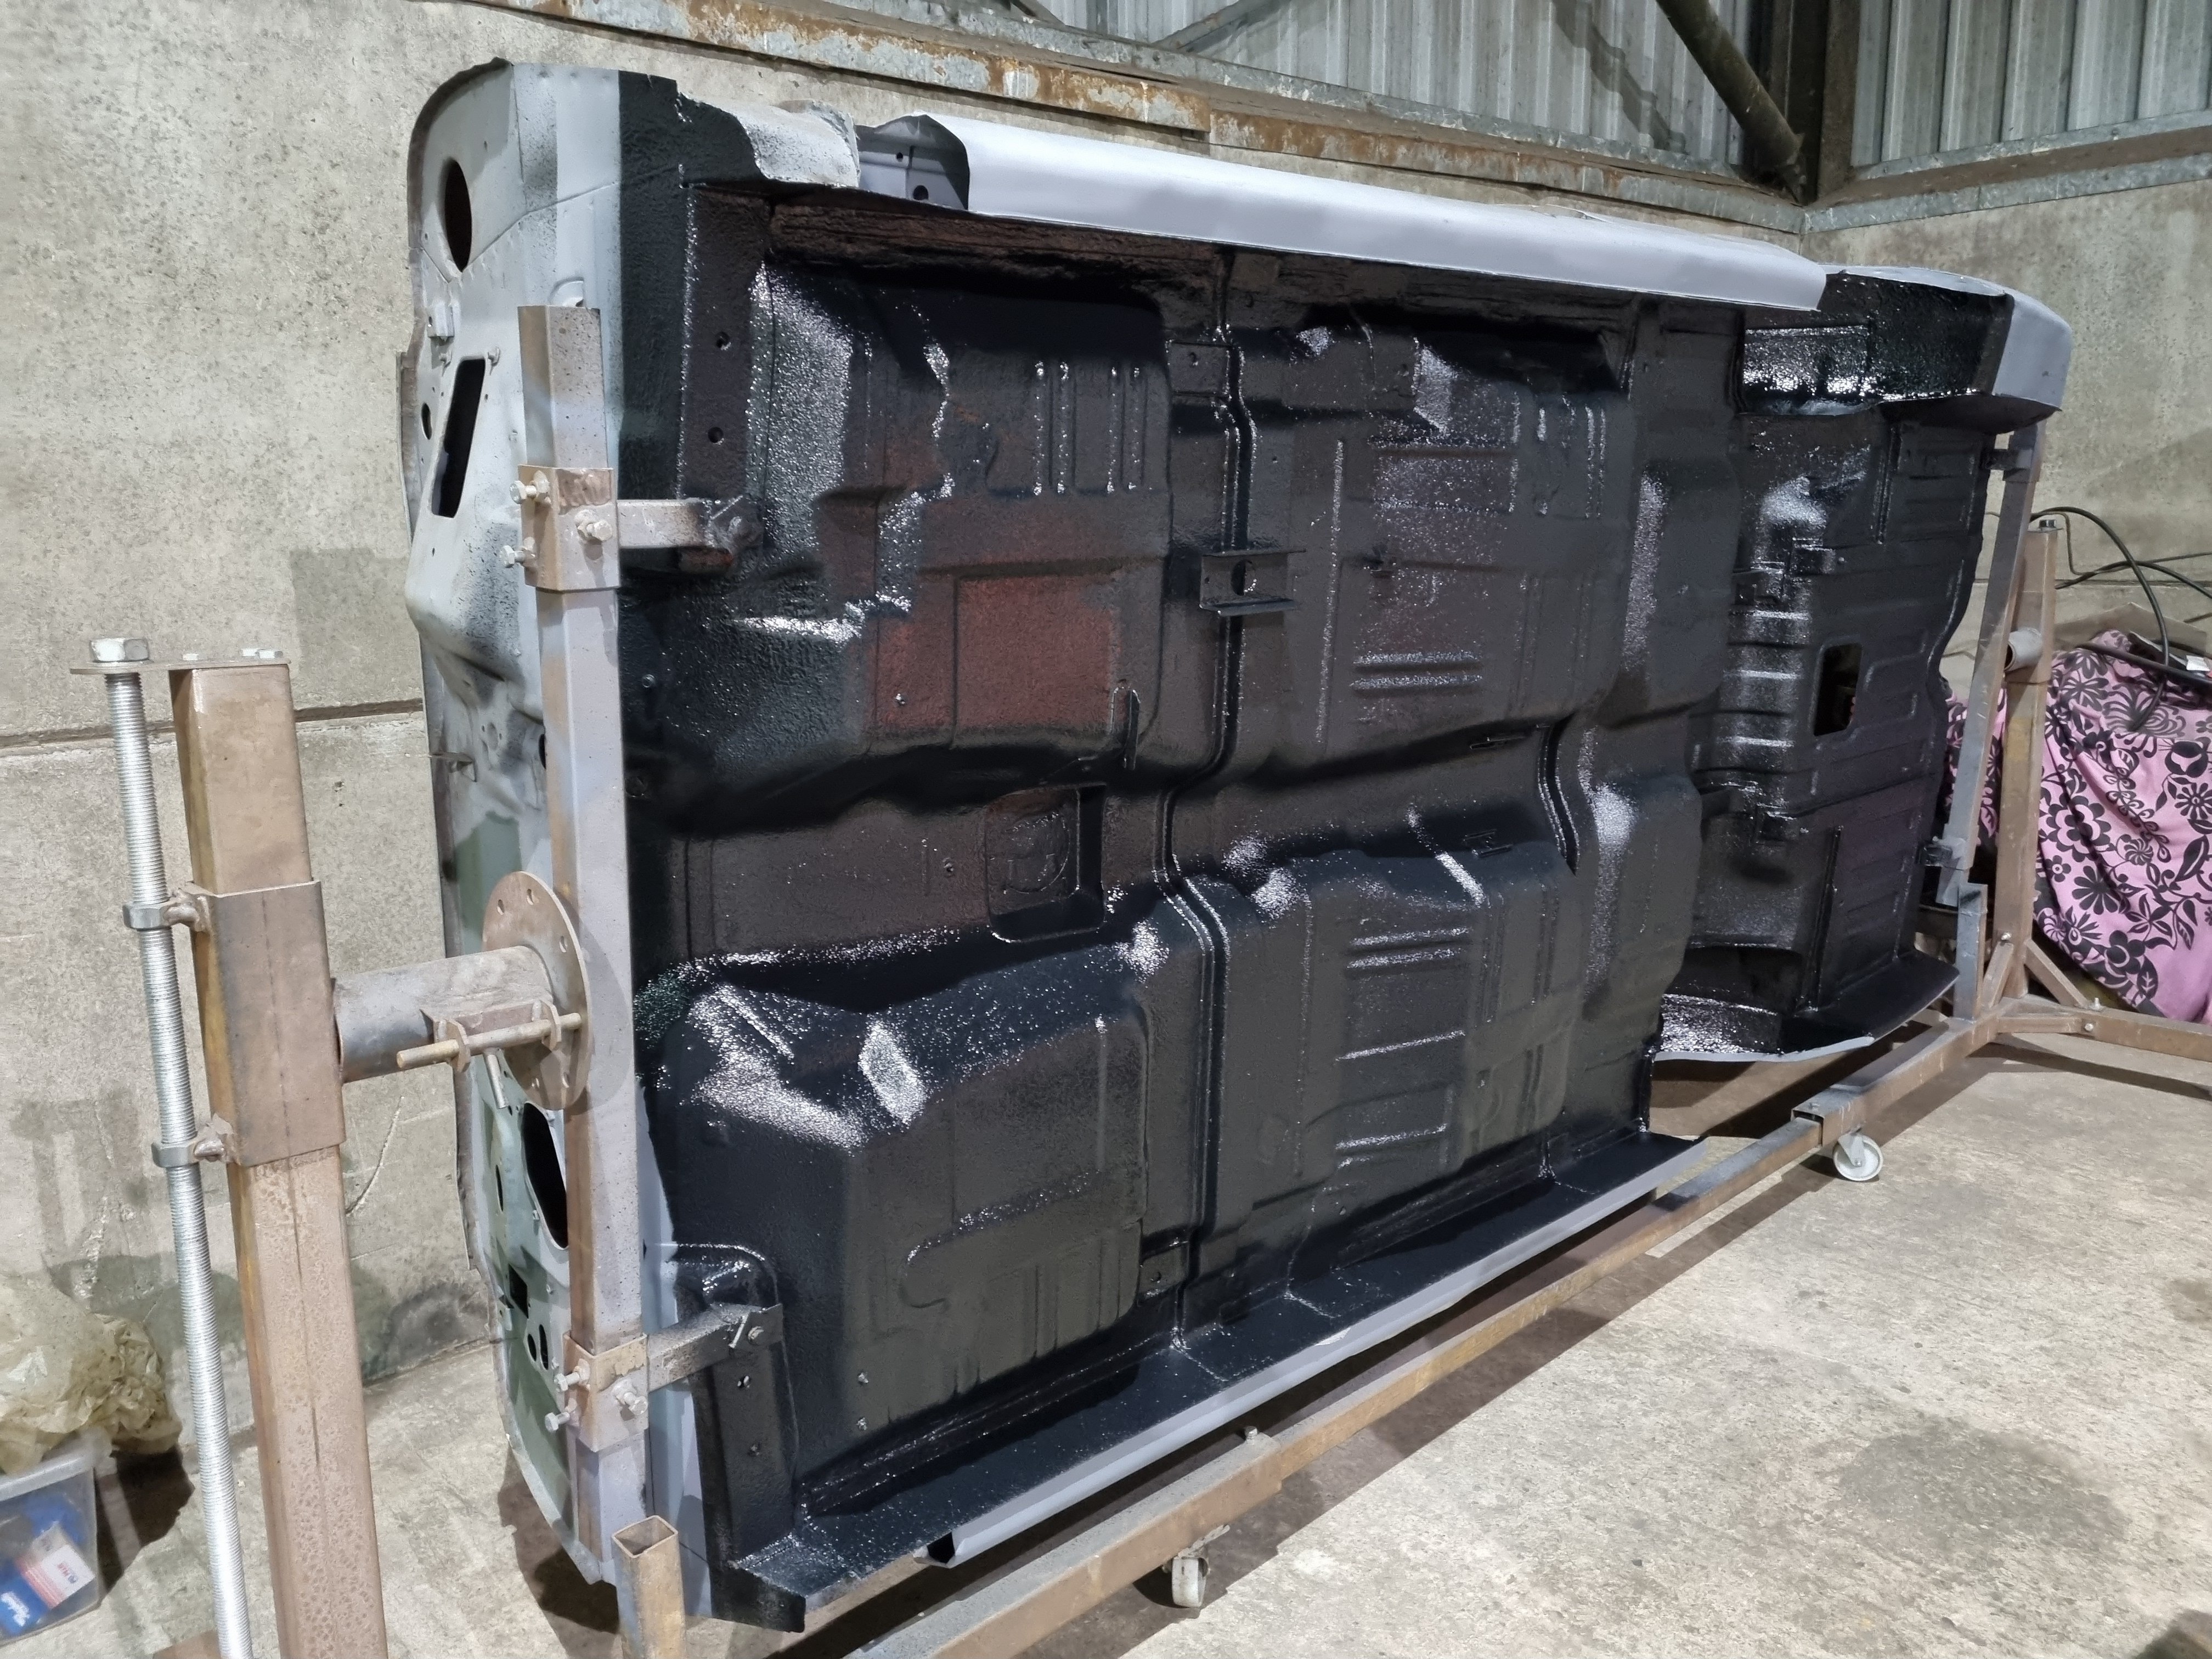
Back to reality, more rust……. More CAD…….. Making progress…. Angle iron bender….how I love working with 16 gauge Zintex….. Looks like it fits……… You can never have enough clamps…… Big heavy welds… And some etch primer…….. Port side - worst side looking good; time to flip the old girl over and rip into starboard.
4 points
-
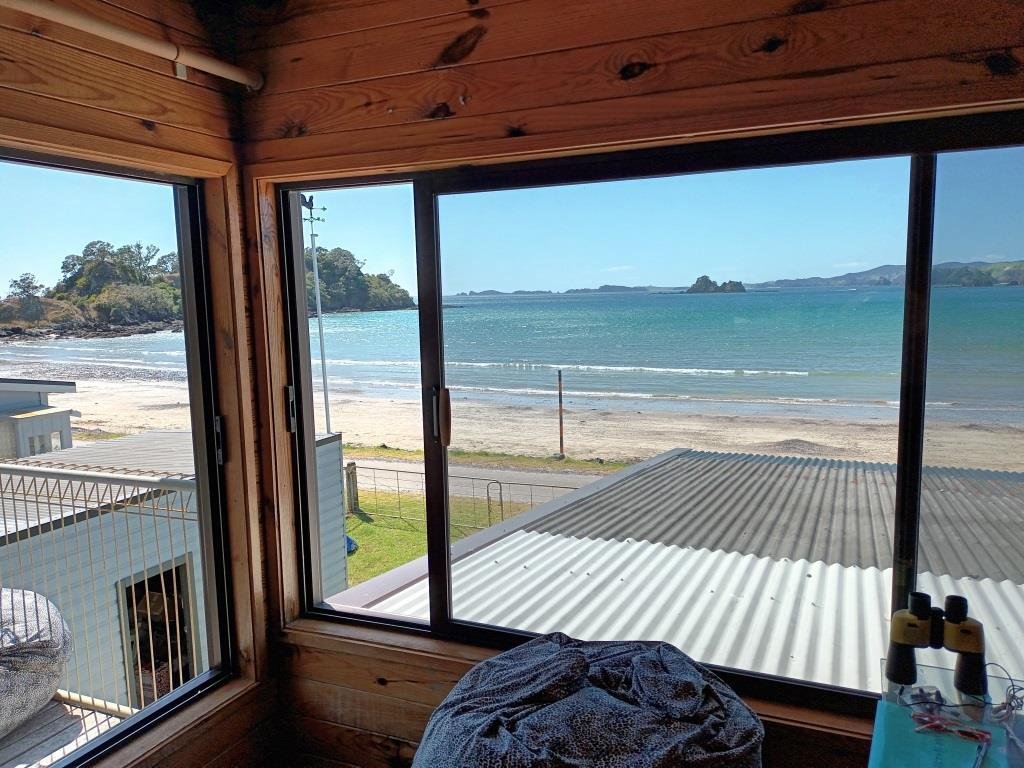
New Year came around real quick, the view from the batch is still as good as it gets. The fishing however was not all that was promised…….. 1st & only fish on New Years day went back for a 2nd chance! (The trusty crew named this one Cyclops).
3 points
-
It's that time again! The weather looks to be starting off a bit crappy, but clearing in the afternoon. Come along for some chin wags and general catchy upyness. MAP2 points
-
Good idea for RWD applications if its under the tunnel! This one however will be pretty easy to get to because I'm going to keep a removable cover on the parcel shelf, what is currently covered by the fiberglass box that goes over the Datsun engine.2 points
-
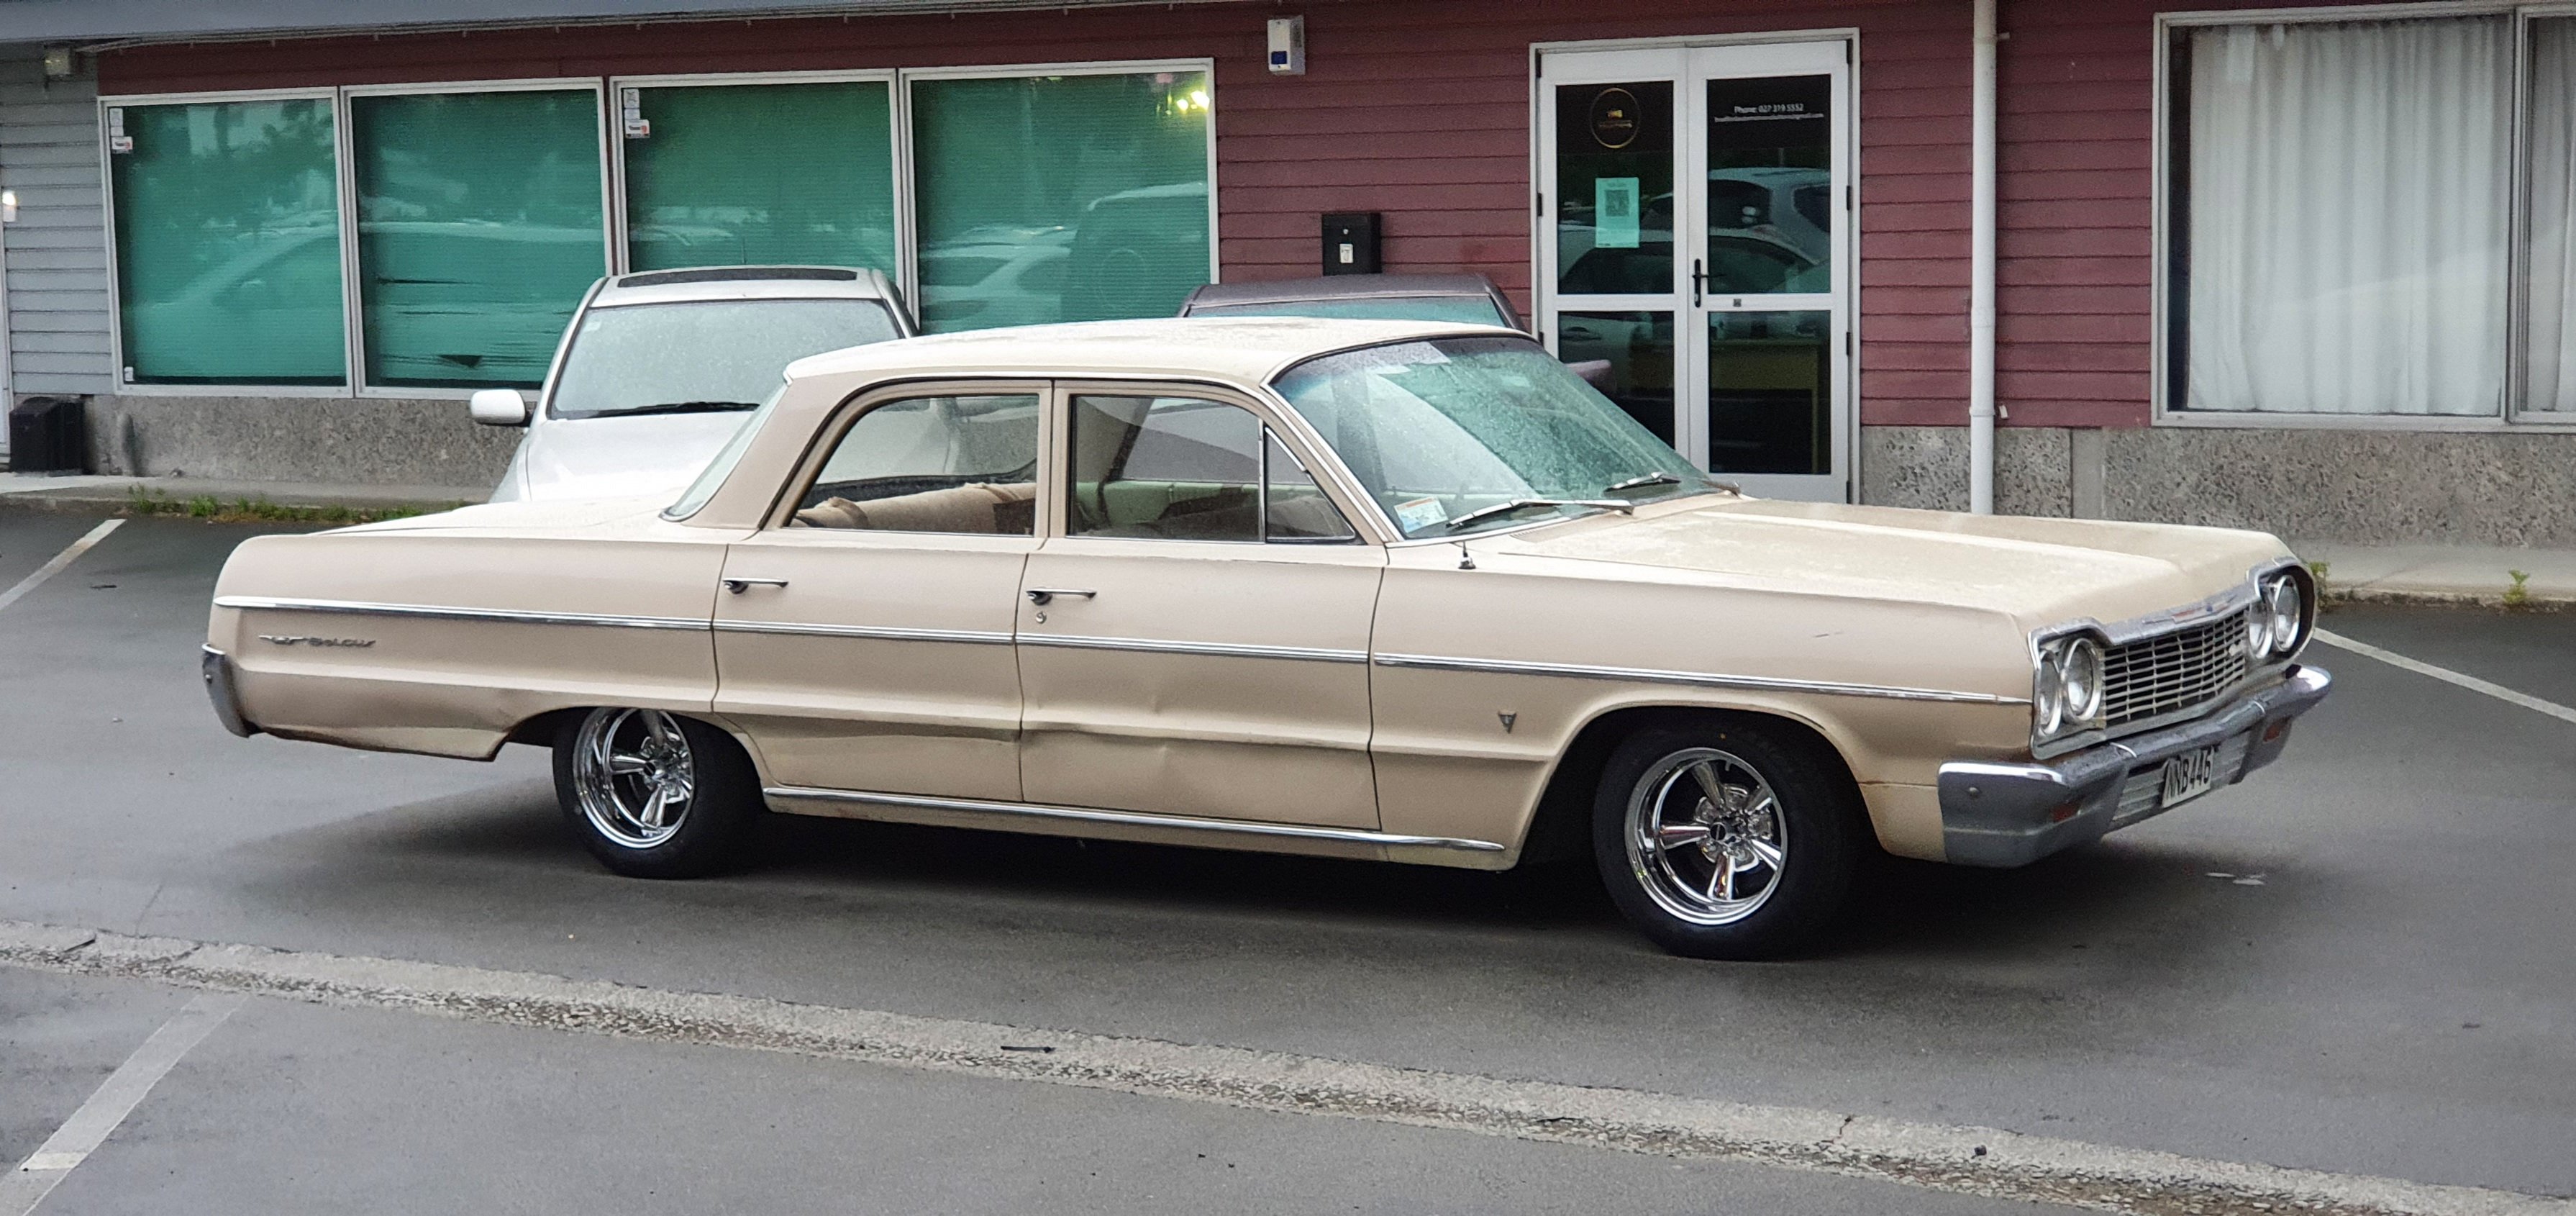
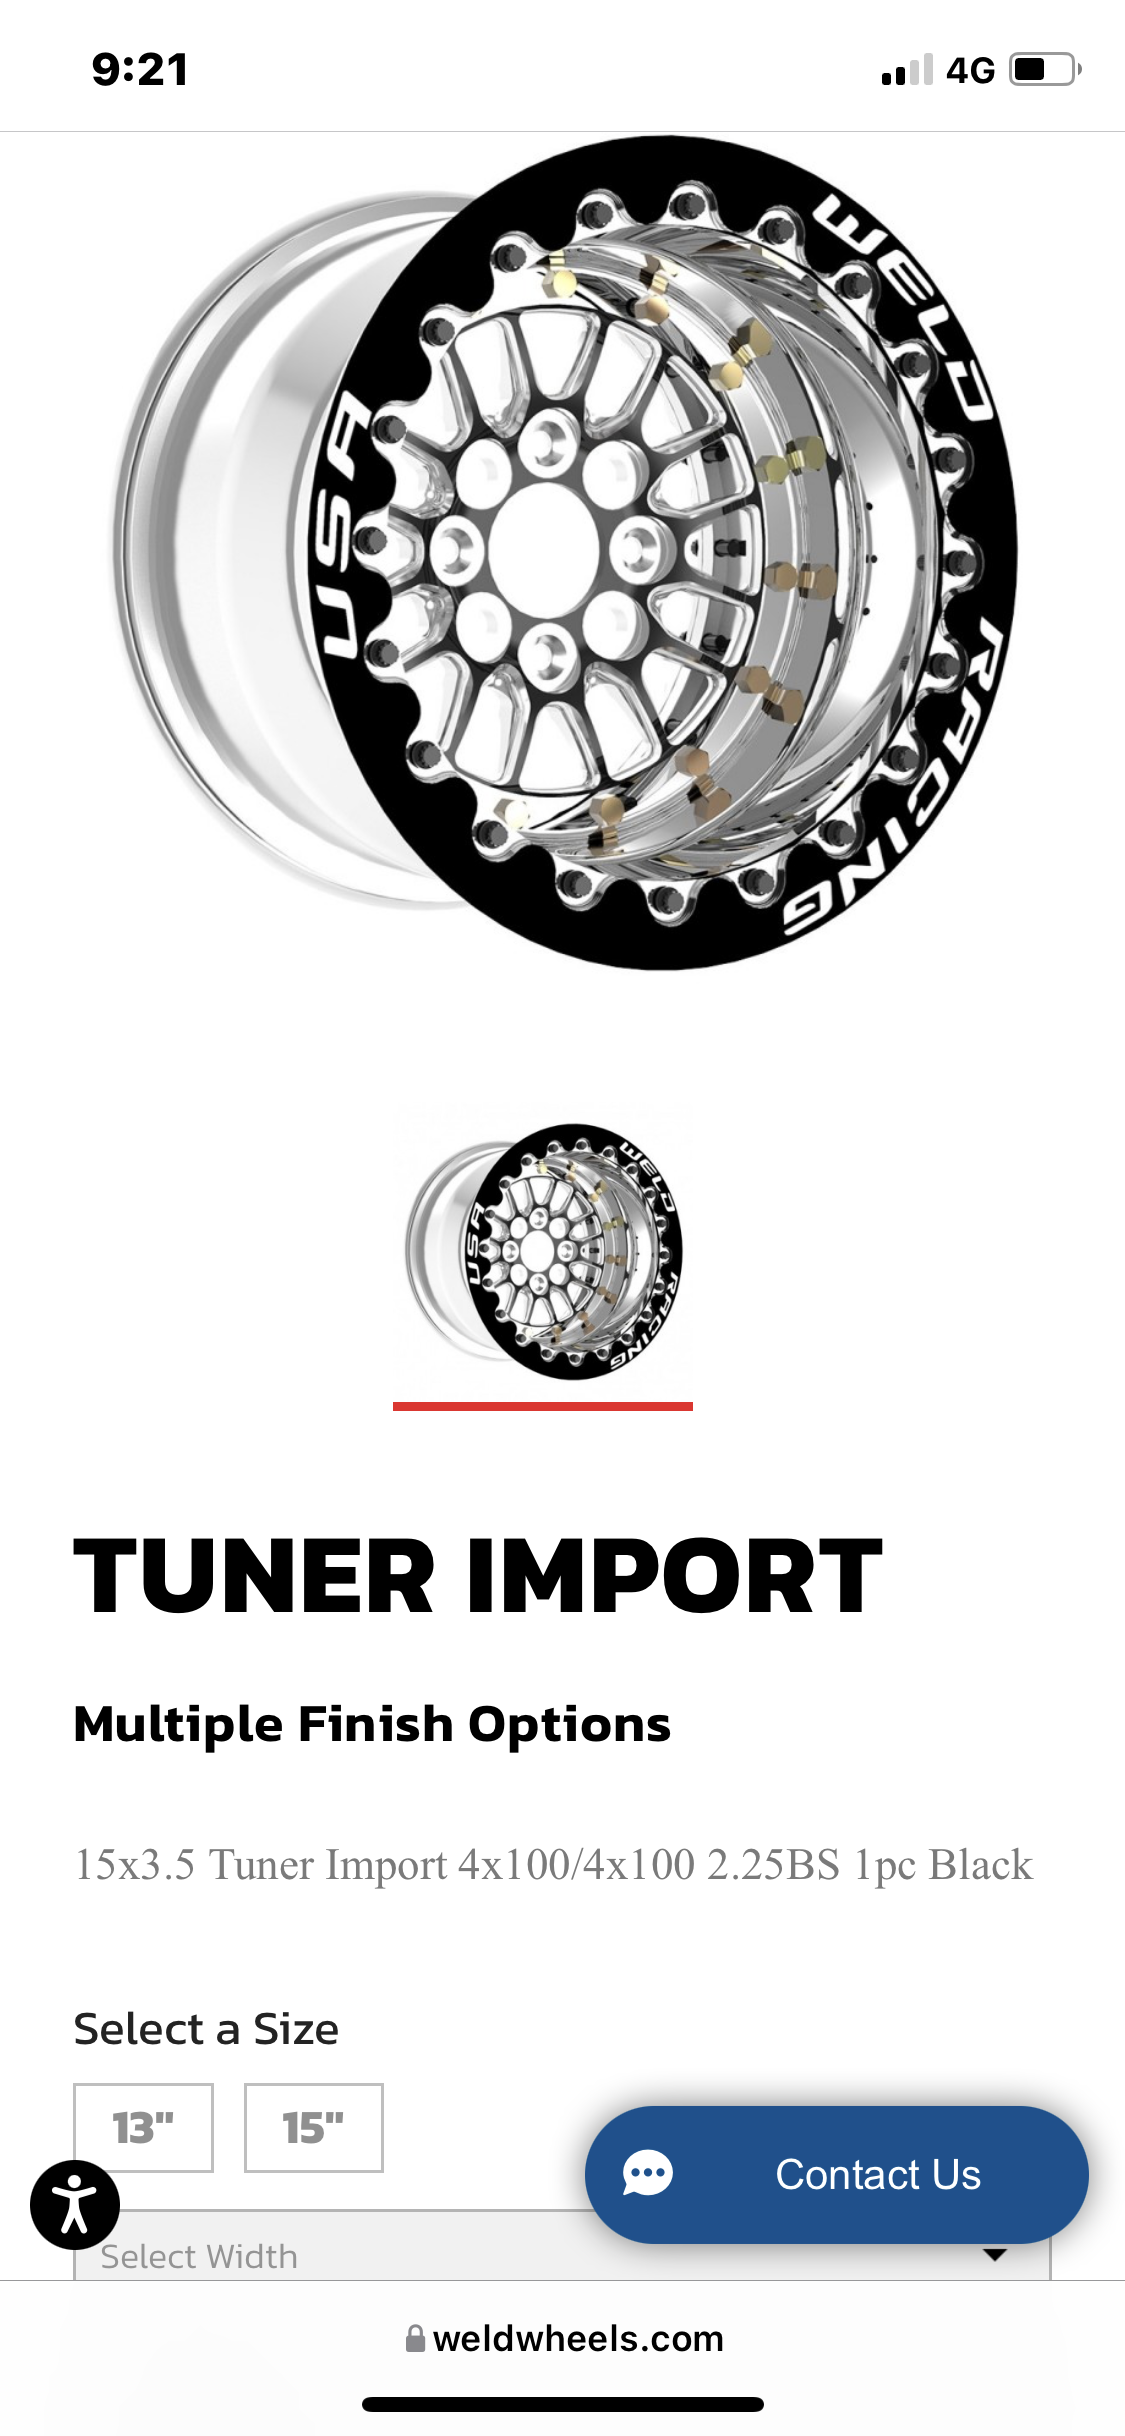
Well that's a bit better. Truespoke Supremes in 14x7 reverse offset. Cost a f'n fortune to get here but I'm impatient.
2 points
-
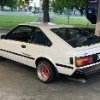
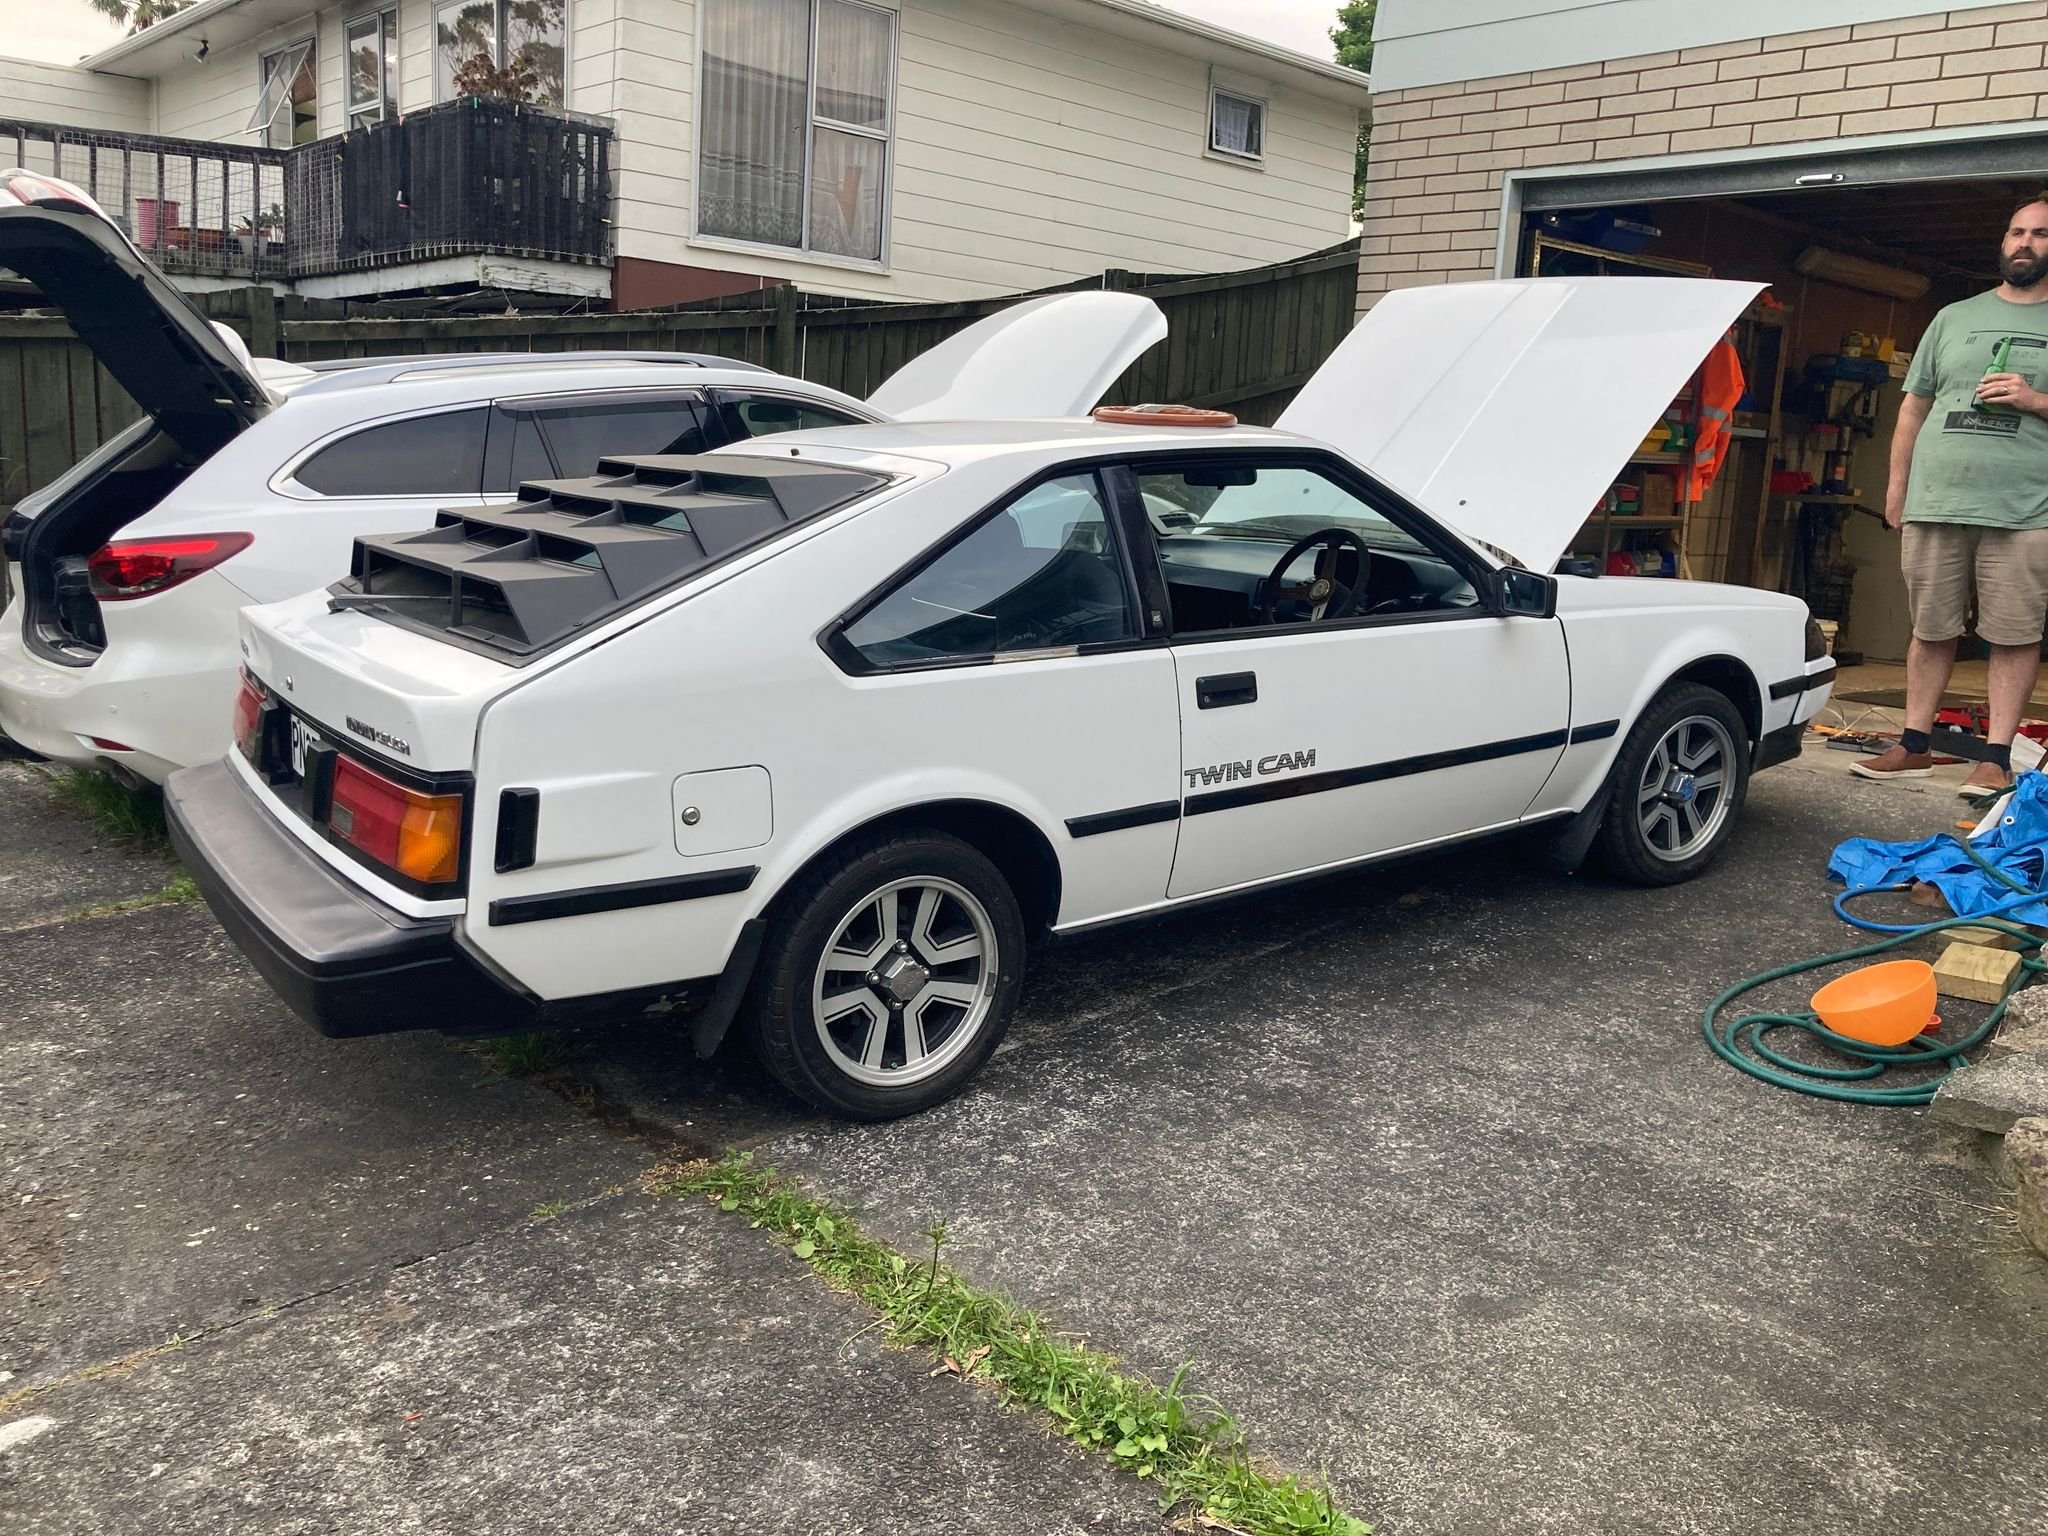
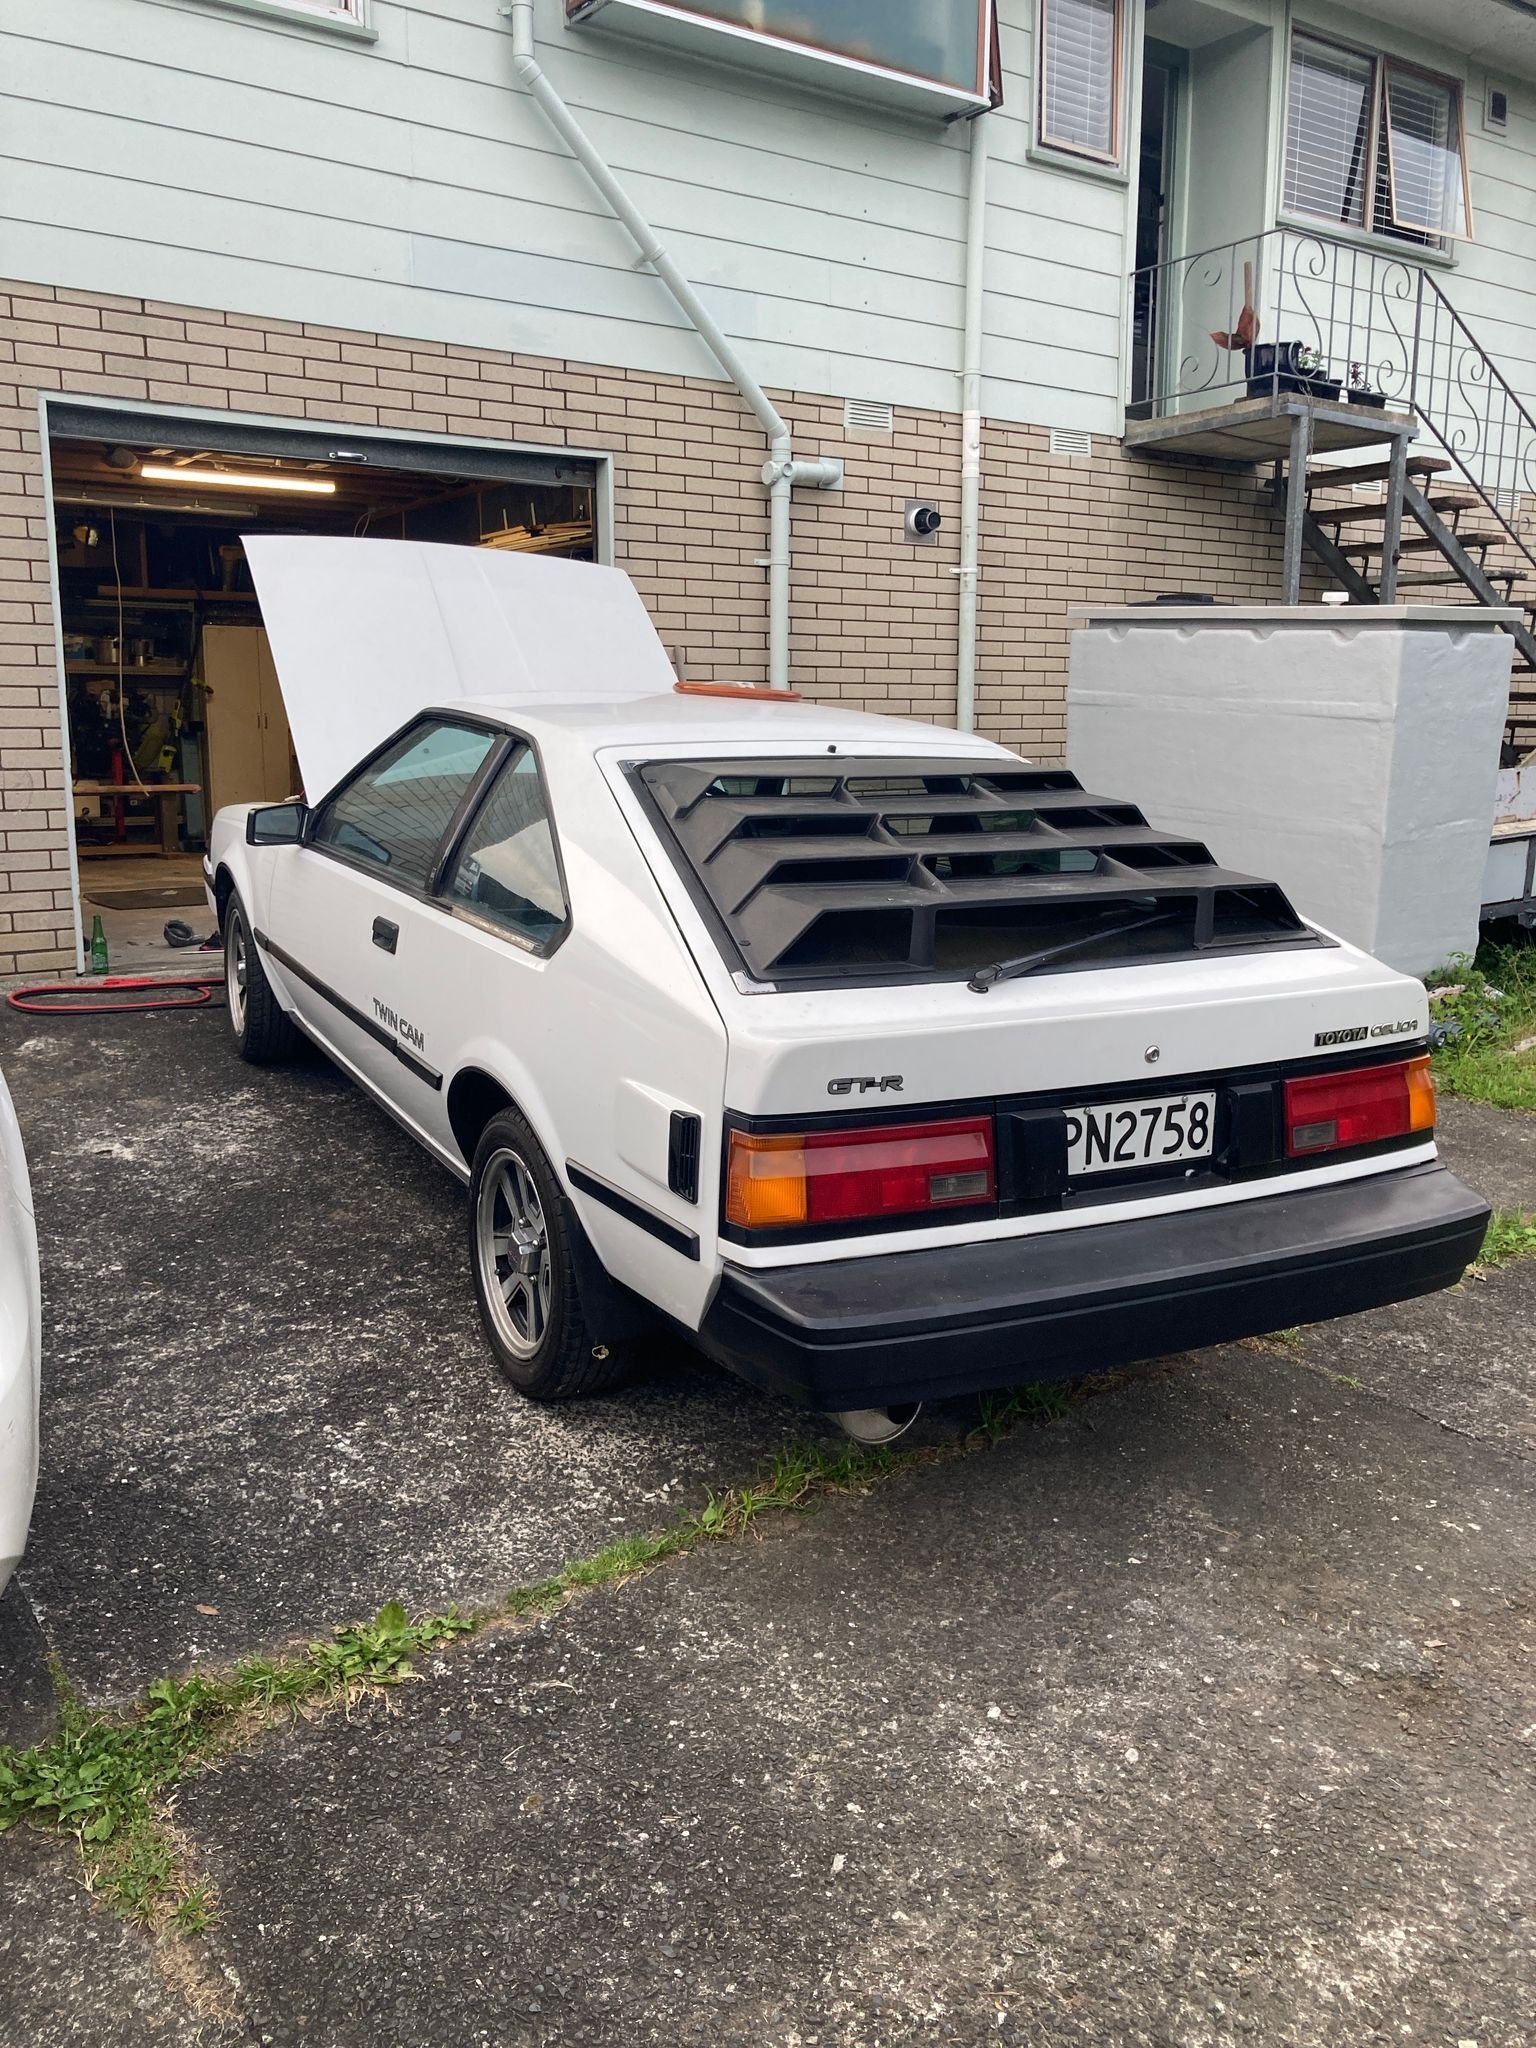
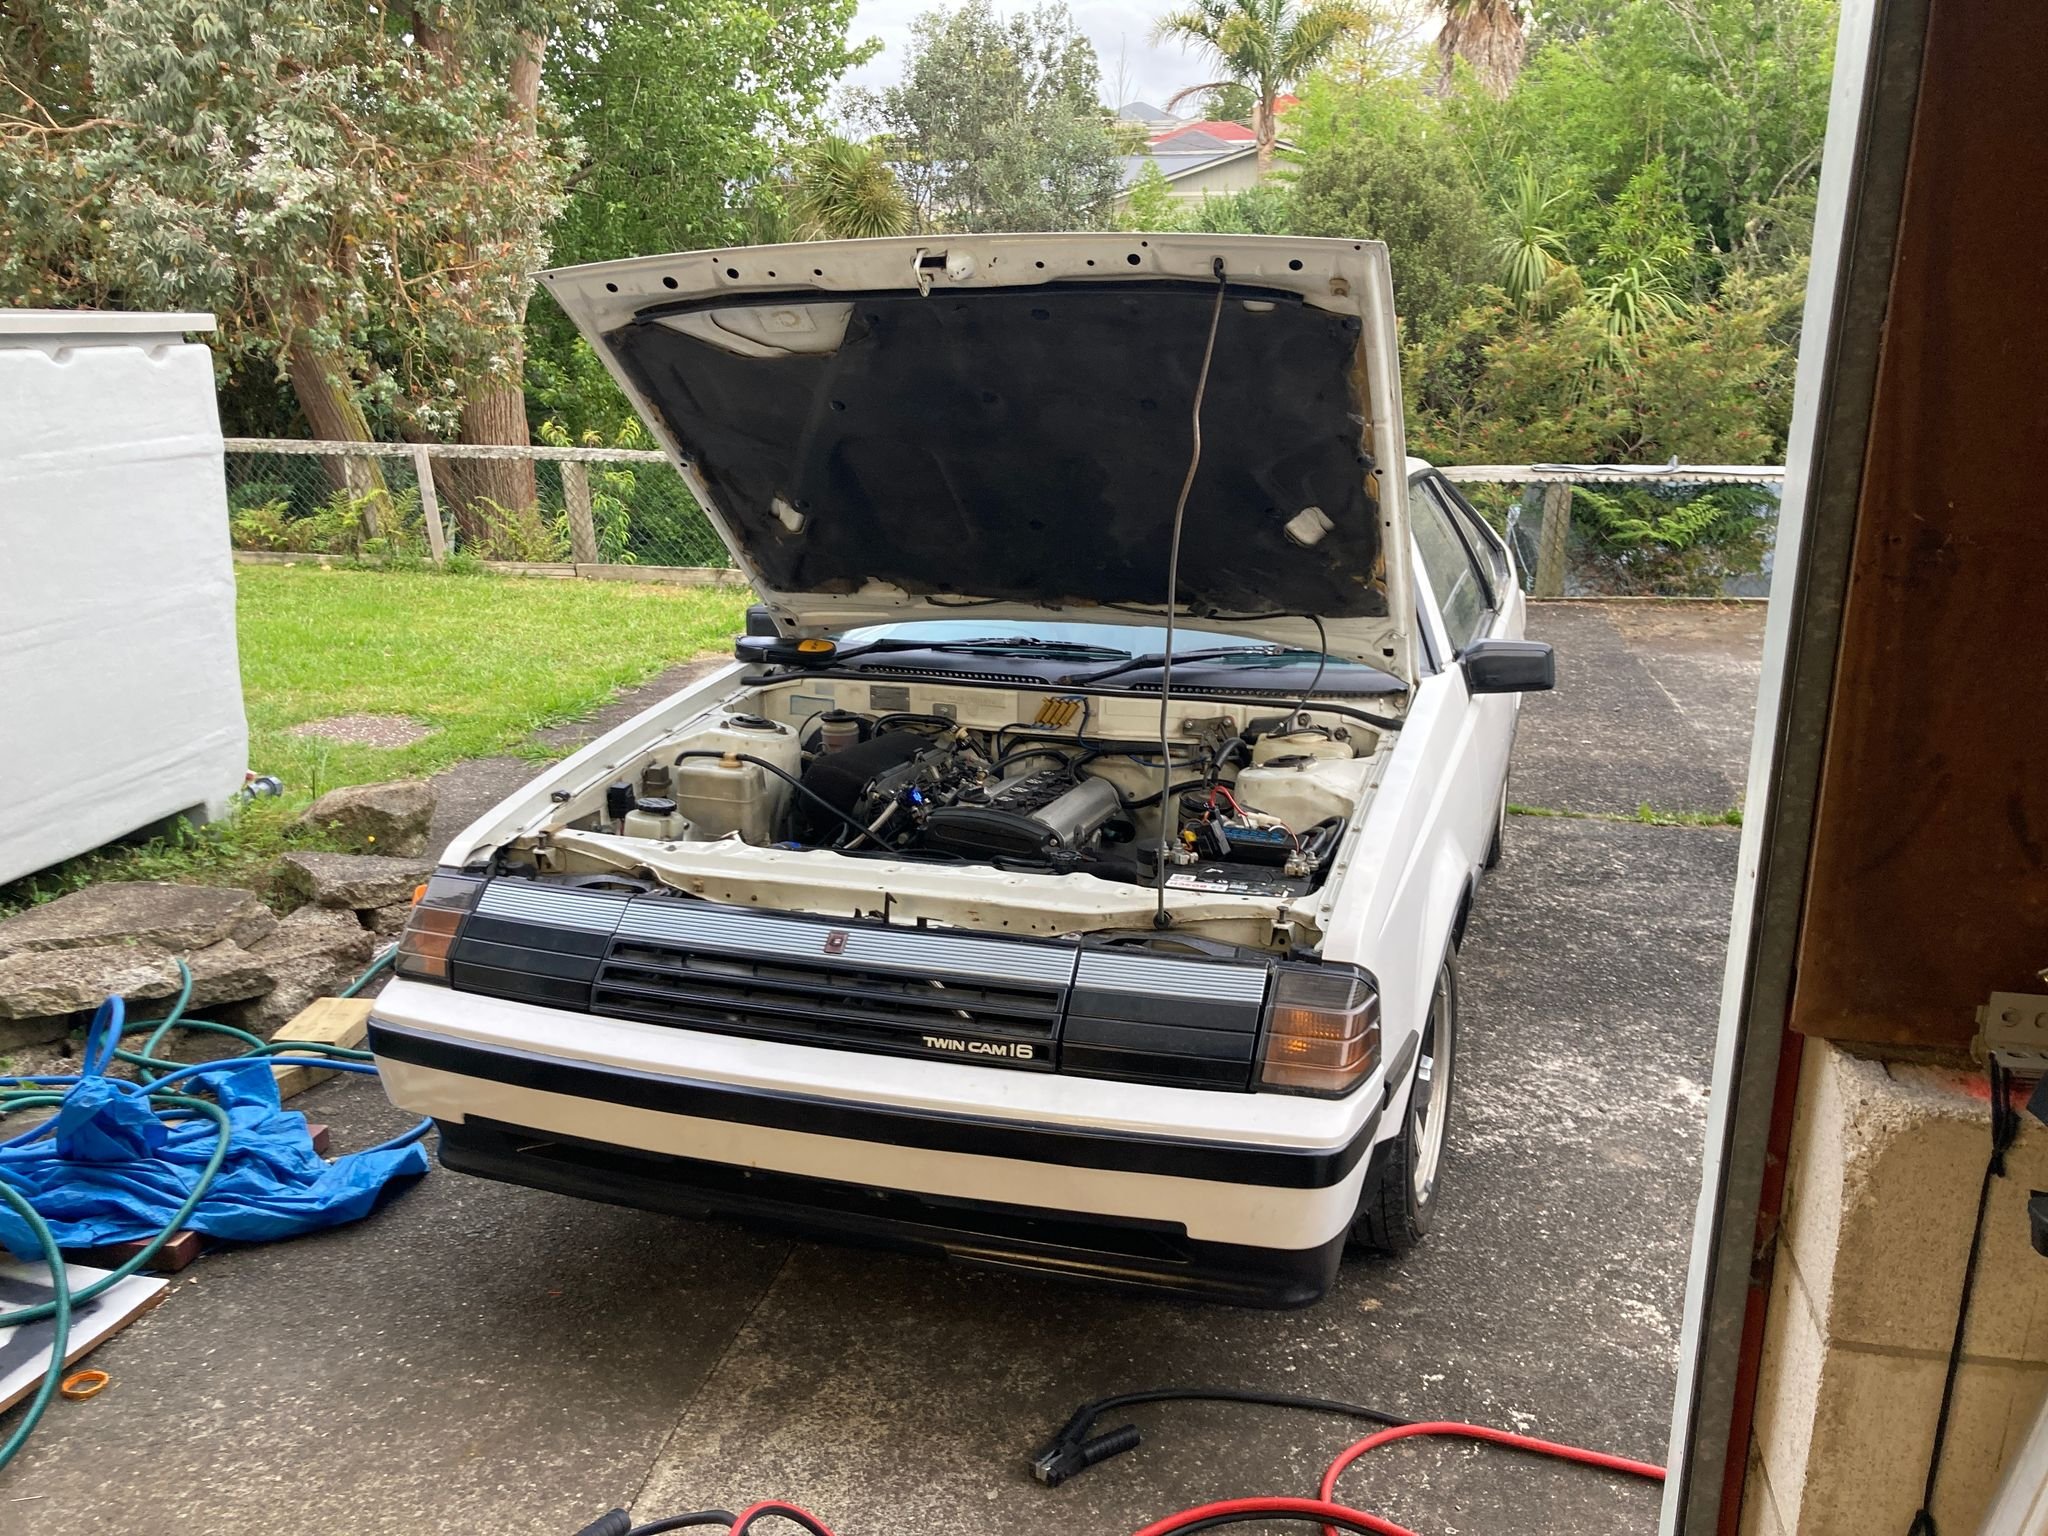
Heyo oldschoolers its been a while! After a long ol time living o'erseas (6 years in Malaysia) im back in nz, and what is one of the most important things someone needs when they get back to New Zealand? Buy a rusty old toyota of course. So here is my 1985 Celica AA63 its glory, and on the day i picked it up!
1 point
-
Been requested heaps. So here we go. 3rd April 2022. 11am - 2pm ish. Weekend before easter. Any conflict of interests?? Likely hooton reserve again or cornwall park. Haven't been there in yonks and has shade. Same kinda deal as the new year meets that i do.1 point
-
Brief clip of her rolling under pedal power.1 point
-
I have more been thinking of turning my Townace ute into an electric vehicle, its only good for short trips anyway.
1 point
-
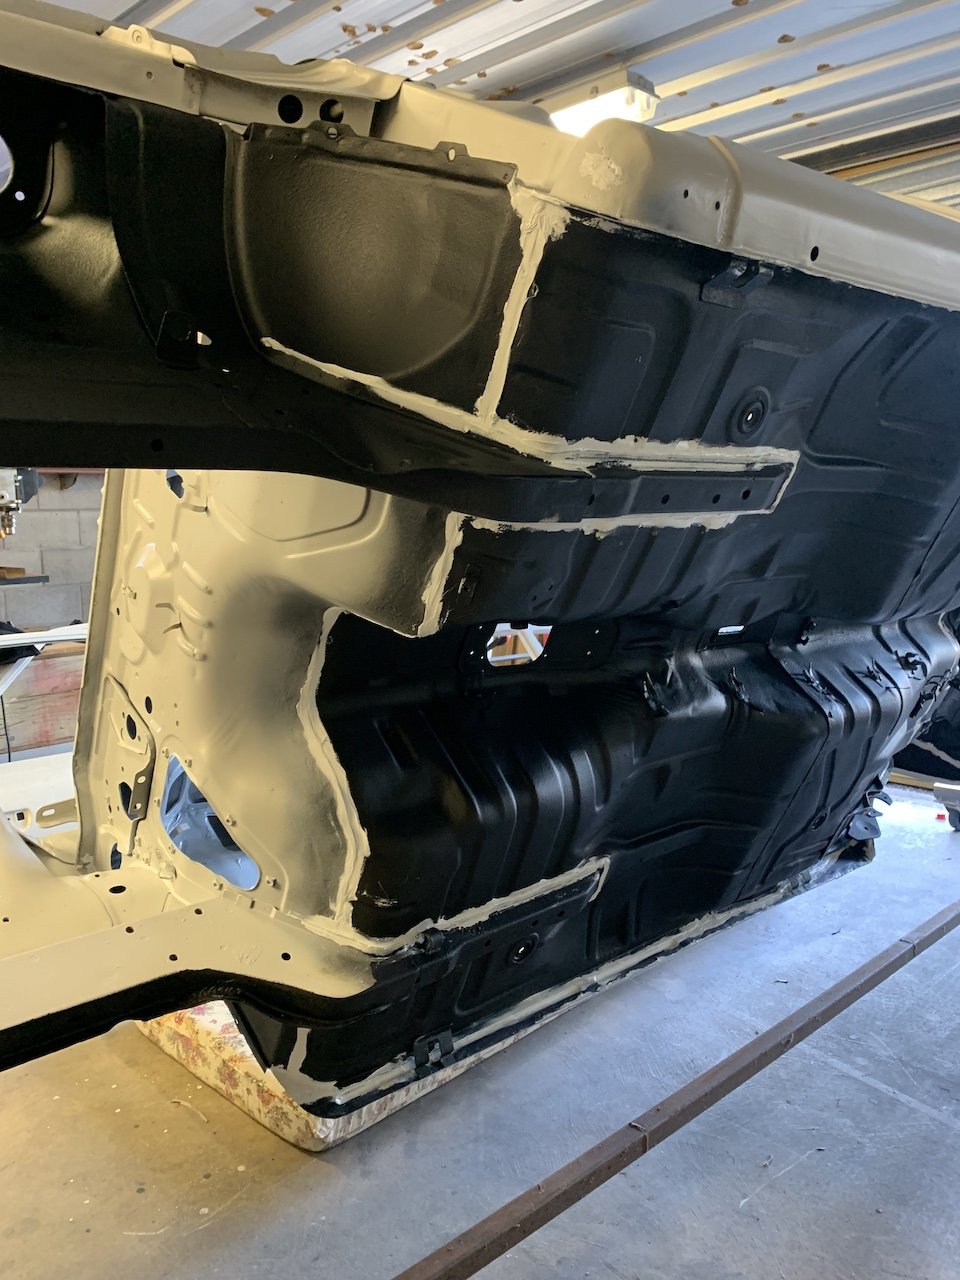
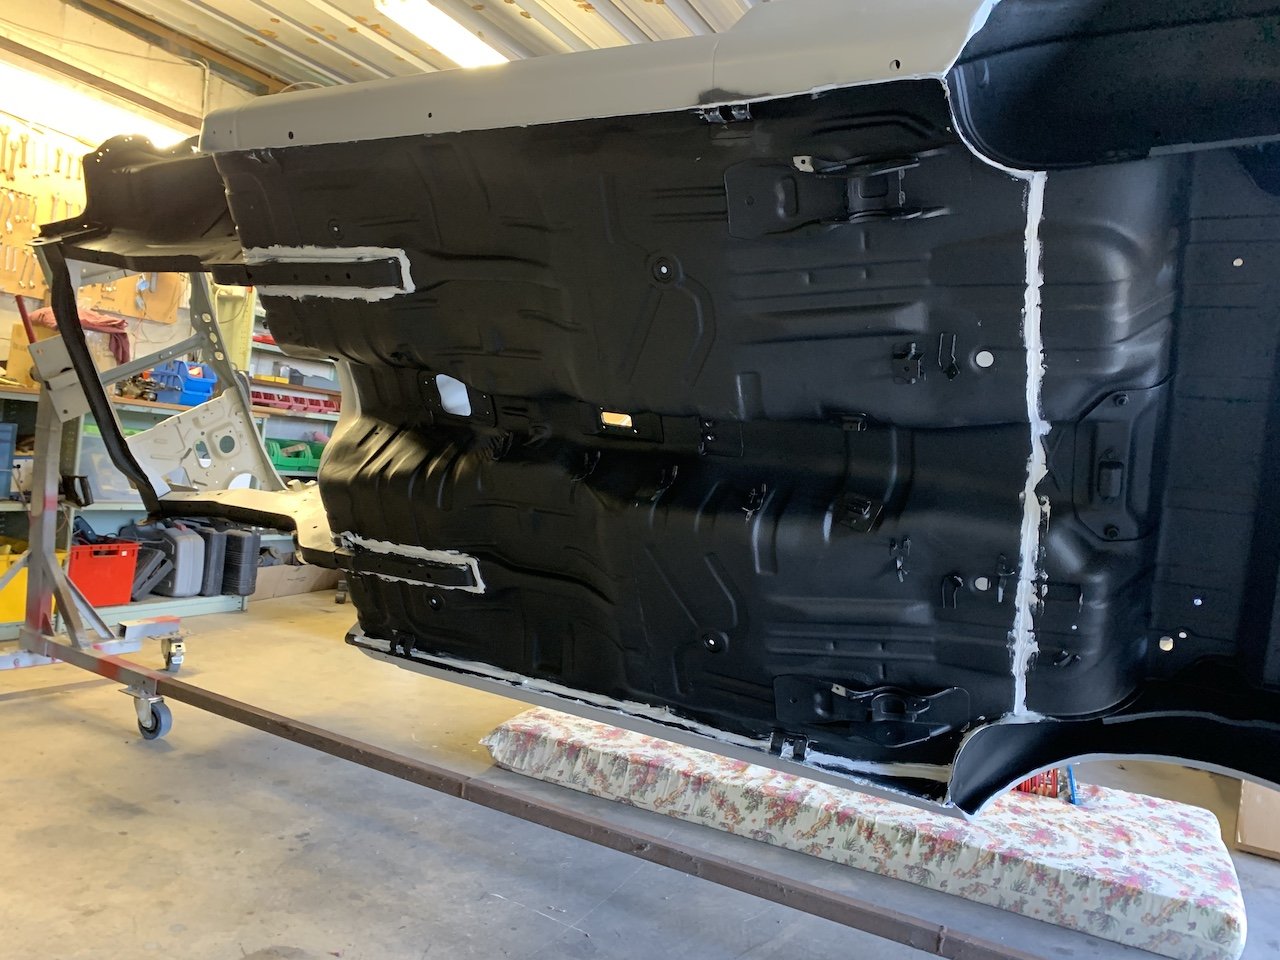
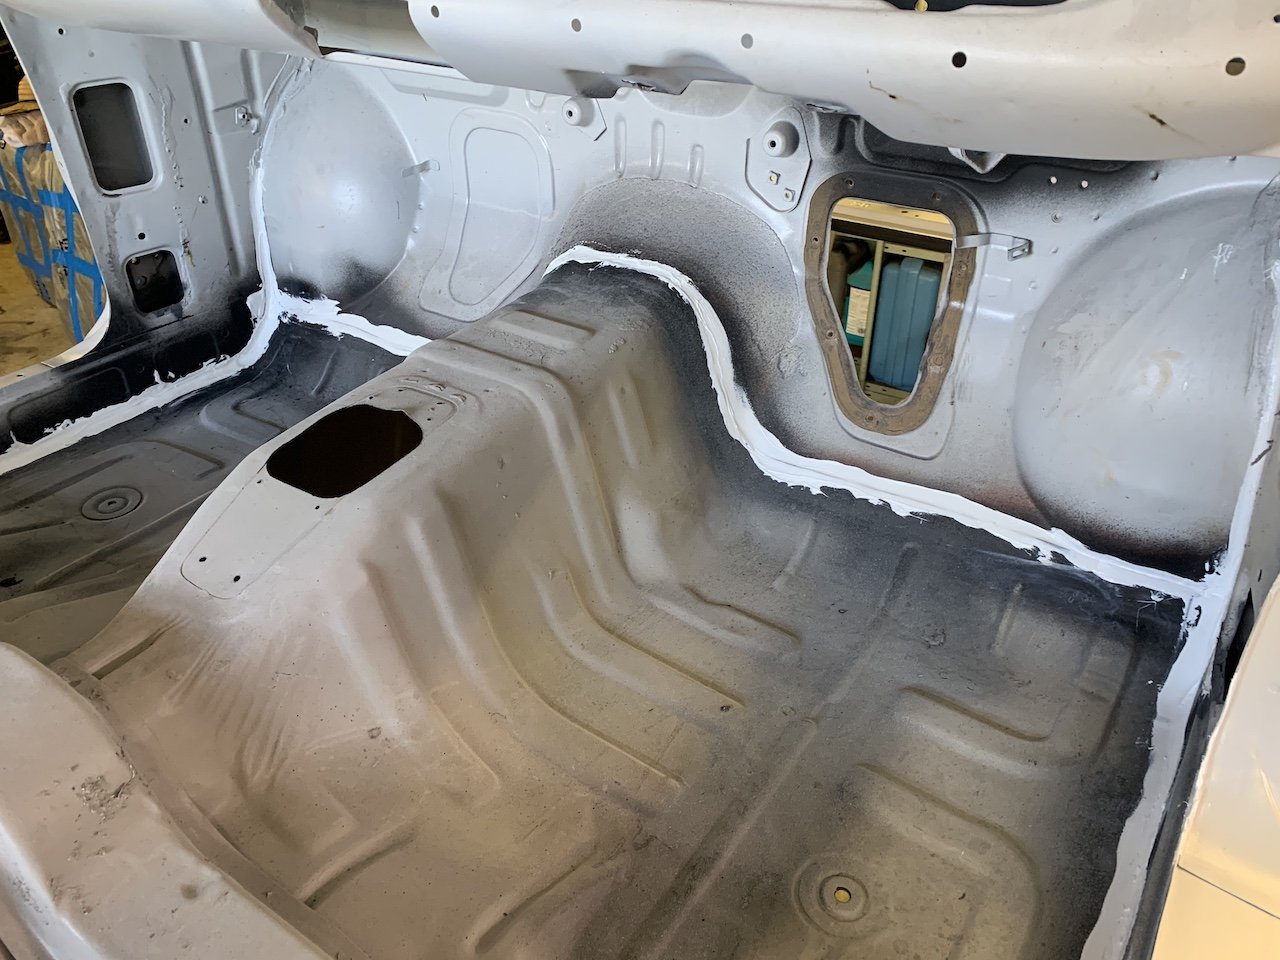
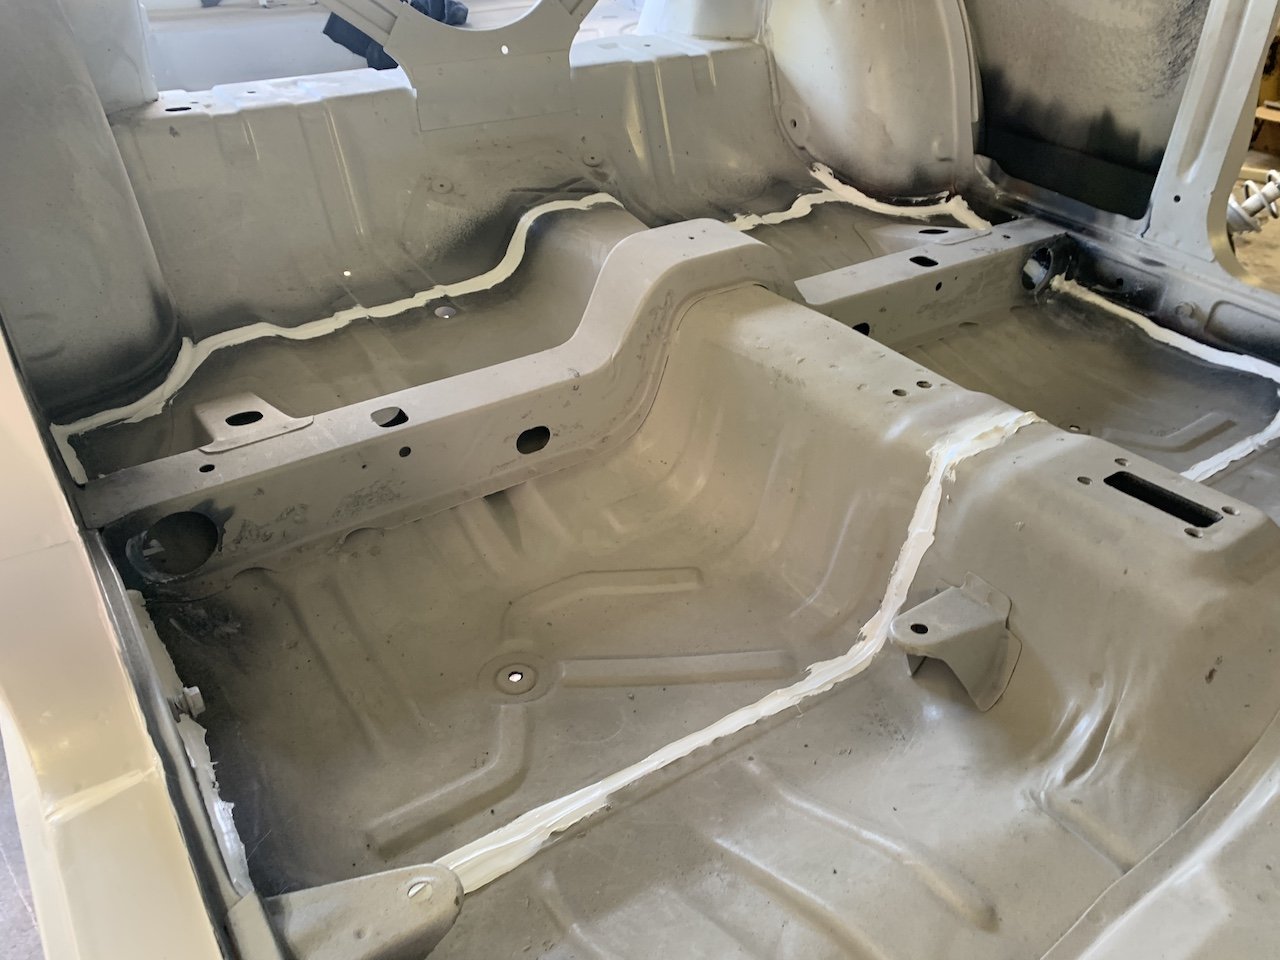
Epoxied, seam sealed and Raptor'd underneath. Over the moon to have hit this milestone after so much welding!
1 point
-
I know it’s over the top but how cool would it be1 point
-
1 point
-
Right after my last post I had an op to repair my ACL and knee cartilage so I wasn't able to do anything for a while - add to that a lockdown - so by the time I was able to get into it again, I couldn't get the repair certifier to sign off on the work so it just sat there taunting me for months......until now She's fully seam sealed along where the new floor and roof went on, and a few of the other new patch panels. Once it's cured I'll go over the it with the underseal again and get her off the spit.
1 point
-
The form should be up by the end of this week too. I've been too busy to get my fizz on for this. But its building now. Going to speak to a farmer on north bank road this week too for vehicle/trailer storage. I'll probably dump my vehicle there Thursday night and ride back to blenheim. (Its about twenty minutes down north bank road.)1 point
-
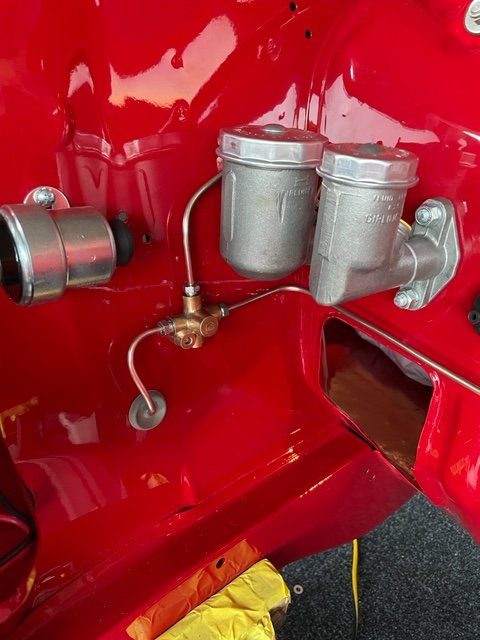
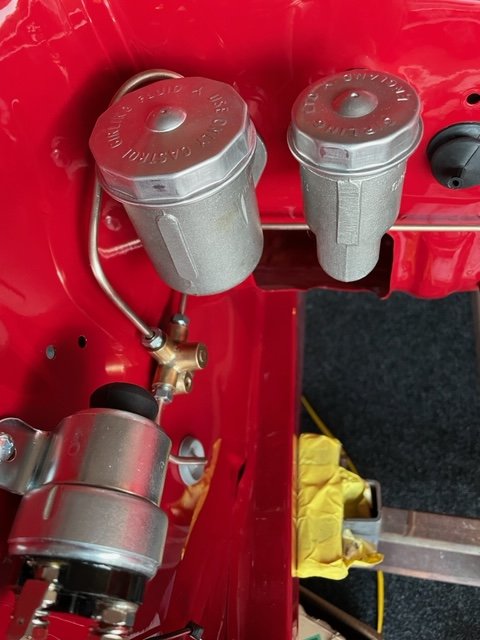
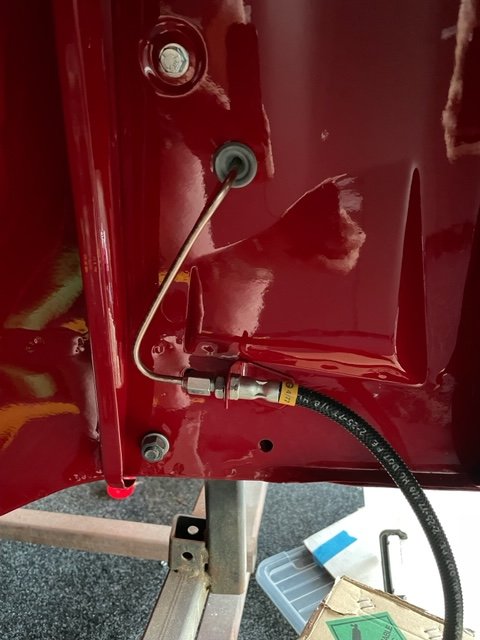
Few more pics of putting it back together. I’m now a master at brake pipes after a few stuff ups
1 point
-
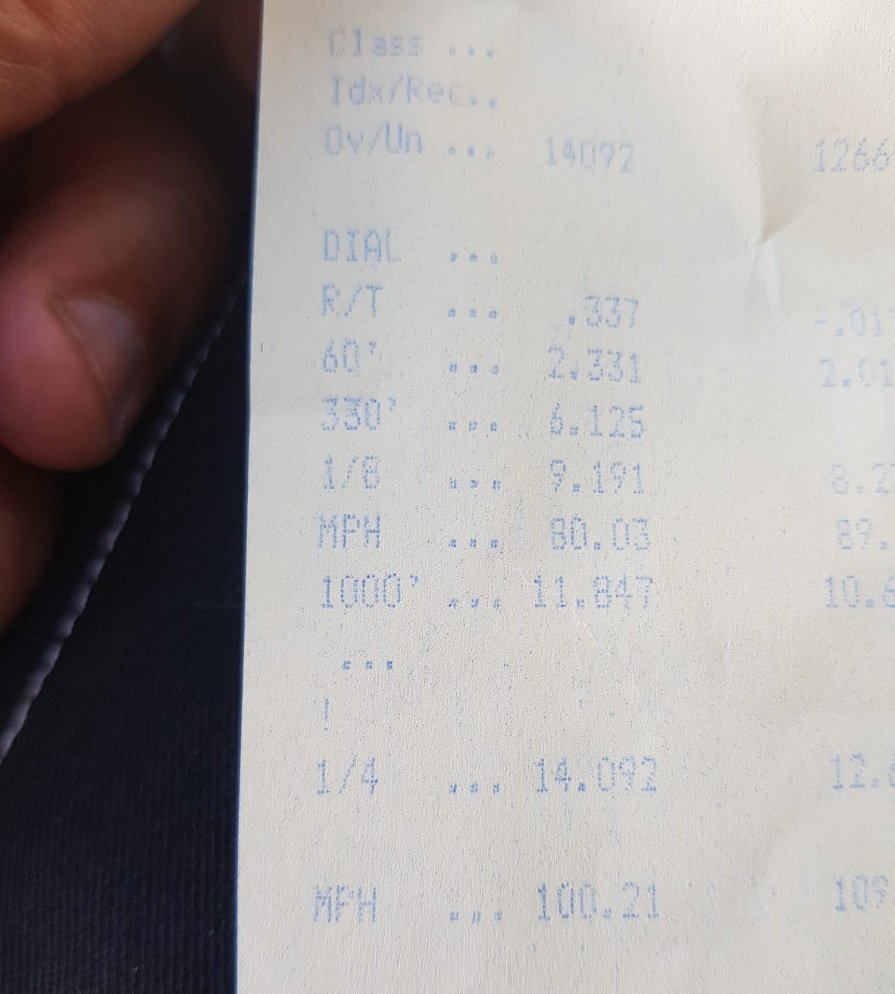
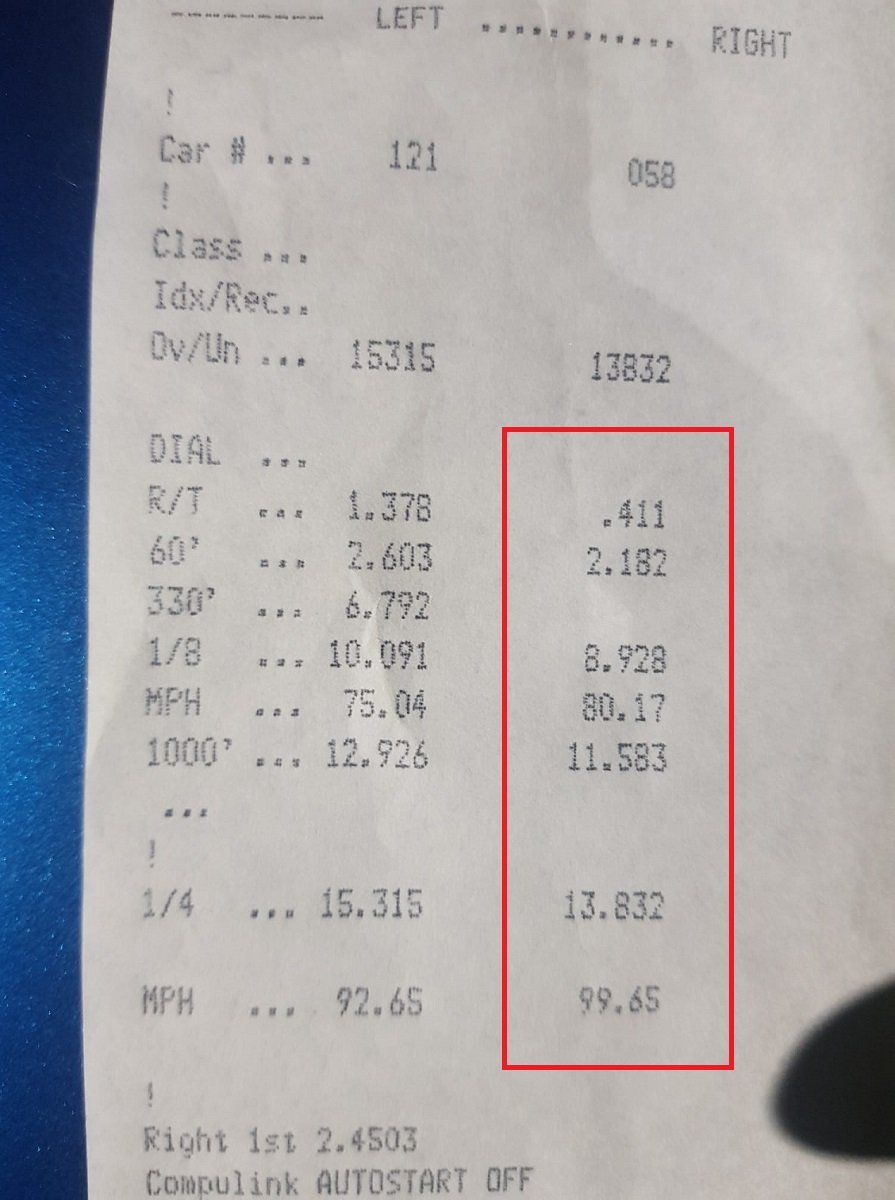
Last night at Nightspeed. Suuuper busy, but it was really awesome to see a big crowd at the drags, lots of spectators too. Was a cool atmosphere. So first run, set the hoosiers to around 20psi which is very high, but wanted to start out conservative. Ran a 14.092 @ 100.21 mph with a 2.33 60ft. So first run and I've beaten the Carina by every single metric. What the hell! But so stoked! I was convinced at this point that I'd get a 13 tonight. Second run we dropped the pressures a bit, launch wasnt so good and I ran a 14.1 with a higher 60ft. At this point I figured I'd probably cursed myself saying I'll get a 13. Looking at the logs of both runs, the motor was bogging a bit when I was trying to roll into the throttle and clutch. So third run, set a launch limiter at 5500rpm. Full throttle sitting on line, dump the clutch. And holy fucken shit. No wheel hop no big spinning, just felt like stretching out and releasing a rubber band. It felt so much faster than my first run, I crossed the line realizing it must be a 13. Absolutely fucking stoked beyond belief Get my time slip and was blown away 13.83 @ 99.6 mph with a 2.1 60ft Was in about 5000 out of 100 fizz mode, it was so cool. I didnt get any more runs, because it was incredibly busy and was already 10.30pm or so by the time they started the eliminations. But it's incredible to think that it could still possibly go faster yet. Even just doing that time was incredible. It felt like it could have easily launched another 500rpm or 1000rpm higher and hooked up good. Will be back!
1 point
-
dunno, but it must have machine guns, theres sights on the hood1 point
-
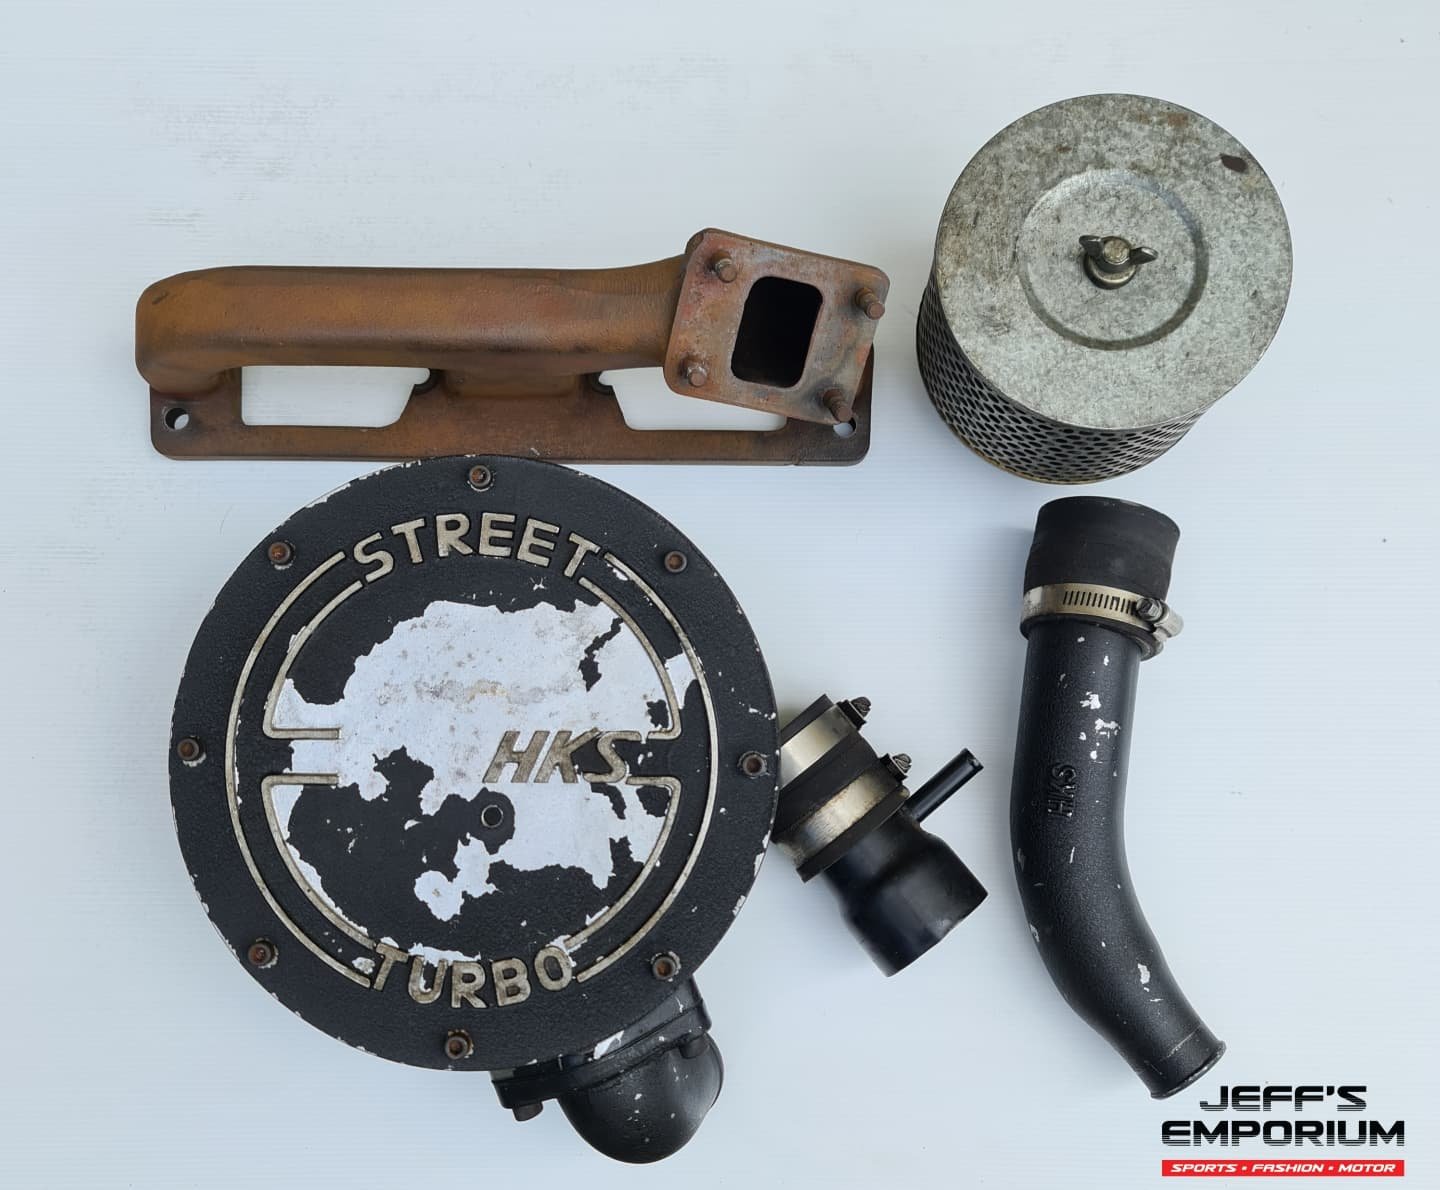
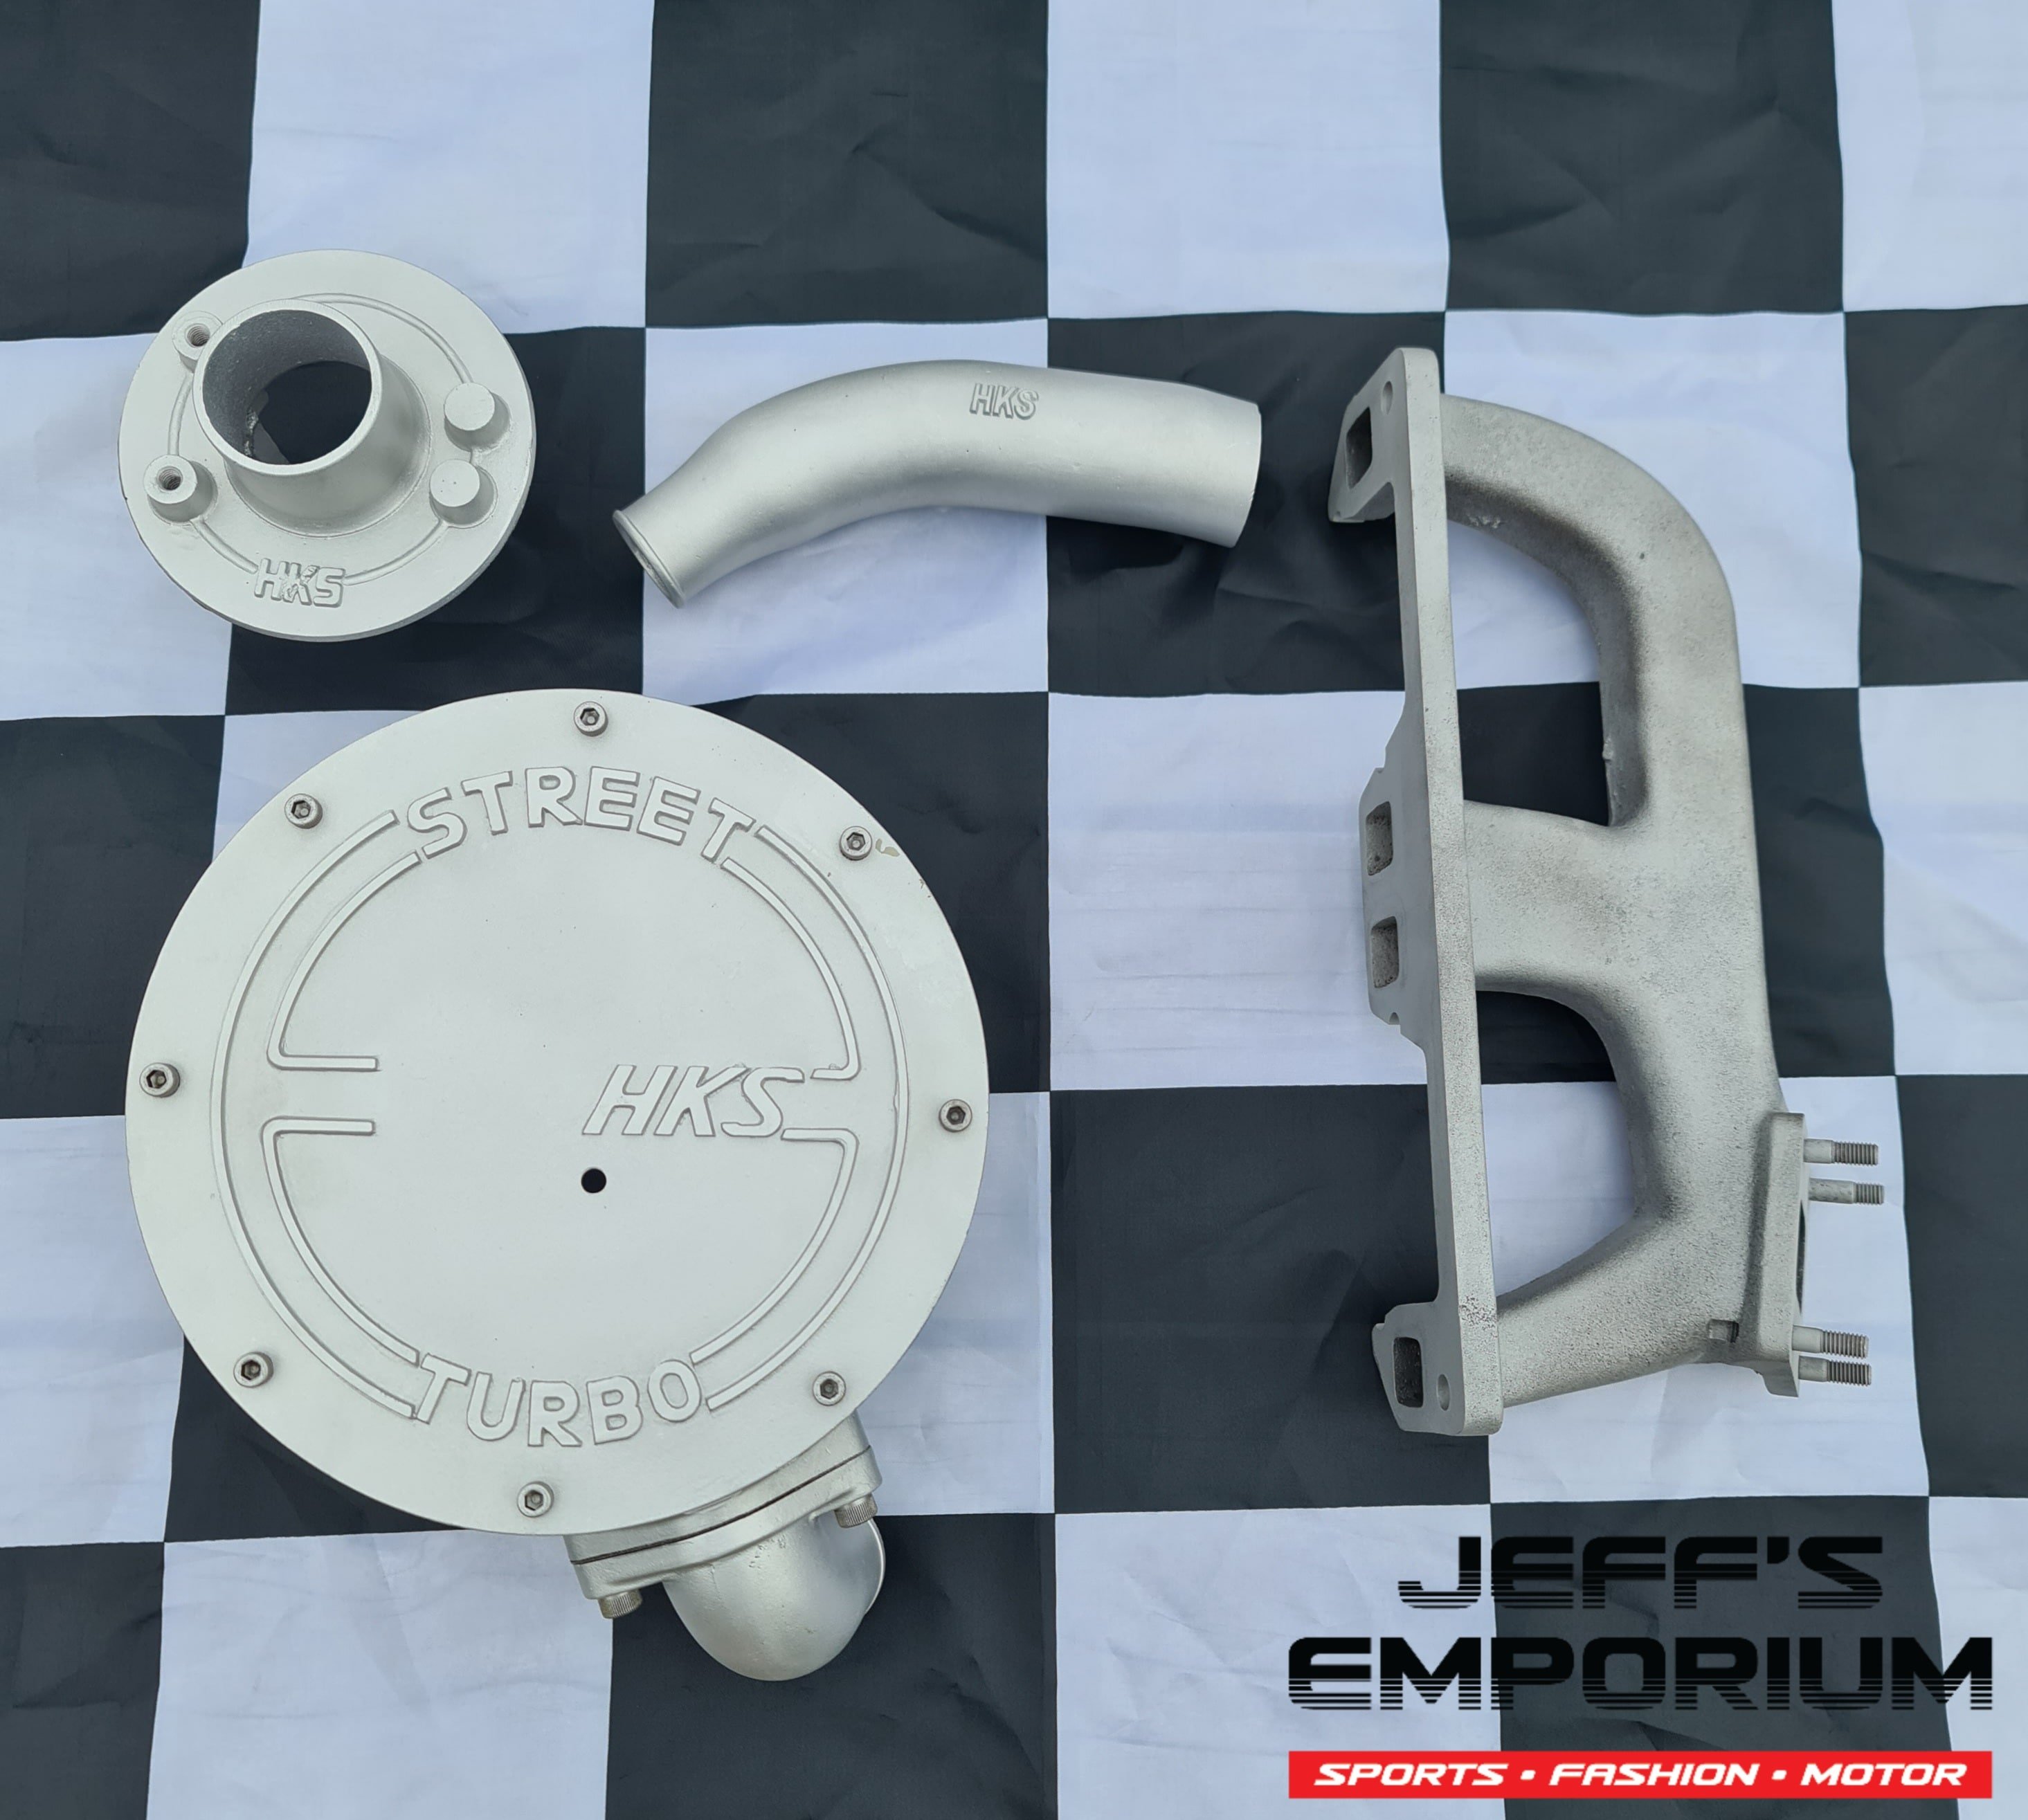
Hopefully OK to share in here/it's pretty relevant Recently I purchased an HKS turbo kit listed for kp61 starlet for my small online based parts business. It utilizes the original carb in a direct blow through setup. Seriously considered going back to 5k to use it in the van but luckily someone purchased it before too much thought. Happy to say it will be staying in nz and they have decided to let me restore it for them also. Jordan at Autoparts Vapour Blast has done a great job vapour blasting the flaking wrinkle coat off so I can re-apply for the new owner
1 point
-
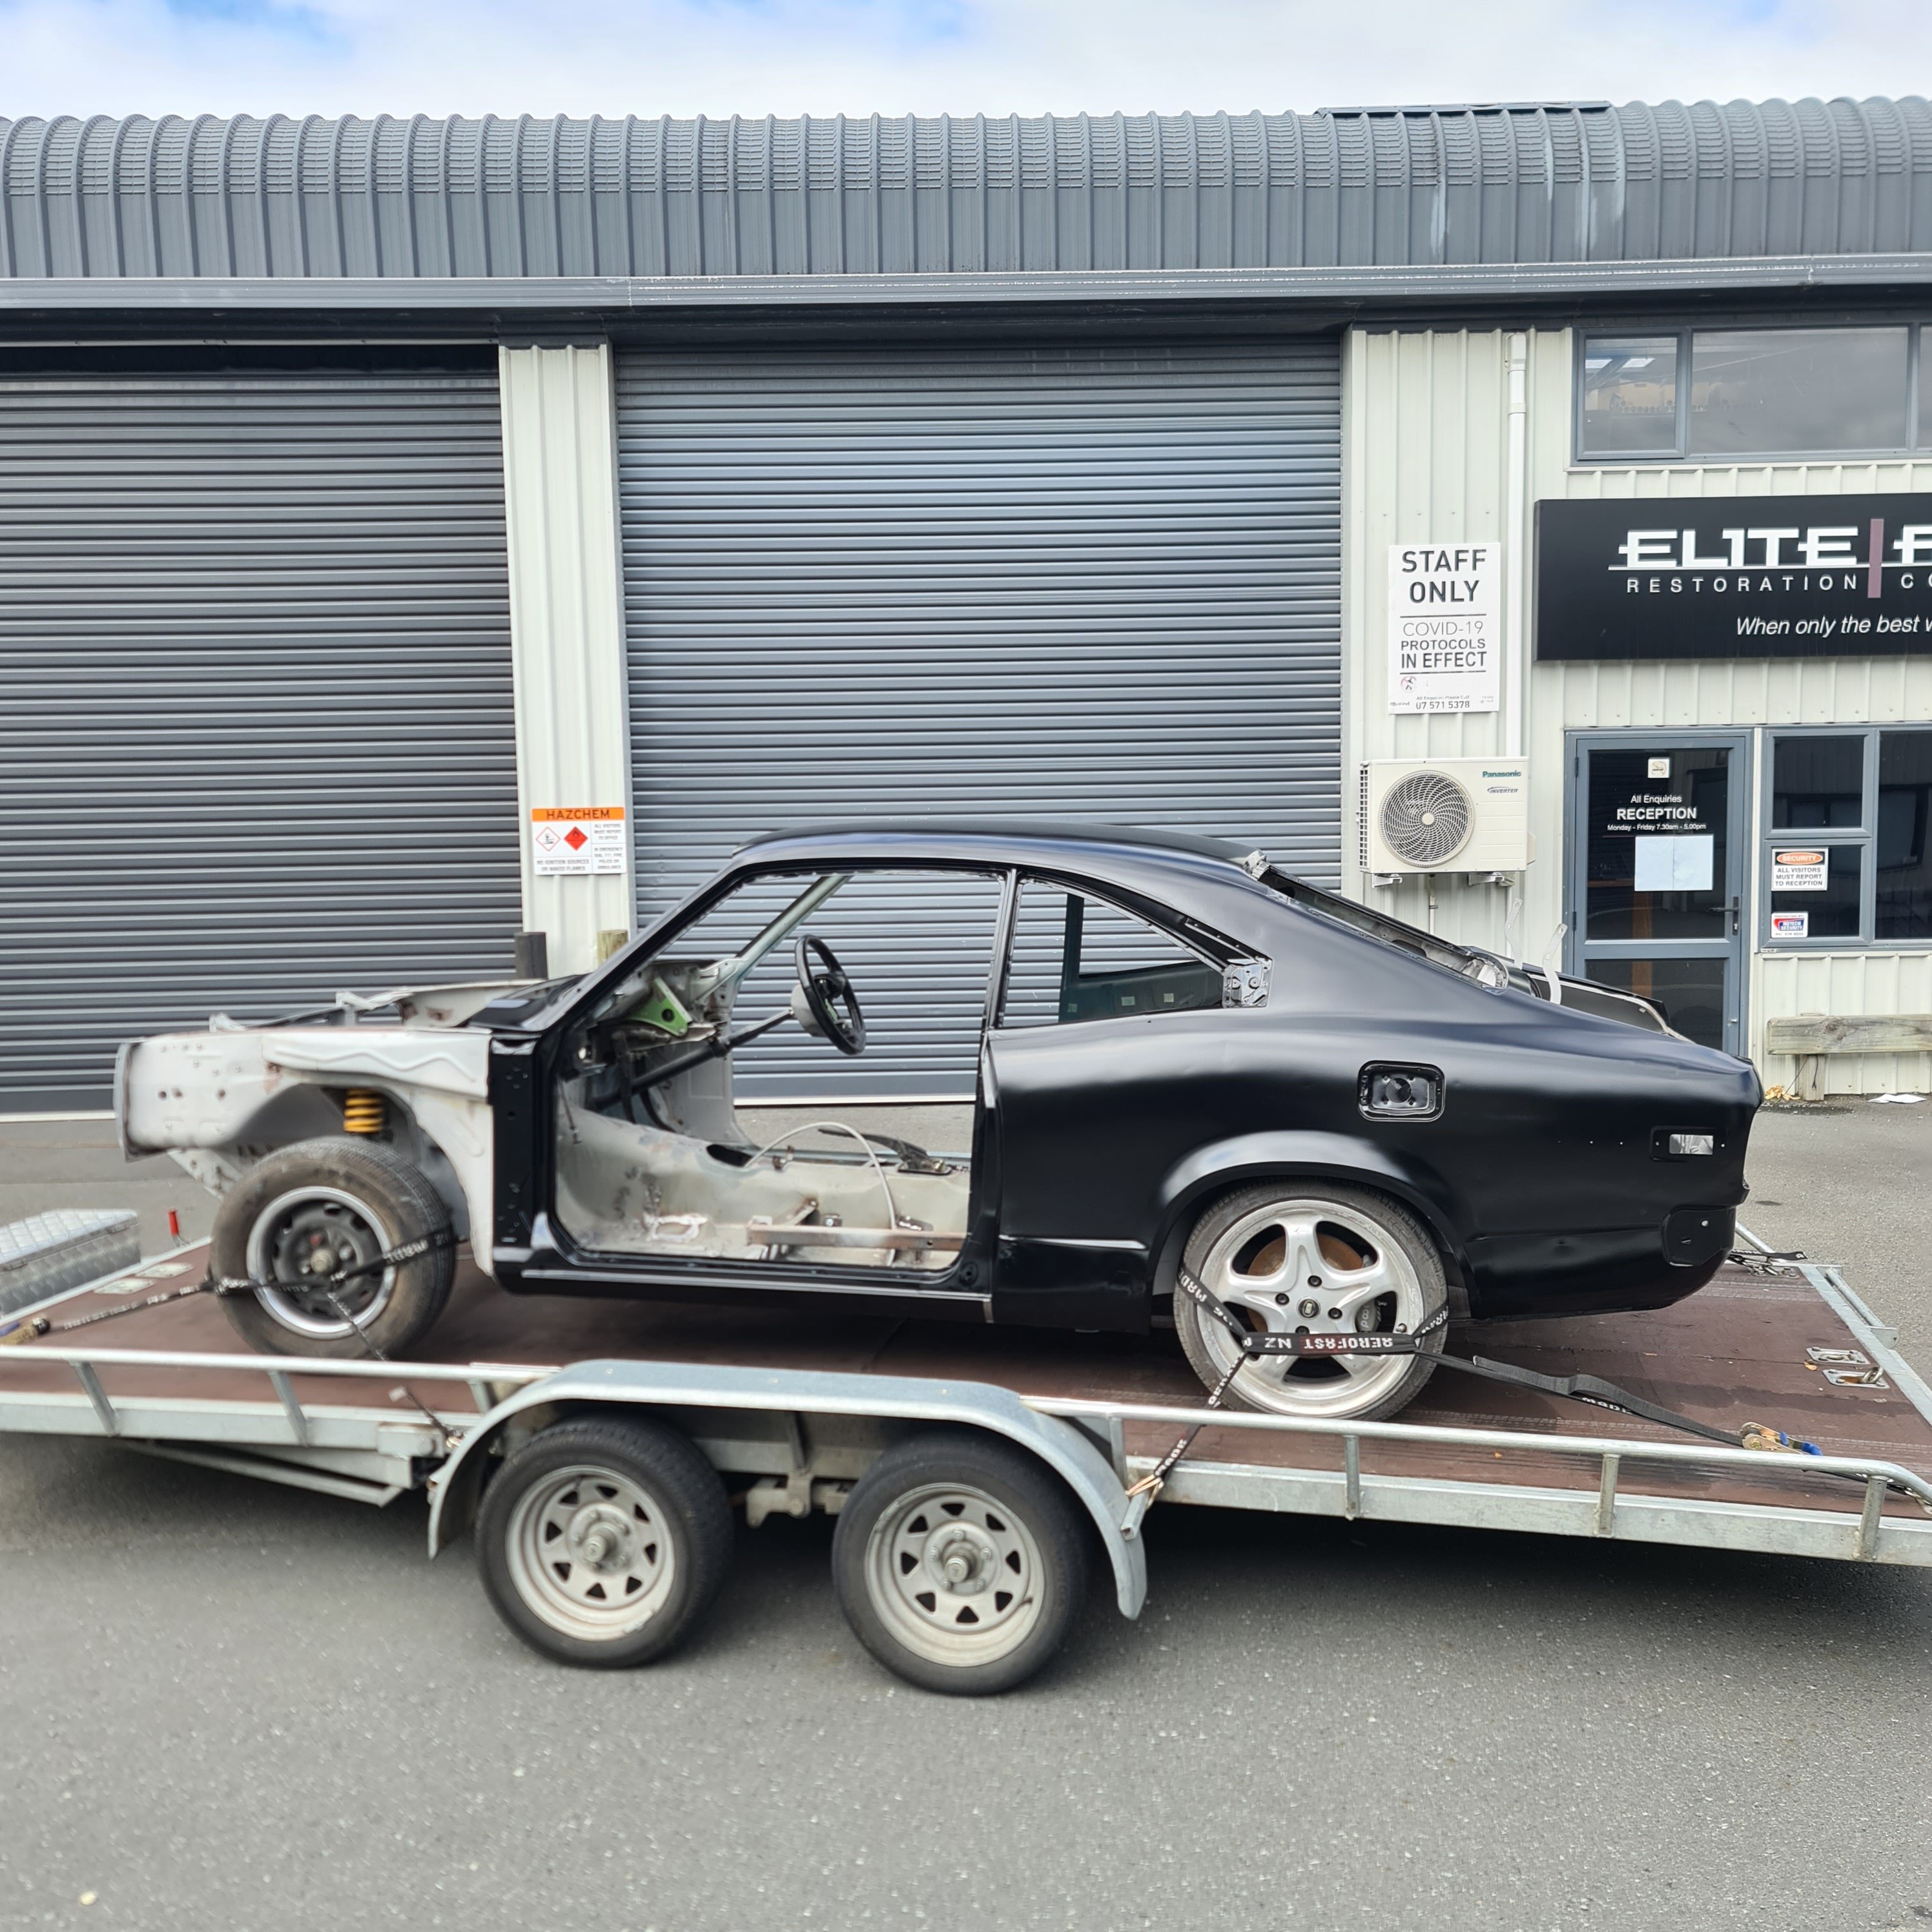
An yesterday i picked it up from the booth and took it back to the panel/painters place so he can fit up panels and get stuck into it.
1 point
-
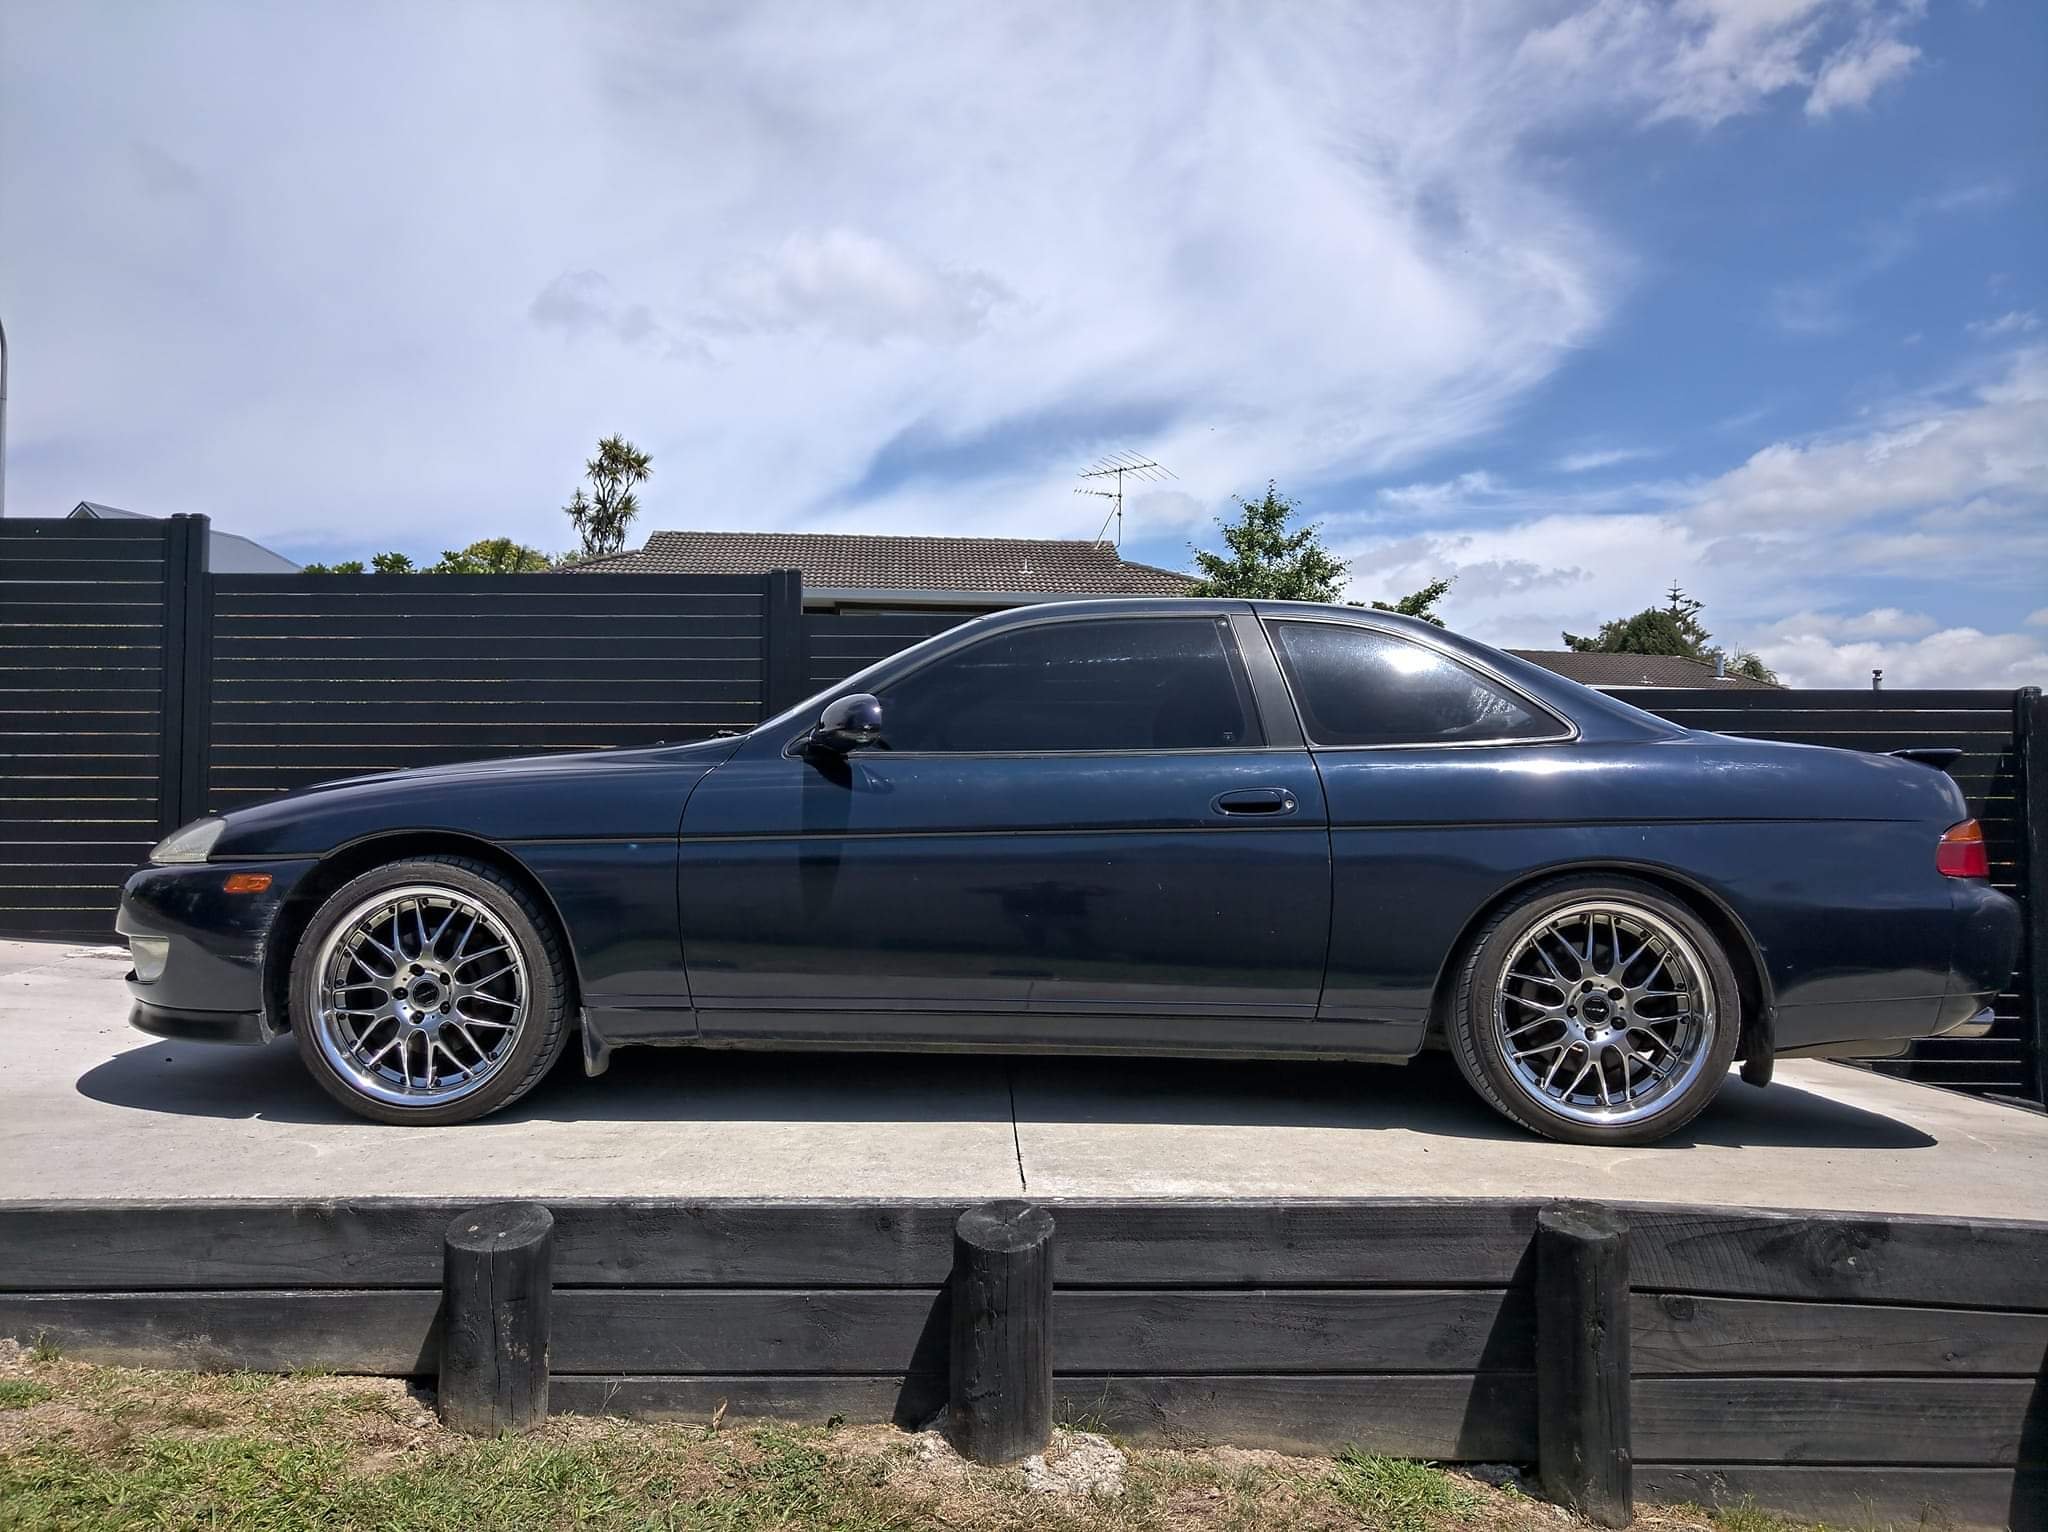
Picked up some wheel nuts this morning and threw them on. Pretty stoked, it looks heaps better. Took it for a drive and there weren't any rattles or wobbles so no need for balancing. Front wheel fitment is nice but the rear needs to be spaced out about 20mm. I'm also hoping to drop it about 40mm and all should be gravy - still want the thing driving without rub and scrapage. Chur
1 point
-
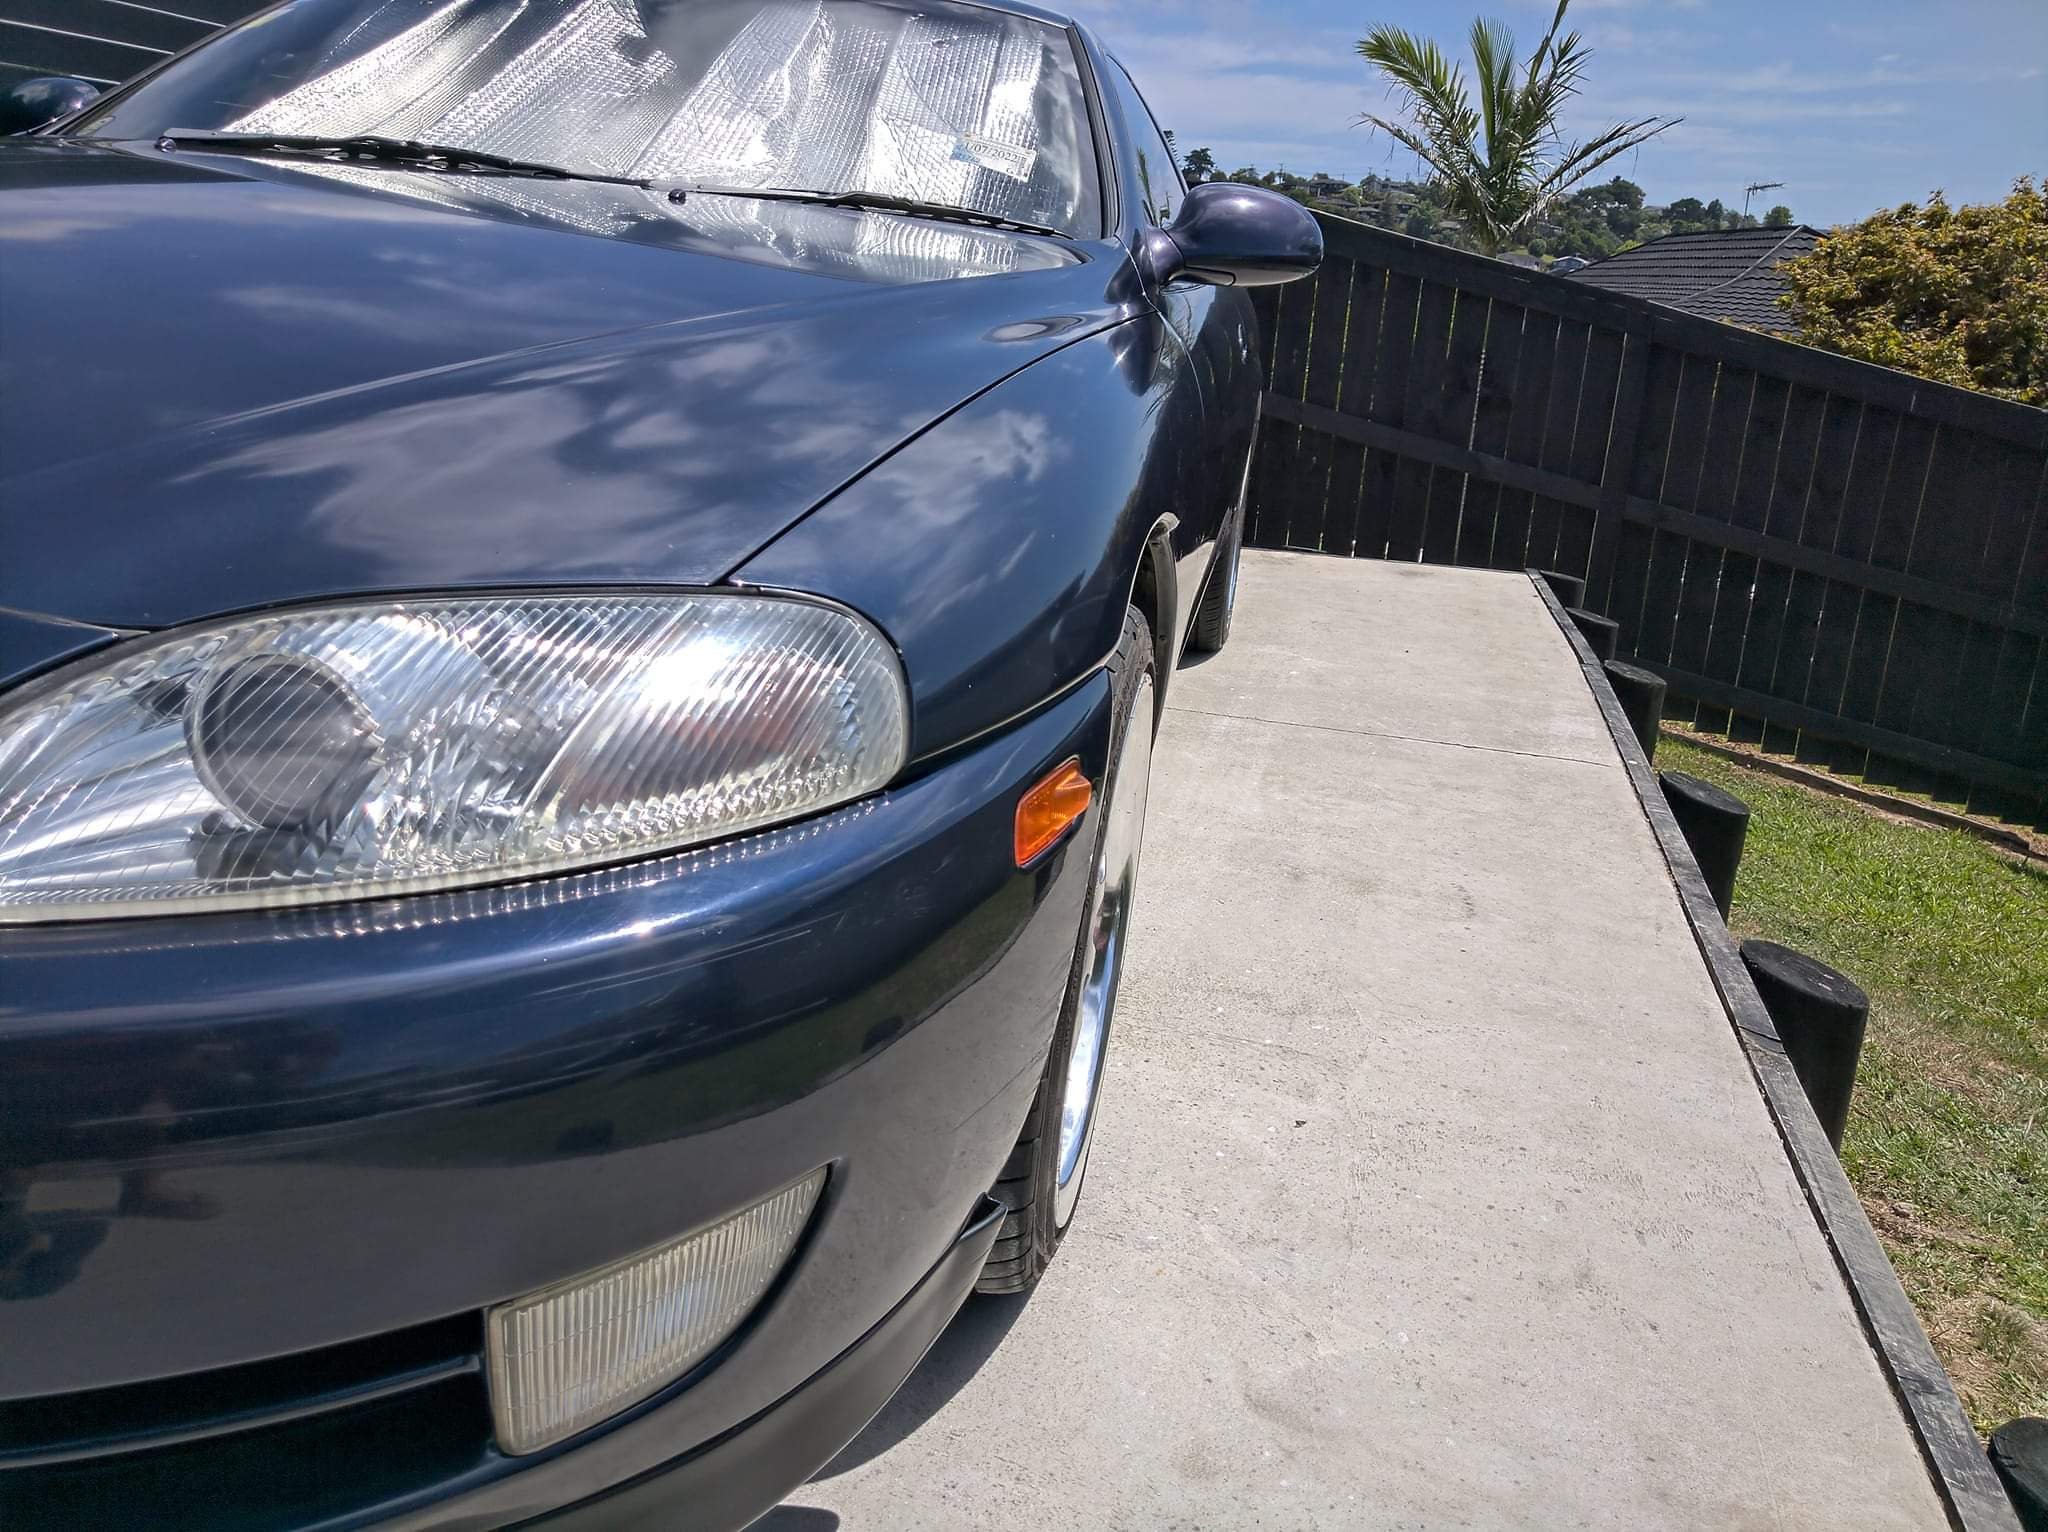
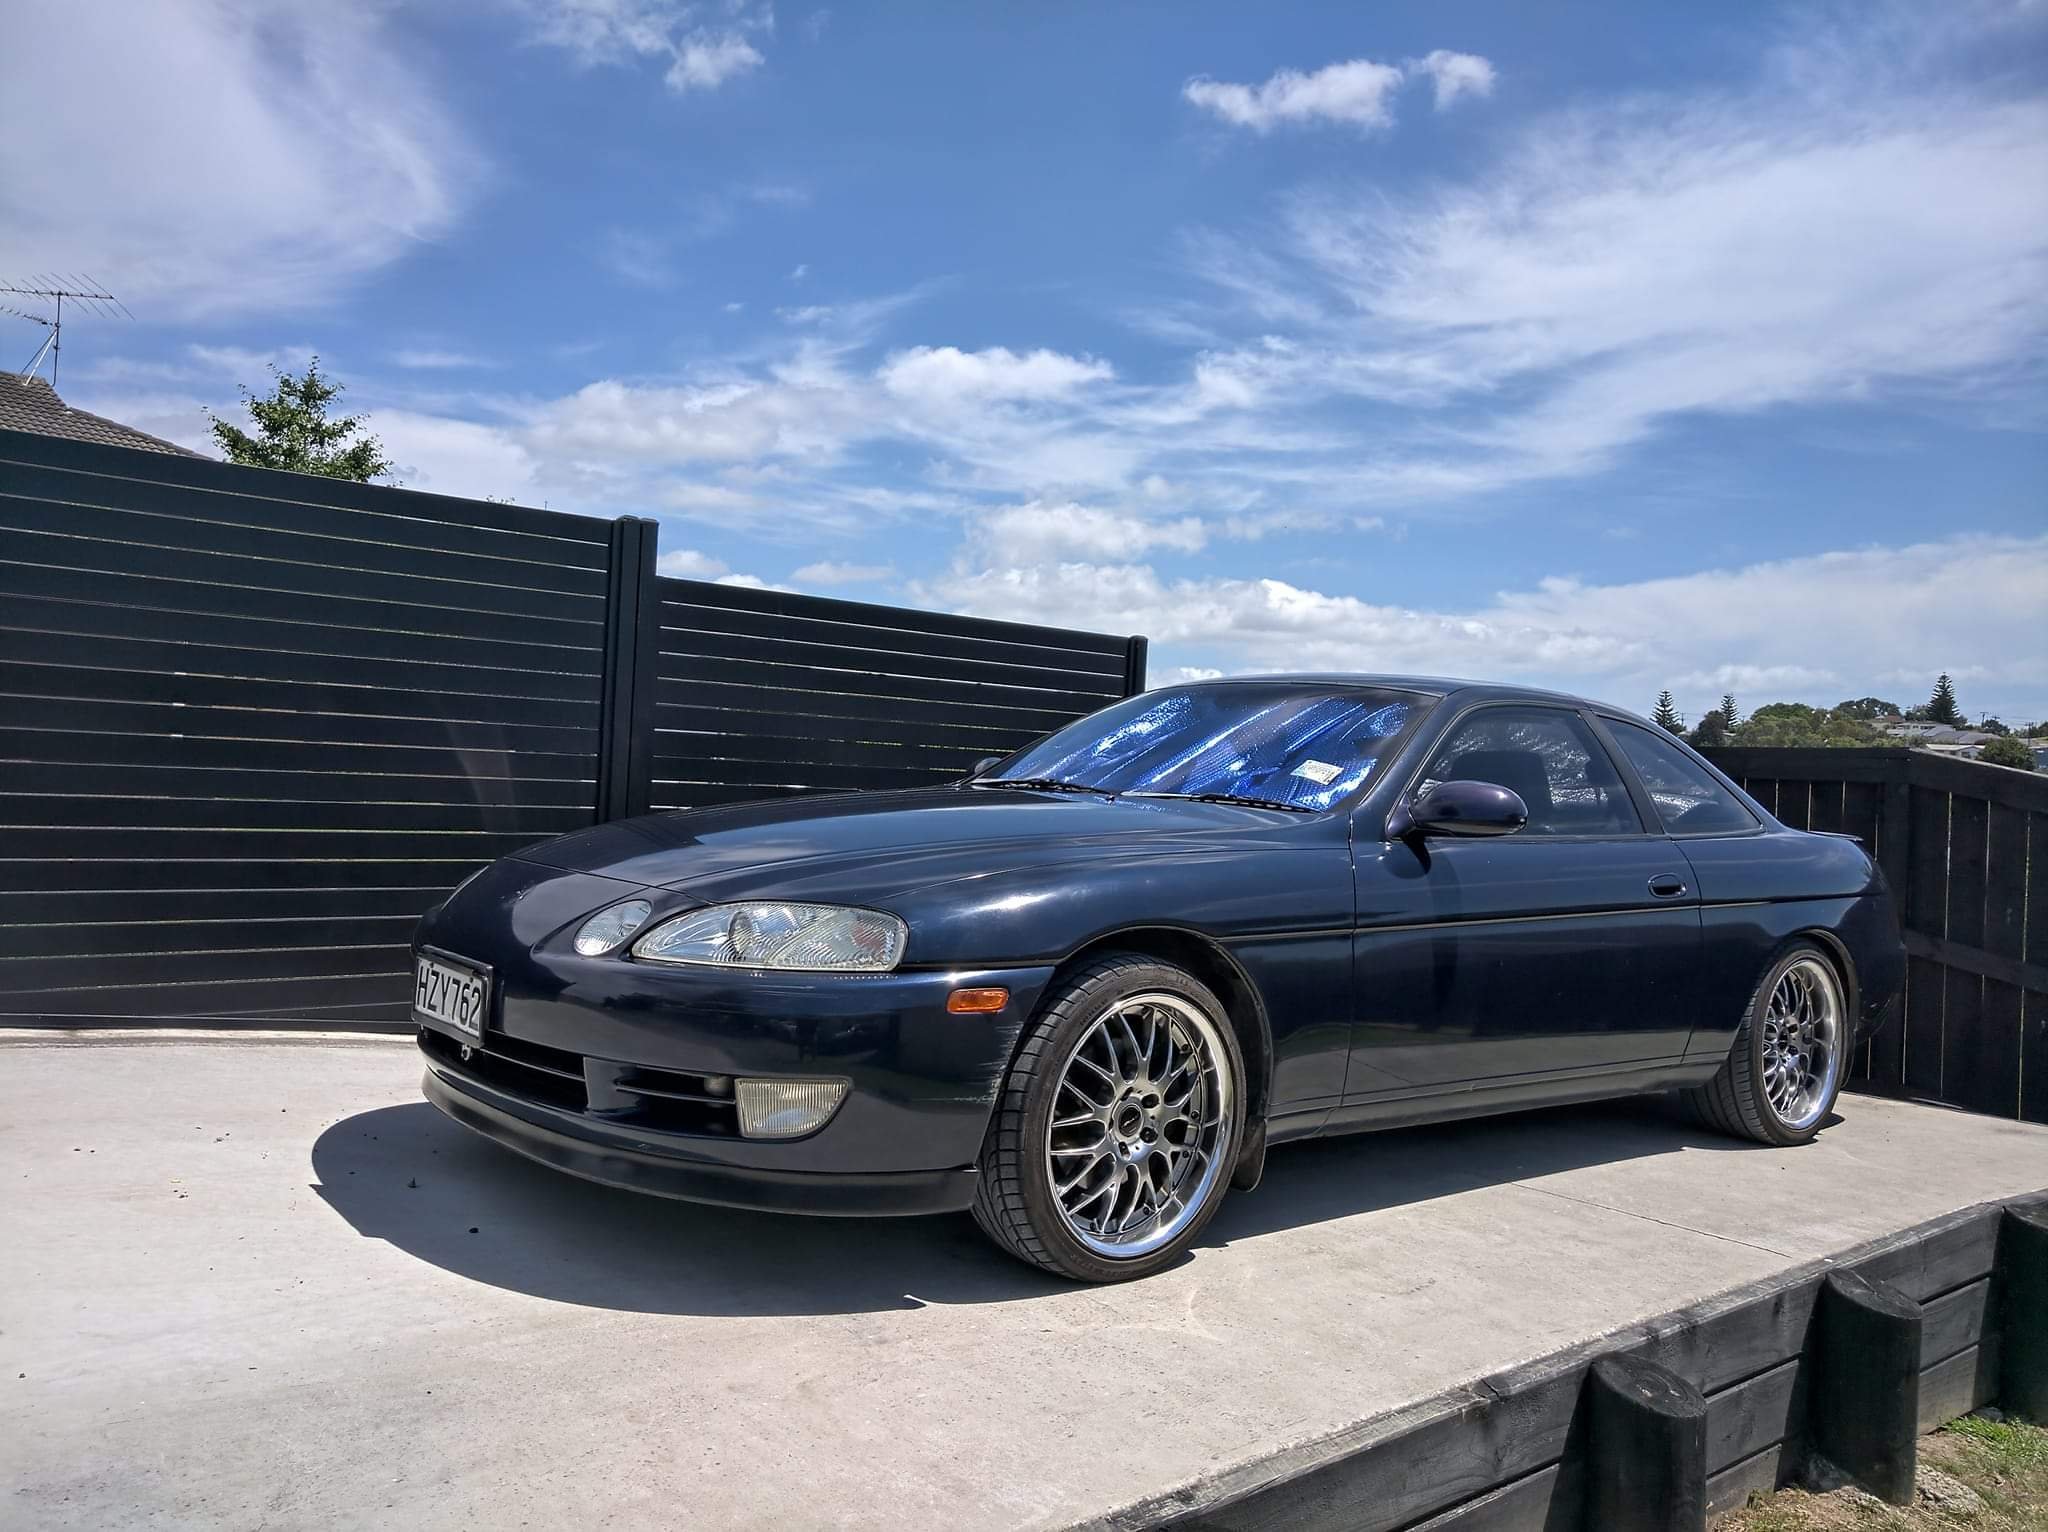
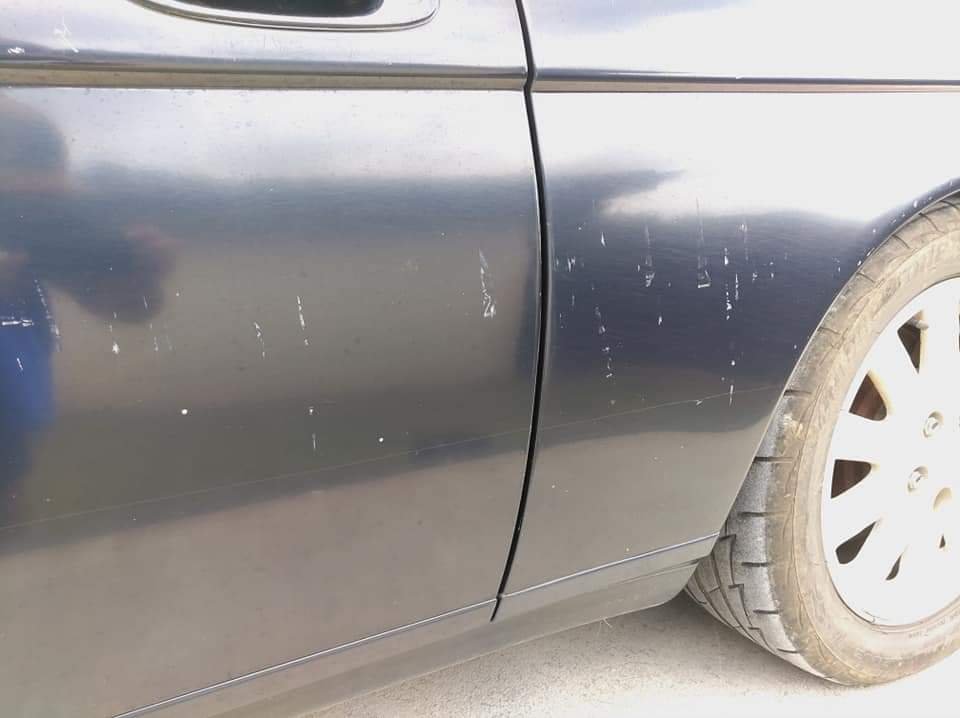
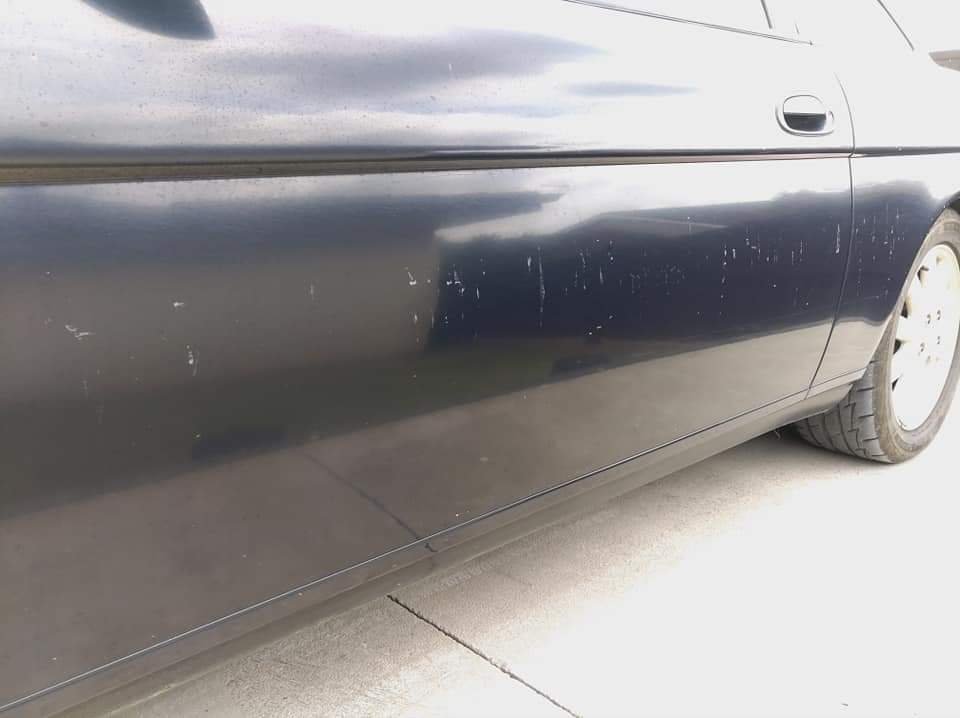
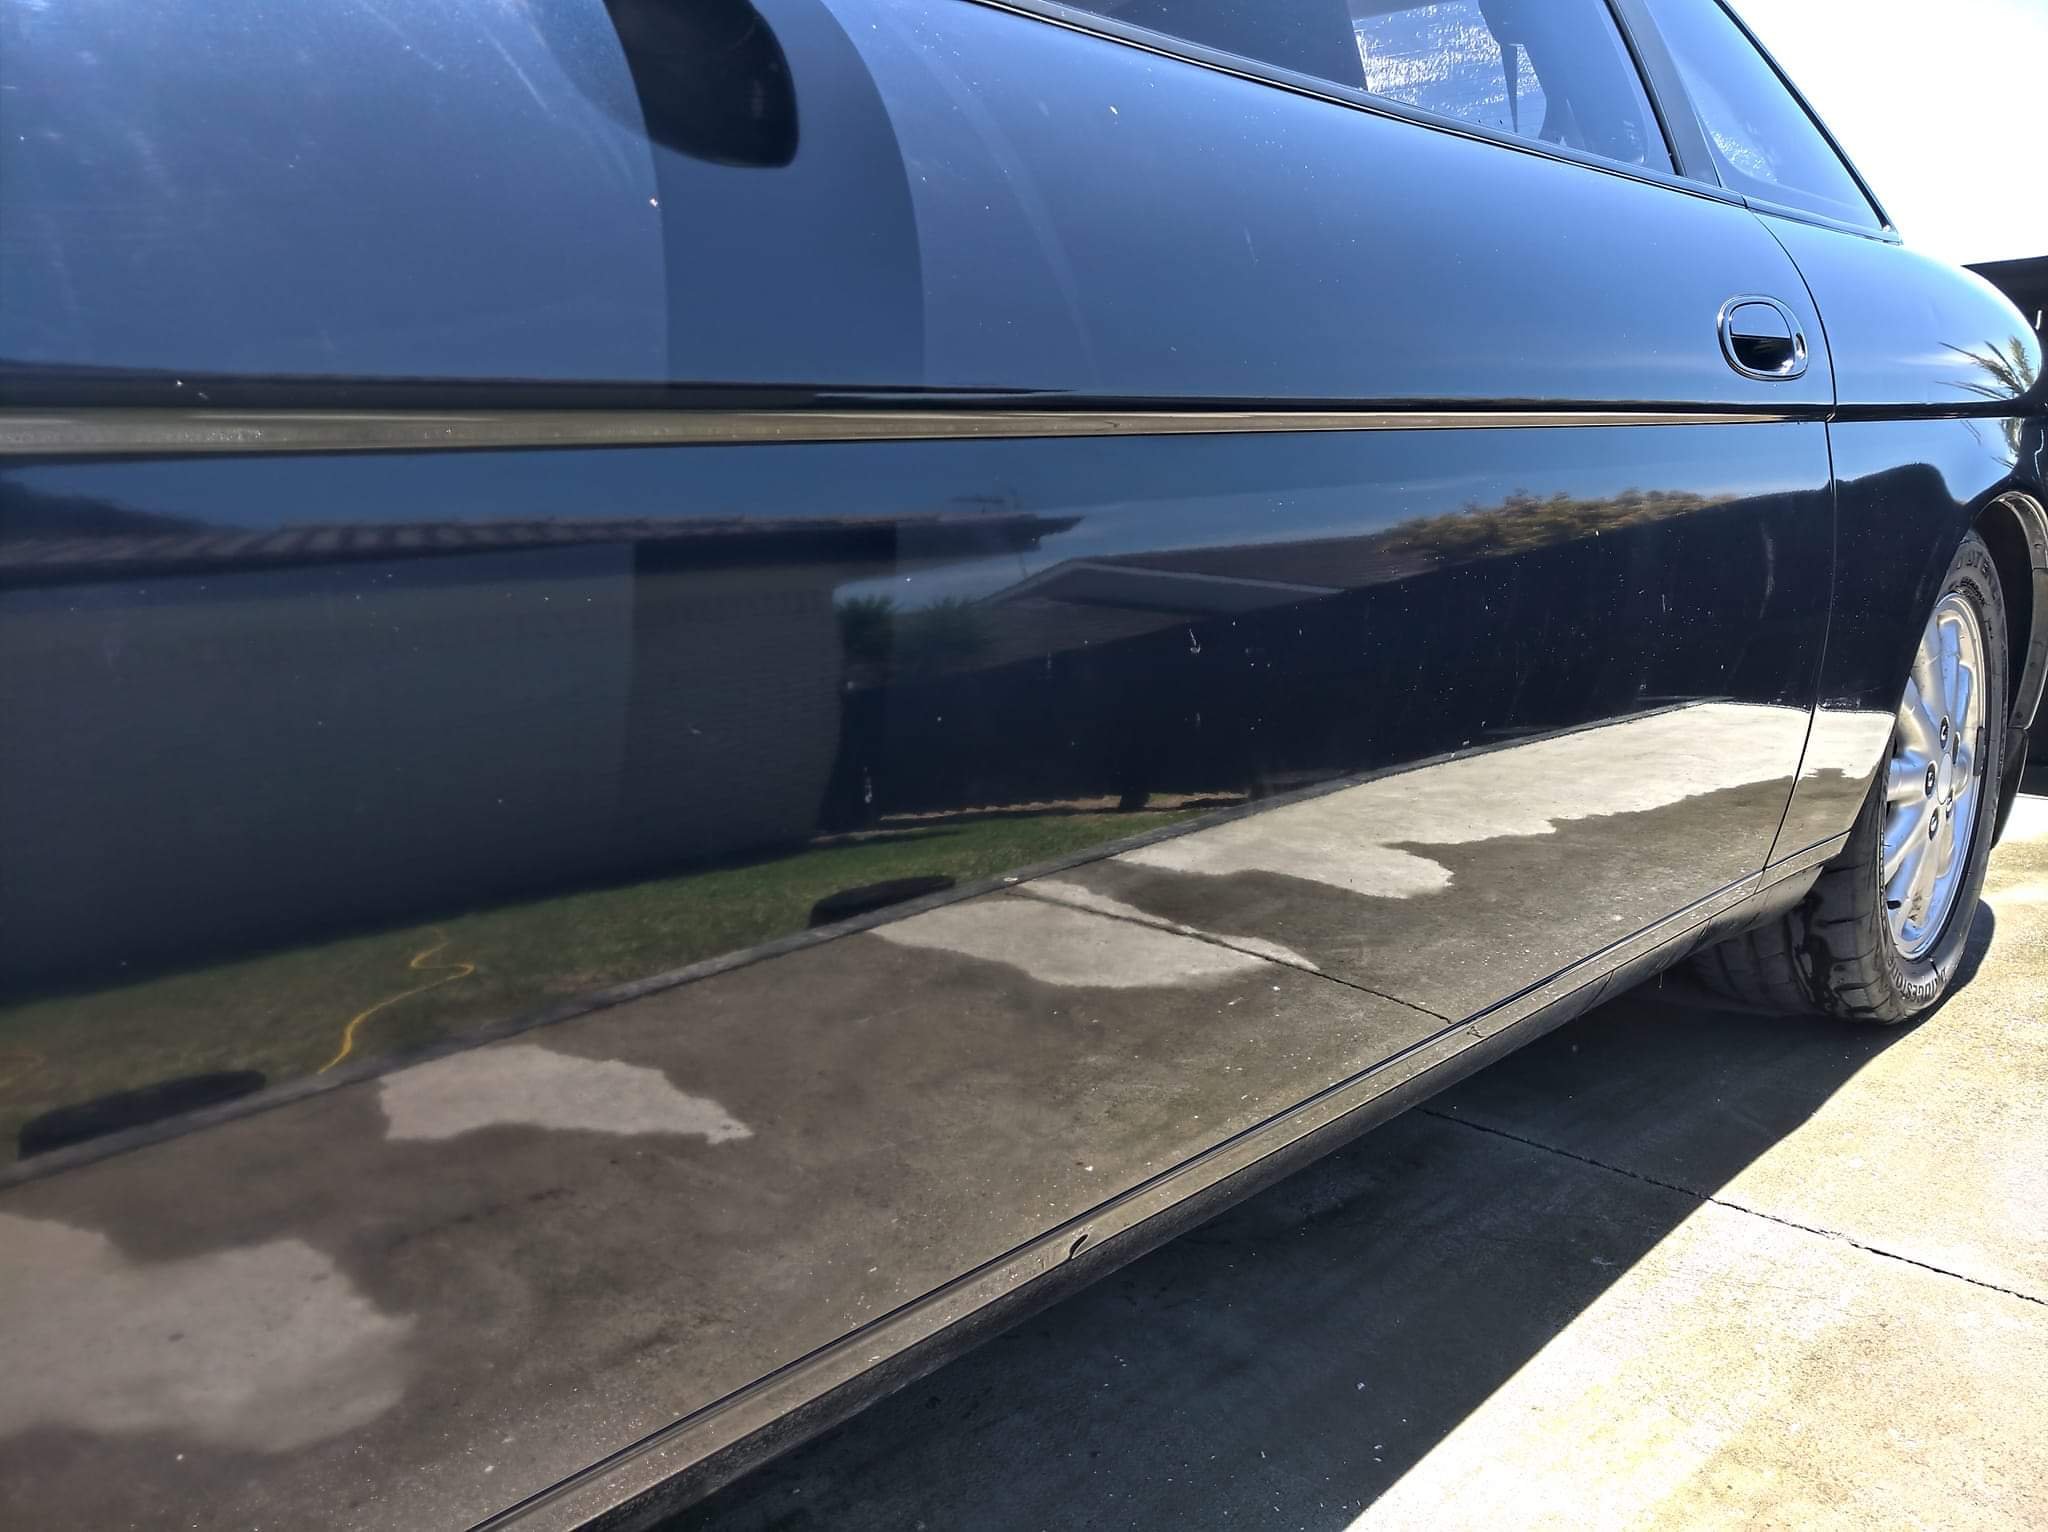
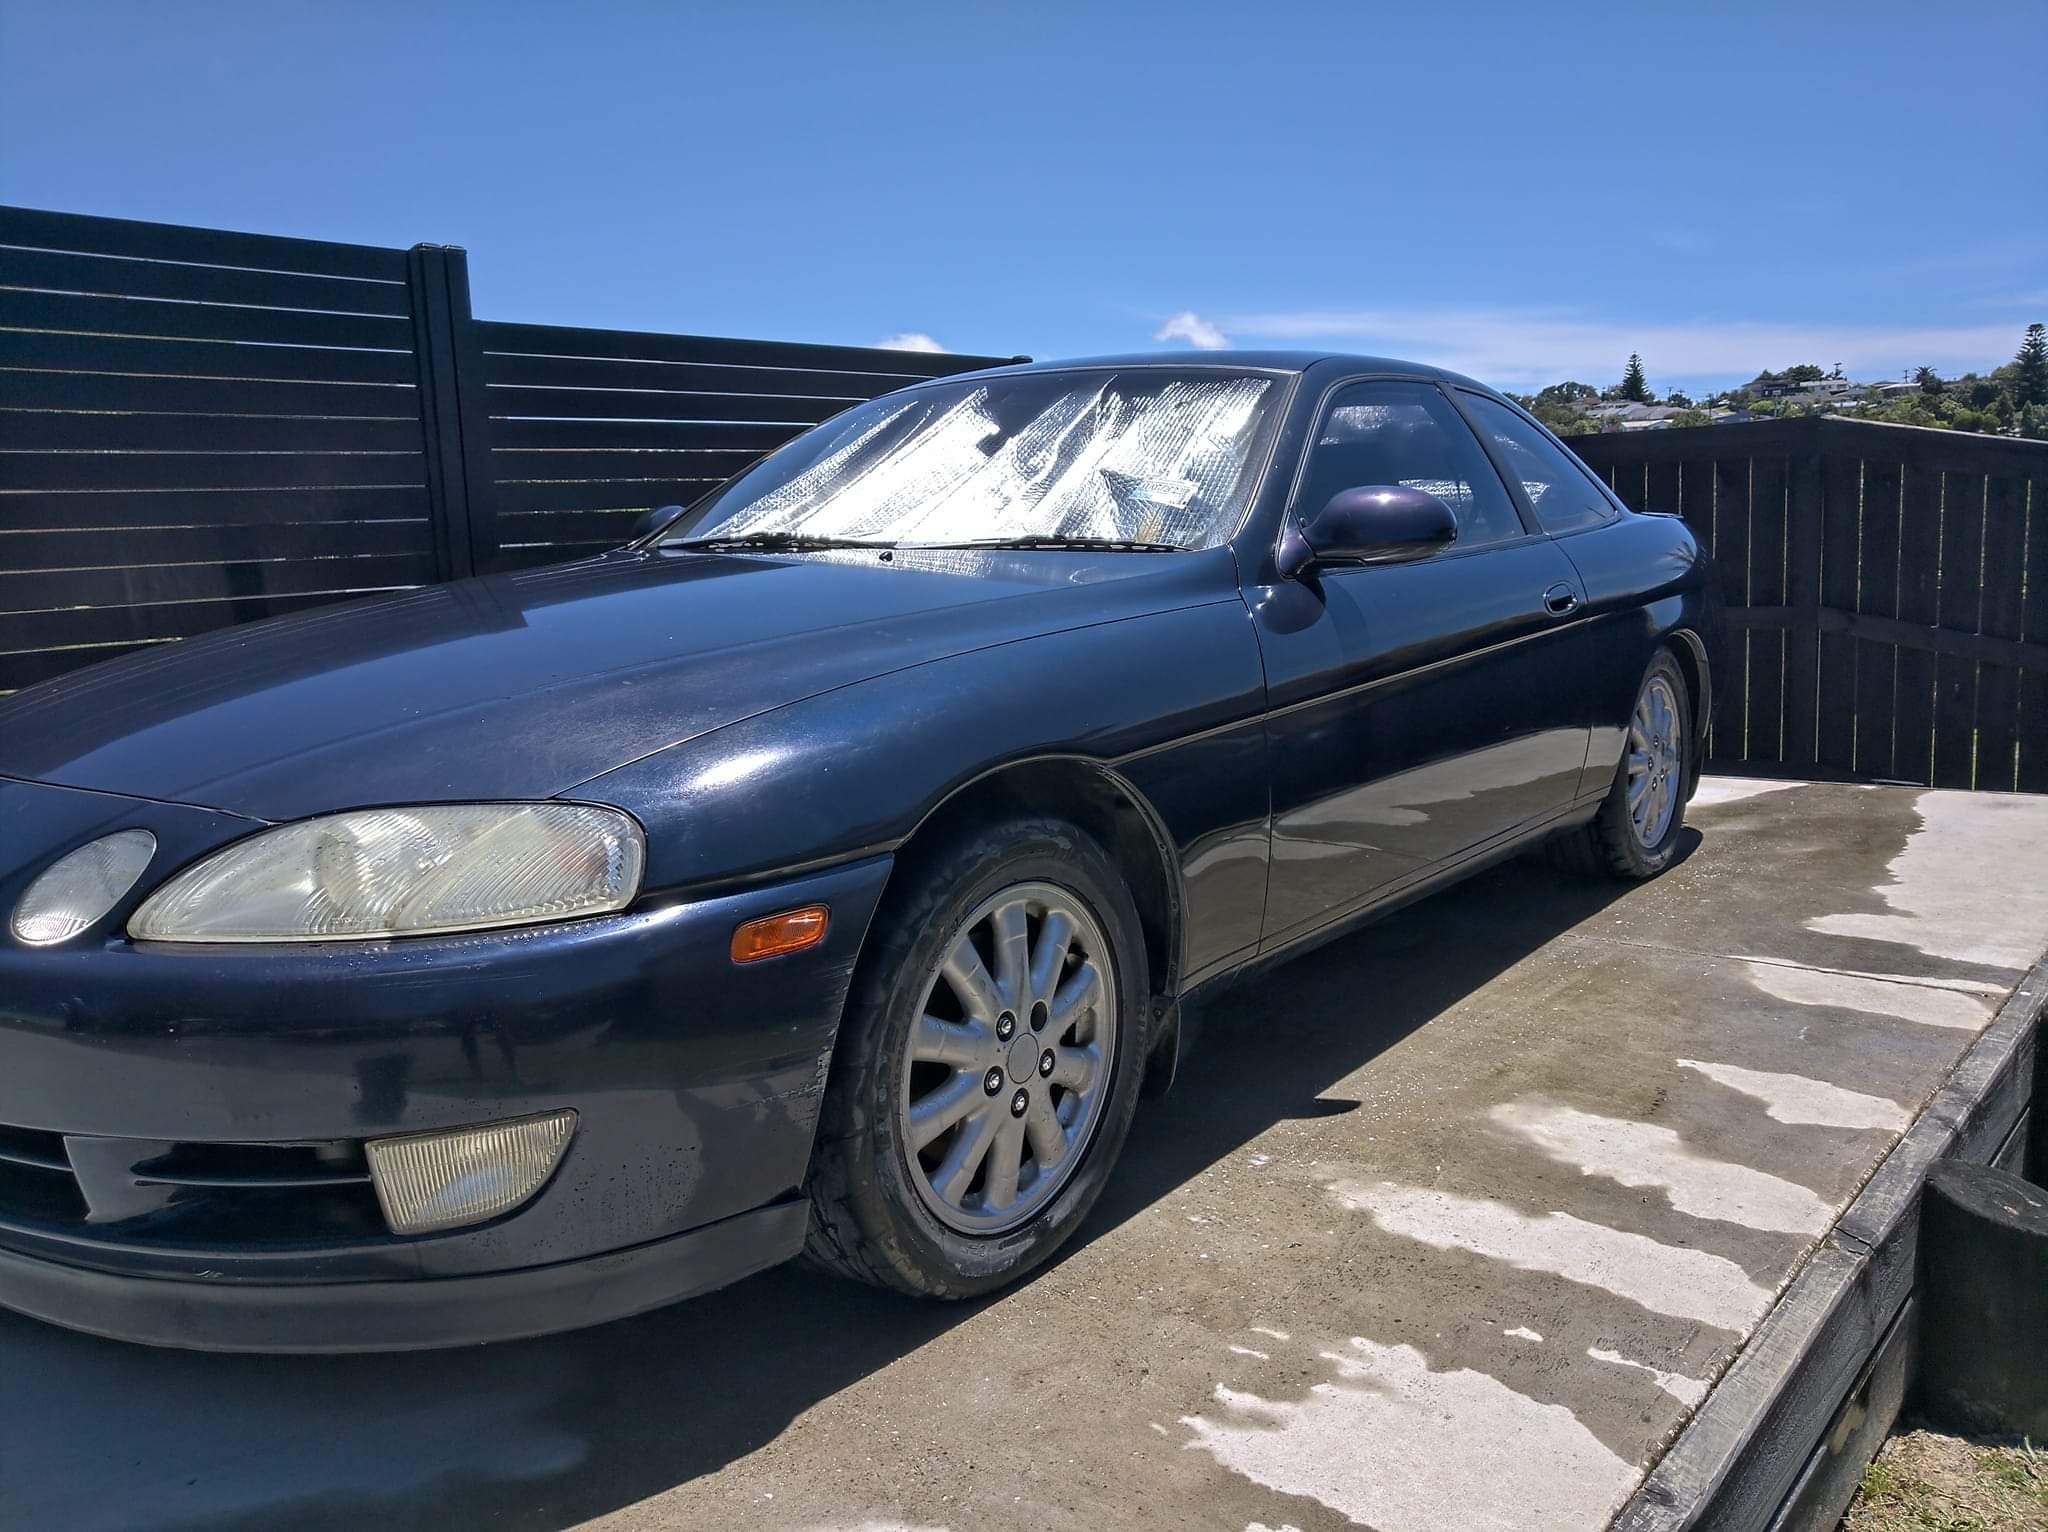
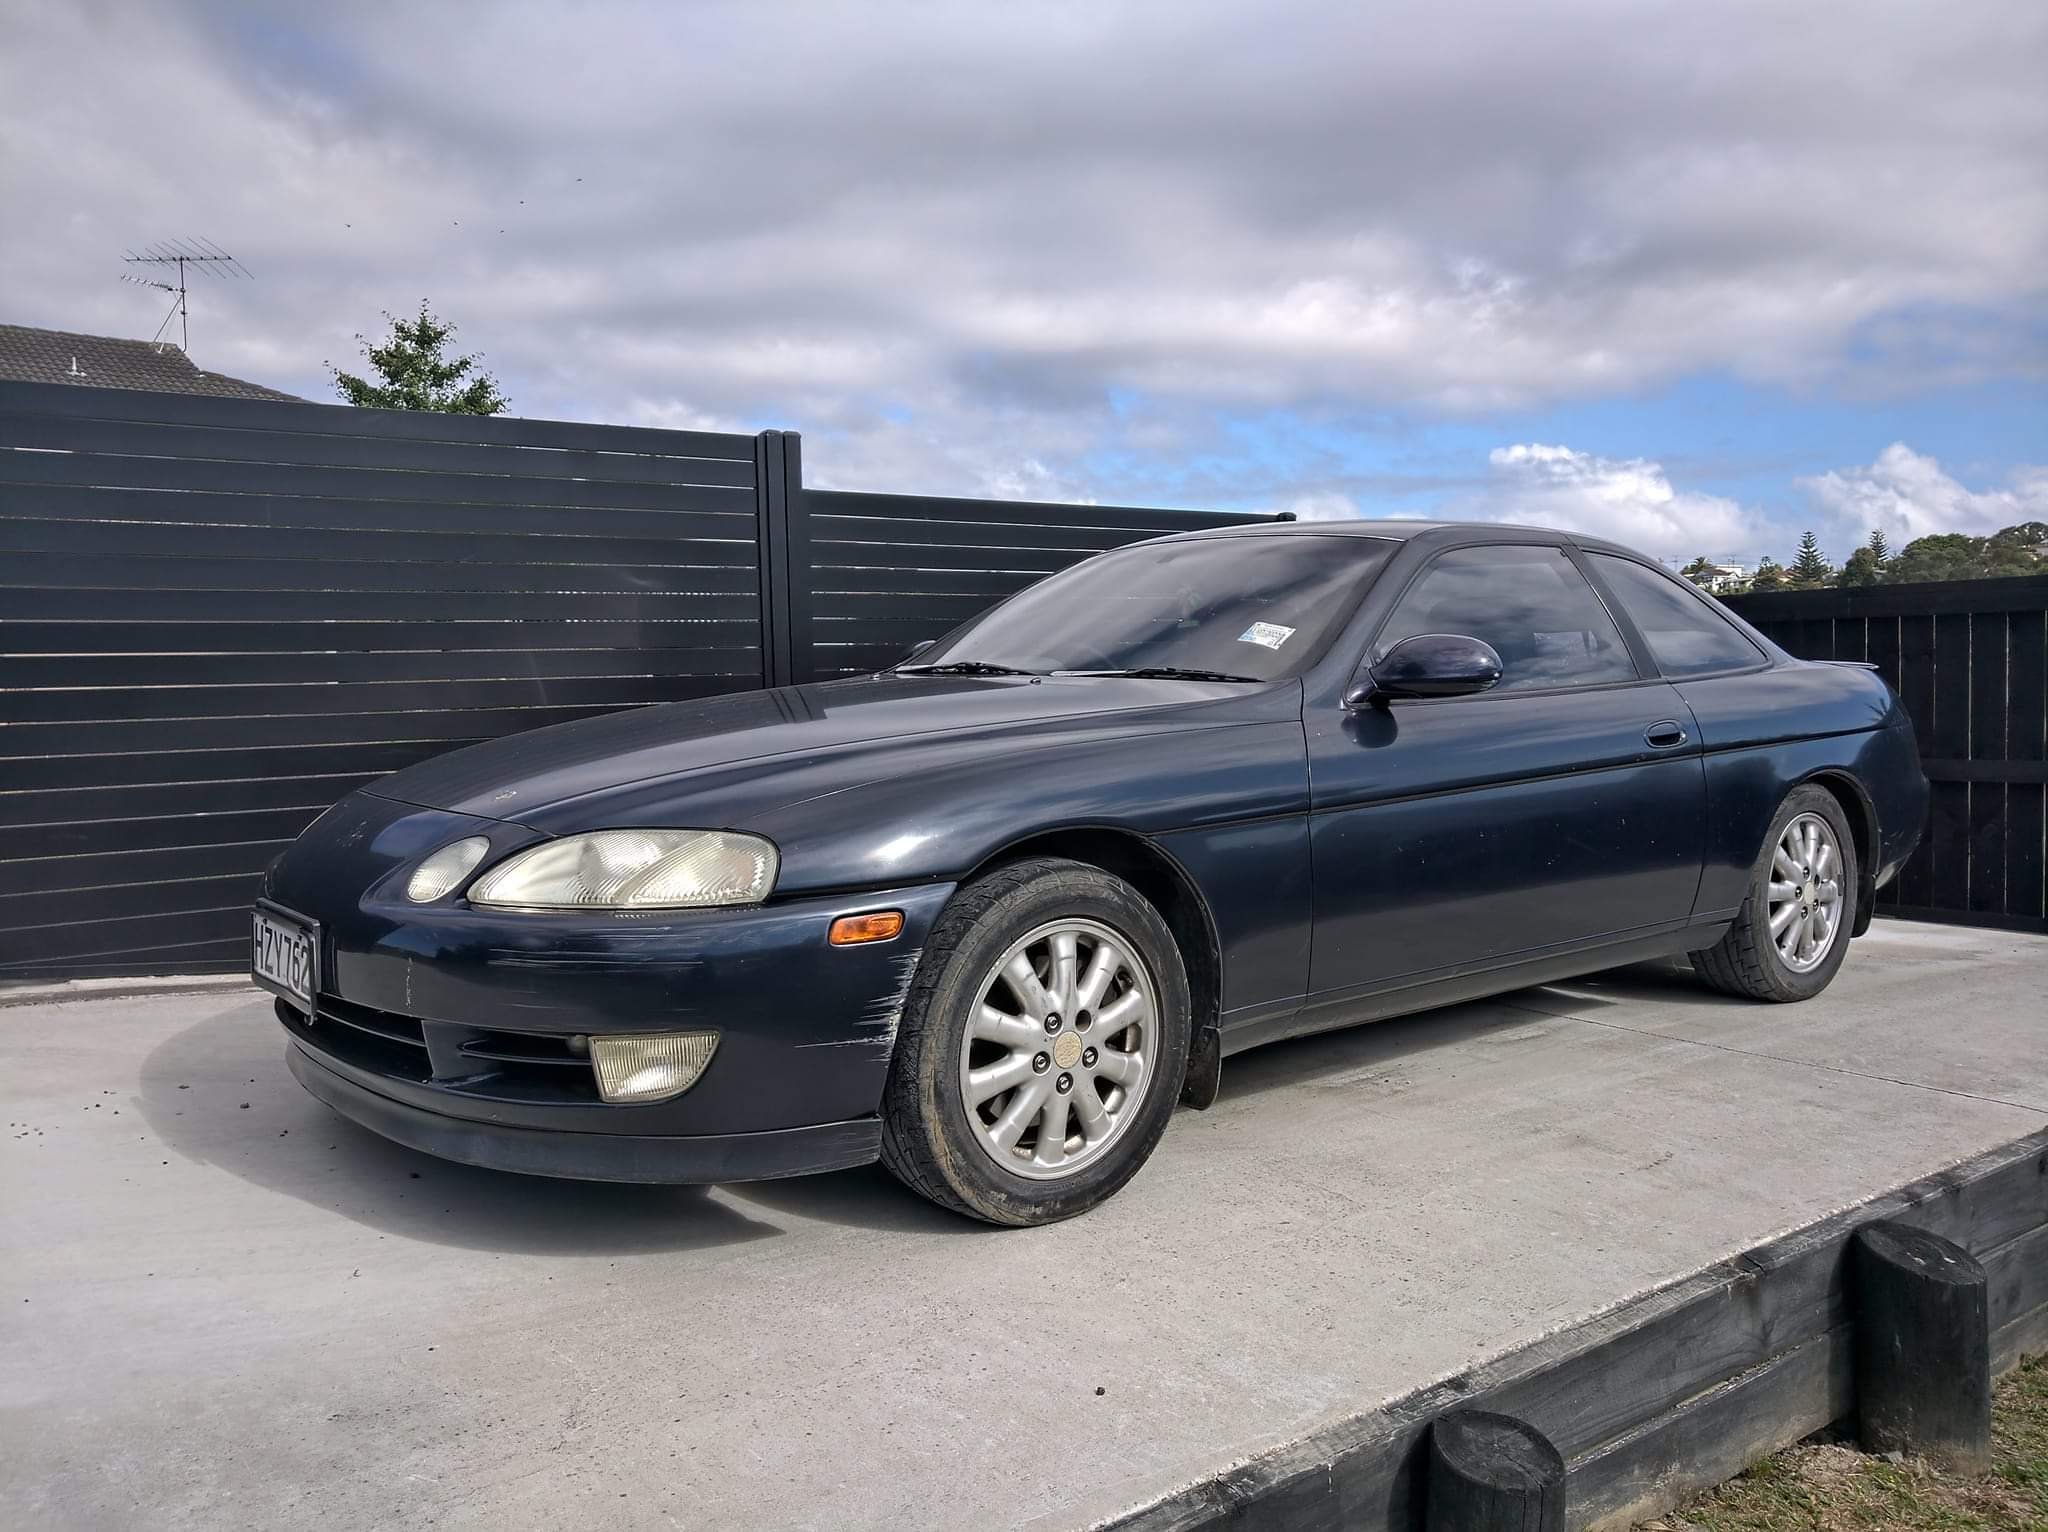
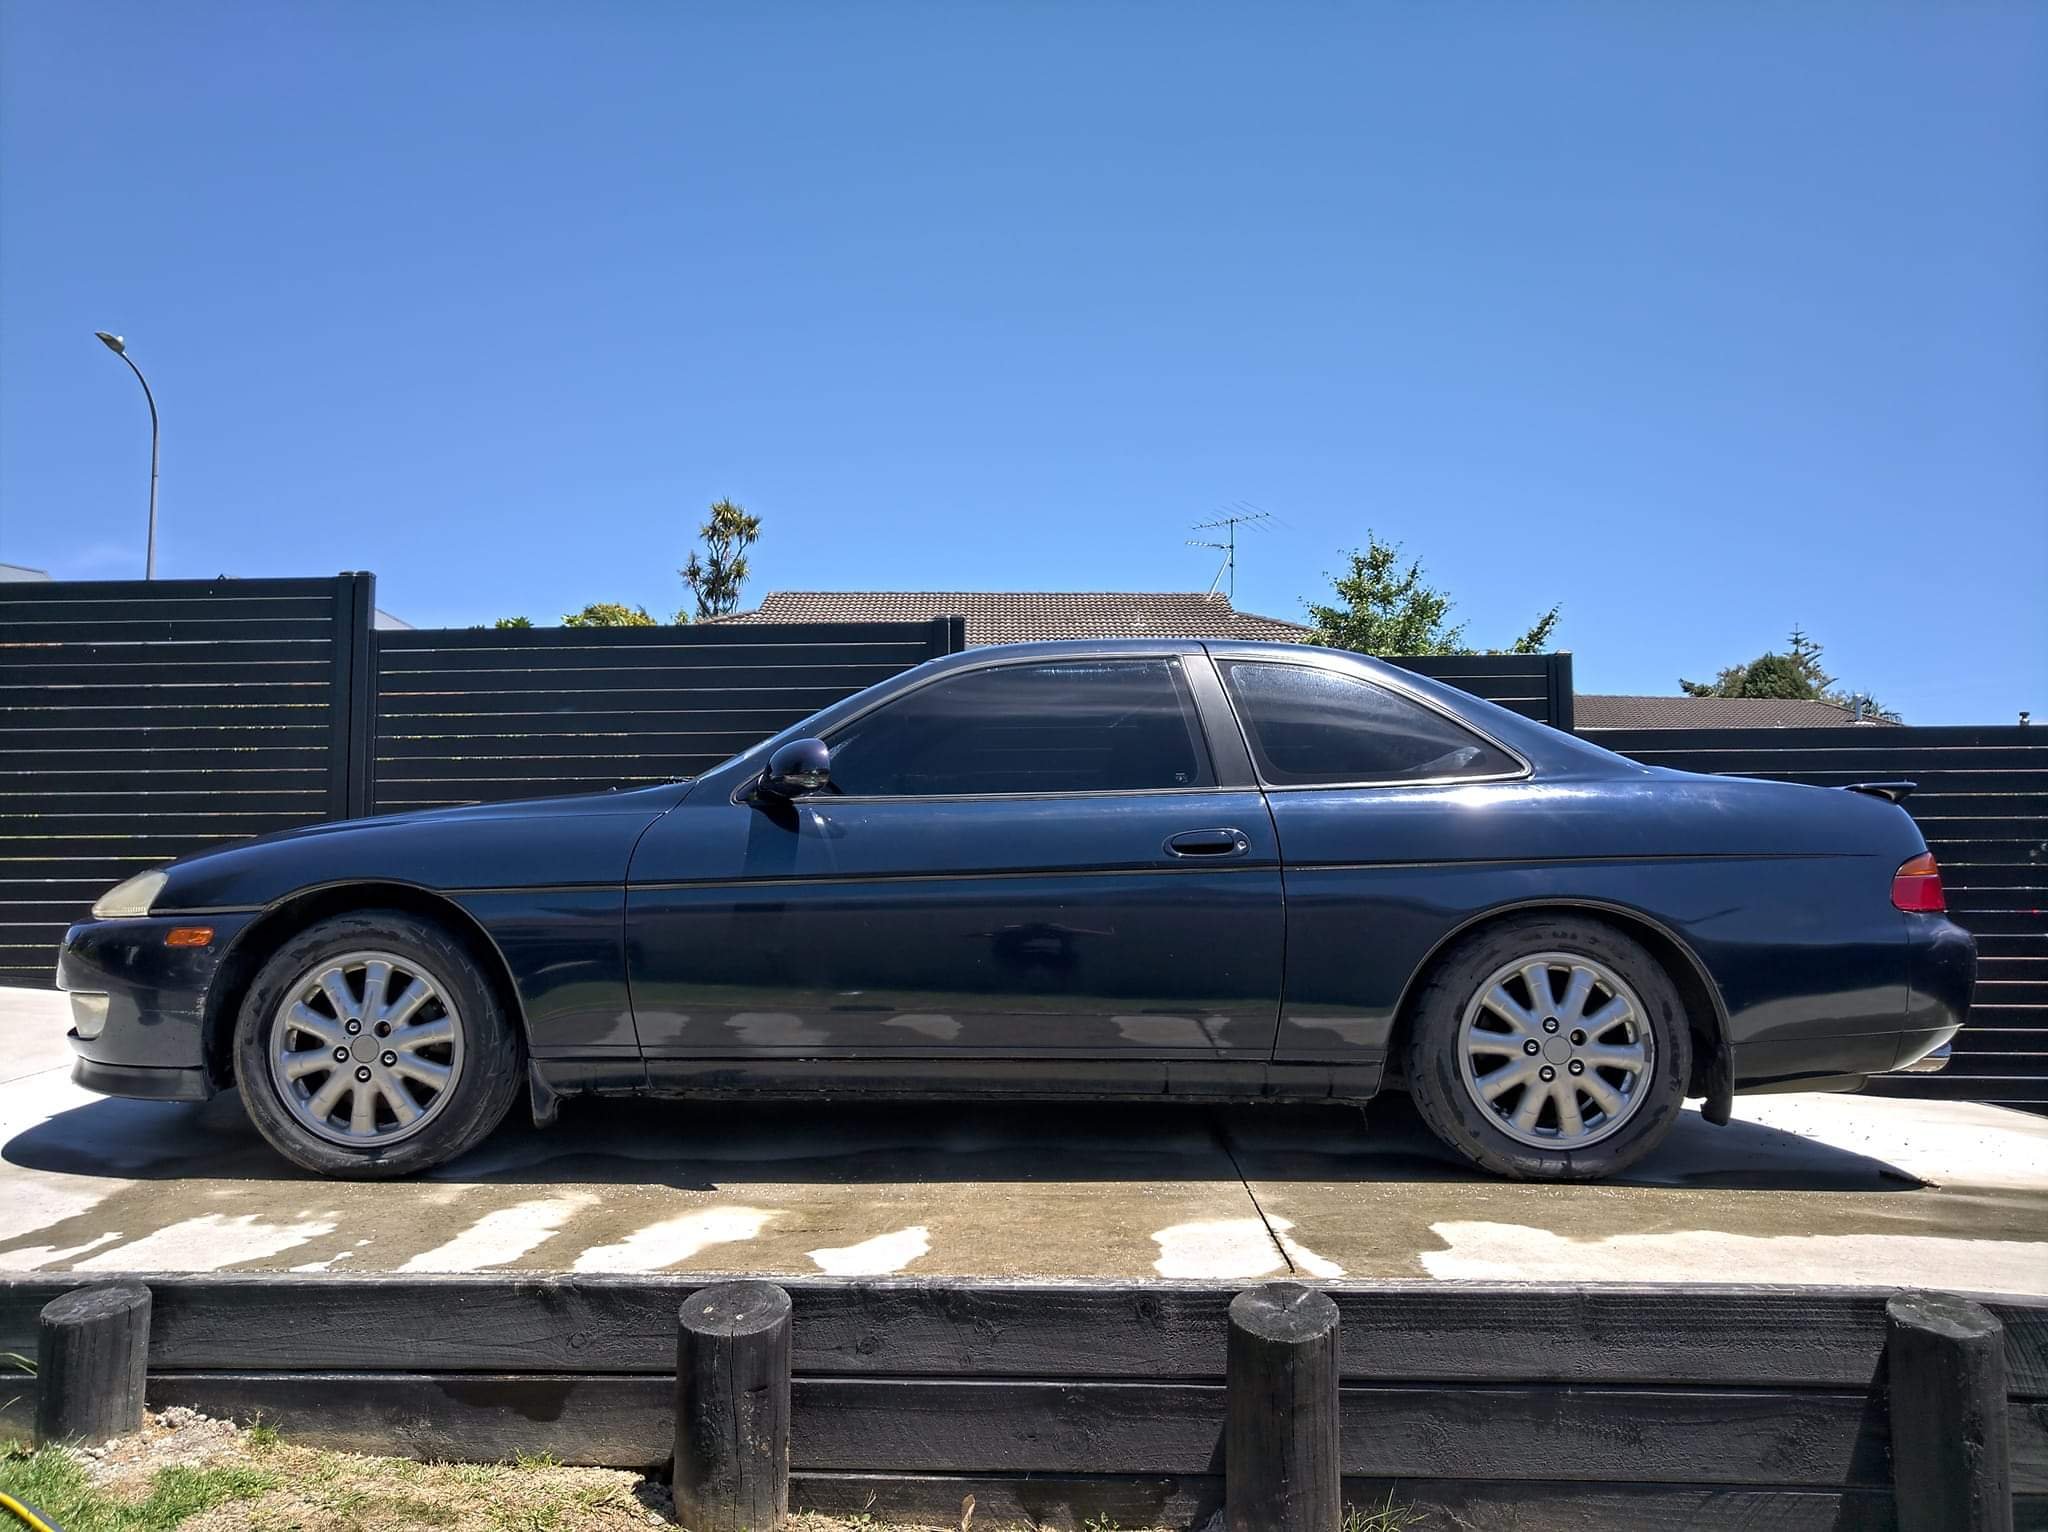
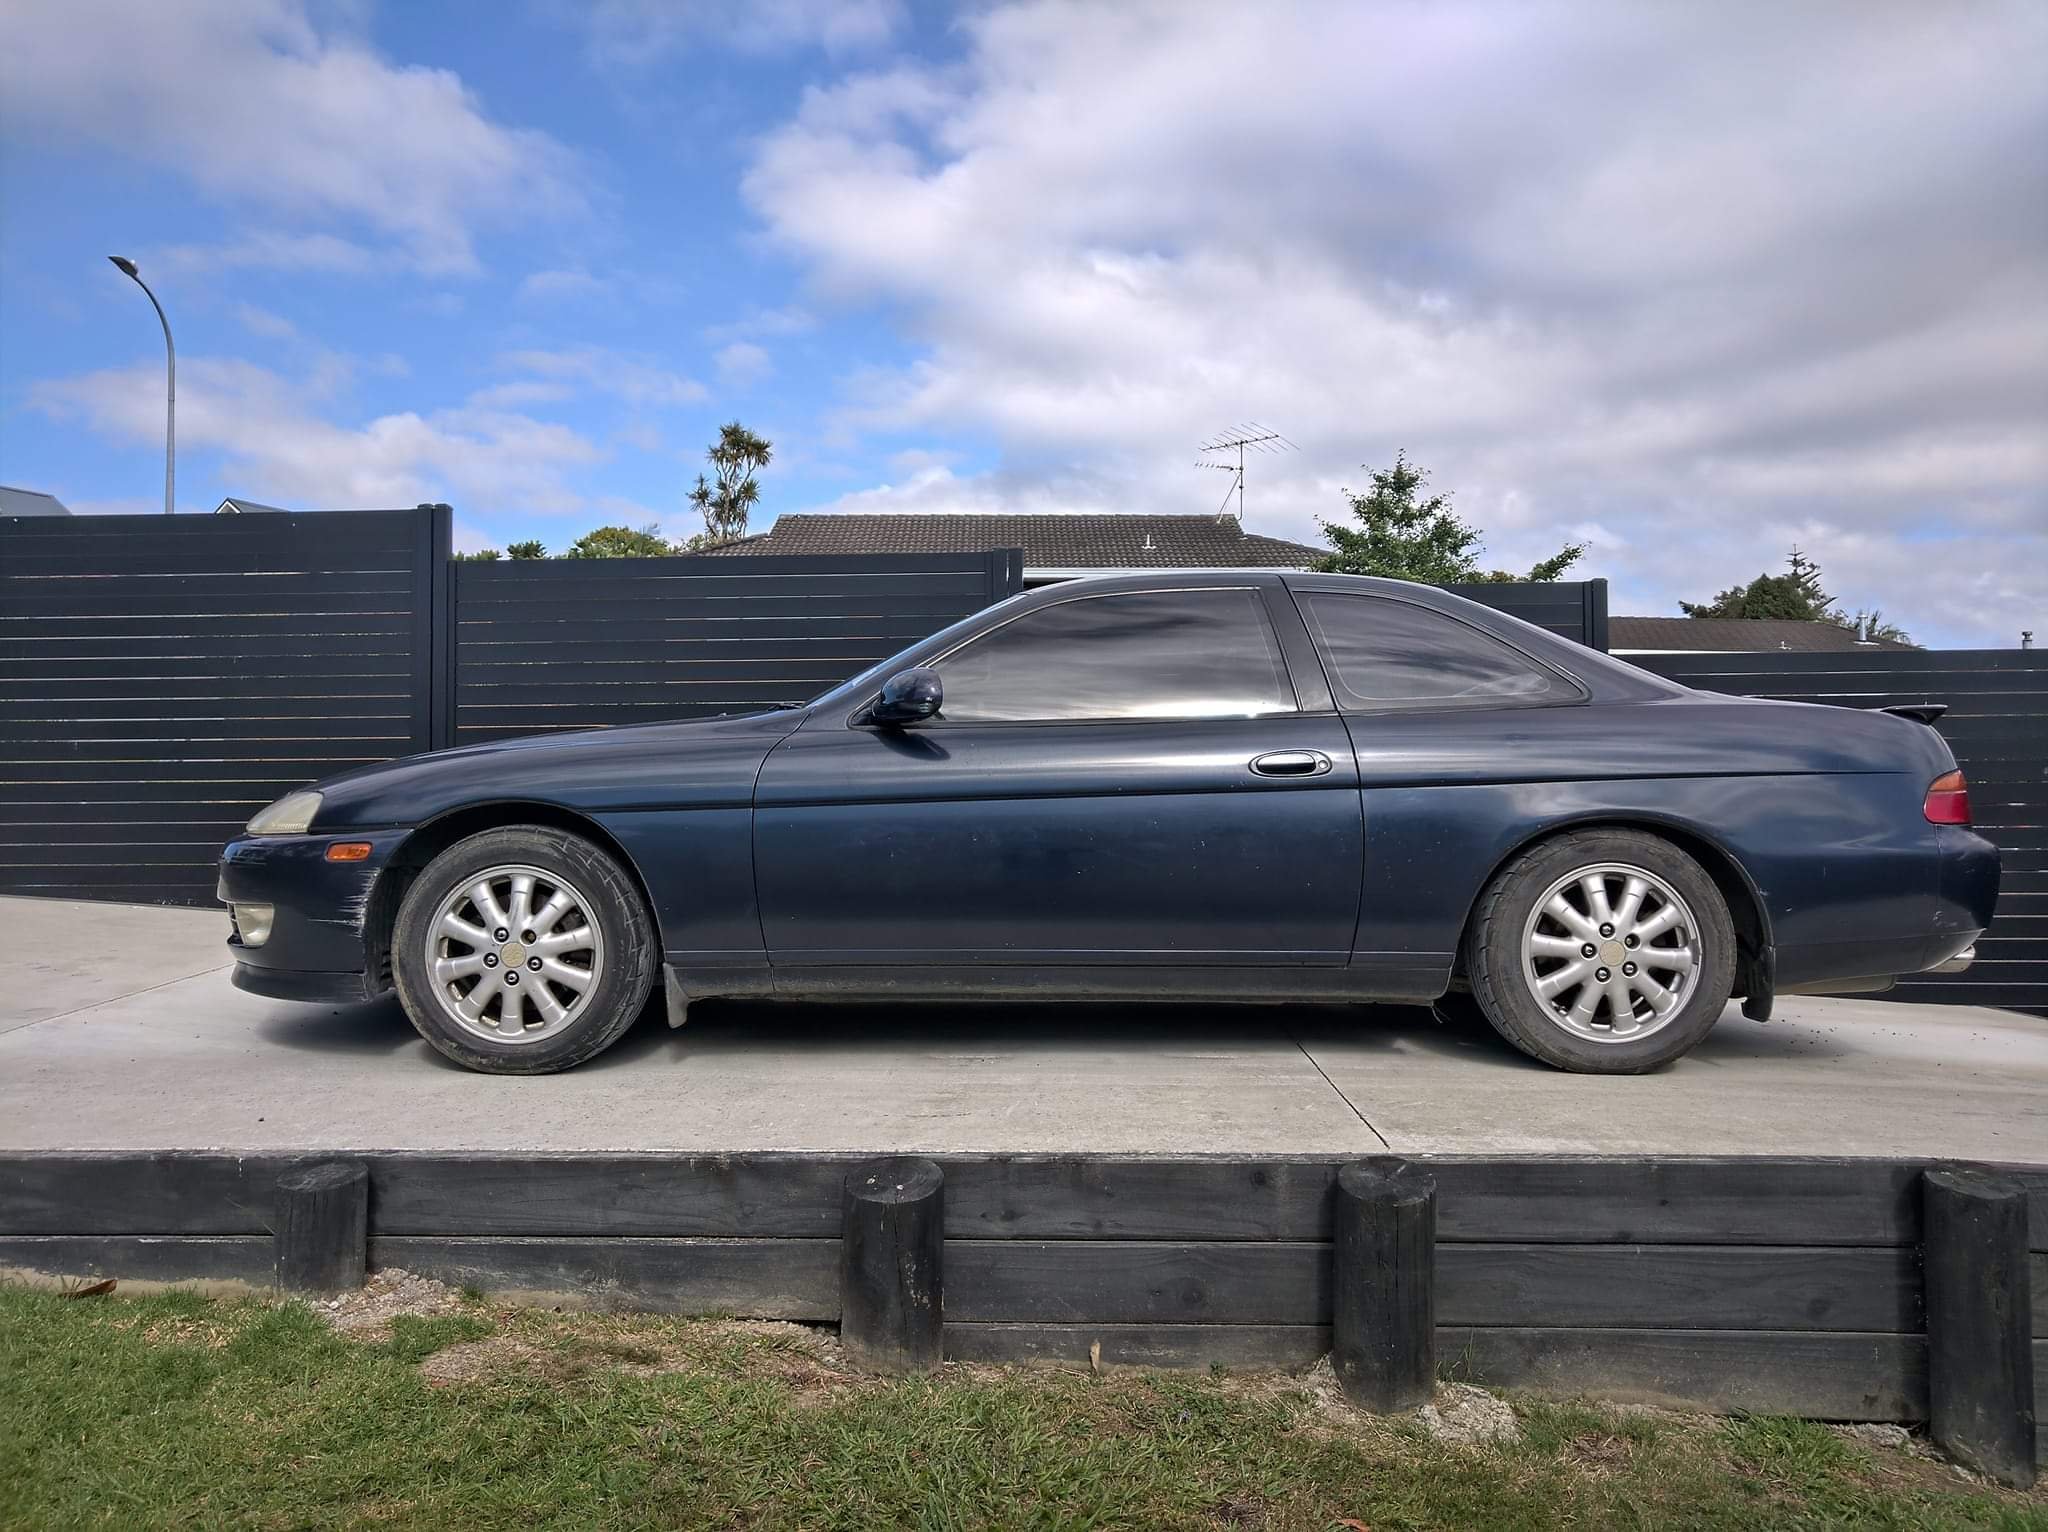
Had an amateur attempt at trying to cut this thing today. Spent about 2 hours giving it a quick clean and had a go on the buffer. Ran an El cheapo crc heavy cutting compound and then went over it with the meguiars scratchx. I only had enough time to do the left side of the vehicle - probably a piss poor effort but fuck me it's a boring task and stupidly hot today. Couldn't get anymore time though as I've recently had a baby so time is slim at the moment. Will see how we go tomorrow. Here's some results... didn't even realise it was a metallic navy blue haha thought it was just straight standard...
1 point
-
Time for a quality Christmas jigsaw! Need to find the corner pieces... Actually I think I'd prefer they stay inside the motor ;-).
1 point
-
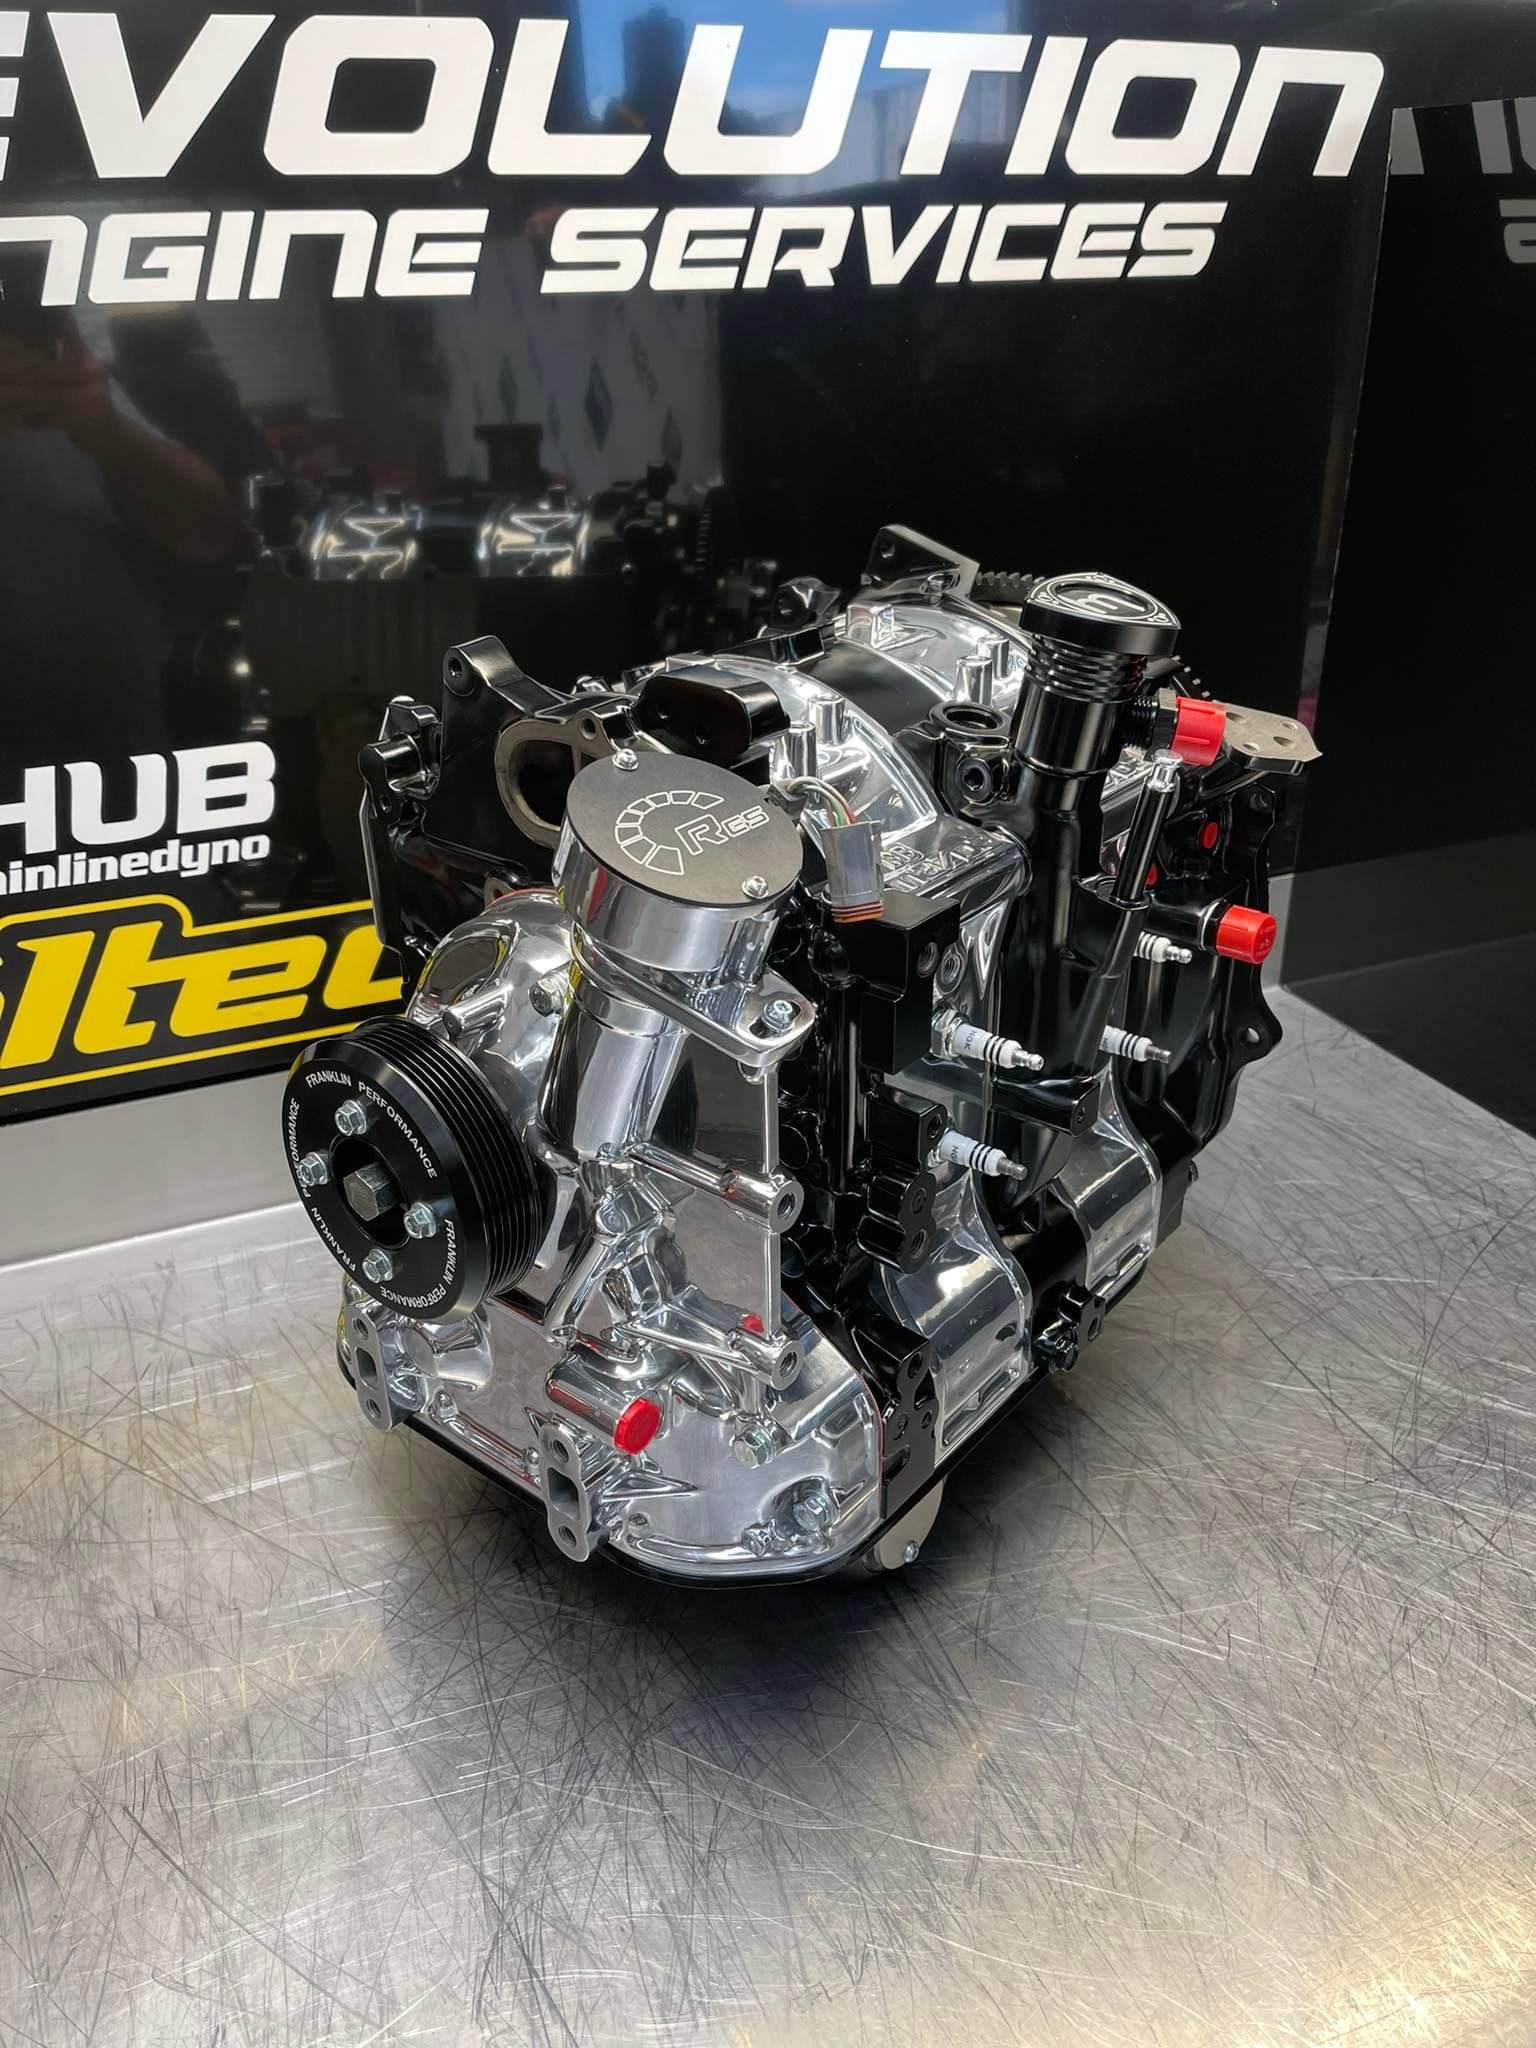
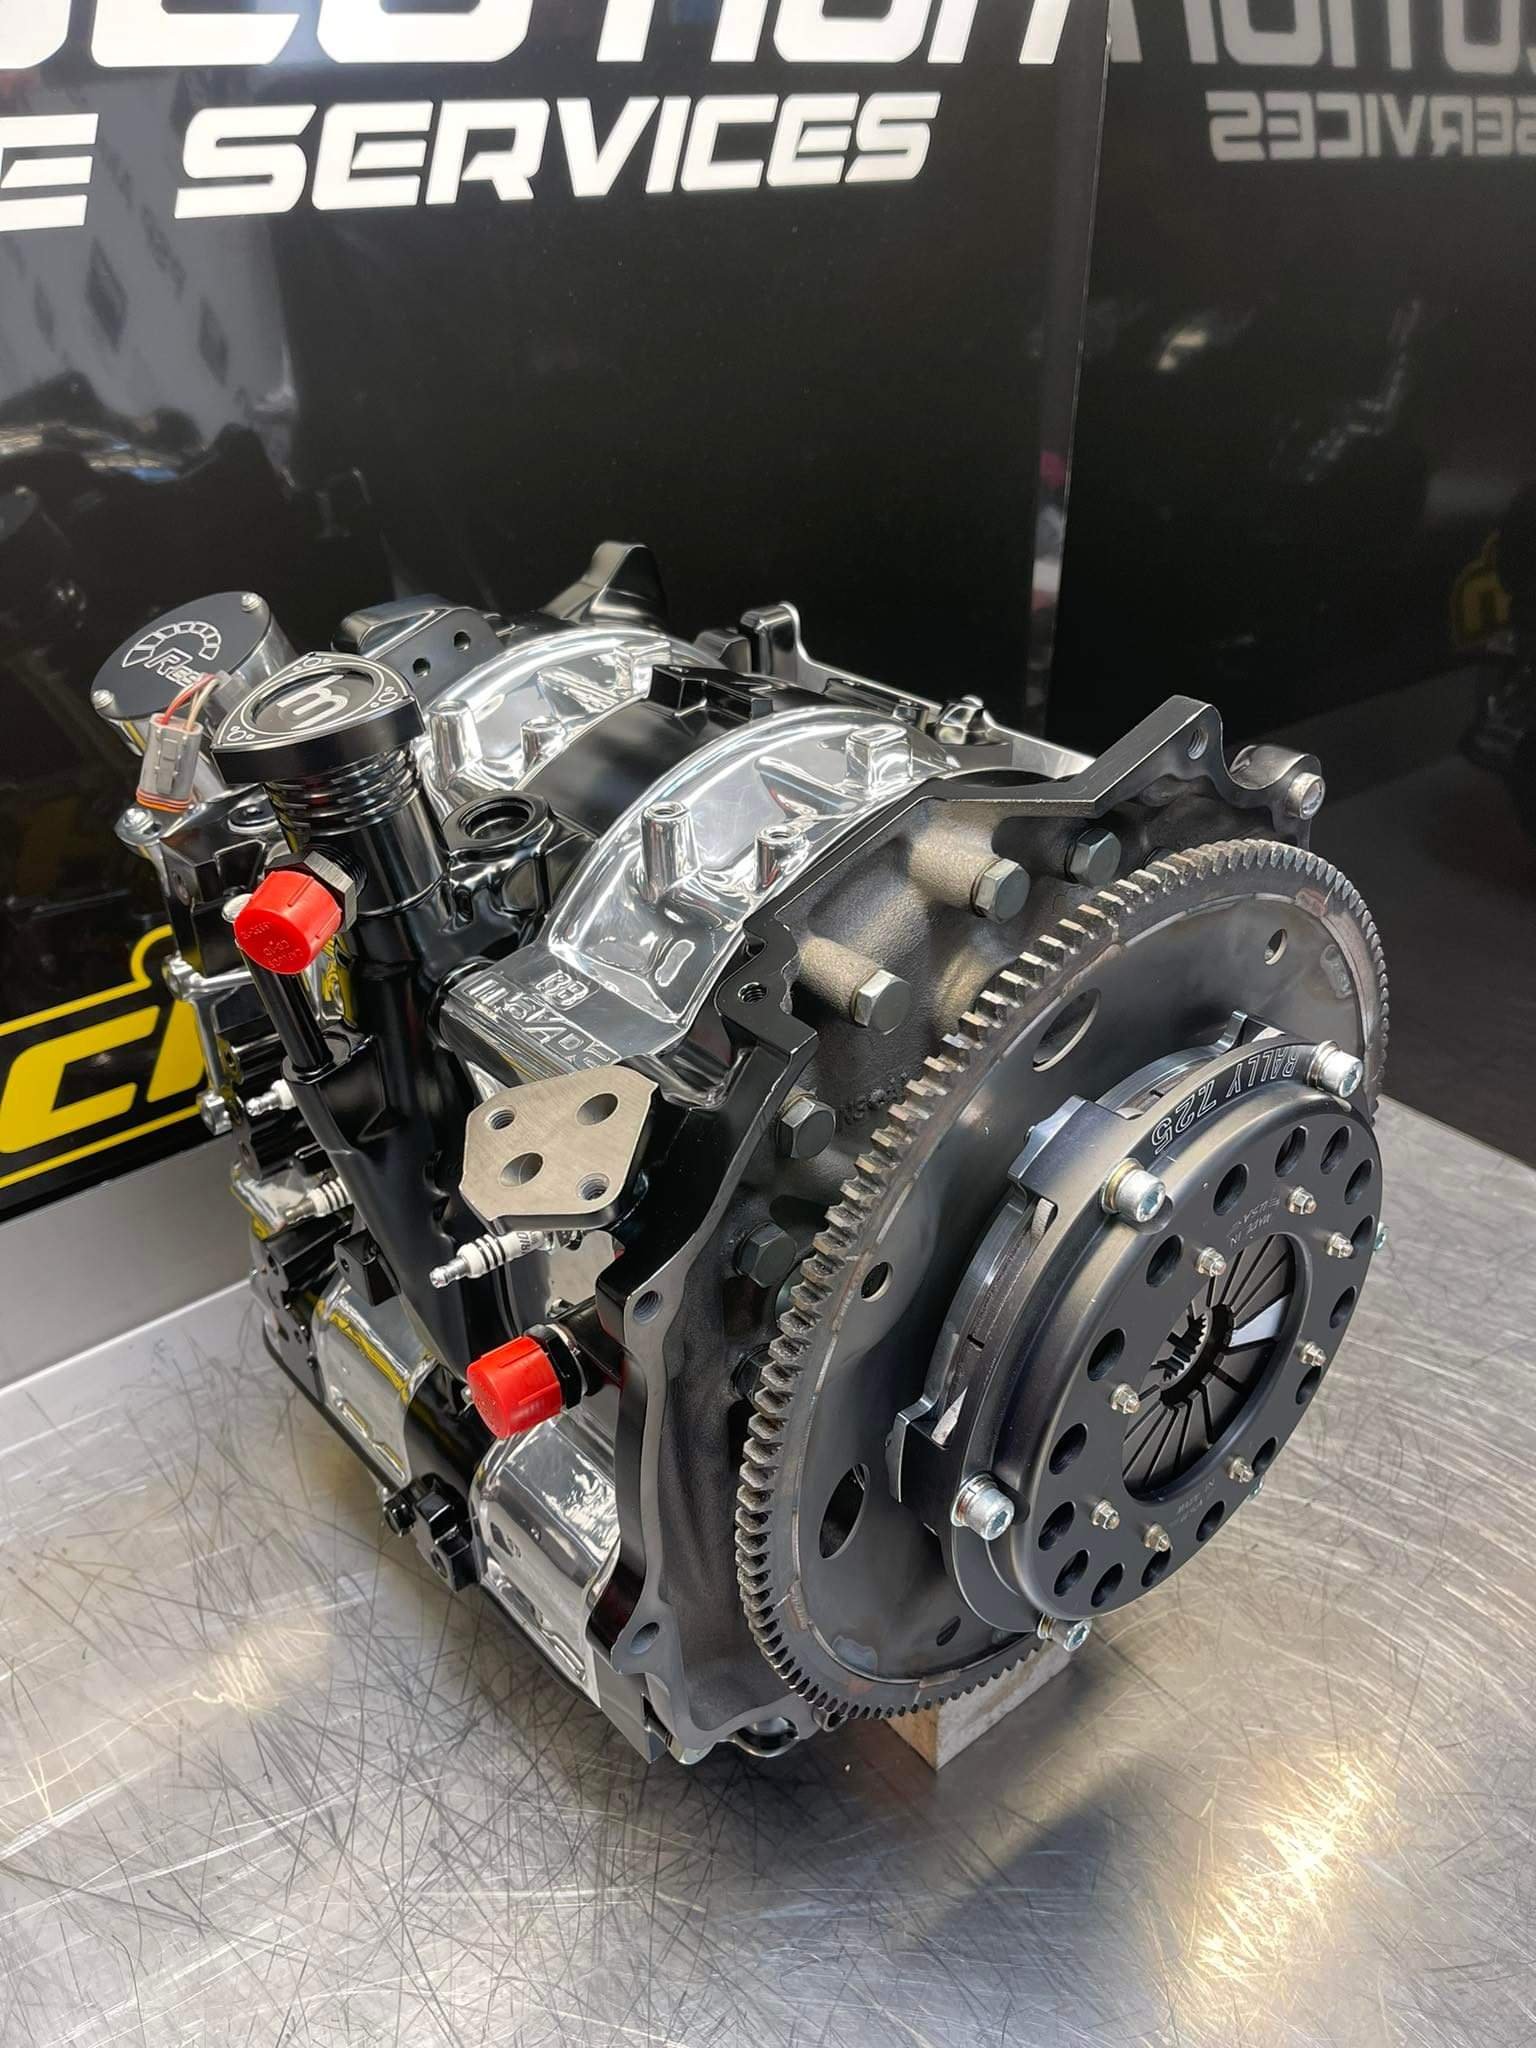
All happening this week. Got sent some pics last night from Mark at Revolution Engine Services of the new block all together. 13B PP all brand new bits, franklin engineering bolt on's, polishing by Toby Gollop and plates smoothed and painted by Tony. Pick it up this week, another big piece ticked off. Body is basically baremetalled now and we are throwing some epoxy on the shell on Friday this week then she will be all go in the new year into the filler etc. All starting to come together nicely!
1 point
-
I love reading detailed stuff like this, really makes me feel like ive achieved something for the day when I obviously havent. Keep it up please1 point
-
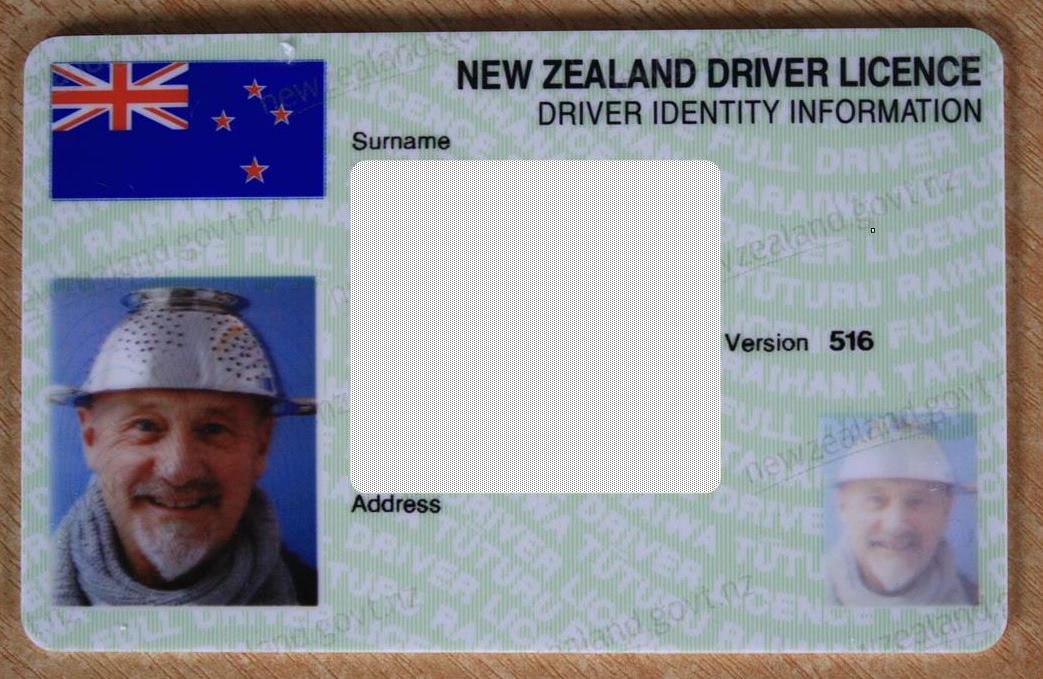
That evening Rigamortice and myself opened a bottle of 101 Wild Turkey in the new and improved sr2 man cave for a long awaited celebratory drink. Much later in the night with ‘Darkside Of The Moon’ cranking on the new man-cave sound system (Sub installed) we both experienced a religious epiphany and……….. saw God. To be more precise we saw the Great Spaghetti monster in the sky and the following day with fuzzy heads we joined…….. a religion! The day after the following day I had to get a medical and eye test to renew my class C license and took the opportunity to renew my picture while wearing my new religious head wear. (The “ever-lovely” Mrs sr2 has threatened to never travel overseas with me again if I ever do the same with my passport). Discussion thread…. https://oldschool.co.nz/index.php?/topic/49843-sr2%E2%80%99s-1947-vauxhall-%E2%80%9Crigamortice%E2%80%9D-discussion-thread/
1 point
-
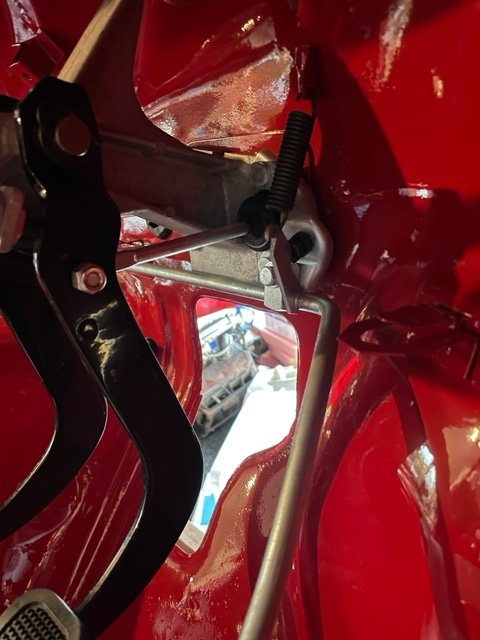
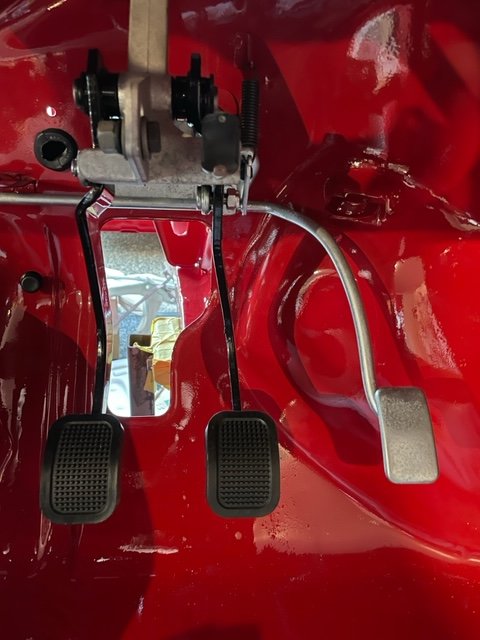
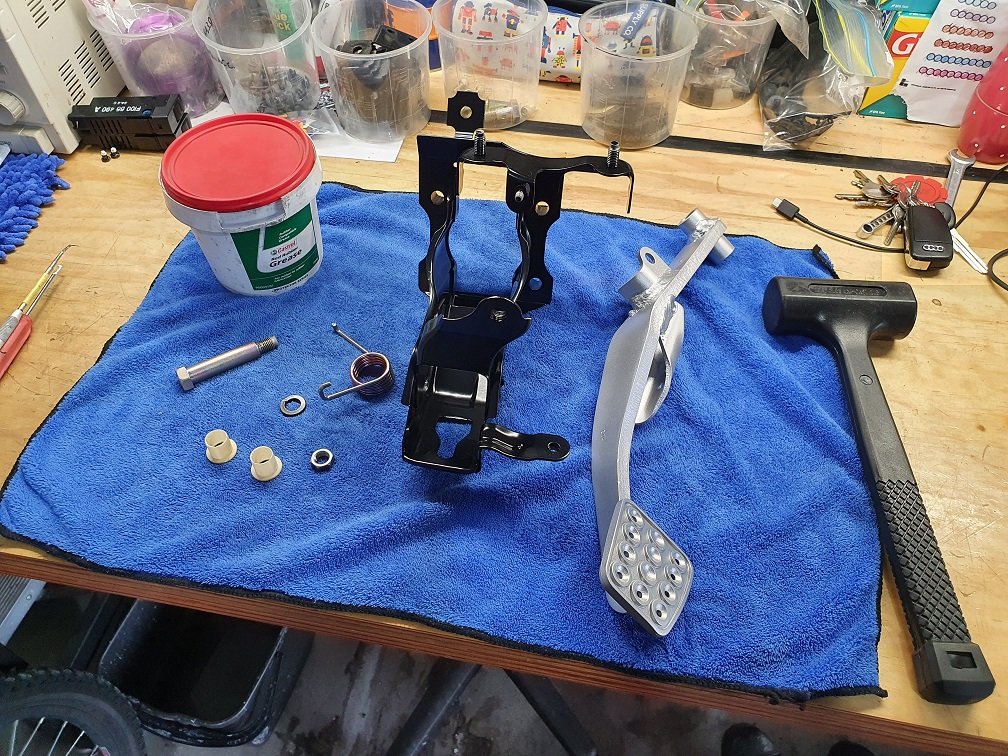
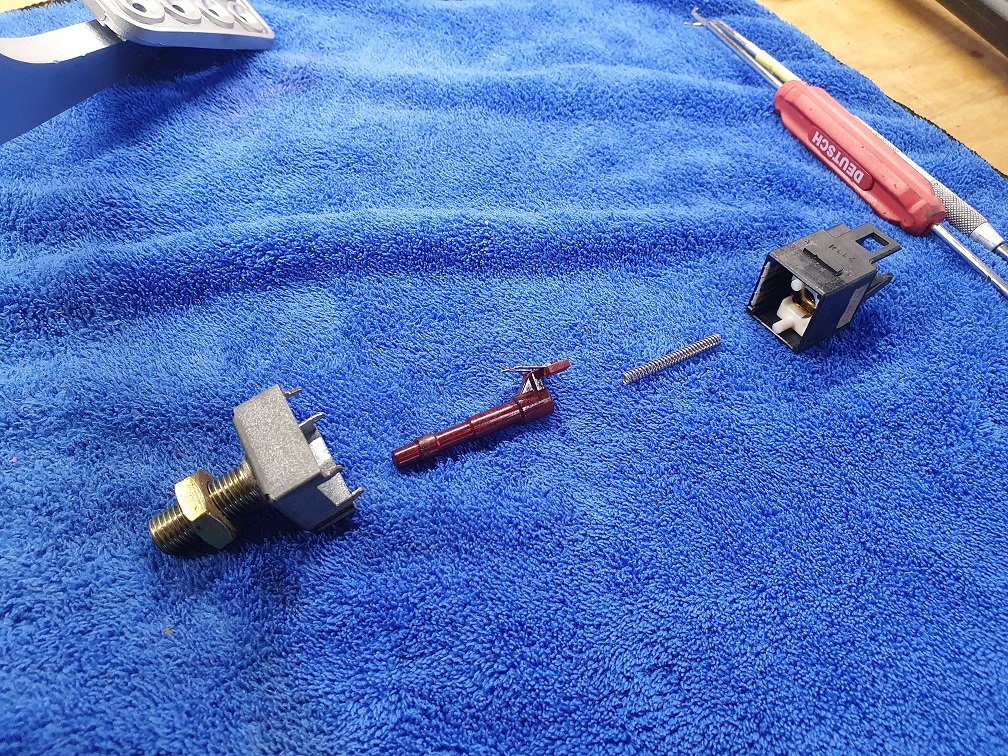
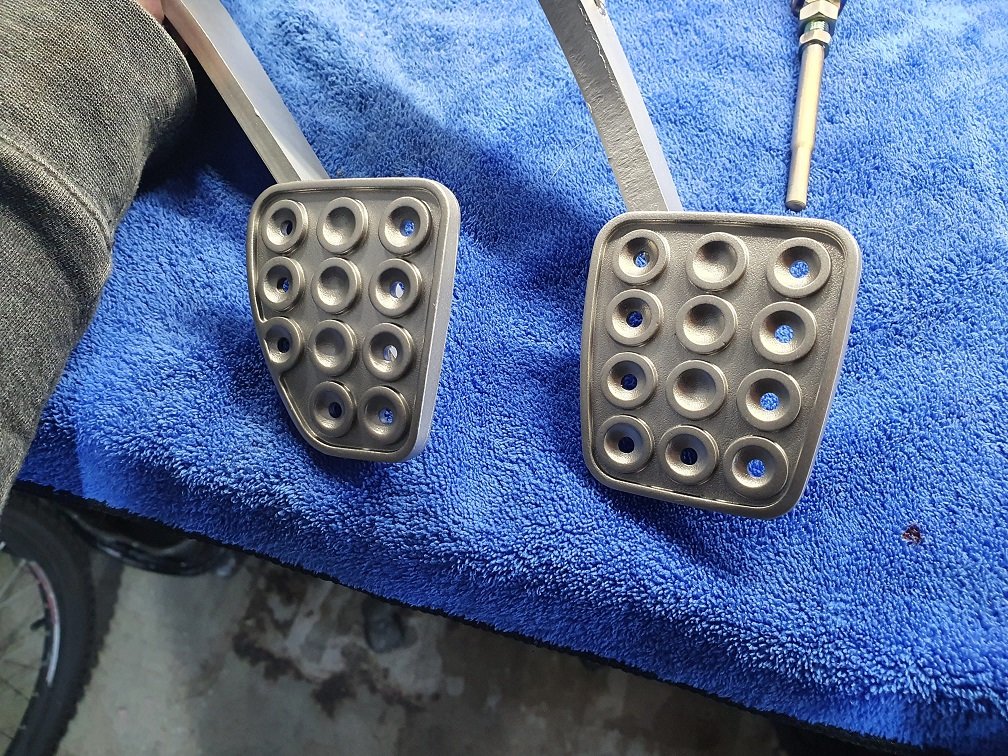
I FIXED SOMETHING THE CAR ACTUALLY NEEDS TO BE DRIVABLE! Okay, but its also an OCD wank-fest... Sooooo best of both worlds? The stopper that actuates the brake light switch on the pedals was missing, as it had crumbled into oblivion, this is really common apparently. I ordered a new one as they're only a few bucks, expecting to just chuck it in and call it job done. While I was under there, I checked the brake light switch itself though, and found it to be faulty too. These switches have two circuits in them, one normally open, one normally closed (although this terminology becomes confusing when you start thinking about the position of the brake pedal, as it actually releases the switch when the pedal is pressed...). The normally open circuit (smaller terminals), wasn't working. It occasionally closed its contacts if you pushed the plunger really hard, and squinted just right... But not reliably. I have no idea what this circuit is actually for in the car, but there are wires going to it, so I figure I should make it work. About this time a set of pedals popped up on FB marketplace local that were pretty cheap, so I thought, why not? Went and grabbed em. They had a good stopper for the brake light switch, and a good brake light switch itself, so I swapped them into the car, and hey presto, all fixed :-). Job done, right? Yeah, nah. The pedals are a really cool feature of these cars, as they're aluminium from the factory, which is a little uncommon. I now had a spare set of ragged, run down pedals, and, well, you know how much I love overboard restoring things.... First up was the stuffed switch. Getting it apart was pretty easy, just a couple of crimped tabs. Gave everything a really good clean, and sanded the contacts with 400 grit. Re-lubed with dielectric grease, assembled, and presto, all working perfectly again :-). The pedal bodies are bare-metal from factory, as they aren't really exposed to the elements. Still, they looked pretty grunge. I blasted everything, and had the bodies powder coated satin black. The pedals themselves are just awesome, I love the stiffener bracket in there, and the pedal faces just being raw, no rubber covers. Very sports car, much wow. That pedal isn't painted, that's just the vaporblasted finish, and it looks fookin lovely :-). I sent another batch of stuff through Christchurch Metal Refinishers for zinc and gold passivation, they're just bloody awesome guys in there. All the hardware for these was included in that lot. The springs in particular came out looking very very pretty :-). Assembly was the reverse of disassembly. I lubed with red rubber grease as I know it'll play nicely with the plastic bushings. Nothing complicated here, but a damn satisfying result. Obviously I did the clutch pedal as well, as they need to match! More parts to squirrel away in the wardrobe for the future when the car one day gets a major tear-down and rebuild, or when I finally admit to myself that is what I'm already doing....
1 point


.jpg.5d94bba64e109d2c88eca846cf298e20.jpg)


This leaderboard is set to Auckland/GMT+12:00