
Leaderboard


Popular Content
Showing content with the highest reputation on 01/14/22 in all areas
-
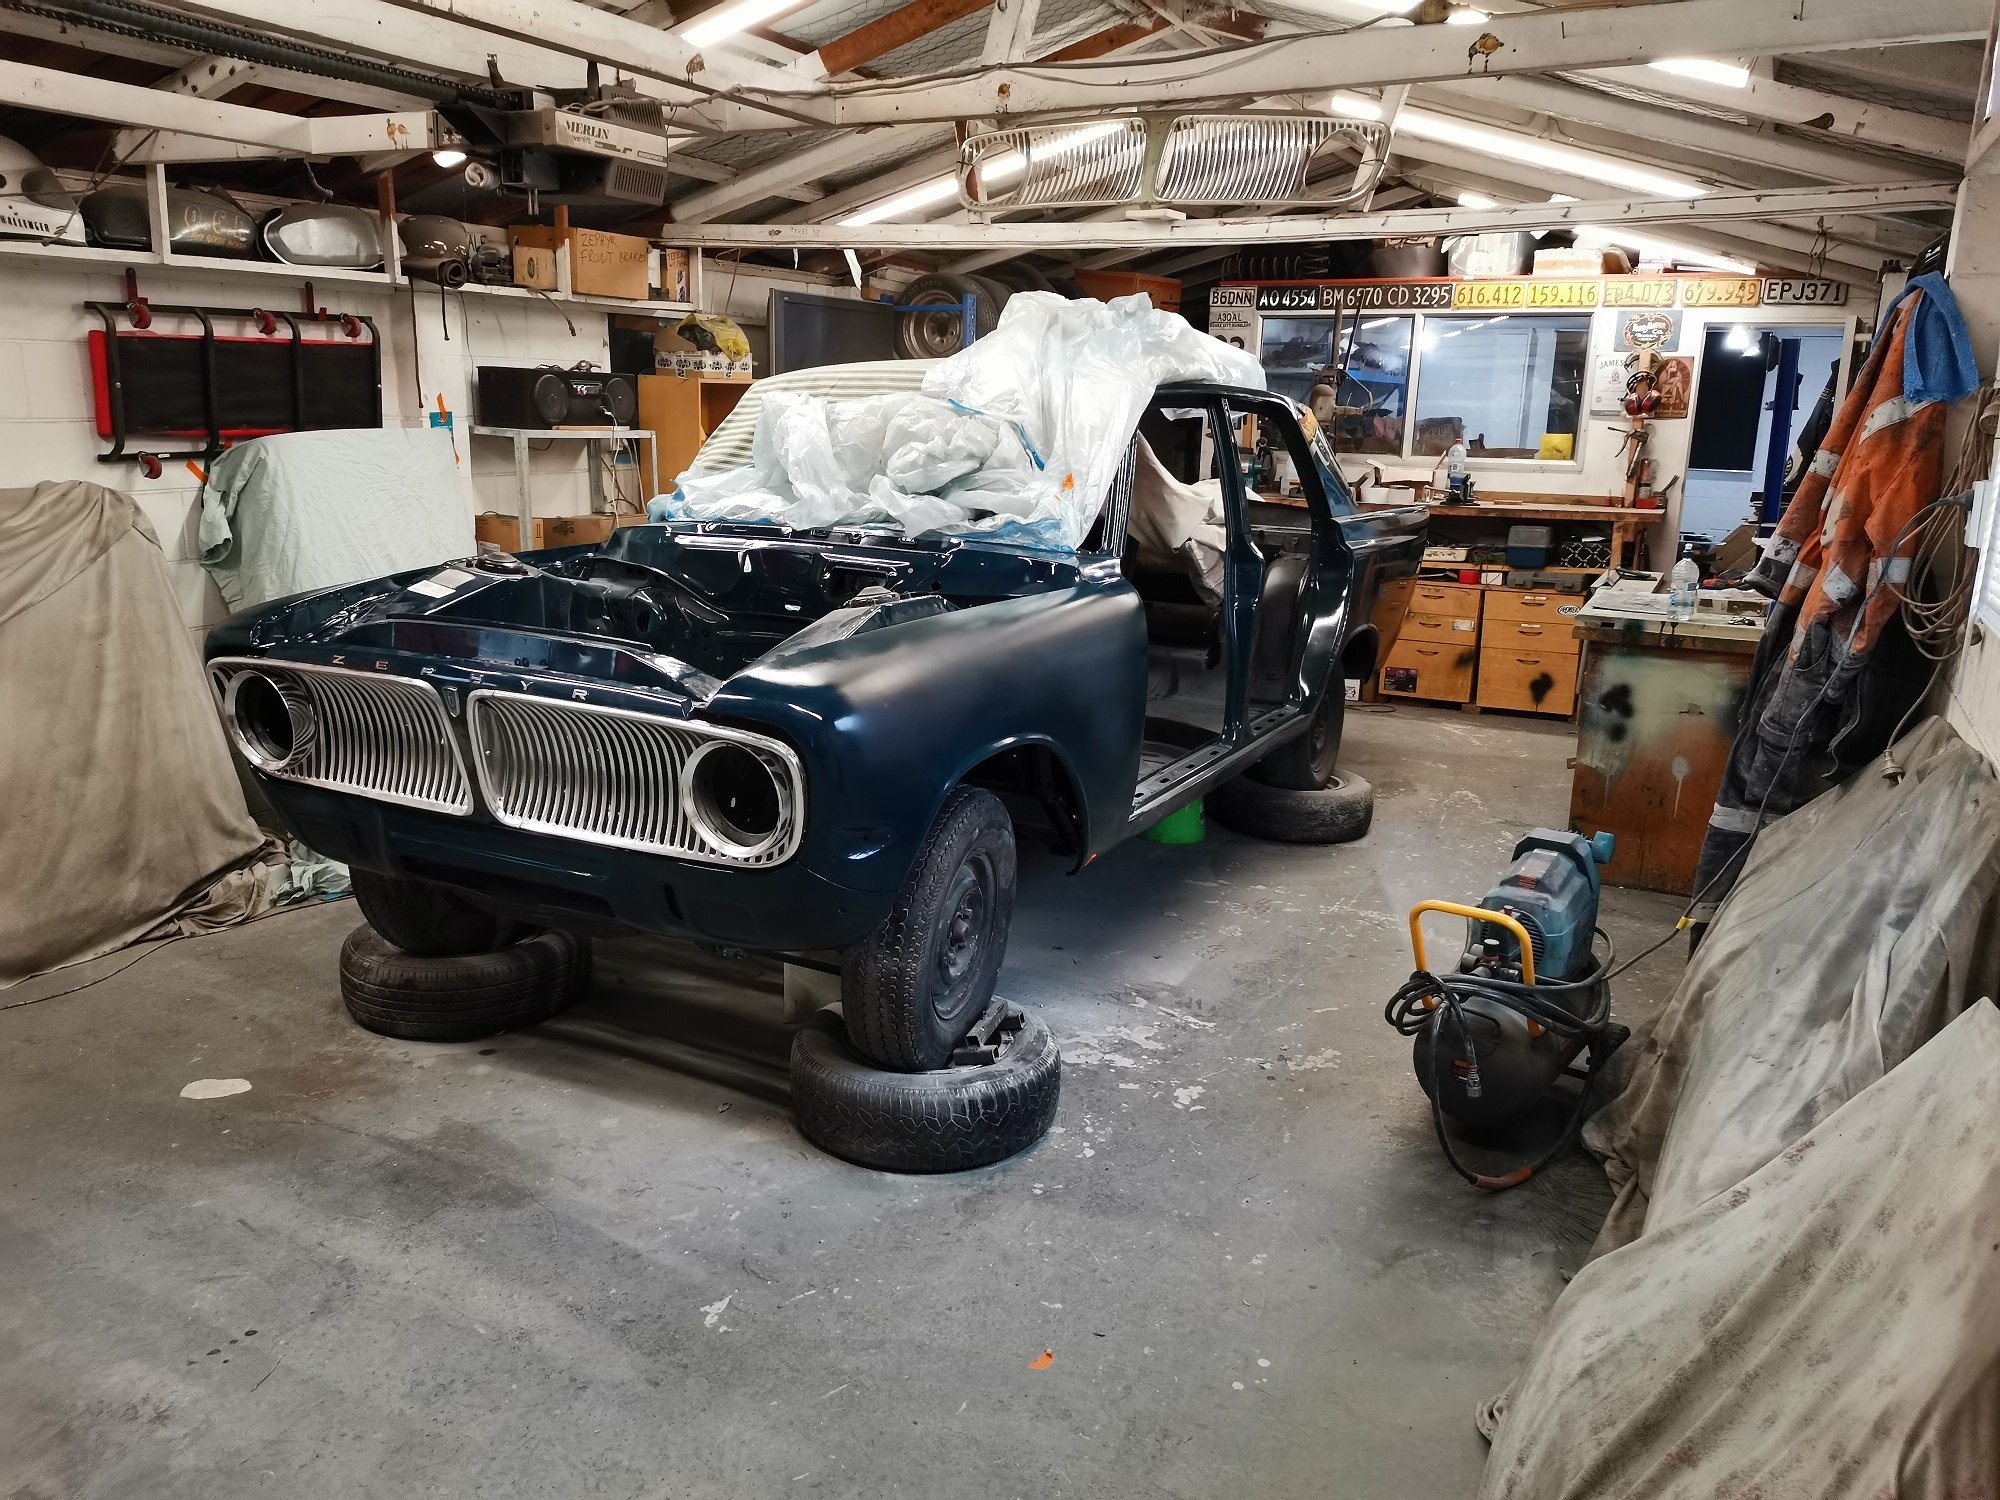
Next step in the puzzle was to sort out a clutch release system. I had a couple of options that could work. I could use the stock Subaru fork but it was not ideal for two reasons ; 1: It would need a the release bearing carrier adapting to take a larger diameter bearing that would suit the Honda pressure plate fingers. 2: Its pivot location, being a centre mounted fulcrum point, would require a slave cylinder that pushed it towards the front of the car. This is because originally the Leone the transmission came from uses a clutch cable. I'd being using a hydraulic slave and it would have to be mounted up high, over the engine. Probably clash with the underside of the parcel shelf and would definitely look ugly there. Option two was to use the Ford Mundano concentric slave cylinder I have had stashed away for ages, acquired with the Duratec engine I was going to fit into the Viva wagon many moons ago. This certainly seemed the most sensible option because it fitted into the location almost perfectly... The pipes even pop out through the Subaru release fork hole like it was made for it... But it was still going to require a little work. First off is that it has a flat bearing face, made to suit curved diaphragm spring ends. It was also too small in diameter to suit the fingers. So a lump of steel was plucked from the store... There was just enough room between the bearing face and the 'slidey hub' bit that the bearing hydraulics slide in and out on for me to machine a locating stub onto the bit of steel... With that being a perfect fitting locating point the other side was machined with a radialised face to suit the flat fingers. The end result looks like this.. This will be stuck in place onto the release bearing face with something like loctite 601. It cant go anywhere anyway. Next issue was fixing this whole unit in place and making sure its dead square to the input shaft centre line. Luckily the units bore was larger that the stub/shaft?* that the Subaru release bearing carrier slides on by about 2mm. It also so happened that when pushed on as far as it would go it allowed for just the right amount of movement of the release bearing, plus a bit to spare. So I machined a thin sleeve with a lip at one end to suit.. This I made a nice snug fit onto the stub/shaft thing and the Mundano assembly slides in place snug, thus making sure it all remains square. I assembled the lot together and checked it all with the transmission bolted in place. Looks good.. The initial throw of the release bearing will be adjusted at the pedal, which will now require me to either use the Mundano master cylinder (plastic..yuck) or machine/ sleeve my Imp one (actually the same as a landrover/most trailer brakes out there..) to suit. I'll look at that when I get to it. Next step is to bolt the assembly in place. The Leone box has splines cast in around the stub base... ..but luckily enough room between them to glue some blocks in place so I machined some alloy down to suit.. Because I knew the assembly was perfectly straight and in line I just needed to give enough clearance on the blocks to allow for some epoxy. I drilled and tapped the blocks to suit, mixed up some of my favourite JB weld and filled the chosen cavities then slide it back in place. Then let it set overnight.. The next day I tried the original Mundano rubber boot for the pipe exit. It almost fitted. I sliced 5mm out of its width and it was sorted. Not perfect looking but it works and cant be seen once the engine is in place anyway... Phew. Done. At this point I really did have a feeling like I had made it past the trickiest bits of the engine work required. But for some possible baffles around the oil pump pick up and maybe an anti surge plate (not that the Goldwing engine has any as stock) I think all the required mods to the engine are done. I felt like having a cold beer. So I did. Then pondered the next jobs to do. Which was to look at where I would run my cooling pipes and finalise the position of the oil filler tube.. In order to properly work through some routing ideas I had to plonk the heads back on. With them in place I might as well have some fun, bolt the transmission on and stand back with my beer and gaze at it all. I took some pics. I'm pretty bloody happy with it how it looks and I really did get a mojo boost looking at it sitting there as a complete unit waiting to go in... Its so neat and compact for a flat six.. Man I'm looking forward to having this setup in the back of my Imp! What's nice to think about is that while there's still a big load of work to do these next jobs will be super fun. I'm especially looking forward to making the ITB arrangement to suit and doing my best to create a really clean looking engine bay.29 points
-
I’ve met with the local repair certifier and he’s meeting me at home in a week for a peruse..awesome to get the ball rolling. I can then sent it into town for another inspection and an NZ VIN plate too. (I don’t think the order matters but the repair guy now has all my paperwork) haven’t much to report really, still in limbo. my decals finally showed up from EBay but theres only a RH one and multiple smaller ones.. reading back, the description does actually say 1, but it’s kinda dumb as they are sided and the seller didn’t offer the other hand. Now I have a mint sample to have some made locally though! Door Hinge pin kit and 4x bonnet bumper pads have come in to Mrs work from Rockauto so I can eliminate the sloppy drivers door and align it nicely.. it’s alway a prick to shut and getting old/embarrassing quick. Better add a pic..
 10 points
 -
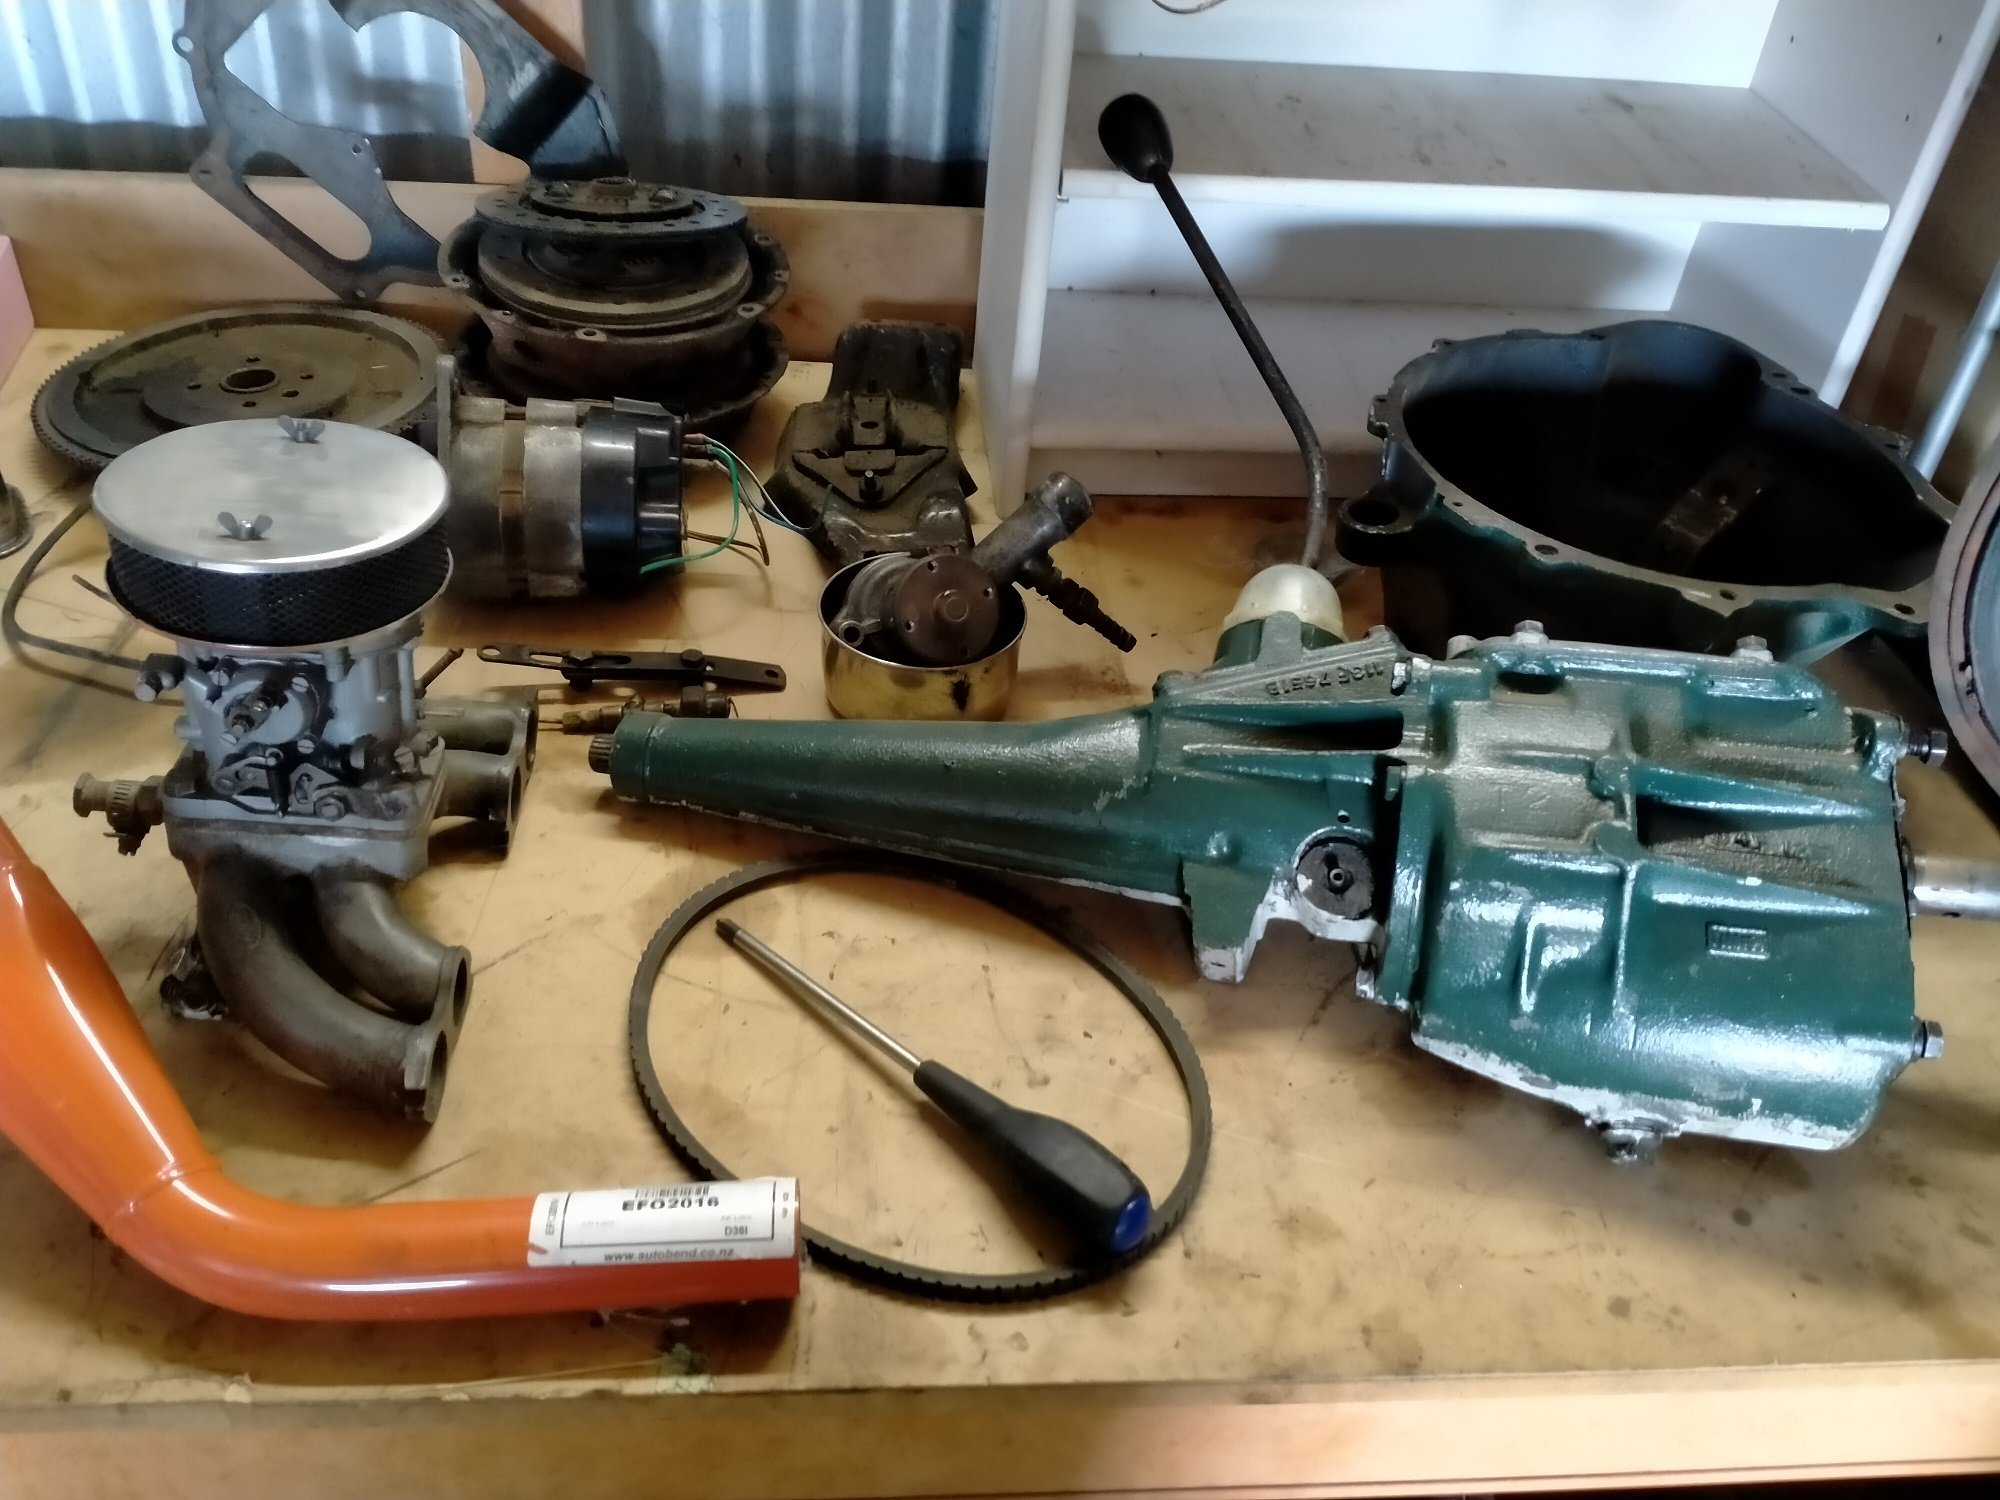
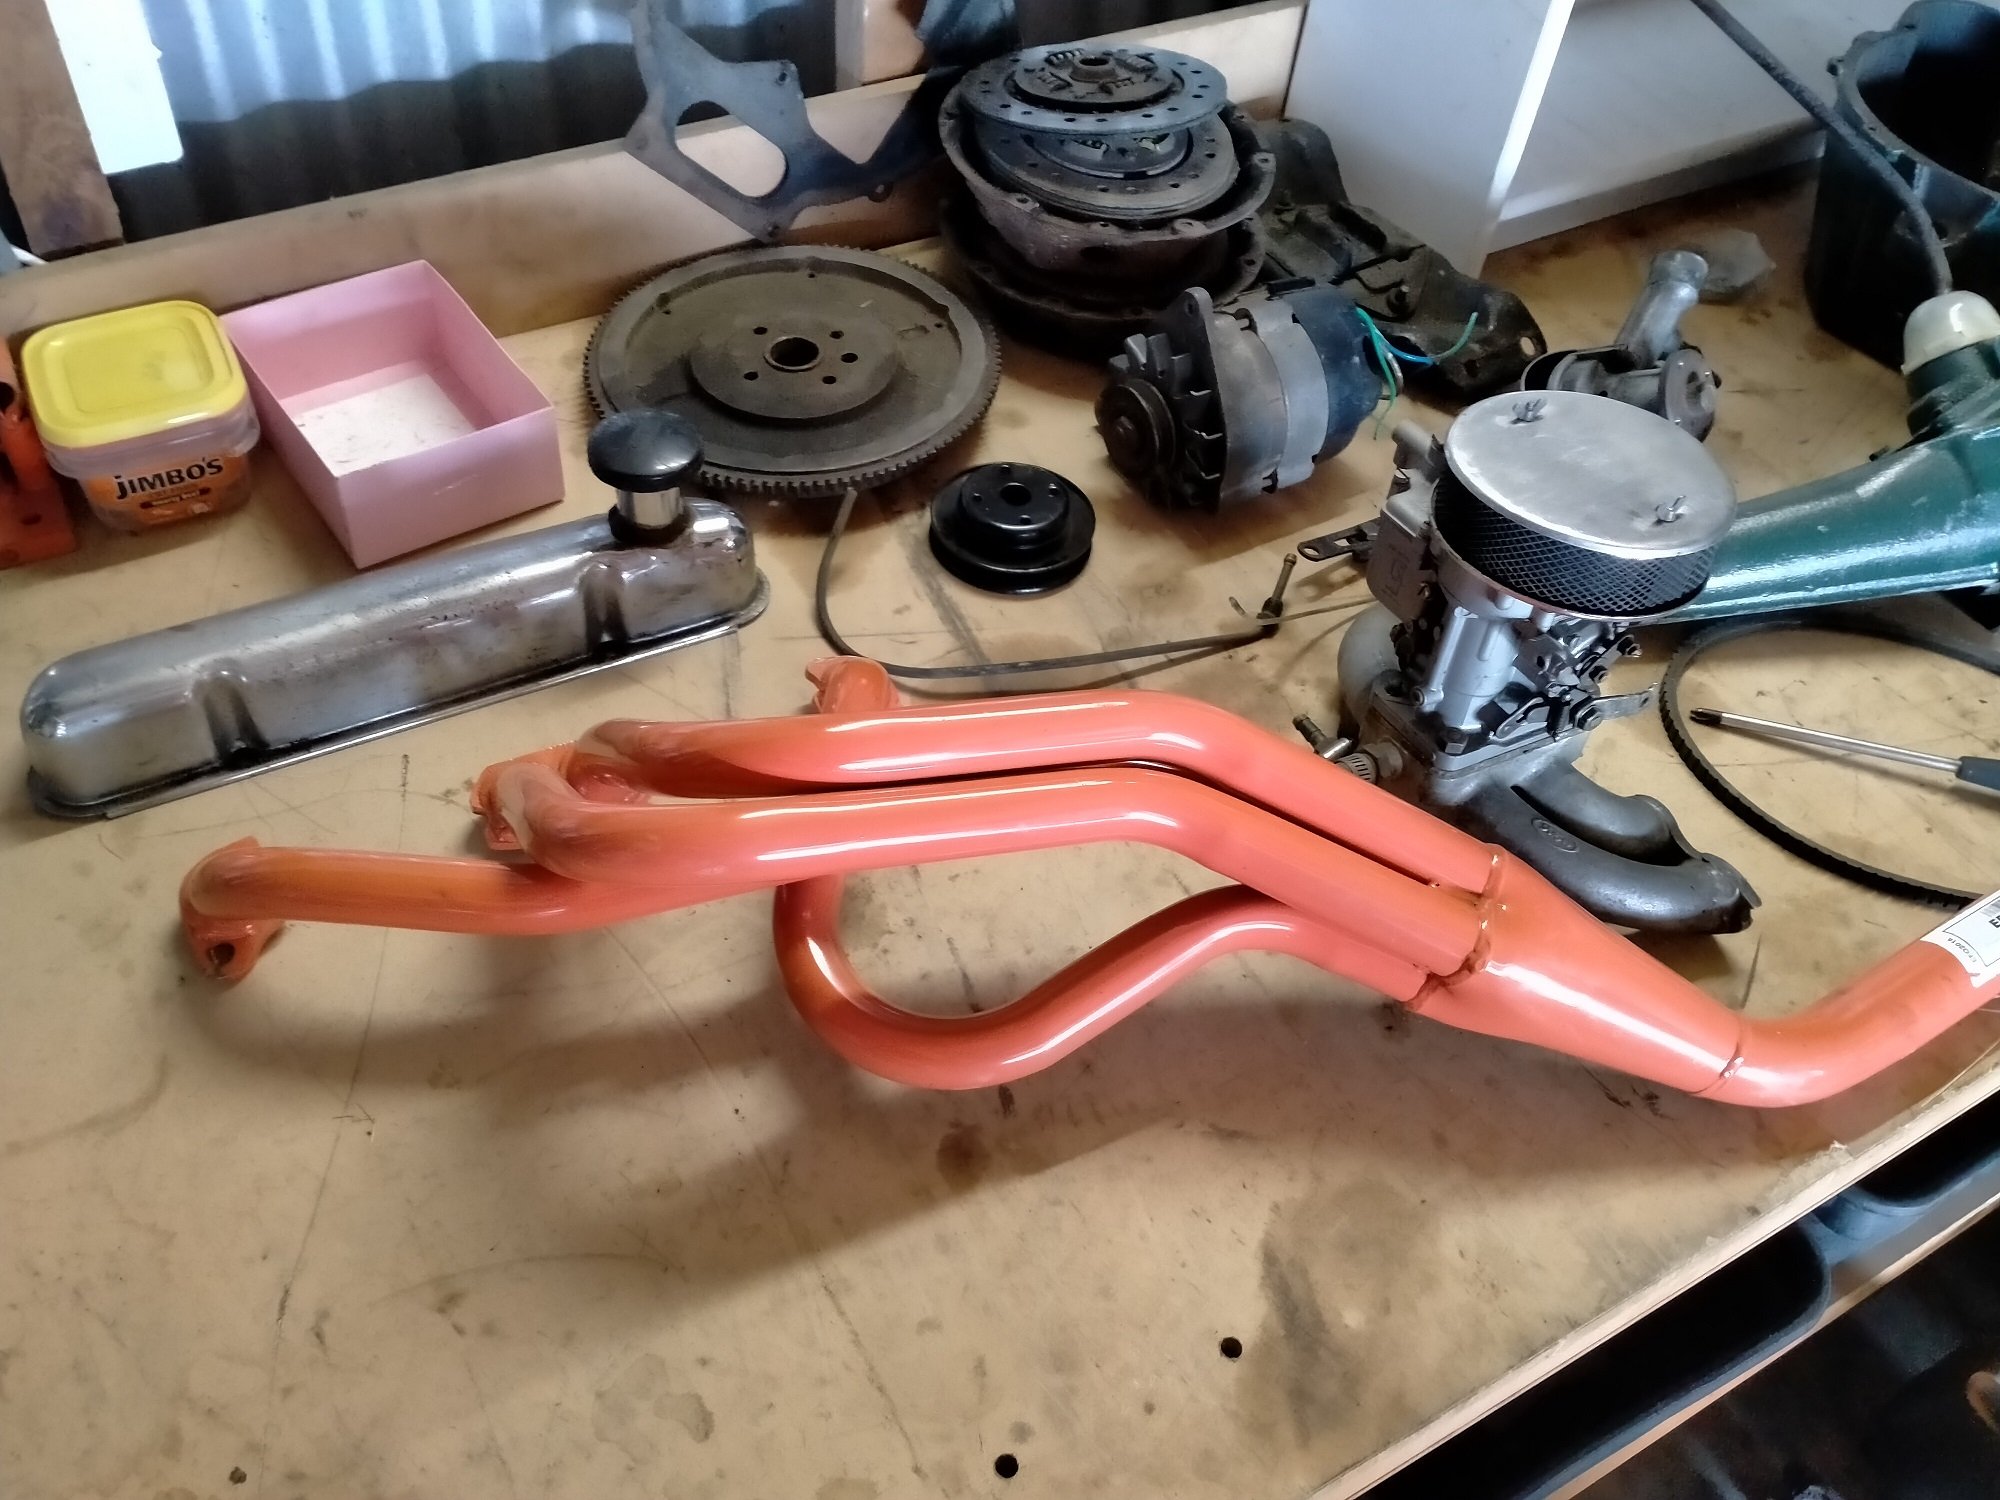
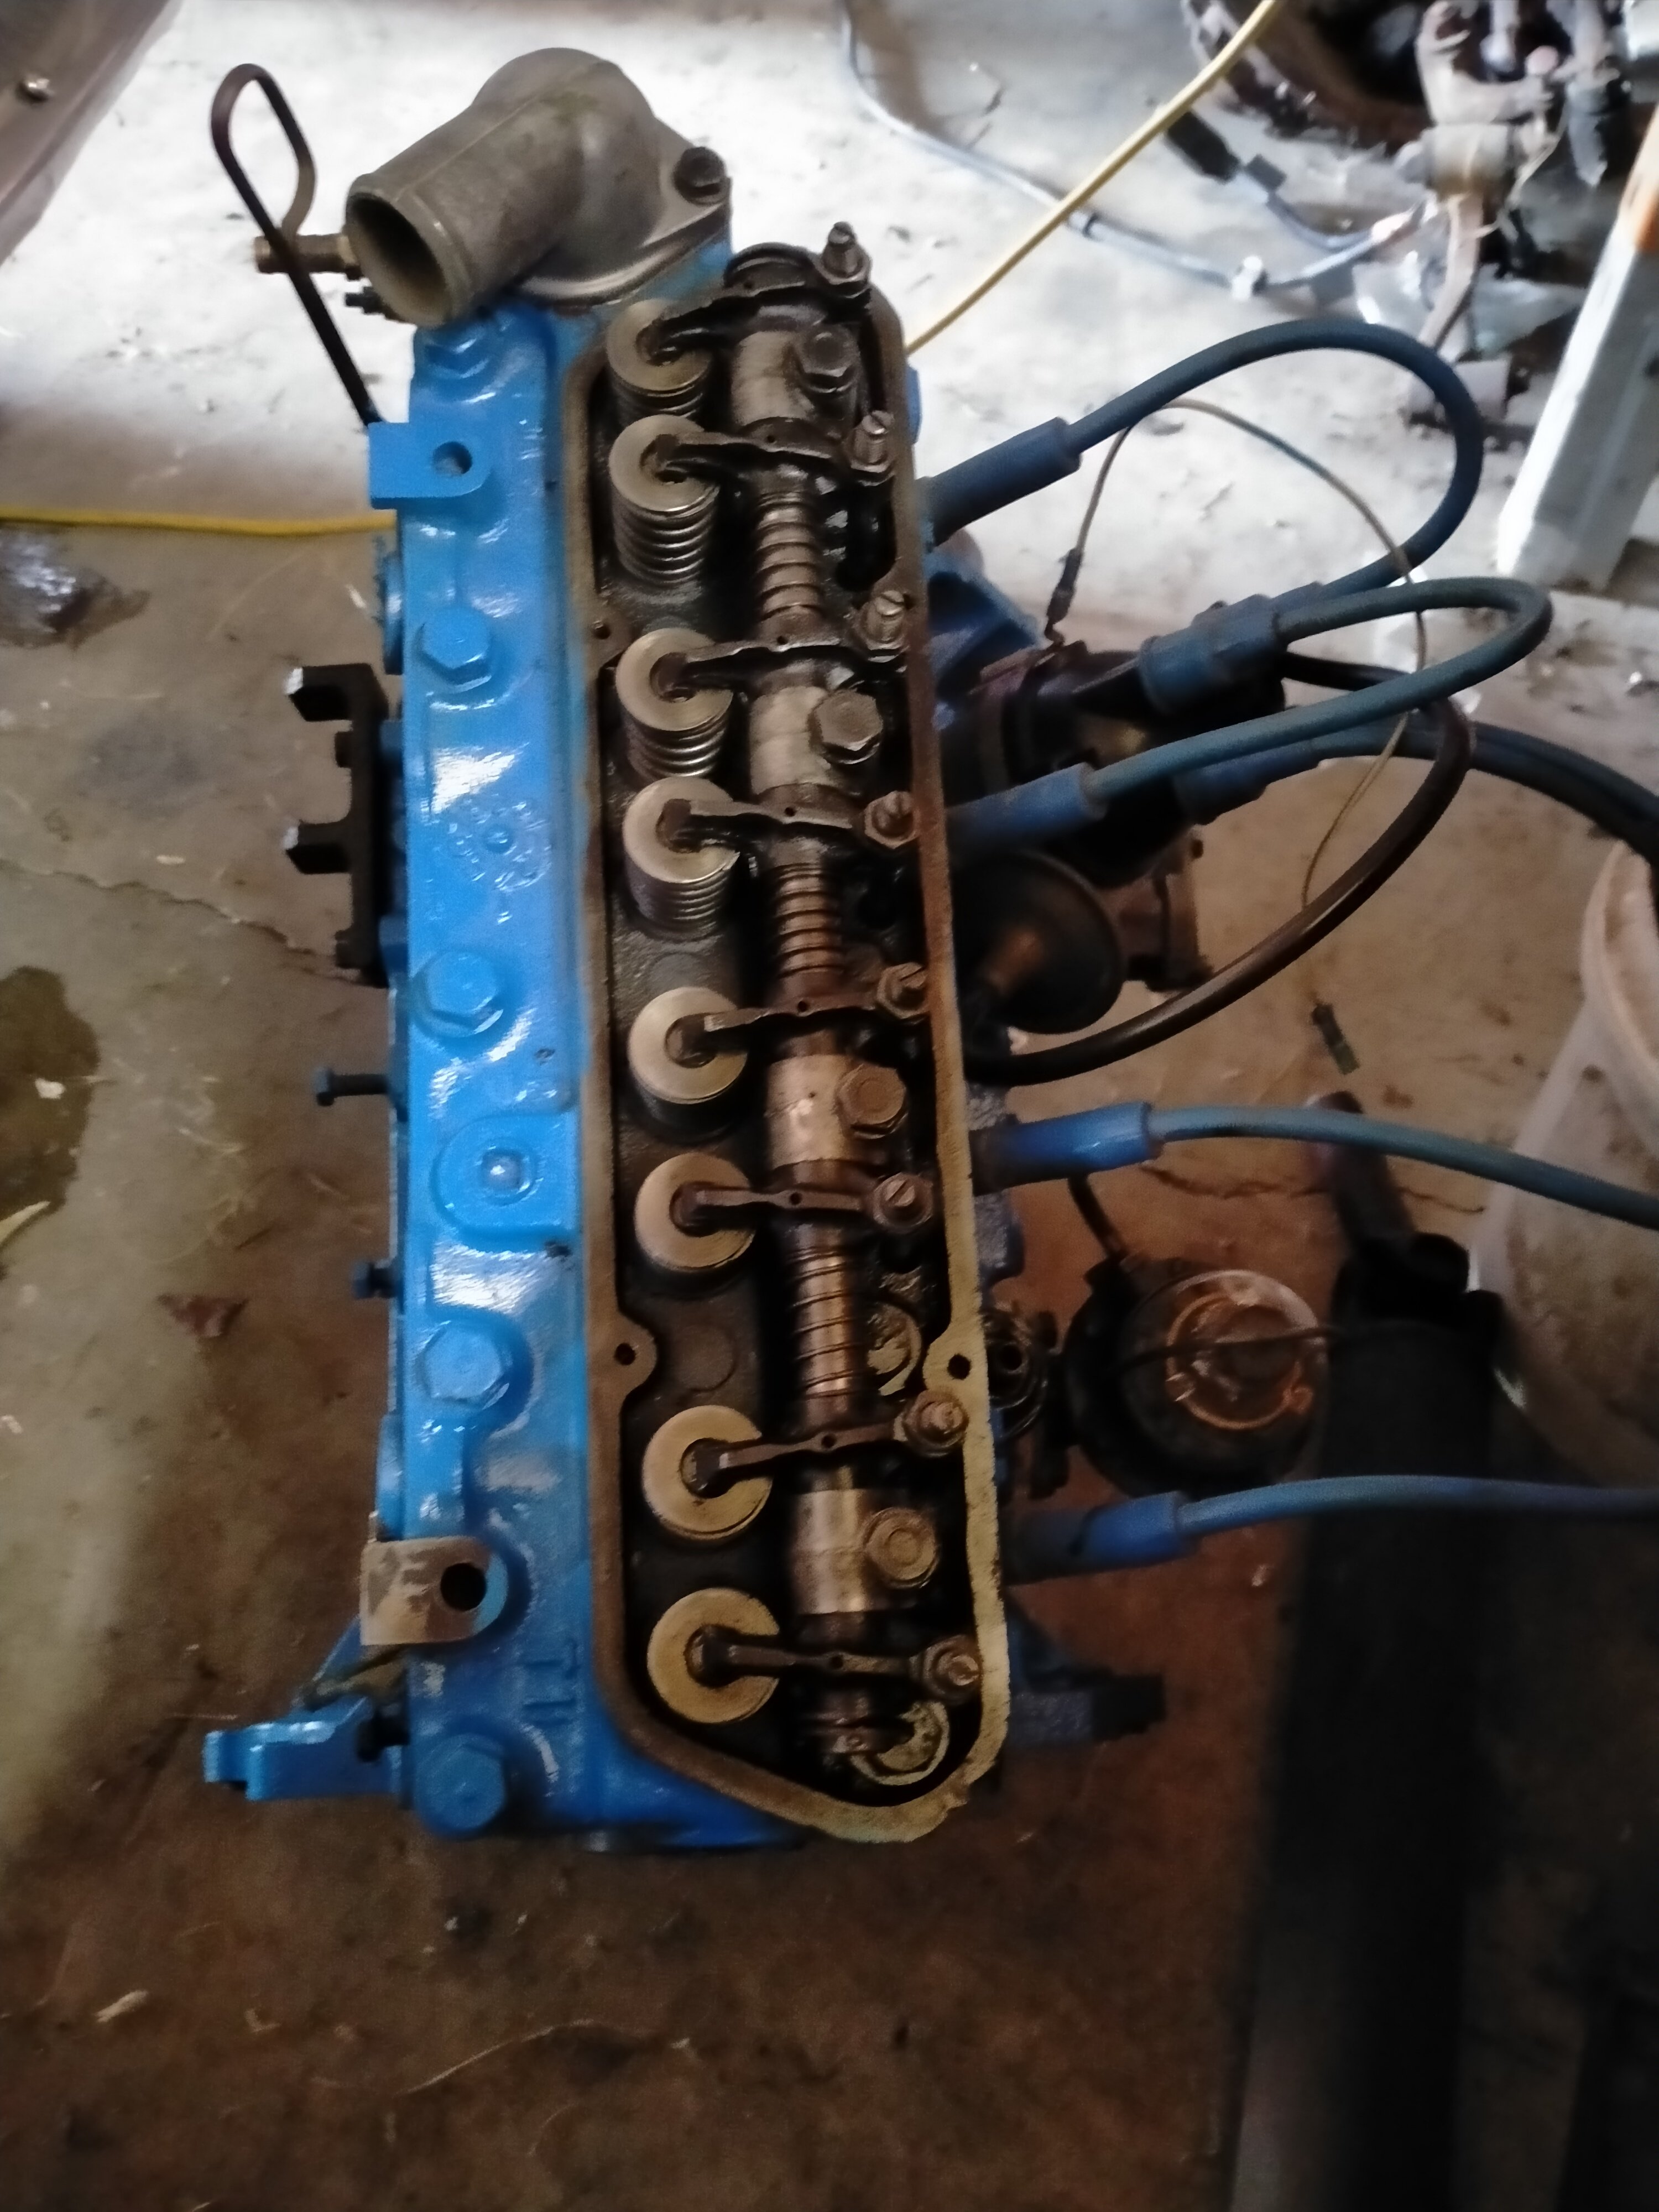
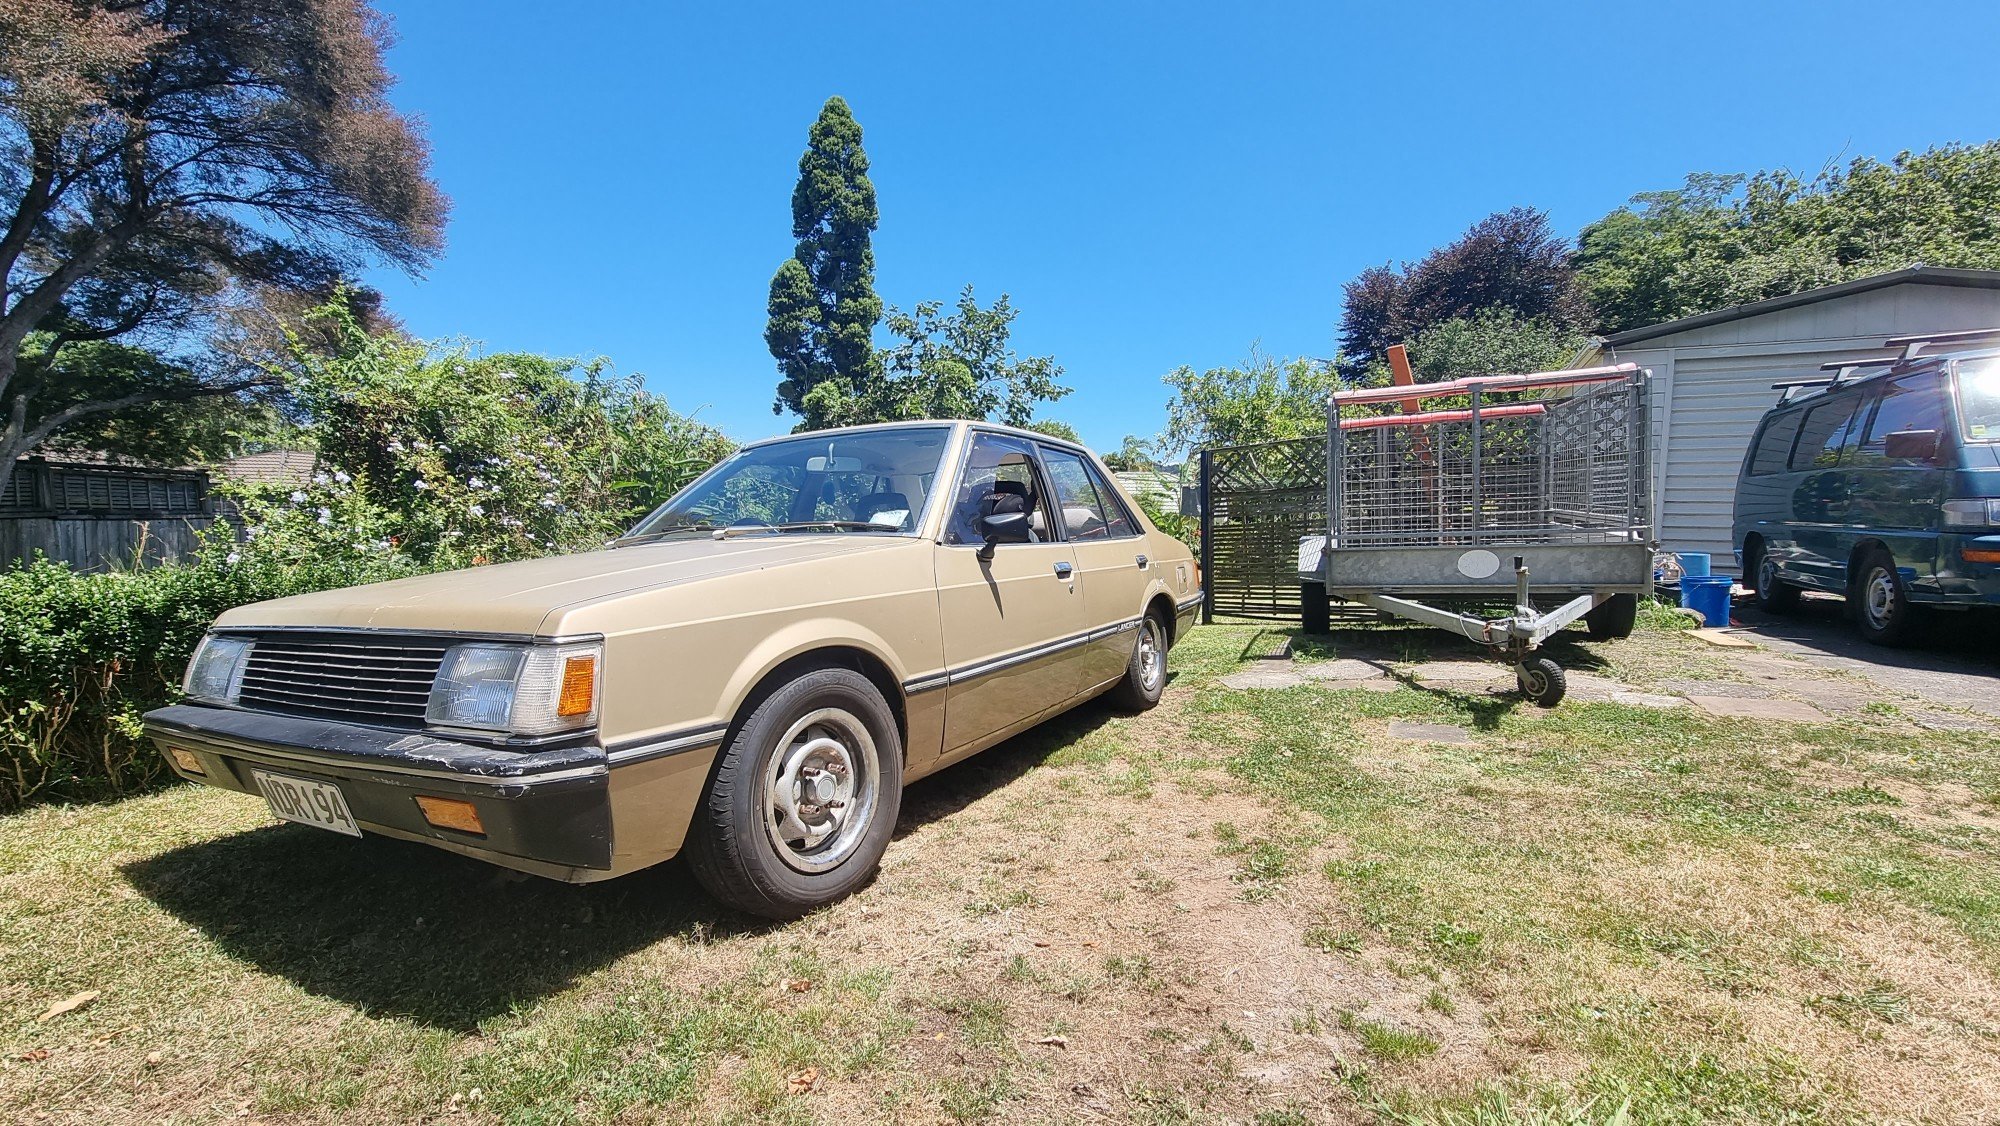
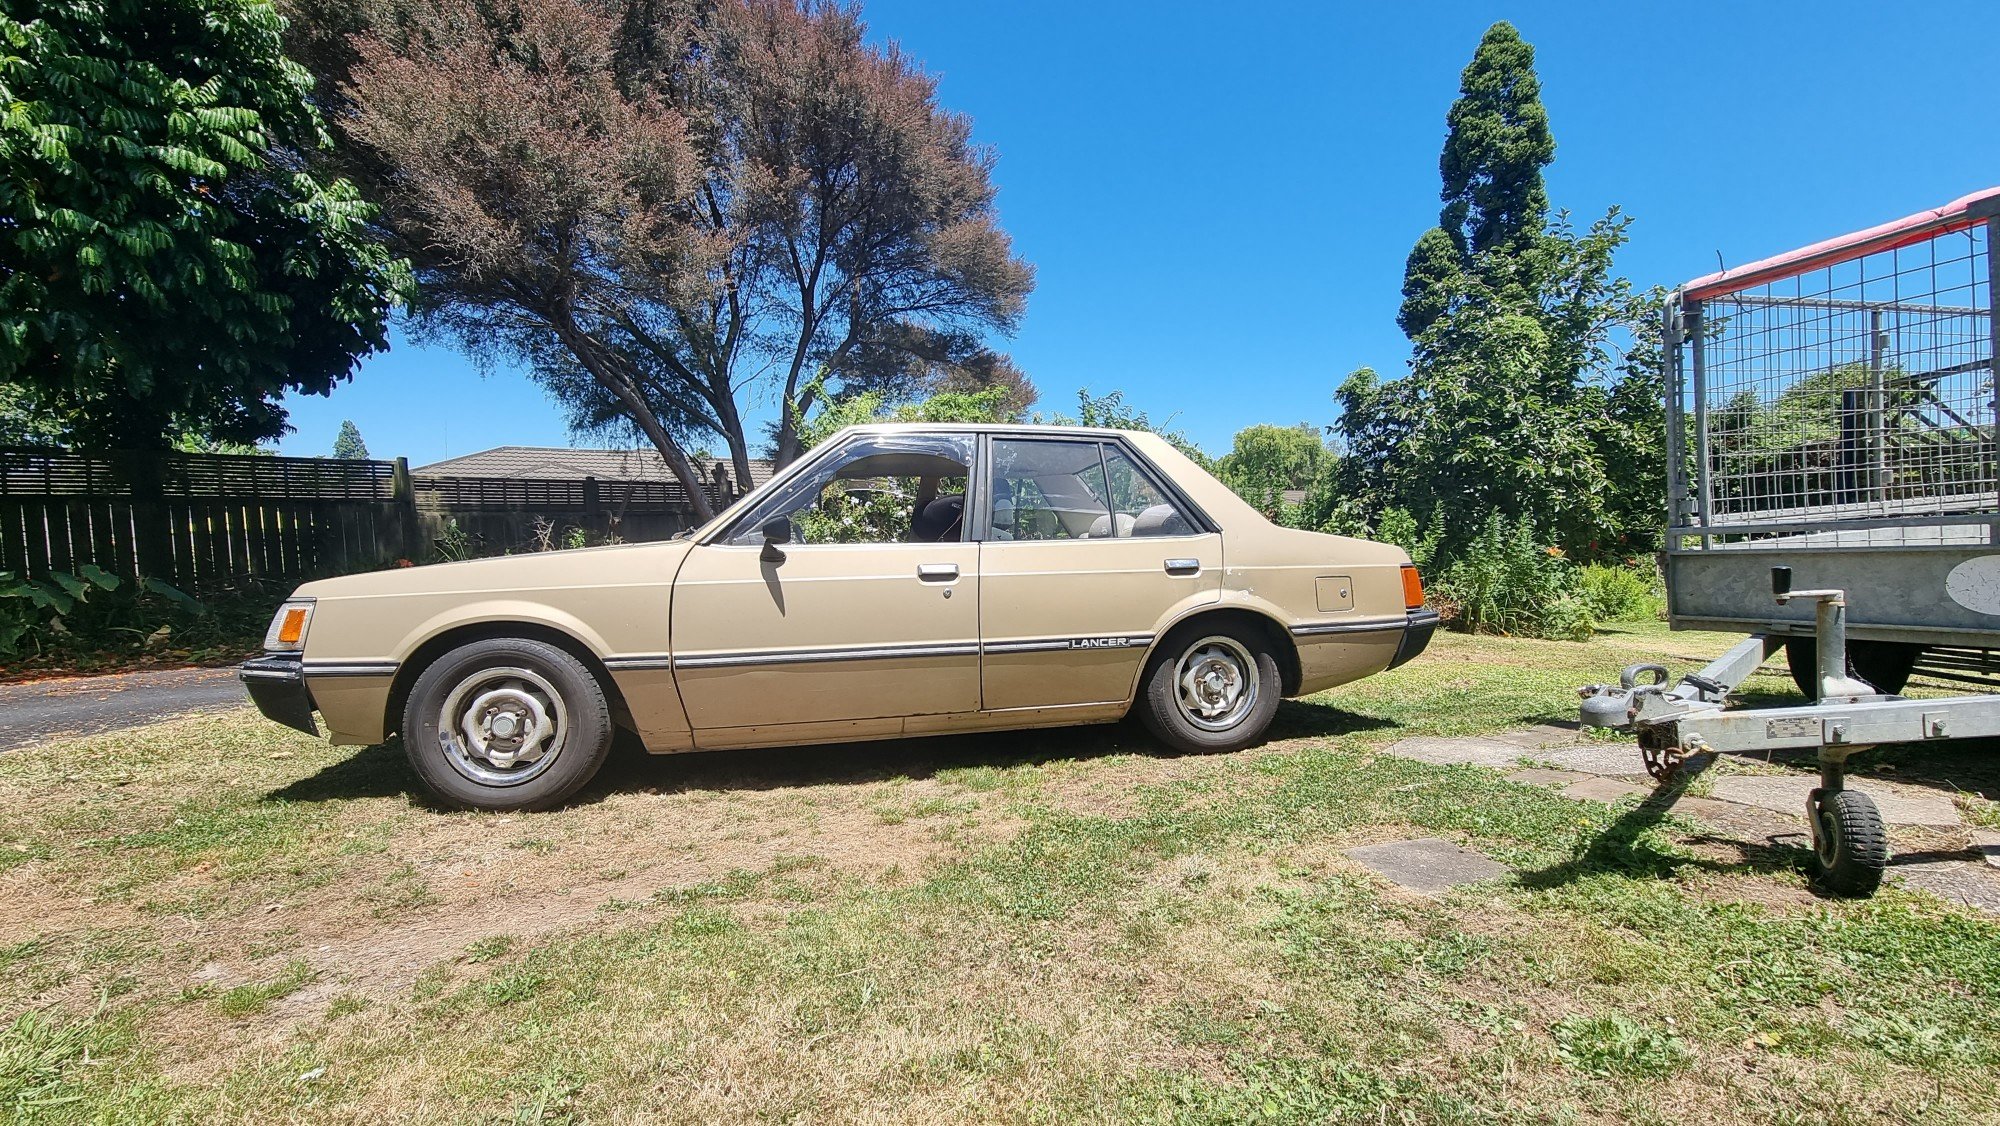
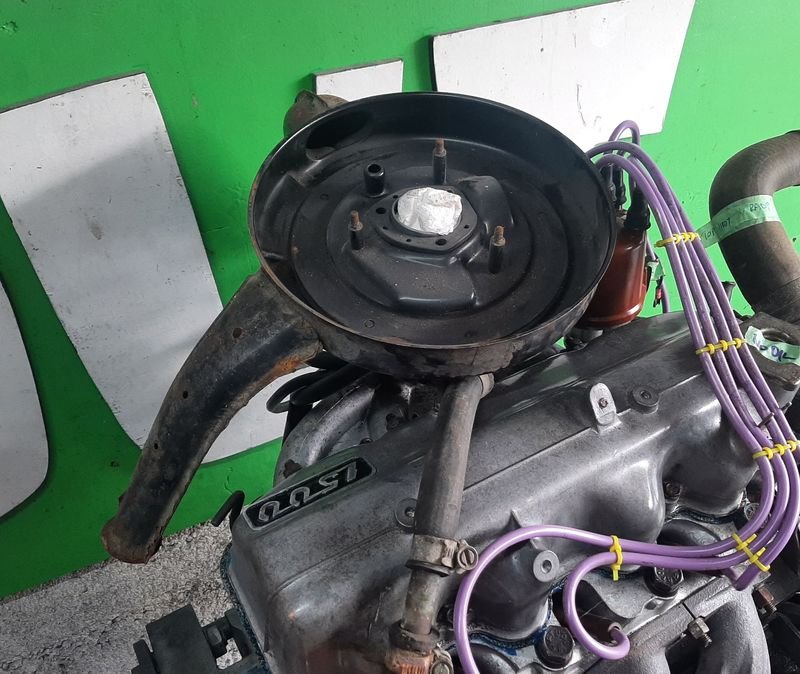
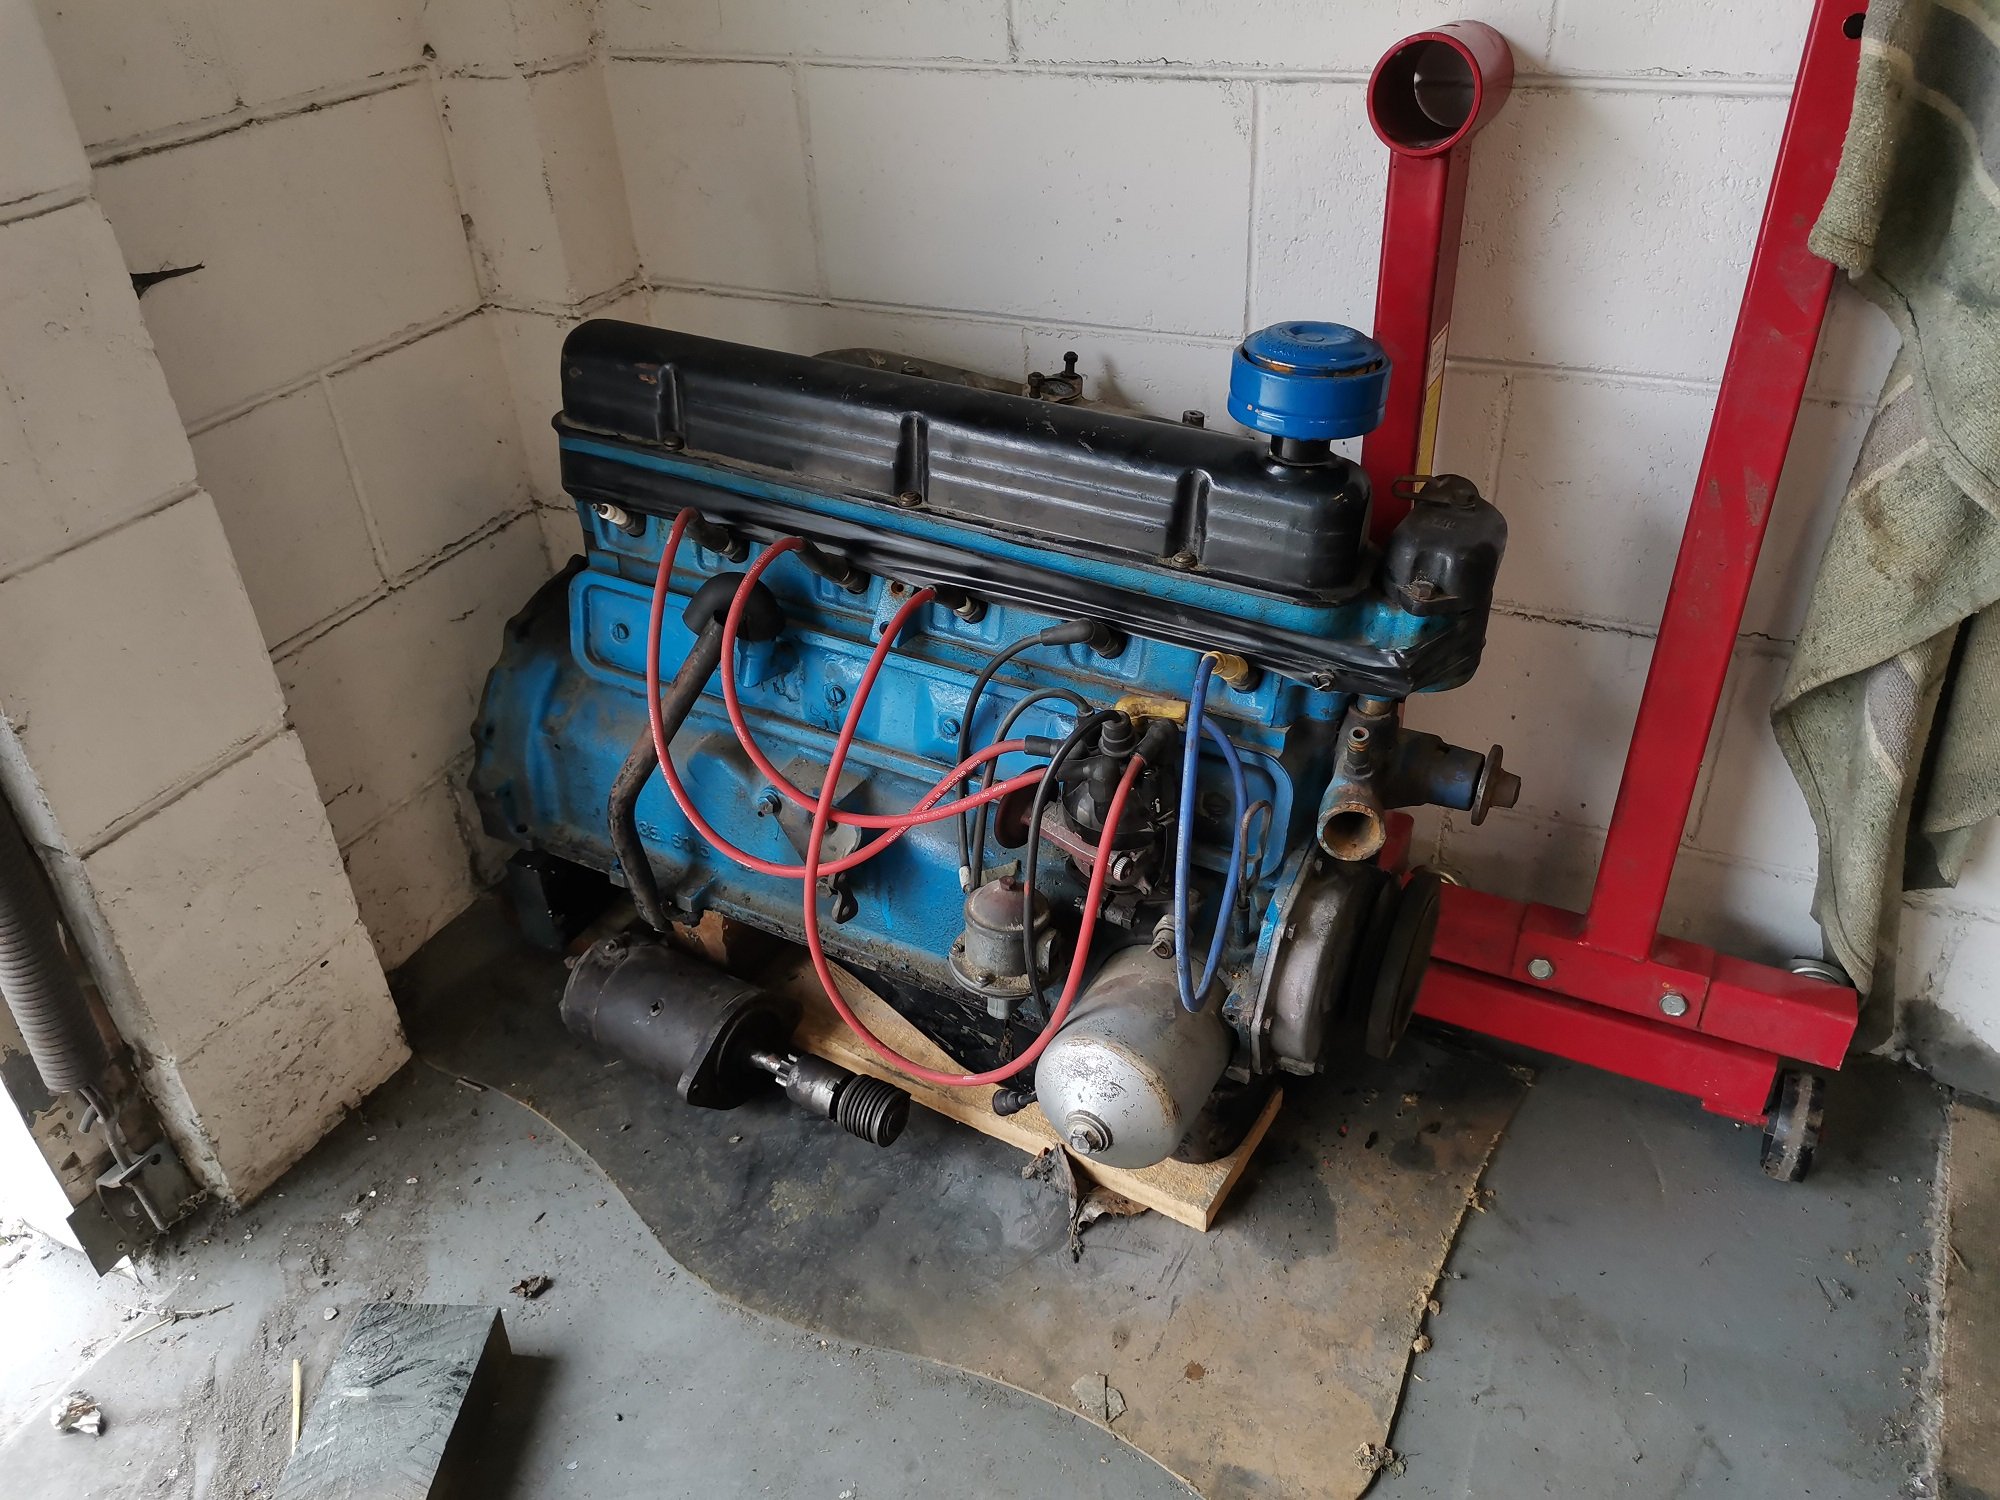
So bit the bullet and brought this engine of an older fella on trademe. 1500cc block with a GT head on it, double valve springs, apparently has a cam, set of extractors and a rebuilt carb. I also scored a Mk1 4 speed floor shift with driveshaft and other associated bits. He has spares so once back together I can raid him if needed. The escort engine in it will be sold off once the new engine is in, mostly for bolt raiding etc if i need to. Cortina Nats - here we come
7 points
-
Got an hour on it this evening. Interior is now on the exterior and cage is ready for a bit of a clean up & some paint. Gold flake is looking favourite. Haven't heard from the fibreglass bloke yet. That is my update, sue me.5 points
-
Well that's a bit better. Truespoke Supremes in 14x7 reverse offset. Cost a f'n fortune to get here but I'm impatient.
5 points
-
To add, I used to think everyone was pussies when trikes were referred to as dangerous and unsuitable for what they were used for. I still think you're all pussies, but also yeah, these things are somewhat unstable and a bit unnerving if you're not on the ball.4 points
-
Then for reasons I can't exactly explain, I bought an ATC250ES IMG_20211106_182043_077 by John Bell, on Flickr Its rough, but mostly original and nearly complete, so without going overboard, I plan on fixing whats broken, and attempting to keep it somewhat straight and usable. It'll likely just get used as a last resort backup farm bike, and to punt trailers etc around the section. A decent waterblast didn't show up too many horrors, a welded gearlever , one bent footpeg, missing small trim and rear lights. IMG_20211120_134424_1 by John Bell, on Flickr IMG_20211120_134439 by John Bell, on Flickr Feature laden Headlight on a string IMG_20211120_134546_1 by John Bell, on Flickr Flip up rear panelling for... reasons.... IMG_20220114_163118 by John Bell, on Flickr Refitted the battery back into its box in the middle of the bike, someone had fitted some janky extention leads, and cut a hole to place the battery in the storage compartment at the back, just flopping around, this also stopped the flip back from coming up. Unacceptable. IMG_20220114_162905 by John Bell, on Flickr4 points
-
So the XR100 got new tyres etc and fork boots, yet to finish off 100%, but getting close enough for my purposes. IMG_20210828_172209_1 by John Bell, on Flickr IMG_20210828_172142 by John Bell, on Flickr3 points
-
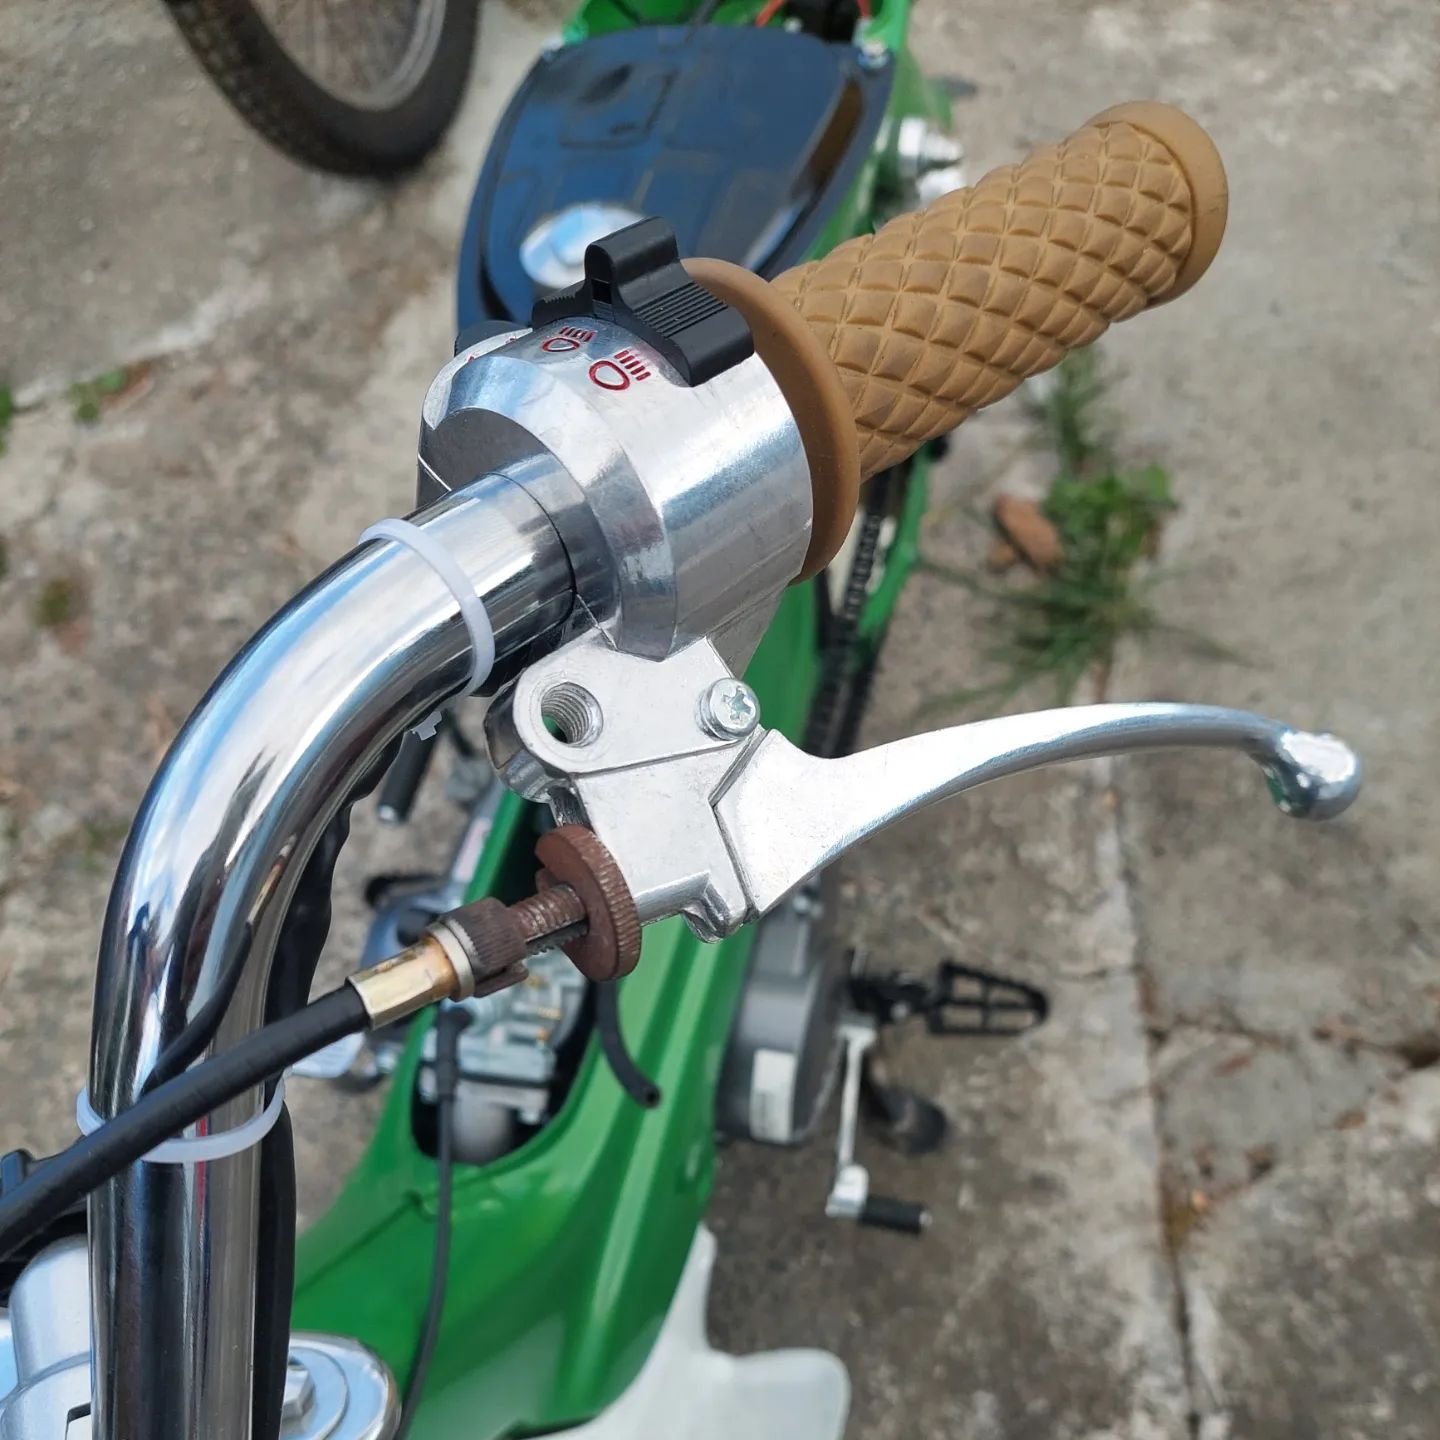
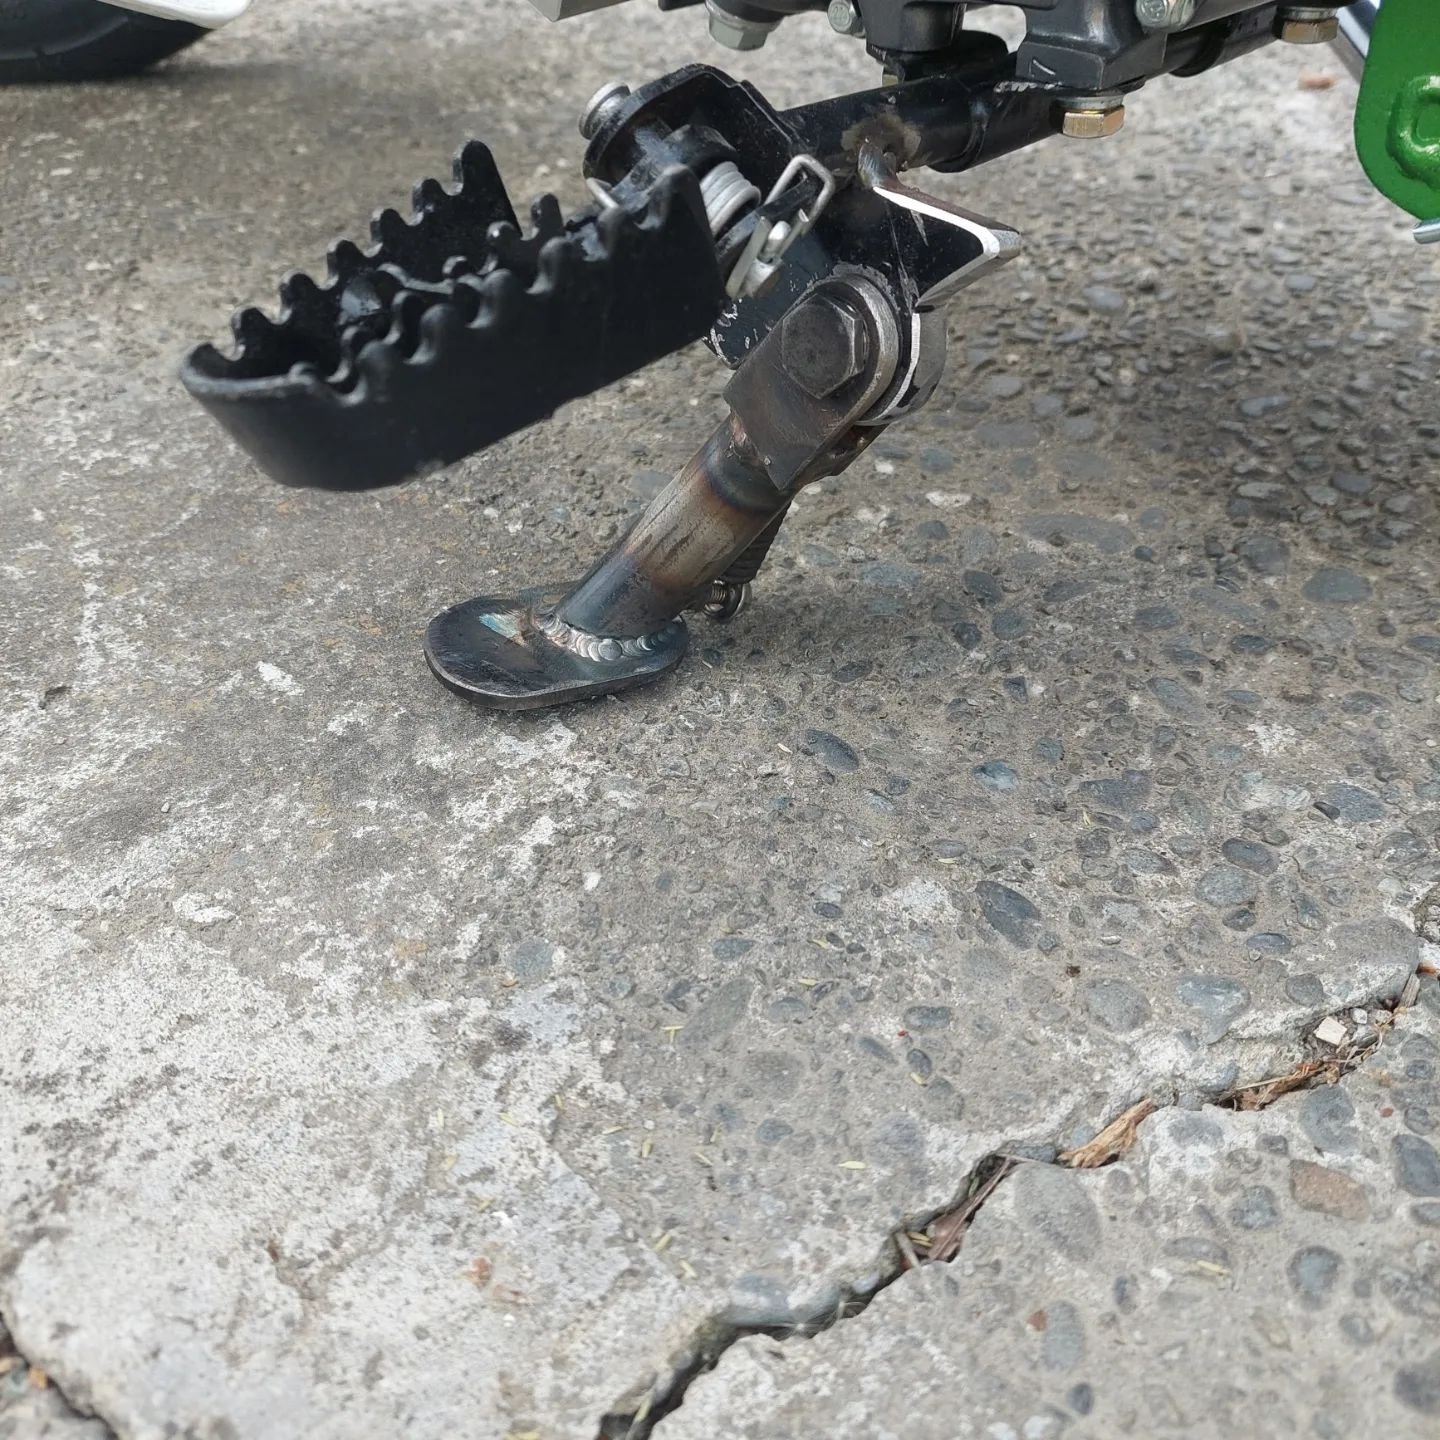
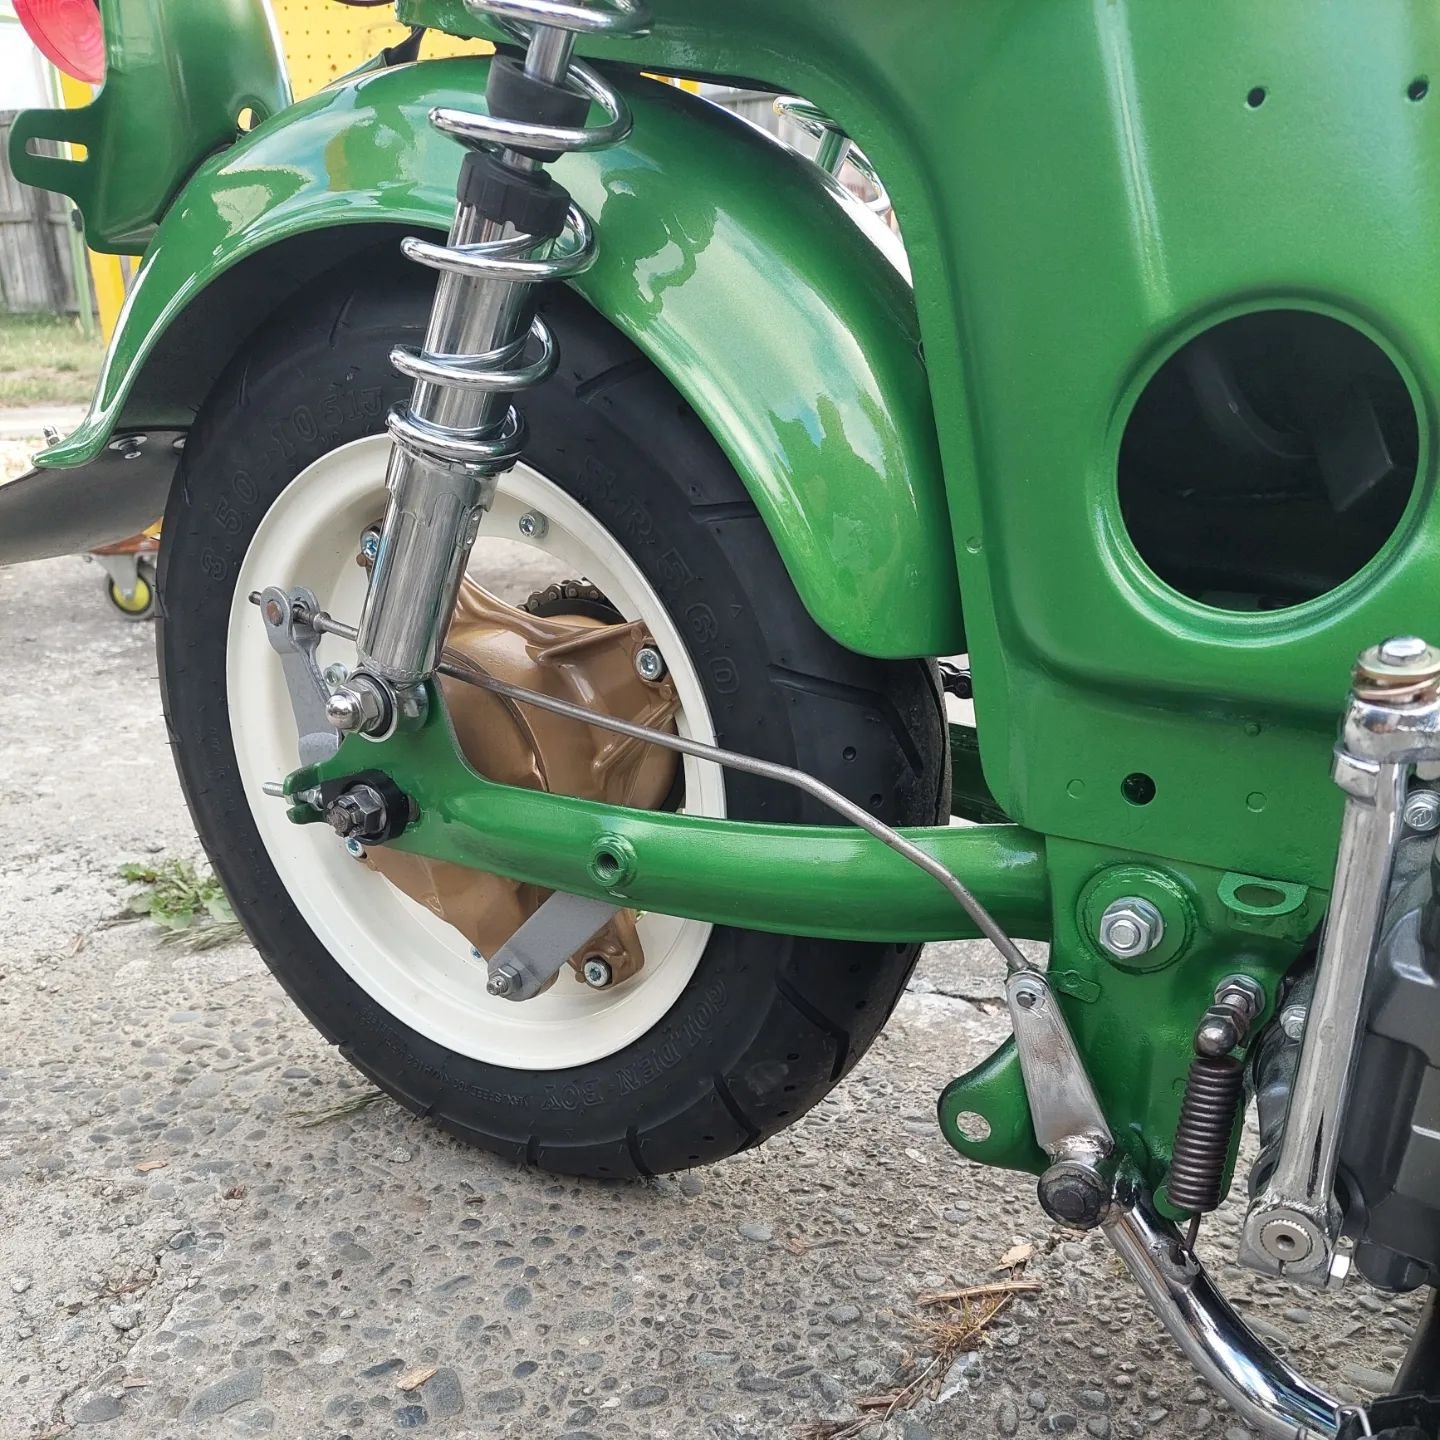
A few more jobs ticked off on the chaly over the past few days. A big hurdle was the wiring as I'm pretty shit at it but getting better, with the help of my dad we got there. I had to cut down the side stand considerably, the footpegs will be changed for Anderson style pegs I had to put an adjuster on the clutch lever as I've routed the cable through the frame and can't access the inline adjuster. New chain, rear sprocket and chain adjusters mounted too. @dvsdev.chaly on Instagram 3d printed me a fuel tap handle which is awesome
3 points
-
I love your approach to problem solving; Nothing is an issue. "doesn't quite work? To the lathe!"3 points
-
So I took heed of @NickJ and thought I had better sort that turbo drain sooner rather than later. I bought some fire rated oil hose and also made a complicated wee shield that should vastly increase the longevity of the hose; In other news, a few days ago I went through the options for front springs. This is because the original ones from the donor had sagged a bit and the front was sitting 15mm or so lower than it had been when certed. I may have mentioned this a while ago as I bought some springs that ended up being at the same height as what i had just taken out. So I chucked the old ones back in and sold the new ones on to a boy in Blenheim. This was good though as it gave me some context for deciding what to buy next. I ended up getting some heavy load rated 3" lift Dobinsons from Trundles, these arrived yesterday so I chucked them in tonight. This has lifted the front about 25mm, so by the time they settle it should be right on the correct height.... You can also see the guard I made a while back to protect the brake and clutch lines from wayward mall potholes. The axle droop in the front is currently restricted by the sway bar - probably not the most satisfactory situation, so I think I will get some extended links for this. As for a running report, it is sweet as a nut. It is such a pleasure to sit at 100kmh without; a. going a bit deaf and b. wondering if the engine is on the brink of grenading itself. I am gagging to turn the wick up a bit, 700odd km to go before I am allowed. So in a way it is kind of finished now...? What the fuck am I going to do with myself? I mean there is still a list of things to do but these are mostly optional. I shall have to consult the master list of projects.3 points
-
Carbon fibre blanket and tissue box on the rear parcel shelf please3 points
-
You are most likely all over this, I didn't see a photo of the back side of the HRB, but one thing I learnt the hard way in a retrofit of a very similar looking Saab HRB into the mx5, is that the back side of the unit needs a solid base. As the rear cover where you gain access to service the hydraulics is a crimped in disc. This will not withstand hydraulic pressure without being sandwiched so it can't move.2 points
-
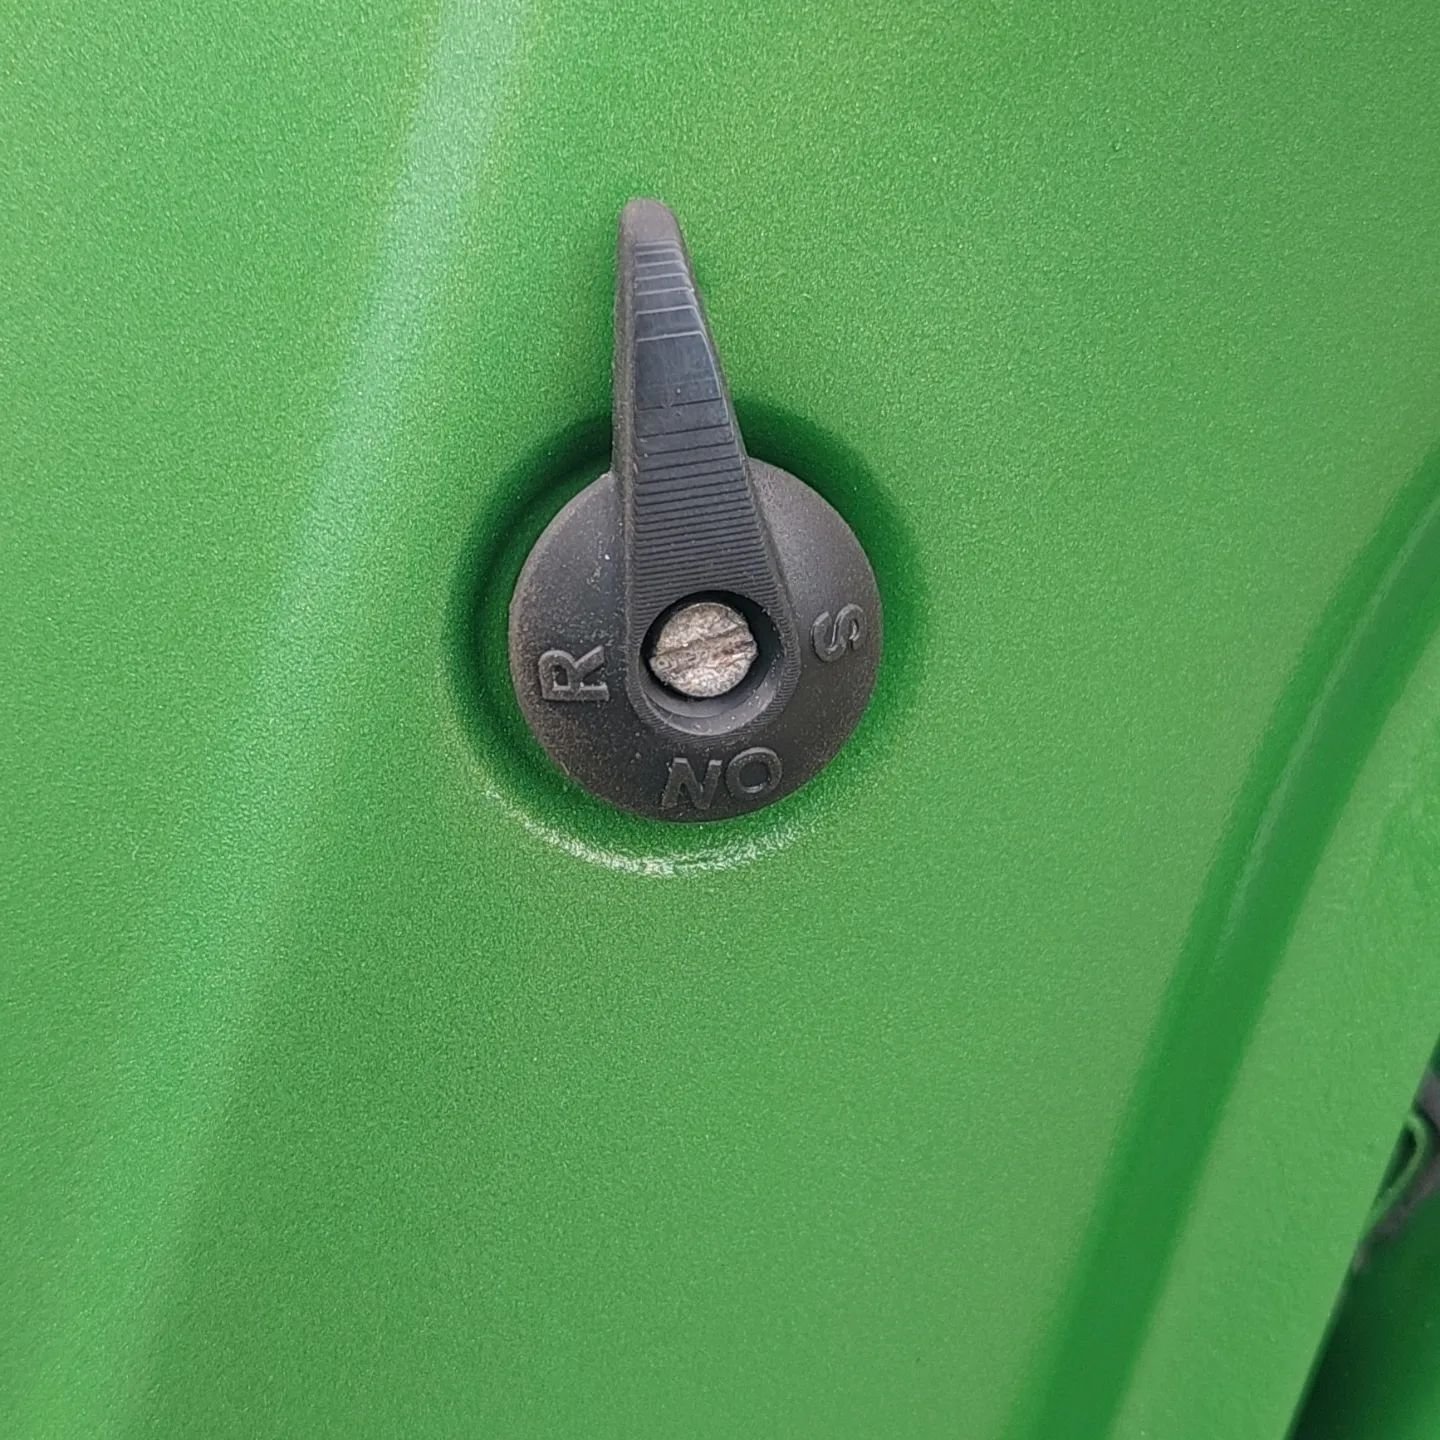
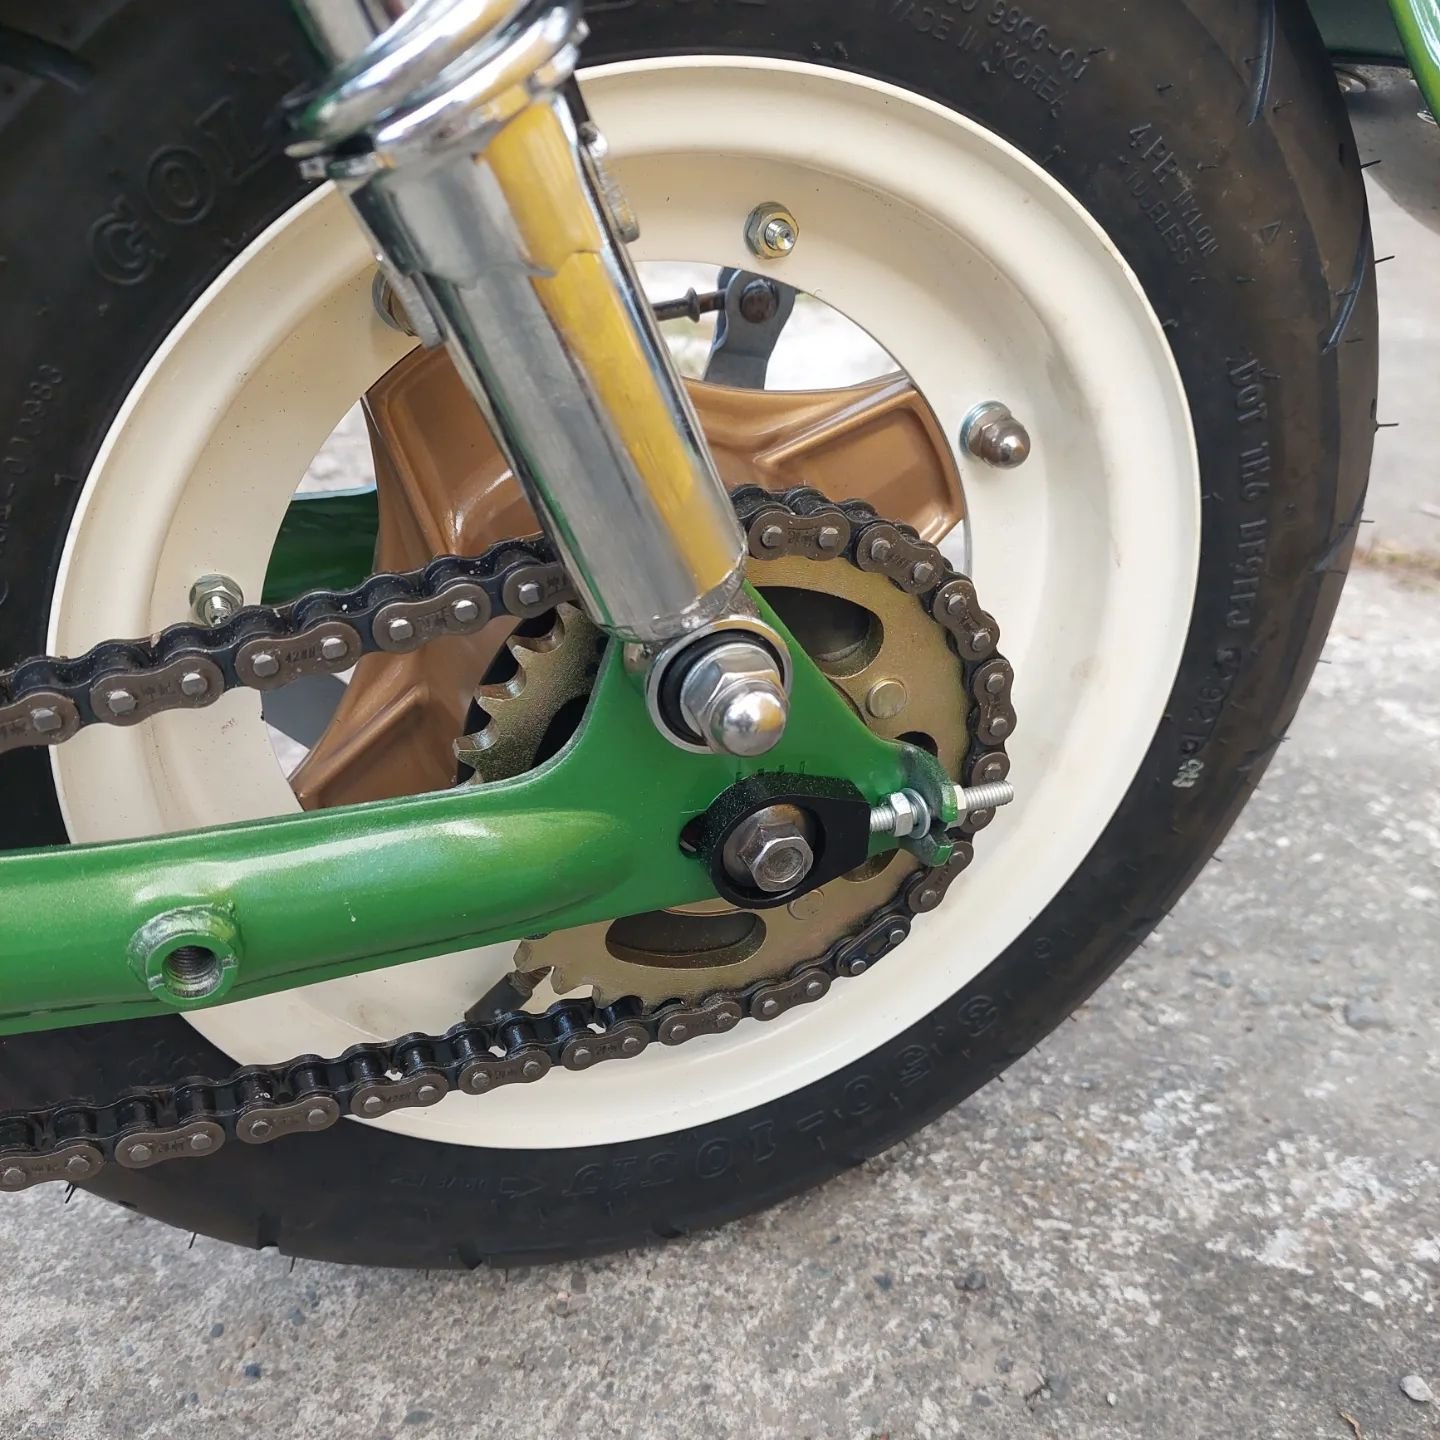
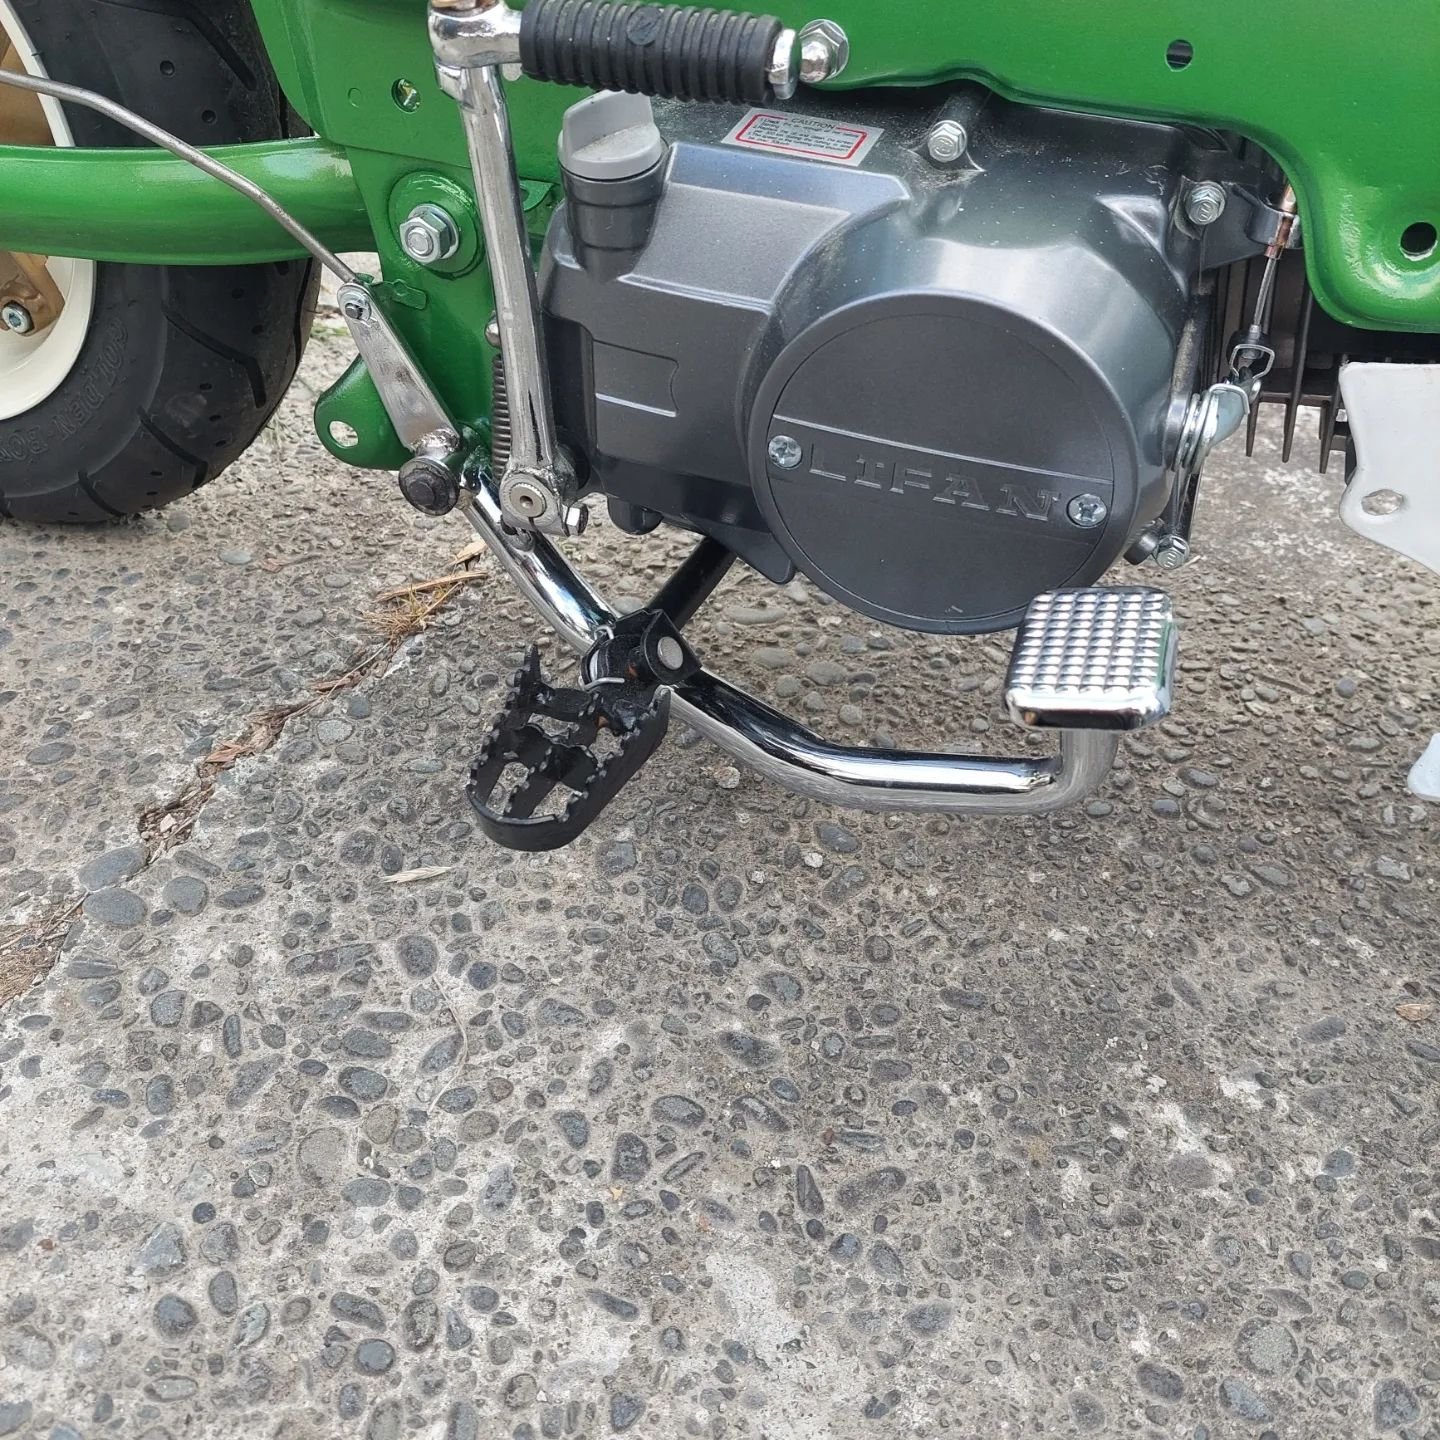
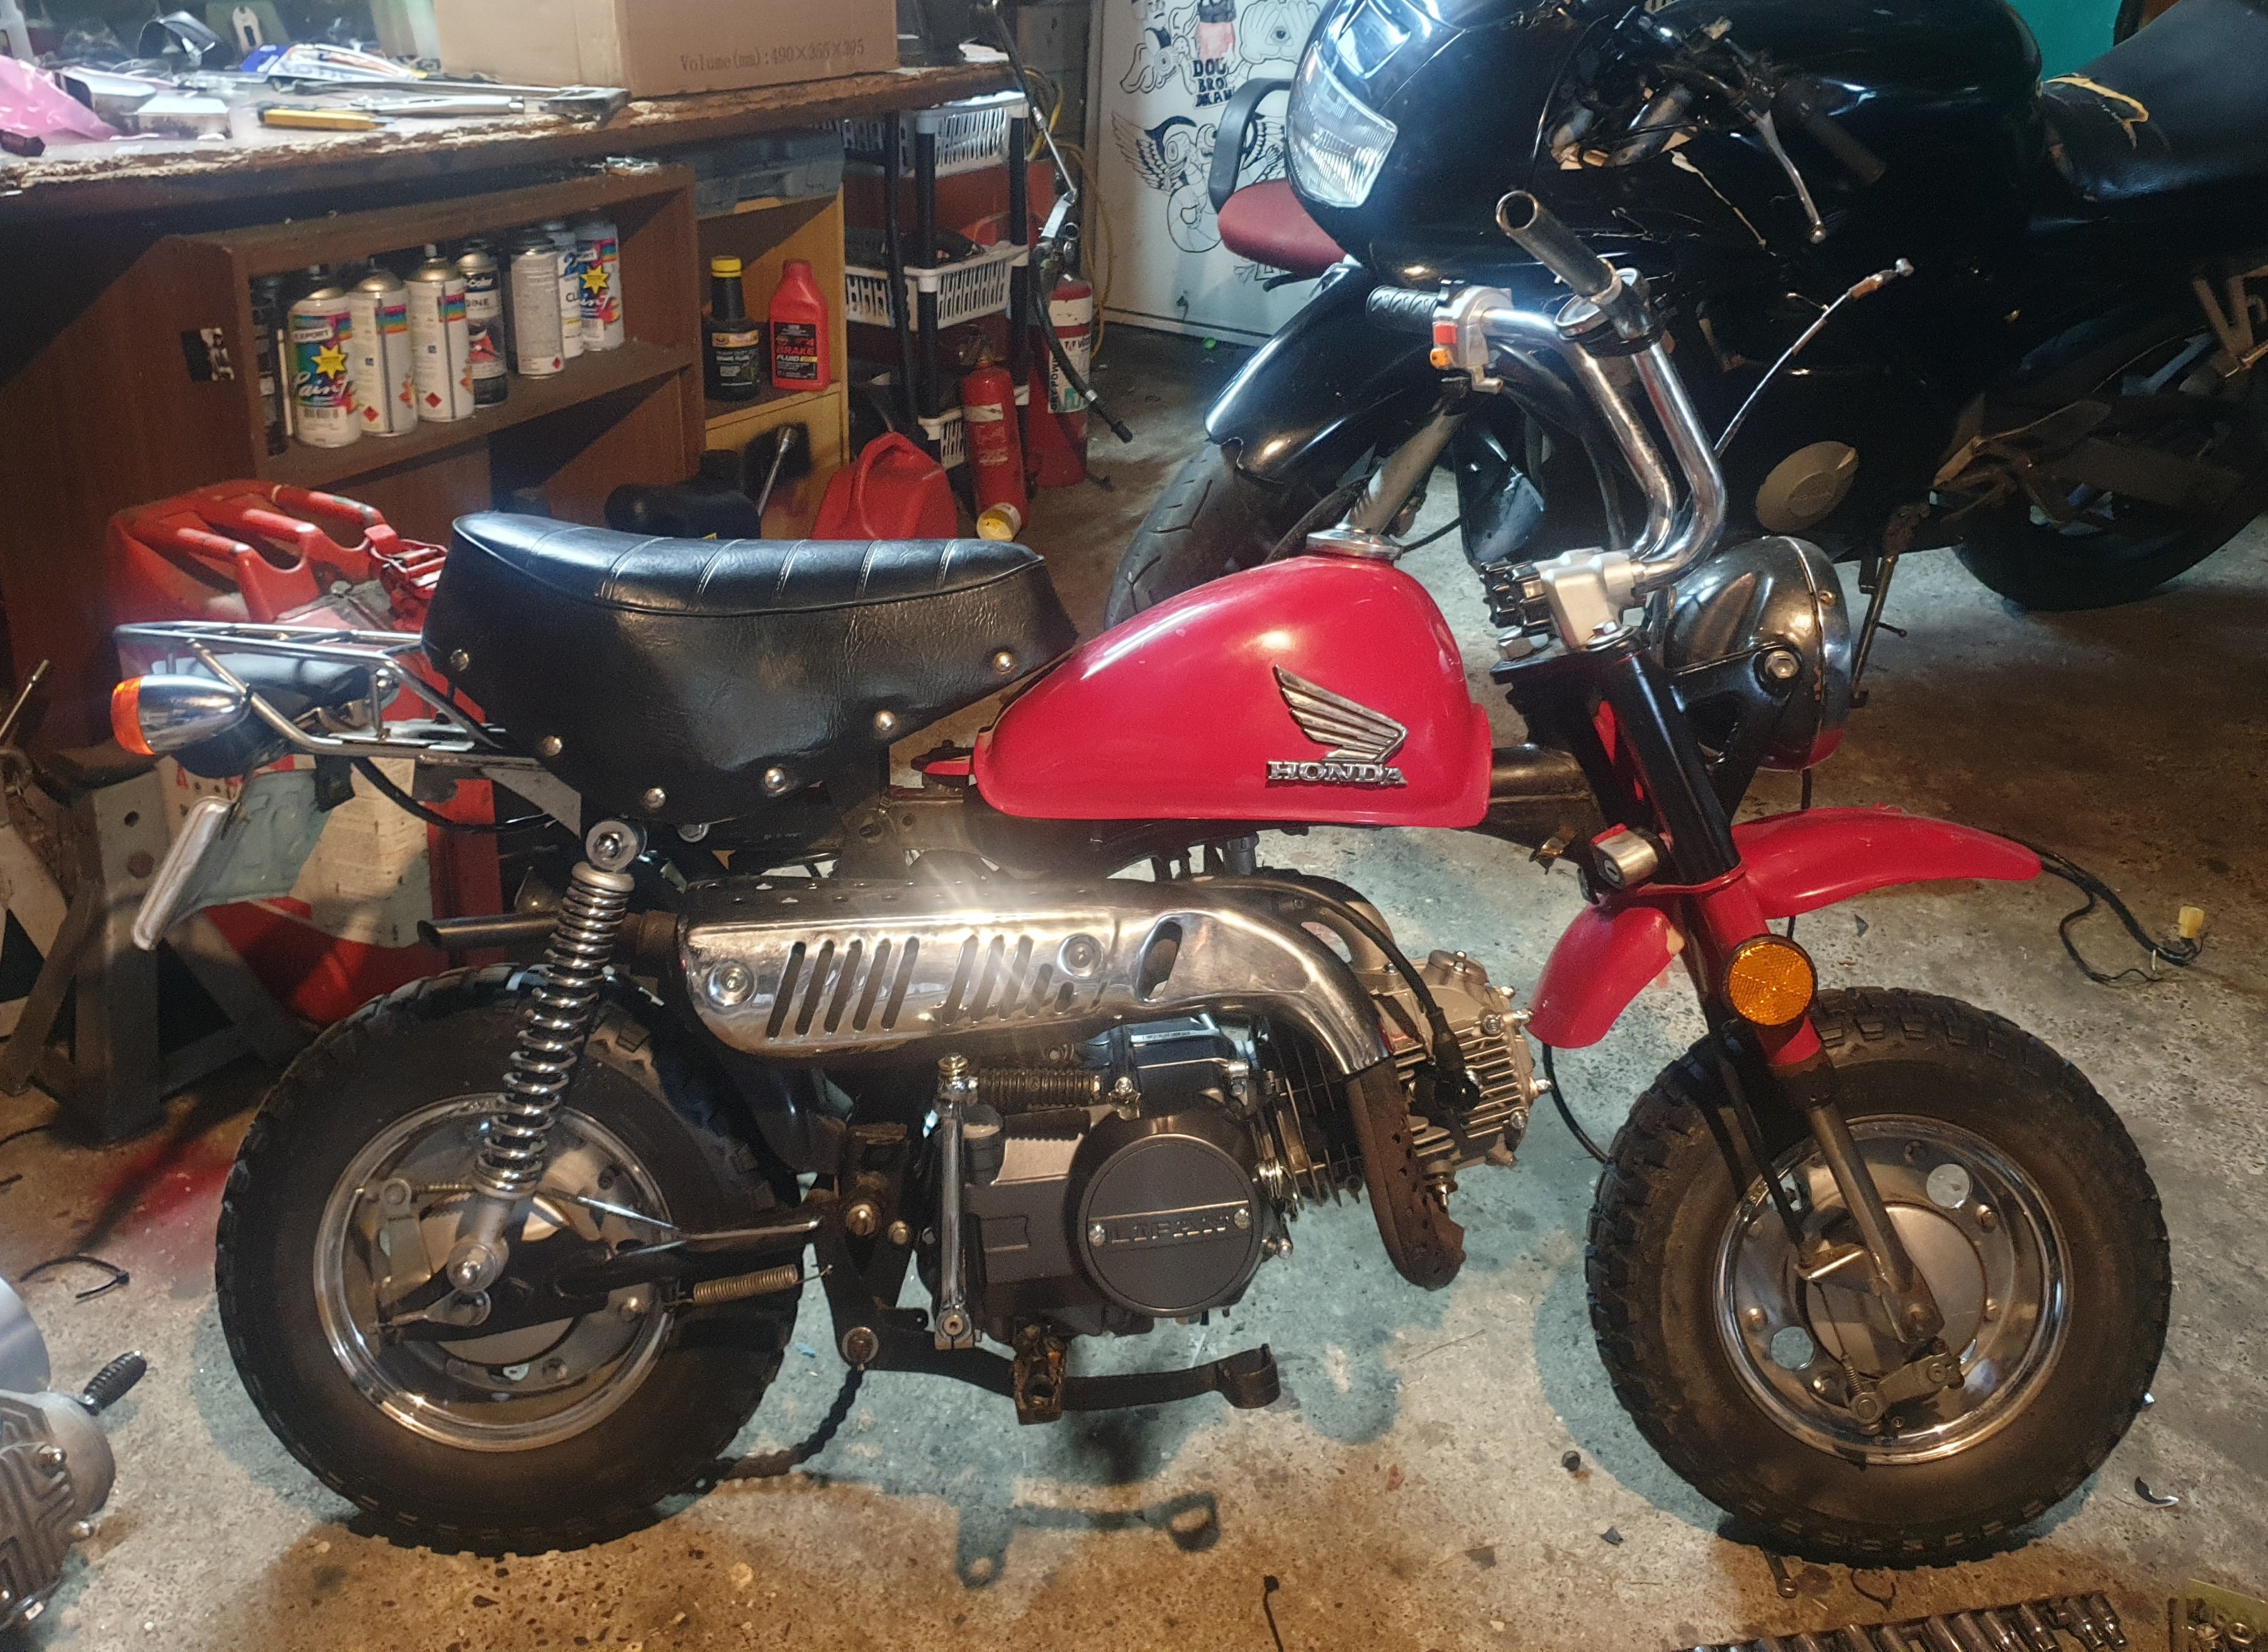
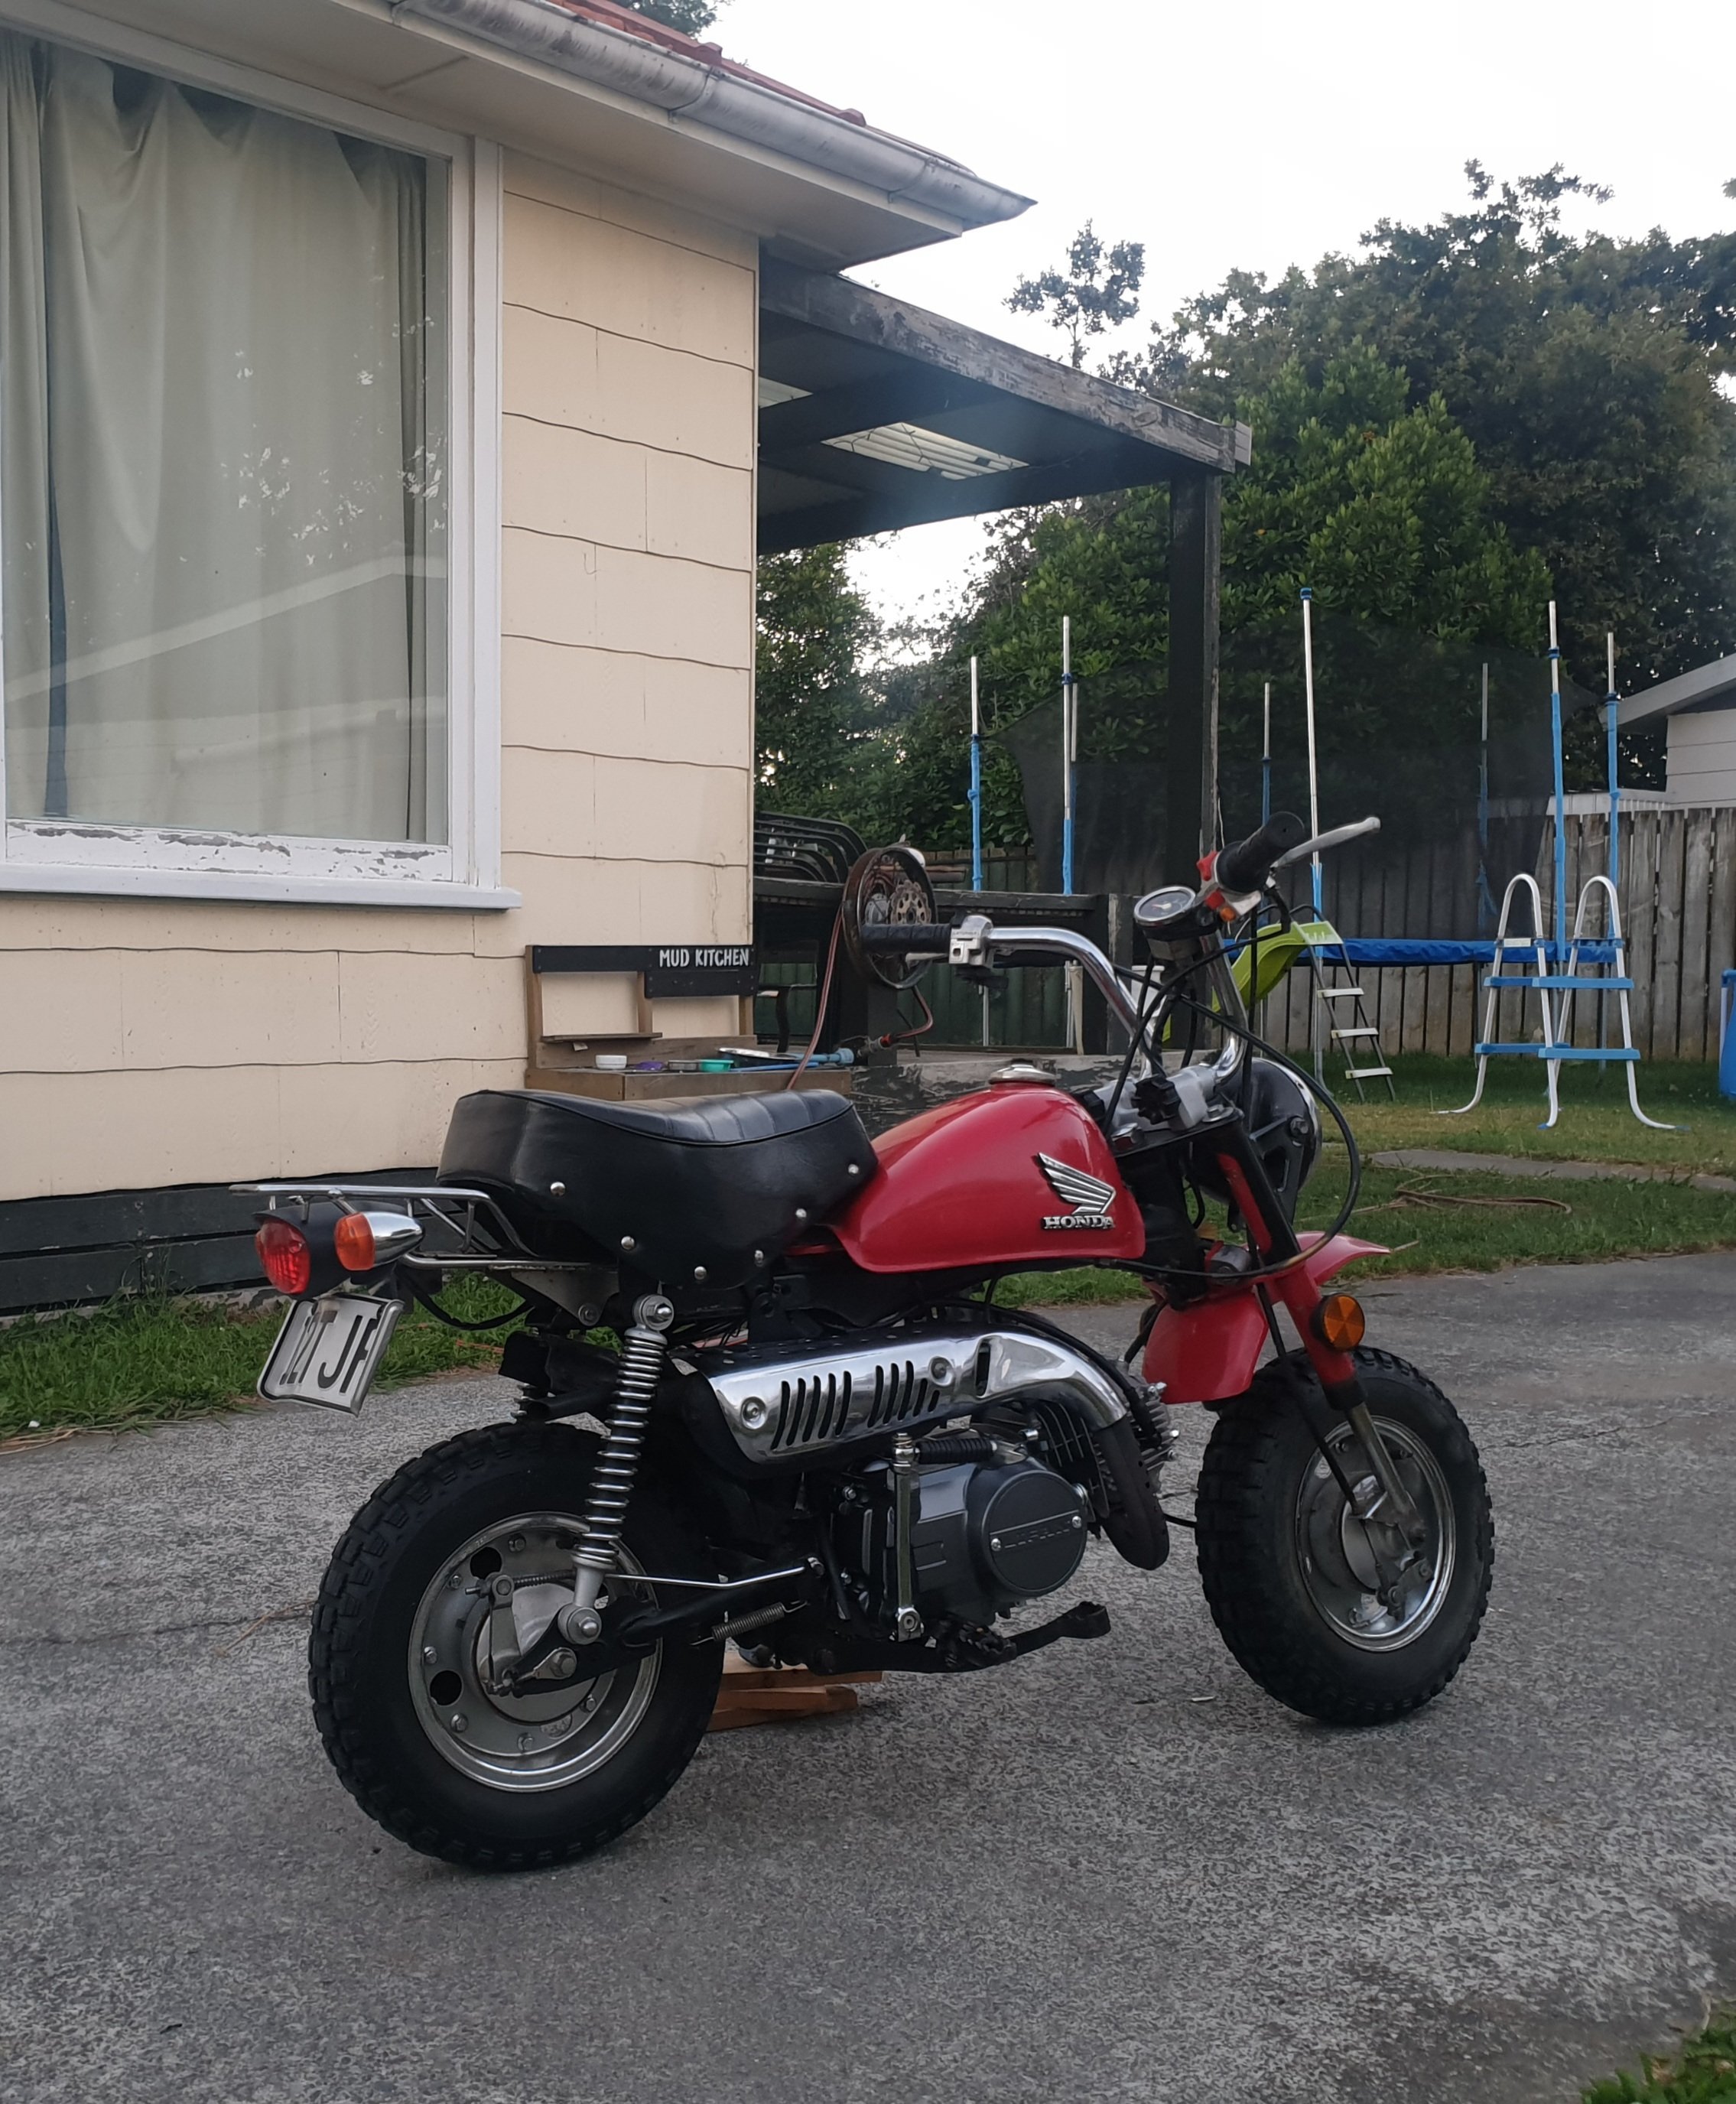
So after a day with some mates and a monkey getting hoond all day i decided that she needs more powa baby. Lifan 125 4speed swap..... Commences shes all in easy swap tight fit but in. Now need to button up small stuff ie. •throttle cable •clutch leaver and cabel •hook chain up •oil Do wheelies
2 points
-
Last time we left off with the gearbox in place, full of oil and the axles in place. Thankfully the gearbox passed the white paper test with no leaks, which means I managed to seal it up correctly and all the new seals are holding oil. Unfortunately, the lower radiator hose was still AWOL; I had planned on waiting for that to arrive, but in the meantime, after work, I decided to fit the freshly rust treated and painted heater pipe and some of the coolant hoses in preparation for the hose to arrive. This did end up with me getting carried away and just sending it and installing the old coolant hose as it was in usable condition and wasn't leaking beforehand, and whacking the whole thing back together. New stainless lower pipe I had to replace this hose to the heater pipe as I found some quite deep cuts/wear in the original hose. It is originally a moulded hose to clear the gearbox and air intake, but some careful trimming and clamping had the generic hose in a good enough position. Starting to look like an engine again, and a huge milestone It had been a long time since I had seen the car without the engine support bar in the engine bay. All the intake and boost pipes were then reinstalled The cooling system was filled, bled and then it was time. Still up on the Quickjacks, with my Wife standing by to check the wheels were turning, I jumped in the car and started it up. Into first, clutch out. Wheels turn. Second. Third. Fourth. and gingerly into fifth since wheel speed was getting up there. All forward gears were doing what they should, and the clutch was actuating correctly. Clutch in, on the brakes, popped into reverse, and bam, the wheels go backwards even. I built a gearbox, and it even works With the wheels back on, and then off again to torque up the hub nuts (oops, that was lucky), and the wheels back on again, the car was lowered to the ground for the first time in a couple of months. Its maiden voyage was out onto the drive to turn the car around, warm the engine up and bleed the cooling system After the thermostat (hey, it has one now!) opened and the fans cycled, the car went back into the garage for the night. The next day, I got home from work and immediately checked the fluid levels and took the car out for a drive. I needed to make sure everything gearbox related was working as it should, before booking the car in for a WOF inspection. First impression of the work done is that the shifter is really good. It's direct, firm and has very little play. The clutch is nice and progressive with a good bite point, and despite being a slightly uprated clutch the feel is good and it's not heavy. The sticky shudder I had when engaging the old clutch is gone (thankfully, I was thinking the cable was sticky, but clearly not). The gearbox works really well. It's silent at idle in neutral, where it used to rumble noticeably beforehand. The synchros are working well with no crunching. There is a slight whine in second gear, but considering what the gearbox has gone through (or what's gone through the gearbox) I'm not surprised the gears didn't survive completely unscathed. It's a huge improvement. I haven't been able to give it a real good test since I don't want to push the car too hard until the clutch has had some time to bed in, and I have checked the rest of the car over a bit more, but the couple of times I came on boost in a corner showed that the diff pulled the car around the corner. The feeling of being pulled wheels first around the corner was quite pronounced, and I feel like I could push even harder into a corner and have the car pull it to the exit. The torque steer everyone comments on was almost non-existent. I say almost, just because if it was there I never noticed it. On boost it just tracks straight and true. I'm really happy with the work I have done, the gearbox is sublime to use. The turbo noises are addictive and hilarious too. So much whoosh. A quick stop to check I wasn't pouring fluids out gave me a chance to take some photos of the car that aren't on my drive, in my garage or broken down. Yes, the front corner splitters will make a comeback at some point (the steel inside them that mounts to the bumper is like a doily so I either need to fix these or find replacements), and yes the bonnet desperately needs paint. The car also happened to tick over 113,000km just where I stopped I have more or less doubled the KM I have covered since I got the car, and *touches wood* the car even made it home under its own power this time. You may (but probably didn't) also notice that the side repeater lamps on the front guard arent orange anymore. I didn't like the fact that all the other indicators on the car are clear but these weren't, so I bought a kit to replace them last time I ordered parts from Rimmers. The old lights were quite faded. They slide back or forward and then wiggle out The bulb on this side was covered in filth. It turns out there should be an O-ring on the bulb holder to seal it. I tried but couldn't find one that fitted, so will just deal with having to clean the light later. The new lights come with orange bulbs Which then twist-lock into the new light, and after a quick clean of the grot that lives behind the light, the new light clips in. So flashy Of course, I couldn't leave you without a video of the whooshy noises. Enjoy.2 points
-
Mmmm, like this but done properly2 points
-
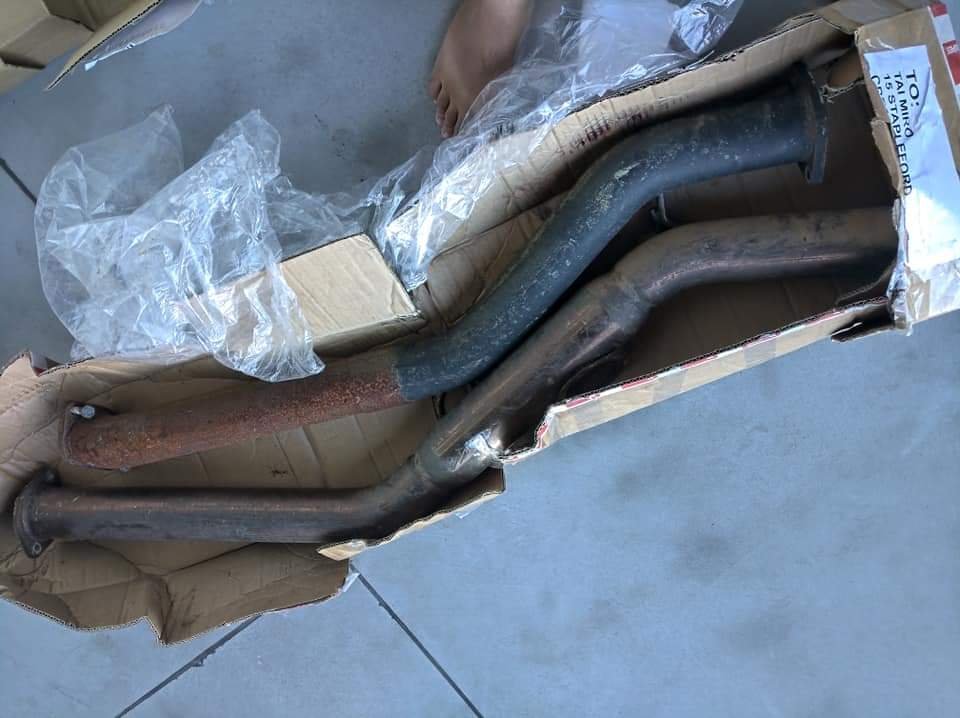
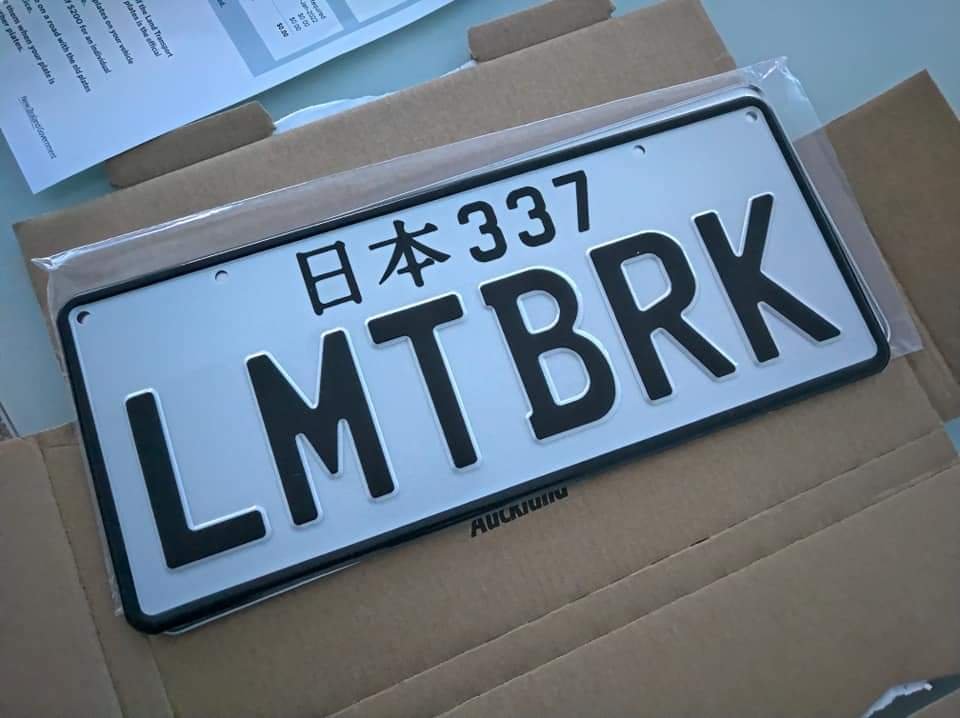
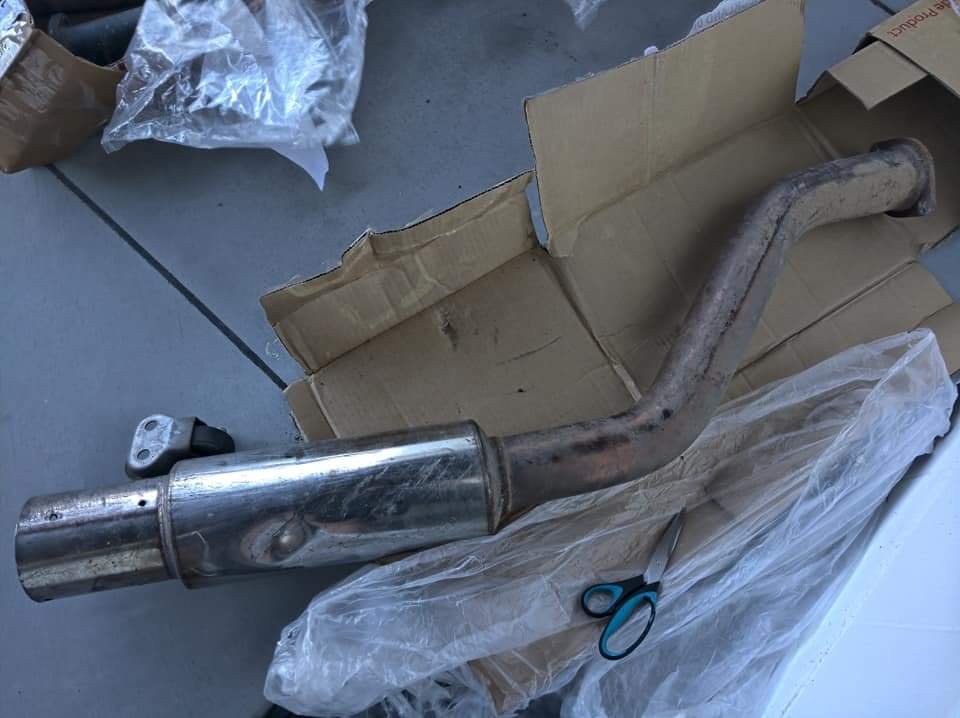
Finished cutting this thing last week. What a mission! It looks a lot better so that's good but I'm so amateur at it. Also I received a few things in the post today... 3" exhaust from dump pipe back. Rear sections are stainless and the front section is just mild steel. I think it's got a 4" bore on it, I'll see how it goes for now but I'm keen to swap it out for some twin pipes. Really wanted to go for a twin 2" exhaust system with twinpipes on either side but this second hand system came up cheap as. It was off a facelift soarer with a Kurt's kustoms downpipe, hopefully there's not much modification needed to bolt it up as I'm a lazy cunt but we'll soon find out. Also got these.. Have been wanting to get this plate for years, it was intended for my Mazda (which it will end up on at some stage). Limit break in regards to the high revving rotang but also a nod to my gamer/nerd side for anyone who is into the Final Fantasy series puhuhuhu. Chur
2 points
-
2 points
-
IMG_20210720_081438_1 by John Bell, on Flickr So yeah because the side panels had in coloured segments sanded and painted by a previous owner, I thought I'd whack some coloured vinyl on there and the new headlight to get it all matchy matchy. Had to try colour match to the slightly incorrect coloured tank bag. @Archetype was kind enough to send some off cut vinyl for me to simply stick on and trim out. Except I'm a talentless hack, and where the side panels have been sanded, it shows, and I struggled with creases and getting the shape cut tidily. So like most of what I touch it looks good from a far, but far from good. Good enough though. But yeah, did a trail ride a few weekends ago and enjoyed myself thoroughly. Bike out performs me, even had a very amateurish jam on their MX track and managed to stay on the bike, and even clear one or two jumps (and absolutely ruin myself on the rest)2 points
-
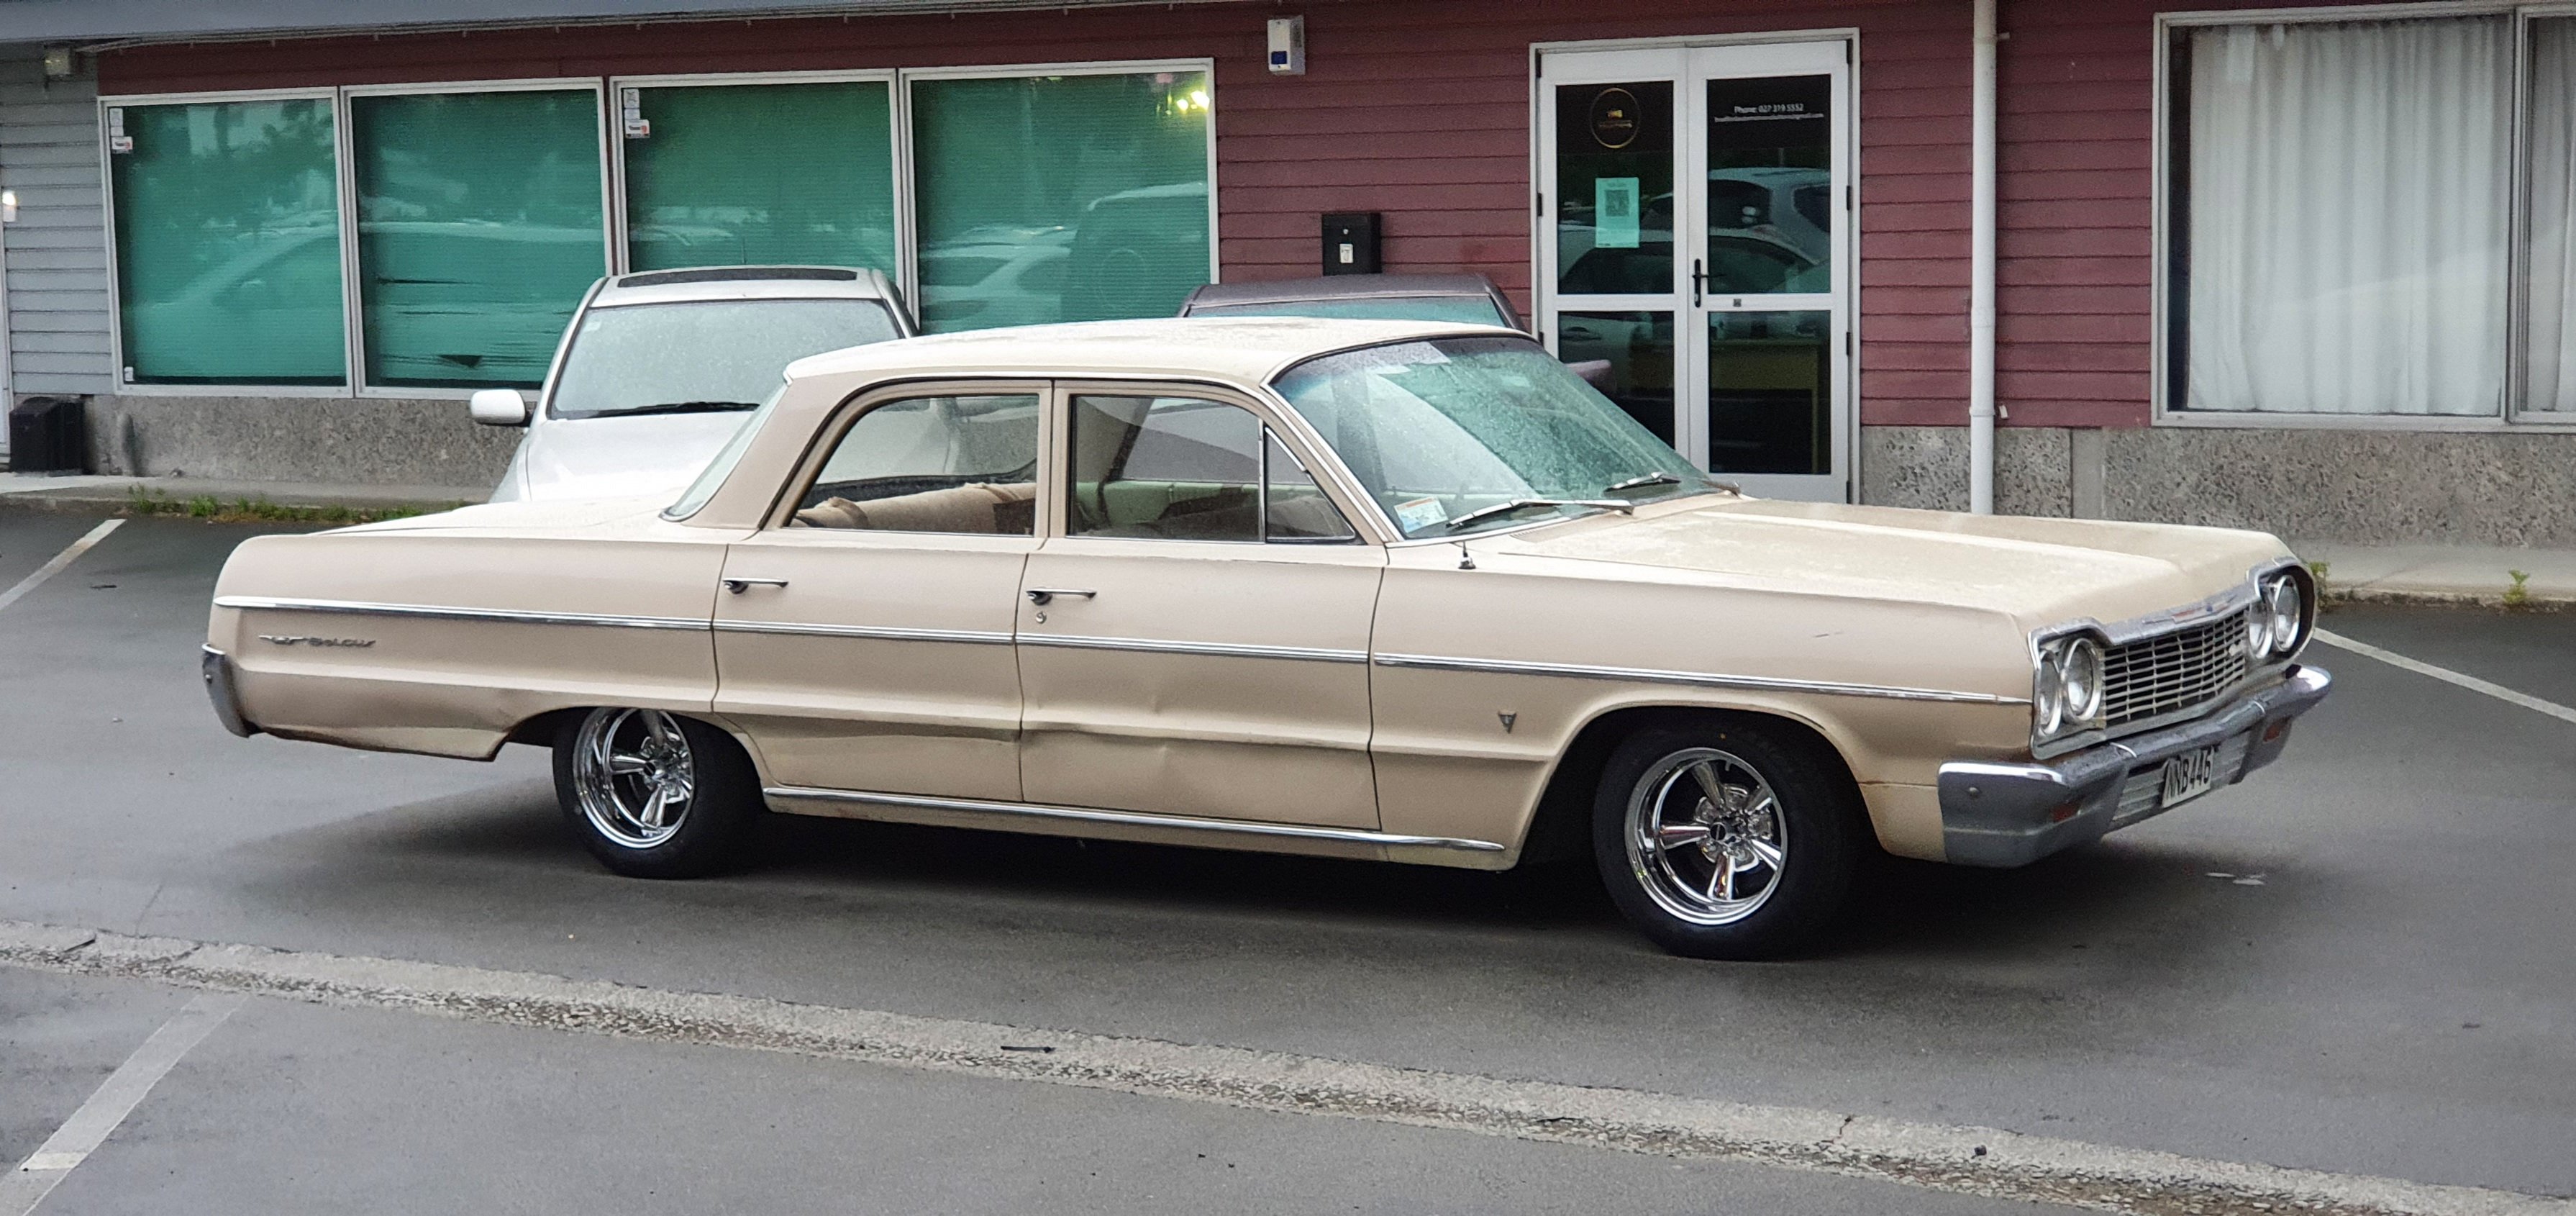
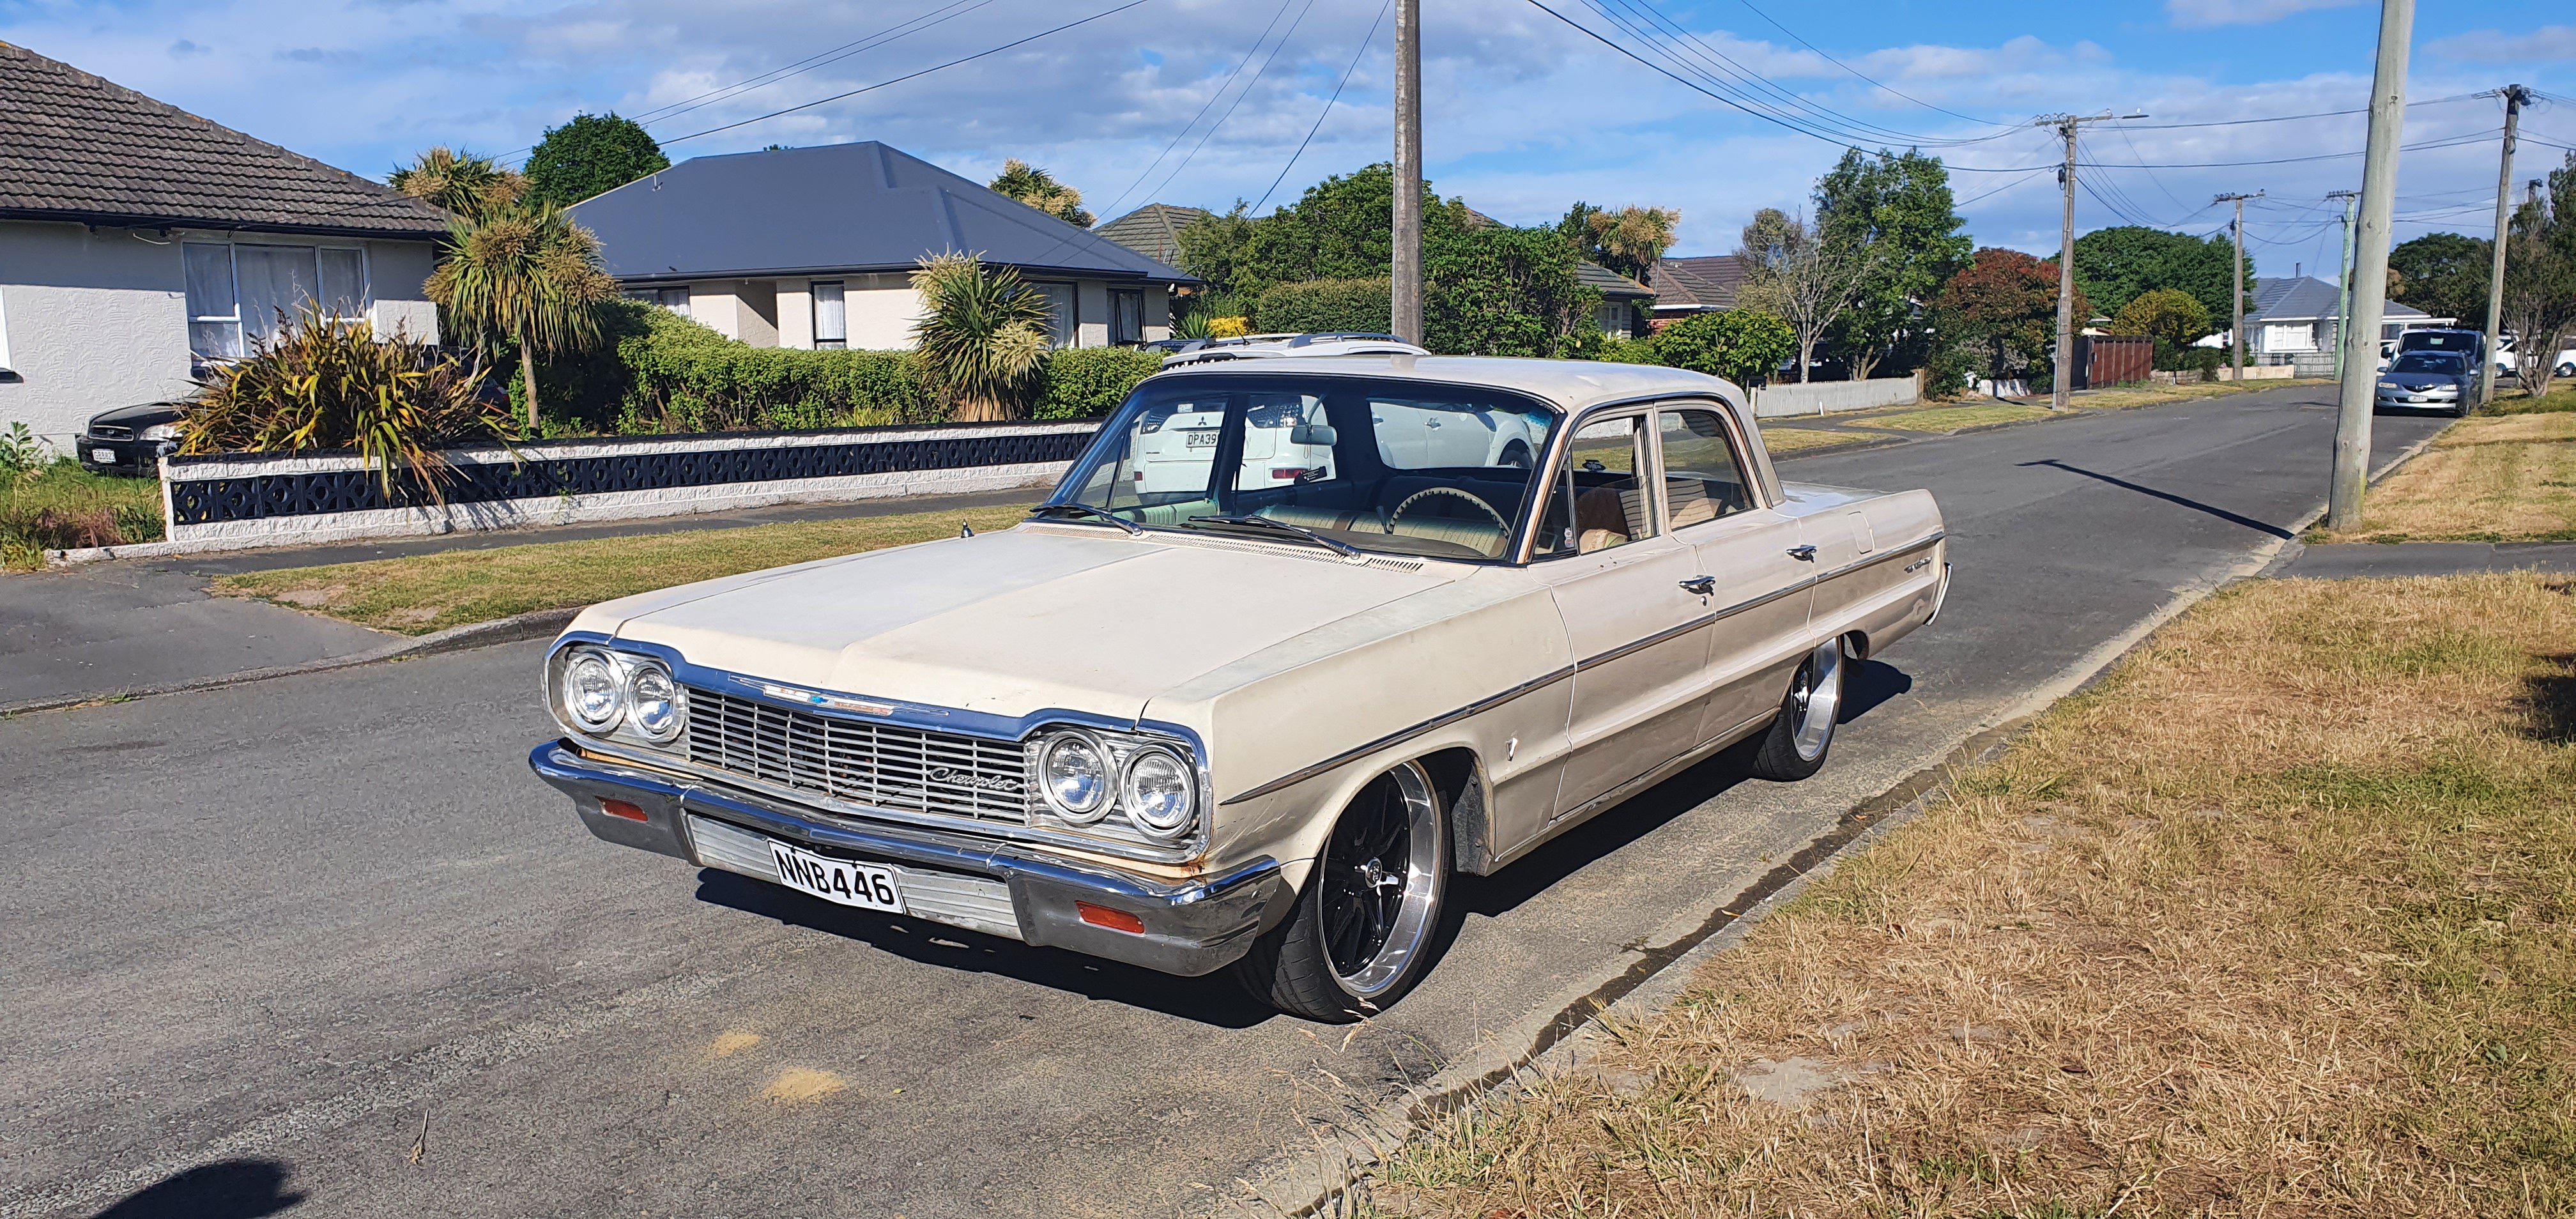
Discuss here Sharn incoming. Lots of words not many photos (yet). So, I'd been wanting to buy an Impala for a while and when the datsun popped up I thought it could be a good opportunity to make some money to put towards owning one. Unfortunately prices went crazy this year so it still seemed out of reach. As soon as it sold I put an ad up on one of the Facebook pages and I think I only got two responses. One was for a car way out of my budget and the other was a Bel Air in Wellington that looked rough. Anyway as time went on the Bel Air started to look like it could be worth looking at. I messaged @crustywhip and he was in the UK. Oh. No worries, if the guy still has it when Kane gets home we'll go from there. Thankfully the car wasn't actually advertised for sale so when it came time to revisit the idea it was still available. Kane had a look for me last week and determined that yes the body and interior is beat up but it is original and mechanicals are good. That was enough for me. Flight booked. "Hey m8. Have a 64 Belair if u interested? Have just put brand new mags on it also. Has NO RUST and has been through compliance etc when my m8 I brought it off had it. New body mounts and vtnz checked and wof also. Awesome tidy car and drives mint as! All original paint, carpets , seats etc etc so been untouched part from the wheels haha. It’s got a good 307 in it at the moment. My m8 had the bottom end checked by his mechanic and all tidy as. Only looking at selling to by a new vehicle for my new business otherwise I’d keep it 100% send u some pics" So anyway. Picked it up on Saturday and drove it home yesterday. It was tidier than I thought it would be and it drove well so I'm pretty stoked. I'll add some photos when I next drive it. Plans are to get rid of the 20"s asap and go to 14"s. Get some of the body tidied up (There's a gark down the right side and some dents in the roof I wouldn't mind disappearing). A new hoodlining, probably a stereo, and all going well hydros.
1 point
-
Mostly finished took for a ride goes well verrry pepy still small finishing stuff but 1st ride complete
1 point
-
Those wheels are a VAST improvement!1 point
-
Well done, one of my top fave threads on the internet at the mo. I'm still tinkering with my little car swap but it's no where near as tidy or progressing as fast as this.1 point
-
Just foreshadowing a possible issue here, the road is closed just before Portage as of yesterday (currently staying in Momorangi Bay) I'd propose a back up of heading towards French Pass if we needed it? It would involve a bit more of a seal stage but still the same kind of flavour.1 point
-
Cheers. Yeah I'd be totally fucked without a lathe or that little drill mill. I would love a larger knee mill but luckily the old Taiwan special has seen me through so far1 point
-
Yup, that's kinda sexual.
1 point
-
Day 1 is easy riding, twisty gravel roads and quite scenic, 3/10. Day 2 is as per last year, call that a 6/10 for knarliest bit of Maungatapu. Day 3 Porika and Braeburn tracks I haven't done. I know there's at least one super steep section that many big bike riders are pretty wary of, but hopefully small bikes should be sweet (just make sure you have decent brakes), maybe 7-8/10?1 point
-
Pics of wof spec look just because
1 point
-
For the first time since... September... the car has moved under its own power again.1 point
-
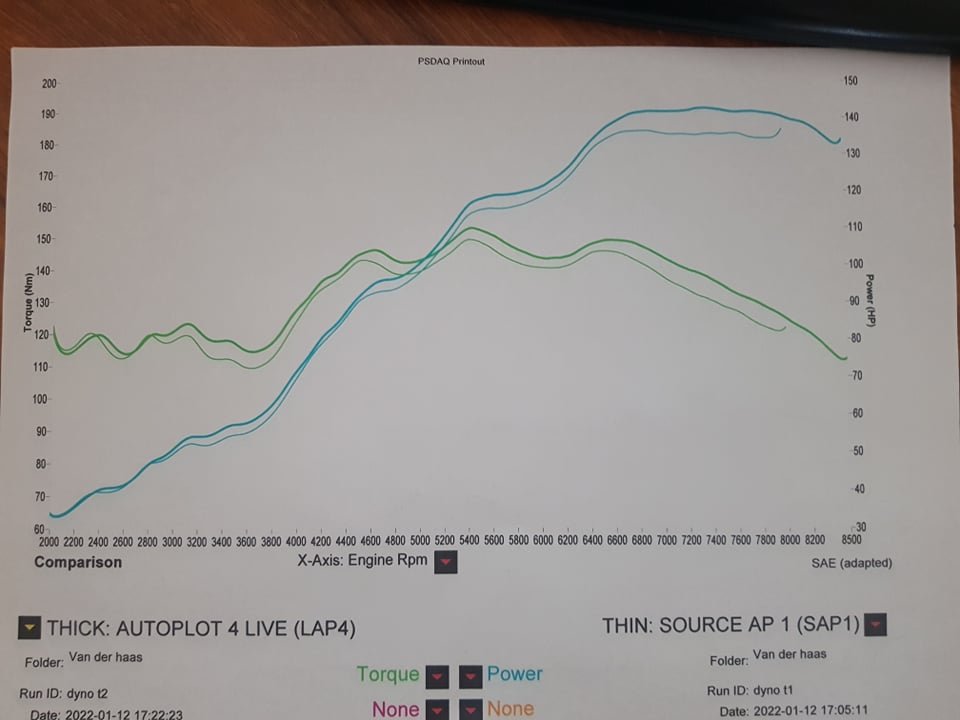
Okay soooo, DTech in Tauranga offered me some dyno time before the drags, see if we could squeeze a bit more out of it. Much to my surprise, it gained around 6hp over my road tune... By leaning it out considerably! It turns out that because my exhaust is so absolutely 100% miserably shit, the exhaust pressure is so high that it's skewing the wideband results. So my rock solid 12.8:1 on my sensor was actually reading around 11:1 at the tail pipe on the dyno sensor. So we leaned it out and picked up power straight away. Then some minor fiddling with ignition and cam timing gave some minor results, but the fuel was the money maker. Ended up with 141 whp @ 7700rpm. Stoked! Absolutely cannot wait for Friday now. Also it was so god damn loud in the dyno room you could feel the intake pulses hitting into you. lordy. This thing is going to slap dicks once its got a good exhaust on it.
1 point
-
I made a dumb cart! This car has no wheels. The proper wheels are a long way away, so it needs some temporary wheels. Especially because Panel McPanelbeaters will need to be able to move it around. After looking at a bunch of vids I decided to lazily over-engineer a cart out of wood, with two arms to attach it at the back where some of the rear suspension subframe bolts in, and just wedges between the front frame rails to give it some lateral stability. I got some annoyingly expensive M12 bolts with 1.25mm pitch long enough to be able to through some of mitre10's finest framing wood and test fitted them with the help of girlface: Turned on my granddad's old circular saw, put it down and used a hand saw instead, did some shitty drilling and screwing and measuring attempts, and after evolving the original plan a bunch I came out the other end with a cart! Three of the bolts even line up! It's a small cart and the footprint looks quite narrow but it's technically not far from where the jack stands would go anyway, and is quite sturdy. Most of the weight is in the back of the car too, so the cart is located quite far back. For the wheels I selected some nice big 100kg fellas with locks. The finest cheapest that mitre10 had to offer. I hear that the bigger the wheel the easier it is to move it around and the less susceptible it is to bumps. The weight capacity of 100kg per wheel or 400kg~ for the distributed load should be plenty, given that I can lift the front half by myself and the back half with a hand. So of course one breaks the first time it hit uneven concrete. This is also with me moving it by lifting the car from the front end, so there's even less weight on the wheel than normal. Nope, doesn't matter. As soon as it snagged on the crappy concrete while trying to rotate it crumpled faster than a hollow easter egg in the hands of a fat kid. Fortunately the mitre10 service desk guy didn't put up a fight and I got my money back. Then splurged on some smaller but 125kg wheels that looked and felt a lot sturdier. Non-locking but I was already paying significantly more for them. So that's that job sorted, and while I'm still trying to locate some new front frame rails the panelbois will at least be able to move it into their shop and get a start on it. I can sit in it and have girlface push me around, so I'd say we're probably over 70% done with the project now.1 point
-
AC seems to work, that's my first attempts at alloy lol so hopefully can only get better from here
1 point
-
what was i wearing?...1 point
-
Youve already sorted it but FYI the radiator fan should be controlled by the factory relay and temperature switch that is on the thermostat housing.1 point
-
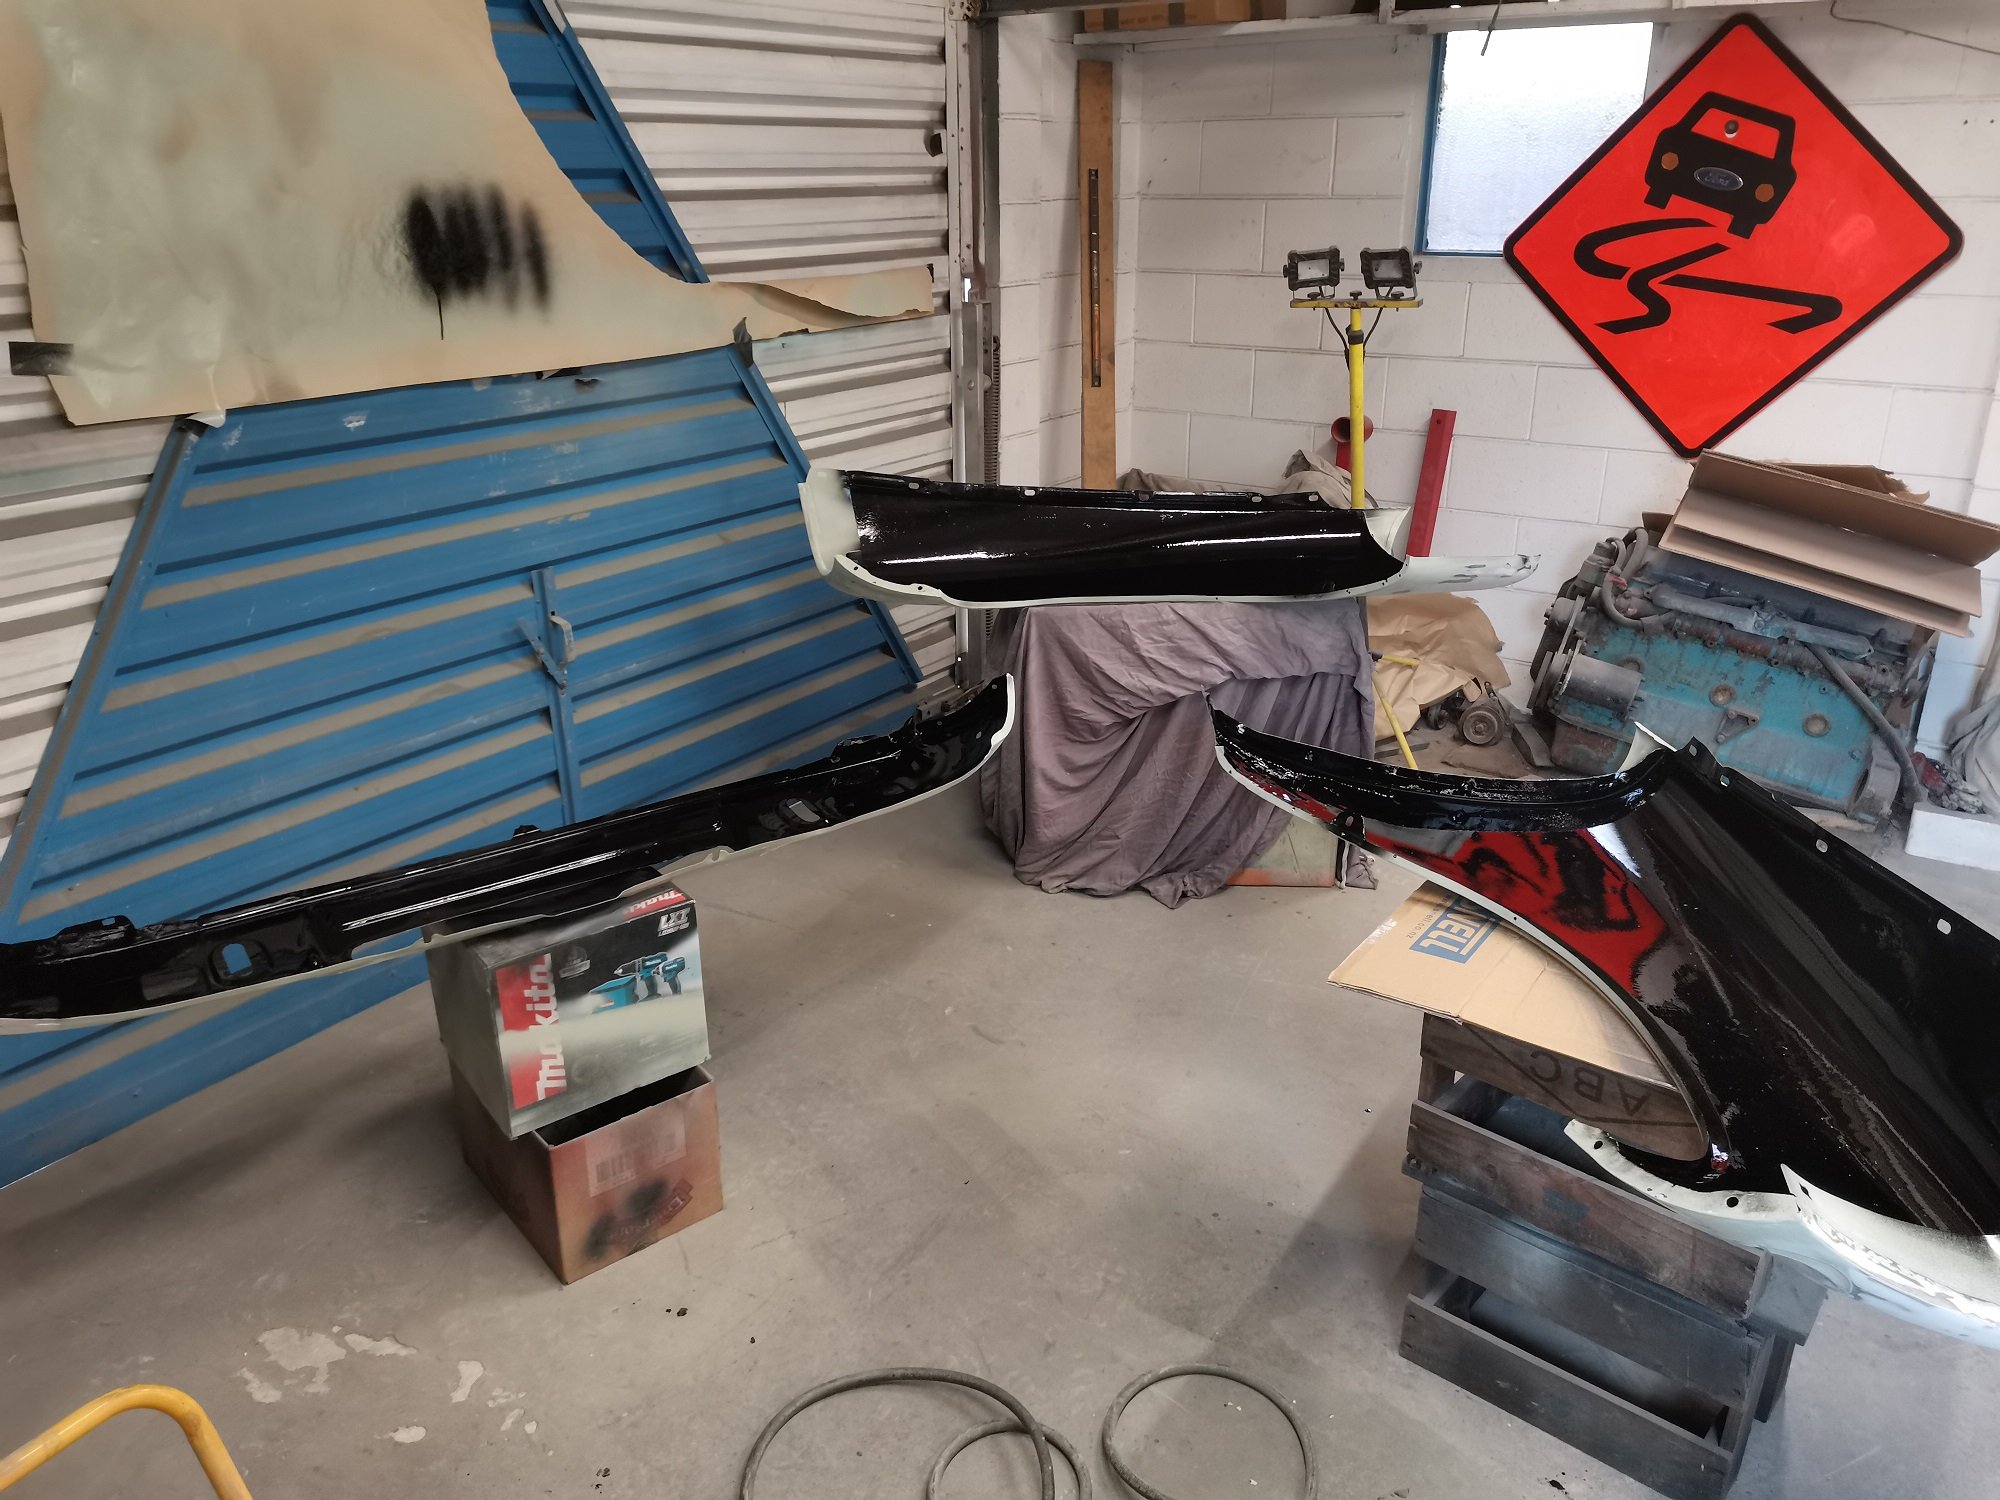
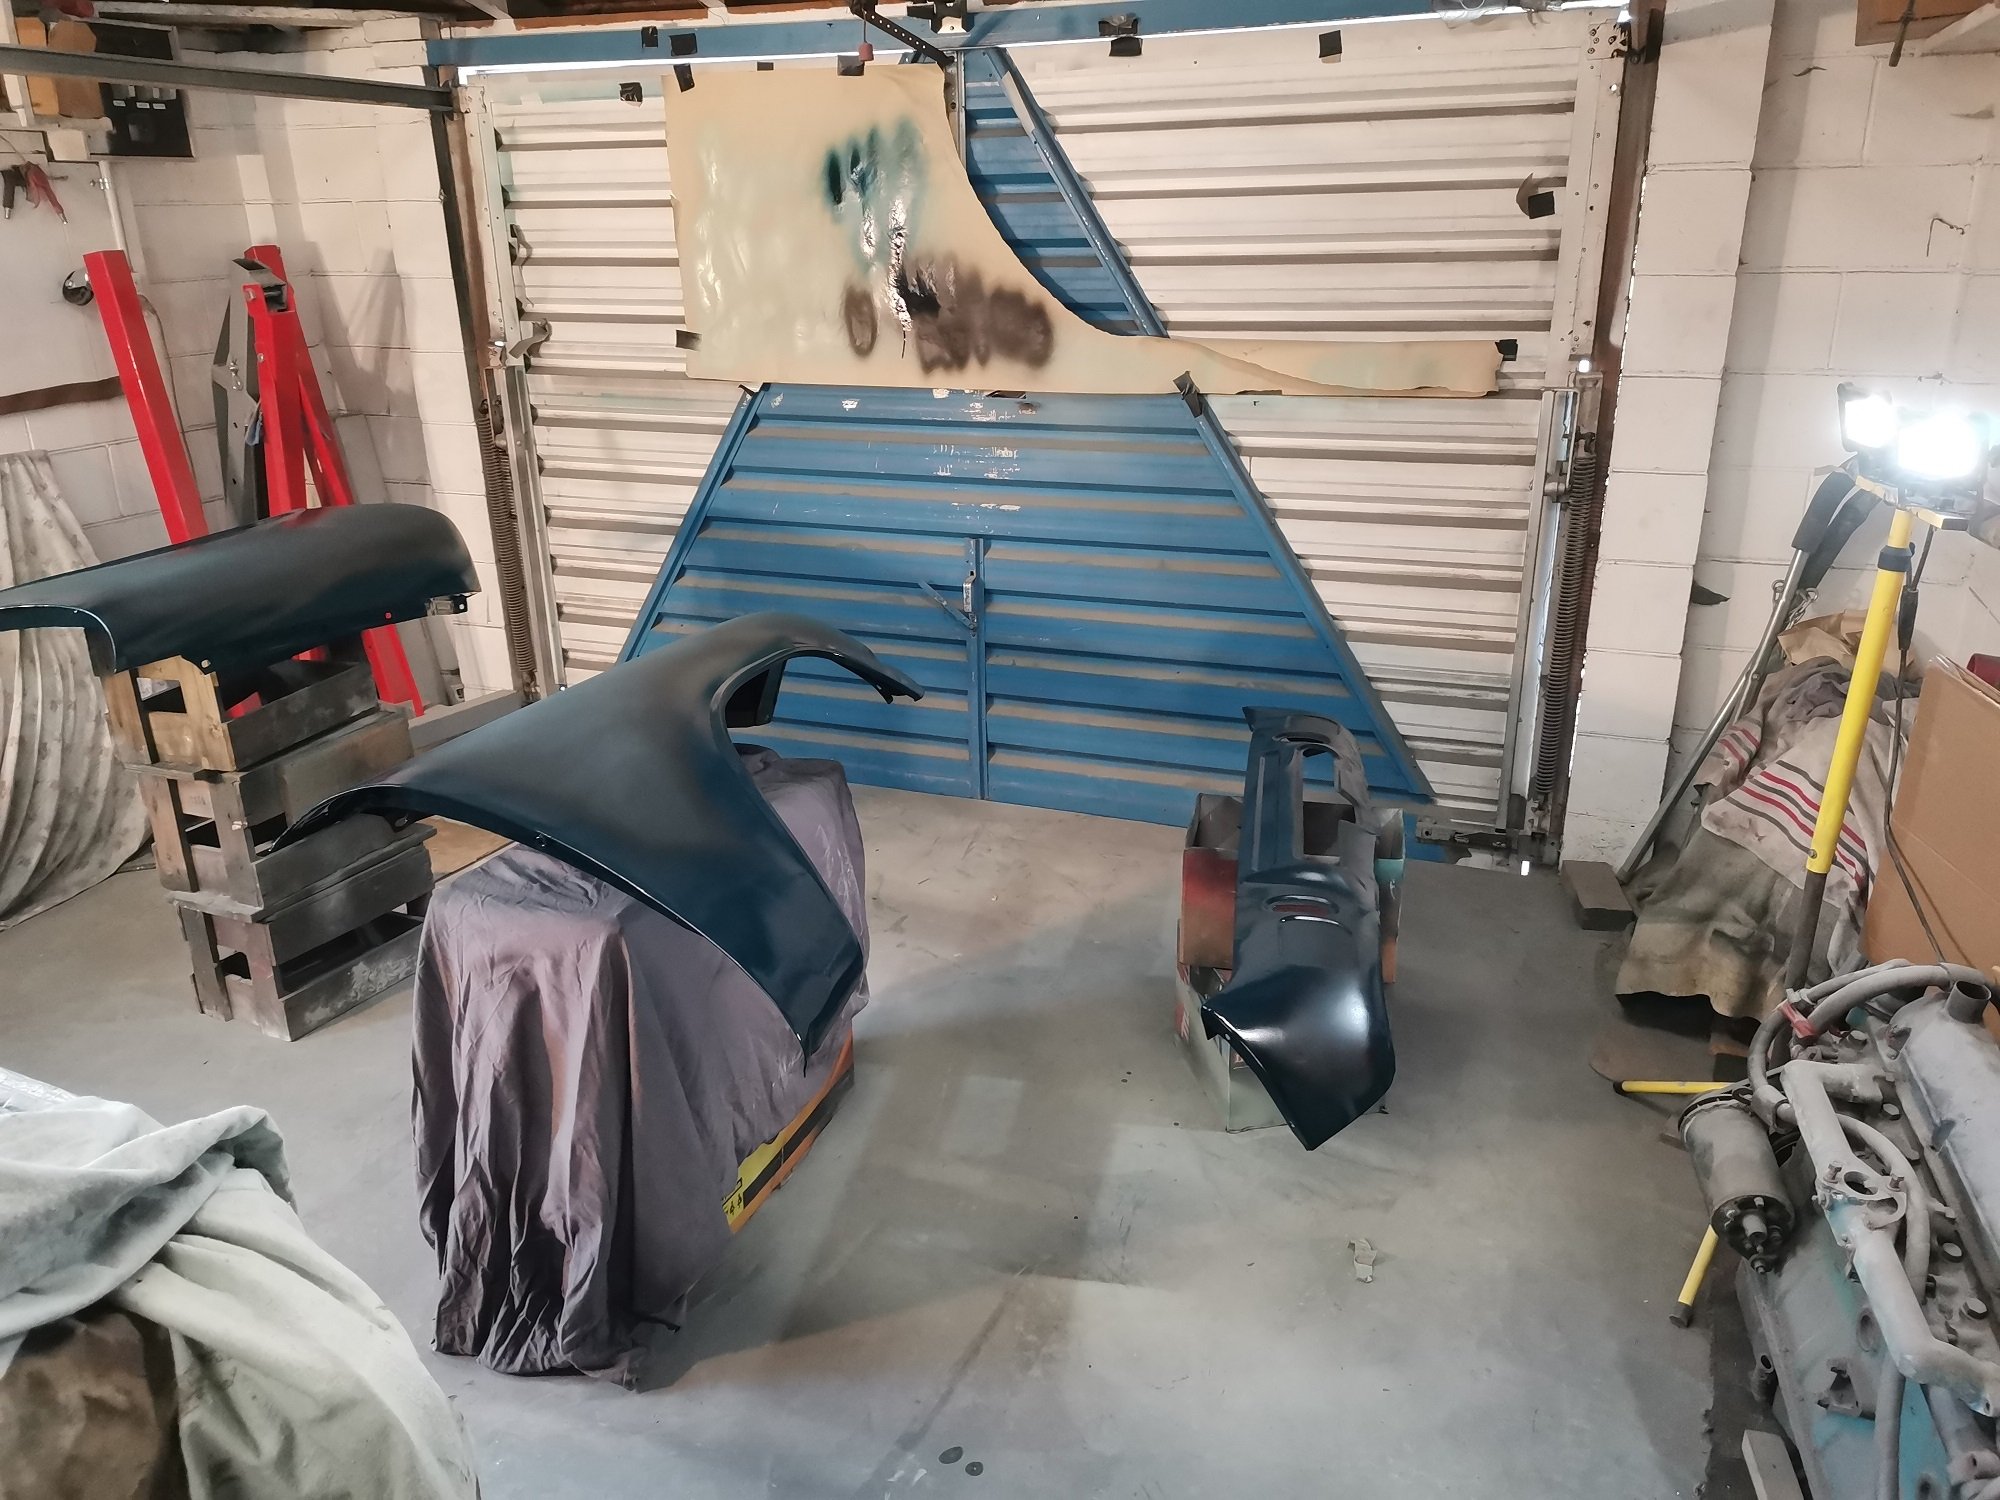
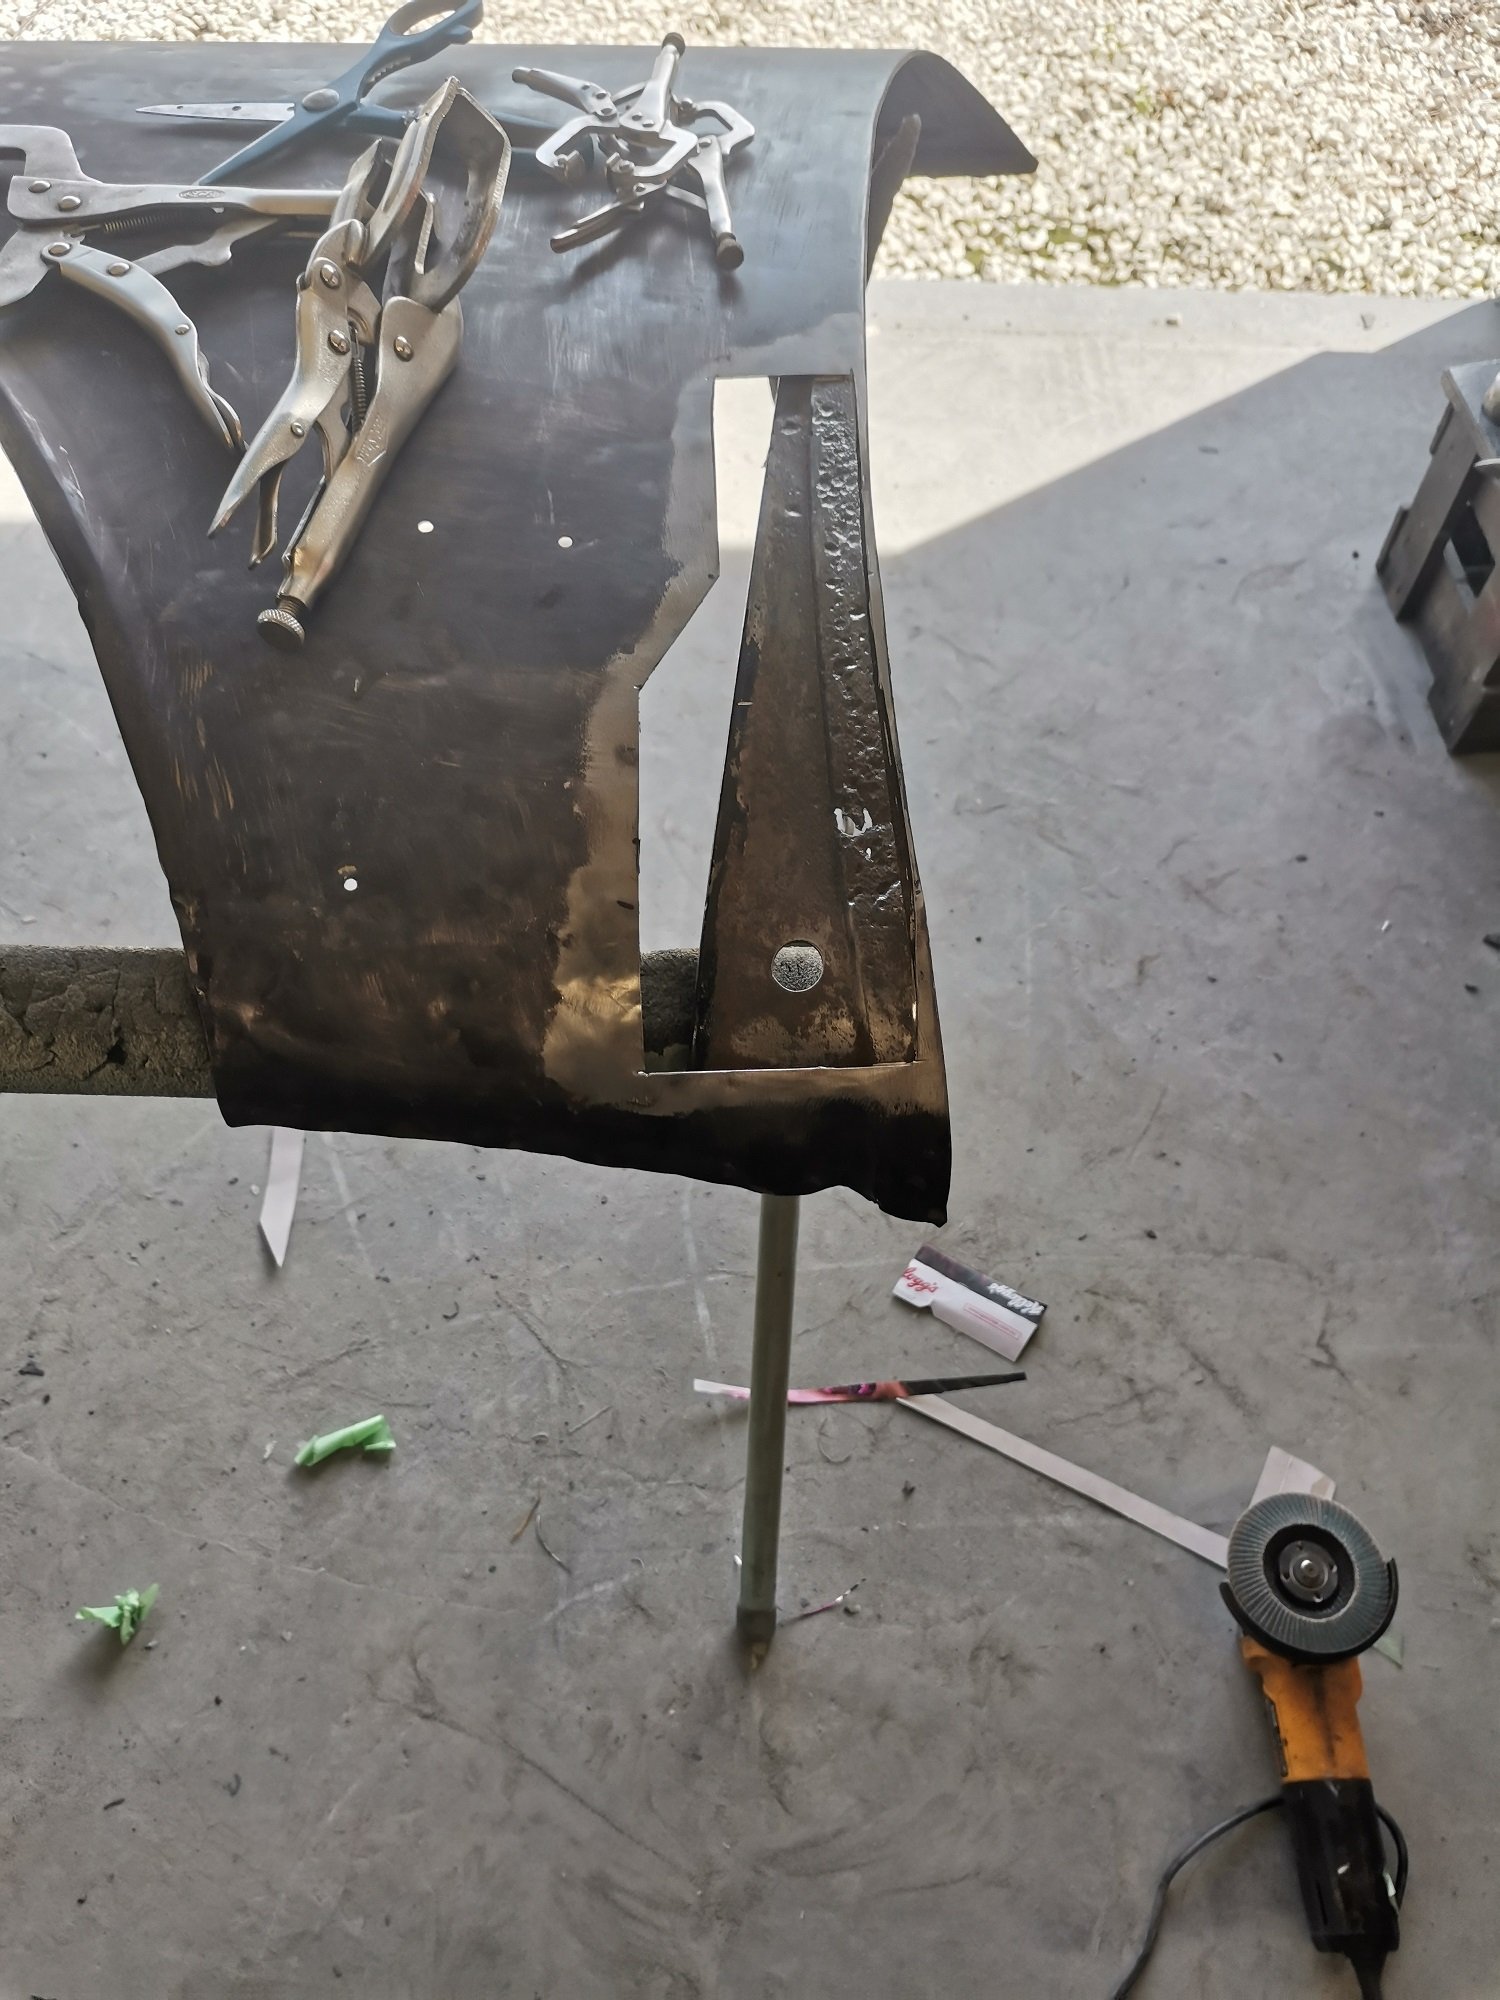
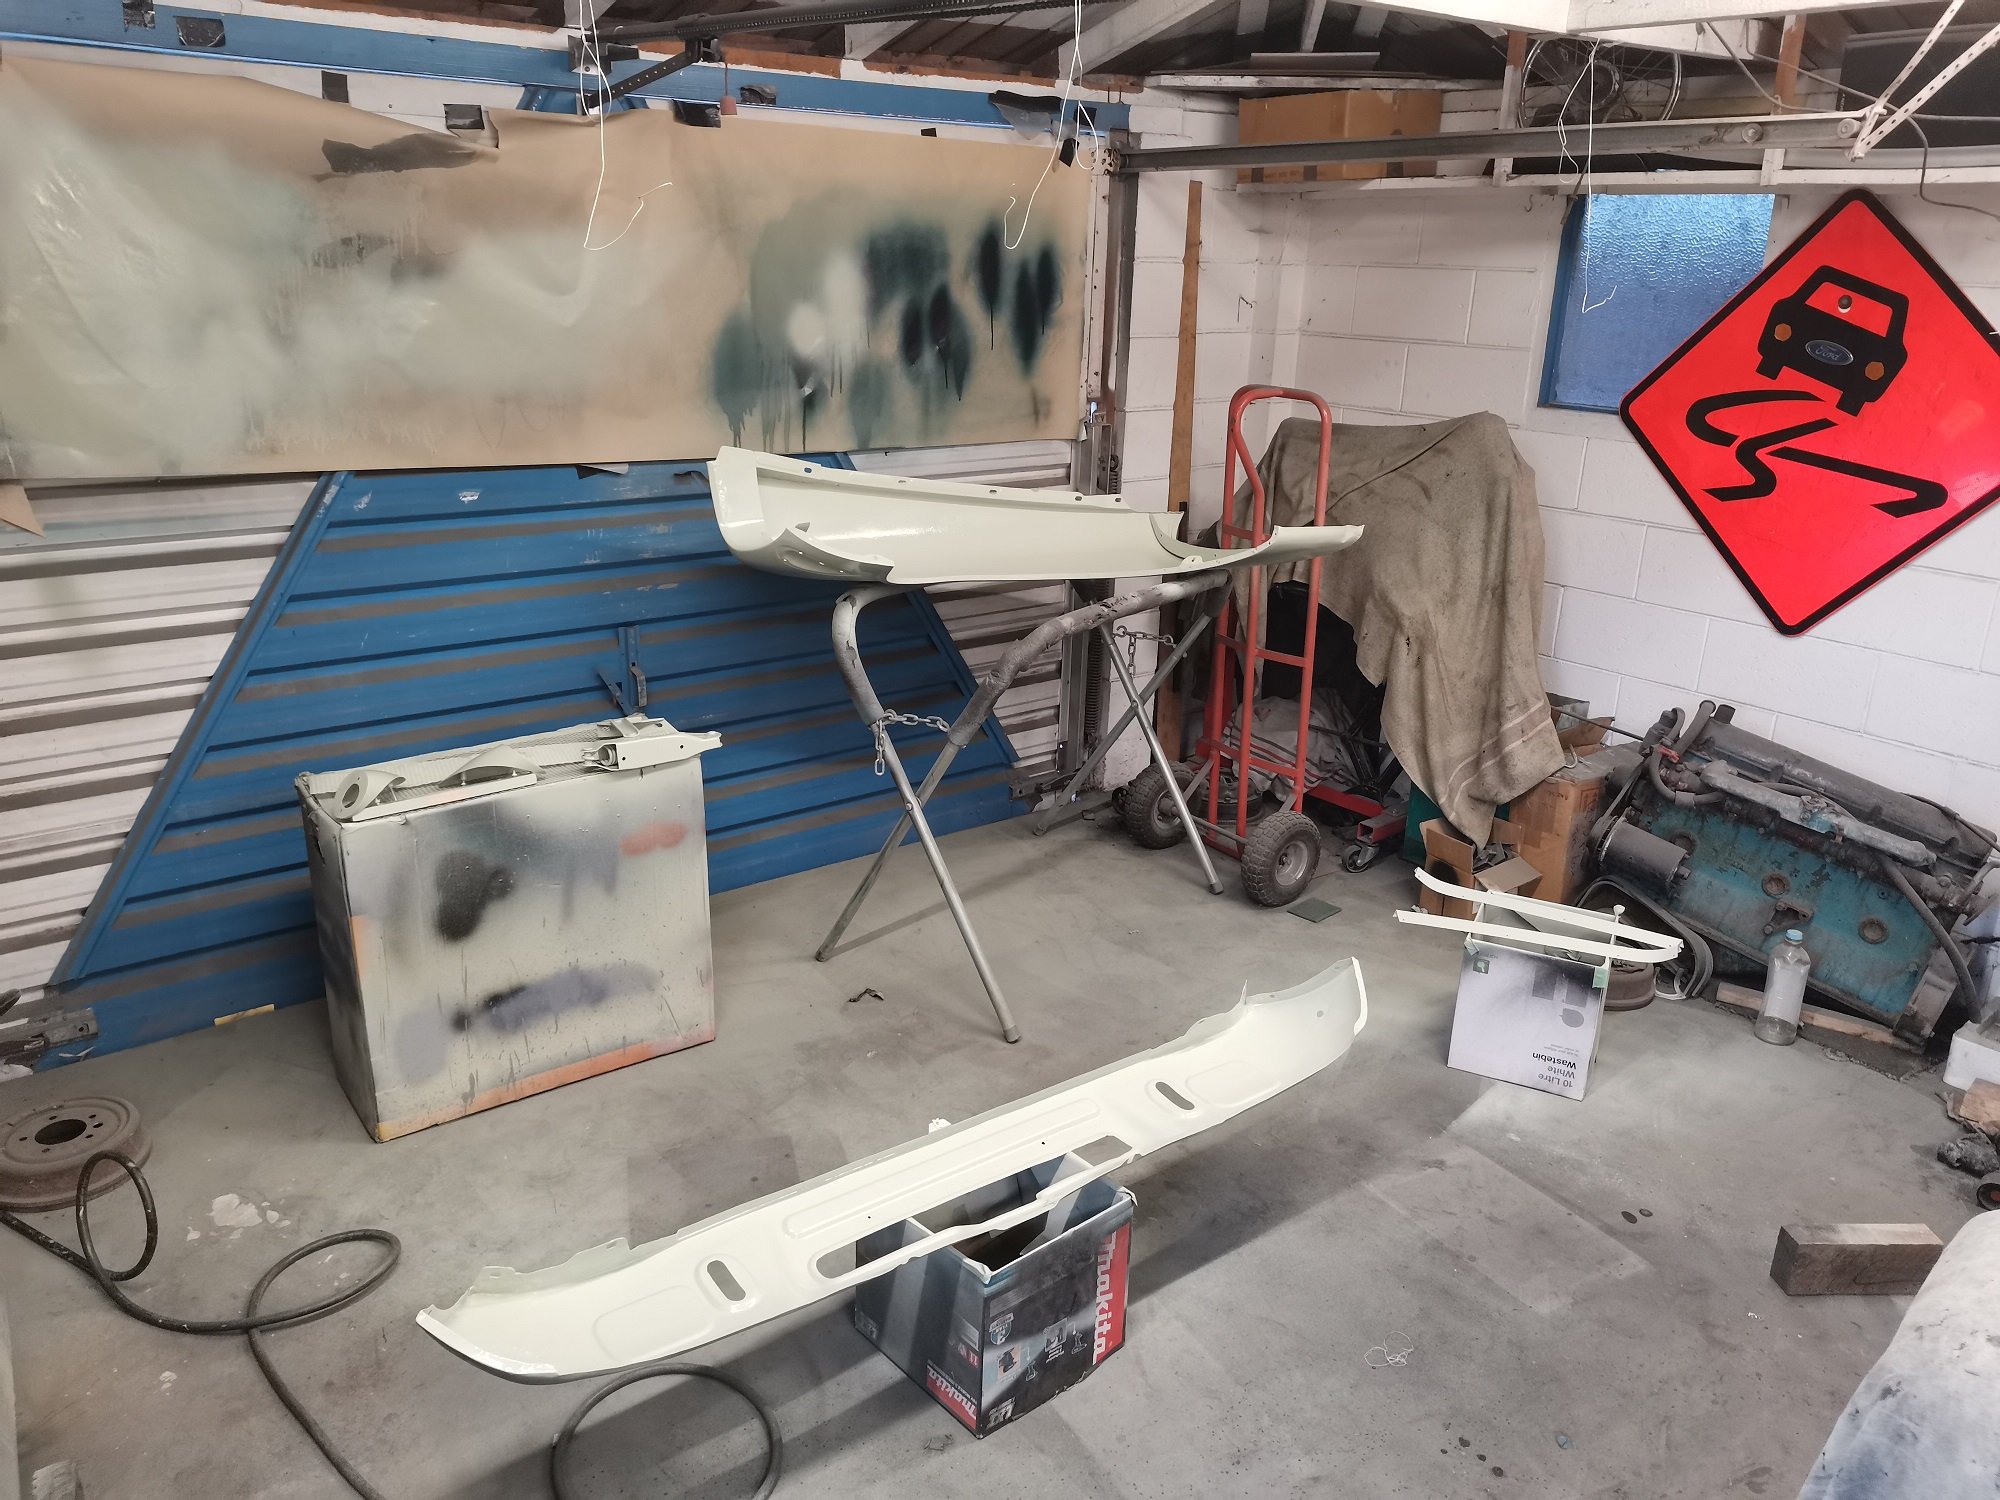
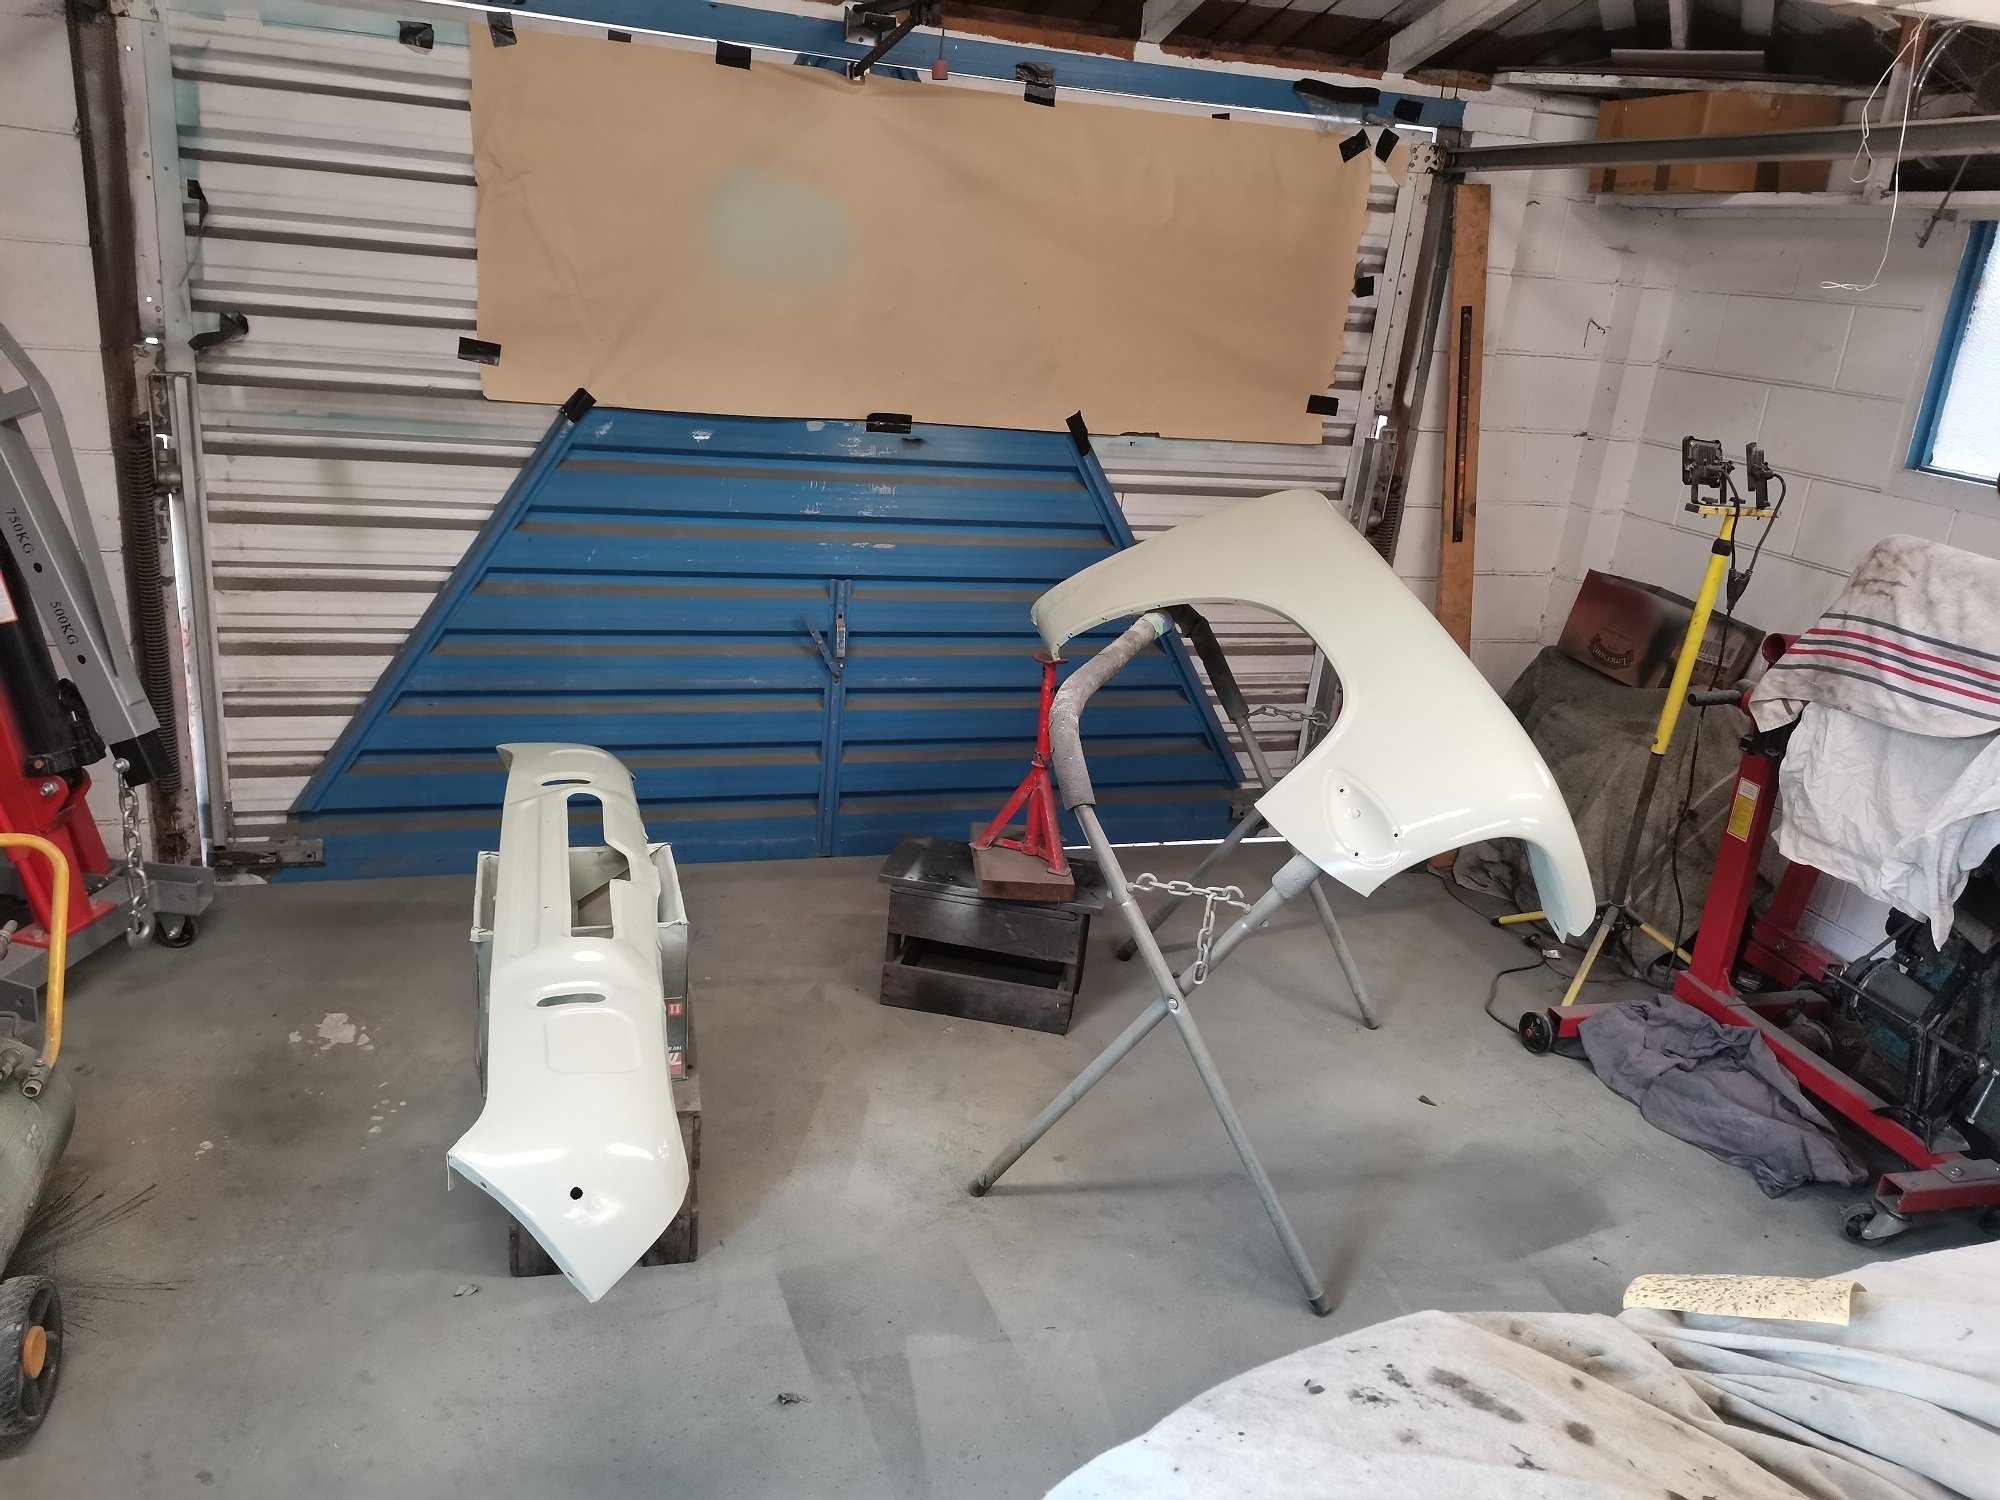
There was a bit of rust in the LHS guard, I got a 'good' replacement guard off trademe. Turned out the replacement guard was full of bog, so back to the original. Cut out some previous repairs. Still a bit of bog in there, but less and not as thick. Painted the inside of the guards and valance with 2K black. Painted the outside with 2K primer filler, top coat around the edges. Have bolted back onto the car to do the final bogging and sanding, too much flex otherwise.
1 point
-
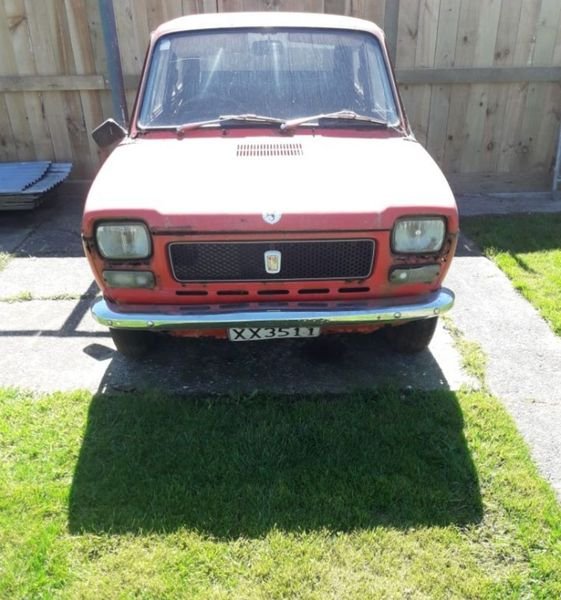
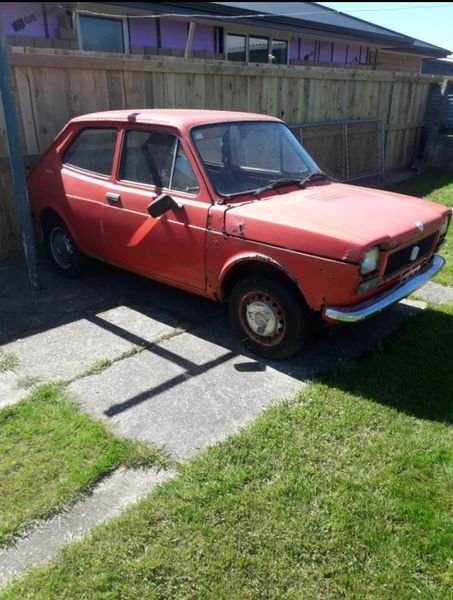
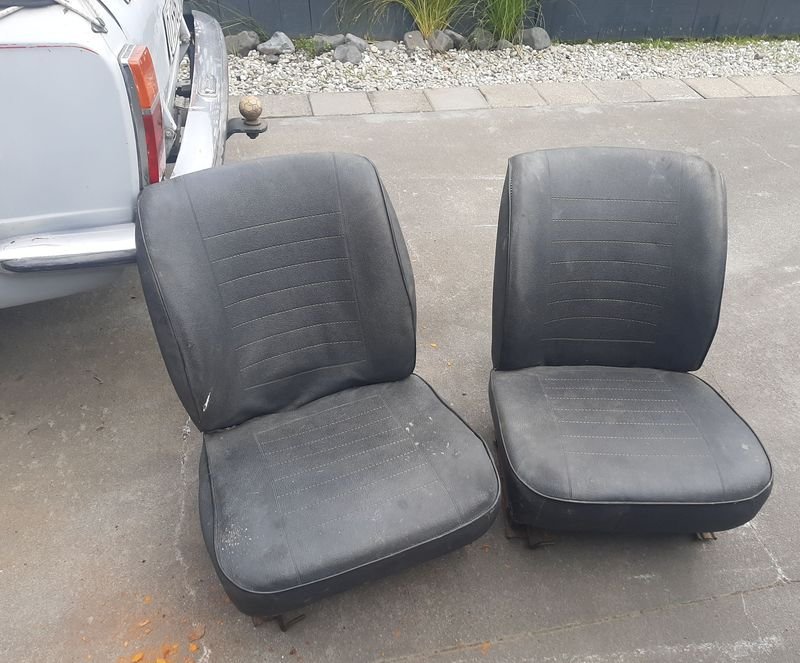
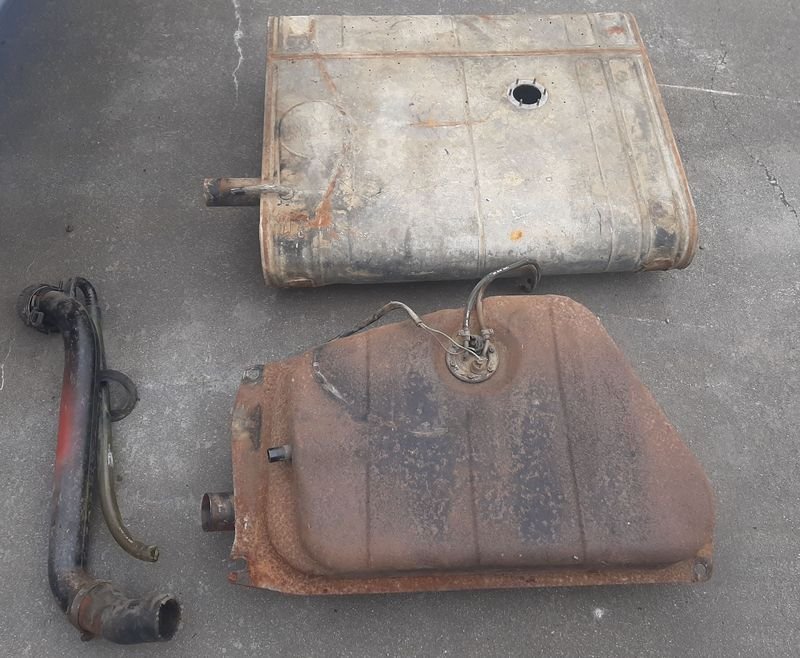
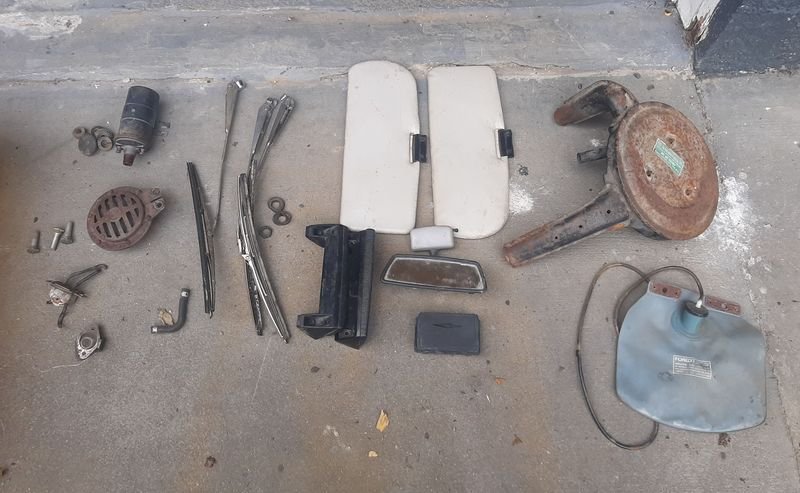
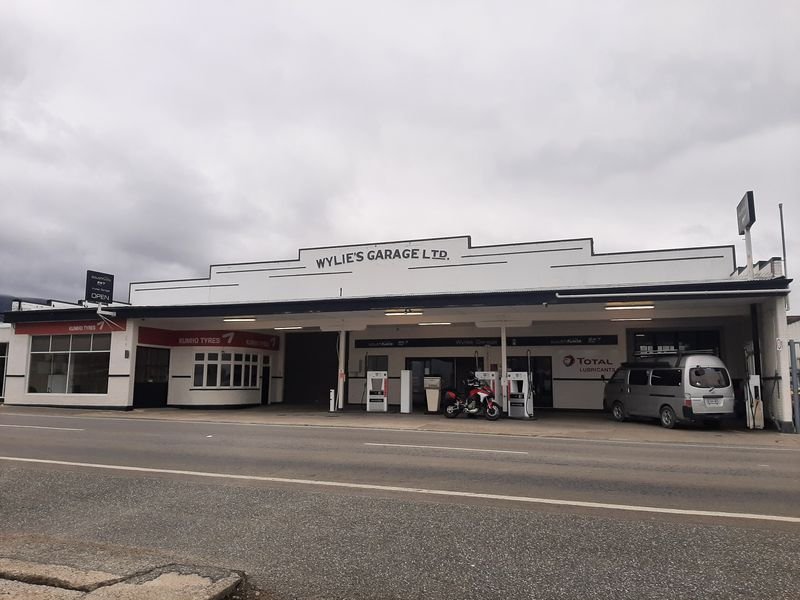
Went on a bit of a mission to Invercargill, to amongst other things, pick over this very crusty '76ish 127. Dude was very accommodating and showed me a couple of his other cars (Holdens), which were very nice, and he will be a good source of possible parts/info for a **possible future project**. these run a 900cc transverse mounted four pot, and are fwd, so totally unrelated to the van, but i thought there may be few bits worth grabbing. And so it was. A few interior bits, like rear vision mirror and visors for the van, the wipers are nice OEM supplier branded and will replace the mismatched aftermarket pair on the 125, horn for the van, a small radiator overflow tank for the van (none from factory, just weekly top-ups!), washer bag, and a single throat air filter housing (van one is missing) and a few other odds and sods. Like this pair of pretty good condition seats - mounts have the same basic dimensions and could bolt on with some mods, but are about 50mm higher, so that may rule them out unfortunately And took the fuel tank and filler as well - i think this will work just fine to get us rolling And the Air filter fits perfectly on the engine/carb, but it wont fit in the narrow van engine bay in that location, but will give me something to play with that will look and work better than a mad pod filter yo In other news, while loading the (other) van to head off for new years, a guy who lives around the corner and walks his dogs past our place, said "been meaning to catch you to say hello and ask about that Fiat Van in the driveway, where did you get it?". Turns out it his old work van! He was the workshop manager at Wiley's Garage in Tapanui (under Mr Falconer, RIP) , and he reckoned he put the Firestone mudflaps on in the very early '70s. Van was eventually replaced with a Holden 1 ton, which was an upgrade, but he said he took it all over southland and it was a pretty flash rig at the time!. Not fast tho! Anyway, took the scenic way back from Invercargill to pap a shot. Been thinking about what to do with the exterior, so a subtle Kylie's Garage Ltd logo in the font/style of the building might be the go
1 point
-
Happy 15th anniversary car! Sorry you're still rusty and covered in shit, stuck in a shed, and not going anywhere anytime soon. Also, I really should send those wheels away to be fixed, lololols.1 point
-
Lots of dumb little shit done but not much photo worthy. I was doing more with the dash and washing the vents and discovered these wee knobs we polishable pot metal so I’ve given them a wee spruce up to brighten up..something. This morning I whipped the paint and surface rust off the roof and will get it into epoxy tomorrow.1 point
-
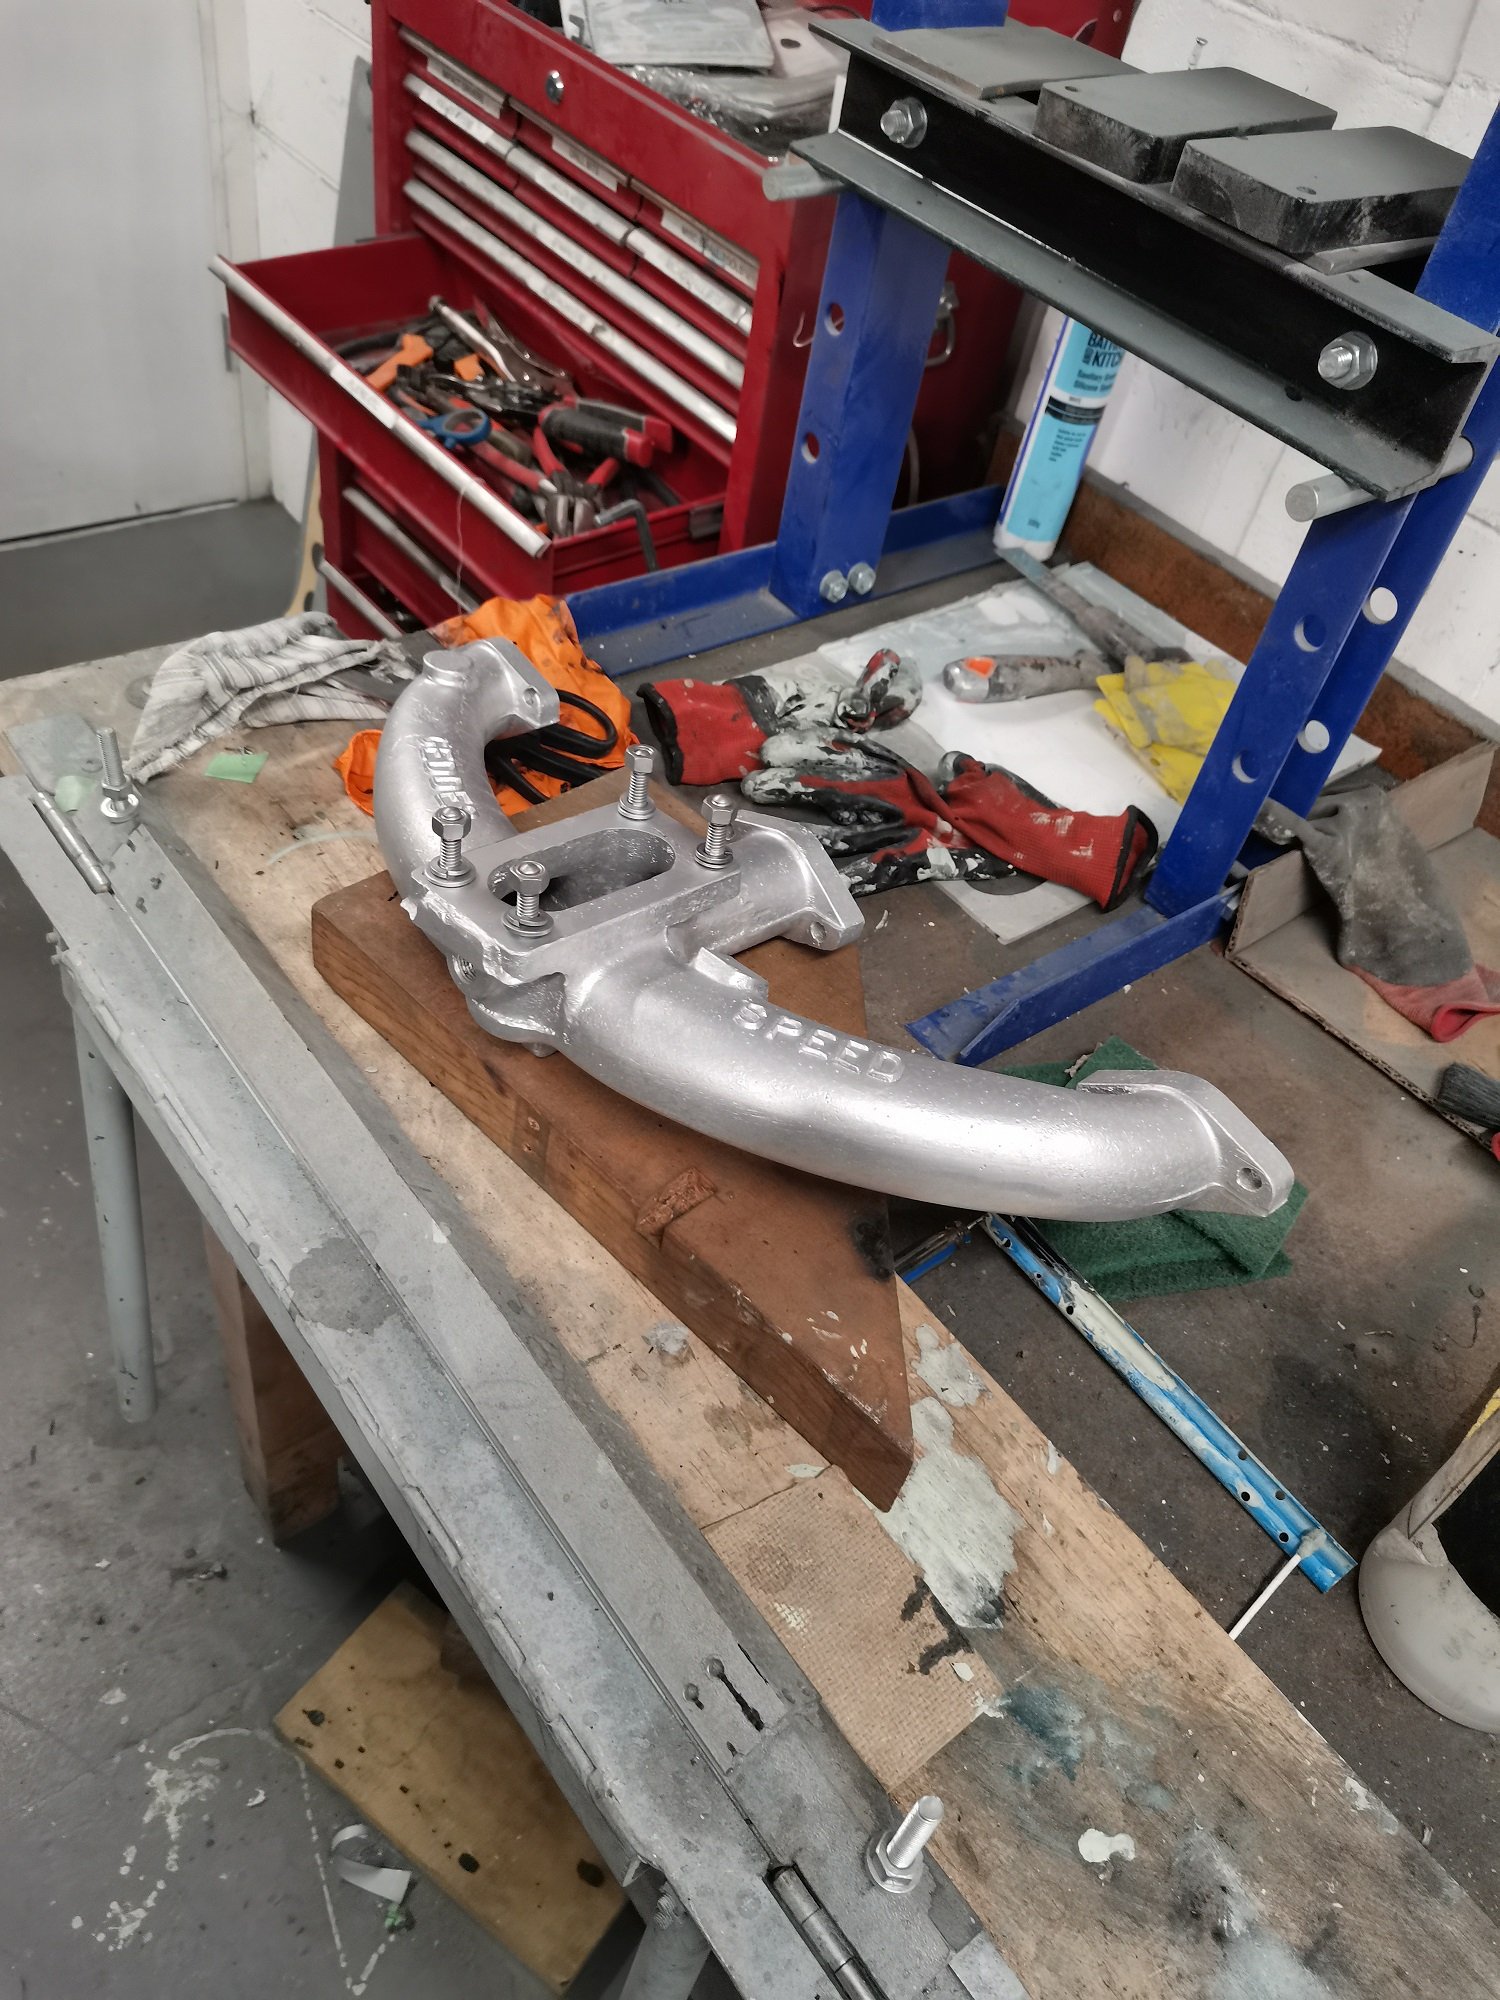
Back on the chain gang ! Yep. I'm back into this project. Its been a hectic busy last few months. Well for me, but others would probably laugh at my work levels. The last update was in September and both Hannah and I were pretty busy building a custom coffee cart for a customer. It was a fair old mission not helped by that pesky lockdown stalling a load of stuff ordered, including some double glazed window materials from Auckland. We put in some hard efforts to get the thing built and ready in time for the agreed date and managed it with a 2am finish on the last day before delivery. I was well chuffed with the cart we built and the customer is soooo happy with her new cafe ! All fully insulated, huge windows that roll away into the walls, loads of stainless benching and a lovely outside wood framing we made using Eucalyptus timber then oiled. Here's some pics of the build... Phew. Check that one off the whiteboard of jobs. Loads more work to chip through and we are now onto the steel framework for a local ladies housetruck. So I am going to do my best to just put down the tools, lock my bicycles away so I cant be tempted to just go riding and instead do more on this engine swap. Most recent bits I have done are as follows. I wanted to finish off the oil system. The internal stuff from the pick up to the pump and filter was sorted. Now I needed to get the oil from the filter to the engine. Luckily, well I kind of planned around it, there is a hole left where gear selector shaft went. This was ideal to pass a pipe back from the filter block outlet towards the front/belt end of the engine. But it needed to be bigger with some clearance. One big drill bit later... next up was a plate to cover the front. What used to be here was a cast front cover, much deeper obviously because I have lopped off a huge chunk of engine casing. It housed the oil filter, now moved to the side. Instead of that I now needed a flat plate of thick alloy that will serve several things. The engine mounts, most likely typical compression bobbins, will be mounted off it. There has to be a way to get the oil from the pipe coming from the filter block to head back into the main oil feed hole higher in the block. Finally I need somewhere to put oil into the engine and also to check the oil level. I started with a plate of alloy I roughly cut to size. Drilled it to suit the holes in the block that the old front cover mounted to. I then drilled a hole in it to suit the oil feed pipe. This was a hole perfectly located to make sure the pipe would line up with the filter transfer block nice and square. Because I'm using the O rings that Honda used throughout the original system. There is a small tolerance for being out of square with these but I might as well get it as close as I can. I then needed to make a bolt on block that would take the oil from this pipe end and direct it through another hole in the plate which locates right over another O ring sealed port into the engines main oil way, just as the original front cover did. I started with some more chunks of alloy and made a thousands of teeny tiny chunks of alloy with the tablesaw... One of the blocks was then milled out to suit the pipe outlet and oilway inlet sizes. I also used a tiny little slot drill to add a groove to help keep the sealant in place.. Flipped it over and took more material away. Added some cooling grooves. But really.. come on. They were more just so it looked a bit nicer than just being a lump of alloy. Why not.. Clamped it down onto the front plate and drilled mounting holes... There's a nice amount of room to still use the original honda cooling hose if I want but I may well do something else when I get to that bit- depends on my cross member design and engine mounts etc.. Next up was how to get oil in place! I needed a filler point. The original filler and dipstick are in the wrong spot and kind of chopped out. I could have made a dipstick to suit the now chopped down dipstick housing but that's at the rear/flywheel end of the engine. With the engine turned round 180 degrees that puts it under the parcel shelf and would mean reaching over what ever induction setup I use (cough*ITBS*cough) so that's not cricket. A filler tube, right at the front, but actually now the back, of the engine with a combined dipstick under the cap made more sense. I rummaged through my collection of alloy.. Playtime in the lathe... and out popped this... ..into which oil will pour as such.... Now I needed some more bits to hold it in the right place so I made these flanges to suit more pipe. Once I know what I'm doing with the cooling pipes etc I'll cut the pipe to suit and epoxy it into the flanges. I ideally need the main large flange to bolt over a hole below the oil level height - which I have roughly worked out allowing for about 4.5 litres thereabouts. This pipe and cap will be right there, on view, easy to get to at the engine bay opening. The two smaller flanges are so I can remove the upright pipe to allow for the cambelt covers to be removed, or so its not there liable for getting damaged when removing and moving the engine about. I did think about being super silly and adding a sight glass to the pipe. Or use some thin glass or plastic tube. I then even thought about being really silly and adding an led light into the pipe to light up the oil. But oil does not stay honey clean does it. So a neat little dipstick under the cap will do. Lastly I needed to bolt the sump cover in place. I had to think carefully about bolt placement for sealing purposes and get the bolts square. This sump plate is going to have to be sealed well because there is no usual high sided sump like most cars. Hence I built it rigid to help against flex. Good quality sealant will be the order of the day* To get the bolt holes square I had to do this... Impy sat outside looking in at his new heart being crafted (said like some car obsessed bloke who anthropomorphises his cars)... Well then. That's it. Crikey. Another wall of text. I hope you enjoyed my ramblings. I promise I'll put more effort into working on this (but it is summer after all..) *It will leak. Its a British car. Its destined to leak.1 point
-
Got a the bonnet, boot hinges, front cowl, indicators and inlet manifold vapour blasted. Came up really well. Gave the blasted parts, guard and front valance a coat of epoxy primer. Found a rebuilt mk3 engine on trademe. No receipts so a bit of a risk, but better than the mk2 engine I previously had lined up for it.
1 point
-
For reeling in dem hoez1 point
-
What sized chest are your pants1 point
-
Got a few bits and pieces on the XR100 the other day. Still need to try repair the OE handguards, fit an engine bolt, fork boots, wheel bearings, tubes, should probably do tyres too, check valves and basic tune up shit. Genuine Honda fuel hose out of seal packet sent from Japan. ZING IMG_20210523_170413 by John Bell, on Flickr Happy enough with how its looking though. IMG_20210524_164259_1 by John Bell, on Flickr1 point
-
The blue fork boots on the 185 had disintegrated after being ridden for the first time in 20 odd years. IMG_20210426_140223_1 by John Bell, on Flickr AliExpress to the rescue, they're not quite long enough but will do for now. IMG_20210501_131214 by John Bell, on Flickr Annoyingly the rear shocks that I had rebuilt at somewhat of an expense don't seem to dampen very well again, no oil lost so I'm guessing the gas has left. Might have to look to AliExpress for this also. Would like to keep the blue springs though. Have only travelled about 400km on this since reviving it. The jetting on china carb is still a bit off, so will have to experiment sometime. Is nice enough to ride around on though, not fast by any means but would probably tour around at ~80km/h quite happily, will do 100km/h but tach is at 9k by then. Found a gate open close to home and drove up a hill. IMG_20210426_163748 by John Bell, on Flickr IMG_20210426_163800_1 by John Bell, on Flickr IMG_20210426_163817 by John Bell, on Flickr IMG_20210426_163829_1 by John Bell, on Flickr1 point
-
Also picked up a childens CRF50 earlier in the year, because fuck it, why not. Bought a big pile of Aliexpress parts then got distracted by, 1988 XL185S. Amusingly similar to the XR200 of my youth. Probably could be considered 'shed-find' condition. WOF expired 1998. Rego on hold. Looks better in photos but might be one of the nicer things I own. Carb seized, I might have been too mongrel un-seizing it, so it has a china carb now. Had the rear shocks tickled up/regassed. Bought a new front guard to replaced the crazed/brittle one. Might try for a WOF next week on the 32 year old, original tyres. Its a bit scabby from sitting in a damp environment, but I'm happy. IMG_20200224_180439 by John Bell, on Flickr IMG_20200310_174637 by John Bell, on Flickr IMG_20200314_124427 by John Bell, on Flickr IMG_20200314_114515 by John Bell, on Flickr IMG_20200314_114525 by John Bell, on Flickr IMG_20200314_125051 by John Bell, on Flickr IMG_20200314_125045 by John Bell, on Flickr IMG_20200314_130507 by John Bell, on Flickr IMG_20200314_130519 by John Bell, on Flickr IMG_20200314_130937 by John Bell, on Flickr1 point
-
Those with a keen eye may have noticed the CRM50 in the last photos, that I obtained a few months later. It was also quite rough. I've spent a little time sorting bodges and attempting to return things closer to original where possible. Very pleased with the 50. You'll notice tiny rear tyre. IMG_20190524_144403 by John Bell, on Flickr Better IMG_20191027_175159 by John Bell, on Flickr Nanging around. IMG_20191028_084259 by John Bell, on Flickr1 point
-
Found these two mid 90's XR200 in a shed from my teenage years, sold them, because even Honda can't make a bike that will stand up to teenager on a dairy farm. IMG_20180624_125712 by John Bell, on Flickr That led to me eventually buying a mid ninties XR250R. Which is everything the 200 is not. Double discs, actual power, better suspension. This one is a little bit beat up, but mostly intact, and has done fairly low KM. Currently attempting to get it a bit nicer and possibly go through the registration process. IMG_20190517_101943 by John Bell, on Flickr IMG_20190517_124333 by John Bell, on Flickr1 point
-
HAPPY 4AGE FRIDAY!! Well not really. I discovered this morning that the little pesky bit of rust on the edge of my windscreen, has caused my windscreen to crack. Looks like its time for some more rust work and a new screen. I'll also get the bonnet resprayed as its never been the correct shade of blue (due to being painted off the car) and it got a huge stone chip months after I had it painted. I am also, super, suuuppppeeeerrr close to sending my meshies away to be re-banded, lolololols. Regards, VG.1 point
-
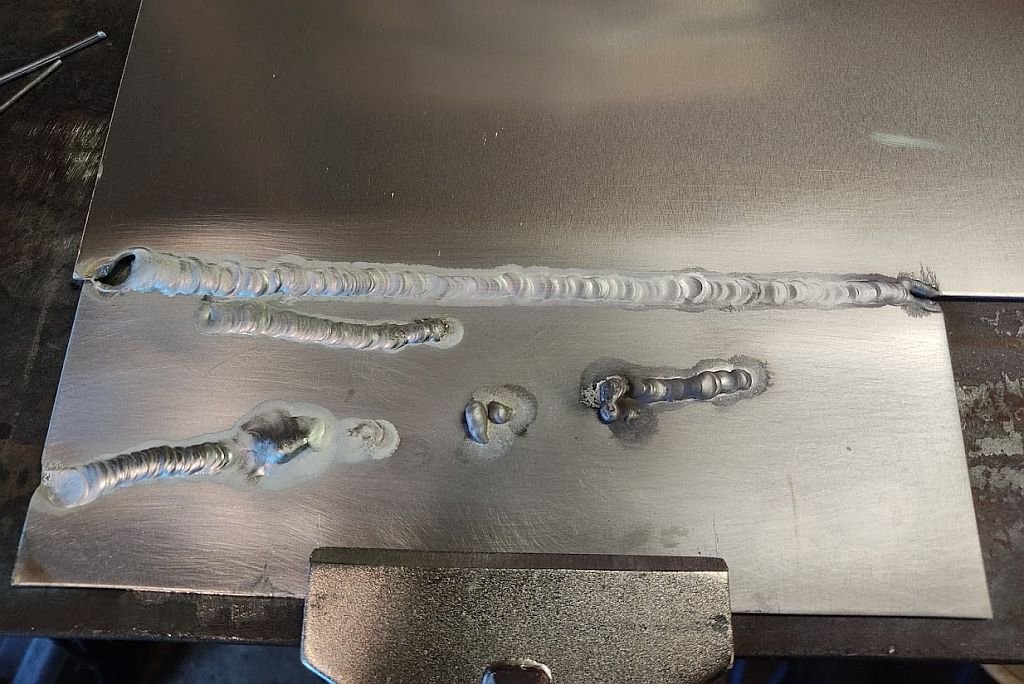
So its been a year again. and well shit I ain't achieved much at all . not really sure where to start. 2016 was a absolutely miserable year for me , I've had allot of ups and downs, and well all I can say is ; I am fucking glad to see the ass end of 2016 !! continuing with my typical fashion I haven't finished anything that I was doing ; well nothing completely, but I have done heaps of random shit in no apparent order . . . And so its now 2017 and I have to find a new place to live, I'm now a single man, and I have got to get this beast moving under its own power!! sump stuff , was good fun to weld up. tig welding is the bees tits ! AND HERE IF YOU LOOK HARD ENOUGH YOU CAN SEE MY EPIC FUCK UP !!!!!!!! but its ok cause I made the flange area to small , I was going to mill the weld off where the head of the screw would sit, but seeing as I completely made an entire fuck up of the whole thing it doesn't matter any more . so here I am starting again, I learnt allot about welding stainless on the other sump, so this time I am bolting it down to a massive bit of steel. should help to stop it from warping so much , and I gave the weld more clearance to the screws . with the sump on its way again I looked into the high pressure power steering hoses. This was always going to be a battle, and it didn't prove me wrong at all, I started out with 3 meters of 10mm of 8mm id heavy wall pipe ,I broke 2 hand benders, stuffed up 1 fairing tool ; and with allot of mucking around to get them to this stage, I scrapped allot of pipe and spent allot of time to create these, and once again I haven't finished anything, all that is needed now is to weld on the an fittings, make a clamp block to clamp them to the cross member, and buy the braided ptfe high pressure hose and that is the last of the plumbing done! all of this just because there is no room to get braided hose with an fittings to clear the exhaust/rack/clutch hose/cross member/sump. its all very tight , but this was the best solution something that has taken me a long time to figure out, trial and error . but I'm stoked that its going to work and I can keep power steering. never really liked manual racks to be honest. all that other shit aside, this is the cream of my year, and whilst it doesn't look like much at this stage this has been a huge driving force for me. and I cant wait to get some more operations done on these !!!! and this is my model that I drew up from pictures of the internet hahah, I like work equips 01 , and I really like star sharks , then I came across these, I cant remember what they are called but I nabbed a few pictures and went to work modeling them up. and now finally I'm making chips , just got to dig the rest of the wheel out of all that stock : ) and that's me all caught up. merry fuckers new years !1 point
-
so , here we are again , a new year, and time to get back into the swing of thing, I have been getting side tracked allot . need to get focused . i went hard out on the mini project, and its so close to being finished, but then i got a bike. . . . 12000 rpm sounds so freeking sweet !!! so any who, this is what i have been up to on the carina front sump , its now real , just need to get the walls folded up so I can weld the sucker up. then make some kind of baffling I guess. . . this is the 3rd one of these I have concocted (water bridge) and yeah its not super great, shit as welding, the flat bit to miss the belt didn't go according to plan. it has been a pain in the ass trying to figure out a nice and clean way to plumb the front water bridge, the entire design from factory is very out of the norm. so this has and still is so far my biggest challenge. I may even do this again and try find some oval pipe and pie cut it . my ocd isn't happy with the out come thus far . . did some more plumbing, got all the vac lines done, booster done, here is a pasanger side picture of engine bay . and started doing some cad . . but not with a computer, haha, this intake pipe is a monster, its cause I chose to keep the m112 throttle body . and I couldn't find a 4.5 inch 45 degree bend and a reducer all in one. so I just thought fuck it, just stay at that size , I have the room for it, and hopefully it will make a sweet roar and awesome dort type sounds . . this is it in panel steel. I ran out of card board for the day. so tomorrow ill get stuck into it some more. got some other shit done , finally got some material for my wheels, and I made a sold works design of the wheels I want but cant find. the elusive Riverge . kind of like work equips but with a bit more style . so once I have a bit more things completed I can start milling them . I figure ill get the sump done first other wise I cant stay focused enough to do to big chunks of the project at once . I always end up getting of task and starting some other half pie idea but yeah I still have completed a few little jobs like making the heater control panel work properly, made a clutch hose up. sold some shit to buy a bike, got a license to drive it, then I got some beer, and I got a new bbq. . . . shit getting side tracked again . mmmmm bacon .1 point


.thumb.jpeg.384ff72c8d2b0ee0d34a7bdedb55bdcf.jpeg)
This leaderboard is set to Auckland/GMT+12:00