
Leaderboard


Popular Content
Showing content with the highest reputation on 11/26/21 in all areas
-
Here’s what a weeks wages before tax looks like. At least I’ll never have to touch it again I guess8 points
-
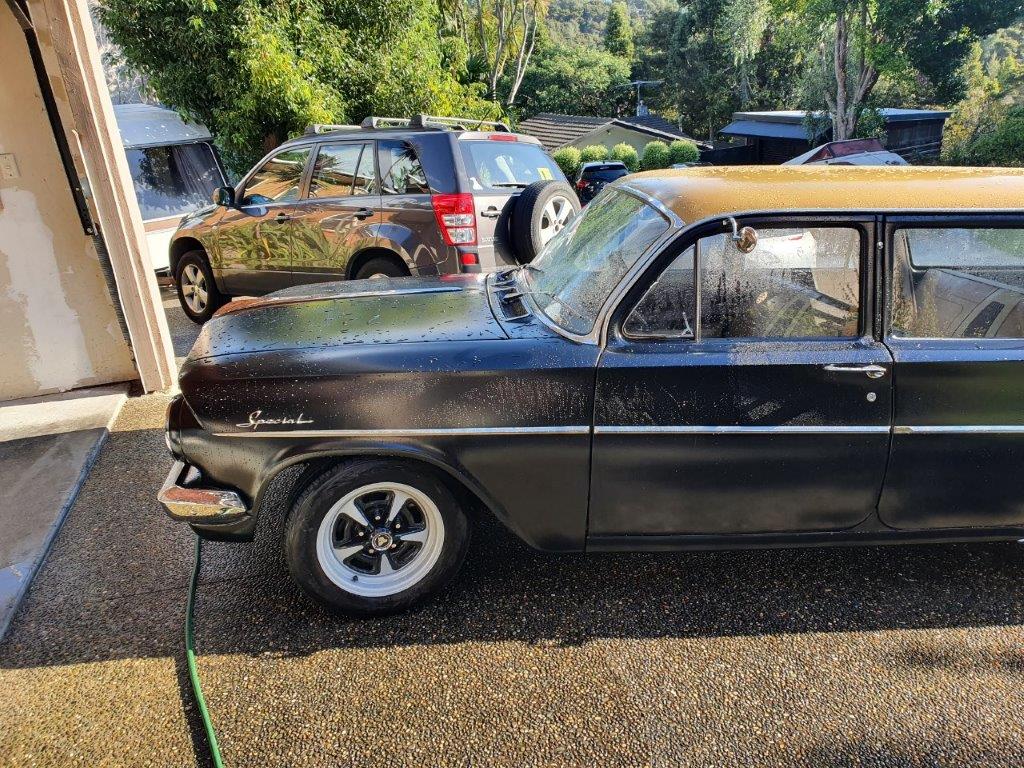
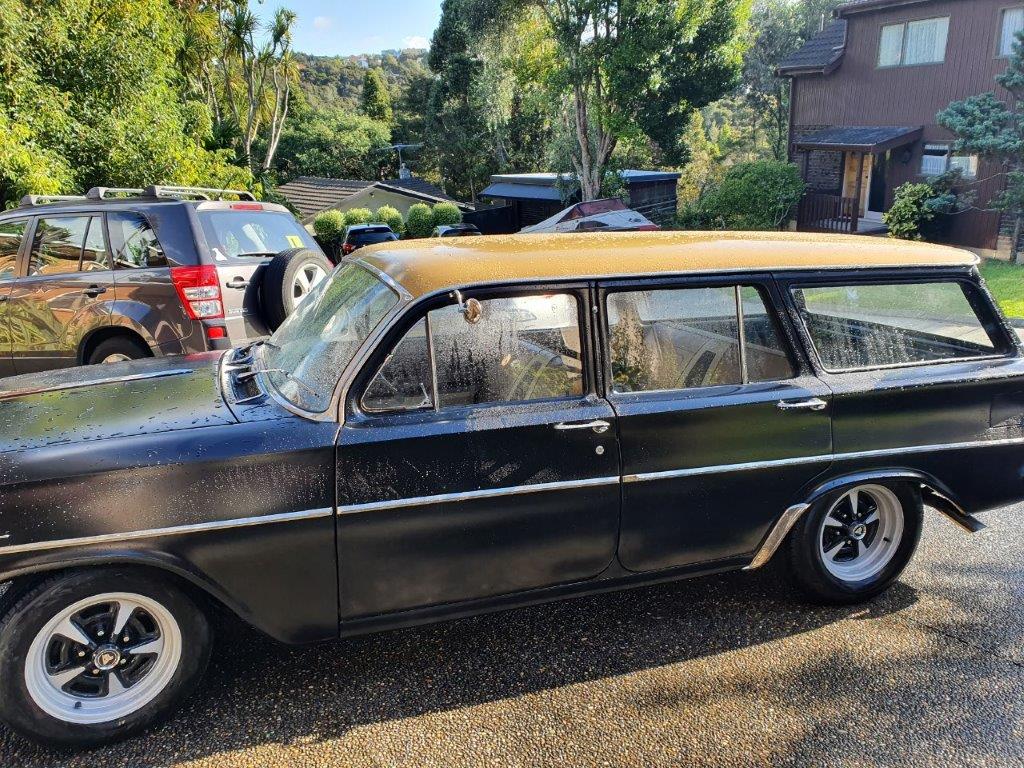
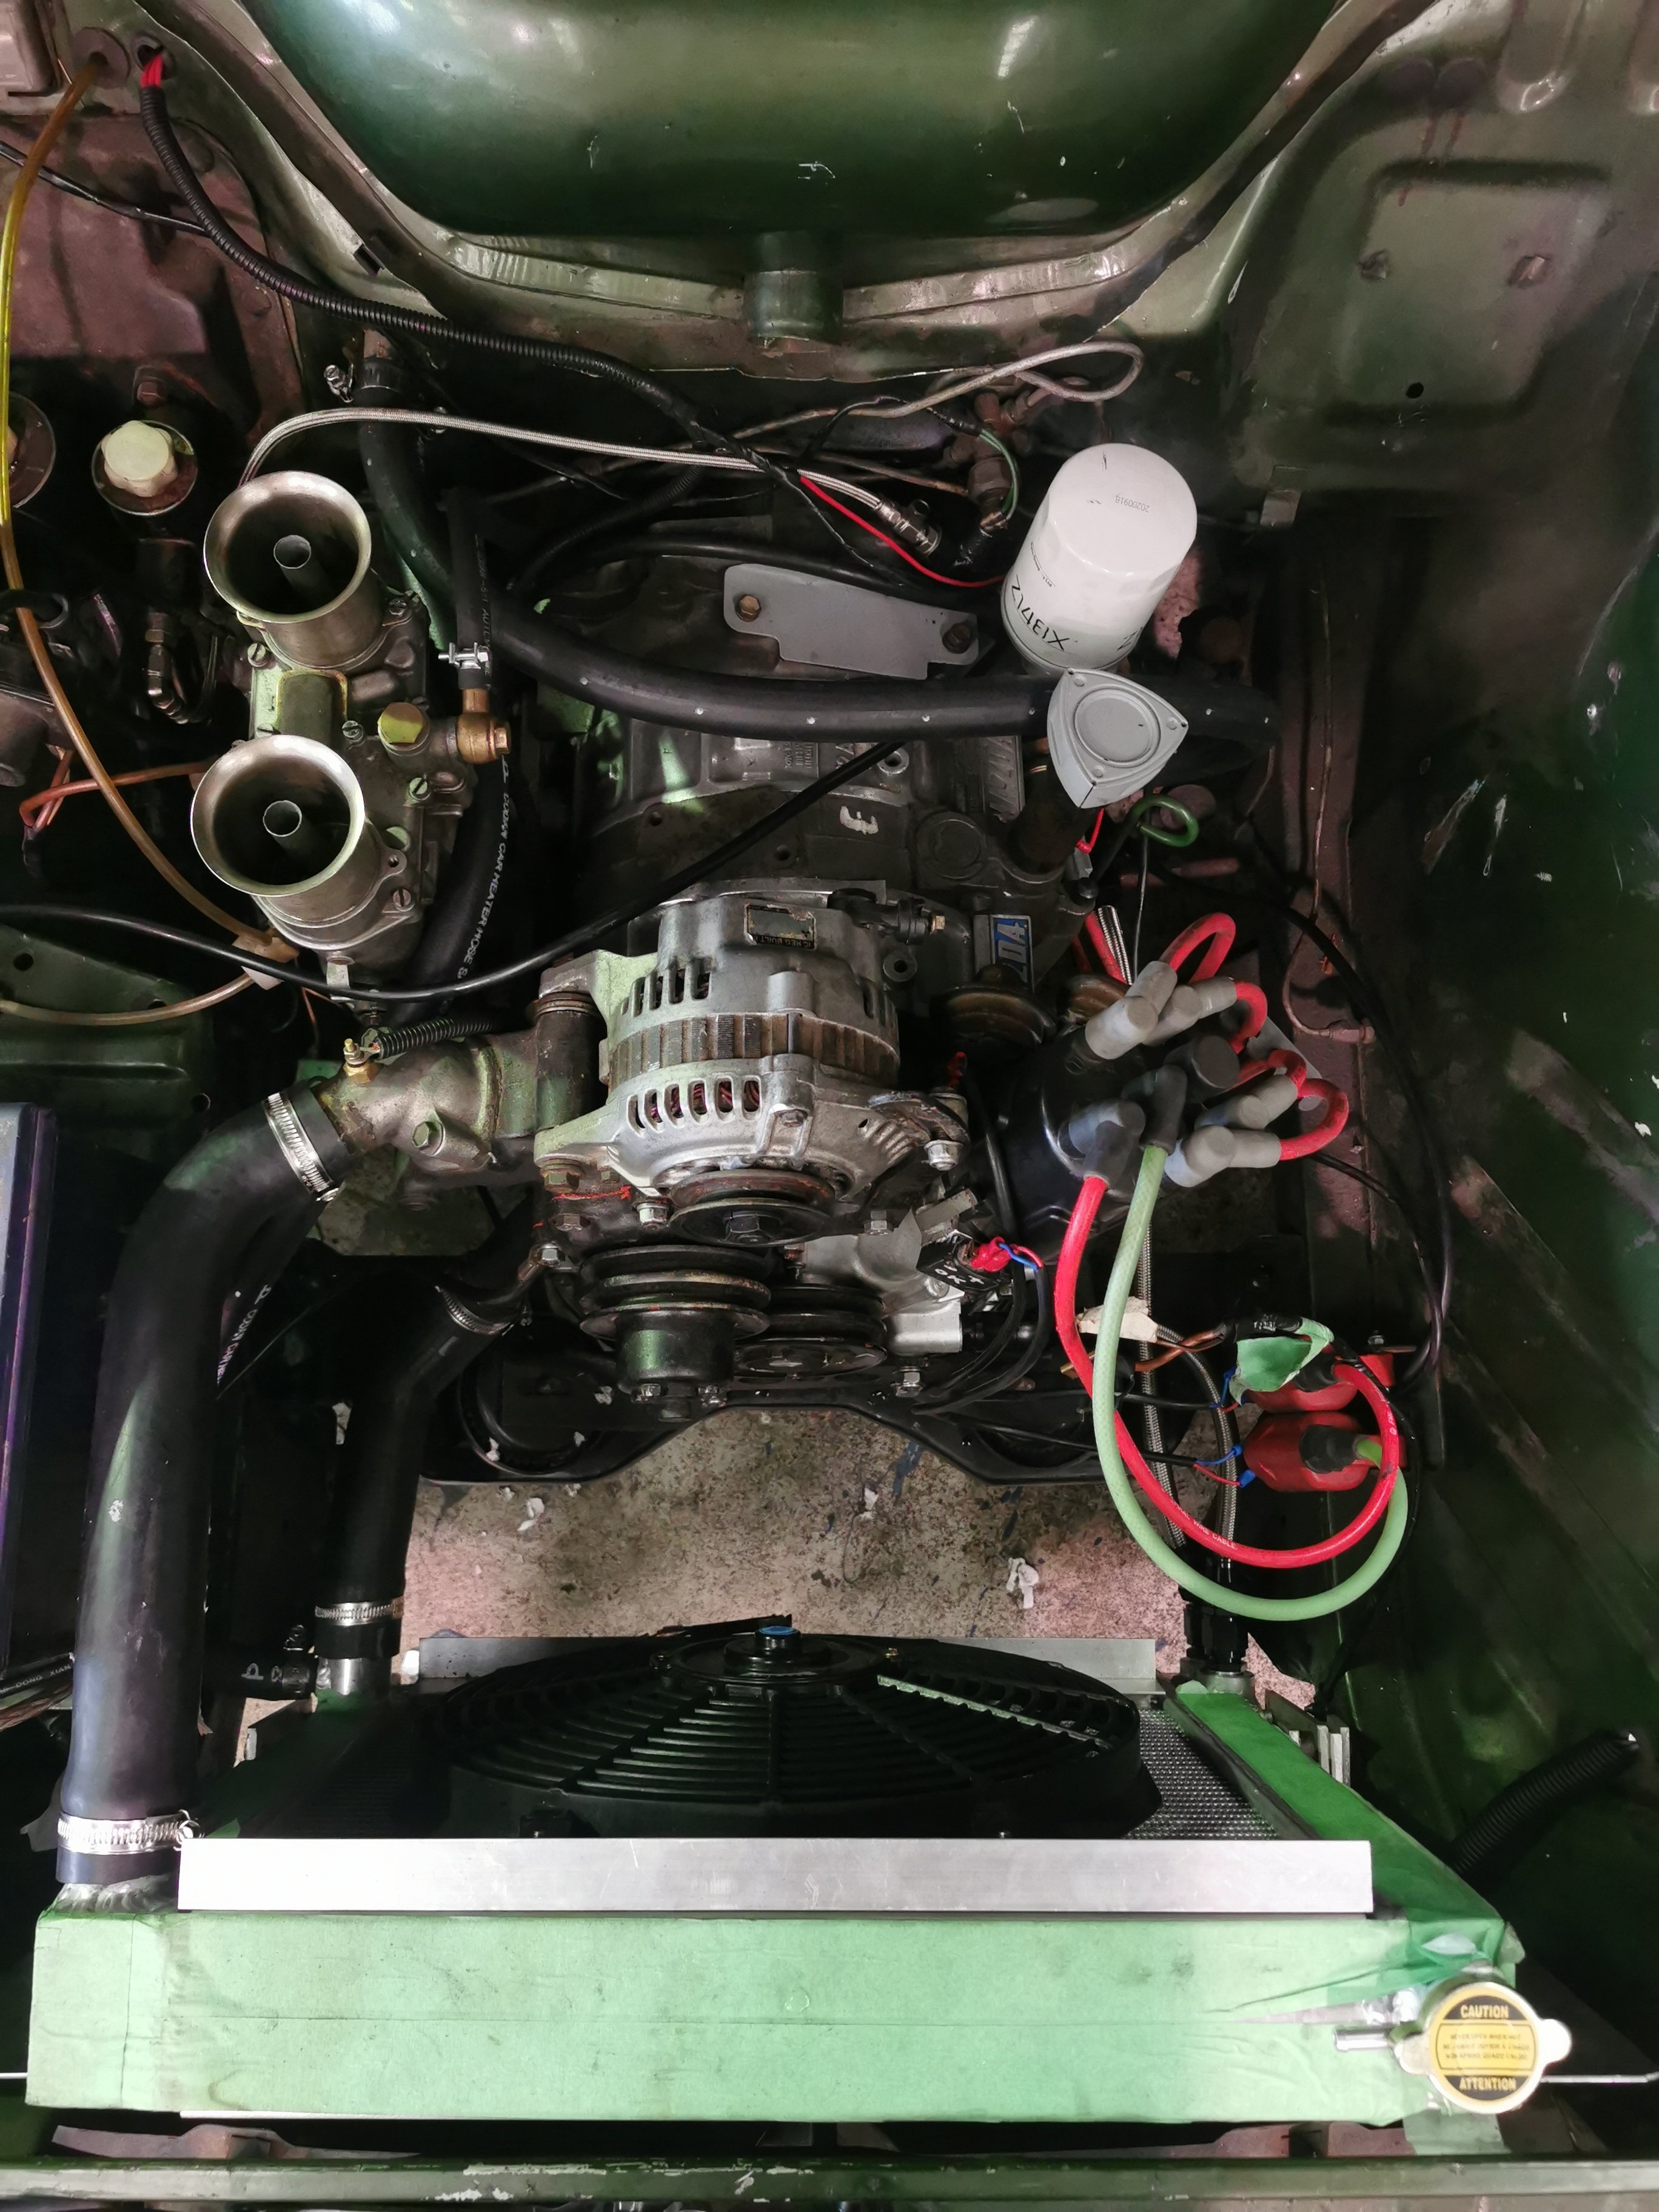
Finally got round to taking it down for compliance. There were a few other minor issues, back brakes dragging, handbrake needs improvement, one ball joint not great, and front windscreen doesn't have the standard mark and the speedo bounces round at low speed Biggest issue is I had never got a repair certifier involved before it was painted. I have got a certifier involved who has been really good, fundamentally it is OK except for a repair that was done above the rear hatch. I have spoken to the panel beater about it. He is booked solid until after Christmas. Over Christmas I should be able to get the inside of the floor fully painted, sound deadening in and carpets fitted. That should cut the noise inside right down. It is fun to drive round, I might have to put a better fan on the radiator as it gets hot sitting still, no problems as soon as it starts moving. Not a lot of space on either side of the radiator.7 points
-
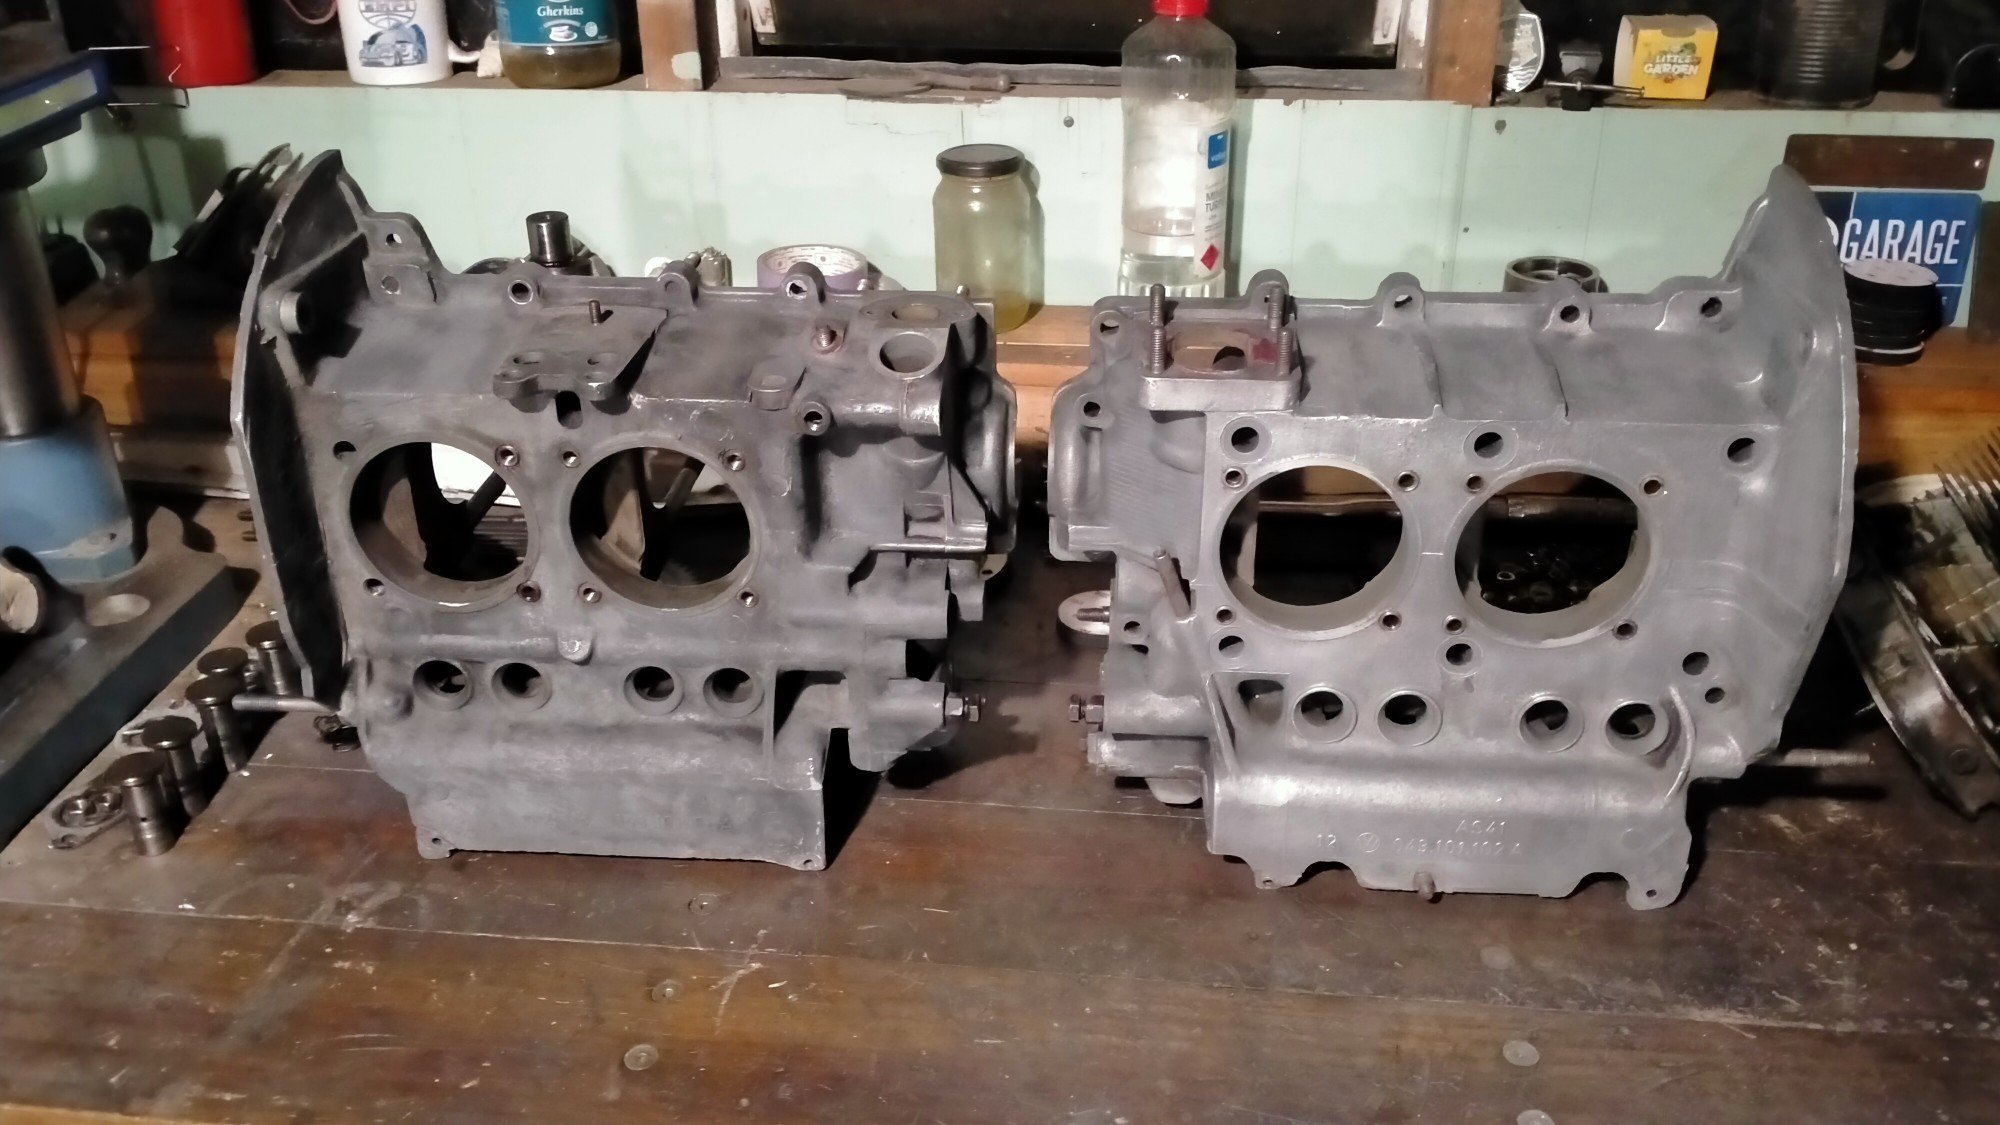
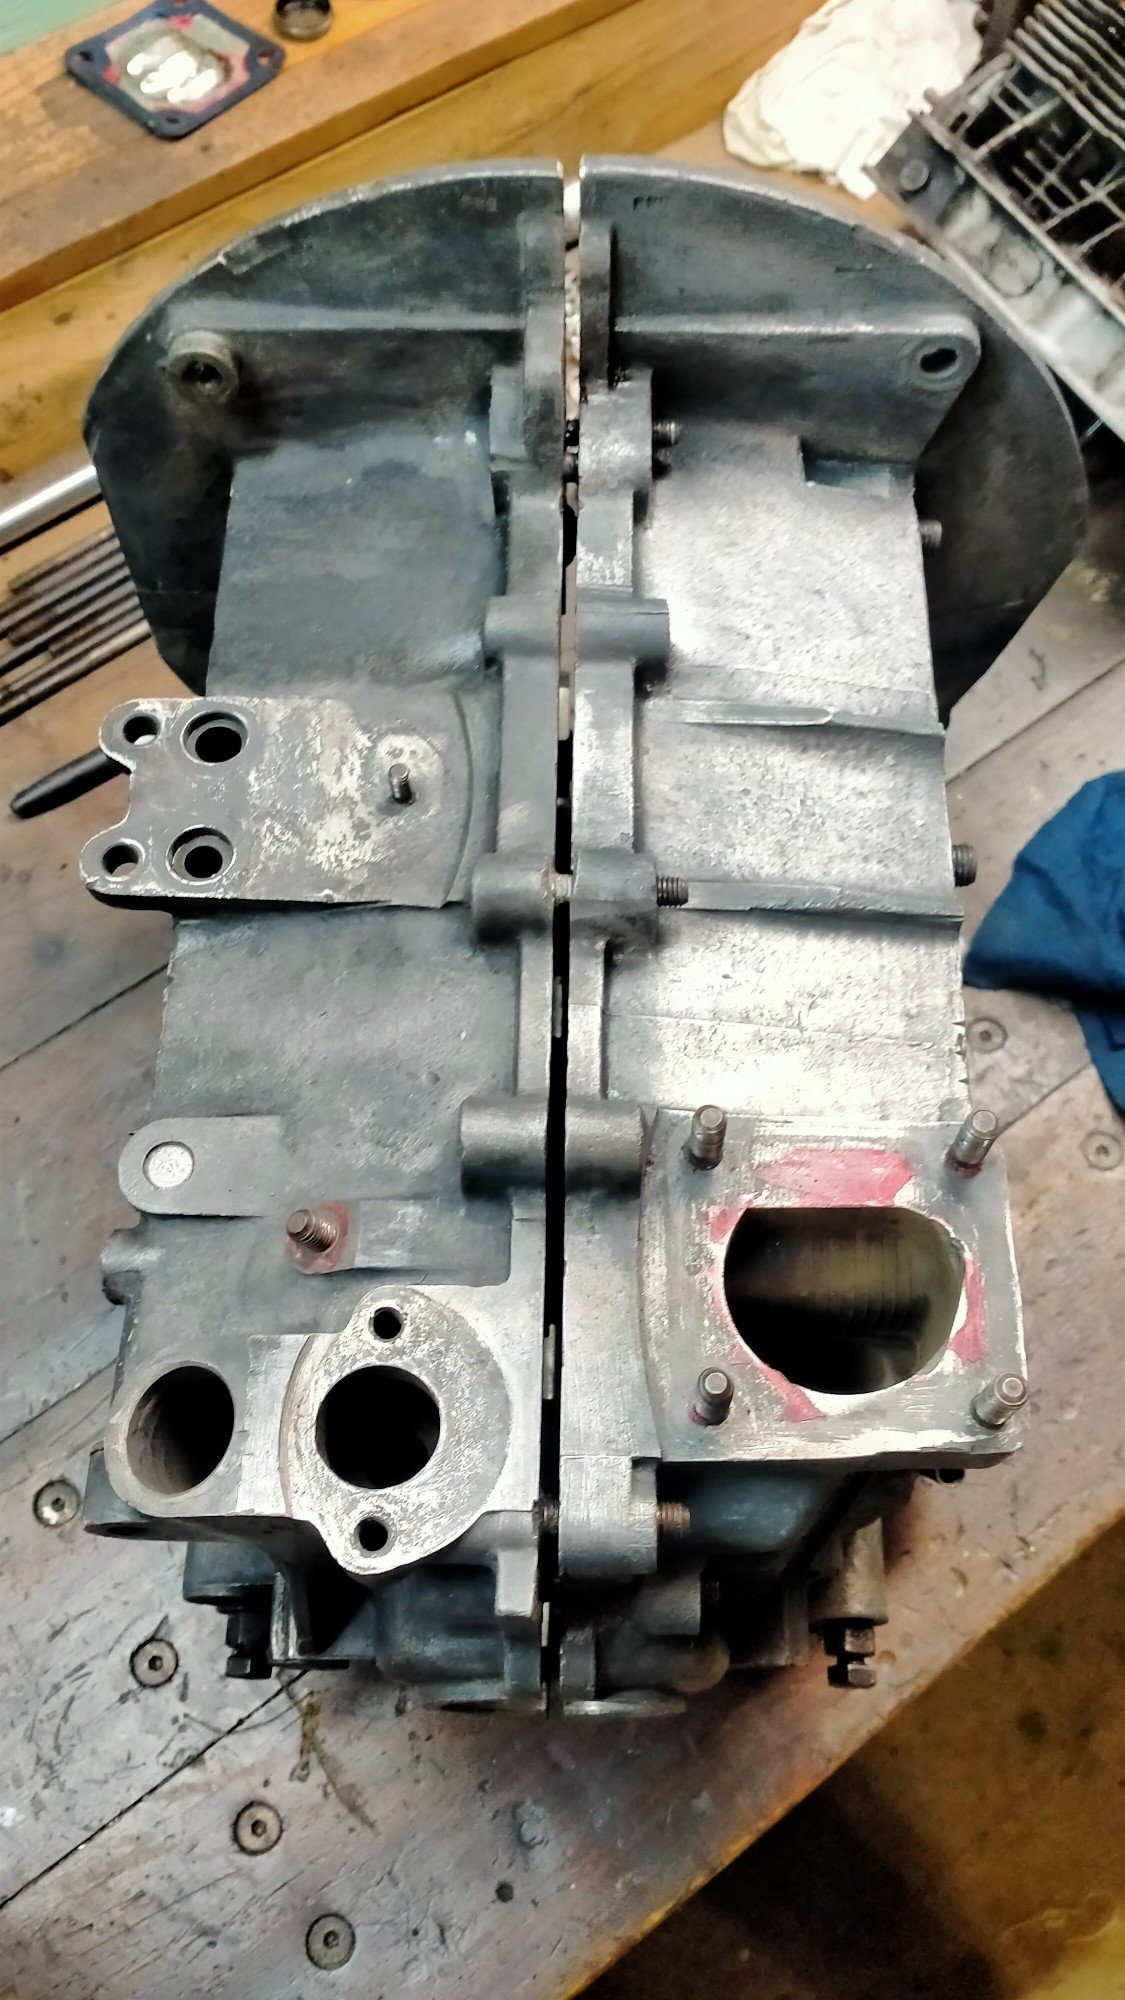
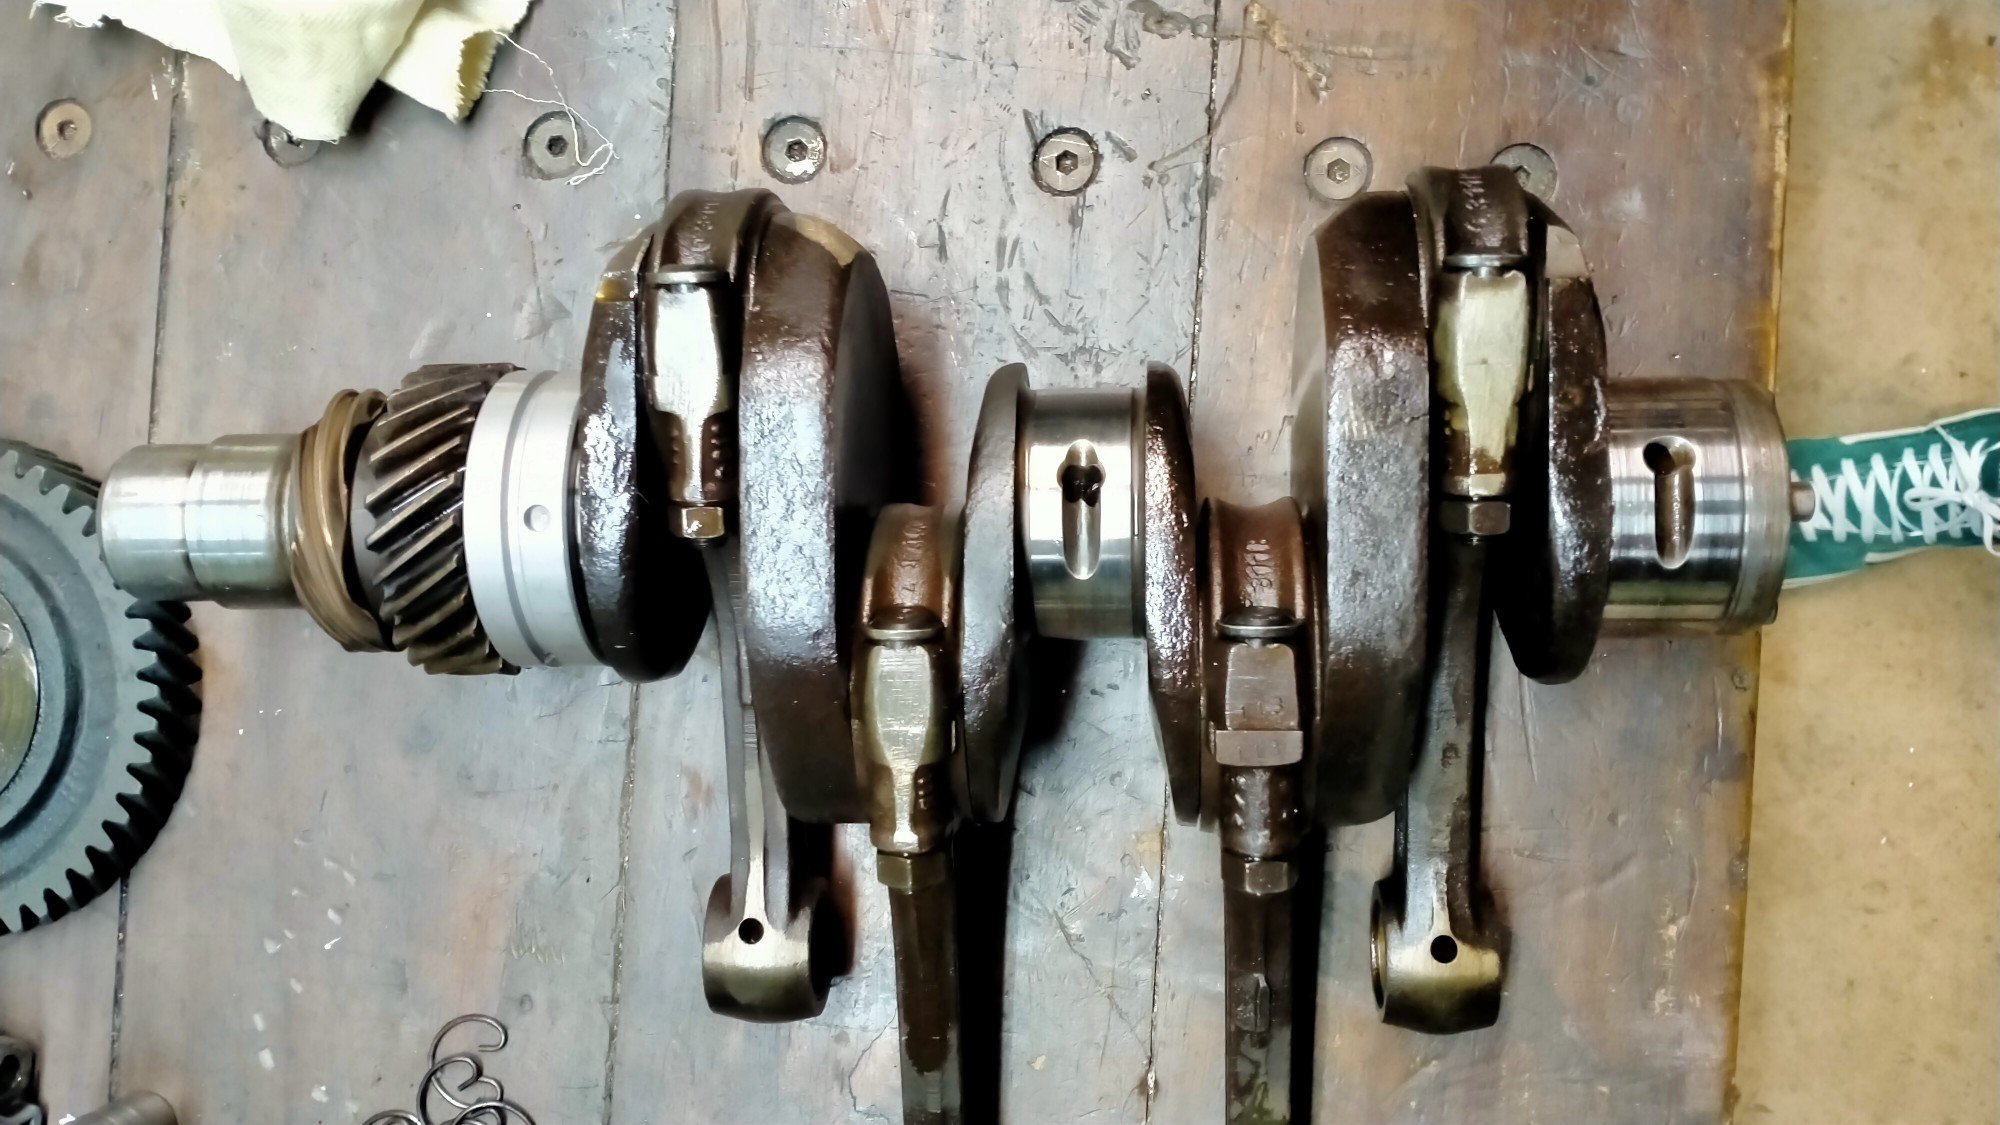
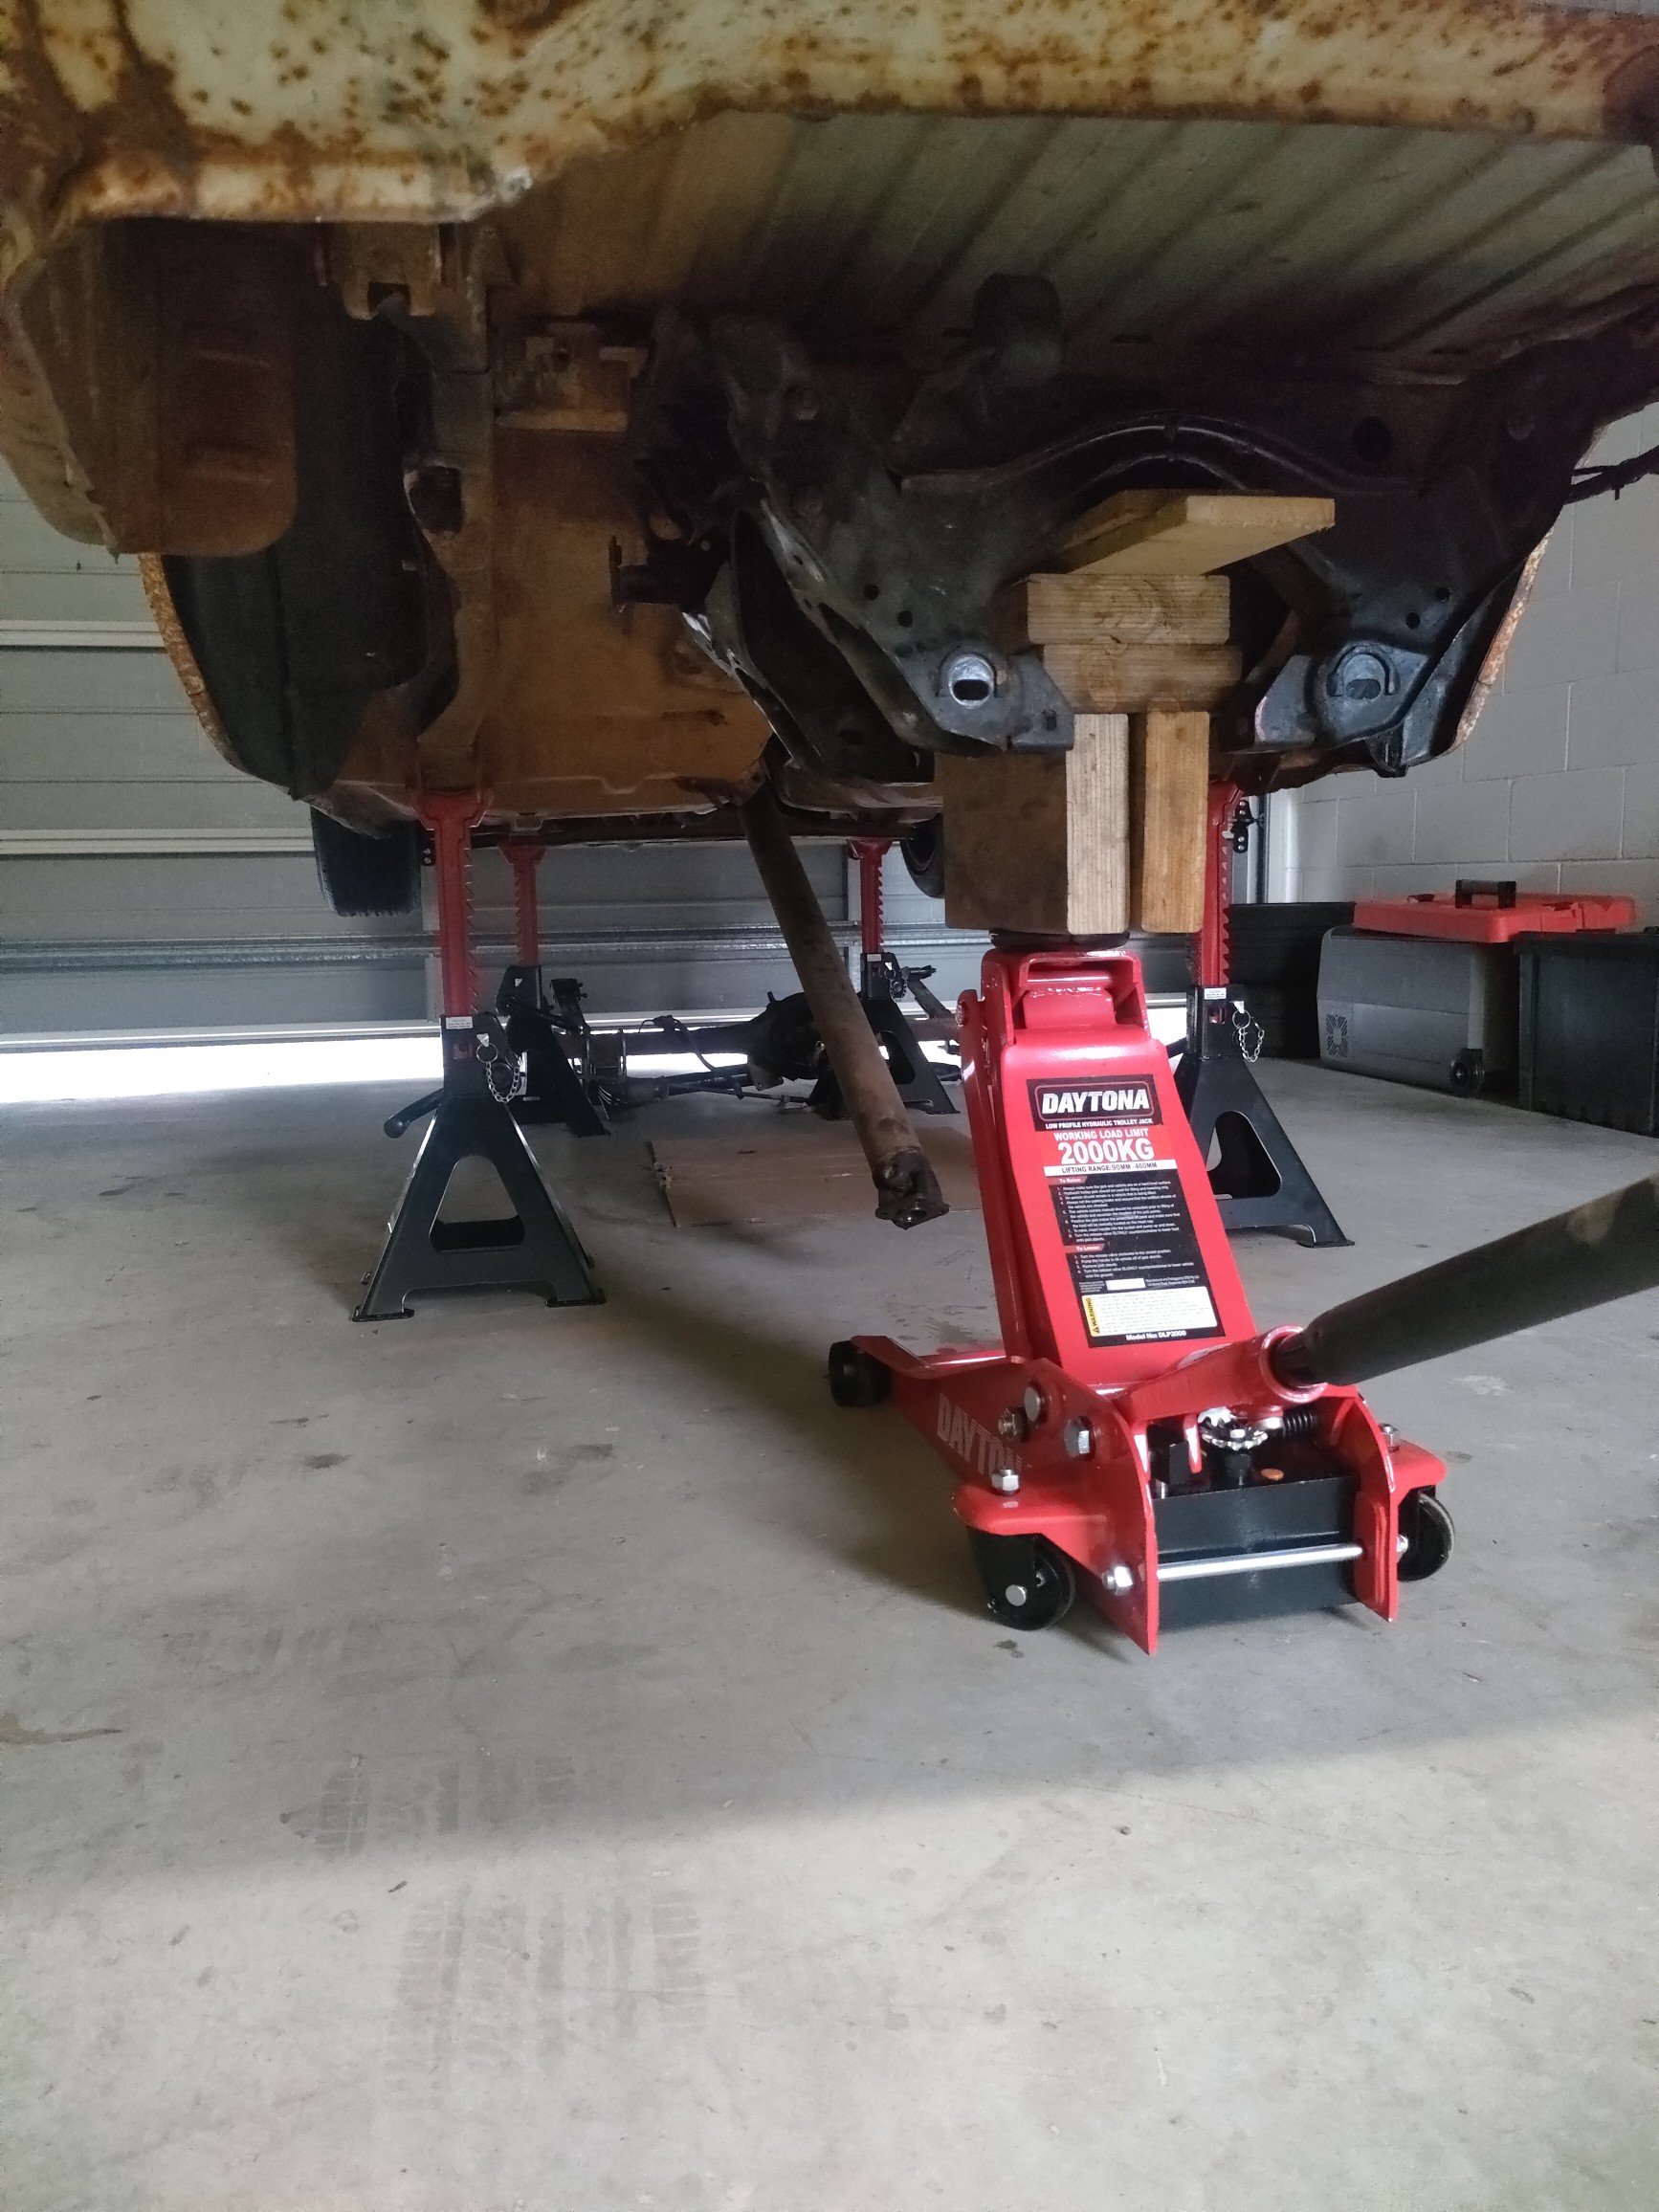
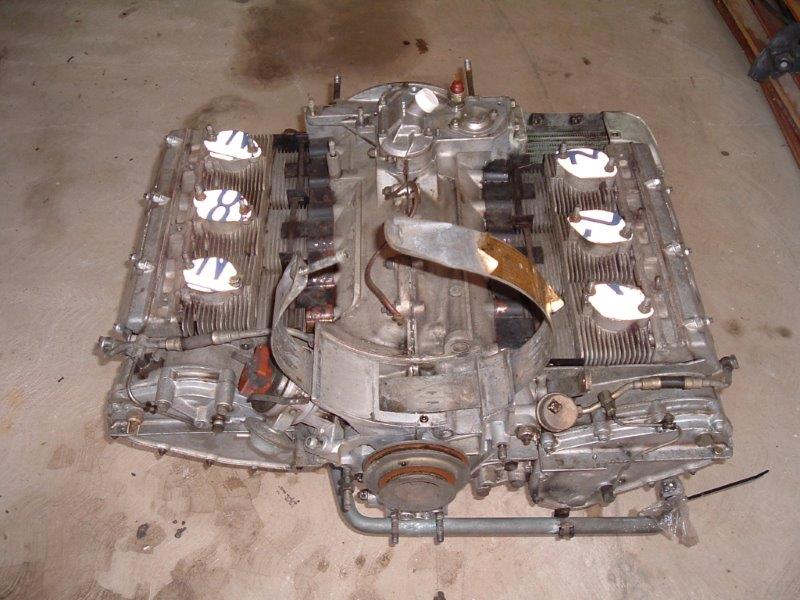
Two weeks I waited to hear the verdict on the case. Before I took the car off the road for the rust and paint mission, the oil leaks had pissed me off enough to pull the engine out and take it to a local mechanic for new pushrod tubes and any other seal he could bung up. I remember him telling me the case was cracked behind number 3, the thinnest part and hottest running cylinder, and the heads were toast. We he was fuckin wrong about the case! Unbelievably it's only on its second over size now, so happy as finding a good base to build is getting hard these days. Even more amazingly, the crank is still within standard spec and even the center journal with the munted bearing only needed a light polish. The dude even said " he can't remember the last time a crank came in,that didn't need machining" guessing lucky! But I do always change my oil regularly, every 3000miles or six months as you should on these old clankers. I set about cleaning up the case. Using a small brass wire brush and turps. Will need to make sure all the galleries and shit are clean before it goes back together. Also go as well as the crank bearings, which are machined to fit, new big end bearing in the rods, new cam bearings and a full engine seal kit. These however, have been quietly waiting their turn under the bench for a long time. Soon my pretty, soon.
 3 points
 -
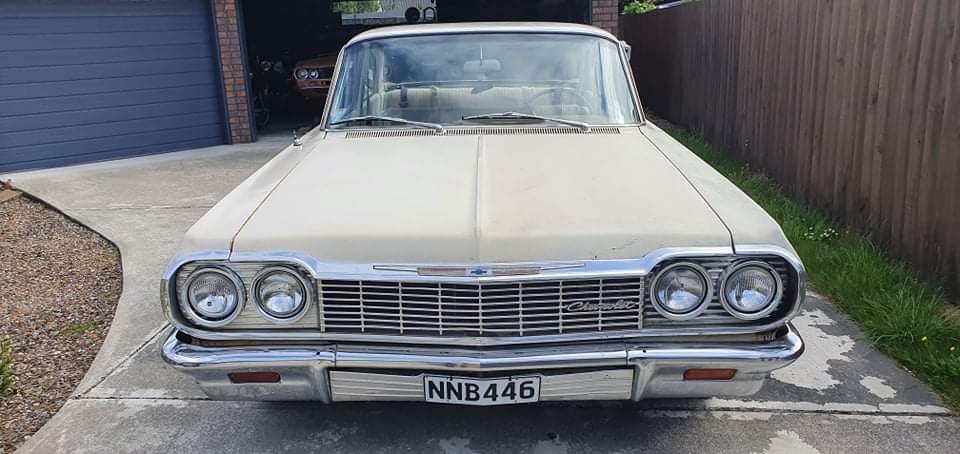
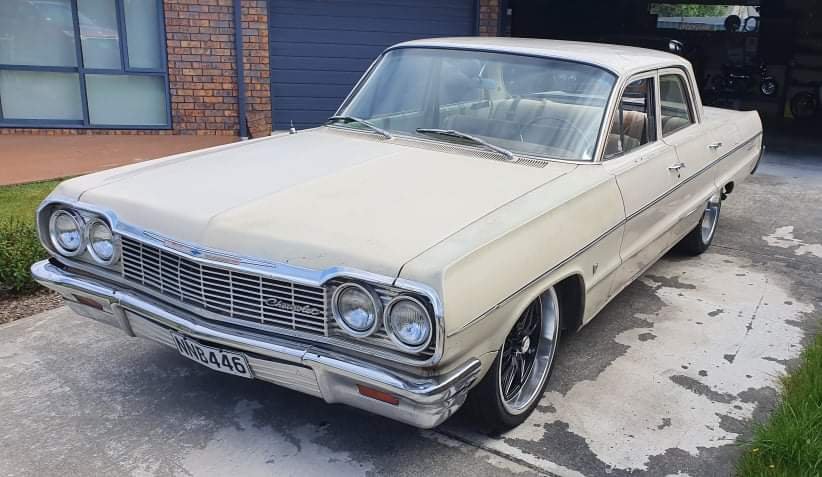
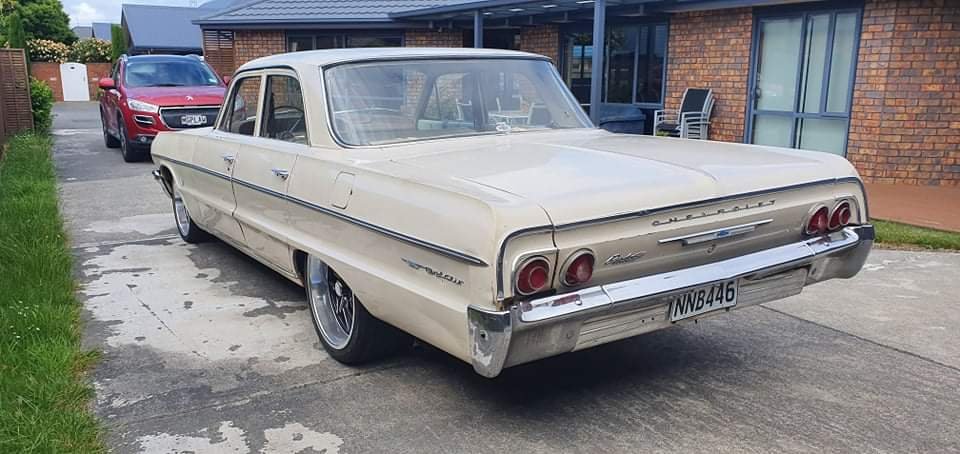
Finally got booked in for the recheck on the cert ........... and it passed. Has little temporary tag thing on the engine bay and the really cert plate will turn up sometime. Then it can go to be complied. Cert process took 8 months, mainly due to look downs, availability of parts due to ports of Auckland cluster fuck, certifier being busy because everyone is building cars instead of spending money going overseas and my own lack of motivation. Little things like Americarna, Beach Hop and going caravanning for the 9 days of the 2 long weekends earlier this year also didn't help. I also washed it for the first time, first wash in 26 years, and yes it did leak. Its had about 6 or 8 cleans with McGuires Ultra Rapid detailer to the water beaded up beautifully. Really looking forward to putting some serious miles on this car, apart from the heavy steering at parking speeds, it drives like a late model car.
3 points
-
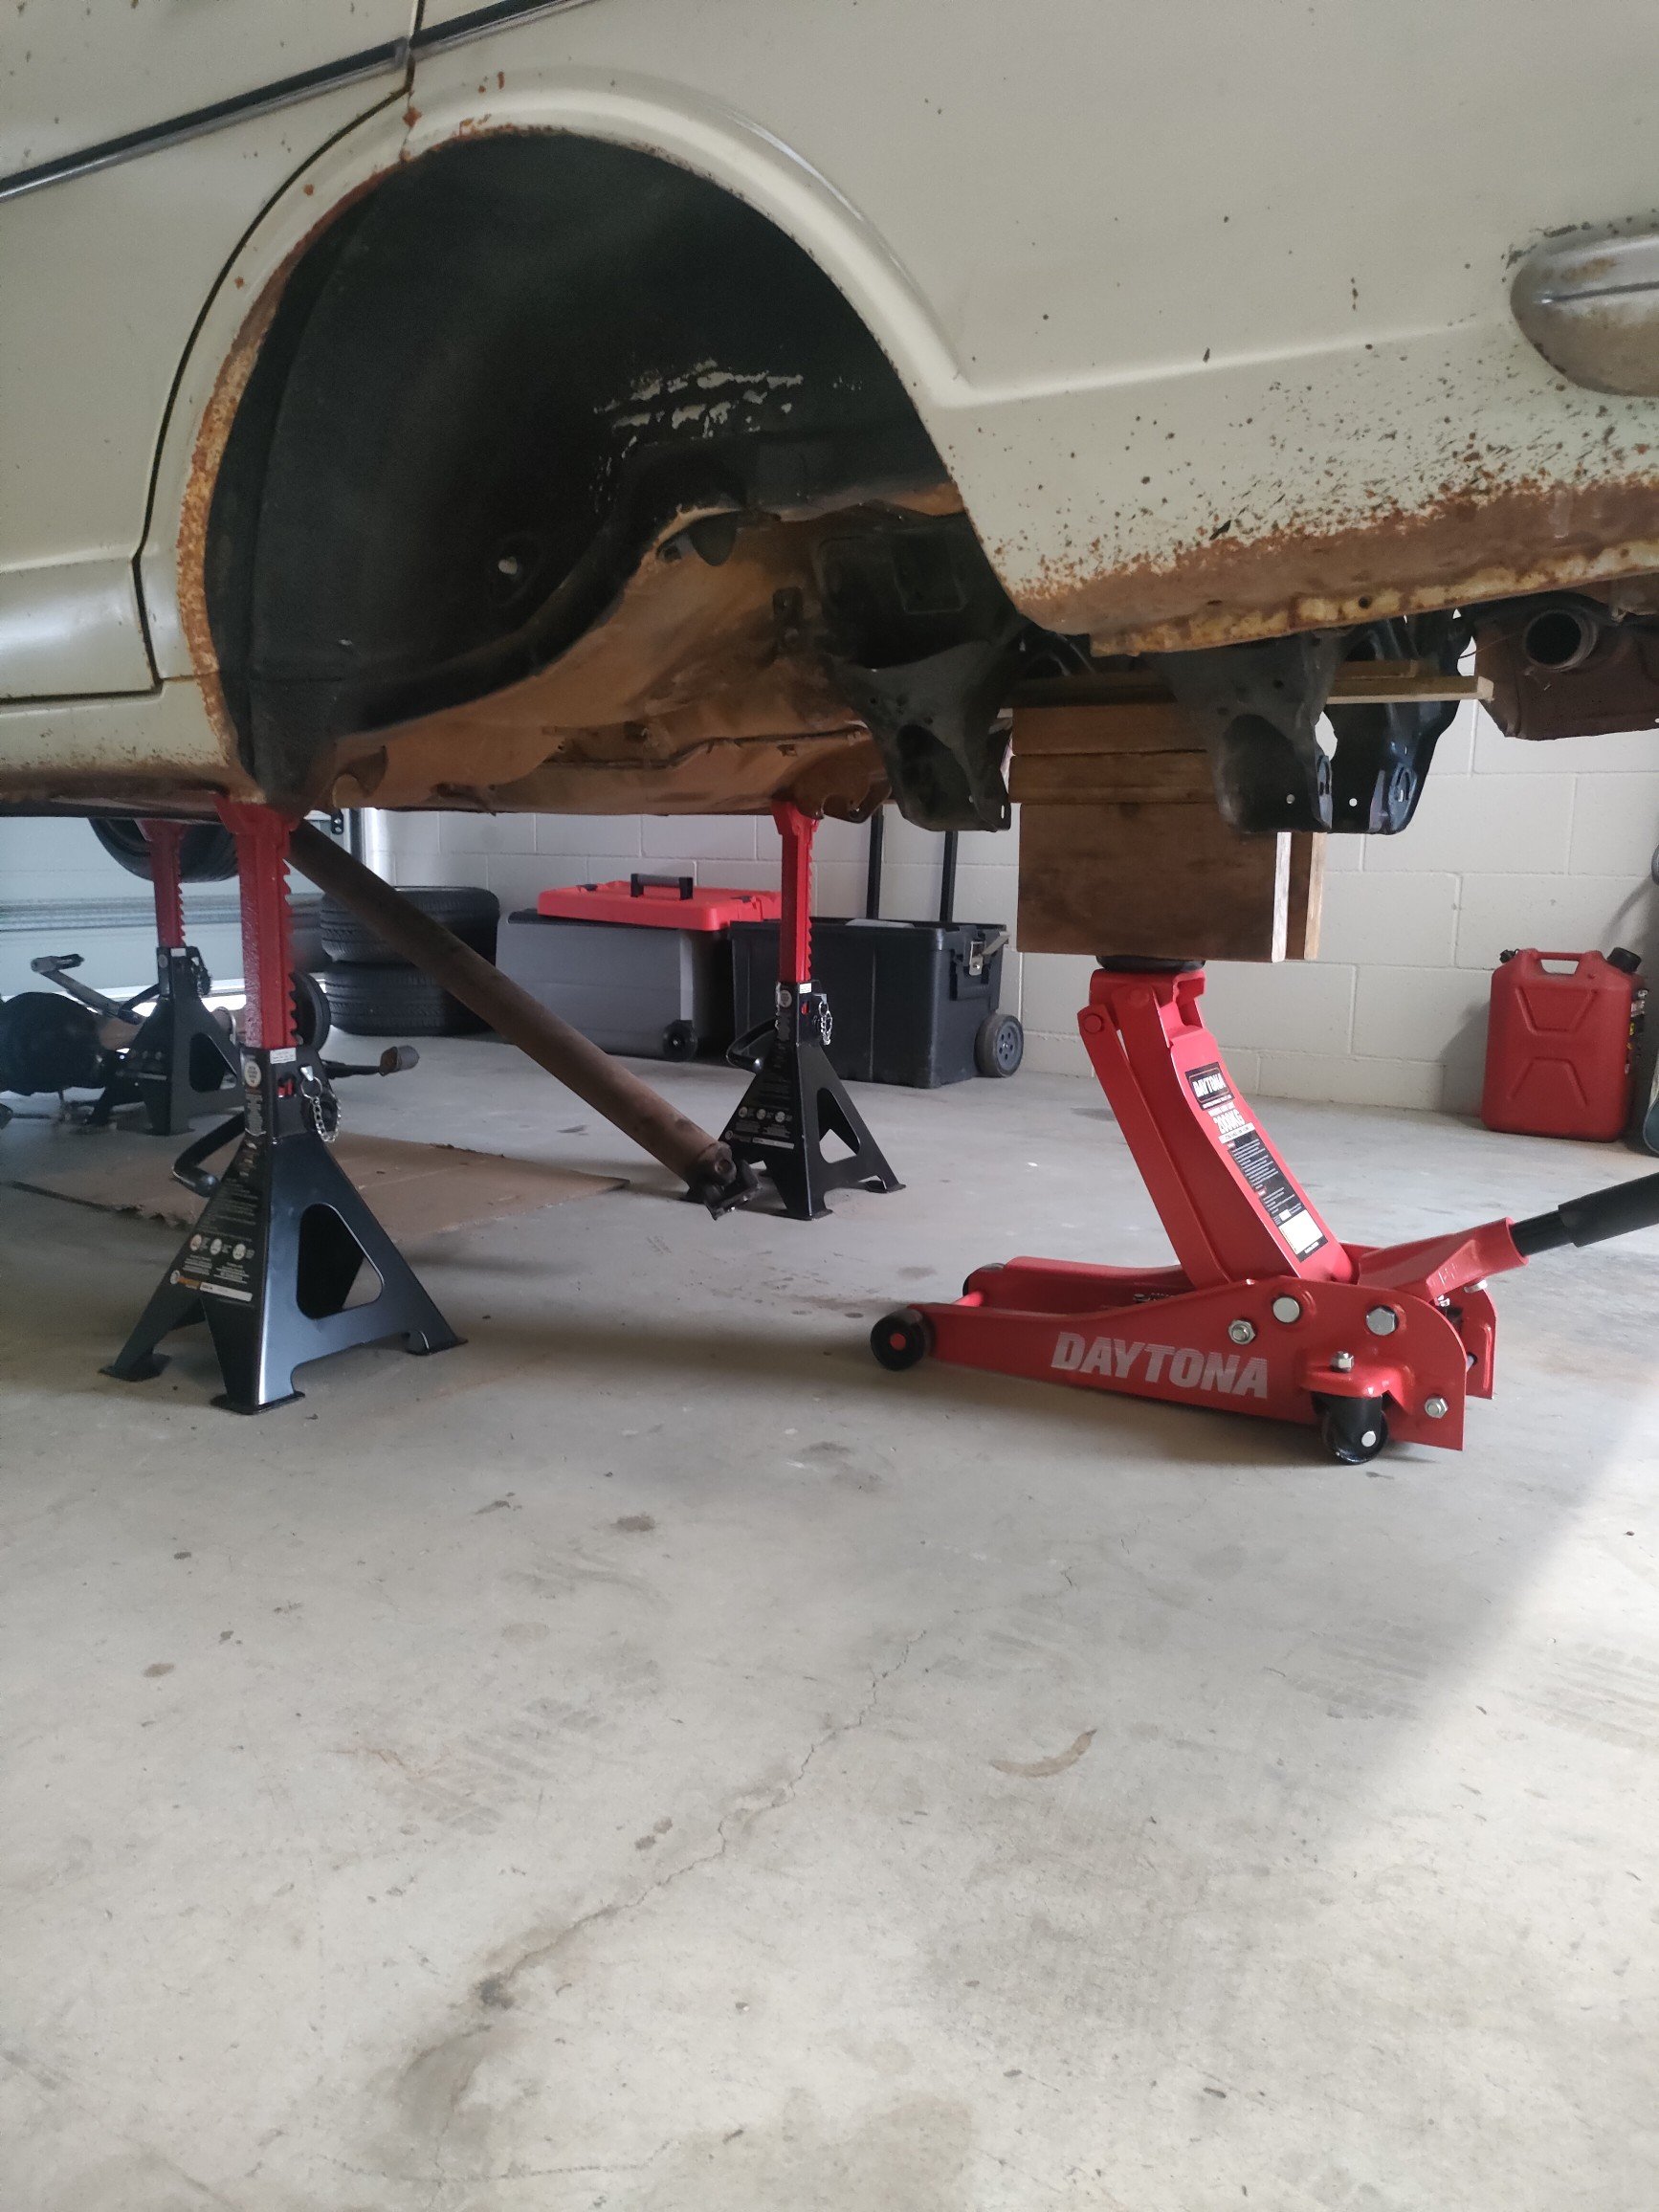
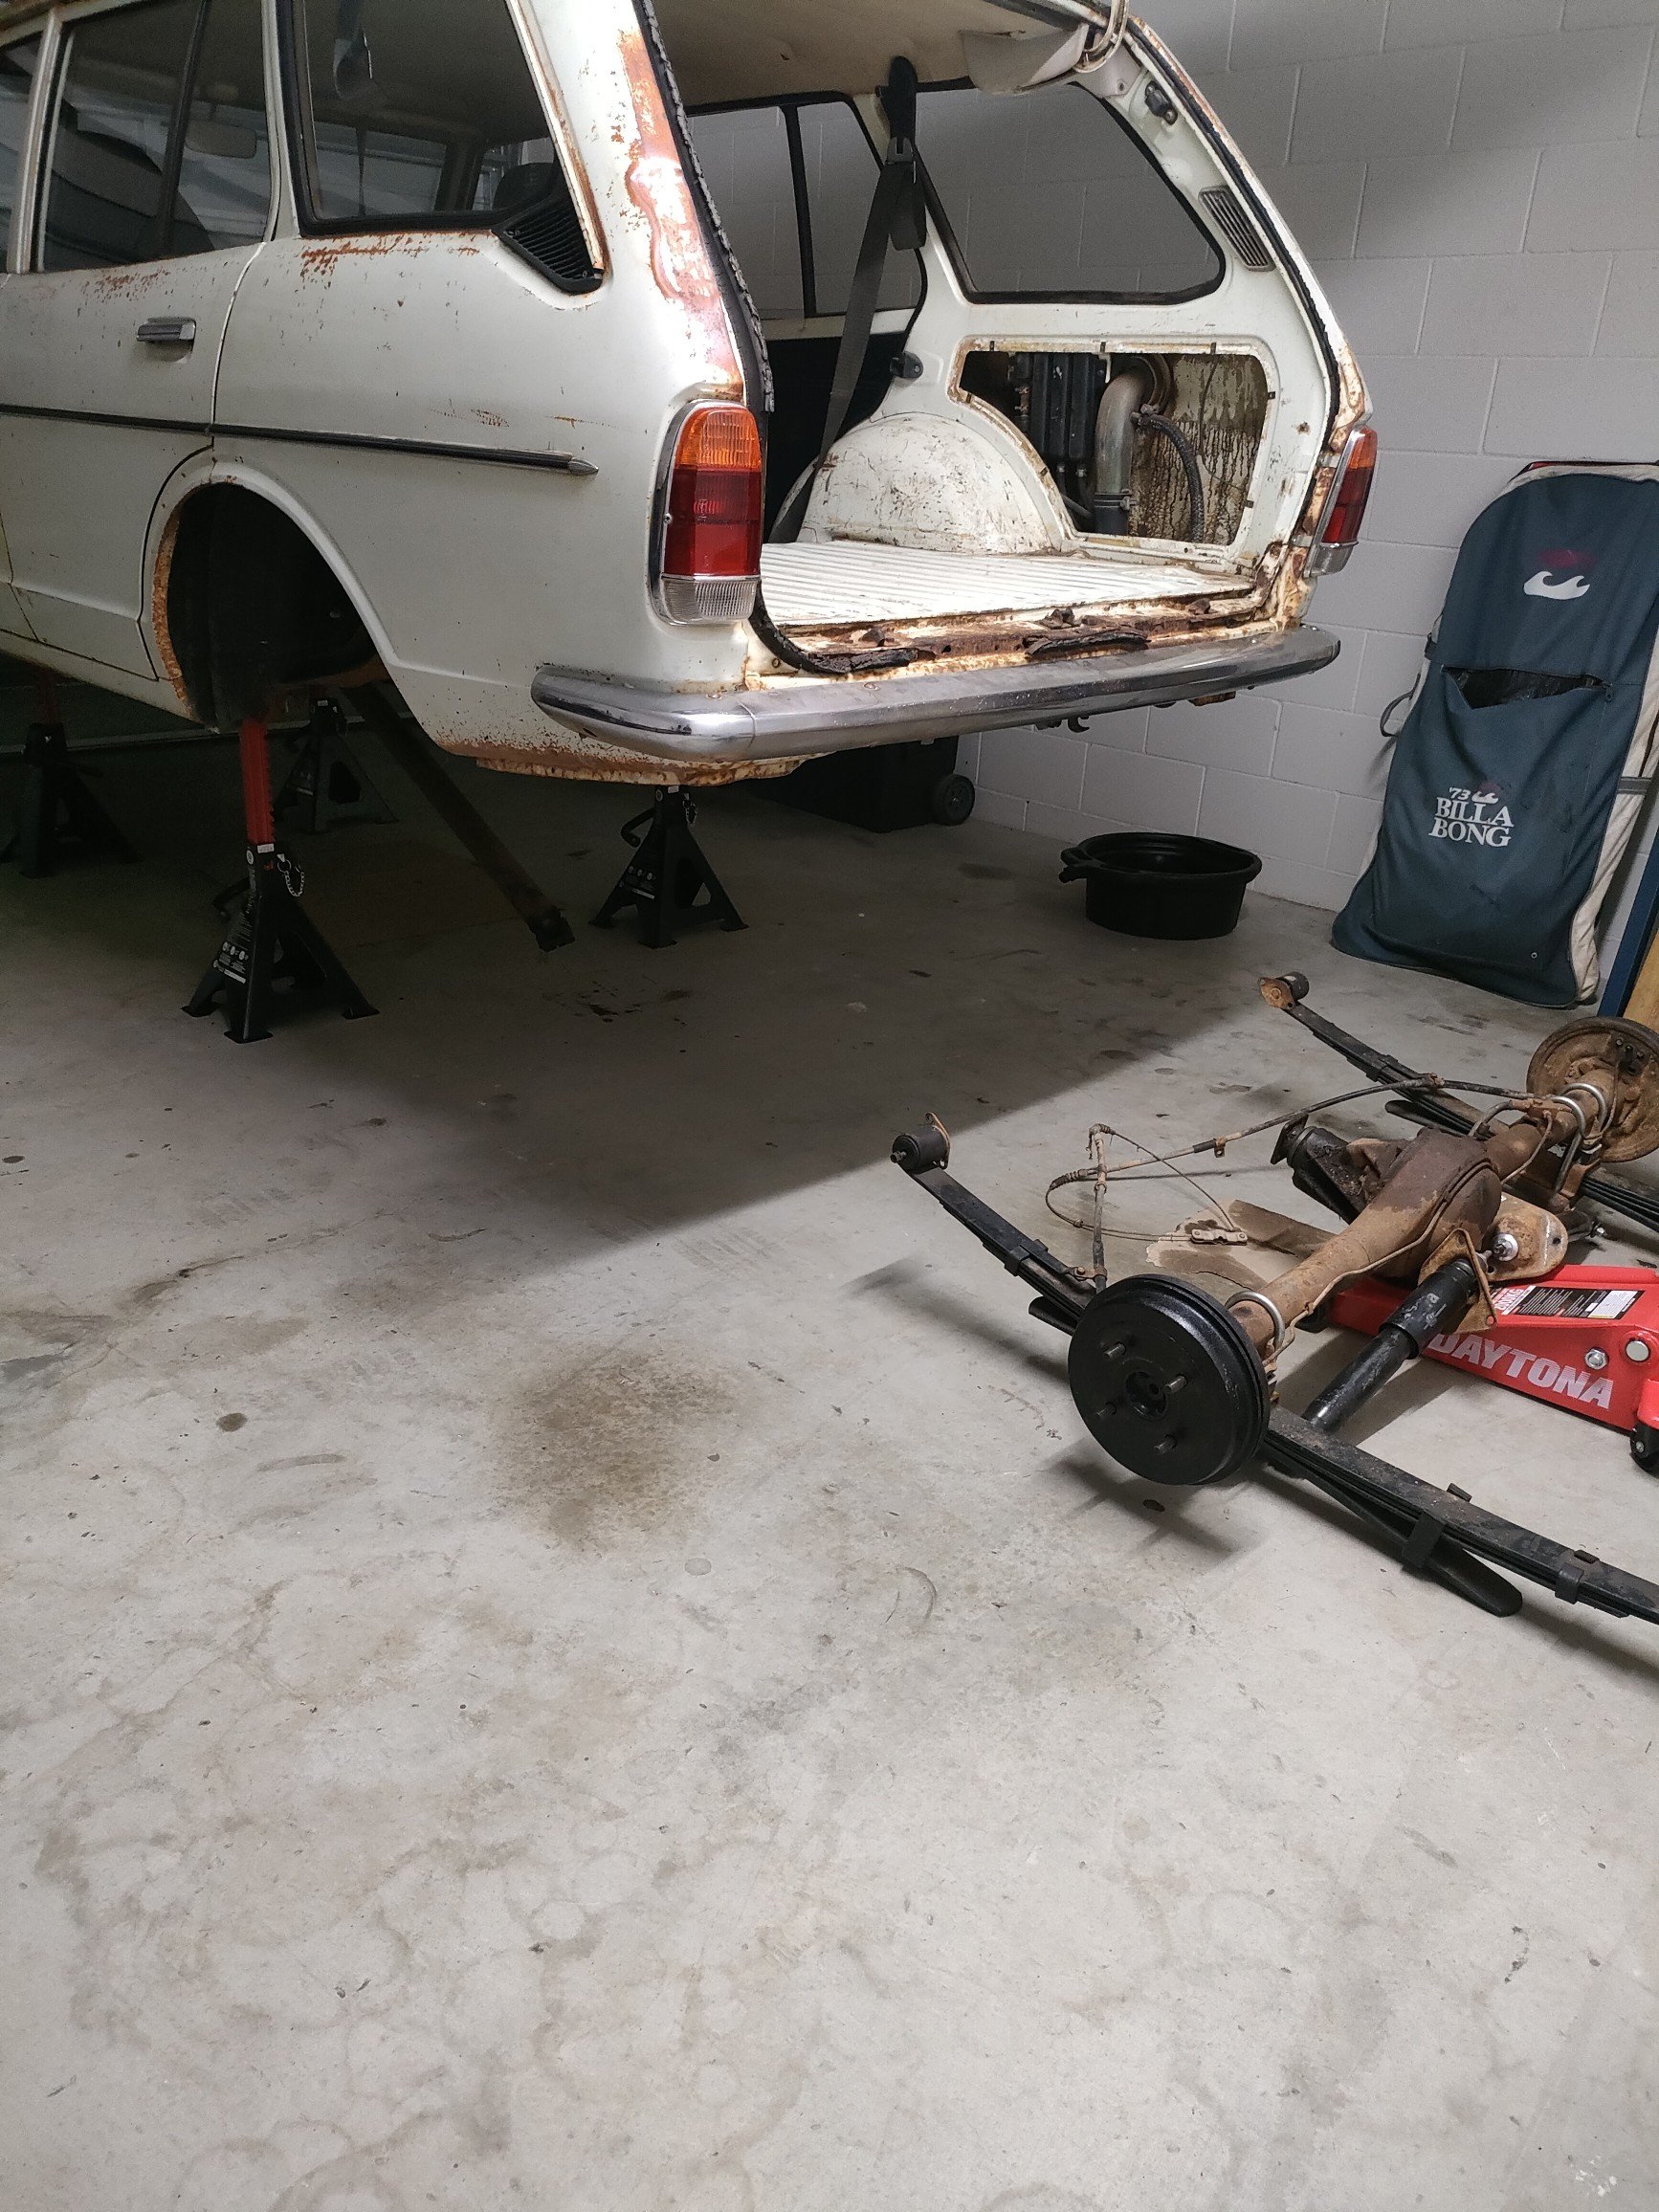
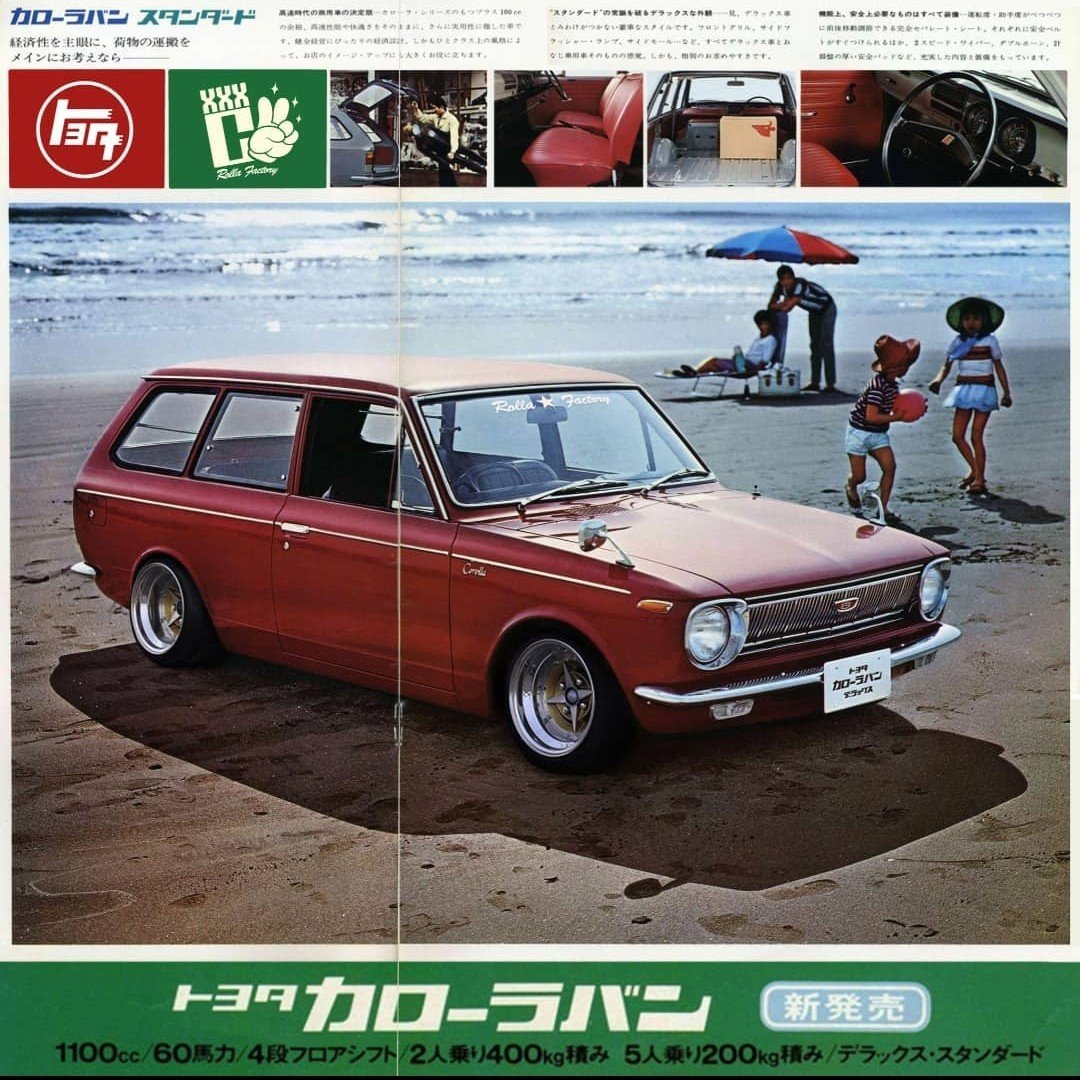
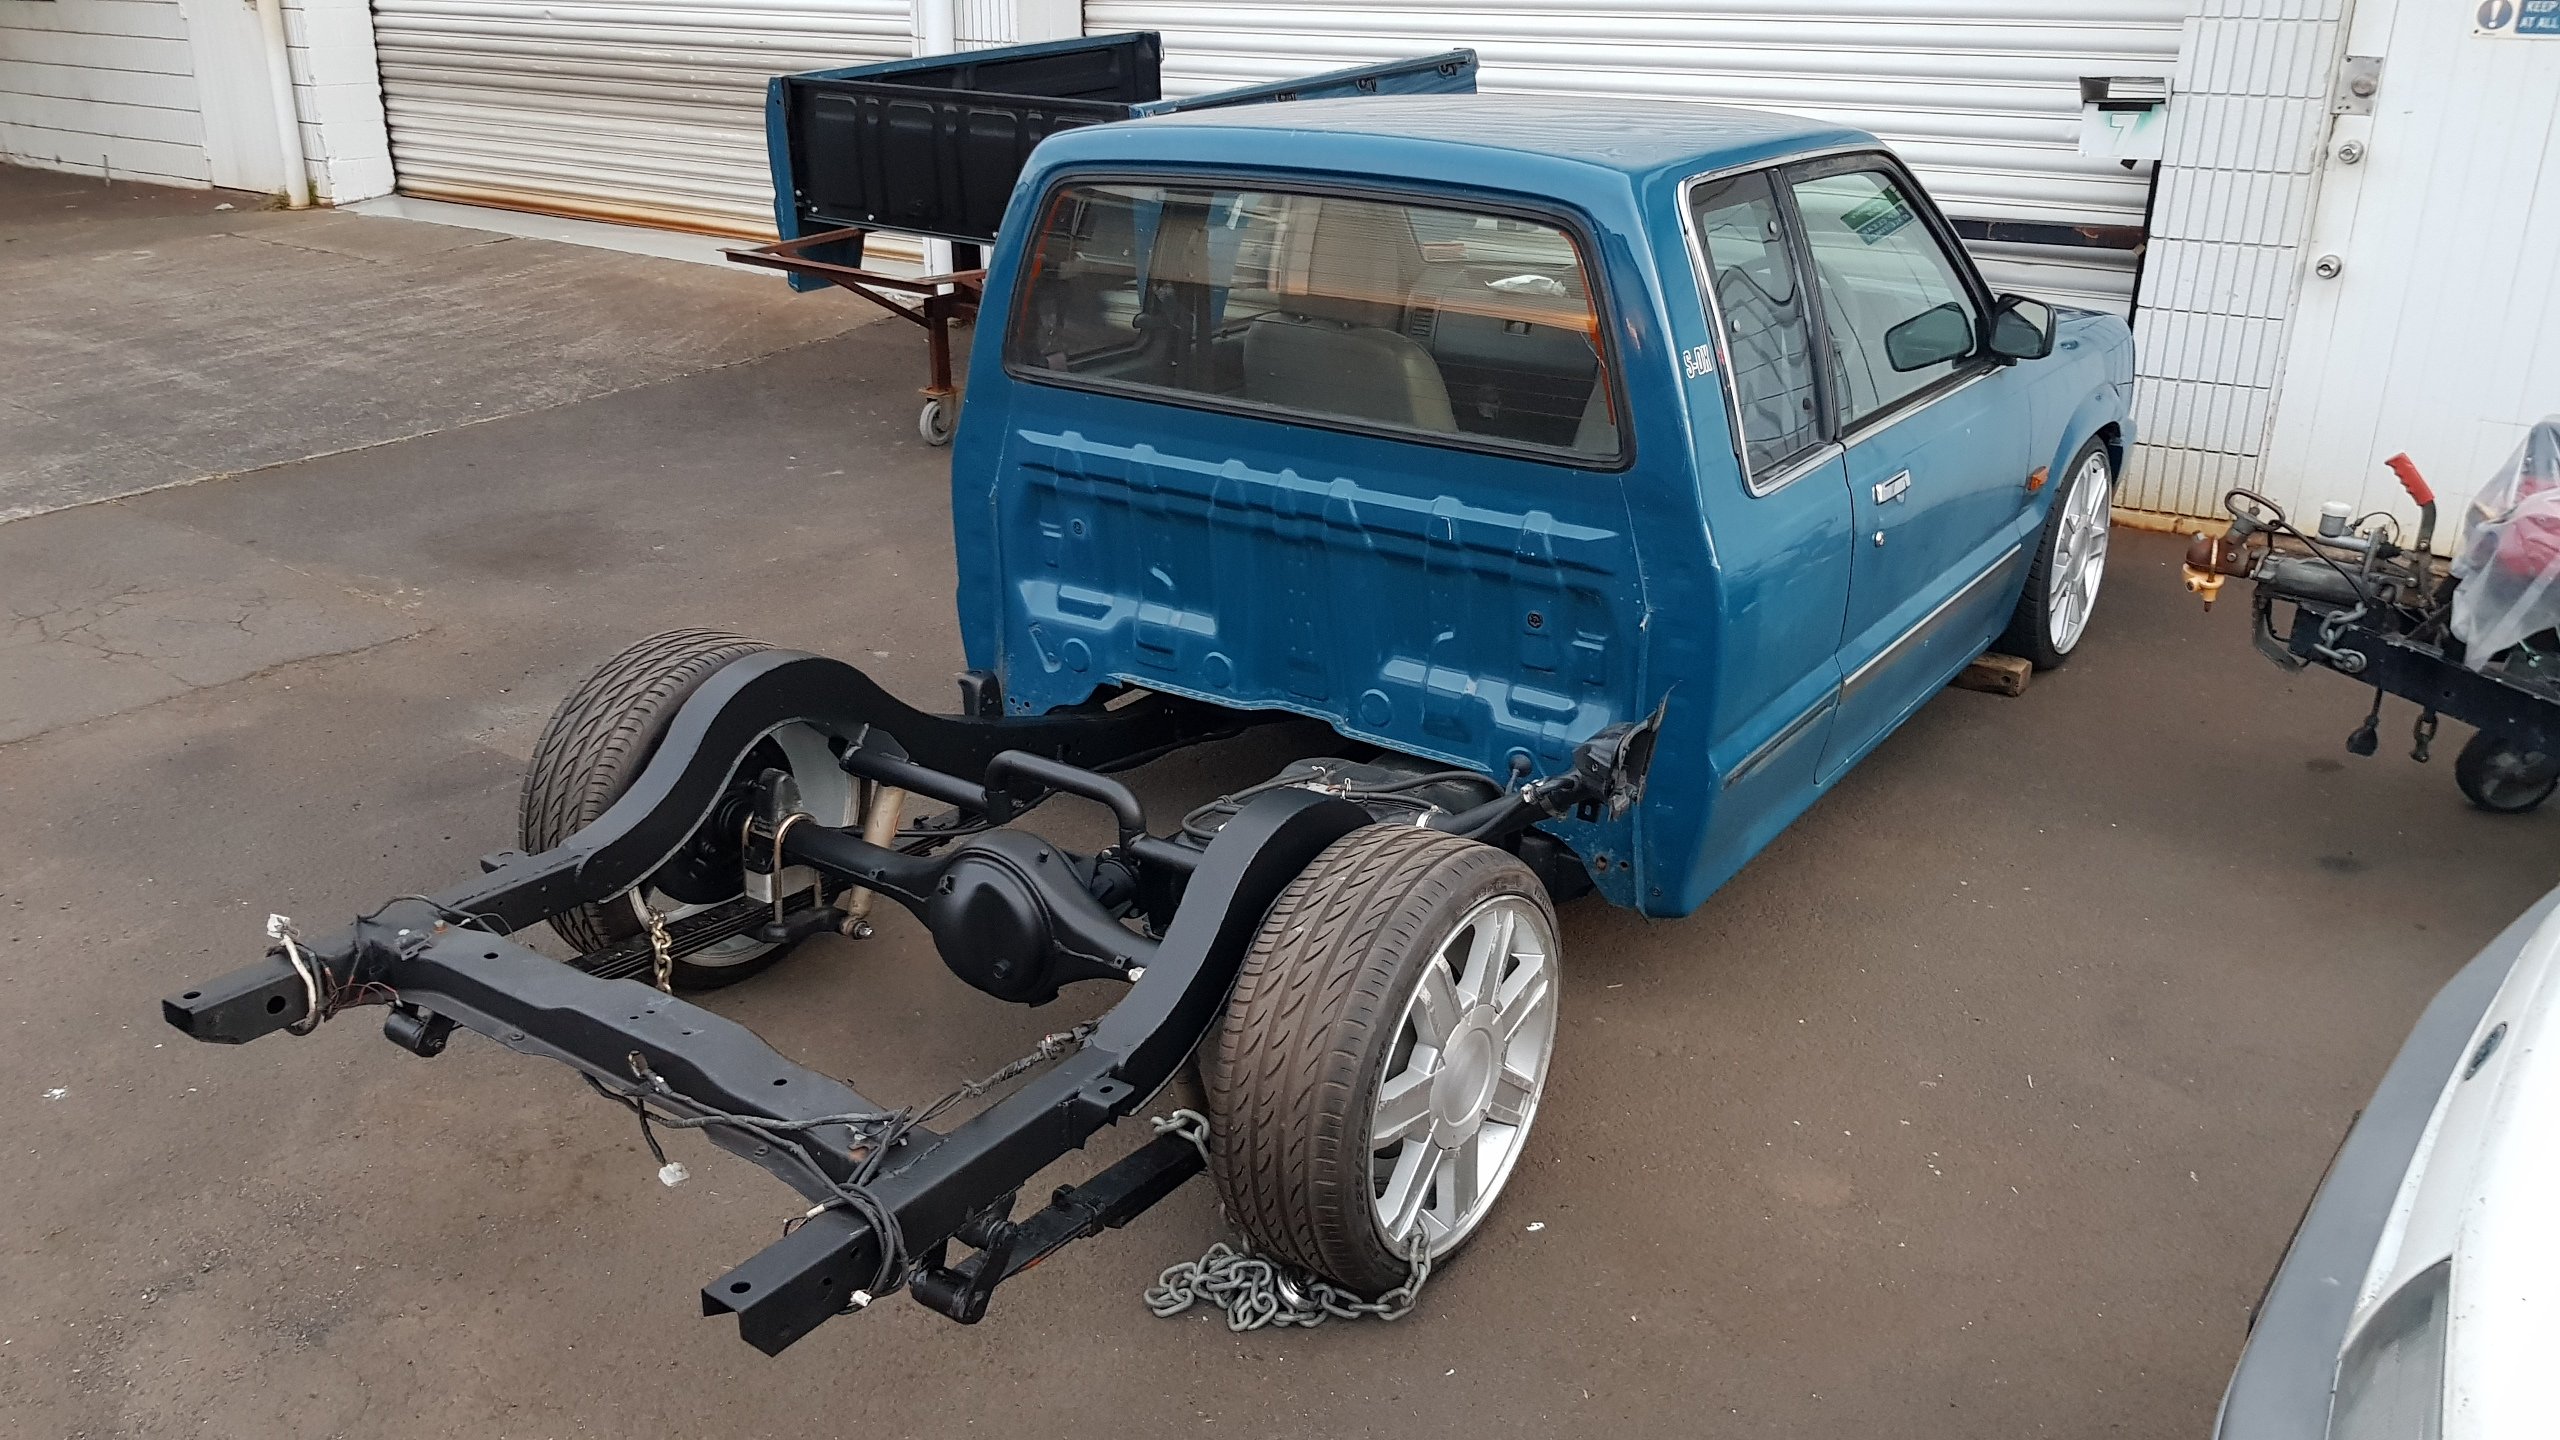
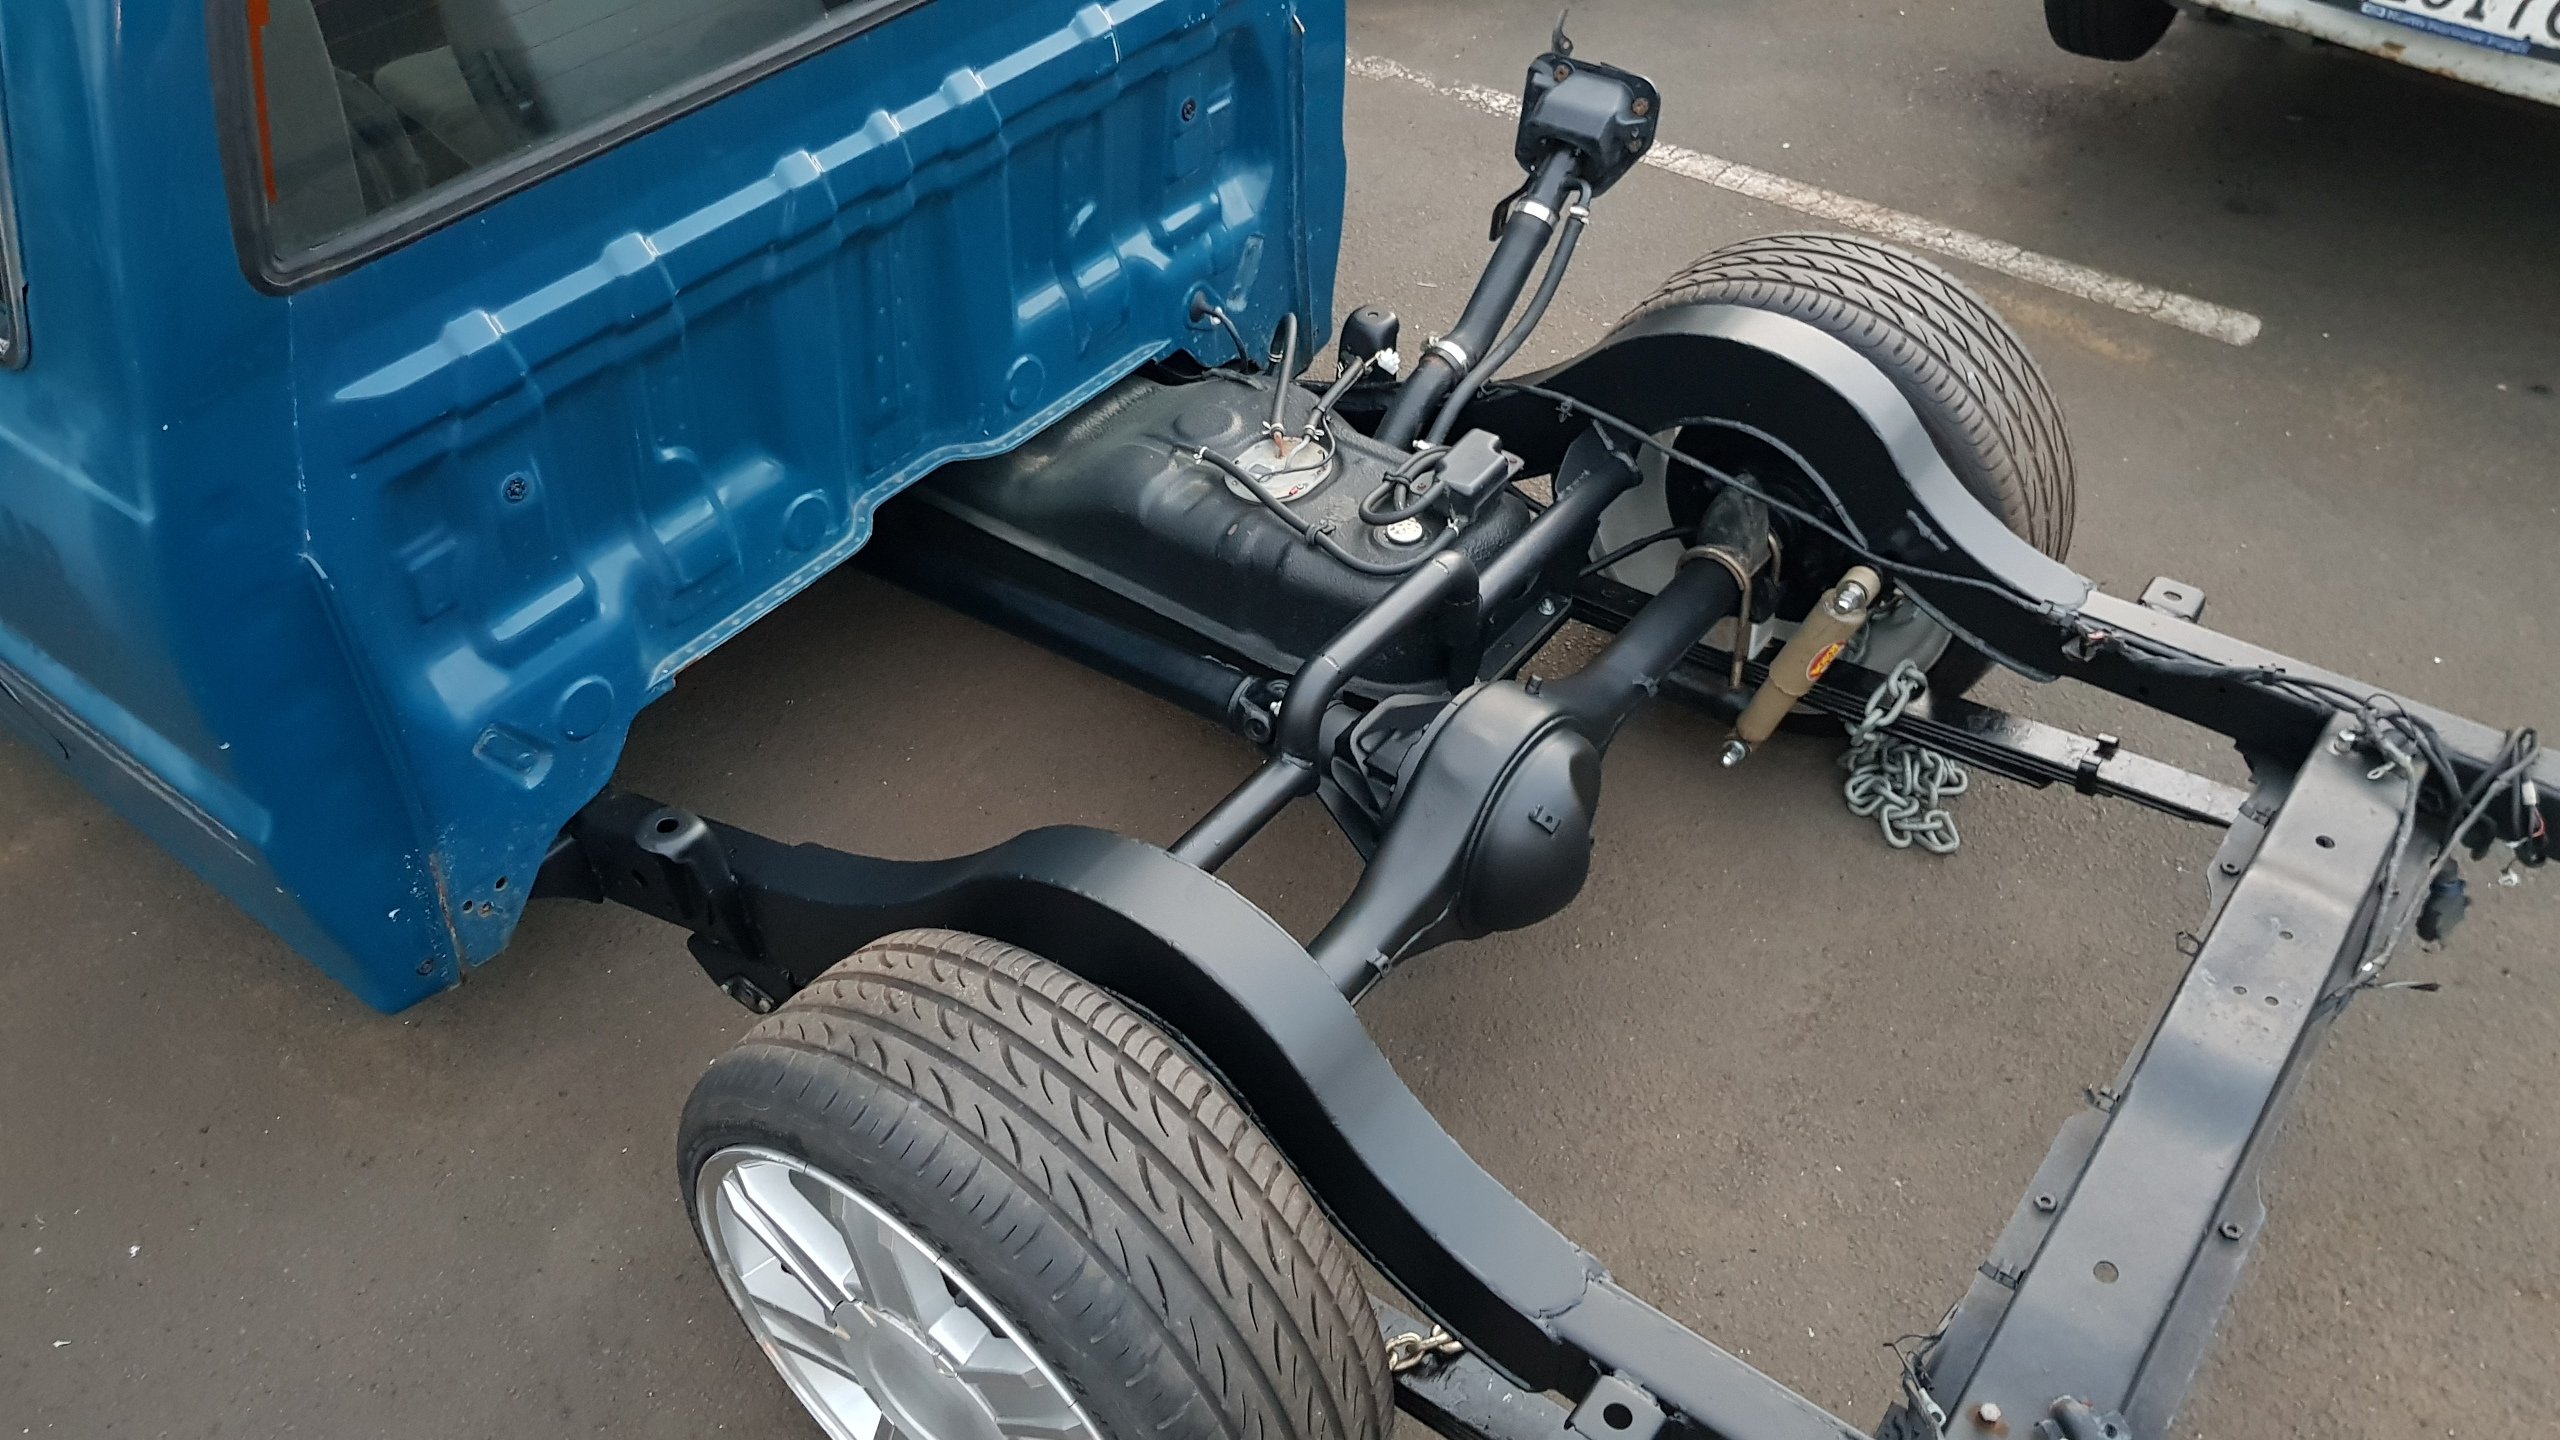
Got the diff and fuel tank out tonight, so started having a quick mock up of things. Seems like everything will be pretty well placed, and not hang too low. It will be getting raised another 20mm from these photos, as haven't cut anything yet. Will be about 10mm above sill height, so pretty happy. Would have to channel the boot floor if I wanted to raise it any higher. Also should be able to squeeze some 13x8.5 wheels under the guards too. Last photo is the look I'll be aiming for. (Different model, I know)
2 points
-
Pull the engine out with the loom attached, its really quite easy. The engine side of the loom disconnects from the dash loom and ECU in the center console, and then pulls through a grommet in the firewall. I think the engine bay fuse box came out with it too.2 points
-
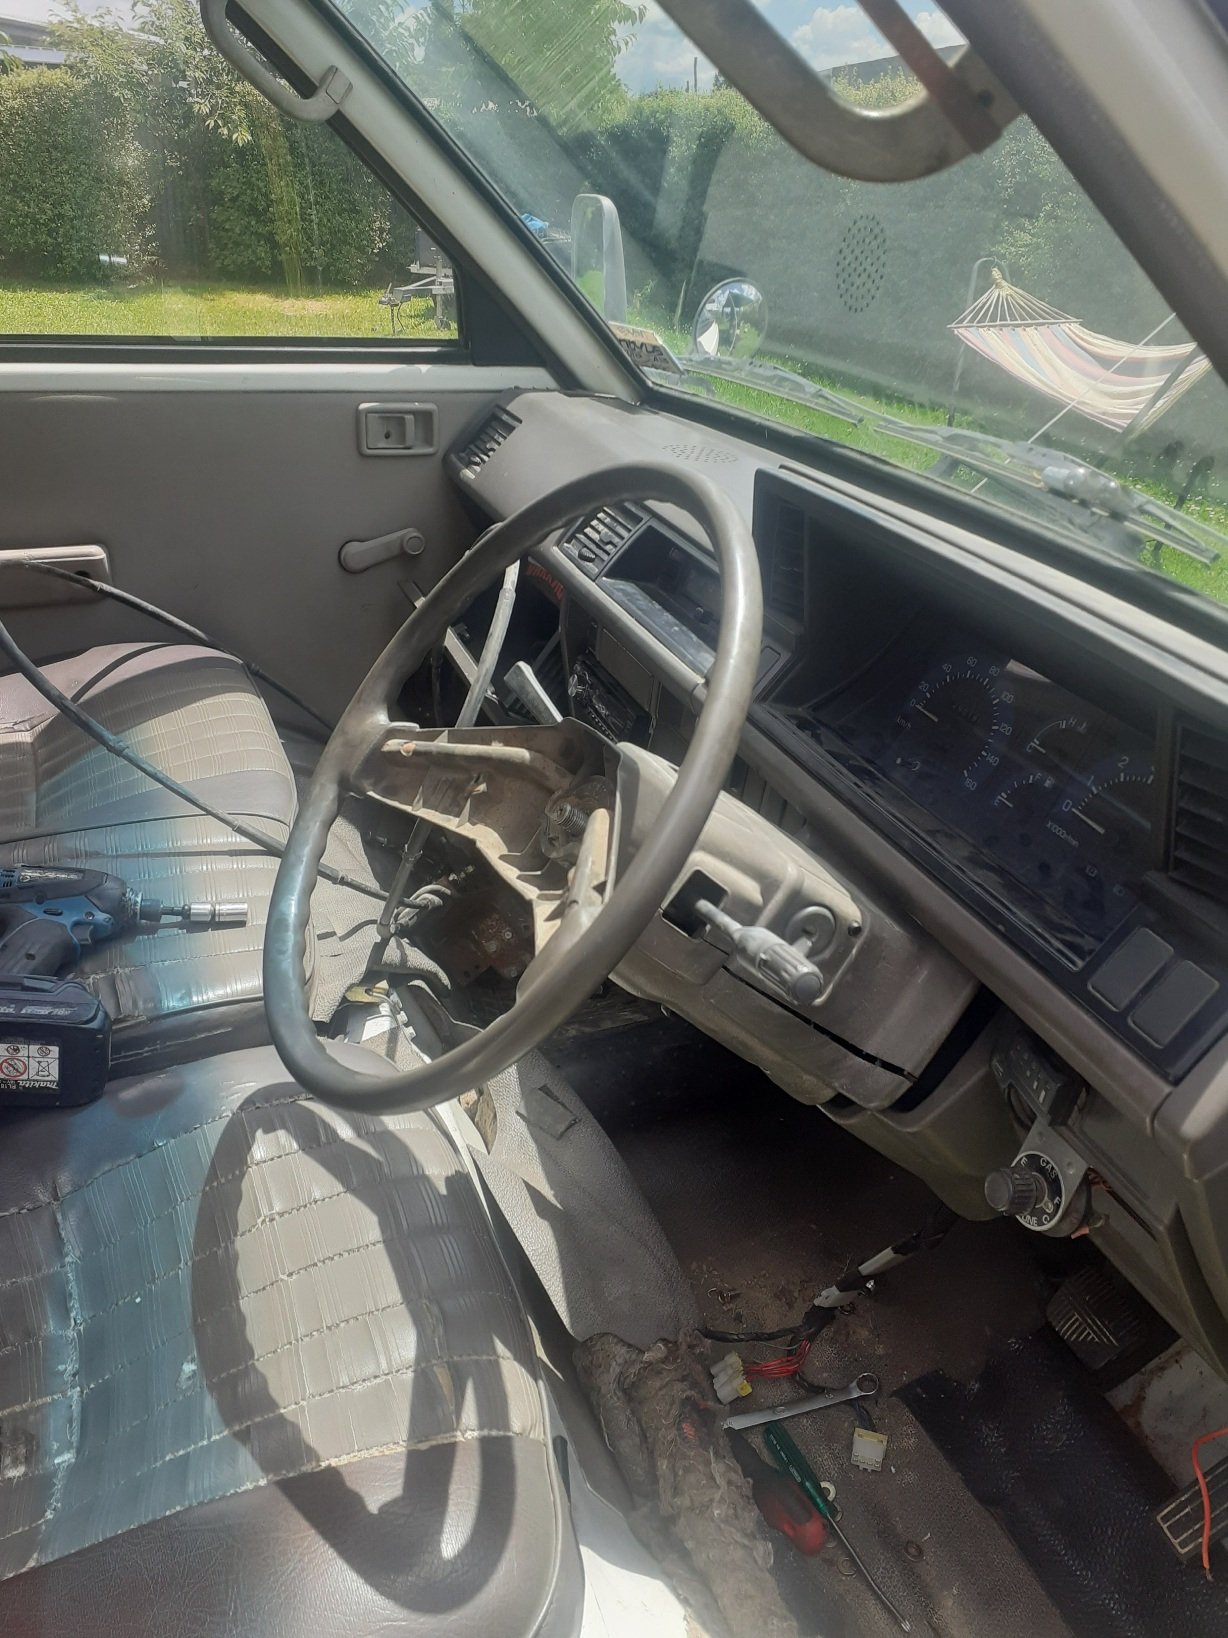
thats done, now gotta figure out how to get it shifting off column, as it now doesnt have linkages and such on the ps box
2 points
-
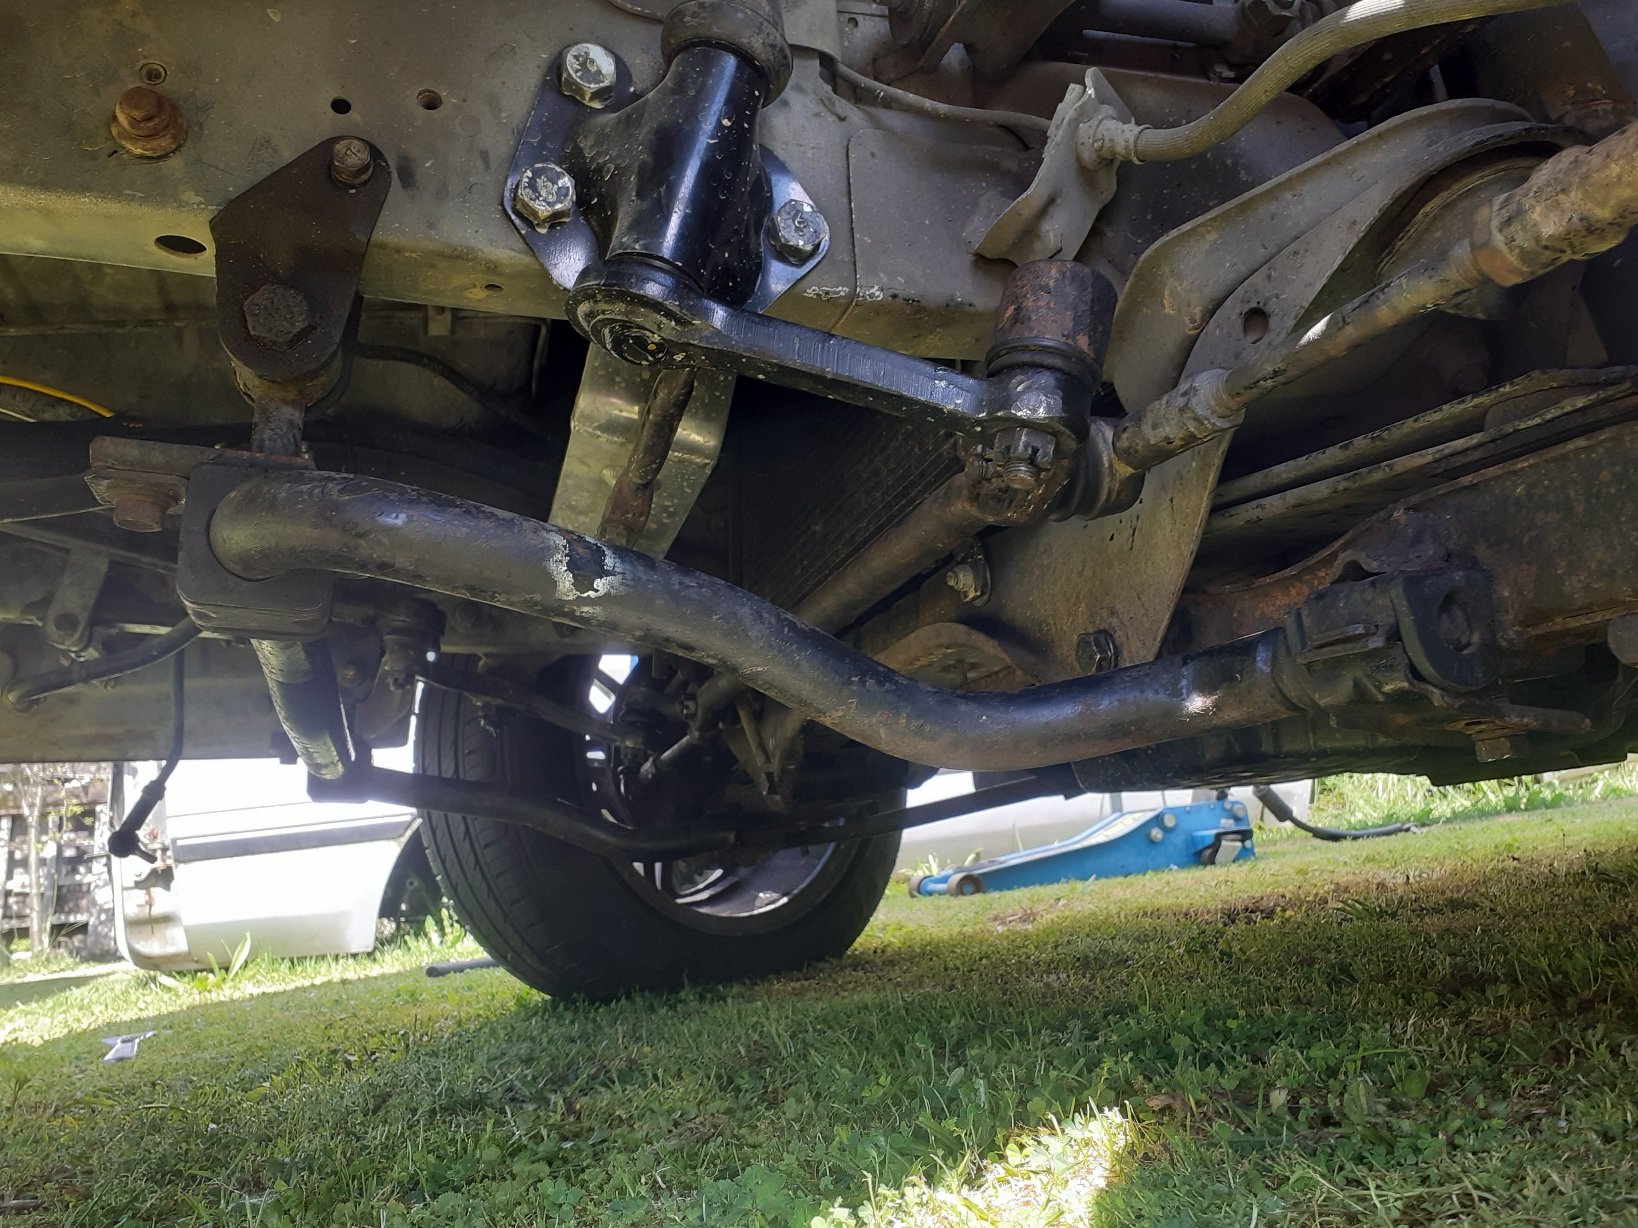
Put the ps box in, it bolts up just fine, just needs some panel work done in the cabin to bolt column housing onit is now adjustable got me a rivnut gun and some steel rivnuts, this van diddnt have a swaybar from factory, but it had the holes in the chassis and it so happened they were the perfect size for m8 rivnuts, so i put them in and it bolted right in, bushings are new too so thats an upgrade. Also went through and swapped out bad ball joints with good ones, and greased everything up..
2 points
-
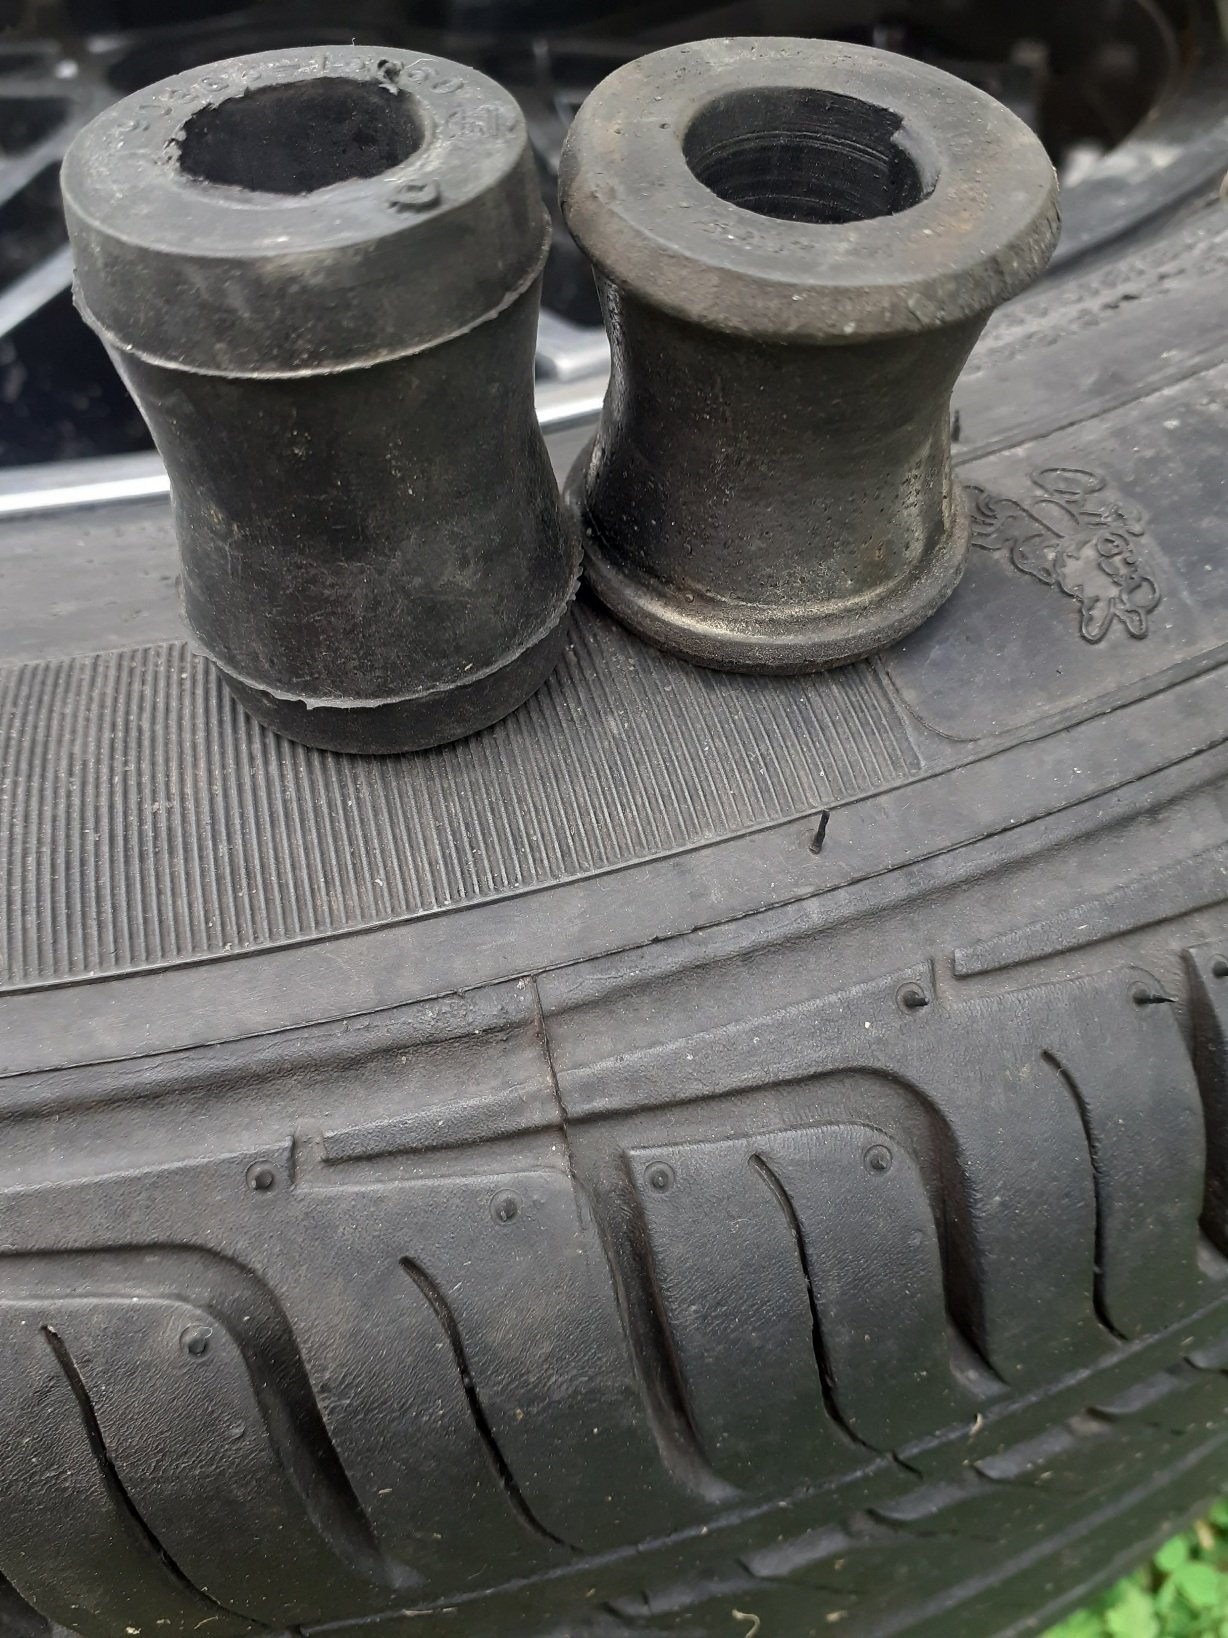
And laid down some black. Gave all the bushes, which I replaced earlier in the year, a clean and fitted with fresh grease. Also spent some time cleaning up the threads on the shackles and lower shock mounts plus the fasteners to suit. Some of them were pretty manky. Got it all back togethor and threw the has tank back in too. Good way to finish up a nice evening. Excuse the wheel nuts on the shock mounts, I had no m12x1.5 nylocs at the time.
2 points
-
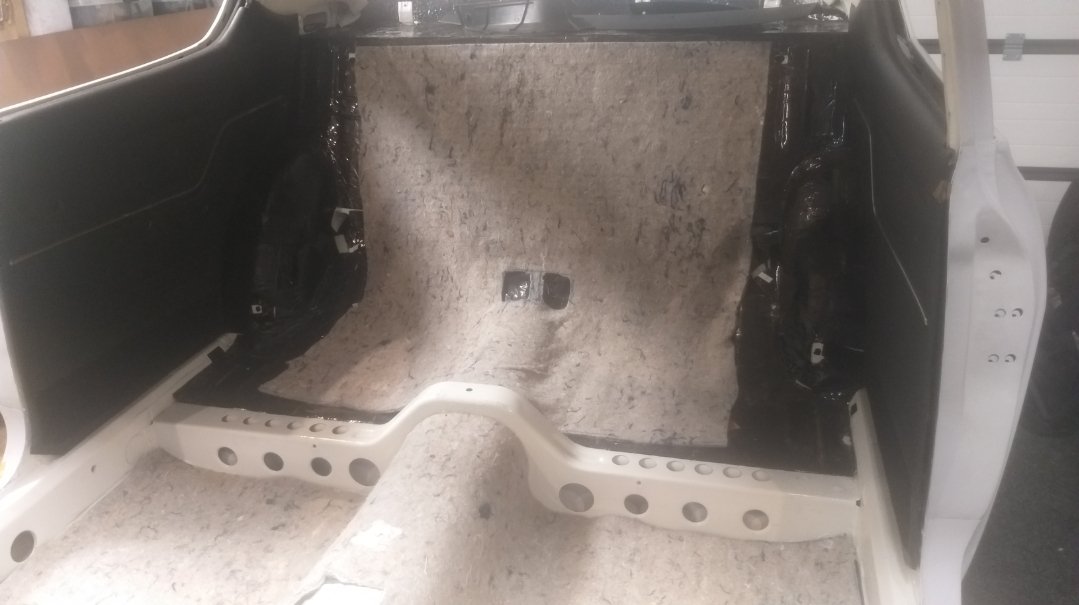
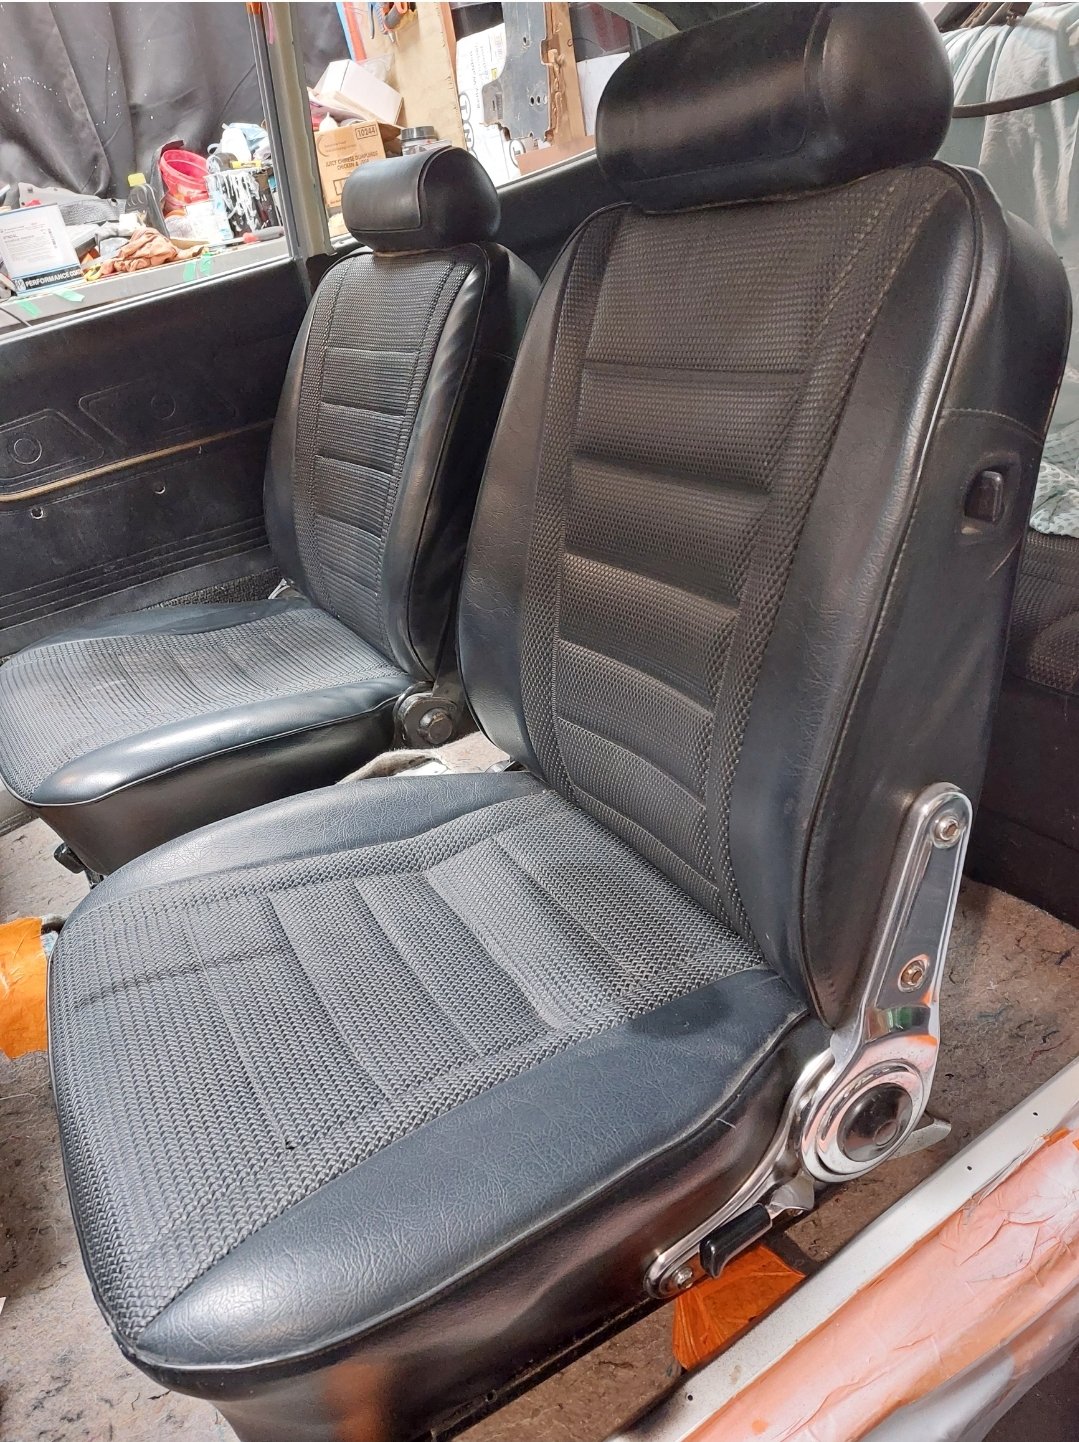
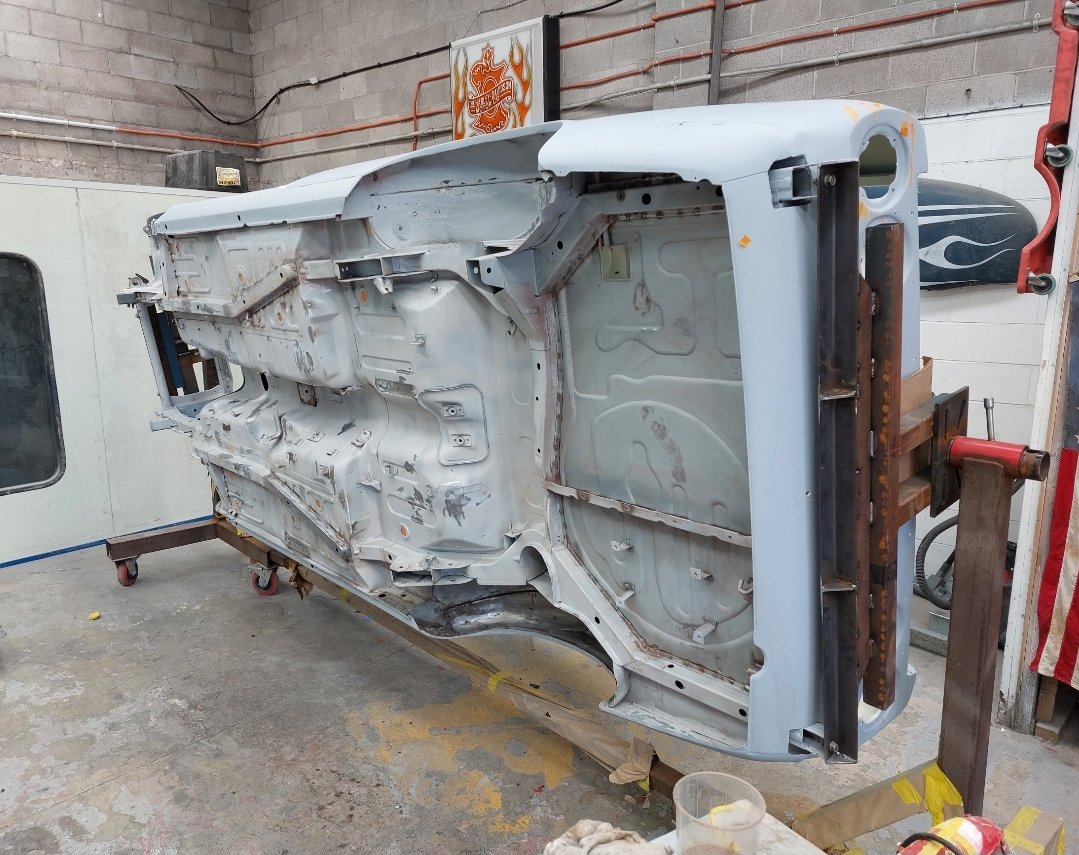
Have been prepping smaller jobs inside underfelt cut for floor and hoodlining, plus foams, spent ridiculous amount of time trying to get seat mechs to work correctly(still not 100%). Major part is its now finally at the painters, spent a day yesterday helping prep underside, good things to come
2 points
-
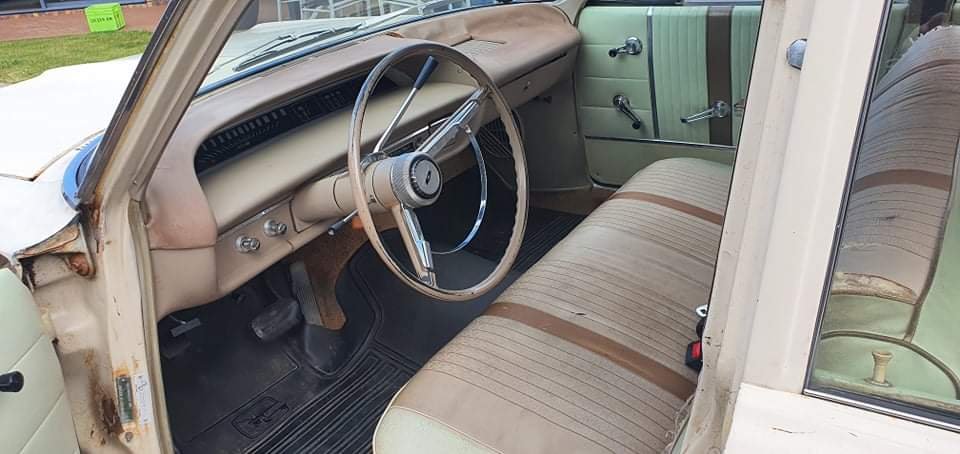
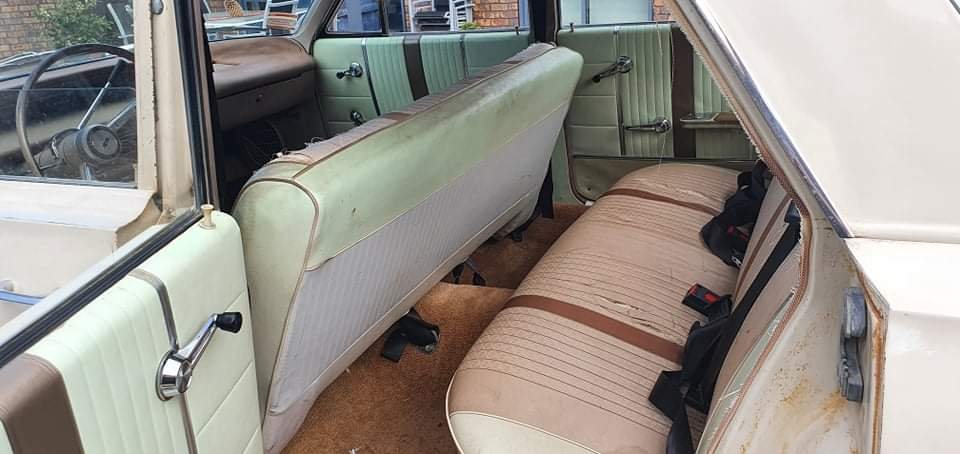
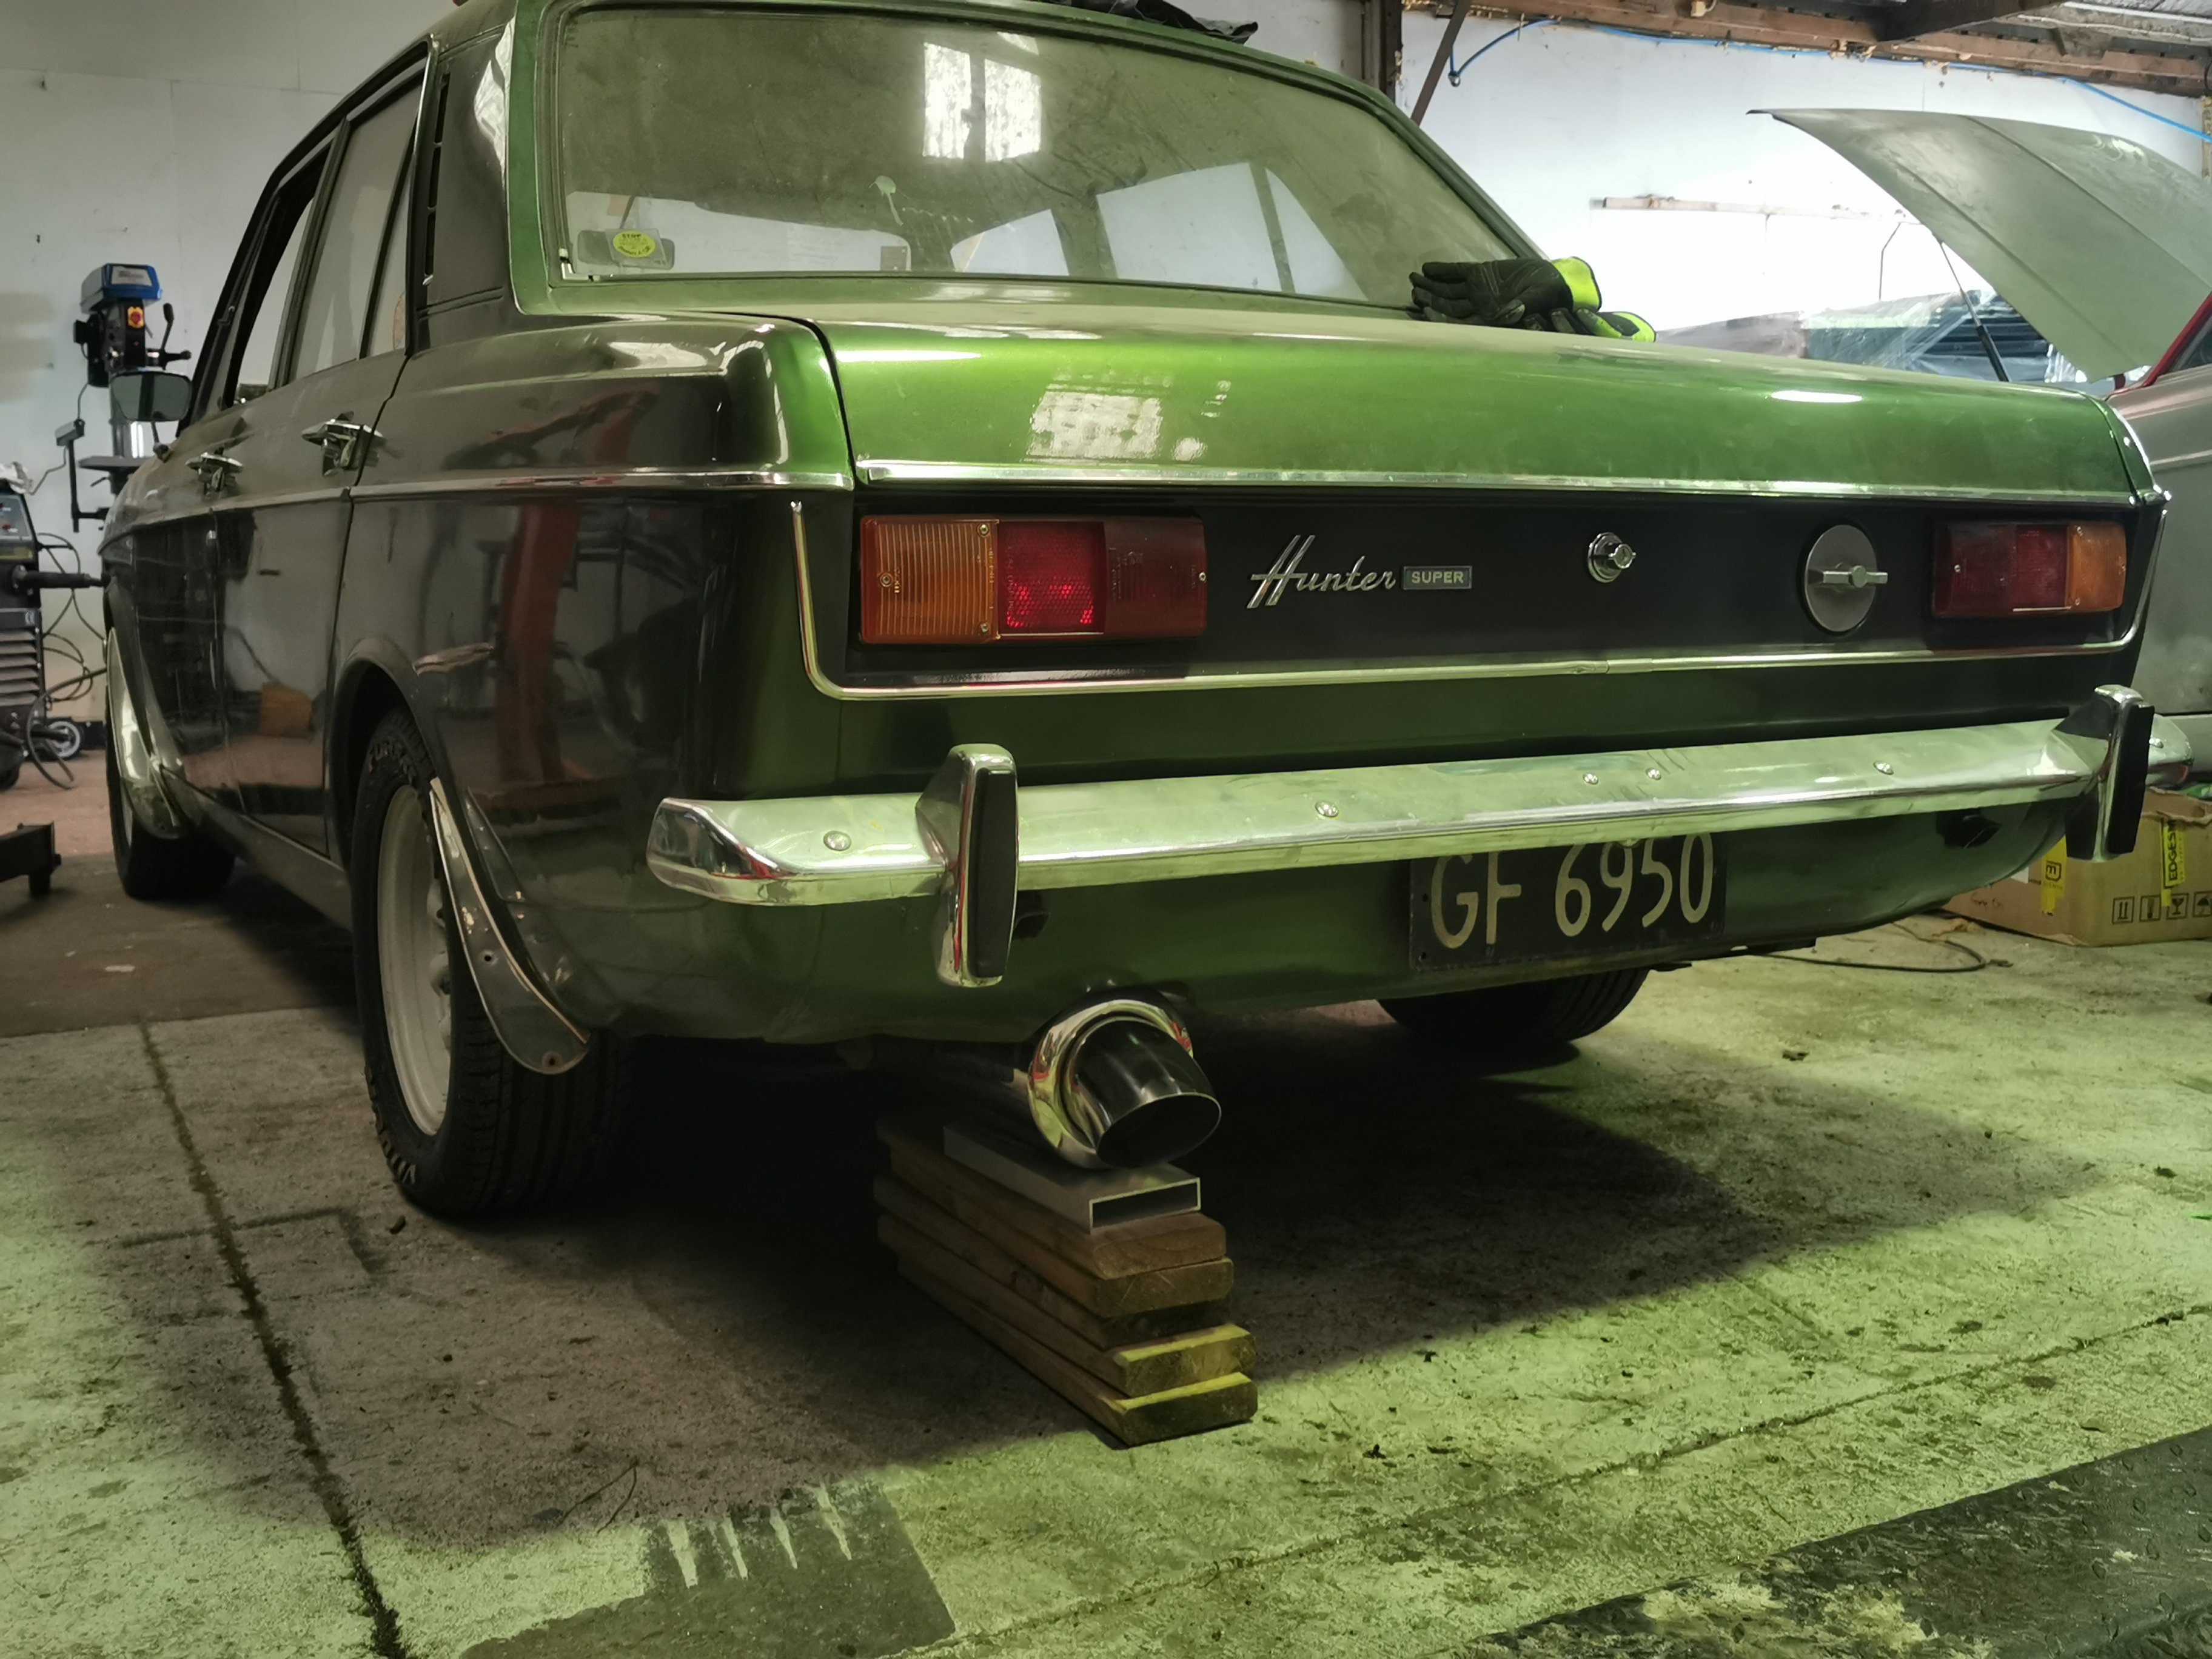
I'm a big fan of the fawn and green interior
2 points
-
So, I sold this thing last month. Mostly trouble free motoring. It now resides near Dunedin. New owner bought it unseen and flew up same night and drove it home.
2 points
-
GET A ROTOR!!!! who remembers hearing that being yelled out in town?2 points
-
let me do some checking - I know of one in Methven, well I actually own it but haven't seen it in about 4 years and don't know what has happened to it. It've kept the rego on hold but it also has rust etc. A mate has it but has moved, his wife was getting sick of it etc so I need to find out whats up with it. 1982 GSR 1 Jap import - no power steer or electric windows, motor supposed rebuilt ~2000km ago by previous owner but hardly run in the last 10 years.1 point
-
The other one is here with a set of bodgy repairs, exclusive warranty! (excludes damned near everything). Will cost beer.1 point
-
Might bring myself to the next meet. Havnt been to one for like 8 hours when I was living in welly. Anyone else taking motorcycles ?1 point
-
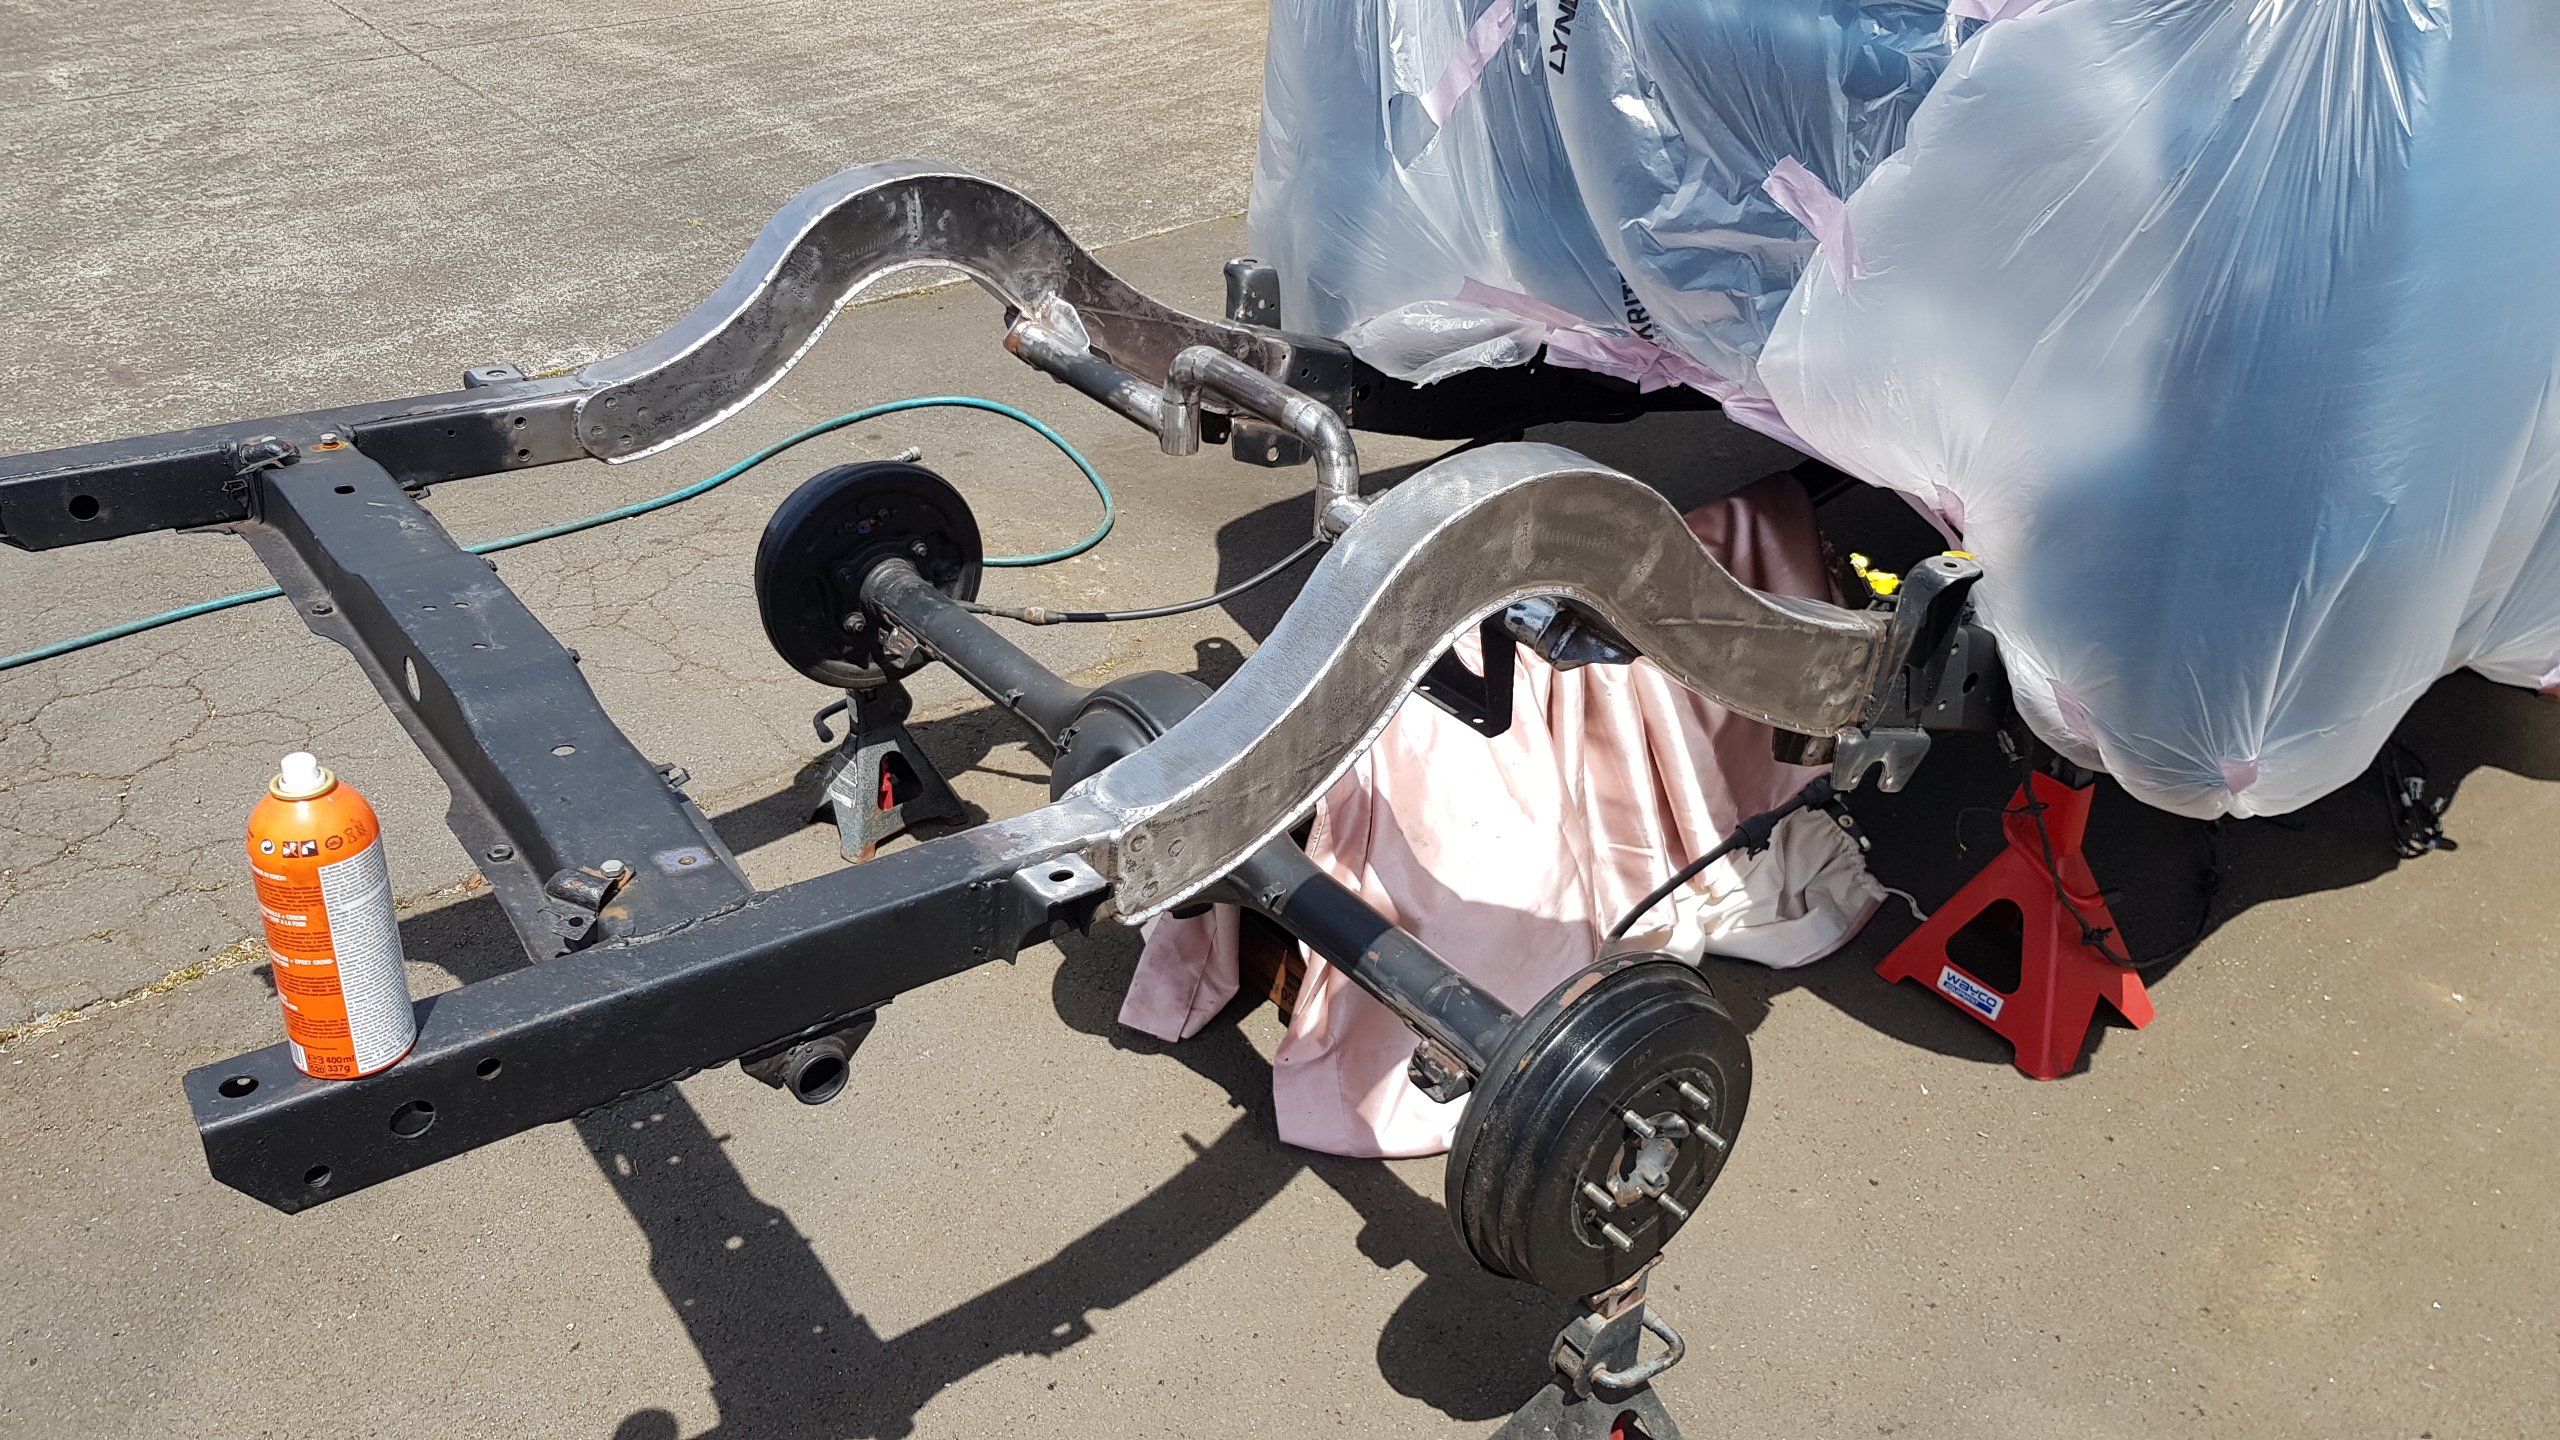
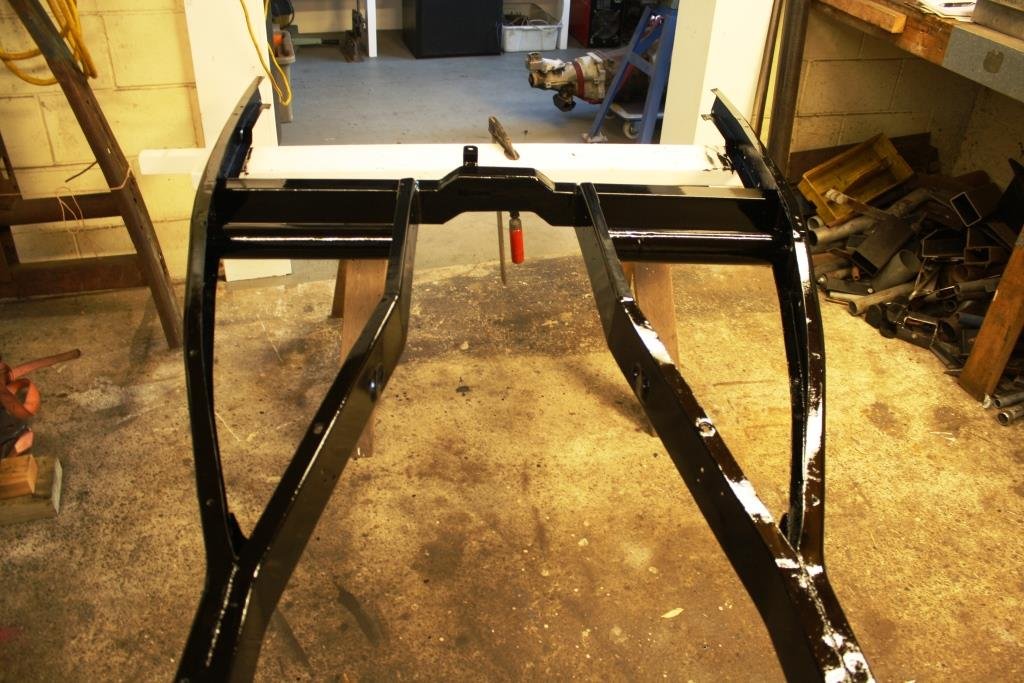
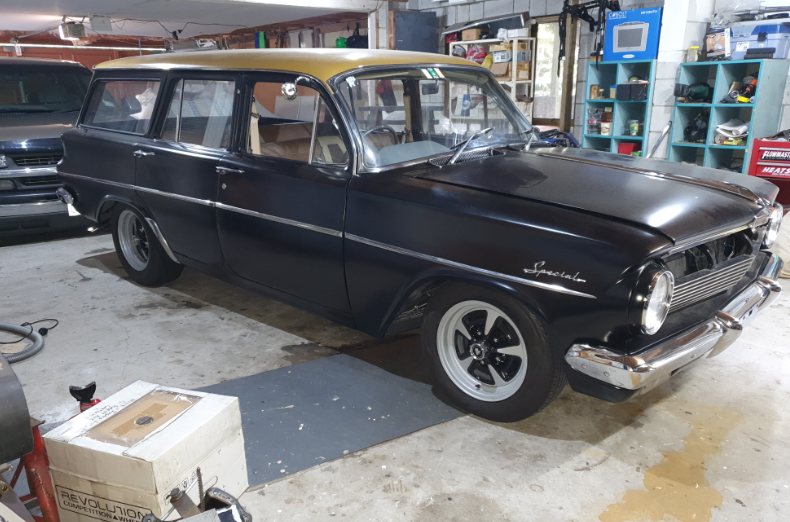
Still have a few brackets to weld on, but needed to get some paint on the rear end. It was a nice day Saturday just been, so got it stripped and prepped.
1 point
-
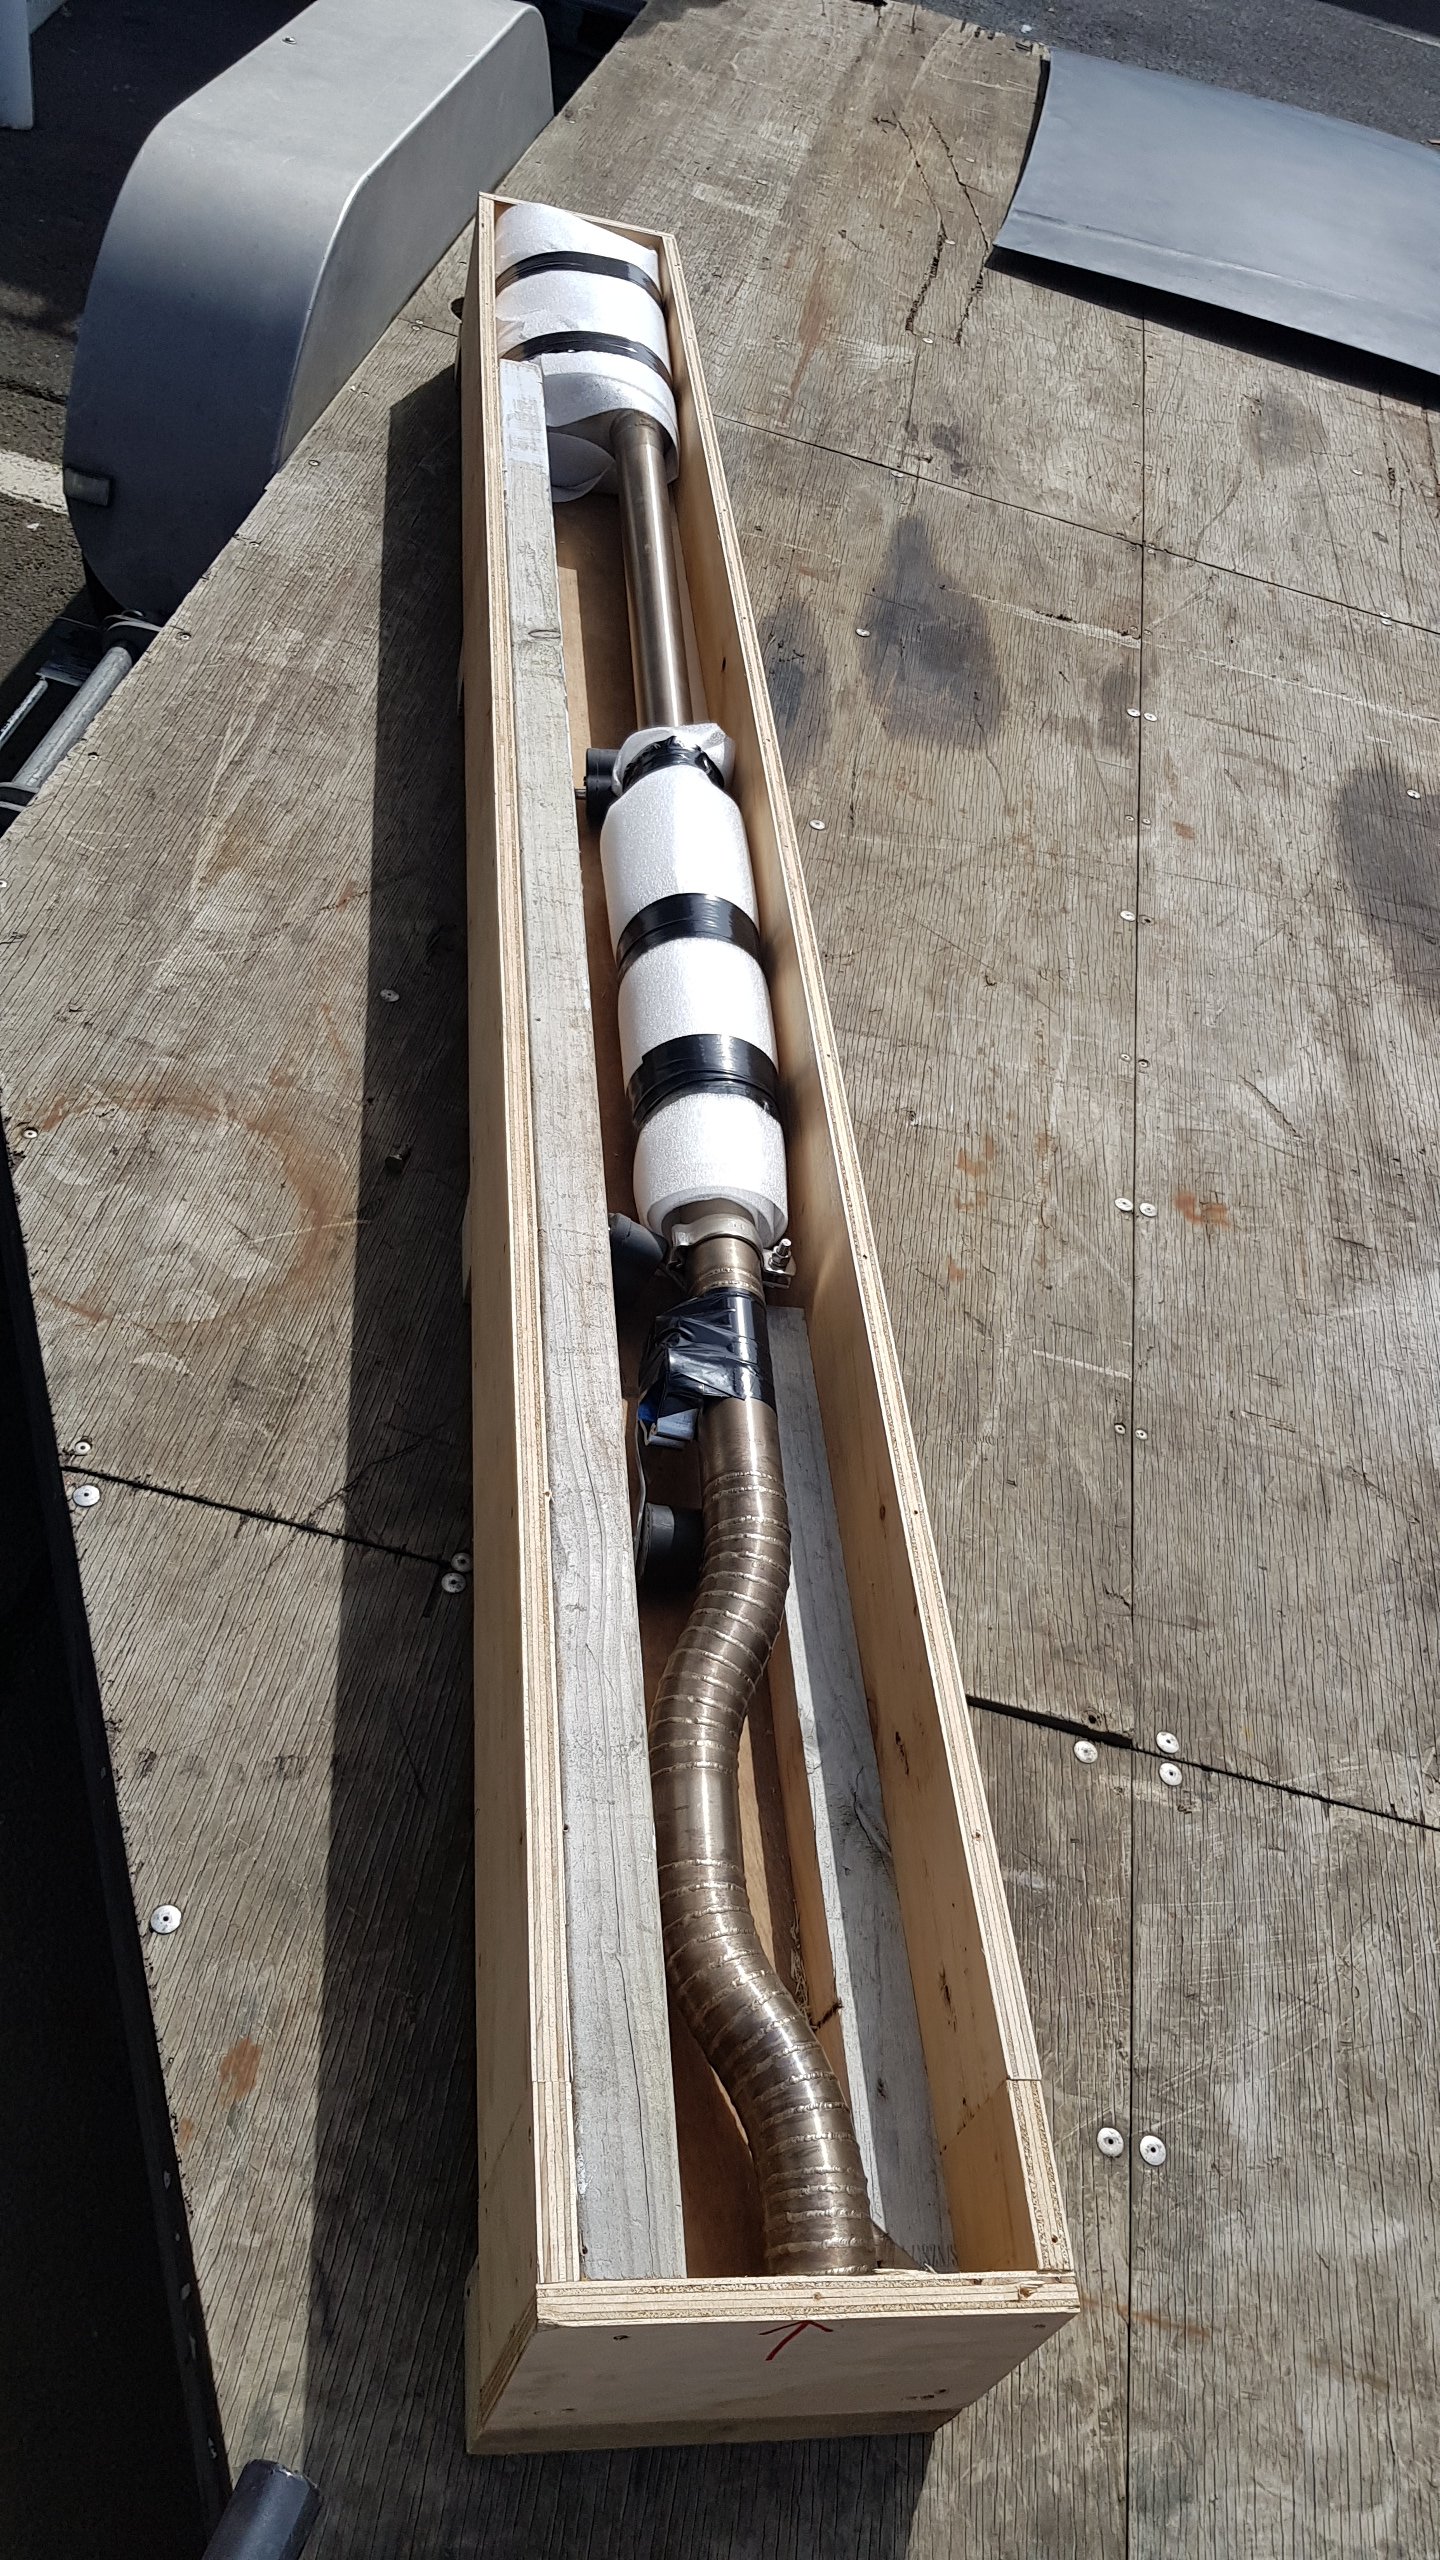
Bit more progress on the B2000 over the past few weeks. I had a bunch of stainless tube and bends lying around, but havn't had the hoist free or the time to make a system, so when I spotted this setup that a guy was selling I thought I'd better jump on it. He was parting out his bagged truck for some reason which never actually made in on the road. He had the system made to tuck up above the chassis rails but still fit the stock chassis mounting points. Has an AdrenelinR muffler and reasonator fitted so wouldn't have been a cheap setup to get made. Can't complain for $425 shipped from Timaru to Akl... He even made this sweet crate to send it up in. My shifter bush kit finally showed up from Aussie, so I swapped out all the worn shit and fitted a new non-split boot then got it installed. Tight boxes are gooooood.
1 point
-
For reeling in dem hoez1 point
-
Surprisingly wasn't too much difference between Datsun sale price and Chev purchase price thankfully so the mazda is safe.1 point
-
I have since has a chat with a man who knows everything about Hilux rear ends and have been assured that I can use any axles from any Hilux or Hiace. Now I just need to find the widest one possible!1 point
-
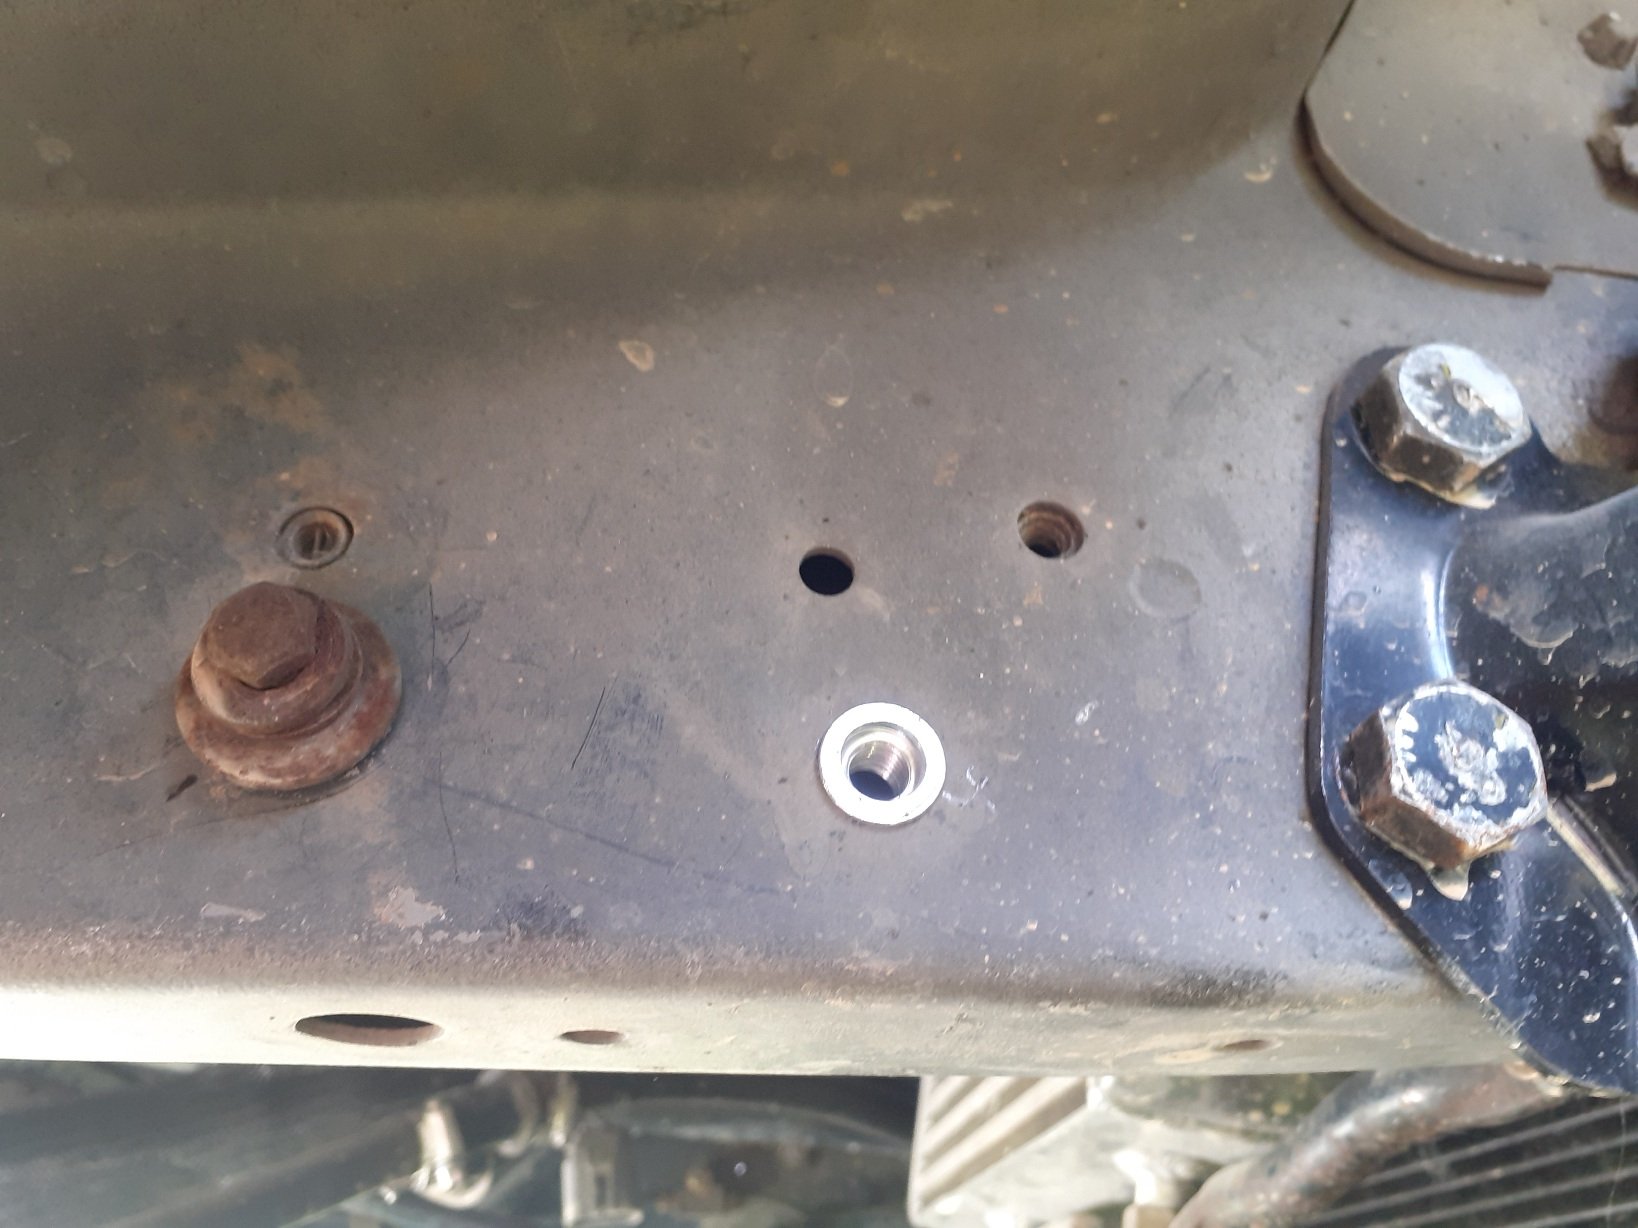
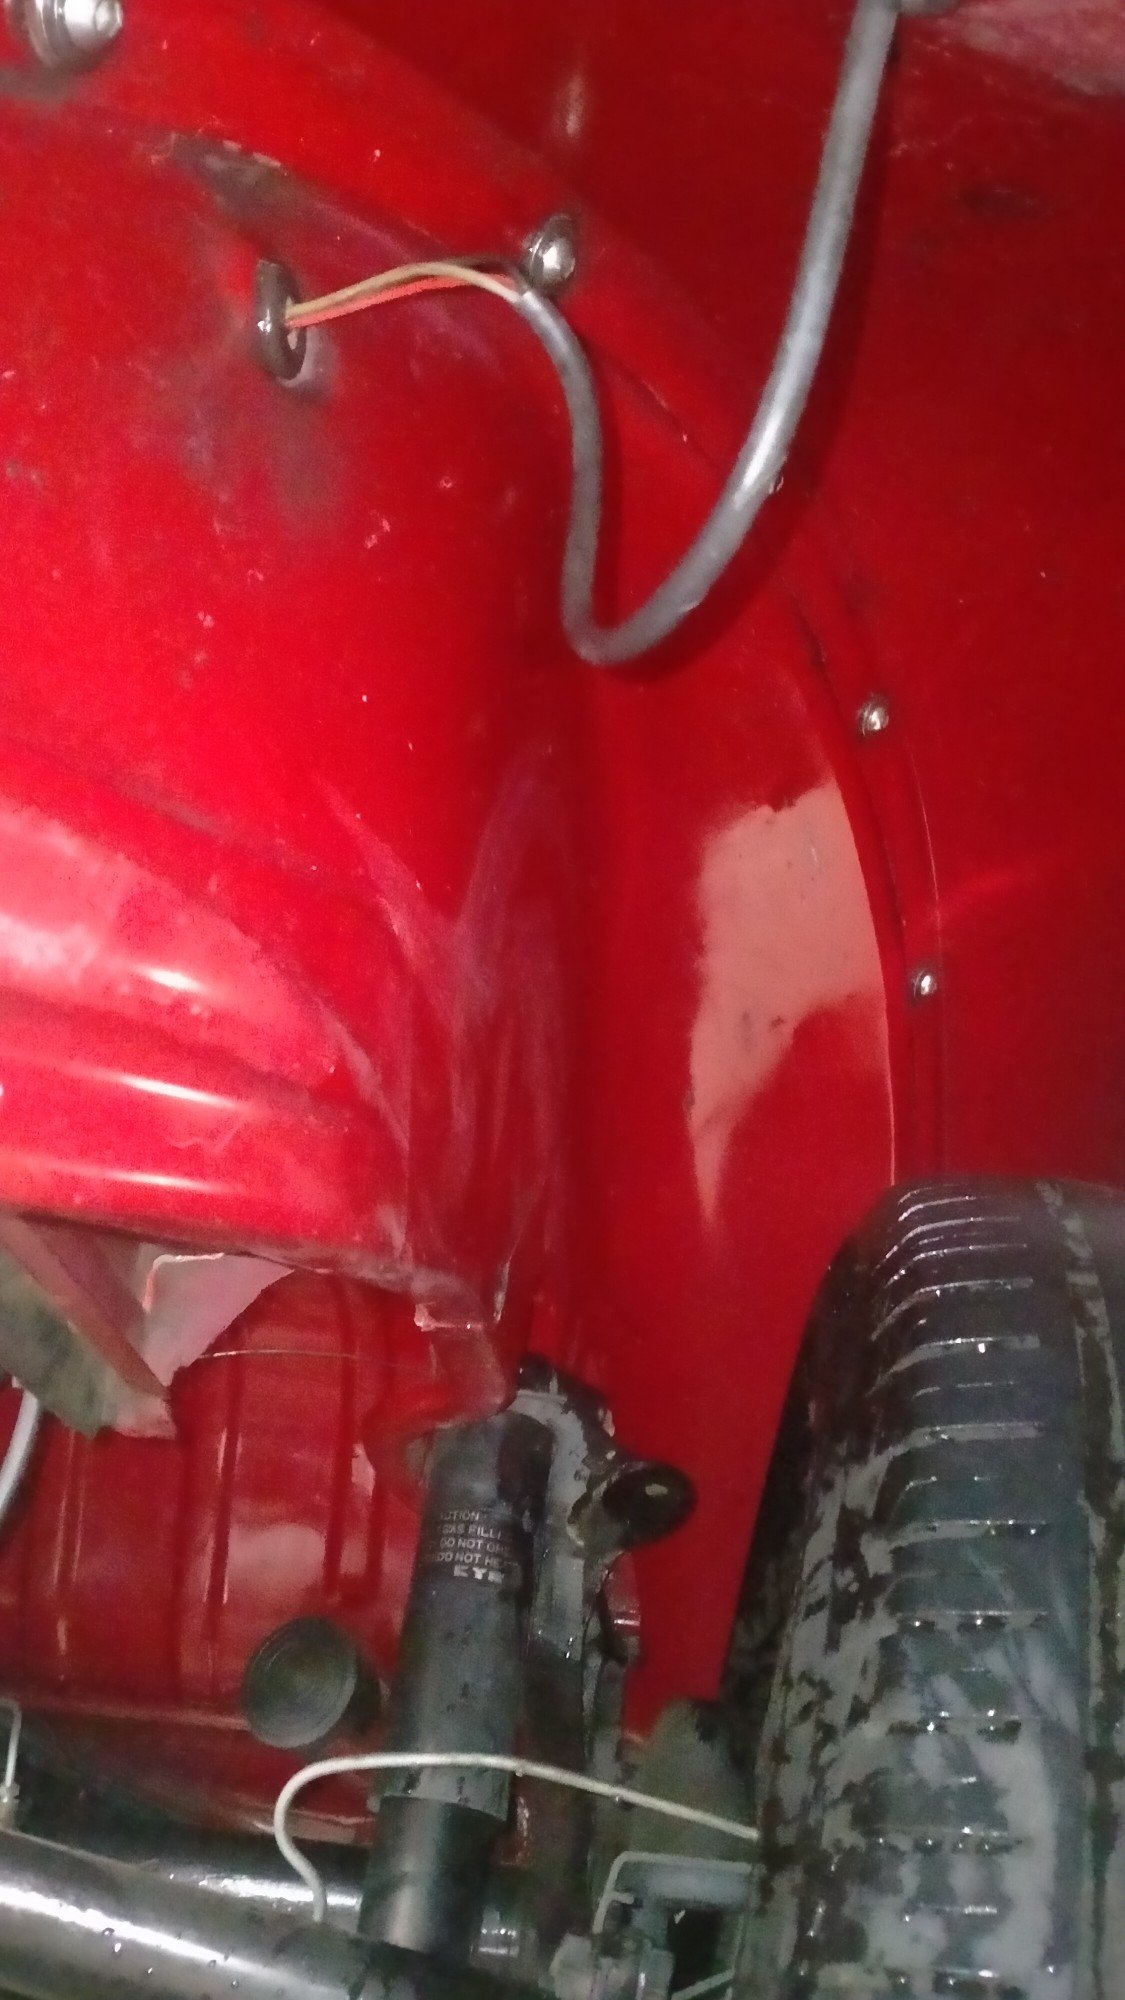
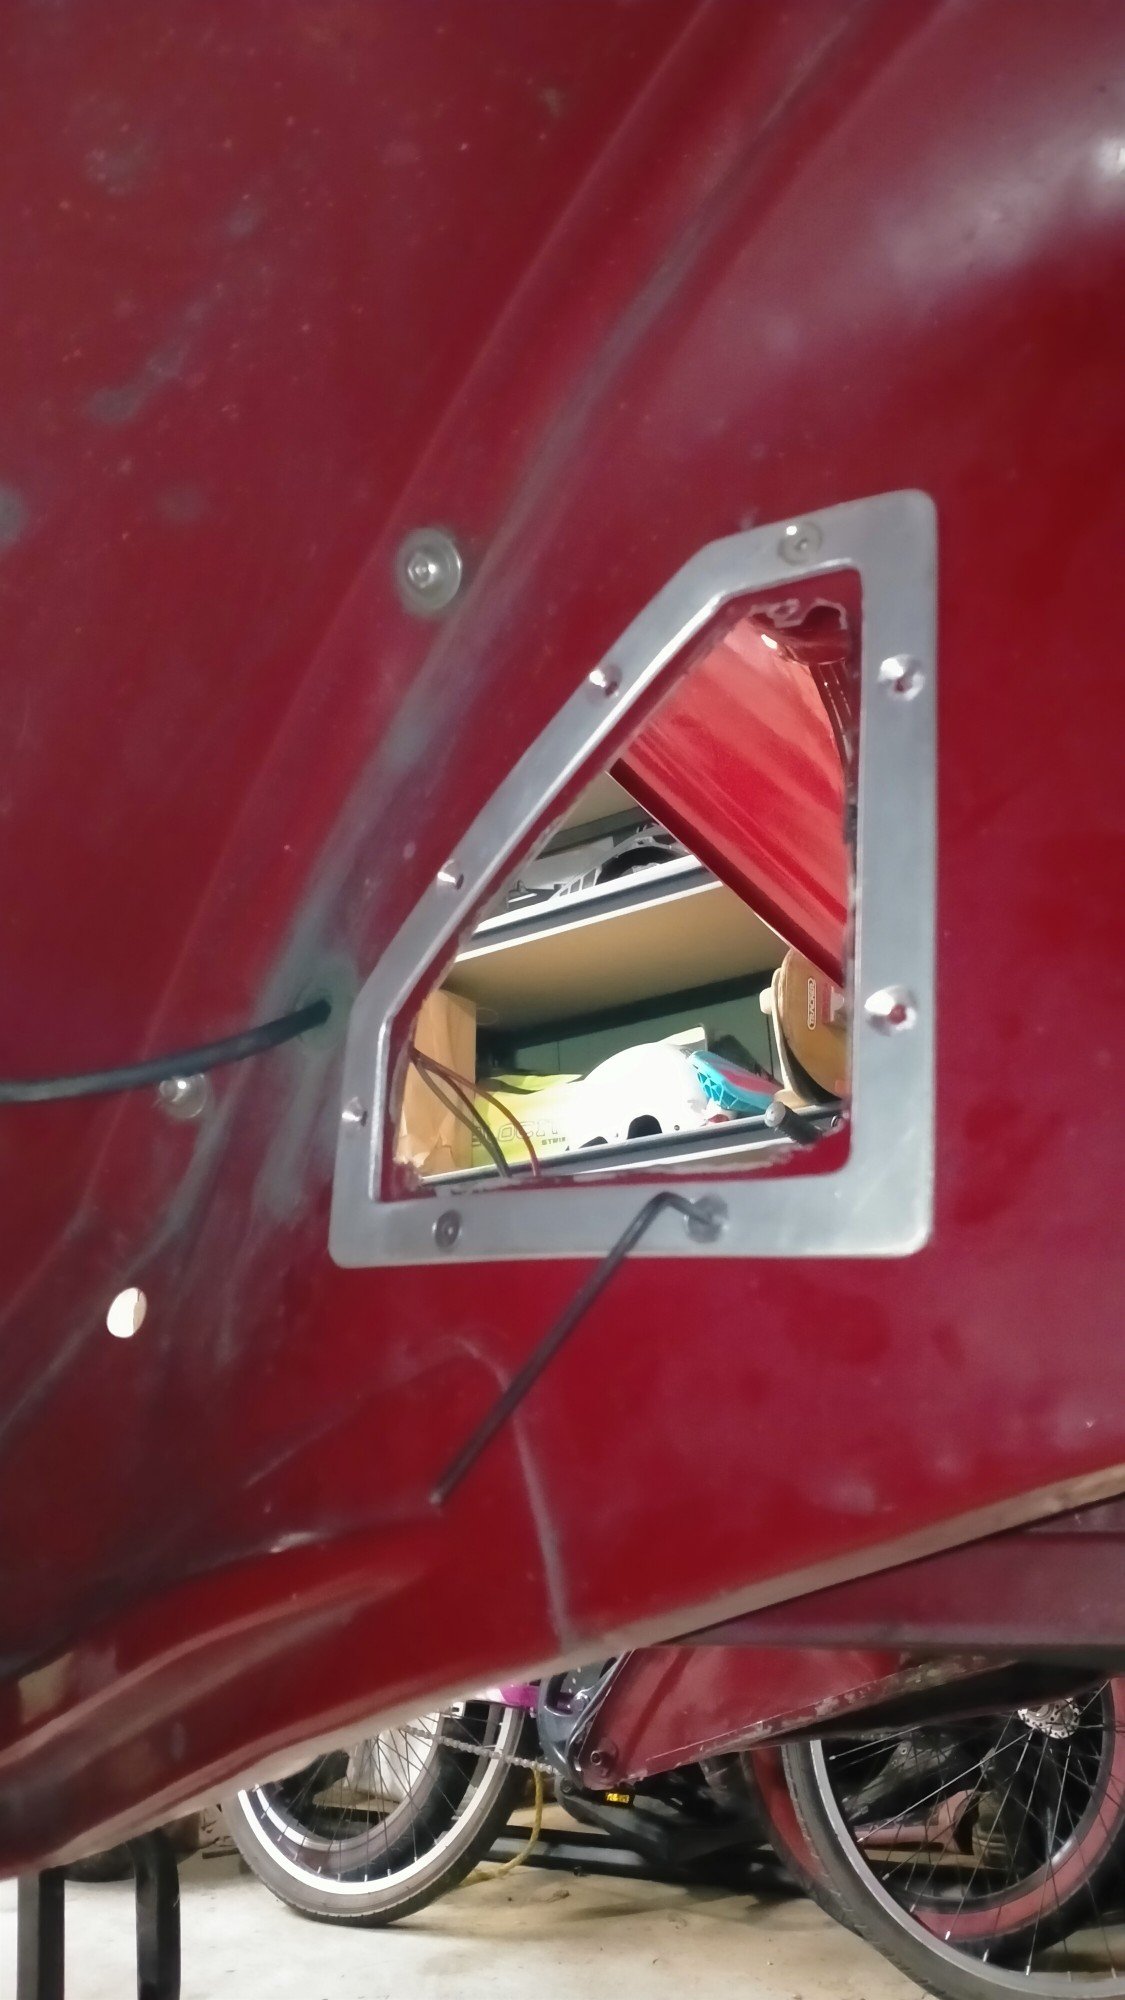
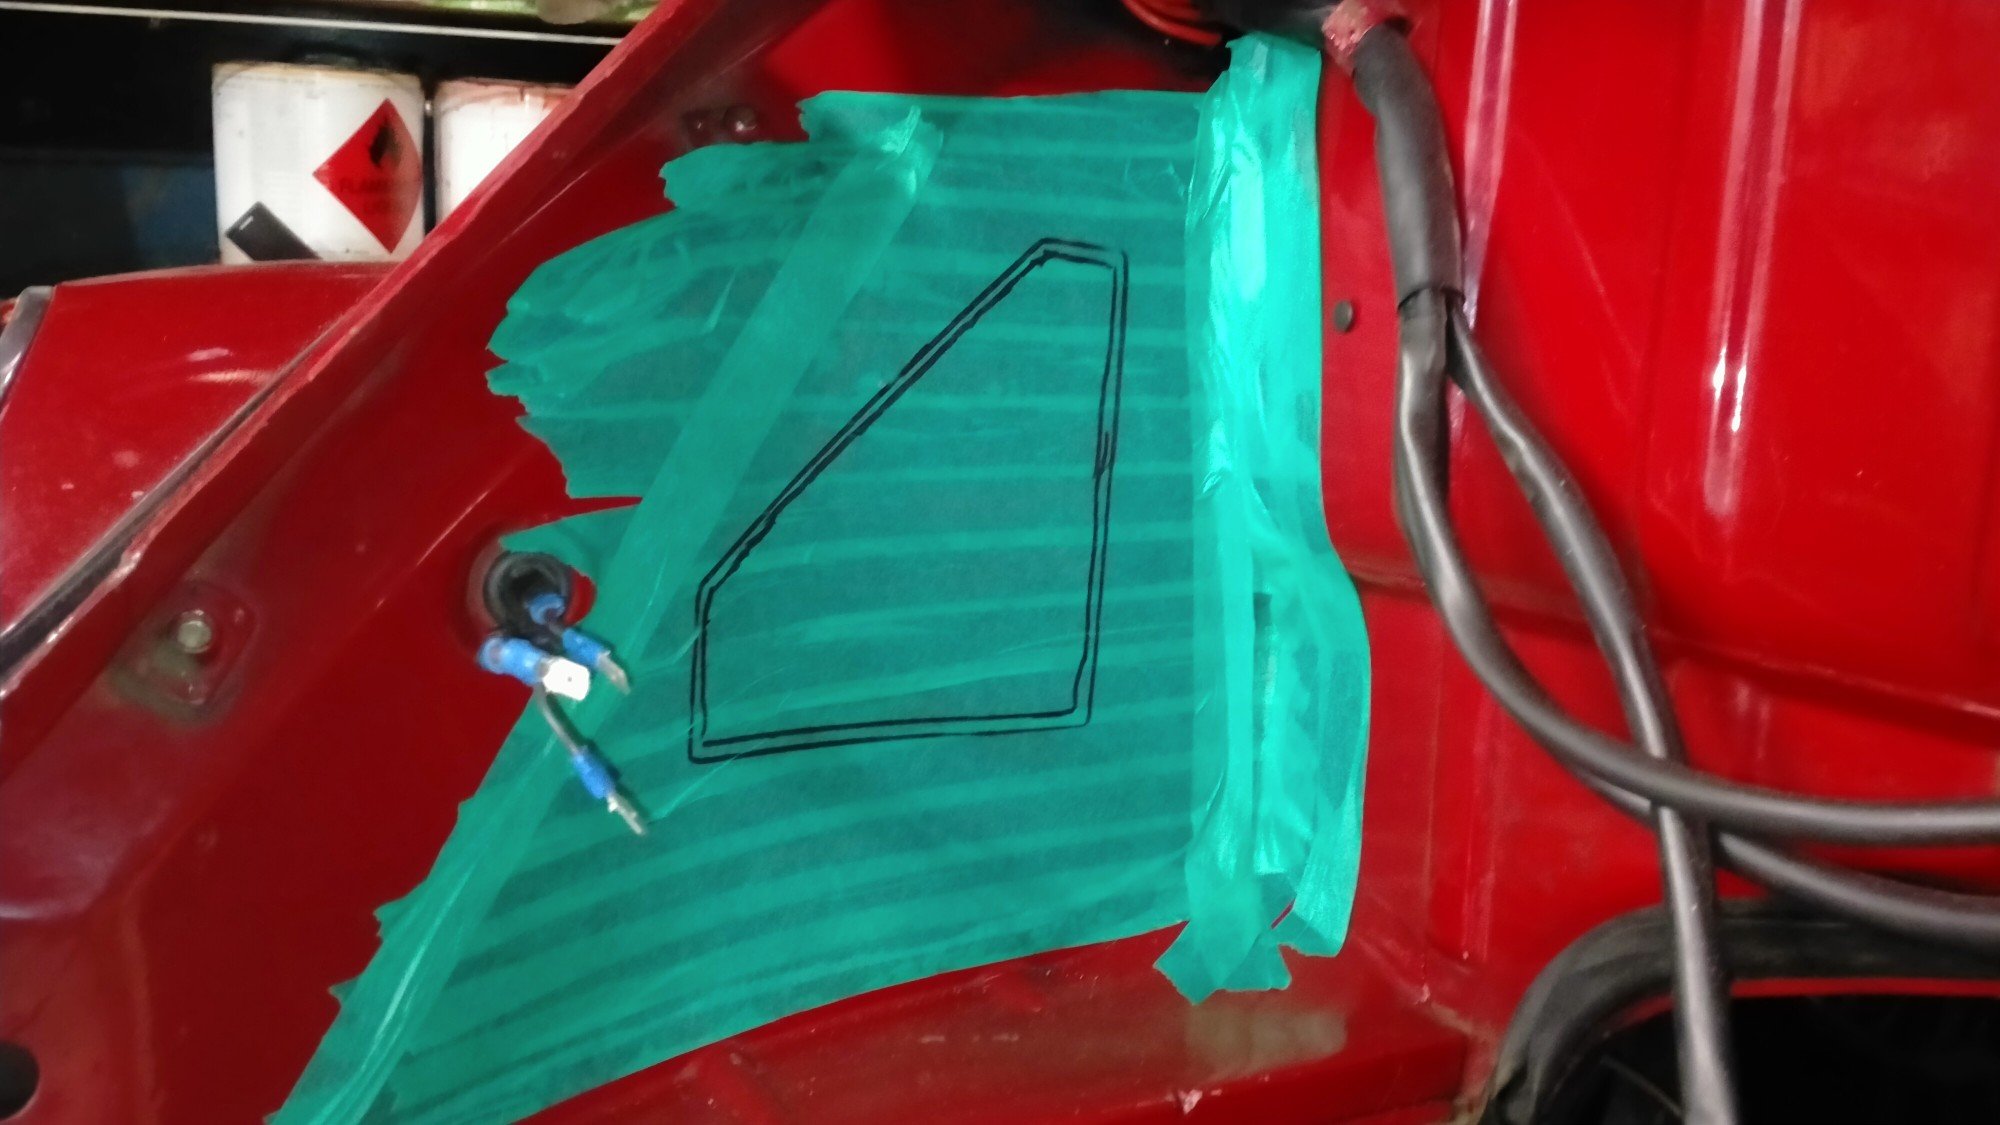
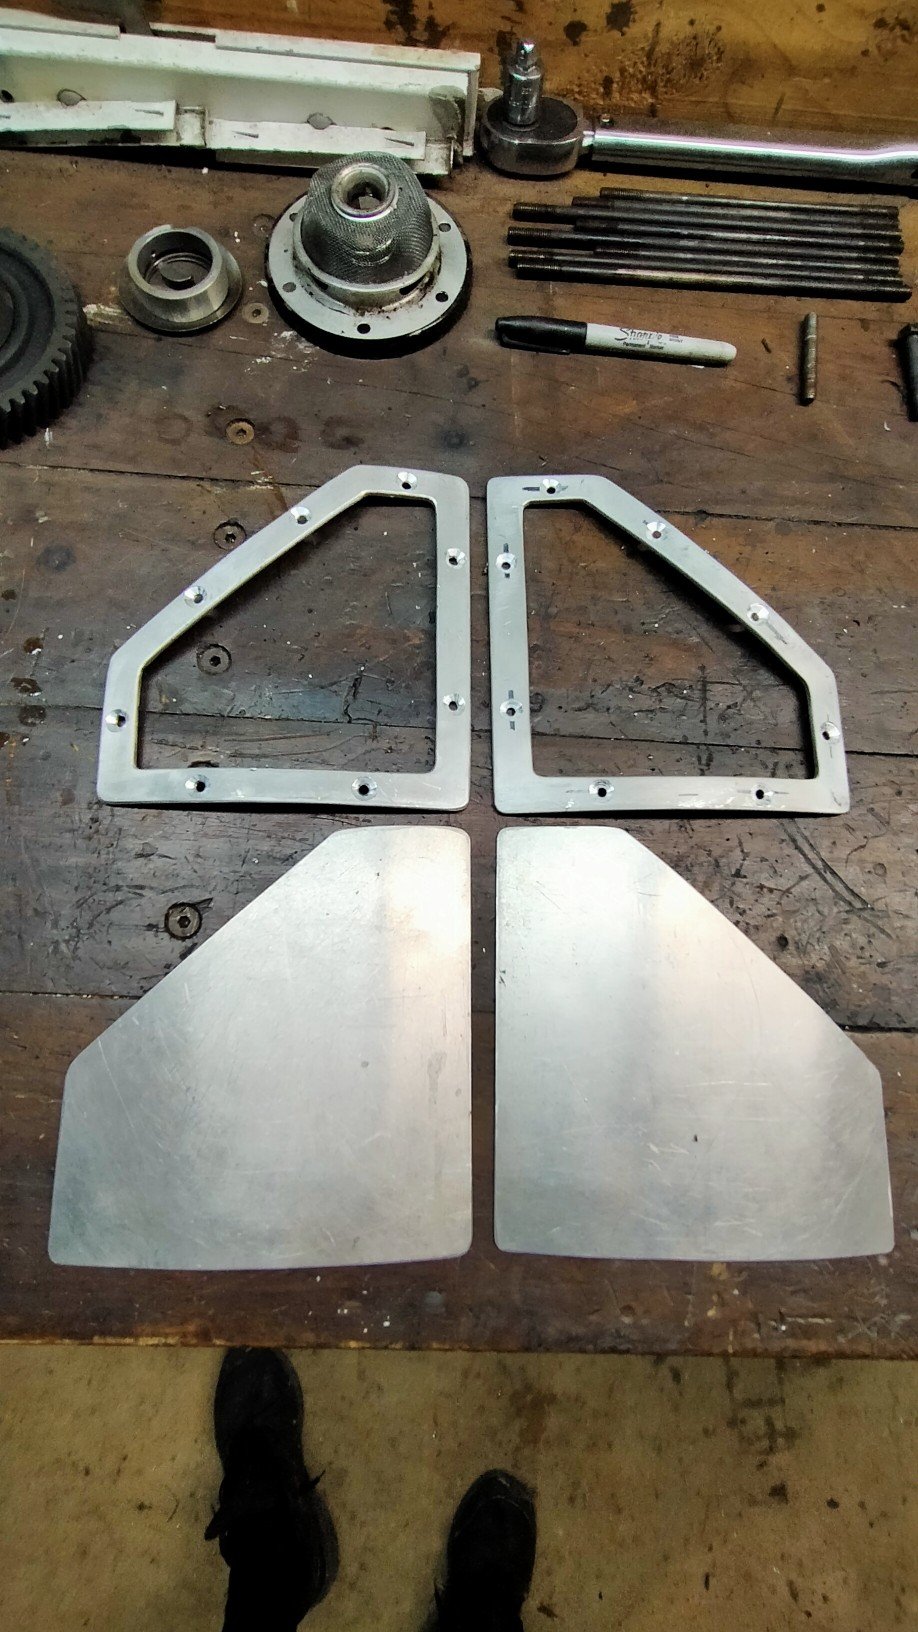
So I took the case and crank over to Qualitat for their air-cooled guy to check if the it was viable to rebuild. Wasn't holding out much hope as this is 40-50 year old chunk of alloy that I abused on a daily basis. Took the opportunity to clean up the rear wheel well. Made these from some scrap alloy I had. Marked up a that's about right spot. And cut some massive triangles out of my nicely painted engine bay. Drilled hole and popped rivnuts in. Left the edge rough to hammer over the frame to strengthen the panel up. Both bent to shape and countersunk for mounting, the plan was to drill and tap the frame for the covers to attach with but was thinking about using VHB tape. All this work is to make installing the carbs and manifolds easier, it to about 10 minutes to put the engine in last time, and two hours to tighten the four nuts that hold the manifolds on.
1 point
-
Rubbish update: I plucked the exhaust out of the garden and gave it a quick flick of paint. The can was naffed so i pierced it and brushed it on.. It’s purely to keep them uniform. I’d love to do headers one day so wasn’t mad keen to detail these manifolds. The pipe work is practically new, like I’d be surprised if it had 100km. Can read the part numbers stamped into it. Mufflers I think are on their second life but I have some spares.1 point
-
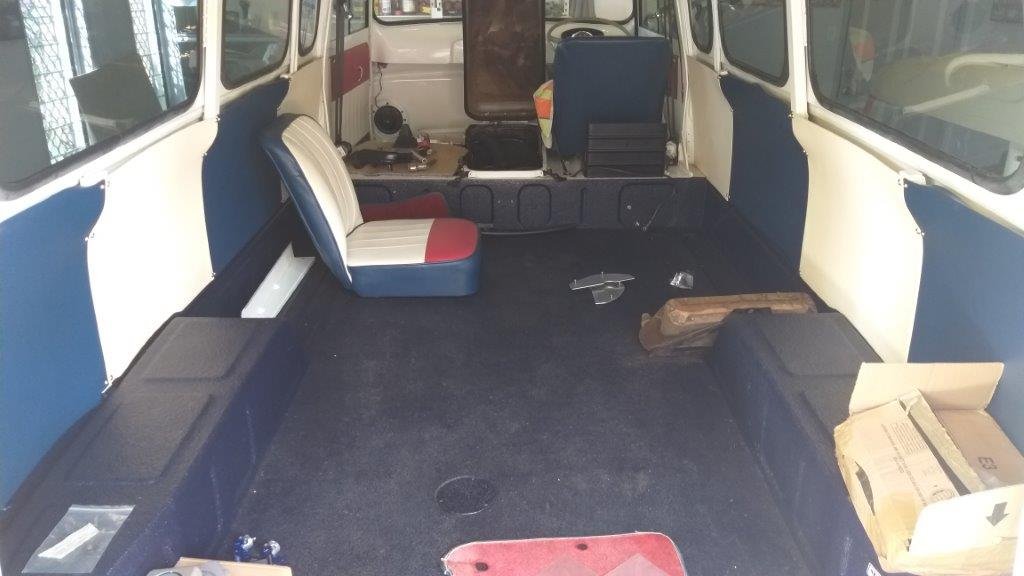
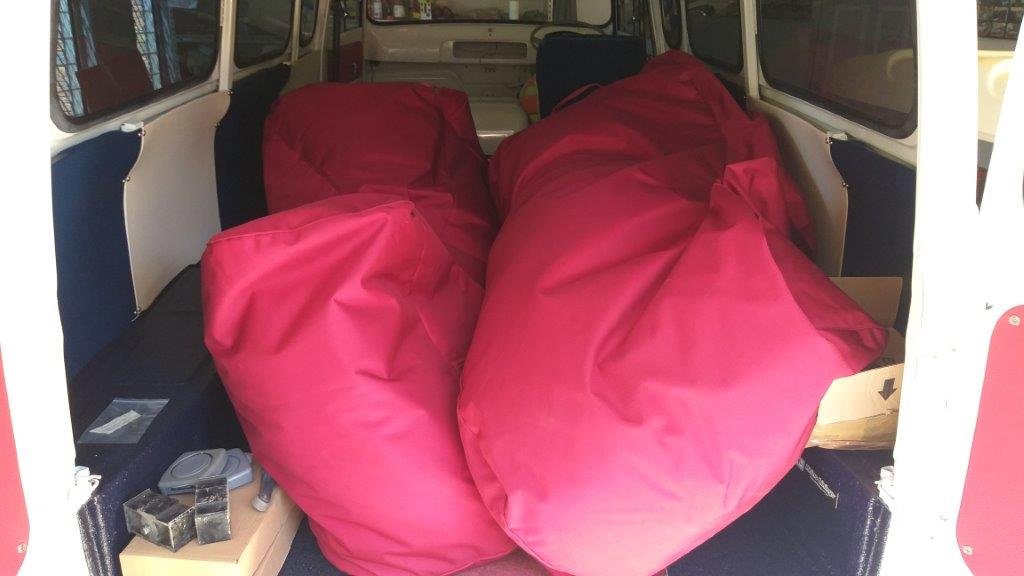
Now the back of the van looks decidedly spacious. And that's my excuse for not having worked on the Thames for the last few weeks.
1 point
-
Over time the poor old Thames has turned into a bit of a storage shed the biggest items being our pool loungers which is a pain in the arse. Being red there is just no way that we can leave them out in the elements, so muggins here has to lug them out and back in every time we feel like lying by the pool.
1 point
-
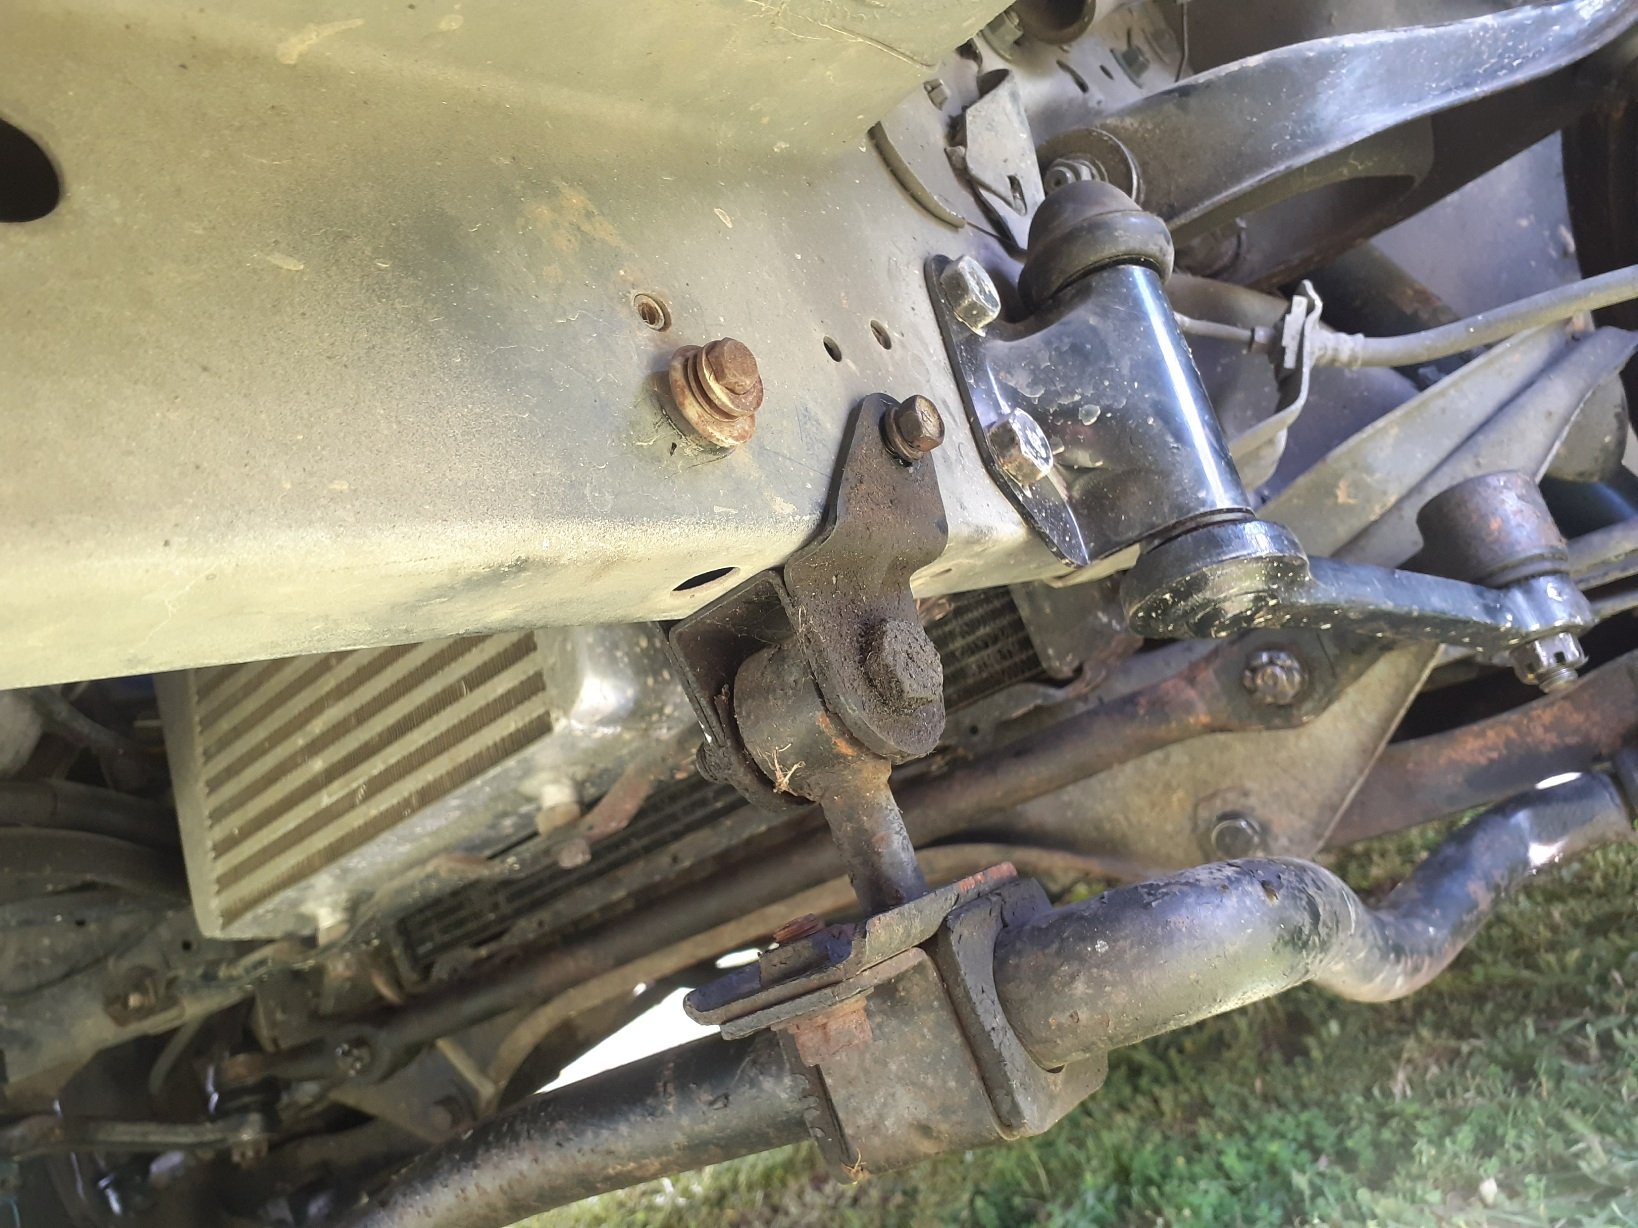
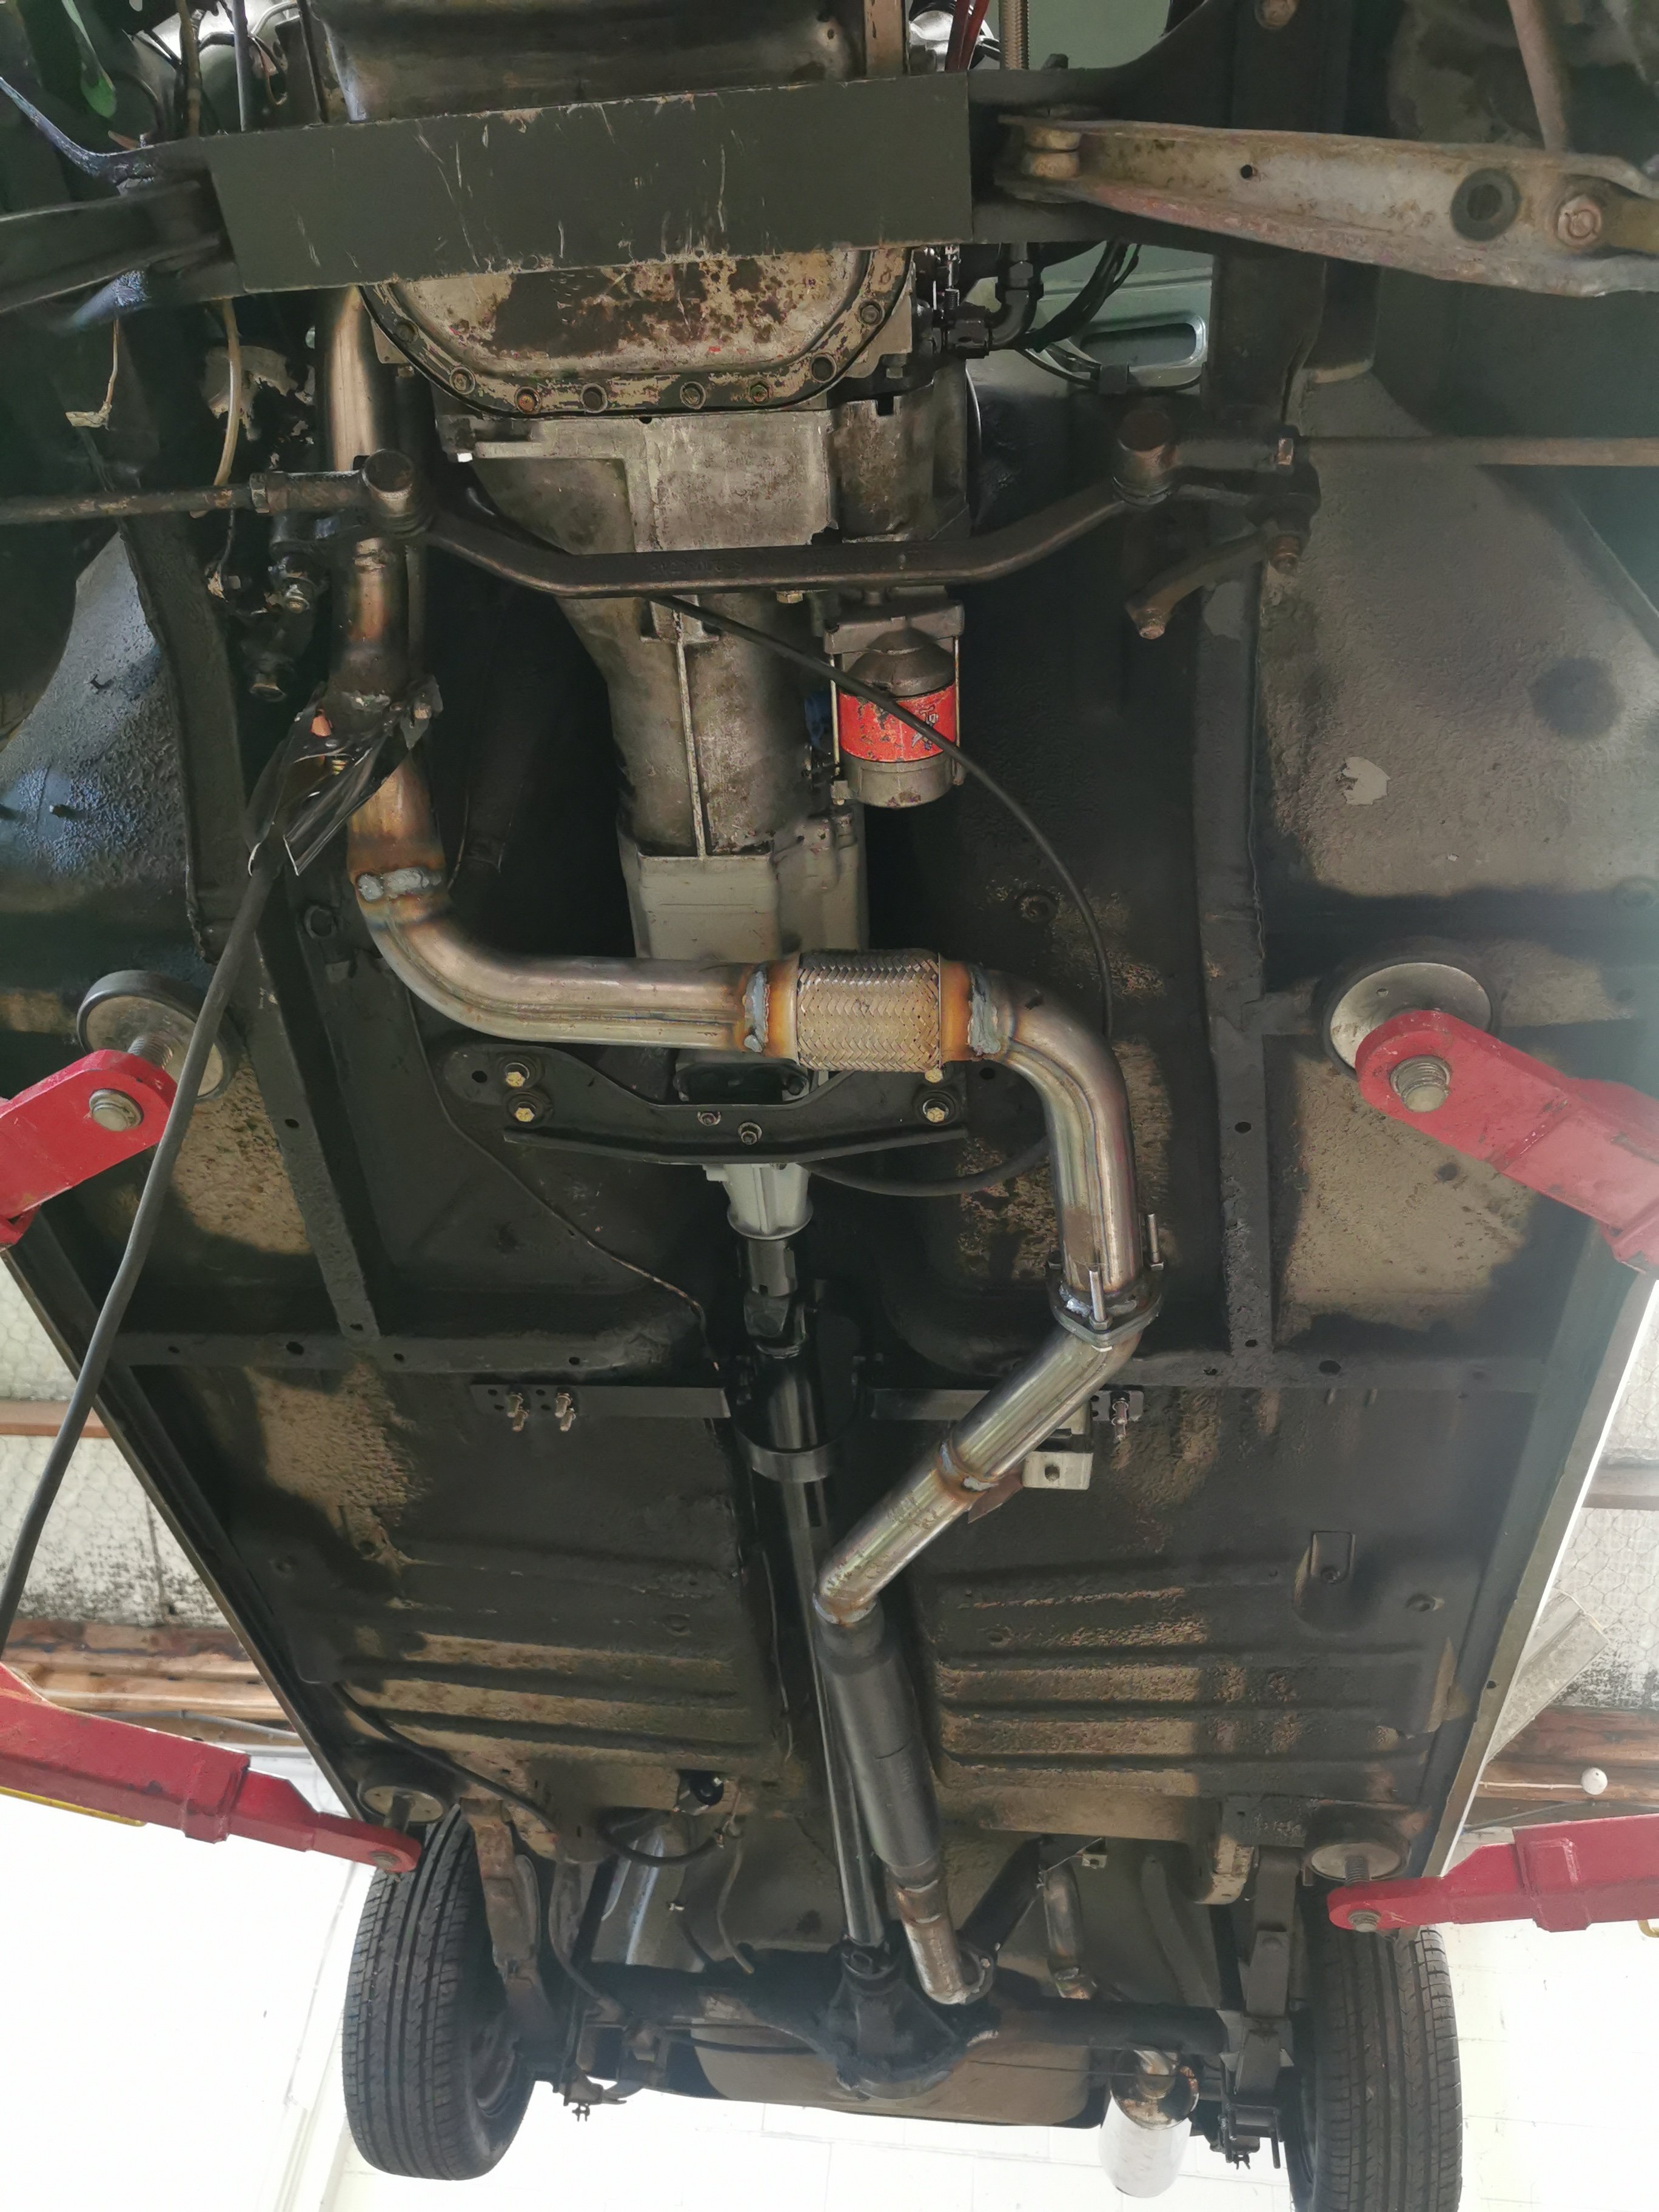
Working on Sundays. It's exhausting work. So I decided to pull the headers and make them tuck in a bit more. This has given the steering arm an extra 15mm clearance. I wasn't happy with 10mm clearance. Then set about making the rest, to include a flexi and 2 three bolt flanges. I have 2 cotton reel mounts in there at the moment and a hanger on the dumpy. About to make a 3rd cotton reel mount for just behind the resonator/flange to carry that load. Then I'll drop it all, finish the top welds and then spray it in high temp paint. I'm pretty chuffed with it so far, will also check for knocking and clearence issues, but so far it all looks good.
1 point
-
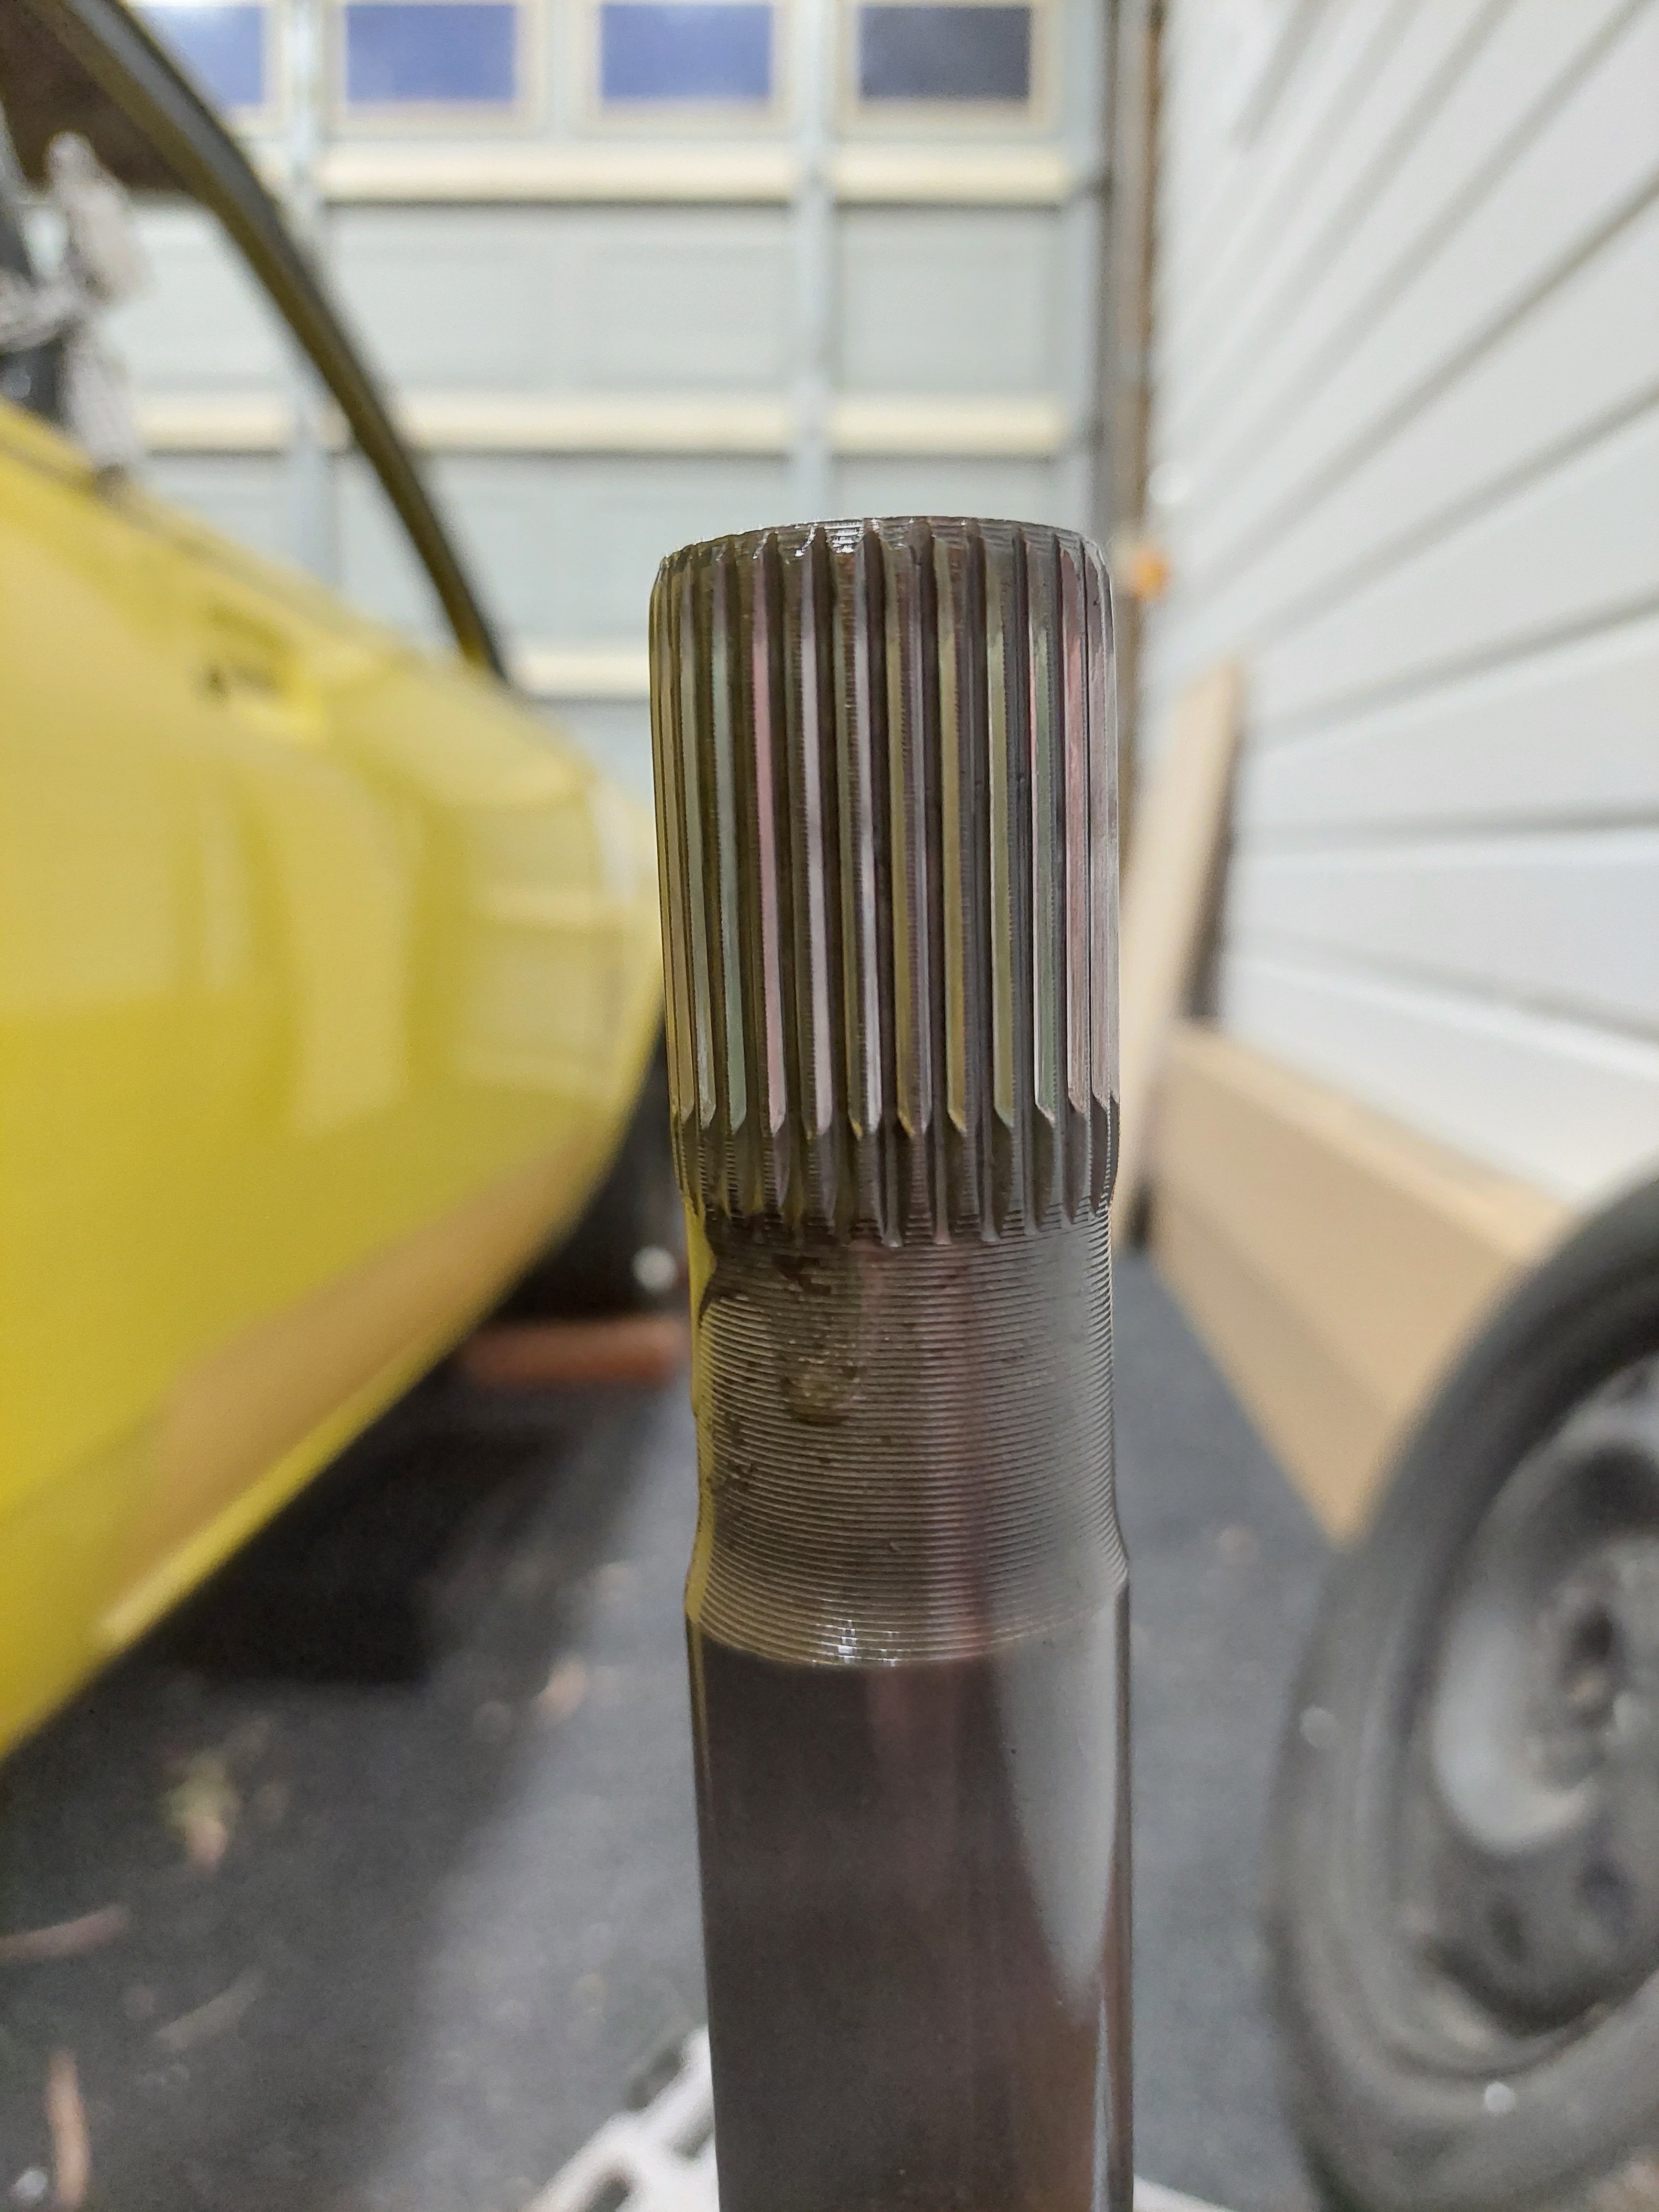
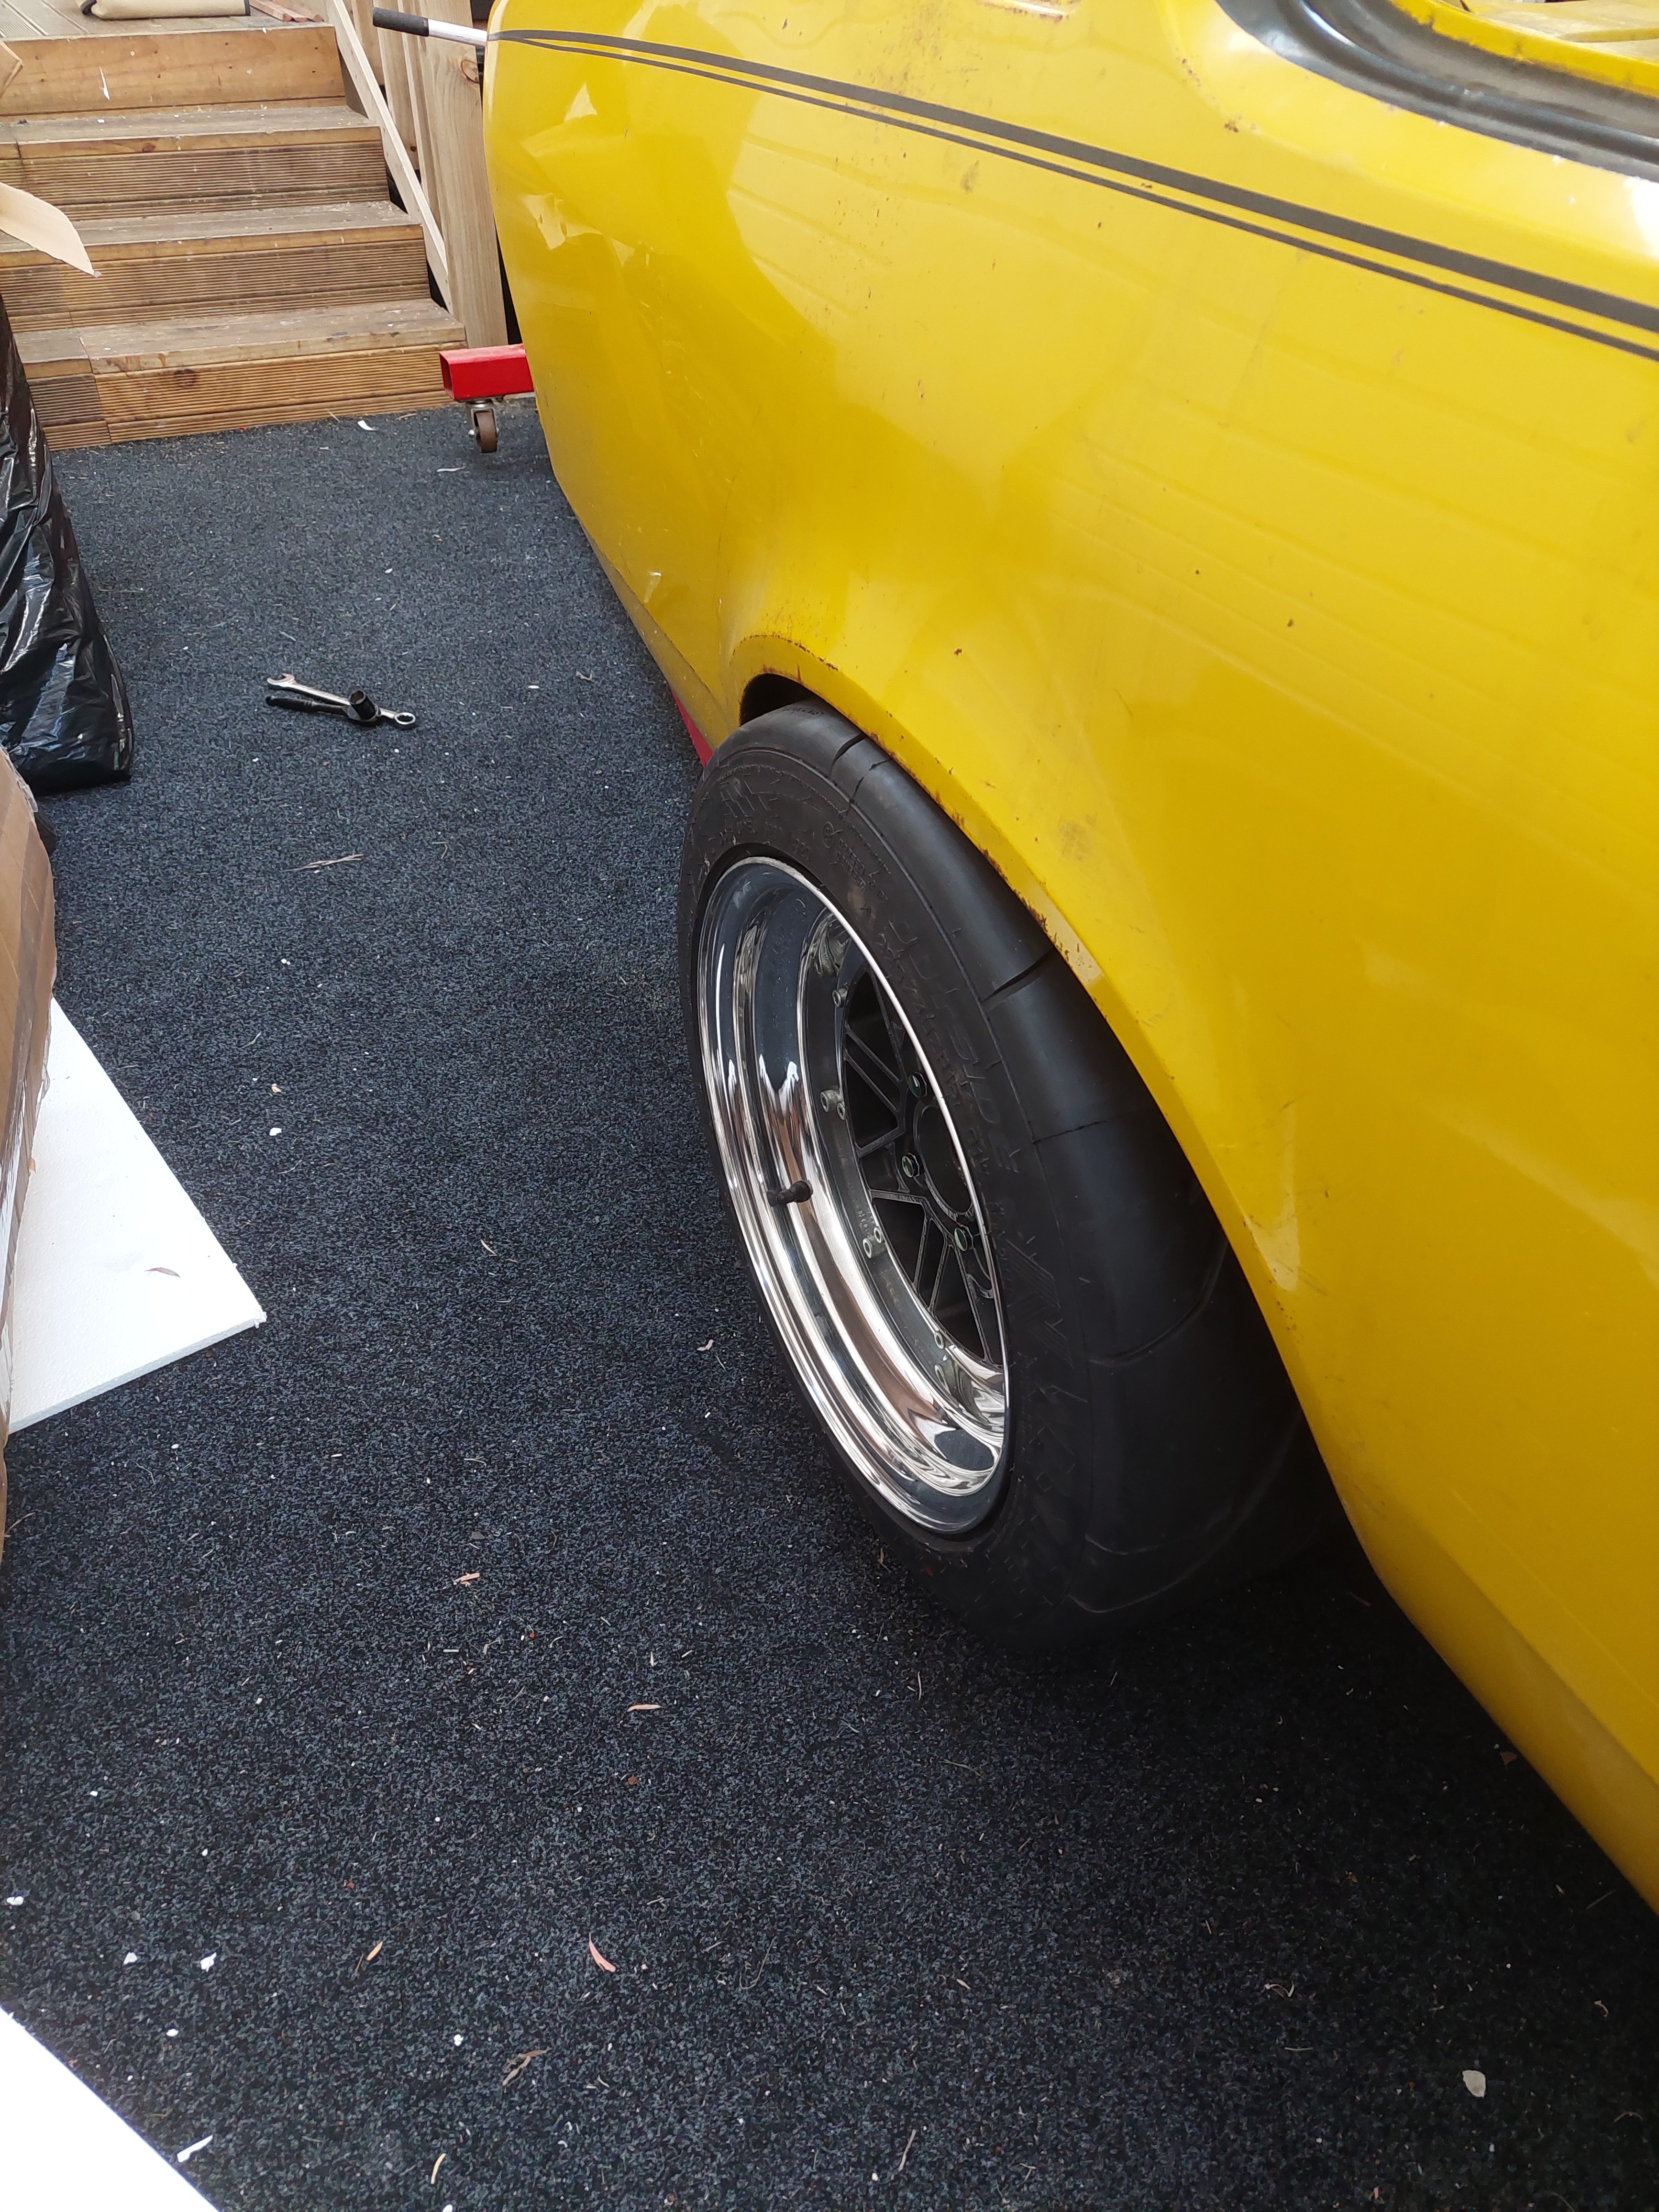
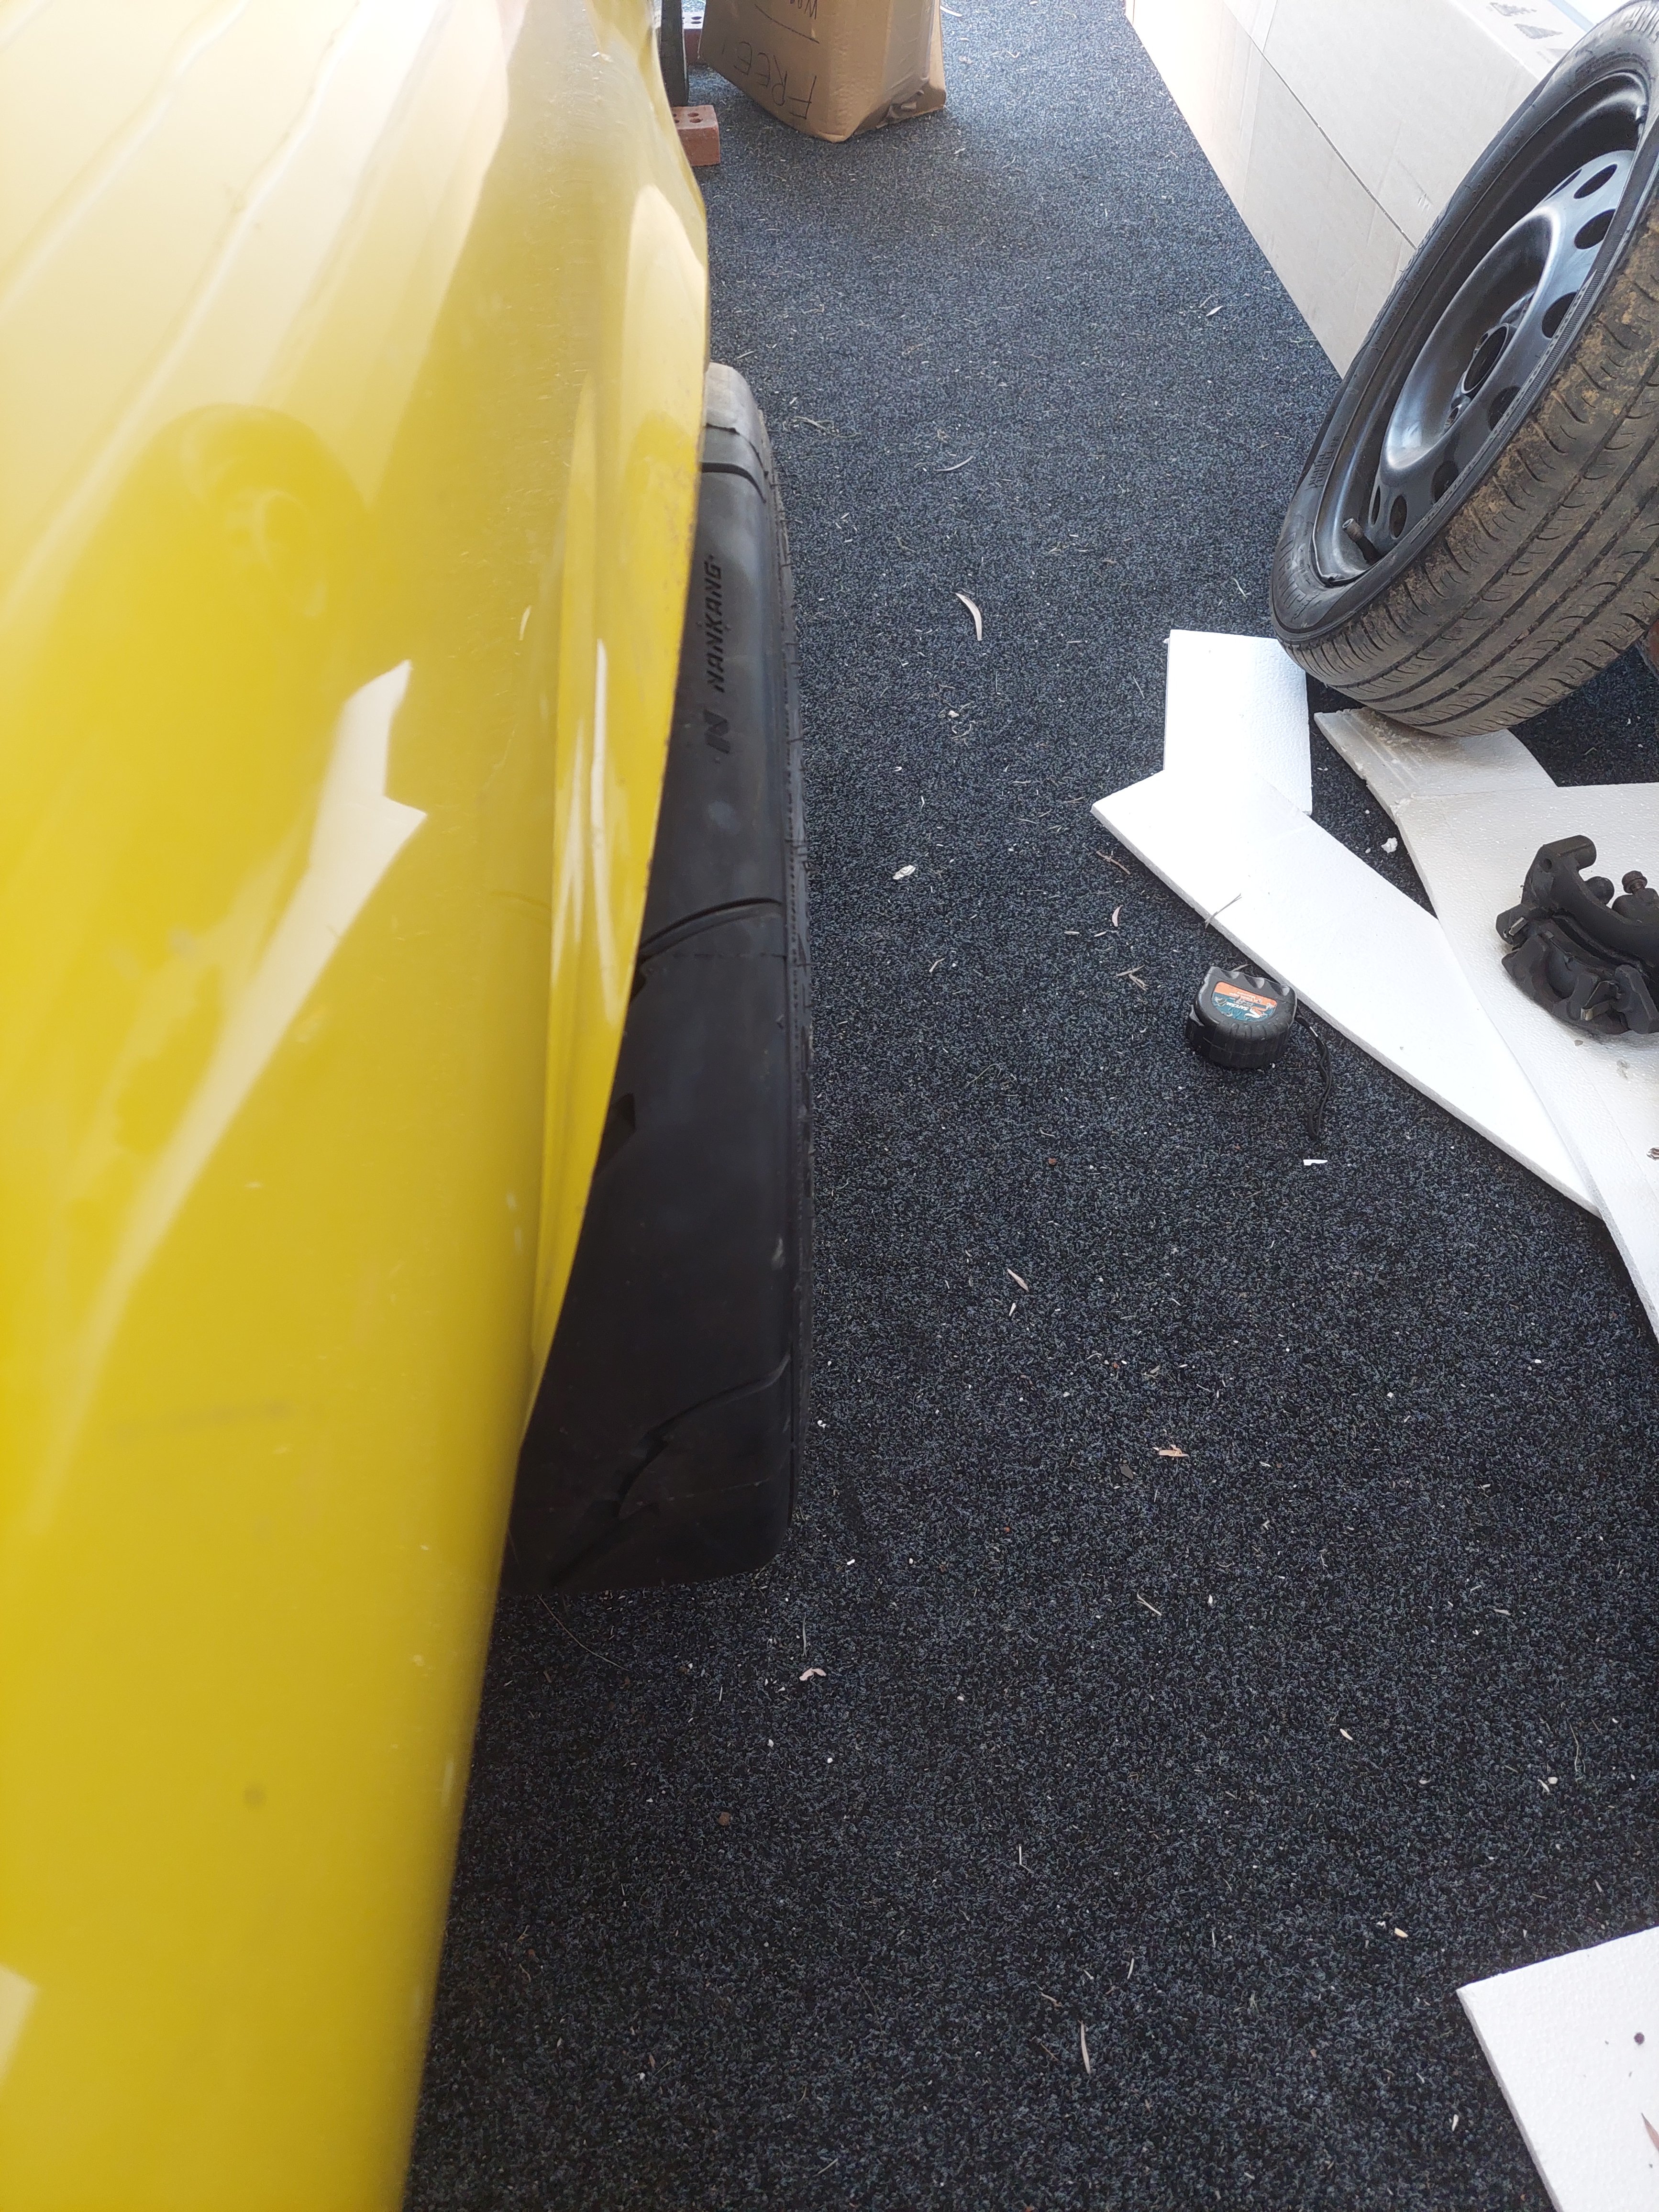
I finally got around to fitting the rear wheels to assess how much room I have in the wheel wells and see how much I need to shorten them by. Turns out I have hit a snag that might turn into a blow out of a range of proportions. Here's where I'm at with the fitment: Looks like I have about ~33mm to try get in the arches. Looking from the other side, there is about 50mm between the tire and the chassis rail, so I figured that's not too bad. However, there is a decent amount of meat where the inner and outer guard skins meet, so I'm really working with only about 10mm of extra space in there. From the outer fitment point of view, I will definitely have to pull out the guards some -the plan is to keep them looking as stock as possible. I thought I could remove the inner skin where it meets the outer and weld it back in higher - not sure if this is a legit thing to do or not? Do I need double skin all the way down? The other issues is this: I only have about 7mm of spline I can cut off. And because the axle tapers in, I can't put the splines in the exact place I need them to be if I were to cut new ones. I've spoken to a bunch of diff places and none recommend filling and cutting new ones, so I figure I have 3 options. 1. Find some longer 5 stud axles that I can cut off after the taper and respline. I've looked around and turns out 5 stud ones (with the right centre bore diameter for my wheels) are pretty hard to find. Most seem to be 6 stud. 2. Get some billet axles. There are PLENTY of places that will make axles to a custom length in 30 spline and whatever stud pattern you want. The main problem is that none of them make an axle with the hillux bearing size. I could go down this route and try to find a bearing that will match the housing on the outer and whatever axle I choose on the inner. I did a quick check on ford 9" and couldn't find any in the right specs. I need to look a bit harder and longer as there are heaps of different axle diametres out there. 3. Convert to full floating. Today I spoke with a guy who makes full floater kits. You cut off the housing flange and weld on the one he give you, buy his axles which will be made to fit, and bob's your uncle. This is considerably more expensive than just buying axles and from what I've read, the only real benefit comes from if you ever snap and axle, which I feel like I'm unlikely to do. Any thoughts on this?
1 point
-
Porn, swanky wanky filter unit... Not cheap, but it does do the job. Just need some k&n spray for it
1 point
-
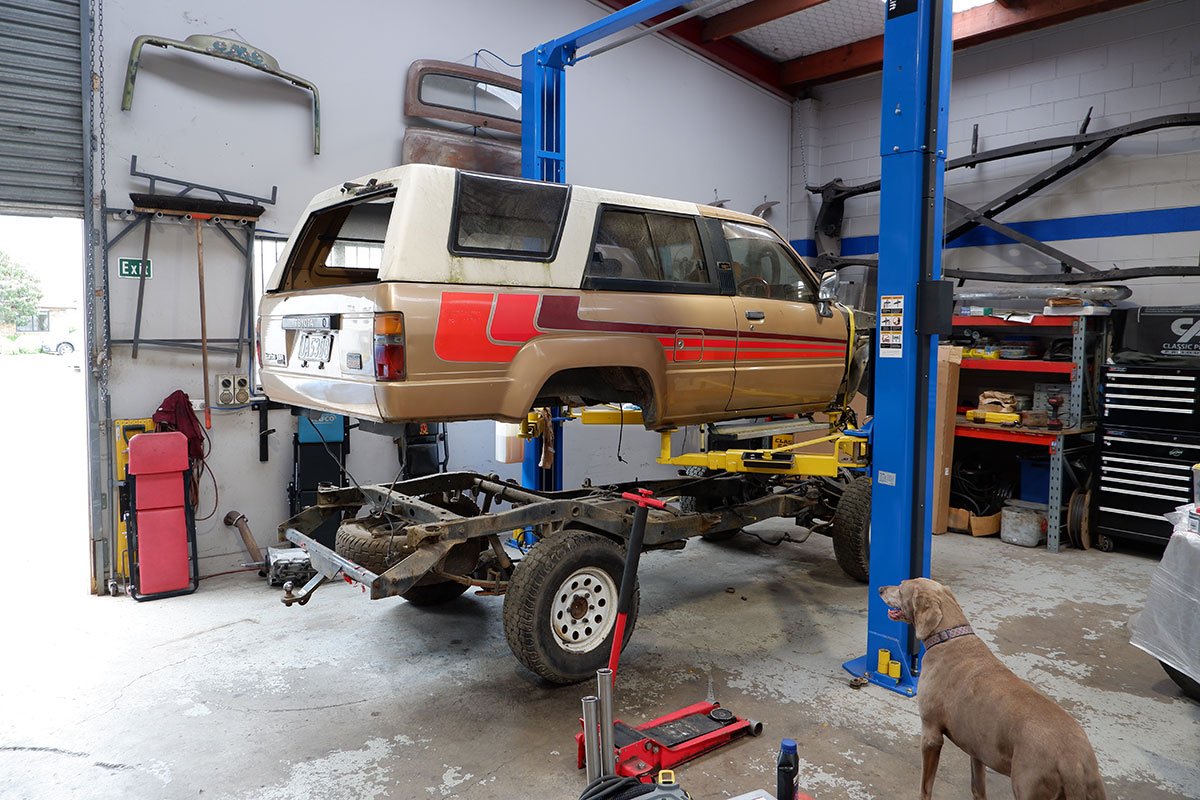
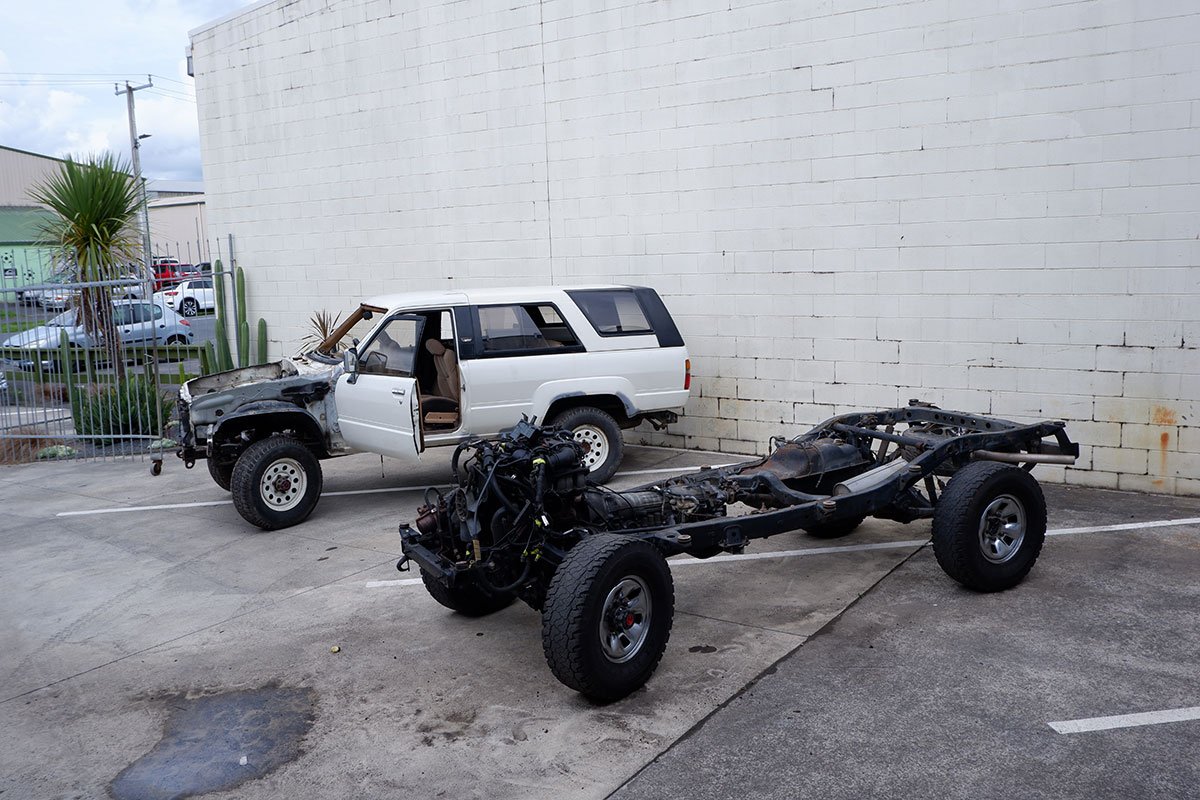
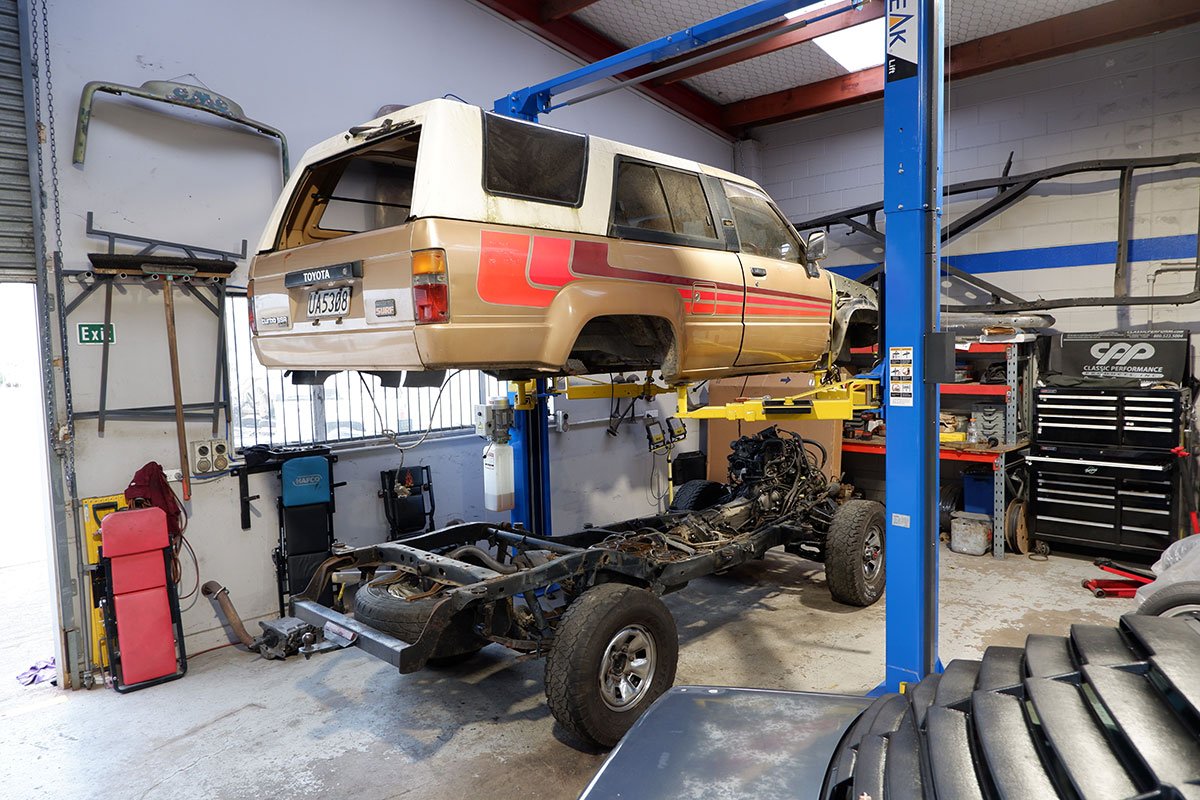
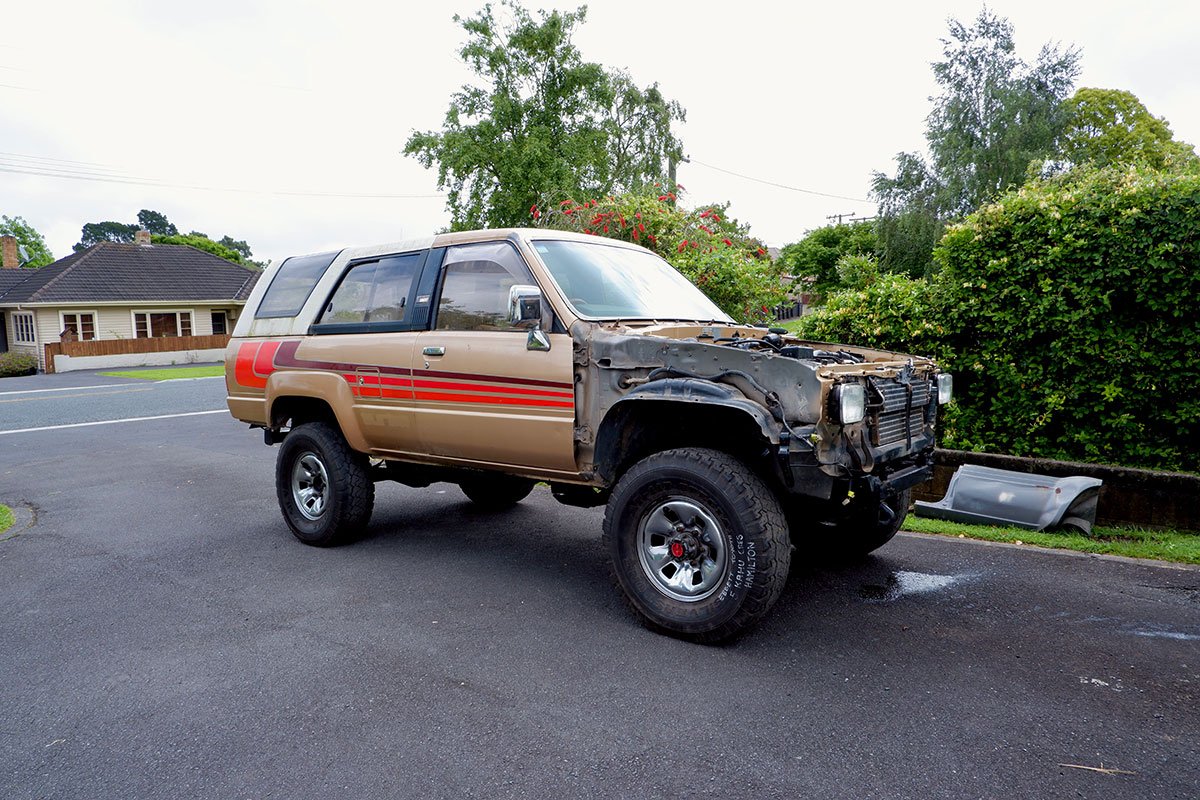
The body swap is done. Reasonably easy with the help of a few GCs. Gave the chassis bit of a clean, probably could have done a better job but hey, better than nothing right!? Plugged everything in with the theory that it would all turn on and start without a problem. It almost did. Just had to fix some dodgee wiring on the engine bay fuse box. That got power to everything, it cranked but wouldn't start. Started thinking the worst but my brother who's an auto sparky found the issue pretty quick, a broken earth to the ECU. Got it started and was stoked. But failed to remember that the radiator wasn't back in and connected and the trans lines pissed trans oil everywhere FFS amateur! Haha ahhh well, needed new fluid anyway.
1 point
-
Radiator and heater hoses completed. Even clamped off. Got a drive belt, but alas, too short.. Got my bits to complete the wiring.. 6 way fuse block with bus bar. Will run my fan, ign and fuel pump from this via relays. Got a fuel filter to fit too.
1 point
-
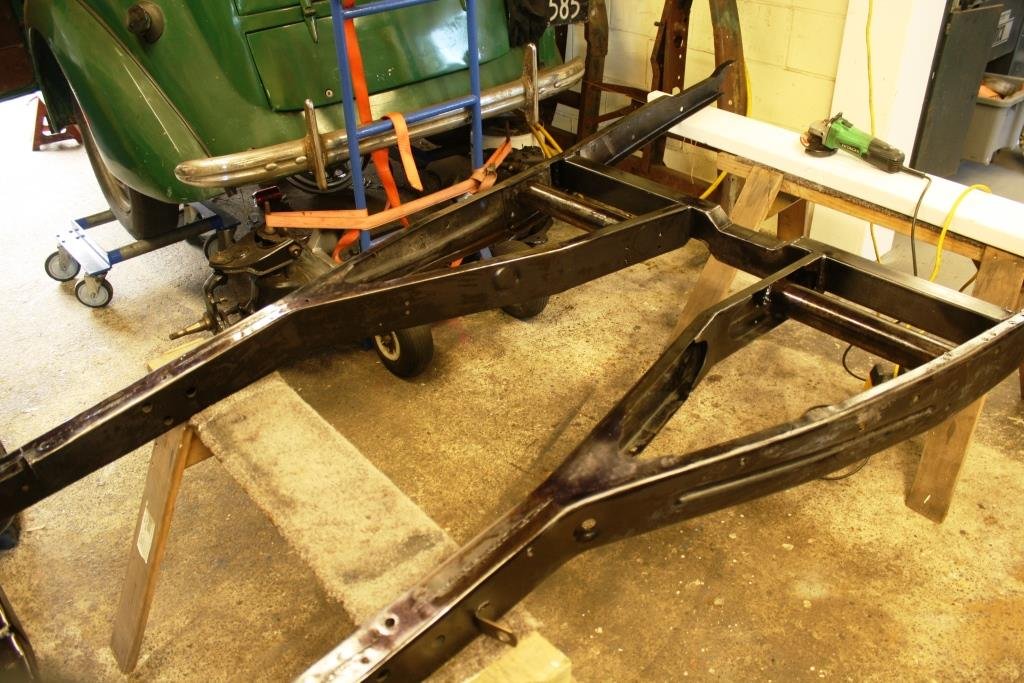
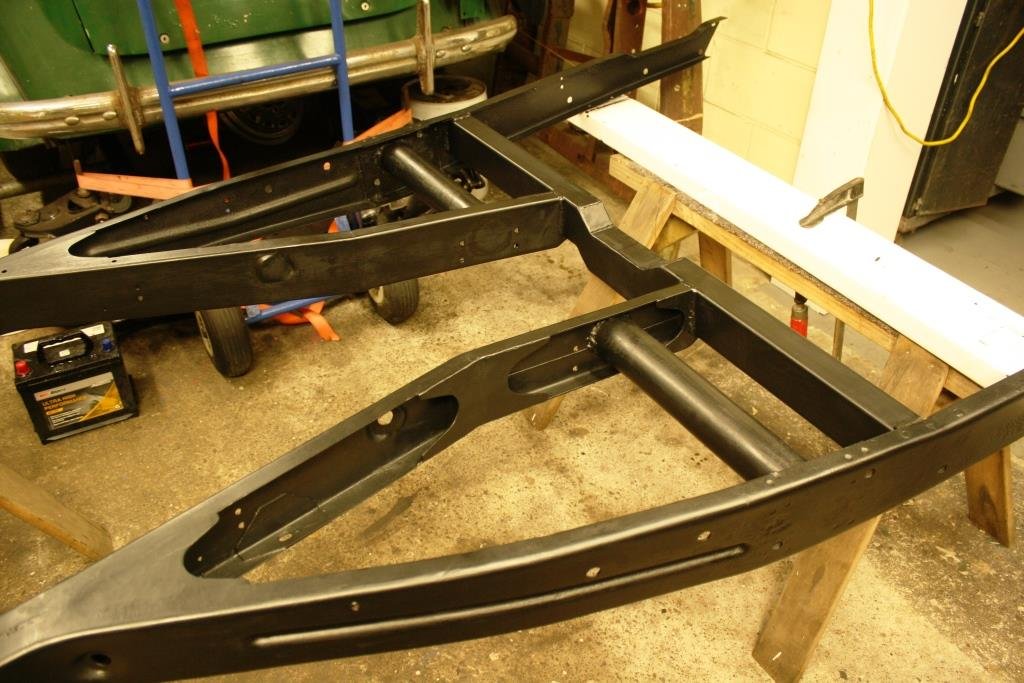
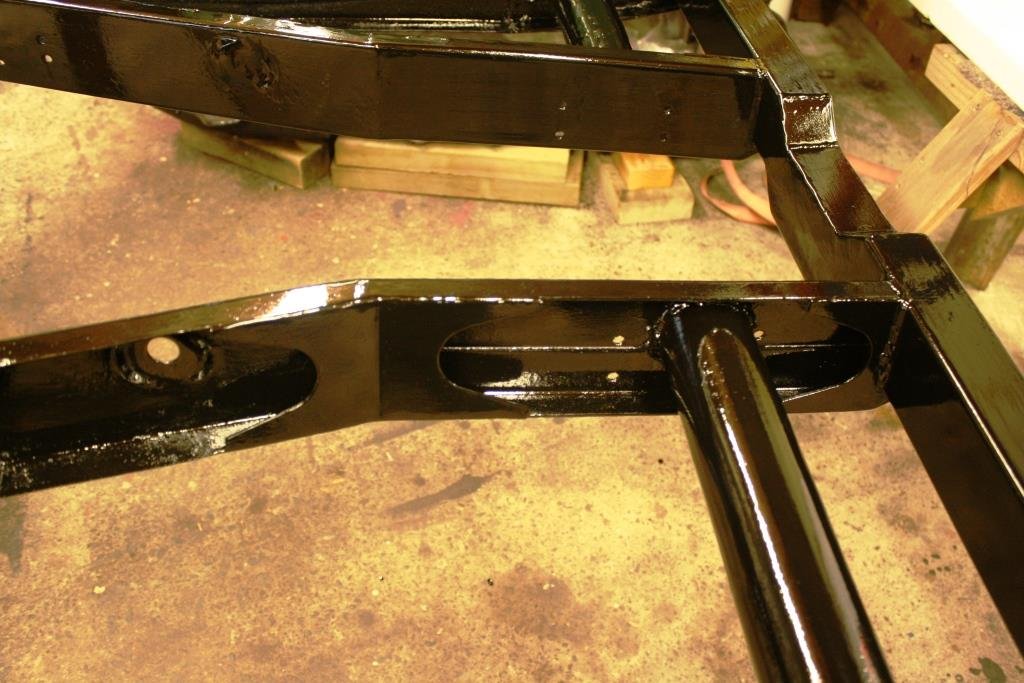
After a noisy afternoon with a wire a wire buff and a flappy wheel Rigamortice’s chassis got a couple of coats of CRC rust converter. Followed by a coat of Wattyl etch primer; jeeze the fumes knock you over… And two coats of Wattyl Killrust epoxy enamel.
1 point
-
Didn't have a pontoon frame fall on your head? Lol, nah just looked Coregas site still says bunnings has it
1 point
-
Good meet! Albeit a slightly smaller one. Black pearl was great.
1 point
-
Muff placement is on point. Managed to refit the rad and oil cooler, chucked the headers back on, sussed the gauge wiring. Only have the tach wire to extend over to the coils and make up a new alt harness-easy peasy. Really need to straighten up the shifter because it fouls on the centre console in 5th and reverse. Almost touching in 3rd and 4th.
1 point
-
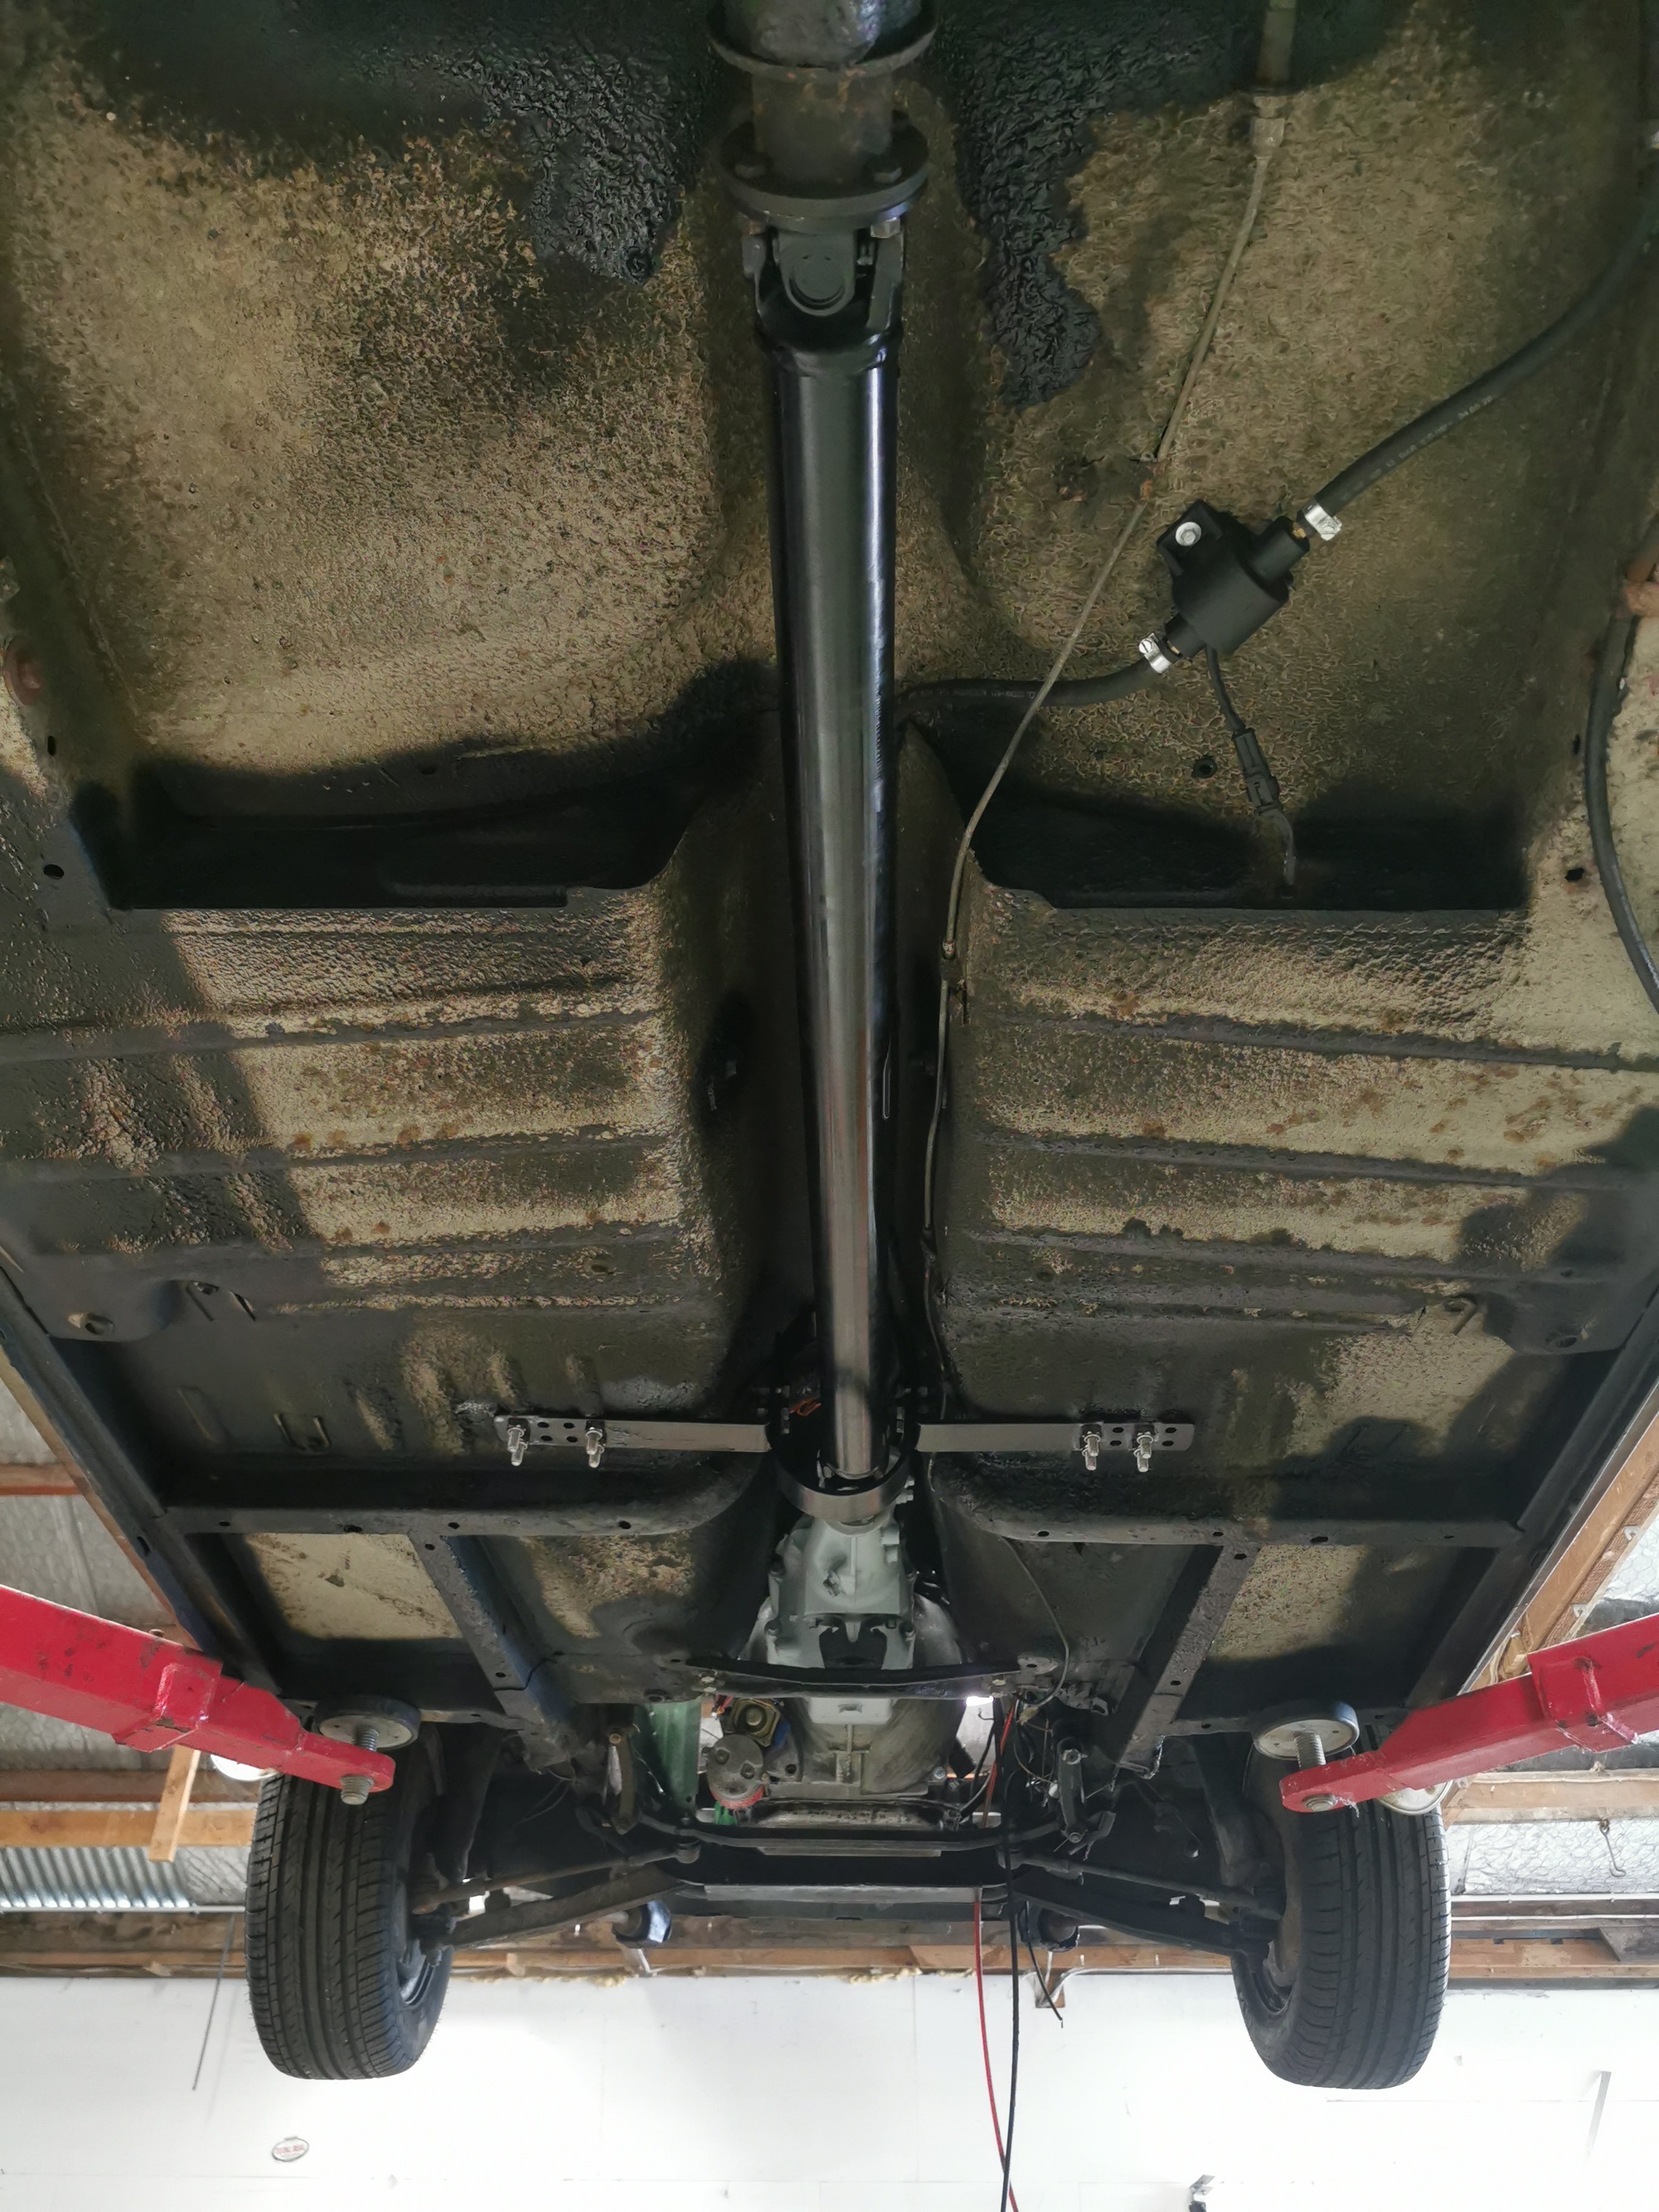
Only underbody task to complete is swapping the hunter speedo cable for the rx7 cable. Driveshaft final install, and driveshaft hoop fitted with doubler plates.
1 point
-
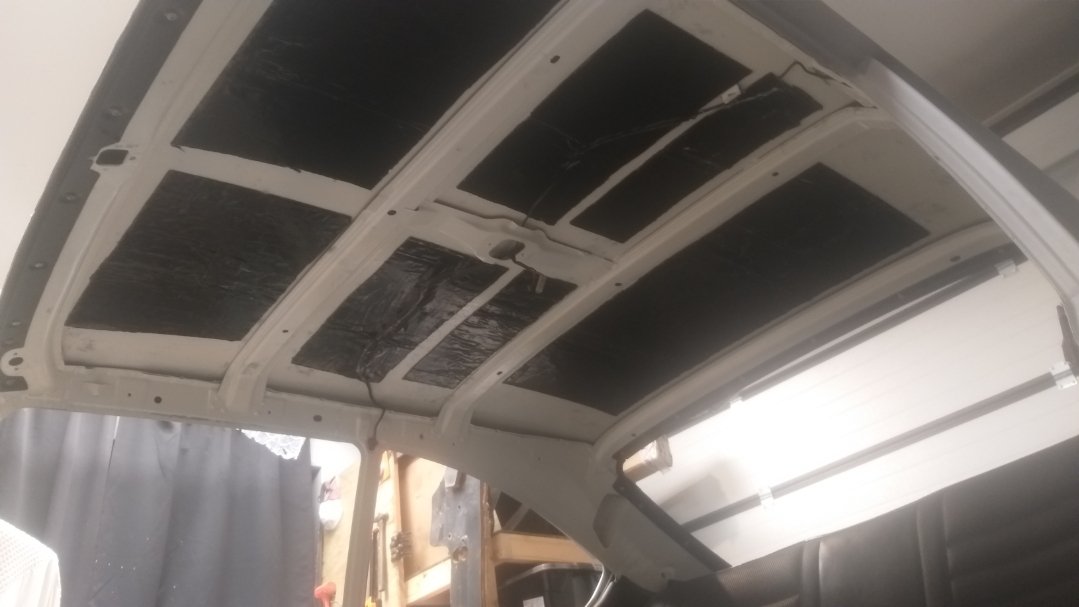
Poking with the torch revealed some crust in the pillar seam hidden by the roof framing so out came the welder again and brother put paid to it in a tidy fashion1 point
-
Took ages to sand the hood back, about 14 120 discs to get it uniform, lol. Only had to apply filler around the nose where I repaired, 2 wee dints and 2 repair patches and the crease that appeared when the wind caught it the other weekend in the gales and threw it onto the stand right after I welded the frame back in! shot it in leftover Isolack 2k, it’s bizarre shit..like bed liner to mix but comes out normally. The Second coat ejected some snot and fucked it up but at least it’s sealed in the meantime.. now I’ll just re-spray when I do the stripes down the track. The back of the scoop will be gloss black but I had a little spare so painted them as well as battery tray. Also scrubbed up the grills, have decided on the style I’ll paint them too.
1 point
-
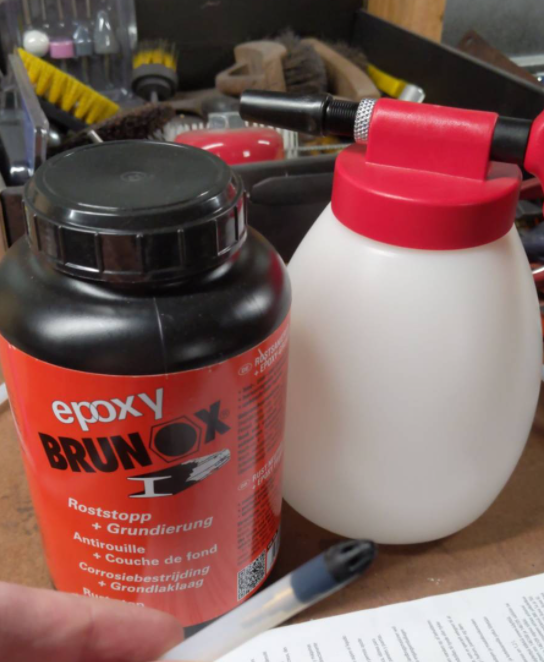
Thanks @piazzanoob, I took your advice and have sprayed as many cavities as I can that don't look like they can get spray gun'd. I spent some time trying to find a more frugal alternative but in the end just bought an air boy underseal gun and cavity wax extension hose. Also went through the whole container of brunox :). And am sticky. Not really any exciting pics to show, the brunox itself is almost transparent going on and tbh the cavities I can look into seem no different :shrug: but it's obvious that this will extend the life of the car significantly. Some of the cavities ran past areas with significant surface rust as well which feels good to attack from the other side.
1 point
-
Started running the fuel line up with P clips, fuel pump is mounted (only tek screwed at the moment) Floor bulkhead is drilled and grommeted ready for cabling. Have some nice plugs coming so that I can bin the butt connectors. Also got the s1 rx7 speedo cable to work with the hunter speedo unit.. Mega bonus. Also glued on the water pump and housing. Bottom rad hose is sorted, just need to sort the upper, plus the heater hoses. Plan from here is to now pull the motor and box. Clean and detail the motor, fill the box with oily stuff. Button up all of the engine bay wiring with decent connectors. Also fit the driveshaft hoop too. So close1 point
-
I'm just going to put this here1 point
-
Picture less update... But had the dizzy and modules off to a sparky who is only 2 doors down from the shop, he checked it over and gave the all clear to 2 out of 3 modules.. Chucked the dizzy in with some eyeball timing, some crude wiring with jumper cables etc, tipped in some fuel.. A few cranks and it popped into life.. Had it pulsing away for about 30seconds before shutting it down. Then virtual high5 fist pump pat on the back dealio, then started going through the hunter wiring. Made a new dizzy loom. Ran the gauge wires to the sensors. Only need to connect an Acc power source to the coils, reroute the alt wires and make up a new starter cable. Have ordered the rest of my exhaust components and a driveshaft hoop. All gaskets for the water pump, carb manifold and exhaust. Need a ton of P clips for the fuel line so I can finish that side of it off.1 point
-
And as proof that it doesnt always run like a bag of dicks, here it is after cleaning the plugs, giving it more petrol and letting it warm up a bit before taking it off choke.1 point
-
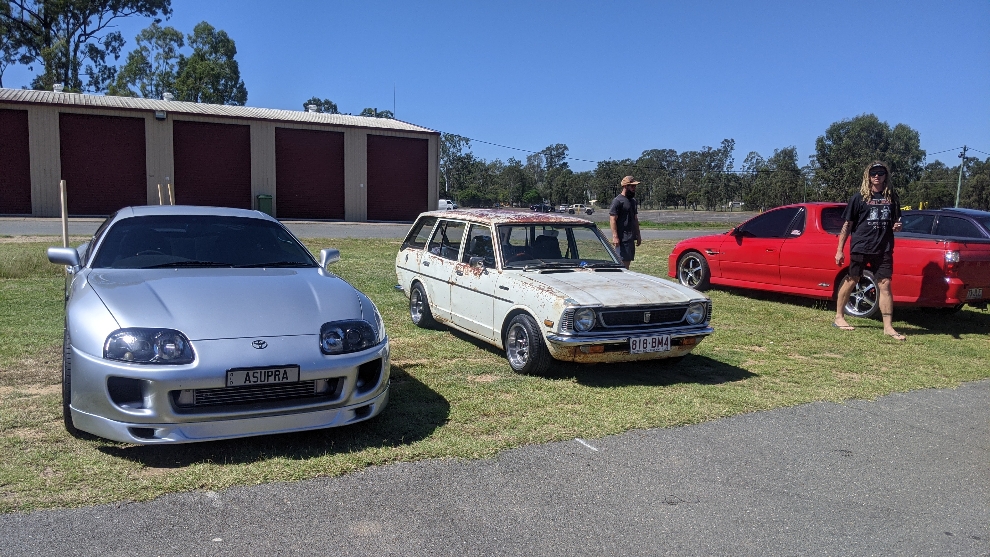
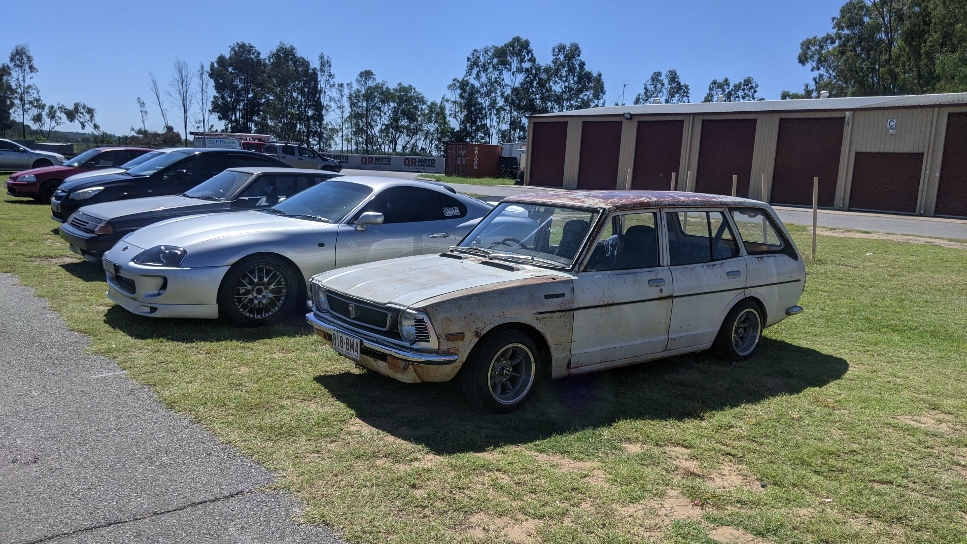
Finally got thing on the road and took it on its maiden voyage to a japday at Queensland raceway. Ran flawlessly and rides surprisingly ok with 3 people in it. Need to get my hands on a k50 5 speed now though. Was probably doing 4k rpm and 80kph.
1 point
-
took it down today for the recheck on the cert. All good......exccept I didn't put a heat shield between the brake line and the exhaust, I even looked at it when I did the other side .....dumb ass. Also it failed the brake test. by the 4th stop it had run out of brakes so fail. The pads that are in the calipers are probably 30 years old even though they haven't done a lot of miles. They have managed to be on 3 different cars. I don't know if they get worse with age or weren't that great to start with. I'll get them relined with the flash new material and working properly. Then I can adjust the back brakes to work properly using the proportioning valve. I had to reduce the back brakes because it was loci=king the back wheels up first. The certifier has driven it further than I have because he has to go for miles to get to an open road where he can do 100ks. He did say it drives a lot better than he thought it would.1 point
-
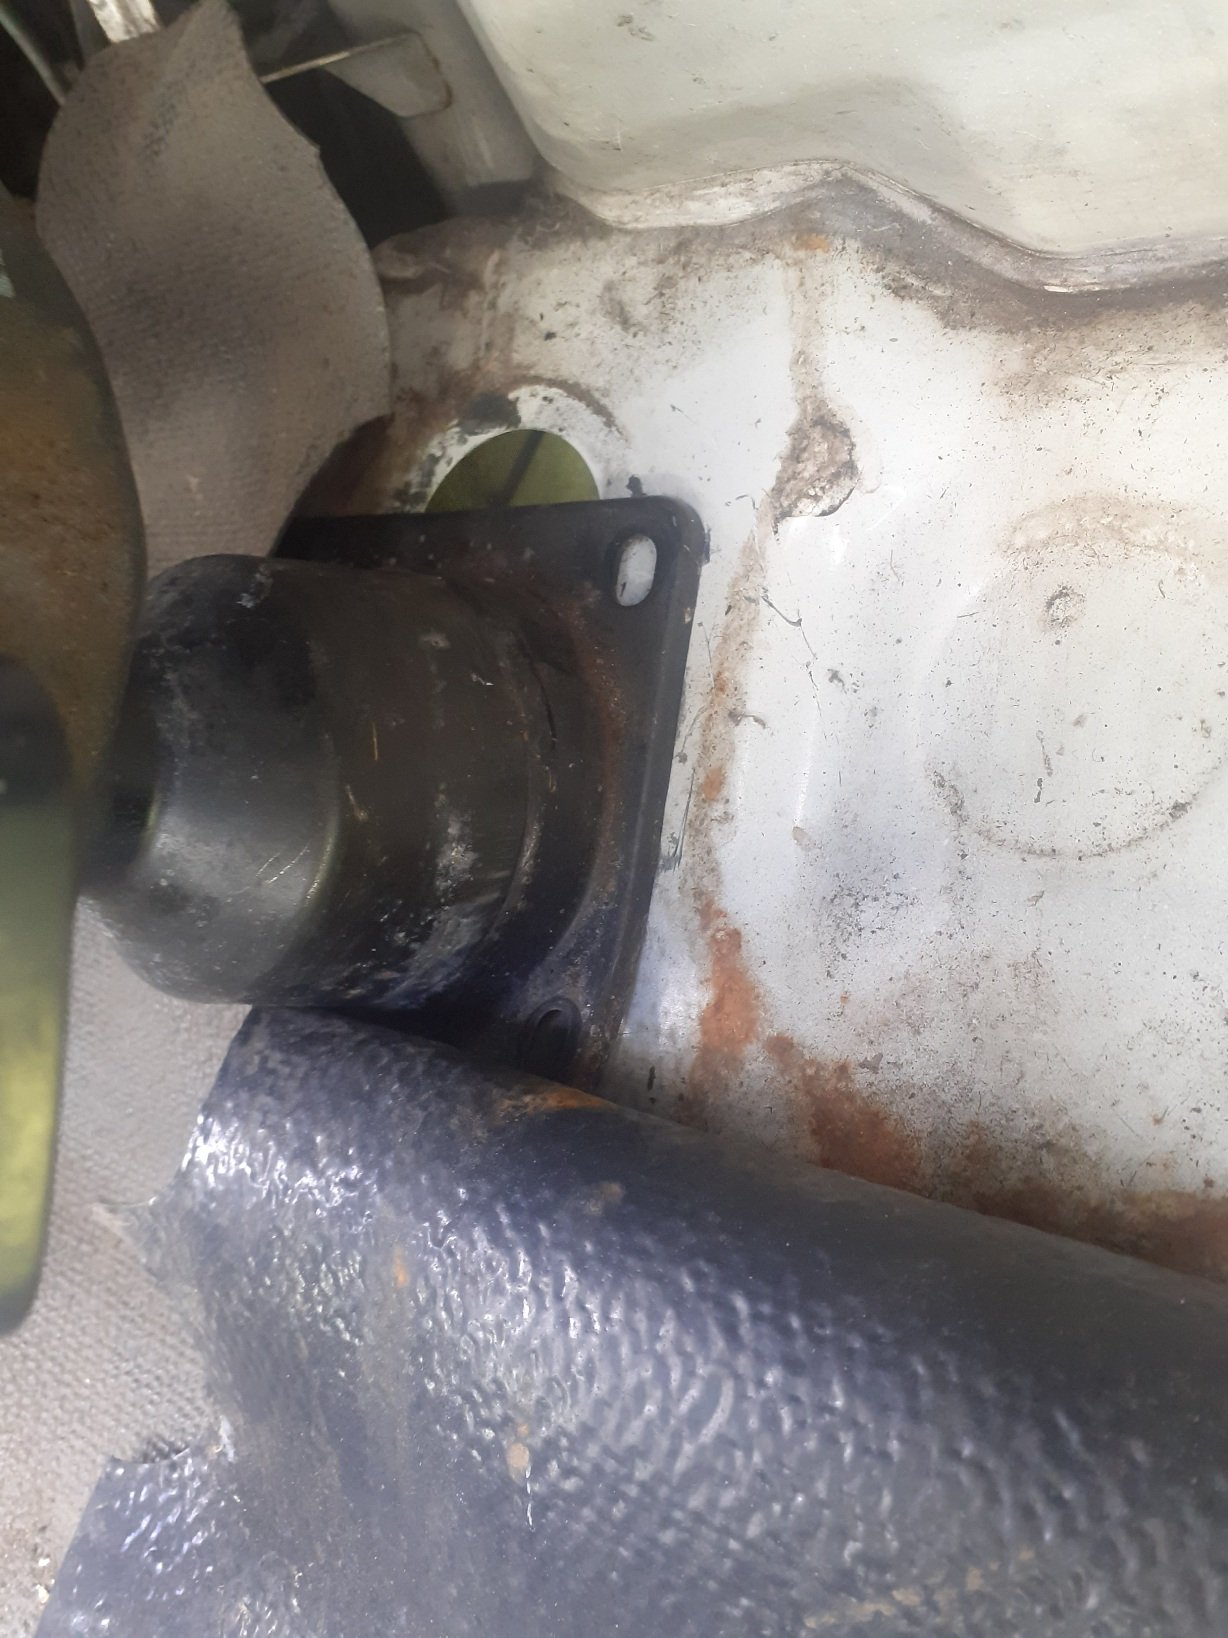
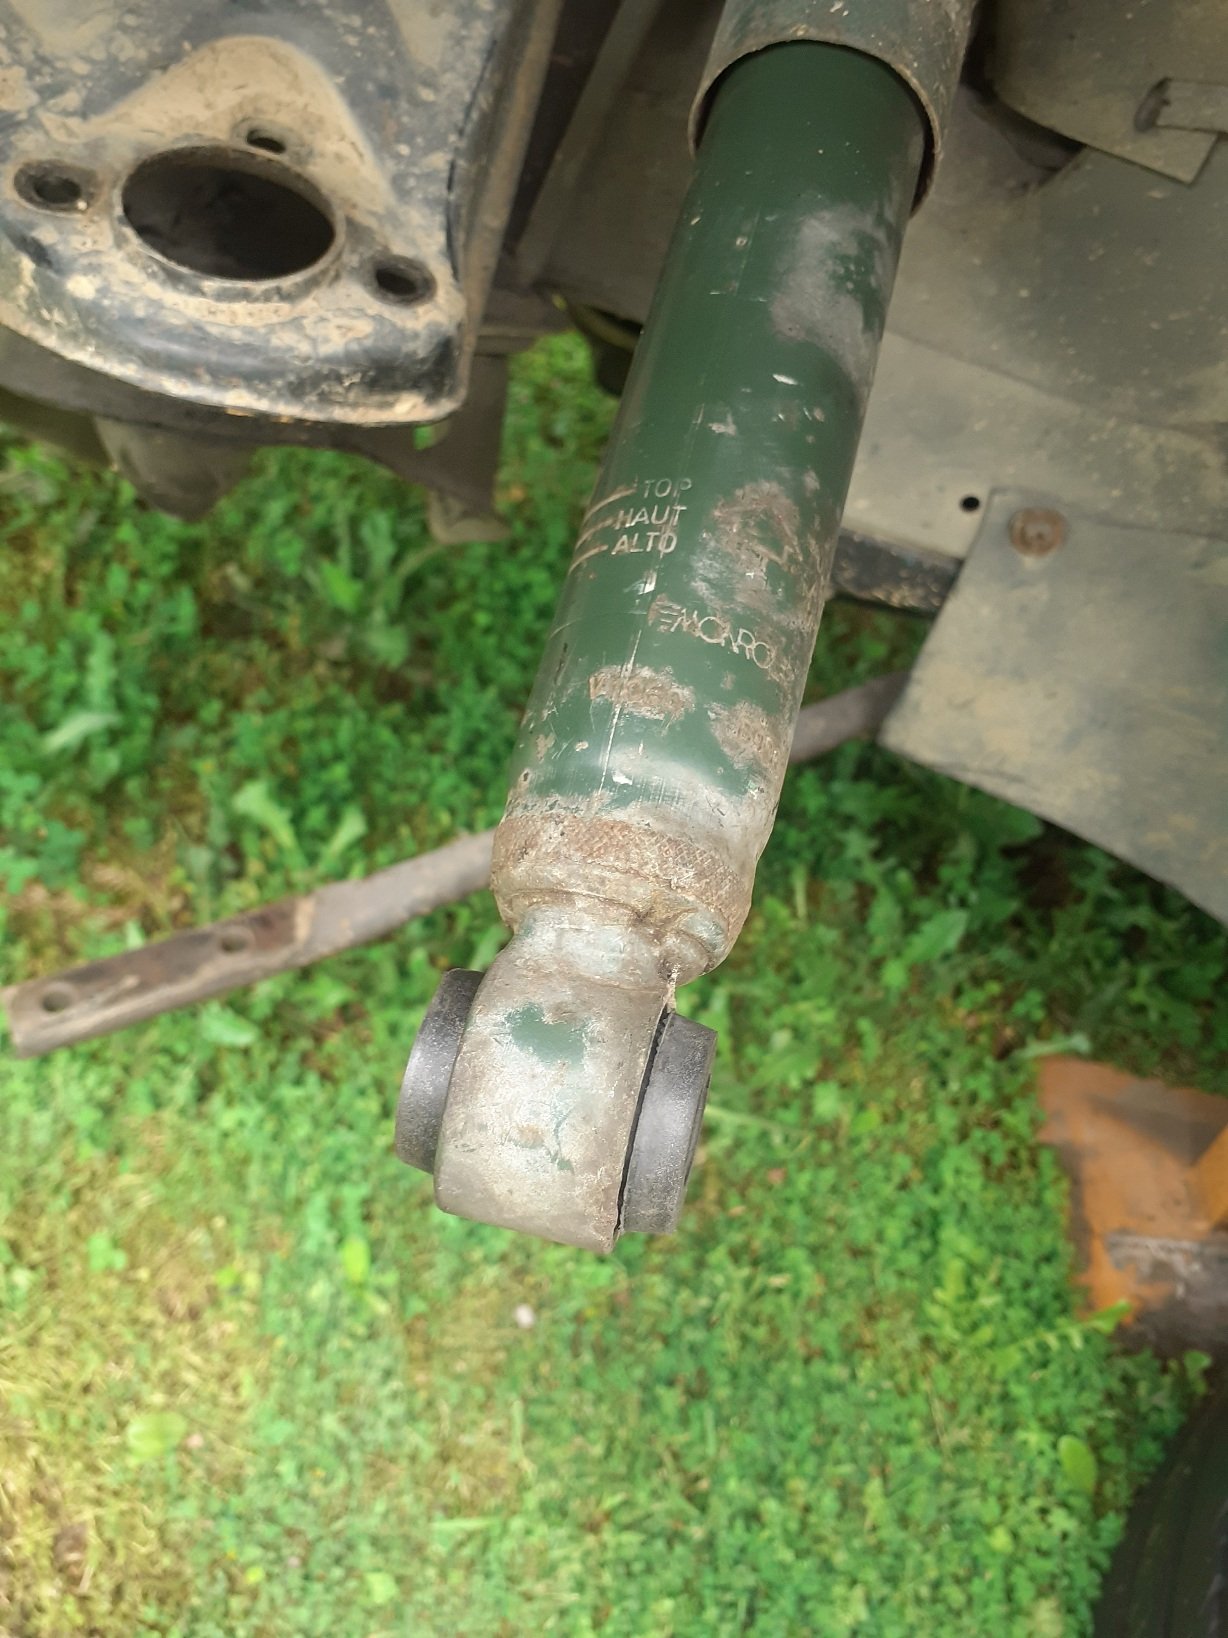
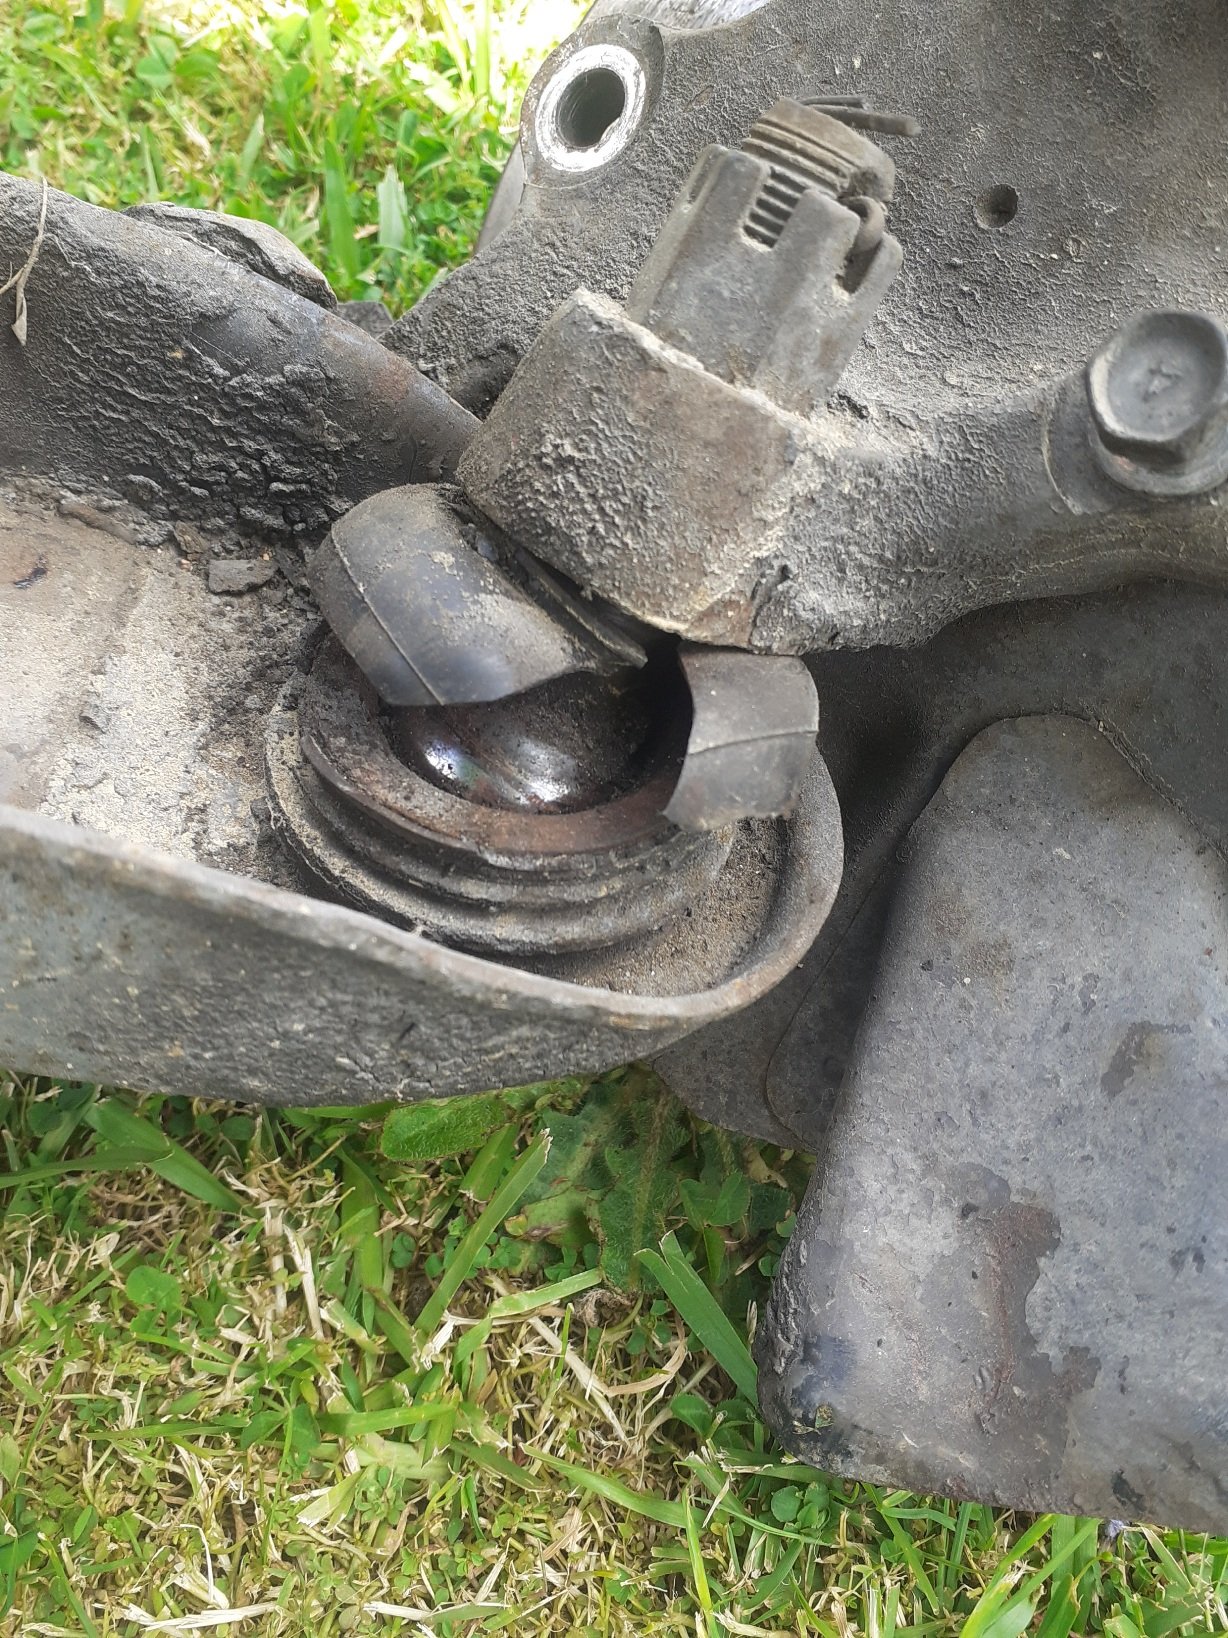
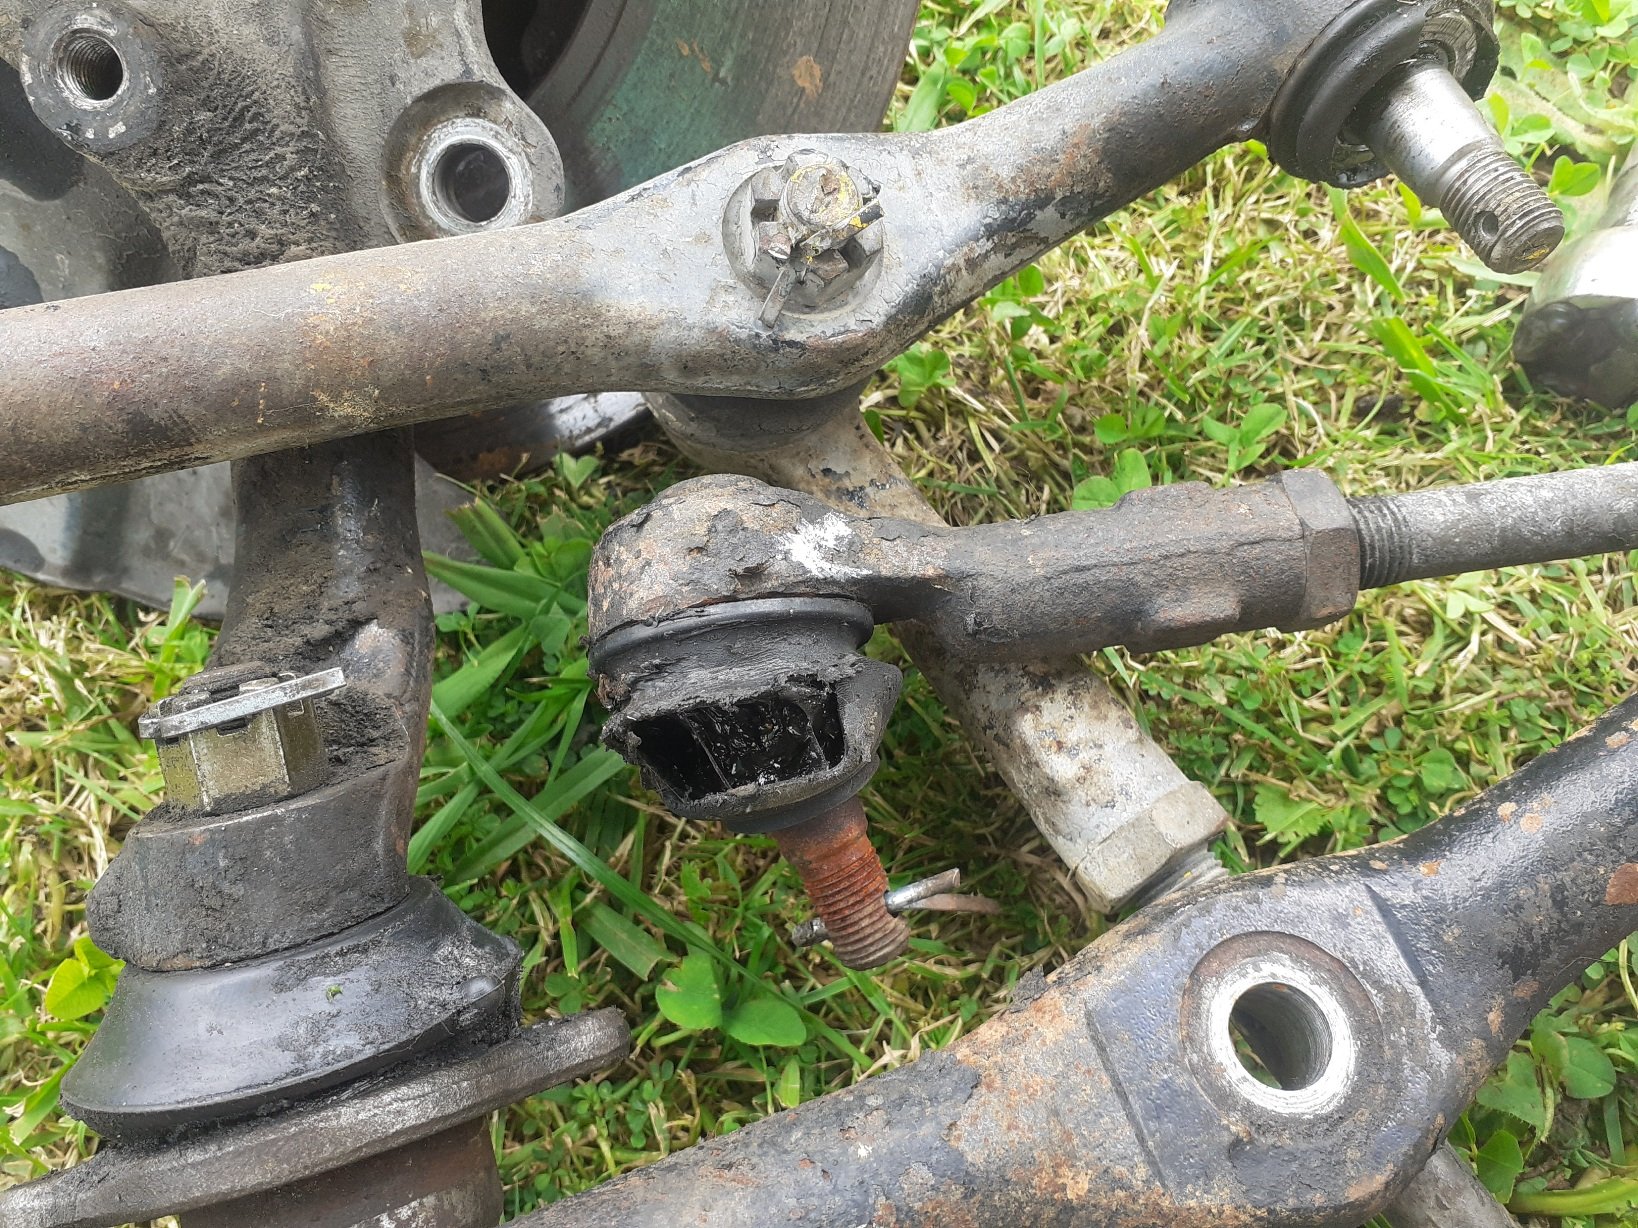
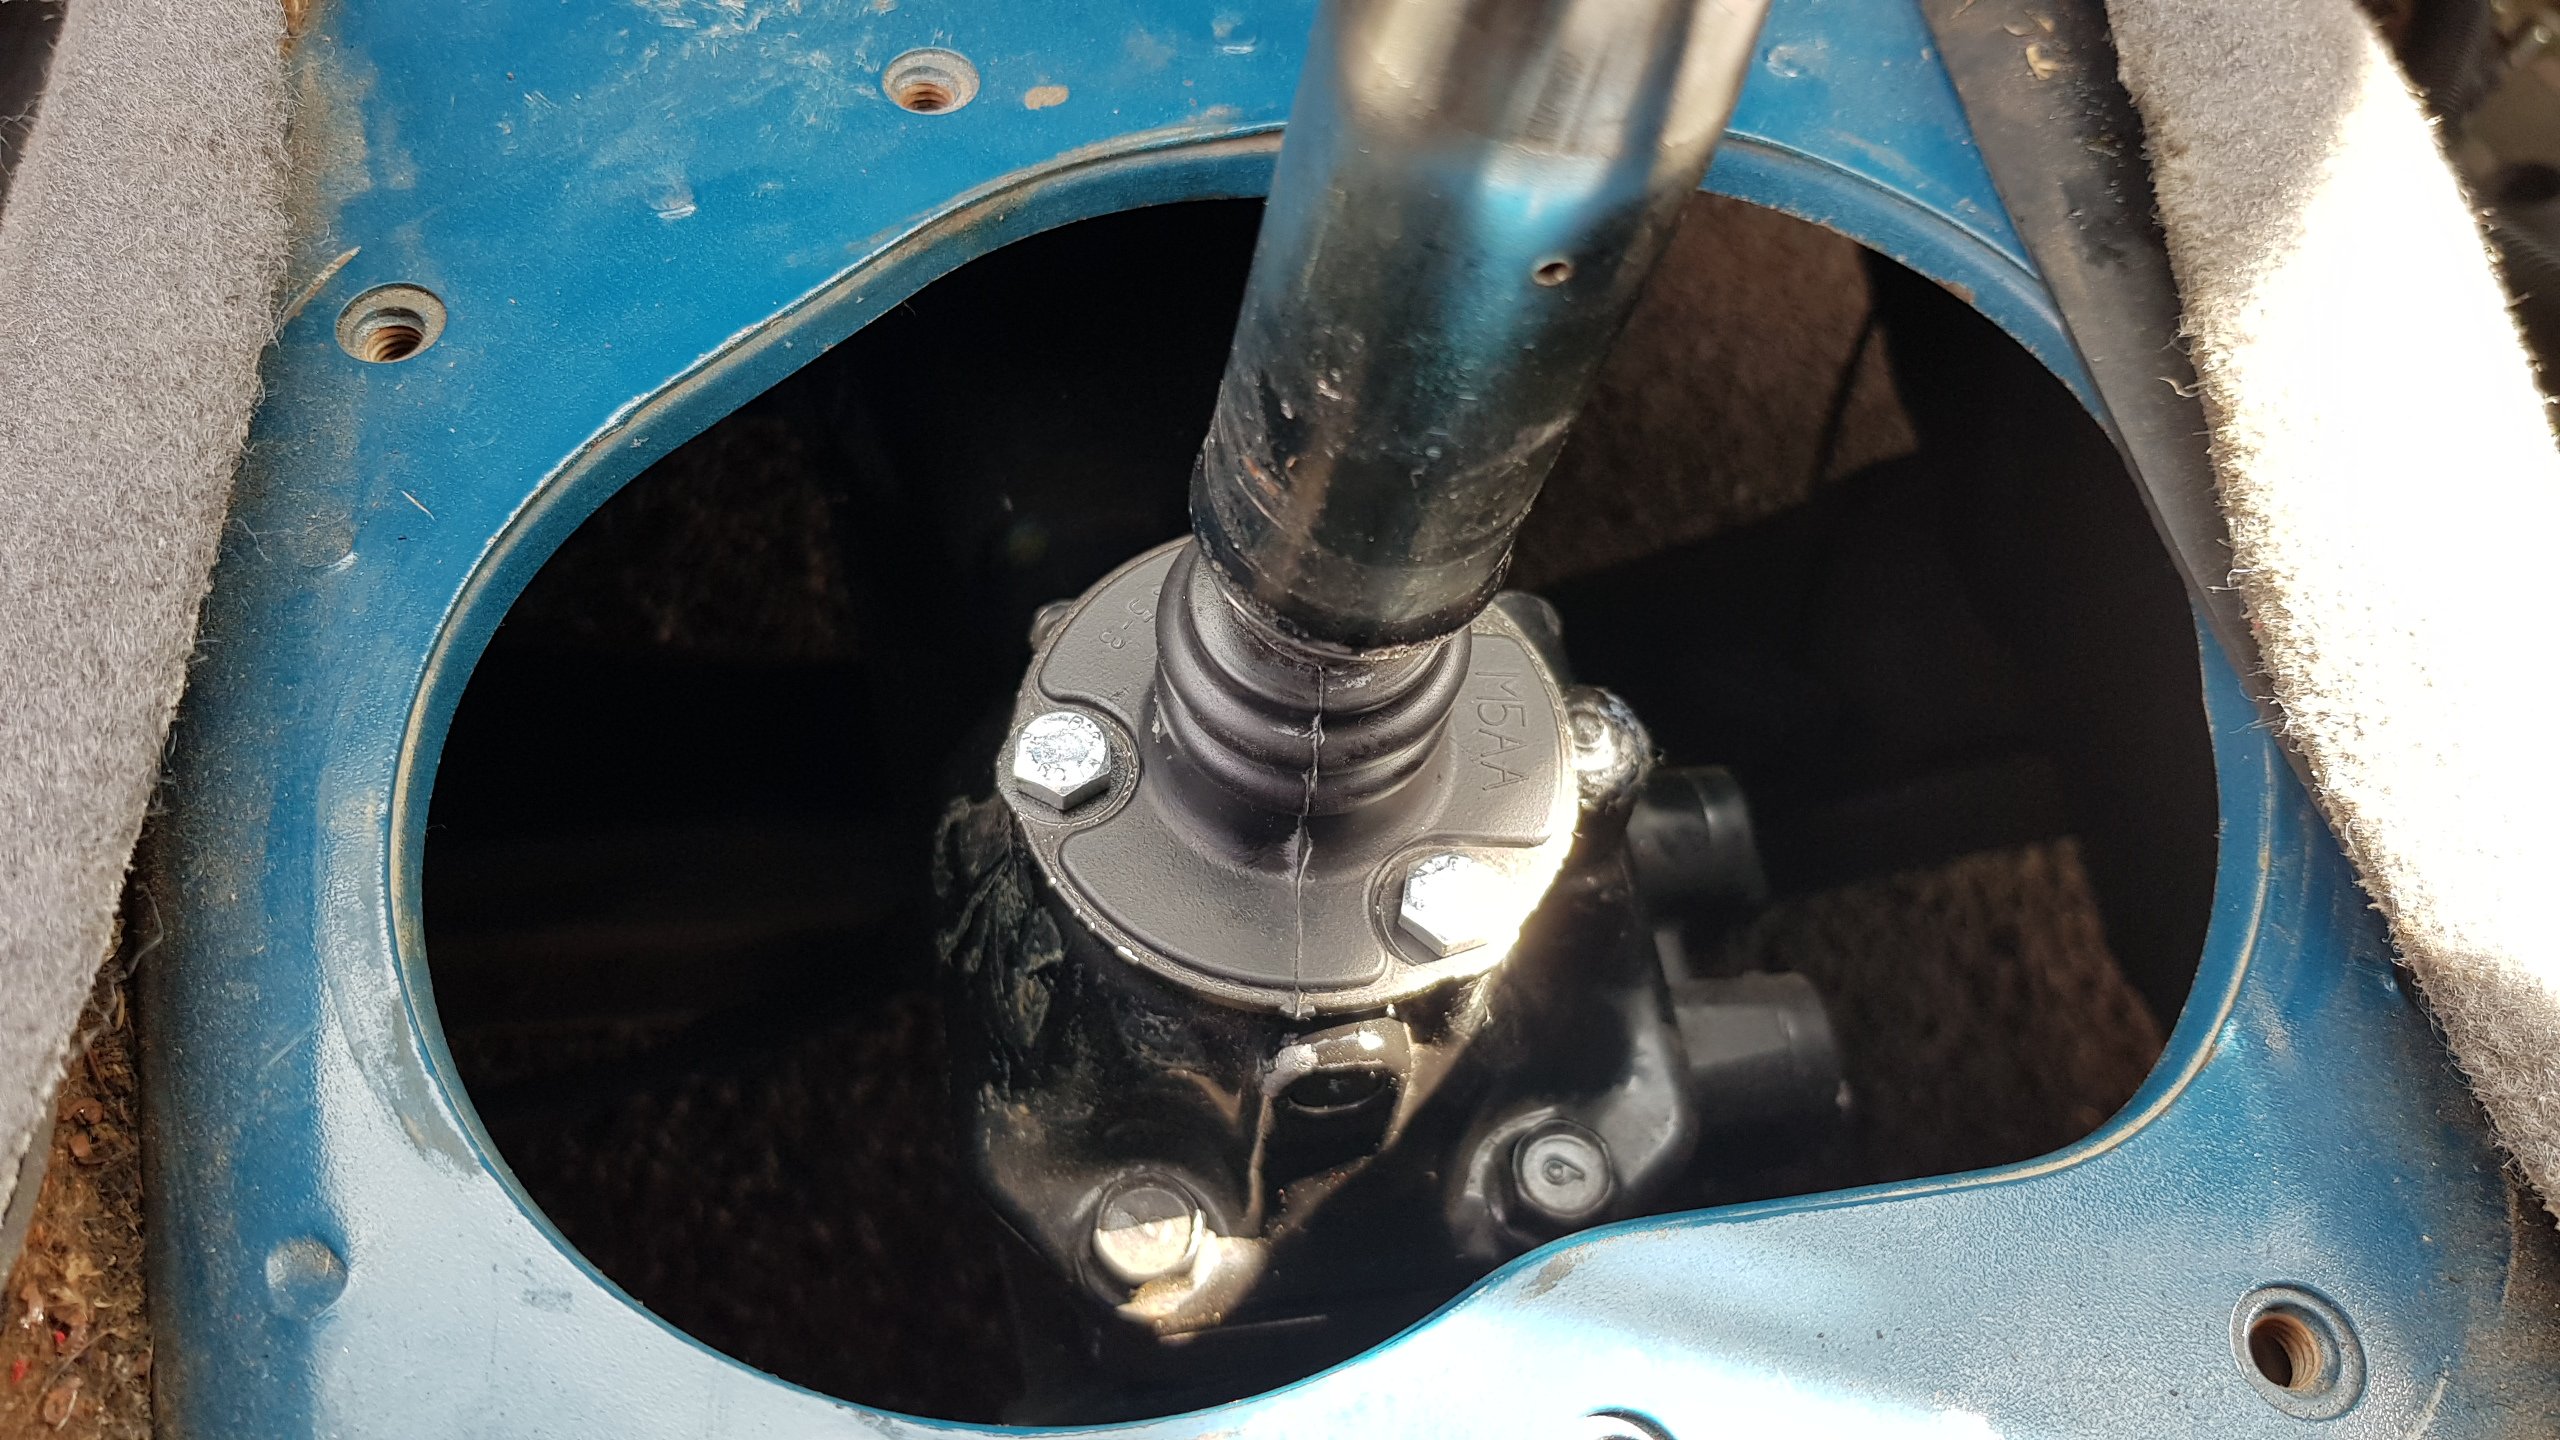
Several Steps forward, one step back. Got the final wheels on, the passengers side got new repro centre caps. Wipers on, they are EH Holden and don't line up 100%on the screen. It has also been to VTNZ for a VIN number which has been issued. While I was driving it I noticed that the from breaks were not releasing. Jacked the car up and yes they were definitely not releasing. I did think that it might be the push rod in the booster being a shade too long so unbolted the master cylinder and no change. I had got the brake lines back to front so the residual valve for the rear drums was holding the front brakes on.. While I was setting up to bleed the brakes I pulled on the passengers side wheel and saw the tie rod move up in the steering rack. Pulled the boot off and it looks like the bush in the end of the rack has died. A bit of driving around and fighting the not releasing front brakes was the final straw. Started to pull it out and the cotter pins that hold the universals in place wont move. Some ham fisted bastard (me) has done them up good and tight and now they done want to move. Looking on the interweb the go seems to be soak in penetrating oil ( CRC) and this will help. Hopefully this afternoon a swat with punch and a hammer will do the trick. Also mounted a radiator overflow tank to catch all the rusty water that it like to spit out when it gets hot and then the engine stops. I have bought proper coolant to put in to it.
1 point
-
Mrs Flash says cheers Joker. Its not really relevant to the build thread but she ended up both National and Regional Champion in her racing class that year using my road car to finish the second half of the season. There were some additional adventures along the way including a blown clutch on my road car at the same track where the accident took place with Mrs Flash undertaking a 700 km tow rope trip home behind the 924 which we still owned at the time. She is a gutsy lady but can be pretty high maintenance in the garage department. When our next door neighbor first saw the wreck and heard the story he said "Thank God my missus loves sewing"1 point
-
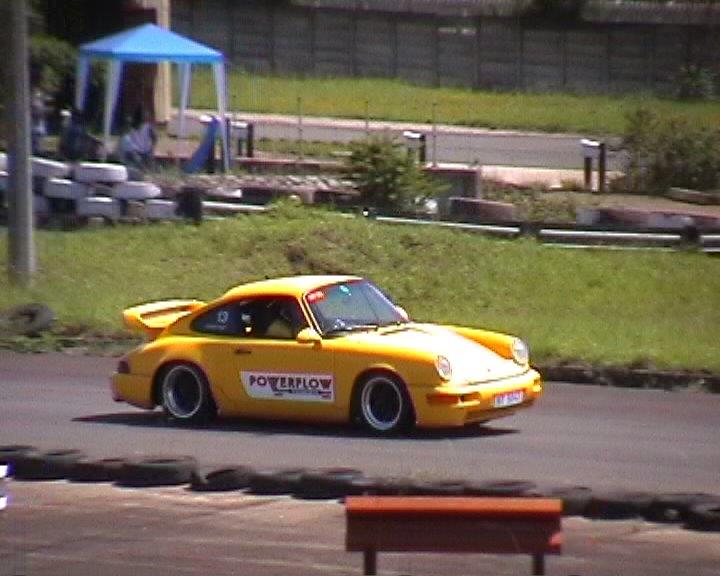
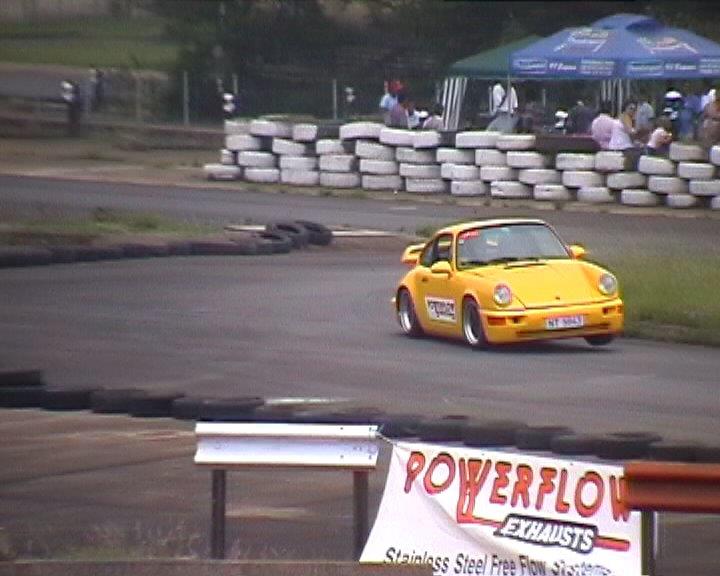
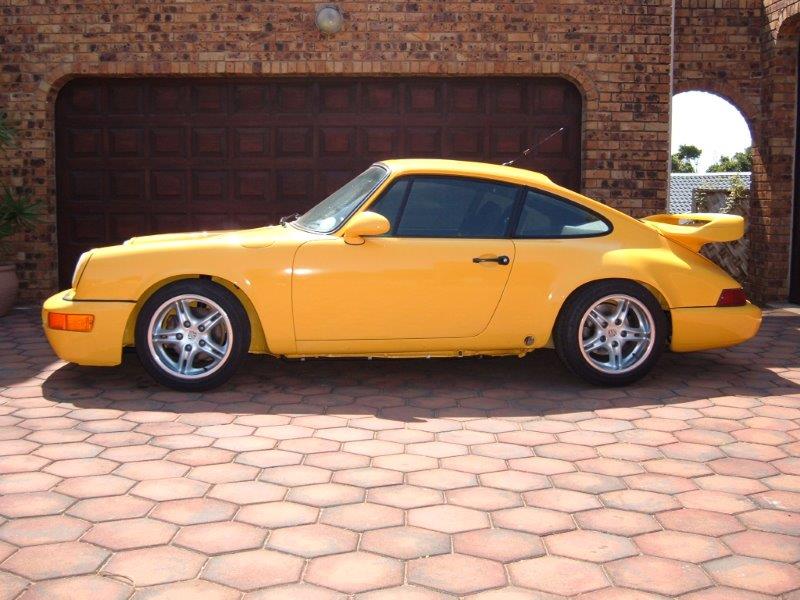
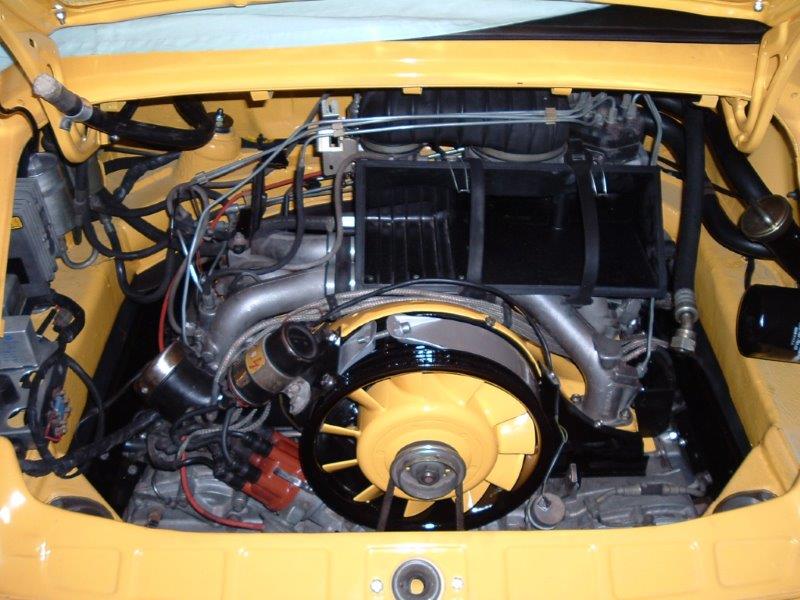
An finally a few grainy pictures of the Yellow Peril back in action.
1 point
-
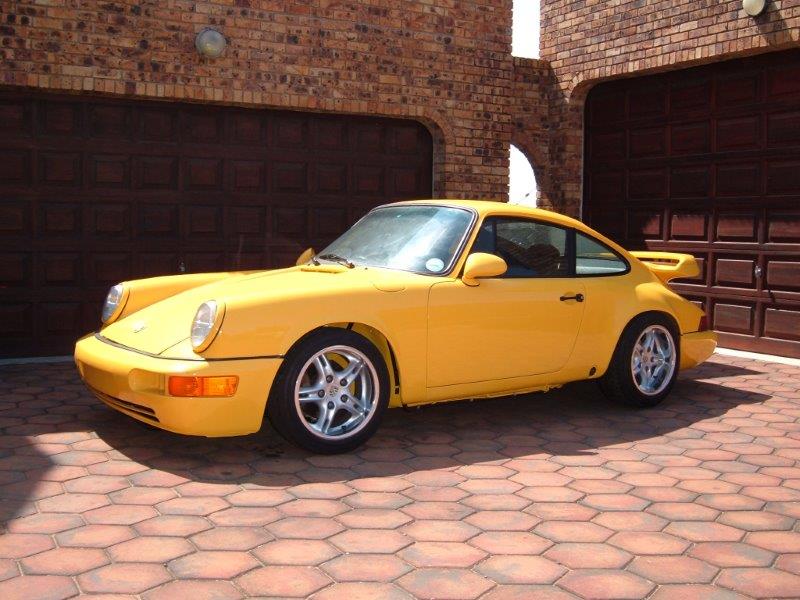
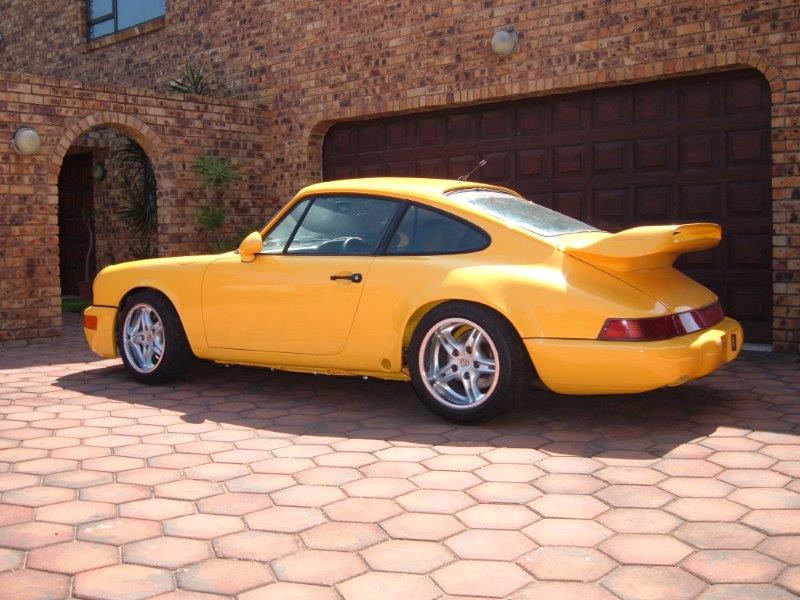
With the assembly almost complete and the car back on its wheels, it was time to fire it up and get it out of the shed. The side skirts still needed to go on at this stage.
1 point
-
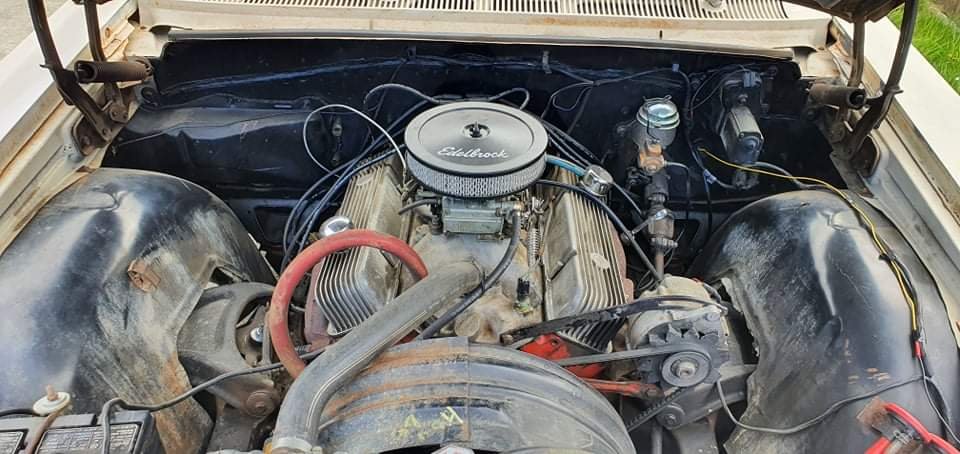
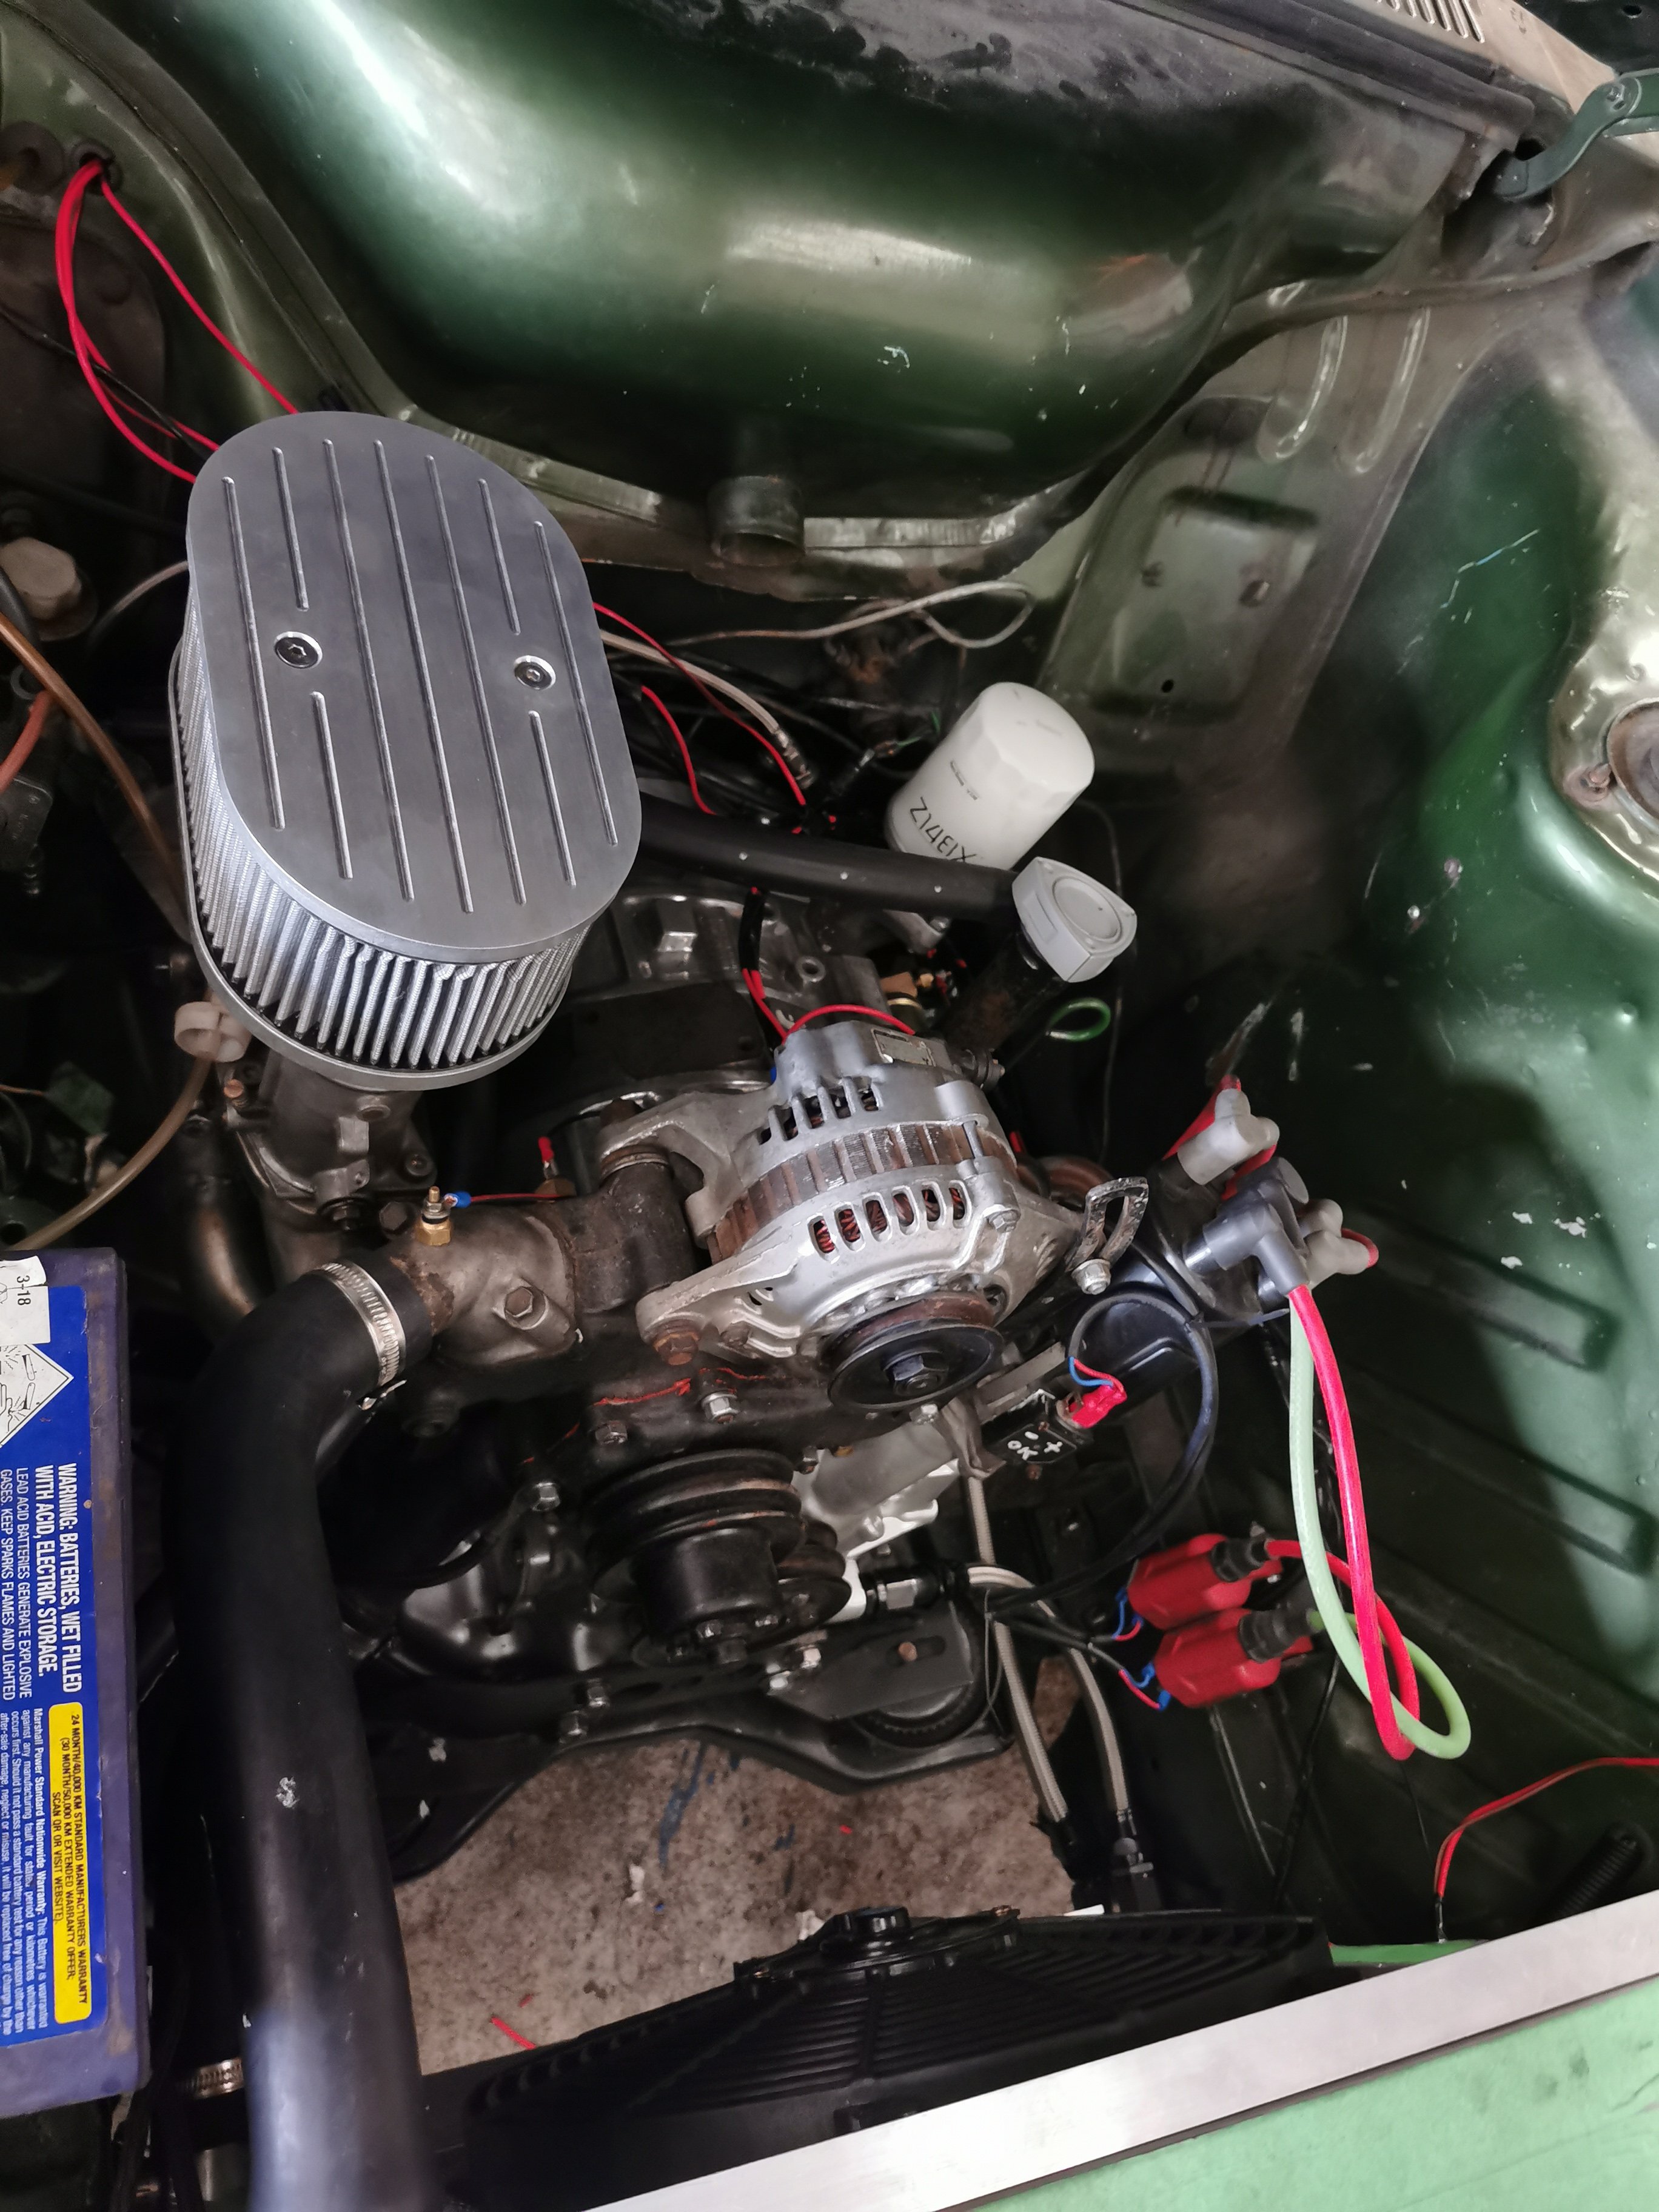
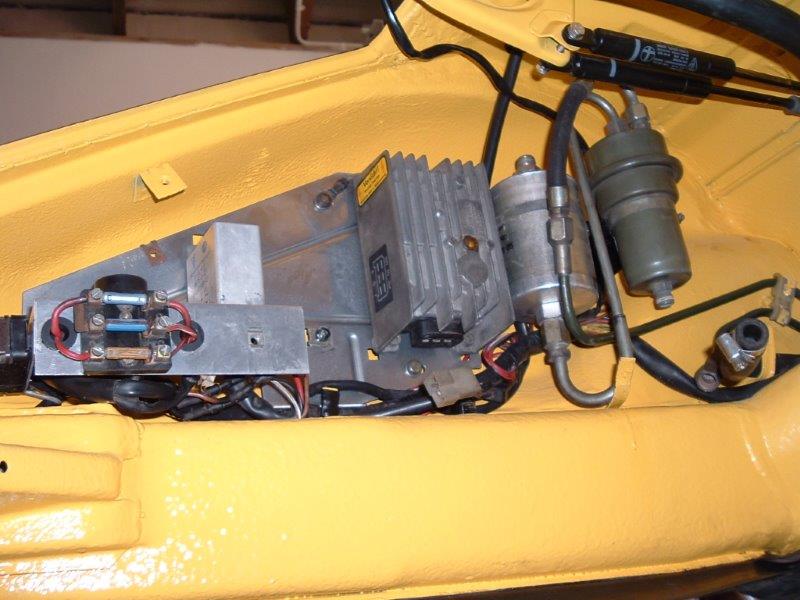
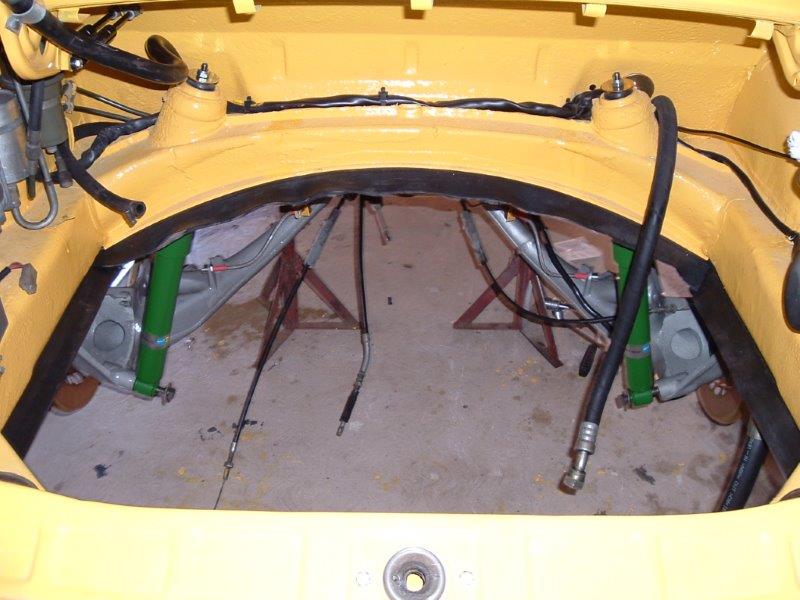
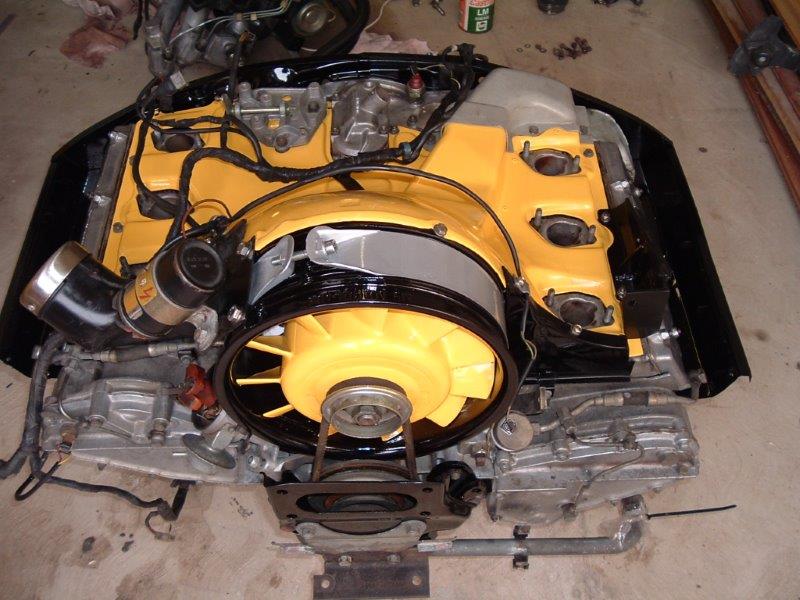
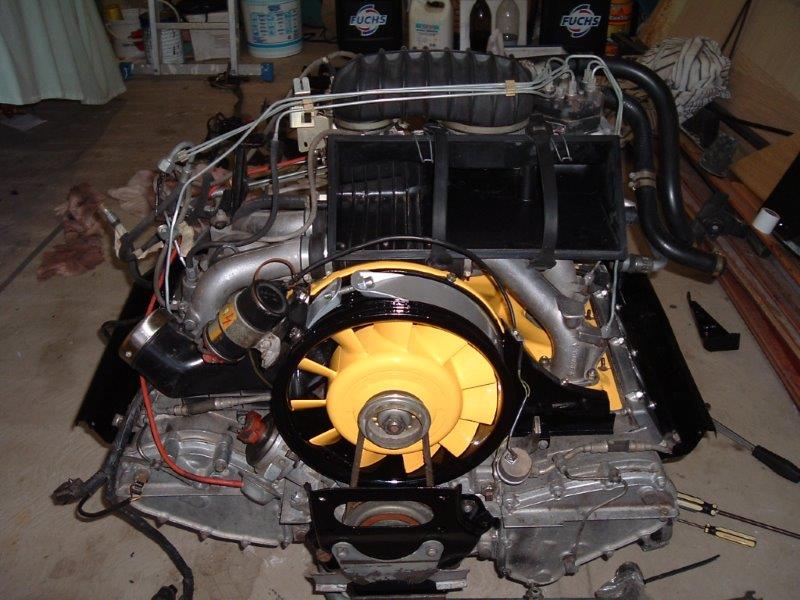
I also did a quick tidy up of the engine bay before re installing the engine and gearbox.
1 point
-
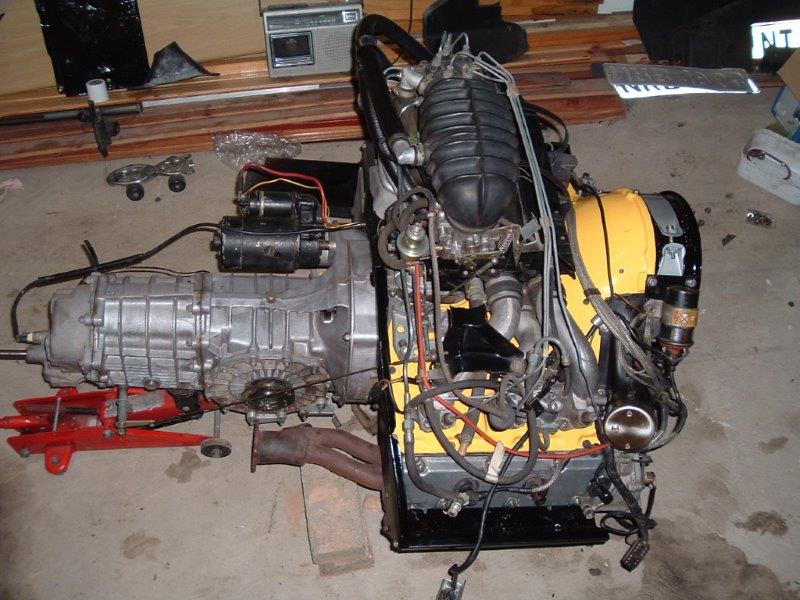
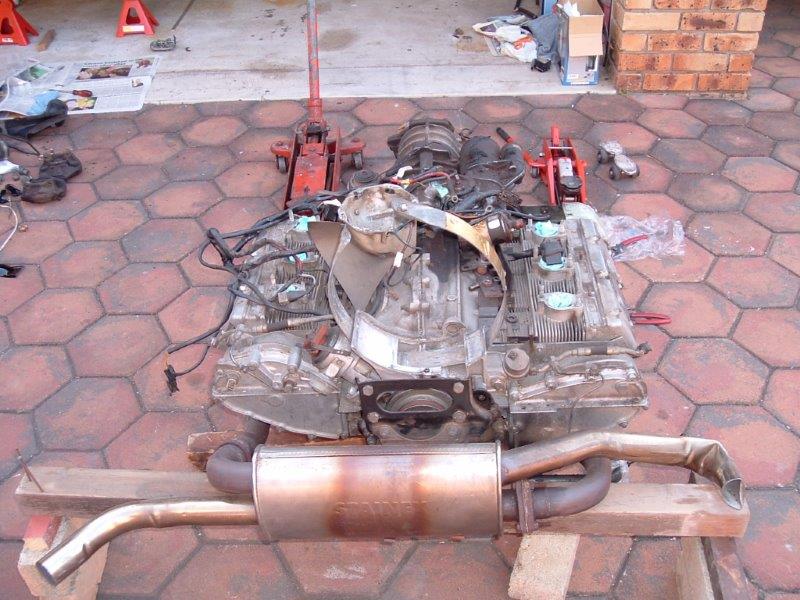
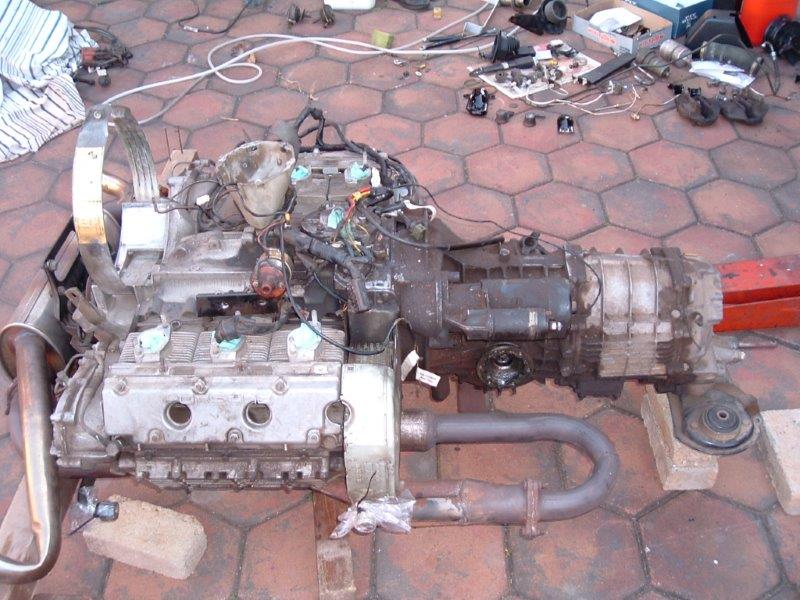
With the suspension coming together nicely my focus moved to the motor and gearbox which were looking decidedly tatty. I stripped off all of the ancillaries and gave the whole thing a tidy up.
1 point


This leaderboard is set to Auckland/GMT+12:00