
Leaderboard


Popular Content
Showing content with the highest reputation on 11/21/21 in all areas
-
Ha, you already said that a few posts back, you silly goose VG. So I welded a nipple in the thing, Then I put a temporary tap on the plenum drain just in case, I took it out for a blast, and it ran beautifully, and now the breather air is filtered, so sand shan't be a problem anymore. I blasted around for ages, but got a bit carried away on a very rough section of road, and ended up bottoming out the back suspension very badly a few times in quick succession. Like tasting blood bad. And then a few moments later it started flooding again, so I guess a carb didn't enjoy the bashing. Yet to pull them off, but confident it won't be sand related this time. I also completely lost my mind, and purchased a friggen CBR1000RR engine!!!?!?!! So I'm going from 85hp @ 11000rpm & 53nm @8000 up to 172hp @ 11250rpm & 115nm @8500rpm, shits going to be whack. I have also listed this bad boy on TM, just to see what happens.11 points
-
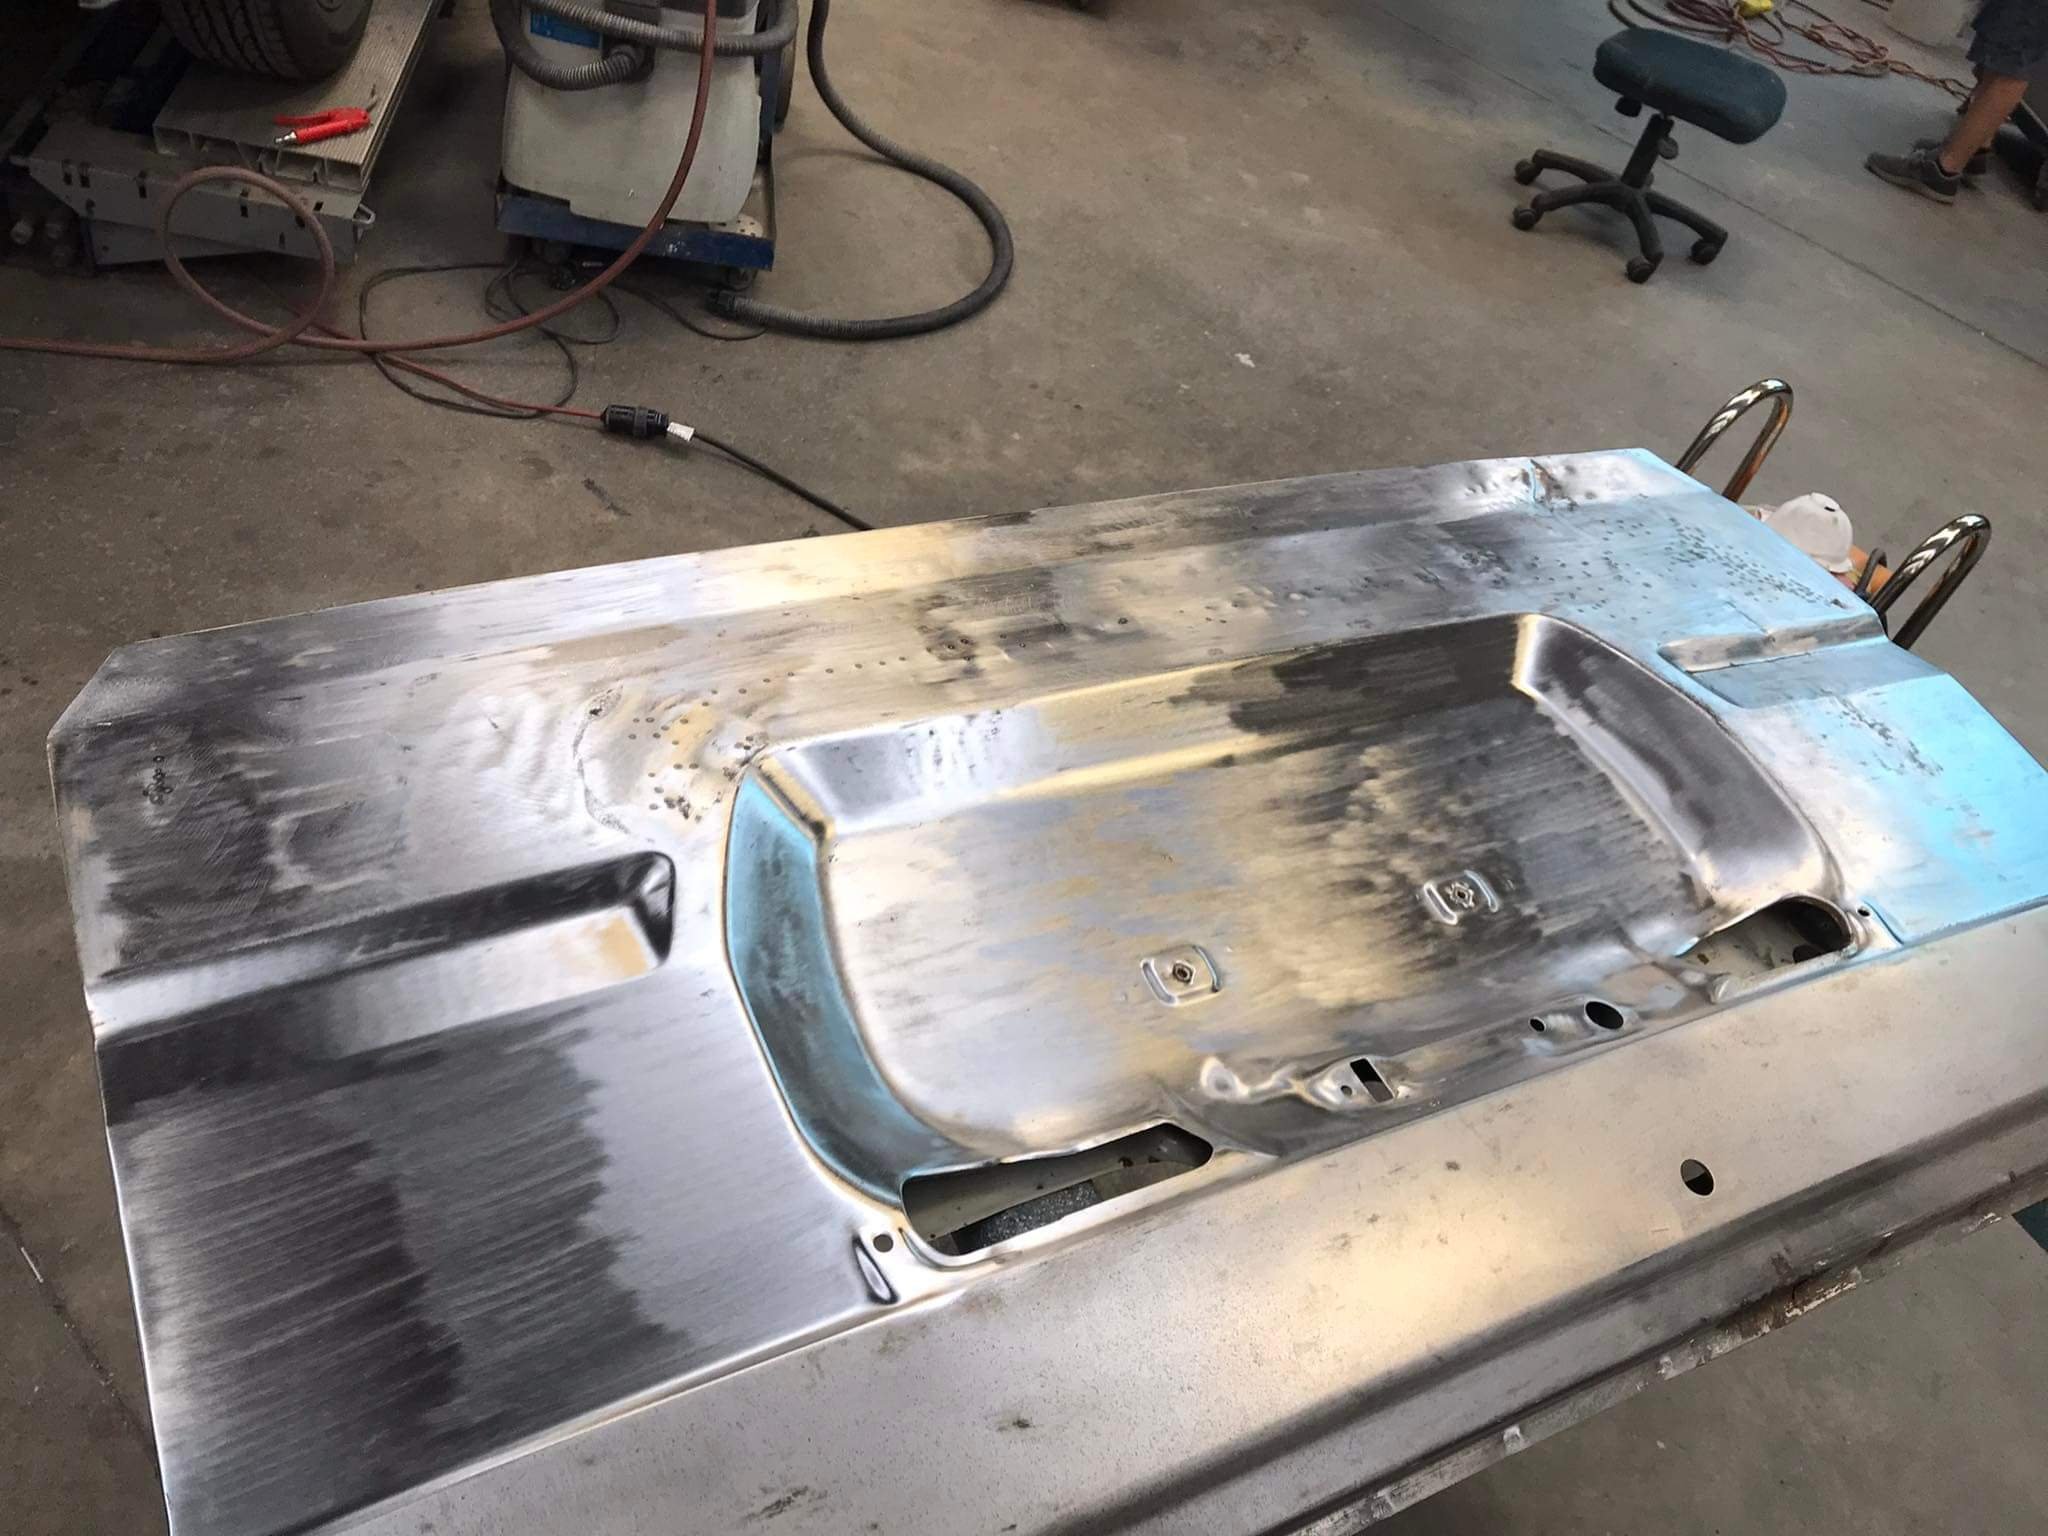
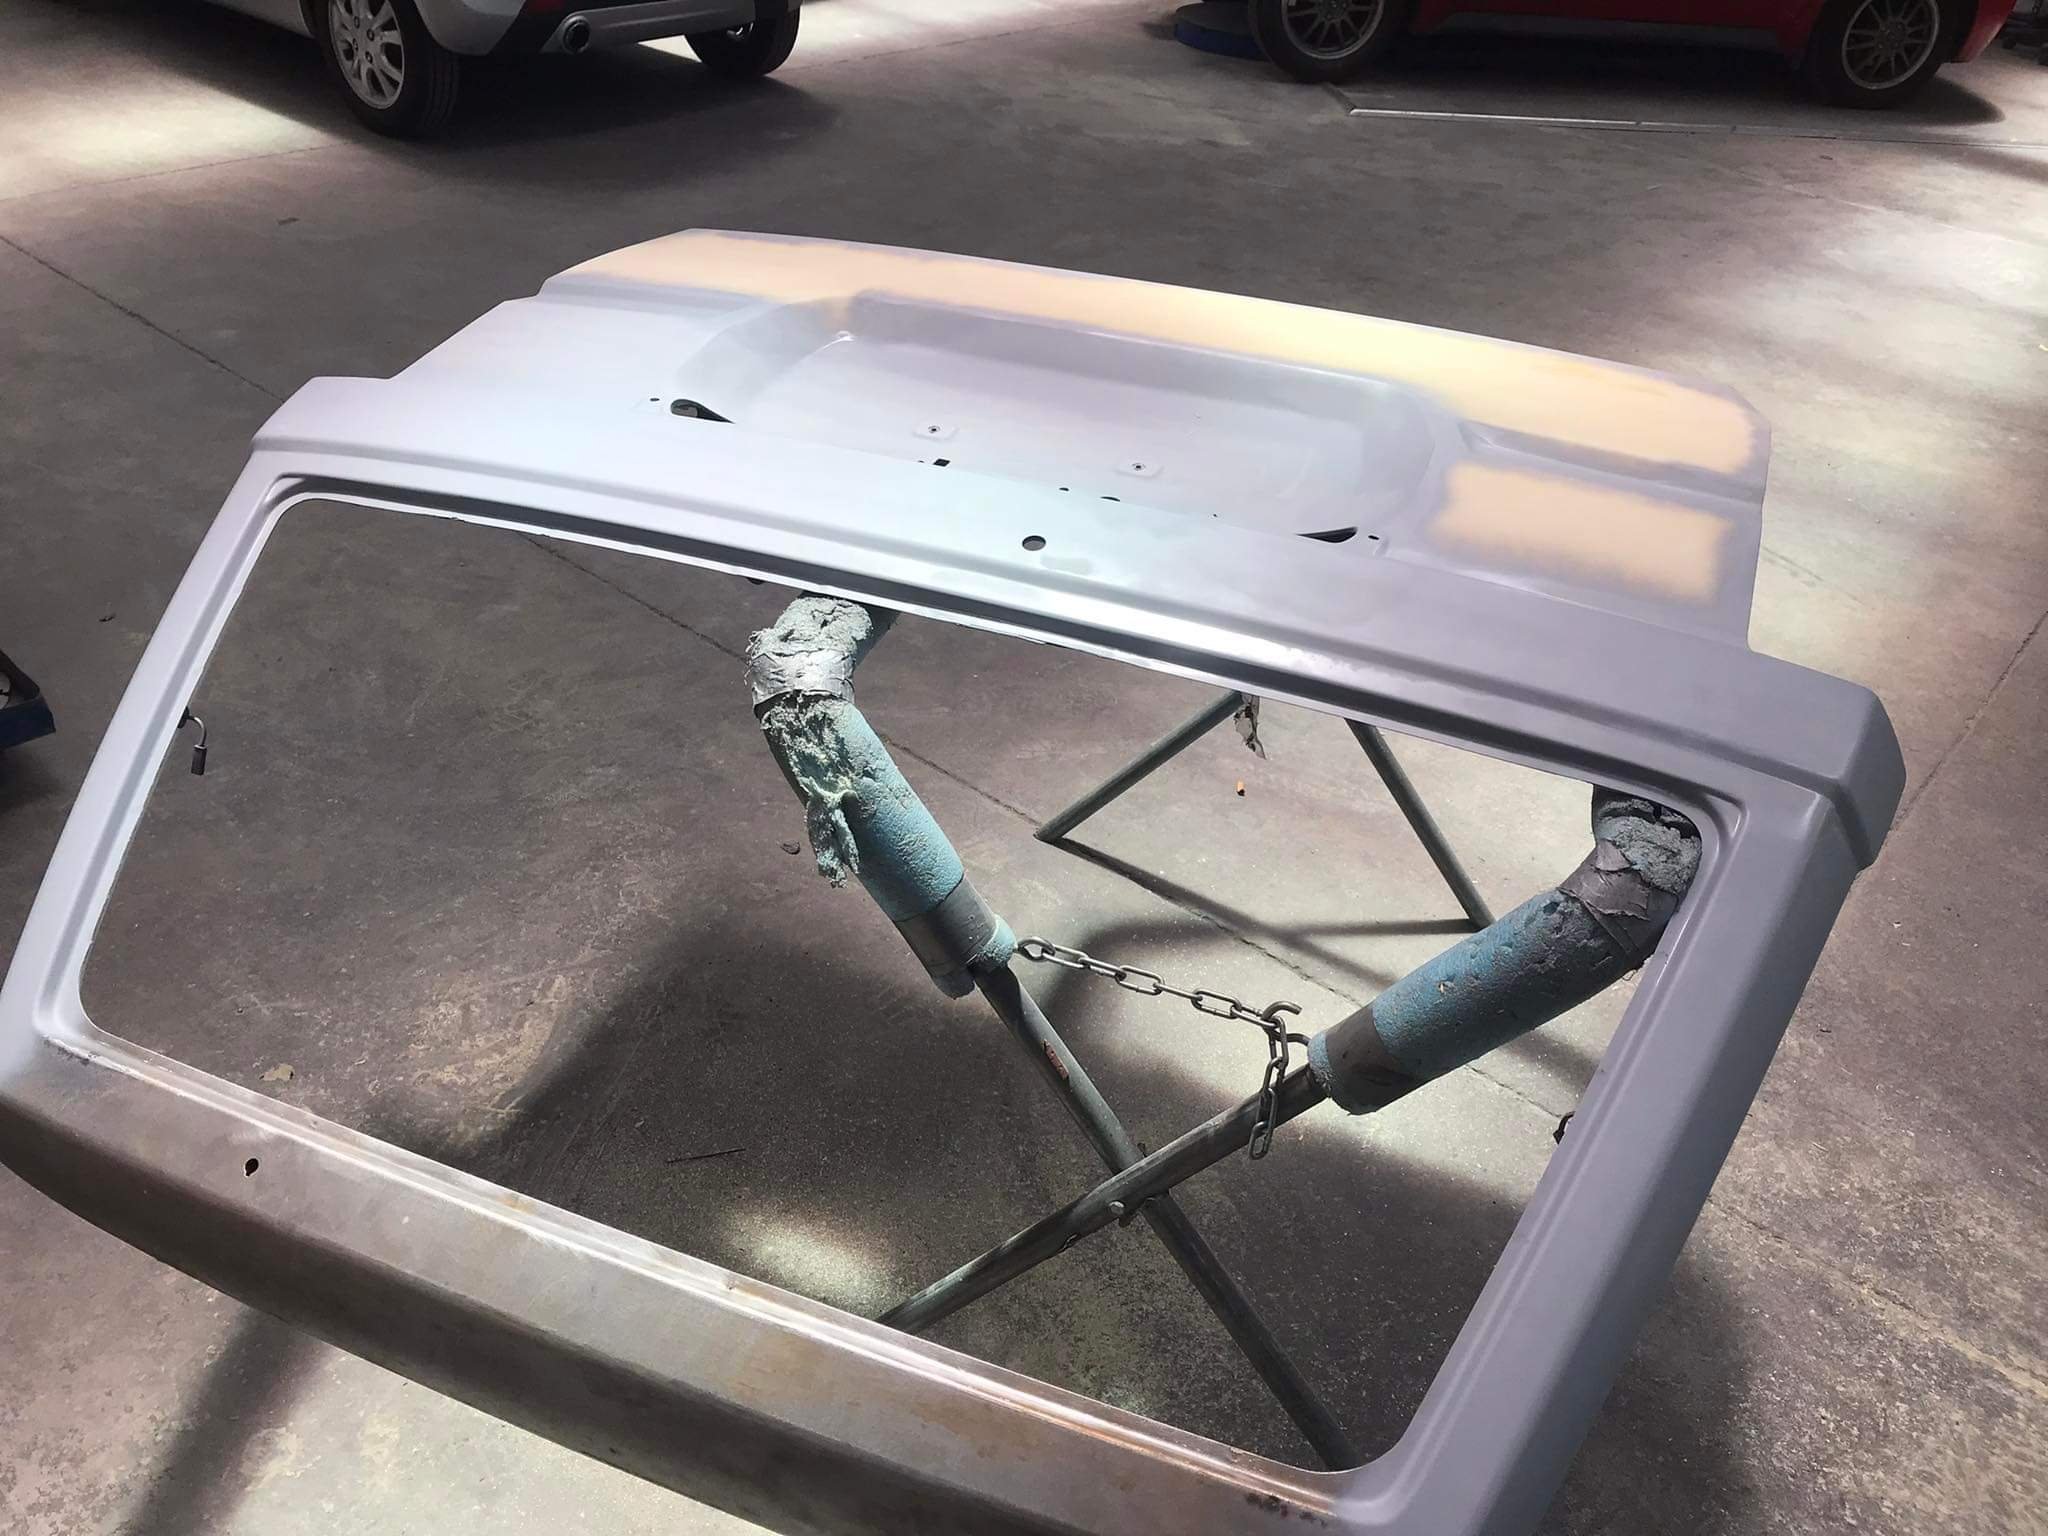
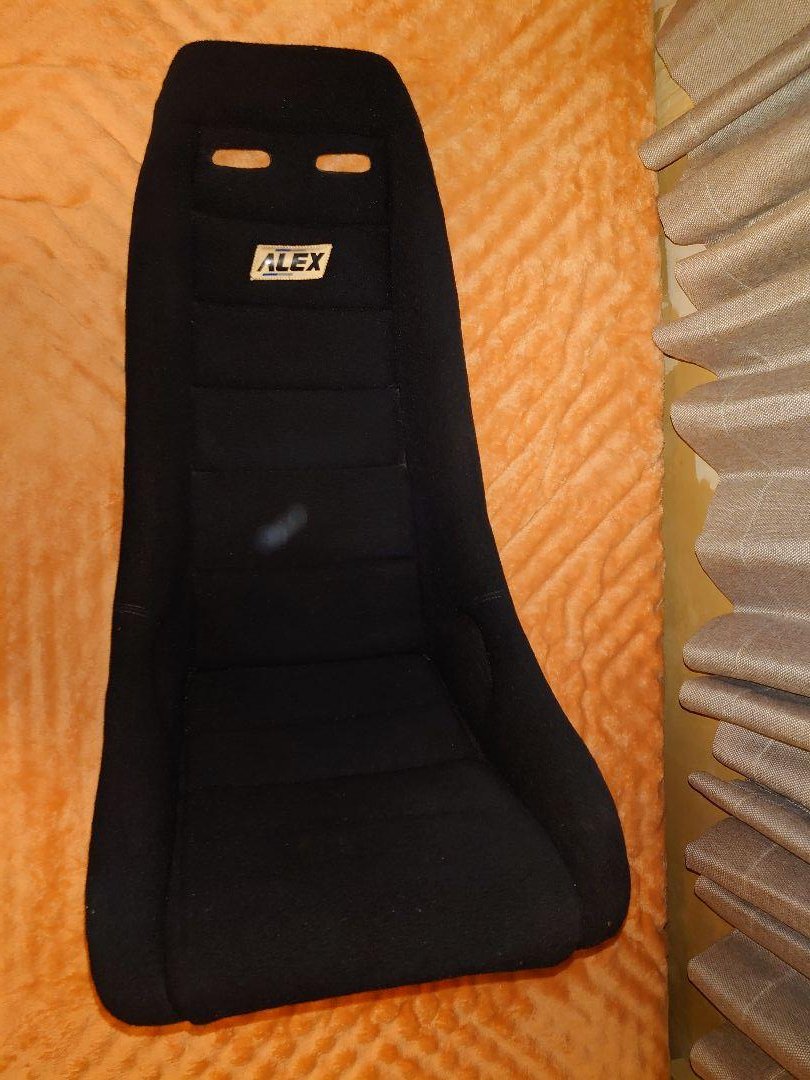
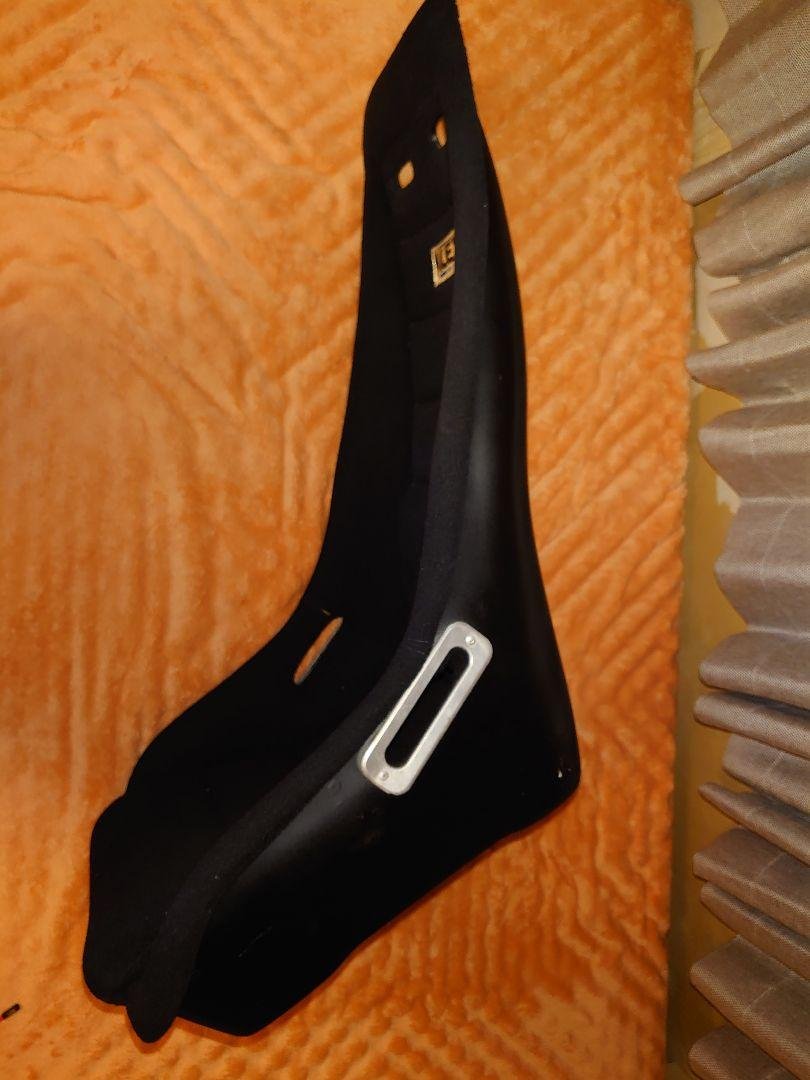
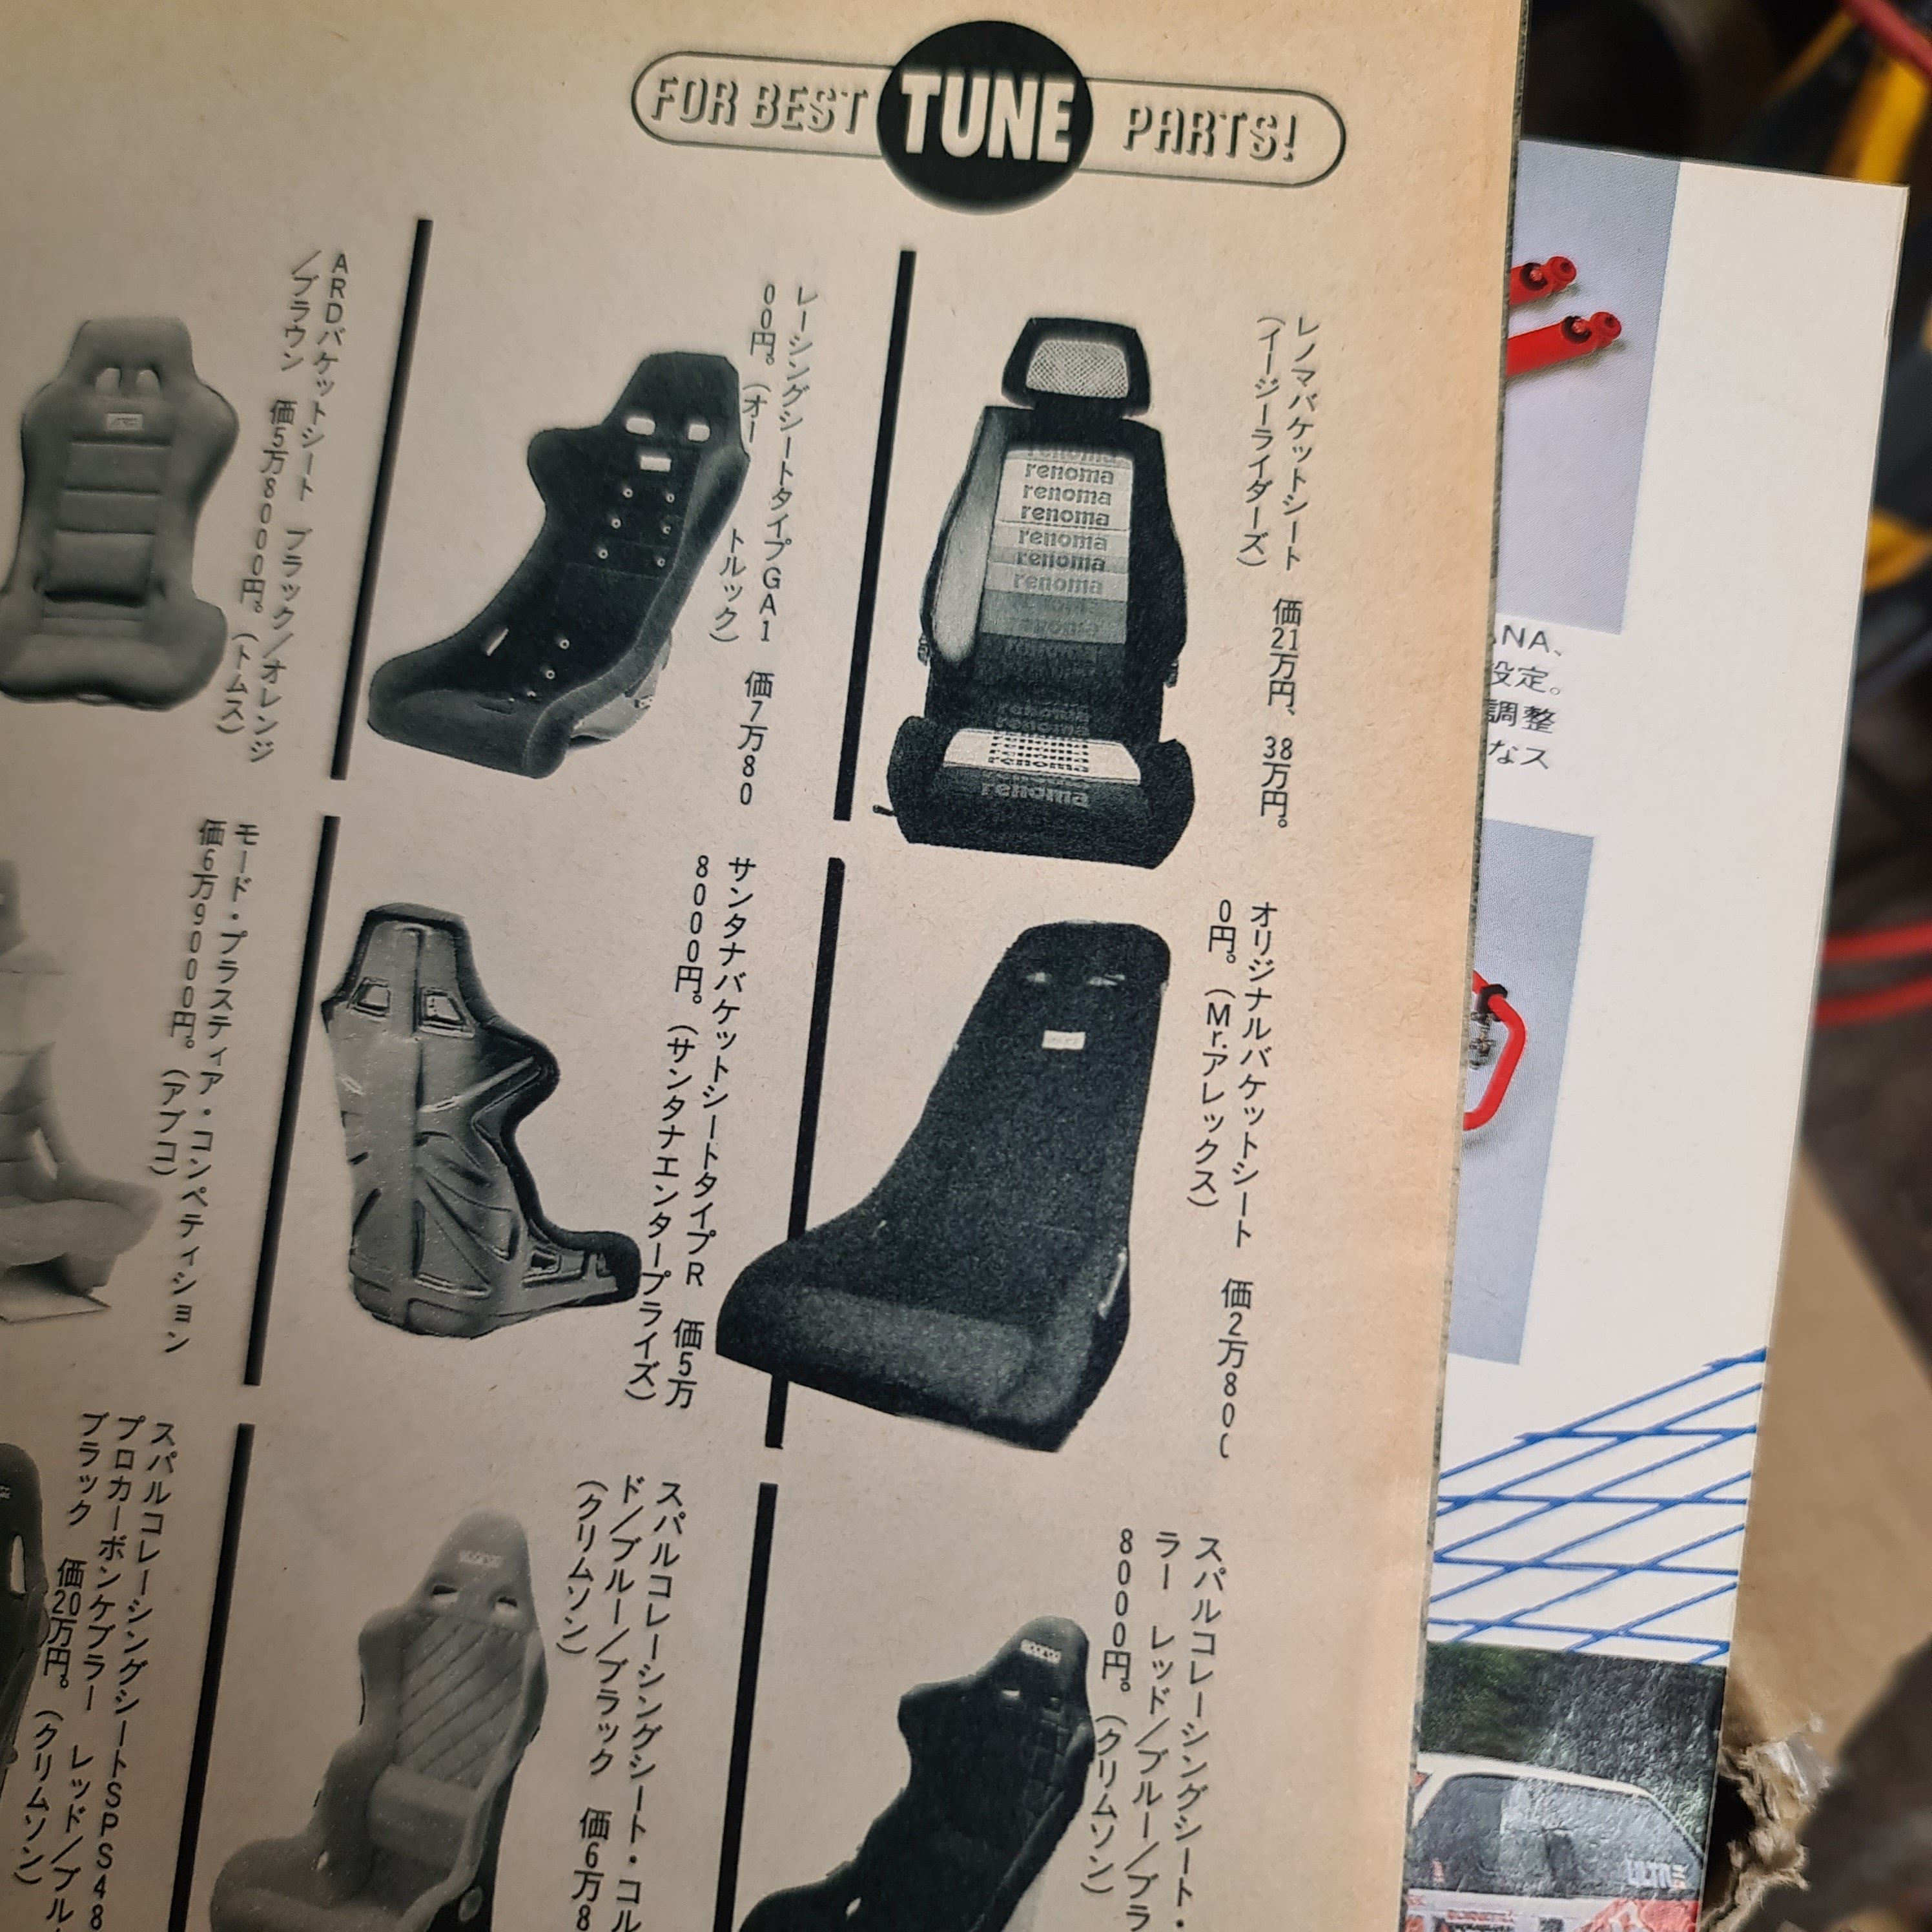
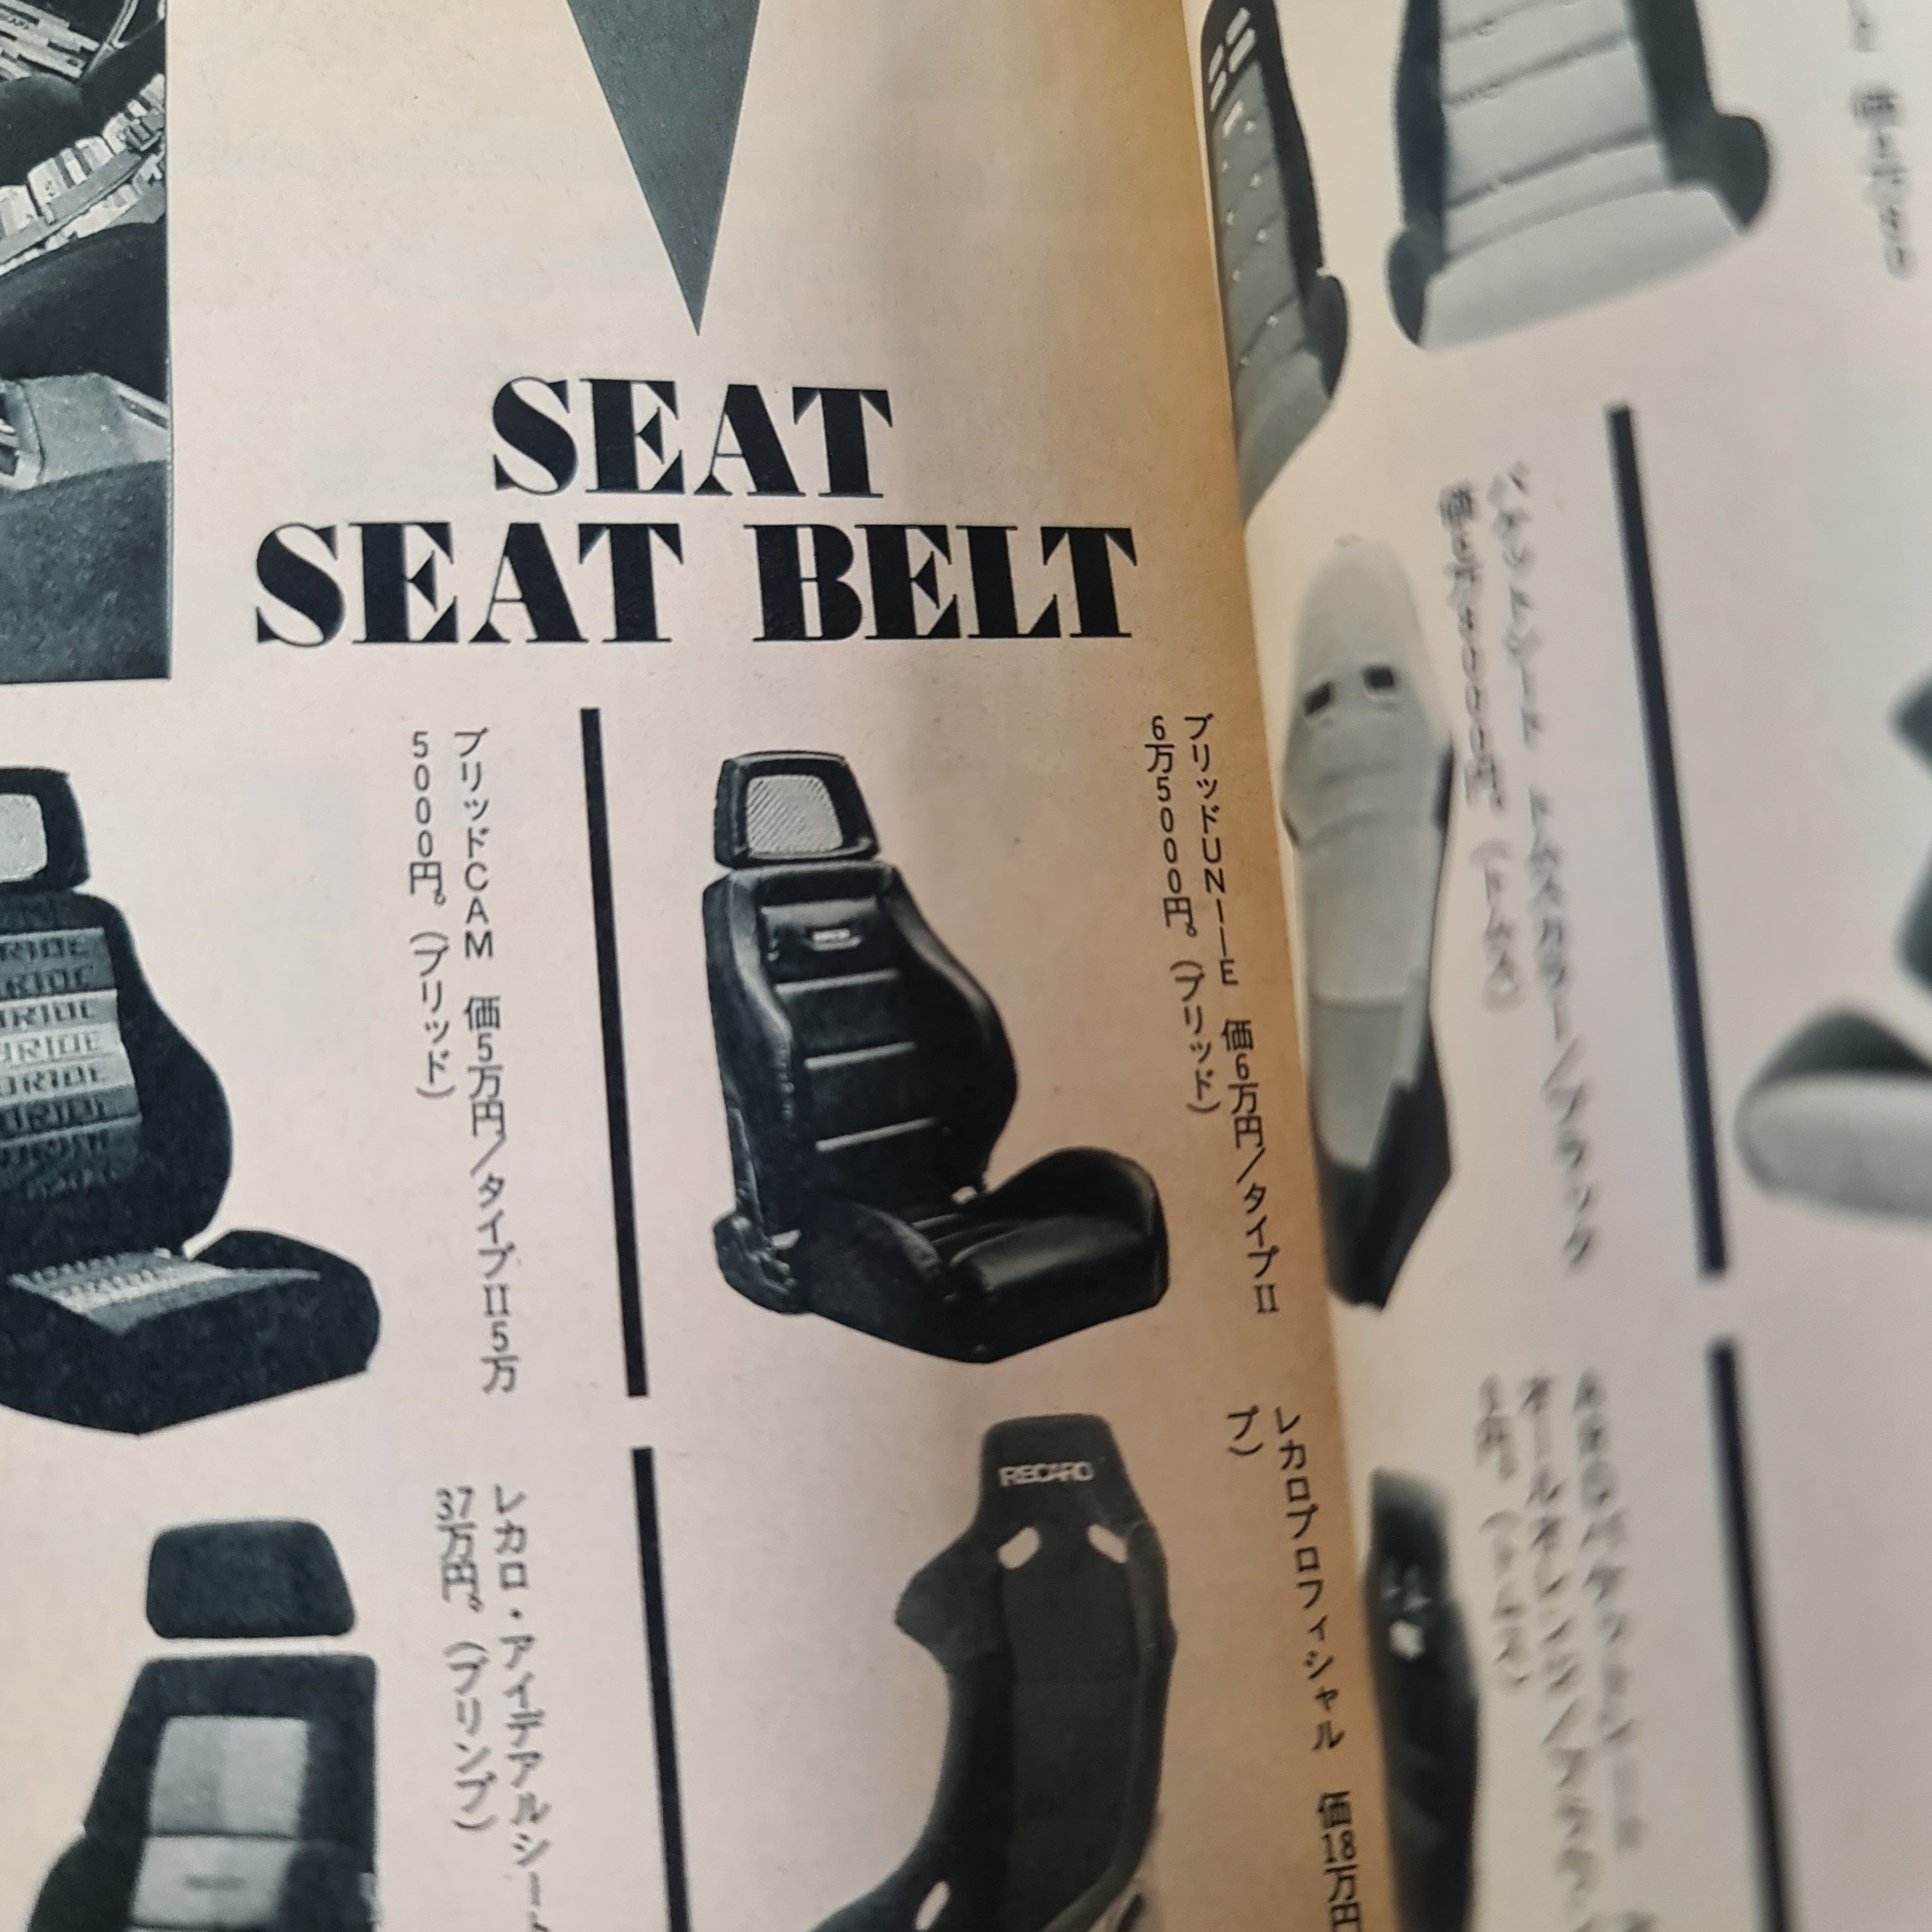
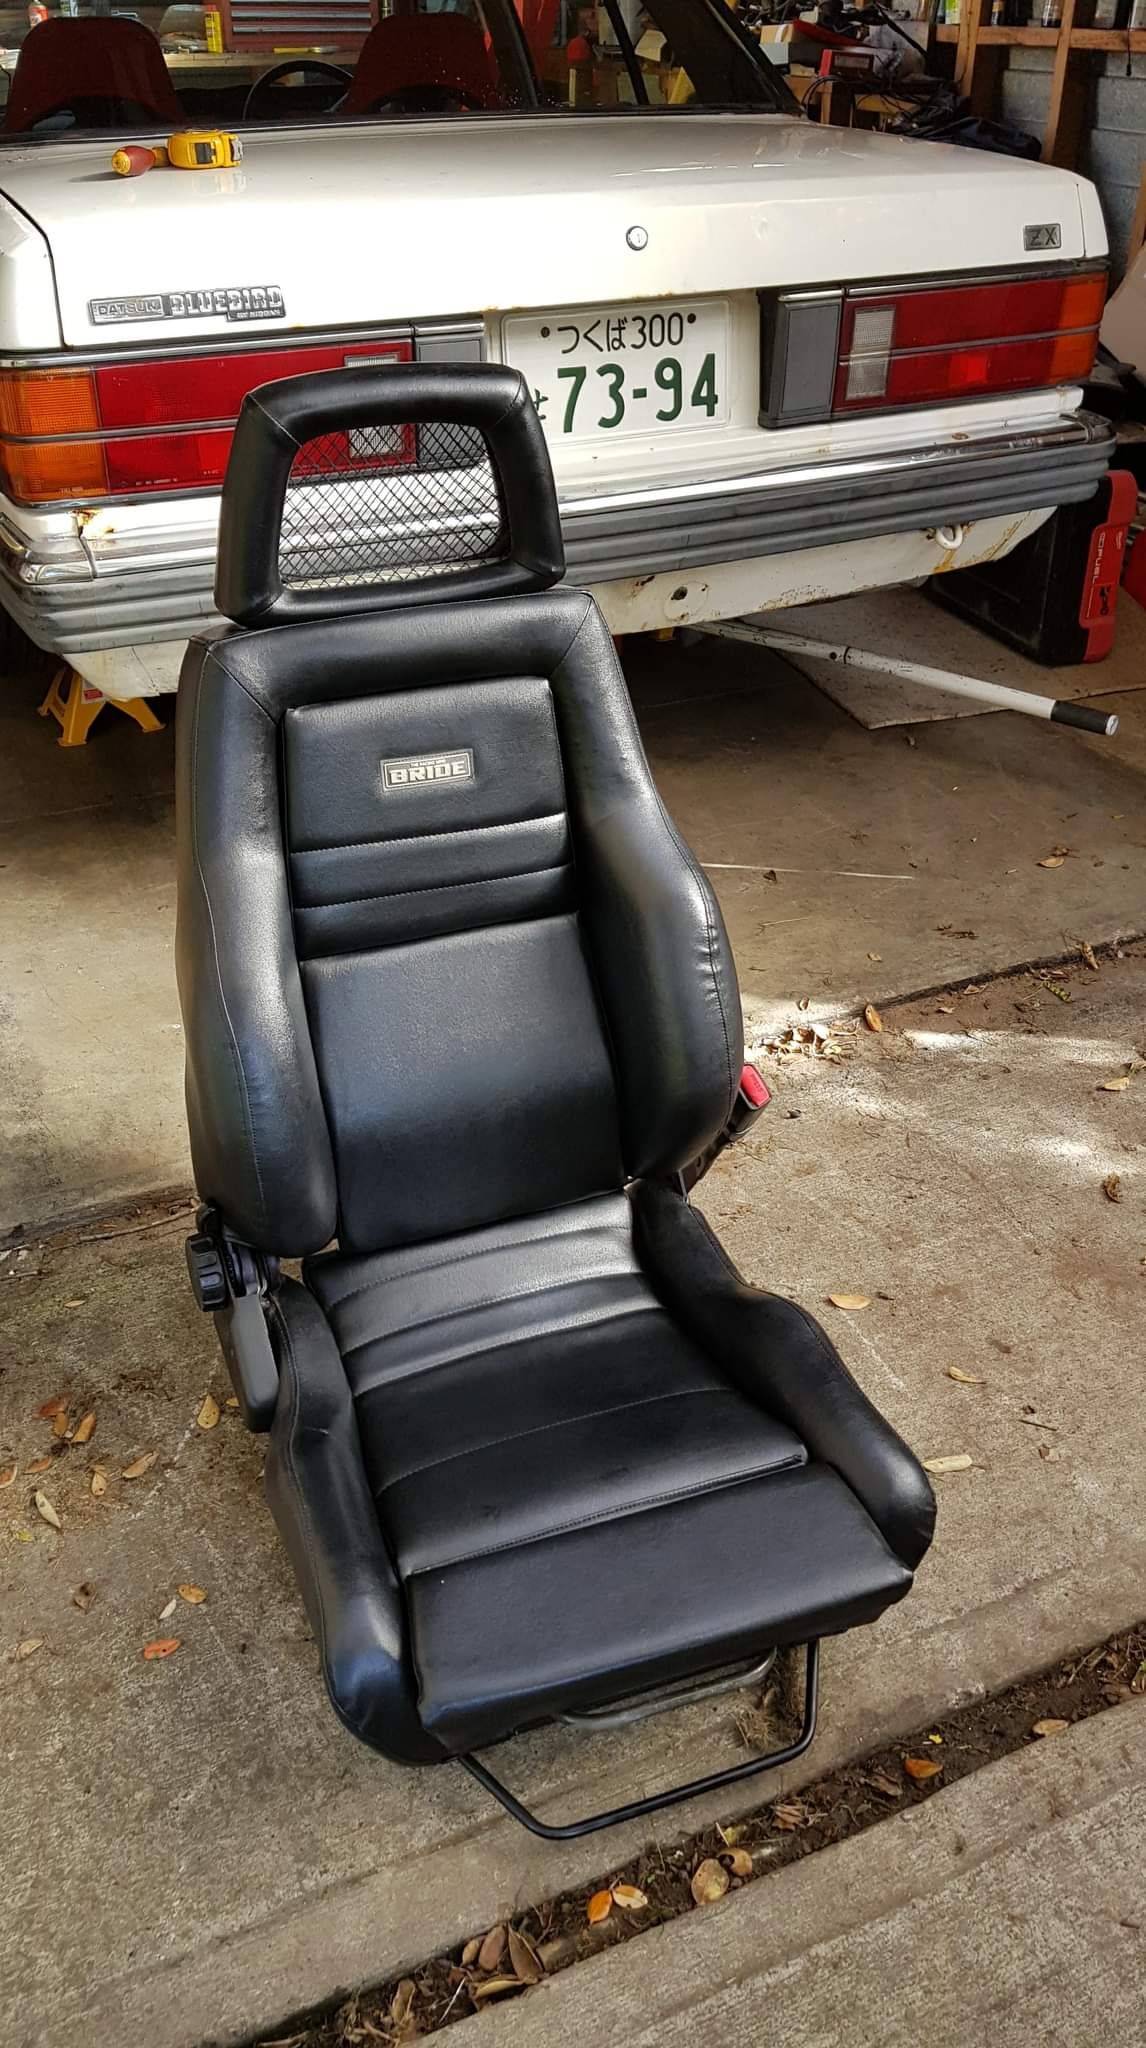
Have been a bit slack on working on this but have word the tailgate is almost done. As much of the bottom straightened as possible and then some filler to sort the rest. Purchased an old fiberglass fixed back to run in this as a bit of a tester to see how bad the shipping prices from Japan are for them. Who is Alex? I'm not sure but I have a vague memory of flicking through catalogue pages and seeing the name so went for a sift this afternoon. Listed in 1989 CARBOY sports tuning guide from Japan is the 'Mr Alex' fixed seat for ¥28000 Also found my old Bride reclineable which I didn't think was an original upholstery at the time
 10 points
 -
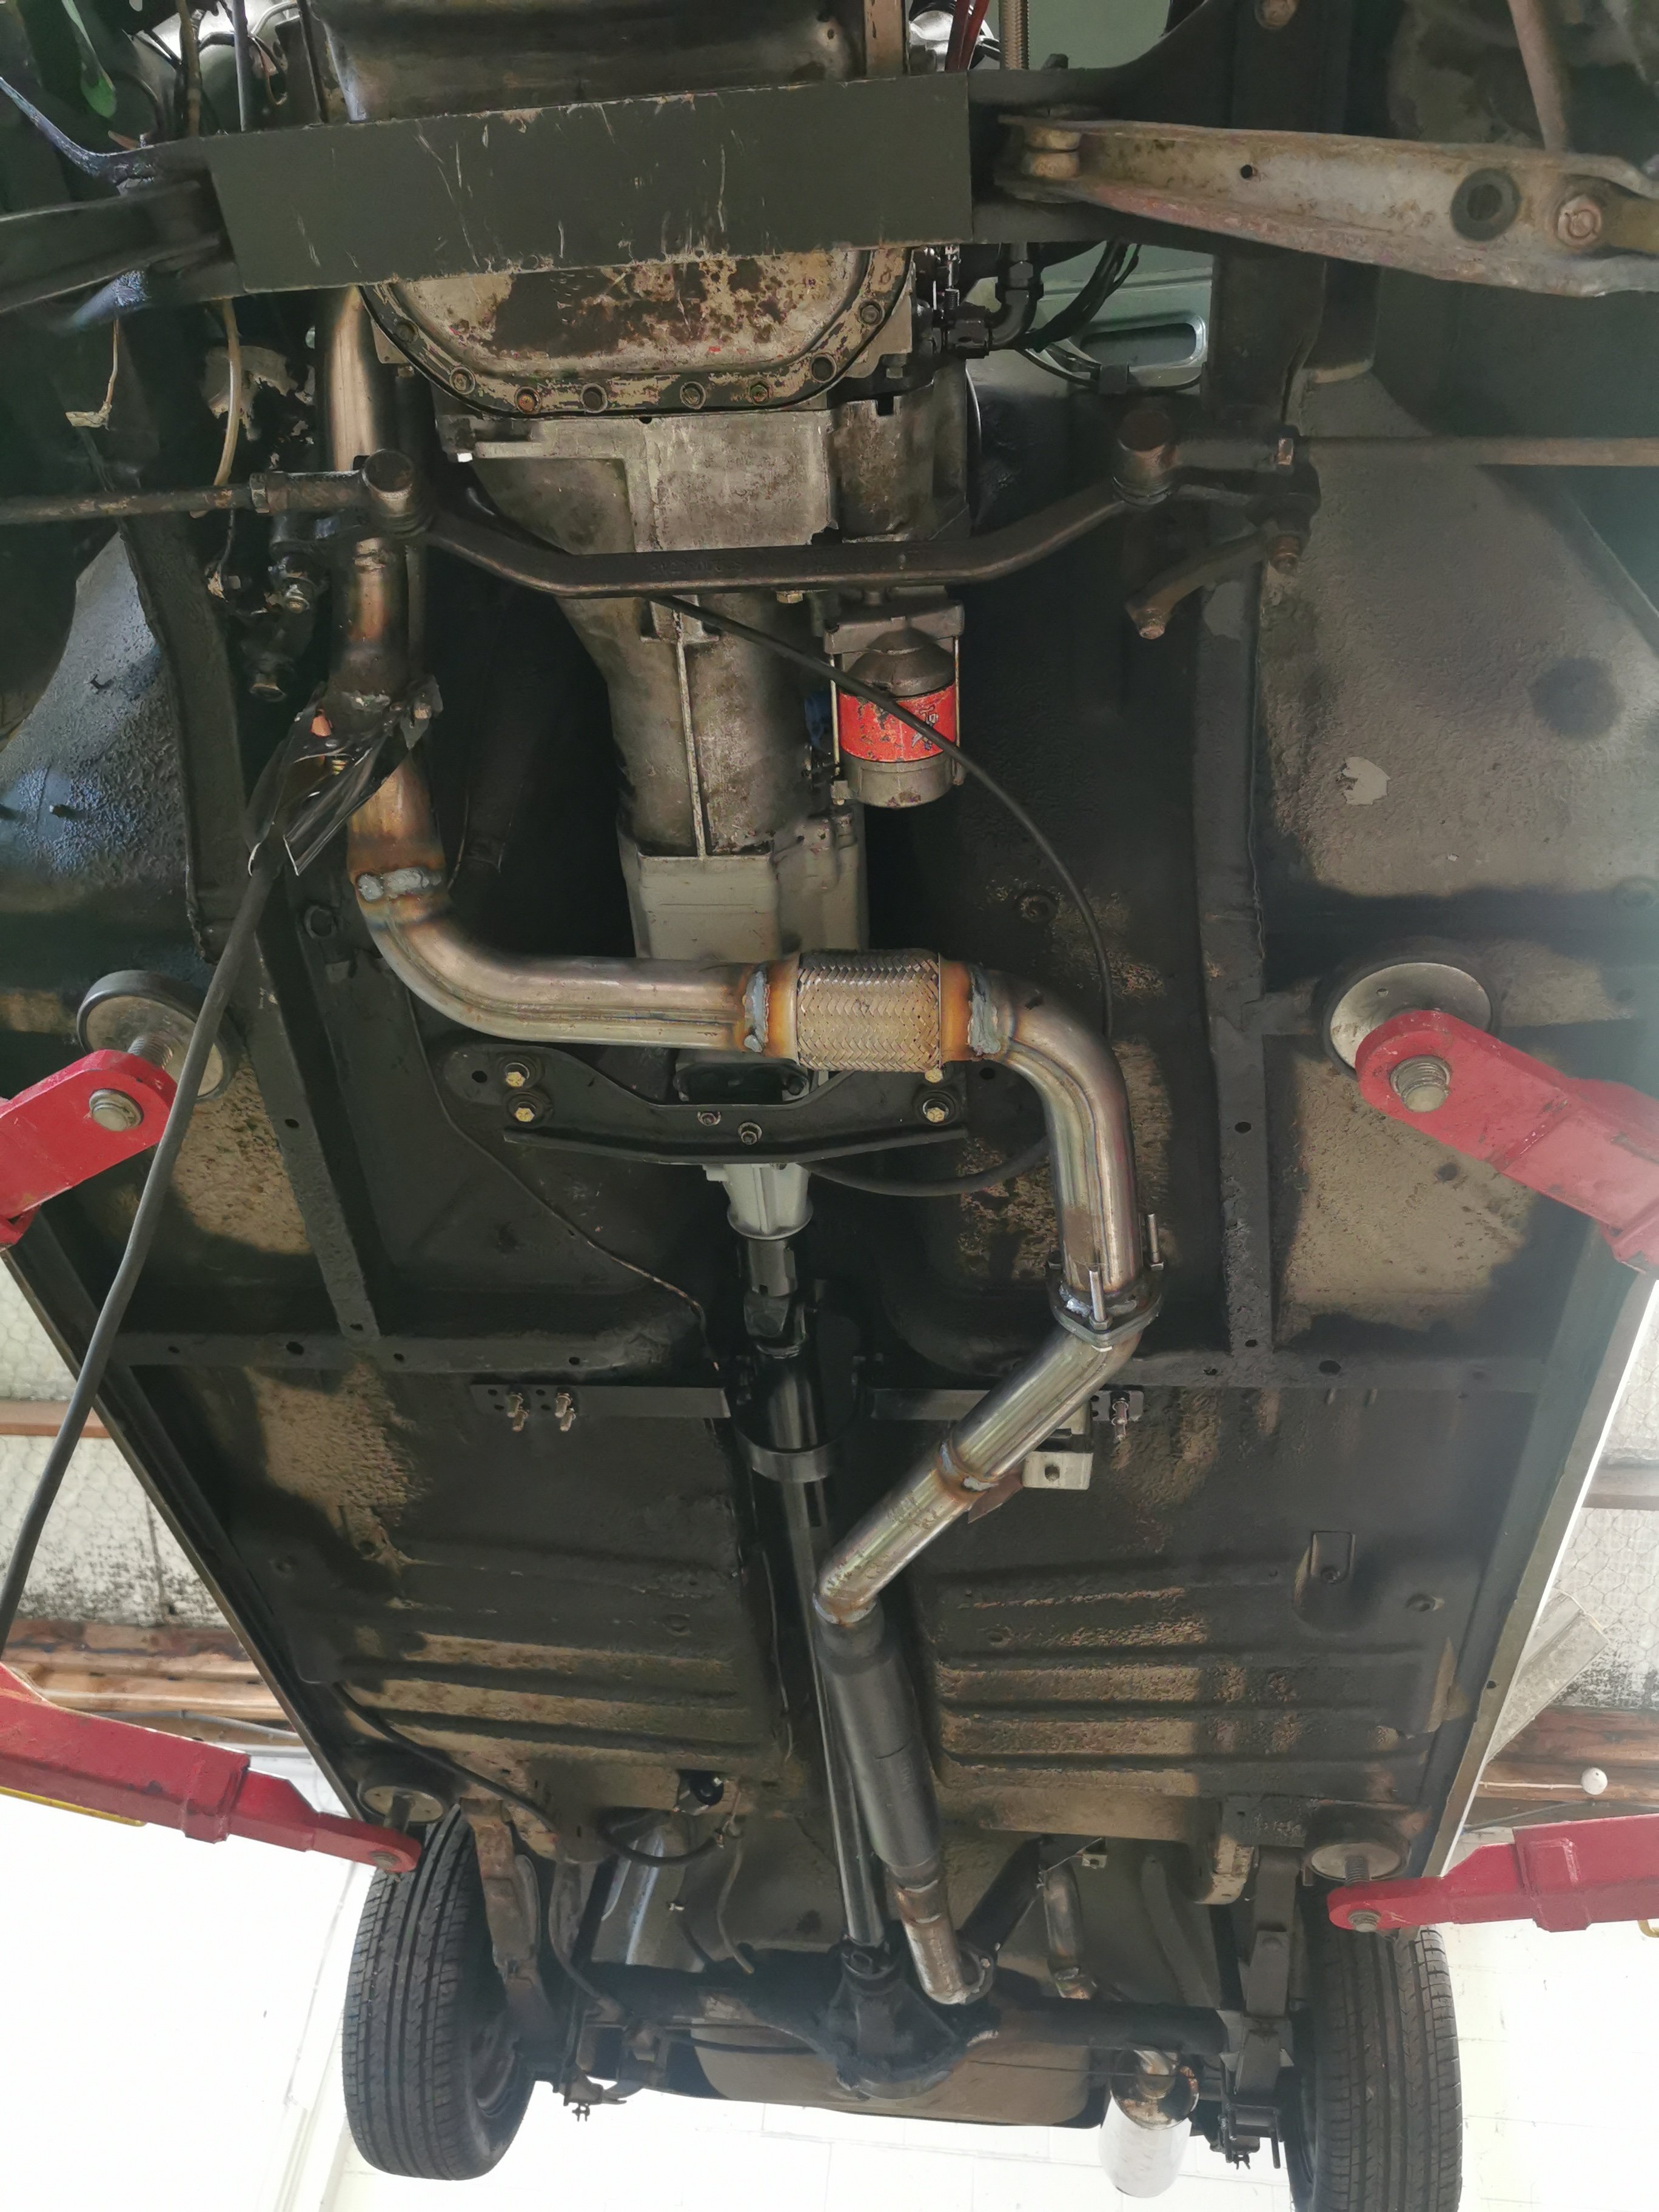
Working on Sundays. It's exhausting work. So I decided to pull the headers and make them tuck in a bit more. This has given the steering arm an extra 15mm clearance. I wasn't happy with 10mm clearance. Then set about making the rest, to include a flexi and 2 three bolt flanges. I have 2 cotton reel mounts in there at the moment and a hanger on the dumpy. About to make a 3rd cotton reel mount for just behind the resonator/flange to carry that load. Then I'll drop it all, finish the top welds and then spray it in high temp paint. I'm pretty chuffed with it so far, will also check for knocking and clearence issues, but so far it all looks good.
8 points
-
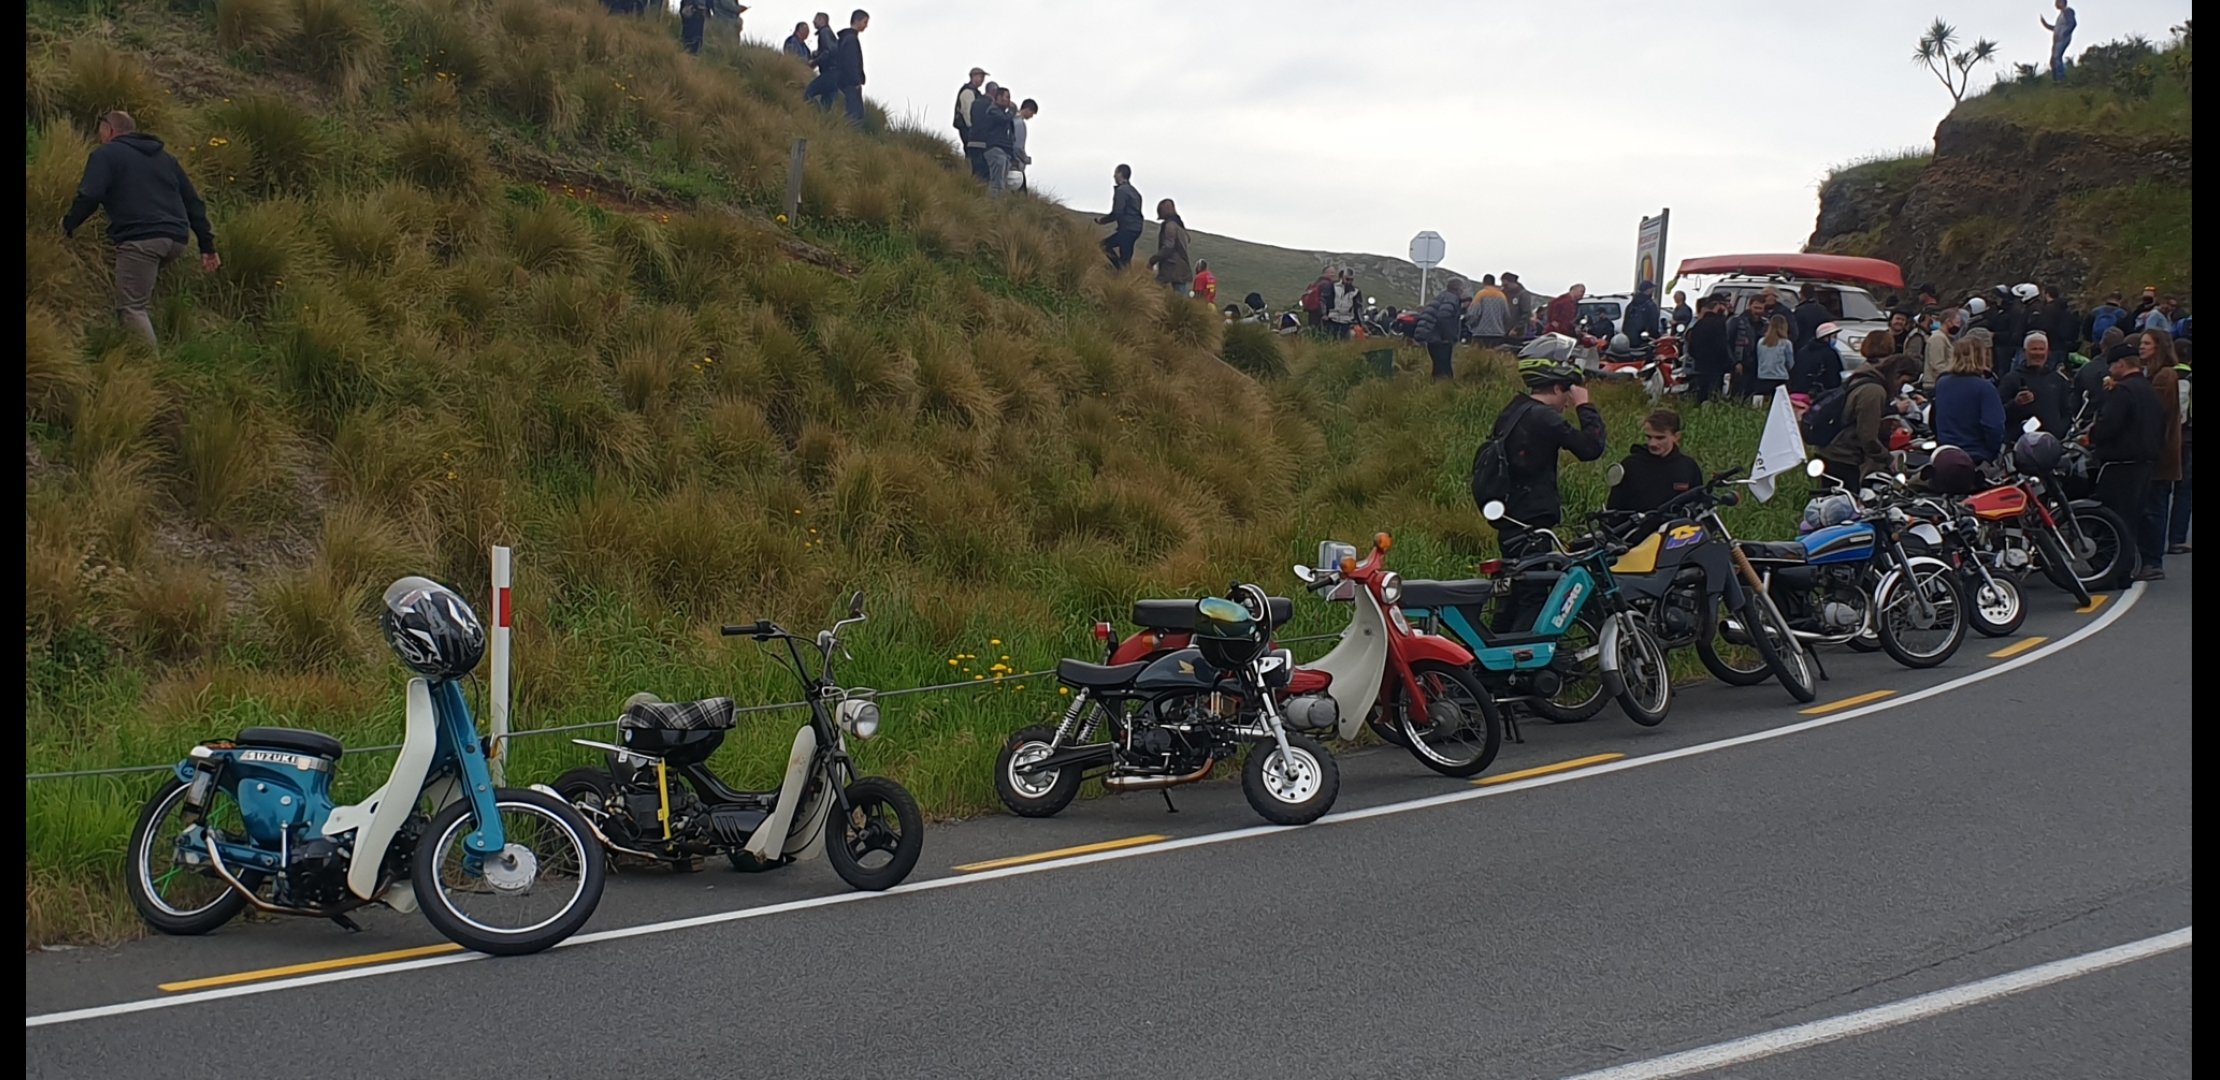
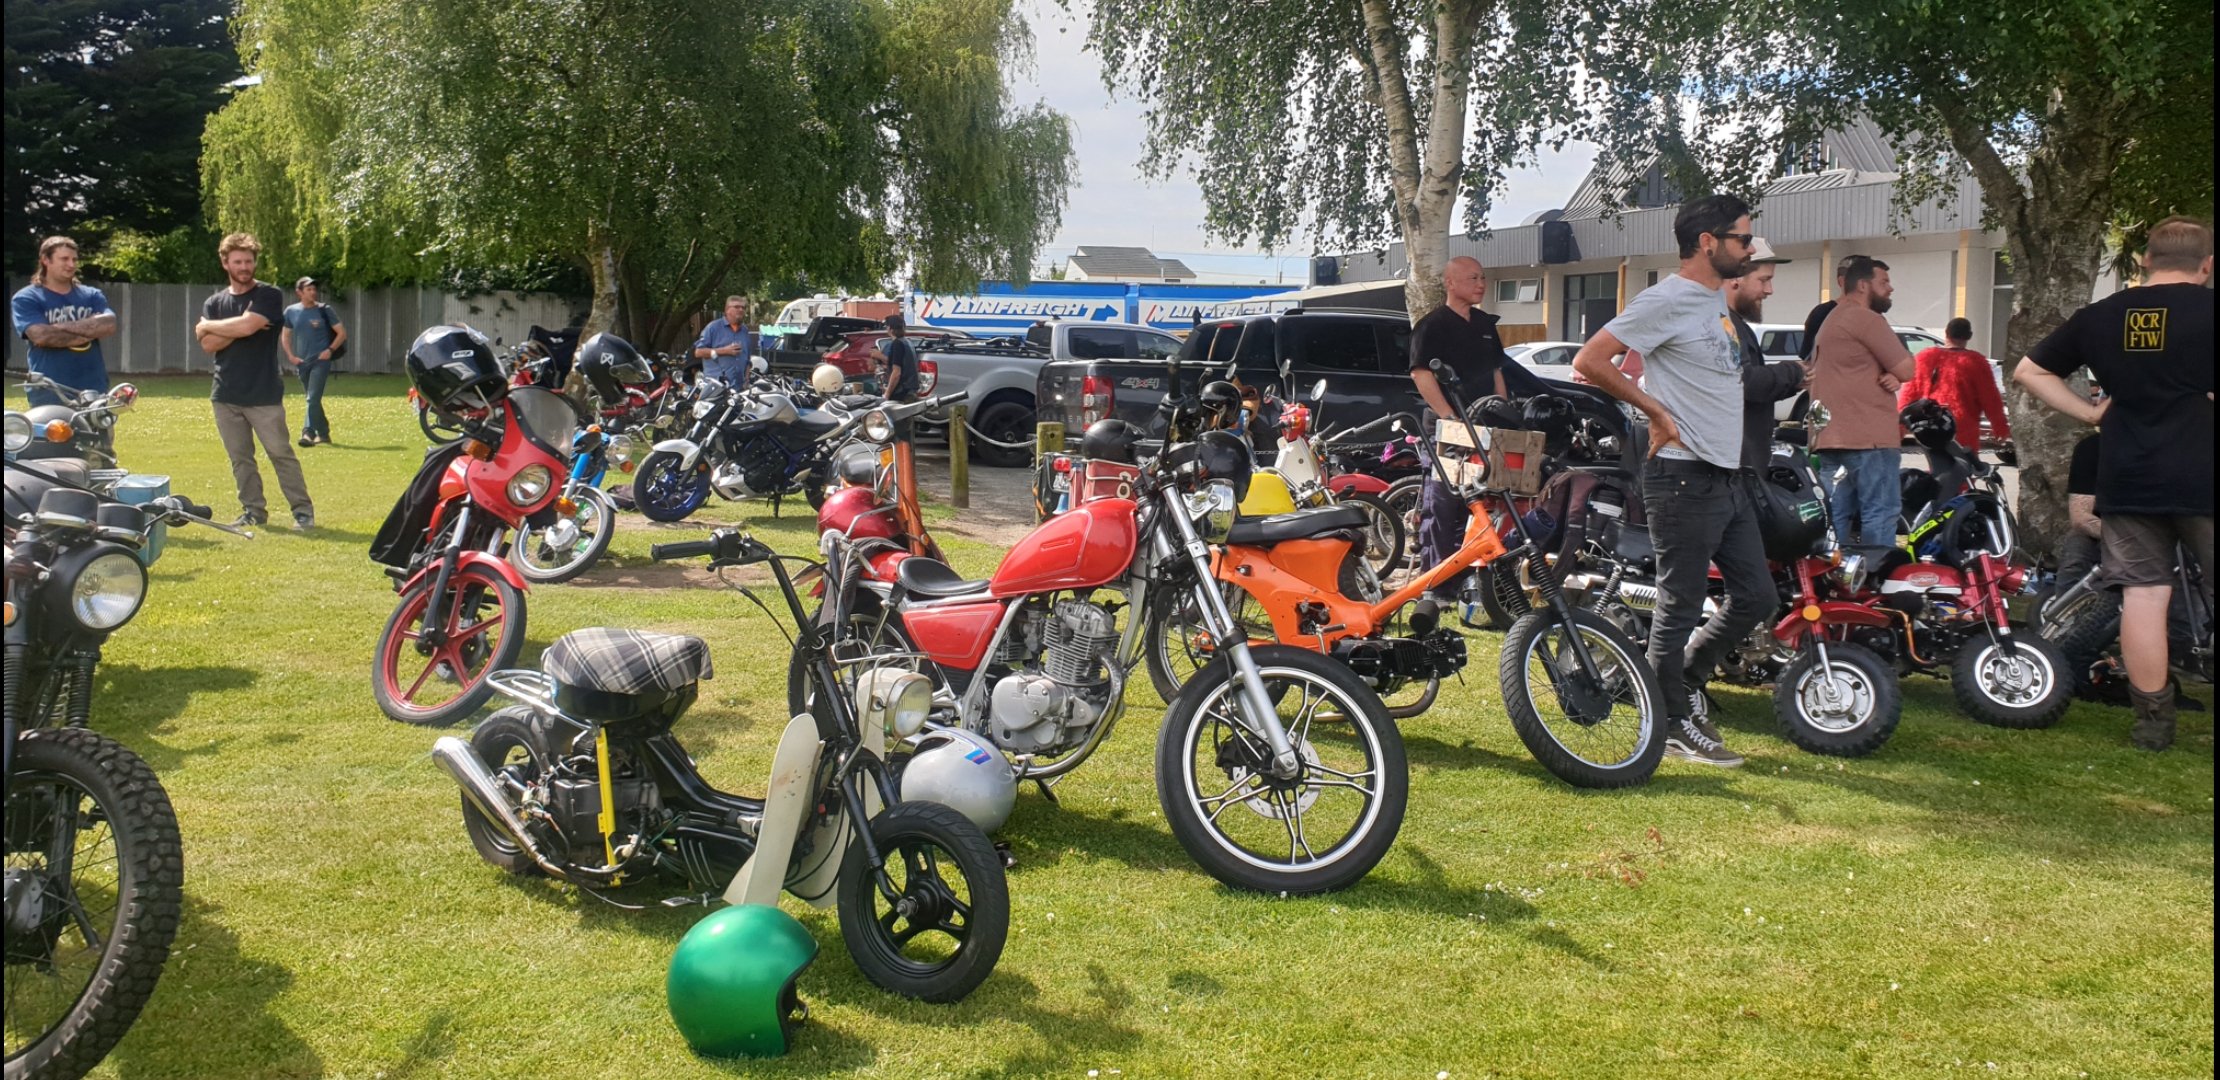
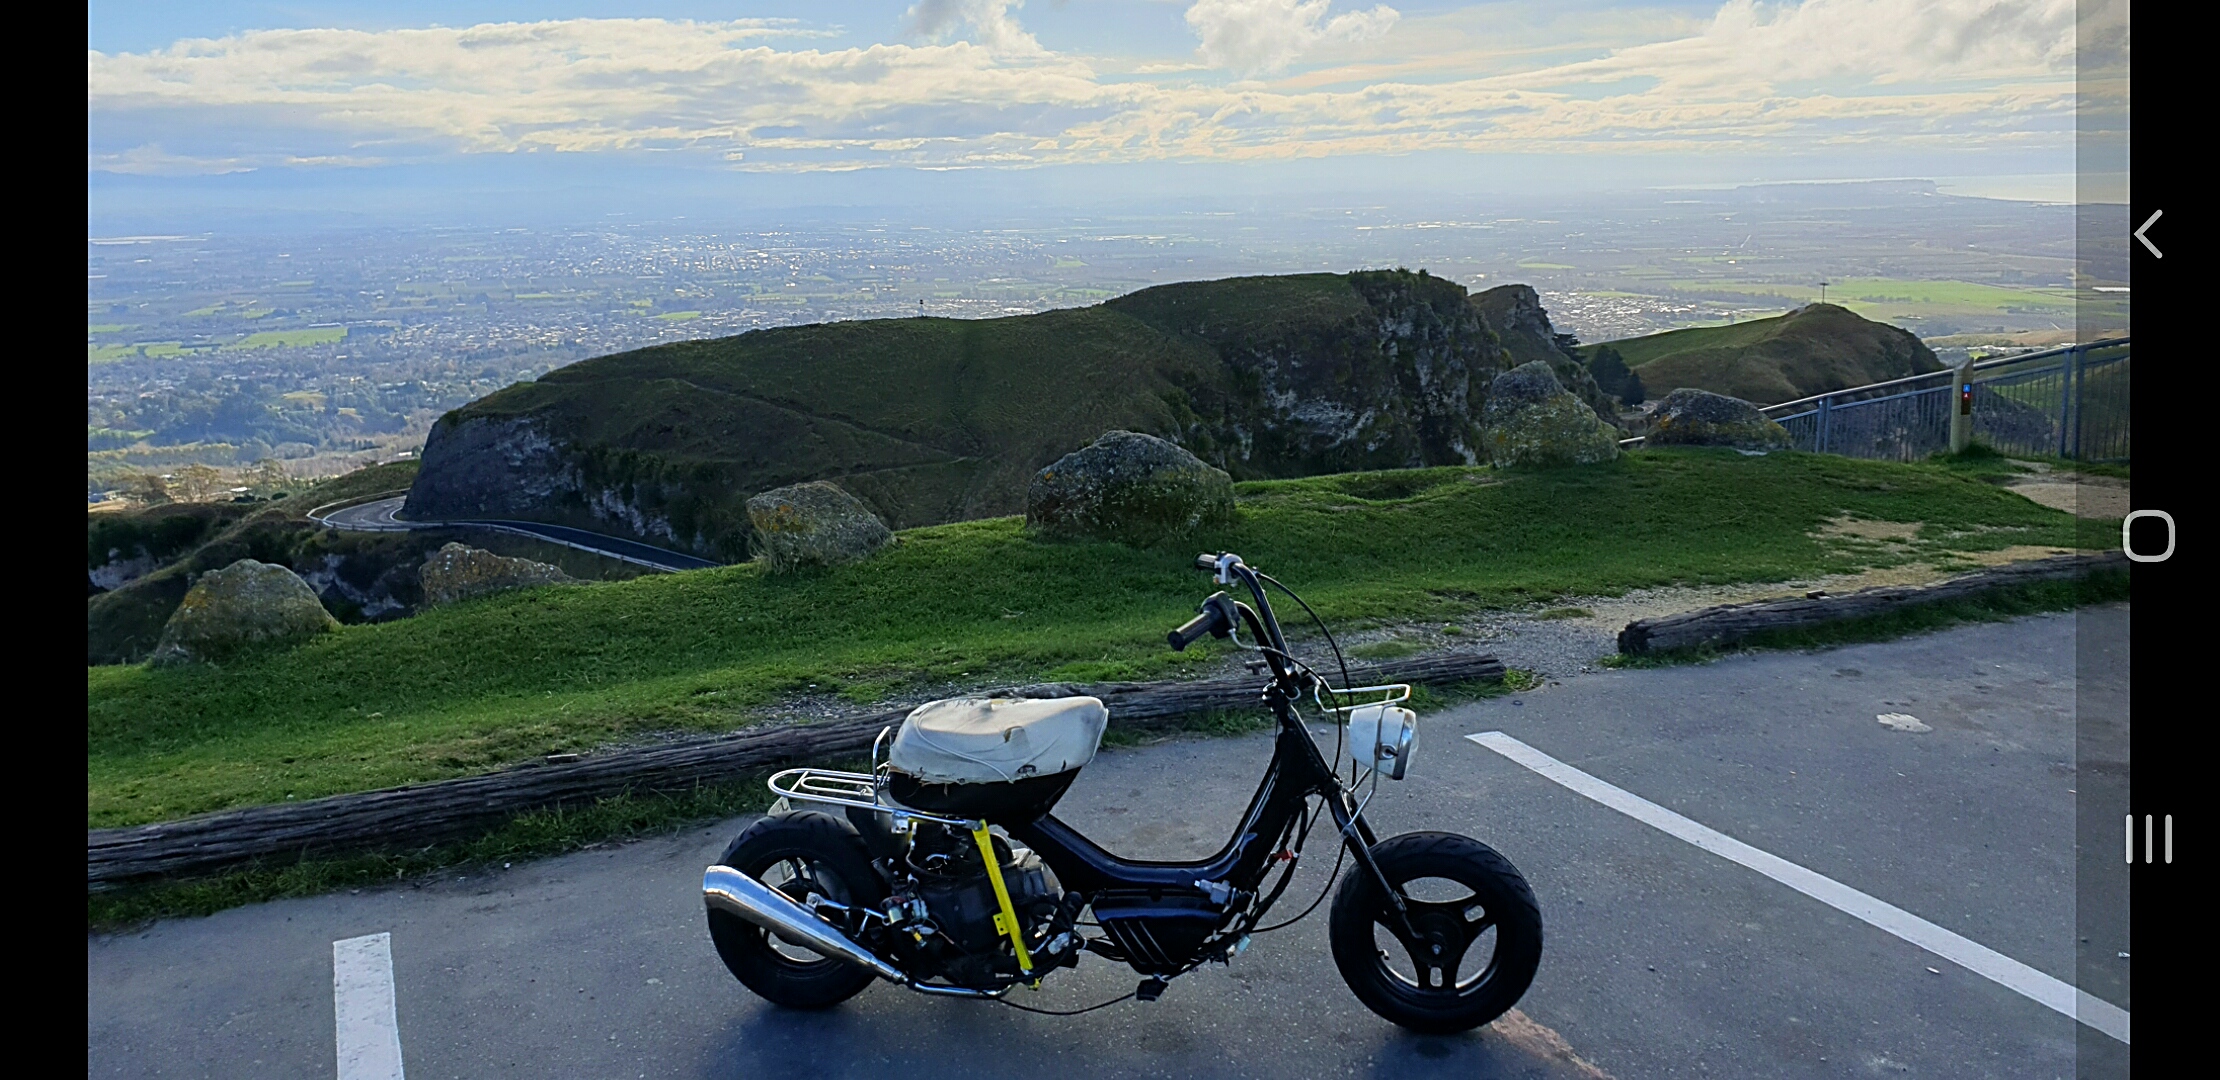
The ol girl realy punched over her weight at syds run. 2hr delay at ferry long day from palmerston north to christchurch. Bike had no issues just cleaned the plug half way thru cant really b happier with it. Now ill go home pull down and make her abit nicer roundbthe edges
8 points
-
So what everyone has actually being waiting for, the final comparison between Toyota Altezza RS200 3SGE BEAMS and a Honda Accord Euro R K20a engine in the same chassis Still trying to get my hands on a single dyno sheet with the 2 different engines on it. So this will have to do. Modifications/Setup Toyota Altezza RS200 3SGE: 120,000 k's SQ Engineering Quad Throttle adapter plate 4AGE Blacktop throttles 70mm trumpets Combined Piper Cross Filter Stock Injectors SQ Engineering Slim line alternator (smaller Echo alternator) No Power Steering pump or AC Custom header (TRD Copy) to side exit exhaust 2.5" Adrenaline R muffler Link G4+ Storm (Blue) Engine internally stock Lightened flywheel HD Exedy Clutch J160 Gearbox 3" Driveshaft with sliding yoke into gearbox Oil: Castrol 5w40 Rev Limit: 8000rpm Dynoed in 5th gear 1:1. Honda Accord Euro R K20a: 108,000 k's Skunk 2 Ultra Street Intake Manifold 770cc FIC injectors Skunk 2 74mm Throttle Body. 3" intake pipe from pod filter. Custom header to side exit exhaust 2.5" Adrenaline R muffler Stock water pump replaced with EWP Alternator replaced with smaller Honda D15 one. No Power Steering pump or AC Stock Oil Pump and Balance Shafts replaced with ported Type S oil pump. New Timing chain Lightened flywheel HD Exedy Clutch Link G4X XtremeX Honda S2000 AP1 Gearbox 3" Driveshaft with sliding yoke built into shaft as gearbox has flange VTEC 4500rpm Oil: Castrol 5w40 Rev Limit: 9000rpm Dynoed in 5th Gear 1: 0.94076 Same: Tires 54cm Michelin Slicks at 21 PSI, on same Rims Same AE86 Diff (Brakes were changed from stock to AP with knock back) 4.5555 Crown wheel and Pinion. Same Dyno Different: Dyno retarders have changed from 110v to 220v. Results 3SGE : 201hp @7250rpm 173.6 lbft @5150rpm K20a: 206HP @8250rpm 167.9lbft @5300rpm Thoughts I'm a little bit disappointed in final figure, but I think my expectations were to high. You have to take all the HP figures that everyone posts with a grain of salt. Especially anything from the UK who like to give made up flywheel figures when they dyno there cars on a rolling road... Changing from a front wheel drive to rear wheel drive setup definitely has more drivetrain loss, from what I've read a factory stock S2000 AP1 with 240/250hp at the flywheel dynos 200hp at the wheels. Also a lot of people show "stock internals" figures which include changing cams etc. So the power figure is in the right ballpark really for the modifications (stock K20a has 220ps at flywheel) as rear wheel drive. Looking at some of the NZ figures I have seen, the engine would probably get quite a gain (20 to 30hp) from a set of drop in cams (no other valve train changes) But if you ignore the single figure and look at the dyno sheet it pretty much makes 200hp from 6700 rpm all the way to 8700 rpm which is a very significant power band. So overall, it's a good improvement. Shakedown So I then got it out to the track and managed 4 laps before the gearbox lost most of it's oil when a bolt came loose. Luckily I was going fairly slowly so no internal damage done hopefully. However a bigger issue is a massive driveline vibration. Plan A: Driveshaft is getting balanced at 5000 rpm (it does 9500 rpm in 6th) Plan B: CV Front joint on the same shaft, or a replacement driveshaft. Driveshaft is to short to go 2 piece and we think the angle of the engine and gearbox is impacting the universal joints. However aftermarket CV joints for these are supposedly not very good. So currently looking at options. Car definitely felt like it was pulling really hard, but with so few laps, and me just making sure everything was working, not a good indication of final result. Videos: First 2 Laps: Second 2 Laps (where it dropped the oil): Flyby (Potato Cam):7 points
-
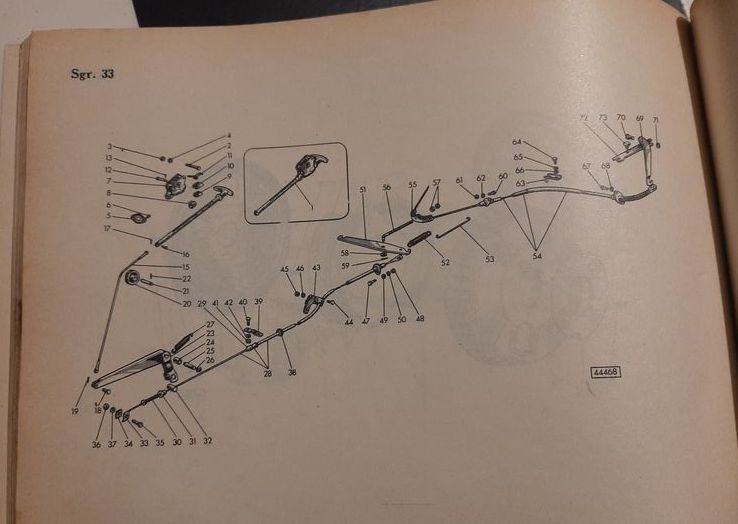
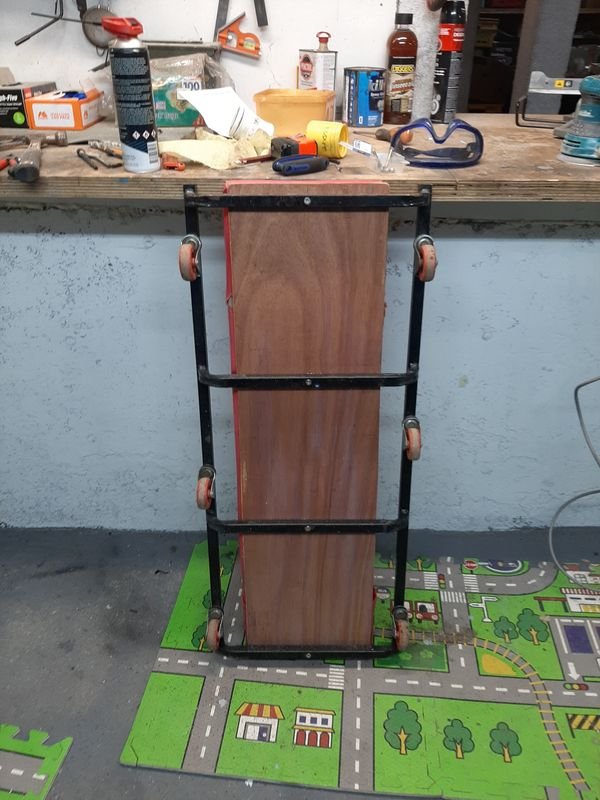
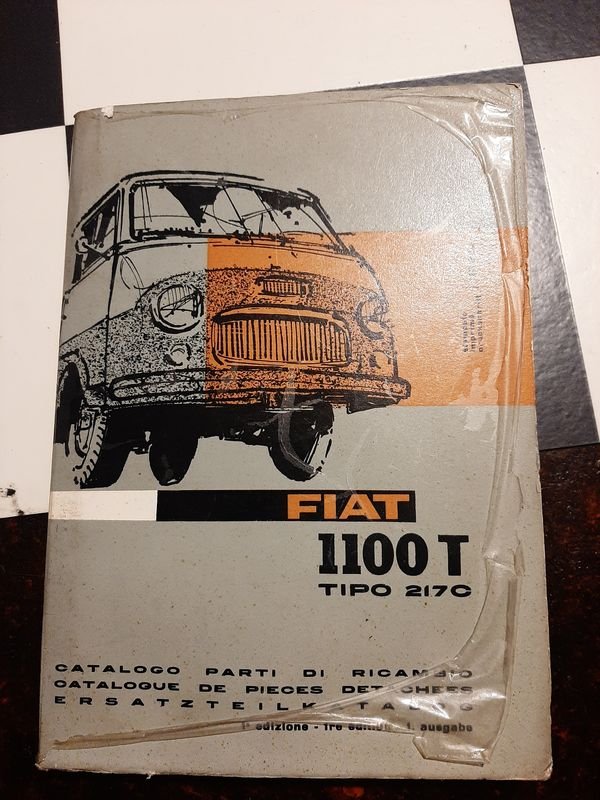
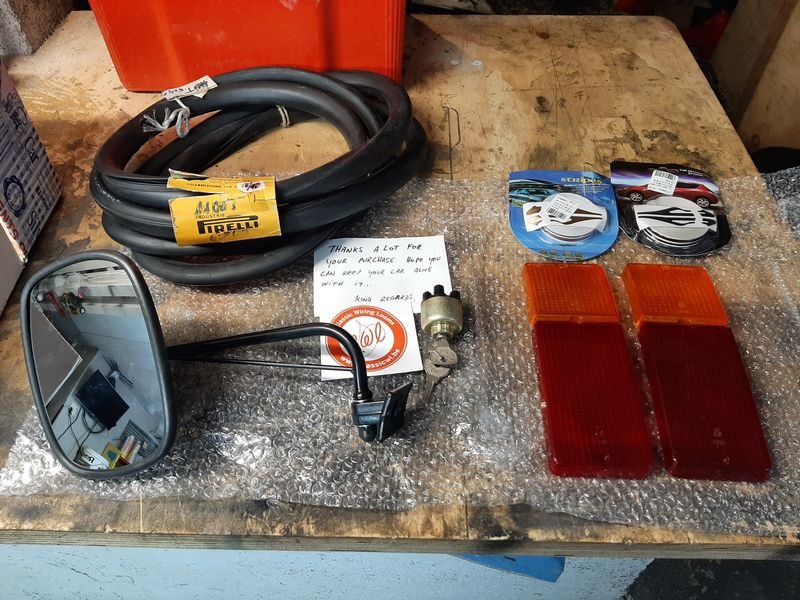
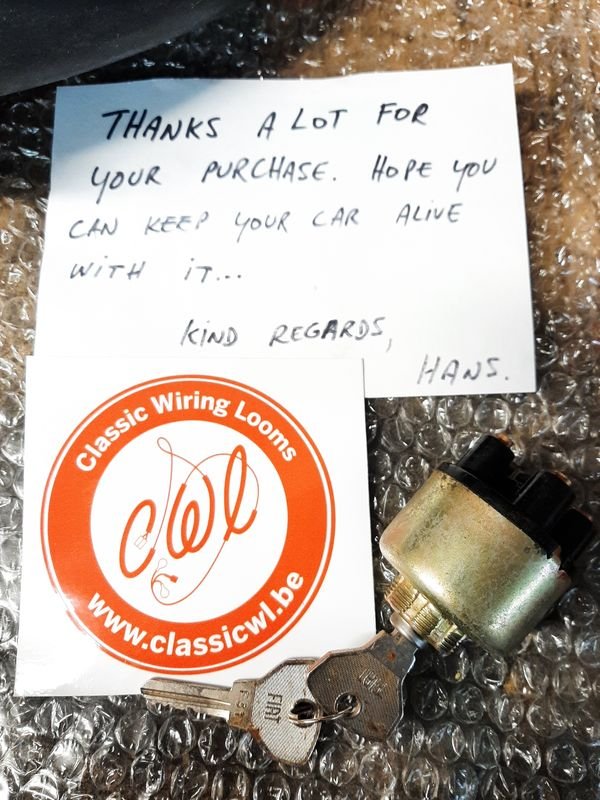
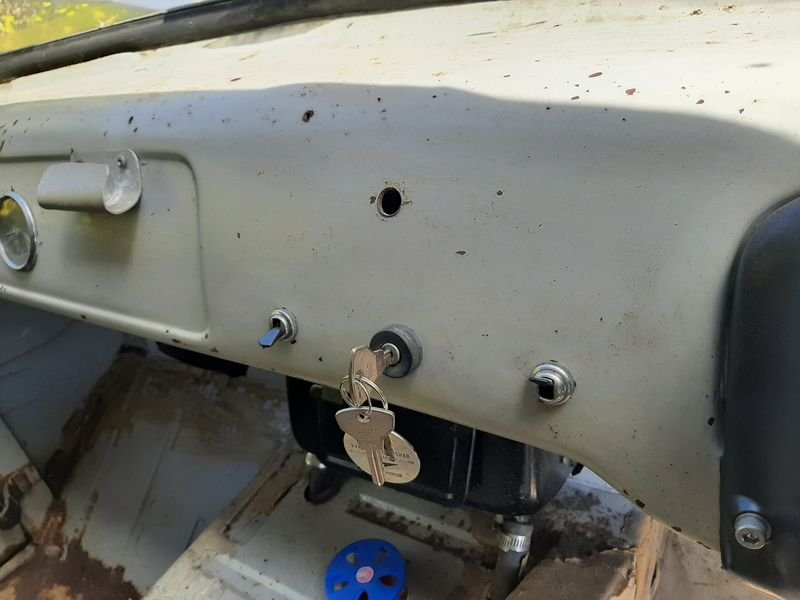
Chucked the diff back in a while back, fresh black makes everything else look worse. Had a bit of a splurge on ebay, got a NOS Pirelli windscreen rubber, which means i can cut the old one off eventually a NOS Sipea ignition switch a replacement (not NOS but made in Italy) passenger side mirror some NOS tail lights lenses for the 125p ute Ignition switch came with a nice note Thanks Hans, Installed, so van finally has some keys Also got this parts catalogue, good for practicing the italian, french and german But full of great diagrams like this, which has already proved invaluable taking a few things apart, and putting them back together. Also broke my crawler with the diff so that got new base wood - used some random ply that would result in the least waste - tuned out fancy!
6 points
-
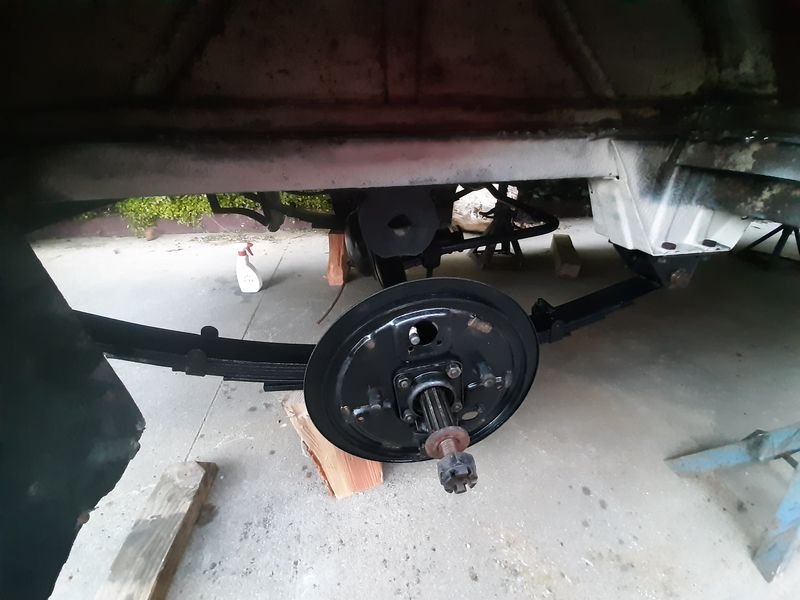
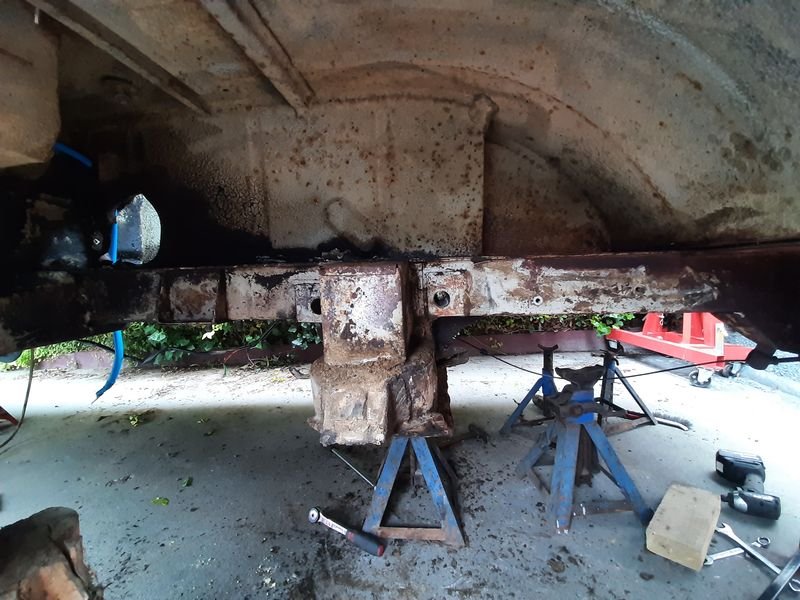
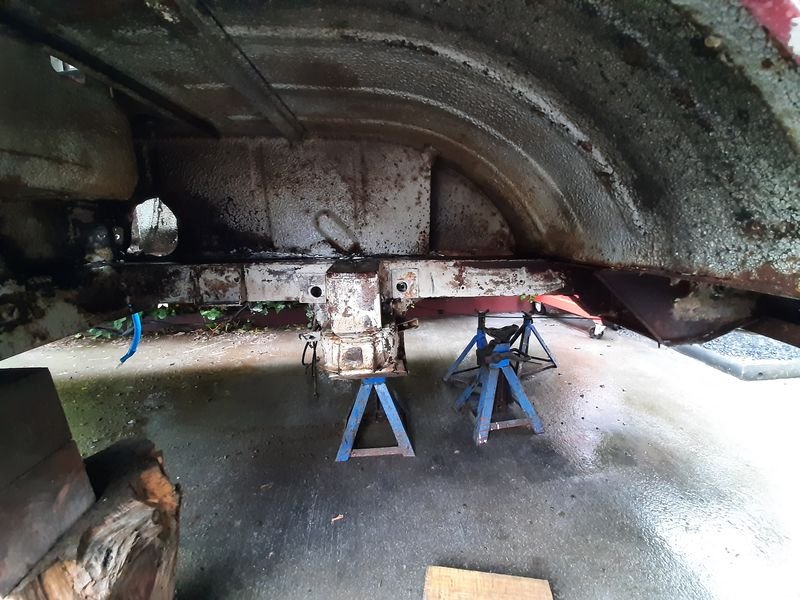
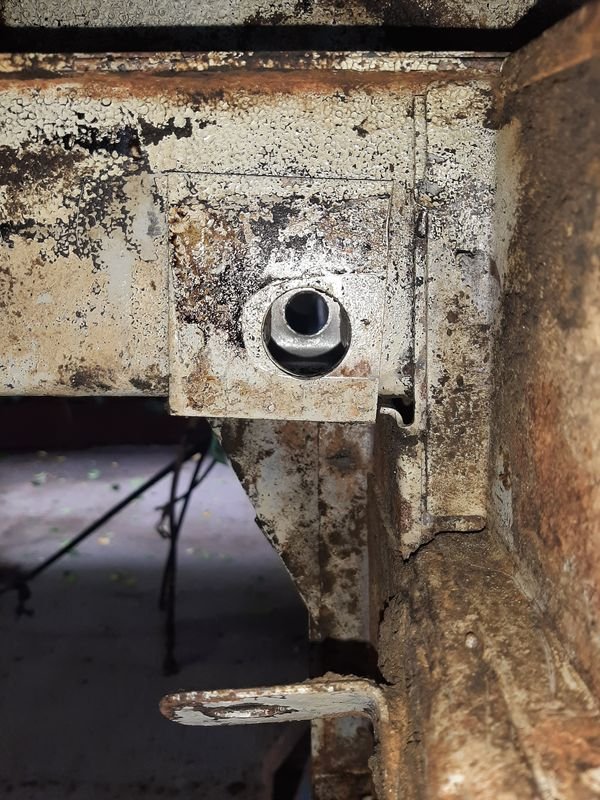
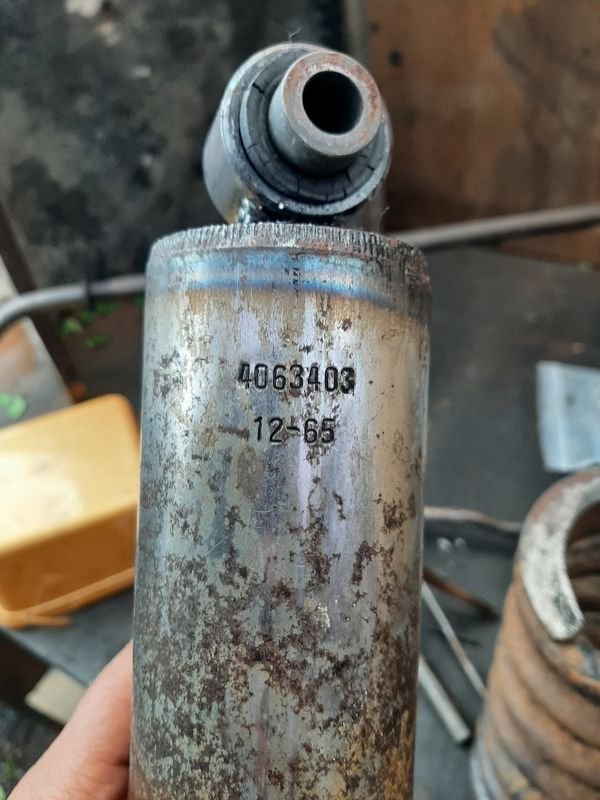
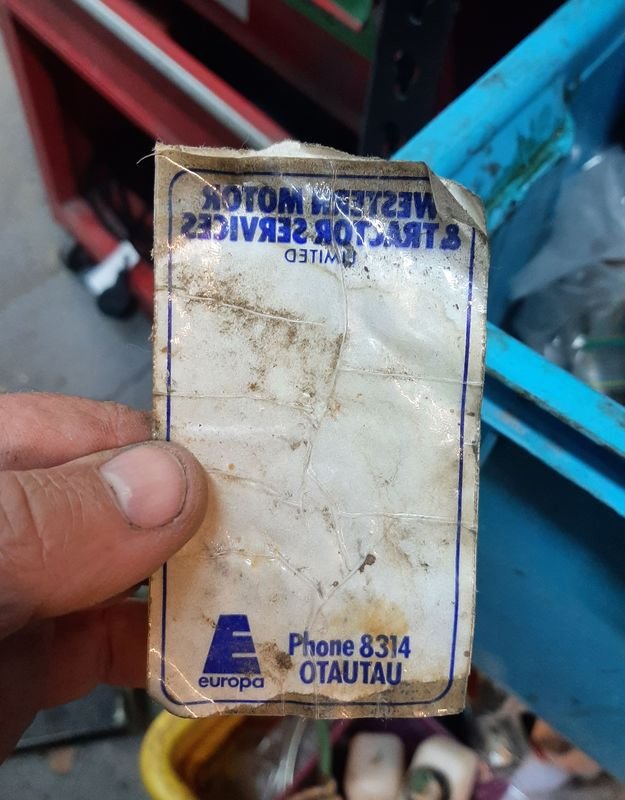
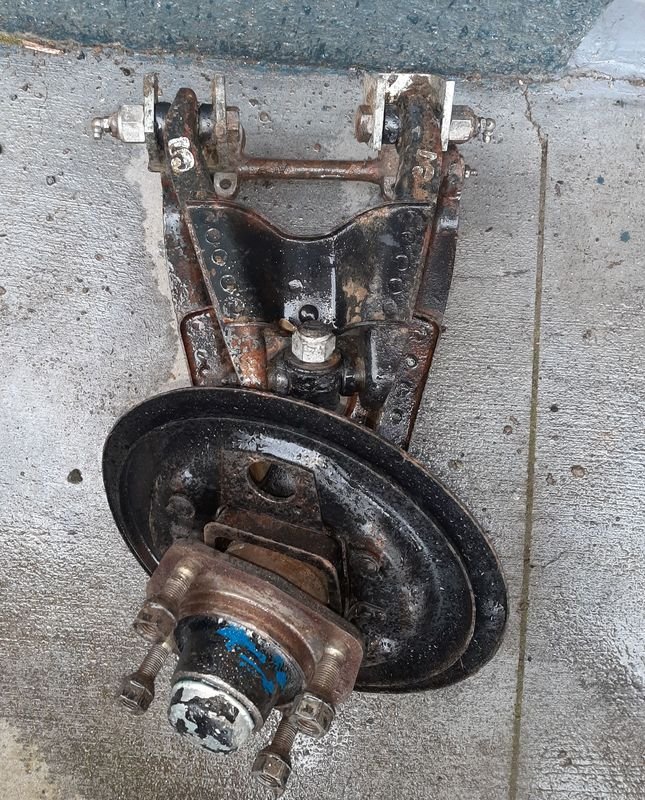
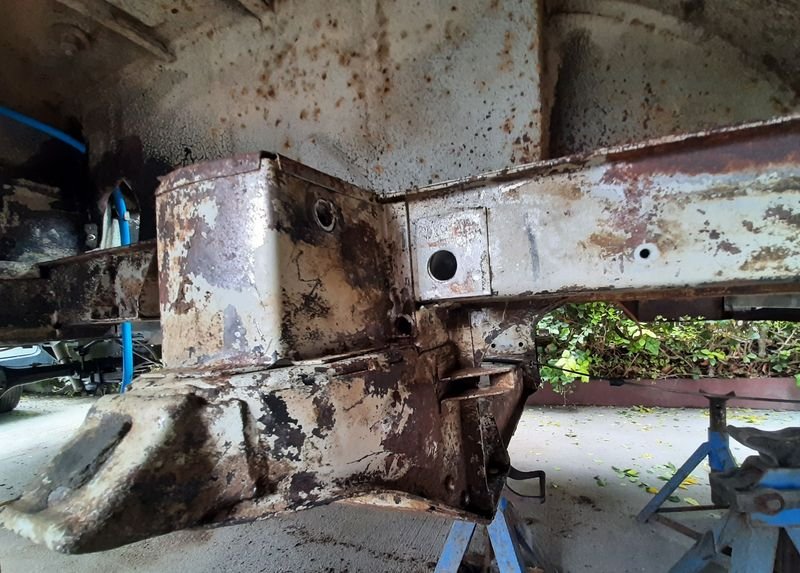
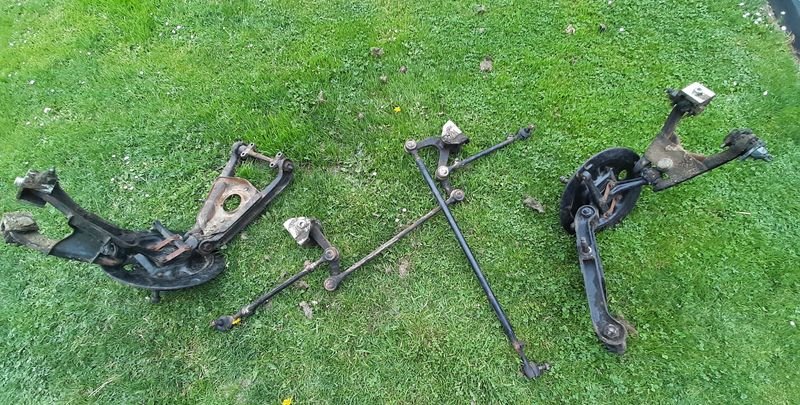
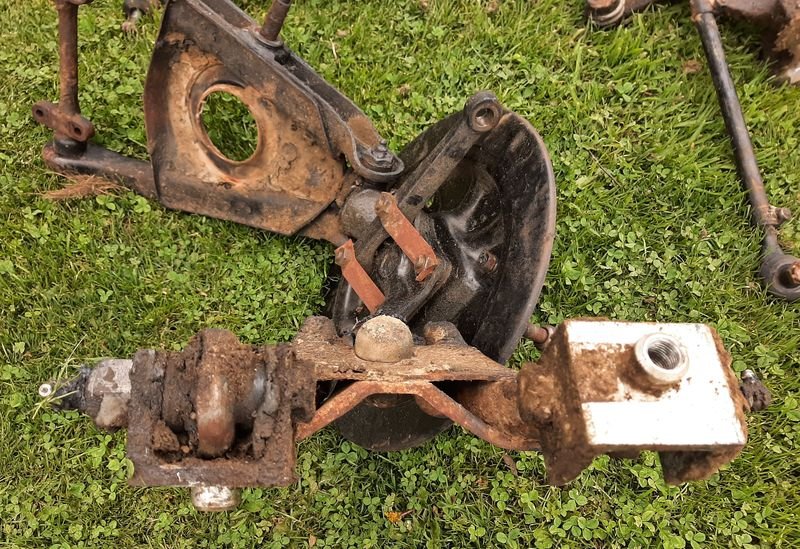
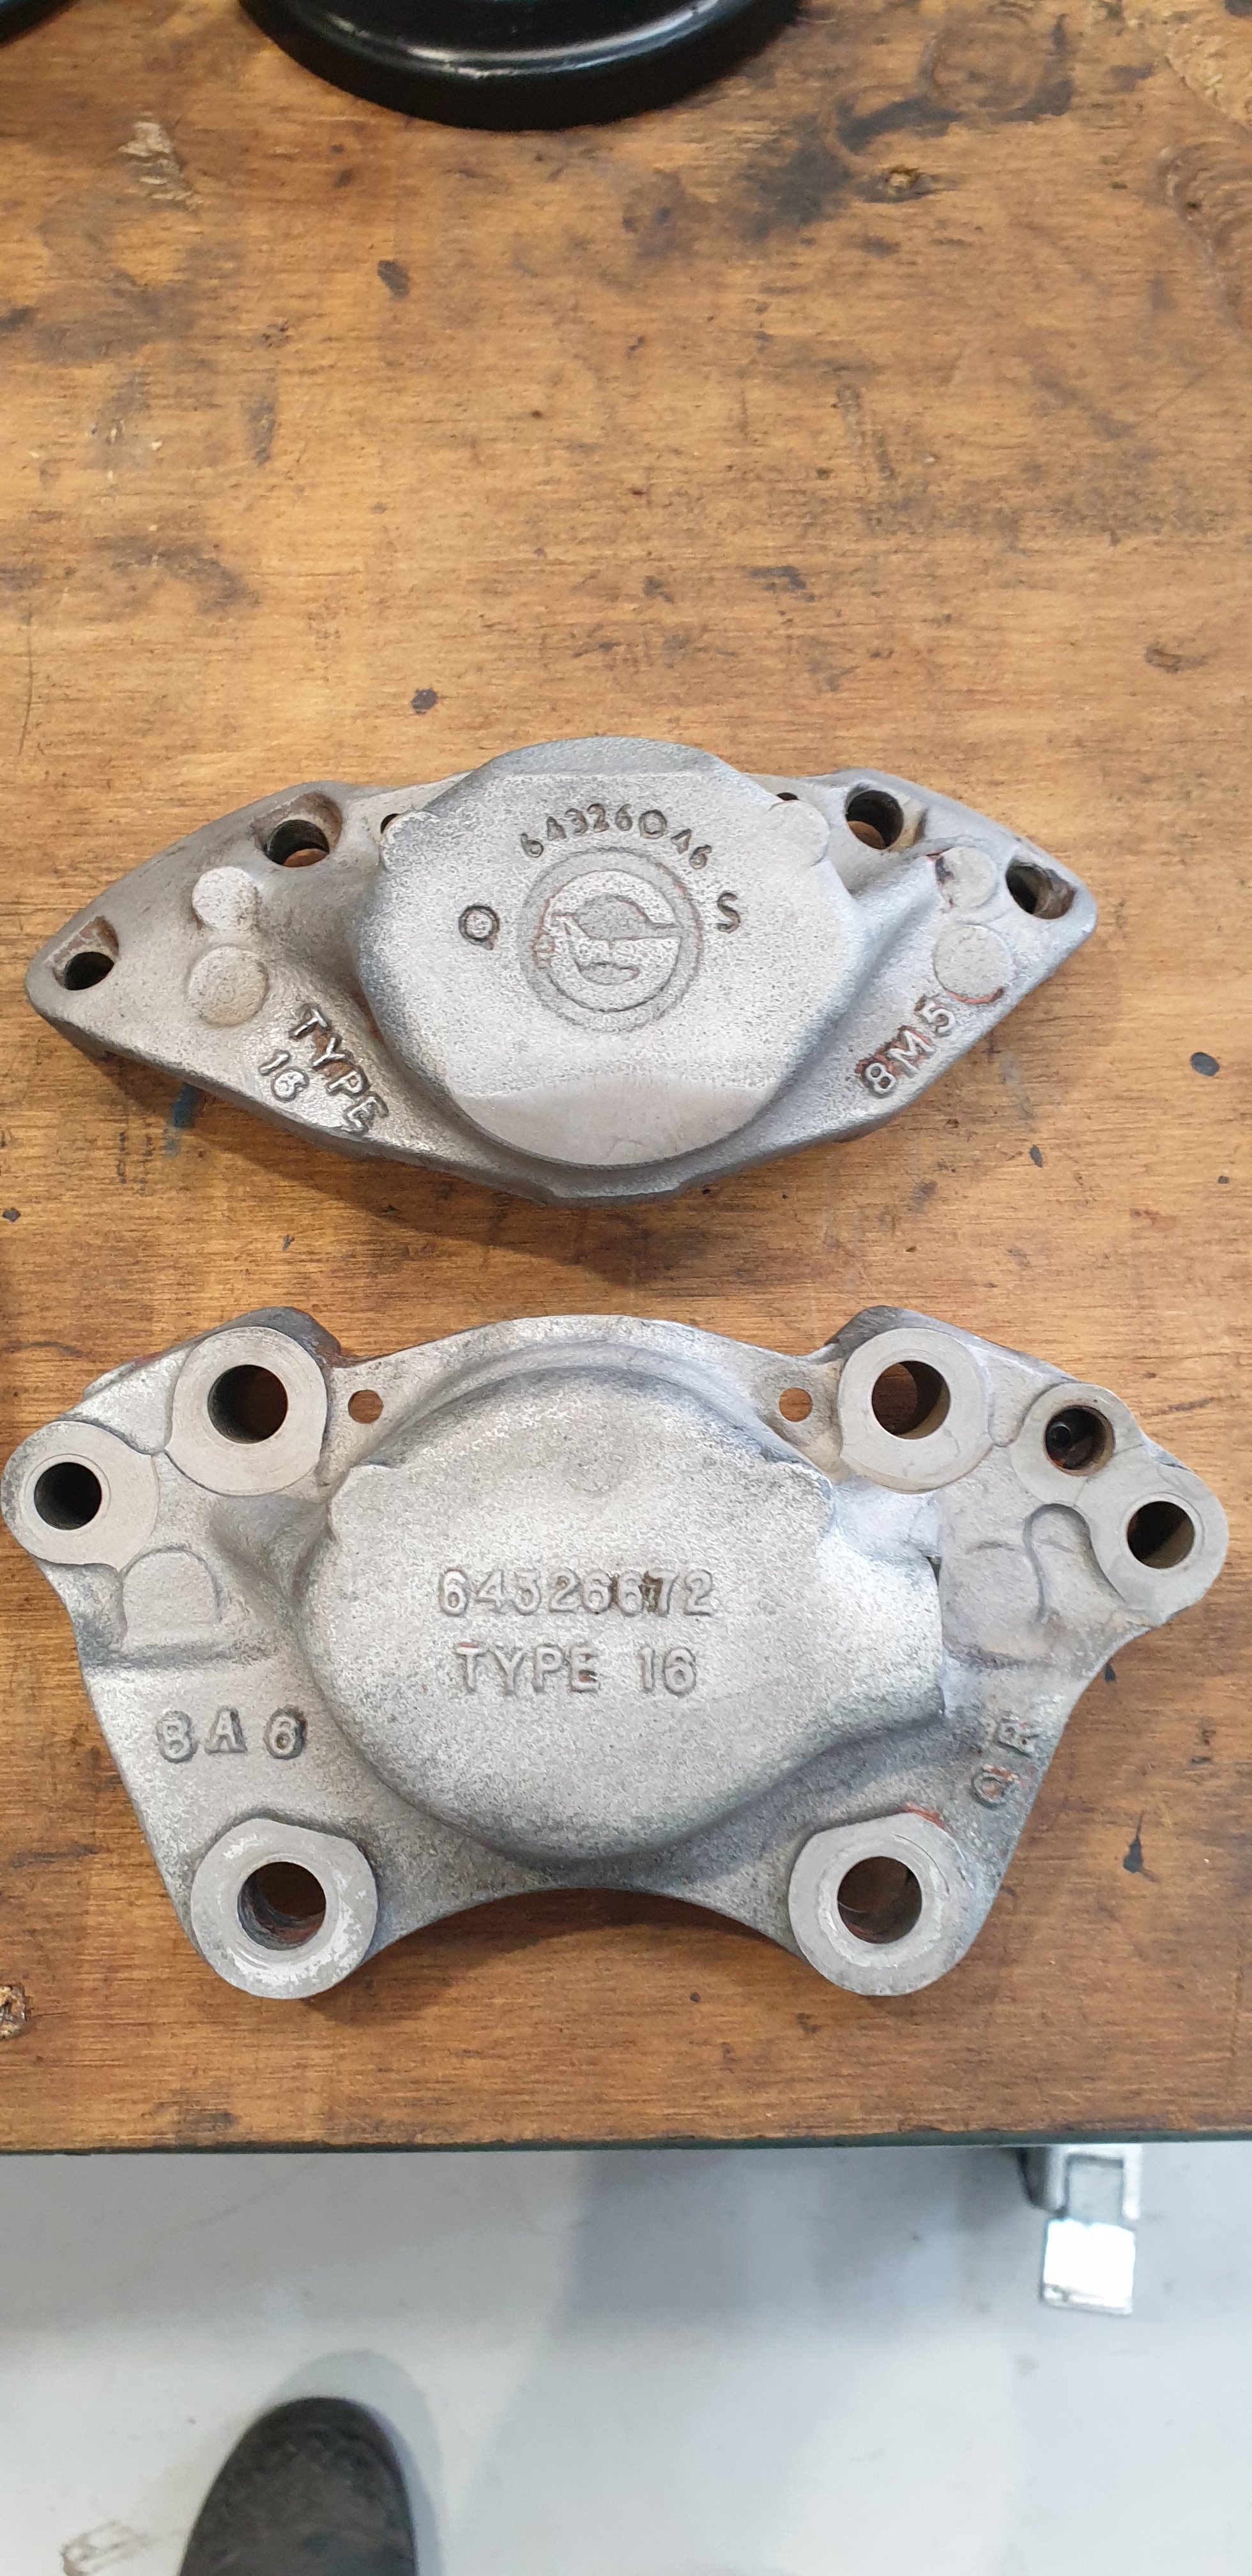
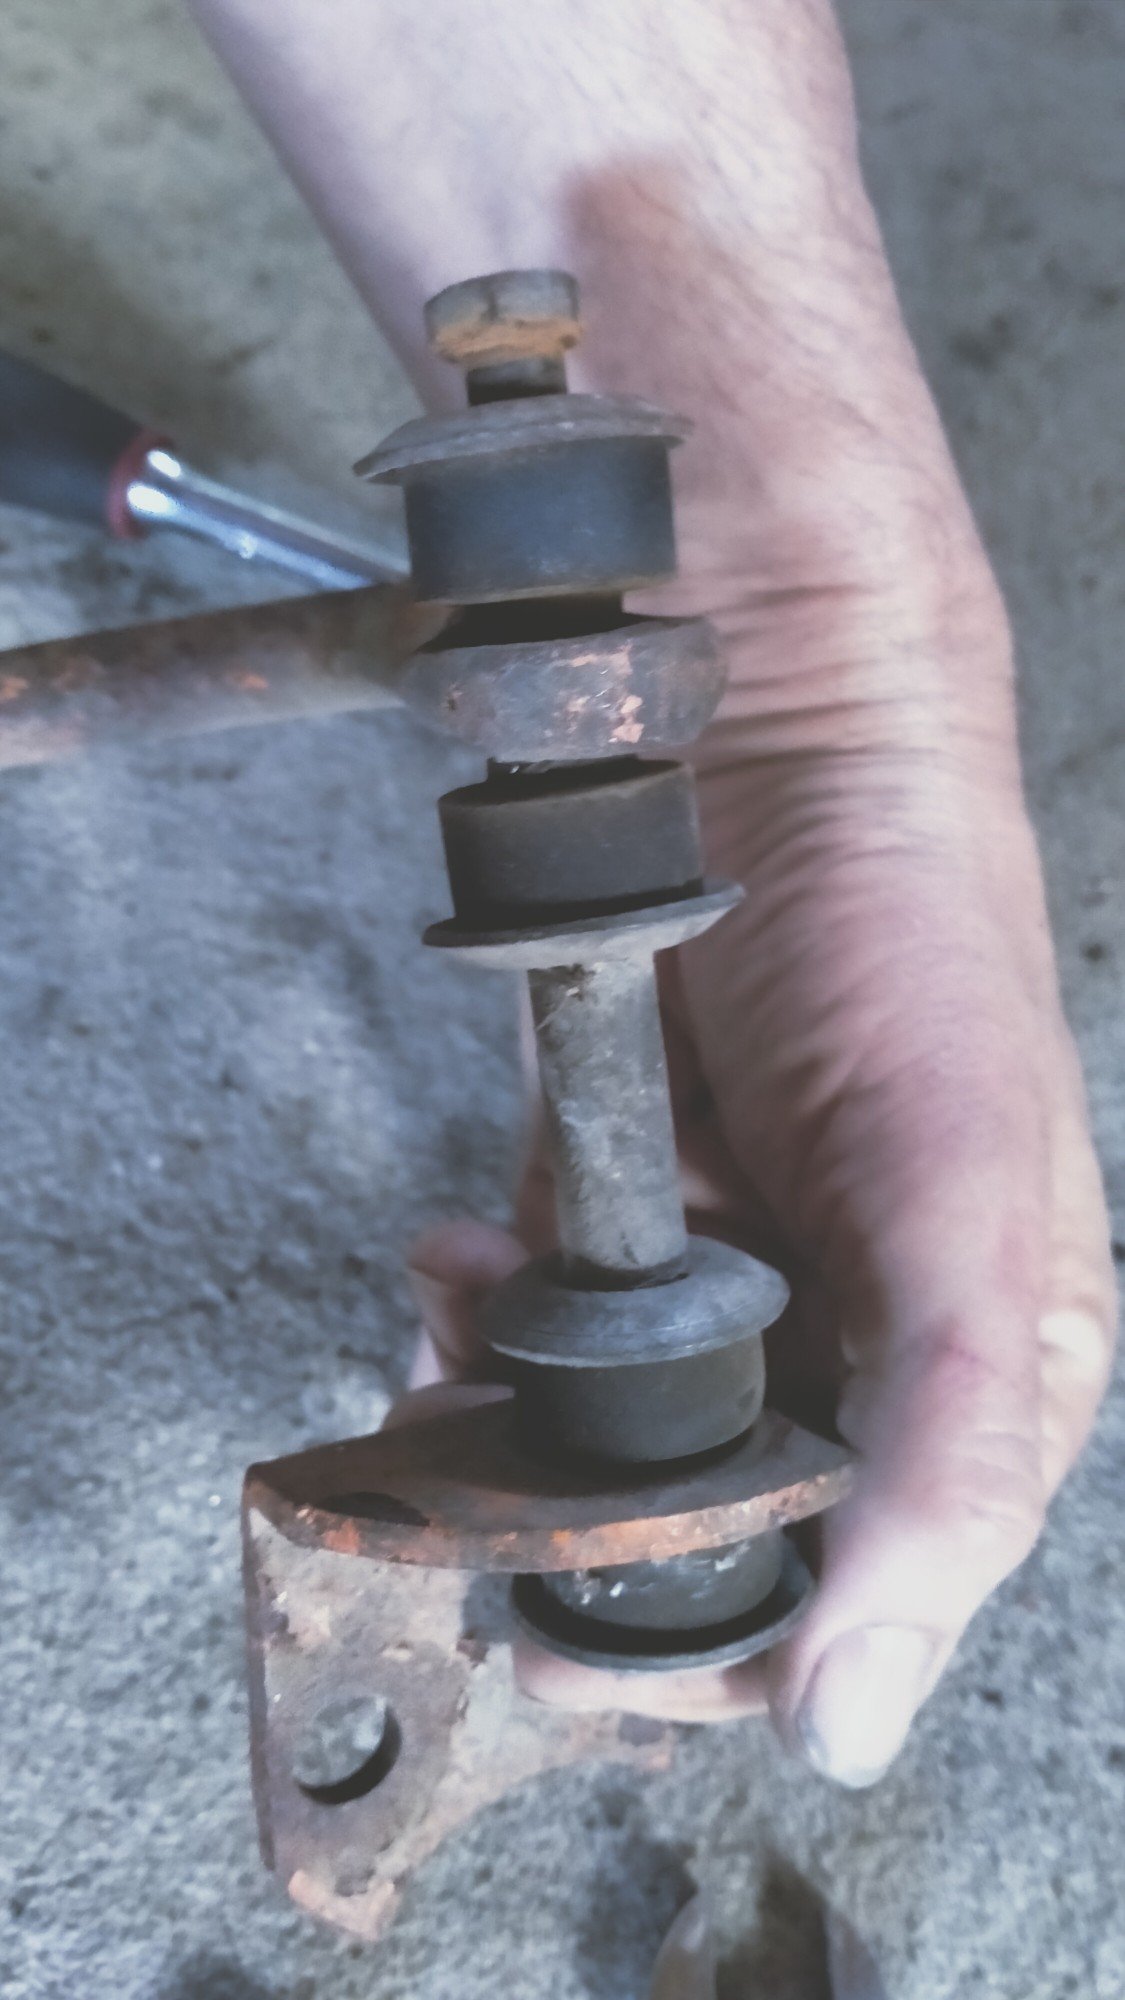
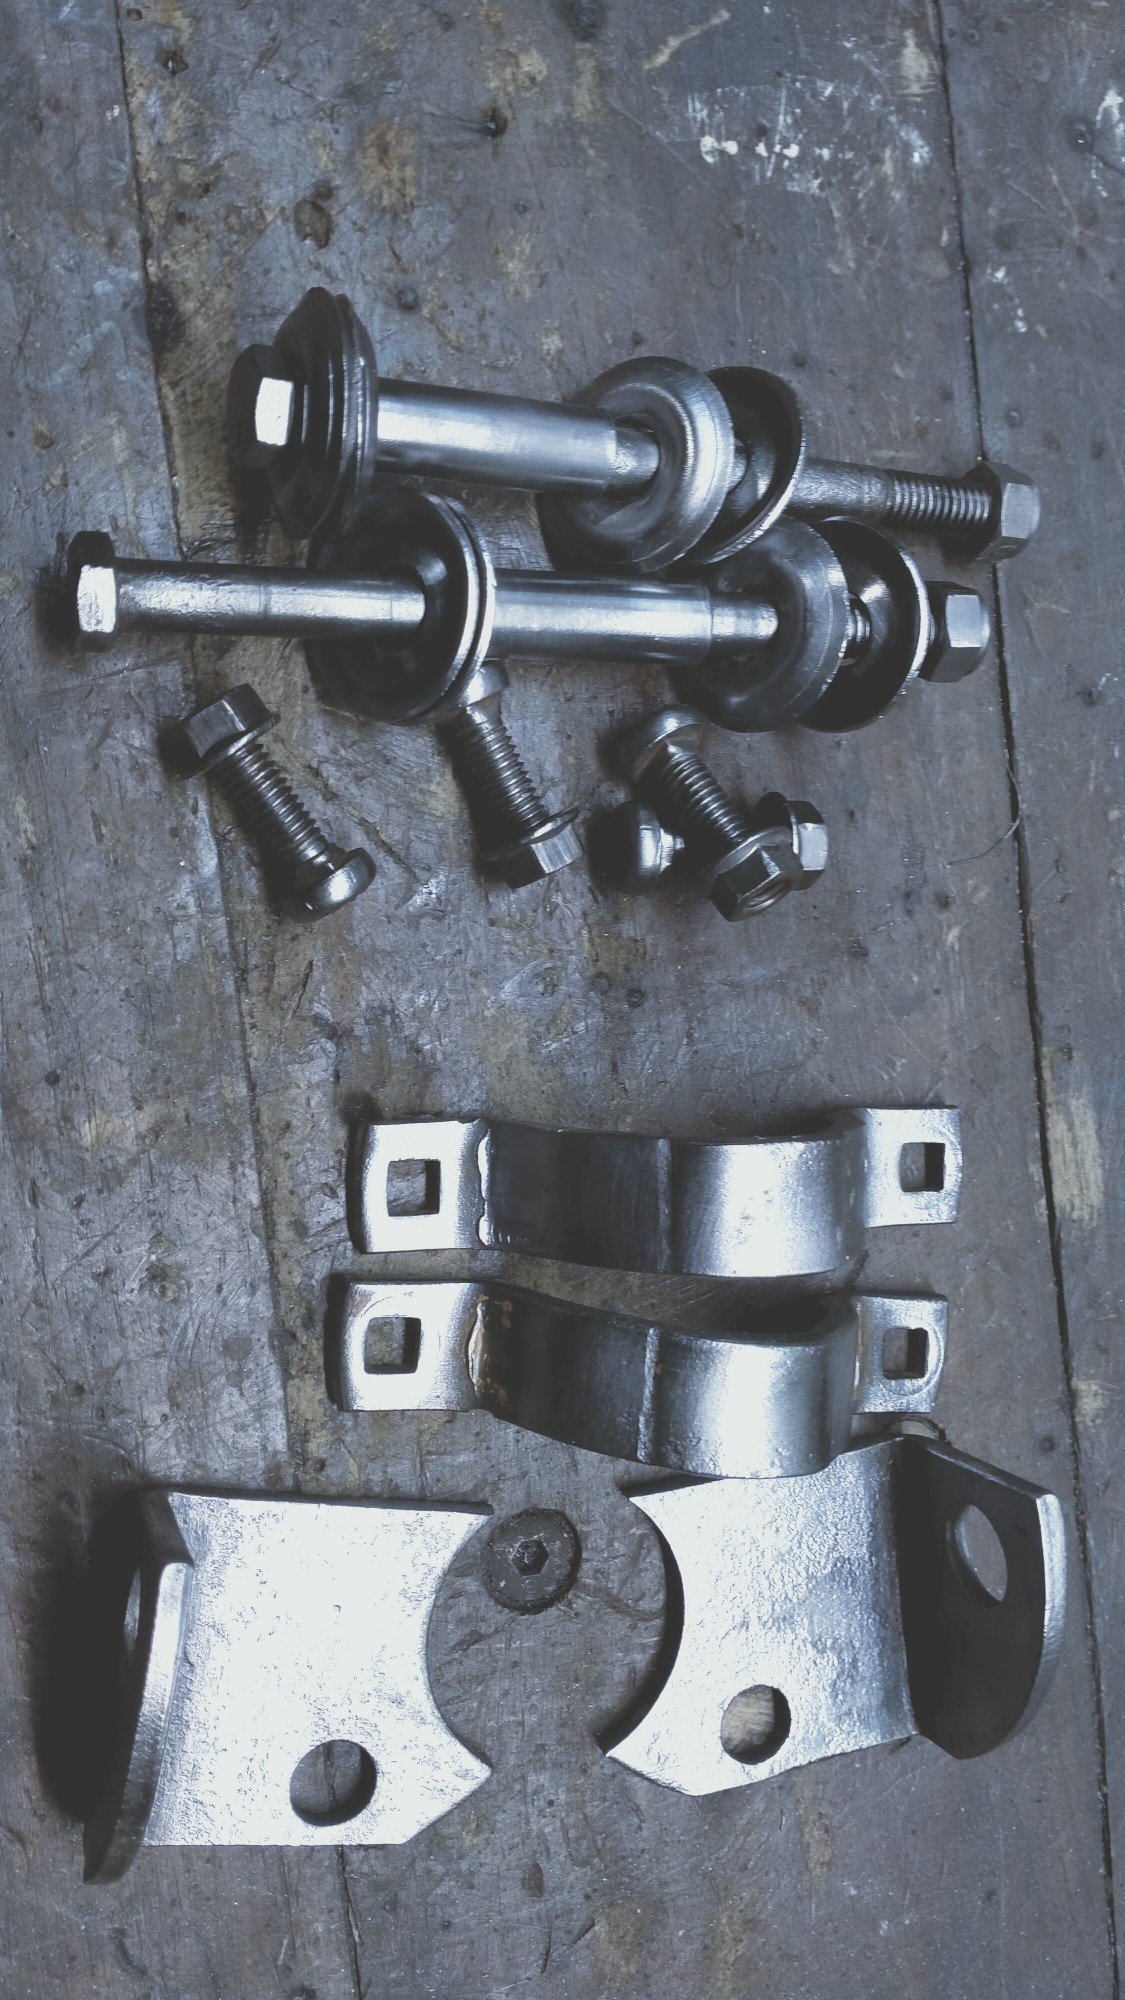
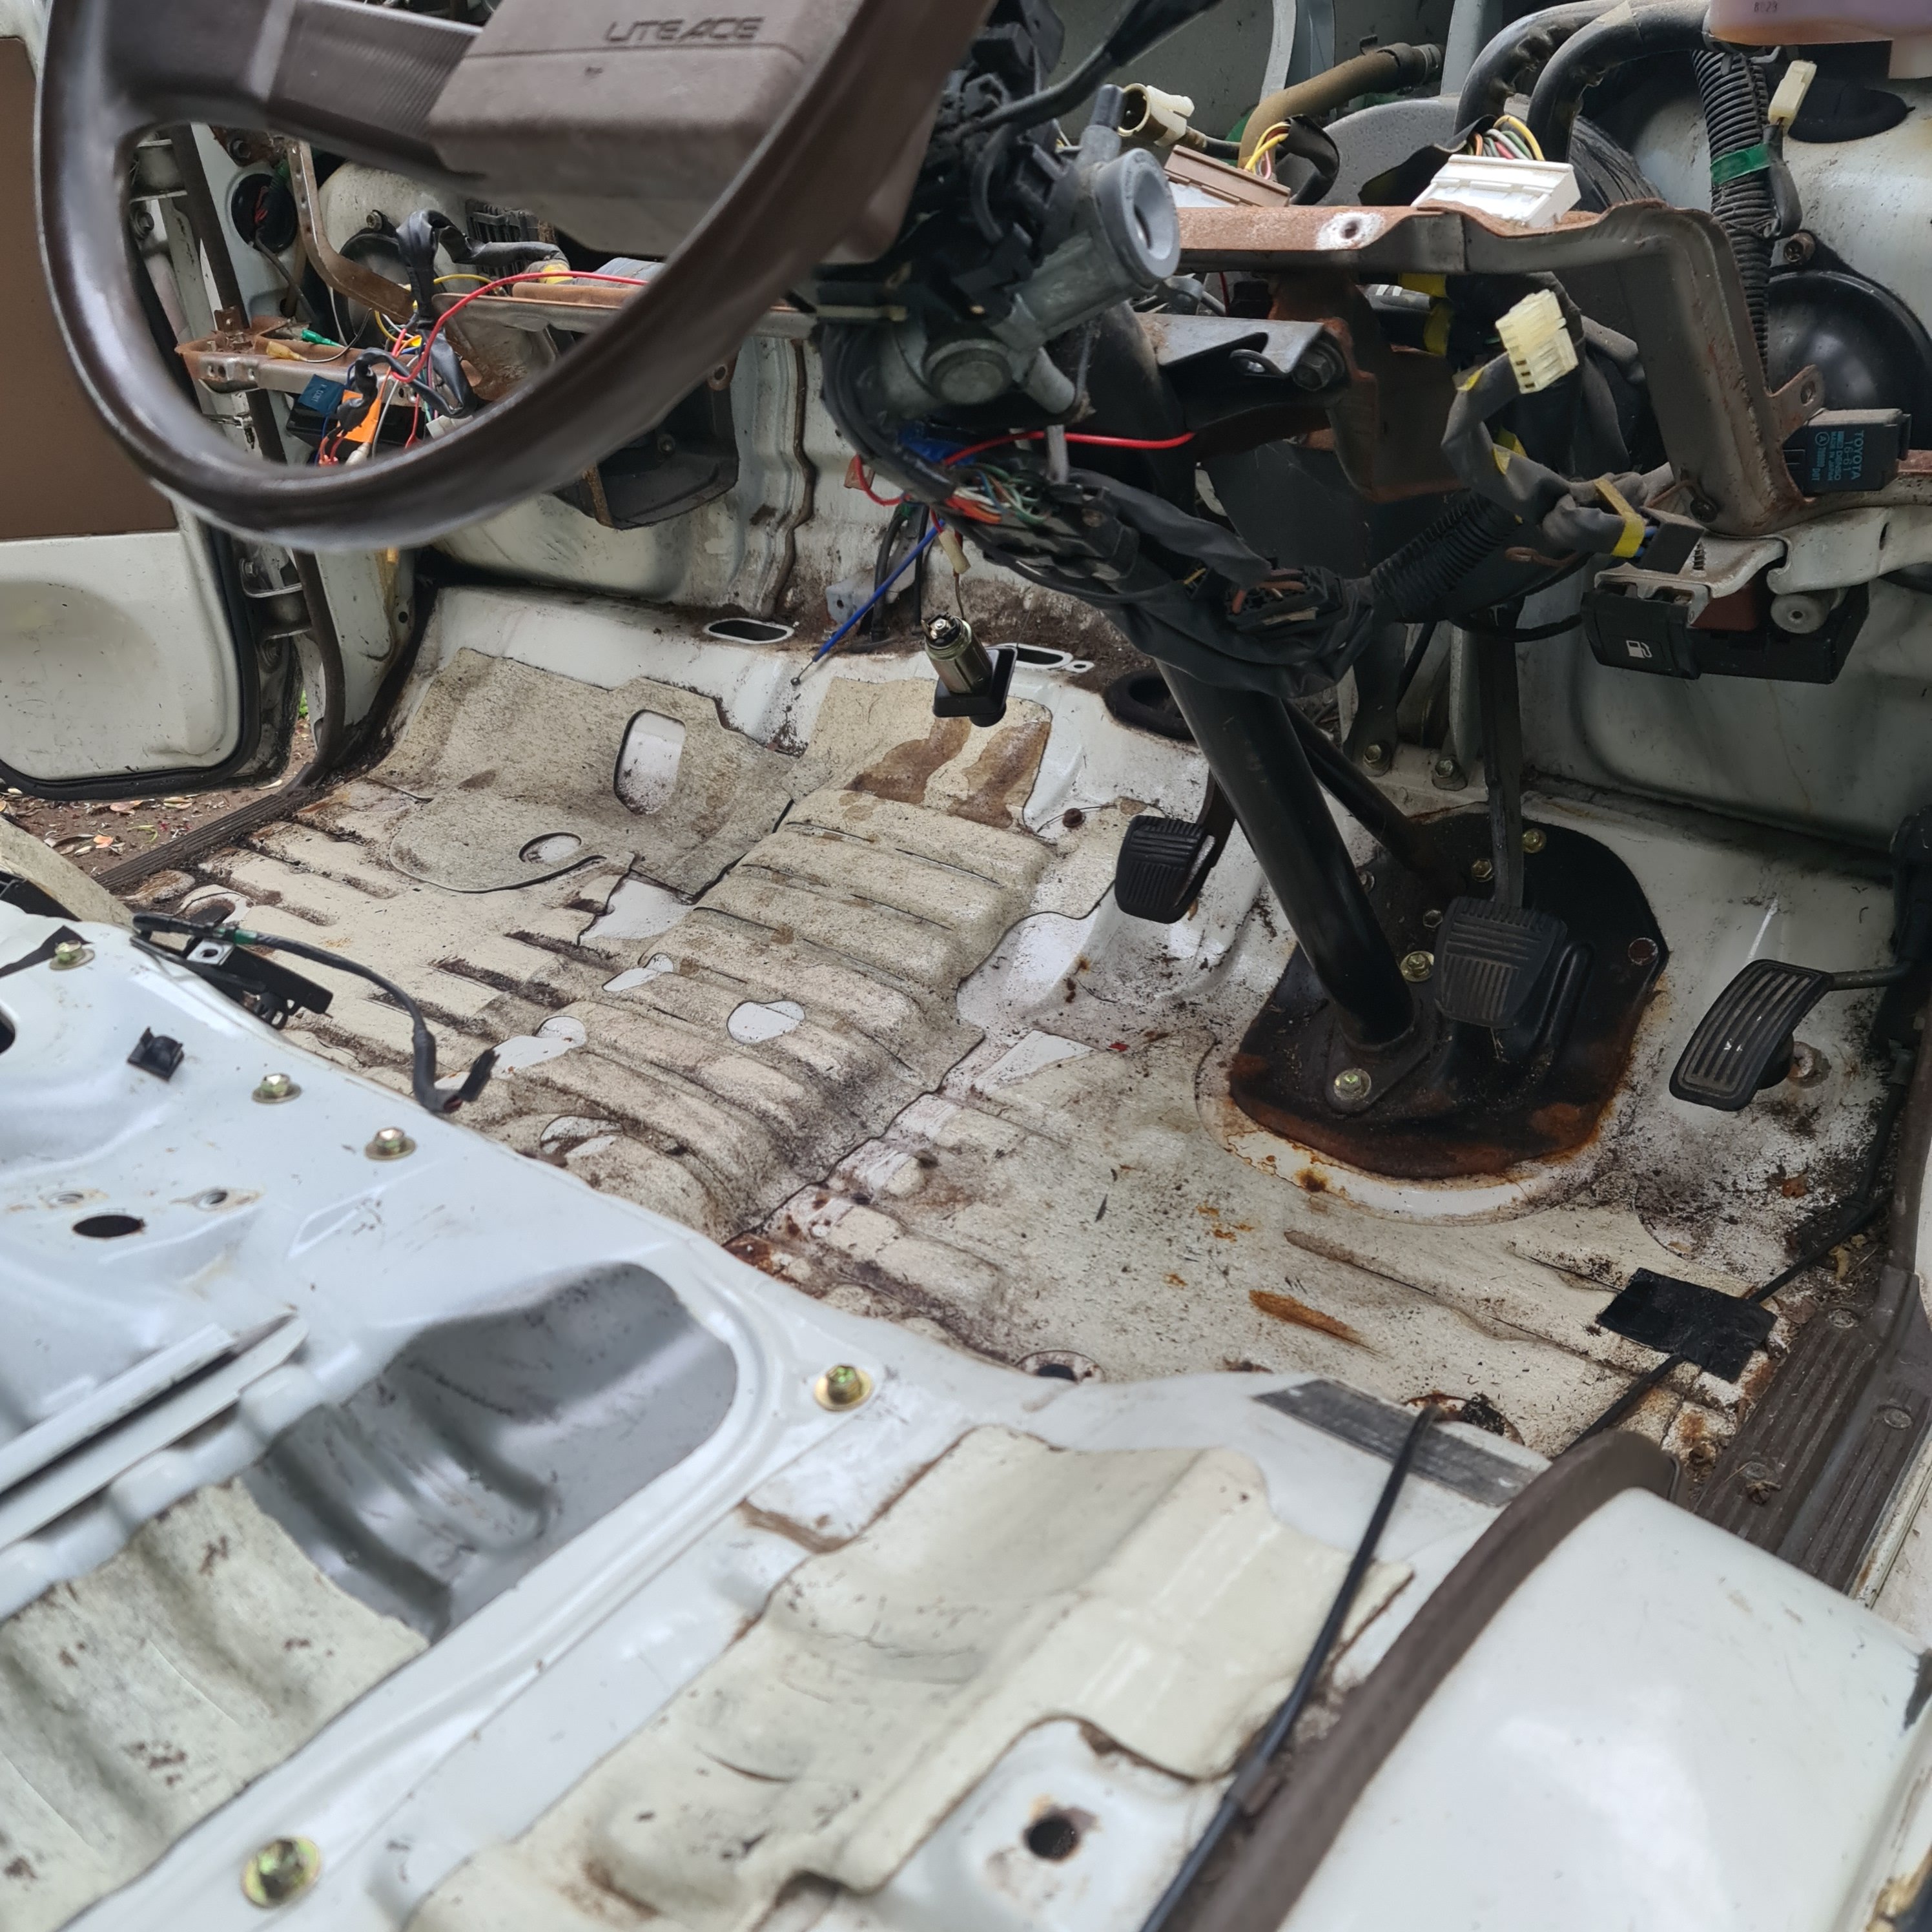
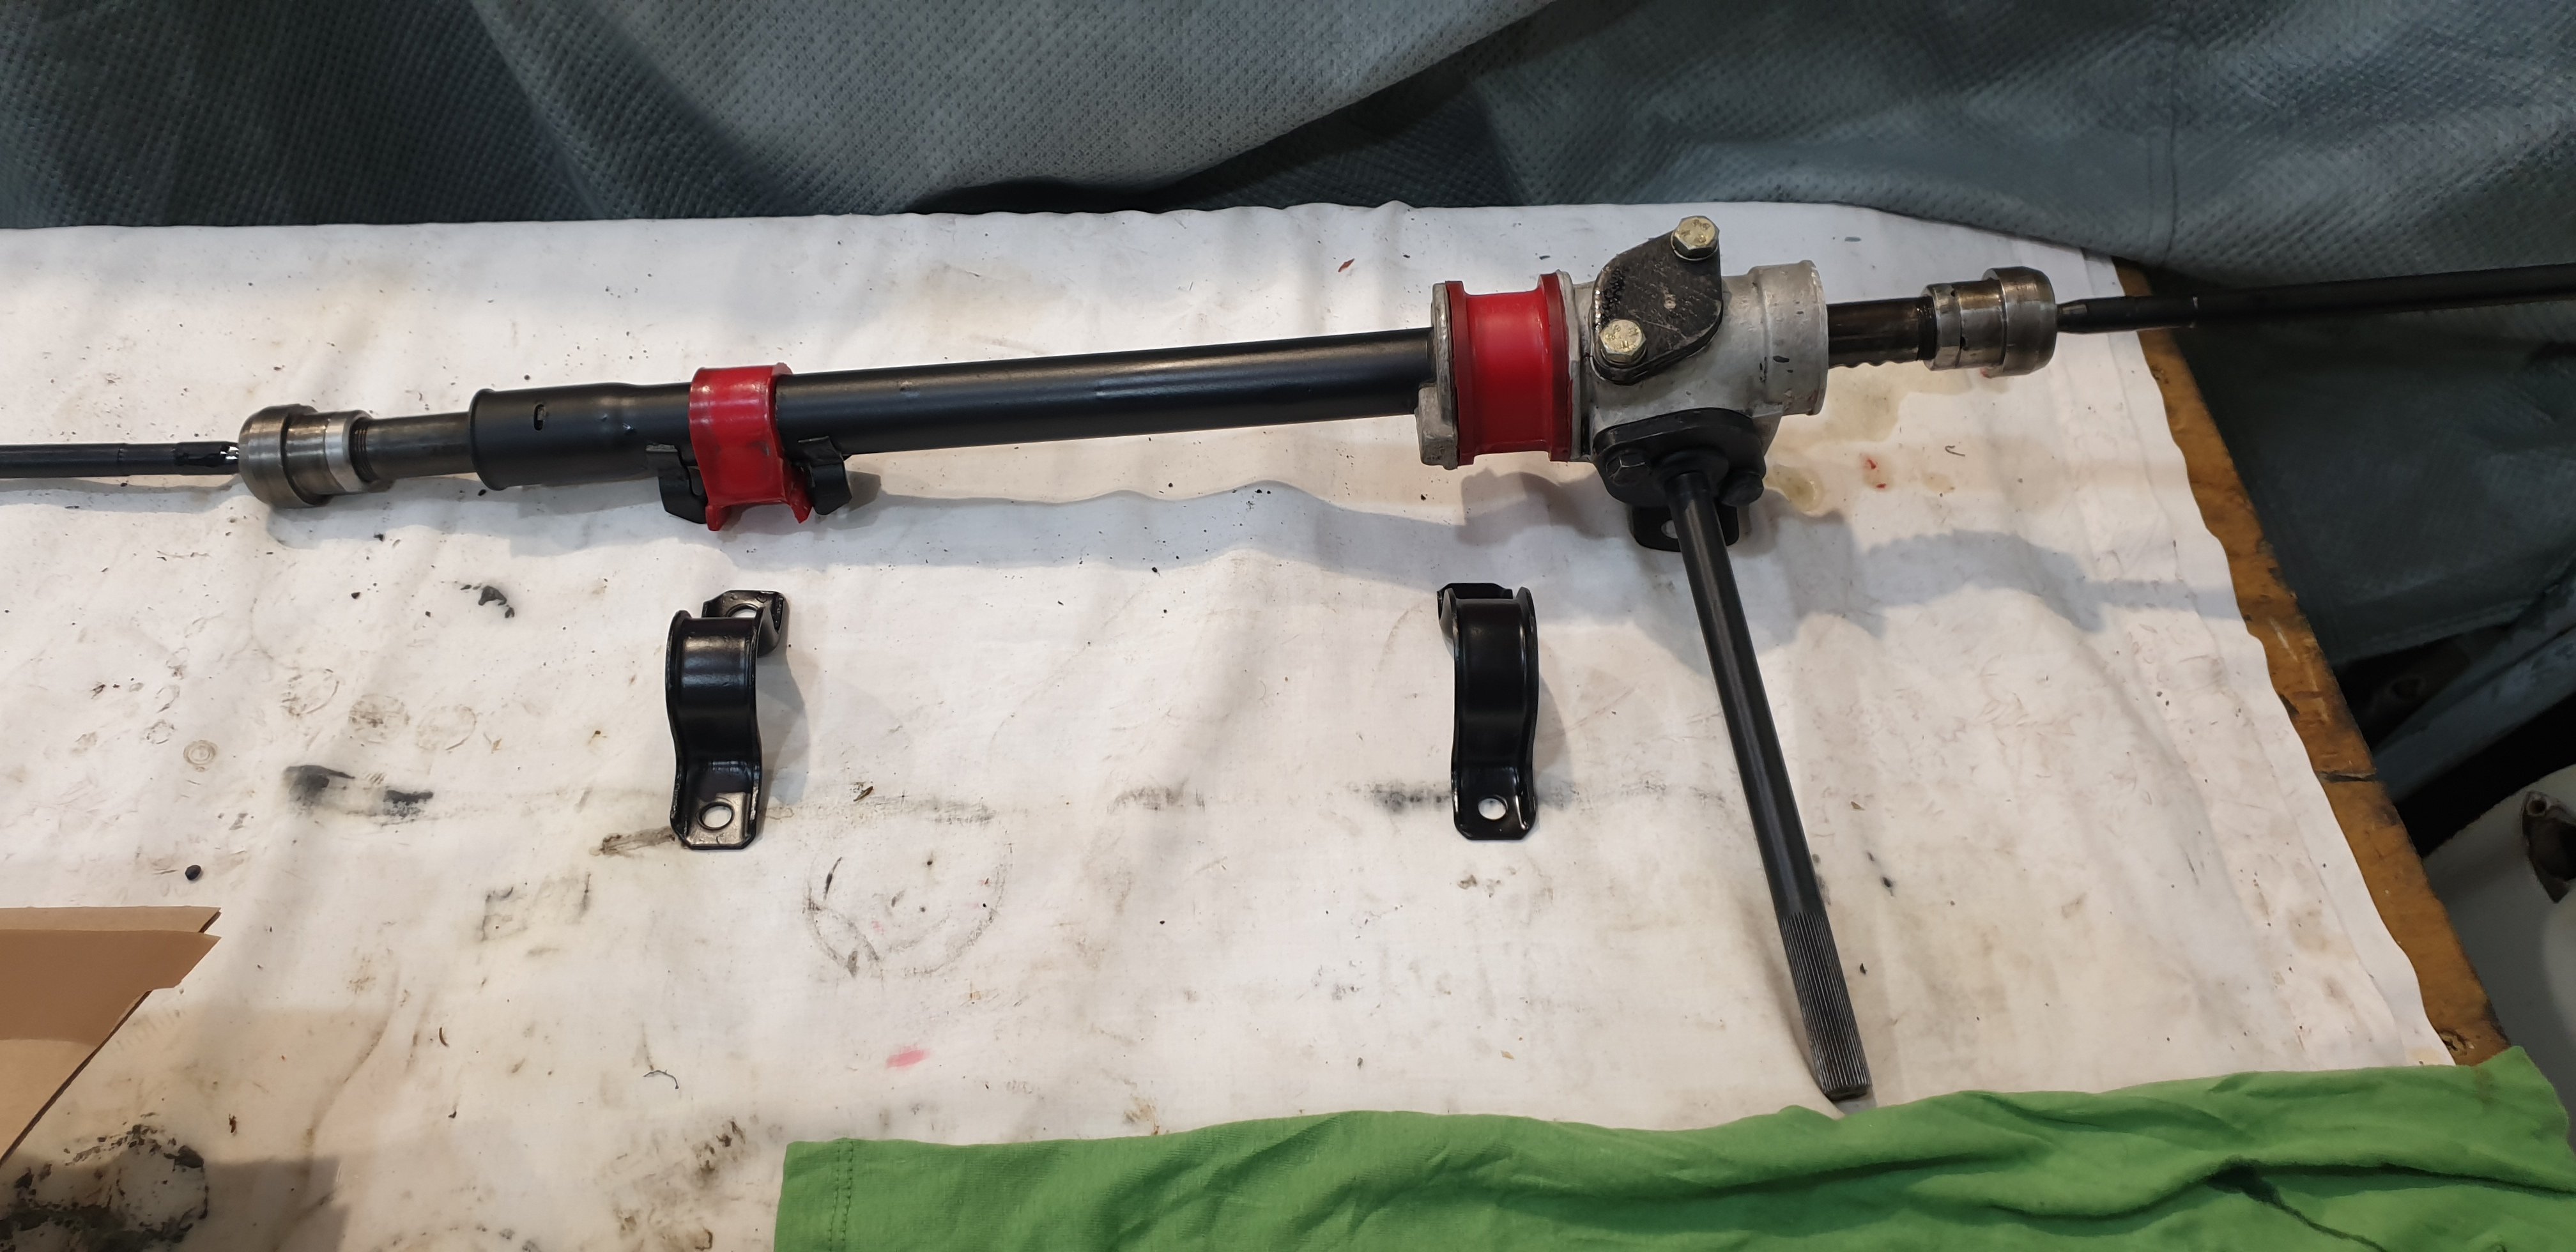
With the rear suspension done, and reinstalled the handbrake cable, i started to unpick the front end. I want to clean all the greasy dirt that is still caked on everything (and has actually done pretty well at preserving stuff) and then i can clean, paint, regrease and reassemble. Im very pleased to say, the rust is all on the 'outside' of the van in the panels, and not the chassis structure. Took all the brakelines off first, including the lines from the reservoirs (they are up behind the drivers seat) to make later, they all unscrewed easy. I didnt have the right spring compressor so just used the jack under the lower control arm but i think ill need one for putting it back together! Some before and afters Drivers side after dropping the wishbones out, and then after a scrape and waterblast Same area immediately after dropping the suspension and after a scrape and a waterblast. The light brown is a mix of oil, grease and road dust that is anything from 1mm to 20mm thick. Usually clean paint or metal under it, so could be worse! Only surface rust really is where the greasy smeg wasnt - a lot of cleany shiny metal where the paint came off with the waterblaster. This pic show where one of the main bolts comes thought, the inside of the rail is minty mint mint The two wishbone assemblies and the steering rack. ALL of the tie rod ends! One of the suspension assemblies, give a good idea of the crust on everything. Ive water blasted under the van about 10 times. After a clean, still has factory (?) shim count stamps . I got some new CRC degreaser for the parts washer, stuff is magic, seems to have a slight derusting action too. The gear change linkages came lovely, and have no discernable wear which is another sign of low milage Pretty sure these would have been factory fitted (CKD built by Torino Motors in Otahuhu), but cant believe how clean they came up! Pretty sure thats a manufacturing date stamp, which also makes me think this van is also a later (66 on) one. I re-found this service sticker that was in the cubby in the van that i thought id lost put somewhere for safekeeping . Along with the Kelso address painted on the Hubcaps, I reckon she is a Southland Van Place is still going Im going to get some paint made up soon (i have lost my paint swatch) so i can make a start respraying the shock mounts and engine bay etc before bolting everything back in. Still a lot of cleaning and stuff to do first. Head is off at the machine shop getting looked at, and i have the rims in the back of the daily to get the tyres stripped and then off to the sandblaster, so progress is continuing.
5 points
-
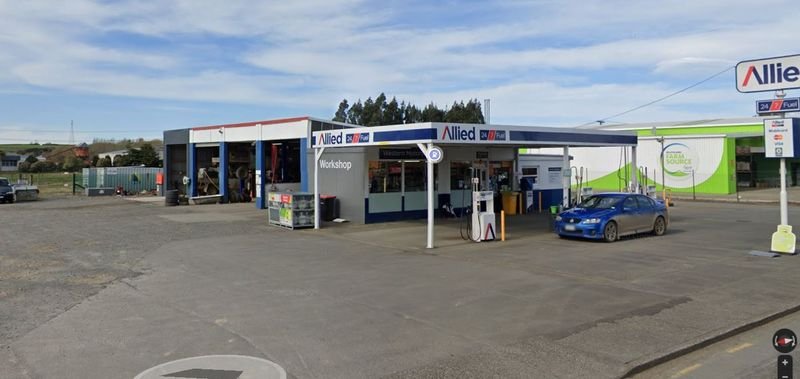
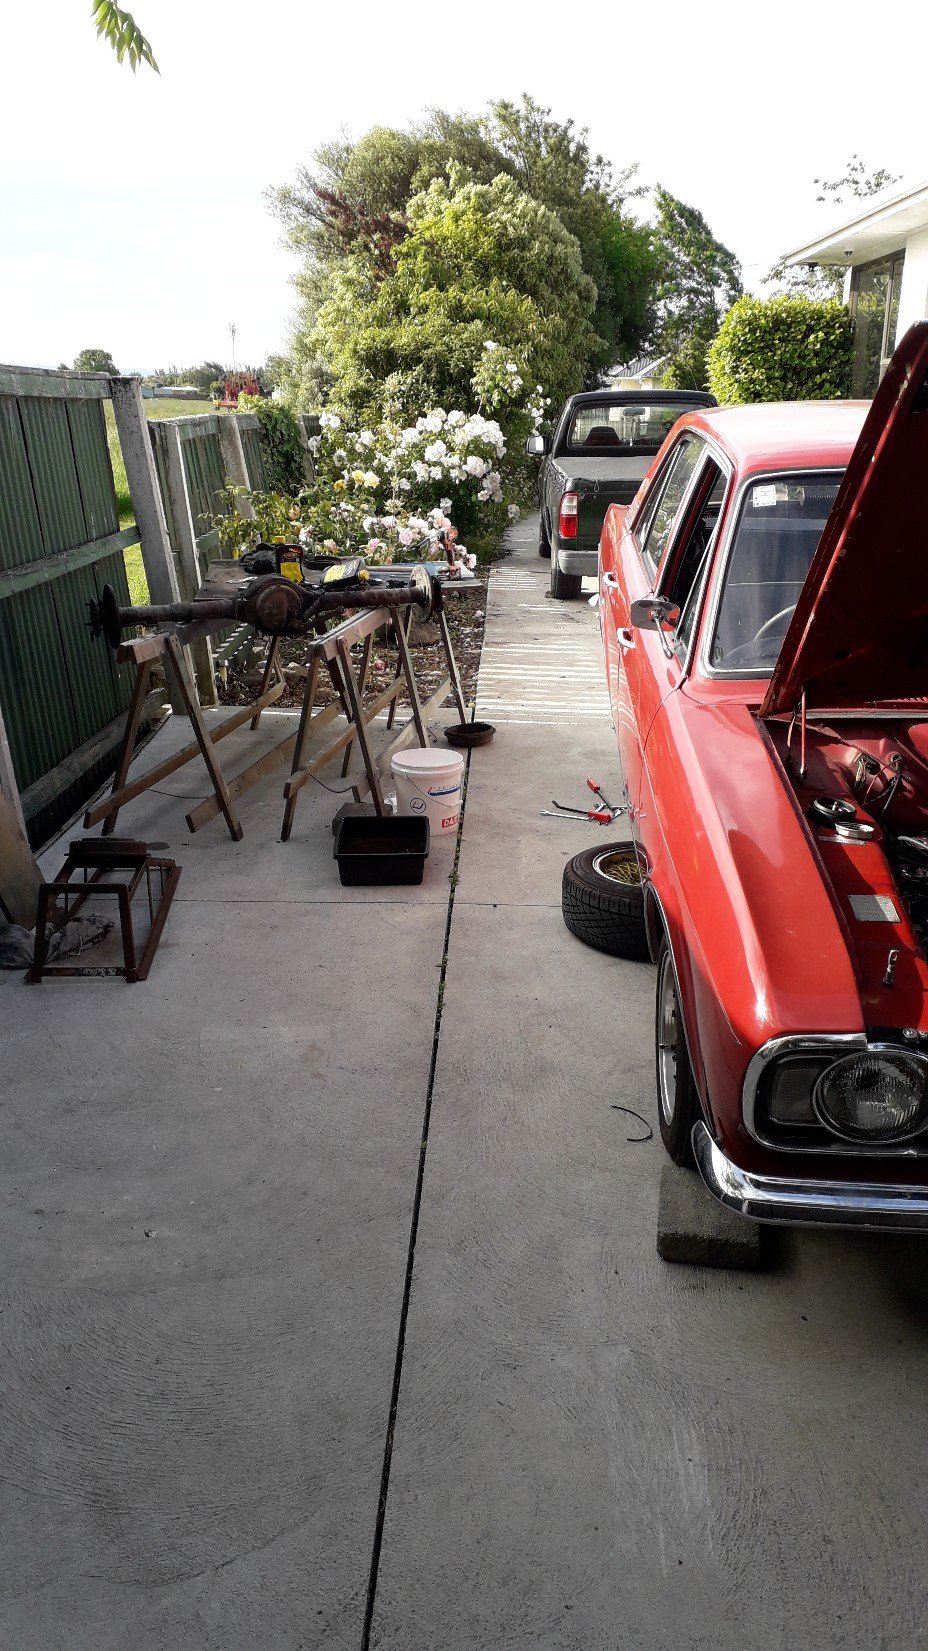
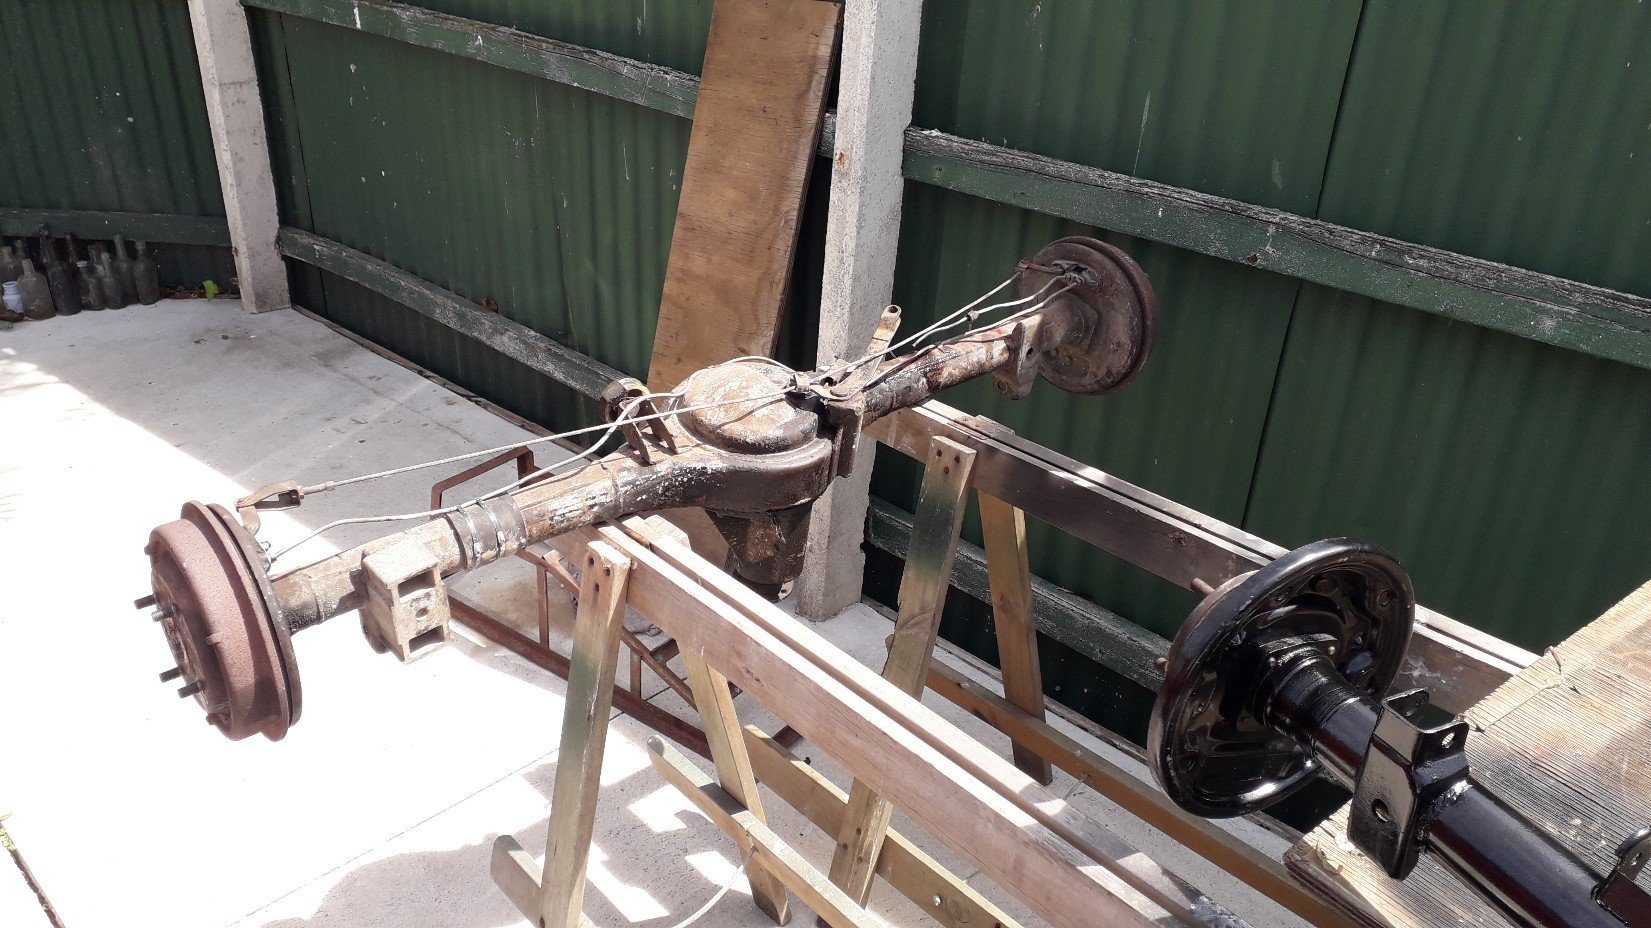
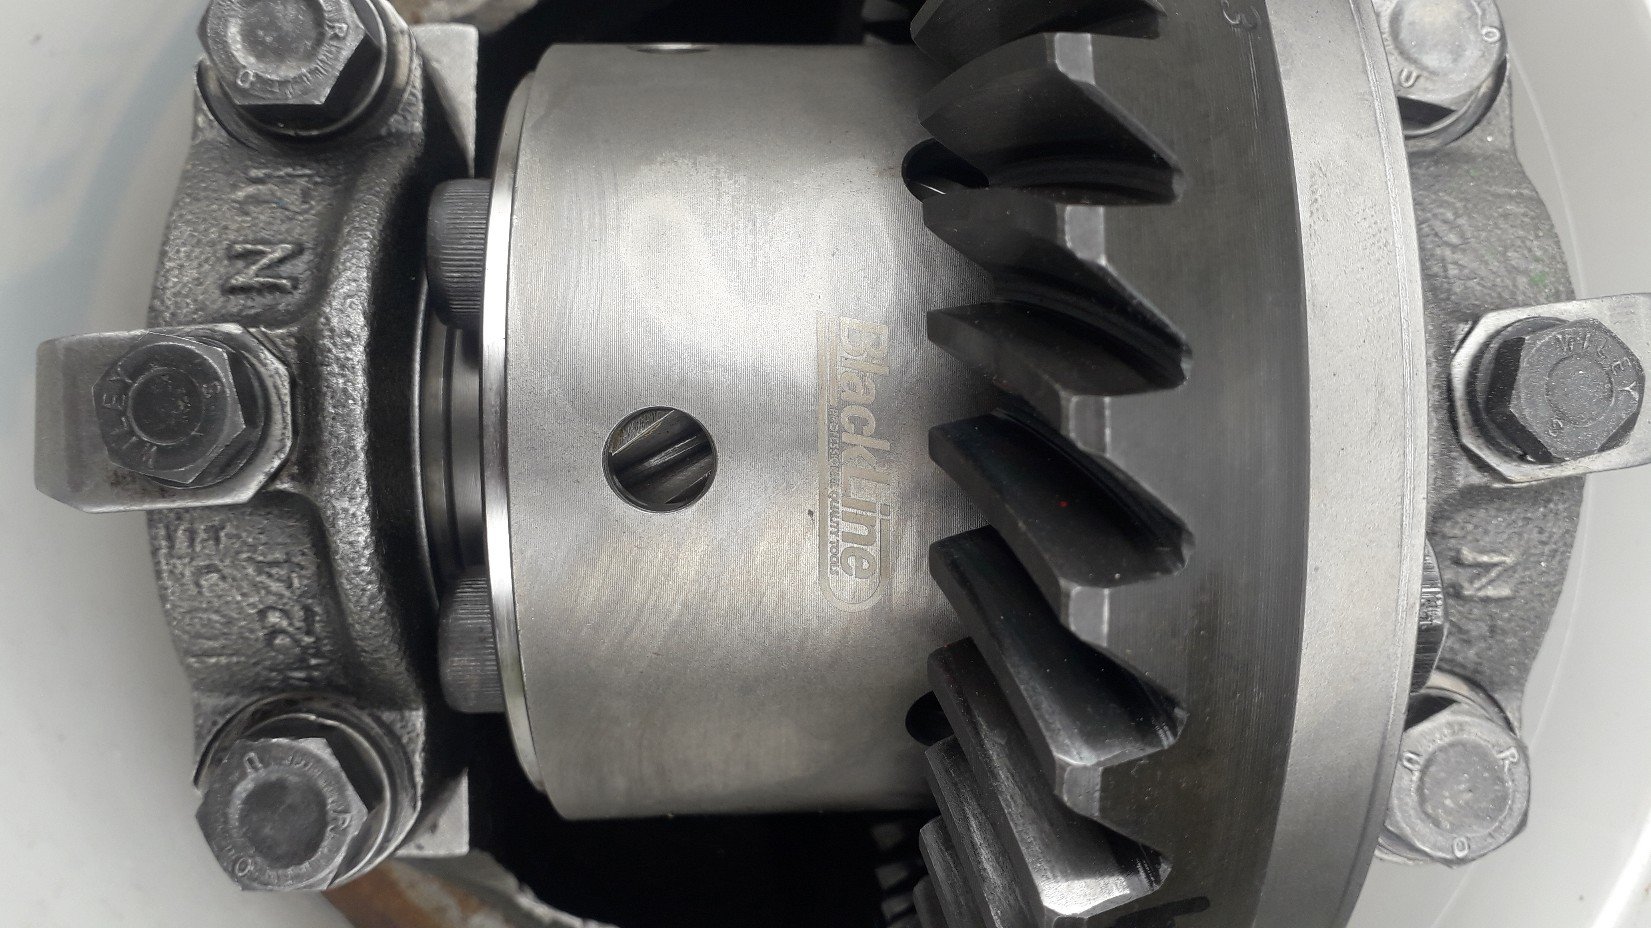
A huge update for the car, but a shitty update when I try and write about it. theres only so many pictures you can take of an axle. I had the 3.54 gears and blackline Lsd sitting in the house since august. the supply chain is wrecked as we all know. so I had brake shoes, springs and wheel cylinders brand new ordered but they never arrived. got all the way to Auckland, sat there for 3 weeks then got sent back to the uk. go figure. so I fitted the old shoes, used a mixture of the best springs and clips I could make of the 2 sets and bought wheel cylinders again. I pressed new bearings onto the axles and bolted it all together. I just needed to get it done the old diff was knackered. I took the car out today to a motorkhana with a mate with the MG club today. had great fun and it was also a great test of the car, suspension and diff etc and I got a few hrs cruising to tweak the carbs and keep an eye on the wideband. I need to do more research. when the car runs best it reads about 12.8 cruising and 12.2 on full throttle. from what I've read so far that's too lean but I need way more reading up on it. anyway.. few pics. old new.
5 points
-
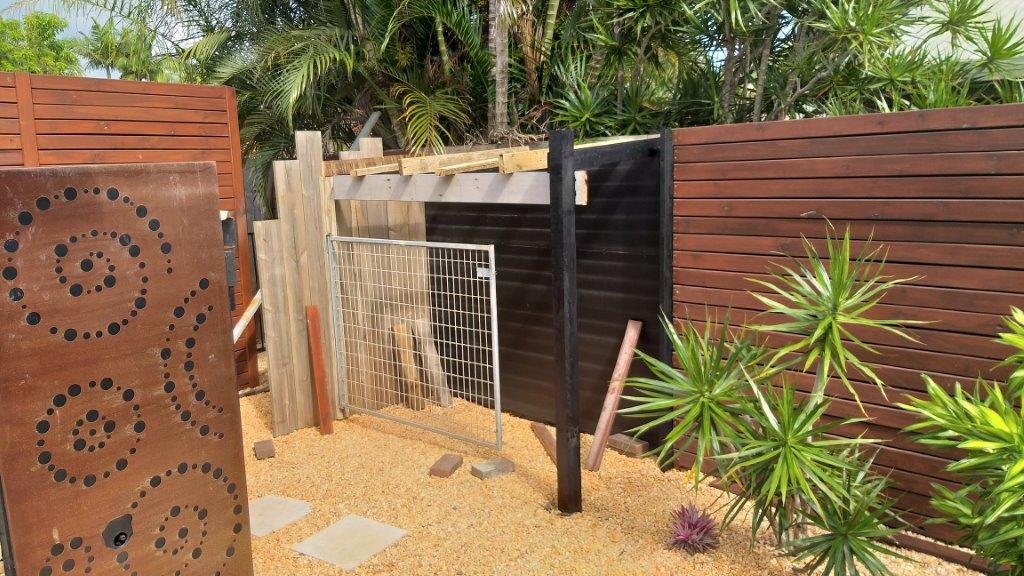
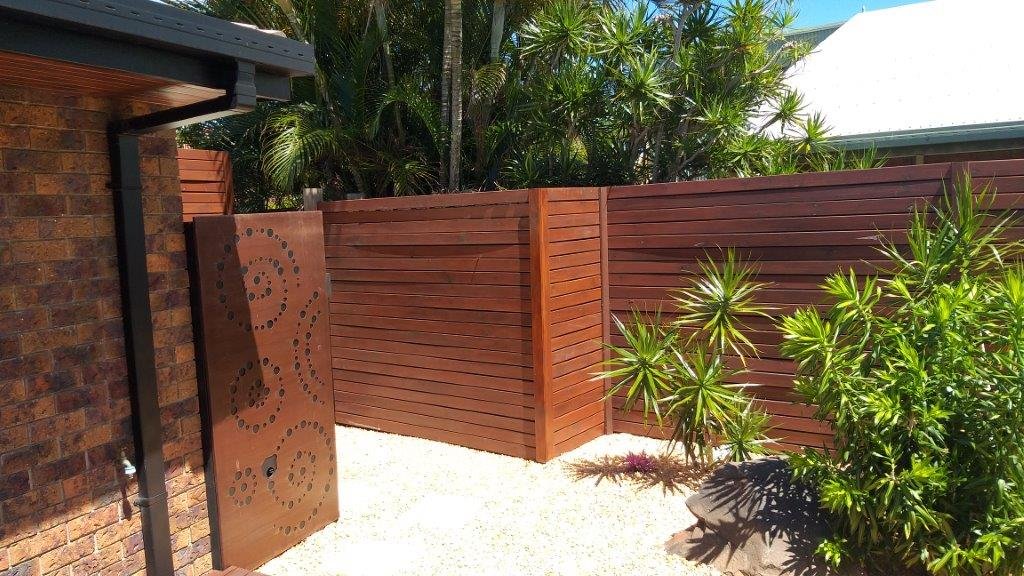
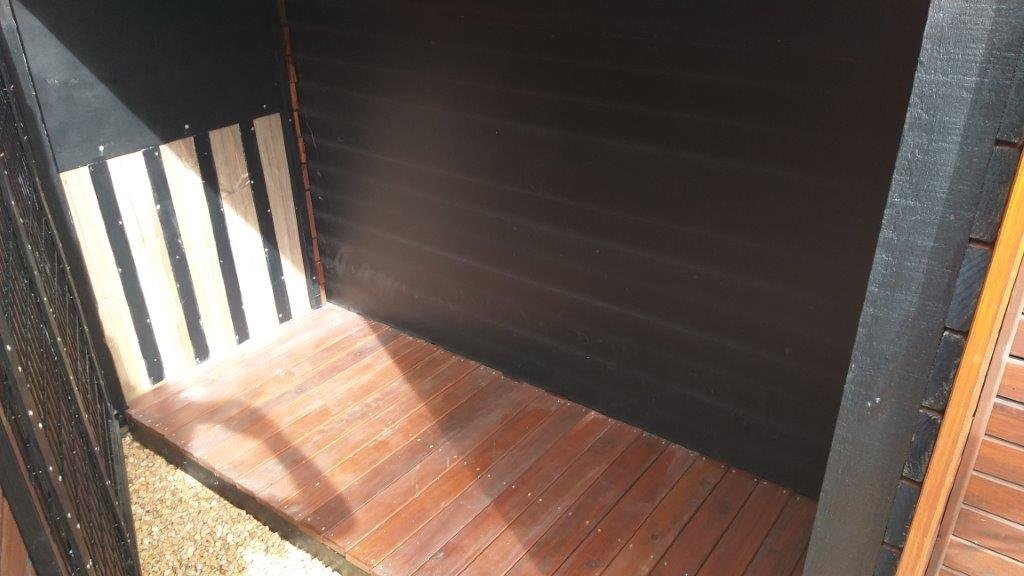
So the week before last I decided to do something about it. Looked through my pile of scrap and left over building materials and proceed to build a little storage shed which is right next to the pool. It's cunningly disguised to look like the fence that I built a few years back.
5 points
-
Before and after..
5 points
-
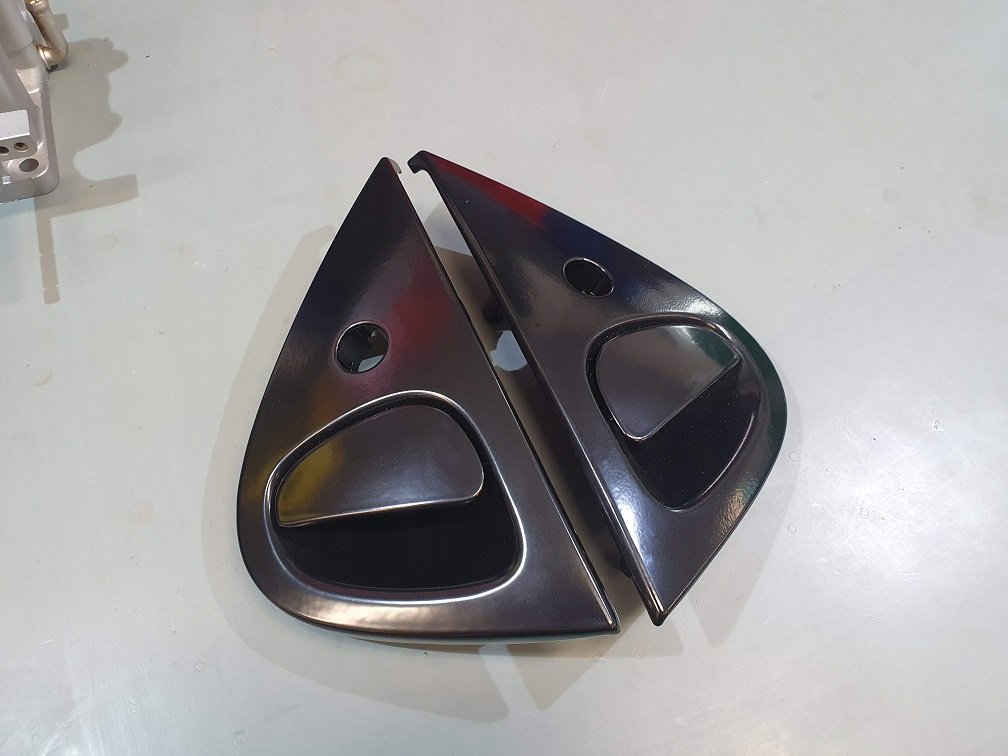
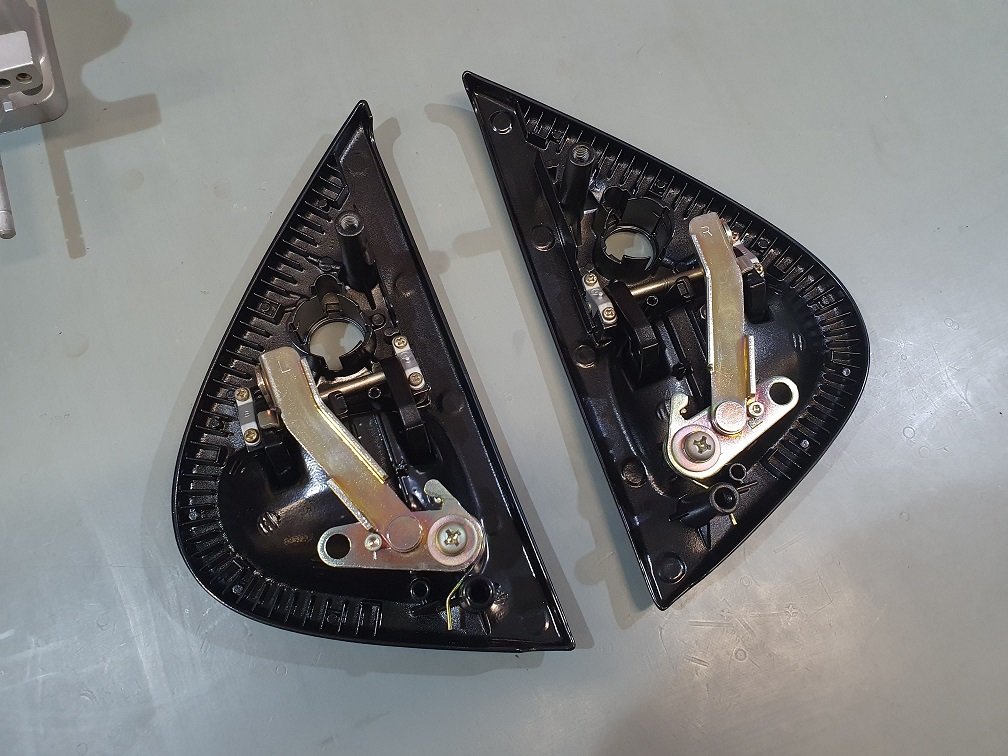
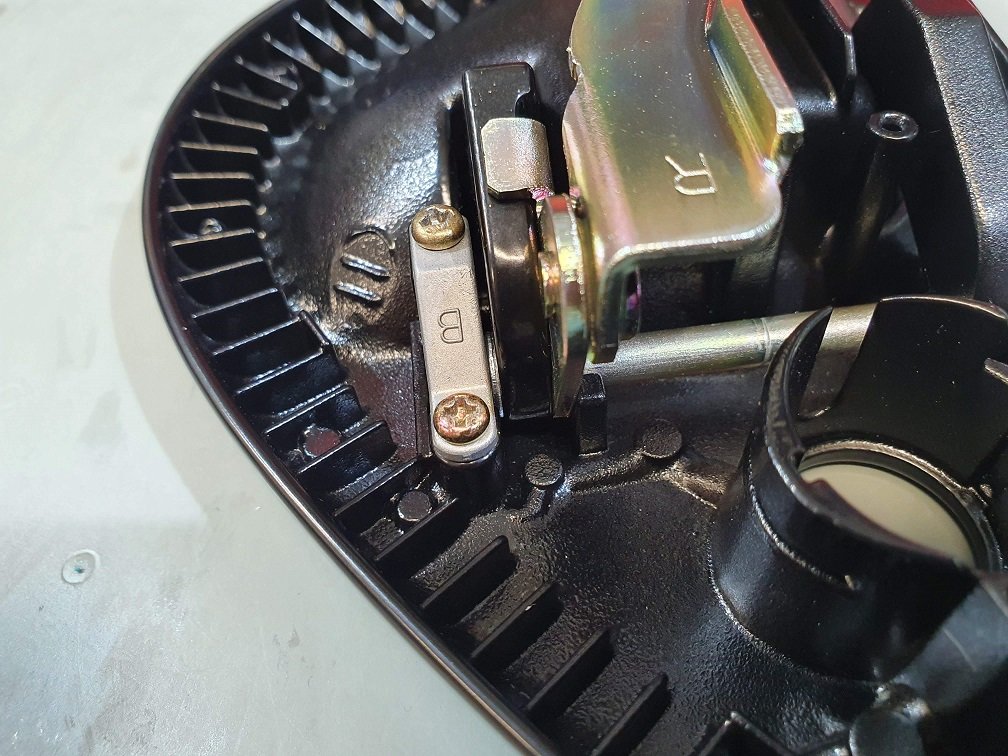
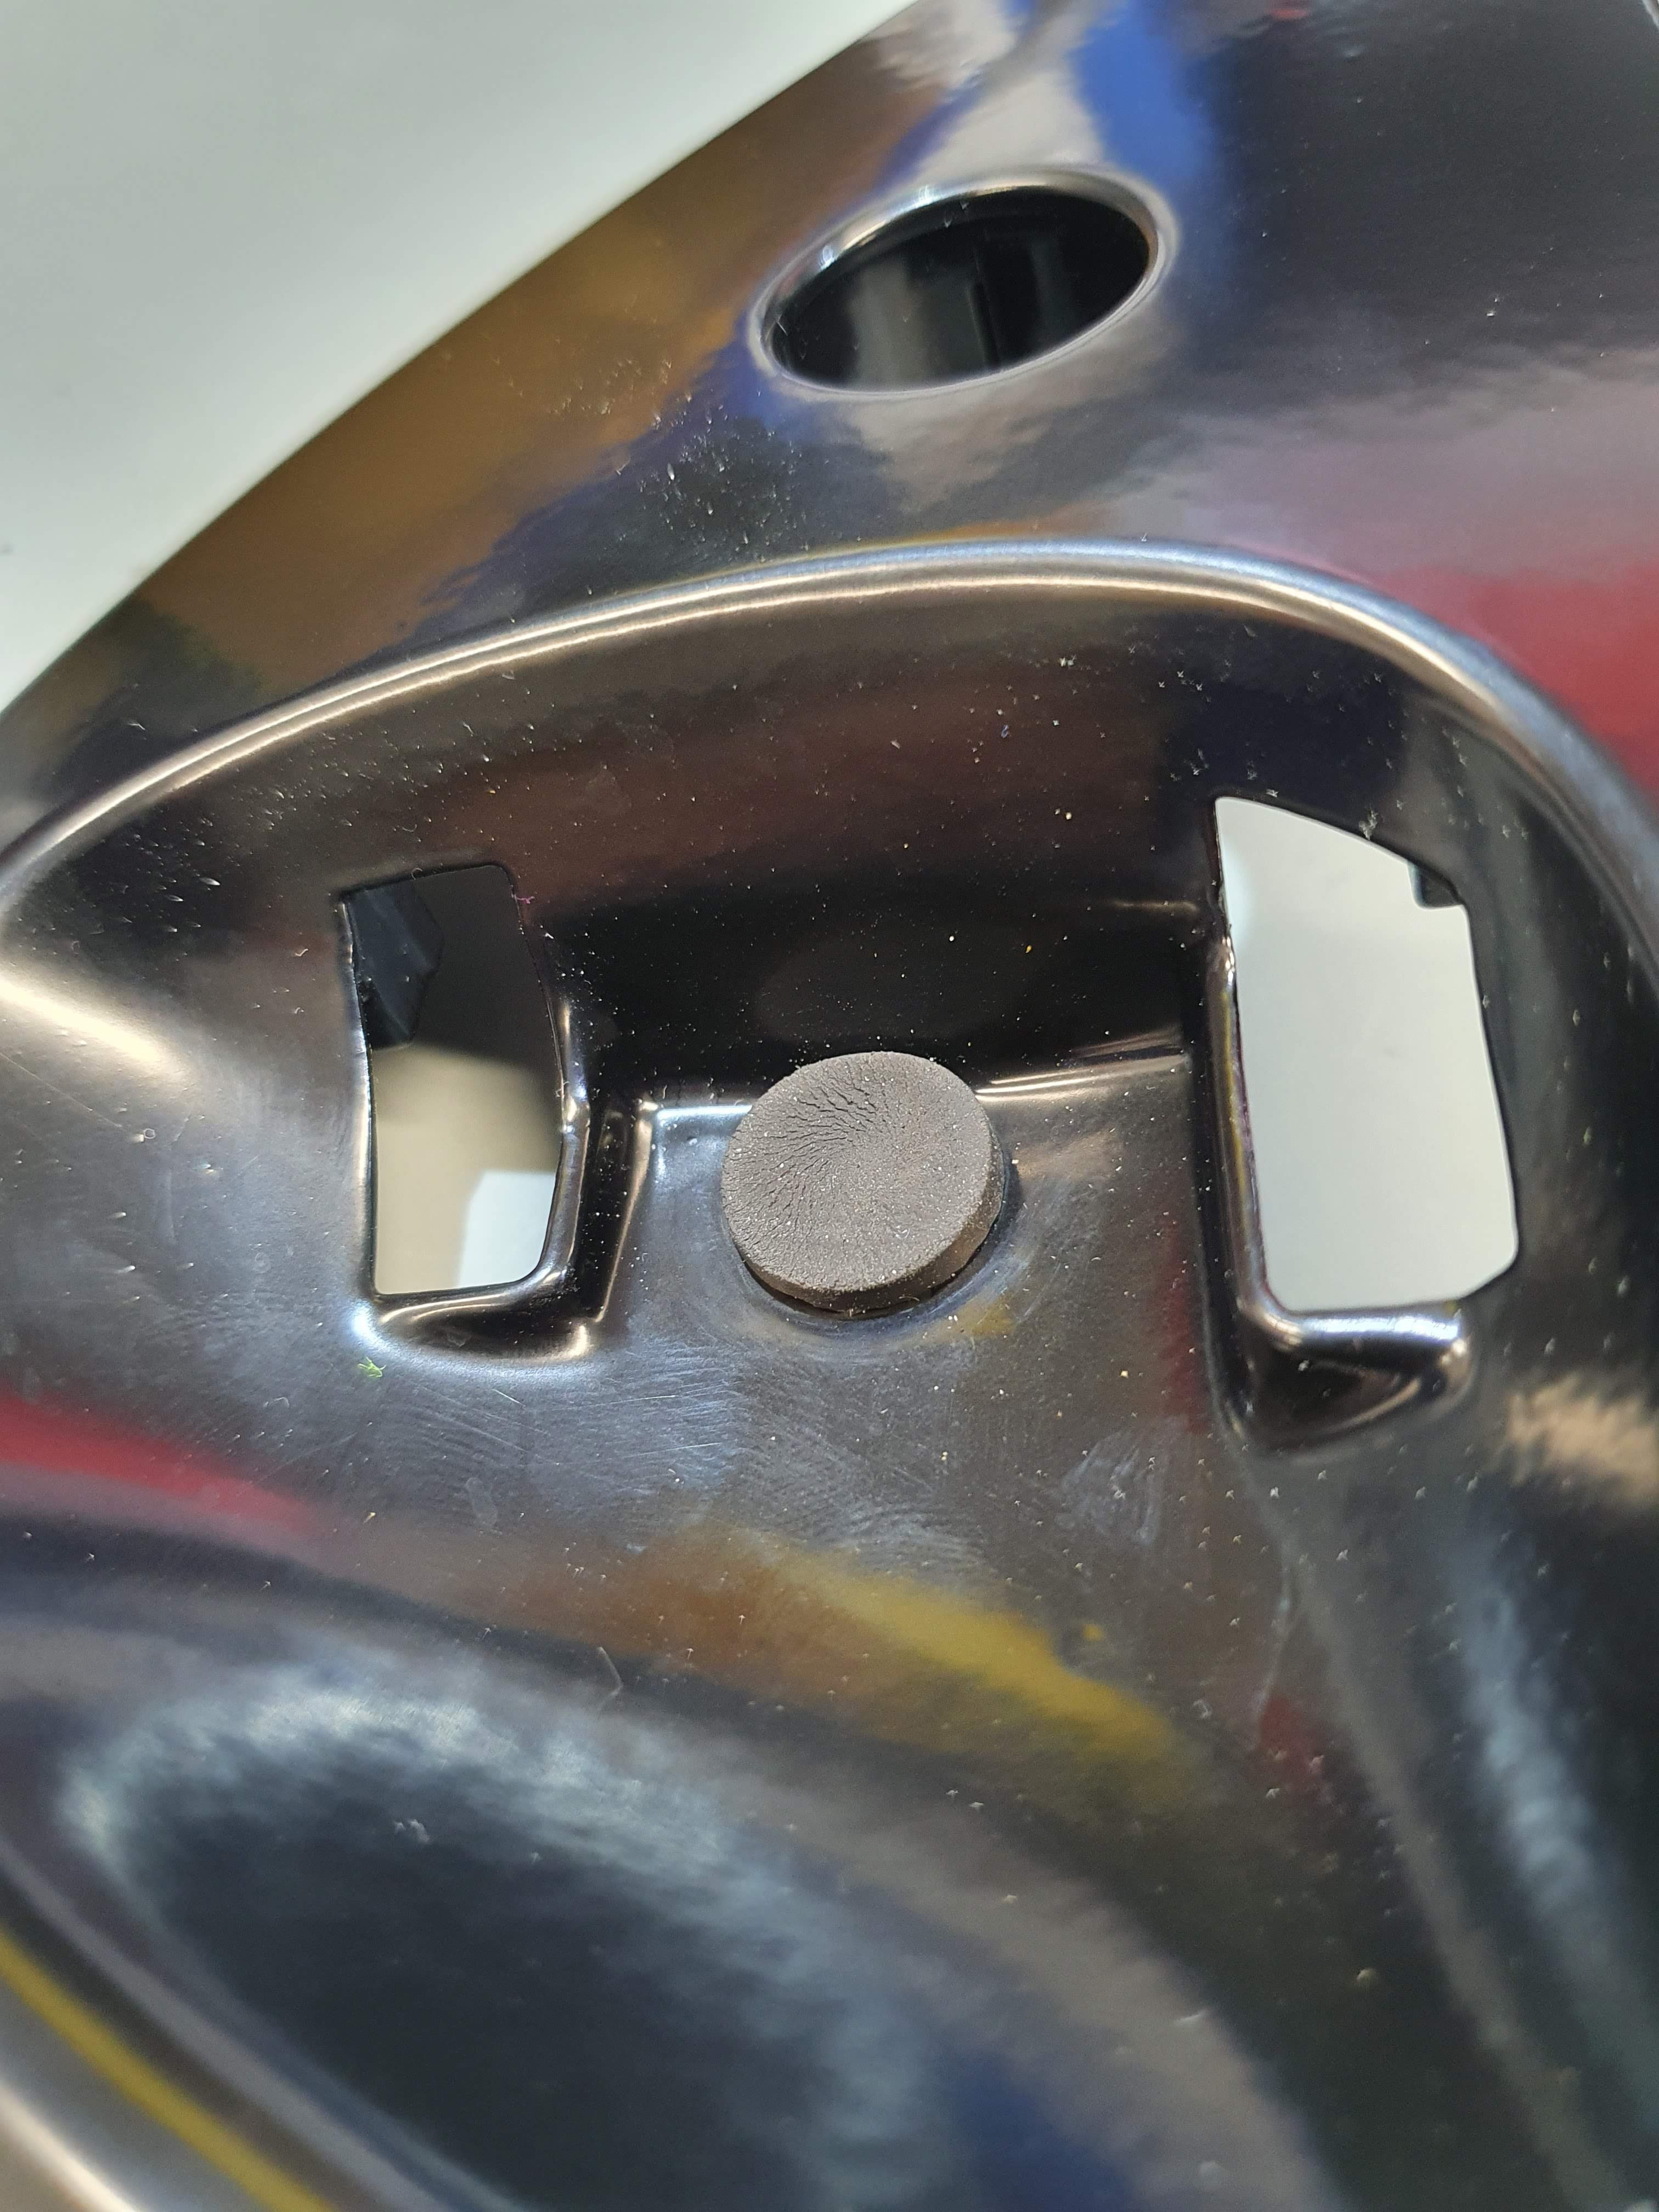
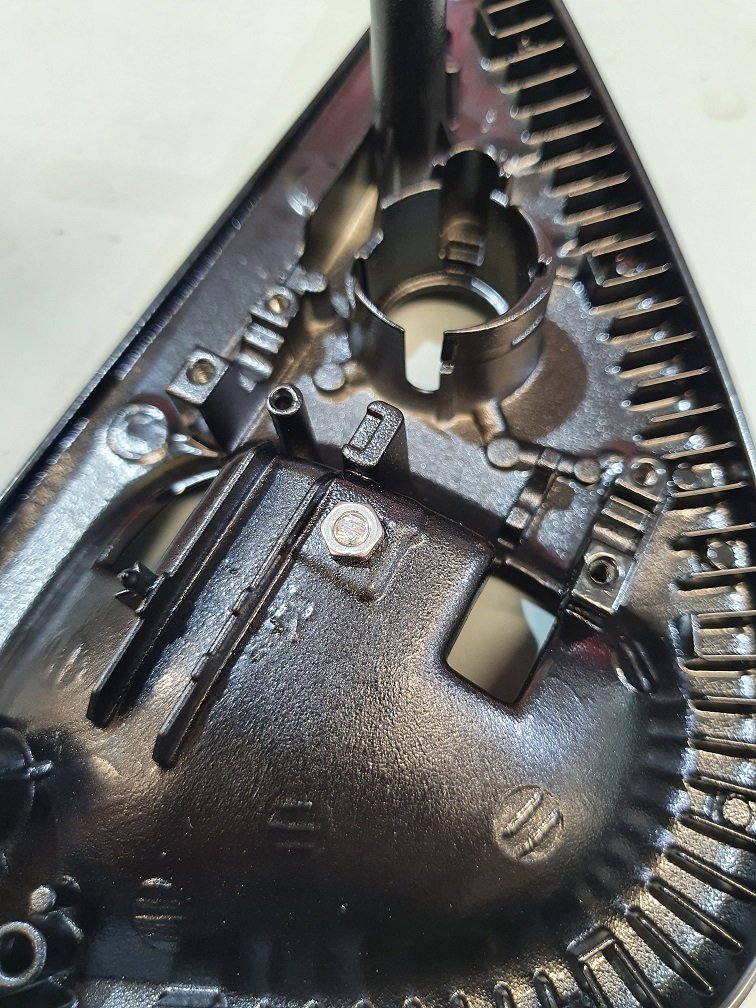
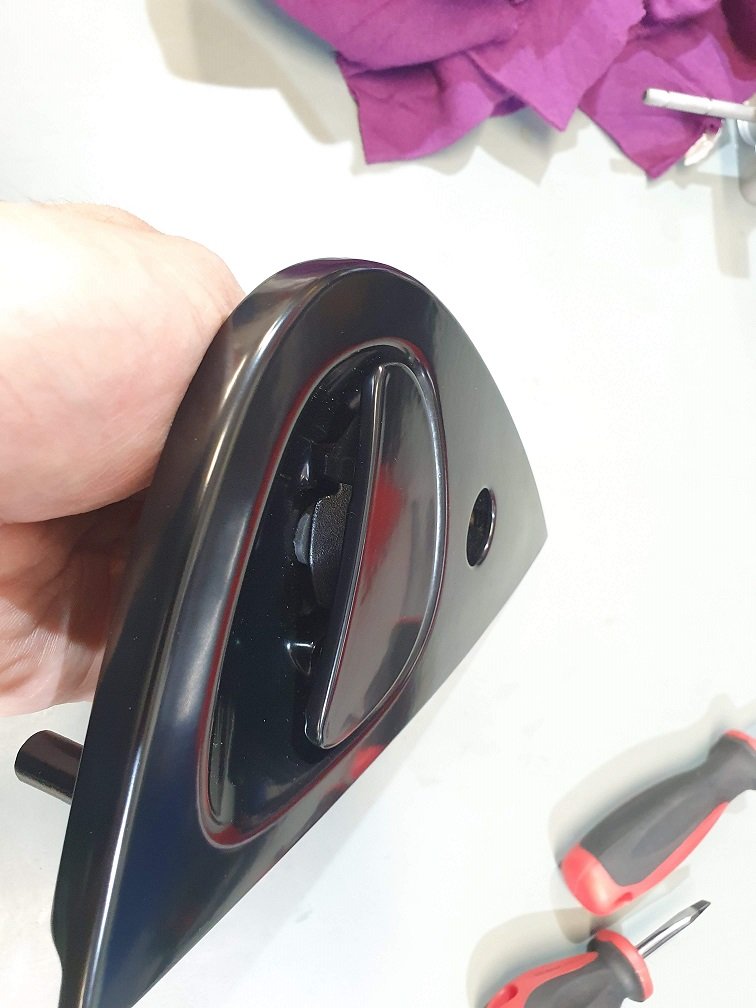
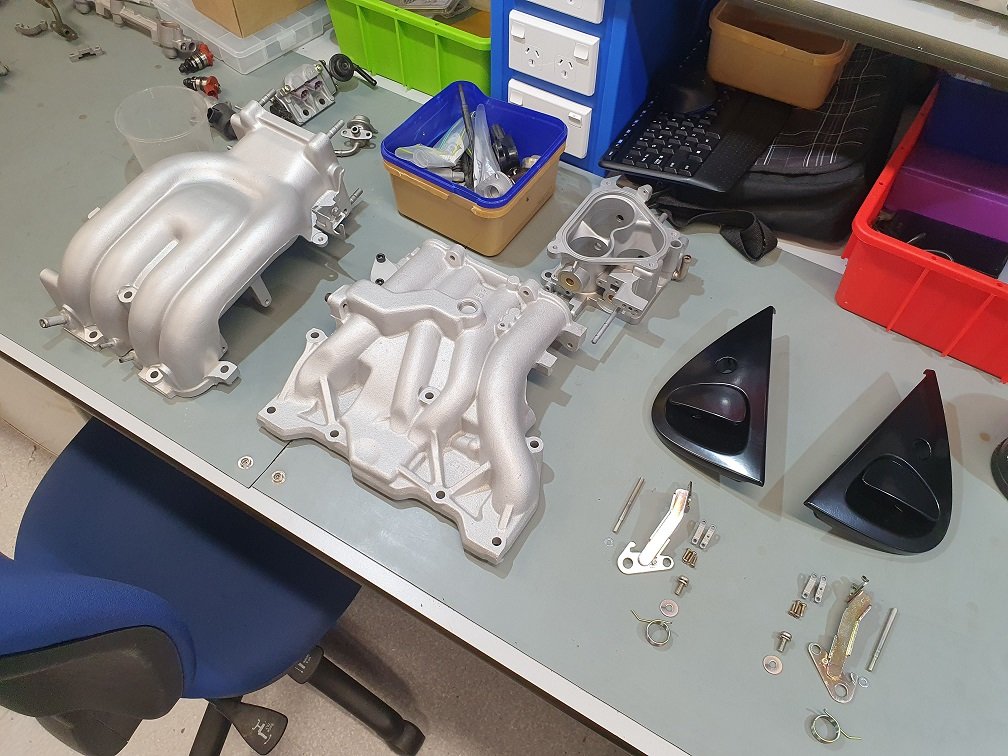
Bloody hell, the saga of these door handles! Definitely could have just bought a new set... I've saved a bit of money this way, but invested a heap of time in its place... Still, every part has a story, its something you touch every time you use the car, and this set is even better than a new set now with the aluminium cast handles instead of the factory plastic pieces. I got a local company to powdercoat the handles, and they did a pretty average job TBH. They said they'd re-coat them, but after waiting a month without that happening, I gave up and just collected them. The coat was so thick in places I couldn't assemble them without cutting bits of it away, and the finish was pretty rubbish... I re-blasted them to get it all off and was back to where I started. After watching a couple of youtube videos (to become an expert in the subject, as we all know that's what youtube is for...) I purchased Eastwoods DIY powercoating setup and some semi-gloss black powder. Wow, this is one of those rare occasions where the reality was actually as easy as it looked on youtube, and the outcome surpassed what I was expecting. Easy process, nice and clean, and super durable finish in exactly the right colour / gloss level to match the factory parts. Handles there ready for final assembly, with some other bits I've got on the boil. I made some better rubber stoppers to set the handle height correctly when the doors are closed. These are 16mm diameter m4 threaded rubber equipment feet that I trimmed down, chucked up in a drill and linished to about 2mm thick, while spinning them in the drill to keep things even. Time will tell if they're up to the task, but this thing will never be a daily again, so I think they'll be okay. Then assembly is simply the reverse of disassembly, with the addition of an m4 flat washer as a shim. Just to the right of the 'B' clamp there. Kind of a pain to get into place, but it removes all the play in the system. All the moving parts got a smear of grease so keep things smooth. You can see the stopper bolts there, but they're not engaged when the handles are fully closed, so are doing nothing whatsoever. With the larger diameter stoppers, the handles close down onto them properly. The original ones seem to small to really do much. One of them was missing on this handle set, and the other was pretty thin. Voila! What a faff for a set of door handles.... But dayum, they do look fine :-). I've blasted all the lock housings, but I need to take the tumblers from the original set so the car is keyed the same all around. Future job, these can get wrapped up and put away in the wardrobe for now. Back onto things the car actually need to run... maybe... I'll probably get distracted by something shiny ;-).
5 points
-
So legal size tyres that aren't race tyres don't appear to exist so I'll get some 195 stretched onto the teddies. I'll swap my re003 off the buddy clubs onto them as there's no point in them sitting in the lockup doing zero. On my pick a part mission i grabbed some components. Finally got around to installing them into the accord Annoyingly it sounds better than the stuff in the orthia. That amp sounded crap before so it could be my settings or the amp is just shit. I've got another couple of amps to try so that'll future Chris problem4 points
-
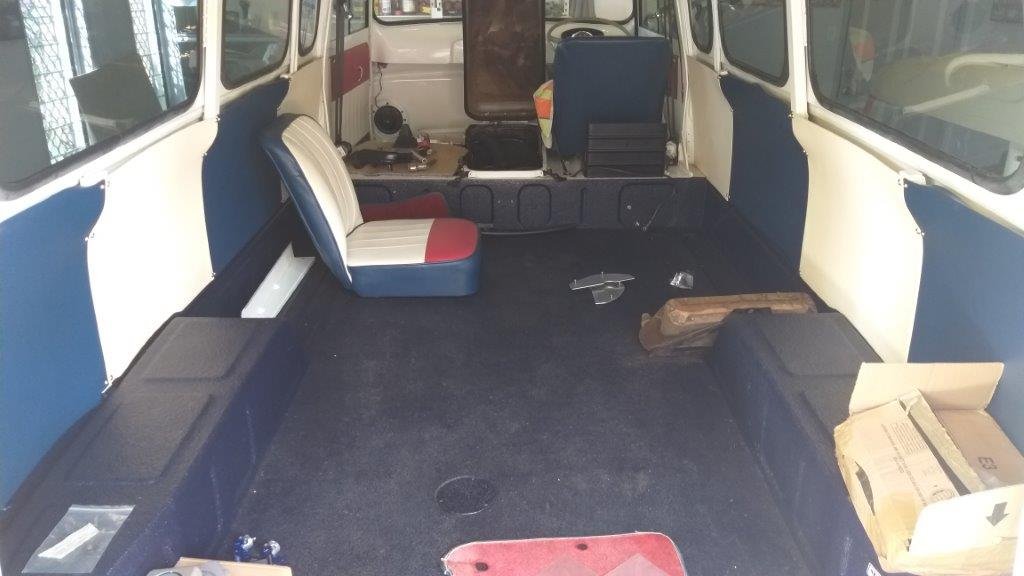
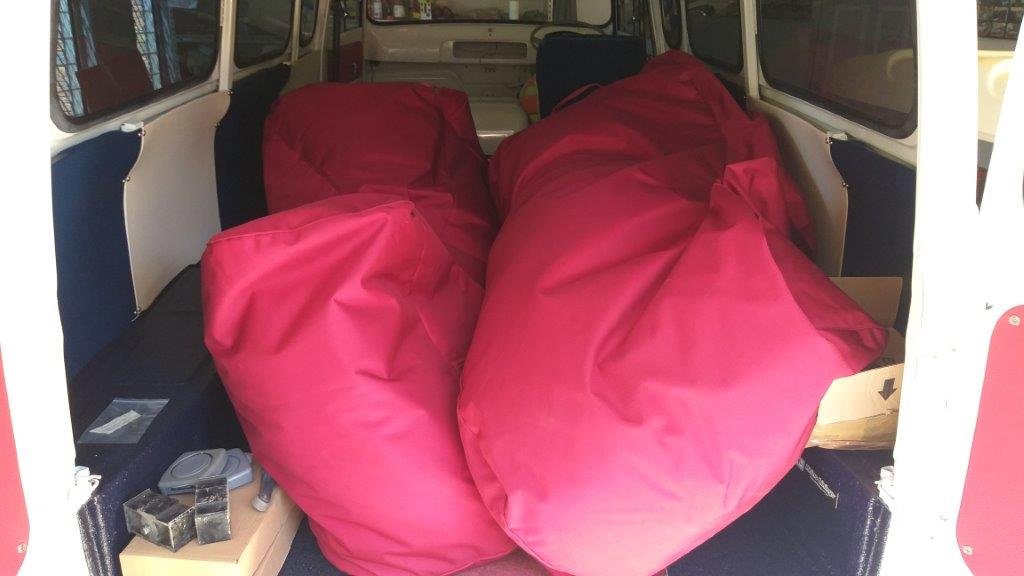
Now the back of the van looks decidedly spacious. And that's my excuse for not having worked on the Thames for the last few weeks.
4 points
-
Over time the poor old Thames has turned into a bit of a storage shed the biggest items being our pool loungers which is a pain in the arse. Being red there is just no way that we can leave them out in the elements, so muggins here has to lug them out and back in every time we feel like lying by the pool.
4 points
-
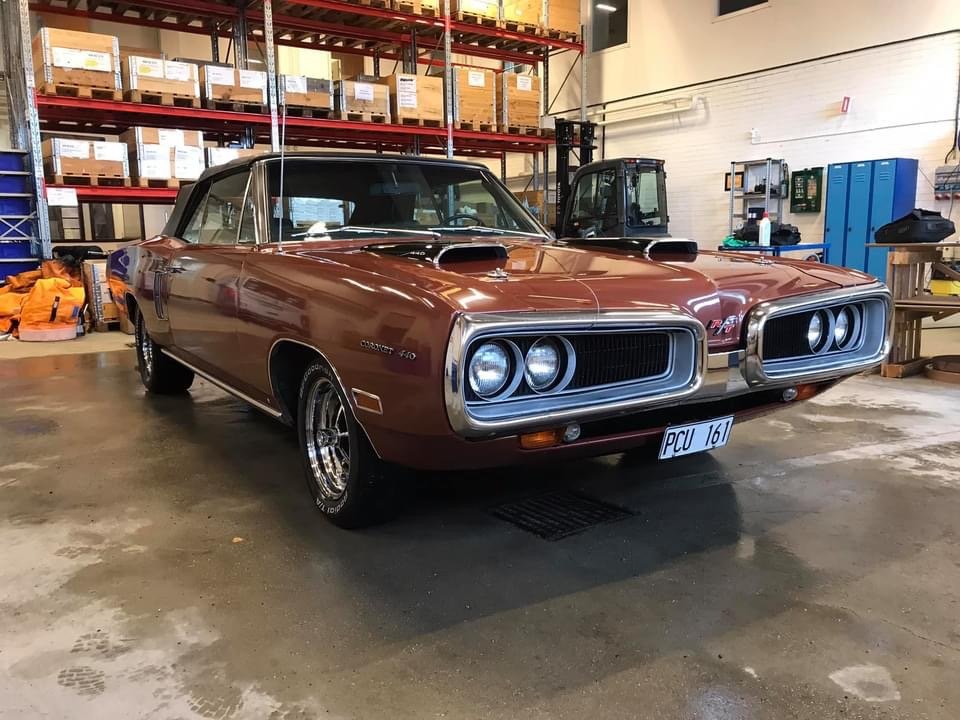
Cert achieved! Next step is to make the exhaust a little quieter and then get a wof
4 points
-
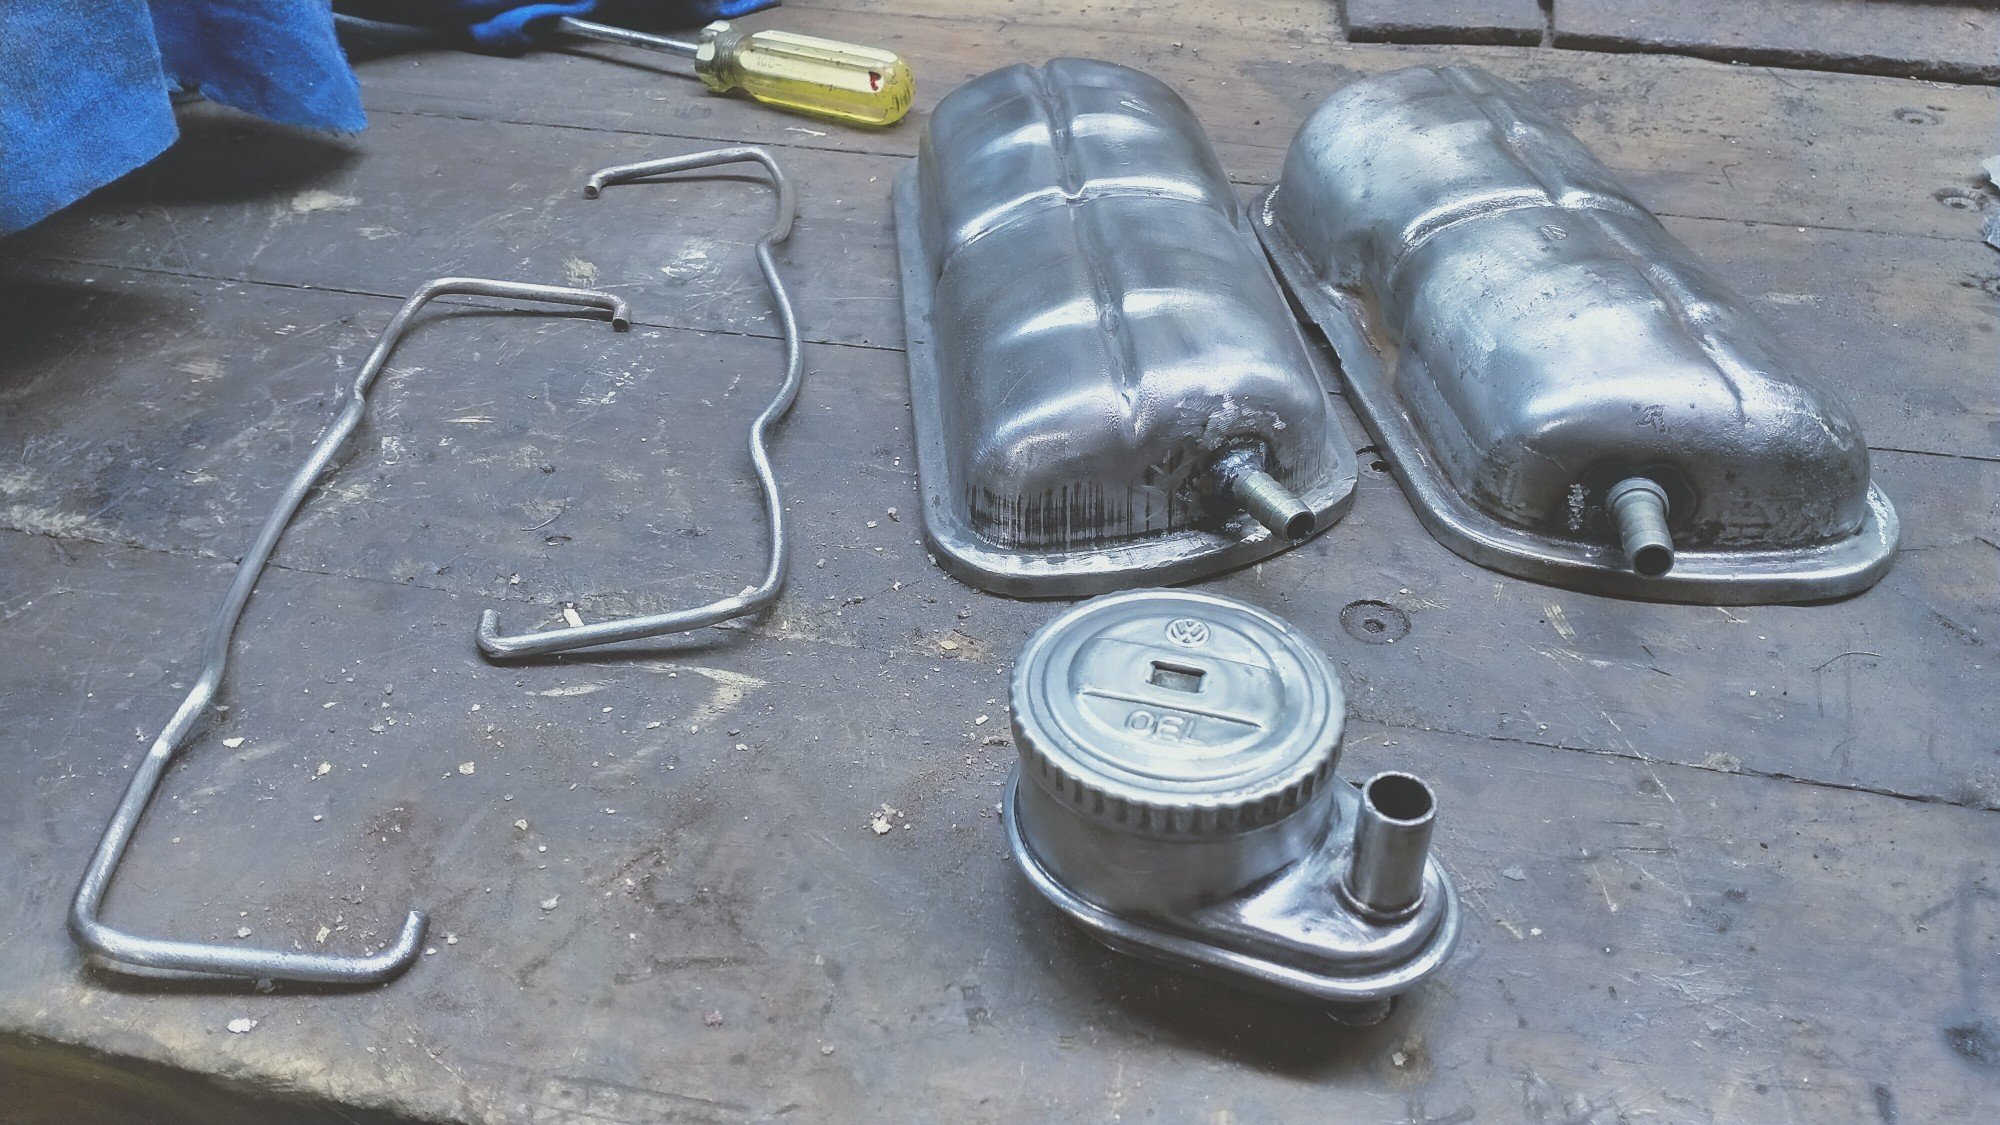
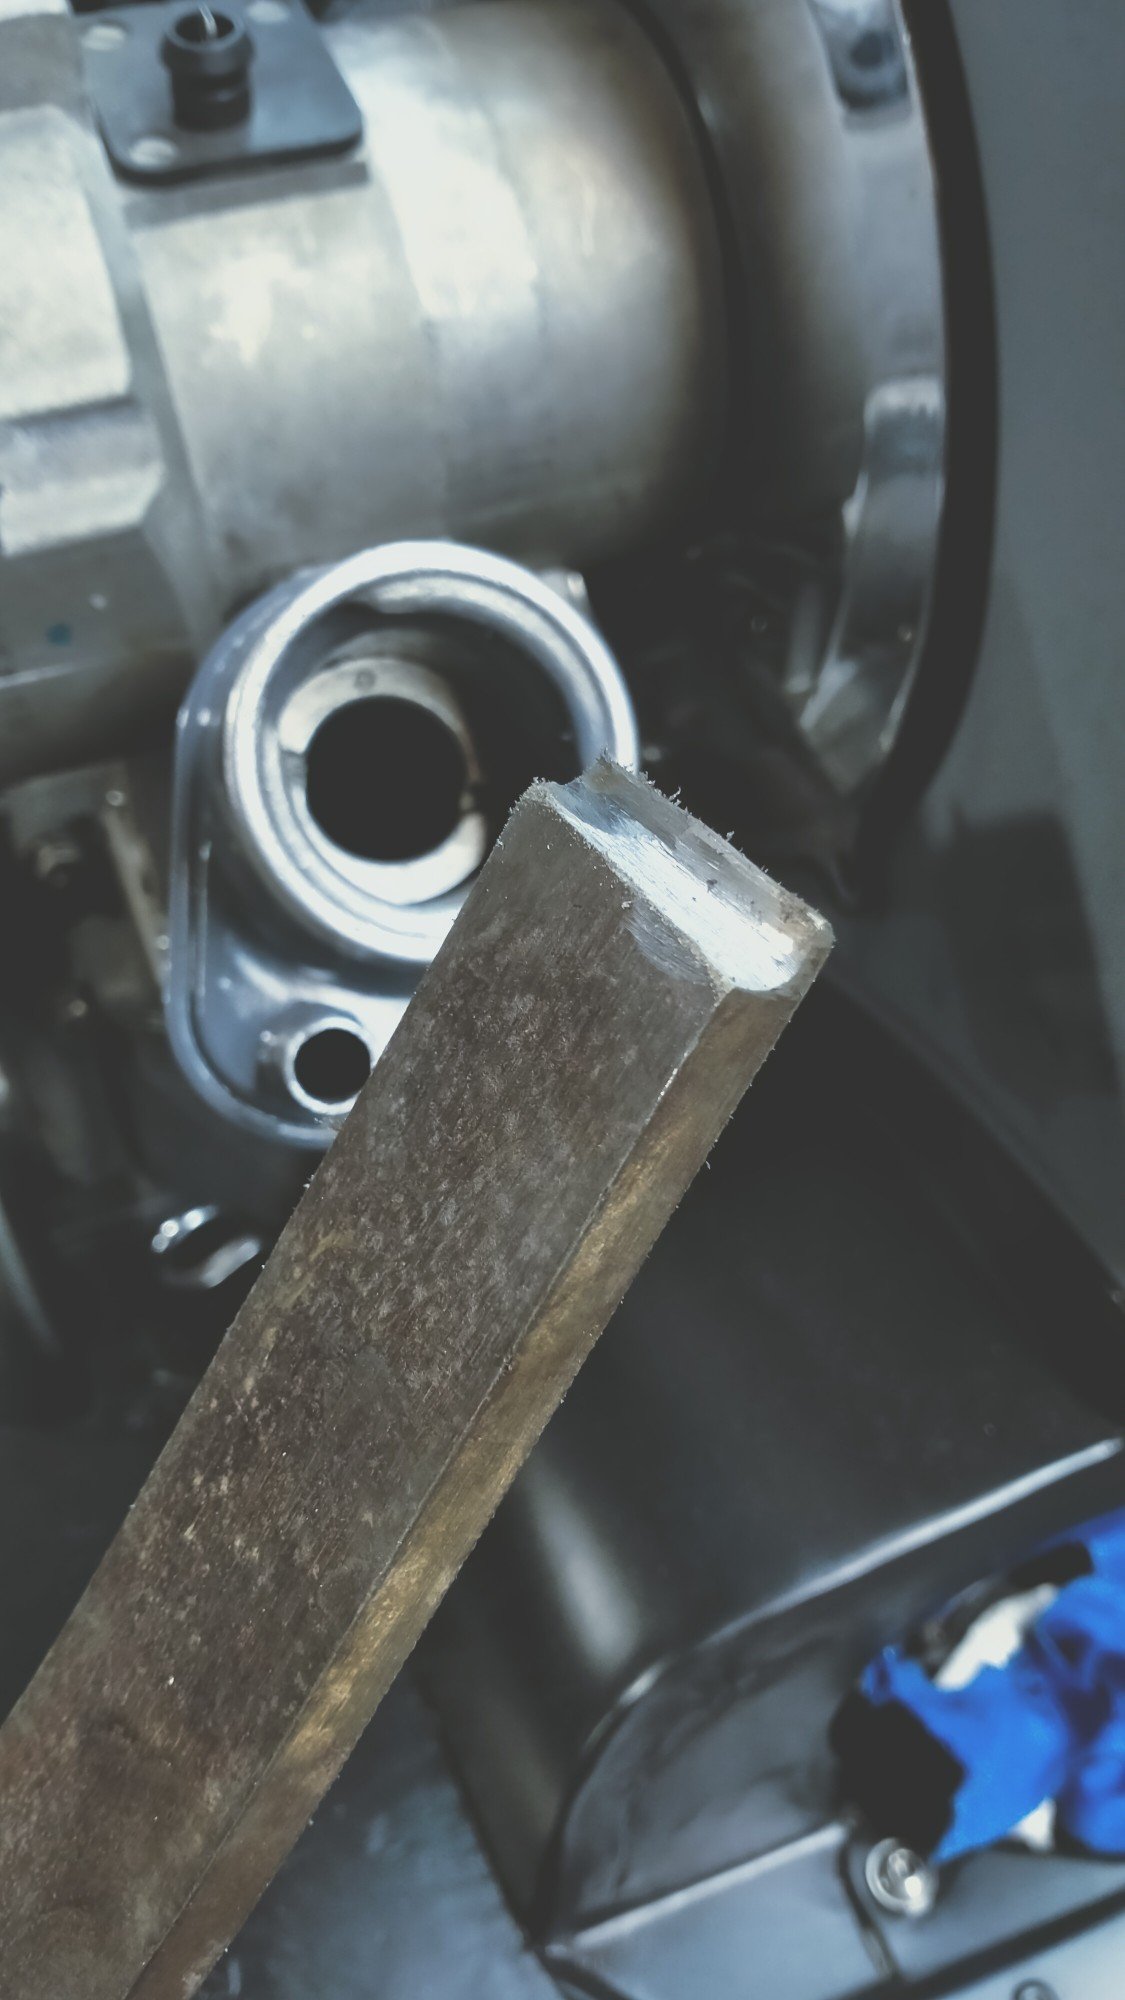
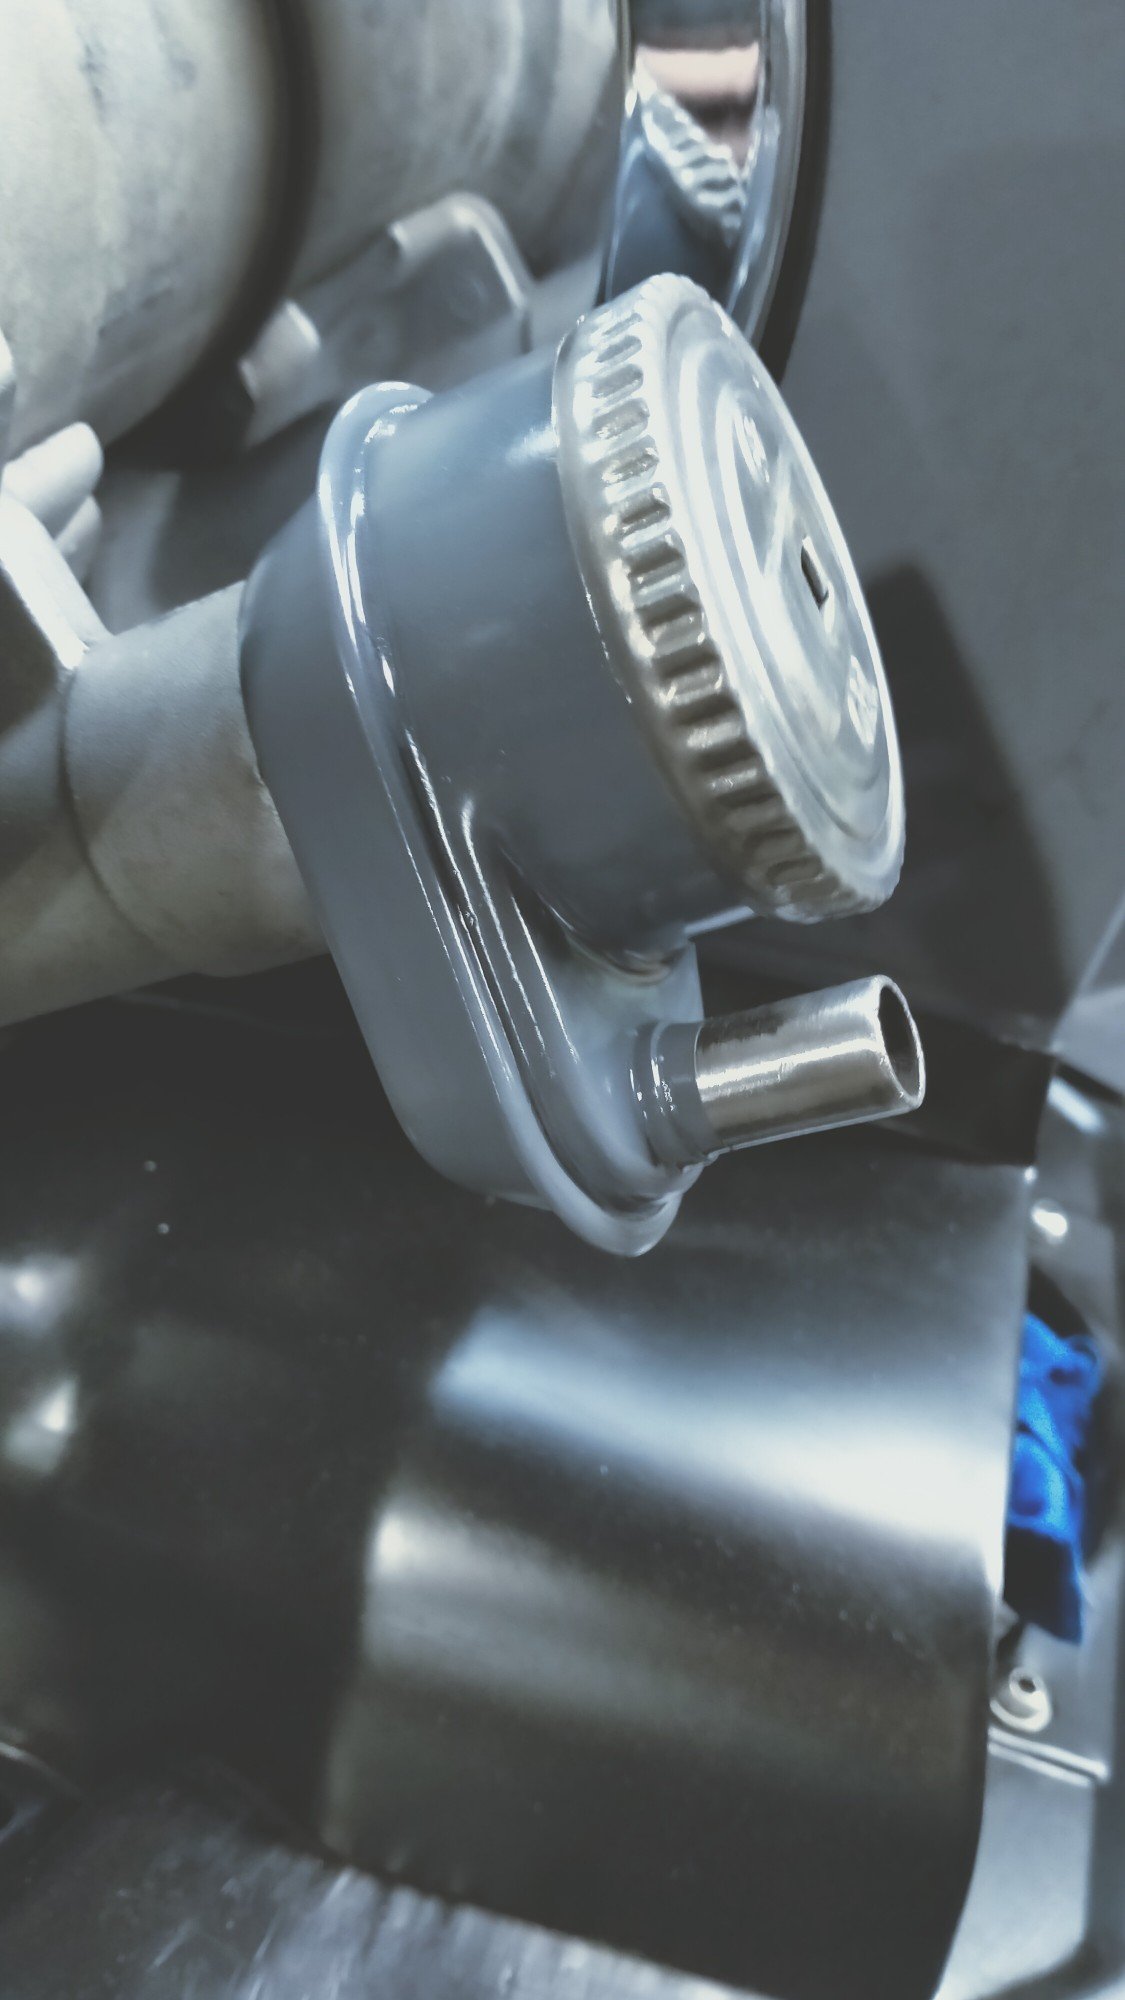
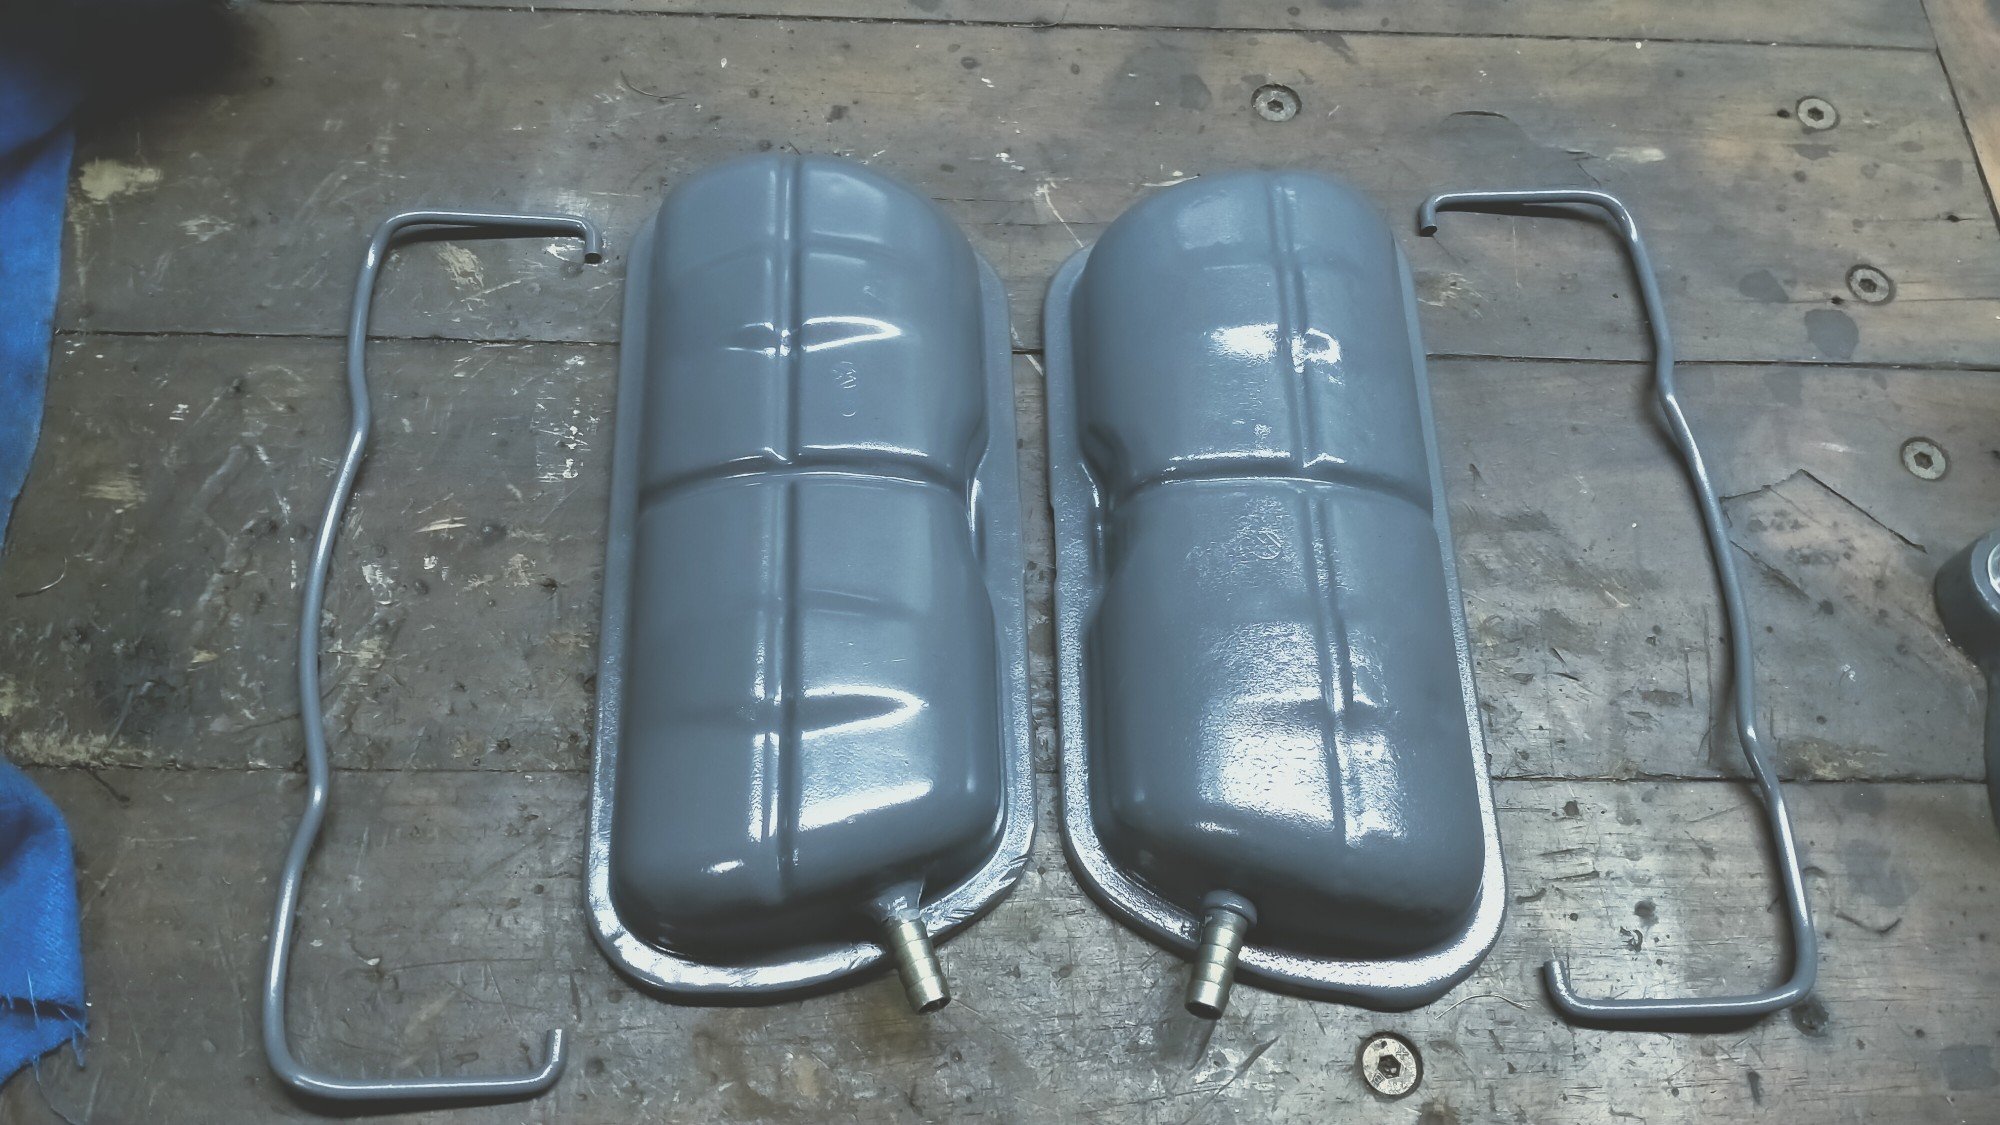
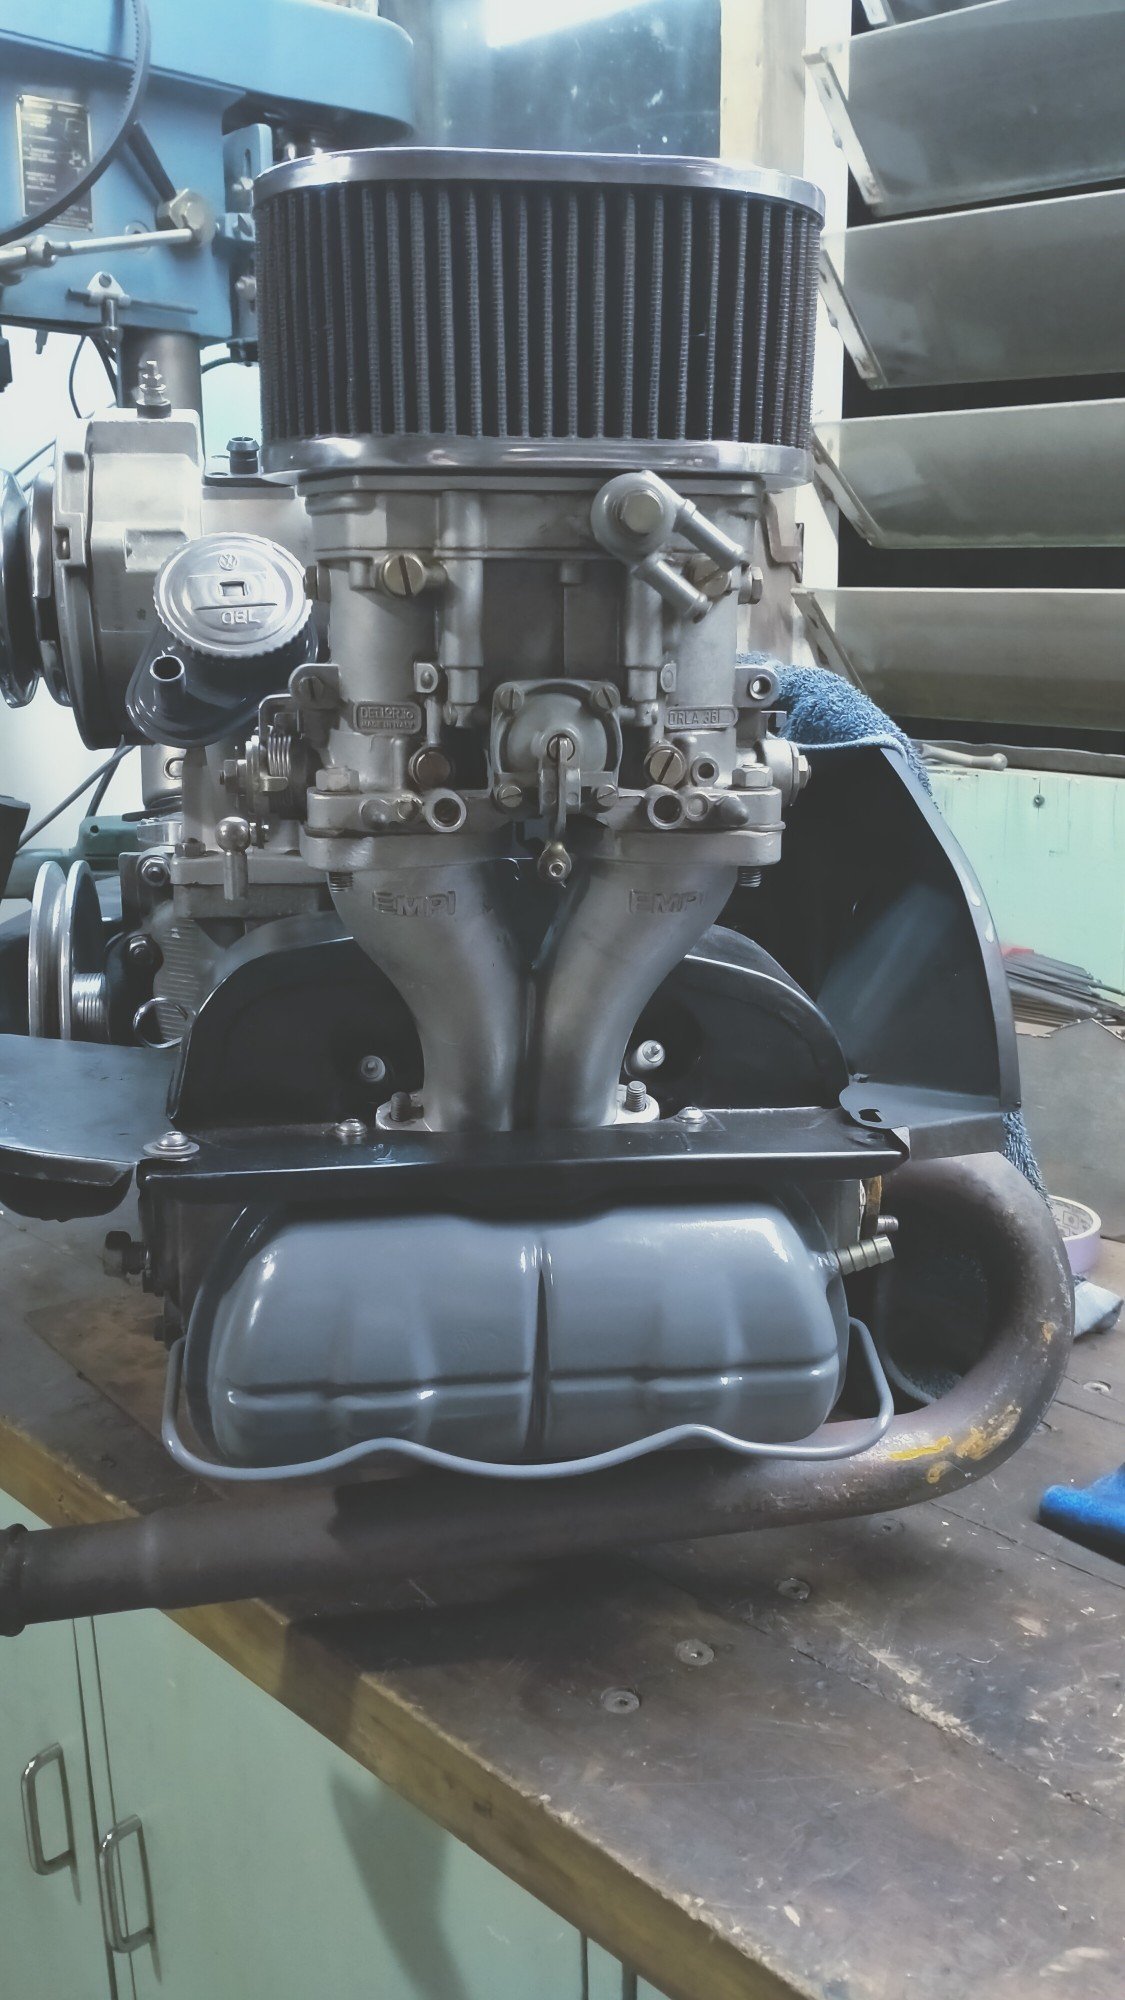
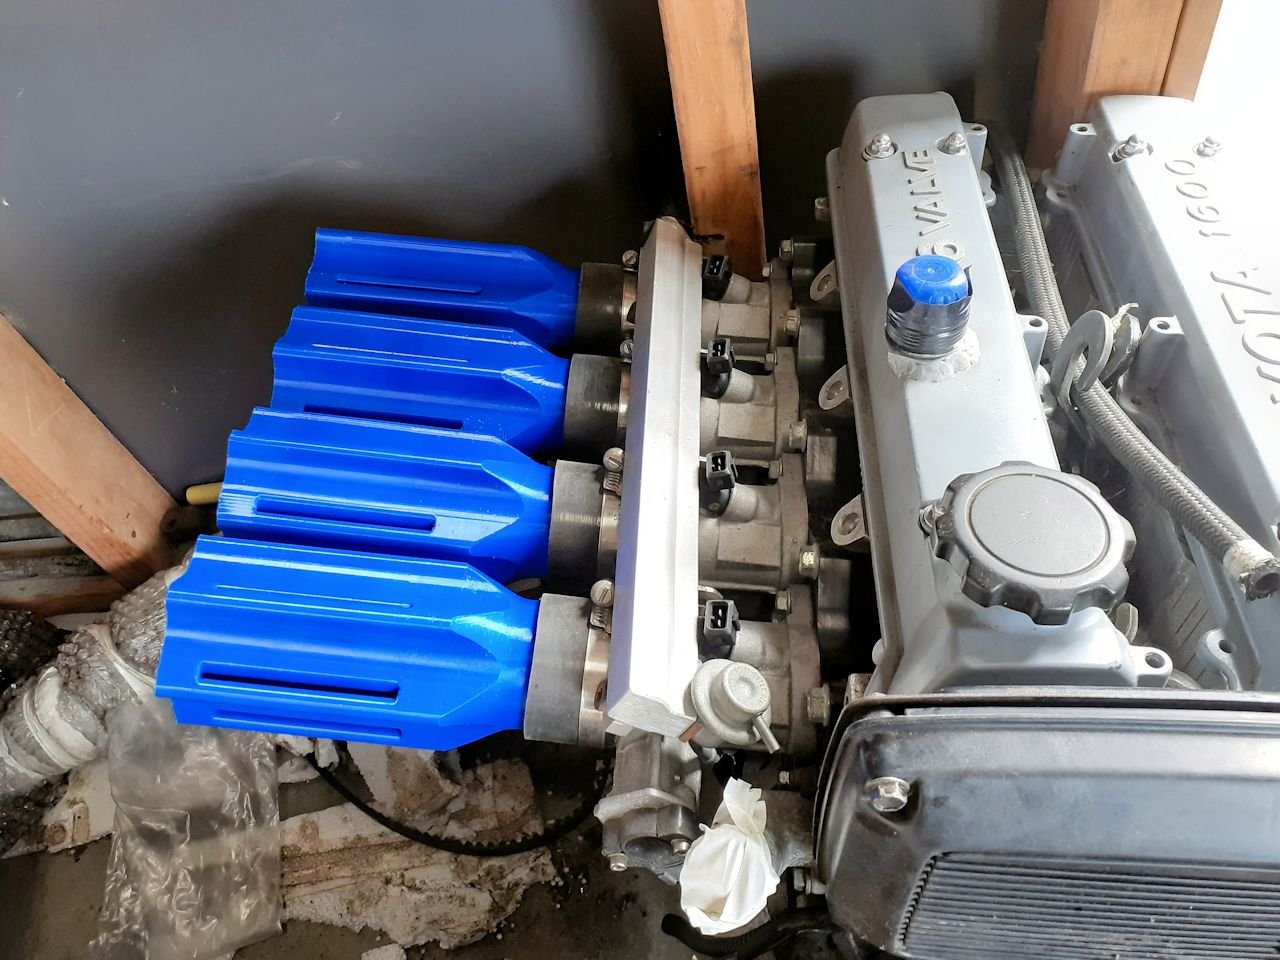
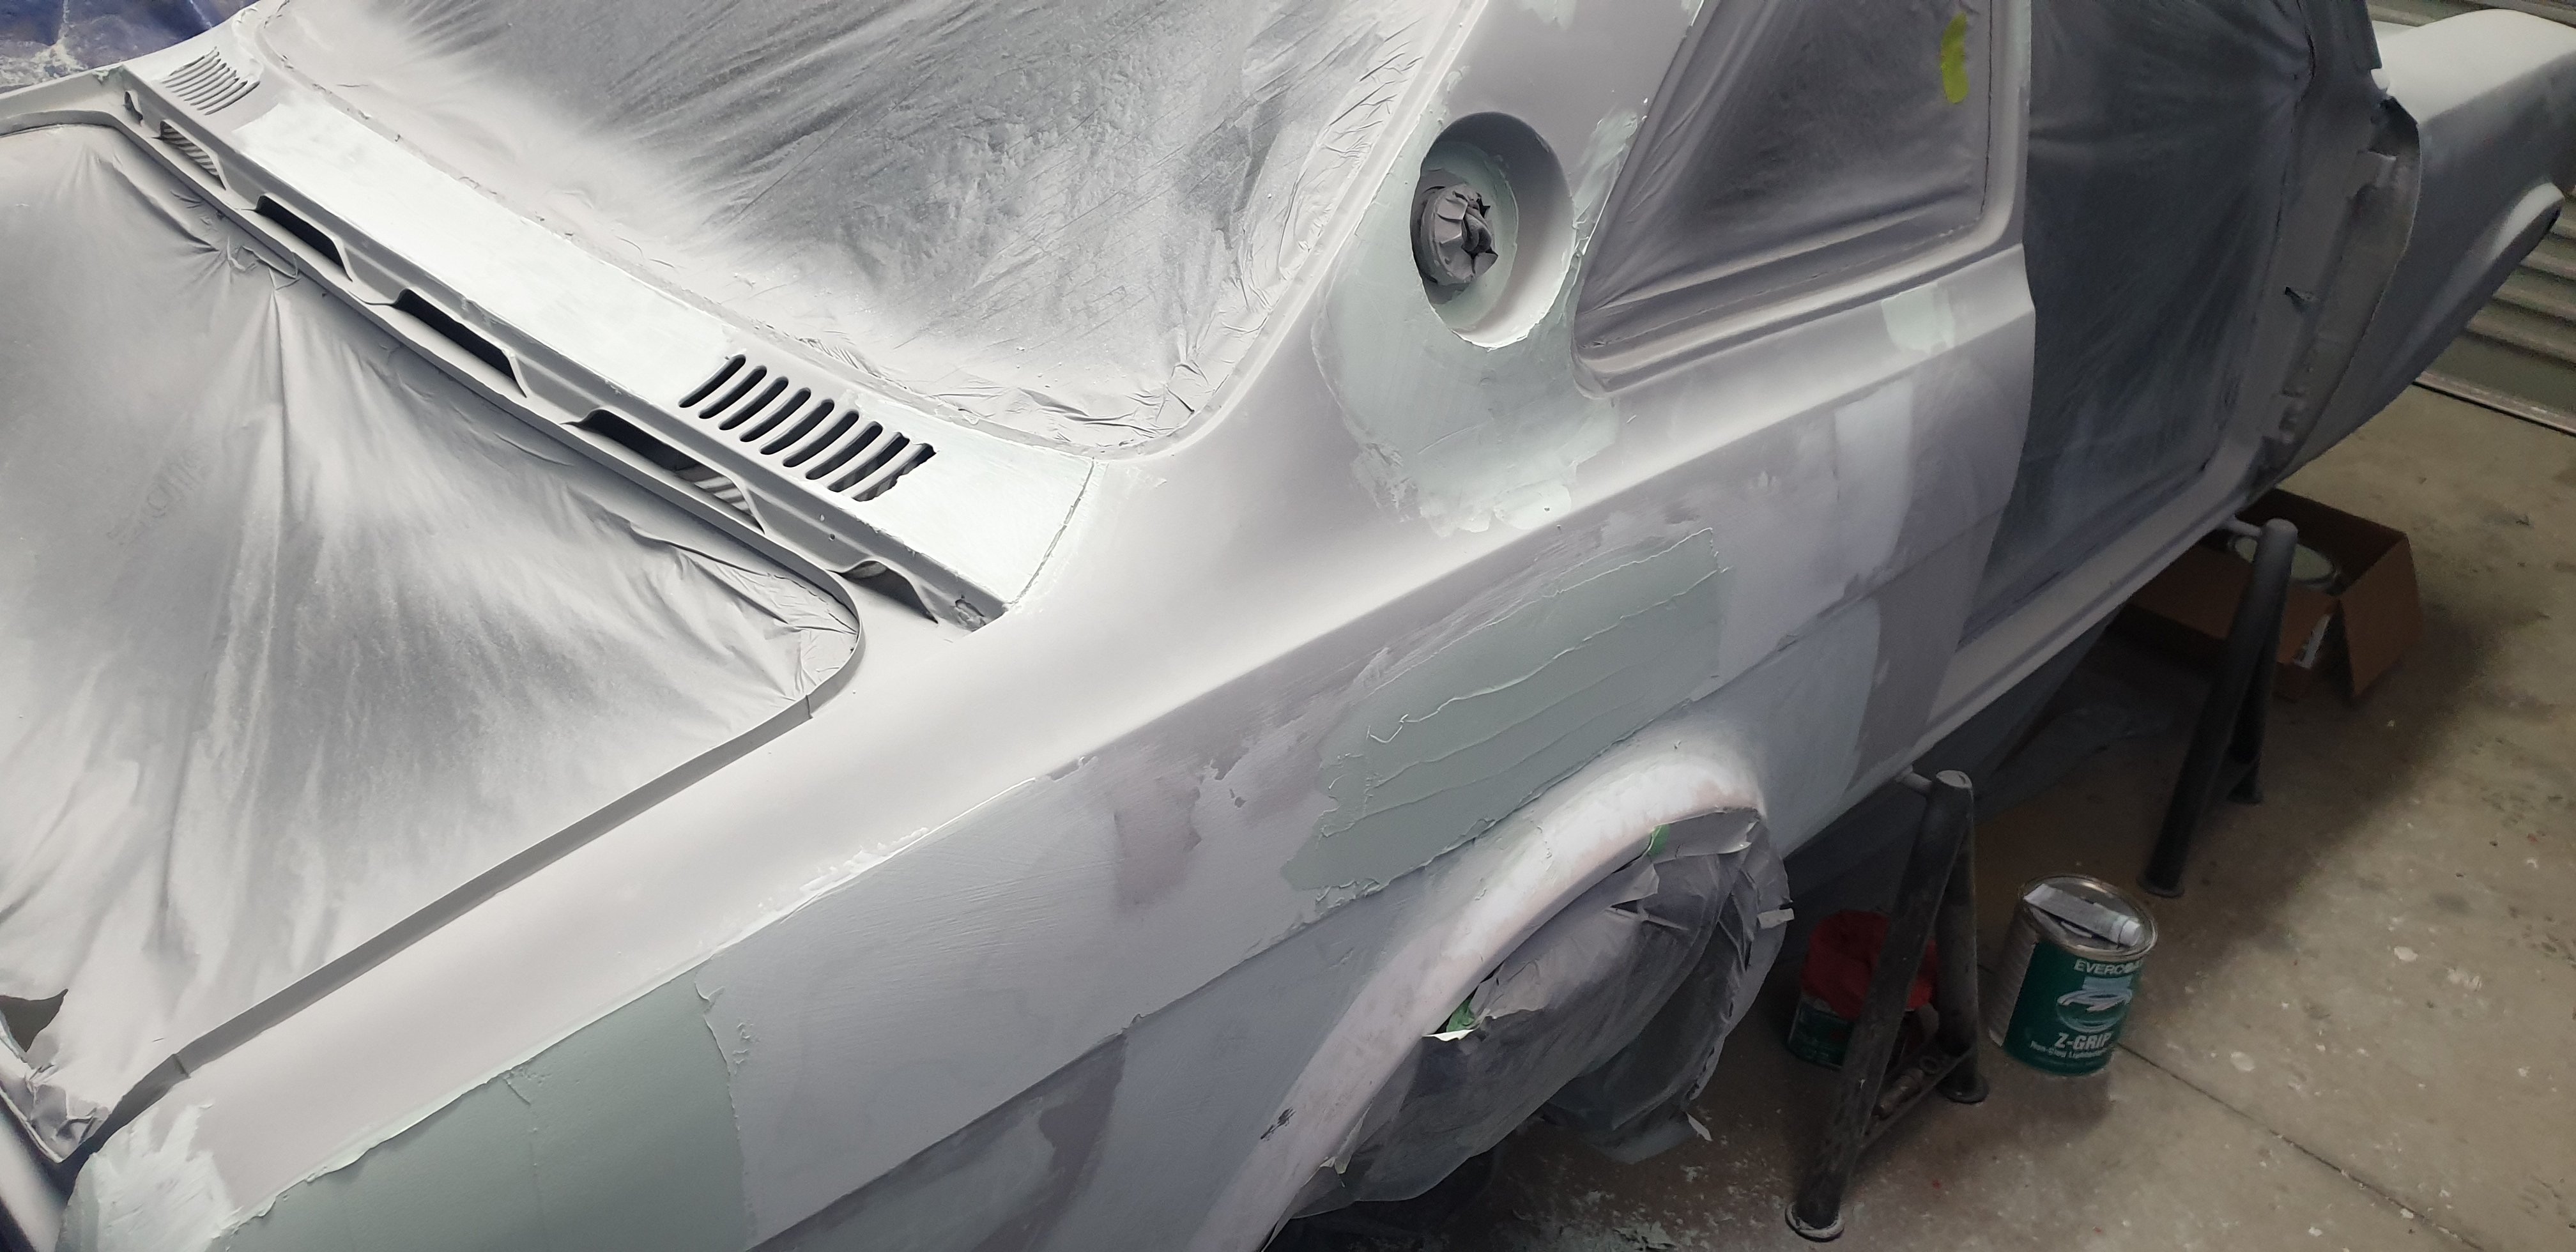
In a effort to reduce future oil leaks, I wanted to improve the crankcase ventilation. There are a million opinions on this, so I've pretty much gone with the old school factory baffled oil filler and vented valve covers, which will be plumbed up to a catch can. Found some old air connecters, cut them up and welded them in. Had been wanting to do this forever. Unsure of the grey. Had to make this to screw in the big interior nut that holds the filler on. gunna kill me the first time I slide the bale's up and scratch that paint!
3 points
-
I have just discovered this thread - amazing. Alarmingly though, I’ve done a quick google, and i suspect there’s a body of water between me and the fun? That ain’t no ford haha. I’m going to start planting the seed to try and be there for 2022. I’m somewhat reliant on @anglia4 coming to look after me as I’ve proven many times I’m otherwise incompetent. I got lost dropping the kids to school last week and my 5yo daughter had to give me directions.
3 points
-
After I got my VVTI angles sorted, and the fuel map dialled in, everything seemed good - but it wasnt... Airflow was obviously up, fuel was right, why was it feeling sluggy and shit? I thought I might be imagining things, because everything looked good in ECU. But did some virtual dyno'ing to check. Confirmed I seem to have lost about 15hp pretty much everywhere. Did some basic troubleshooting, nothing seemed amiss with spark, etc. I thought maybe the tyres were getting flat so pumped them up. The motor also smells oily, but no visible leaks anywhere? Then I had a thought... ohhh.... I check the dipstick - yep I'd managed to overfill the engine with oil probably by about 2 litres haha. I forget these tiny engines take hardly any oil. I thought it would have been underfilled with the amount I put in, so didnt check because I am an idiot. Must have been absolutely beating the piss out of the crank to lose that much hp from windage. But now it's running good again after draining it. I might see if I can advance it 1 more tooth on the chain without hitting anything, but this will likely be reaaalll close. The fuel map currently looks like this, could definitely rev out some more if I put on my brave pants stupid hat
3 points
-
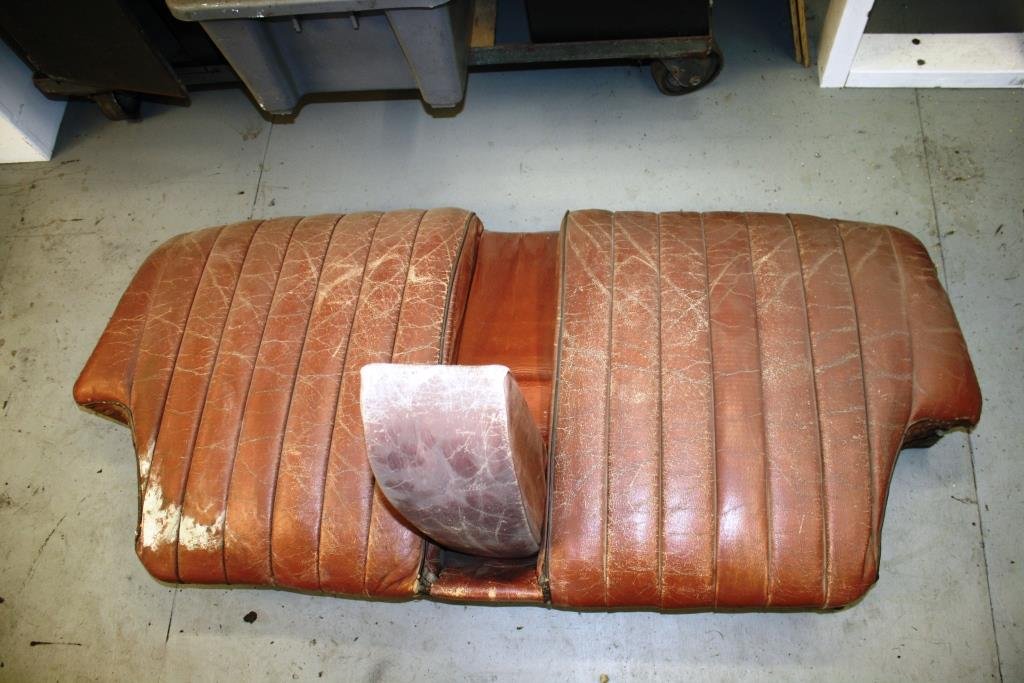
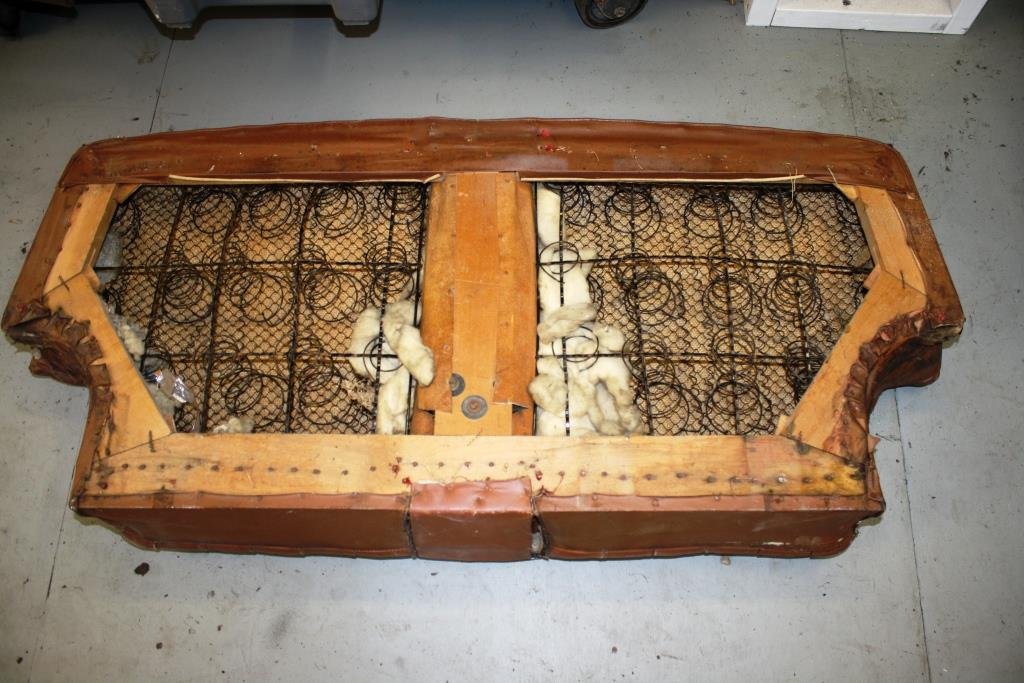
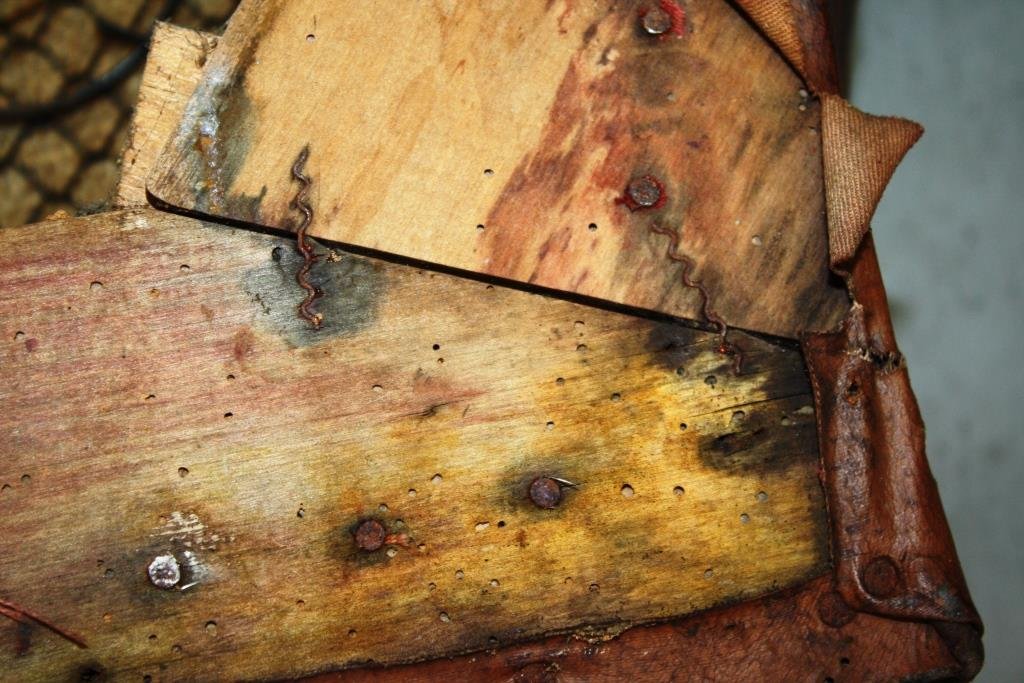
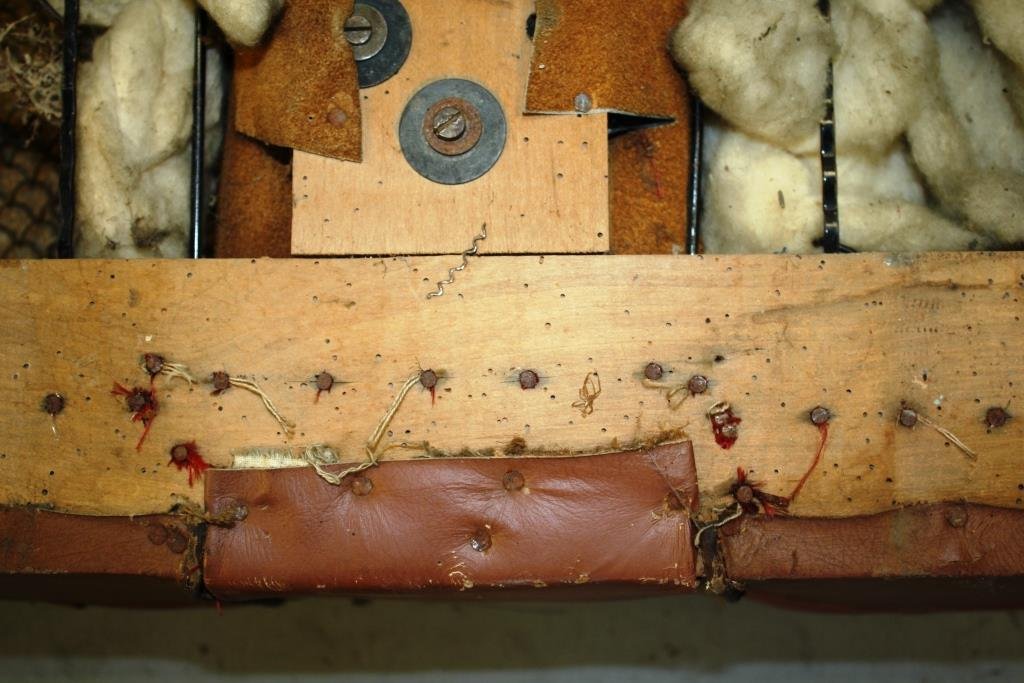
The seats came our easily, plan is to keep them looking scruffy and original. The leather is cracked and dry - any suggestions on how we should be treat it will be much appreciated by both Rigamortice and yours truly. Love the old leather, the kapok stuffing, the springs and the wooden frame – not a modern staple in sight.
2 points
-
@cletus What are the chances that one could build something like this and make it road legal in NZ.... If the builder were to do all the obvious cert things like the suspension arms are crack tested, bump steer is dialled out etc etc2 points
-
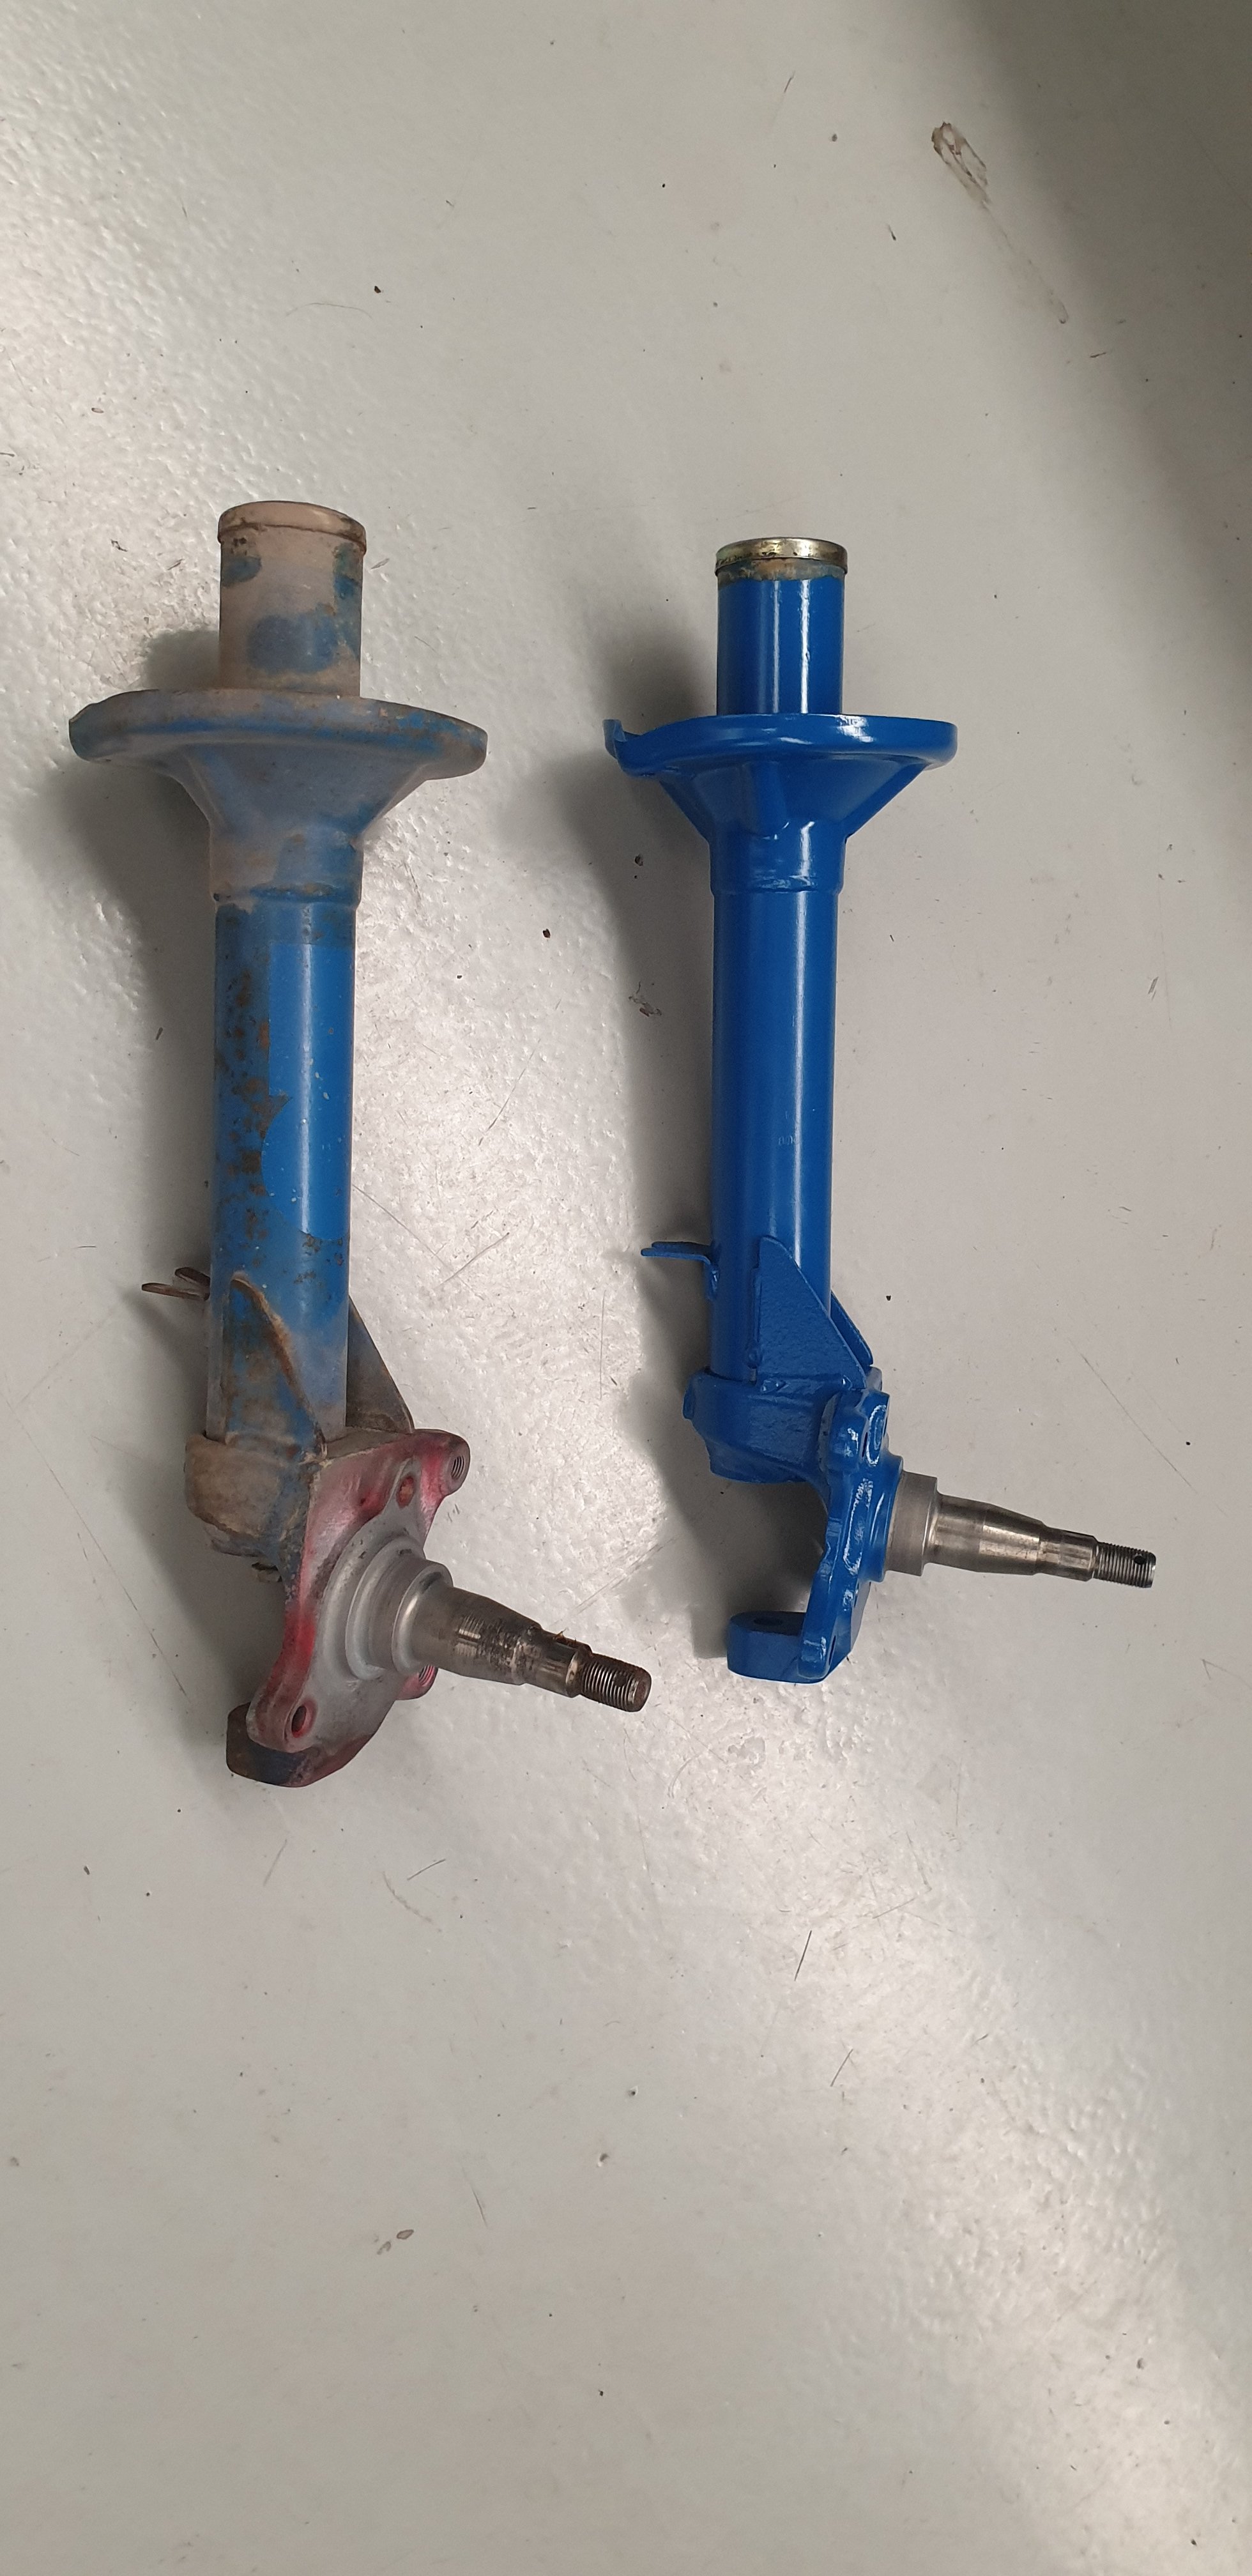
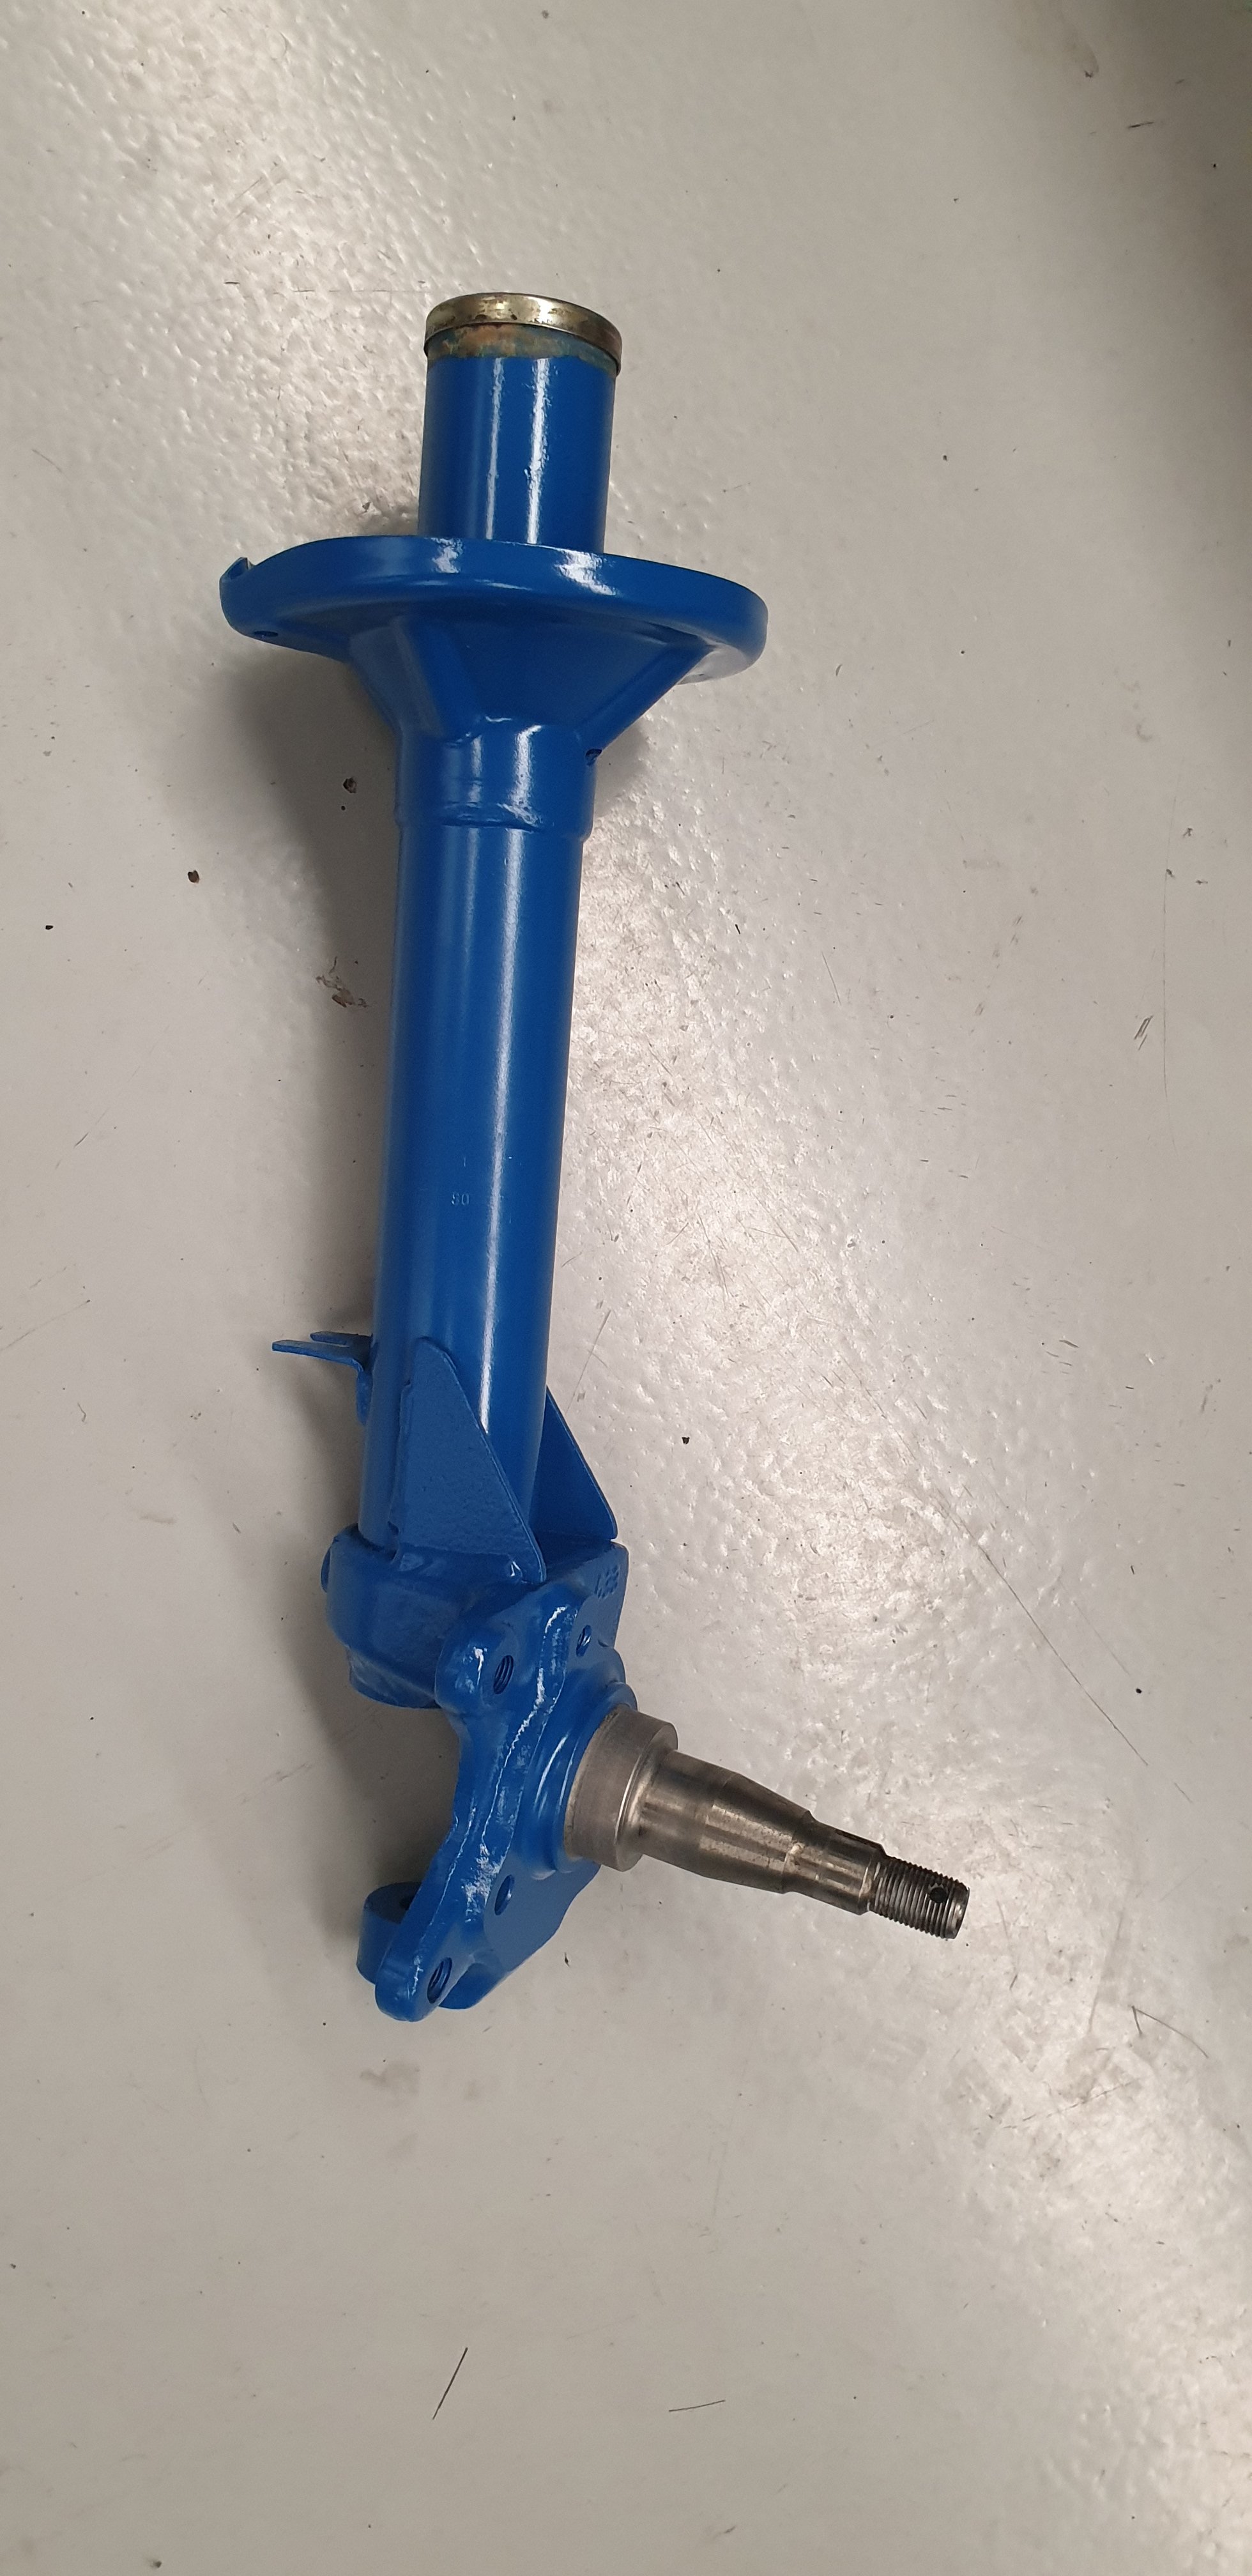
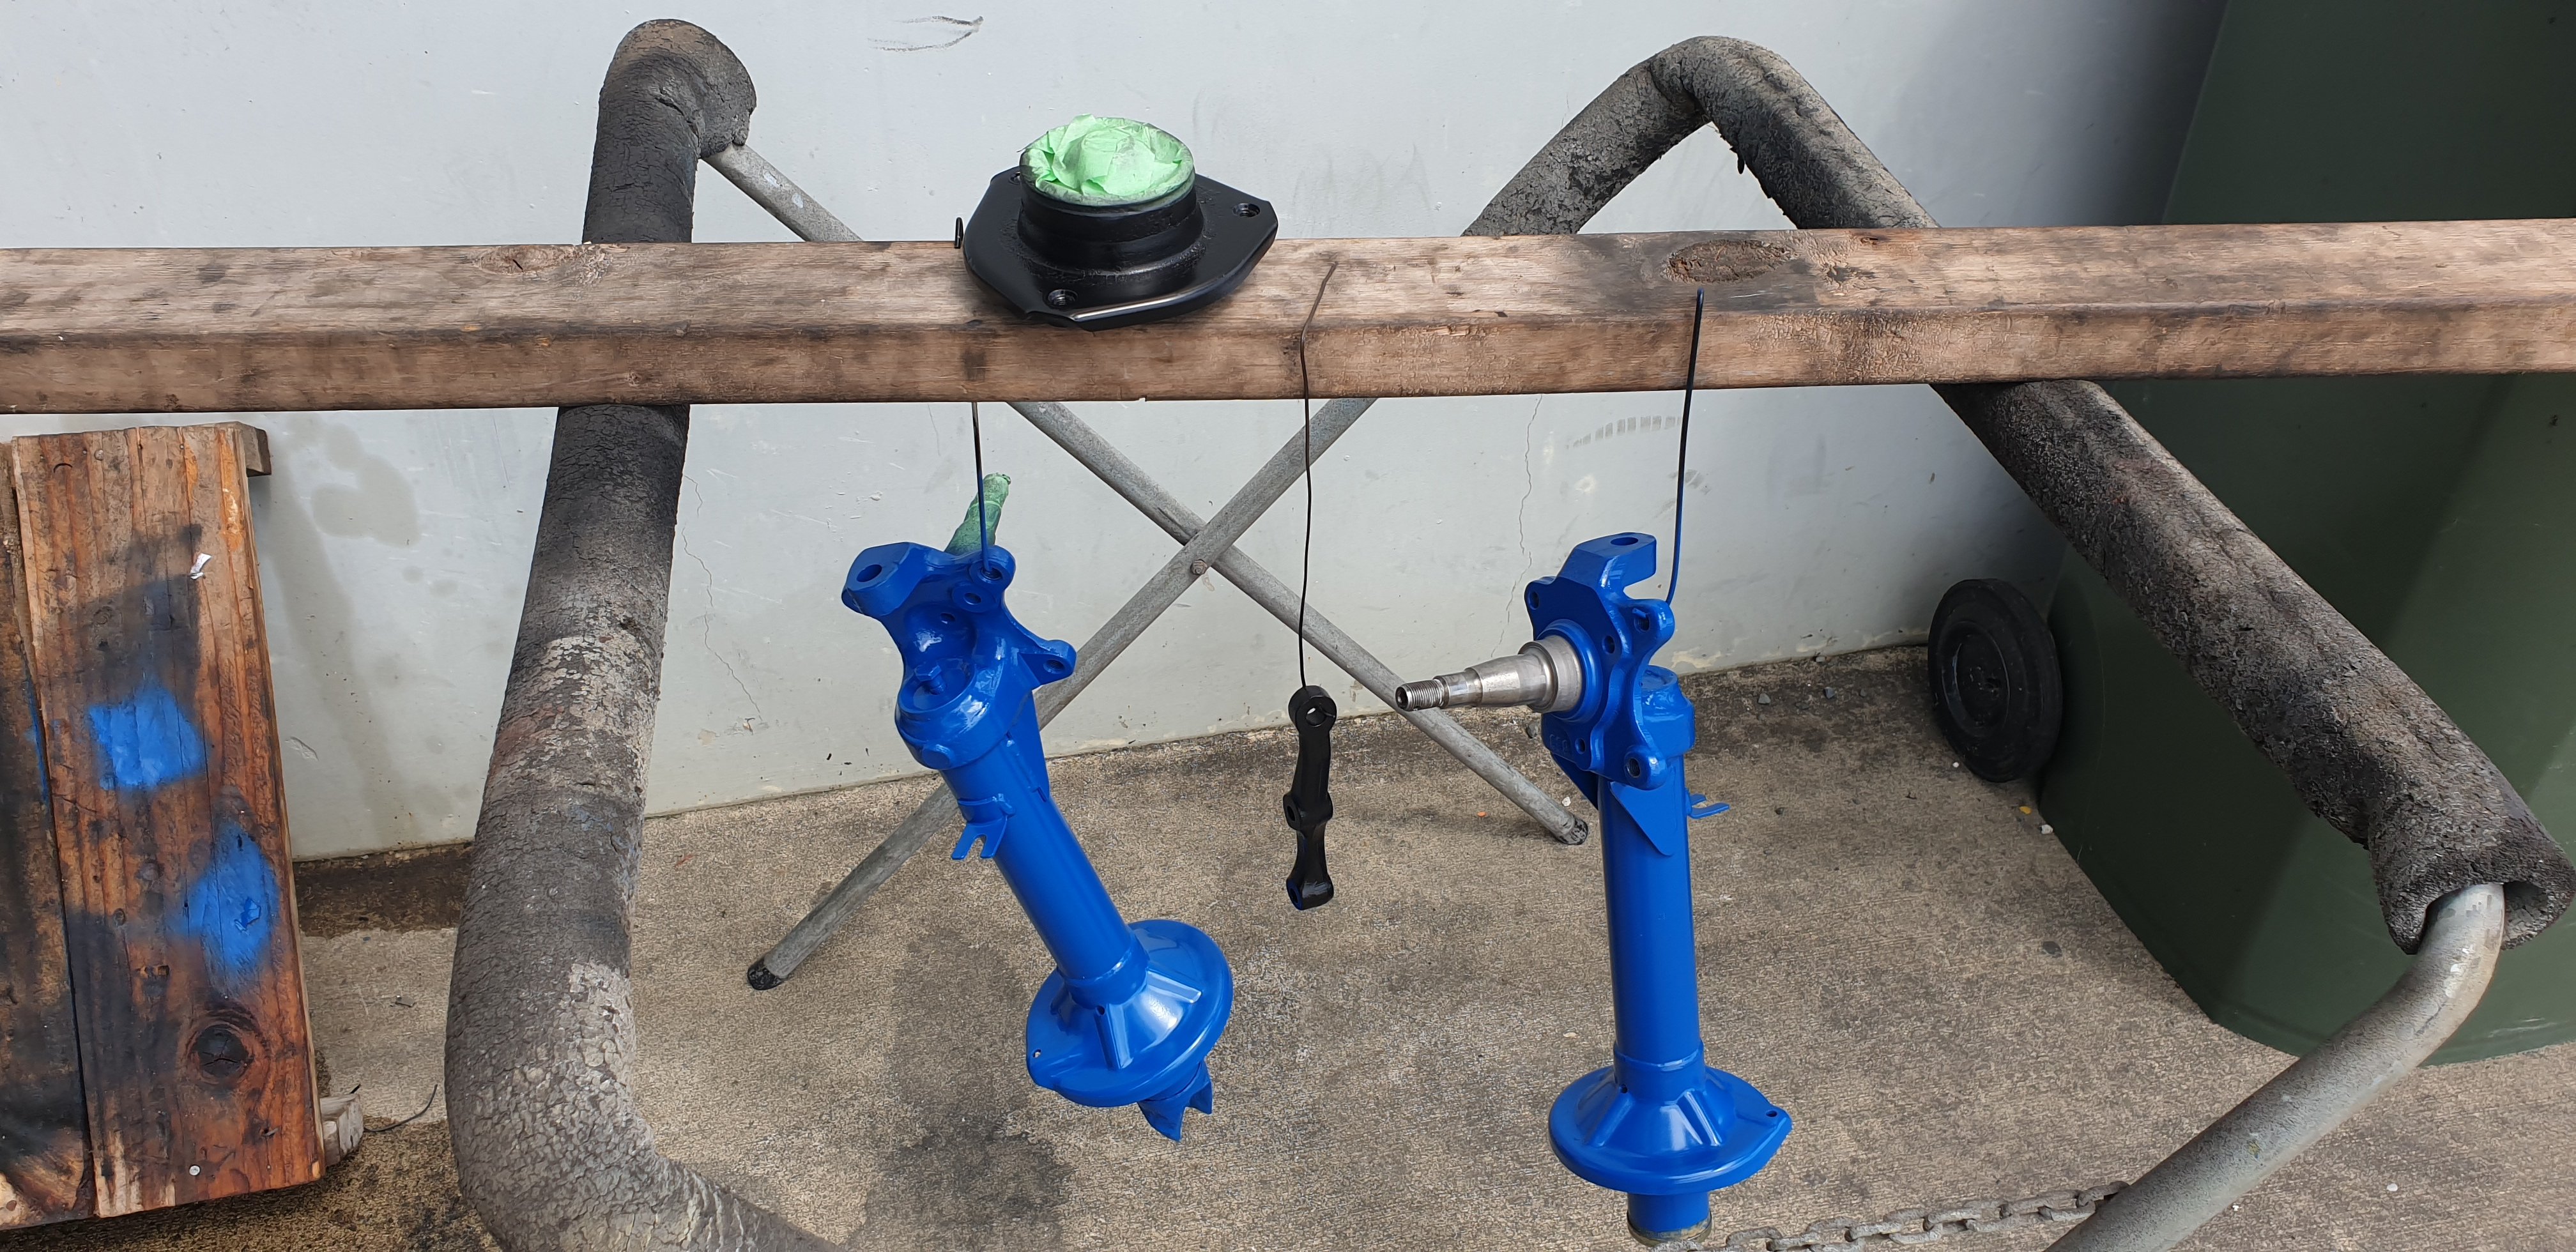
Painted one strut in the ( almost ) correct colour. It's a British Leyland colour called Tahiti Blue. The closest to the factory Bilstein blue there is.
2 points
-
2 points
-
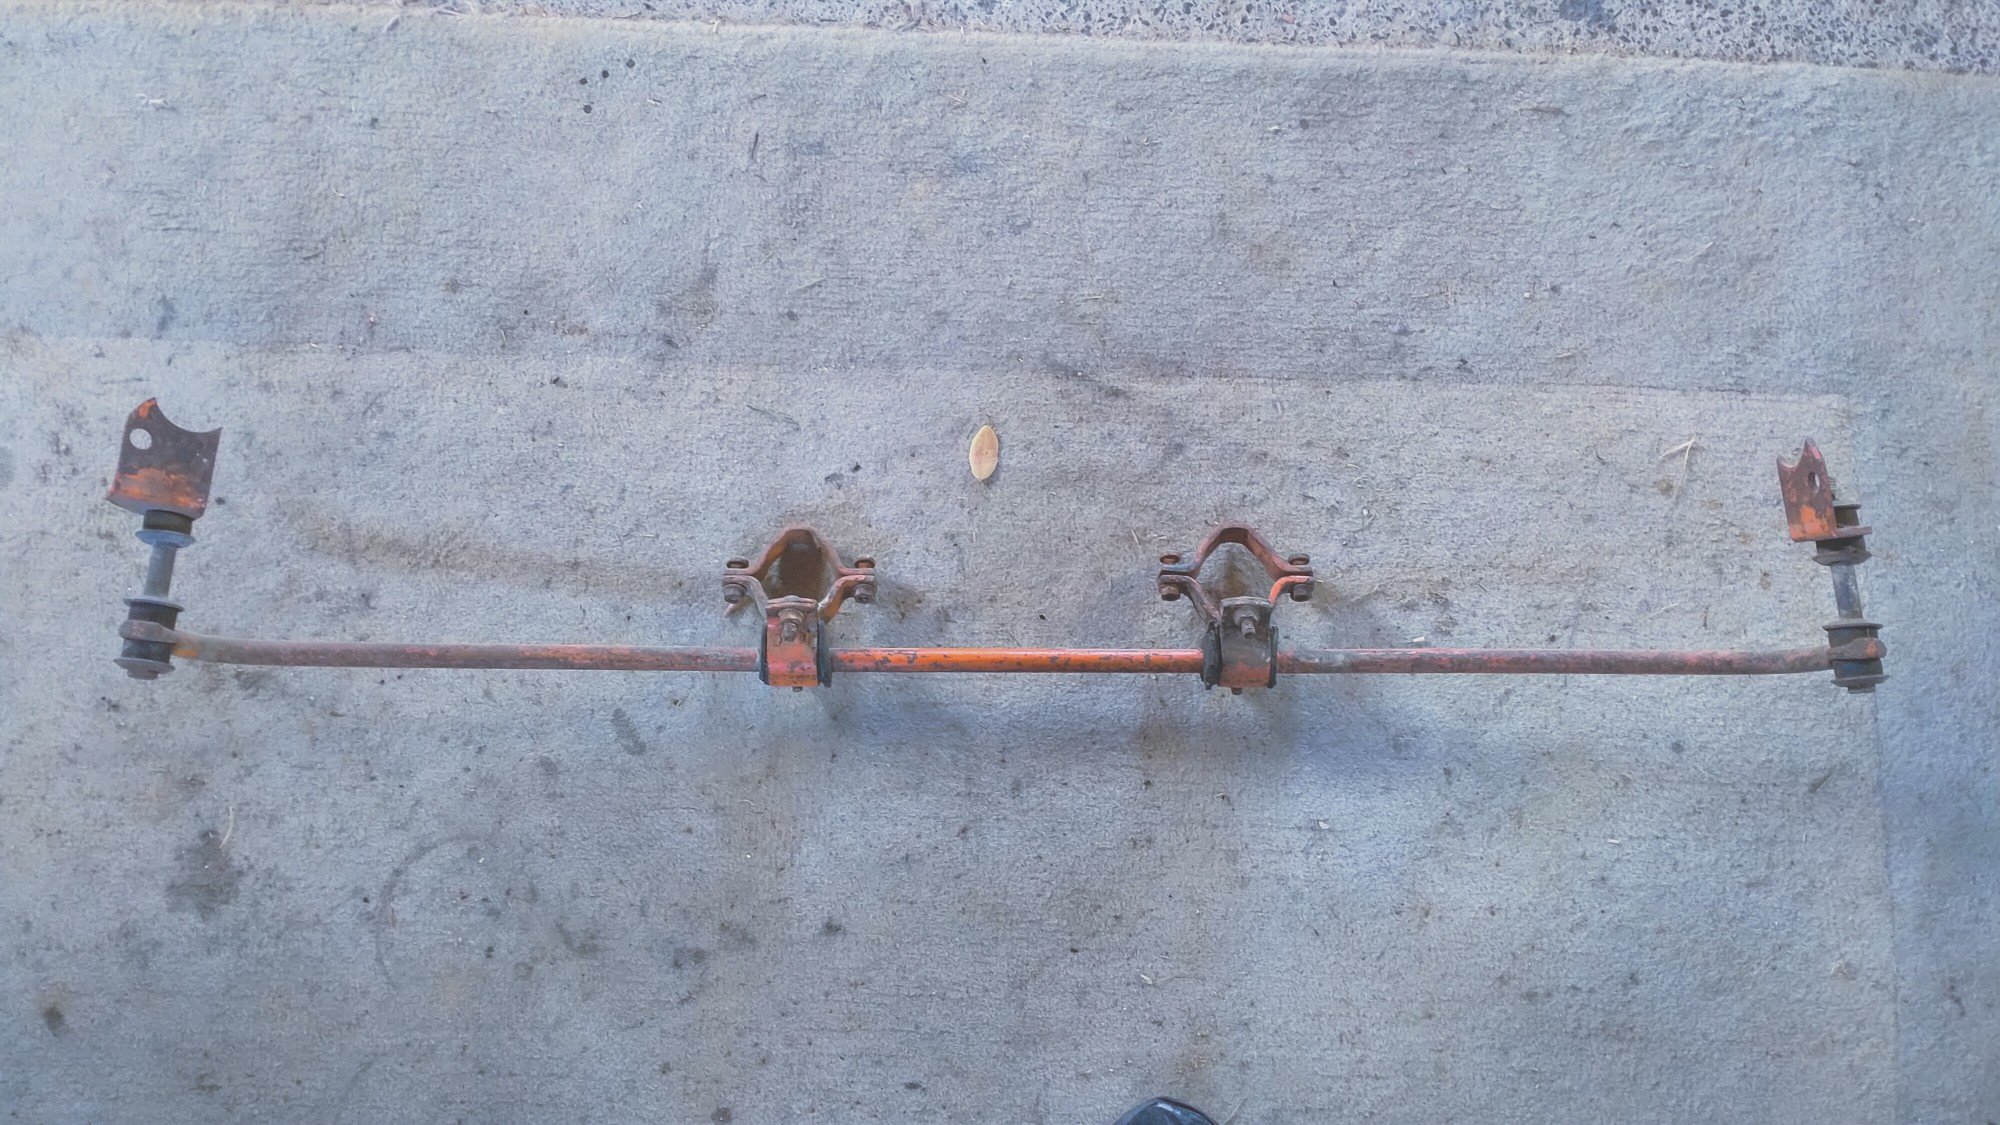
Found this rear sway bar on trade me. Vw never had a sway bar on the early cars. By 63 mine at least came with a front bar, but with little weight on the front, and all the weight in the ass, I always felt the car cornered better without it, sure it rolled more, in any case I still don't have one. This is a K-Mak vintage thing. It clamps onto the rear chassis frame horns and the ends mount to the lower shock bolts. All the fiddly bits went for a swim in the viniger.
2 points
-
since last time: Attached the bee to the rear garnish Sprayed the inner ridge of the grilles and touched up the wee slats between the ridge and the edge with black again attached NOS bee to hood Not much else really, still waiting in the queue for repair cert.2 points
-
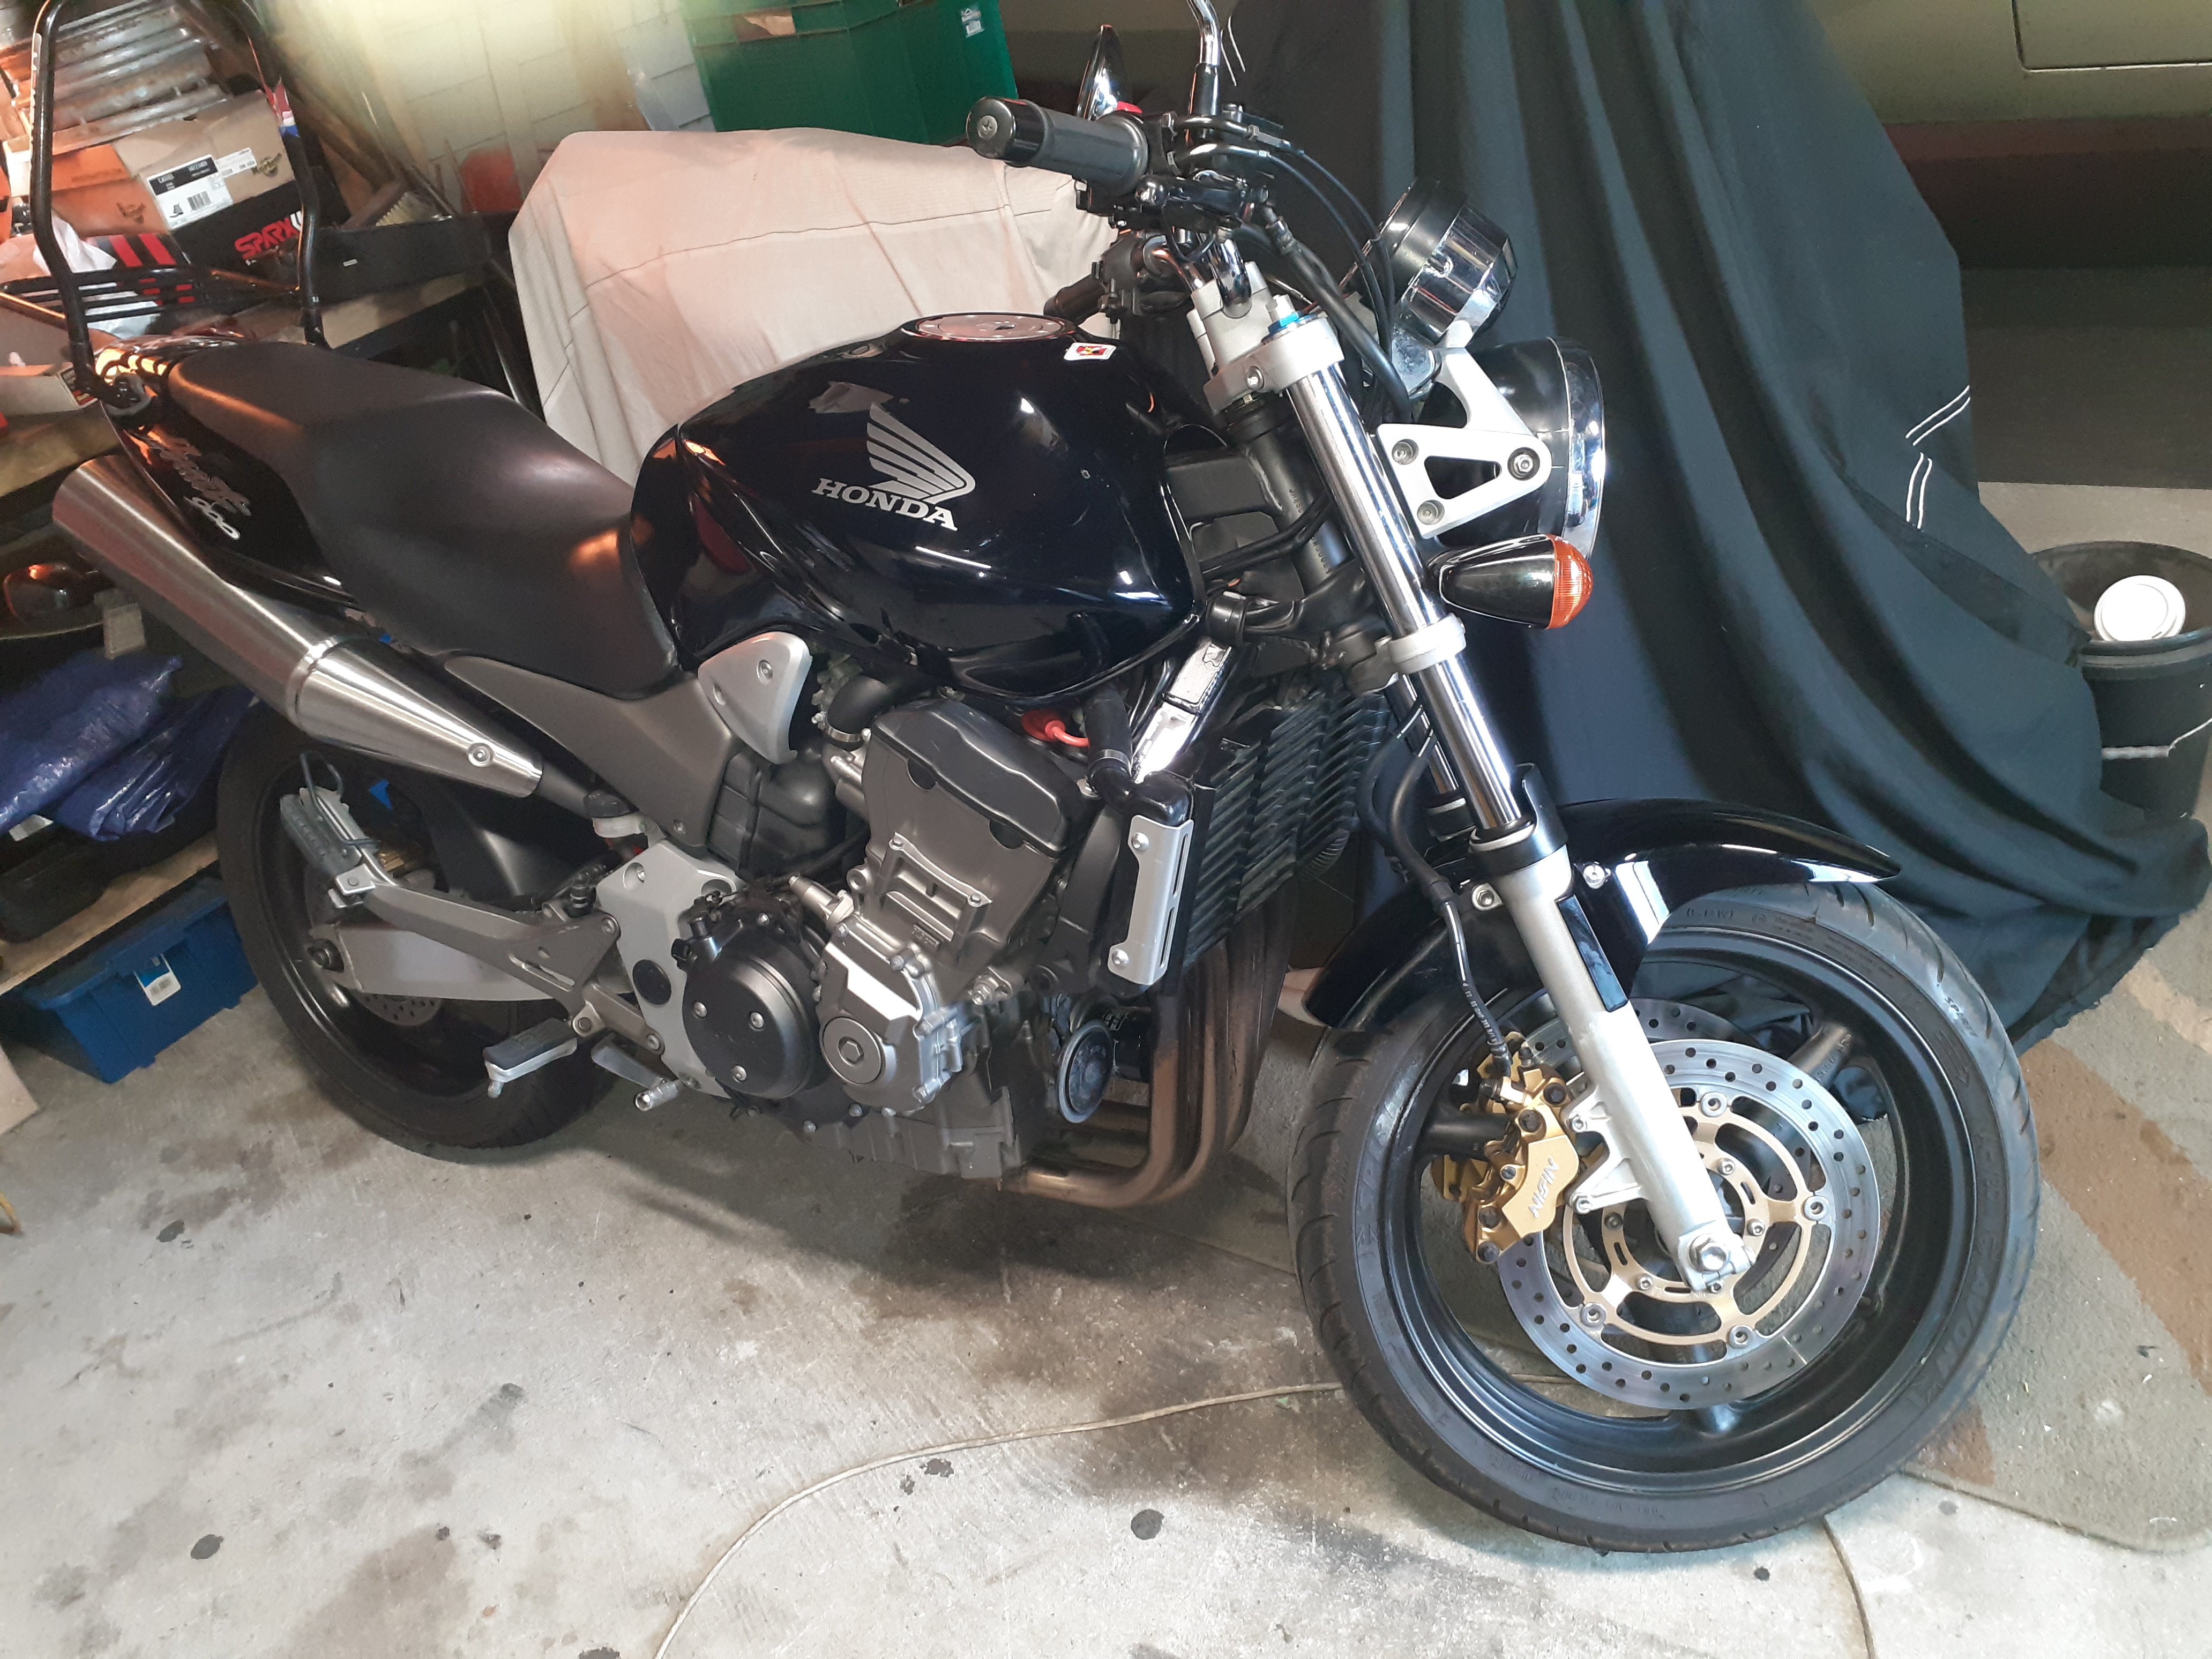
I decided I wanted a bigger bike, I'd been going over all sorts of different options for ages but ended up leaning towards something japanese and reliable I went into a harley dealer once but felt weird, like when your aunty sees you walk out of an adult video store Thanks to @MACKAZ for having a look at it for me , it was in whangarei so I got biketranz to deliver it Pretty happy with it, I always find it interesting to see how the type of vehicle it is, influences how you ride/drive it. I thought a big bike may encourage riding like a diddle and going 1 million kph everywhere but this is the opposite, because it's so smooth and torquey it's quite happy bumbling around at the speed limit, whereas DRZ kind of ends up brappp everywhere because it's not very smooth at lower rpm It's about as exciting to look at as a mid 00s camry though so I'll do some cosmetic stuff so it doesn't look like I'm on my way to a Ulysses club run
2 points
-
So I've been pining some wheels for a long time now, I found a set in America that had some on s a pre order. covid delayed shipping etc etc. Shop never replied to any communications (lucky I never gave them any money. I found another set on aliexpress but couldn't justify the freight. Nearly gave up on the pine then they popped up on trademe. Mrs Chrisr said I wouldn't shut the fuck up about them so I should get them. So I did2 points
-
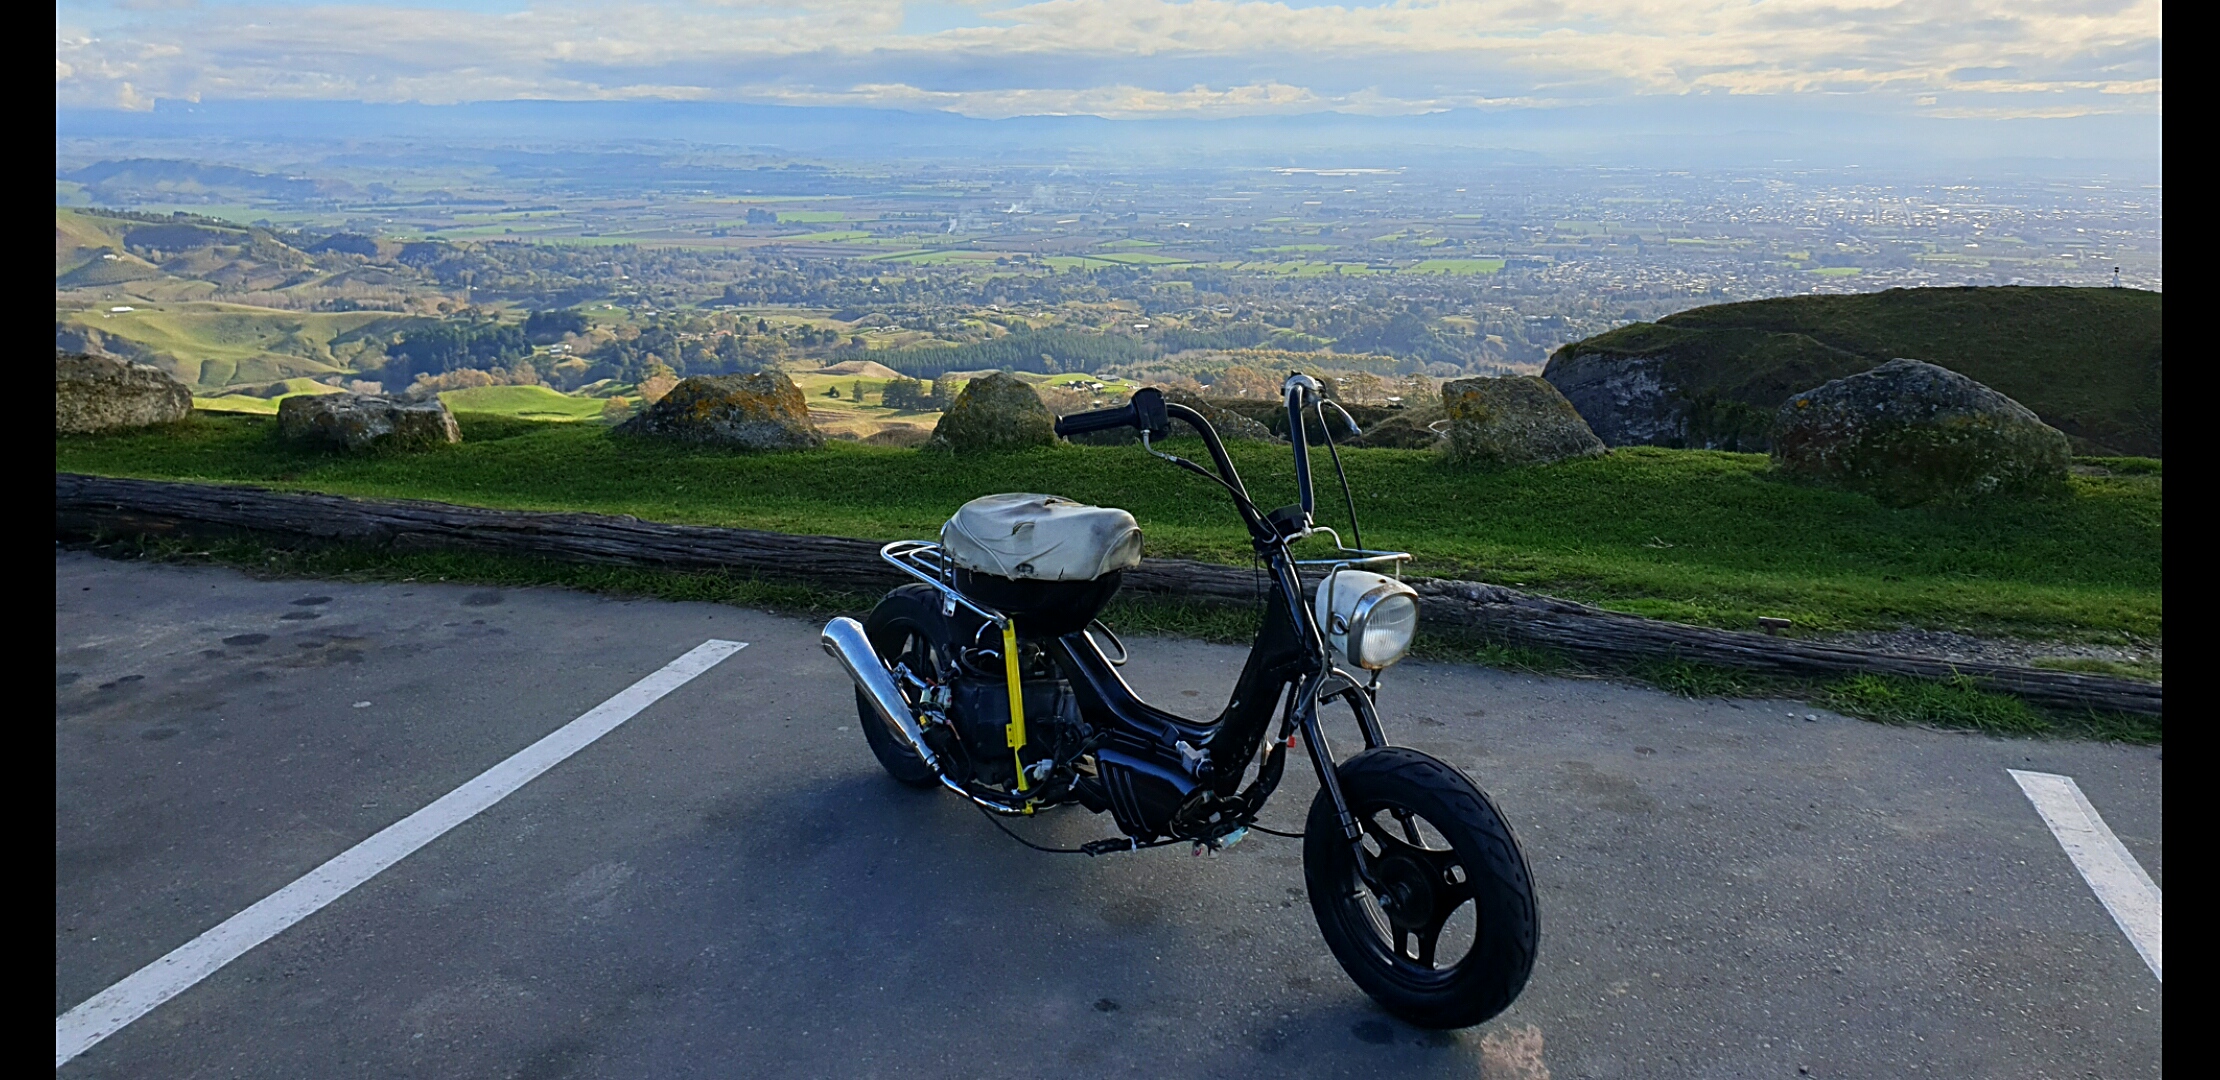
Syds run prep.... Got givn parts for my nf75. In napier so thought was good opitunity to take this contraption on a decent test... Ran from one end of napier to the other. Then threw into car droped of at the bottom of te mata peak. And road up...... she actually climbed up like a champ didnt even strugle pretty impressed.
2 points
-
So you're saying I couldn't fit an Austin Princess steering wheel to my car?1 point
-
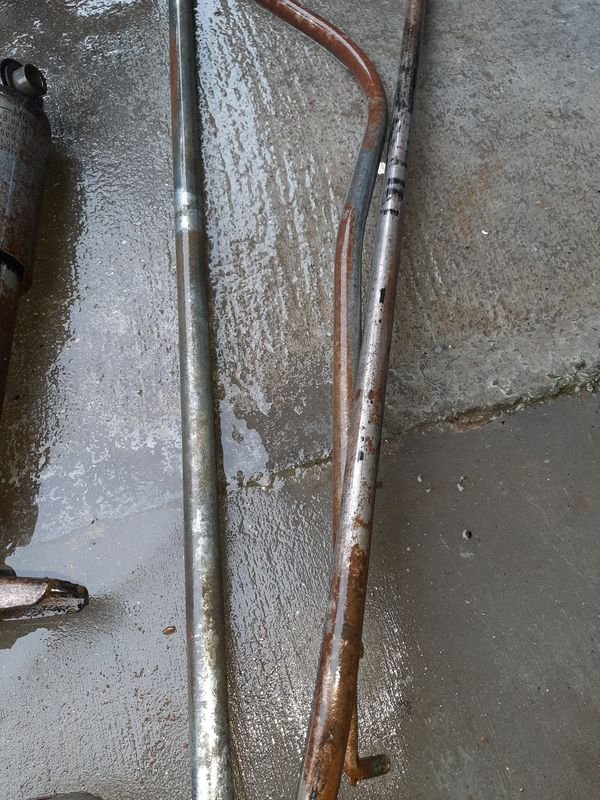
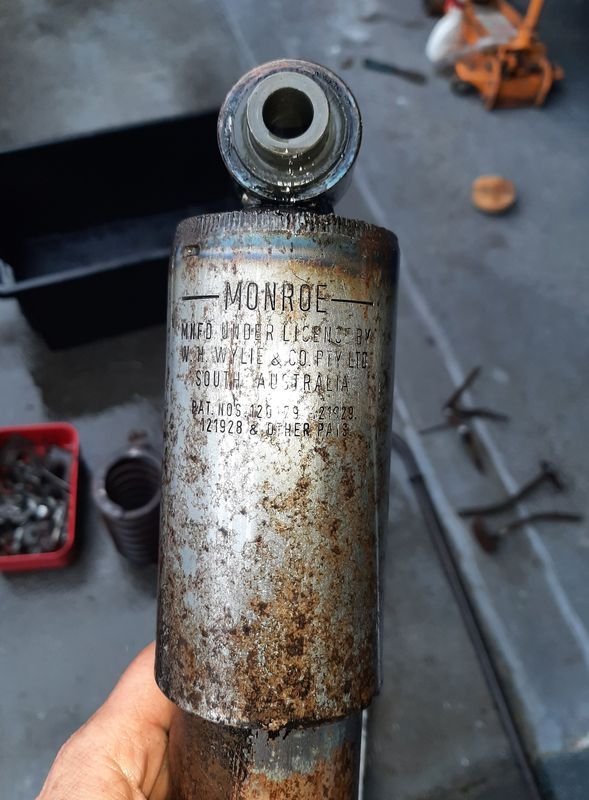
Rubbish update: I plucked the exhaust out of the garden and gave it a quick flick of paint. The can was naffed so i pierced it and brushed it on.. It’s purely to keep them uniform. I’d love to do headers one day so wasn’t mad keen to detail these manifolds. The pipe work is practically new, like I’d be surprised if it had 100km. Can read the part numbers stamped into it. Mufflers I think are on their second life but I have some spares.1 point
-
My paint drying rack looks like some sort of automotive wind chime ...
1 point
-
1 point
-
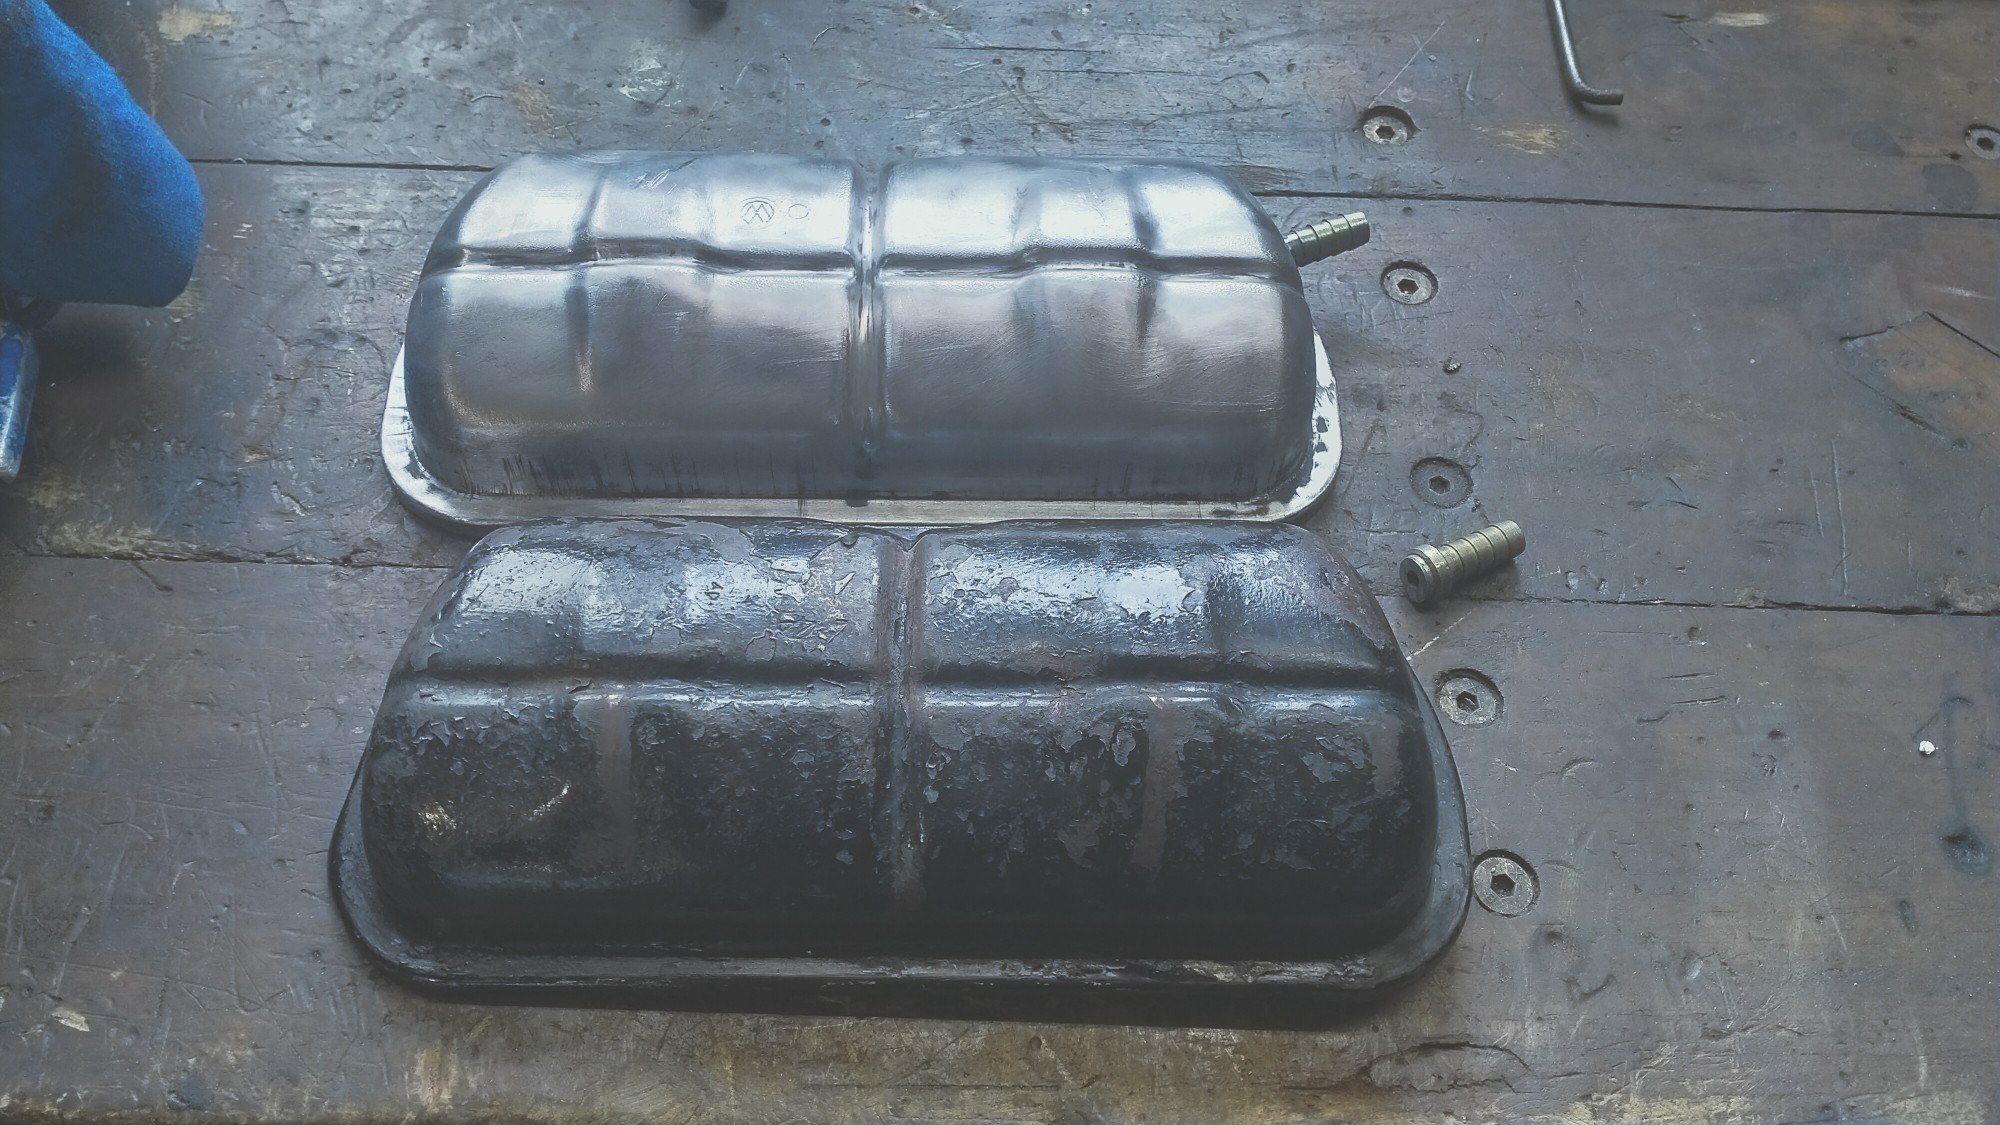
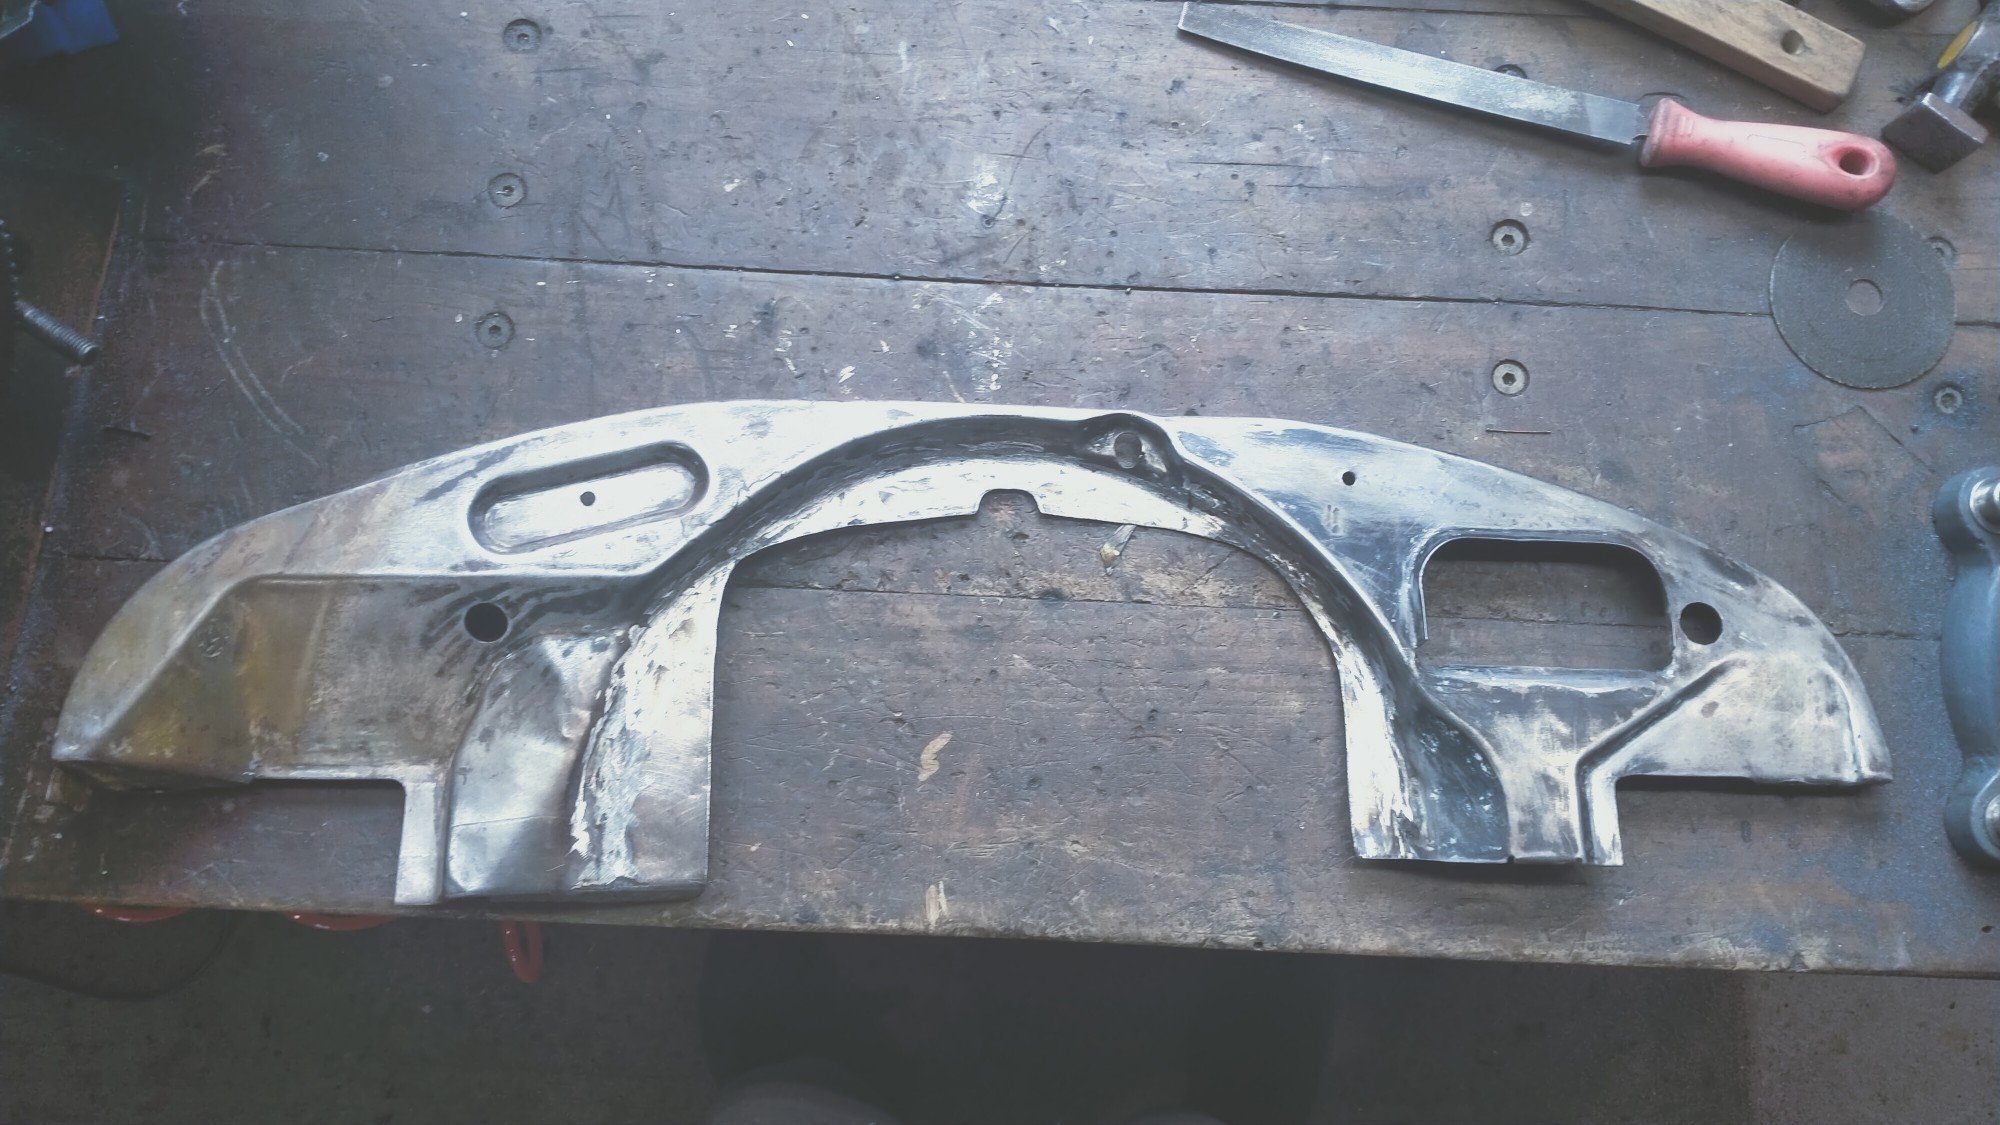
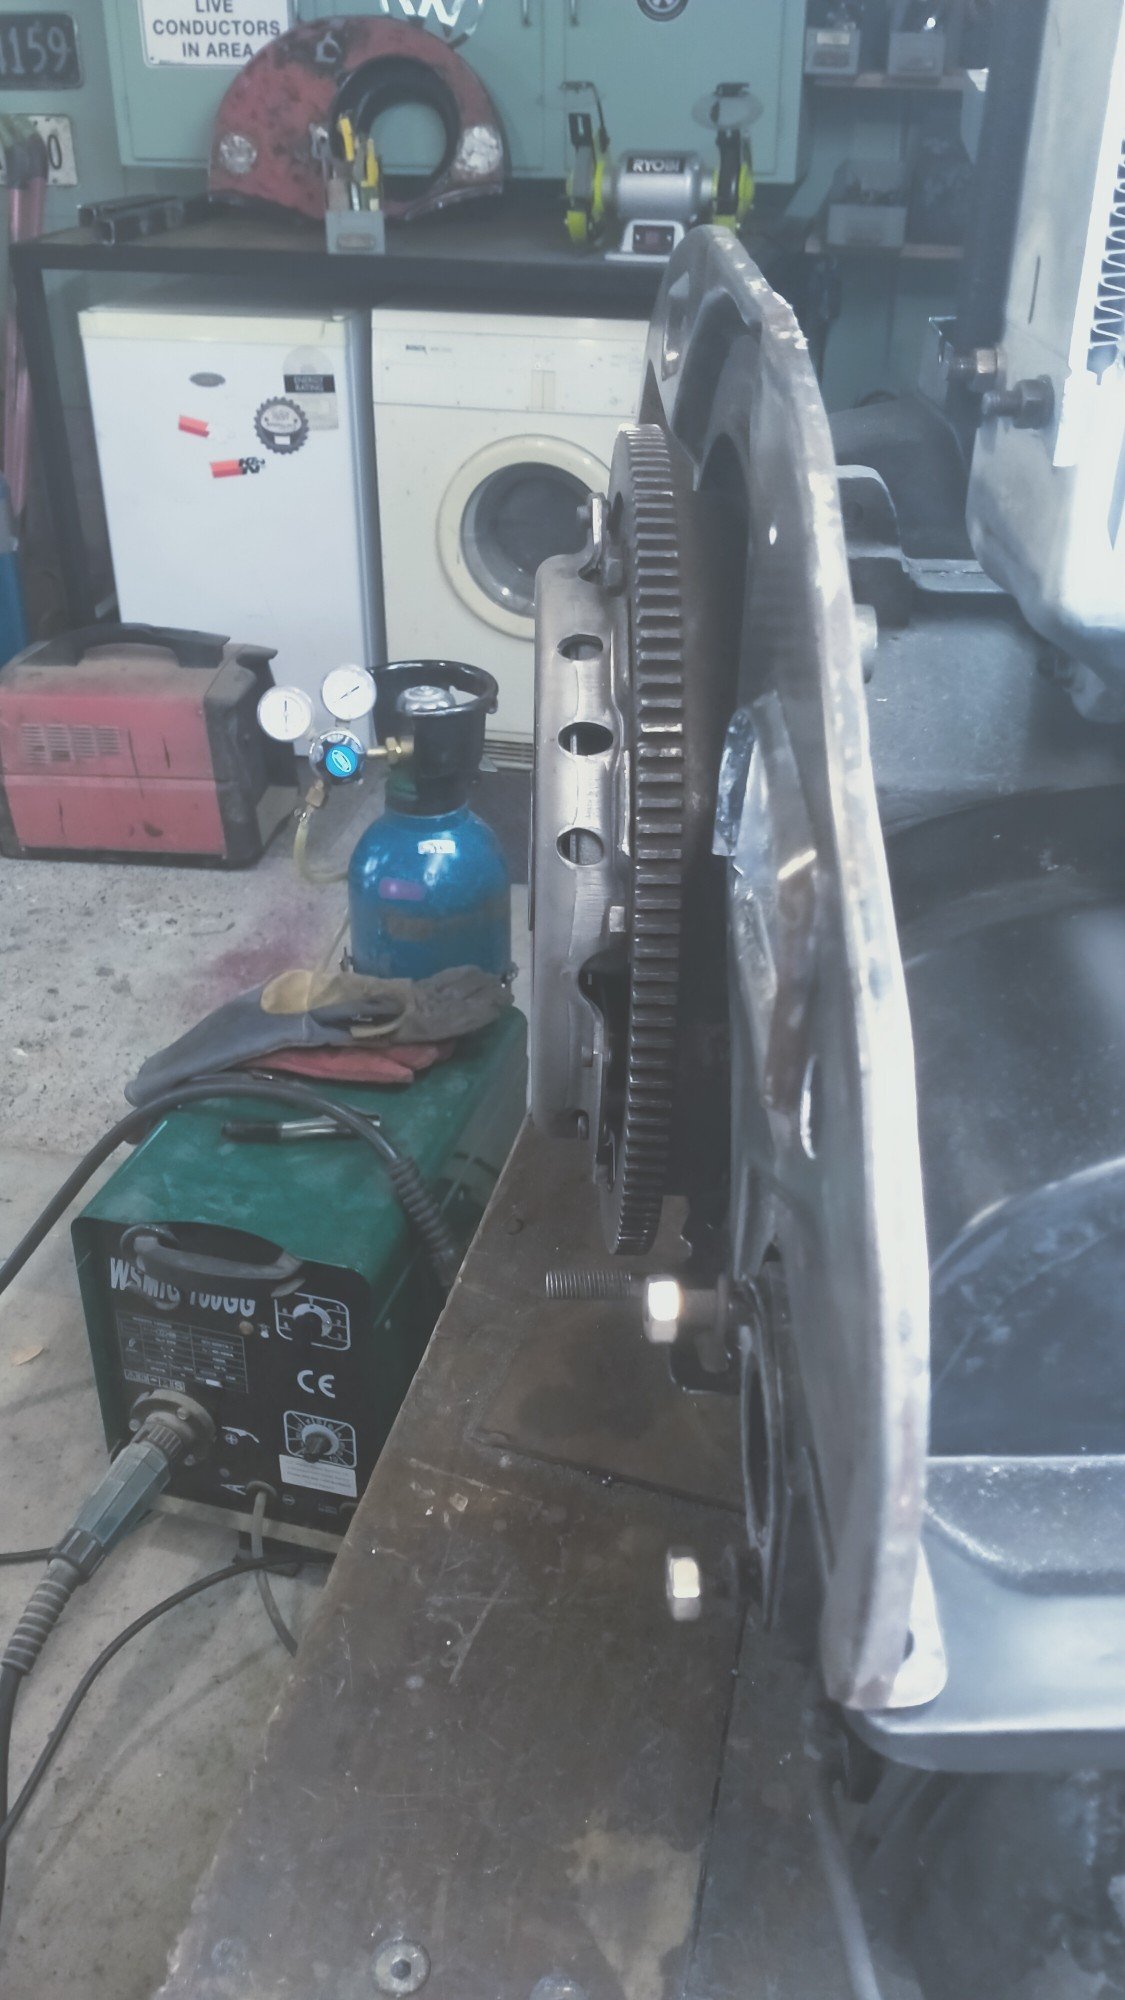
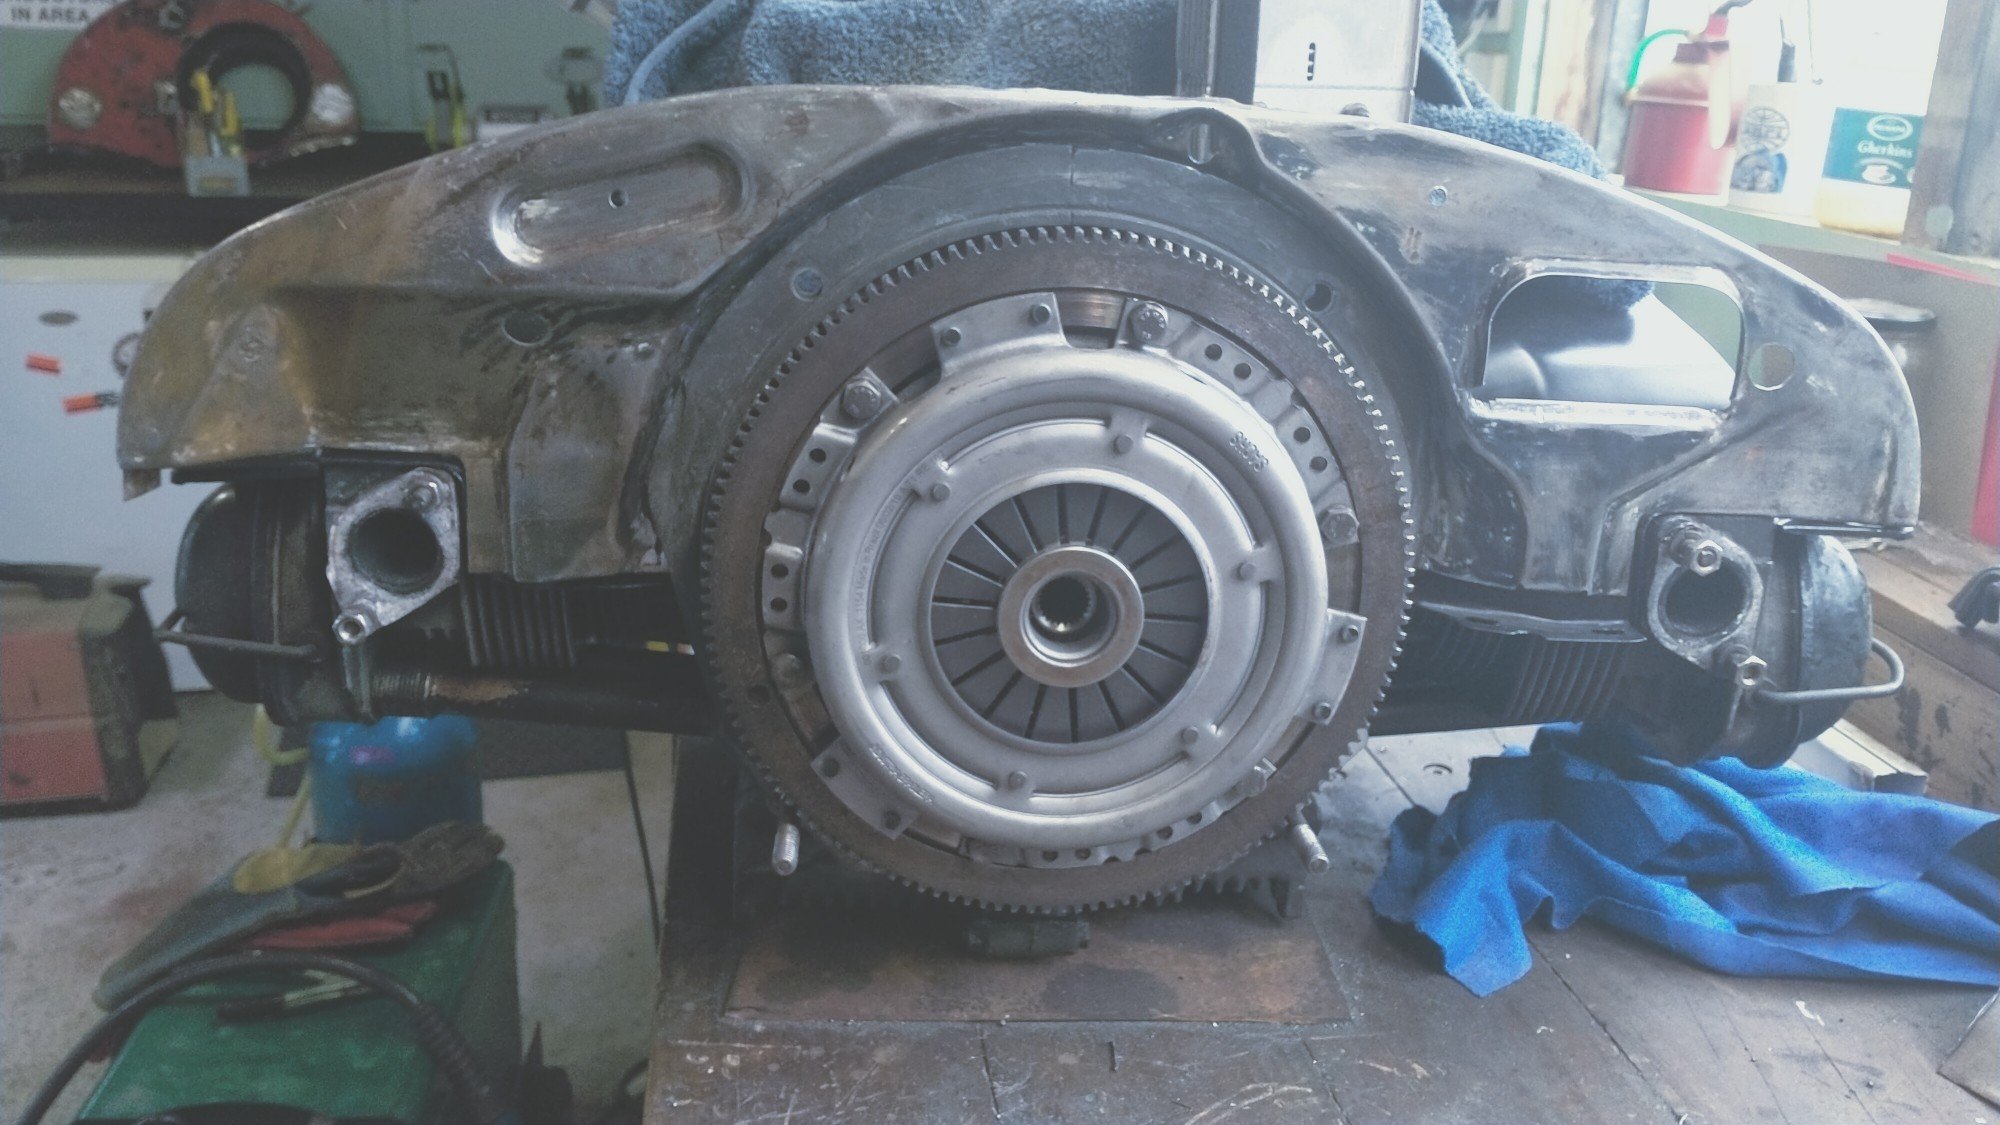
As with the other tin, the front plate.(in a vw the flywheel is at the front of the engine) didn't fit for shit either. A critical part as when sitting in traffic, all the hot air exhaust can rush up and the plate isn't sealed to the firewall rubber the cooling fan will recirculate the hot air, which is bad. It needed to move forward about 15-20mm Mustve spent at least a good couple days solid welding, bending, cutting, refitting, checking, grinding. The plan is to test fit everything in the car before paint, just in case.
1 point
-
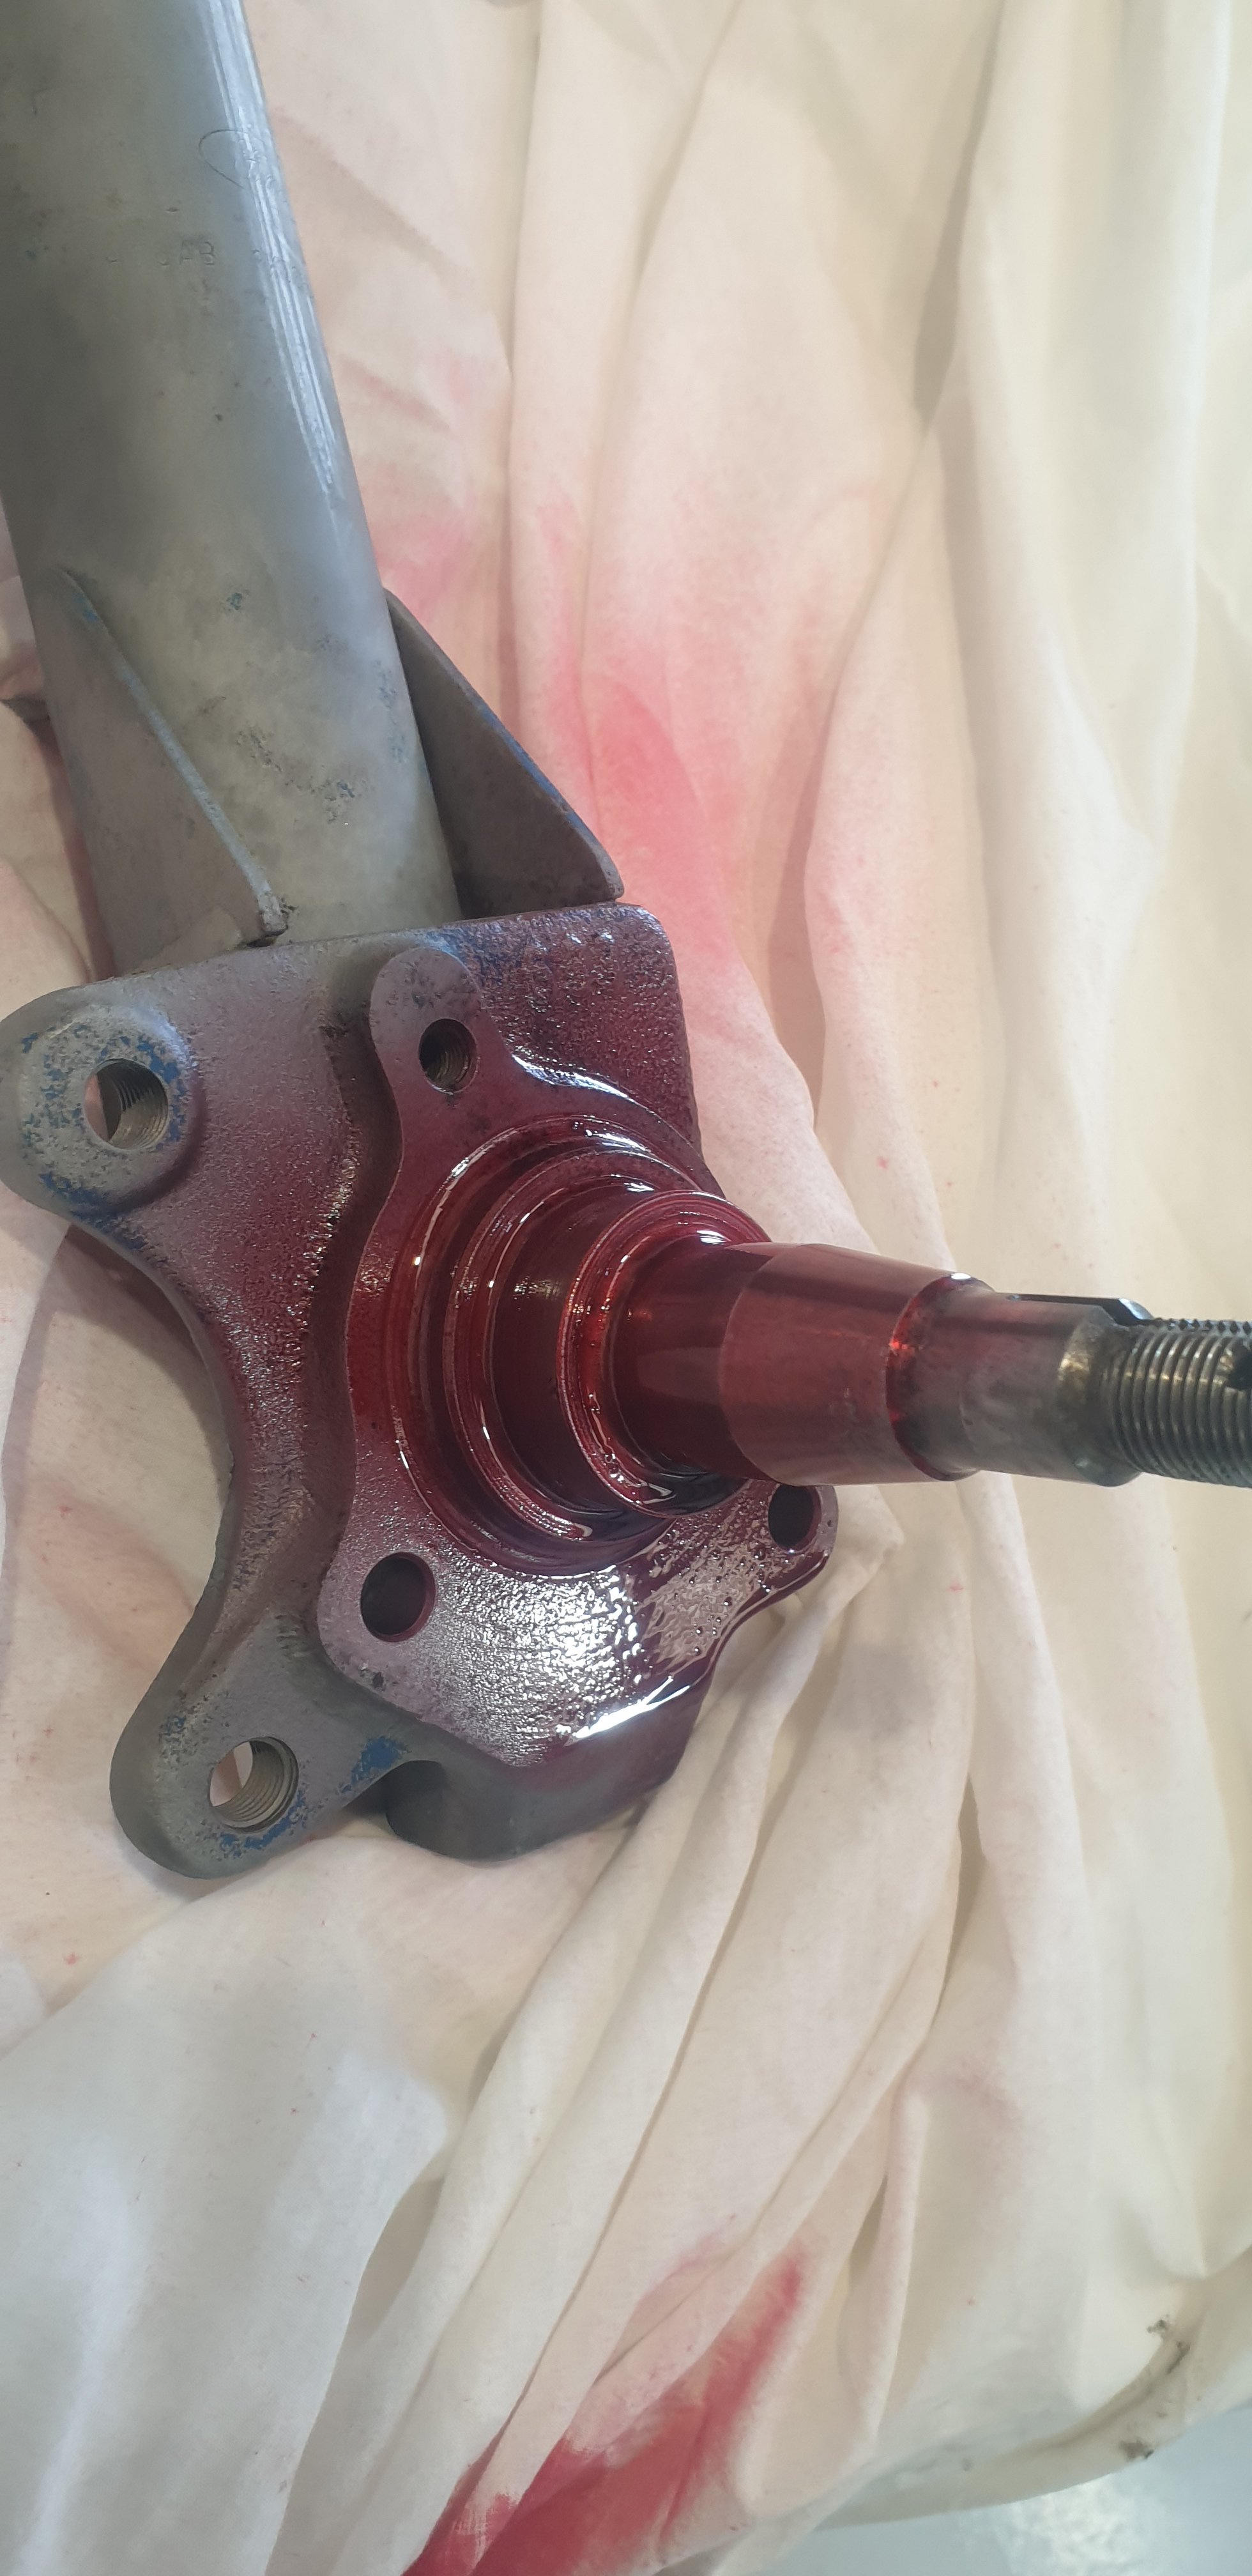
Have finished both hubs. New bearings etc etc. Have ordered a crack testing kit and have crack tested one strut. So far so good.
1 point
-
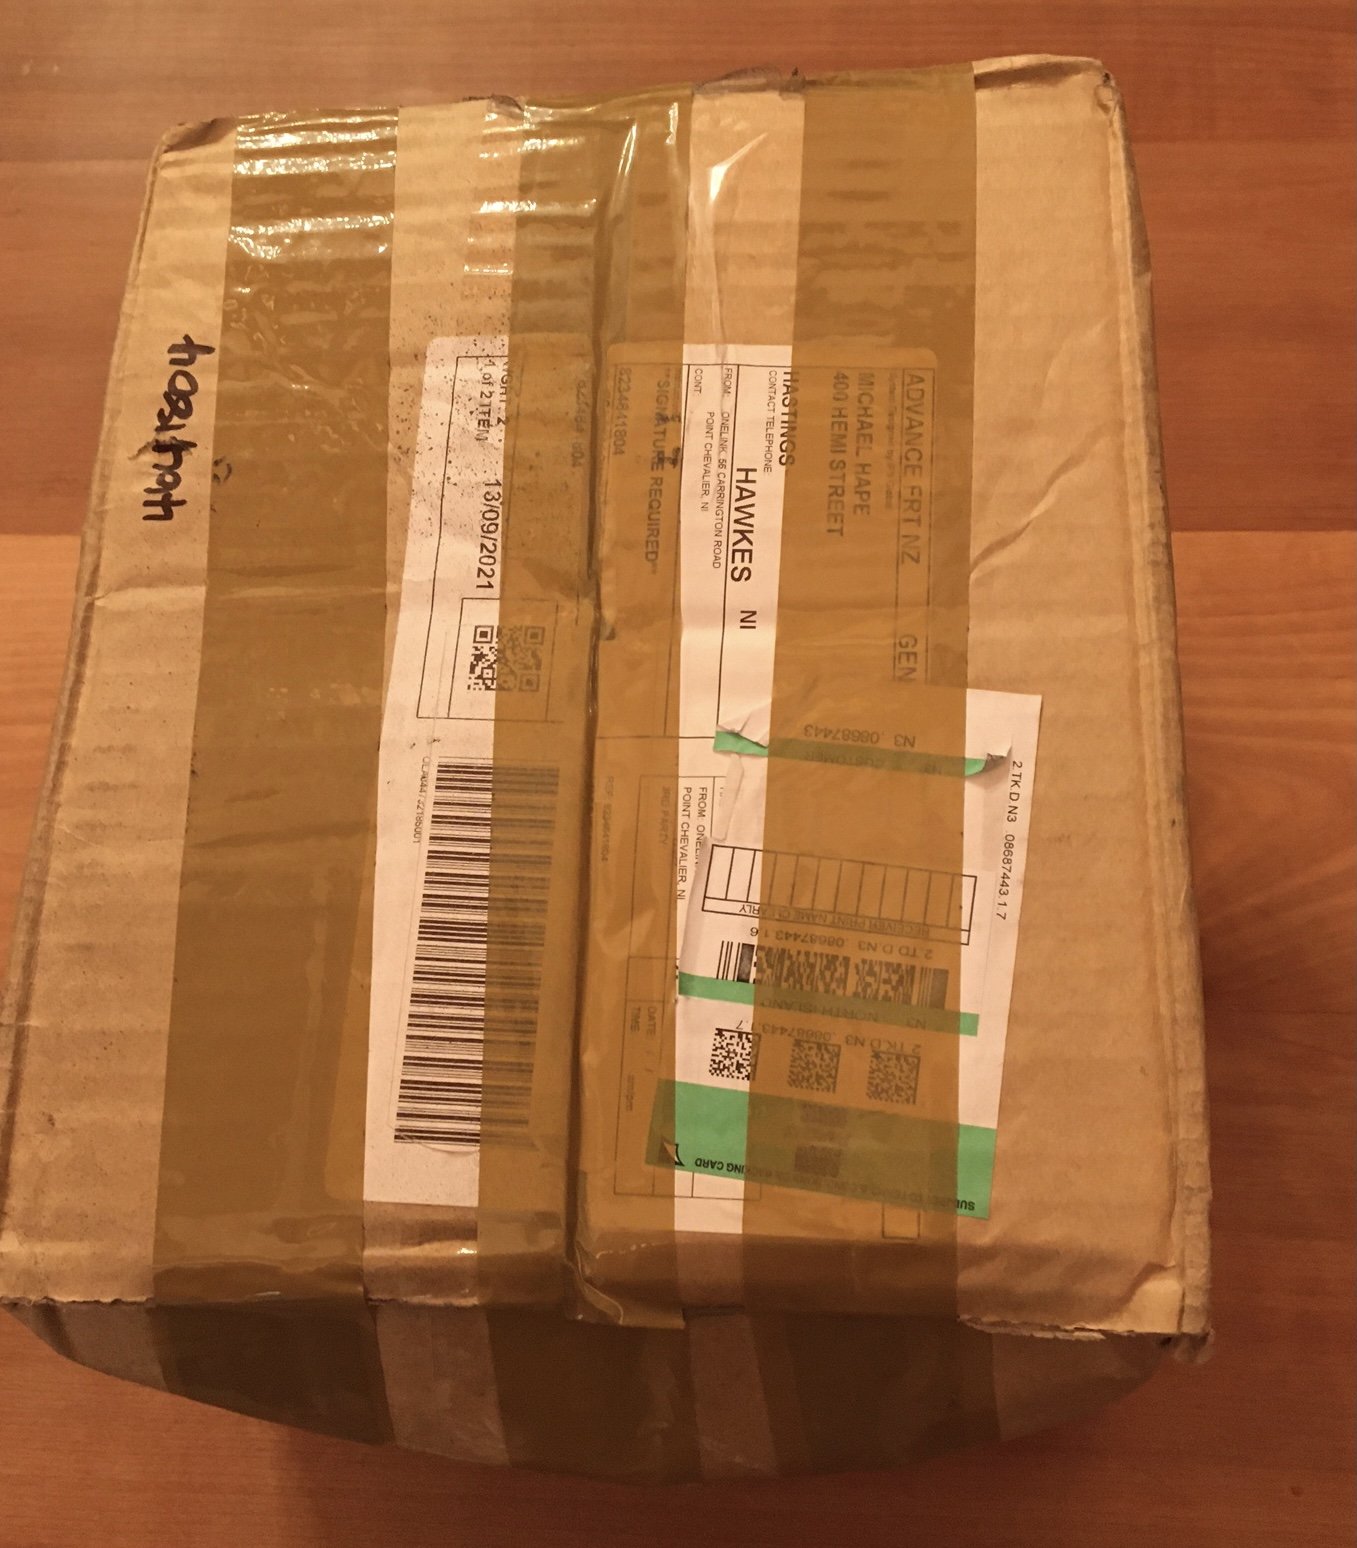
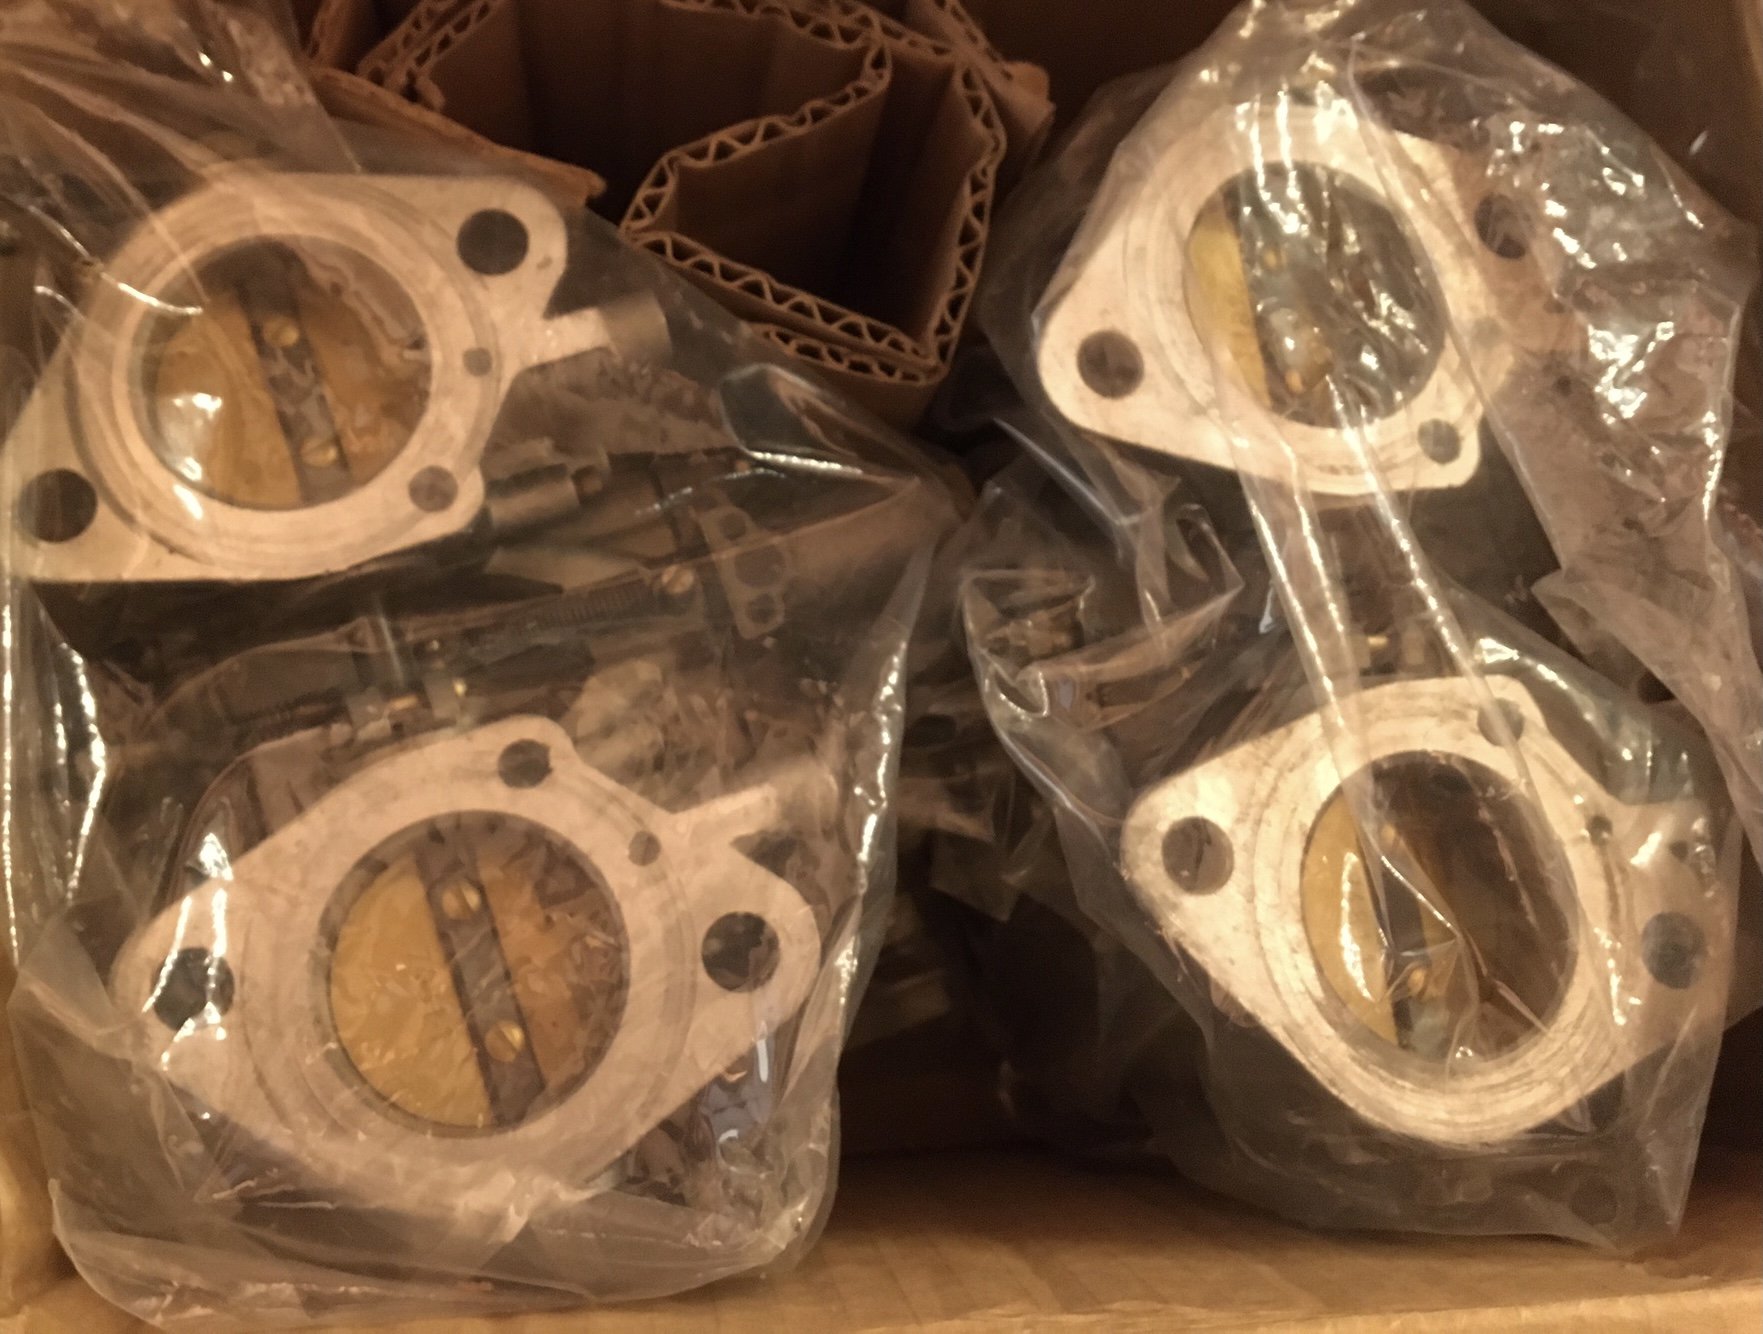
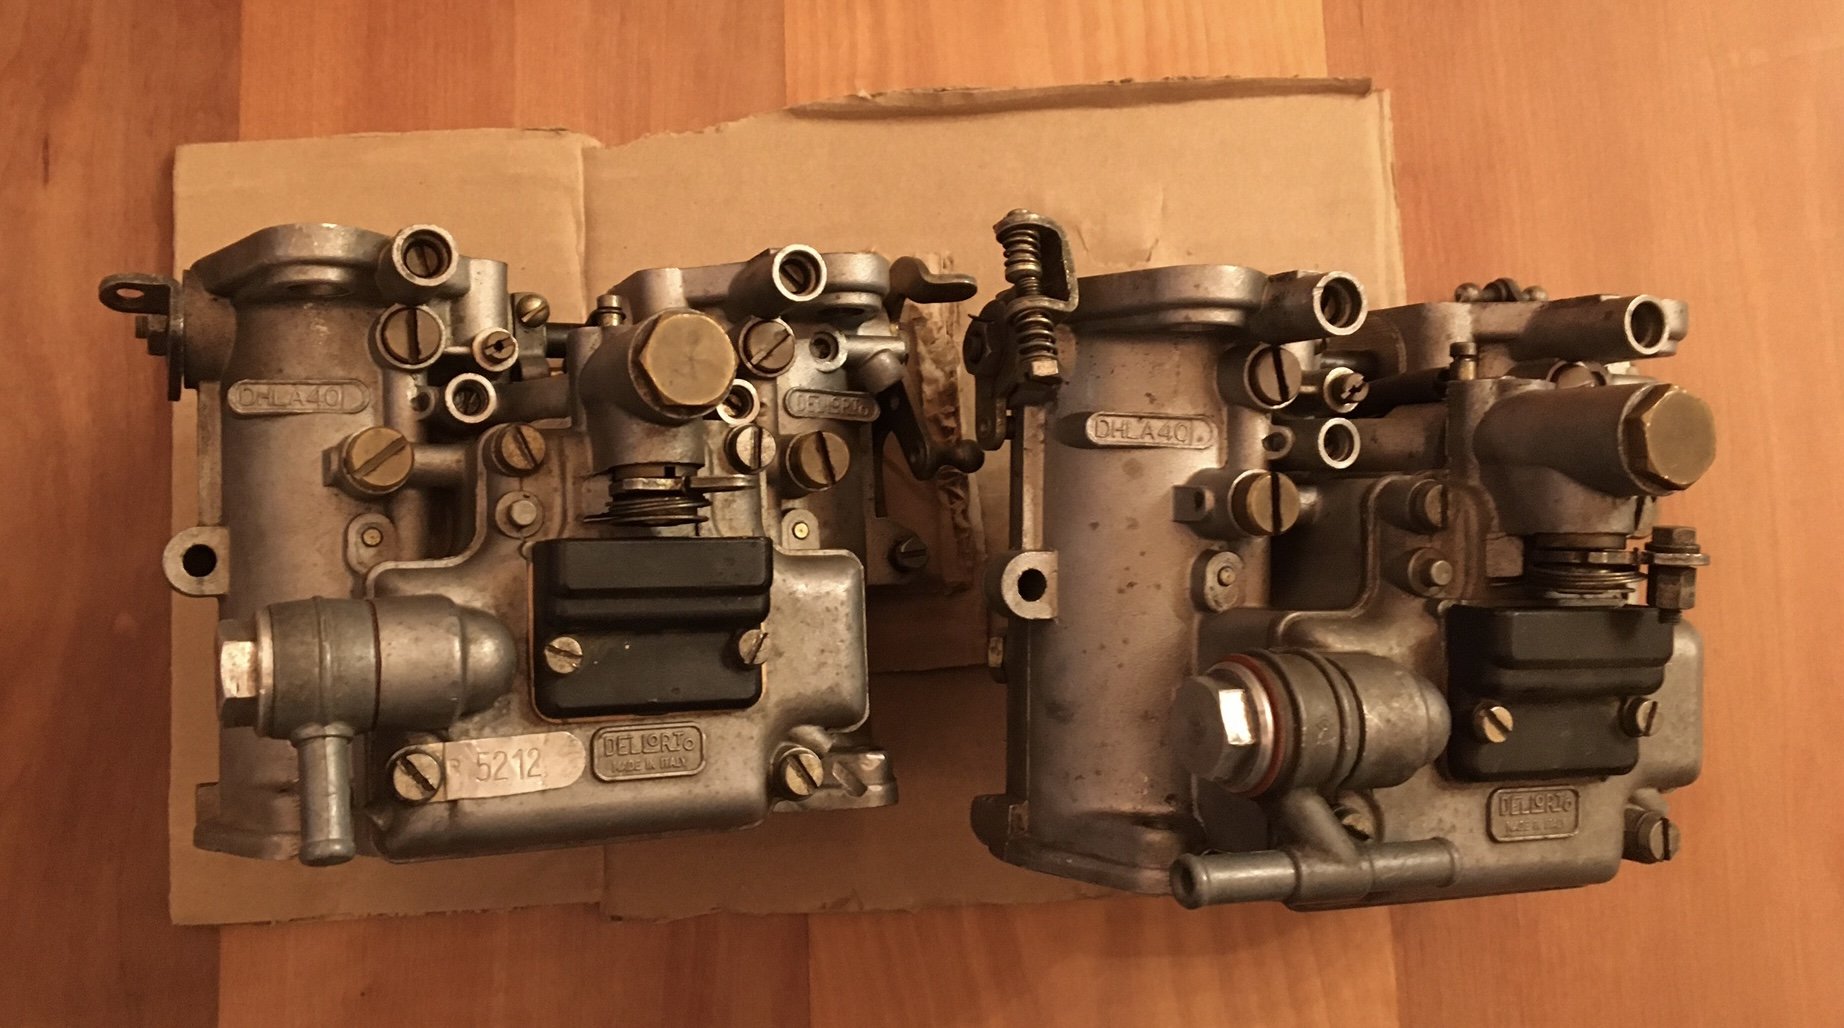
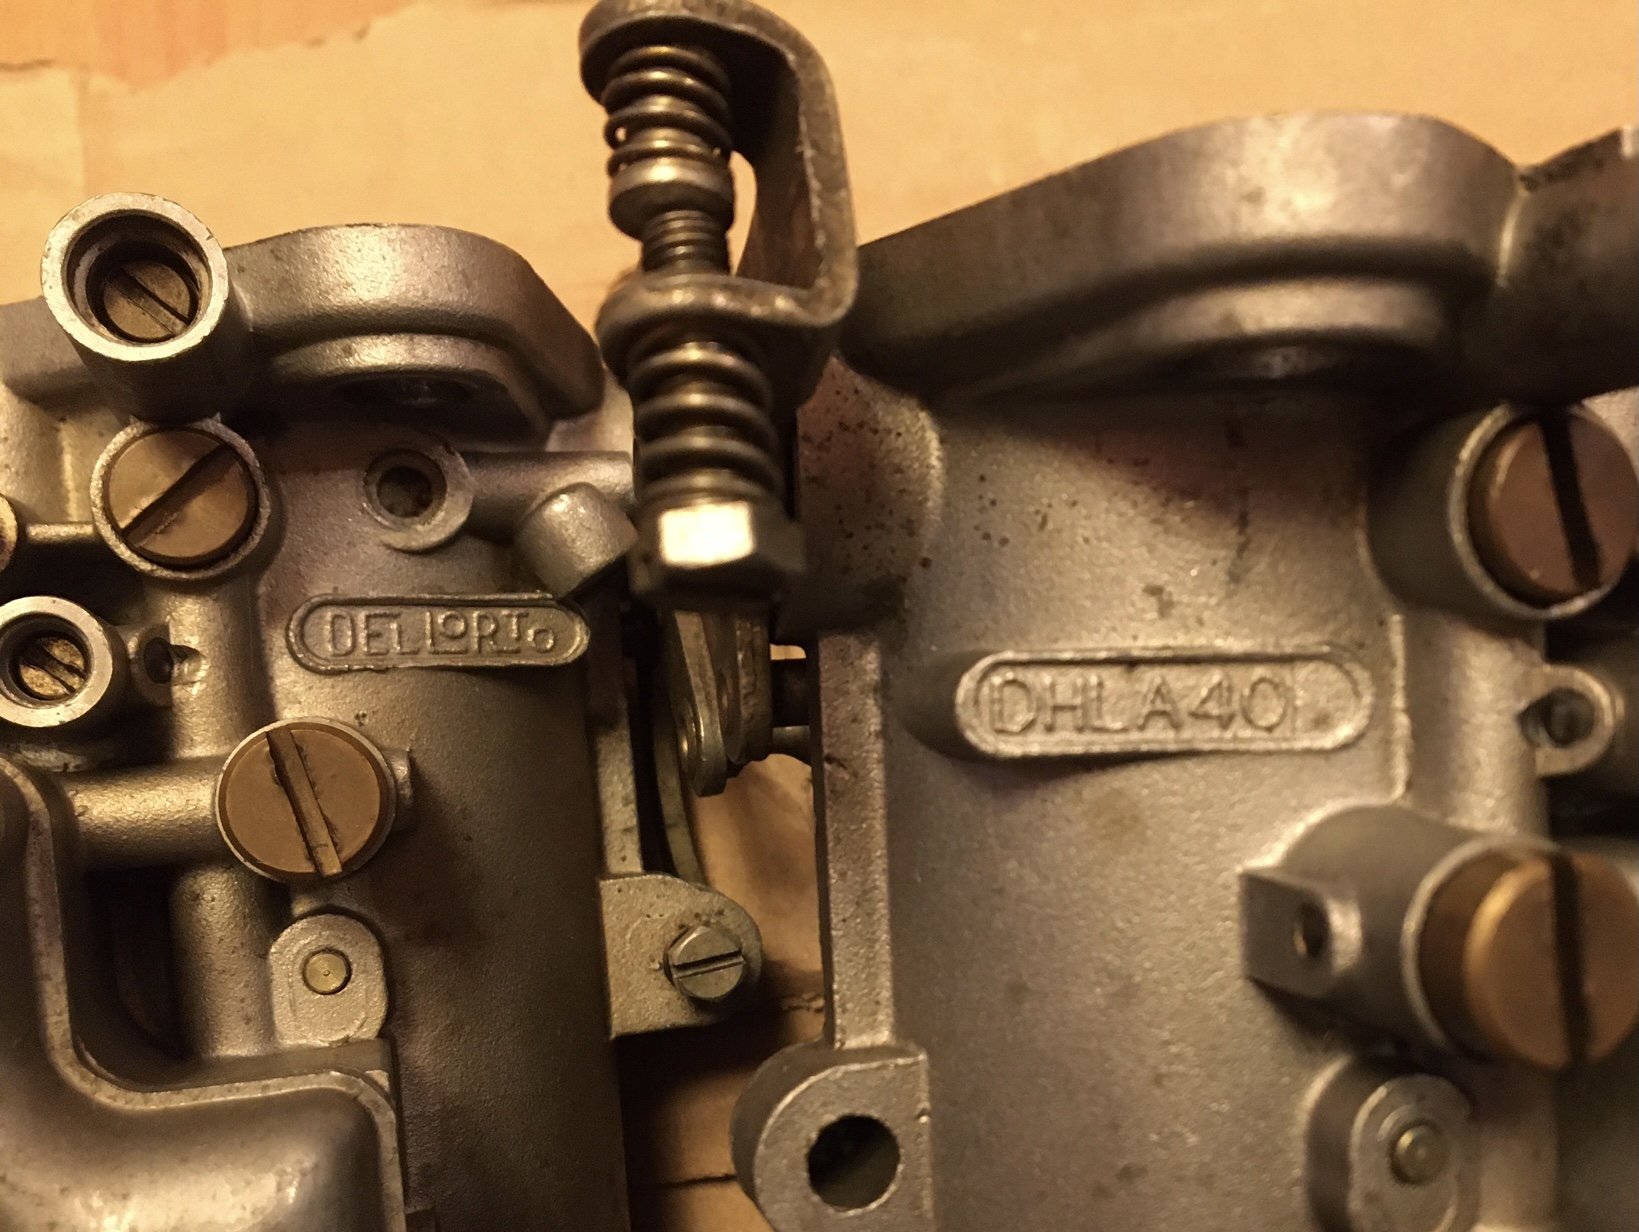
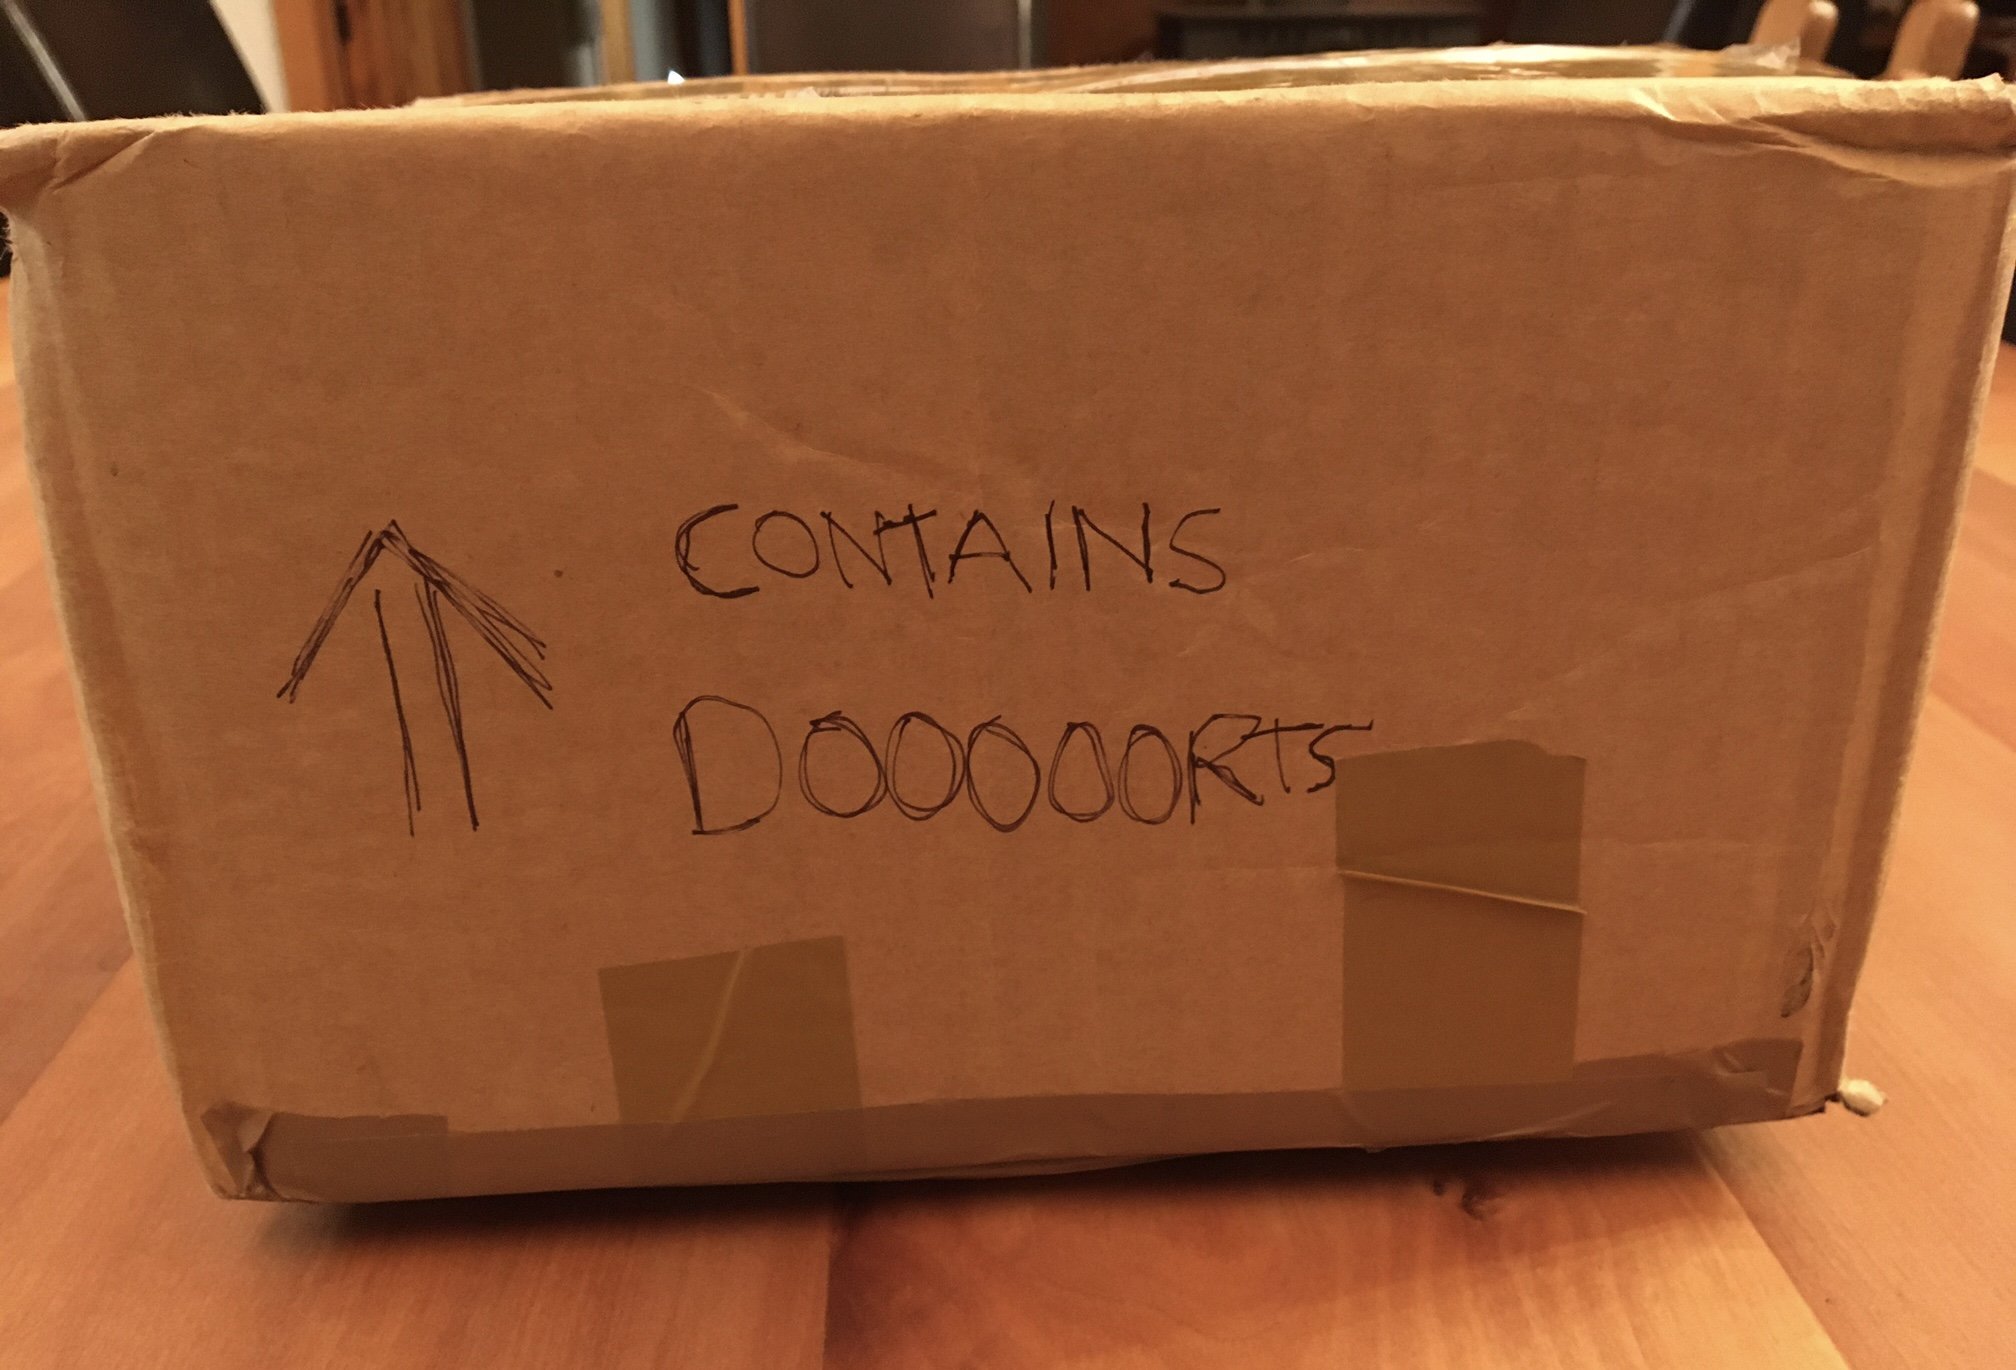
Oooh what have we here? Postie brings stuff. I wonder what’s in it? If I was a maladjusted human I would make an unboxing video for youtube. Er, I am maladjusted but in a different way…anyhoo. VOILA! I think they were on Trademe for a few minutes tops til I stabbed the buy now so hard I almost punched a hole in the ipad. Good price for some very tidy carbs. Such fun!
1 point
-
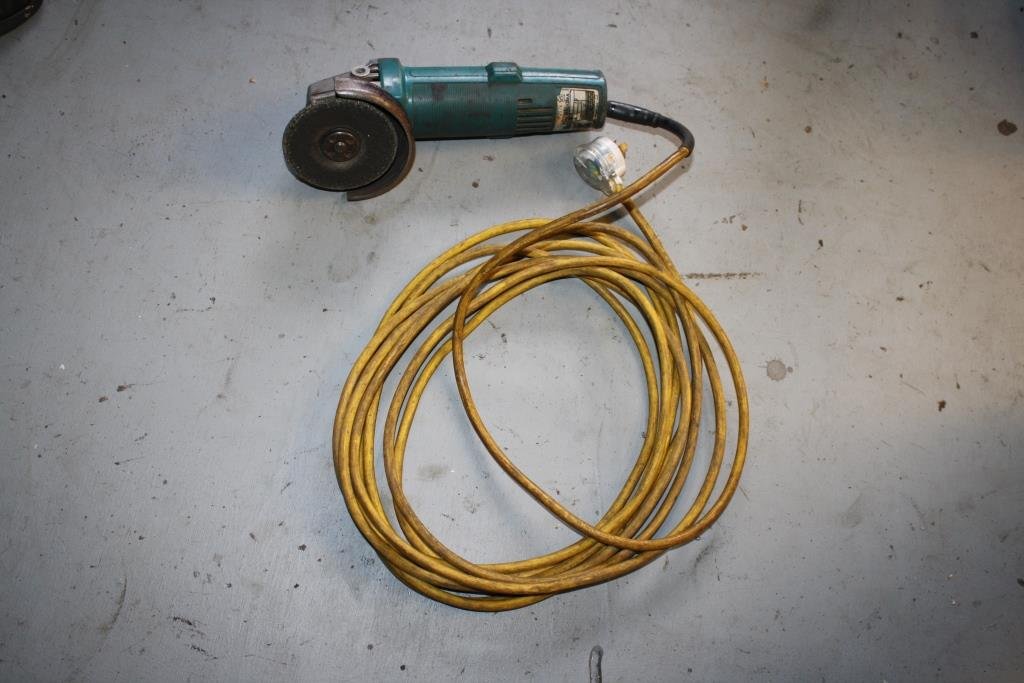
It is with deep sadness and a heavy heart that I have to announce the untimely demise of “Mak” my favourite Makita angle grinder. Mak passed away (noisily) after a short illness, i.e. weird gearbox grinding noises and a hideously burnt and nauseatingly disgusting plastic smell (with smoke). Despite desperate attempts at resuscitation, Rigamortice and myself could not put the lost smoke back into him and Mak, succumbing to his afflictions has gone to join the Great Flying Spaghetti Monster in the sky. A more true and loyal friend no man (or car) could have, and despite having a somewhat “abrasive” personality Mak will be sorely missed by many. Overcome with inconsolable grief we sought condolence in the arms of retail therapy - and bought these. On a more philosophical note angle grinders are like guitars, a man can never have enough of them!
1 point
-
Those pics were shot for this. It was a compromised shoot, as it was during L4 lockdown and I'm not totally chuffed on the photo results but here we are. I'm a bit embarrassed about it, there's a handful of other cars in the issue that probably should have been cover, instead of a lower cost lower power KP Starlet. But buy it if you feel like you'd be interested in reading the story, I tried my best to get the point across that I didn't really do anything on this car, I just made a bunch of decisions and was lucky enough to have a small group of very talented friends who sacrificed their own time to help me put this thing together. 20211019_154109-01 by Richard Opie, on Flickr So, 6-ish weeks ago I took this in to see @cletusfor it's cert as mentioned above, and have been working towards attaining this. Overall, the initial check went pretty well, and was a good example of why you should probbaly talk to your cert guy prior to undertaking any sort of project of magnitude. In the interests of transparency and maybe helping other people, it failed on the following: Tyre rub on all four corners (fitted the Star Brights for cert and they're just a shade too wide at 6.5J -2 with a 185) - new set of 14x6J -10 SSR Longchamps XR-4 fitted Skid plate required for modified or custom fuel tank as it's less than 200mm from the ground - sheeper helped out and we've knocked up a little skid plate to cover A few extra fuel and brake line clips required - ew yuck I had to drill holes for rivnuts Return spring required on brake pedal - small bracket made up to fit a spring that goes to a small hole drilled in brake pedal webbing 2 of the 6xM6 bolts in the Recaro bases were missing so needed to replace those - bolts installed Seat rails to floor adaptor M8 bolts required nyloc nuts in lieu of threaded plate - nuts installed Heatshielding required for fuel line on diff (close to exhaust at droop) - DEI heatshield sleeve added to the diff, really neat velcro-baced split sleeve that makes life easy Camber to be corrected to maximum of -1.5 degrees - realigned by old mate Kieran to comply Right rear shock just fouling on 4-link bracket - bracket clearanced with ye olde flapdisk and repainted Trim adjustable platform threads on diff to allow bump stop to contact properly - again, ye olde flapdisk came to the party Here she is on her cert feet which are yet to be restored and shinied up, I've also given my stock KP fender mirrors a lick of factory charcoal and reinstated these. 20211107_195603-01 by Richard Opie, on Flickr Recheck is tomorrow so wish me luck.1 point
-
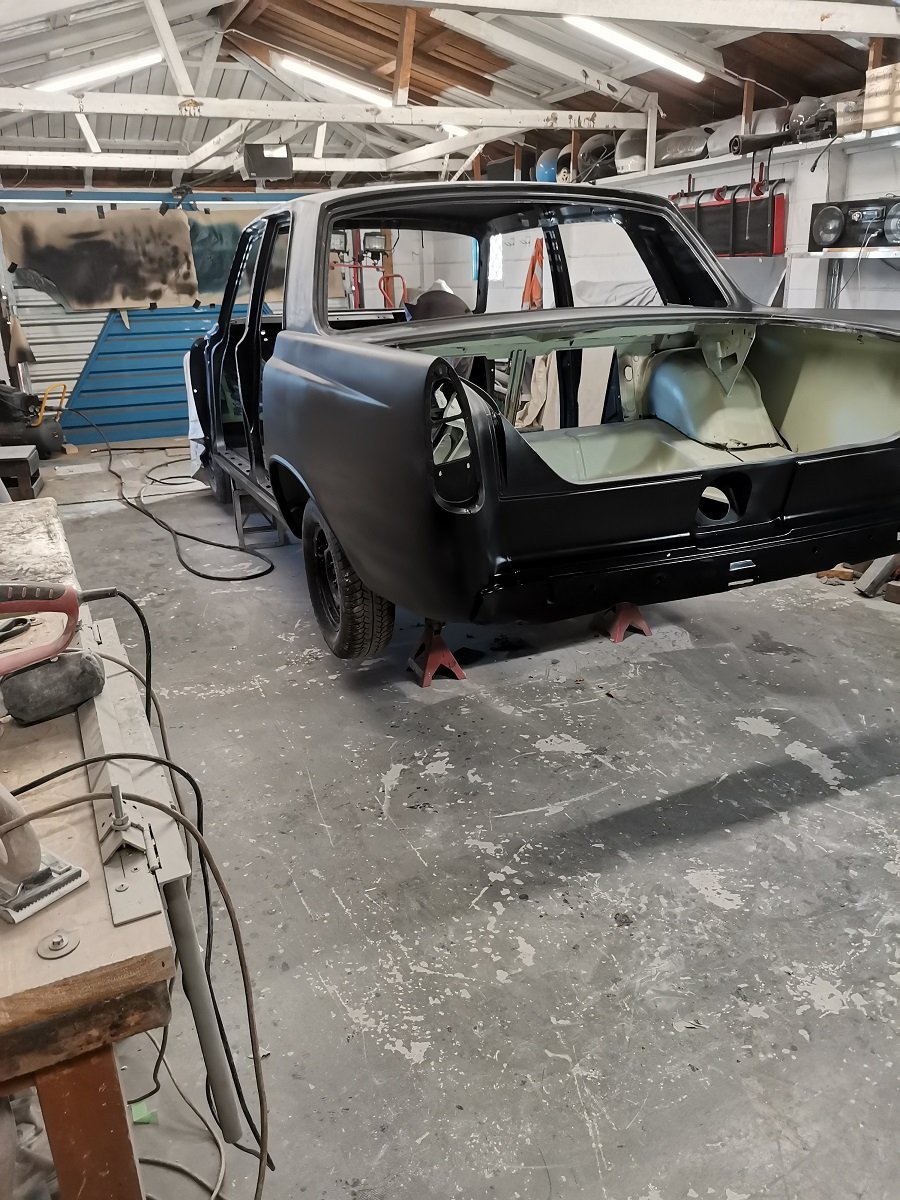
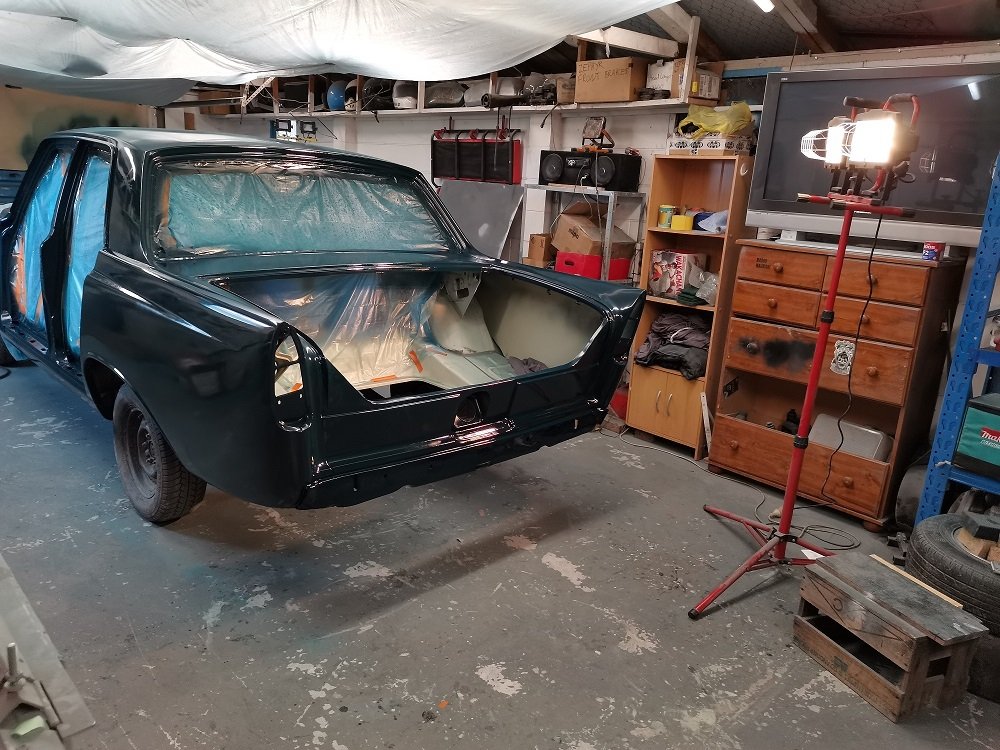
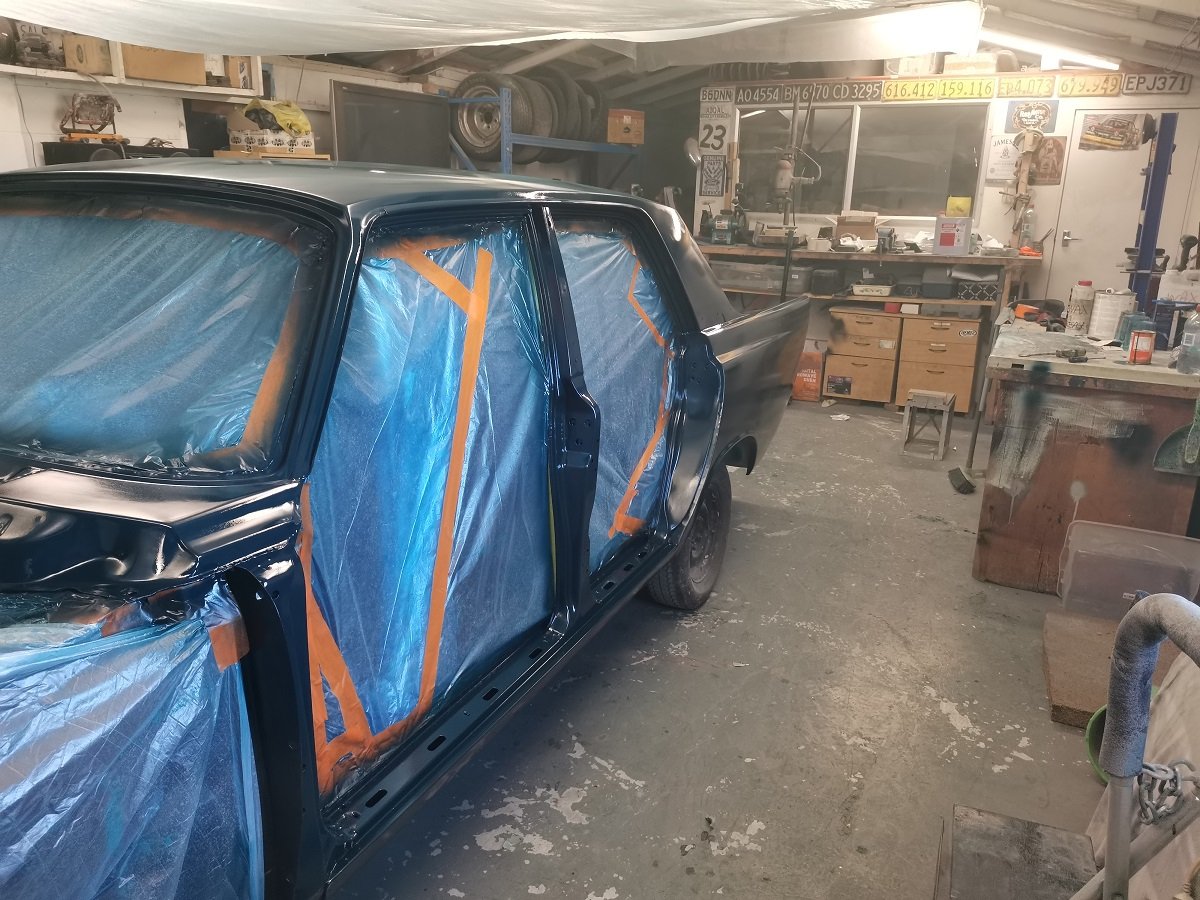
Wee skim of bog over the repairs and some other small dents. No more than a couple of mm, much better than the >10mm that was there before. Repeated the bog, sand, filler primer, sand process a few times until I got it to the stage I was happy with it. First coat of colour went on a bit dry, so I put a bit more thinner into the second coat. Wee bit much it seems so have got some runs. Hopefully will be able to wet sand out without too much trouble
1 point
-
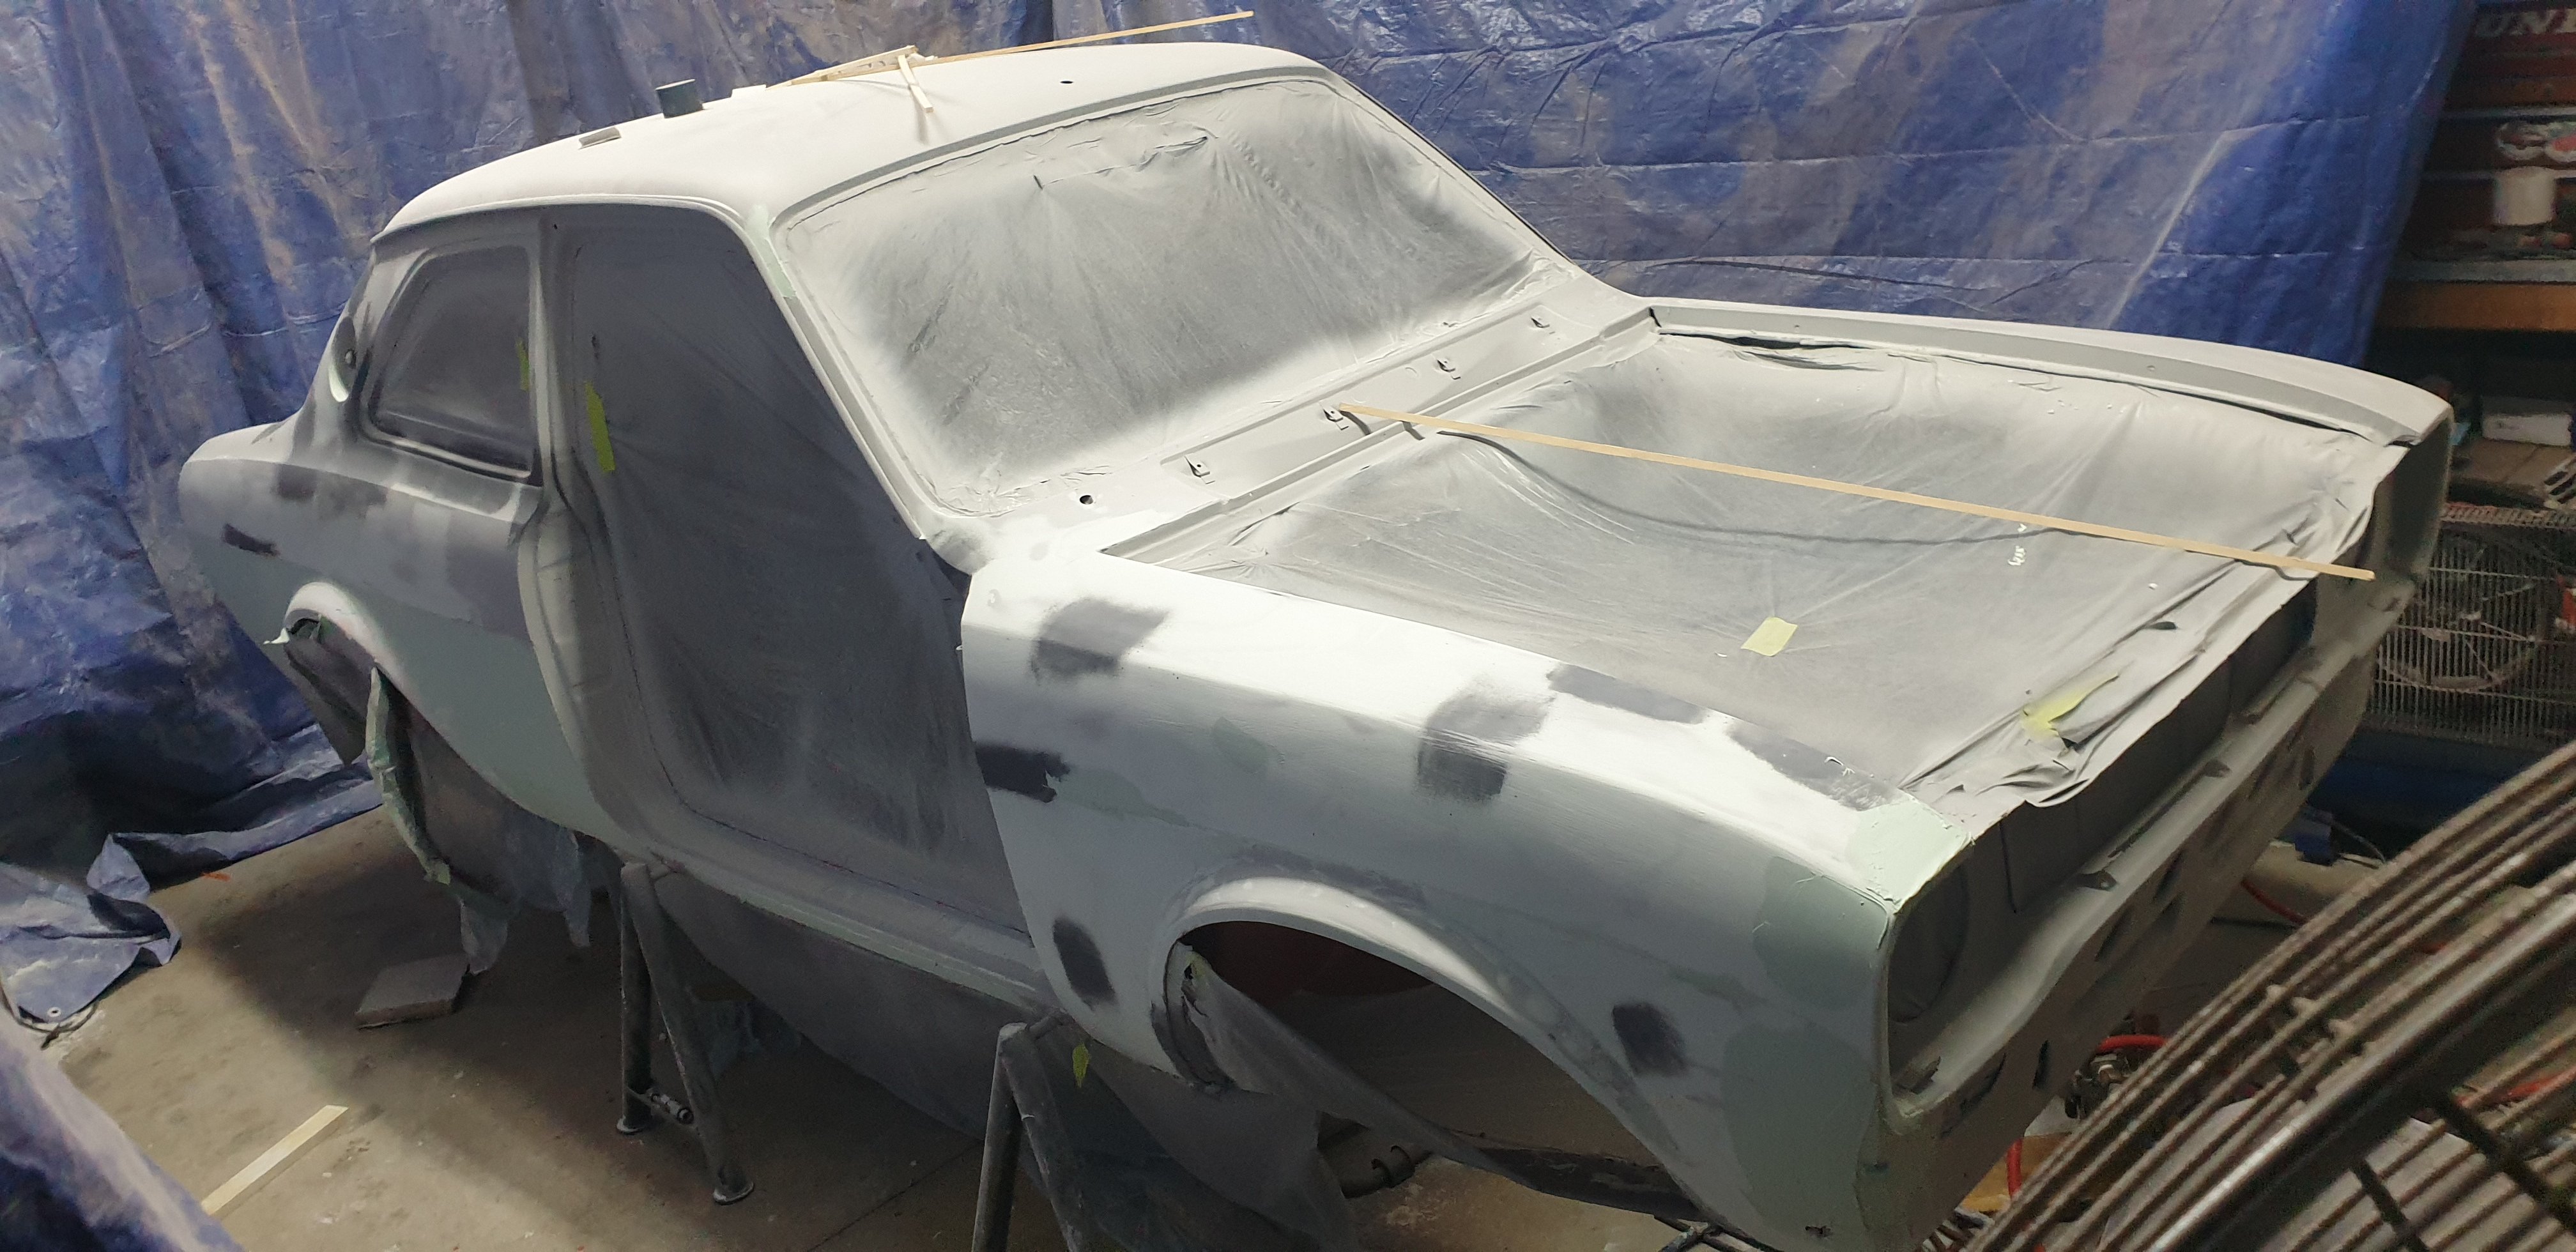
After having a mare of a time with the last post I did I thought I'd try again. The panelbeater spent all of yesterday here and is here again this morning. Lots of panel work progress is being made.
1 point
-
This is pretty much the finished car. I took it to Clint for a cert. It didn't fail on too much, just some additional fuel line clips needed, a smidge of camber to be wound in, heat sleeving on a brake line on the diff, some nyloc nuts for the seat bolts, and a couple of other very minor things. Anyway here's finally, some proper camera photos of it. 1981 Toyota Starlet KP61 4AGE (369)-Edit by Richard Opie, on Flickr 1981 Toyota Starlet KP61 4AGE (383)-Edit by Richard Opie, on Flickr 1981 Toyota Starlet KP61 4AGE (327)-Edit by Richard Opie, on Flickr 1981 Toyota Starlet KP61 4AGE (350) by Richard Opie, on Flickr 1981 Toyota Starlet KP61 4AGE (356)-Edit by Richard Opie, on Flickr 1981 Toyota Starlet KP61 4AGE (311)-Edit by Richard Opie, on Flickr 1981 Toyota Starlet KP61 4AGE (294)-Edit by Richard Opie, on Flickr 1981 Toyota Starlet KP61 4AGE (403)-Edit by Richard Opie, on Flickr 1981 Toyota Starlet KP61 4AGE (58)-Edit by Richard Opie, on Flickr 1981 Toyota Starlet KP61 4AGE (66)-Edit by Richard Opie, on Flickr 1981 Toyota Starlet KP61 4AGE (83)-Edit by Richard Opie, on Flickr 1981 Toyota Starlet KP61 4AGE (48)-Edit by Richard Opie, on Flickr 1981 Toyota Starlet KP61 4AGE (160)-Edit by Richard Opie, on Flickr 1981 Toyota Starlet KP61 4AGE (175)-Edit by Richard Opie, on Flickr 1981 Toyota Starlet KP61 4AGE (238)-Edit by Richard Opie, on Flickr 1981 Toyota Starlet KP61 4AGE (263)-Edit by Richard Opie, on Flickr 1981 Toyota Starlet KP61 4AGE (440)-Edit by Richard Opie, on Flickr 1981 Toyota Starlet KP61 4AGE (408)-Edit by Richard Opie, on Flickr 1981 Toyota Starlet KP61 4AGE (306)-Edit by Richard Opie, on Flickr 1981 Toyota Starlet KP61 4AGE (494)-Edit by Richard Opie, on Flickr Thanks for looking, for the past 15 years or so.1 point
-
Took ages to sand the hood back, about 14 120 discs to get it uniform, lol. Only had to apply filler around the nose where I repaired, 2 wee dints and 2 repair patches and the crease that appeared when the wind caught it the other weekend in the gales and threw it onto the stand right after I welded the frame back in! shot it in leftover Isolack 2k, it’s bizarre shit..like bed liner to mix but comes out normally. The Second coat ejected some snot and fucked it up but at least it’s sealed in the meantime.. now I’ll just re-spray when I do the stripes down the track. The back of the scoop will be gloss black but I had a little spare so painted them as well as battery tray. Also scrubbed up the grills, have decided on the style I’ll paint them too.
1 point
-
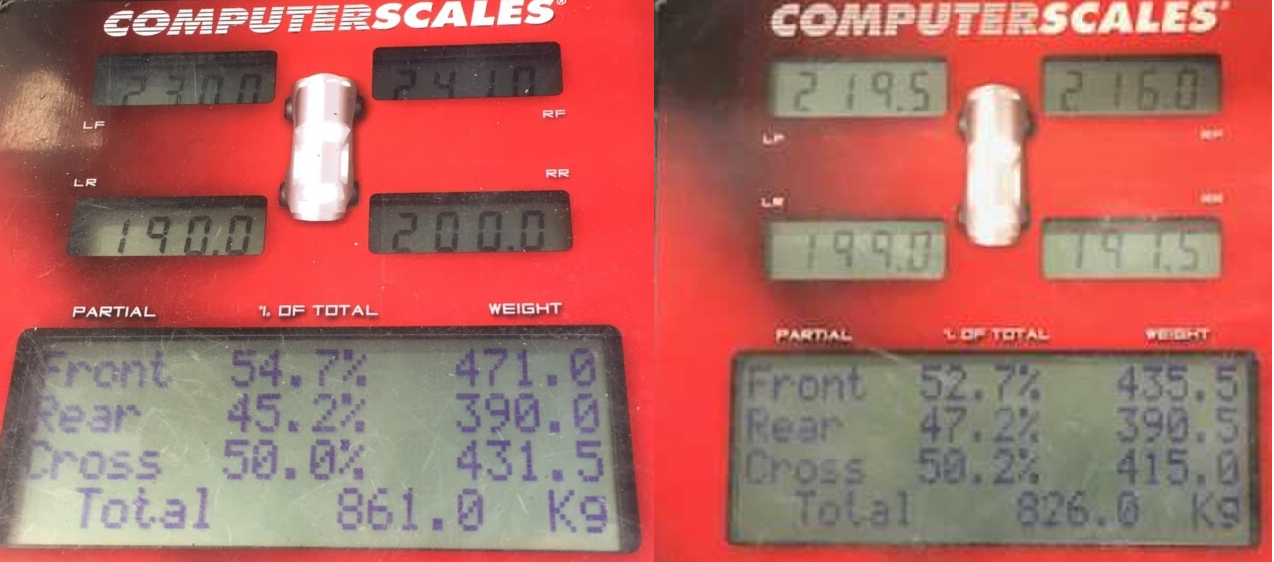
Last bits of major fabrication done (front swaybar, driveshaft hoop) and finally had it on the scales for corner weighting. Before on left, current on right: All fluids and 30+ liters of fuel on board. Little bit off my goal, but shows how hard it is to take weight out of something. Could probably get another 15kg by going to fiberglass hatch and doors, but that's just $$$ I don't need to spend at the moment. Very happy that 35kg has come straight off the front!
1 point
-
1 point
-
Pulled the vinyl out yesterday to make sure there isn't any gnarly rust and give it all a good clean out Tempted to pull up the sound deadening to rust proof the lot while I'm here. Would really like to replace vinyl with carpet so it isn't so peasant spec as well. It looks like a pretty basic mold to home spec something up.
1 point
-
Rack almost assembled... just need some minor welding on the x-member. Have heli-coiled all the rack mounts, just have to do it the lower arm mounts to accept the 7/16 bolts for the rose jointed lower arms.
1 point
-
Strangely enough the Brantz site doesn't say, but this reseller does: https://ears.ie/brantz-japanese-m22-gearbox-sensor/ 4 per revolution, which seems like it'd work perfectly for you!1 point
-
do you know what sort of 'flavor' pulse comes out of it? it might be an easy way to reinstate cruise control on the crown. my auto gearbox had a hall sensor which read 4 pulses per revolution on the output shaft. but the manual trans has no such provisions.1 point
-
Hey Alex, I got it direct from Brantz in the UK. It literally just sits in between the gearbox and the cable, and is supplied with a little pin so everything still works. Mine is M22 ("Japanese" gearbox), but they have others - https://www.brantz.co.uk/sensors1 point
-
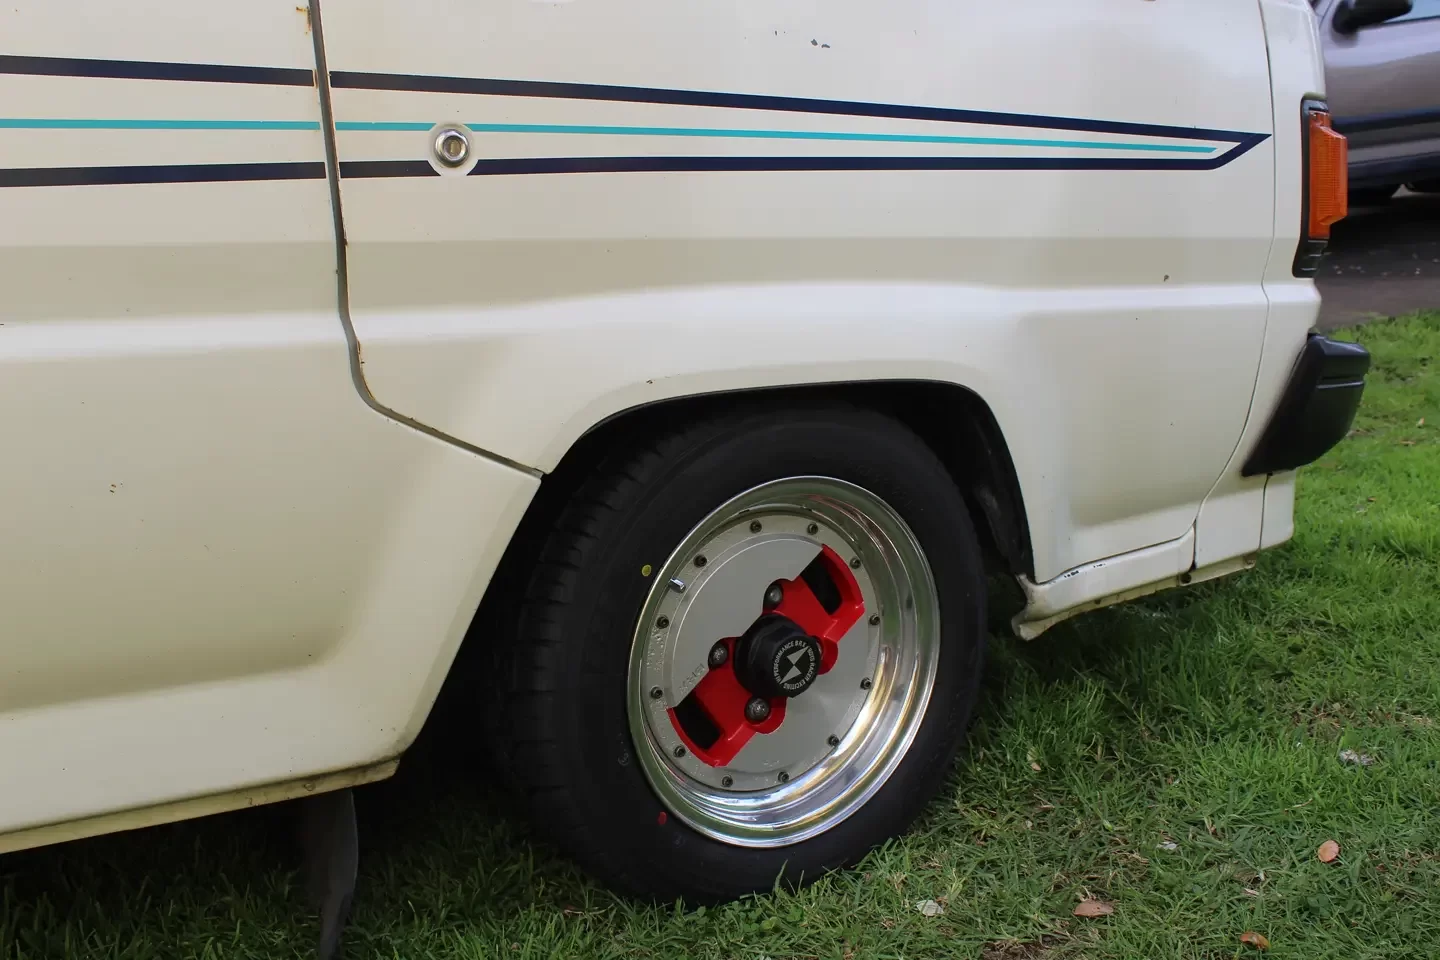
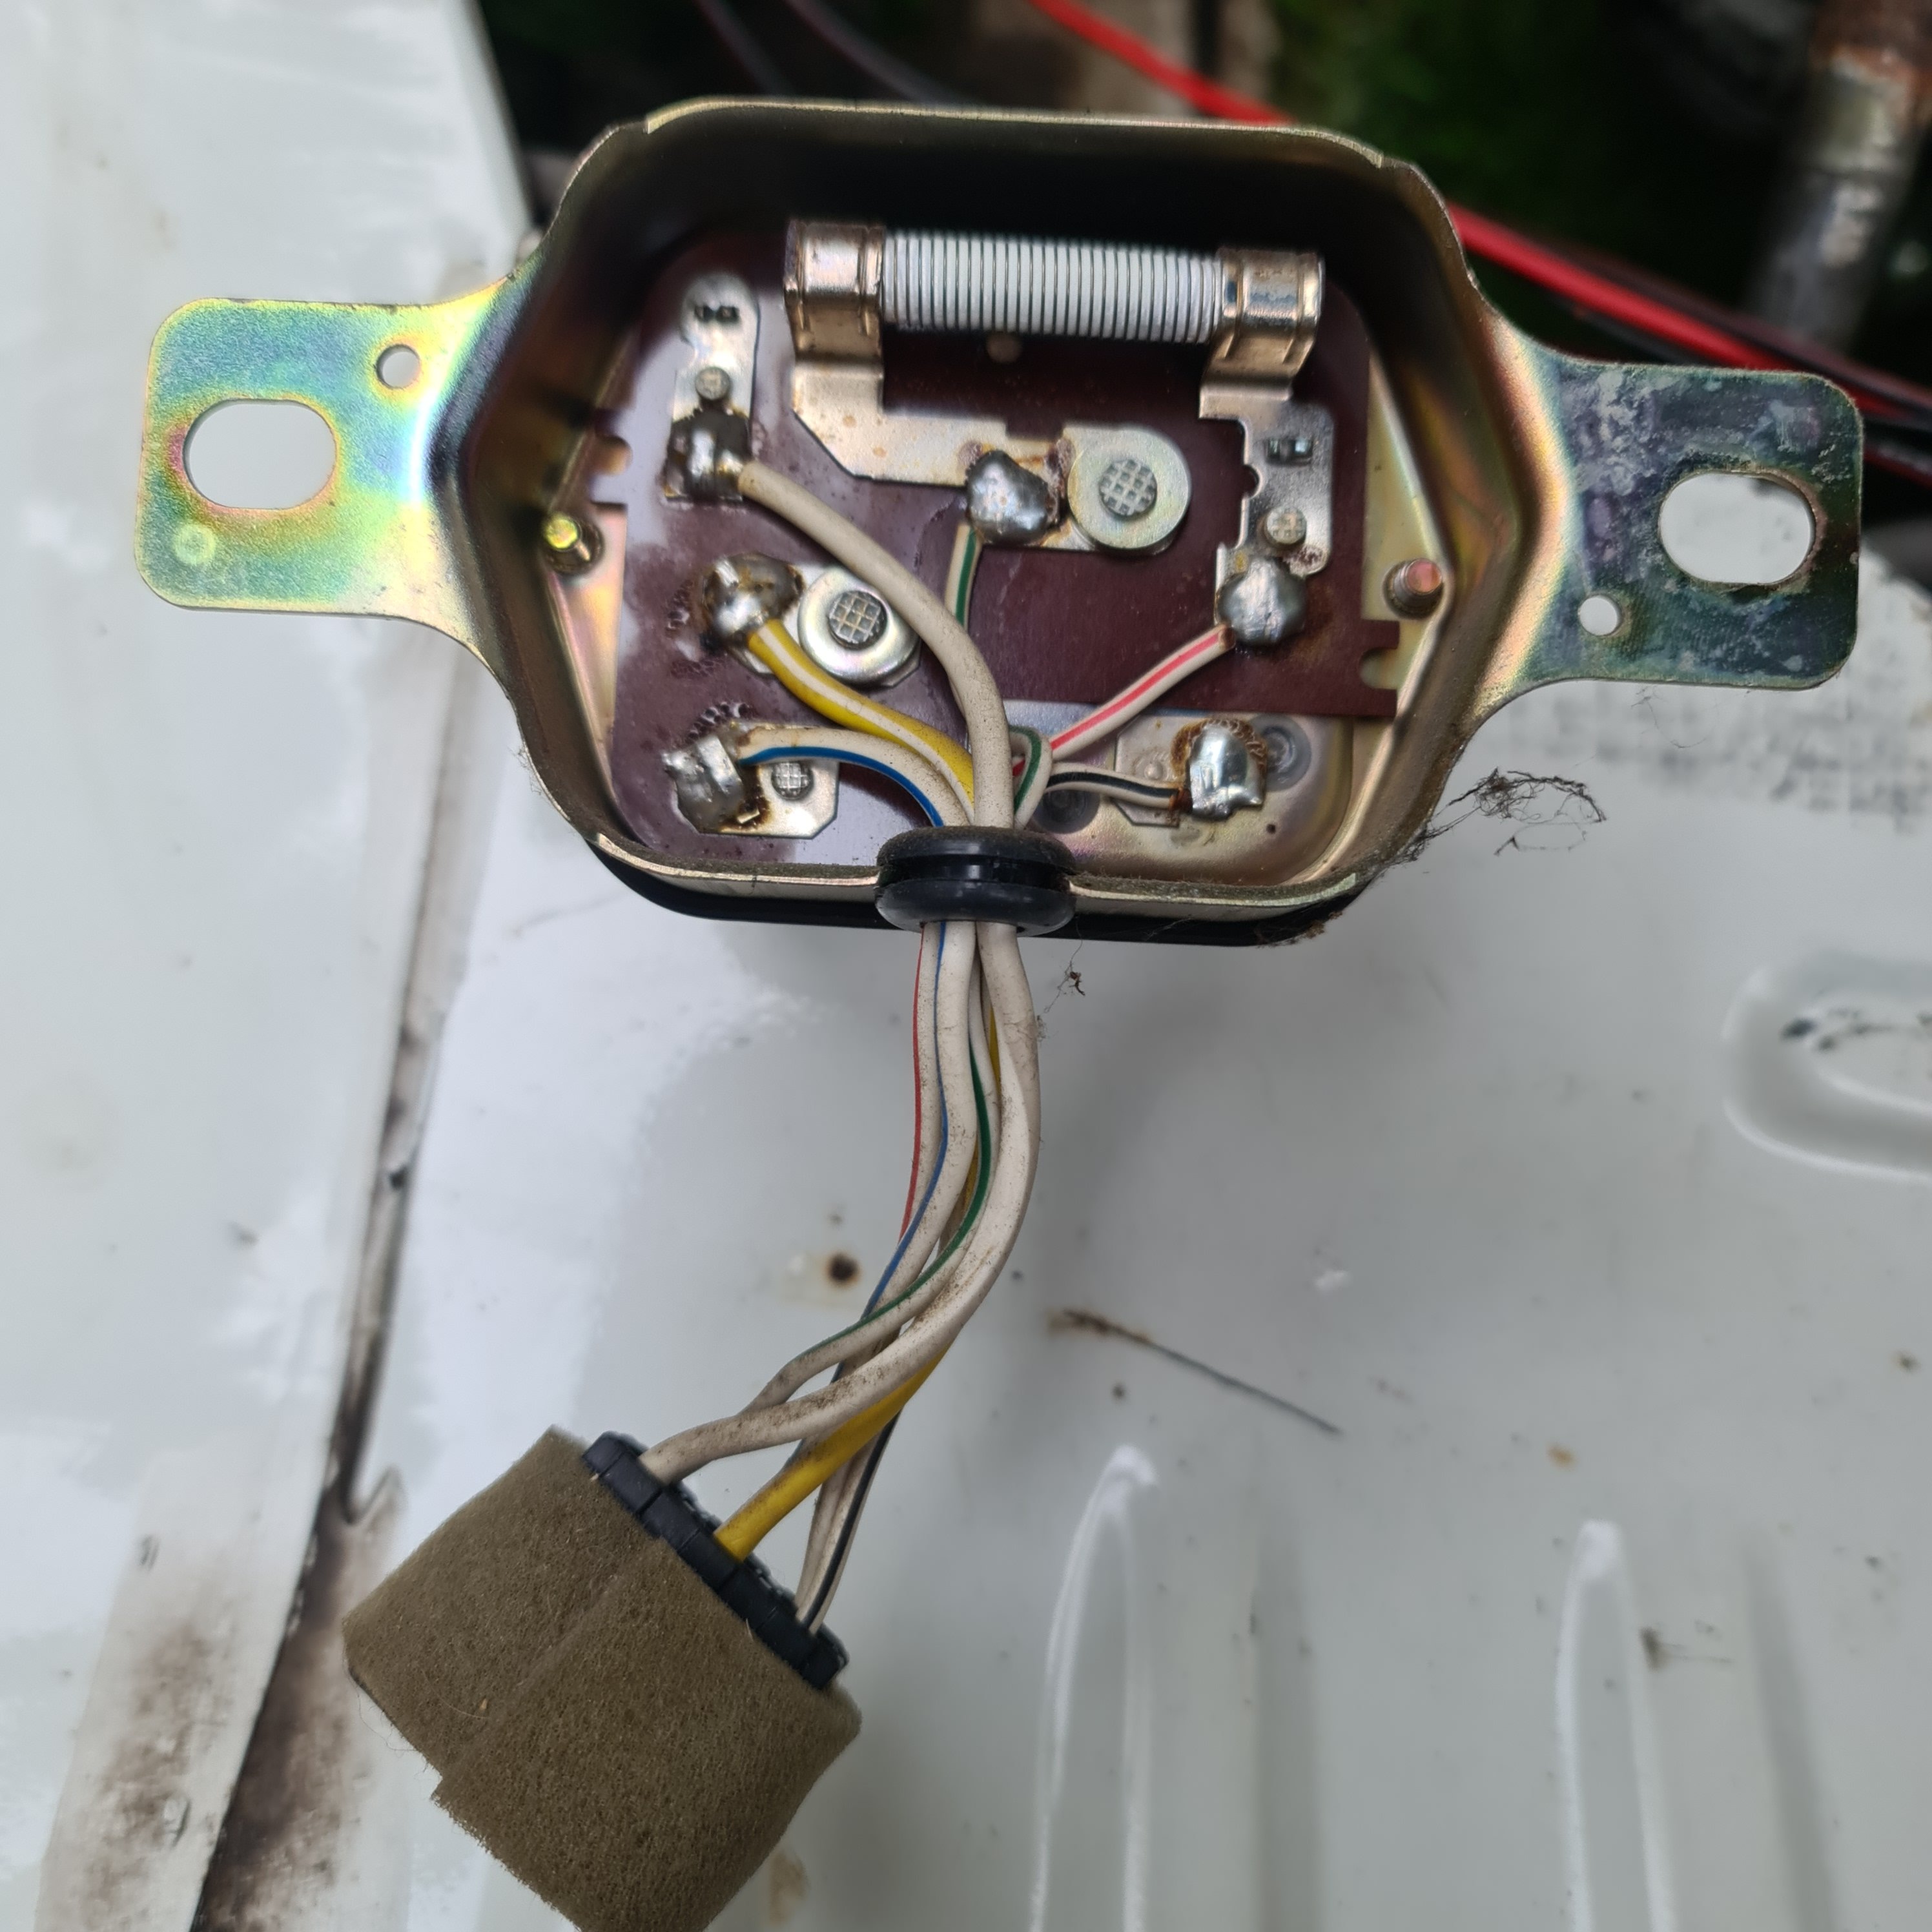
Lowered the front yesterday Waiting on 2" blocks for the rear to level it out. Found the voltage regulator way up by the wipers yesterday so need to figure out how to make a bypass loom in place of it
1 point
-
Large tube of silicon sealant.... For the record, do you still have my torque multiplier thingy ? Or have I misplaced it...1 point
.thumb.jpeg.384ff72c8d2b0ee0d34a7bdedb55bdcf.jpeg)


This leaderboard is set to Auckland/GMT+12:00