
Leaderboard


Popular Content
Showing content with the highest reputation on 07/25/21 in all areas
-
Steering column shortened, painted everything, got a clamp type u joint. now have steering again which I find useful
 19 points
 -
My son has wanted a cubby house / tiny house for ages. According to him it needed a Mezzanine, to look old fashioned, and be good for hiding out in. This is as close to the design brief as I could manage.16 points
-
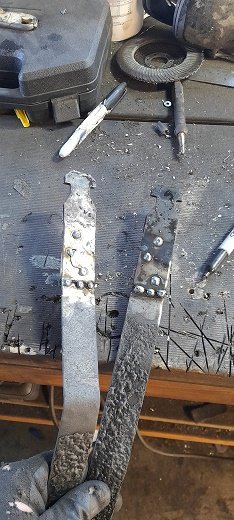
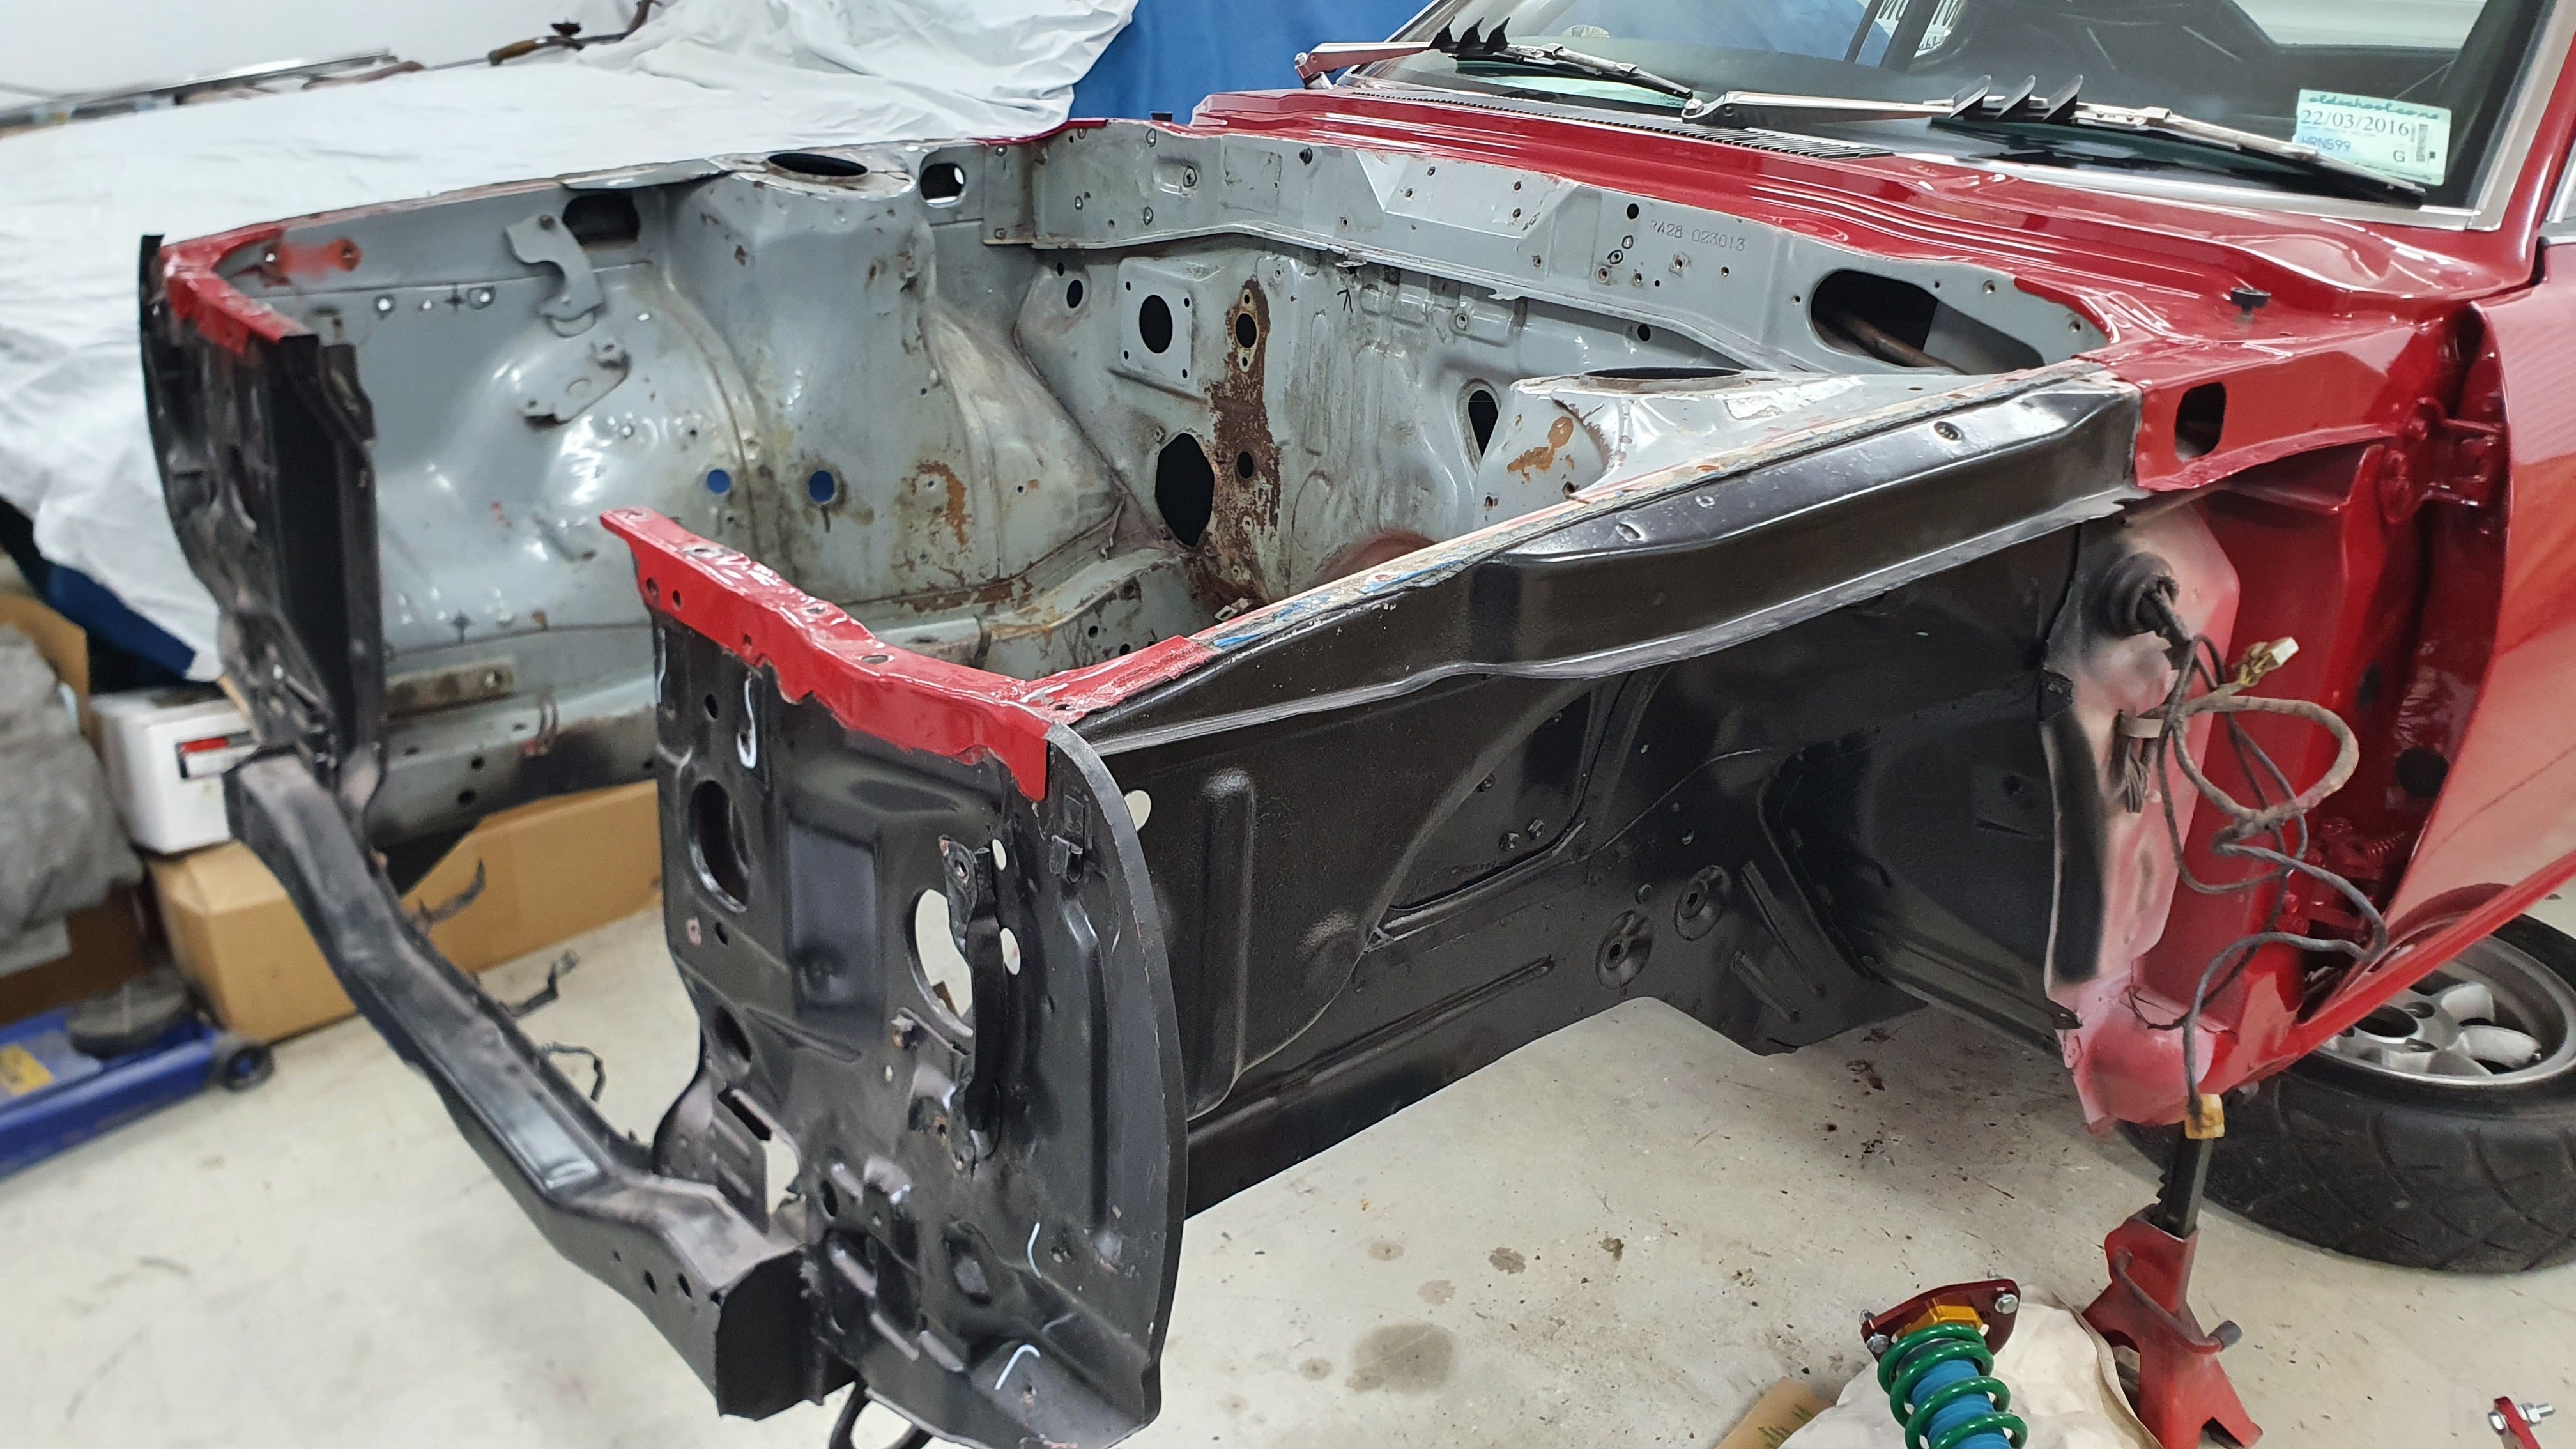
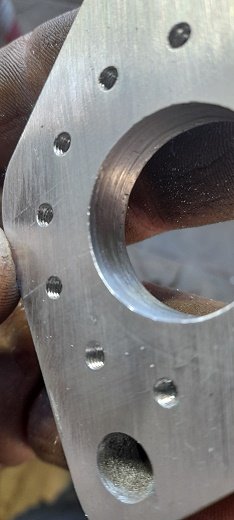
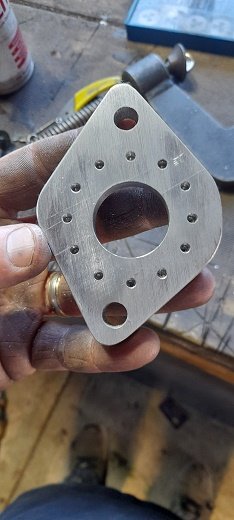
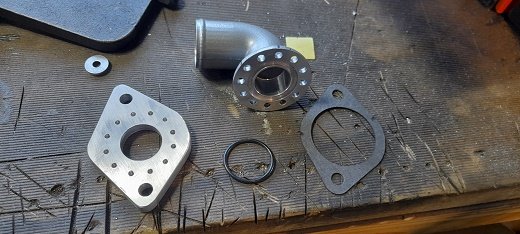
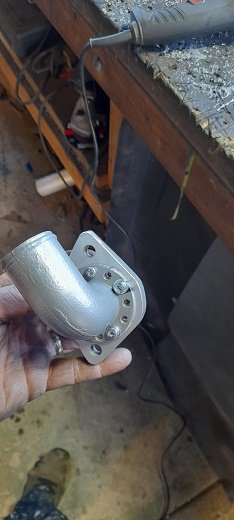
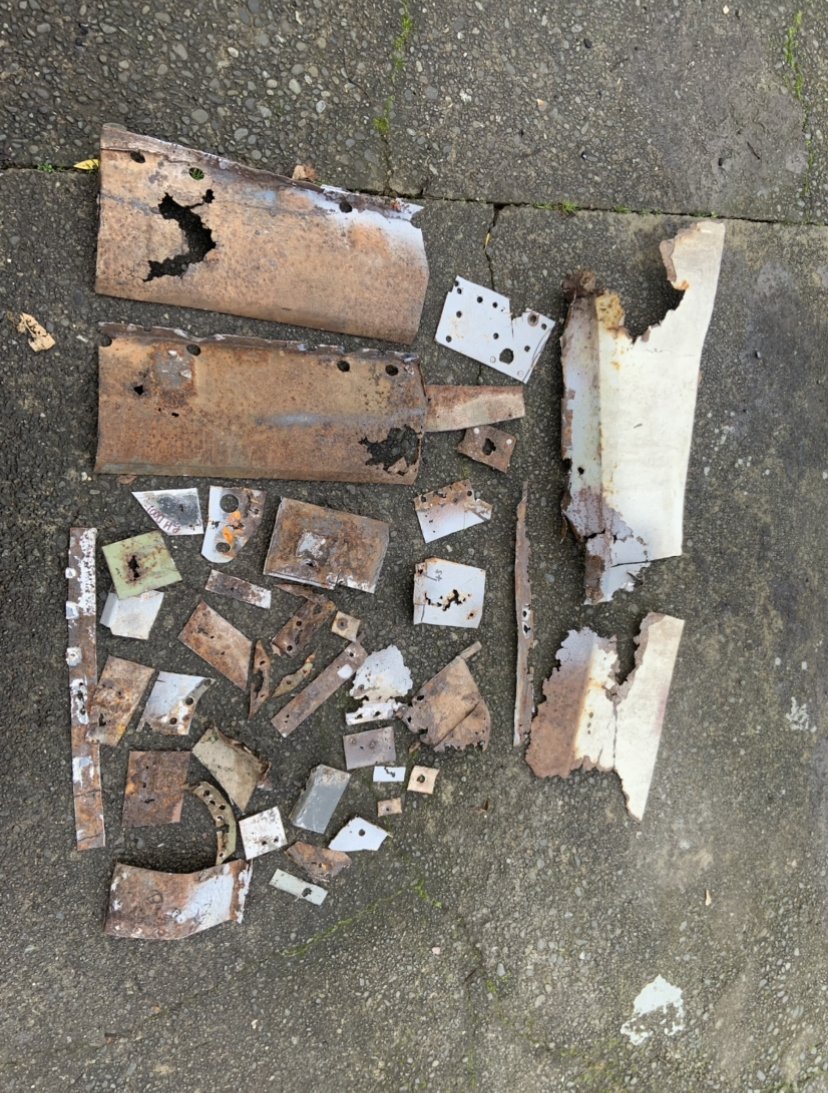
Few less holes in hood frame11 points
-
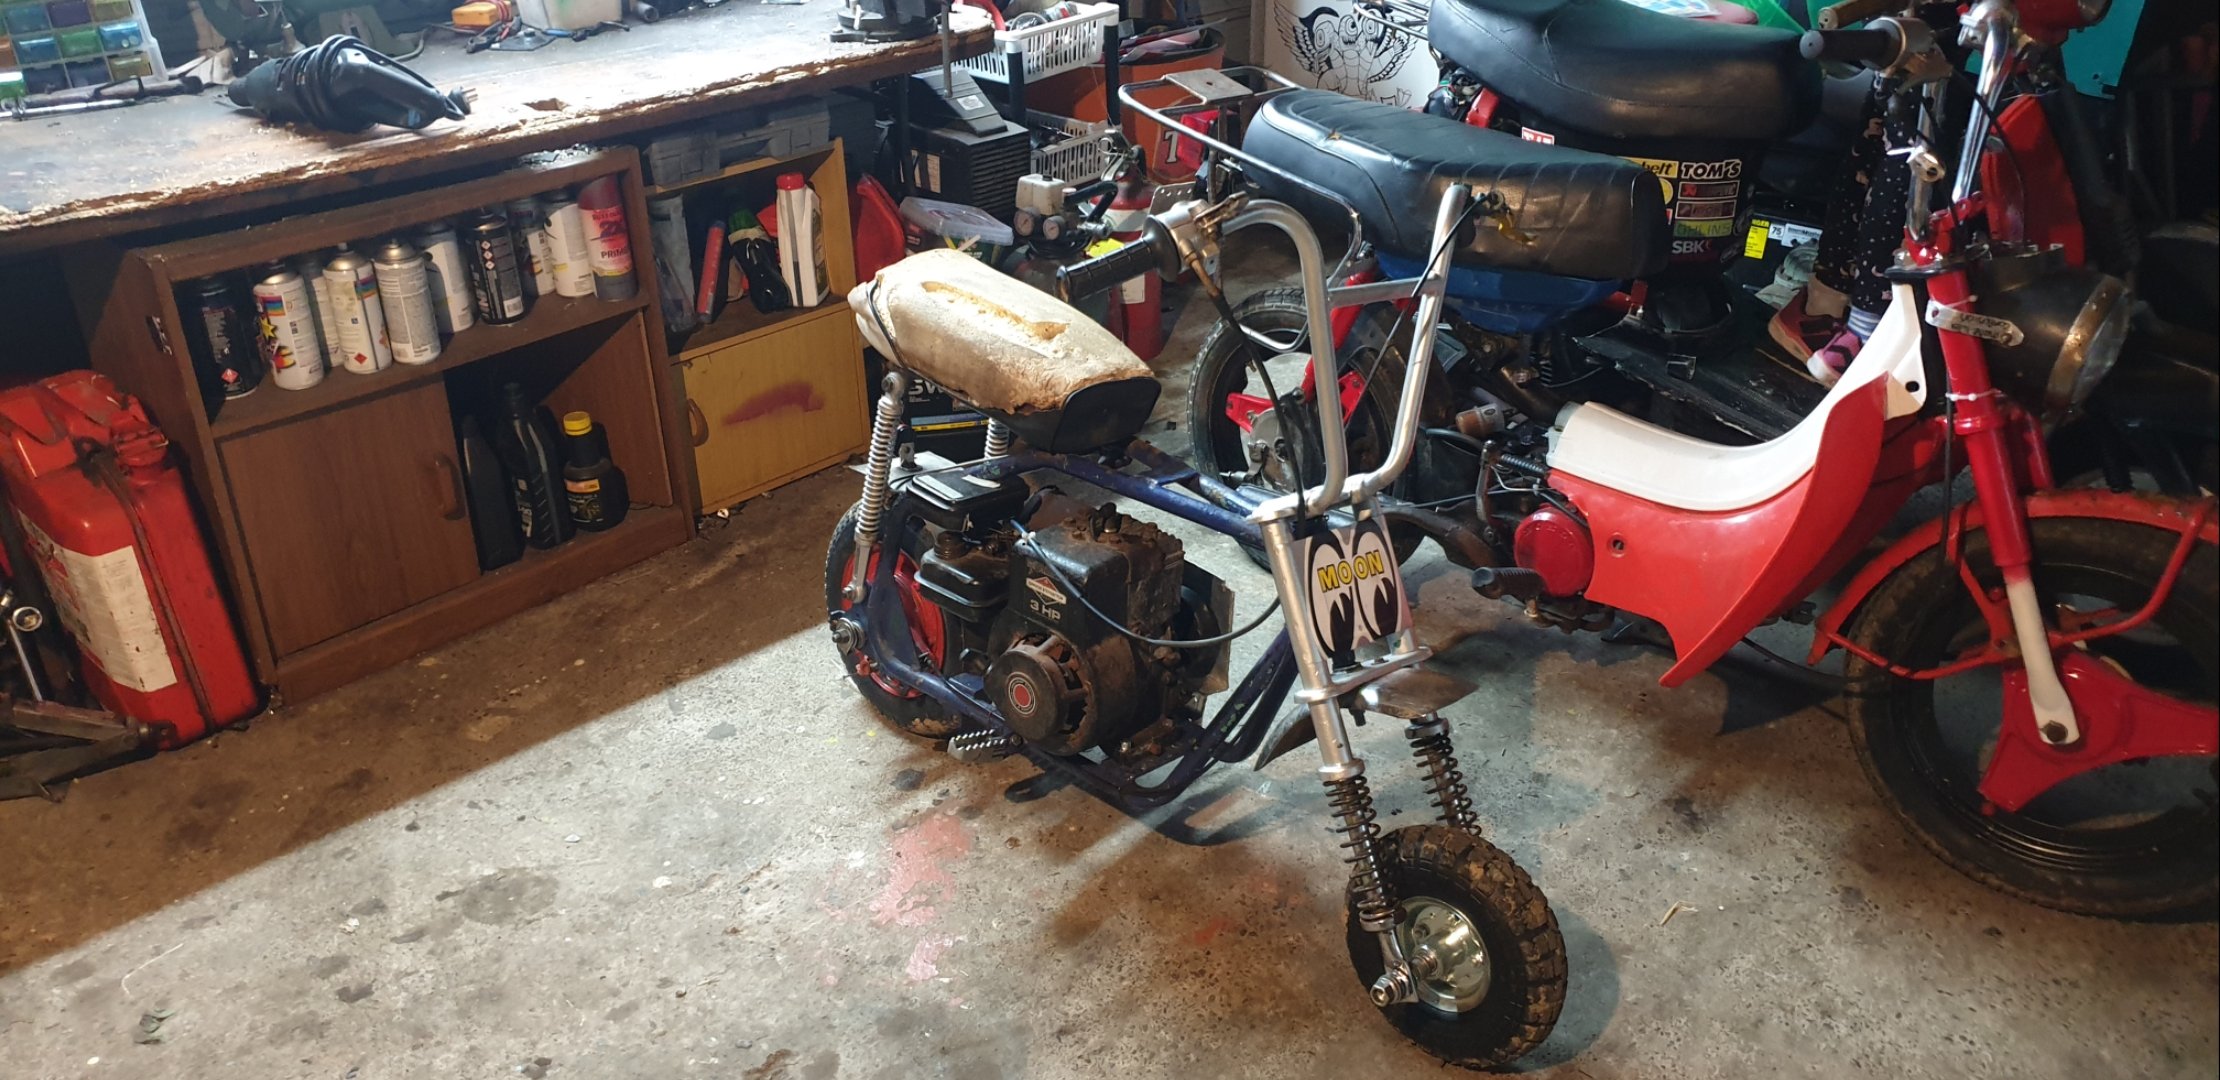
Bucket Barry has almost finished his new bike. Introducing…8 points
-
IMG_20210720_081438_1 by John Bell, on Flickr So yeah because the side panels had in coloured segments sanded and painted by a previous owner, I thought I'd whack some coloured vinyl on there and the new headlight to get it all matchy matchy. Had to try colour match to the slightly incorrect coloured tank bag. @Archetype was kind enough to send some off cut vinyl for me to simply stick on and trim out. Except I'm a talentless hack, and where the side panels have been sanded, it shows, and I struggled with creases and getting the shape cut tidily. So like most of what I touch it looks good from a far, but far from good. Good enough though. But yeah, did a trail ride a few weekends ago and enjoyed myself thoroughly. Bike out performs me, even had a very amateurish jam on their MX track and managed to stay on the bike, and even clear one or two jumps (and absolutely ruin myself on the rest)6 points
-
Yeah, need to find a cheap one, this'll do in the meantime. I removed the rest of the mesh and dampening material and gave it a wire brush as far as I could reach, also tapped out a small dent. And I think I'll borrow one of the Toomey silencers from my RD parts to put on.6 points
-
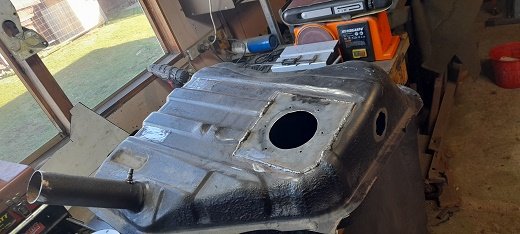
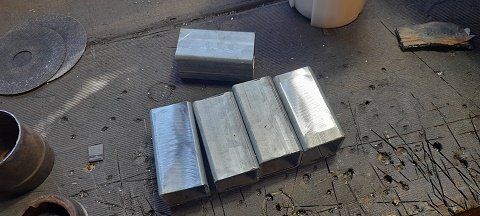
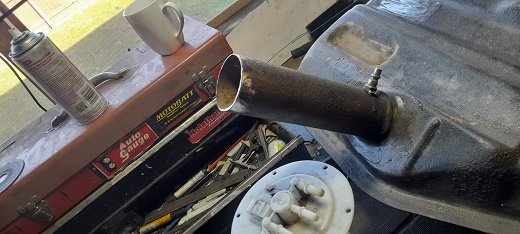
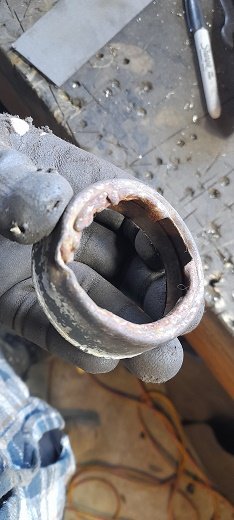
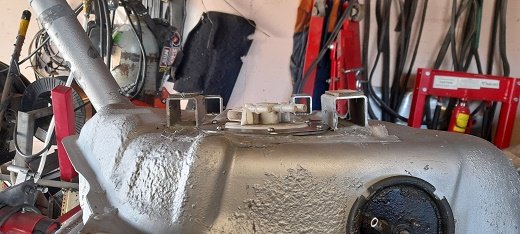
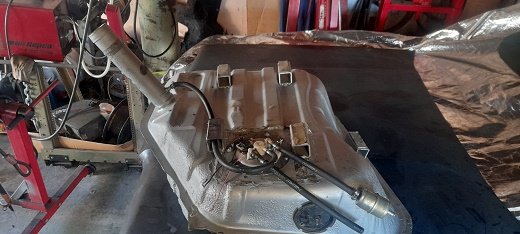
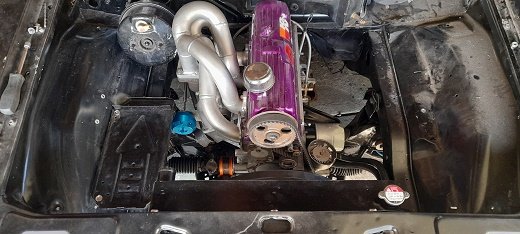
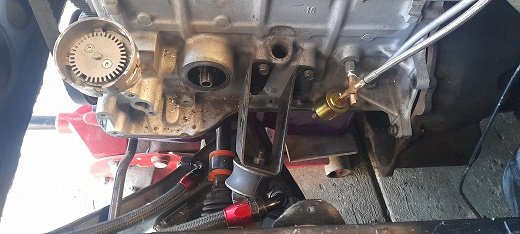
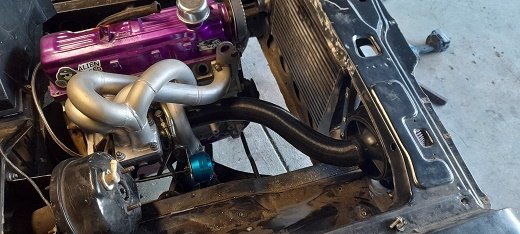
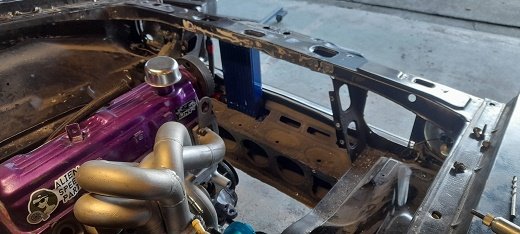
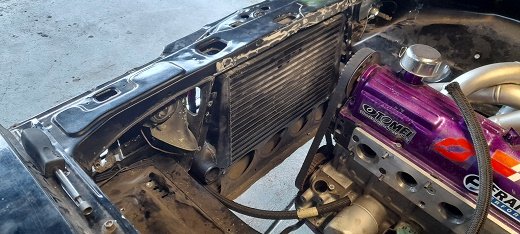
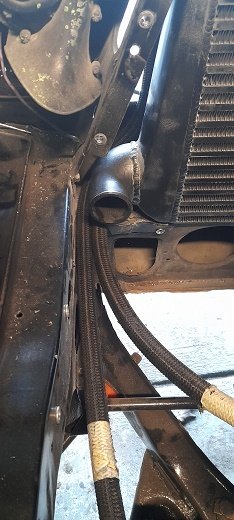
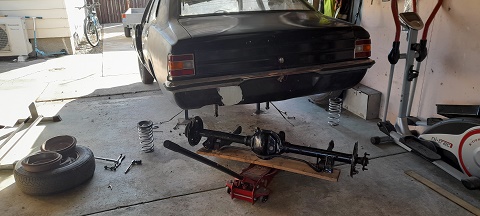
i made a list today of what needs doing and its huge....man its huge. so i decide to try and finalize each part as i go... so 1st up was the fuel supply . i finished welding the pump mount face up. the tank needs to sit lower in the car so the pump has room under the floor and doesn't get squashed ...i worked out it need to sit about 40mm lower.and lucky for me i have some 40x40 so i cut some the length's of the rubber tank pads and welded them on and then glued the pads onto them. the filler neck needed to be extended as well the end of the filler is stuffed so i cut from a spare tank.......yes 40mm longer that was welded on and even tho i trust my welds i also learn from my mistakes so i took the time to seal all welded areas and check for pump clearance ..i also put the factory sender unit back in with the feed pipe cut and bent over the tank straps needed to be made longer . so did the tank strap bolts. fuel pump back in for the last time..breather run to the filler neck.. fuel feed and external filter added and a short fuel return....these will go to the hard pipes once they turn up and are made. and the tank all mounted
6 points
-
Popped into the infamous Kaikoura kart track on my way back up 4.1 definitely has given her a bit more pep. Interested to see if the fuel mileage differs much when I fill up tomorrow (didn't want excess weight getting onto ferry)
4 points
-
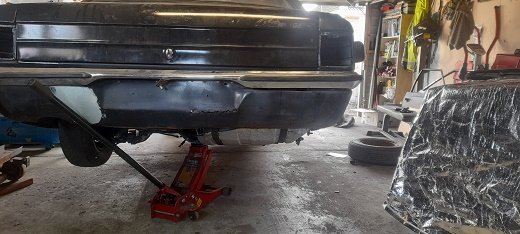
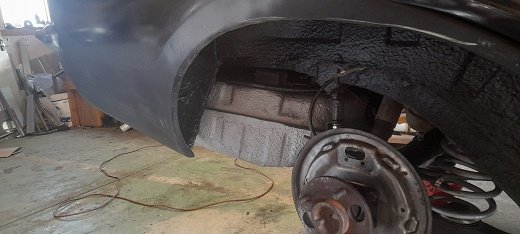
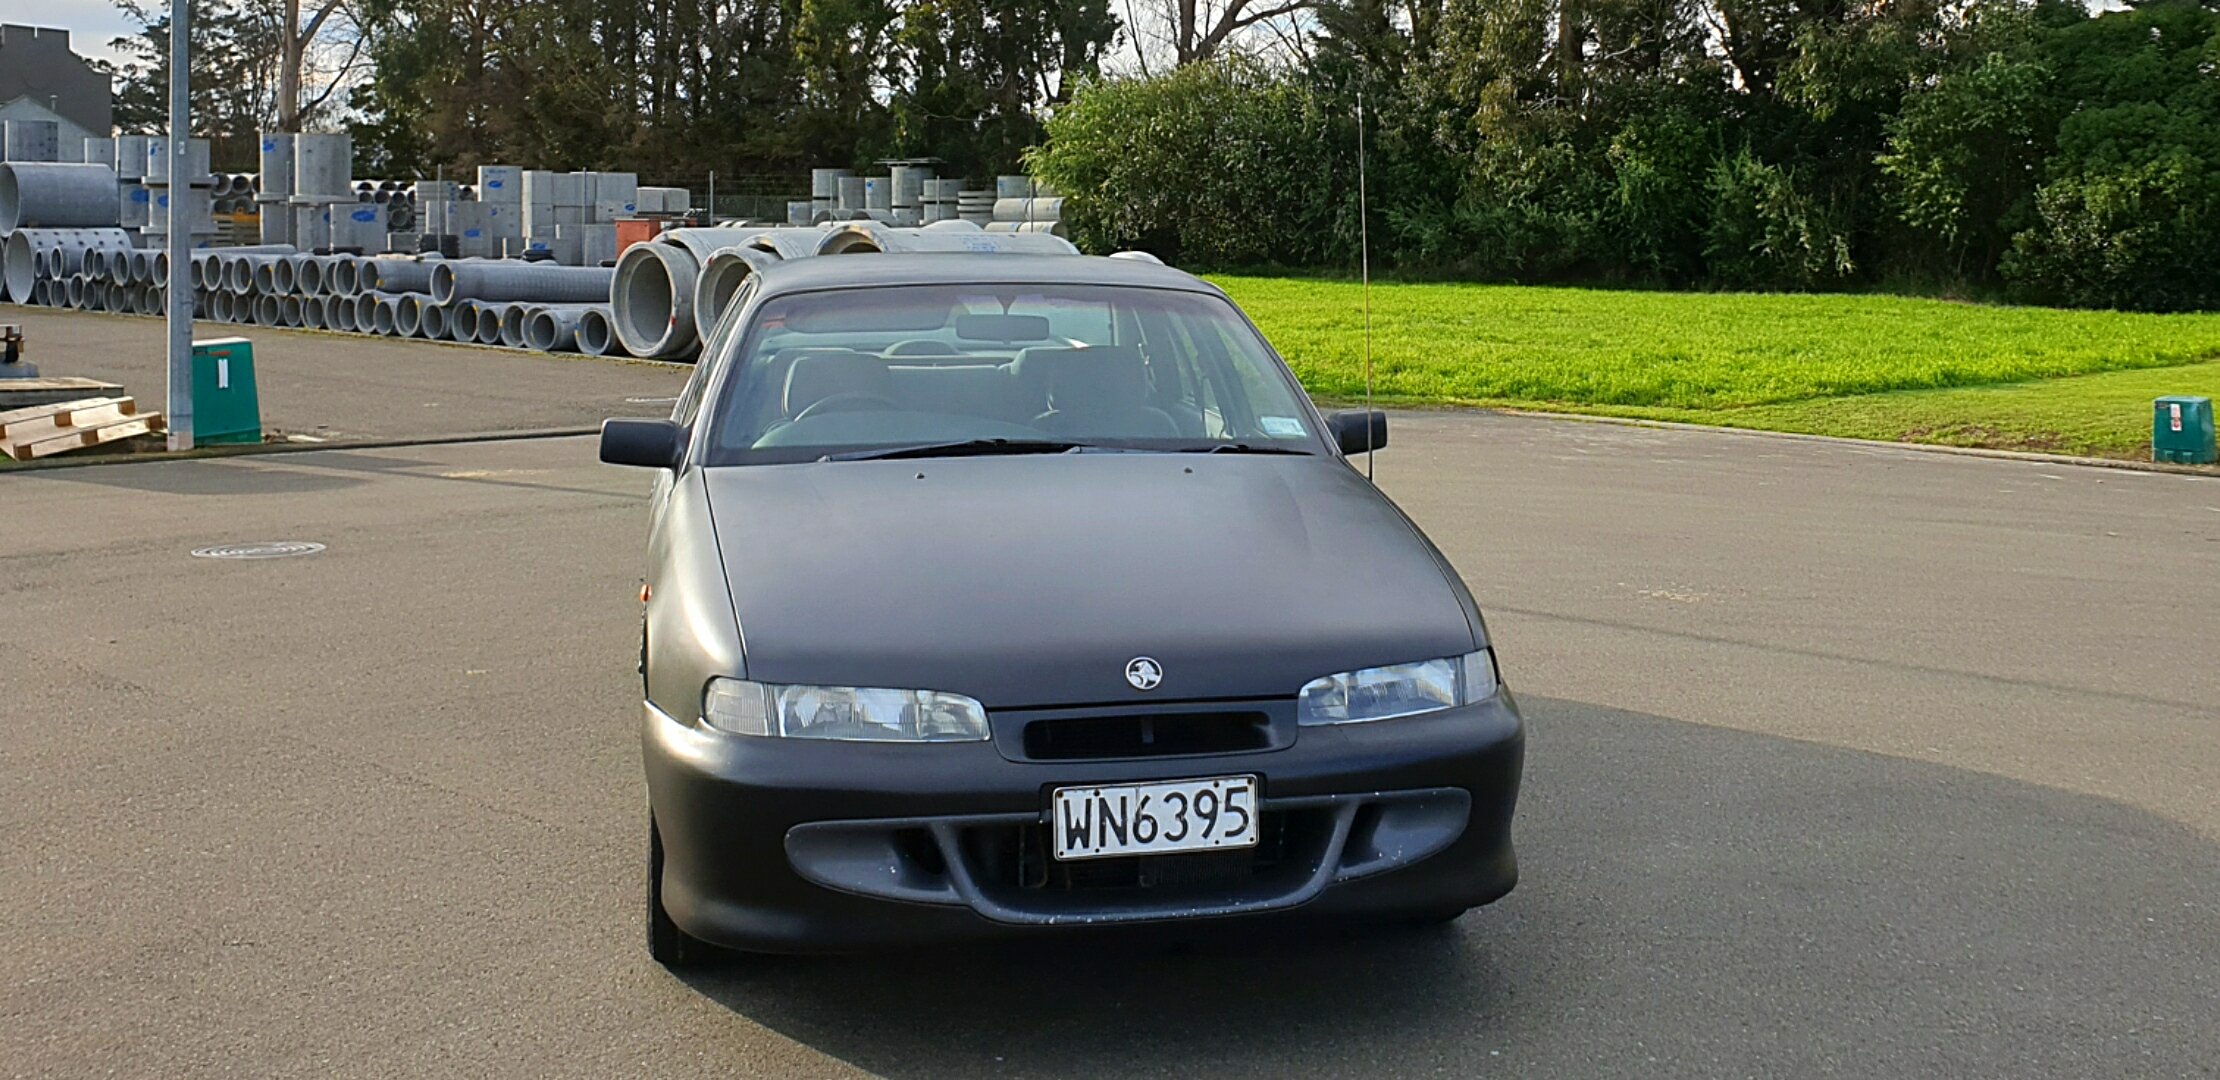
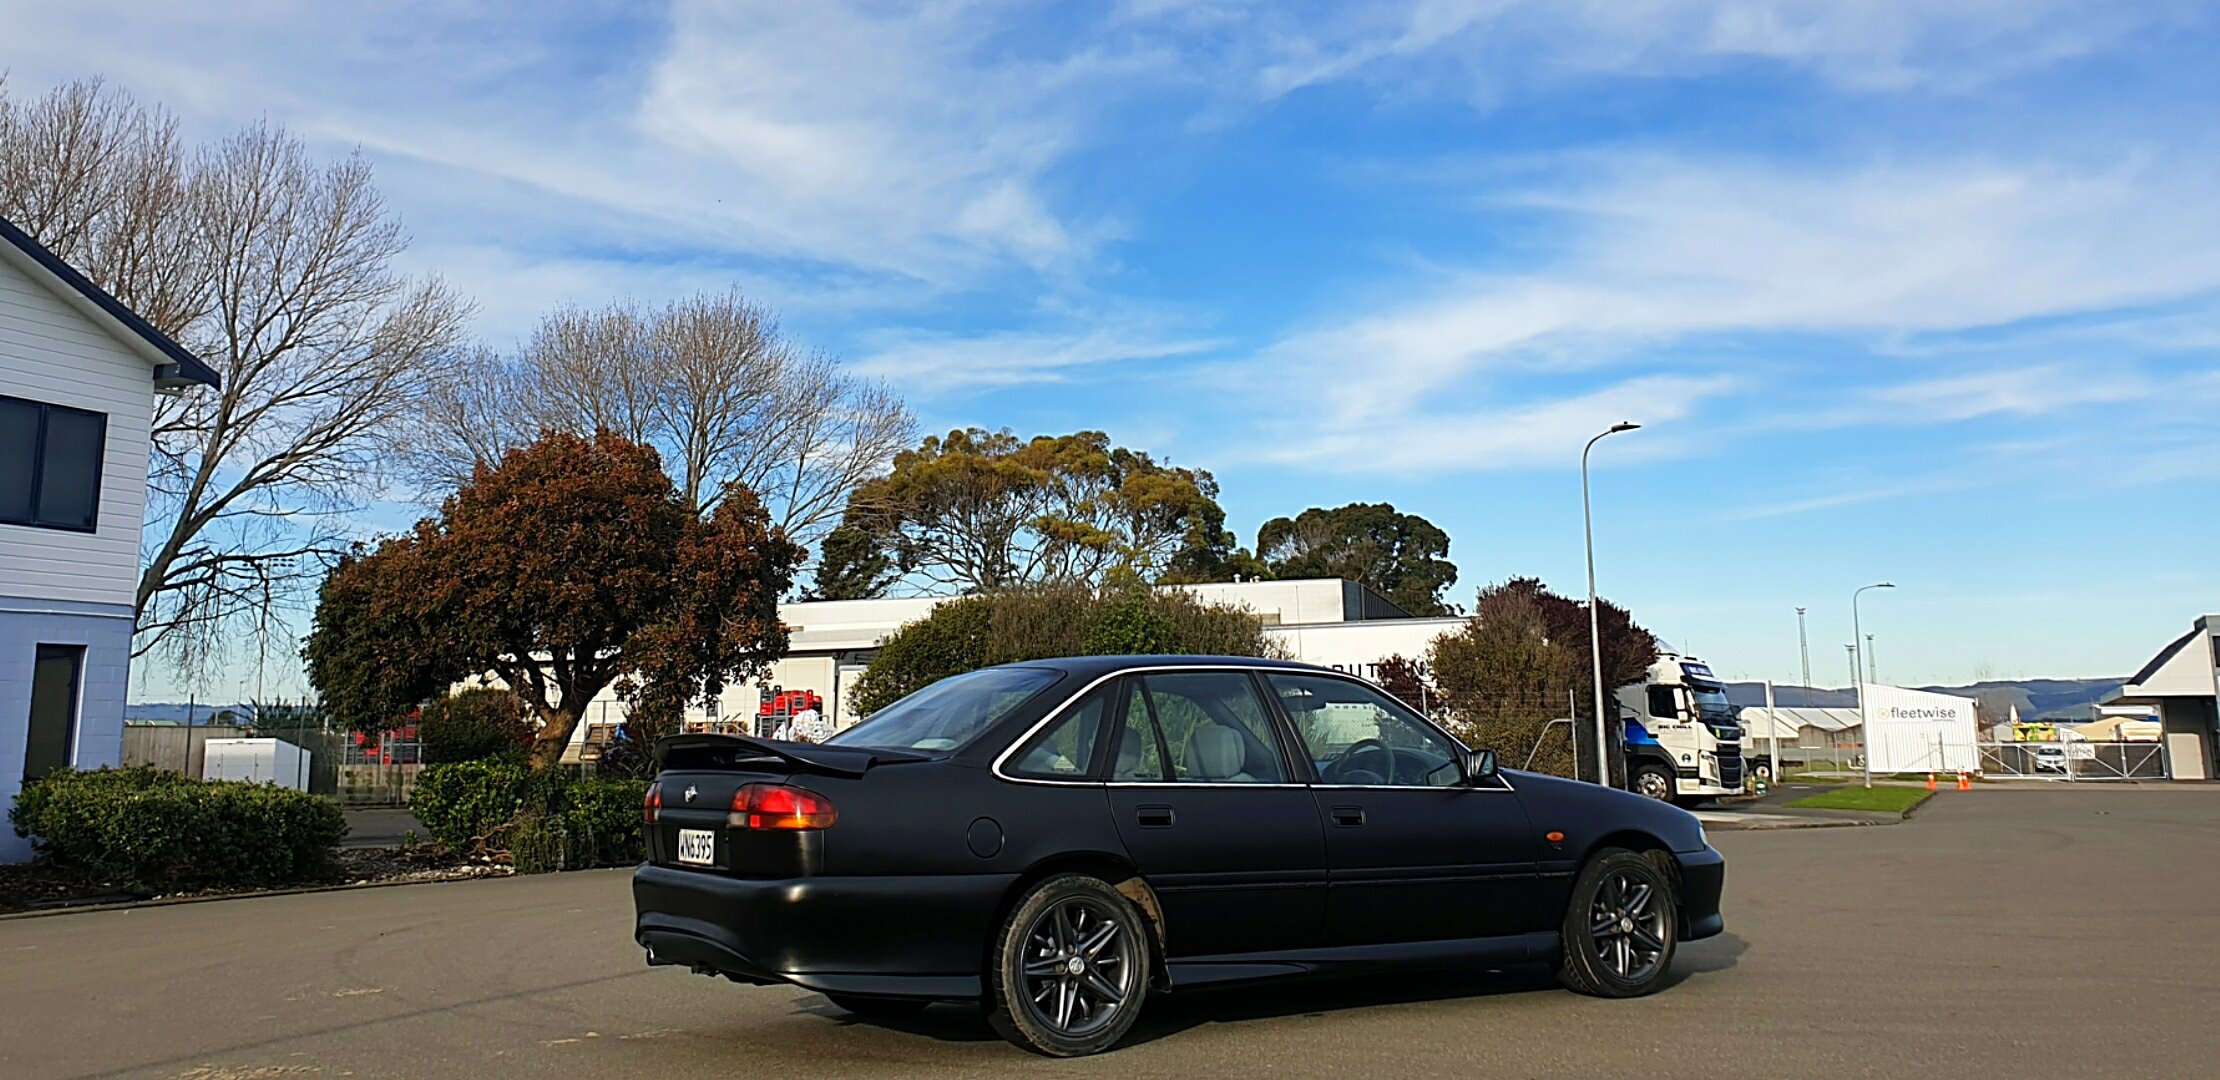
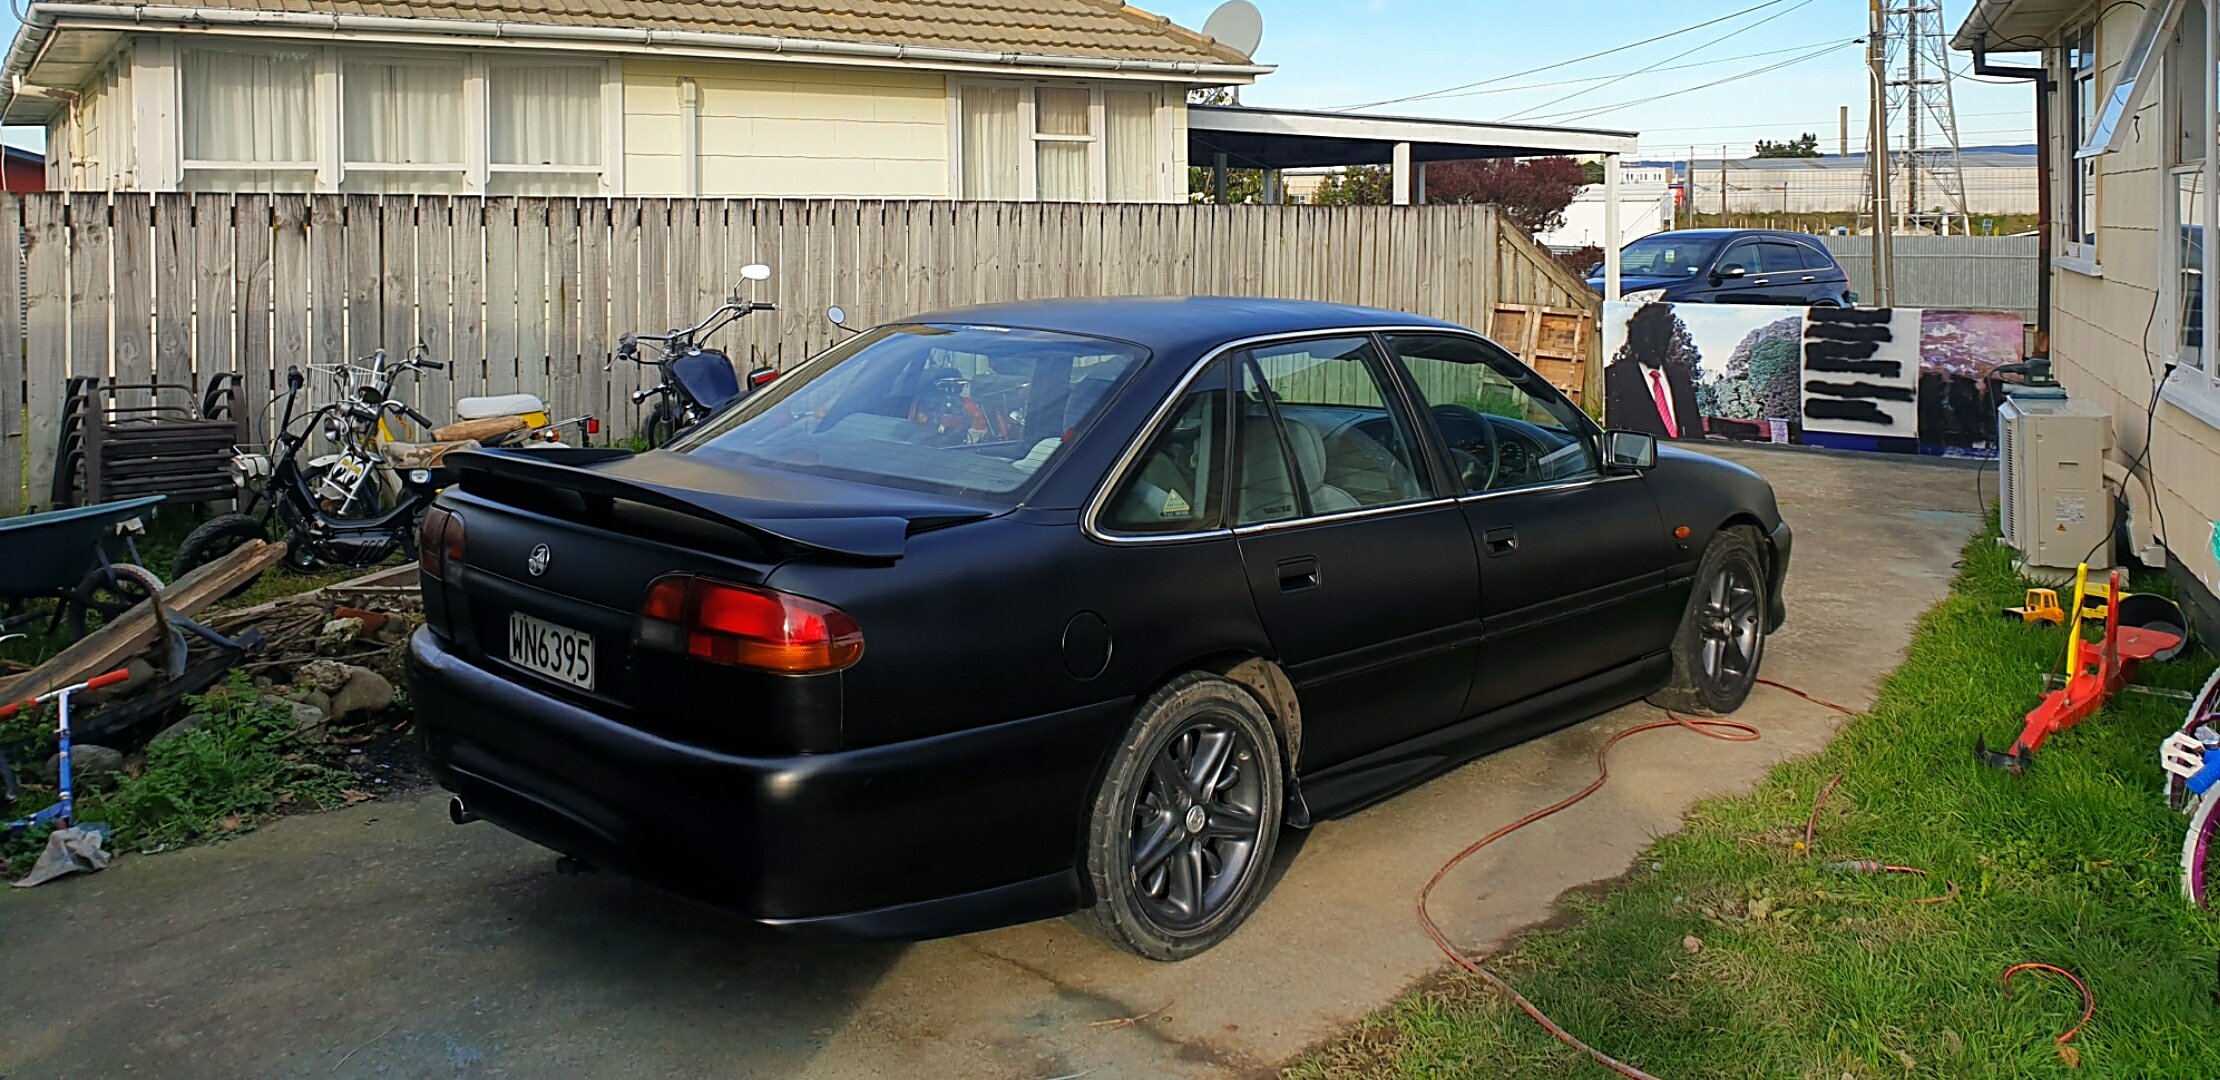
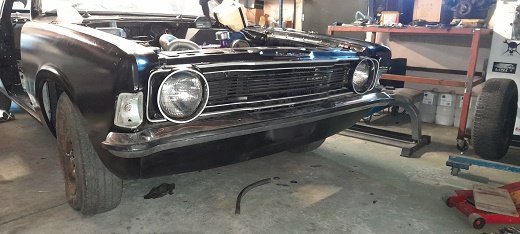
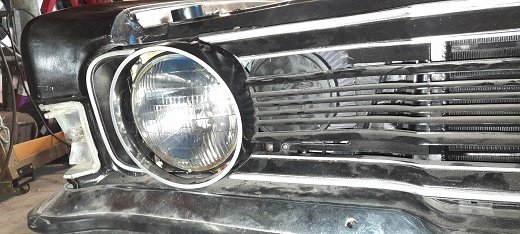
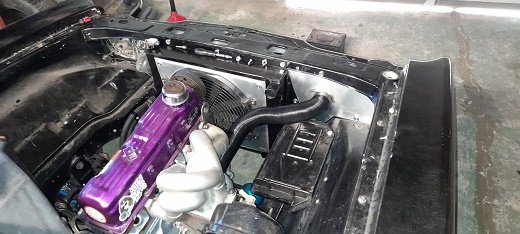
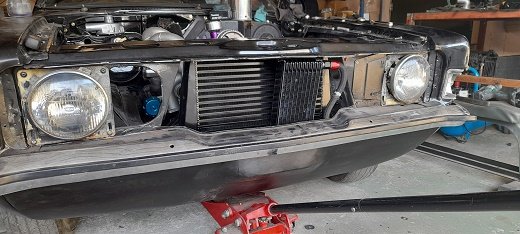
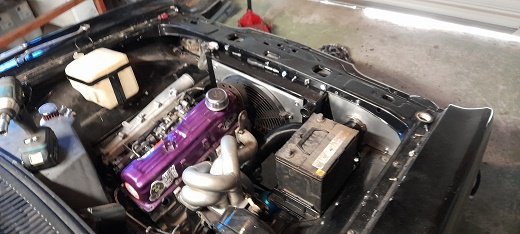
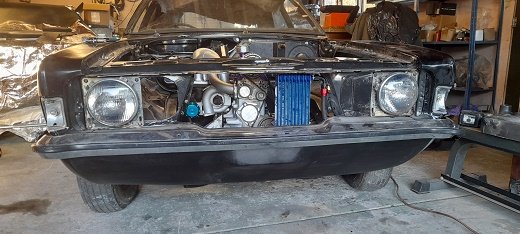
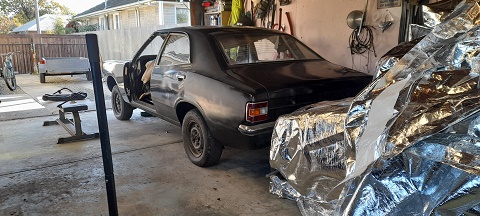
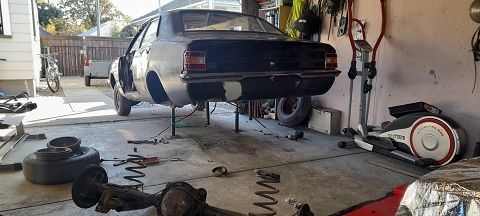
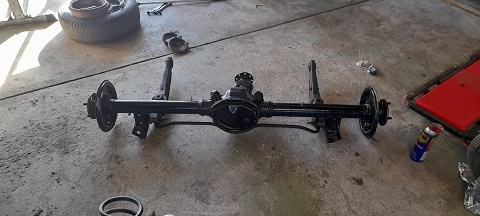
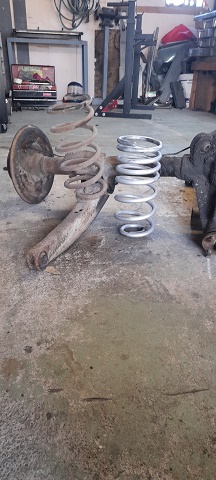
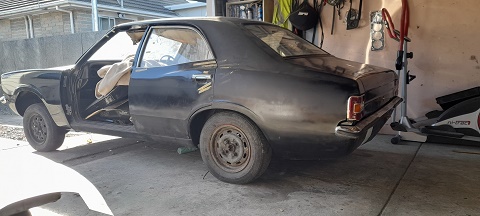
I decided the engine bay looked crud against the new paint, soo... engine out, strip the front suspension and steering etc.
4 points
-
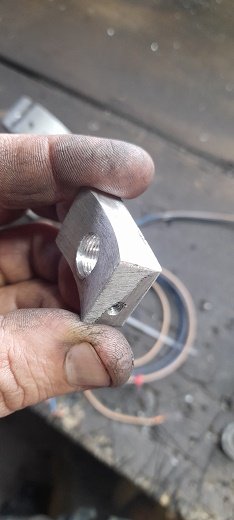
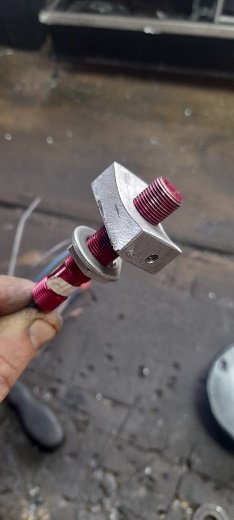
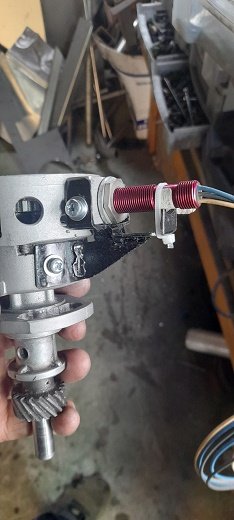
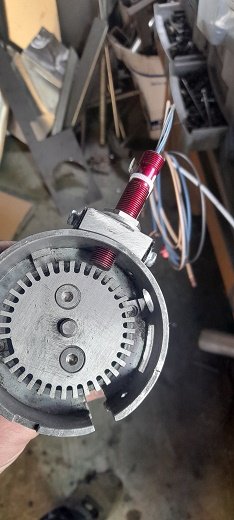
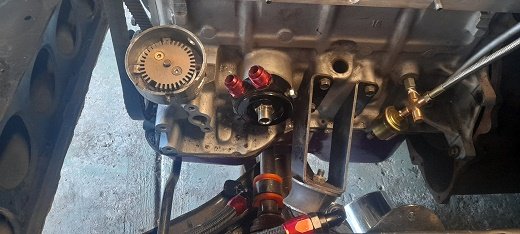
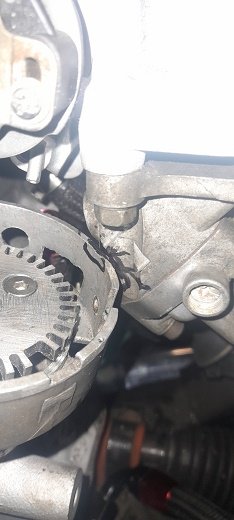
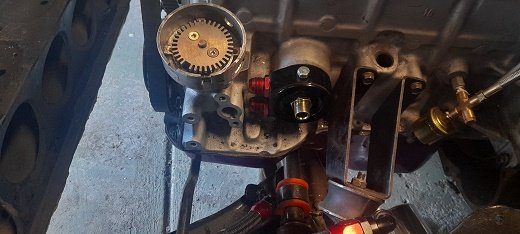
next was to finish off the dizzy/trigger 2/home signal . so the shaft is pinto with pinto cog... the dizzy housing is xf falcon with a home made bush and the small tab on the side drilled and slotted so i can bolt it down to the block.. made and welded a mount on for the 63mm 36-1 trigger wheel i had cut. (i have also had a mate test this for me and the signal works well.. so i made a small bracket for the cheer hall effect sensor to hold it and brace it. all the parts bracket screwed on made a alloy mount for the sensor (thanks browncorona for the tap to thread it) all mounted in place having a few beers with nismo_capri and he designed and printed me a 3d cap for it. all complete and finished and bolted on another off the list
4 points
-
By no means a mint paint job but for 40bux i mean algood haha
4 points
-
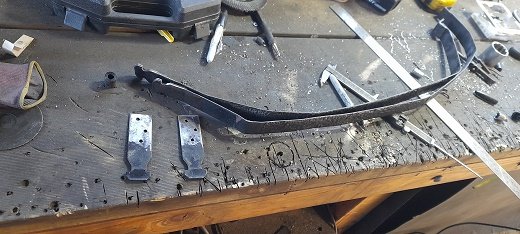
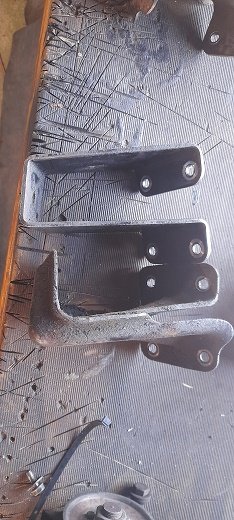
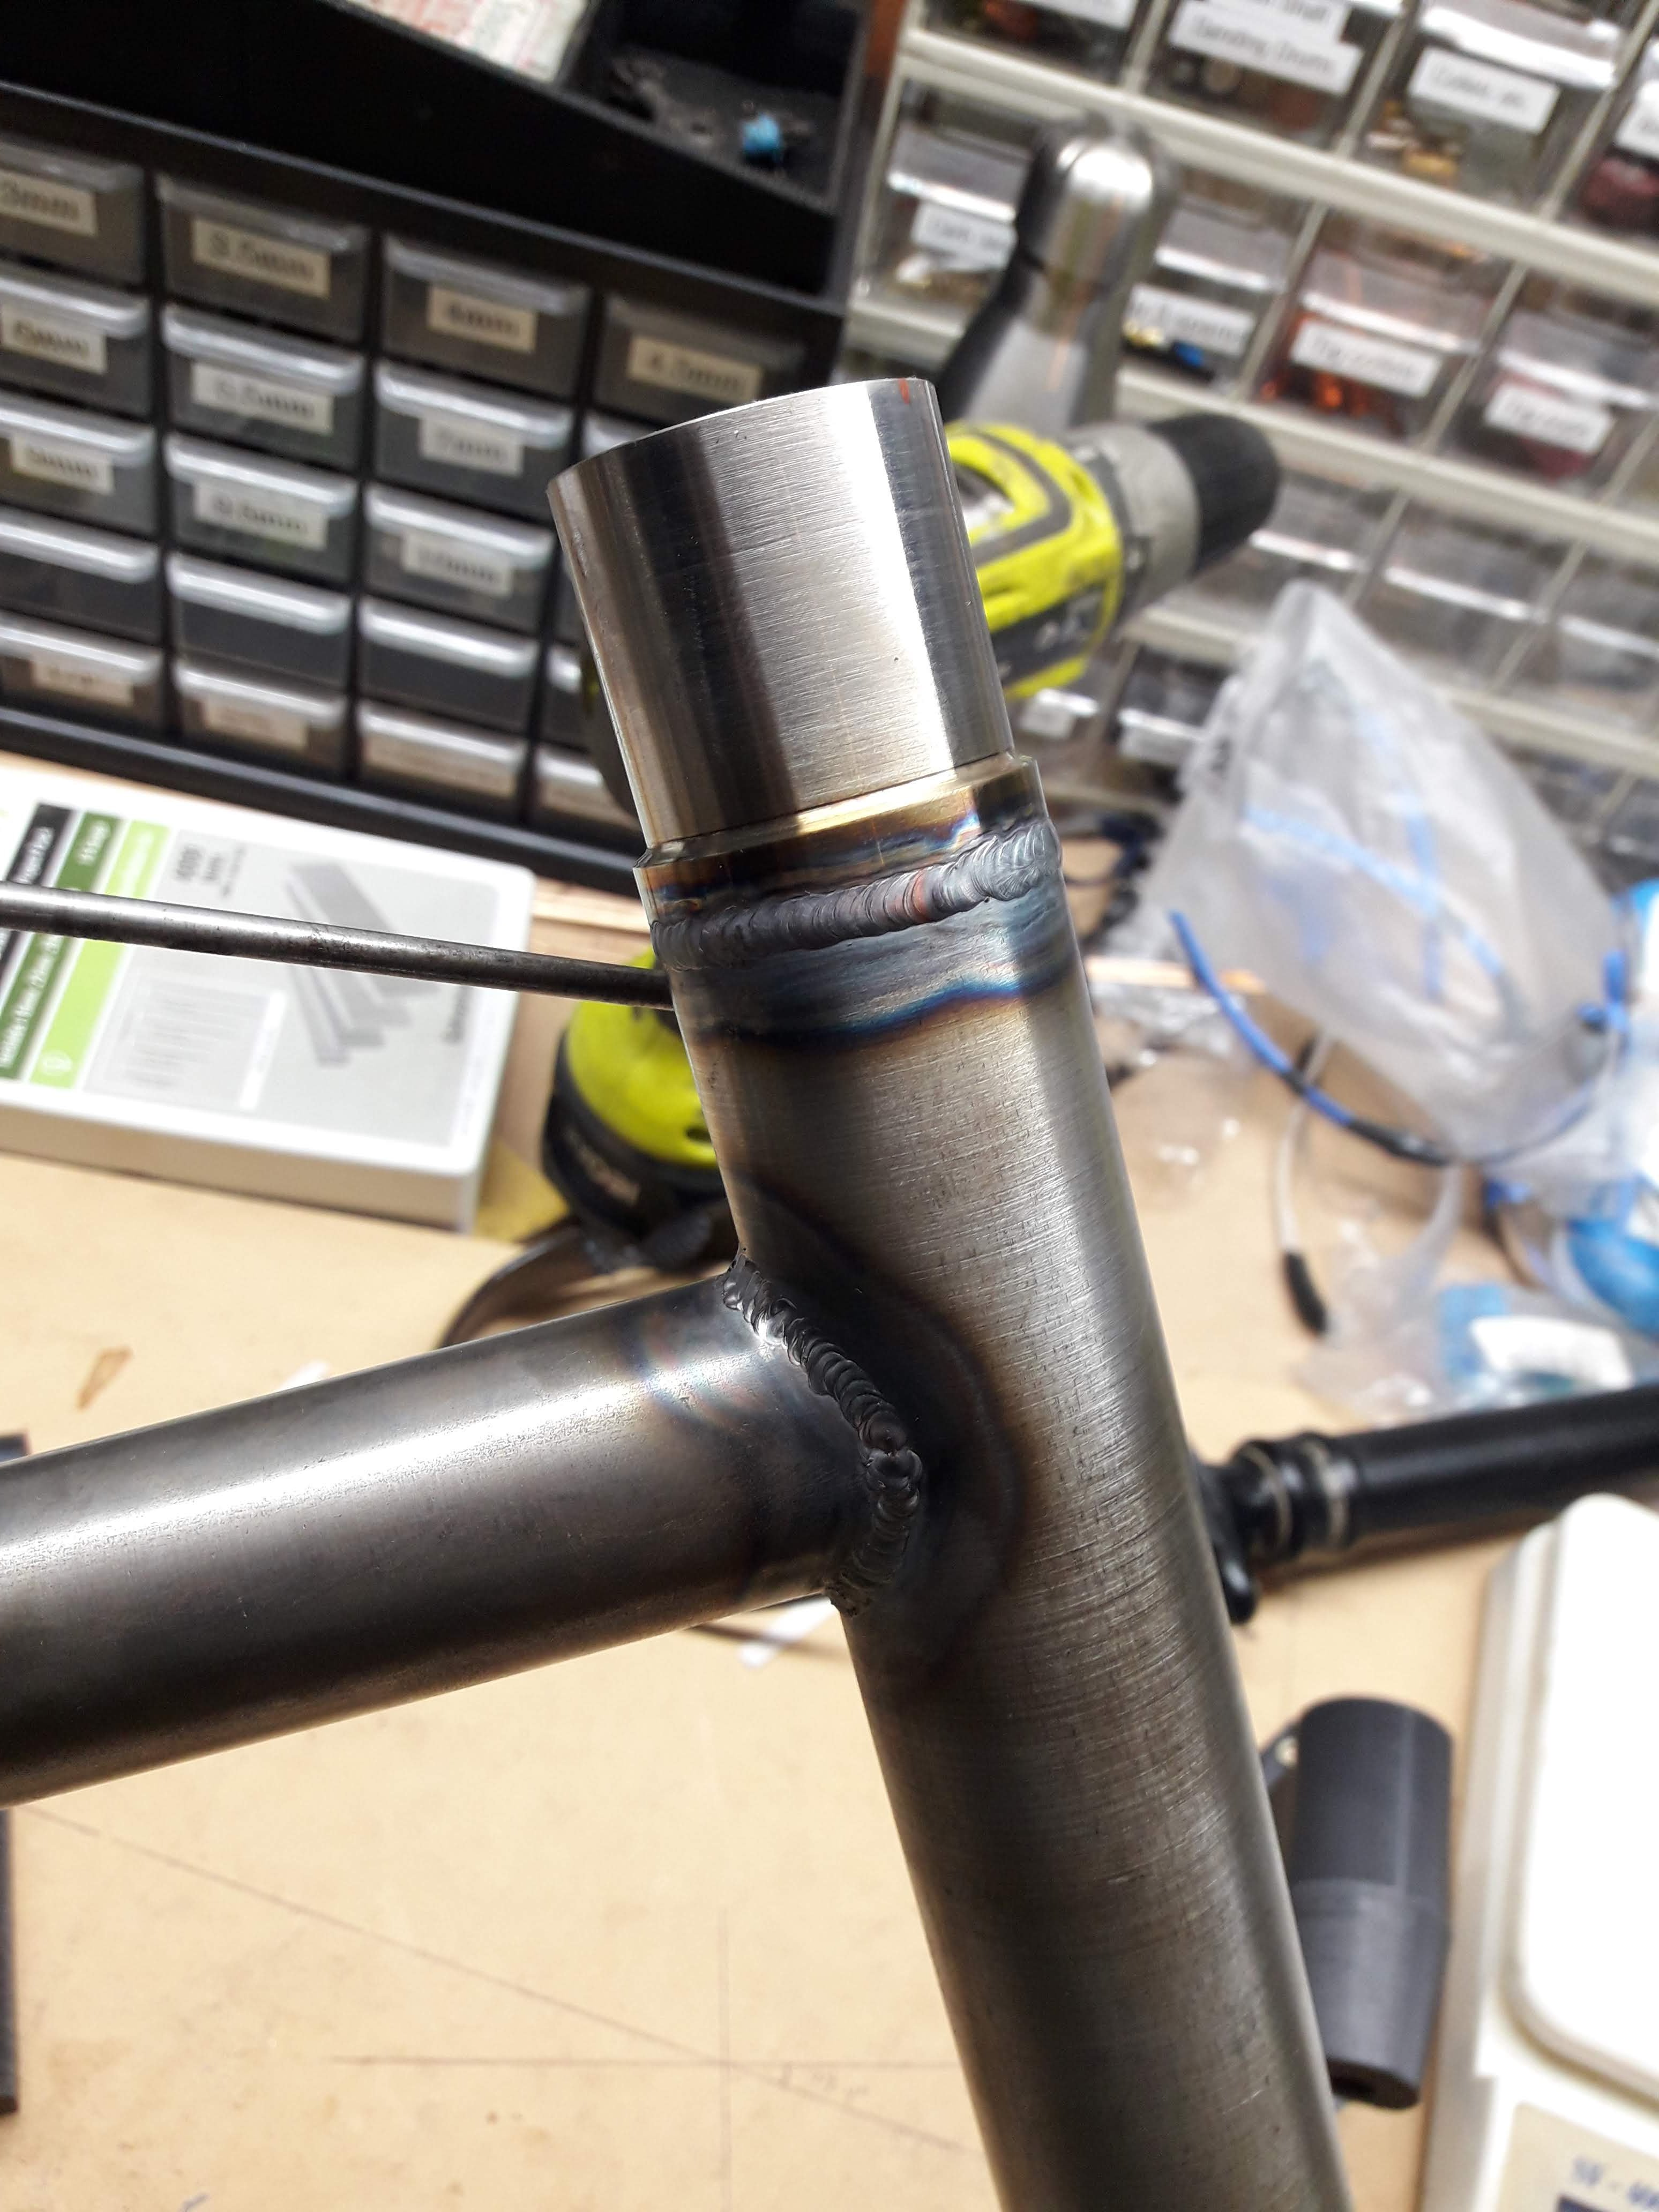
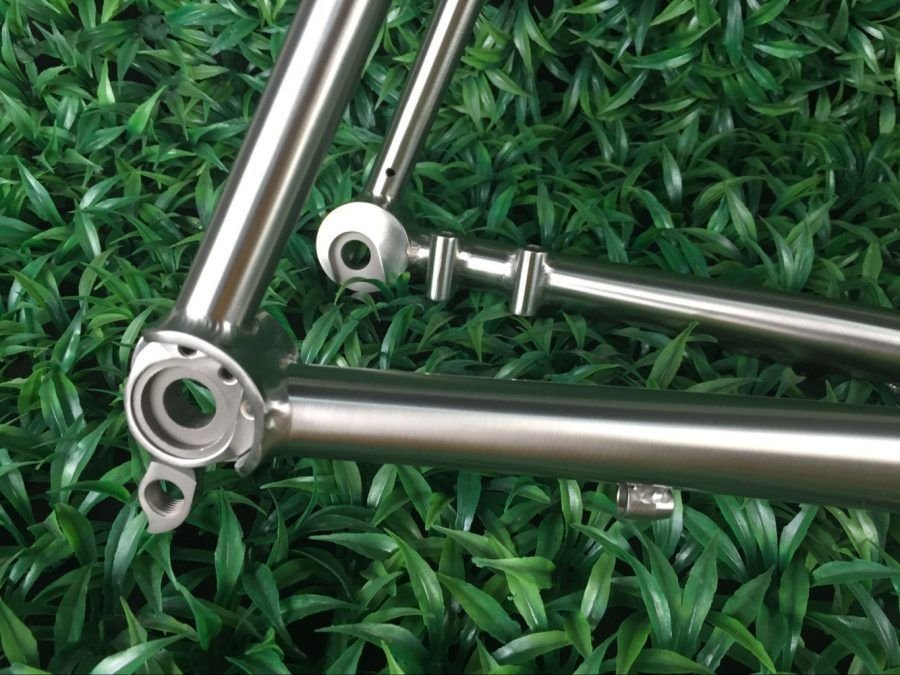
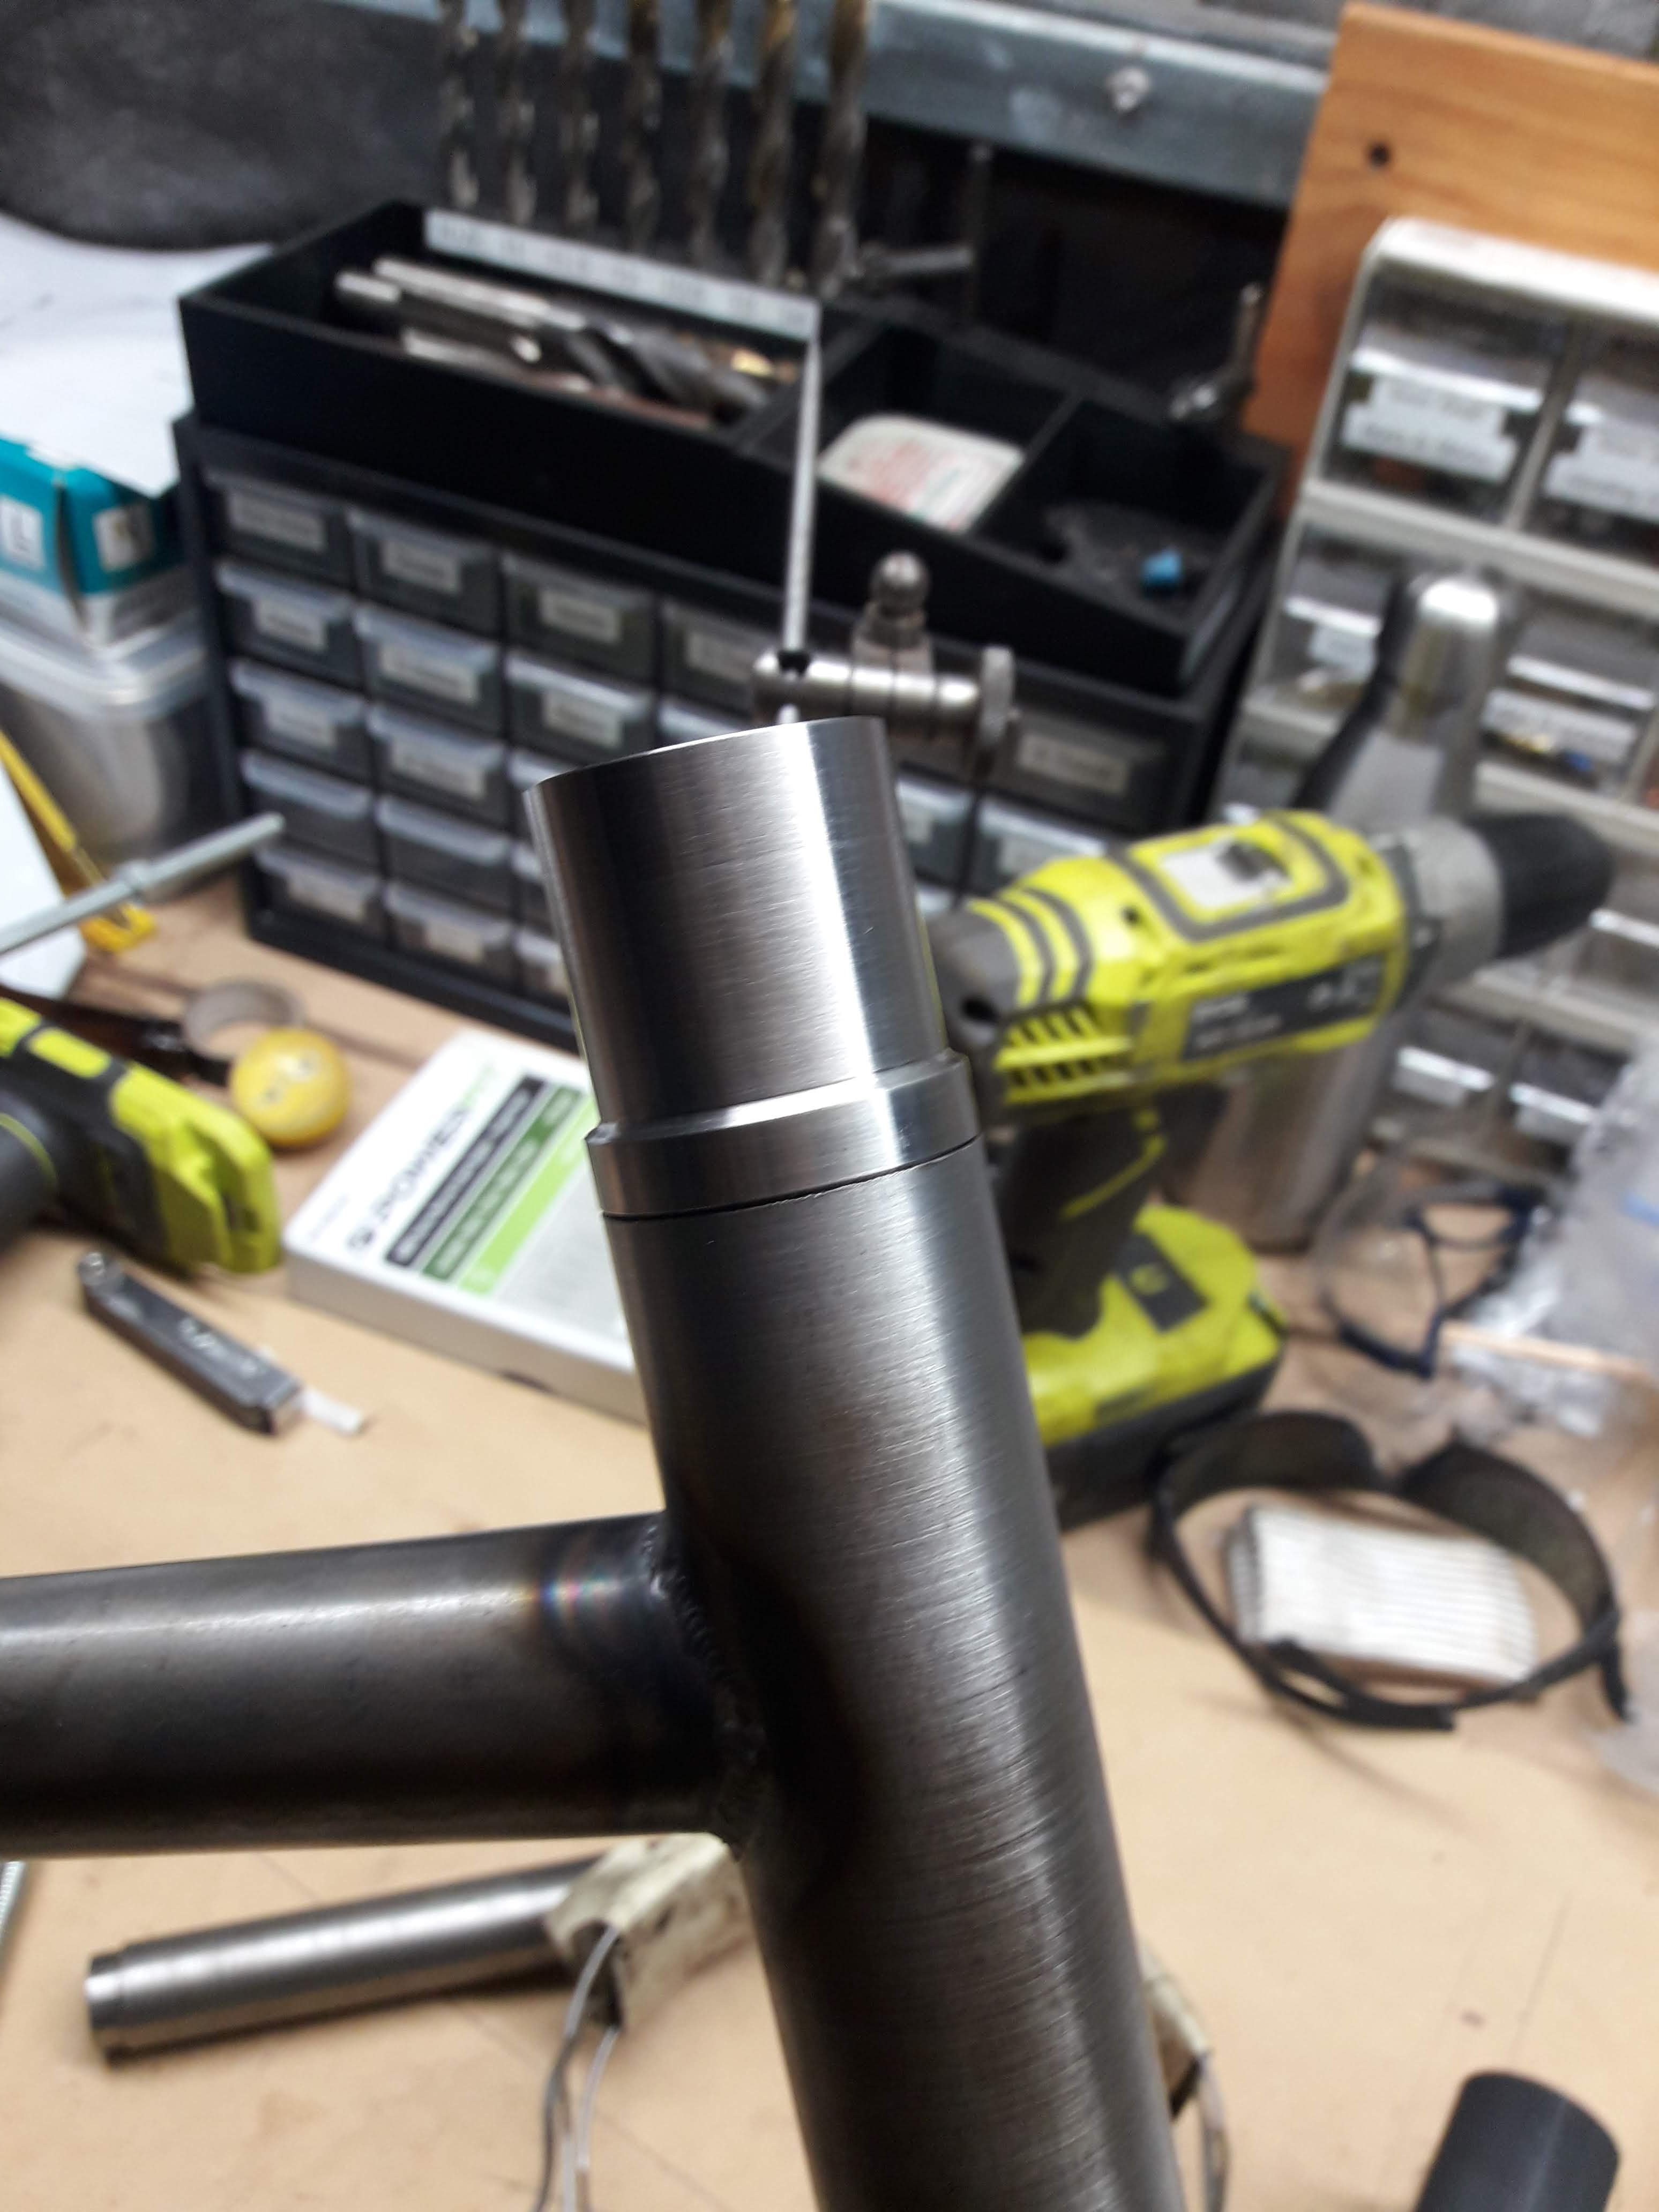
Front triangle is now fully welded, a few rough patches as you would expect for a noob but on the whole I am pretty happy and fairly confident that if will hold together fine I turned up some heatsinks out of scrap ali I had laying around to try minimise distortion: Some of the welds: The heatsinks probably helped, but the headtube has ovalised a bit. I will probably just give it a bit of a squeeze to get it close and see how it goes.
4 points
-
I'm also on a quest to turn up the ring dings. I could source an aftermarket pipe but I have cutting discs and welding wire. Inside the stock exhaust there is some baffling in the chamber which can be removed for more hp's and a crisper sound.4 points
-
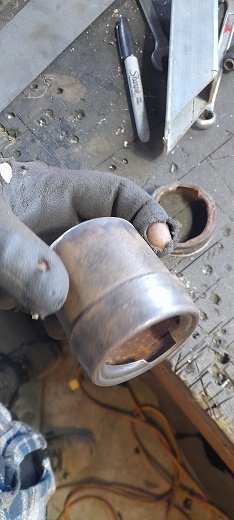
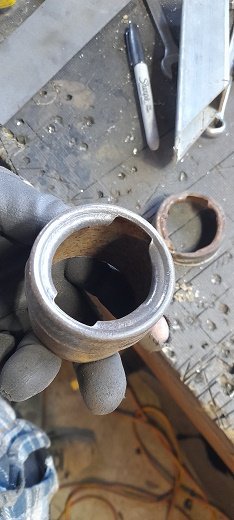
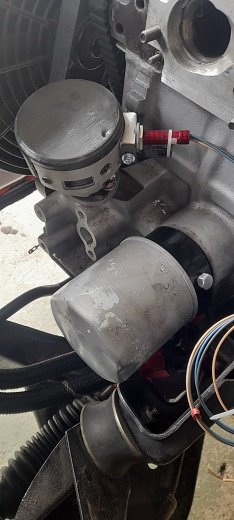
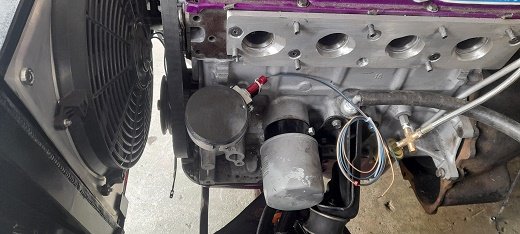
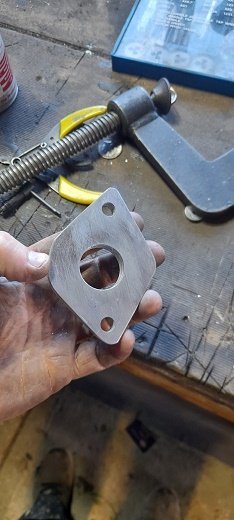
next up was the thermostat housing replacement because i don't have a thermostat and i wasn't sure what rad i would end up using i thought i would just grab a Davies Craig 90 bend and just make the base out of 10mm alloy. ..i drilled all the holes about and tapped them all so i can have adjustment if needed.......didnt drill all the way through....lol but thats that done and the top hose should nice and easy ....apart from needed the turbo water out runnig into it as well.
3 points
-
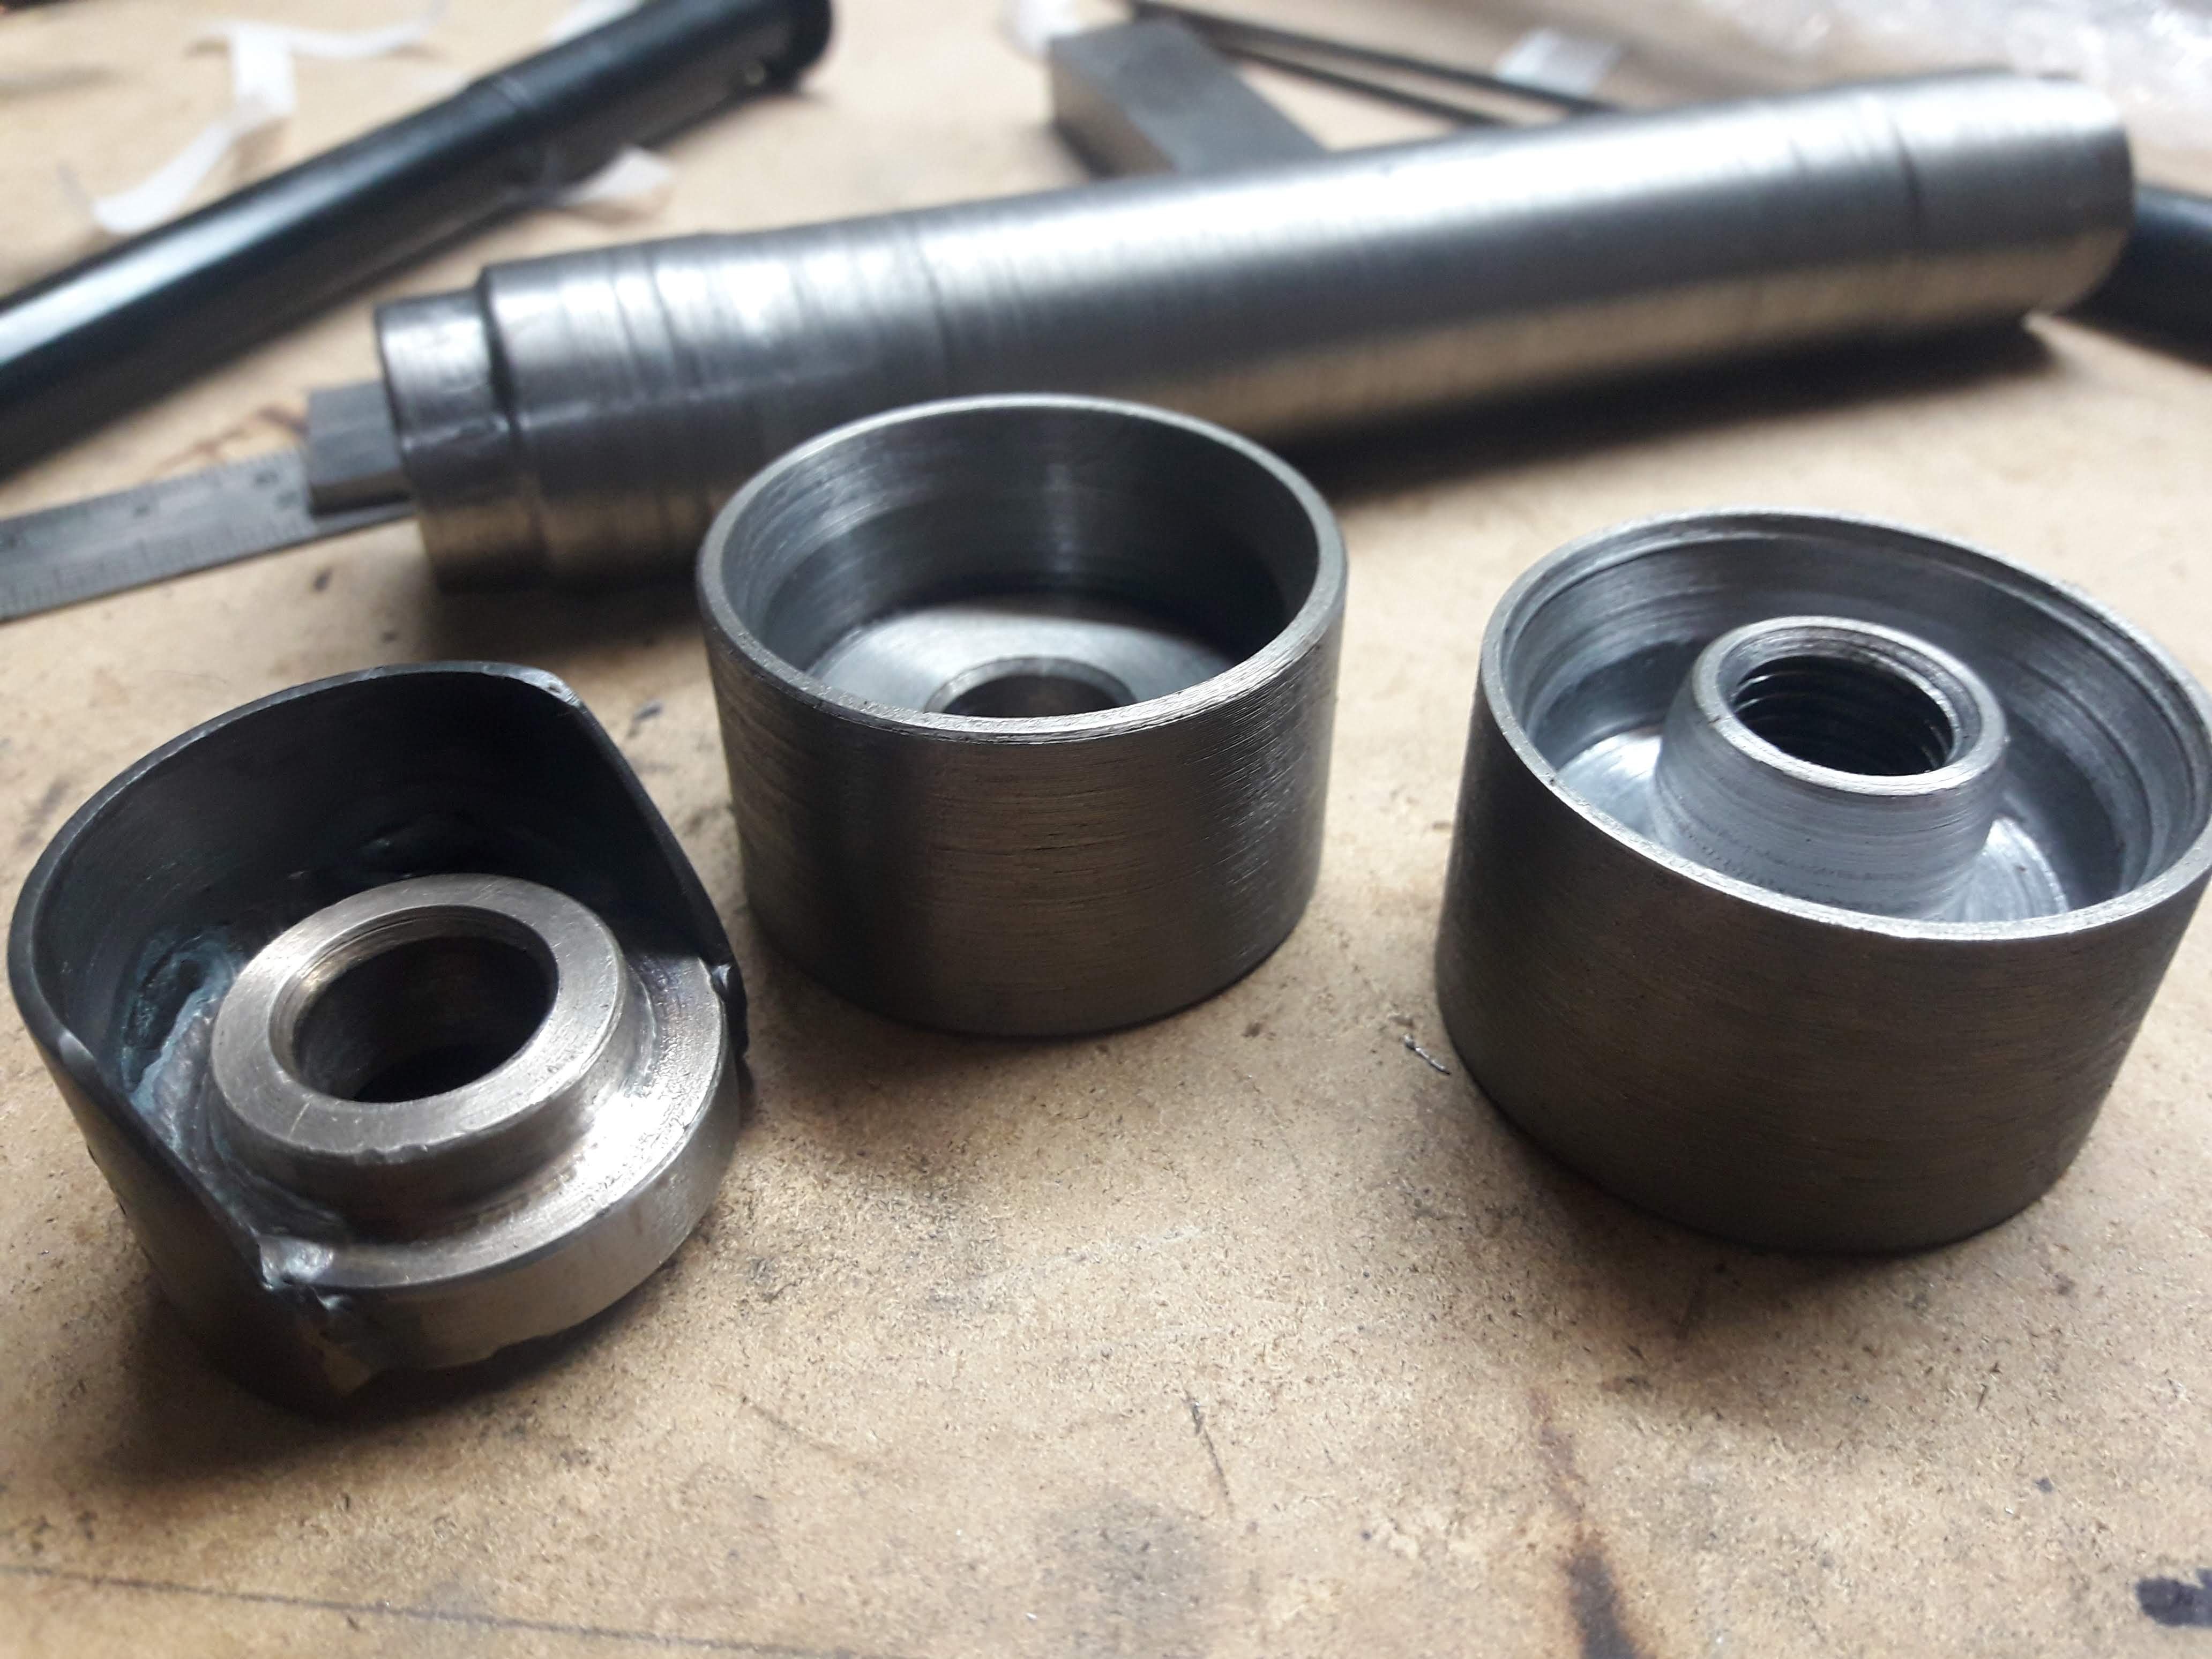
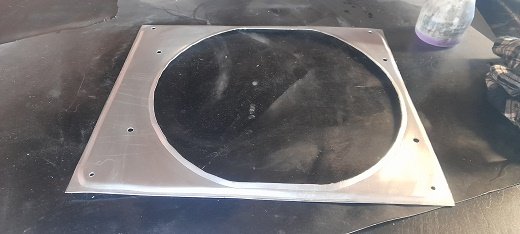
And it came out like this. fairly yuck after heaps of fileing/sanding/scotch bright it looked a bit like this: Its kind of ok, but I'm not really happy with it. So with about a days worth of work in it I decided to scrap it and start again. Today I spent most of the day turning these out of some mystery steel from my box of offcuts: They look a bit like oldschool skateboard wheels. Much more happy with the outcome, I need to cut the shroud parts down to the correct size so I will probably go get a nice new file tomorrow and just do it by hand. I had a little test run on the lathe putting it off centre with the 4 jaw chuck. It would work but it was mildly terrifying, not to mention if the jaws slipped on the workpiece it could turn it to scrap metal real quick
3 points
-
***Update: Swapped out battery, with a known good one from a mates tractor. Took it for a drive, pretty much same as last time...all good for 10 minutes, then no charge going on. So Swapped out alternator...problem gone. so it was the alternator that caused all my issues, just as I suspected. Cheers Mike - fucking legend for giving me an alternator for free!!3 points
-
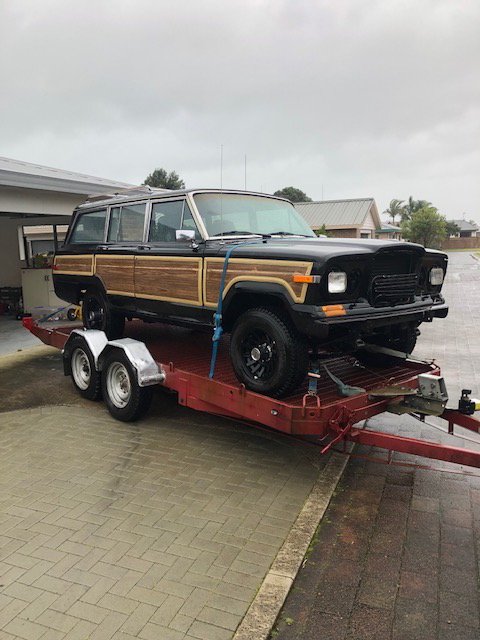
Been looking at buying a jeep j20 ute for a few years , now that I've started a family I thought its time to get a sensible family wagon.. she's a jap import un-complied wagon with a blown up dinosaur emissions strangled 360 amc v8. first thing is an engine conversion, please give me your thoughts on what would be a good swap *I have a 15b toyota diesel 4.1L turbo 4 cylinder that I have priced up a 12mm 200cc pump for $2200 and a g-turbo red wheel for $2800 which should give good torque. *LS? *hemi? can buy late model with 4wd auto tranny. *duramax? don't want to spend more than 10K on parts for the swap if possible.
3 points
-
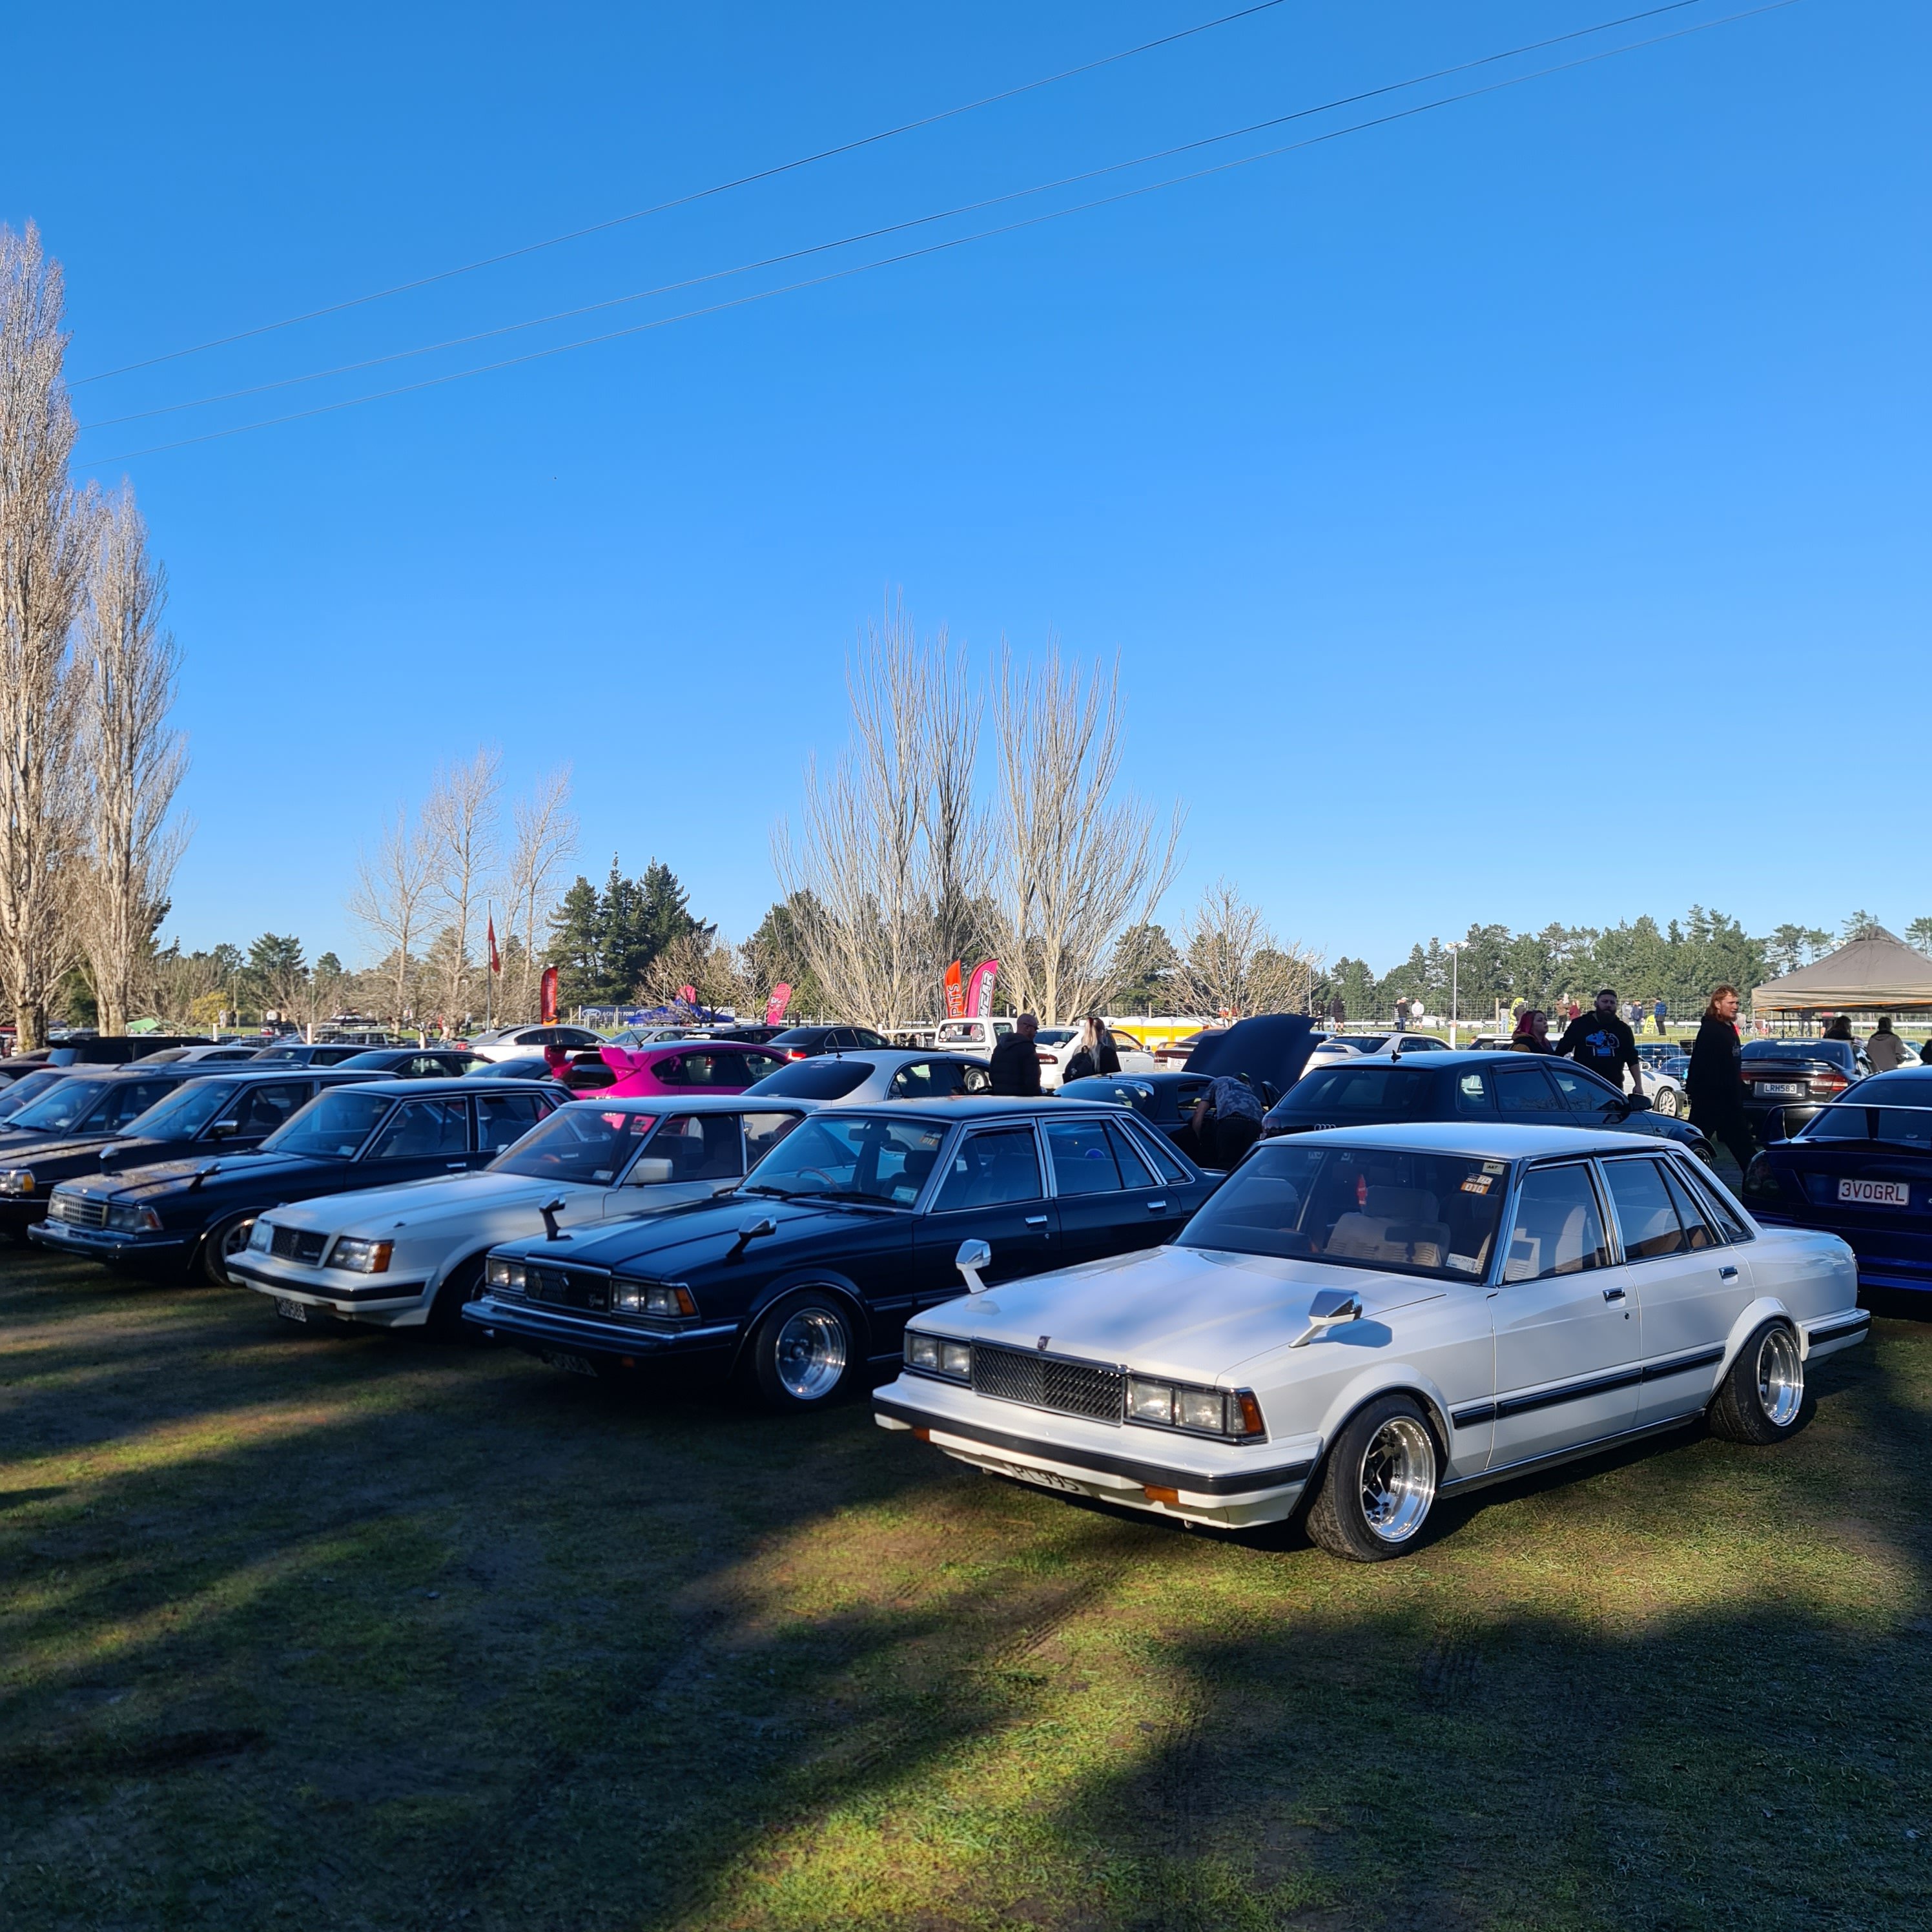
Grabbed a flight to Christchurch Thursday night to get a few bits sorted. Delray auto swapped the 4.1 in after my friend checked it over for backlash etc (within factory specs) and put in the rock auto lower control arms with ball joints already pressed in. Fitted up my new Hardtop style monsoons from an early low spec sedan (Private model) met up with some of the boys for a pretty special gx61 lineup at chrome expression session As always Christchurch old car scene never fails to provide with a few night time cruises and good yarns
2 points
-
Shit yeah barry Dakar2 points
-
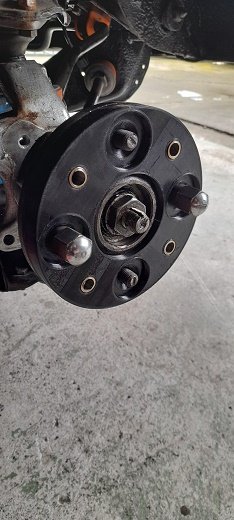
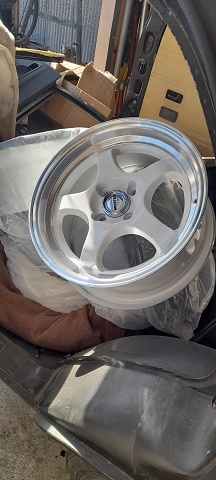
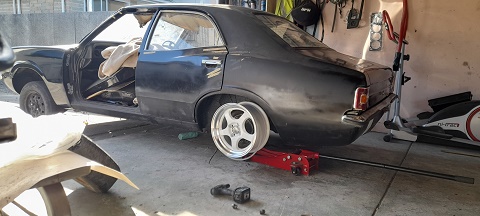
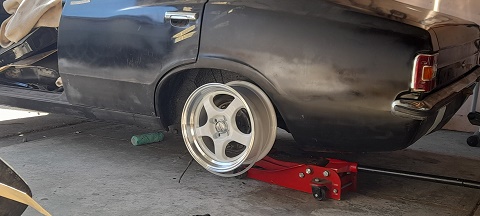
also had a go at 3d printing a drill guide with stanless inserts 4x10⁸ to 4x114.3
2 points
-
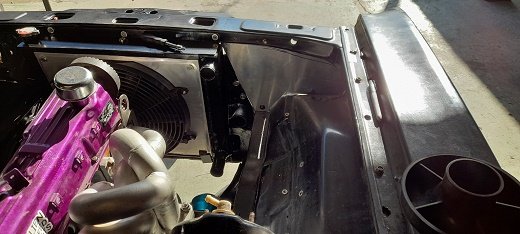
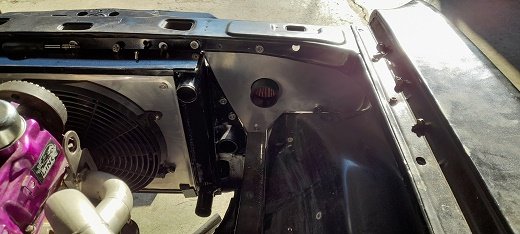
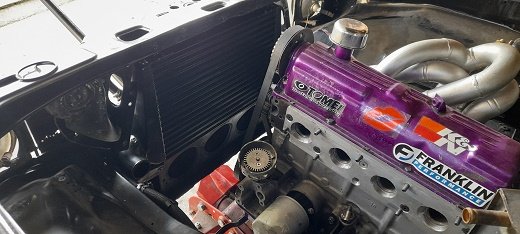
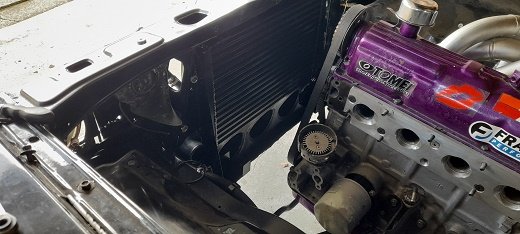
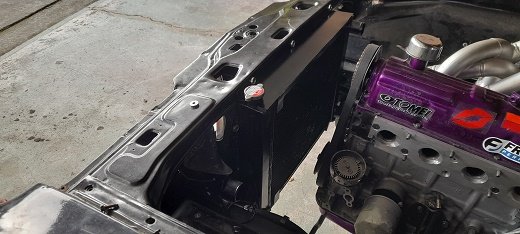
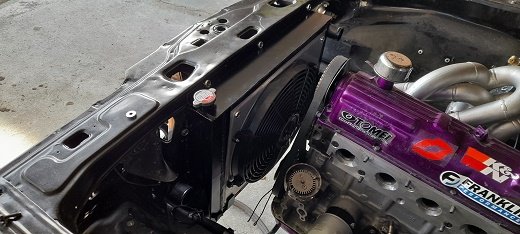
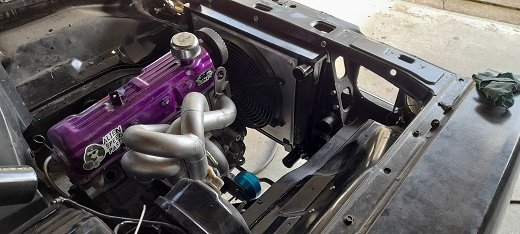
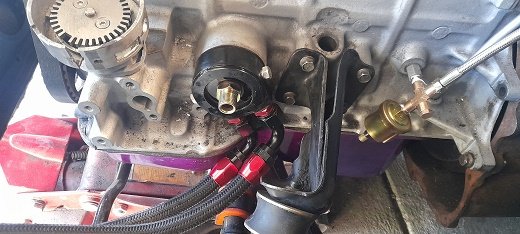
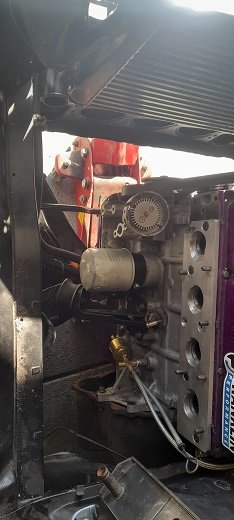
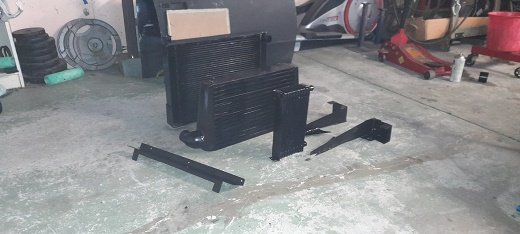
so you know when you think its going to be a nice easy straightforward job..... oil cooler was mounted...all i had to o was put the oil sandwich plate on and run the lines.. i center bolt for the sandwich plate must have been put in a real safe place as i cant find it.....so after over nighting parts from Auckland i bolted the sandwich plate on ran the hoses and cut them to lengh...........then i put the inlet manifold on and it seems that all the IACV stuff is in the way and then so is the dizzy...there is next to no room under there now and also noticed that the dizzy housing is also touching the IACV ( will clearance that with the flapper disc) and it seems that if i turn the sandwich plate down it hits the block and no room..turn it to the back and the engine mount is in the way. so i thought about cutting and shutting the engine mount and then i remembered the rusty old parts wagon had some pinto mounts i had never seen before ...so out came the mount box and these are that mounts that came on the rusty wagon the problem area mount mount comparison and bingo......problem sorted......well that problem..i need to get ne hoses now as the ones i cut dont fit. on another note i made mounts for the radiator 9thats a 70mm dual pass rx2 rotary radiator). then pulled the oil cooler , intercooler and radiator and mounts out and gave them a nice clean paint. oil cooler in intercooler in radiator mounts in radiator in made a shroud for the 14" fan shroud and fan in now tha battary tray hits the inlet manifold no matter where i put it ..and luckily enough these came in right and left hand drive and the sides of the engine bay are the same ....so i moved it to the drivers side...trimmed a corner off to move it back a bit (dont worry about the booster as i dont have brakes yet but i am planning on cylinder bolted to the fire wall and run a remote booster) and the air filter.....i made a head shelf hole cut for filter adapter filter in had to trim the light bracket also had to clearance the grill for the filter and oil cooler works well ......cant see much at all unless you look hard intake pipe for the turbo and the engine bay is starting to look much fuller..just got to mount over flow tank and washer bottle and breather tank on the passneger side.
2 points
-
Just putting this up to keep track of things. Mate bought an old EA rally car last week after pining for an AU. Essentially he knew this one was out there, rang the owner and did a deal. It's an EA, converted to V8 mustang, 5 speed, all roll cage certed etc. Picked her up Sat morning in gay old Gore and drove it onto trailer... And a snug enough fit for the drive home... First mission was a good hot steam clean inside and out, lichen on the body and lots of oil on the engine, it is a detuned 86 5.0 donk, that somehow manages to strangle itself to give 150kW... Bogan VB bought specially for the occasion, did like the old badge... And all clean, pouring water out the speed holes. A new paint scheme will be forthcoming...1 point
-
1 point
-
Buick turbocharged those engines in the 80s with good results. Or get a superchizzled one and swap whiny boi for spoolie boi. Look up what the yanks do with the buick V6. It's madness1 point
-
After a few hours of work (not even kidding, gotta go real gentle on the old girl!) I came out with these: I used a piece of stainless tubing I had to make the shroud part and tacked it on then remembered that stainless is poos and will go all sugary on the backside if it gets too hot as below. So I filed off the tacks for round 2 This time with 4130 tube: Then I welded it up...
1 point
-
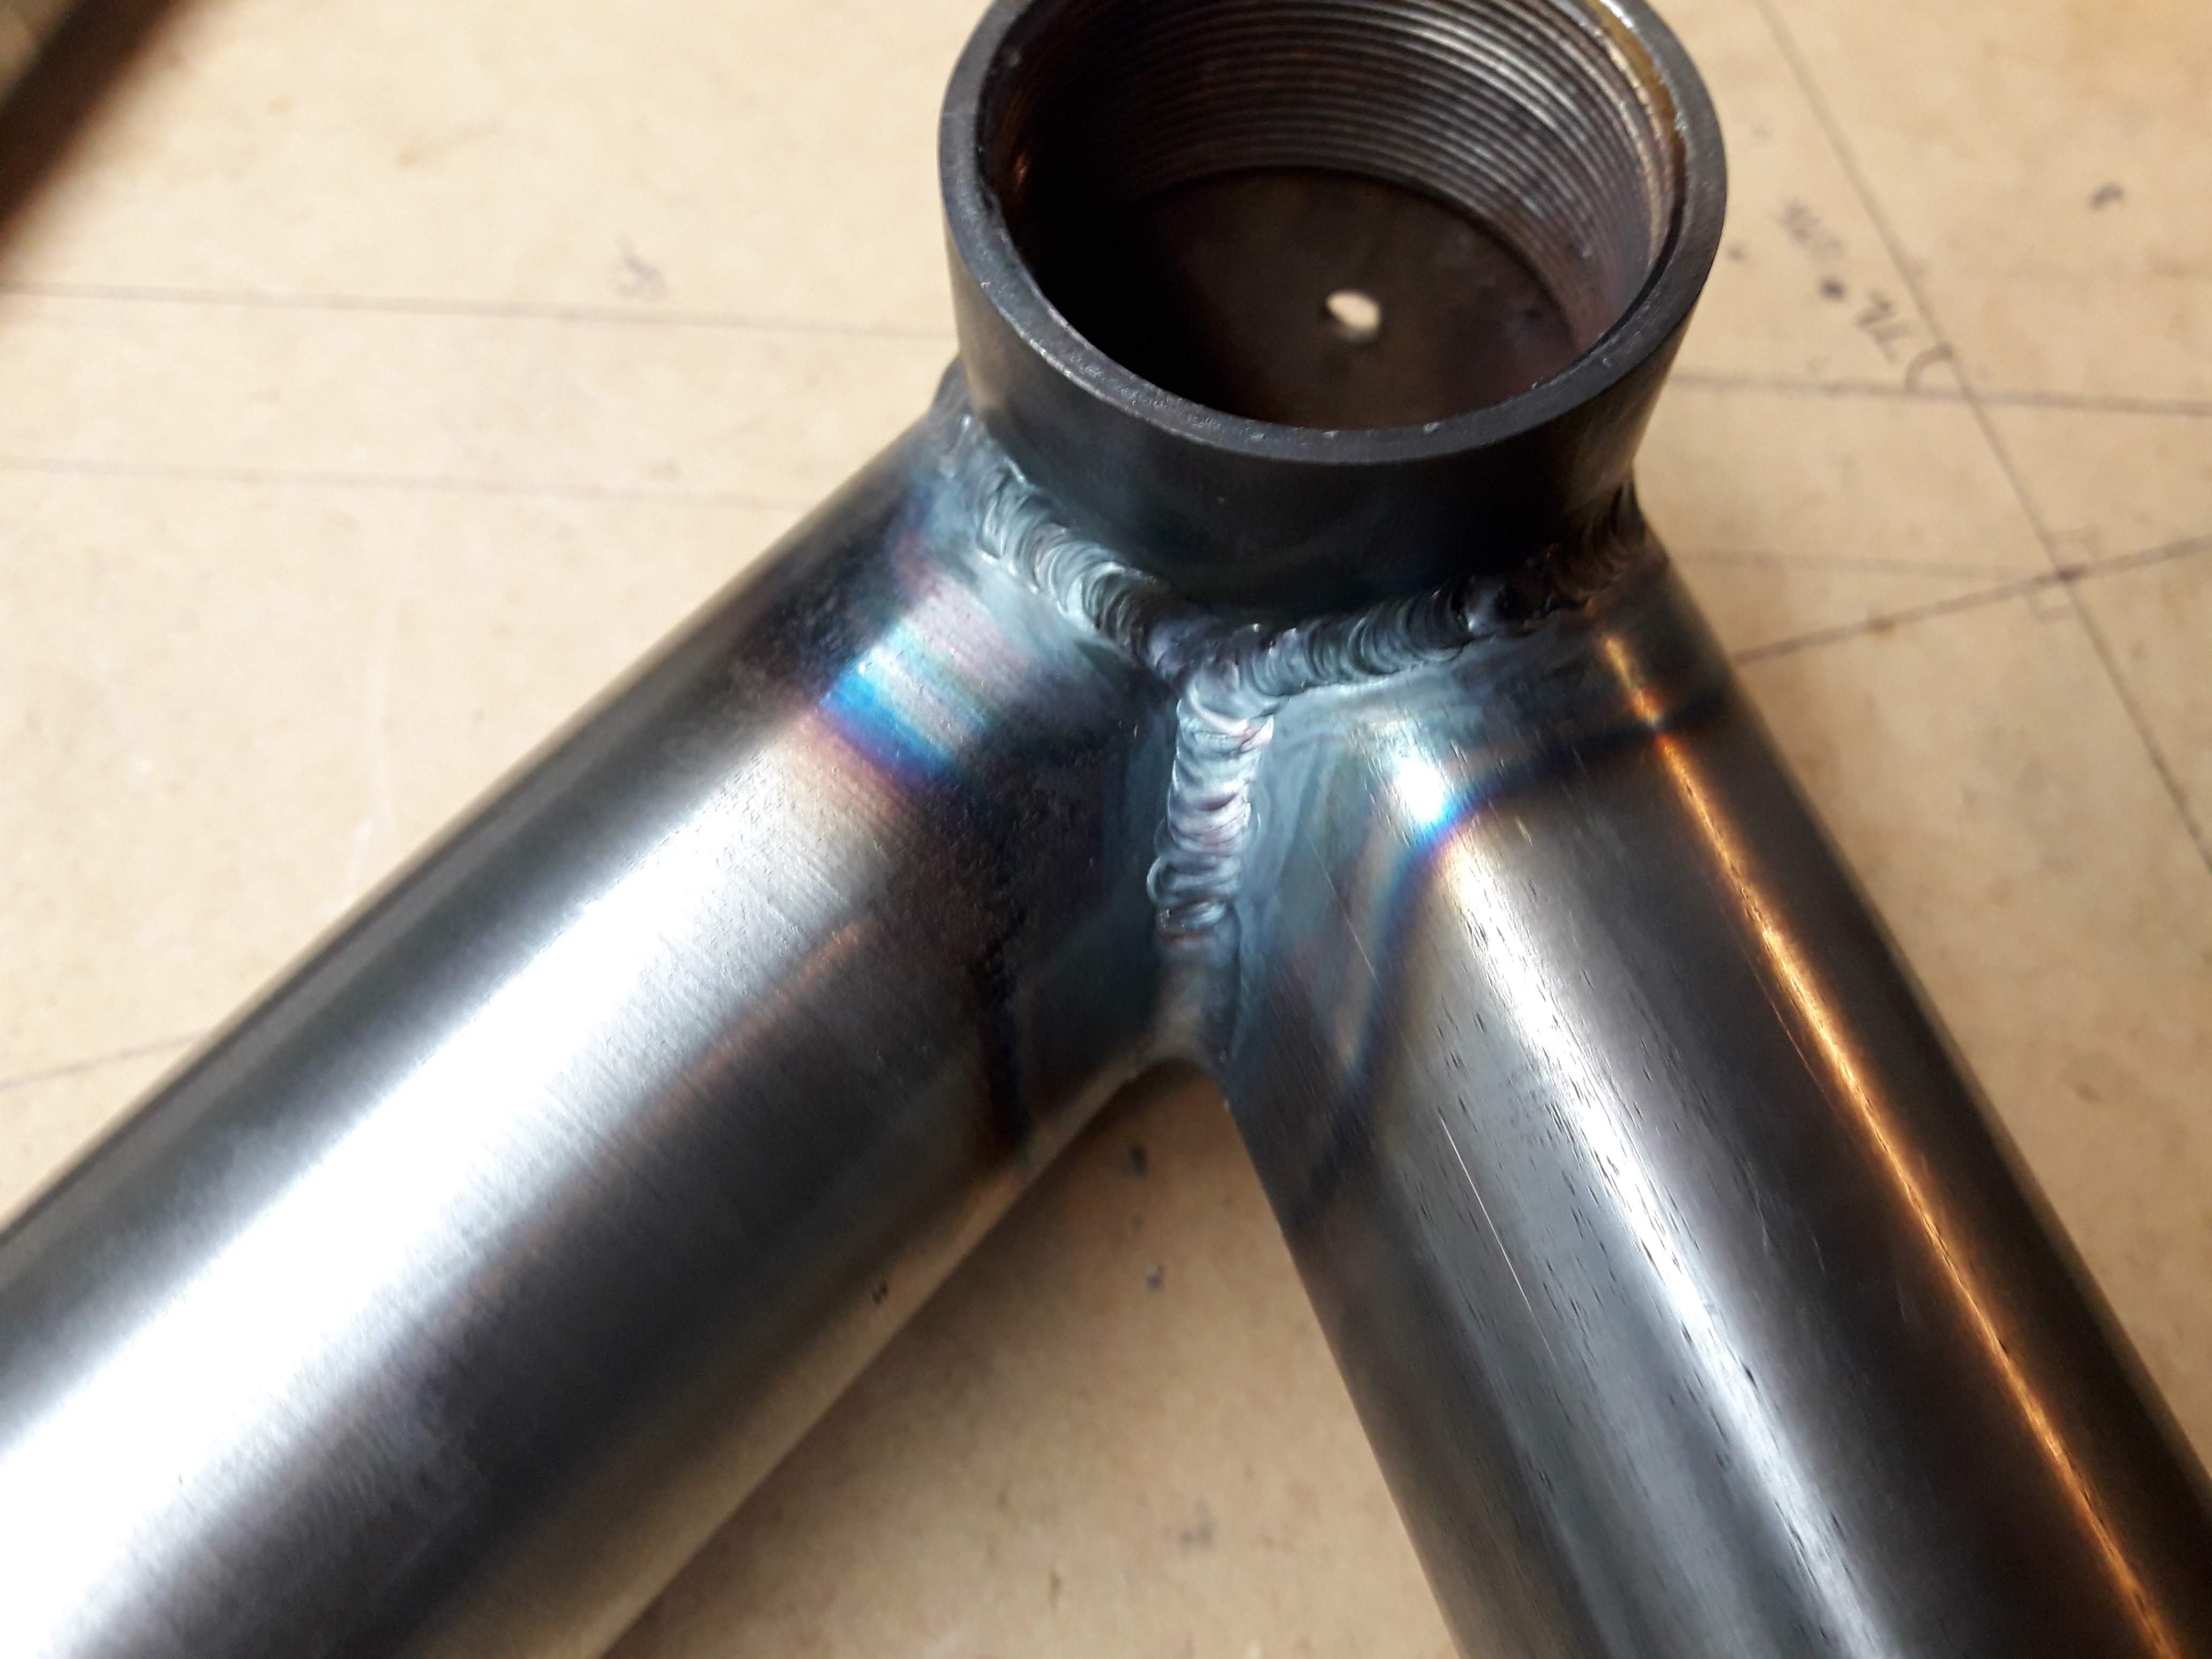
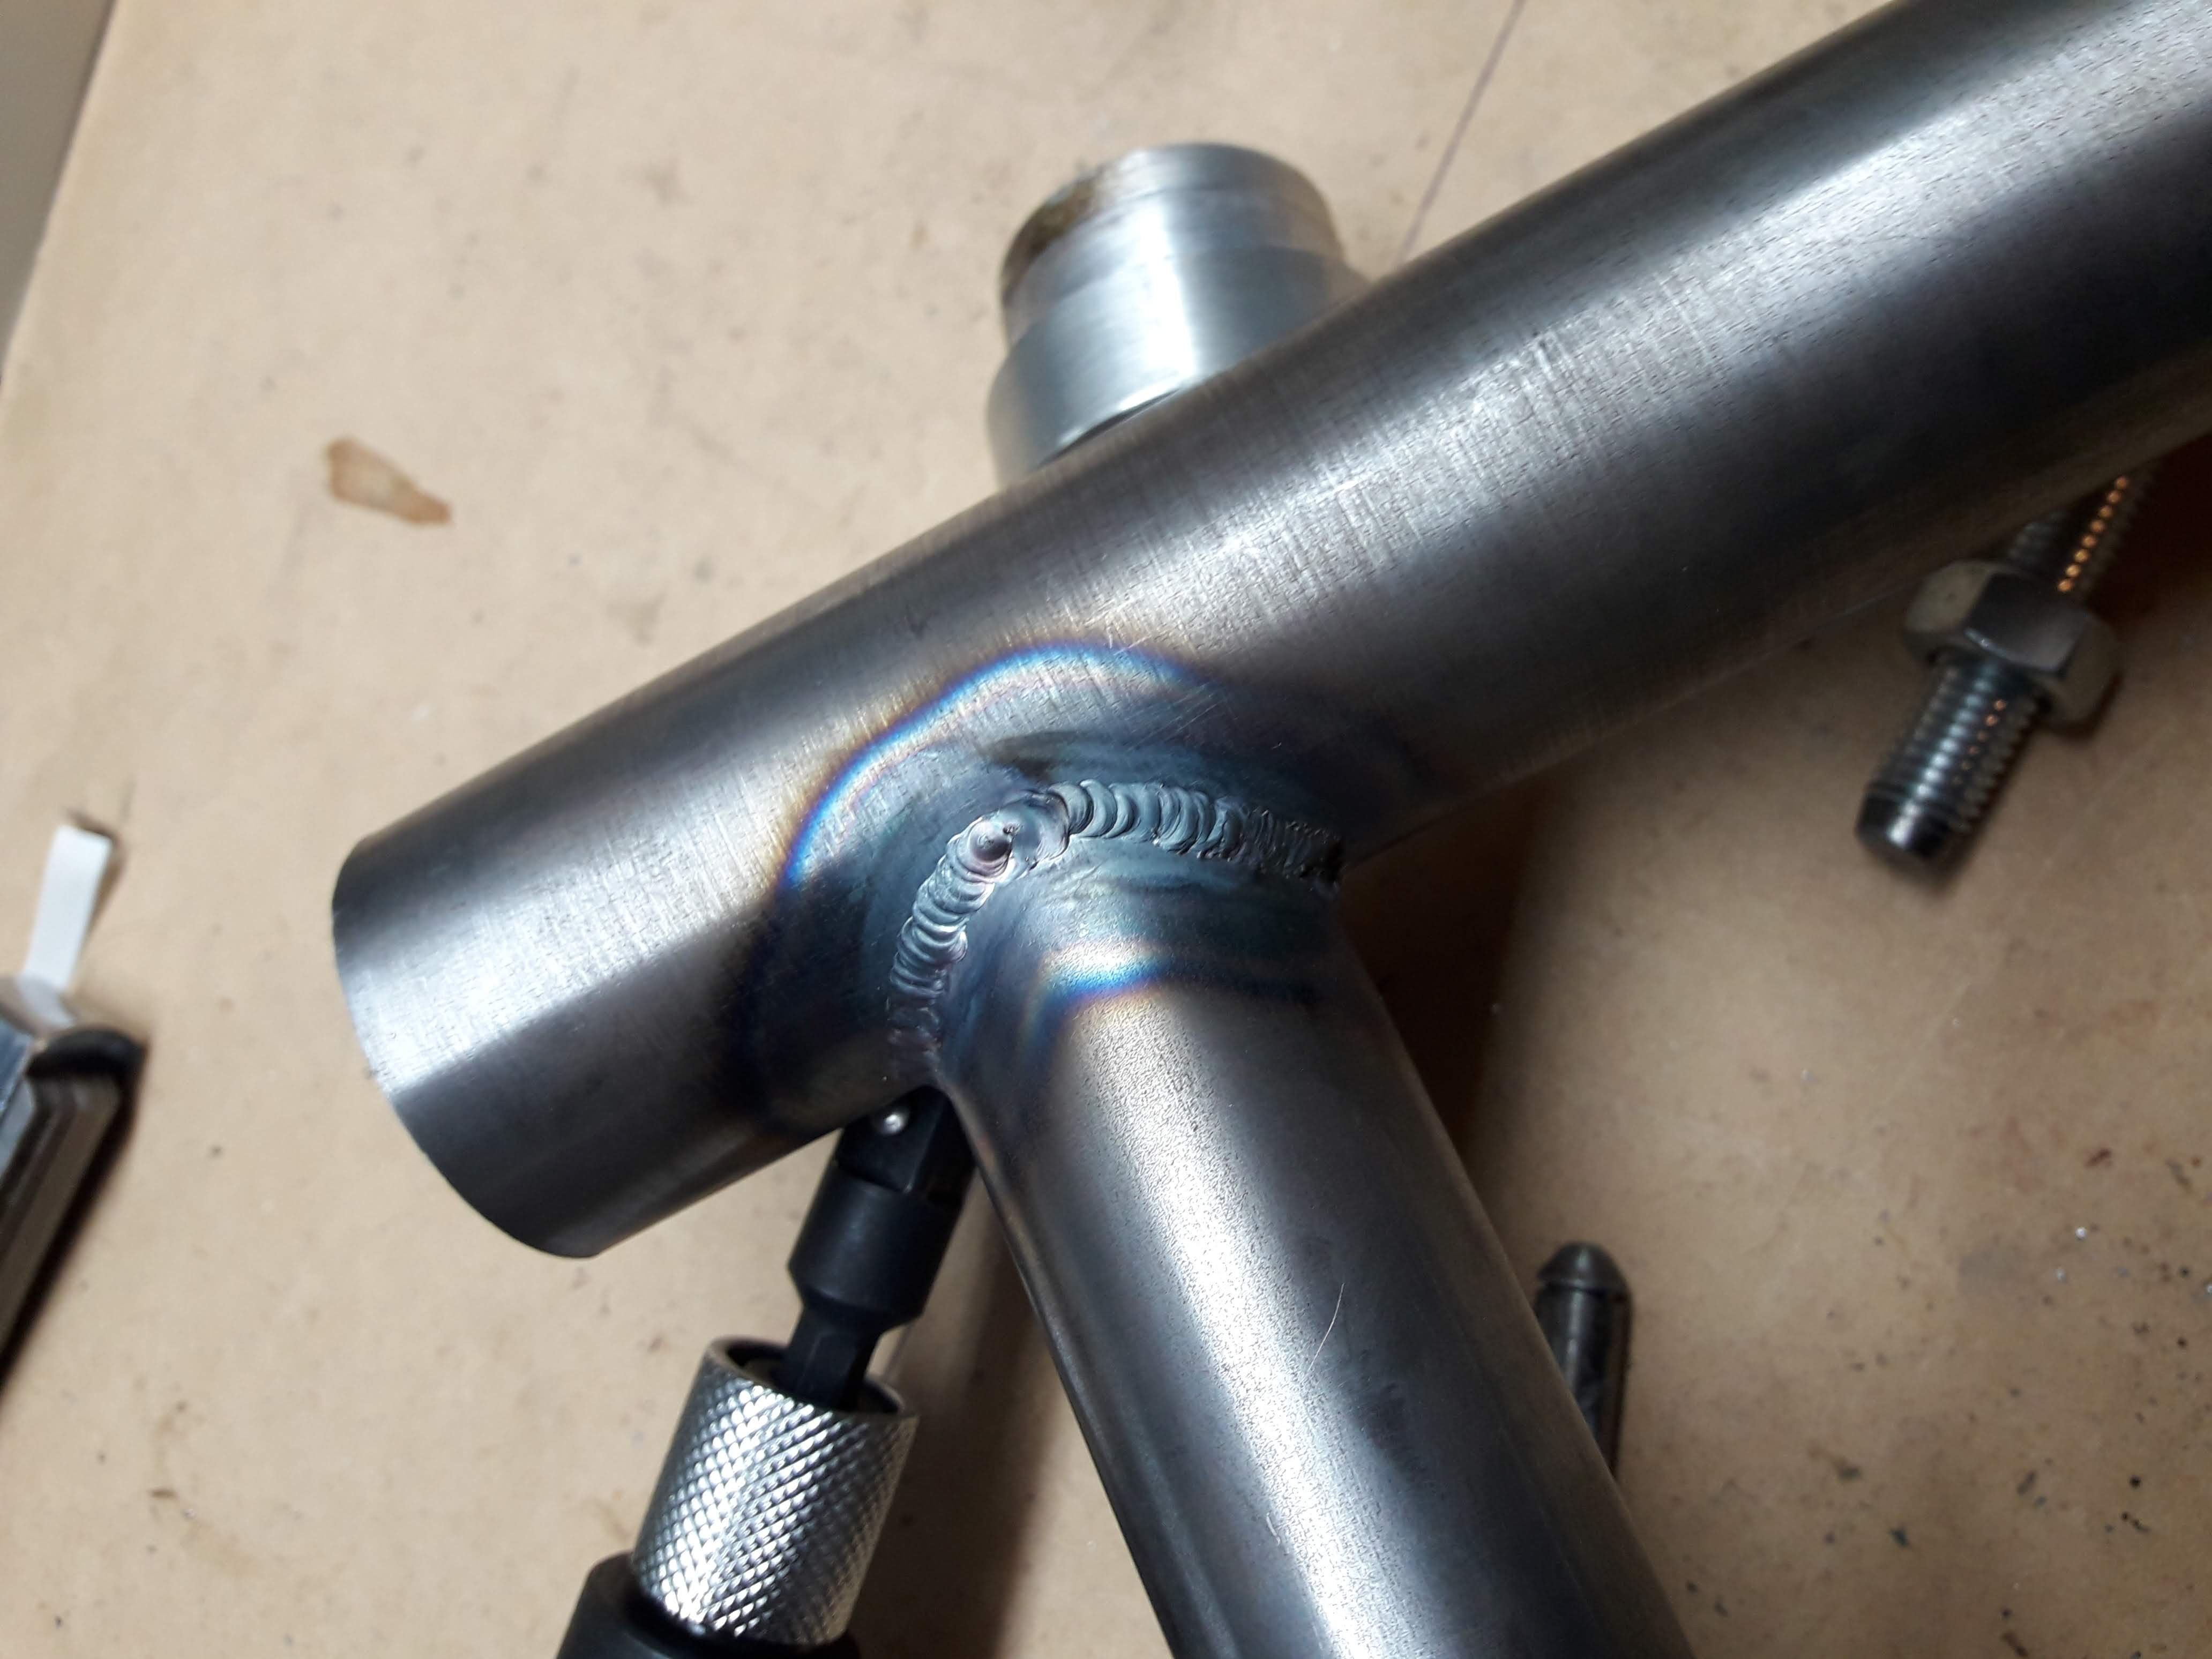
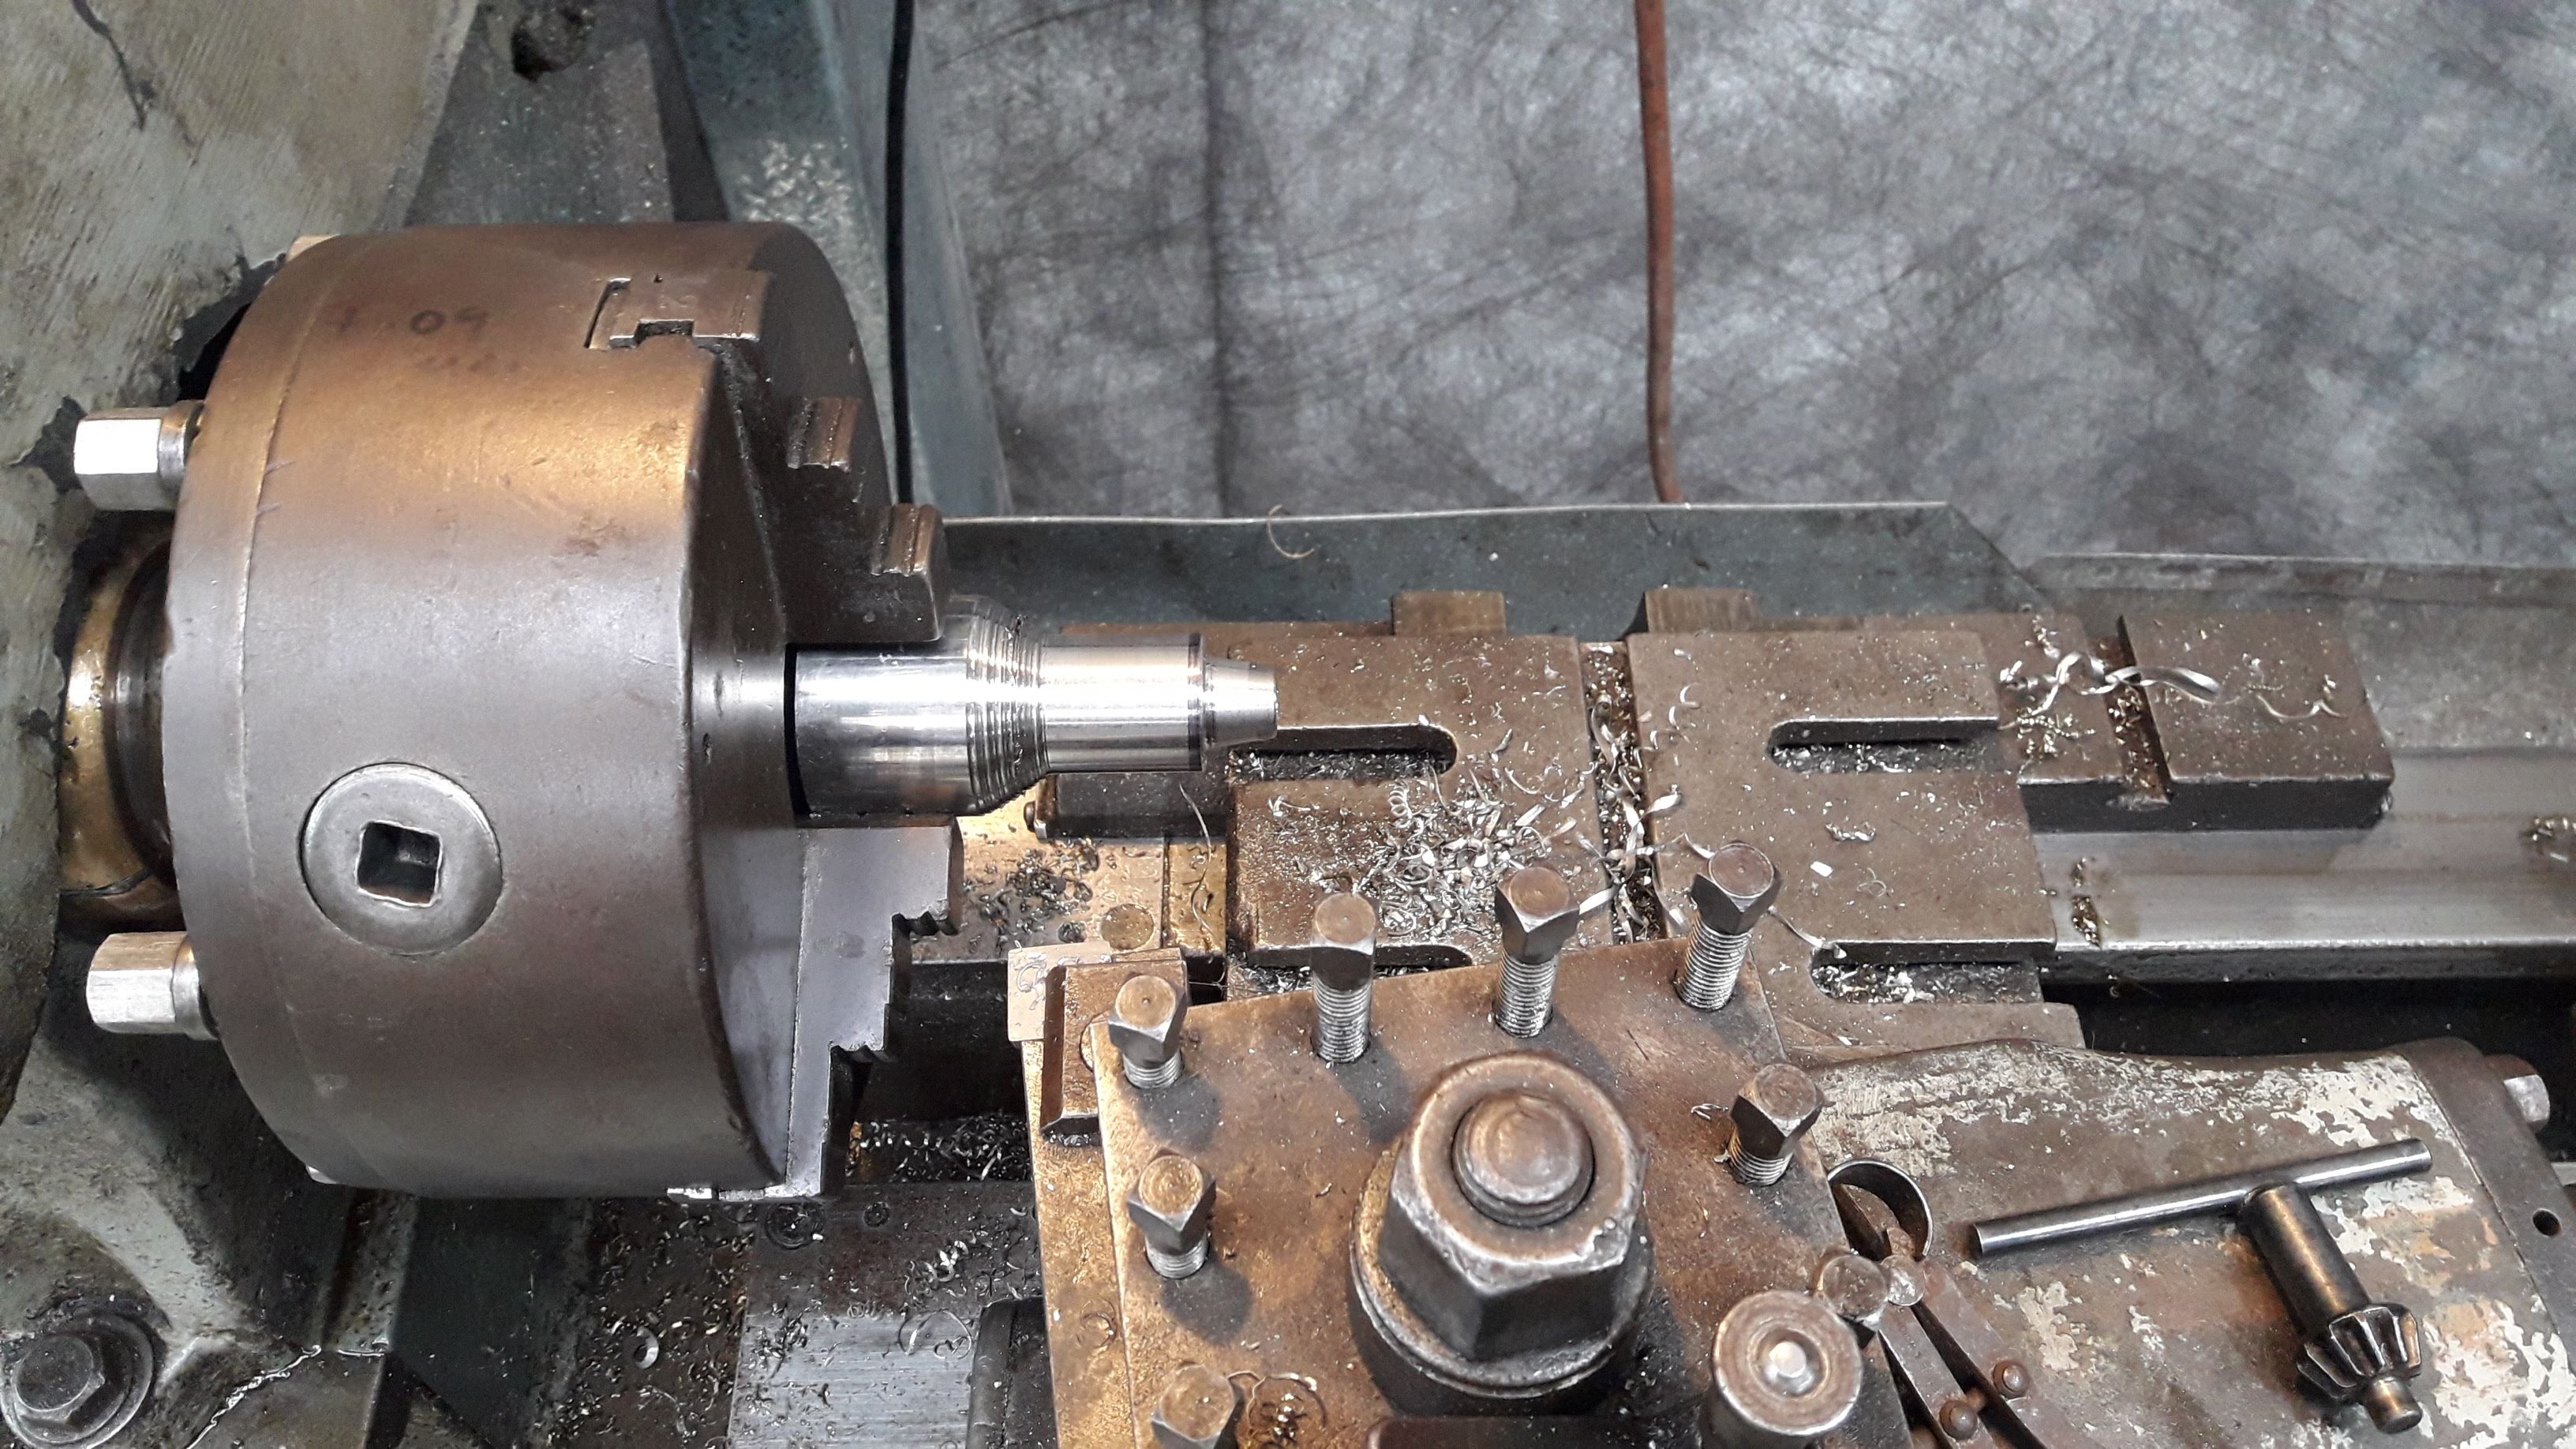
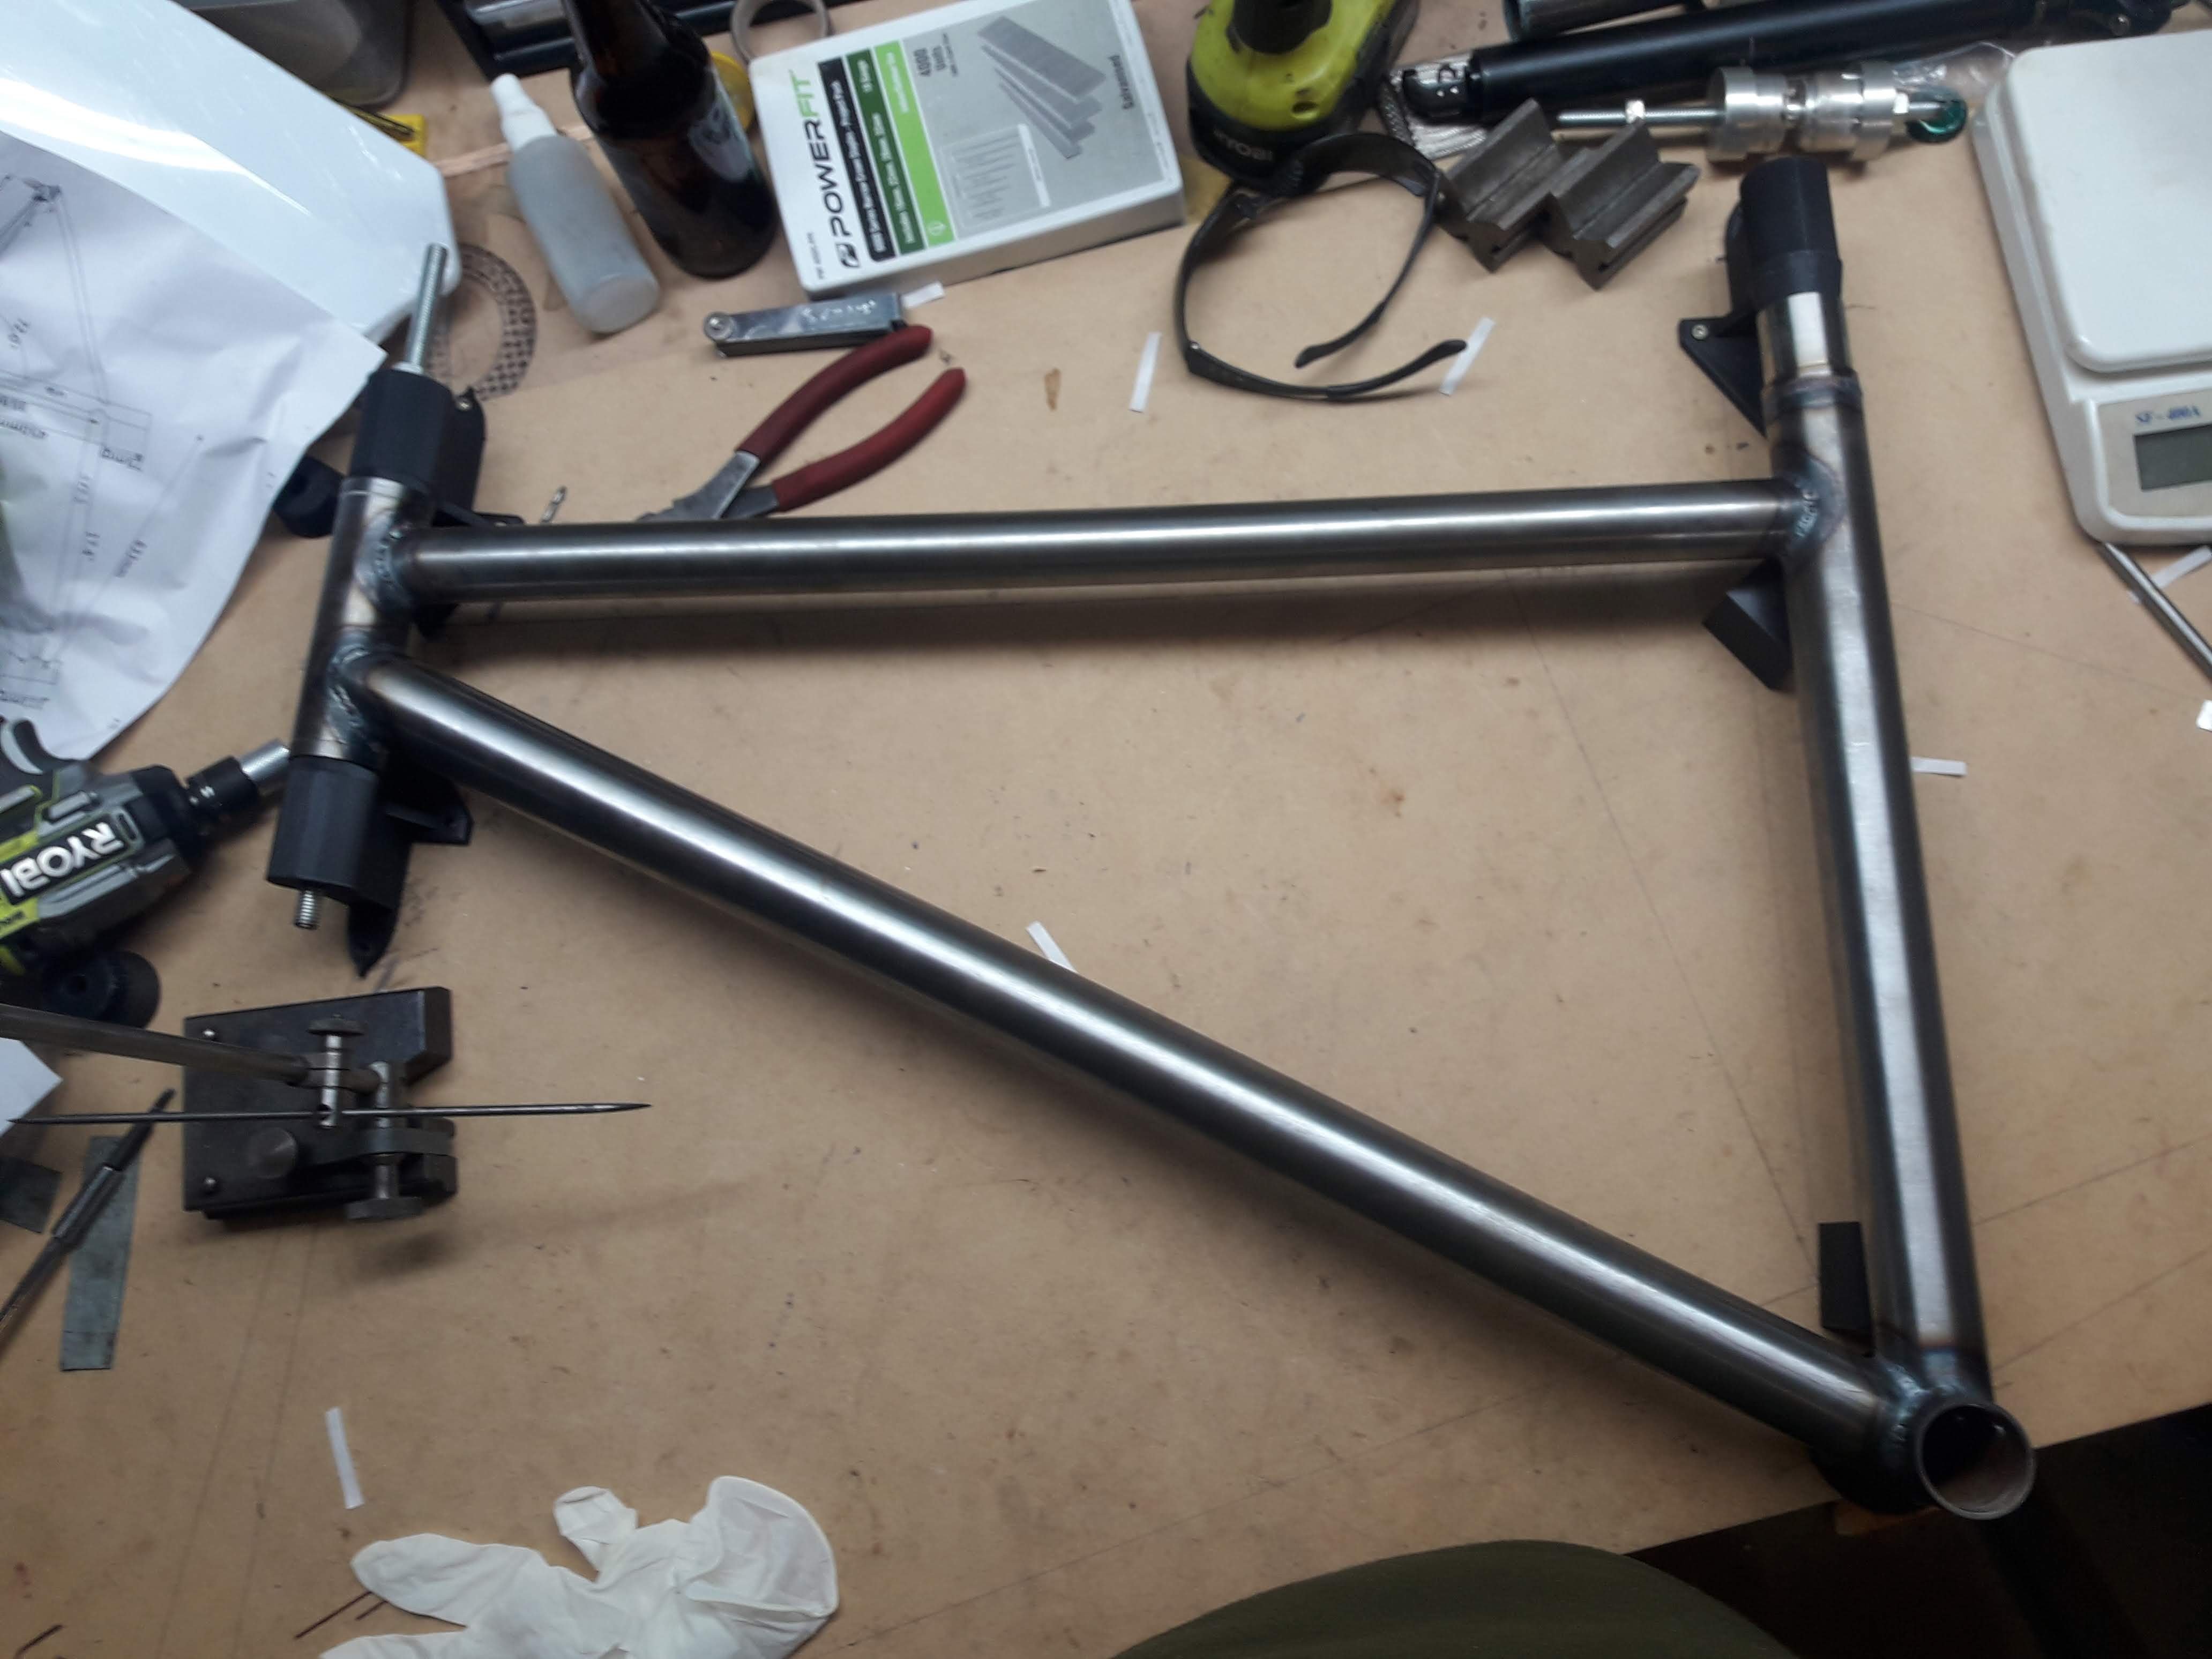
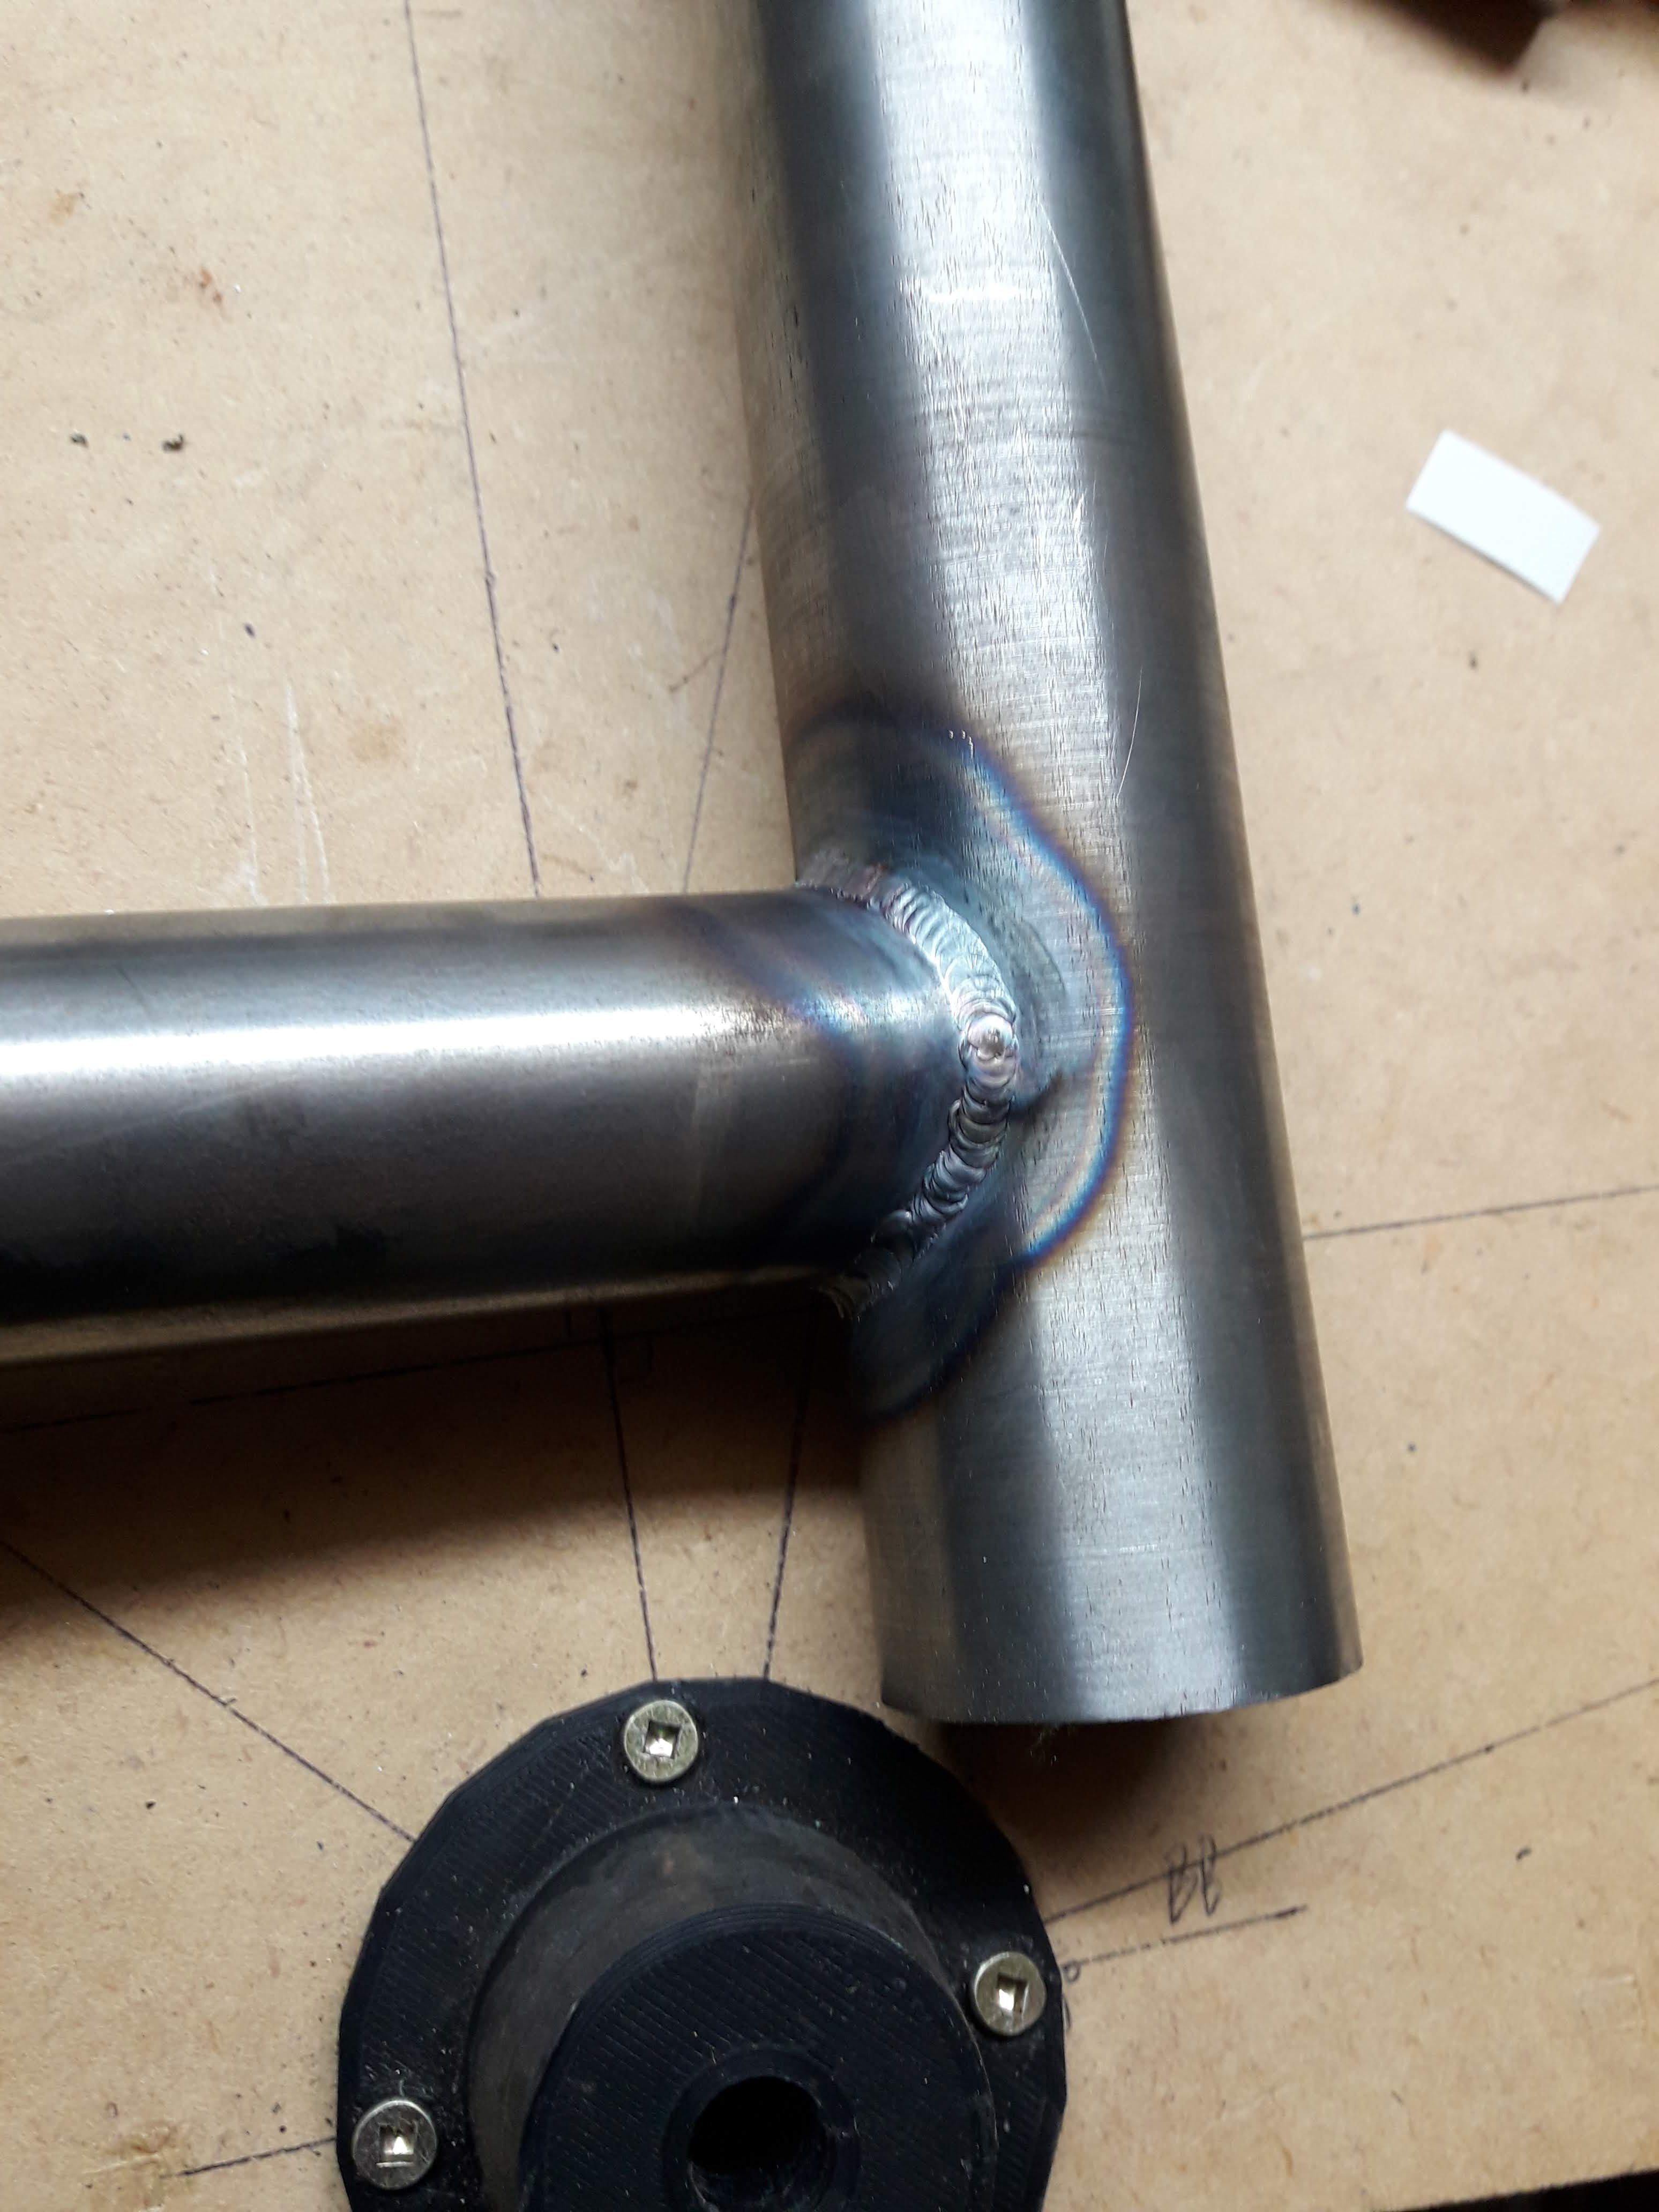
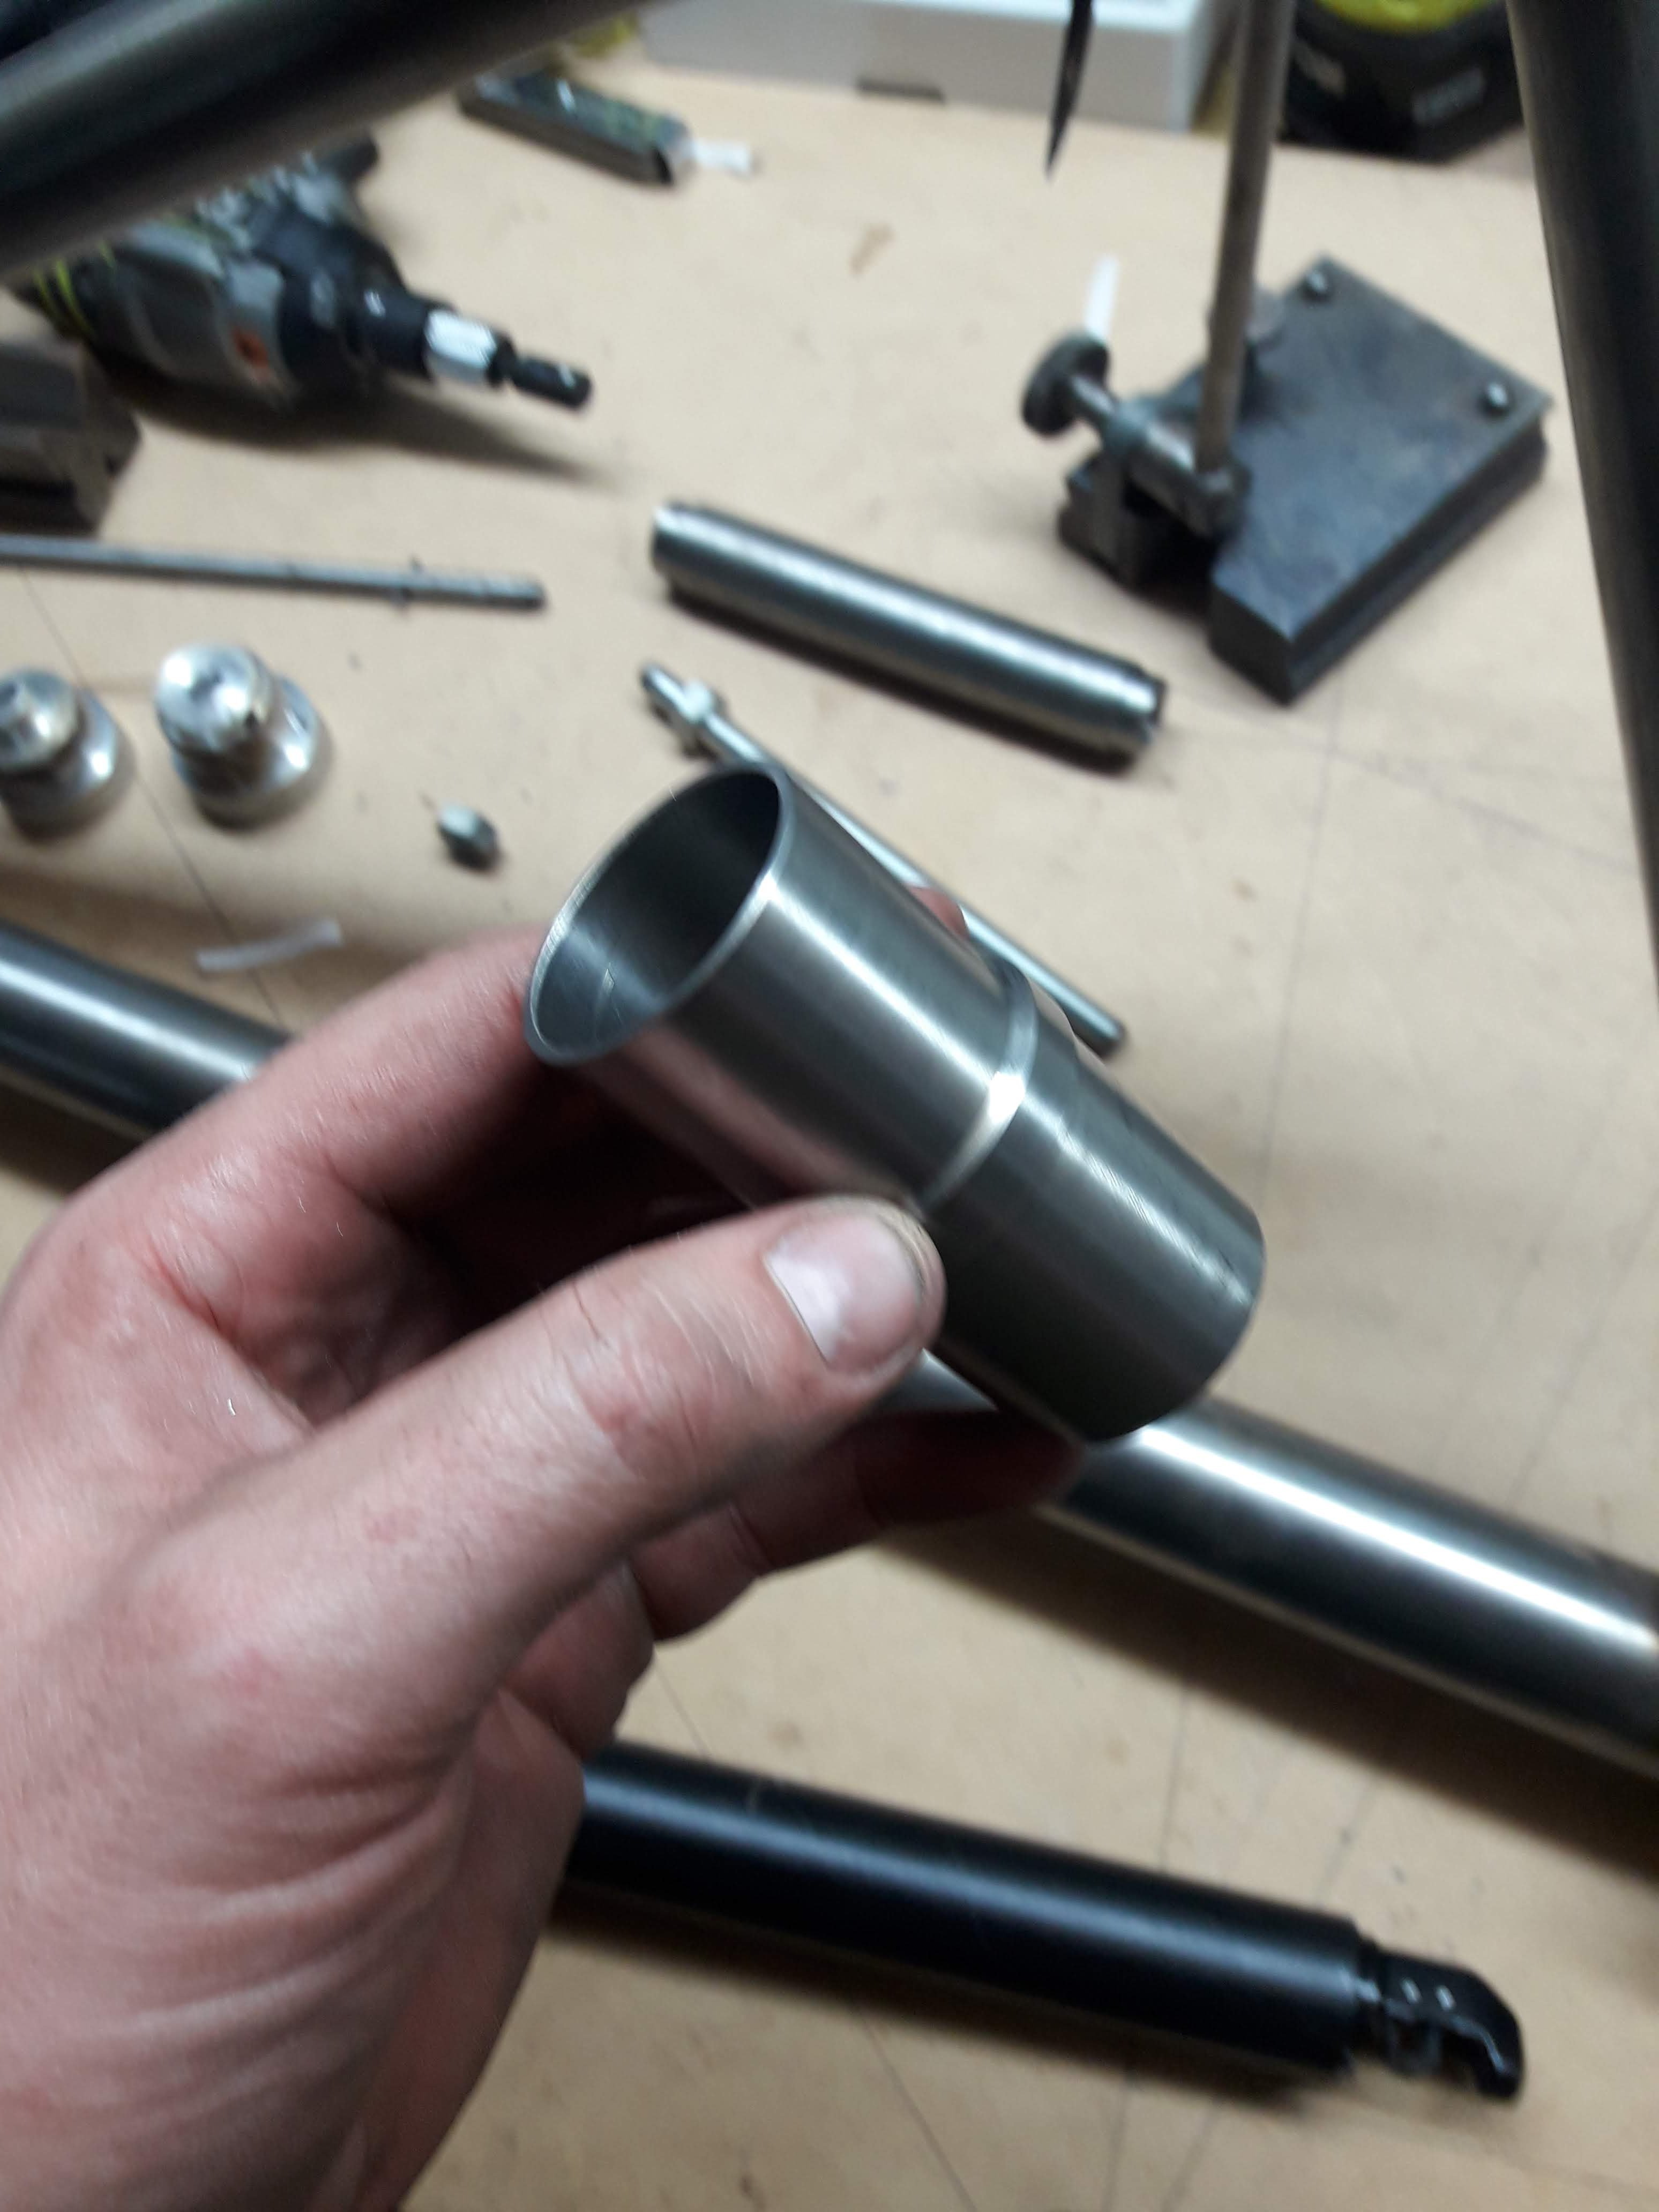
Aaaaaand welded in place: Will need to send a reamer down the tube as internally it has gone kind of hourglass shaped from welding it in place. I threw the frame back in the jig to see how far/close it was to original dimension, its pretty darn good! Using the height gauge it looks like in relation to the headtube the seat tube about 0.5mm off line. Which I don't think will be noticeable at all in the end product. I gave the lathe a cleanup at this point as the swarf overflow was starting to get sucked into the leadscrews which is generally a bad time This is my old lathe, its a selson probably from the 1920s. The headstock bearings are absolutely stuffed and it can only turn anything by virtue of being heavy. Too much cutting load and it starts to vibrate like crazy as the spindle "rolls in the slop" if that makes sense. I actually have another newer much better lathe on the other side fo the workshop, but it needs 3 phase that I don't currently have. To make the dropouts my plan was to turn some centres for the axle and weld them into a bit of tube, then cope the chain stays and seat stays to weld to the dropouts. kind of like this: but a bit more simplistic. So I got a chunk of stainless and started whittling it down...
1 point
-
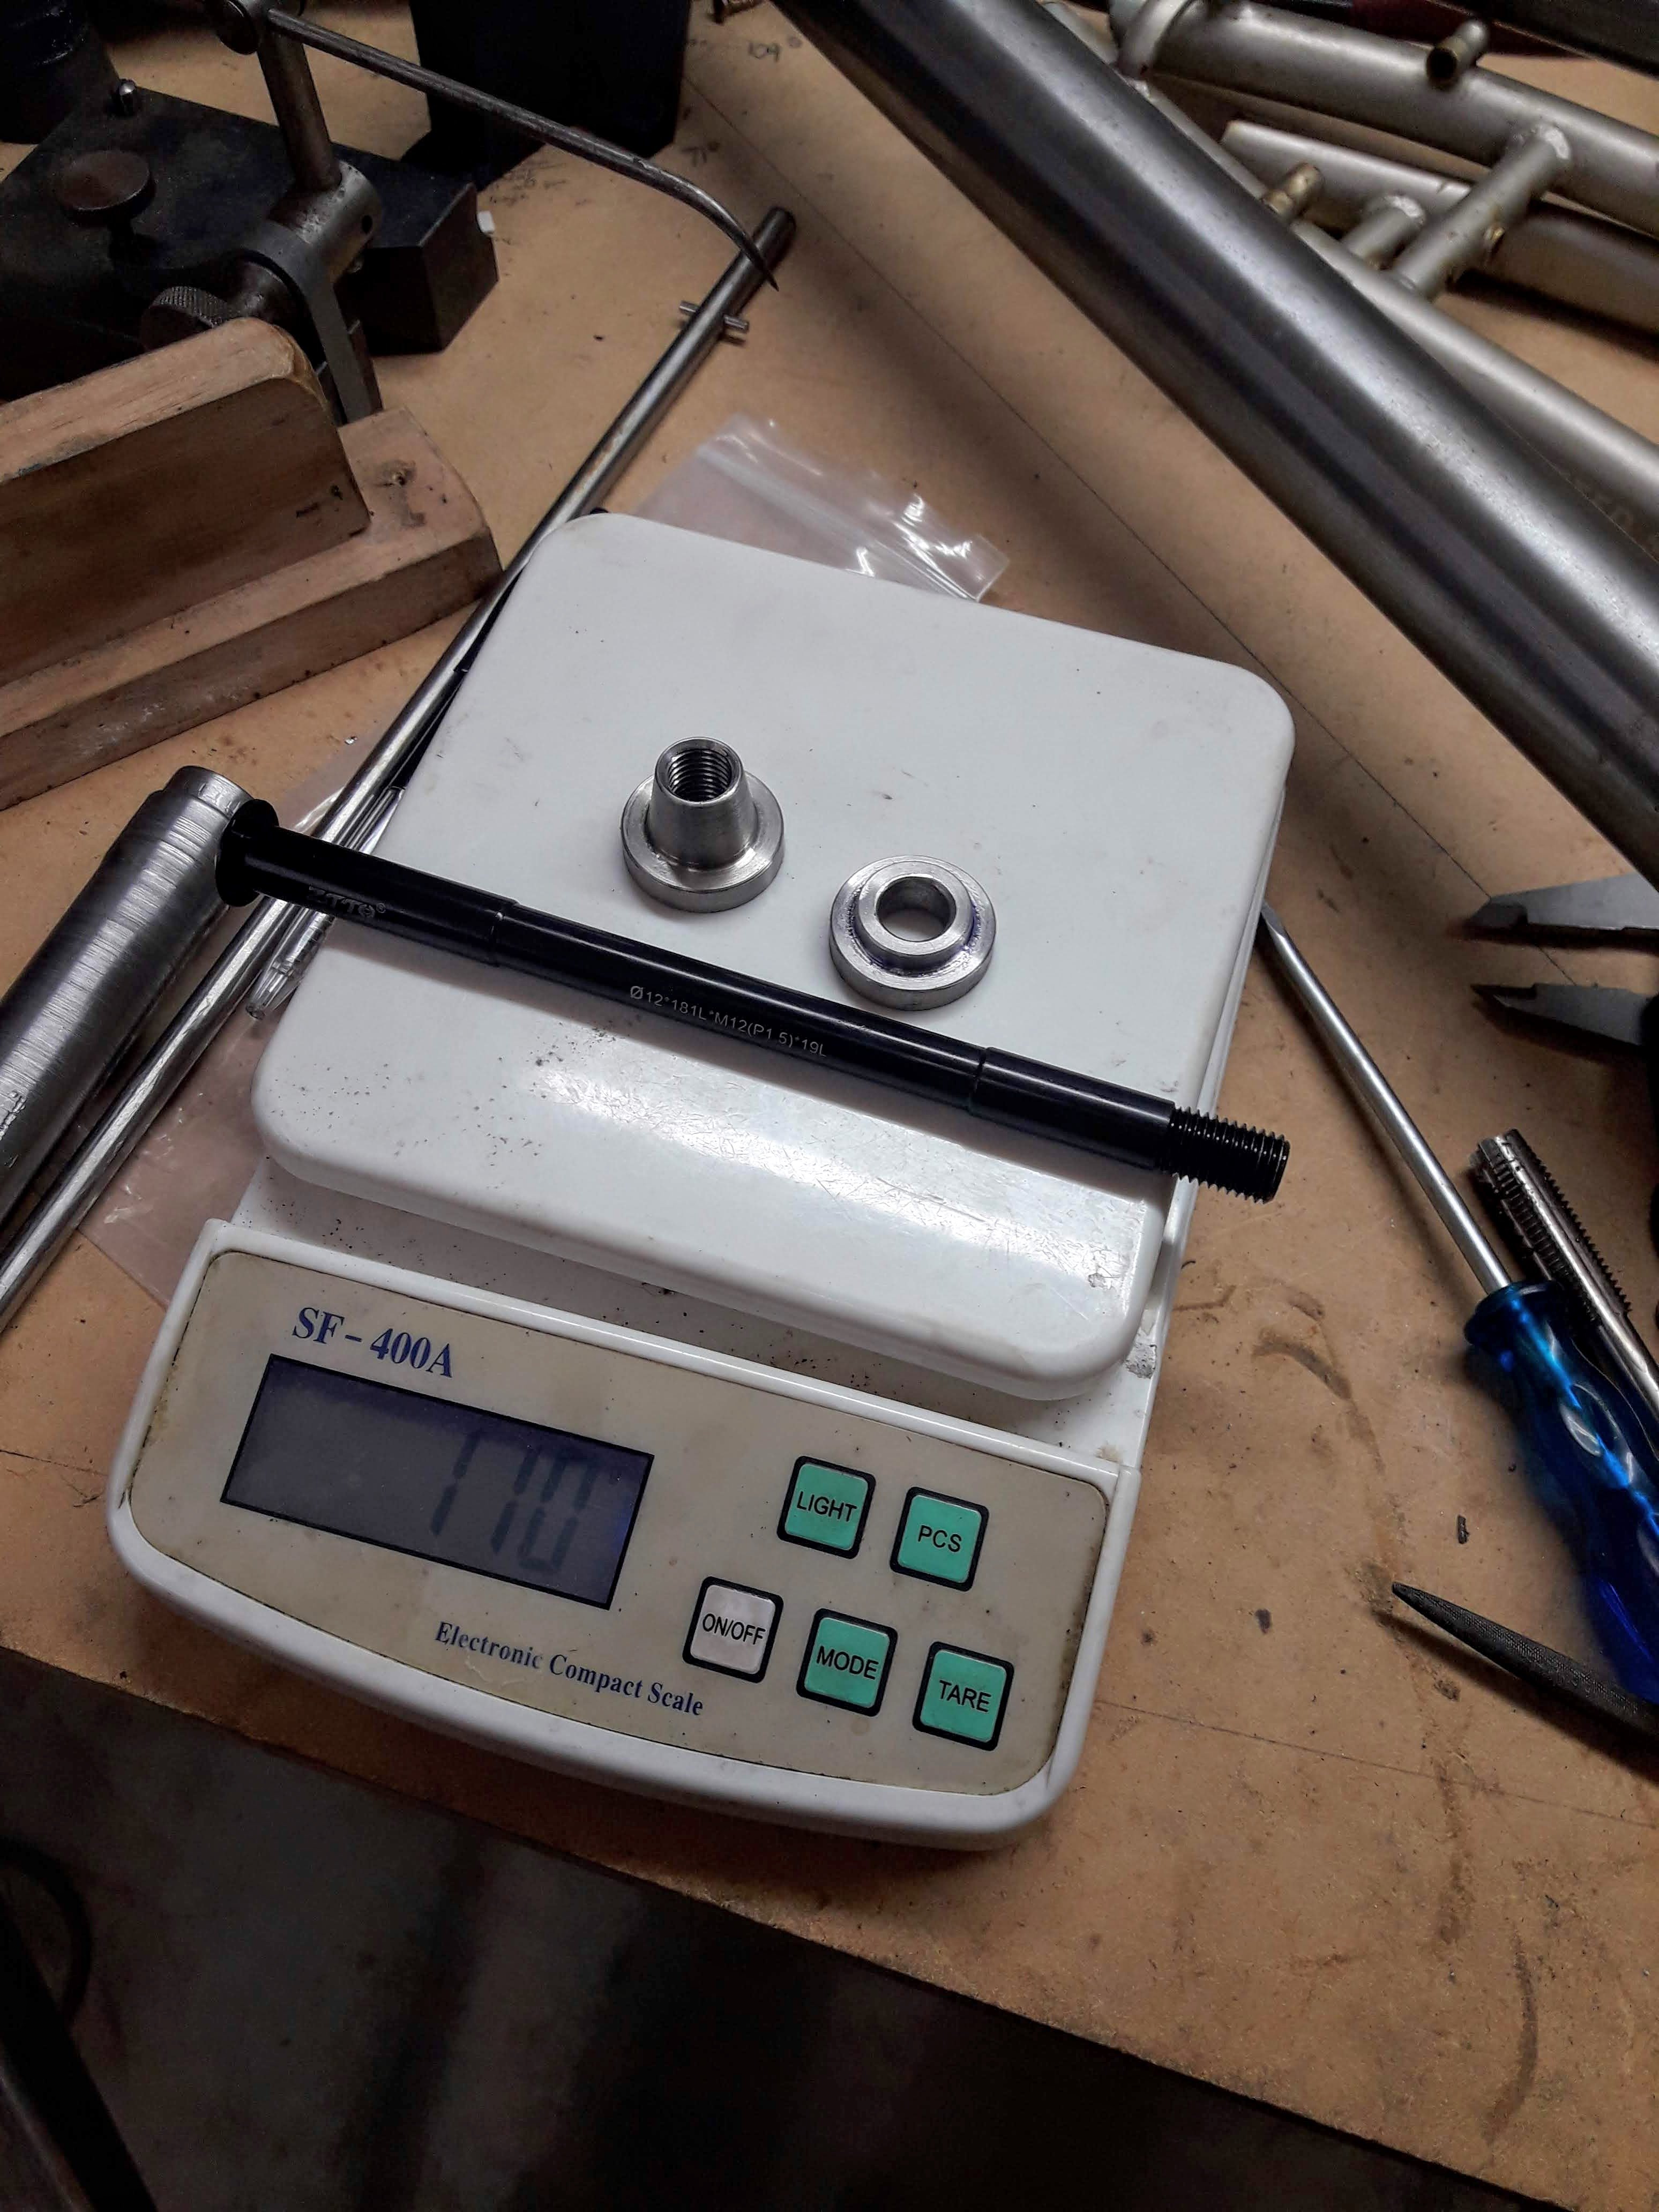
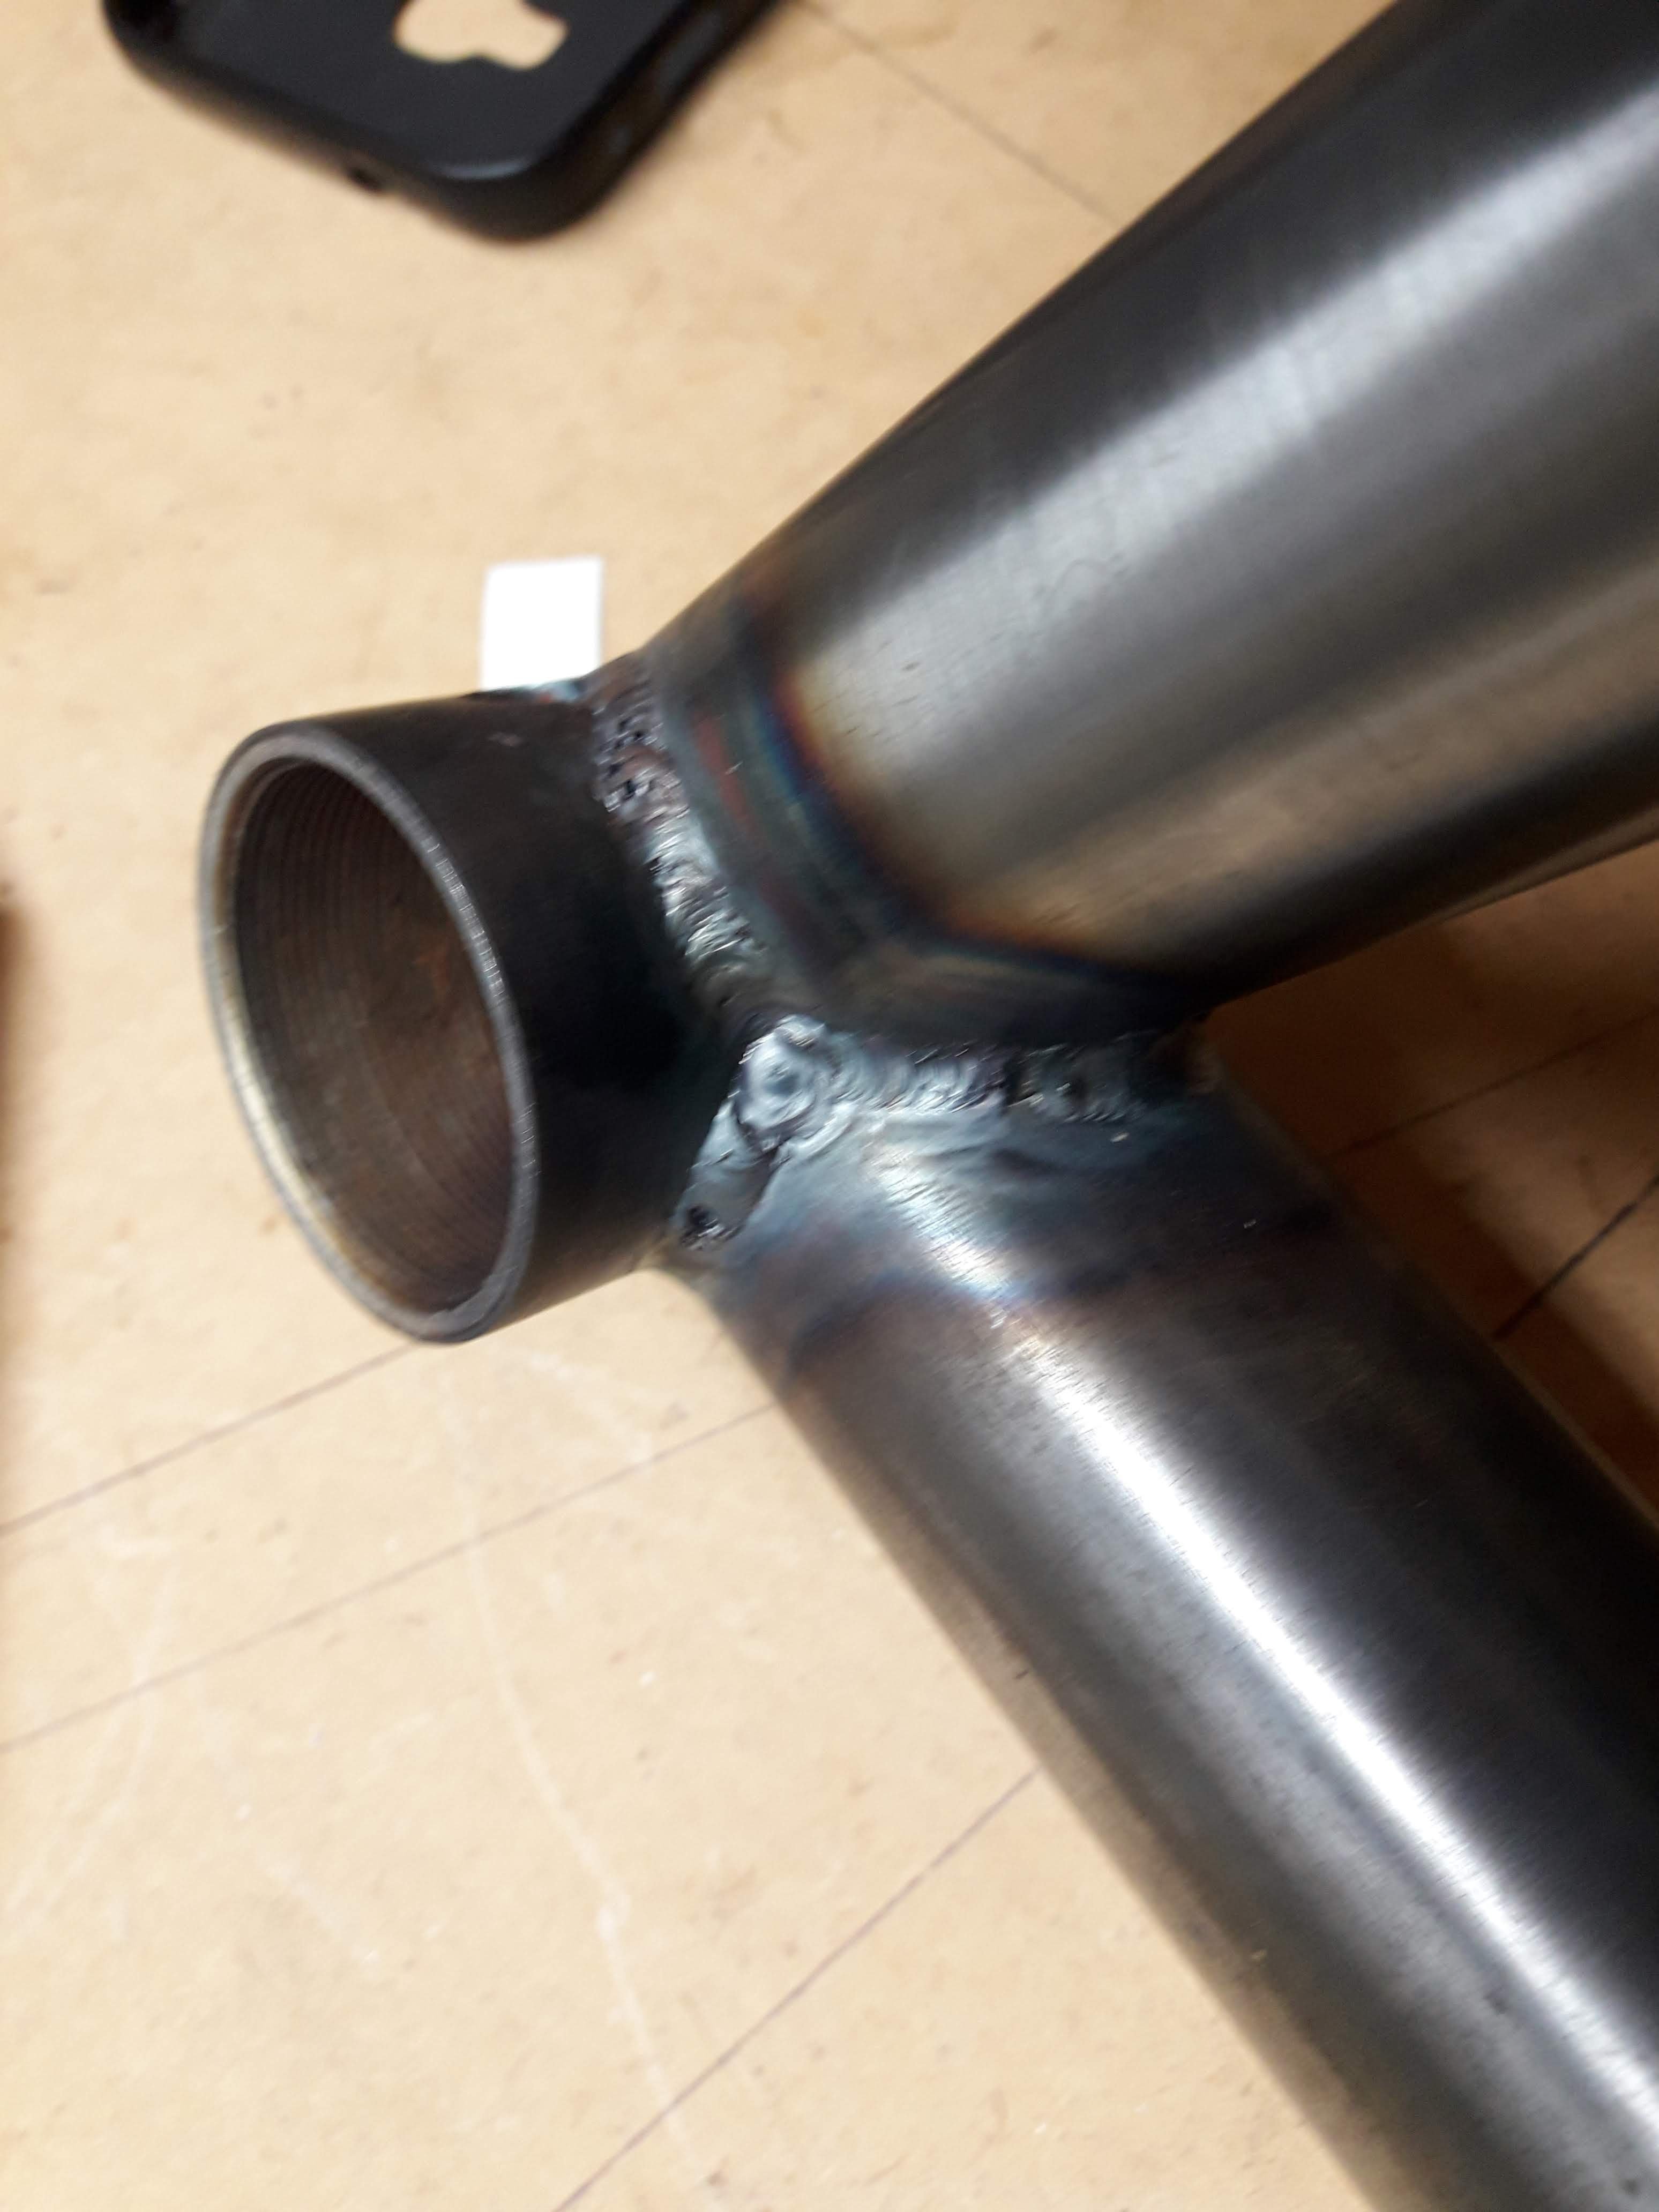
More pics of welds: These are the uglier ones: I think the one sied of the BB wasn't clean or still had paint residue in the steel cause it was a bit fizzy and I couldnt really do much about it. I popped it on the scales to see how things are tracking: 1556g, not too bad. I think it will come out around 2.7kg mark, I have been making the "dropouts" (thru axle so they dont drop anything out) and they are going to be a bit heavy hahaha. I turned a reducer out of stainless on the lathe, which took a long time because my lathe is very worn out. A heck of a lot better than no lathe though! In the frame: This actually added 10% to the weight of the frame so far haha. I don't really care about the final weight that much, but I think it is worth considering while I am making bits and pieces for the frame.
1 point
-
things have occured. most are bad painted the rear bumper and kit, chucked them on. the lights still need to come out and have the surrounds done. where it promptly ran into some fitment issues. not too sure what's going on here, its almost like the bumper needs to be pulled back a good half inch, which would leave an ugly gap between it at the body proper. hmm. the kit can't go forward as it fits nicely in the wheel arch already. I'm almost tempted to just go without it if it keeps giving trouble, the car already has a pretty bulky back end JUST LIKE YO MAMA the dump pipe mk 1 had some fitment issues (and got its own thread) and thus dump pipe mk 2 was born which clears everything and allows the heat shields back in with a little adjustment. its made out of a stupid amount of segments as i didn't have nearly enough bends to create what is essentially a stupid corkscrew shape. it's ugliness has since been somewhat assuaged with a liberal coating of hi-temp shit weld hider. still better than what came out though! i swear! anyway while all of this was going on i suddenly became aware of a burning smell and smoke from under the battery compartment area so apparently the low light sender for the headlight washer reservoir just shorted out, whilst sitting in an empty and highly flammable plastic container. it would appear this thing isn't fused? I'm a bit surprised as I had only just reconnected the battery to put the windows down, but i have had it connected before with no issues, and I haven't really touched any of the wiring (although it is a mess). so potentially this thing was just waiting to burn up at some random point, fortunately I didn't leave it hooked up and wander off. The car doesn't have light washers anymore anyway so I might as well biff it. bit scary really JUST LIKE YO MAMA some adjusties turned up, probably will never fit them because I loathe suspension work had a chuckle at this too, it came off one of my spare turbos. "i dunno man, i fitted the bigger turbo but it just doesn't have the top end i'd expect". looks like it was slowly blasting its way through, he'd get that power eventually so yeah, shit stuff, scary stuff, cool stuff, funny stuff. no actual progress.
1 point
-
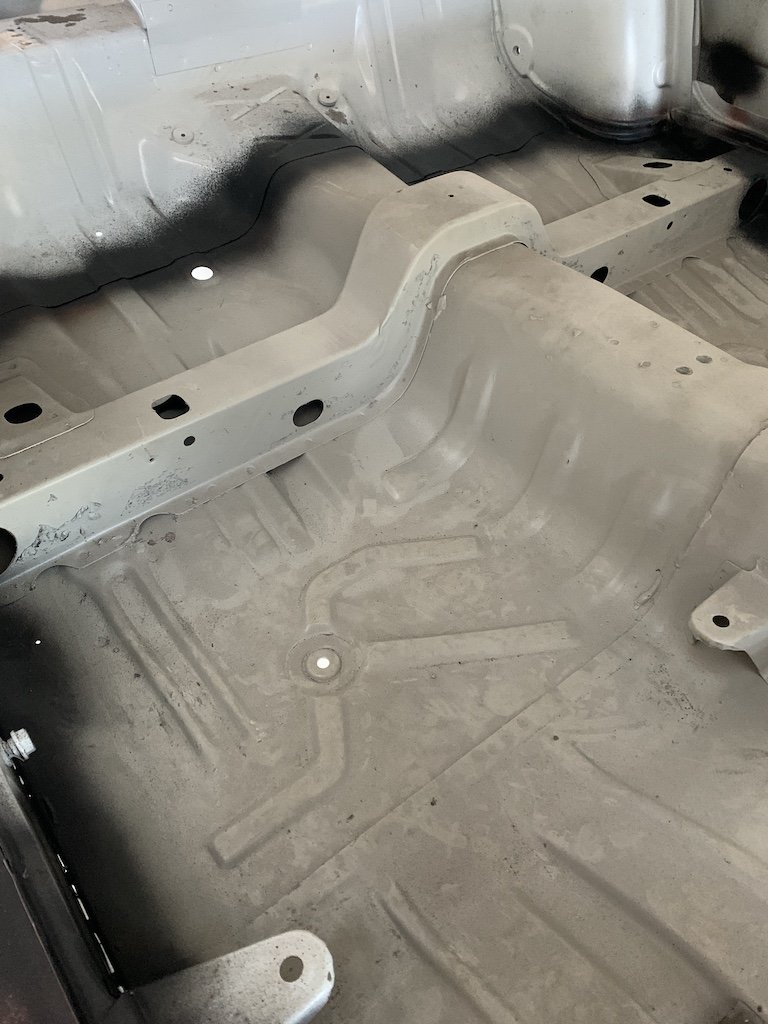
Last few weeks have been productive..... Floor in, panels straightened and fitted, car dropped to painter to be rubbed back and fully primed and undersealed. It's now sitting at home, rust free and ready for seam sealing and getting it on it's wheels to mock up the engine.......
1 point
-
You dont mean 3k MILES do you, which is almost 5K KM?1 point
-
3k was probably so they had something to post about. Factory intervals (10 or 15k) for everything I've owned and never had an issue, including lunar orbit spec mileage on a few of them.1 point
-
Not much progress but the engine has been stripped a bit further, everything is looking good so far. Someone has put a Wossner piston in it at some point so it has been opened before, not sure if they split the cases but since I have to anyway to replace the crank seals then I may as well go a bit further so I have a rod kit on the way. And the main reason for the rebuild Where the fuck did the seal go? The metal outer part is there but the rubber has vanished and you can see the spring chilling on the crank. As mentioned earlier I wanted to get this legal before spending money on a rebuild so I used sealant on the sidecover to keep it in a running state haha. Currently fabricating a case splitter as I couldn't bring myself to pay $130 for something that looks shit and might only get one use.1 point
-
Bloody bureaucracy I tell ya. Time to drive all our old cars into the city and protest1 point
-
Oh the lil mini bike now has a frount guard to stop the mud spiting at the kids at high speeds. Hahahahahahahahahahahahahahahahahahahahahahahahahahahah. Next is. Breaks Seat cover Paint Last picture of my smallest human to show to show just how small this thing is hahaha
1 point
-
1 point
-
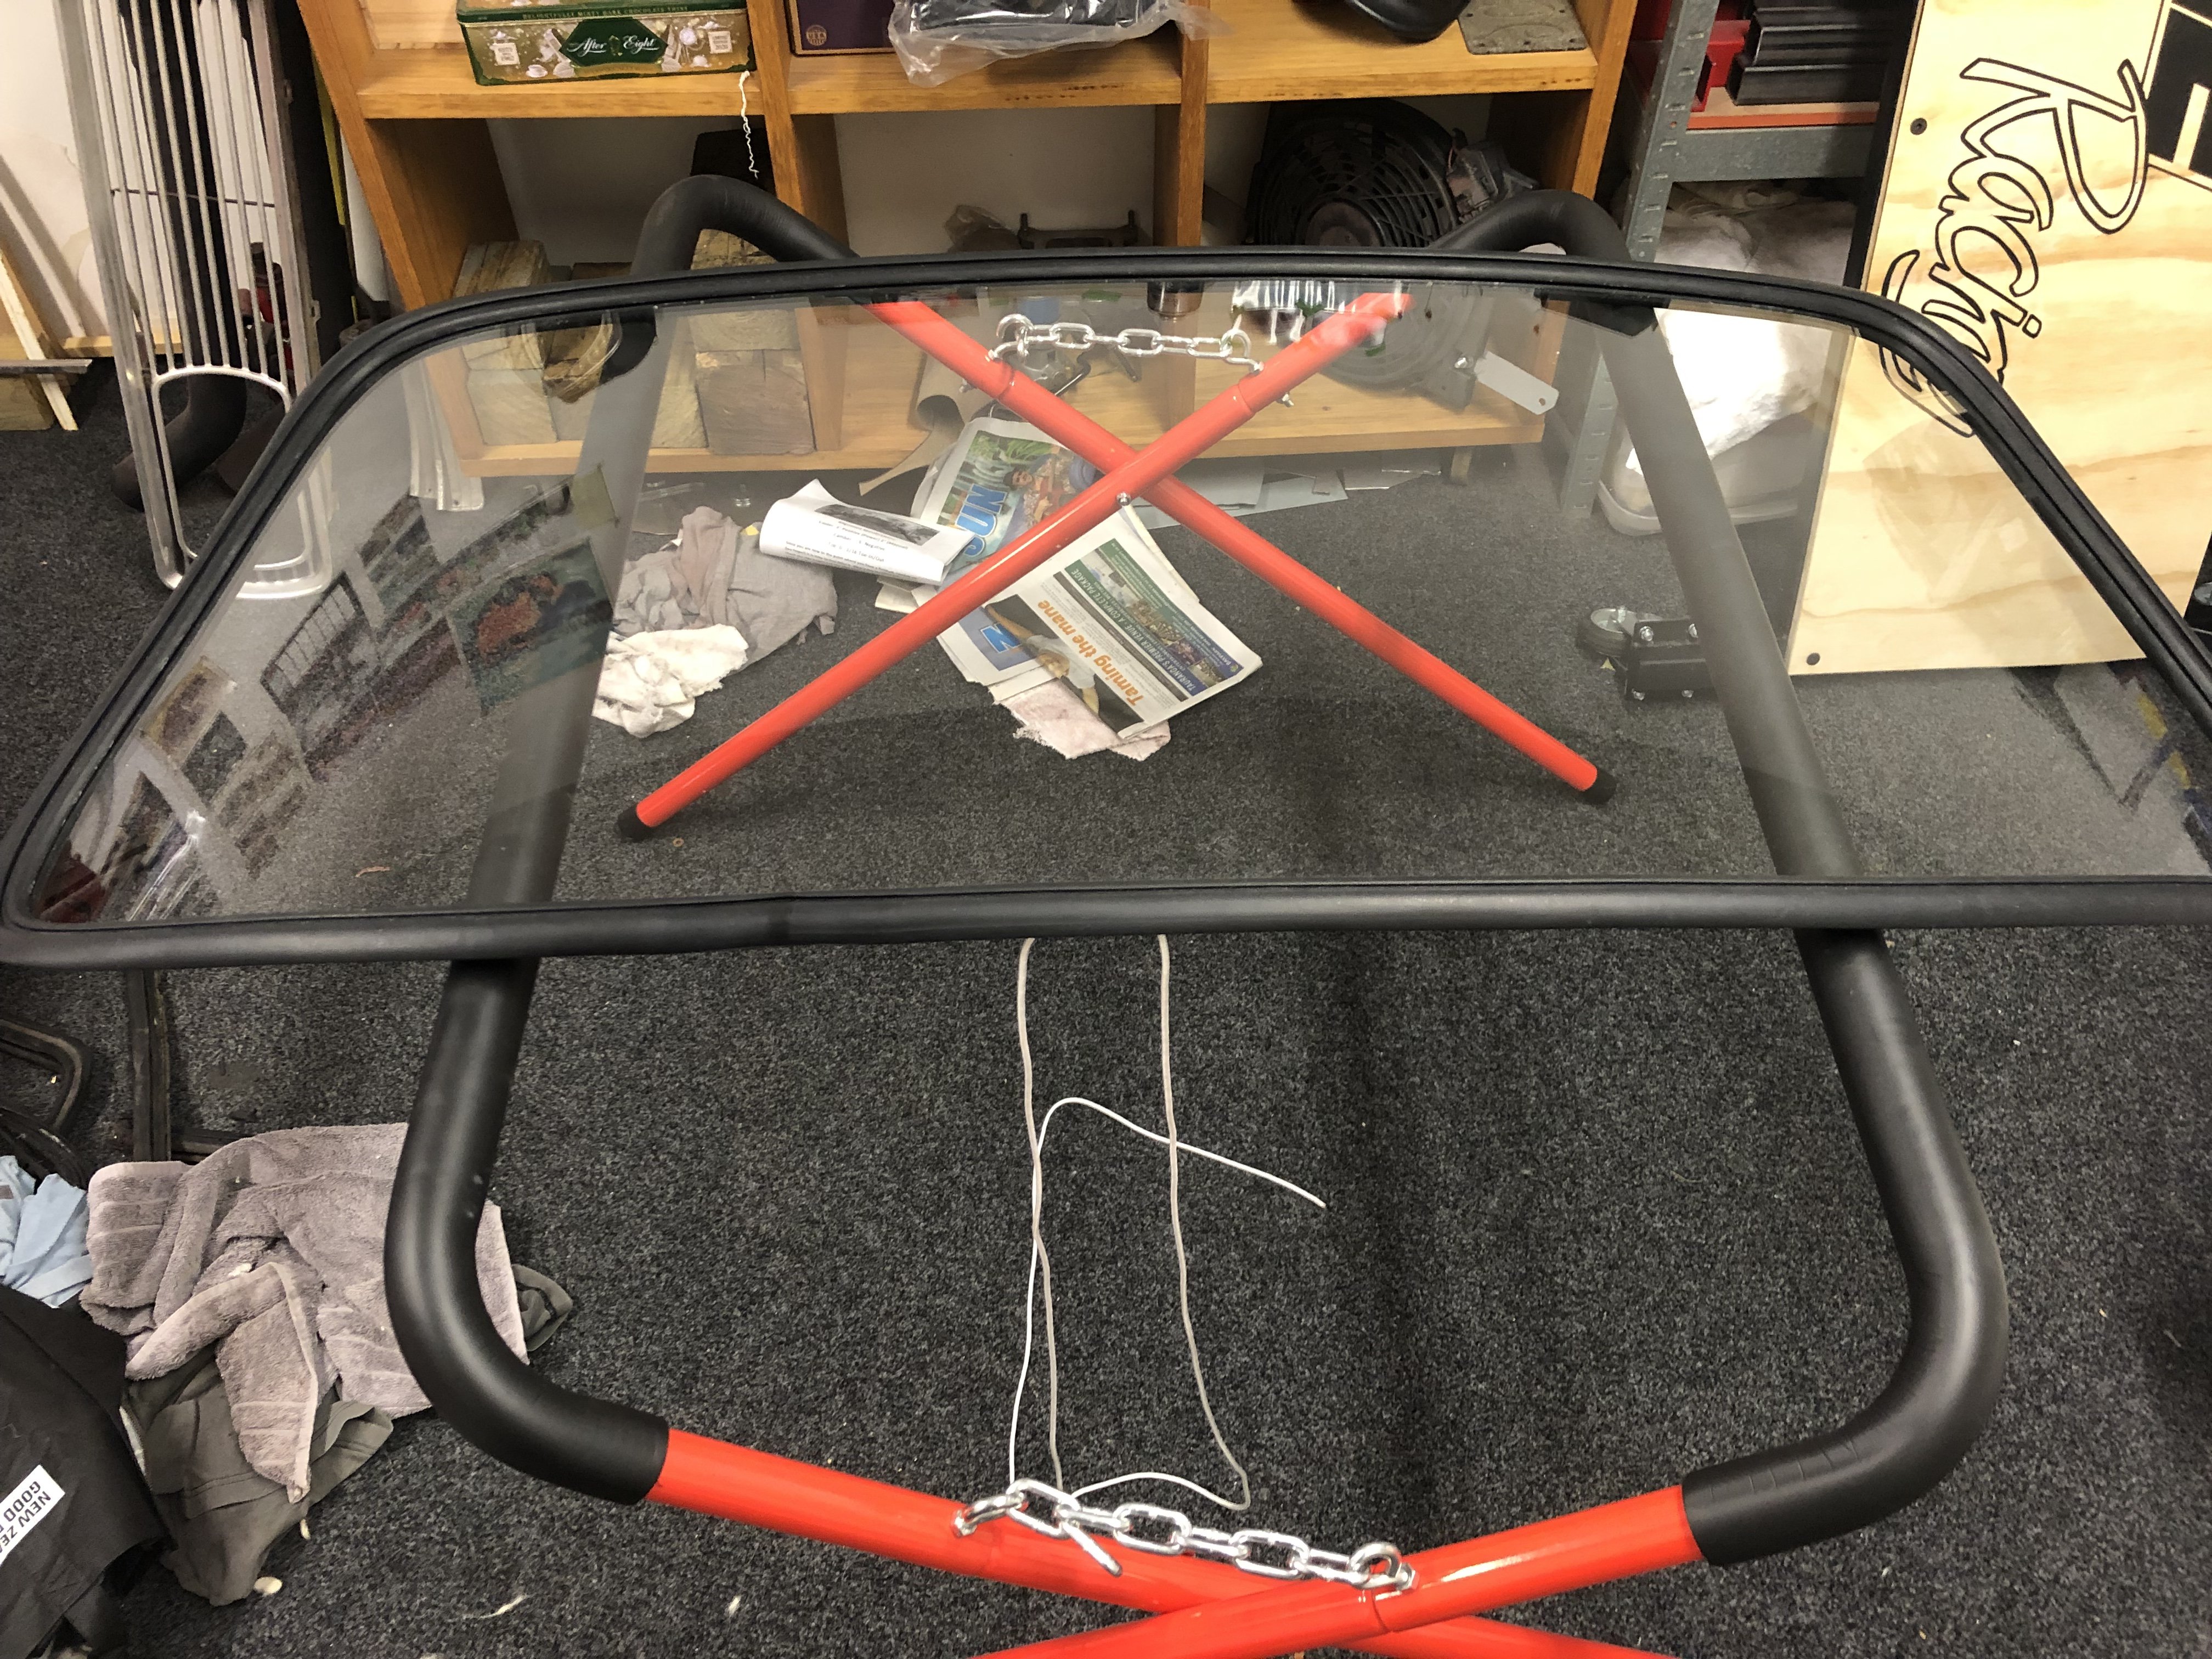
Polished up the front and rear screens as best I could and removed a couple of decent scratches. Me and my daughter managed to get the front screen in today using the old rope technique and a bit of swearing. I don’t know we’re she learnt that from. The rear screen rubber comes formed for the corners and gets cut and shut which I did today so hopefully get that one in tomorrow. The guys at Basis are checking out the original quarter glass rubber to see if they have something that will work as I’m not running the trim on them.
1 point
-
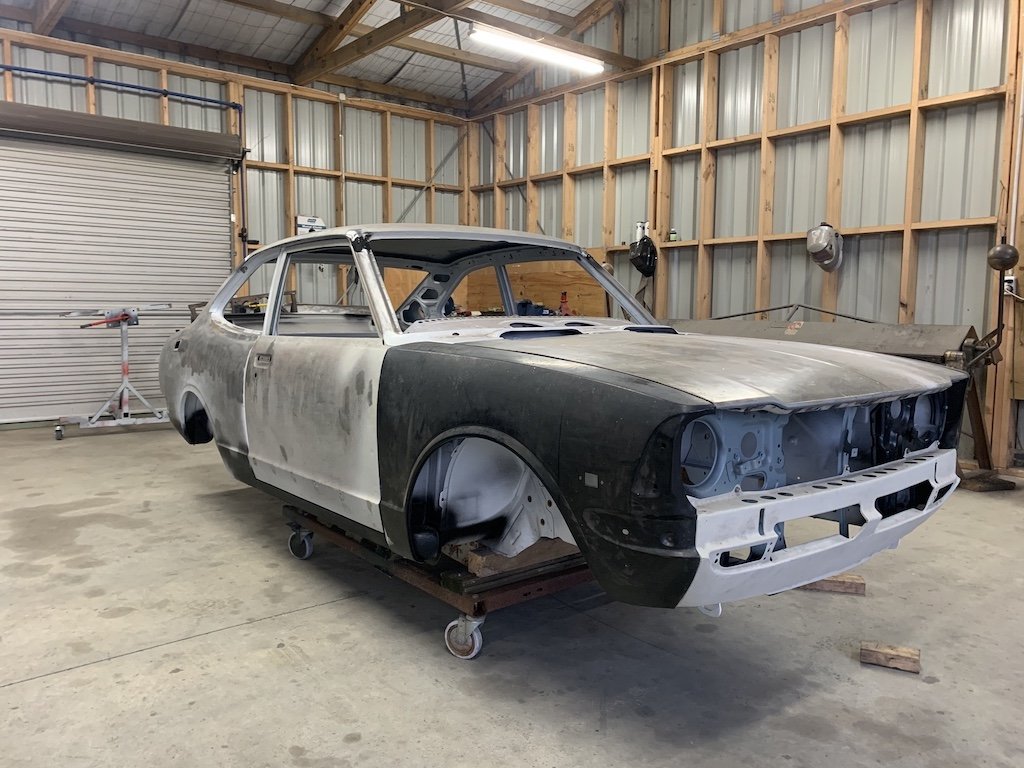
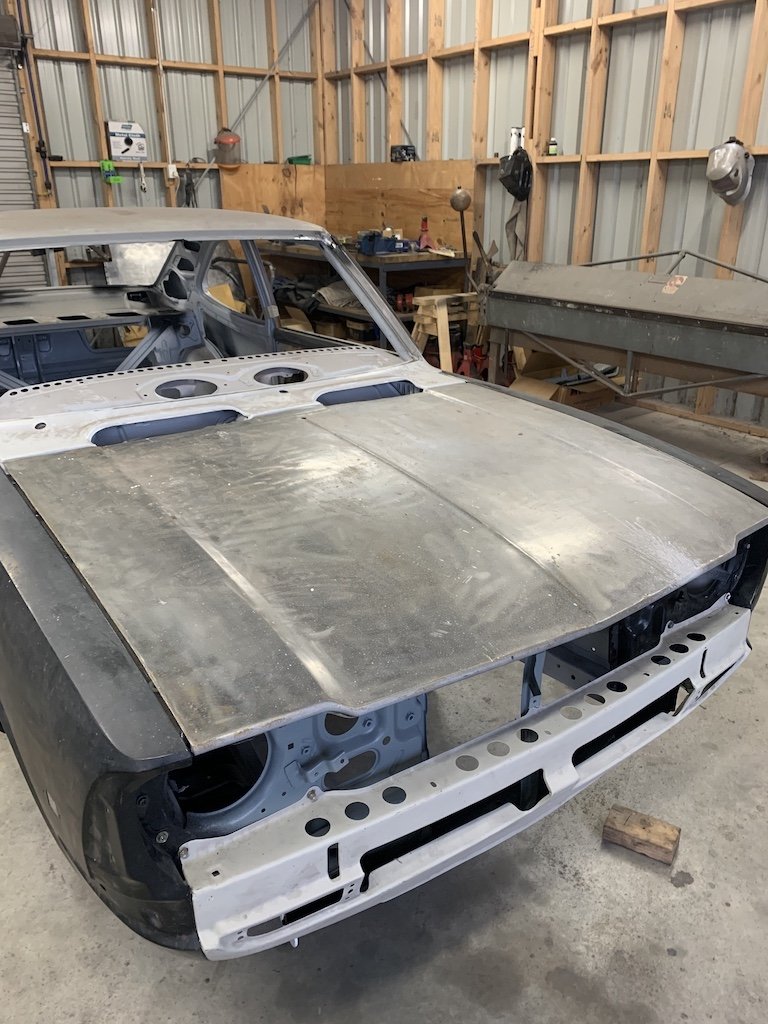
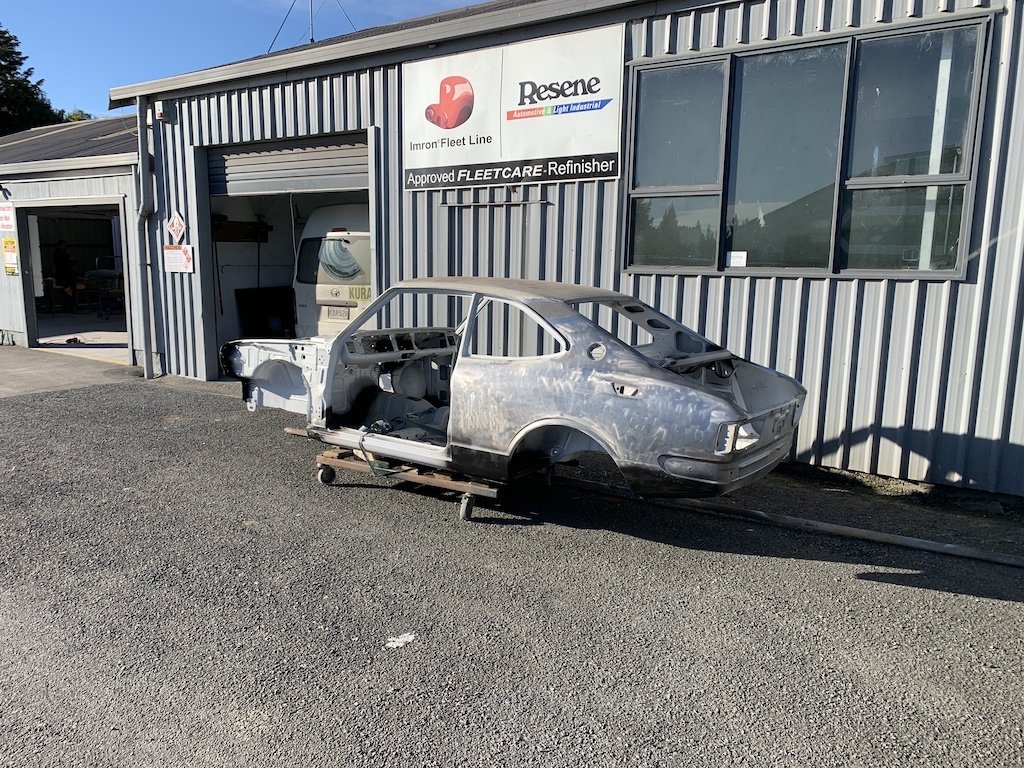
Two nites in a row I went and looked at it and just didn’t know where to start. There’s plenty of pretty complex shapes and curves to tackle. Today I bit my lip and sunk the grinder into it! None of this really needs to be finished too flash unless it’s an edge or close to the skin. The grey side isn’t seen at all. Can’t imagine the car will have the bonnet attached at repair cert time either. Then mint.16 came and got my Honda monkey bike going after over a year so that slowed progression a bit, but yay!1 point
-
Today was the warmest day we’ve had in a while so I rushed home and got a few coats of etch on
1 point
-
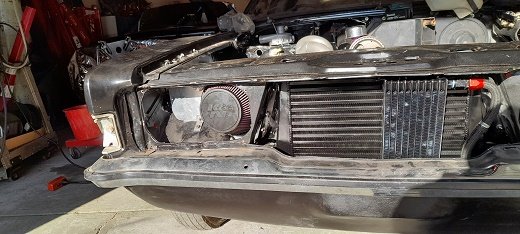
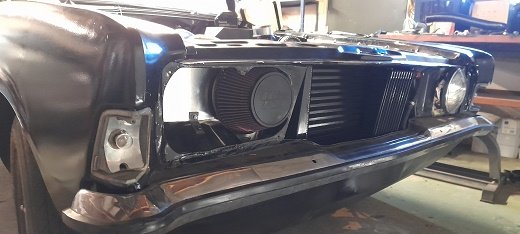
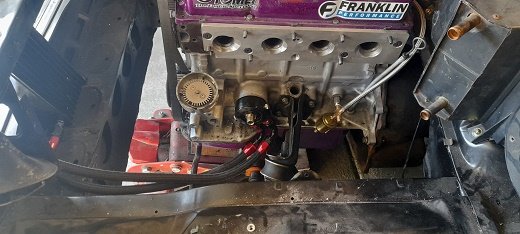
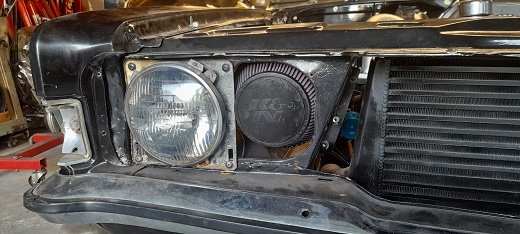
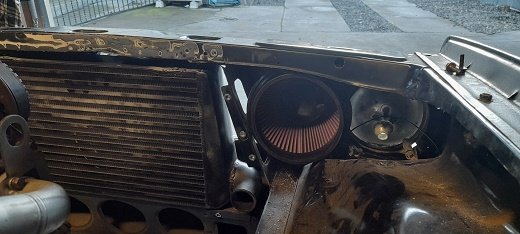
decided it may pay to run a oil cooler and i had one sitting on the shelf (may be bigger than i needed but it was there) i struggled to find somewhere for it ..i am trying my hardest not to just cut the shell up and remake stuff...so i removed the inter cooler trimmed 2 tabs off the oil cooler an mounted it on its side. remounted the intercooler for the 3rd time ...even had room to just snake the oil cooler hoses out by the intercooler outlet. i remove one of the grill mounting plates an decided to mount the airfliter there ..by the headlight an under the slam panel.. should get plenty of col air an i can make a shield to block it off from the engine bay heat.. the filter is a k&n with a 6"inlet lol....i knoe its over kill but i ha 6 filter adapters (6" - 2.25" )from the 6 cylinder cortina (was going to make trumpets out of them.......lo dint work) also may need to move the battary tray to the rivers side so ecided to use some heat ducting for the turbo to filter .....should work well.
1 point
-
Well that was never going to fix itself was it.. rust bomb with a lit fuse! Remember I said I spent ages with air and vacuum yesterday getting scale out? Missed a bit.. Thankfully the skin is 95% mint, it’s just the very front ‘nose’ section that’s let go. Plenty of hours in the frame though. I’ll clean it up and rust kill it and paint it then put the skin back on before I repair it so it doesn’t get out of shape.1 point
-
replace injectors as mentioned... pumps can get expensive and not so easy to change so leave it till last imo I'm guessing it's got a 10psi actuator on the turbo... so I would remove actuator line to turbo and see how how much boost it makes(use your foot to control the boost, it may goto 30psi quite easily if fuel is turned way up haha), turn pump down until it only makes ~11psi total, then refit the line to actuator, this way you know your total fueling isn't too high... If the gate is open then it's wasting fuel Diesels are the opposite to petrol, they are safest when running lean.1 point
-
1 point
-
1 point
-
Woohoo! we somehow failed on a boot floor though, oops. Packaged really well, 9 boxes with a holy shitload of newsprint and plenty of bubble wrap. They threw in a catalogue of their Impala range, very thoughtful hahaha1 point
-
My parts! My mothafuckin parts are in! Mrs is taking wagon in to work tomorrow to collect for me, then expect more photos when I pull it all out and pine1 point
-
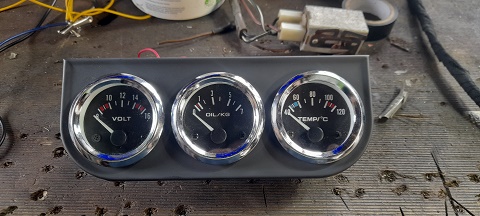
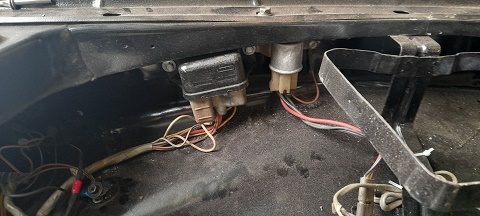
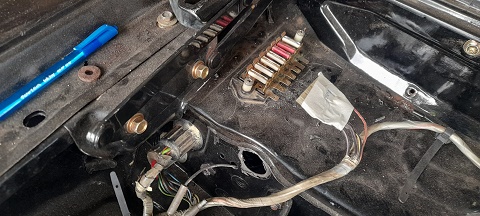
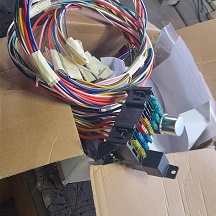
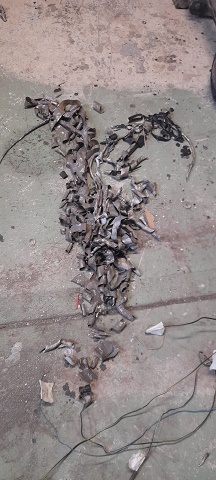
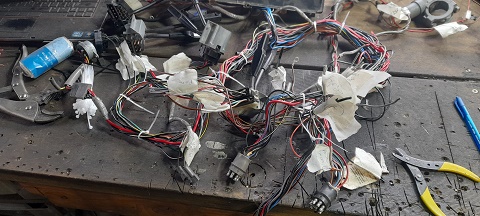
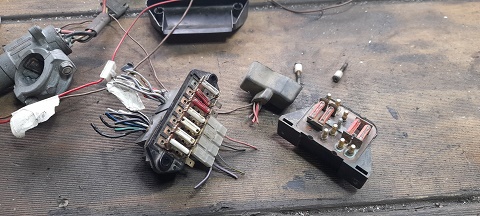
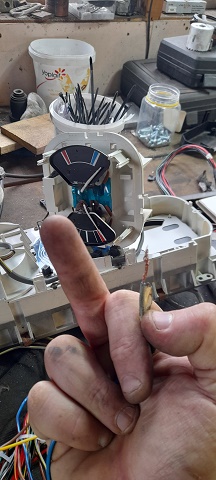
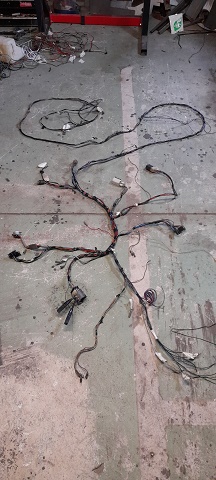
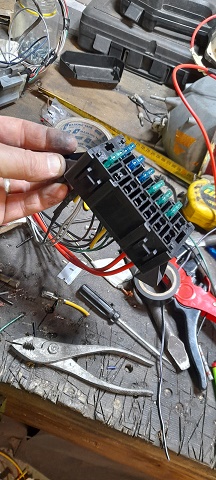
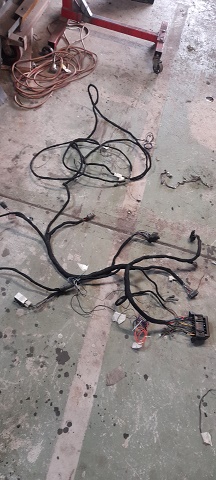
ive had a issues with the wiring from time to time....sometimes it all works .others just some of it.... it doesnt really help that most of the loom is from the rusty old wagon and the rest is made up of 2 other part looms. it doesnt help that its old and sat in a car unused since 1984 .but i need to know the wiring is all good and up to the job before i go any further .. so im going to get rid of these. and replace it with a hot rod /universal wiring kit (its not really its just a fuse box with wires) so i pulled it all out again....removed the engine bay side of it for now and started to focus on the just the main loom. once i started peeling all the old loom tape off it started to show some treats so ive been doing this over the past couple of weekends trying to get it all sorted and see what's what and how it all works before i remove all the old fuse boxs and label what i need . while i was making sure it all worked and going through each wire i couldnt get the fuel gauge to work at all..tried 3 senders and jumping the wire and nothing...pulled the gauge itself out to clean it and found the small needle was stuck behind the small screw at empty lol.......few hours of my life i will never get back. all sorted and working 100%before i add fuse box i left it over night and thought about it somemore ....then in the morning i ripped all the wires from the fuse box and made it work. and then went through it all from the 100th time...made sure i had added extr wiers for all the extras and removed all the stuff un needed.. added wire to move fuse box into glove box (as i will with ecu and wide band gauge....and the wrapped it 70m of loom tape and last bit found some oldschool 3 gauge set for 15 bucks and bought them.....sanded the chrome and painted it matt black......and all wires are in the new loom.
1 point
-
Few more hours this afternoon wonder if they spot welded through this sealant or injected it in after? im lucky in that it’s not a full/dusty corrosion, just around the rust holes! wasn’t too bad inside the drivers sill. this is inside the sill again. I didn’t weld it up today as I wanted the Brunox to cure. patch pile growing1 point
-
My lovely lady surprised me with some more bits.. bottom rear screen corners and screen chrome clips + Screws!
1 point
-
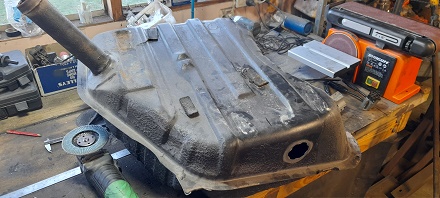
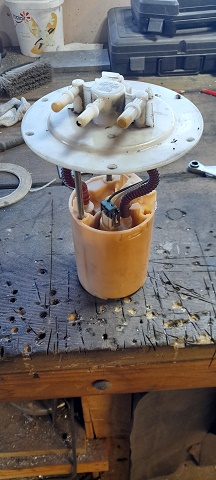
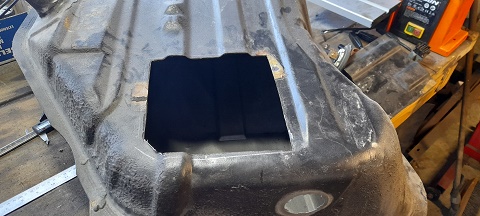
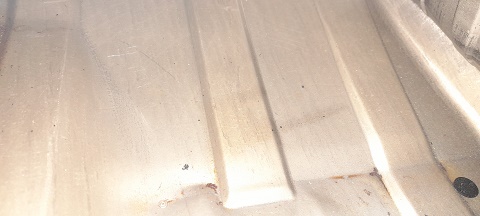
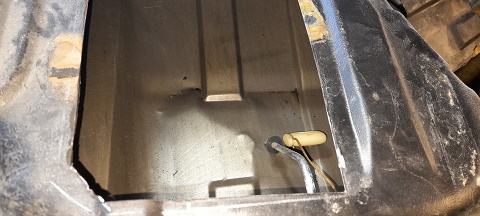
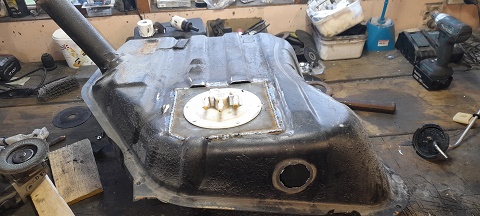
few things done today. god the old diff out and rebuild LSD aussie diff in with rear swaybar..just need to sort some shocks and get the drums and rear shoes done.. l decided to put the springs in that came in the white mk3 in as they seemed lower ...not sure what make they are bur not cut and totally different to standard spring way harder and as it turn out 55mm-60mm lower i also thought i would try the wheels i have. now these rims arnt normally the sort of thing i would buy buuuuuut i wanted 15x7 .4x108 and 0 offset and these are just one of those .....but blood cheap and brand new..so i bought them as they are 15x7 but have fwd offset and 4x100 stud pattern so with some adapters could make the fit perfect ...and they were so cheap. and as a mate is finding out there may be a lot of 15x7 rims in 4x10⁸ with0 offest about ...but no one has stock....so i tried them and to be honest i like it. and made a start on the fuel tank.....just basically did what i did with my other mk3 but no drop tank and i keep the wheel well BA rx6t intank pump...some plate with welded nuts on the back....made sure it wouldnt stuff with factory sender and cut a hole...,tank looks to be in good condition just has to bash some dents out...got a few small parts to cut and weld in and tack some spaceres to the top of the tank so the fuel pump doesnt hit the floor
1 point
-
Don't ever change John. Love your style.1 point


This leaderboard is set to Auckland/GMT+12:00