
Leaderboard


Popular Content
Showing content with the highest reputation on 04/24/21 in all areas
-
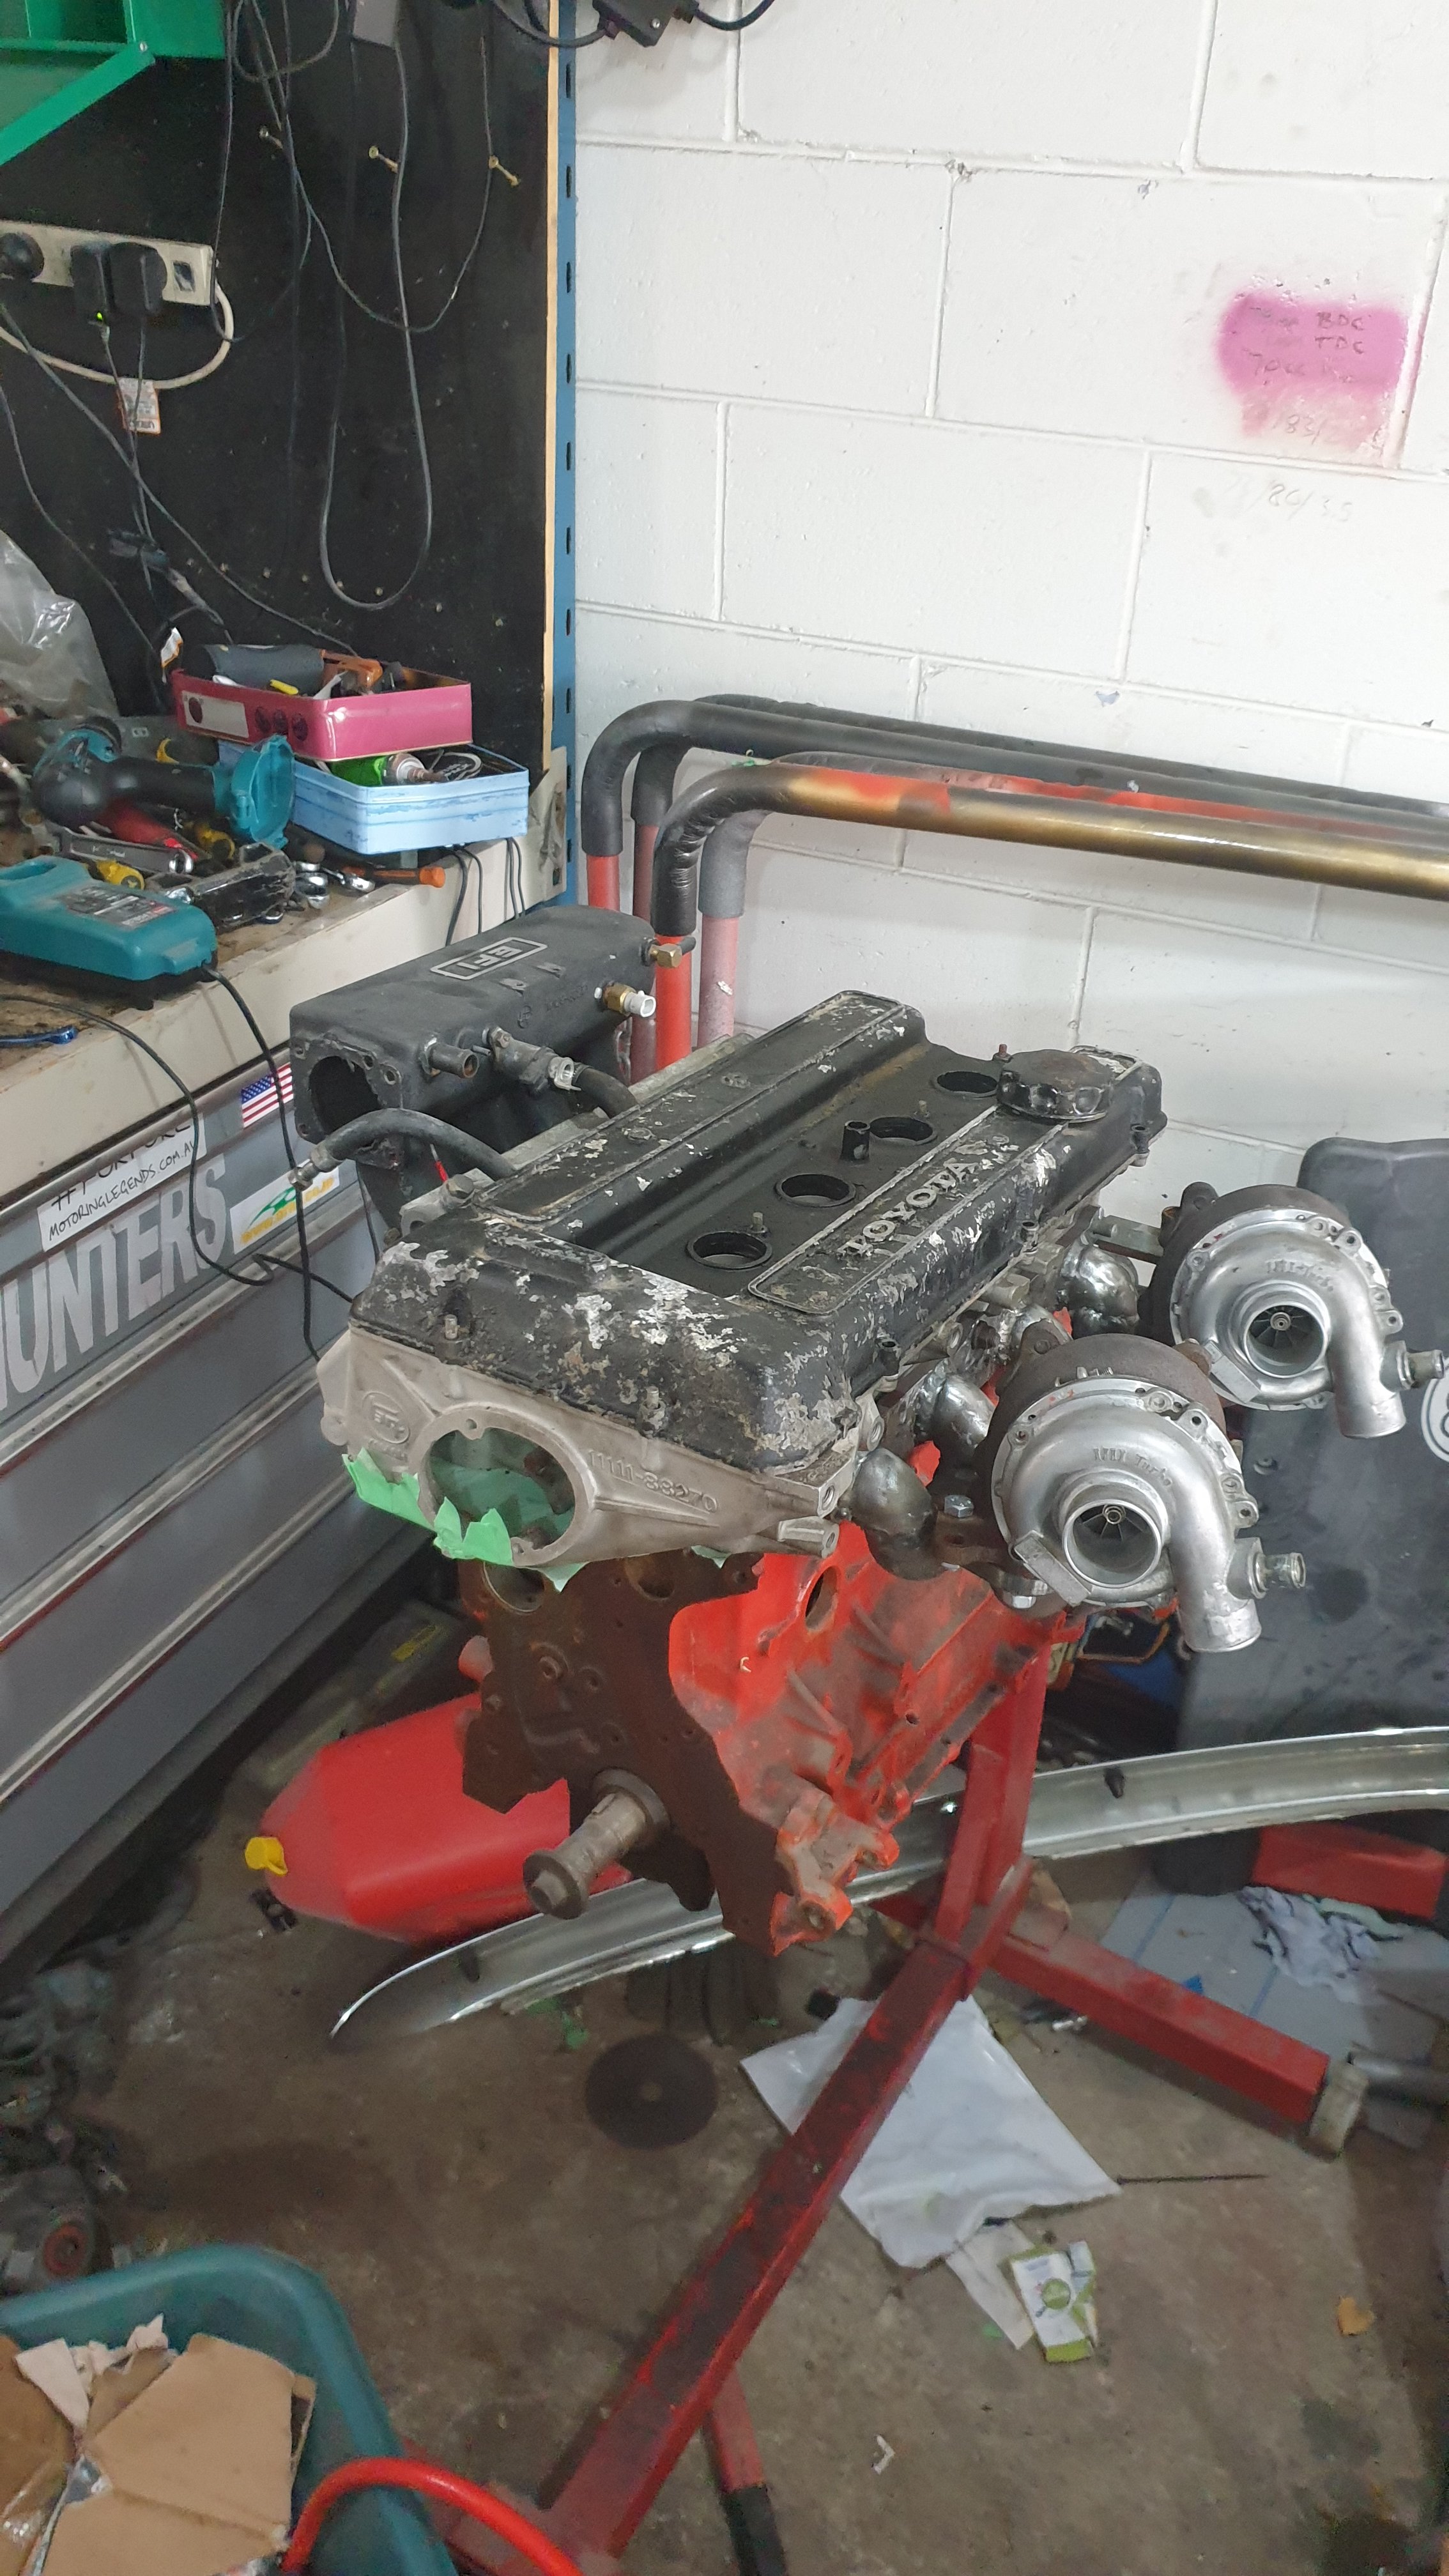
Super rough mockup with some not very pretty parts, but I'm extremely excited for how this is shaping up!
 8 points
 -
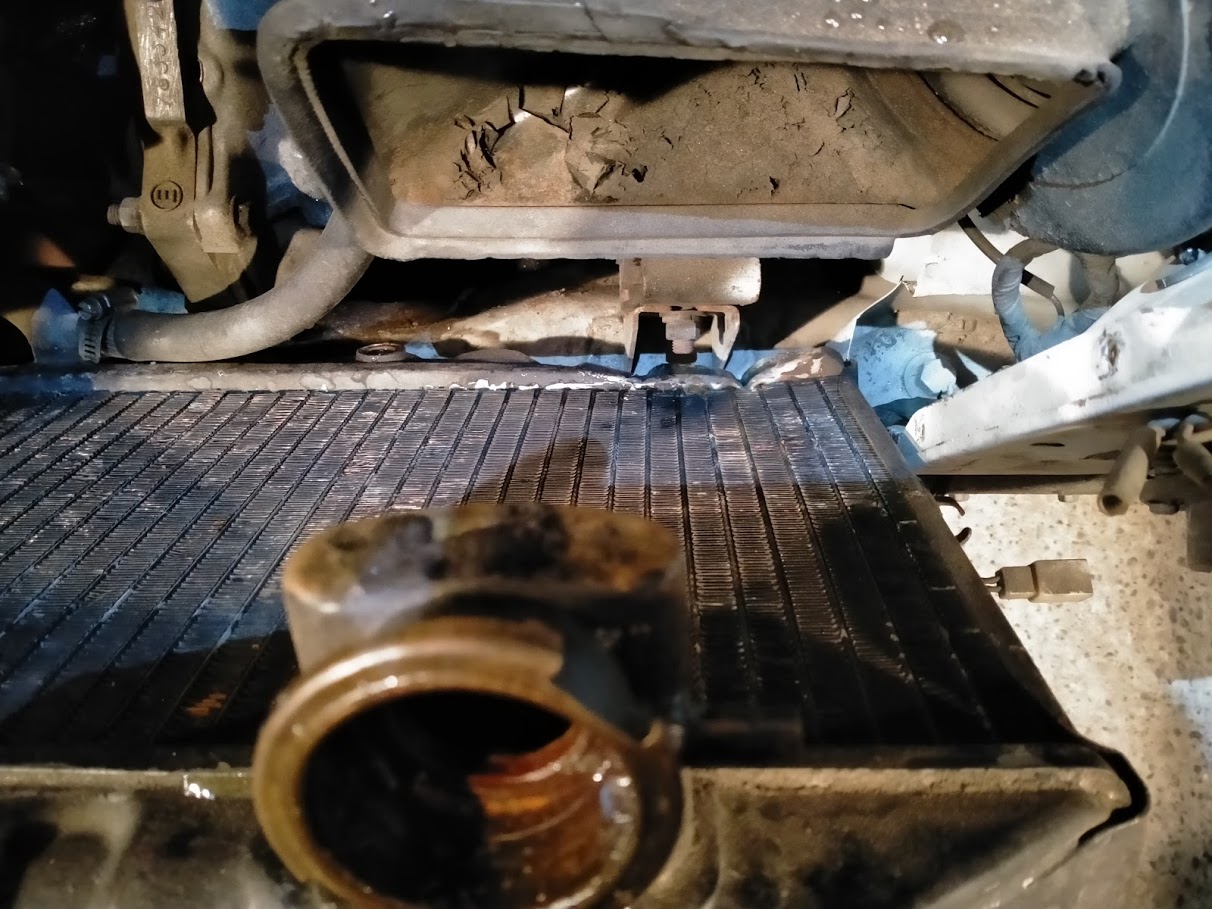
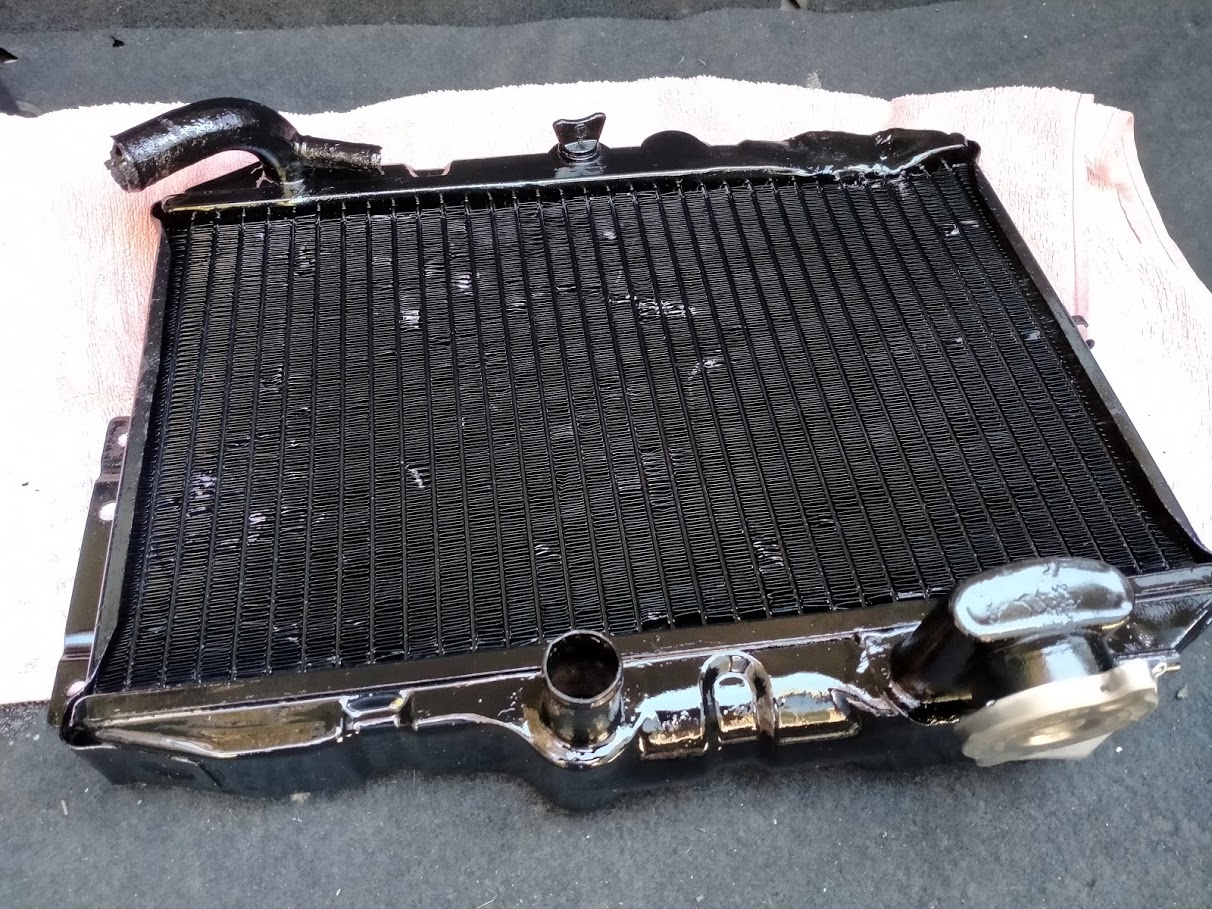
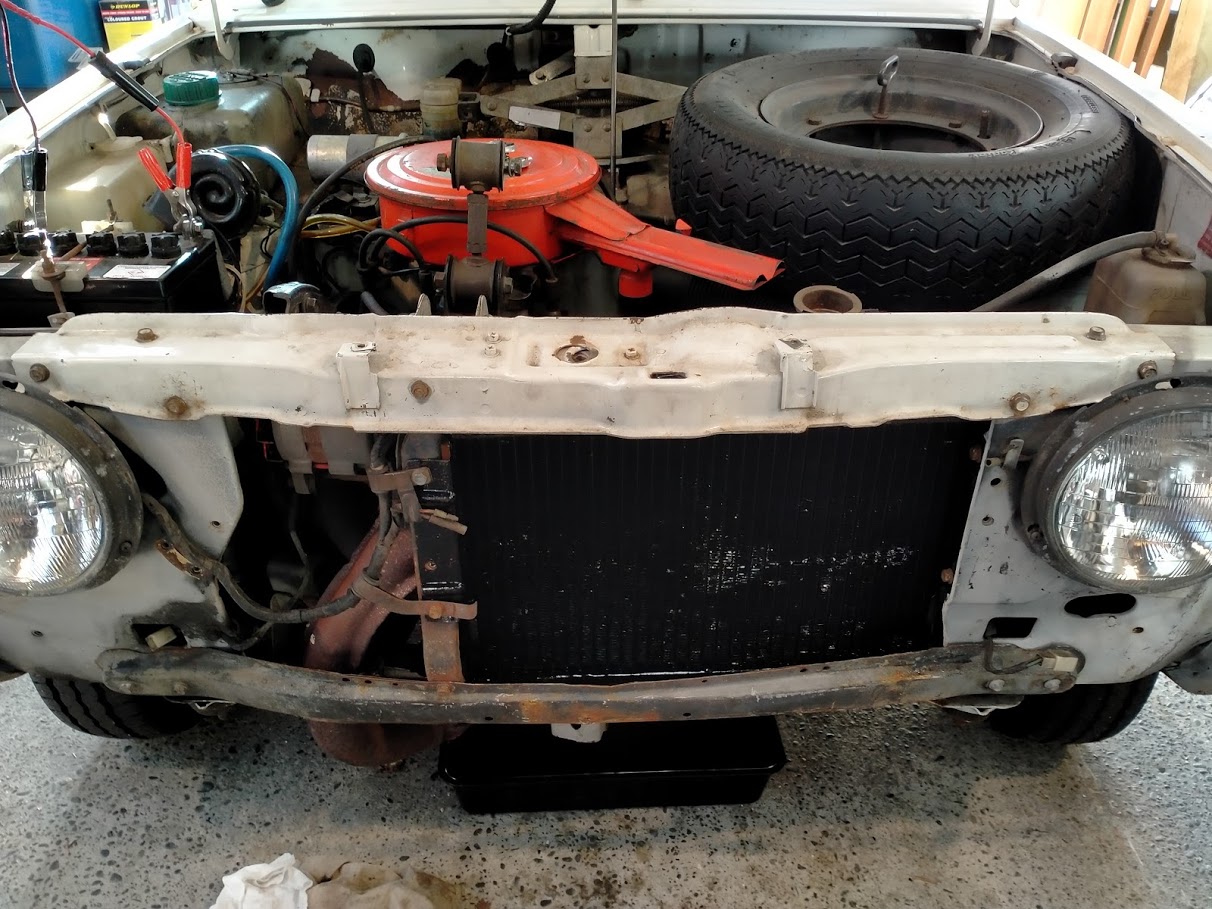
And then the bent radiator finally started doing wees on the floor. So on recommendation from local chaps, I went to A1 Radiator, who on request did a cheap and cheerful repair, which looks just fine. It's basic up front, so only 20 mins to get it drive-able / testable.
7 points
-
Some updates. Waikumete upholsteres made a carpet for me. 2 pieces, like original, and we found a loop pile in maroon! Which was brilliant, as I really wanted a loop pile for that more premium appearance. 20210321_161234 by Richard Opie, on Flickr 20210321_165710 by Richard Opie, on Flickr I think it turned out pretty well! Did the boot also, but I haven't got a pic of that for some reason. 20210408_210246 by Richard Opie, on Flickr Engine and gearbox came out again. This is minutes before it all lifted out. Very easy. 20210417_114901 by Richard Opie, on Flickr Pulled apart the gearbox with great guidance from Earle McFarlane. 20210417_121227 by Richard Opie, on Flickr Measured all the clearances, then pulled it apart. Selector hubs are a bit pwnt, there is excessive wear in the shift forks, bearings seem all right but they're all being replaced anyway with all those parts in the post above. So now the mainshaft has been assembled (in my absence) and we are just waiting on the forks to come in from Japanland so we can reassemble. 20210330_125040 by Richard Opie, on Flickr Since the motor was coming out anyway I thought it'd be a good time to get the top end sorted, as it's only ever been a stock head and cams, despite the bottom end being built/hi comp. This is a spare smallport head that I spent a while scrubbing in the shed to get clean. 20210330_125016 by Richard Opie, on Flickr I then thought I'd try cold jet/dry ice blasting as a bit of a test case on the cam boxes to remove the baked on sludge and scum. This is the result. Pretty awesome! I'm going to be using this process to clean some of the undercarriage parts in situ on the Honda. 20210331_084622 by Richard Opie, on Flickr I stripped the head myself, once I learned how to remove the collets from the retainers it was all pretty simple. Here's the head, with all the bits catalogued and in containers, with the Kelford 193B cams and Supertech retainers/springs I bought ages ago for it. It's in with Alan Harris at Harris Performance Engineering (previous Lynn Rogers) for porting, some tickles on the combustion chamber and a port match of the ITB manifold. I then got to thinking about what audio this car is going to have, even if you can't hear anything inside it really. Initially, I was going to run a modern Bluetooth head unit in the glovebox, and got as far as buying this pretty rad Sony unit that has 50wrms per channel - from a head deck!!! Enough to power anything, speaker wise. But then Ed sent me a link to a Yahoo auction that changed things. 20210422_172330-01 by Richard Opie, on Flickr 20210422_172308-01 by Richard Opie, on Flickr This is an AD-189T fitting kit/adapter produced by Pioneer in the early 80s. It fits a 'B' type head unit, which is conveniently what the 'component' systems of the early/mid 1980s are. Before the standard DIN size we all know and love today. It replaces an entire middle panel on the dash, replicating the OEM fit where normally there would be a spindle mount head unit (as is the case on my factory dash). I had never, ever seen even a picture of one of these kits before, let alone a NOS one on Yahoo. So I bid on it, because who doesn't love period accessories. And I won it. So then I thought I'd probably better find a head unit to fit. 20210422_172407-01 by Richard Opie, on Flickr I ended up with this Pioneer KP-717G tape deck. Note - it's a tape deck only, there is no AM/FM radio or anything with this, as was the style of the component systems of the time. This one was listed with a clean bill of health, and some remedial work done to ensure it was operational. The auction was backed up with a video to prove it. It's one of the higher end units in this range, with Dolby NR, adjustable tone controls, all the fruit. It doesn't have an amp on board - luckily Ed has one of the Pioneer GM-4 amps for this to plug into, that will find it's way into my car. 20210422_172454-01 by Richard Opie, on Flickr This is how it should look when installed in the car, using the AD-189T kit. Fuckin. Awesome. I reckon. 20210422_172612-01 by Richard Opie, on Flickr 20210422_172638-01 by Richard Opie, on Flickr And this is essentially what the initial system I run will be. Later on I may add some fronts - I have some NOS Pioneer TS167 coaxials, and also dual cones whose code escapes me right now. These TS-X9 are incredible though - I had them wired up to my amp in the house and they produce enough bass you can actually feel it through the floor. How they achieve it, I do not know. Sure it's not sub levels, but it's a beautifully balanced sound that I hope will be loud enough to listen to while pootling along at slow speeds or stuck in traffic. Thank you for coming to my TED talk. Hopefully, next updates will include a rowdy cylinder head, a slick shifting T50 and some Phil Collins tapes in the KP-717G.7 points
-
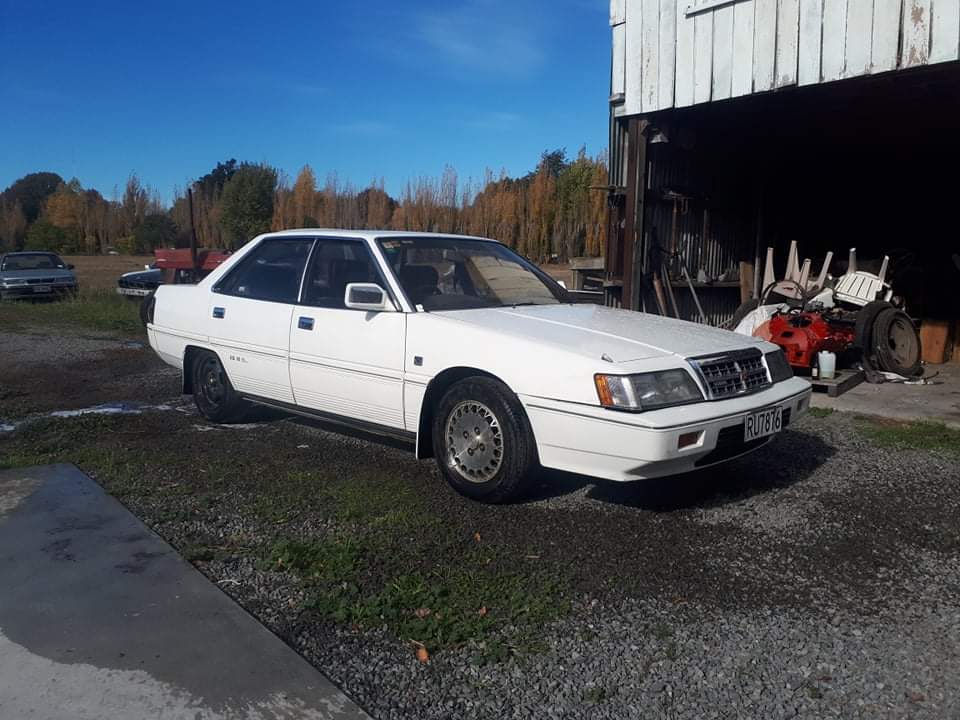
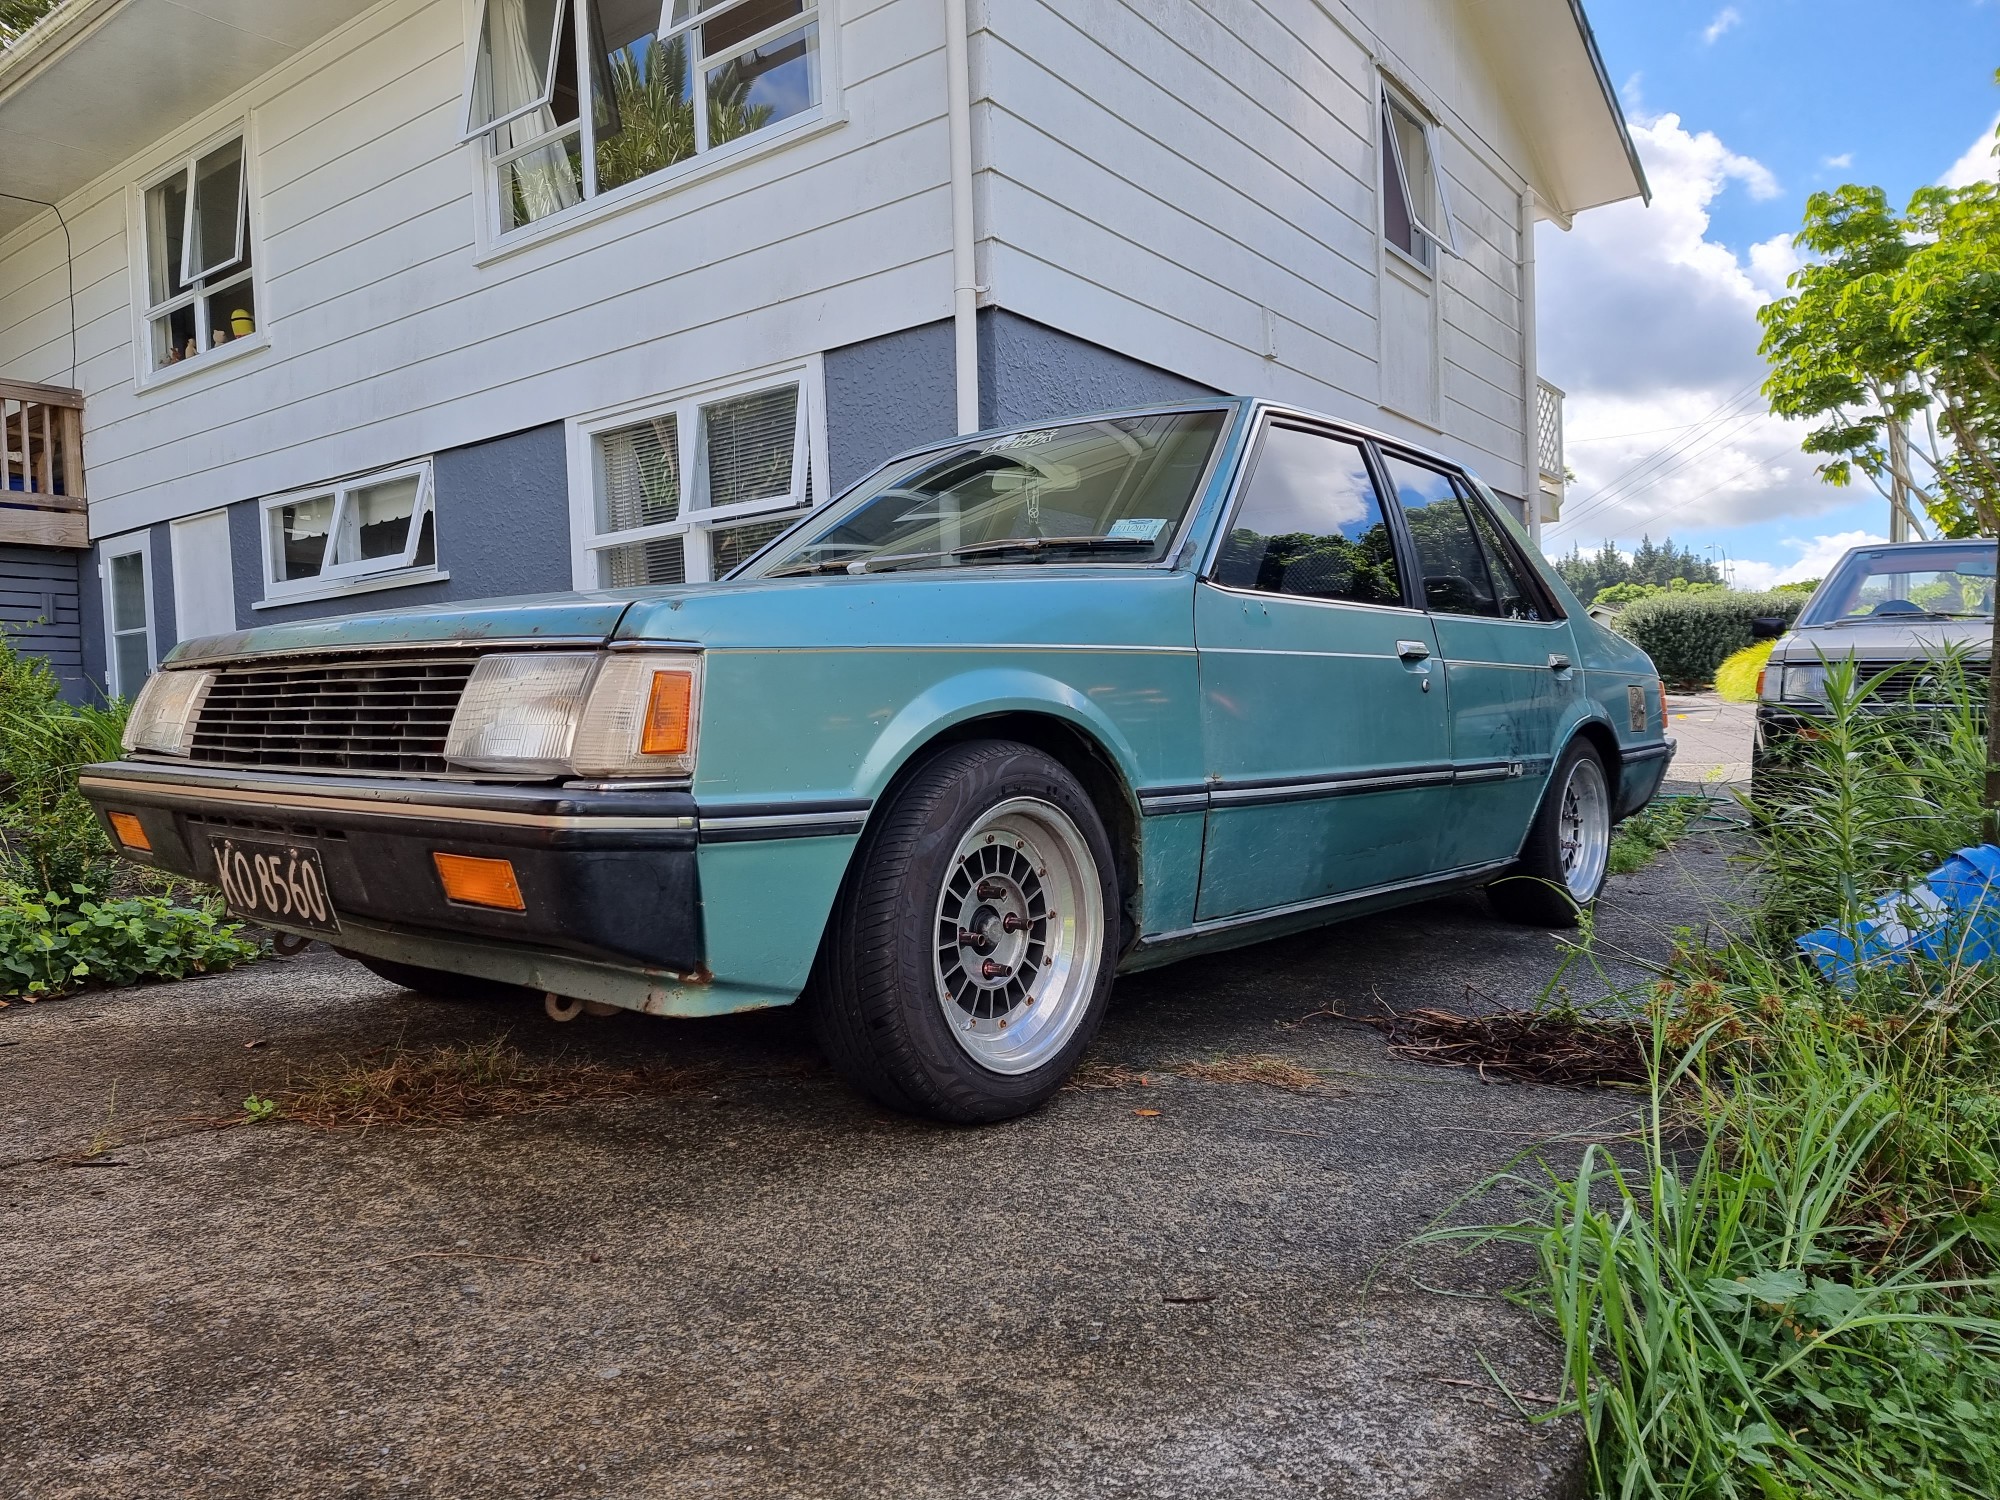
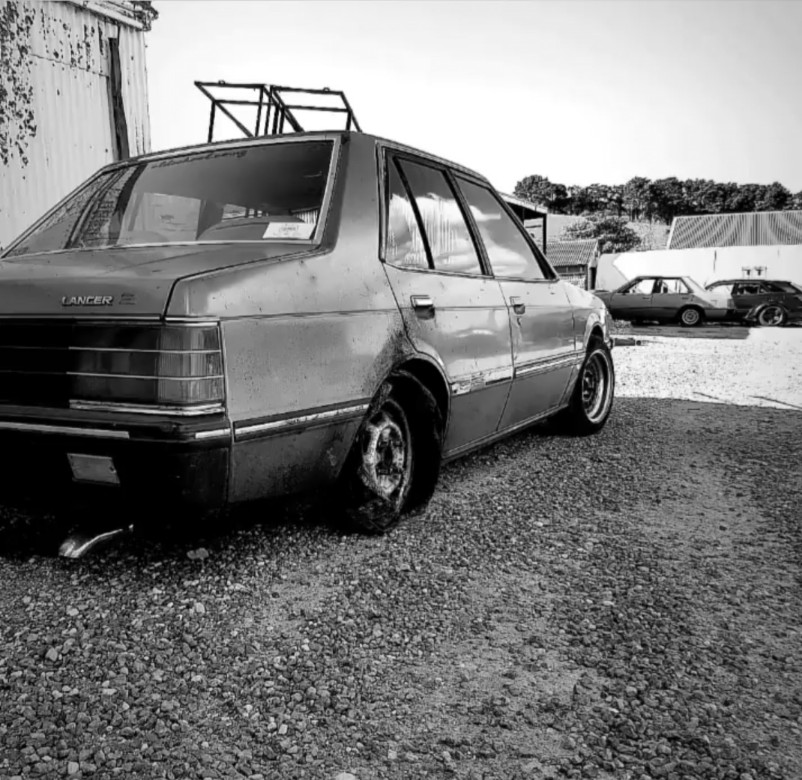
New stance: Super happy with how it drives, rides and steers so much better. Unfortunately though my cunning plan that the new suspension would distract the WOF man away from the rust around the windscreen and A pillars didn't quite work, and she failed her wof last week. Prolly $1k to fix, but there's niggly bits starting elsewhere so teetering on going all in and do the full effort blast/fix/total respray. Soooo, anyone able to recommend someone in the kato that will do a damn nice job for a very decent price? Got a couple of ballpark quotes already, but keen for some oldschool recommendations... Cheers
6 points
-
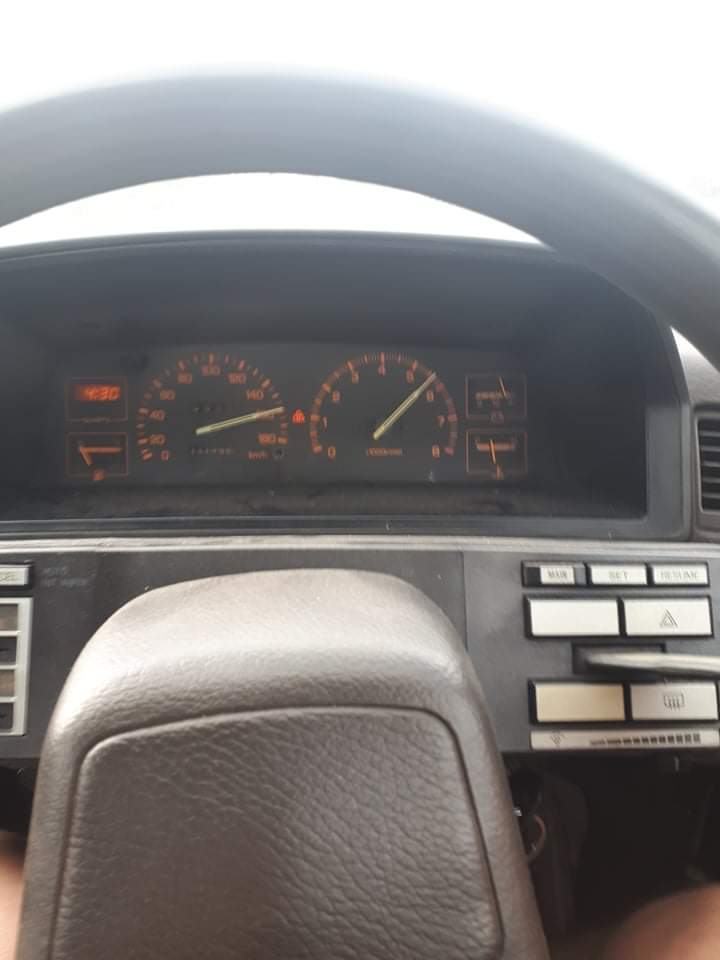
Get back on the main page. Got a set or soft lines for the rear brakes made up today and some seals for the calipers got them back on an bled up njce and easy Got a new brass frost plug in the block. Was a prick to get in Got it all dialed in and took it outside to wash the dust off it. Took it for a run up the motorway to test out all the work ive done to it Which turned into this haha Transmission is working ok in 2nd 3rd and overdrive. But pulling away in 1st gear in drive it slips pretty hard. But if i select low it is ok.....dunno. old autos beinh old autos. Might put a few more kms on it and see if it improves.. Cruises at 100k pretty good for a little 2 litre v6
6 points
-
Ol mate of mine is down from Aucks, and was keen to go for a bash (which we did, unfortunately) so we did the dam to dam run again (Matahina to Aniwhenua) all went well on the way up, apart from bad porpoising again, due to ride plate being bent up from rock bashing the last few outings. On the way back my steering failed again, praise allah it was just after the gnarly rapids/pressure waves, but was about as far away from the car as possible. The dude that built it, had used a 3mm bit of ali angle to hold the end of the steering cable under that dash, and it sheered off. I managed to loosen the remaining bit of angle, and wedge the edge of the bit connected to the cable under it, then do it up. I added a cable tie to try stop it popping out. Amazing it lasted the trip home, but it was a bit nerve racking driving back thinking it could fail at any moment. We hit a few things as I was scared to do sharp steering movements, or go too fast, but we made it back. We hit a few things we shouldn't have hit, and I made a few poor piloting decisions, which has led to some hard hits, and some of the worst welds letting go, I've also torn the UHMWPE by the intake, which is a bit of a pisser, not sure how I'll fix this yet, Also, this bit protects the bow/keel/join in the UHMWPE (I dunno boat bit names) and I made a mess of it last weekend (ref: above video) So I have lots of things to fix/upgrade/rearrange/maintain now, so might take it off the road/river for winter and get to fixin! Regards, V "fuck that's a big rock" G.4 points
-
I'm the shittest picture taker on earth. But here are mine.
4 points
-
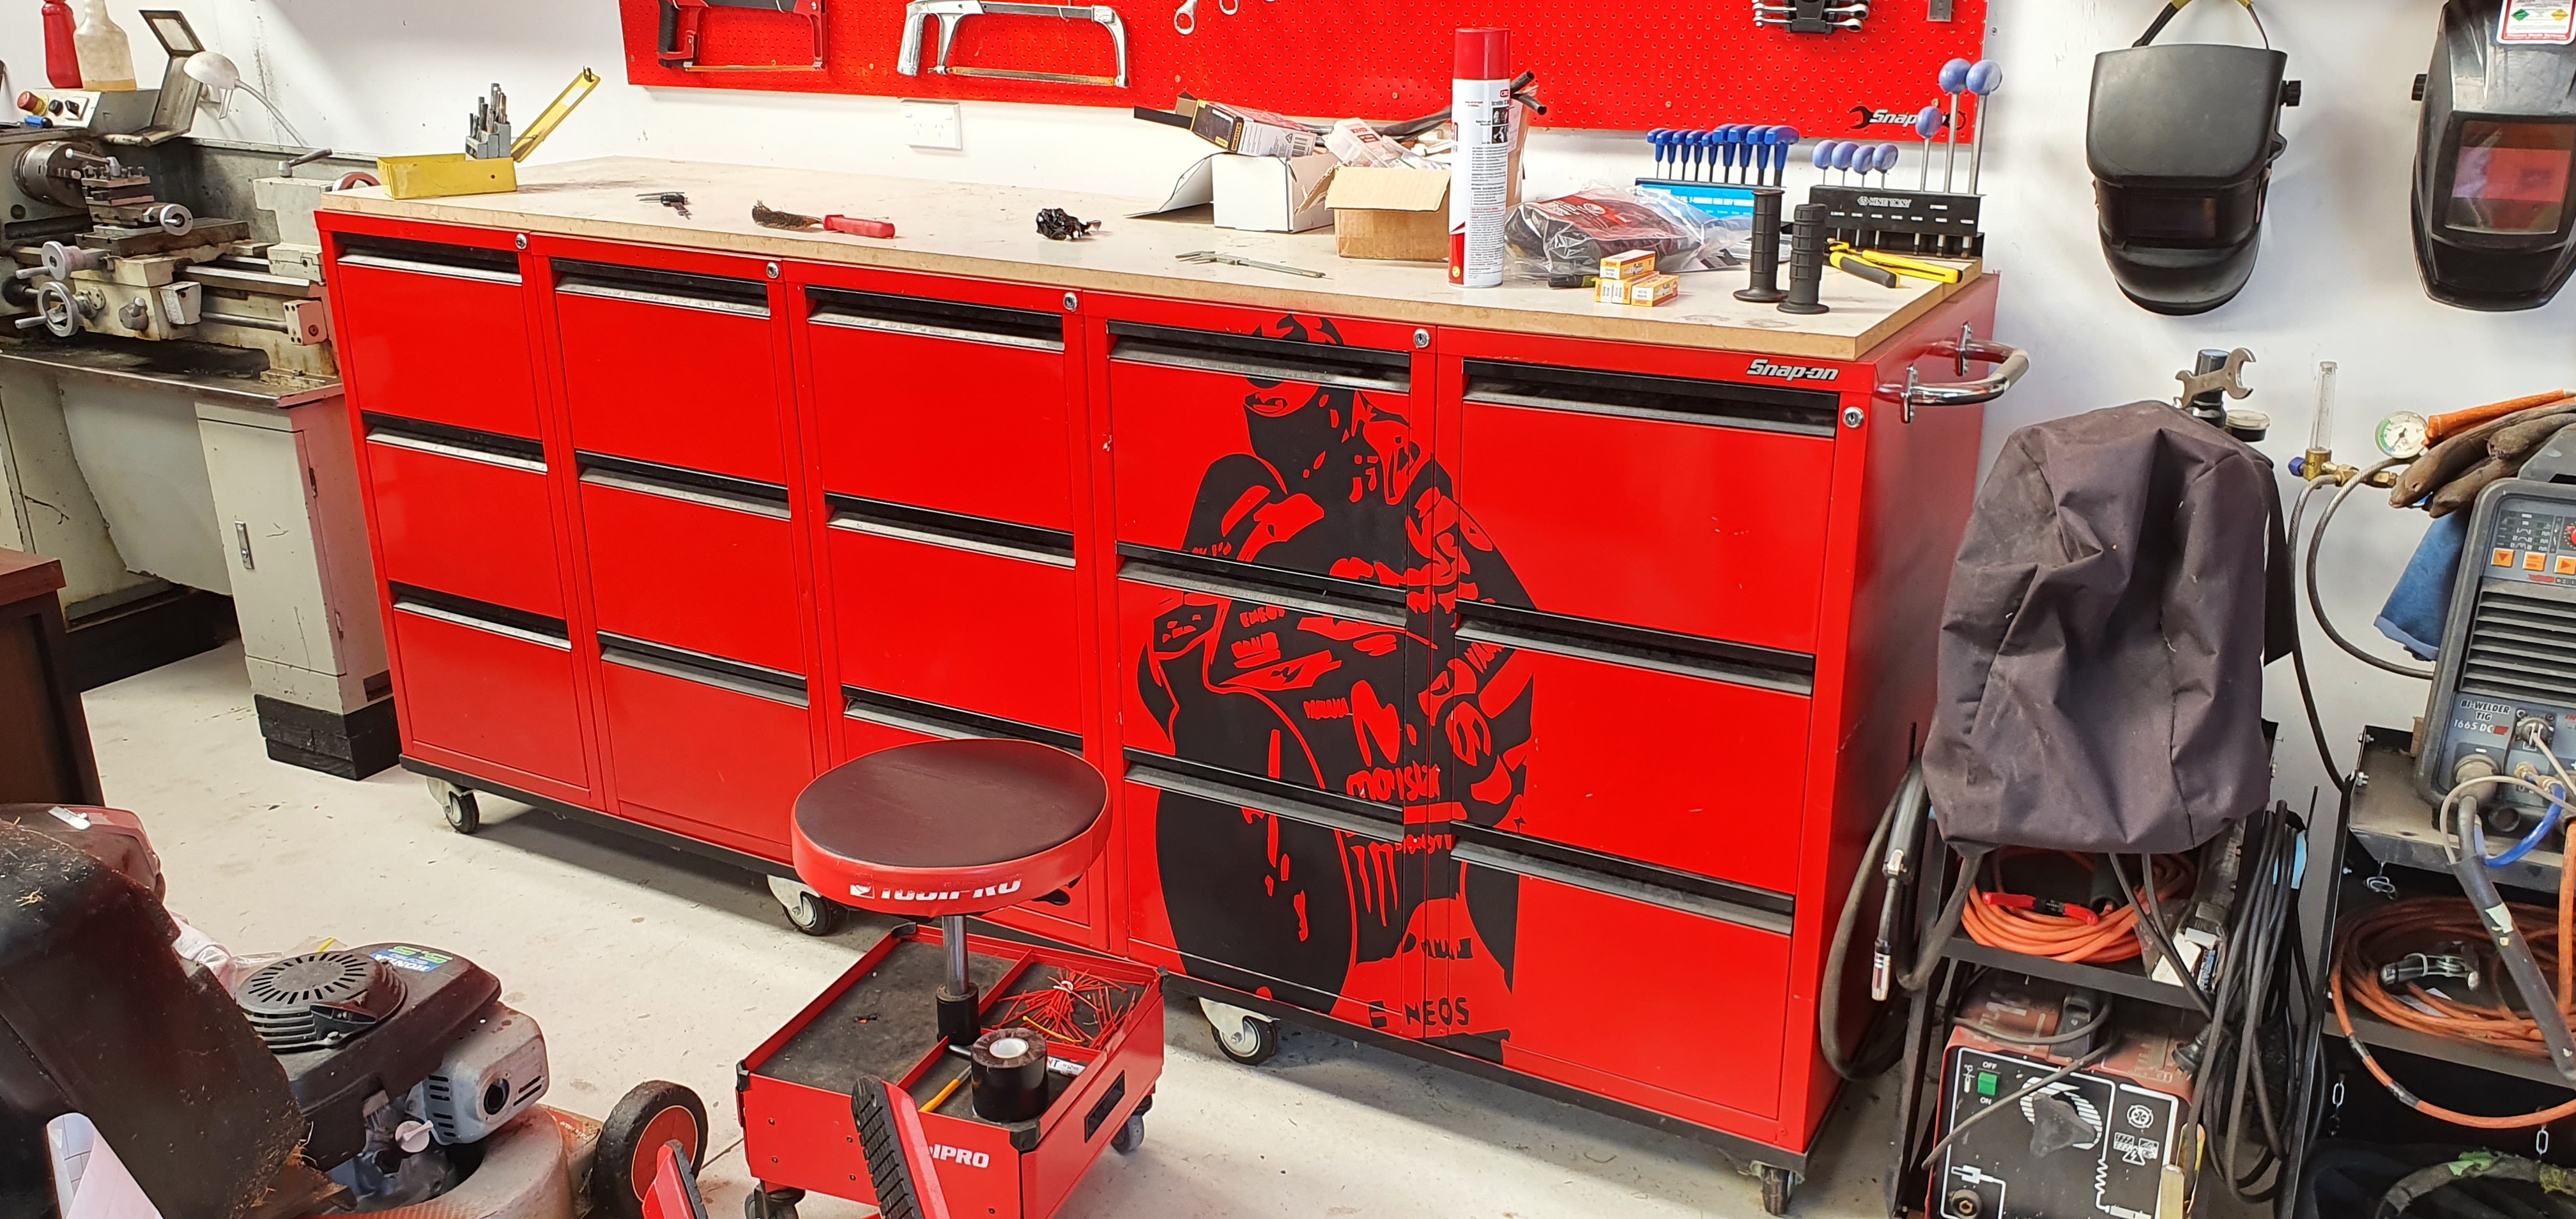
Toolbox art? Well if putting stickers on shit constitutes "art"? Was quite the mission to do and if I did it again I'd probably position it slightly differently...but meh, it works and looks basically like what I had in mind.
4 points
-
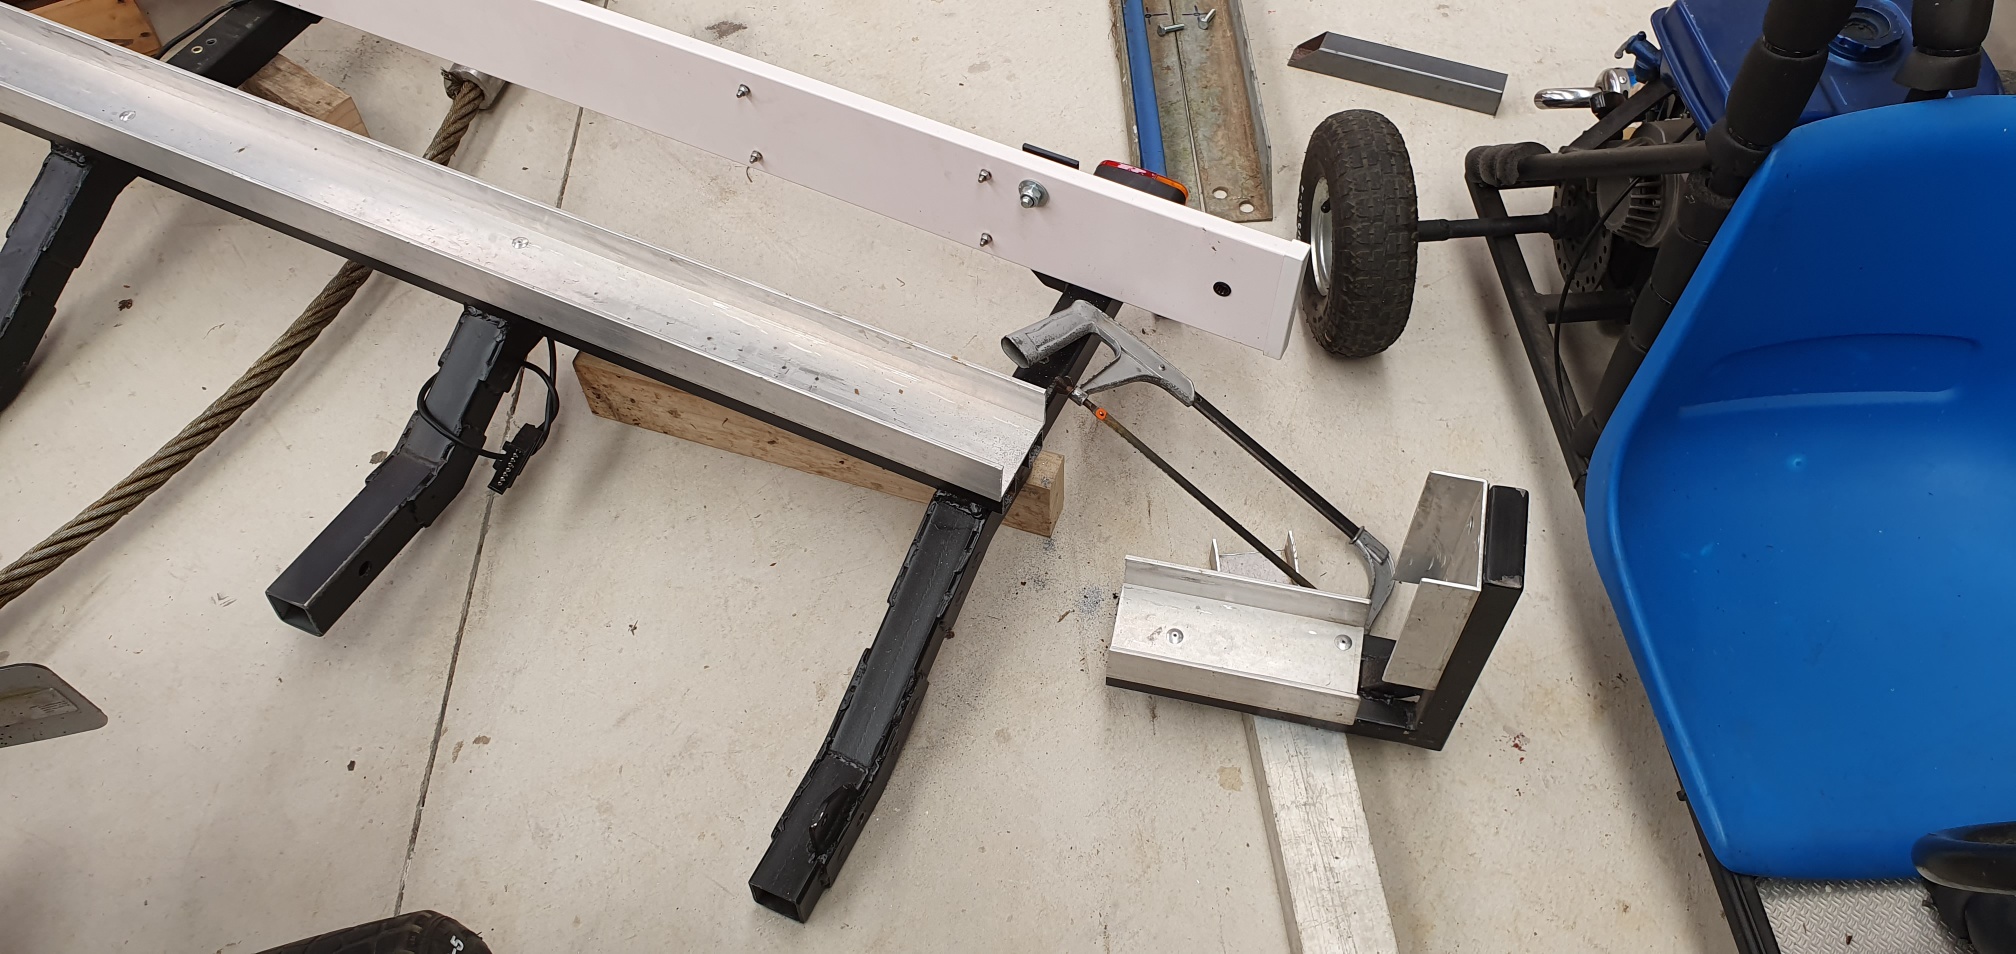
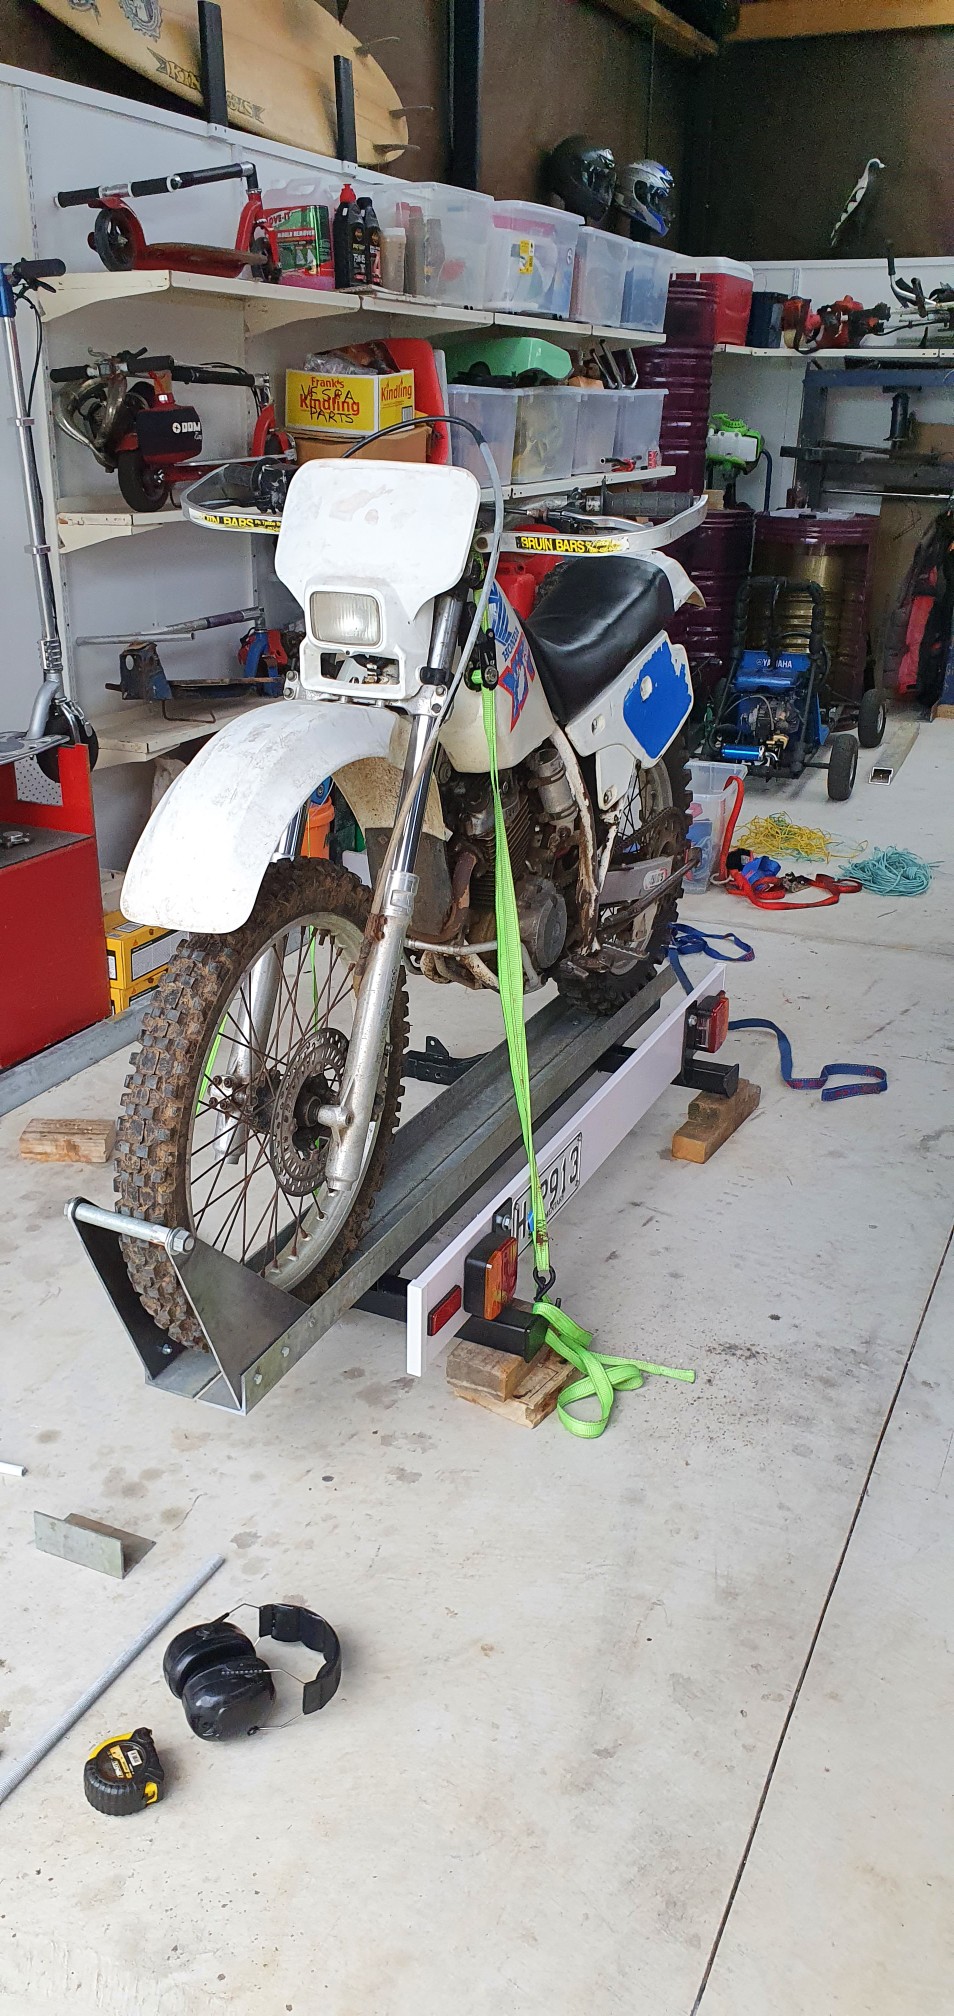
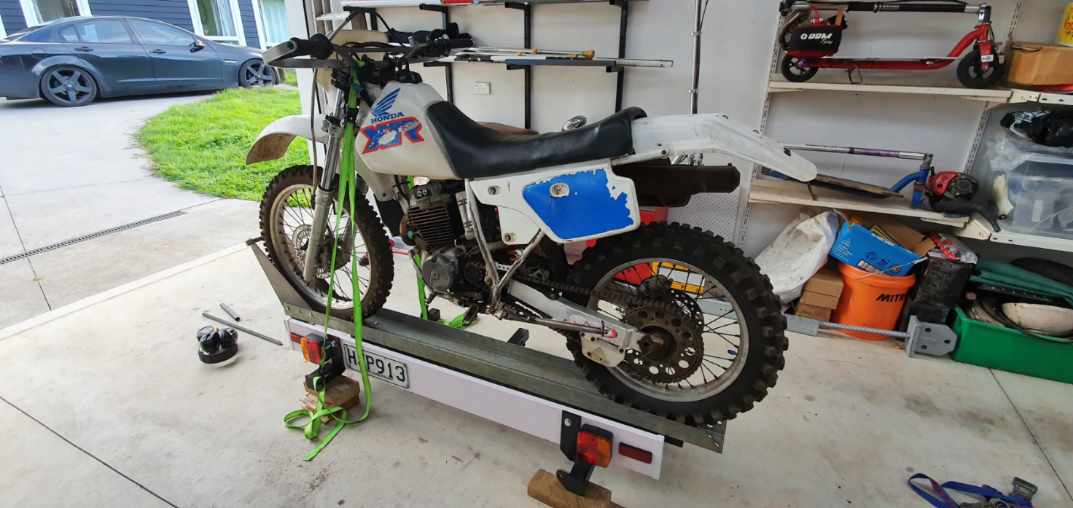
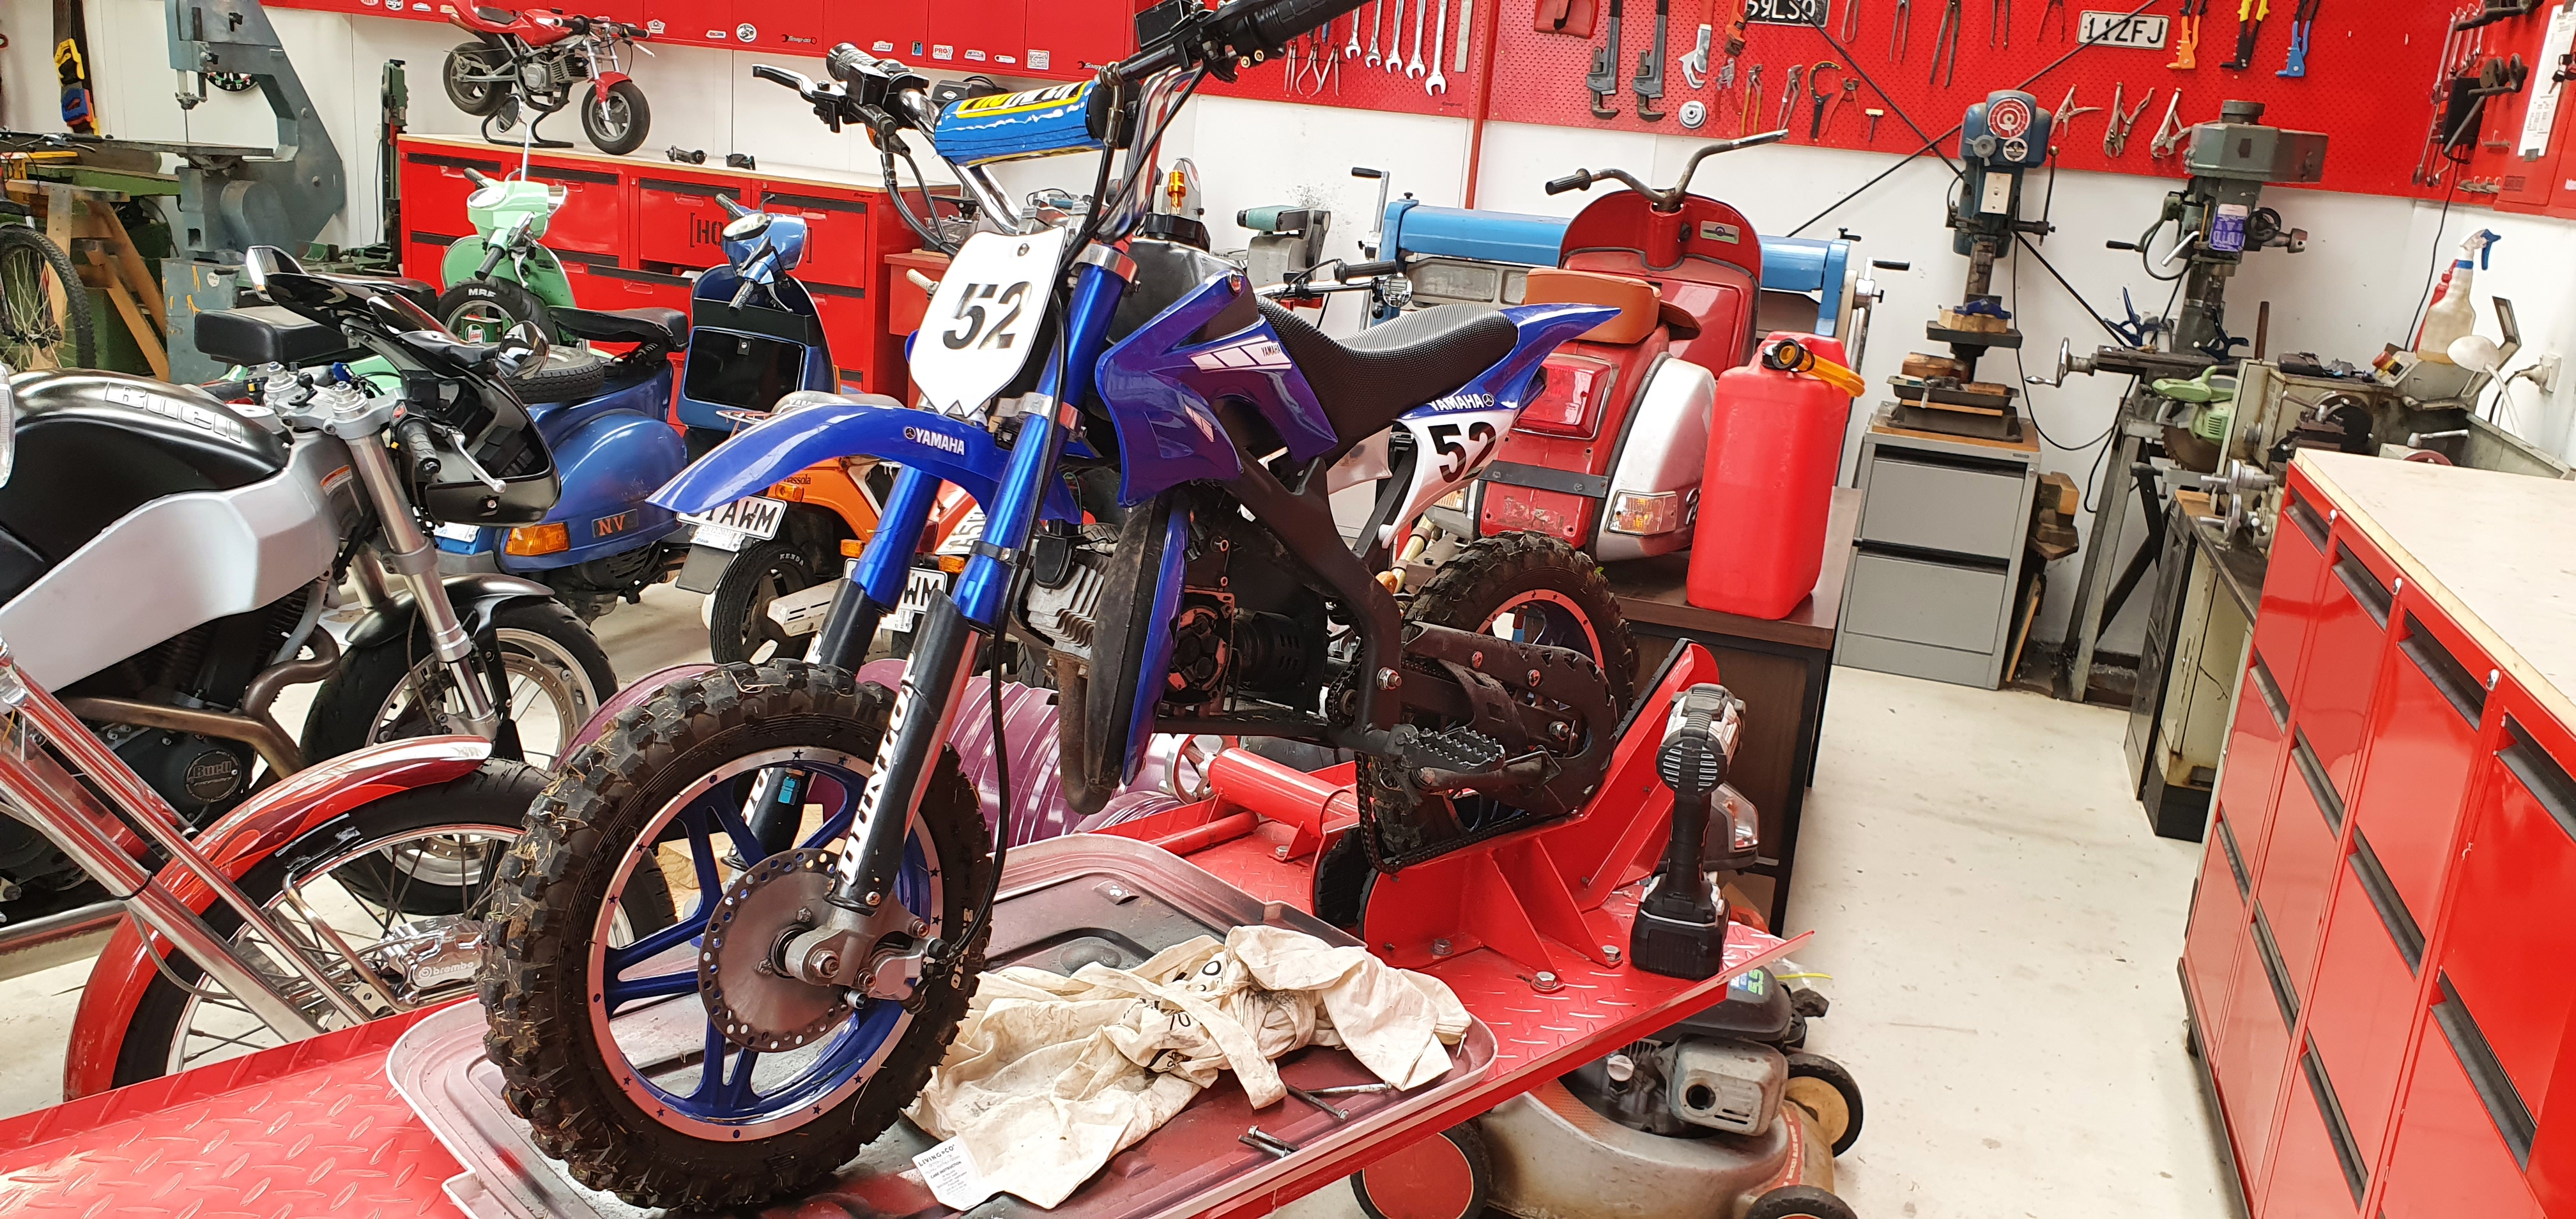
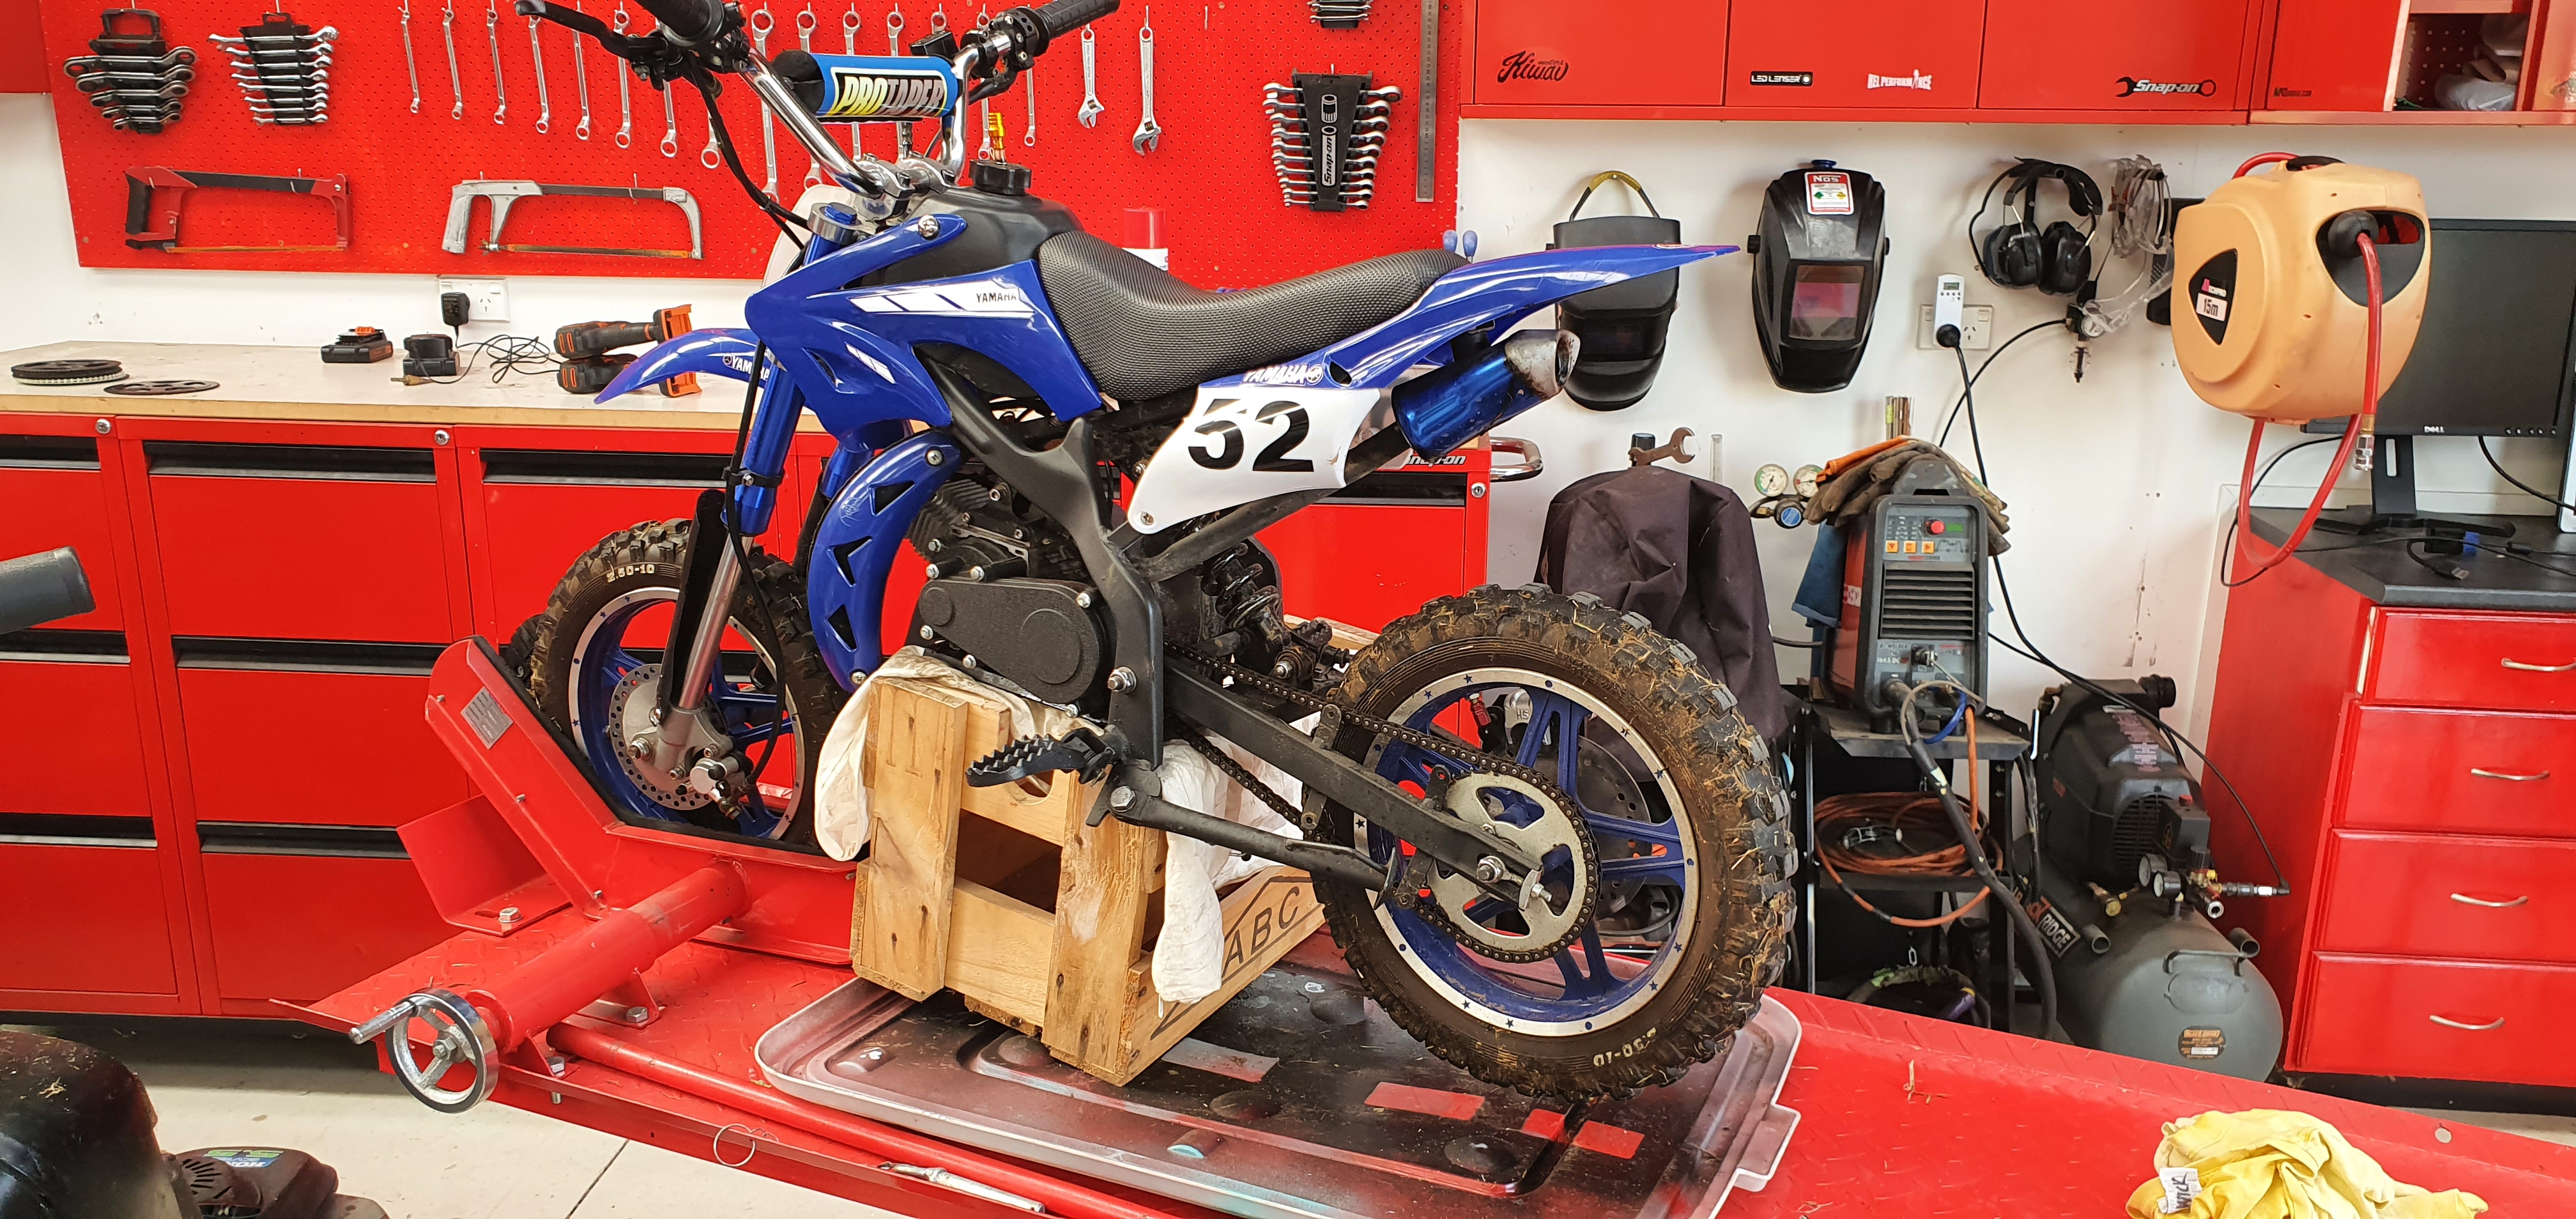
I gave the carrier some absorption time overnight. I was trying to take shortcuts, and just bolt on that solution for the dirt bike, while keeping the vespa channel as well. It increases the moment something terrible. It was already pushing the limits and the additional channel increases it by 30%, something i wasn't happy about. So... Tears to my eyes cutting this masterpiece up. Additional rail welded in. This took a lot of thought. But the solution was easy once I got the idea squared away in my head. Sorted!!
3 points
-
Ideally we’ll be blasting the underside and enginebay next week! stripped the heater A/C and junk out because it will never be more accessible/ save some weight baring down on my stupid little wheels and I can clean the mouse shit off. Some time in the past the furry sound deadener has got moist and that’s why there’s crusty bits on the firewall. I had to remove it or it would catch fire anyway. Back out with the face mask and wire wheeled this big kahuna after whipping off the fuzzy shit. Quick black-zinc to seal and savour. That shite I mentioned a few weeks back that I was blowing out of the plenum, there was more in the ducts. Glad that didn’t fire out first time I used the heater! LOL at the gasket never being square since assembly. Classic industries hadn’t provided an invoice or MAF declaration, just an address.. so the crate was just chilling at the depot in California. Took the mrs a couple of weeks to get that squared away.3 points
-
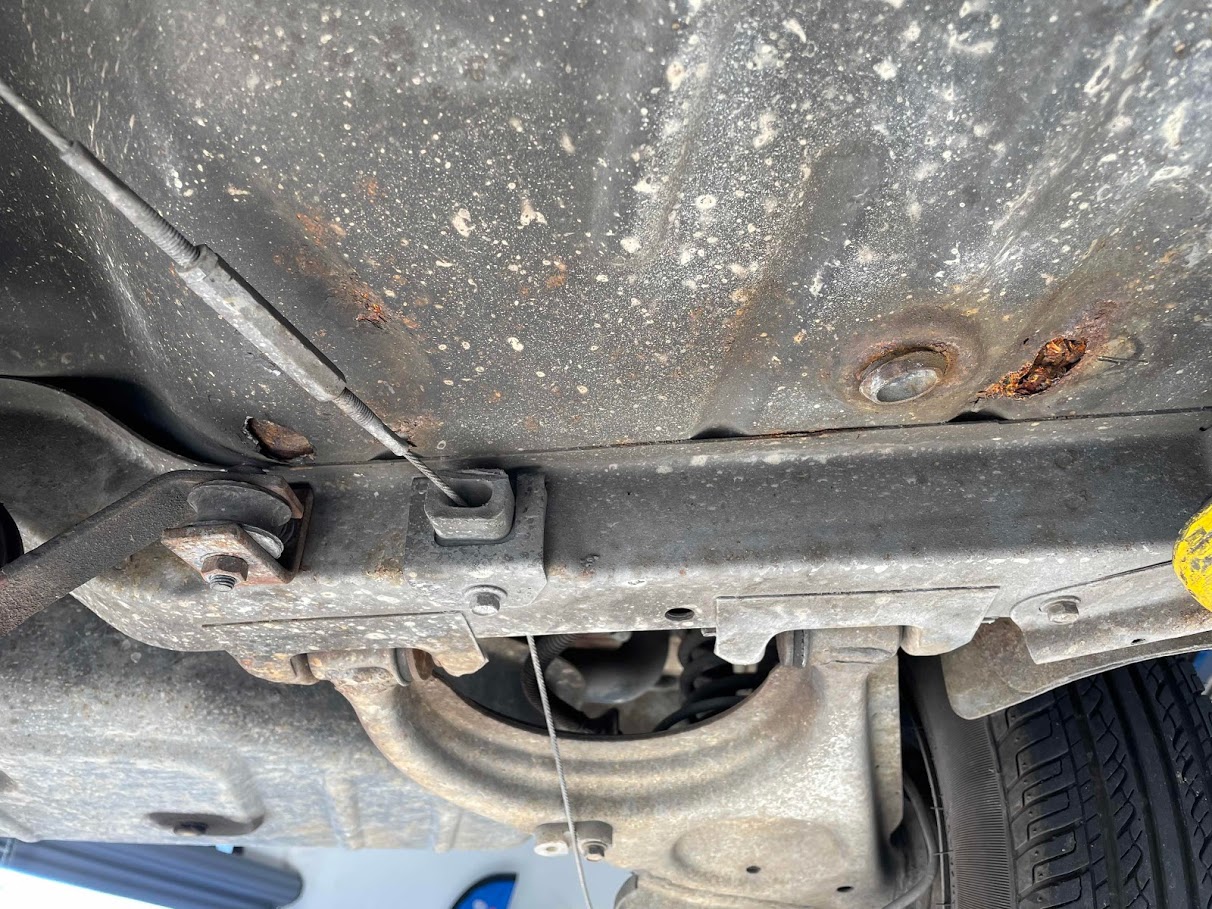
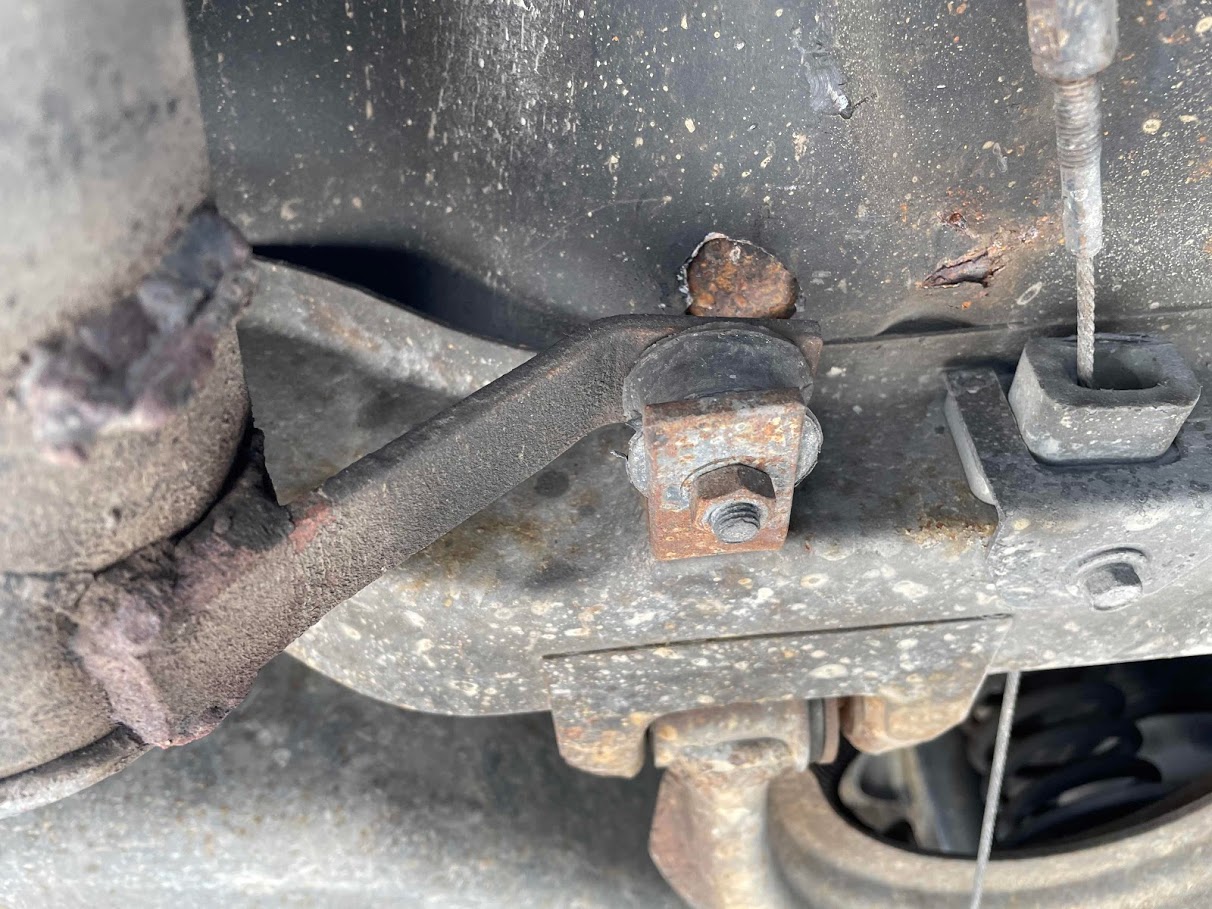
Then of course CoVid cam, and we didn't need warrants. So I just kind of drive it for a year. Than we needed warrants again, and there was a little bottom cancer discovered. Found a guy, did the thing, got the warrant.
3 points
-
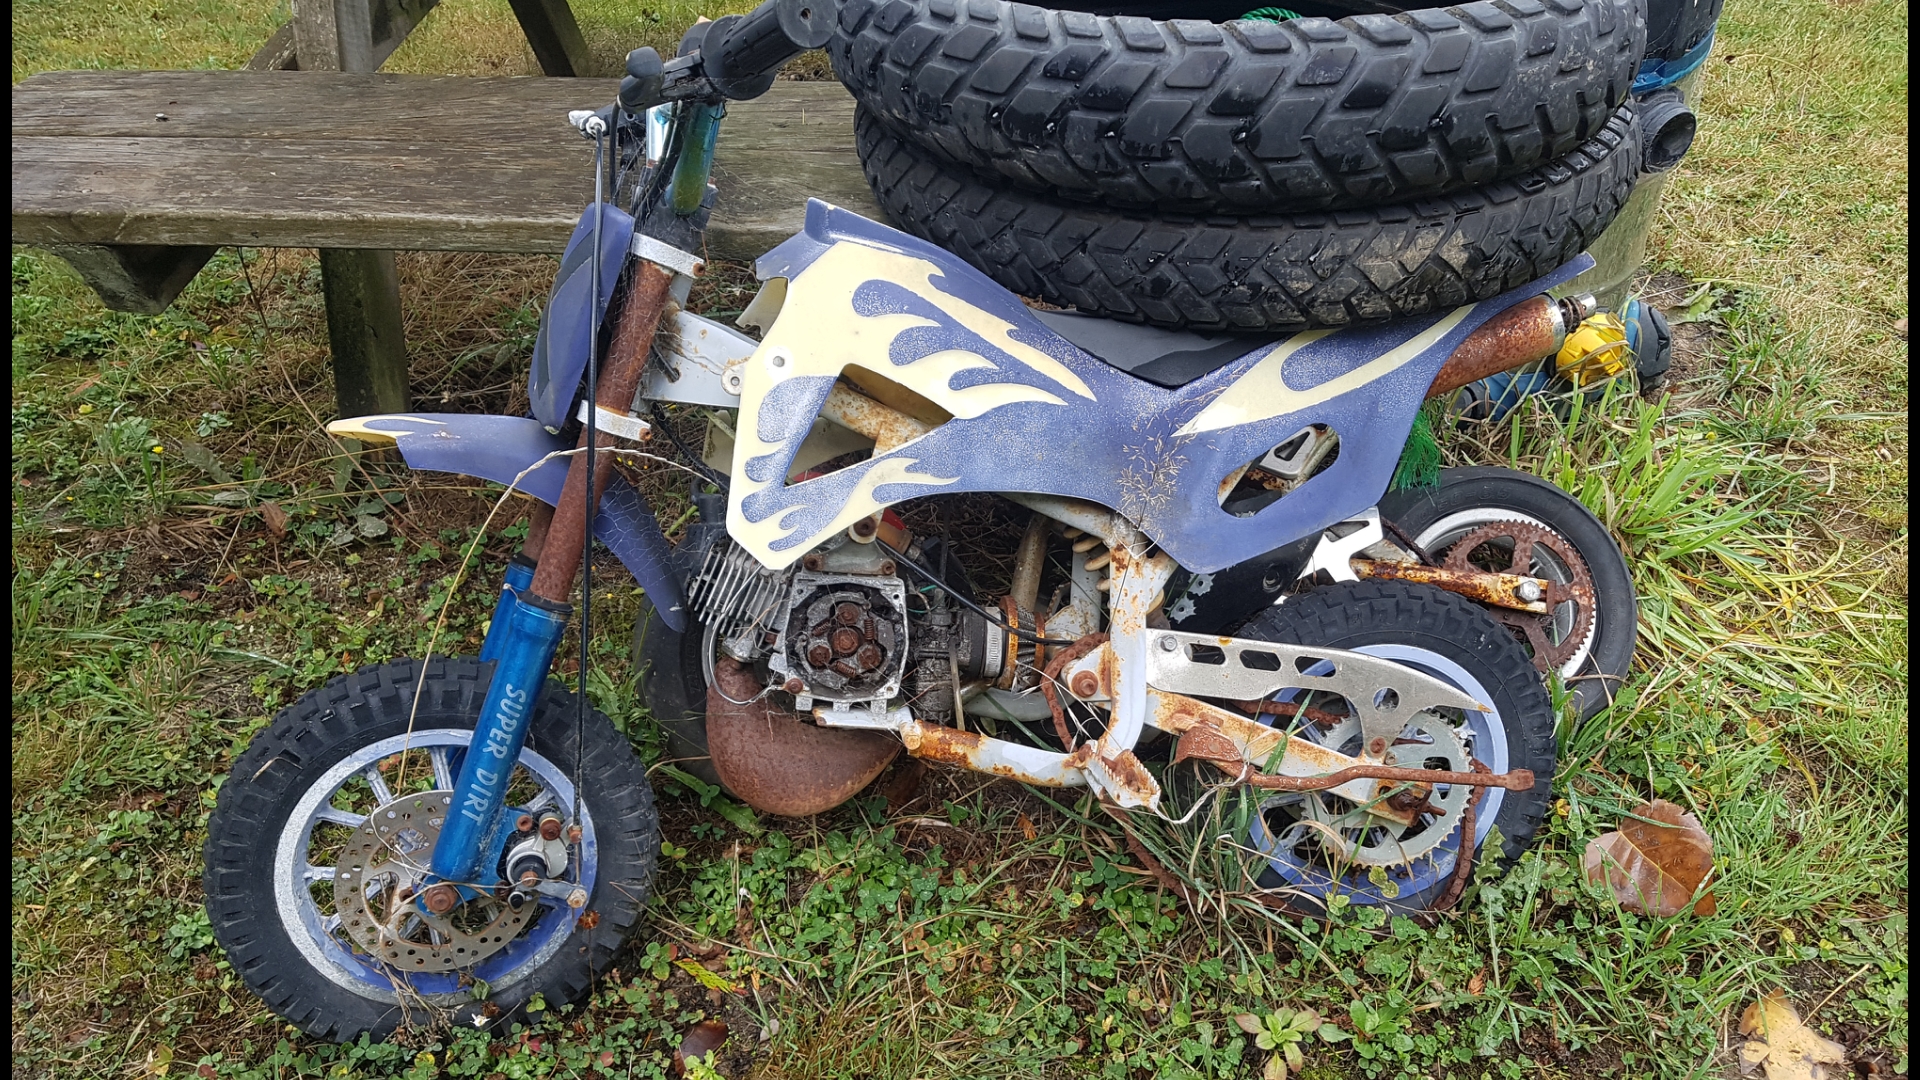
Hosed the boys KXD (Chinese KTM) with some of my homemade chameleon paint looks awesome and covered really well over black 2 light coat and satin clear i had laying around. Hes pretty stoked.
3 points
-
Bit slow on updates, drove the shit out of this over summer and loved having it legal again. Probably chewed through nearly a dozen tyres Because I just can't resist a cheeky burnout The new exhaust has been absolutely ruined in the mid section thanks to all the speedbumps in whangarei... yay But it's been parked up again as a water line burst little to my knowledge and it got cooked. At this point it still ran and drove but used water so I went and ripped a classic 5th gear skid for the boys at a birthday party and now it really doesn't want to run haha The ideas are flowing for my options right now but aunty westpac says otherwise
3 points
-
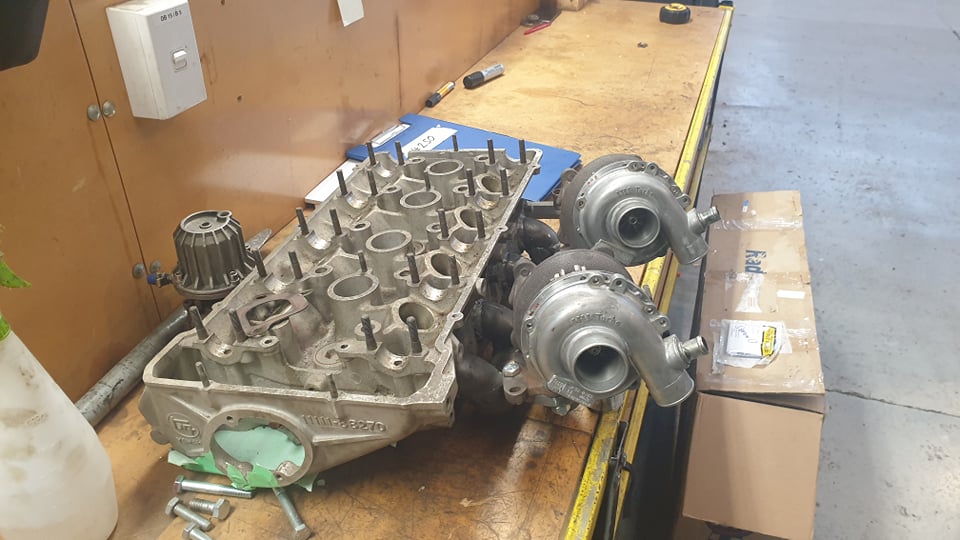
its been a while. given that i bought the supercharged crown, i was starting to think that perhaps id like to have a turbo car in the garage, so i listed the supercharger kit for sale and it turns out matteybean on here bought it and has fitted it to hit RT104 and done a real nice job of finishing it off. real glad i get to see it finished off. now turbo 18rgs are pretty common and never wanting to do the smart or easy thing decided i really like the look of aftermarket twin high mount turbo rb26 engines. so decided this is the style id go for. twin IHI VF32s the secondary turbo from the 2000cc twin turbo legacy, in theory should be suitable. and are dirt cheap and look pretty nice to boot. spent a few days piecing together a manifold which took a fair bit of thinking to fit everything in, i still need to add the wastage but will need to test fit into the engine bay to see where i can put it. (the front turbo does sit straight but is not bolted down tight)
3 points
-
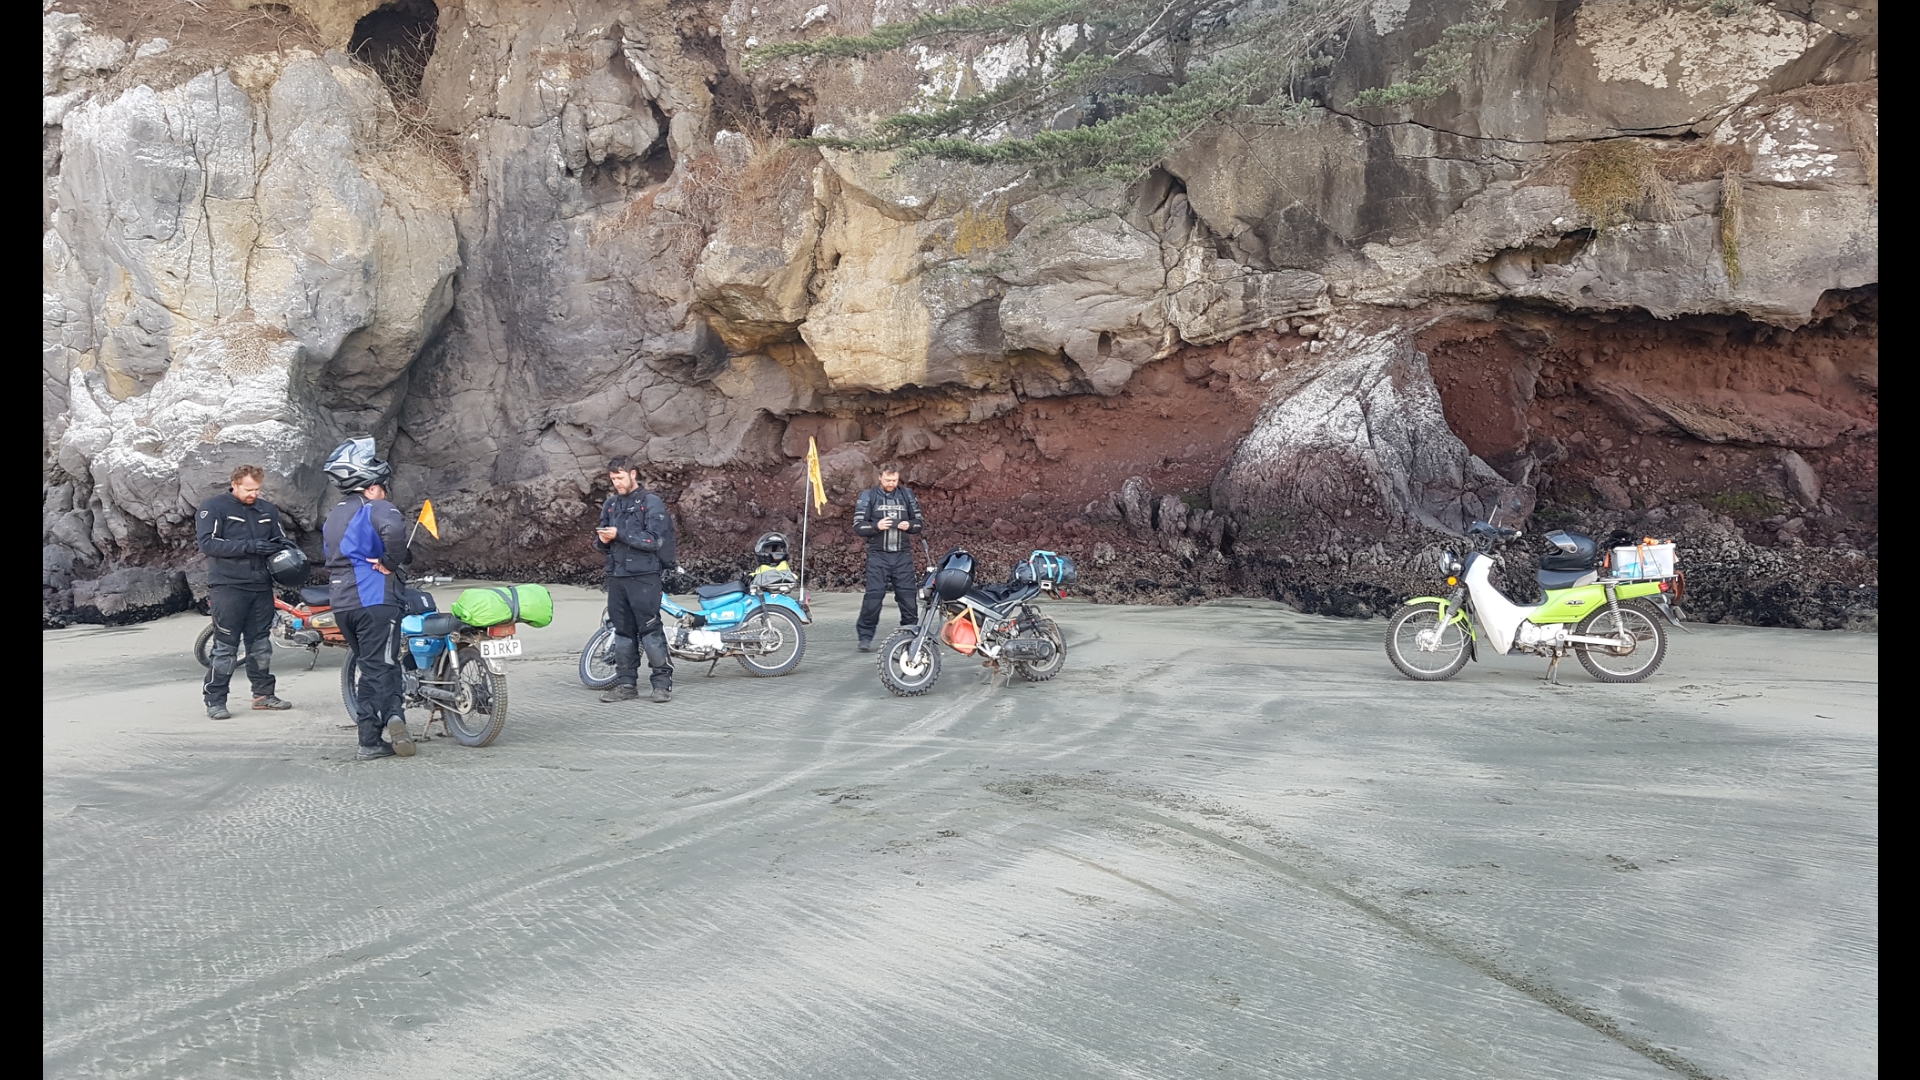
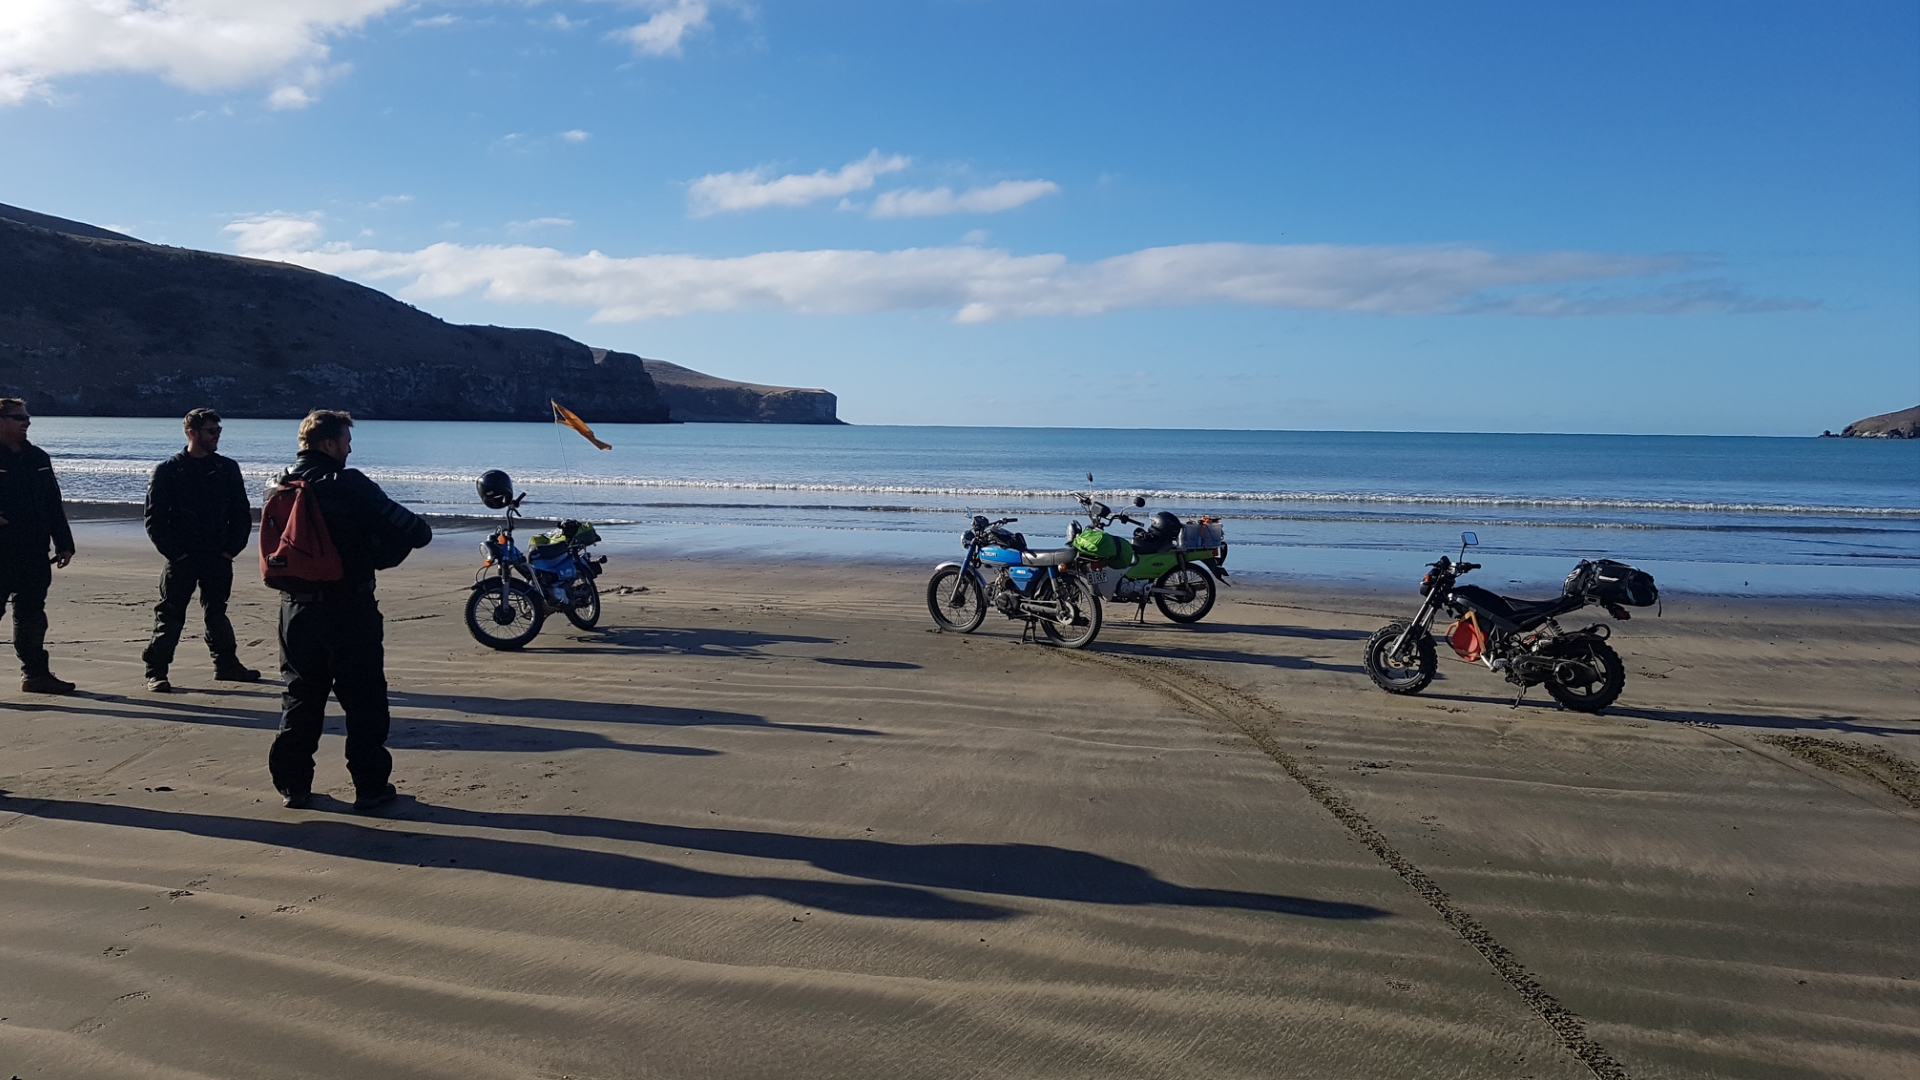
Also @Duke Blackwood, we found you a bike for this years Cape ride too!
2 points
-
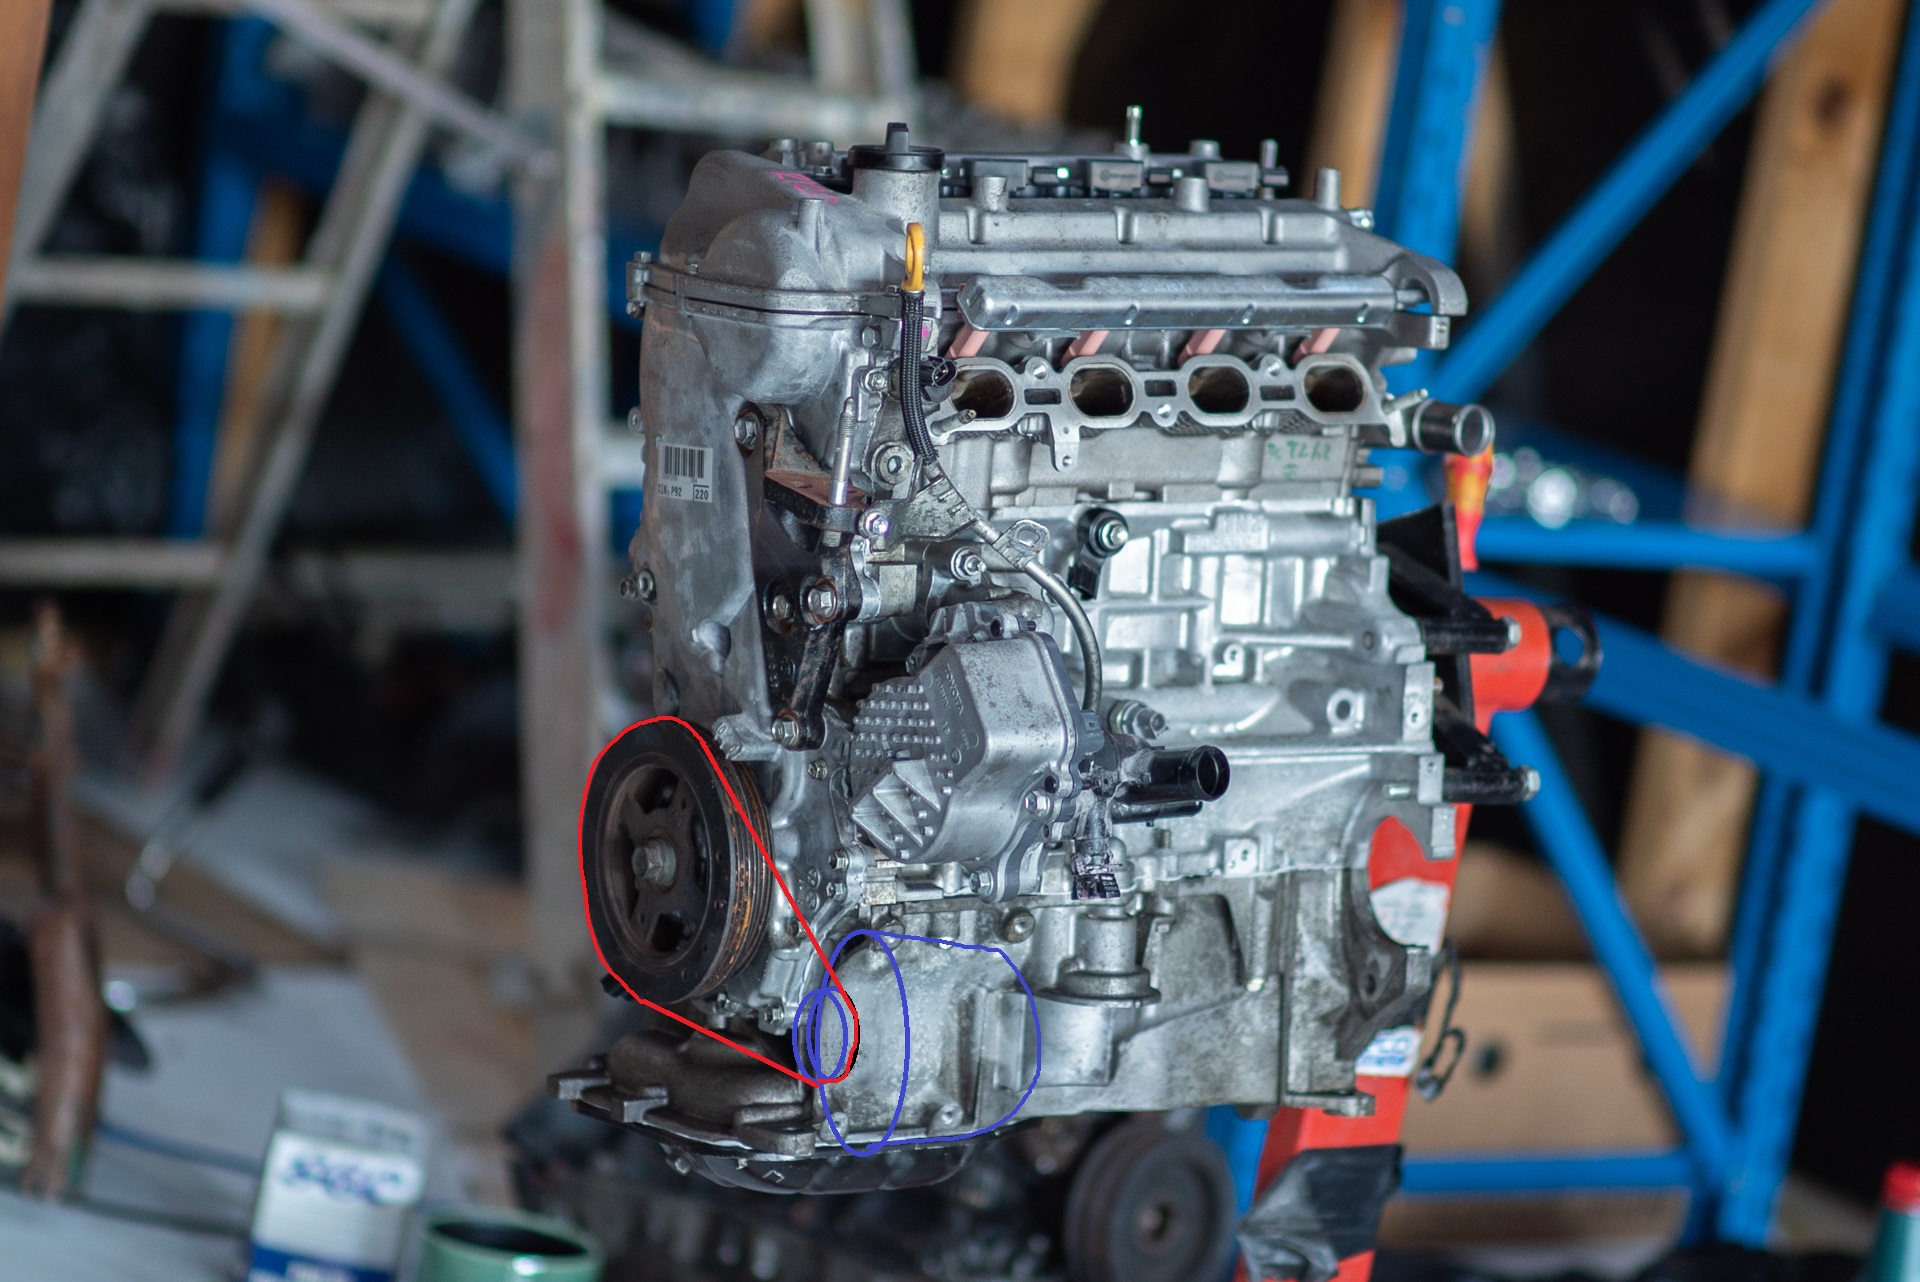
Progress. The head is back on properly, cam clearances all within spec after 2-3 goes of juggling the existing shims around. I pick-a-parted a front pulley, so now I can start on an alternator bracket. Funnily enough the light weight alternator kit for my 3S motor, that saves 4KG. Uses a 1NZ alternator. So there's some irony in stealing the brackets from that, in order to mount a 1NZ alternator to a 1NZ. I'll just need an intermediate plate to bolt to the side of the block and stick these on, hopefully. Not the most light weight solution but I'm more about just getting this going for now. Looks like underneath the waterpump will be the place for it, and no AC anymore. Keep the top side looking tidy - Afterall, this is a show car. One of the now superfluous water outlets was a hose barb that sat with a tapered thread into the back side of the block. Which I replaced with a drain block off bolt I pinched from a dead 3S motor. Easy fix. Also note how the dipstick on this motor nicely bends out of the way, rather than being between number 1 and 2 throttles. Excellent. The power steering pump is apparently difficult to mount on the rear side of the engine, but I'm thinking something looks doable. The amount of gasket goo required to put on both layers of the sump as well as the timing cover is insane. If this doesnt leak, I'll be suprised!
2 points
-
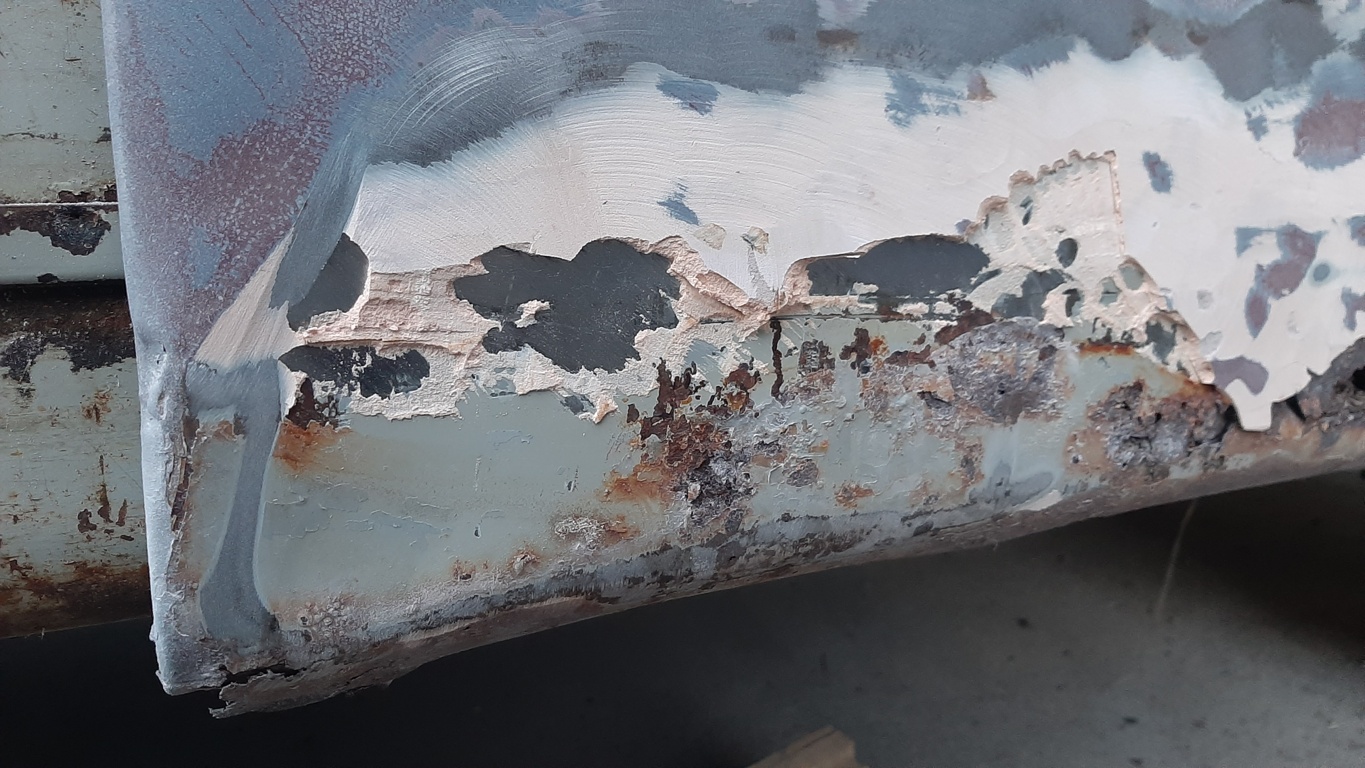
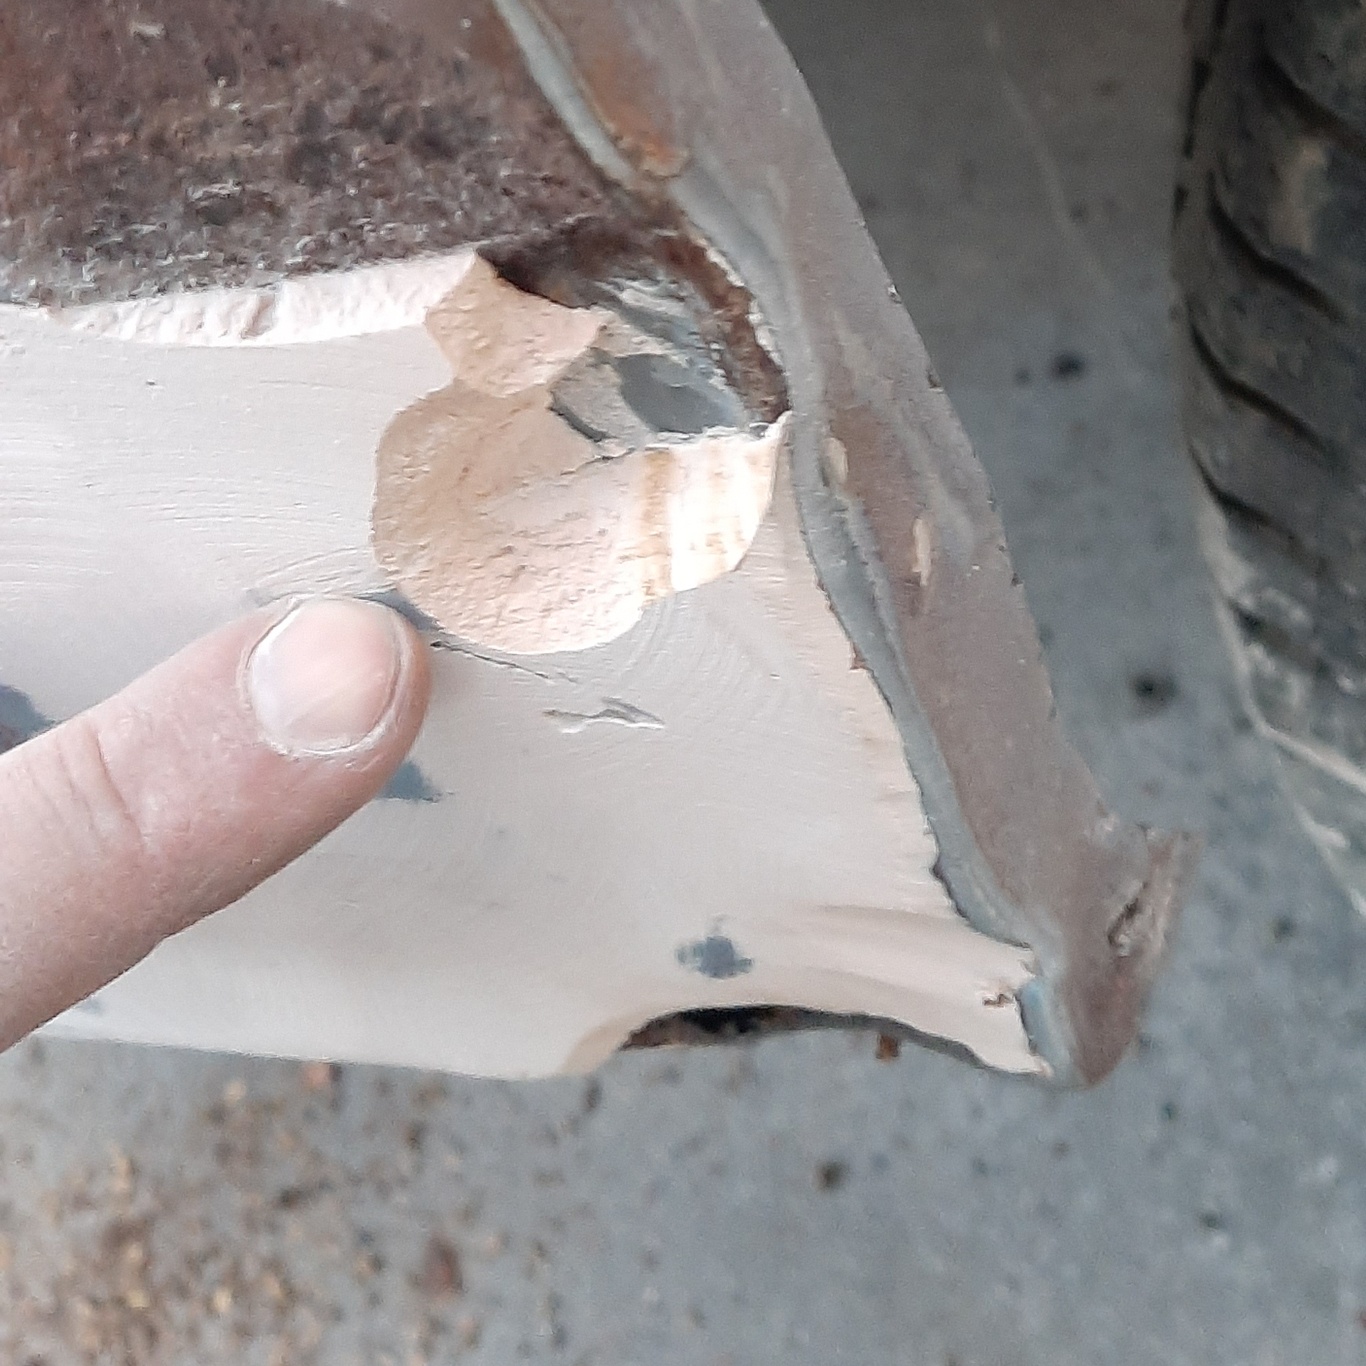
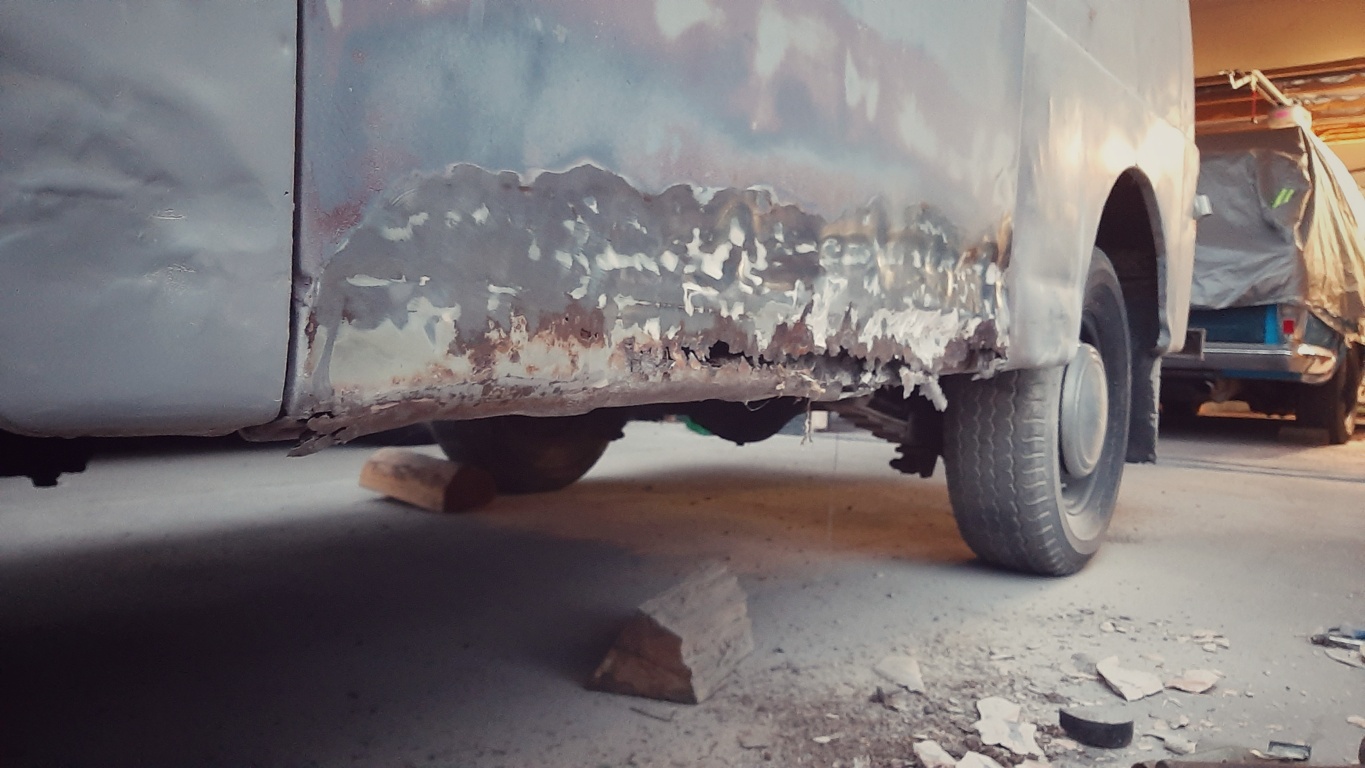
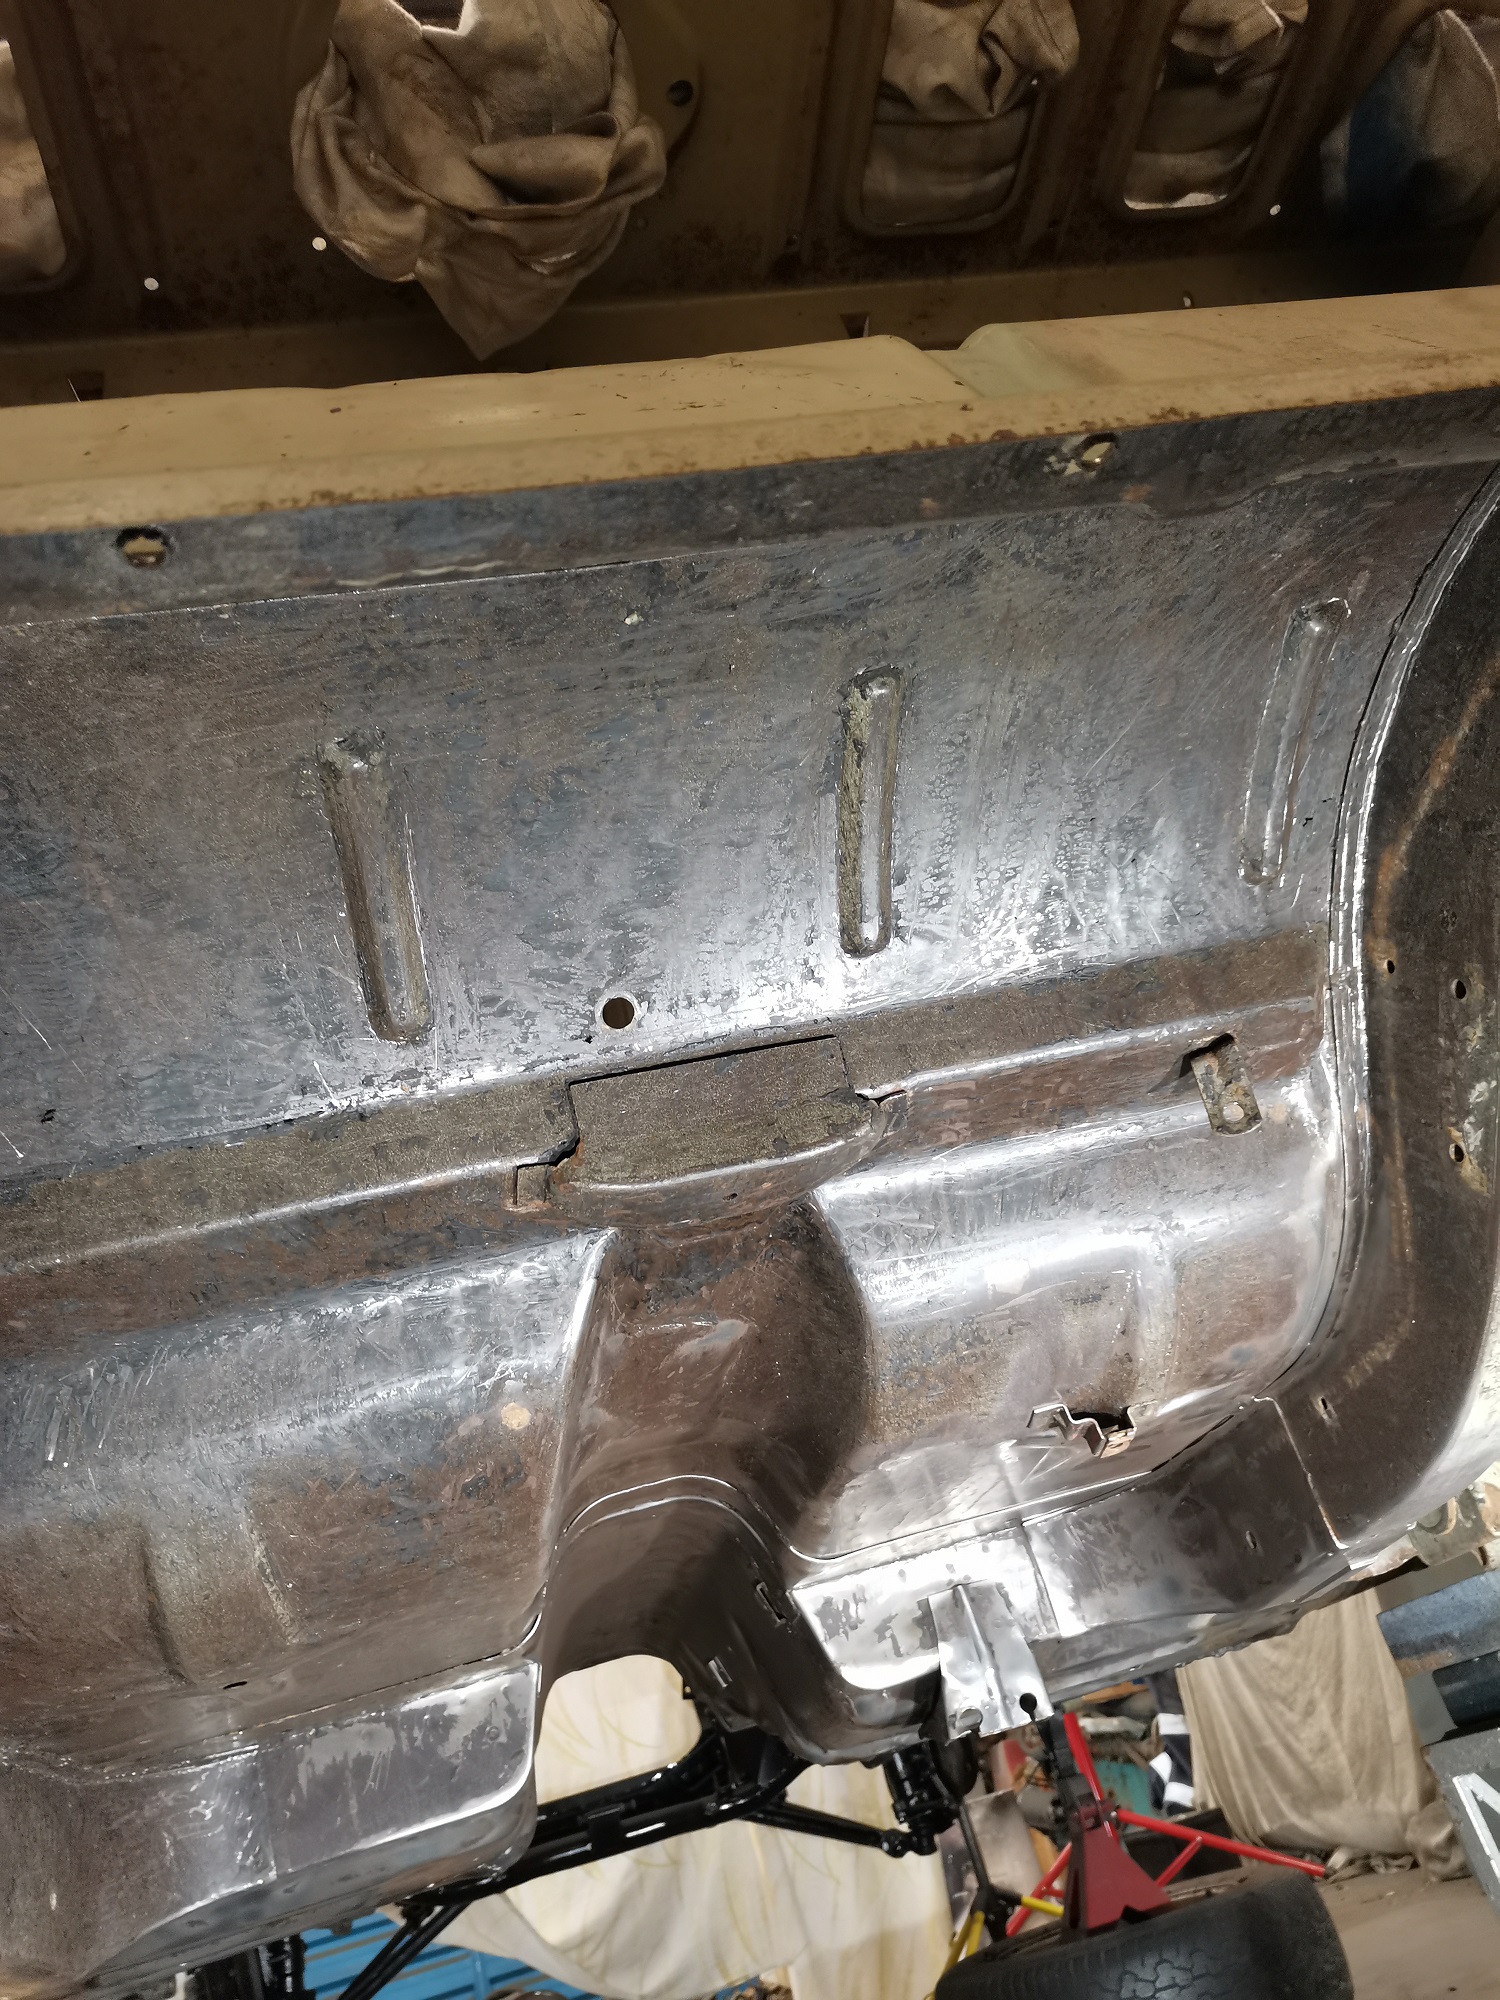
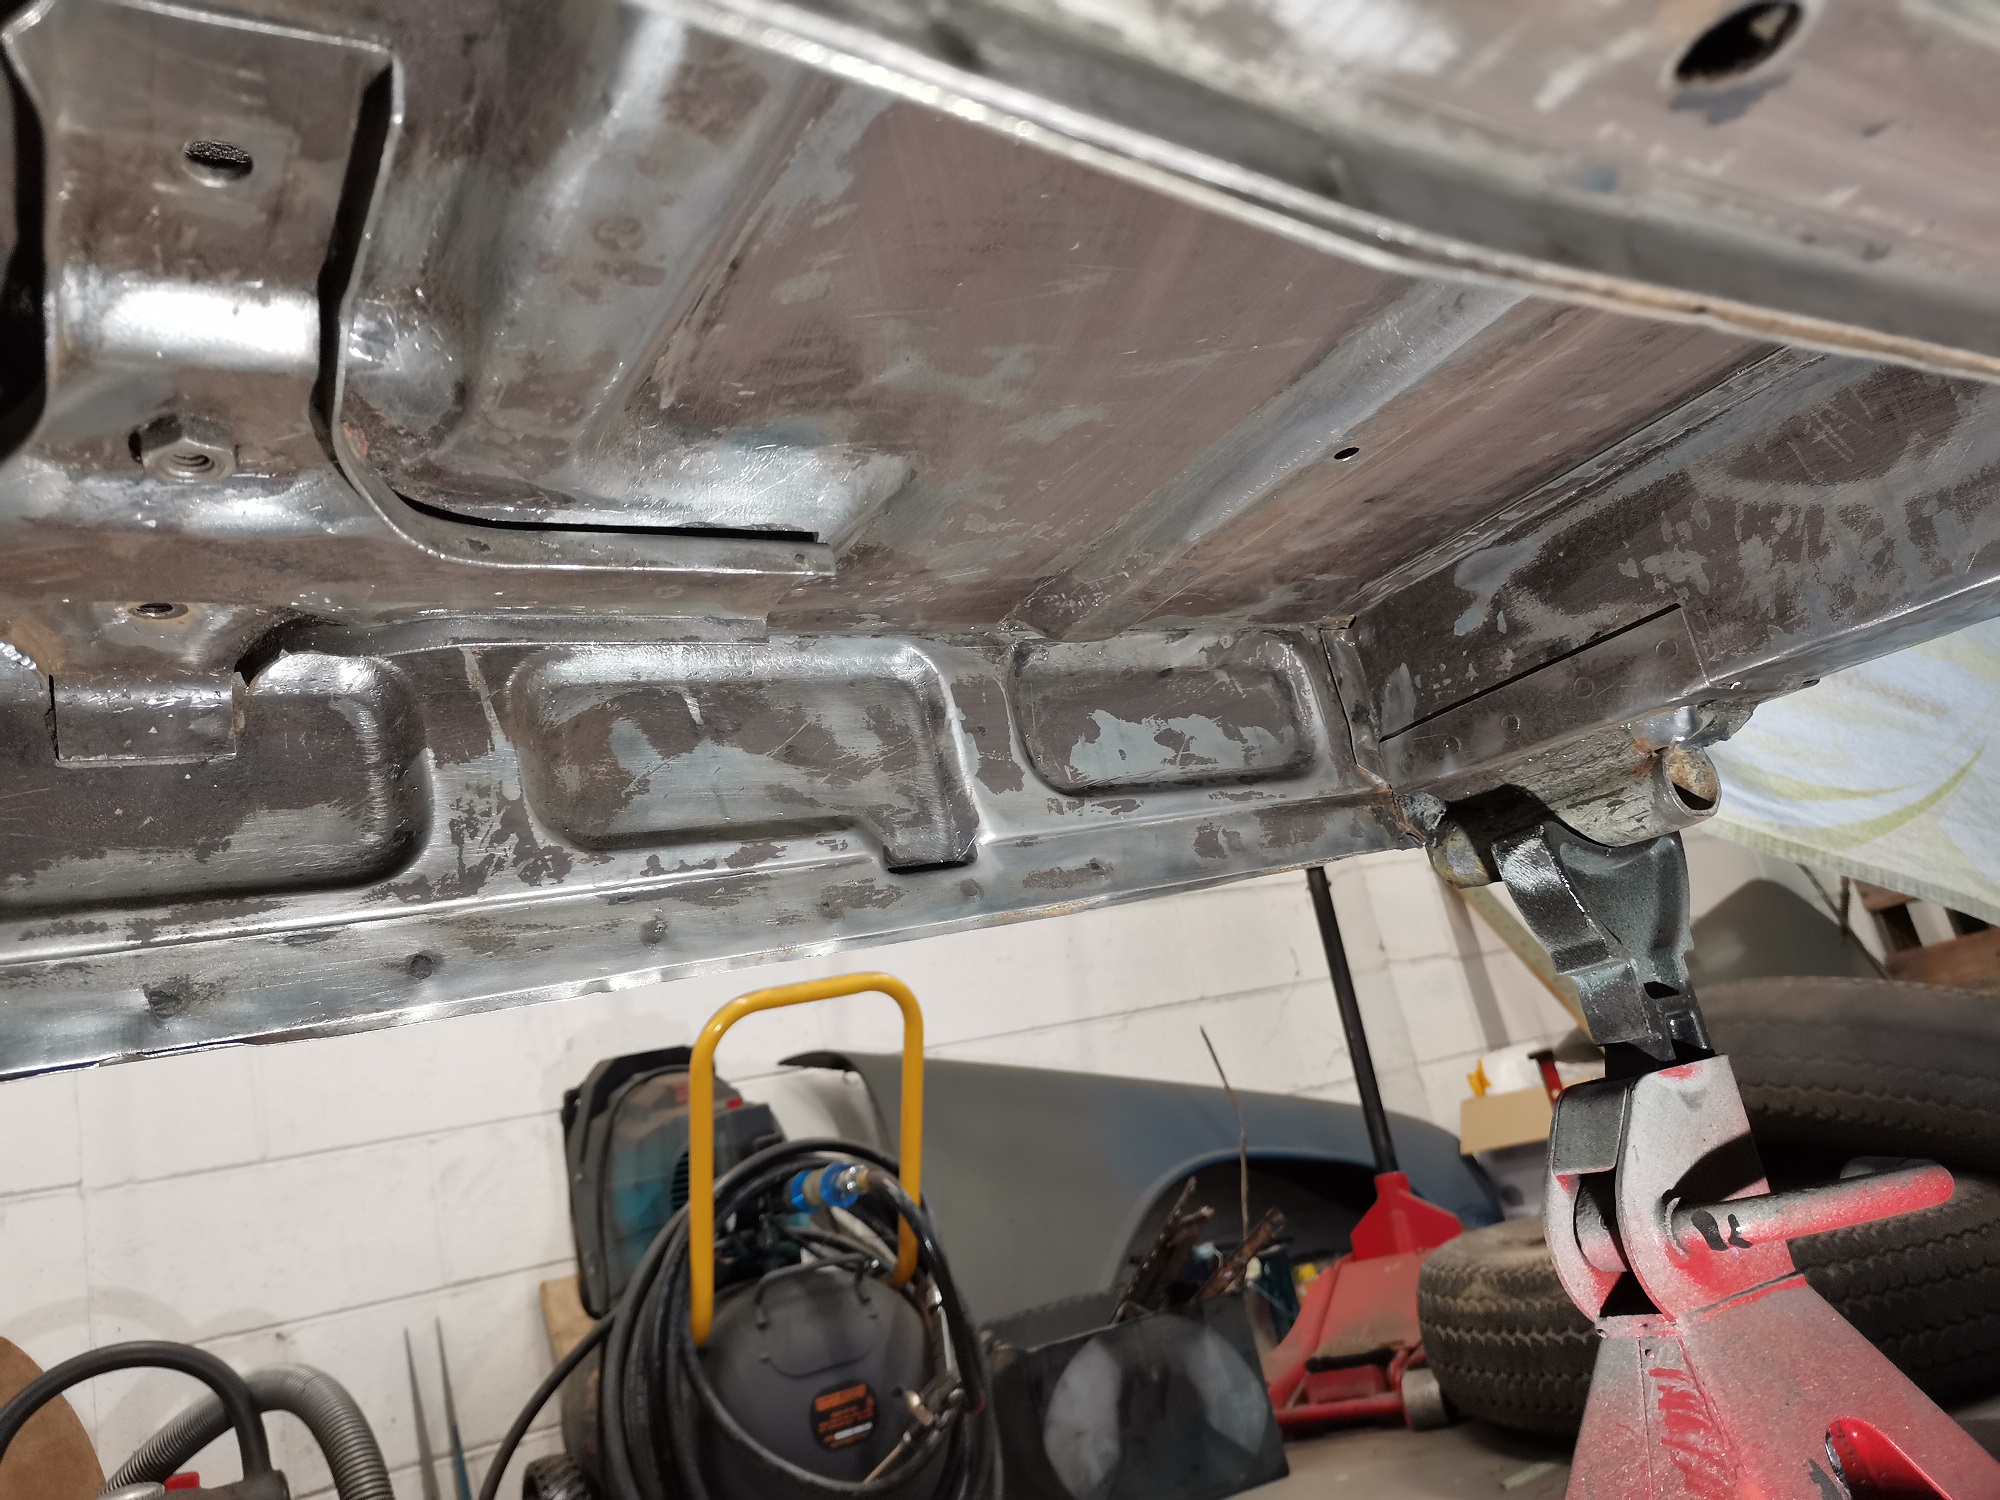
Been doing some excavation, attacking the bog patches with a stripping wheel to free what lurks behind them. First the ugly forehead lump above the windscreen. Looks like it was driven into something, and very roughly but also hardly tapped out. Pretty easy access from the back too so some tappy tap should tidy up a lot. Stoked there are no rusty holes tho! Then the area between the wheels on the passenger side. Jeepers! Front of the sliding door looks good under the protective 10mm layer of wob Back half not so much, and reveals the deep dingle down the side. The panels either side of the sliding door are pretty beat up but not rusty. Again pretty good access from behind so not sure why they used heaps of time layering on so, so much bog, rather than spend a few minutes with a hammer and dolly.
2 points
-
Proud father/son moment, my boy following me around the section like a puppy on his bike. Totally fucked the clutch...but well worth it. Easy fix. Makes all the shit days feel good. Can't wait to see him flying by me, giving me the bird, pulling a wheelie and saying FTW...
2 points
-
Yes im sure about that1 point
-
In my HiAce it's actually in the ECU. My Pajero JR had a stand alone trans computer in the passengers kick panel (just remembered it had the same issue ha)1 point
-
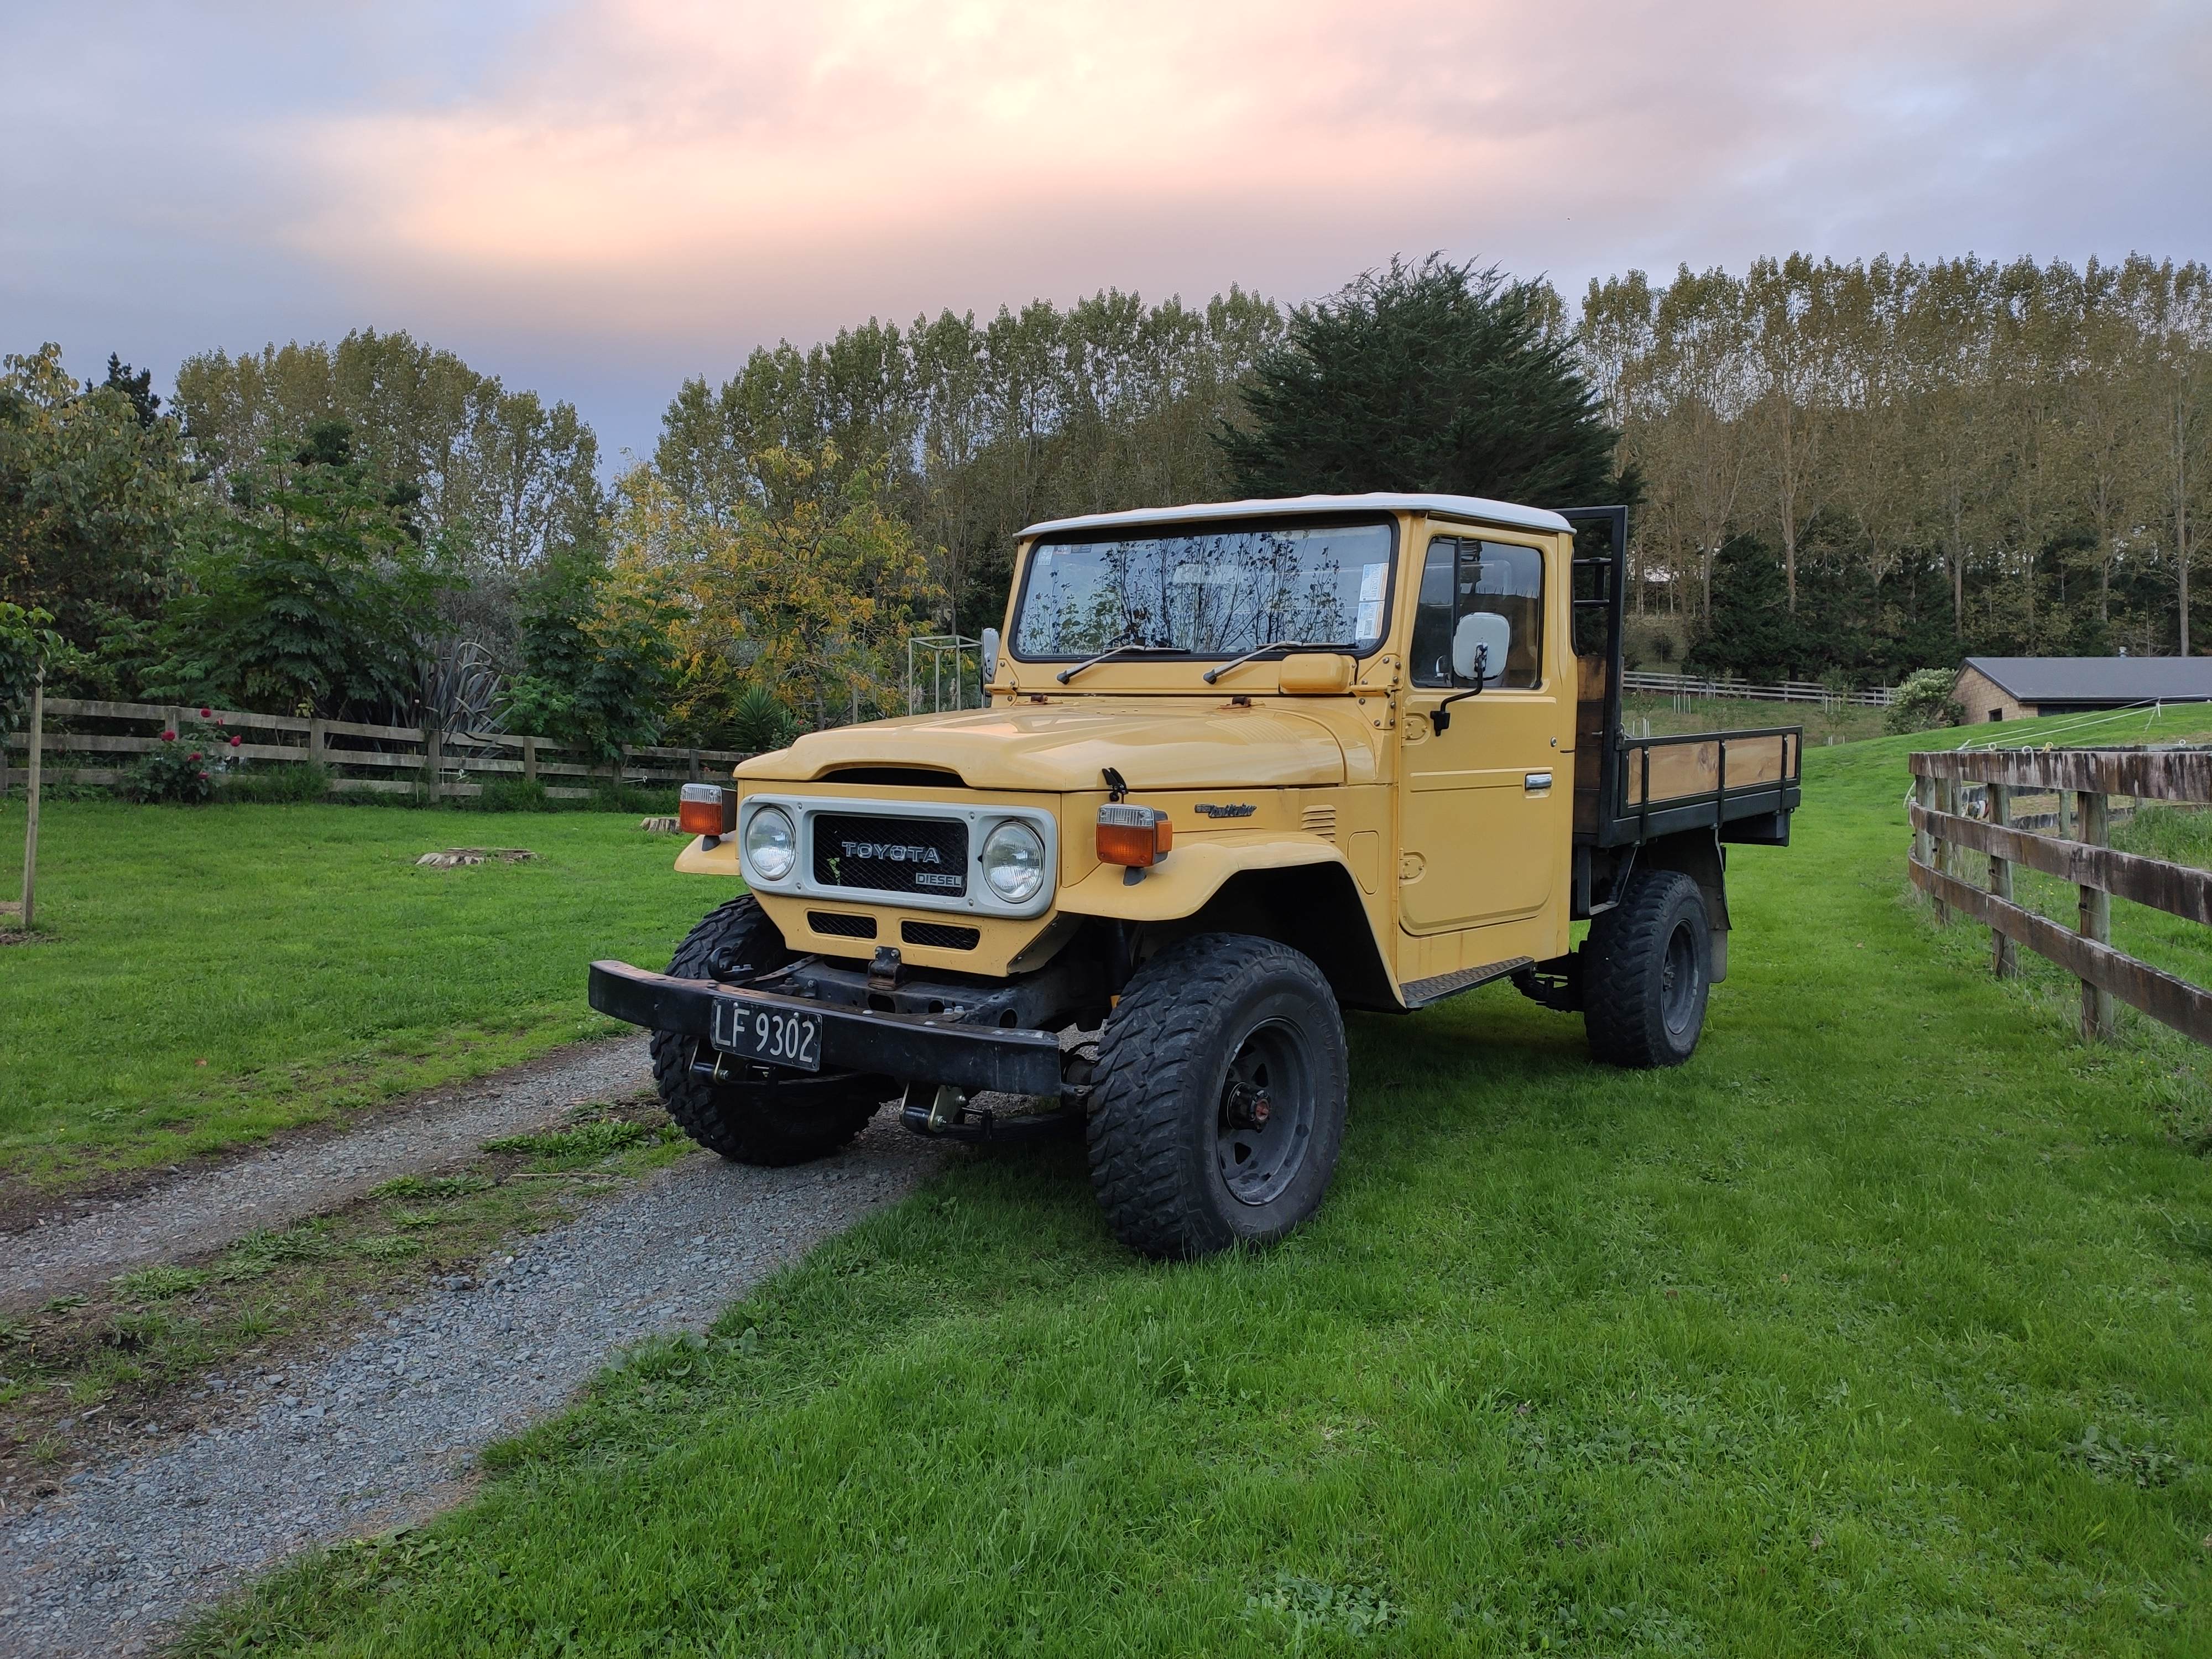
Thought I'd throw up a few pics of me new cruiser, bit dangerous posting this in the projects section as really don't wanna start modding this thing (in the near future at least)... It's a 1984 BJ45 Landcruiser flatdeck, the very last year of the 40 series cruisers. Other than having a disc brake front end and a few cosmetic changes there's not a lot to separate this from the earlier 40 series trucks, is still bare inside and drives like a tractor. Dog is stoked to have a functioning ute again Even has a hitch pin linkage, need mo implements: I bought to daily drive and do a bit of work on the block so near term upgrades will be focused on making commute tolerable. Already has a bunch of window and door seals replaced but mostly steel in the interior so still makes a lot of noise at highway speeds. When I bought it the little spring mechanism on the indicator stem was shagged and would flick randomly to high beams every 10-60 seconds, made for an interesting first drive back up from wellies, managed to blind a few strangers and anyone I was following must've thought that I was looking for a fight. Pulled the stem to bits and managed to fix that, and replaced the exhaust manifold gasket today as that was also blown to bits and super noisy under acceleration. Is running the original 3B and 4 speed so thinking longer term upgrades will be 5 speed, turbo and front mount, power steering and maybe bigger brakes. Also keen to stocker up the interior as much as possible (has velour drivers seat outa who knows what in it), and some period steel wheels prolly also on the cards. Cher thanks for lookin1 point
-
Box of neutrals? Haha I'd like 400hp (budget probably gets thin after that) and i wont be racing it every weekend so hoping extra line pressure good fluid and 3.9 ratio in diff will help situation. 4l60e's theyre cheap enough and easy to change so will see how it goes.1 point
-
Do these have electronic controlled transmissions? My HiAce had the same symptoms, turned out to be leaking caps and a broken trace in the trans control. Wasn't actually slipping in first, the ECU wasn't shifting down below second gear so it felt like it was slipping, but manually shifting to L worked fine.1 point
-
Yip, went to school with Kade and Dylan. My mums place is maybe half a km from their old place.1 point
-
So, traditional 'back on the road' celebration lunch venue
1 point
-
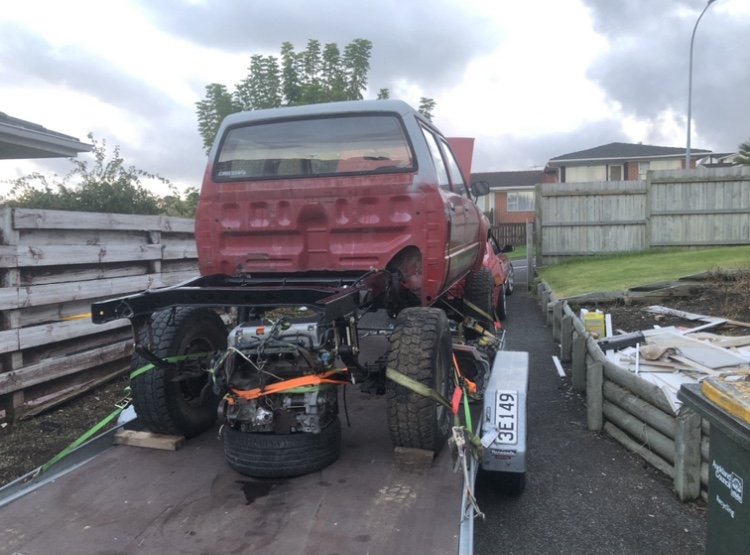
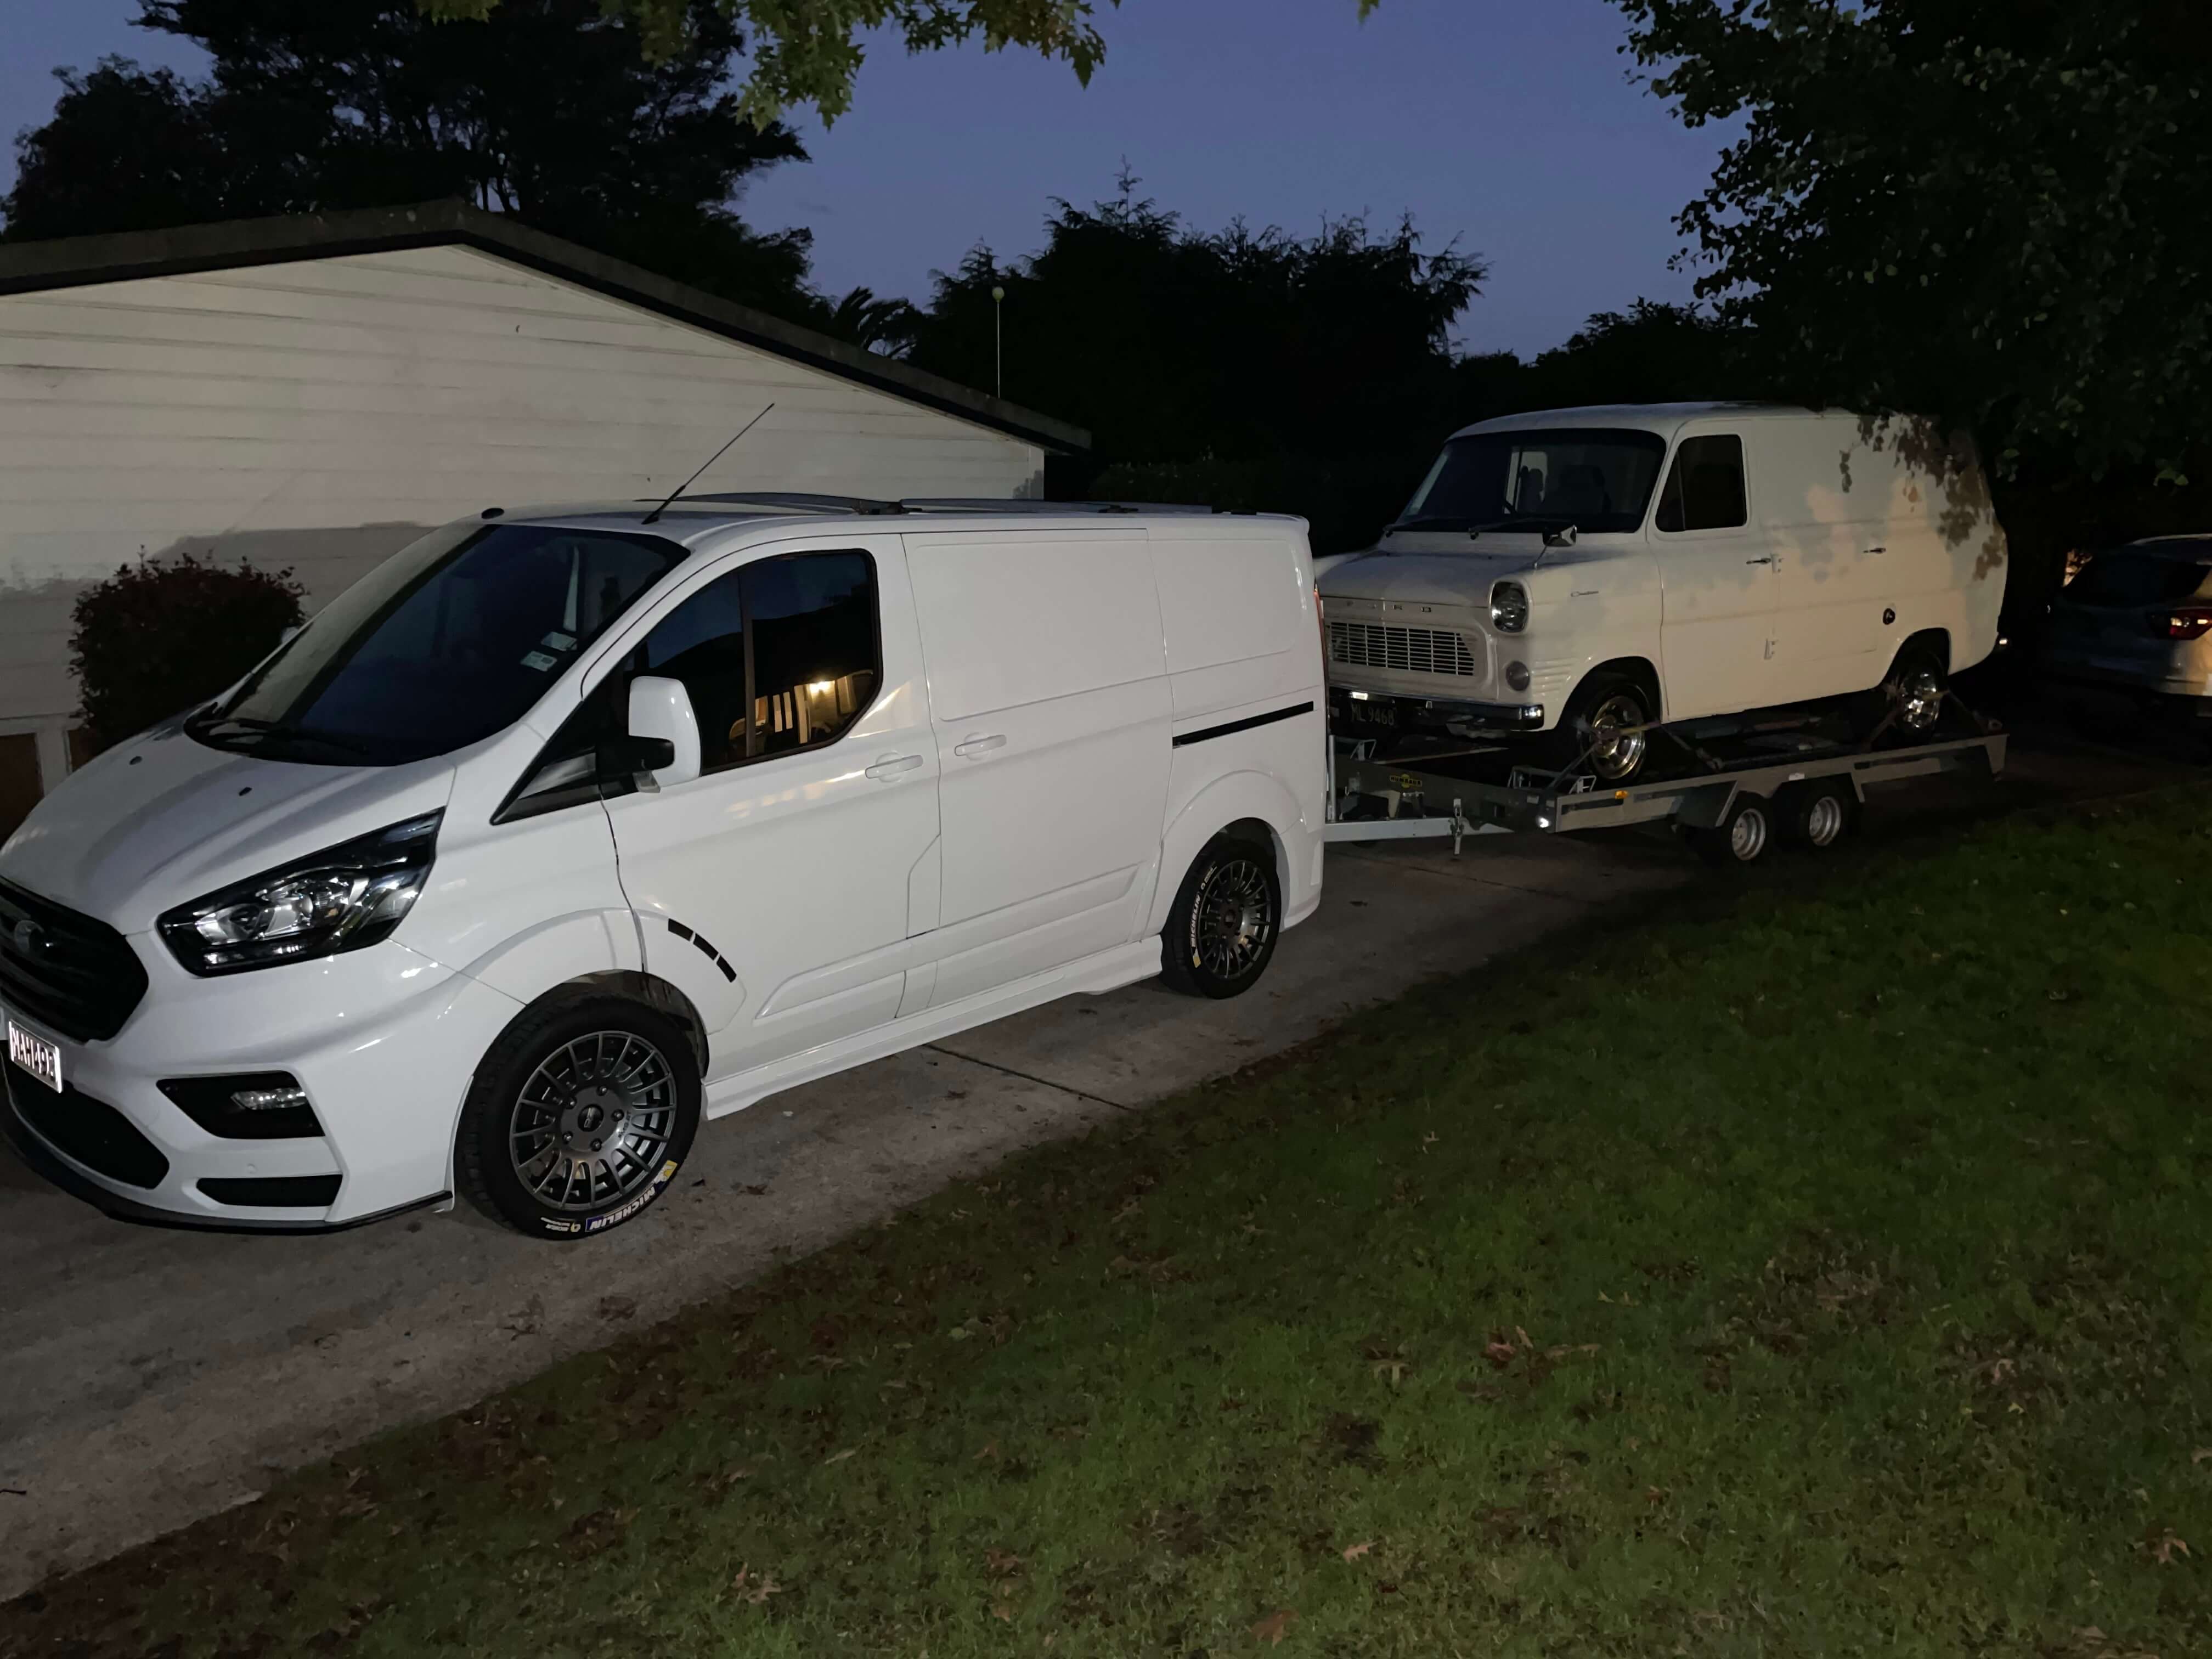
Apart again, loaded up, ready for fab hopefully next time it’ll be the 4wd towing the drift hack and not the other way around
1 point
-
Solving problems with beer, since ages ago...
1 point
-
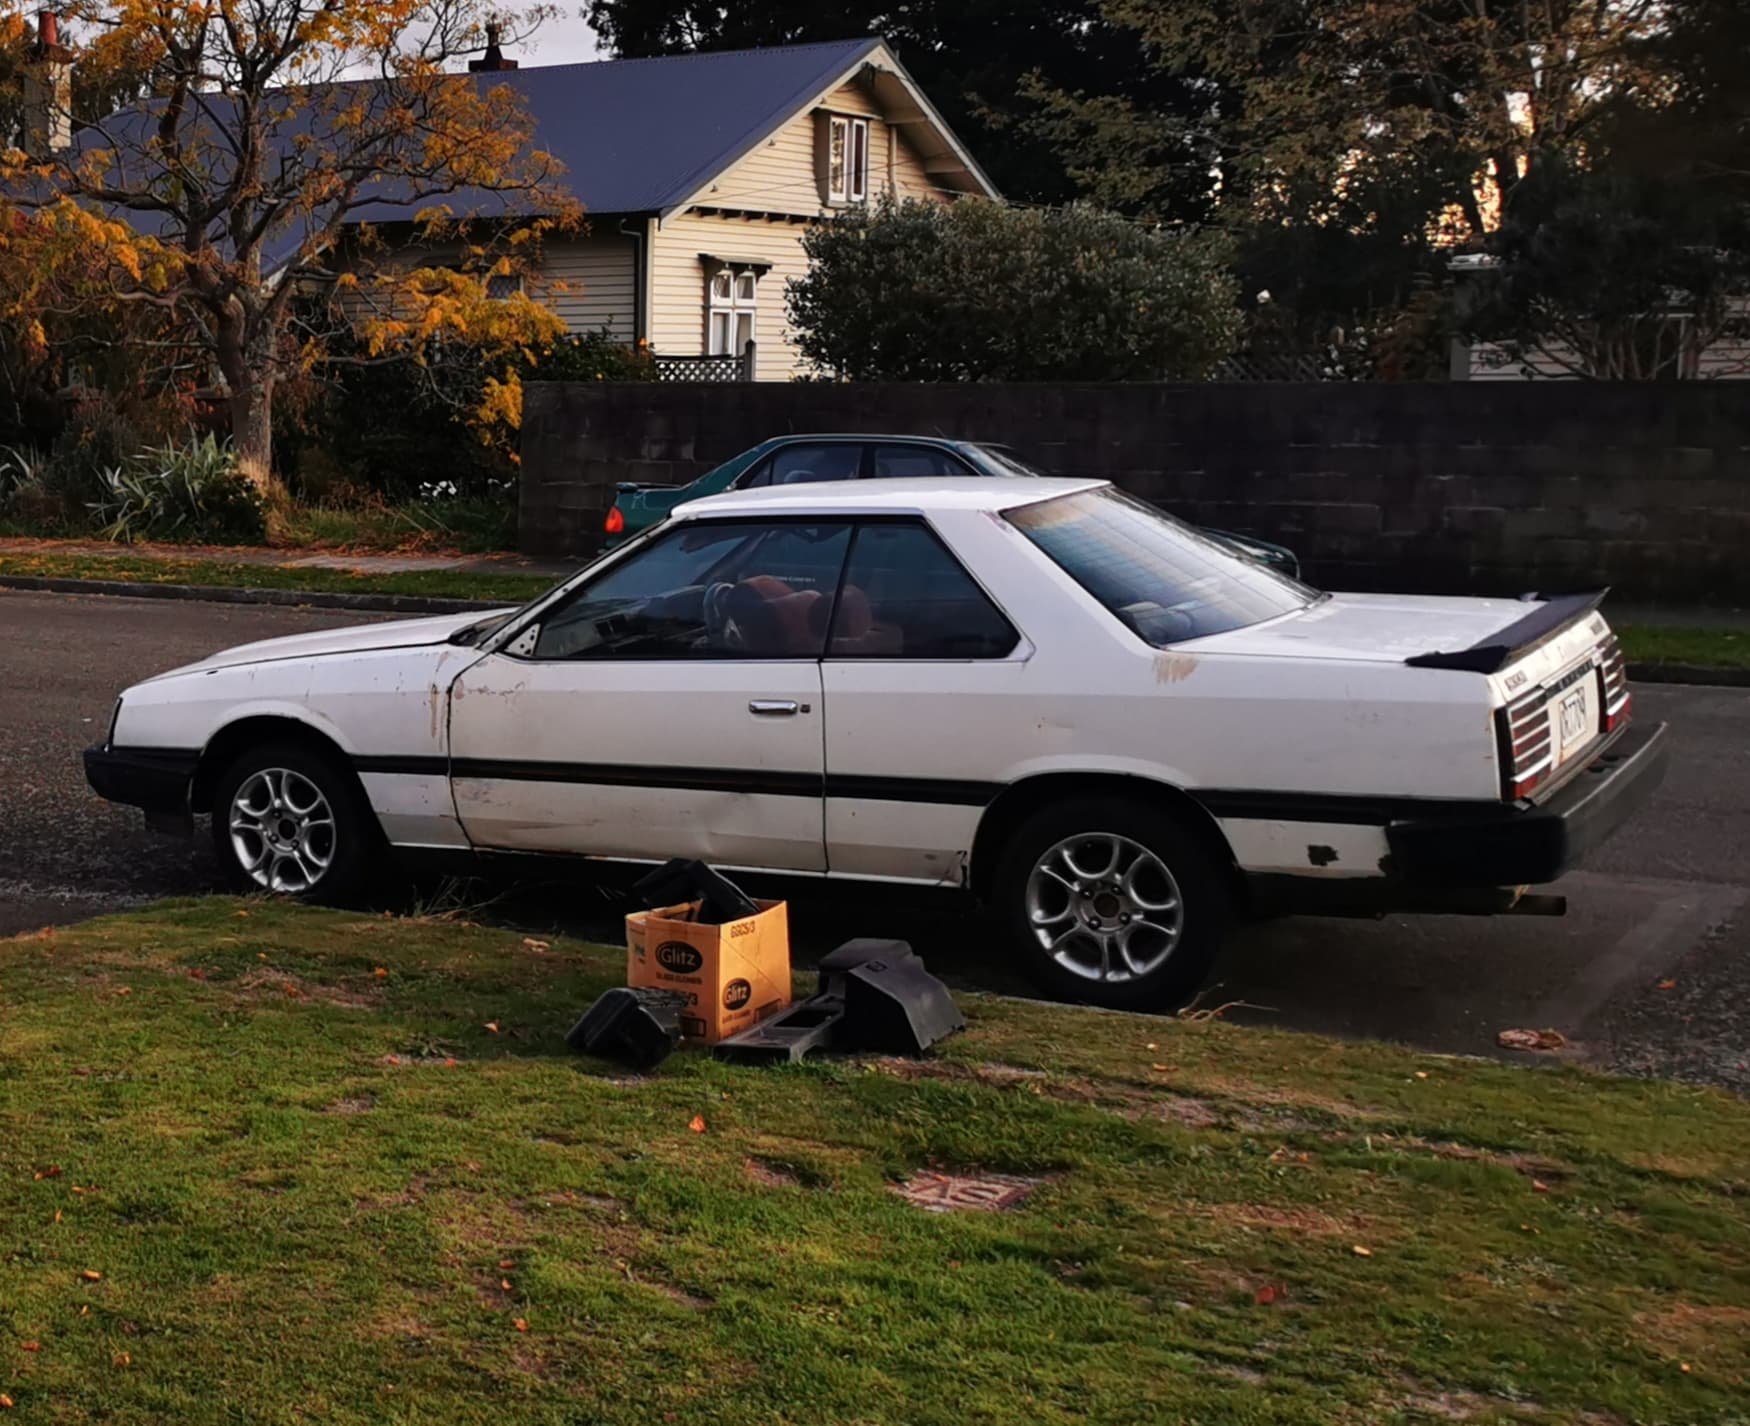
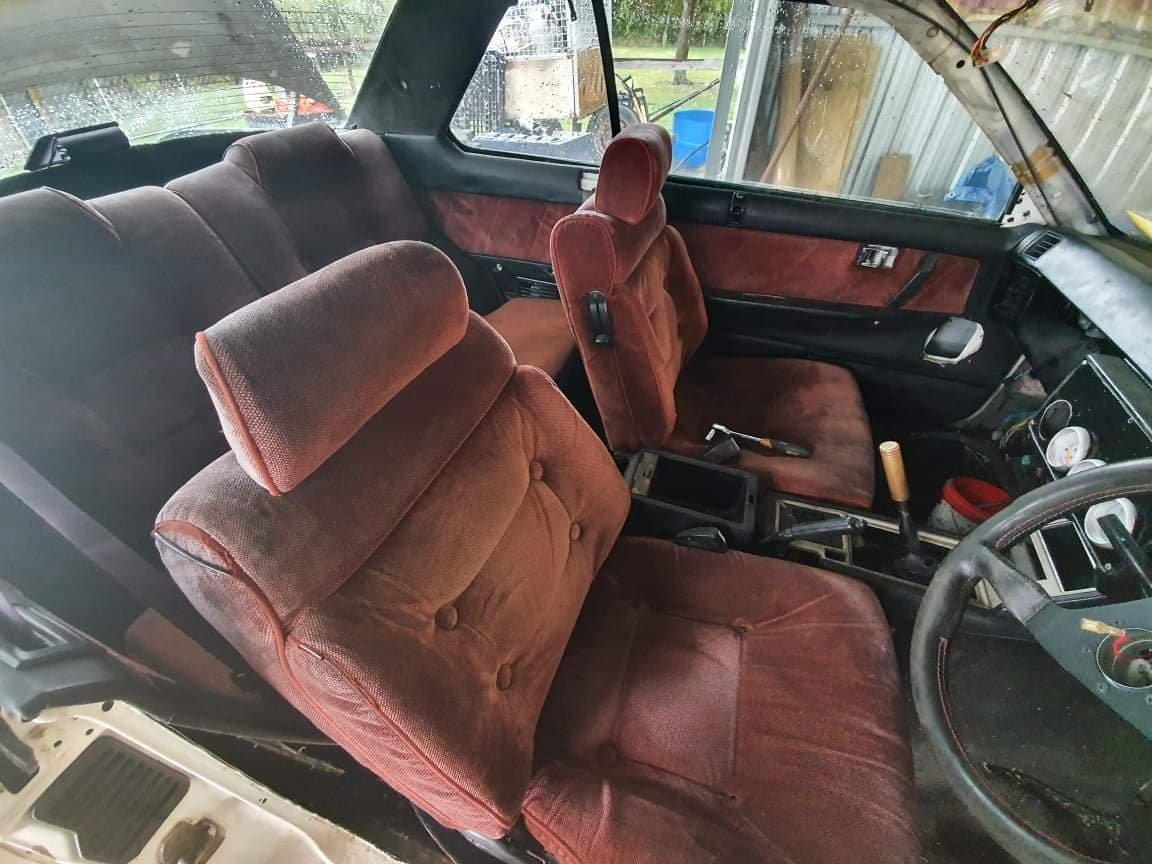
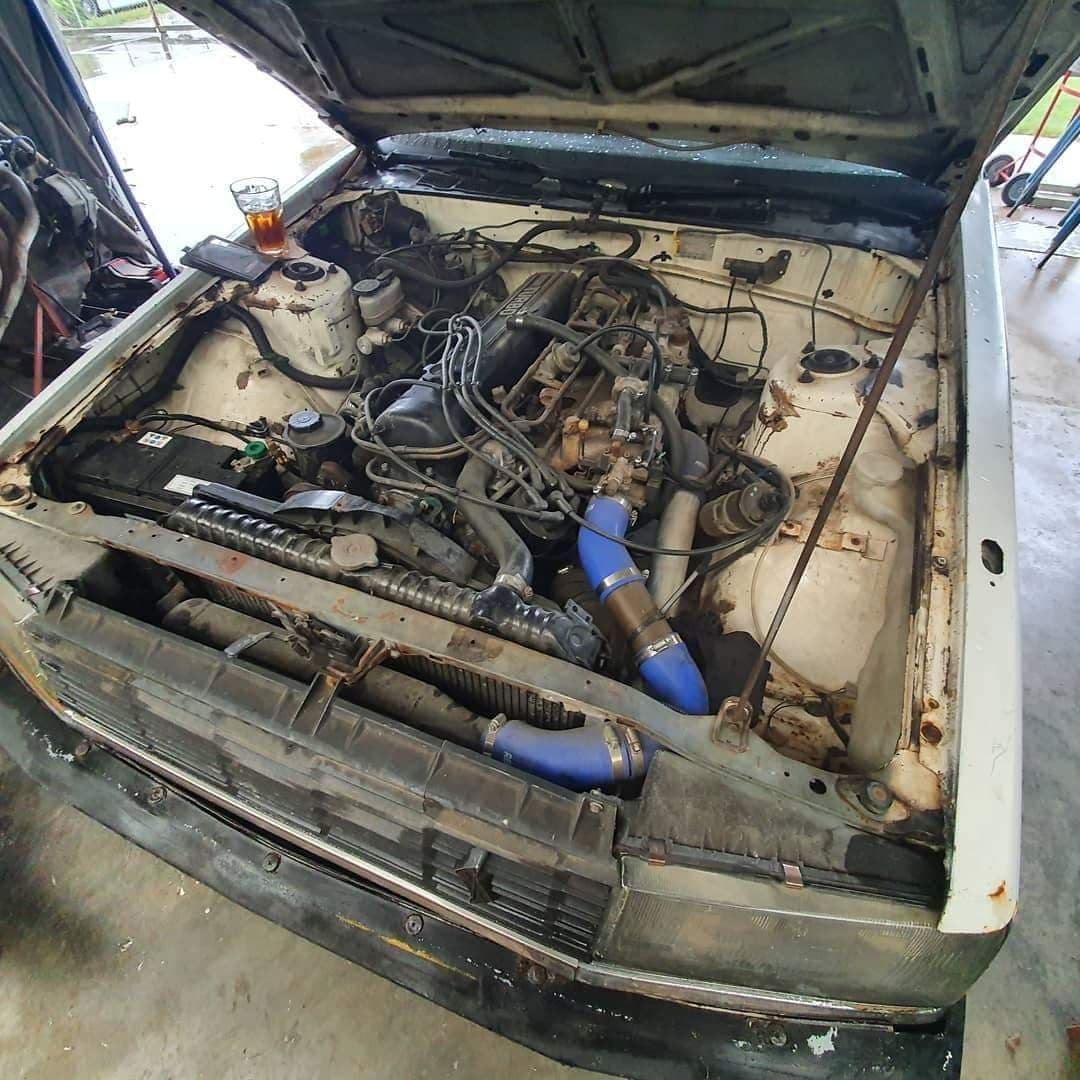
Discussion: https://oldschool.co.nz/index.php?/topic/77978-pediigrus-83-nissan-skyline-coupe-khr30/ Hey all, I'm pretty new around here but I've been in the old skyline scene for awhile. Most people know me for my 1986 Nissan Skyline Passage GT but I have a small habit for collecting hardtops cars as well. Earlier in the year I finally managed to pick up a KHR30 L20ET Coupe which has GT-ES Badges but I believe is actually a GT-EX. As you can see it's had a bit of a hard life so far. Overall it's in average condition. The interior when i got it was half put in with the roof liner ripped and closer than the ground than on the actual roof. When i first picked it up she didn't drive. Would just turn over and never start so I had to trailer it down from Napier to Wellington. The interior wasn't actually in to bad shape although it'll definitely need a proper cleanup in the future. None of he windows worked and the alternator was also cooked. The engine bay was an absolute rats nest of vac lines, loom and coil leads and just overall mess. Who knows what sort of rust is hiding underneath as well. Whilst the intercooler was a nice addition it doesn't help much when the L20et doesn't actually run. The car is an 83 pre-facelift with facelift bumpers on it which don't fit properly so I'll have to find the rest of the facelift parts or fork out the small fortune for an iron mask front end. The plan for the o girl is give her a good old tidy up and fix some of the classic RFB additions that have been made. Just looking at these pictures alone i can see there's going to be a fair wack of rust work that I've got to do, some panel and paint work, and then the engine. I'm planning to keep the L20et in it and rebuild it up for roughly 200hp. Not sure if I'll get there or not yet though. Next steps are stripping it down and find out what sort of rust is hiding under the car and panels and interior. I'll repaint it the factory white and most likely wrap the bottom half of the car silver to make it a bit unique. Hope at least someone finds watching my pain and suffering enjoyable as I strip this thing apart. Discussion: https://oldschool.co.nz/index.php?/topic/77978-pediigrus-83-nissan-skyline-coupe-khr30/
1 point
-
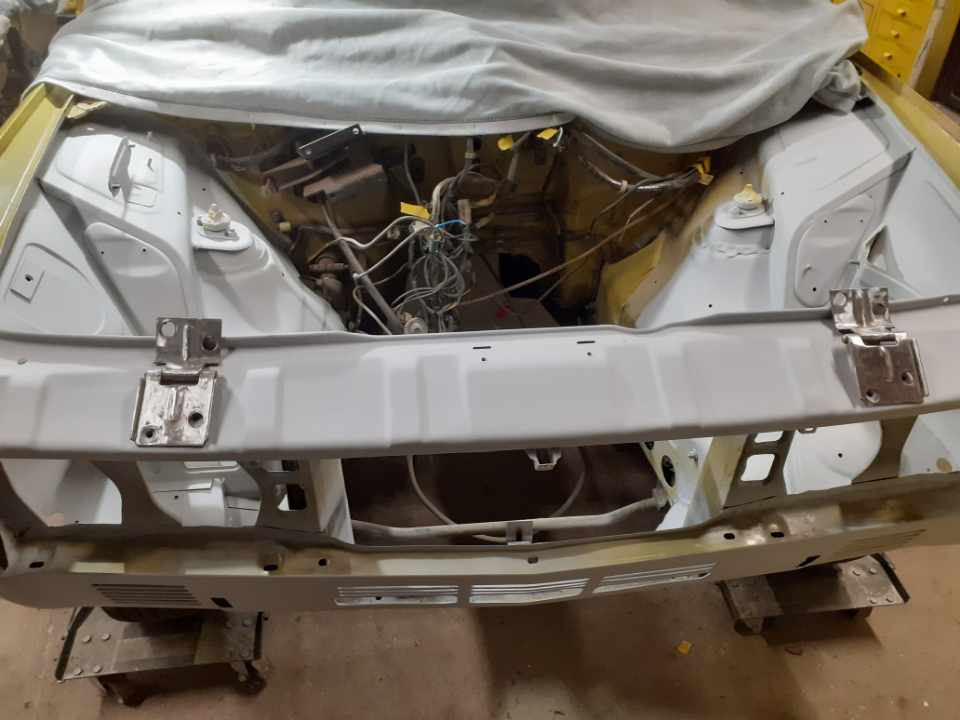
I've spent the last few weeks trying to strip the shell down as much as possible to find any hidden rust and to have the car sent off to the panel beaters. It will be good having all the rust cut out and being painted professionally, Even though i would have liked to do it myself. For the most part, It's just a rolling shell now. There is still the glass in, although I have to get the windscreen removed as it's damaged now unfortunately. There is a massive crack on the passenger side of the window. I picked up these Recaro fishnet seats awhile back and have been considering getting them re-upholstered with the rest of the interior. Still on the fence about it. I'll do an update on the interior at a later date as currently it's all inside the car in boxes.1 point
-
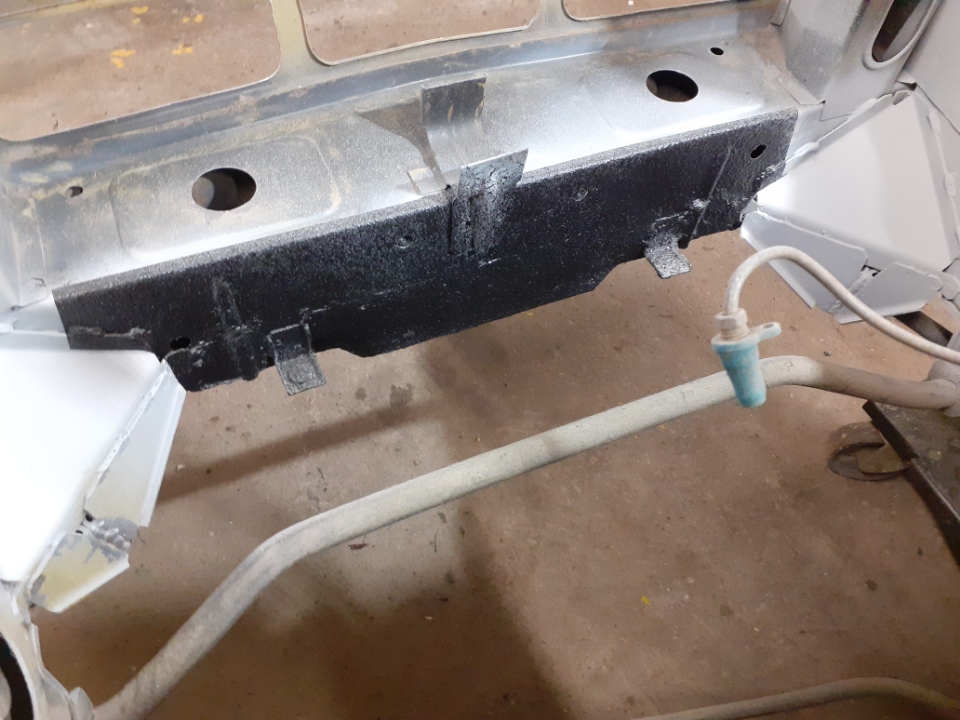
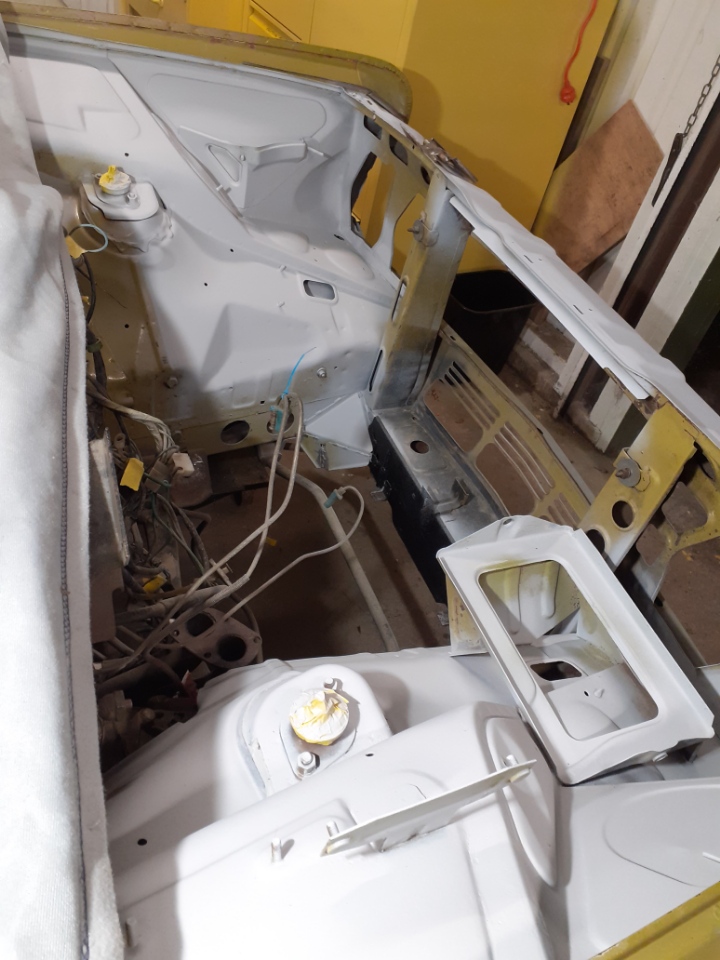
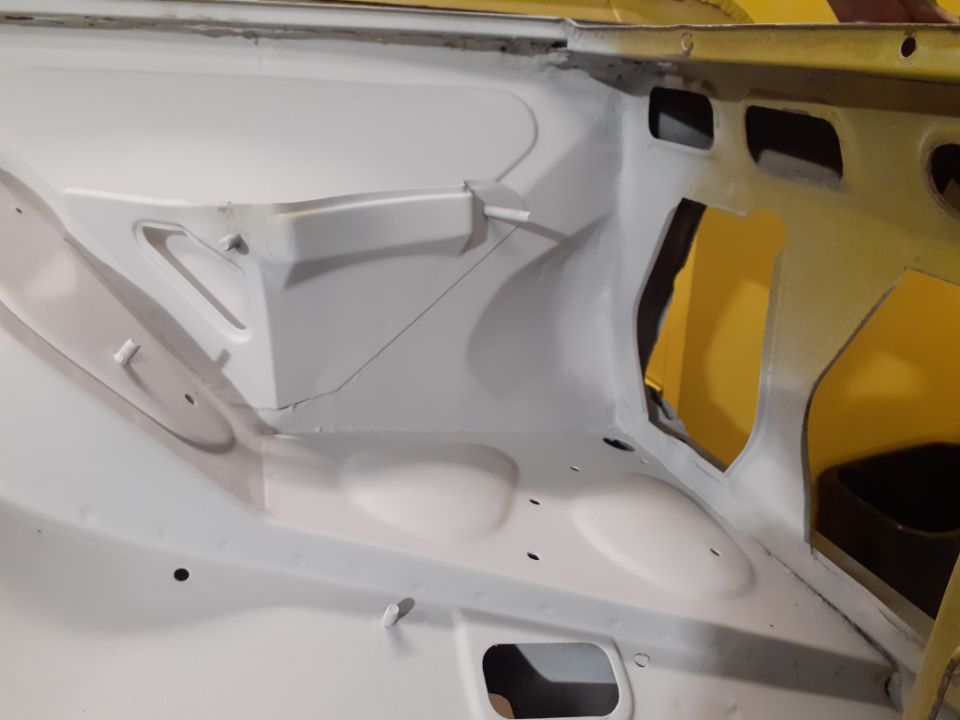
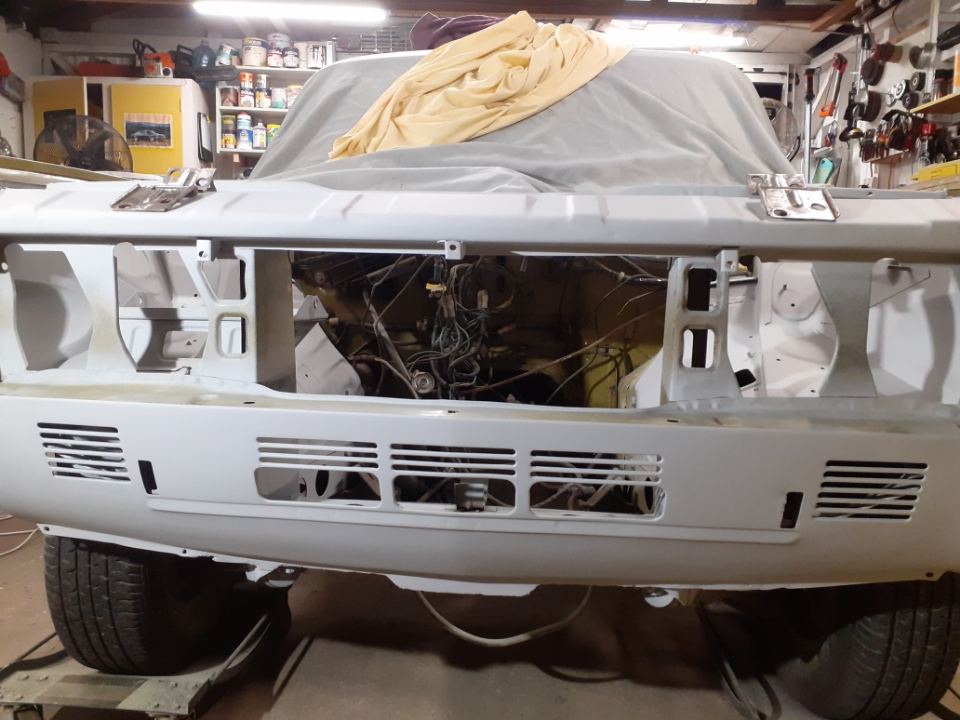
Another month passed and I get a text to say the fuel flap has been sent to the big smoke for a paint match, and hopefully painting can start next week! Clean slam panel Radiator support panel repaired Behind the left headlight done. New smile
1 point
-
got my fairings back from the painter on the weekend. he did a pretty lush job I think. Im glad I put a lot of effort into the prep. Bit of a mockup on the bike Really happy with how the custom tail piece worked out with the XR250 tail light. The tool bag is a cool touch I think and the colour is pretty close. I used the original real mudguard piece mostly to have somewhere to mount the number plate. Would have looked cool without it but will also serve some purpose of stopping too much shit getting flicked around. It is also a small memento of its previous life as it has some of the stickers on it from the South America trip the bike went on.1 point
-
Finished removing the underseal. What a shit job, lying under the car scraping with a chisel. Only a bit of surface rust, cleaned up no worries with a strip disc and wire brush. Gave it a coat of Brunox, scuffed up with scotchbrite and brush painted with epoxy primer. Not mint, but good enough for the underside. Just need to move the stands and do the same for the jacking points now. Getting the fuel tank dipped and lined, rear brake cylinders sleeved at the moment. Next, I will tidy up and paint the diff and fuel tank.
1 point
-
That's only because no-one from OS turns up anyway. Doesn't seem to be a huge desire from OS people regardless of the format, and that's fine. We don't have enough people to run our own, so rely on others (this was the same when they were at burger fuel, OS was the minority of people).The number of people who actually use OS as a means of communication/regularly check on what's happening is so small that organizing an event on here doesn't reach more than 5 people so its of minimal value. If someone wants to step up and organize things then please do. Tank @ CJC has been pushing pretty hard and keeping the flame alive and is more than happy to work with us, but even he has noted that hardly anyone turns up from OS, so again, it kind of fizzles out. Coming into winter as well, its hard to get people excited. I unofficially took over when Marku went south but that wasn't a conscious effort. To be brutally honest I have minimal desire to get involved in organizing things (so sue me) but will turn up when I can. If someone wants to take charge and push hard then please do. Nothing wrong with people having other priorities in life. Peace out.1 point
-
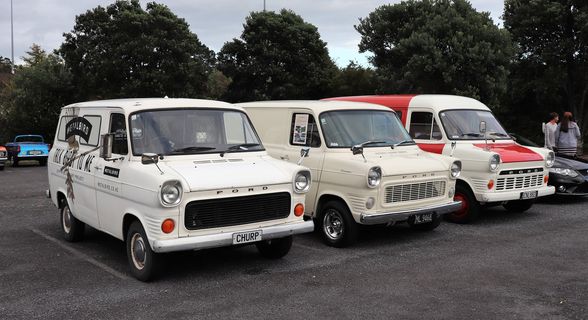
a few more pics......... Browndog's 1972 V8 Transit - Page 3 - Project Discussion - oldschool.co.nz
1 point
-
Started on the wiring today. Doing a push button start and getting all the engine sorted. Put a coil on, fuel line, battery, poured some juice in and it kicked into life! Ran for about a minute while l checked all the vitals. About 50psi oil pressure and purred like a angry kitten with its short straight pipe. Il put that on the list of things to sort asap as its real noisy and l like the people who live around here. Any way more pics to come of wiring tomorrow.
1 point
-
Dig out the bit you are jumping over so it looks higher1 point
-
Hello welders, I know its been asked multiple times. But I'd like to re-ask to get the latest opinion. I'm after a TIG. Would like to do Mild, Stainless, and very likely alloy in the near future. I've already got a MIG, so after a dedicated TIG machine. What of the current range would you people recommend? (I've seen Kicker's question on the previous pages but would like a few more suggestions if possible :)) Would it be best to not get one that does alloy? Will most likely be used for panel steel, exhaust pipes, and on occasion 5mm plate for brackets. Anything thicker will get the MIG treatment. So doesn't need to be a gajillion amps!. However, for alloy, I would likely be for repairing damaged motorbike engine cases and covers, so may need some amps for that?? Would like to hear pros and cons for DC only or AC/DC units vs price. Best to fork out for an AC/DC unit so i can weld ally in the future? I don't actually need to do any alloy welding immediately, will be mild and stainless for the time being, but don't want to trap myself and need another outlay when i want to do some alloy. Many thanks.1 point
-
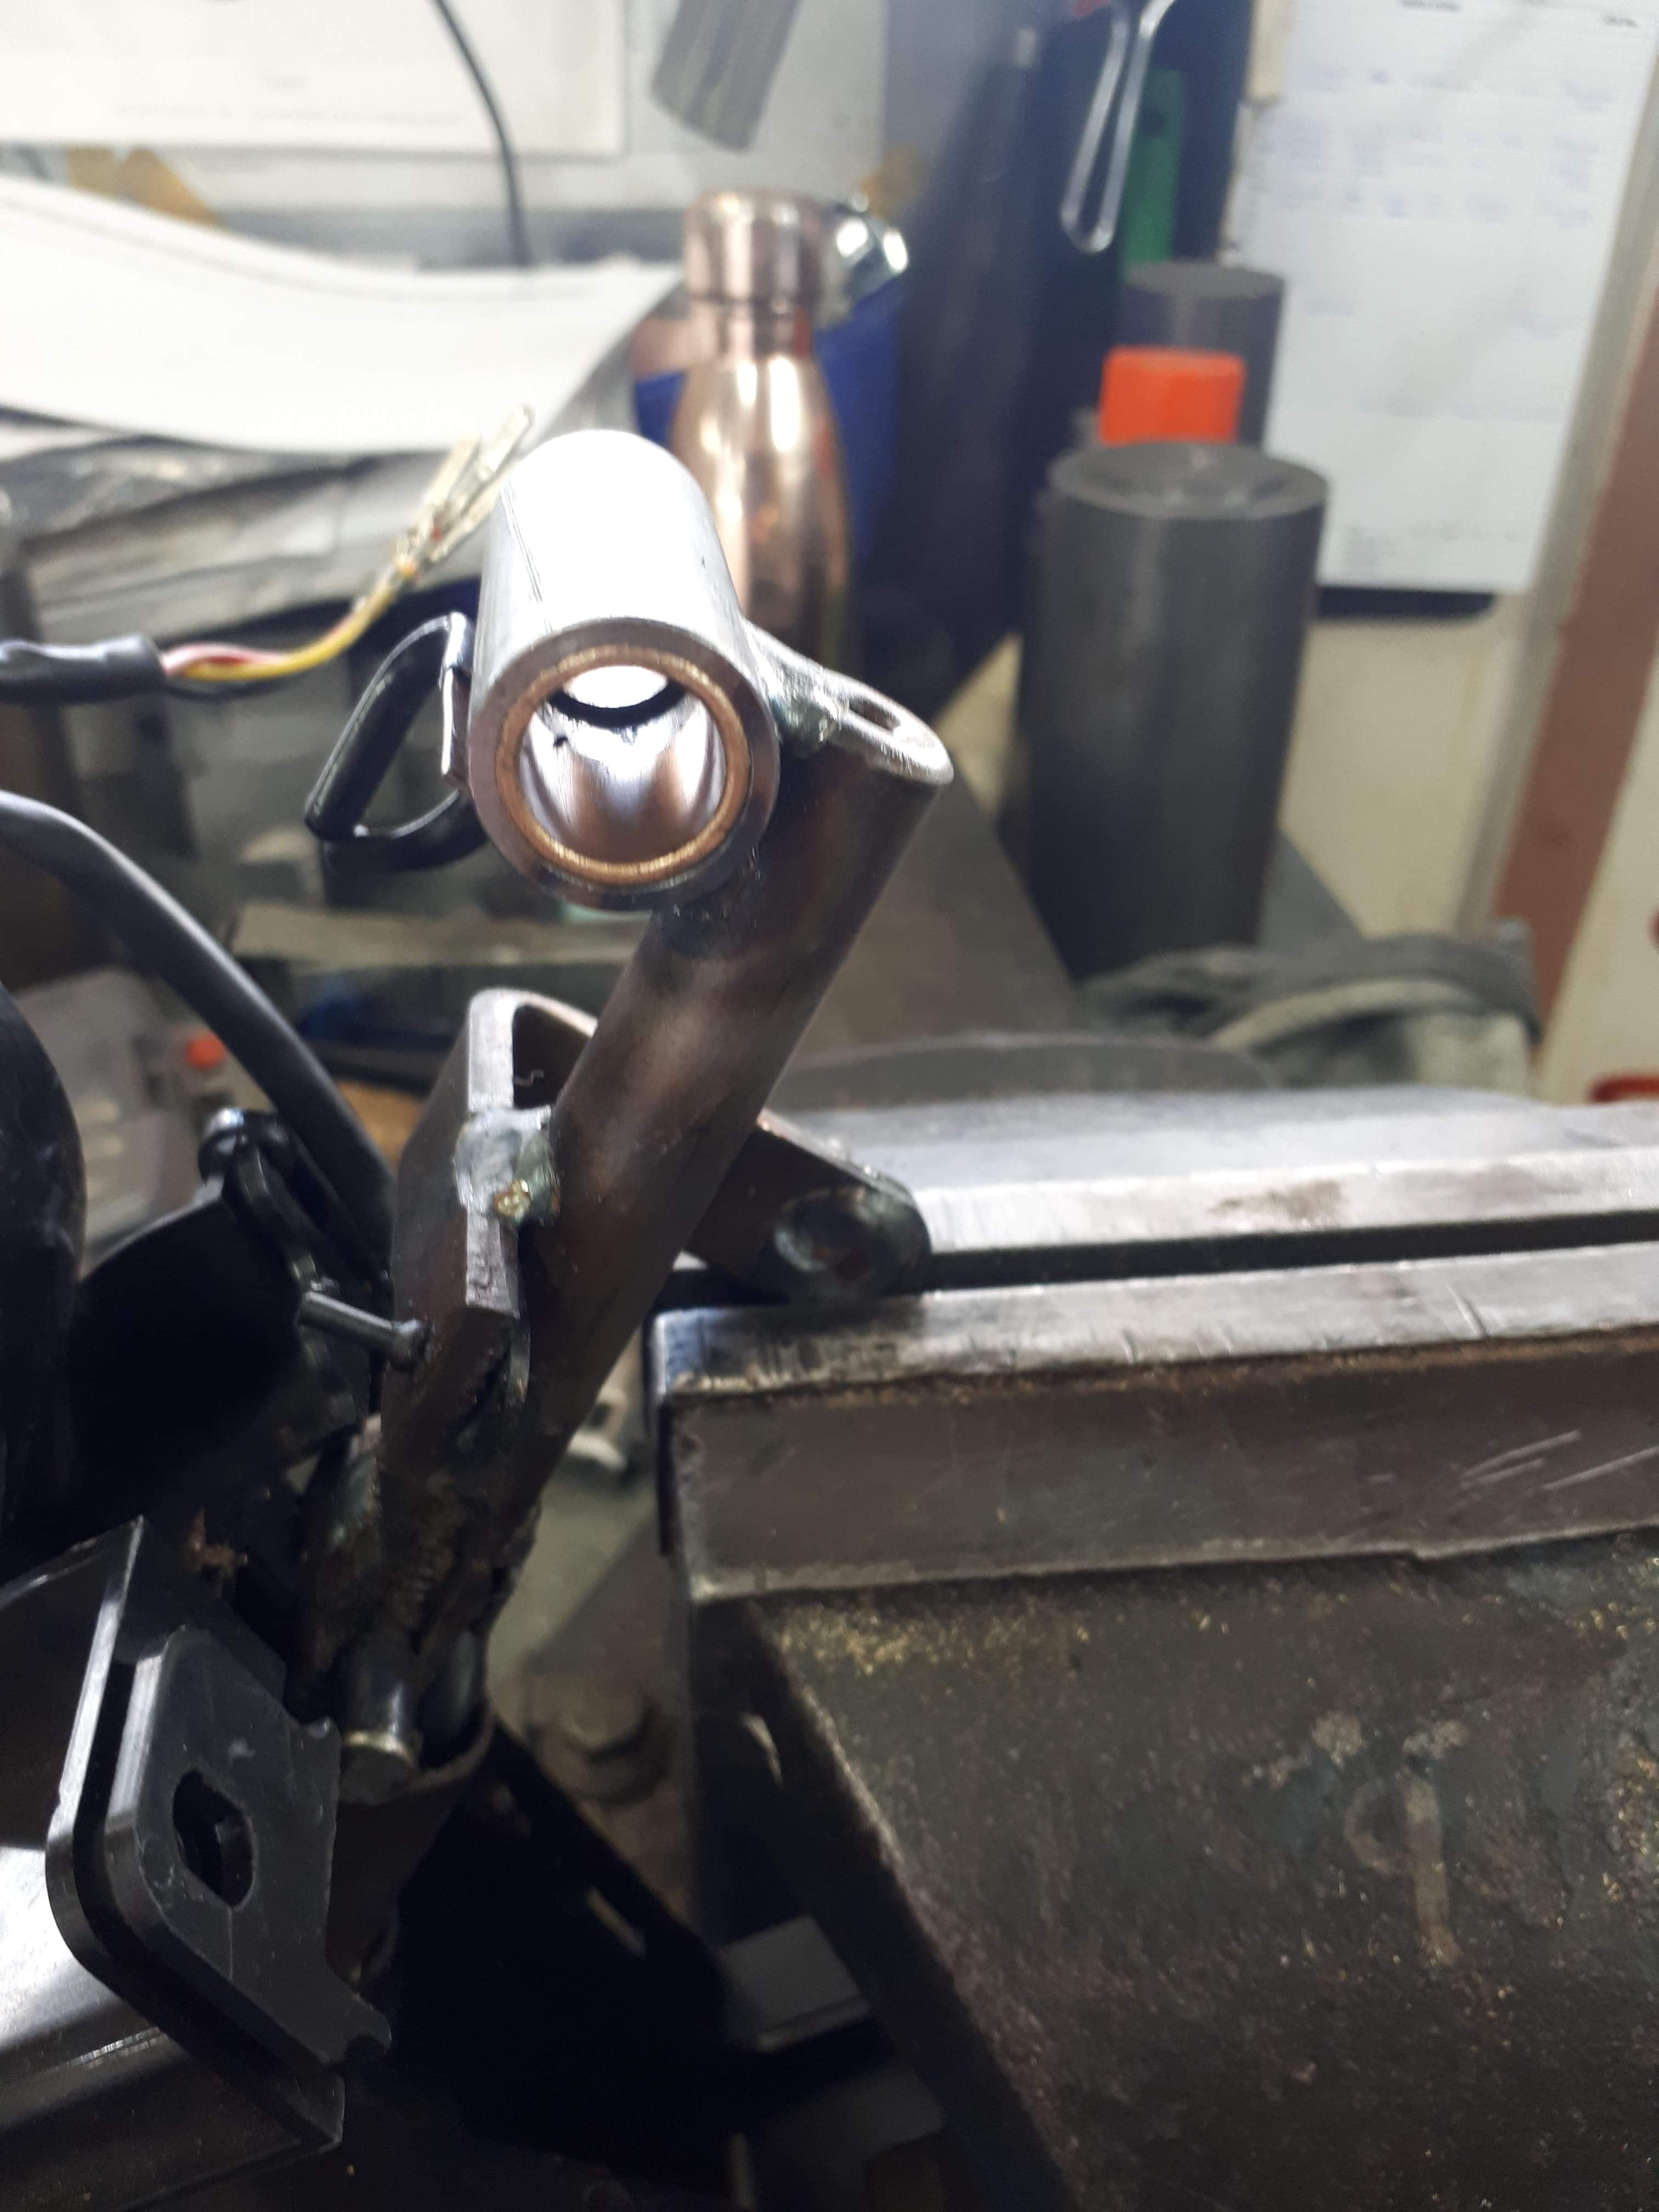
decided i couldn't make the twin shotgun pipes work without alot of testing and i need the bike on the road sooner so i cut them up and bought more bends and a 2-1 proceeded to chop them up, chop the rhs header up and spent an evening getting the headers equal length, went through afew designs and tacking then deciding i didn't like how it looked ended up with this and bought a purpose built moto stainless muffler have them on all my bikes and cant recommend them enough. my welding has deff gotten less tidier now i don't tig day in day out now, still fine just not super pretty and consistent like it was 1.5 years ago. also got acouple purpose built moto guards for the front and back to finish it off. will get a sound video but it sounds super rad nice and crisp and was worth the time to get the headers equal length. still needs black pinstripes on the tank to pull it all together but its about ready for me to take it gravel bash and drop it.1 point
-
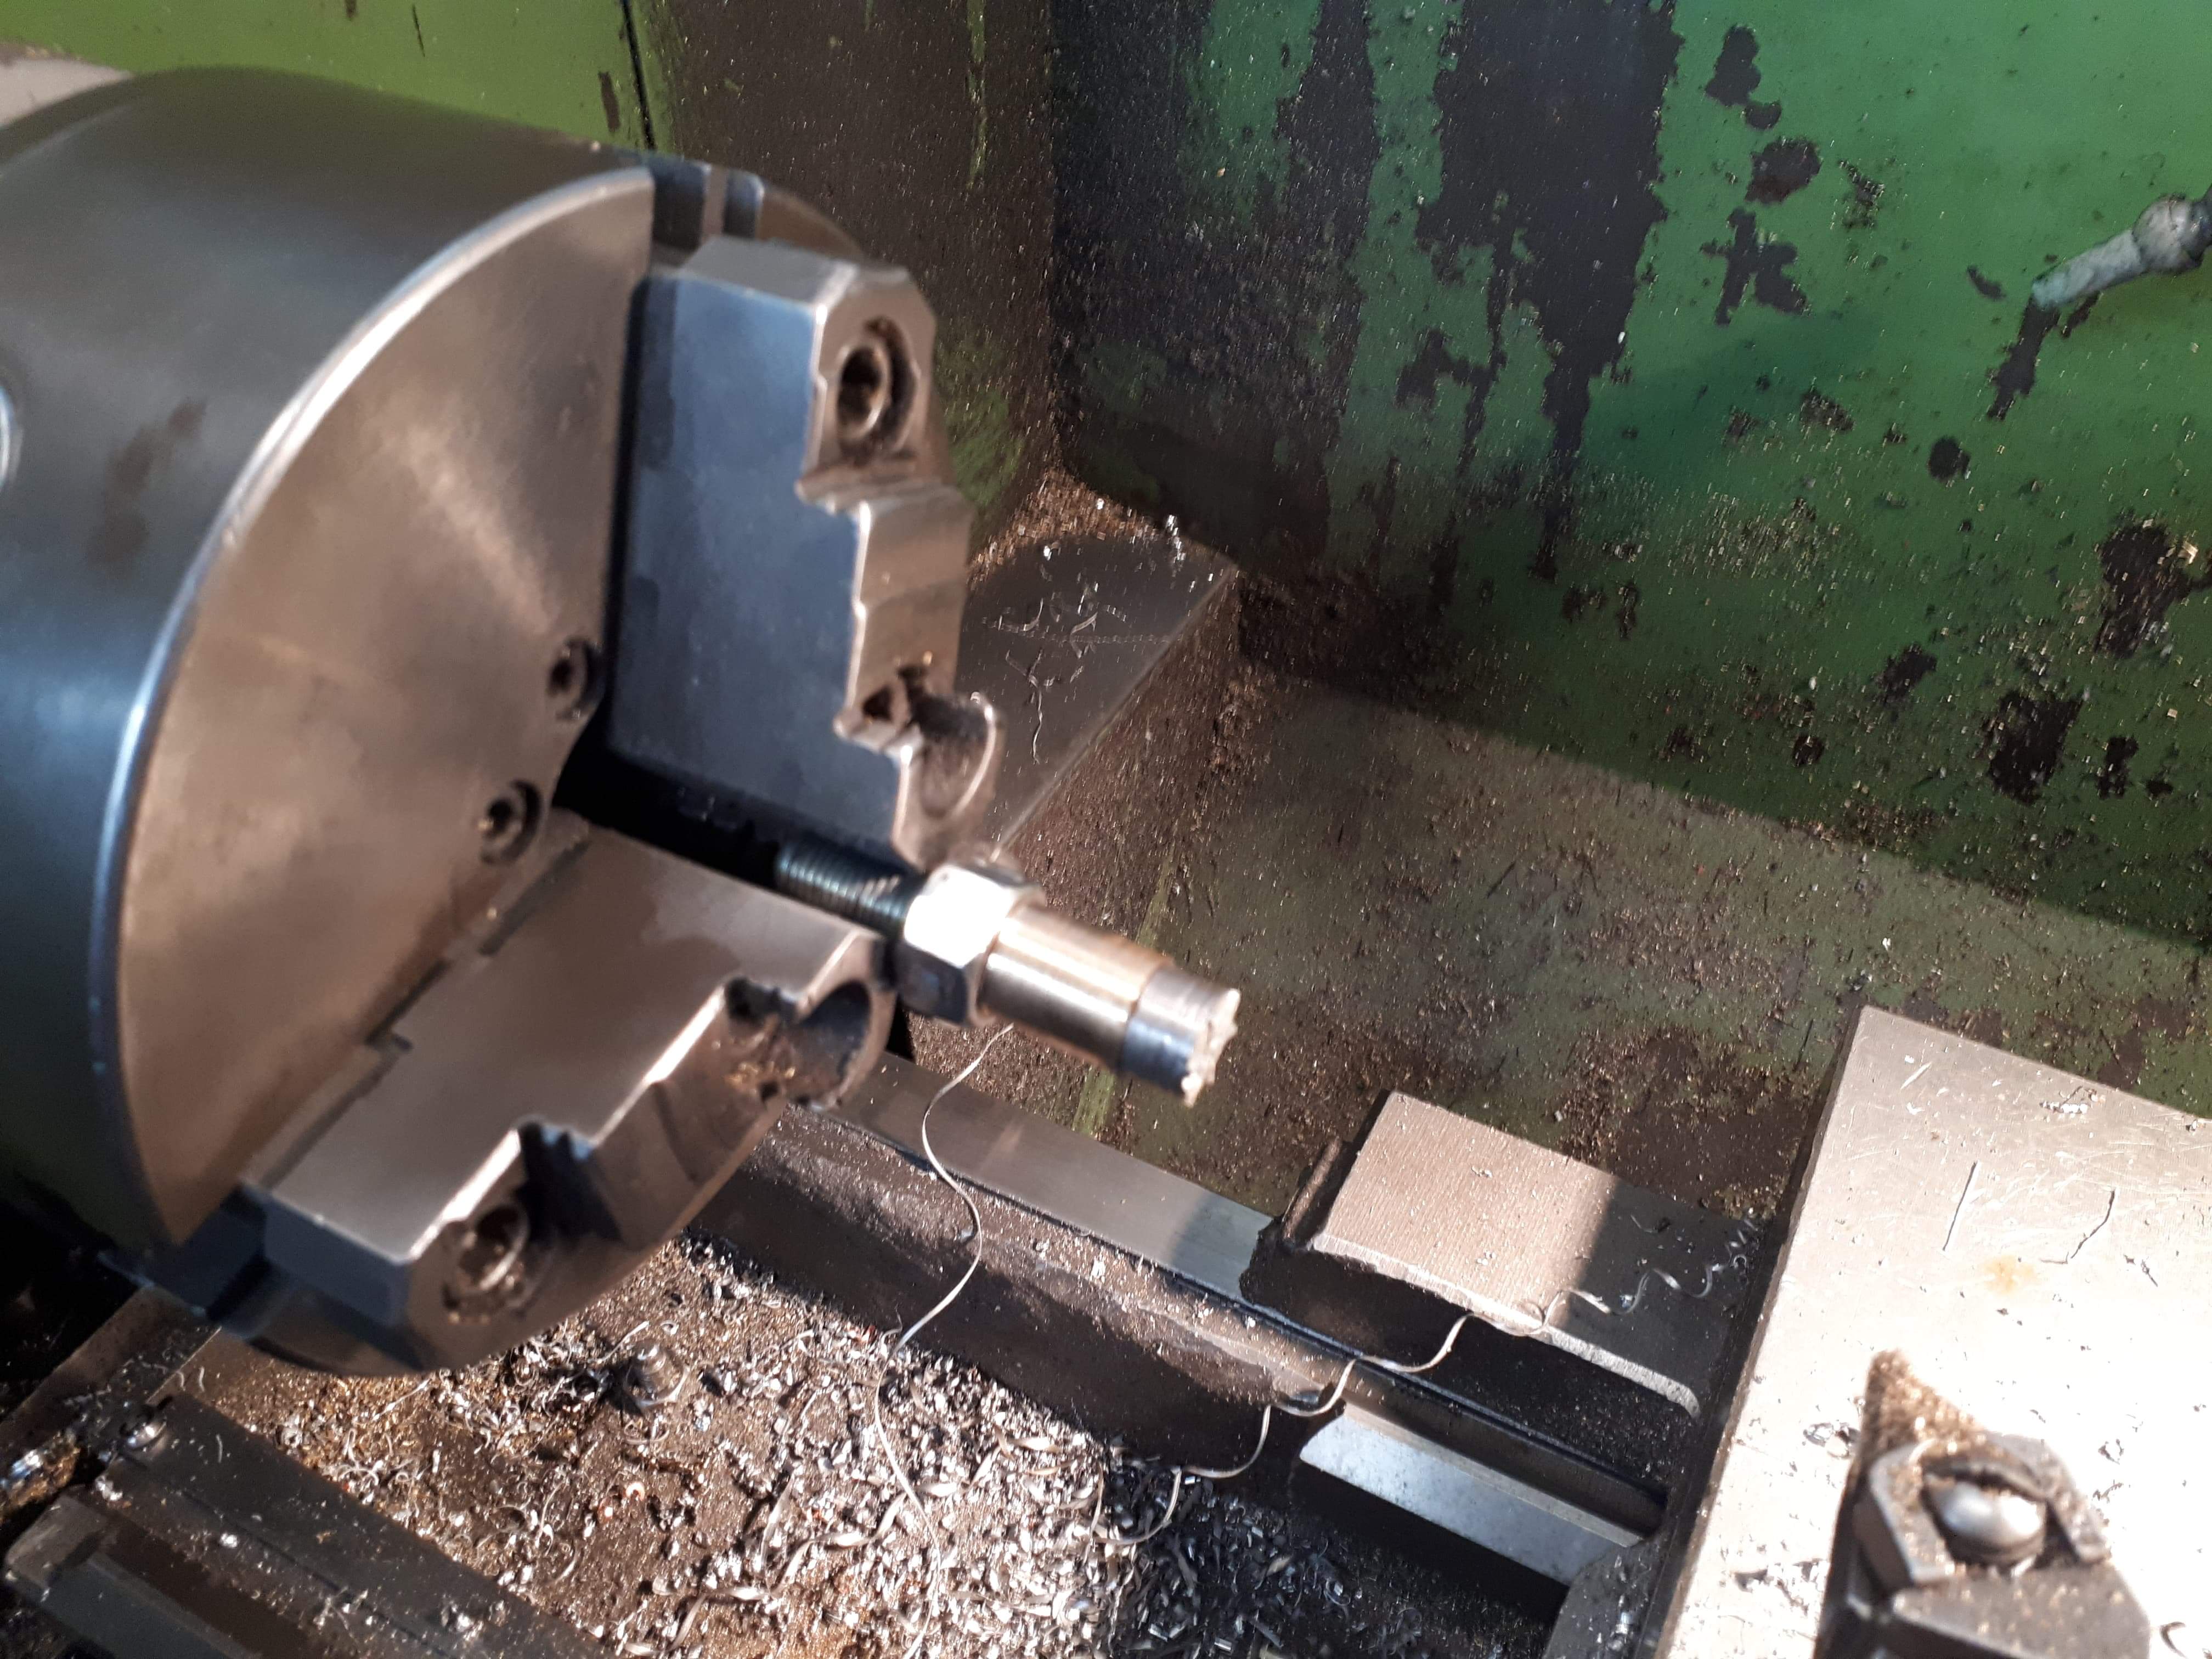
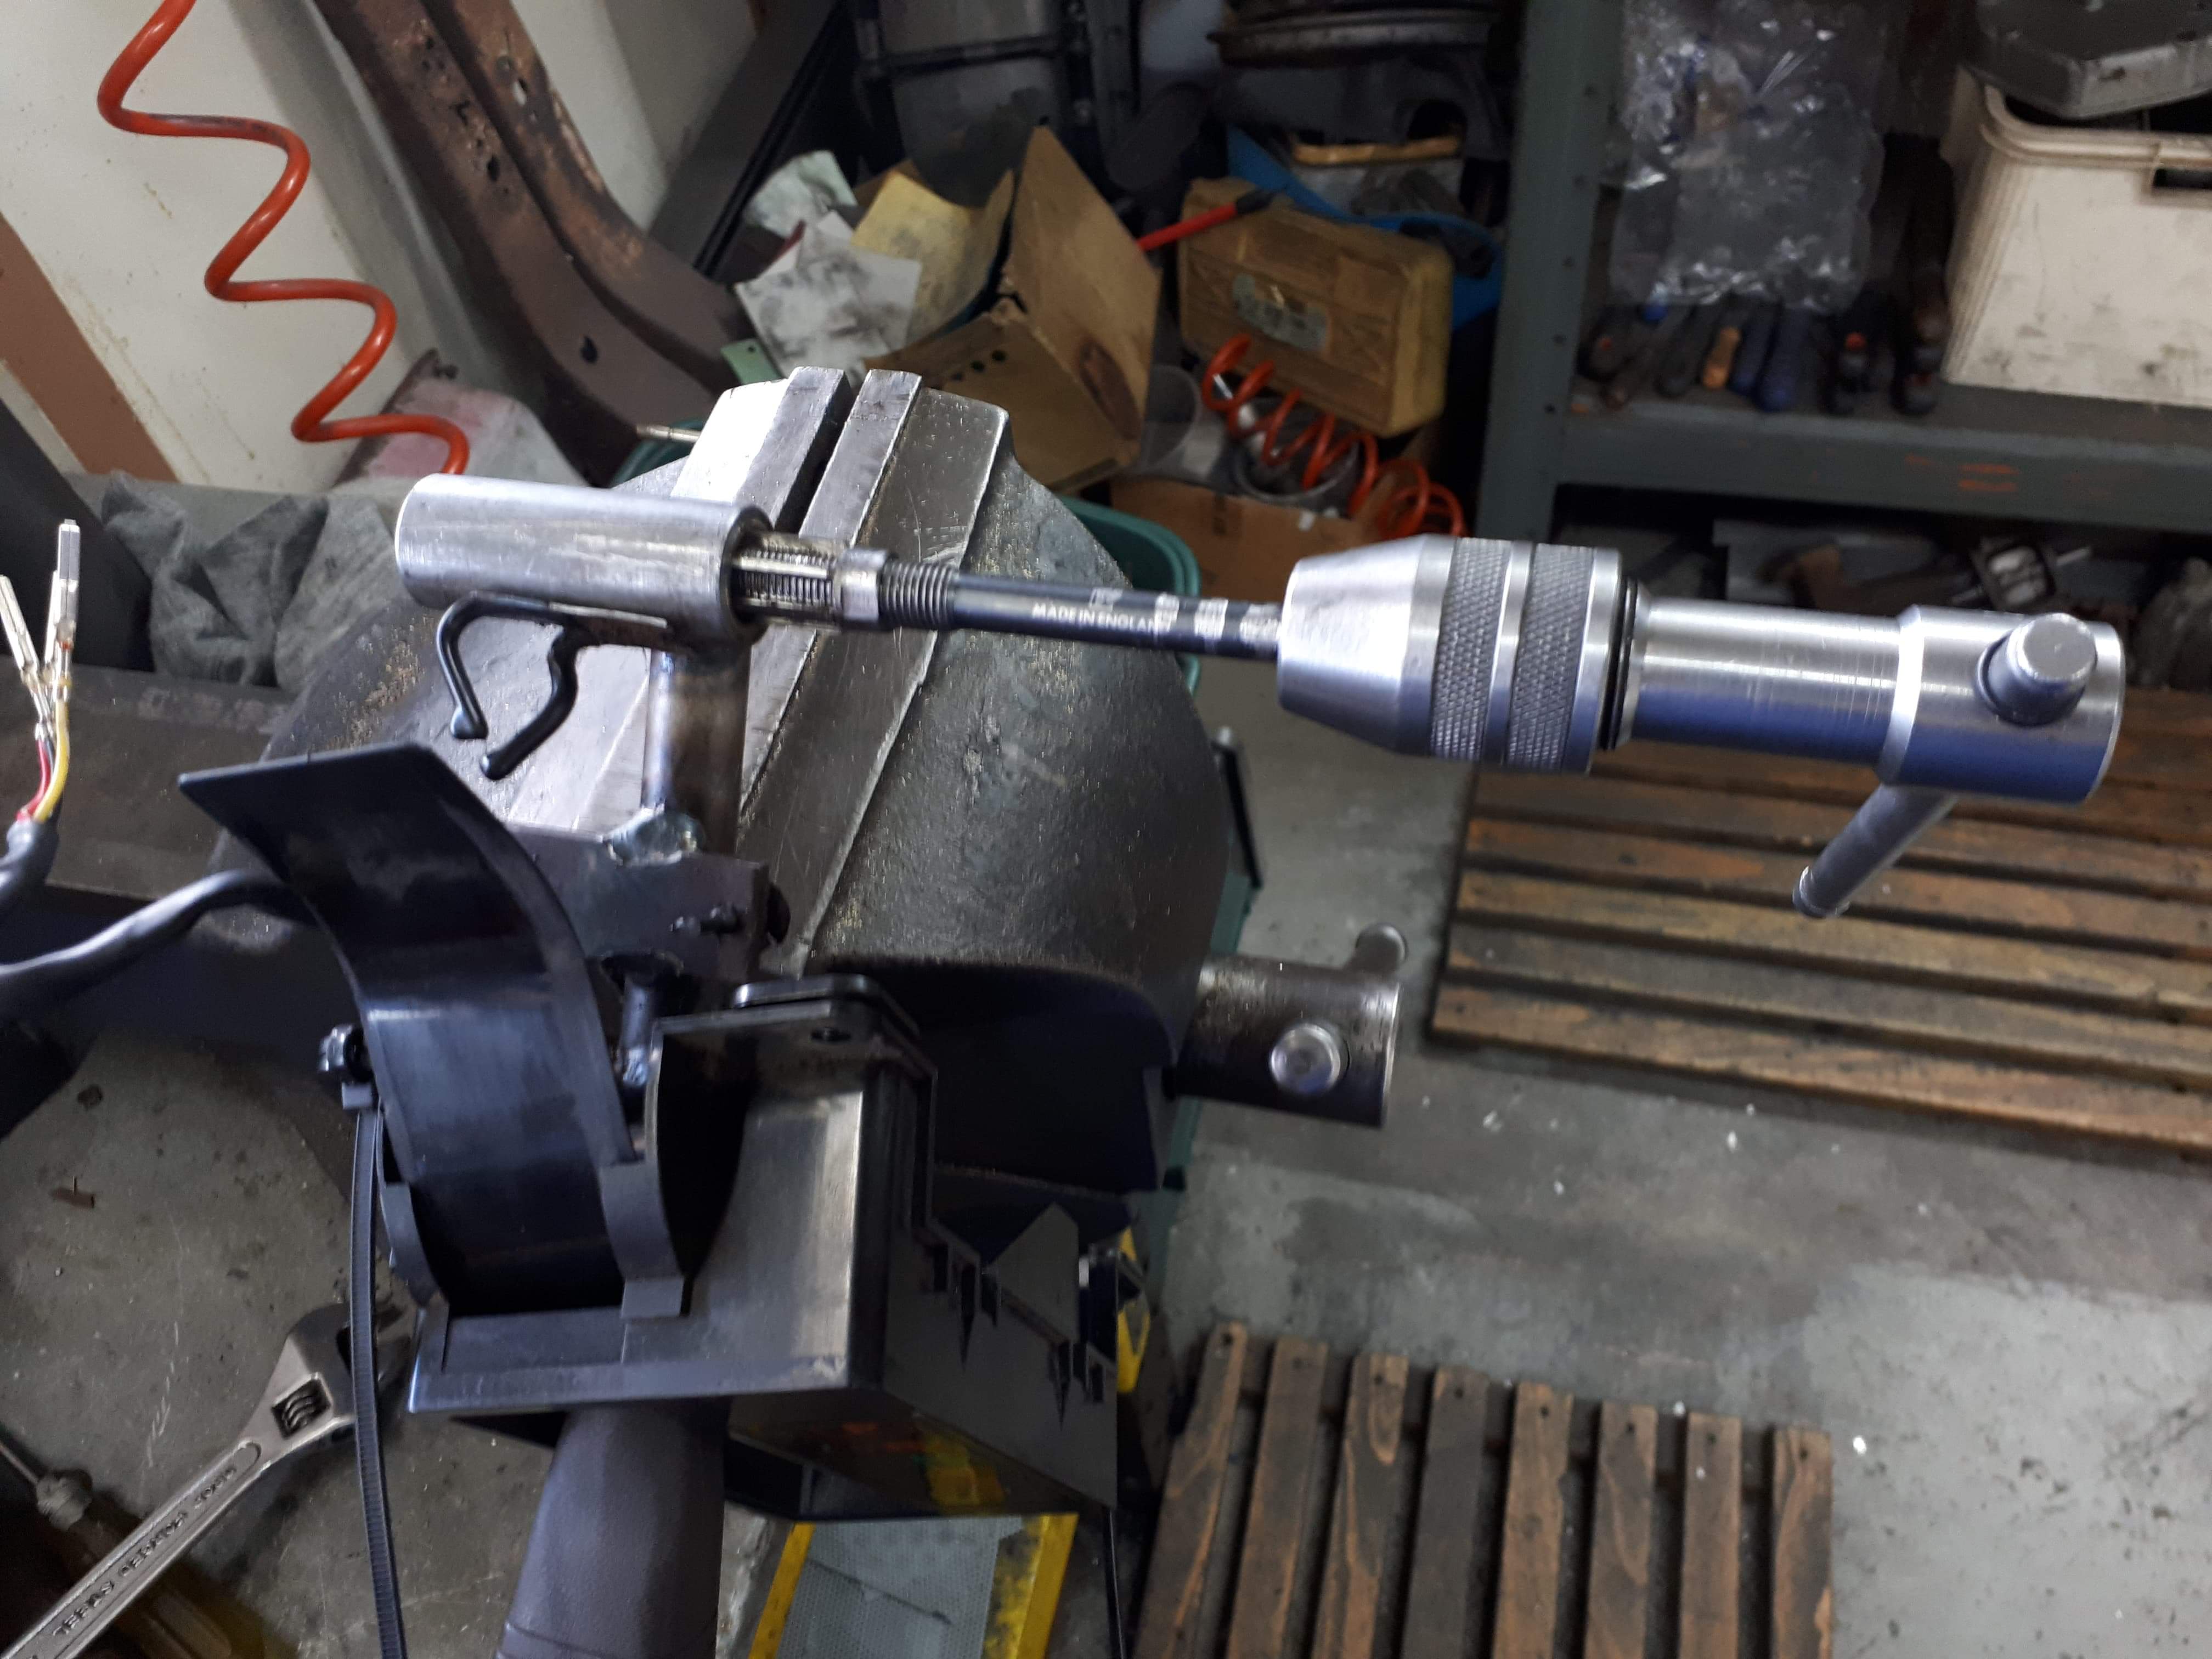
Sorted the shifter bush this arvo. Didnt have any sutible plastic to make a bush out if so modifyed 2 bronze bushes O.d was to big so turned it down to fit. Made one a little small so used a bit of locktite to secure it Then reamed out the i.d till the bottom bolt would go through with only a little clearance Sorted
1 point
-
Painted the door window frames in 2k matte black and then assembled them back together. Hatch assembled and back on. Finally found some factory fender mirror, in pretty good condition too! Sanded the tail lights and sprayed them with some clearcoat. Got it off the rotisserie in the weekend, after being on it for 16 months!1 point
-
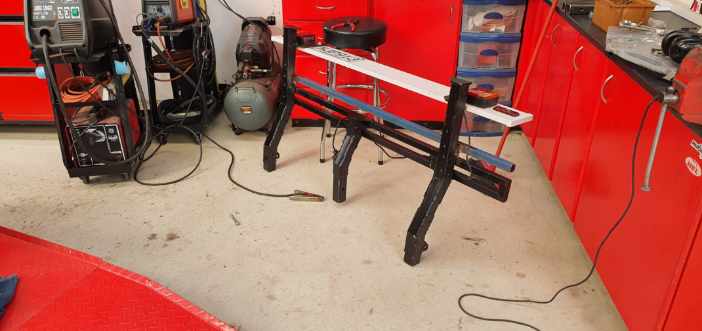
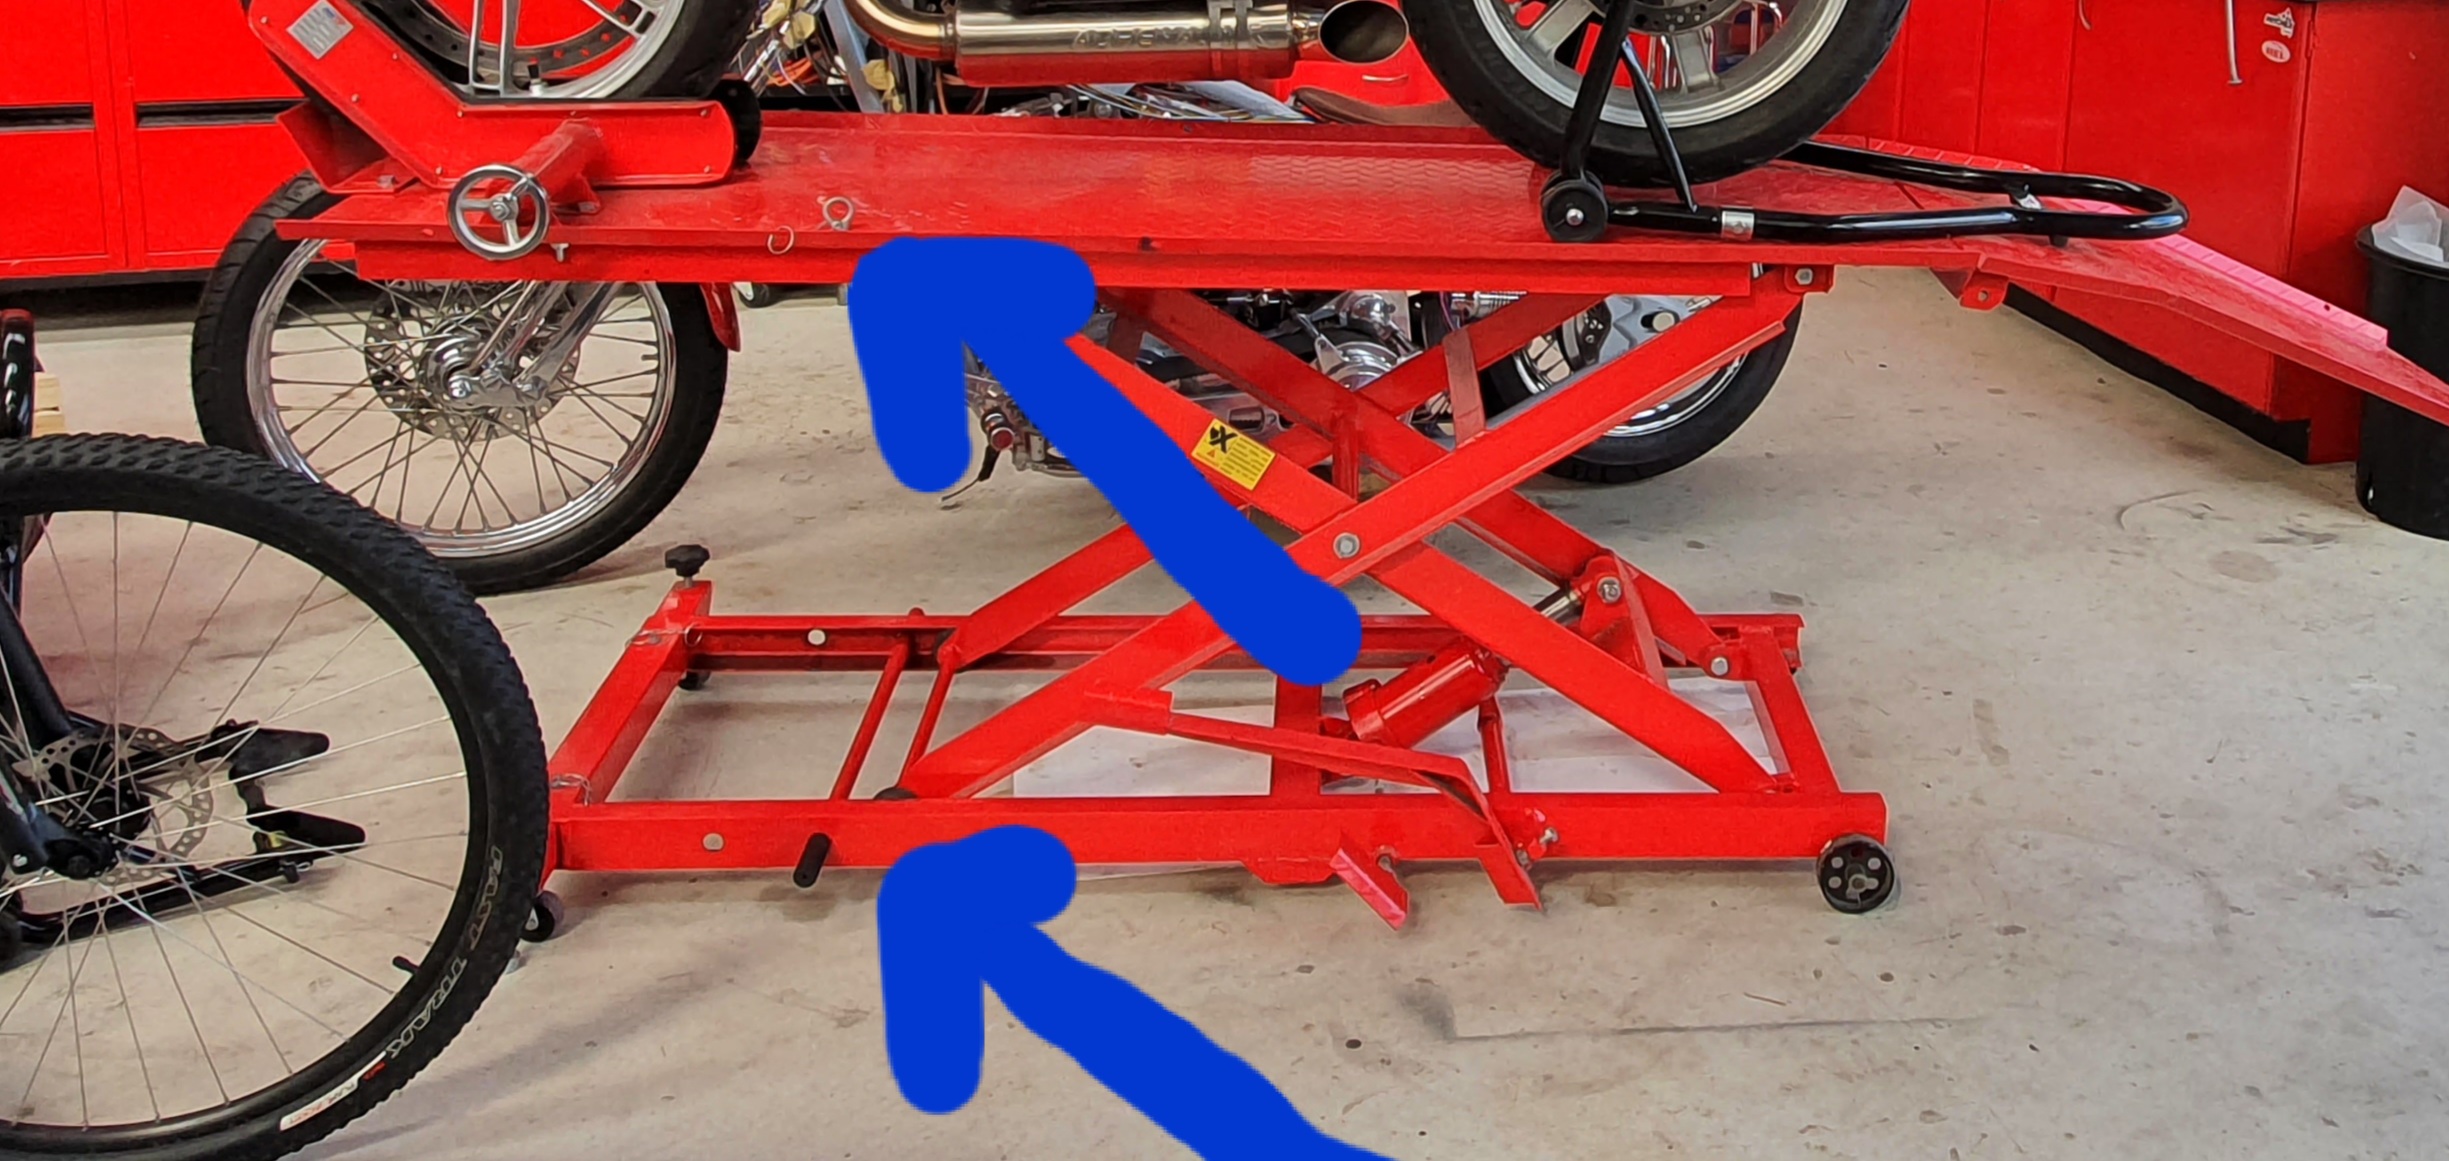
Its from Machinery House. Its still Chinese made, but the fundamental difference is the design of this one is a much better concept. The action of the new one (Machinery House) works like a scissor lift, where one end is a pin joint, the other is free to move on rollers. The safety pins go into the roller channels, so if it were to fail...there's 2 more than adequately sized pins that block and stop the rollers. The TopmaQ deathtrap has a guillotine action, and the arm its trying to stop has a huge amount of leverage on it. The "safety" pin has a huge gap between contact points, which creates a massive bending moment in the pin itself. I ran some calculations and found it woefully inadequate. The force on the TopmaQ safety pin is 6x that of the Machinery House pin, and that's in share force, then there's the huge bending moment acting on it which is the main cause of failure. The Machinery House hoist has negligible bending moment and share force due to superior design. But I don't need to show the calculus...this picture speaks for itself.
1 point
-
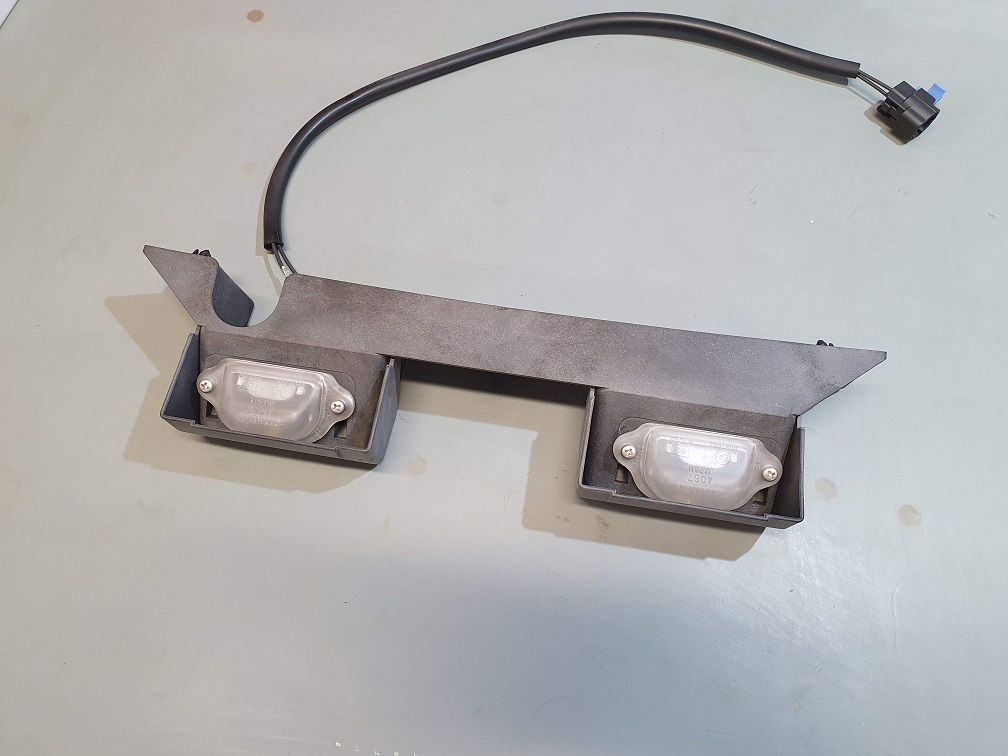
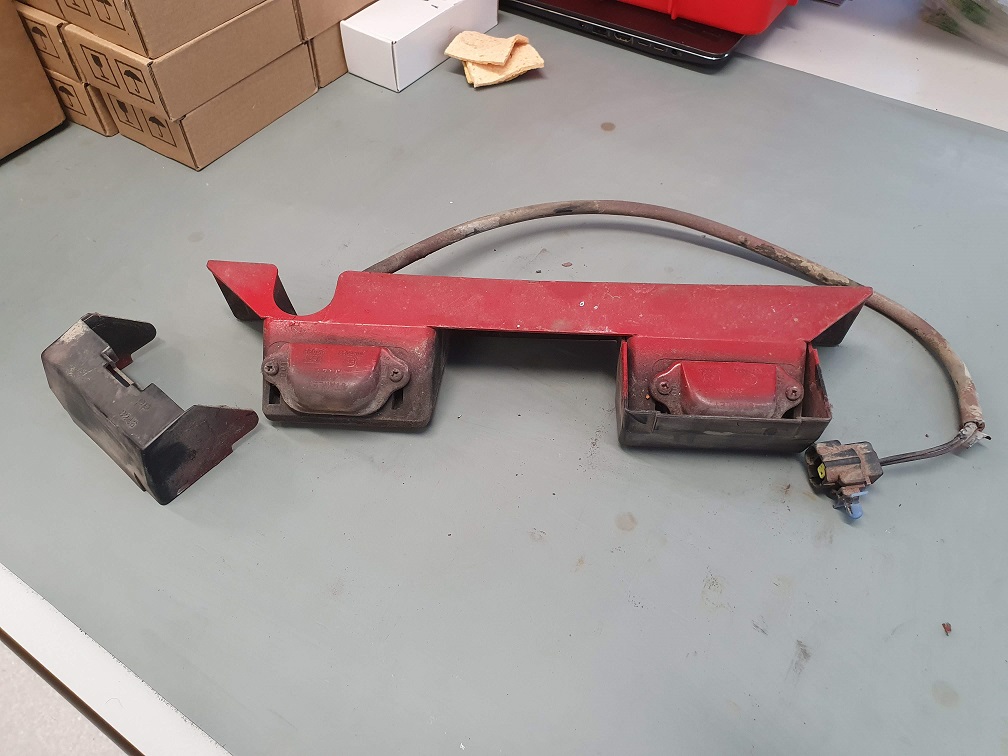
First part restored! Had to come in to work to do some writing, and figured I'd make use of the vapor blaster while I was in here. The numberplate lights were over sprayed to hell and back, definitely not going to put out much light: Dismantled them, set the vaporblaster pressure nice and low and gently cleaned everything. Took about 20 mins all up I'd say. The lenses are now a little cloudy, but I've convinced myself that it means they'll just diffuse the light better. I'll get some LED bulbs for them, as the lenses were a touch melty around the original 5W wedge bulbs. Saved me $130USD on a new set, so happy days.
1 point
-
Blaster was keen. Some sorta glass and water deal, but won’t bugger anything left attached. Pulled the bumpstops and exhaust hangers, blasted and zinc sprayed. Quality template (just a reference pic for later) Stripped the hinges, power steer, brake lines & more wee bits off the front and firewall, screen Trims came off cleanly (plenty of bite on the clips, was never going to fall off). Got rust in the lower rear screen like all the other cars but the front was lush! Cooked old vinyl still sandwiched in there. cracked the screen! Next to no effort on the trim it and it provided a wee crack.. gutted it’s the factory glass but it was bound to fail anyway, as there is plenty of delaminated areas around edges1 point
-
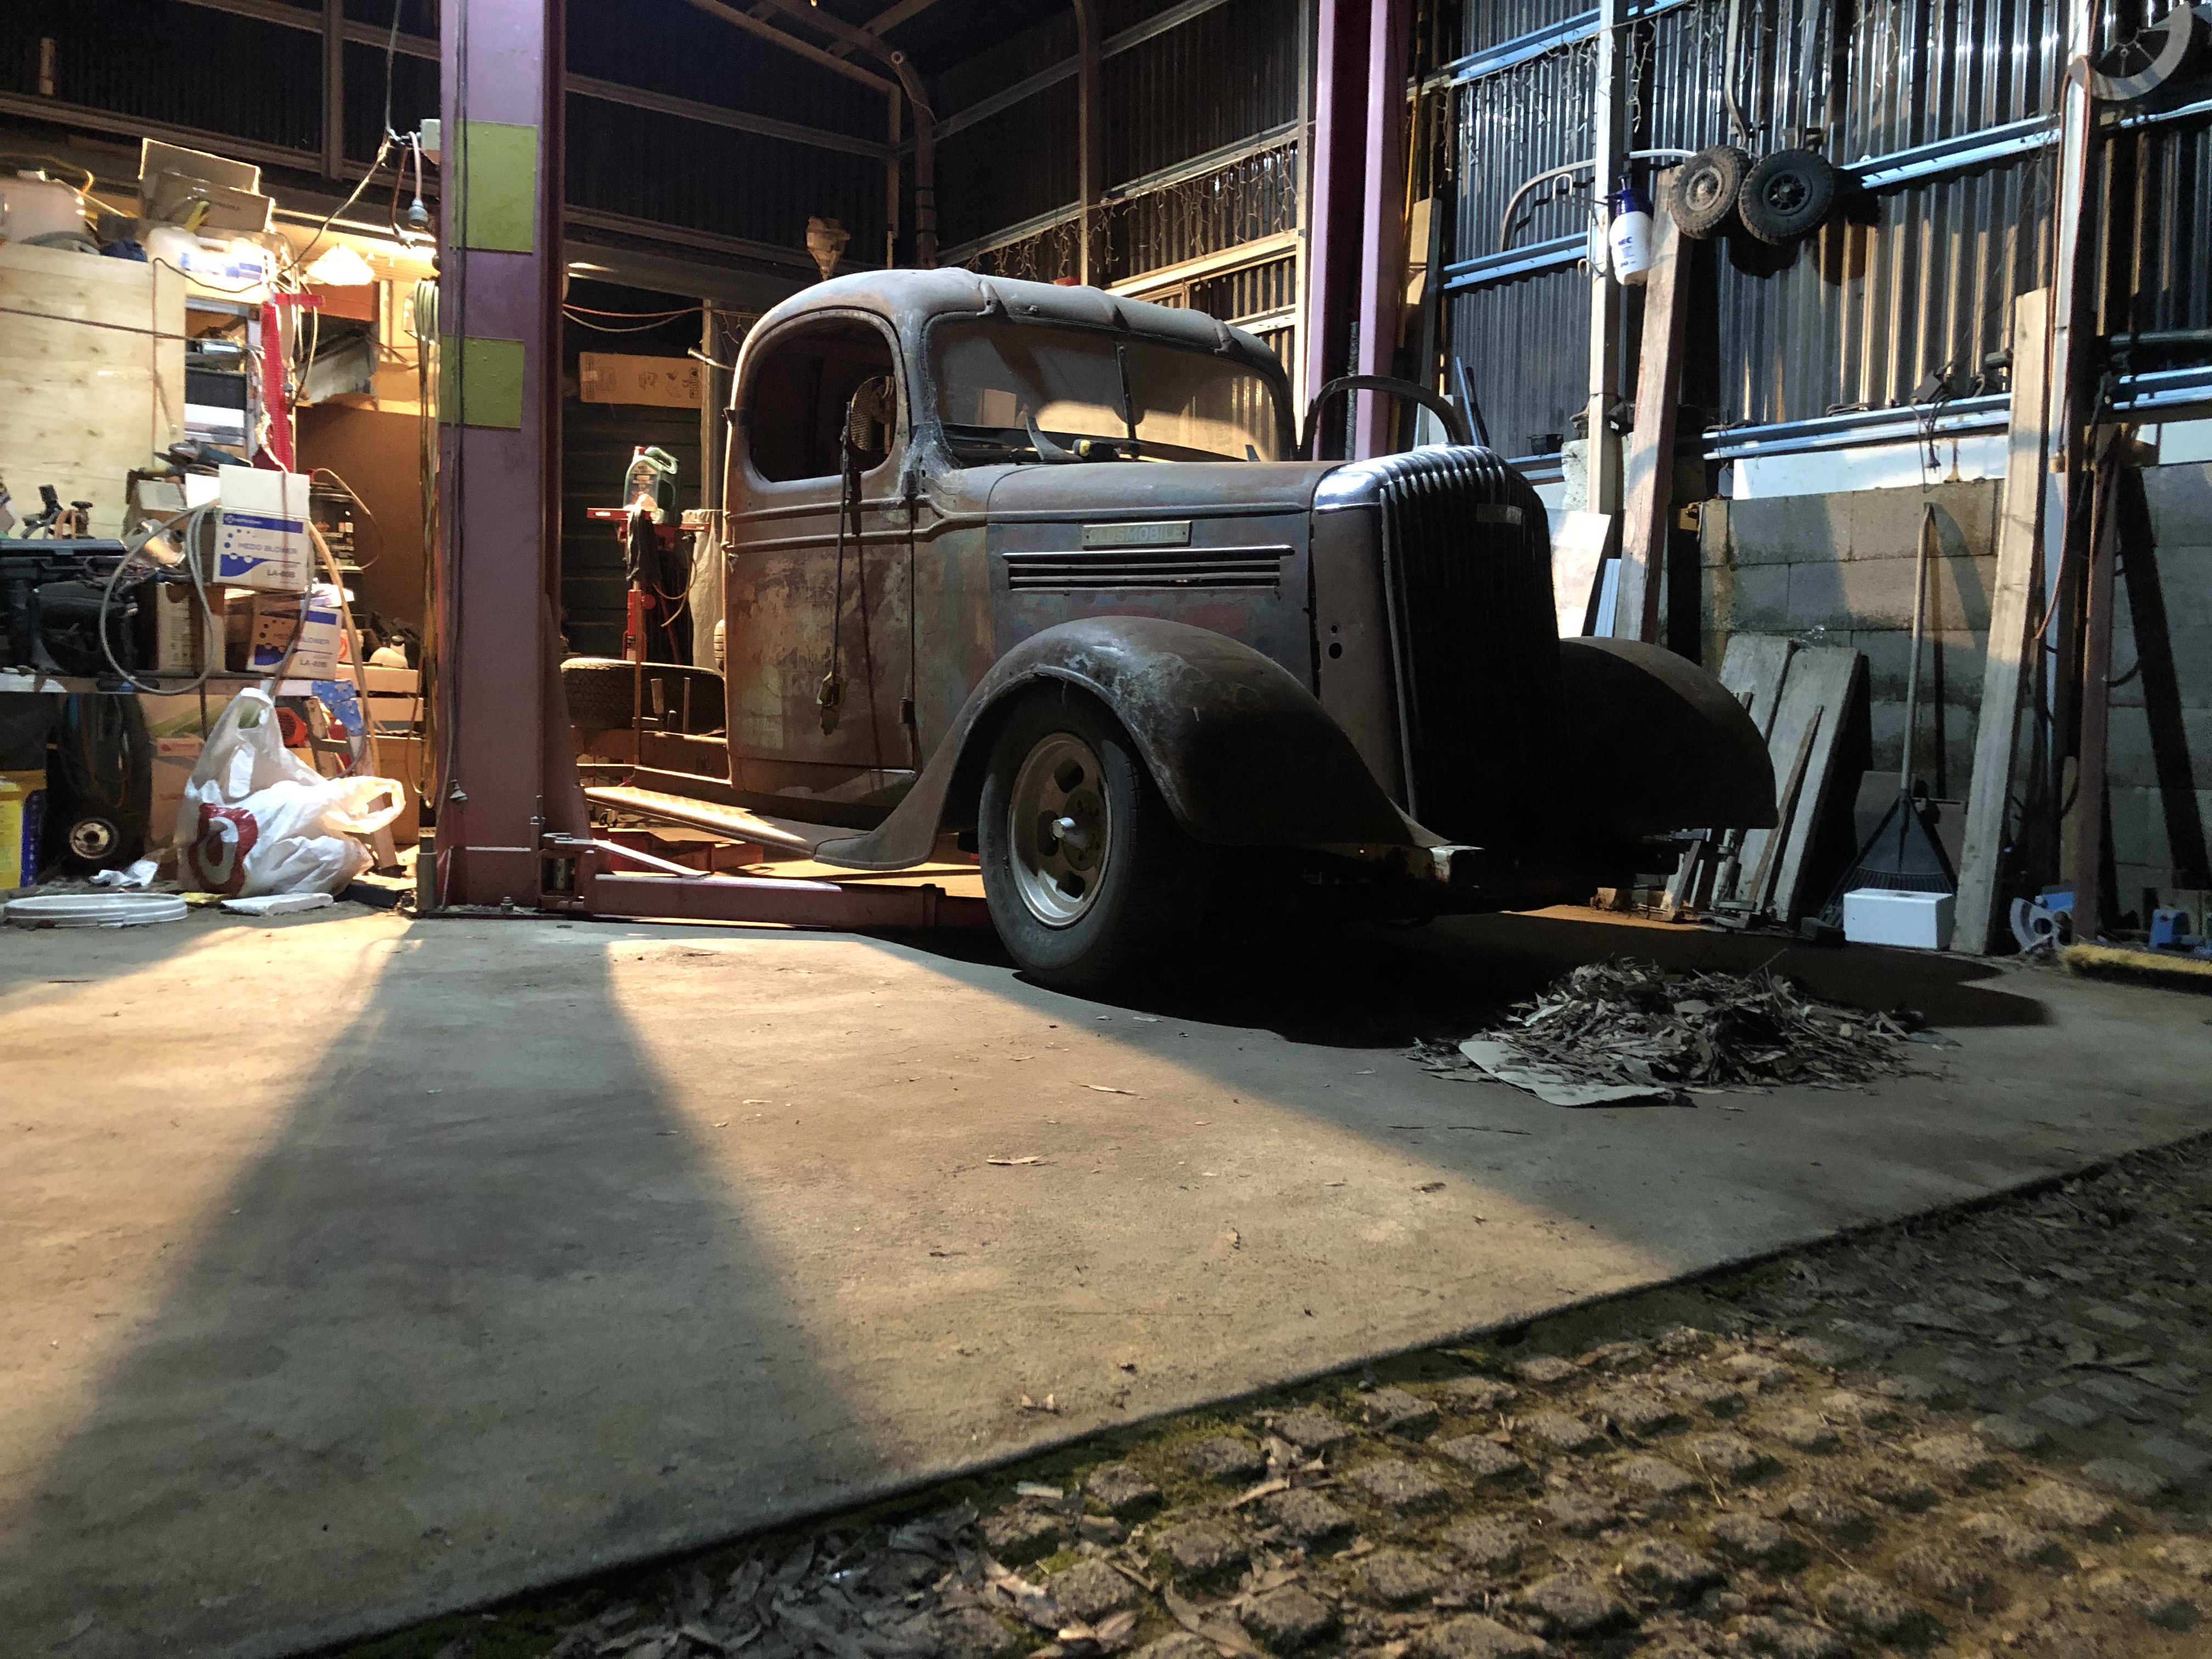
G'day all, We live just outside of Canberra, heading towards the Snow. I have a '36 Olds truck 1 1/2 ton, that i have removed all the steering, suspension and driveline. It is getting V6 and 700 auto from my sons VT commodore. Just setting u pa L30 front end then a ford/toyota/Mitsi rear end. Just for a fun pickup to get out and about with the wife.
1 point
-
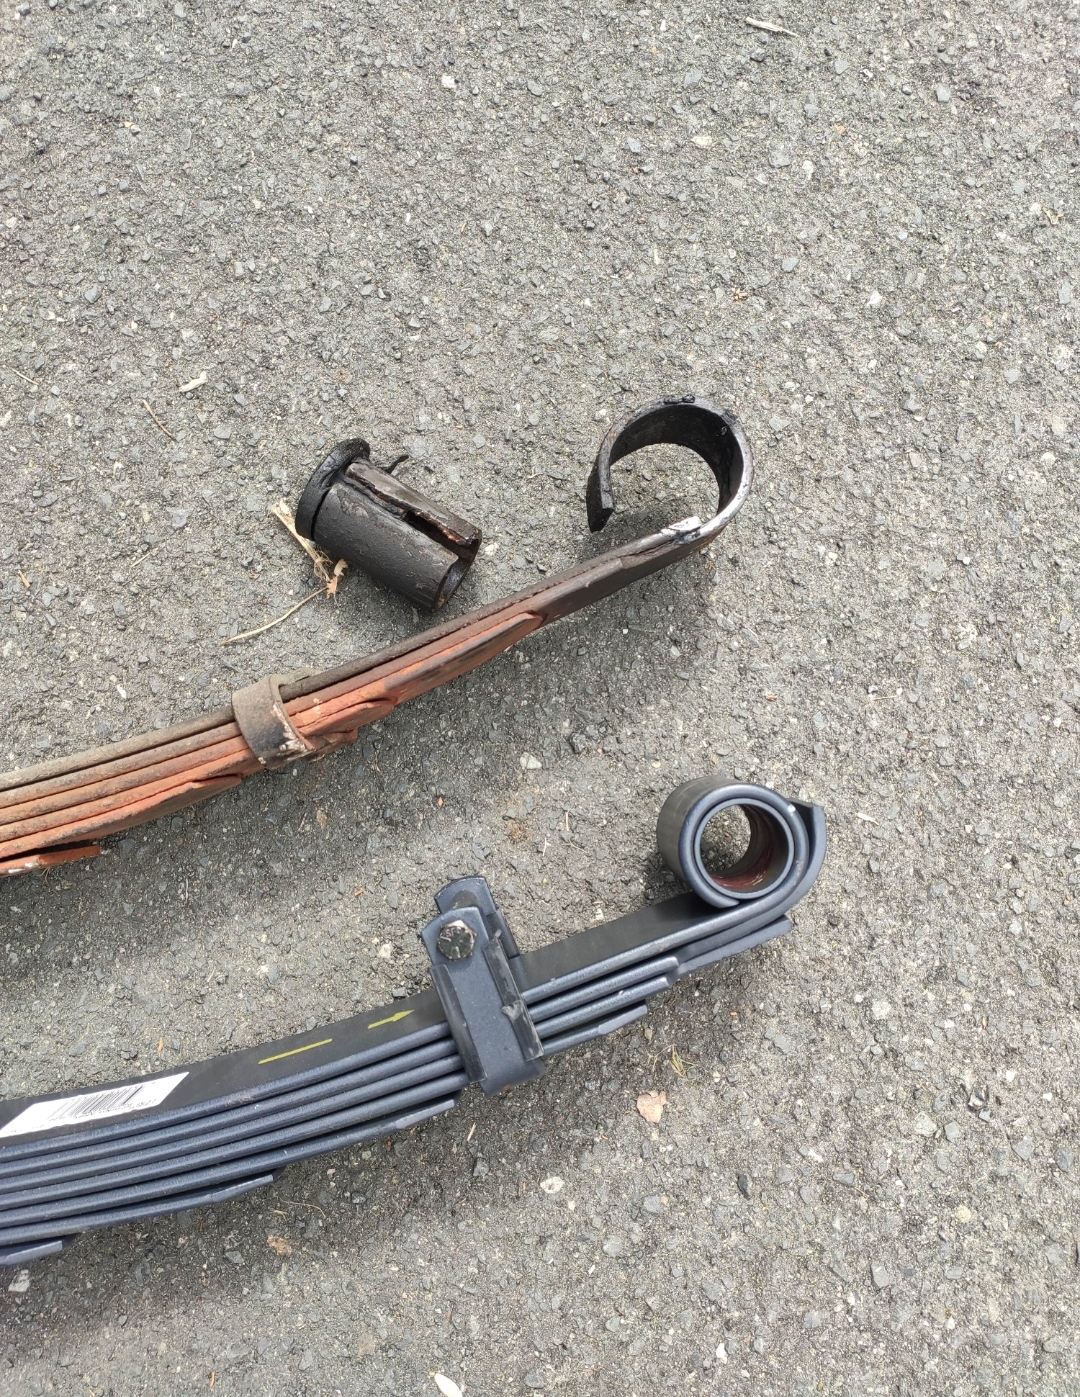
Wof man said I need new leaf bushes, so decided to give cruiser a birthday and do full suspension overhaul. Settled on an Old Man Emu kit - ordered mid December 3 months later full list of parts still hasn't shown up which is pretty dumb. Enough to make a start though, which I did today and found this when I pulled out the first front spring: The eagle eyed will notice that the leaf eye has sheared off and the only thing keeping the spring captive was the wrap of the next leaf. This would give probably 20mm of side play - and quite glad the diff didn't decide to go for a walk while going around a corner at 100kmh. Thought it had shit wandering steering but just put that down to #cruiserlife, Wof man probably missed also as pretty hard to see hidden inside spring hanger box. Anyway, im thinking it might drive quite a lot better. Will chuck up a pic when all installed, is a 2" lift but will probably get 3 or maybe given how flat old springs were.
1 point
-
Oh yay tig spam my favourite Everyones got an opinion but I believe that basic HF Tig are the same as Arc machines. Unless you buy a super cheap import one any machine will do for what you want it to. I roll a 15 year old tool shed HF tig only goes to 150A but 10/10 would trade again. Nothing fancy just controls Amps and post flow but have done everything from rusty panel repairs to multiple pass 10mm plate welds to 5mm production fusing. As far as new welders go a friend has 2 basic hugong Tig at his work for panel repairs/chassis fab and rates it highly for temp control etc. https://www.arcweld.co.nz/itemdetails/Hugong-Powertig-160K-Welder/3726.aspx Whatever you buy make sure you budget another $200 for some accessories as that is where you get your usability from. Flex head is a must the Aliexpress ones at $12 are identical to the $50 from our welding supplier. I love my gas lense usually roll a 7 cup and am yet yo have a job where I cant push the tungsten out enough to get into tight spot. The generic cup kit off alixpress with the different cups and pyrex lenses is a really good place to start as its cheap and the cups are all really low profile, good combo with the flat back cap for getting into cunty spots. Live having different size rods on hands really helps when doing the end of each scale jobs. Thin stainless wire is great for repairing everything and have some 2.4mm steel wire for gapcraft jobs. Hope this helps. 2 cent Jeff1 point
-
got these high pipes made up today, turned out super sweet looking, only downside is they are wayyy too loud so i'm going to have a go at making some baffles/mufflers. once i get them quiet enough that i'm happy with it ill make up some heatshields for them and a-couple of hangers too. (please ignore the terrible car in background its not mine)1 point
-
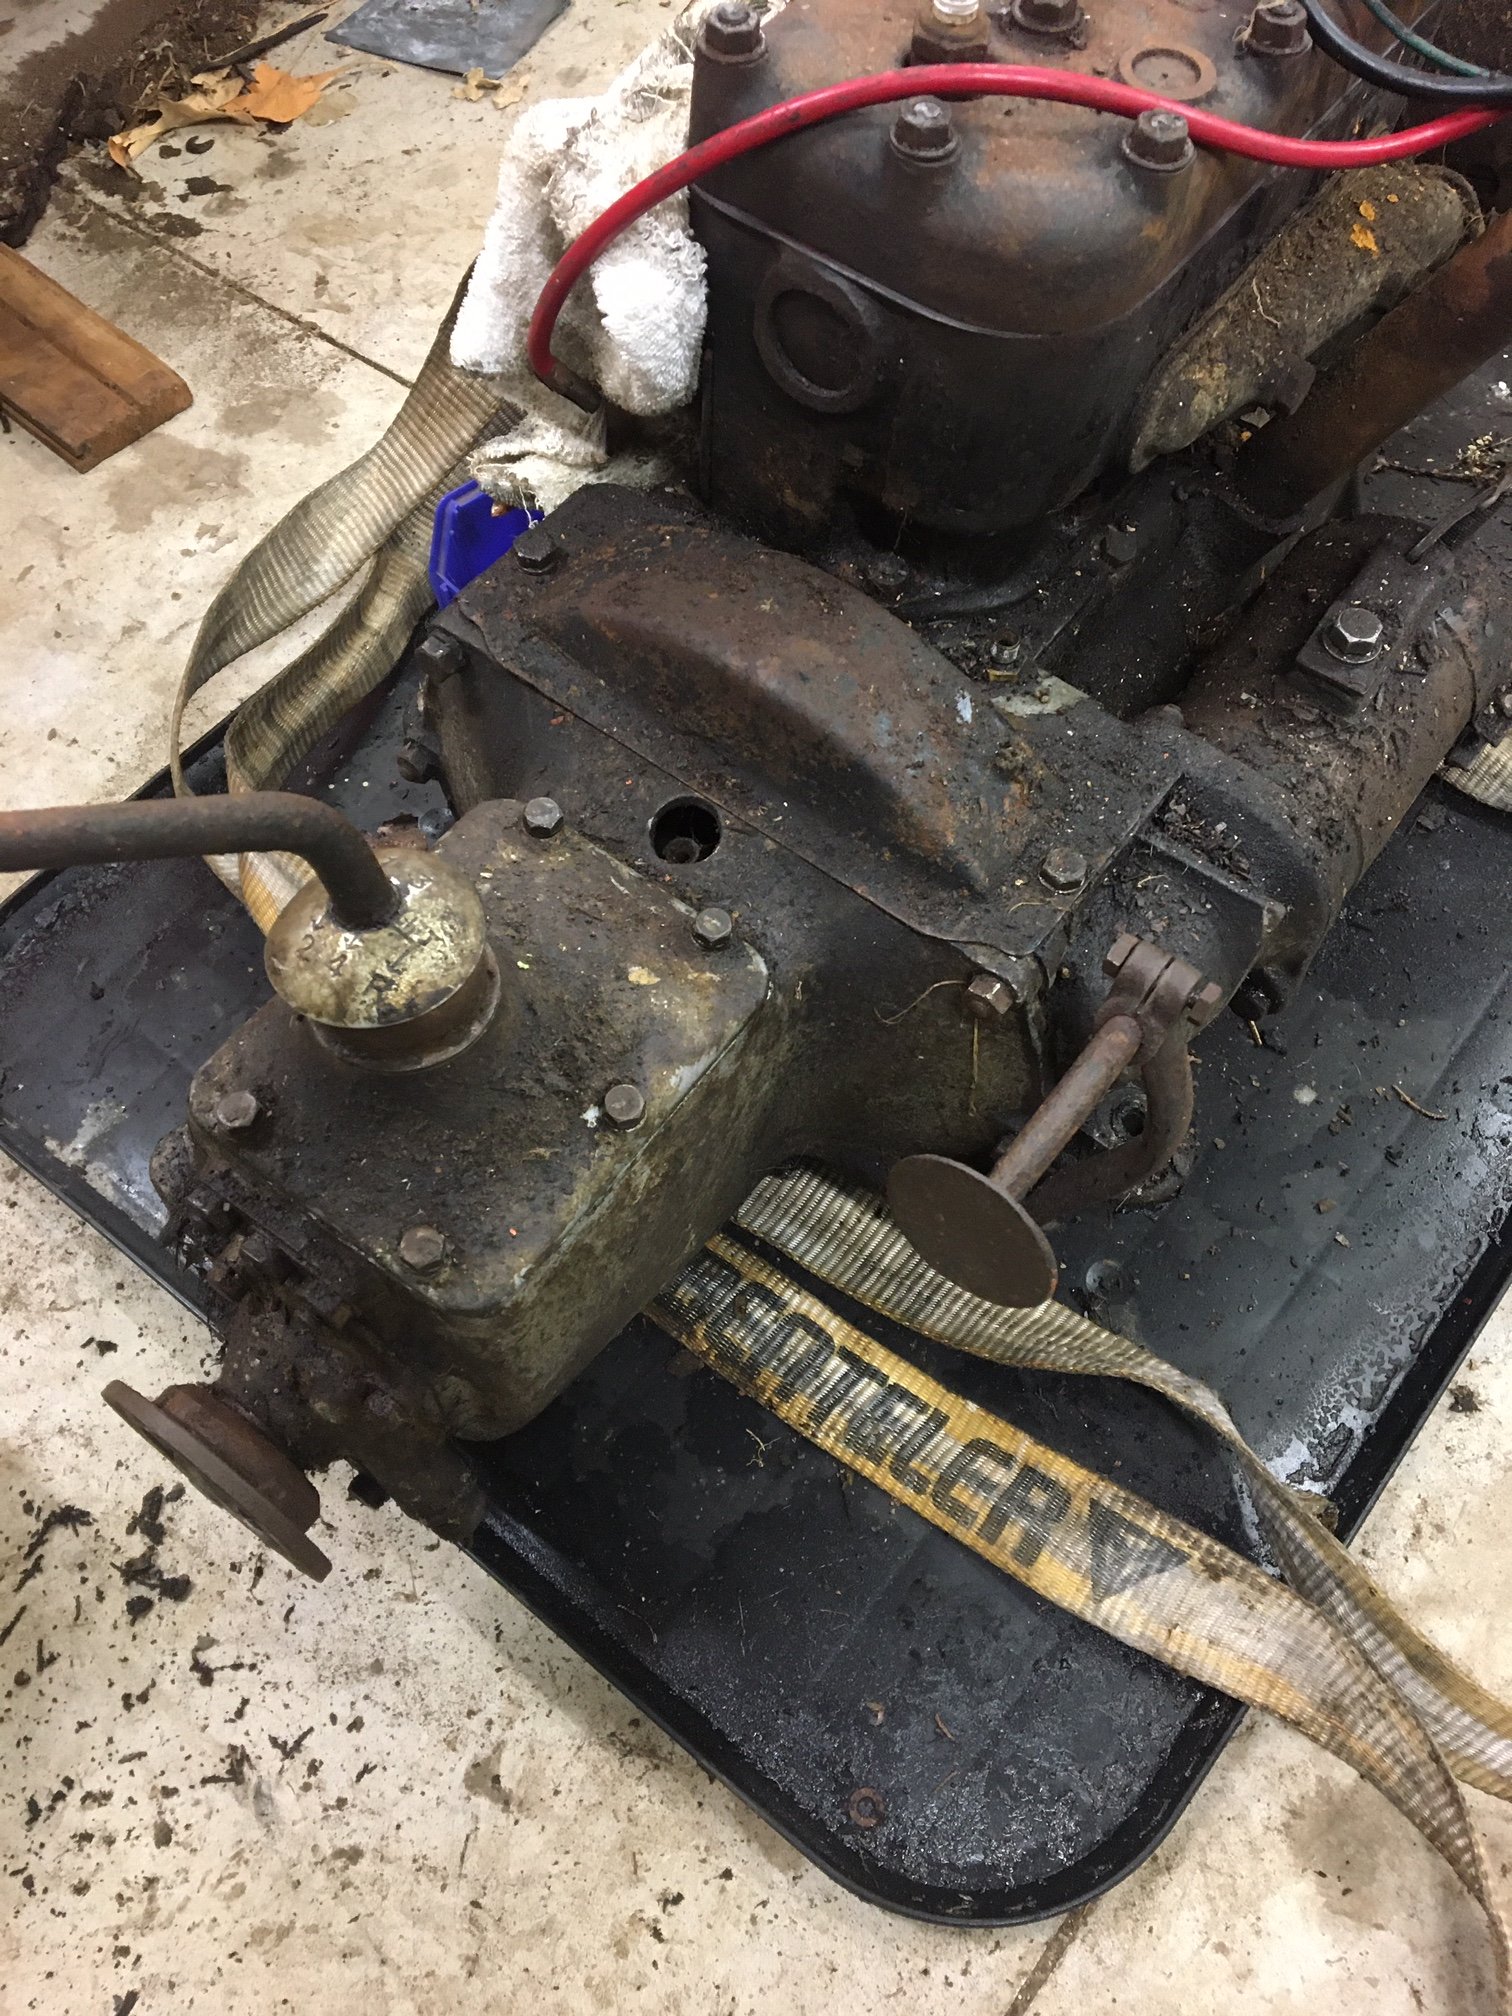
I was expecting to spend a few hours separating the engine and gearbox to free up the frozen clutch. I had about 15 minutes spare last night so went to get started on undoing the bellhousing bolts, then discovered a little cover over the clutch. So I whipped the cover off and found you can get at the clutch bolts there, so I loosened them all off a turn, pressed the clutch pedal a few times, tightened them back up, stuck it in gear, pushed the clutch and viola: clutch is fixed. I also pulled the lid on the gearbox, just to satisfy my curiosity as it completely blows my mind that 4 forward and 1 reverse gears can fit in such a tiny case. It all looks very clean inside. I forgot to take any photos (as I only had the afor mentioned 15 minutes), so here is a picture of the outside of my tiny gearbox and engine. The lever on the right is the whole clutch pedal assembly, the hole in the top is for lubricating the thrust bearing I think.
1 point
-
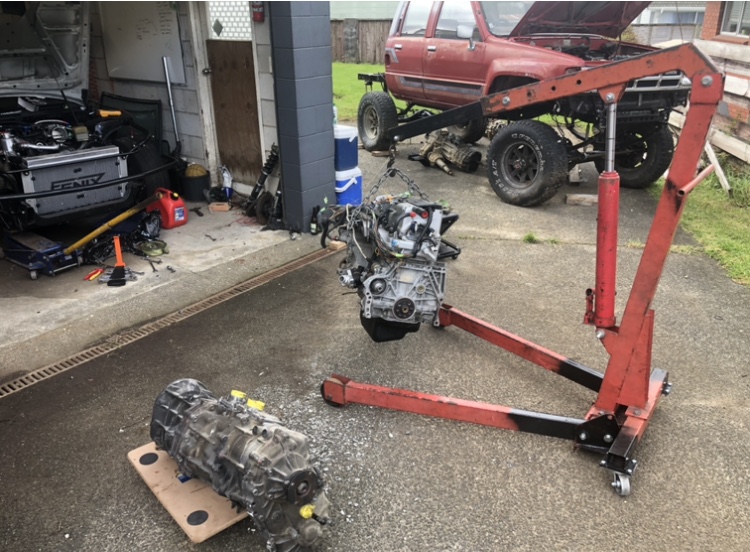
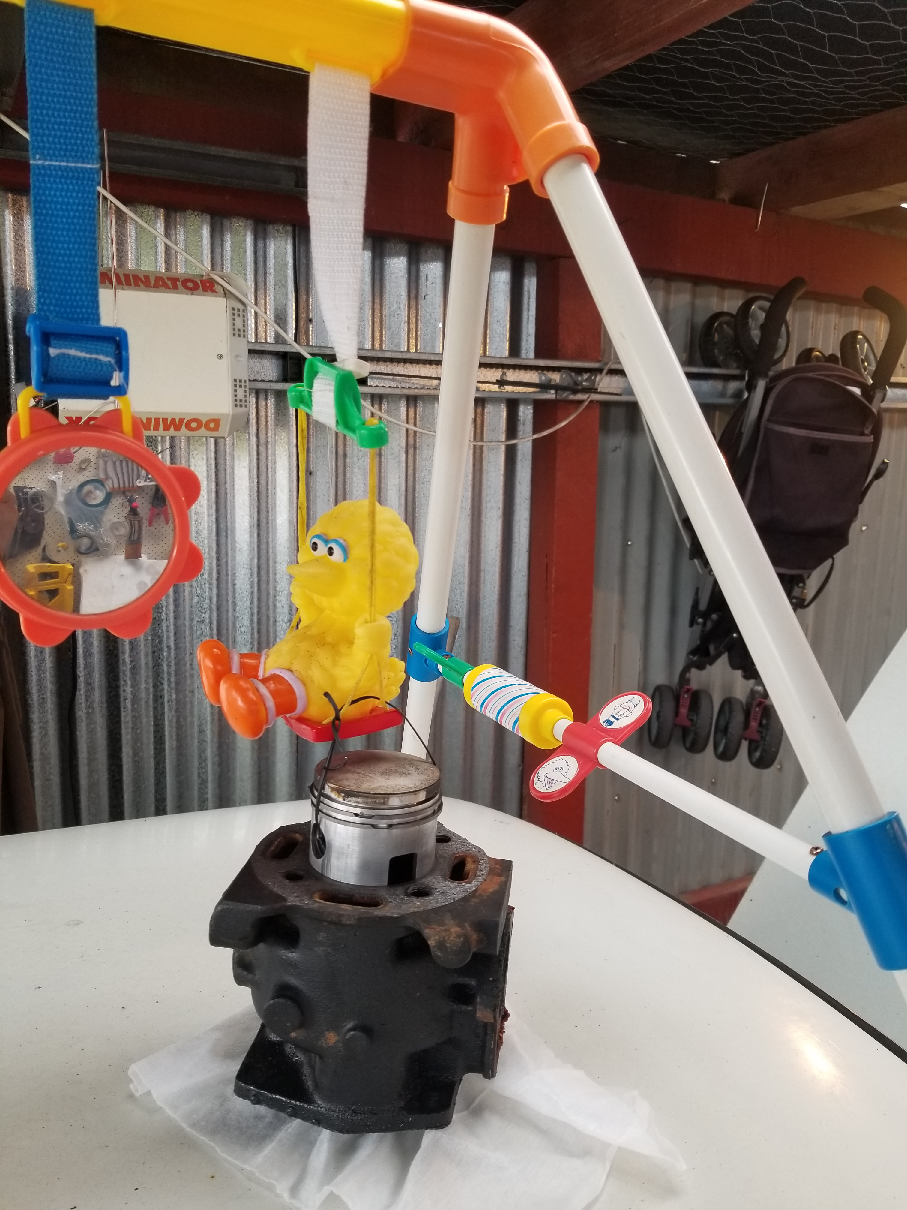
Engine crane.
1 point


.thumb.jpeg.e0a4bff61111e0c8c7396950fcc94da1.jpeg)


.thumb.jpeg.384ff72c8d2b0ee0d34a7bdedb55bdcf.jpeg)


.jpeg.9aea44a237774b087765045591a6bc9b.jpeg)
.jpeg.8eab12a382070ea881313947d0b2174a.jpeg)


.jpg.8fdd80a249ba0e4523b2a5aebf5df7fc.jpg)


This leaderboard is set to Auckland/GMT+12:00