
Leaderboard


Popular Content
Showing content with the highest reputation on 04/19/21 in all areas
-
Hi. lets go back a few steps. I had just received my beam from Sean at kune re. I put a few layers of brunox on it and painted it black. and stashed it away. the next stage was to fill some holes and touch up some rusty peaces and i was waiting on a mate for a hand with this part but i ended up getting a bit impatient and smashing them out with the mig welder and cleaning them up with a grinder cause im clearly not a welder and while i was at it i went over a bunch of my old welding peaces and ground them up and cleaned them up. a few late nights and got the job done. next up i wanted to cover the underneath with brunox and get a few layers in to convert the small amount of surface rust it had and set a good base. with that done i went around and chucked a bunch of seem sealer on crap to clean it up and make sure aint no water getting passed my dodgy welding techniques. once that was done i dusted the under body with some underseal. end result was pretty much brand new. next job was to get the beam in the bus, i needed to put the steering arm and the torsion arms on. this also meant i needed to shorten my leaves to now match the narrowed beam. to have them narrowed i visited a mate who helped me cut them and he welded the ends together to make the leaves go into the ends easy. here we cut. here we weld then i kinda rounded the edges to help it find its own way into the hole and re drilled my locating hole for my arms to bolt into. next up the torsion and steering arm on the beam next job to put the beam in, and jesus i am lucky to have a hoist. me and @flyingbrick lowered the kombi down over the beam and bit by bit we went up and down with a peace of wood between the beam and the ground as the fitment was so bang on with my underseal on it she was binding up going in, definitely should have used lube. but we got there in the end beam in, the brakes went on the front, new rotors new bearings, new calipers, the only 2nd hand part here is the drop spindle and the retaining nut which was robbed of a bus rotting away. this wasnt an easy job. i ended up using a strop and tightening the bottom arm and kinda fitting the drop spindle in the middle now with that all done i installed my gear linkage. i replaced the bush at the front while it was out before i went and installed this next up was the rear. for some reason i was doing this all to fast and didnt really get many photos of assembly. but the new stepped spring plates are a breeze. actually after that i had to put the rear arms in, which i had replaced the bushes in quite some time ago and they were ready to go. so also installed them after the spring plates. next was the rear hub, i actually drilled my old one out to fit different bolts in for the horse shoes i tried to fit just before covid last year. so i got some second hand ones and headed to evans place to use his sand blaster and clean them up. before: note the long noes pliers as circlip pliers during after and new bearings fot the rear hub section. now with this all done i can put the axel in and put the rear brakes on and continue doing small jobs. next up was new brakes lines, hard and soft ones all the way through the bus. also my last slave cylinder was just left sitting out, kinda rusted and also never really worked correctly when installed on the bus. so got a new one of those but the cups where a different size than the last one, so got some small adapters to make it work also i had replaces both hand brake cables, accelerator cable, clutch cable and complete full axels and cv's some where along the line. This where i ended up in the last post. made it on the ground and drove it for the 1st time in over a year. Great success. one Greg for scale i just checked dates on this and i started grinding the under body and doing rust on the 12th of feb and she was on the ground out side on the 23rd of feb at 830pm.27 points
-
Got it down without dropping it or injuring myself! Been a productive weekend. Just need to add some walls and pack some extra sand around the areas im worried about. Then will be good to go to the foundry!15 points
-
All assembled. Quite a mission. Not my best work but I'm learning a lot. Total is about 380kg. Now I need to make a pallet and tie it all together well enough so that when it’s tipped over to horizontal it doesn’t shift around.15 points
-
And another shot from last week, this one is growing on me and may have to have printed larger.
 14 points
 -
All the bits ready to go together.14 points
-
Still been cracking on with this, 70% finished with our tiny home build so that's taken priority over this unfortunately.. Still been trying to get this running. Installed exhaust with lambda o2 sensor in it. No photo though. Fucked off the extra 2 injector loom and plugs and terminated the end. I used my soldering iron to engrave the plugs so I no which is which. Loom all finished now. Mounted ecu and relays on bottom side of glovebox hidden and out of the way. Used 2 bolts thru from glovebox into perspex so can remove easily enough if need be. I can access all the fuses so hopefully shouldn't need too. Fired up ECU and went thru all the pre start up checks. Everything works, and is what it should be, coil 1, injector 1 etc. no error codes not bad! Green LED is my AEM methanol light, if an error code pops up it'll flash depending on the fault code/low reservoir. I've set it up in the ecu that if it throws an error/low reservoir it'll engage the supercharger clutch and switch fuel tables that ill get setup at tuning stage, pretty handy failsafe. The led illuminates brighter when it starts spraying. As I got further into setting up the ecu it didn't come with its problems.. Firstly the bmw e series tps had failed/was already broken before installing was a pickapart special. After testing with multimeter it was apparent it was stuffed. Back to pick a part for another, with my newly acquired testing skills I tested another before buying. After installing i was able to sync it to ecu so win! Then when trying to sync my trigger 1 with ecu, nzefi coil on cylinder 1 randomly blew the coil fuse at the relay and then when changing the fuse it would instantly heat up real quick and almost be untouchable within 10 seconds. All the other 3 worked. I had already checked for spark etc in ecu before I got to this stage. Re checked wiring and all is correct. Anyway nzefi were good about it and Chris sent out another but warned in past its been due to incorrect wiring. Got it all hooked back up and I was stilling struggling to sync trigger 1 with ecu. Turned out the crank sensor my mate gave me was a magnetic pickup and not a GS sensor for ferrous metal.. picked up another cherry GS100502 but am yet to change it over. Should do the trick though. My gauge pod turned out so I started installing, the 2 gauges are oil pressure and boost gauge. The oil pickup i will run to ecu and set up a failsafe then ecu to run the gauge. As previously mentioned i decided to mount it on steering column behind steering wheel. Pretty happy with how it turned out. Couple more pics of engine bay cuz why fuckn not Thanks for looking Almost there now13 points
-
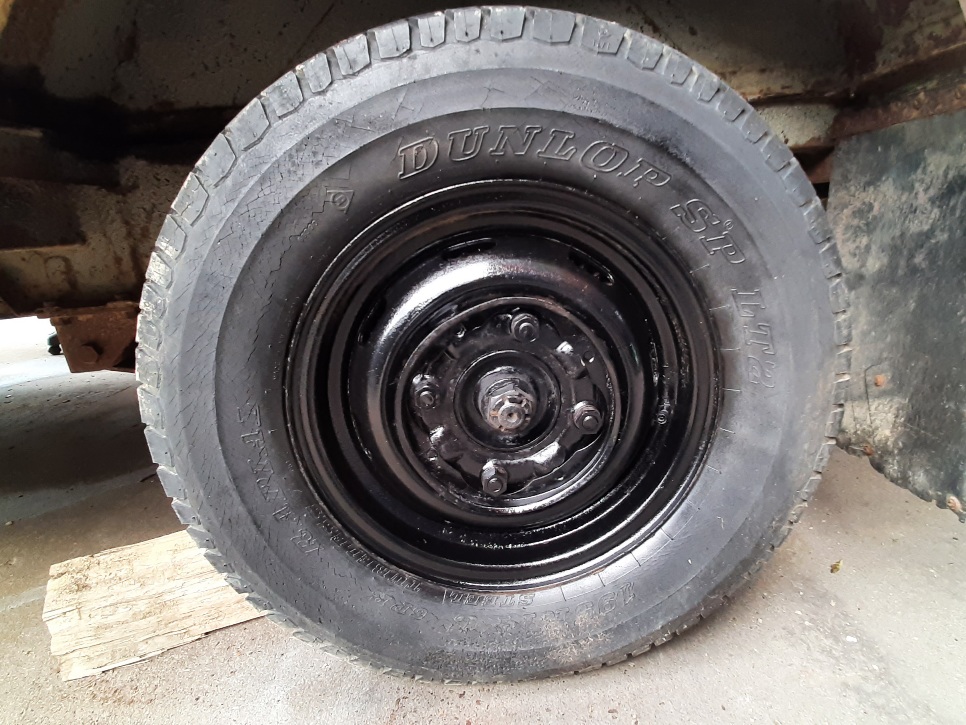
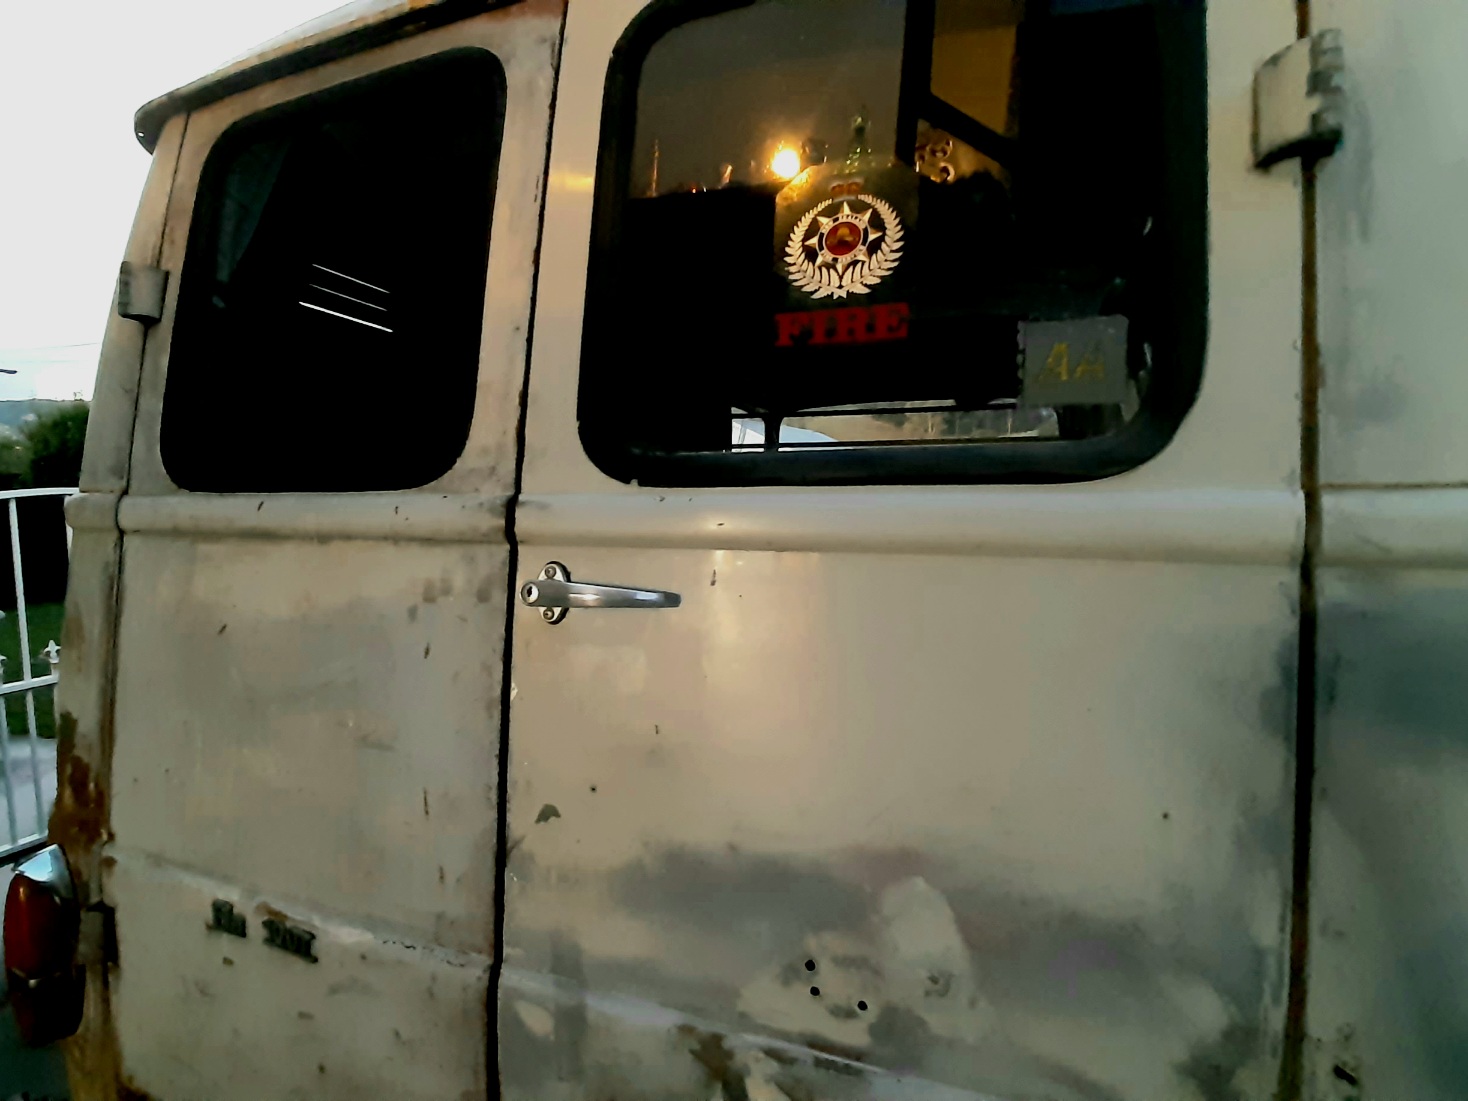
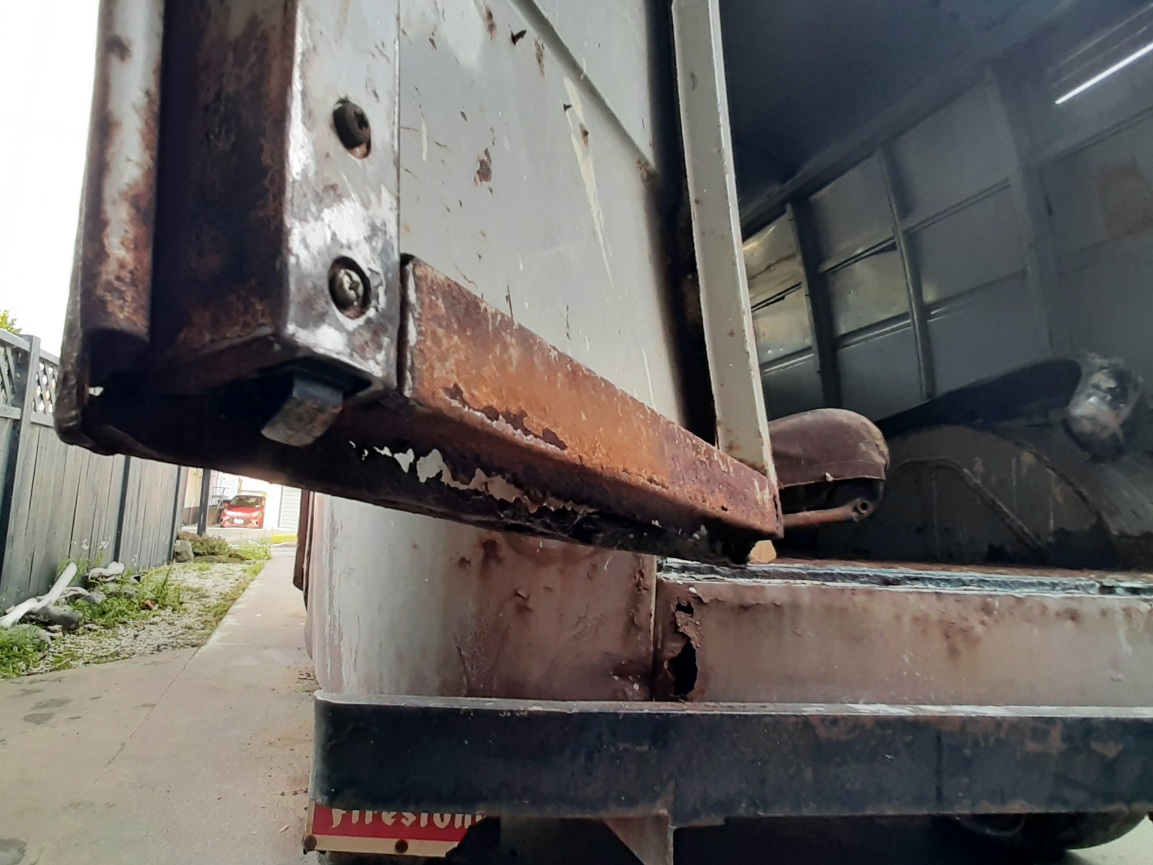
Sprayed some black rust remover and metal restorer on the rims. Massive stud pattern. Ill take the drums off to look at the brakes another day. Im sure they are juuust fiiine. Cop mode. Put the rear doors back together and straightened a few things out and did a bit more sanding. They are still busted but now they open and close nicely. Pulled the front door apart to get the inner latch out. Safari! Some percussive maintenance needed where the limit strap had bent in the door flange and the door now opens and closes lovely.
13 points
-
I found a diagram, it looks like the water return is internal in the block rather than an external pipe like on 3S etc. So the two main external lines are just the heater circuit. However yes there's all sorts of complicated shit going on apart from just a heater! Cams arrived today, and it's bloody exciting - I've never had non standard cams in anything before. Since an Echo is basically a more modern iteration of a Starlet, I shall keep with the established nomenclature and call this a 3/4 race cam. I hope it goes hard for what it is. Not sure if these will work without pinging gilliez though. I need a set of feeler gauges to check the clearances to the buckets, then order new buckets if needed as these are shimless (Prius race car technology) They've got numbers on the underside of the bucket that tells you the thickness, so that's handy. So might be able to scab some from pick a part. I think it's safe to jizz the sump back on properly, as the only thing left that I could risk dropping down an oil gallery at this stage is a head bolt washer. (will quote myself later when I do exactly this) I've well and truly spent all of my car money for the month, so might be a few weeks till more progress. I need to get my 3d printer back in the shed so I can mock up some brackets for alternator and hopefully the PS pump too. If the PS pump isnt going to work, I'll get a single row accessory pulley from an NCP91 instead as it's presumably a little bit lighter.
12 points
-
Got a mention on the deboss YT channel which resulted in 5 more subscribers to my youtube channel last night, that's 5 more people primed to be disappointed with the lack of proper content, yay. The mention is mostly surprise that something with such a low level internet presence and no direct link to the vids did so well ha. I am pretty shit at social media, I'm just too old to care. Also I'm in the midst of various chunky changes to the truck, should be sorted by the weekend, I'll post some pics then. Also I made so much boost the intercooler piping blew off, that was good fun. Turns out there is really quite a lot of extra fuel that doesn't get burnt without the extra air from the turbo as evidenced by the epic clouds of black when the throttle came even a little bit off idle. I improved the bit that fell off and wound the fuel back to factory. It's still making 1 bar but isn't as hectic.11 points
-
Cover everything with a rag Then forget to take the rag out6 points
-
My girl came through with more rock auto goodies! New fuel sender and radius rod bushes. I opted for the sender that has a built in return line in case I go EFI down the line. I stripped the loom out and and pulled the Dash after work too. Nothing broke
5 points
-
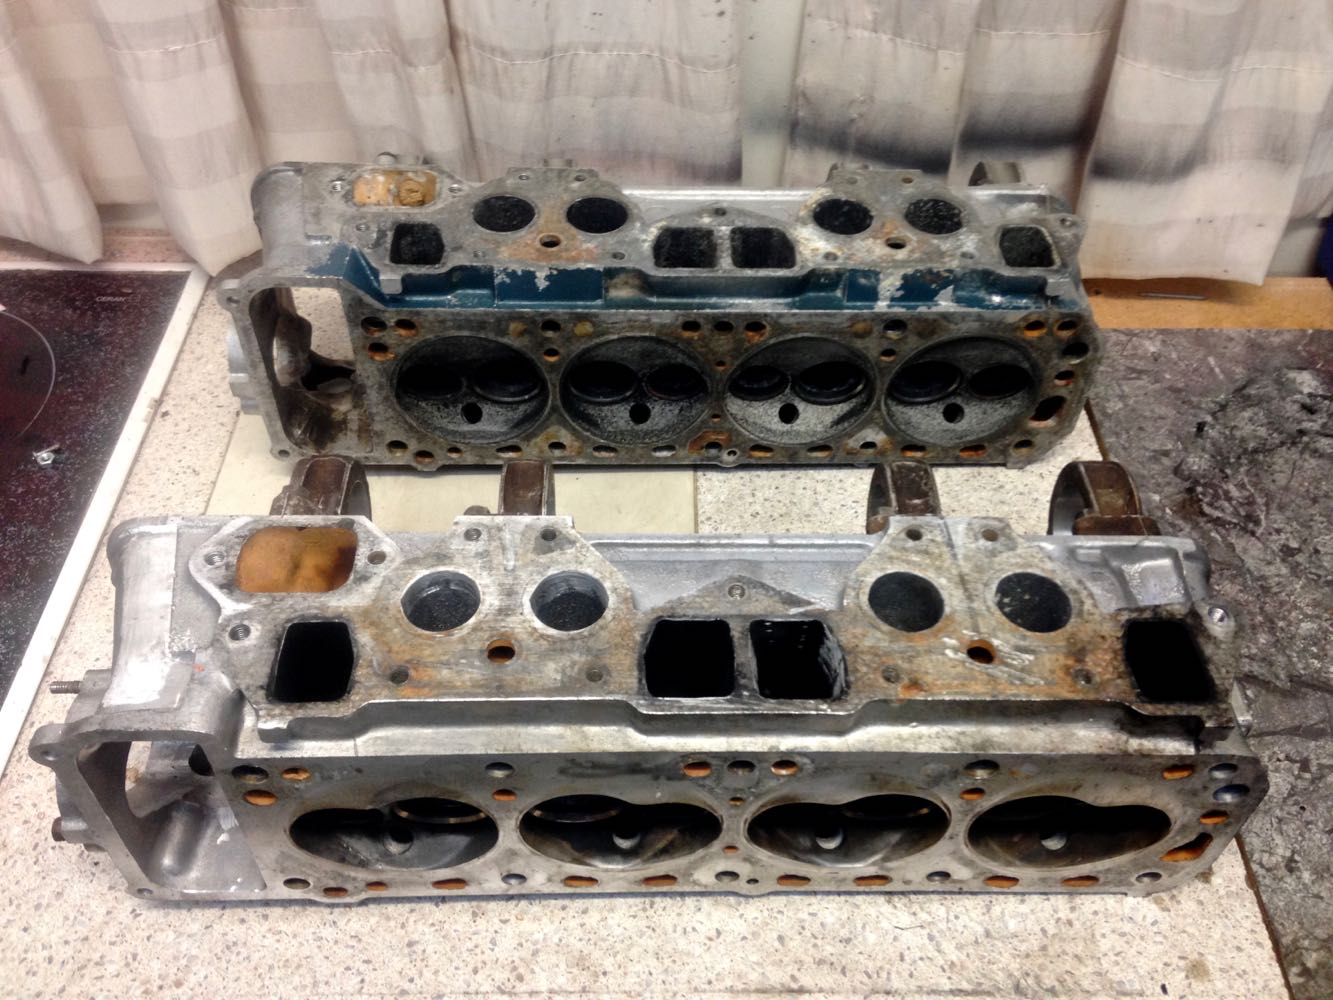
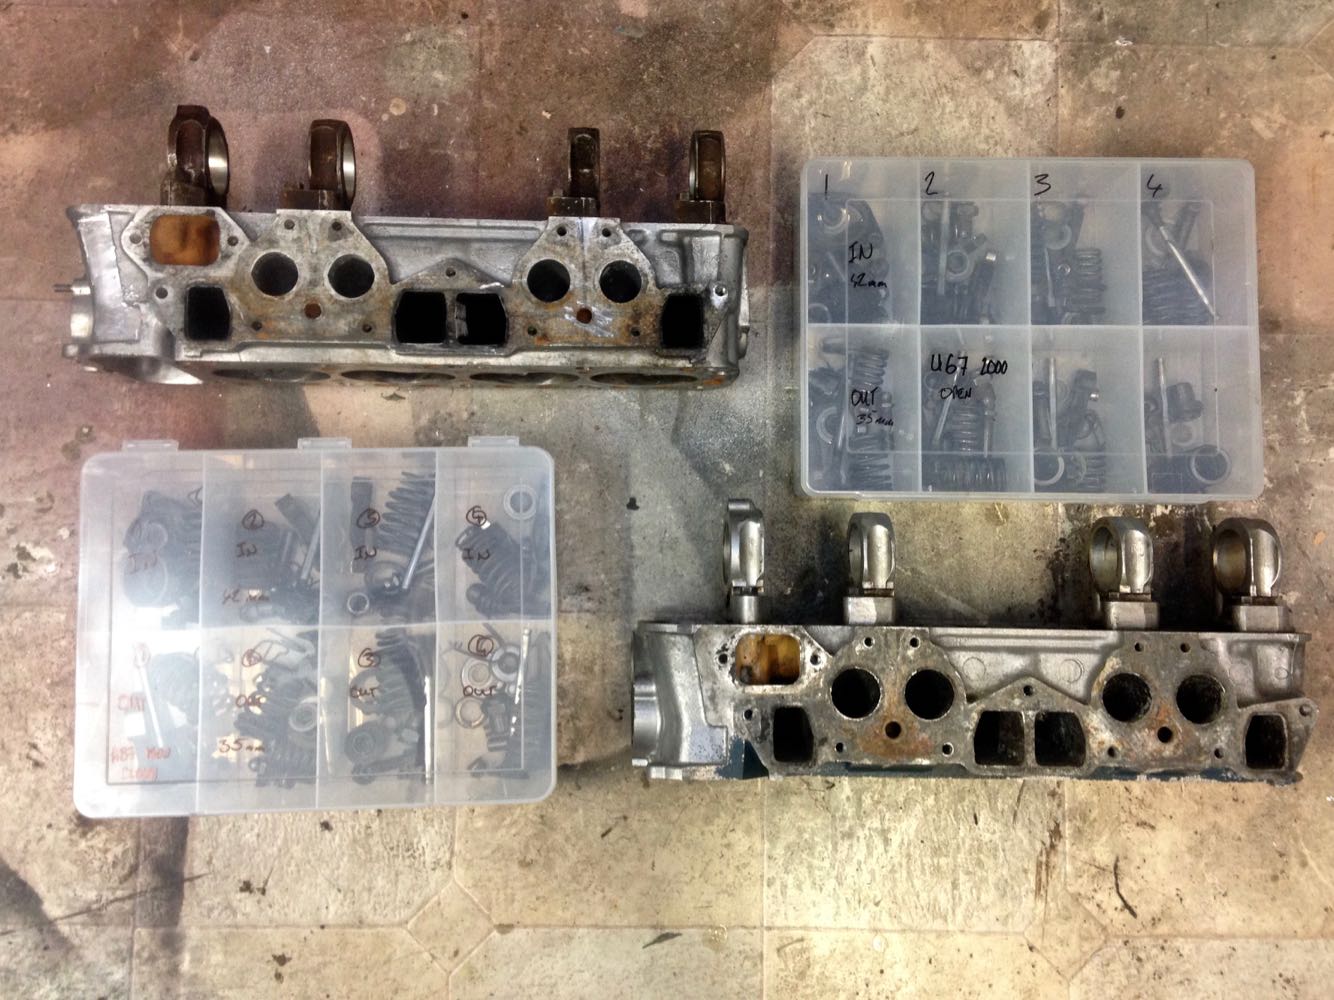
A while back I came across an L18 in pieces on marketplace, turns out the guy had started a build which got put in the back of the shed for 20 years and forgotten about, I quickly took possession and promptly forgot about it too! Late last night with the aid of 40% off spring compressor from Supercheap I stripped the head down, cleaned up the pieces and sorted them into an identical container to the L20b head. Both will be dropped off for a decent clean and hardness test, I will then crack test them both to figure out a build plan for the new EFI motor. Both heads have the same sized valves and exhaust ports while the L20b has slightly larger intake ports. The L20b head (top) is an "open" combustion chamber U67 casting while the l18 is A87 casting with the closed "peanut" chamber. With both the L18 and L20 blocks sitting there, i'm unsure which combo to go with so secretly hoping one of the heads is shot to cut down the options! Once the top end is sorted out, new pistons, rings and bearings will be ordered, I have a few different cams sitting on the shelf so need to research if the markings mean anything or if a re-grind would be beneficial to the overall plan.
5 points
-
Anyhoo, went back out today with @Vintage Grumble who had @keltik riding along. Started in the Waimana valley, travelled up a wee bit, enjoyable. Turned around and travelled downstream through the Waimana Gorge, turned and travelled up the Whakatane river again towards Ruatoki. Went a bit further than last time as we had rain earlier in the week. Came back down, then up again to finish. Boat went really well, bashed into a bunch of shallow bits, but could have avoided those areas, didn't really find anything overly challenging but was still enjoyable. A+. Boat is still not hooking up to the water quite as well as I feel like it should. I might try remove the intake grate for some testing, I'm suspicious it isn't big enough, but its just a hunch. 18-4-21 by John Bell, on Flickr Oh yeah, a stag appeared in the river a few hundred meters from where we launched and attempted to flee when we passed him. Didn't look as mobile as perhaps he should have been. Here is some shaky portrait one handed footage of a stag in some bushes, while I get my intake grate blocked with gravel.5 points
-
Got the small cores made and bonded in. Will try not to break them off when installing the main core.5 points
-
Started on the wiring today. Doing a push button start and getting all the engine sorted. Put a coil on, fuel line, battery, poured some juice in and it kicked into life! Ran for about a minute while l checked all the vitals. About 50psi oil pressure and purred like a angry kitten with its short straight pipe. Il put that on the list of things to sort asap as its real noisy and l like the people who live around here. Any way more pics to come of wiring tomorrow.
4 points
-
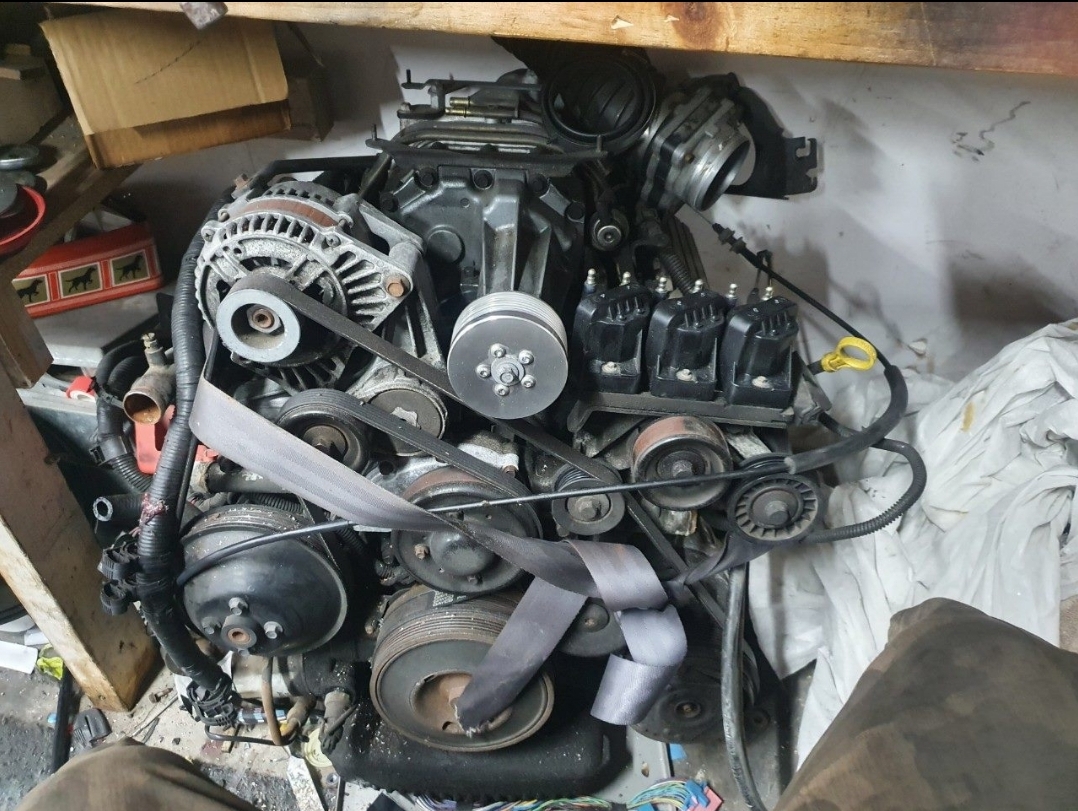
So this happened. ive purchased a toyota granvia with the 1kzte to shoehorn into the wags . il keep the box and fuel system also But to keep with the restomod theme, i plan to not make it look like a kz . Also will make custom intake/exhaust manifolds and intercooler. plan on keeping the a/c. I have an old aftermarket under dash unit
4 points
-
Runner mould done. Was being a bit too fast and didnt mix the sand as well as I should have. Really soft section at one end. This wouldnt be good because it would erode like crazing and send sand through the fill. Managed to cut it out and repair it. Hopefully it doesnt leak.4 points
-
Ive regretted selling my supercharged VX for ages now....... only one thing for it! This time with my knowledge of tuning the factory fitted gear so will swap my VY PCM over to this allowing on the fly tuning over USB.
3 points
-
Swapped this in today for a new (full) one. Cost $425 incl. Eziswap Gas. G size. Argonshield. For those that were wondering what it cost to refill the large size. I'm usually in and out of that shop when I change a bottle but today I found myself in the new welders section looking at all the new stuff. Gawd! Need to stay outta this thread.
3 points
-
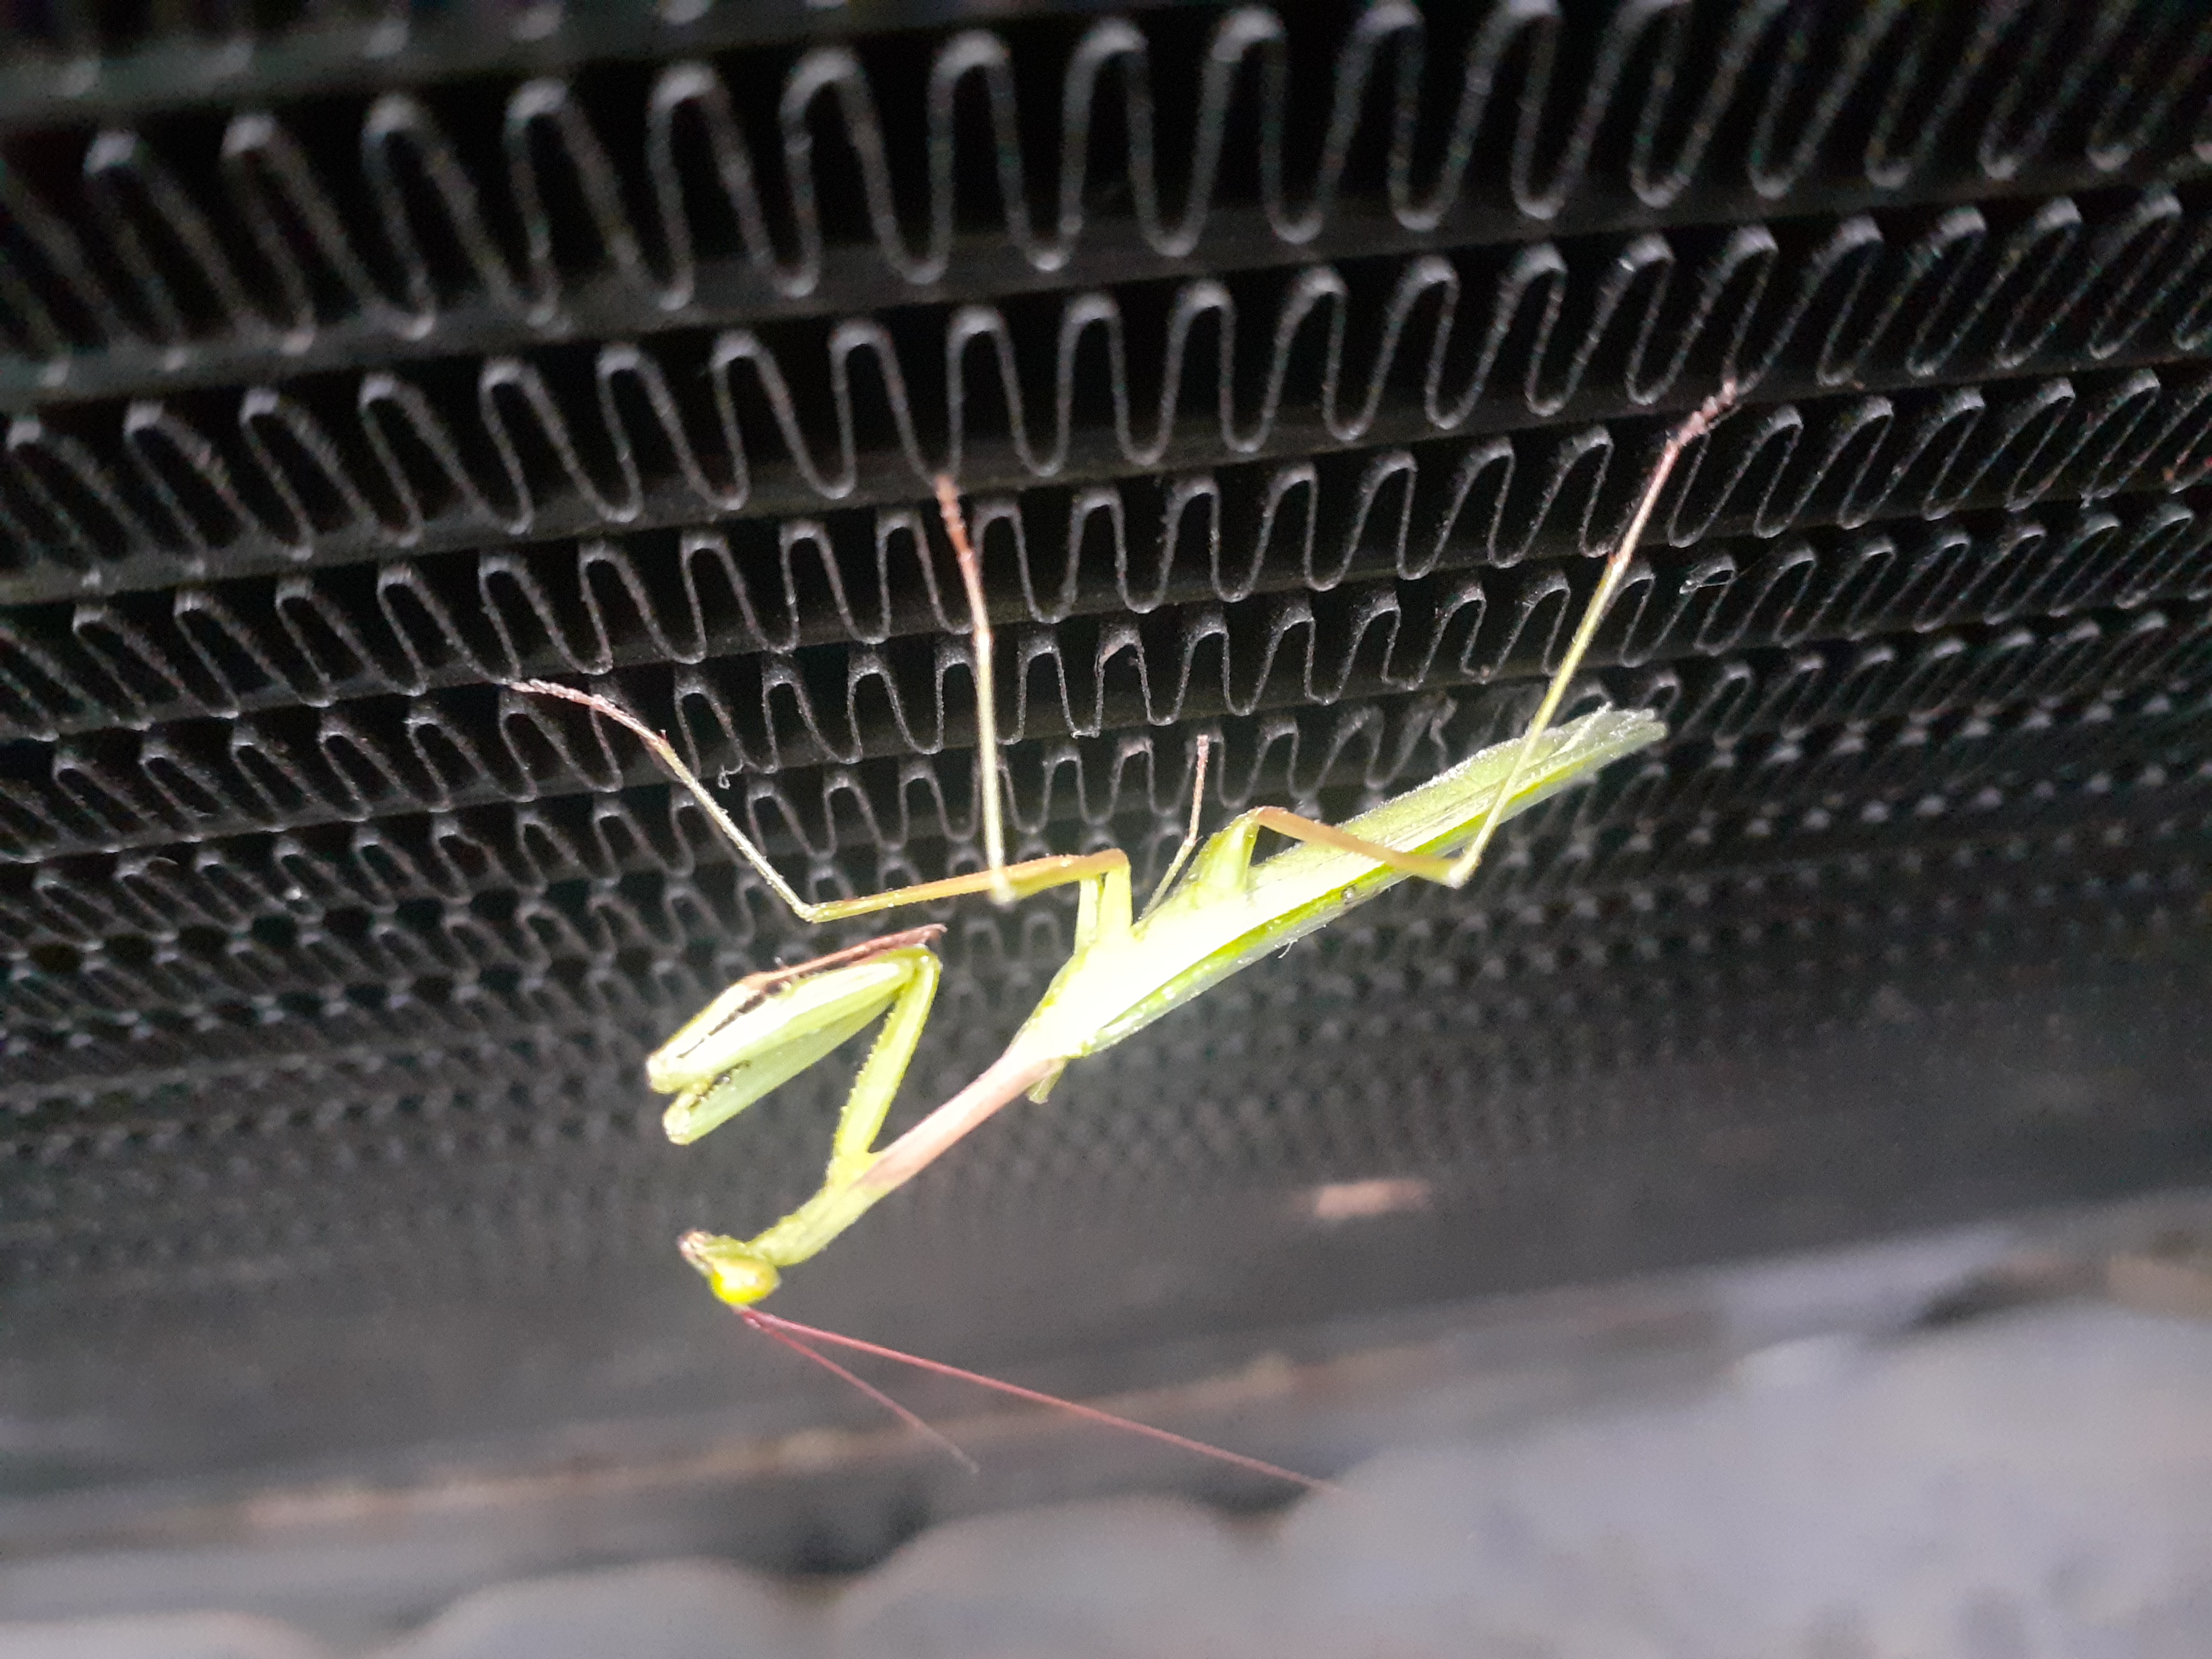
Got some more fittings machined up, next will be welding them on various parts, not much else as lifes happening, here's a pic of another resident of the van
3 points
-
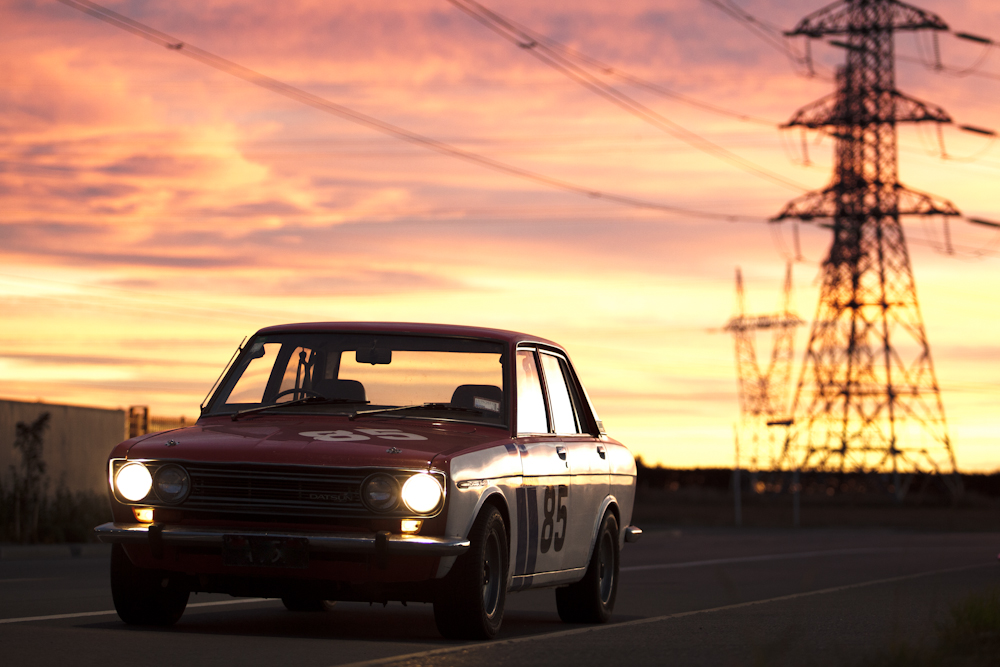
WOF has all but expired, got up early this morning to grab some last chance sunrise shots for additional motivation. Lofty goal but the rough plan as above is a quick...... 6 month rust removal and respray. Or will I have kids? Need to buy a bigger house? Need emergency repairs to current house? Start a new job? Move back offshore? Spend all my project money on new tools instead of parts? Get mad project creep and go all out resto? Oh crystal ball be kind to this Datsun!
3 points
-
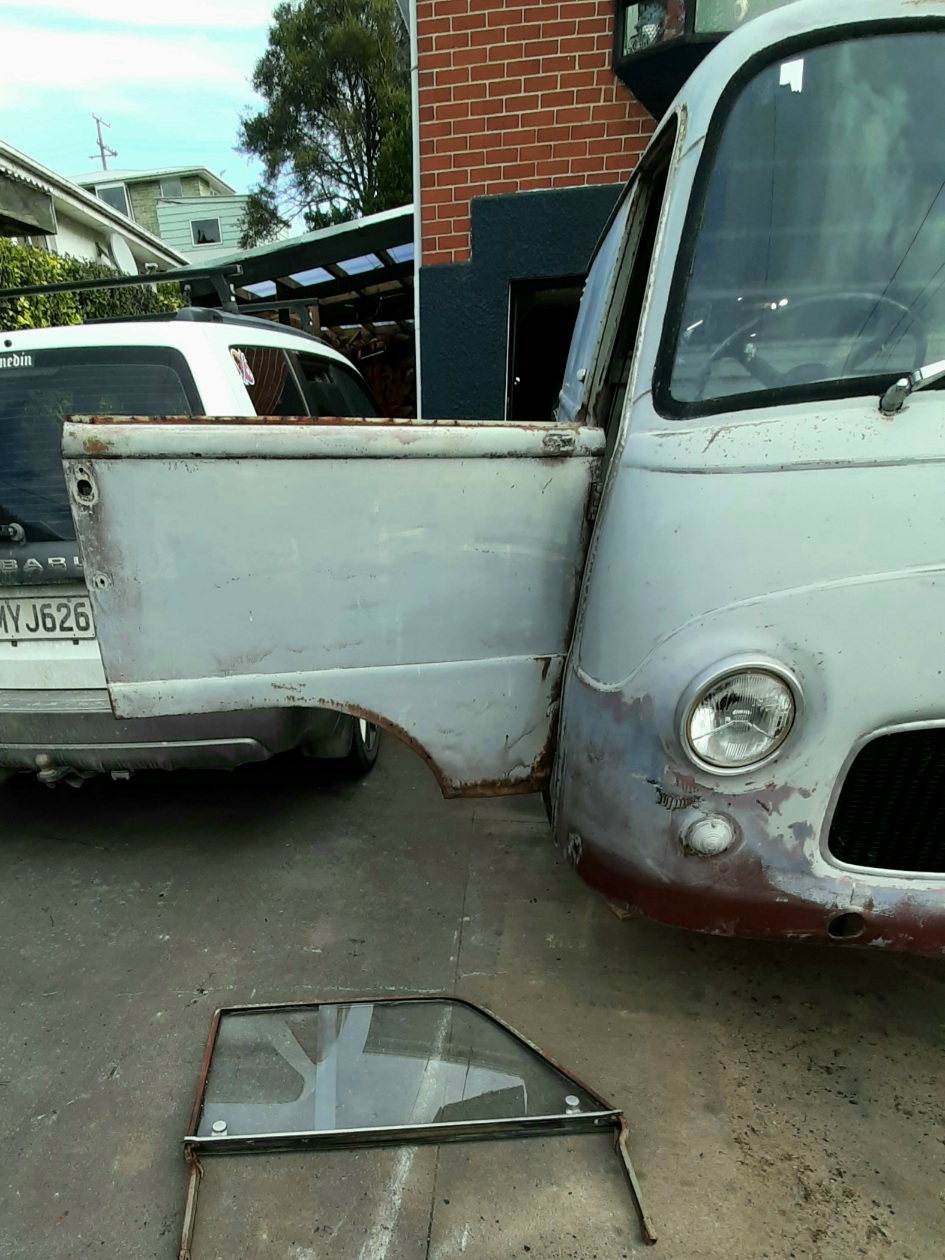
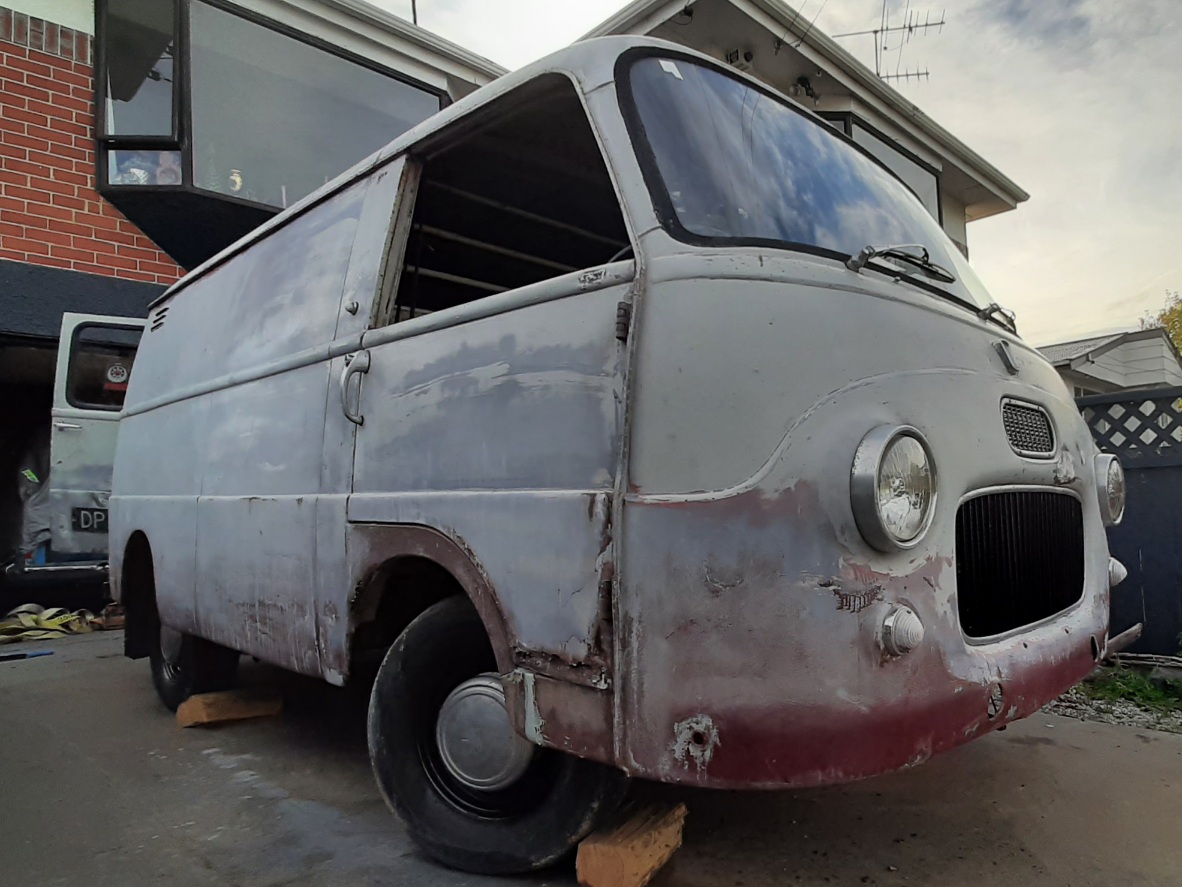
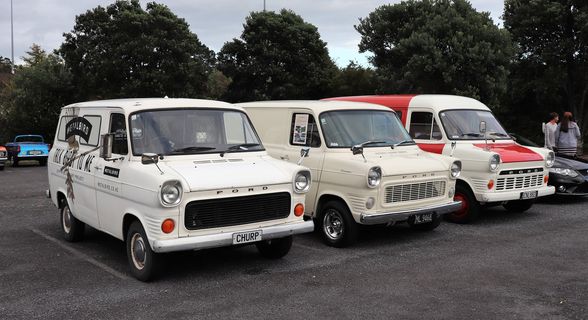
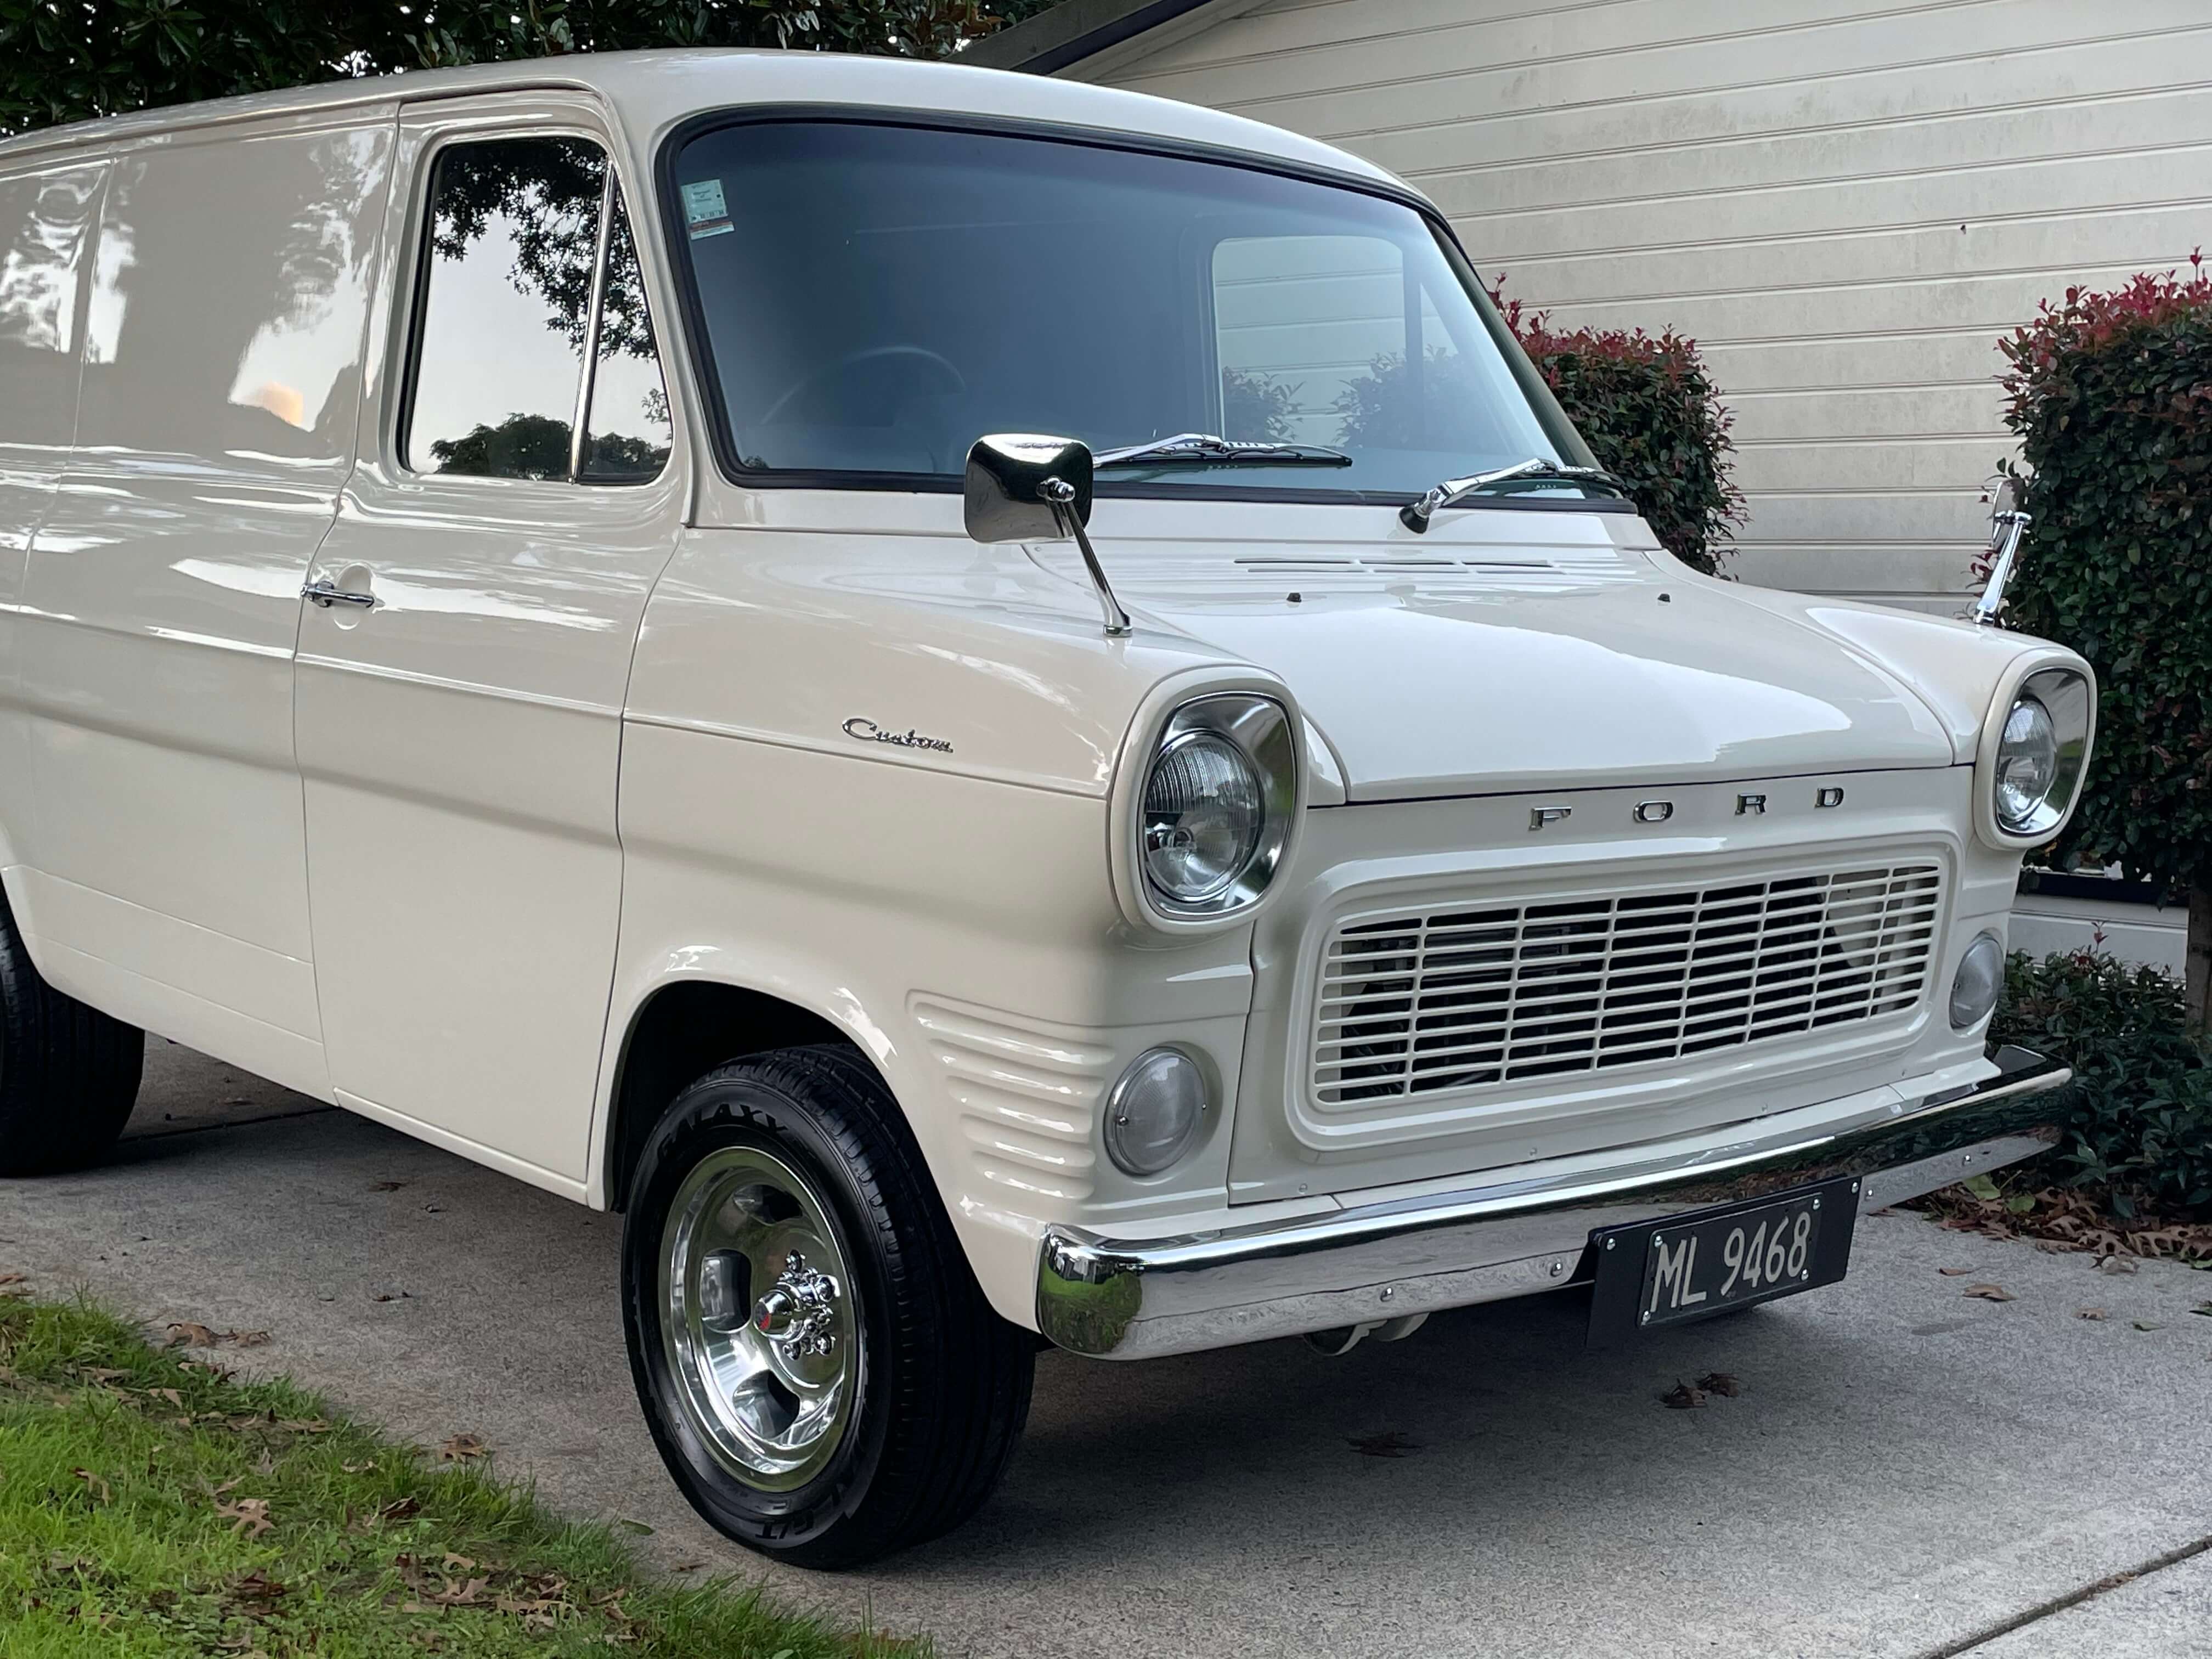
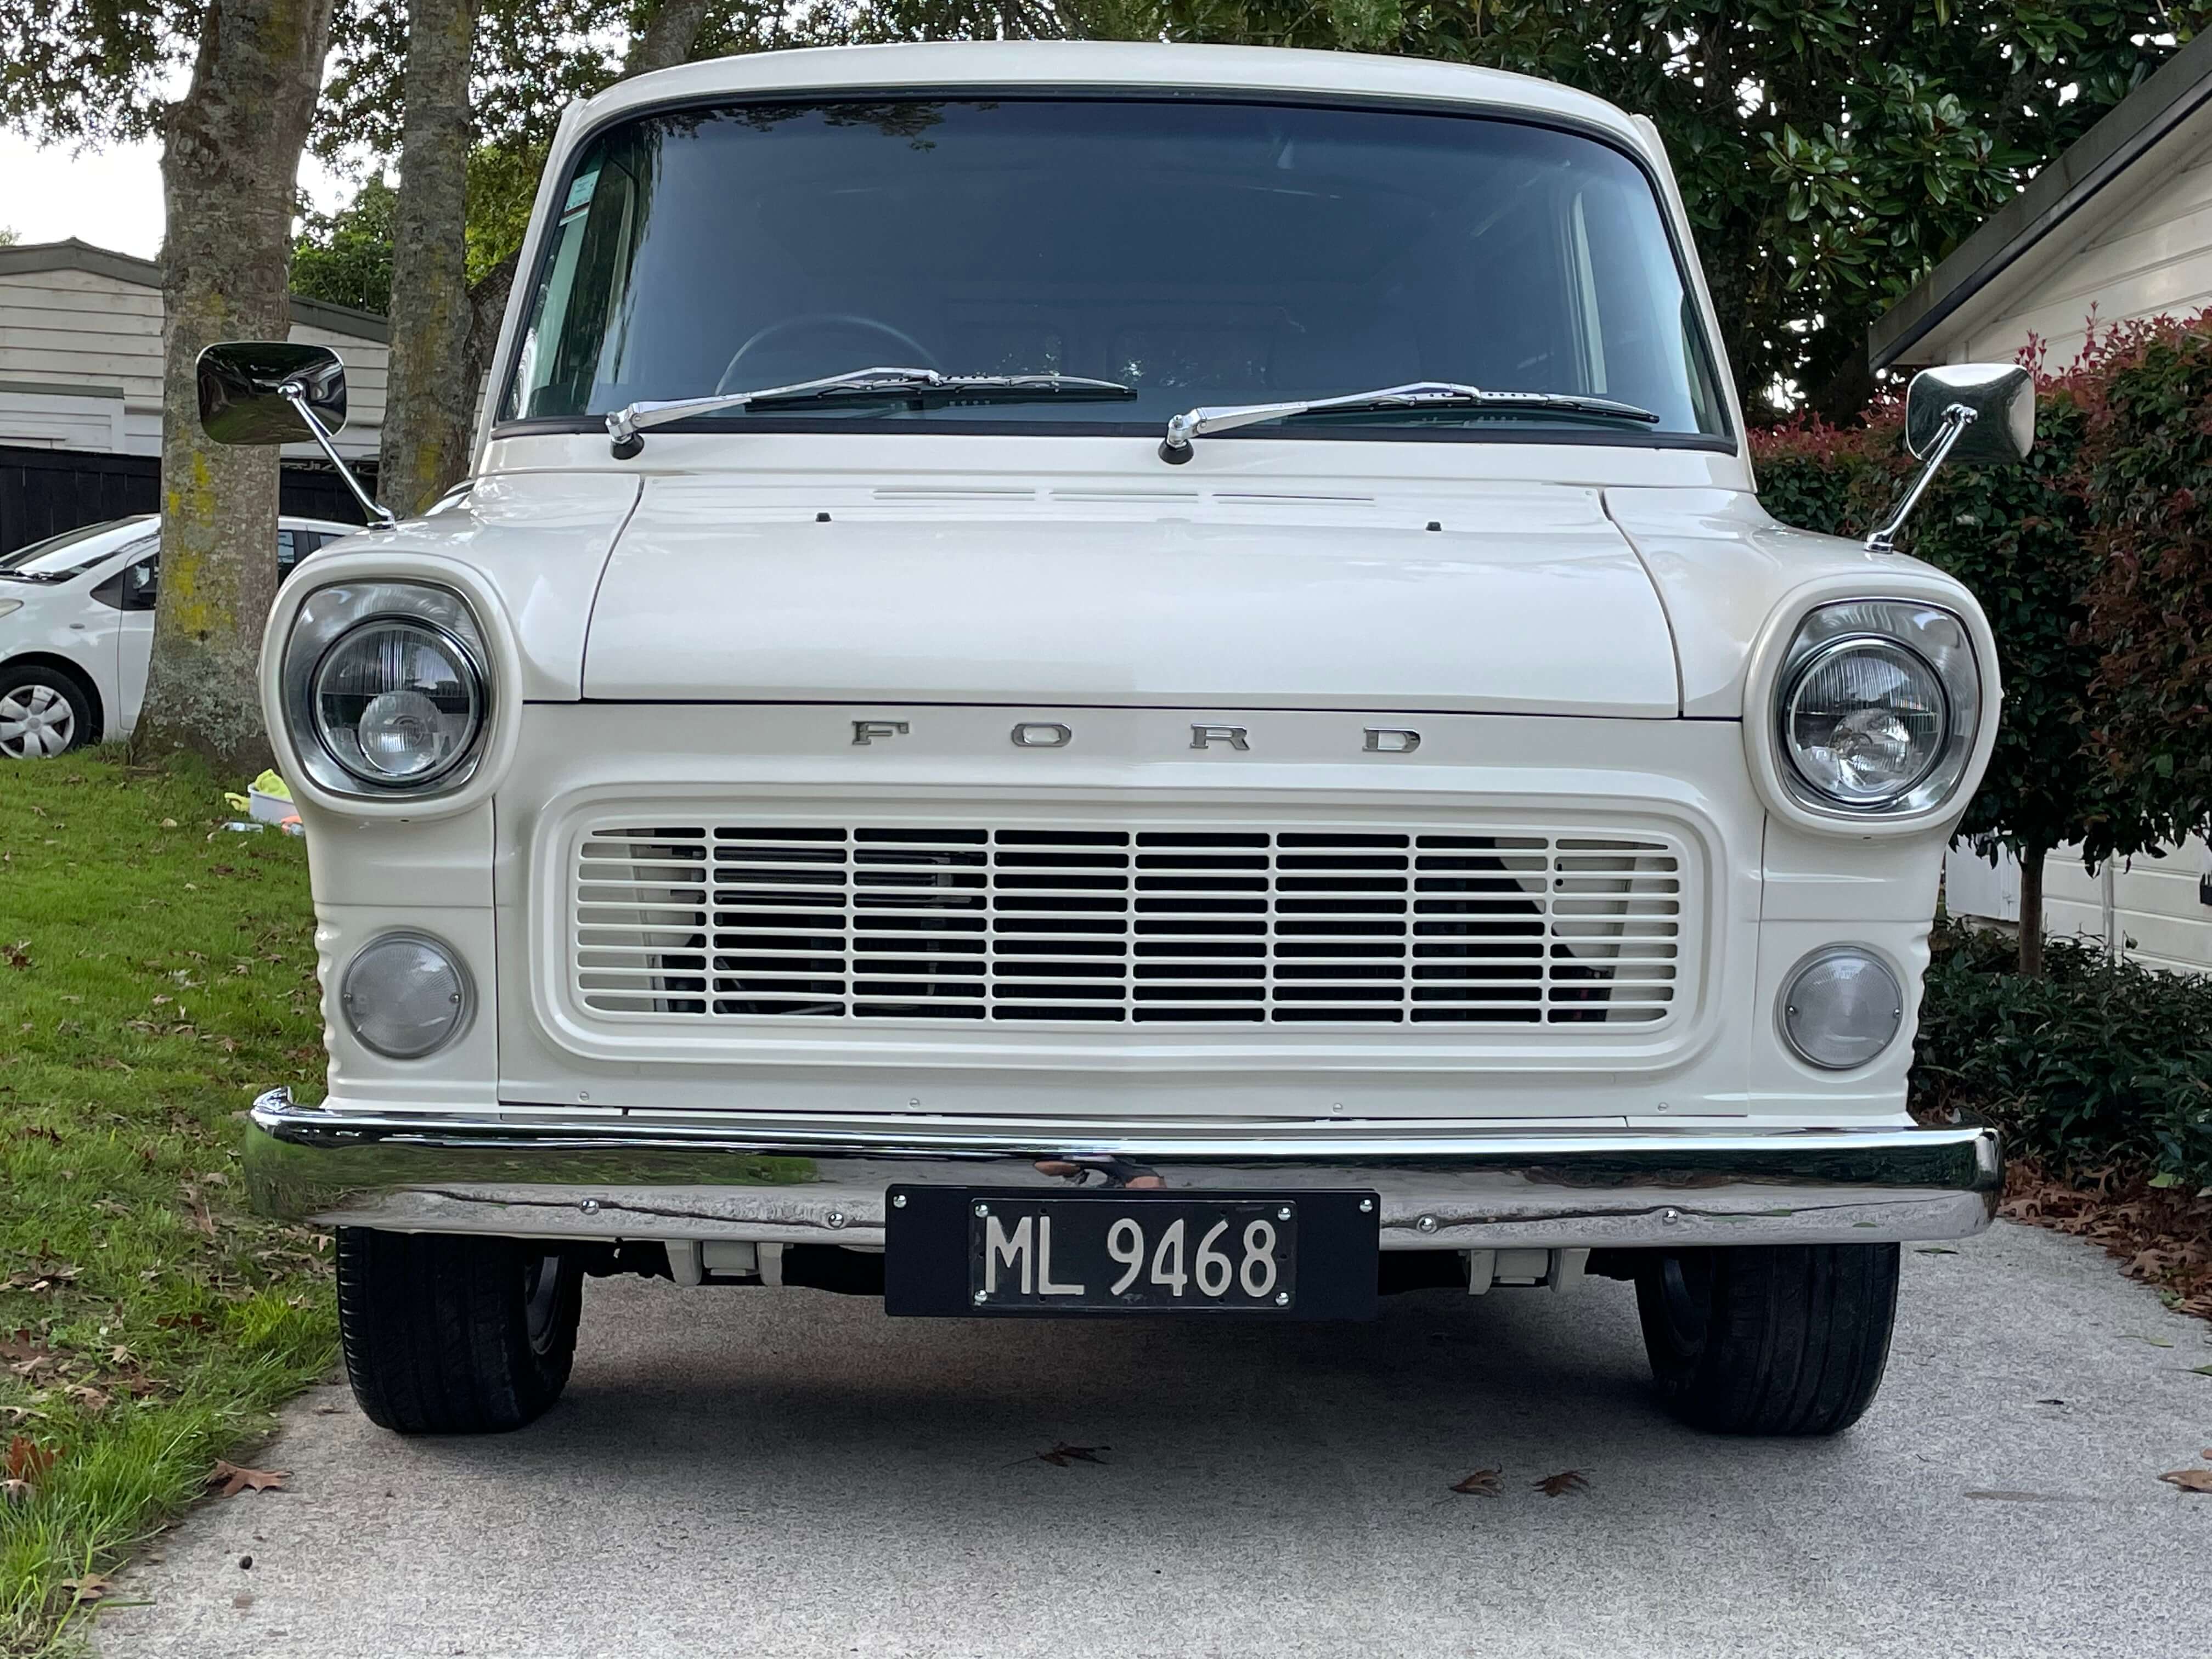
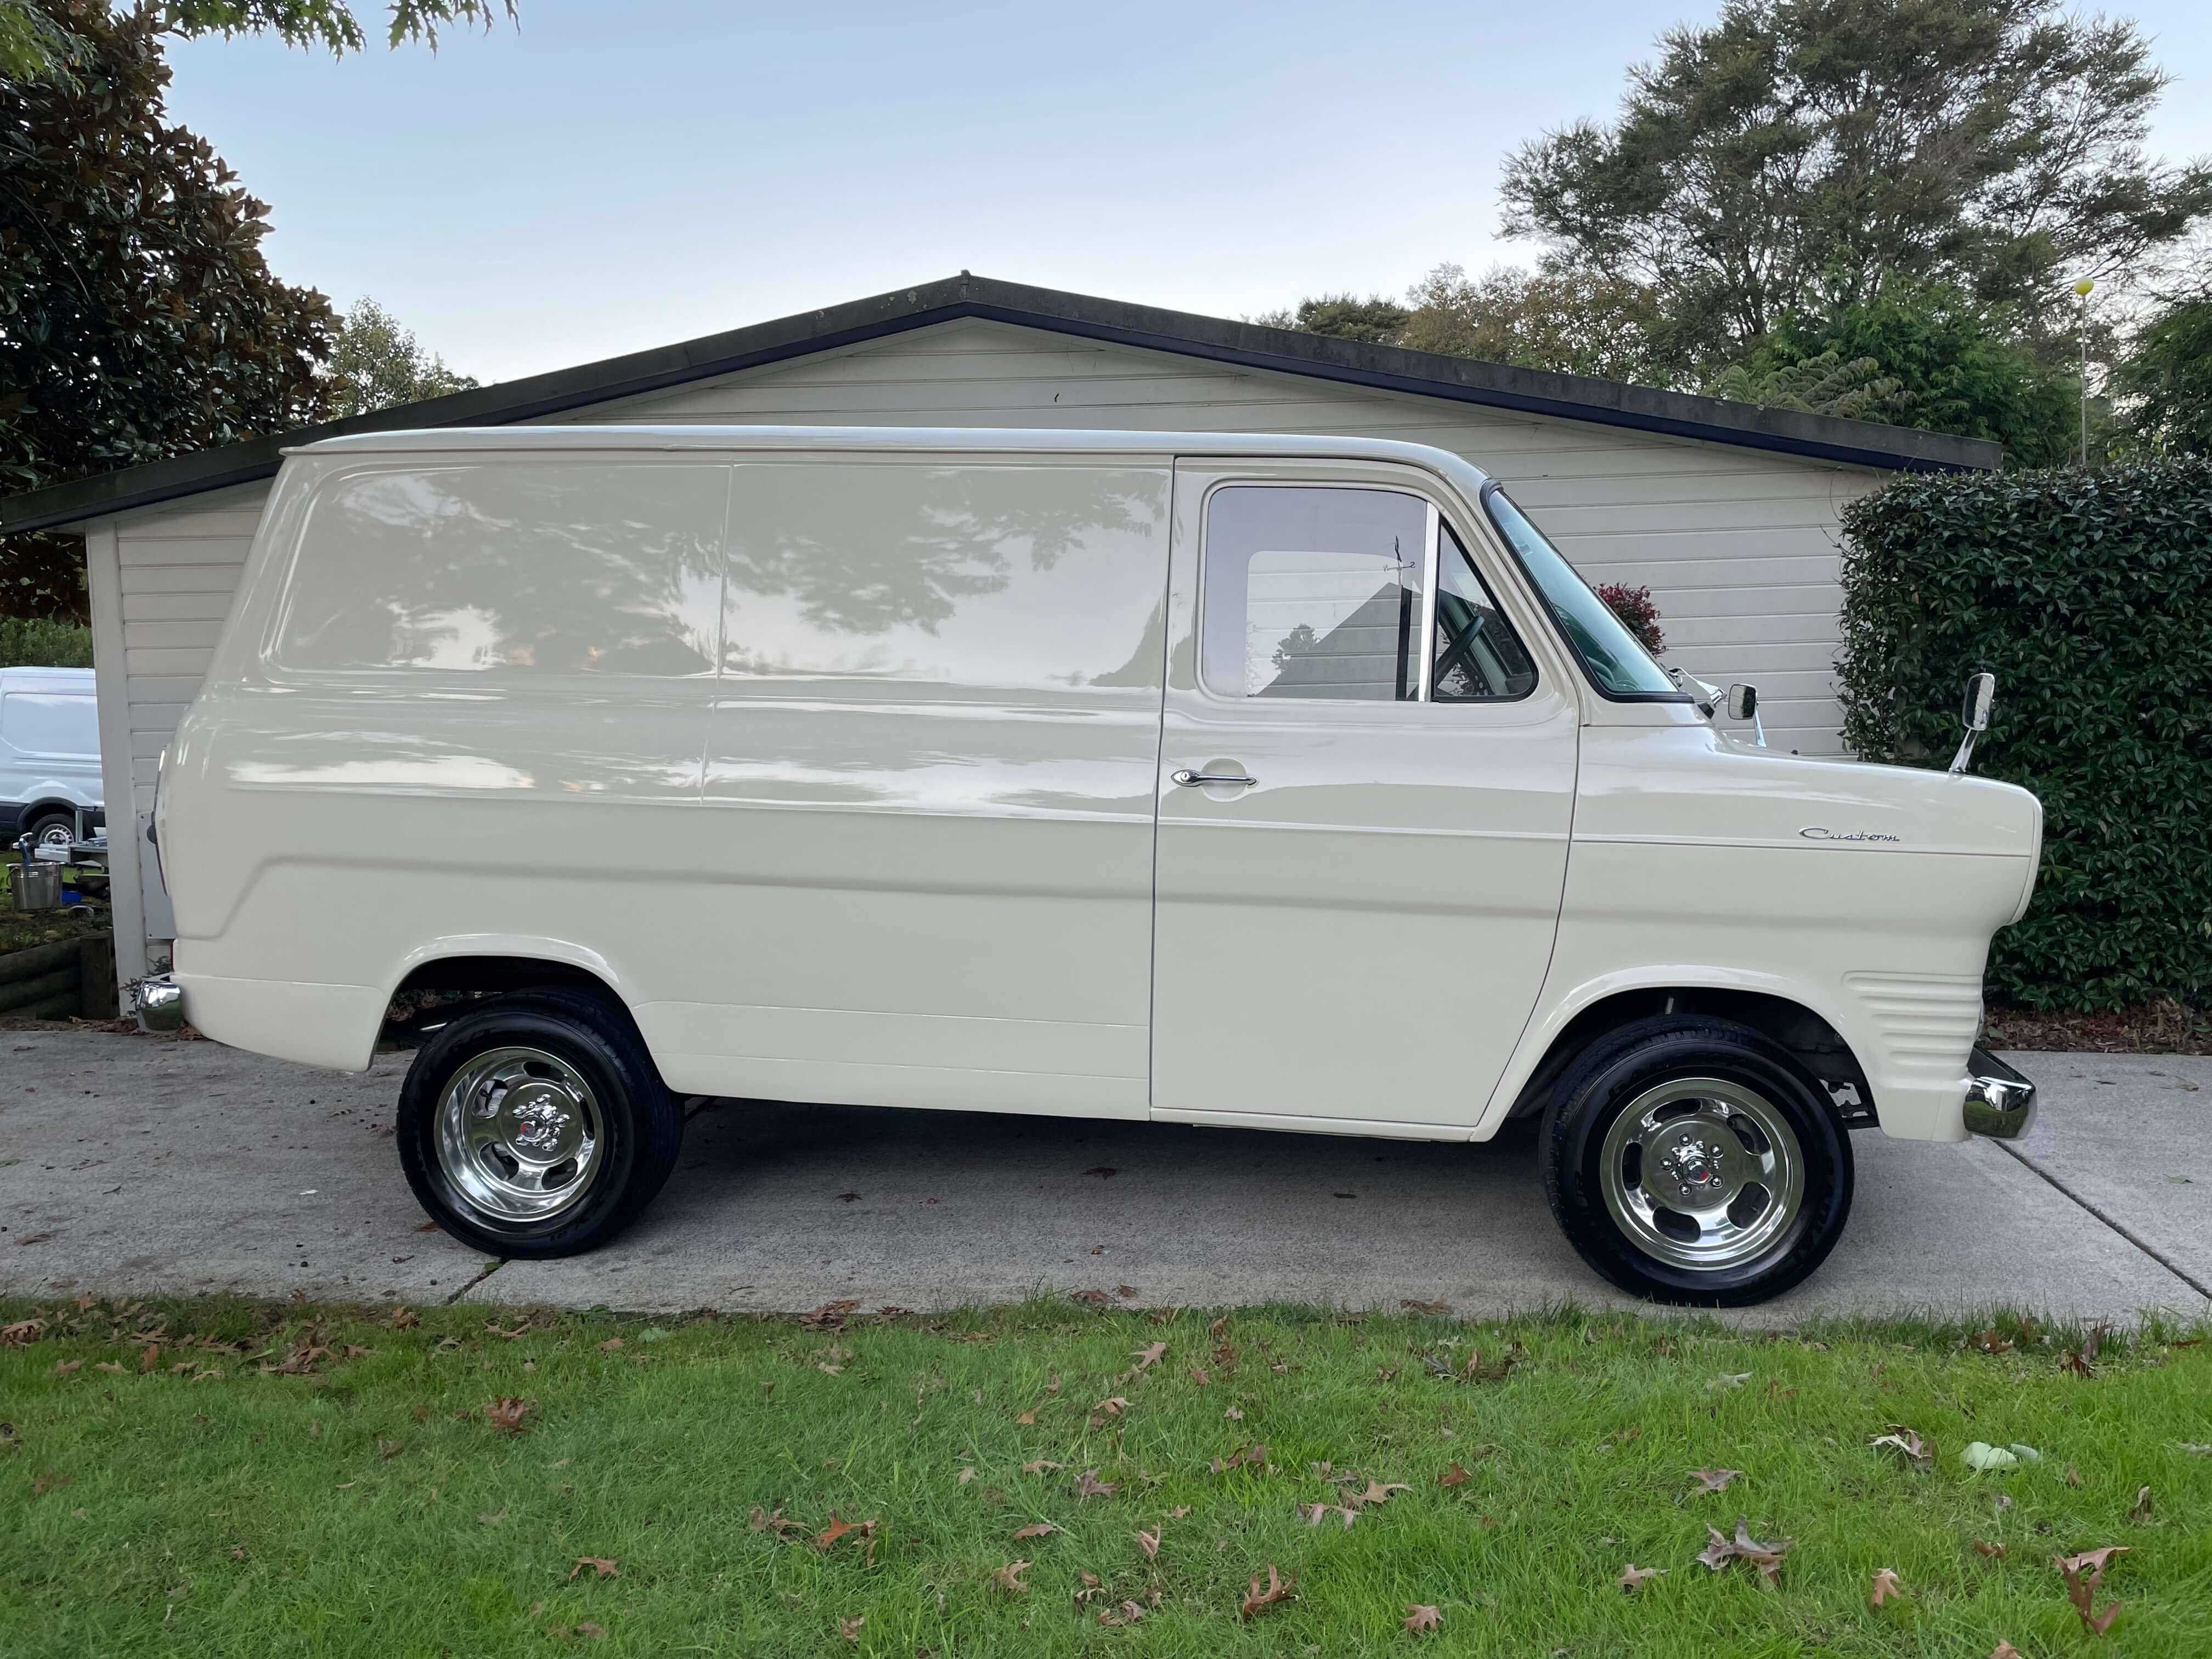
a few more pics......... Browndog's 1972 V8 Transit - Page 3 - Project Discussion - oldschool.co.nz
2 points
-
completed last week, and took it to the Auckland All Ford Day on Sunday Browndog's 1972 V8 Transit - Page 3 - Project Discussion - oldschool.co.nz
2 points
-
A cursory glance on the internet indicates that there is significantly less load on modern buckets than the old ohv lifters. Bigger diameters, large contact patch etc coupled with lower valve train mass, supposedly less stiff springs and no rocker ratio. End result is just less wear, effectively eliminating need for self adjusting systems2 points
-
Maybe also improvements in automation for setting the valve clearances on day 1 I remember old mate Ken telling me about how he visited the Toyota factory in Australia. The block would come along, and a robotic probe would touch each of the valve stems (or whatever) then it would autopick the right bucket to suit the distance it measured. Like maybe as tech evolved it was just more economical to spend the money on the magic fingering machine, and less on parts for each engine (assuming hydraulic is more complicated, dunno)2 points
-
Nah you need to shim them to tolerance. So if the tolerance was good from factory AND the factory cam and aftermarket one had exact same clearances, theoretically I dont need to do anything at all. But I'm guessing that's unlikely.2 points
-
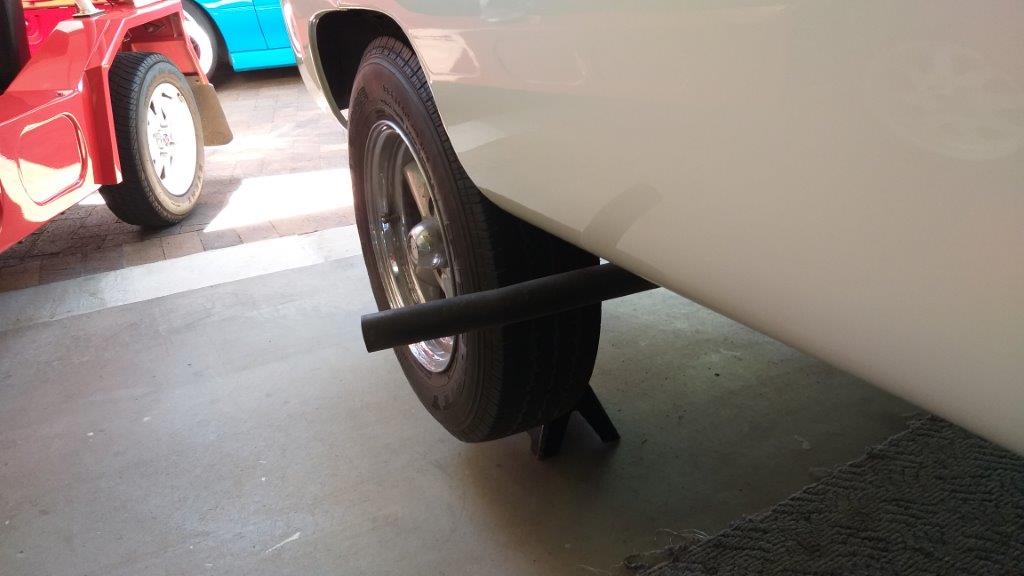
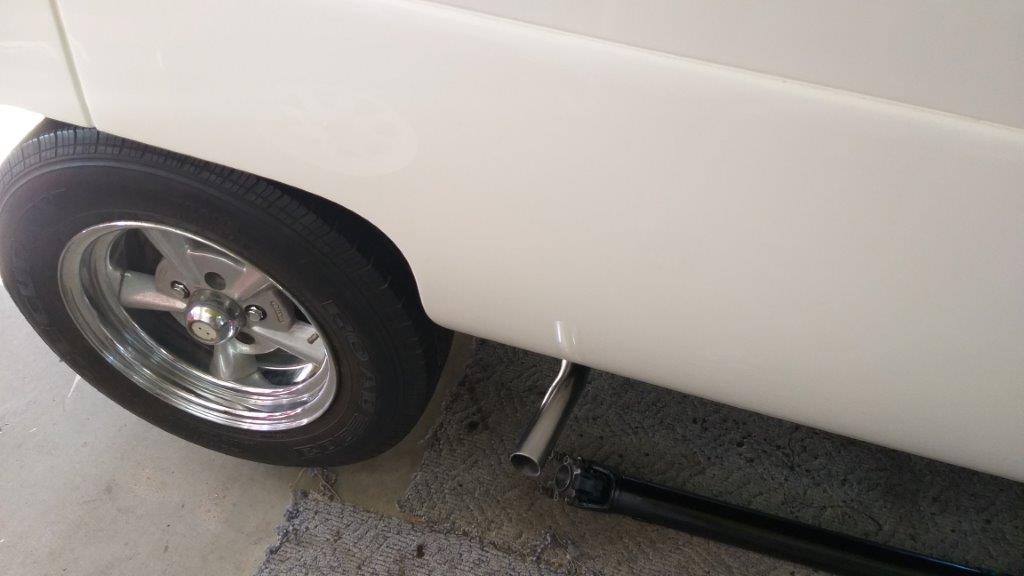
As detailed in a previous post I'm using the original Thames muffler and rear section with a HiAce flange glued to the front of the muffler that attaches to a slightly tweaked HiAce intermediate pipe. The new setup places the muffler closer to the centre of the van and at the time I suspected that I may need to tweak things to gain maximum clearance between the driveshaft and the exhaust. To put things into perspective the muffler sits on the left hand side and the exhaust tip exits on the right hand side of the van just in front of the rear wheel. So as the pipe runs from left to right it has a hoop which in theory should sit directly above the driveshaft. With both items in place a quick check confirmed that the position of the hoop needed some tweaking. I ended up cutting 120 mm of pipe out in order to centre the hoop, but needed my mate Sno's help with the welding as I'm not setup for stainless. Sno did the deed for me yesterday afternoon and its now all back together. With the bit of pipe removed from the centre, the tail pipe no longer sticks out ridiculously and I even gave the end piece a polish for that extra little bit of bling. I might give the end a bit of an extra trim, but I'll leave that for later. Thanks for reading.
2 points
-
Structural stainless frames etc normally mig uses a different gas mix - Stainsheild. And stainless wire. Pipe or dairy etc or anything pretty - tig with argon for the gas.2 points
-
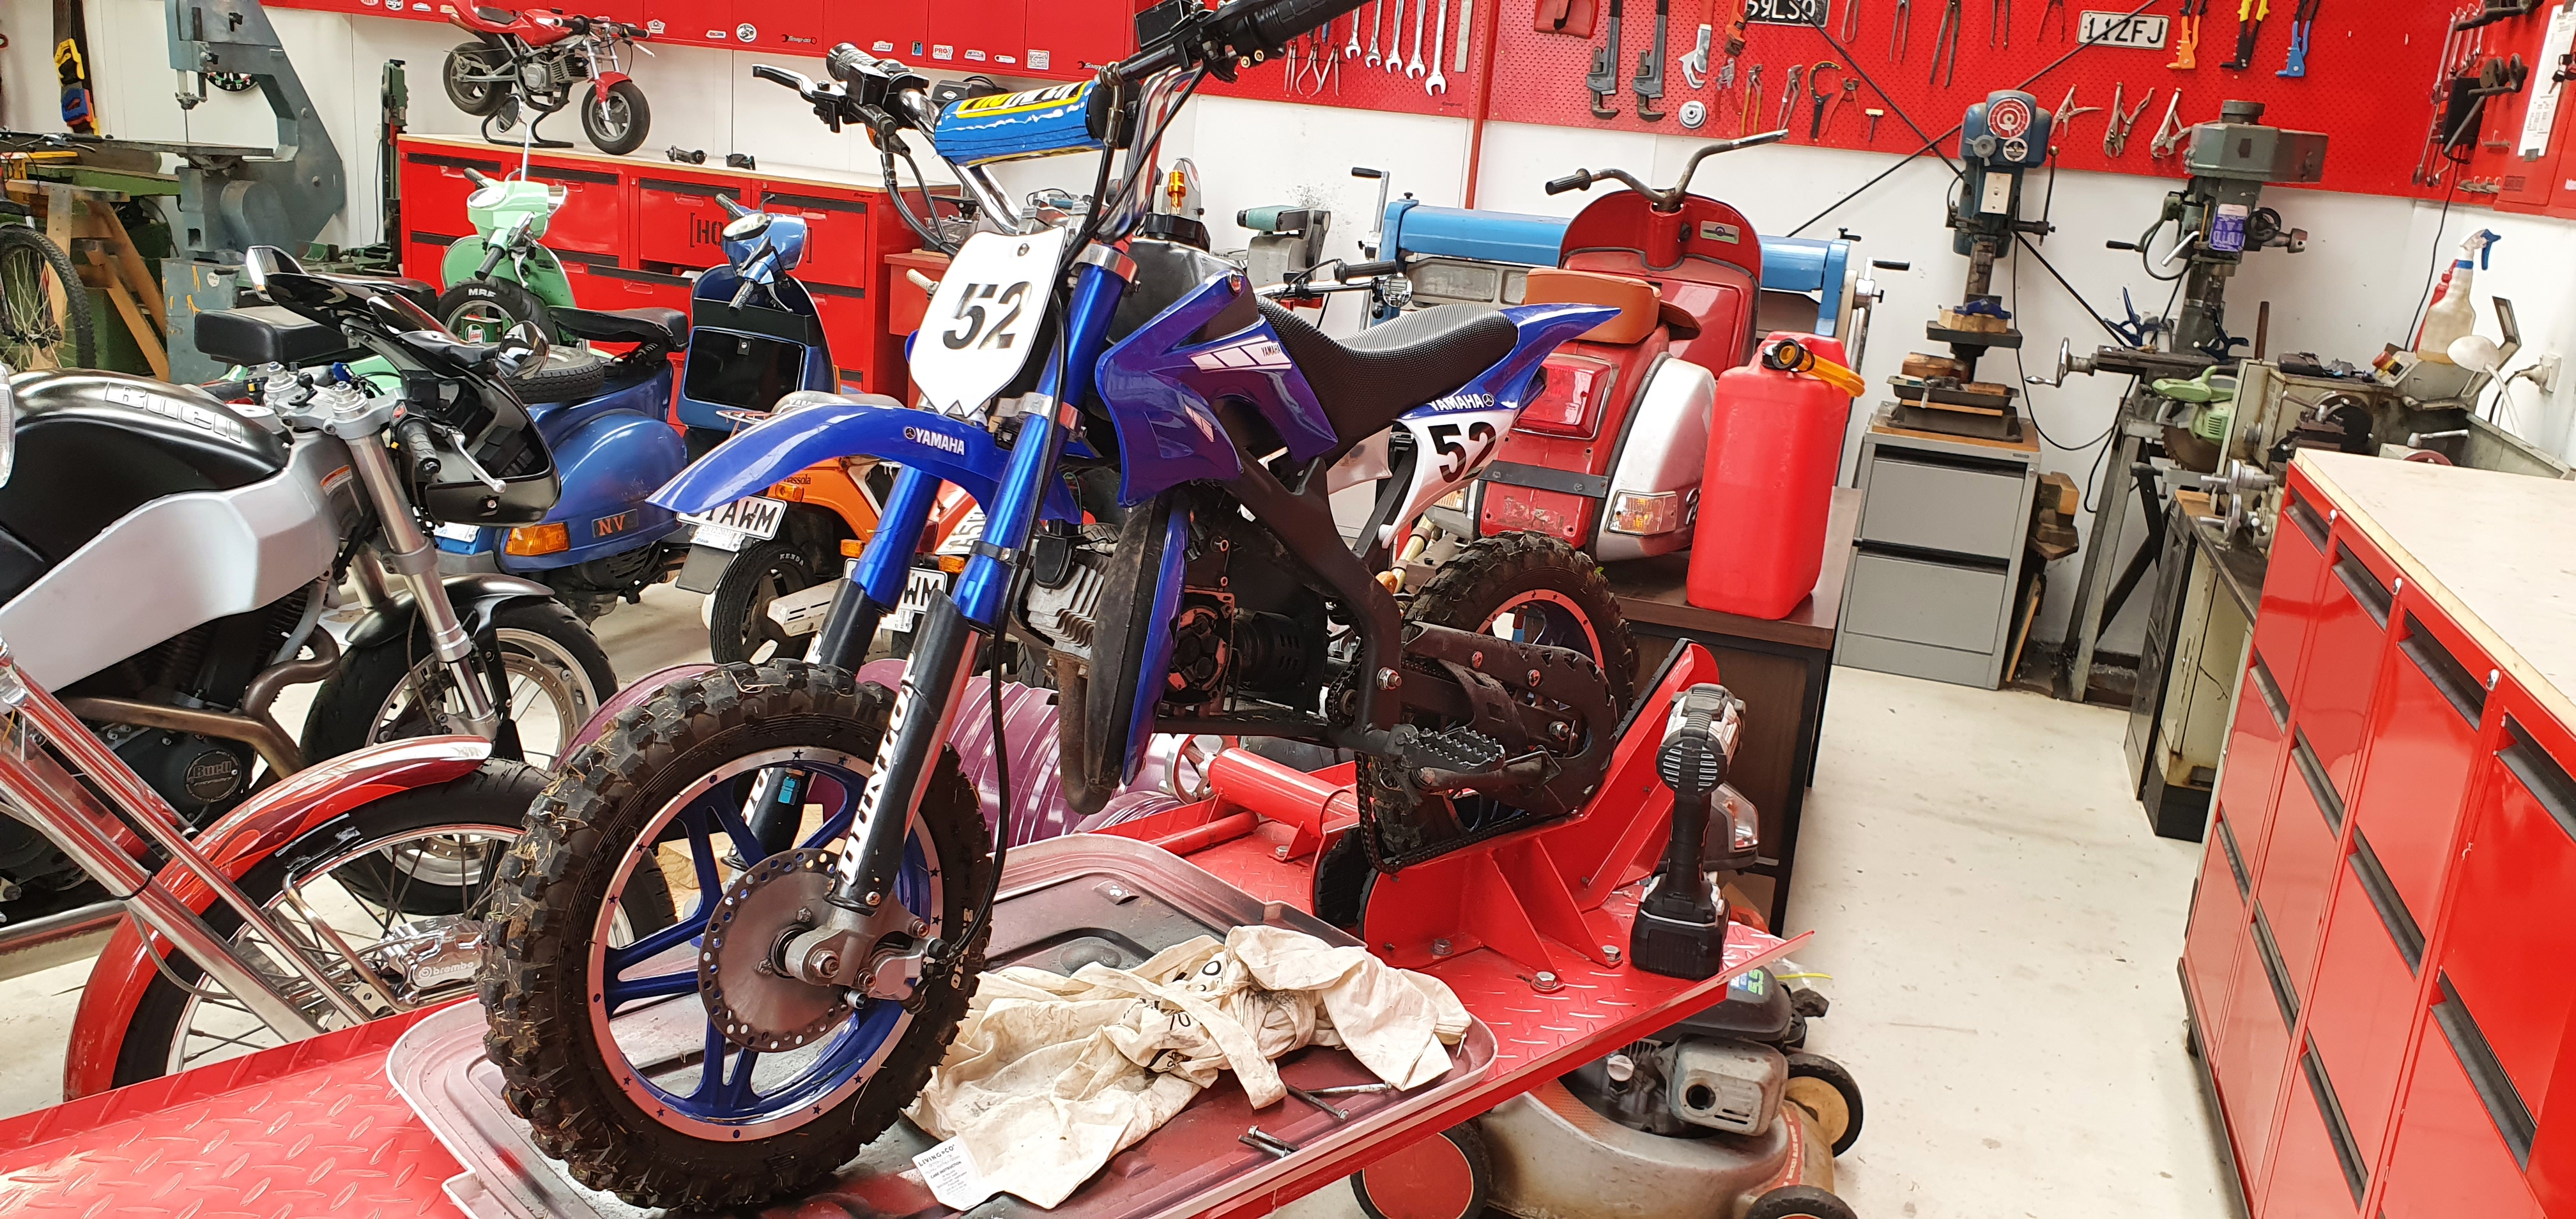
Proud father/son moment, my boy following me around the section like a puppy on his bike. Totally fucked the clutch...but well worth it. Easy fix. Makes all the shit days feel good. Can't wait to see him flying by me, giving me the bird, pulling a wheelie and saying FTW...
2 points
-
2 points
-
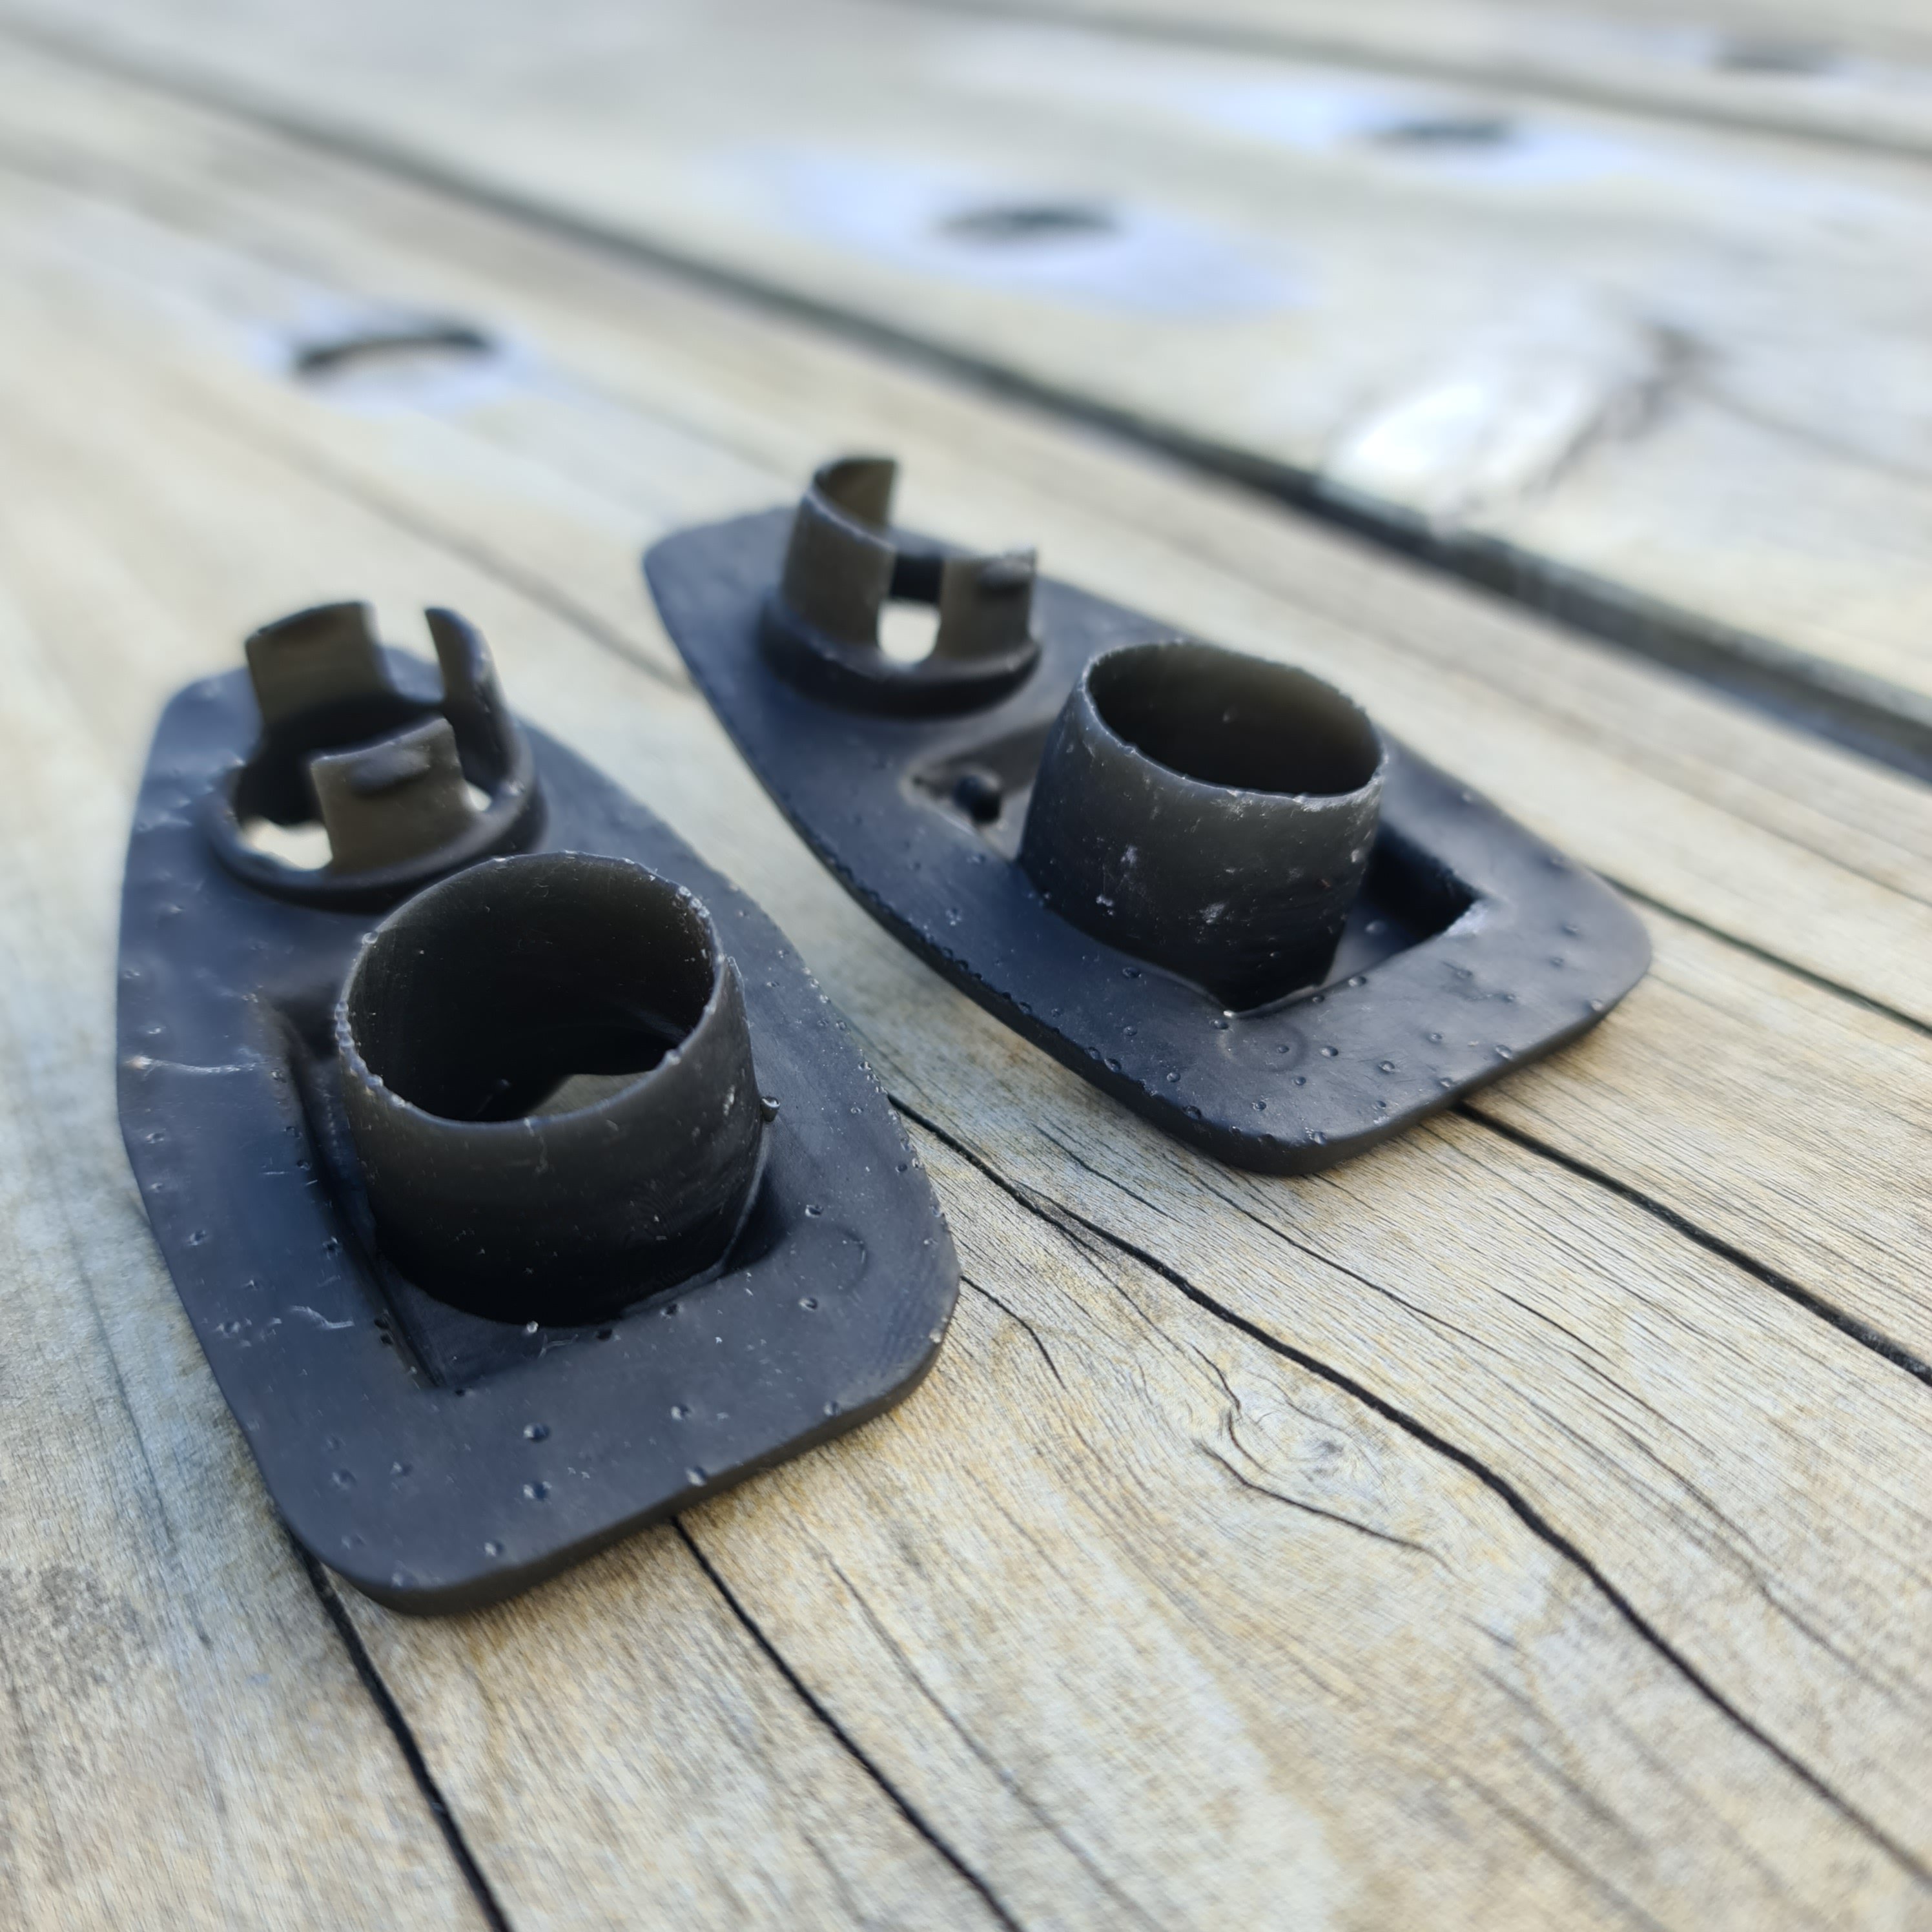
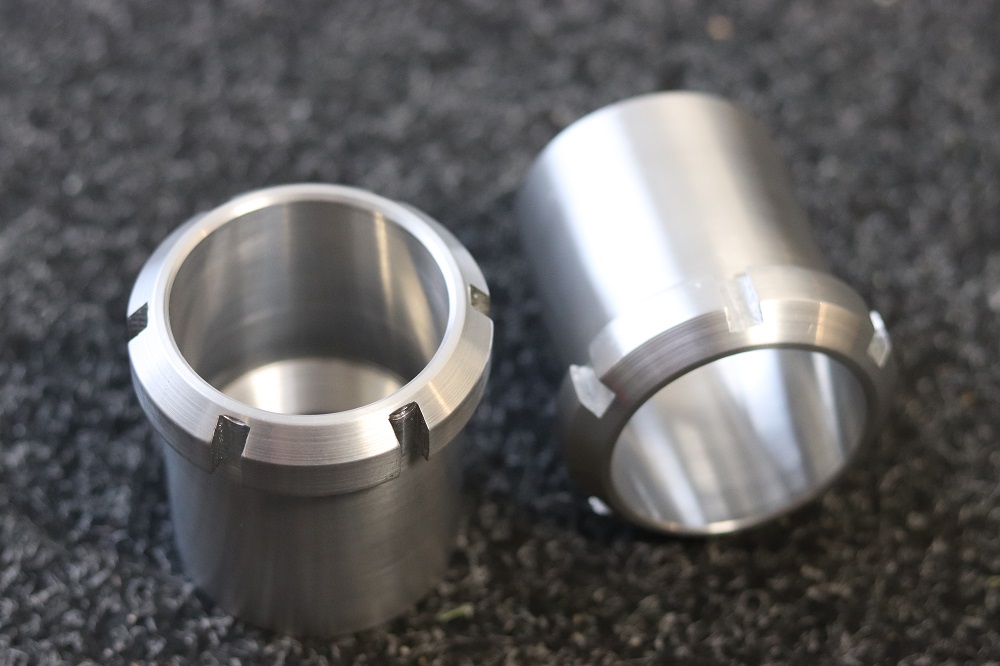
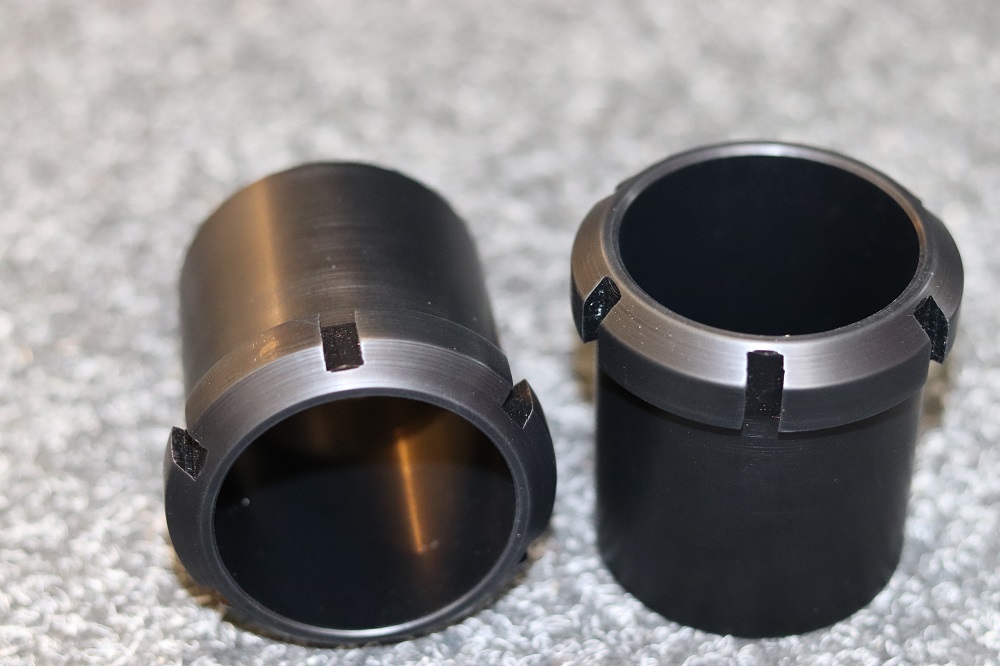
A week ago I sold some 19" 3p weds lips to a fella who runs a 3d modeling and printing business. I mentioned I was after some fender mirror gaskets for my gx61 as one had blown apart (common fault) I sent my good one up to him and he scanned it and flipped it and printed of this new pair for me in an ABS like resin. Pretty happy with the finish being smooth on all the seen surfaces and I'll just need to fine sand the dimples off the bottom
2 points
-
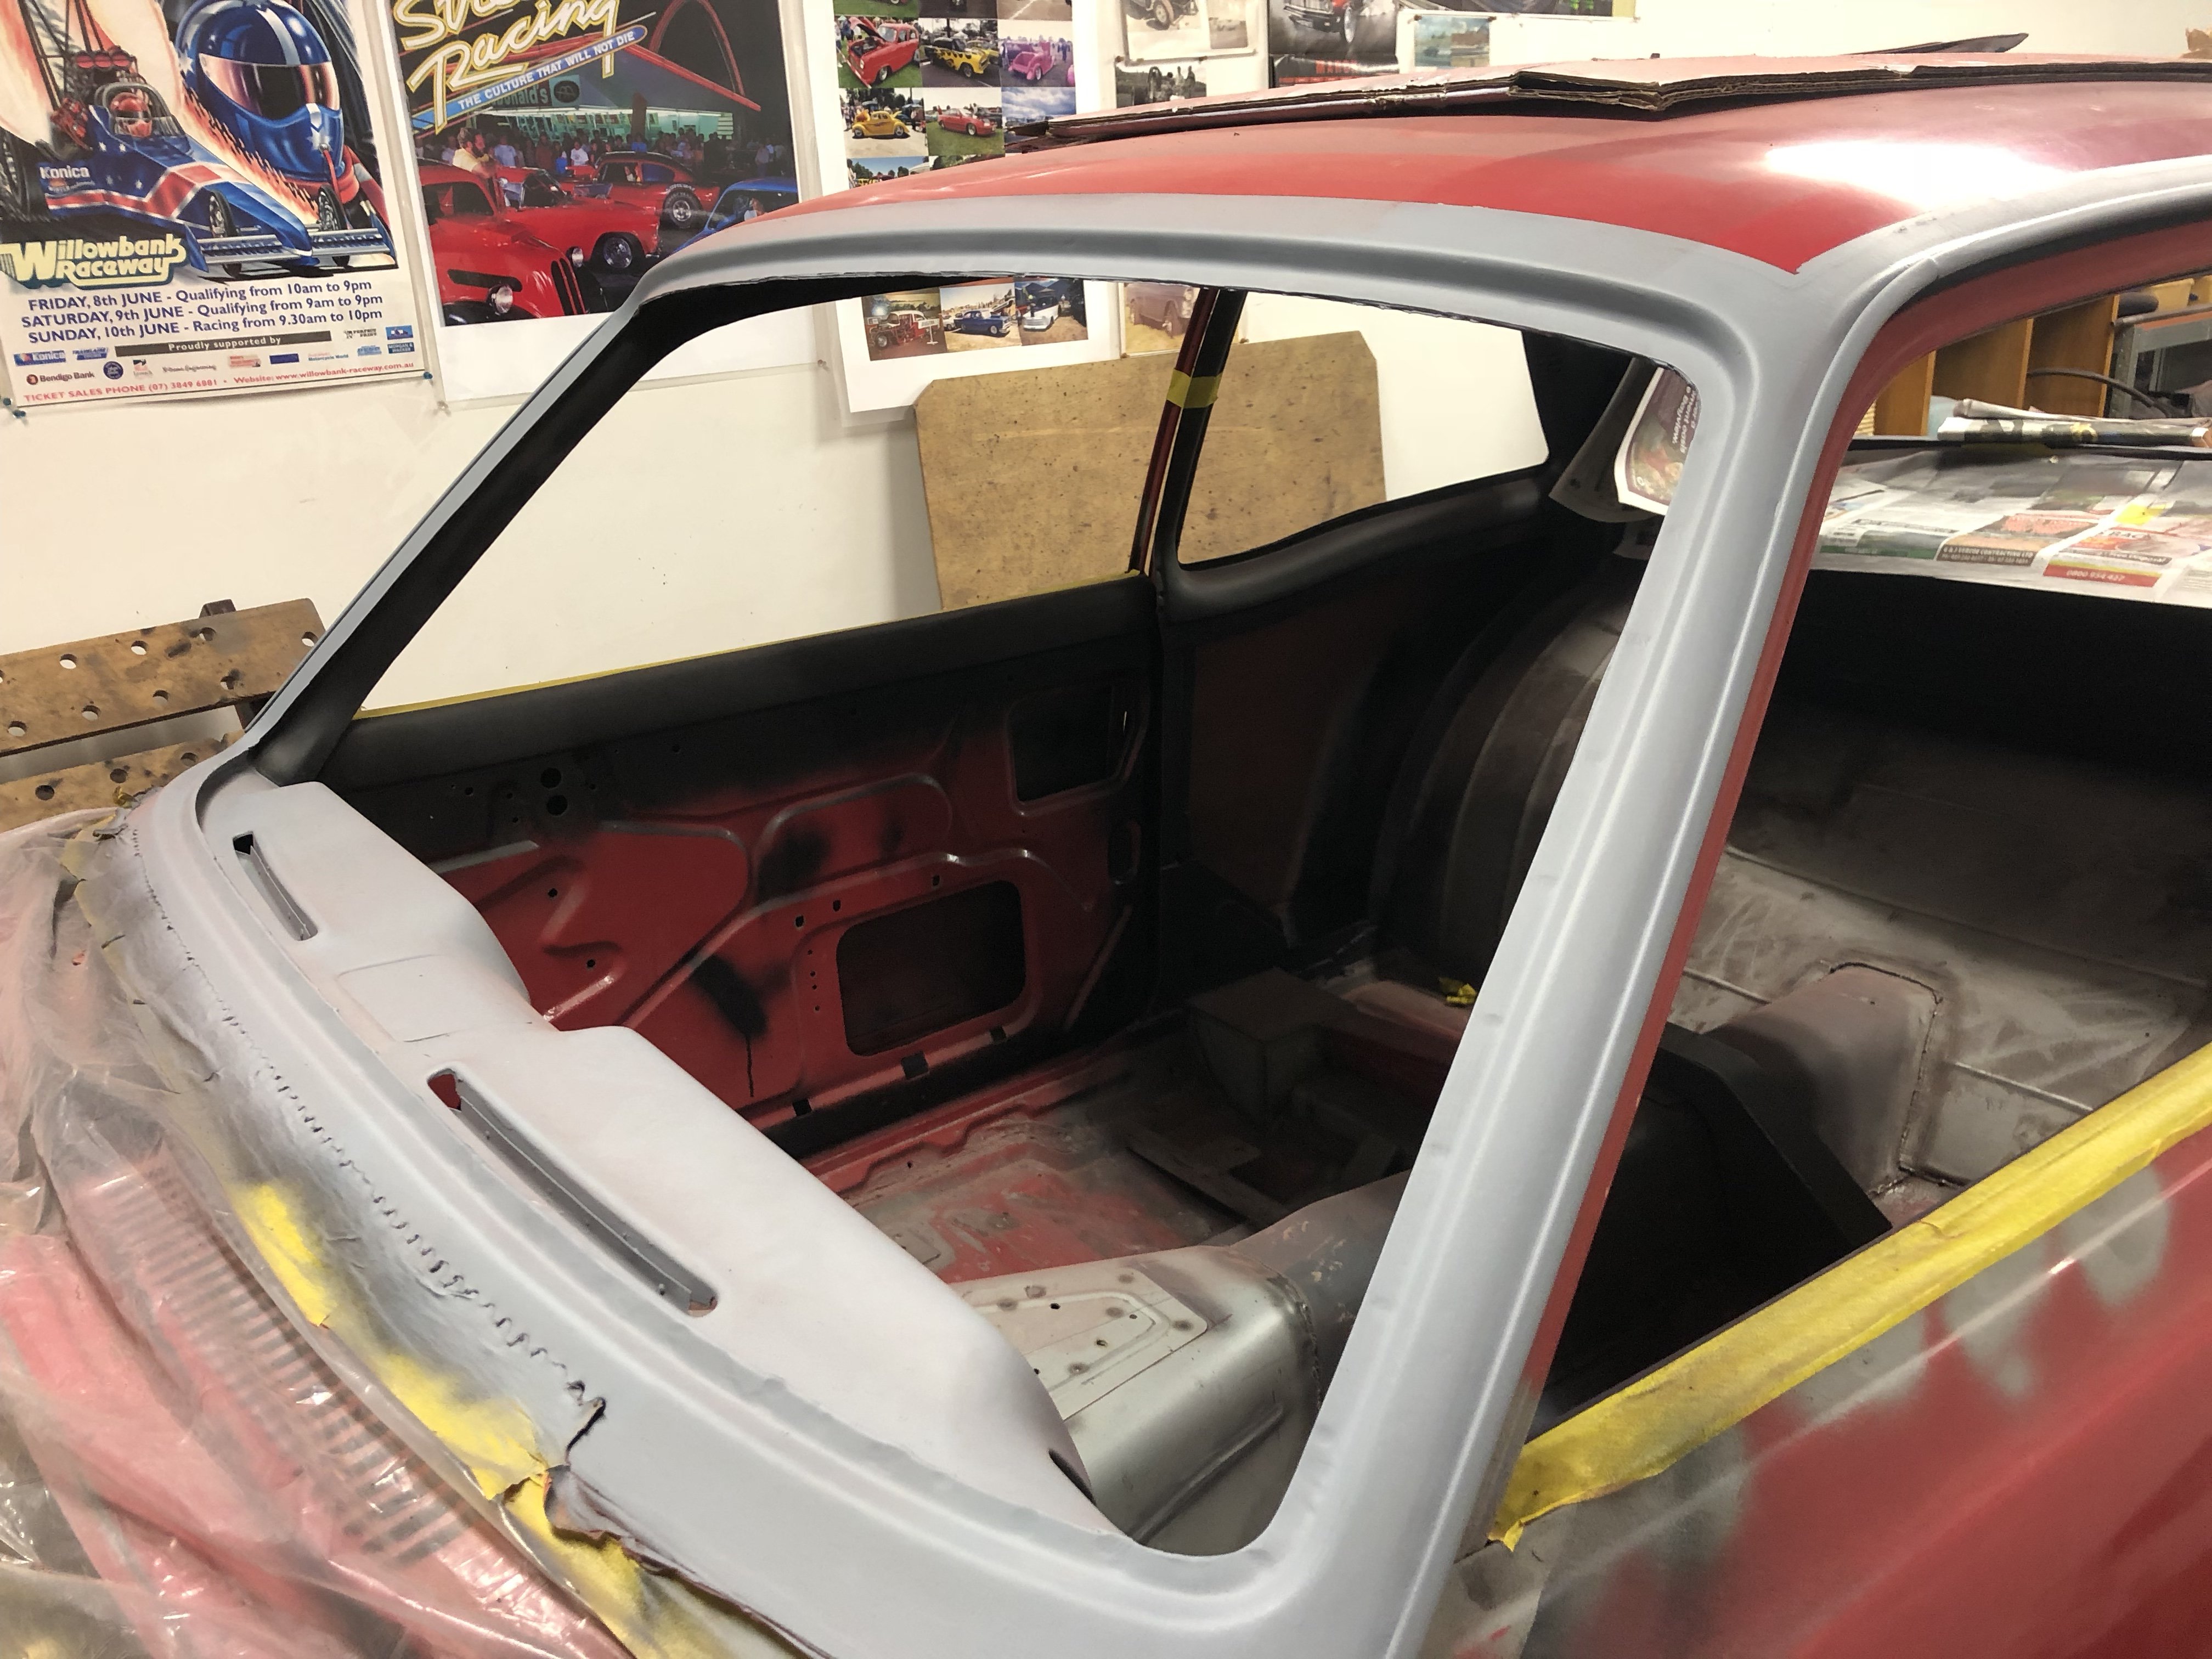
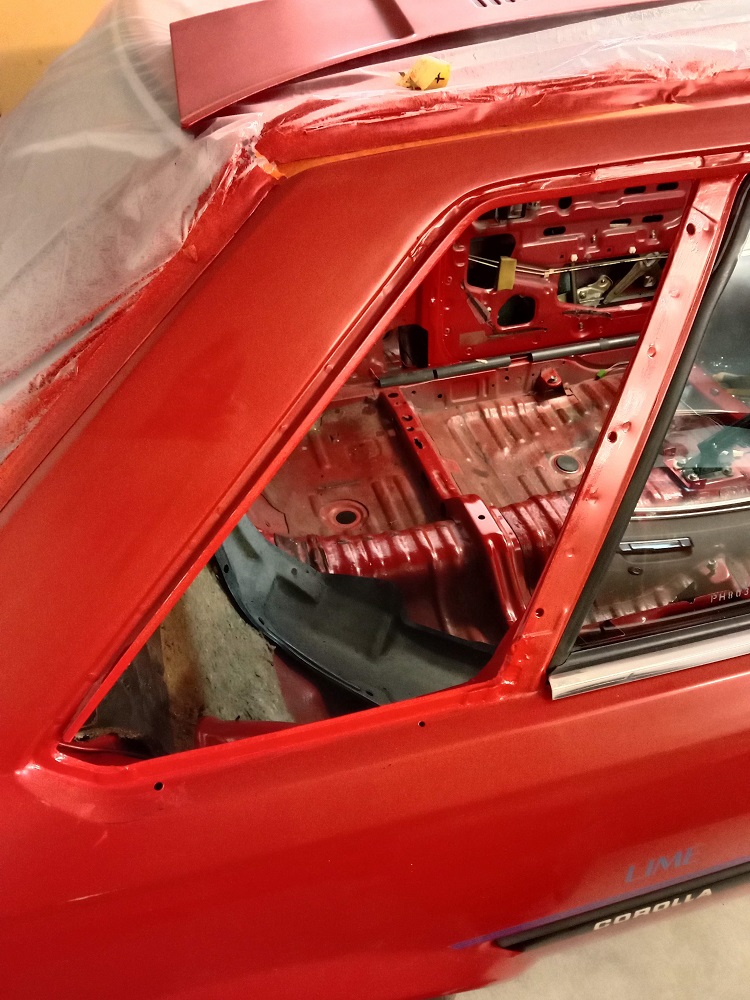
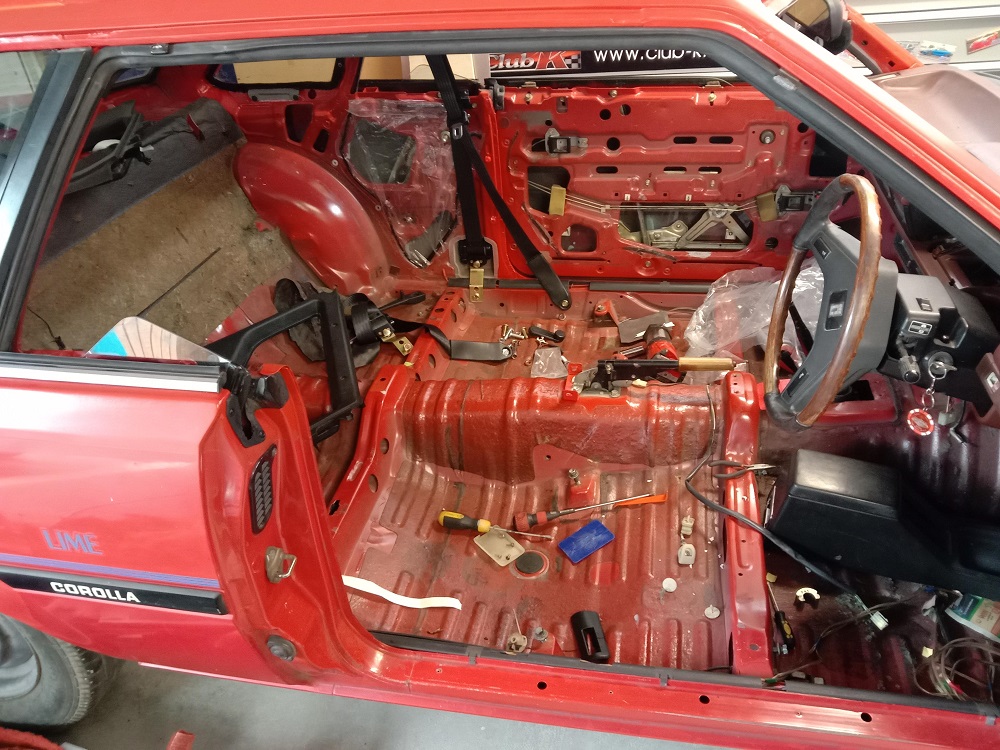
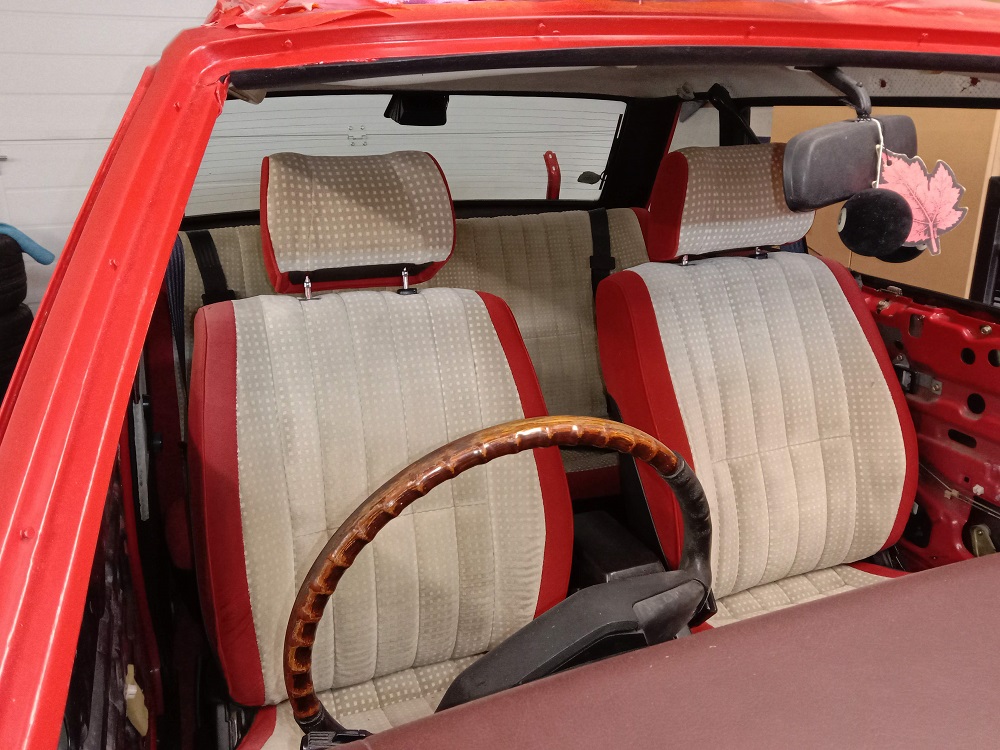
Six months since last update, feels like a year... Spent the last four months with a new member in the family so car time has suffered accordingly. Will keep it brief with a few pics. Have been working my arse off the last week or so to get the car back together. Lots to still do, but I finally have a window of time to get things done, so I have to get it done. Last update ended with lack of clearance between strut and wheel. It was the locking nut to be exact. I spent a long time working out spacer requirements and longer wheel studs needed etc. Problem with spacers is that it shifts the wheel closer to the guard, which I can't afford to do, so I had to come up with another solution. I worked out a design and showed cert man and got the green light. Had a word with Anton @ajg193 and he did a proper drawing of it. He then set about filling his garage with aluminium swarf and made me the parts. I then had them anodised as per @mjrstar's recommendation. The whole design was focused around moving the locking ring further up the strut as due to being angled inward, this would provide the clearance needed without shifting the wheel with spacers. Bottom section has internal thread to match the shock body, Anton did a great job. Installed Gave the rear 1/4 frames another lick of paint or two where the trims will be, to offer a bit more protection. Removed all of the sticky shit off the frame and windows and glued them back in. Then it was time to start putting the interior back in with the new belts. Previous to that though, I spent give or take a day installing all the moving windows in the car, aligning the doors and then adjusting the windows till they operated correctly. I've got them pretty good, but I just don't have the time to get them perfect right now. If they even can be given the seals are all poo and the panels don't line up due to a hit. Happy with the end result though, even if it's not close to waterproof lol. Thursday: Friday Saturday That's where I am at for now. Some up and coming jobs: Install brake master cylinder, make brackets for front hoses, diddle with the handbrake cables, eyecrometer the alignment, organise windscreen install, fit plastics / door cards up front blah blah, too many other things. Thanks for playing.
2 points
-
That’s better. The epoxy glue kinda sucked so I whipped up a wee reinforcer plate. Once bolted back in against firewall she’ll be safe. And I scaled back the front runners. ..just for sandblasting.2 points
-
Got the runner and other small moulds sprayed with the same stuff. Way easier/quicker than using wax release! . This will save me a ton of time going forward. The runner is 110kg so its going to be in 3 pieces. Just finished printing some partitions. These are the jobs this printer is made for! Instead of spending hours making something from wood I can spend 30 mins on the computer and then its done by the morning!2 points
-
Filling the inner core next. Its about 75kg so cant fill in one go. Going with a partition again but Im going to tie it together a bit better. I think a few threaded rods should work and Ive put some deeper keys in the partition wall/plate. It also needs some lift points so ill put some eye-nuts lifting off the threaded rod. This is where the part goes. Suspended in the middle of the main mould.2 points
-
Got the camgear covers sent over. Looks like the real deal.2 points
-
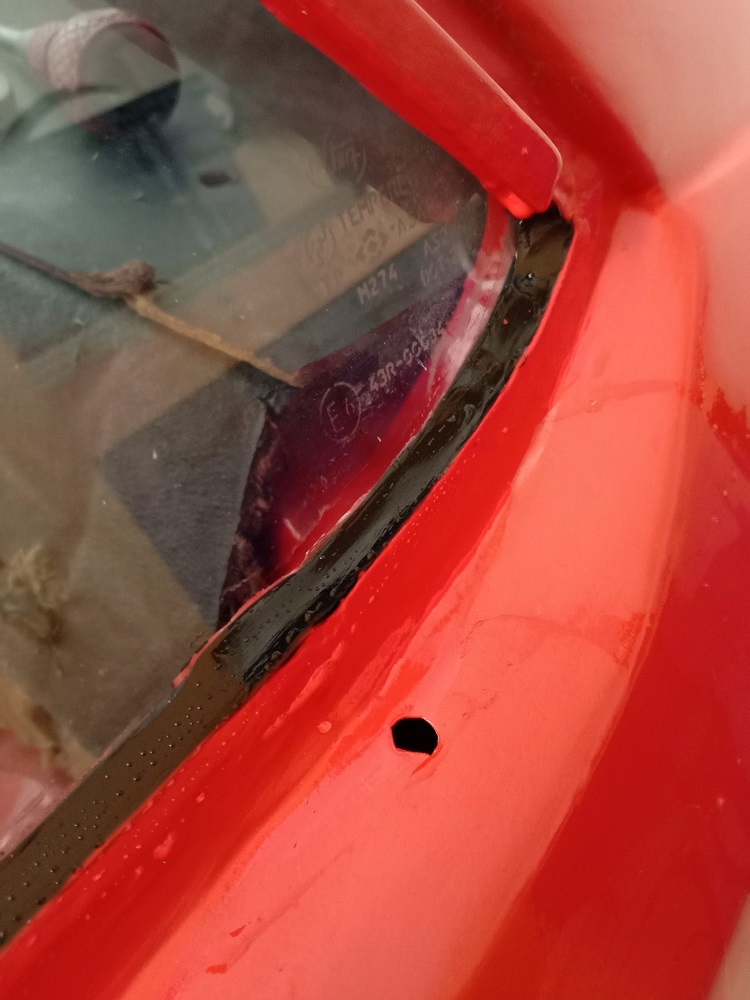
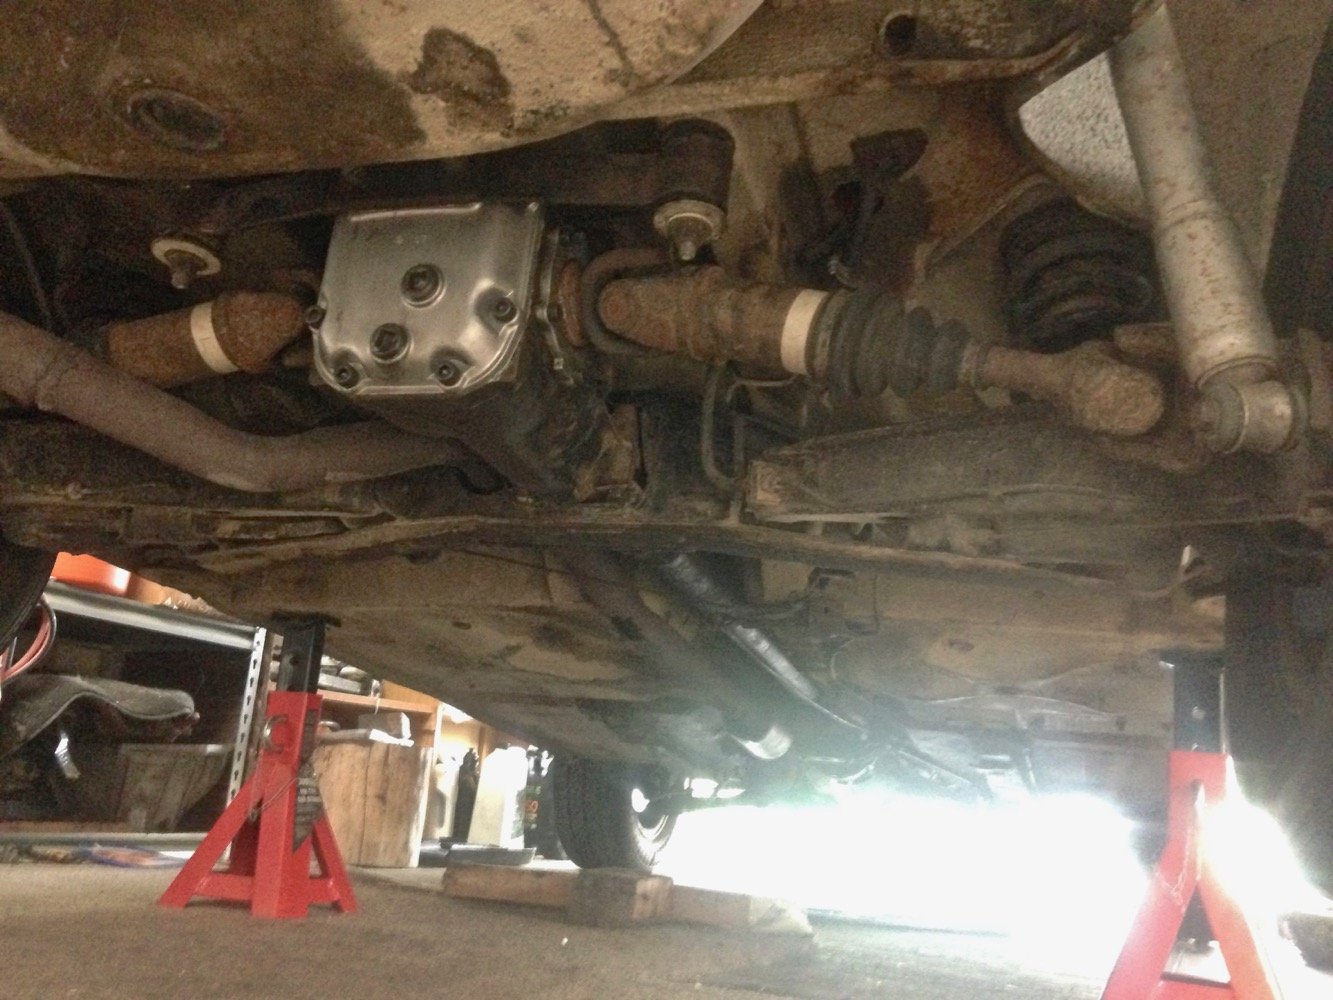
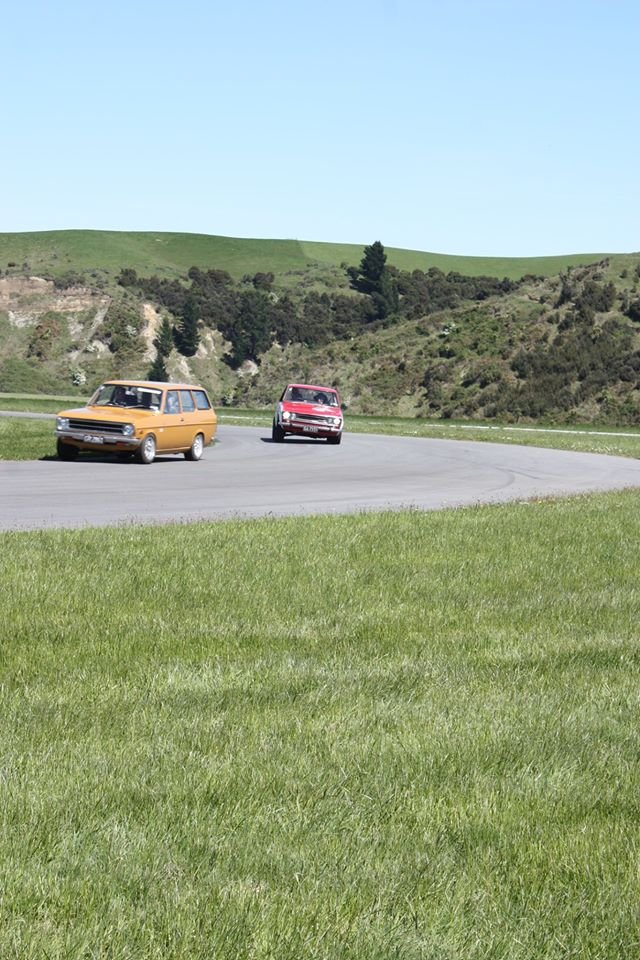
A pic from Datsun Nats last year appeared on the internet, the bodyroll might be unsettling for some viewers... When I brought the car, dad dug out a sway bar and said I better have it to keep the car complete, on viewing the above photo I pretty much dug it out, stripped the surface rust and re-installed as soon as the paint was dry! While the brain was on suspension and handling, I lifted the bum to work out the origins of the "weird" rear end characteristics, i've always been unsure about the backend, if the road is just right, it feels to drag the car to the left. Setting up string lines, the alignment was pretty much spot on, maybe a bit too much toe on oneside, trailing arm bushes are also moving freely without detectable play. Best bet right now is the subframe bushes, they are not looking too happy and likely 50 years old, going to order some urethane and machine up a set as a starting point and go from there. Has anyone here experimented with subframe mounting, solid etc? keen to hear your results. So much for locked up for winter, went for a lap over the port hills to "check" the new rollbar, I can report i'm an idiot for not fitting earlier!
2 points
-
Bugger, ah well those be the rules ! Thanks for the quick reply1 point
-
Oh back on this, EGR generally isn't harmful on petrol engines and you can play around with it to improve economy if you need an excuse to make more graphs. Minimising blowby and feeding it into a catch can will keep your pistons clean far better than ditching the EGR.1 point
-
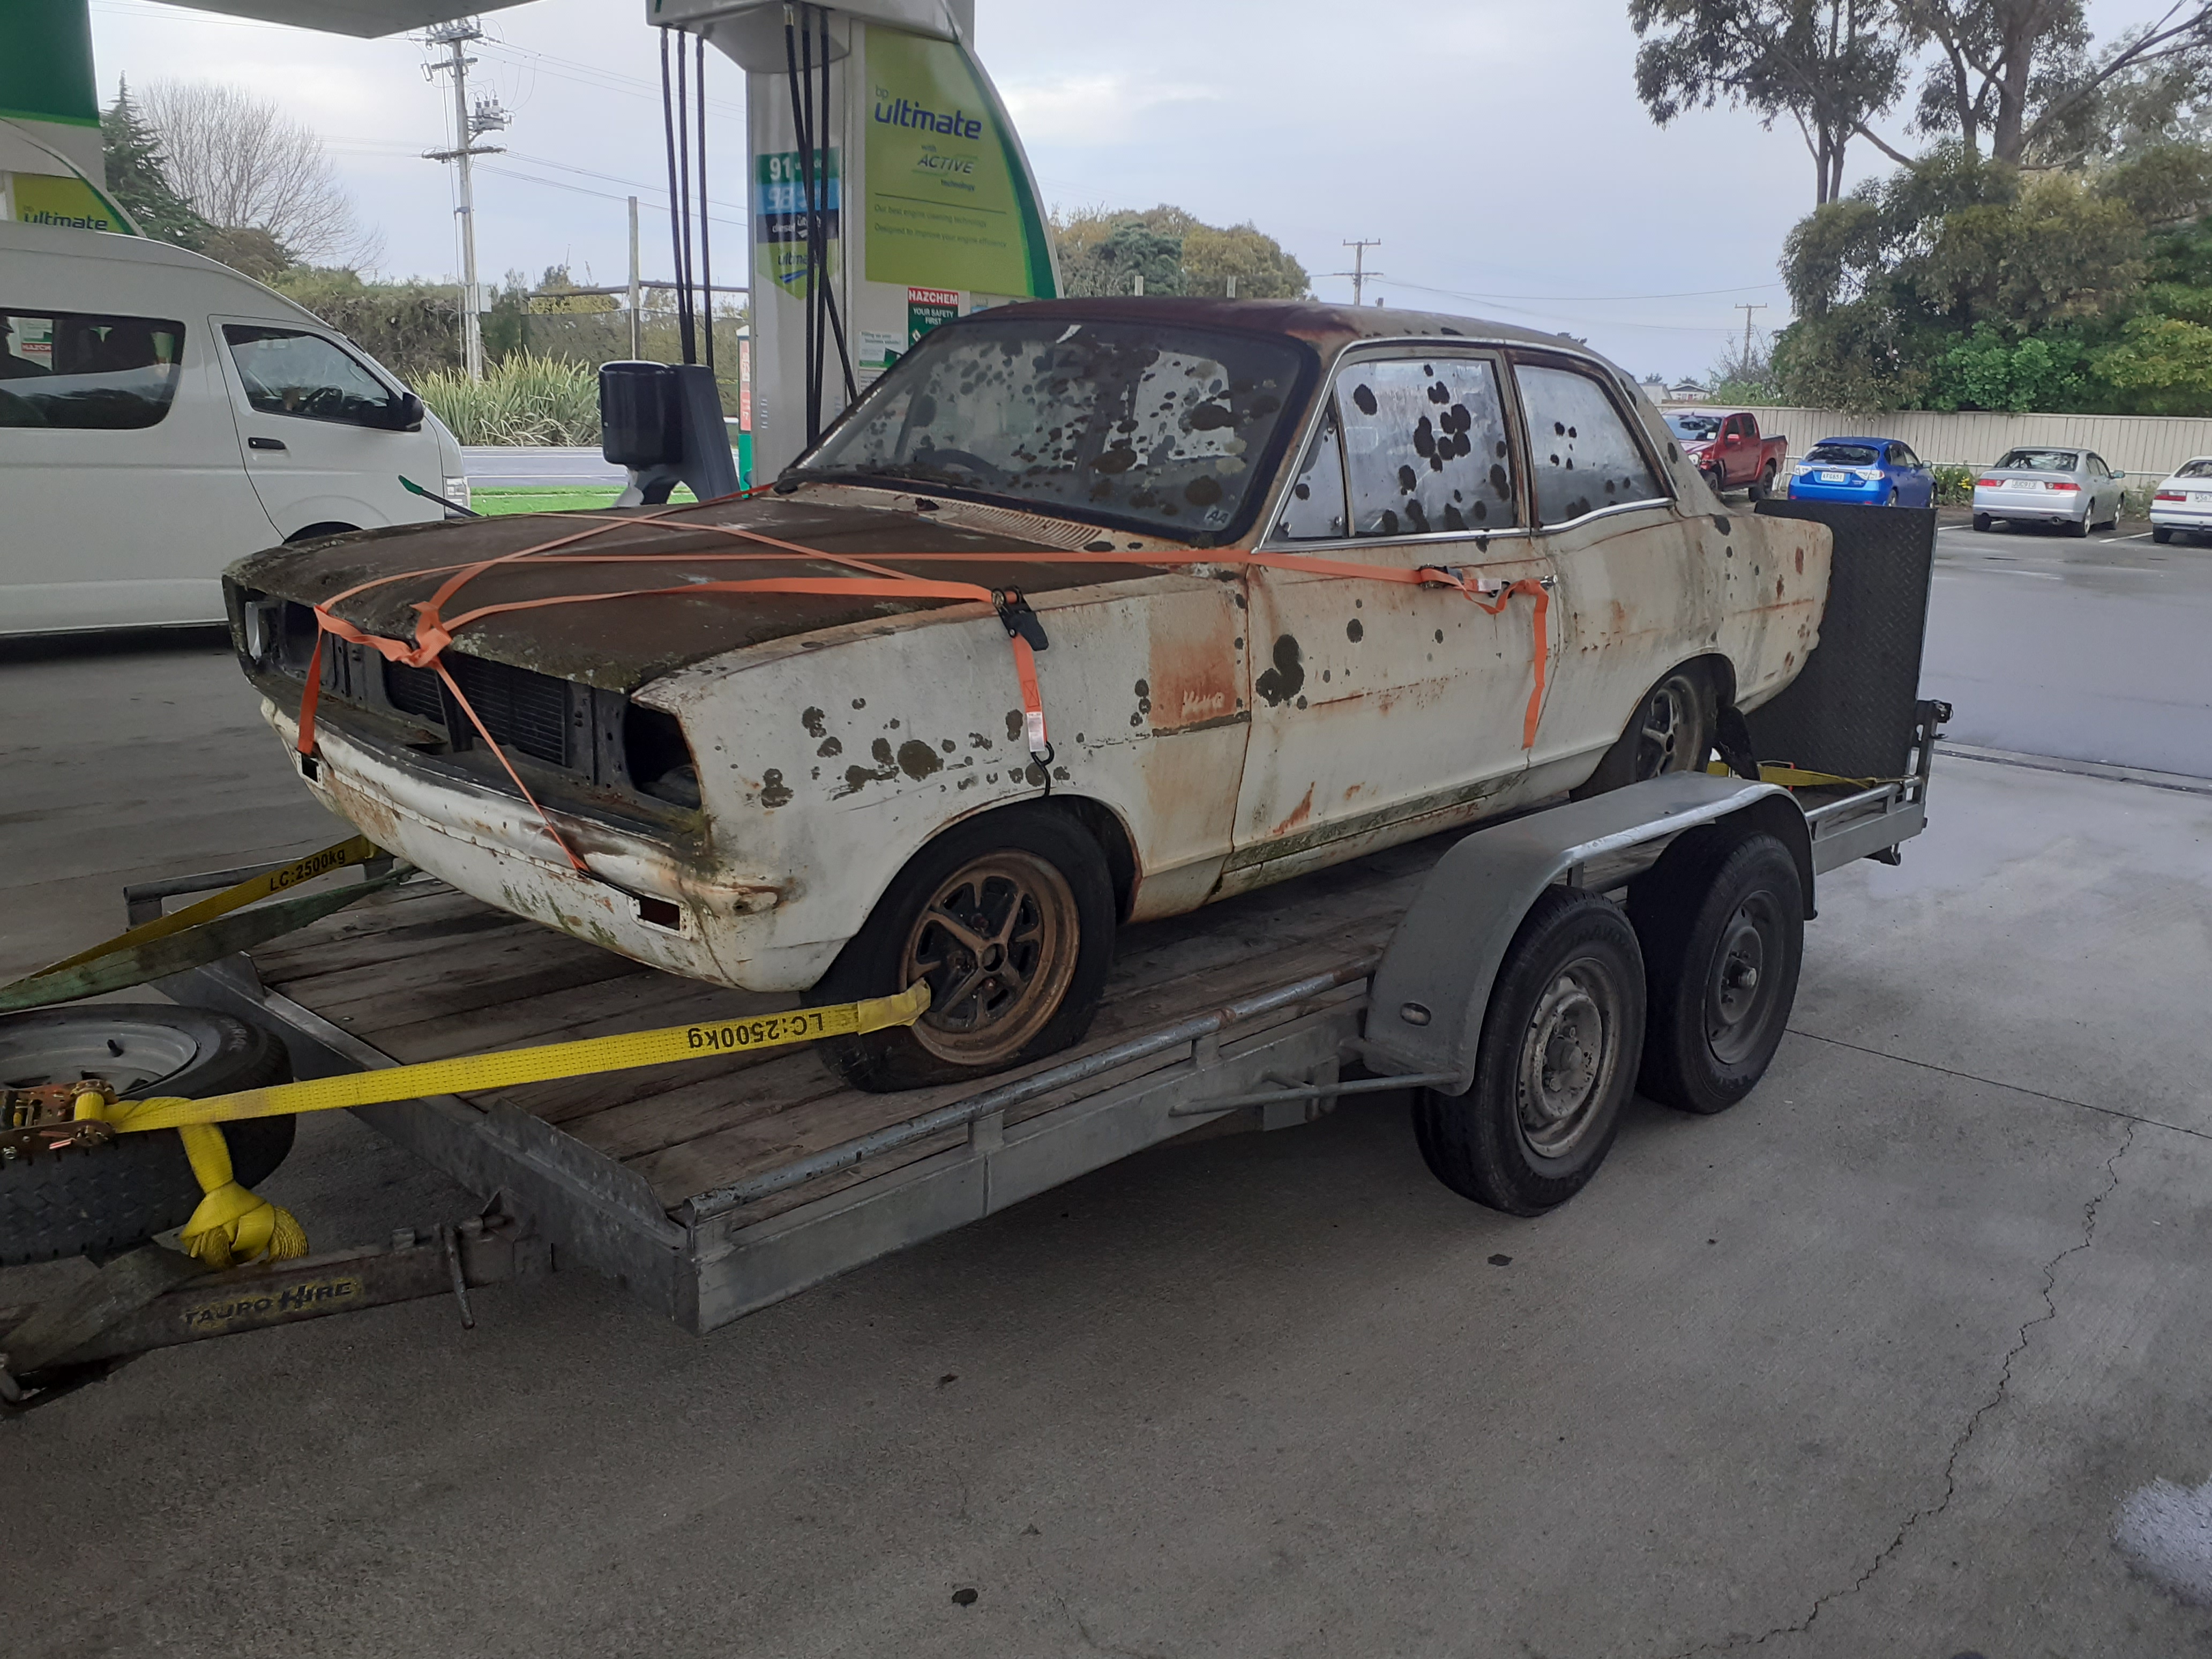
I first owned this in 1996. I put a 283 chevy in it and had some fun. Pulled the engine after a mate crashed his and sold the rolling body to him. He put his running gear in it (1900 Commy engine and magnum diff etc) but never finished it. I had been on at him to sell it back to me for a while. A few months back he messaged me to come get it as he was never going to finish it. This is how it looked when I picked it up
1 point
-
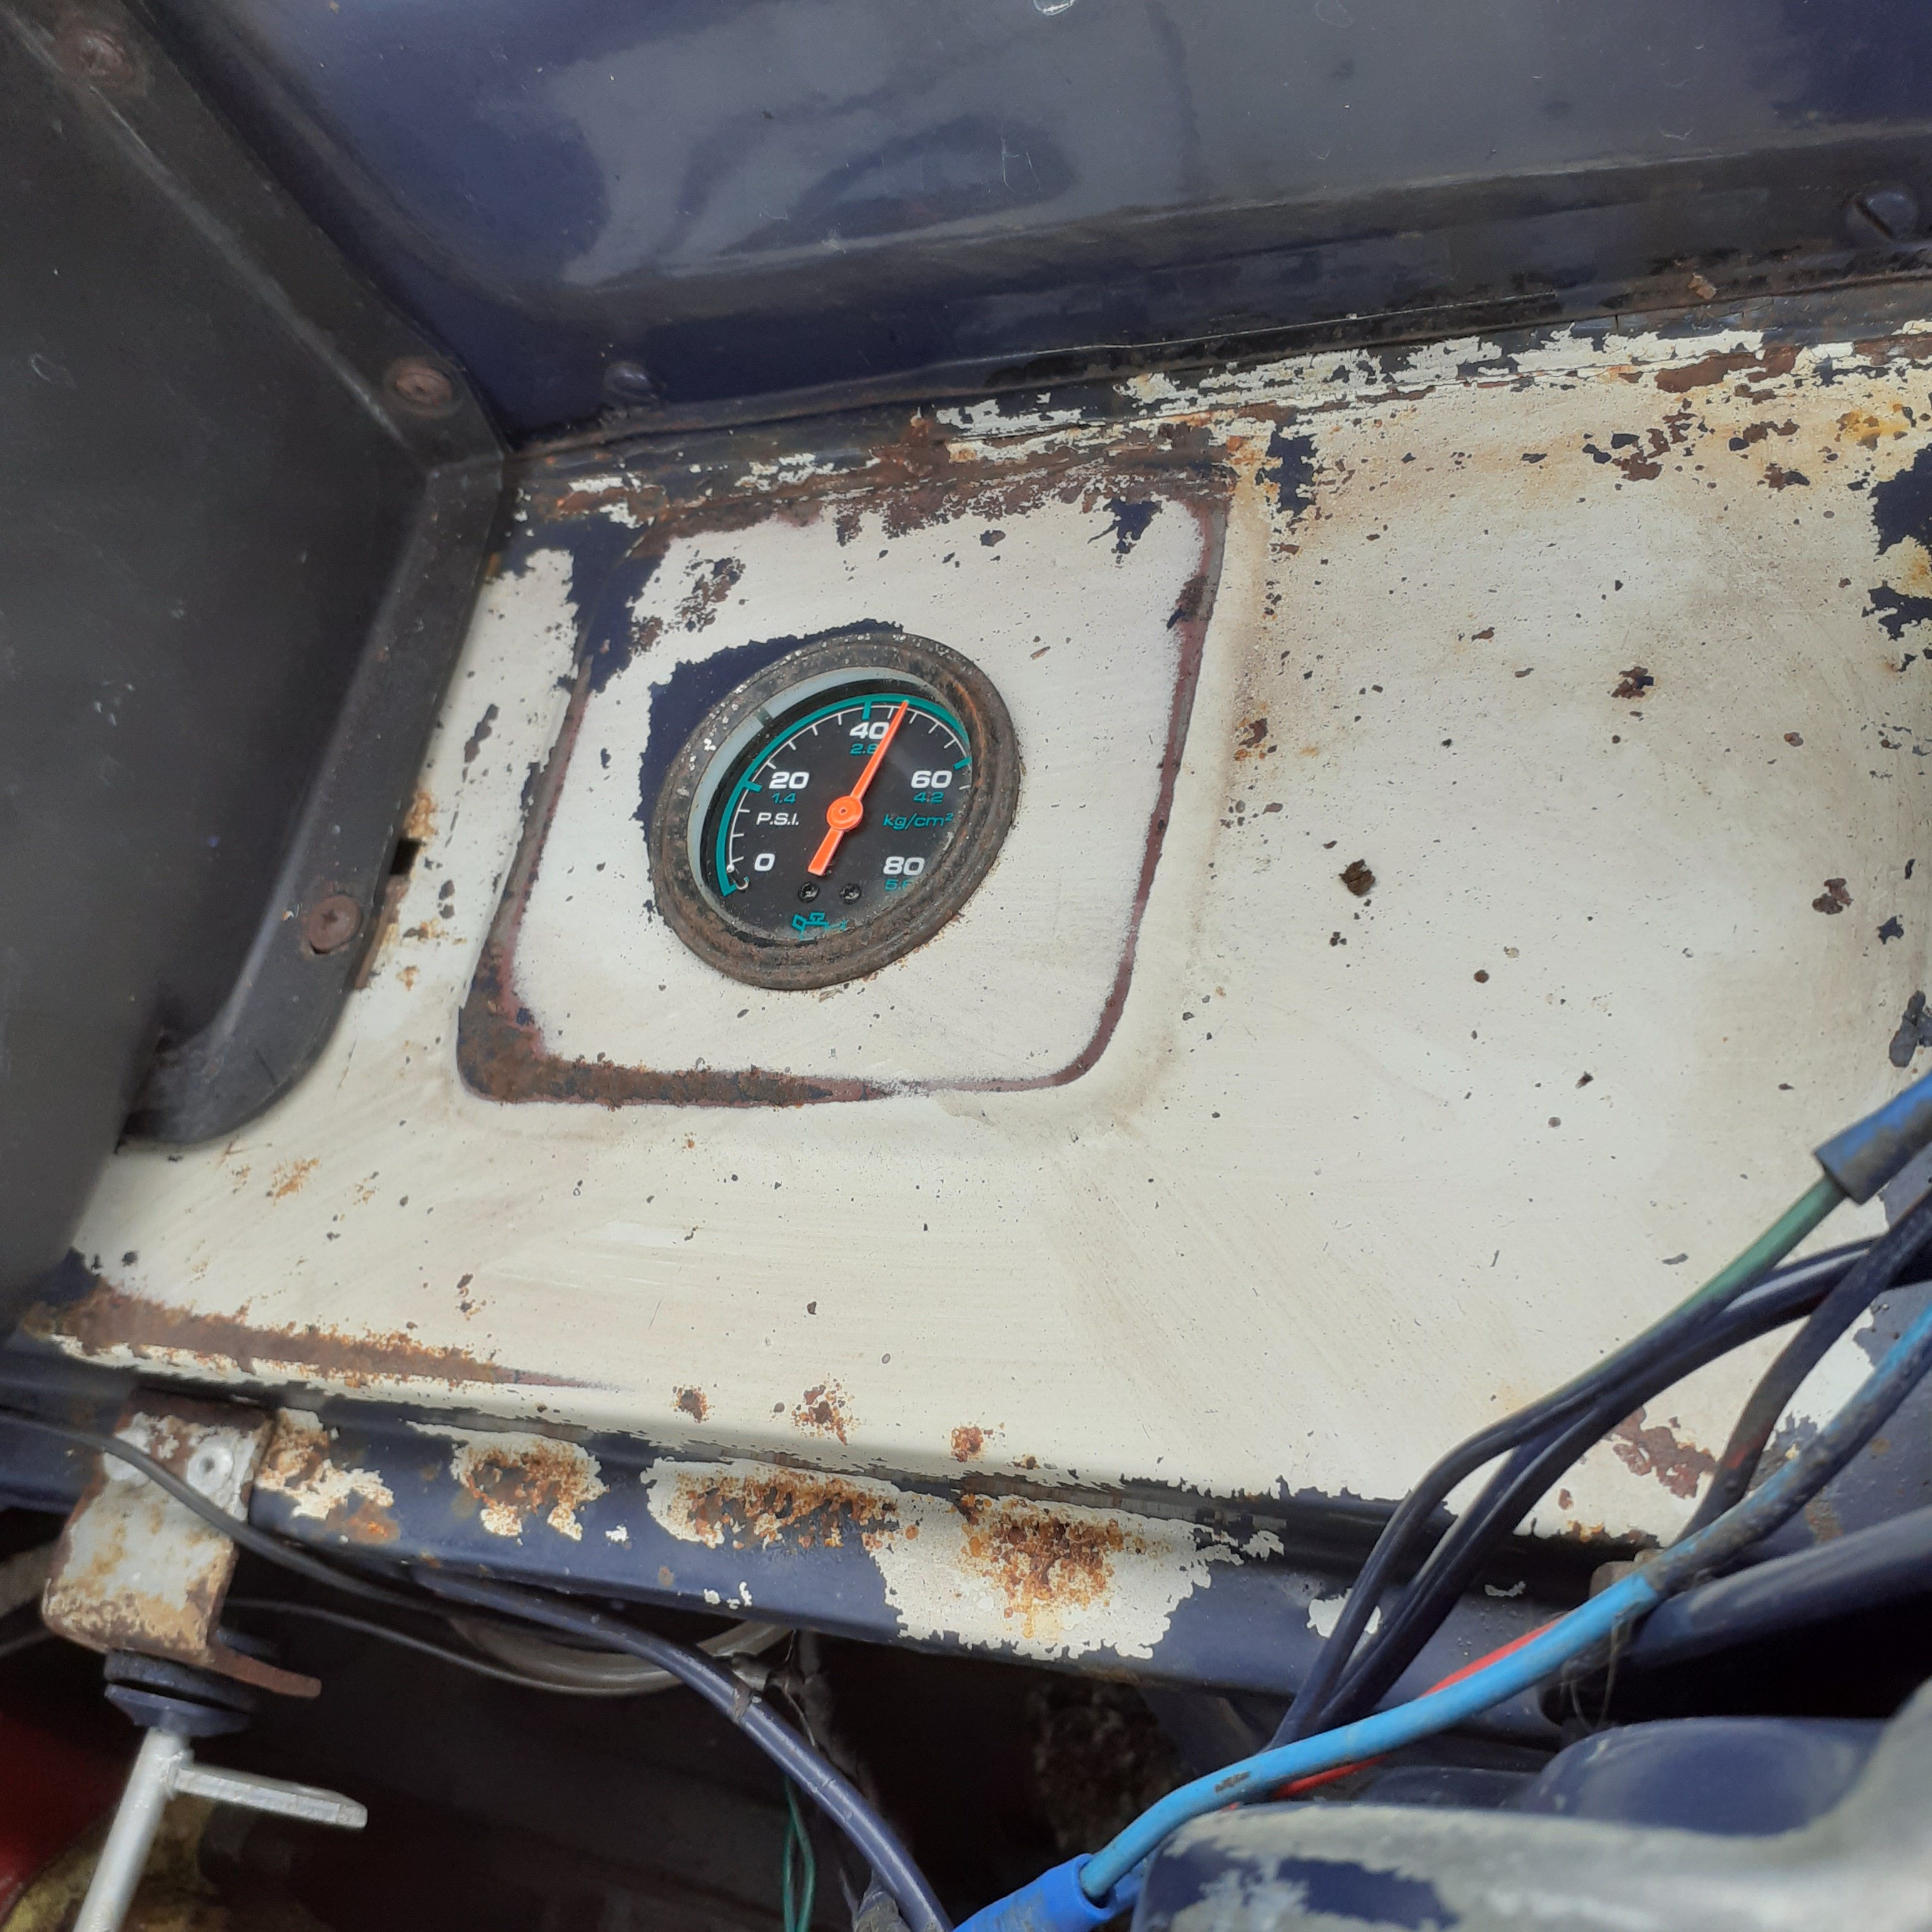
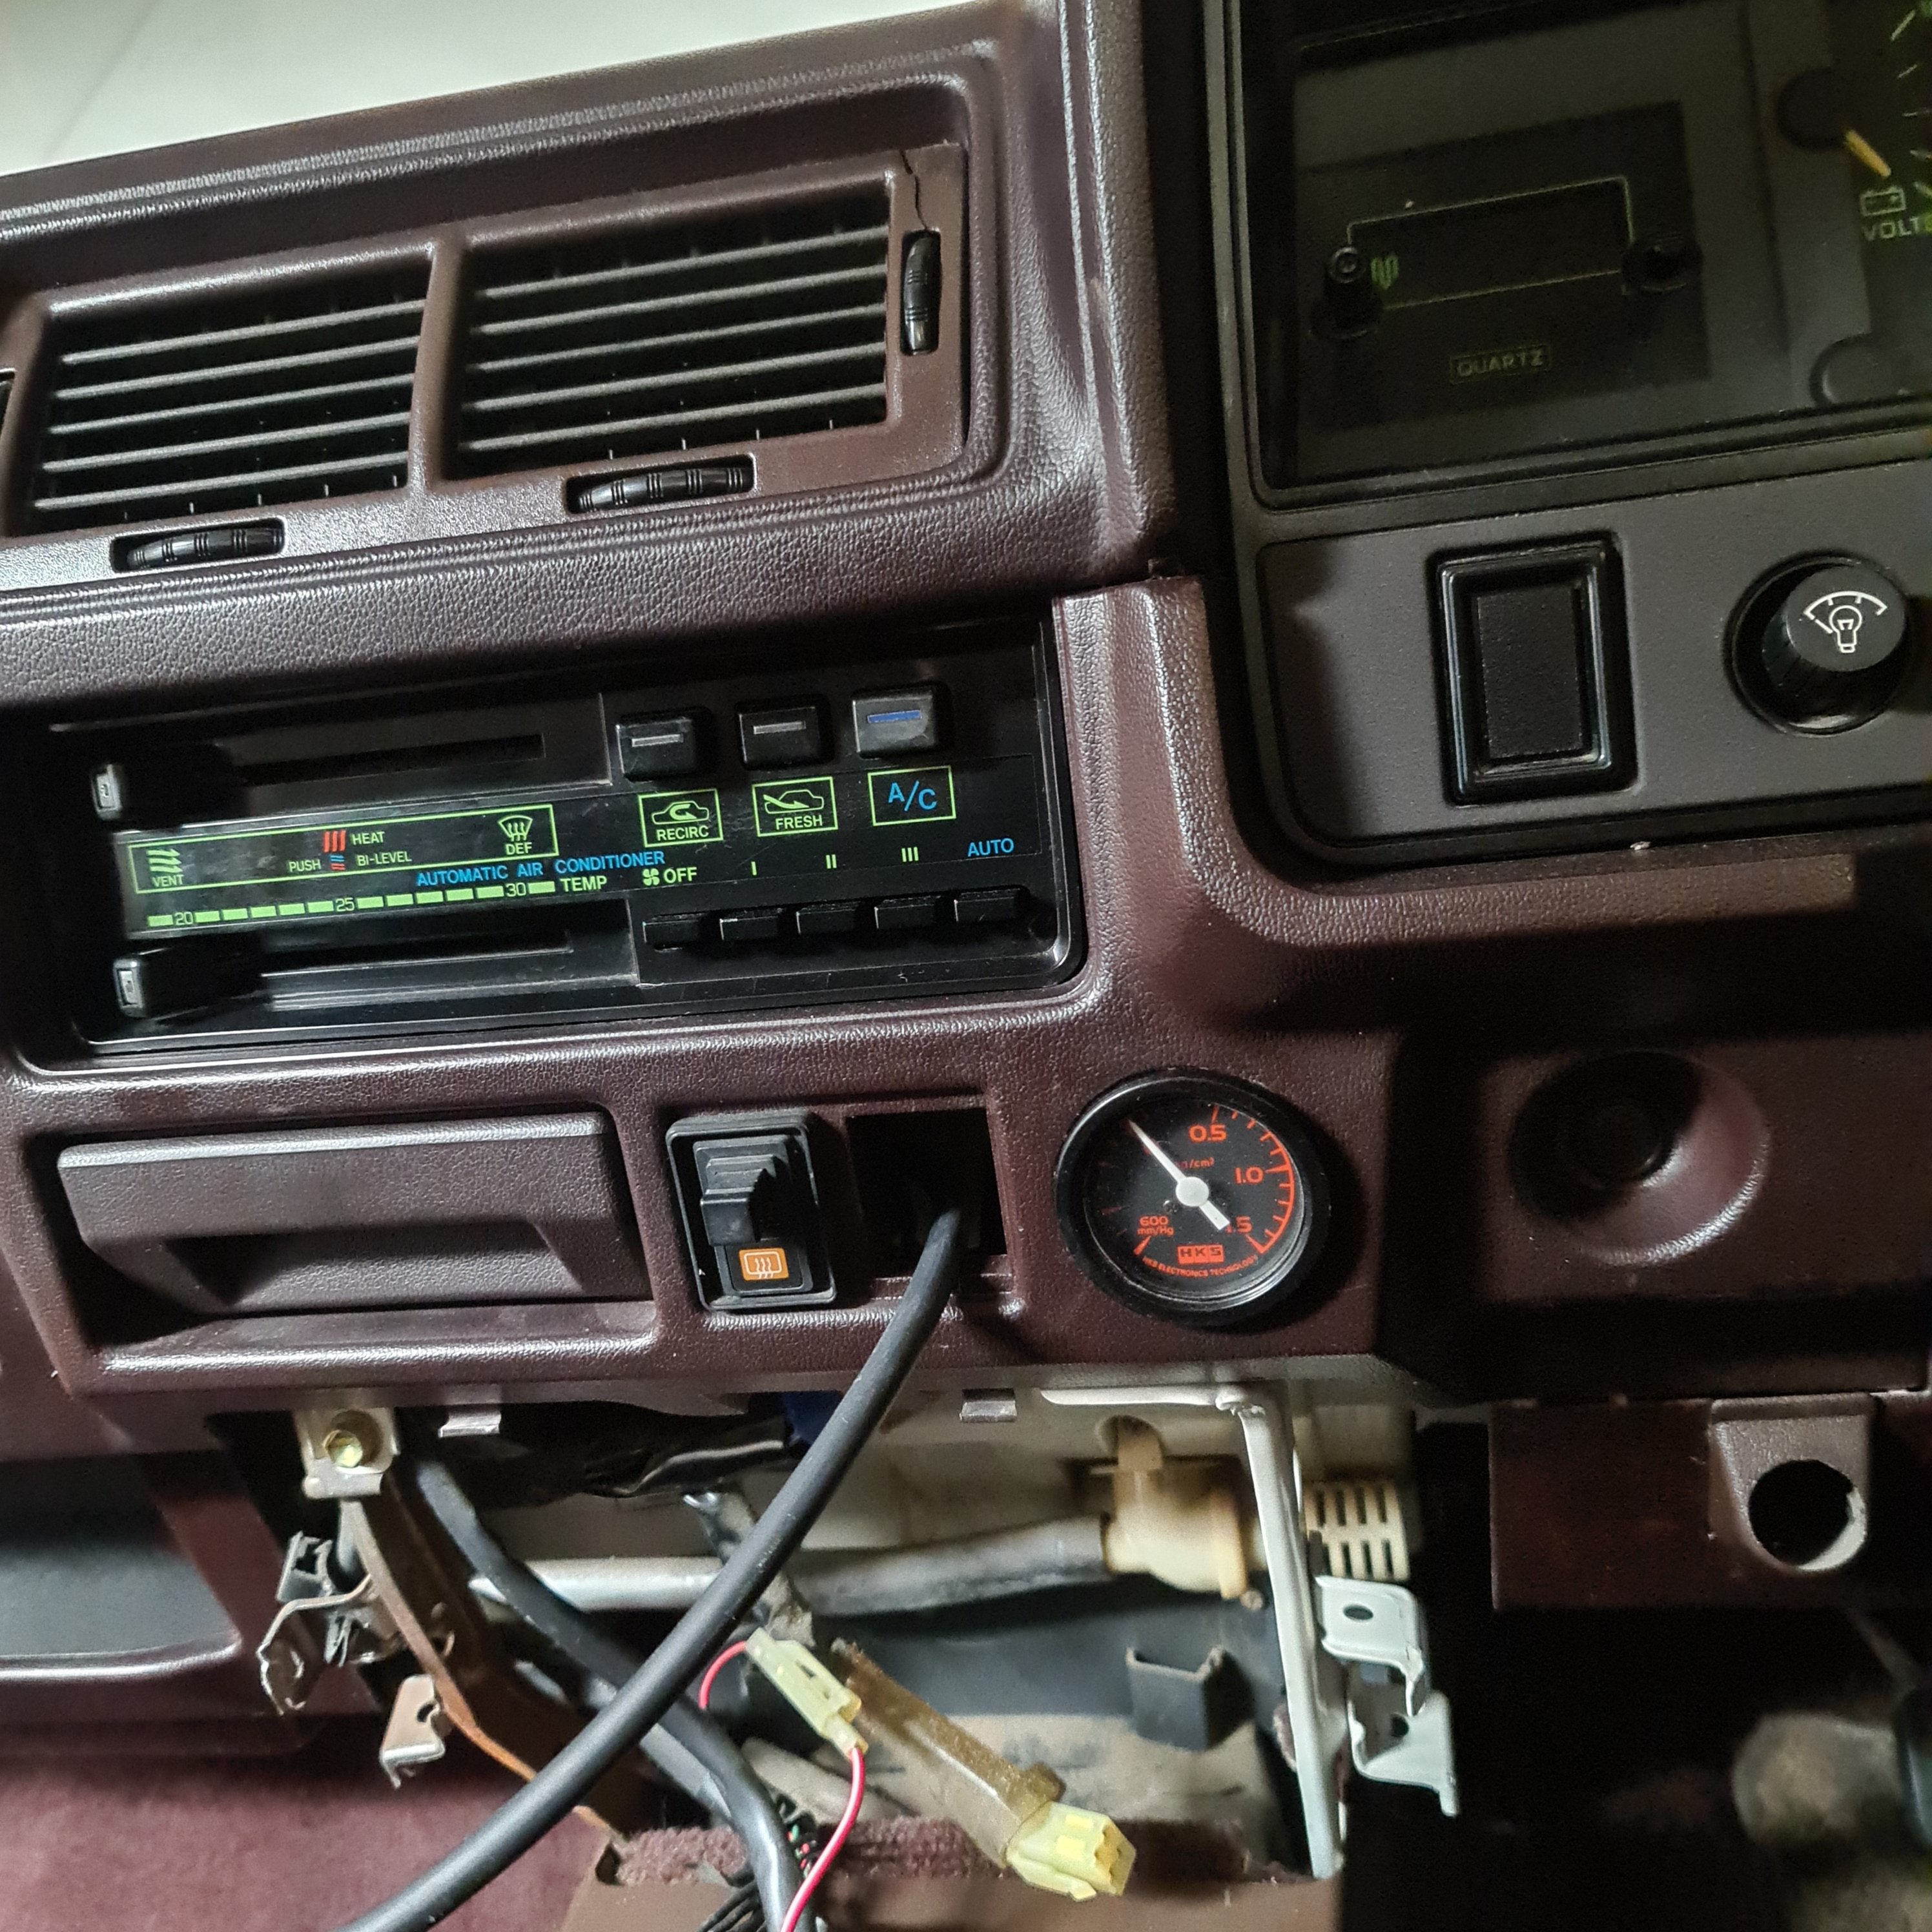
46mm hks boost gauge fitted in place of the cigarette lighter
1 point
-
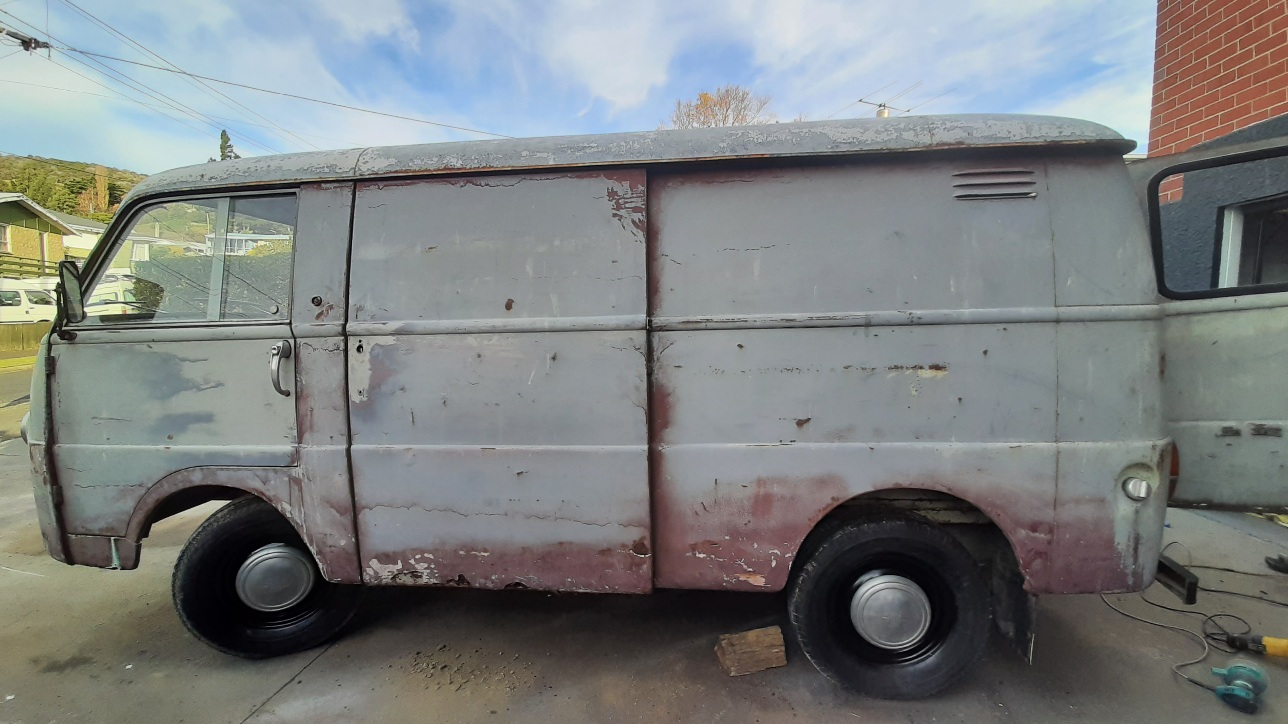
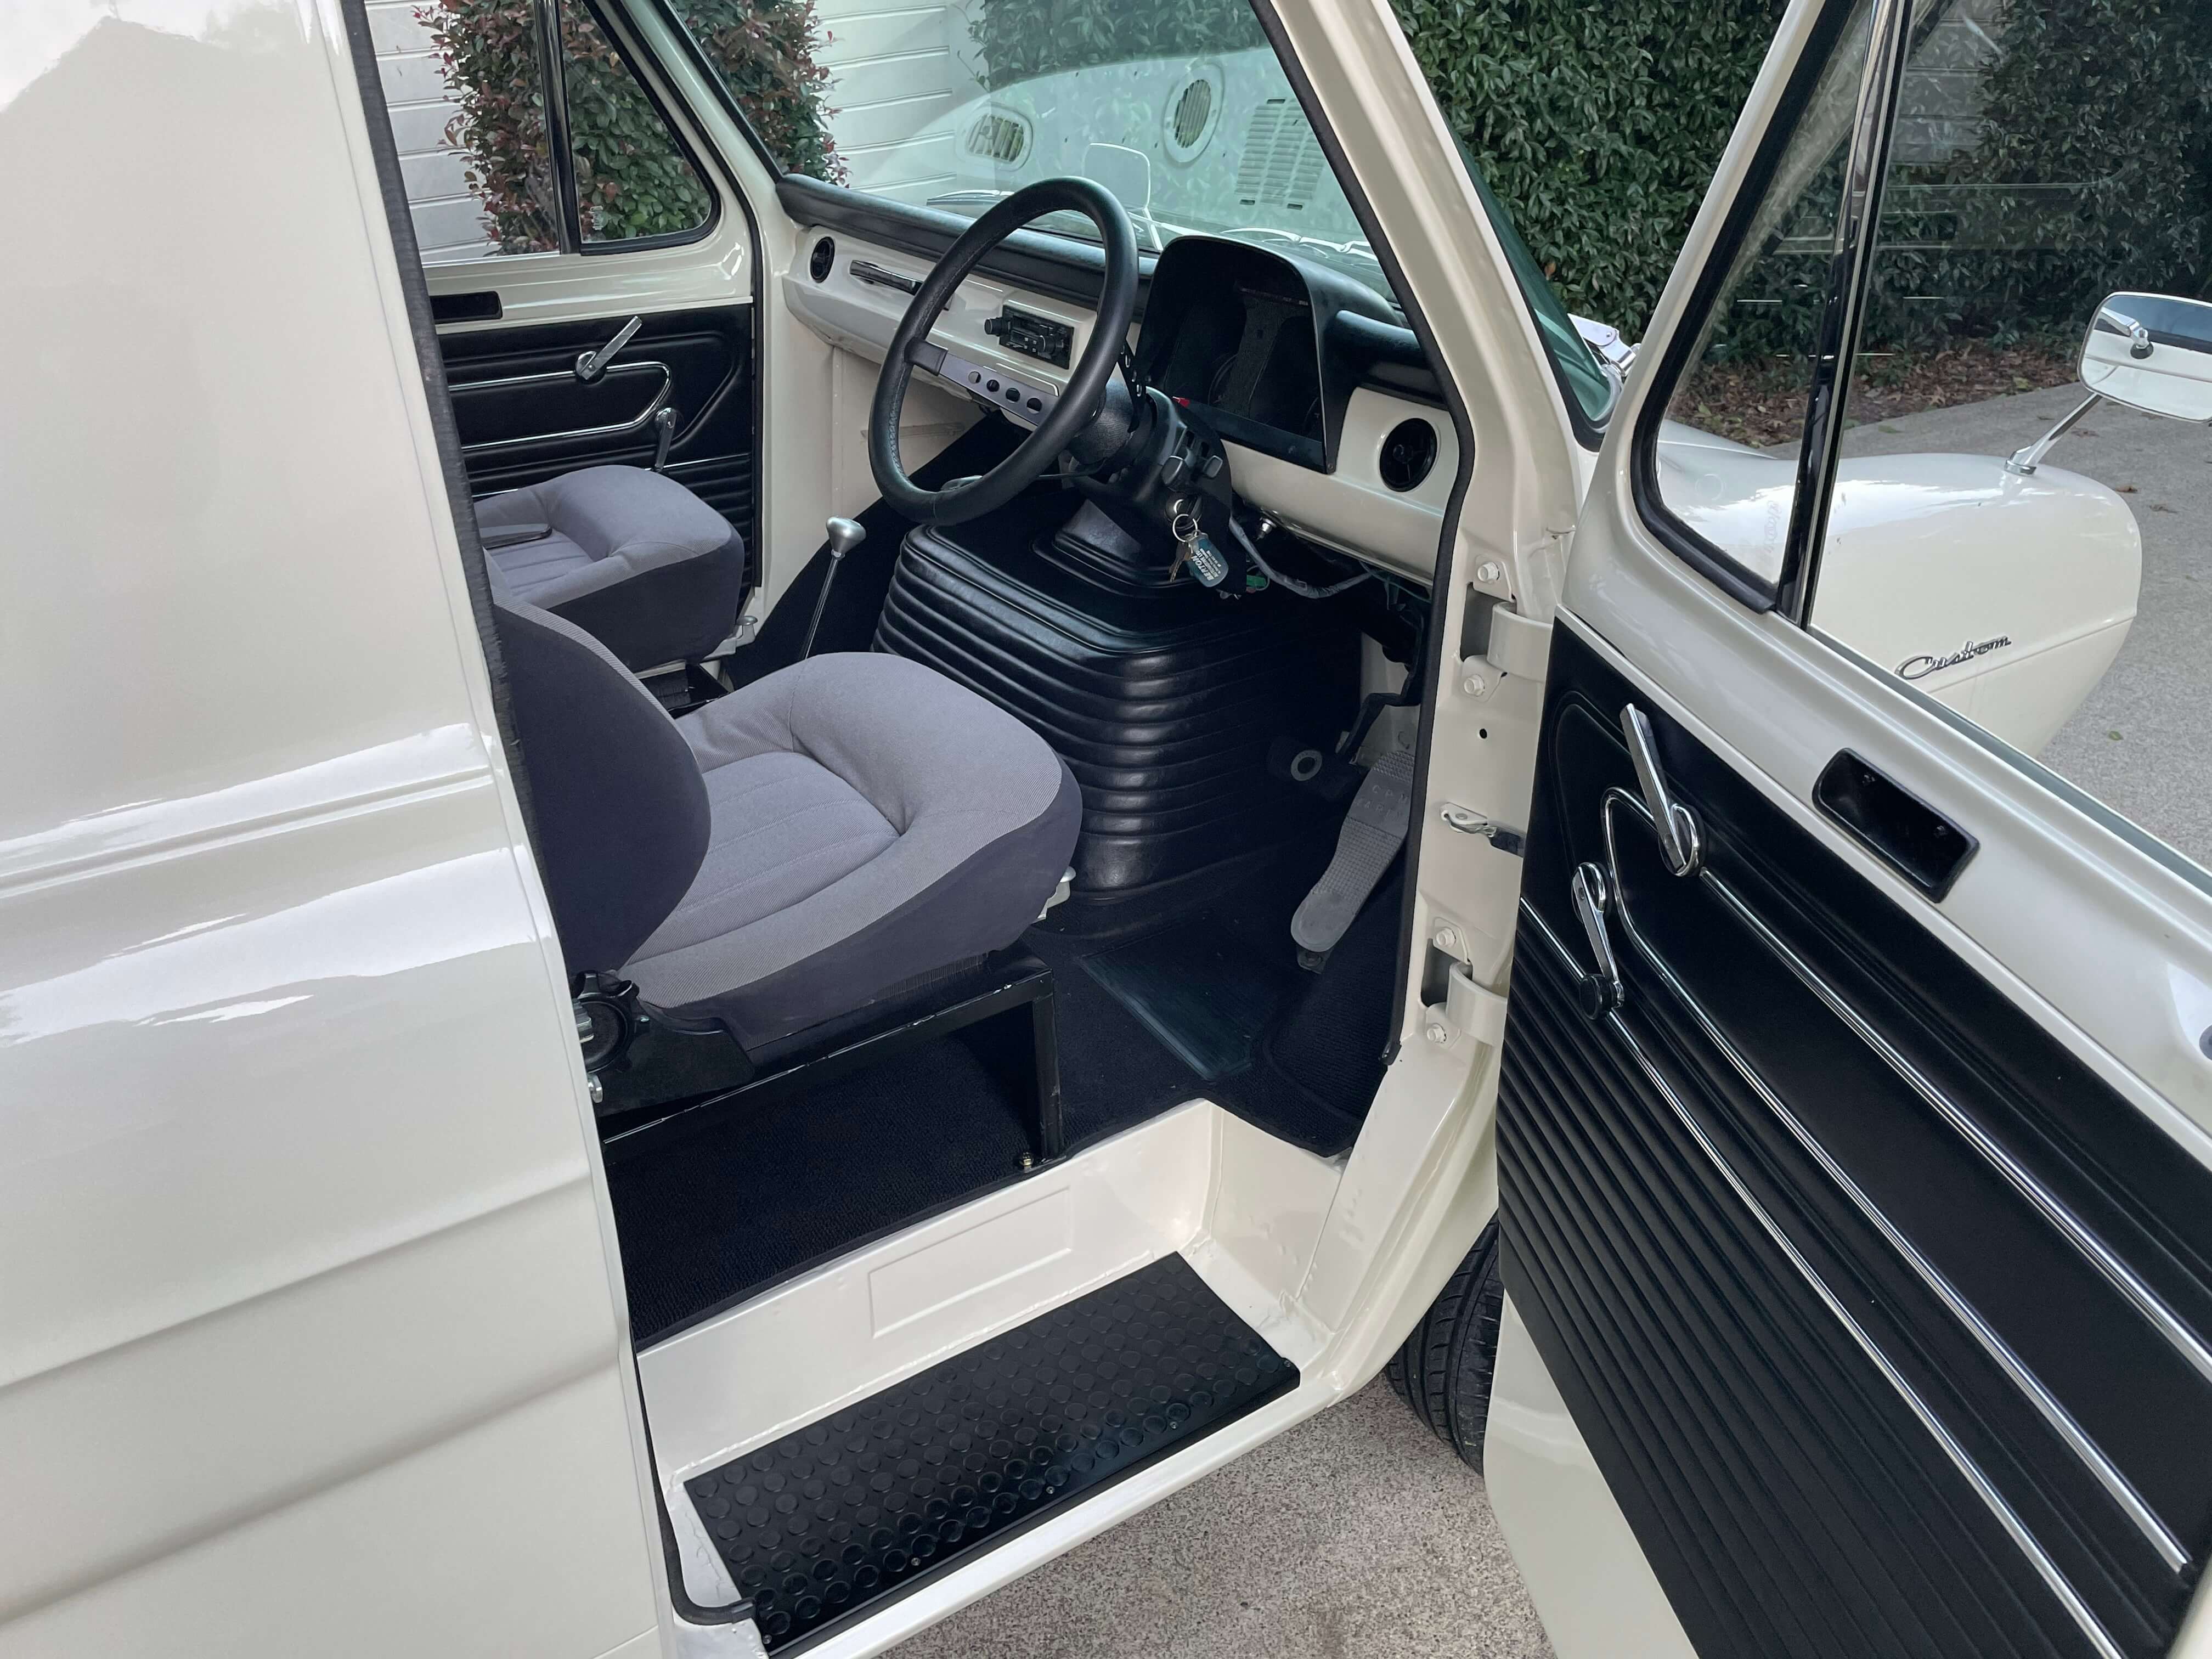
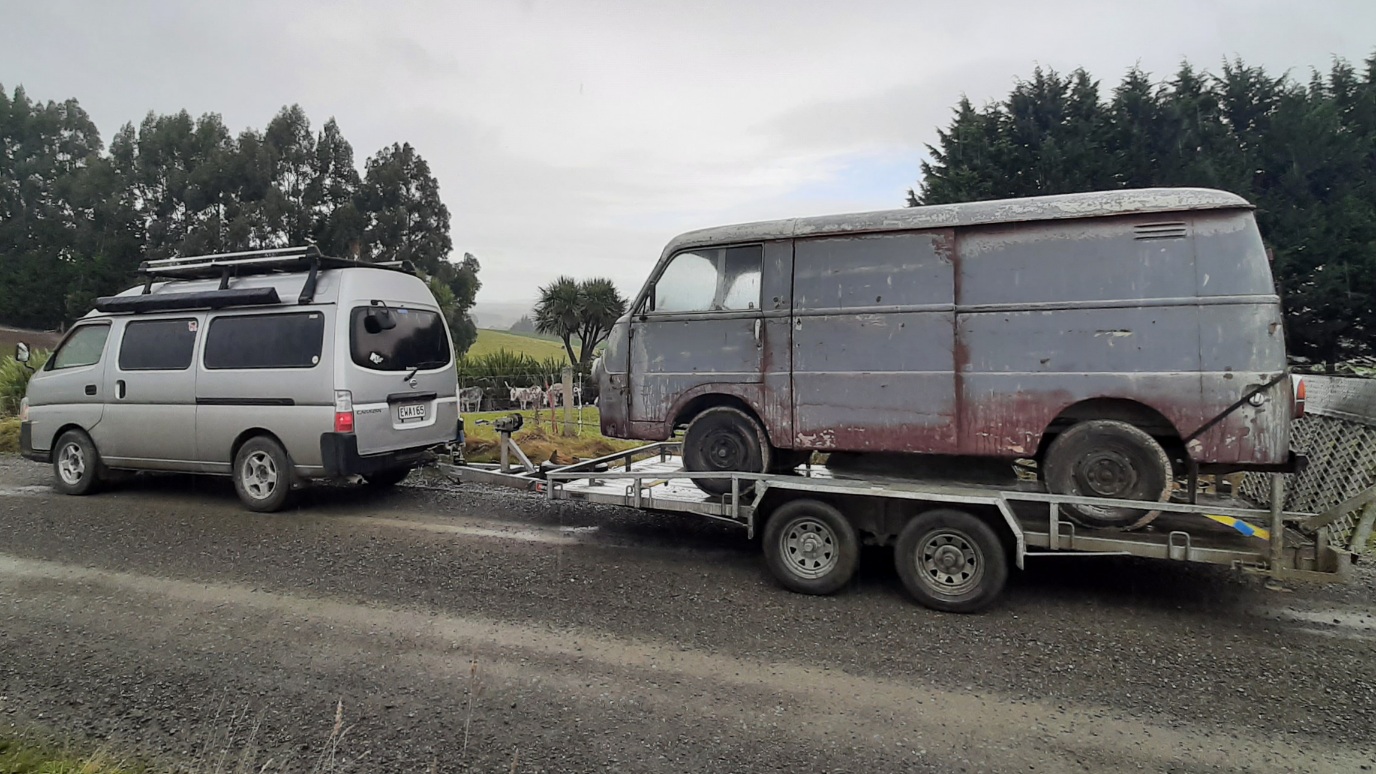
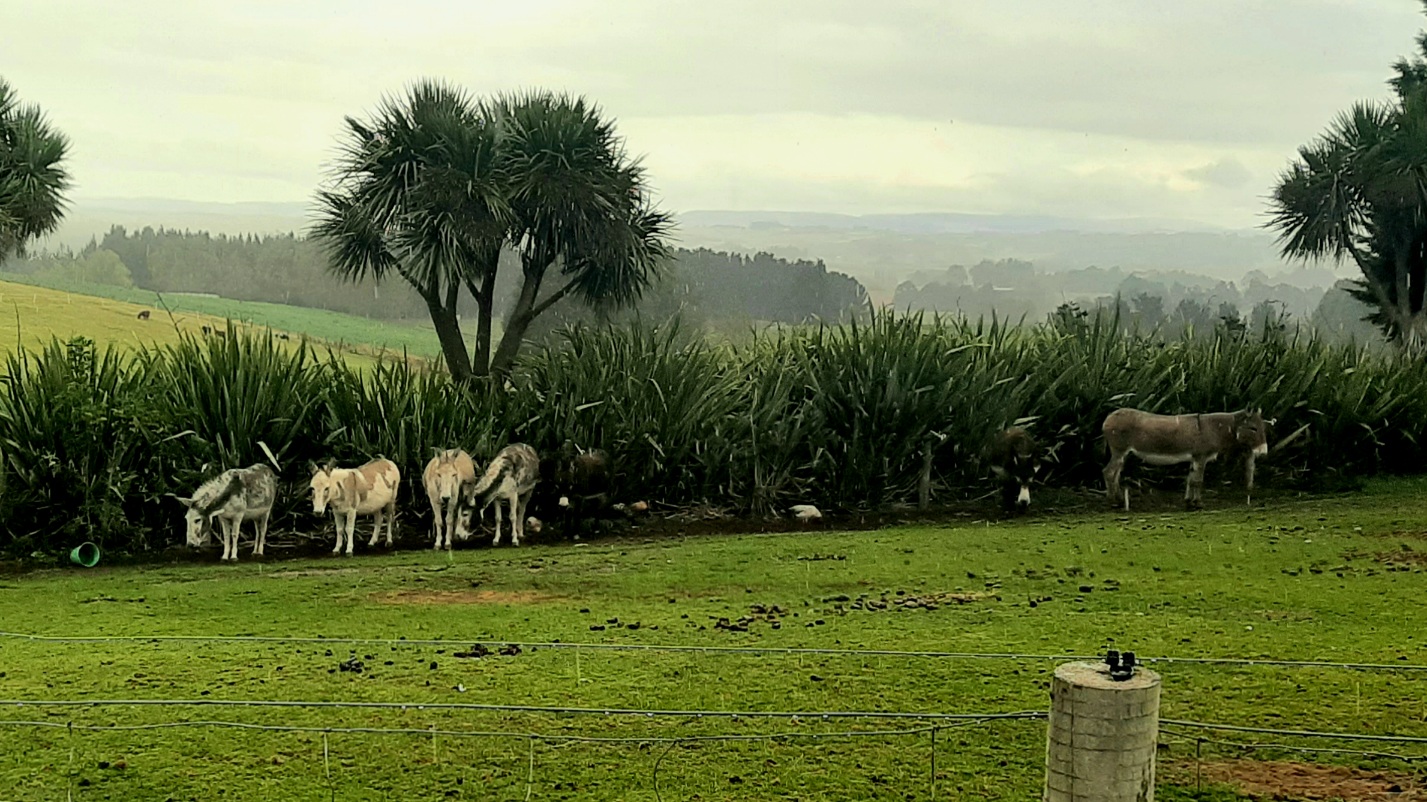
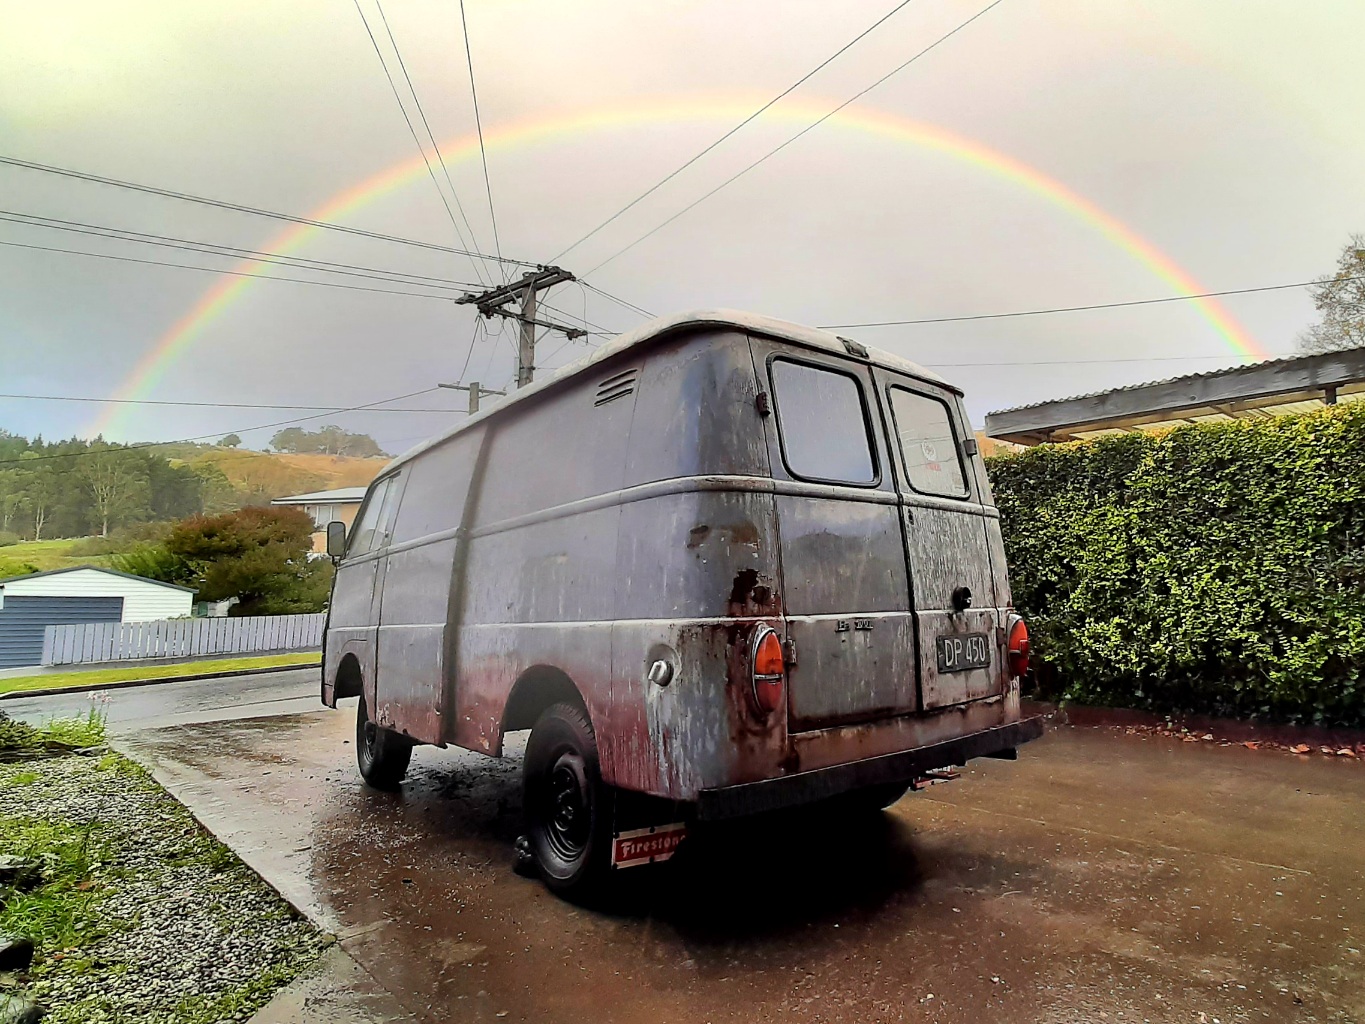
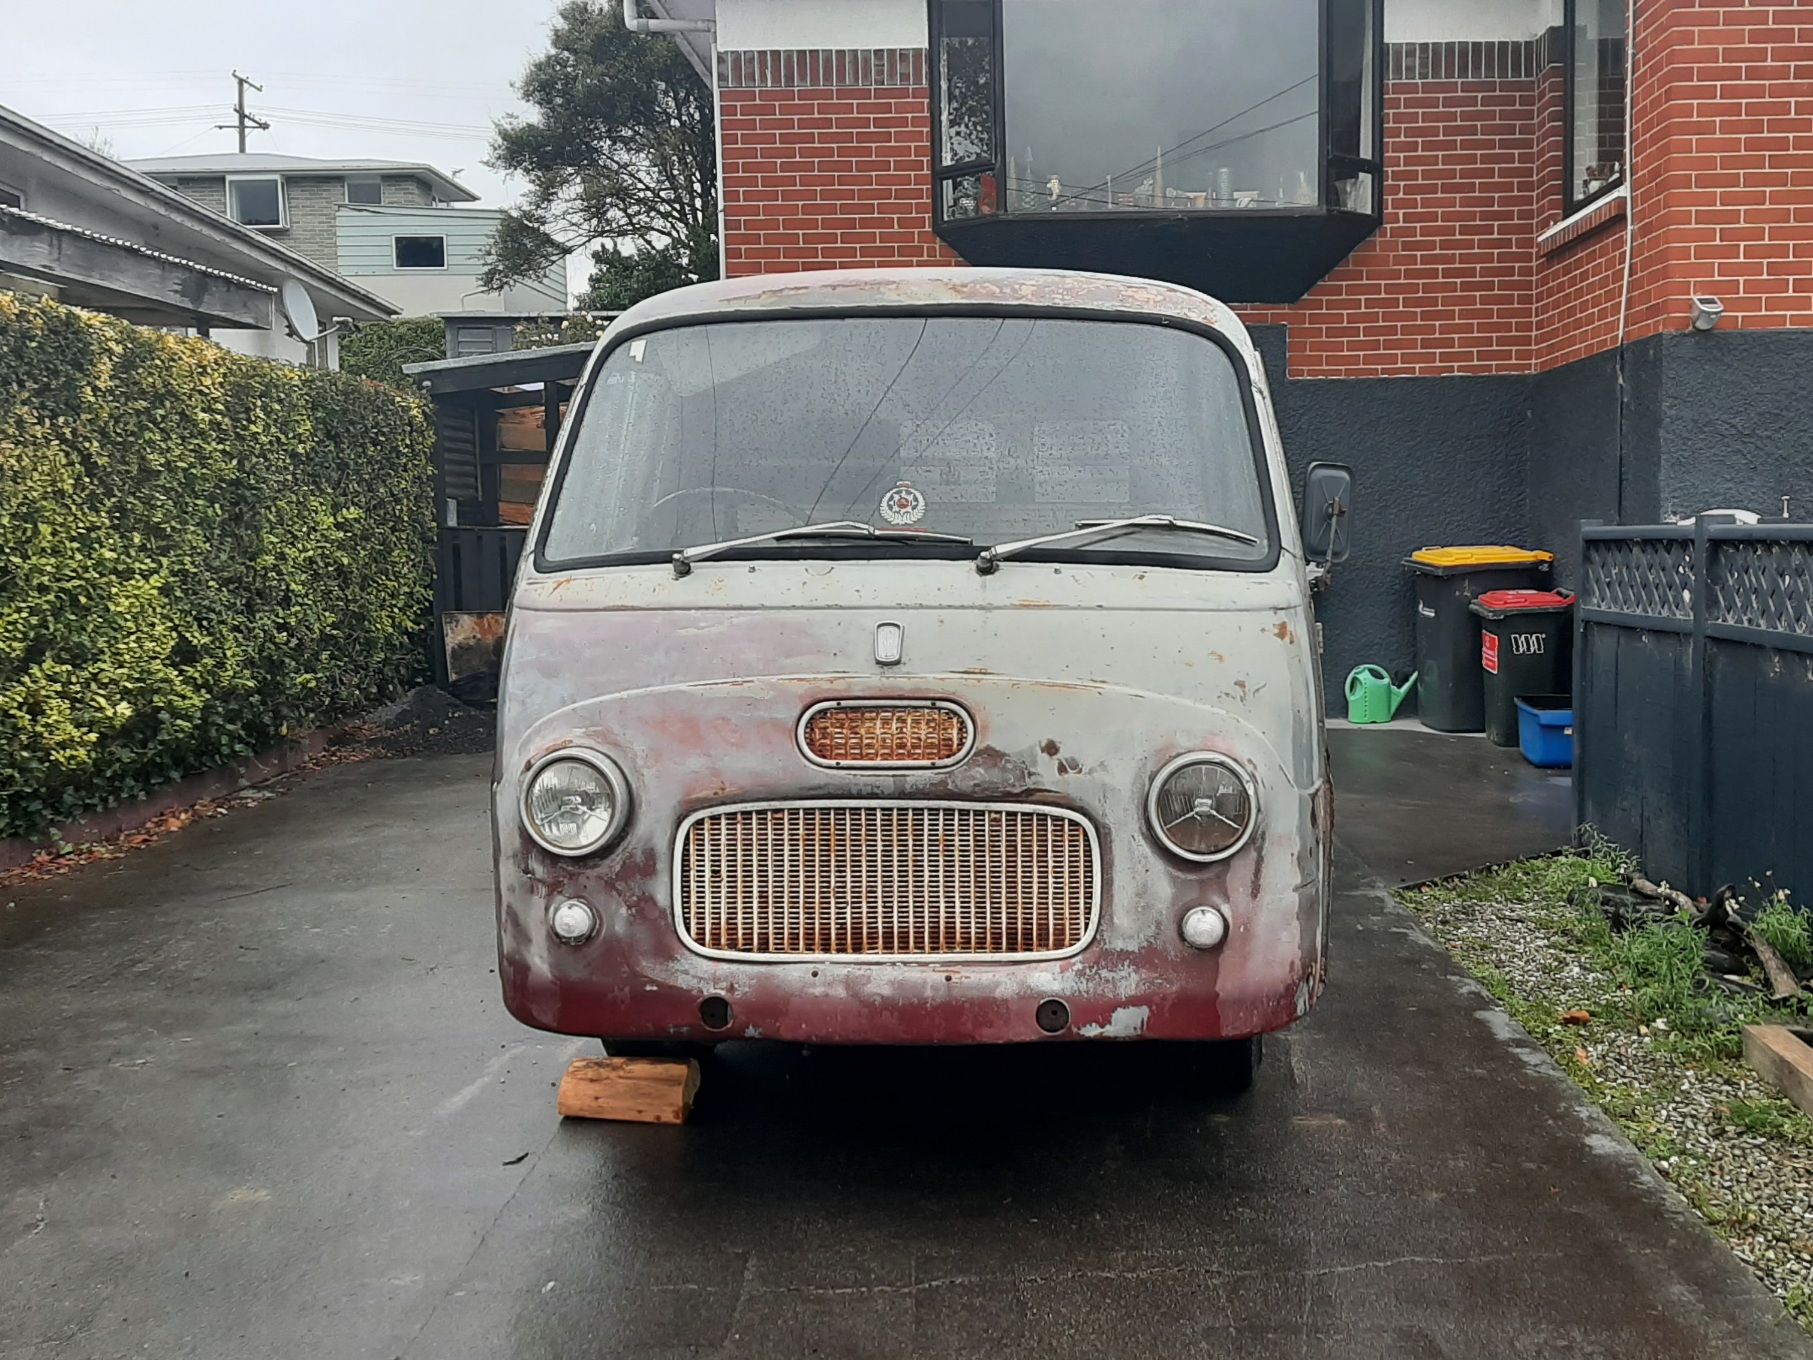
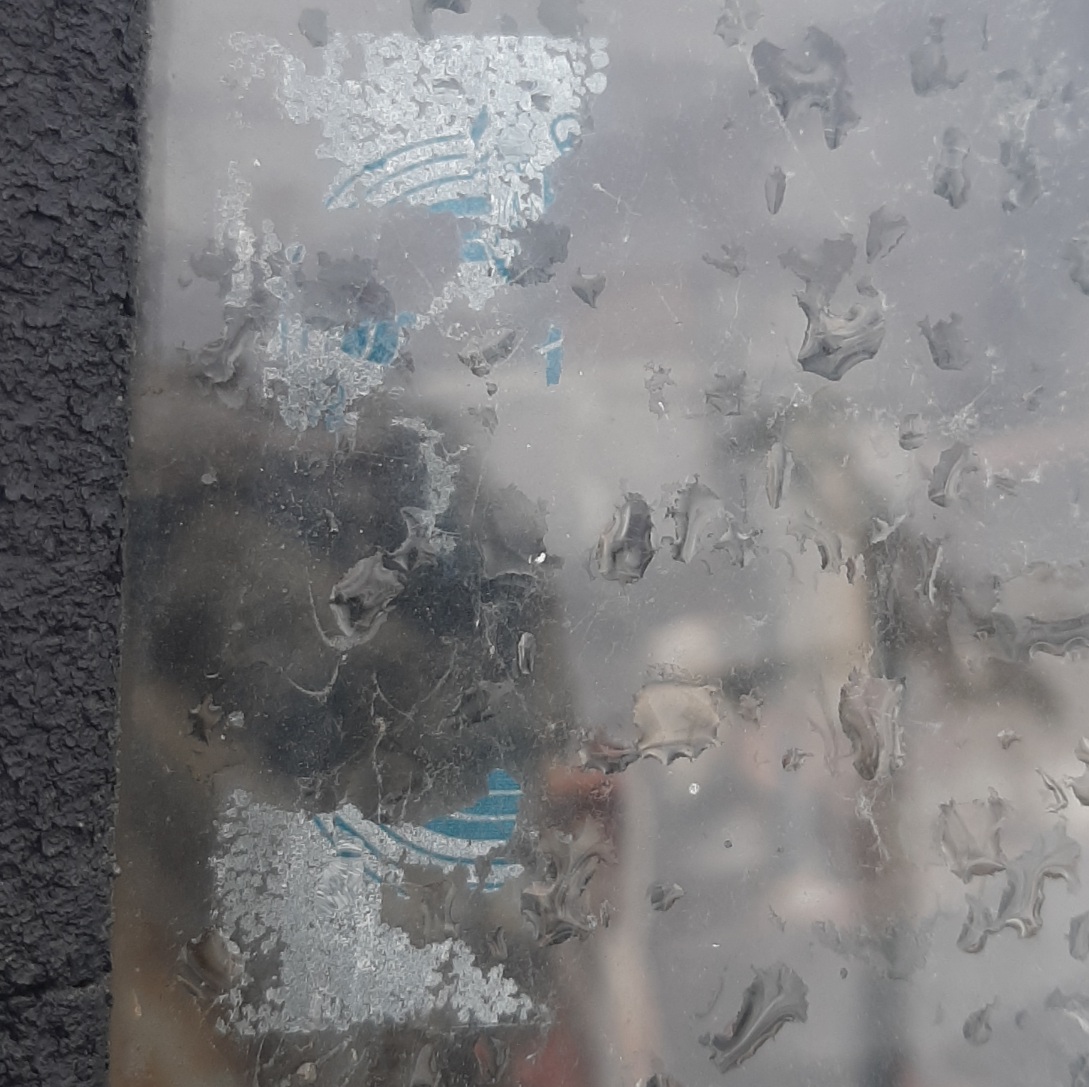
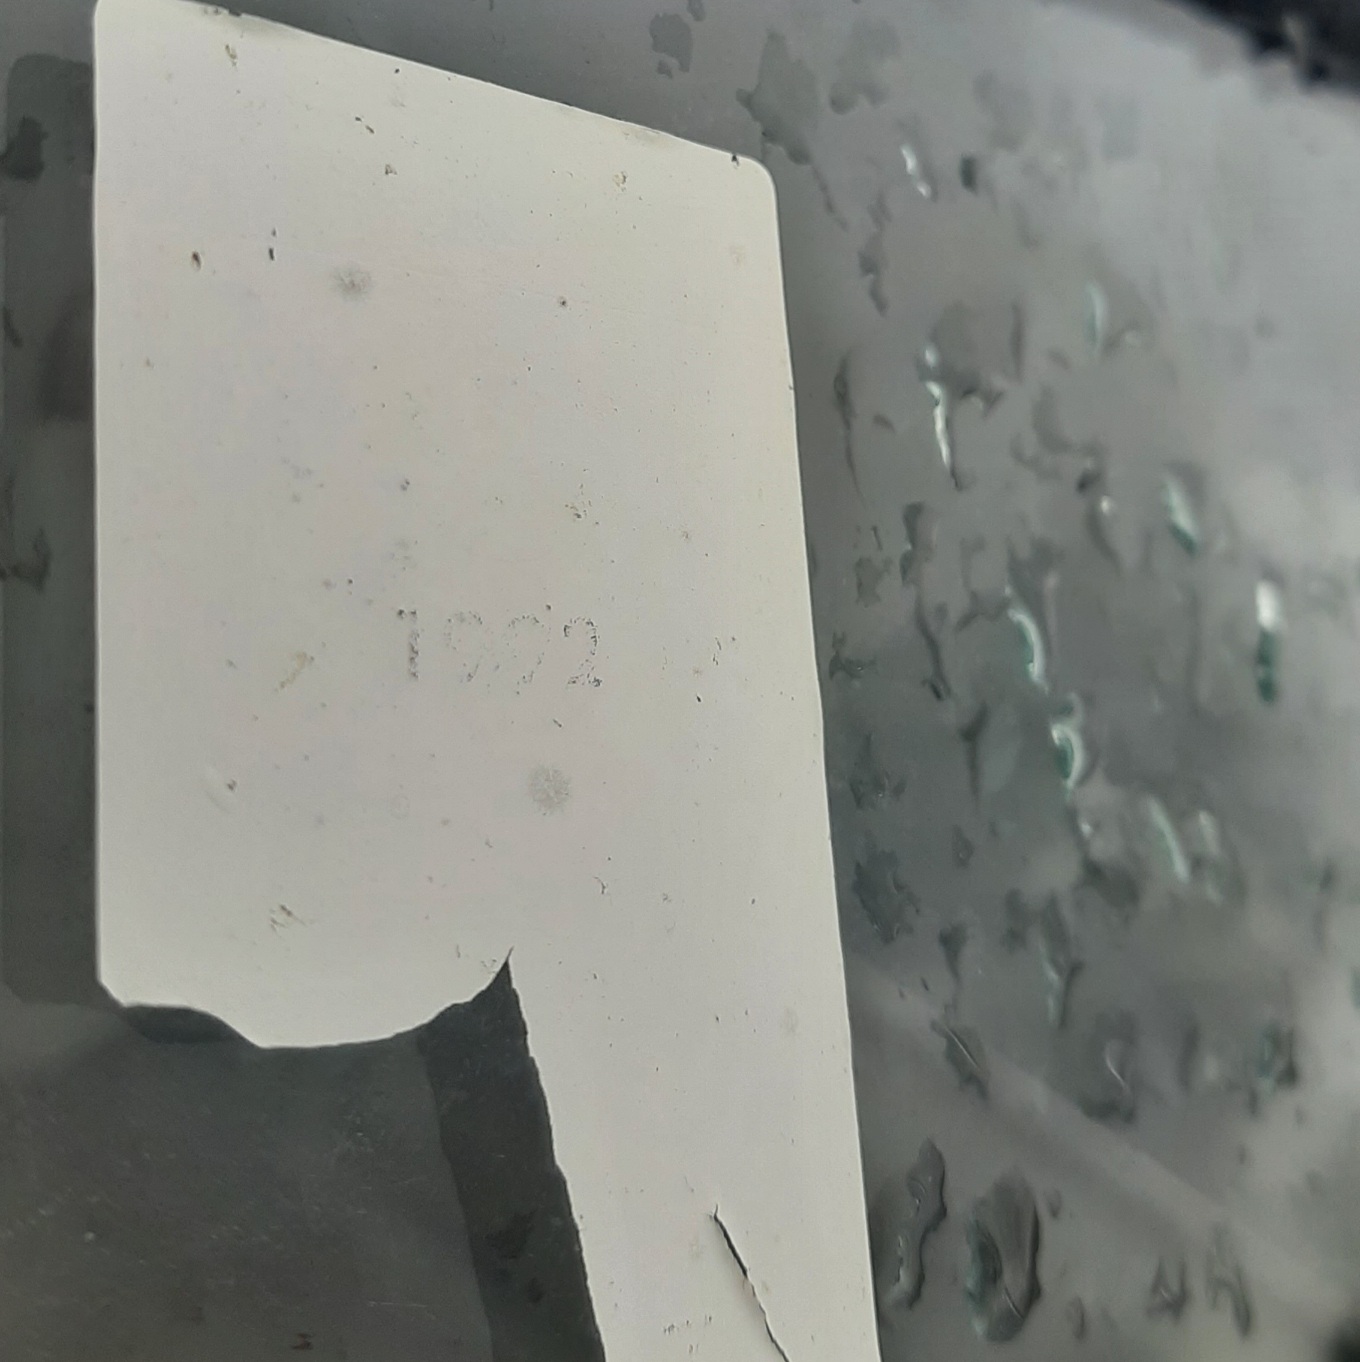
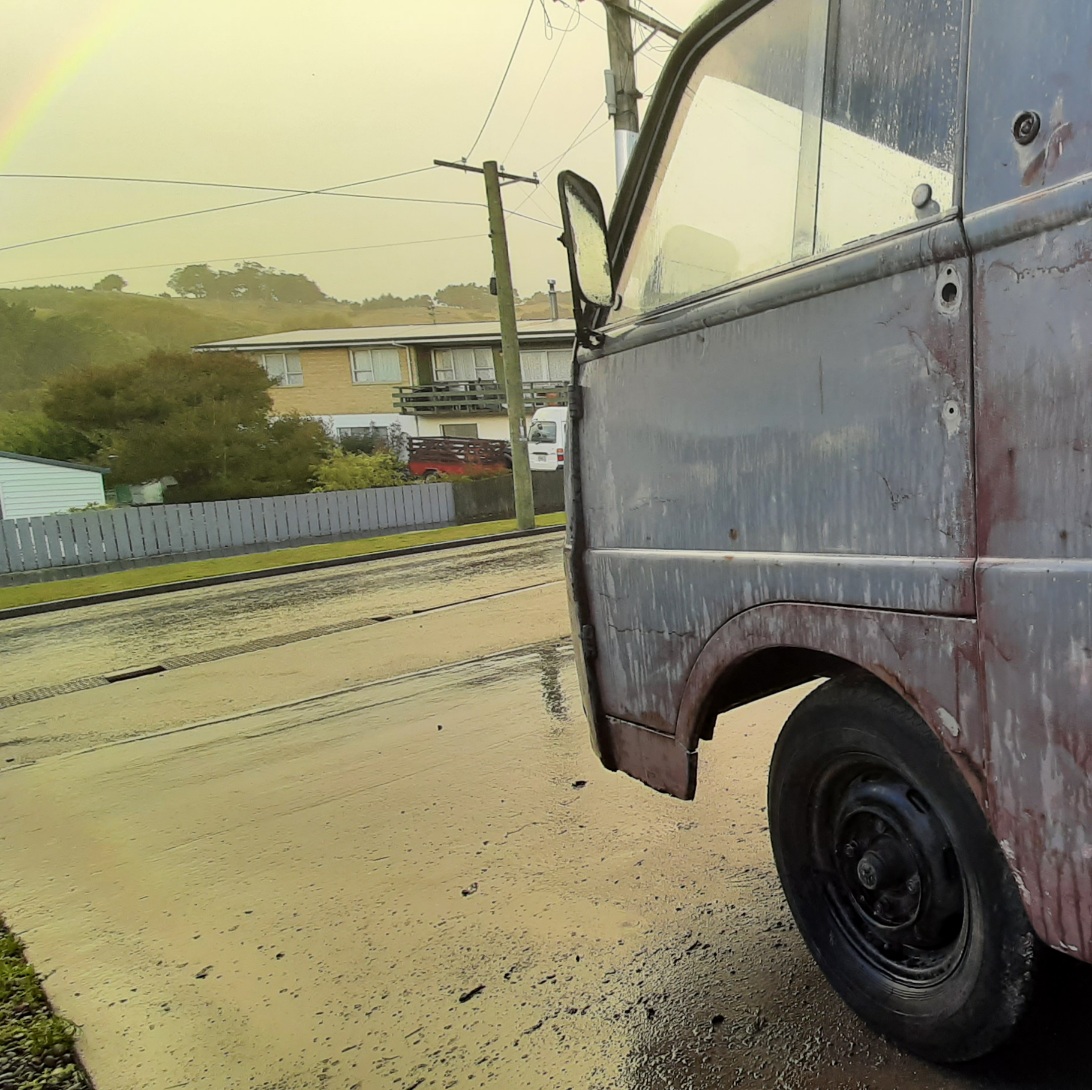
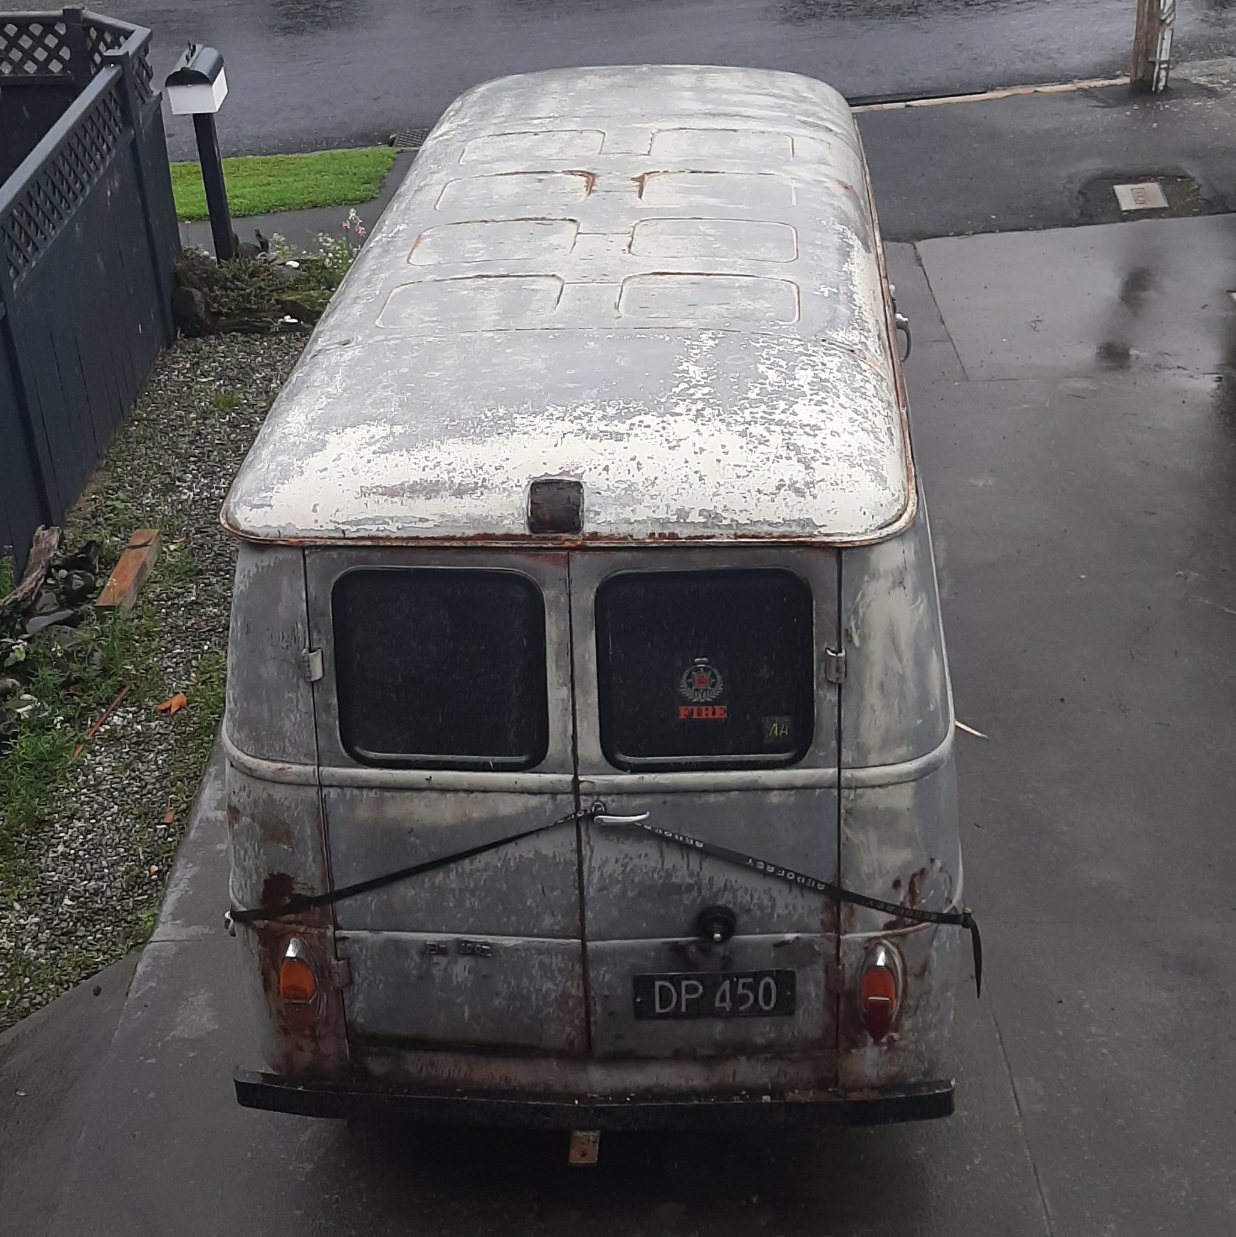
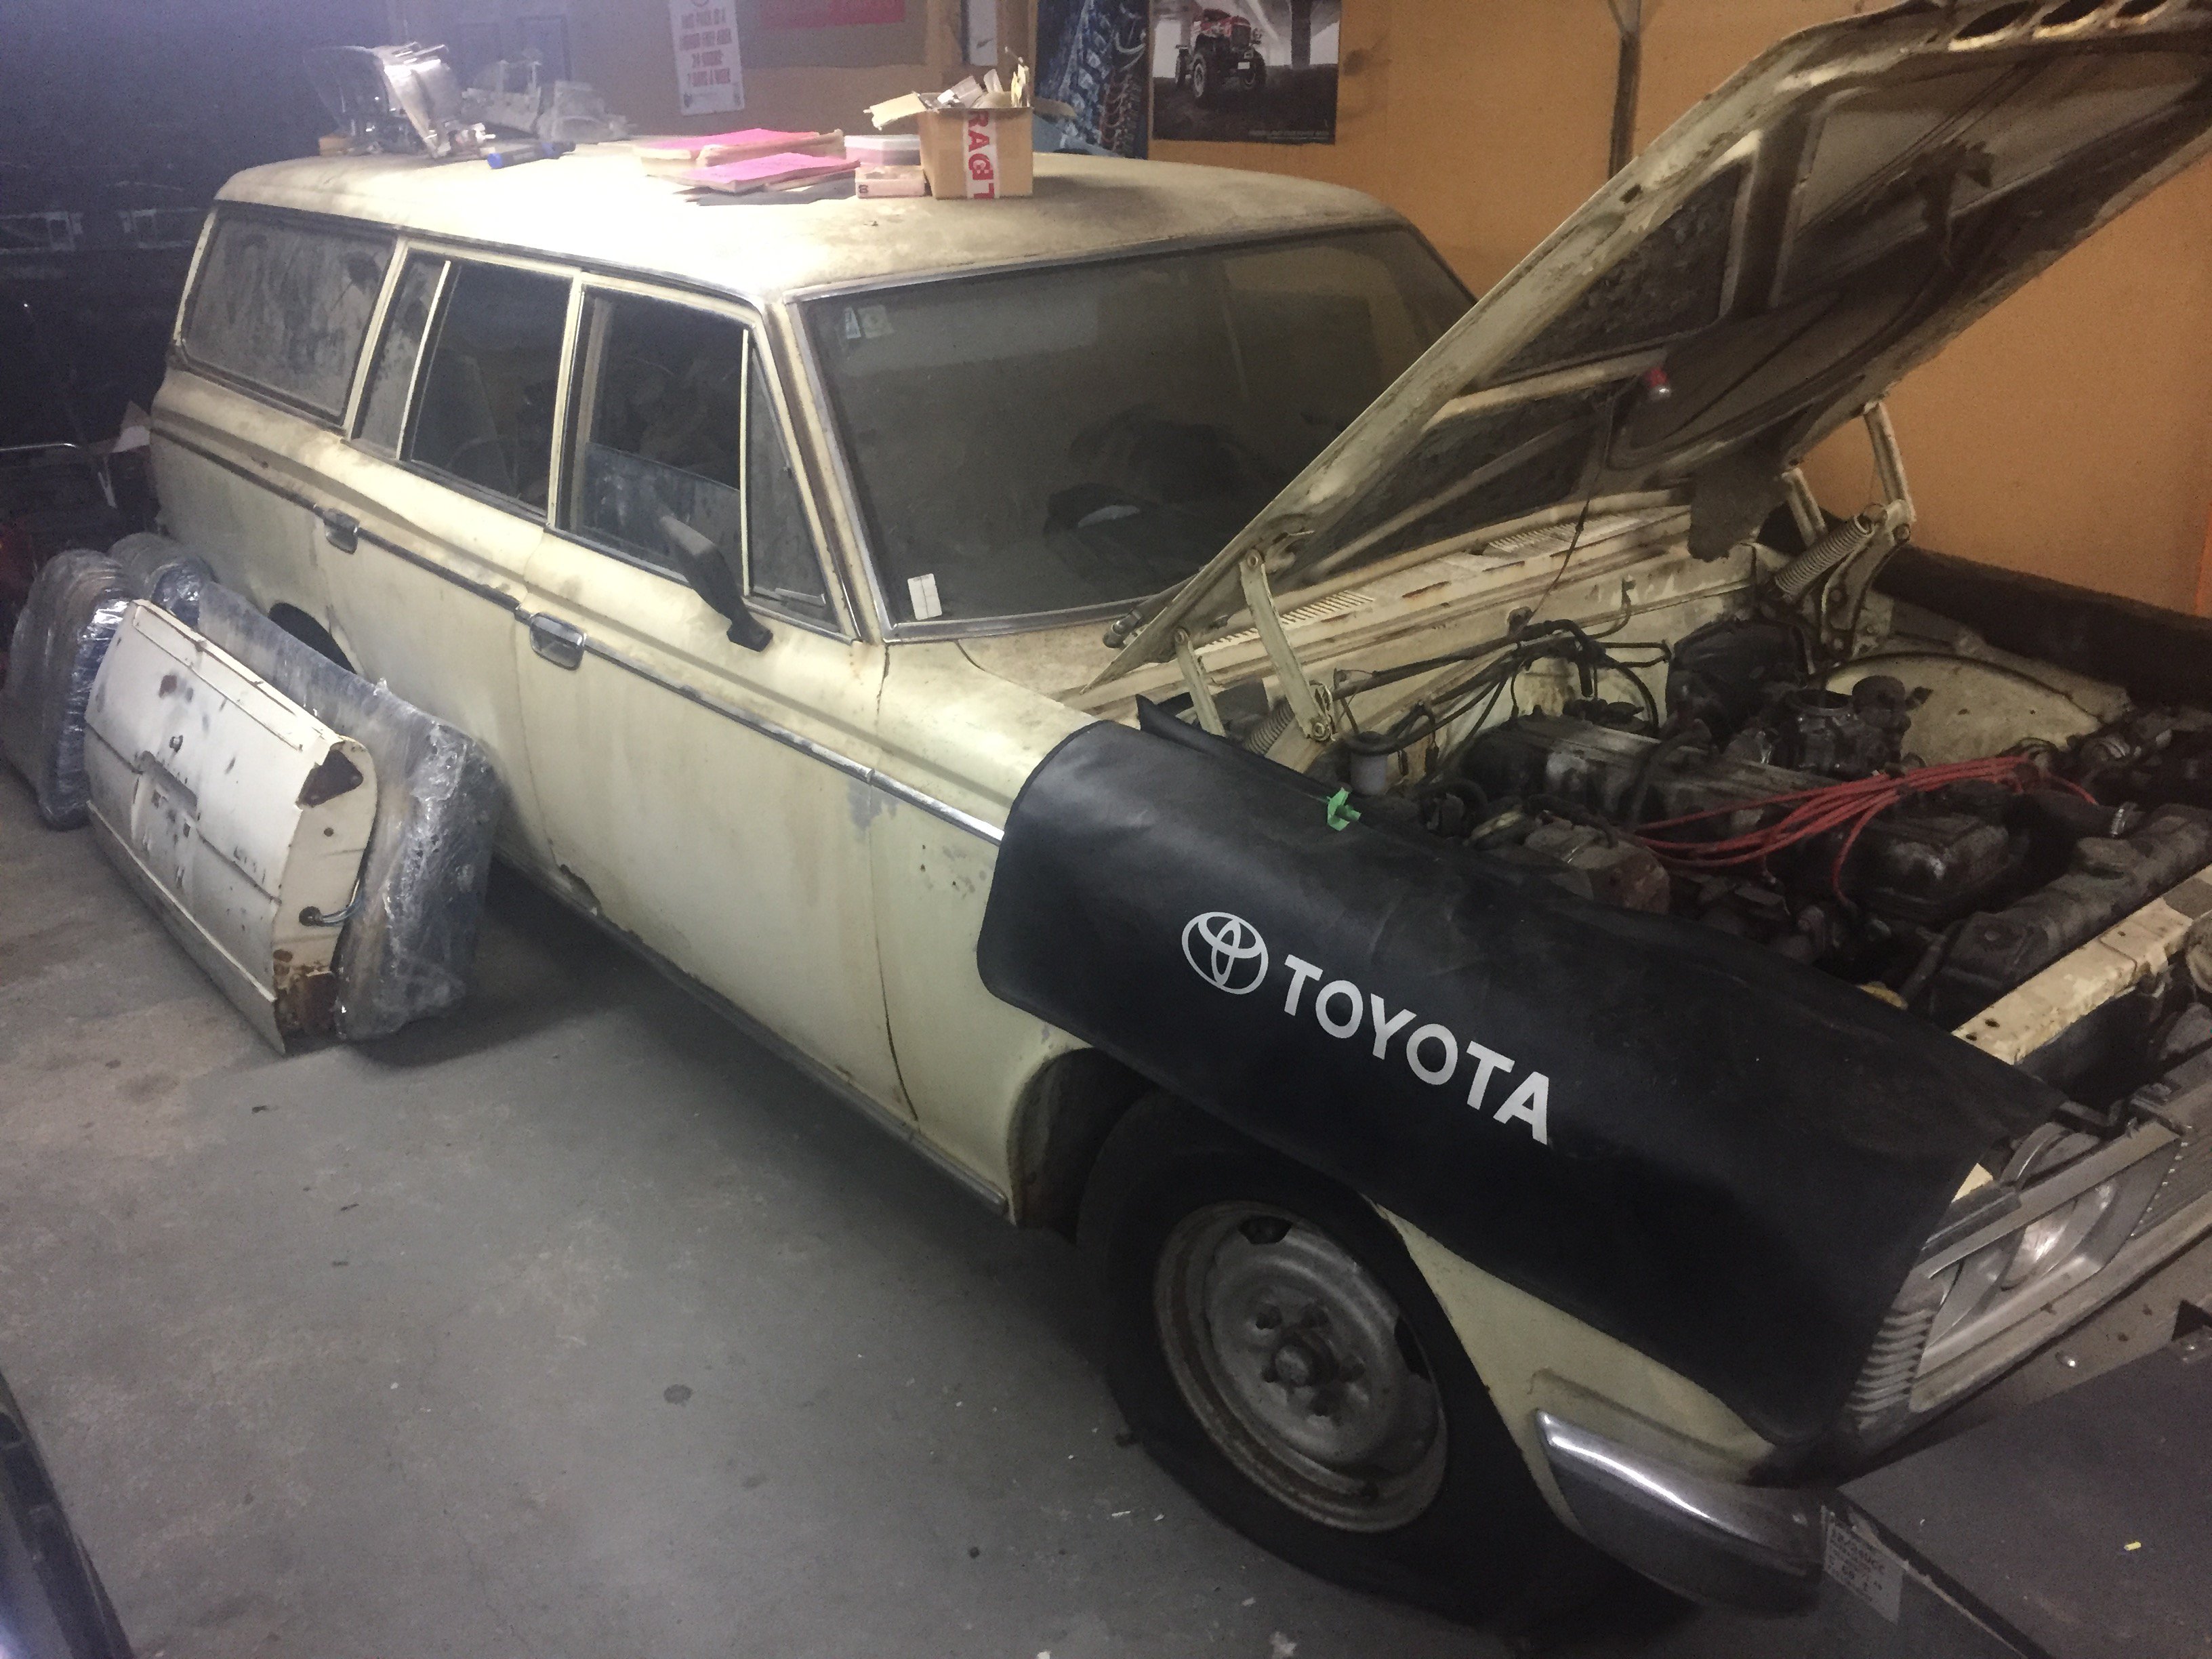
Took the day off work today to pick this up. Donkeys! Then home. Gave it a rinse inside and out with the waterblaster, and started digging in to see what I got/whats missing. It is mostly complete, box of spares has old brake bits, which might be ominous. It has a 4x148 or so stud pattern, which ive never seen before. The body is pretty good, just the bottom of all the doors and front floors are crispy. All the switches are bung. Windows are stuck. Found the chassis number, data plate and an faint image of an old wof sticker and an old style reg sticker with 1992 faintly on it. Pretty sure it was repainted maroon over grey primer and roof left cream, and the maroon has fallen mostly off. I think the grey primer might wet sand off. I also think it was a painters van for a while based on the range of colours and depth of house paint splatters in the back. None of the doors close or work properly so i started by adjusting the catches then taking the door handles off to clean and lube them up. Fixing the rust will help the door stiffness too.
1 point
-
Hello welders, I know its been asked multiple times. But I'd like to re-ask to get the latest opinion. I'm after a TIG. Would like to do Mild, Stainless, and very likely alloy in the near future. I've already got a MIG, so after a dedicated TIG machine. What of the current range would you people recommend? (I've seen Kicker's question on the previous pages but would like a few more suggestions if possible :)) Would it be best to not get one that does alloy? Will most likely be used for panel steel, exhaust pipes, and on occasion 5mm plate for brackets. Anything thicker will get the MIG treatment. So doesn't need to be a gajillion amps!. However, for alloy, I would likely be for repairing damaged motorbike engine cases and covers, so may need some amps for that?? Would like to hear pros and cons for DC only or AC/DC units vs price. Best to fork out for an AC/DC unit so i can weld ally in the future? I don't actually need to do any alloy welding immediately, will be mild and stainless for the time being, but don't want to trap myself and need another outlay when i want to do some alloy. Many thanks.1 point
-
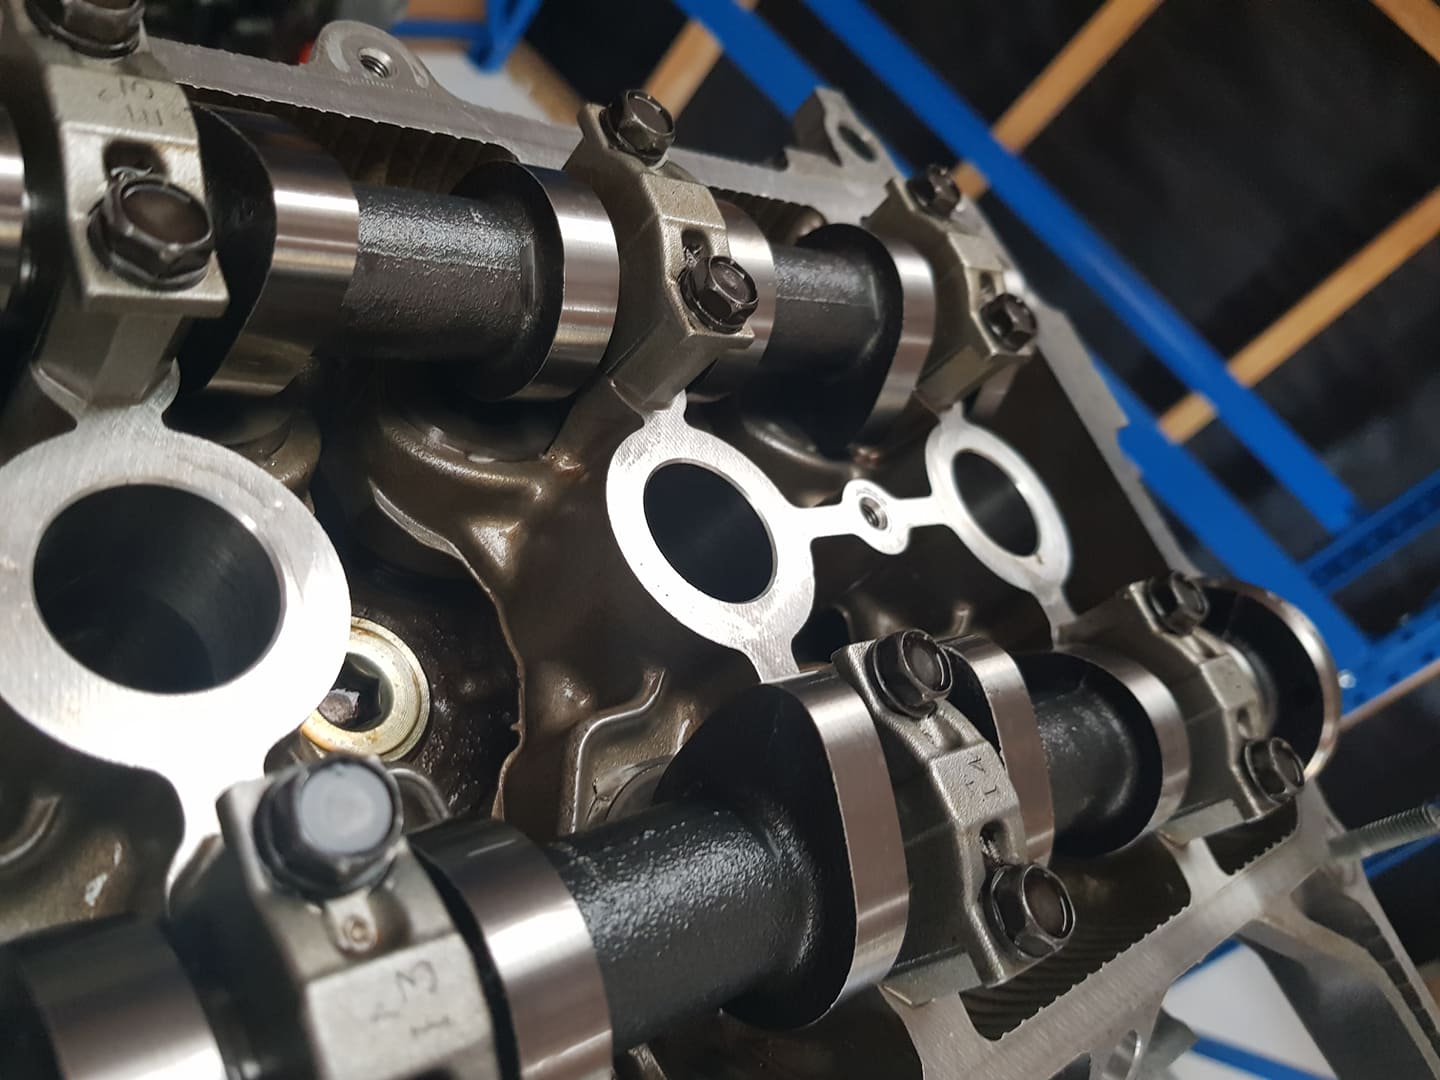
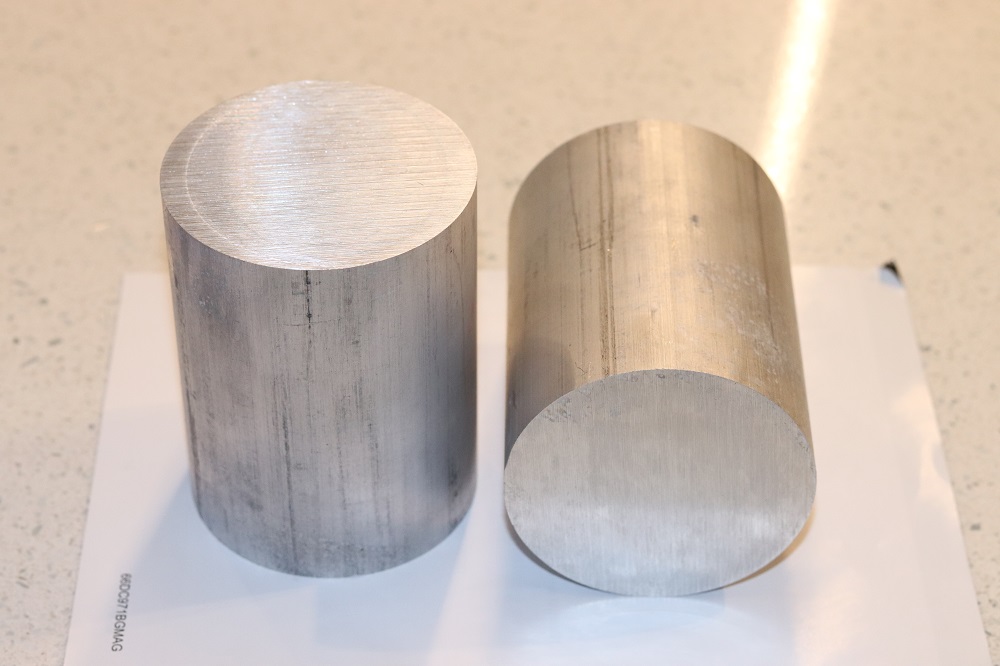
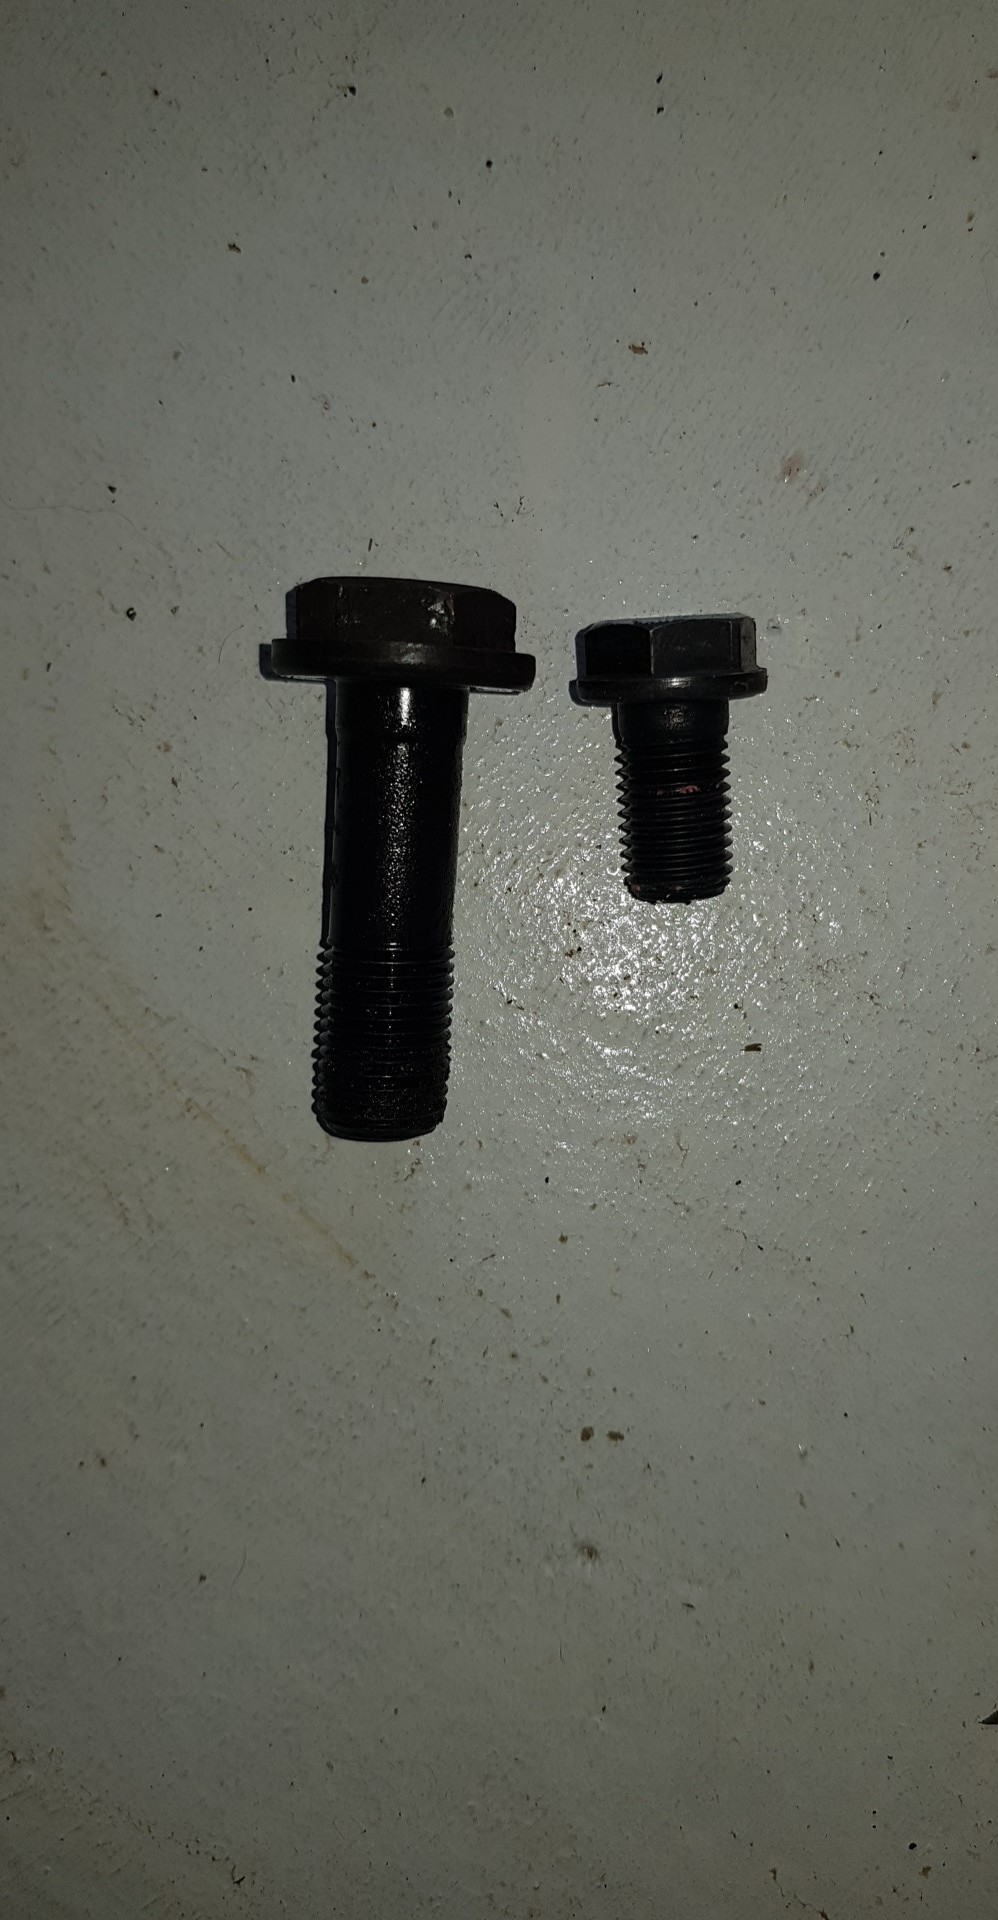
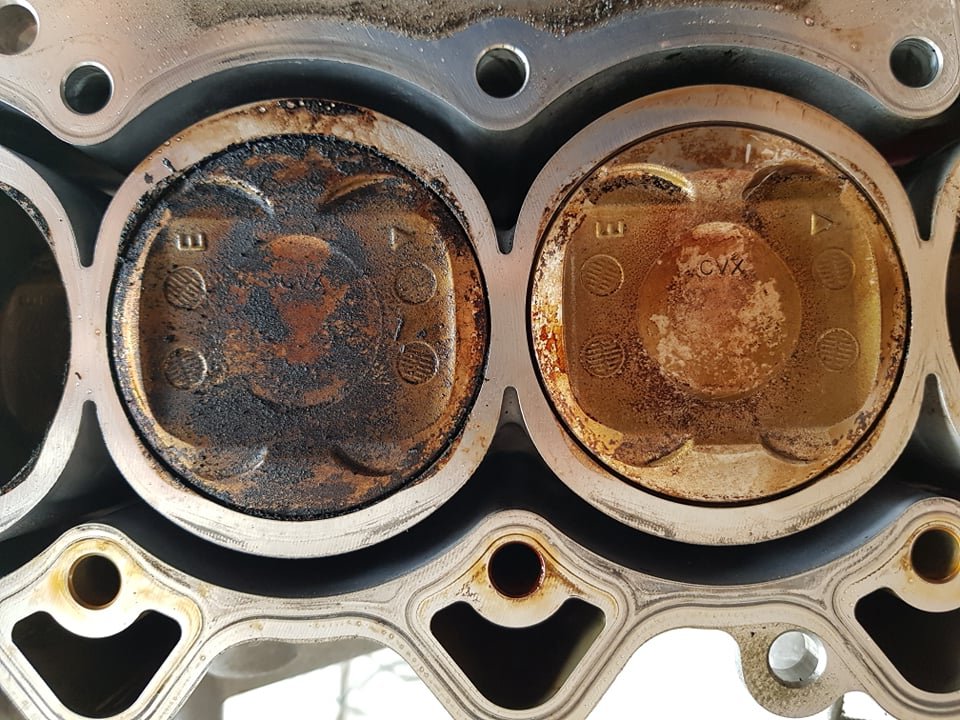
Progress! Finally got my motor home, and have had a little bit of time to muck around with it. Still amazing how clean and new everything is. I decided the best first thing to do, would be swap the sump over. So I did that, with all of the necessary patience. Cleaned everything, piped out some silicone stuff, let the goo set, then flipped it back over and started on the valve train. I got the valves, old springs, and retainers out no problem. Trying to fit the new ones in, not so easy! Springs are much stiffer, and these retainer keepers are fucking infuriating! So tiny and dont want to sit in the right place. With one of my ham fisted efforts, I ended up dropping one of the keepers down an oil gallery... into the bloody sump. The half of the sump of course that means I have to pull the whole bloody thing off again. So pulled that back off, and after some various attempts I decided there's not really any way to do this short of taking the head off. So pulled the head off, and holy hecka the combustion chamber and pistons were absolutely coated in nasty nasty EGR shit! So gross. And this is only a 30,000km motor, they must look fucked by the time they get some big km on them. As these pistons are coated (apparently?) I decided to not use anything more volatile or abrasive than petrol and a toothbrush, and a toothpick to get some shit out of the tight parts. Came up good enough. Hopefully running it for a while without EGR will clean everything up a bit over time too. The combustion chamber looked just as gross. People say these motors gum up the piston rings, I can see why. Also, I had a laugh at this. On the left, we have a beams 3SGE flywheel bolt, for an 8 bolt crank. On the right, a 1NZ flyhweel bolt for a 6 bolt crank. Hopefully I wont have a 9k rpm flywheel come buzz saw through my brain
1 point
-
That worked quite well. Used a different mould release, sand just fell out of the pattern. Rods are holding it together well by the looks.1 point
-
Sorry all my photos are rushed and shit looking. I’m going to try take more care and make them better No before shots cause we’ve all seen used transmissions but I got lots of crud off the box without going too spaz and using all my products up. inside was nice, filter and gasket was new but I’ll replace. Gutted the mrs didn’t have any in stock today..I was keen to have this job done and stashed away in the corner again this weekend. replaced shifter seal which I dare say was a big factor in leaky ness. fought this fucking ass output seal for ages, just didn’t want to square up and stay in! Trans mount cleaned up and now zinc’d.1 point
-
AE101: A mate told me the rest of my engine bay looked dirty with clean parts hanging off one end Called up my old $4 friend can of motortech underseal to help, followed with 2k clear Did the intake manifold and exhaust heat shield in high temp black Installed my pipe thing Replaced old brake fluid Enjoyed some low speed hoons Downloaded an app called "PerfExpert", it's an app that using a lot of parameters and calibration allows you to turn any quiet straight country road into your own personal street dyno. Using 98, this is what I achieved: I think I got better more accurate results on a later go at it as this was my first. But last night I checked my ignition timing with the goal of advancing it by a couple of degrees to see if this (which is commonly discussed as a way to increase power) would work for me. Unfortunately I was running at 0deg BTDC, whereas factory spec is +10deg BTDC. I wasn't able to get it beyond +10 due to the limits of the adjustment brackets. Took it out for a blat on +10deg and on 98: Great success! I recommend getting this app for the price of a box or maccas share meal as it is more accurate than butt dyno measurements and you can work out if changes you make make any difference. So, I will do more testing with 98!1 point
-
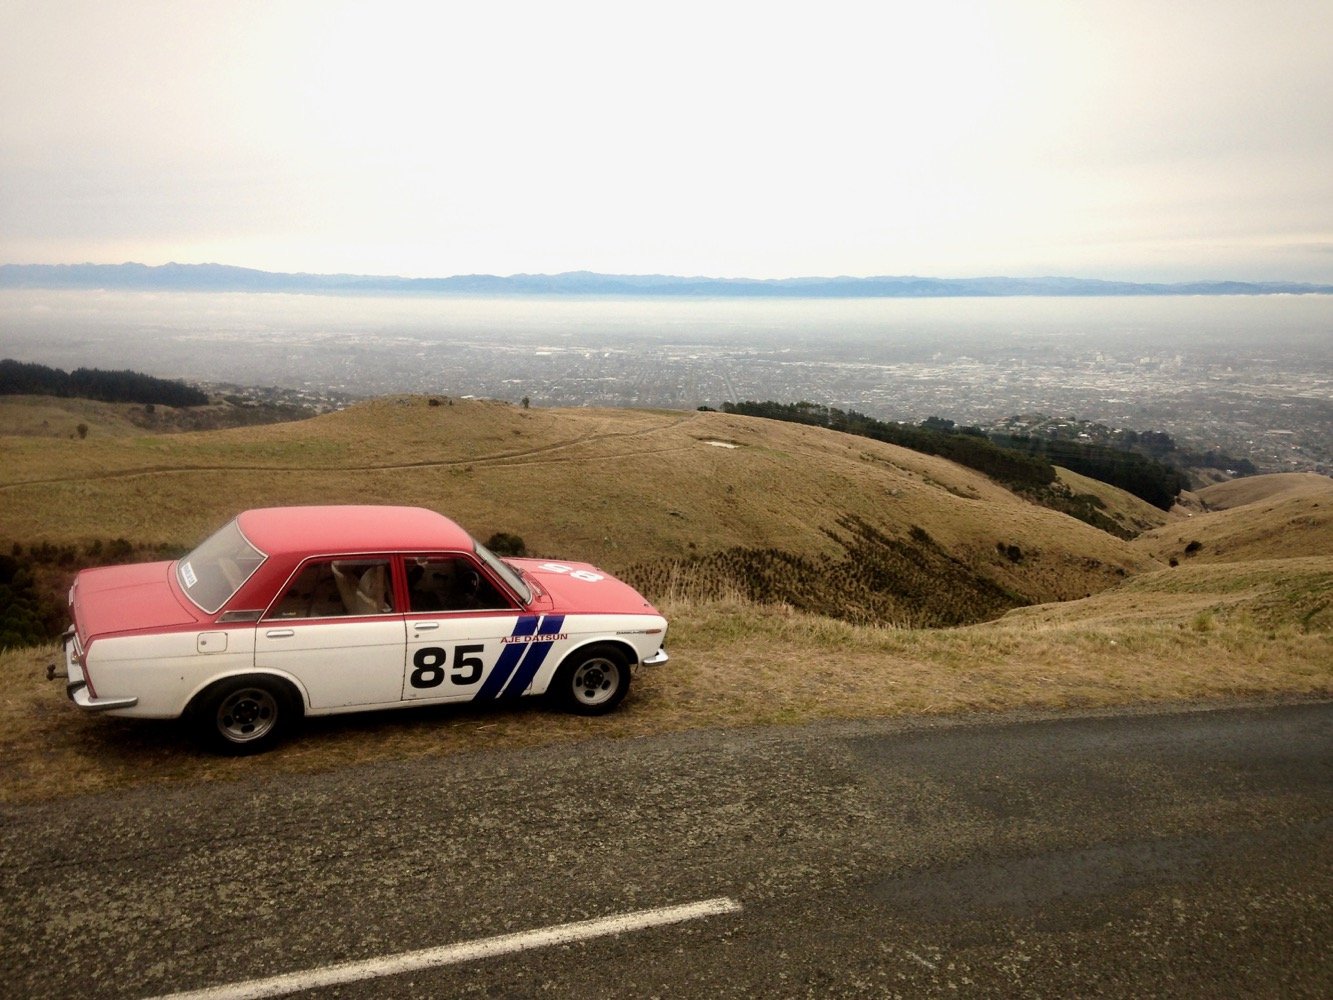
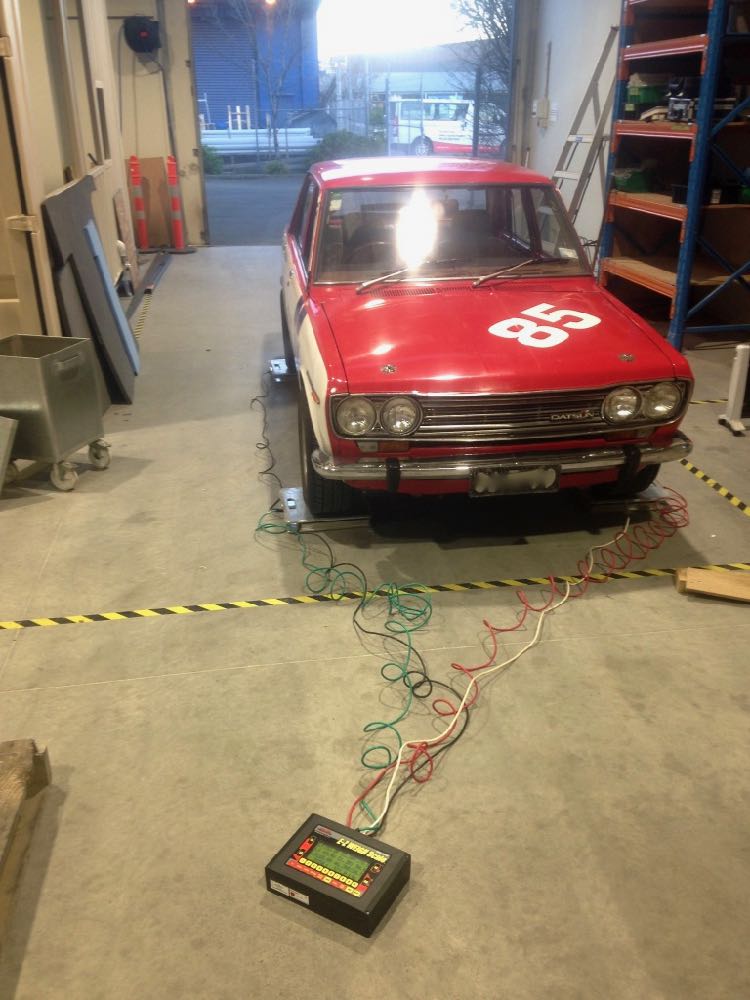
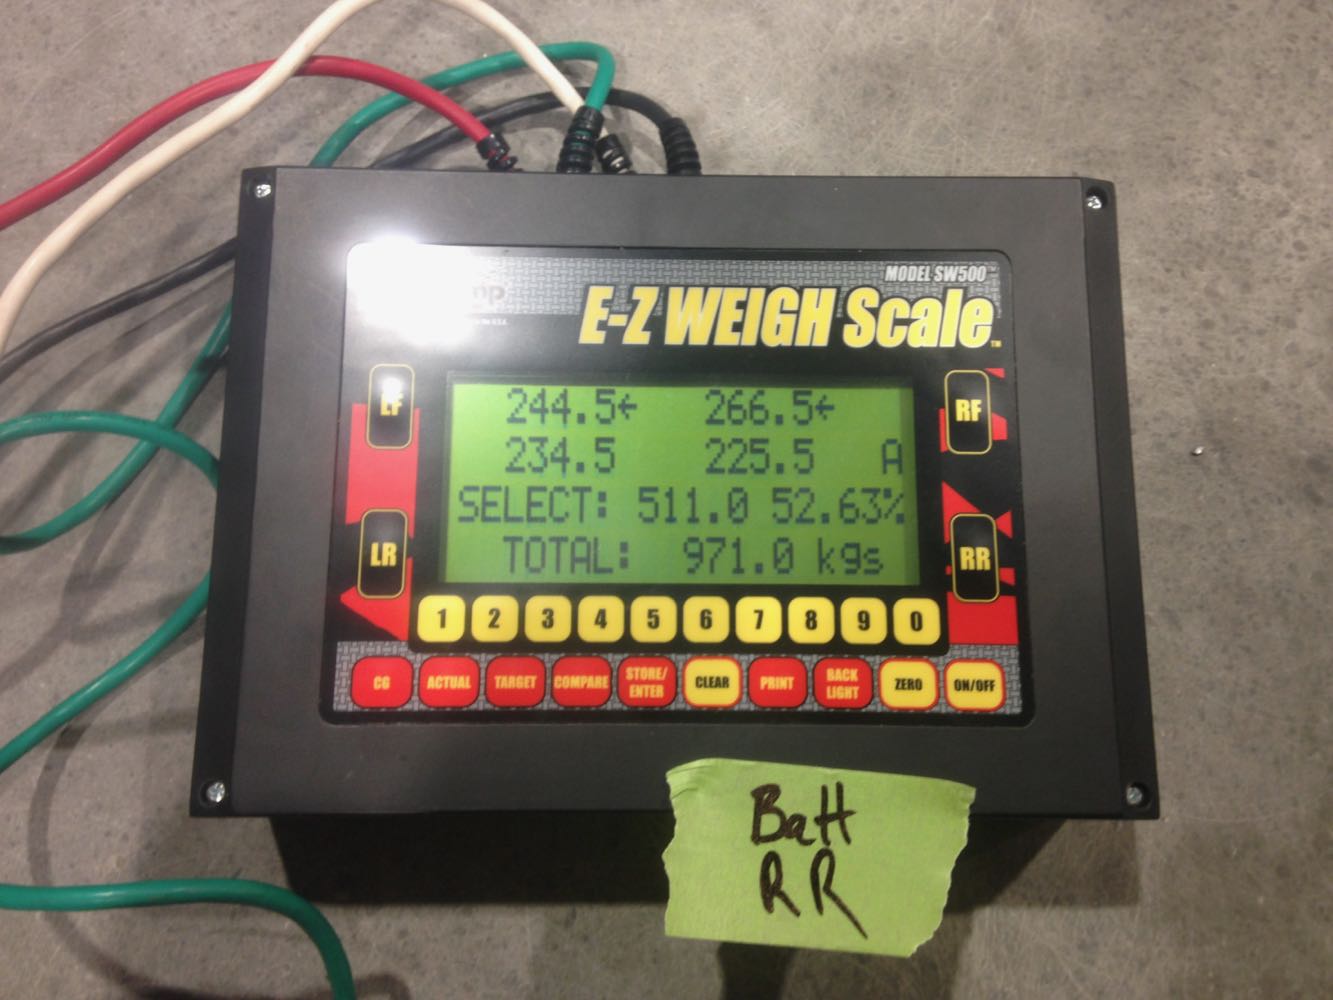
More of a placeholder for me.... Got the car on corner scales, full tank of gas, battery in the right side of the boot and me in the drivers seat gave the best results without getting carried away. Found a younger sibling parked up in a paddock, couldn't resist the photo op WOF expires in a month or so, time to dig into some major work over the winter, possibly ambitious, but I need to start somewhere.
1 point
-
Finished the runner system pattern. So now all the sump patterns are complete, waxed and ready to go! . Only took 4 months.haha1 point
-
1 point


.jpg.17ebde8f49fd174880921c24419dc04a.jpg)


.jpg.8f7657767be829c22a5d1225345c3b7a.jpg)
This leaderboard is set to Auckland/GMT+12:00