
Leaderboard


.thumb.jpeg.384ff72c8d2b0ee0d34a7bdedb55bdcf.jpeg)

Popular Content
Showing content with the highest reputation on 04/08/21 in all areas
-
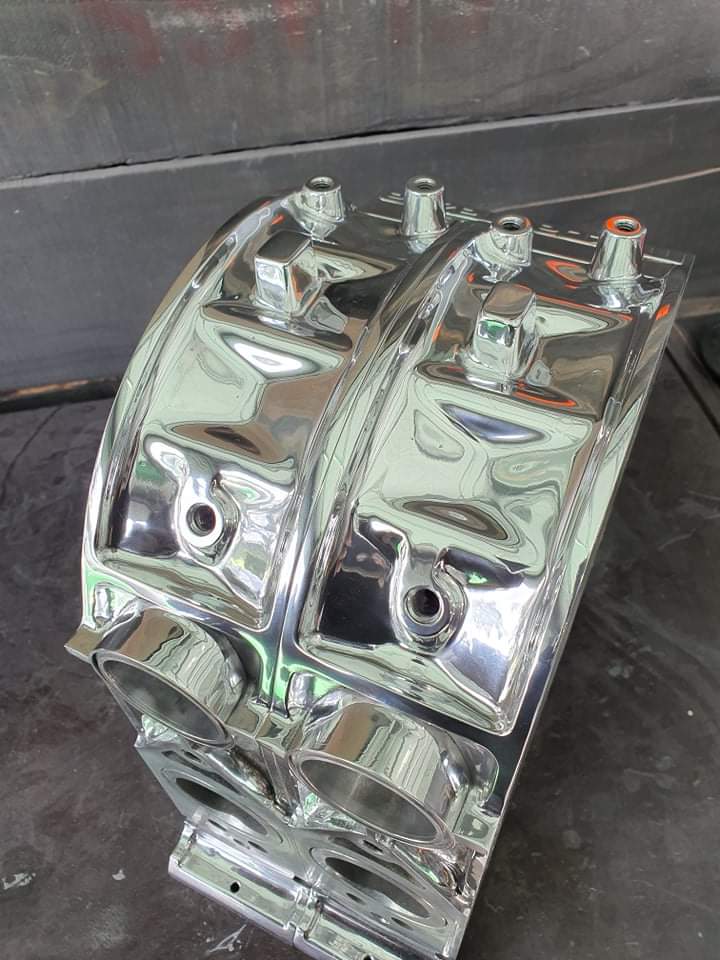
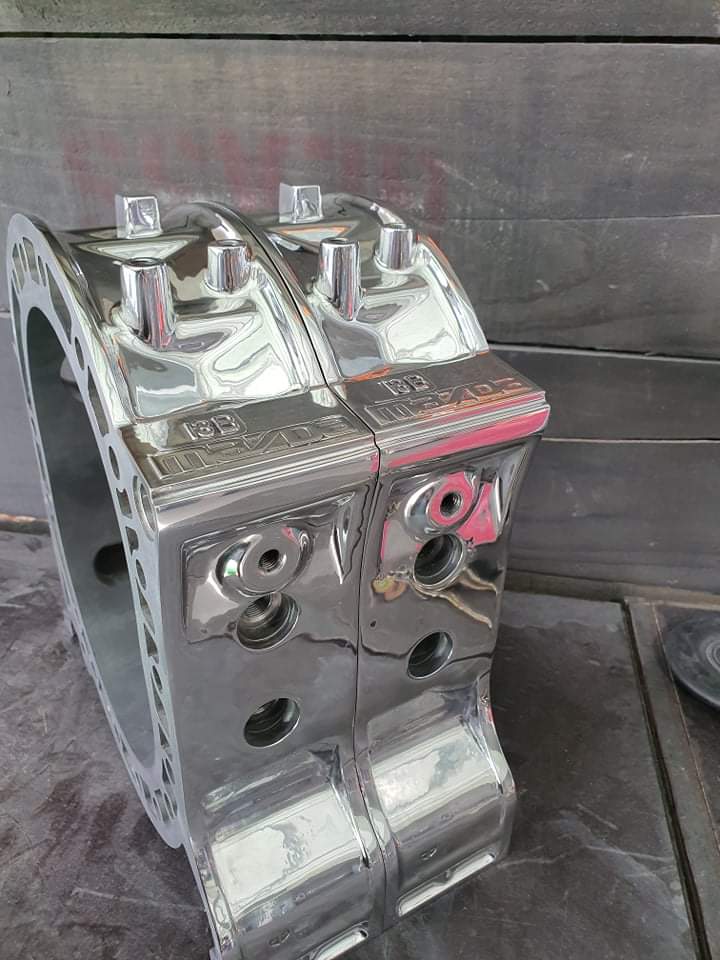
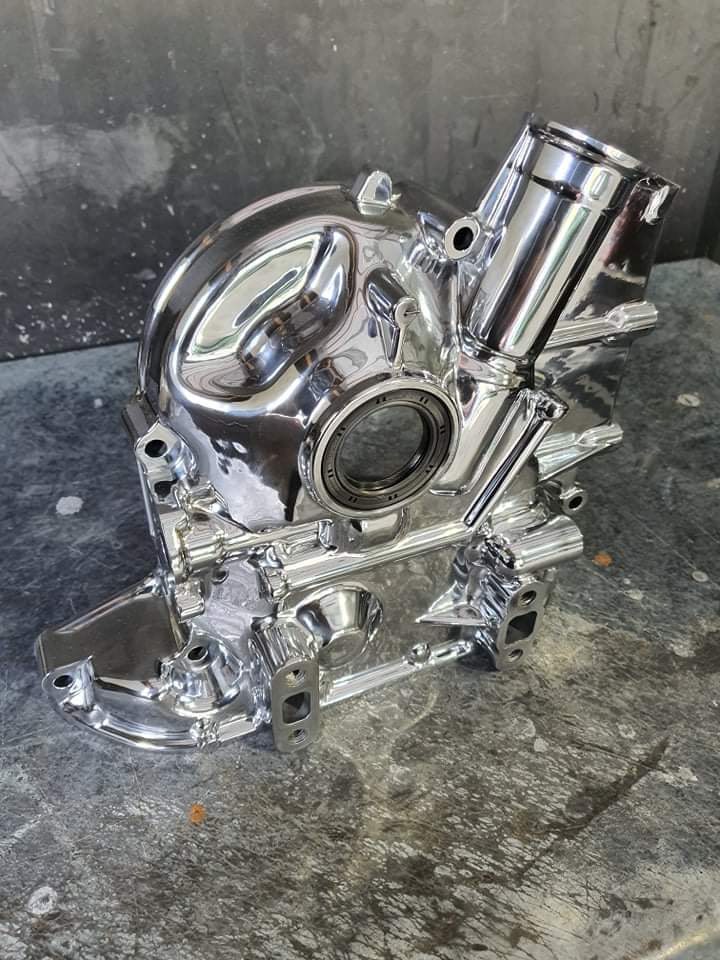
Things are progressing slowly in the background, Have had my new PP'd housings and front cover over at Toby to get the maddog polish, Shit they came up so good. Plates are getting the casting marks smoothed on them currently and then painted ready for the engine to be assembled. Iv been trying to work out how the jigsaw of the dash/heater/glovebox etc etc all goes back together from a box of a million screws and bolts and a whole lot of parts. Taking its time but getting there. want to make sure anything missing or broken is acquired before final assembly.
 14 points
 -
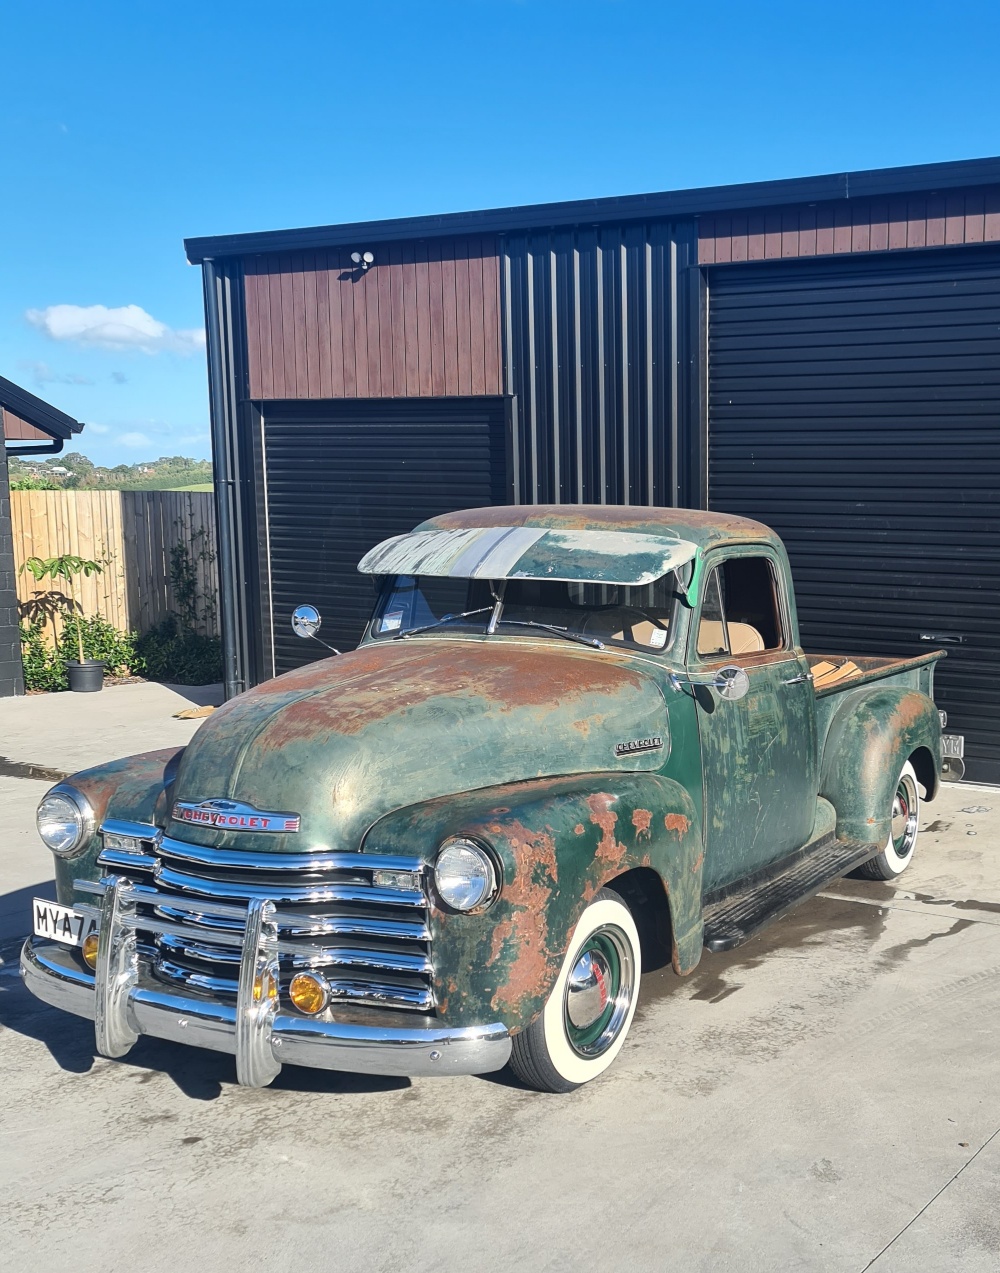
So the 235 rear main seal sage continued for quite some time, Old guy came round and reviewed my work and confirmed infact i had done the seal correctly but the rope was too "thick" even though it was from a 235 gasket kit. So i got another, and it was the same, This old fella spoke with his mate who was a ex old school engine reconditioner now retired who told him they used to use teflon gland packing so give that a shot, Found some appropriately sized at a local hardware store, 6.5mm2 from memory, wacked that in and the motor turned still so we were on to a winner. Chucked it back in and it run and didn't have any leaks pretty much at all. Winnnnninnnngggg. Until i came back out the next day and there was a puddle of coolant under the rear of the motor..........Quick internet search shows 2 frost plugs behind the bellhousing/clutch/flywheel.....Farrkkkk. Motor back out again. A week before our wedding and 2 Weeks from beach hop, motor back out, got some plugs smashed it back together and away we went. Should of listened to the other old boy that told me to do them while the motor was out....doh. Any way truck did the wedding and beach hop with a few hick ups. Alternator shat itself at Beach hop which explained a few things that had been going on for the week. But the mrs got to cruise it all week which was the main goal and she arrived at the wedding in it so all good. Just before beach hop i picked up a grill guard and some spot lights for the front so wacked them off to finish the look i was going for. Remind me to never do a rope rear main again, or infact have a car with a 6 banger shit box chev motor. God they are painful. Makes me want to give the drivetrain and handling of this thing a big once over more than ever! All in good time though.
12 points
-
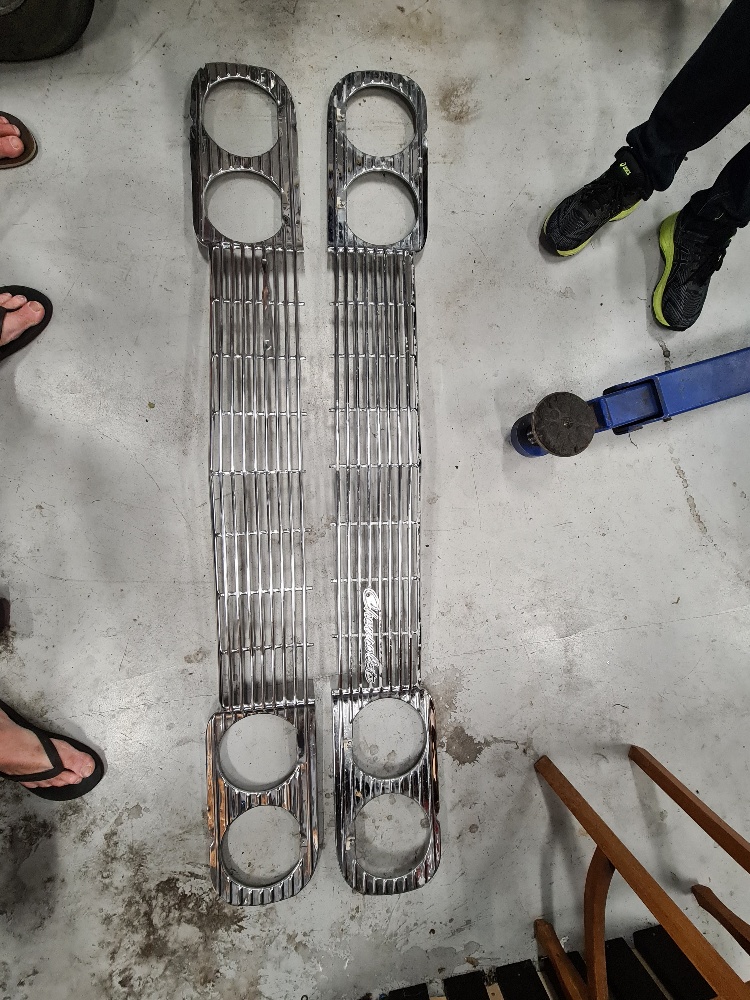
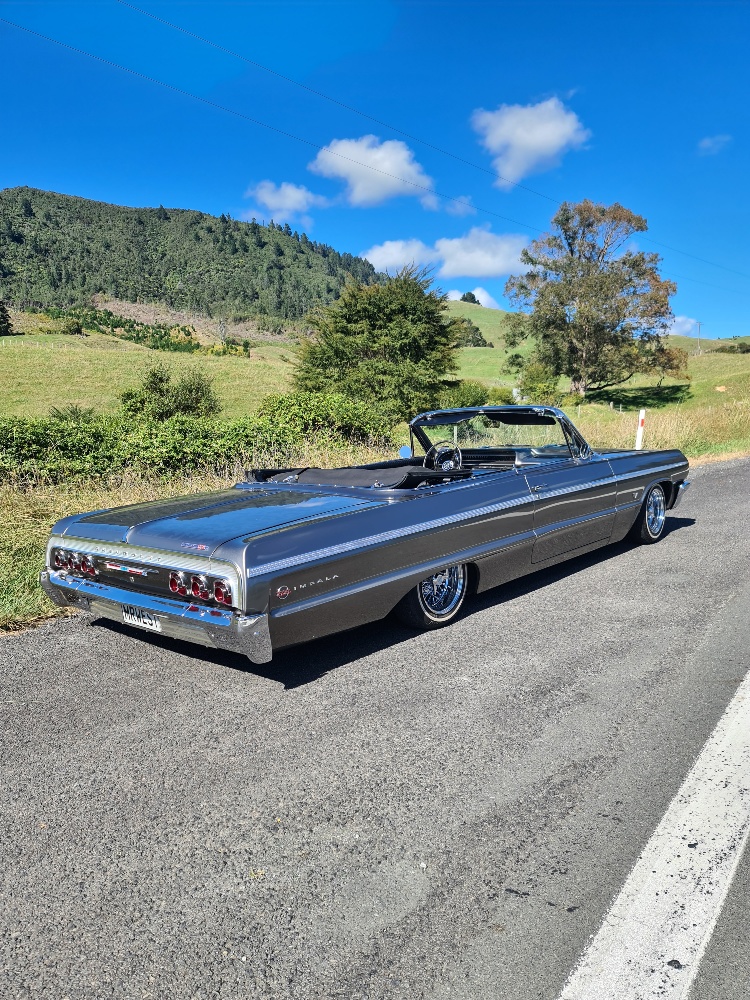
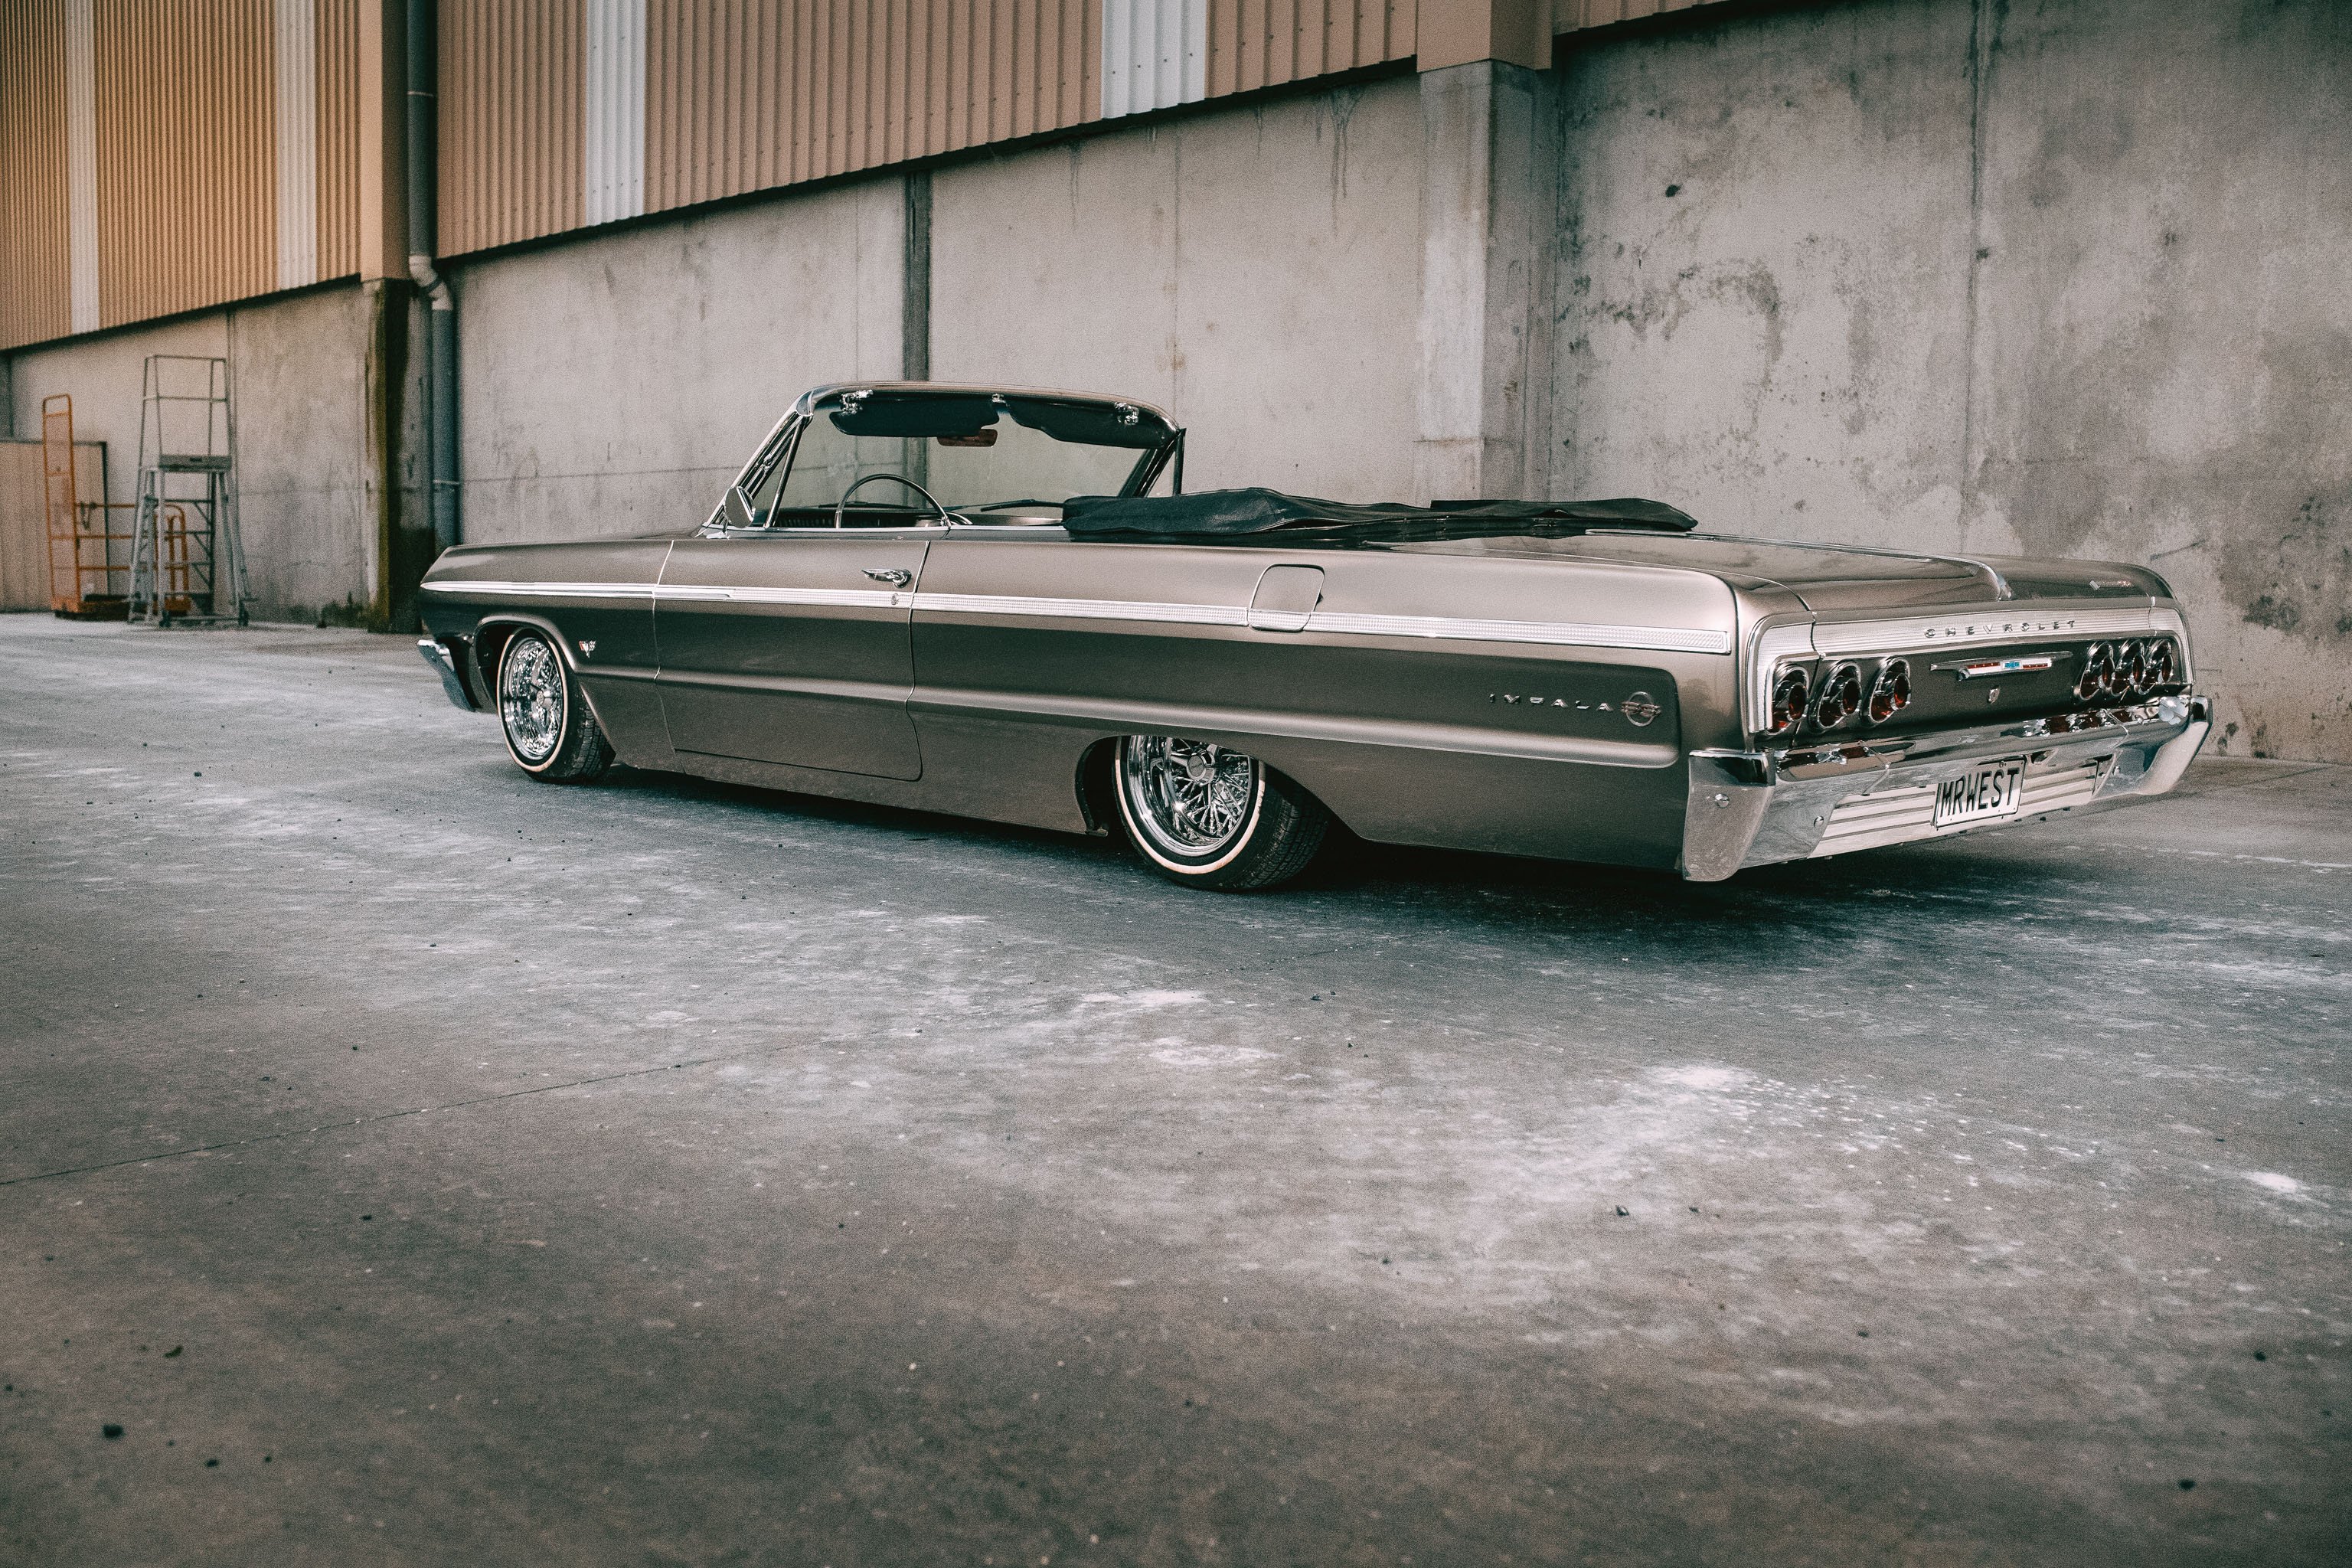
Eventful few months for the Impala. Gave her a bit of a once over before the wedding Doctor Cuts in the Mount gave her a good spruce up full cut/polish and groom before our wedding. And damn it came up good. A bit of much needed love after 12,000 + km of abuse. The grill i got from the states when i built the car was supposedly "triple chromed", looks more to have been "flash chromed" as had no copper coating underneath etc. It has flaked off over the years of driving. Thought id fix that up. Had Toby from BOP Polishers strip and polish the factory grill off the car and it came up mint. Bit of a comparision bit hard to tell in the photo but a good improvement Made it to the wedding in one piece then up to Beach Hop where we burned a shit load of gas and cruised all week. Not without its issues. Day 1 had a wheel bearing shit the bed catastrophically . Thankfully Ben (red 61 cant remember his user on here) rolled past and seen it on stands and gave me a message, turns out he had a new wheel bearing in his boot so shot round and the legend ended up doing half the job for me as well, we were back cruising within an hour which was awesome! Parked up watching the Thames cruise she was humming in the sun She needs a bit of love over winter, got a list of things iv wanted to sort out and tidy up that i never get to so going to pull her to bits next few months and get a few things sorted on her.
11 points
-
WINDOWS UPDATE Yep- more windows. Yay for more light and some extra views. But before that happened we made the mezzanine a safer place to be by finally making some bannisters and removing the chance of plummeting 2.4 metres onto very hard concrete (or worse- a rusty car?). I had a particular style in mind from the very beginning of the build to tie in with the minimalist steel/wood thing going on. Started like this. We made a variety of steel uprights to suit... Ripped down a selection of nice Rimu timber, planed it, sanded it... Bolted up in place and we instantly felt safer... Next up was the stairway. Really didn't want to add too much here because I'm trying to keep it looking really clean and simple. But had to have something- especially for those nights when local friends are here and our brains are a bit addled... It was super fun going through the Rimu timber selection and picking out bits with nice grain to make rails from. Then the lower hand rail that had to be curved quite a lot to follow the stairs. Ripped down some 5mm thin strips of Rimu and laminated them, clamped to a jig welded in place on the big steel bench... Woke up the next morning and had a very strong curved rail to plane and sand down... Then mounted in place and given a lick of varnish... Really happy with it! We have decided against adding any extra steel work for now- its a nice strong rail that doesn't clutter up the stairway. Next thing was some more windows. One for the kitchen and one for the bedroom. These we chose from a pile of second hand windows from the local aluminium window place and they made new frames to suit our shed walls. Cheap way to do it. Cut a hole... New view... Stoked! Its really going to make the kitchen a nice light place to be (for when I make my super fine selection of cheese on toast creations... yep, I'm a bit of a chef like that..) View this evening looking down the space with new windows fitted... Here's a look at how the lounge is now set up. Scored some bloody nice Italian leather sofas cheap from a fella in Nelson. Totally the simple clean style (in elastoplast beige to boot) that we wanted. Wont be going back to cloth sofas when we own a very fluffy white cat. The sofas fit beside each other so you can sit 5 across in real comfort for movie nights (more can sit on bean bags etc in front). The sofas are light enough to very easily shift downstairs into the studio area if need be too. There will be some super plush carpet added in the lounge (oatmeal in colour because ginger/white cat...) and a couple of floor standing reading lights etc but otherwise keep it simple. More soon. Looking forward to the kitchen/bedroom build next.. its so fun!10 points
-
Wall framing was up yesterday, I like the builders, unlike other crews on site they dont work government hours.
9 points
-
You should consider it.7 points
-
I’ve been crook again so wasted a huge portion of the first long weekend I wasn’t working. achieved wee bits before crawling back inside. the bumpers all painted and assembled again. and I got the fucking rear screen out intact!! I held my breath for way longer than is healthy. the rear ‘deck lid’ is a A+ rust trap for B-body’s (I’d dare say most American cars of the era) so I knew it was fucked up but I’m happy to see it’s not totally missing under the glass! Shoulda added one to the cart when I ordered panels but I’m a fucking Scrooge. The rest of the frame is dope, stoked! ive got some trans seals at work and cleaning that slug up and patching the leaks is close to next on the list. Got a dipstick oring, rear seal and selector seal. The input one is already brand new which is cool. The inside of bellhousing is dry so it’s not the source of the deluge6 points
-
Not sure why you would post that in this thread? Did you mean your buell thread5 points
-
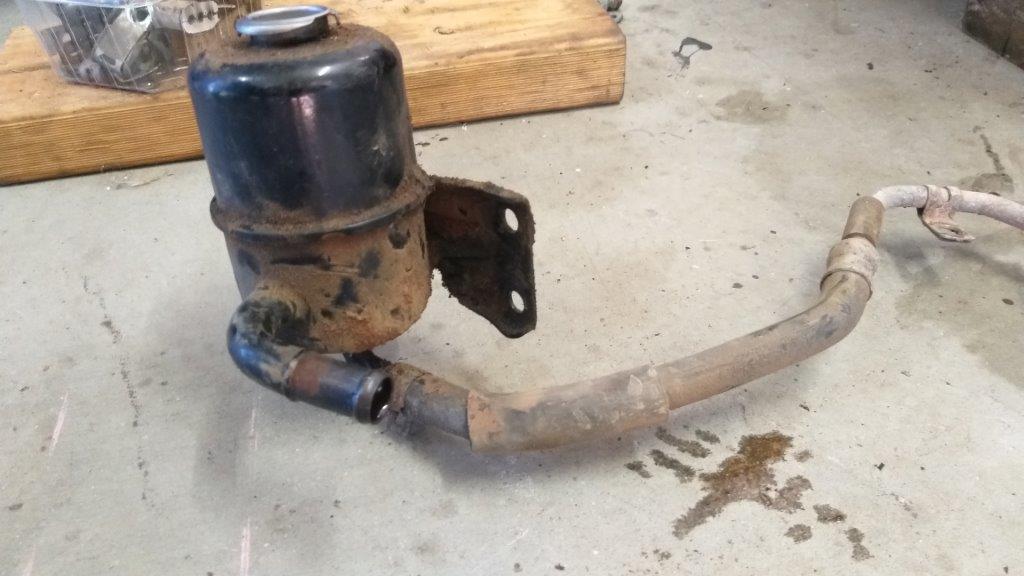
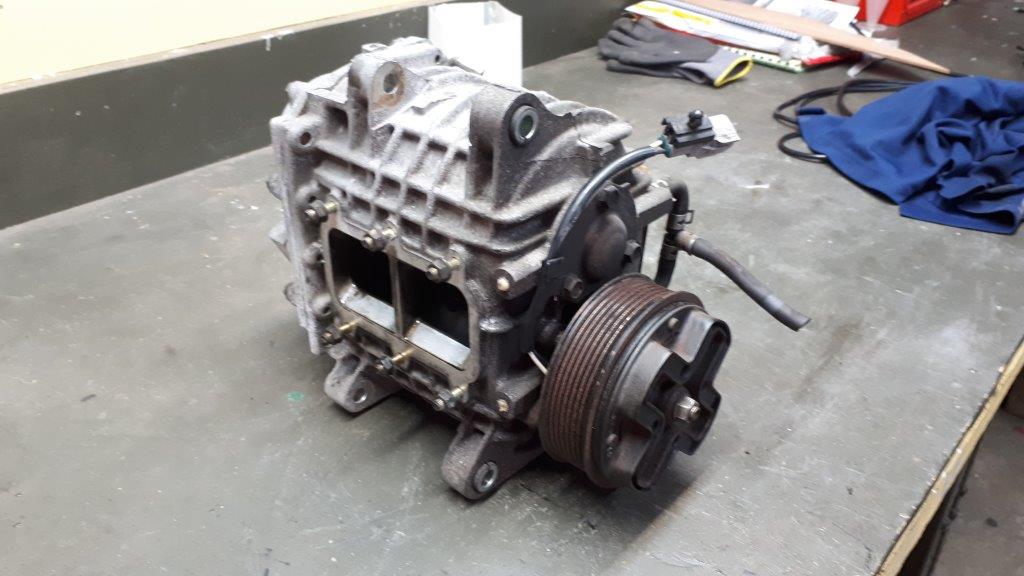
The next item on the agenda is to sort out a fluid reservoir for the power steering, so I ambled over to my trusty old Mitsi donor van and managed to relieve it of this likely looking candidate. What a grubby girl that Mitsi is ... typical backpacker van. Nothing that can't be fixed with a bit of de-greaser and wipe over with a rag though. Then I just need to figure out where I can squeeze it in. Boy, the old Thames engine box is getting to be a busy little office.
4 points
-
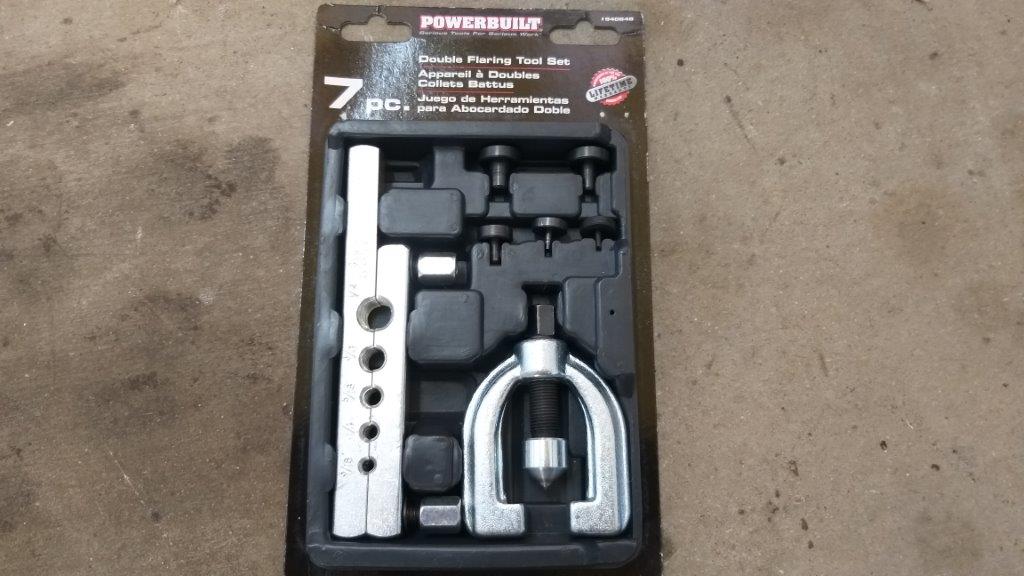
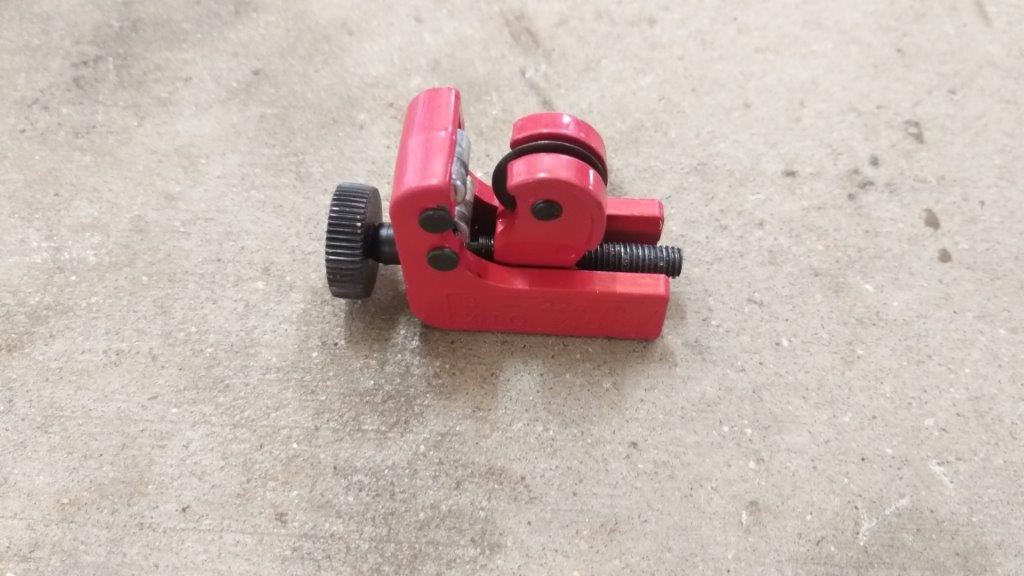
I've had one of those brake pipe flaring tools lying around the shed for many moons, but have never given it a try. A few weeks back I thought I'd have a go at modifying the clutch line in order to mate the HiAce slave cylinder flexi hose to the Thames master cylinder hard line. My first attempt ended up leaking on the new flare and at the time I suspected user error, mainly due to the fact that I had trimmed the hard line with a hacksaw. So I went online and ordered one of China's finest mini pipe cutters which arrived last week. Cracked into it after morning smoko and I now have what appears to be a working clutch with no dribble. A sneaky peek at my precision tools cause no one likes a picture less update.
4 points
-
Is the 20v head frowned upon in 4age circles? I haven't had much to do with them apart from a local bogan I went to school with had one in a ratty DX corolla and it went quite hard for what it was. I think it ran high 13s or something? And could do burnouts in 3rd gear which is the true measurement of hp4 points
-
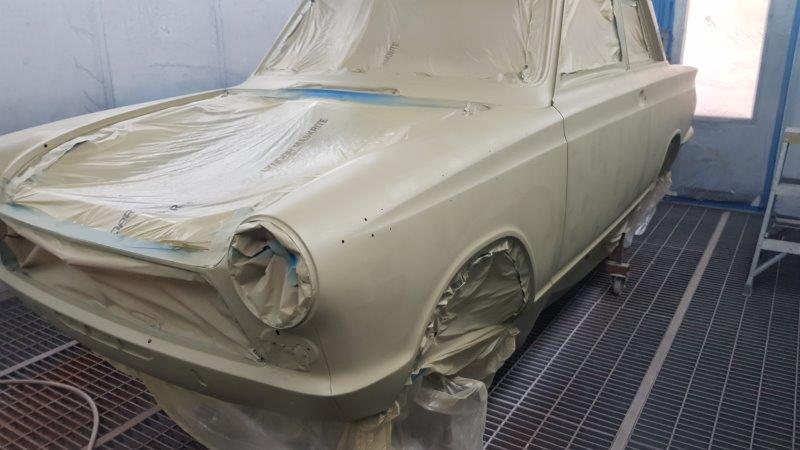
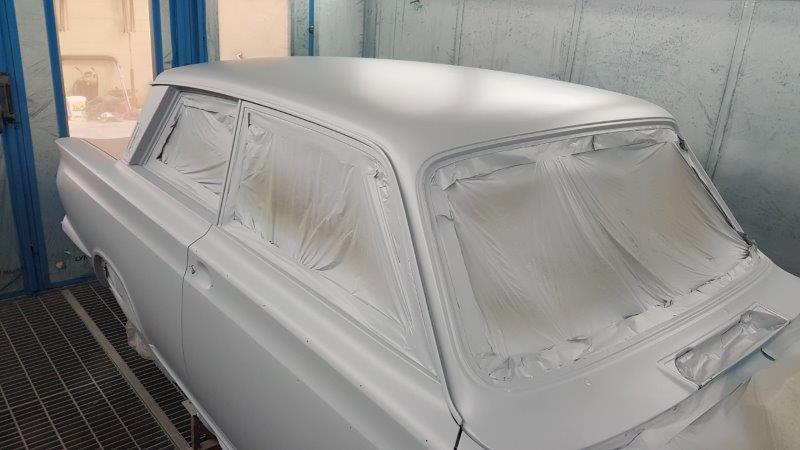
Found the original code for the green viva wagon so that’s what we’re going with. will spray around the windows so we can get the front, rear and side windows installed.
3 points
-
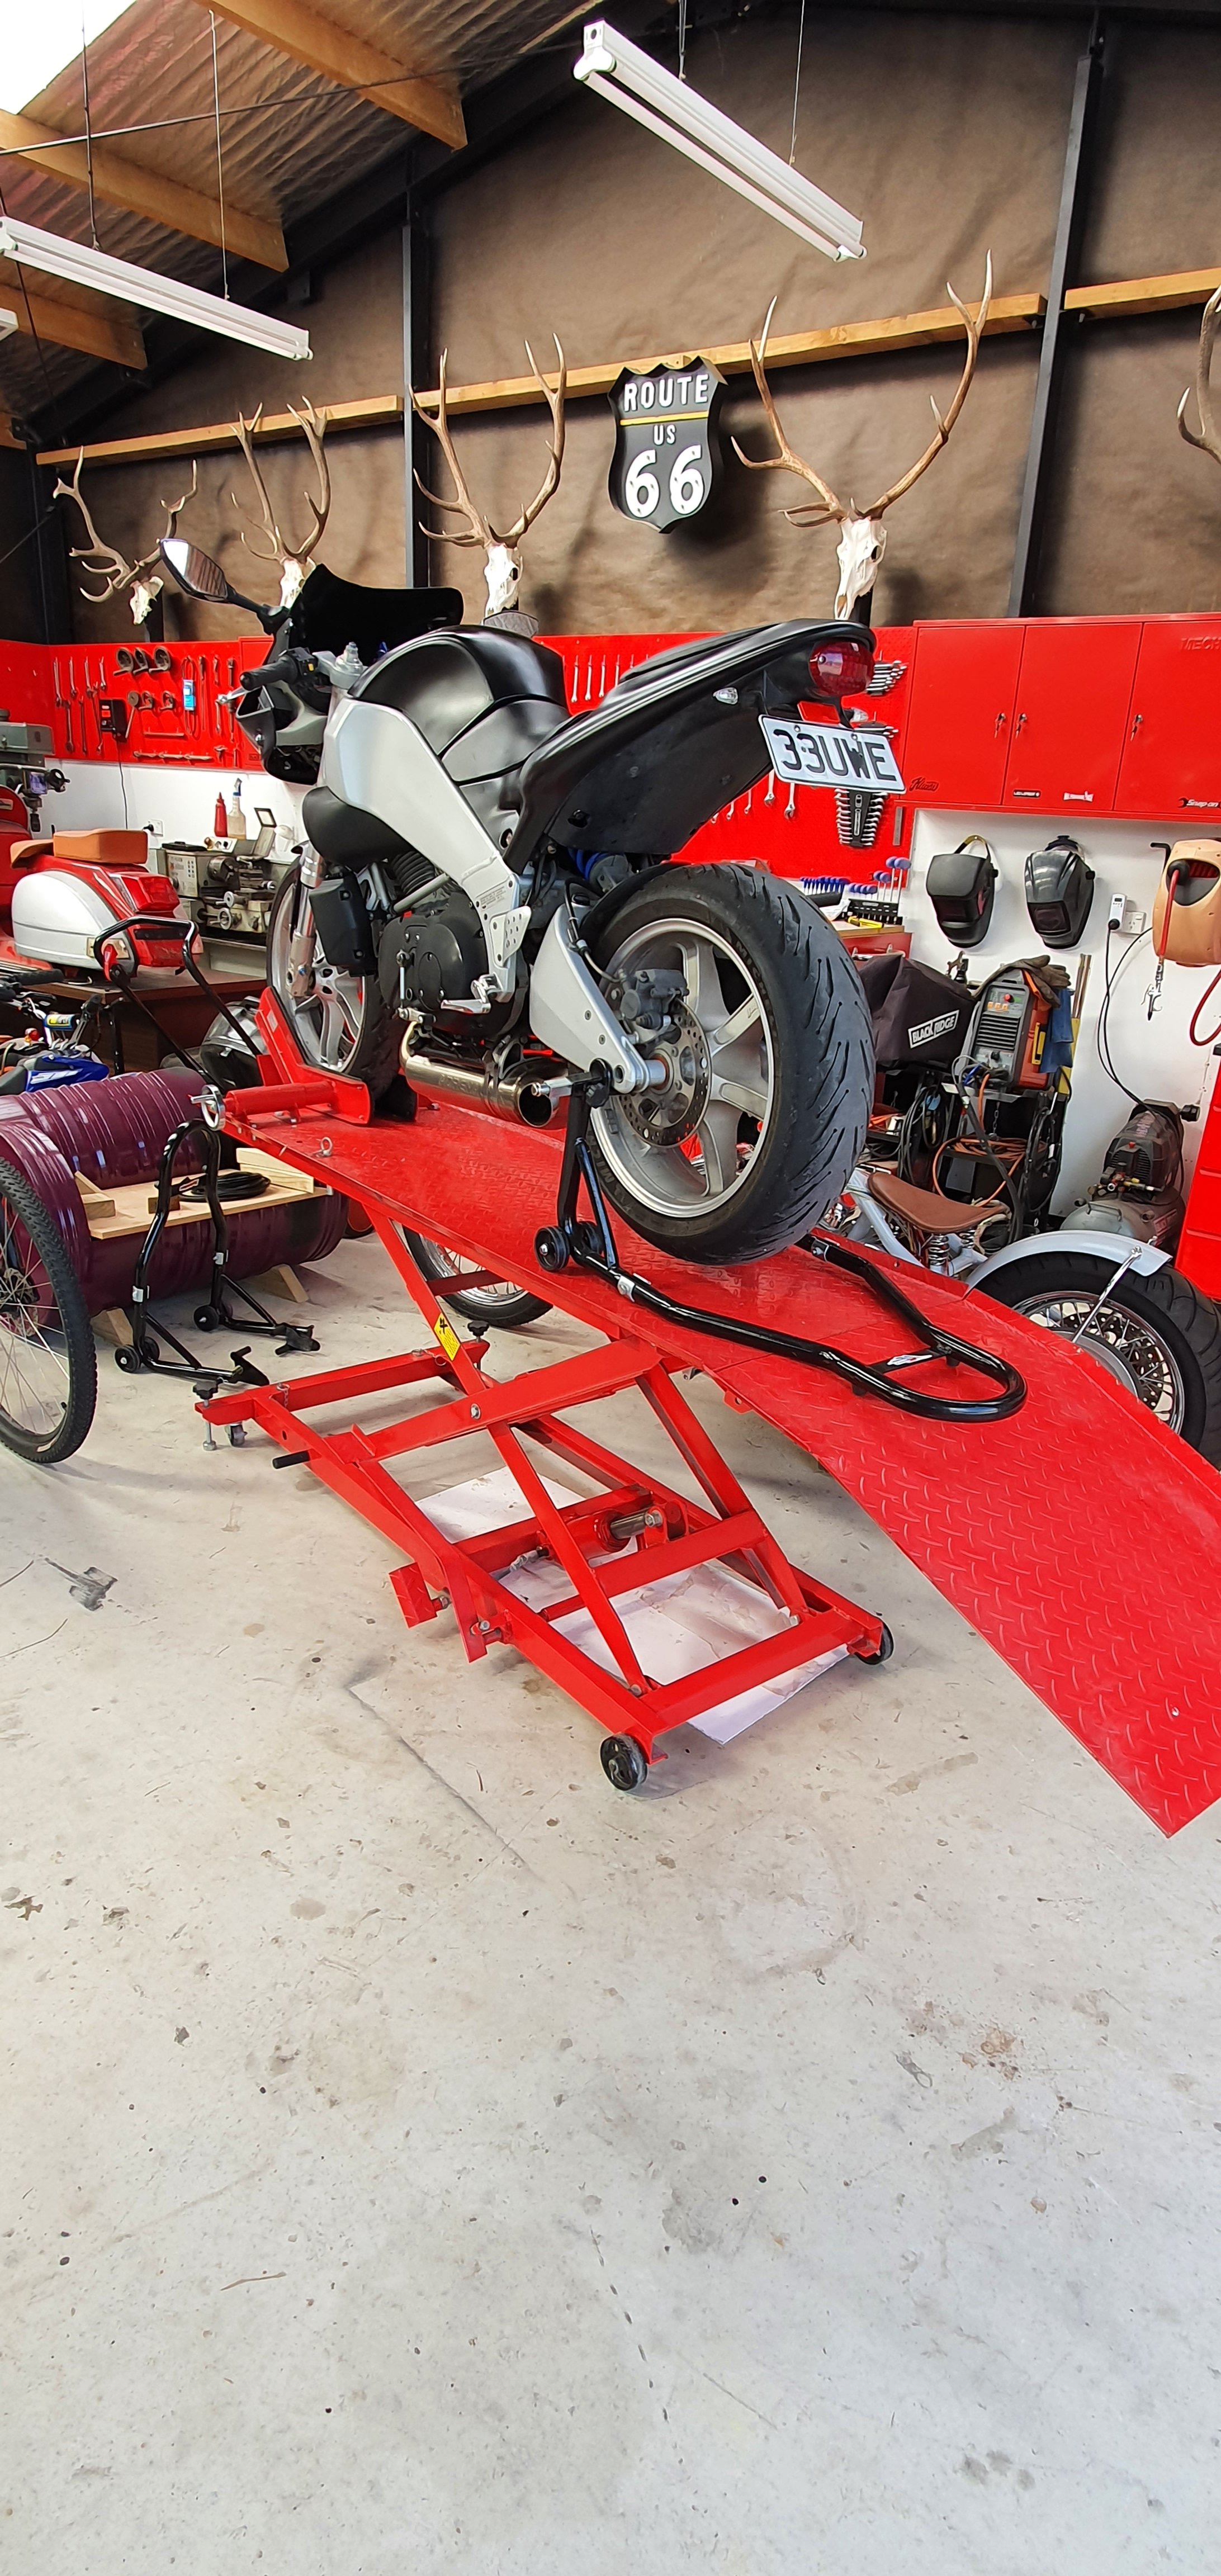
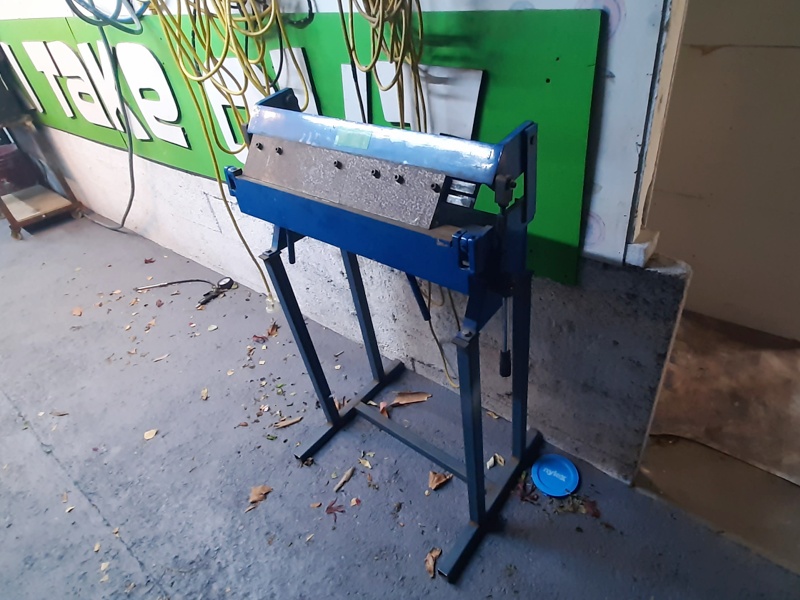
And exciting news...got rid of that deathtrap from TopmaQ. And brought a decent hoist. I got a refund, but only after reporting it to worksafe. Honestly don't buy one of those TopmaQ lift platforms like I've posted previously, it's simply an accident waiting to happen. No good will come of it, just you losing a limb or getting crushed to death!!! This new one is sweet. Very safe, with proper well thought out safety features. It even has 2 safety pins in different locations for extra redundancy, I'm very happy with it. Oh and its red, so my ocd is satisfied too, my universe is in balance again.
3 points
-
2 points
-
Do you want a copy of the code lolol Edit; I forgot to say it looks pretty sweet too...2 points
-
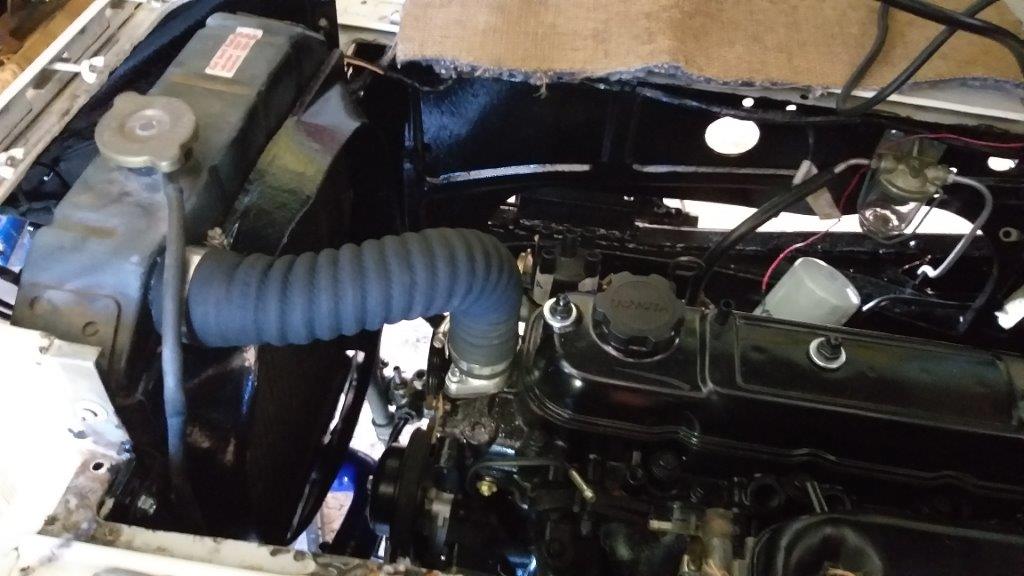
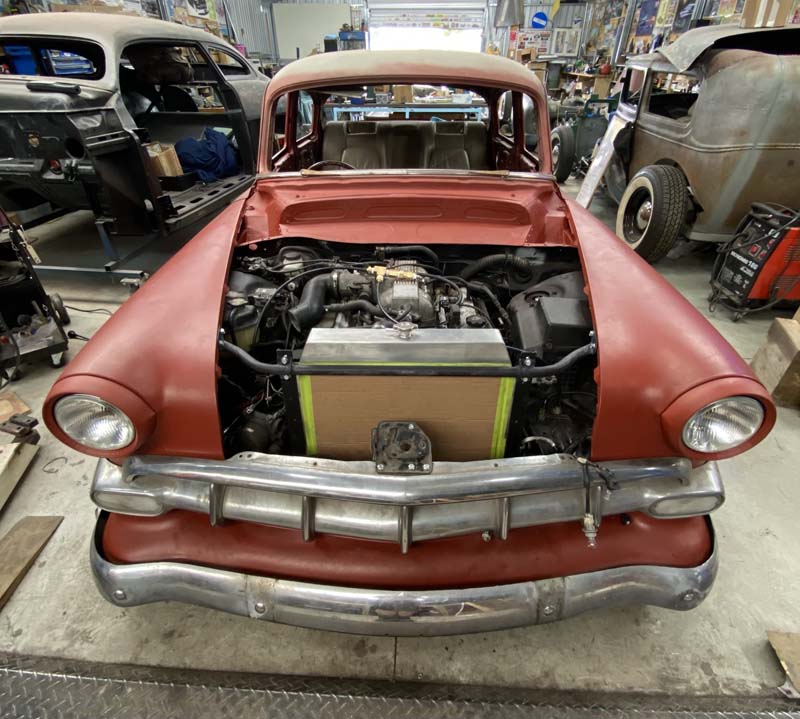
First task for today was to mount the radiator and shroud as I figured the radiator and the power steering pressure pipe might be fighting over the same real estate. Looks like I should just manage to squeeze everything in with enough clearance to keep my cert man happy. While I had the radiator in position I thought I'd trial fit my new upper radiator pipe. Its one of those flex jobbies. I'm a lot happier with this than I was with the two part hose setup that I was previously running.
2 points
-
Not much been happening last few days as I have been working and Easter but did manage to get some other parts and another fuel tank to use as my other 2 are full of holes Will clean it out tomorrow if all goes well. Also my AU Falcon tail pipe fell off and burnt all the wiring in my everyday car. Guess I should of fixed it when I first saw it haha. Oh well temp fixed it so I can sort the Vivas... Will post up some pics tomorrow of tank cleaning and how i do it.2 points
-
20v just the 2ZZ of 4age. Mocked just because. The 16v does have a far bigger area for the cams to act on especially when go shimless/ shim under bucket. So can run far more aggressive cams in them.2 points
-
Nother NOS sandwich bag
2 points
-
Ive got a supply of genuine head gaskets i never used from engine rebuild gasket sets. but current one is on round 3. it stuck to block both times and the top looked mint. so on the head goes!2 points
-
Wash your mouth out with that 20v talk. same for that turbo talk From memory the 1g valves are really small. 4age isn't too bad but can go bigger. which requires new seats installed, so starts to get spendy. but yeah both oversize ports. I find it amusing how its the total opposite of what people think. bigport will be good for more top end power..
2 points
-
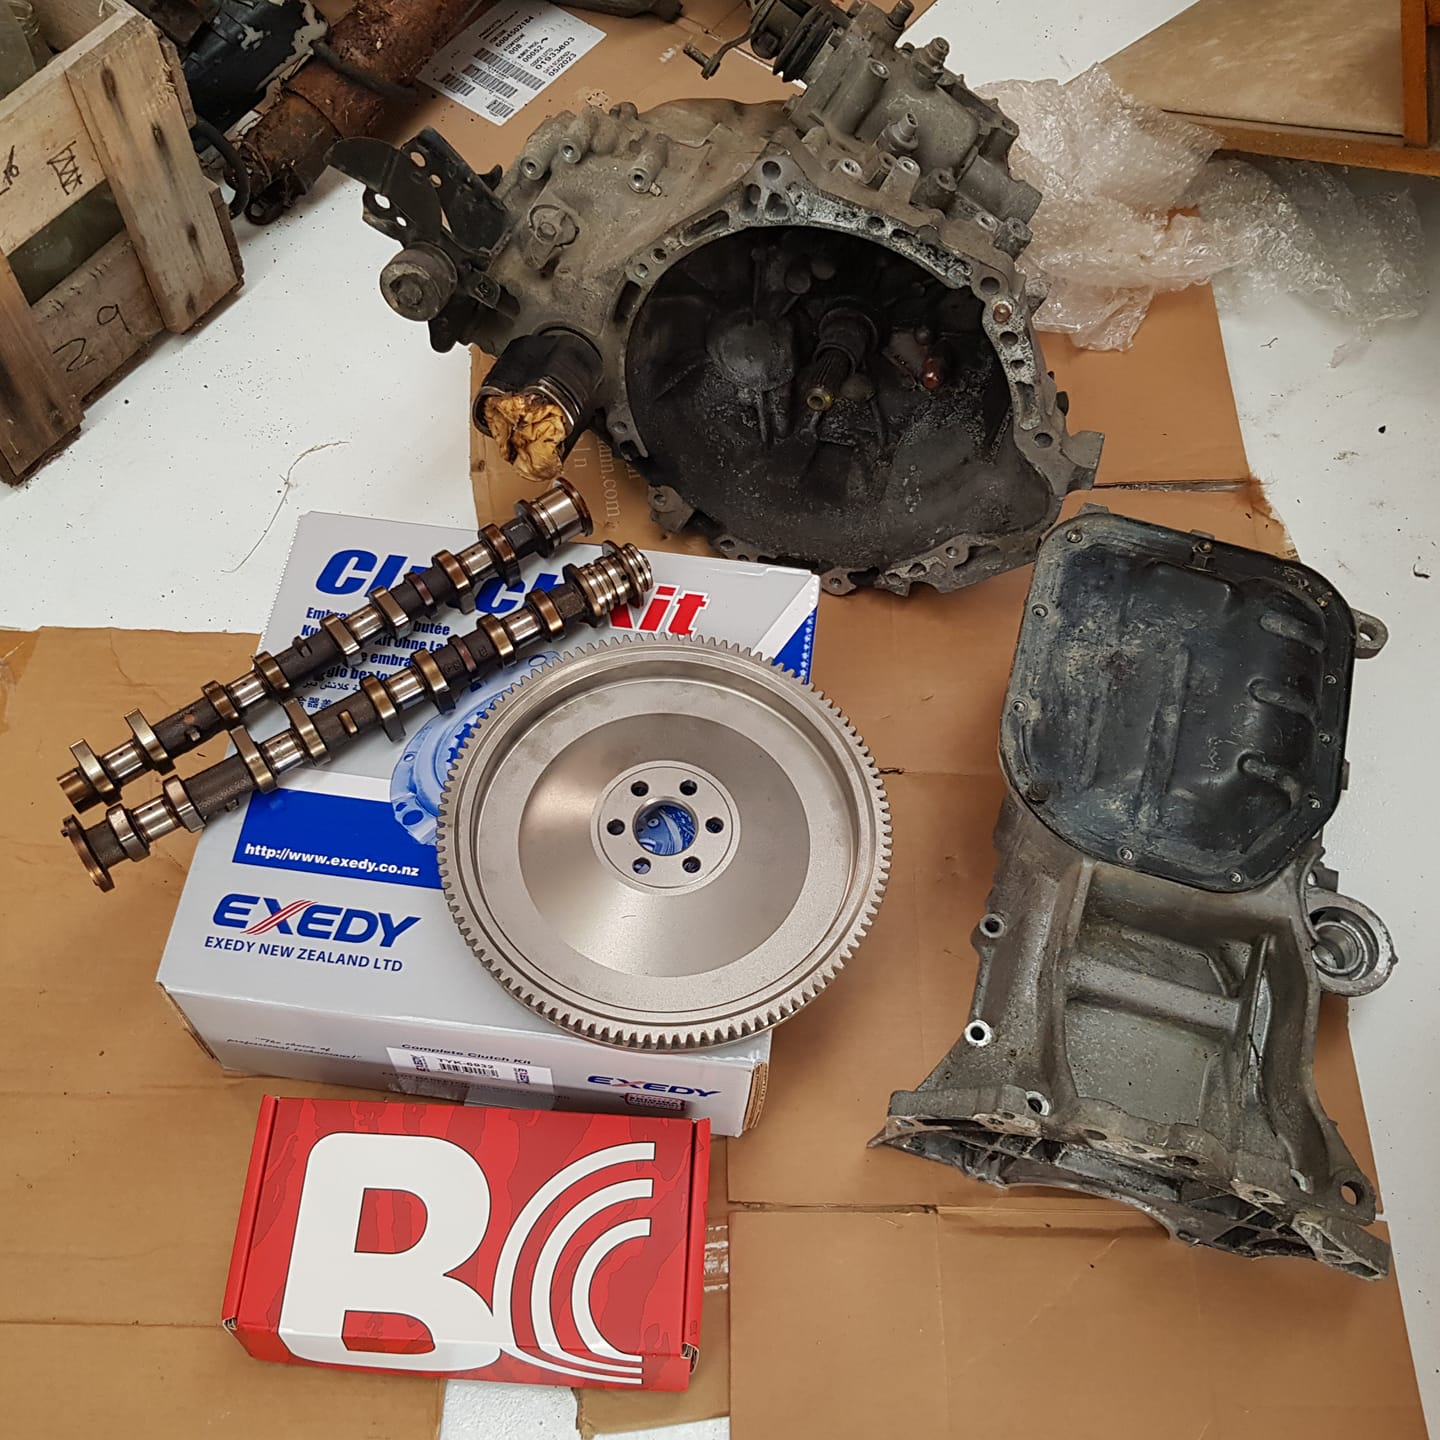
My new work car arrived, and it's by far the nicest car I've ever "owned". Some fun gimmicks like paddle shift, cruise control, decent power etc etc its a turbo deeez that goes hard 4 wot it iz It doesnt even rattle or anything. Amazing. Really nice on long work trips, which I do a lot of. However obviously the best part of all this, and why it's in this post. Is that this now means my Echo has been released from its daily driving obligations, so I can start on drivetrain swap soon. Time for a full blown big block fuck around! I've still got the engine in storage up at my Dads, but have collected most of the necessary other bits. Also because I am a financially reckless man-child I have also ordered some JUN cams, fuck you bank account
2 points
-
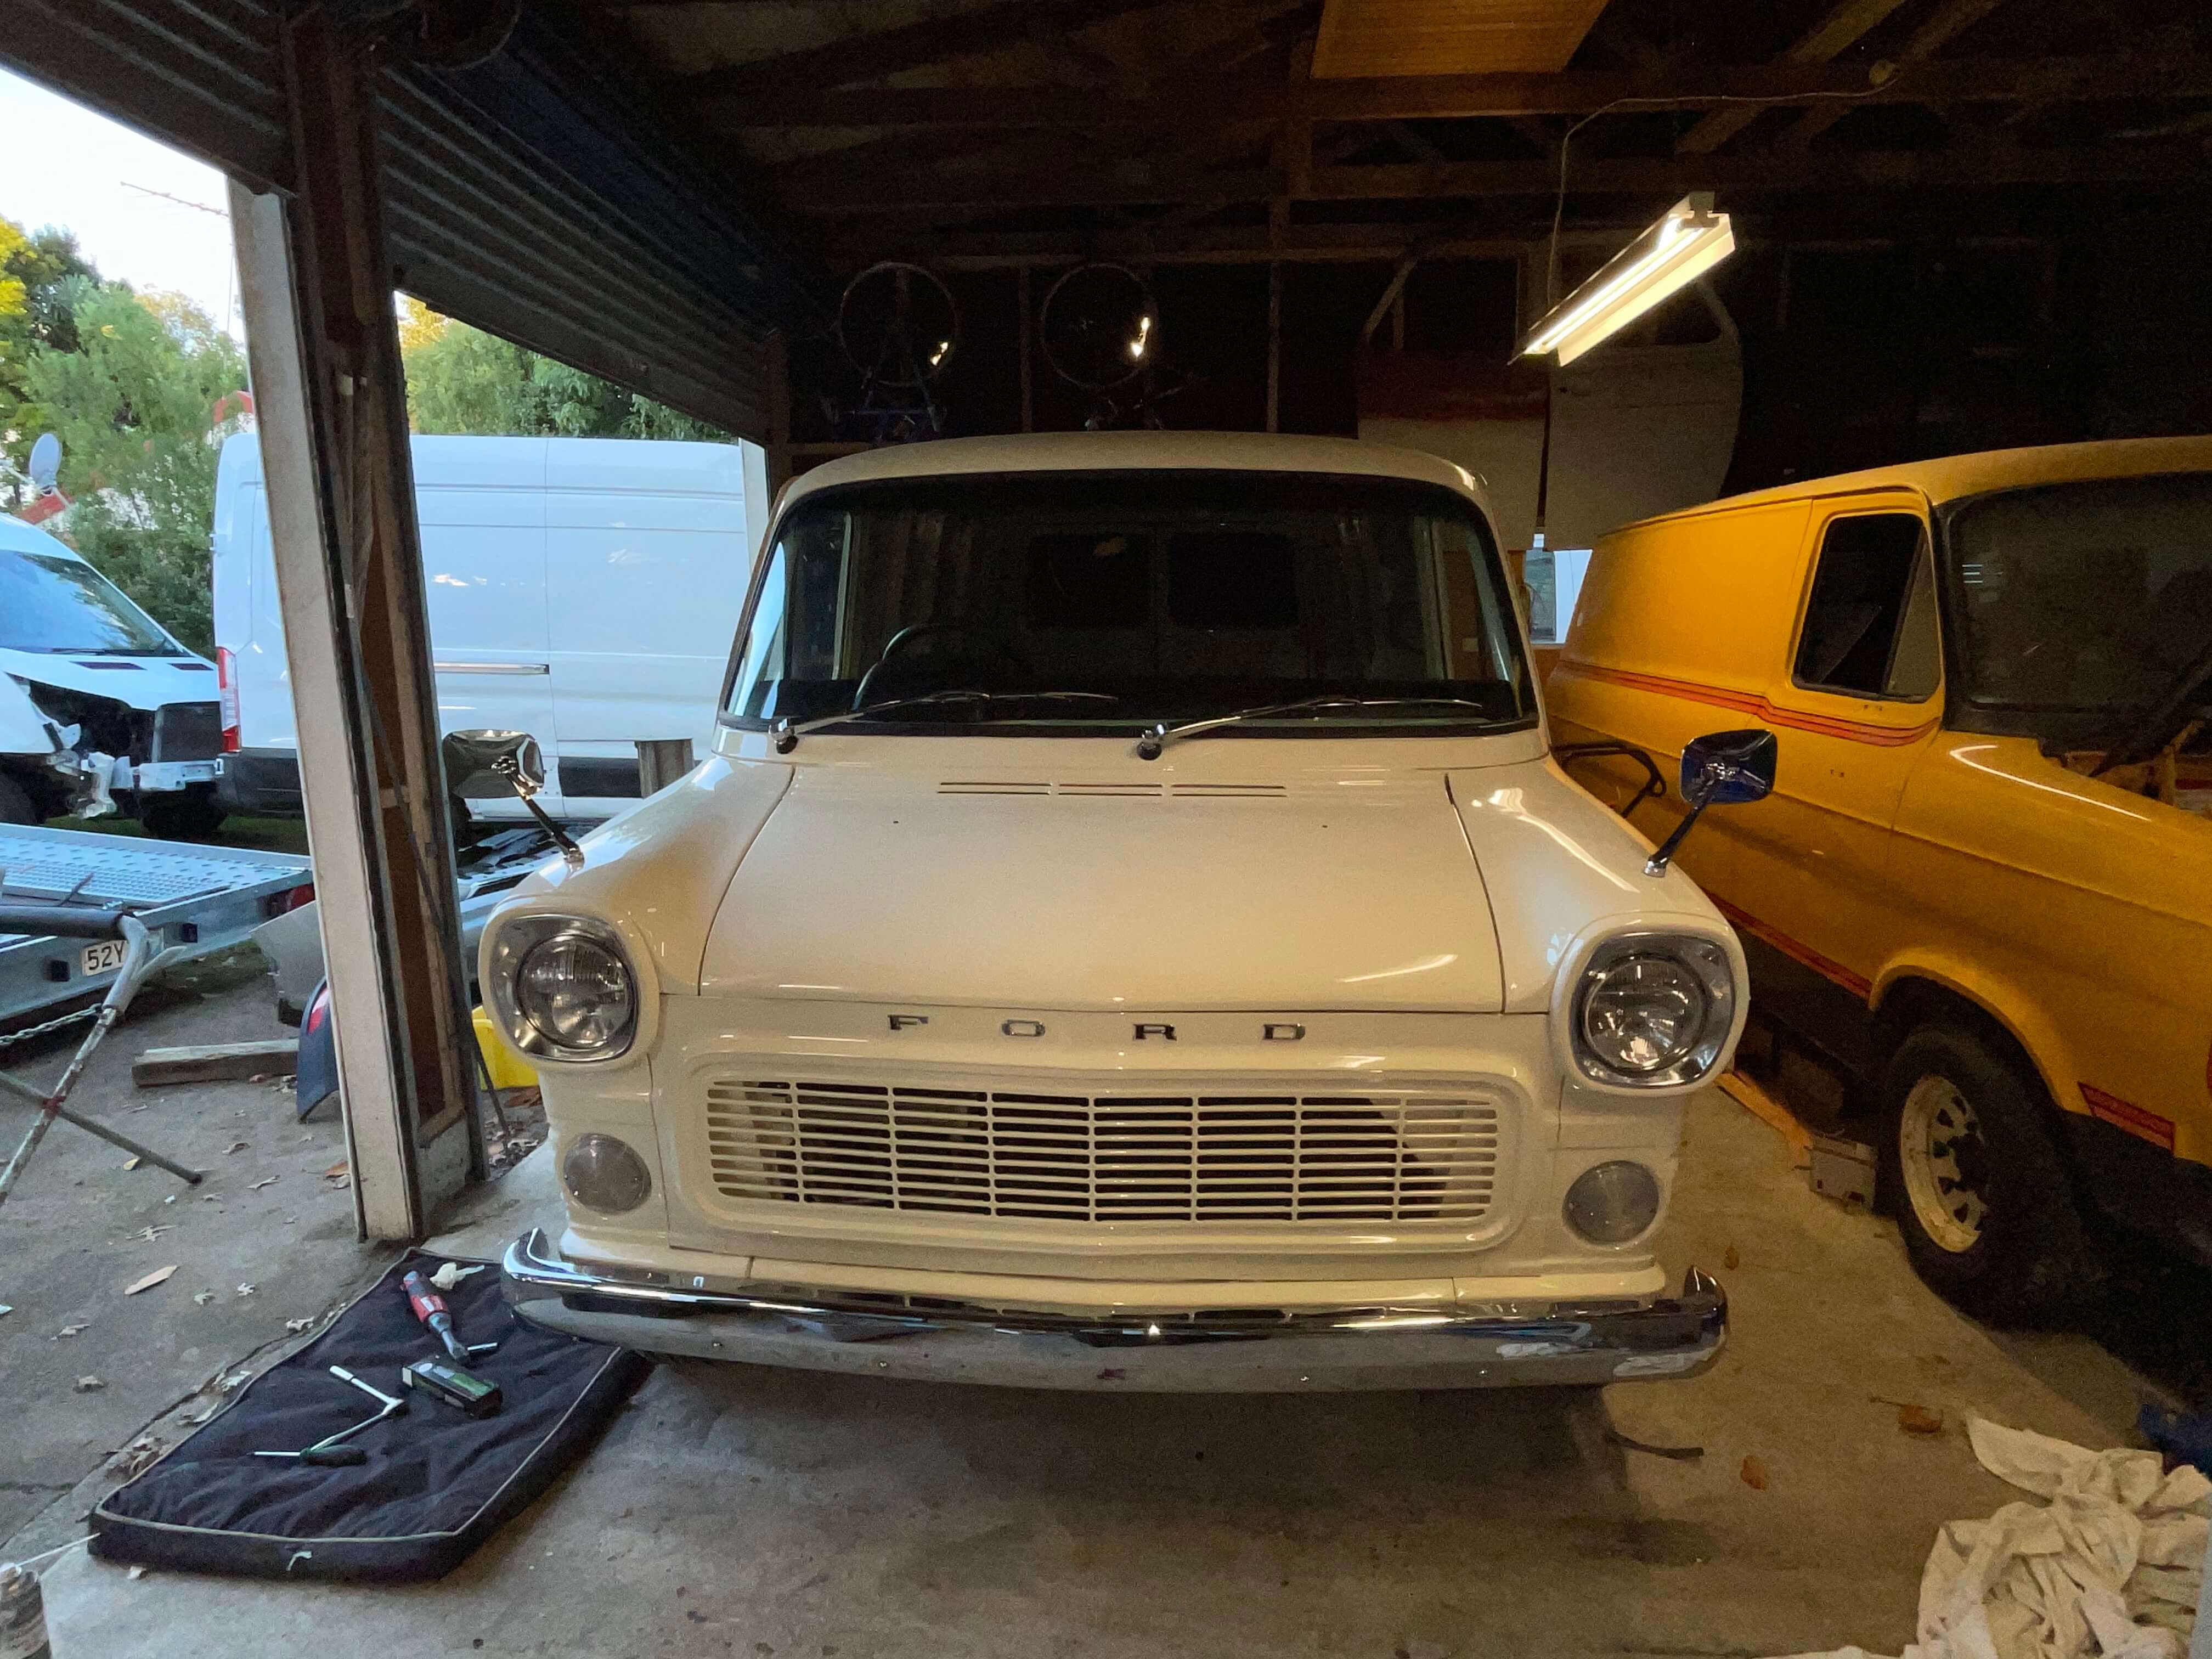
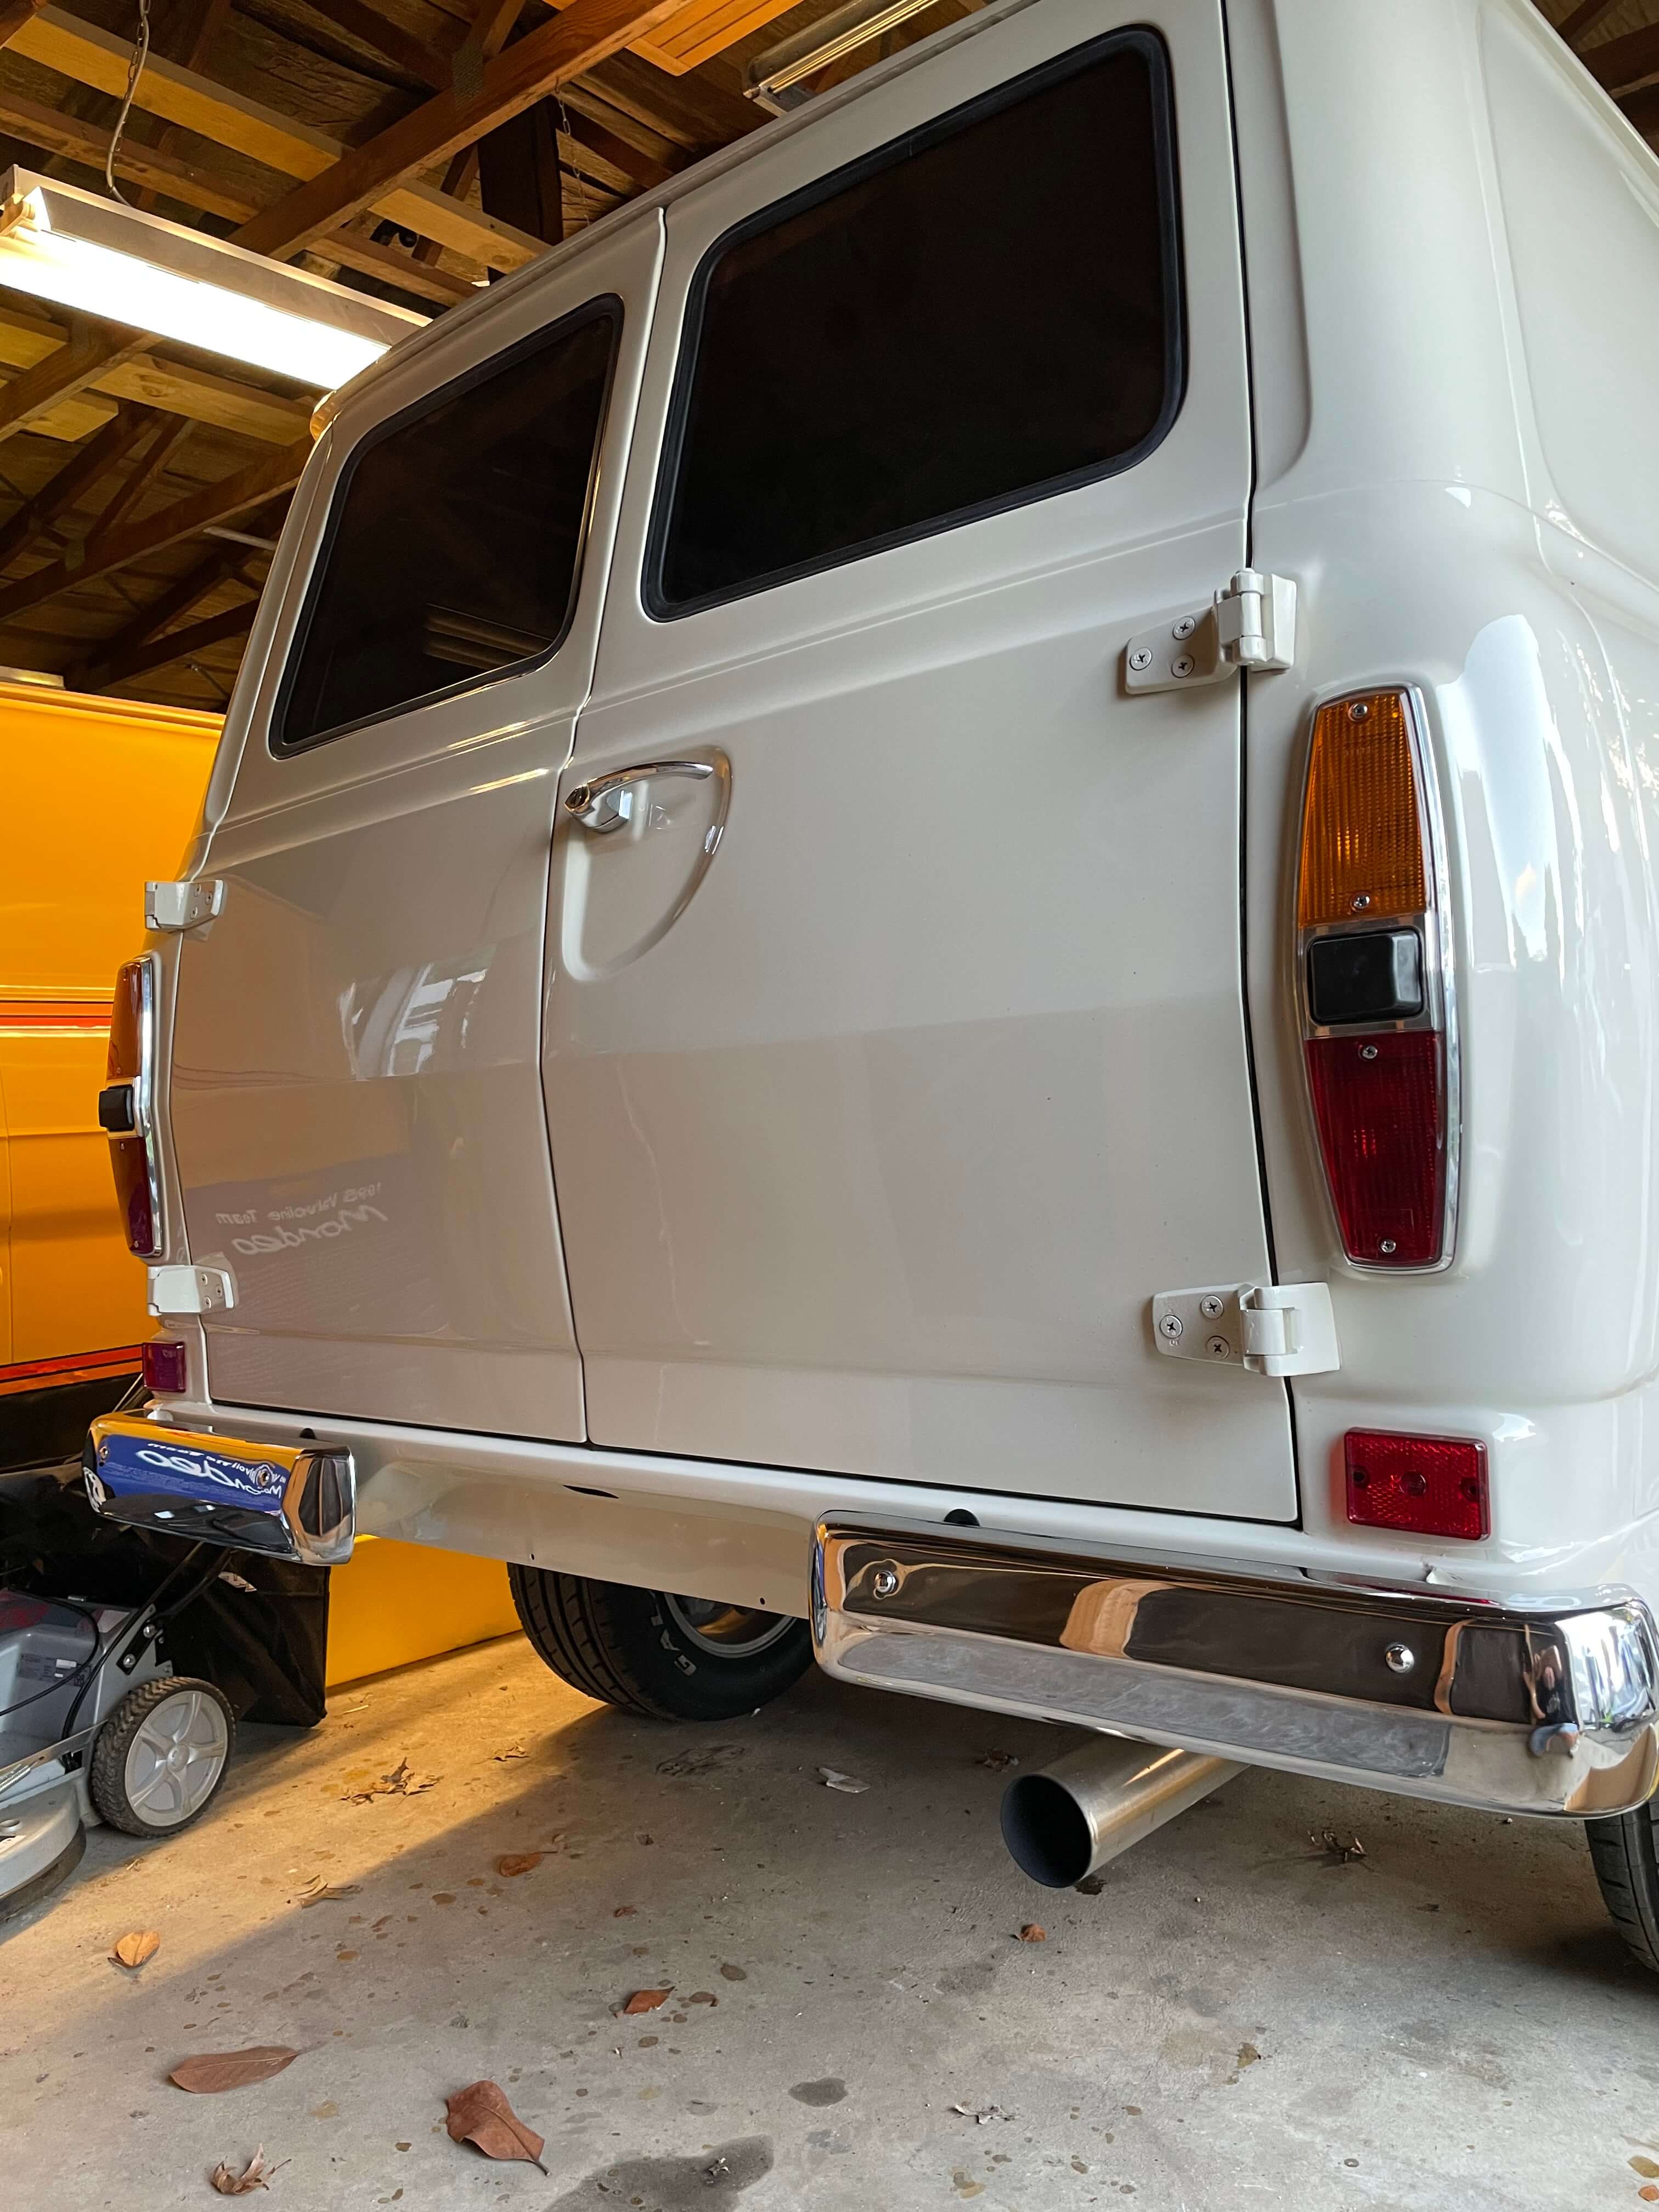
I thought it was time for an update. Been a bit busy on other things, so the Mk1 has not had a lot of attention lately. But just cracked into it a week or two ago, and it is nearing completion now. Lots of NOS parts being fitted, which is always fun. A few pics to show the progress.
2 points
-
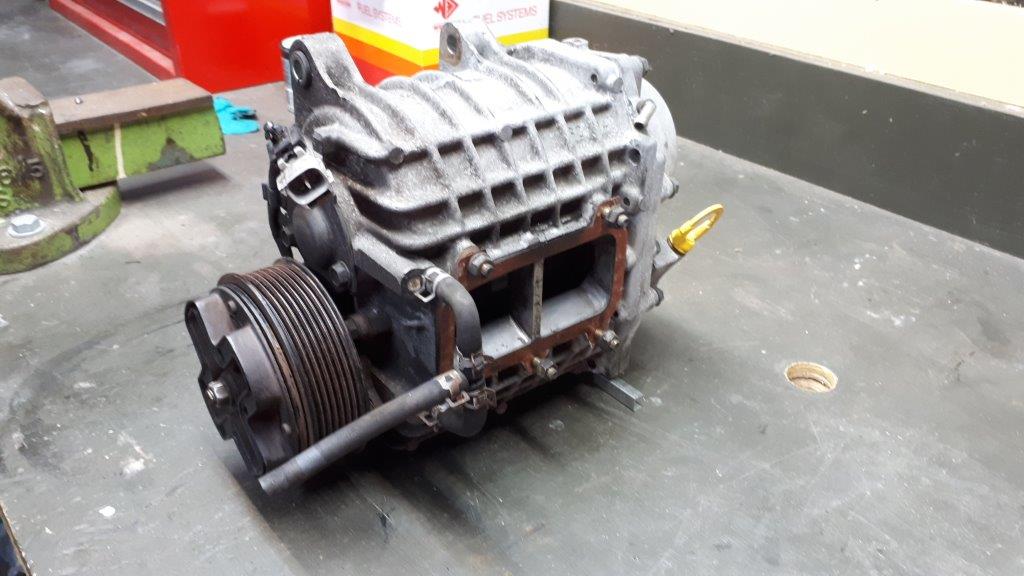
The Sigma has been sitting around a bit. I drive it every so often but it's kind of underpowered compared with my Aussie 6 cylinder stuff and I really wish it wasn't. I have been toying with the idea of repowering it but I thought I might try to liven up the stock engine first. A buddy of mine dropped this off over the weekend. I really have no idea what I am doing but that has never stopped me in the past. What could possibly go wrong?
2 points
-
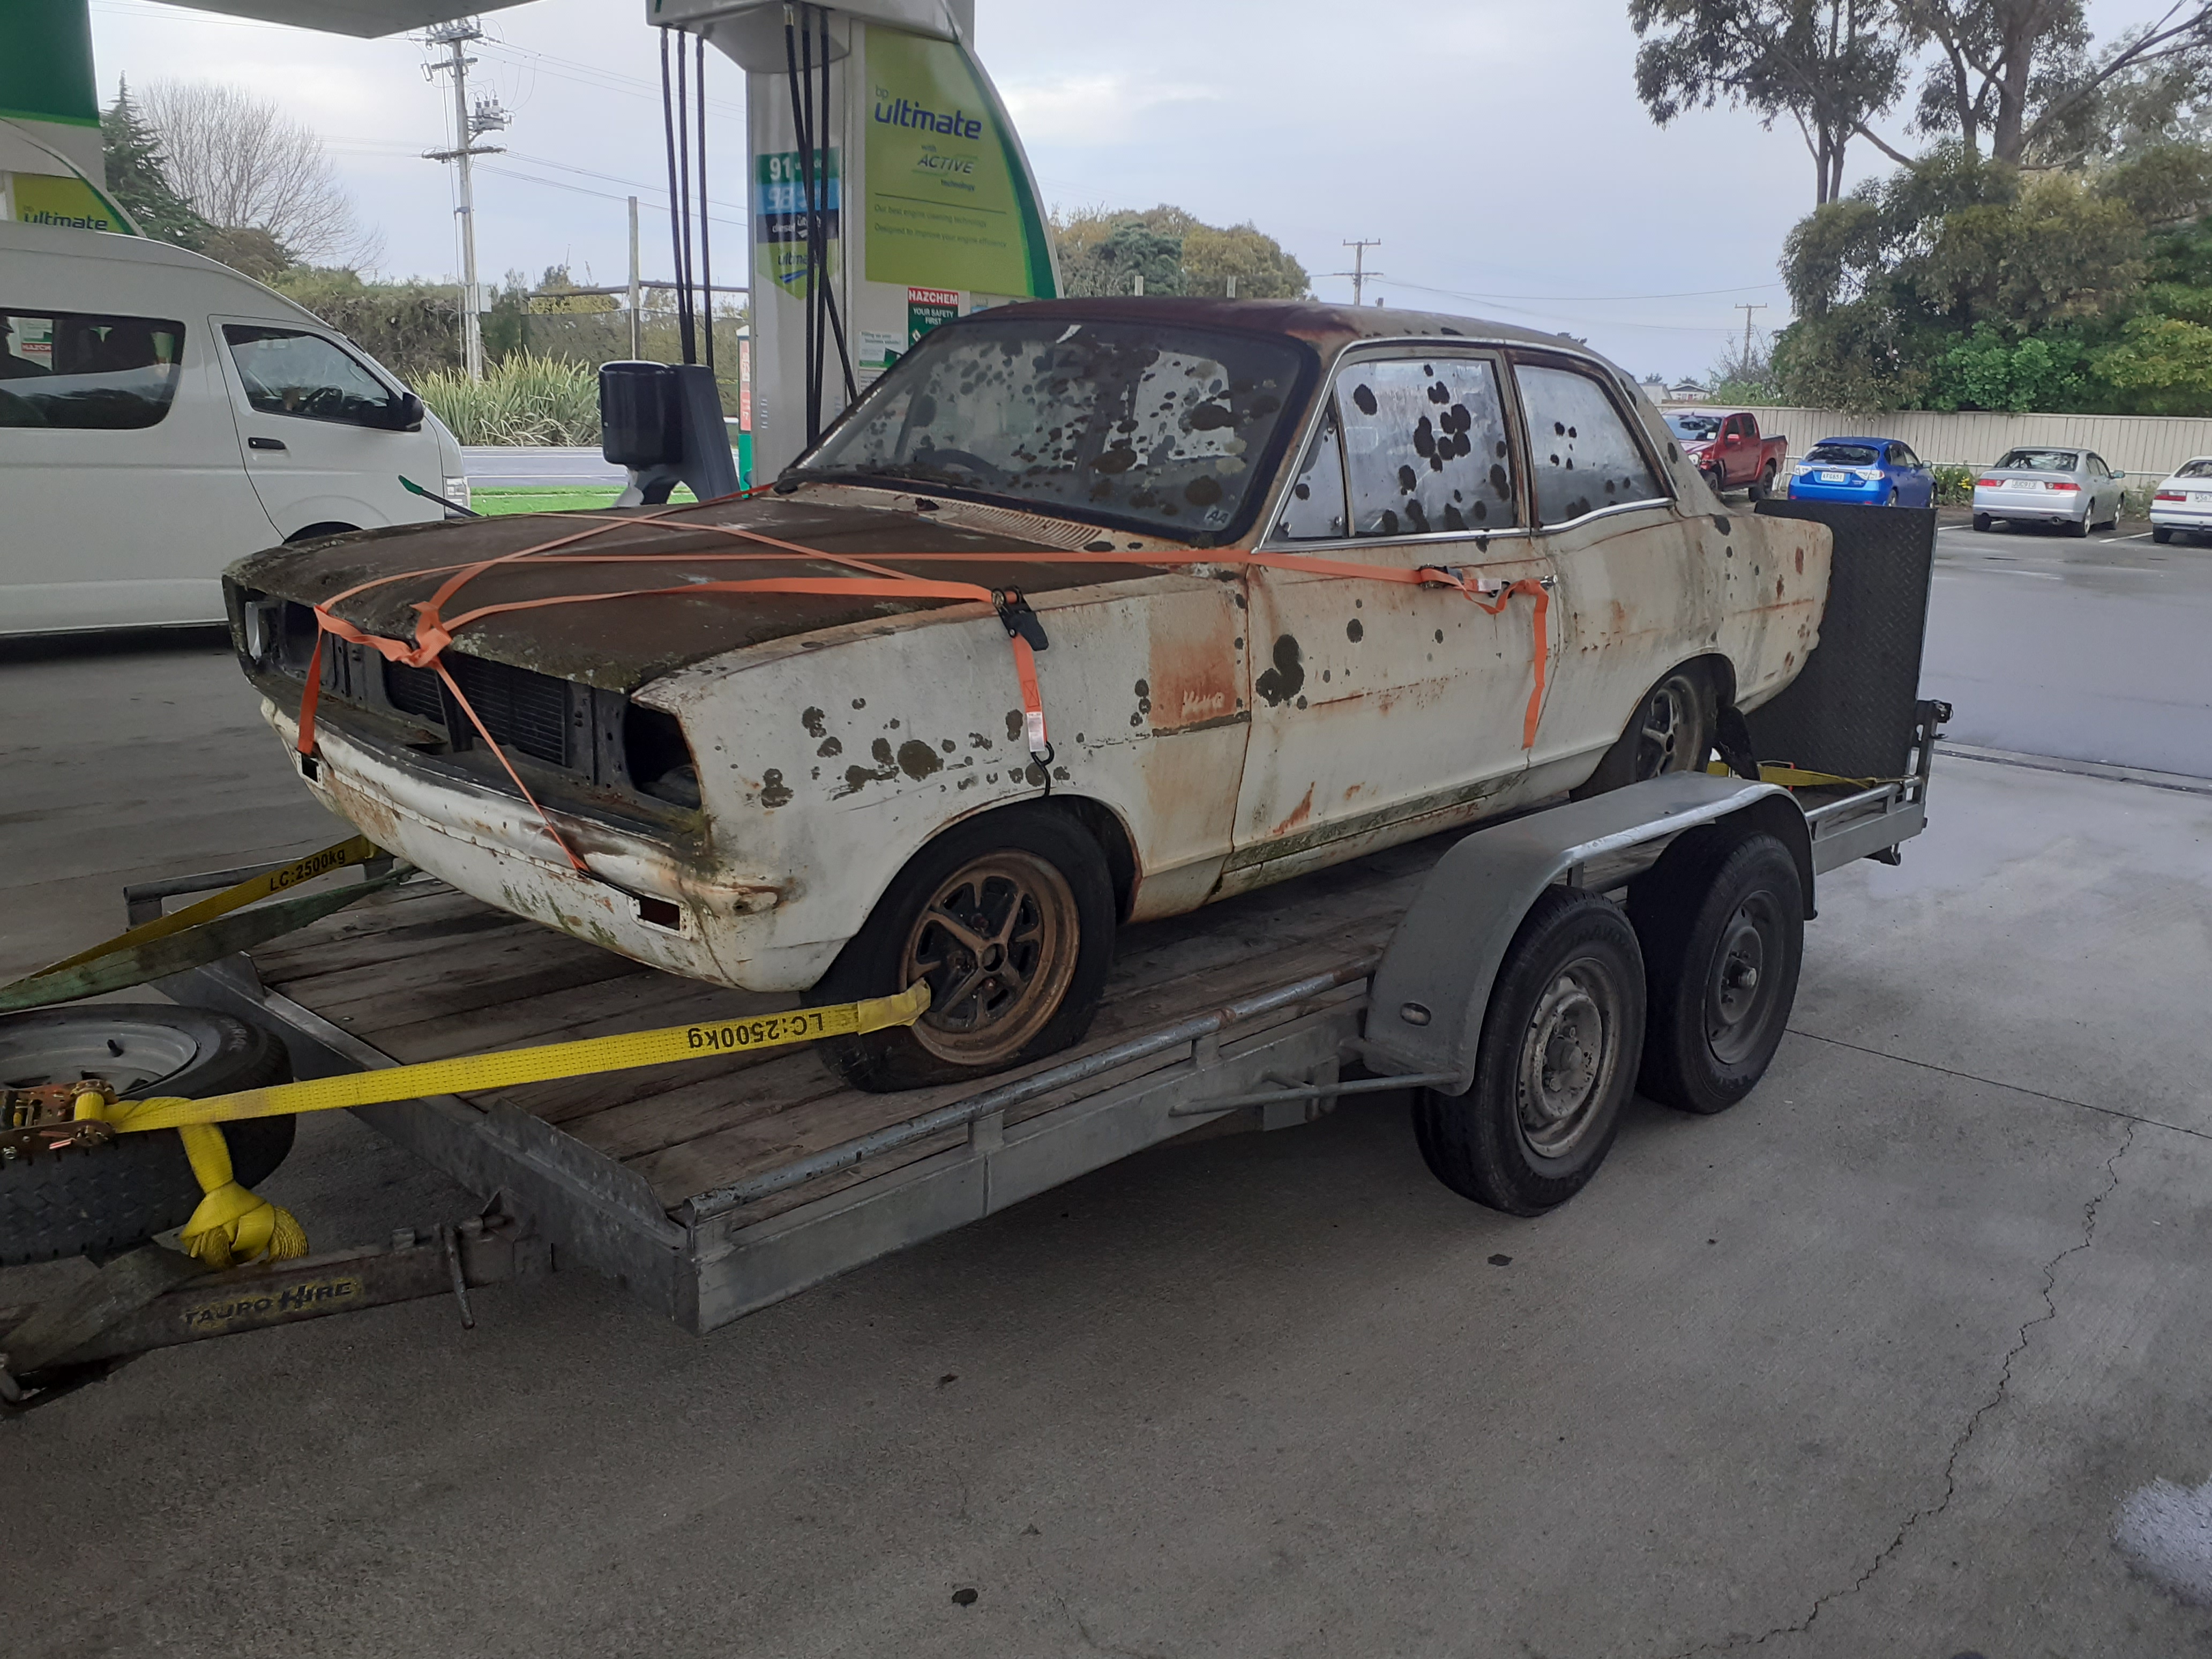
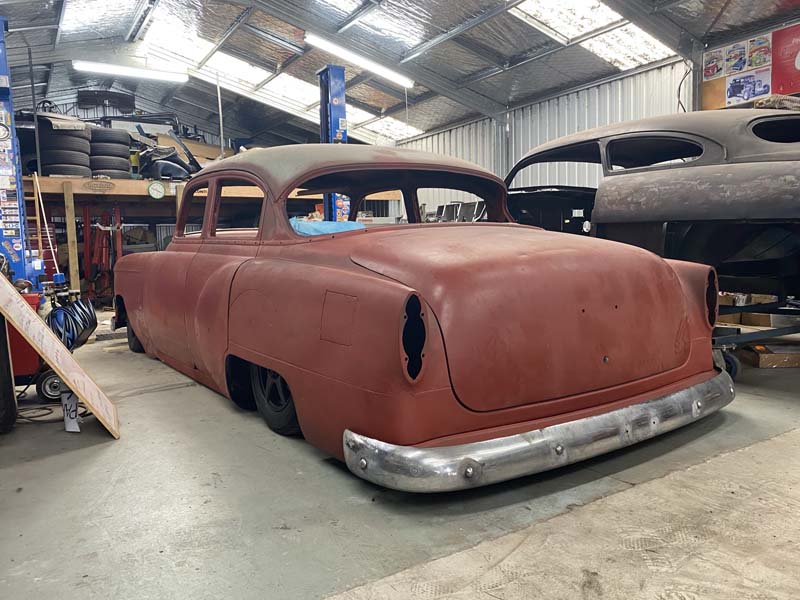
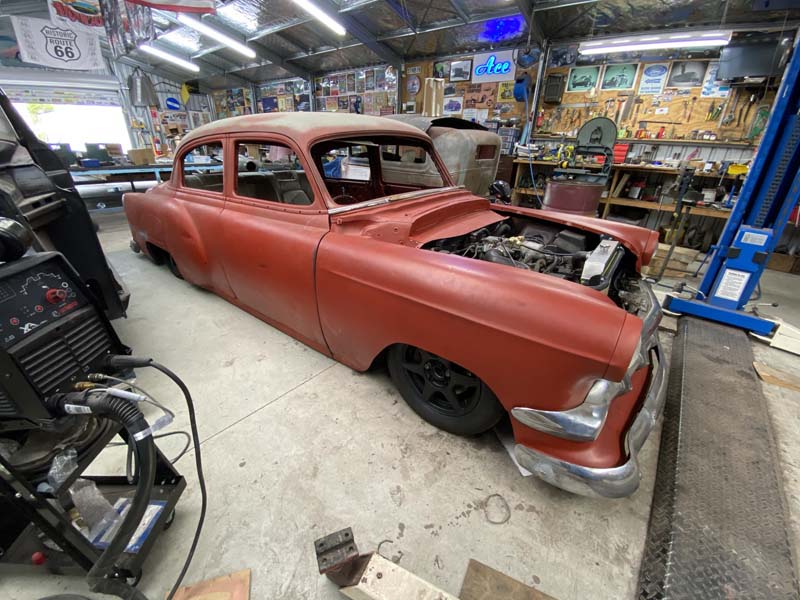
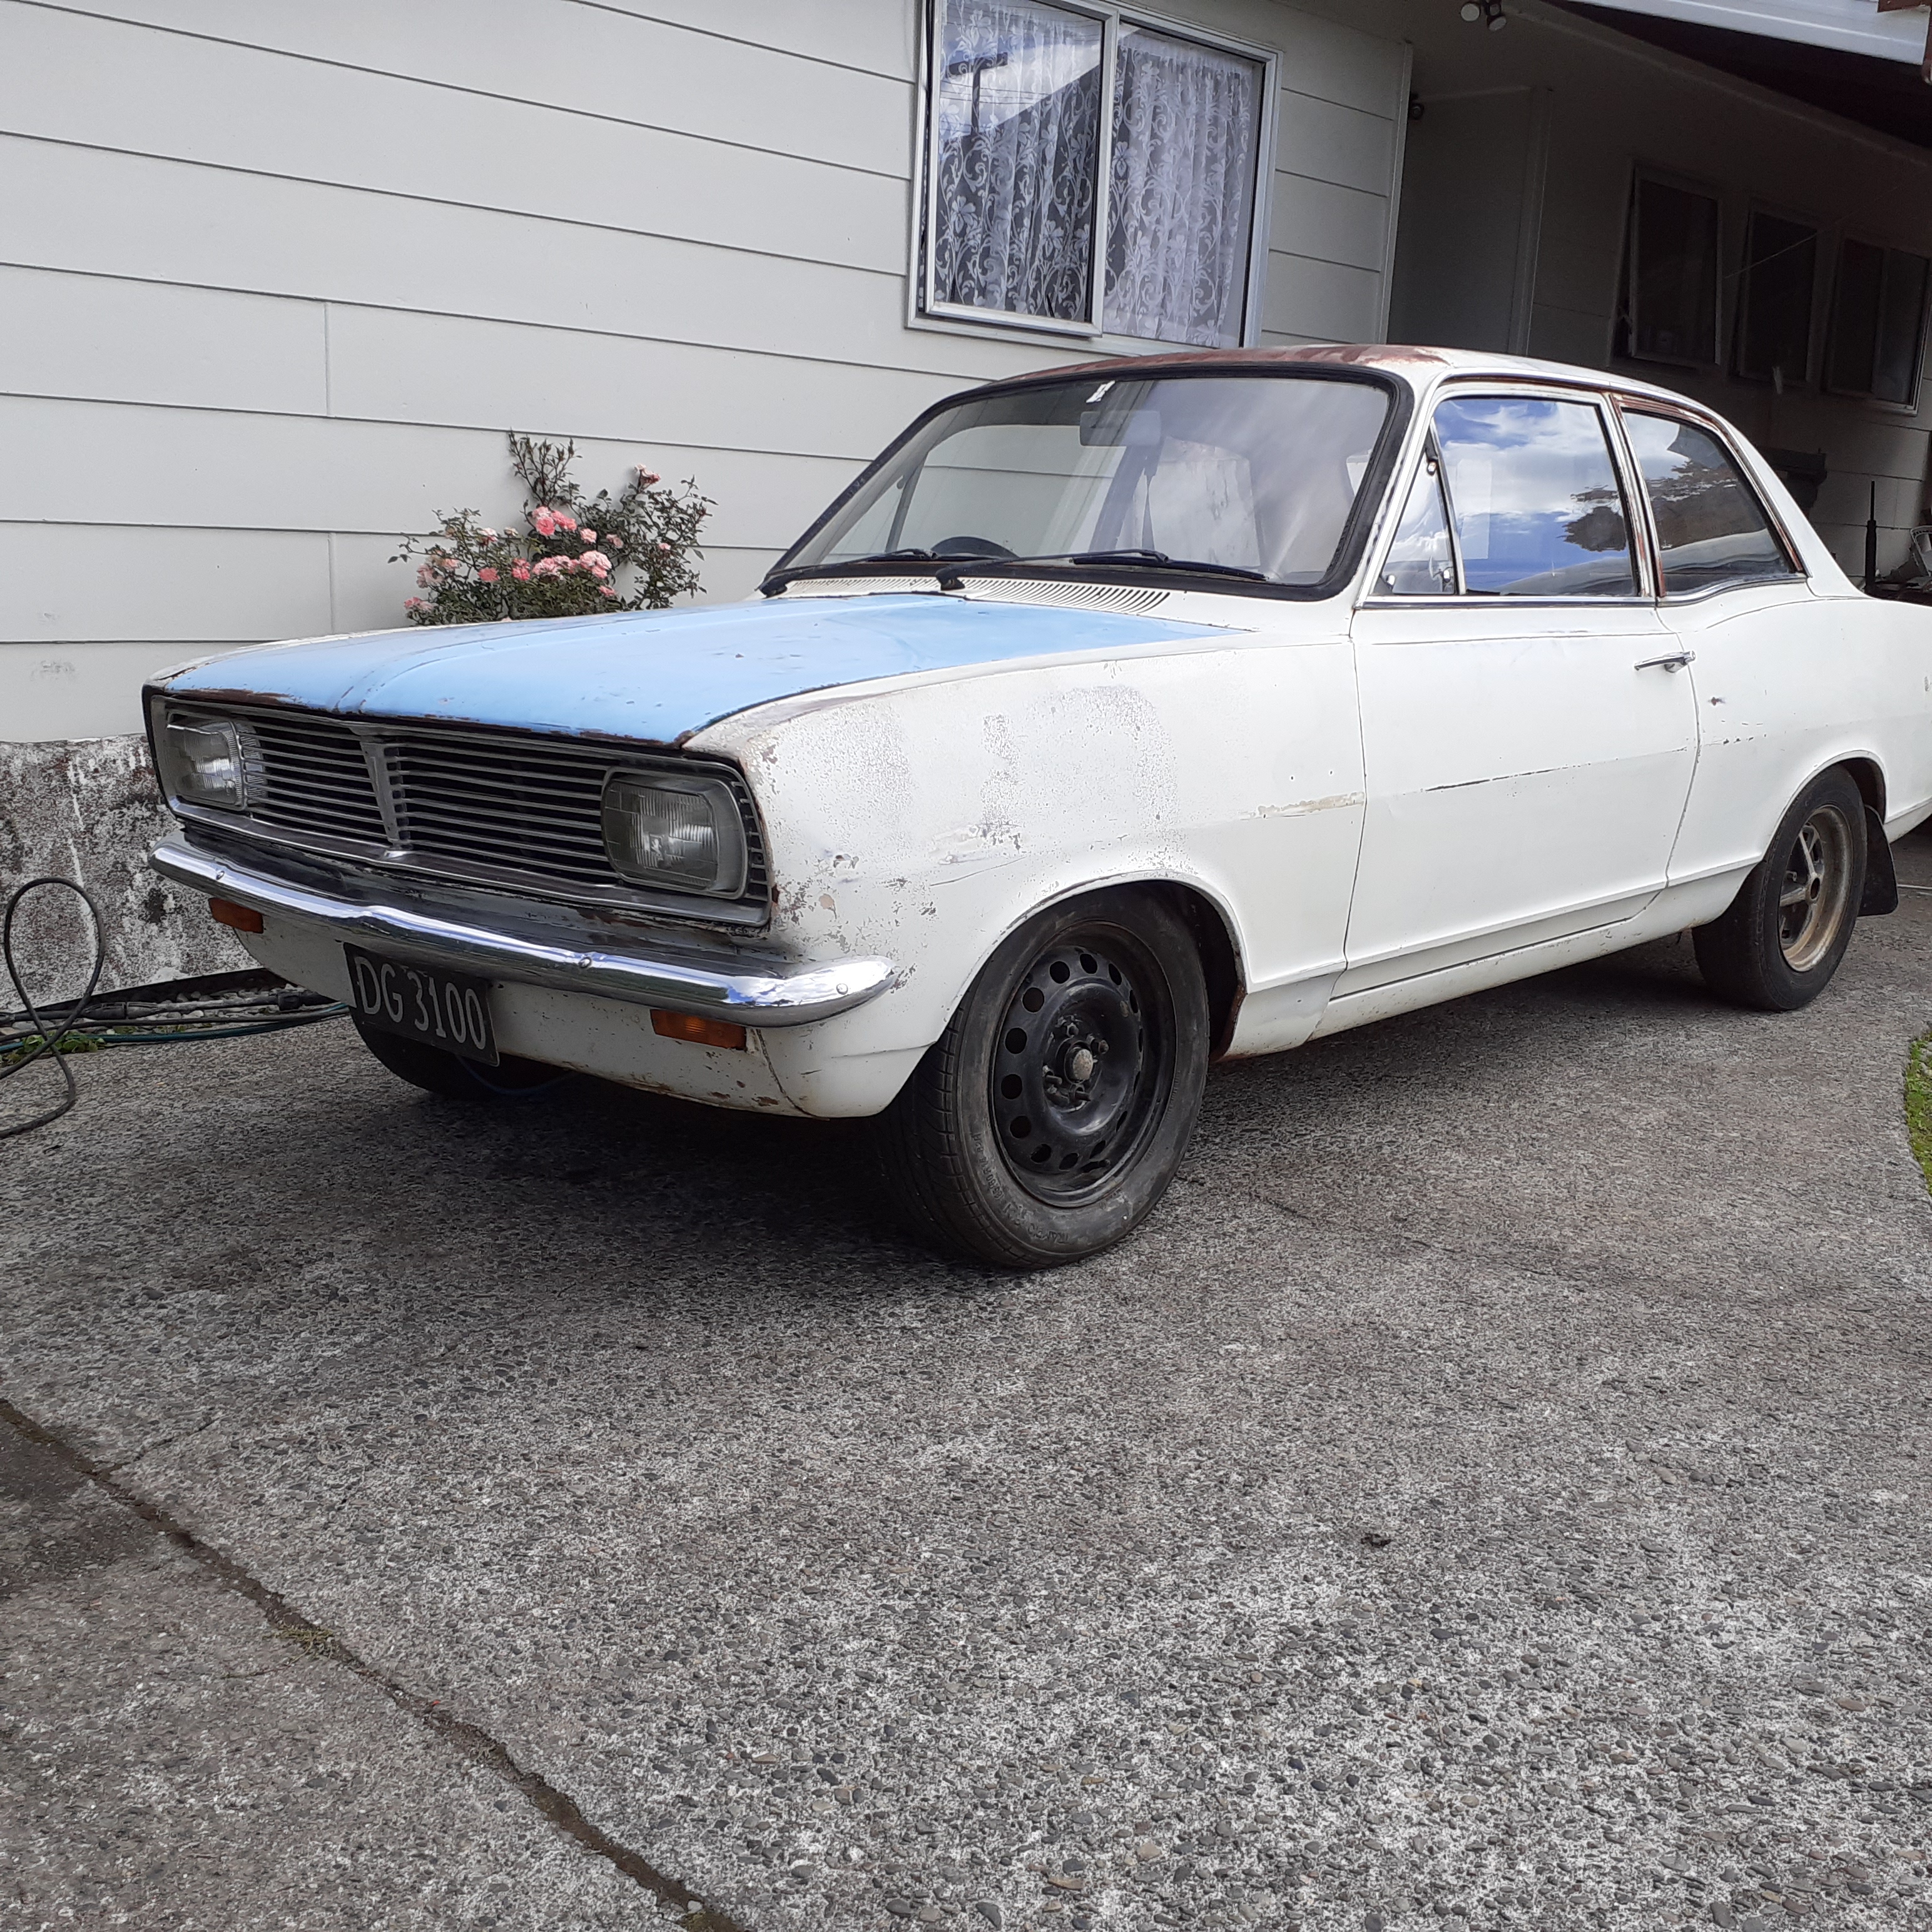
I first owned this in 1996. I put a 283 chevy in it and had some fun. Pulled the engine after a mate crashed his and sold the rolling body to him. He put his running gear in it (1900 Commy engine and magnum diff etc) but never finished it. I had been on at him to sell it back to me for a while. A few months back he messaged me to come get it as he was never going to finish it. This is how it looked when I picked it up
1 point
-
Think we need an old school "shit bike" trail ride up Thompsons track in the kaimais or similar.1 point
-
All the formula Atlantic stuff was 16v I think? And as far as a I know, they were about as good as 4AGEs got, not sure why 20v were not used?1 point
-
Or throw $50k at a MRP build for your Instagram1 point
-
oh dang i just noticed that the rpm is off in that graph, which means i forgot to change the rev limiter on the itb tune. soo turns out 35 year old stock valve springs are good for 8500rpm haha1 point
-
LPG? So keen to see petrol vs lpg. 16V vs 20V. More vacuum cleaner oil separator1 point
-
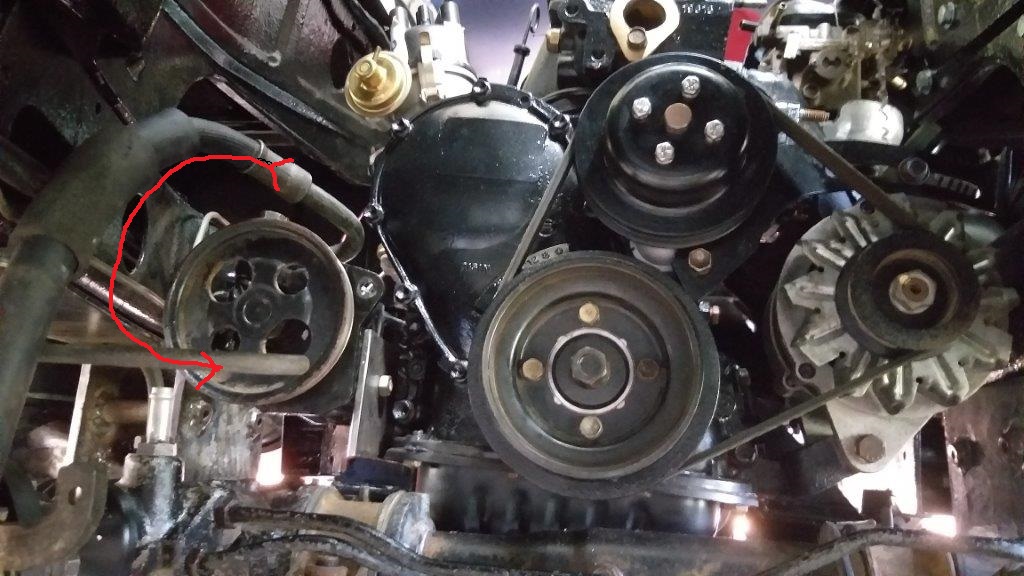
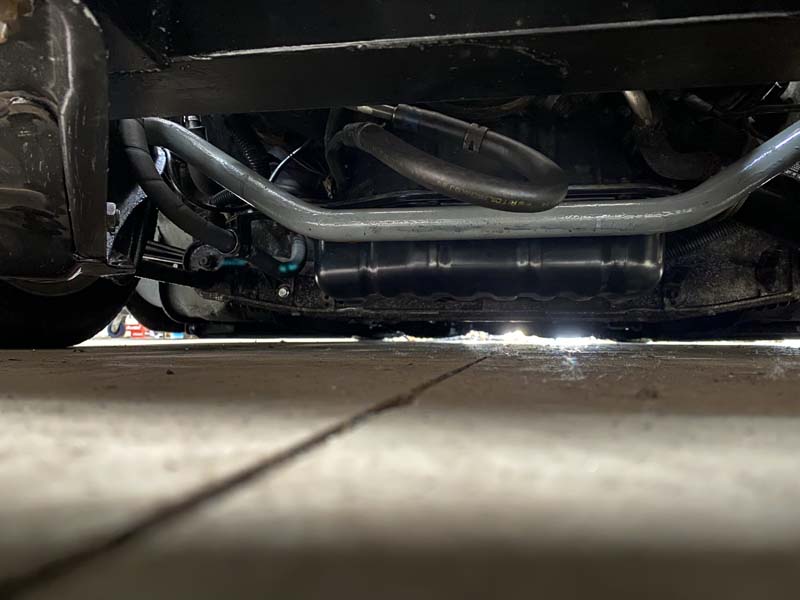
Next step is to figure out a good place to mount the fluid reservoir and I can then work out the pipework needed. I grabbed the pressure pipe from the Mitsi donor van and hooked it up to the pump. It's way too long, but at least I can re-use the fittings on either end. I've puzzled more or less what I need as shown in the marked up photo below, but I need to test mount the radiator to double check clearances, before I start modifying the pipe. My neighbor Lane earns a crust making up hydraulic hoses and should be home this weekend coming, so I'll call on him for a hand. Thanks for reading.
1 point
-
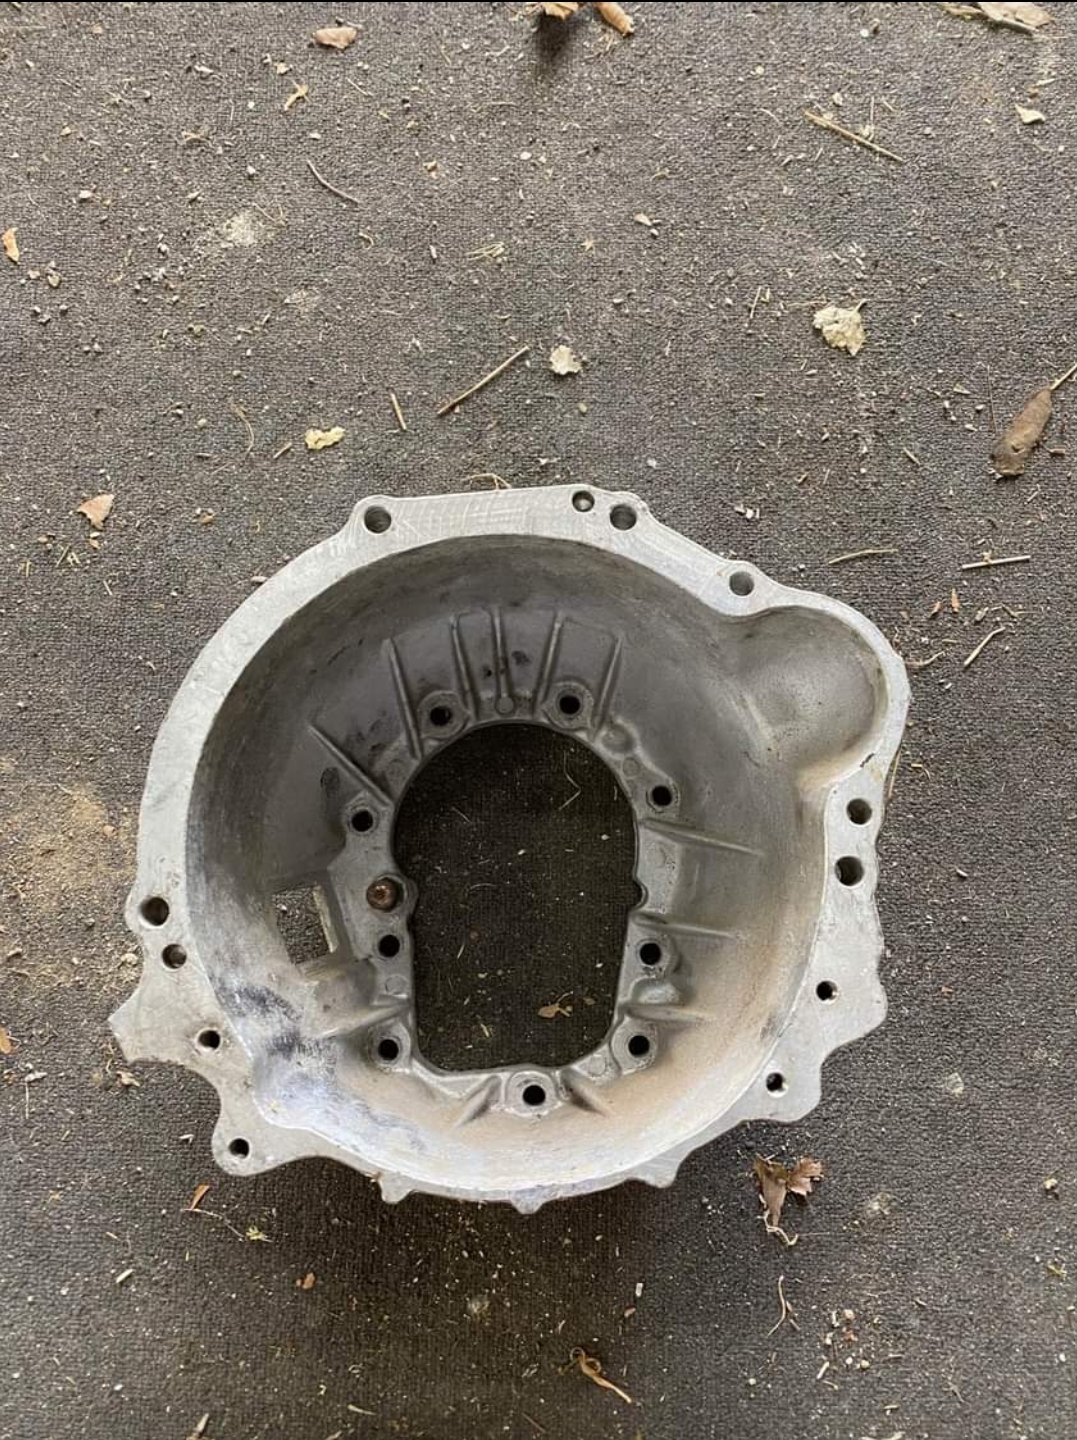
4age - w55/g52 bellhousing popped up for cheap on marketplace that I've secured. Need to figure out which flywheel ( I have a gze one and a NA one) to use and sort a clutch The 13s are currently at Pine Engineering getting some much needed love.
1 point
-
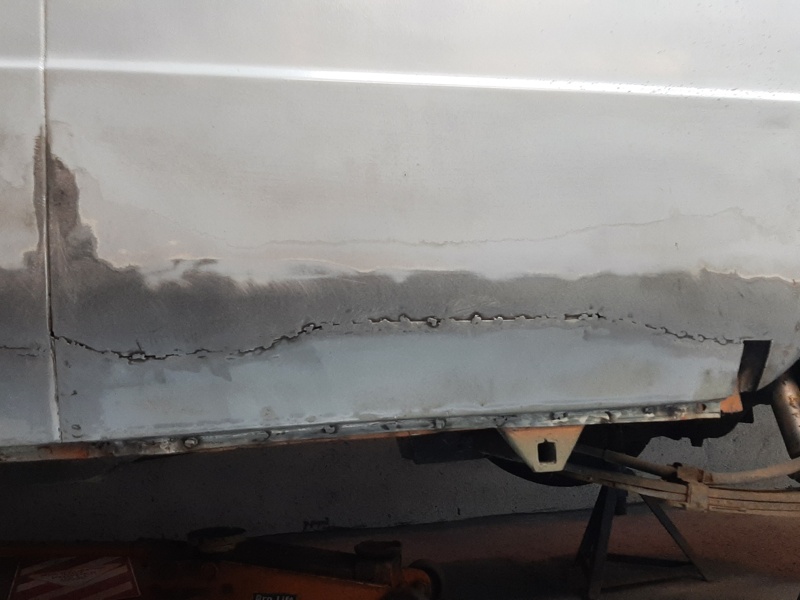
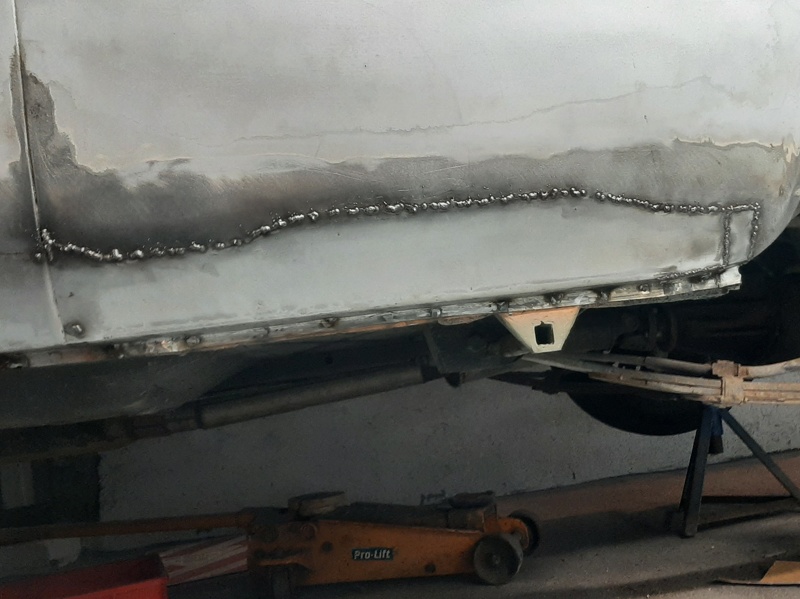
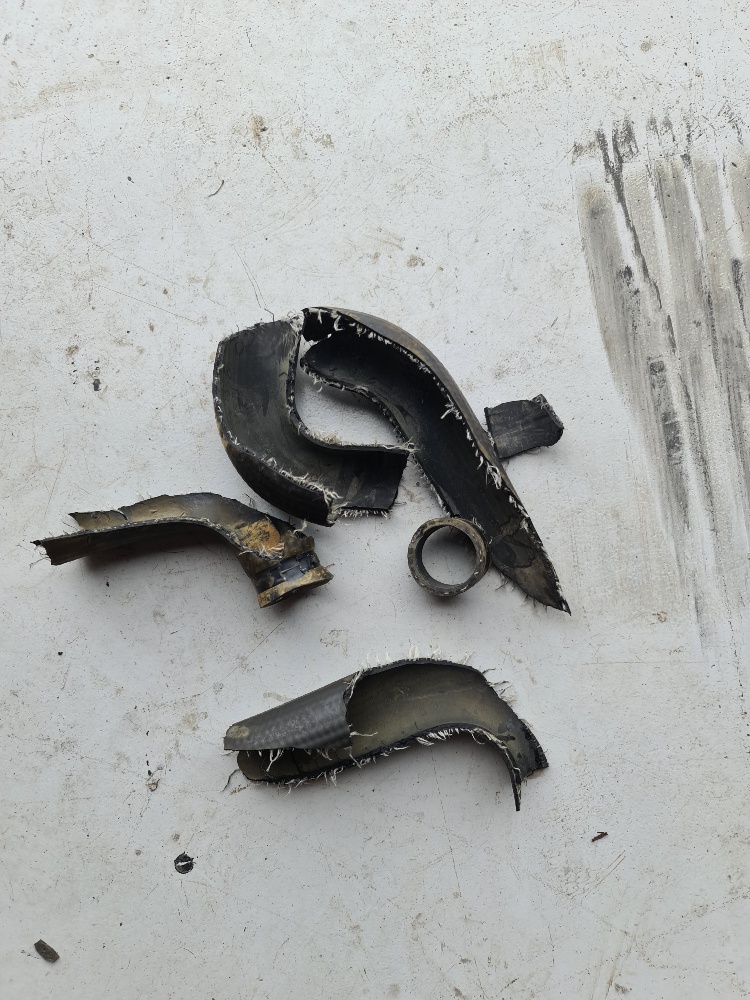
Picked up this folder from @nzstato suburban building site/landrover barry trap. A few test folds on some scrap and then onto a long section. Came out very nice and 100x faster than the vice and hammer Ive used till now! Long weld in a big flat panel with no rear access for a dolly so taking my time. And little filler piece, folder just not quite long enough and it kicks up at the rear wheel arch too, so it worked out ok. Too late for noisy grinding but all tacked in now. Will grind that smooth and then much the same again on the drivers side. Ill do the filler work all together once the welding is done.
1 point
-
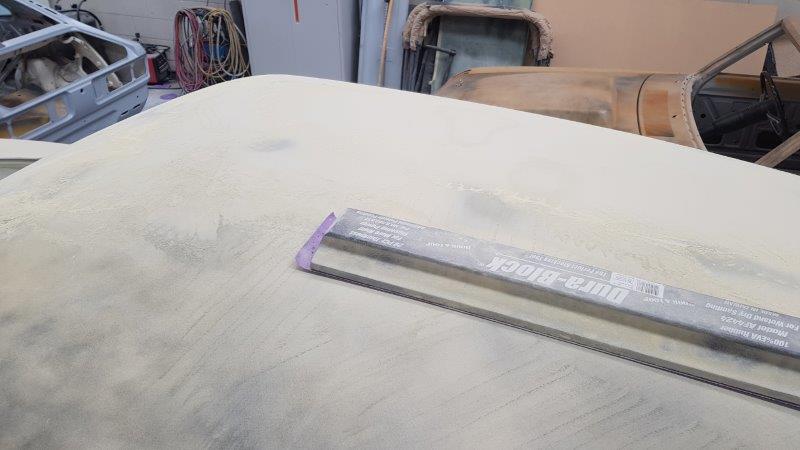
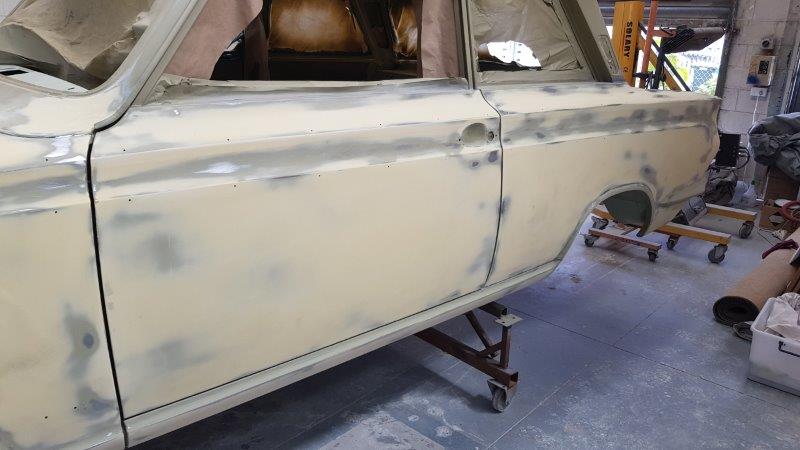
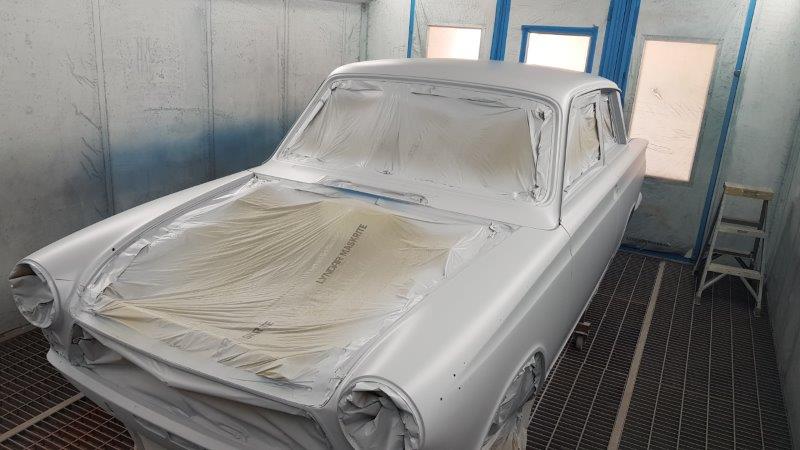
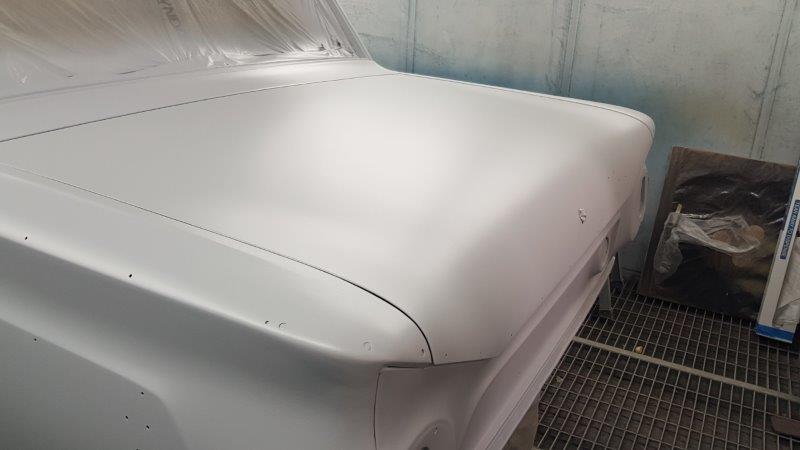
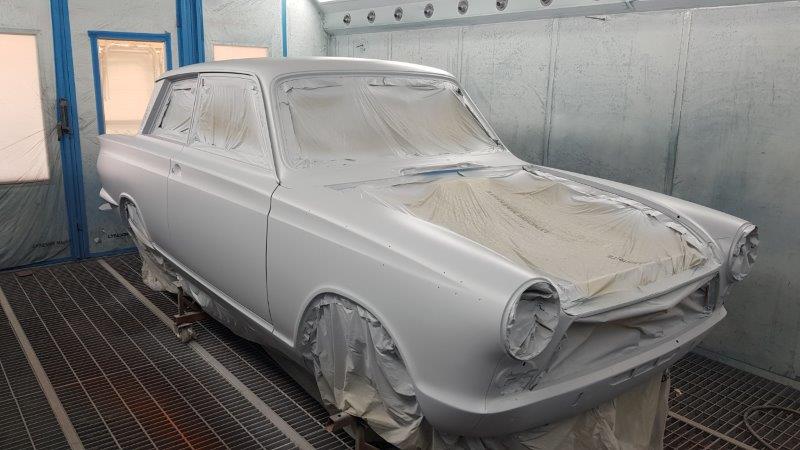
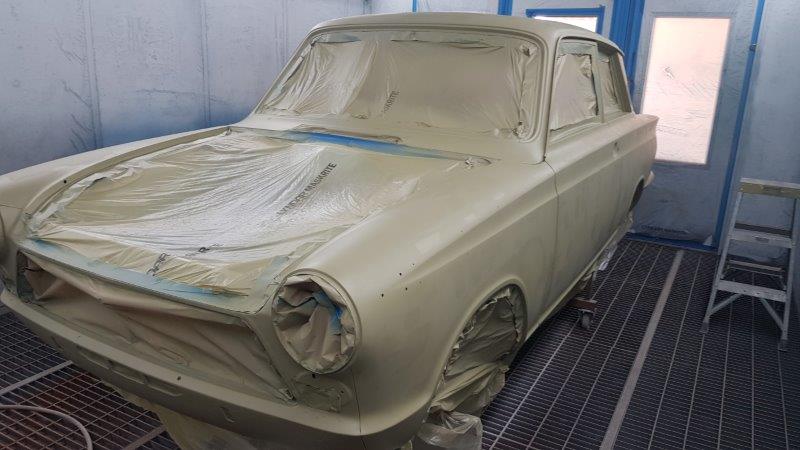
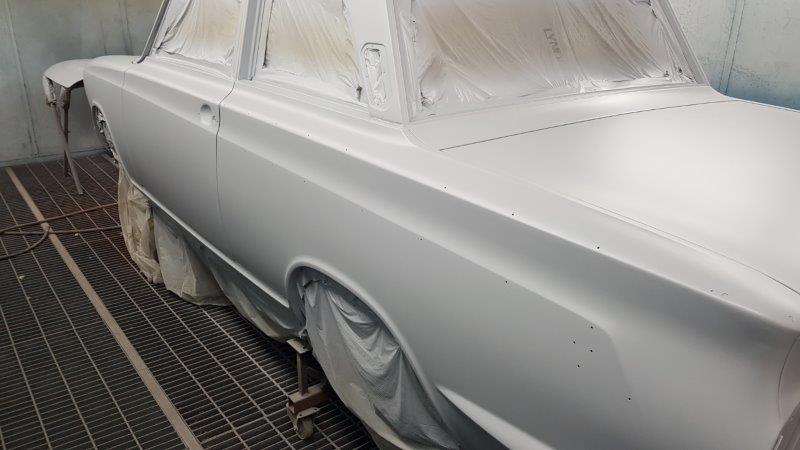
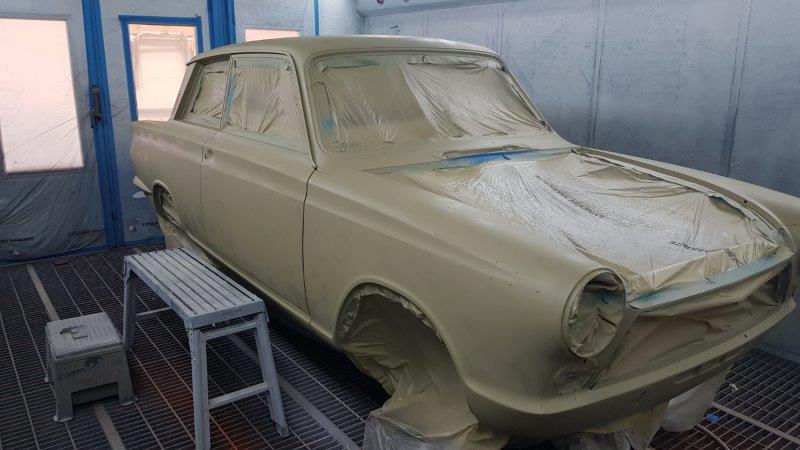
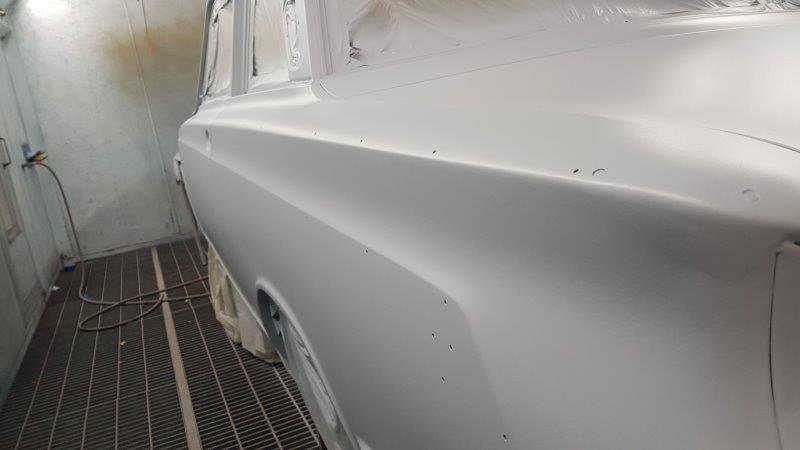
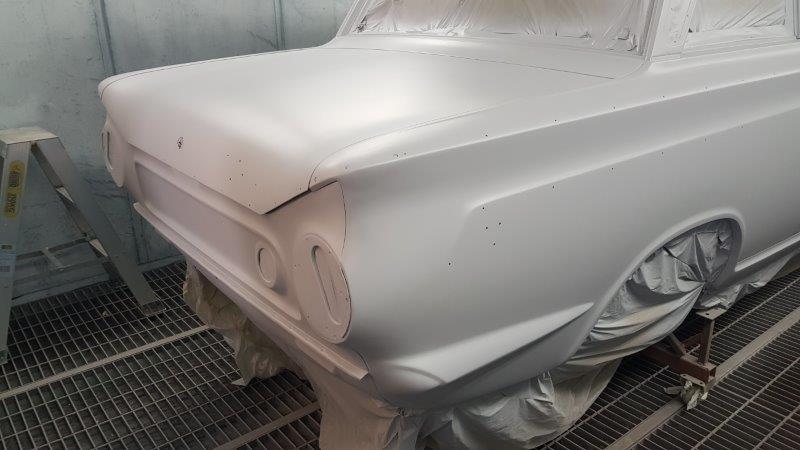
After sitting for a couple of months to ensure no issues under the first coat of primer the paint is progressing well and will soon be ready for colour
1 point
-
I refurbished the rear drum brake setup today. I almost left it as is, but I'm glad I didn't as it definitely needed stripping down. I removed the drums a while back and had a quick visual inspection, and whilst one side looked like it had been under the ocean, there was no brake fluid or axle grease where it shouldn't be. I started on the LH side, which didn't look like it had been under the sea, but instead had been full of bugs and spiders. The whole drum was packed with cobwebs and took a lot of cleaning and vacuuming to not be grossed out. The shoes look really good, almost new I'd say, and everything was very dry. Someone had been in here before though as this big, annoying to install, spring should be behind the shoes, not in front of them. Removing the shoes is a case of removing the little retaining spring pins, removing the big spring and then the pair of shoes can be withdrawn from the backing plate. With the shoes out the cylinder can be removed by undoing the pipe(s), removing the boot, sliding the U shaped clip downwards and the spring clip upwards. The cylinder should be free to remove. This one looked OK. The boot was torn, and the piston had some crud built up on it, but the bore was clean. The piston seal looked so good I probably could have reused it, but since I ordered a replacement seal kit anyway, I replaced it. The seal kit for this car is from a Spitfire and has 3/4" (19.05mm) bore. With the build up carefully scraped off and polished with some fine sandpaper, the new piston seal goes on. Now, before installing the piston in the cylinder again, install the boot first. This is a real prick of a job as it needs to stretch over the top, and it's a very tight fit. And carefully install back into the cylinder. I chose to lube the cylinder walls and piston/seal with brake fluid for assembly. Reinstall the clip and you're done. There isn't a heck of a lot to a wheel cylinder on these. I cleaned up and greased the self-adjuster. This just rests in the bottom of the cylinder but must turn freely. Now clean the backing plate up, especially at the points where the cylinder and shoes contact it (the six raised bumps on the top and bottom, as well as the anchor where the end of the shoes rest and behind the wheel cylinder). I used a wire brush and brake clean. Once clean, use thin smears of copper or brake grease on those contact points. Once the cylinder and hand brake lever is installed, reinstall the shoes. I found this easiest with the double spring in one end (shoe end), rest the top shoe on the hub, whilst inserting the lower shoe into the self-adjuster and then the shoe anchor. Now the top shoe can be installed. Take care not to lose the little metal H piece that sits above the handbrake lever where it goes through the shoe. Don't forget to install the retaining pins and the big spring. As mentioned, this should be behind the shoes, and I found levering it in place with a long flat blade screwdriver easiest. It takes a few tries. Done. Rebuilt cylinder So cocky, on went the drum Now to move onto the other side. This one was very crusty. Obviously water had gotten into the drum somehow, and couldn't get out until it dried over time. This drum had plugs in the adjuster holes, whilst the other side didn't. Explains why the bugs liked that side, and the water got stuck in this side. The cylinder on this side was looking particularly average. Removing the shoes shows how crusty it was The adjuster was completely seized. No chance of self-adjustment here. Just as an aside, the self-adjustment works by means of pulling on the hand brake. Pulling the hand brake pulls up on the top shoe, creating the friction to stop the car, but the movement of that lever also moves the metal tang in the photo below from left to right. As it heads on over to the right it catches the teeth of the adjuster, which winds the threaded inner section that the lower shoe rests on up and down. The whole cylinder is free to move up and down in its mount, which evens out the braking between the two shoes. Simple. Removing the cylinder on this side was a little more of a pain as it has the inlet and the link pipe, instead of just the inlet and a bleeder like the other side. Both freed off with some careful force, and out came the cylinder. The adjuster came off the end after a couple of careful taps with a hammer. It was packed with furry corrosion behind it. As was the space under the boot on the top. This concerned me a bit as it didn't bode well for the condition of the bore. The piston is completely compressed and didn't move by hand It did move with some gentle persuasion with a long screwdriver though I had to get a bit more angry to get it out further. A long spanner was used as the lever for this And out it popped The bore looks worse than it is. The cylinder is aluminium, so it's not really rust, just a build up of gunk stuck to the bore. I suspect the piston is stainless as other than more gunk on it, it was immaculate. The seal on the other hand was rubbish as there is a big tear/cut in it. Mmm, more crusty fur I tidied the bore up with some careful scraping, and then some very fine sandpaper. There is some staining on the walls, but there are no marks you can feel. The walls are very smooth. The rest of the cylinder got scraped and wire brushed before a good clean out and the new seal kit fitted. Before refitting, the back plate was de-crusted with a wire brush and then brake clean. The cylinder was refitted. The locking method for these is a bit of a pain, but simple enough. The spring clip goes down from the top first, with the dimples pointing outwards (away from the cylinder). The locking U shaped clip then slides up over top of the spring clip, and locks into the dimples. I used a flat blade screwdriver to press down on the top of the spring clip, and pliers to tap up on the U clip. And the wheel cylinder is in. The shoes got a quick scuff with some rough sandpaper to clean the surface up a bit, and then they were fitted. They look fine but had some rust marks where they had been in contact with the drum. And the completed assembly The friction surface on the drum was quite rusty too, so that got a wire brush before fitting. It's good enough that any other rust should be scraped off once the car is on the road and the brakes operate. Drum fitted Unfortunately I can't test them as the master cylinder is off being re-sleeved, and the front brakes also need to go back on, but hopefully it won't be long.1 point
-
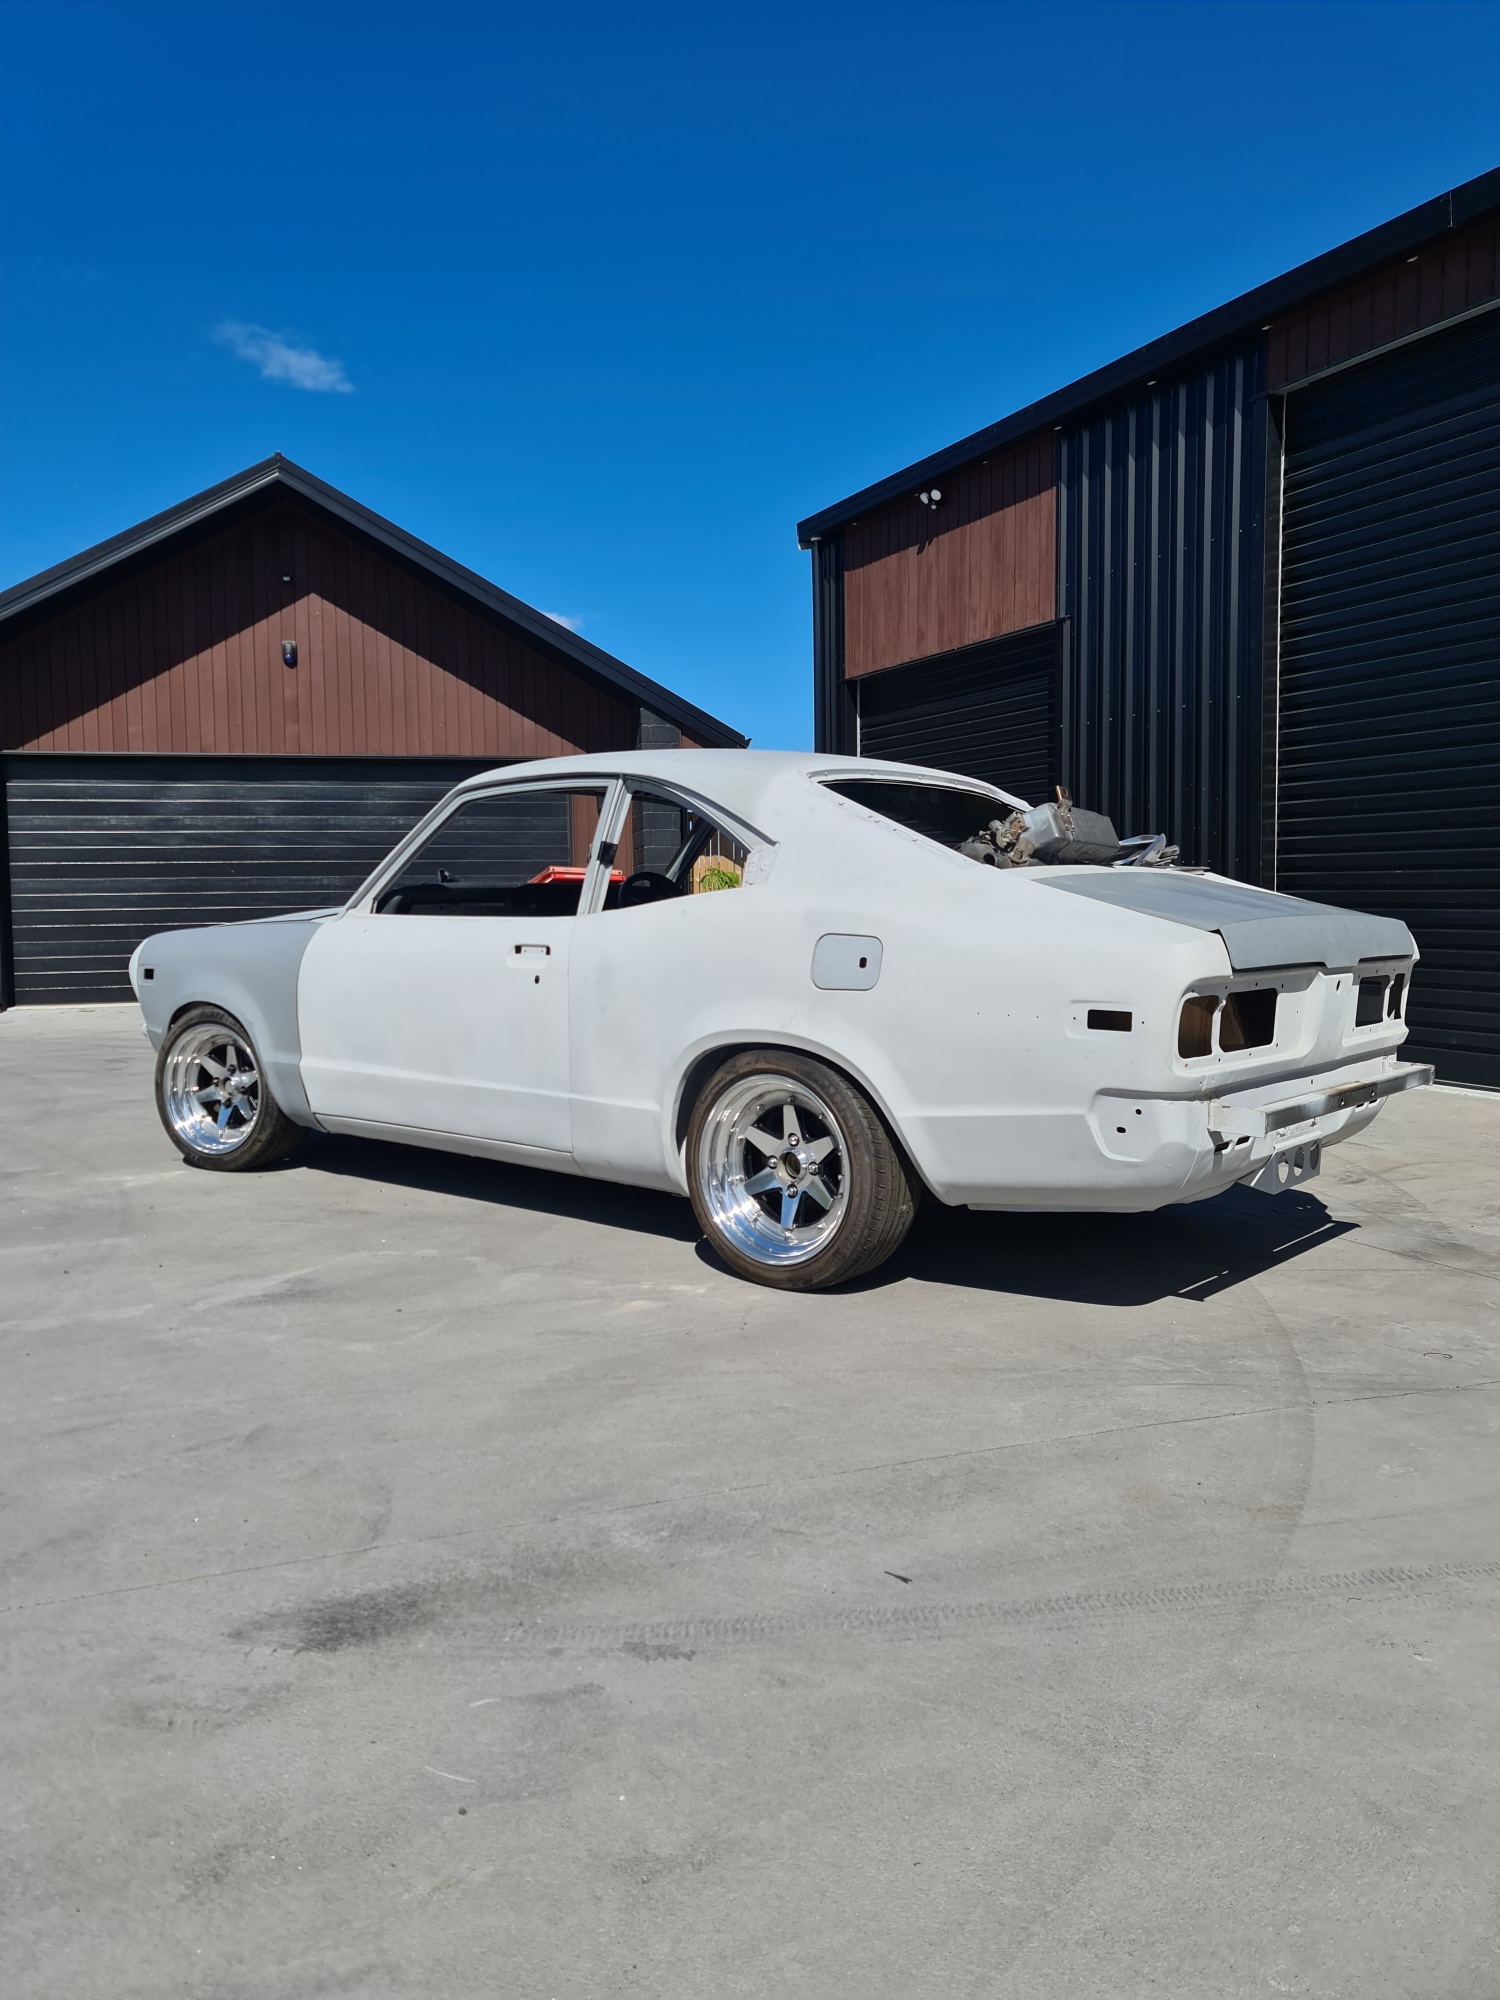
Good base to start with. Body is in better nick that what I started with/currently ignoring1 point
-
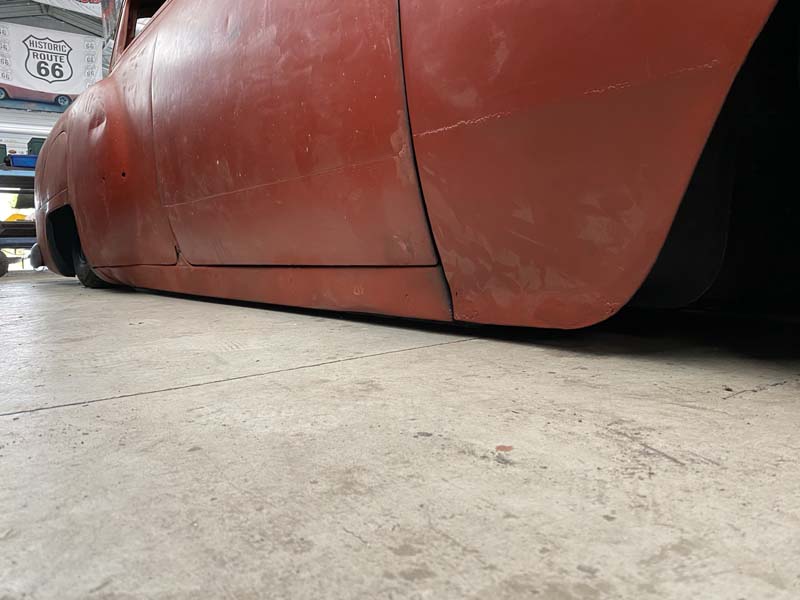
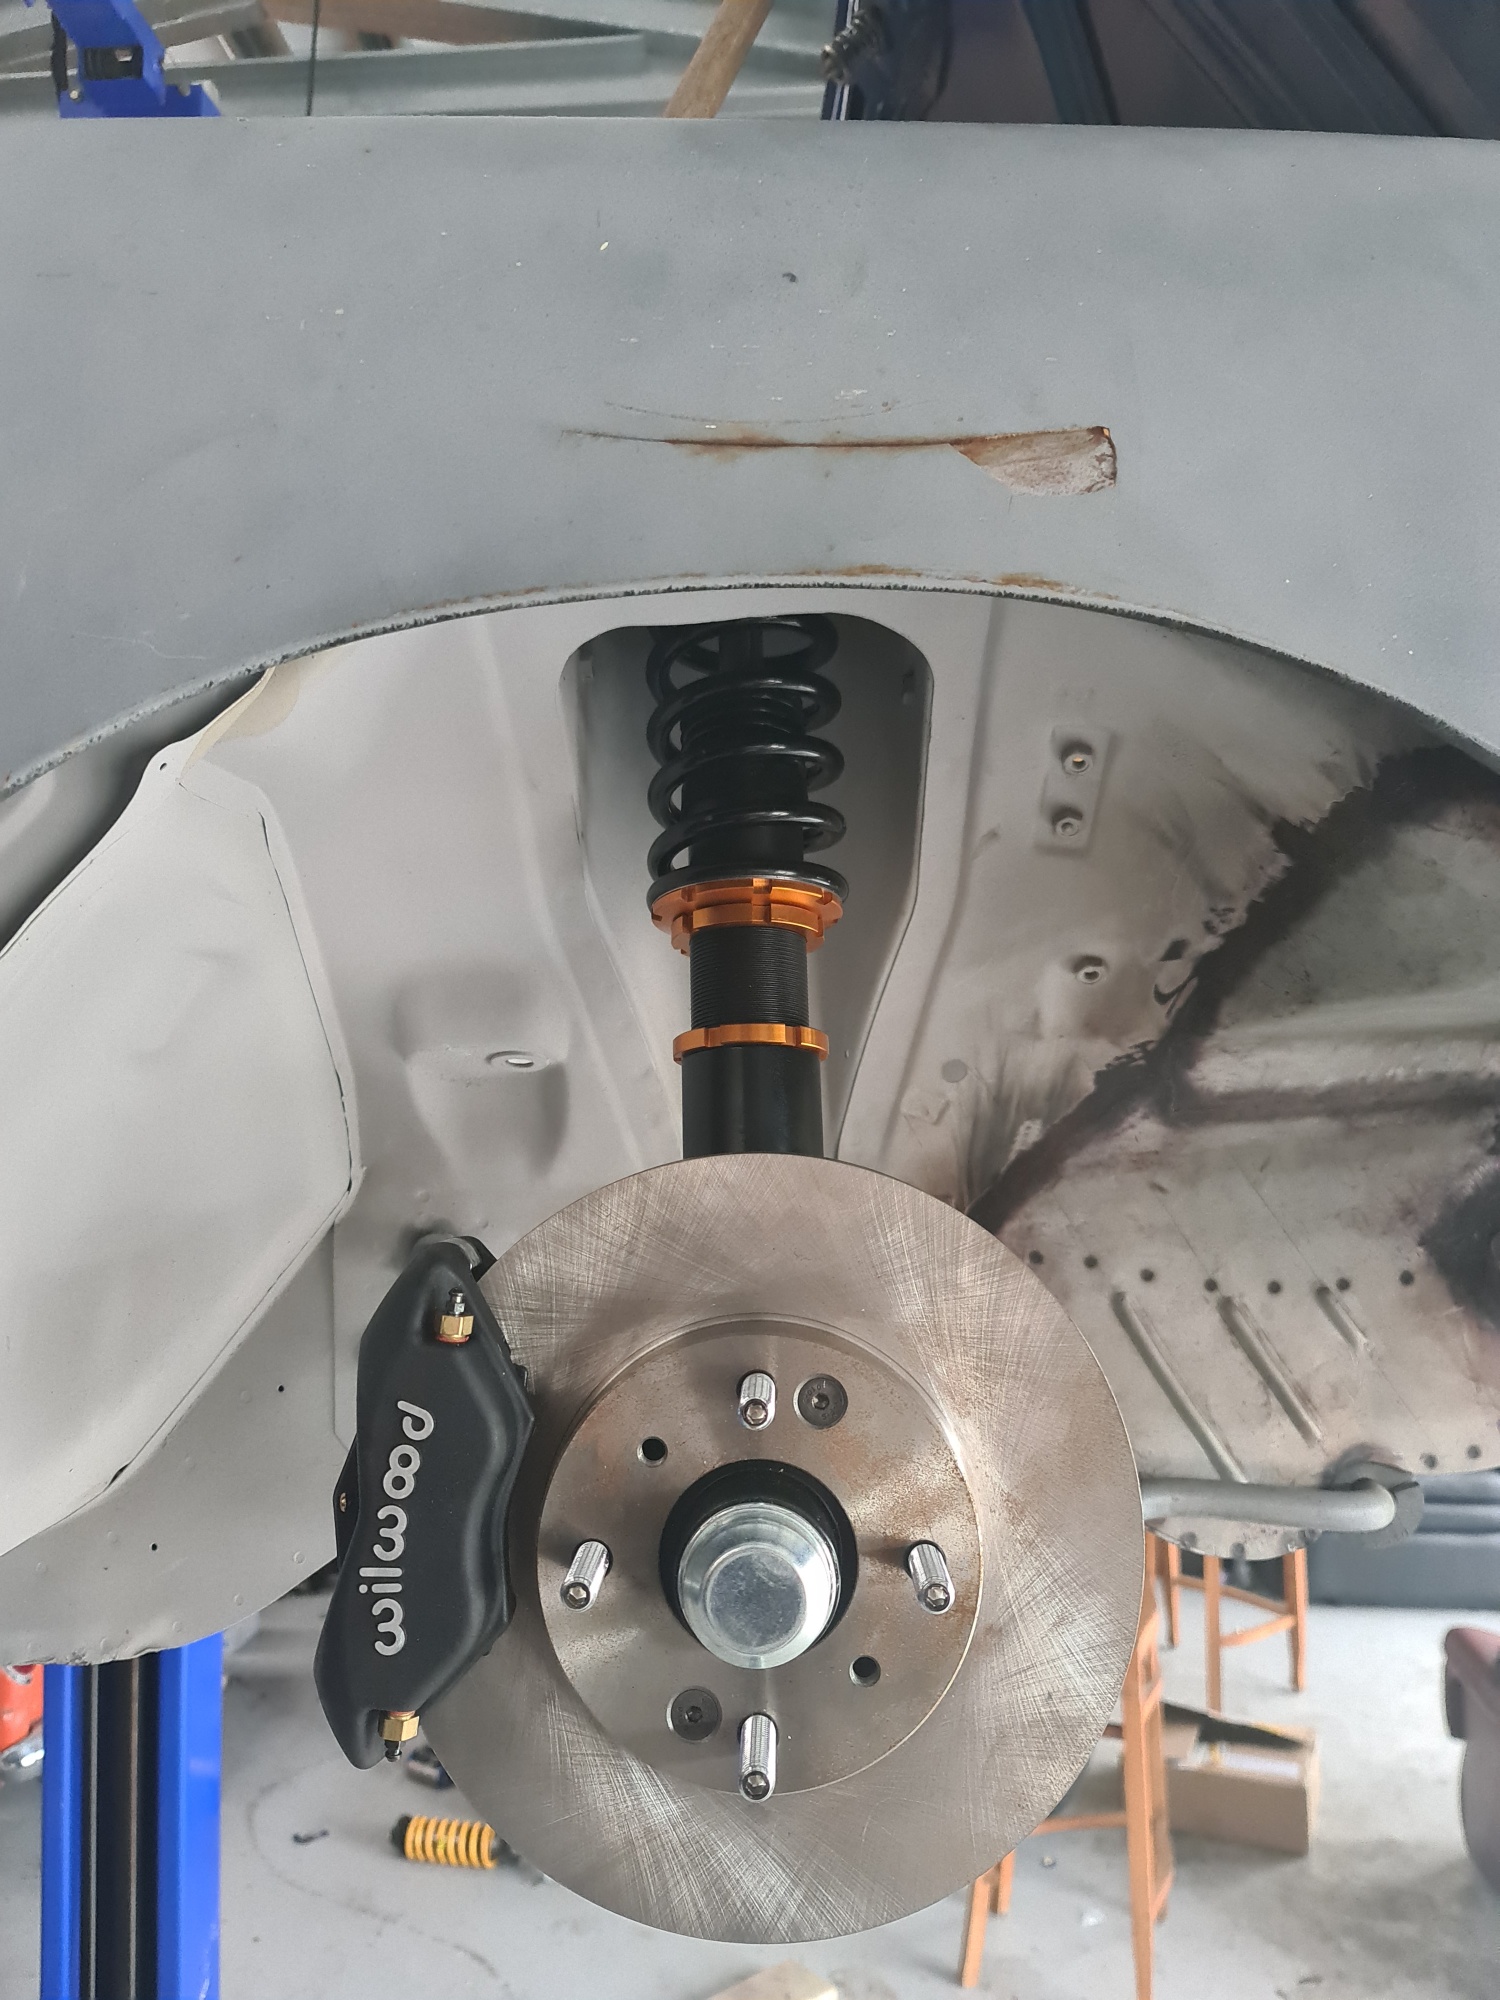
Plumbed up some lines and tee's temporarily. and managed to get her off the hoist. She's not quite touching at the sills. x-member and sump is well up off the ground. above the sill height. The front doesn't seem to have as much travel as I would like. only picks it up about 80mm off the ground?? Moving the strut inboard further on the lower control arm should help this. hopefully without making the front too stiff.
1 point
-
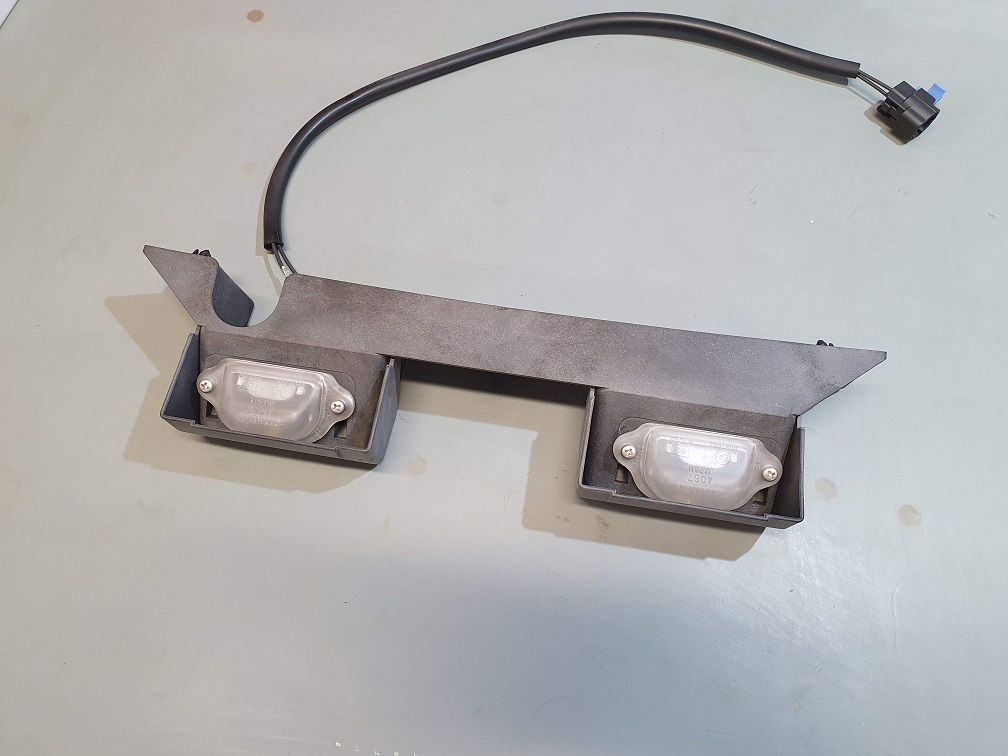
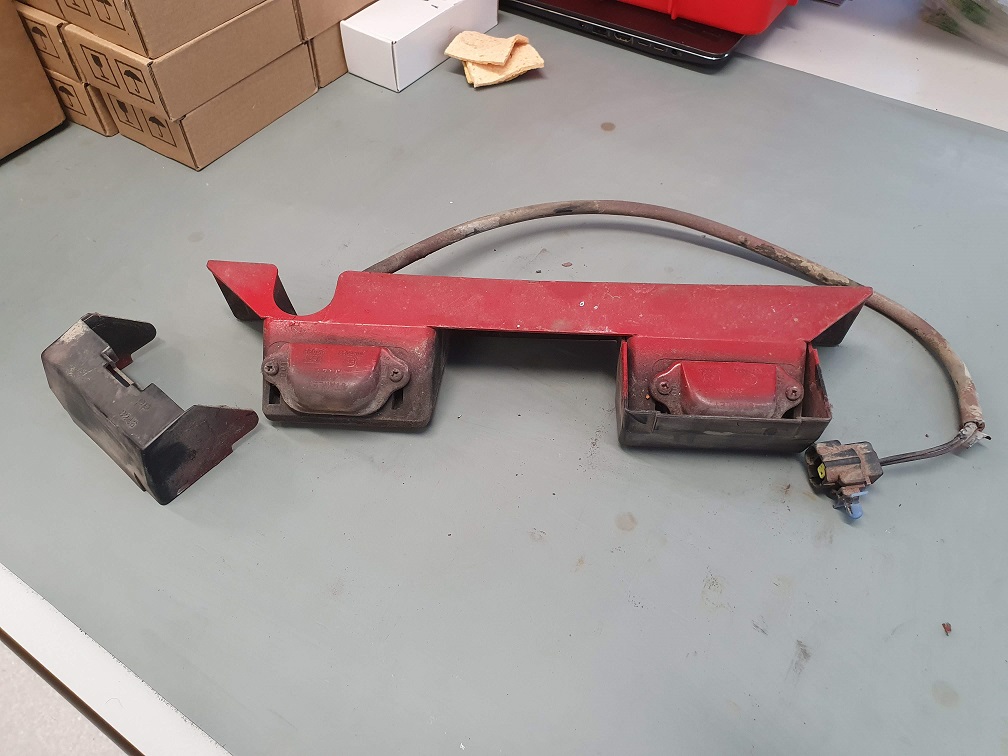
First part restored! Had to come in to work to do some writing, and figured I'd make use of the vapor blaster while I was in here. The numberplate lights were over sprayed to hell and back, definitely not going to put out much light: Dismantled them, set the vaporblaster pressure nice and low and gently cleaned everything. Took about 20 mins all up I'd say. The lenses are now a little cloudy, but I've convinced myself that it means they'll just diffuse the light better. I'll get some LED bulbs for them, as the lenses were a touch melty around the original 5W wedge bulbs. Saved me $130USD on a new set, so happy days.
1 point
-
Wire wheeled the whole thing yesterday and got a coat on today.1 point
-
Needed some motorvation to get this going though haven't had a great deal of luck finding a wiring loom diagram that matches up to the colours on this loom, off by miles! Brain fart occurs today just hotwire the CDI and jumper lead direct to the starter. 2-3 attempts and it runs well no exhaust or airbox so the carb isn't 100% on point but it runs on 2 and revs quite well. First run ever for this engine. Whoop motivation! Time to order more parts now i have an engine that will move something.1 point
-
You can get cable operated sensors that were mounted in the engine bay, Mercedes and Peugeot had them, I'll be using one on my van as its easier to setup than having to mount a complete pedal assembly1 point
-
actual action may vary1 point
-
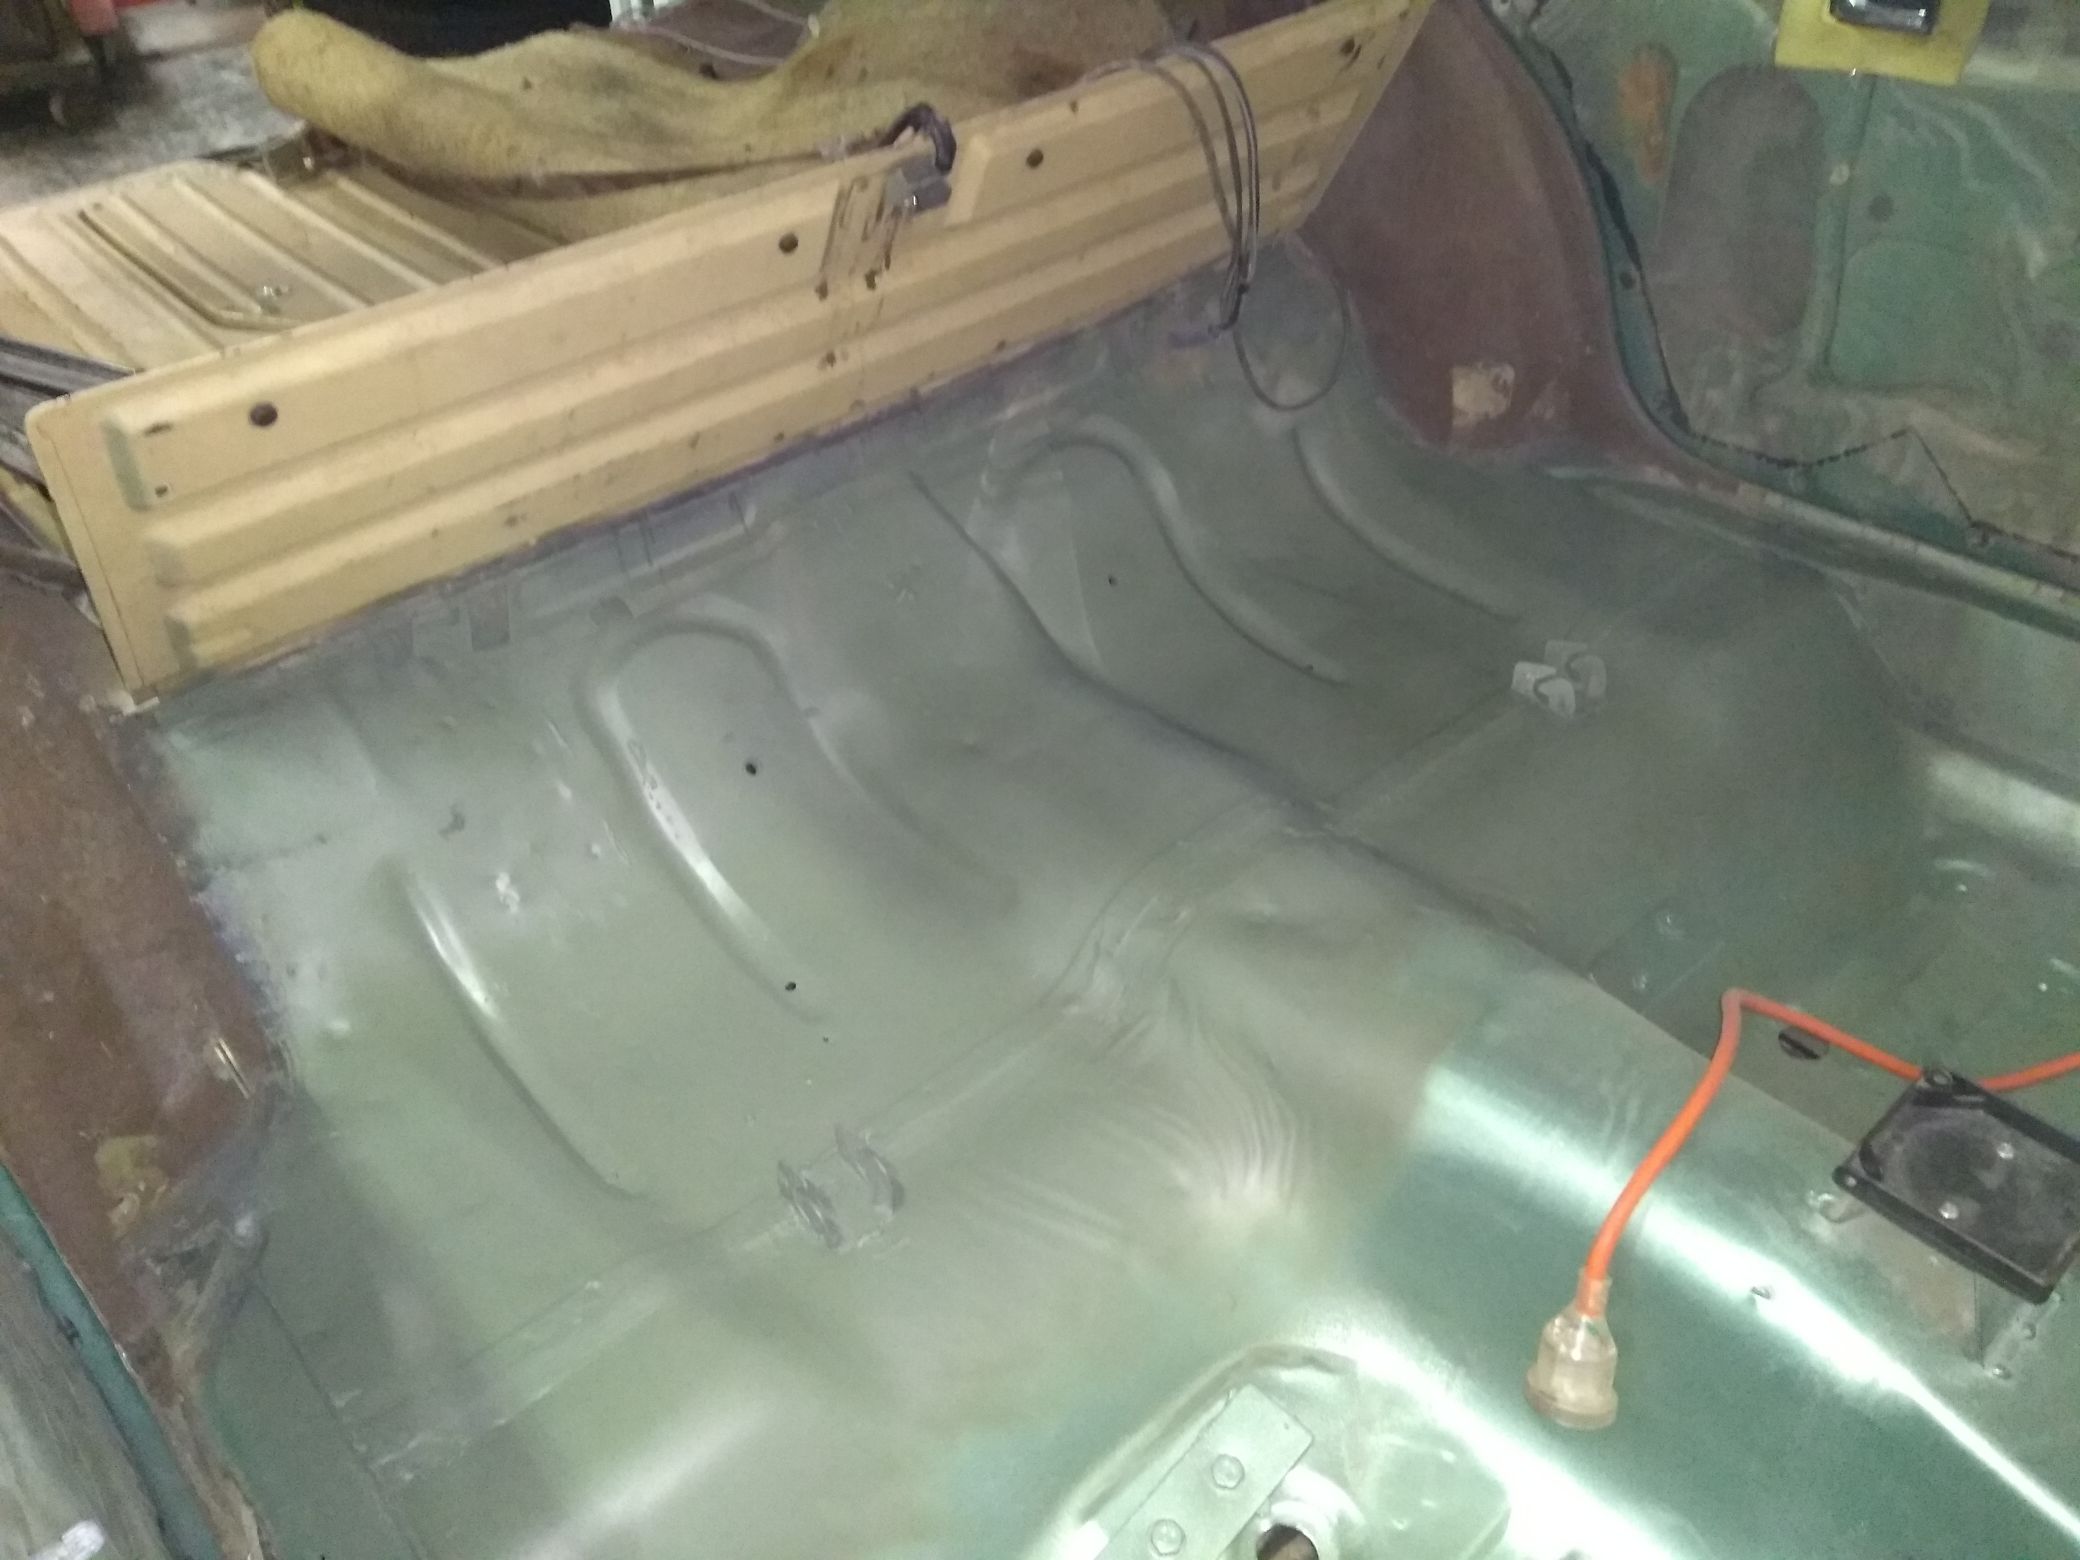
Got a week off work for a nice break. Spent a few hours today wire-wheeling back the whole back underseat area, etch priming and then sealing that shit. It was fucking exhausting. #shutupoldman Also stripped down the 304 to pull the cam to send to Voldo for a new profile and new roller valvetrain. Only broke one bolt, which was surprising, no evidence of overheating and looks top have been fairly well maintained over the years. Probably just high mileage if anything. But its getting a rebuild anyway so wont matter. Tomororow I'll hopefully start on sound deadening, but judging from the state my back is in now, I don't think I'll be ripping into it too hard.
1 point
-
1 point
-
All bolted up
1 point
-
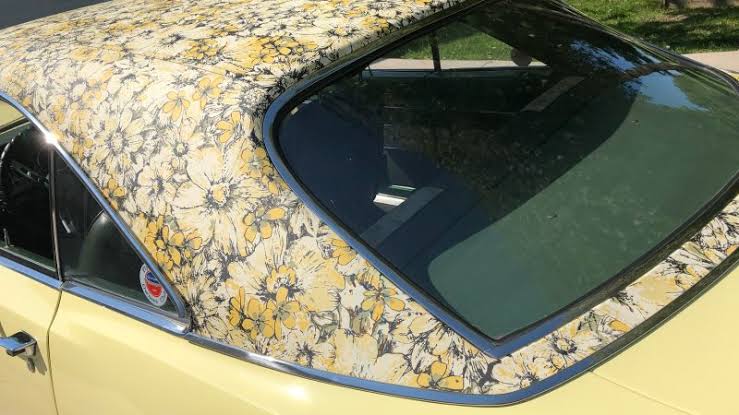
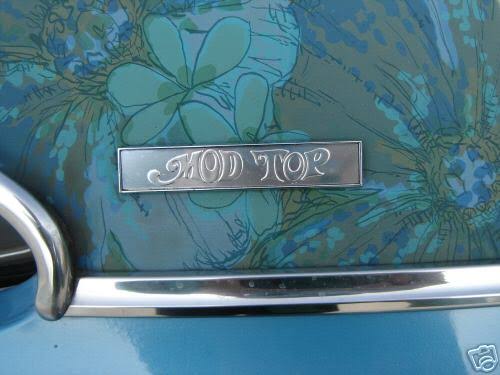
Chrysler rocked the vinyl. Mod tops and floral too!
1 point
-
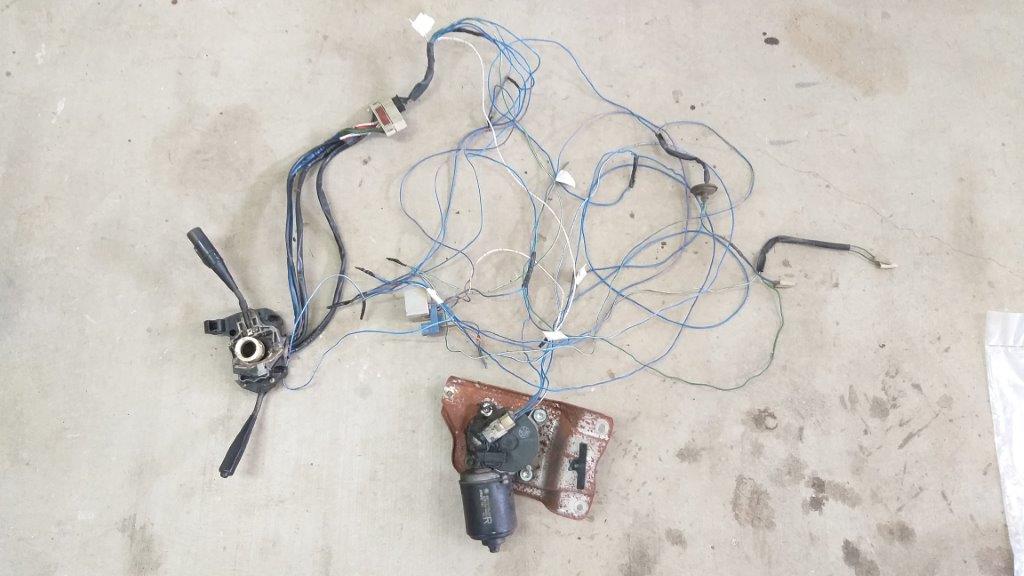
I'm planning to retain the spindles and arms and will replace the vacuum system with a dual speed electric motor. As a Starter for Ten I thought I'd give the HiAce unit out of donor van number one a try as I'd already pulled it out a few weeks back before that van met its untimely demise. Looking closely at the HiAce wiper motor I noticed that it has 4 wires feeding it. First step is to figure out what each wire does, so I grabbed the spaghetti that is number ones old wiring harness and proceeded to separate out the wiper and windscreen washer wires. Attached to some of the wiper wires is an interesting looking little electrical box that is labelled "wiper control", I'm guessing it either controls the intermittent wiper speed - if the HiAce has such a feature, or if not maybe it controls the short wipe cycle when the windscreen washer bottle is activated. I've harvested it anyway and time will tell what it actually does. I'll use the original HiAce wiper stalk to test everything, but ultimately I'll connect the wiper up to a dash mounted push pull switch for that period correct look. More tomorrow.
1 point
-
Got my new front end in for a test fit, Then a mate bought round some 15" SSR Longchamps so gave them a test fit. 15x8's on the front, and 15x8 on the rear with a 20mm adaptor and stock width diff (my diffs 20mm narrower) so will be able to run a fair bit more dish Pretty happy with how they look!
1 point
-
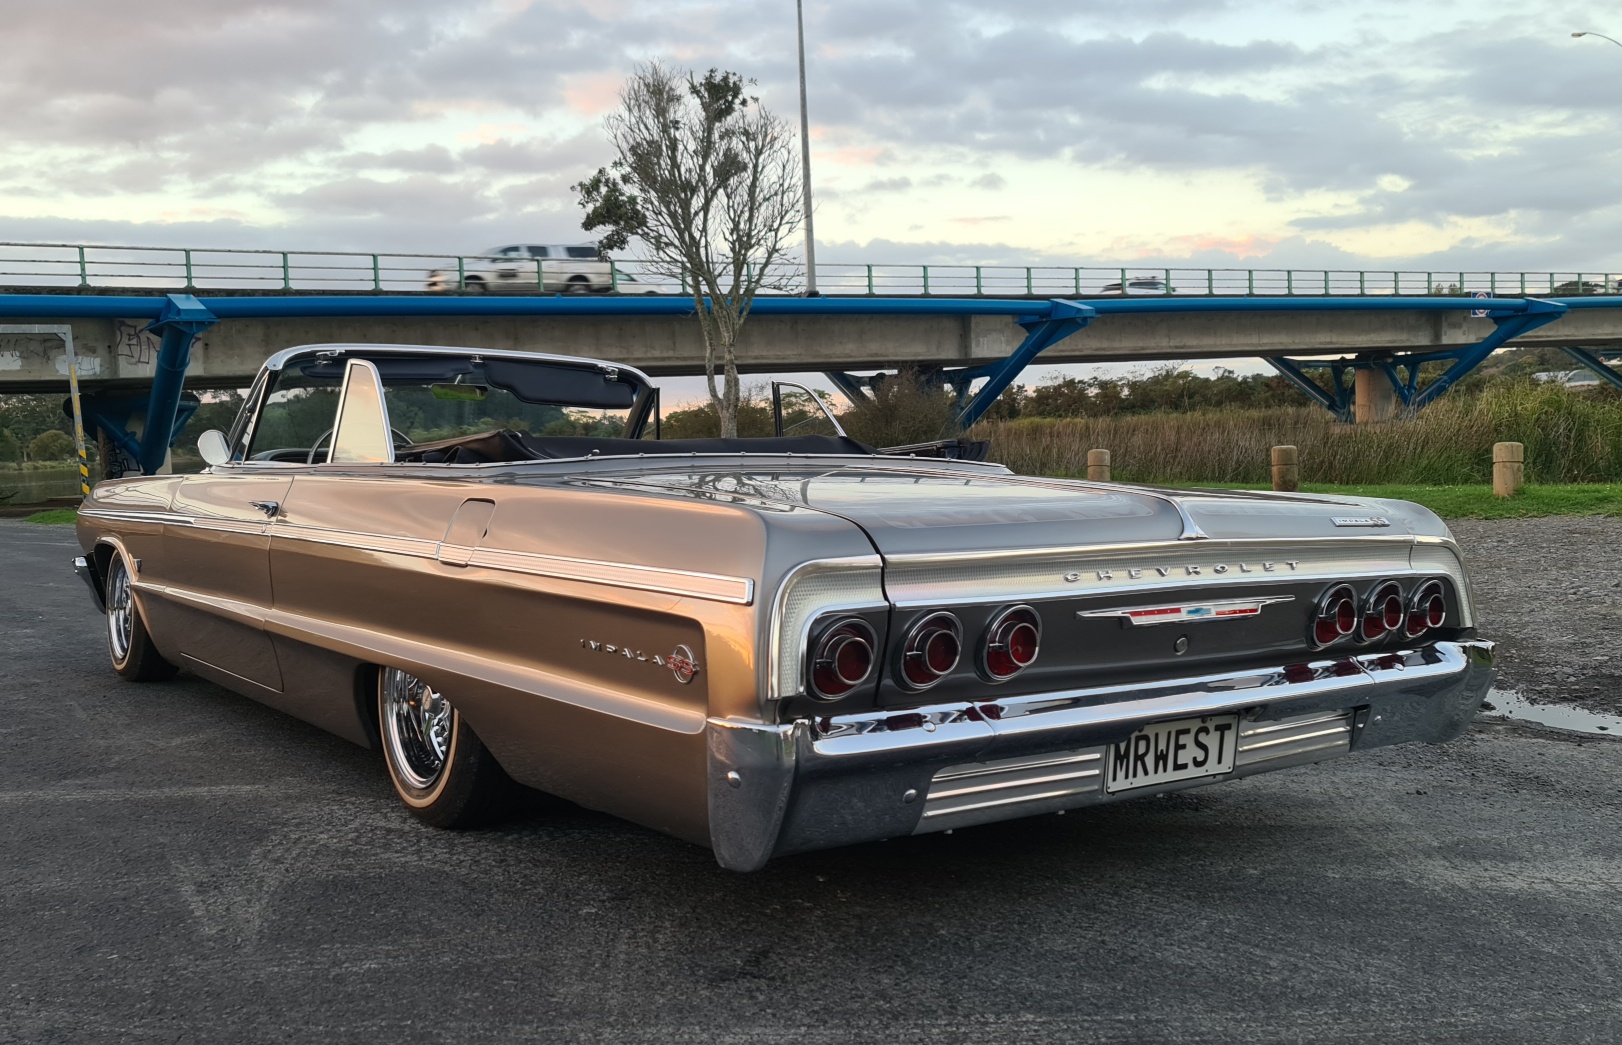
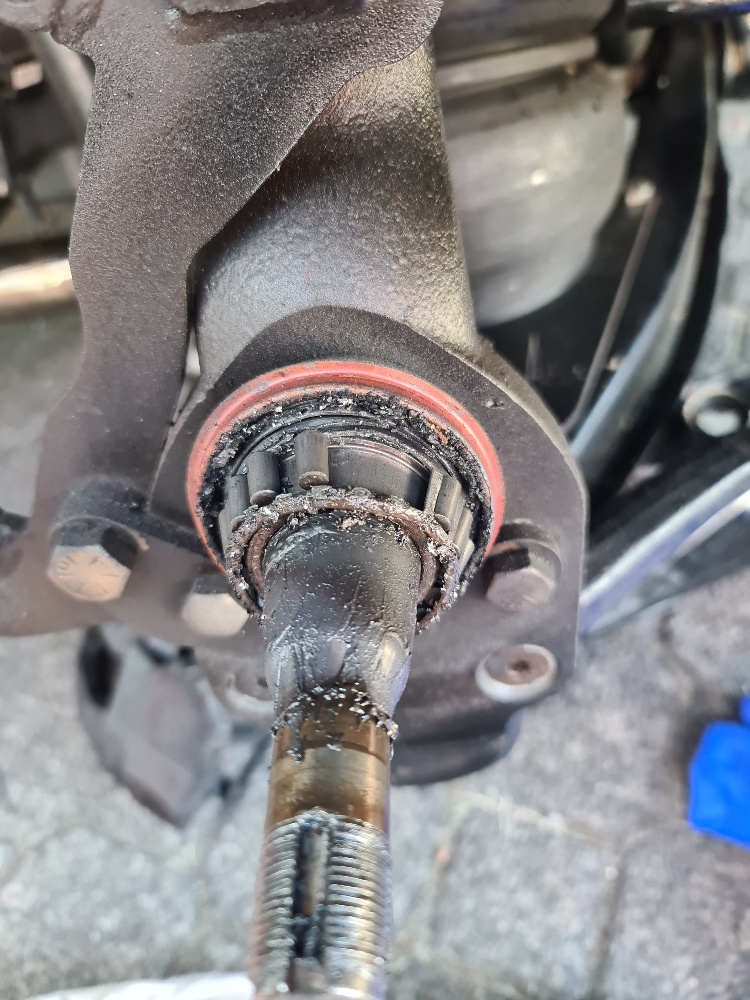
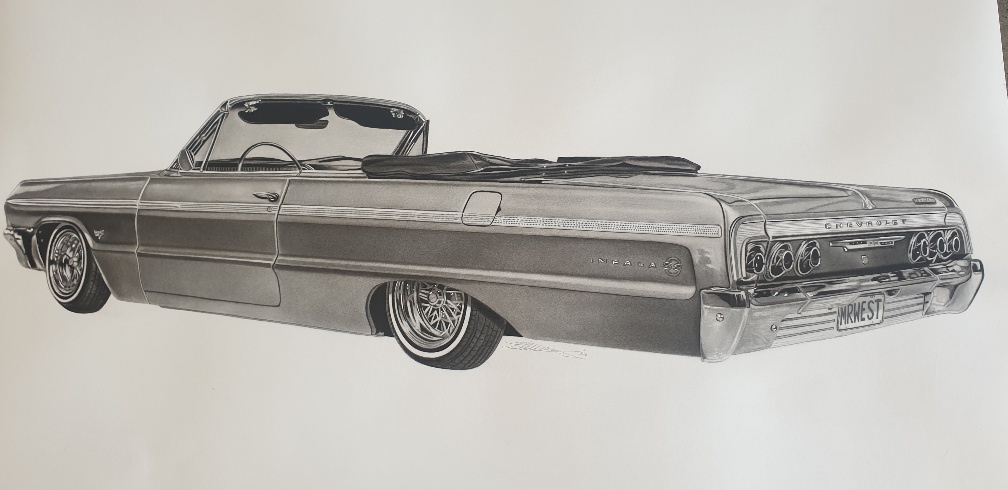
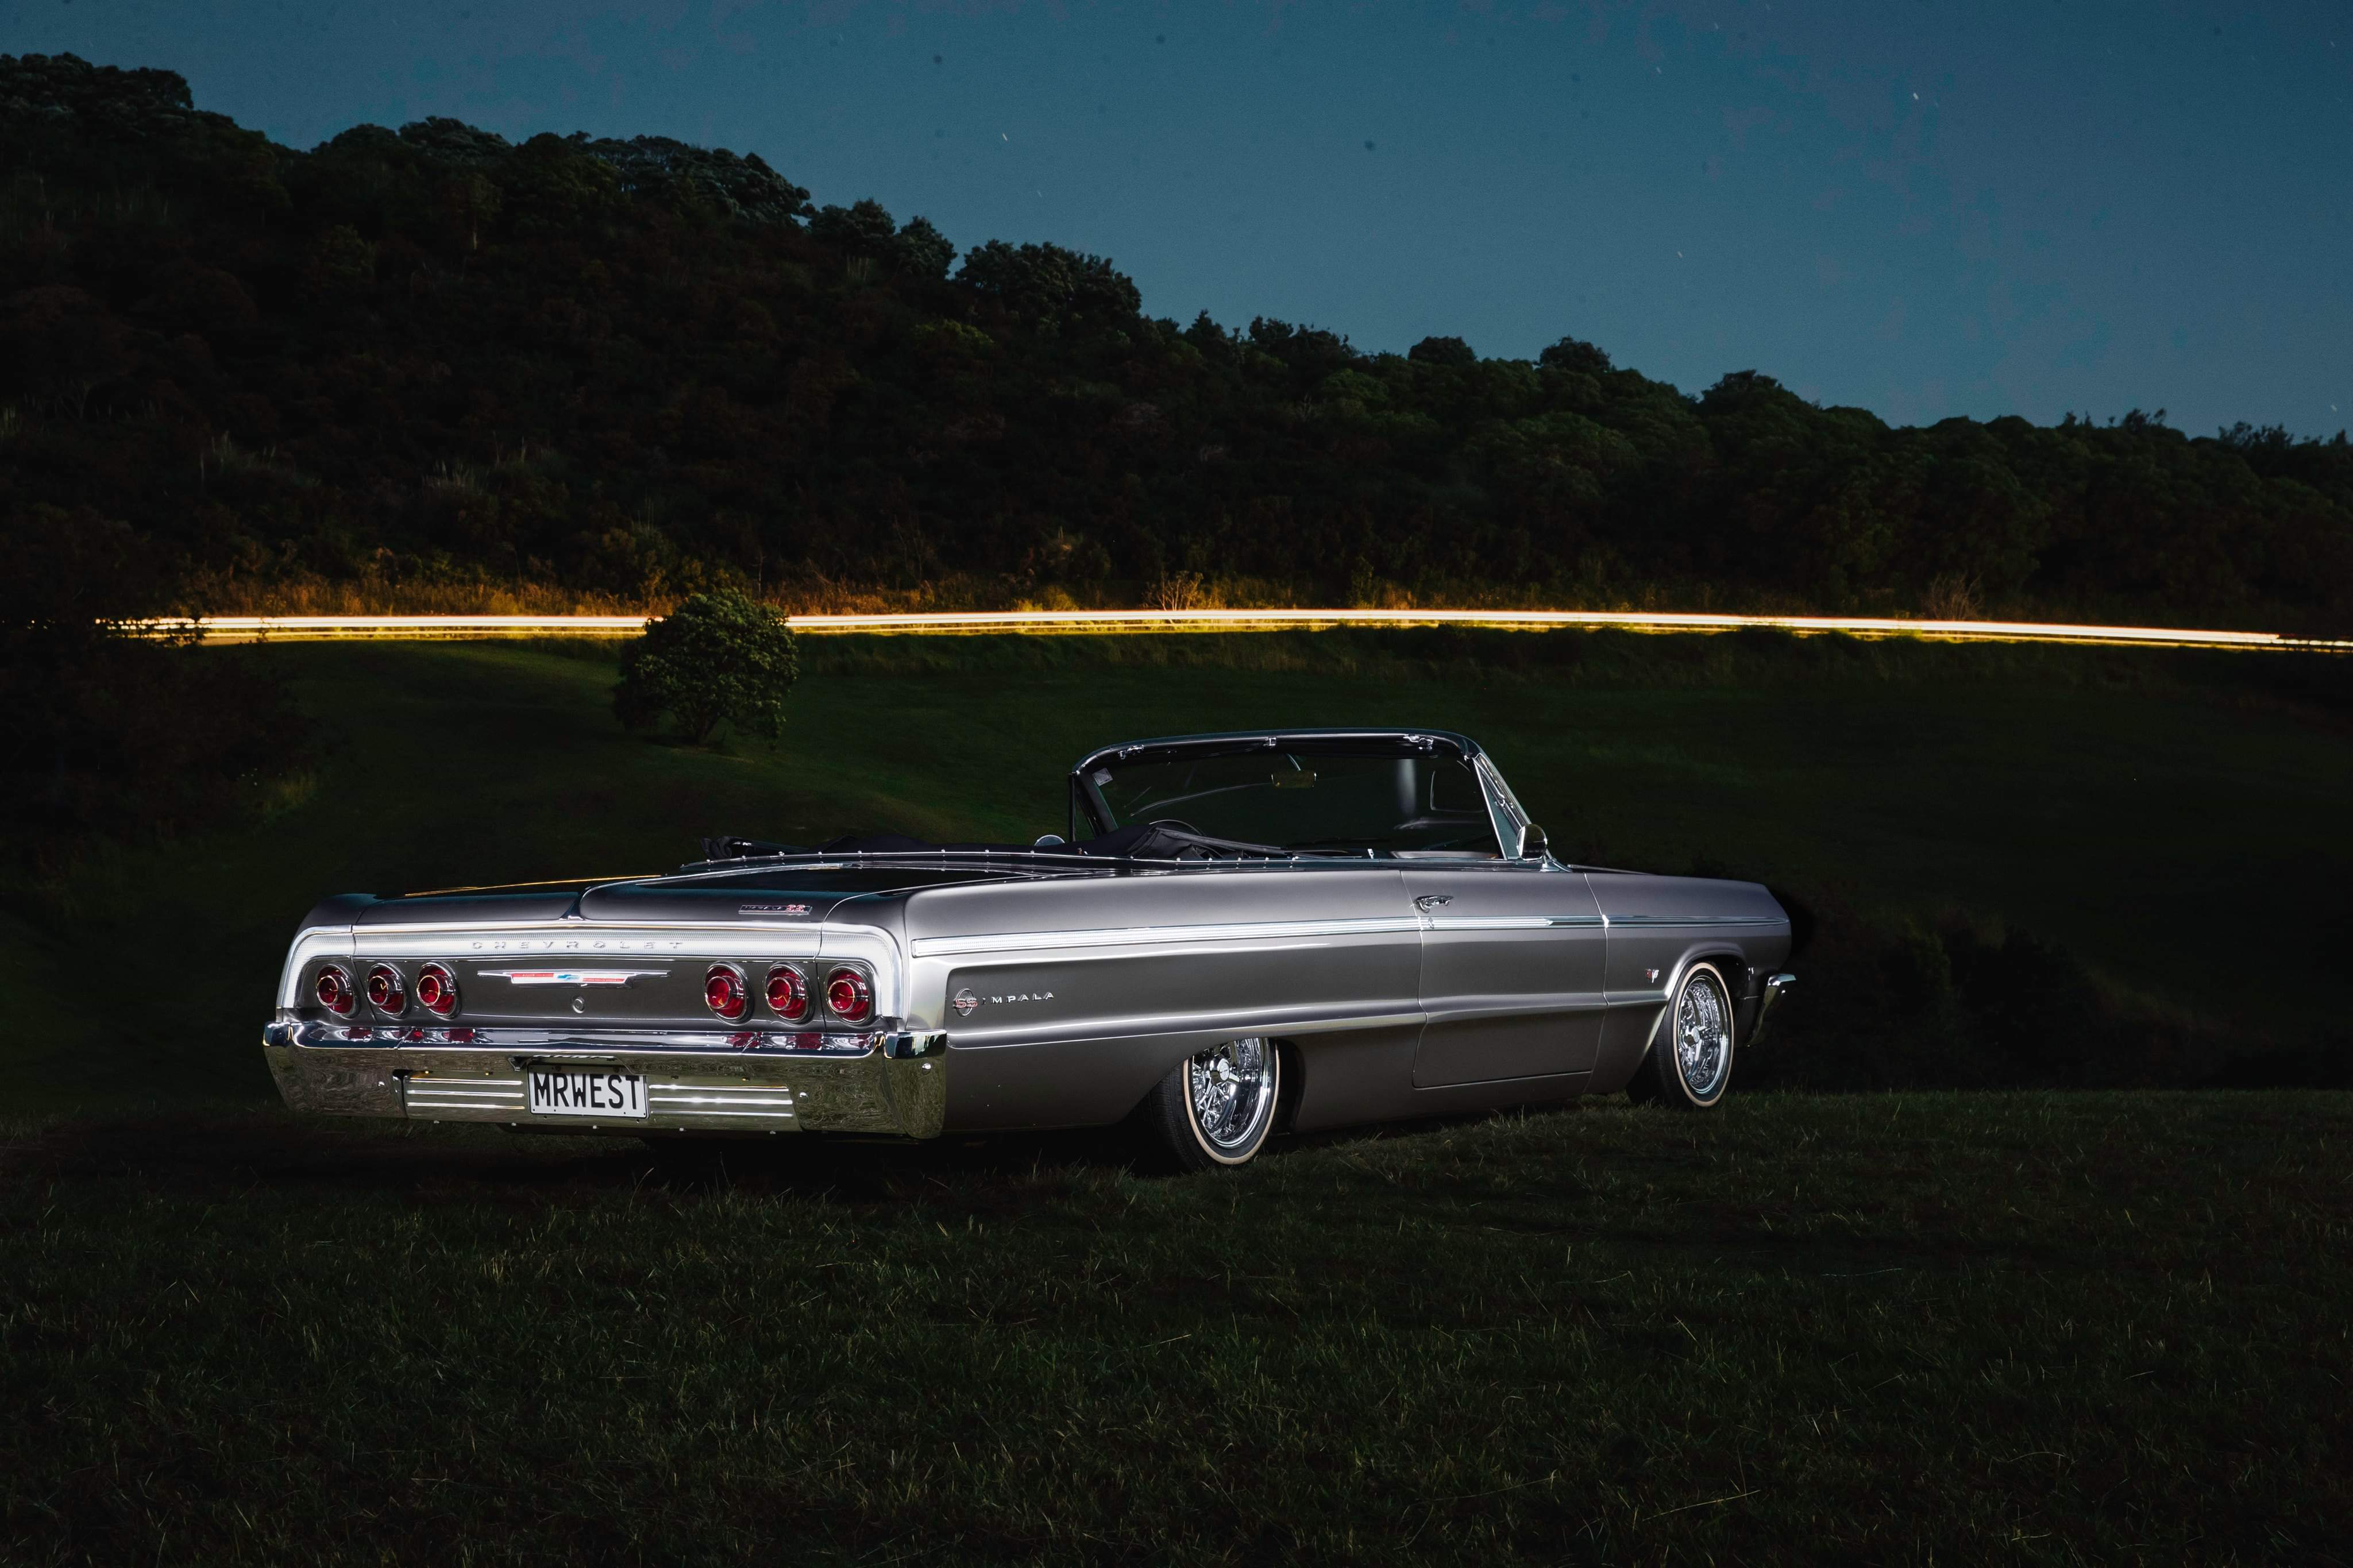
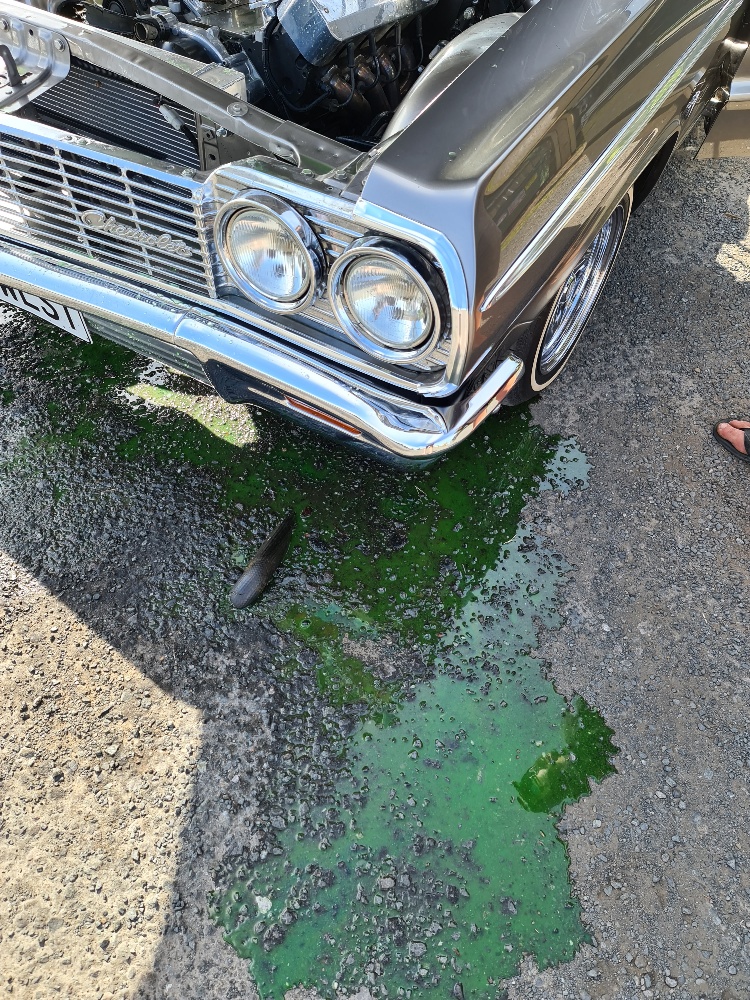
Have been using the old girl a fair bit, The Mrs got me a epic pencil drawing done for my birthday of the car last year. The brother took a mad shot of it a while back i just found again, one night. Bent a axle a couple of beach hops back some how so ended up getting some dutchman axles out of the states that were a bit beefier than standard, nice bits of kit and reasonable price Late last year had a bit of a hick up, Was jumpstarting the truck out of the boot of the Impala on a hot summers day, All of a sudden there was a huuuggeeeee bank, a cloud of steam/smoke and the car stopped. Run round to the open bonnet and found a big puddle of coolant, and a burst pipe, Turns out the fans must of tripped out for some reason, the car got so hot idling that somehow the top hose blew before the radiator or cap let go. Made a hell of a bang, and ended up on a tow truck home! Chucked a new hose on with some coolant and we were away again somehow!! \
1 point
-
10,000km clocked up in the last 3 and a bit years since its been on the road. https://oldschool.co.nz/index.php?/topic/34313-the-westpala/page/10/#comments
1 point


_sedan_(23230030334)(1).thumb.jpg.34d765361d66c78db614bae6ea2c156a.jpg)


This leaderboard is set to Auckland/GMT+12:00