
Leaderboard


Popular Content
Showing content with the highest reputation on 12/30/20 in all areas
-
today went better. i got the little bit of surface rust of the inside of the scuttle panel and chucked some brunnox on it. poured some brunnox inside the fuel filler flap and then chucked some primer on things. yesterday i primed the car again so only the drivers side needs another coat, the rest of the car is ready for wet sanding. yay, wet sanding. 2020-12-30_02-33-07 by sheepers, on Flickr 2020-12-30_02-32-59 by sheepers, on Flickr 2020-12-30_02-32-45 by sheepers, on Flickr 2020-12-30_02-32-52 by sheepers, on Flickr before priming, 2020-12-30_02-33-43 by sheepers, on Flickr 2020-12-30_02-33-36 by sheepers, on Flickr after priming, 2020-12-30_02-33-29 by sheepers, on Flickr 2020-12-30_02-33-22 by sheepers, on Flickr14 points
-
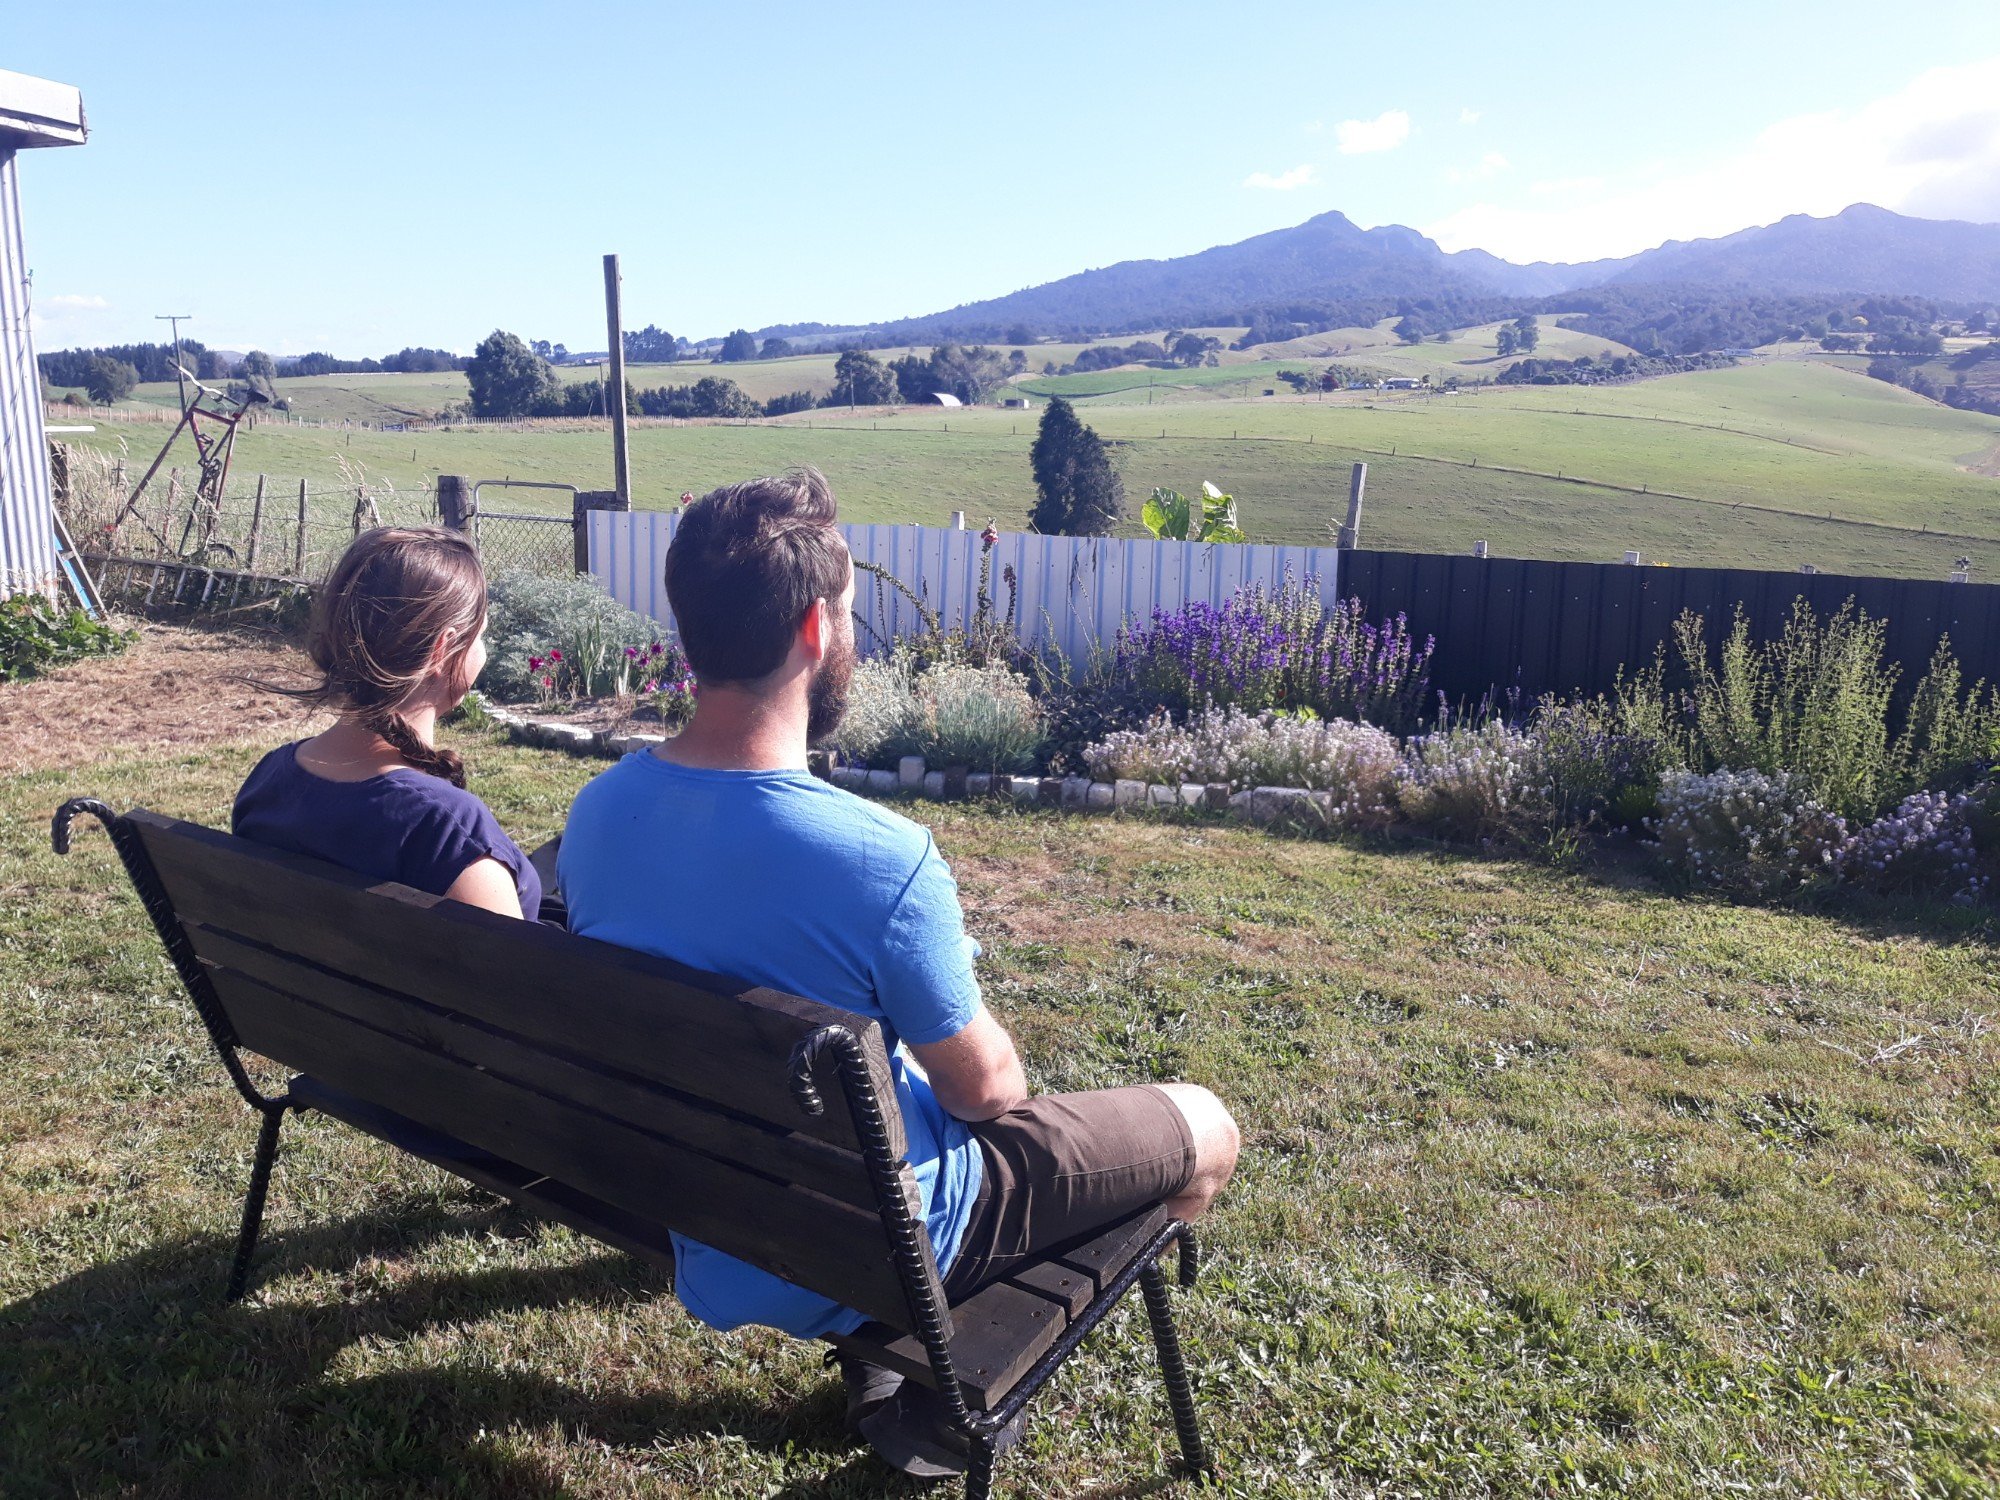
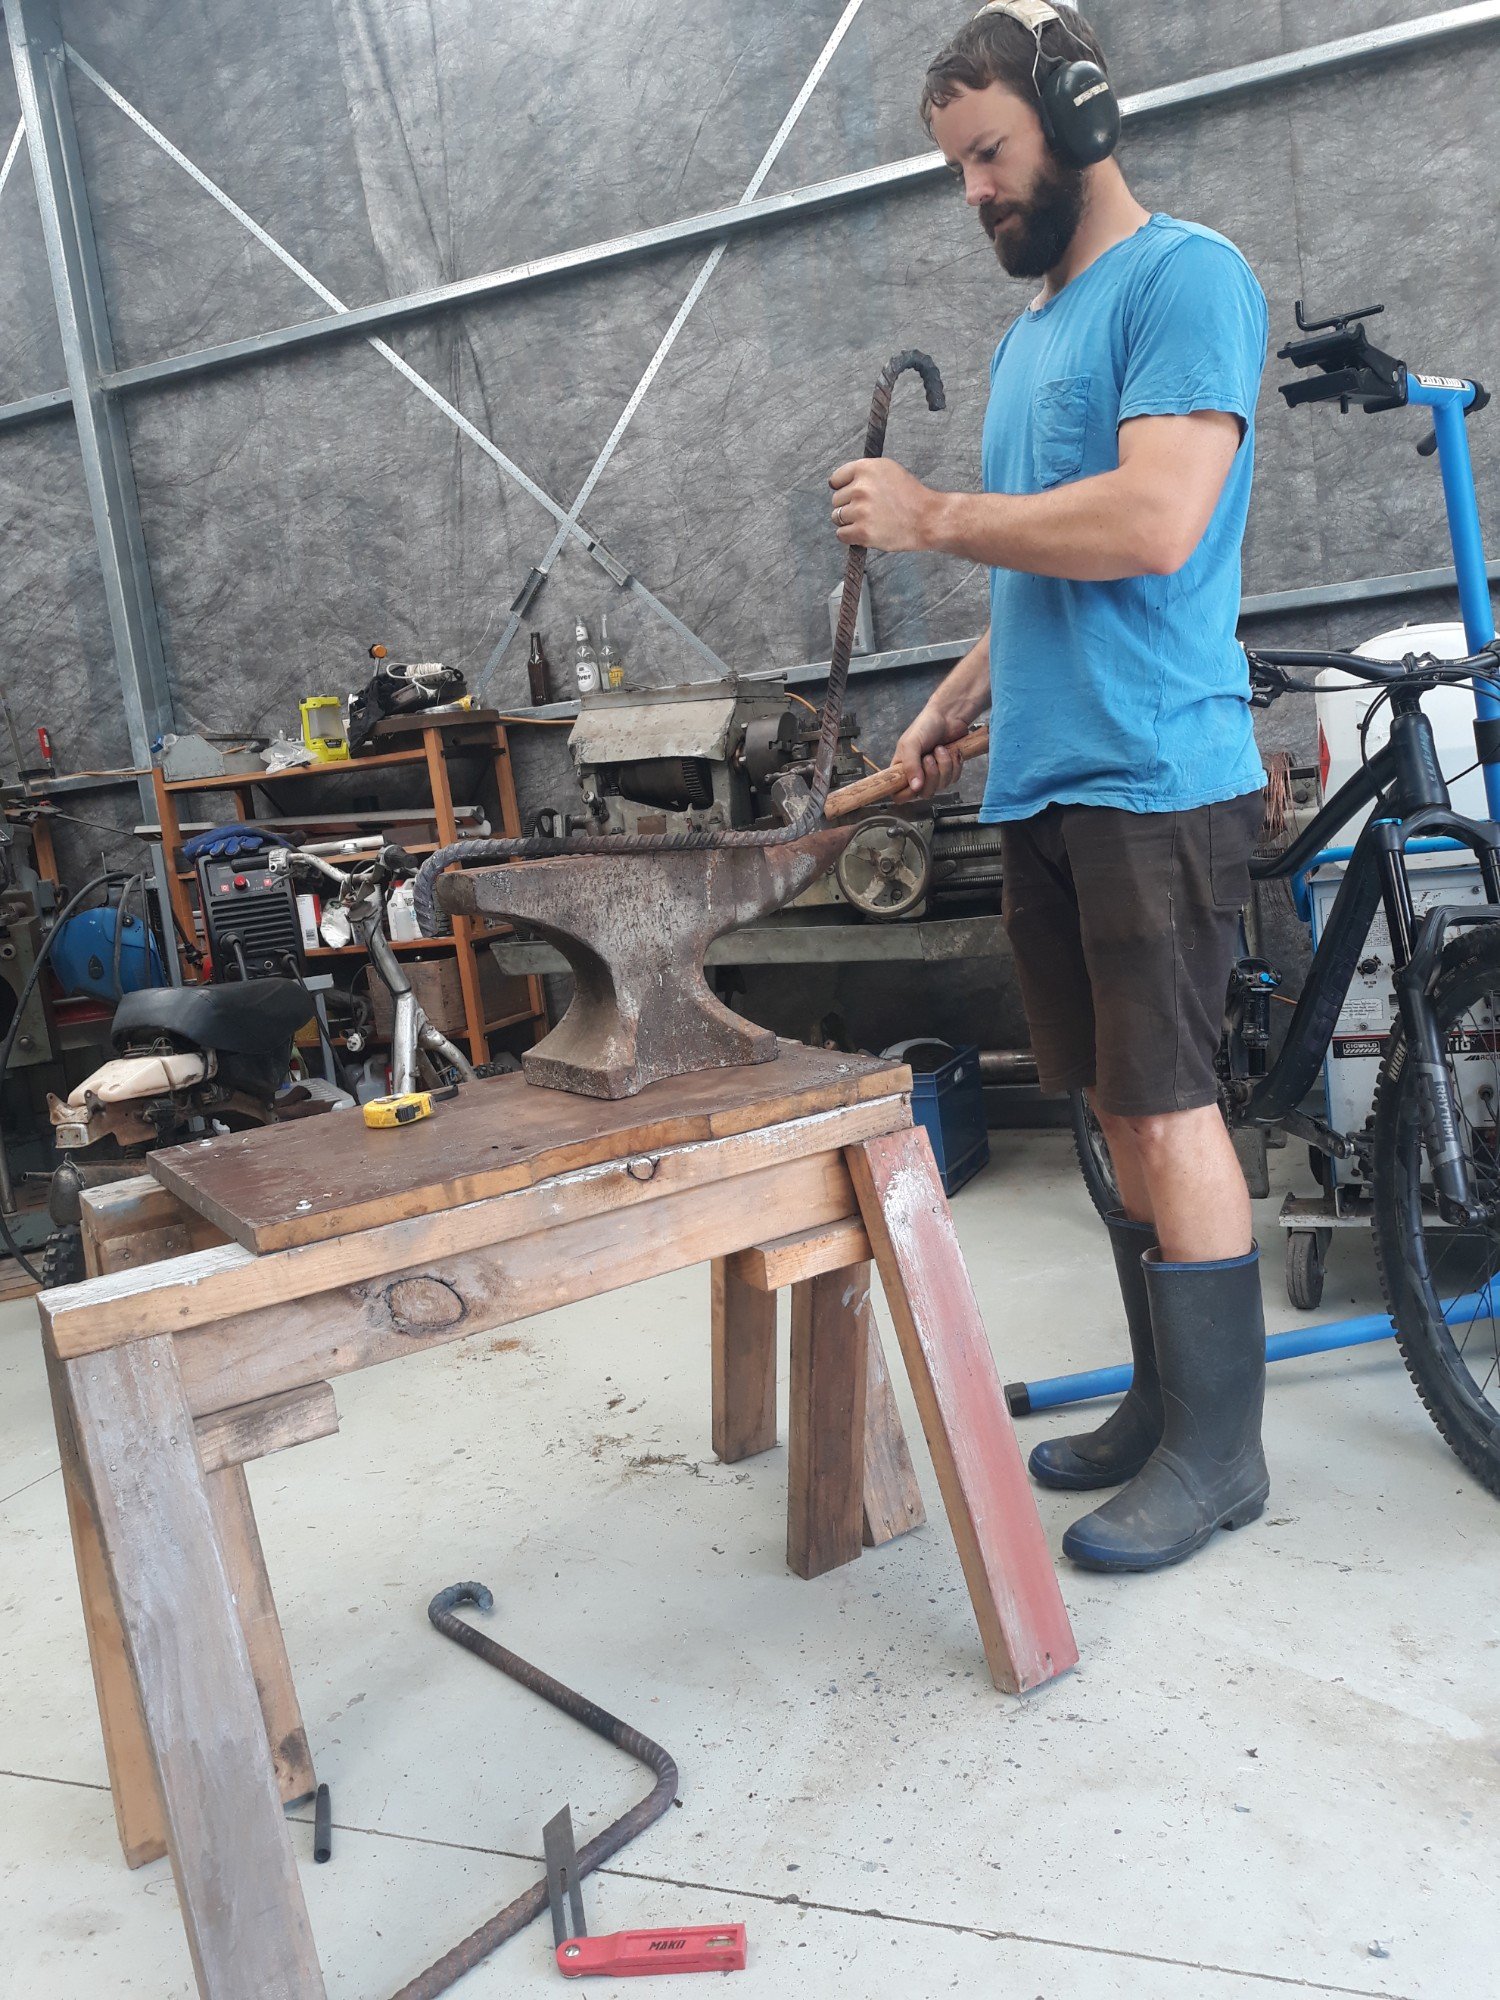
We (well, mostly @Guypie.. I kind of just handed him beers and water blasted the old fence palings) made a chair to take advantage of our view
 12 points
 -
Did some dodgy sparky work and got the retarder working, as well as doing a 4th gear pull to see how everything is looking. So far so good.10 points
-
For some reason I was avoiding buying new wheel nuts for the front as I thought they would be expensive but it was $12 for a set of 10, and now I can ditch the 3 different shapes and sizes of nuts I had on before, got the new tires put on, finding tubes was a little tricky and I had to drive a lot to get them, tire shops look at me funny when I want cross ply tires fitted.
8 points
-
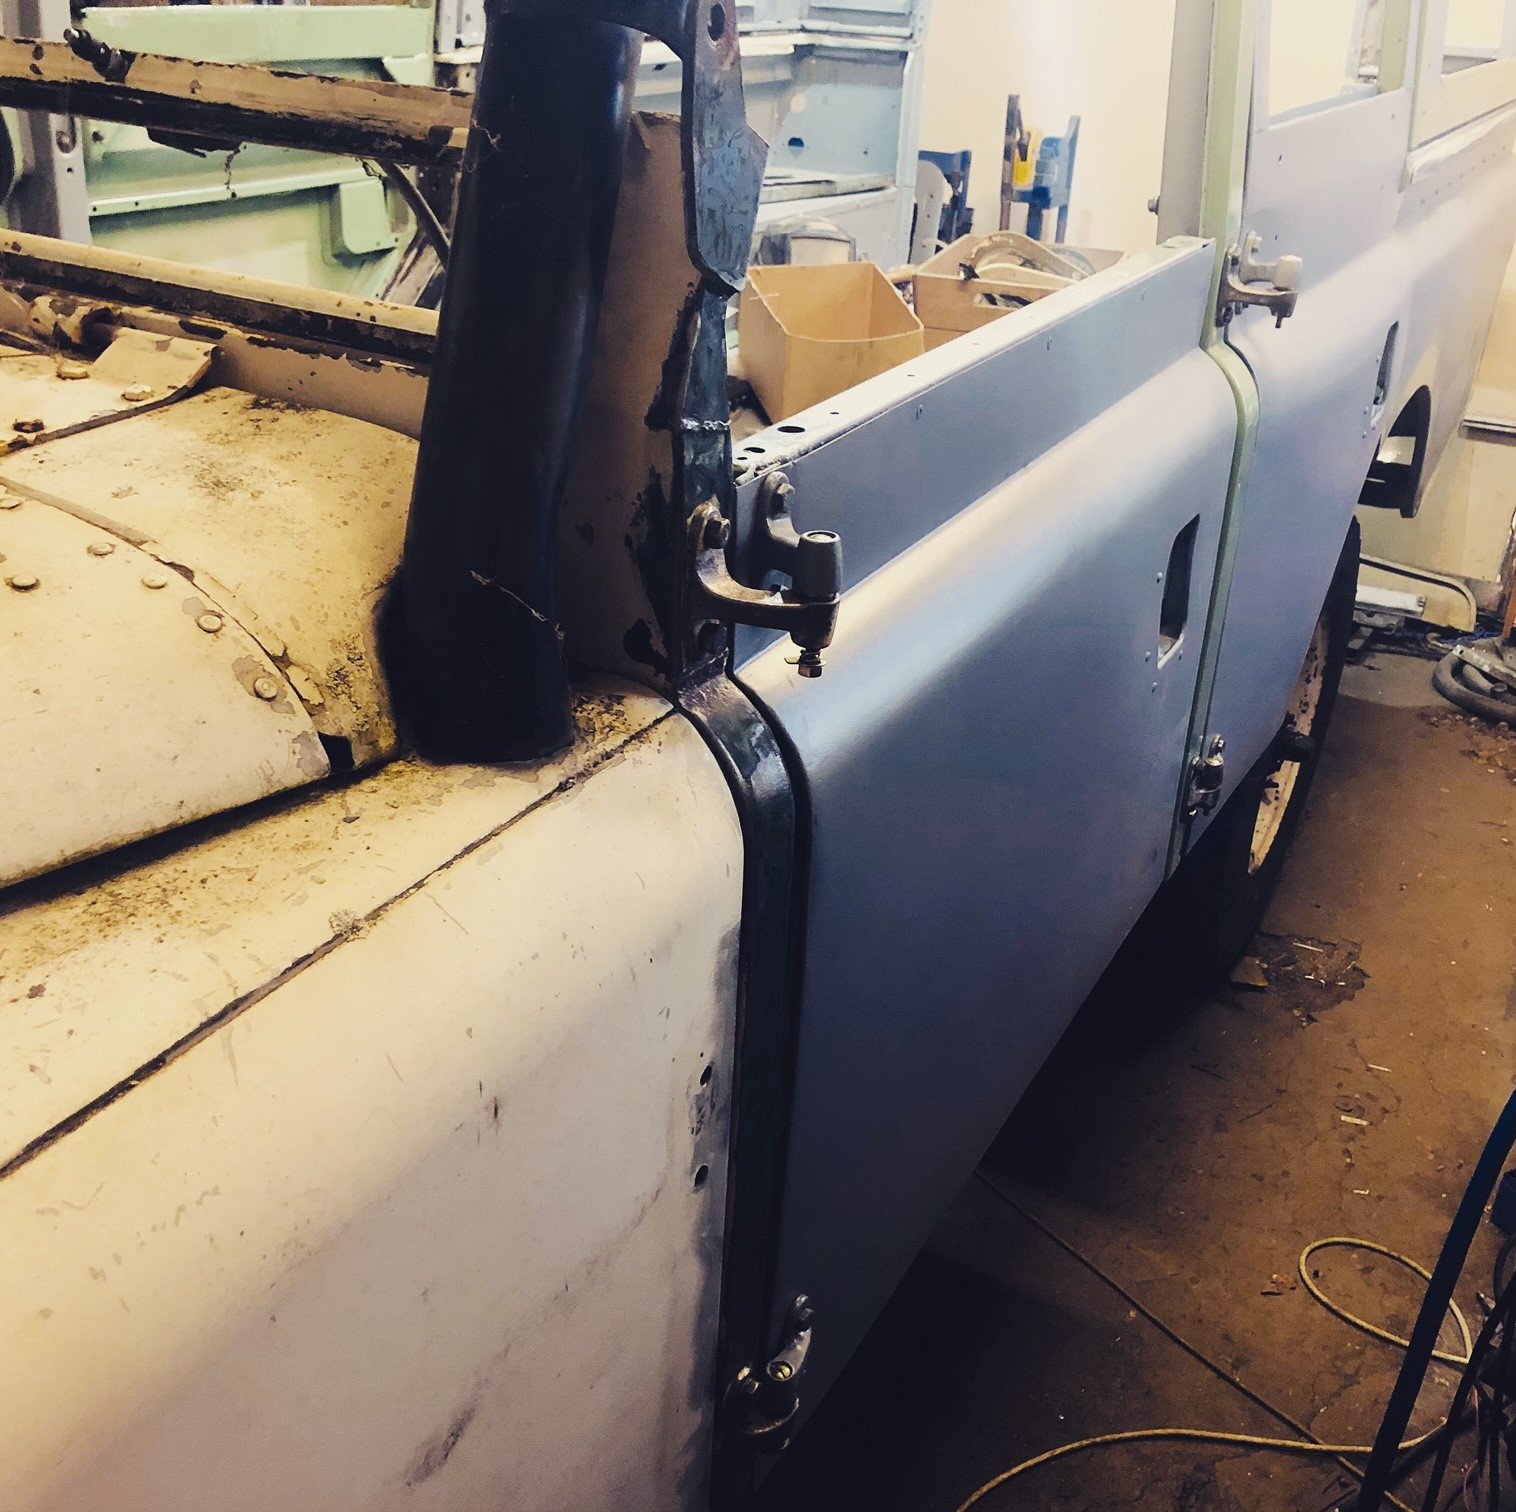
Making some more progress... Welded up these sill/b-pillar/dogleg sections as one Started hanging all of the doors with new hinge pins Need to throw some diesel in it so I can move it to strip the rest of the firewall and get the rest of the colour going.
7 points
-
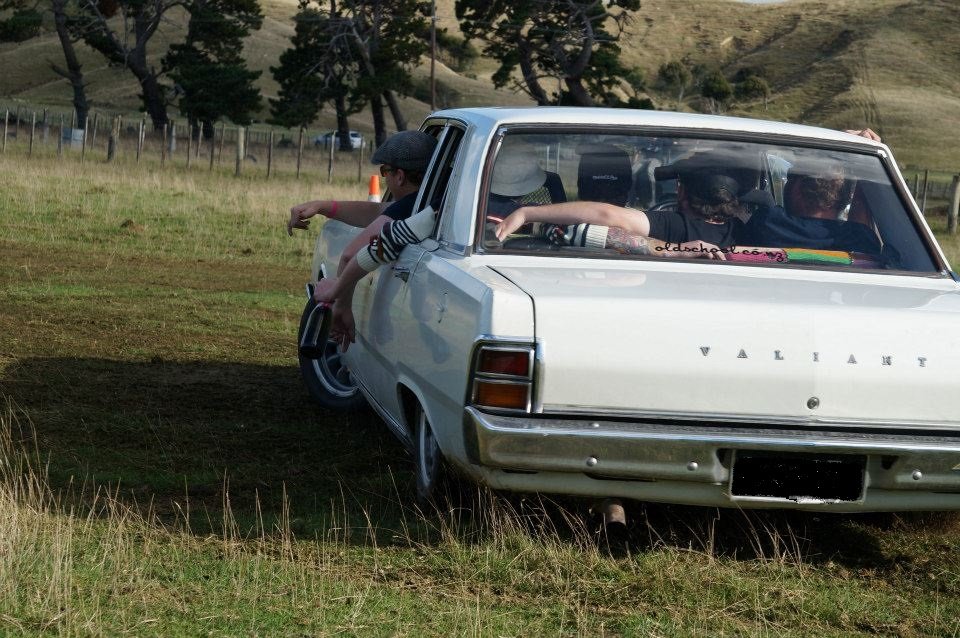
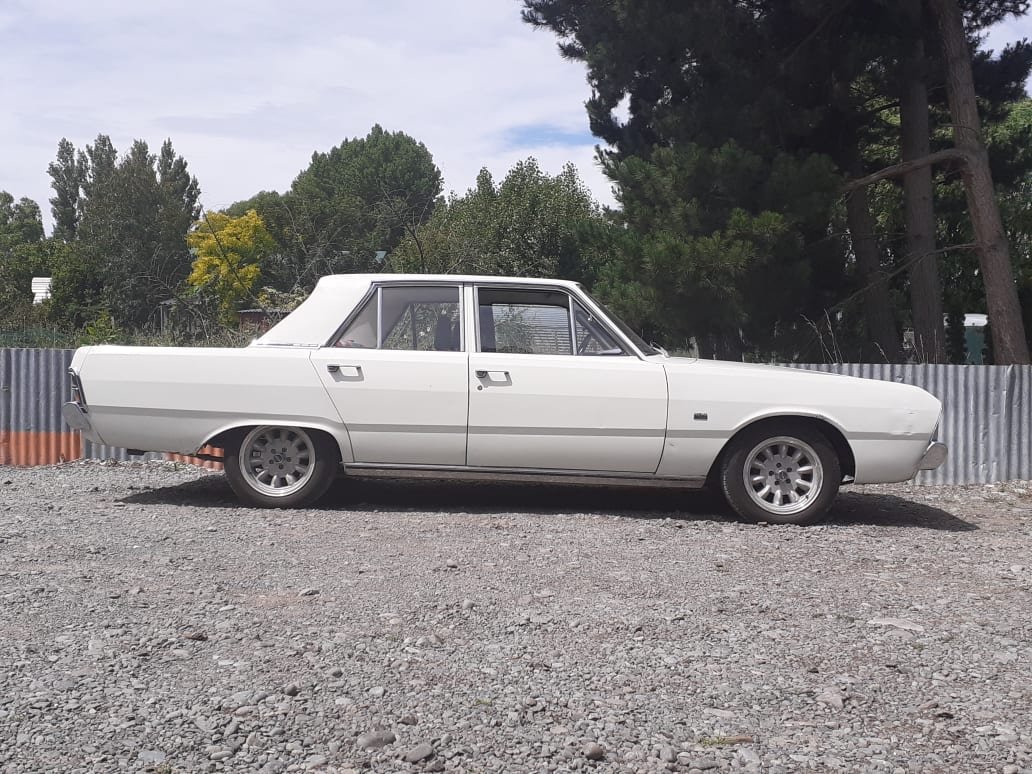
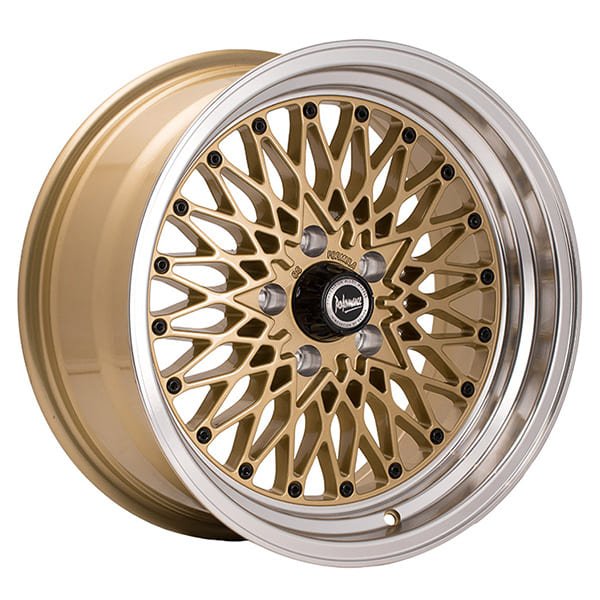
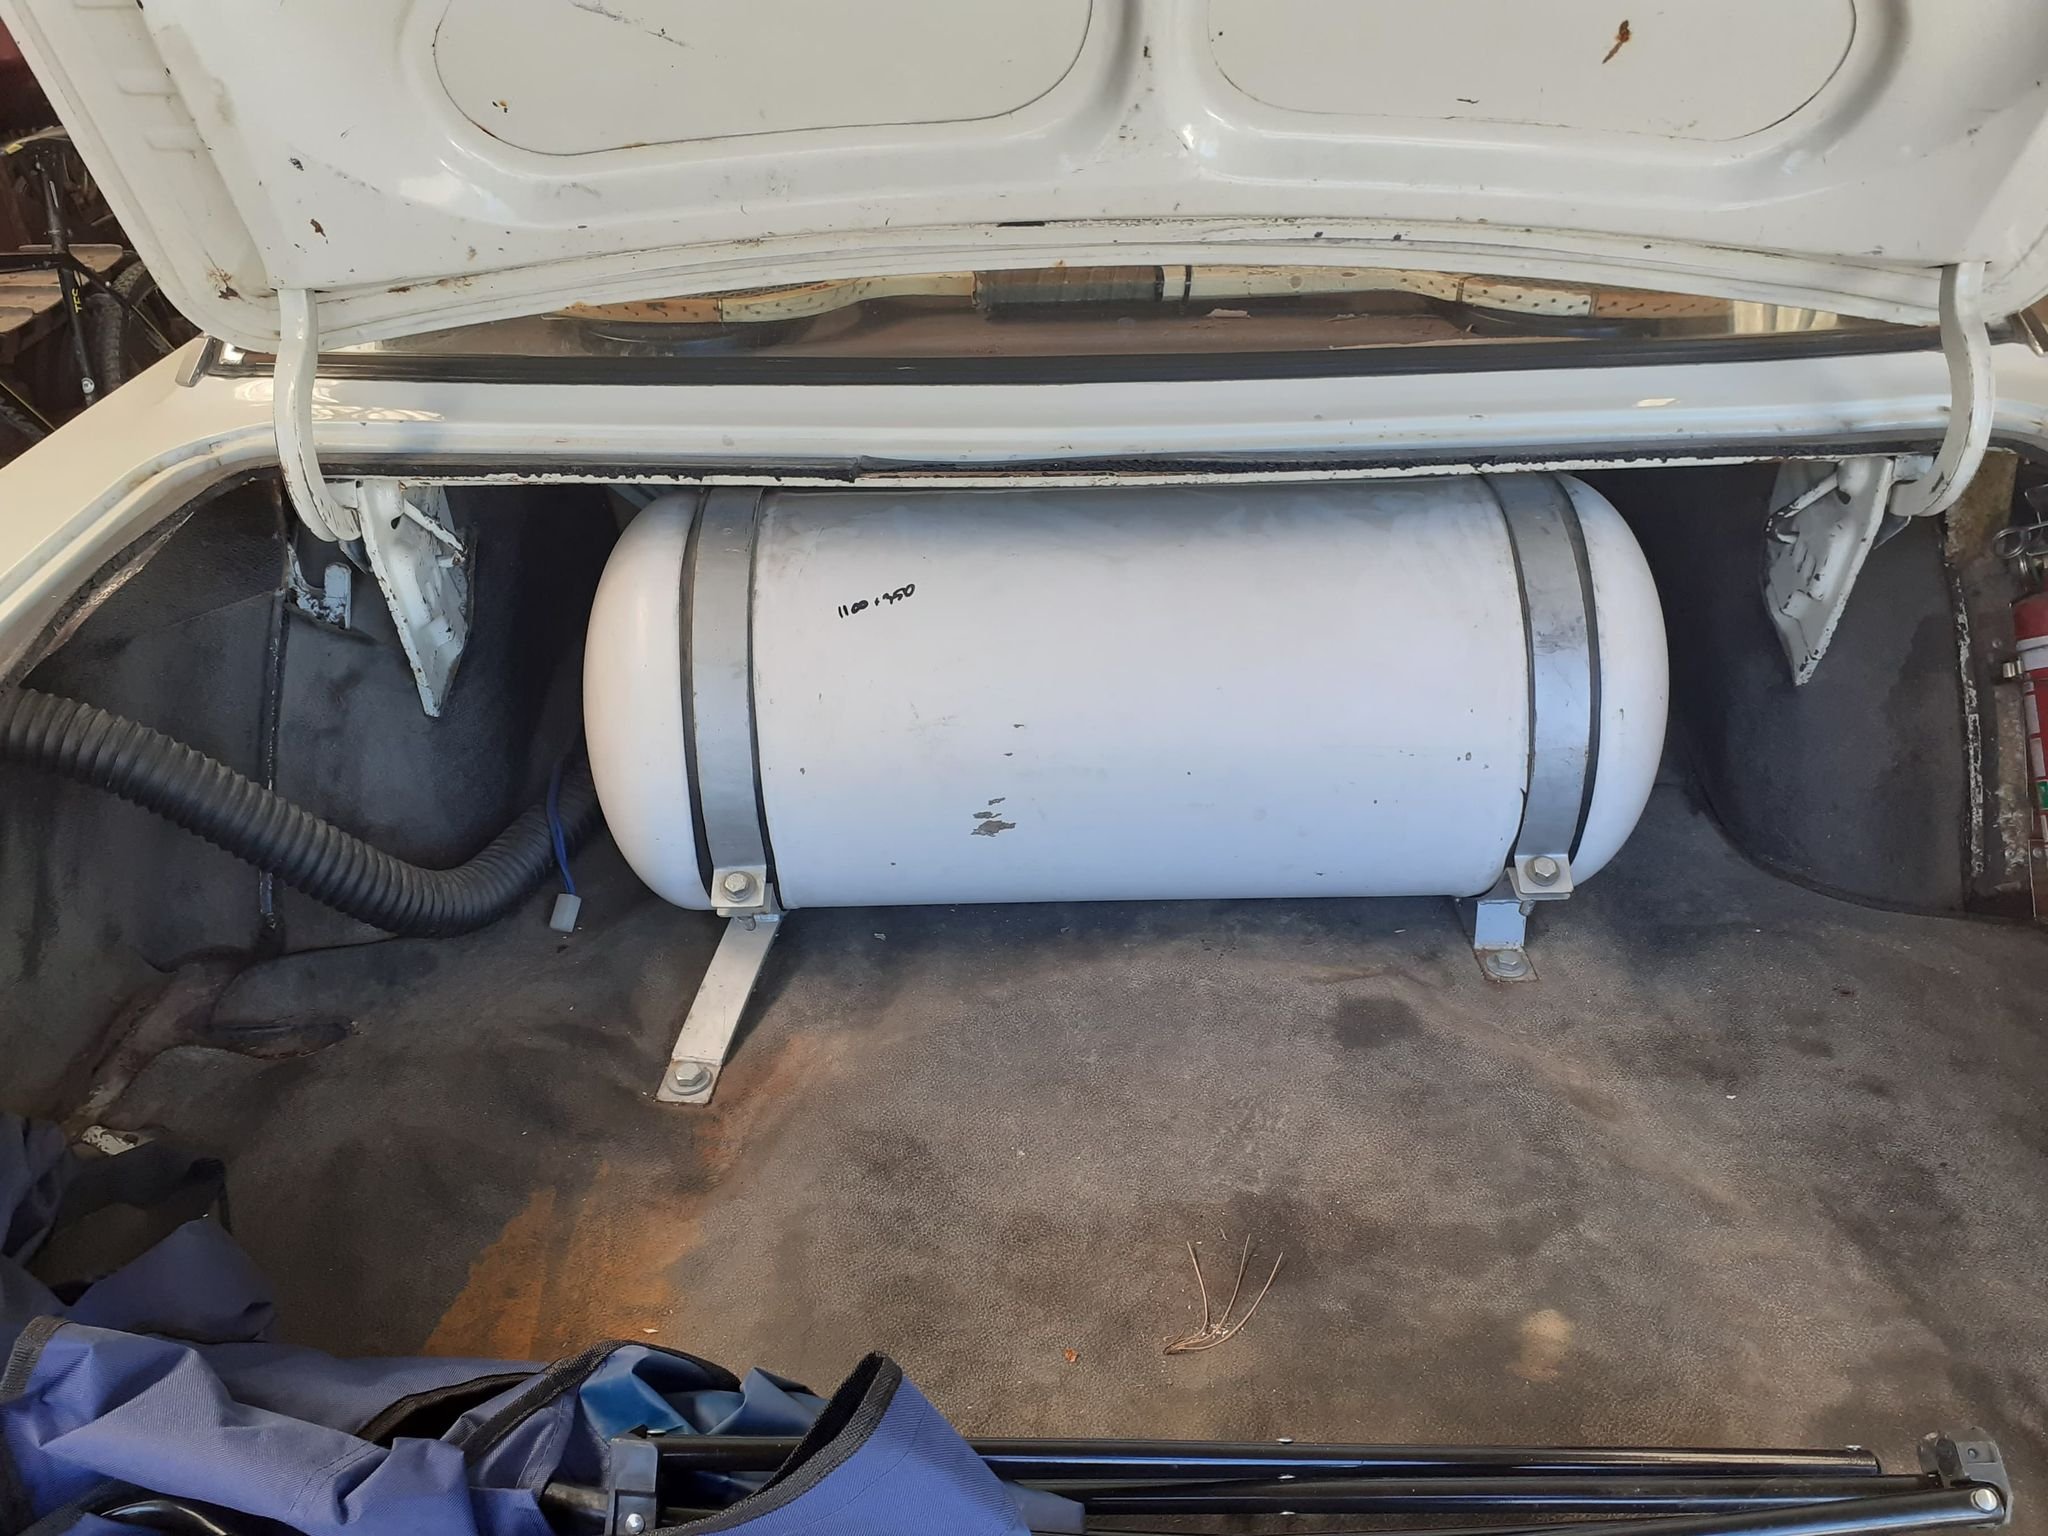
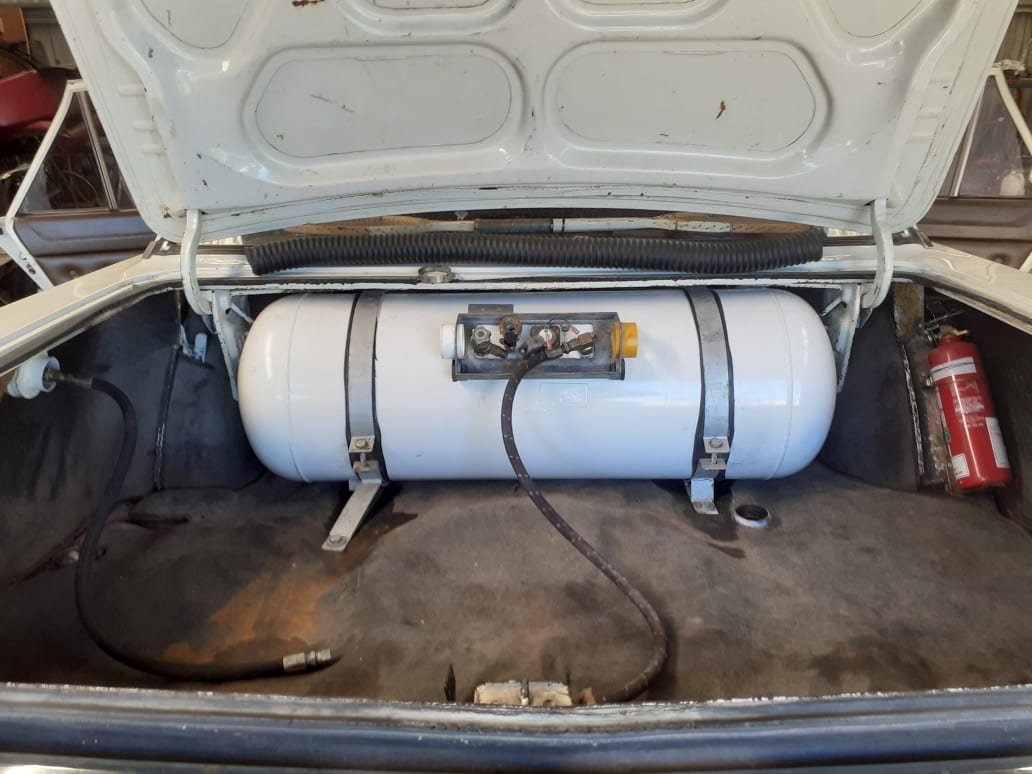
Bushes replaced and the Valiant drives nicely again. One of my boys finished year 8 schooling, they have a formal and parents etc are invited to drop their kids off at in front of the school hall pre formal. The valiant beached quite loudly as I was turning onto the field which my son thought was fantastic. Good boy! He was very keen on some school field paddock work. I exercised the utmost restraint and no circles were done. Here's a pic of some previous grass silliness. I put the Superlites on for the school run. Then decided I didn't like them and took them off the next day. I'd quite like a set of these modernized Cheviot Quattro's but the budget won't stretch that far at the moment. anyway that's enough sharnes. I have done some productive stuff too. I got my big fuel tank re tested, blasted and painted. It's slightly larger in diameter and considerably longer than the old one. My calculations suggest it will hold about 20 Liters more fuel than previous which equates to about %30 more. Luckily I managed to fit it into the old tank straps which was a bonus and saved much fucking about. Old. New. I Need to sort out some new ducting as the tank has is designed for 60mm as opposed to 2 inch as before and I'll be ready to run. This tank has a little magnetic gauge sender unit that is miles different resistances to what the factory sender had. It looks fairly simple and I'd like to see about getting it changed so I can use my factory gauge. Has any one in ChCh delt with E Parrot and Sons since it has changed hands? Are Robinson instruments still around? Suggestions please.
7 points
-
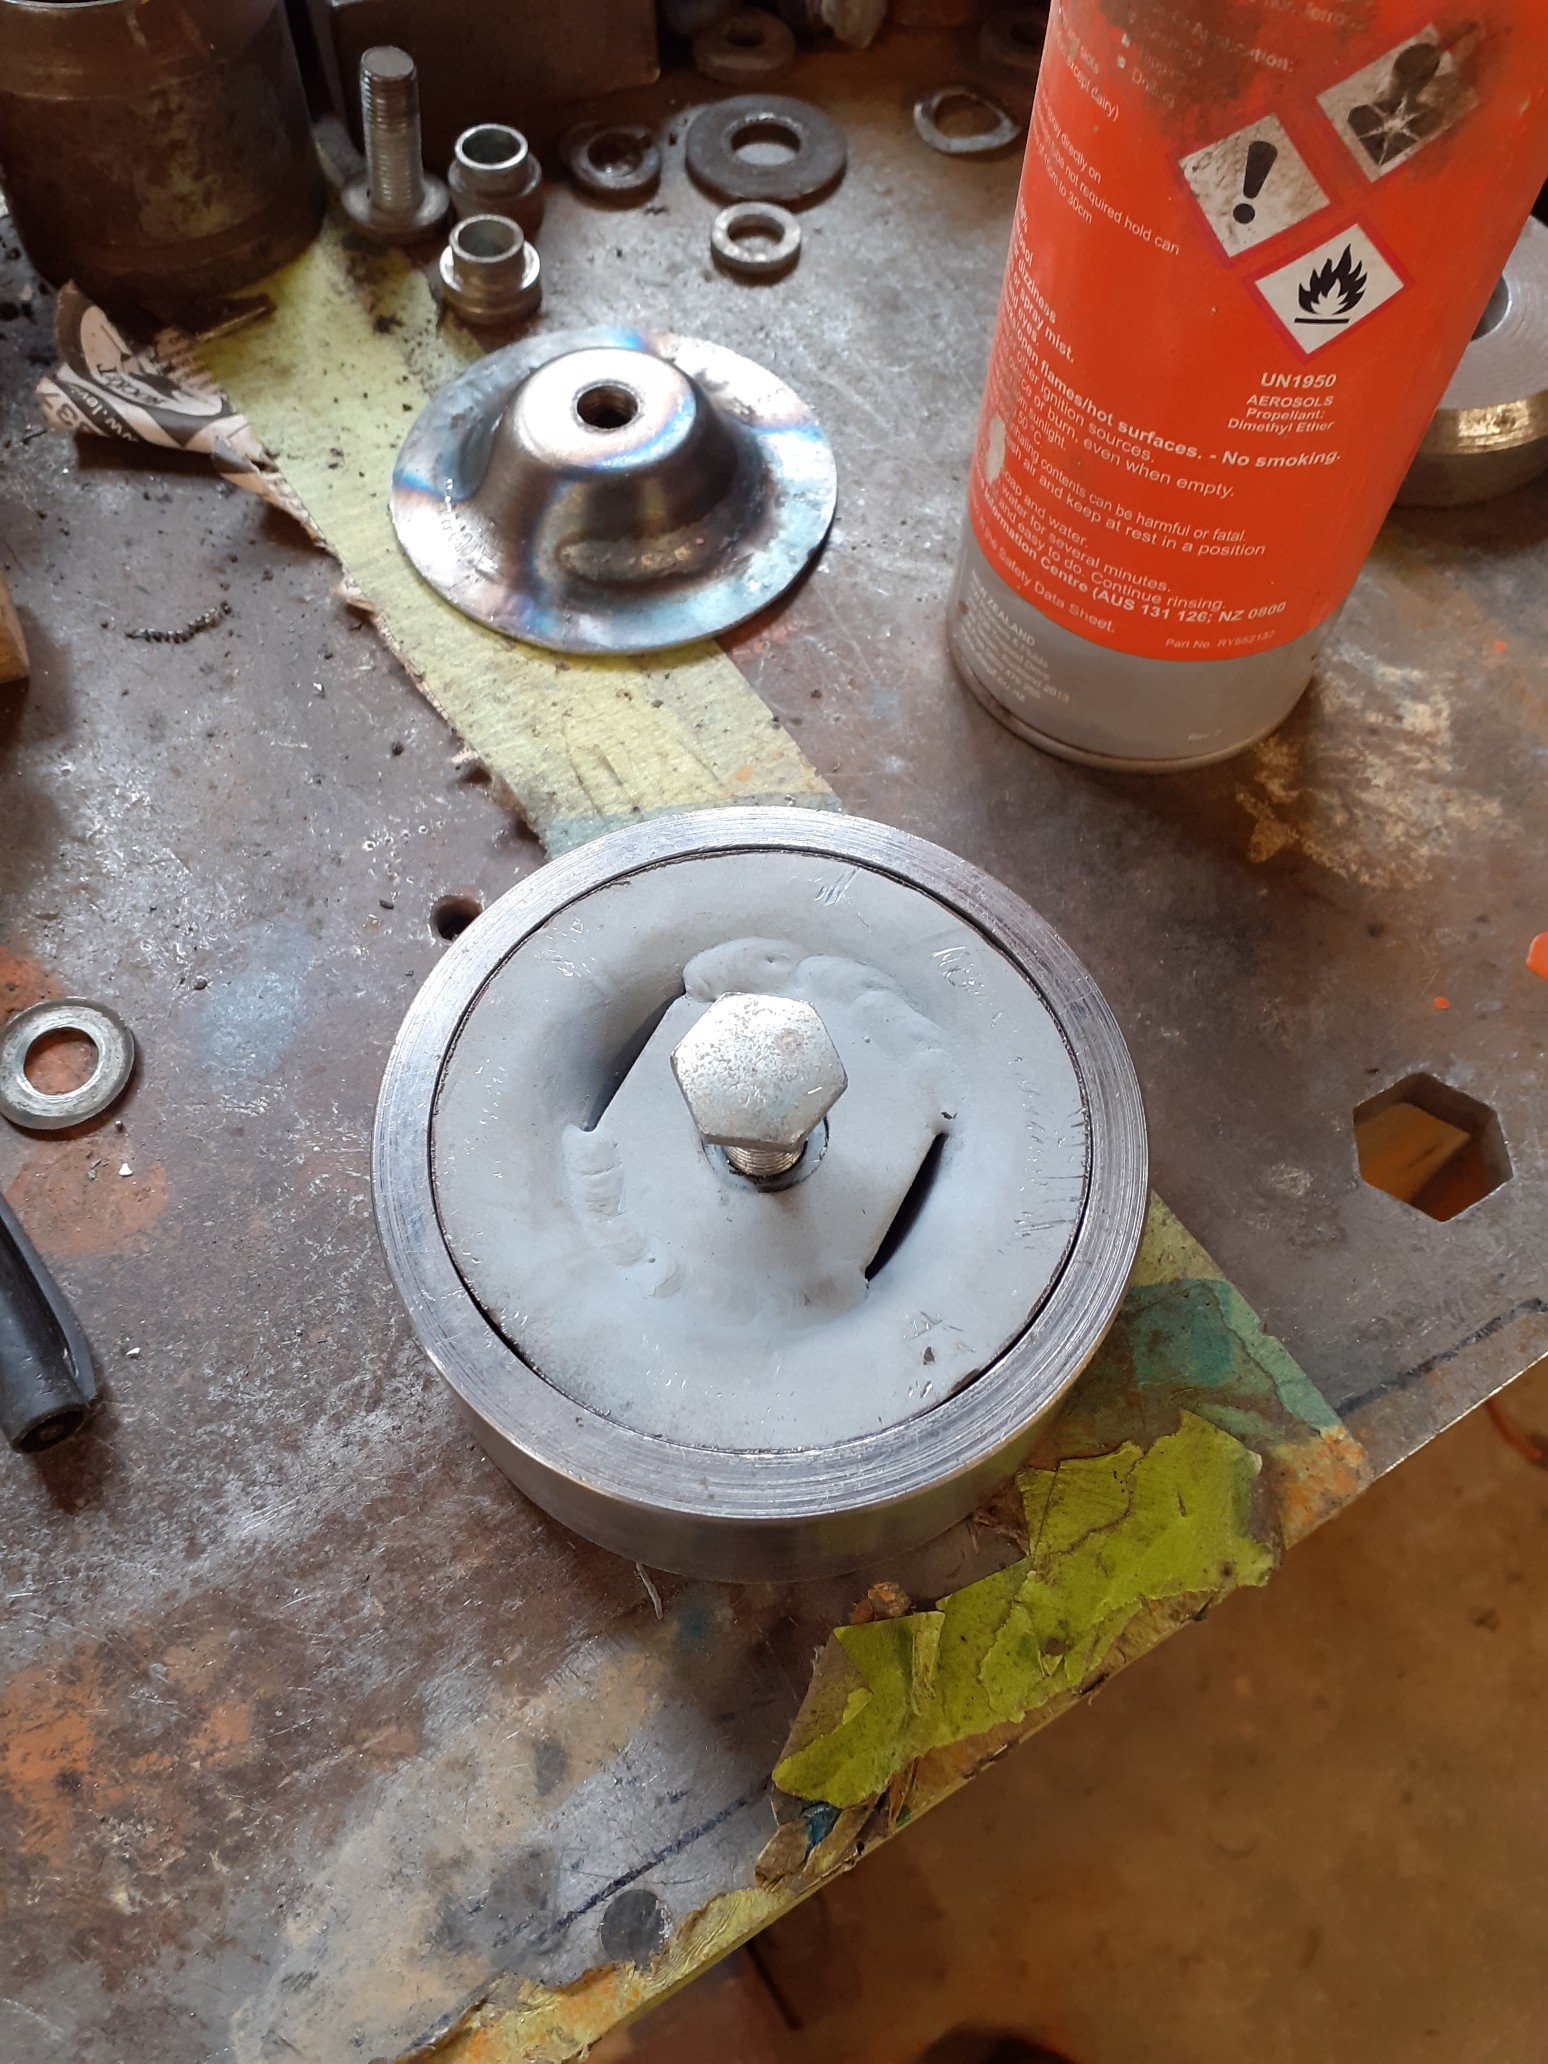
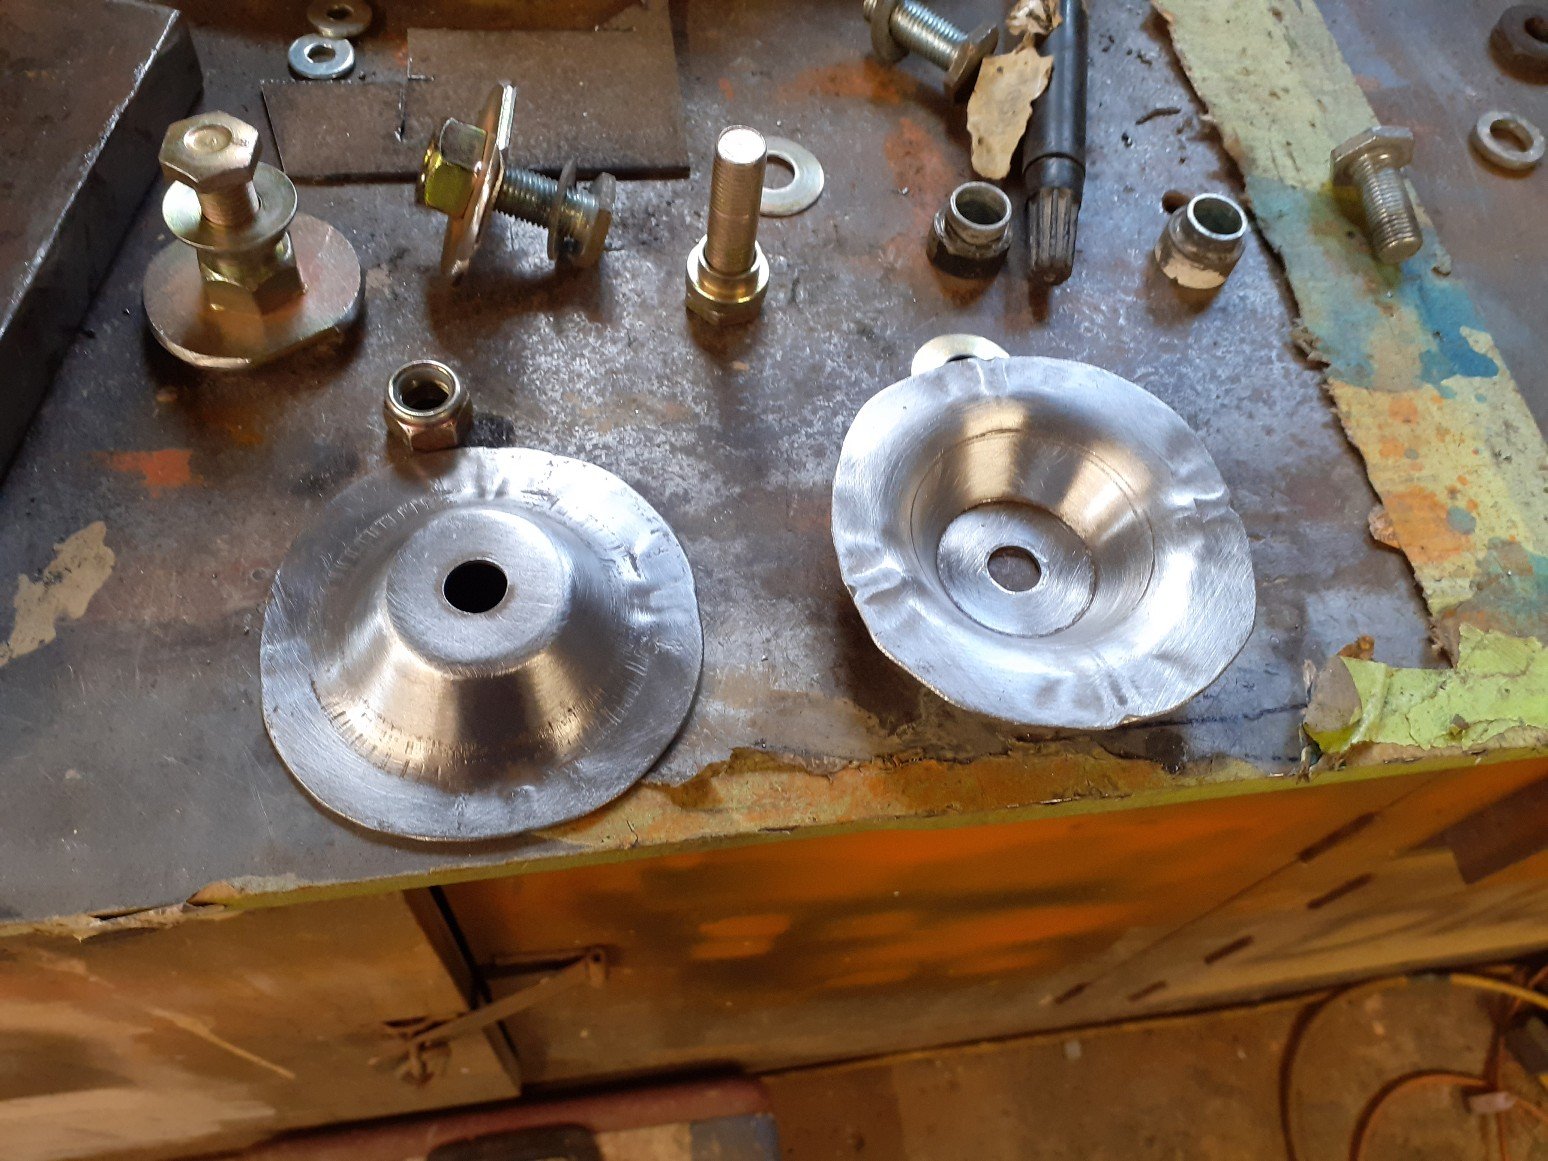
Rounded the cones by hand, had some round pipe as a guide. Found there final spot and temporarily drilled into place to try with the seat. Made some hinges out of 5mm angle line, which will later be trimmed up, driled for counter sunk screws and zinc plated. Primed everything and welded into place. I've maxed out the adjustments to have the seat level with the floor with folded flat. The floor section will be color matched the van, and the upright will be painted black to break it up. Plug welded in place. Will be primed and painted orange. This the last mounting point to be made. It holds the upright in place when in the seating position and should lock in it so in an event of an emergency stop, it shouldn't fold forward. Looks like a big gap but this is the normal and there is no room for adjustment when folded flat. Thinking some post which would encase a locking mechanism like the below would be the go. I like the idea of pulling the seat up and clicking it into place, and having a release lever when needing to fold it flat. Any other ways of doing this? Needs to lock it in place, and support the back rest.
6 points
-
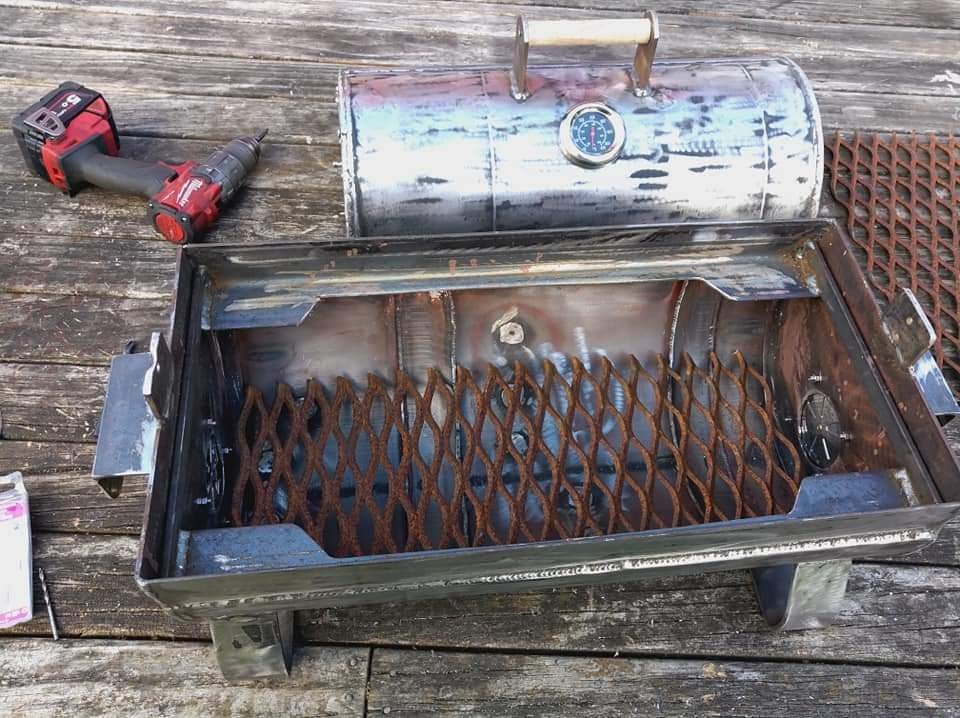
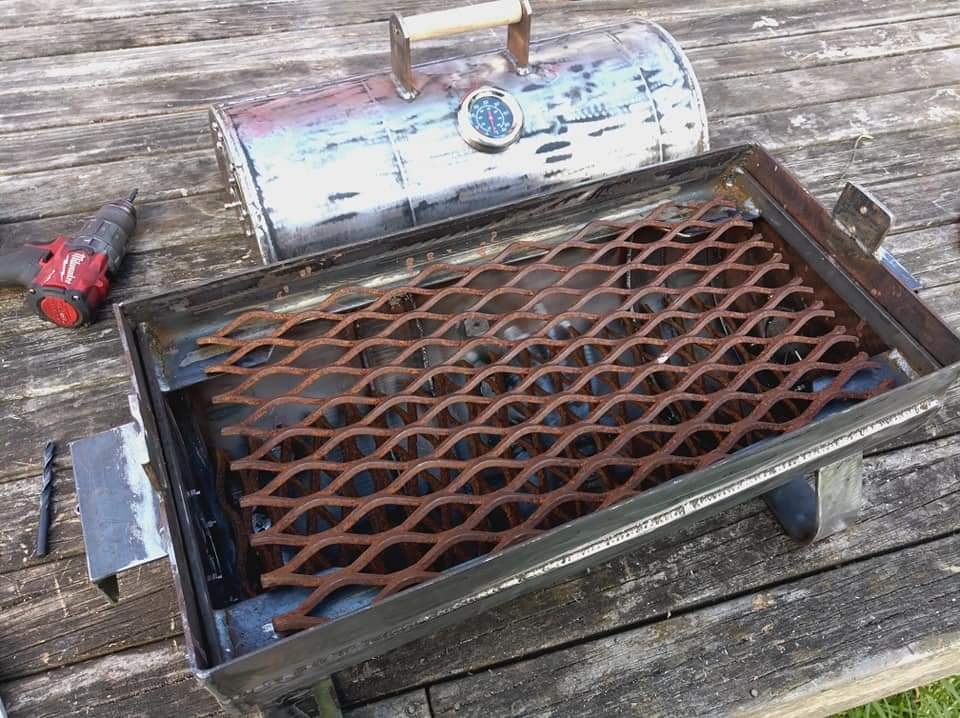
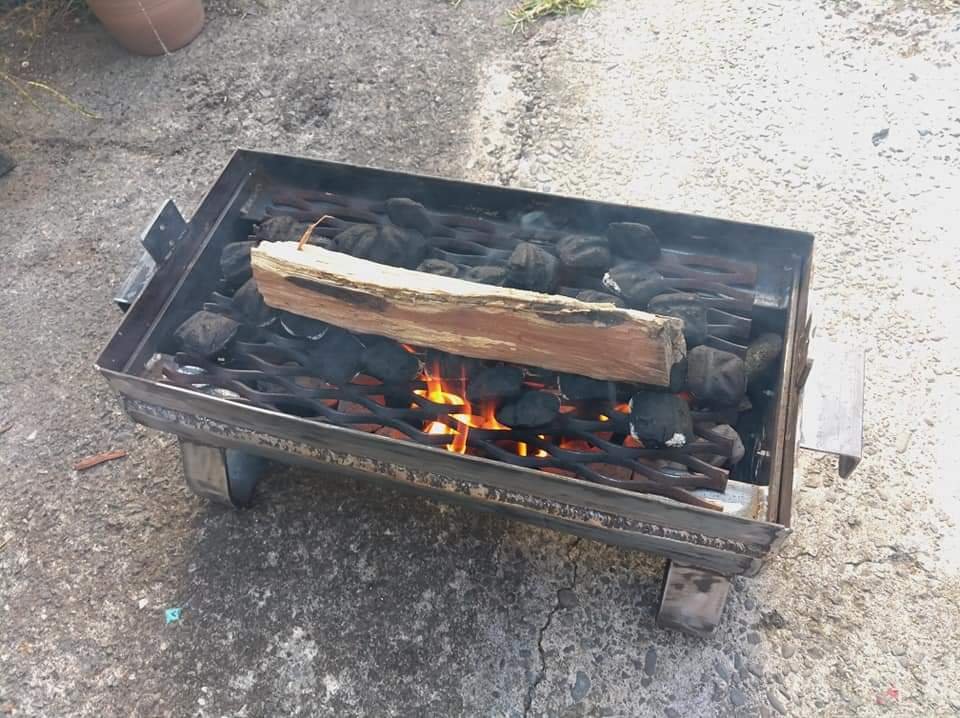
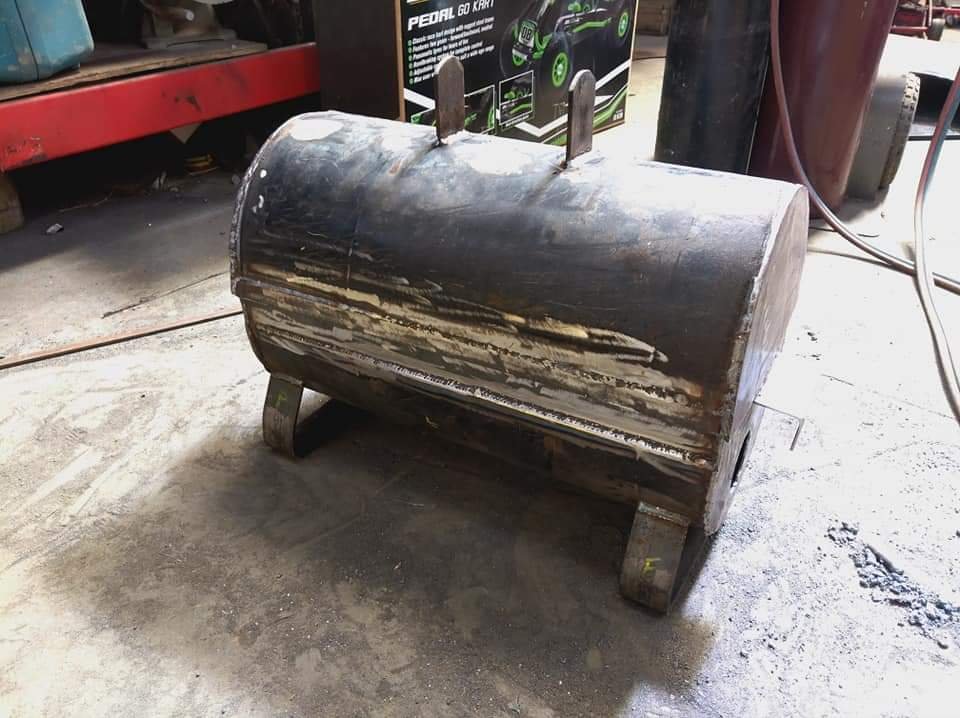
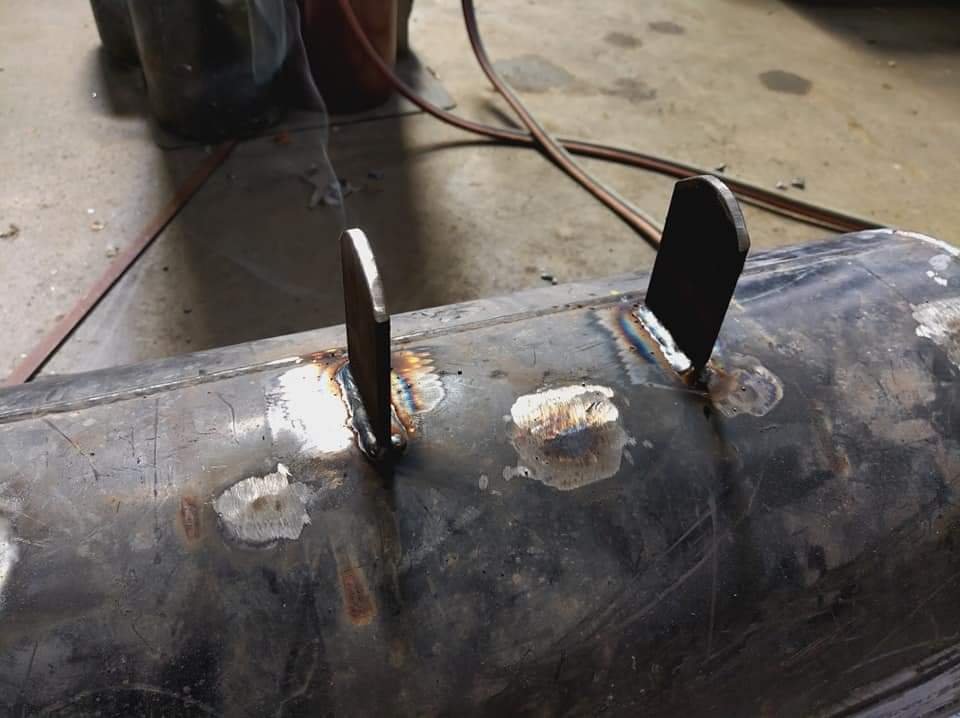
Upper and lower racks sitting in place. Then set it up for it's first burn off to kill off any nasties from the paint and stripper. I added a few more similar size chunks of Manuka and got it cranking. So far it has been sitting at 500f for the last 2 and a half hours with no extra fuel. Seems to be going well enough for something that owes me about $130 and about 10hours. Yeah a Weber GA is only $150 but this is far more rewarding. I might give it another burn off tomorrow morning then I'll be seasoning it, throwing some paint on the outside then throwing in a rolled beef roast. Keep. As to see how it turns out. Will get a picture of the rotisserie tomorrow. Chur
6 points
-
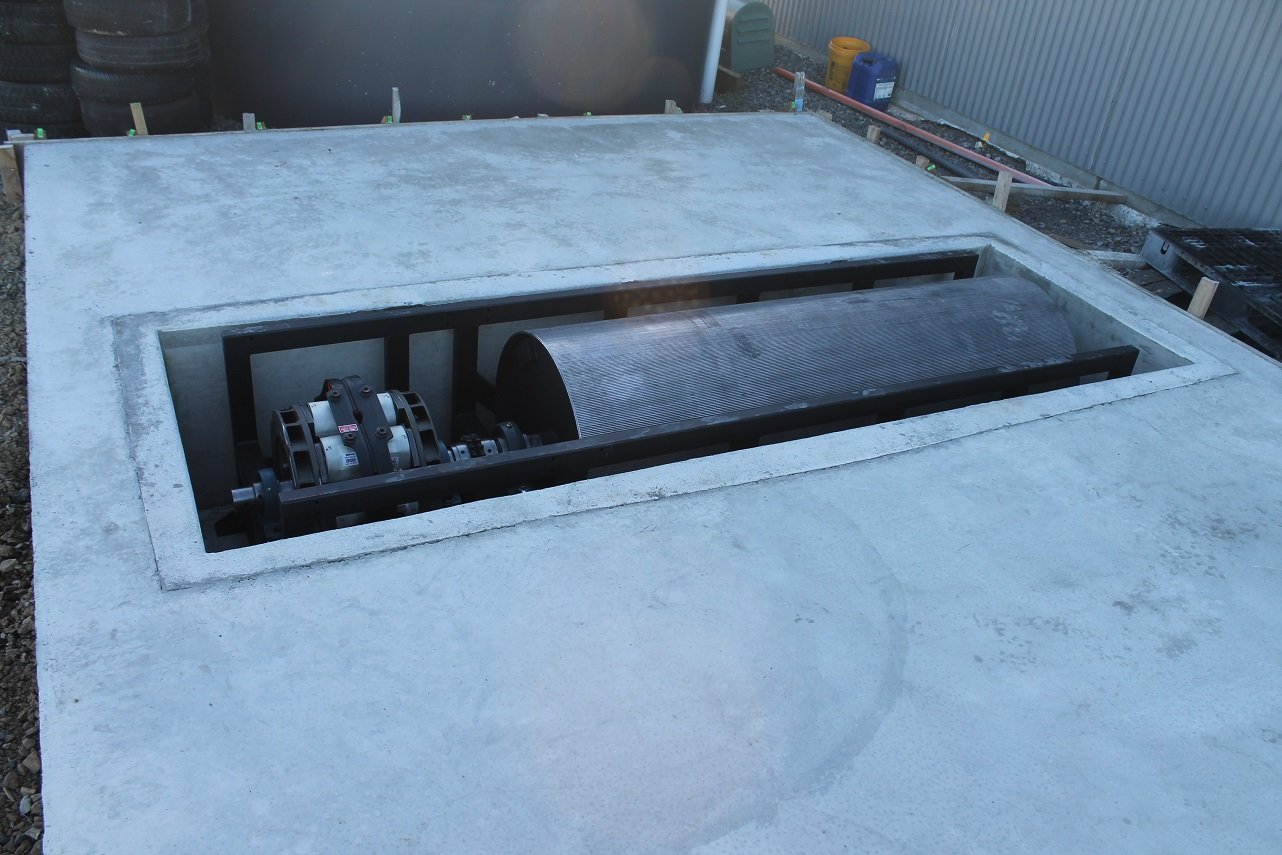
A few months back I bought the 4 items in this link to make it all work https://yourdyno.com/shop/ - I had to wait a couple of weeks for it but it was perfect timing as they had just released their own eddy current power supply. After checking out his youtube and forums it seemed like a good option for a reasonable price. I then bolted some tie down points to the concrete, hooked the speed sensor up to the YourDyno controller and connected it to the laptop. I set it up for inertia mode with a moment of inertia number based on some weight calculations of the roller (educated guess for now). Strapped the trusty old NS250R to the roller and just eased into to things to get an idea of how it was all going. I popped it in 3rd and did a run right out to 10,000 rpm or so. This was a pretty epic moment for me honestly. Everything felt smooth and nothing looked out of place, so the next day I mucked about shimming bearings and coupling the retarder to the roller. Still in inertia mode, I strapped the paddock basher MX5 to the roller and did a test run in 3rd. Once again everything looked pretty good at this stage so I am very happy. Here's a video.6 points
-
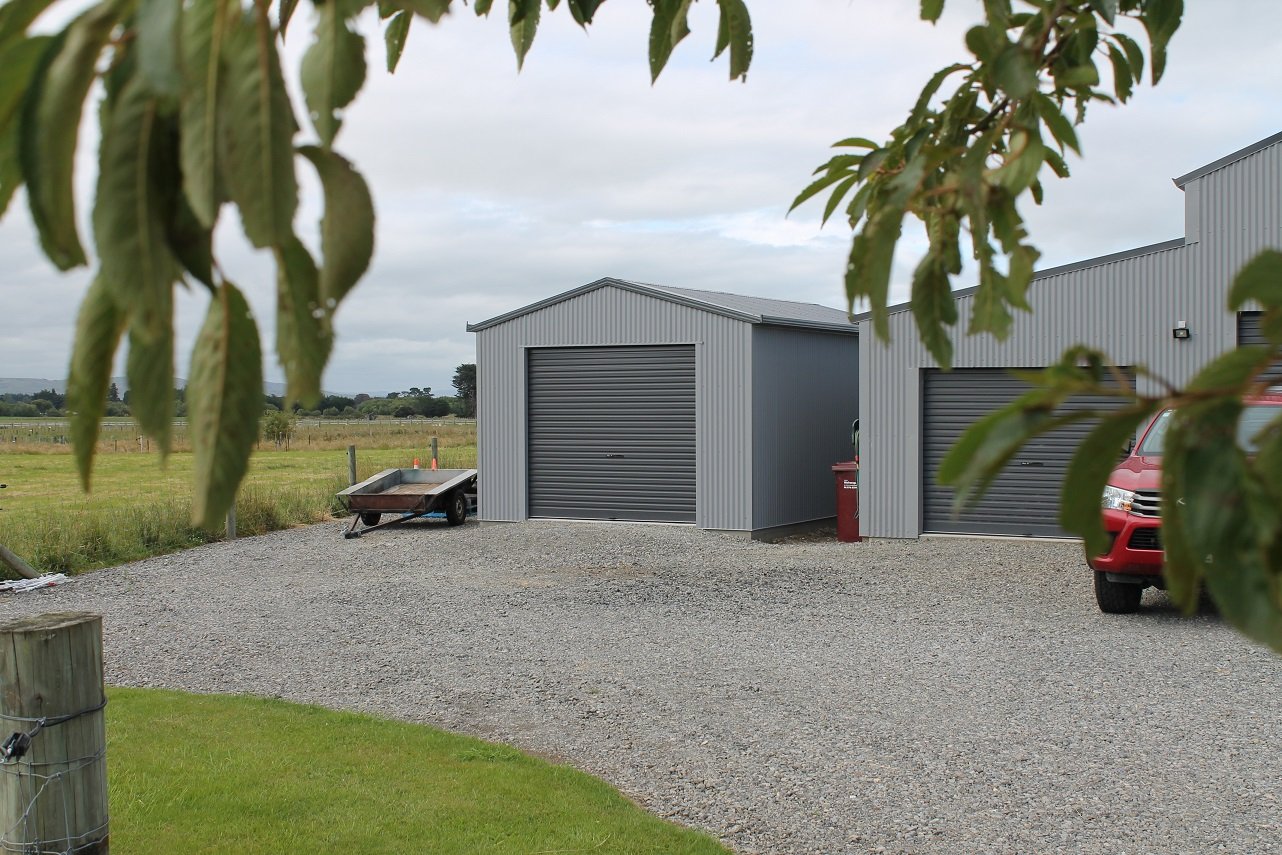
Shed up
6 points
-
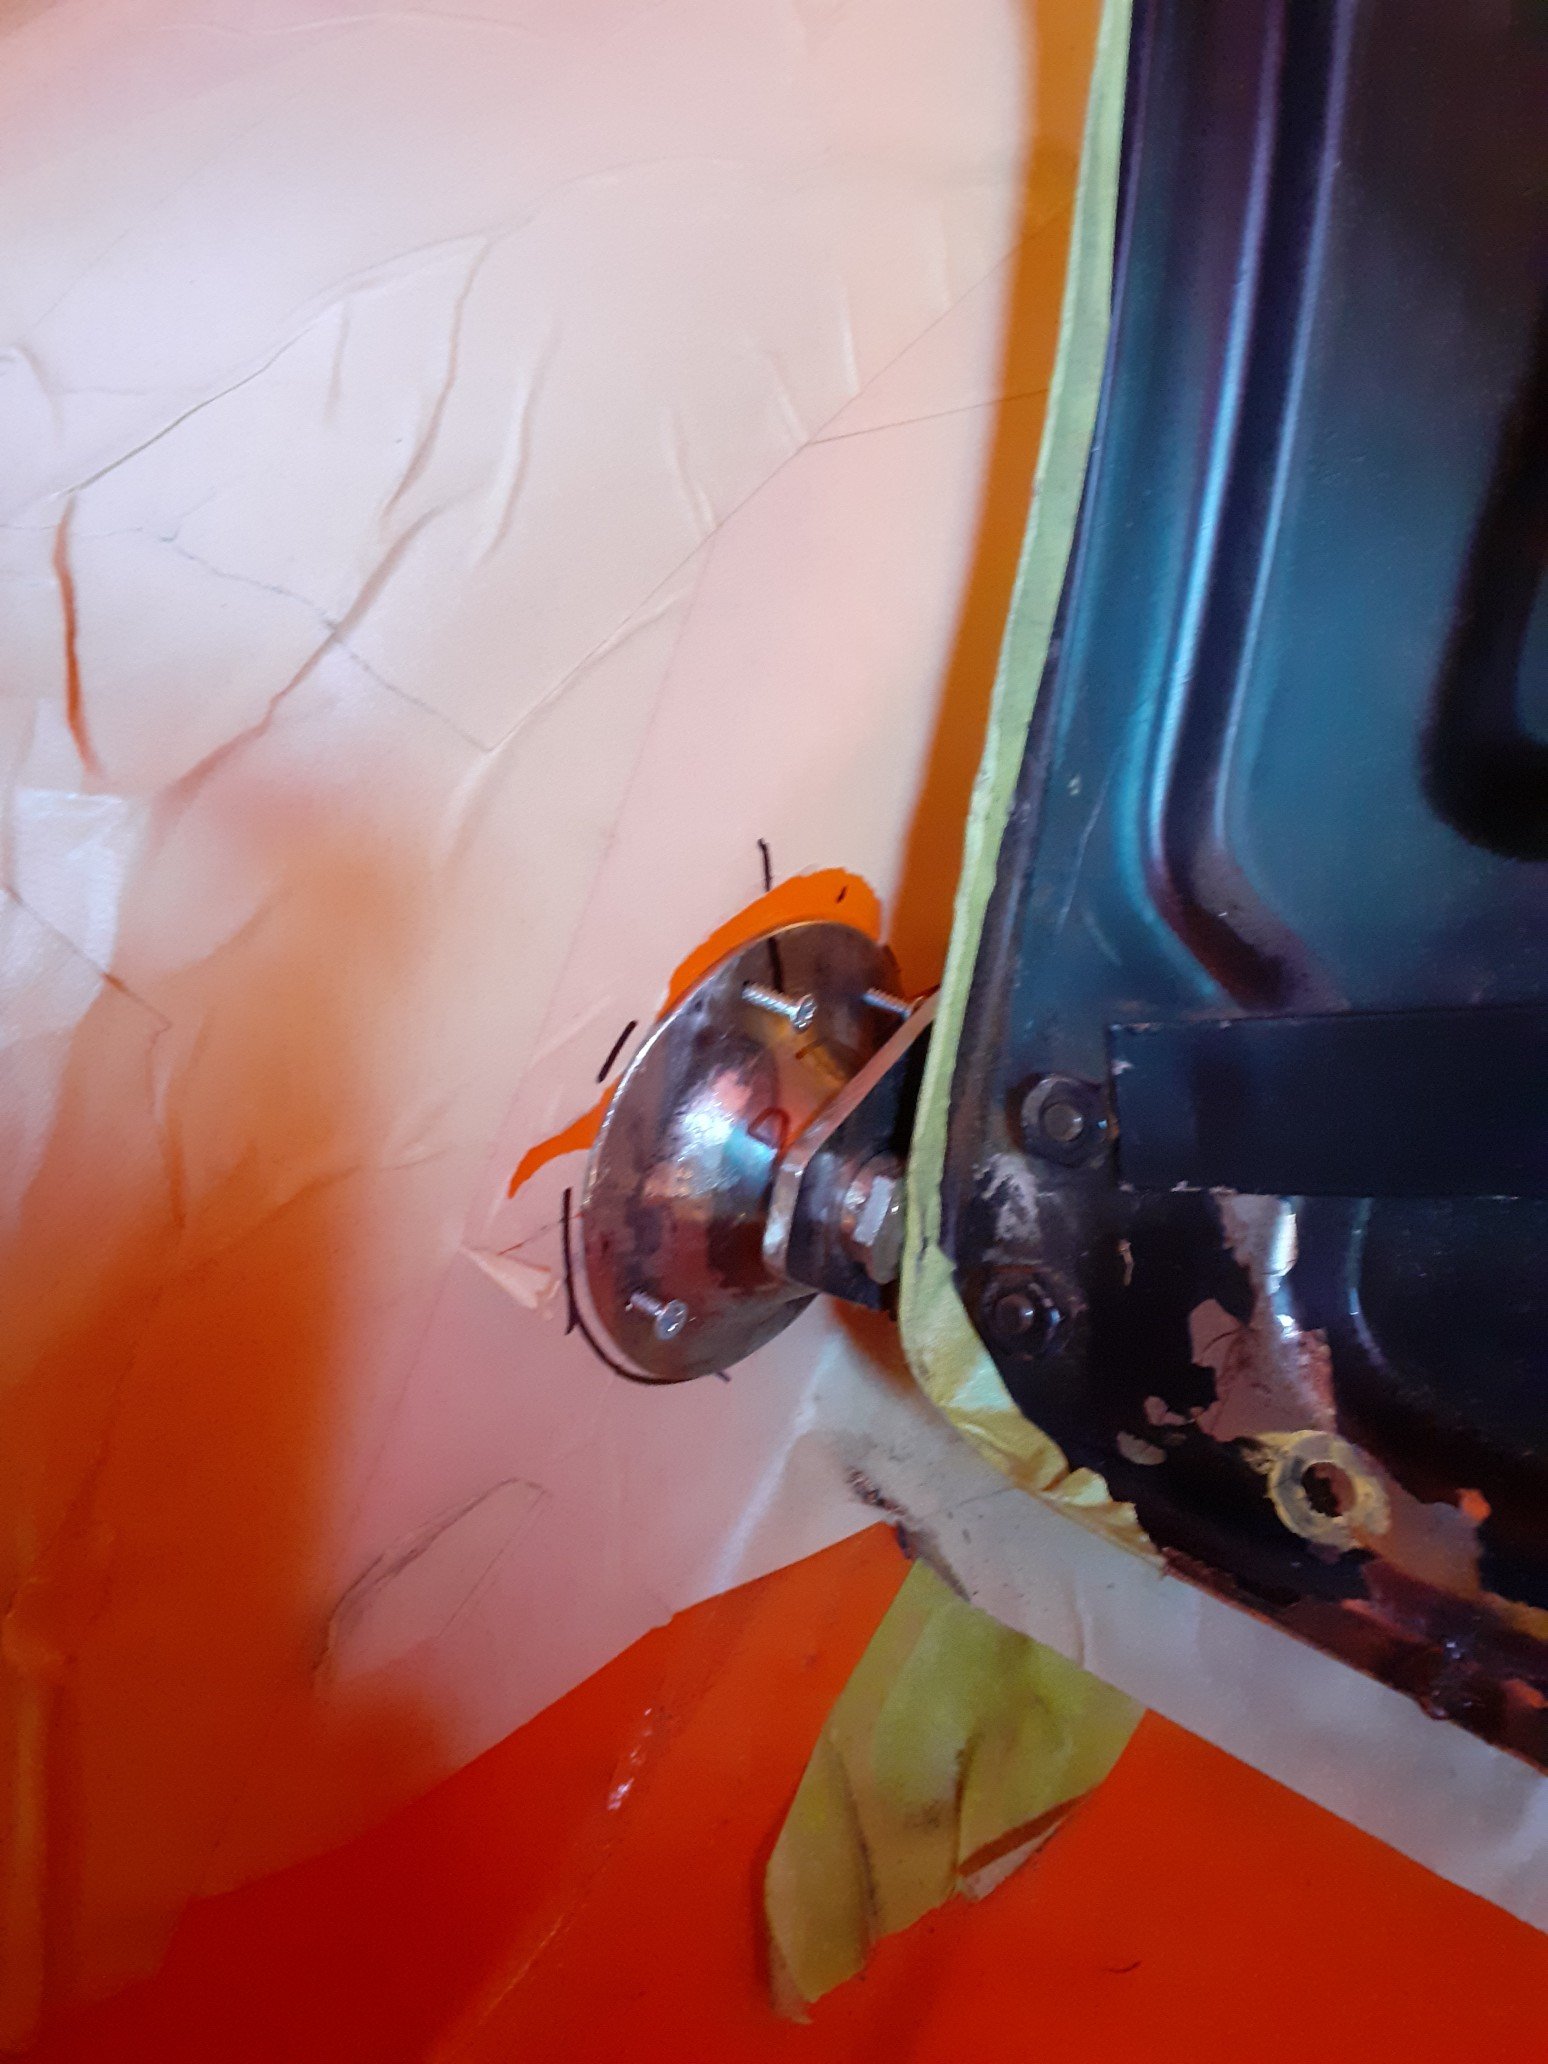
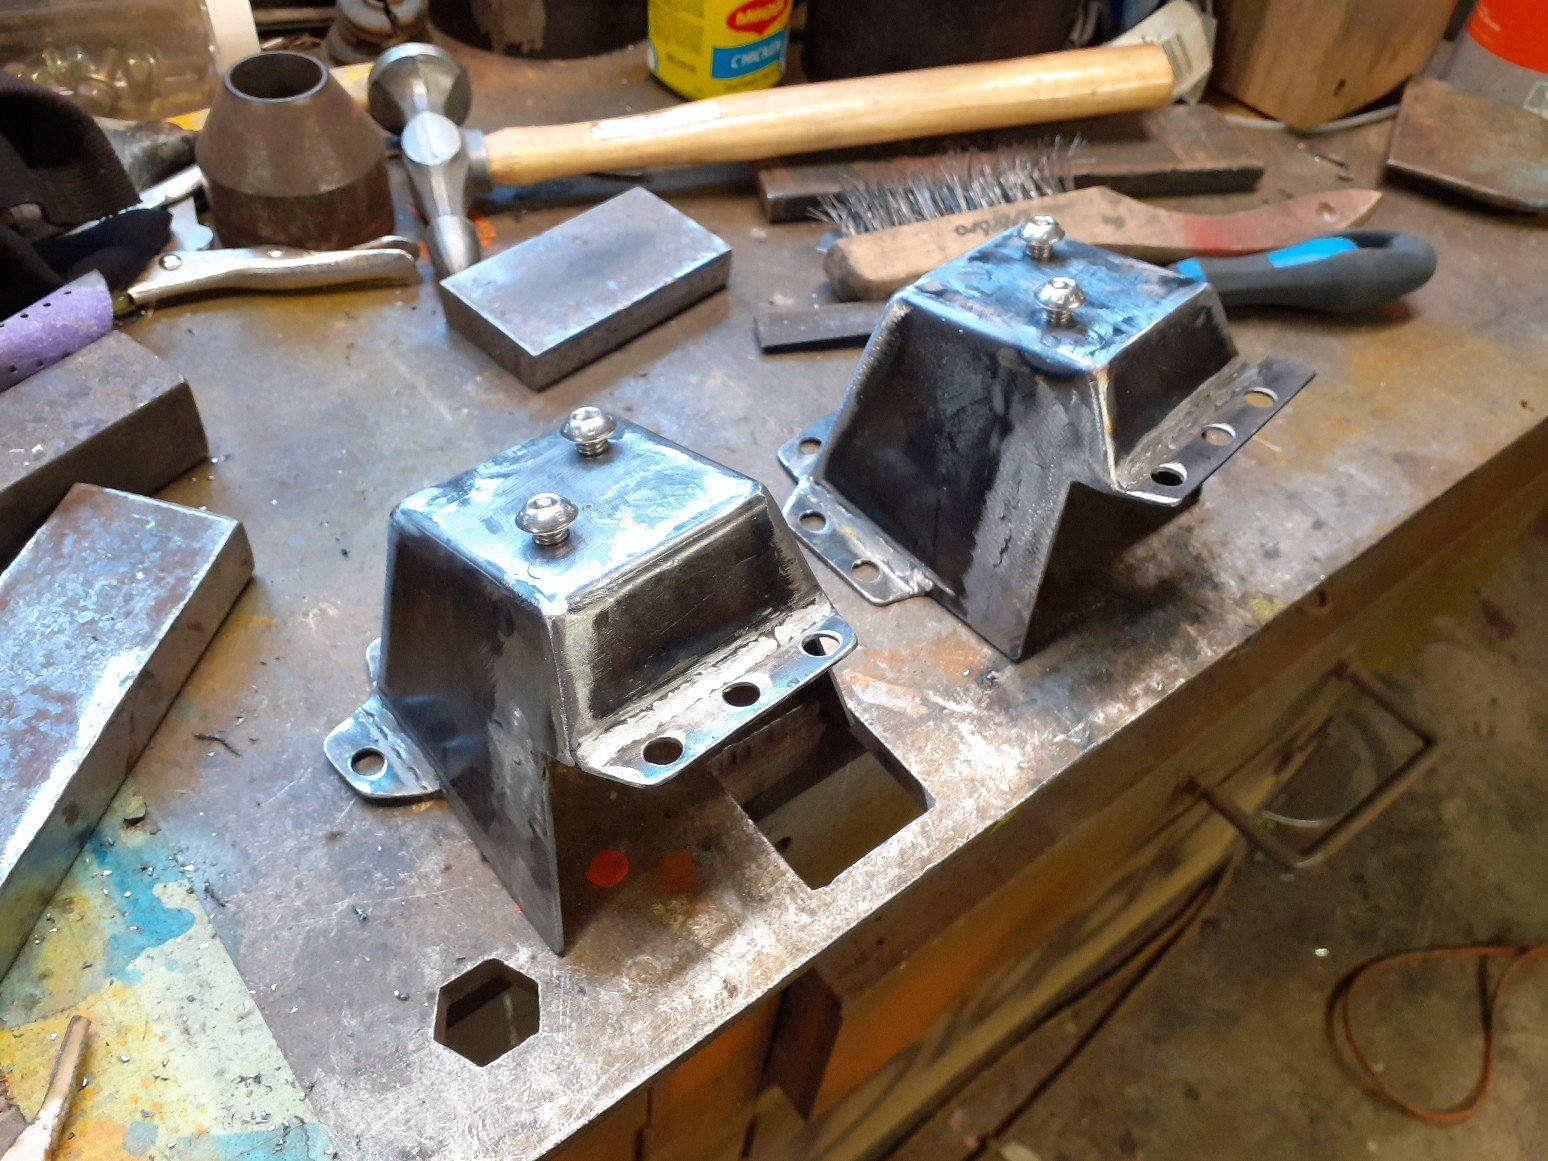
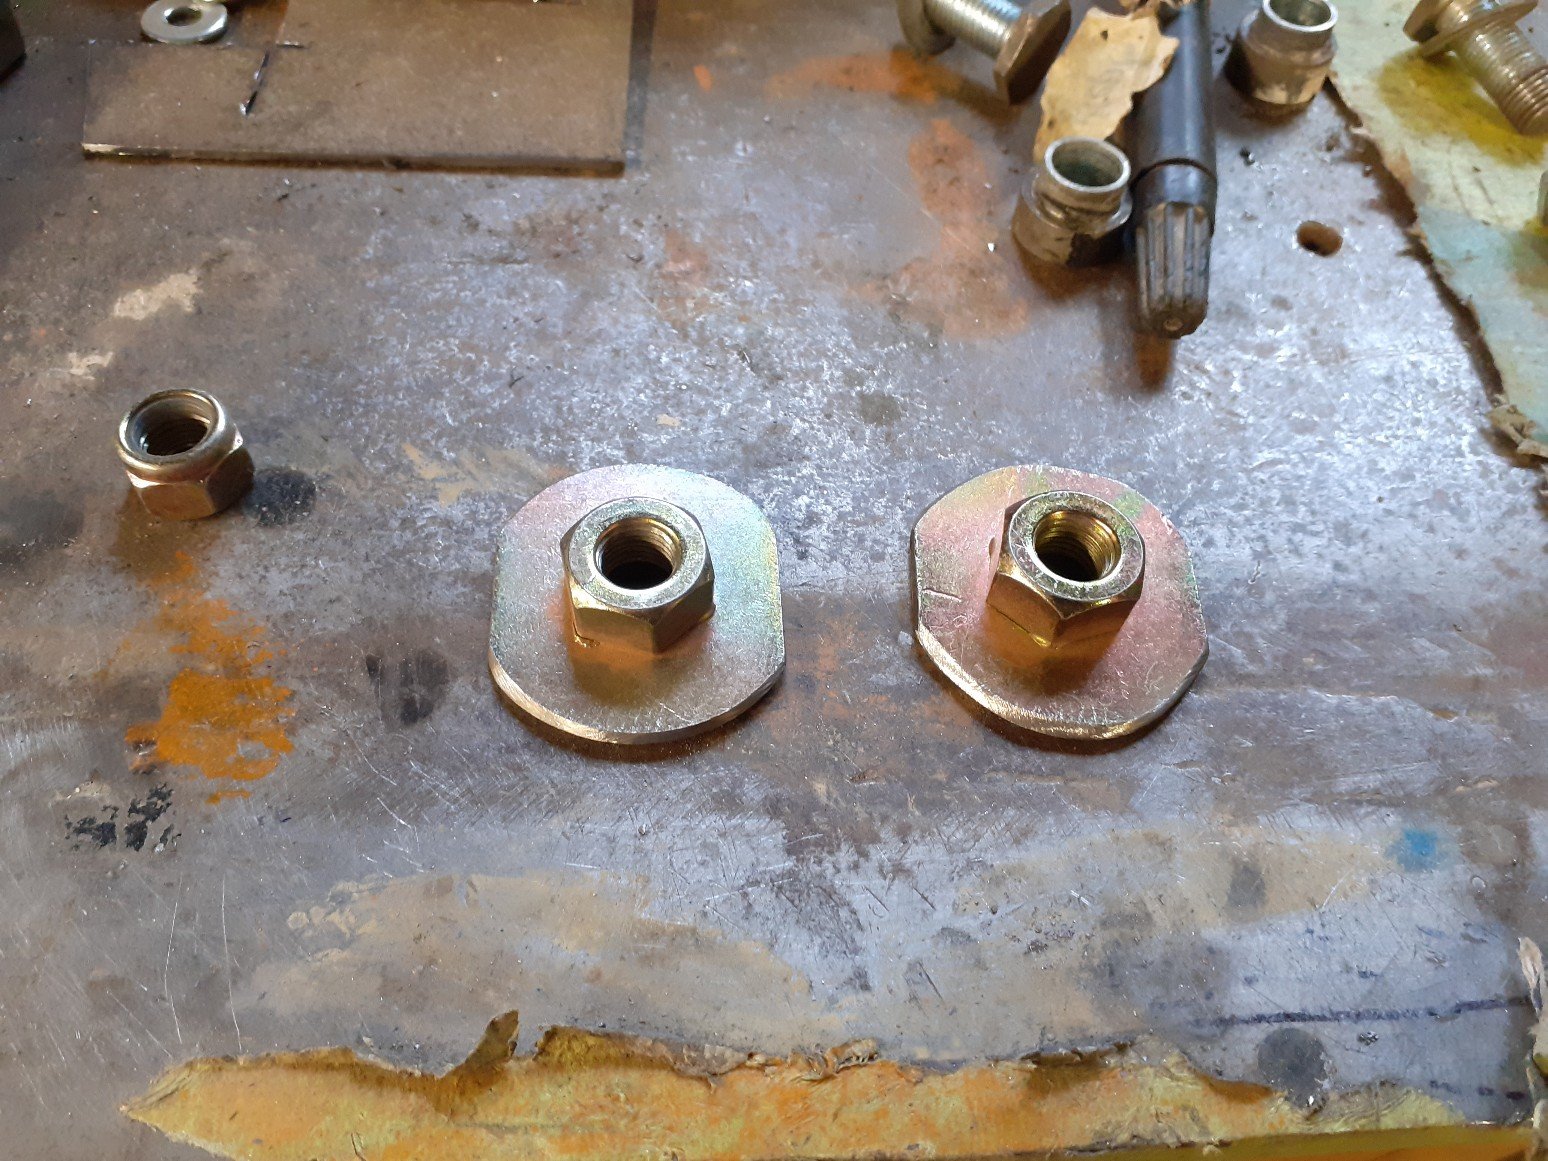
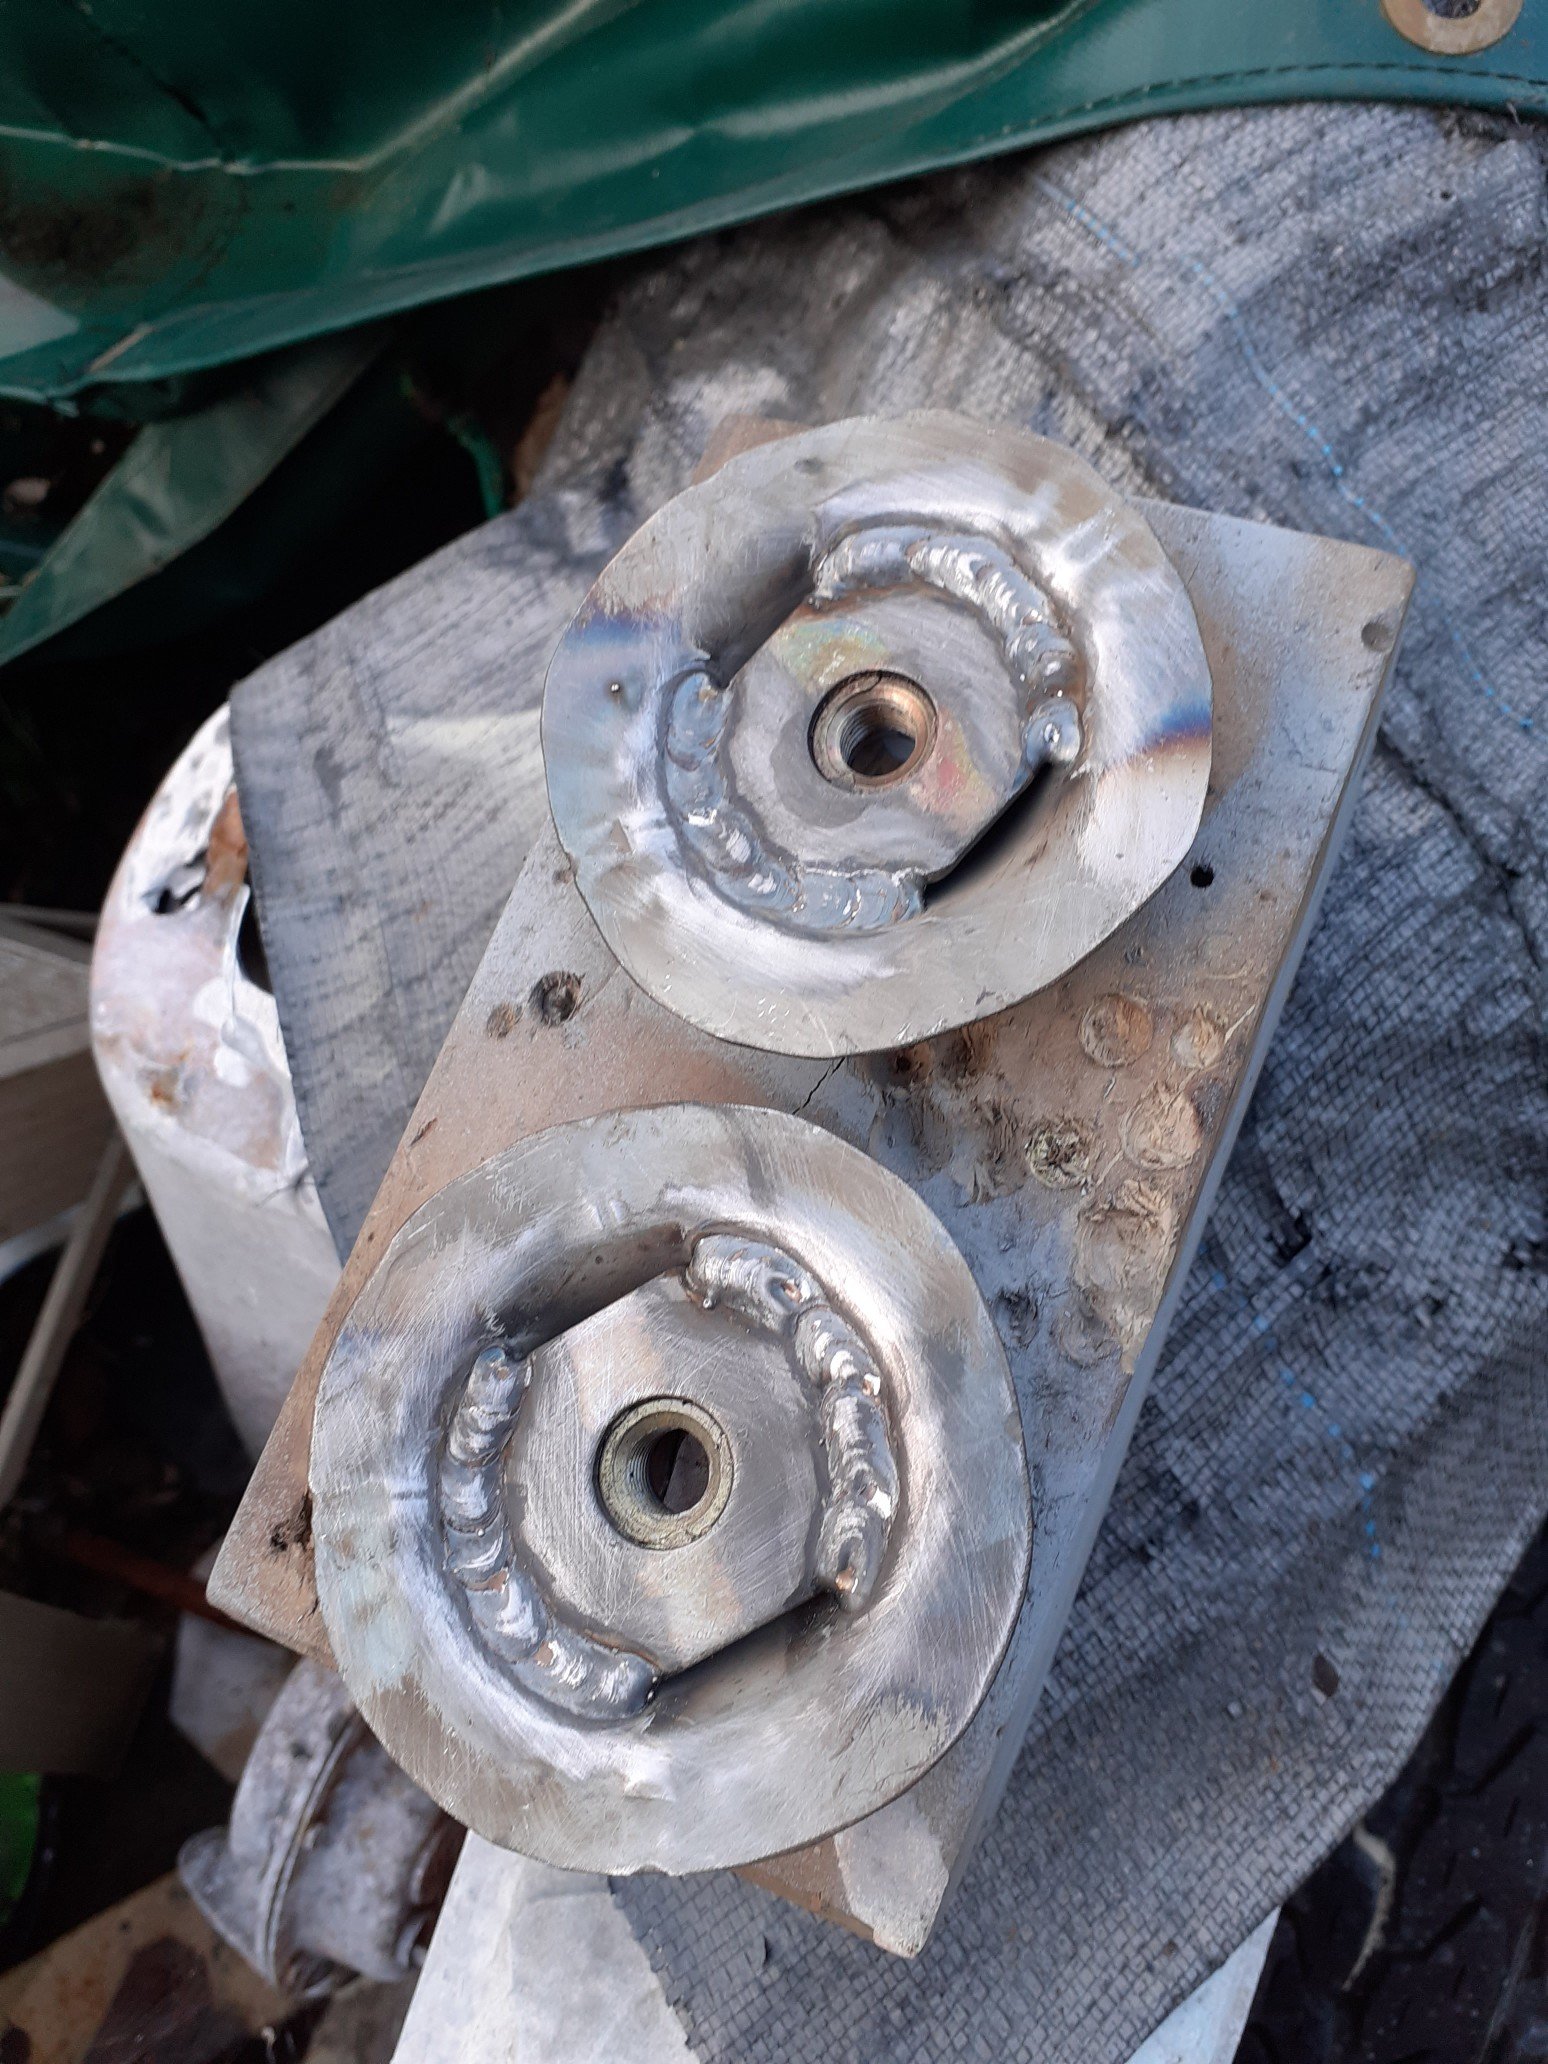
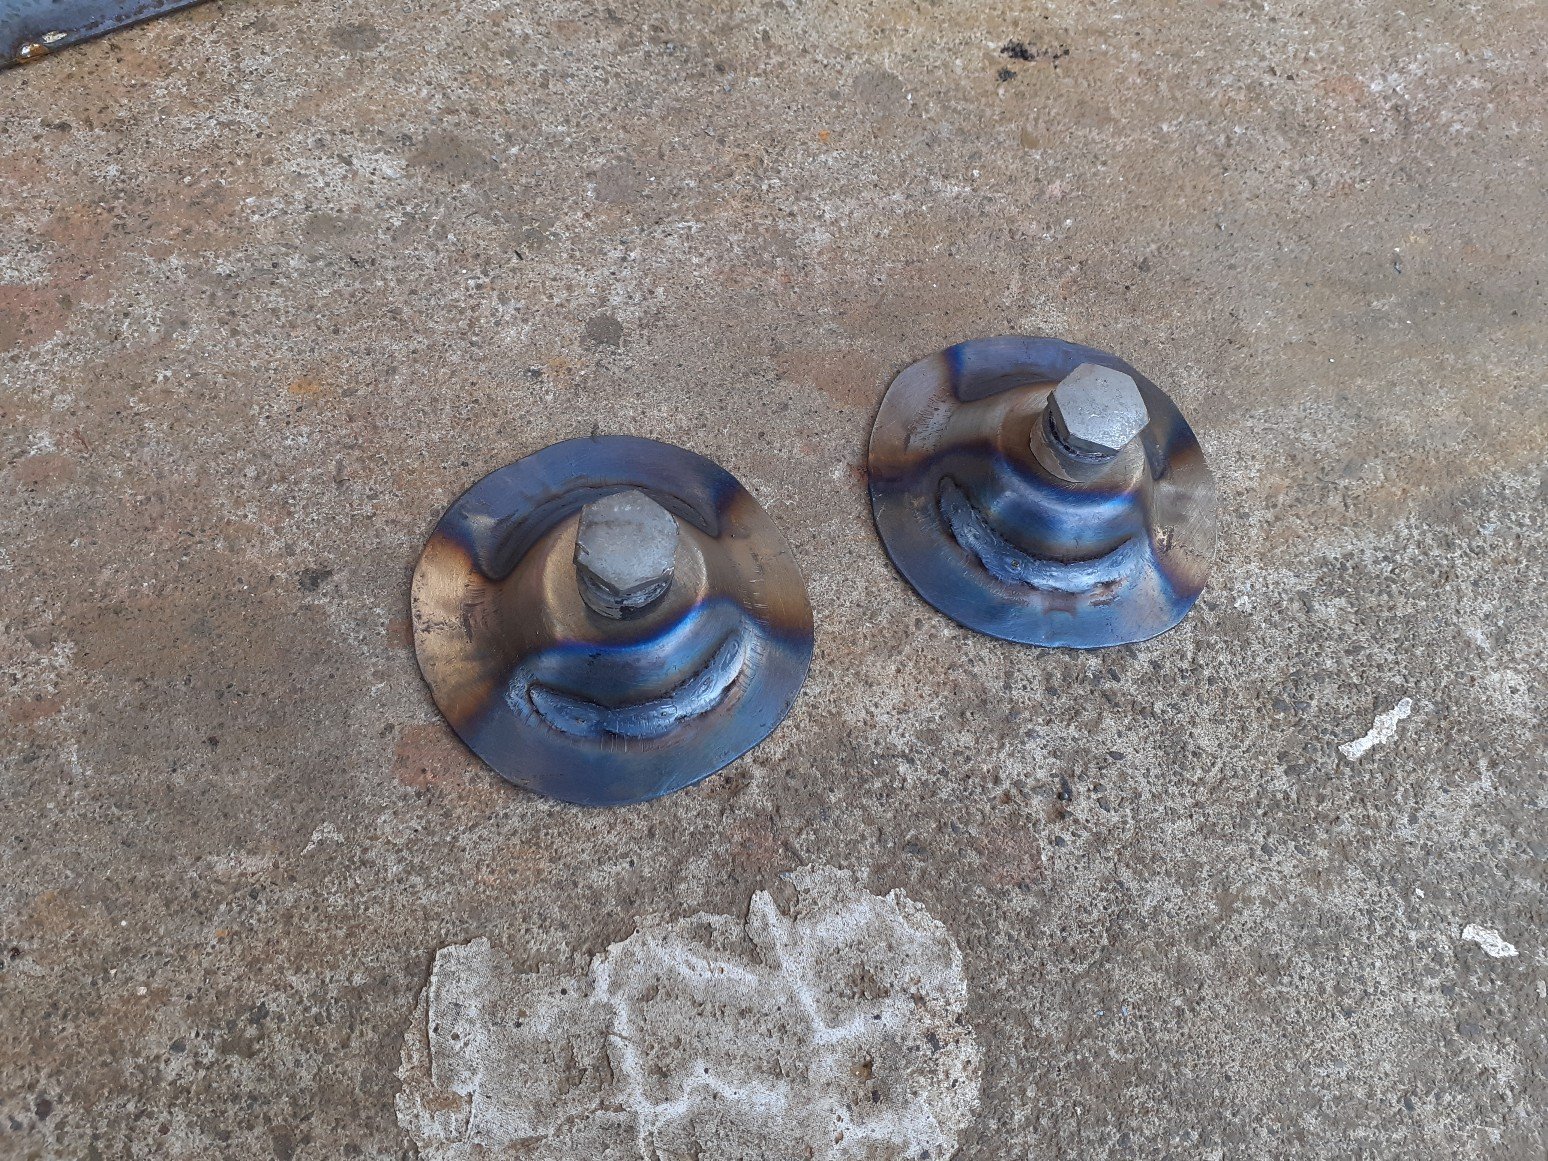
Spent way too long cutting and buffing the entire outside but it was worth it. Super smooth and straight now, just needs a polish. Since then I've been working on fitting the rear seat. Van's never came factory with rear seats but it was very common to cut out the front section of the rear floor and have a rear seat made and fitted. Most seats fitted were home made out of ply wood and were very roughly mounted in, this one was no except. Escort estates had seats were fitted from factory and had a metal floor backing so when folded down and not in use, it looked like it was just an extension of the floor. I have been looking for one of these for years and was hoping to have one before I painted it, as I would have to weld in mounting points. Didnt end up happening and found this one afterwards. Untwisted it and it will need full upholstery at a later date but it fits (Temporarily fixed). Started making mountings for this, the first being the towers at the front of the lower half of the seat. Have made these so I could use the original alloy hinges. Have welded a plate into the bottom and tapped some 8mm threads. Started working on the rear upright half of the seat. The starting point of mounting the seat is based around making the back part completely level when folded down. Some temporary brackets were made to find its final position. After the front towers were made and welded in, I started making the mountings where the upright section would swivel down flat. I made these cups, which will be welded in to close the gaps between the wheel tub and seat frame, using the correct fine threaded seat belt bolts and fixings. Once these are welded in there final spot, I can start working on the last mounting points which sit on top of th wheel tub and hold the upright section in place when in the correct seating position. Again, from factory these were pretty poorly thought about. I have a few ideas of how to improve this with an automatic locking mechanism.
5 points
-
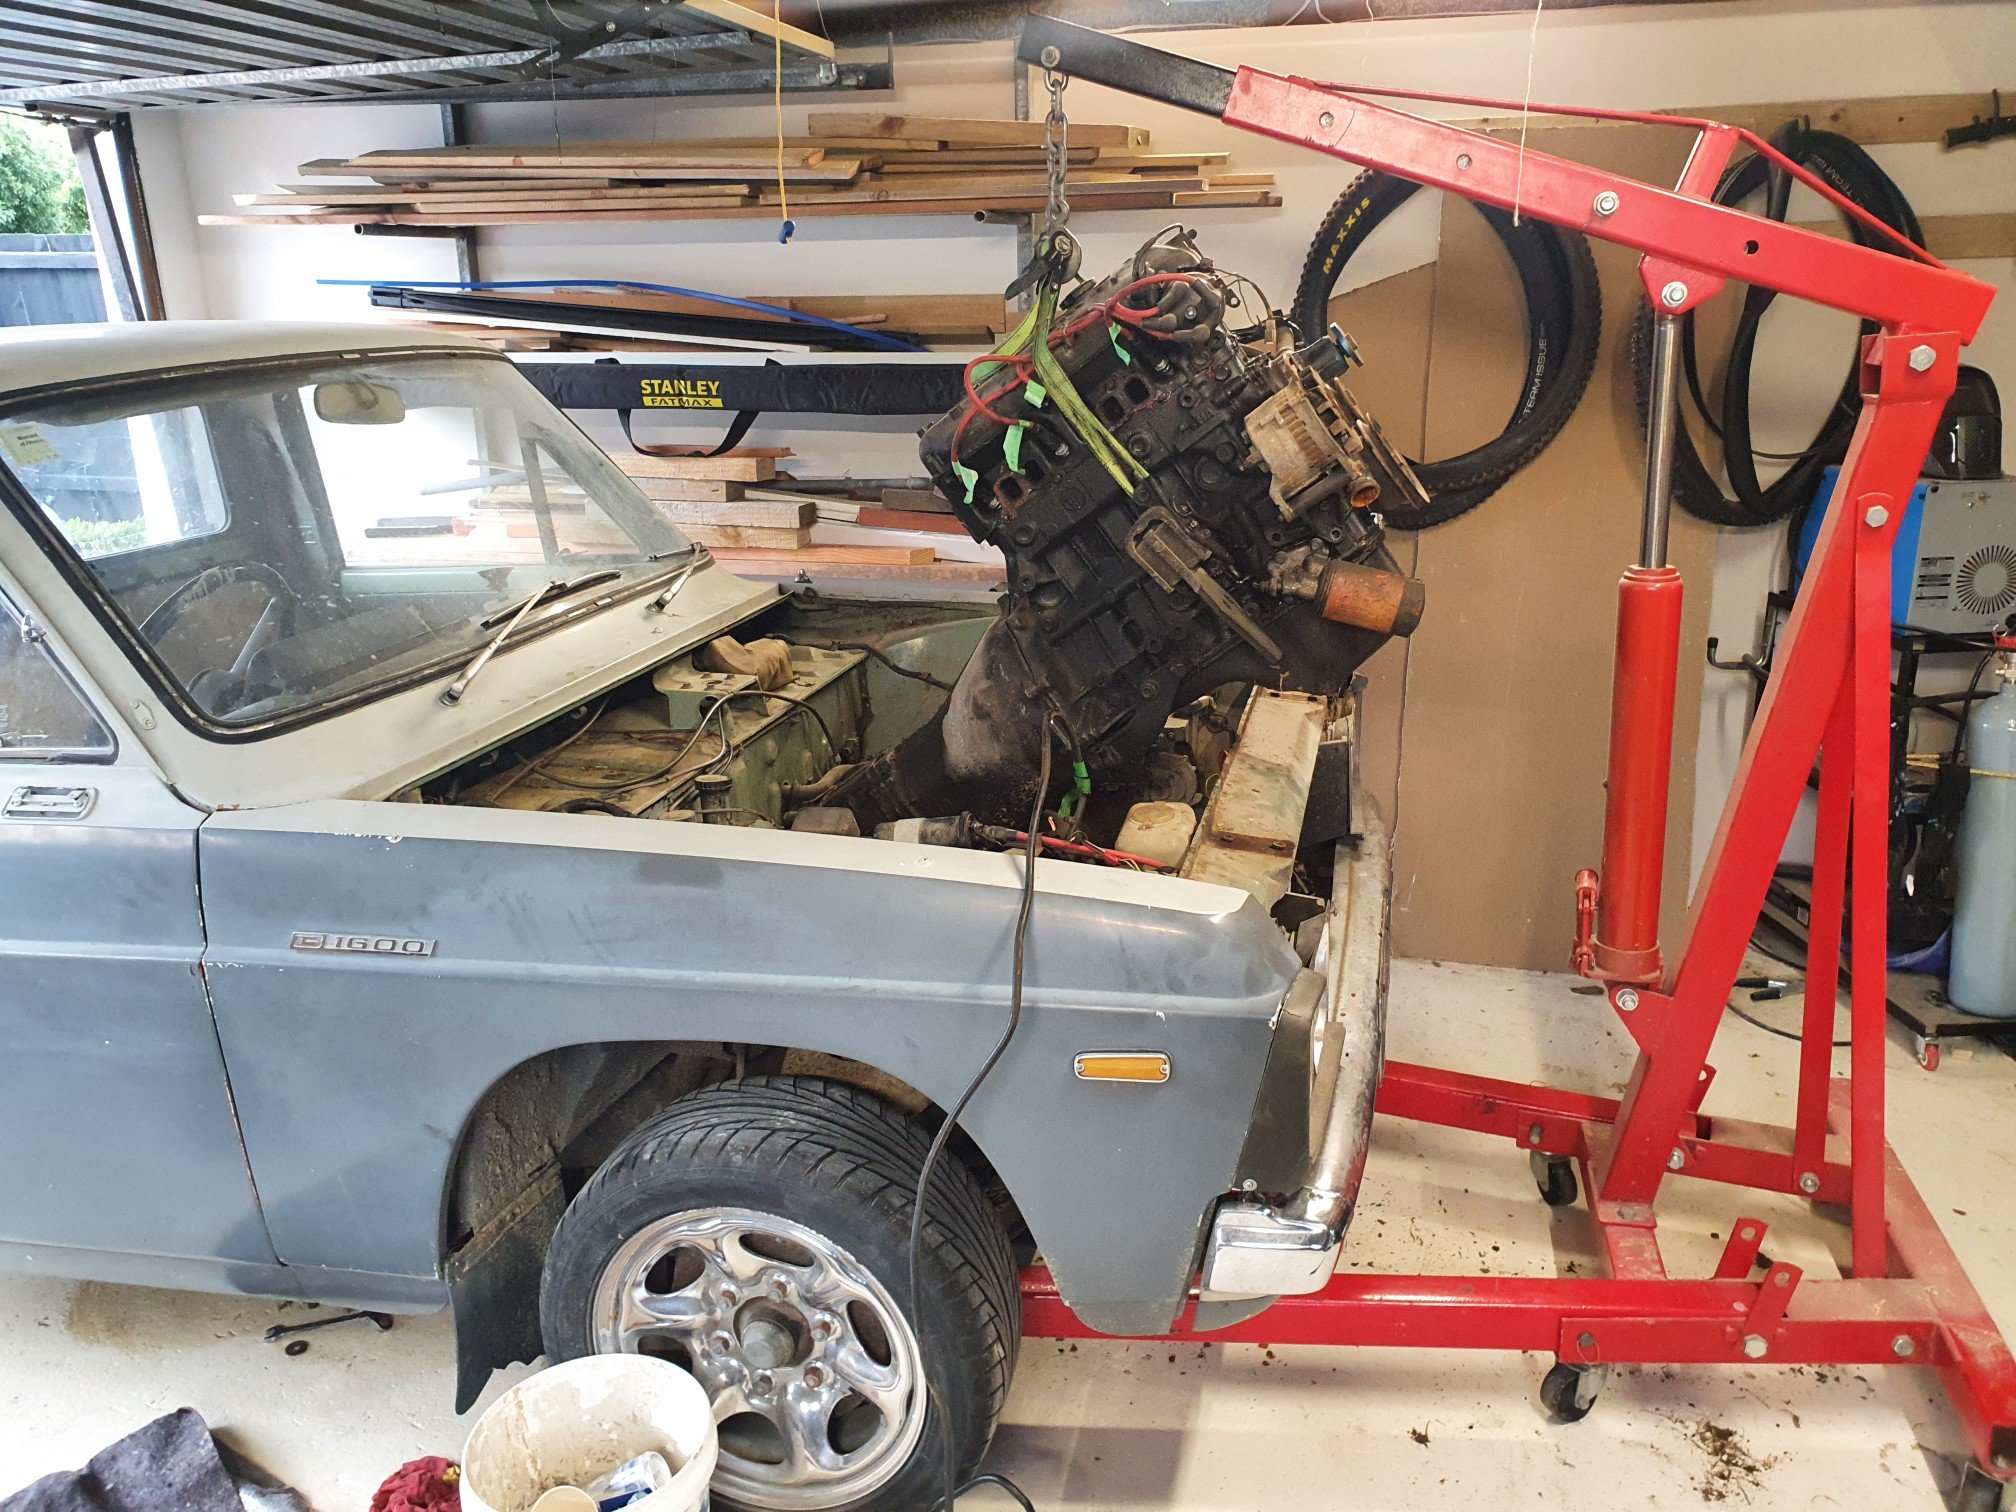
Thread dredge from page 6 haha. Progress has been very slow on this. Lack of room is just a killer. Tonight I pulled the 2l out. One step closer to pulling the cab off the c notch chassis . At least with the motor and box out it will be a little lighter to push in and out of the garage. That's all the progress for now. So here's a boring pic for a boring build
4 points
-
After actualy finding the idle screw (on the back and underneath the TB, and a H2 Allen bolt????? Turns out it never even was touching the throttle. So I adjusted this up. I guess the cable was doing the throttle stopping and I upset it when I removed the kick down cable. Found my timing light is broken, but as it still had a bit of a stumble, advanced it a couple taps and it's pretty acceptable now. Will check what it really it soon. So I guess that's all it really needed.4 points
-
And some photos to stick on the fridge4 points
-
Took the kids to the caroline bay festival today. A solid 4 boring hours of flat out straight road. Well on the way there it was flat out, the way back was full of bloody caravans Done about 1100 or 1200 miles so far. Hasn't missed a beat. Just rolled over 105,000. Still got the sticker on the windscreen saying next service due @105 or june 2010. So hasn't done a lot of work the last 10 yrs Edit, soz upside down pic. Dunno why. Easier to turn ya phone around.4 points
-
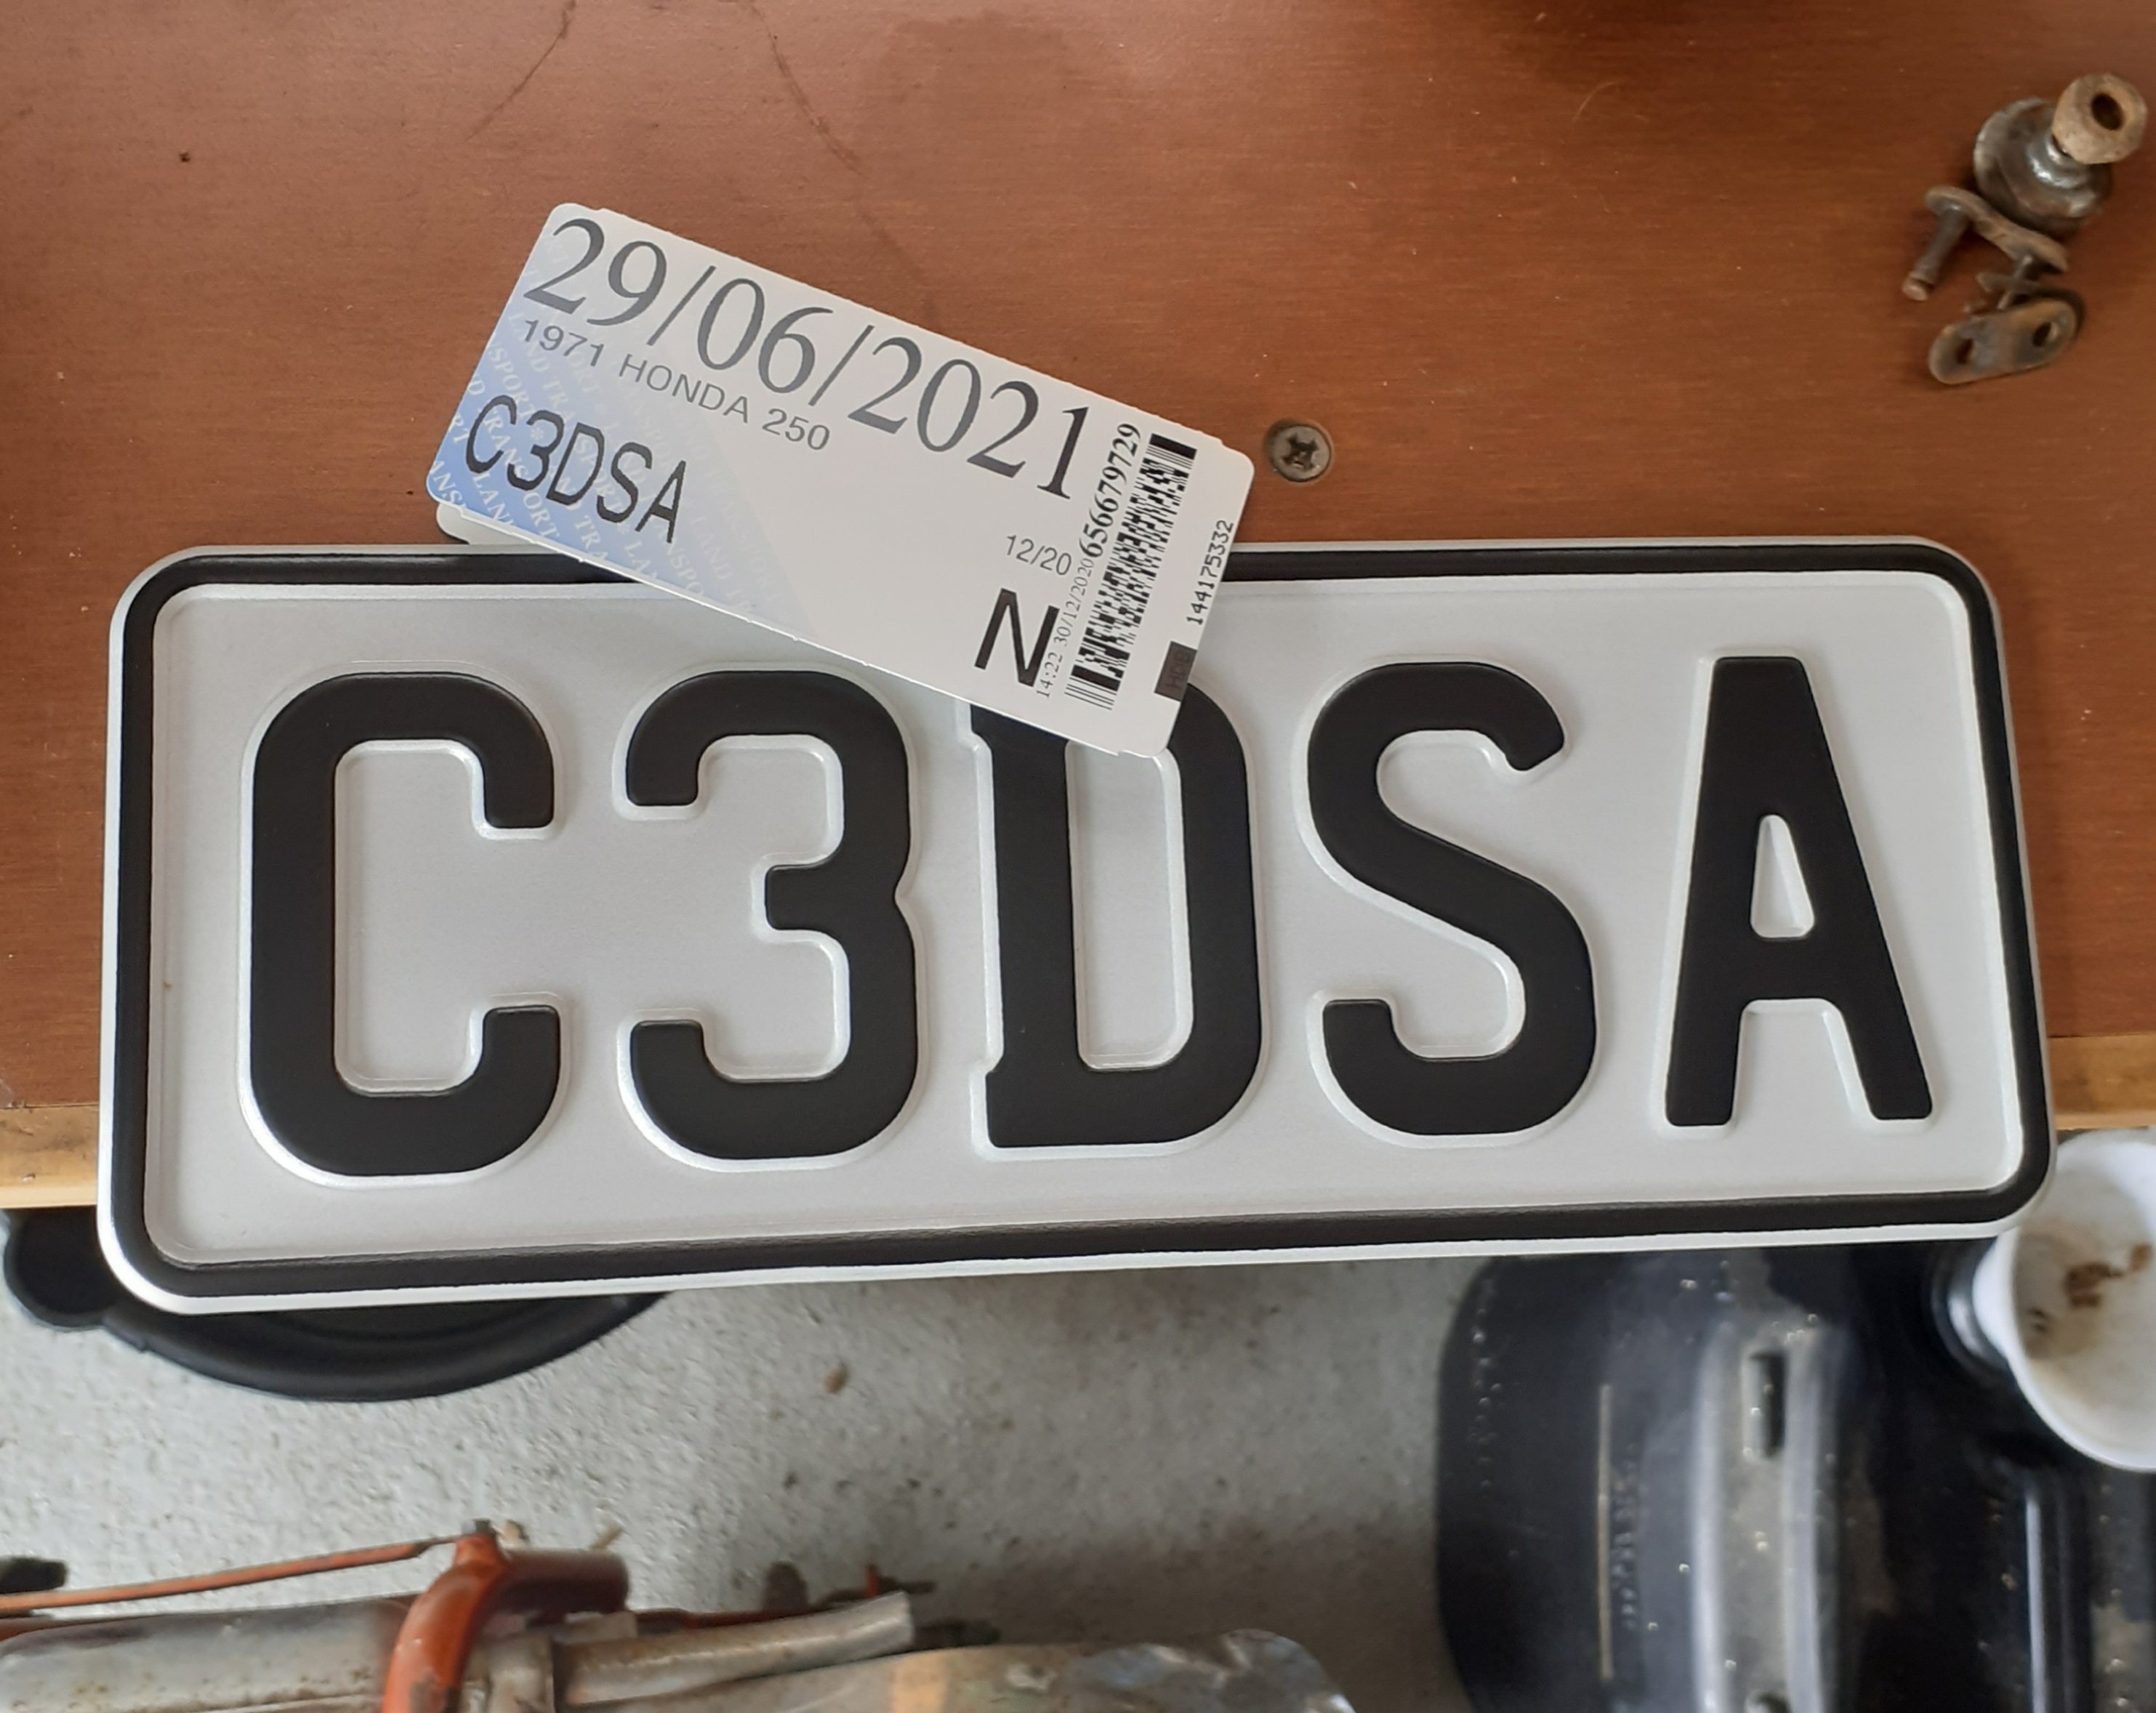
Successful day. Thanks to @BlownCorona and @Raizer for some advice after first attempt was a fail. Shame the lady couldn't read my scrawl and incorrectly typed 2 50 instead of Z 50, but I'll do the paperwork to get that changed.
3 points
-
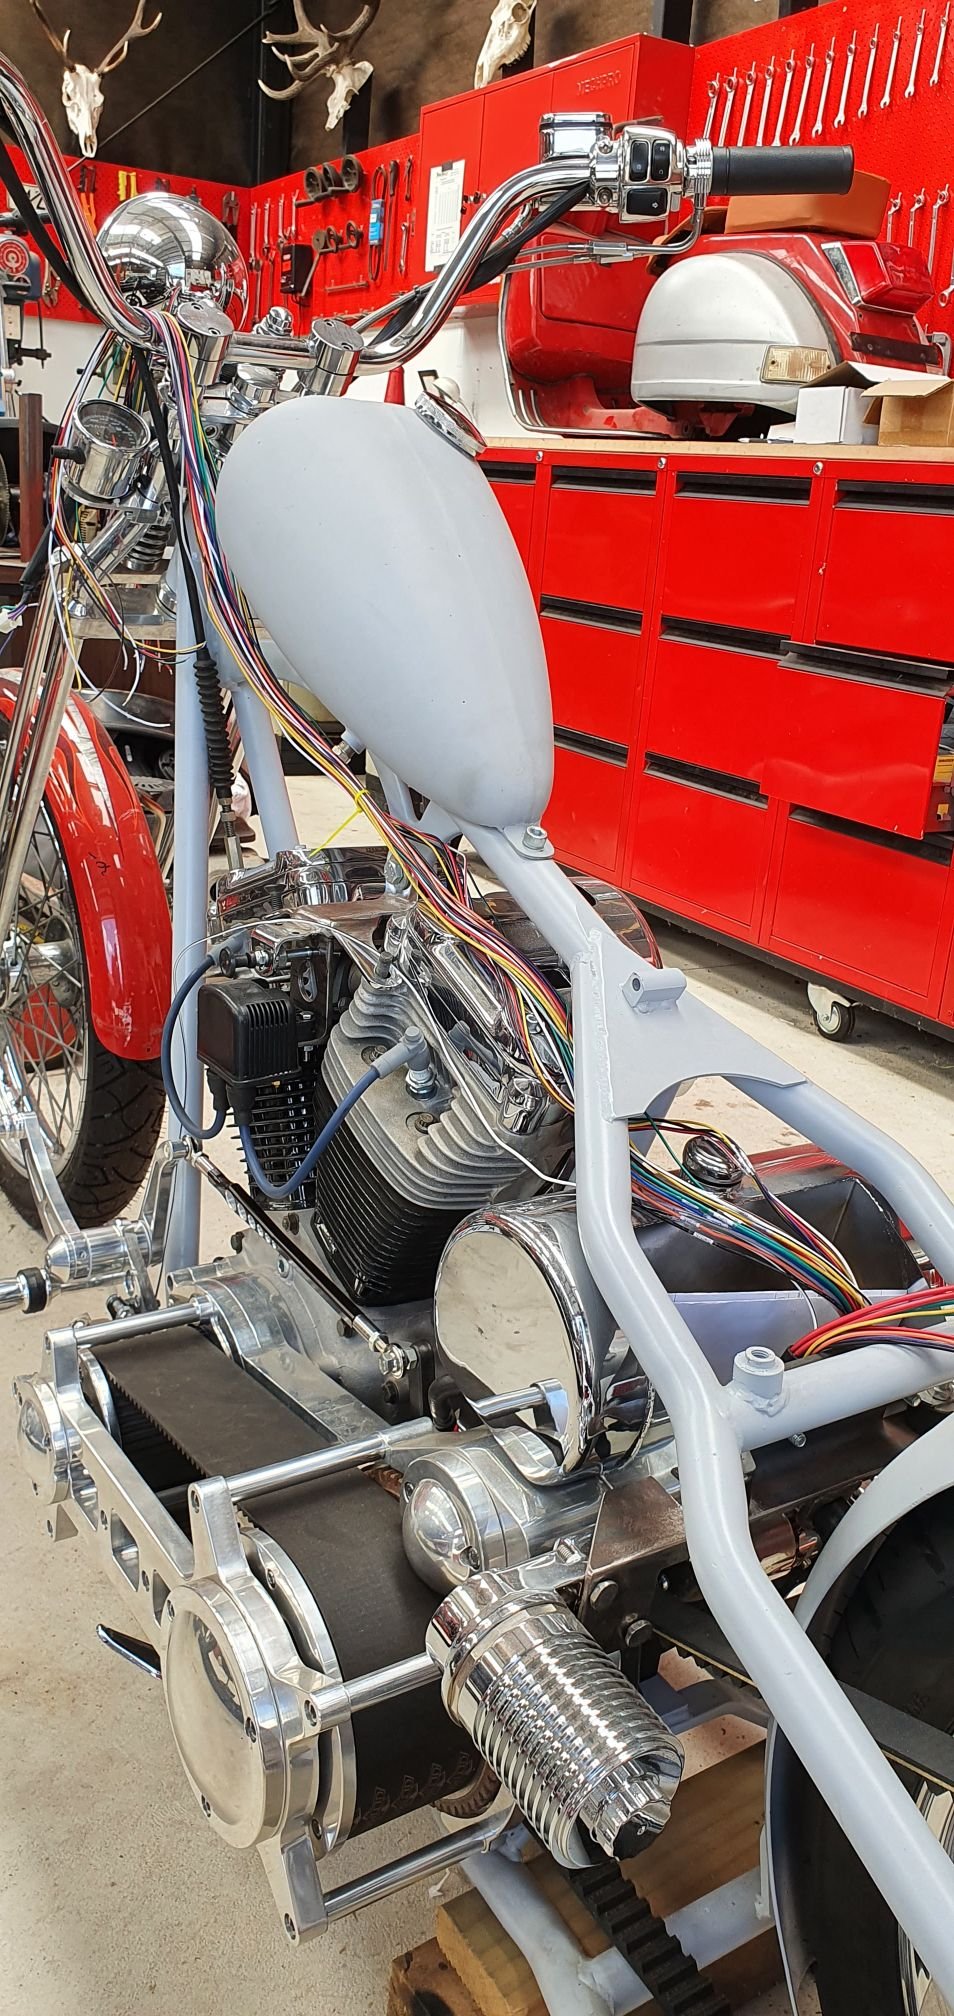
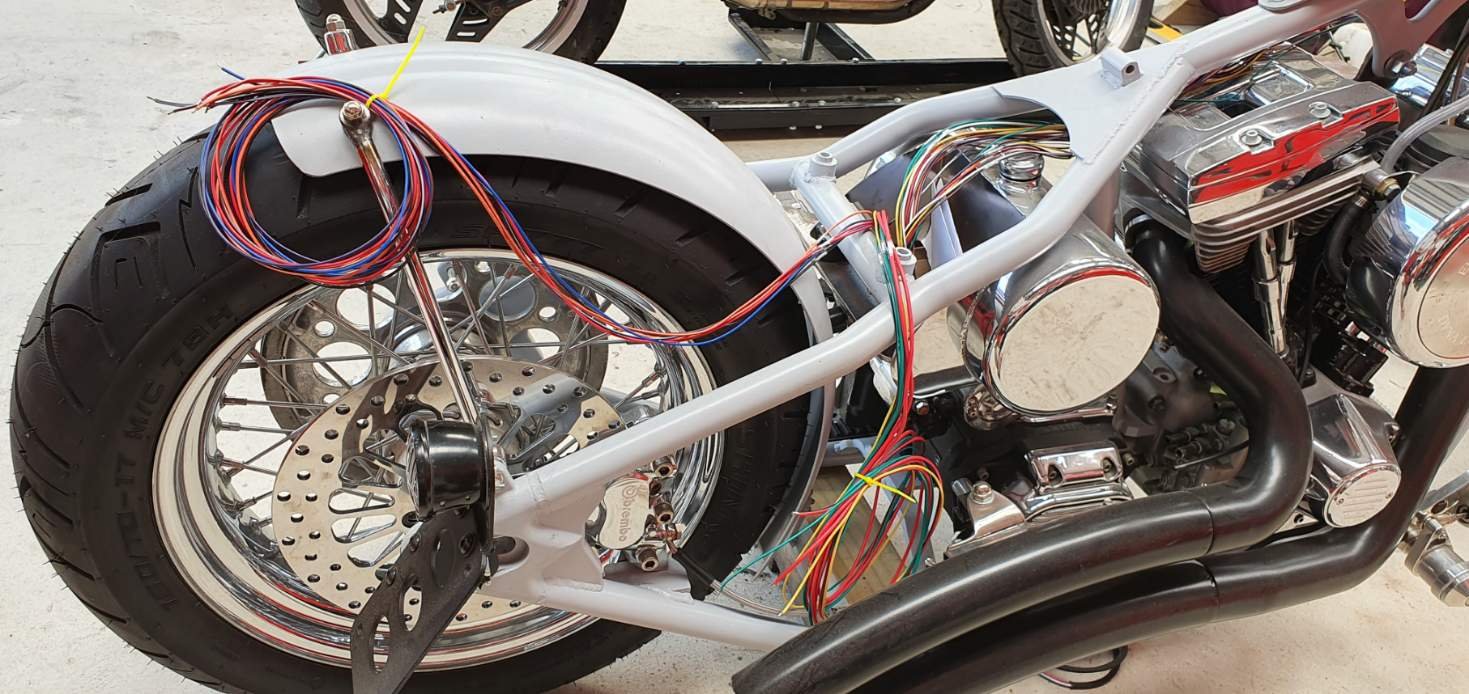
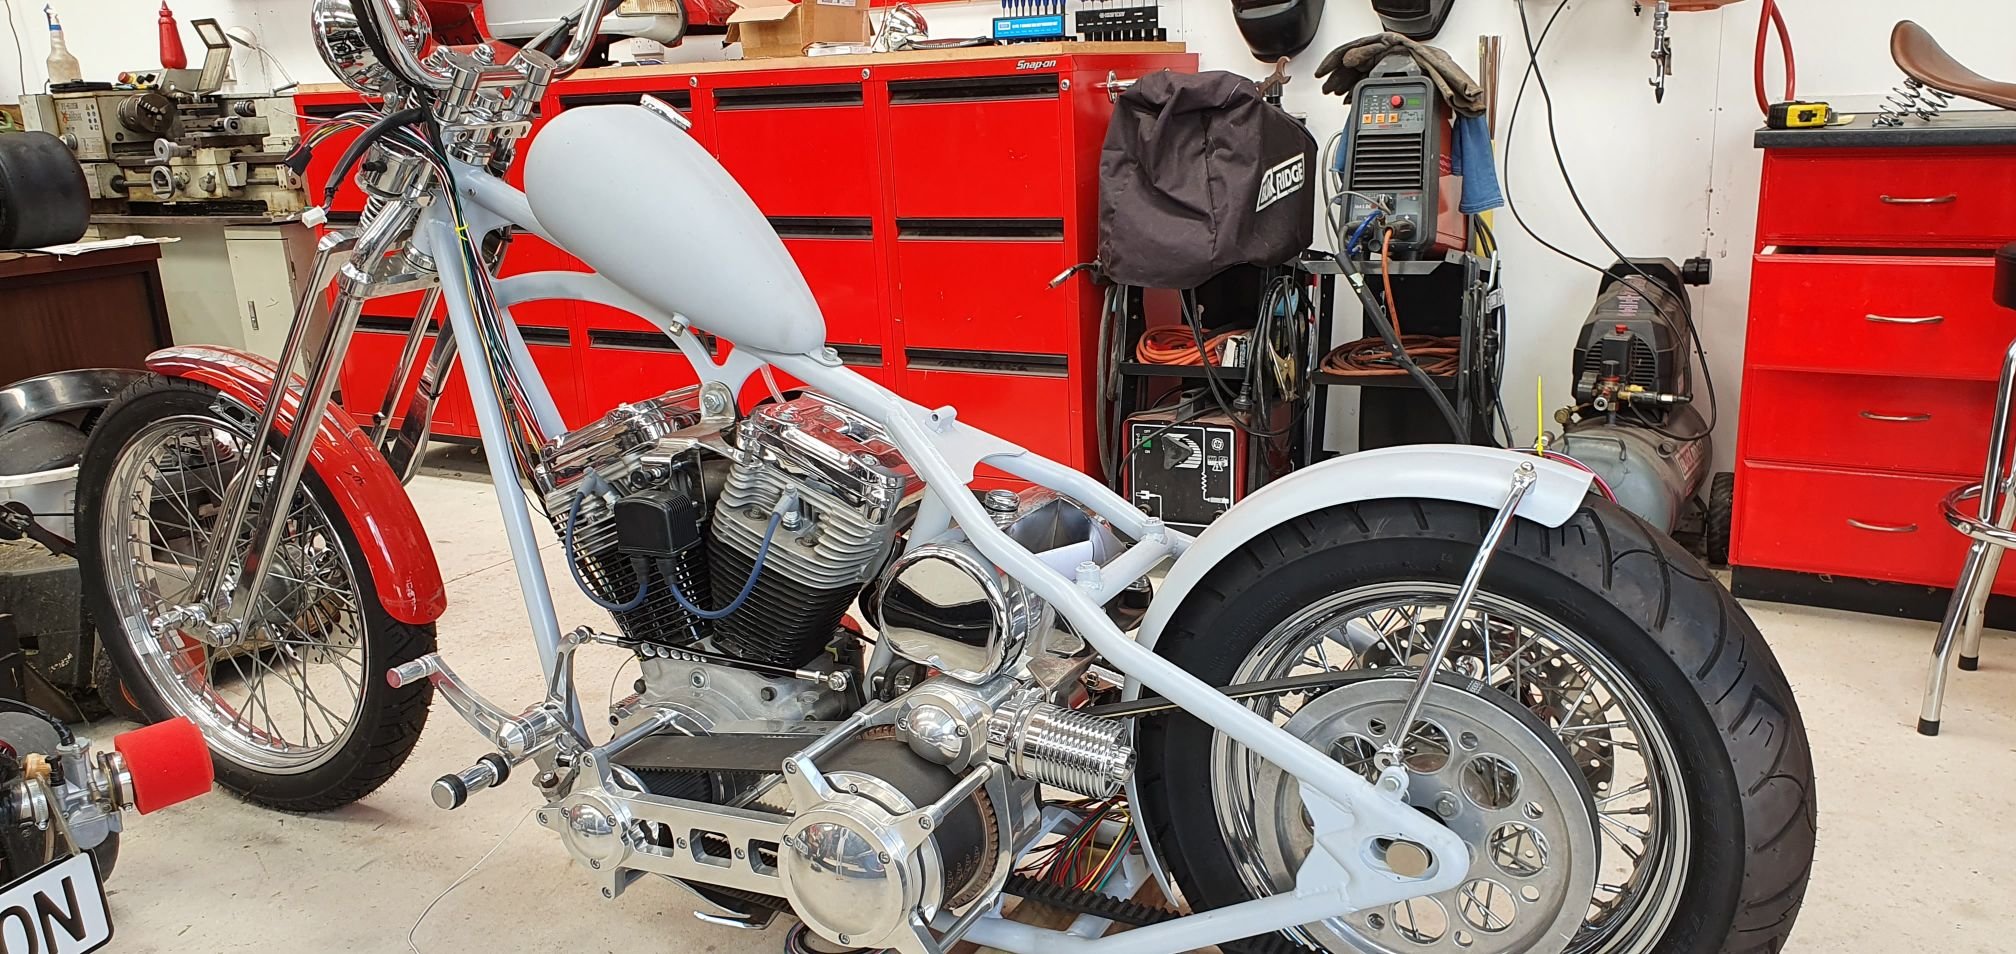
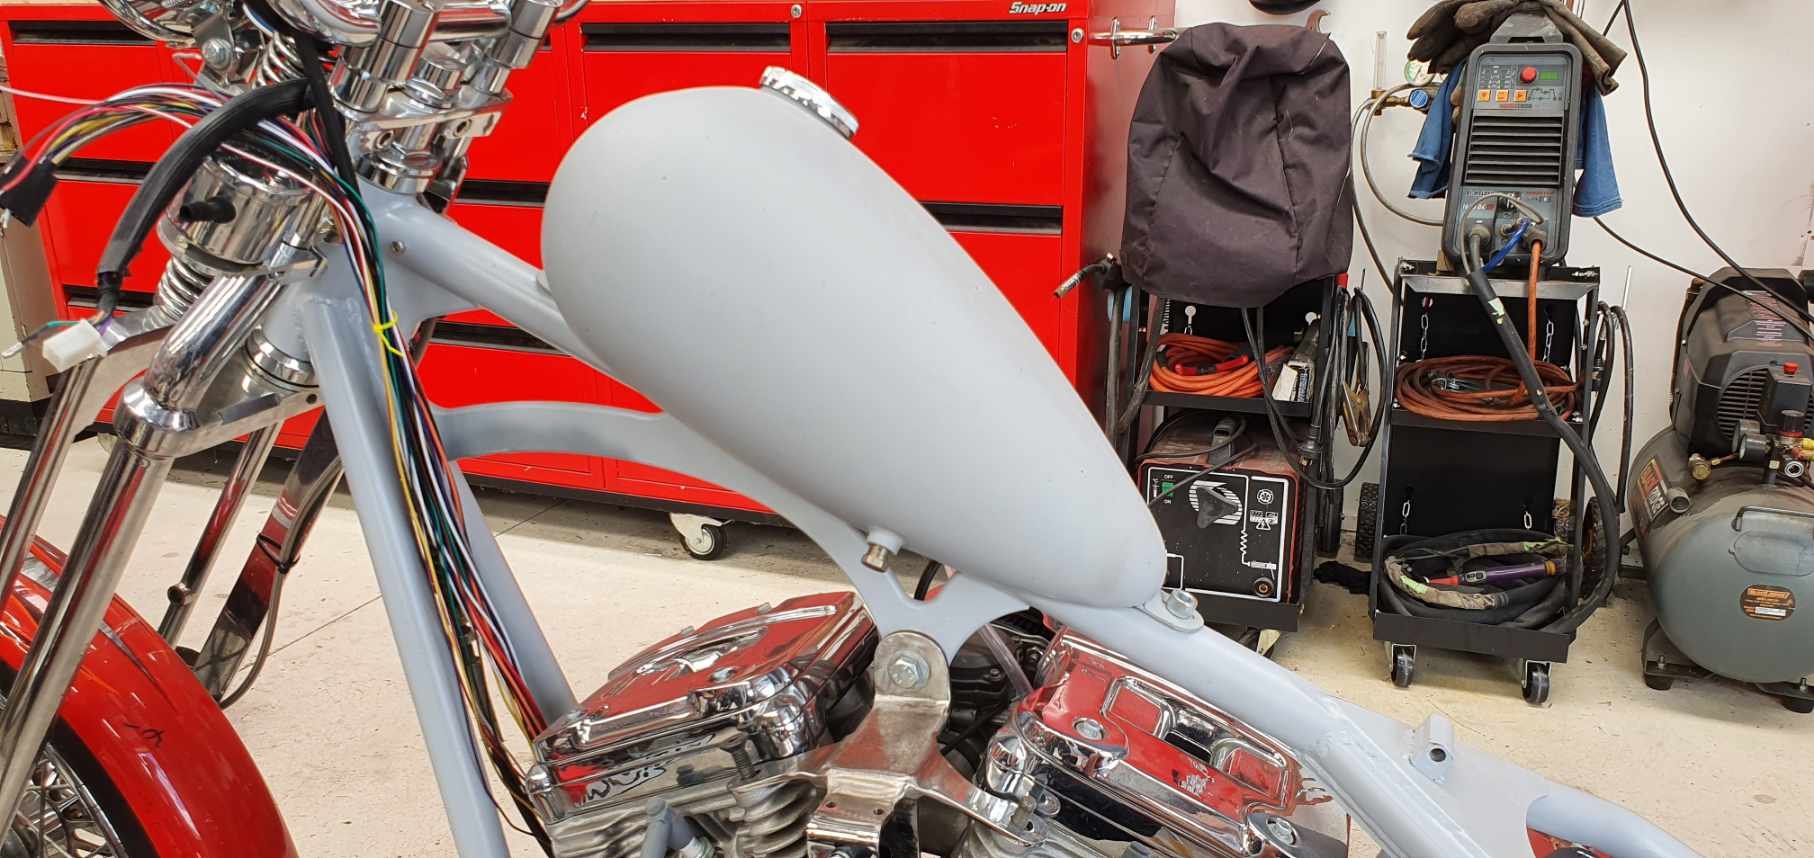
Wiring is for dicks!! I wish I just kept my "Bluetooth" Wiring as it looked much better without real Wiring... Anyway, reality dictates I will actually need to do it, despite how much I want to avoid it. Take 1: Relays in the battery box. Seemed like a good idea, and was reasonably tidy. However I was unable to run the wires internally up the backbone of the bike as I envisioned, as the loom has too many wires to all fit in there with other stuff going on like fuel tank threaded inserts and the way the saddle tube connects and blocks the spines opening...arghhh...grrrr!!! So, take 2: Try shifting everything under the transmission. Sweet, rear wires = very tidy, I can easily hide those. Front wires can be run alongside the clutch cable (heat shrink to keep it all coved of course). I can even use OEM fittings for connecting everything up, which was always my plan if possible. Yip, standing back it looks fine. 100% better than my first attempt, which was just fucking ugly. This is much better, no ugliness along the backbone distracting from the clean lines. The naked spine and tank are this bikes main feature and cable ties and a honking big wiring loom there would have looked shit!! Calling it a win.
3 points
-
Nope spoke too soon, same issue still. Seems a bit better but still not quite right. Need to see if timing is even in the right area though before poking around anything else3 points
-
angery cow moo3 points
-
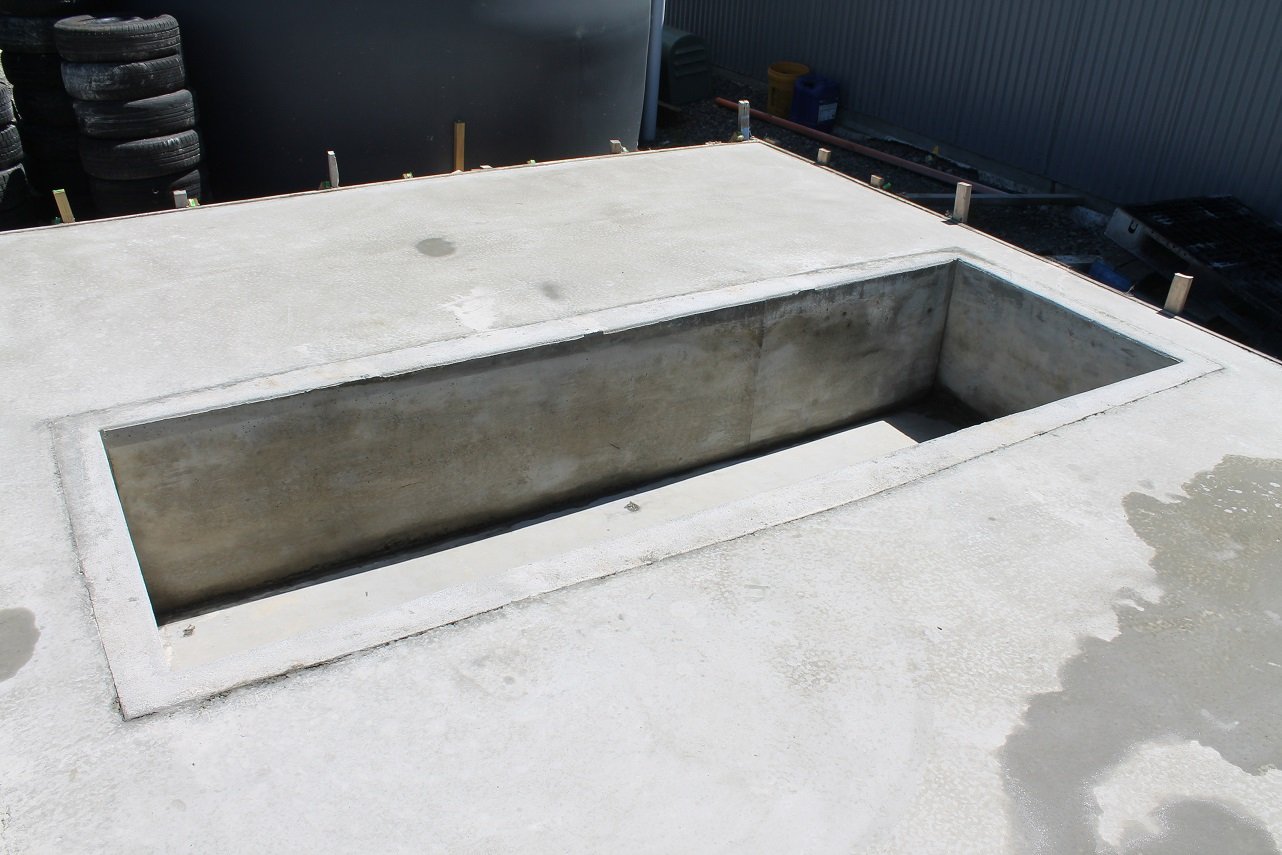
Stripped the boxing and bucketed all of the water out of the pit. My parents then popped around with their tractor and we managed to get all the heavy bits in the hole.
3 points
-
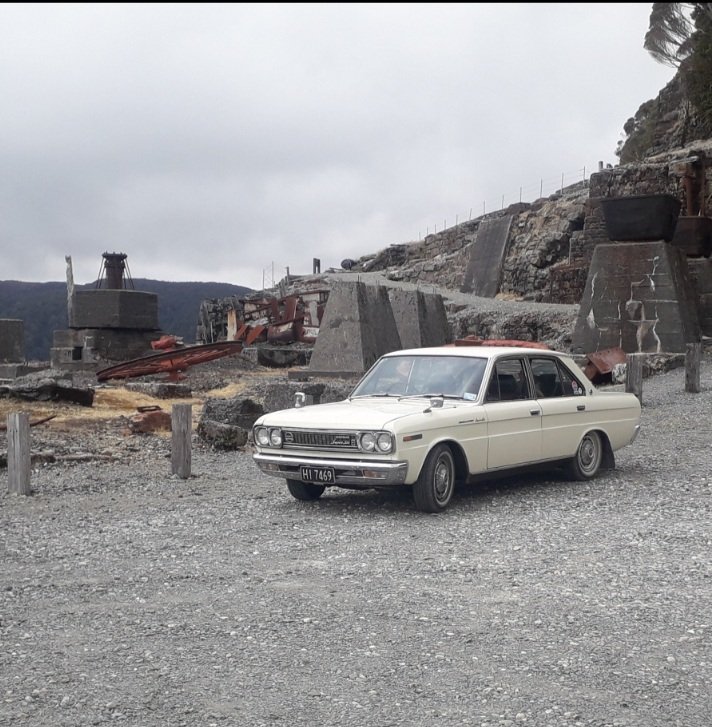
Action shots! Well some photos at least. I'm shit behind a camera, and forget to take them. Currently in chch on a family holiday of the sth island. Been to Nelson for a bit, over to Takaka, down to Westport then Hokitika and across to chch. Went up to the Denniston Mine. Was quiet so snuck through the barrier for some photos. Did some other stuff too. Discovered the rubber boot thing on the wiper on my side leaks and drips on my foot
3 points
-
So yeah, as seen above, took it back to the water yesterday and it does run a lot better when its not breathing its own fart cloud. Picture of failed engine mount and V band that needed toightening. IMG_20201228_170634 by John Bell, on Flickr I'm not completely happy with its performance though now its making full more power, it doesn't 'bite' the water like I would expect, if you feed it more power than it can shift water, it nangs out and feels slower than if you were to nurse it up to speed. You can see/hear this in one of the vids. It handles a quite loosely, but I don't have much reference to compare it to, aside from the donor ski which carved corners like a water-skiing cut cat, comparatively. If you do manoeuvres that are too aggressive or any spins it comes off the plane pretty easily and doesn't pop out of the water like the motor seems capable. So next step is to look at the spare jetunit, if its any better pop it on for testing, and I feel I'll probably wind up giving one of the pumps a birthday. Cute IMG_20201228_182945 by John Bell, on Flickr2 points
-
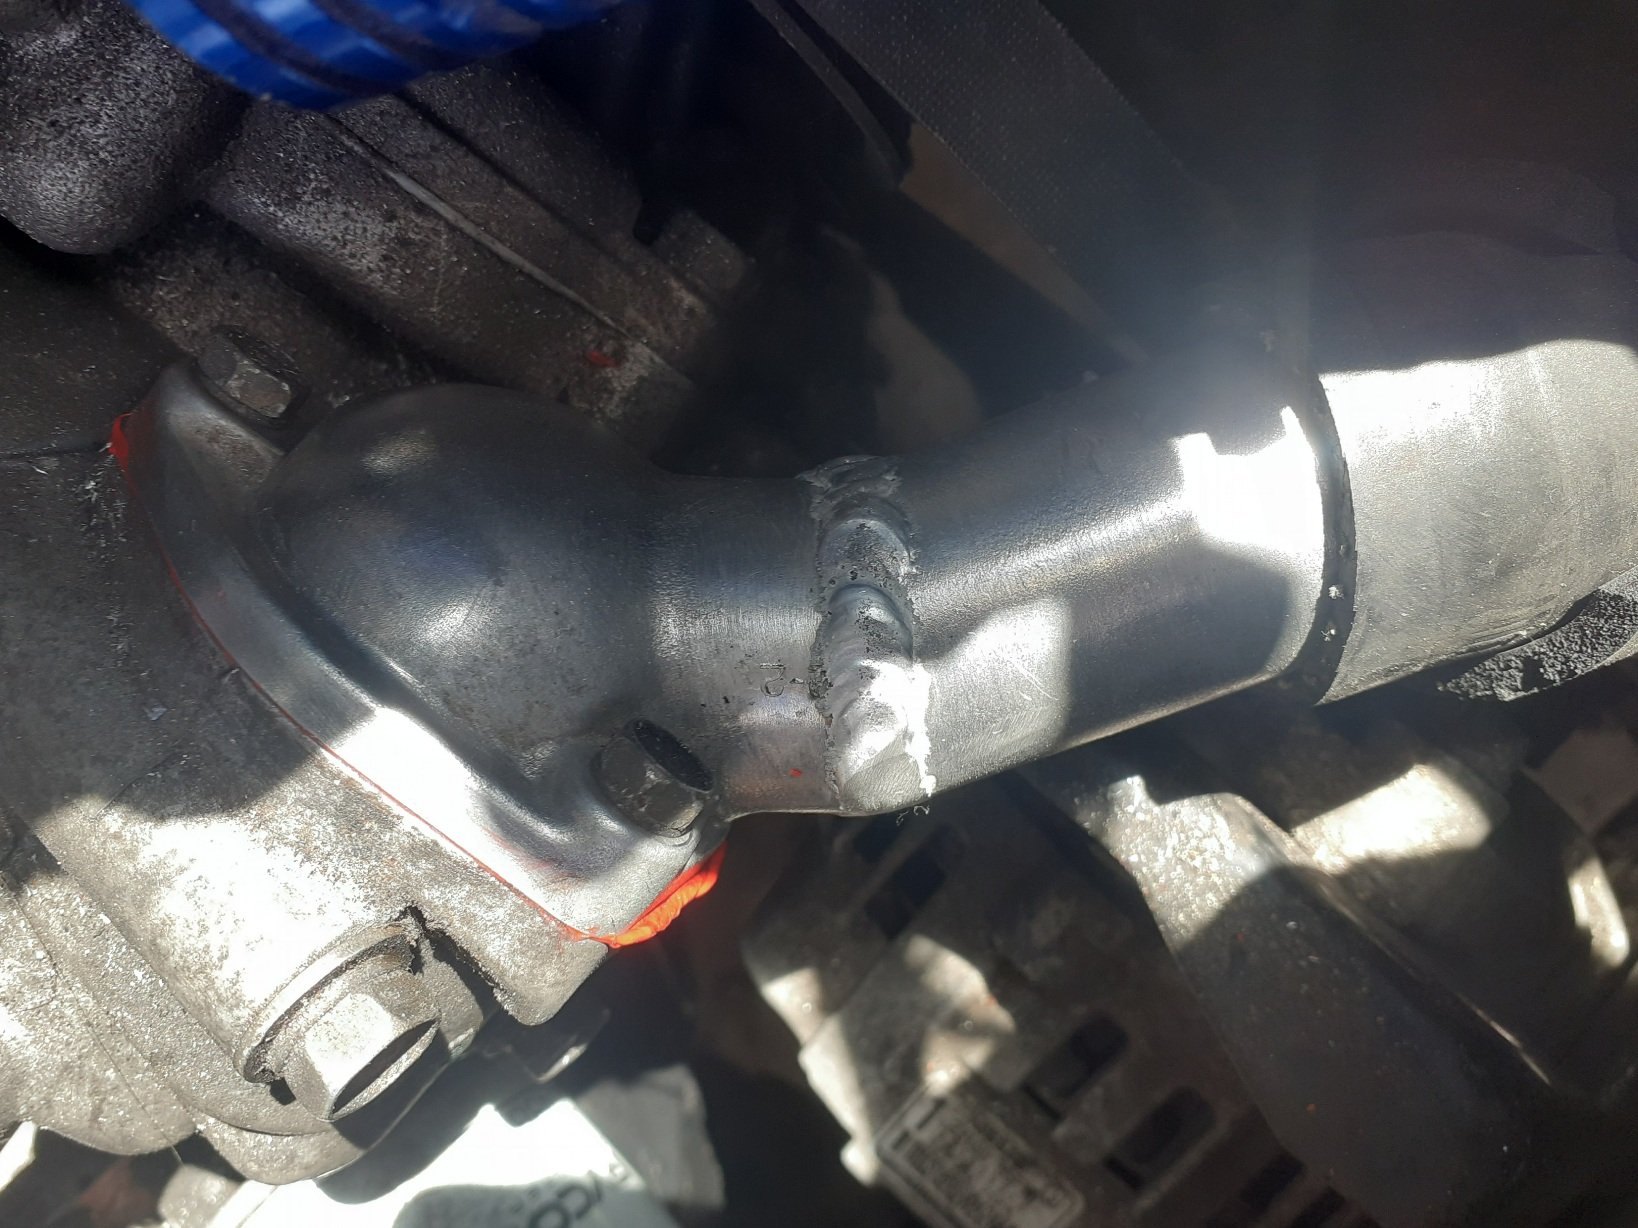
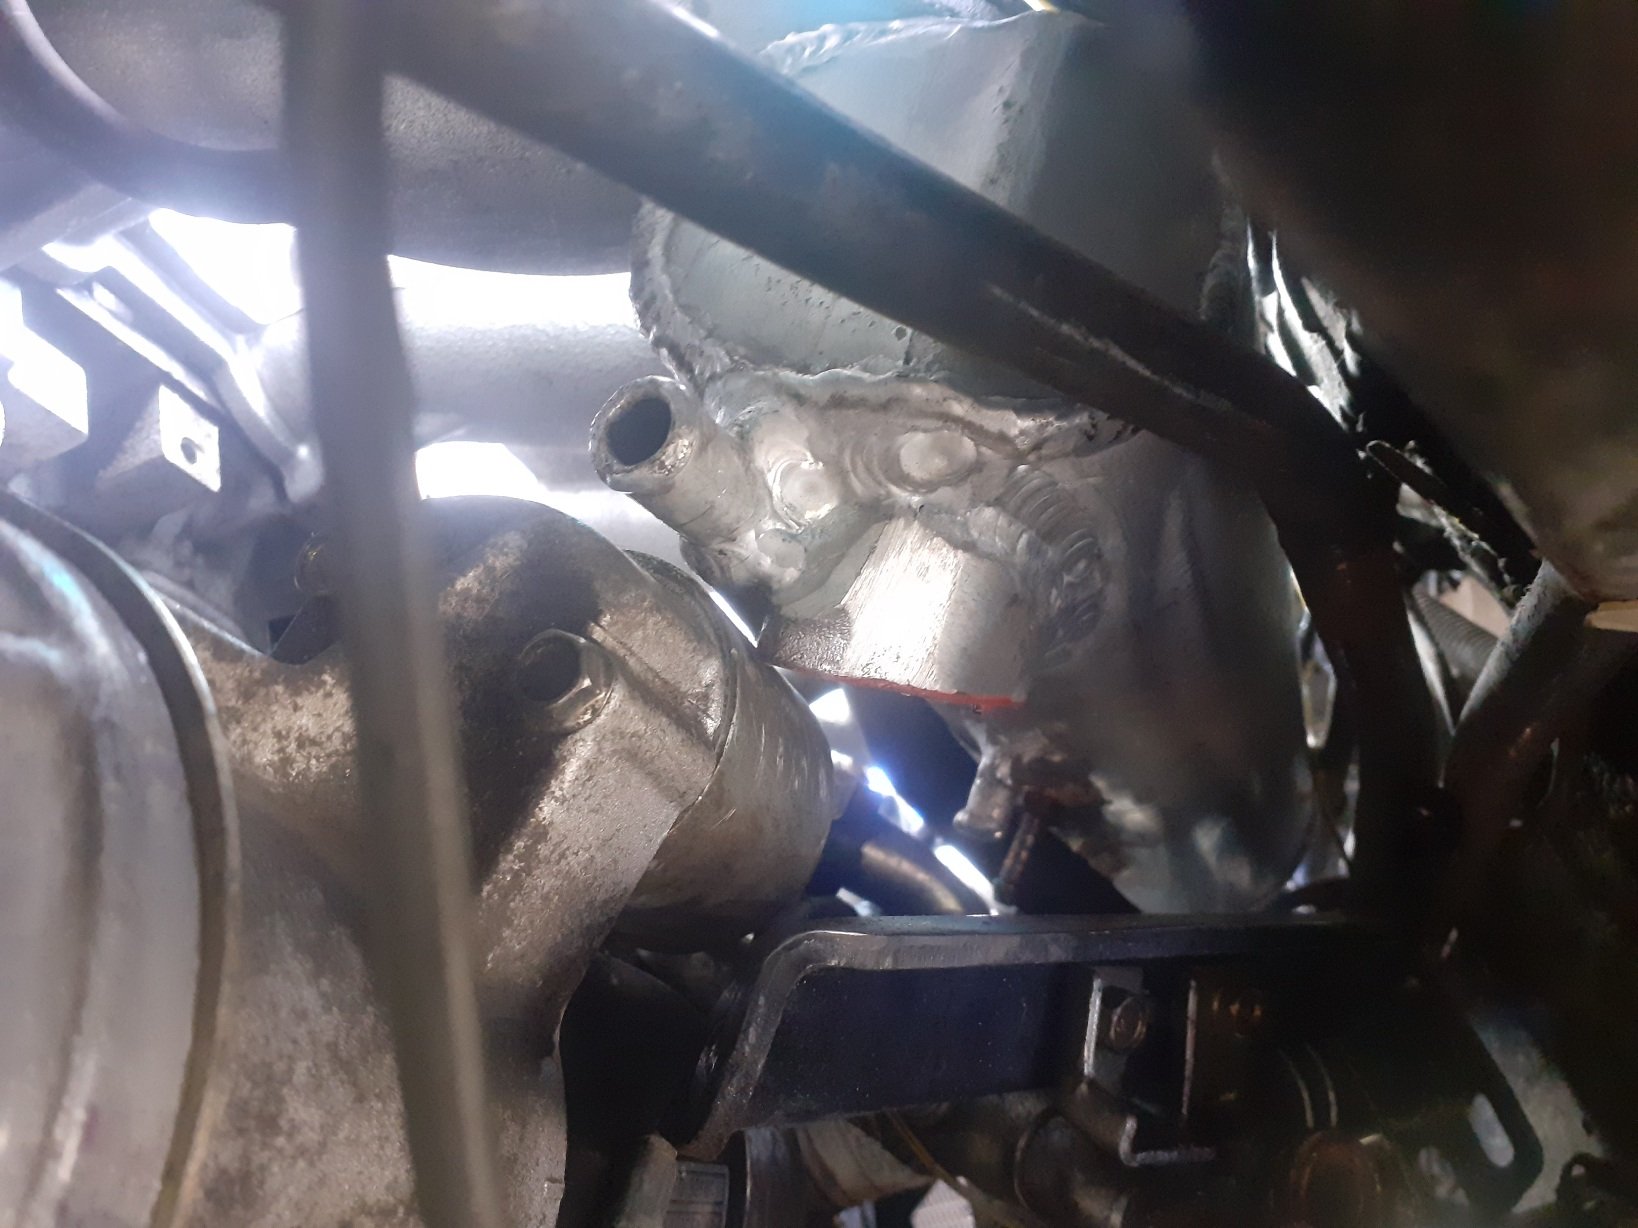
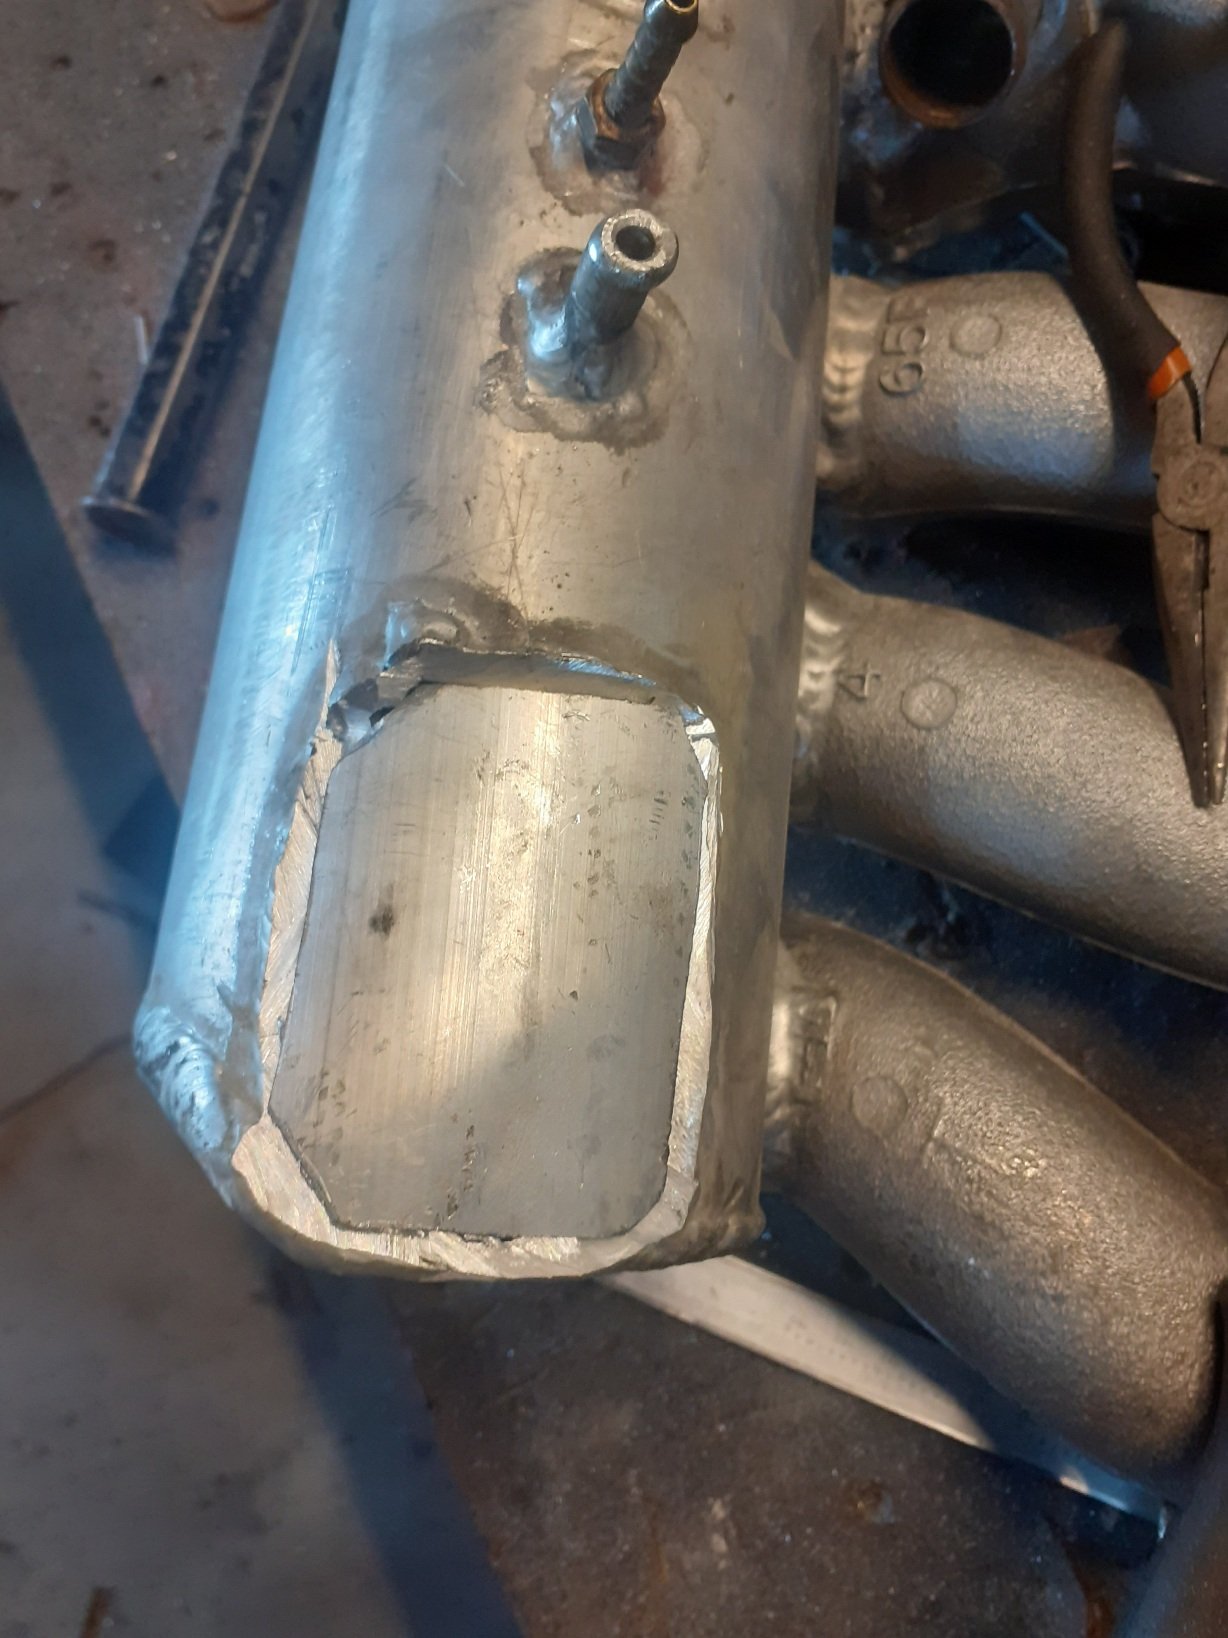
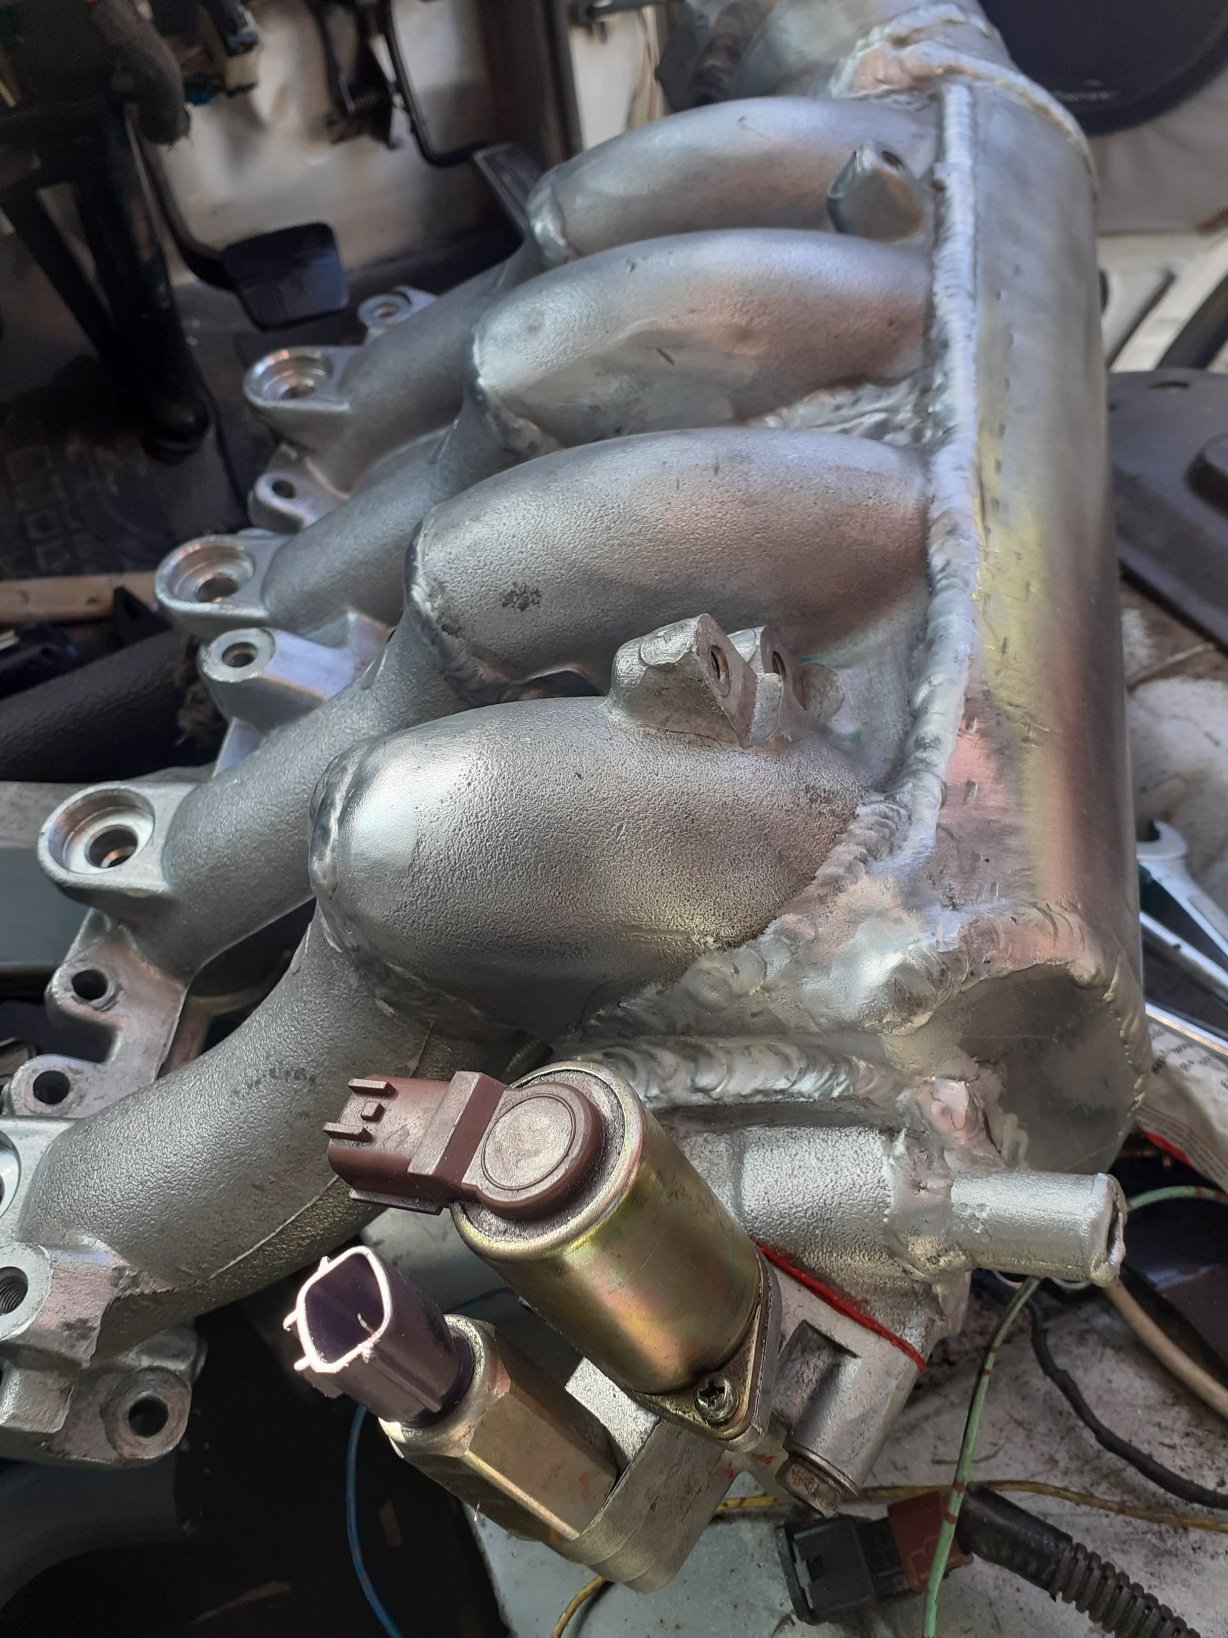
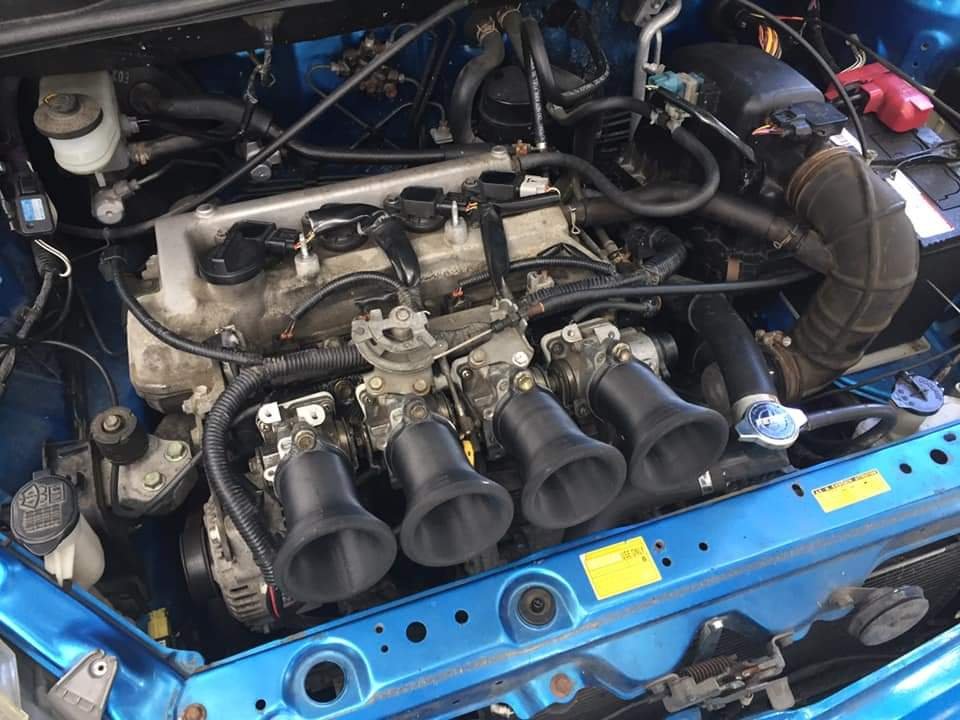
Another vantatstic day hah, got a lot done. Had to move this guy a bit as my intake just missed it but when the throttle cable bracket went on it reminded me that space is not my friend here. No worries though as the radiator hose diddnt like the angle it was on either, so moving the water neck made better space for both.
2 points
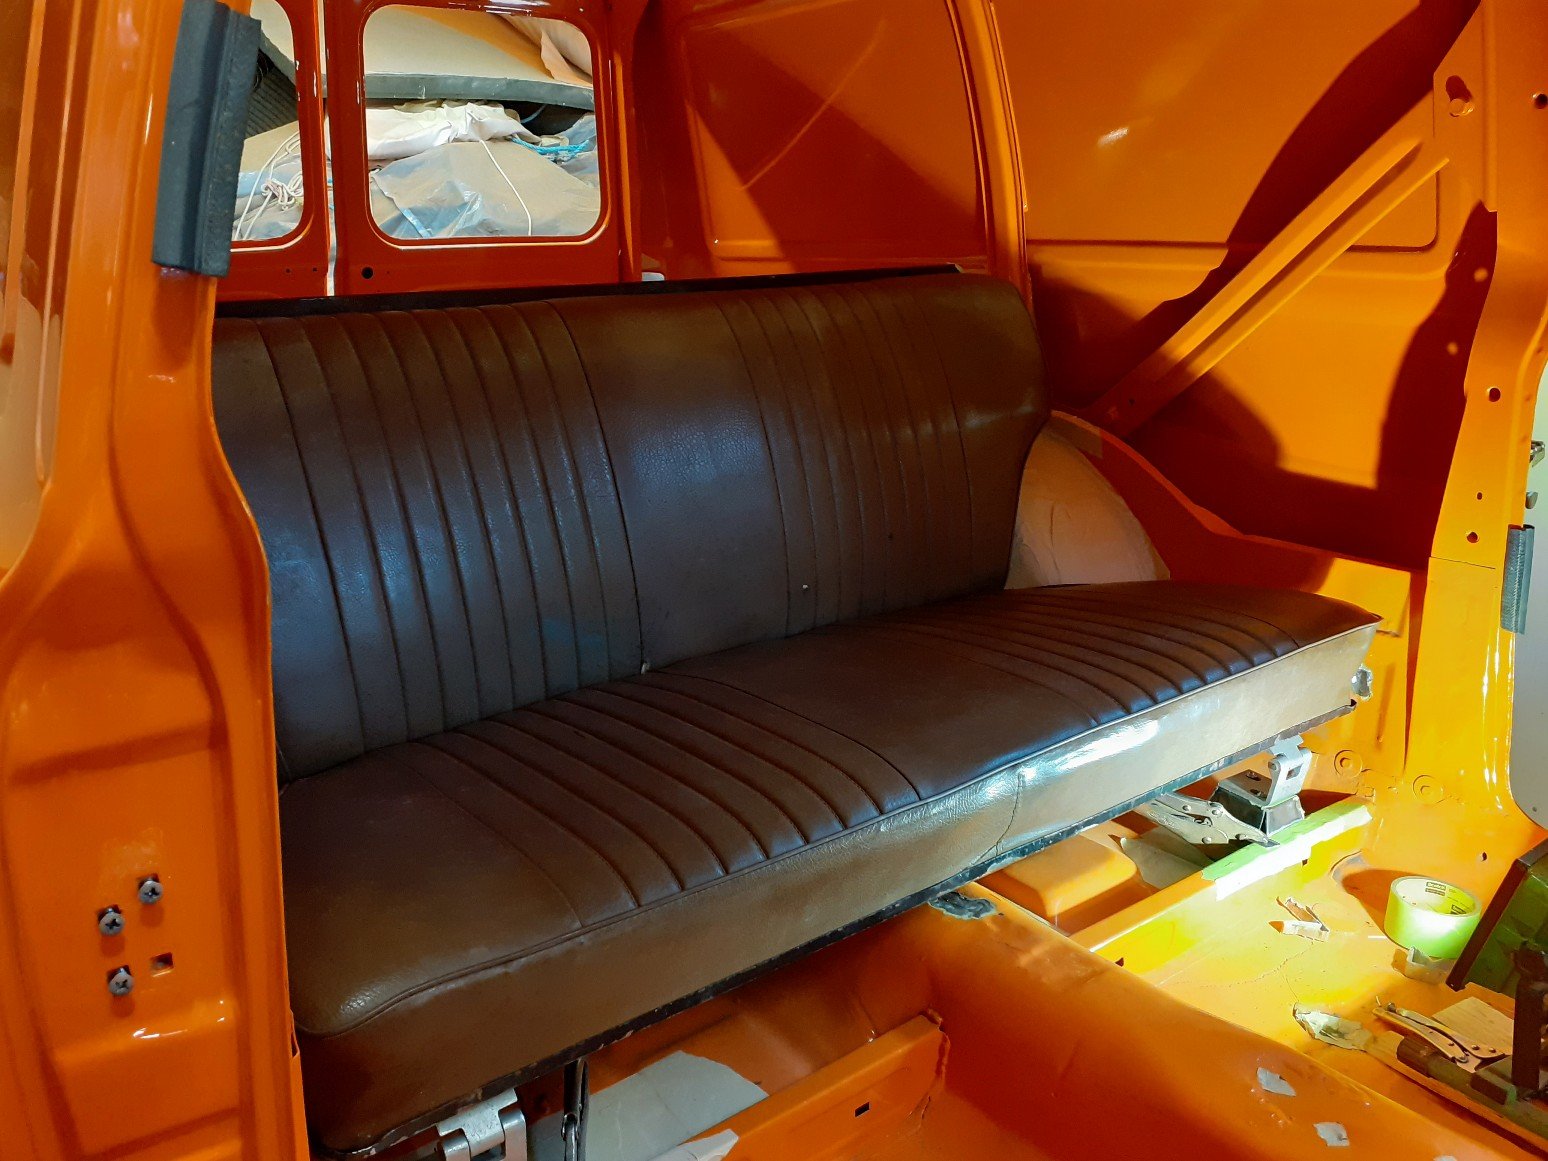
-
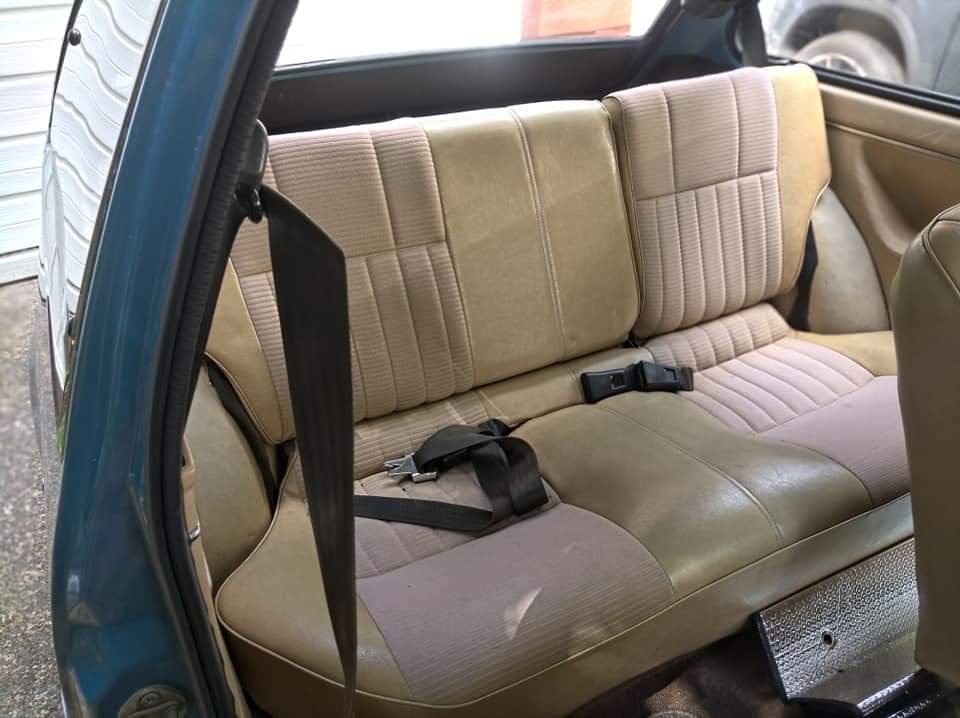
Thanks man. I think it's the biggest decision when working on a car. I did um and ah for ages and had a few spray outs. A little concerned there may be a bit too much orange with the lack of trim but we'll see when it rolls out. The back seat has no seat belts (pre 77) and no side windows so it's not a great place to be, but atleast the option to have a 3rd or 4th person is a bonus. Think I'll stick with the original brown vinyl color to keep it period.2 points
-
Finally arrived about a week later than i wanted. Look really bloody nice anodized finish looks mint!
2 points
-
Super easy to set up and use so far. I've had a quick play with the retarder and that all seems to be working good, but I need to tweak the PID settings before I can do the proper MOI calibration. Software itself is pretty simple to use also, and seems to have all the features I'd want. Never used a dyno before this, so can't really compare to anything else. Can't do too much more fiddling until I can get my sparky to come wire up some extraction fans etc after the holidays. It gets pretty noxious in there lol.2 points
-
2 points
-
Got the mould box done. Just need to sort the partition mounting.2 points
-
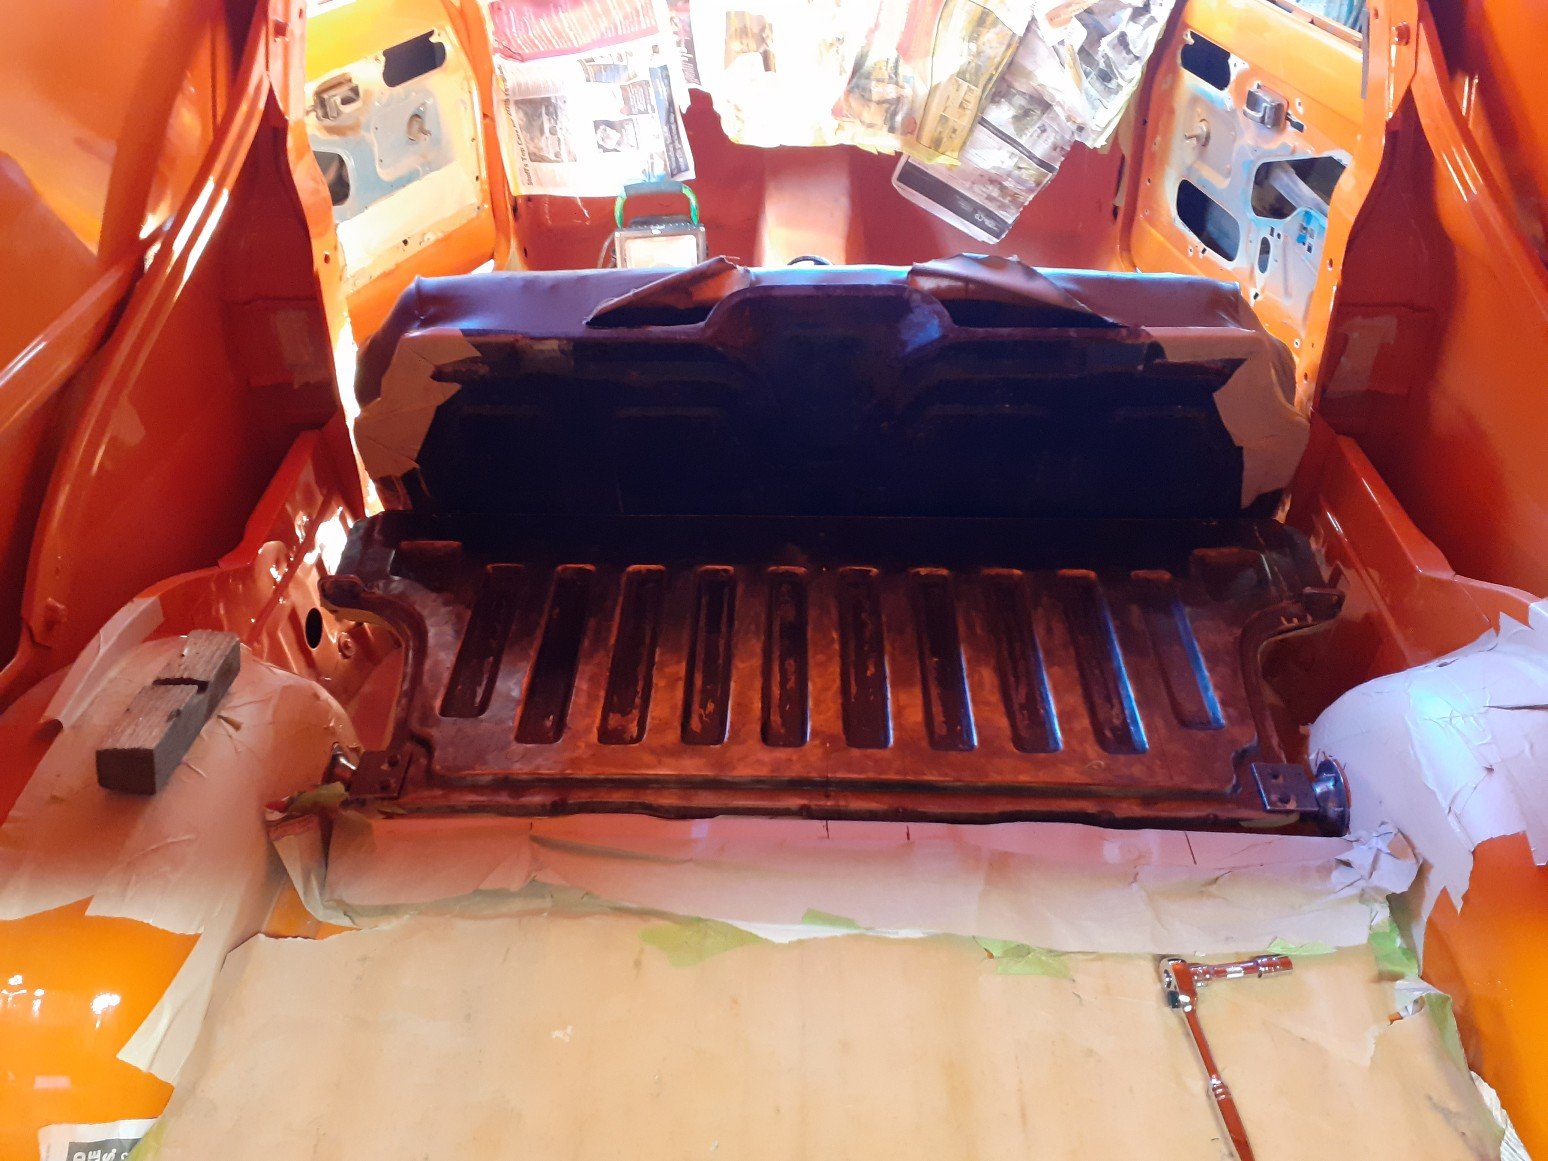
Managed to get some work done on the car over the last couple of days, got the wire wheels out in the boot and surrounding area. Boot floor wasn’t looking too bad (not 100% done brushing back in the photo): Slapped some primer on it (there’s one little rust hole near the drain opening in the spare wheel tray, the cap that sat in there crumbled in my hand lol): There is a bit of rust around where the seal/boot lip runs along near the bumper in the middle, so to get a closer look I removed the rear bumper (came off surprisingly easily, after some of the horror stories I have seen/read about). Was a bit sad to see this rust here, next to the forward bumper support (similar on the other side too), so that’ll need to be sorted: Does anyone know how to get these brackets off? I can see some screws and nuts, but they look fairly rusted on. Likewise, any tips on how to remove the trim here on the C pillar junction, as to finish the survey of the rust in this area: It is a bit disheartening to find more rust, but not surprising, as that’s the nature of the beast when it comes to classic cars. The good news is that there are a few areas which will be hidden once done, so perfect for me to cut my welding/repair teeth on, onwards and upwards.2 points
-
2 points
-
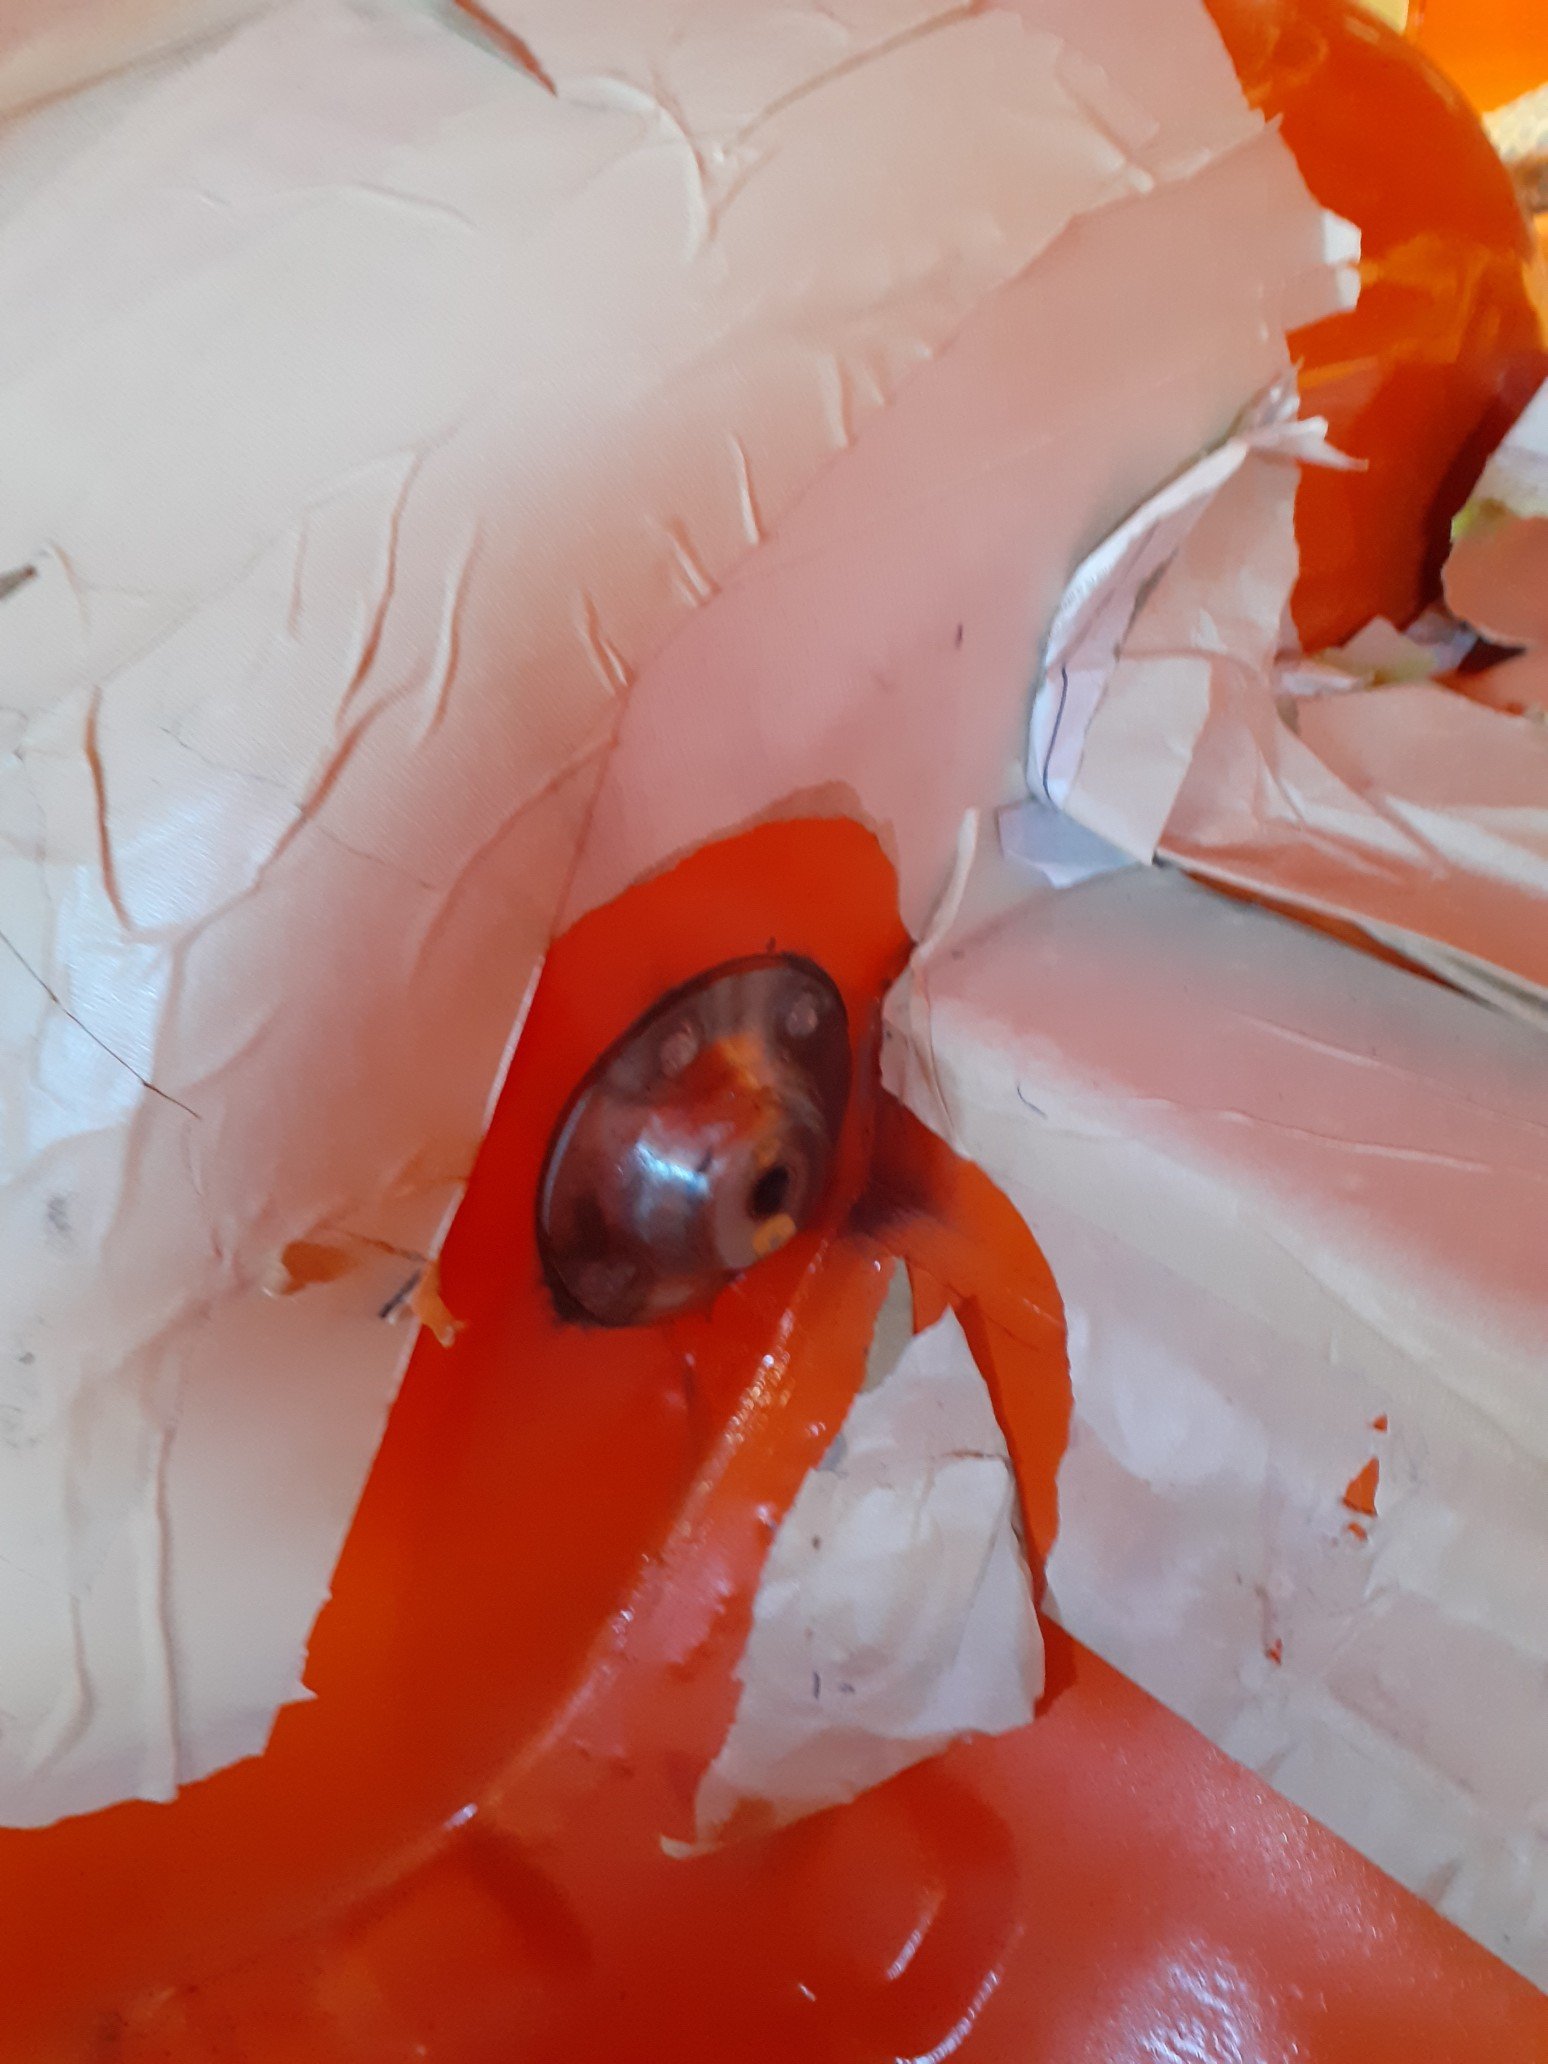
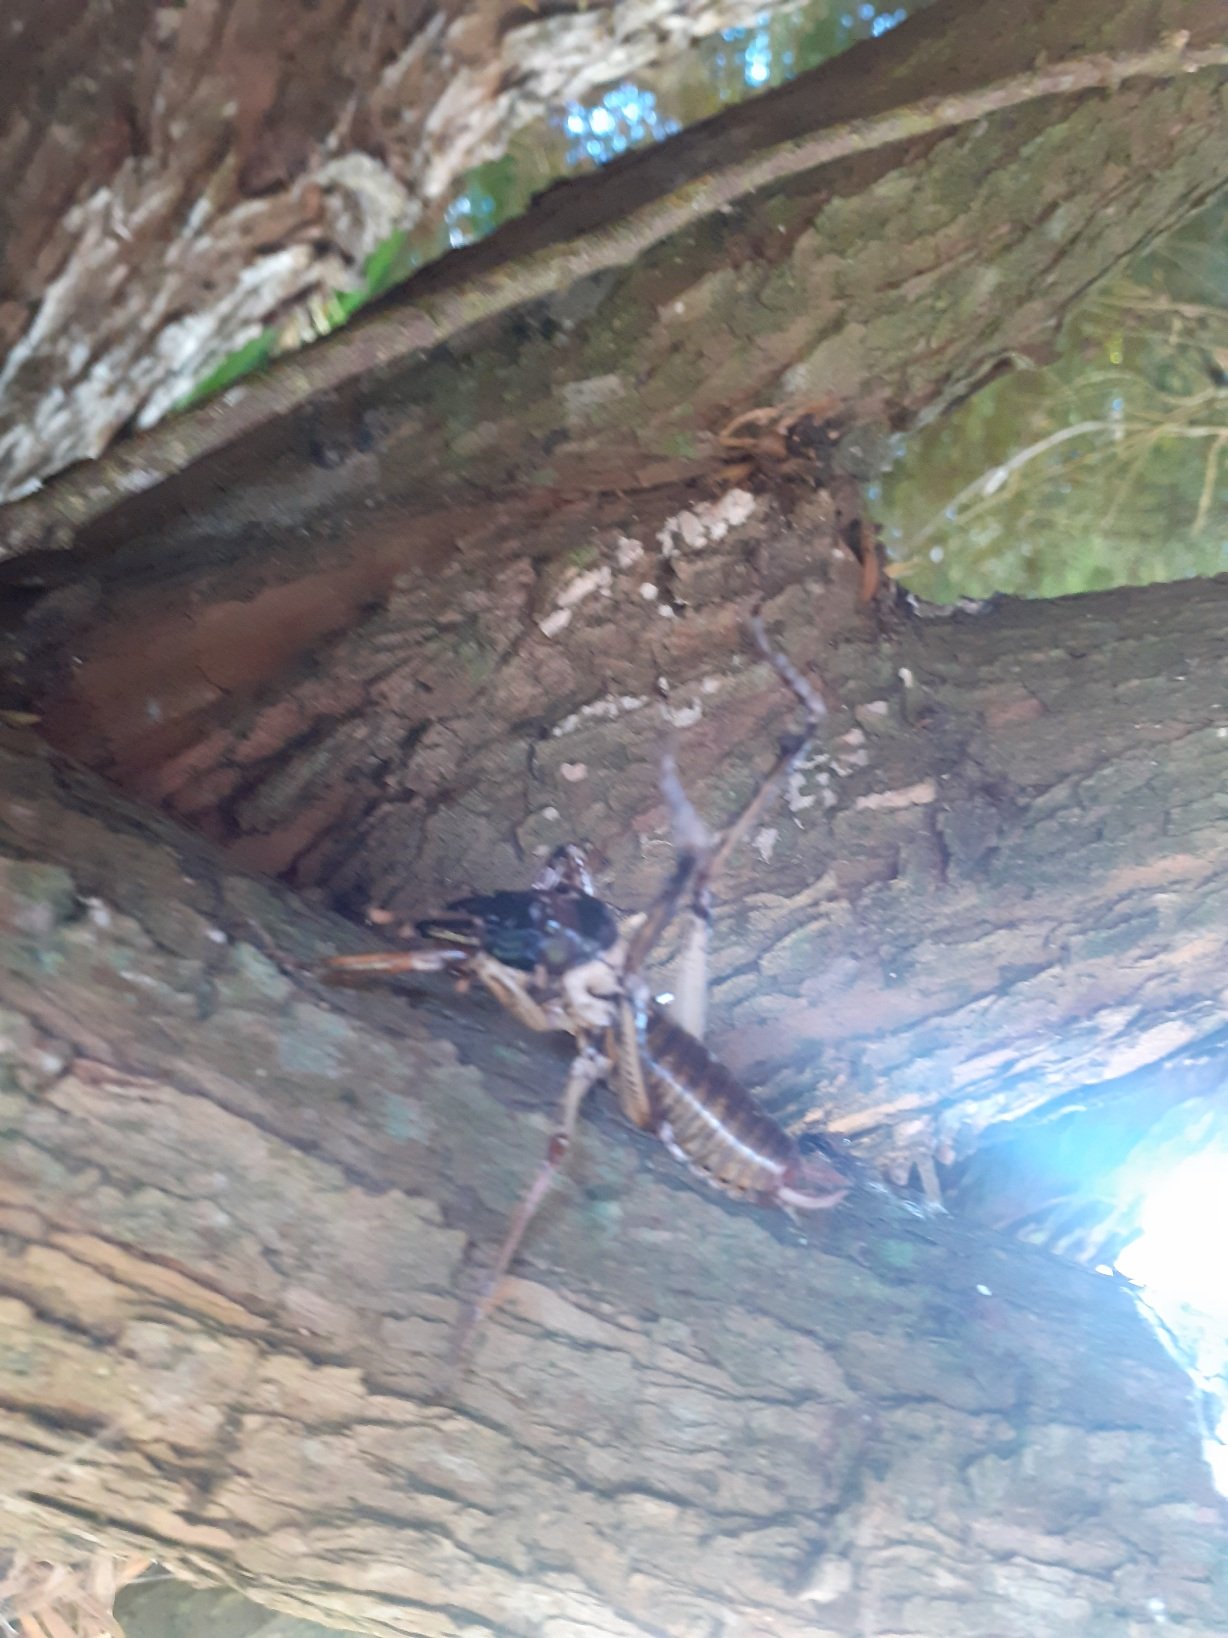
While doing the clutch line this big c*nt crawled on by, right next to my head while on my back under the front of the van, scared the shit out of me... so I put him in the tree and called it a day hah .
2 points
-
Wife wanted a long dinning table bought a 2.4M slab of cherrry? Wood measure twice and it actually test fitted the first time! turns out it’s a bit long once we put it in the lounge..... so have cut shorter belt sanding for hours sucks, maybe 1/3 of the way there now (should of hired a floor sander) recycled some legs from scrap at work2 points
-
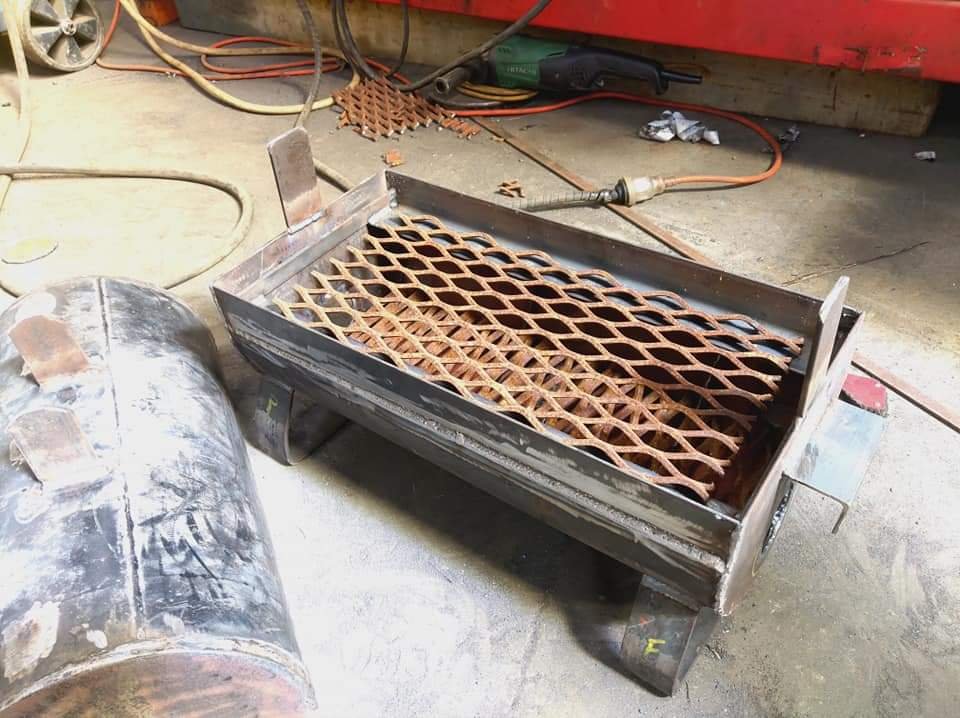
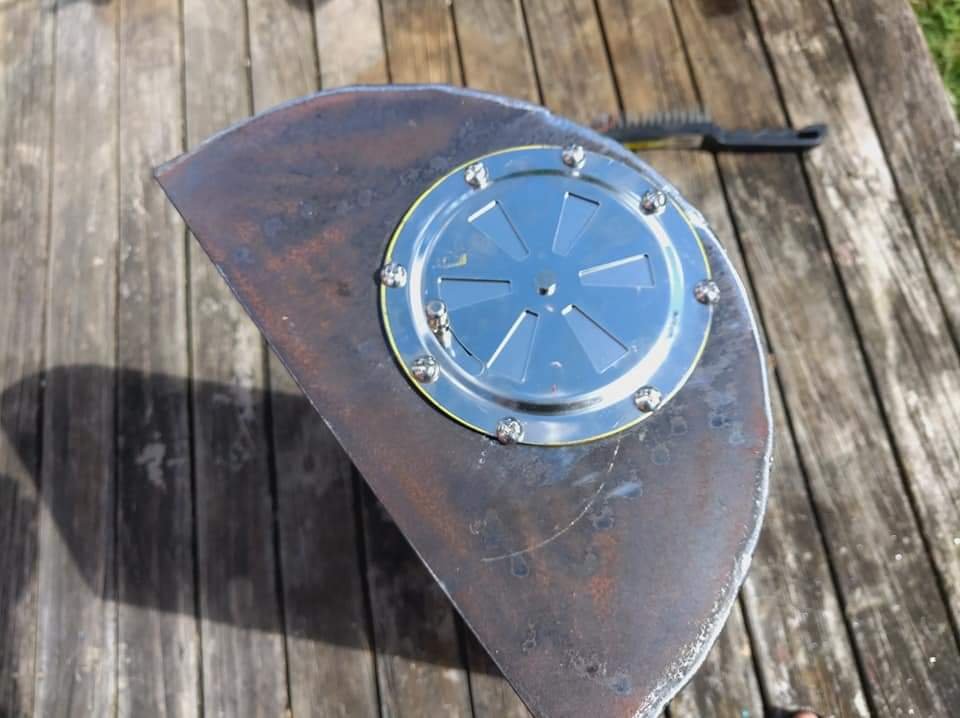
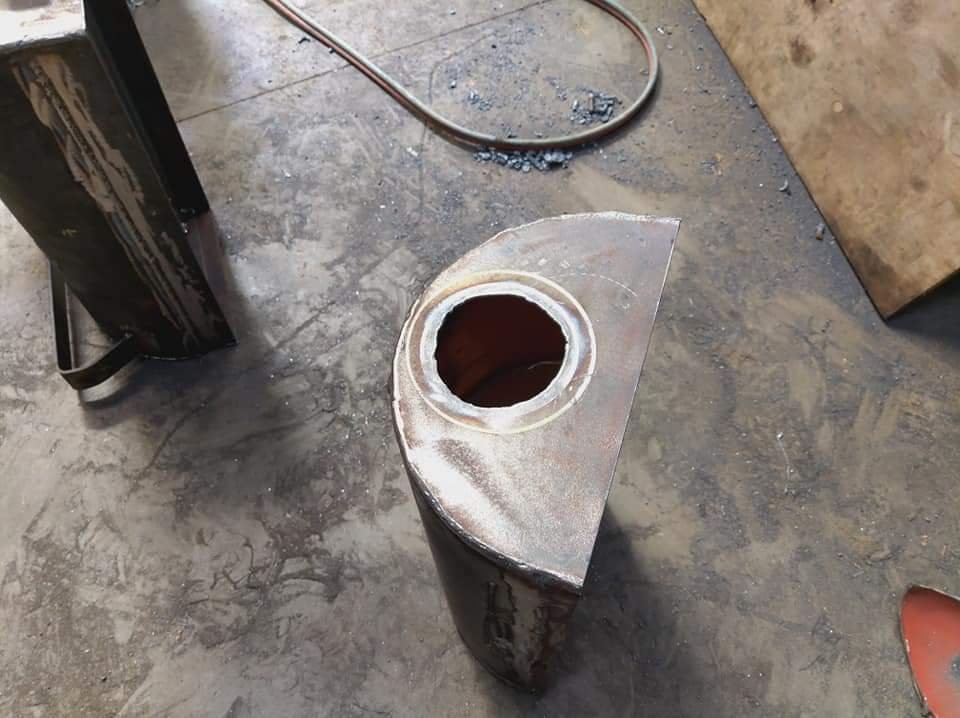
Cut up some thicccc expanded mesh(this shit is about 10x6mm thick and expensive as shit. We use it for guarding heavy machinery, luckily we had some left over for the coal rack and also for the grille. And here's the upper vent mocked up. These are called butterfly vents and are used for marine purposes. Took me bloody ages to find something like this
1 point
-
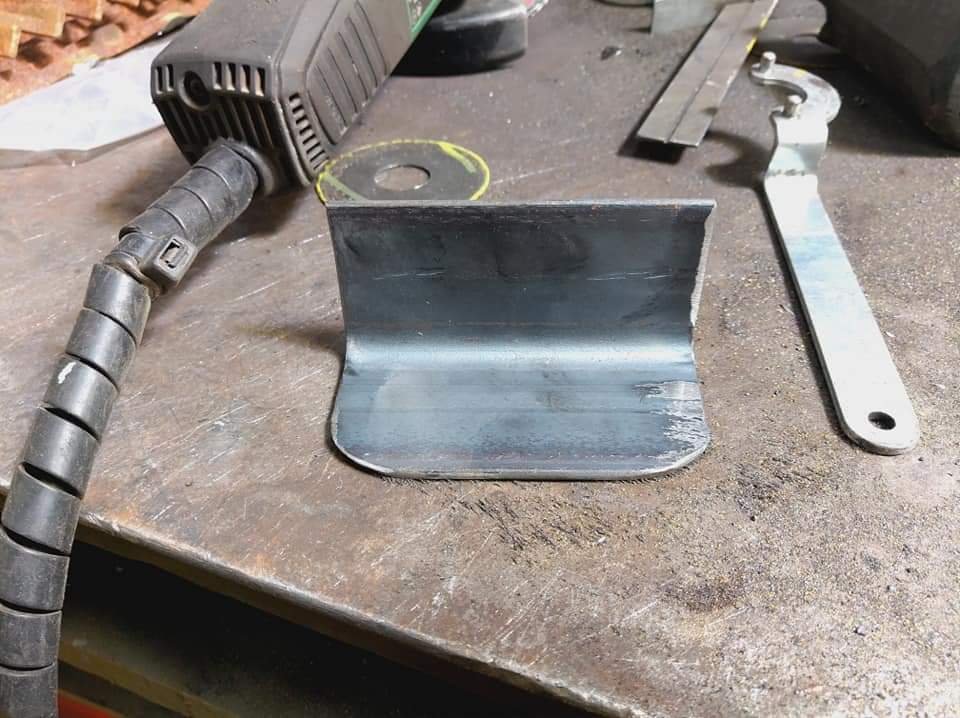
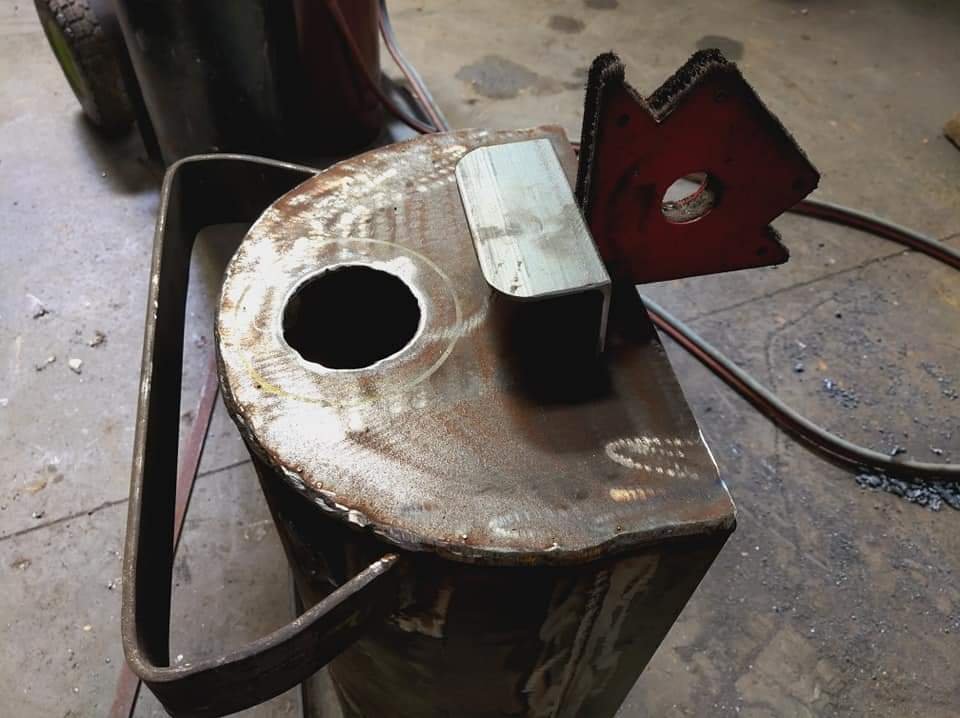
Gas cut some damper vent holes. Cut and welded some 50x3 angle for side handles. Also cut and welded some flat bar for lid handle mounts.
1 point
-
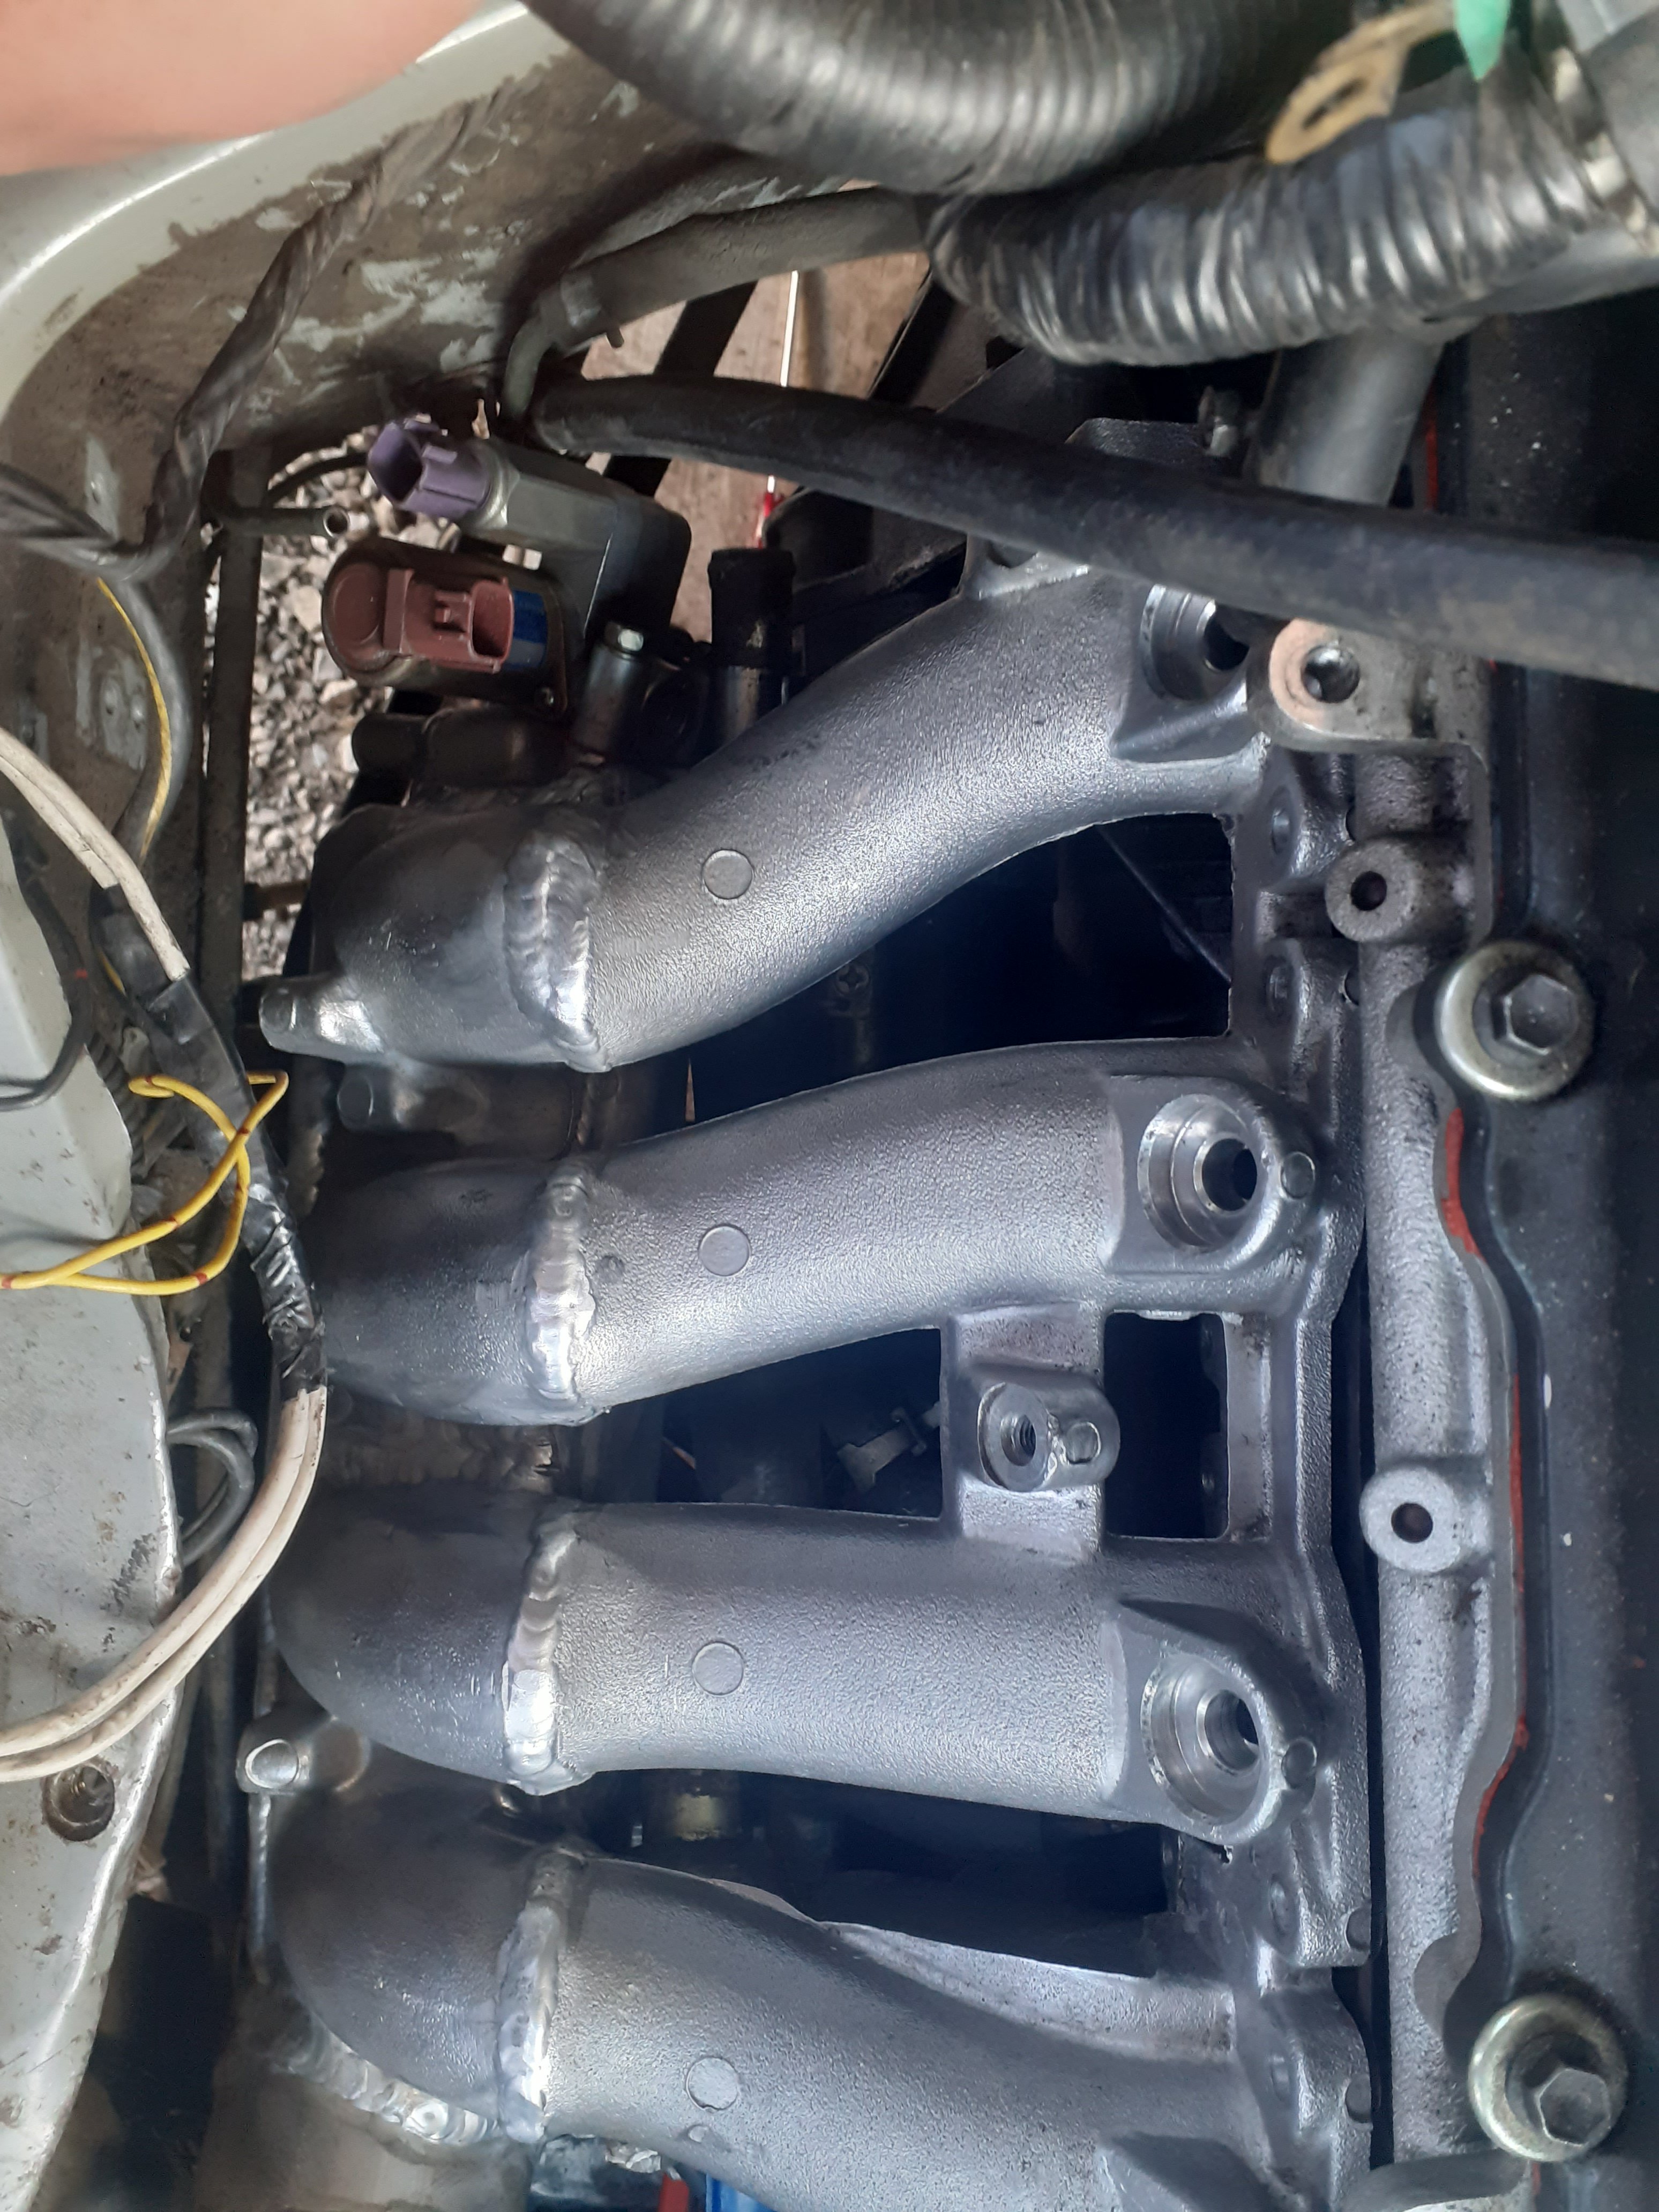
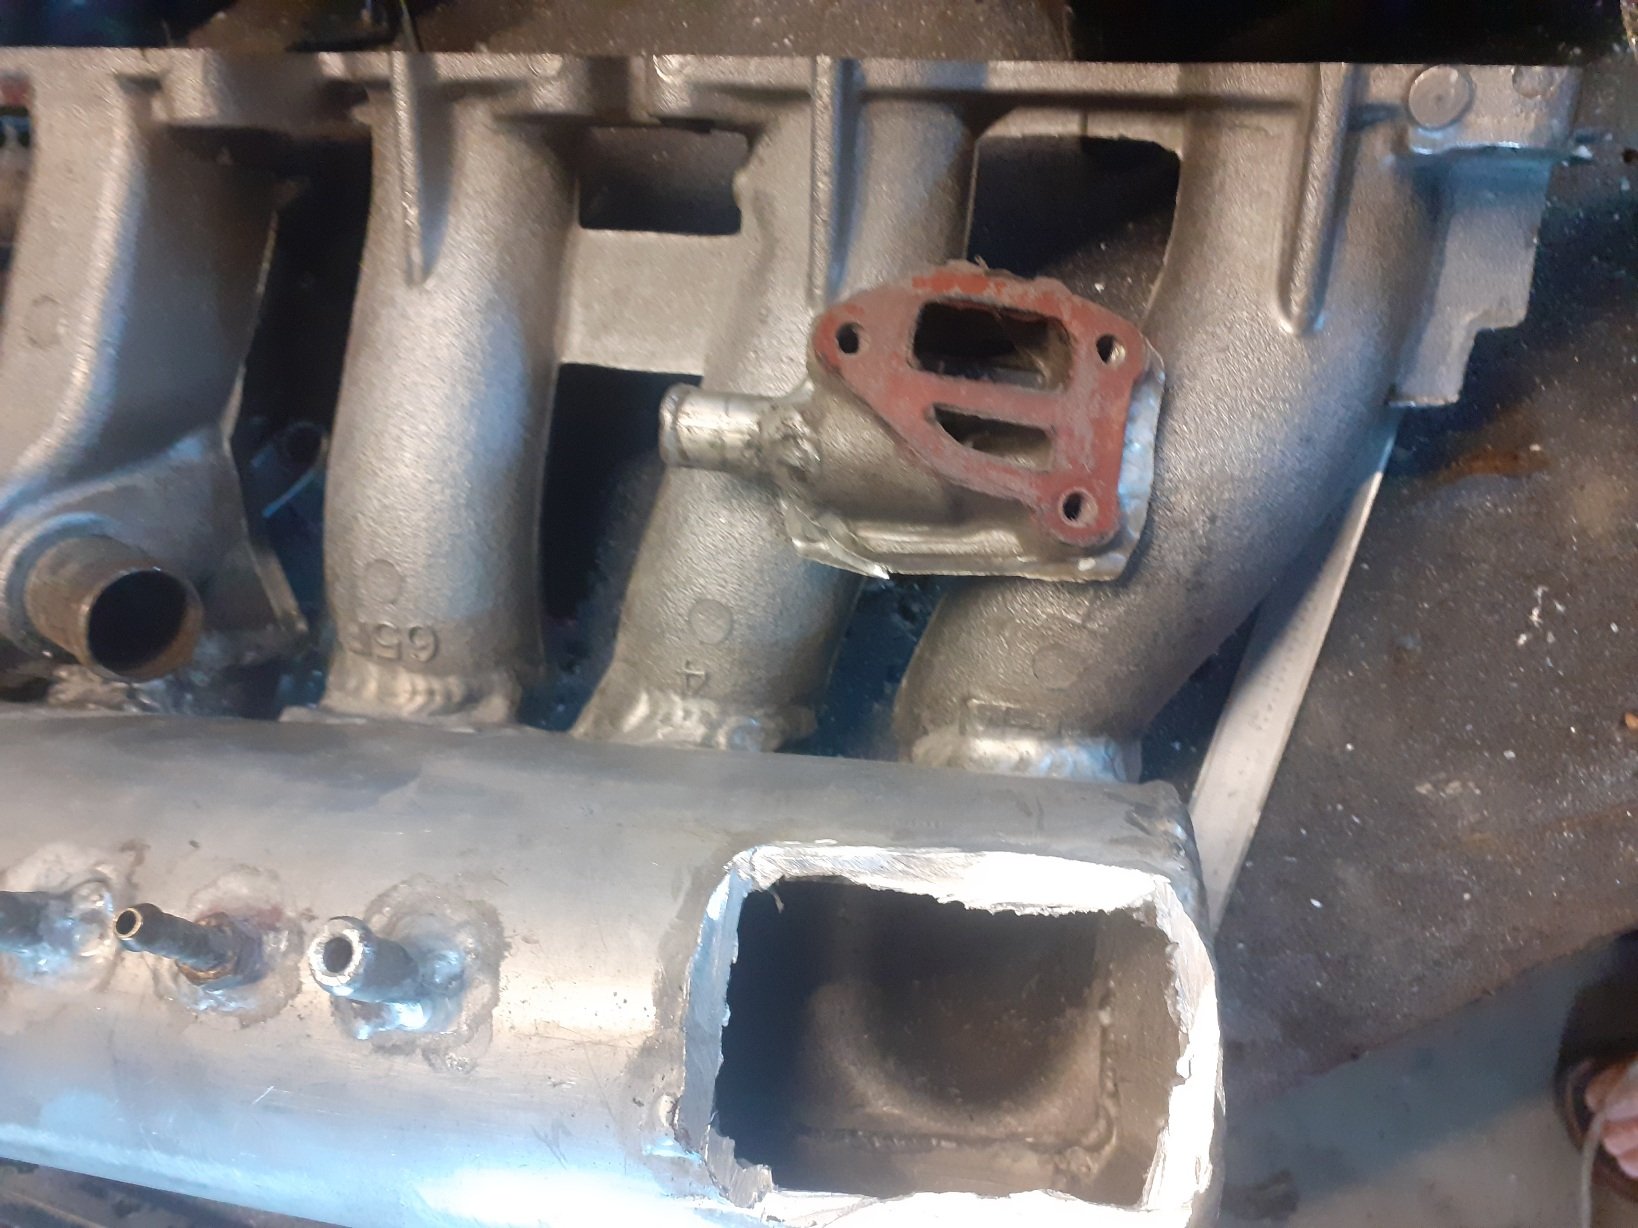
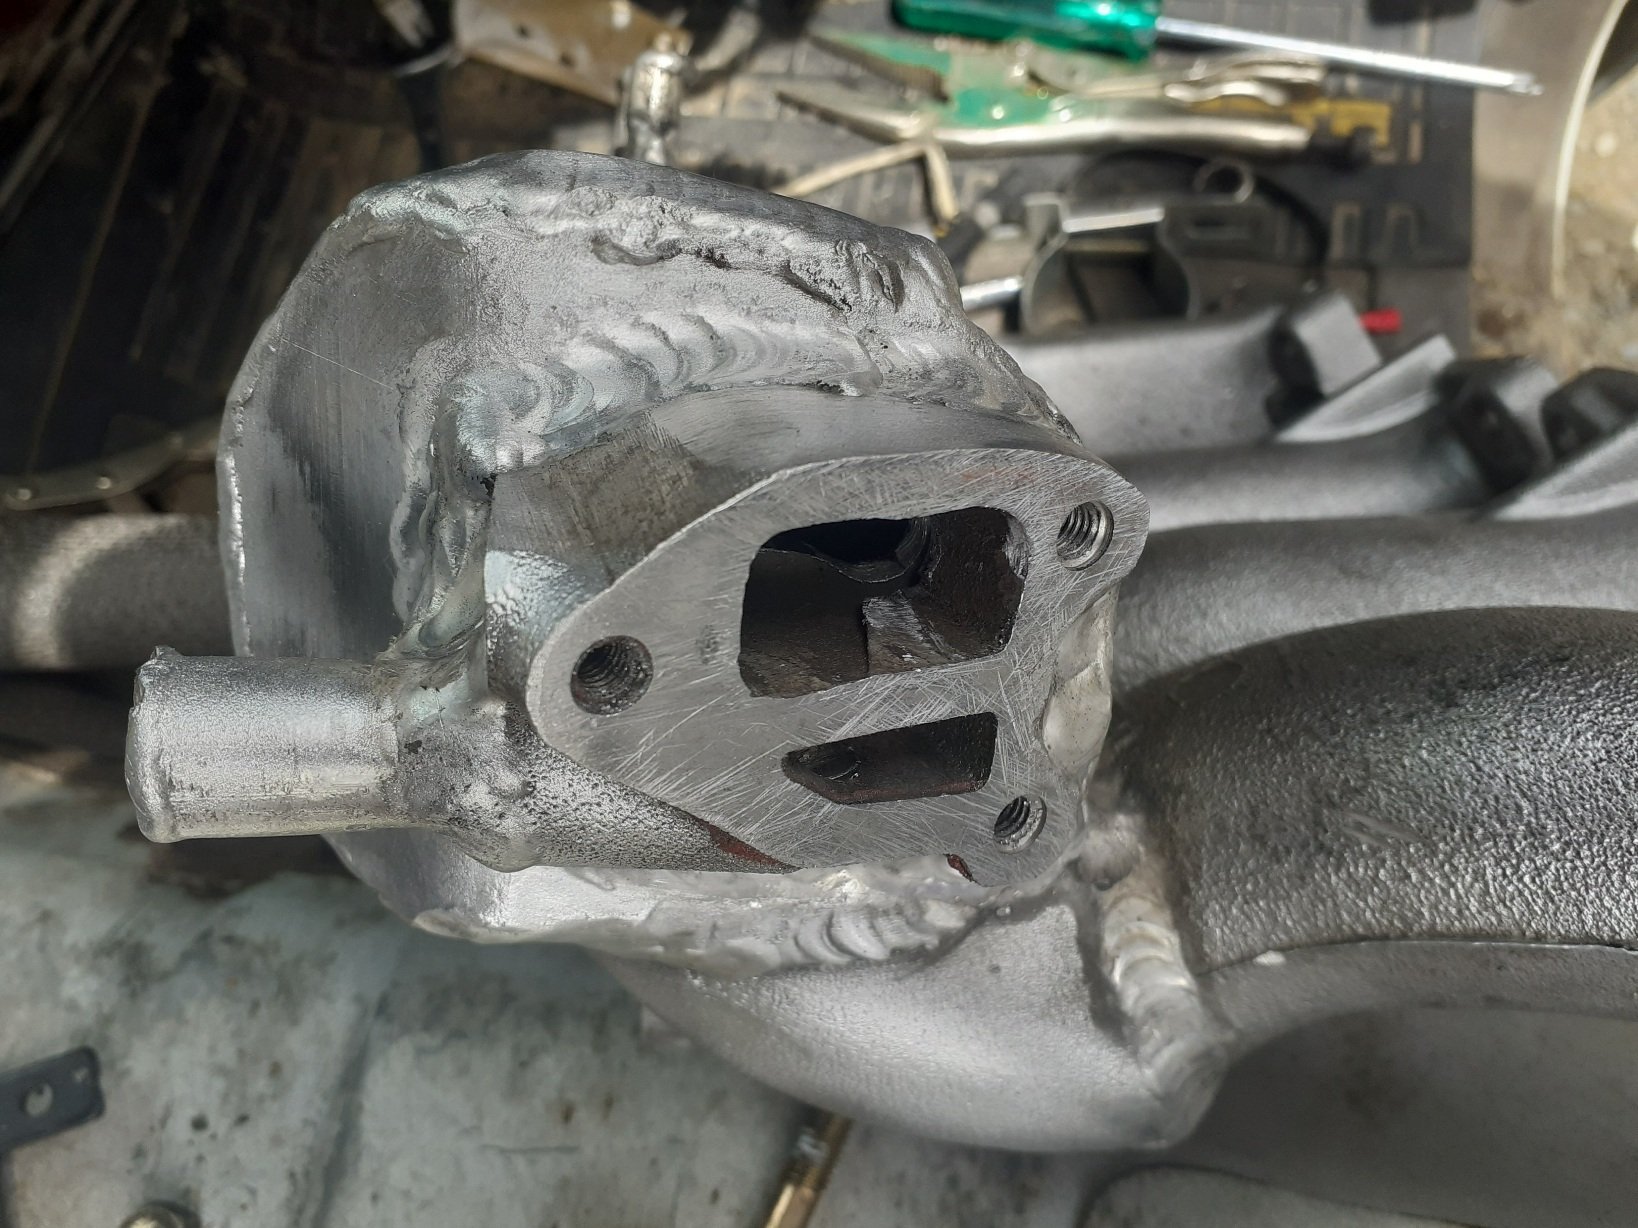
I was planning on getting the intake installed today, but the van had other plans... when I installed my starter I realised I hadn't accounted for the space it took up... space my intake was occupying, well- a relocation of the idle circuit, pressure test, and it's good to go, I hope so anyway!
1 point
-
So I got this ^ pump from @datlow (chur my bay) which arrived overnight, and I slapped it on in a temporary fashion for testing purposes, AND ITS FUCKEN FIXED IT!!!!! Praise be to Allah, it ran beautifully. We drove up to a bridge, and I did a few laps of some farmers paddock, and then we drove back, all without issue (until it ran out of gas, as in tank was bone dry) such a relief, I'm so happy I could shit a rainbow. @keltik should have some media for your viewing displeasure. Regards, V "fucking stoked" G.1 point
-
Good idea! Ah, I thought it was odd that it was a Briggs and 2 stroke.1 point
-
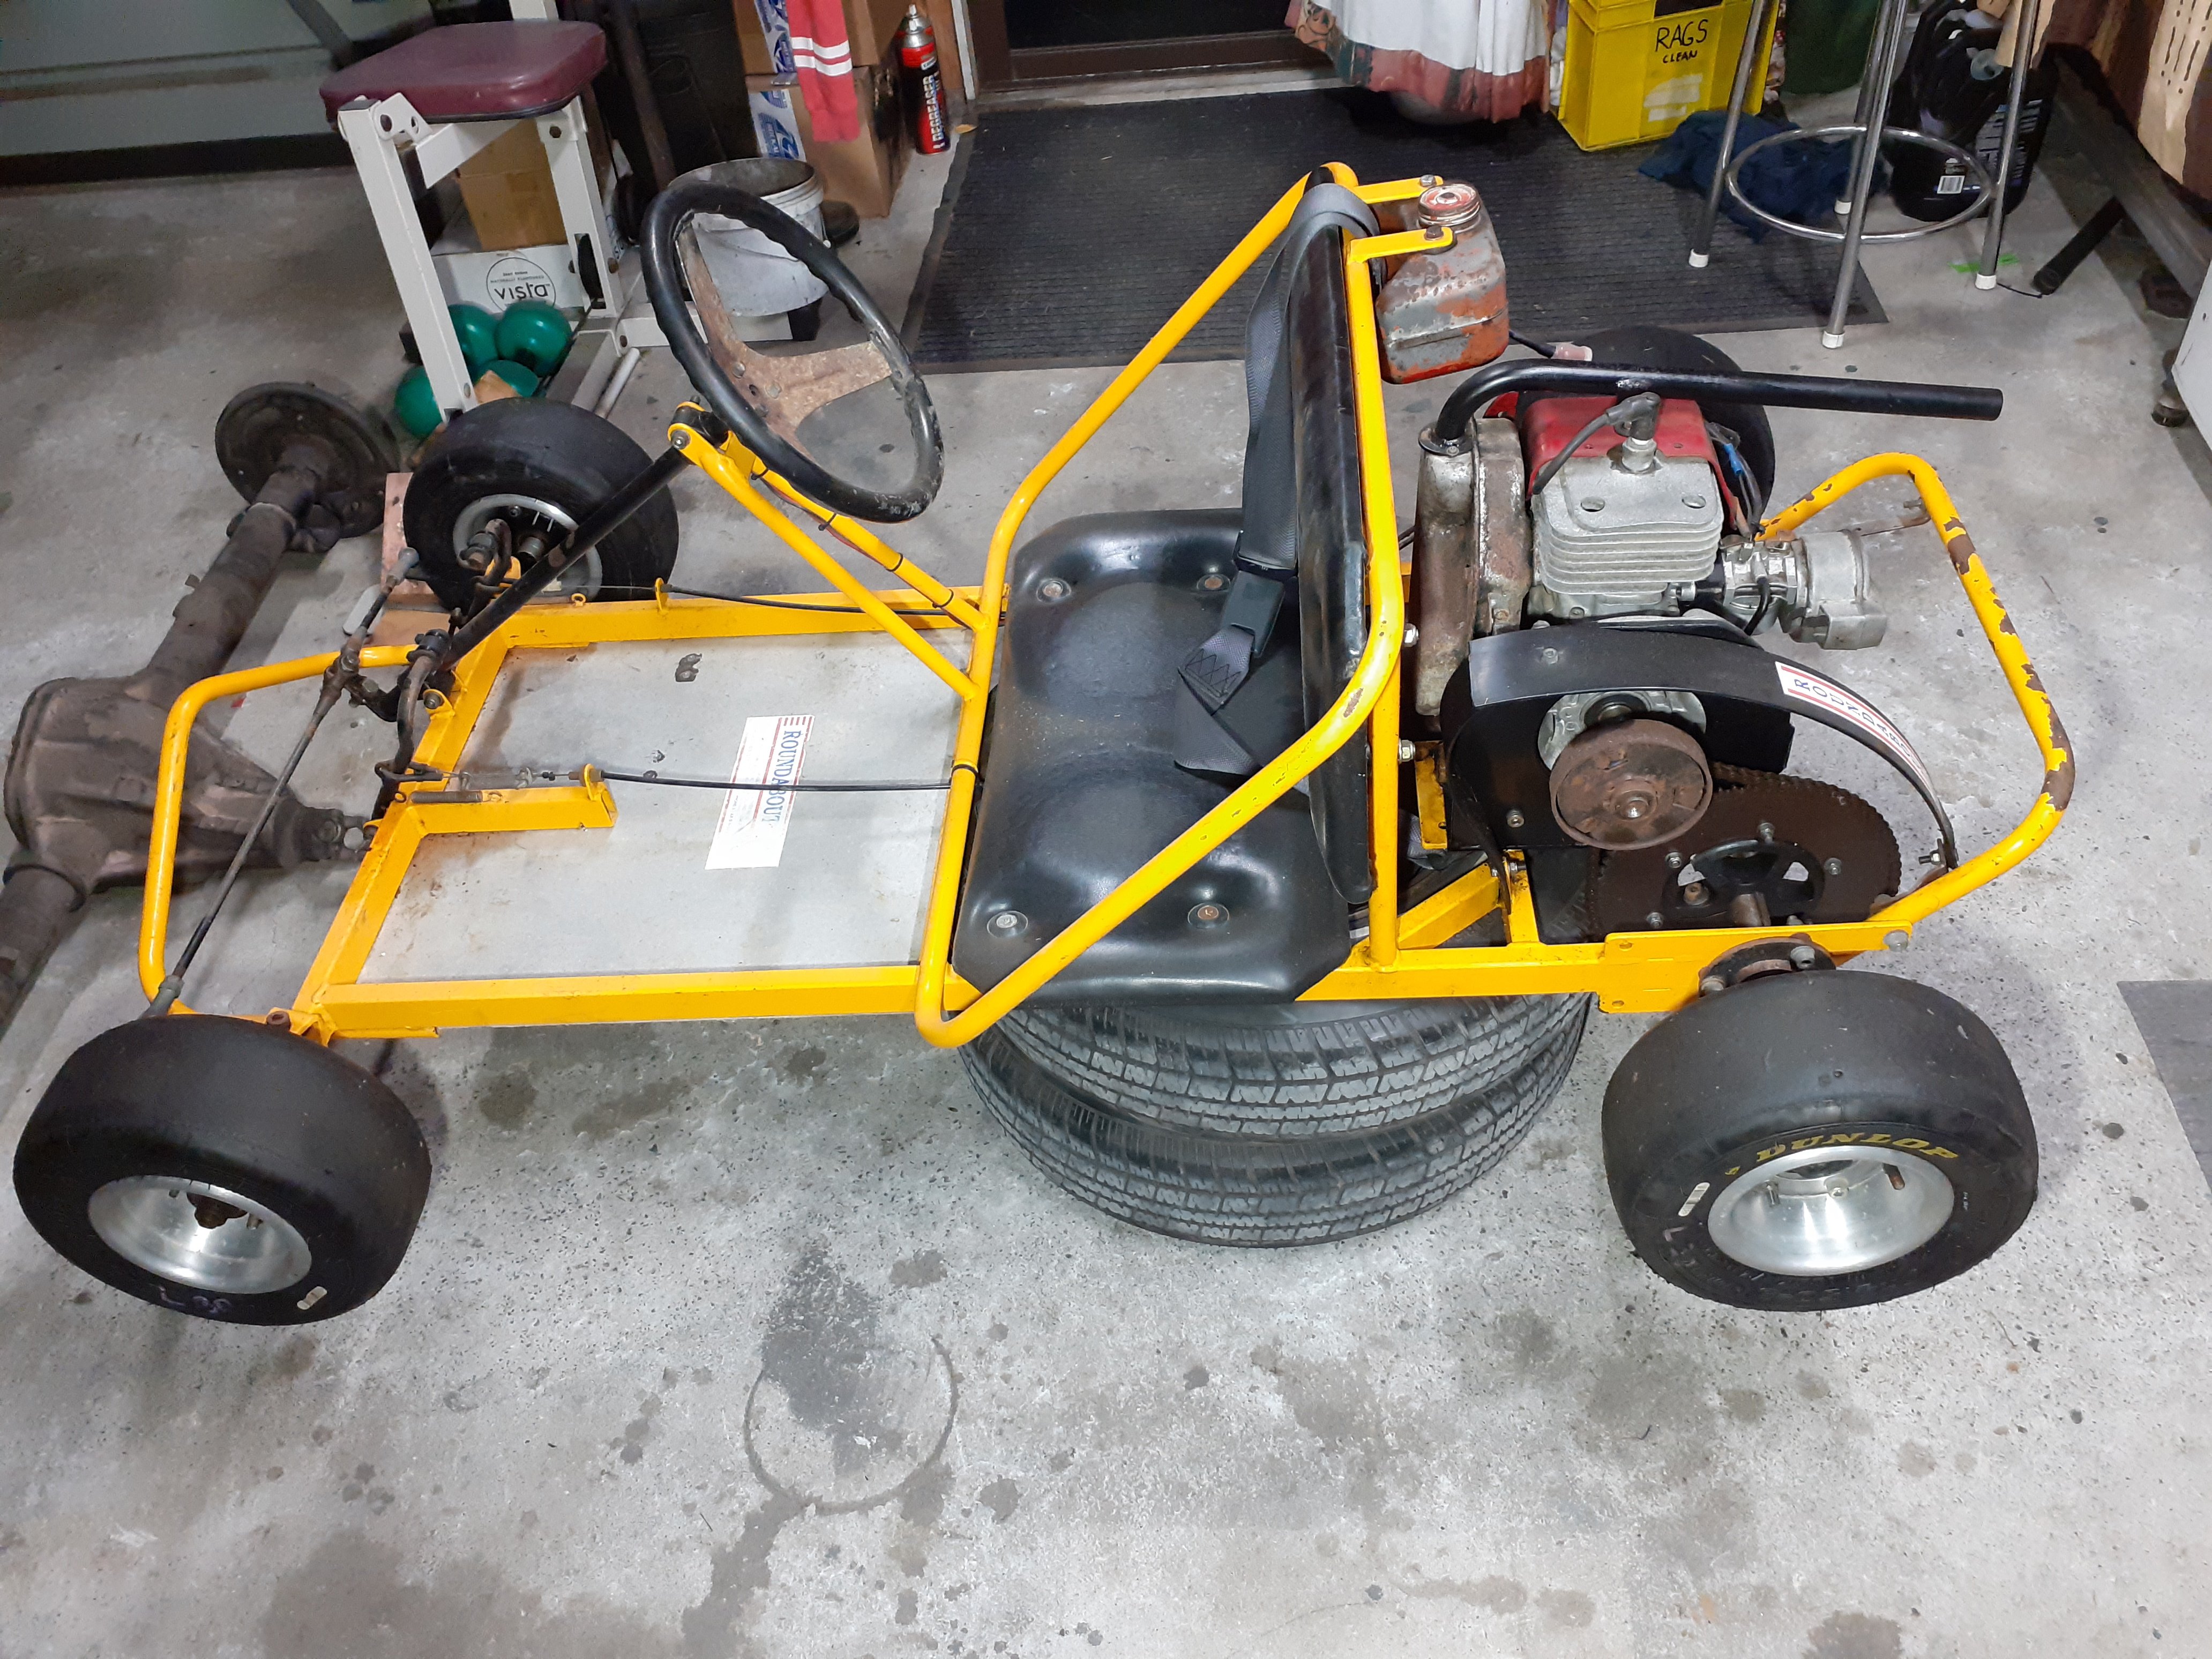
I bought this for my daughter probably 5 years ago. When I was a kid I would have given anything to have a go kart so as any good parent does, I project my childhood dreams onto my own offspring The first time she drove it, I was pretty lax with the explanations, and she was 4. It's a 2 seater so my mrs sat on the other side. I'd backed the throttle right off but on grass with 2 on it, it was frying the clutch and wouldn't get moving so I had to give it more She started doing laps of the grass paddock but freaked out and forgot how to take her foot off the gas so she's going quite quickly, my mrs started freaking as well , kid starts screaming... I took a lunge at the spark plug lead but missed, luckily she hit a bump and her foot came off the gas Left it parked under the house until she was 6. Had another go, gave her a lot more training this time, and took her to an asphalt car park. She was going well until she turned too sharp and rolled it, her and the wife got a few scrapes and bruises. Parked it again, was going to sell it but daughter was still keen to have another go, she's 9 now and asked about it this morning so finally got around to fitting some smaller tyres to gear it down and make it less likely to fall over
1 point
-
Big bum fitted
1 point
-
@Guypie has some concreting projects coming up so he made a concrete mixer. Works quite well. He also used the left over 3rd of a drum to make a fire pit that he sold on fb for $60. So the total cost of the concrete mixer came out as -$35. The only expense was the belt, everything else was stuff he already had lying around.
1 point
-
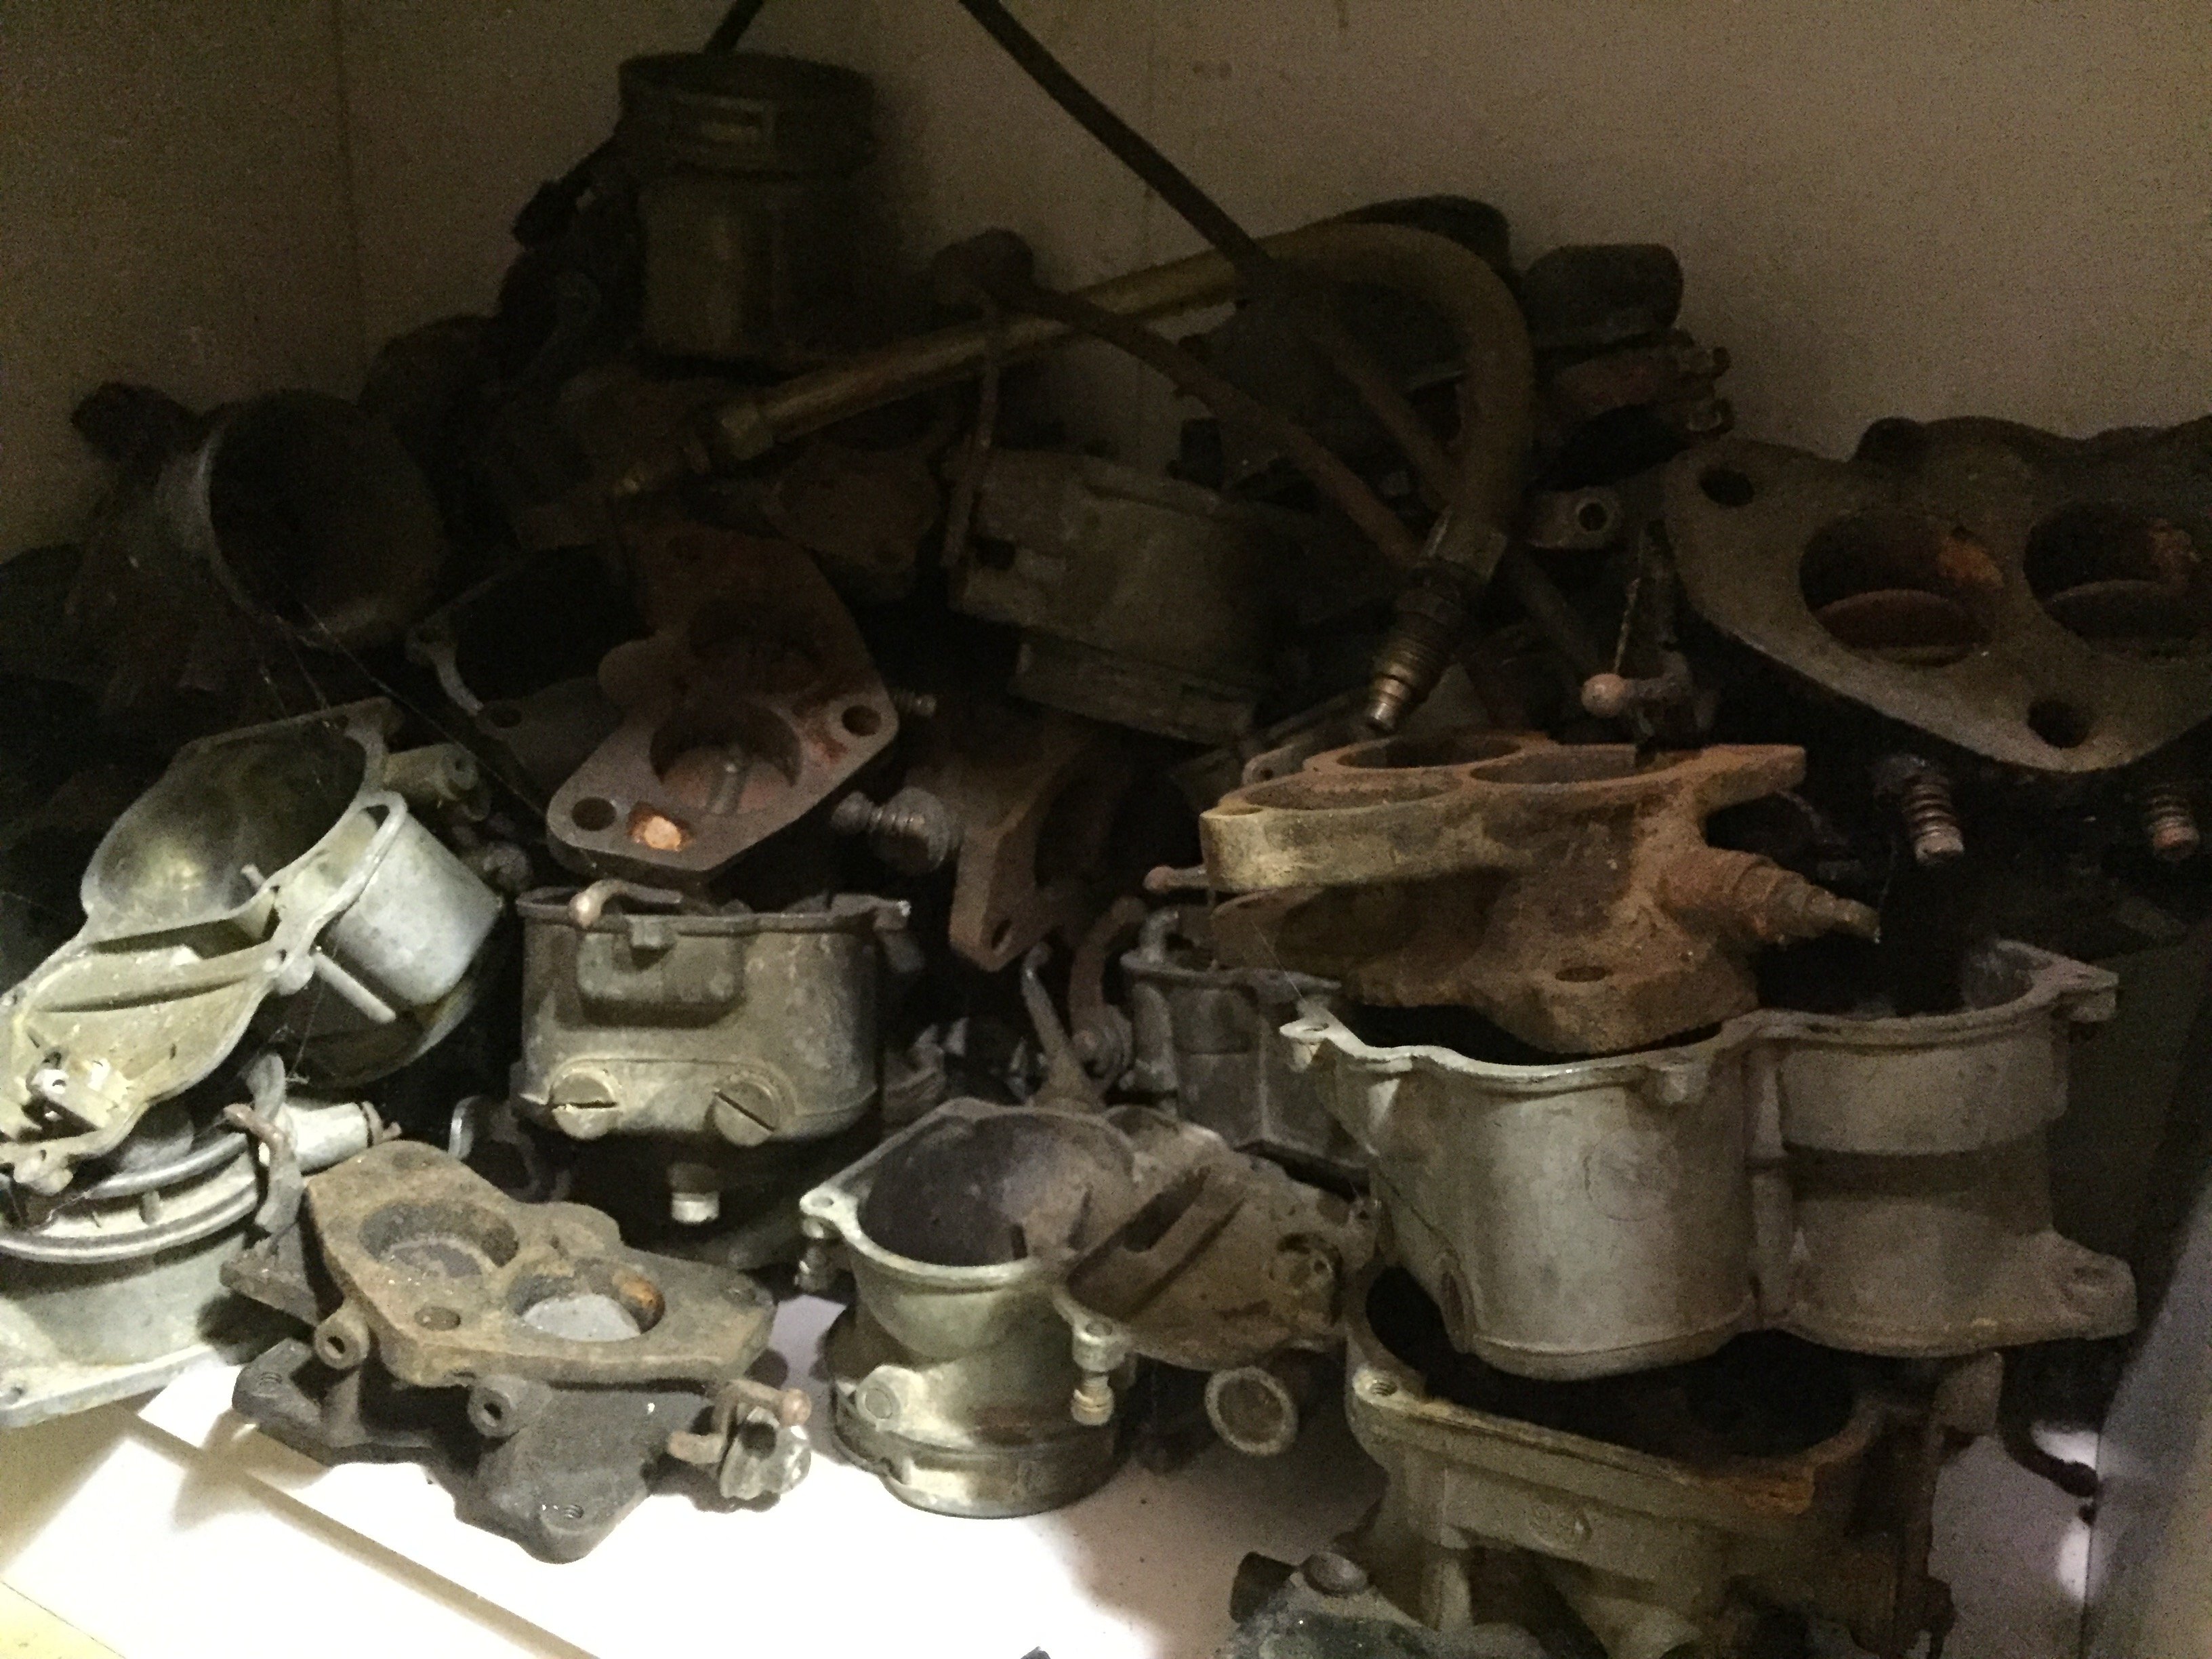
For a side project I am going to build as meany 2bbl holly carbs as I can.
1 point
-
Time for a small update... As most of you have probably seen, I now have this up for sale as I need to sell one of my cars for money towards the house. In the meantime though I have been dailying the shit out of this and it has been awesome. I've been fixing little bits and pieces here and there, sorting out little interior rattles as they become more apparent, tighten the sunvisors as they kept dropping etc. The other day however I also noticed that there was a strong smell of fuel so had a look and saw the fuel pump was leaking. Have since replaced that today and now she's all good. I also had seen a few small drips under the heater assembly so tightened up the hose clamps and it seems ok so far. Had some fender mirrors lined up but that hasn't come to fruition so will probably roll as is for the time being. And here's some pics from today after I gave it a wash. Time for a break and festivities. Chur
1 point
-
i love me a good christmas car painting. i was looking at some of my other build threads and christmas is definitely the time i paint cars. dunno why? anywho, ive nearly finished the passengers side but i needed to get some paint on the drivers side so its got a couple of days to harden before i start sanding it. so today i applied some primer. also i figured out the blocking problem i've been having with my primer gun. turns out the pot vent was blocked. what a dick. 2020-12-24_05-22-20 by sheepers, on Flickr 2020-12-24_05-22-30 by sheepers, on Flickr1 point
-
Vin exempt vehicle, just go into AA/VTNZ and ask for an MR2B, fill it out and then chat about the weather etc acting confident like you get a new plate everyday. It 100% has been registered in NZ before 2011, you just don't know the old plate number If they say it needs an inspection point out that that is for anything imported after 2011 so doesn't apply, if they still want to fuck you about go to another AA/VTNZ.1 point
-
Boat looks in scale for jimny. Great combo. ‘The TrashTorquer’1 point
-
This side facing Kerb1 point
-
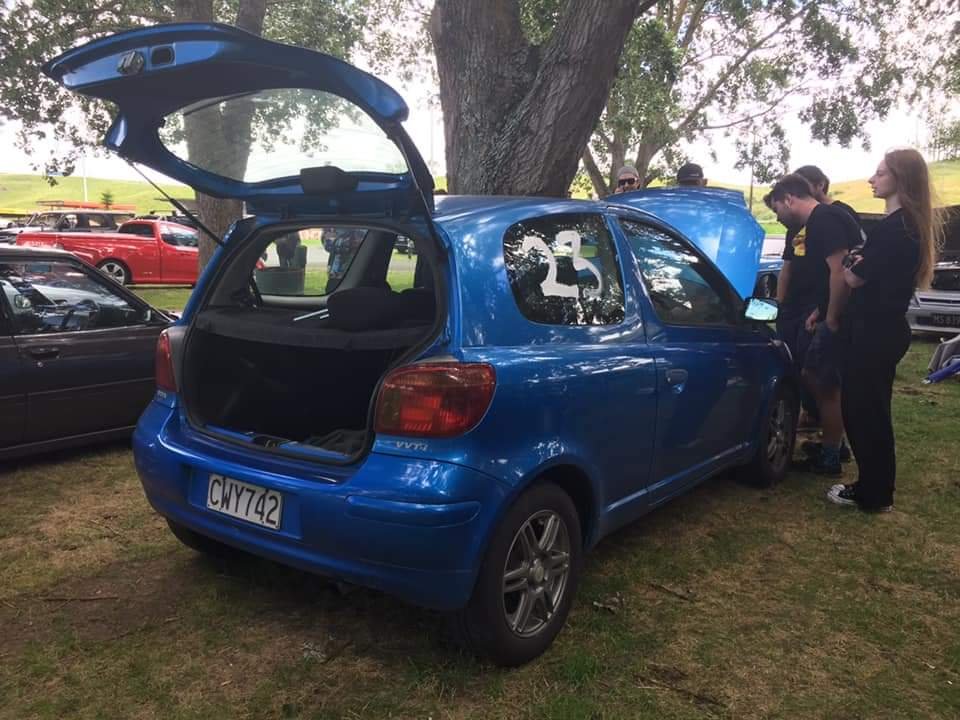
It held together and nothing broke - home safe Stoked with how things went, improved PB by 1.2 seconds to a 16.4 Only did 6 runs as it was clear I wasnt going to go groundbreakingly faster. But using the rule of thumb of " 0.1 off your 60ft is worth 0.2 off your 1/4 time" If I combined my best 60foot with best quarter I'd ideally end up somewhere under 16.3 which I think is pretty sweet for a 1300cc echo haha. But I was more worried about getting home okay this time so was minimal on burnouts off the line which might have helped. A++ would make drag day doort noises and excuses again. Hectic 1500 setup next time
1 point
-
I don't. I used to try and make "booth" with sheets but it makes no difference. The overspray gets everywhere. But, this primer dust doesn't stick and eventually it gets cleaned off everything. I don't spray much clear really. That shit sticks to everything but I don't seem to have to much of a problem with that. So, in summary, Shit goes everywhere.1 point
-
Save the Banana!
1 point
-
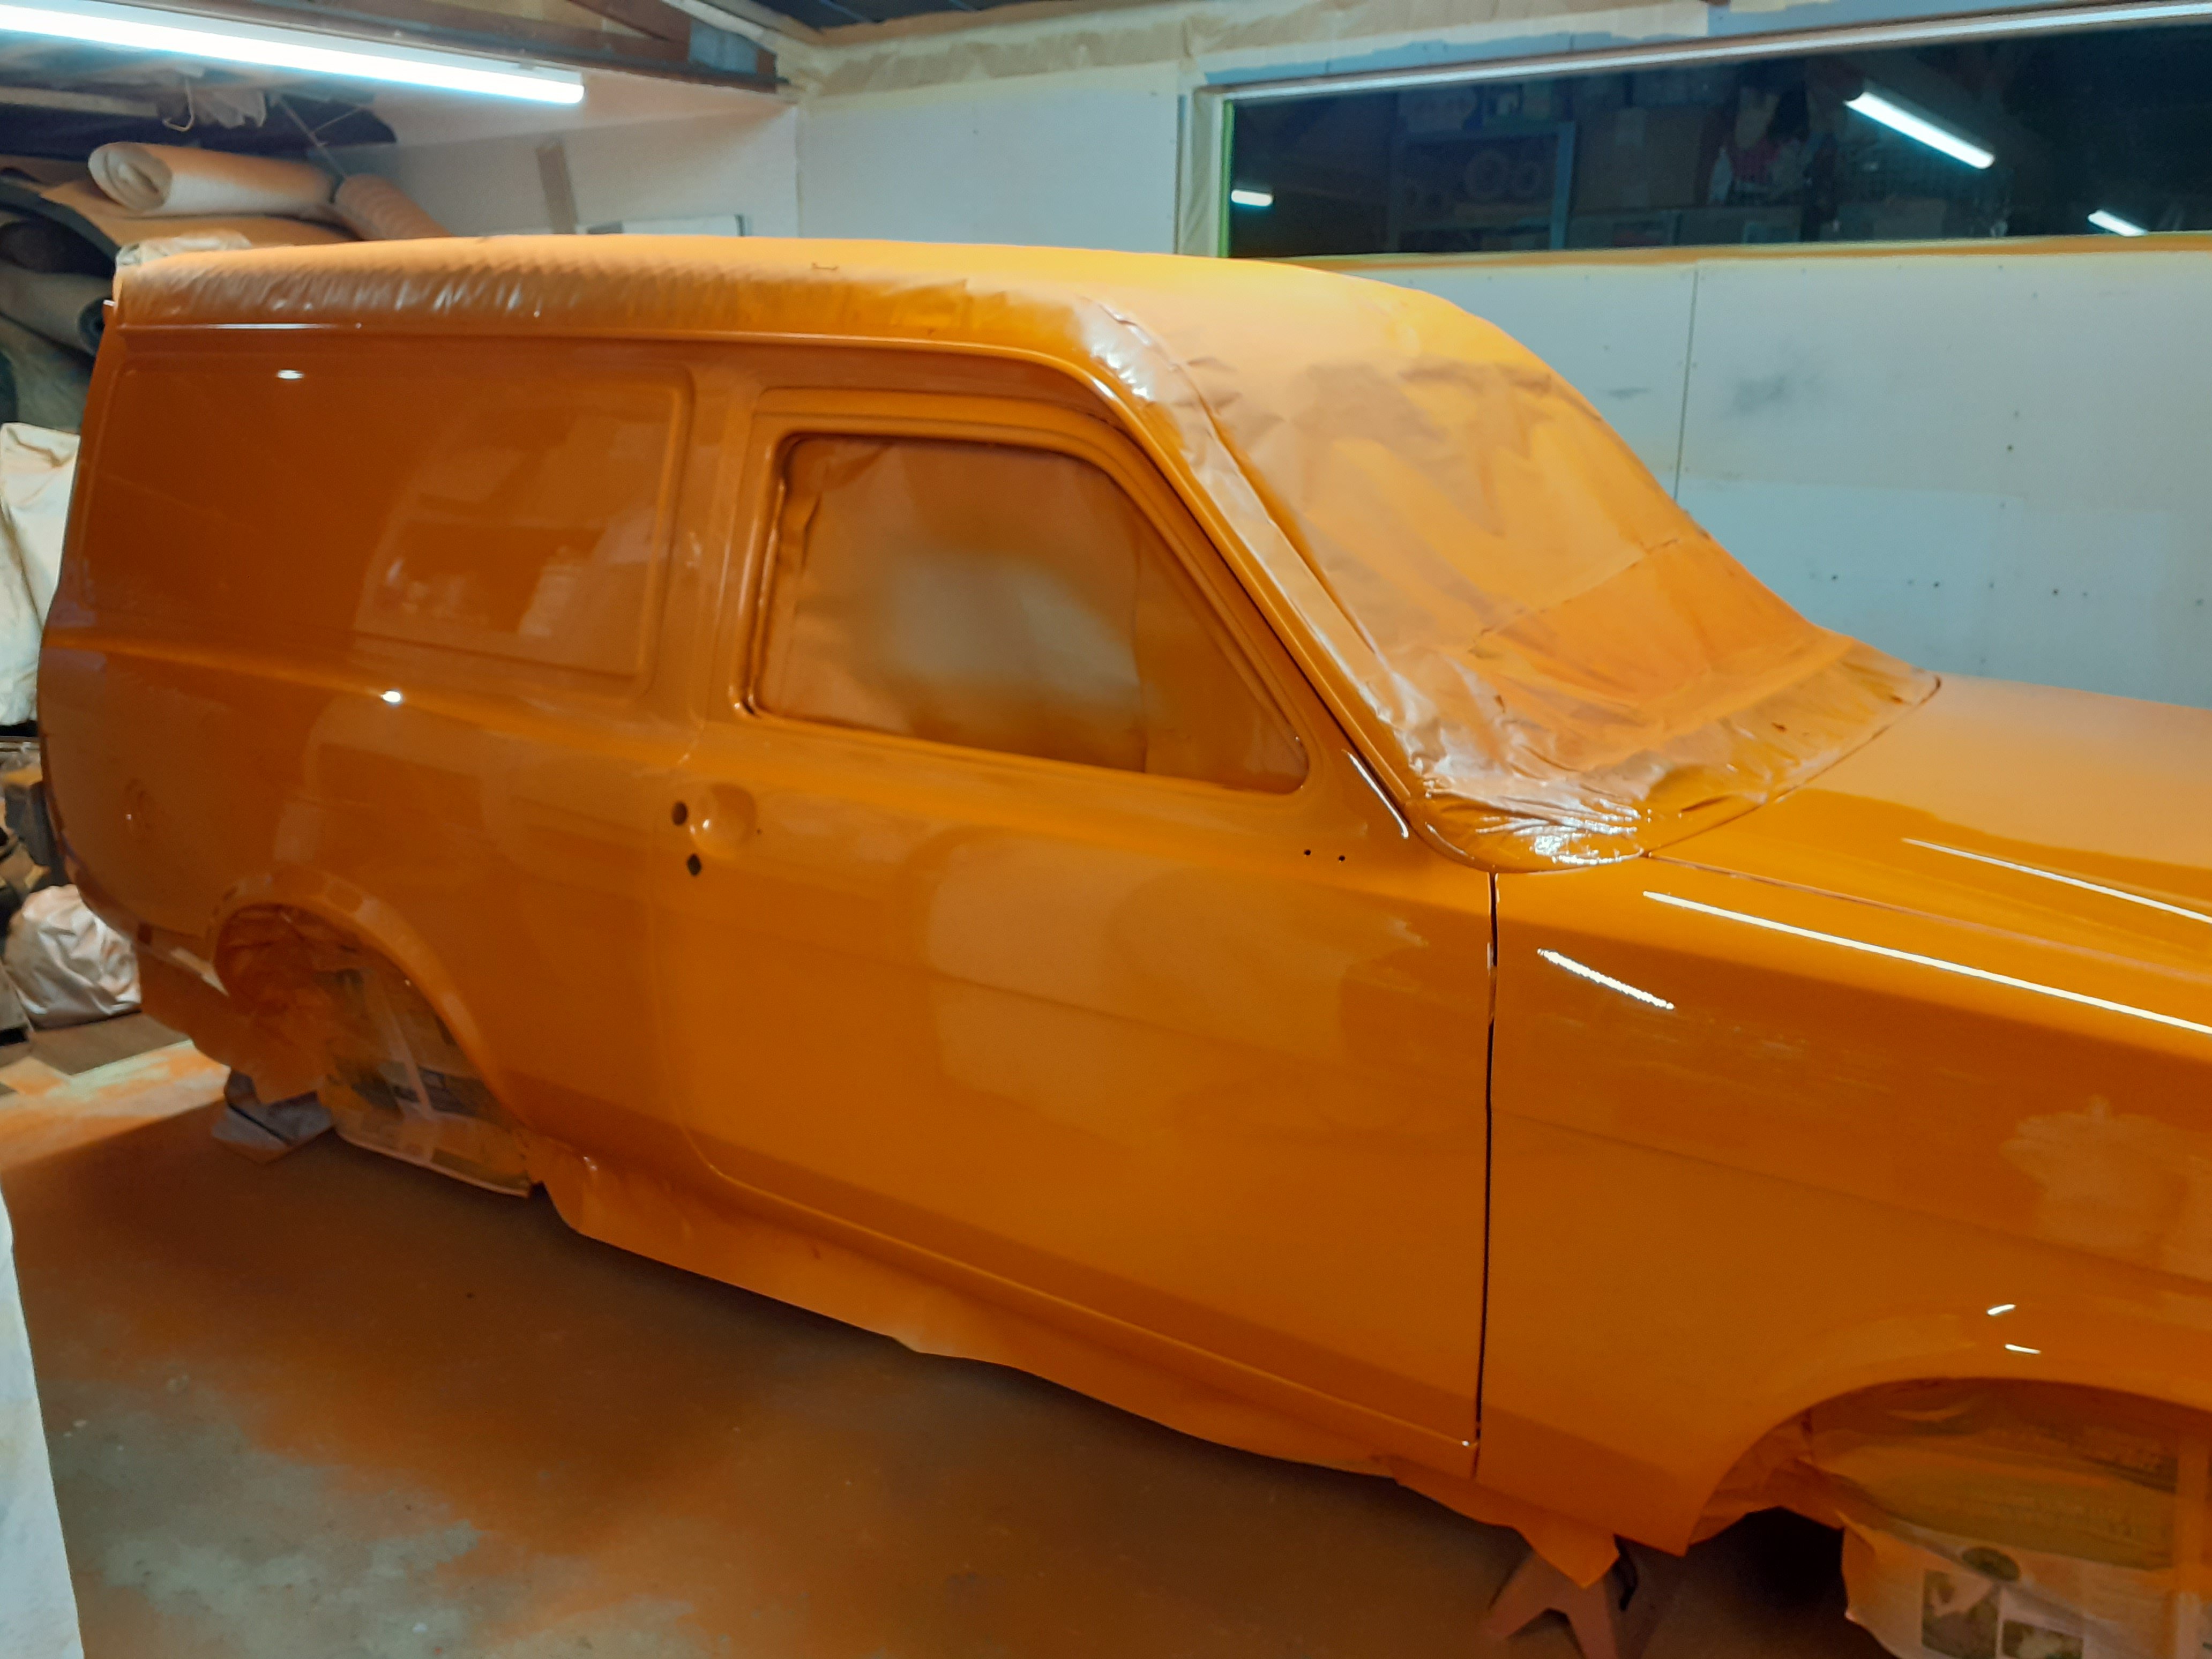
It's been a super long week but I finally painted the body. Its come up pretty damn straight but unfortunately I also have a few runs which will need sanding out. Absolutely stoked to get it to this stage but plenty more work to come.
1 point


.thumb.jpeg.384ff72c8d2b0ee0d34a7bdedb55bdcf.jpeg)


This leaderboard is set to Auckland/GMT+12:00