
Leaderboard


Popular Content
Showing content with the highest reputation on 09/29/20 in all areas
-
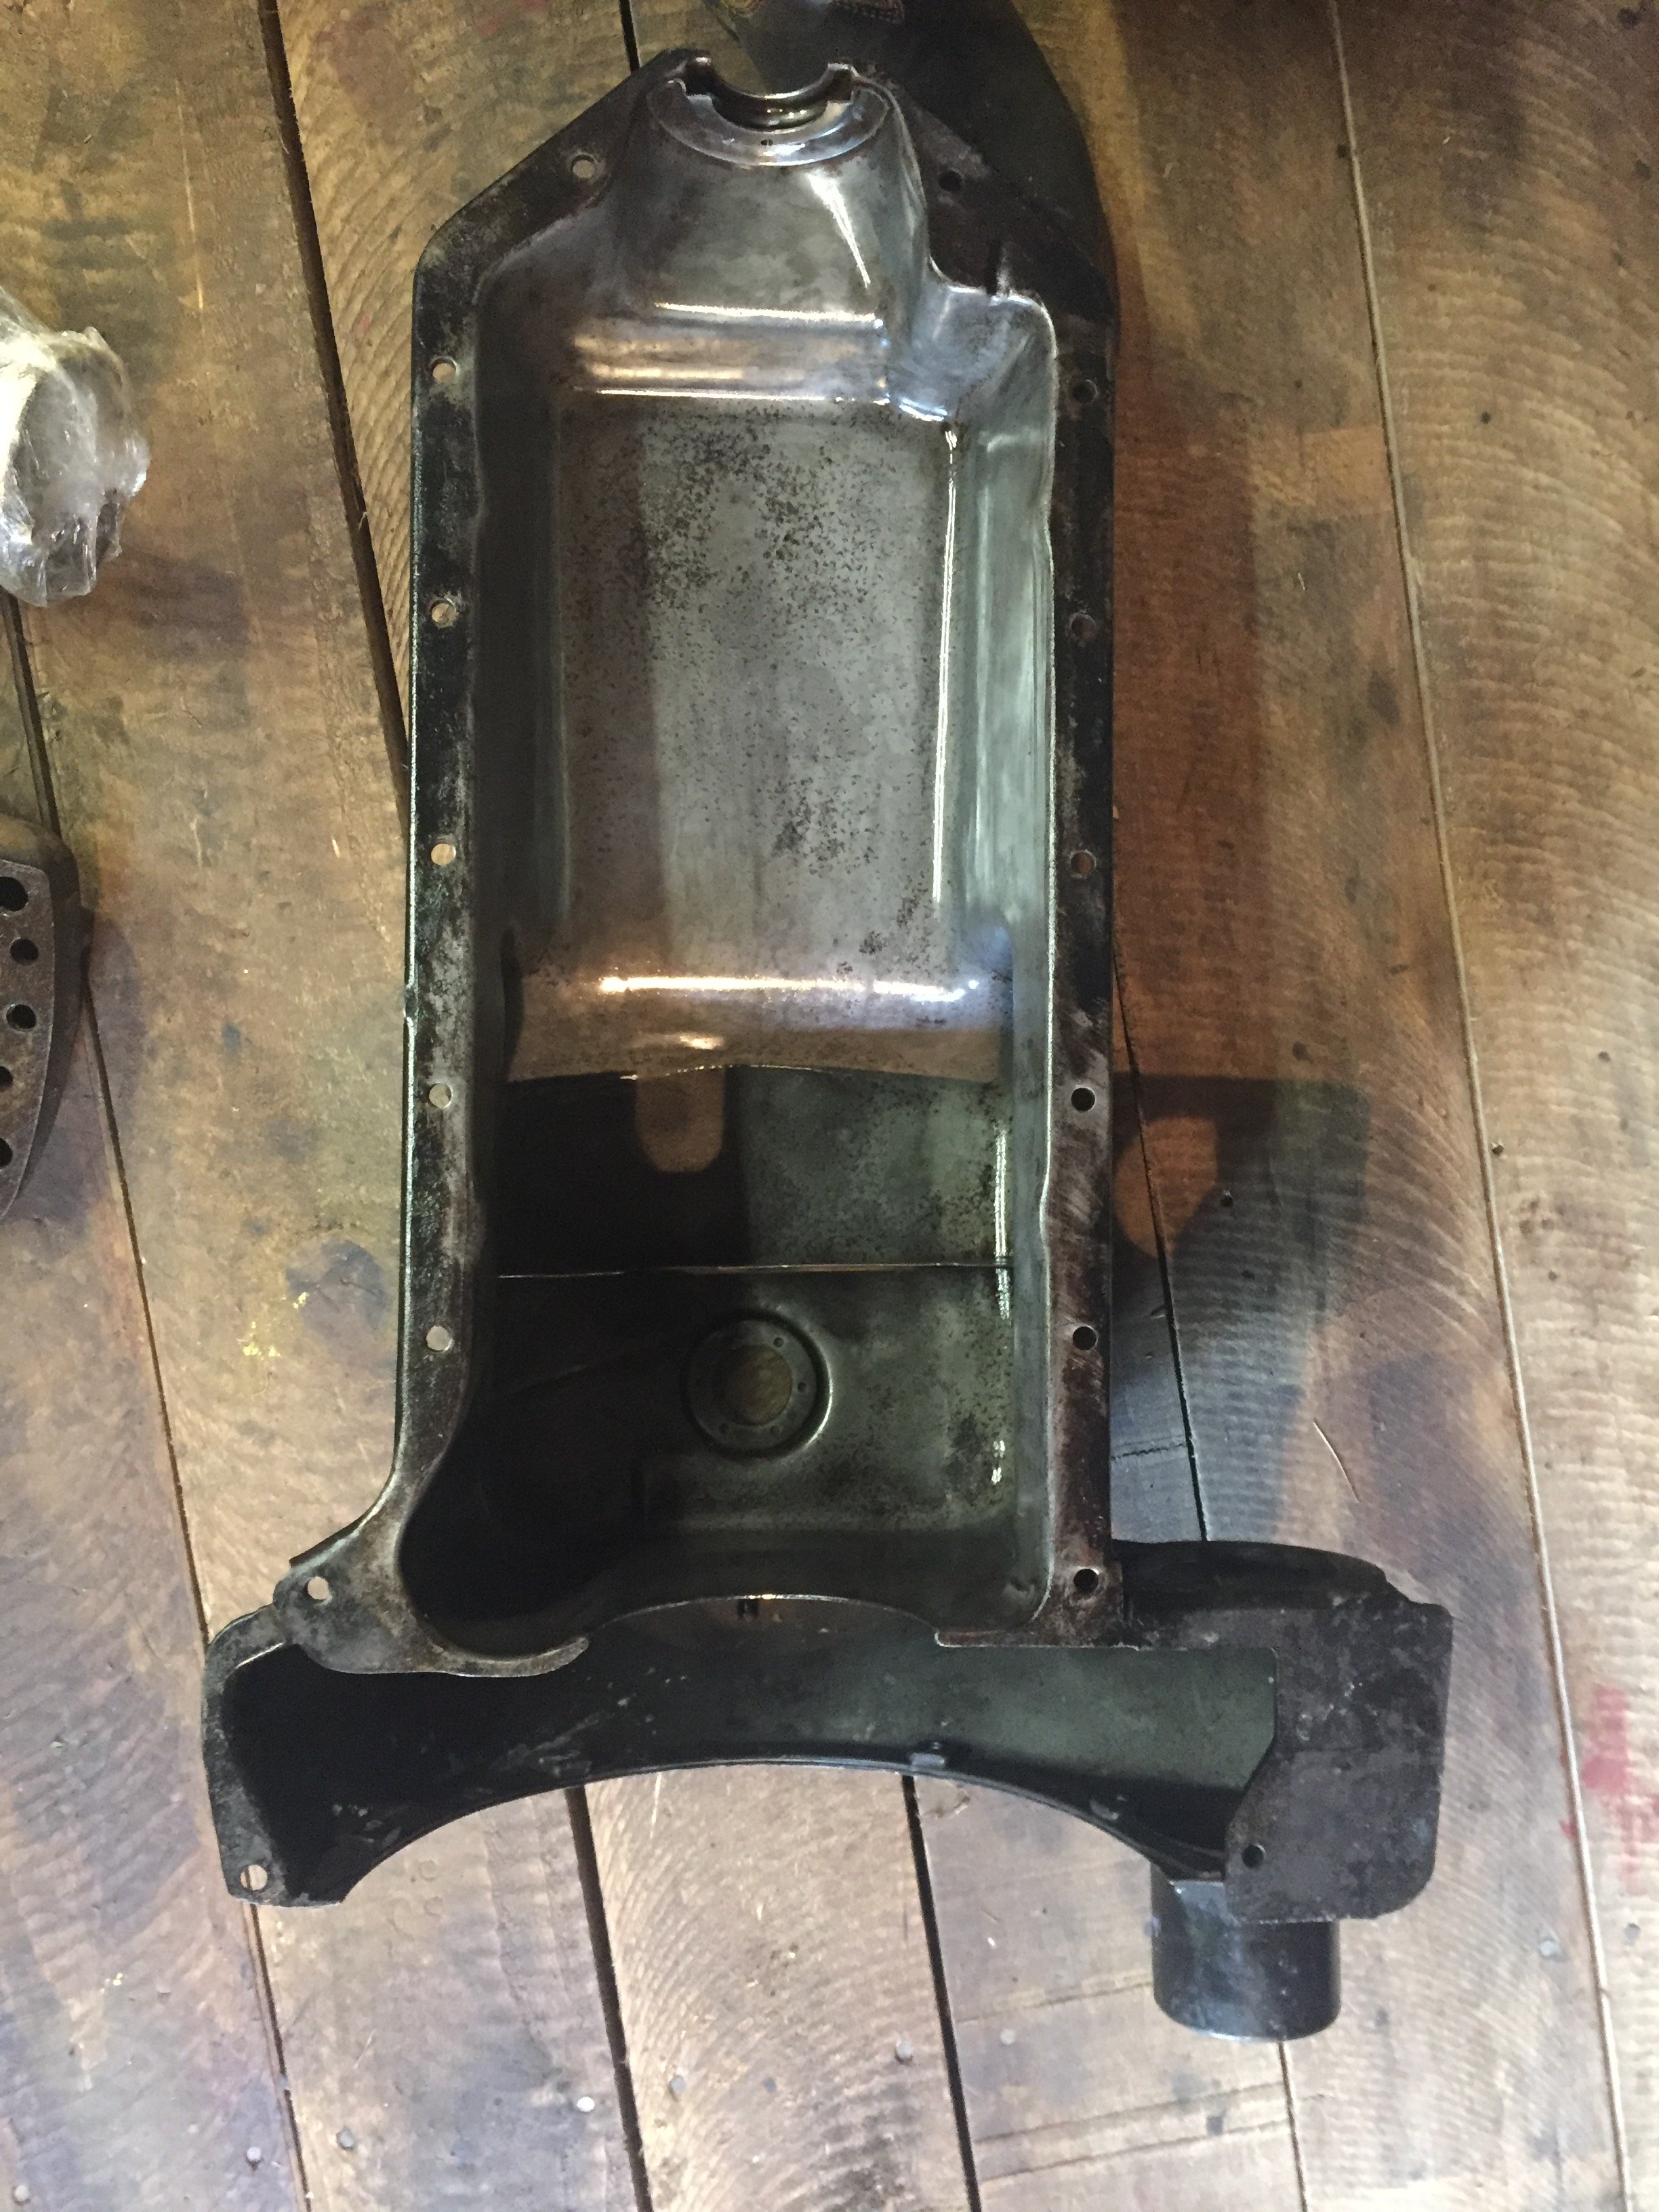
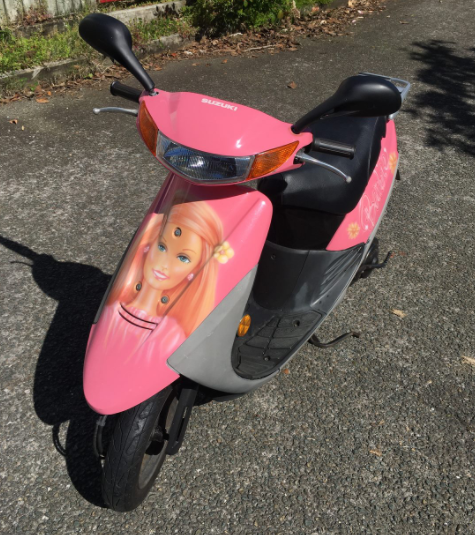
So onto the fun bits. The port timing on these things stock is lazy as, so that needed to change. I was told by some barry’s in blightly to aim for 125* transfer duration and 180* exhaust duration. Still don’t know what inlet timing to run but I havn’t got to that yet. To work out the timings you sit the crank in the left side engine case whack the piston and cylinder on and tighten in down and set the degree wheel at 0* as the piston first meets the opening of each port ATDC. You then rotate through to BDC and back up to where the port is just closing BTDC. I then used a series of shims (washers) to raise the entire cylinder to get my transfer duration to the target of 125*. The shim thickness was 3.4mm for me. So that is the thickness of base packer I will use. 3.4mm will then need to be machined off the top of the barrel, a process referred to as “top and tailing”. This packer only increases my exhaust duration to around 165* or so (can’t quite remember). To raise this, I need to port the roof of the exhaust port. I drew a mark and calculated how high I would need to go to get to 180* exhaust duration, this was about 3-4mm. couldn’t find too much reliable info on the ideal port shape so I decided to just copy the current shape. Marked it out with pen then attached with the Dremel, I don’t think I fucked it up to bad. I then used some very small hand files to add a slight chamfer on the edge of the ports so the rings don’t get caught, munched and spat into the exhaust. These are the current timings for if anyone’s interested probably not but ok Jim. Speaking of exhaust, I picked up this “Polini Banana” for a good price second hand and slapped a coat of jam on it, apparently they are one of the best “value for money” pipes and would pretty good with 180* of exhaust duration, so win. The throttle on these things is so shit, it has maaaasive travel and is full non return cruise control spec. to fix this I made a new solid mounted throttle tube that sticks out slightly more than stock, yea its uneven to the other side but fight me. Whacked a china quick action pit bike throttle on then modified the cable and the carb end and whammo, ¾ race scooter. Its pretty lol, full throttle takes like 20 degrees of rotation so shes nothing or WOT, perfect. I wired the elec starter button up as the kill switch (as well as a master switch under the seat) and blanked the switch blocks off with alloy. Kill sticker cos race scoot. @64valiant kindly donated some 10” knobbies, ones done a burnout so that can go on the front, steering’s underrated. I cut out an alloy sheet for the middle to stop appendages going through the hole and breaking, this help came from the Italians who apparently found out the hard way, ouch. I have some checker plate to add to the floorboards but haven’t got there yet, also trying to weigh up if I should cover in the “pod” where there is usually a door, with a sheet of alloy, could also just leave it open but it looks like it could hurt in a crash. Anyway, its coming along, I’m waiting for some Barry info on inlet timings, and whether to cut the crank, inlet pad or both to alter it. Hopefully that arrives with me soon and I can throw the cases back together and then get to setting up squish. I’m going to be running the standard SHBC 19/19 carb, I have ported the inlet manifold to get it to flow much nice. I’m pretty happy with how this thing's turning out, so far it owes me less than $400, the aim was to build the entire thing for sub $500 so I think ill be close.10 points
-
6 points
-
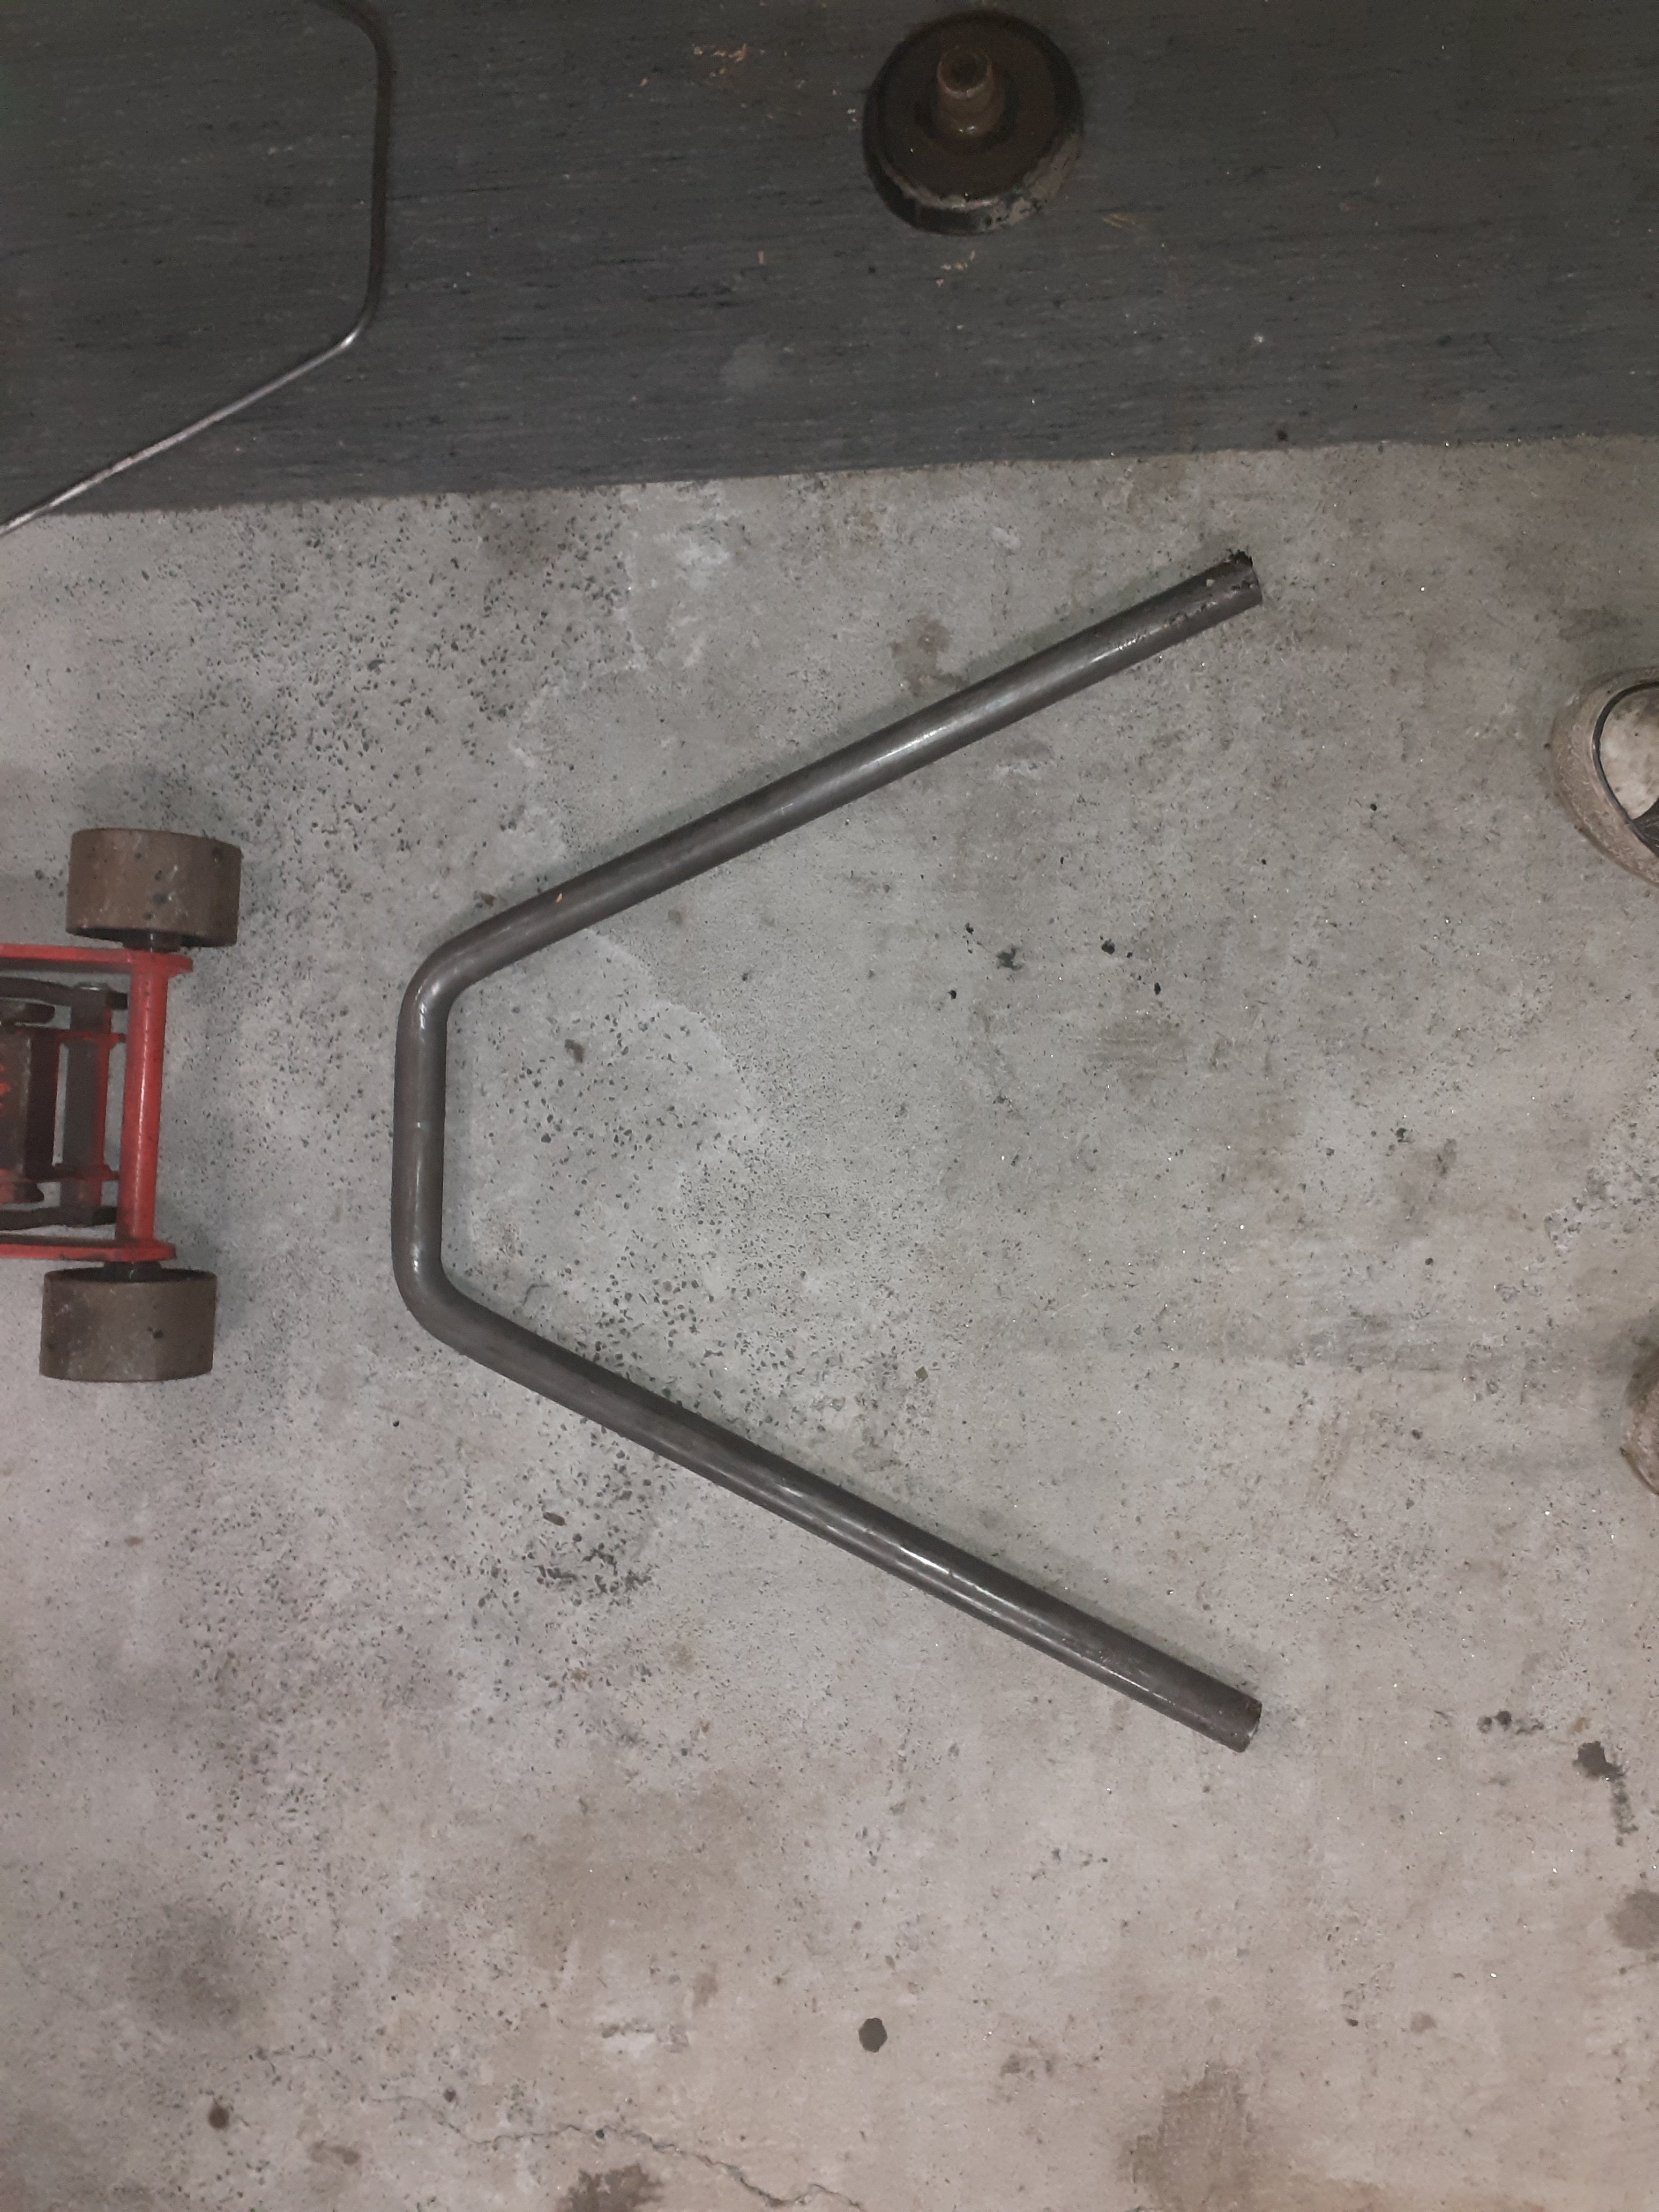
Well that was dumb. Seems we lost the days posts, including the first new thread I've Started in like 4 years. Oh well ill start again. So went something like: Ive never really been a Vespa foamer, they are European and 2 stroke, that's two things that have never gone that well for me and both combined. About a year ago a fellow penny pincher, Ghalal got given a PK100s that someone had stripped to "modify" but realized they weren't even capable of undoing wheel nuts so gave up. unfortunately they lost all of the bits they took off (quite a few bits) so it sat in a sad state until it was given to G for free. It then sat in a sad state at G's place, he tried to get it to spark but it wouldn't so he gave up on it. Over lockdown I did a bunch of work on a C100 that PPSC and friends put together to donate to G after his bike got stolen. Being the bloody nice bloke that he is, and in lieu of his work G donated the Vespa to me. I didn't think too much of it and just poked it in the corner. This is how it arrived. Que QCR Dirtmasters being announced with a 125cc limit, my other small bike is a 140cc and there was emphasis on least practical bikes as possible so I thought building this thing would be perfect. I did a bit of interwebs searching and found that the Italians build these smallframes (mostly PKs as they are "undesirable to vespa barry's) into 17hp hotrods and launch them around full sized MX tracks. that's my inspo sported. So I needed to get the thing to run. i stripped out all the wiring and hooked up the 2 wires that the CDI / engine needs to run and whammo she fired. well after considerable push starting and start ya bastard down the street it fired. it was a slow as a wet week and ran like a bad of shit, clutch was also super weird, more investigation needed. Before I got to pulling the engine I wanted to weld the frame brace in so did that out of some 25mm tube. She's a full 3/4 race scoot now. Pulled the engine and started stripping it down, jeeze these things get grubby5 points
-
My brother came over and gave me a hand we got motor back In and it ran like a fucking dream. Turns out the breather hoses on the block were looped which would explain the blowing sump gaskets and oil pushing past the rings. Lovely. It started up first pop. Went for another hoon. Gearbox mount is fucked. It's now completely split and the when driving the driveshaft smashes into shit cuz the arse end is free balling... I knew it was on it's way out/completely fucked and struggled to find anything when I last had it out. I decided I'd have a crack at making my own mount using liquid polyurethane 2 part with a shore hardness of 45. Cleaned em up Got it lined up using the bolts Used some cardboard to block off the edges This is what I used Mixed it 1:1 I had previously gone around the outside of the carboard and mount with silicone to close off any holes/gaps and veeeerry slowly poured it in to prevent any air stuck in it. Let it cure for 24 hours de mould it and chuck in oven for 6 hours at 50degree and should be away laughing.5 points
-
Alright cunts, @Bart's Handbrake will be away that night, and the artist known as @bigfoot is going to be in quakchurch for the night. So if you wanna, swing by mine and sink a brew. We can Barratte all the mitubishi owners for their fucking terrible taste in cars. I probably wont let you inside, (Cos my house is a fucking tip, and it's easier to lock the door that tidy it) but I can fire up the diesel heater. I can crank up the BBQ easy enough too if anyone wants to bring meat. (but you can cook it youreself cos I'm lazy) If you dont know where i live, PM me. (i'd prefer not to put my home address up on a public forum) Say anytime after 6pm?3 points
-
We would, but don't want our tyres getting slashed from the remnants of datsuns that are embedded in borts lawn.3 points
-
If all fails with the other blocks I have this one, it may clean up or need a few sleeves,3 points
-
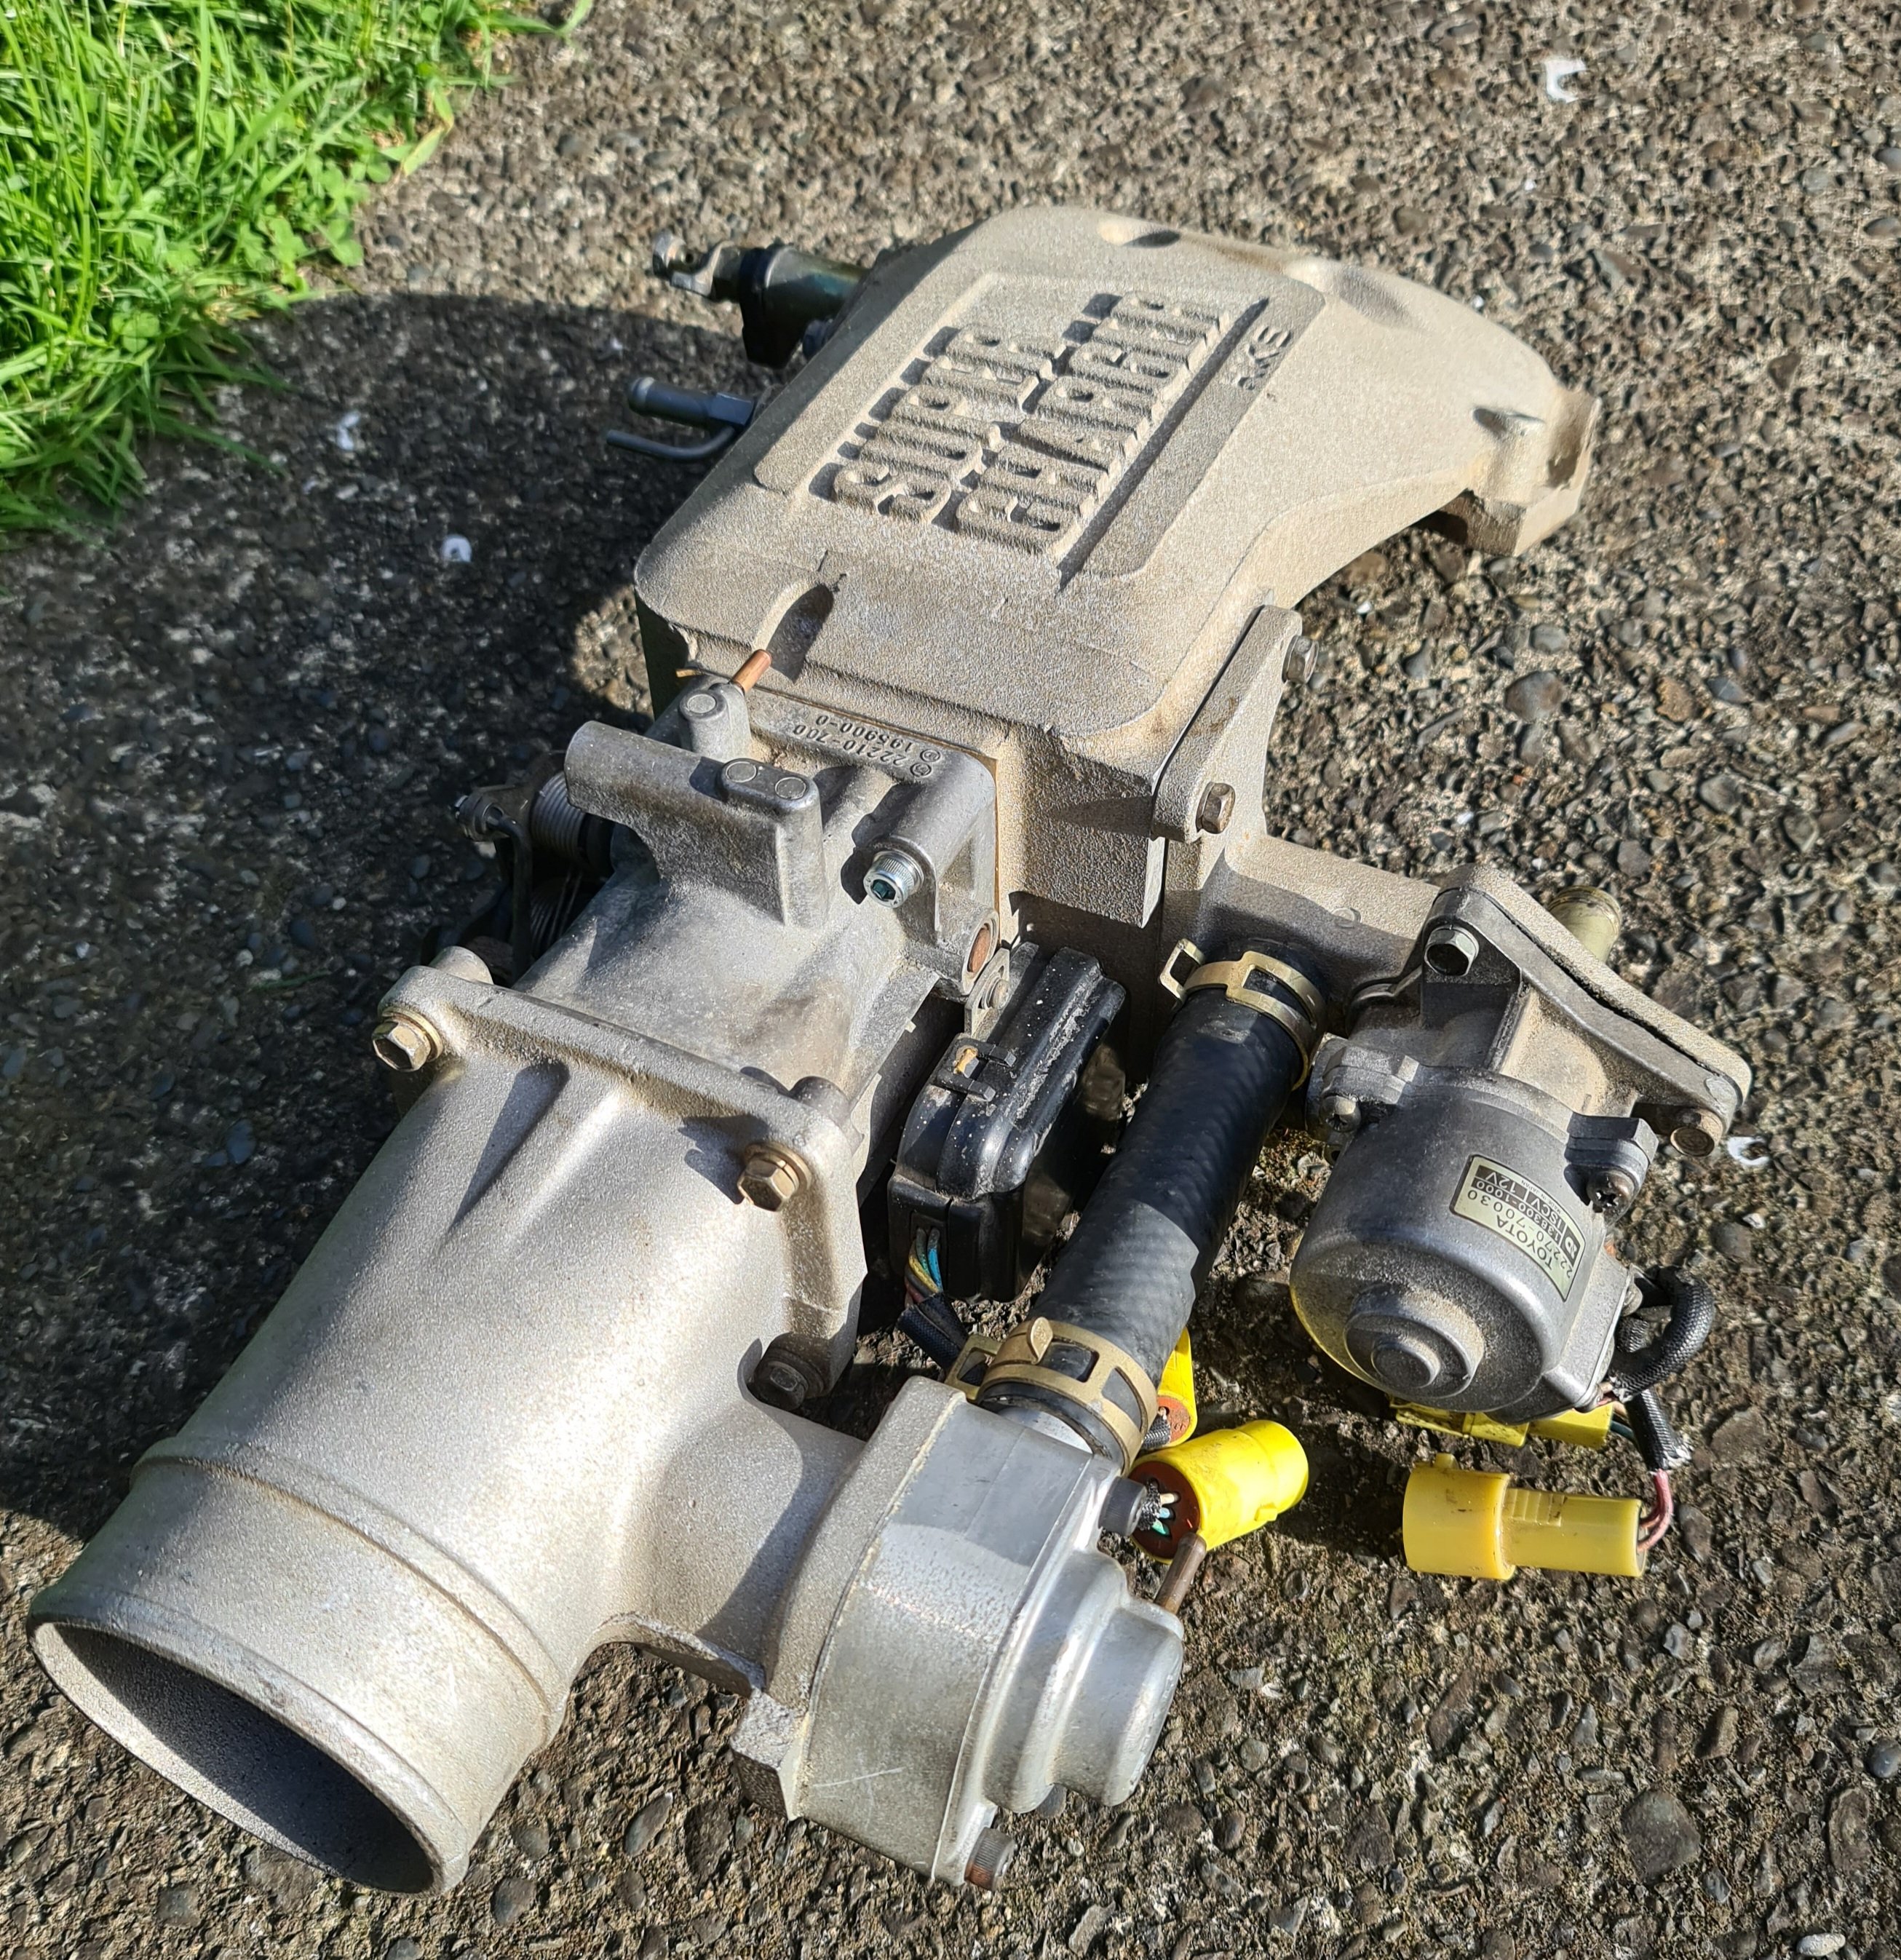
Picked up a gen 1 throttle body and iscv housing when I was in Christchurch recently which meant I could assemble the intake with BOV onto the supercharger intake. Have found it surprisingly hard to get m8x1.25 intake manifold studs. Repco sell them single for $10.50 No fastener store seems to have them. Mitre 10 sell them for $6.50 each but no store seems to stock more than 3 at a time so I have some collected and others in post.
 2 points
 -
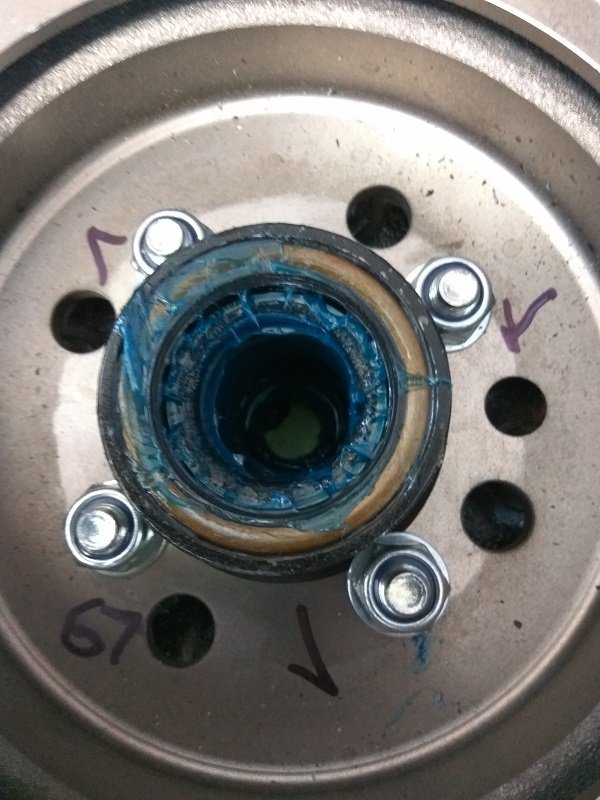
found out why the clutch was dicky, aside from having almost no cork left the locating tabs had been based to shit by the basket, there was about 60ml of oil in the poor bloody thing. While I was at it I "lightened" the flywheel by heating up the ring gear and bashing it off. no need for electric legs when you have 3 ample sized real ones. Next up on list of “wow check out how fucked this is” was the bolts holding the rear wheel to the hub. They had obviously been left loose and the wheel had been chattering for quite some time. Photo below was one of the better ones. Someones lucky they didn’t die. So I got talking to a bunch of Vespa dudes about how I can make this go “well enough for a bit of fun at dirtmasters” but I didn’t want to go dropping several hundred dollars on a Polini/Malossi cylinder kit. I was wanted to do some barry mods and bolt some second hand shit on to get it going well enough to be a bit of a laugh to ride. Spoke to a bloke named Matthew Brookes who’s now down in Milton and is well versed in these things. Less than 200 dolarydoos later I had a new seat (the single seat was shit) a PK125 3 port barrel and head, a new piston and rings, an alloy packer (will get to that later) and all the gaskets/seals and shit id need to rebuild. I thought about changing the primary gears too but the low 100 gears which top out around 80 would be better for around town / on the dirt. First thing I did was strip the cases and port them to match the transfer ports on the cylinder. This was easy using the packer as a template. The thing was pretty bloody grubby on the inside. I ended up completely stripping the cases and bead blasting them. On the flywheel side of the engine these things use a weird 2-piece bearing that makes it easy to split the cases. Sadly, for me this thig was koozed, was all carboned up and super grumbly, so off it came. Unsure if it’s an Indian PK125 copy or something but I havn’t seen one that either uses a copper headgasket or Oring like this does. Ill grab a viton Oring to use as a gasket anyway.2 points
-
2 points
-
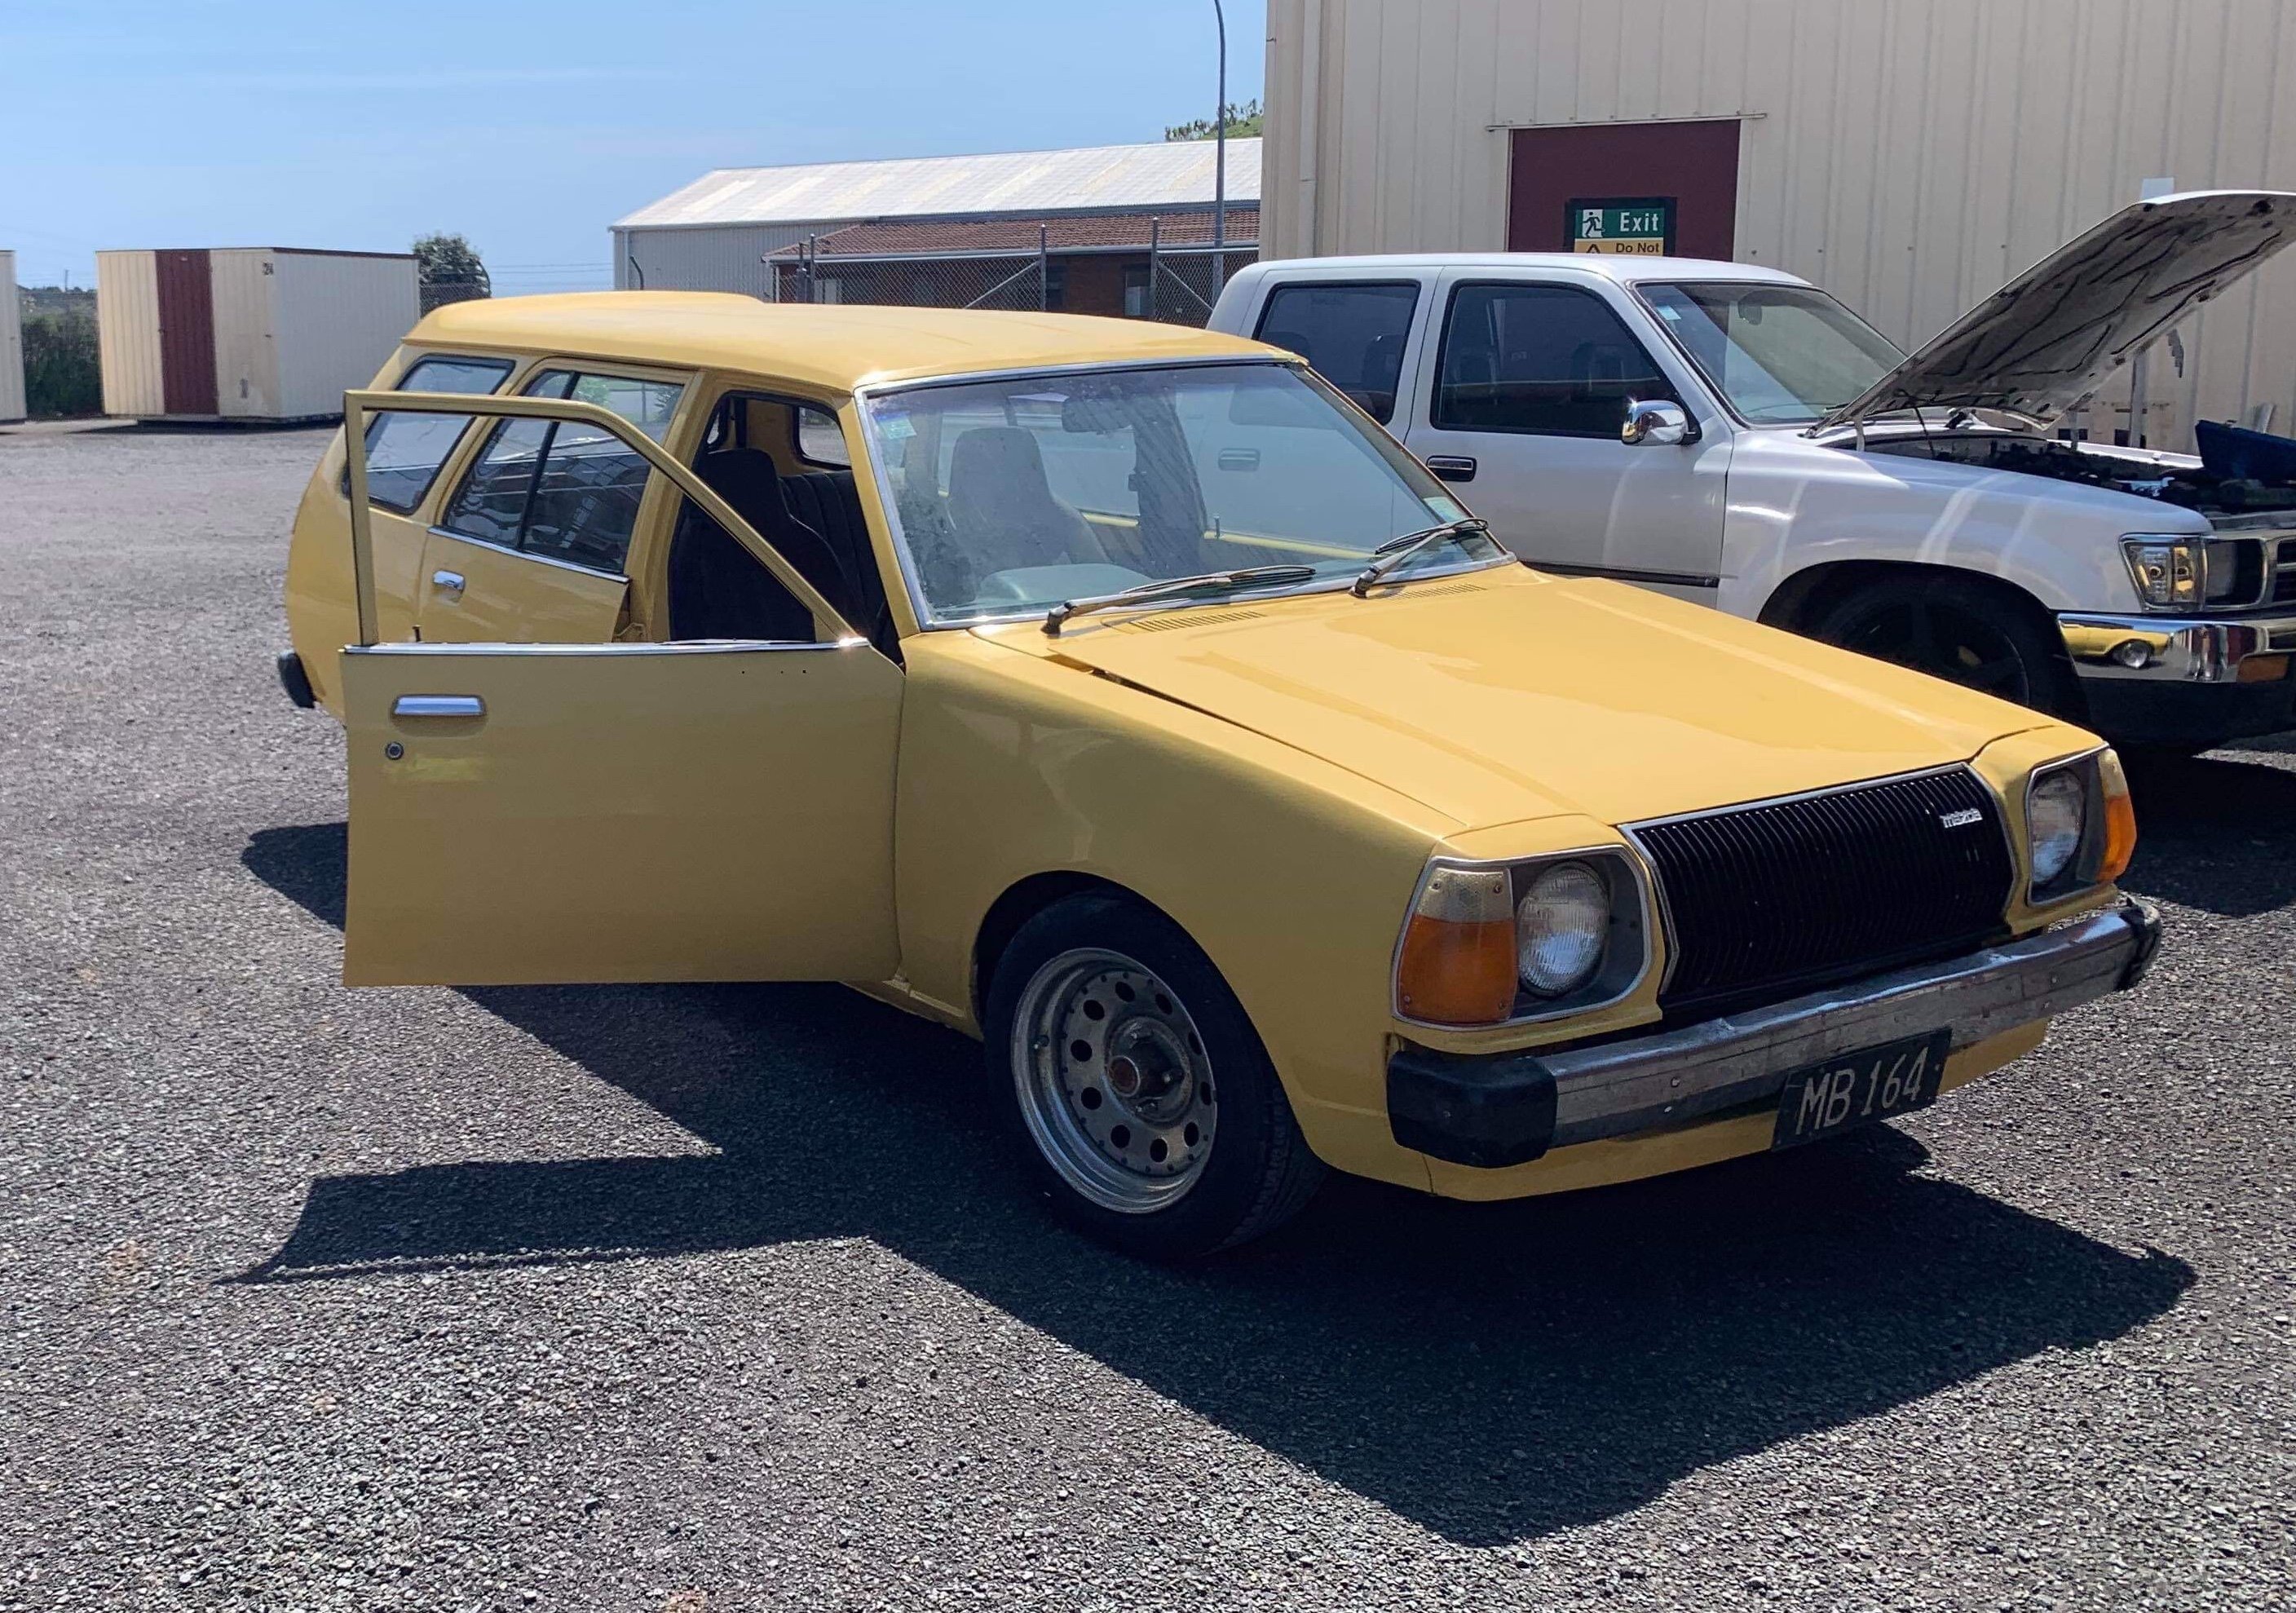
Fluids and filters changed, tank of gas, air in the tyres and off it went for a warrant. I was expecting there to be at least a few minor bugs. But nope. I'm all legal and good to go.2 points
-
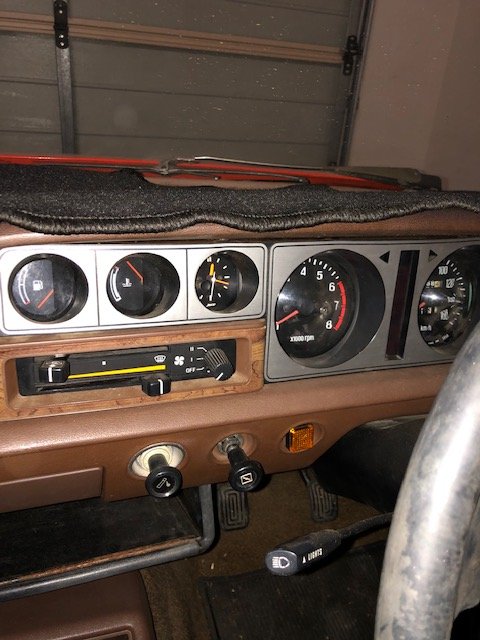
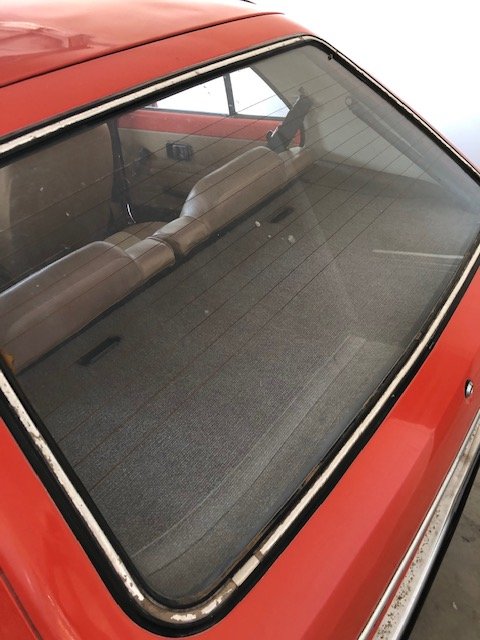
Gave the march a thorough clean yesterday. One thing I can't stand is a grubby interior. How do people let their cars get so bad? I'm talking that sticky muck stage, cigarette butts everywhere (including inside the rip in the interior of the driver's seat), dust so thick on the dashboard that you could barely see the speedo, half eaten biscuits and child socks under the seats. I had to unscrew and pull out the centre console cupholder to clean it, it was so bad that I couldn't even find the screws, I had to jam the screw driver around in the muck scraping it away until I found them. Car has had no love for a very long time but looking SO much better now. A good clean always improves the feel of the car IMO, when we got it I was like "this is a pile of garbage" but now I am excited to get it on the road and start zooming around. Today I pulled all the seats out and water blasted them, all apart from the drivers should look pretty decent now. Also found $8 in change so it only cost us $592!2 points
-
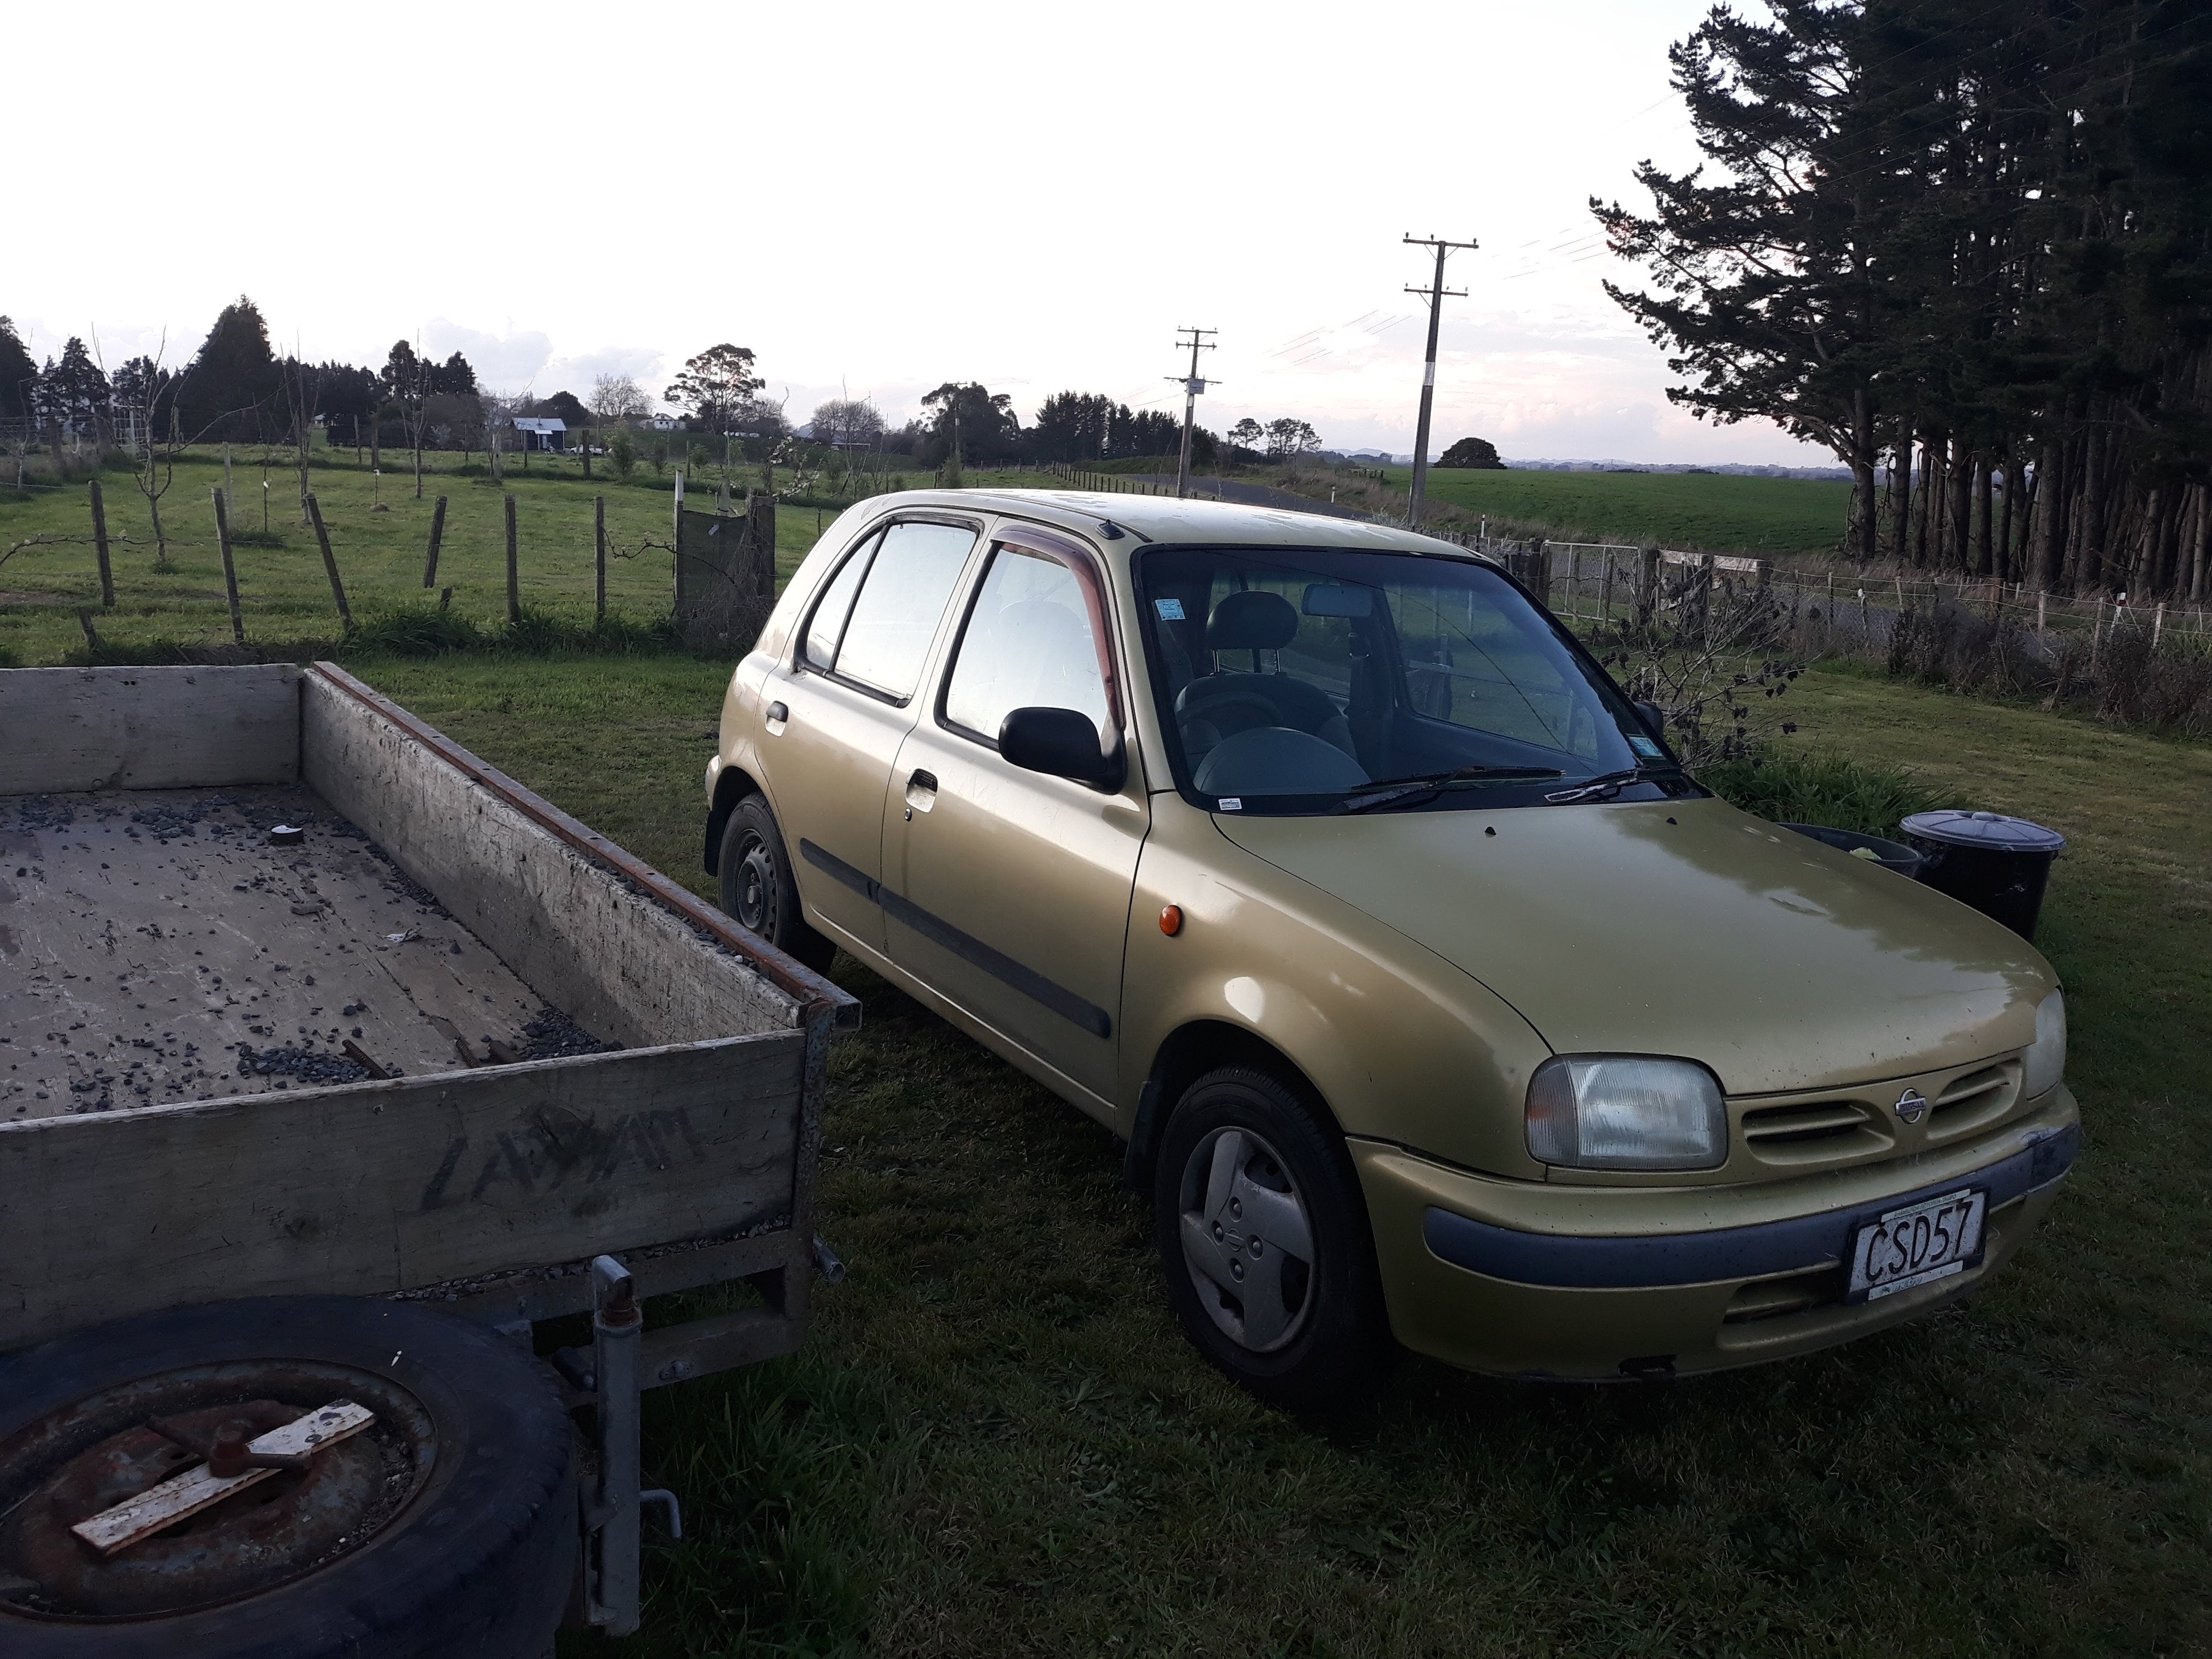
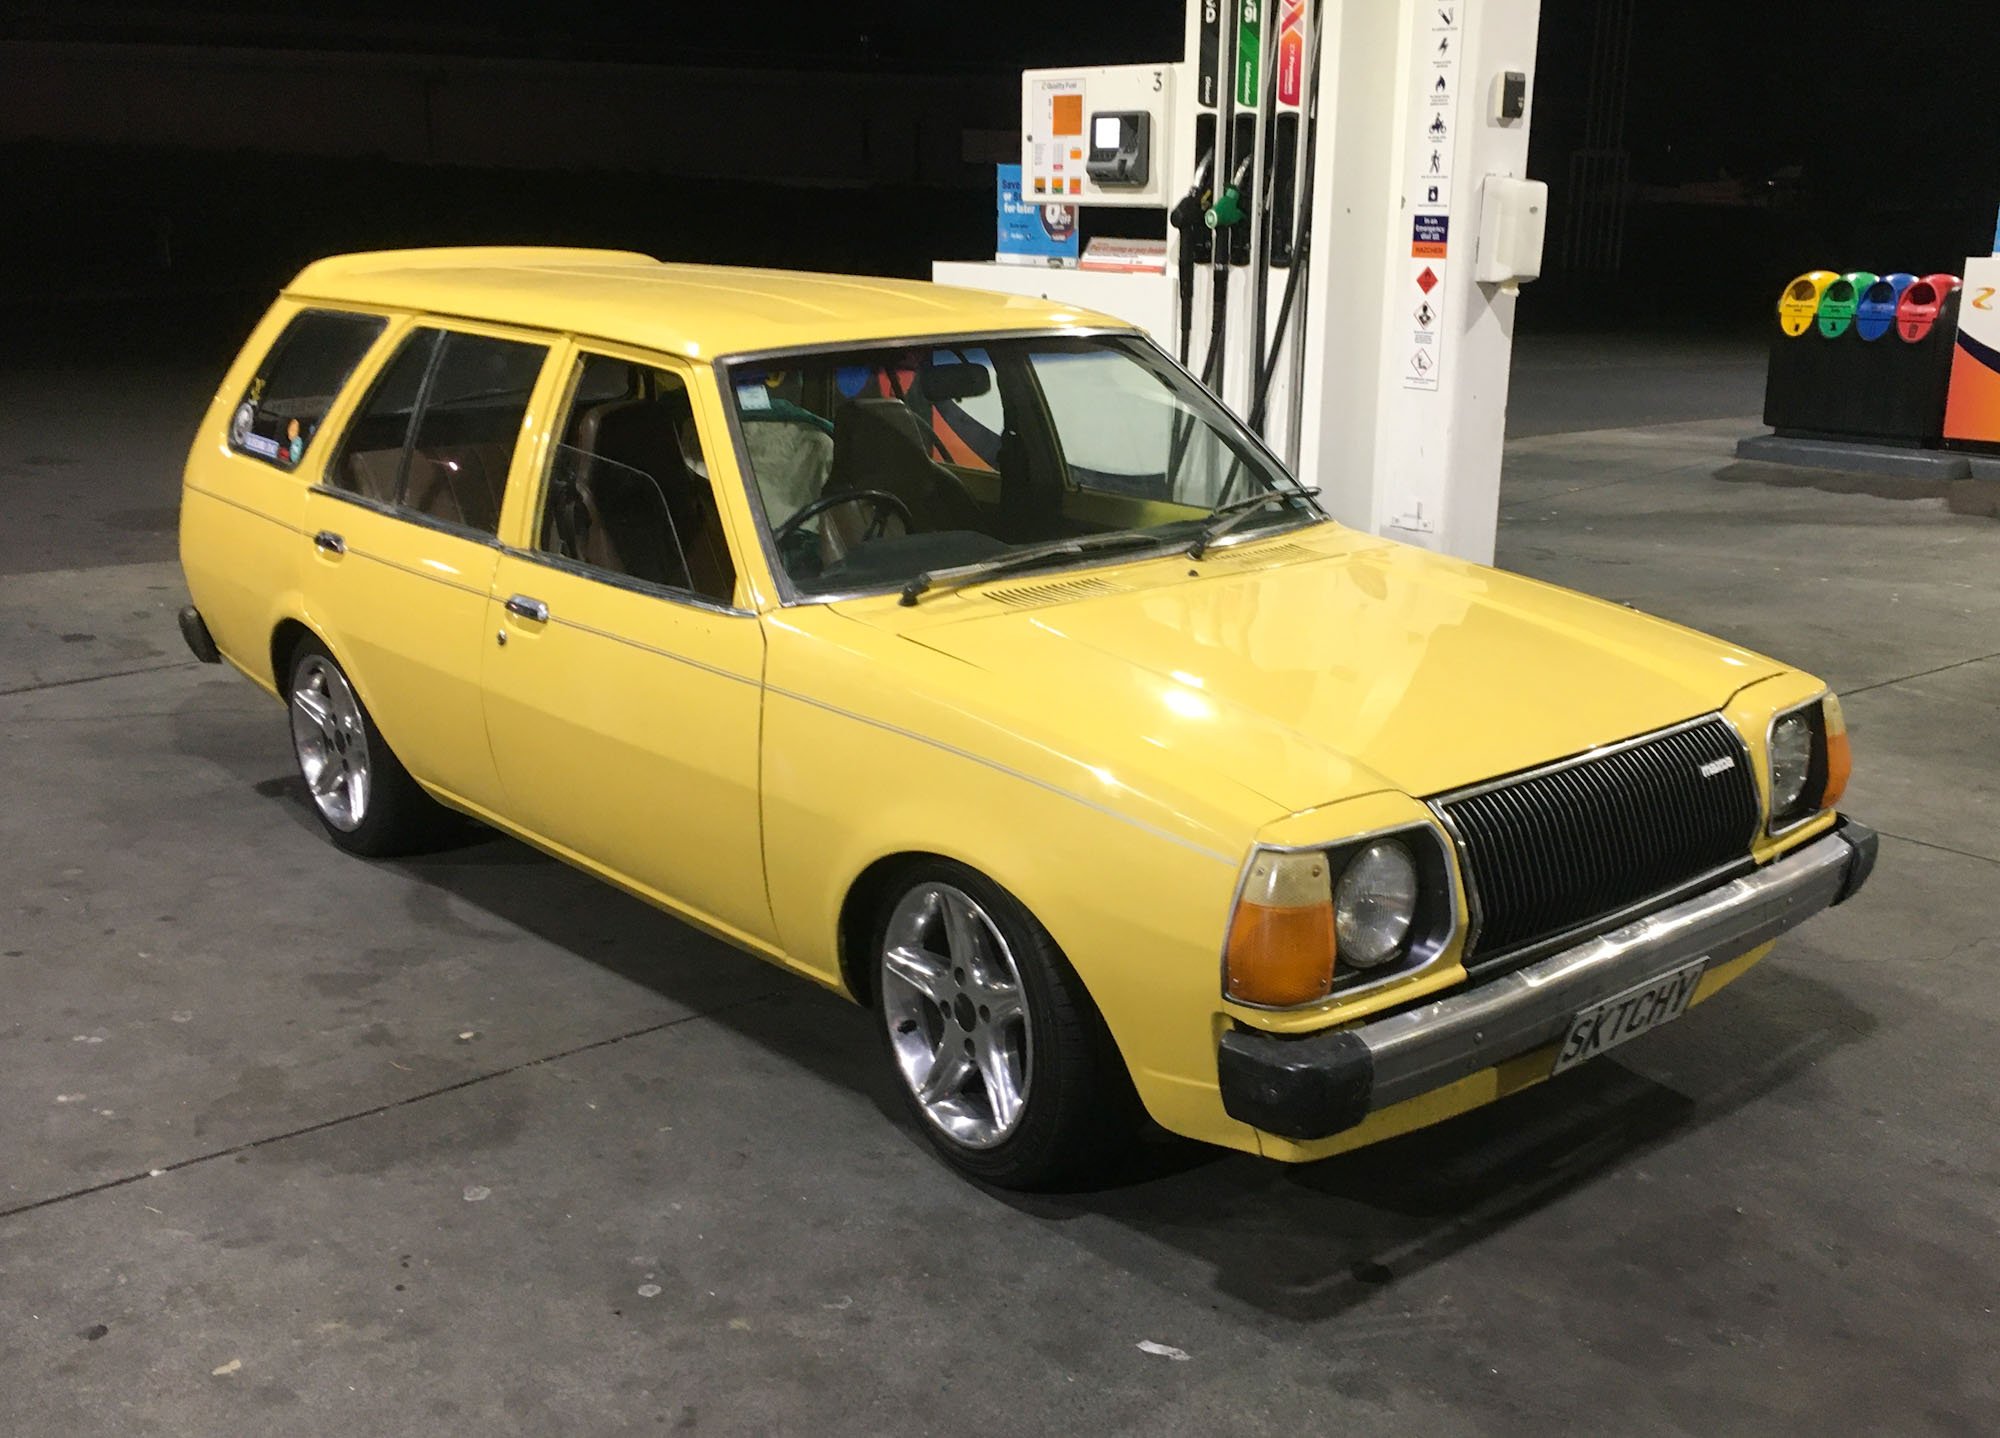
As some might have seen in my wanted advert I've been looking for a Nissan k11 Micra (march) for a while, mainly to have as a daily for when the Imp eventually goes under the knife to get its new flat six heart, but also just because both Hannah and I fancy k11s. There's a bit of history with them for us both and this connection along with just the cute unpretentious little car looks has us hooked. Not to mention that overseas there are some wickedly cool uprated versions doing the rounds. Quite a following for these cars in many countries except weirdly in NZ. When I was living in the UK I'd spot these everywhere. Very popular little cars, but ones that I looked past. That is until Hannah's younger sister needed to buy her first car. I helped them look for one and a Micra K10 came up for sale locally. We knew little about them except that Hannah and her two other sisters both learned to drive in K10s. Simple,easy cars to operate (685kg light too!!) So we Leila bought the little K10 and loved her first car, which became known as the Badger mobile - due to the trips Leila would take in it to Badgermans beach down in Cornwall... Sadly, because mother nature can throw out some right horrid things at us, Leila became ill with a rare disease called Crest syndrome, a type of auto immune thing. It started with her hands and she was unable to operate some items, including the windows. The little K10 became a bit run down and the road salt had done its job. Combined with the trickyness of using cars controls Leila decided to seek out a more suitable car. This is where the little K11 came to reside with Hannahs family. Hannah helped her look for a suitable car and then her brother found one. A four door 1000 facelift in dark blue. It had electric windows and central locking- two small things that made life for Leila show much easier... That little K11 did many missions about the place and the family became quite fond of it. Its also what made me start spotting K11s and becoming a fan. In a horrible turn of events Leilas life was cut short. The condition had continued to worsen to the point where it was effecting her heart. She died from a heart attack in 2017 at only 26. A huge loss to the world. Her little Micra was then taken on by Hannahs brother and he now continues to take it on adventures and the other siblings borrow it. I used last year for the 2019 Retro rides gathering - this being the first time I had ever driven a Micra any real distance and I really enjoyed it. While at the gathering I also spotted and fell in love with this little hillclimb beasty... I was amazed at how peppy it was for a 1000cc car. Its handling was 'floaty' but fun. I could instantly see how they would make a sweet little pocket rocket for twisty roads- in very much the same way as the Imp is. Hannah was also smitten and of course there is the family connection to add. So we would own a K11 one day- that was that! Fast forward to last month. I old my Viva wagon during lockdown and had some cash. I know that the Imp is to come off the road for the transplant. Lets start looking for a K11. There were requirements to be met though. It has to be a manual, two door, pre-facelift (PFL) and ideally would have the CG13 engine- not the smaller 1.0. But we soon found that these combined features are a very rare thing indeed in NZ. Kiwis never got Micras here new. They are all imports from Japan. Most are auto (CVT) with the 1.0 and most are 4 doors. All the earlier pre-facelift models, made up to the change over point of around 97, seem to have disappeared. Weirdly - Australia had them new - imported from the UK! They apparently are all PFLs too! Lucky. We found a very tidy 2 door manual face lift locally- but it stunk of ciggy smoke, was a 1.0 and a couple of other alarm bells rang about the owners and their honesty. They were also asking moon beams for it and wouldn't accept my lower offer. Plus- it was a not so pretty facelift version... Then this 4 door PFL turned up locally, going cheap. After a quick look up on carjam we found out that it was a 1.3! Also spotted in the photos were a rev counter. That rev counter dash is certainly a rare thing here- quite a bonus. With some more research Hannah deduced that it might be a March S. These have a few extras like the rev counter and a split rear seat. I messaged the seller and he confirmed it had the split rear seat. Oooooh we thought! Now a March S is not the same as a Micra Super S- as sold in the UK and Oz. I believe that the Super S has a few other blingy things like rear disc brakes, sportier seats, quicker steering rack and a deep front spoiler with added fog lights. ^Dreams. We went for a look. First thing I checked was the engine number- just making sure it was indeed a 1.3 with all those extra 20 ponies. Took it for a hoon (wow- the 1.3 is way faster ! ) checked some things and made a cheeky low offer. 2 days later there was a counter offer and we bagged it for a nice cheap enough price of $825 Picked it up yesterday afternoon. Bought some engine flush, oil, filter and new plugs. Will giive it a bit of Tlc. Its a bit dented and rough but will still clean up ok. Plans : 1 - look for a tidy 2 door PFL car to swap all the good bits into. Probably will be an auto 1.0. Wont be a quick job this so it can wait till later in summer because there are way more urgent jobs about the place. Plus this car is meant to be a runner to use while the Imp is off the road- not another project..... but hey. How can we not have a play! 2 - Lower it. Most likely using some garden variety 'Makita modified' springs... Apparently one can remove 2 coils and they will remain safely contained. We shall see. 3 - Find some nice alloy wheels. 13" x 6 would be nice. The pcd is 100mm so not too odd. 4 - Hannah wants a yellow Micra. So eventually it will be re-painted the official Nissan custard yellow.. 5 - add a turbo. Maybe. Could be fun. That's a way off in jobs to do here though! So here are some pics I took... The seller had the most amazing jumper on! I'd have been stoked if that came with the car... Before handing over the monies I thought it best to quickly check that the spark plugs were not seized in the head. Not coomon but worth checking to save a lot of aggro... All good! So we paid the man and hooned off into the sunset- me in the Imp and Hannah getting used to 'her' new toy Filled the tank.. Played cat and mouse over our hill to home... I took some quick pics in the evening light... JDM factory crystal for added healing power and bling. Some Marches came with these factory fitted... One key element to a good Micra... Another great thing to have when you're ragging all those little ponies to the point of exhaustion... \ Some service items... More to come soon. Lets see how much money we find under the seats etc1 point
-
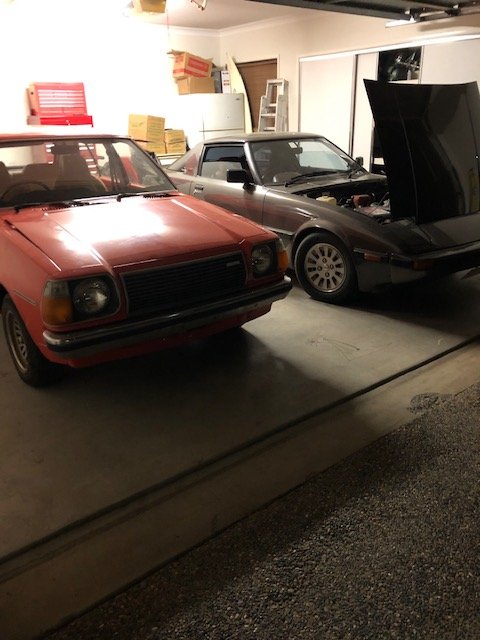
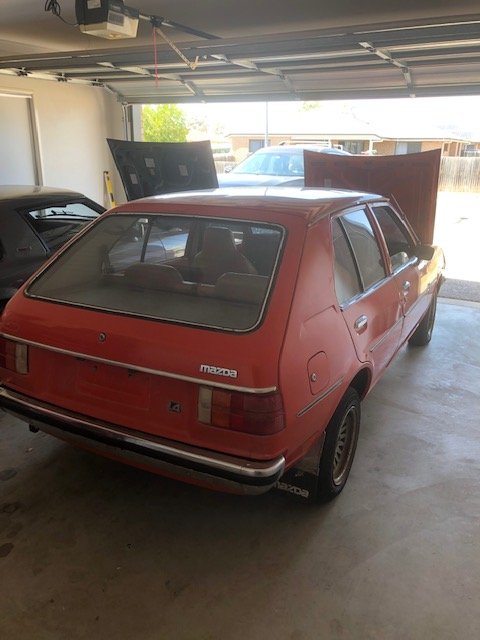
I did say I wouldn't start a build thread for this - but meh, am a bit bored and it'll give me a reason to document all the little things I end up fixing / changing on this. After selling my rx929 I had a little bit of money set aside to buy another old car. Even though mazda's are silly money for what your money gets you, I just 'had' to get another. Ended up being offered a 323 wagon and 323 hatch for the same amount of dollars. Wagon won, cos wagon > hatch ... hindsight though I probably should have gotten the hatch, cos it was a lot tidier than the wagon was! Had been chatting with the guy in New Plymouth for a few weeks about buying it, and eventually agreed a deposit and I'd fly down and drive it back. From pics it looked tidy ... we all know that story. Anyways, I arrive in New Plymouth, the guy picks me up, and we go look at the car. Starts fine, runs ok, body doesn't look anywhere near as straight as the photos show I ask him about the radiator "it looks pretty shit, does it leak?" "nah it's always been all good for me". First round of hills I'm climbing out of New Plymouth and temp gauge starts rising ... lame. Radiator is well and truly fucked, so I'm filling up a plastic bottle I have with puddles of water (luckily there'd been recent rain) and topping up the rad. Rinse and repeat this annoyance the whole drive home back to Auckland ... Found a better 2nd hand radiator and had that patched and tested at a radiator shop, so that's all fixed. Long story short - probably shouldn't have purchased, but it's a wagon, and I lub old mazdas. Plans will be tidy / fix the little things as they need it, find some other wheels once I've saved a bit of $$ and properly sort the front suspension as the springs I recently got made up aren't captive. And maybe a touch lower in the back too. 1st pic - what the guy sent me before I bought it. 2nd pic - lower springs 3rd pic - pin stripe I added (left overs from 929 wagon). Will probably re-do in black.
1 point
-
I have a box of left over Raptor traction sand that you can mix in for the bonnet so it's extra grippy for all the deer/boars that get slung over the bonnet from hunting haha1 point
-
1 point
-
Well everything I posted today is gone and it’s too hard to get it back so this is some shit I have done1 point
-
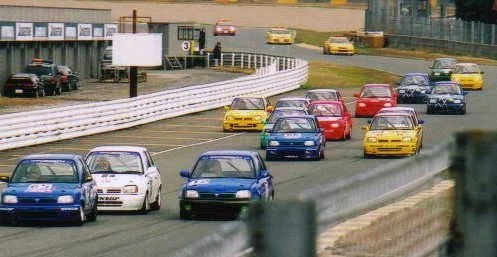
More video from race day.1 point
-
I have almost everything now to complete the work apart from main bearing cap studs, and a ring gear, pilot bush and clutch throw out bearing and clutch plate, I got another 5T big truck camshaft, max power and torque kick in at about 2000 RPM, I have one in the green motor, it’s an odd feeling, you can let the clutch out before touching the throttle and thing runs off the smell of an oily rag.1 point
-
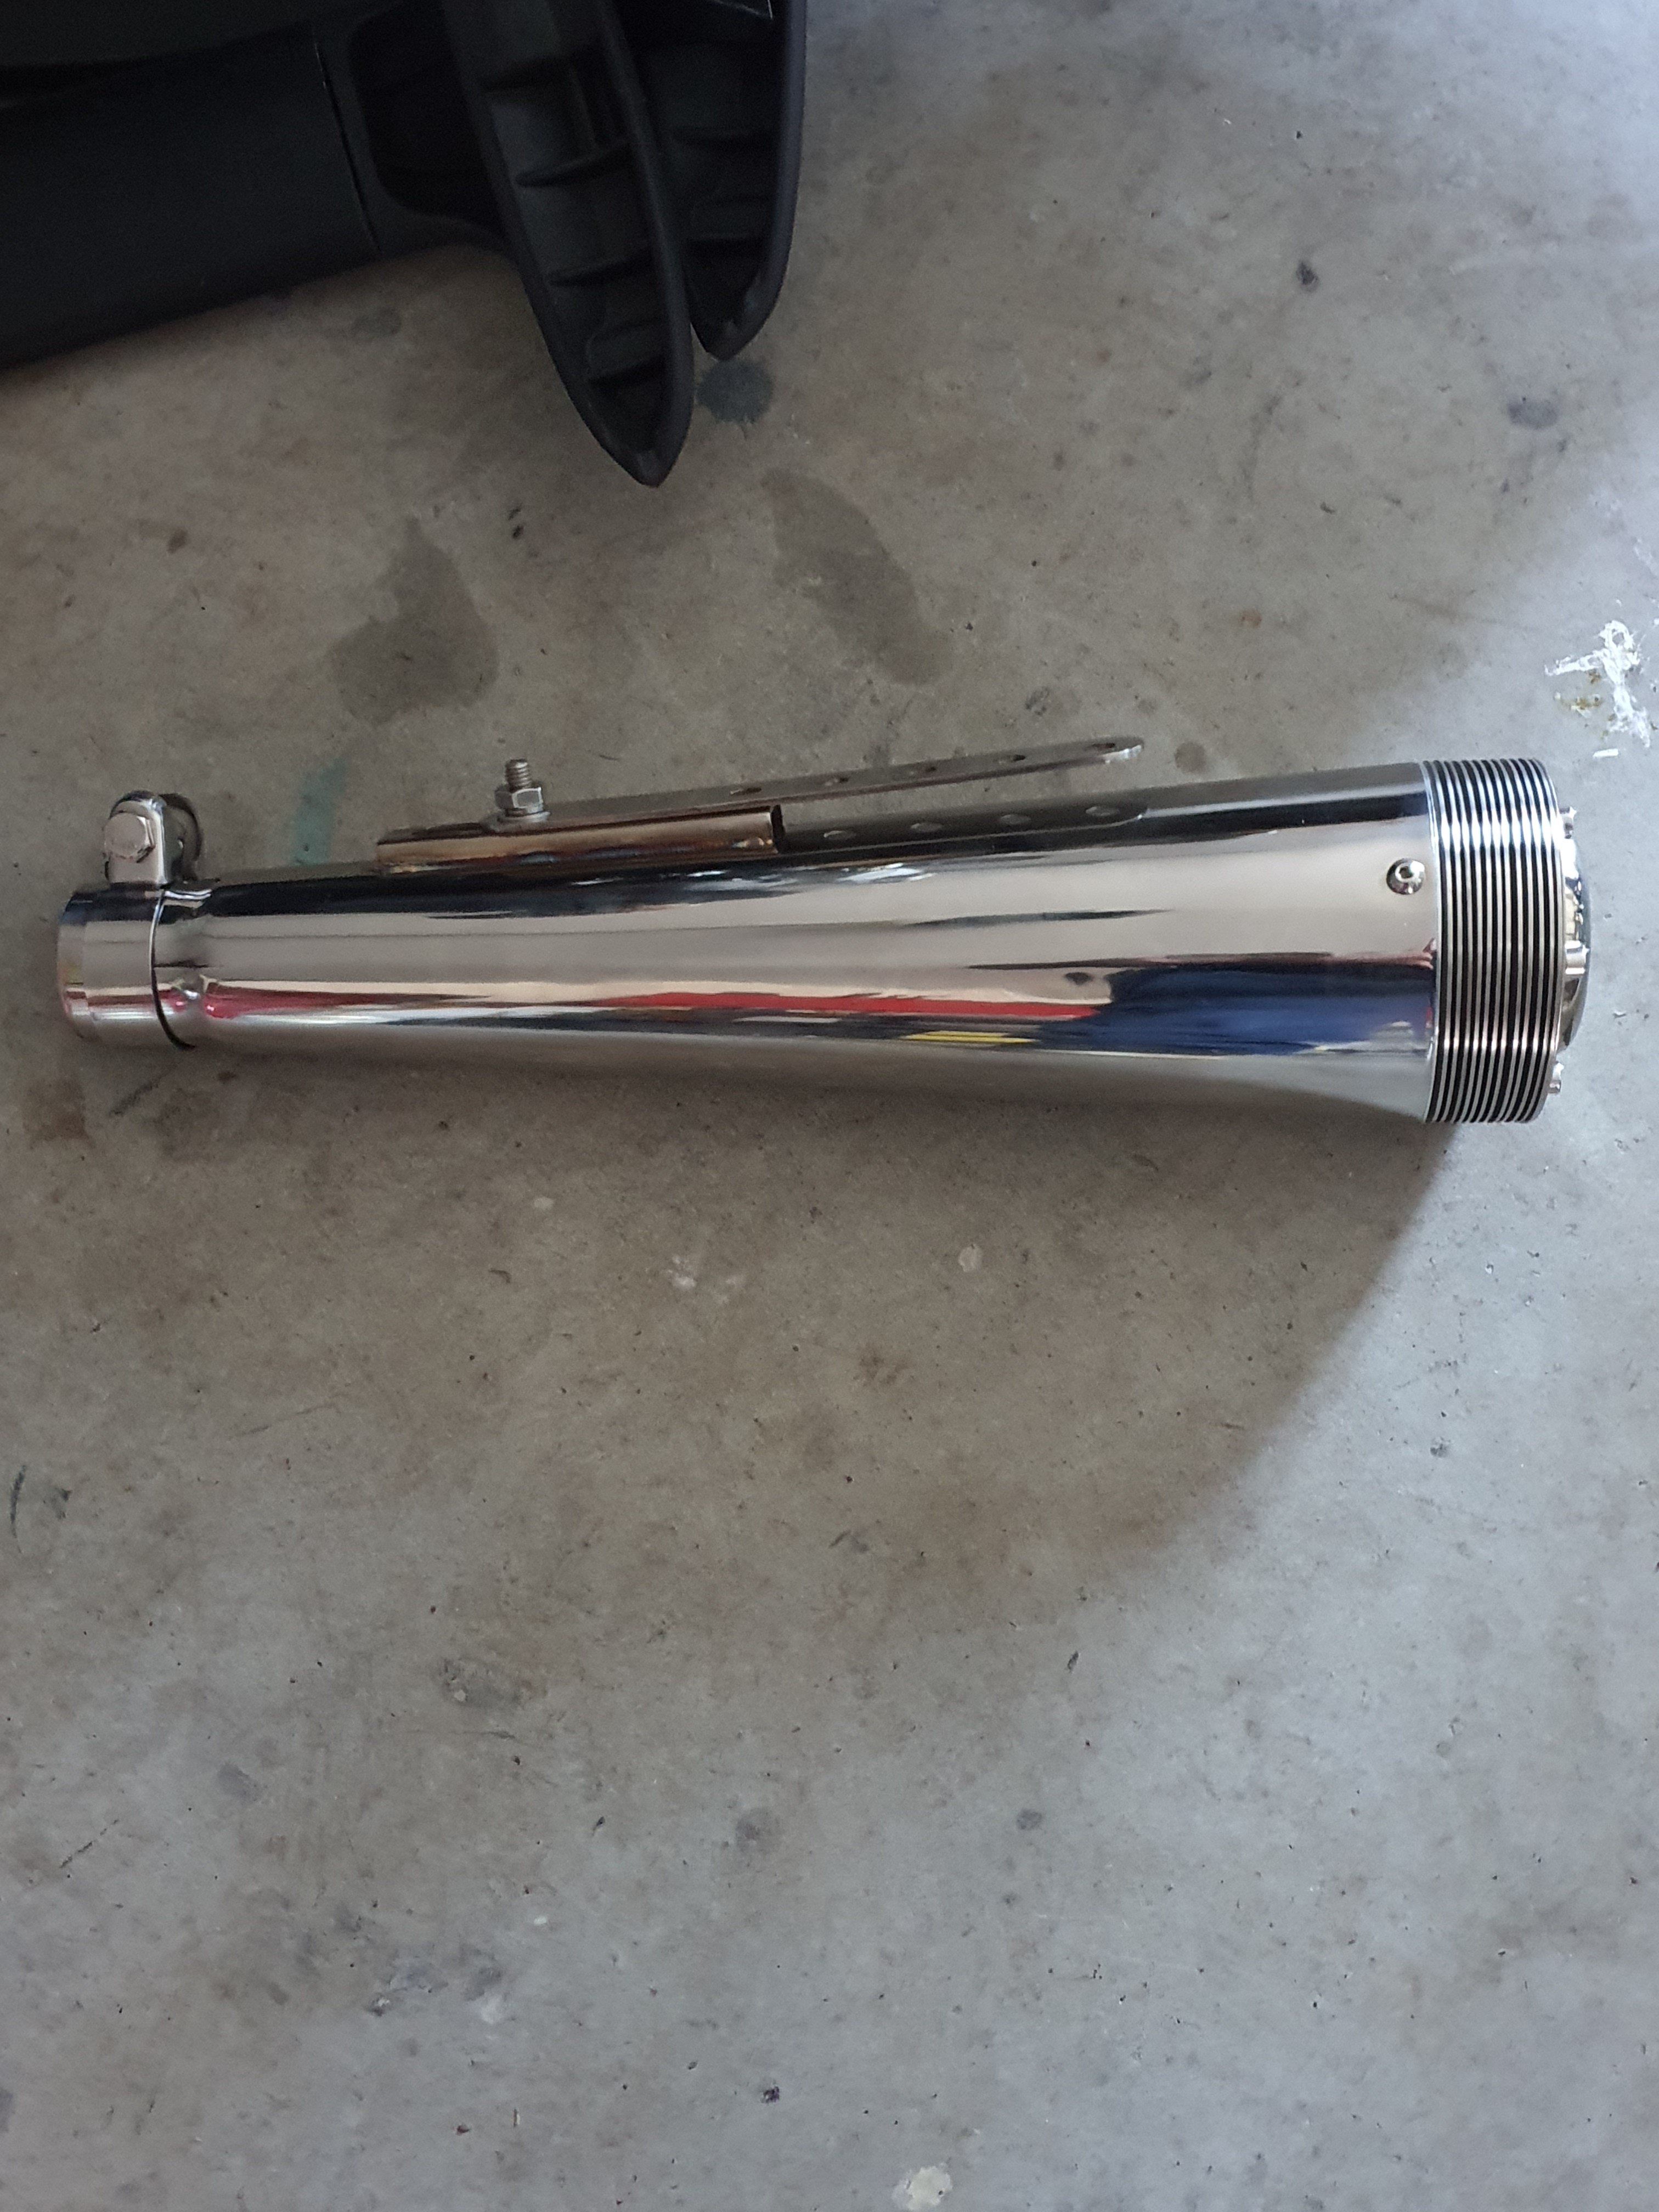
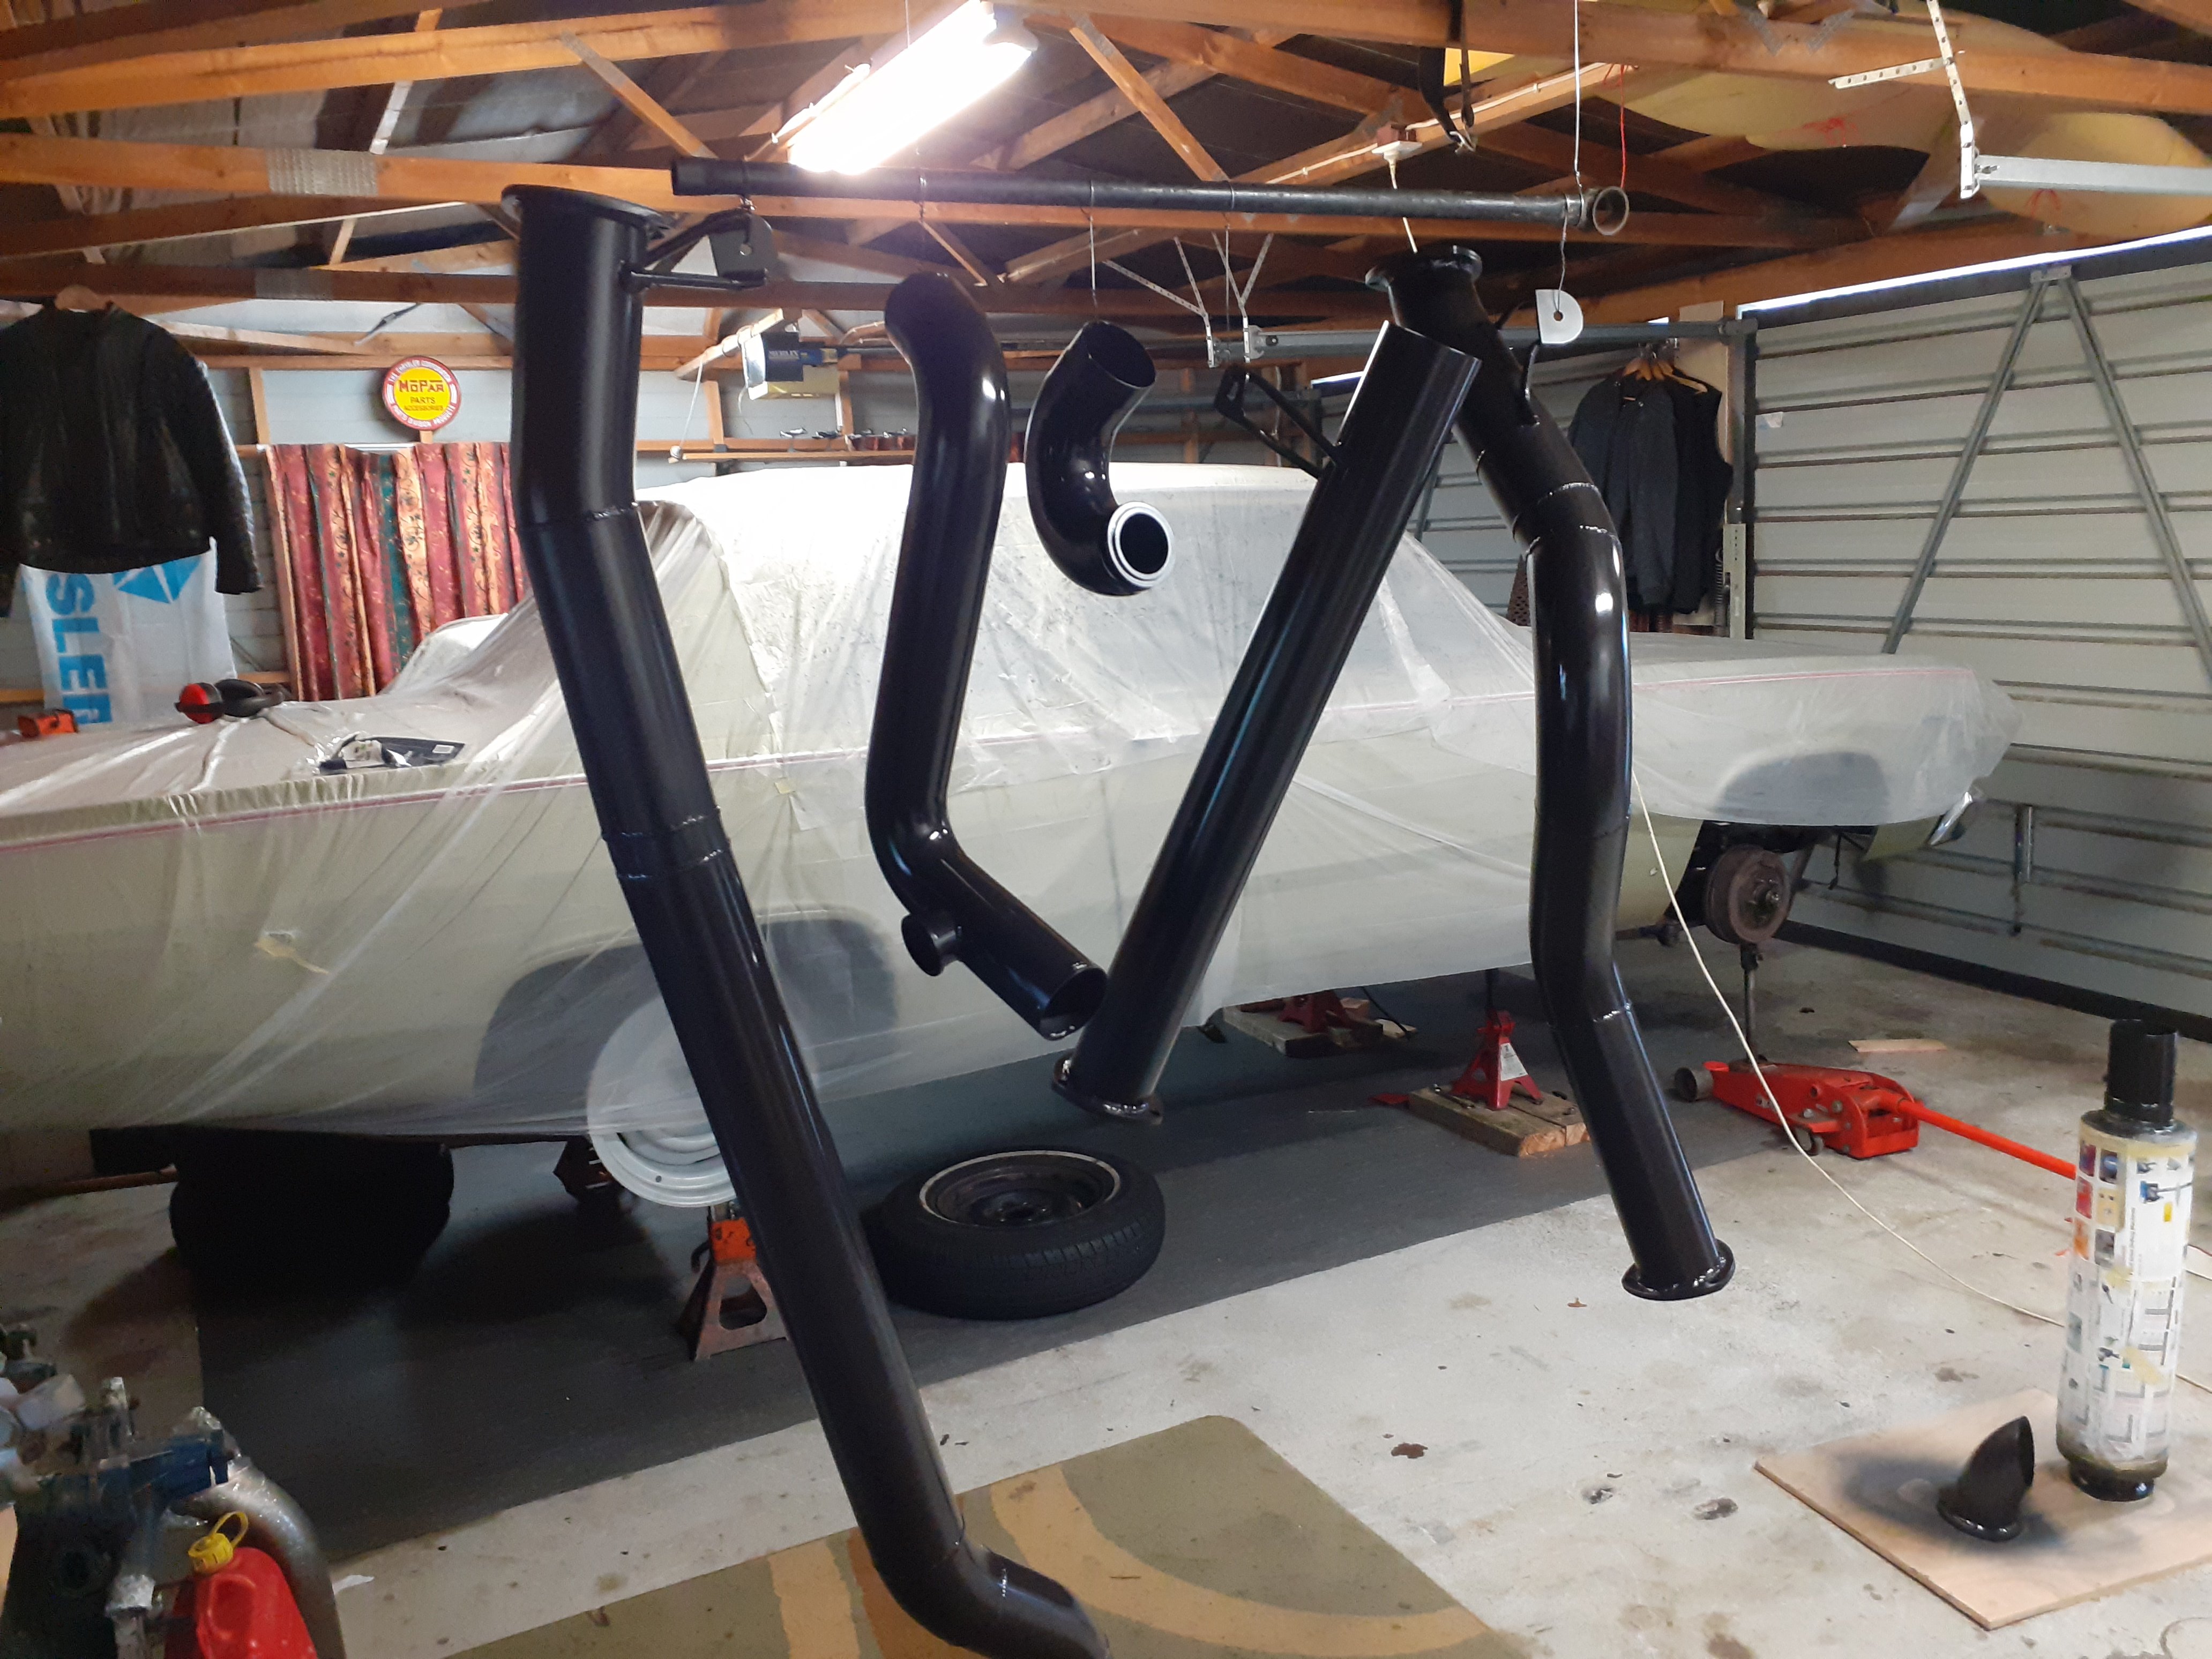
I'll admit that muffler is around as structural as bean tin and is birdshitted in place. Cringed at price but bought one of china's finest supertrapp knockoffs which absolutely has to be the end of this project or the mrs reckons she will castrate me (shes a nurse too so shes capable)
1 point
-
1 point
-
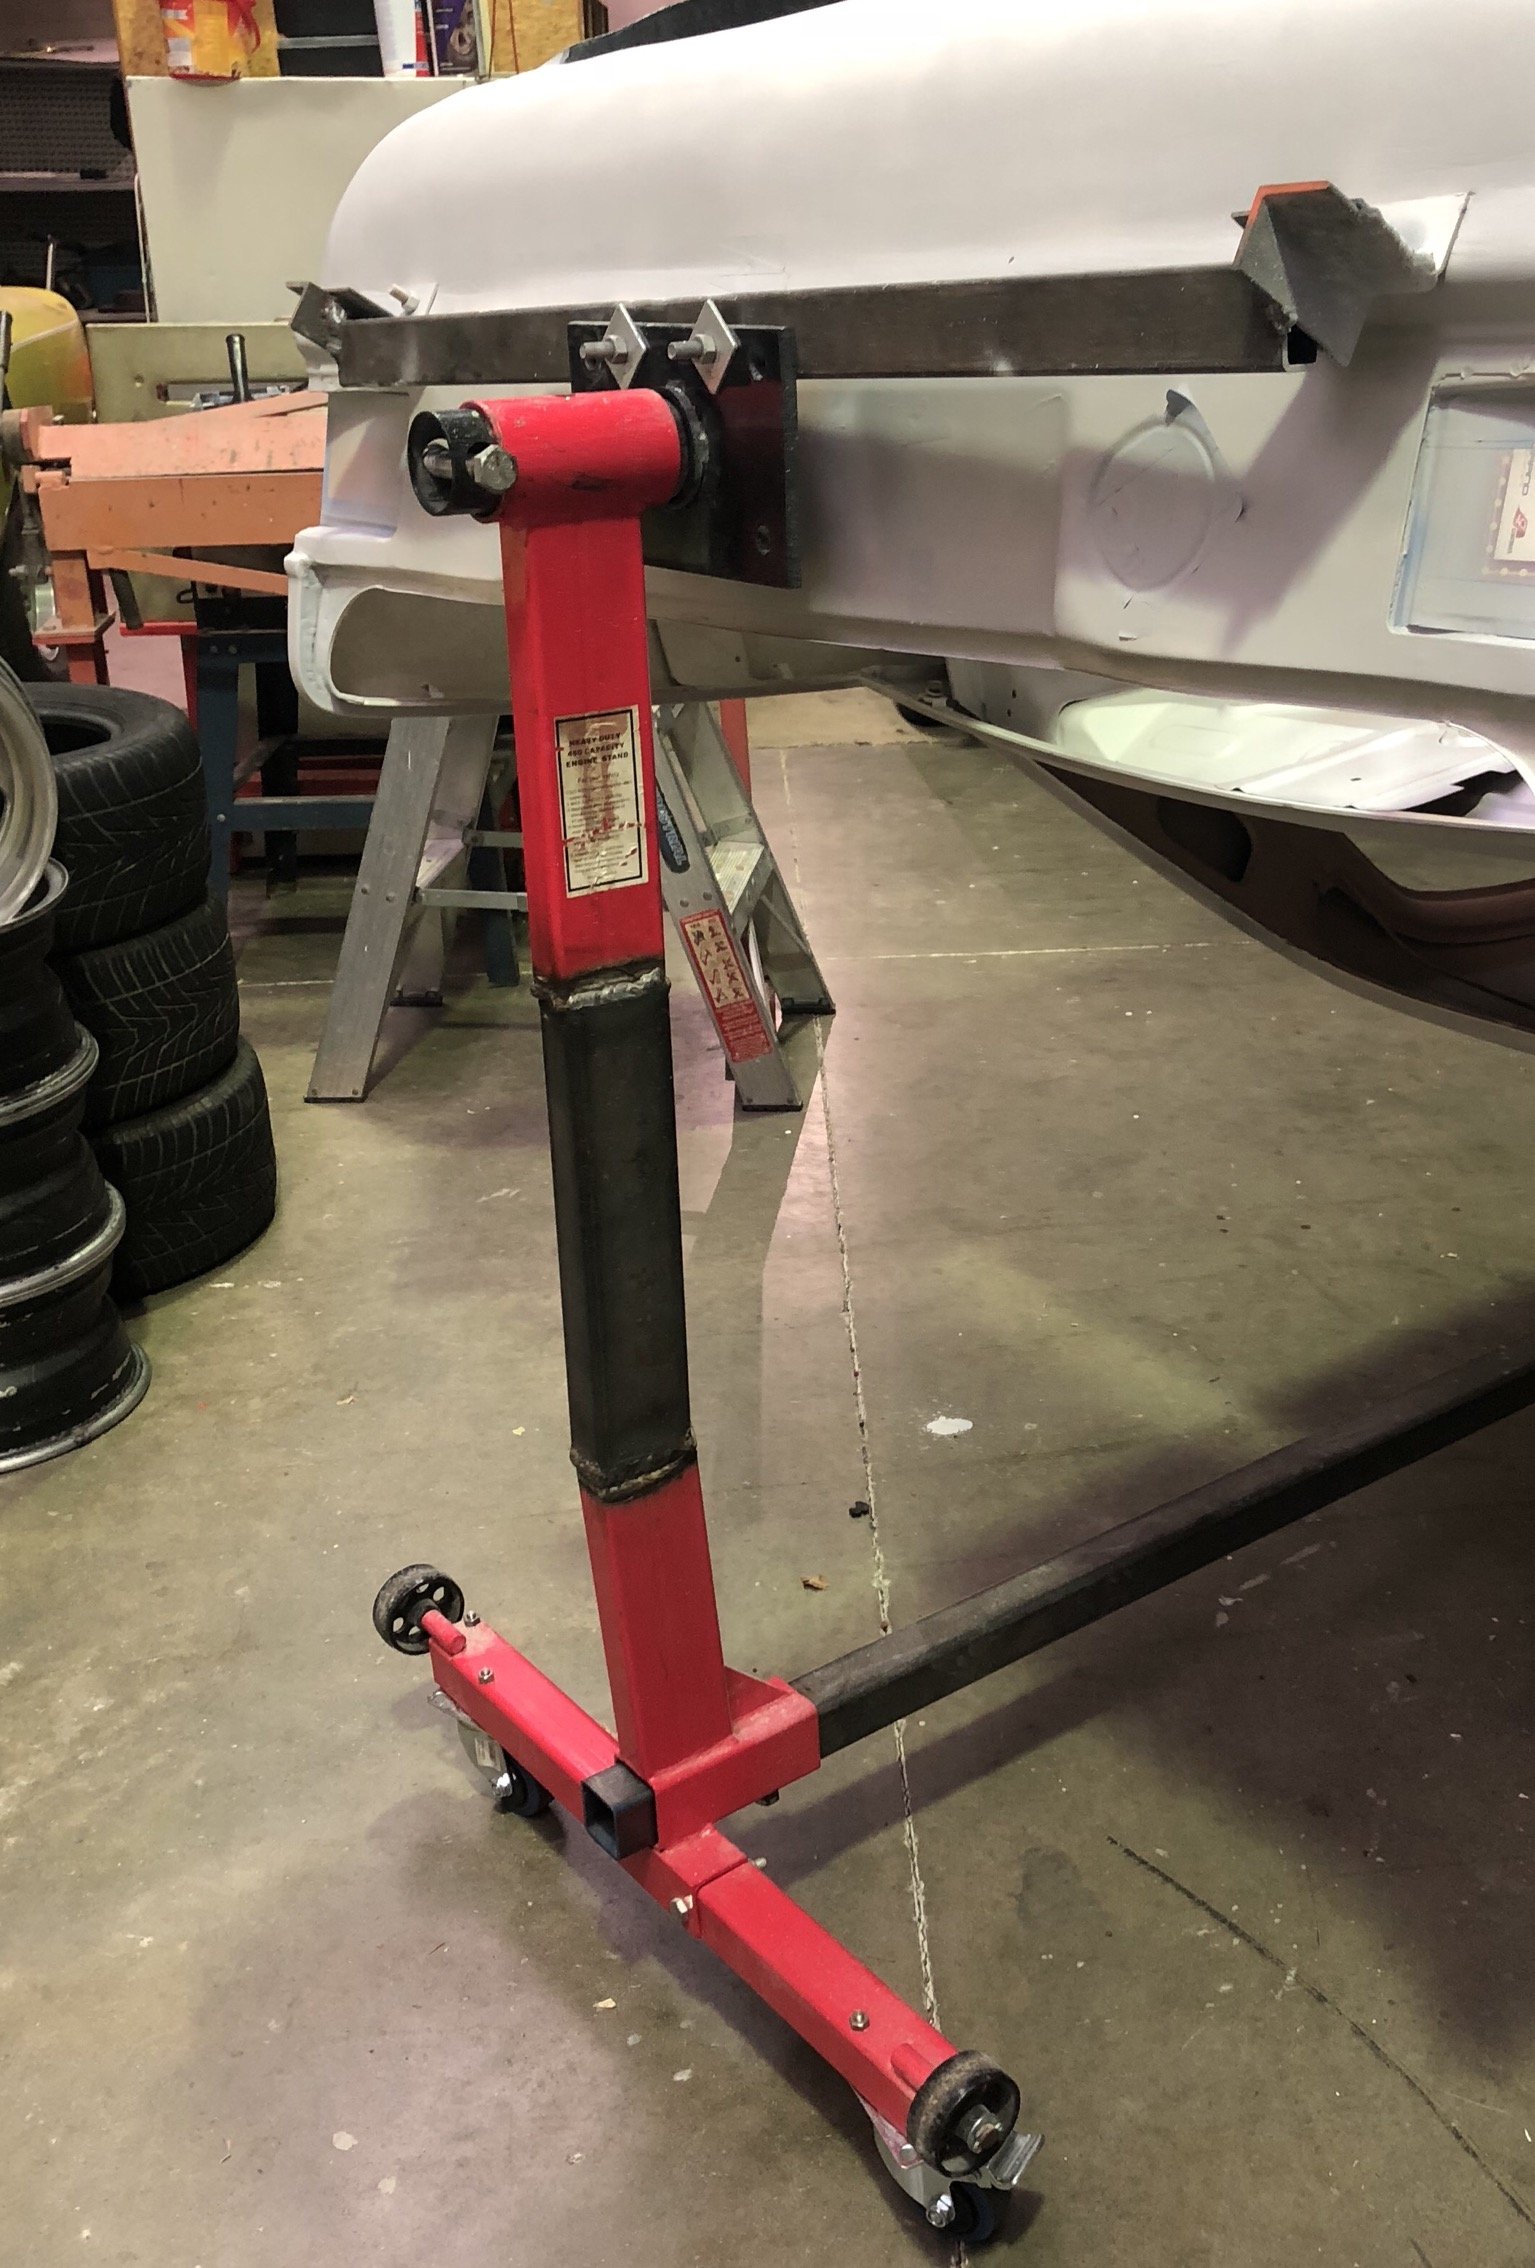
I’m also starting on a cheap rotisserie using a borrowed engine stand and a trademe $50 purchase. should make it easier to finish up welding underneath and the certifier can see everything in the raw then. this is a mates one
1 point
-
1 point
-
1 point
-
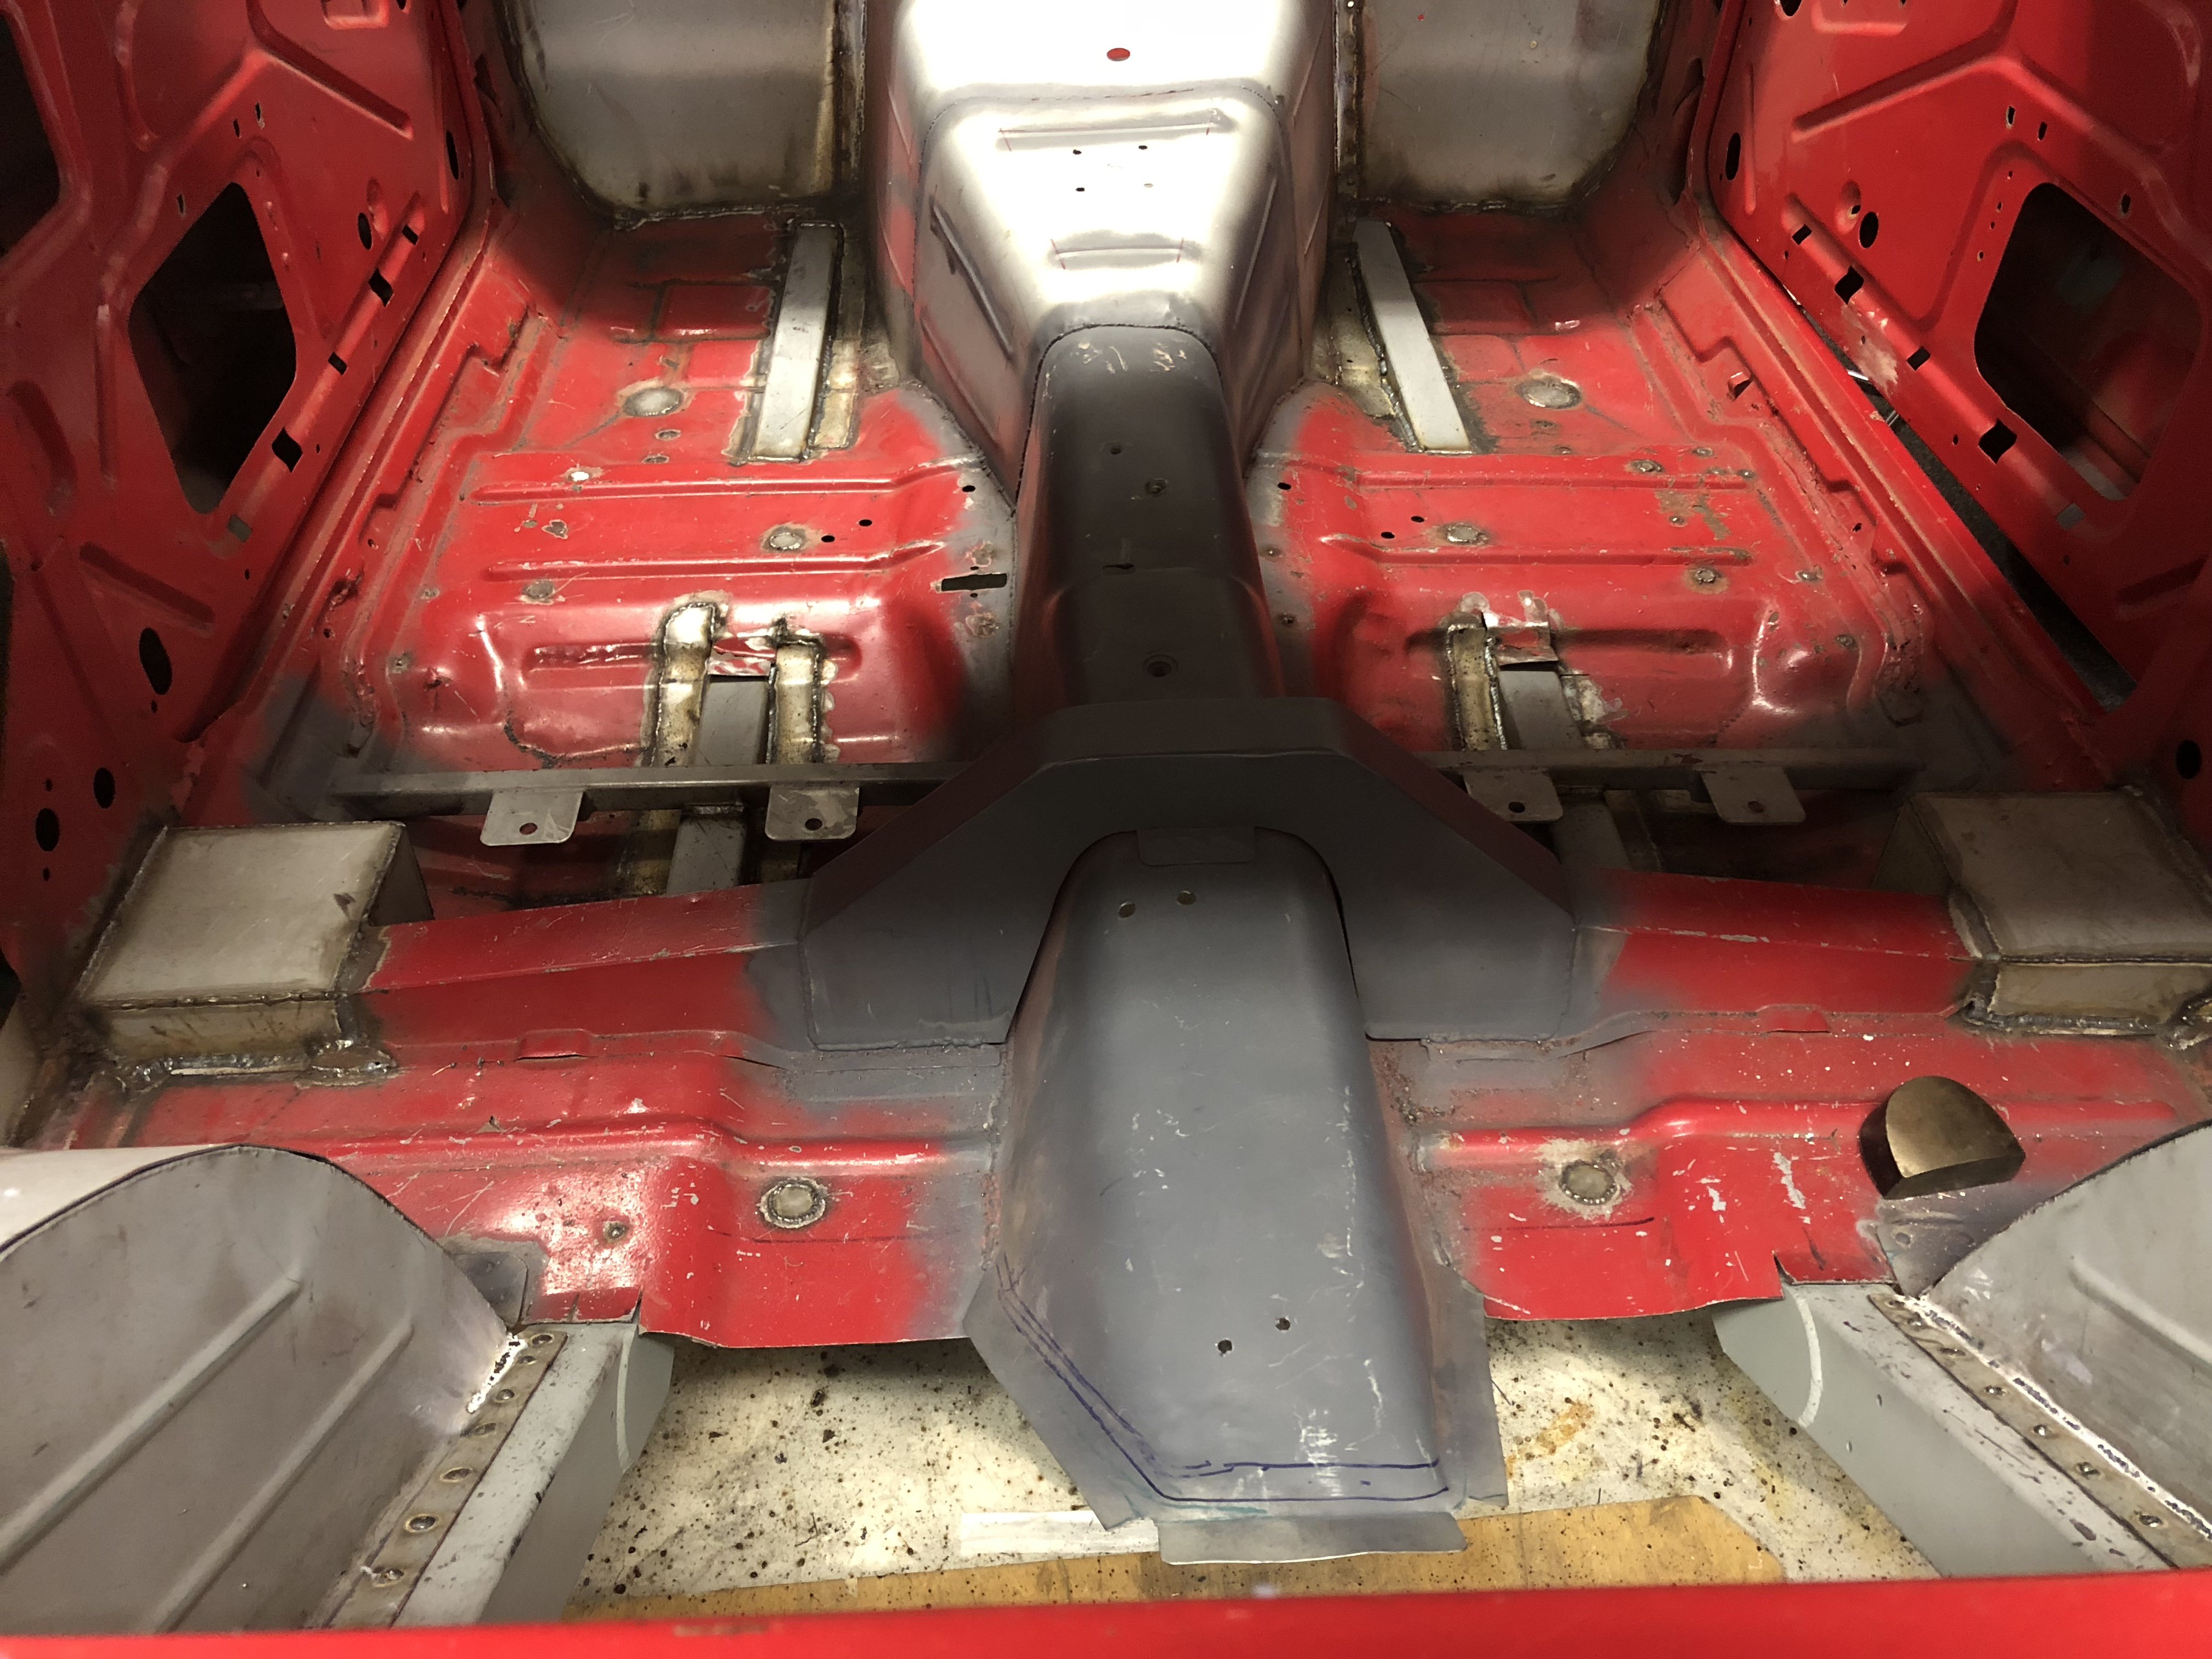
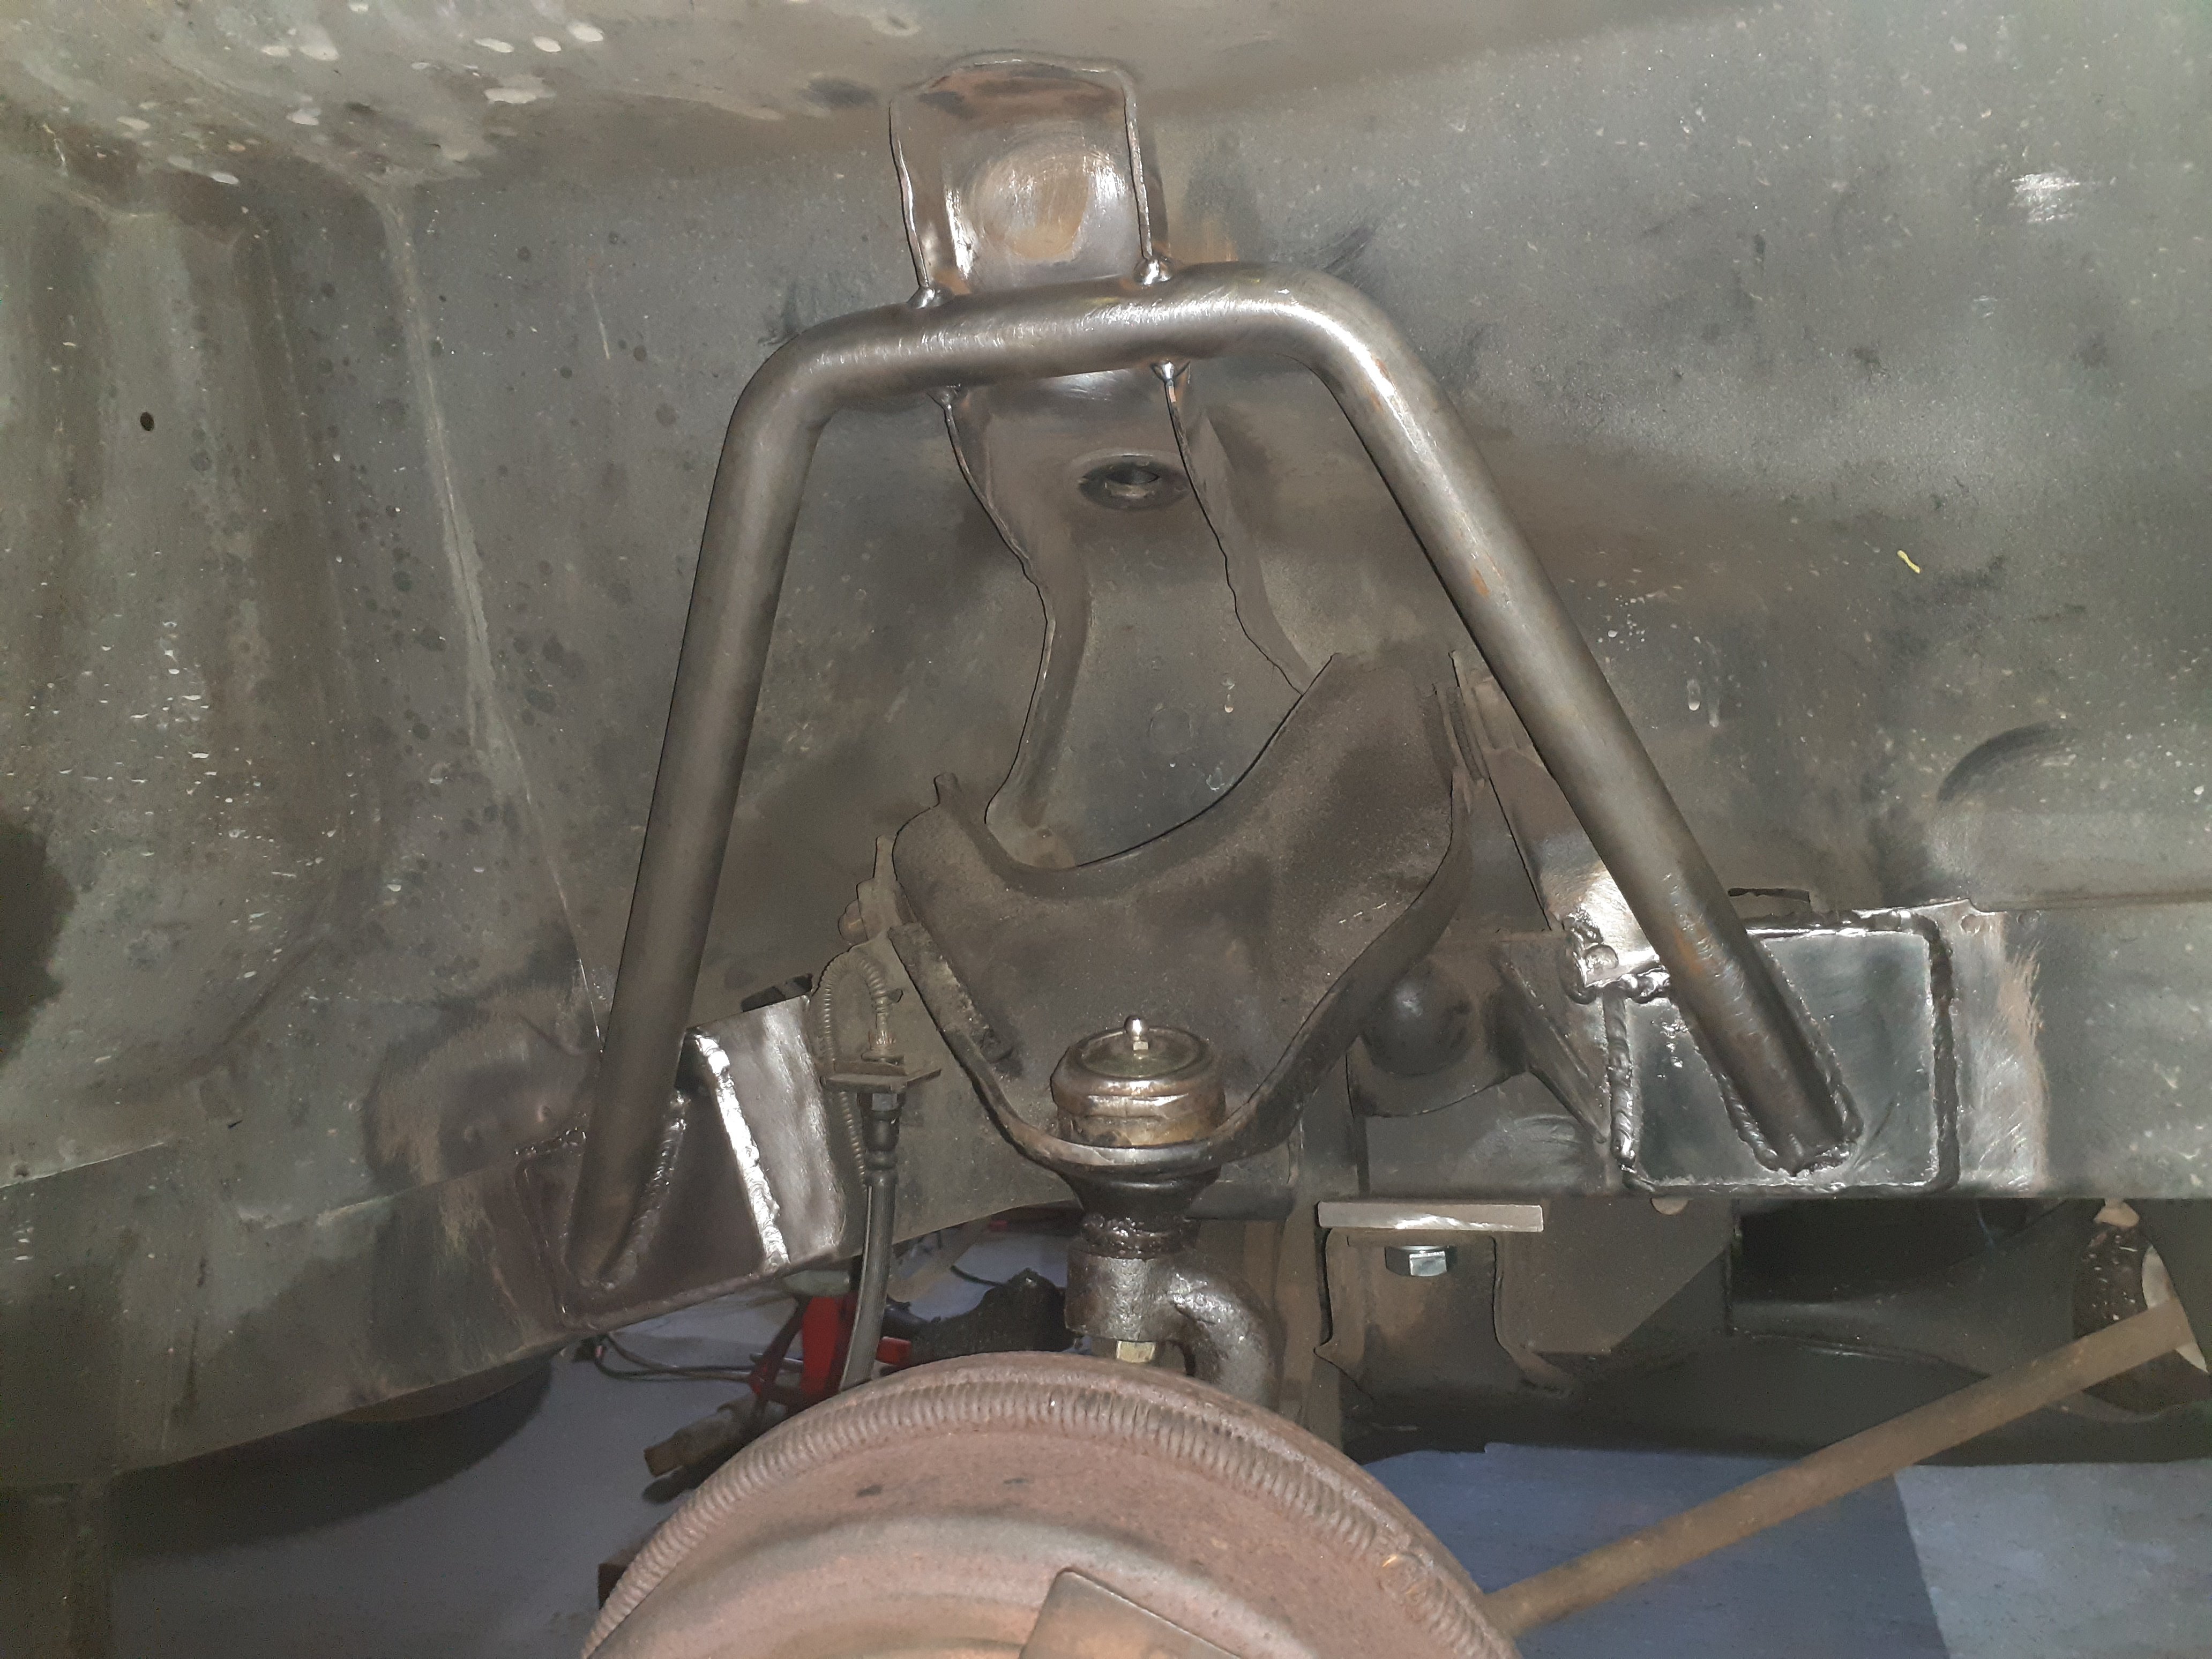
Car is now in a few peices and the chassis rails are all fully welded through on the inside. Im going to weld the roll bar in at this stage to make it a bit easier and then finish up the rest of the floor.
1 point
-
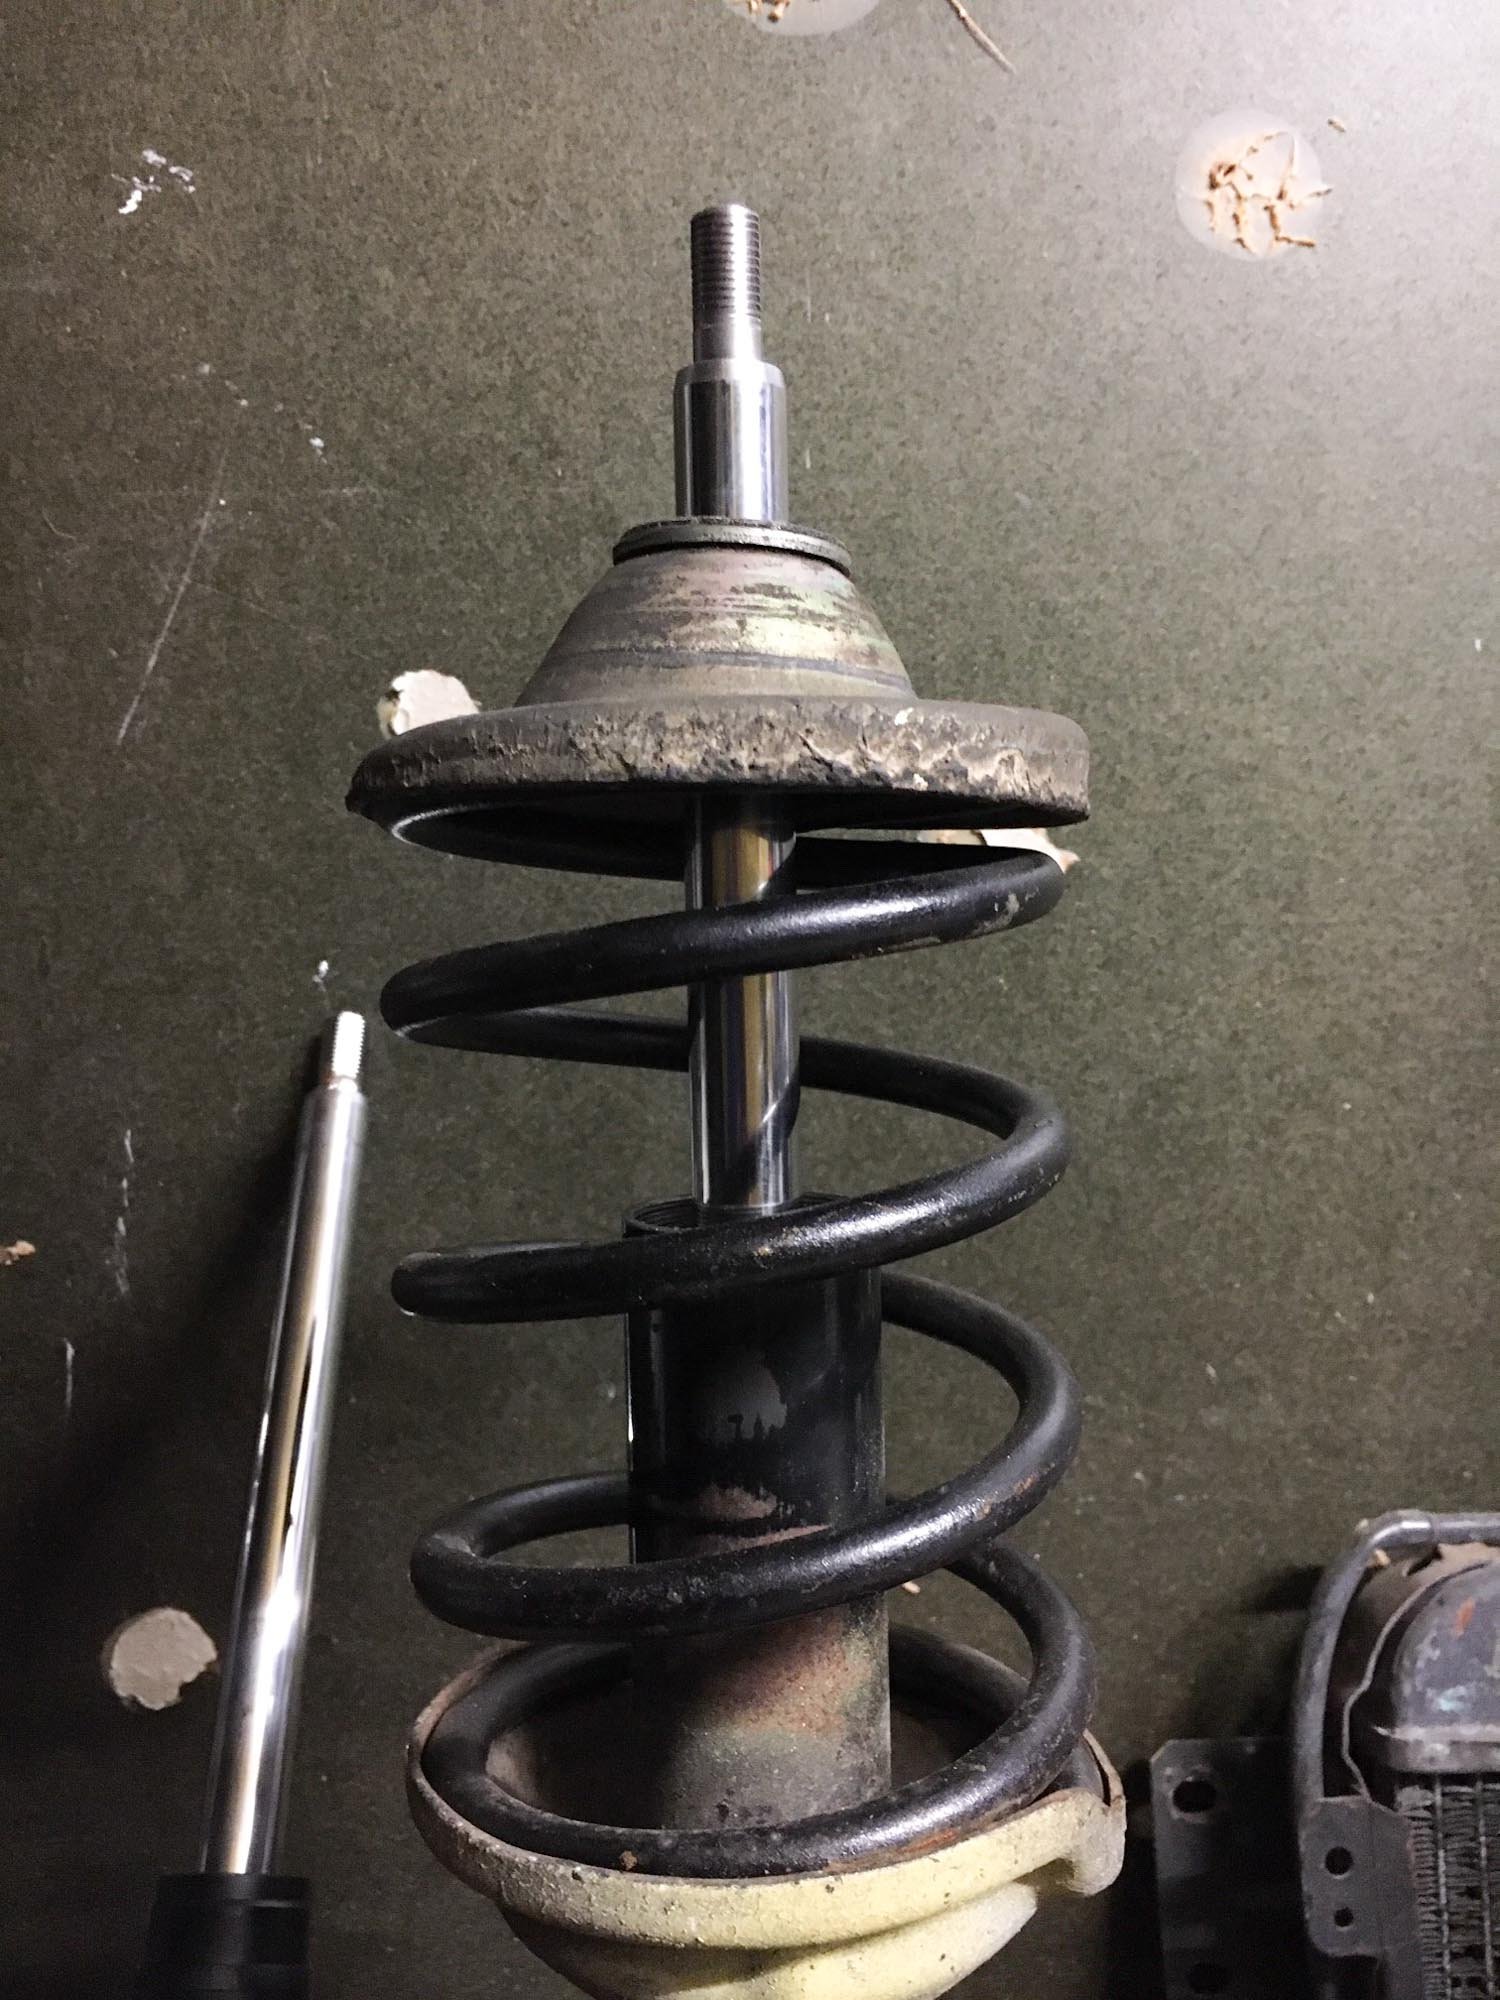
So I didn't end up using the rx7 shock insert, they do however fit the 323 strut, and would be useful for someone not wanting to shorten a 323 shock. Only if they're lowering the car 30-40mm though. Not short enough for my springs. I had myself confused for a bit when I compared the two shock types. I had them side by side and the shock shafts are the same length, but the rx7 shock body is shorter, so in theory if I was to space them up (see my paint diagram below), then there would be no benefit to using them (apart from price). Spacing them 'down' however, with a collar type spacer would work. However, after pulling out my struts and taking a look at the inserts in them, they looked / felt very new, so decided I may as well get them shortened, and sell the rx7 inserts to save myselft the hassle of shortening and making a spacer thing. (reserve met on trademe if you'd like to buy them lol). Had a mate shorten the 323 inserts for me to keep the springs nice n captive, wire wheeled the strut body, dusted them with some black paint, and got them back in the car the other night. Also replaced the rear shocks, cos why not. Have got new brake shoes, cylinders and pads, so will get around to doing that soon also. Will aim to get the car back on the ground the next few days, and hopefully wof time in the next week or two.
1 point
-
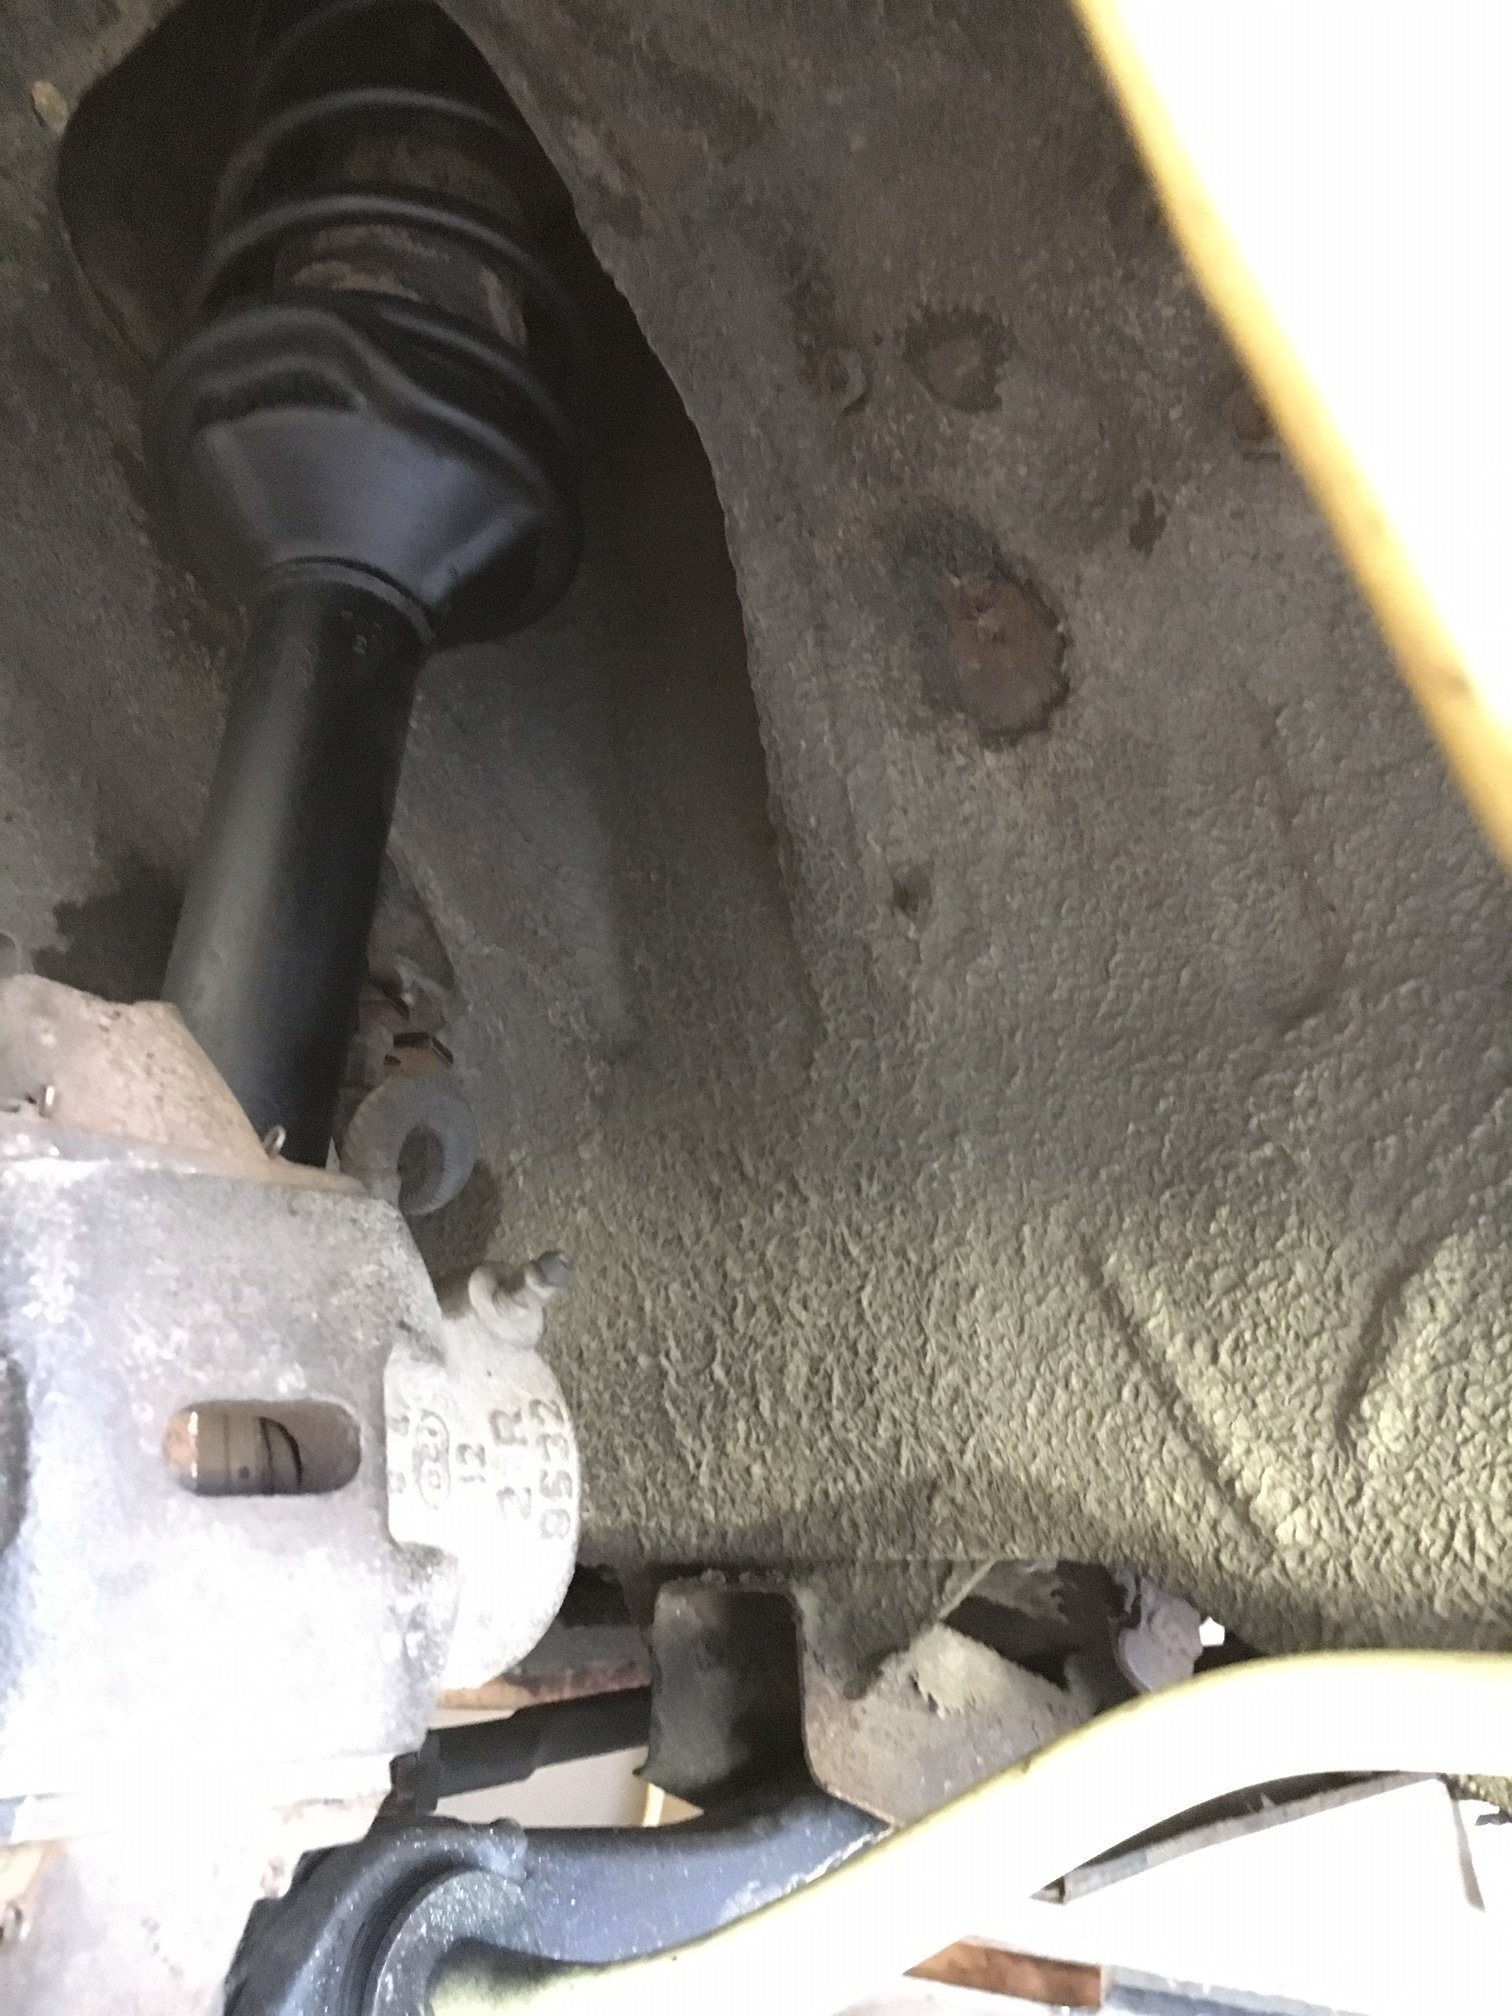
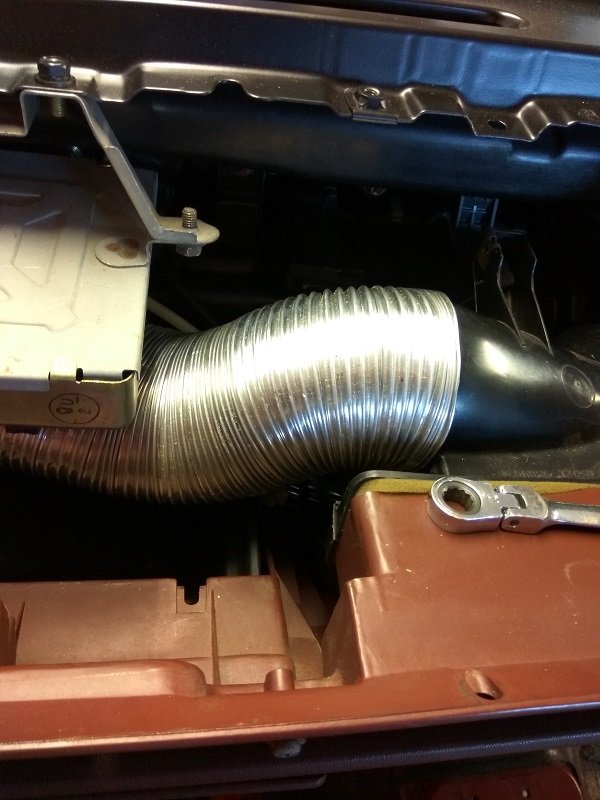
Have been chipping away slowly. Torqued all the the bolts on the front strut's up to cert specs. Then had to pull both struts apart as a ~0.5mm spacer wasn't needed. I had previously found it was needed as one pad didn't fit. This time I found it wasn't needed... so hopefully a drive around the block will sort the slight rub of one pad. Without the spacer plate, the pads have a gap sub 1mm, with one slightly touching, still easy enough to spin so I think that will sort itself after a drive. Installed the diff back into the car, nightmare one man job. Took a lot of pissing around as some of the arms are super tight. Got there in the end. I stripped the surface rust off all the arms and gave them a couple of coats of paint. No pics of this as I spent too long cursing and losing the will to live. Bolted an adjustable MRP panhard rod in for the first time, shocks bolted up. Still need to work out what i'll do for bump stops, not being able to chop some down is a bit of a ball ache. Have left handbrake cables flapping in the wind for now as I need to bleed the brakes first. Drums were completely rebuilt, so that side of things is done. Hoping to get the brakes up and working this week, then I can get it off the axle stands it's been on for months and get it outside. Boring update, but just trying to keep the momentum going. I've also installed the dash back into the car and hopefully plugged everything back in correctly. Brakes together for hopefully final time Heater ducting, couldn't find a duct in the parts pile for this section so made one up with some 75mm flexipipe stuff. Had to flatten it below the emissions ECU as it's a tight fit between that and the glovebox. Hub installed with bolts for brake upgrade kit. Ticked and torque written down so I know it's done. And wheel arch repair. Was the only part that needed replacing, due to a prang which caused it to rust out. The rest of the arch has some surface rust so I gave it a really good clean up and sanded off what I could. Then put some Brunox over it. Will epoxy prime the inside too so that any moisture can't get to the area. It was either that or replace the whole rear arch for the sake of some very light rust between the skins. A: that's above my paygrade B: seems a bit extreme as it won't get any worse. The repair I did took an hour to weld as it's so thin I could only do a couple of spot welds at a time, while letting it cool again. Relatively boring update done, if you made it this far, you've done well.
1 point
-
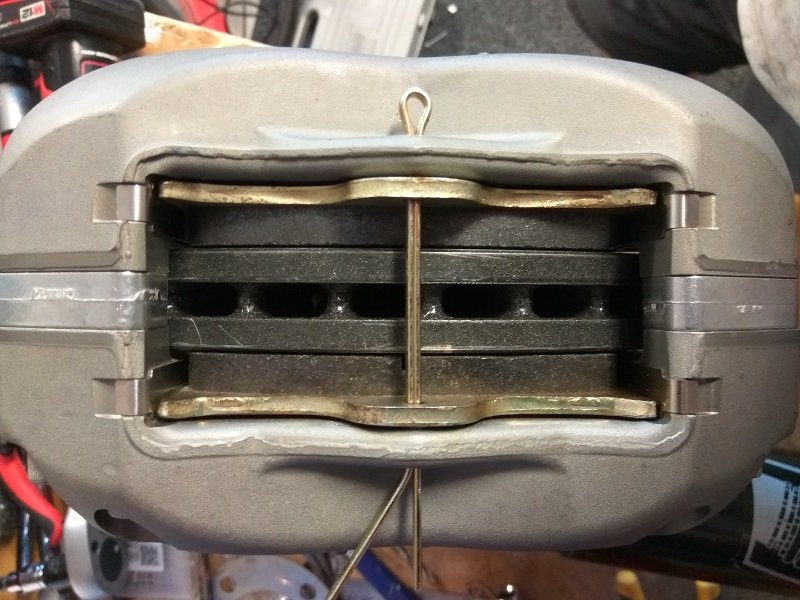
I jumped in on some free powdercoating and had the Silvia and falcon (rear) covers done after I sandblasted them. came out great! Decided to chuck them together for a pine and realised they dont clear the calipers (need to trim back the curved edges but not a lot) and since it’s got larger discs, they sit hard up against them too! c.l.e.v.e.r. B.o.y Live and learn didn’t realise the discs were murdered out, it’s cool but was expecting nice clean raw look lol.1 point
-
https://www.trademe.co.nz/a/motors/motorbikes/motorbikes/scooters/listing/2776608937
1 point
-
I don't like your chances of getting enough wrap on the crank pulley, and if you can the belt life is going to be compromised. Well unless you shifted the power steer to where the dizzy is.. I would multi belt that setup with one belt for alt, and water pump and one for the p/s.1 point
-
Gotta collect all the little 90's yellow cars. @yoeddynz's post reminded @Guypie about how much he also has always really wanted a 2 door K11. This one came up locally for $600 so he can deal with the 4 doors. Needs a bit of work but runs so that'll be a side project too. No Honda updates at the moment, currently just using it as is. New wheels will be going to our friend for sand blasting soonish hopefully. Honda wheel reveal at 10,000 subs. Slap like NOW (Davie504 reference)
1 point
-
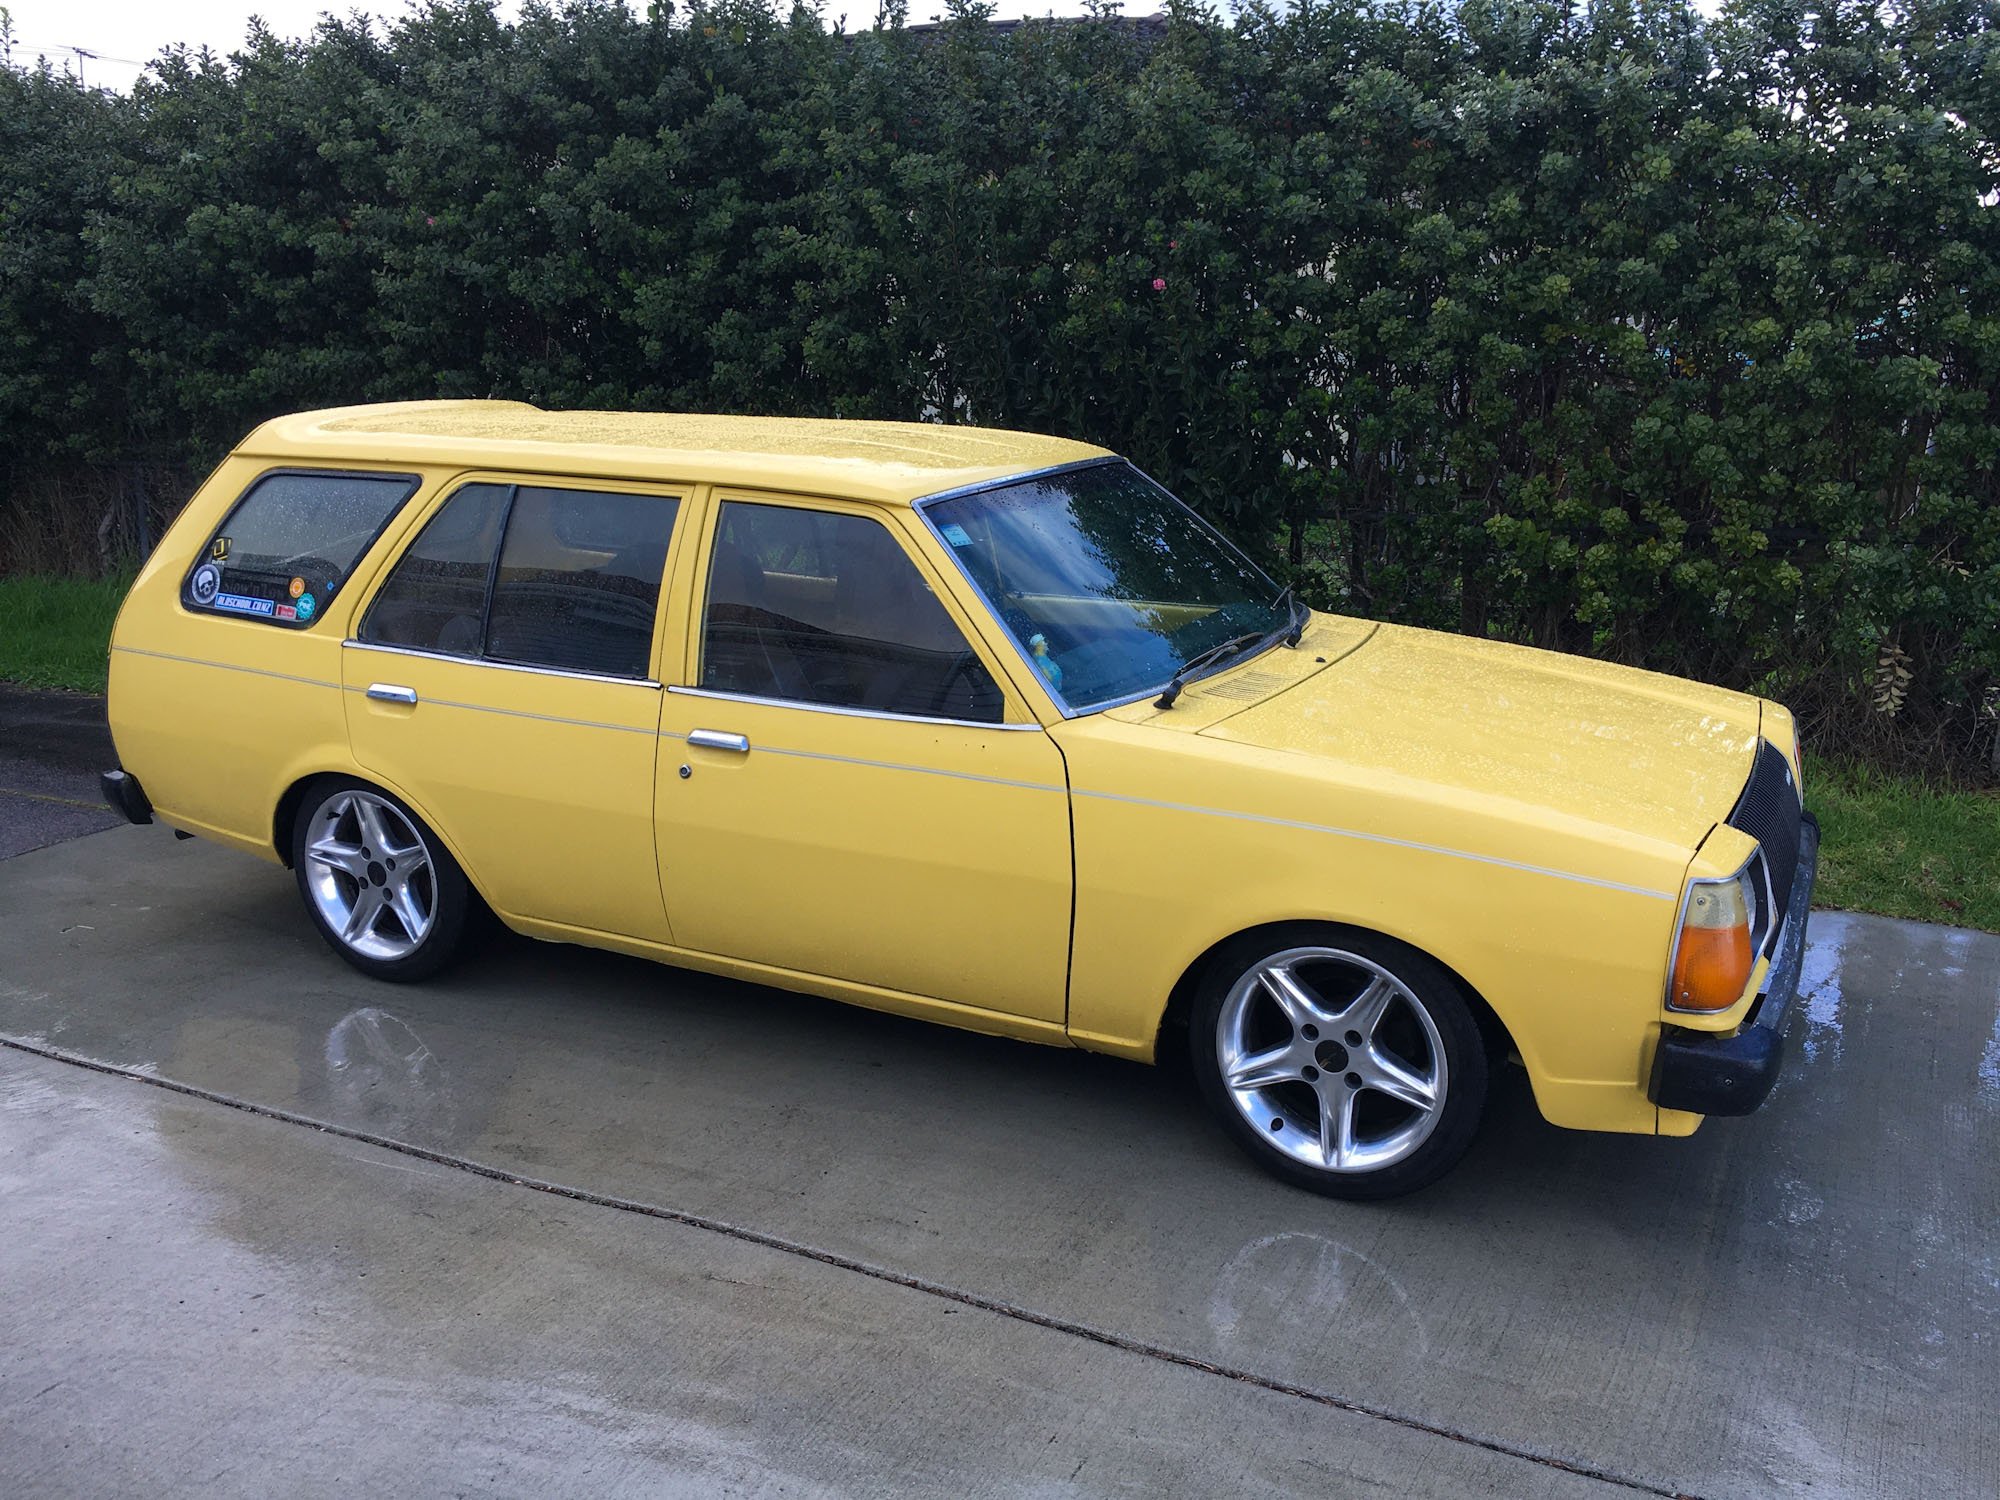
Howdy folk... a couple of months ago I pick up a 78 323 for a paltry sum of $2300. it seems in sound condition, with the only visual rust being a bubble in the bottom of the drivers door that hasn’t blistered, and some on the inside of the tail gate where the chrome/plastic trim fixes. Small shopping trolley dents on every panel... Like my rx7 post, I’m shithouse with computers so this will likely be painful but just bear with me. my objective is to do as much as I can myself, have a bit of fun with a basic low budget build. So I’ve converted a b600 diff to lsd, with disc brakes. Built a gearbox for it. Acquired a 13bpp, and 13b bp. And converted most of it. Anyways... enough of this jibber jabber. No prick likes that. I’ll throw up some pics.... here goes
1 point
-
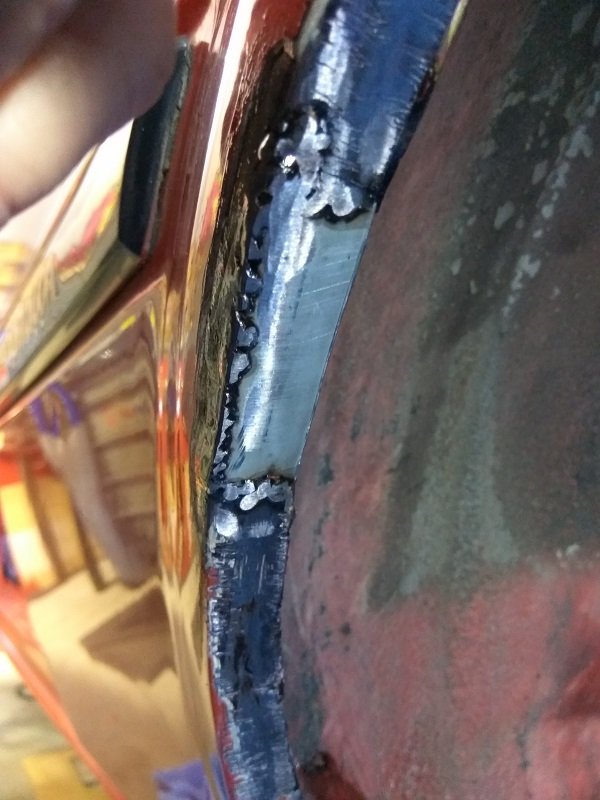
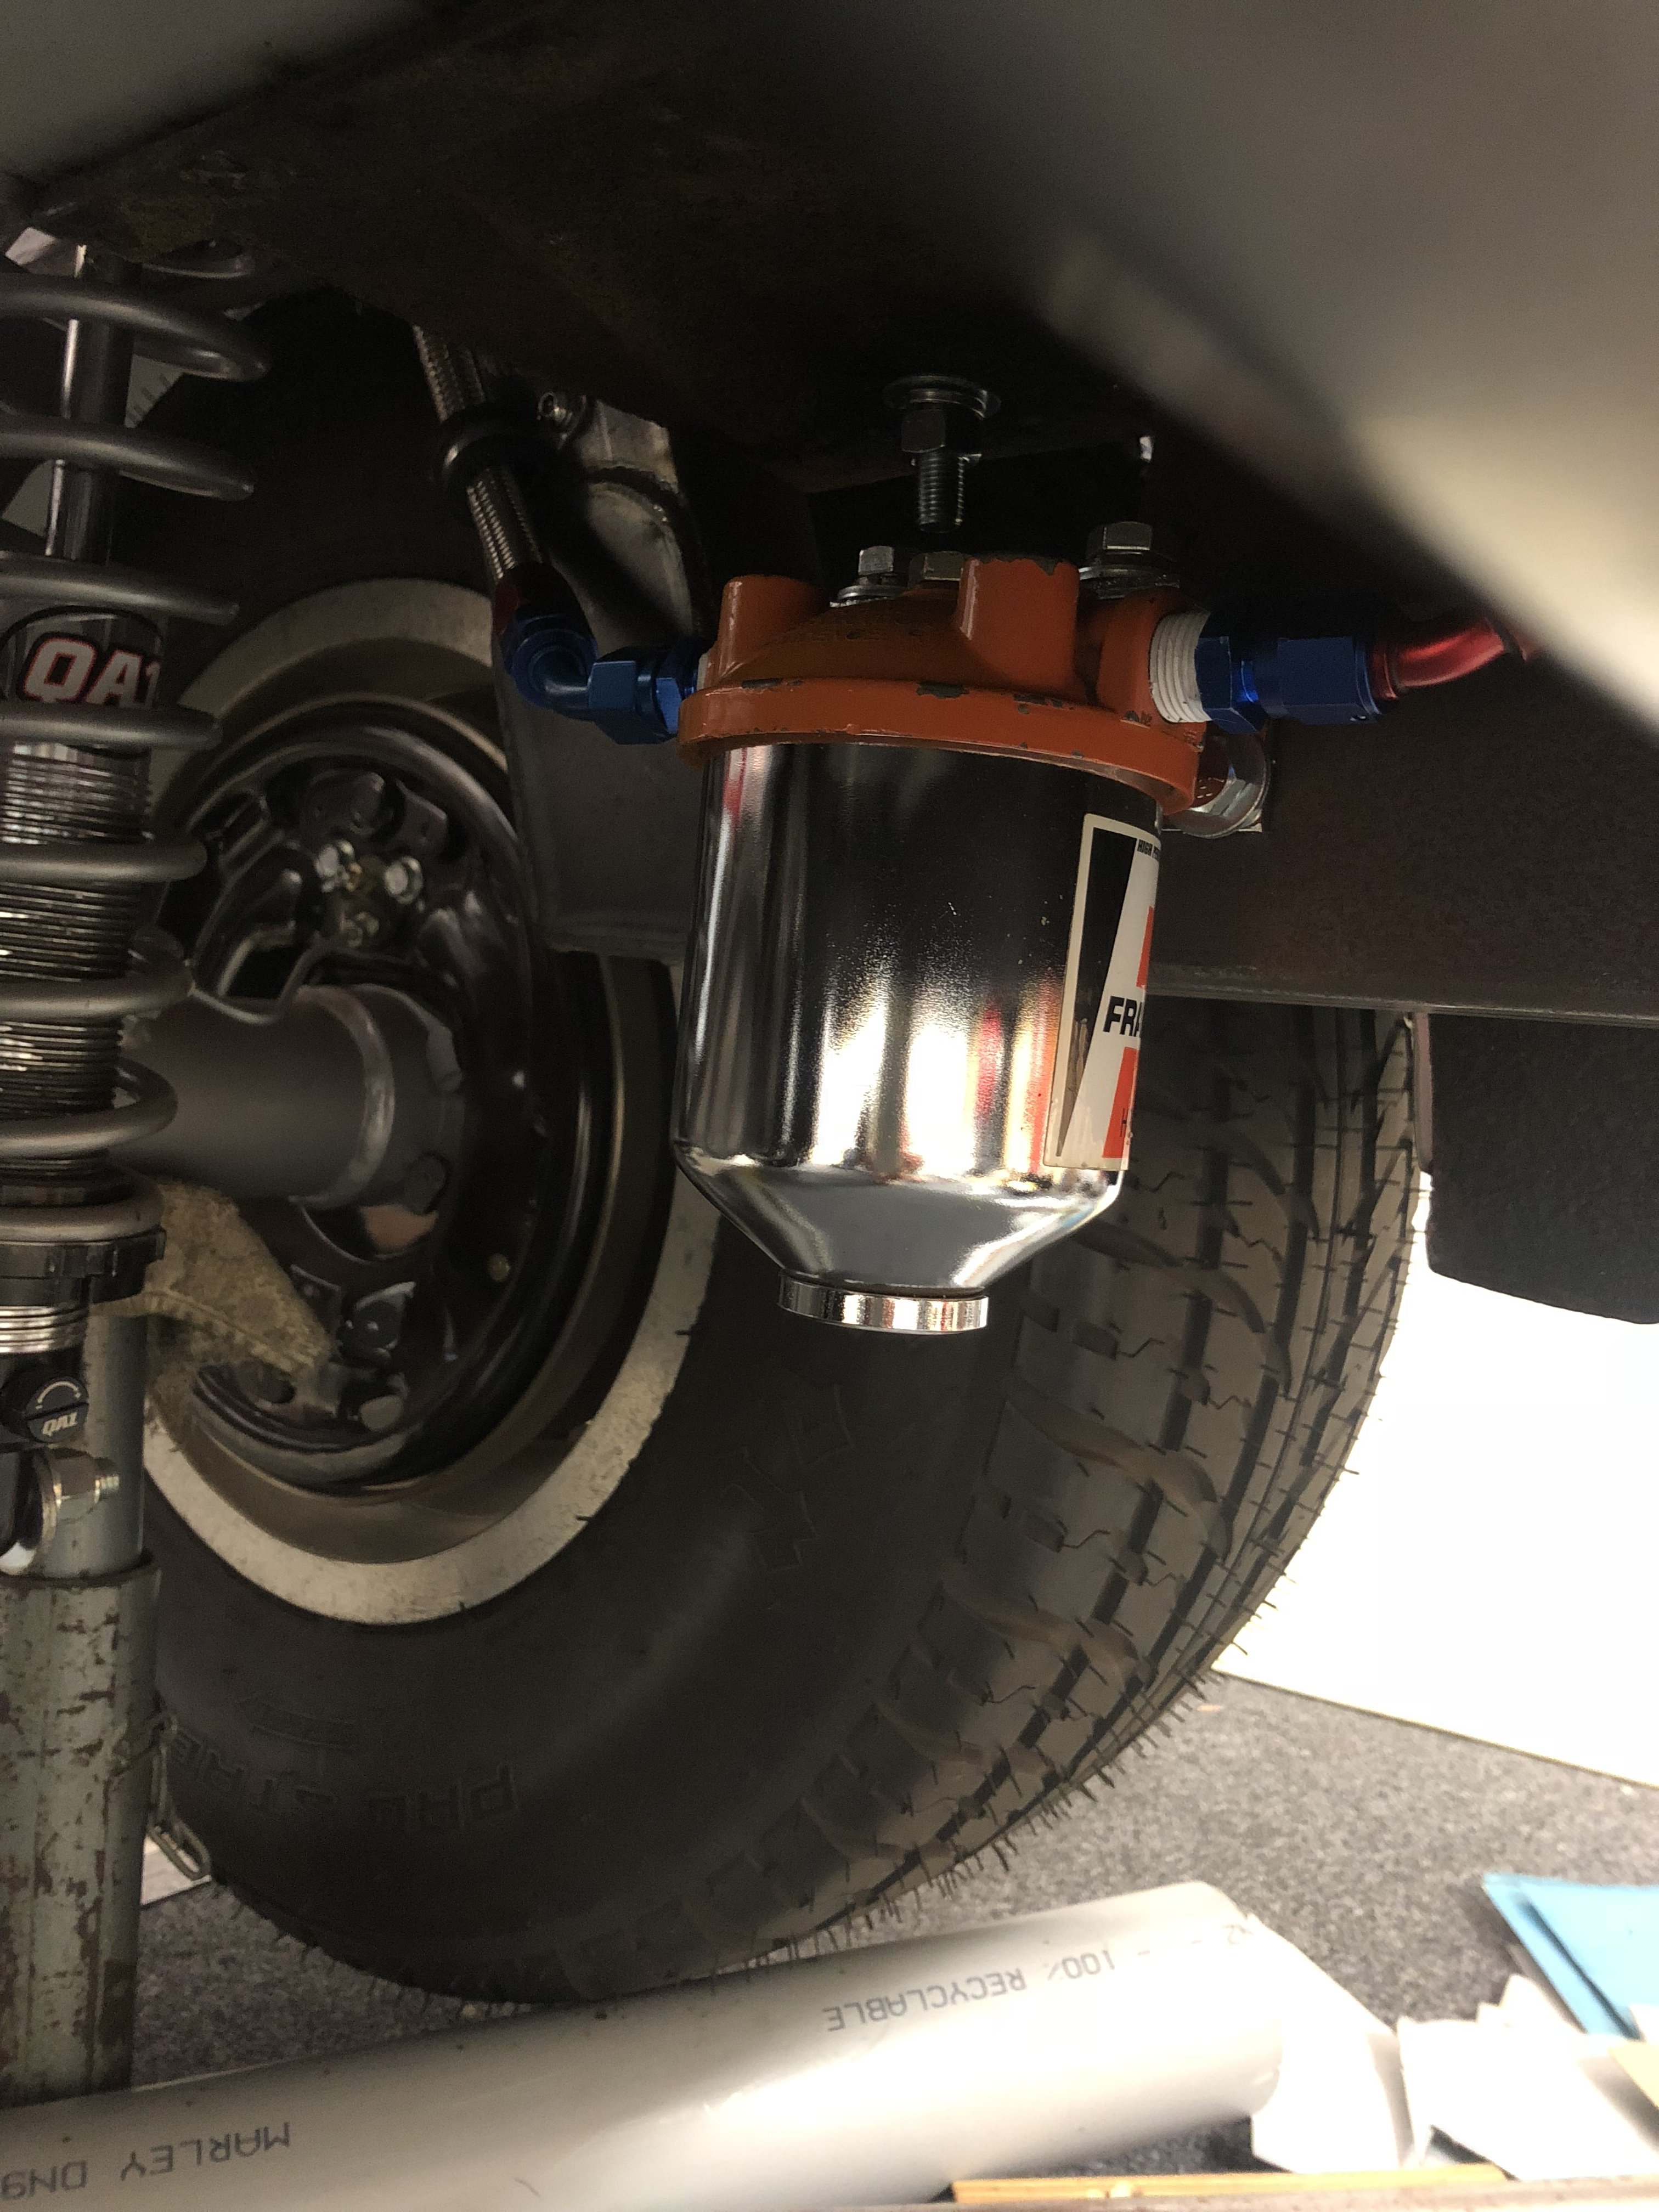
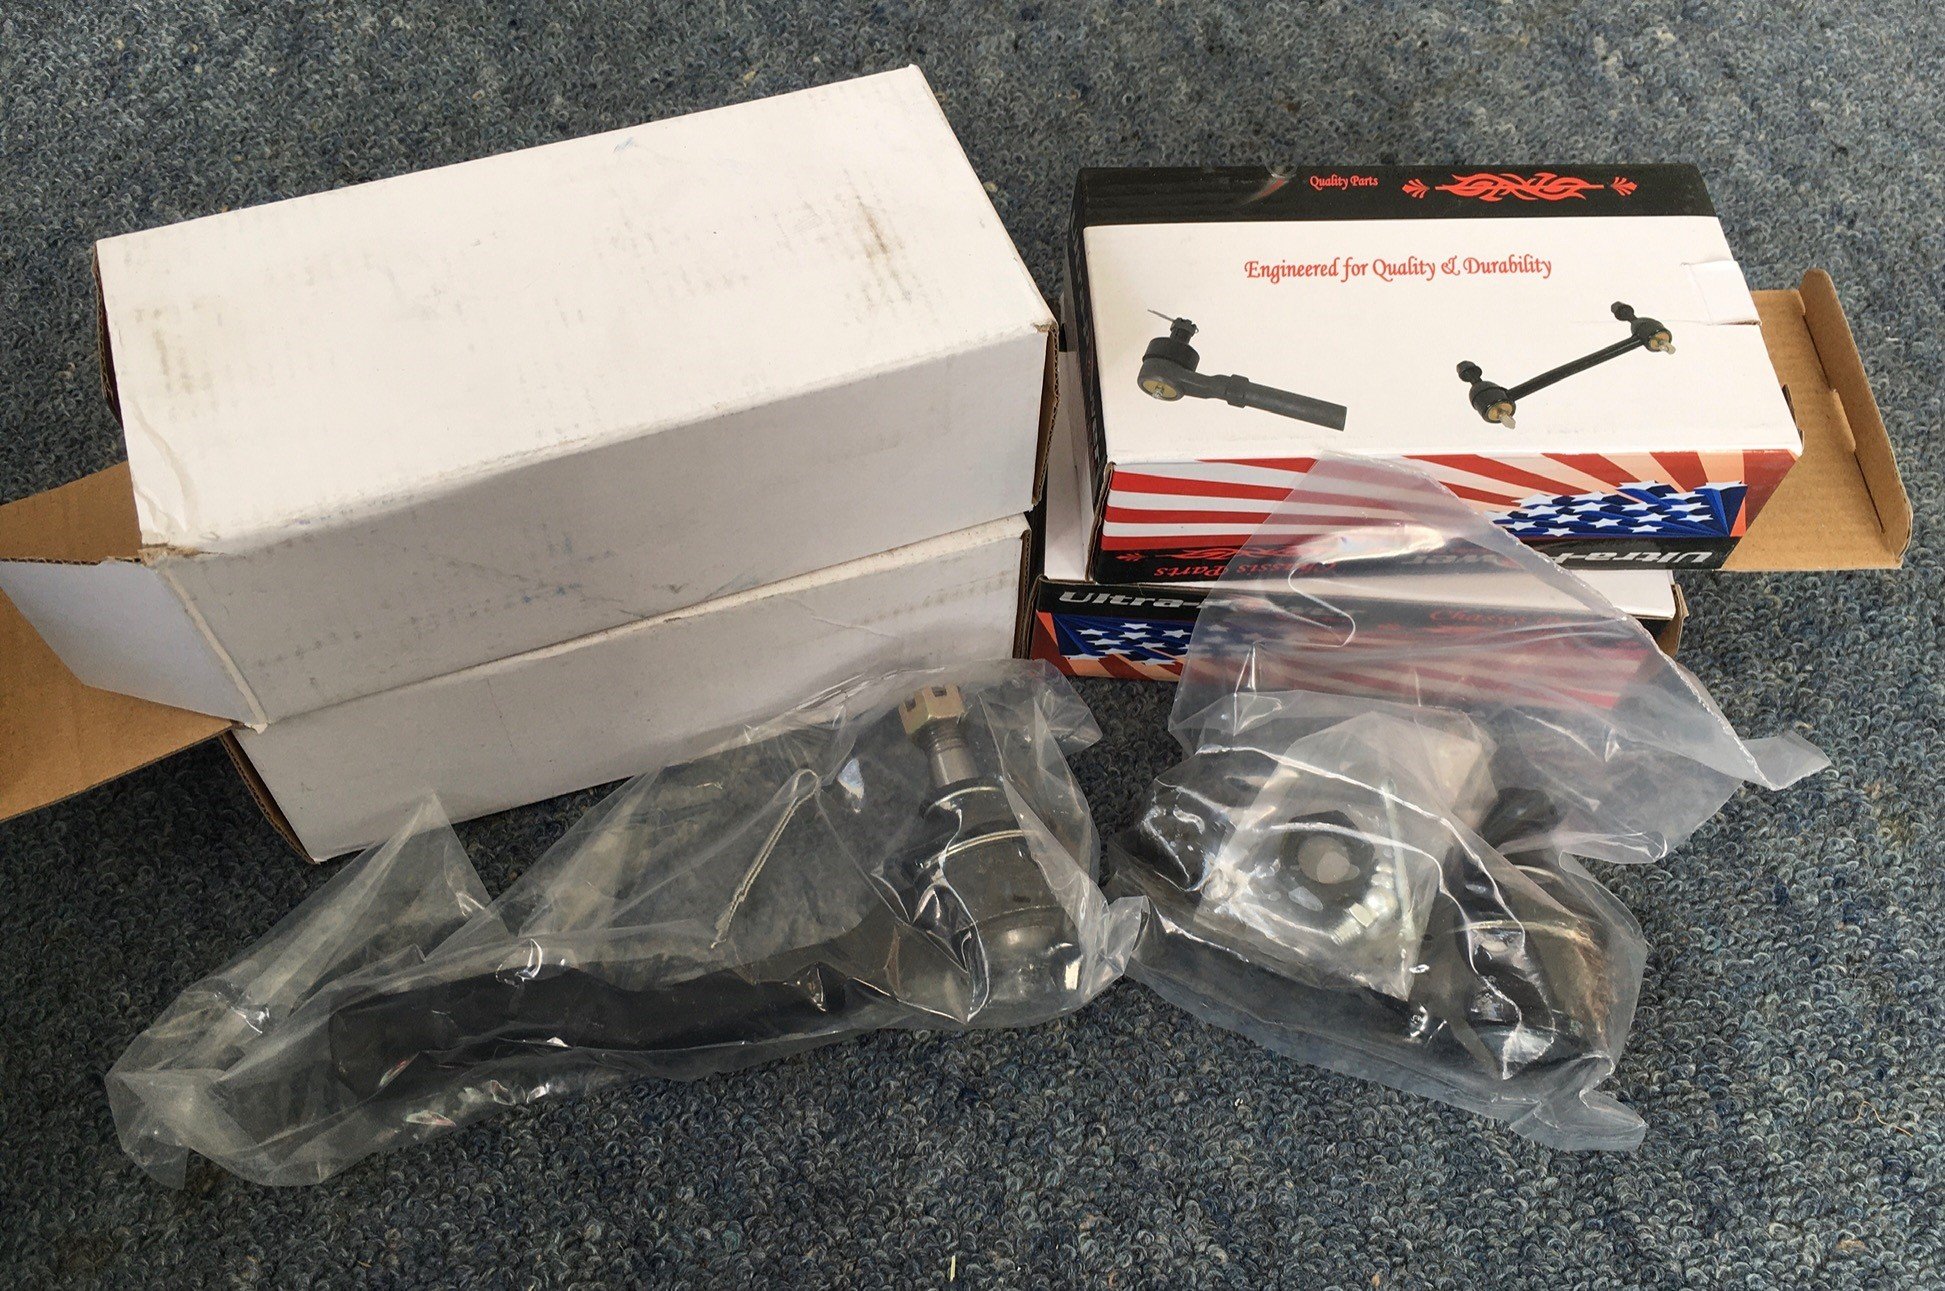
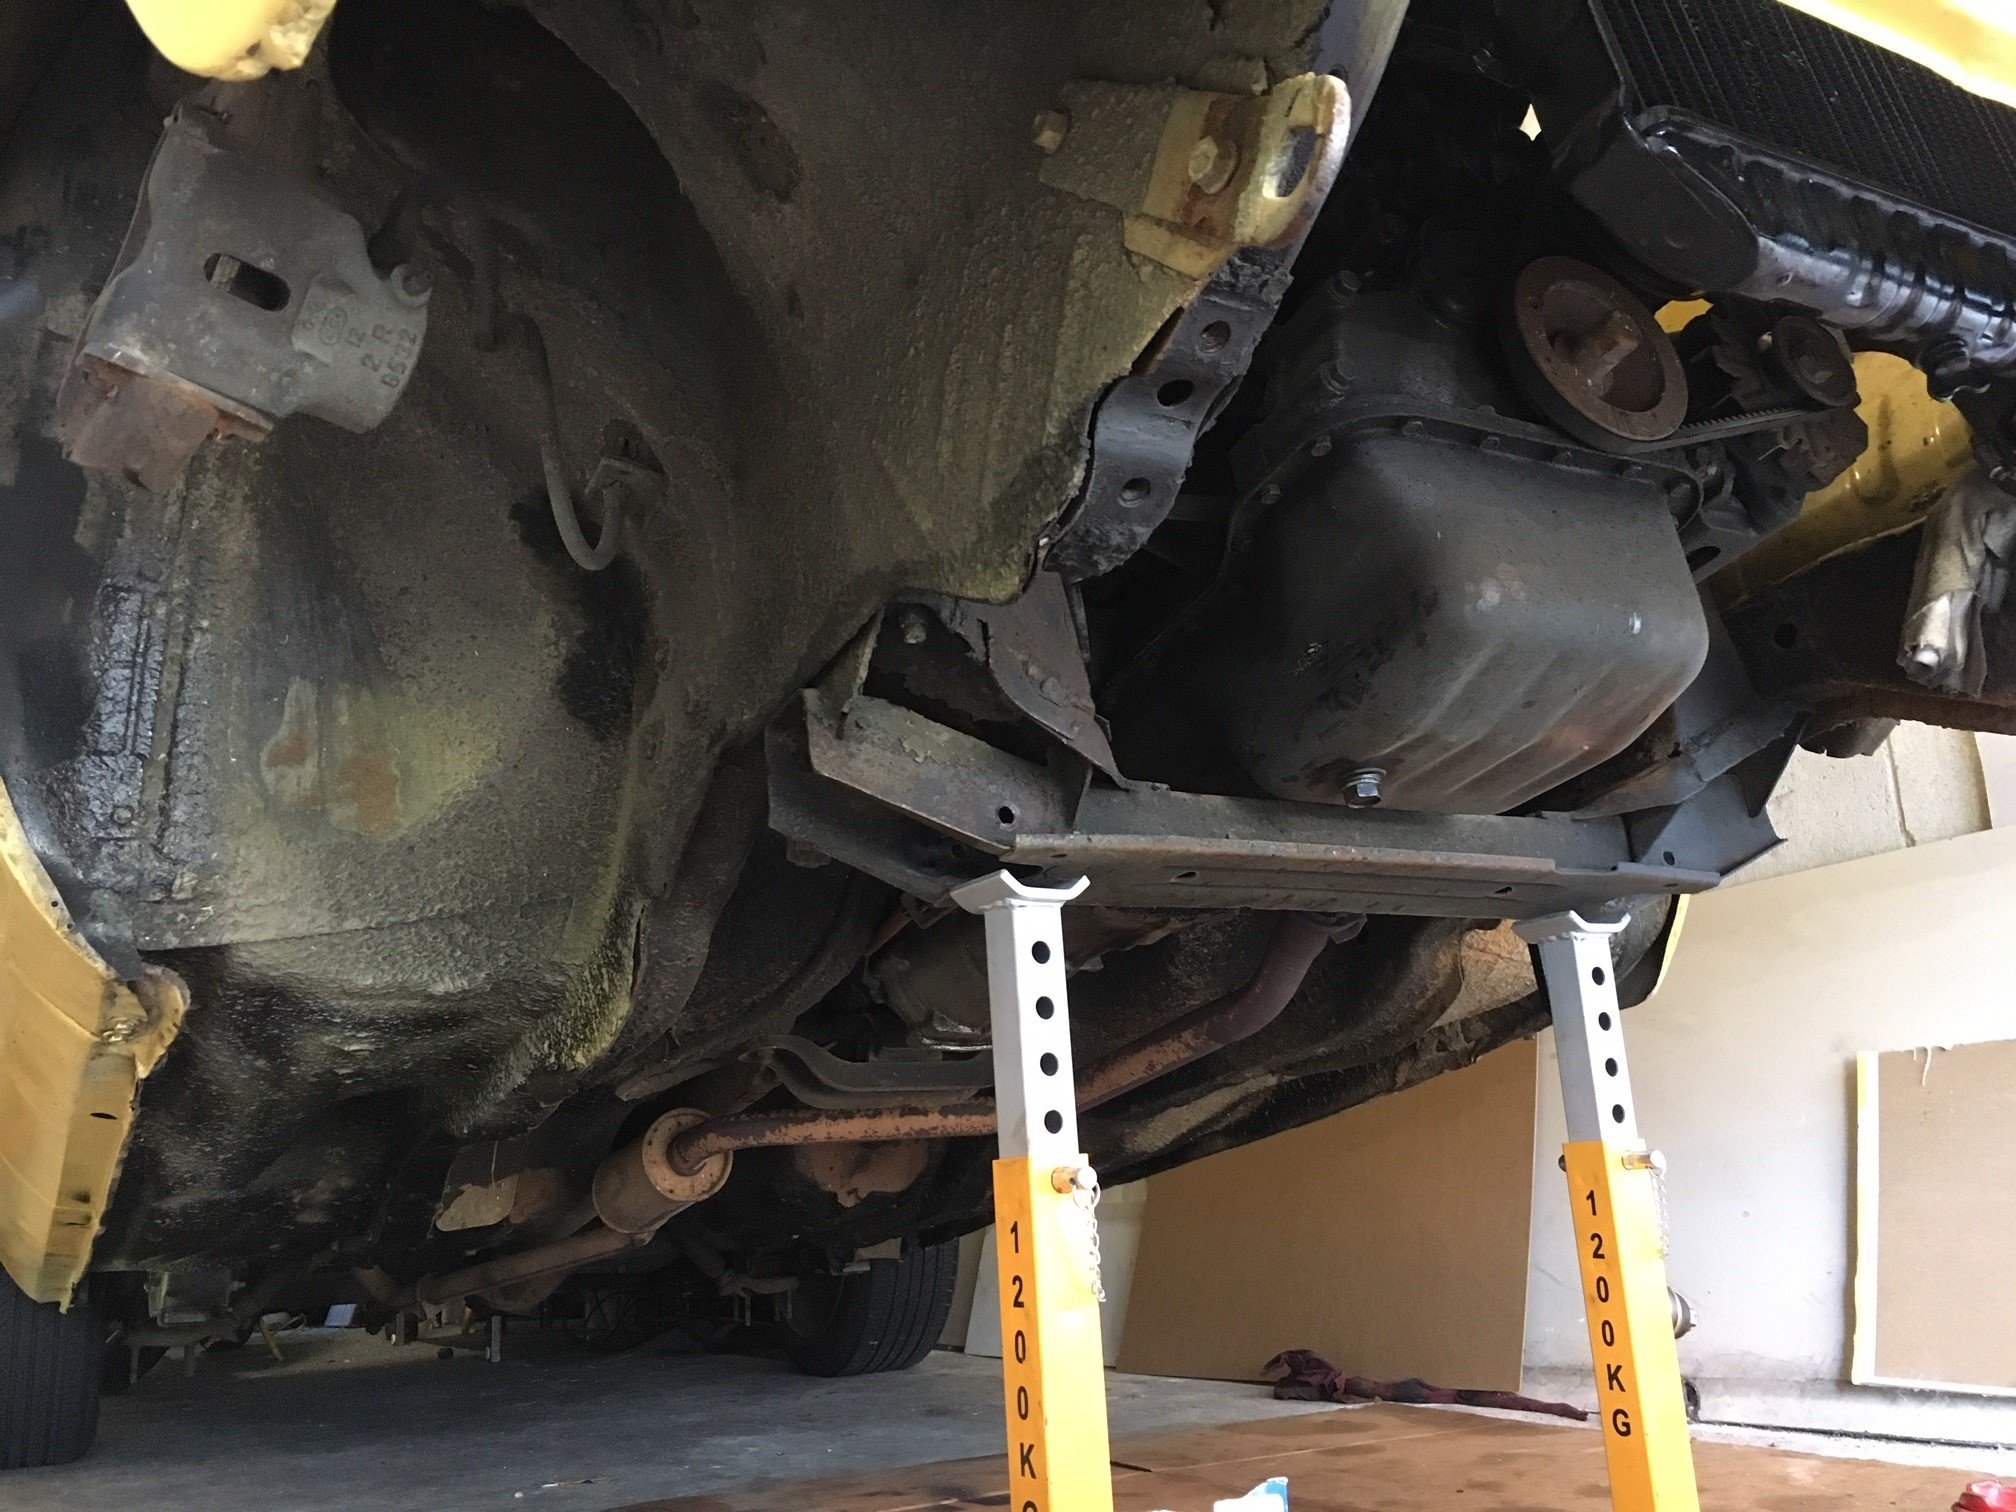
The yellow bonnet wasnt flash in person, the skin is mint but the frame has rusted away around the whole front edge and down the sides some..so it flaps within its self. It’s fixable but I’m not interested right now. i ended up winning the auction for the tidy-as one so will get it this weekend. i had an unholy cunt of a time trying to get the pitman arm off. Broke my pitman puller and several tools along the way, rooted my jack handle from wailing on it with a hammer trying to bash it off the spline. The go was taking the whole drag link off which frees up half the battle and some tension I guess, brought a new puller and introduced more heat and it slid off. Then a bad part number crossover Means the new one turned out to be for a powersteer model, no bueno. Deep breath. saga. Idler arm was easy as, a joy almost. Bottom ball joints.. one was aftermarket so was bolt on, pretty easy. The other side was factory and has fucking great Steel rivets holding it on. Much drilling, grinding, bashing and swears later in a tight spot it started to move but wasn’t pining. Turns out there’s two spotwelds holding the cast part to the bottom arm.. lovely. In the mean time the cable tie holding by the hub and brakes up out of the way snapped and crushed my wrist, so that was cool. Also burnt a finger unexpectedly on a hot drill bit. won in the end but pretty worse for wear. The wheel cylinder for the lame side was fully frozen so binned that and got another set.. ive done one side, the other can wait. Fanged some hose clamps on fuel line too. There was no chance of leakage cause I could barely pull the line off but it does look safer. And a recycled picture So you dont feel too ripped off after reading this shit
1 point
-
1 point
-
1 point
-
Trying to get more project time in recently, all pretty sporadic and spread between many projects but all forward progress! yes, it took ages and cooked my back feeding tape into the fins to retain the Look of wound Internals and stuff kitted the calipers. Couldn’t get correct pistons Cheaply so matched by size To a Renault one and machined off bits off each end until they were functional. the listing had a typo and it ended up measuring the exact diameter 40.4, chur. also scored a sandwich plate. unboxed all spares and sorted the best parts, doubles and rubbish (Some of my ‘New’ rubber gaskets was perishing) so now engine is basically packed for the machine shop. Made a pile to sandblast and paint ( hubs, backing plates, brackets etc) brought another timing belt, I’d sold mine a few years back when a mate was in a pinch after hours.1 point
-
sorted some 1" blocks in the back I've got some new rear shocks and new front inserts, I'm going to attempt to use s1/2 rx7 inserts, as they were about a 1/3 of the price of factory 323 ones. Have read that a small spacer is needed on the base of the strut, so will see if the internet is true or lies. Will also look at sorting some rear bump stops, as a previous owner has simply chopped the current ones off on a flat square angle, so that needs to be fixed. Wof has just run out, so will tutu about with the suspension over the next few months and aim for it to be back on the road for November.
1 point
-
1 point
-
One side done, got some 25x4 tube bent, 3mm plates on the chassis rail and glued in
1 point
-
Sold the modgies and found some nice n cheap wheels to put on for now - could do with a re-polish but I'll see if I can be bothered spending the time on them. Need to sort some front shocks as the springs aren't captive, and get a set of 1" blocks for the back.
1 point
-
Fuck cars I'm going to start a more lucrative career in wind chimes
1 point
-
Got the balljoints pressed in and tie rod ends greased up. Cleaned up a bit and painted some things underneath. Plus did some 90’s colour coding on the sway bar
1 point
-
The grill and headlight surrounds had a few scratches and paint was chipped in a few spots. Had a 1/2 can of 'r32 skyline grey' left over that I'd used to paint the 929 grill with, so figured having a matching colour for the light surrounds and grill would be good. Quick sand and mask up then paint. Can't really tell the difference between the grey and the black it used to be unless you were looking for something different. Also ripped out the front end suspension and have been replacing the tie rod ends, balljoints and a few bushes. 3rd old mazda I've bloody done this on in the last few years, but always good to replace all the split boots and cracked bushes under the front end. Will give a few bits a clean and paint while I'm under there too. Should have it back together in the next few evenings.
1 point
-
Pretty stoked to see all the original seam sealer still in place and unbroken on both guards!! And the original parcel shelf there, with factory stickers on the inside of the bonnet. Pretty original I think. feom here is where my parts Aquire and hoarding started.... again
1 point
-
1 point
-
So, I have had some time here and there to work on this lately. Did a couple of small jobs I had been worried about. Drilled out two snapped-off bolts in the front valance. I've never had much success with screw extraction but i managed to drill these out with no real damage. The thread of both holes is still good enough to hold their bolts so I'll take that as a win. The next thing was to roll the rear guards. This was something the body shop was supposed to do but didn't, so I thought I'd give it a go myself. Better to do it now rather than paint everything and wish I'd done it later when I need 5mm extra to fit wide wheels or something. Got some technique advice from @sheepers and got to it slowly with tiny tap tap taps. Took a while and I was bricking it the whole time, but managed to get the lips all rolled up nicely without fucking anything up. Hooray! GTO arches are double walled so probably harder to muck up than on a lot of cars. I gained about 12mm extra space, which is better than nothing. I pinched the previously done front guards up a bit more too for max space possible, without flares. I also got some paint matched up and finally started getting colour back on the car. I've started with the underside of the bonnet, inside the petrol flap and the top parts of the engine bay etc (not doing the full bay for now, maybe one day if the engine has to come out for anything) to test out the colour and my technique. Looking good so far I think. The colour does not match the original that well but looks really cool. Deep, dark blue inside but more purpleish and grey outside in the bright sun. Quite hard to capture in photos.1 point
-
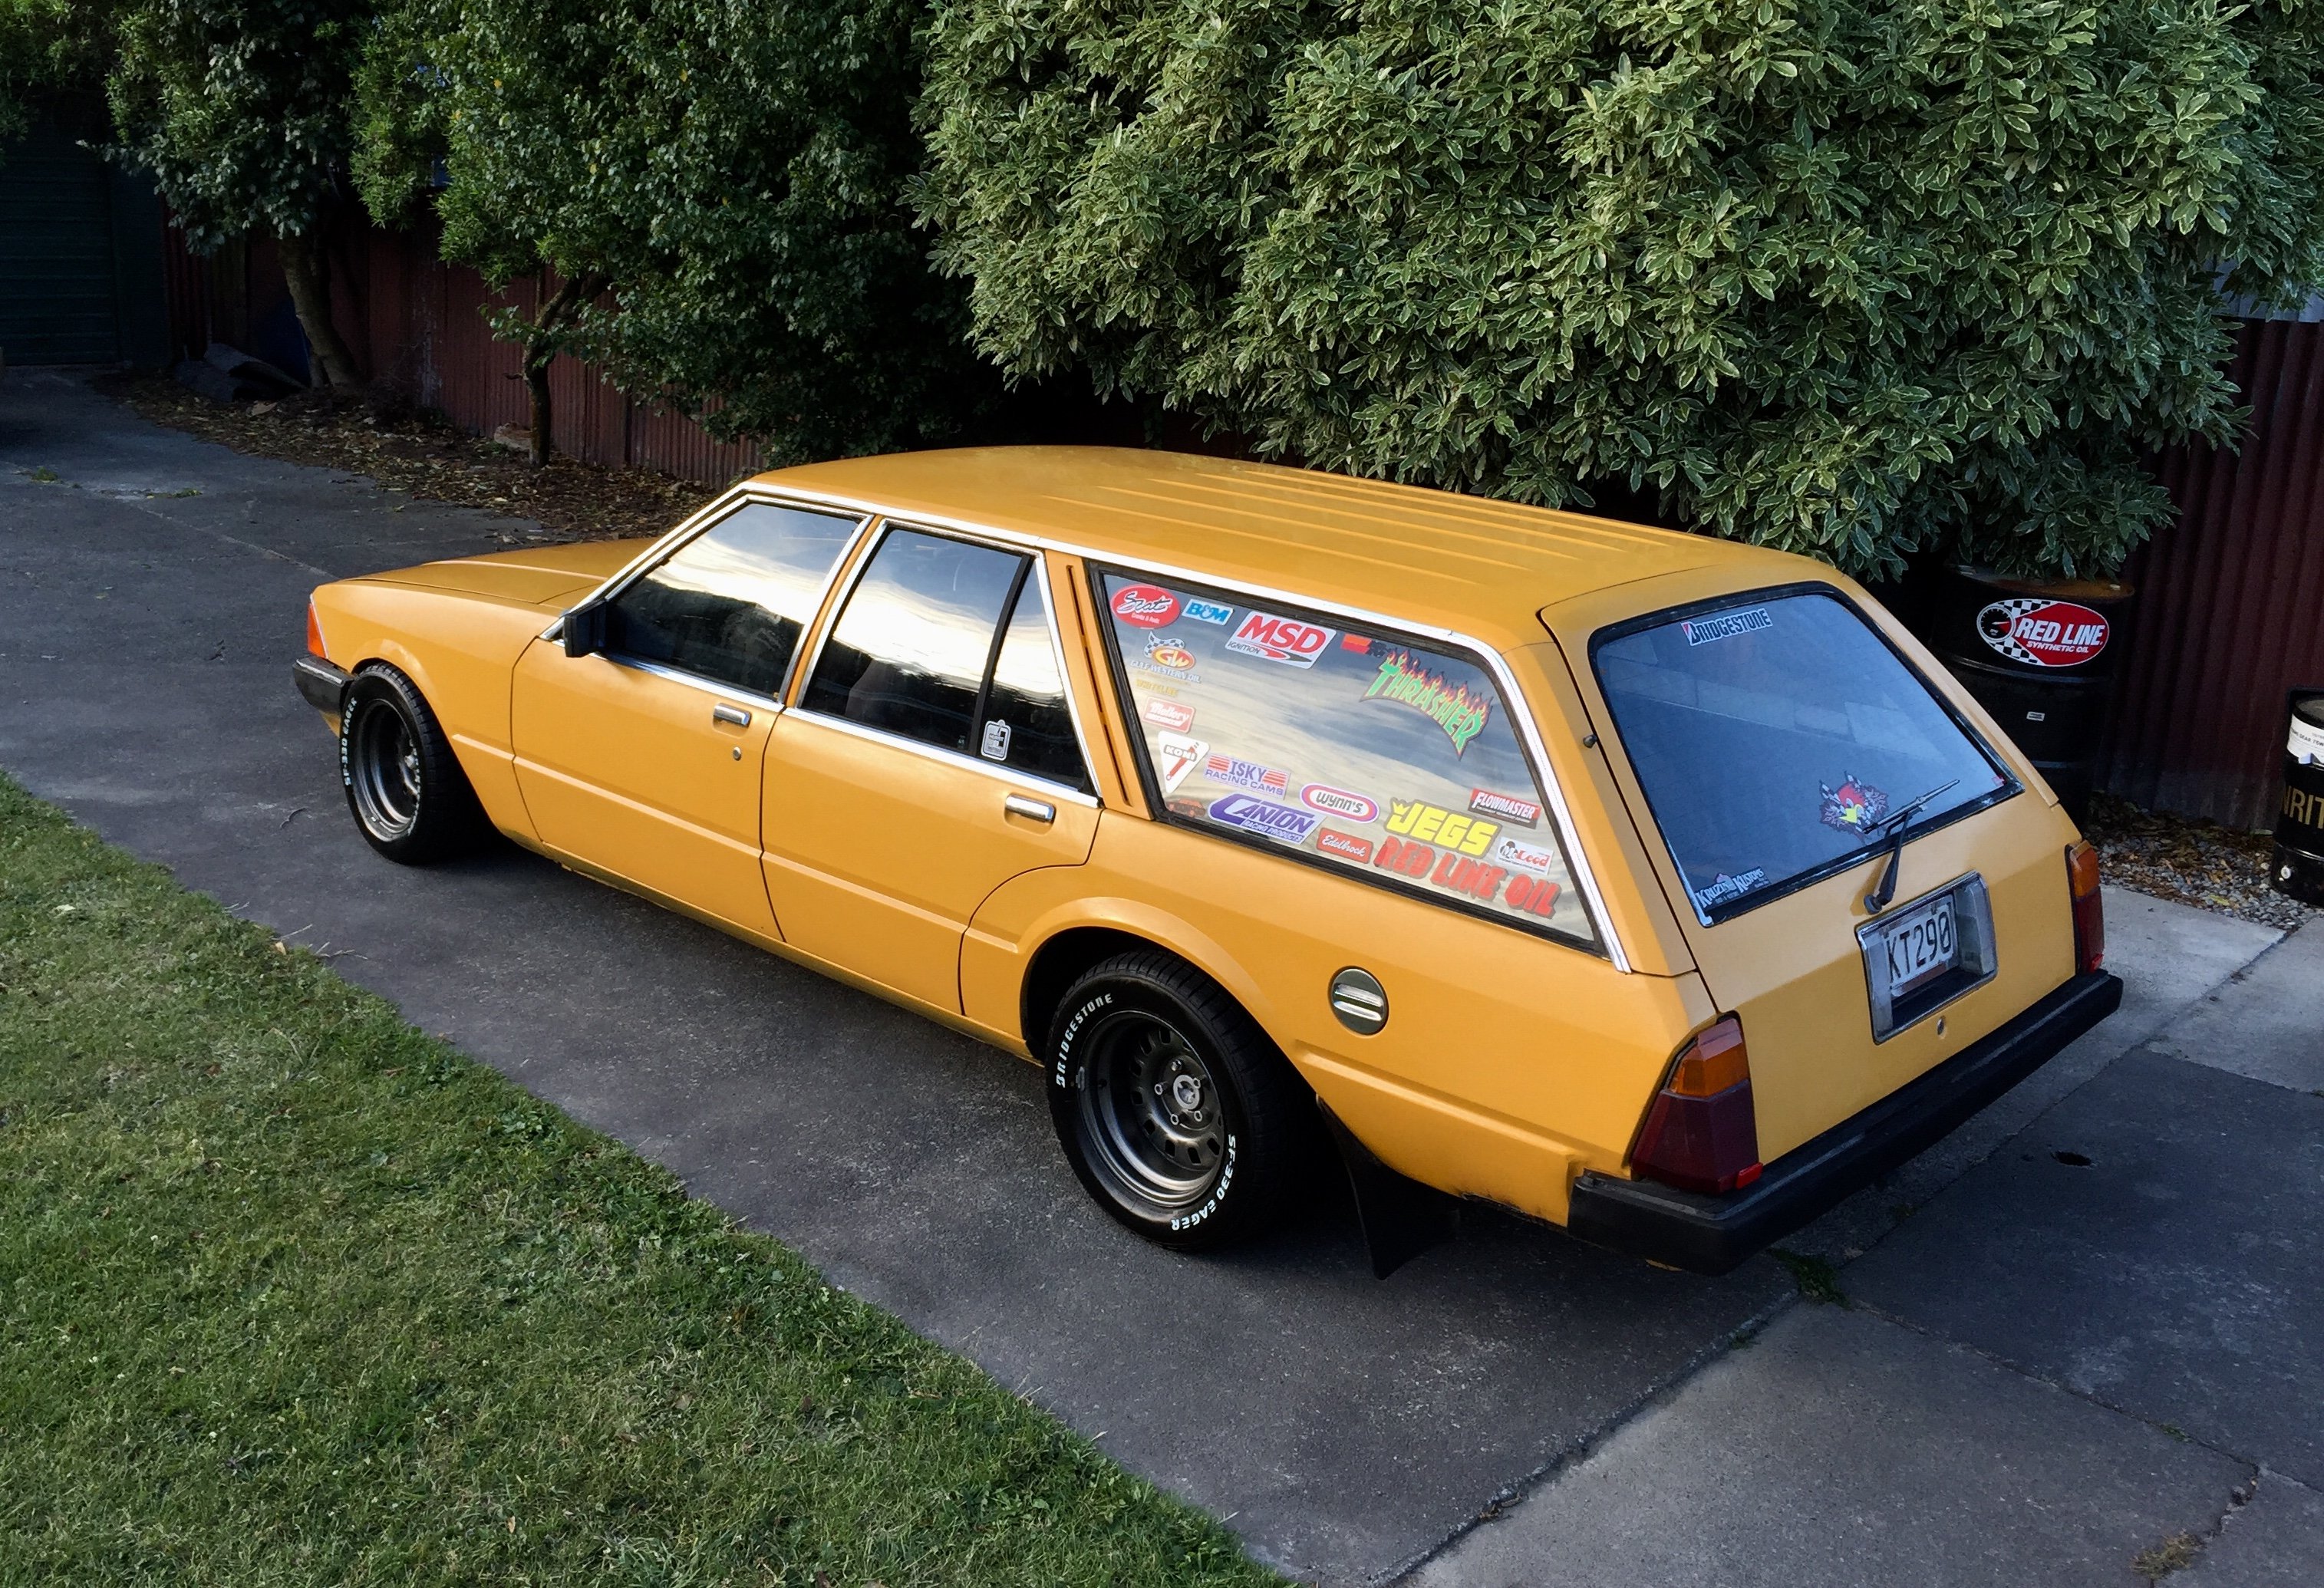
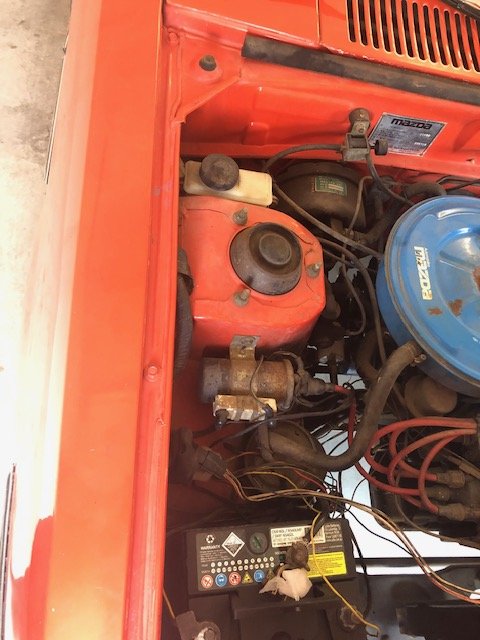
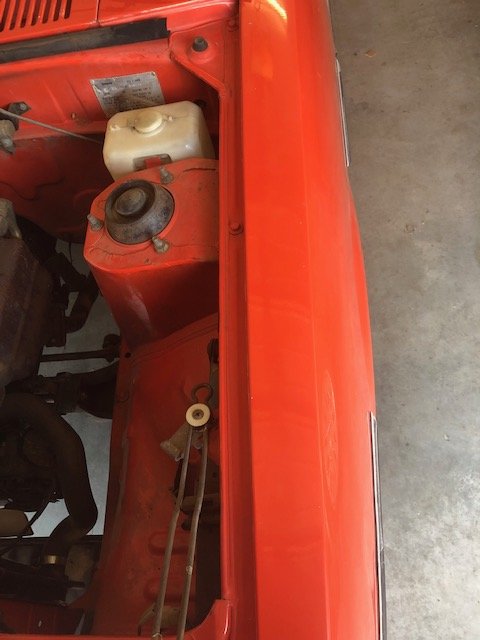
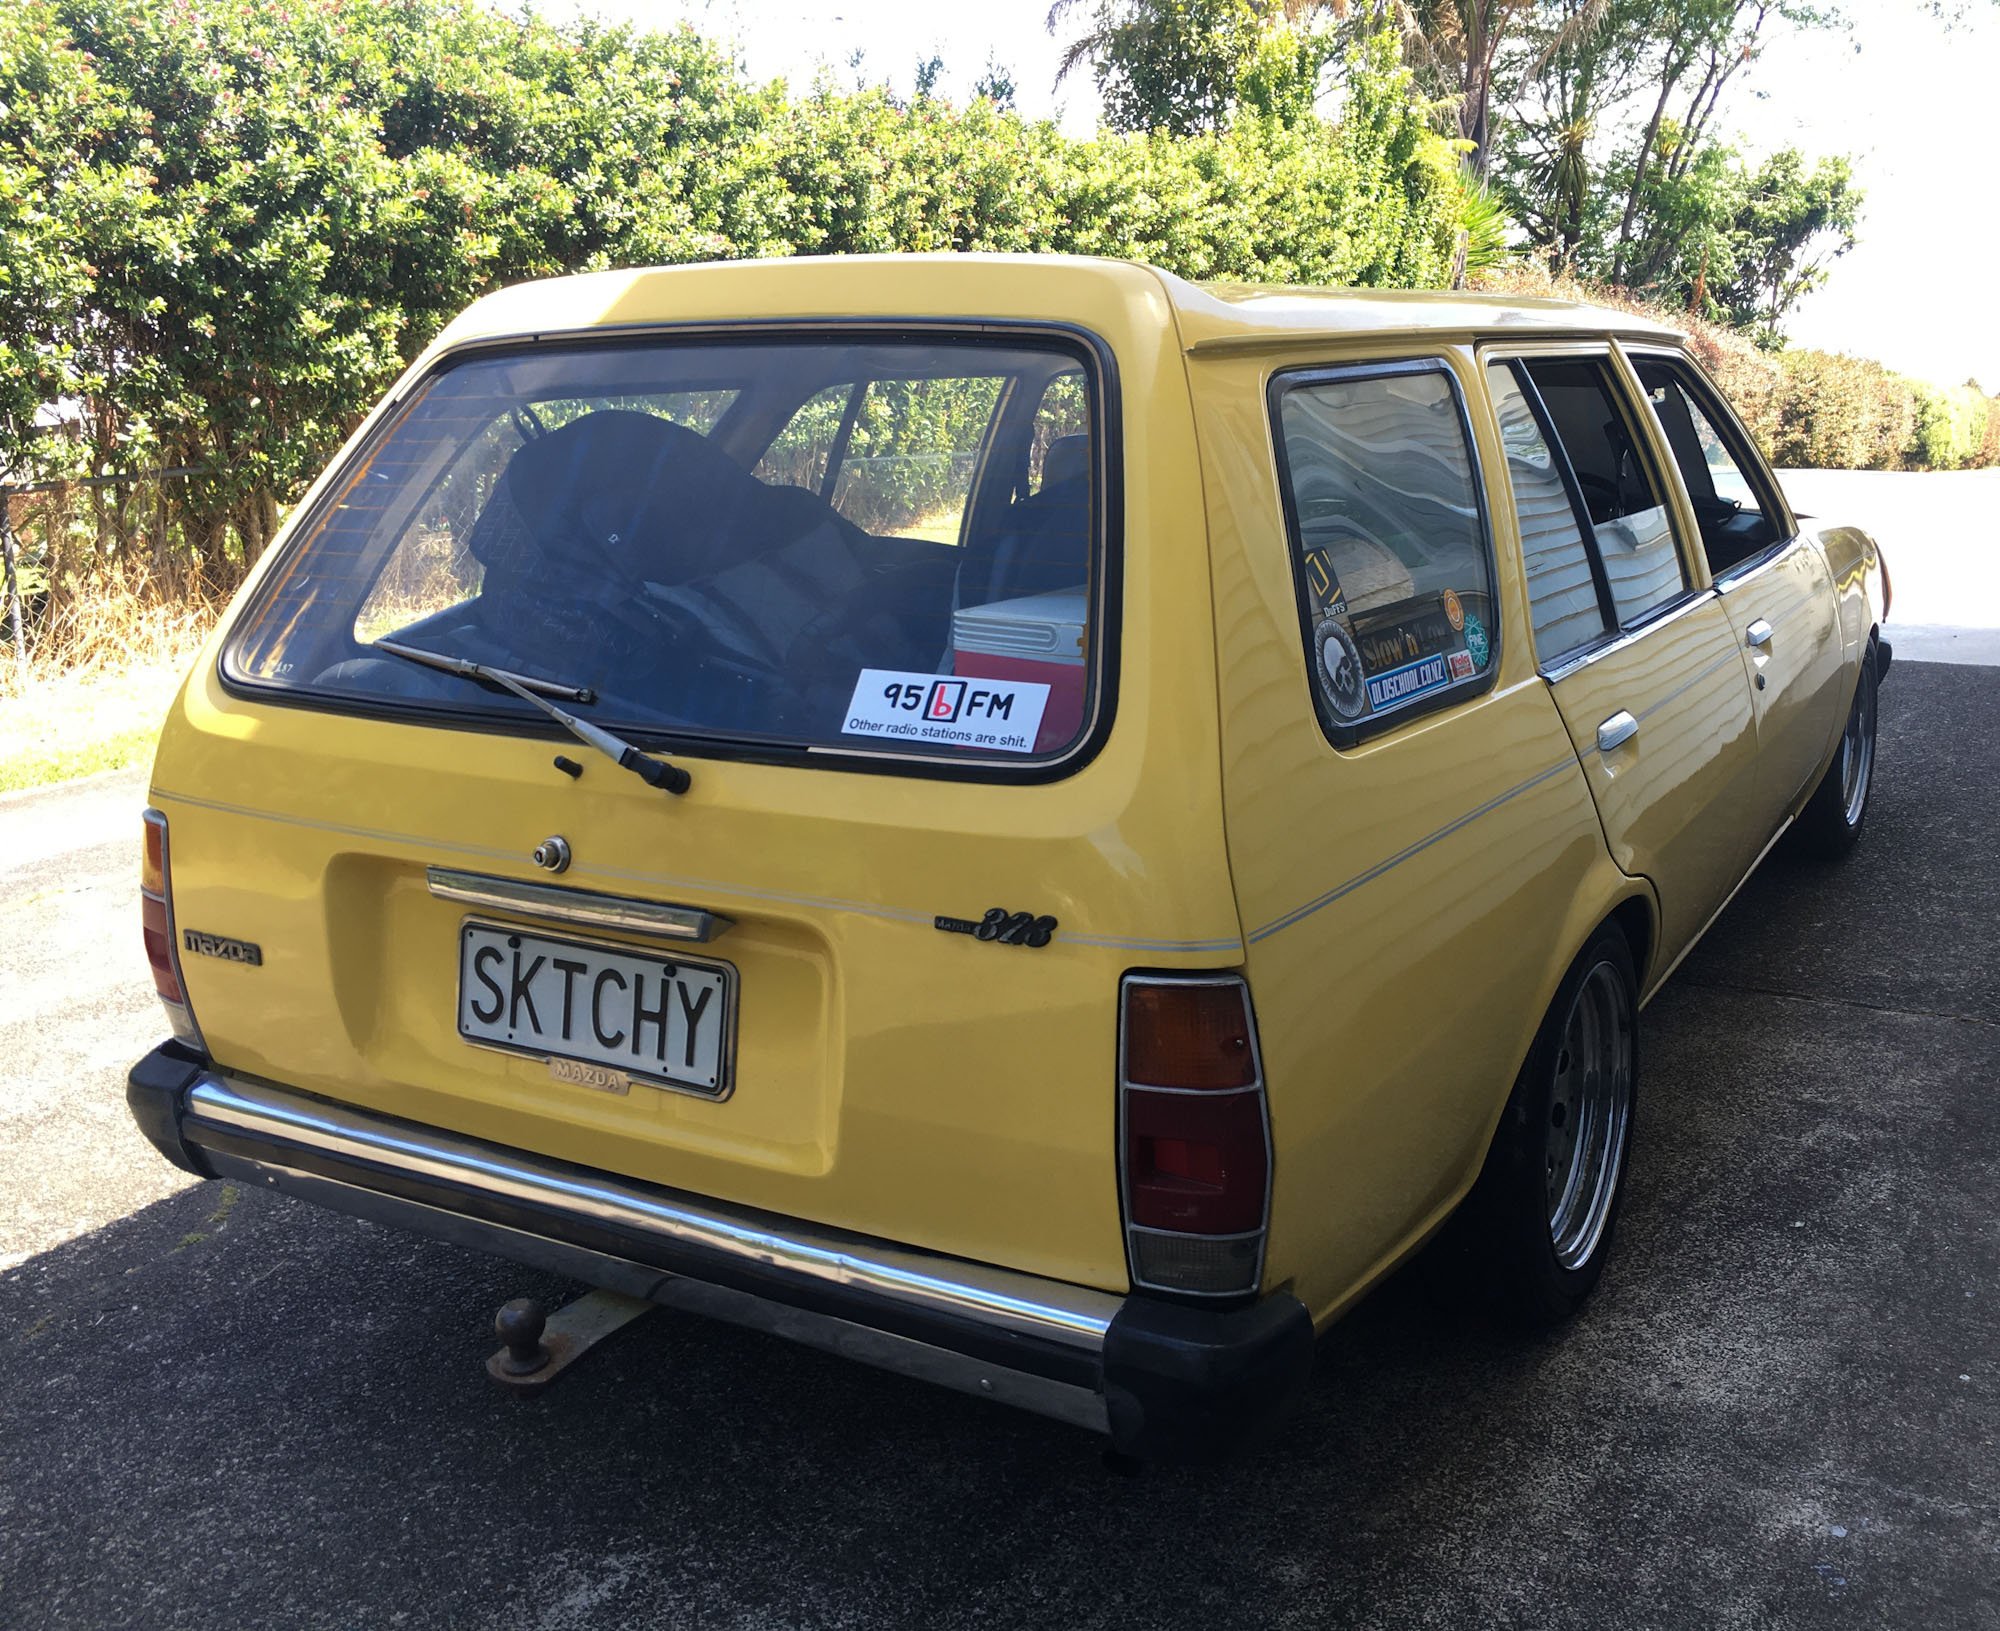
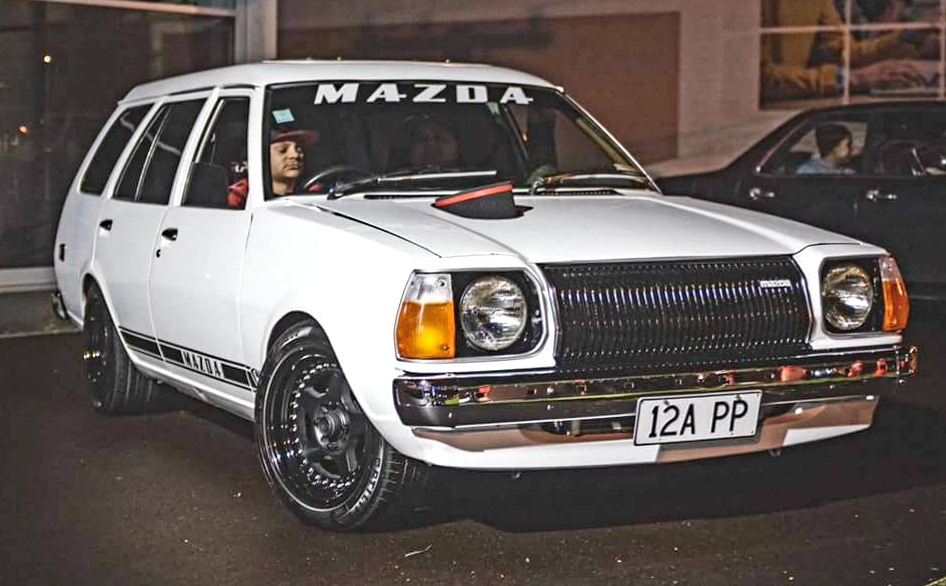
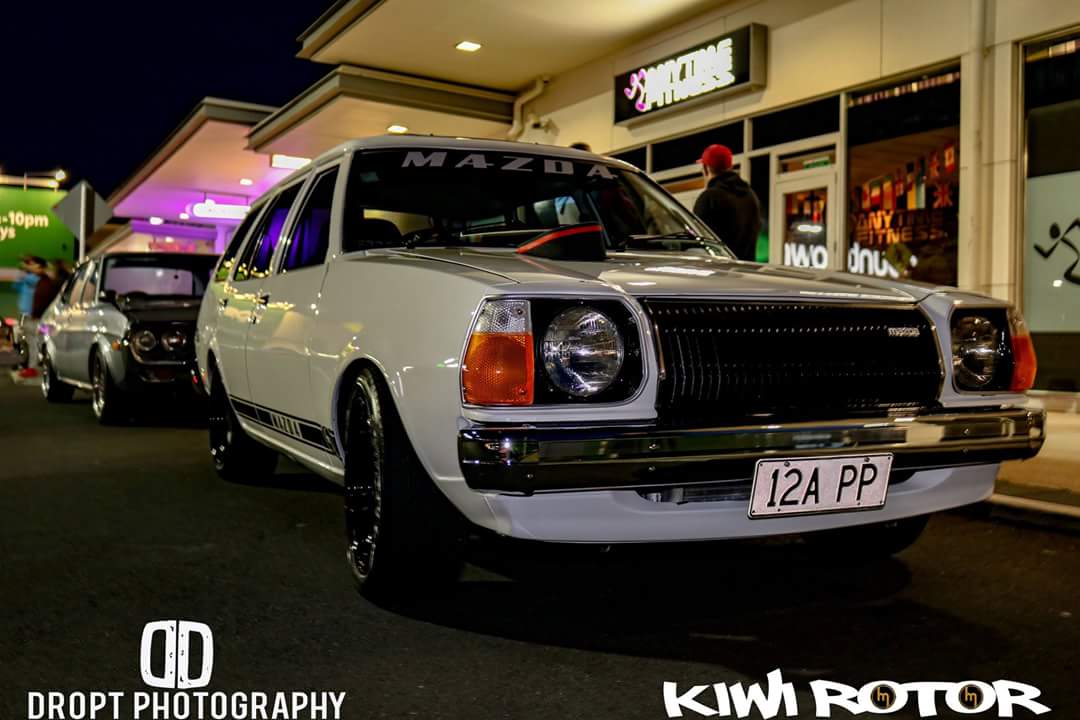
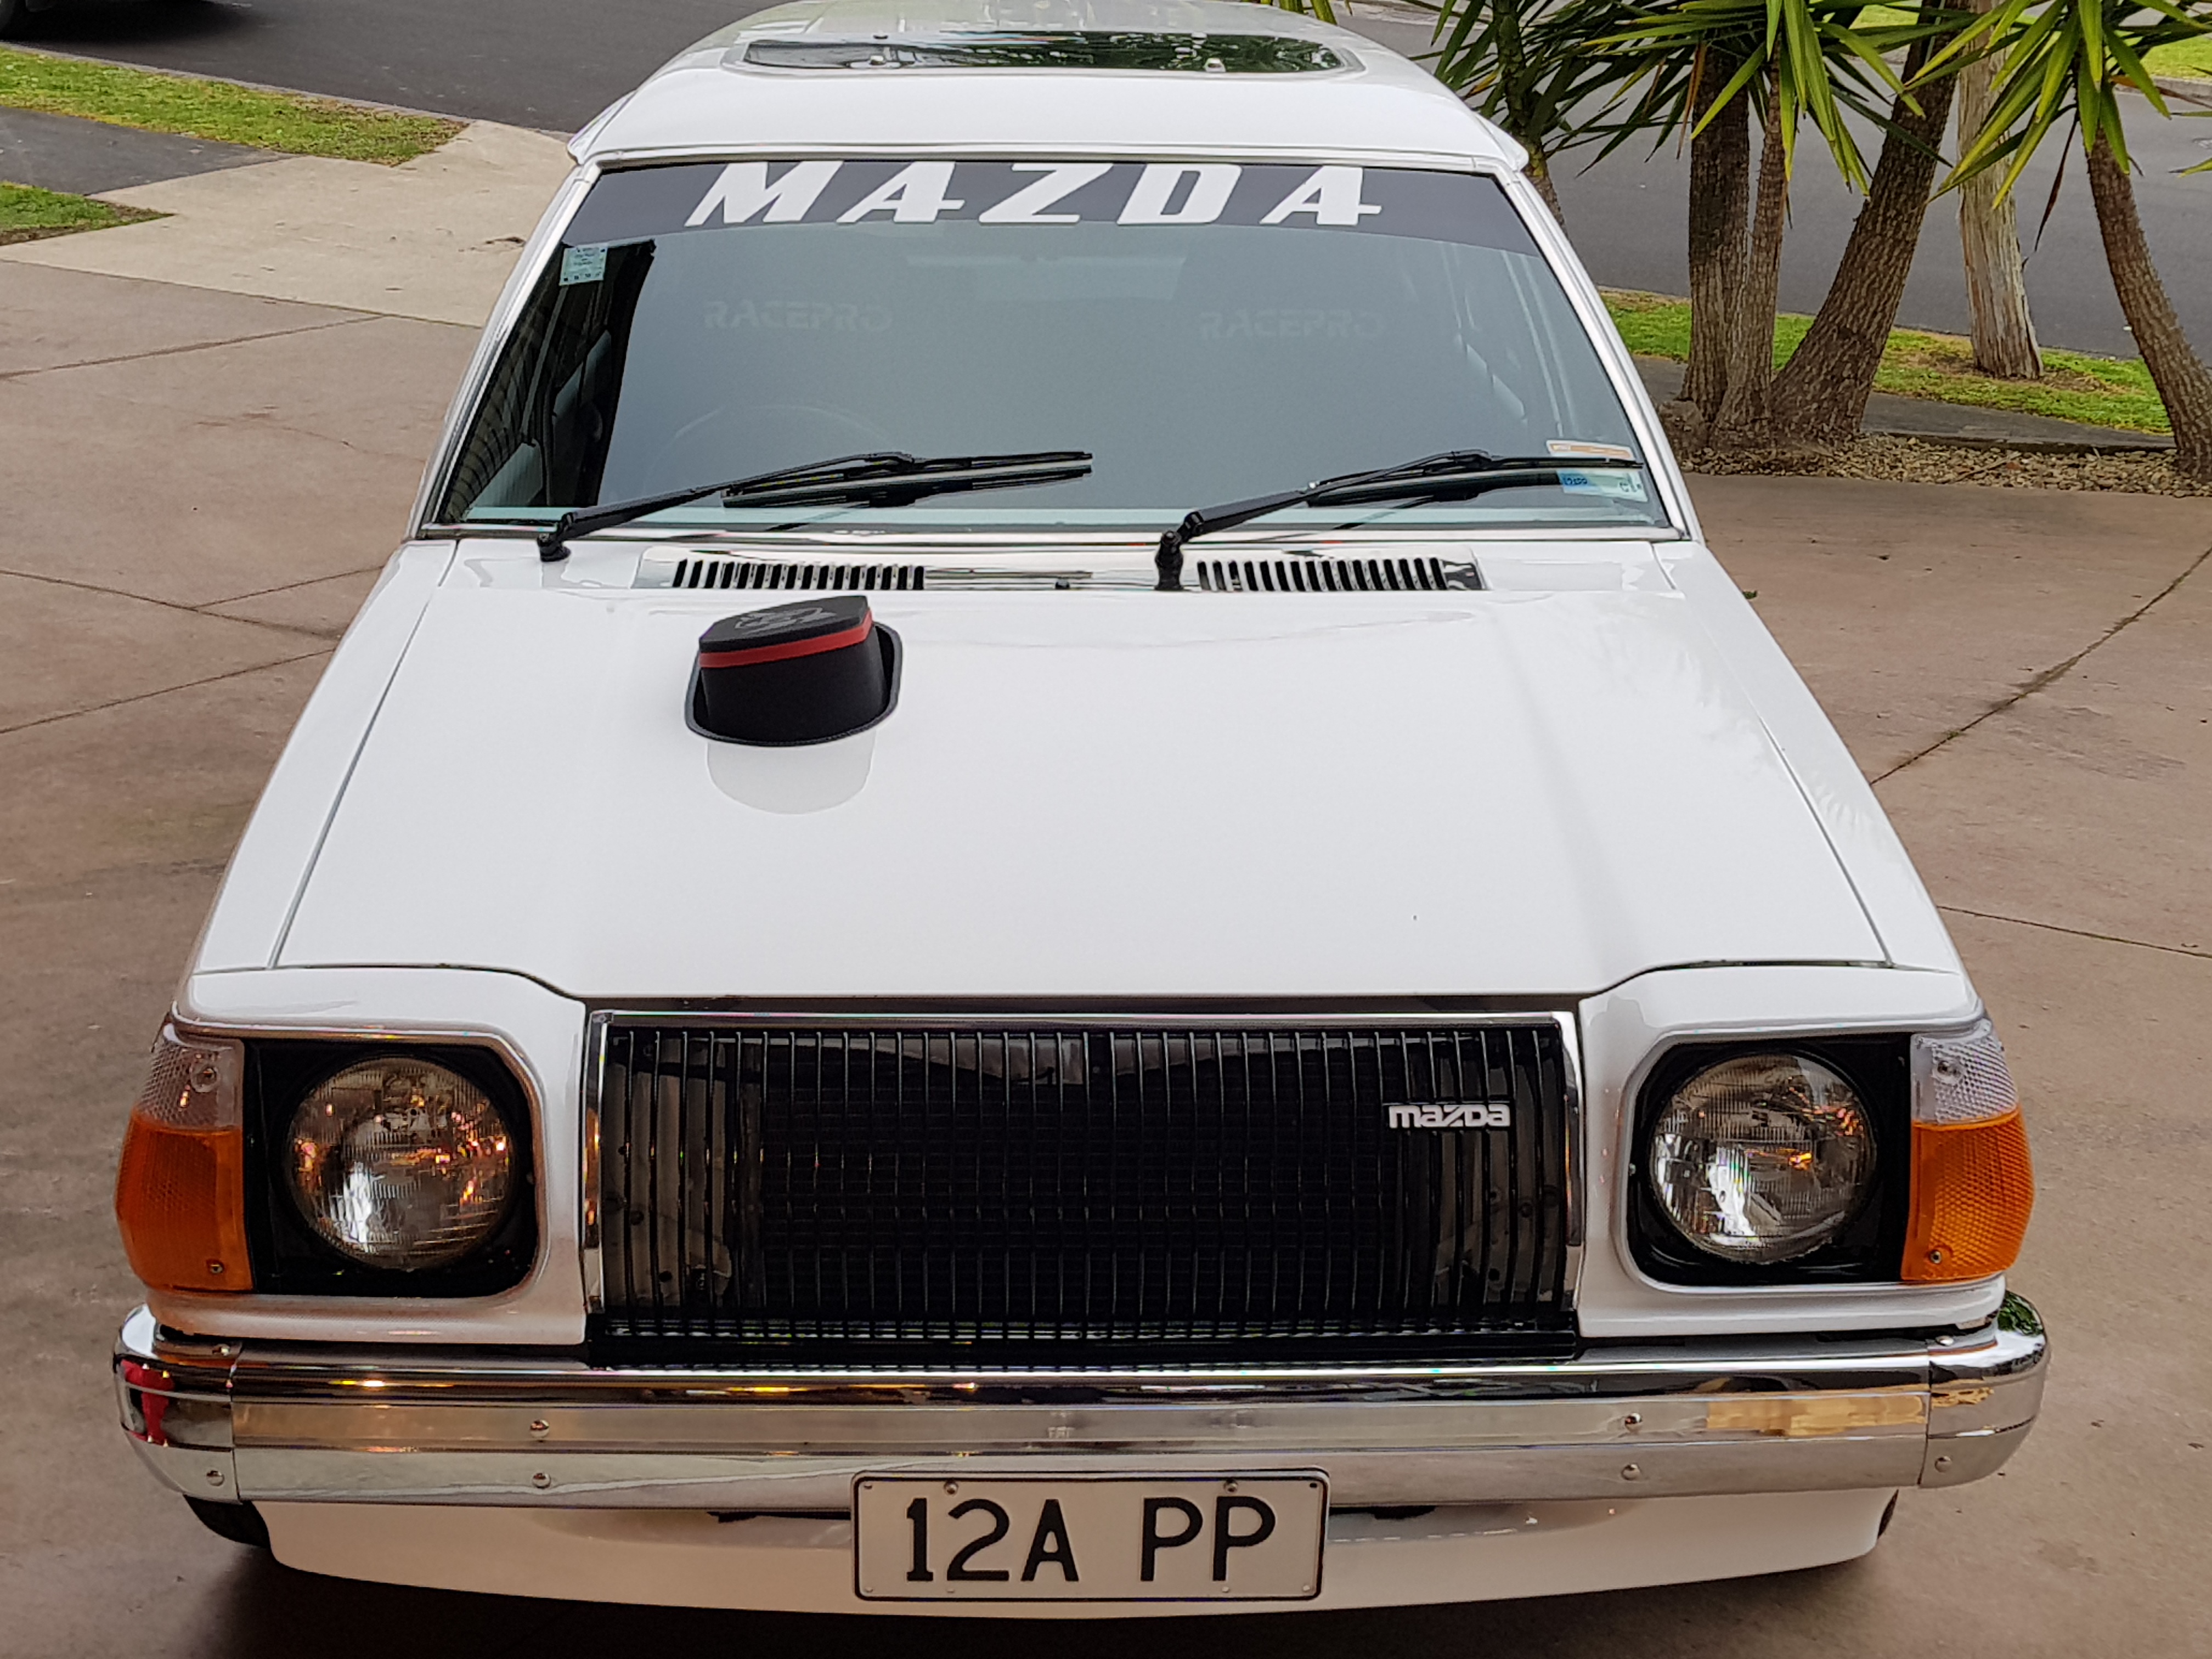
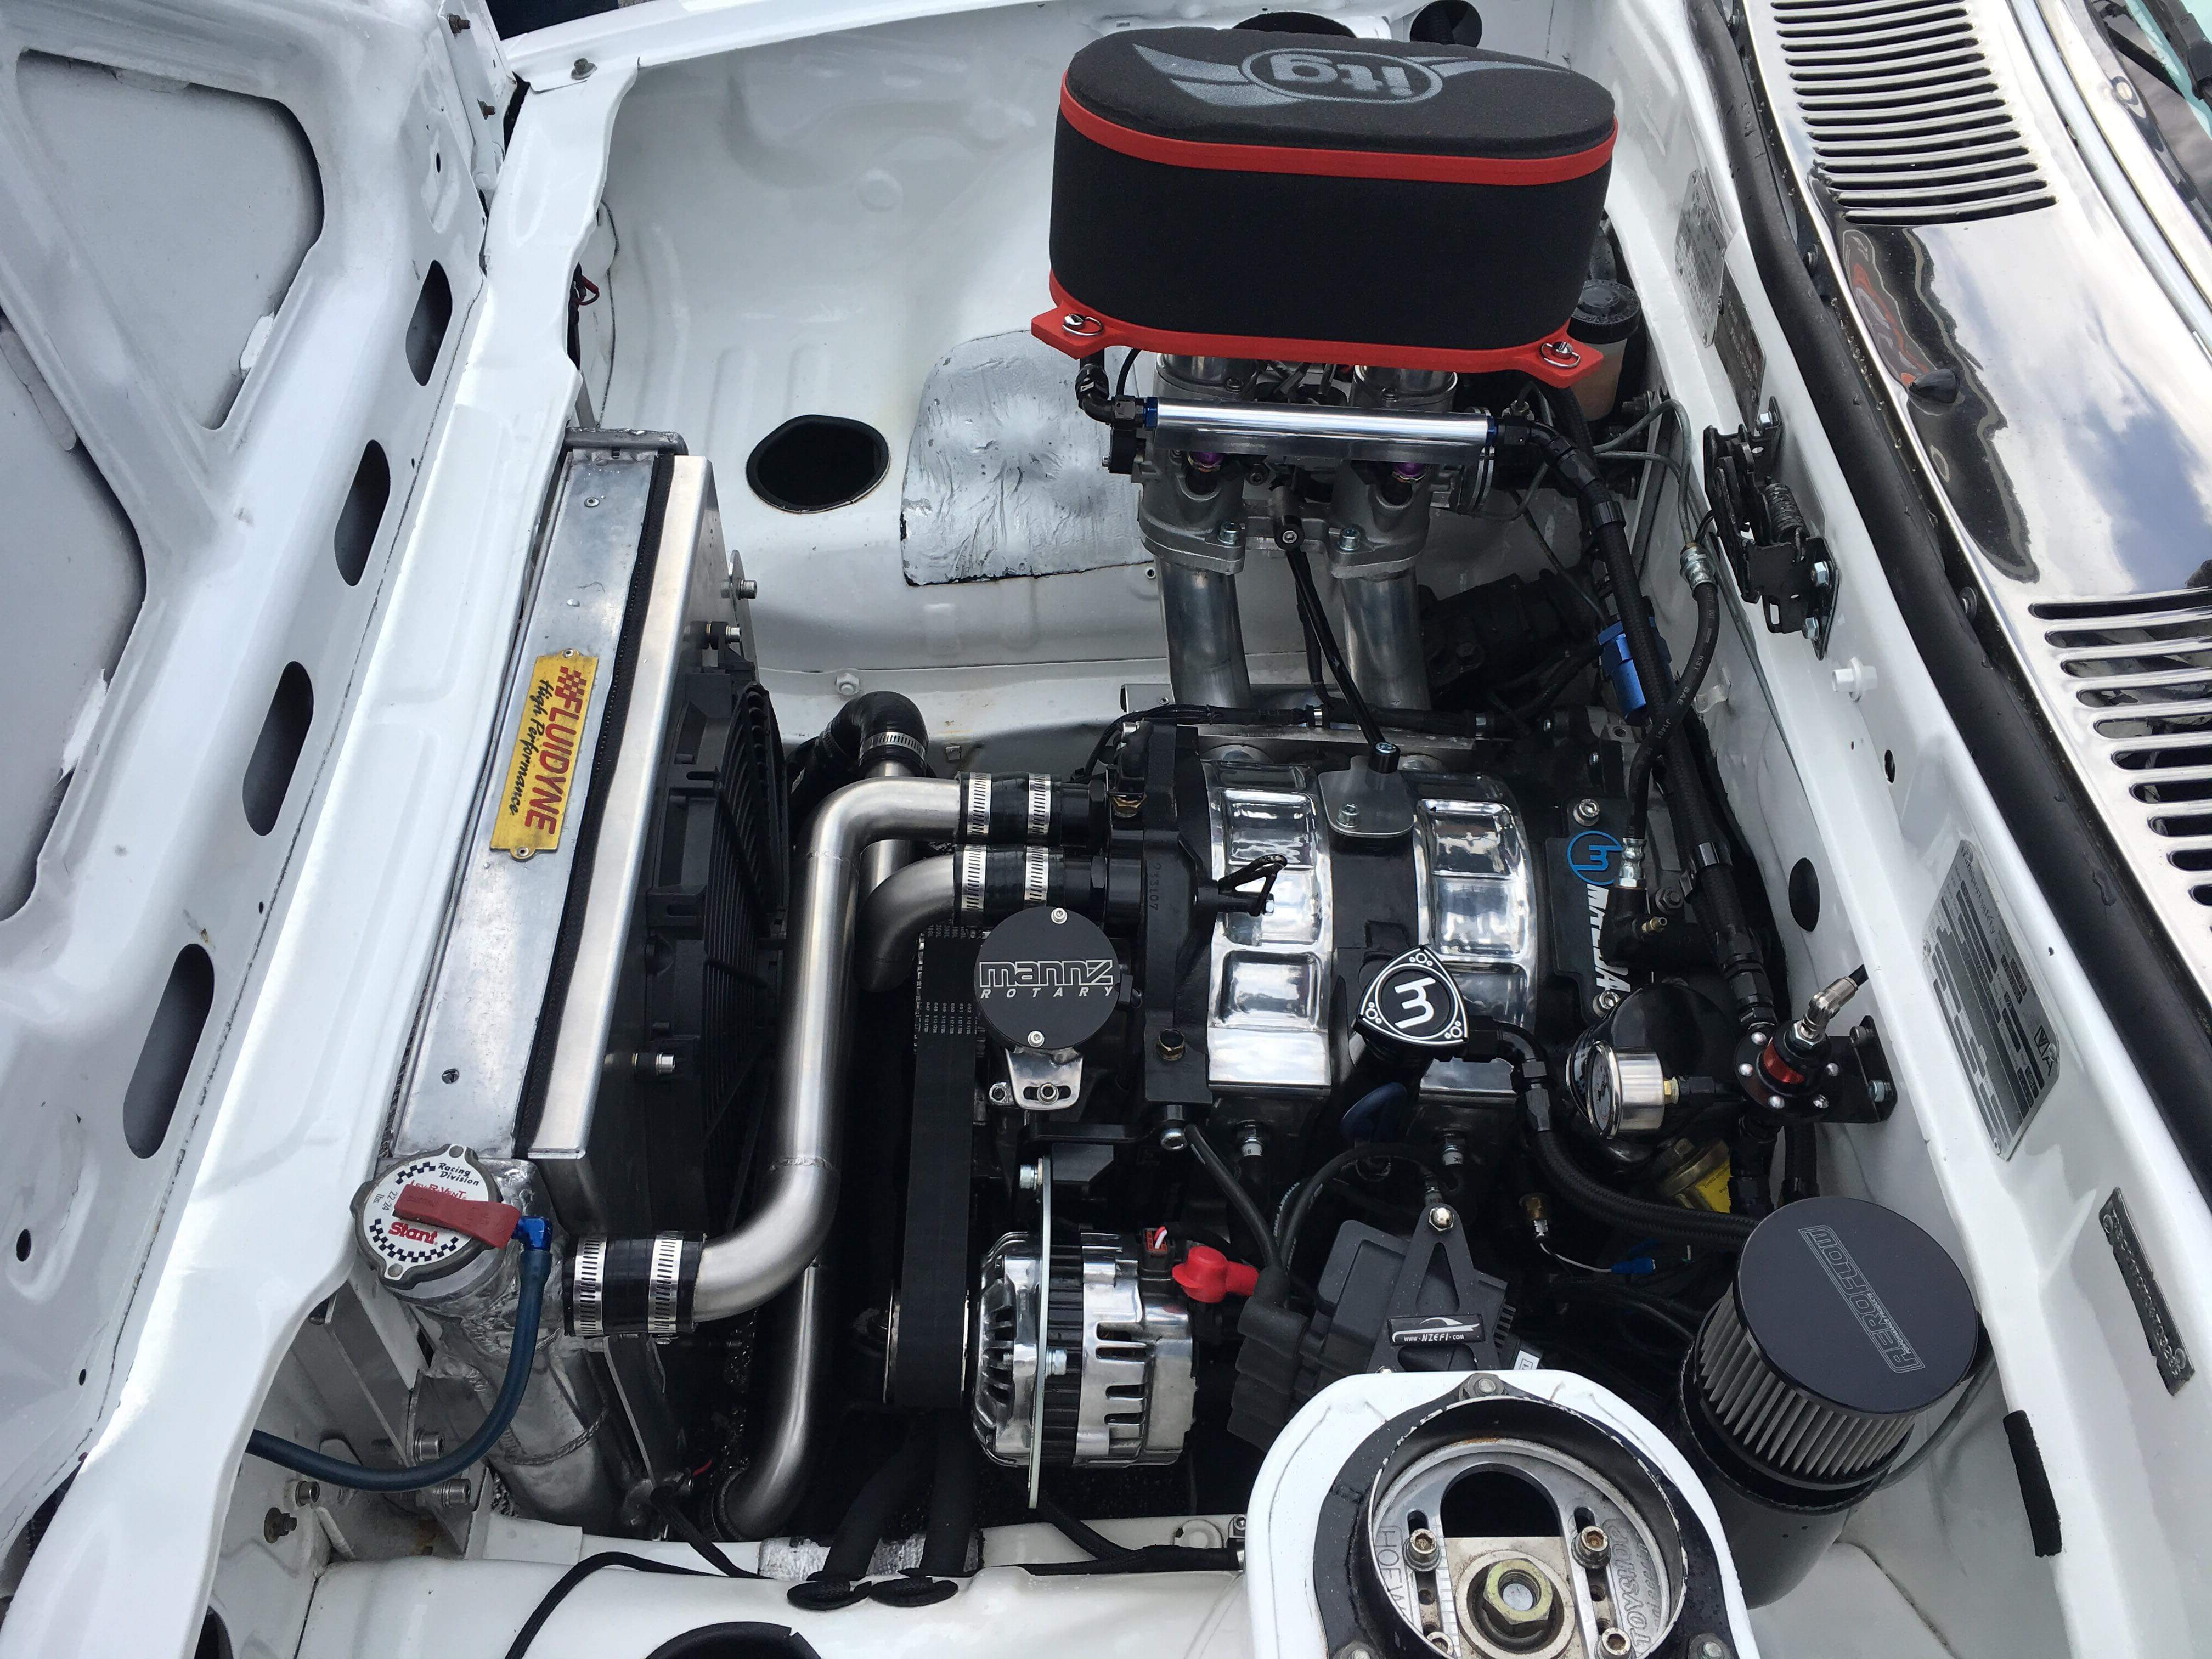
So this is the "misses" wagon we been doing up for a while. It has a lil 12a PP in that is now producing 281HP at the wheels fair to say for a little light wagon it goes alright. Put a rx8 5 speed box in it, hilux diff, Webber EFI injection setup and wired in a link Atom, redone the cooling system and fuel system. Full chrome bumpers, general clean up of lenses, big ITG filter out the bonnet and stainless exhaust system etc etc.
1 point
-
If anyone has use for a 30% off voucher for next purchase at repco next sunday 23/7 please drop me a line.1 point
-
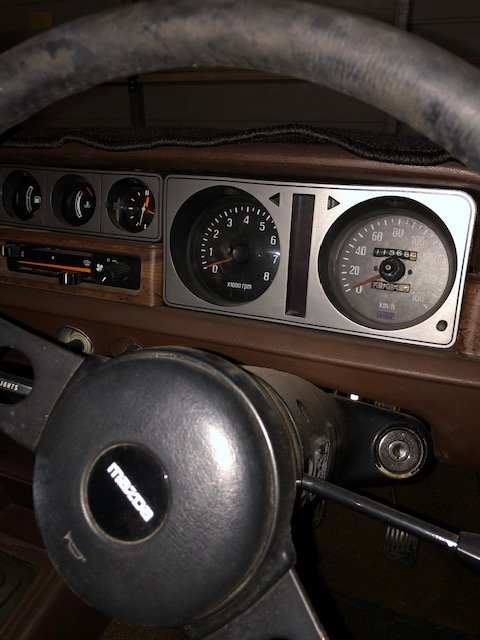
I've found that the centre console has been removed at some time in the past by a gorilla and it's a bit shagged. Things like tabs where you screw them down have been smashed off and are long gone. What's the best way to rebuild them?1 point


This leaderboard is set to Auckland/GMT+12:00