
Leaderboard


Popular Content
Showing content with the highest reputation on 09/19/20 in all areas
-
Son has be harassing me for a green stone necklace so I made this in about 15 mins with a tile cutter disk
 4 points
 -
4 points
-
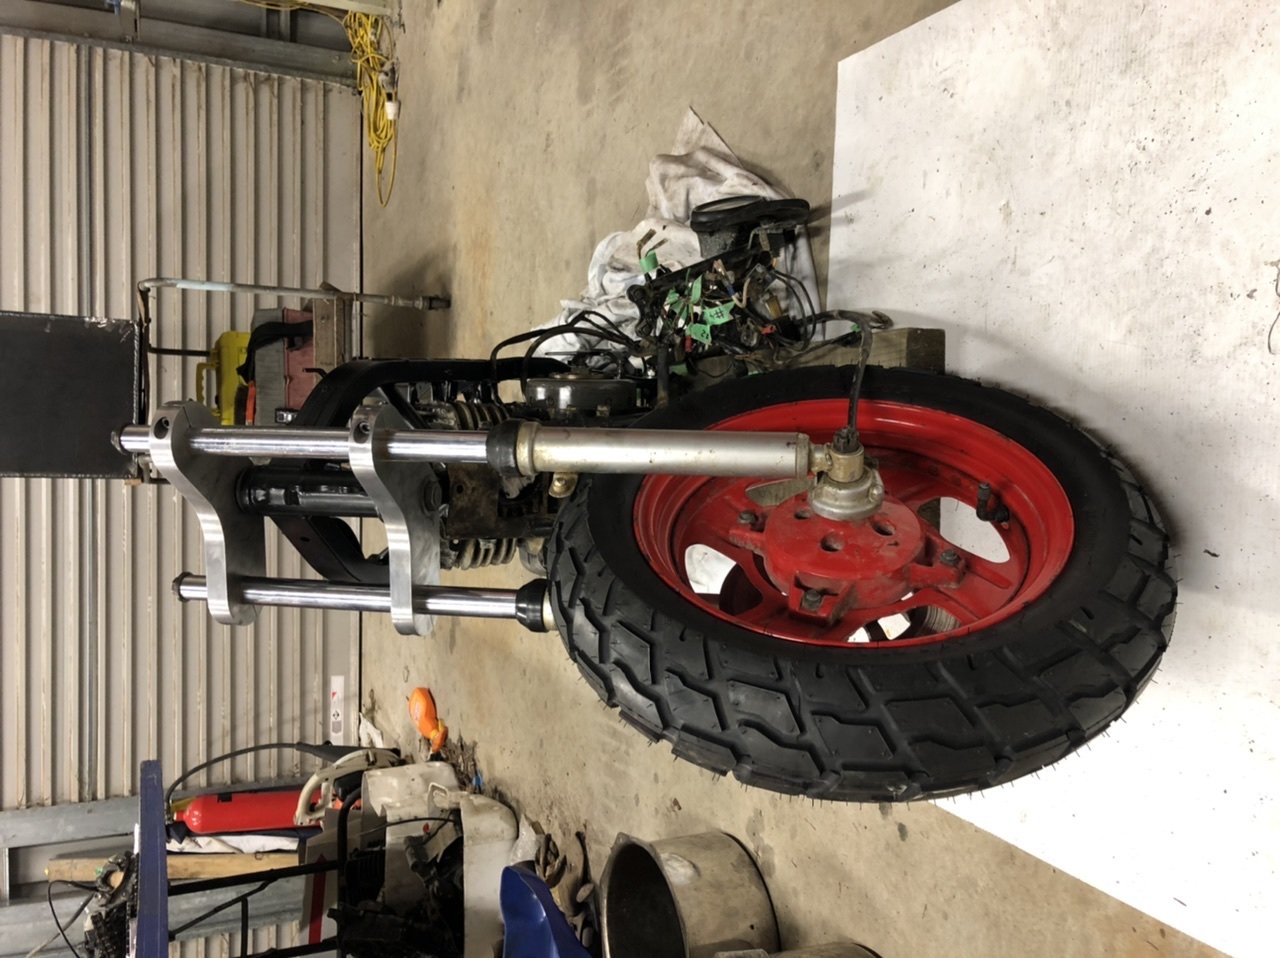
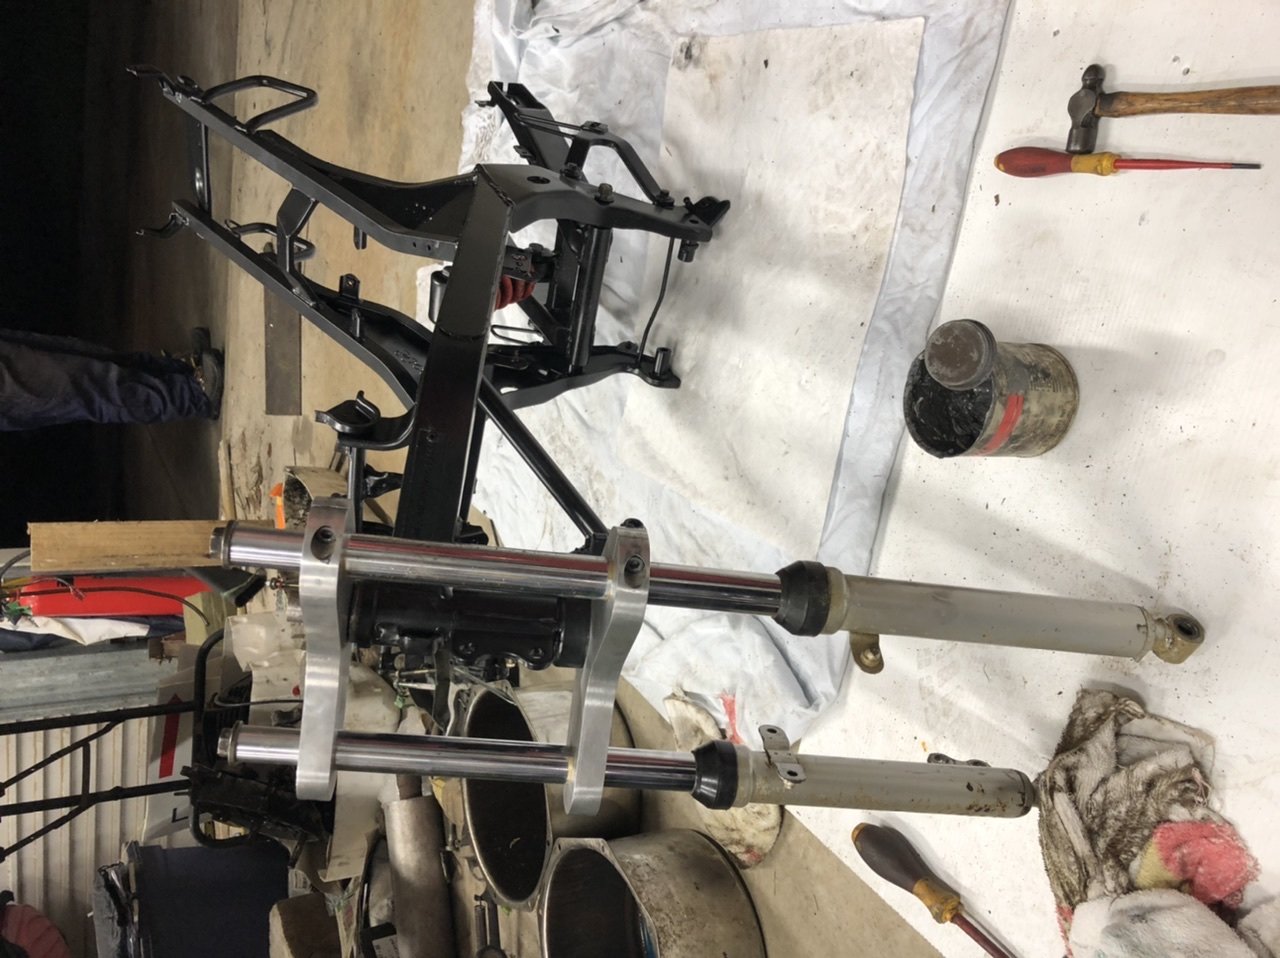
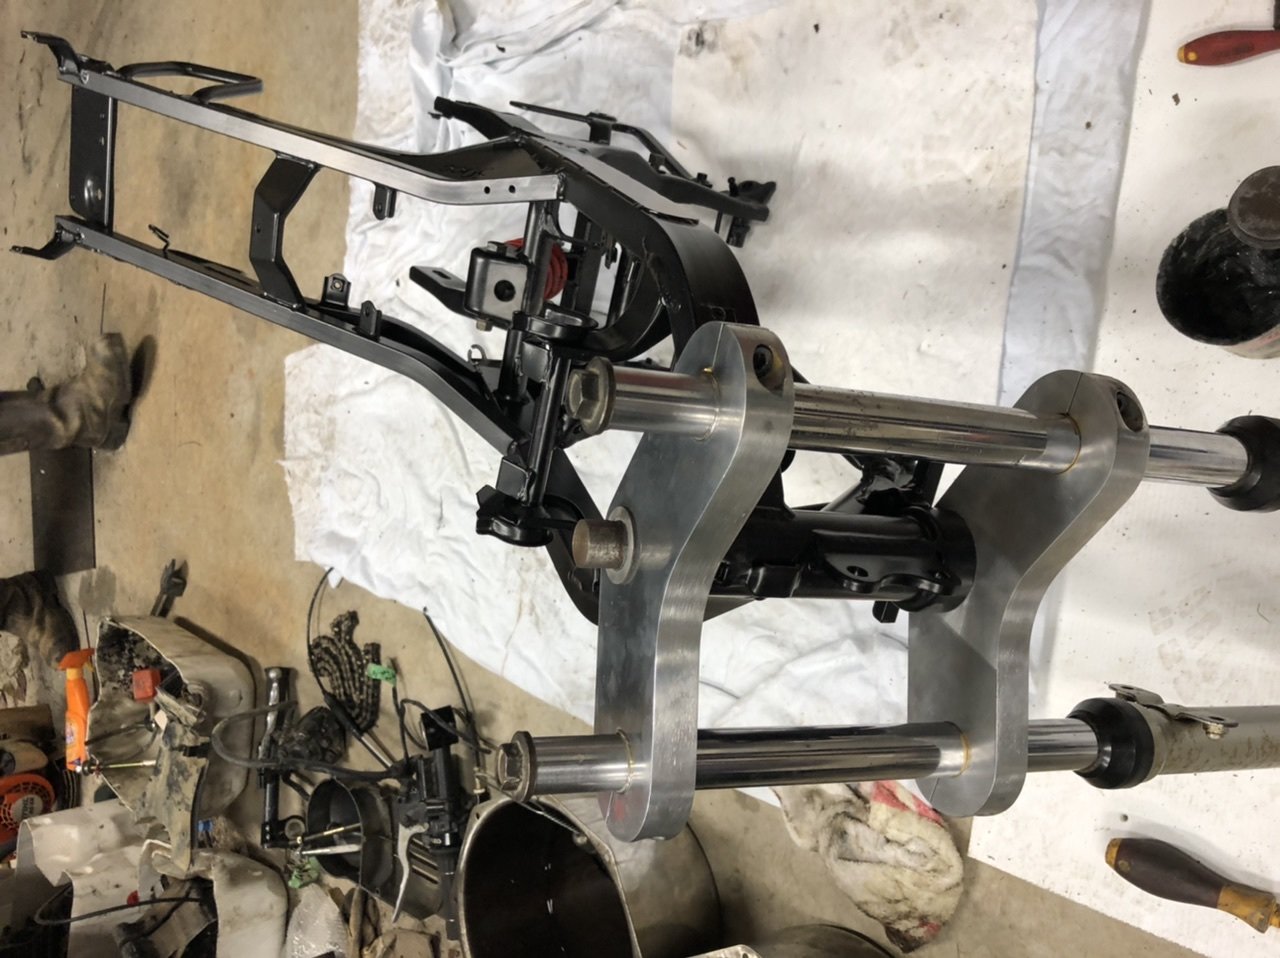
I've started collecting and making parts for this POS, to convert the rear to independent suspension, upgrade the front to the braked hubs, and get long travel shocks all round. Bits for the spool/centre drive thing, new taper lock sprocket, front disc off a CB250, and a flex plate and starter from a MAZDA 3. Also a 30mm shaft and bearings for it to live on, I got some MX5 axles and hubs too. The axles are quite small and light, and have a flanged end, so perfect for this, The chunk of hollow bar is to make new hubs, as the MX5 hubs are too big to fit in the quad bike rims. So I machined up some hubs that use the MX5 bearings, and will make doofers to connect to the suspension arms. I also made some adapters to go from the MX5 4x100 pcd to Yamahas ATV 115x4 pcd. I found some I had started making (can't remember what for?) out of 6mm plate, so hopefully they are strong enough, I also got a few 16 and 20mm rod ends for the front end, as that's how the barracuda hubs attach, Still lots to do, but slowly chipping away at it.4 points
-
Fuck yes3 points
-
I've brushed it quite a bit on repairs. Less cleanup that using a spray gun.2 points
-
You can roll it on with a nook and cranny roller using the fine felt or sponge cartridges. Got a mate who's in the industry and they do it that way sometimes (when someone else's in the both) comes out pretty good apparently..2 points
-
Yeah, sorry, I wasn't paying enough attention. I saw etch but I was actually thinking epoxy in my head. Derped it up.2 points
-
I got some in. Here's how these ones actuate the handbrake mechanism ... 1st 2 pics of what they look like with pads fitted. These next 3 pics are taken with pads removed and the handbrake levers showing their movement. Basically each lever presses against the steel backing plate of each pad moving them against the rotor. Might talk to @Taistormsometime about how to go about the handbrake setting up if I can't figure something out myself. But yeah, this is how the Wilwood Powerlite handbrake setup essentially gets it done.
2 points
-
Two part filler will react with single stage etch primer and it will fall off in the future, trust me.2 points
-
I mean, I could be wrong but that's the theory I use. Filler can trap and absorb moisture so I figure protect the steel, filler, sand, respray more epoxy if you rub through then sand and filler prime then sand then top coat2 points
-
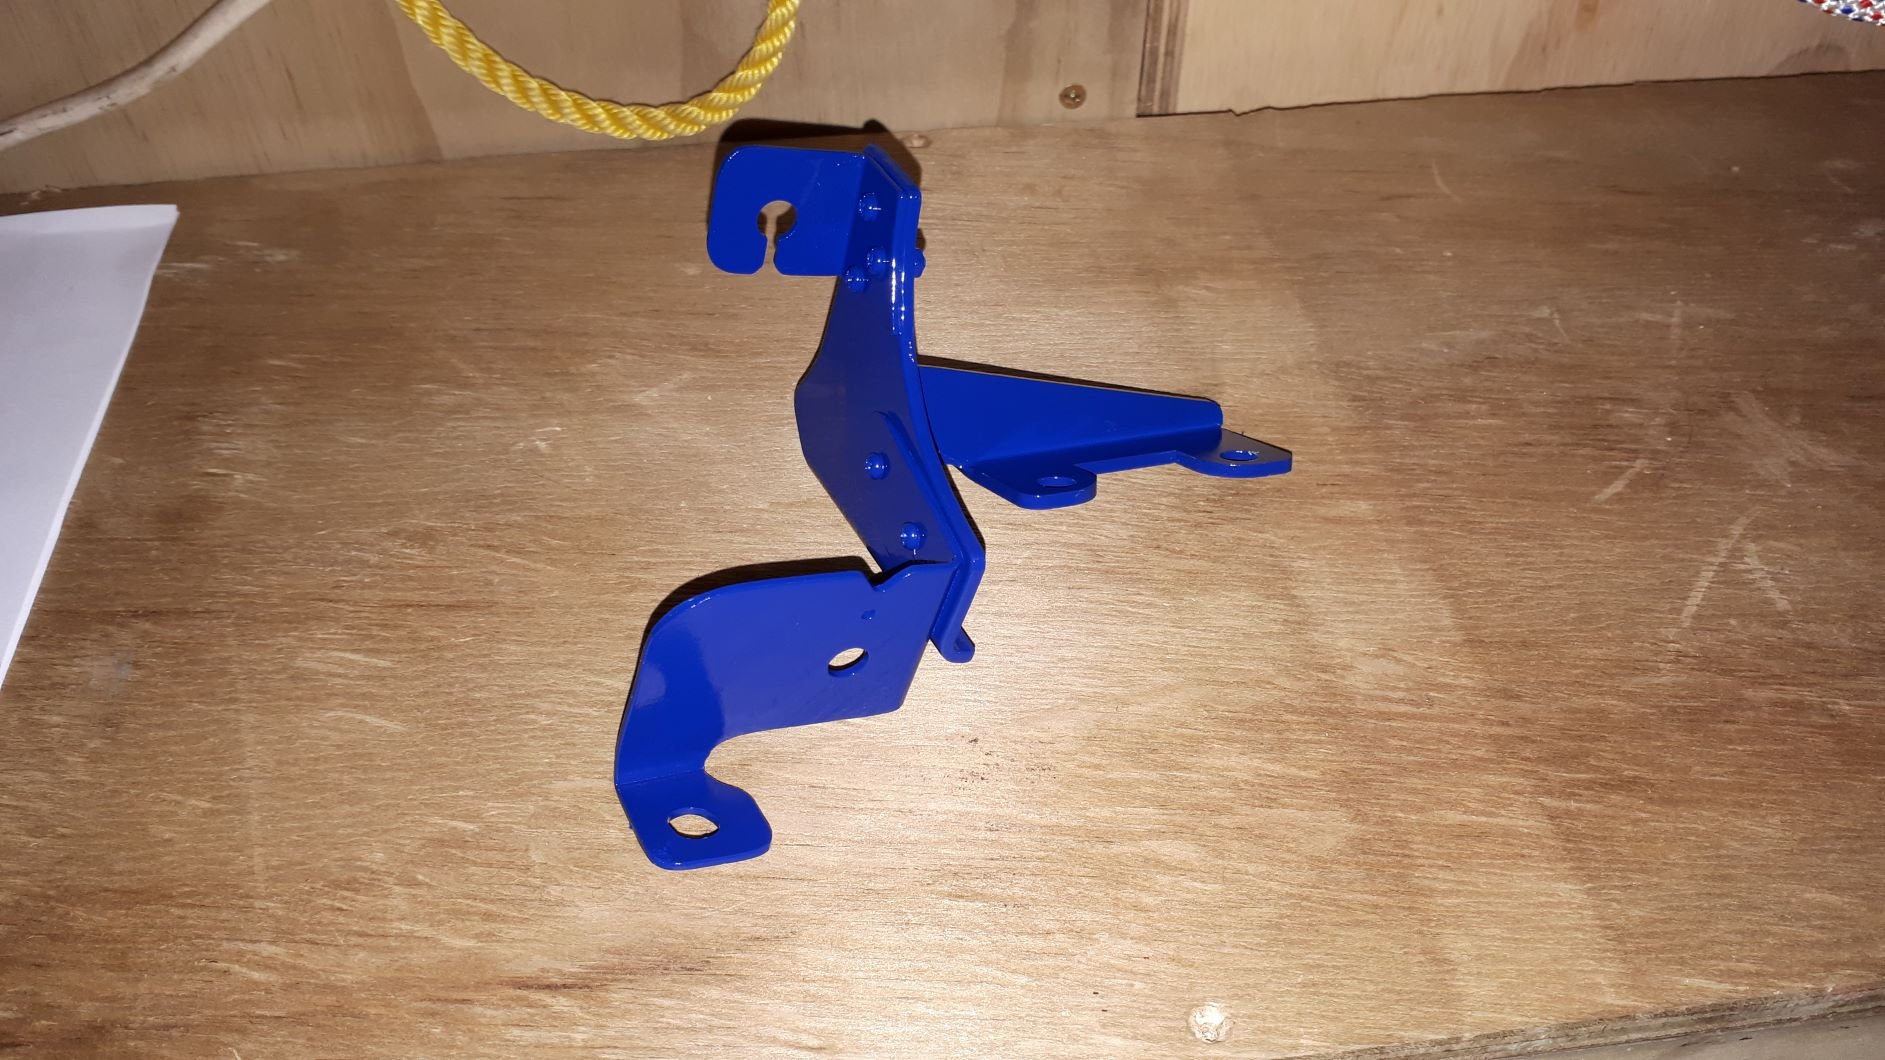
The throttle cable bracket took some figuring out but I got it all working with the factory cable.
2 points
-
Another 2 done. Worked well. I think 4 paper weights is enough for now. Time to move on to something big! For reference of where it goes. Houses cam gearing.2 points
-
I'm not gonna lie, it's pretty cool.2 points
-
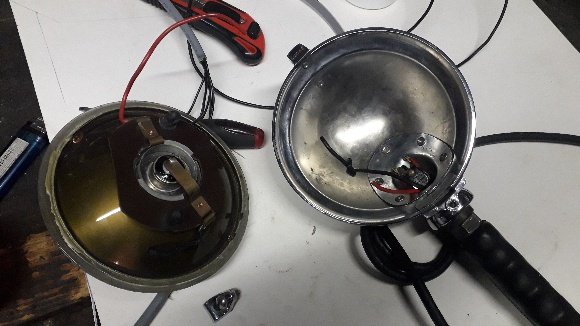
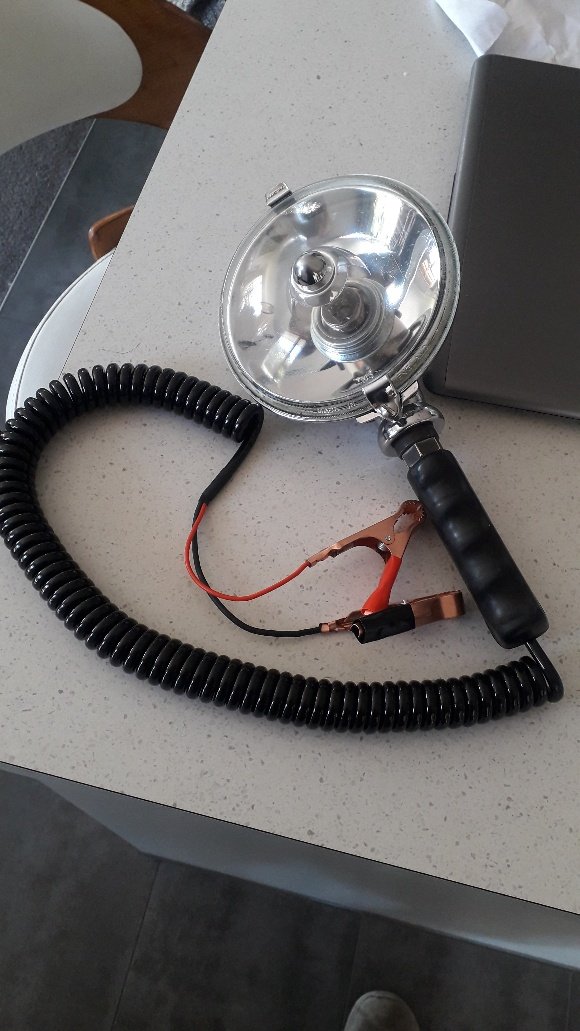
One classic lucas workshop light bought at a swap meet for $20. Blown to hell, I think someone put 240v in it or something, everything was melted. Some ali express goodness and a very expensive bulb. Seriously. The bulb was more than the lamp lol. Done. And it works.
2 points
-
Kerosene seems to be used a lot to thin out diesel for icy climates, it's also the go for thinning out waste vegetable oil fuel I've read.1 point
-
most of them are very self leveling1 point
-
Bro soo stoked for you b such a long time in the build makes the first drive a treat. Looking forward to a cruise on full doorts well done brother1 point
-
That's my understanding. 2 pack epoxy on bare steel, sticks like shit to a shovel and seals it, then fillers etc...1 point
-
The market and information is all fucked up for the hobbyist car painter. The professional grade manufacturers really don't want you using their shit, you will most likely use it wrong and its kind of a dangerous good. The parts stores can't really fork out 2 part paint to every retard so they sell cans of paint technology from years ago, there is no system, no real data sheets its crap. Add all that up and you have a toilet of information. Go watch what a body restoration guy will use, all 2 part products that we mention on old school twice a week. You can do everything with 2 part epoxy primer, seal metal, seal your bog (under and over) , you can wet coat it, you can brush it on, it doesn't sand very well but you can block out for a top coat on it if you wish. It doesn't have isocyanates like Urethane paint so its not deadly. It is the staple tool in doing any body work on a car. Etch primer is old as fuck, it doesn't seal anything, you do not bog on it. throw it in the bin.1 point
-
Fuck it's beyond great that this little fucker is running and driving again and so massively upgraded to Richie standards. So. Fucking. Good.1 point
-
You can bog over 2 part epoxy just fine, if you are buying a modern filler like evercoat etc it does not trap moisture and the data sheets say its fine to use on bare metal. Just epoxy prime it after you have done the work don't drag it out and leave metal and filler open to the world for ages. Either filler on bare metal or over epoxy primer, then seal it up with epoxy. If you use any single stage paints I will stab you, rattle cans go in the bin.1 point
-
Etch prime first so there's a barrier from moisture against the steel.1 point
-
Putting some paint on first shouldn't hurt.1 point
-
Can tell Trev's middle name is Barry by his use of an adverb in front of remember.. Either that or he's a boomer, prob both.1 point
-
I'll bring the Sierra. Which technically means I'll be walking from about Woolston.1 point
-
No Mitsubishi parking!1 point
-
I'll park my car right at the end of the drive to keep everyone on the road.1 point
-
Let me know if you want one laser cut1 point
-
This is for the NBC boys:
1 point
-
And today the bulkhead connector has arrived. So stoked to have this piece of gear.1 point
-
So yeah I don't really update this at all, not much has happened since my last post in 2017. Had to use Google to find this build thread because OS search sucks. For the first time in over 5 years this is now living in the same house where I live. Amazing. I might even use it over summer. It doesn't fit down my driveway though so I'll have to make a small ramp to avoid it getting bellied. Was a three plank job to get it down today when it arrived. I might do some stuff to it as well. Check back in 2023.
1 point
-
Yeah, satisfactorily neat and fantastic.1 point
-
highlight of day seeing startup vid on the gram, well done ol chap1 point
-
Been a long time no update but anyway thanks to Stu and Sheepers and Nick the Sparky this is where we are at. Weird. Went pretty smoothly, it's spooging a bit of oil out the breathers on the top but I guess once it's run in that'll settle down or it'll just keep doing it cos 4AG life. I have 5 forward gears, a clutch that works and some brakes so with a few hours checking things and tidying up small jobs there's nothing stopping me from going for a wee drive. Oh the thermostat doesn't seem to be opening but that's not really a big deal to sort out hopefully, it might just be old and stuck, or new and stuck, as the case is.1 point
-
1 point
-
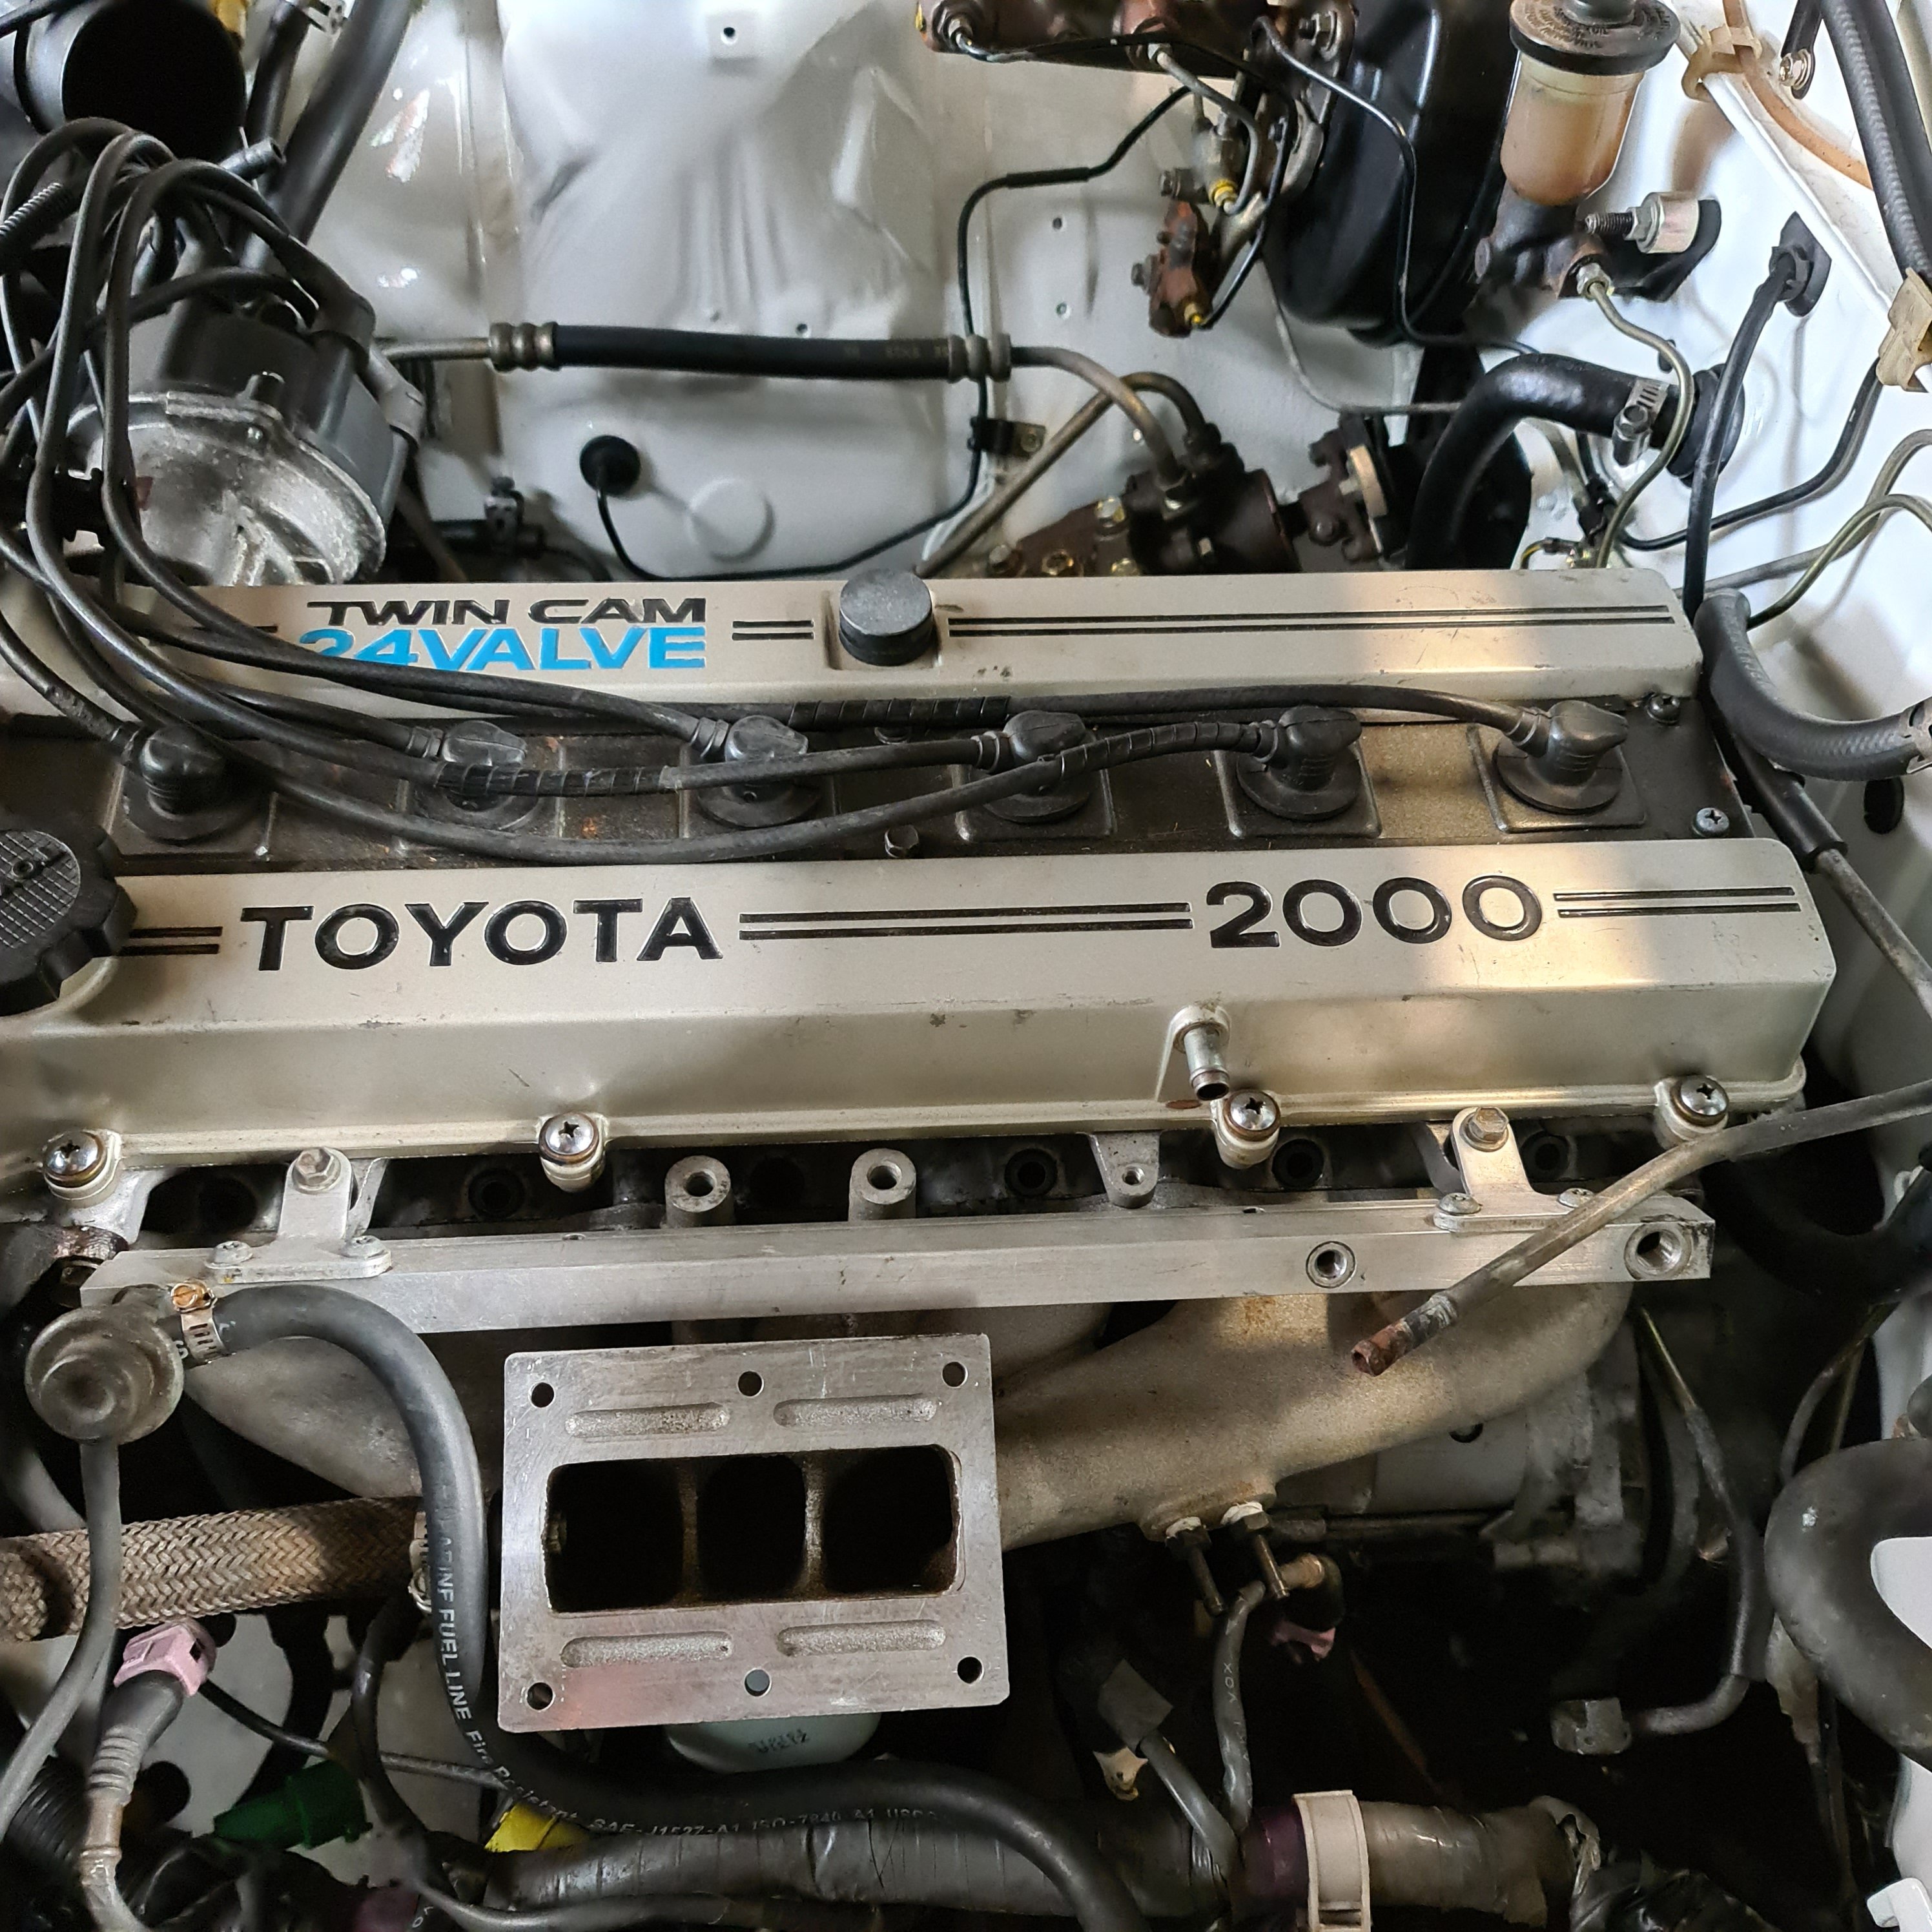
Manifold without charger on. You can see the two bosses that stick up on inside of fuel rail. These are fixings for two L brackets that provide additional bracing for the supercharger.
1 point
-
A bit of a win today. I have been looking for bits of MDF at least 3m x 1.4m so I can have a bed with no joins in it, this was proving difficult and/or stupidly expensive. Then I remembered a place next to where I got some electroplating done that had stacks of random MDF sheets lying around. I rocked up yesterday and told the the man what I was doing and what I wanted, he was super interested and said he would sort it out. I got a call today saying the sheet was ready, so I swung by to pick it up. He had cut 2 sheets of 18mm to the exact dimensions I wanted and sold them to me for only $50, what a GC. I just slammed one on now, looks sweet. I have also been setting up some cable routing and the prox switches, just the Z axis to go;1 point
-
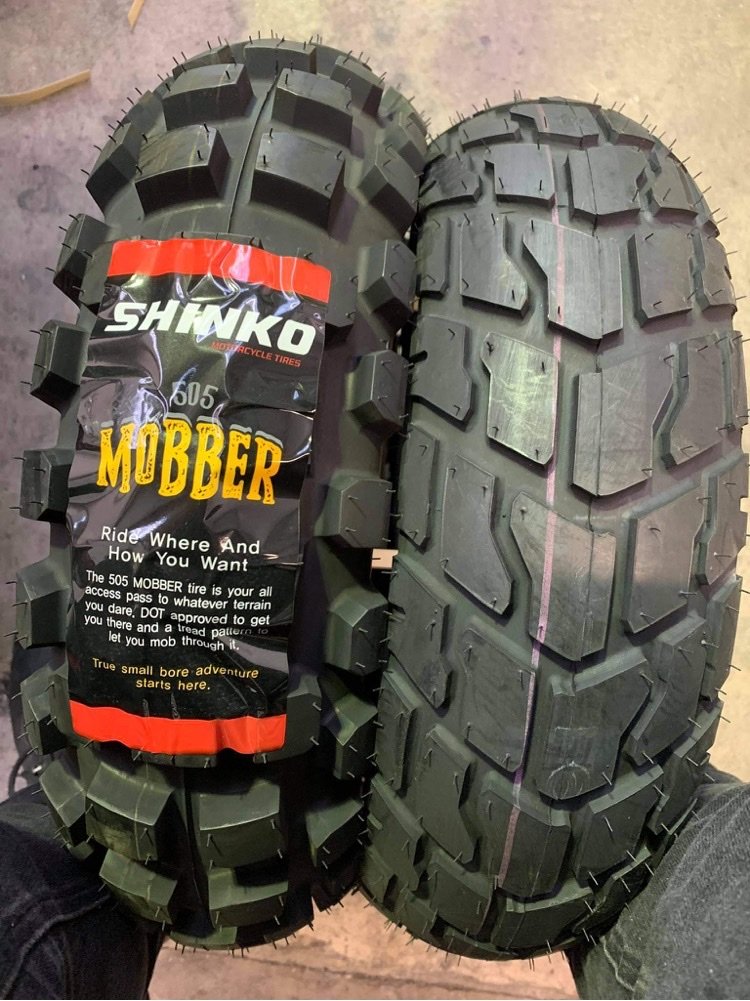
shed night last night = begin general re-assembly. It’s slower than stripping the bike. Applying never-seize. Applying loctite. Taking care no to scratch my new powdercoated frame! I am enjoying the process though, I don’t think I’ve ever put anything back together like this? Typically when I’ve stripped stuff.... it was terminal. Got the swing arm mounted and the forks. The polished triple clamps look grouse but my castaway style improvised steering head bearing setup and the need to shim around the forks where the triple clamps bite, made it particularly slow going. On last years ride I punched the forks up through my homemade clamps fording a stream at speed and I’m hoping to avoid that experience in future. I also ordered some tyres this week from our main man @MopedNZ and I’m super excited to receive them (Despite bucket Barry routinely advising me that They’ll make a bike which is already difficult to ride, MORE difficuilt-er).
1 point
-
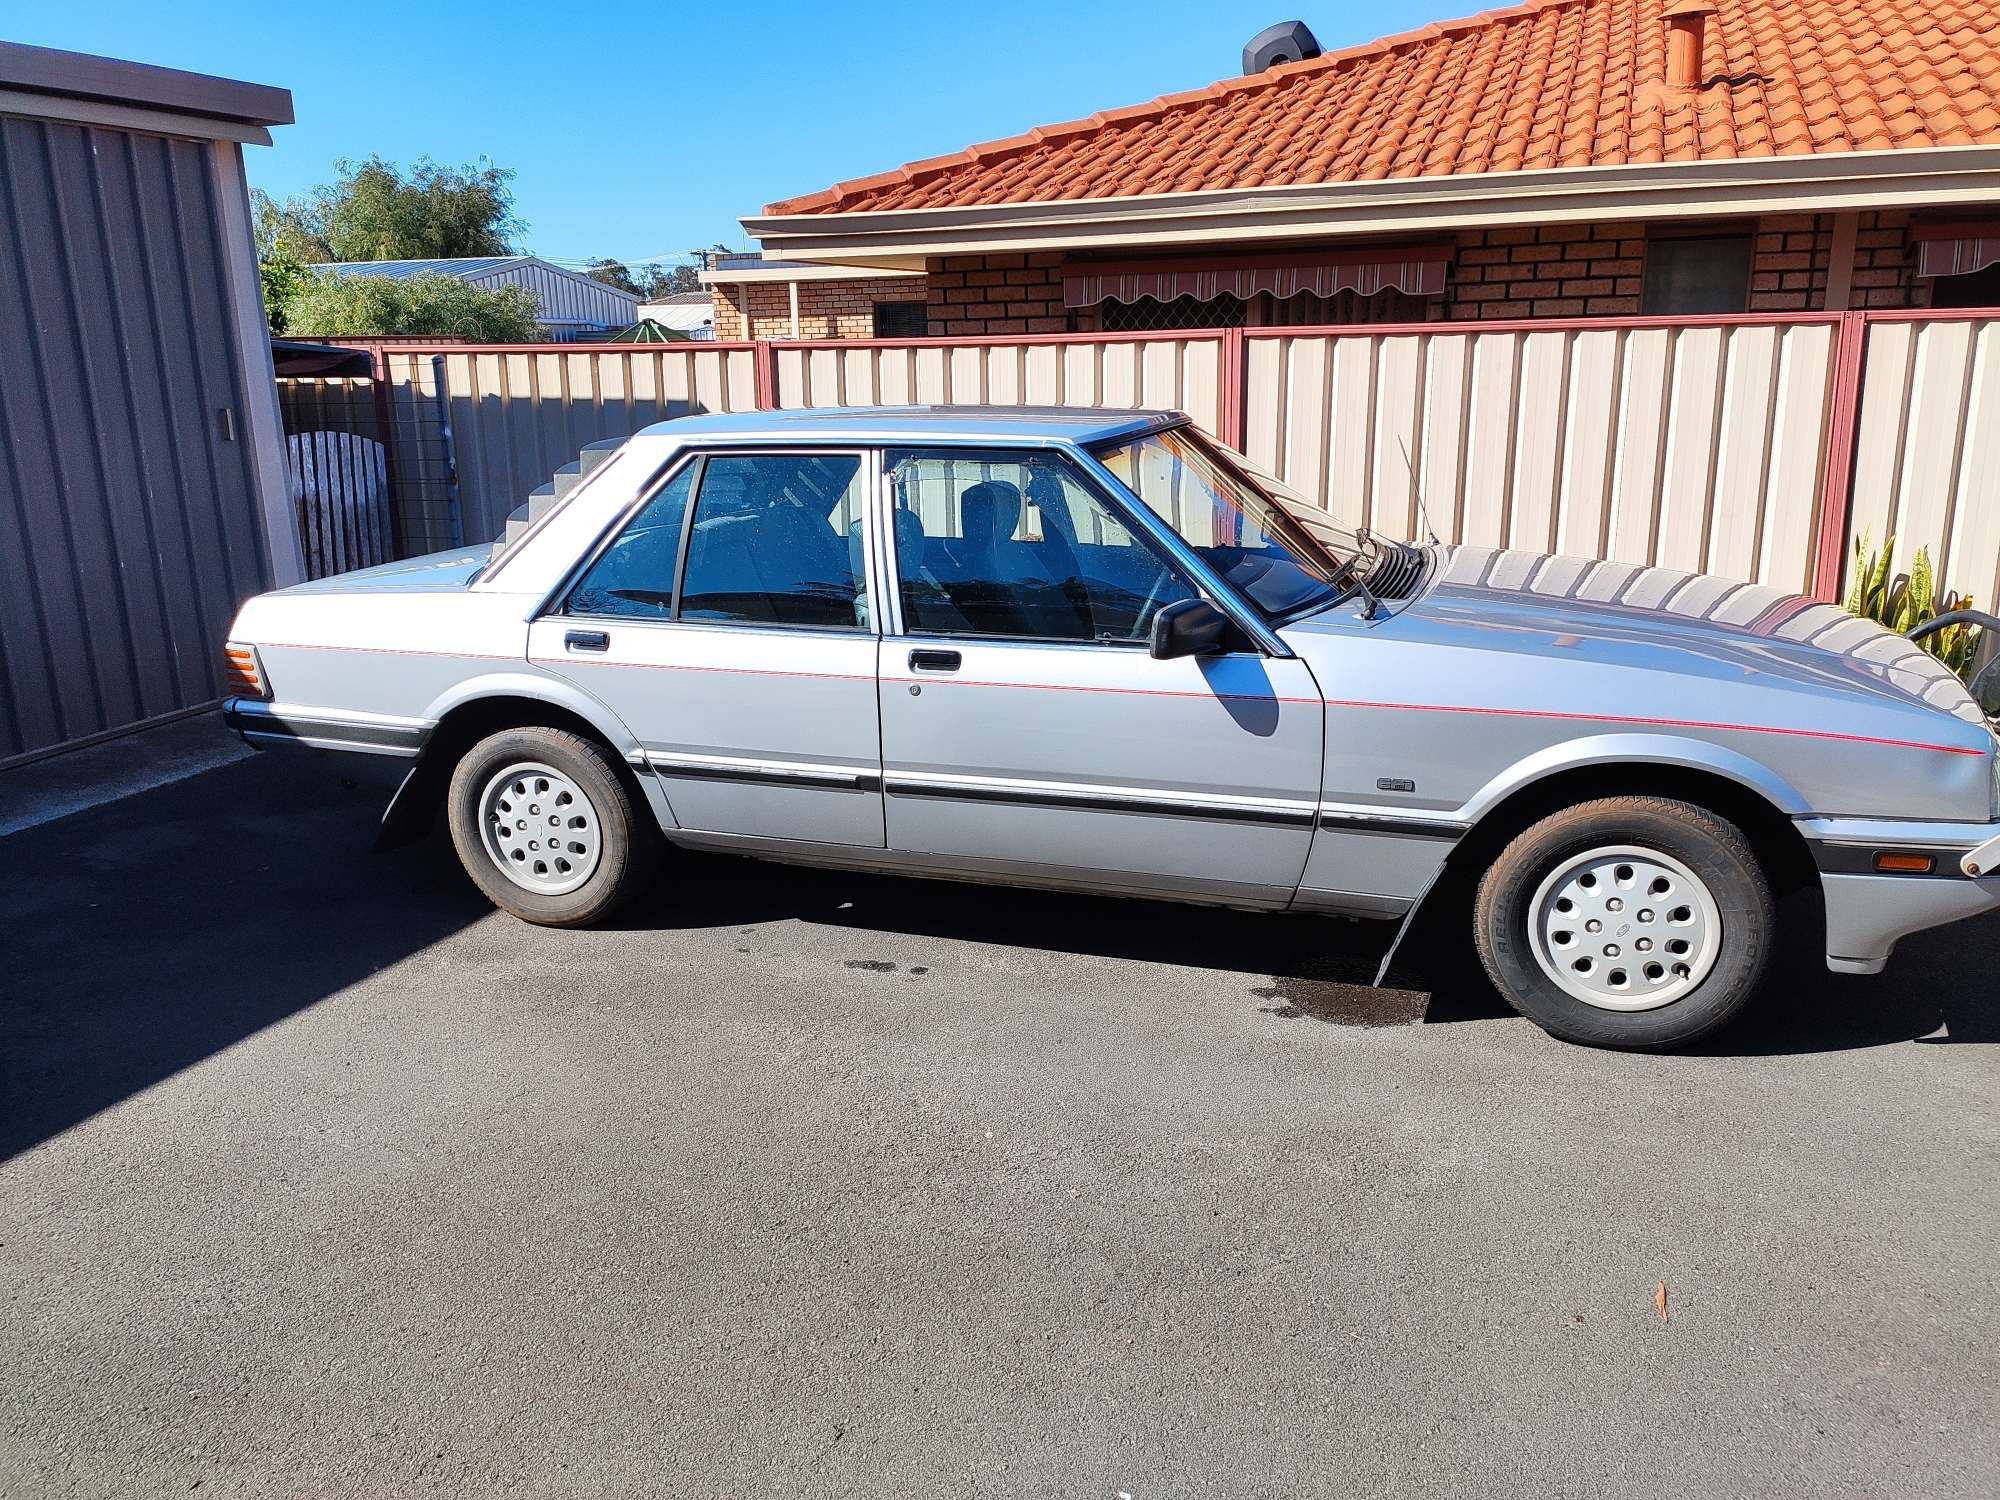
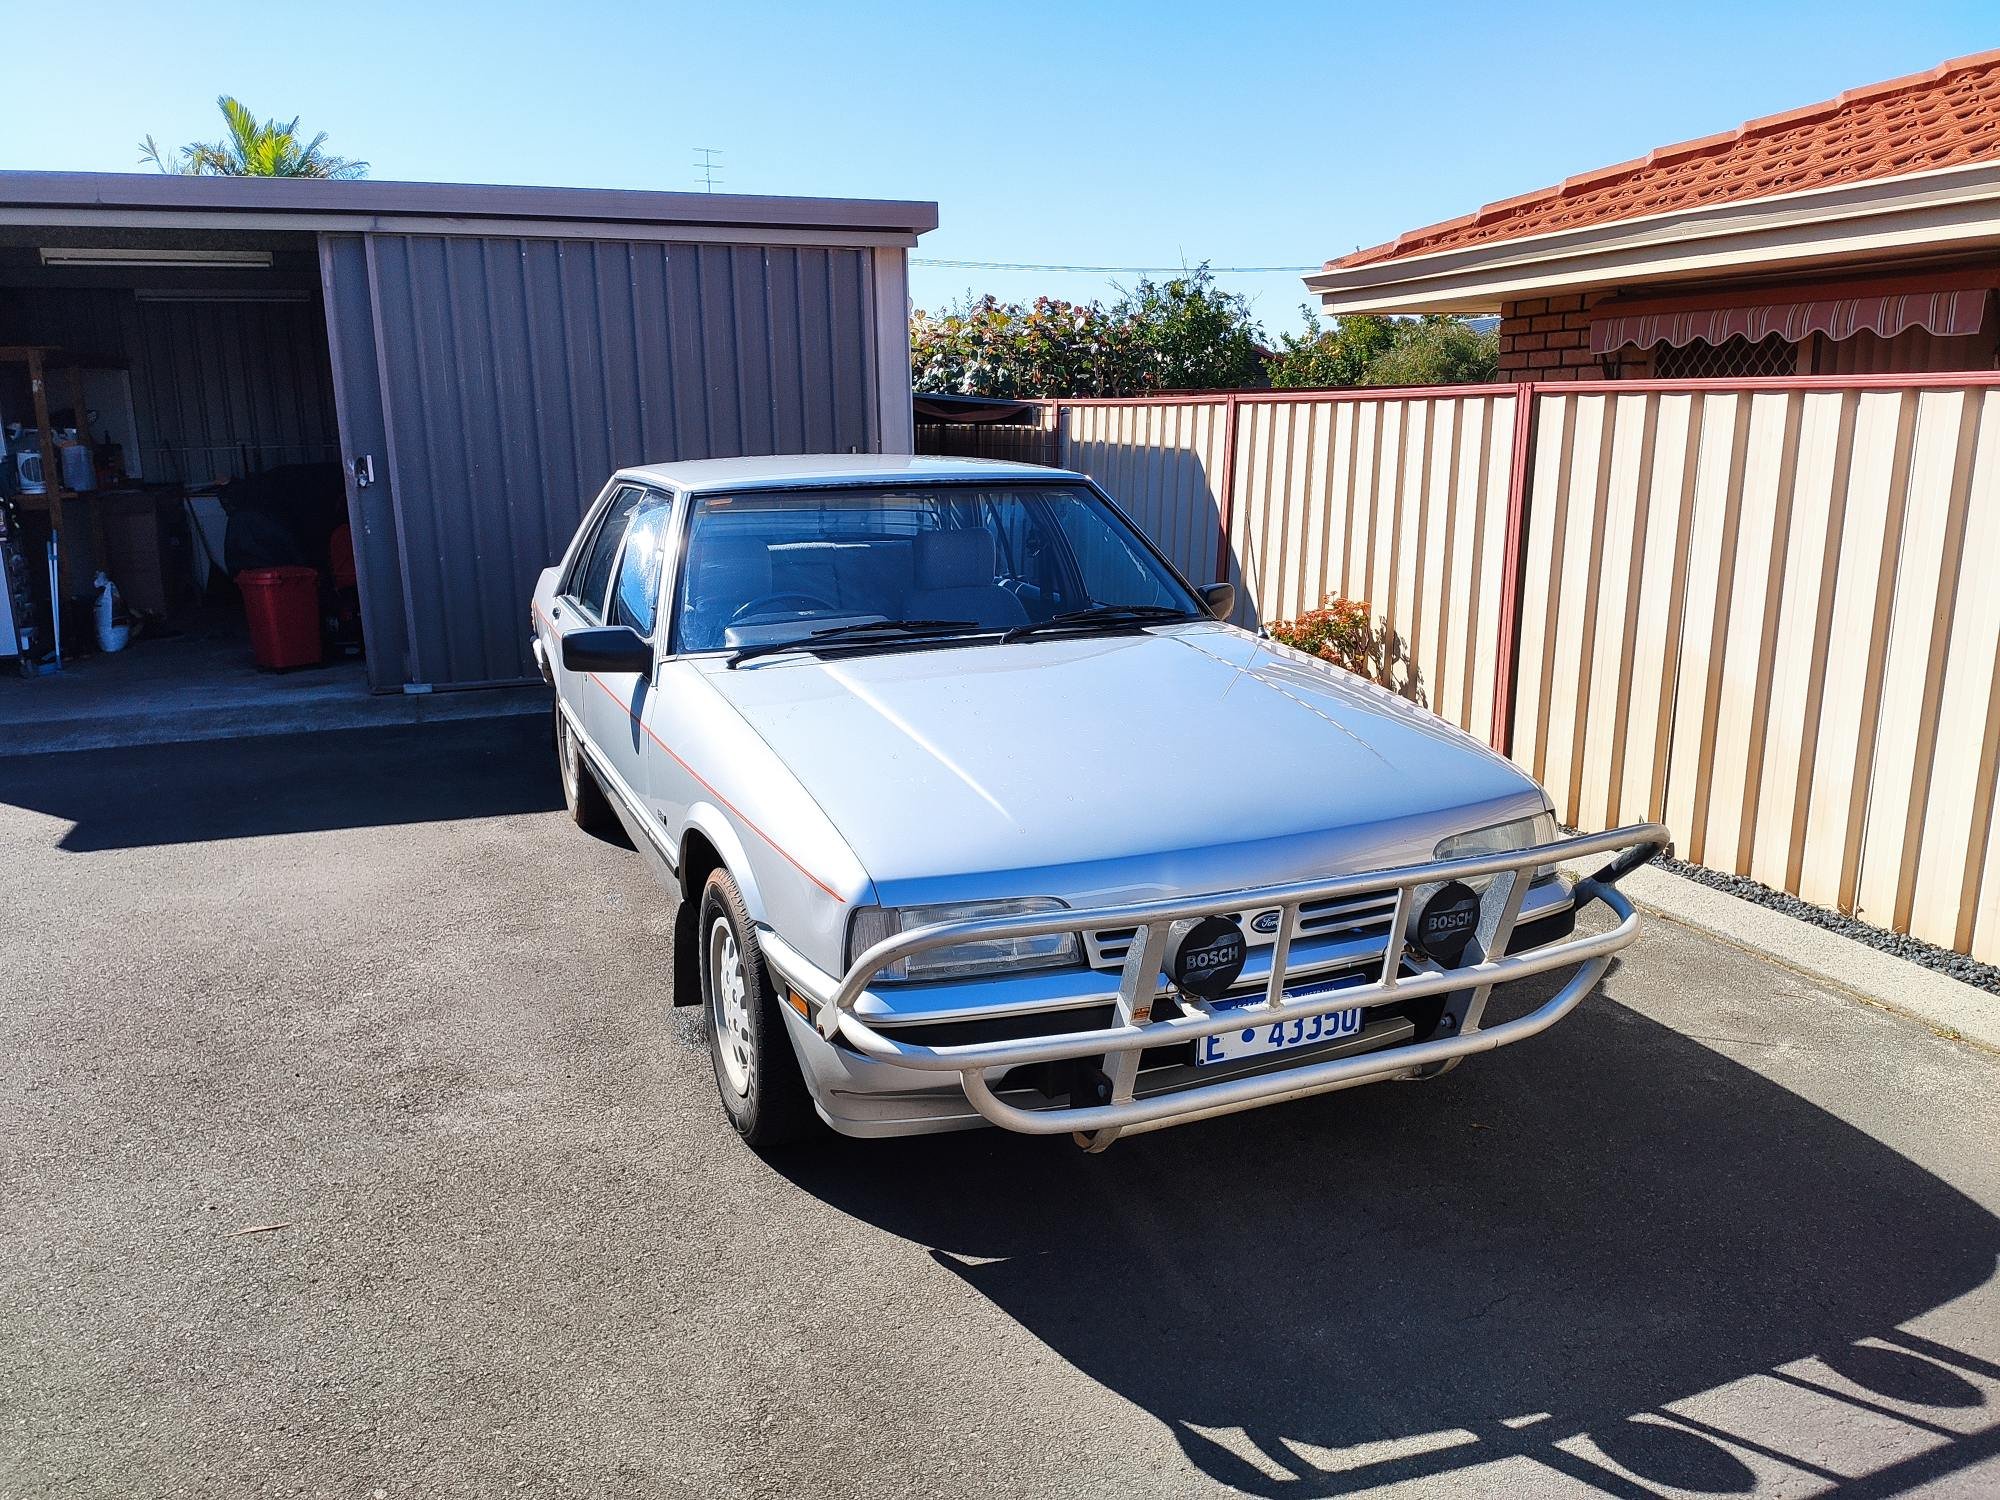
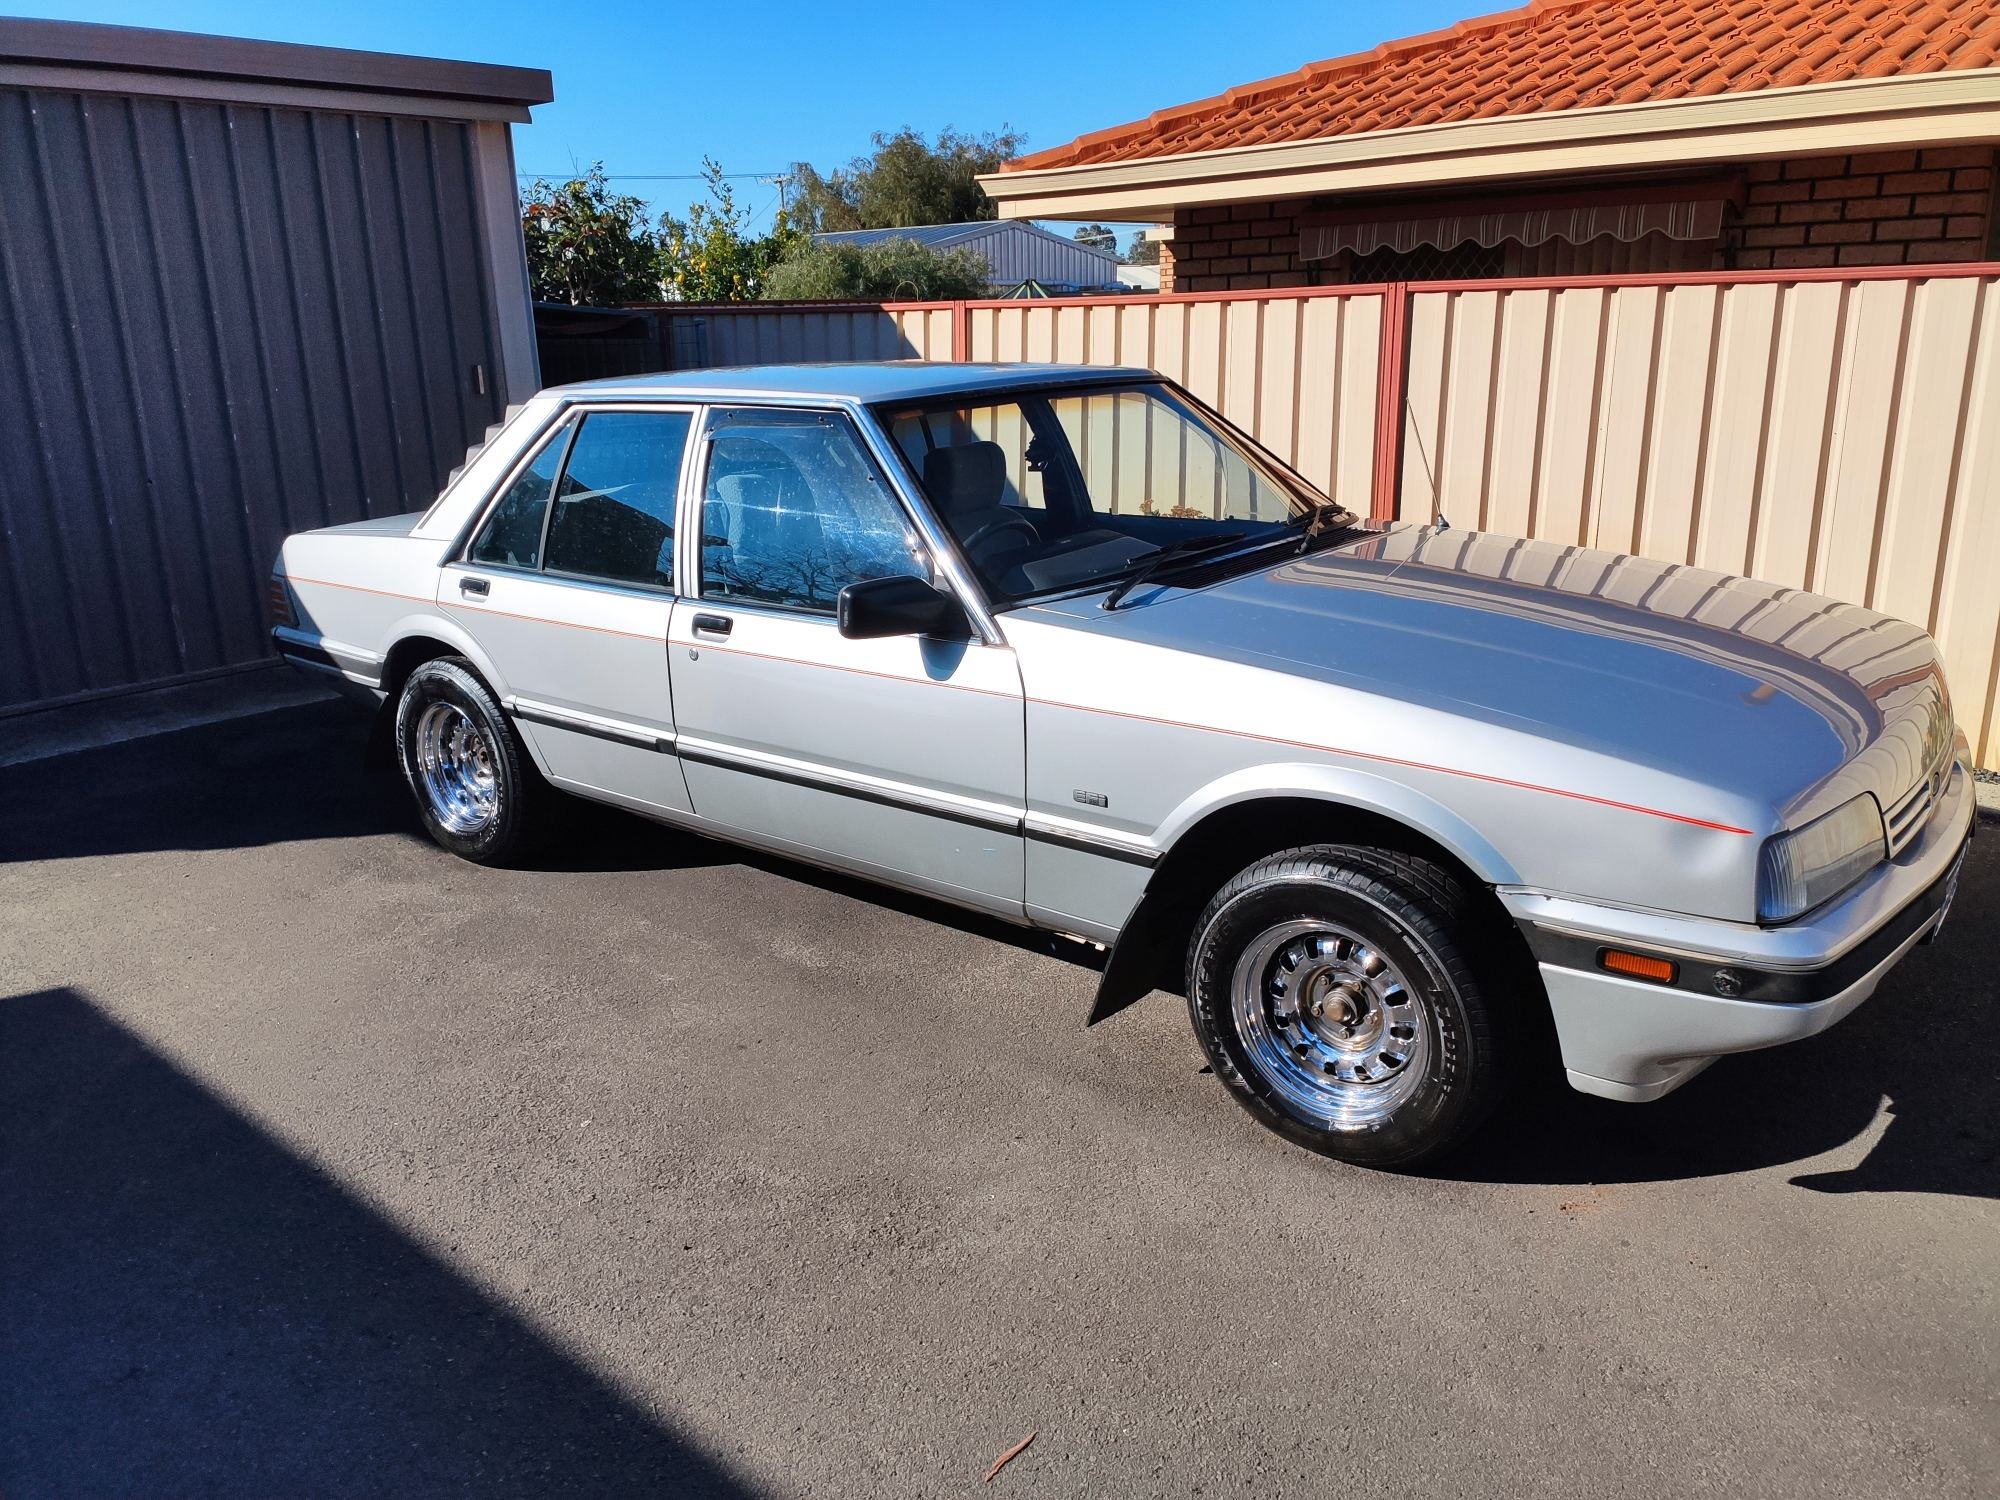
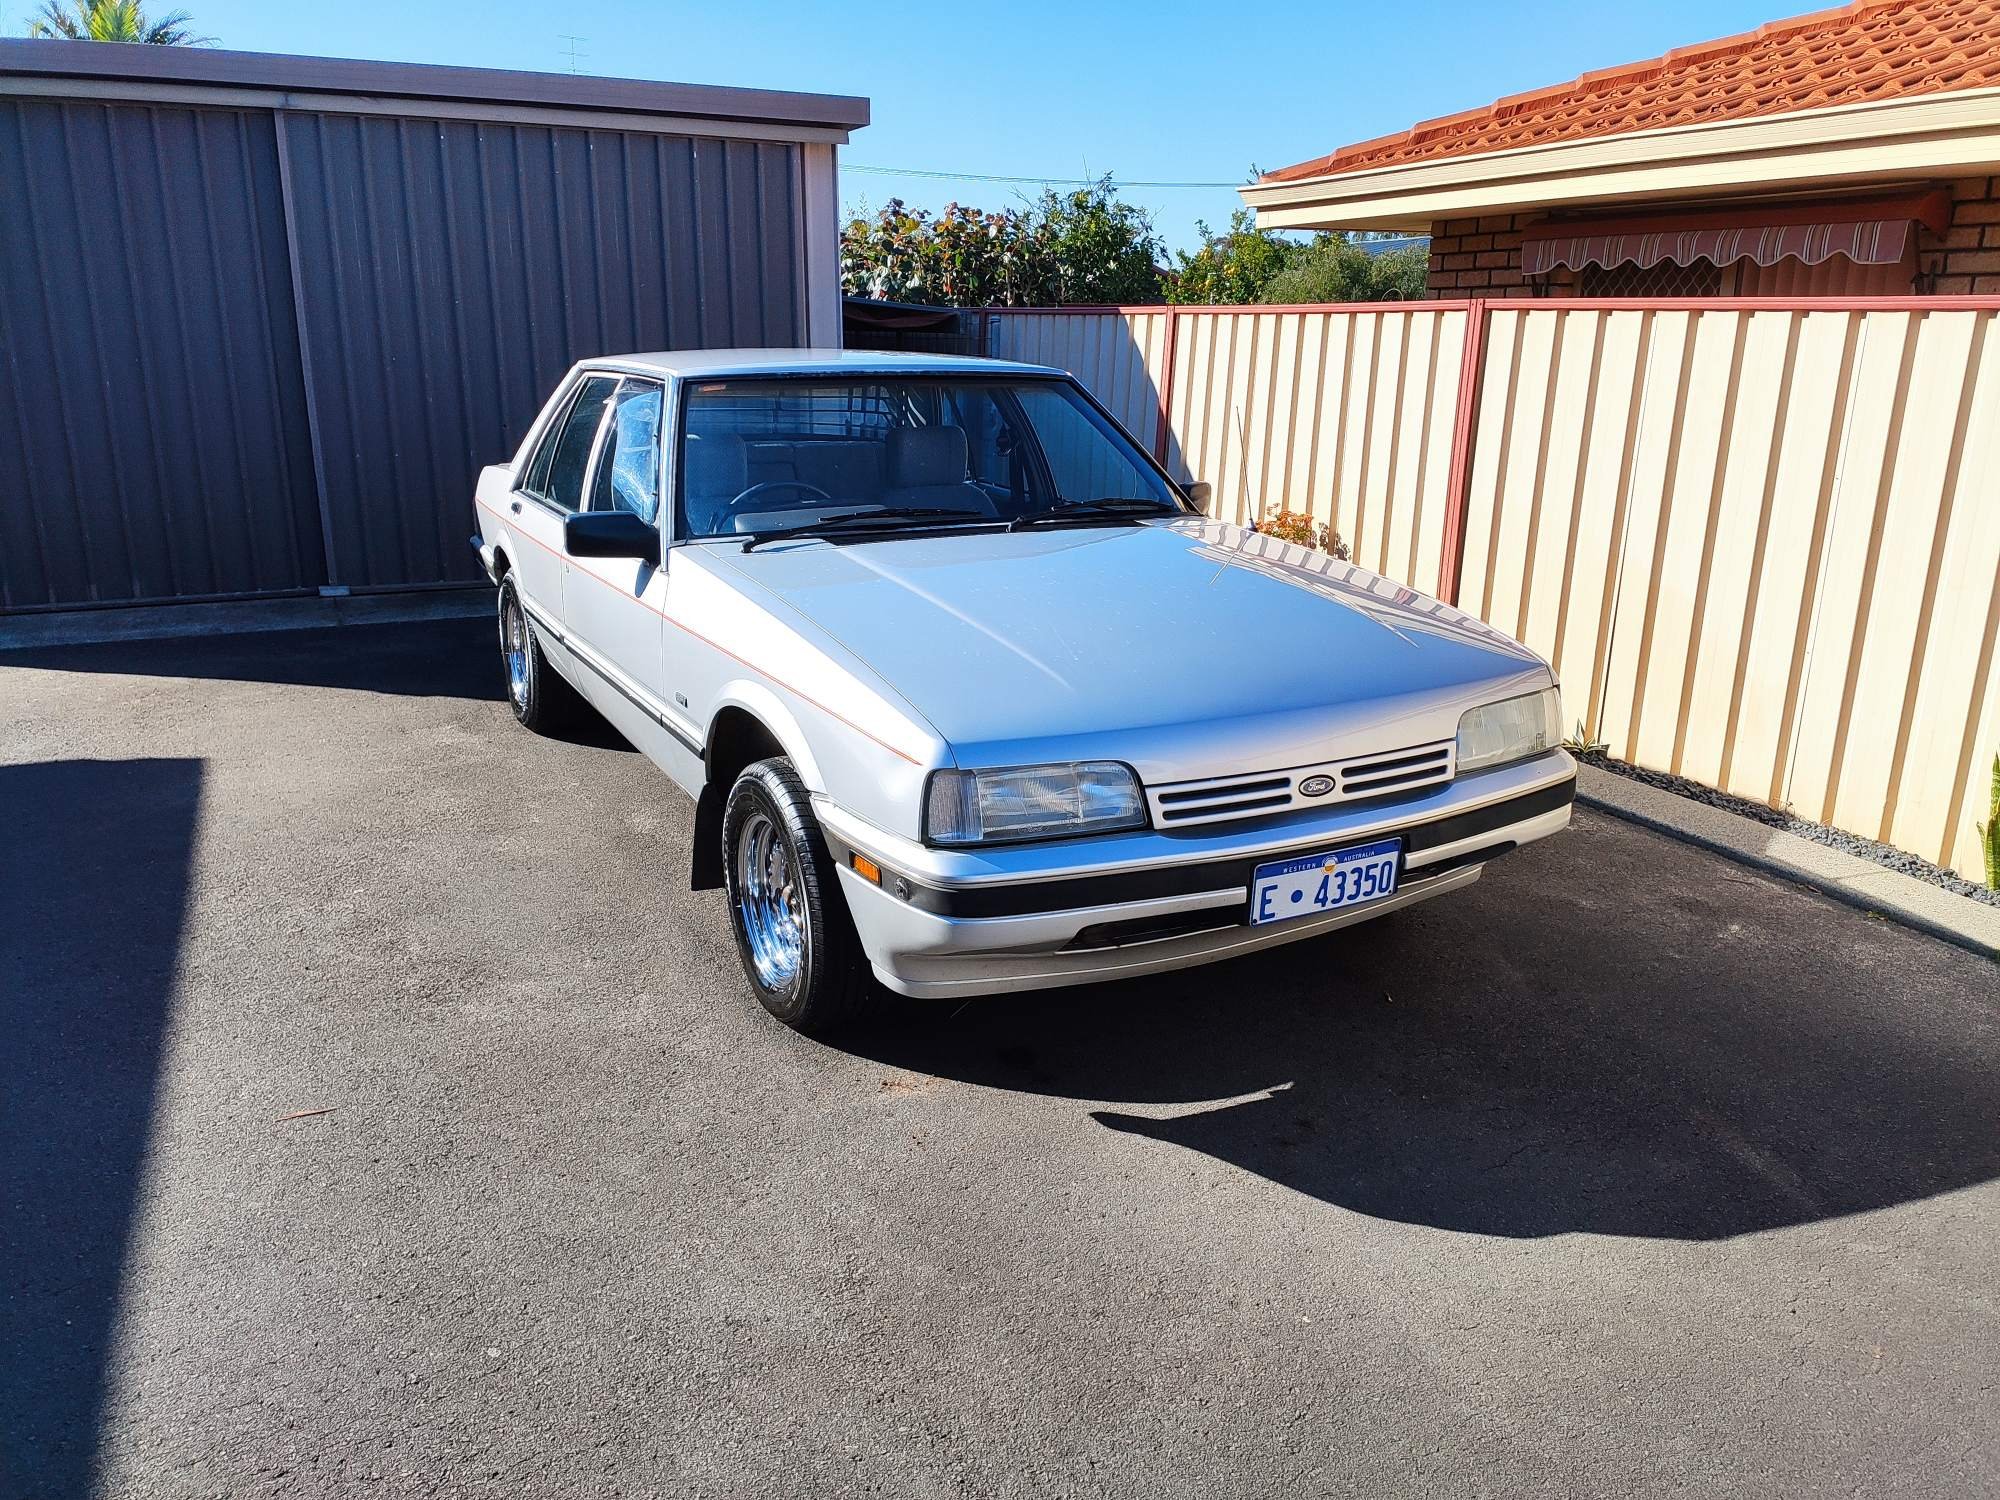
Here she is, my 1987 Ford Falcon XF GL. 250 Crossflow engine. She's an EFI model but running a 350 Holley on a redline intake manifold. 3 speed Borg Warner box that goes alright for now. Mods already done: -Factory wheels swapped with some 12 slotters running 225s up the front and 245s out the back. -Bull bar removed, nicely might I add, so all mounts are intact if I want to sell or put em back on. -Mounted an AFR gauge that I had lying round under the steering wheel. Here's mods list for short term: - New lowering springs front and rear, not super lows - New shocks to suit springs - New wheel bearings - New disk rotors - New ball joints - New Nolethane bushes all round (too stiff and noisy, thoughts???) - New tie rods and ends - Eb V8 rear diff 3.27 ratio LSD (wider by 10mm but should be sweet) - EF/EL sedan tailshaft Here's the longer term mods: - BF Barra N/A - Matched 4 speed btr - Tailshaft to suit - Engine and box mounts (Thoughts on Tuff Mounts, Rod Shop or another brand???) - Front sway bar to clear barra sump. Most likely buy new - Loom to suit - Standalone ecu or reflash stock Barra (not sure yet) - Manualized shift kit - B&M ratchet shifter - Get it engineered (this is where the list will get bigger) - Rust remove and respray If you've made it this far, maybe you'd like to pick any of this rough plan apart! Any criticism welcomed. Cheers.
1 point
-
Next level challenge1 point
-
And fuck it, let's add the Z axis. Also I spent some hours learning how to set up the vfd/spindle. This should be good to go as soon as I find some four core cable for it.1 point
-
Thought I would get cheeky and get it to follow a path. Z axis is not hooked up as the cable to the stepper is too short and I was scared it might zoom off somewhere before I hit the e stop. Also I set it up for very small movements because I have no limit switches setup yet. Still, much excitement.1 point
-
Been chunking away at this, tidied up a whole lot of little stuff like making the belts run true etc. Also I fudged together two different types of cable chain that came in the rando servo kit to make a run long enough for the long (X?) axis. Not super pretty but it will work. I will still need to buy some more for the short (Y?) axis Today I made a table for the screen etc and mounted the estop to it, looks sweet and mostly swings out of the way when not being used. I have ordered many proximity switches, apparently you can series the switches on only one input and LinuxCNC has a procedure that will home it automatically with that setup, for a while I thought I would be using all of my inputs for homing sensors. This is good, I will have 3 spare for.... things.1 point
-
That corolla must have been such a sleeper1 point
-
Race tracks closed, however, front camber plates now giving me -3 deg negative camber, a couple of cosmetic additions with rear diffuser and rear window vents, oh and now with log book and LVVTA cert, fresh wof and reg.
1 point
-
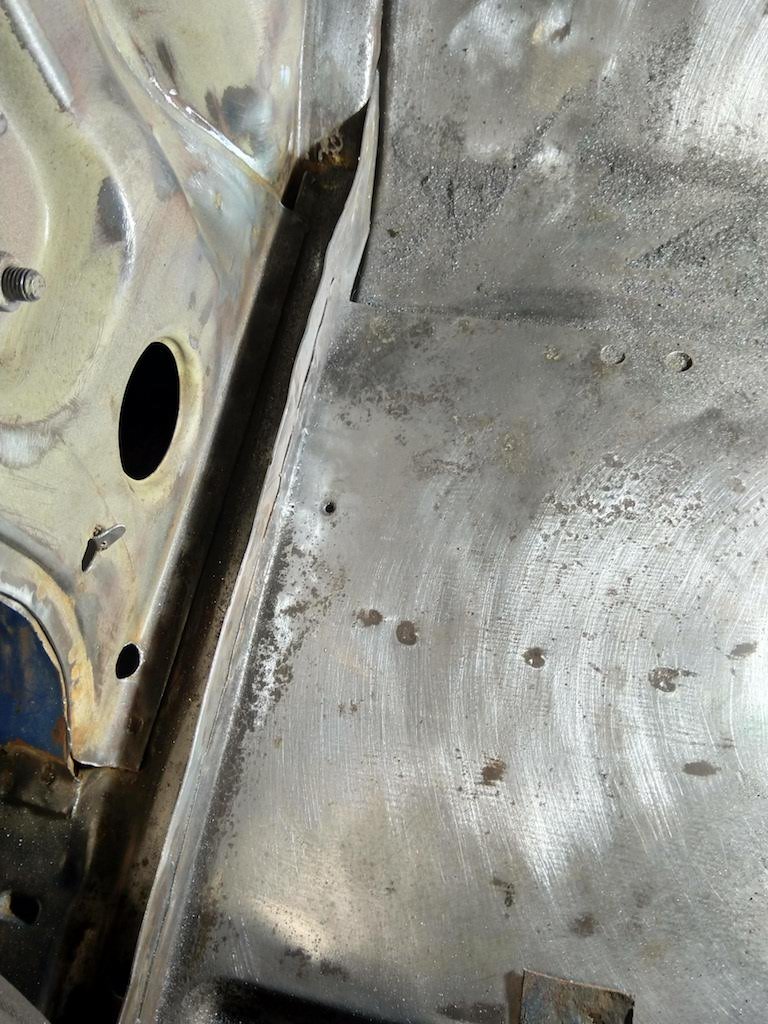
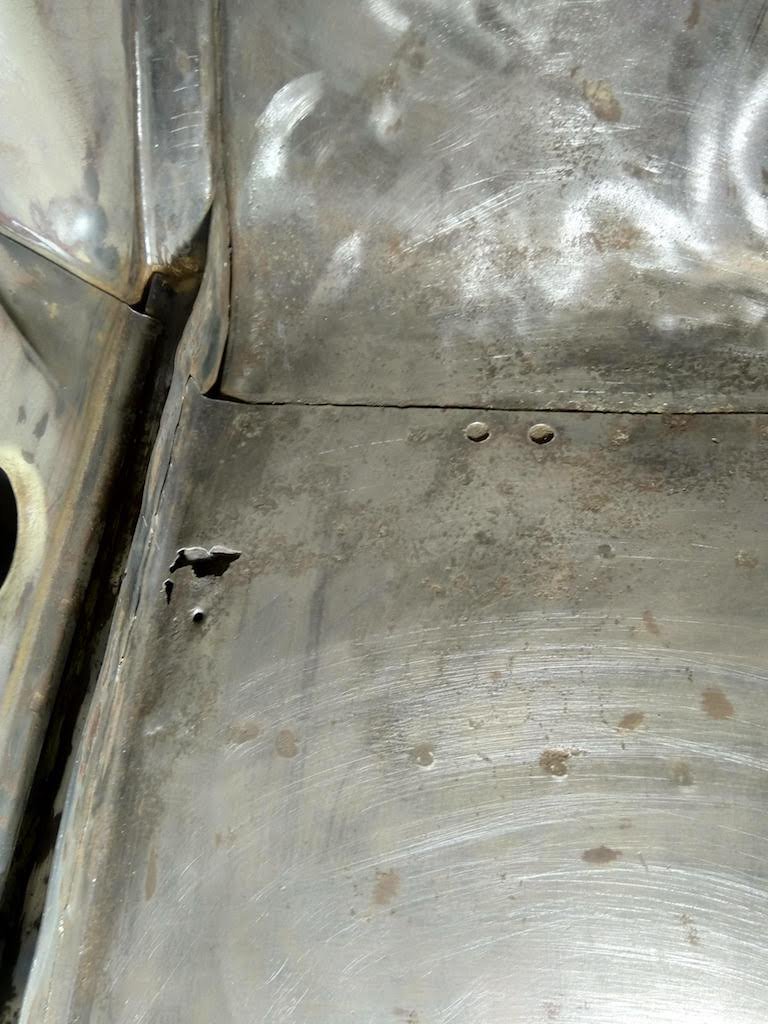
Fixed the small rust patch in the floor and filled the holes that had been drilled to install the bucket seats. All the rest of the rust came off with a wire wheel. ' Sanded off most of the paint, especially on any areas which looked like there might be any surface rust. I've painted it using Brunox to catch any last bits of rust
1 point
-
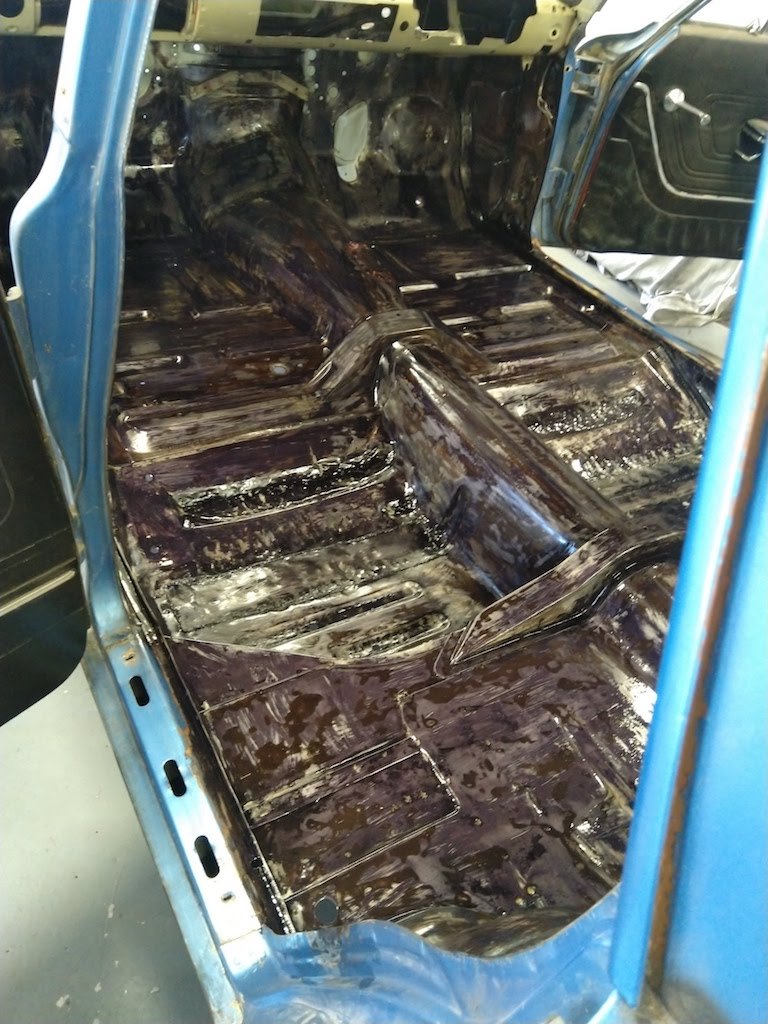
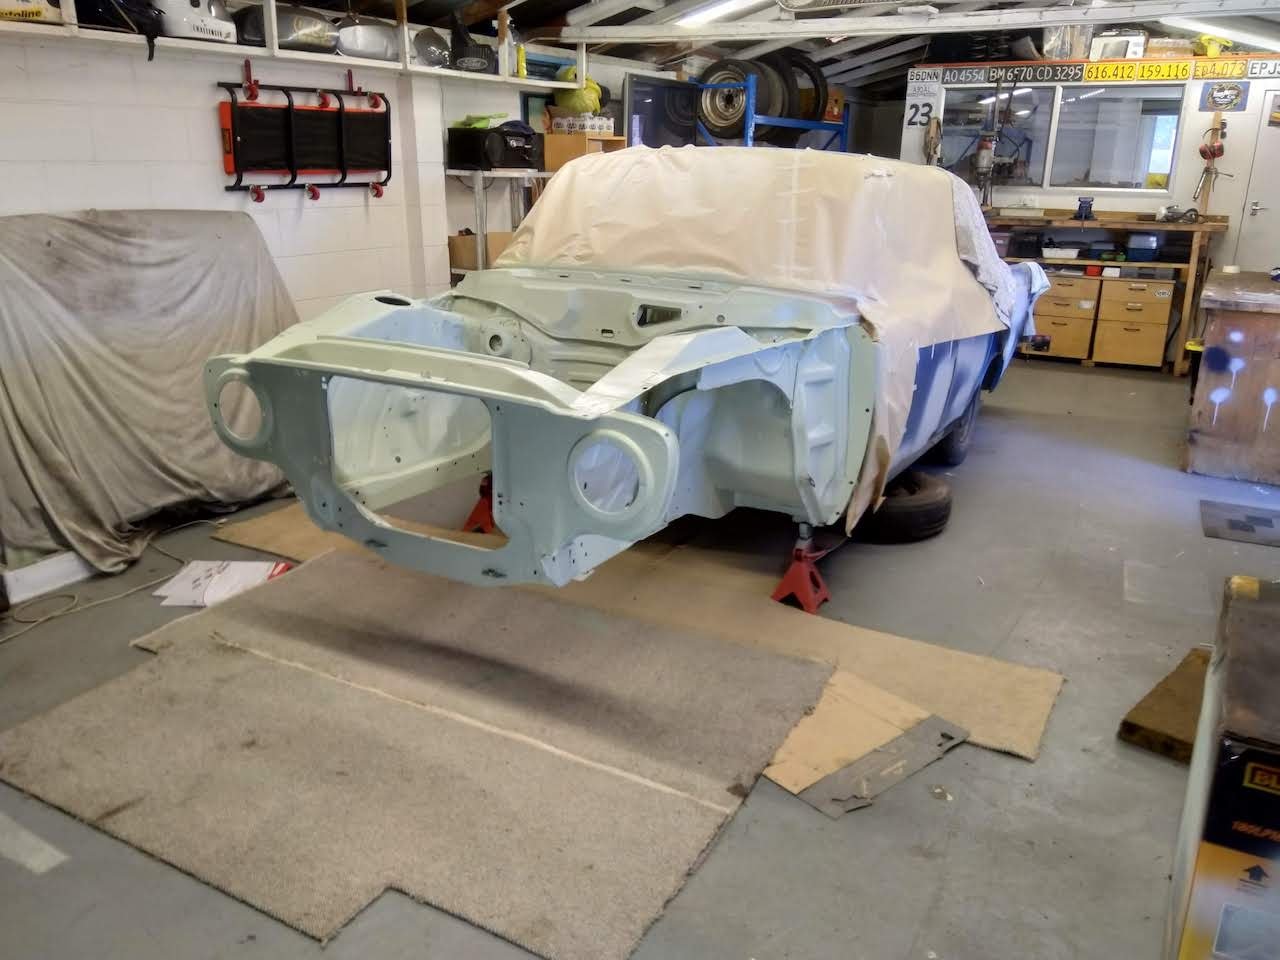
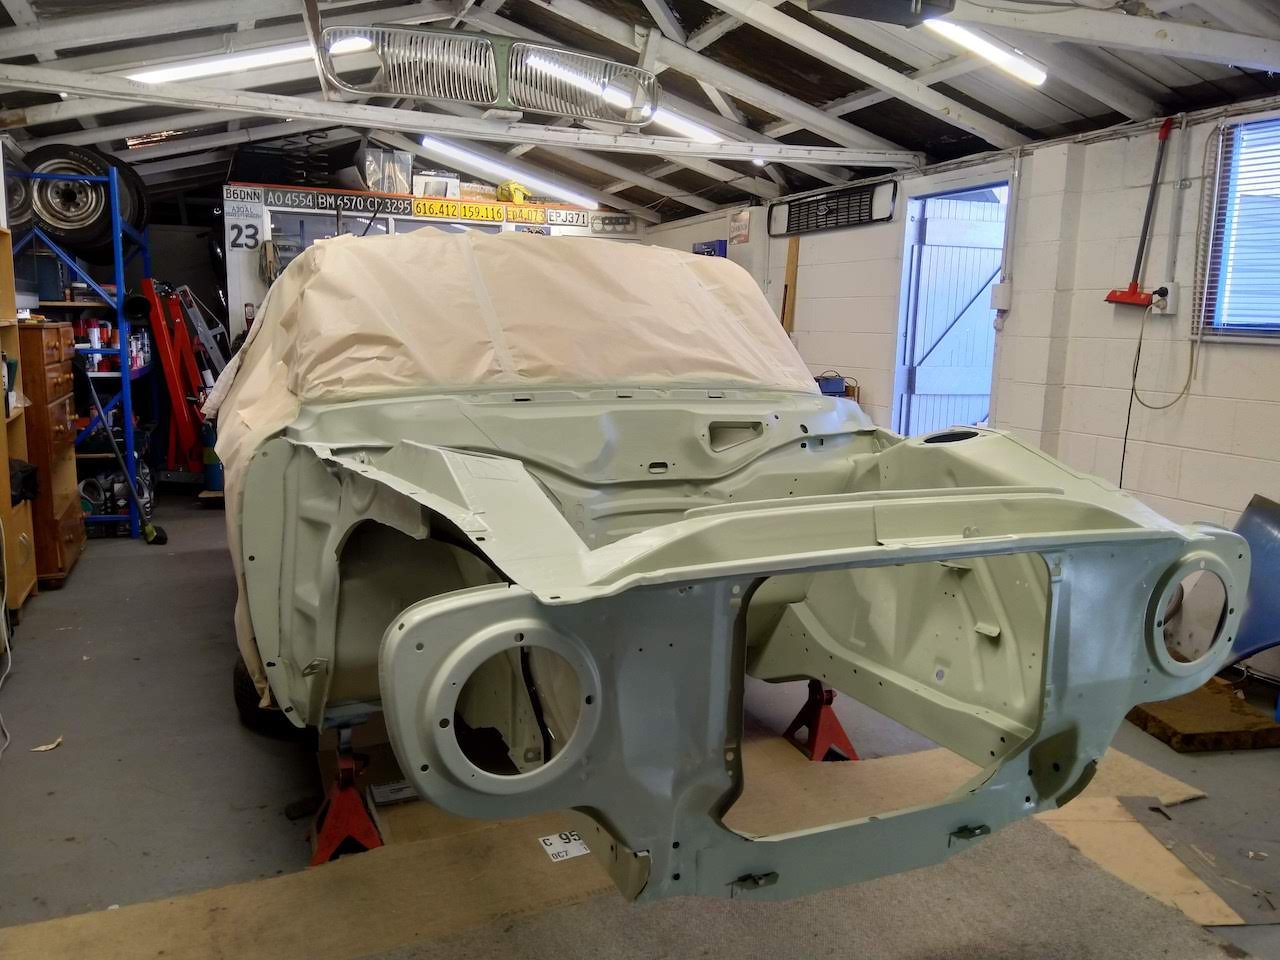
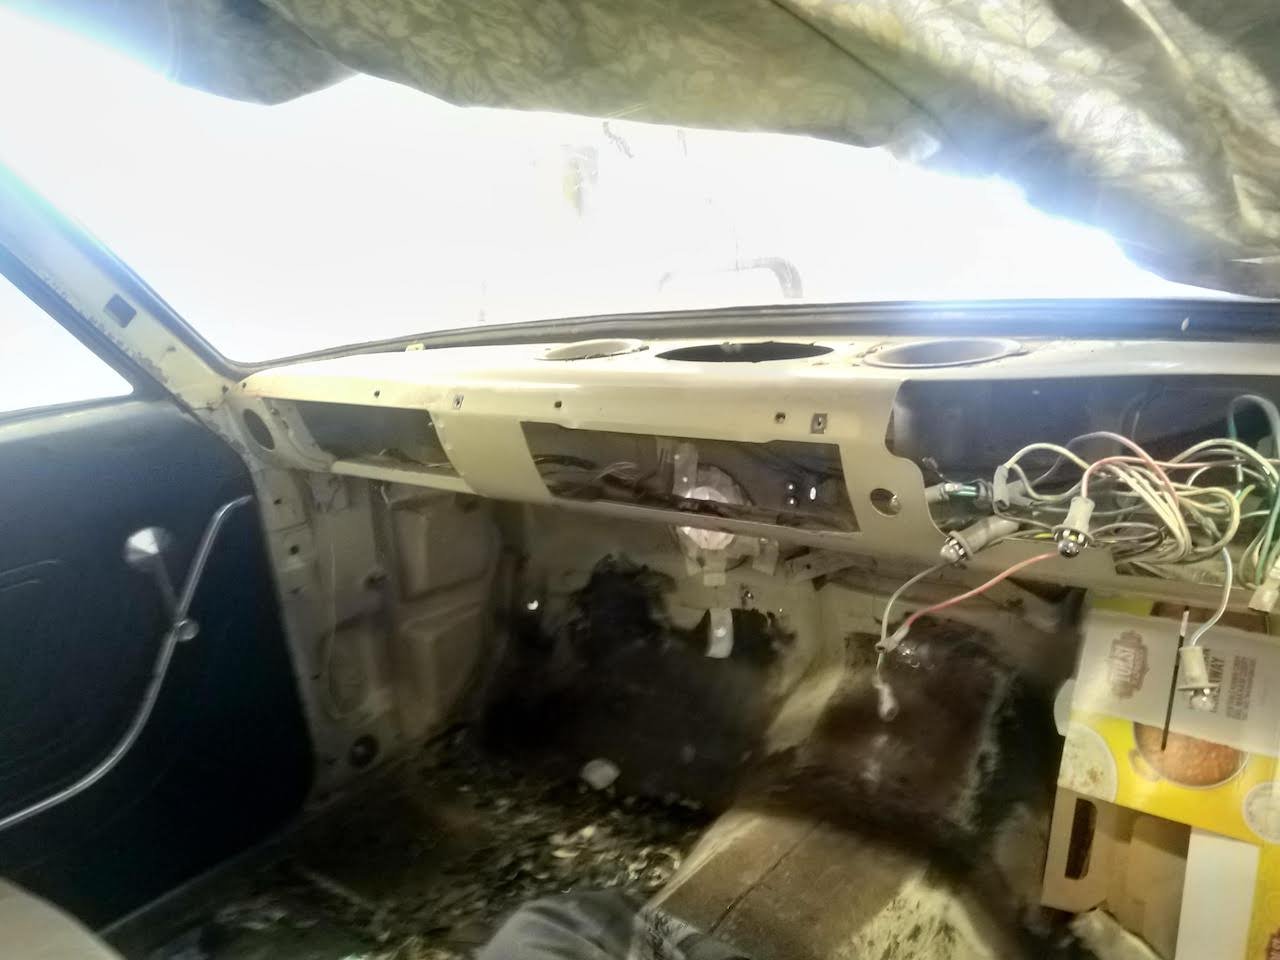
Slowly but surely making some progress on this. Got the engine bay stripped and into epoxy primer. I've removed the dash and the first bit of sound deadening. Bit of rust under the sound deadening, but nothing major so far. Found a small hole around the size of a 10c coin but that should be easy to sort. Planning on cleaning floor back with a wire wheel and treating with Brunox, before overcoating. Probably will just brush it on, doesn't need to look pretty.
1 point
-
So Yeh nah, the norgren air filter things didn't work. I took it for a blast on the beach, was probably like 10km away from my car, and it lost all power. The little filter things had got saturated with gas and stopped breathing. Luckily an easy fix, I just cut them off and it ran sweet again. So I thought I'd give plumbing them into the air box a try. I've welded a nipple on the very bottom of the plenum to connect too, this will also act as a drain if a float sticks and floods the plenum again. I also replaced the restricor tape with a bit of flat bar. I also did a dodgy patch on the exhaust, and put some flat bar over it to protect it a bit, as it's the lowest point. I also started building a simple trailer for transporting this thing. It's not going to have springs, and will have a hinged draw bar so it can tilt, so I don't have to have ramps. Regards, VG.1 point


.thumb.jpeg.384ff72c8d2b0ee0d34a7bdedb55bdcf.jpeg)


.jpg.25d69cbe8f0cae3d9edd3f56e1067d8f.jpg)
.jpg.4d09ae0e3581226c49270e5603ebc51b.jpg)
.jpg.08f7c12bd313d266bf4418edfb5da7a6.jpg)
.jpg.7b1b86414caef2baae5fb4f532198524.jpg)
.jpg.9ecf2c28a21ed504abed1baf4ab233d9.jpg)


_sedan_(23230030334)(1).thumb.jpg.34d765361d66c78db614bae6ea2c156a.jpg)


This leaderboard is set to Auckland/GMT+12:00