
Leaderboard


Popular Content
Showing content with the highest reputation on 08/19/20 in all areas
-
Stage 1: new engine mounts, bit softer so should be less vibrations, E36 BMW mounts attached to the original alloy brackets: Tunnel welded up: Vintage Air, mini for cool and hot air in the cabin, mounting under dash. Had a new rack bar made that was +100mm which solved alot of issues. Used the new Quaife rack as the base for this. Replaced all bearings in steering column and lower UJ. Now has rack and pinion steering all working and geometry well setup at the front. Engine area starting to head towards completion. Rear end tidied up, SS Exhaust: State of the outside currently:16 points
-
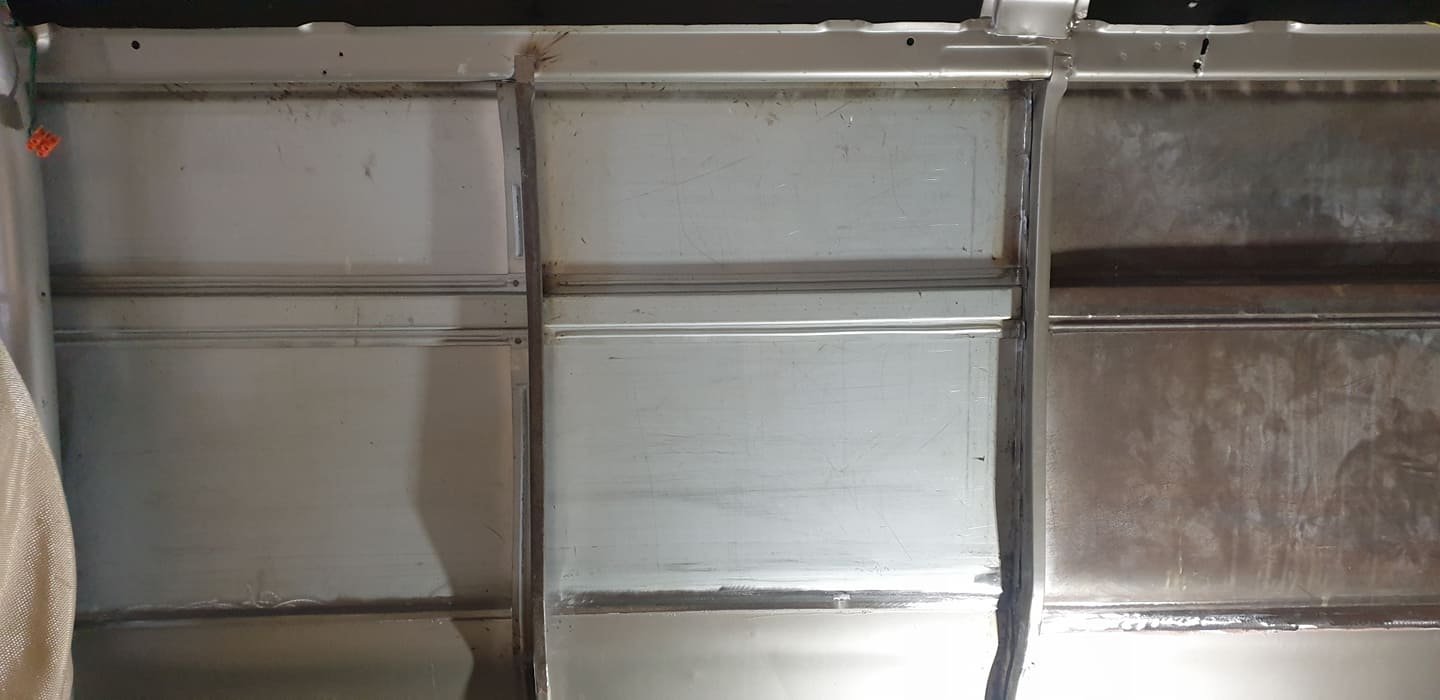
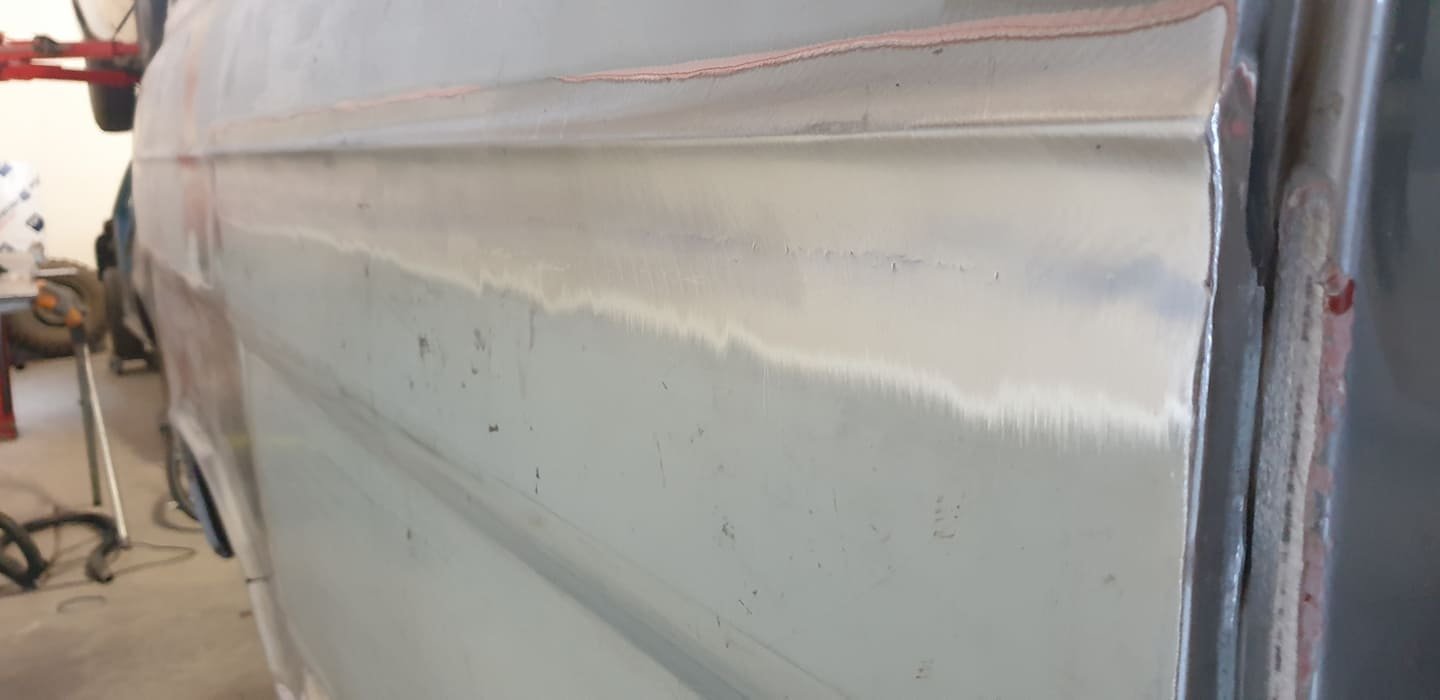
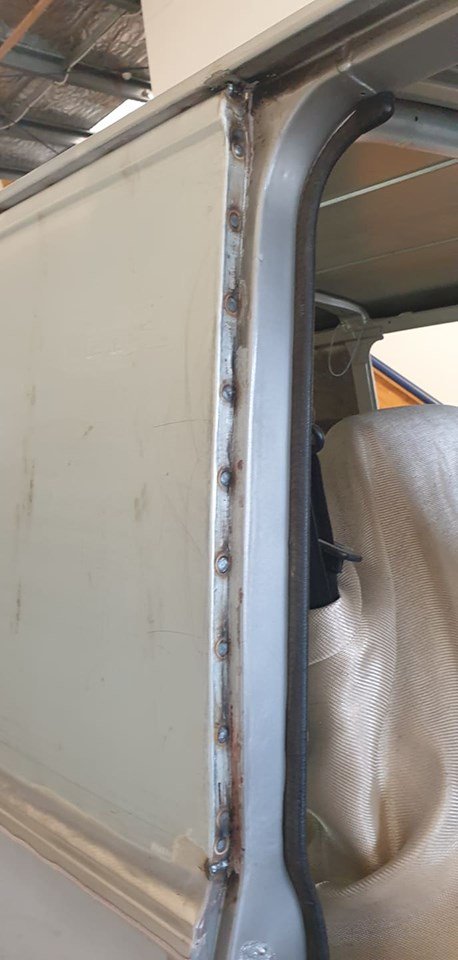
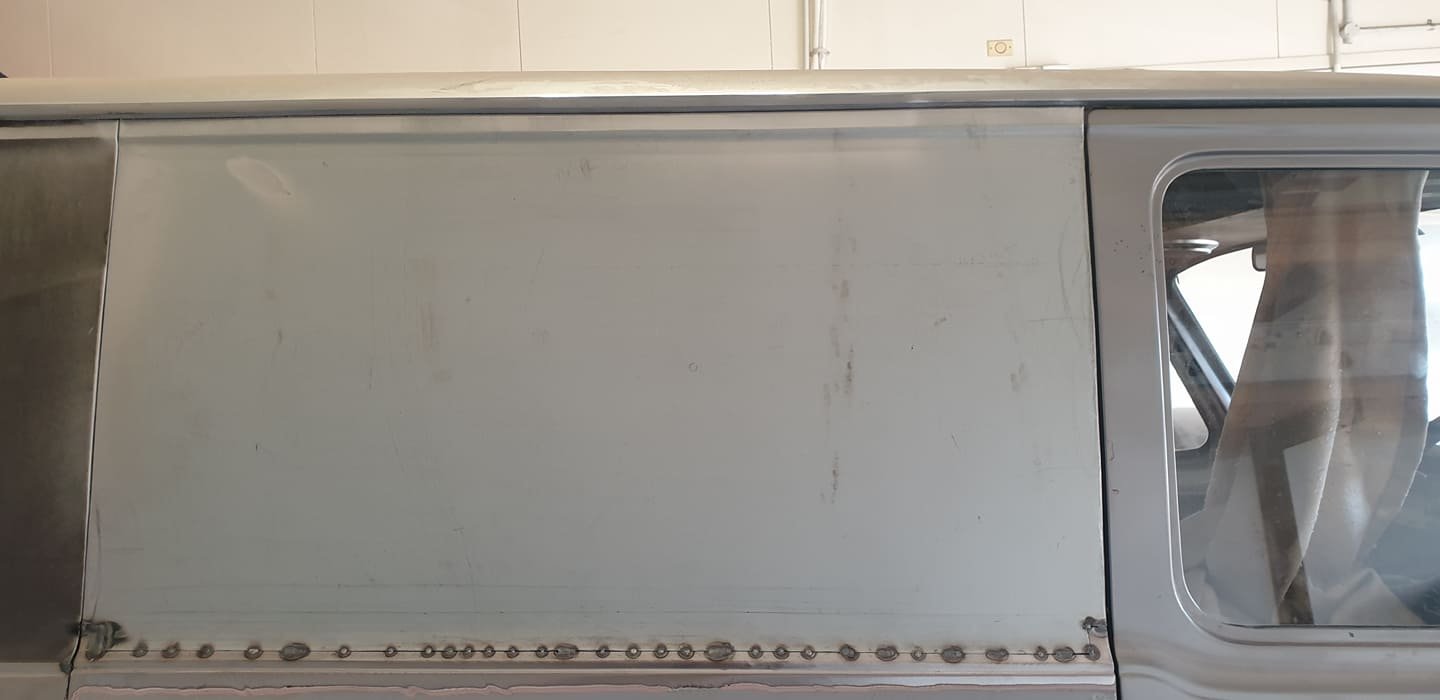
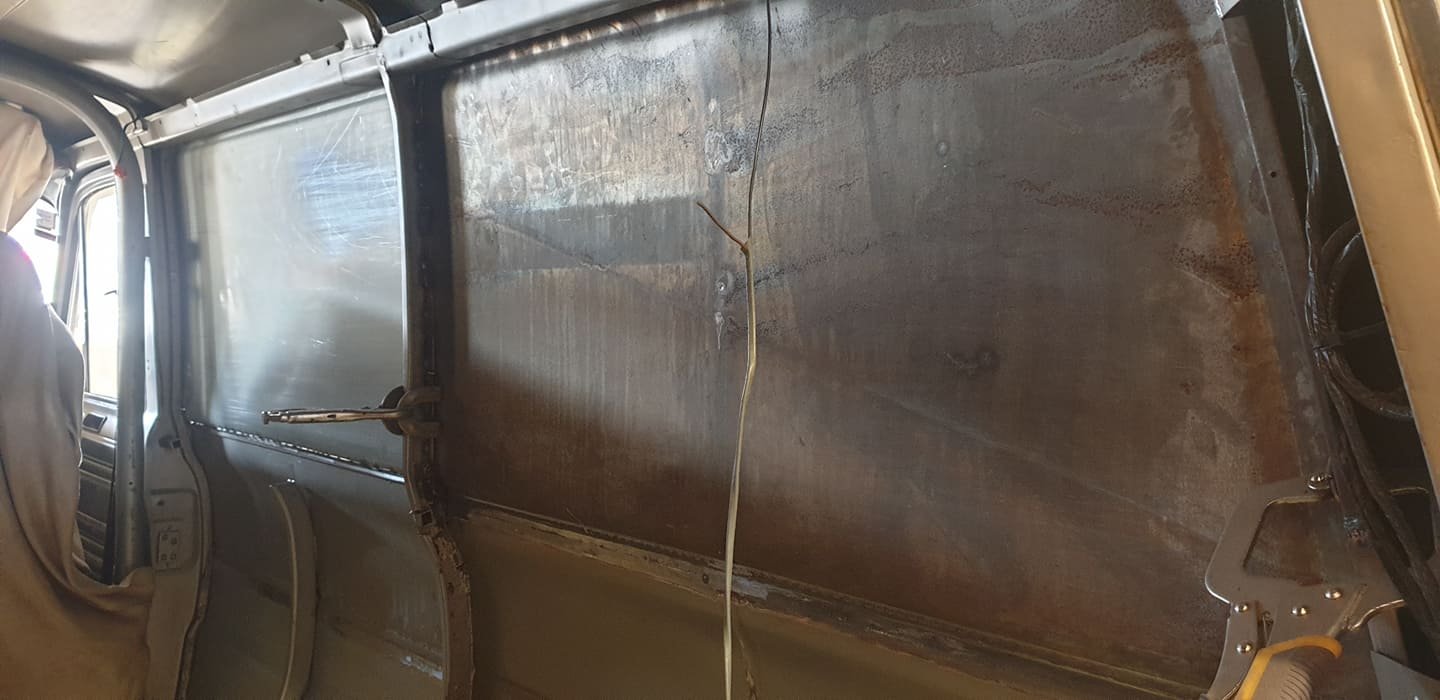
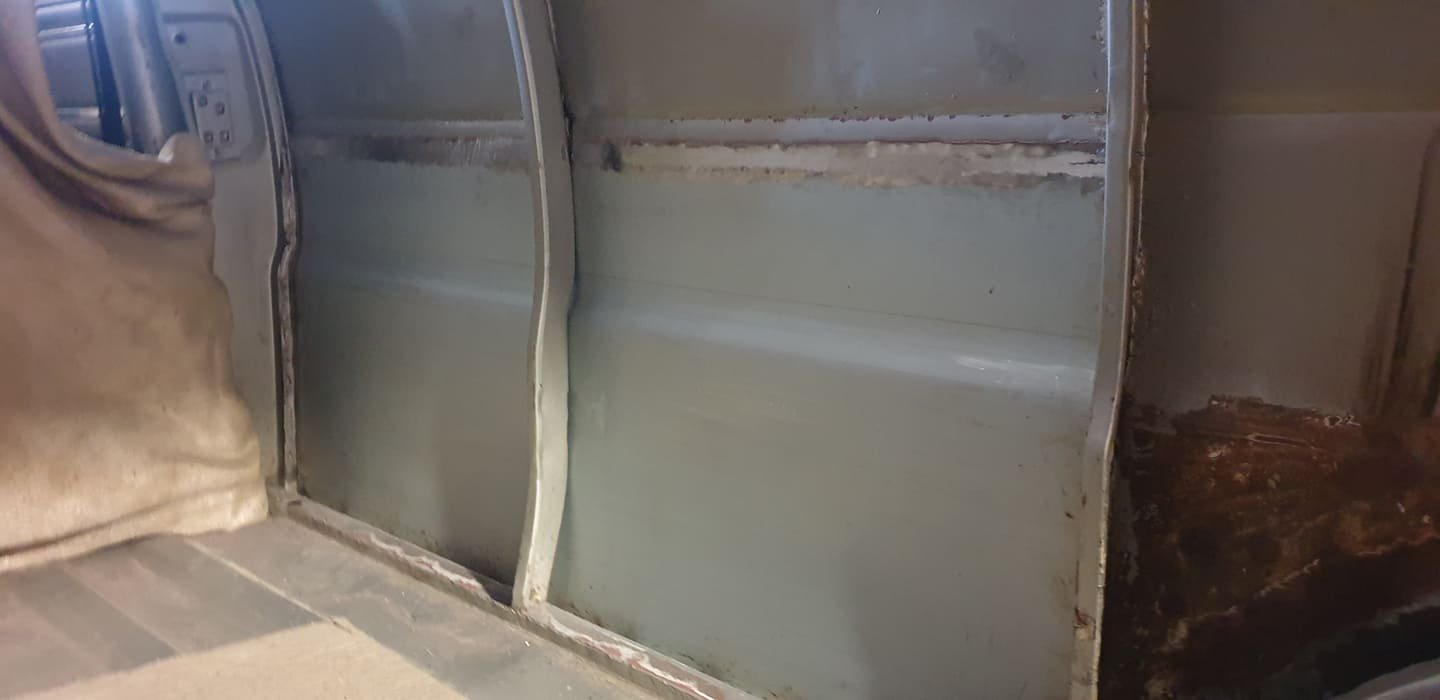
RHS all welded up now. Just a little sanding off welds to finish. Check out the detail on the horizontal bracing inside, those are new fabricated parts! https://oldschool.co.nz/index.php?/topic/45289-browndogs-1972-v8-transit/page/4/
 13 points
 -
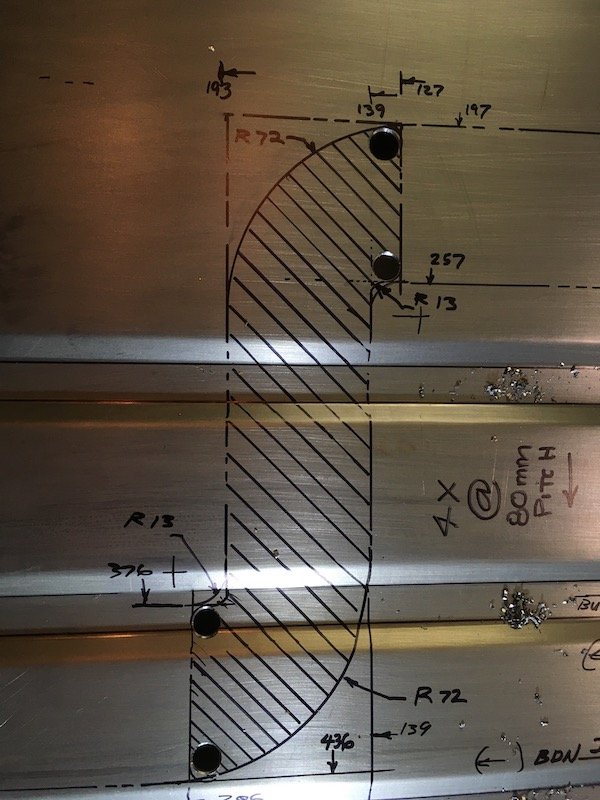
So the plan is to add 4 risers to the thick top areas. Then add chill blocks for the bosses in the middle. Couldnt find info on sizing a chill block so Im going to go with making one set total the mass of the boss and the other set twice the mass. See if they are any different. Also doubled the ingate area (back to what its meant to be in theory) and made it feed from both sides.13 points
-
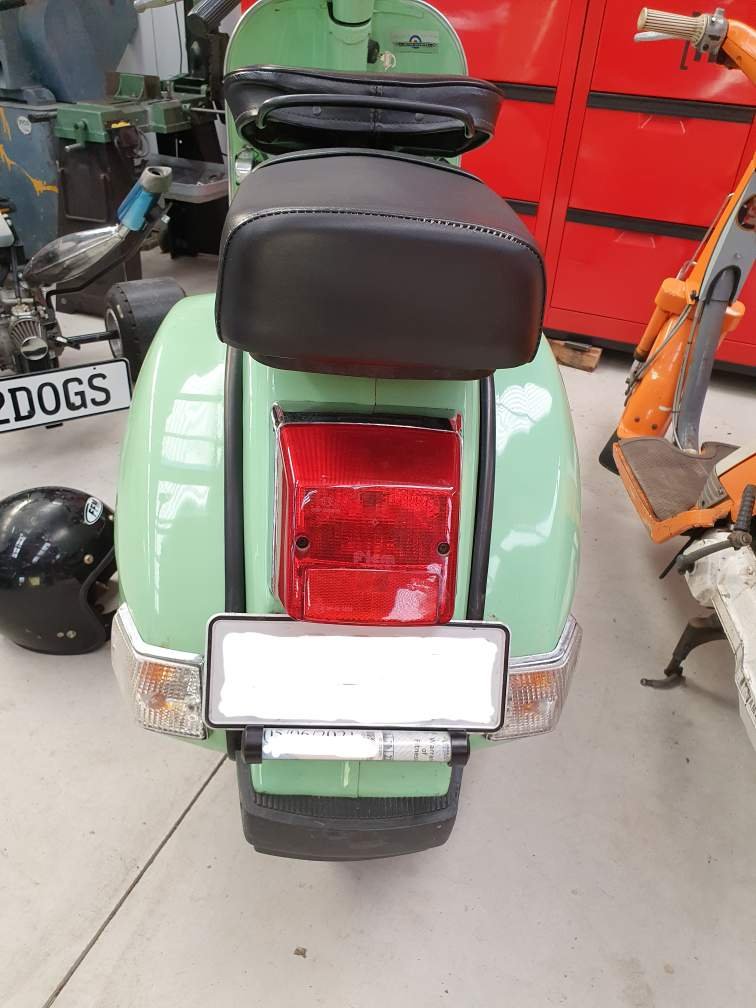
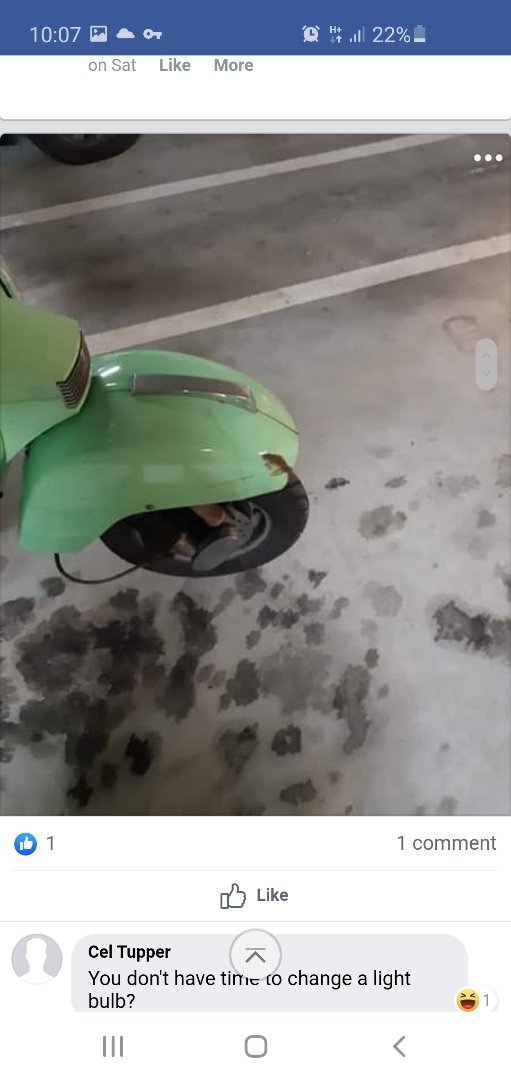
The yellow bonnet wasnt flash in person, the skin is mint but the frame has rusted away around the whole front edge and down the sides some..so it flaps within its self. It’s fixable but I’m not interested right now. i ended up winning the auction for the tidy-as one so will get it this weekend. i had an unholy cunt of a time trying to get the pitman arm off. Broke my pitman puller and several tools along the way, rooted my jack handle from wailing on it with a hammer trying to bash it off the spline. The go was taking the whole drag link off which frees up half the battle and some tension I guess, brought a new puller and introduced more heat and it slid off. Then a bad part number crossover Means the new one turned out to be for a powersteer model, no bueno. Deep breath. saga. Idler arm was easy as, a joy almost. Bottom ball joints.. one was aftermarket so was bolt on, pretty easy. The other side was factory and has fucking great Steel rivets holding it on. Much drilling, grinding, bashing and swears later in a tight spot it started to move but wasn’t pining. Turns out there’s two spotwelds holding the cast part to the bottom arm.. lovely. In the mean time the cable tie holding by the hub and brakes up out of the way snapped and crushed my wrist, so that was cool. Also burnt a finger unexpectedly on a hot drill bit. won in the end but pretty worse for wear. The wheel cylinder for the lame side was fully frozen so binned that and got another set.. ive done one side, the other can wait. Fanged some hose clamps on fuel line too. There was no chance of leakage cause I could barely pull the line off but it does look safer. And a recycled picture So you dont feel too ripped off after reading this shit
9 points
-
In my haste to find a front duckbill i bought this abomination from grumtree without really looking too close for $80. Bargain... i thought. It was $80 i will never have again. Kids said my car looked like a fish slice. Fair enough. Lesson learnt. I should let my kids decide what looks good as the outcome might be better. It has since departed this world as ash. RIP Mr Fish Slice. Burn the fucking mold please no celica should have one of these.8 points
-
Interior/Engine bay finished off: New Driveshaft done. so tiny!: I was lucky enough to be able to borrow a spit which made doing the underside possible. But what a mess it ended up making stripping the paint/underseal. Before: After: Really happy so far, looks a lot tidier.8 points
-
re-chromed rear bumper when in Aus, and also picked up a rechromed bumper for the front while there too. Both ends as new and have 1 spare front for that inadvertent fender bender.7 points
-
So next out came the old engine, and setting up for the new transplant. At that point i realized im going to have to ditch the steering box and convert to rack and pinion due to space. I found a KE70 cross member. and hacked that up to make it into something that would work for the F20. I picked up a KE70 column setup and married the TA22 column to lower KE70. This gave me a collapsible column ready for rack and pinion. Made up a gearbox mount, good enough to hold in place, more to come later: After lots of measuring i made something work for the front cross member, note distance we had to drop compared to factory, with AE86 conversion its typical to stick a multi inch block in to achieve the height: We have clearance Clarence! Not alot... I setup the new front disc setup and a full set of Heim/ T3 control arms. Unfortunately due to iPhone backup overwrite I lost all the build process for the control arms at that stage. Front brake kit is the "Big brake kit" from hopper stopper in Aus, all new components including 5 stud hubs and bolts up to the AE86 strut. Calipers are ford. Main reason for this is that it was one of the only things i could do as the calipers had to have rubber seals in AU as intent was to register there, most Wilwoods didn't. but that might change once ive run this in if i feel it matters now we are back in NZ. I would prefer same calipers front and rear. Brake master cylinder is from a Mitsubishi L200, New Bosch Part. Had the right piston size for my calculations, will see when she rolls, also fitting bias adjustment for rear.7 points
-
Had a buying spree on Gumtree... found some brand spanking new 3pc +0 offset SSR 16x8 spinny things sitting in someones warehouse, complete with centers. Oh did i mention - converted to 5 stud to handle a "bit" more power... maybe. Shod with Yokohamas and sitting in place, a little outer guard rolling required, but the shoe fits.7 points
-
Fuel filter mounted under car, bash plate to come. Can see new gearbox cross member, fit for purpose. Also had 1 piece tail shaft made up to marrying the 6 speed to the hilux diff. Safety loop is on the list.6 points
-
So.. I haven't got the pipe yet to finish the downsized runners, so in the meantime6 points
-
Zero progress has been made since my last A50 post, have had so much other shit to try sort out. So what is the best course of action to take when you have too many projects and too little time? Sell a few off? Nah get another one of course!! Thinking classic scrambler styling take on an adventure bike with this one, eventually. Something along those lines, but with lights and a decent pipe etc maybe.
5 points
-
Custom EN26 drive shafts, light and should be more than adequate for peeling the tread. Ball Bearings fit in the end for the CV. Diff being assembled after painting with por-15. Ended up going with 1.25 negative camber and a fraction toe in on the rear. Adjustable so we can sort later with different blocks.5 points
-
An Aussie guy is doing just that.5 points
-
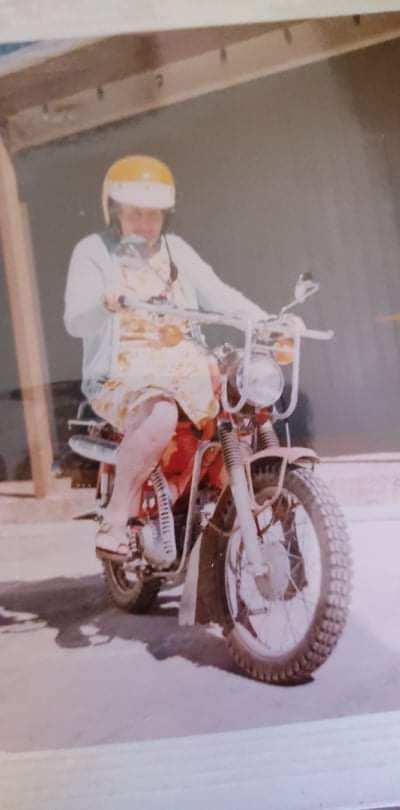
Minutes after posting that I got a phone call to say my Nan had been rushed to hospital, so have made zero progress on any of my shit. But in the process of cleaning out her house today I discovered small bike life runs in the family haha My Nan on an uncles pretty new CT back in 82 or 83 I think the tag said
5 points
-
Decent pic of the backend setup. Found rubbers for the Heim Joints to keep out as much dust as possible out of the US. Have one end Heim other end Nolothane to try and keep the noise down. Brakeline on right caliper has been moved as it was snagging the body, also breather on diff has been shifted to other side to ensure clearance to the pops and bangs pipe. Advantech Industrial PC I found best use of - wheel chock... everyone should have one.4 points
-
At this point we moved back to NZ, packed up the kids and houselot and shipped her all back including the celica and our other car. Wifey said she wants a rabbit, i said fair enough, rabbits are expensive and I have a celica, that can only be fair, right? Welcome to the family "Winchester": So when car arrived I dropped it off to Evan at Speedfactor. They built a new set of cross members for us that looks and work much better . Evans team has completed a whole lot of work for us, SS exhaust, finished the tunnel, radiator mounted etc. Some updated pics of where she is at now below.4 points
-
Recovered SW20 seats. Since car did not come with originals. Just needed a tag welded to the back and they fit... so i understand.4 points
-
So i picked up a borg warner diff from the local wreckers, a common conversion for these, But then i read all about how the diff is actually setup, and thought fuck that. Its crap, all the shimming, re shimming and cone setup LSD and hand brakes that are always dreadful. and fuck why do i want this cast iron anchor slowing me down? So plan B... which should have been plan A. HILUX DIFF. I snuck back to the wreckers and left it at the front gate that night... reverse stole it. Don't tell anyone please. So I bought a 400km diff from a trusty rusty hilux, tossed every component that moves. Bought a brand new Torsen LSD Eaton Diff Center from the US, and new 4.10 ratio ring gear and pinion. Had this professionally built at difflapping in Brisbane. The hilux diff side by side was a lot lighter even with the 4x4 axles in place and heavy drums than the old skyline diff. Next came the VERY special diff setup from Race products, 700 series Camber/ Toe kit. Essentially the diff has CVs inside the axle to allow for adjustable camber! Sick! More info here: http://www.raceproducts.net/700-series-cambertoe-kit/index.html My diff been built here, all new HD 4link mounts and shortened diff for the TA22 chassis, at this point i did not have wheels(!) should have bought wheels first, but i knew what i wanted to find to make it all work under the rear without flares: I just had to tig the shock mounts on at home and set her all up: Bilstein's are from a comaro, they are perfect size for TA22's with a lower ride height. Rear springs are from a Mk1 Escort.4 points
-
Don't forget, this is tomorrow people. Come along for some seriously shit yarns and some tasty burger goods. Burgerfuel rototuna from 7pm. No old car? Who cares, bring a daily, walk, hitchhike etc. @Kimjon @mark105 @Geophy @Dogwatch @64valiant @WankBankA100 @Archetype @Zeubin @Yowzer @bobby1930 @vk327 @flyingbrick @Truenotch @NicT4 points
-
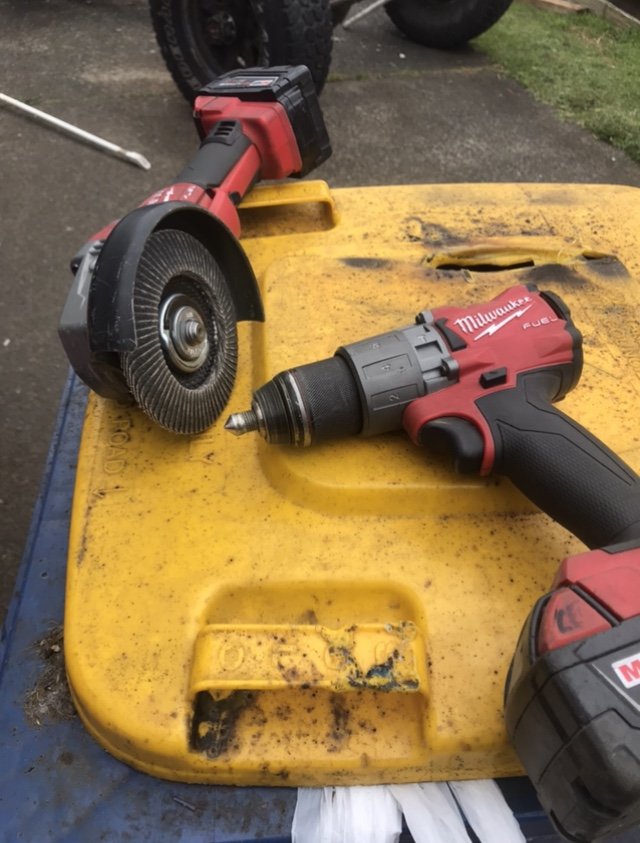
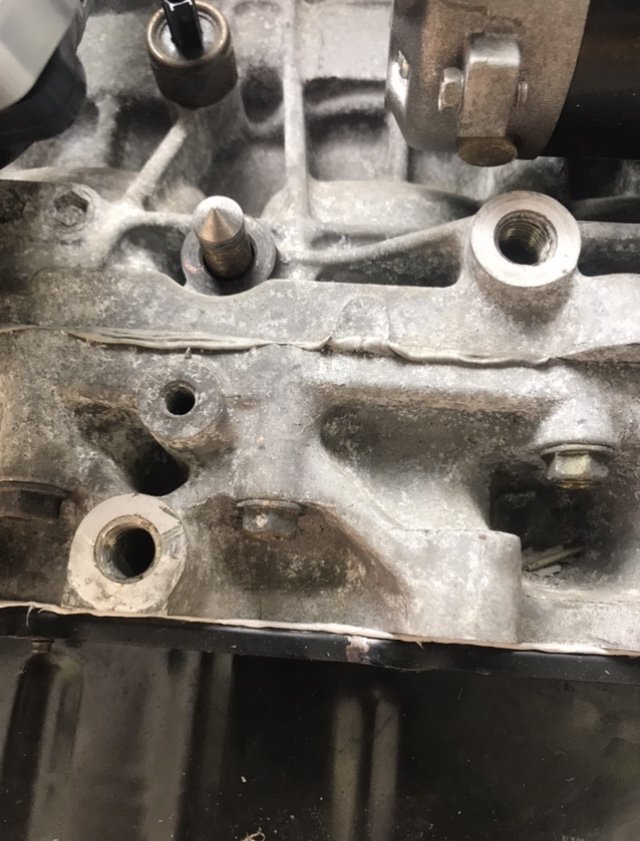
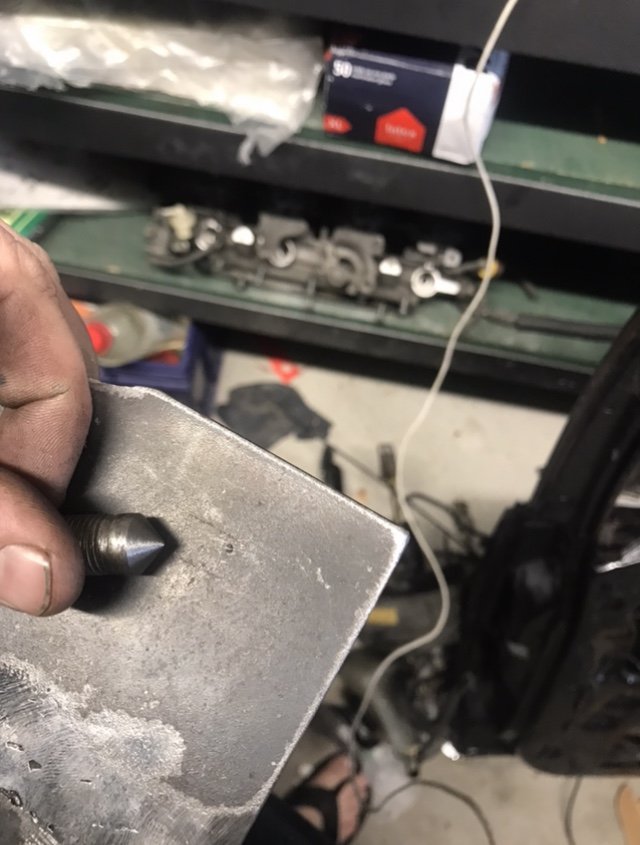
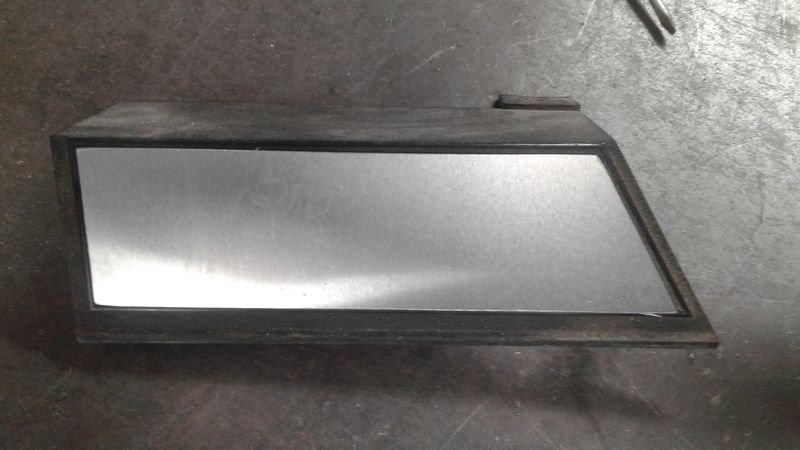
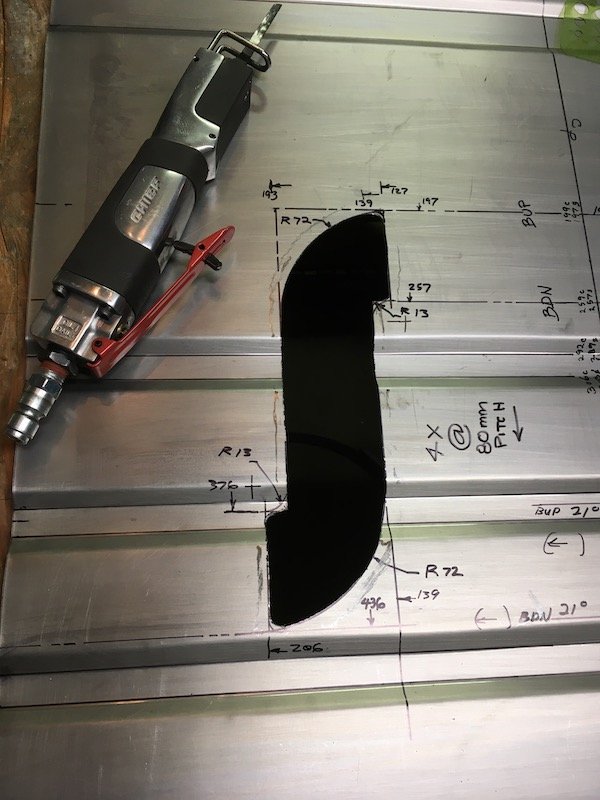
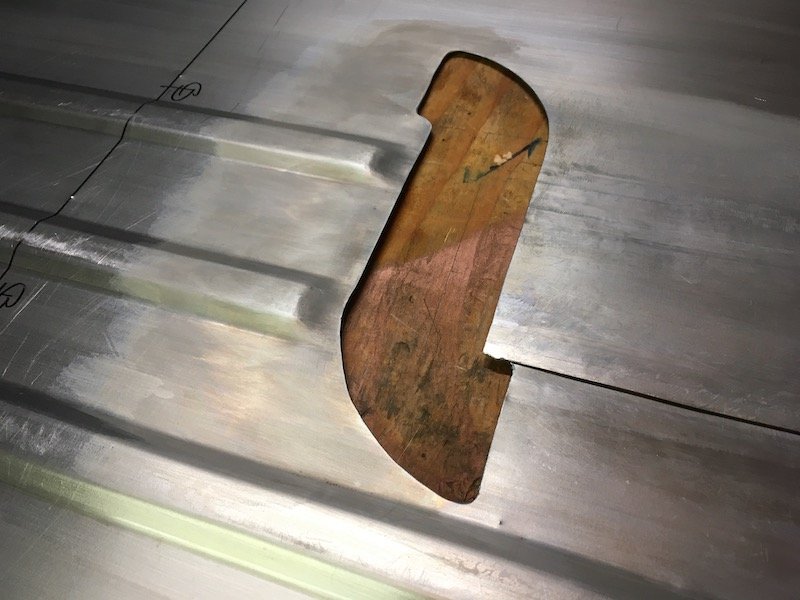
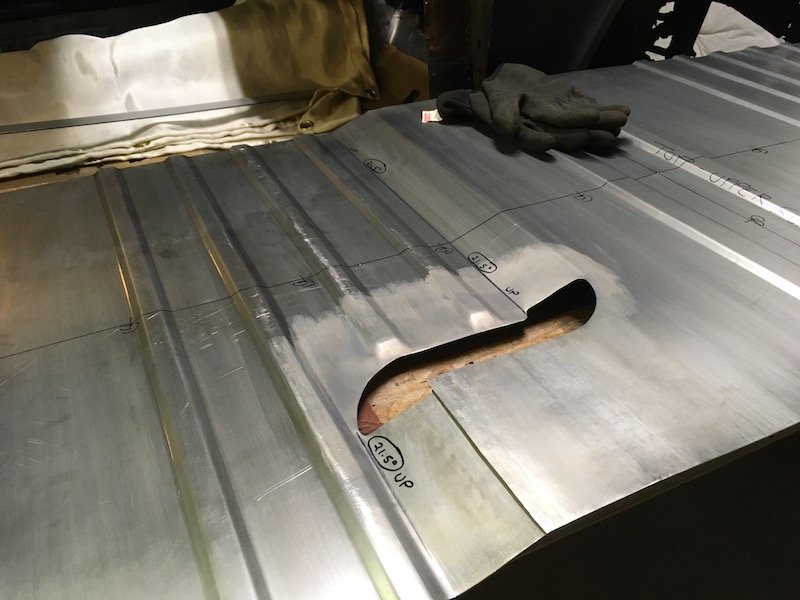
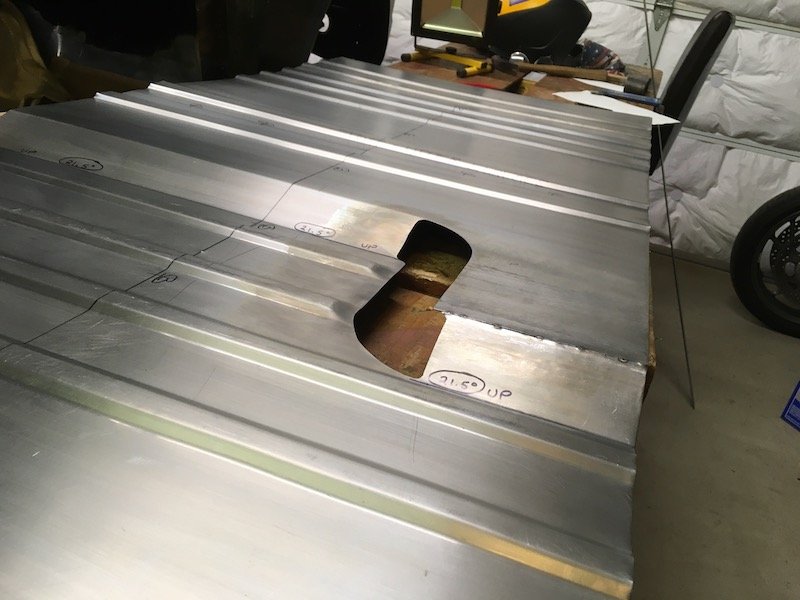
" Shimano? " you say... Well its not really that exciting. Please don't expect a Heath Robinson like contraption using XTR derailleurs, in the lovely pewter colour that the 965 series came in. Or better yet - some mint deore XT thumbshifters used as tensioners. Oh yes- the bike geek is strong in this one! But I'm jumping ahead again. First off - I needed a way to take drive from the crank while at the same time beef up a problem area. Now have a look at this next photo... See that big splined shaft sticking out. That was the main drive to the original clutch setup that resided in the removed rear casing. It had to go. So I chopped it off. I did have a photo that Hannah took of me chopping it off with a cutting disc (there was no way our bandsaw would have touched it) but I cant find the photo. However- here is a photo of that bit removed and now residing on our shelf of random bits.. Now luckily there is actually a flange on the crank. This was one item I had been trying to check before committing to buy an engine ages ago. I didn't know how think it was though, nor had I confirmed what the size of the six bolts were although I was fairly sure they were 8mm (but really hoping for 10mm). I was not going to be happy taking power off the crank, albeit its only 100 bhp propelling a little Imp and so I had a little think about it. I needed three things here. 1: a decent flange with 10mm bolts for the flywheel 2: a surface to run a main crank seal against because my engine design was going to have a sealed up oil bath for the oil pump drive 3: a larger flange to put a sprocket on. The design I came up with was an adaptor hub to bolt onto the existing flange using the six m8 bolts. But instead of just relying on the bolts to hold it I would machine it to a shrink fit and really make sure it wasn't going to move. Probably a bit overkill but why not. So I machined up this out of a rather large lump of steel (so filling my steel bin with a lot of swarf) It has two axial surfaces to shrink onto the crank- the flange outer and the stub I left over from the original splined sticky outy bit and clamped in place while it cools with nice new stront cap screws. Here I am tapping the threads for the flywheel hub.. Here's a small benchtop oven making things grow in size with heat and in the back ground is a crank just having recieved its new hub... In place and cooling down. Would be a bugger to remove now.. You can see the larger flange to which a sprocket will attach to. Now I needed to sort out a nice flat, removable surface to mount a potential idler sprocket and tensioners on plus an square surface to mount the oil pump driveshaft support on. I cut a piece of 6mm alloy plate in the faithful ( and noisy) tablesaw. I had several useful threaded bolt holes left over from a variety of the original transmission bearing holders, shafts gubbins and shifter wotsits. I machined up a little pointy bit of steel with an offset slot. Then I was able to screw it into a hole leaving the pointy end just proud. With my plate lined up where I needed it I gave the plate a smack with a hammer just over the pointy thing below, thus leaving an indent I could drill through. Repeat for the others and I had perfectly lined up holes... Cool. I could now support the oil pump shaft. I machined the end of it and tapped a new hole. Then machined up a bearing holder like so... Next little thing was to join the cranks rotating motion to the oil pump and make that rotate.... Hmmmm. I had to really think about this one. There was not a lot of room for industrial chains and sprockets. I thought about using a toothed belt that can run in oil like some of the later cars. But apart from the prices (!) they are not available in many sizes and are apparently prone to throwing their toys from the cot. I couldn't run a dry belt due to the bottom half of this area being part of my new allocated sump capacity, not to mention sealing it would be very tricky. So really- chains and sprockets were the best choice. Why 'chains' and sprockets? Not just one chain?... Because I wanted to drive the Honda pump at or as close to the original speed- which is slightly under driven. This way I would be sure that the pressure and volume would be about right. No ifs or buts. I didn't mind going slightly faster because the stock goldwing has a low oil pressure at an idle of 11 psi at 800-900 rpm. I'd be happier if that was a bit higher. With this in mind I had already worked out roughly what gearing I would need to be in a certain range. I had worked out the original gear ratios and then used a gear calculator to play around with ideas... But what chain and sprockets to use? I enquired with so many places and had done loads of internet searches but the answer came to me when I lifted one of my bikes down from the wall before going for a ride. Of course! Bike chain, chain rings and sprockets! At first I worried about the strength and durability but thought about the abuse my chains go through, especially on my singlespeed MTB. I have only broken one chain and it was after it had been jammed. Over about 15 years of being a bike mechanic in several different shops almost all chain failures I had seen were due to something else cause them- unless they were a cheap unsuitable chain. So I went through my varied collection of chainrings and cassettes (I have many) and selected out the ones with a tooth count that would work and fit. I machined up a spare shimano freehub to take bearings like this... Machined out a Shimano mtb chainring and cobbled together a mock up to see if it might just work... It looked good but I was not happy with the 3/32 width ring and sprockets. Even though they will be in a oil bath there was still not a lot of thickness to the teeth. I was not expecting this engine build to do Lexus levels of mileage but I wanted it to last long enough to do some good hoons for a few years at least. I had enough room to go up to 1/8th width chain but no more. I looked into BMX chainrings but very hard to get the toothcount I needed and sprockets were much the same- plus bloody expensive when going odd sizes. So a mate at a local engineering suppliers priced up some american sprockets that I could grind/machine down. Wow- cheaper then shimano stuff and tough as. I bought a set of four and set to turning them down. Not easy- in fact it took ages as they are induction hardened teeth. But I finally took them down from 5mm to 3.3 and they fitted a spare bmx chain I had perfectly. Much more sturdy... I have now got a very durable bmx/e bike chain that has flat straight outer edges on its plates- this will suit my tensioners. I have a couple of tensioner ideas to try and think I have nailed how to make them easy to fit and effective. Remember- I want all of this lots to be super easy to unbolt and swap out. Its all a totally unknown design with regards to longevity so it needs to be easily serviceable. More soon ...... Alex4 points
-
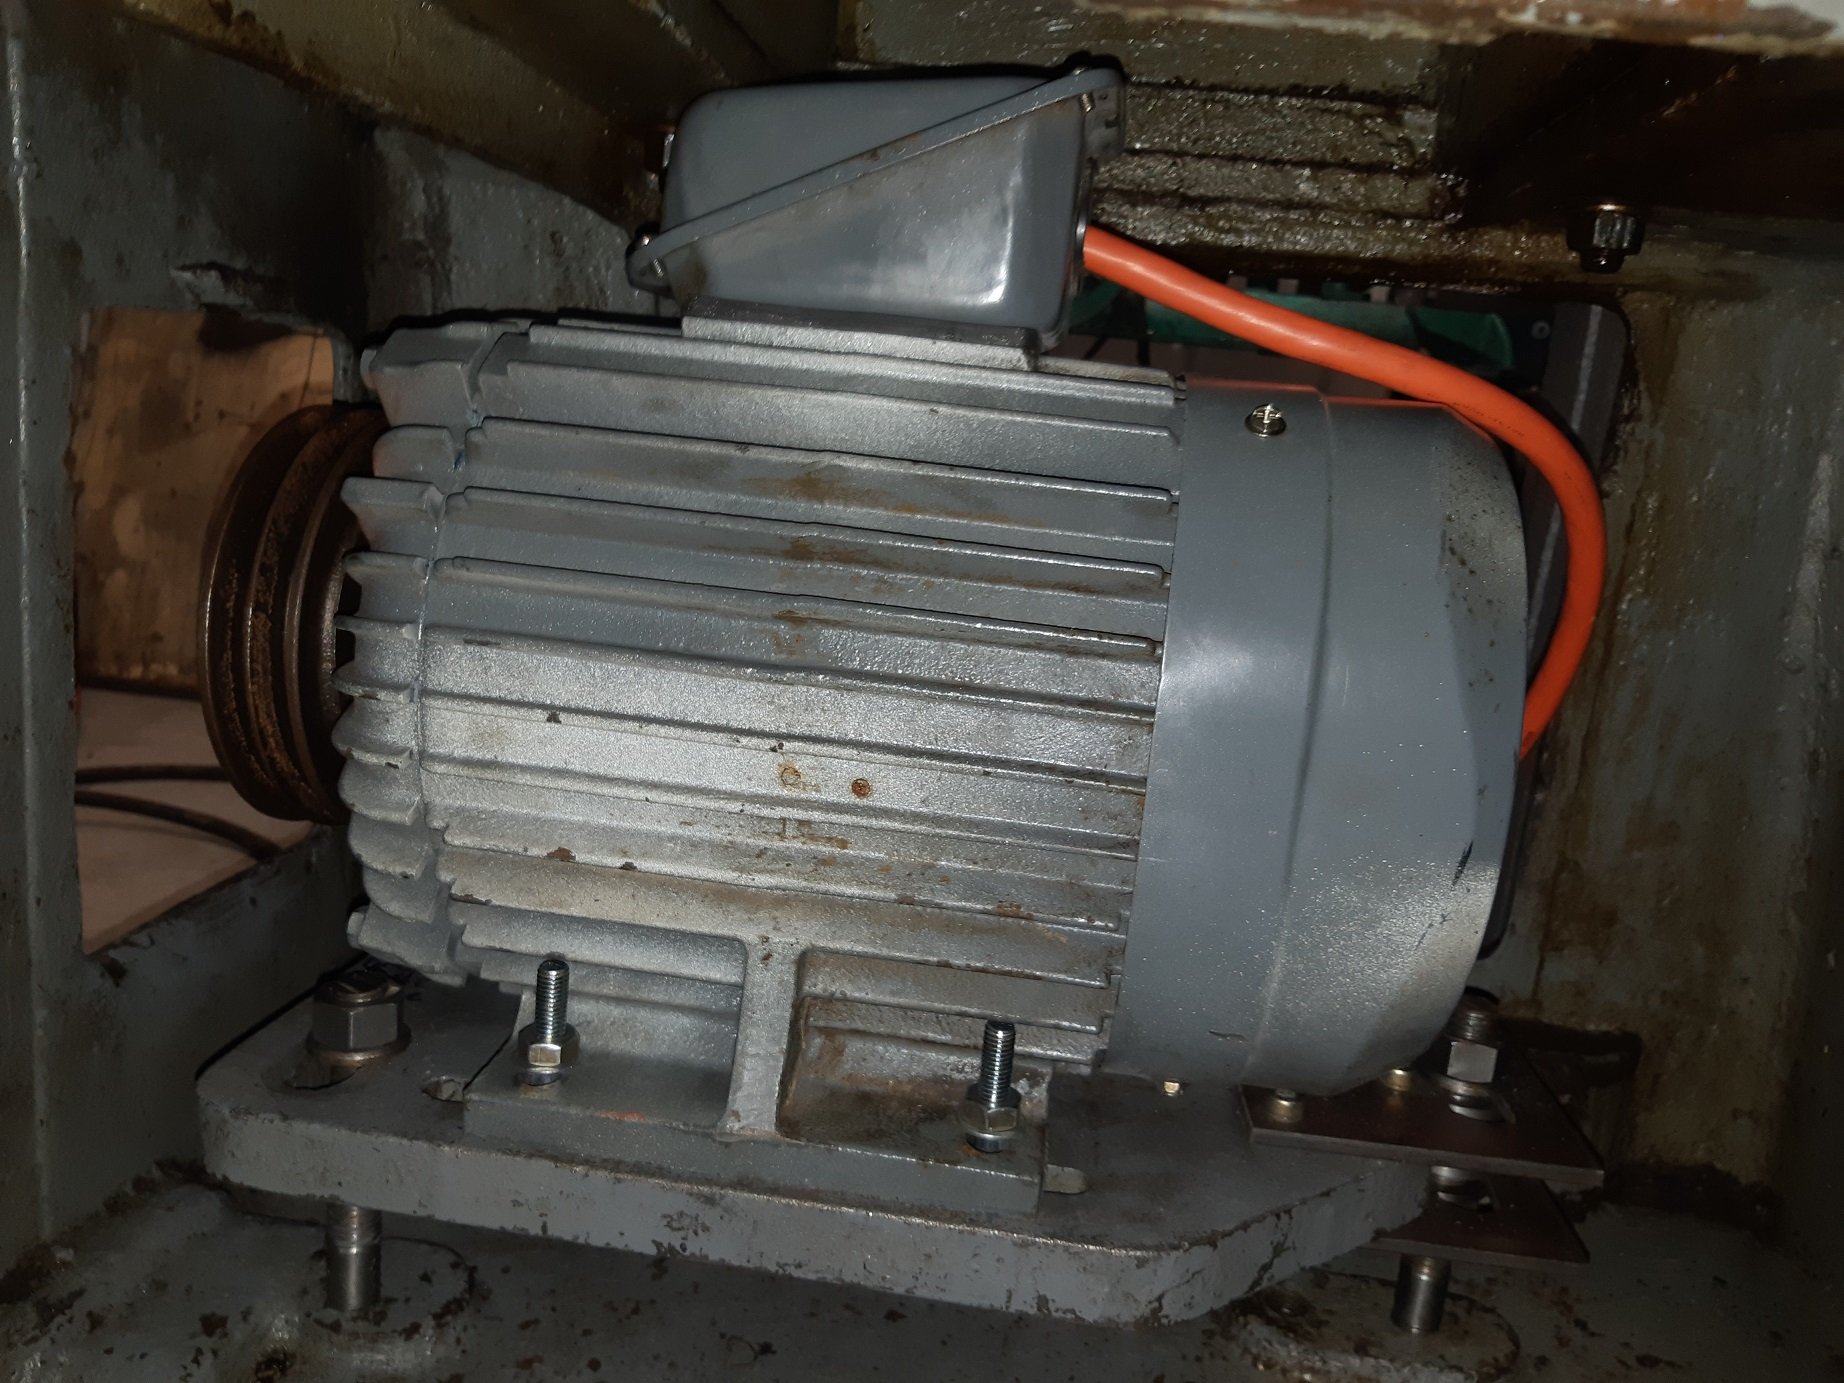
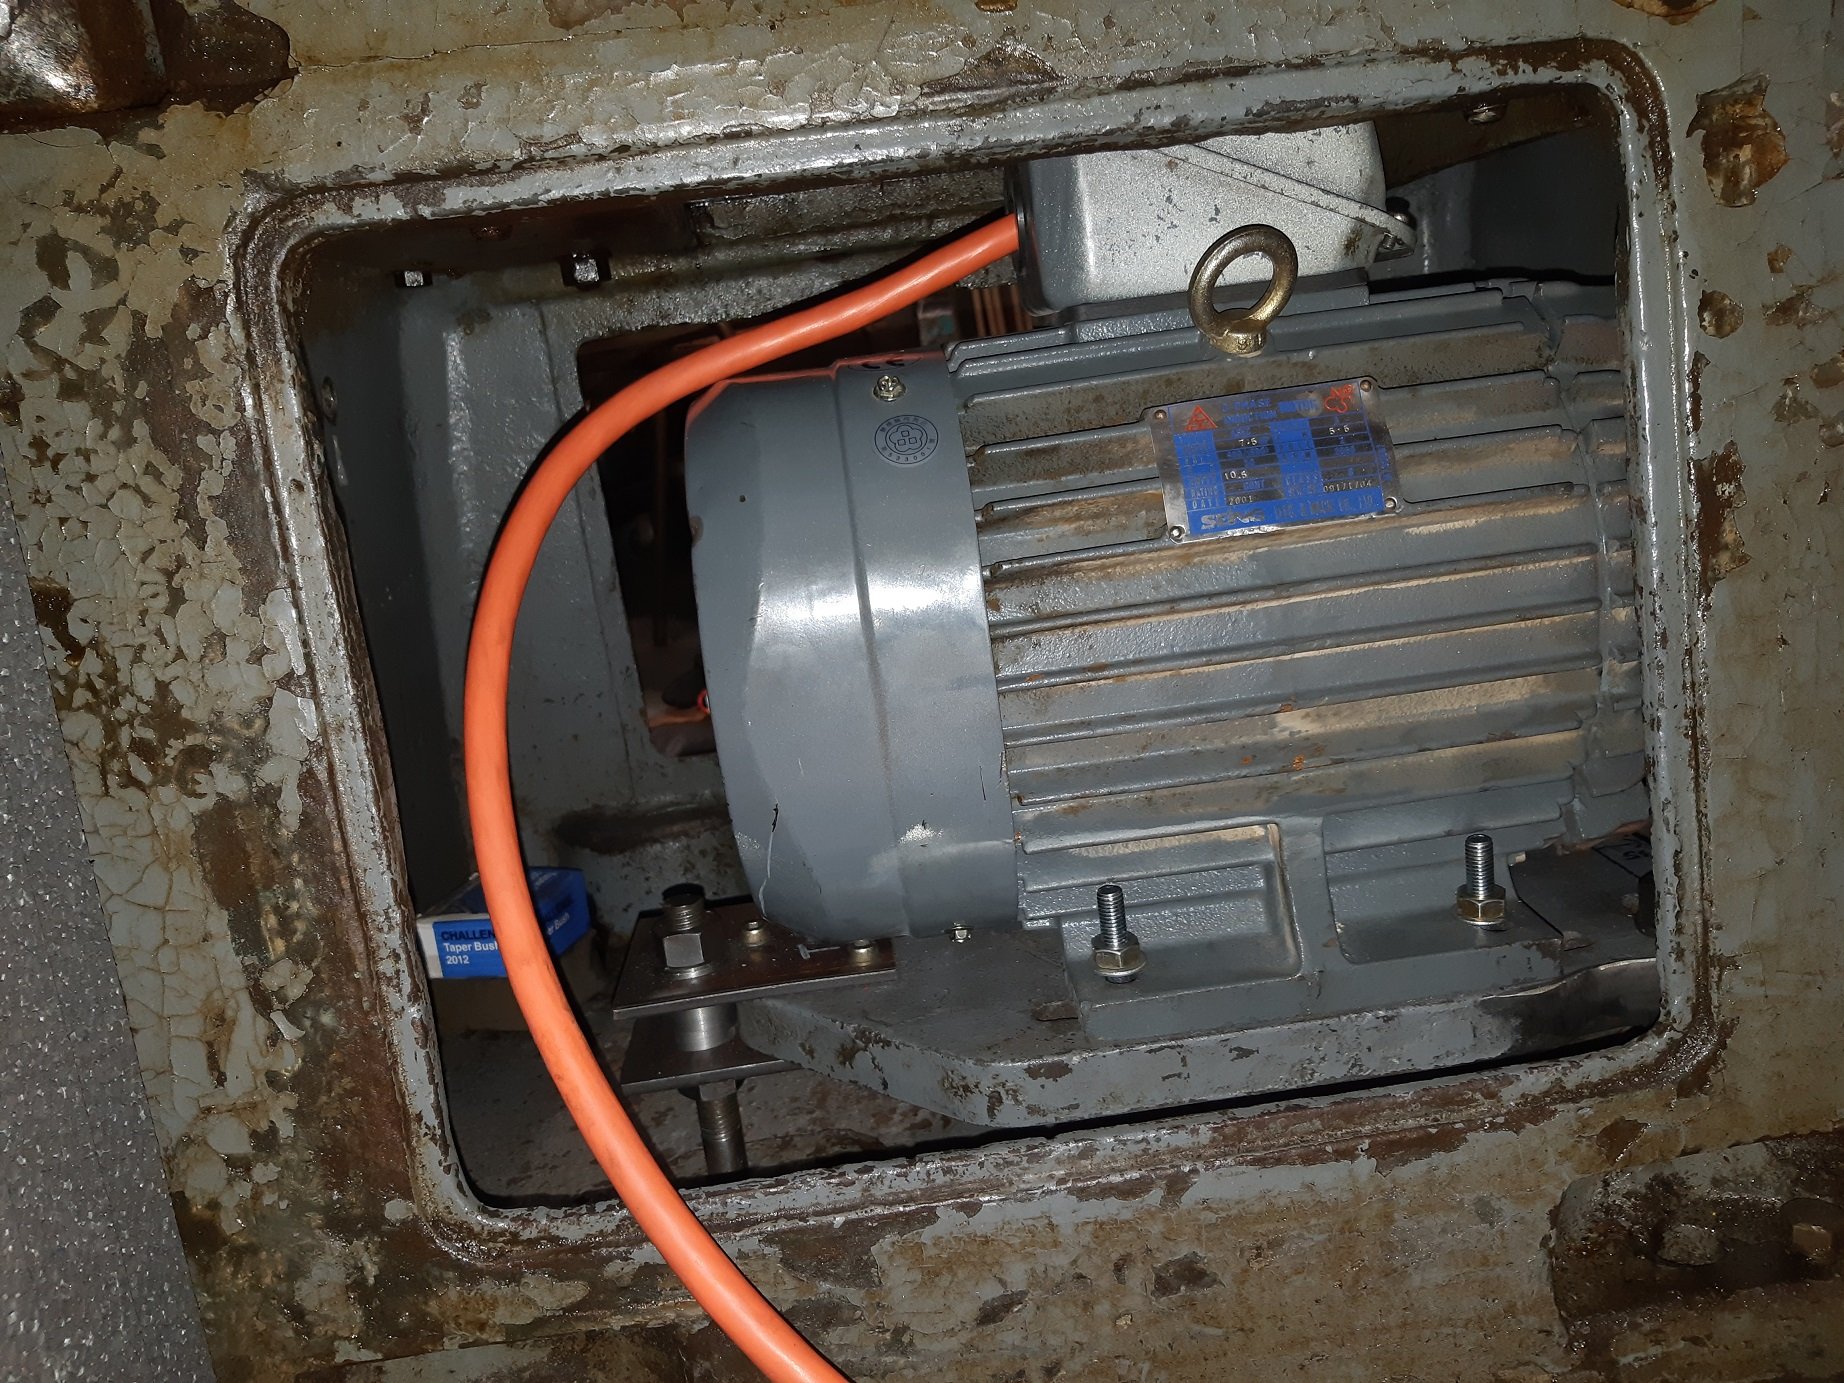
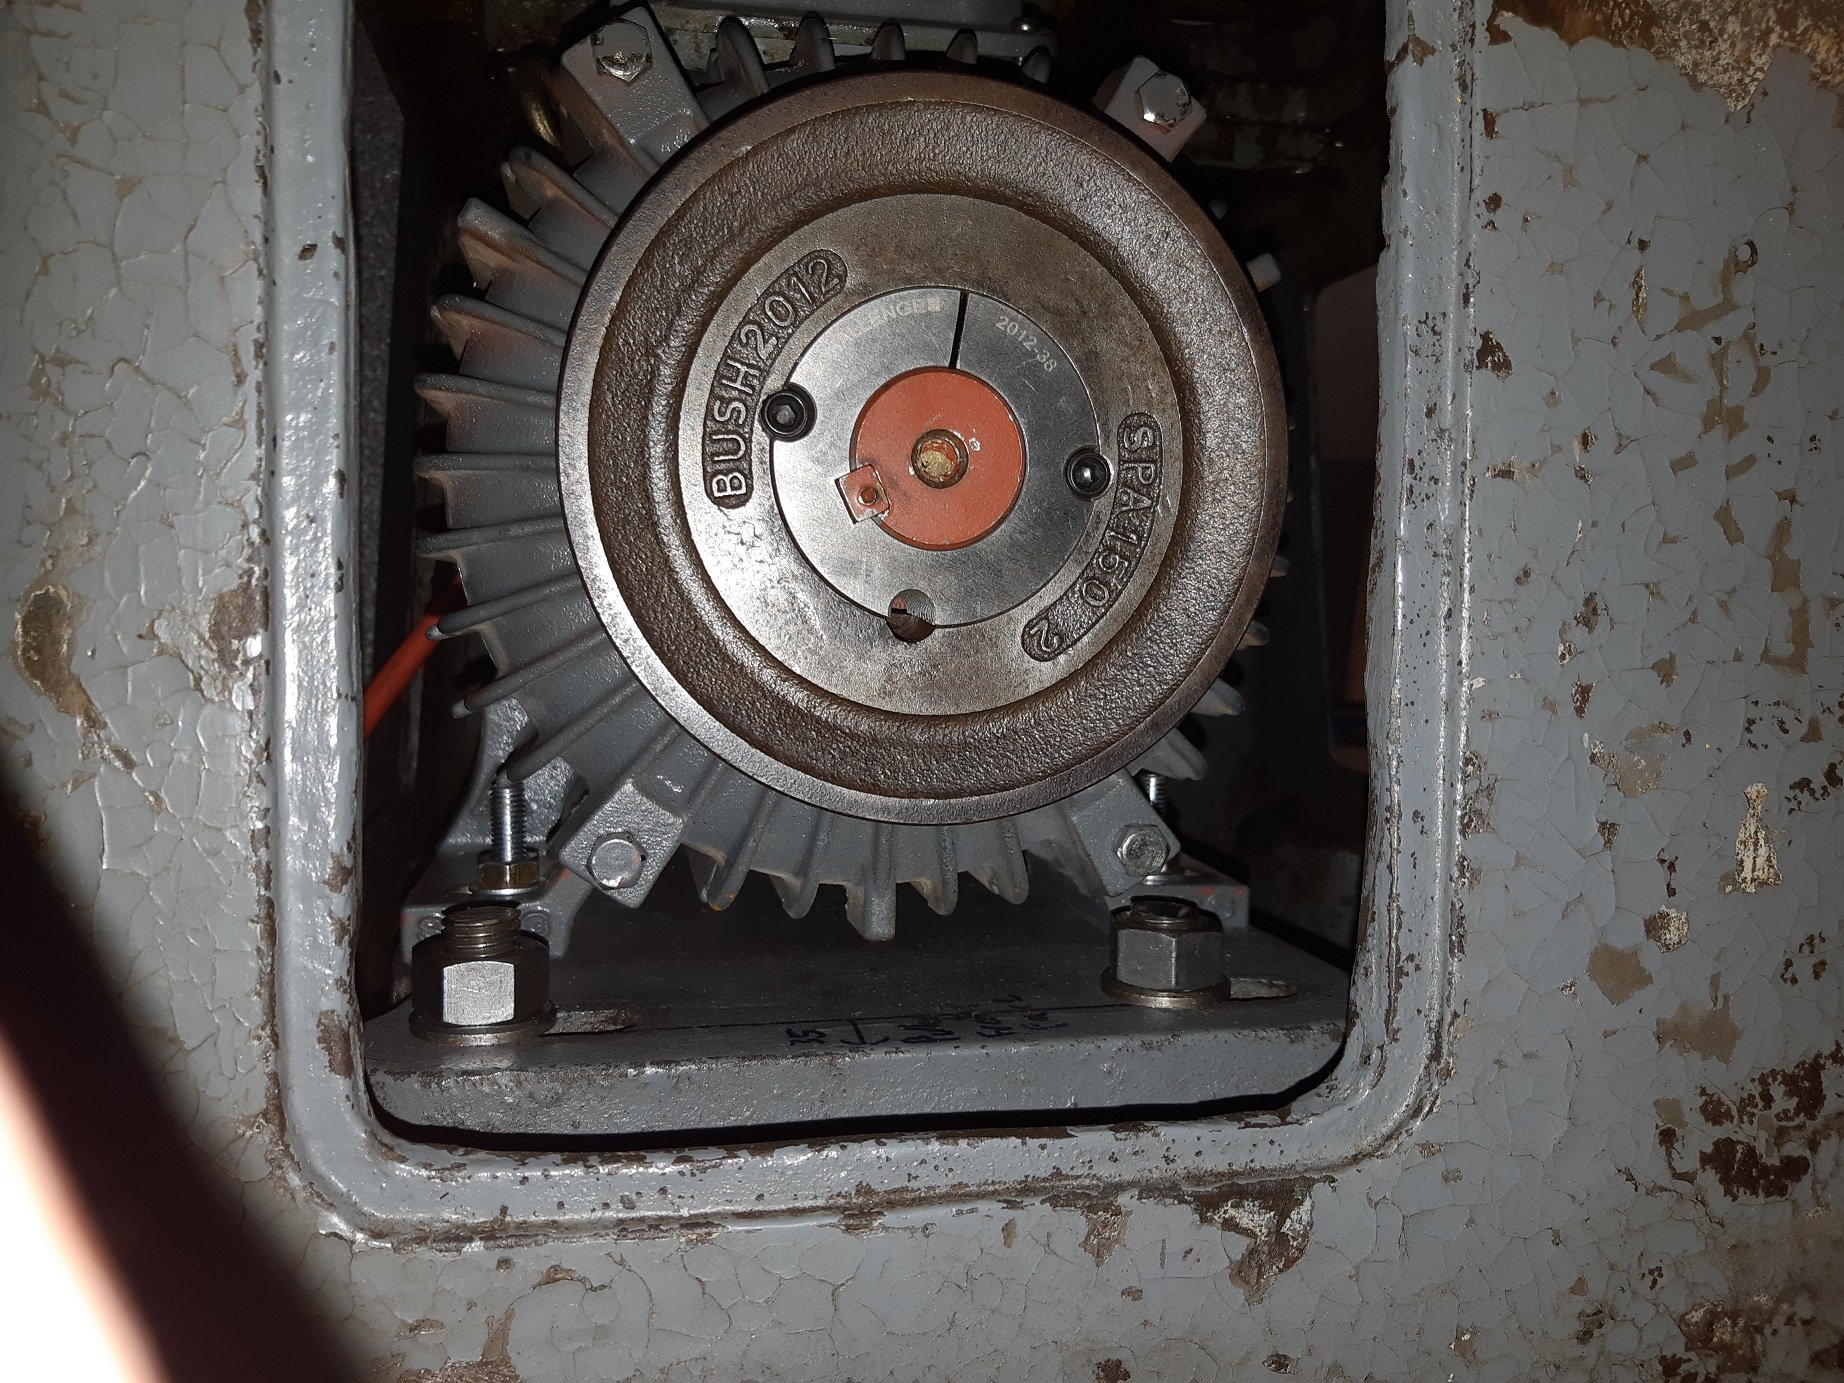
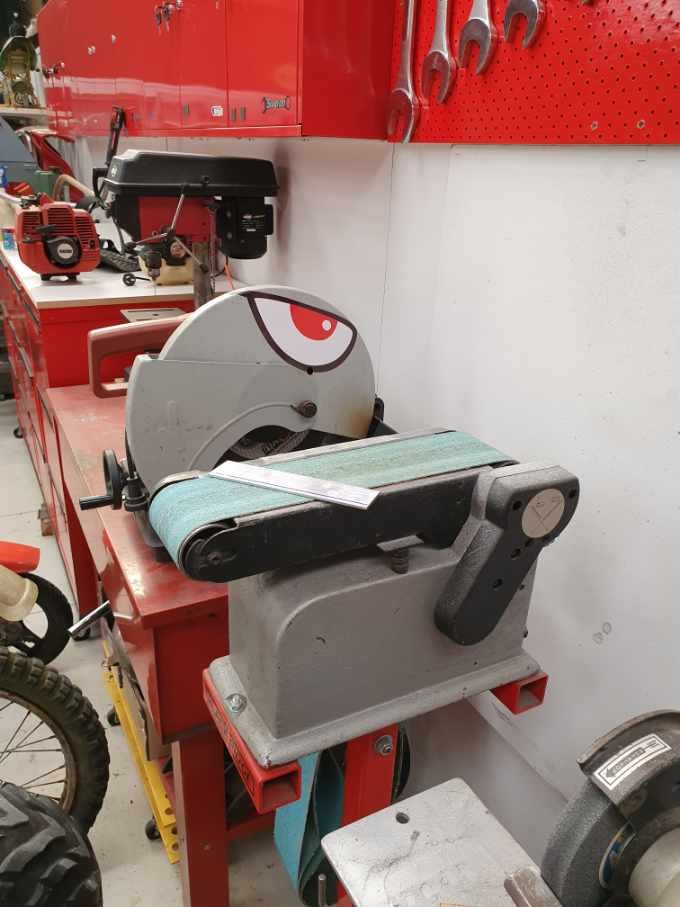
It fought me, but I managed to get it in there. It juuuuust fits. I had to chop the big studs down to move get the pulley in the right place. I found that the terminal box on the top of the motor could be reversed which gave me about 20mm extra clearance at the top. To get it through the door I have to wrestle it in on its side then lift it back up. It weighs about 40kg. I could not get the motor high enough to use the original belts so I have ordered some longer ones. Hopefully they should arrive tomorrow and it will be alive again. I still need to wire the big forward reverse switch lever to the VFD and get a potentiometer for speed control and stop switch.
3 points
-
Looks like rubbish. You don't want that. Giz.3 points
-
Planned electrics: Racepak Smartwire Power Control Module, this will be my fuse box and PLC all in one. It will do everything, switching timing and become the heart of my electronics. Also have chosen a Haltech S2000 engine management, digital dash, this is ready to bolt on, not too far from getting the celica to the auto lecy to wire it all up, sort the Aircon out and then some dyno time. O2 sensor kit for the Haltech in my jank somewhere. 4500RPM VTEC and flat change will be in order.3 points
-
And then there was that steering wheel...3 points
-
Unloaded back in Emerald QLD, mostly complete but a mechanical bad dream from the last owner.
3 points
-
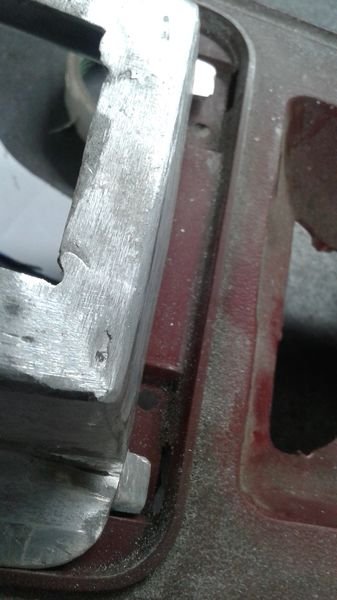
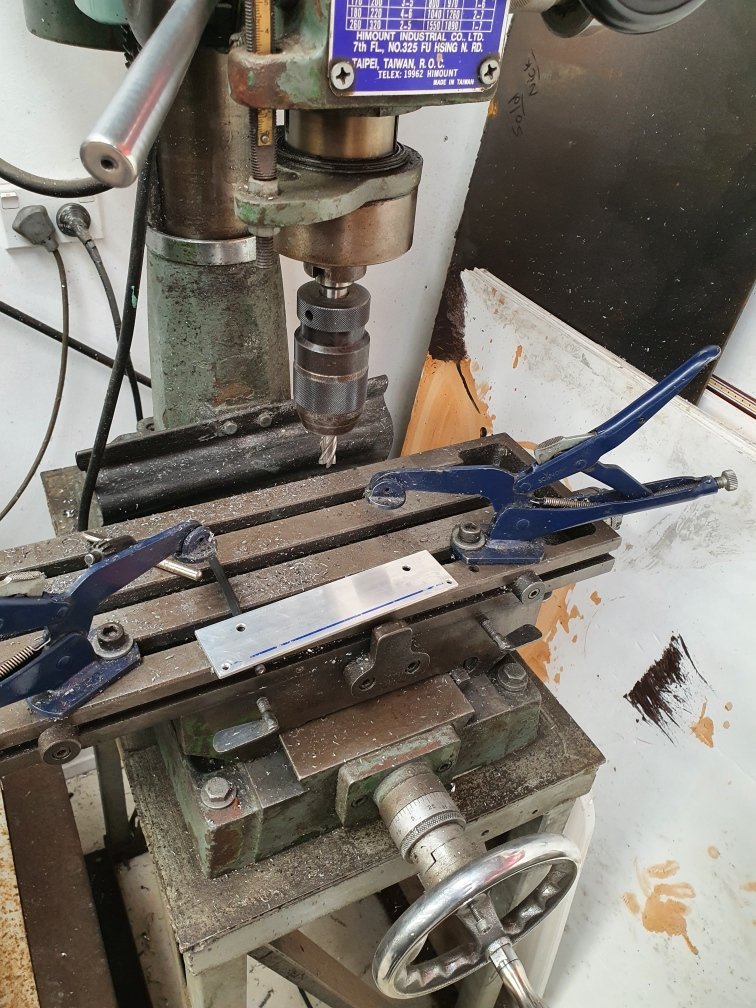
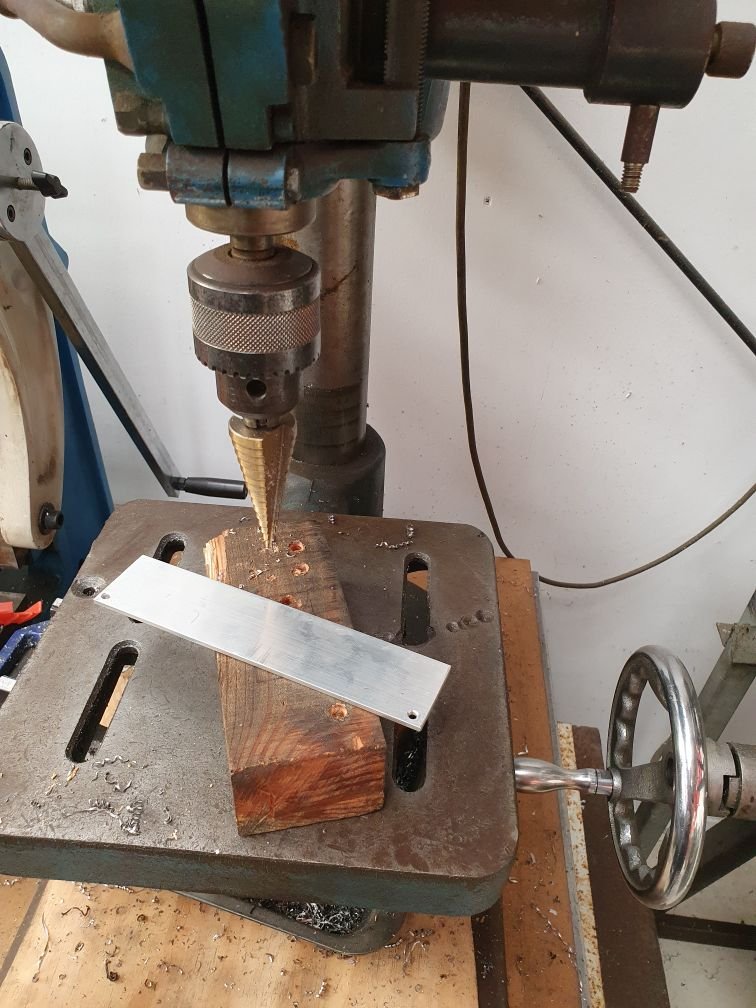
These different depth mount holes are a real pain in the ass ye old battery lathe saved the day
3 points
-
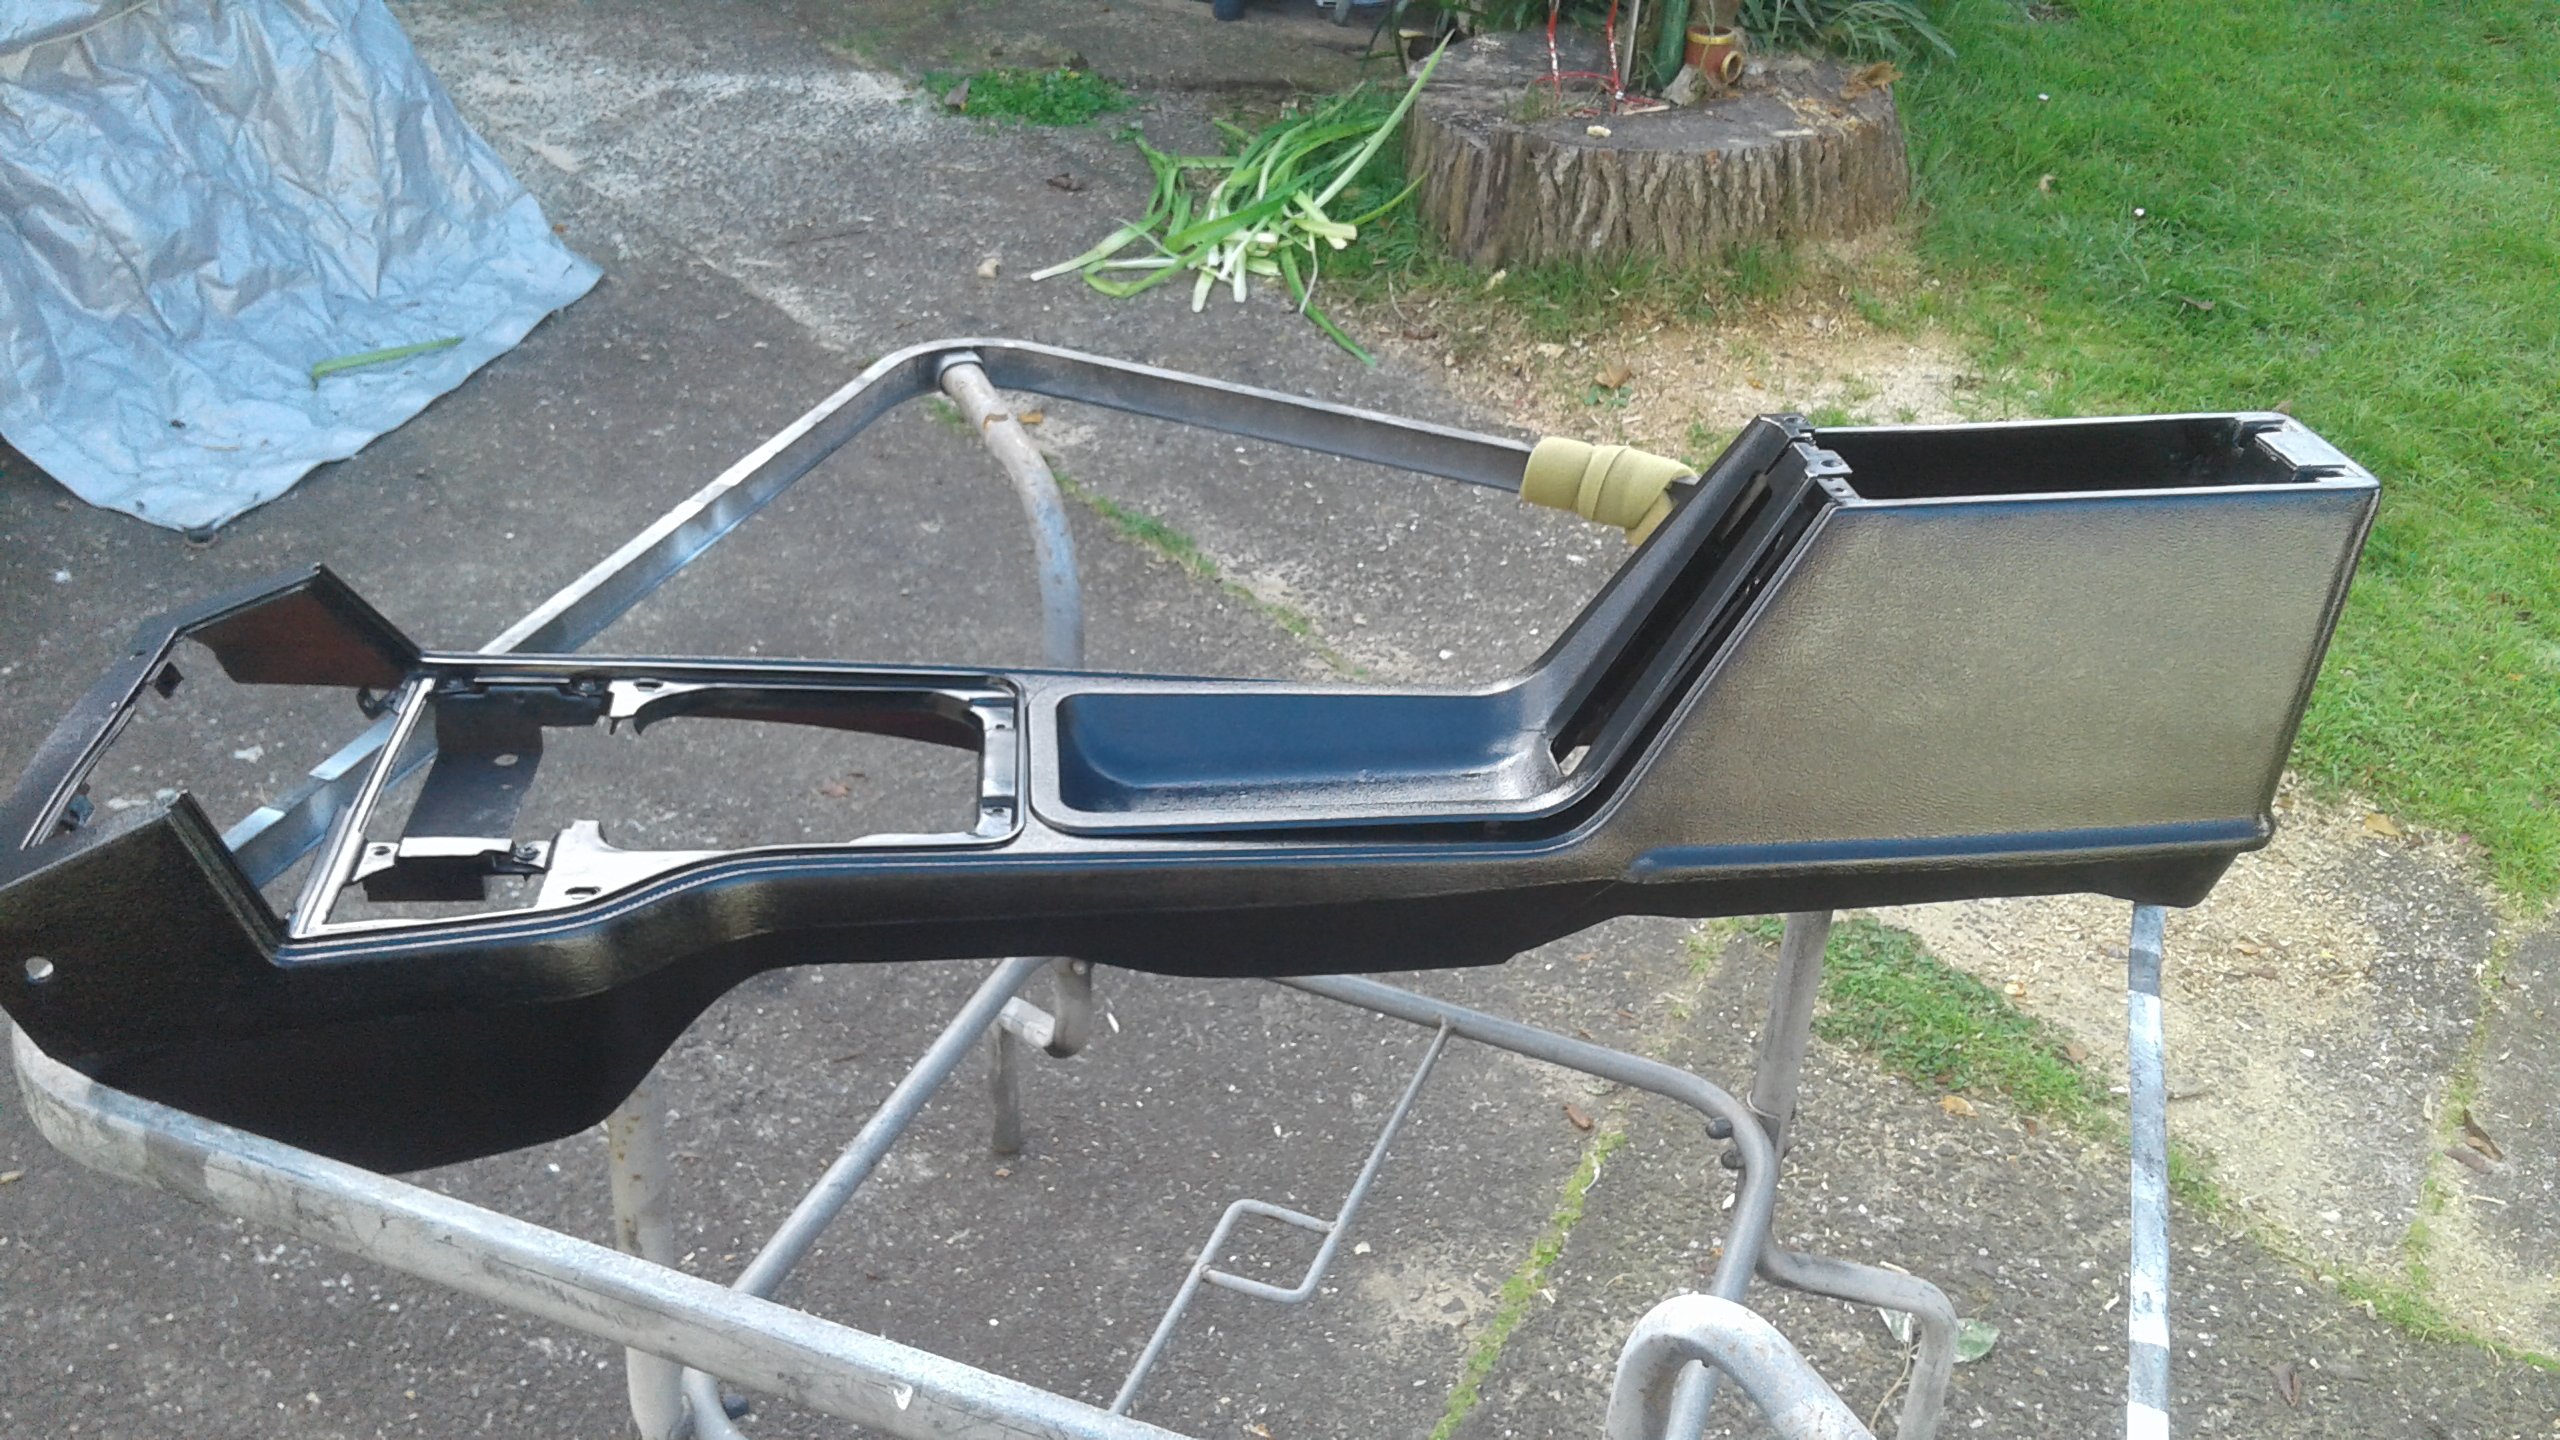
Added a couple of little tags to locate in the original slots ' A small infill panel to cover where the clock and 'warning light' came out of. Then thoroughly scrubbed, degreased and painted the console with proper plastic paint!
3 points
-
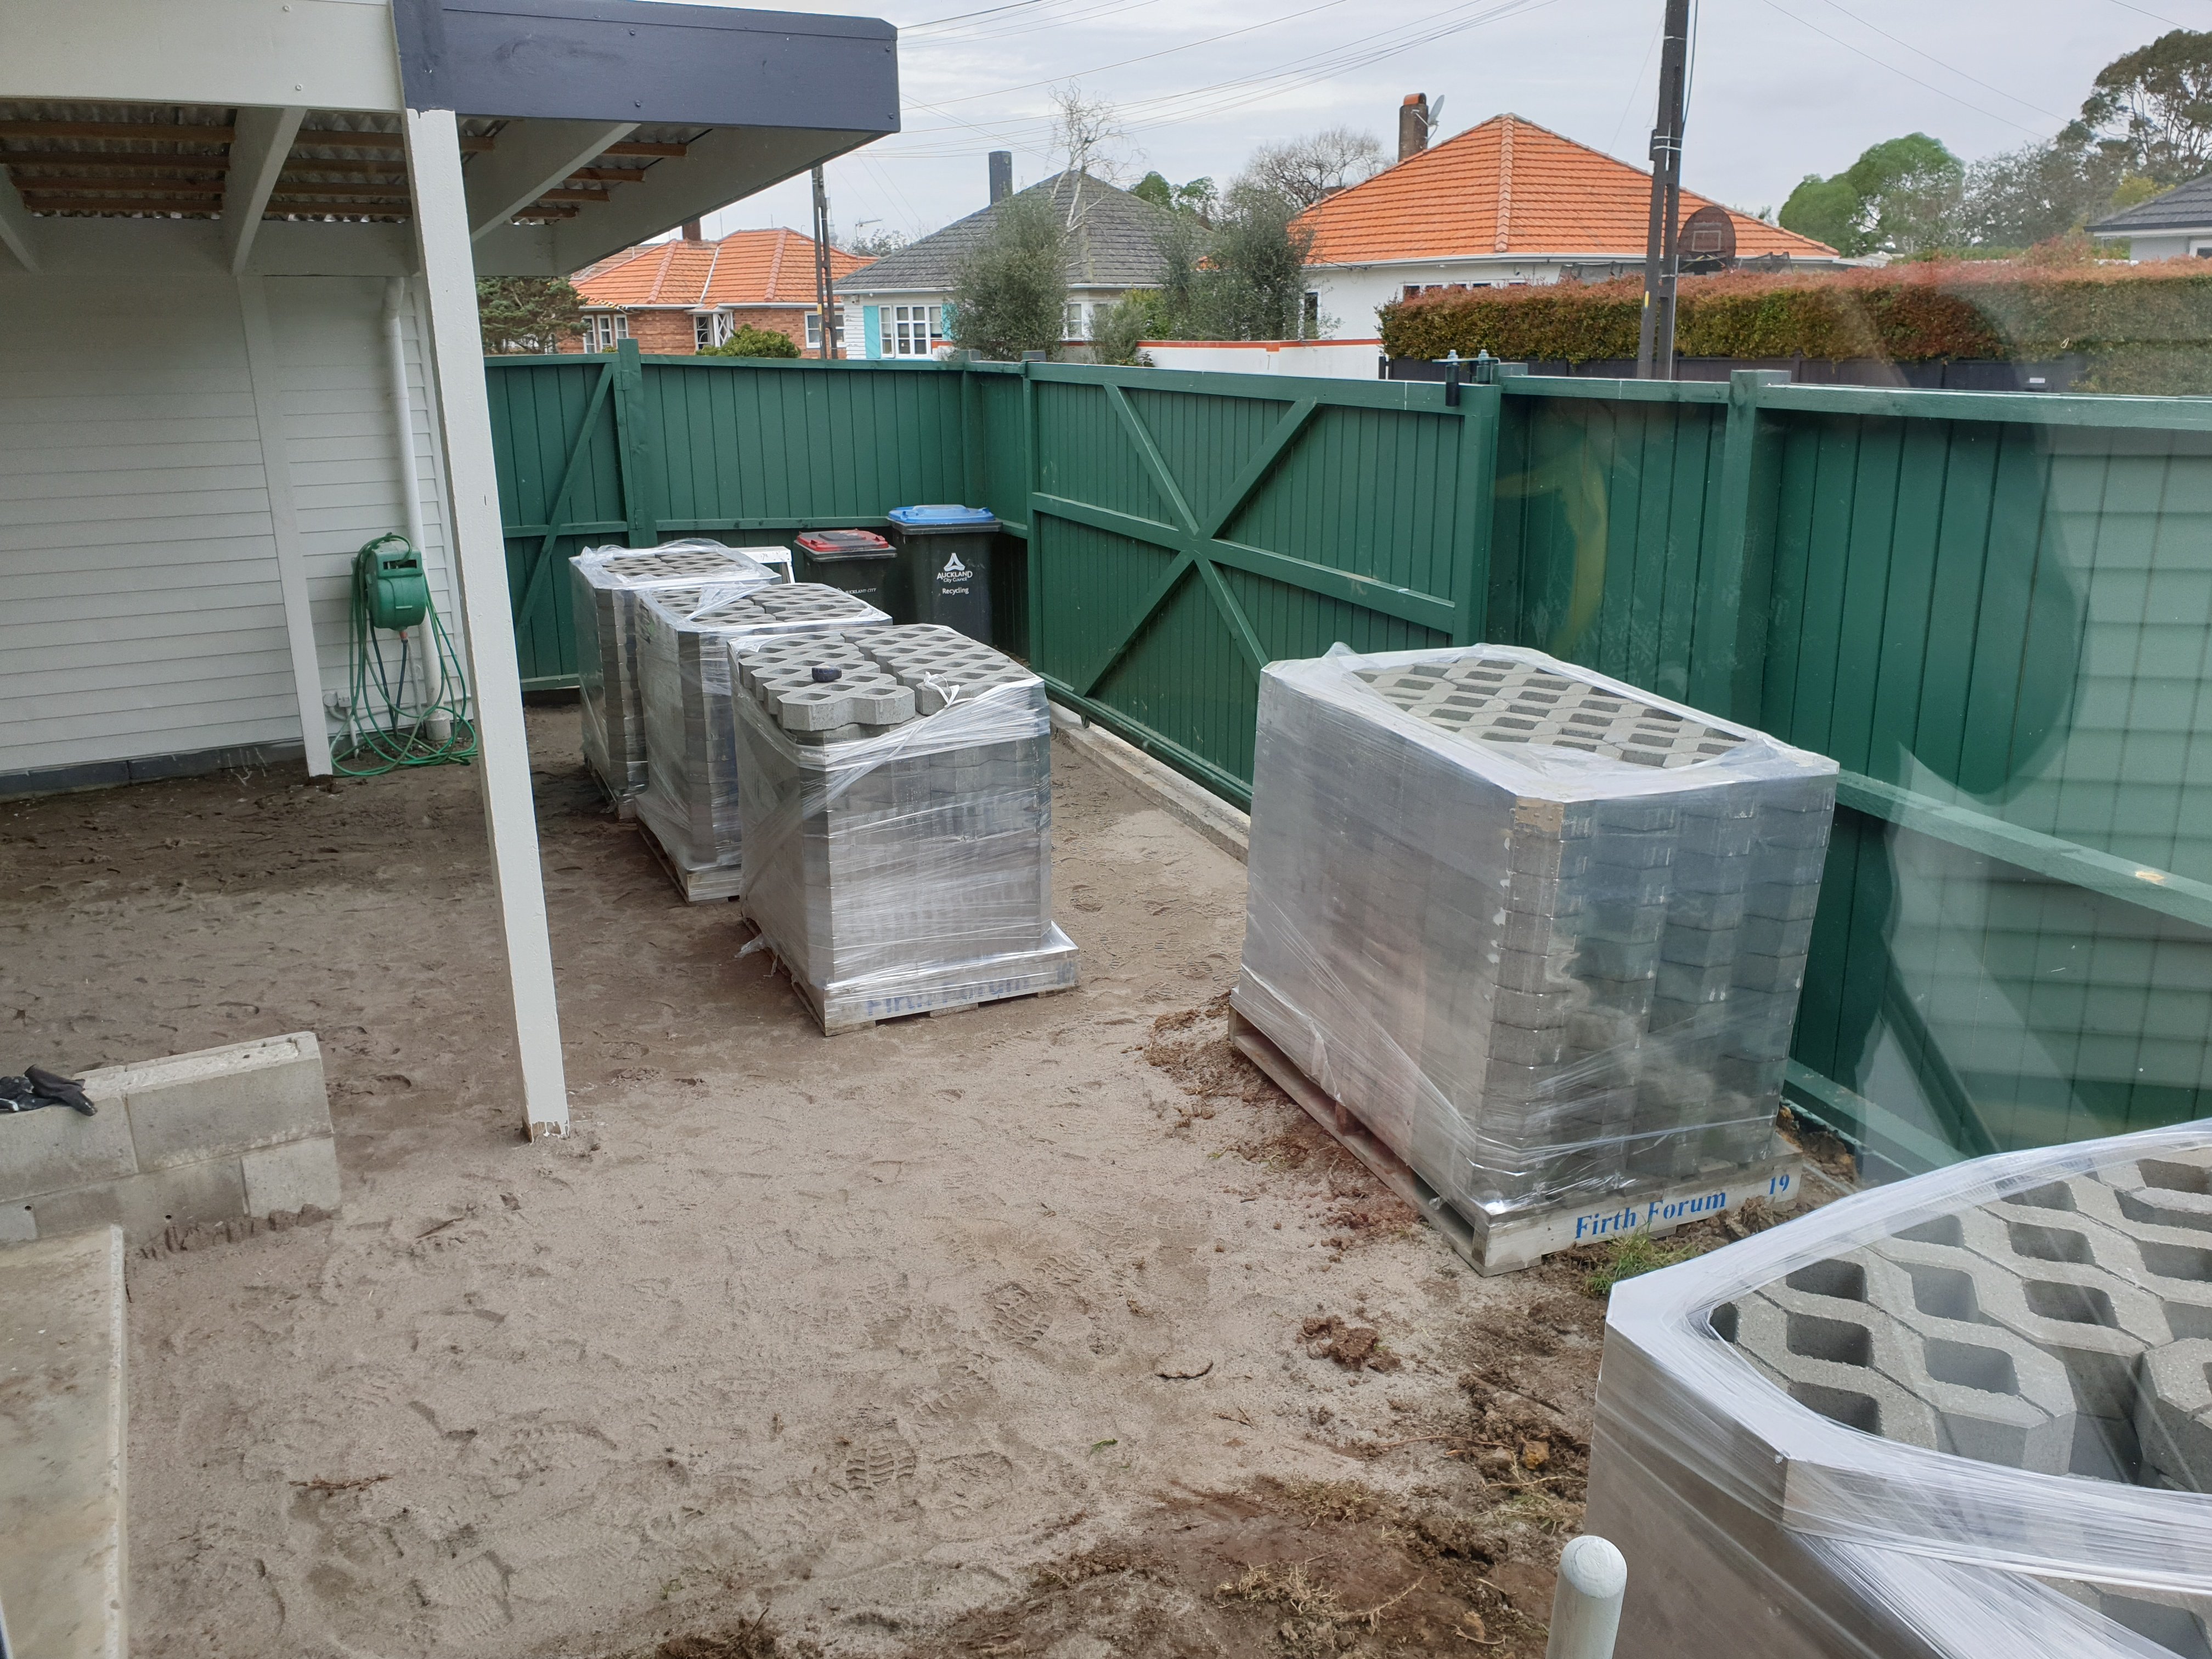
Got tiles delivered this morning so after work Rhona and I got to placing them. Not as flat as id like but they are sure to settle a bit so no matter. Now the hard bit of cutting all the edges.
3 points
-
RH side getting there, panels tacked in and looking good! https://oldschool.co.nz/index.php?/topic/45289-browndogs-1972-v8-transit/page/4/
3 points
-
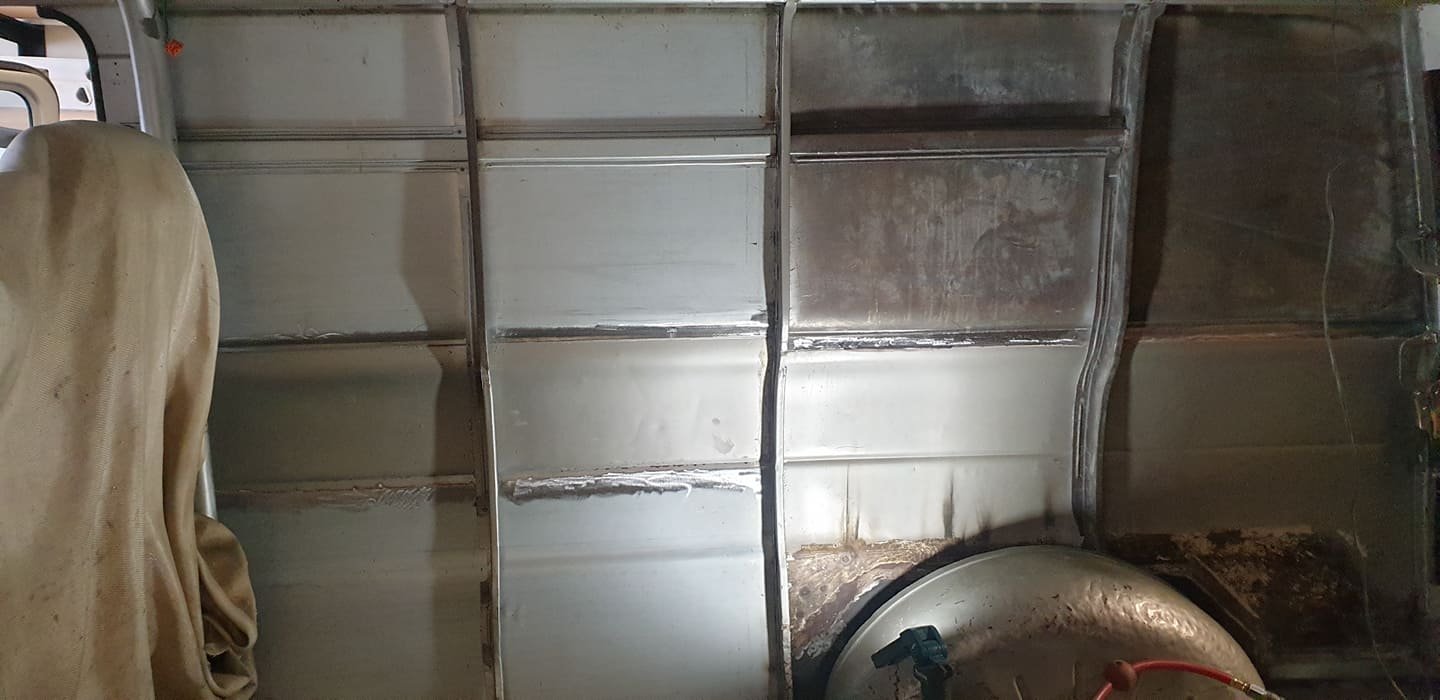
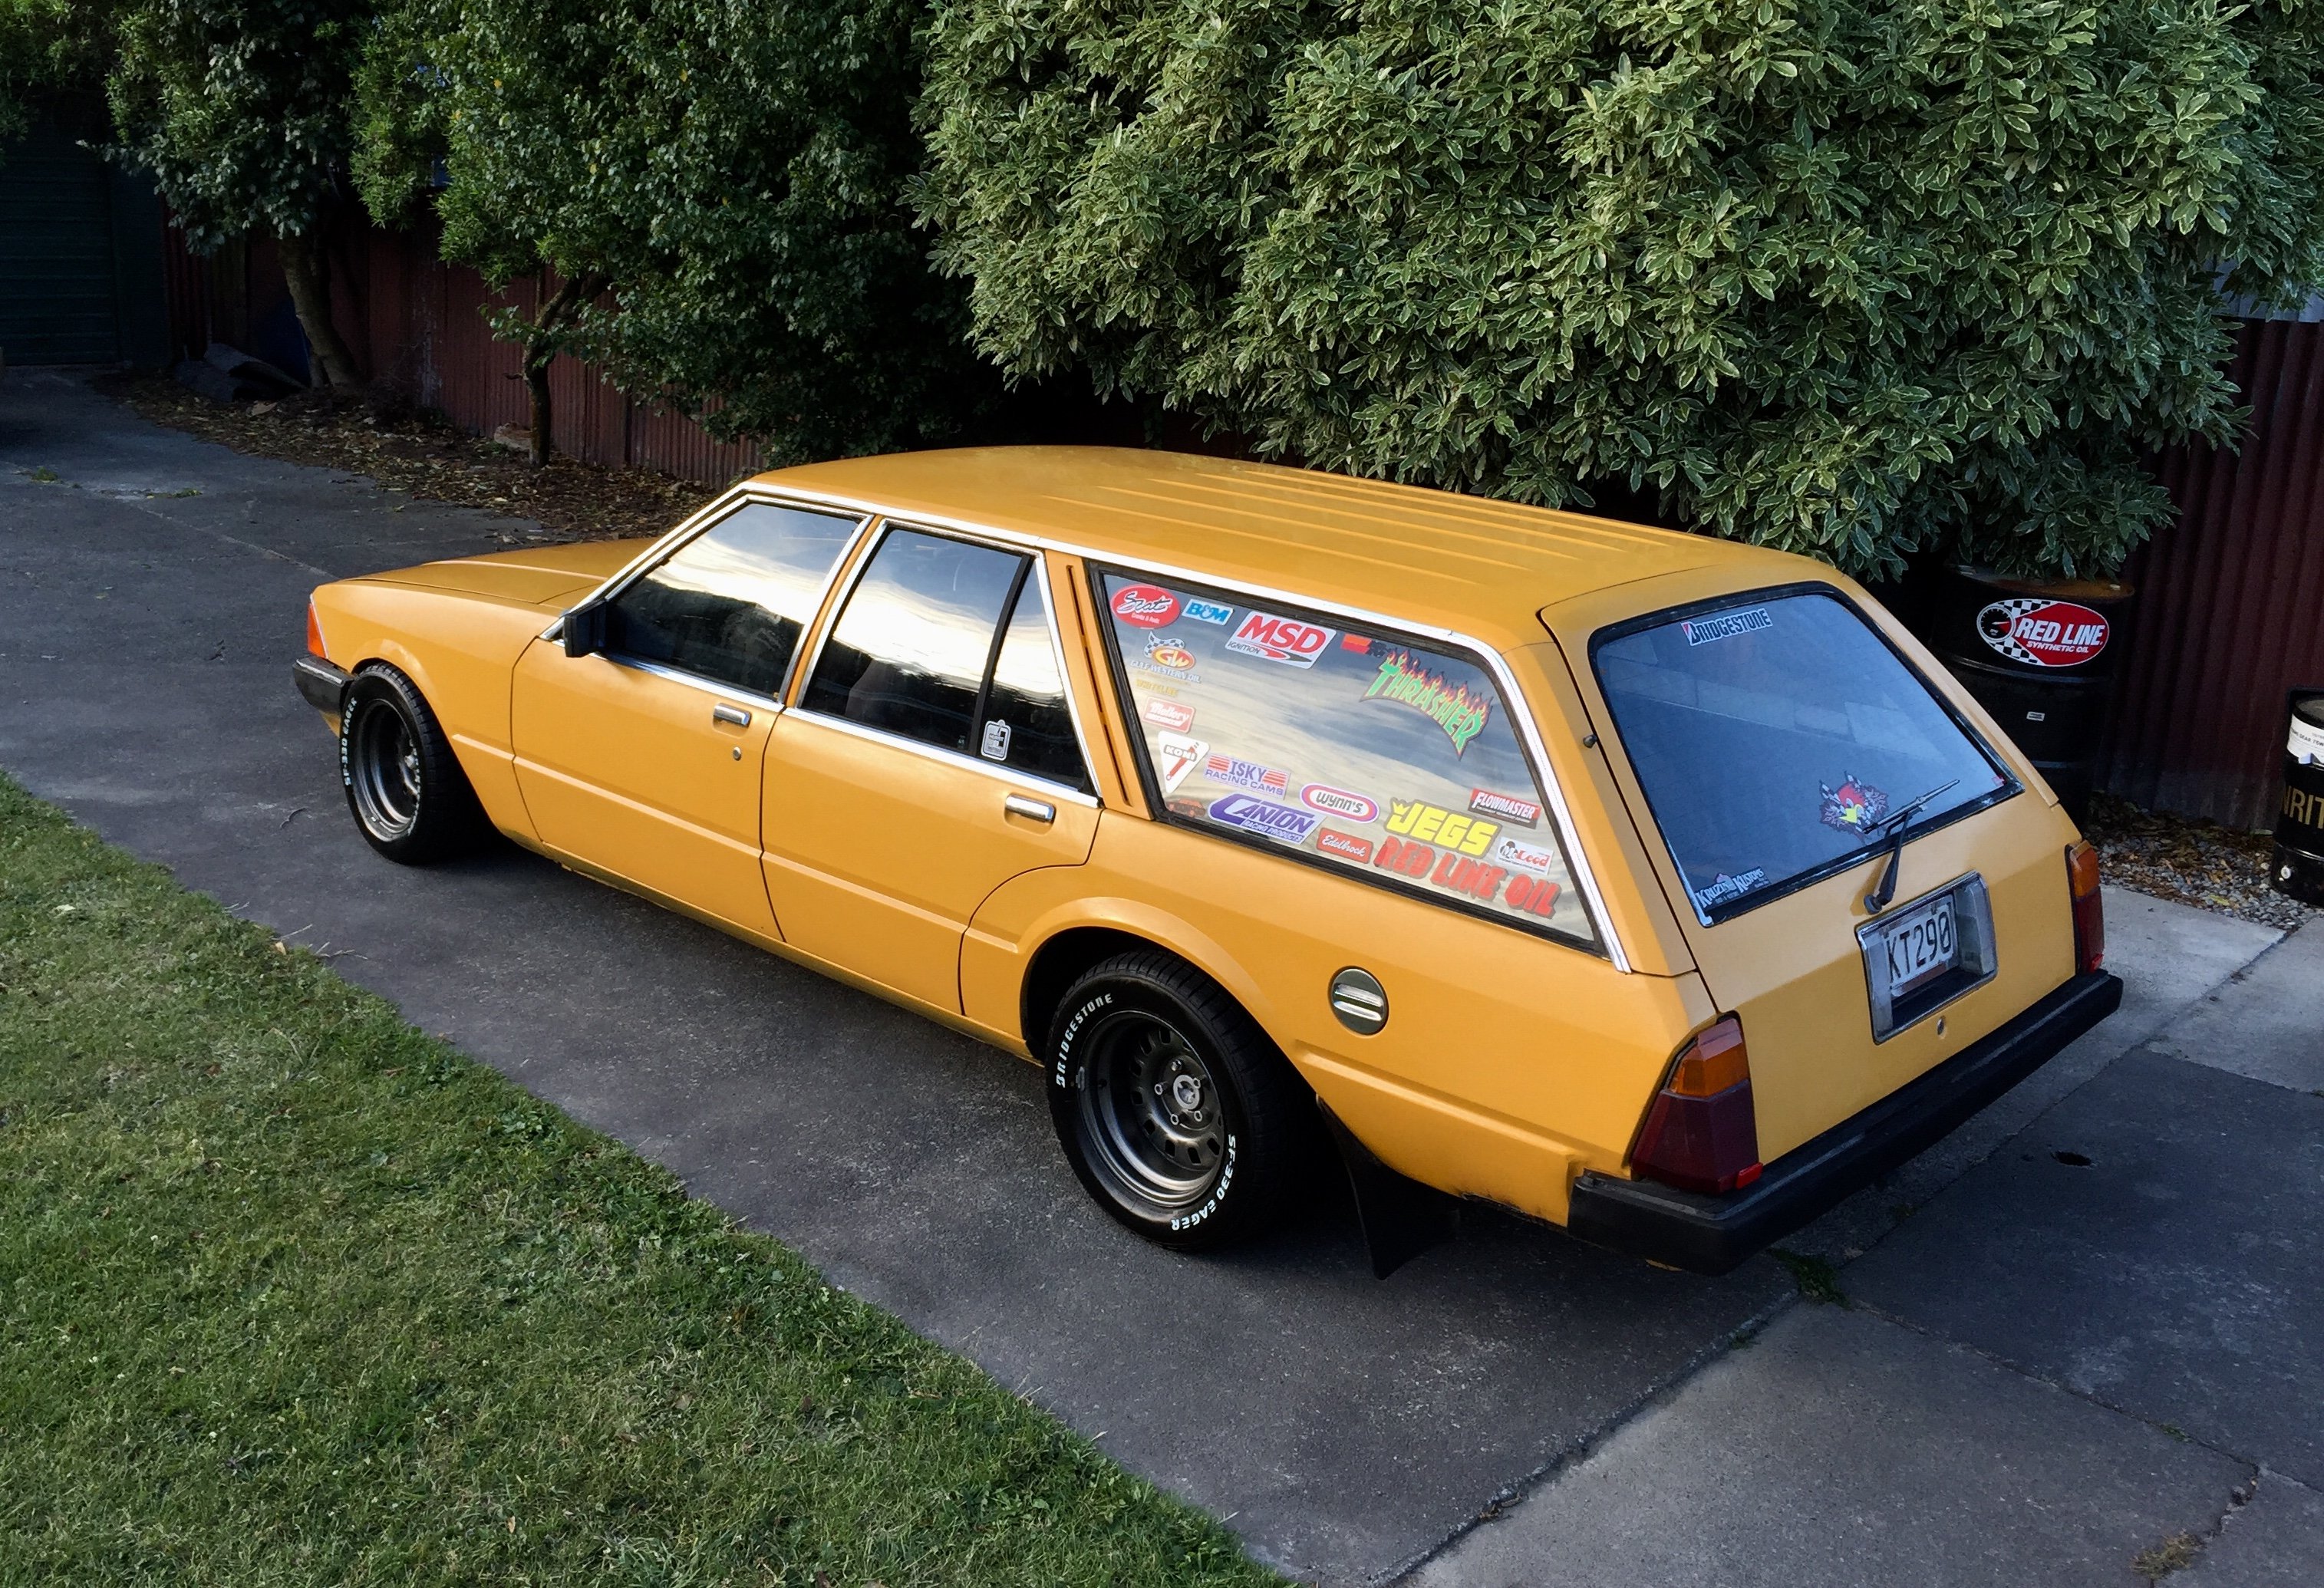
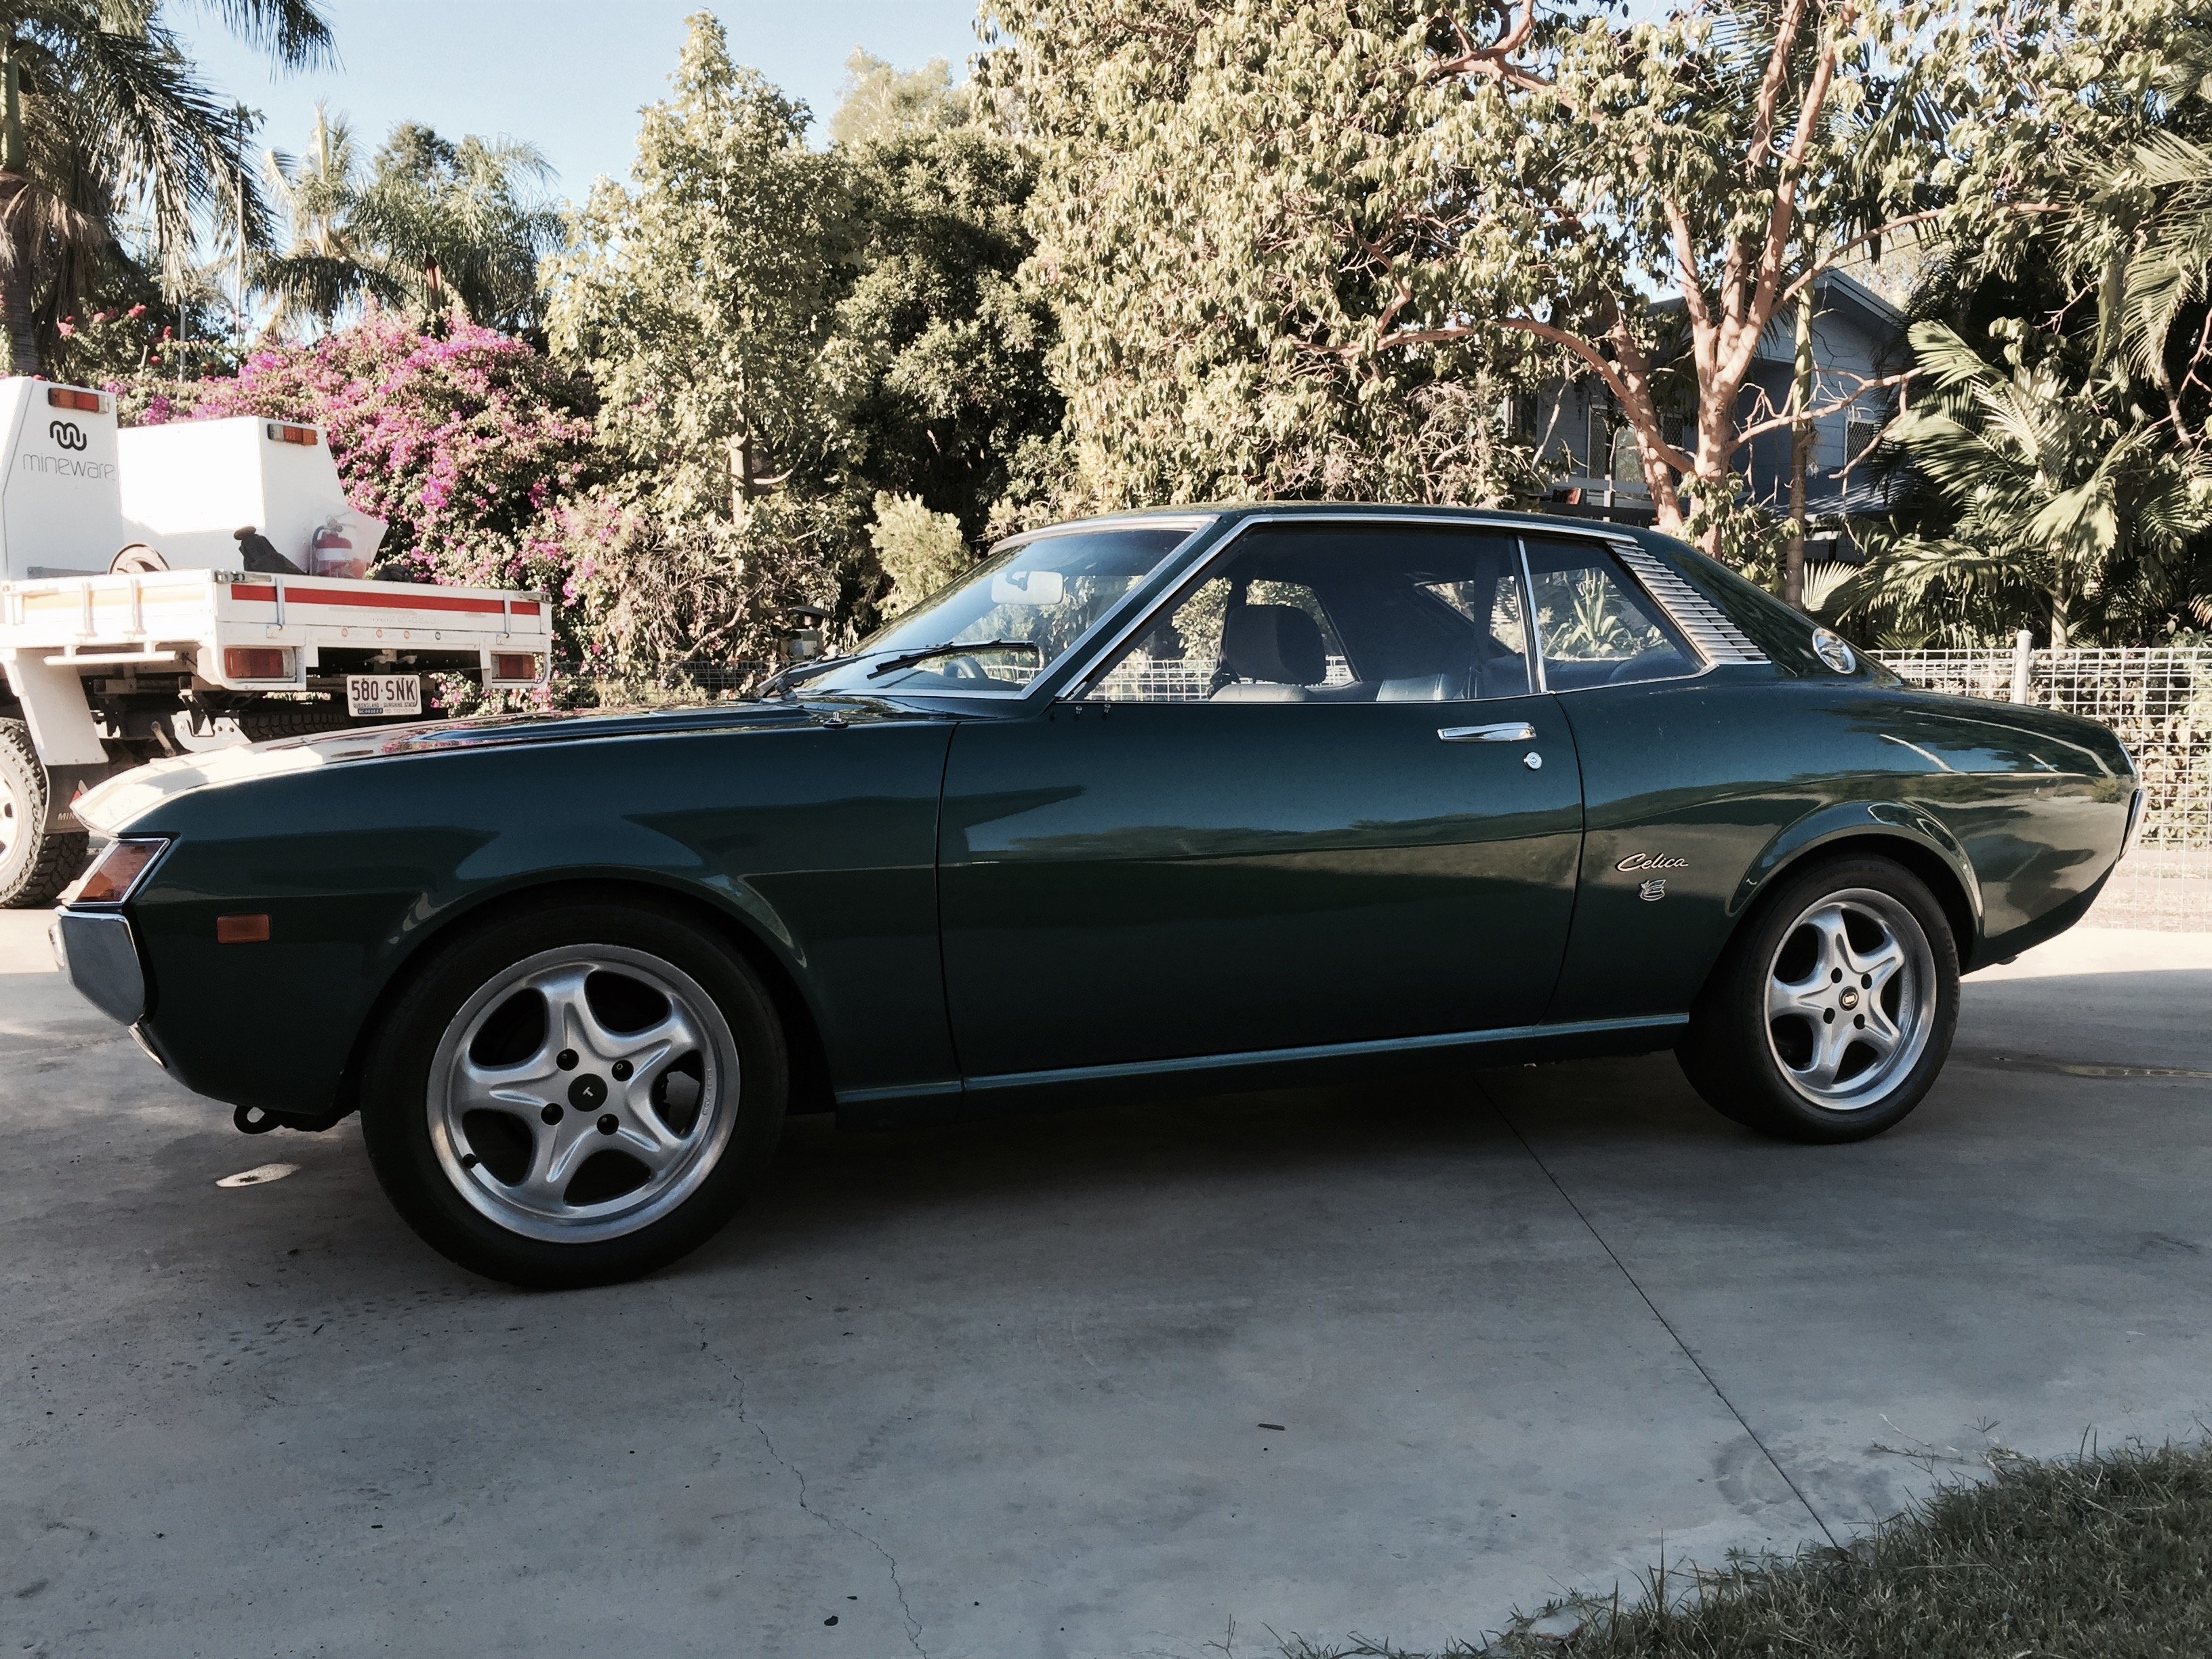
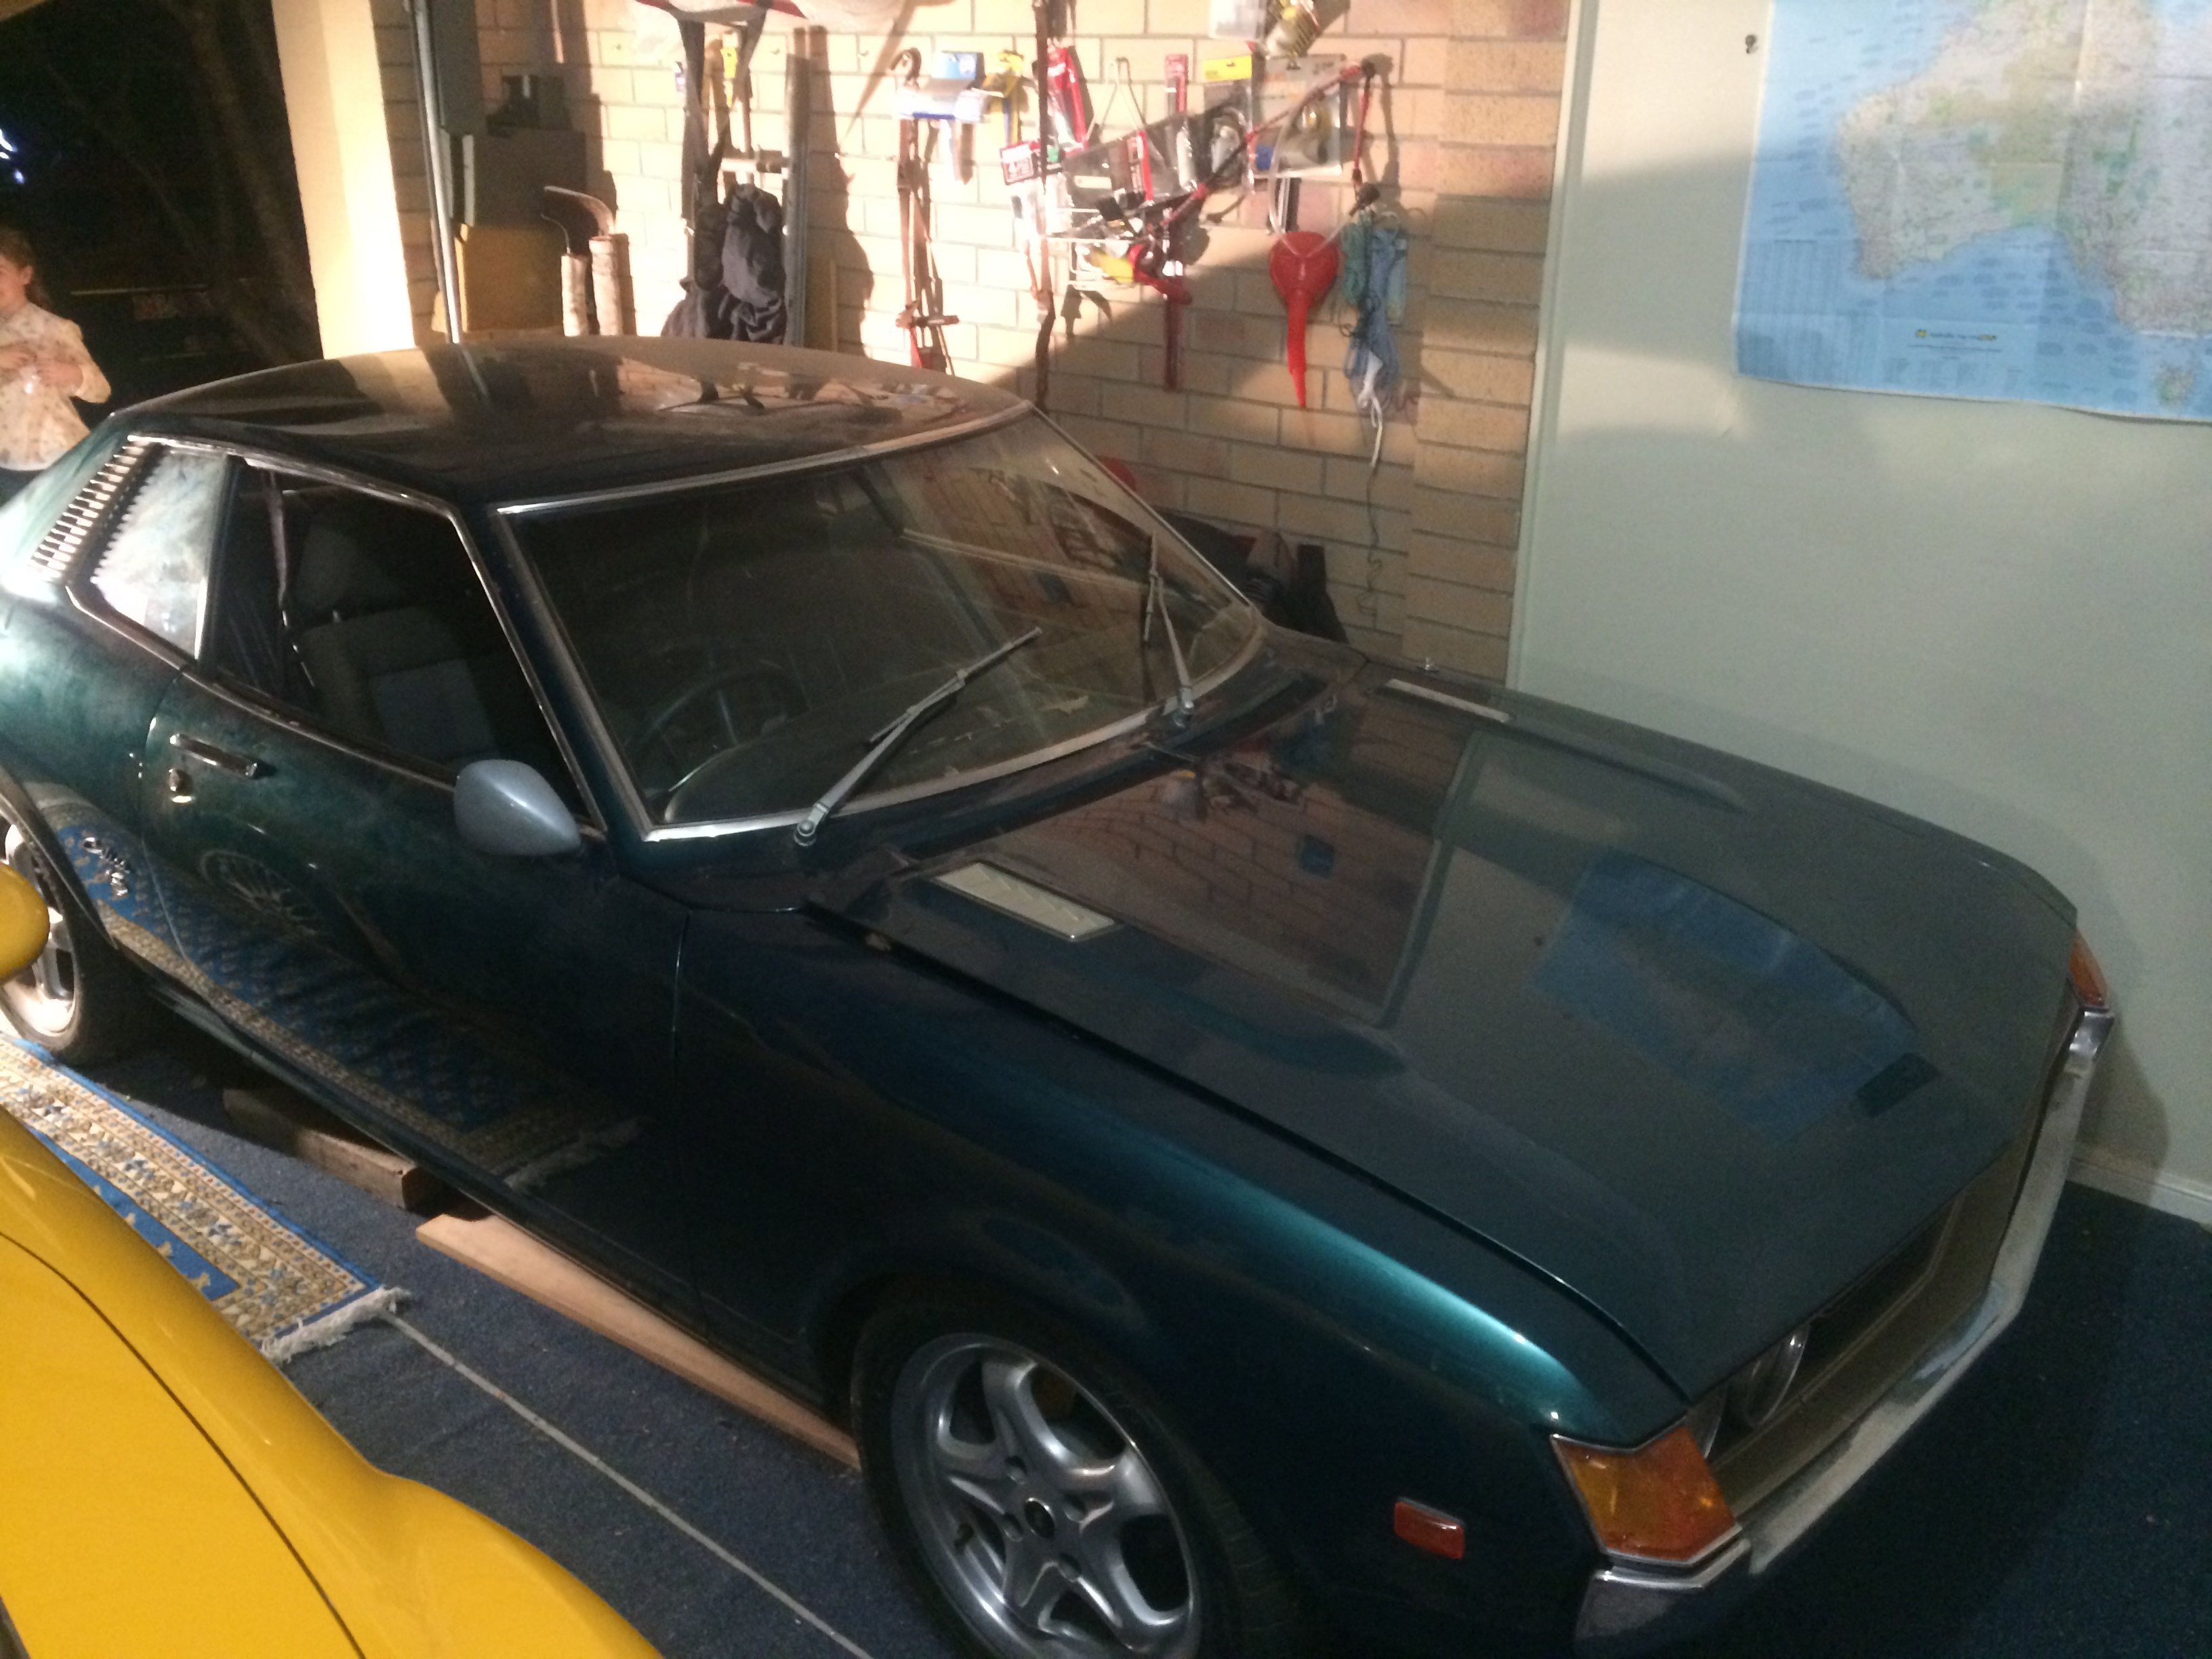
Yep, Title says it all... purist's stop here, you have been warned. The night of initial purchase in QLD 2015, had been sitting in garage for 8 years, originally yellow automatic, had been converted to manual and a few other dicky things:
2 points
-
bought a driveshaft in march from a bloke then went into lockdown got a hold of him again on the 12th of august..... but finally got it. Got all the bits to put this back together. Probably wont tho2 points
-
Have sent my front driver side seatbelt setup to www.seatbeltsales.co.nz today for re manufacturing or replacement whatever works for both sides. Original is old and ciggy damaged in one place so not going to pass cert.2 points
-
Front end next, AE86 struts with adjustable platforms, Bilsteins, adjustable camber plates was a good start:2 points
-
A few weeks later... whats in the box! First thought. Oh its tall, how does this fit into a lil toyota. I heard a voice that said "rev me". It was all to clear what has to happen.2 points
-
@anglia4 there’s a “big 7” listed on fb no idea if that’s the same or if you need parts?2 points
-
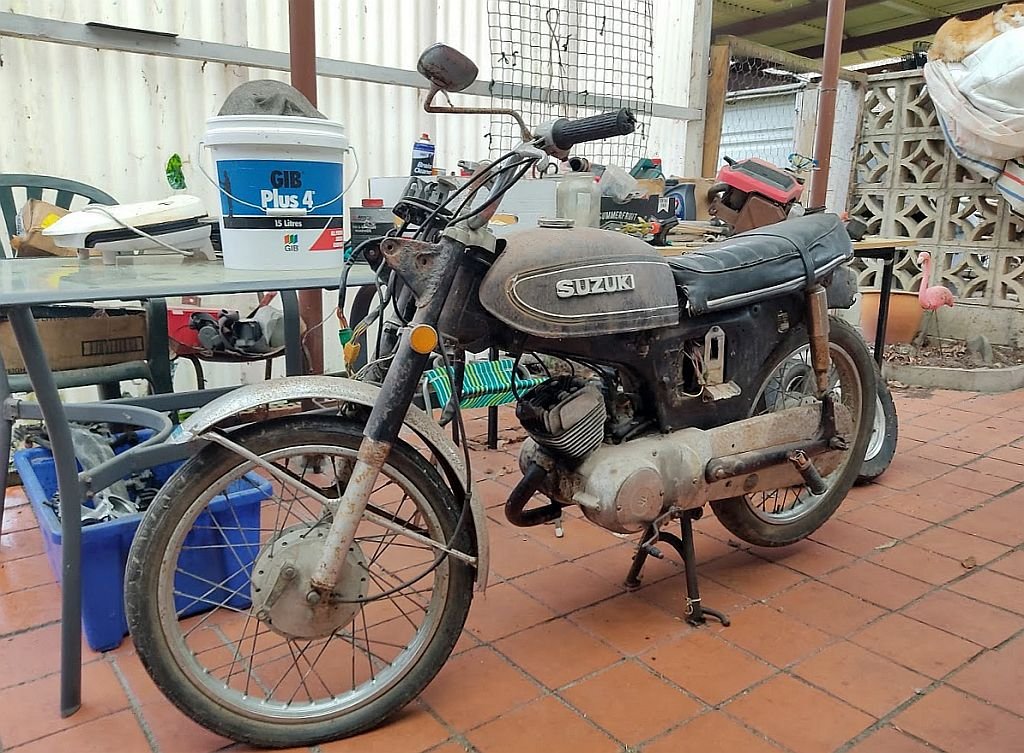
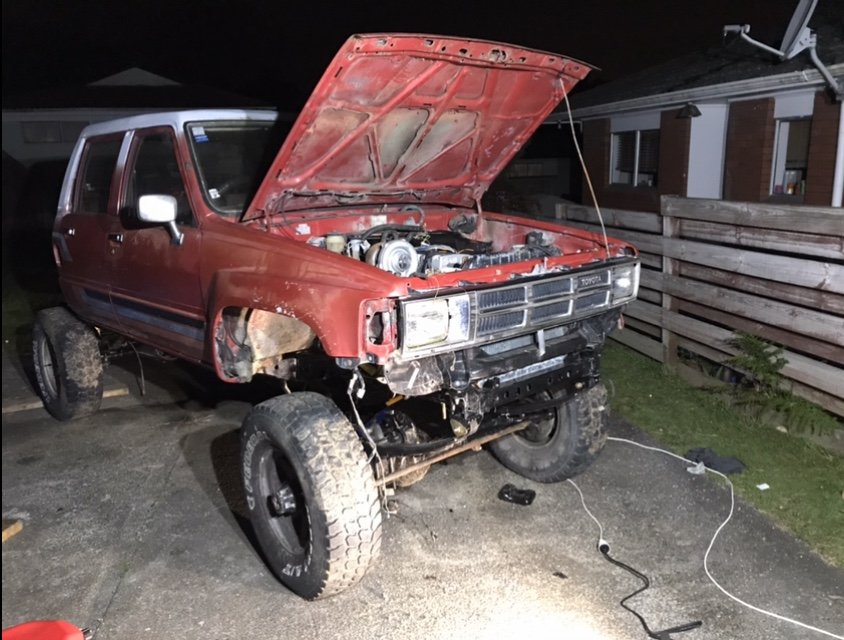
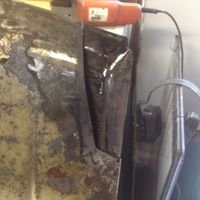
Remember me? Motor comes out tomorrow, actually not entirely as bad as I thought.. rear is toast I'm told.. we'll find out soon when it's blasted to smithereens2 points
-
Well with being back in lockdown has provided some time (when I’m on my off shift) so I got the engine almost repainted and assembled new gaskets, frost plugs etc Hoist earning its keep again Messed around with a couple of ideas on the rocker covers settled on engine coloured with black fins Ended up with this, still have to do the other rocker cover to match, just waiting on some more paint, I ended up getting VHT early Chrysler blue, it’s a bit greener than I what I was planning on using, but I’m actually happy as with how it has come out! not a bad use of a day off2 points
-
2 points
-
i still dont see why? 90% of the area is under a roof and the bit that isnt is permeable, just like if it was grass. which it was before and it never flooded? anywho, yesterday and today i did much work. 2 cubes of sand delviered and spread, screeded to some sort of level that compacted. then leveled again and compacted again. and today i Rhona and i painted the thing. the pics are shit because sunny but you might get the idea. im really happy wiht how a coat of paint makes it blend into the house so much better. concrete tiles get delivered tomorrow so tomorrow night after work ill start placing them. 2020-08-16_03-43-42 by sheepers, on Flickr 2020-08-16_03-43-35 by sheepers, on Flickr 2020-08-16_03-43-22 by sheepers, on Flickr 2020-08-16_03-43-08 by sheepers, on Flickr 2020-08-16_03-43-16 by sheepers, on Flickr2 points
-
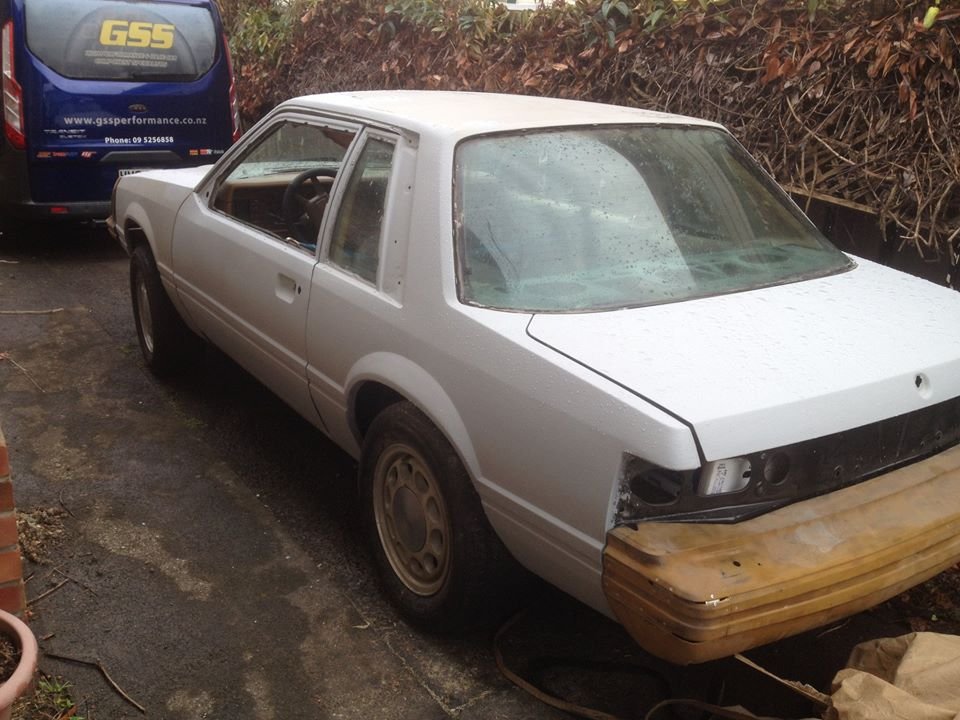
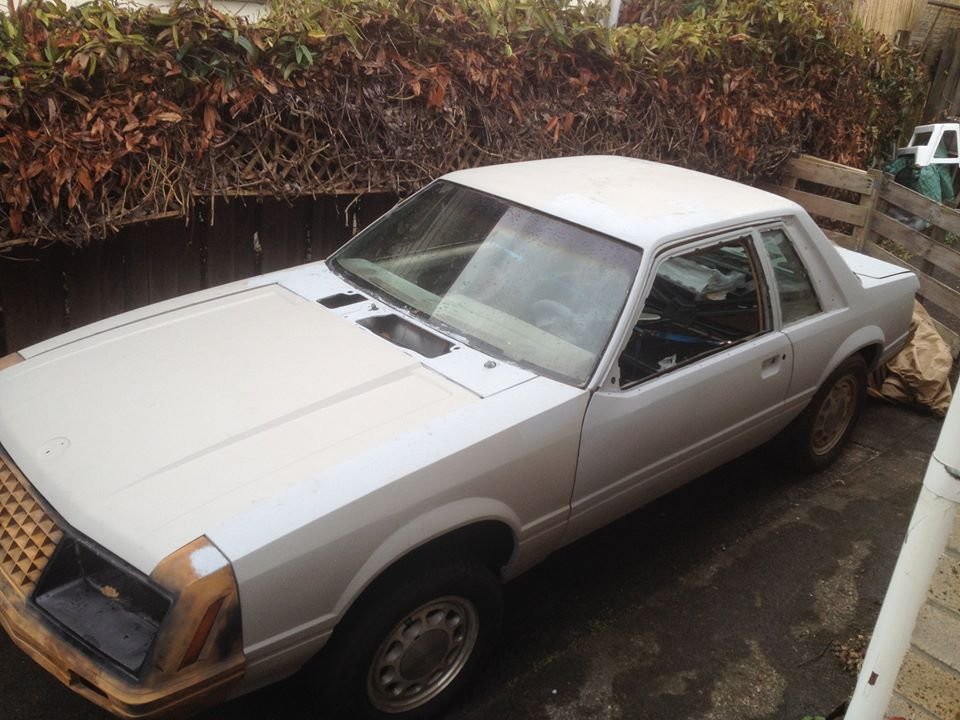
Here is the car as it is now. All rust-prevented and with gobs of primer-filler. The bumpers are ABS plastic so will need different filler and primer when we get to that time!
2 points
-
So I've been looking for a hako for about 4 years now, keeping an eye on the prices and how quickly they seem to be appreciating in price as the world notices them (thanks RM Sotheby's) and with some hard saving I've been able to finally make a purchase. The car is a 1971 2000GT with L20 engine and 5 speed. Unknown ks, bit of rust around the place (wouldn't be one without it) but overall a fairly solid start. I purchased this from Restored.jp who some may be familiar with, they make aftermarket FRP and carbon parts for old cars like that Hako. This was the owners personal car.. whether that's good or not is yet to be known but it's a nice story anyway. I'd be interested to have contact with other owners of Hakos in NZ as it would be handy for parts and general networking. I'll be working on this in stages (as I'm now broke) to get this up to road legal spec.. More to come but I've already figured a couple things I need to do before it's even here ! I understand there are several in NZ already, any coupes or road legal ones? Discuss: //oldschool.co.nz/index.php?/topic/49704-mlracings-hakosuka/1 point
-
Alright.. all confessions, the motors not mounted. Just sitting on strops. how ever the Gbox member is done and bolted it, with the box level that’s pretty close to where the motor will sit. unfortunitly the factory mounts on the chassis are waaay to far forward. And actually interfere with the thermostat housing and alternator. after talking to a cert guy and couple other onto it guys I’ve though best to leave it to someone else. Bloke down the rd does nothing but motor sport stuff and said 1/2 to a full days work, so I’ll leave it to him when he’s got time in a couple weeks. in the mean time, I can finish and bleed brakes, install drive shafts, new hard line for clutch slave location. install hi steer kit. and that’ll get it moving. from there it’s: intake manifold fuel system wiring ECU and tuning. Good feeling to make progress
1 point
-
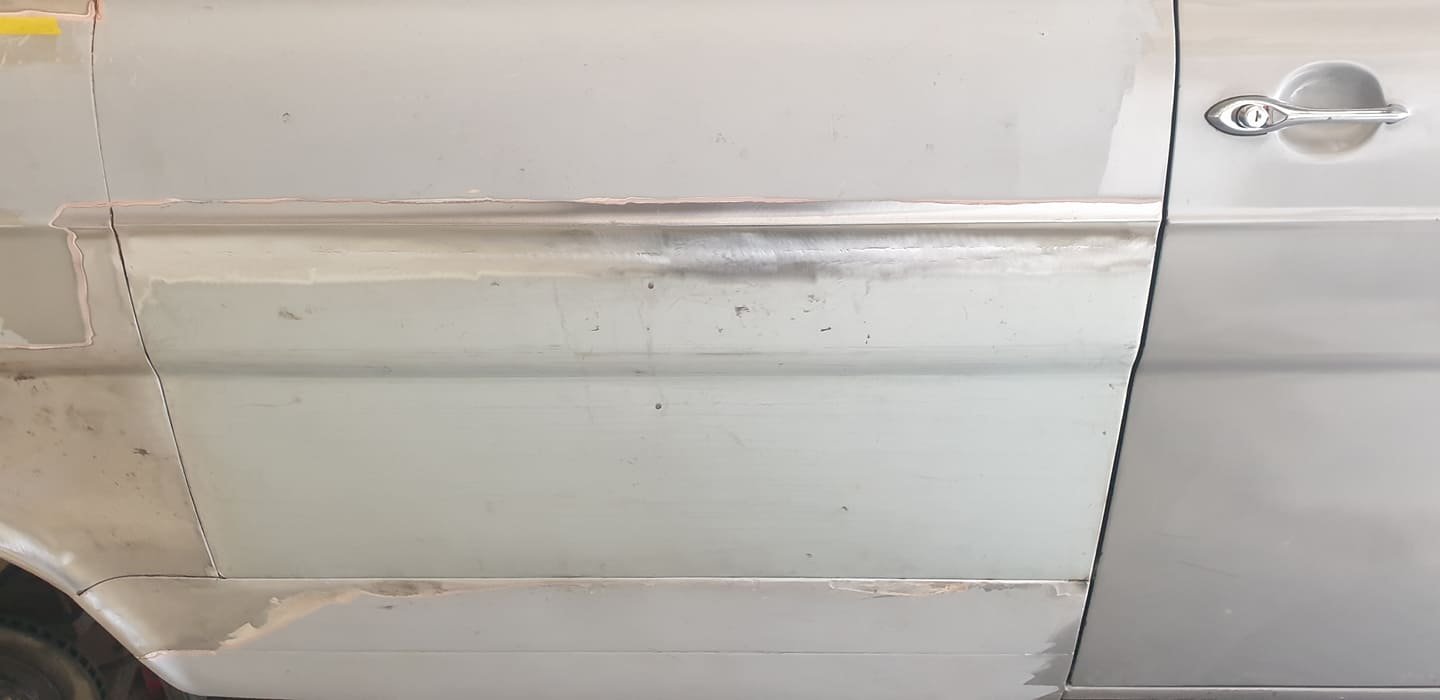
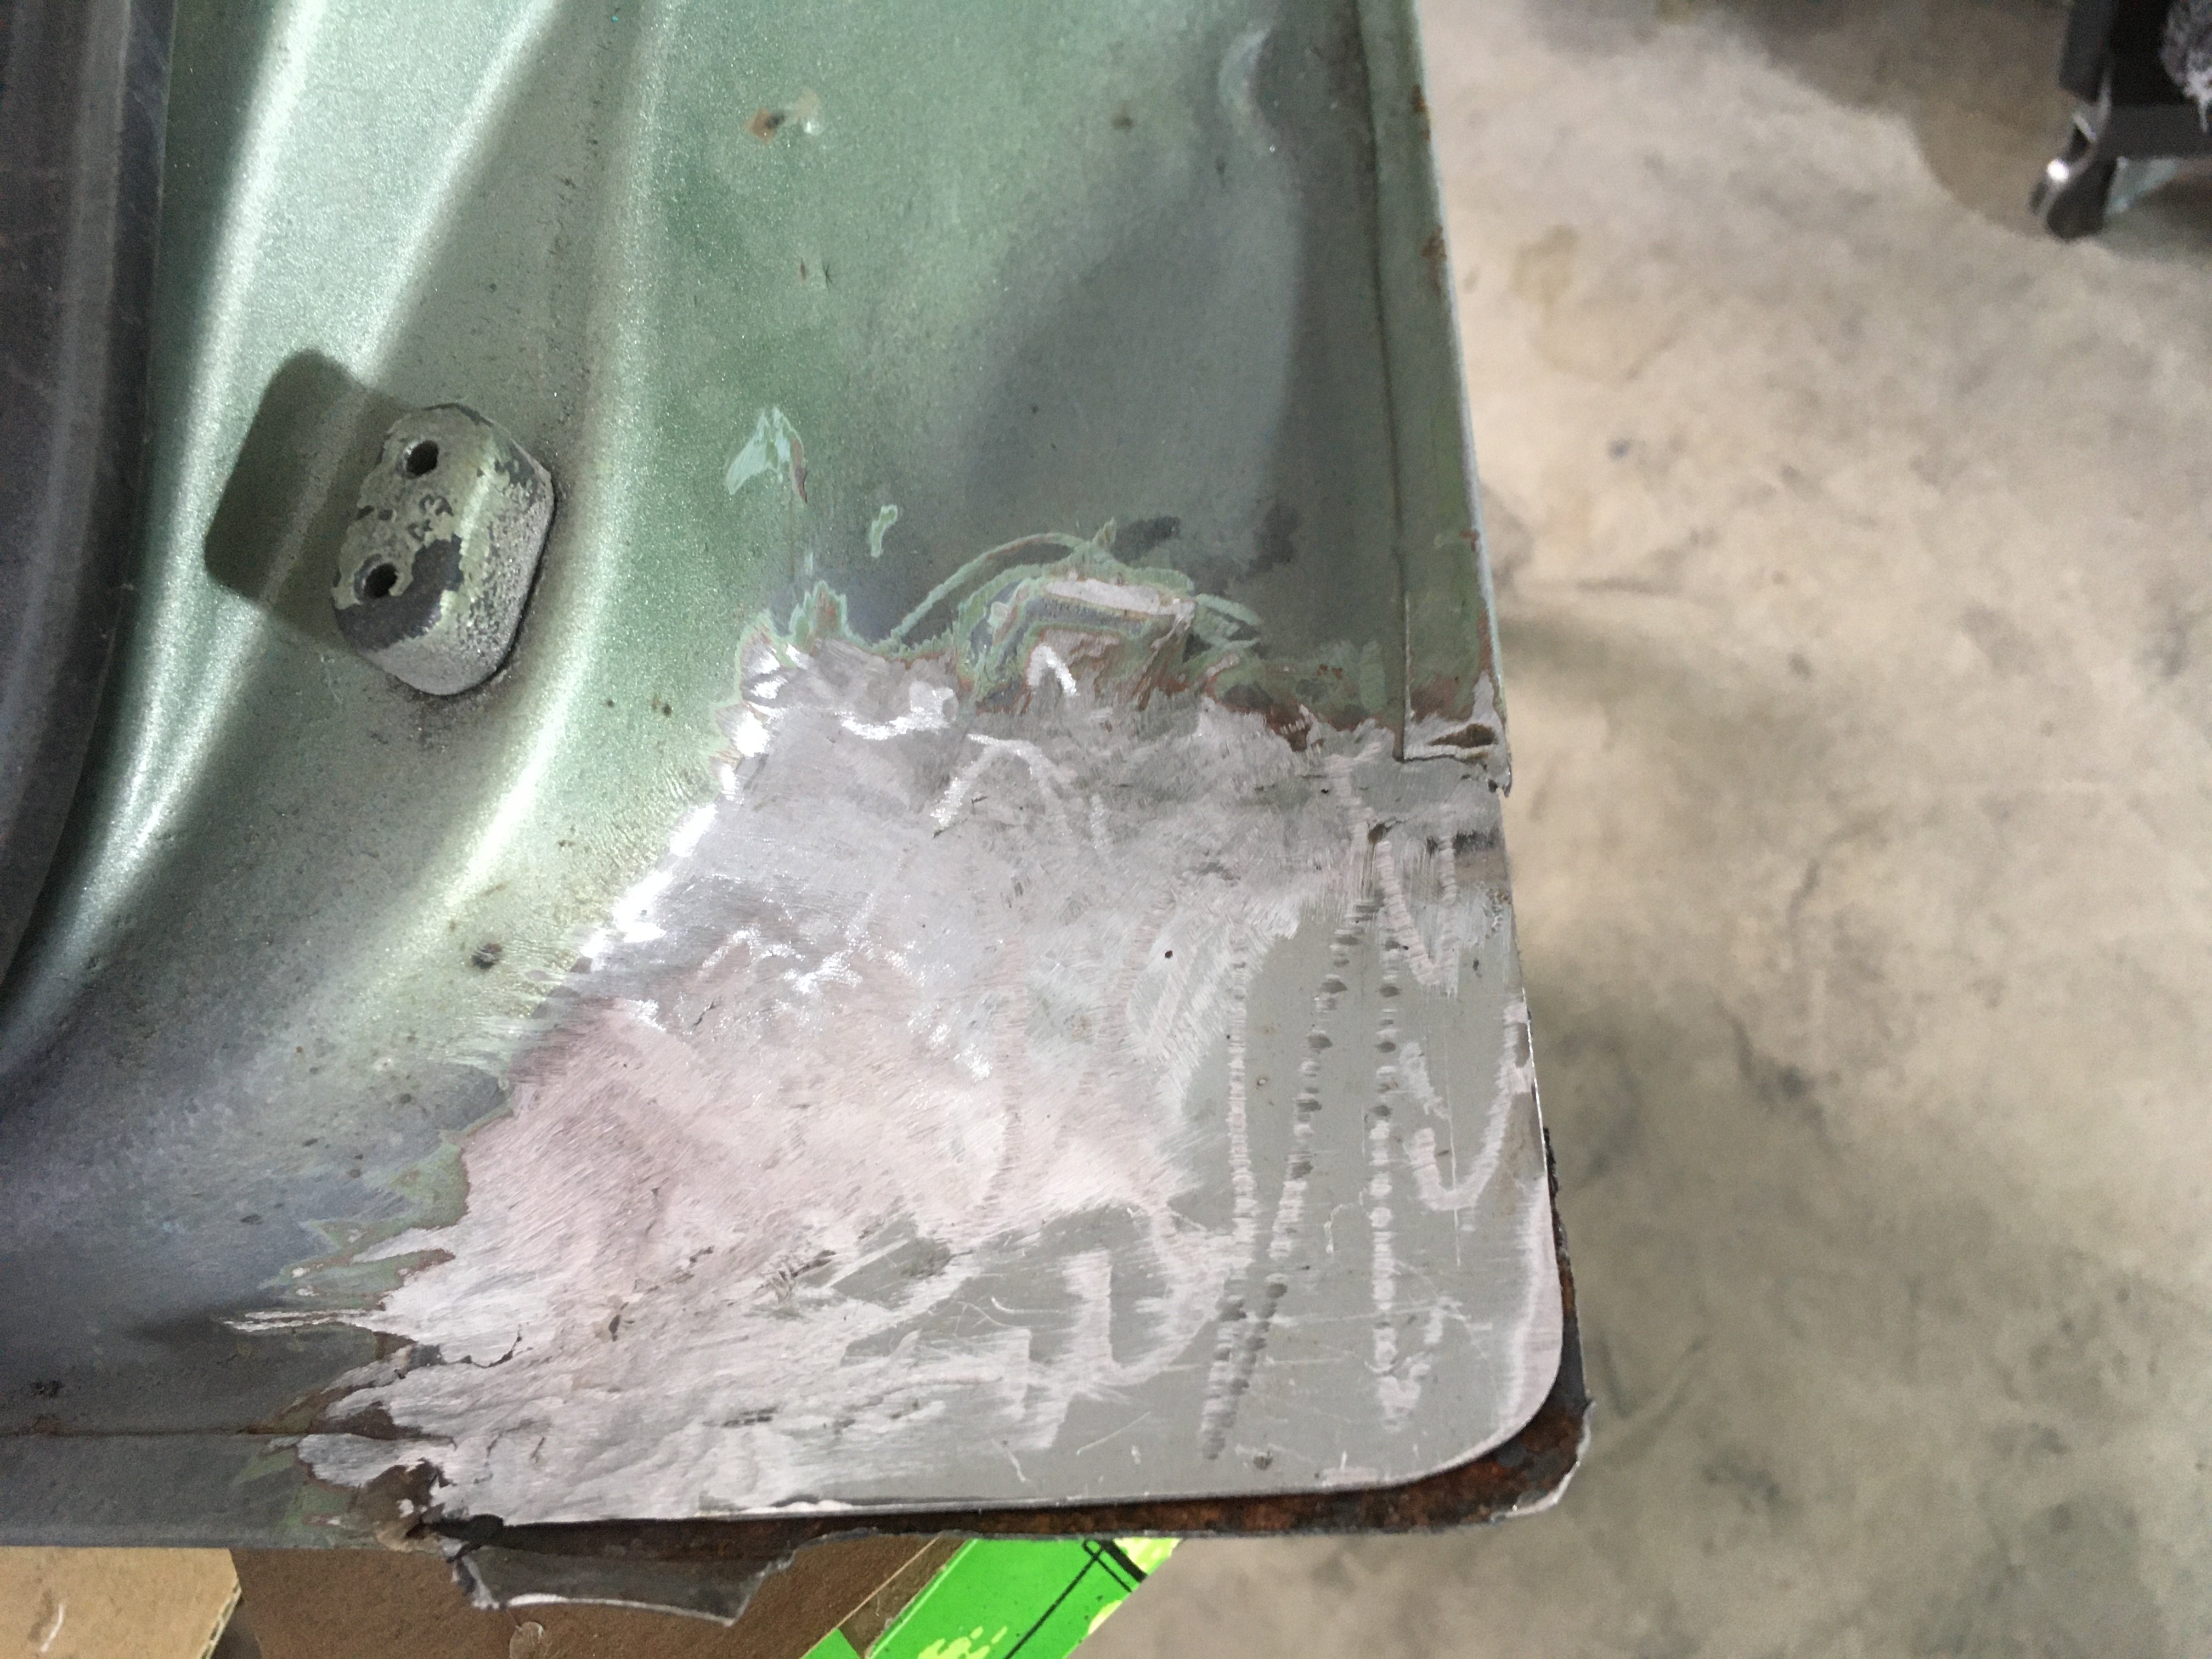
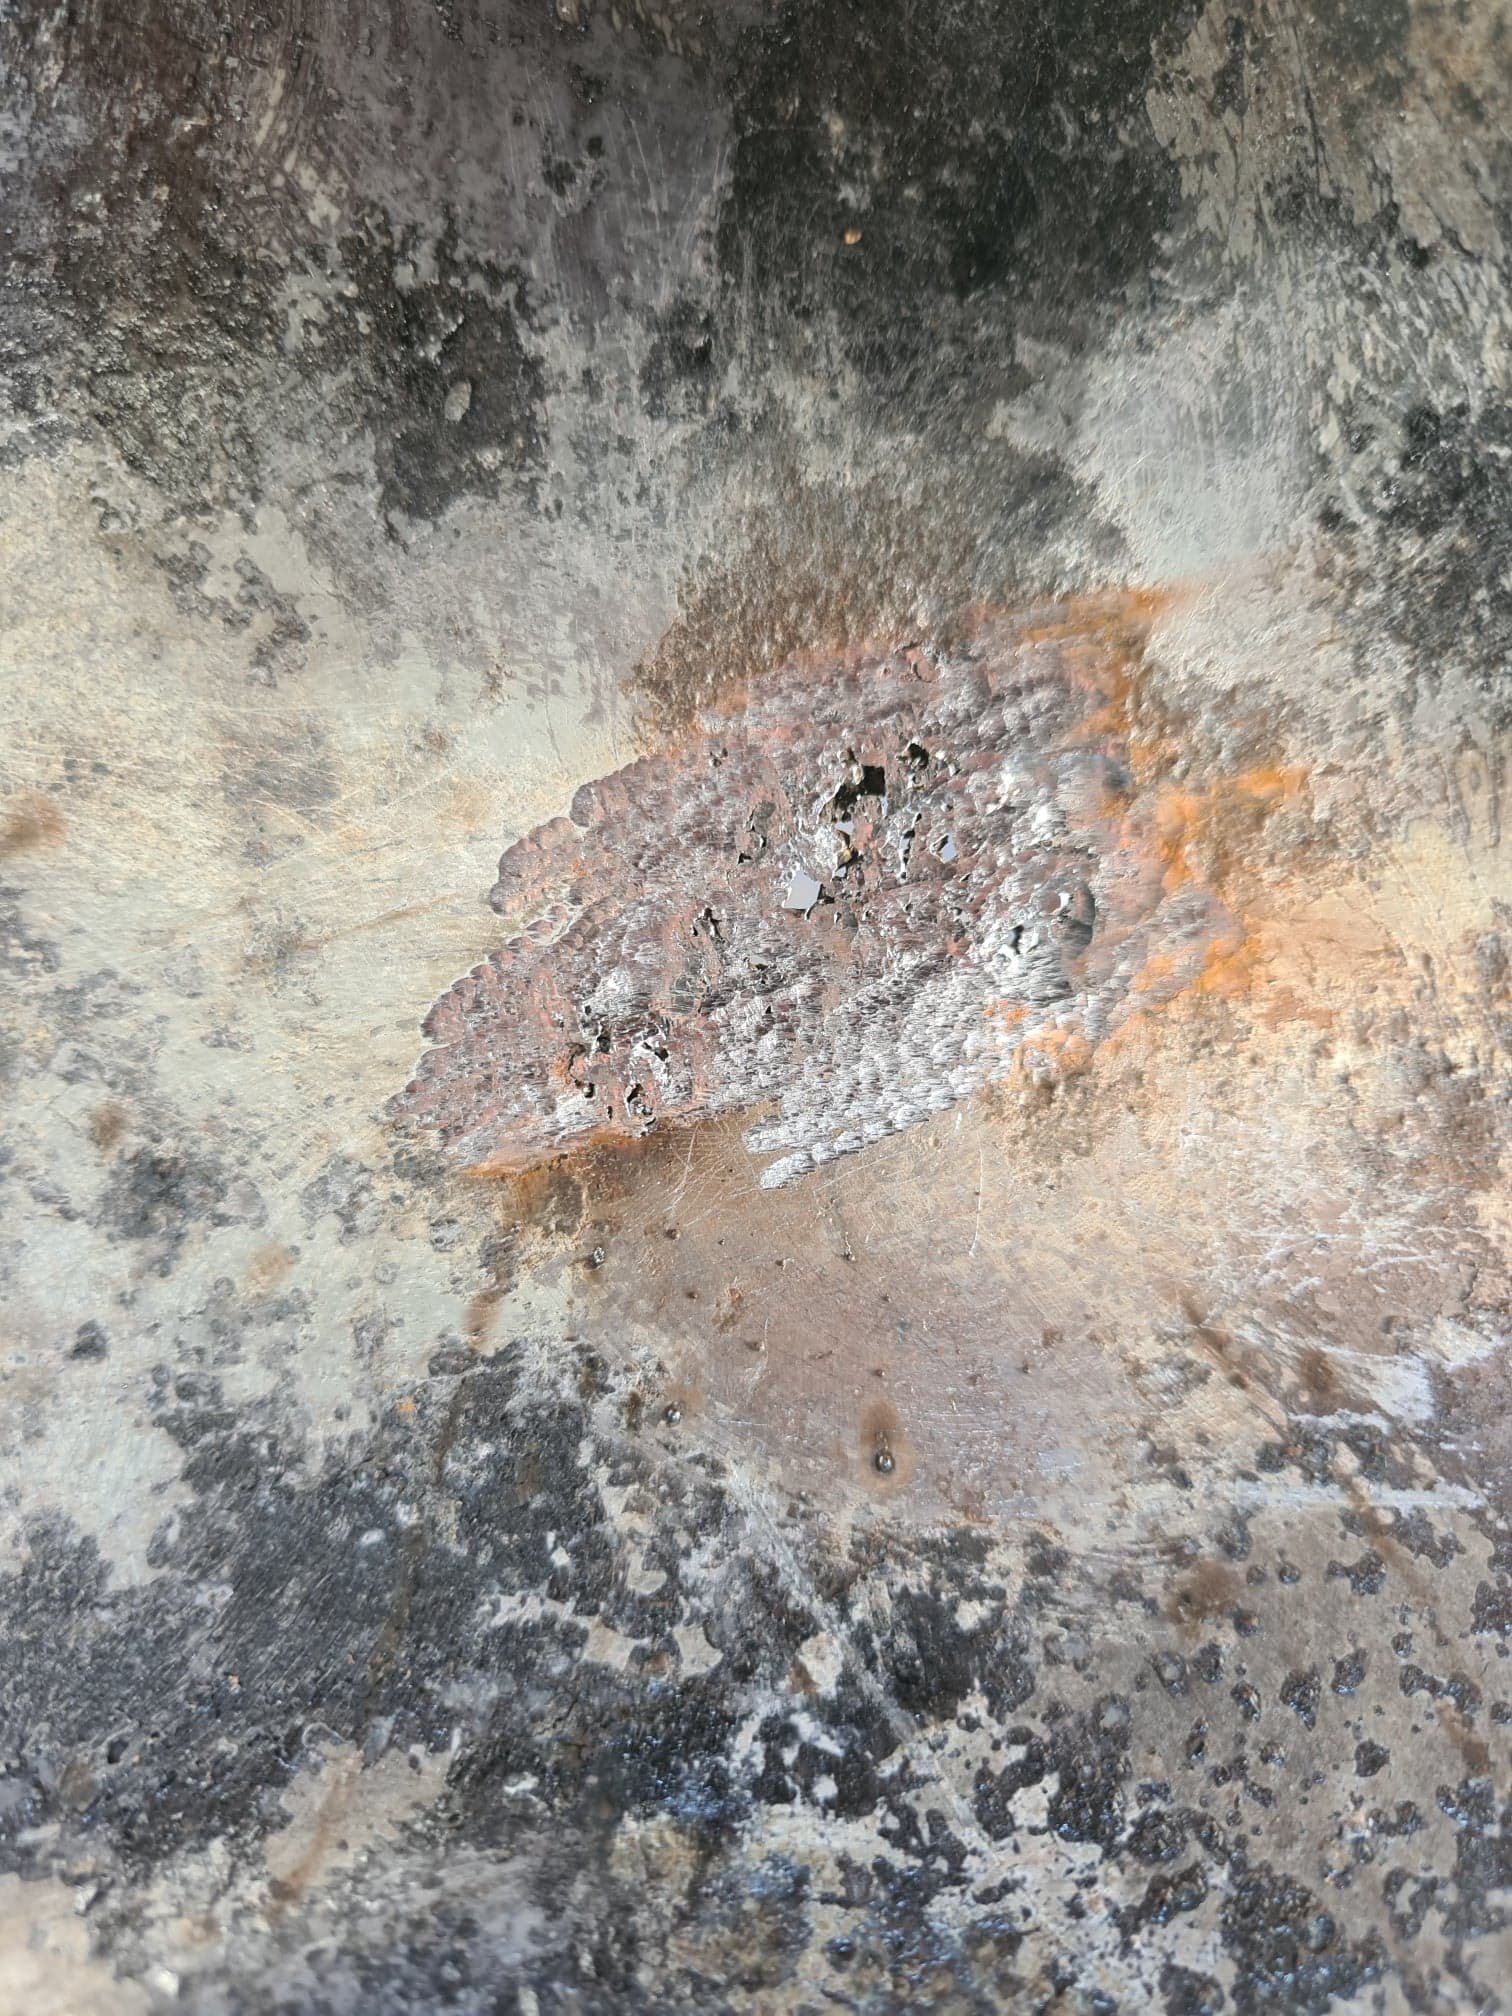
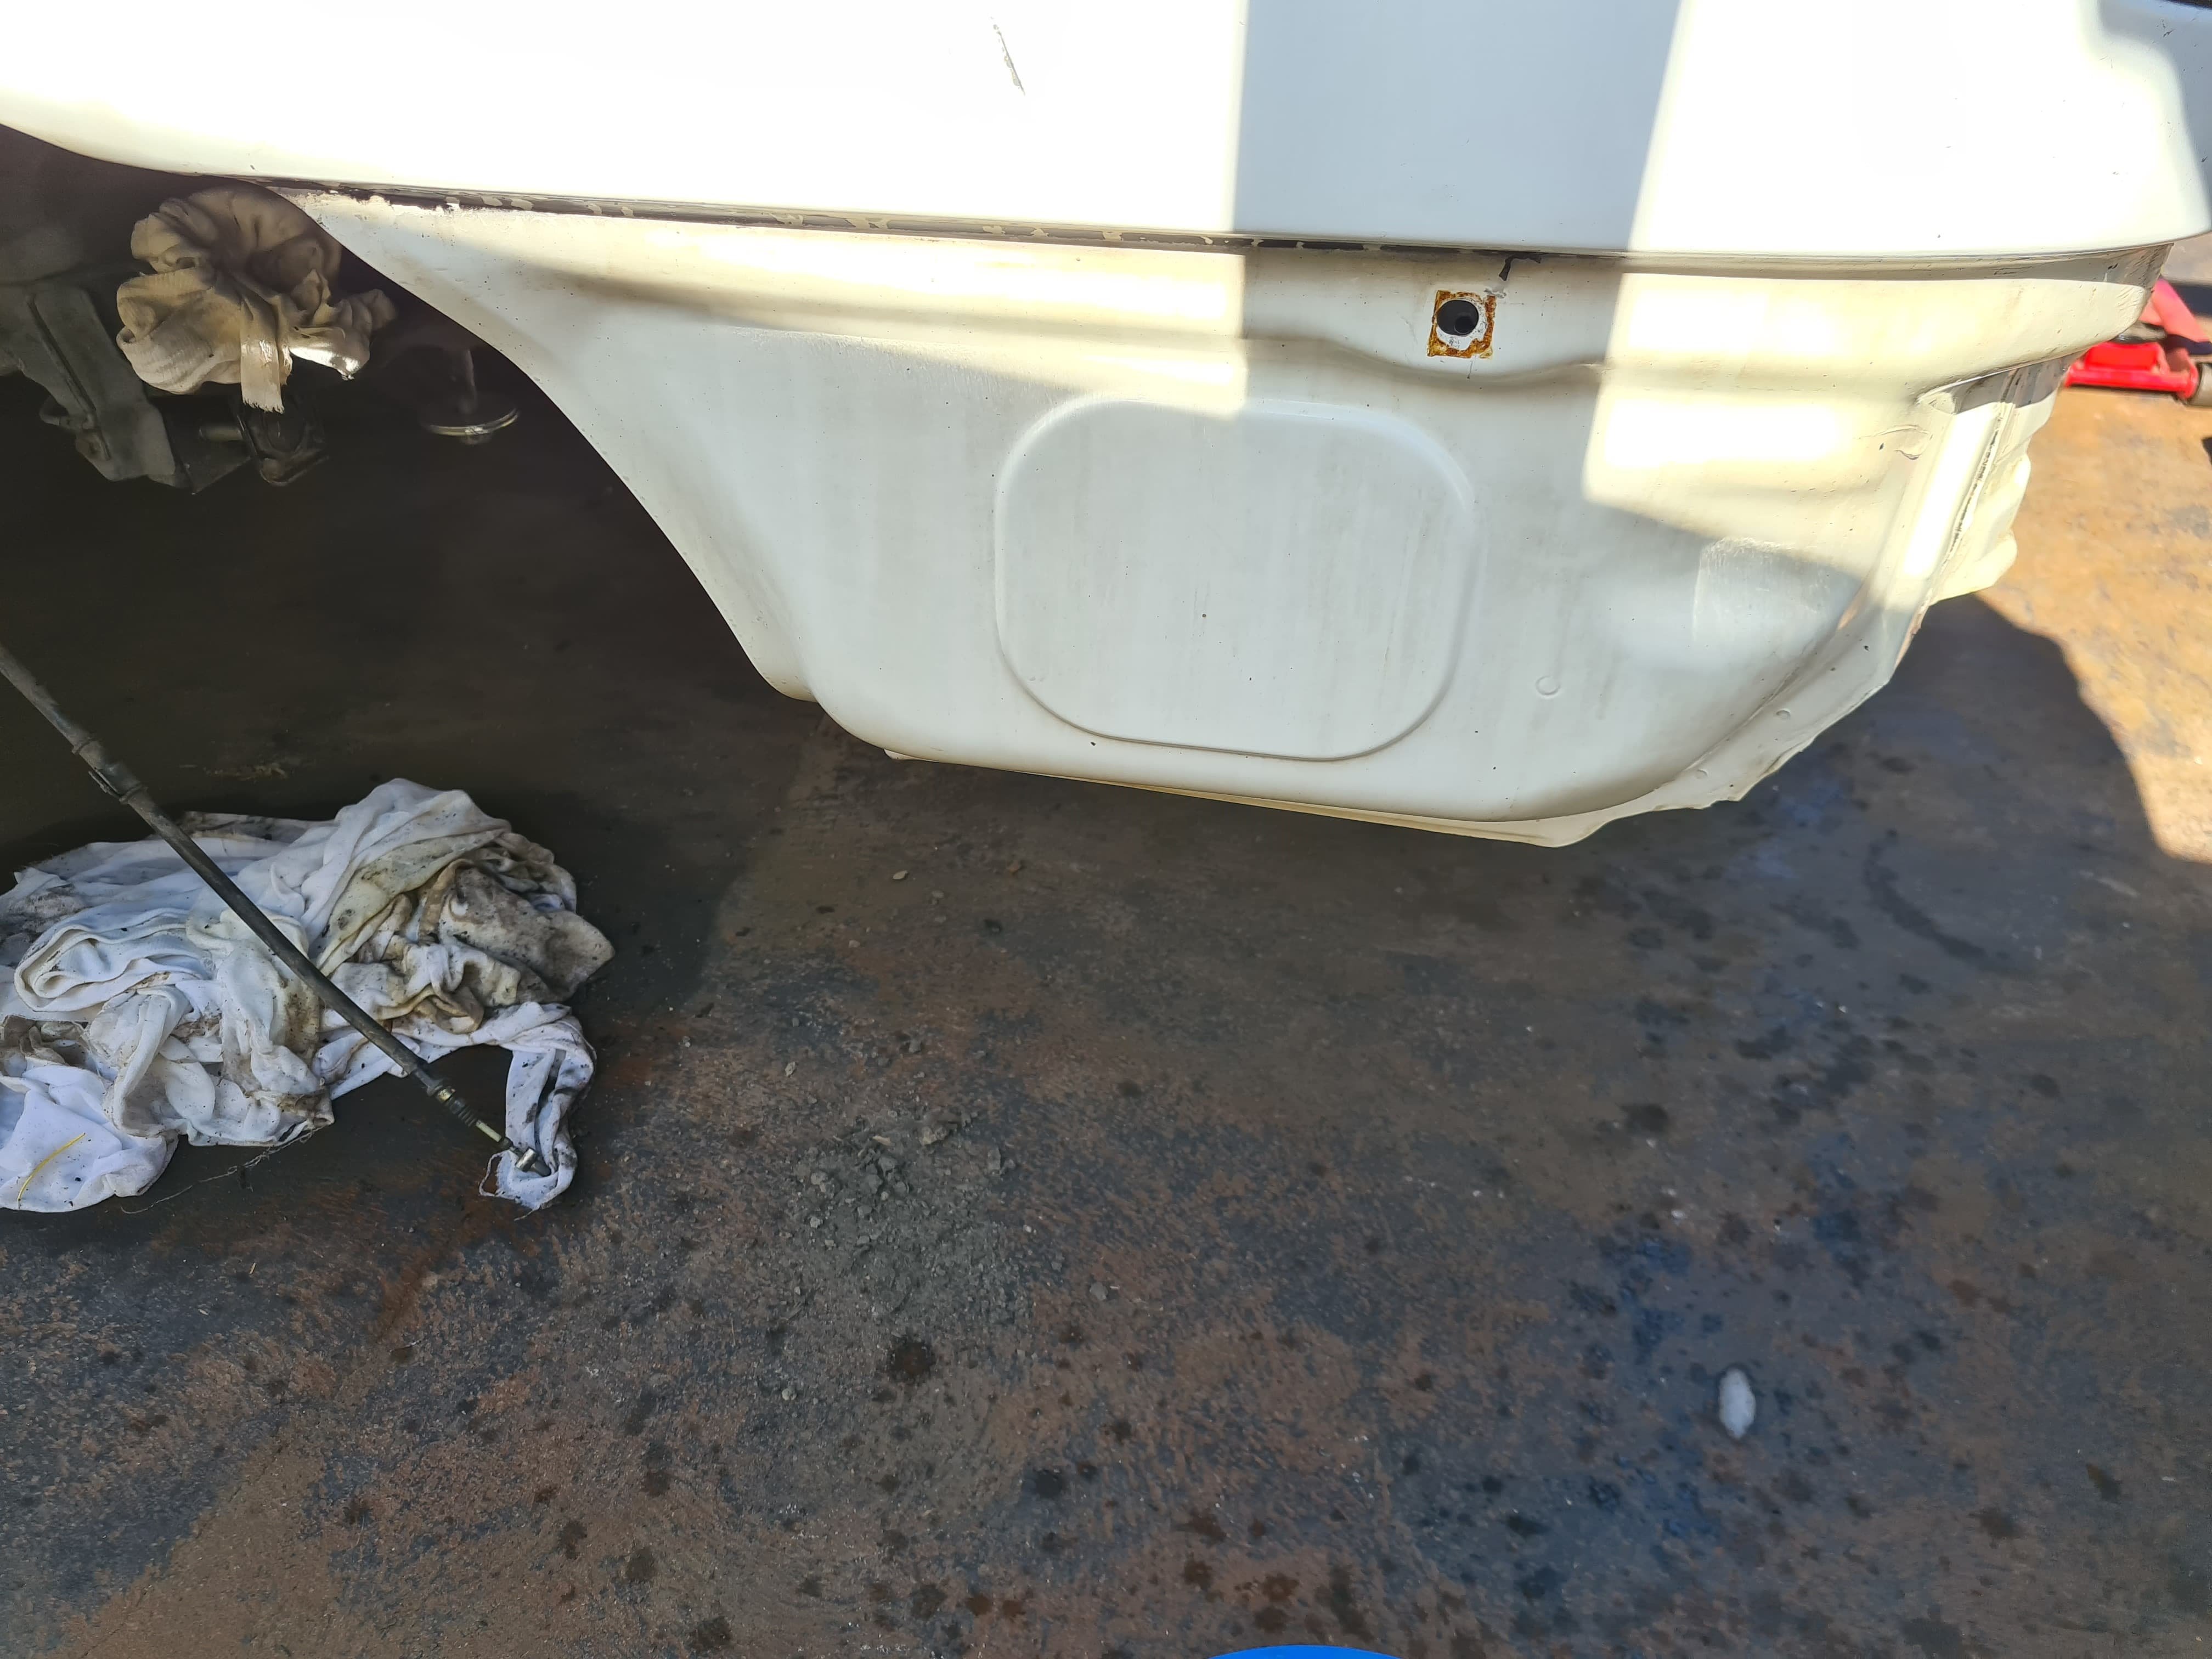
Few other fixes, need to clean up the back as well and then alittle bit of metal bog over both sides and smoothed out before I put some primer over the top, bottom will get some septone chassis paint (same as the wheel arches) Holes to fill
1 point
-
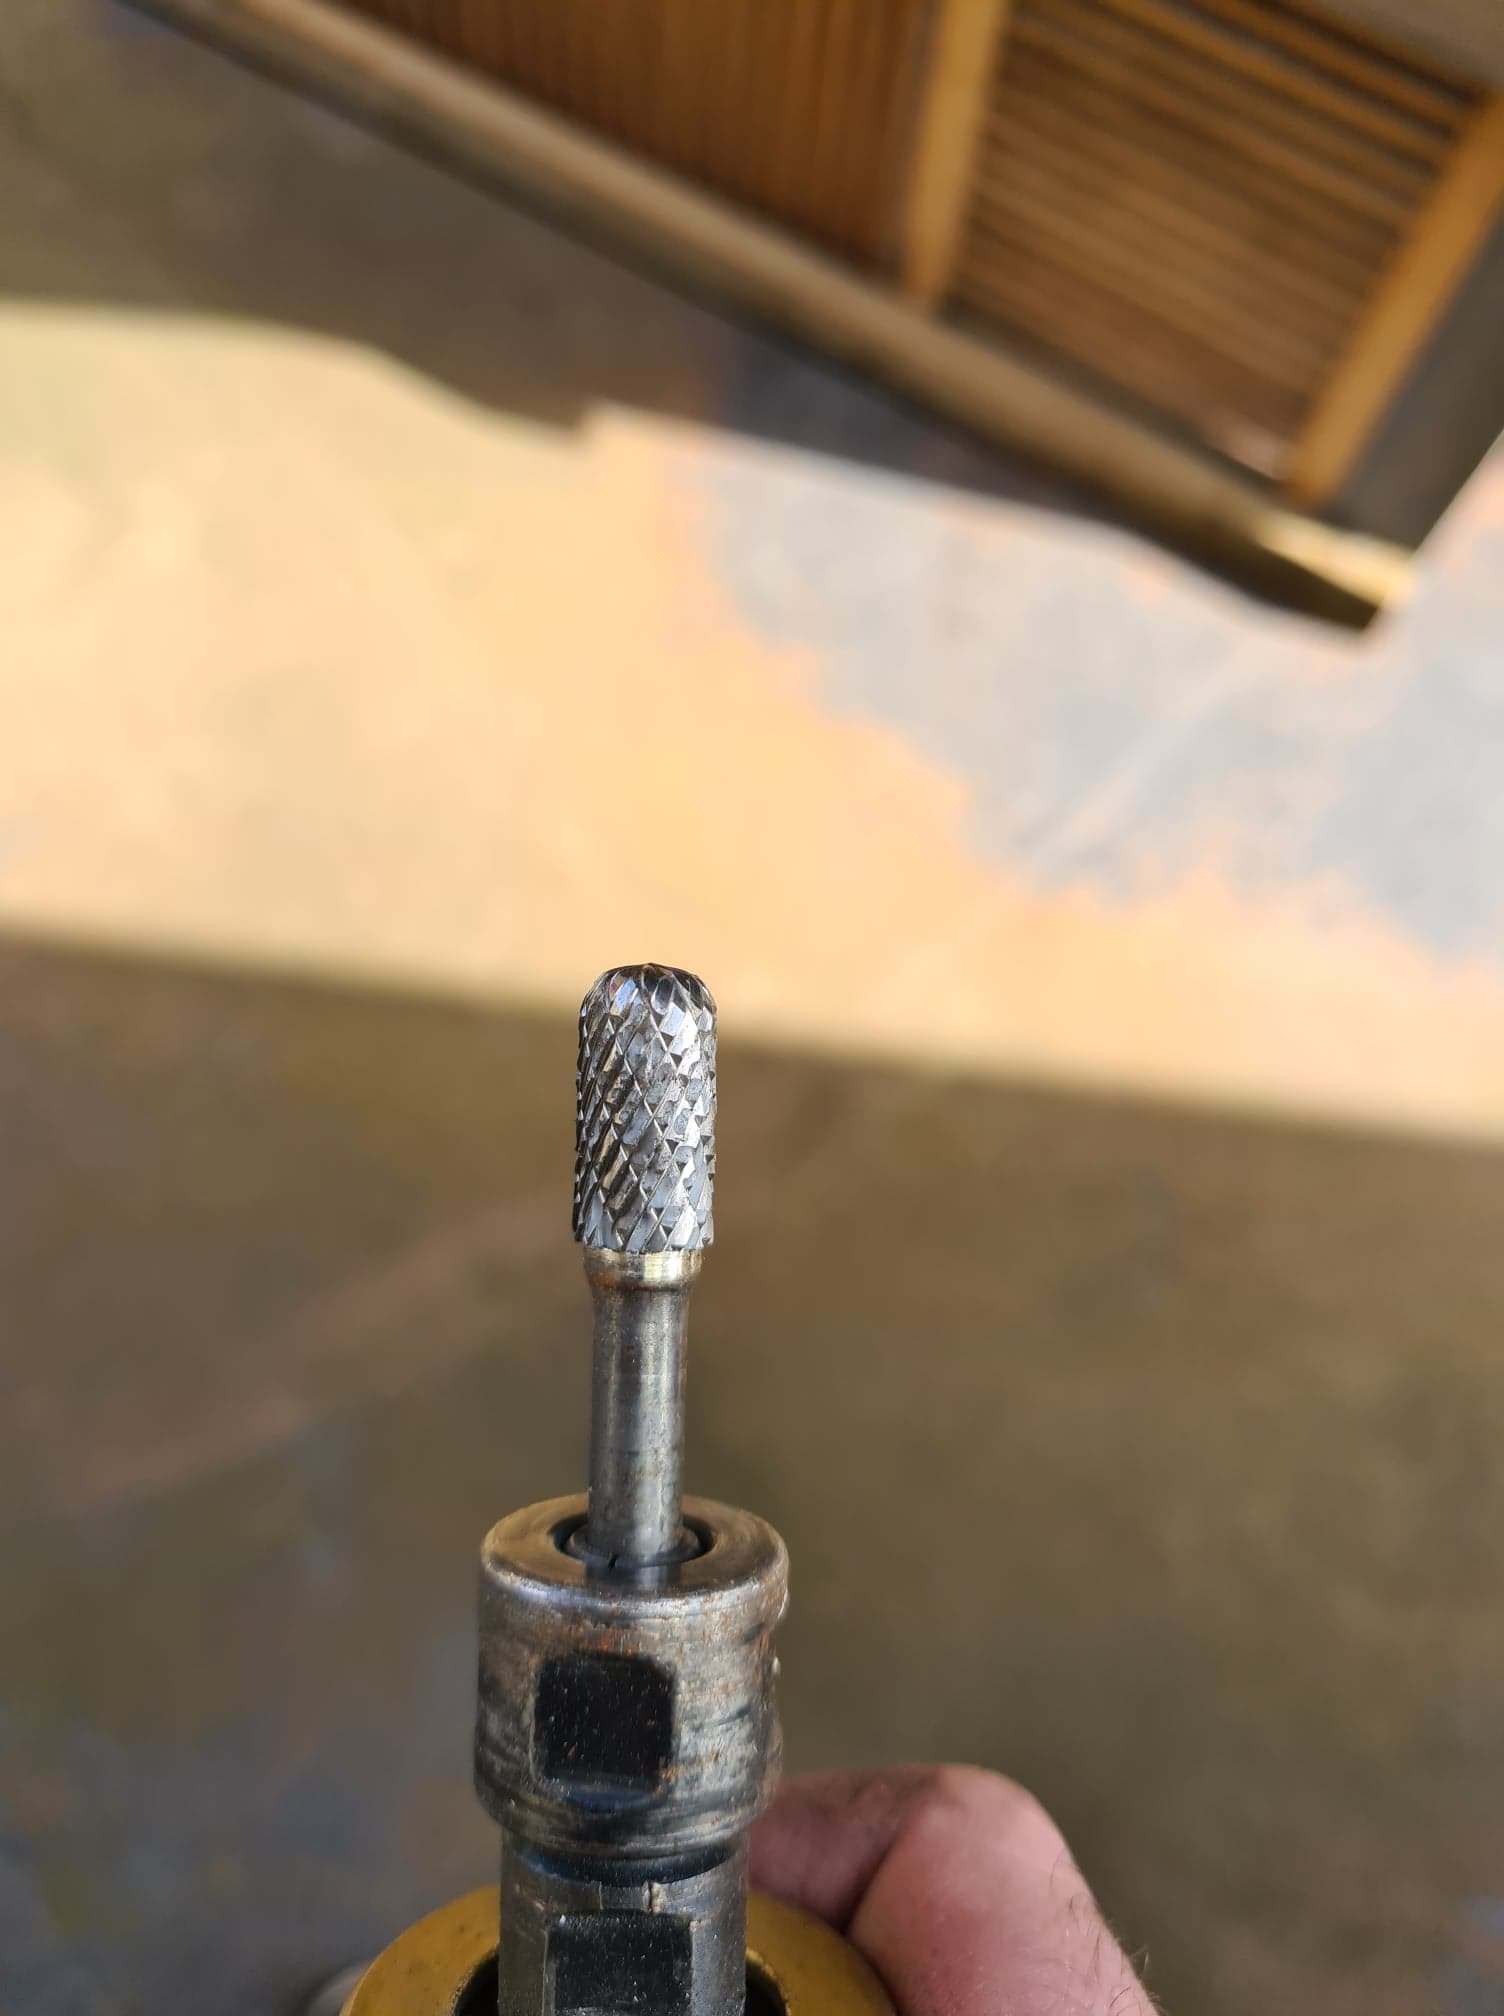
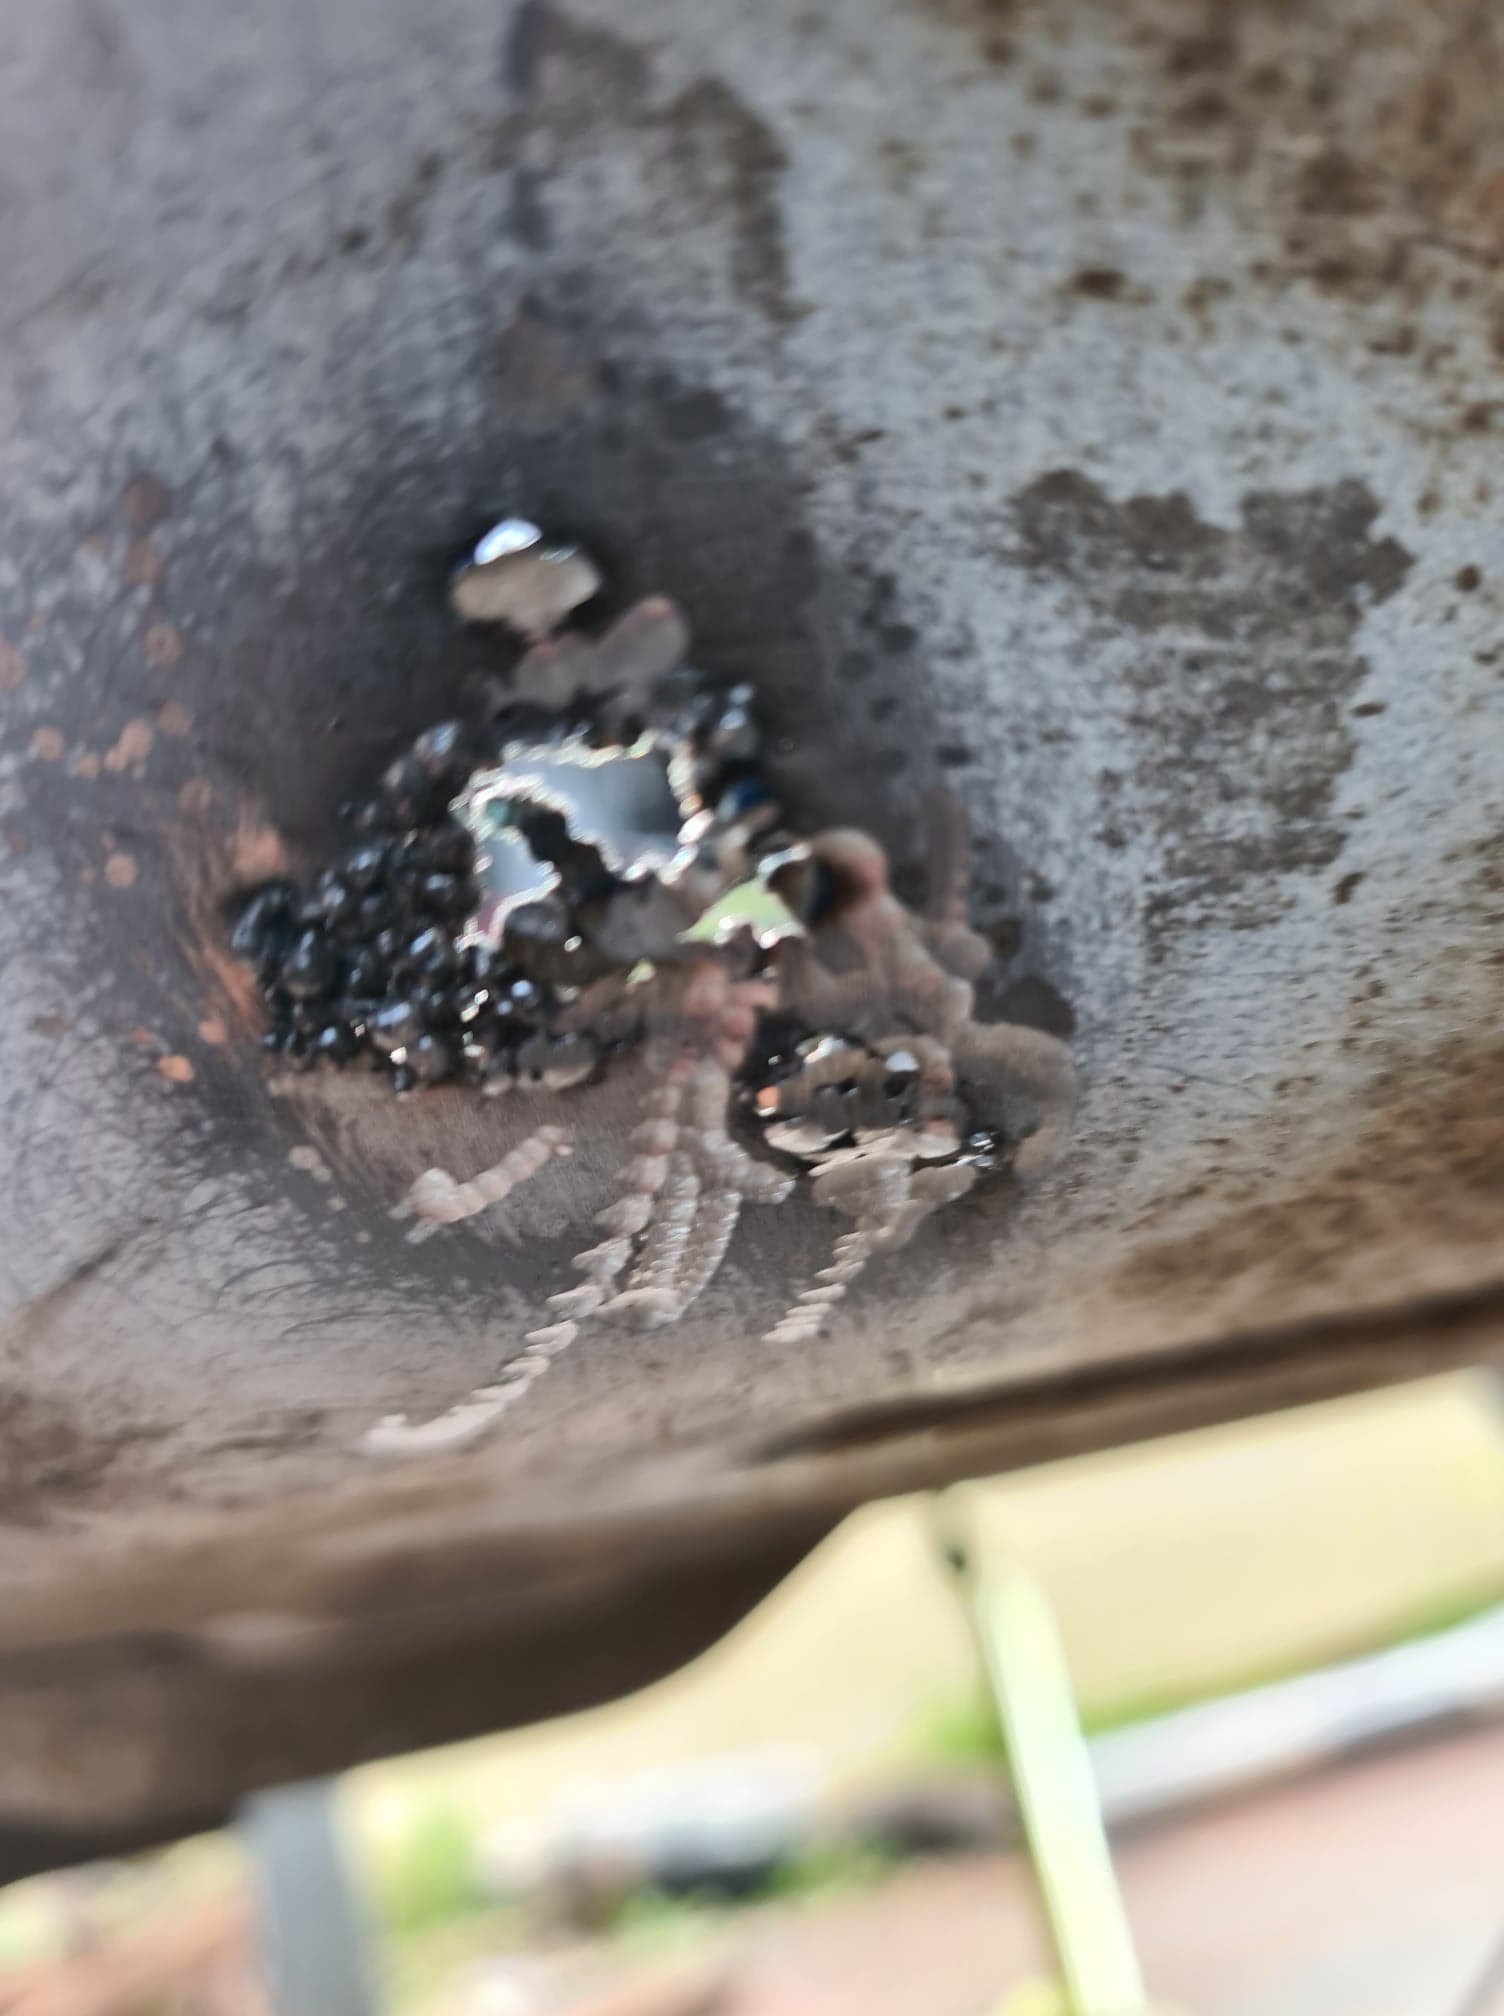
Cleaned up with a carbide bit, tired to get it to perfect and then redid it a few more times, kept having blowout
1 point
-
Ill eventually get around to having a play around with this grill and facelift headlights Looking for another pre facelift crown badge and toyota if anyone has them1 point
-
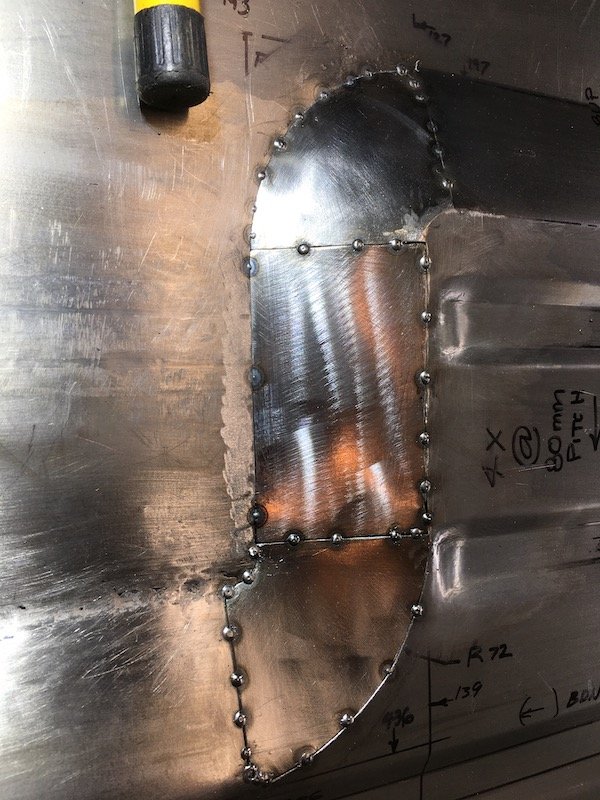
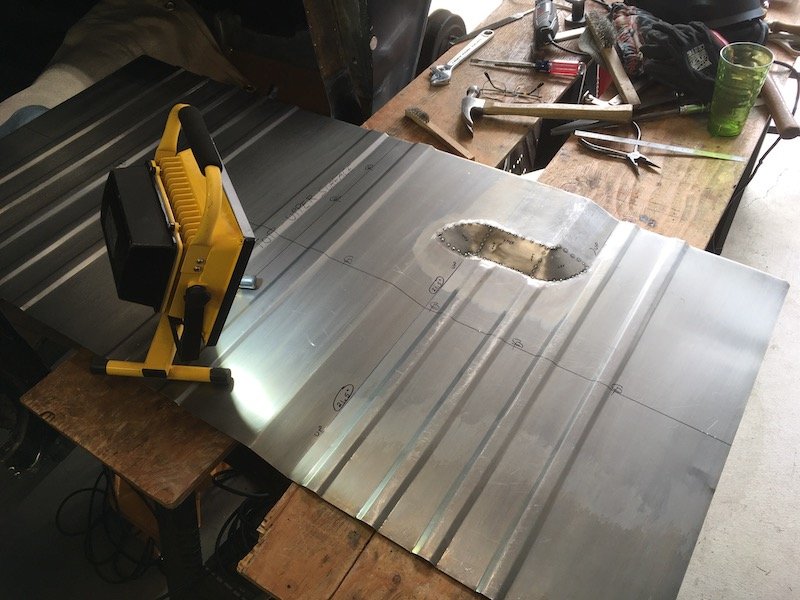
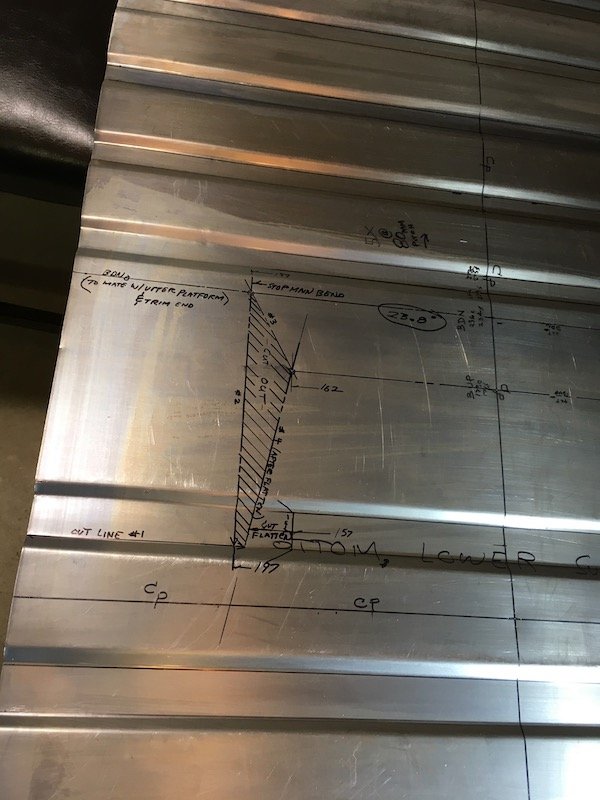
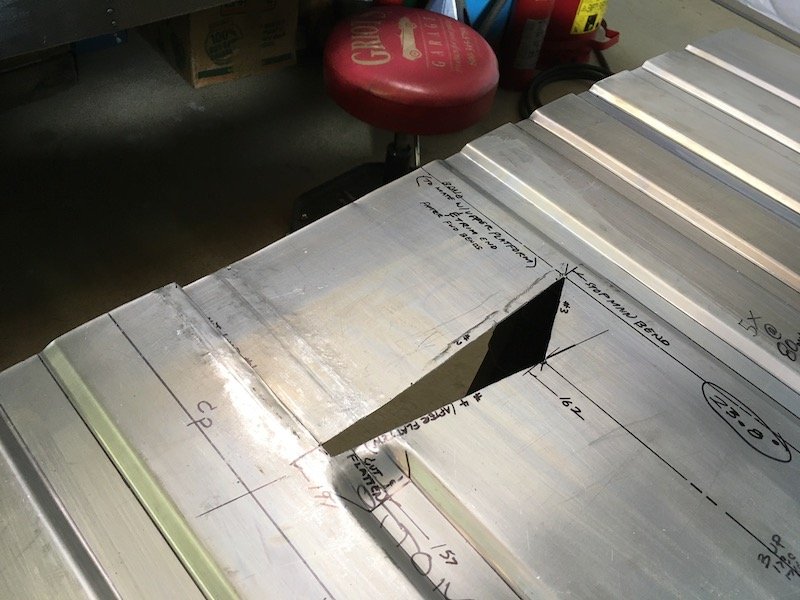
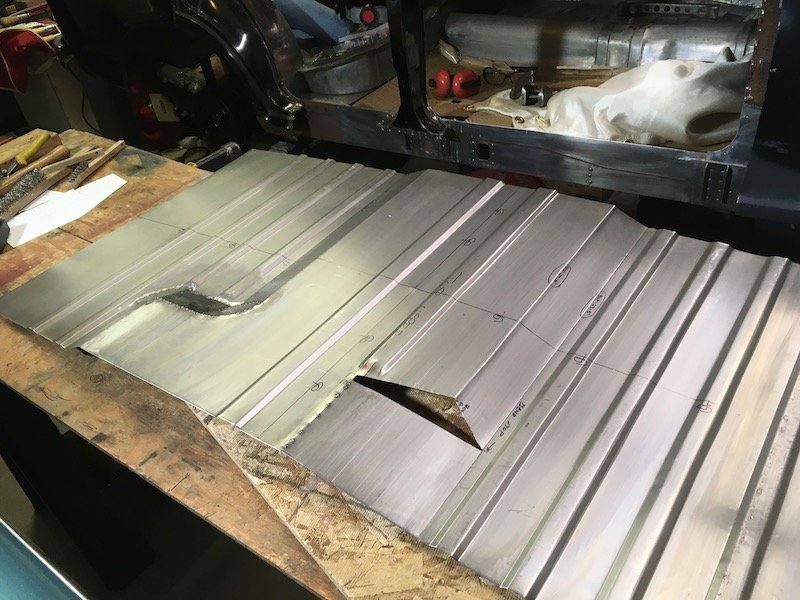
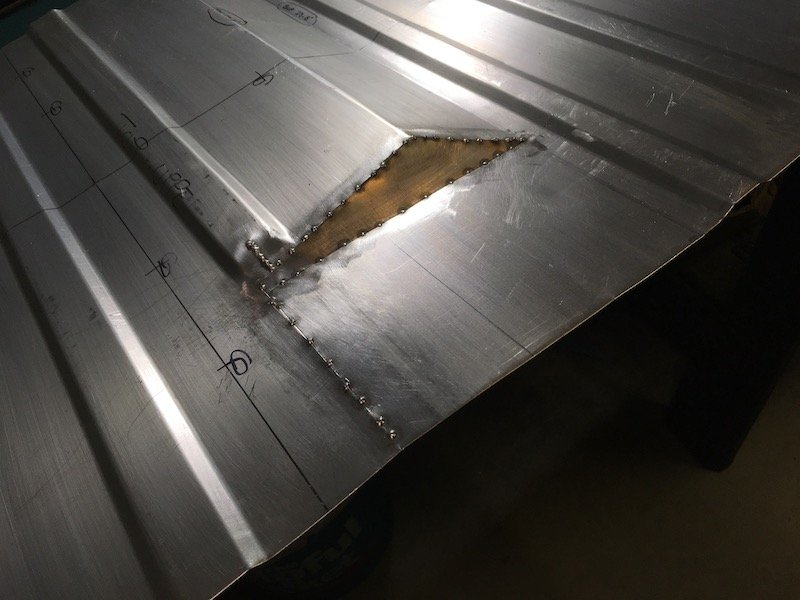
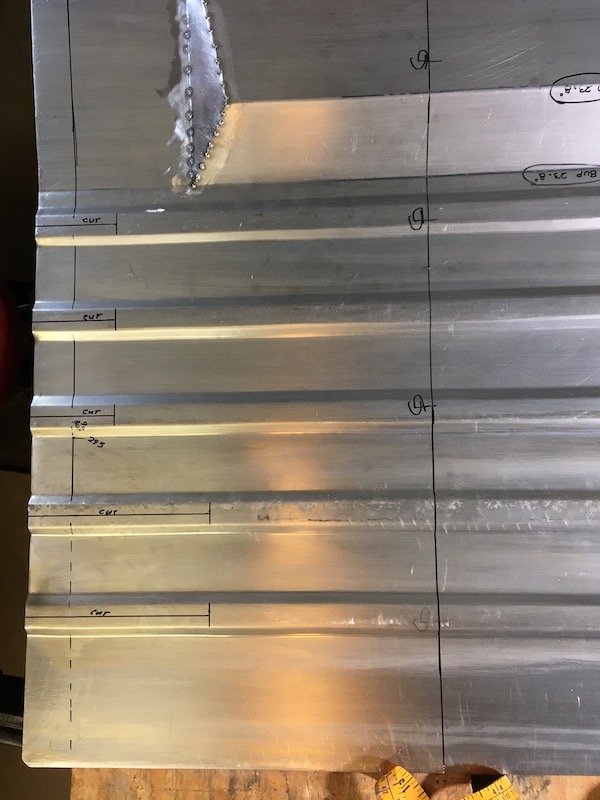
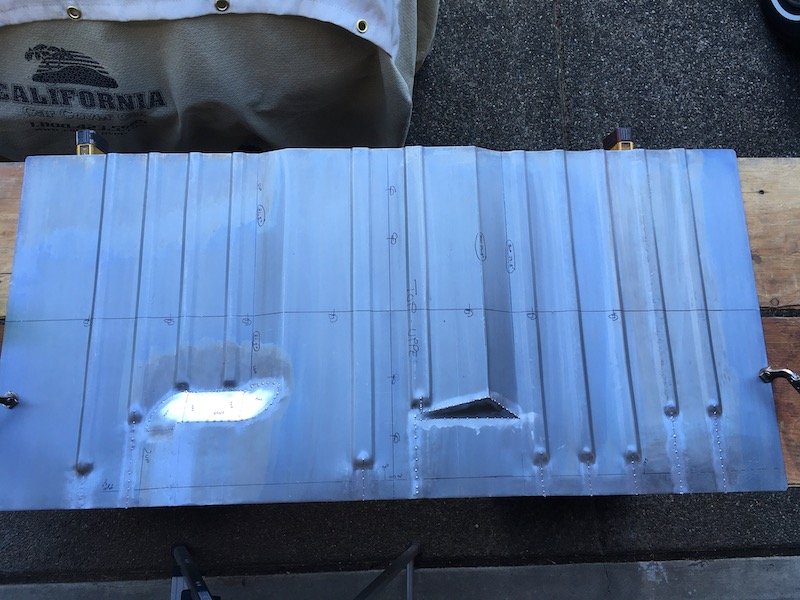
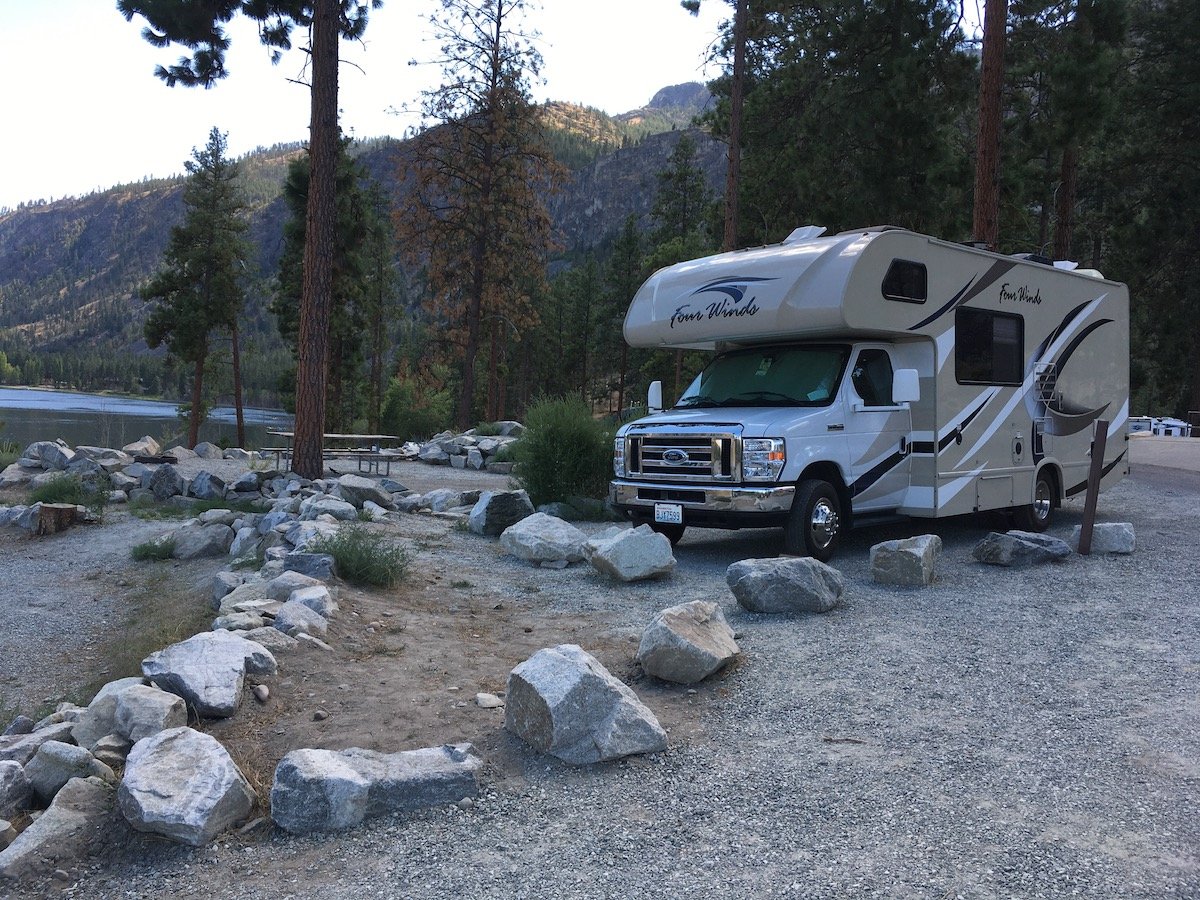
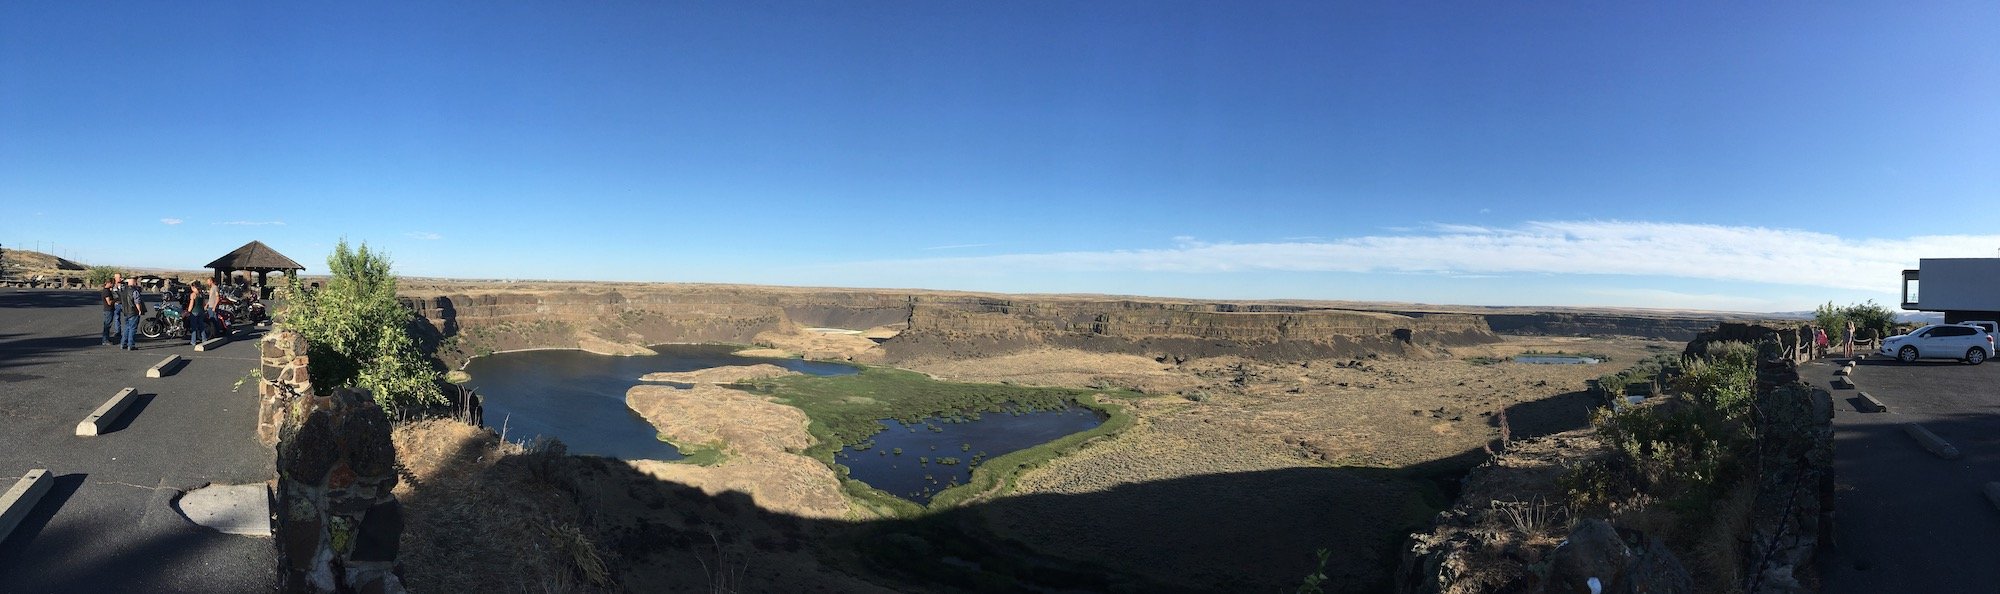
Building the 1961 Datsun 310 Bluebird - RHS Floorpan fabrication and incremental forward progress. Took some vacation time off in July and travelled through the North Cascades and scablands of Washington state in a rented RV. Alta Lake state park. Sun Lakes Dry Falls state park. Back at it now on the Datsun Bluebird RHS floorpan. Made the the "3D" shapes that define the platform for the B-post body mount and the front footwell to front seat platform transition. Cut and welded flat the corrugation ends to match factory original. Started with laying out the cutout for the B-post body mount transition area on the underside. Drilled holes on the corners of the layout and inserted a pneumatic body saw. All cut out. Then cleaned it up a bit with various files. Flattened the adjacent corrugations to factory config and cut the transition step. Bent the floorpan to create the transition step down to the rear footwell. Trimmed the excess material and tack welded top edge of rearmost transition. Made a couple of 1/4 conical shapes, formed and trimmed to fit. Tack welded them in. Then made a rectangle piece and tacked it in. Overview of that completed "3D" mini-project. Then, moving forward, did a layout to start the front footwell to front seat platform transition between the side of seat and inner sill. On a right hand steer car this is where the hand brake lever would be. Underside shown. Cut out the metal and massaged the corrugations. Then bent the pan to match factory shape to lower front footwell dropdown. Trimmed and tack welded the top of the slight sloped section. Tacked in a triangle piece. Marked out the cut lines to relieve the remainder of the soon to be flattened corrugations. Corrugation ends formed, flattened and relief cuts tack welded. Upper surface shown. Plan is to TIG weld between all the many MIG tacks, thus I've strived to keep panel gaps to a minimum. Since I'm less than a beginner at TIG, I'm sure it will be a challenge for me. A bunch of my practice sessions have shown that fact. Anyway, I think it will fun to learn TIG, eventually, I just hope I don't vaporize too much metal along the way. Thanks for reading. More progress to be made in a few weeks hopefully. Discussion: https://oldschool.co.nz/index.php?/topic/60267-marts-pl310-61-datsun-bluebird-sedan/ Build: https://oldschool.co.nz/index.php?/topic/60264-marts-pl310-61-datsun-bluebird-sedan/
1 point
-
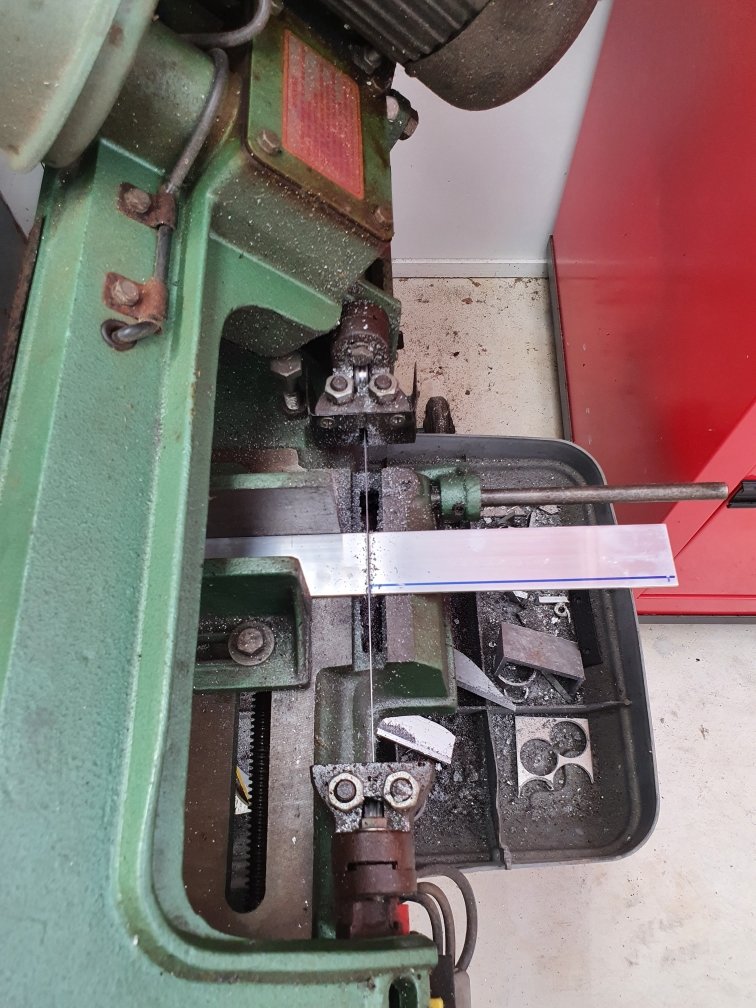
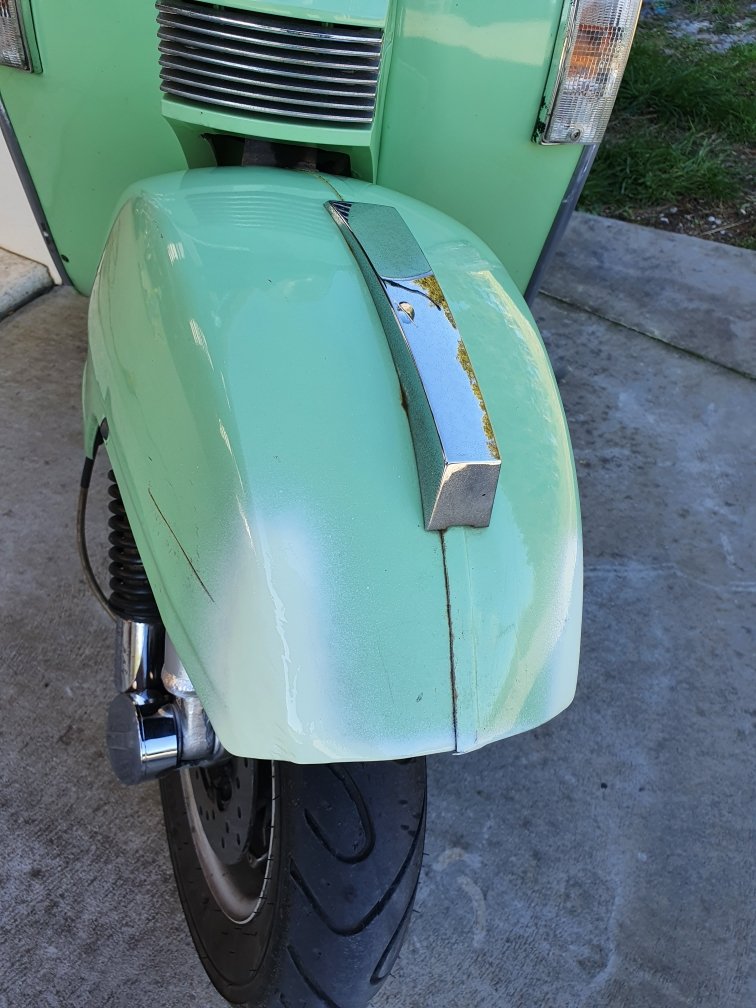
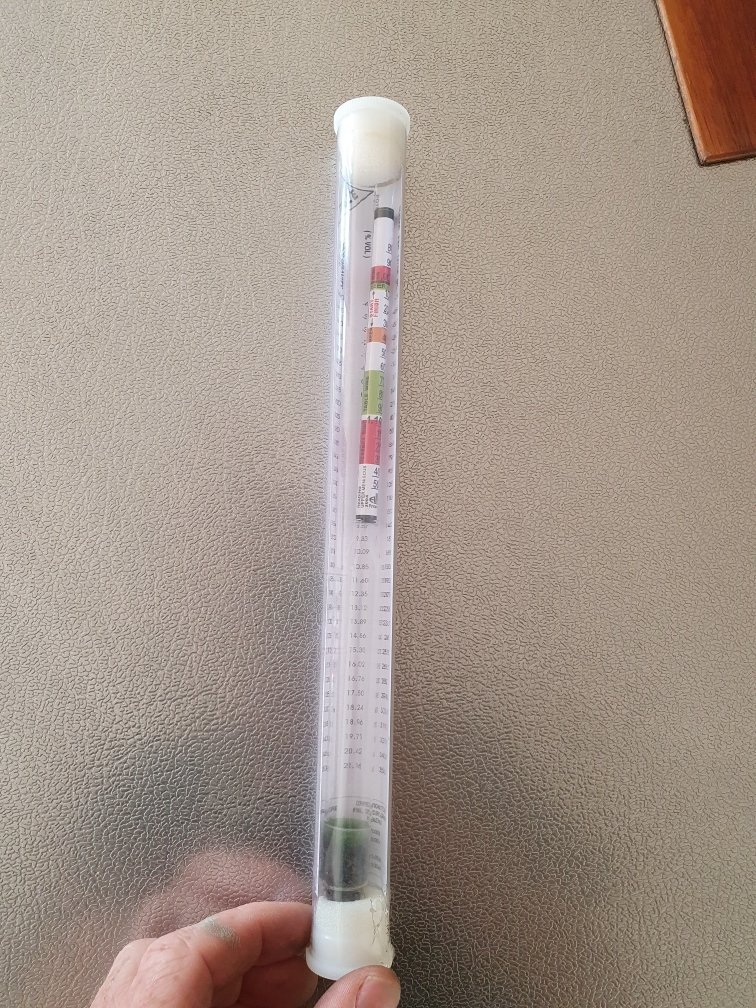
Little project to fill in some of the day. Take one beer hydrometer for home brew. Some stupidly overpriced aluminum from mitre10. But beggars can't be chosers. And turn it all into a long rego tube that actually fits rego and wof lables, unlike the trademe special that couldn't even fit a nz sized rego on it own. Next up, some Stevie Wonder panel and paint work. Before^^ After. I just wanted to get rid of the rust, as it was starting to eat into the metal, a bit deeper than just surface rust. I beat out the big dents with a hammer and dolly, sprayed it with the closest colour rattle can that was on the shelf at mitre10. Calling it done...as it will stop the rust, that's about all I care about. Then a 30km ride around some of the "twistiest" hills around the waikato to test its ability to not fall off. Im calling it a win.
1 point
-
1 point
-
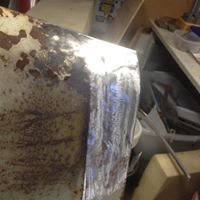
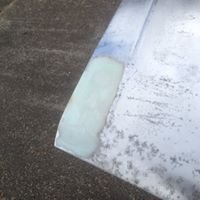
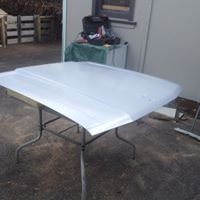
Bonnet looked like it had been stored on it's side and had rotted out in the front right corner. Cut it out, added new metal, filled, rustproofed and primed.
1 point


This leaderboard is set to Auckland/GMT+12:00