
Leaderboard


Popular Content
Showing content with the highest reputation on 07/04/20 in all areas
-
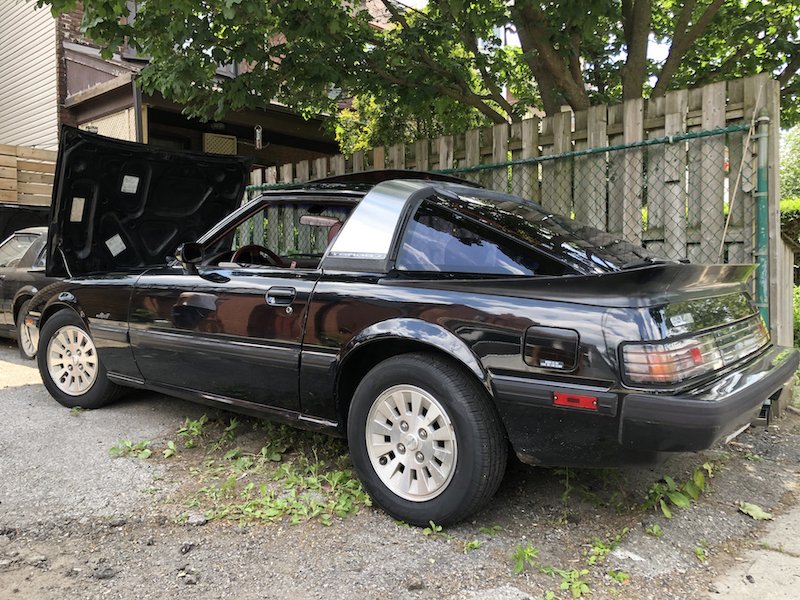
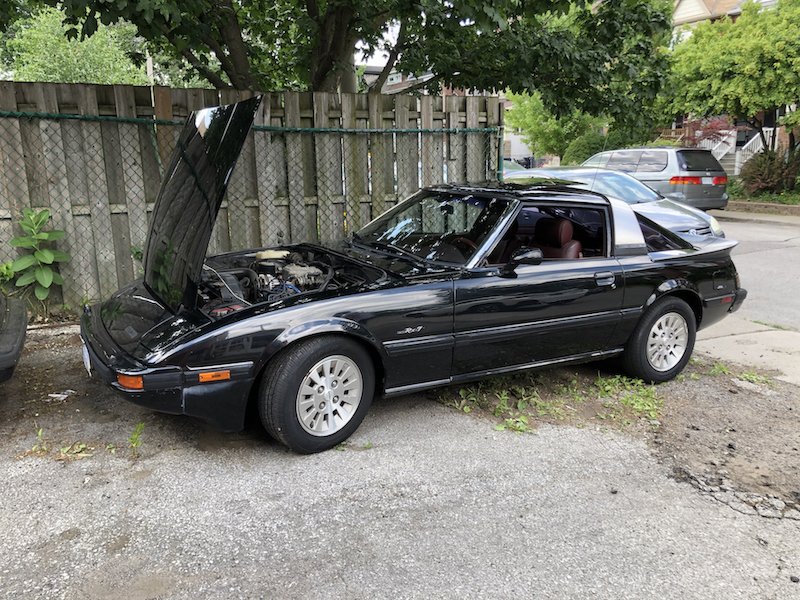
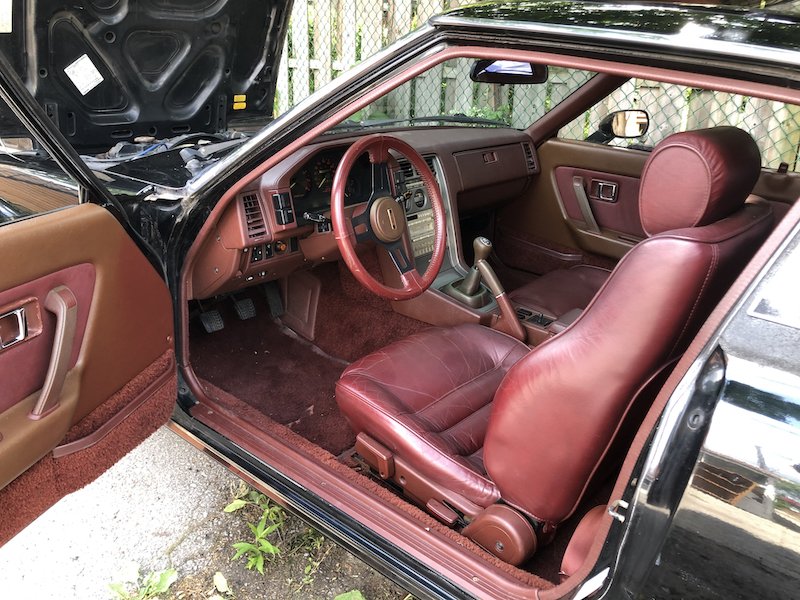
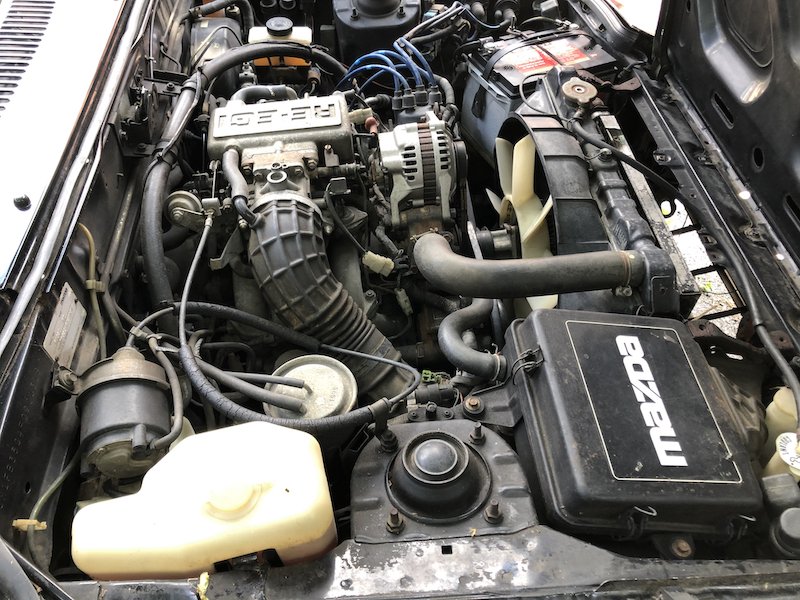
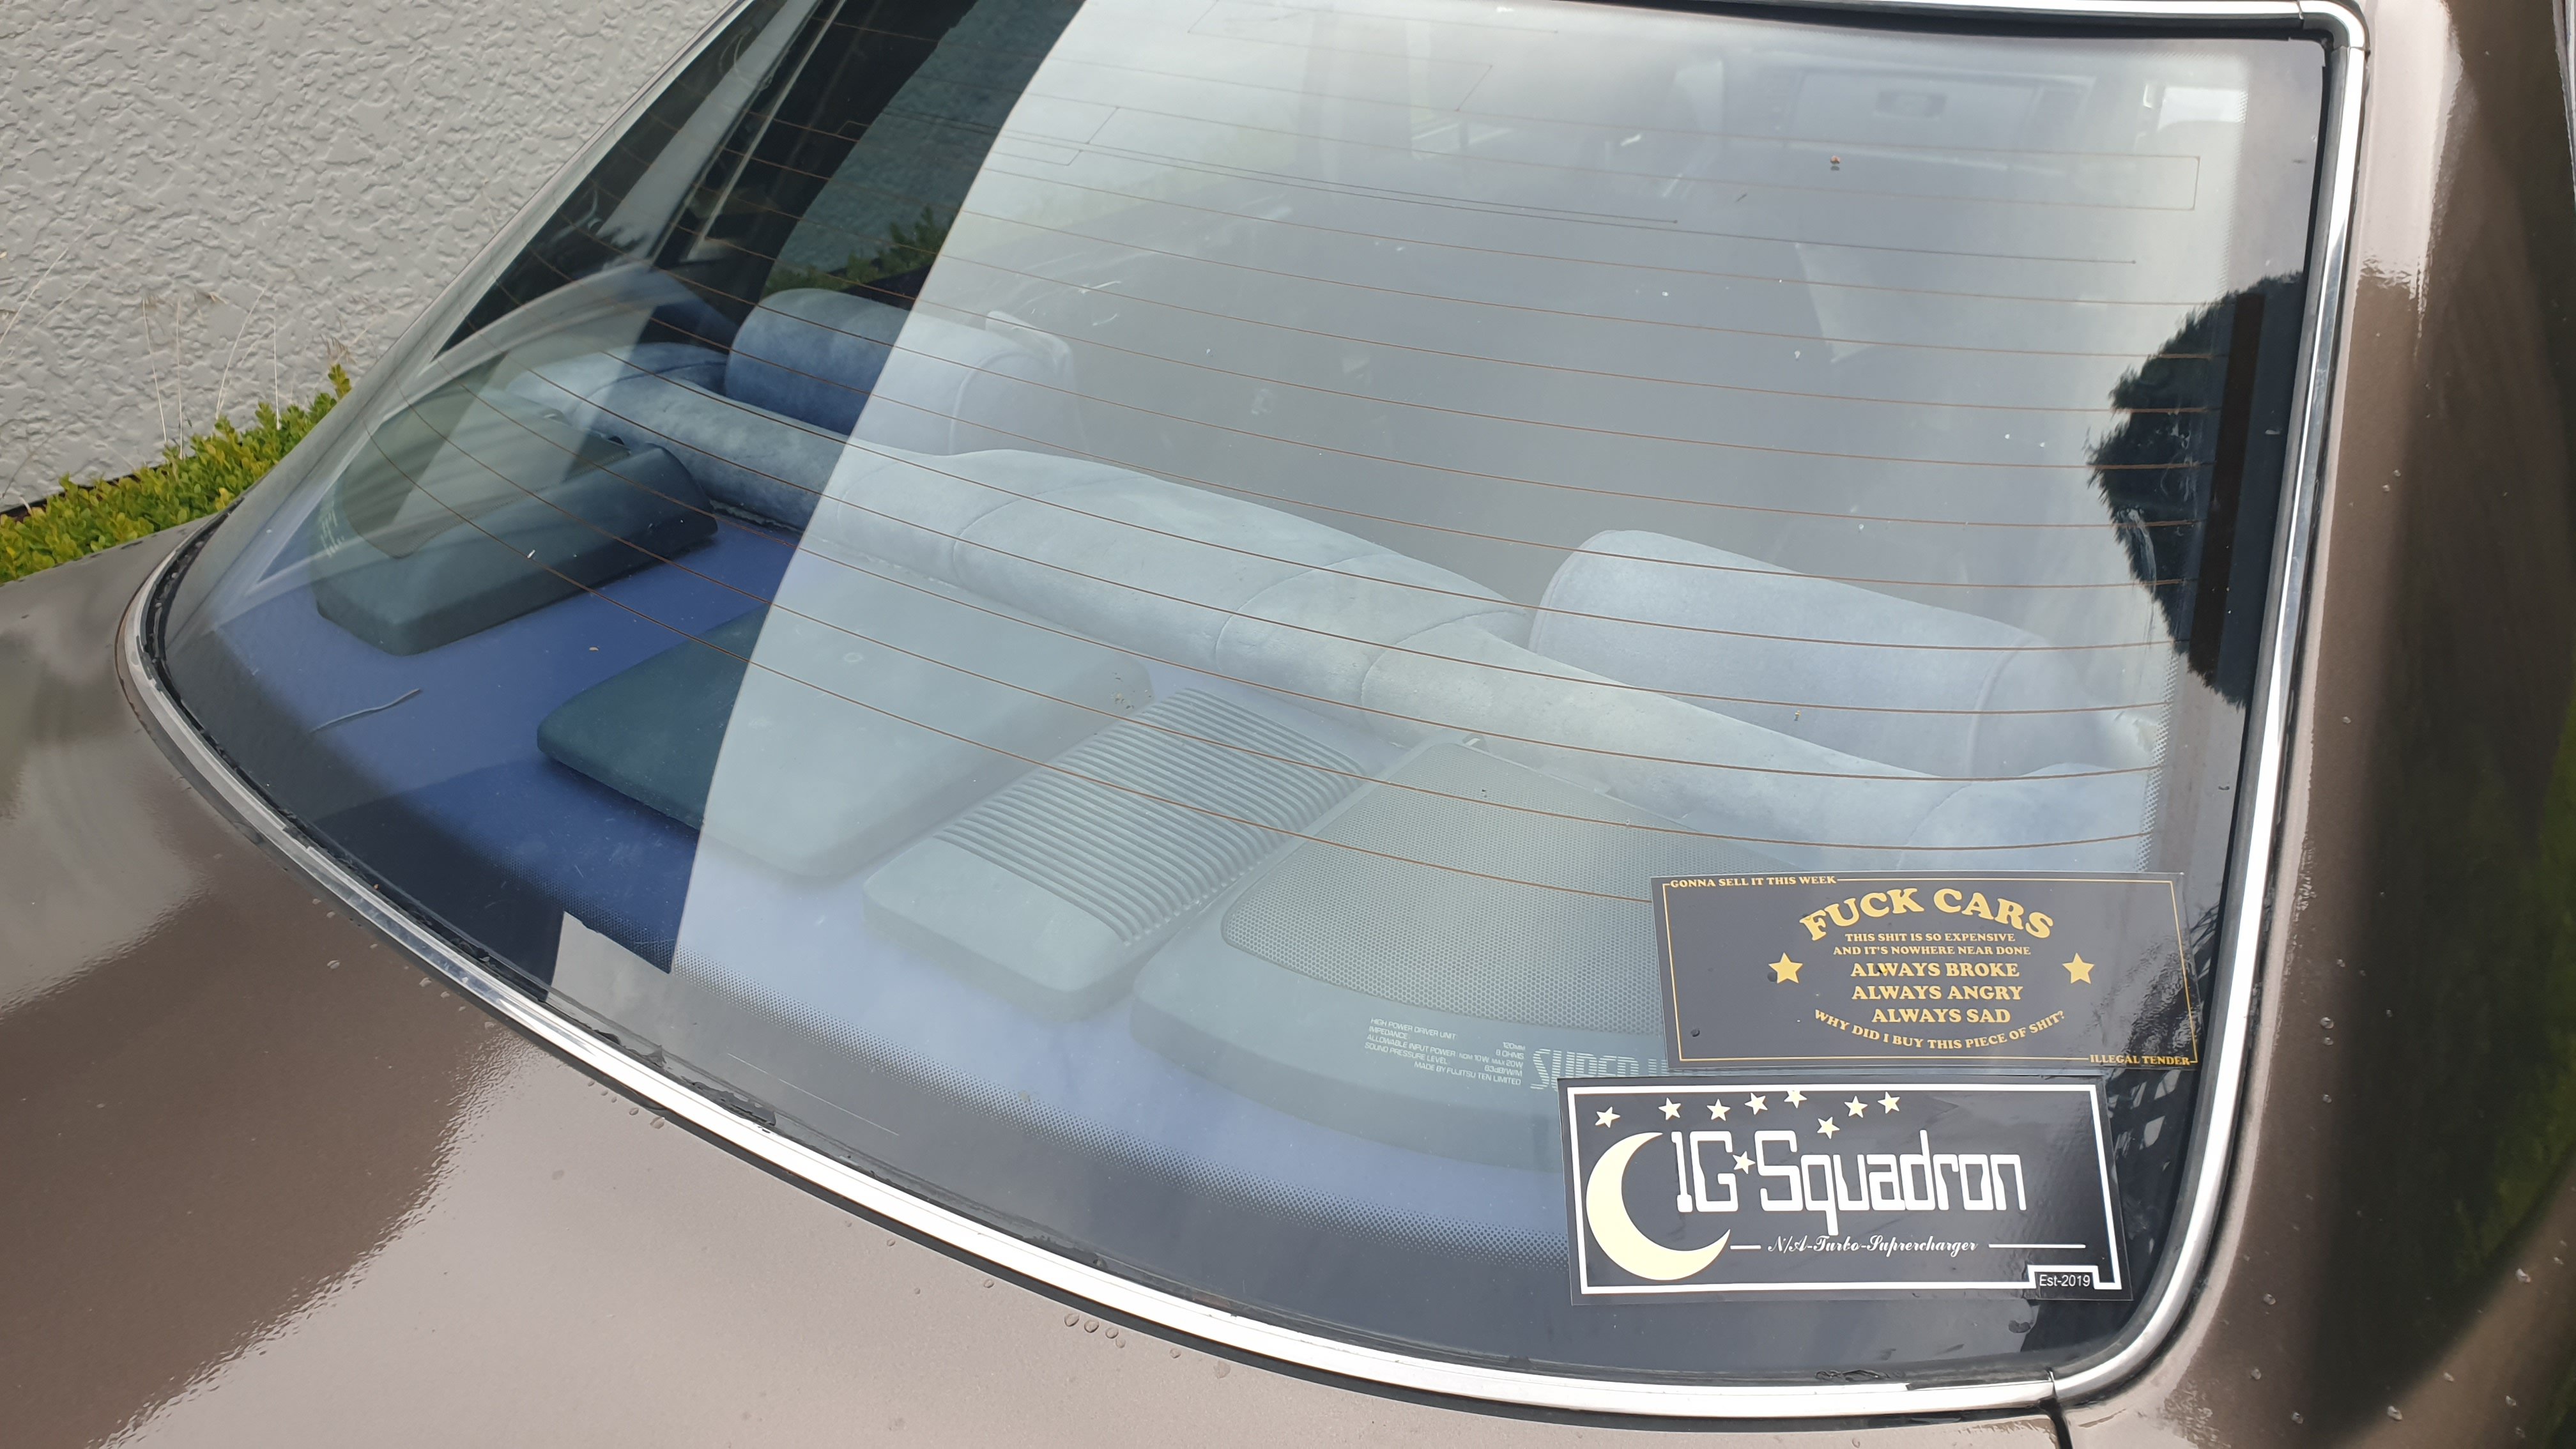
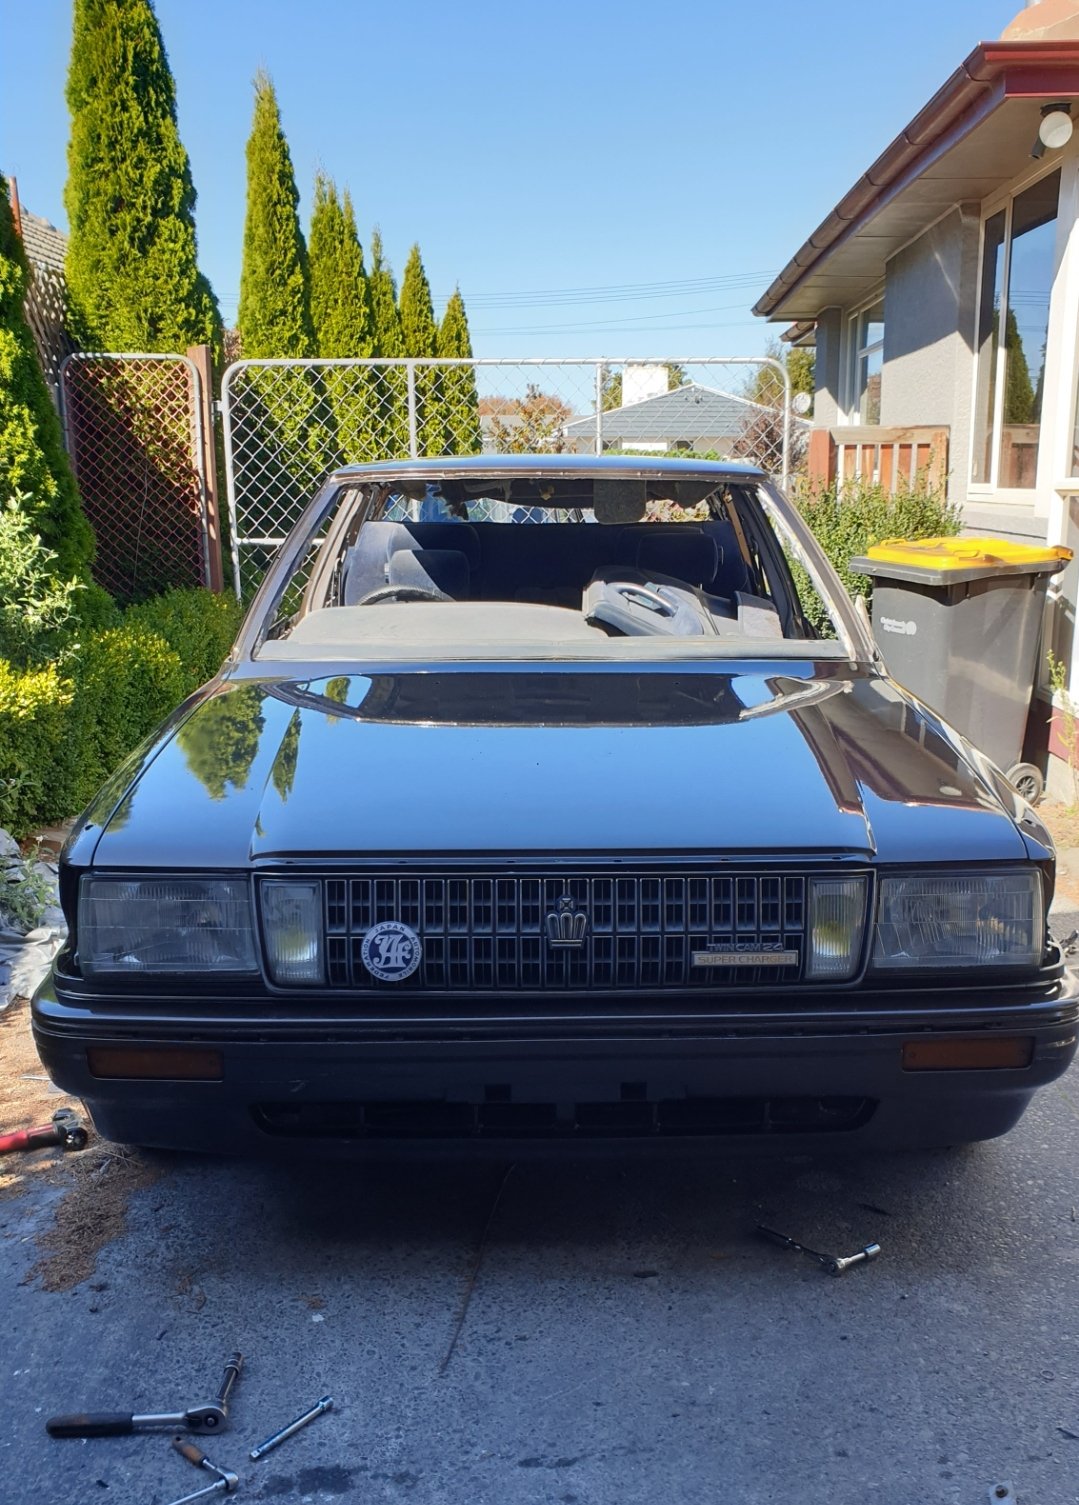
** Discussion https://oldschool.co.nz/index.php?/topic/74793-helium-elbows-magical-rx-7-fb/ ** So I never thought I would end up owning a rotary any time soon but wasn't having too much luck finding a sweet Starion/Conquest near me over the last year or so. This came up locally for a good price and thought why the fuck not. It's a 1985 Canadian spec FB RX-7 GSL-SE with the IMSA Targa option. It's basically the same as US spec top of the line GSL-SE with 13B RE-EGI engine just with km/h dials instead of mph. IMSA Targa package adds faux brushed metal targa band (I'm not the biggest fan), front splitter (currently off the car broken) and rear wrap around wing. Factory options include maroon leather interior, electric windows/mirrors, push button climate control A/C, LSD with larger vented disc brakes F&R, cruise control, and glass moon roof with carry bag. It's a two owner car with 167k kms on the clock. Needs a little tidy up with a few small rust patches but otherwise it's a solid body and completely factory original inside and out. It comes with an almost complete '84 GSL-SE parts car that has a 10k old rebuilt engine (though hasn't run for years) and a Racing Beat full exhaust which will probably find its way onto the good car. Plans are to tidy it up over time and bring it back to as factory fresh condition as possible. Probably hang onto it here in Canada for a while and perhaps even bring back to NZ with me. Discussion https://oldschool.co.nz/index.php?/topic/74793-helium-elbows-magical-rx-7-fb/
 24 points
 -
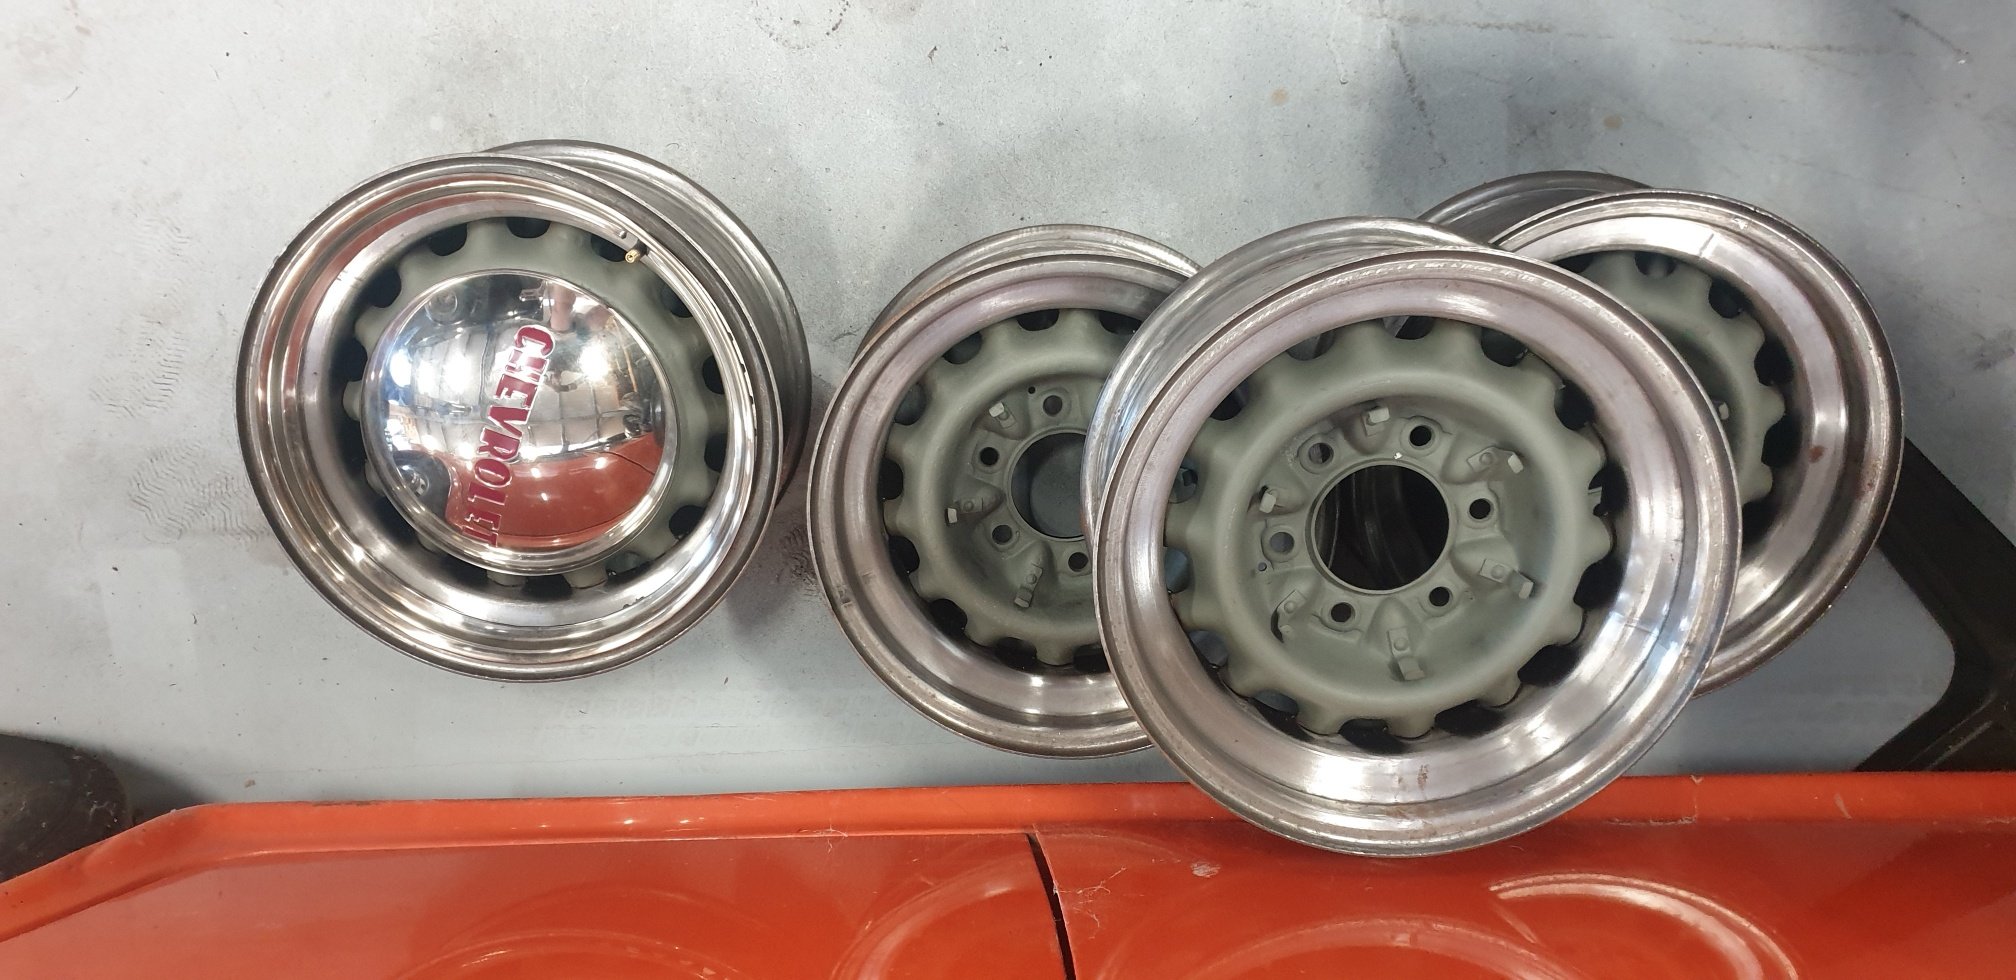
All back together and you can barely tell, lol.16 points
-
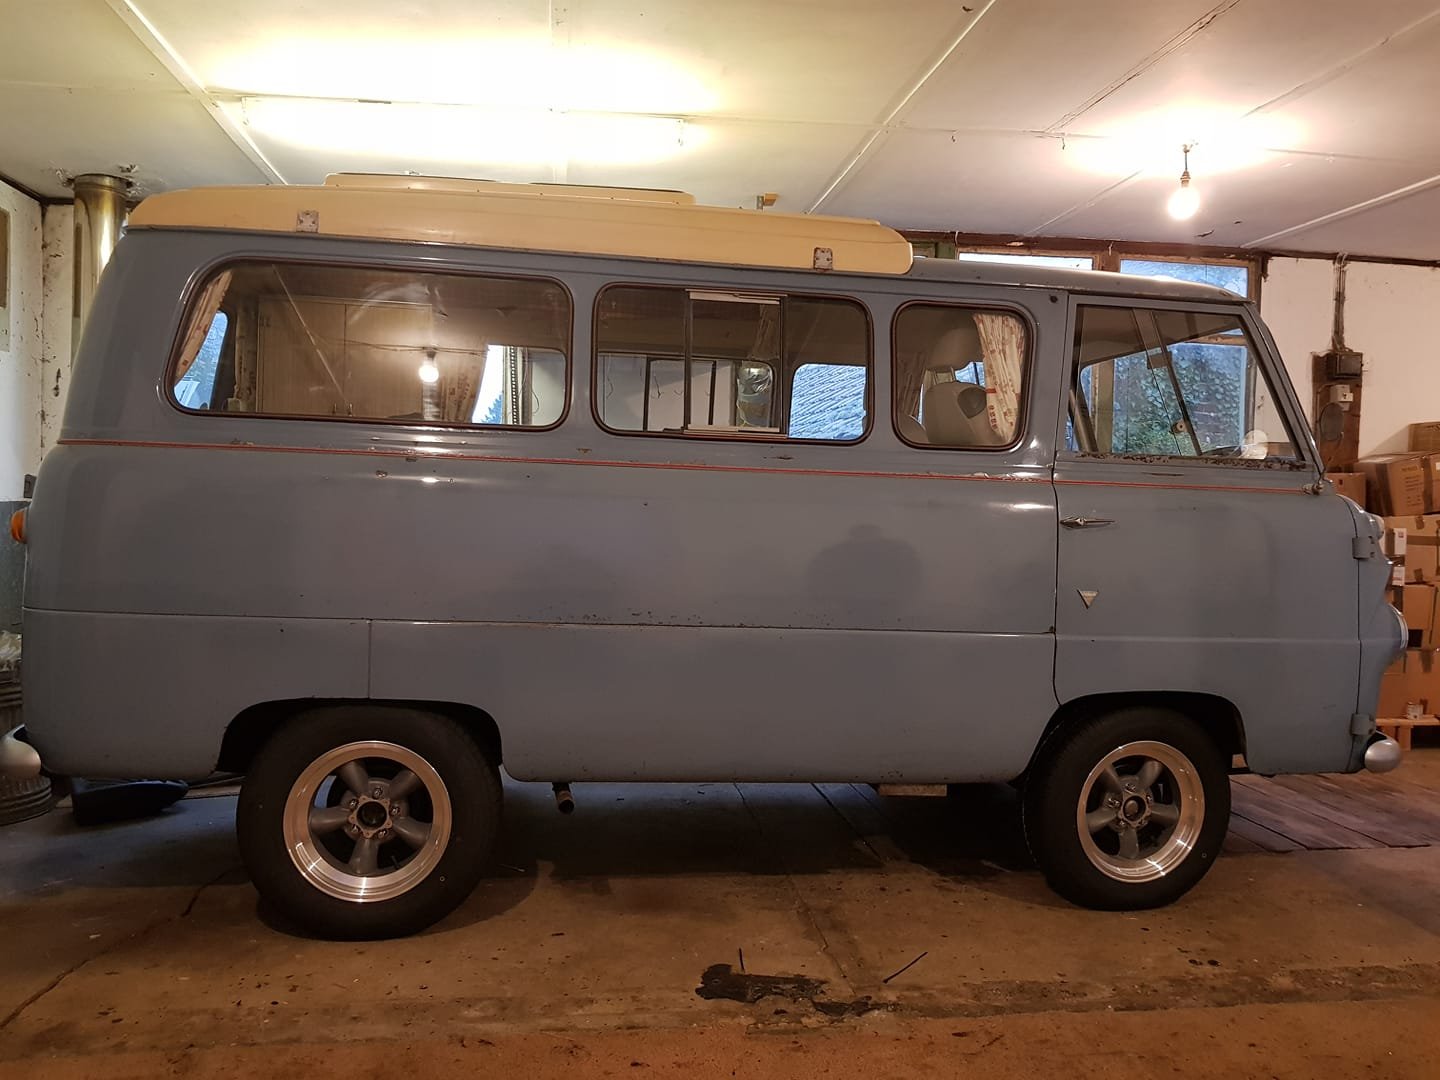
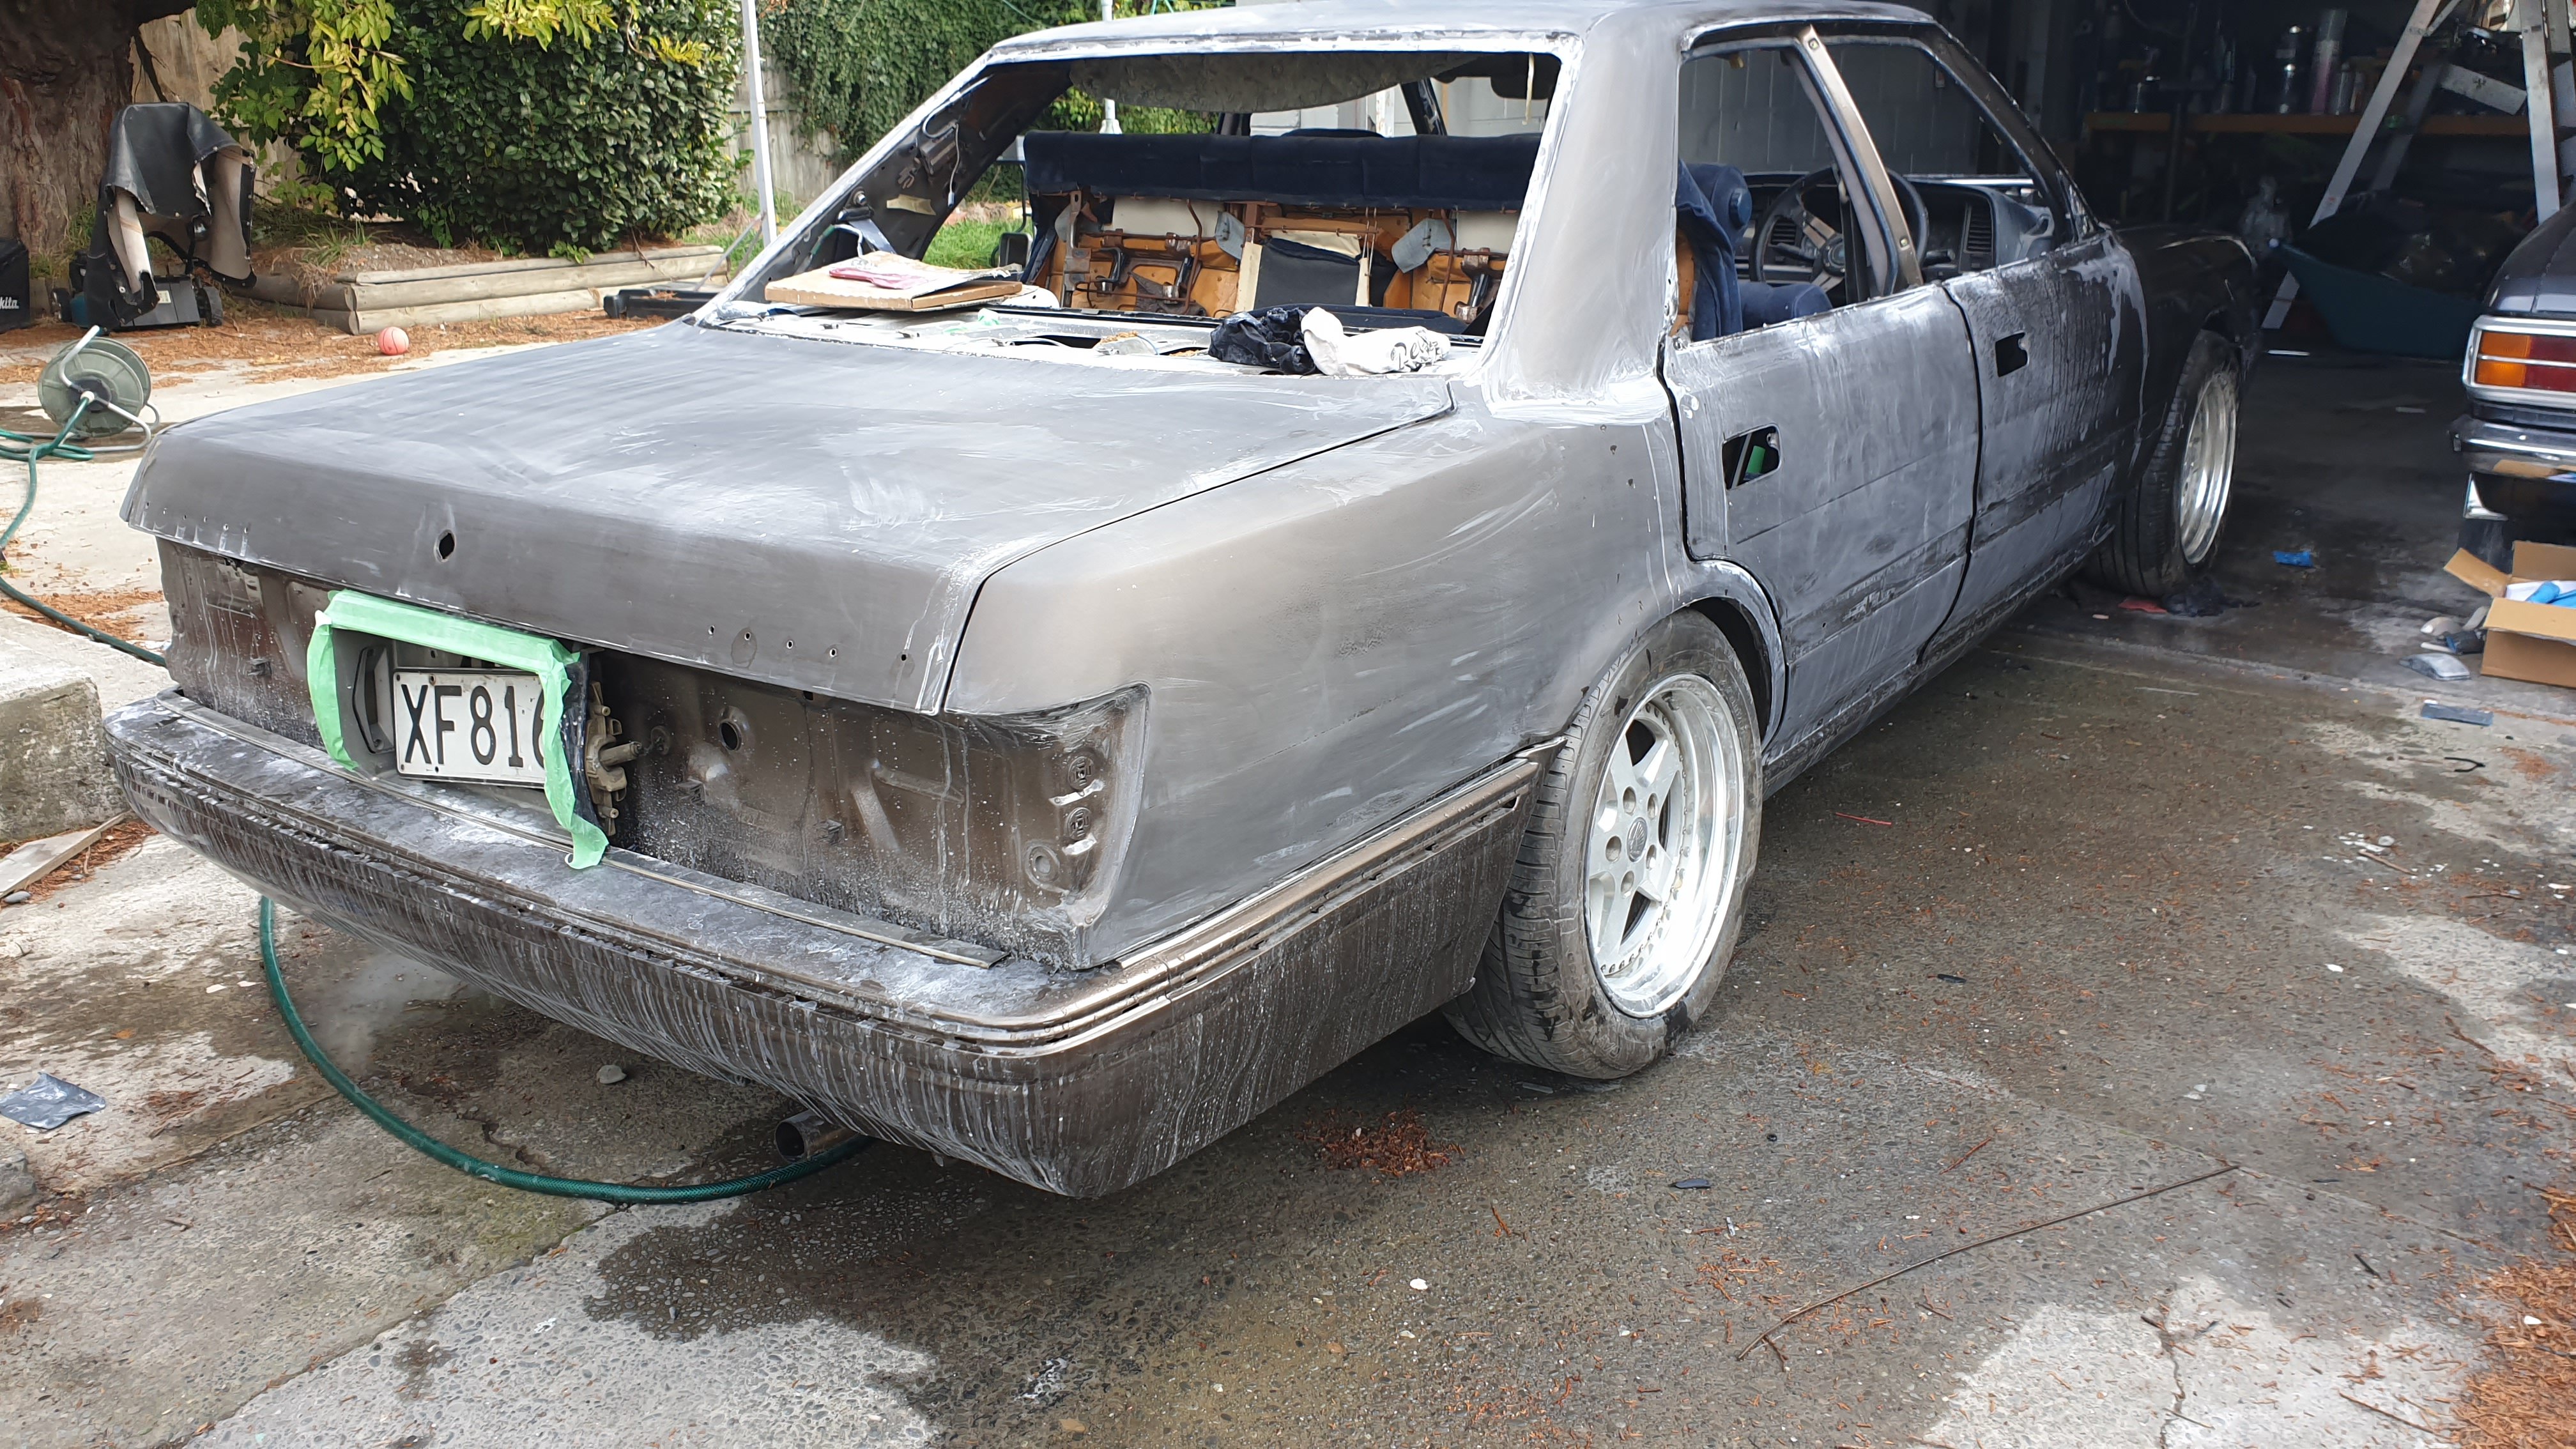
The car is sold now onto my XE project and some 90s jap goodness too. cheers5 points
-
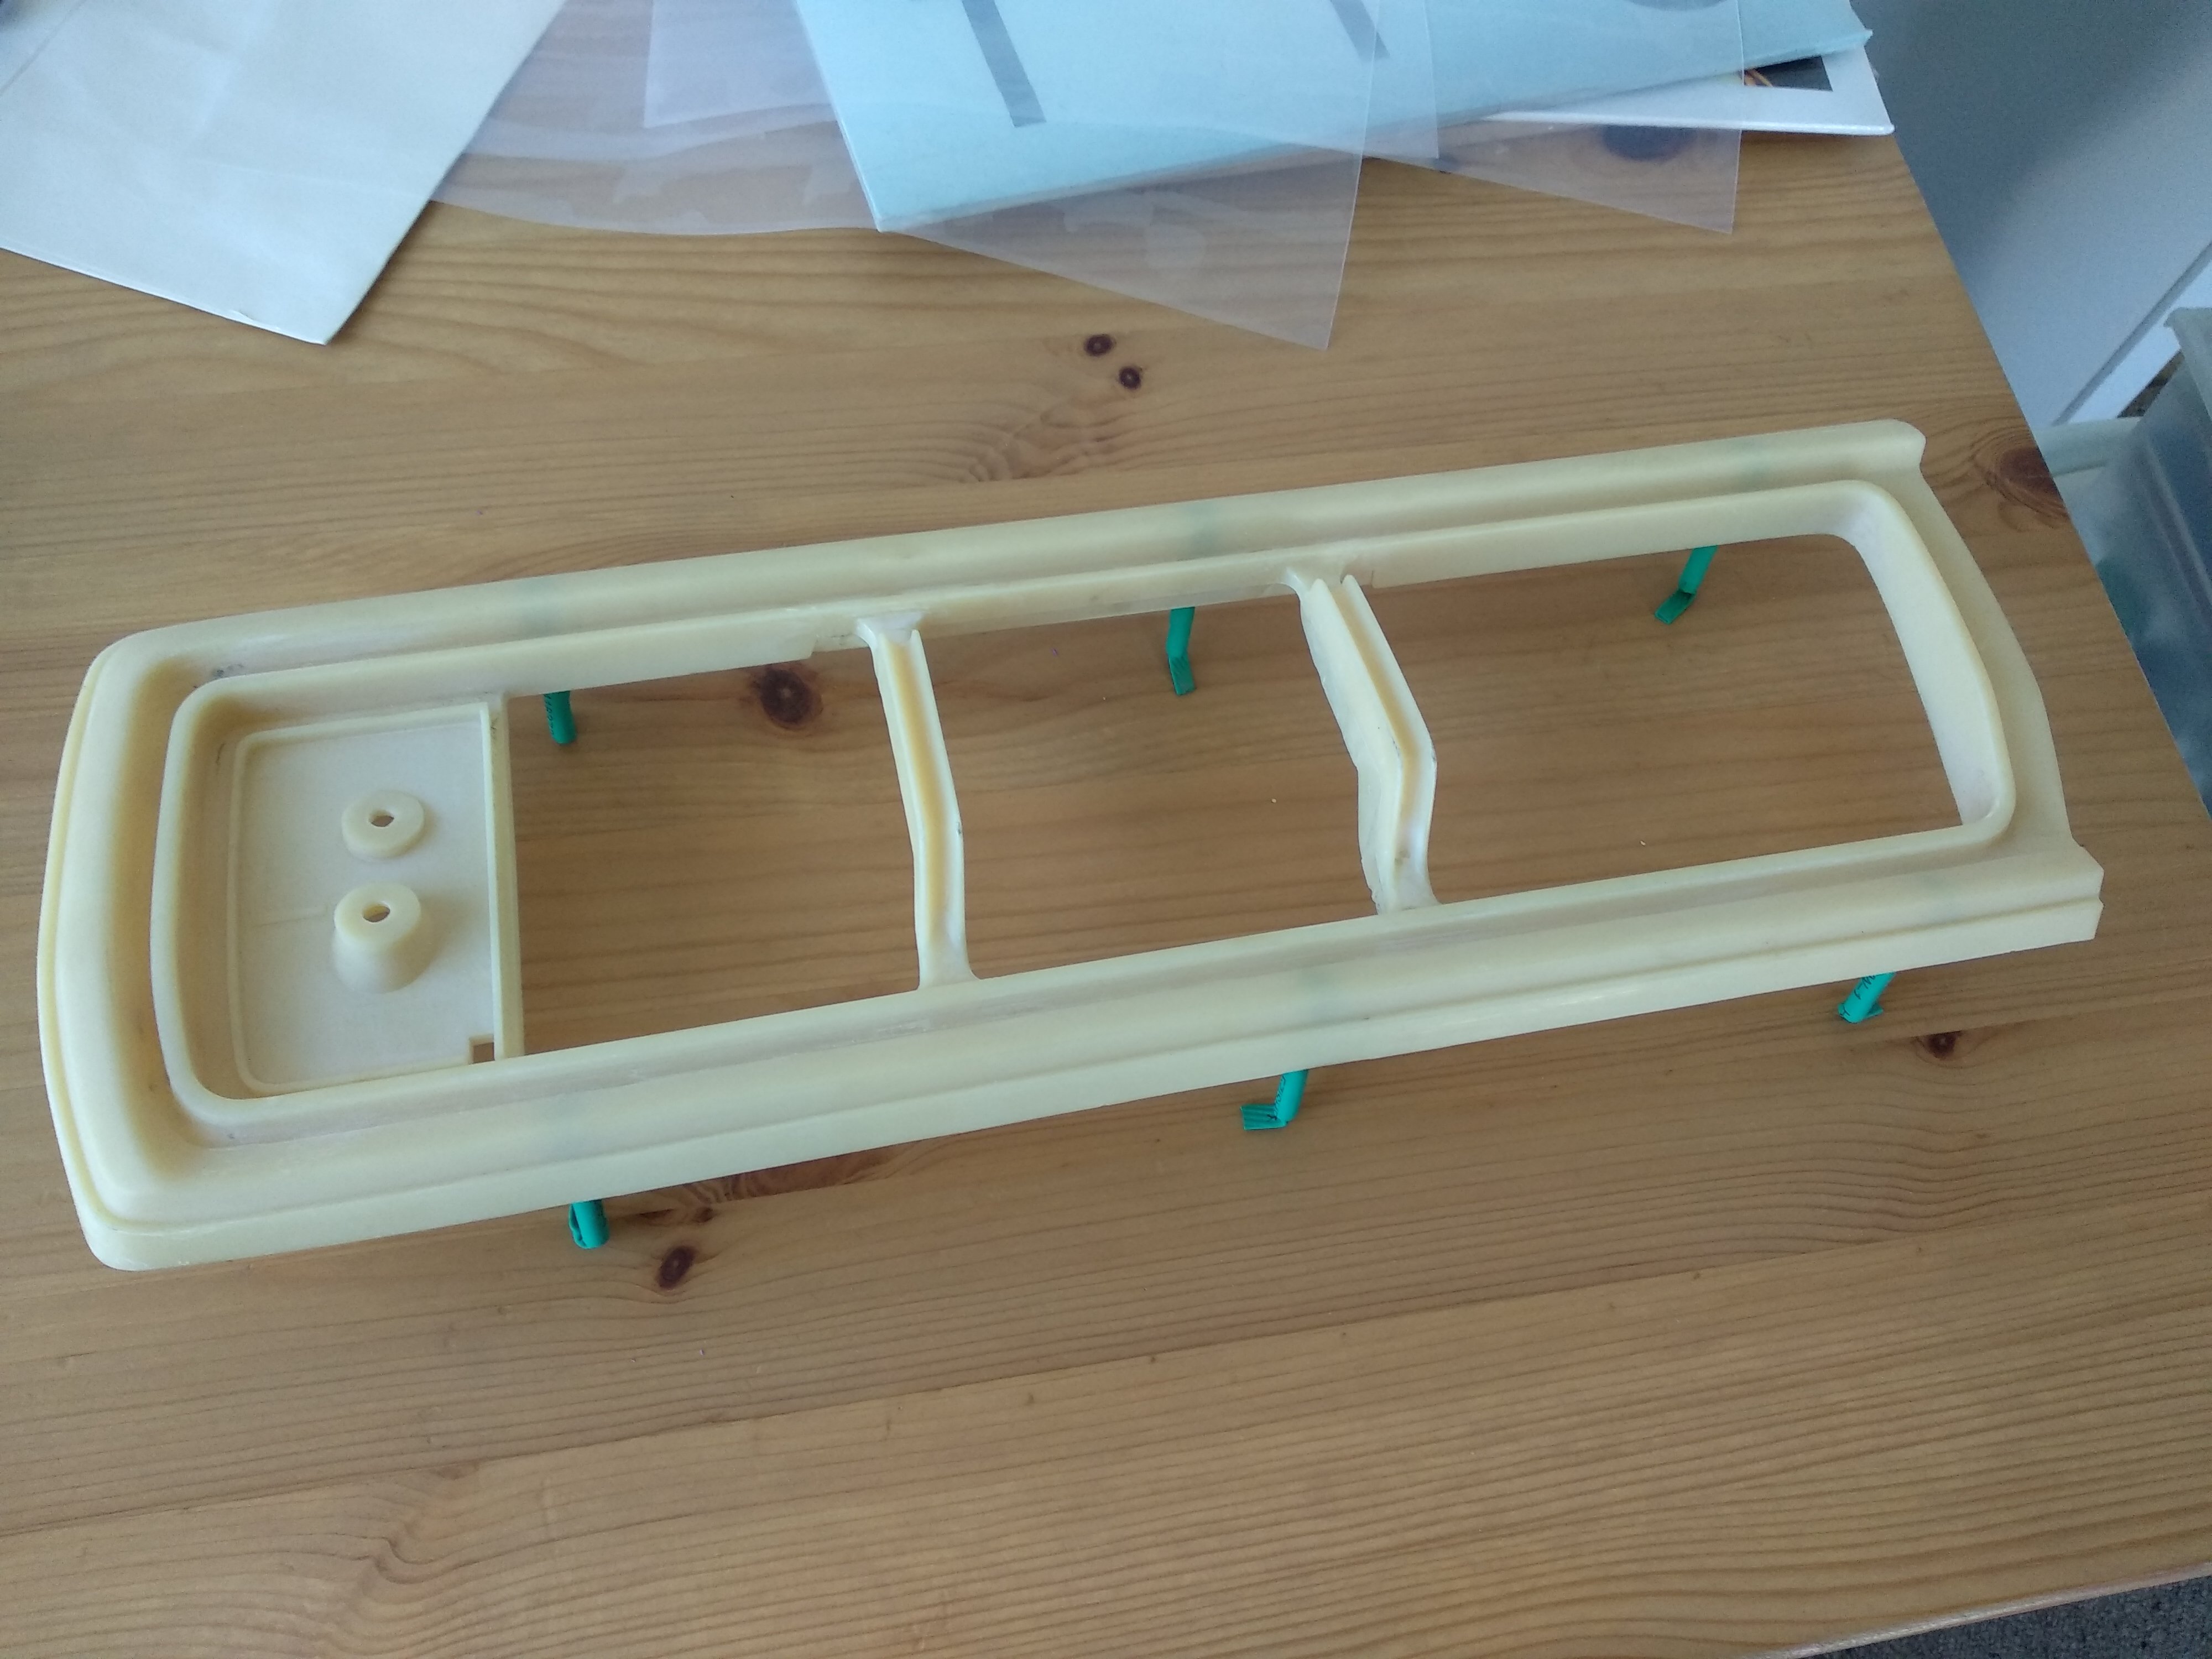
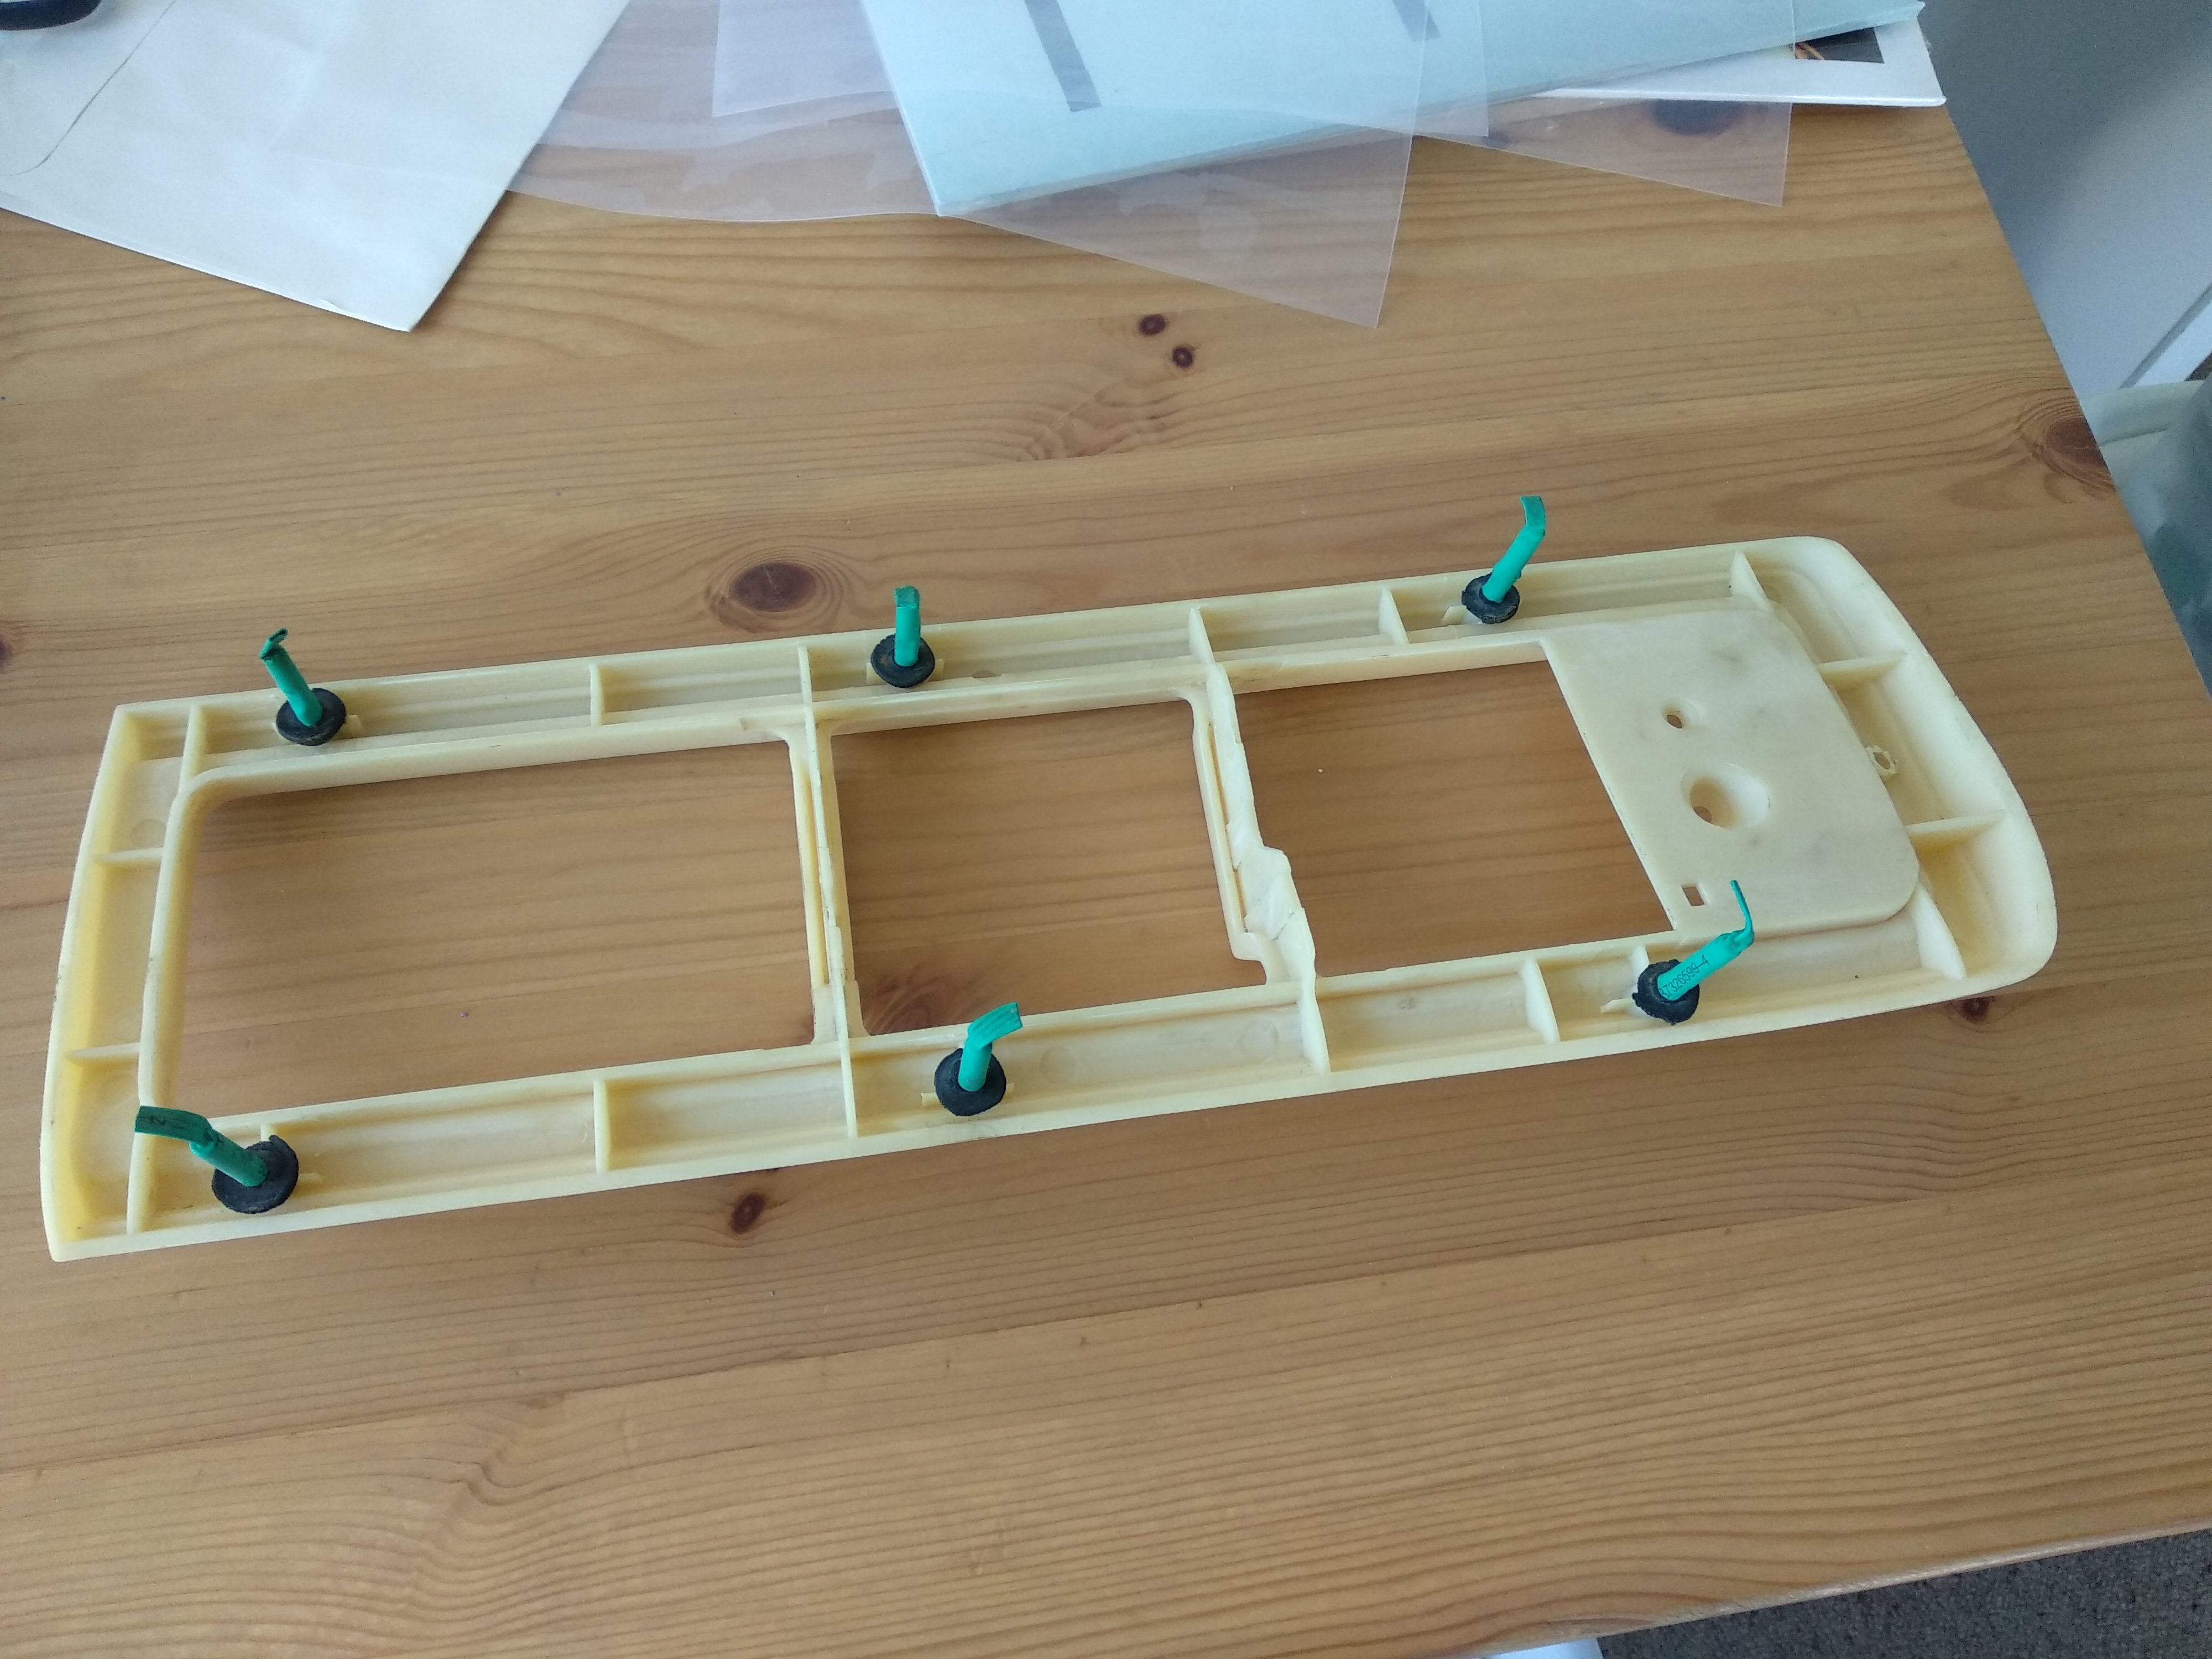
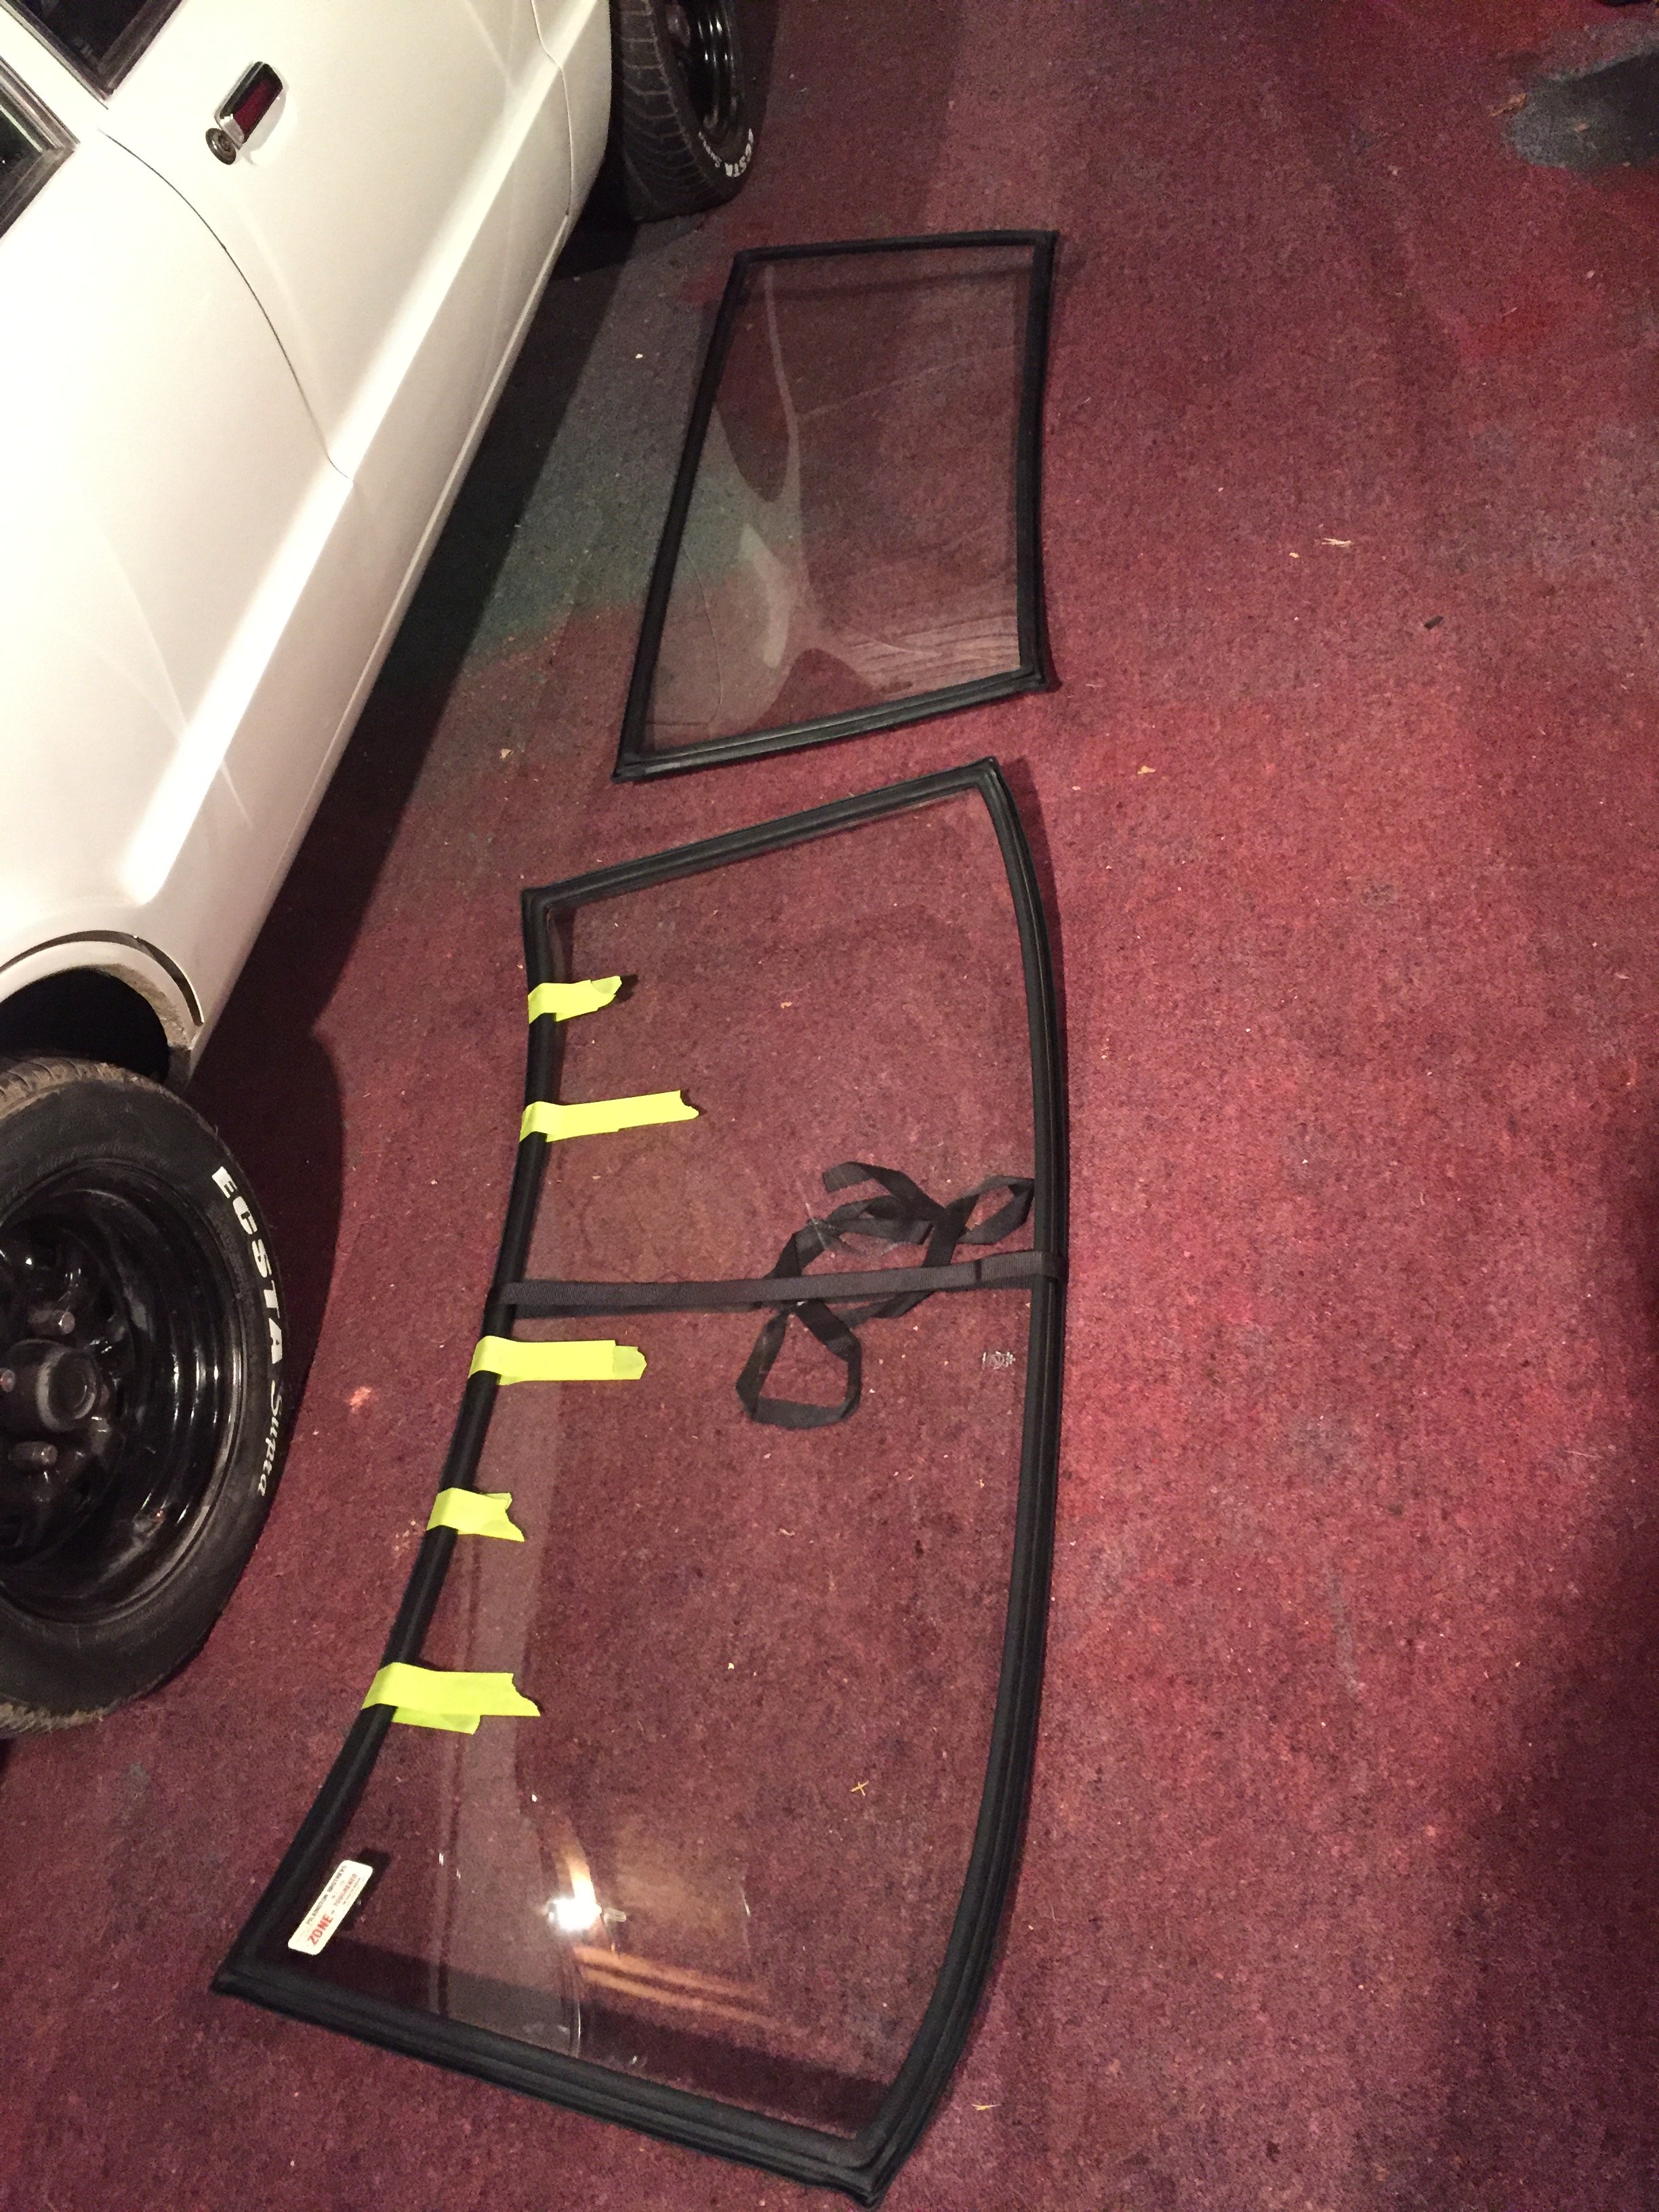
Chucked together a new parcel tray since the original once was crumbling into dust due to previous owner thinking the rear windscreen glue was optional. Real please with how it came out. I'm done with everything I want to do before the manual swap, so I'll quite likley take it into work next week where it will live while the new trans goes in. Nearly done (famous last words)
4 points
-
next meet: Wednesday the 15th July, 7PM @ Spitfire Square3 points
-
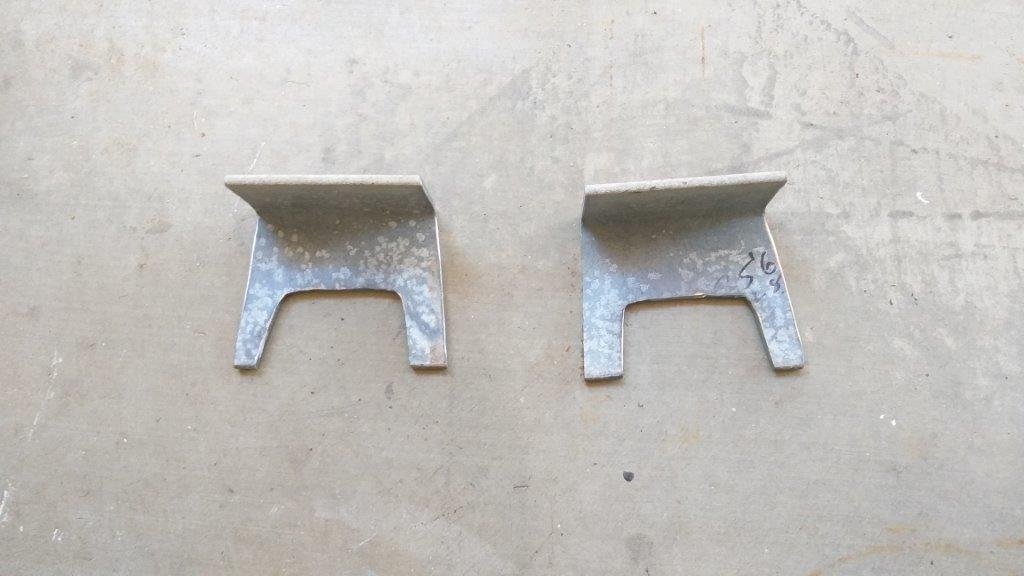
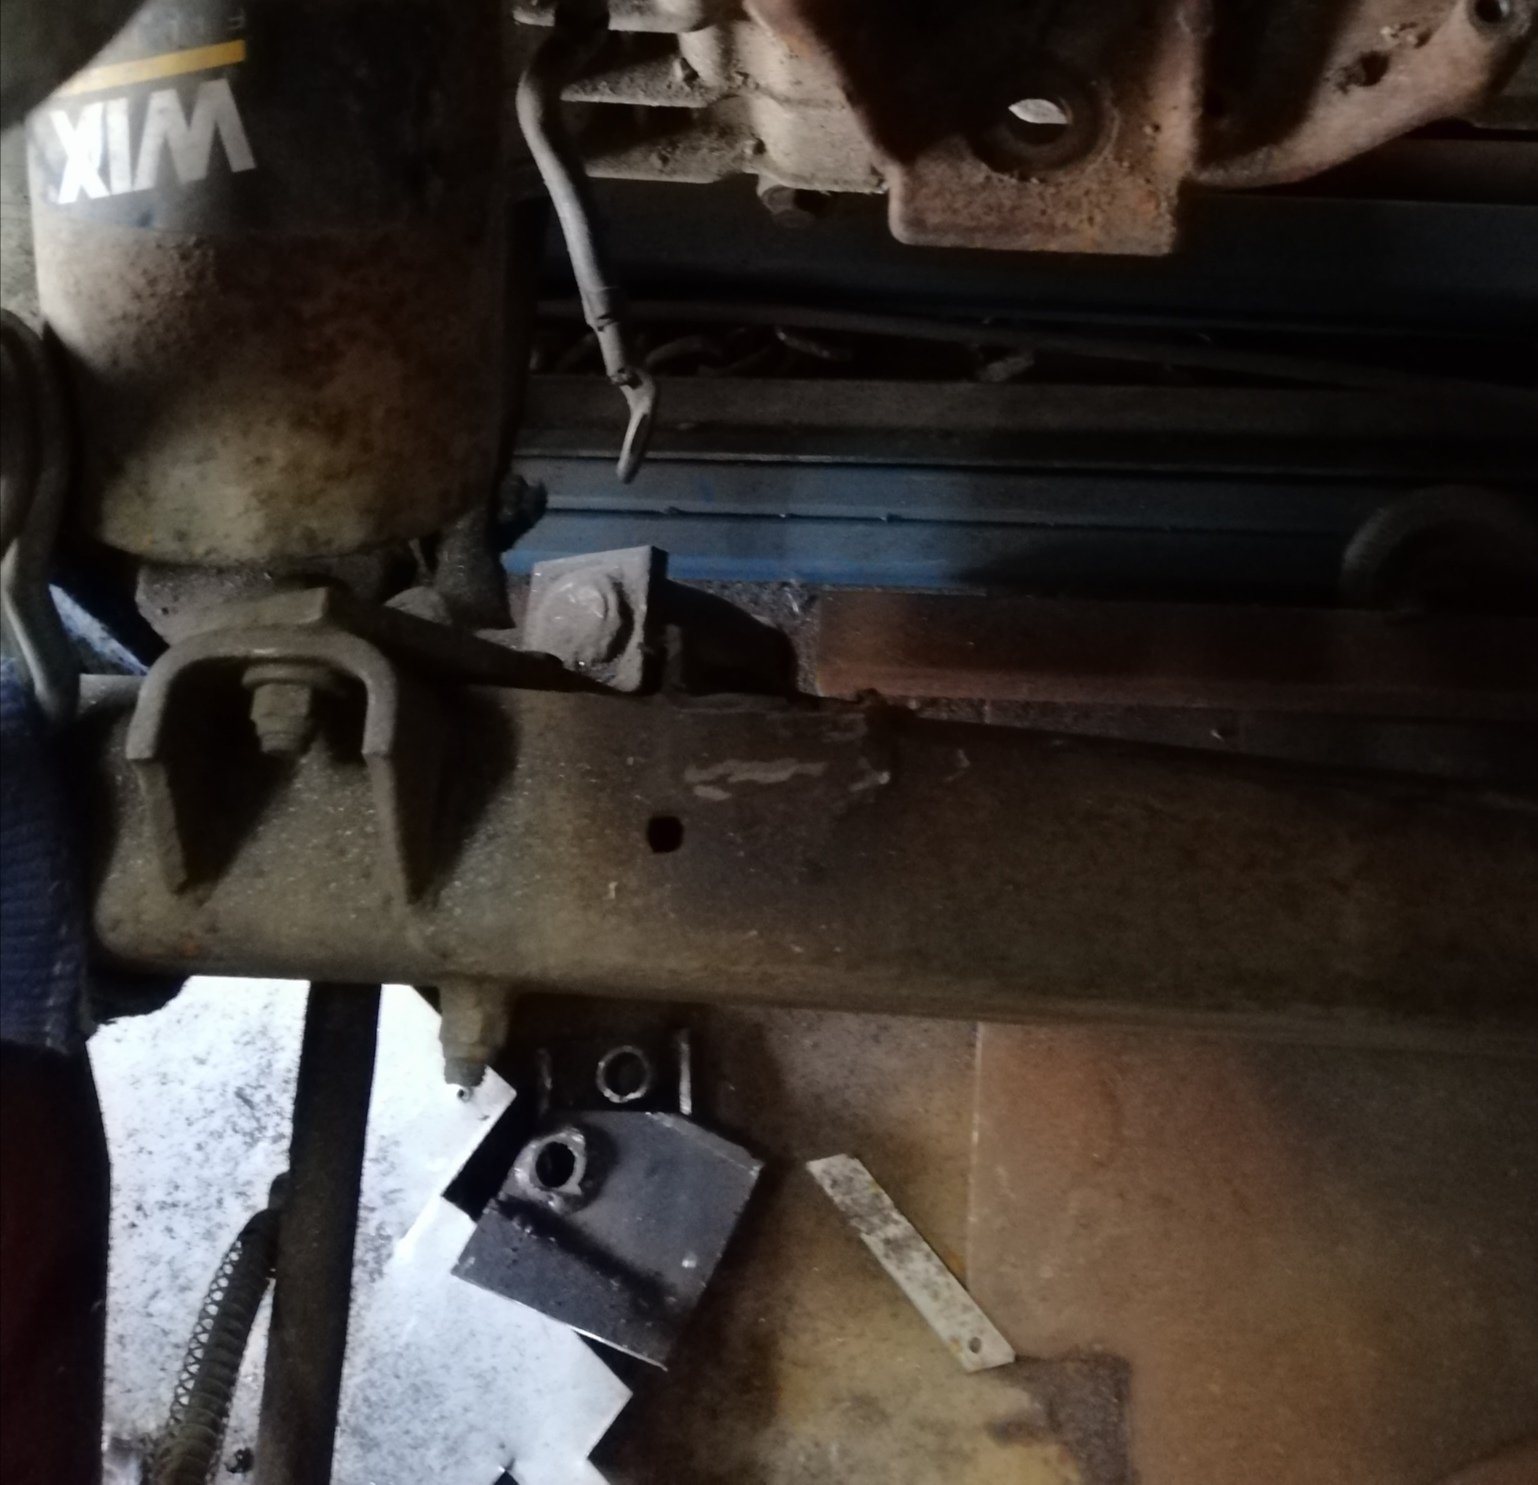
Had a family lunch so we had a play with the plasma cutter and made some exhaust hanger mounts I borrowed a charger and fired up the laptop which talked to the stinger which is nice. I raided a k20 a zebra for the cam sensors which I plan to use for the crank trigger. Scoped out the sensor on the daily so I know what's going on3 points
-
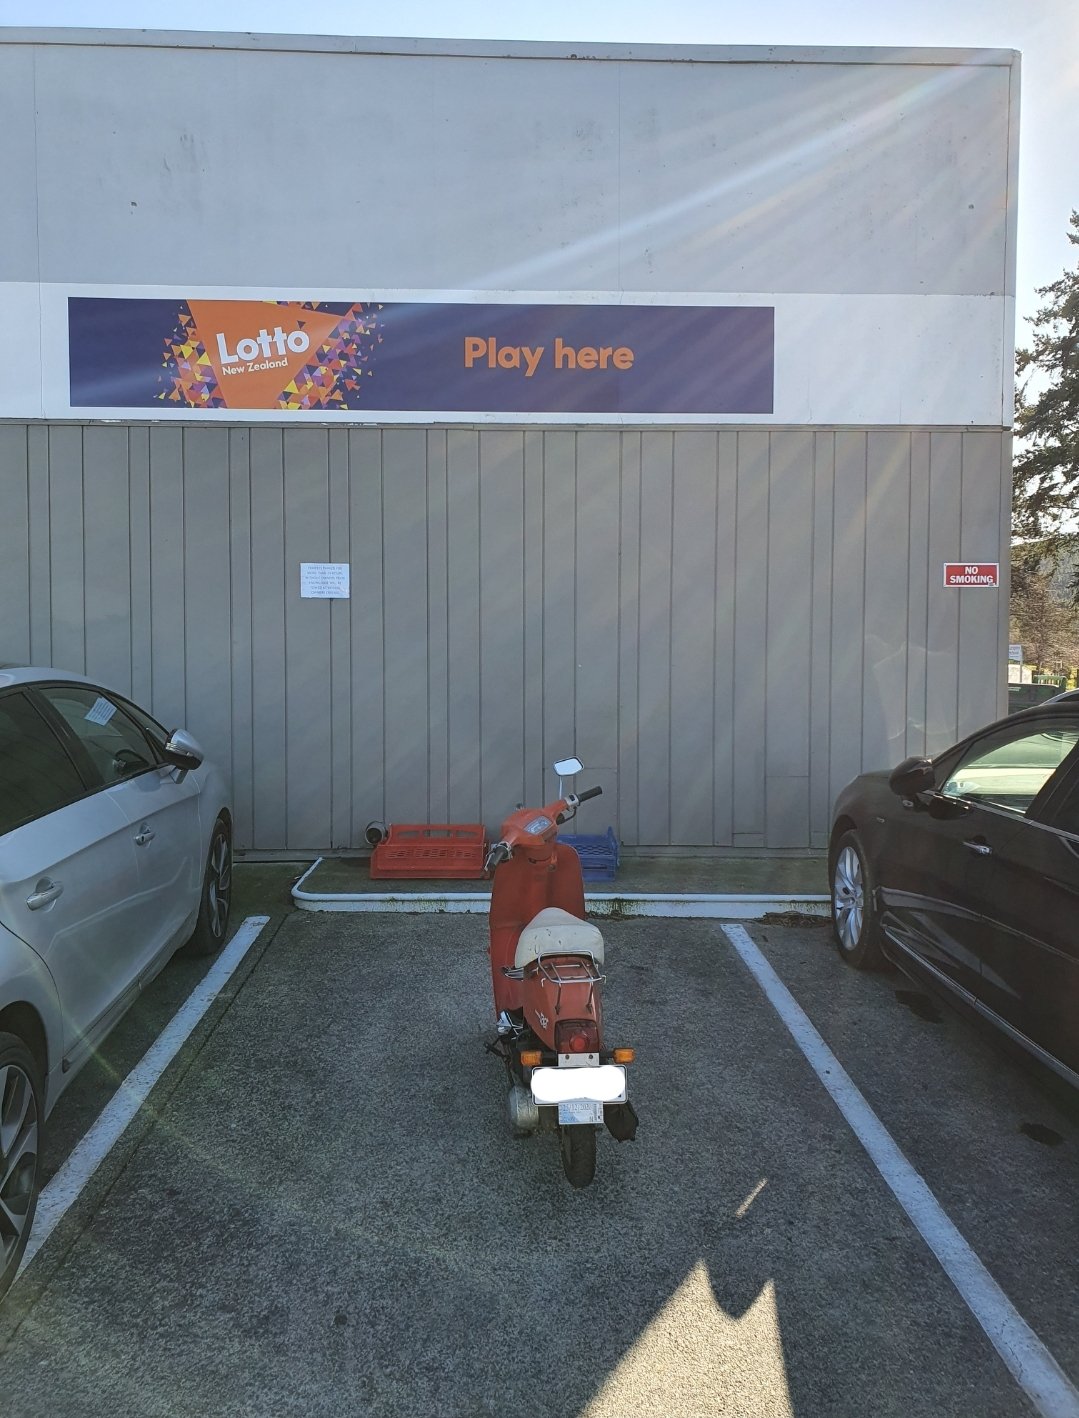
About a 12km return trip to road test it...oh and also buy coke, chocolate, chips and a pie. Well it's rude not too when this place sells it all.
3 points
-
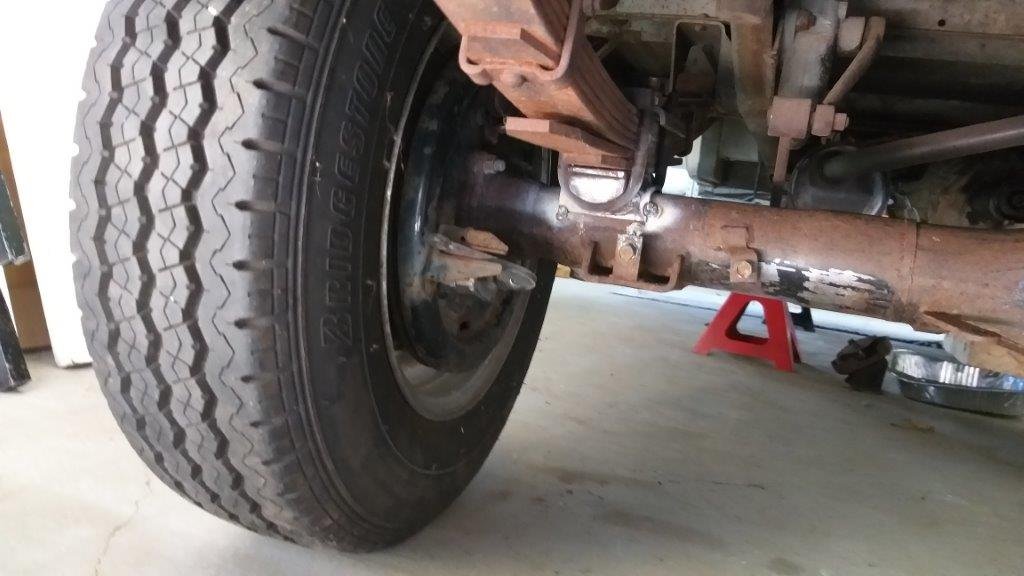
With it's bum back on the wheels I gave it a few bounces and then let it settle overnight. In the morning I grabbed my measuring tape and was able to confirm that the back is sitting about 7 mm higher than original. I then played around with some temporary spacers between the Starwagon front beam and the Thames chassis. Took a few goes to get the optimum height and again I gave the front a few hefty bounces and let it settle overnight. Result is that I am back to more or less the original ride height before I started the conversion. From the start of this project I have been hoping to dial in some low, so this isn't where I had originally planned to end up. But sometimes when you can't find an easy solution its best just to learn to love the problem, and I can with all honesty state that over the last two days I have learned to love the problem. Reasons being as follows: Engine and gearbox are now almost 80 mm closer to the ground than original setup. Original 4Y carbie now fits perfectly under the floor so I have the choice of running the original Aisan or a 32/36 Weber or the SU on its snorkle manifold. Steering rag joint no longer clashes with chassis leg. Side mounted selector levers on the gearbox are in a much better position. The lower selector clears the chassis leg completely and the top selector should be easier to sort out. I can run 15 inch diameter rims with the same profile tyres which will drop overall revs slightly at cruising speed. Front wheels happily clear the front doors with plenty of gap for suspension travel and steering. Gearbox bell housing clears the rear wall of the engine box. Clutch slave cylinder is now way below chassis leg. Some things are just meant to be. I've pulled the front beam out once again and have started making up some templates for the front beam spacers that I'm going to fabricate out of 8mm plate. Thanks for reading. Pic of dirty old Aisan carbie back on the mock up engine.
3 points
-
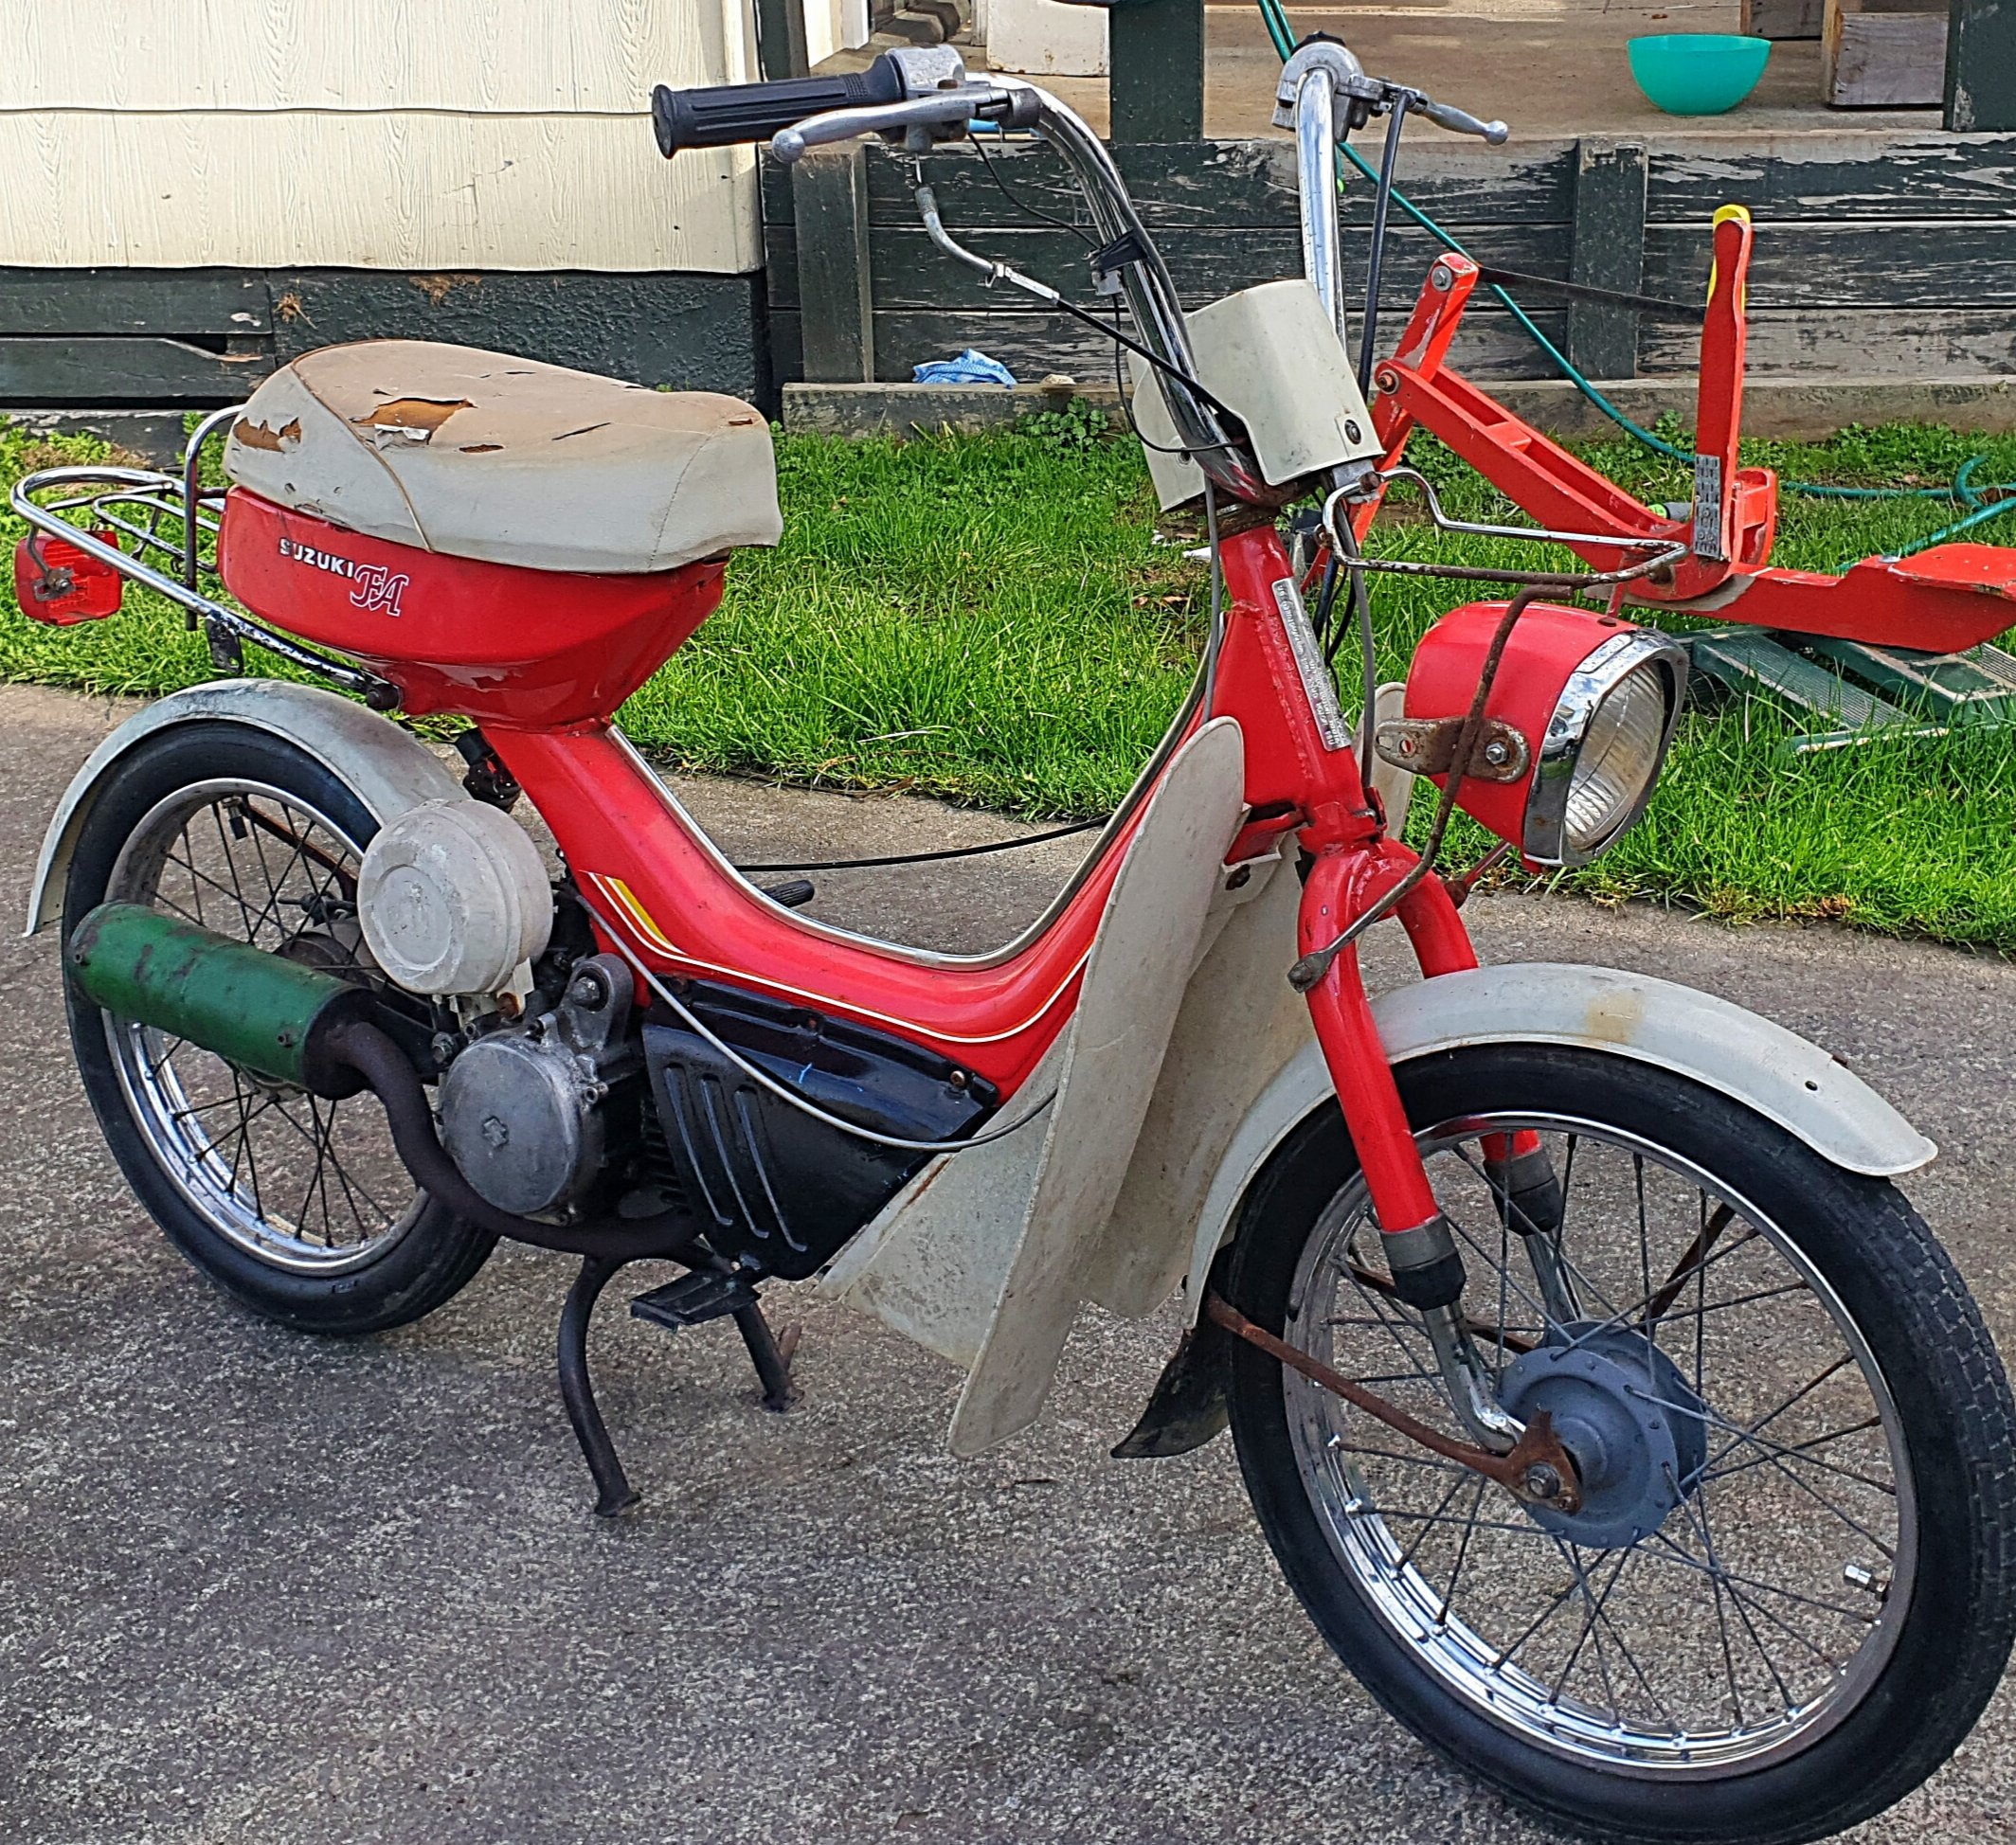
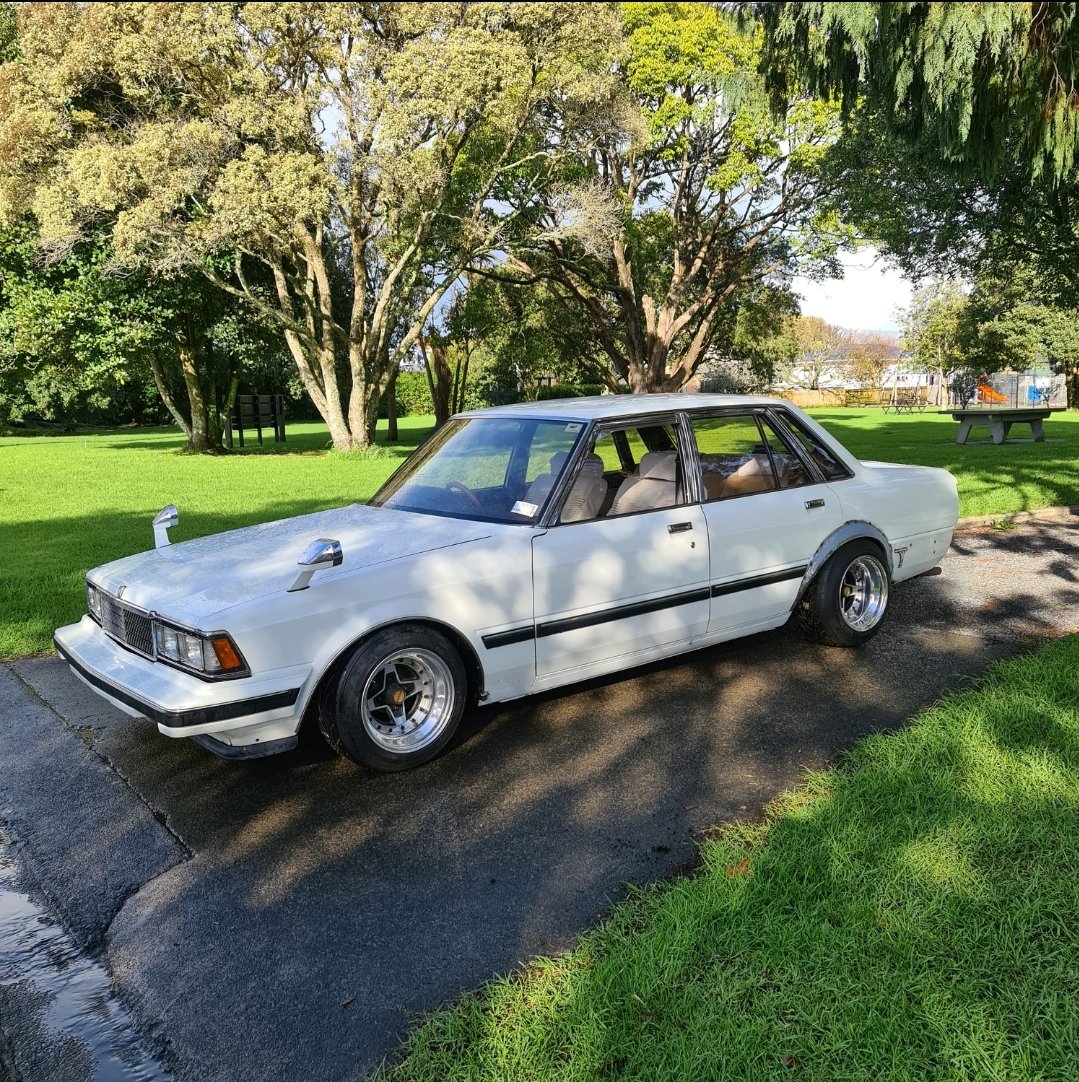
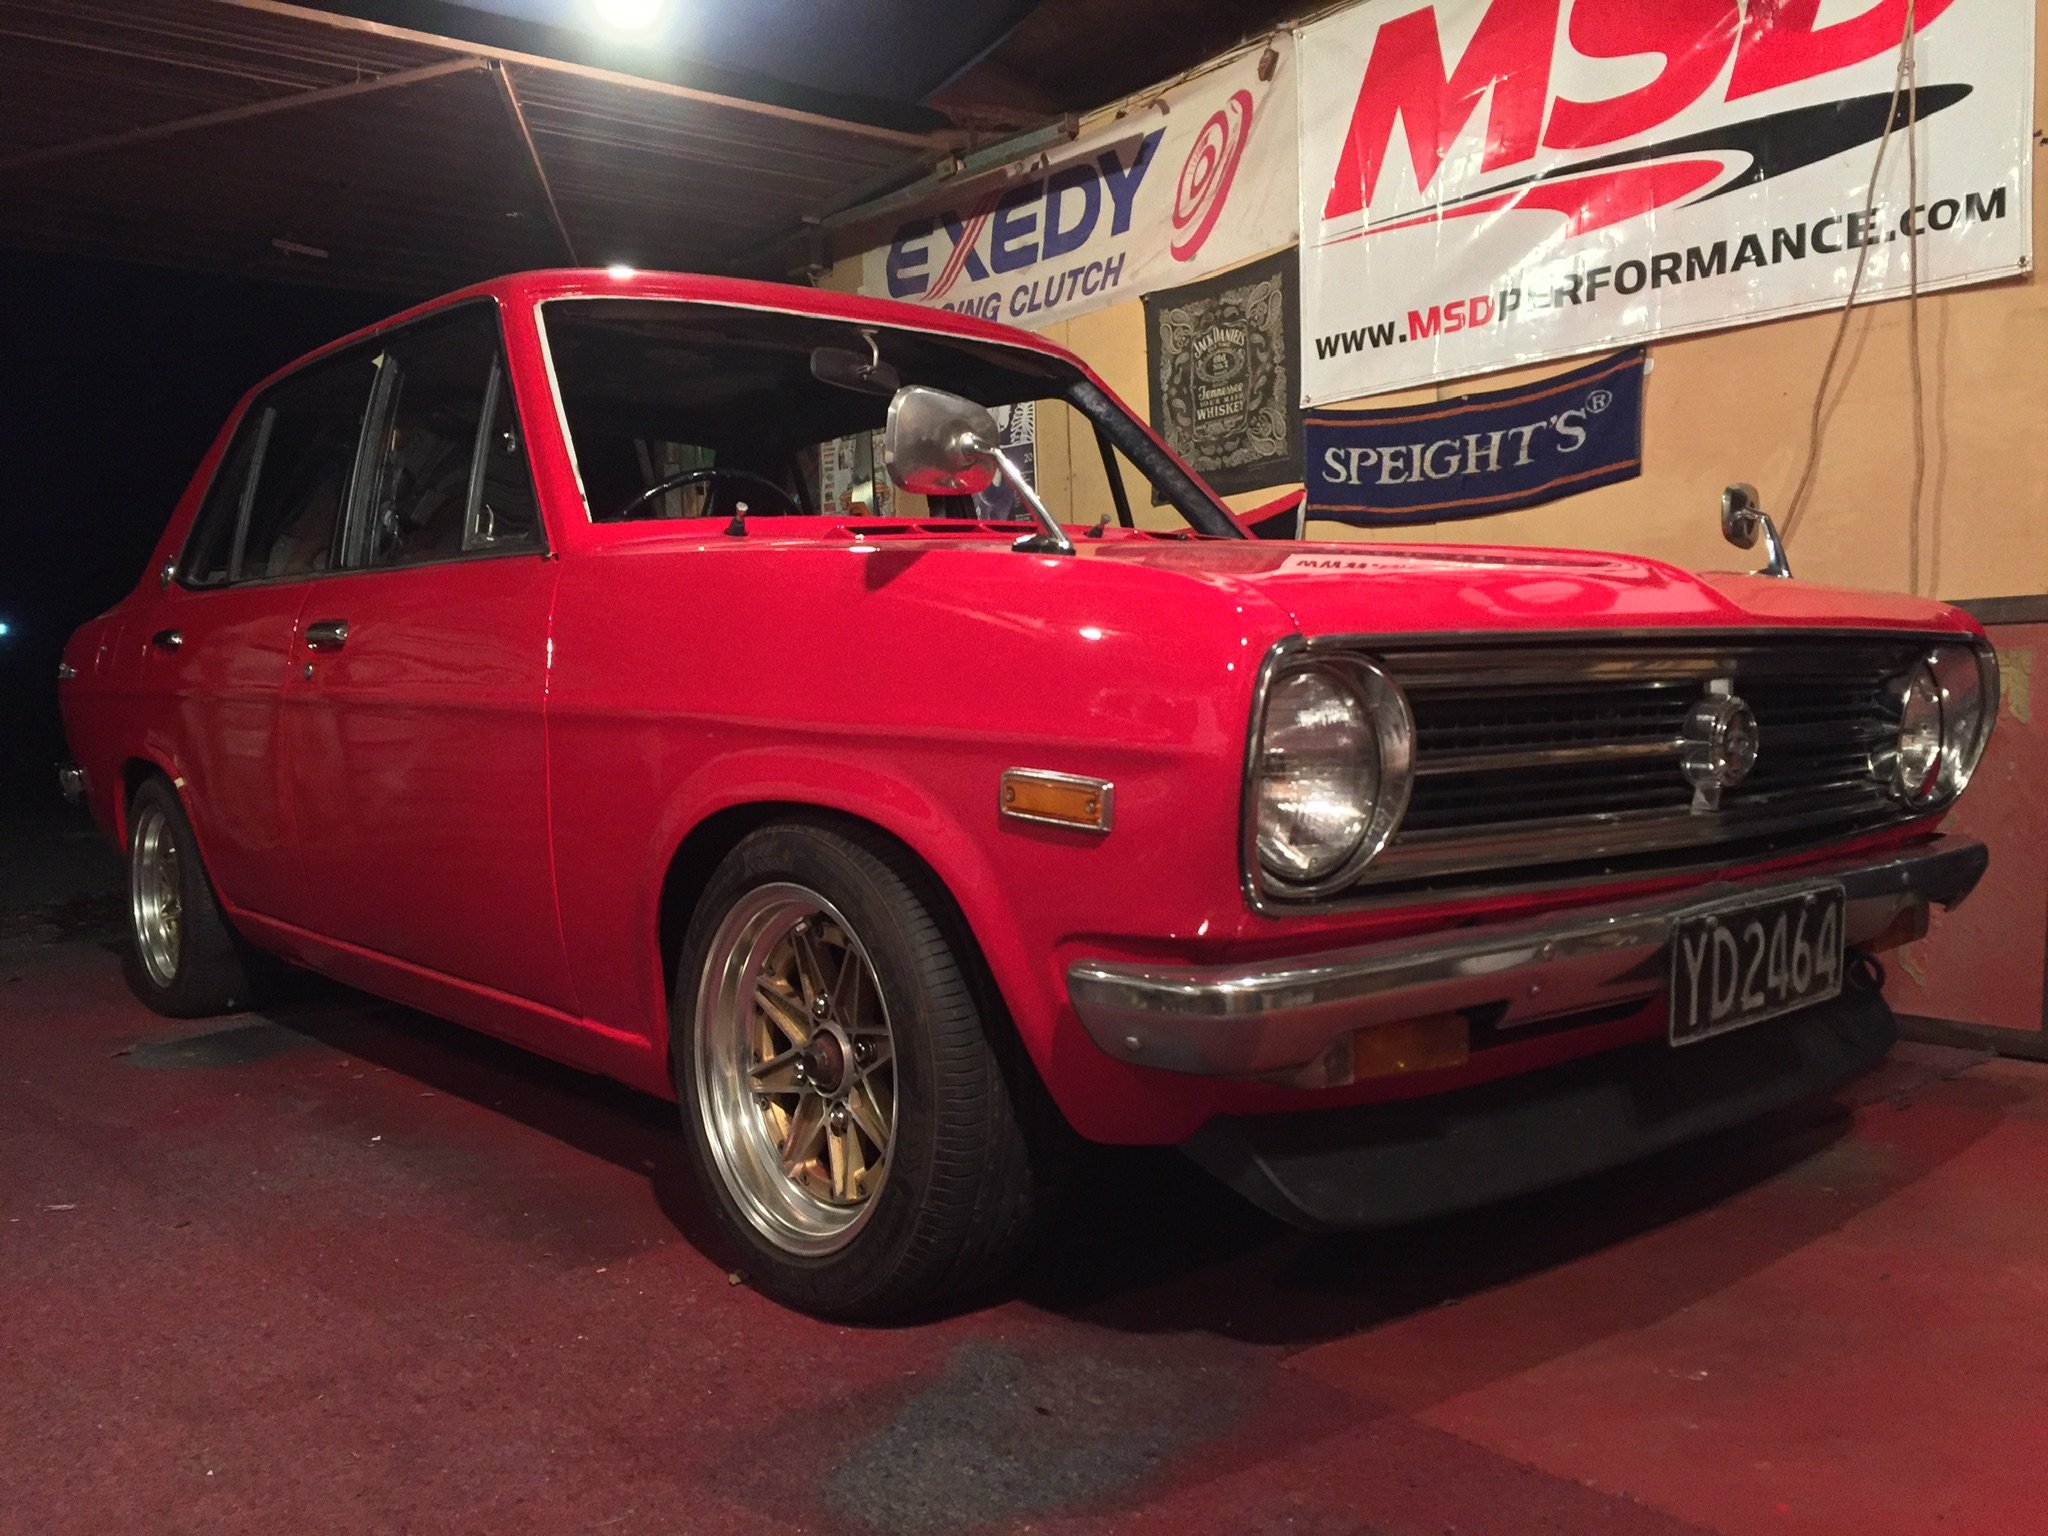
Sold to me and loving it I get excited everytime i even think about driving it.3 points
-
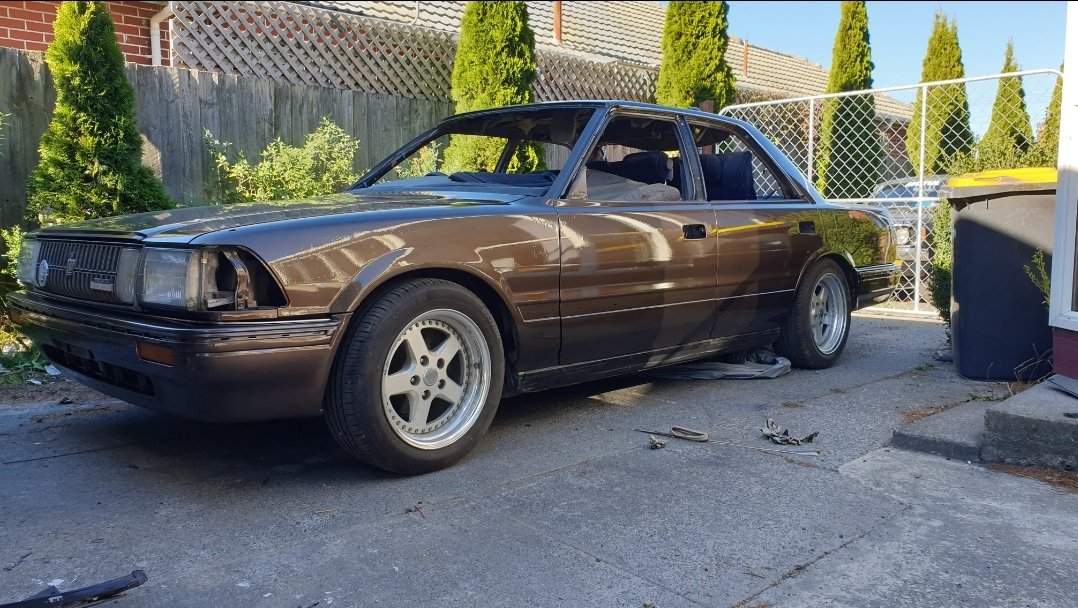
The rotor is basically a diamond @fuelmate. That stainless targa band is weird.2 points
-
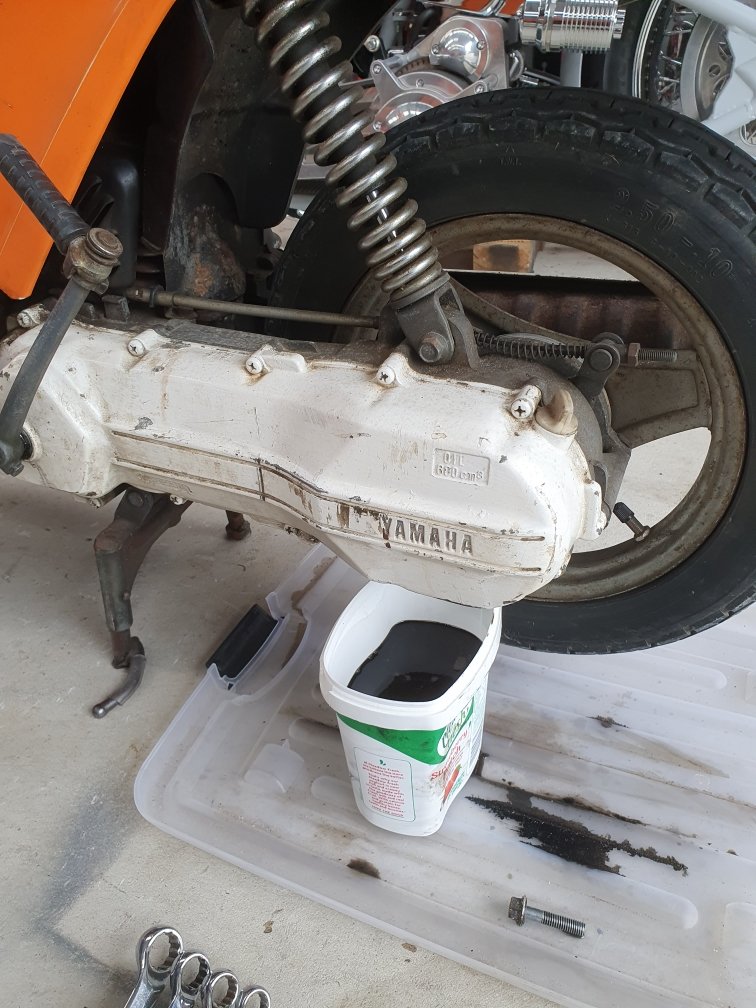
Can't keep away from these things. Did an oil change on the transmission. Yip...yes it did... Cut and polished the 40 year old paint. Came up better than expected, but wont be winning best paint award at SEMA this year tho. Still, I'm happy with it.
2 points
-
It was a nice sunny morning here at Rough & Ready Restos, so I thought I'd crack into the spacers for the L300 front beam. My mate Snow donated a nice chunky bit of 8 mm angle iron to the cause, so I spent a bit of time doing a bit of carving with my little grinder. Nek minnit :
2 points
-
Soooo brought new carb played around and she runs prety gooood yuuus. Even road down the street and back... So now..... 1...sort the breaks 2...sort lights 3...genral tydy up
2 points
-
i don't have any experience with spring design, so can't really help you here. Looks like some people see bars made from 4340, I'd assume heat treatment would be required after manufacturing? Some simple calcs estimate you'd have around 160 Nm of torque on it to get 90 degrees of twist from end to end. This torque will give a shear stress of like 600 MPa - this is getting quite high. You'd want a material with at least 1200 MPa tensile strength.2 points
-
I have signed up for this. The GN125 hasnt stopped yet so should be another solid run.2 points
-
I've finally got all the chrome off my test light surround. I'm going to take it to Lucentt today to be coated. I'll be super stoked if it comes out good - hopefully I end up being able to use it as the final version.
2 points
-
Spent the day refitting parts that I don't think will get in the way of fixing the clear coat defects. Really starting to love how this car is looking now.
2 points
-
Thank goodness for sand blasting. Threw some primer on after a clean down too.
1 point
-
I forgot that Hell-bows was the nickname for Phuel. Also sick new whip Phuel. Needs SSR Mk3's1 point
-
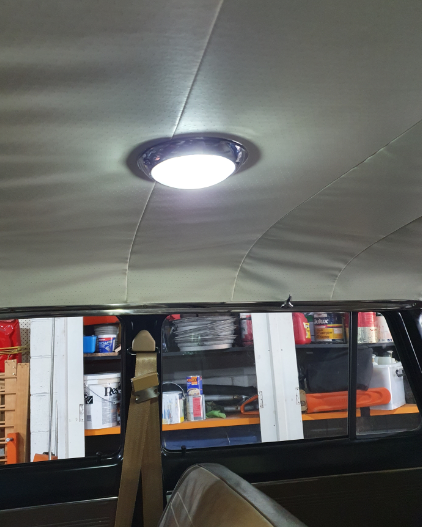
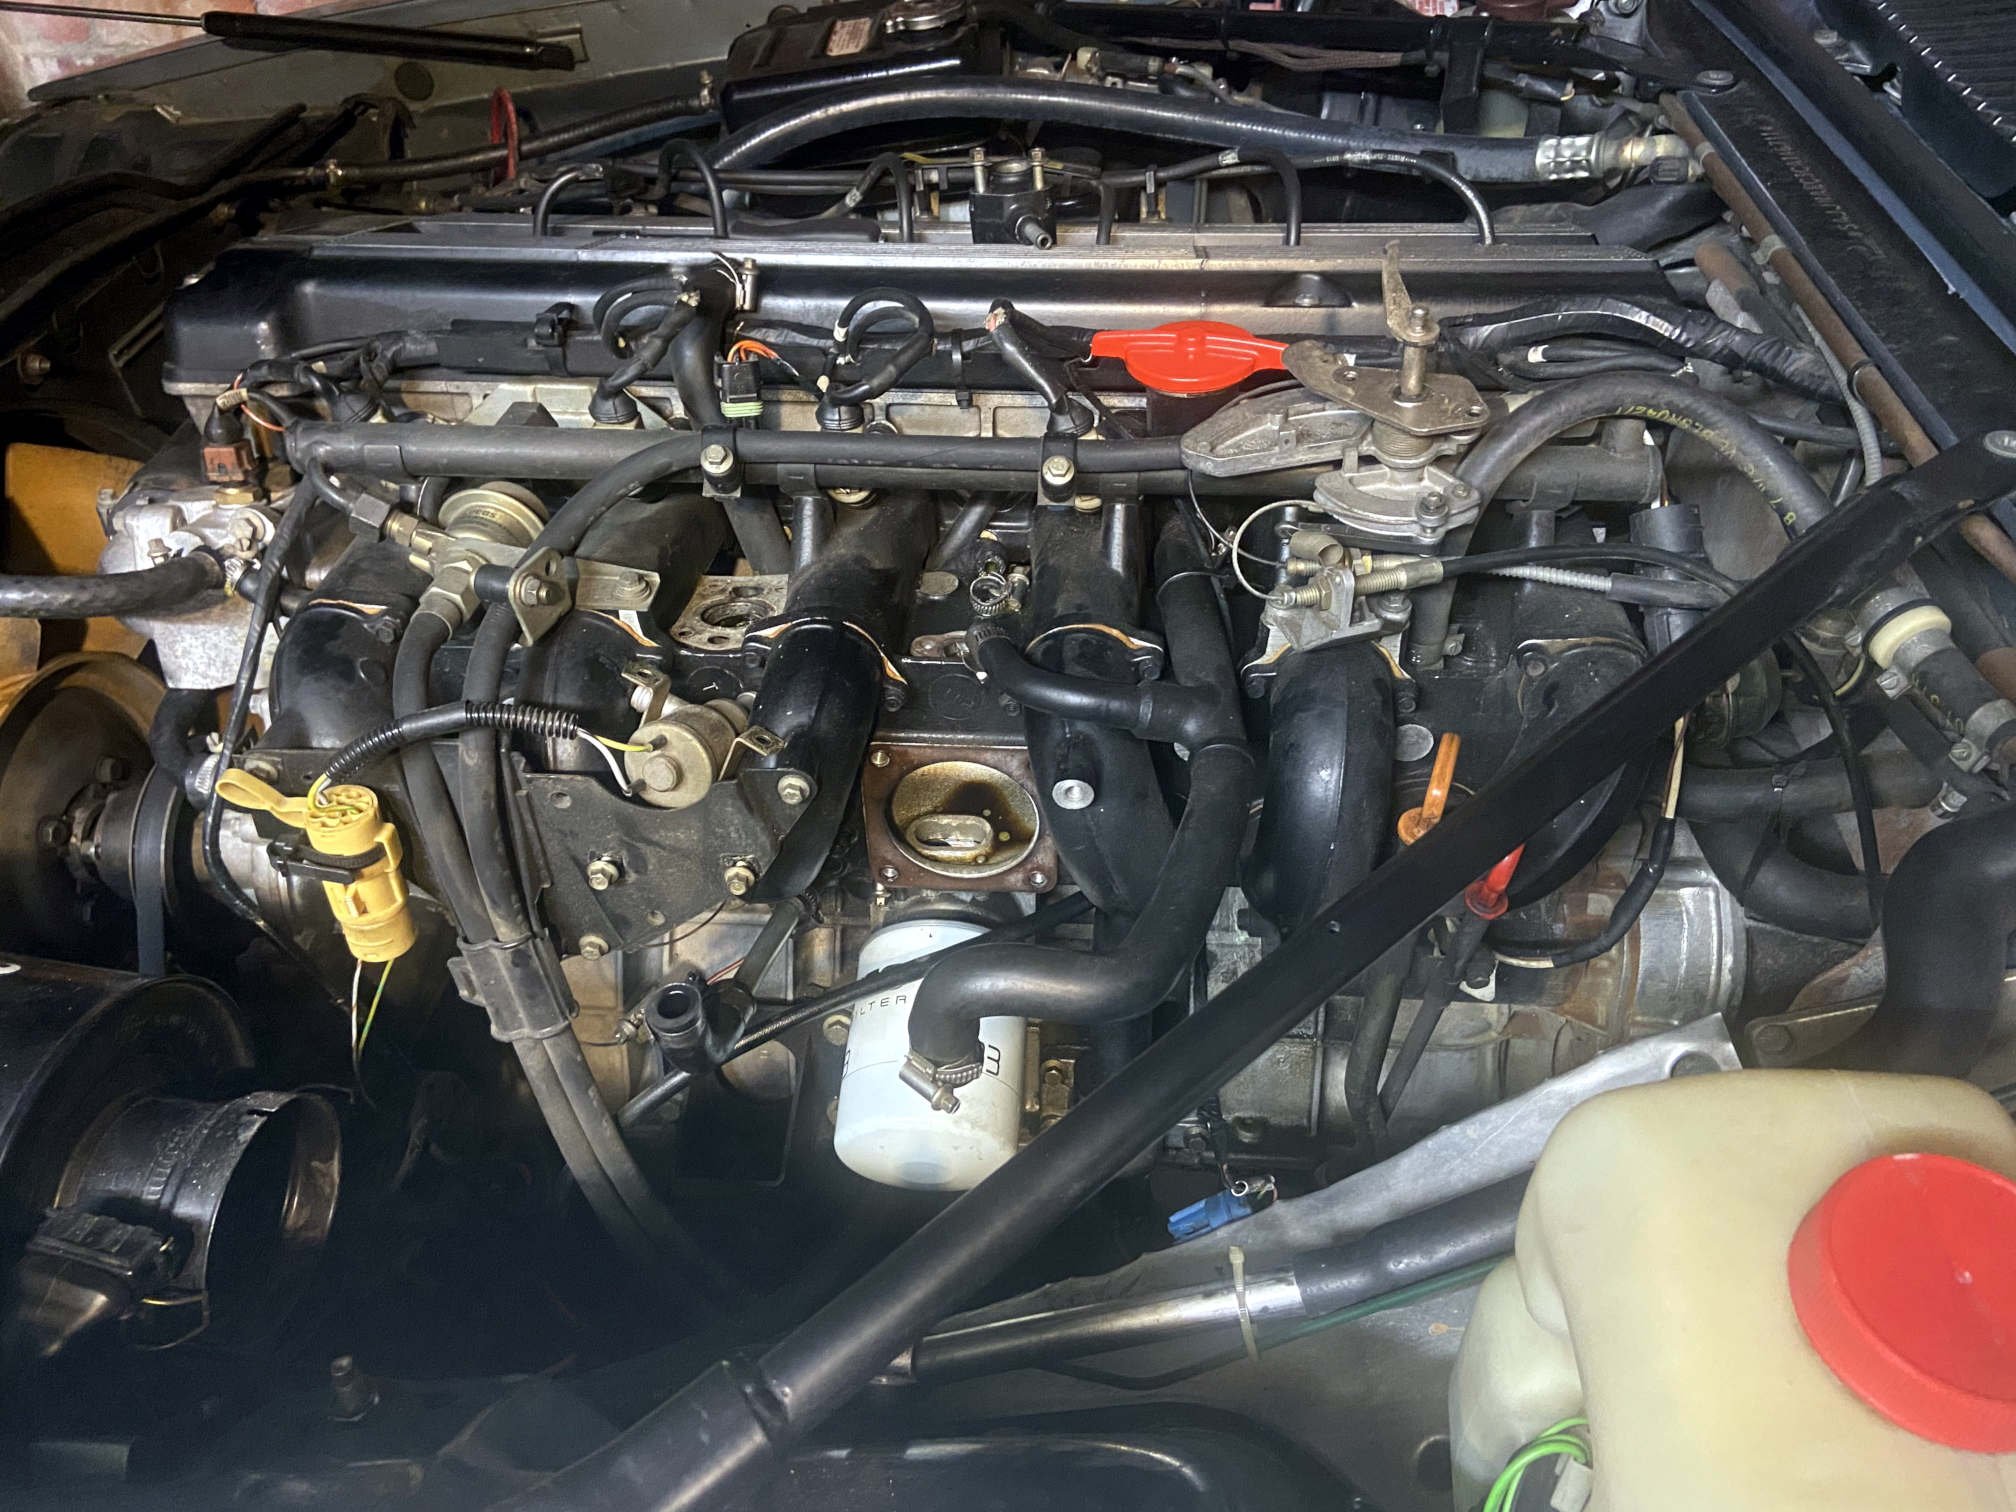
Got some more bits knocked off my list. Clearance created by the oil filter, a few minutes work with a power file did the trick. Wired up the interior light, complete with a flash LED bulb. Its way brighter than the original type bulb. Still killed a couple of hours by the time I soldered the wires together, fixed my multi meter so I could trouble shoot why it didn't work and finally fix both door switches. The other job that got done was making some clearance between the brake pads and the hub. I am using Torana stubs with HQ discs and HZ calipers. The discs were turned down 12 mm to fit and it all bolts together. It was a Peter Brock fix back in the day of XU1 Torana's using HQ calipers. I went round to a mates place to use his linisher. Half an hour catching up and bitching about the cold and useless Politicians, 5 mins on the linisher, then another half hour to sort out the mk1 Escort wiper mother that he was playing with.That all put a dent in the morning. It all went together and plenty of space. The pads had a lip on the bottom edge that went below the friction material, that is gone now so there wont be any probles as the pads wear. I also figured out during the week that the IAC valve had died. Tried to buy one on Friday with no luck. I'll get one ordered Monday. I have pulled the intake track apart so many times I can just about do it in my sleep. Hopefully this will be the last one for a while. Last one was buying some flanges and tube to make the balance pipe. I had to go to Pakuranga for work so easy to get to Auto Bend to pick up the bits. The flange will go in the middle so that the exhaust can be split and removed.
1 point
-
Good score! Looks like a two for one kind of sweet deal. Never seen a targa themed RX7 either. Seems someone at Mazda liked the 911 targa quite a lot at the time obviously and then hey Presto new trim spec RX7 model. Mate just bought an RX7 here in Melbourne last week actually. Hasnt run in 17 years but fired up with some fresh fuel. I thought 3k AUD for a S1 banana yellow / brown interior seemed like a good price.1 point
-
You won't be able to harden a length like that after you've shaped the ends so get a bit of spring steel already heat treated from somewhere like CMI.1 point
-
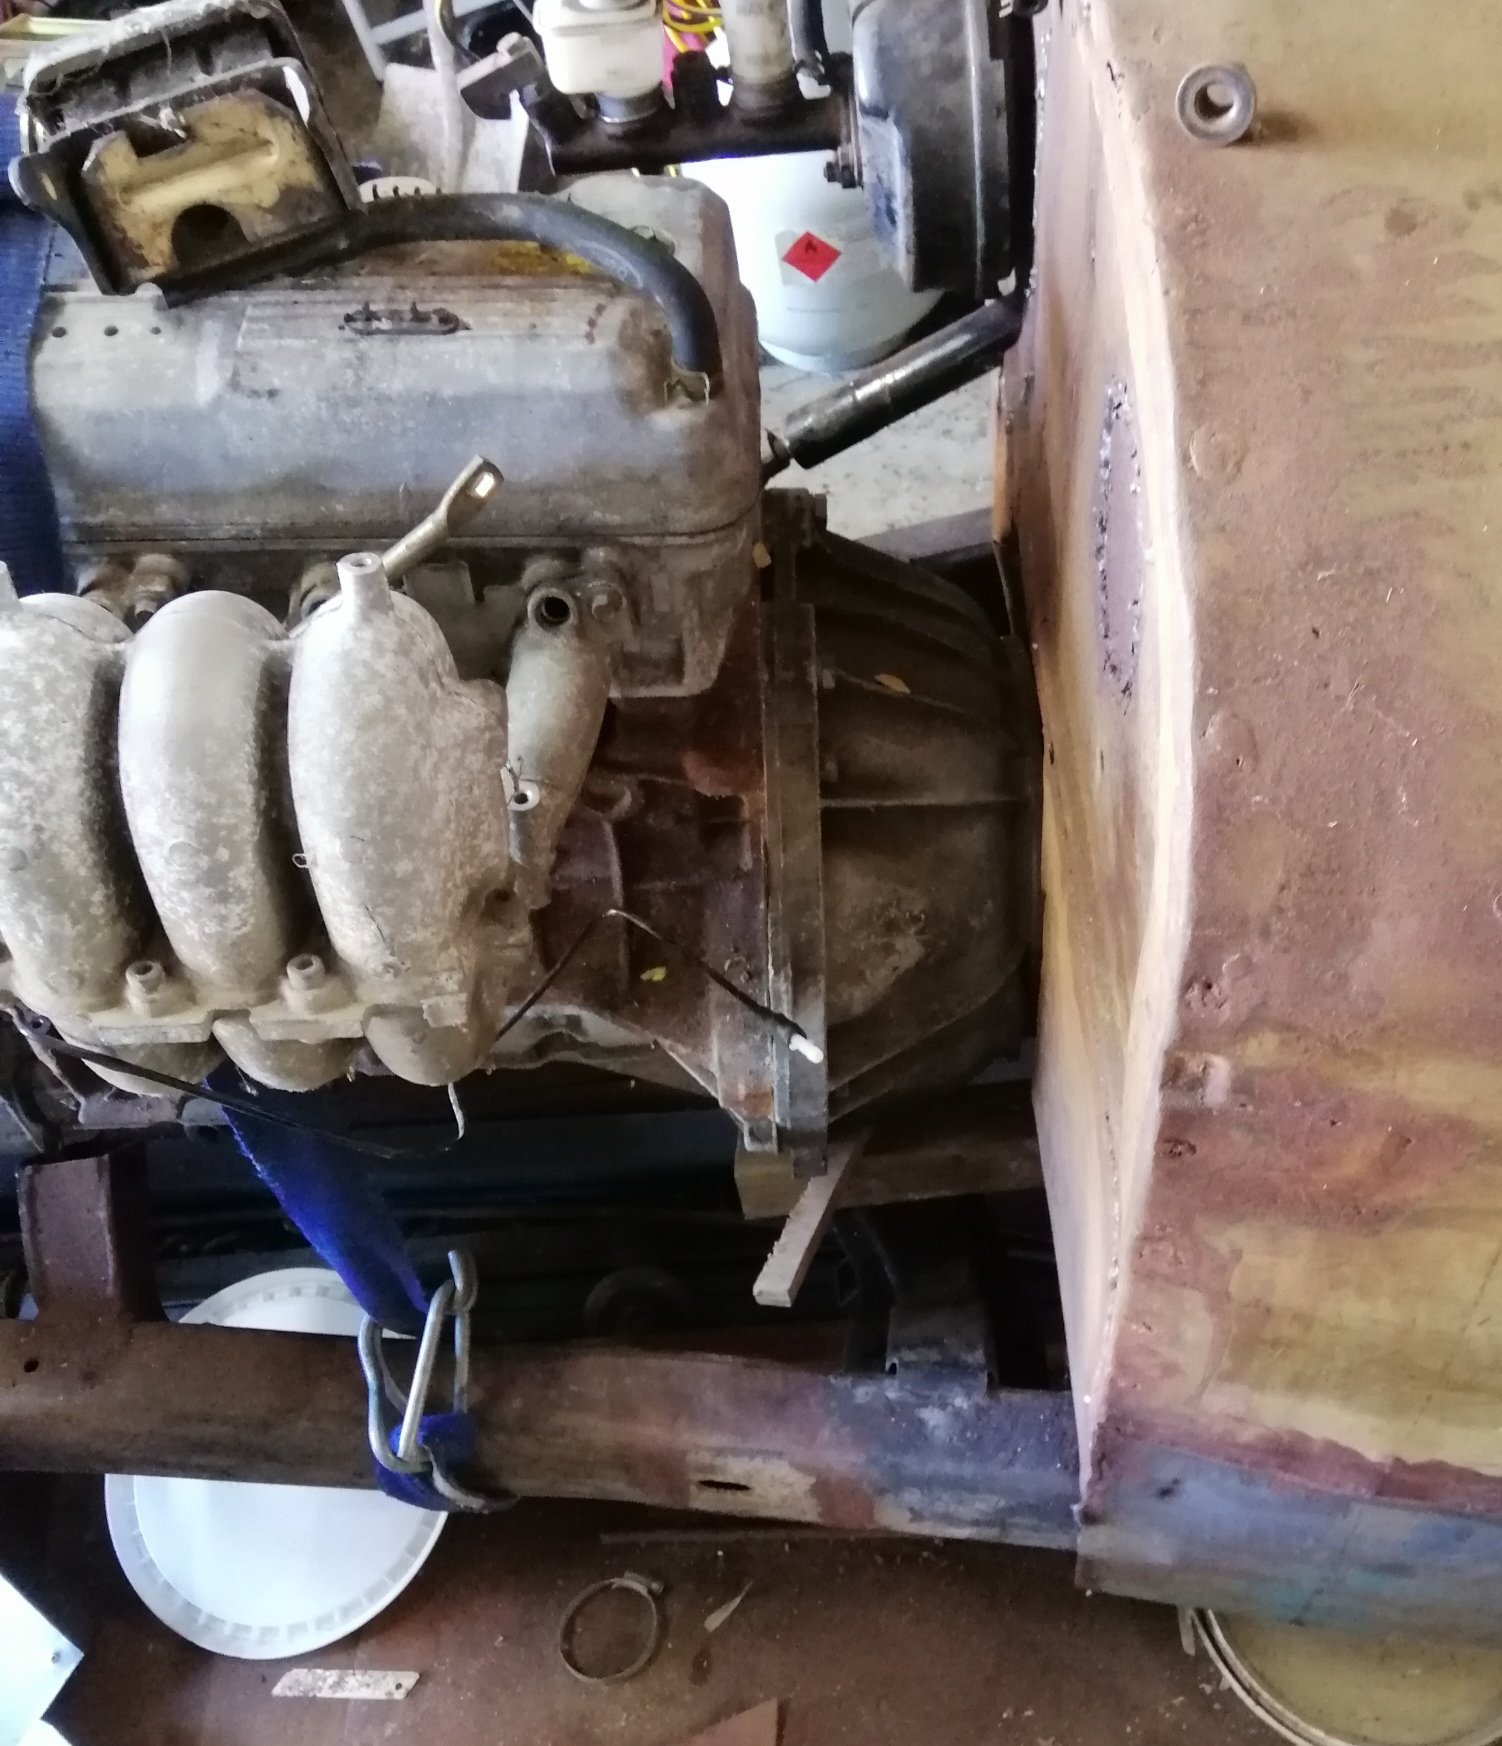
Went down and have hacked out the old mounts as good as I can with engine in place. Need to get the 202/auto combo sold so I can plonk the 4.0l on the ground. I've only got so much room
1 point
-
Supercharging works for celicas1 point
-
Finally got around to wrestling with the gearbox at the start of lockdown. I needed to swap it out with a spare because the seat for the output shaft oil seal was damaged due to a too long propshaft and it would leak oil. 2nd gear started making noise. Put some essential oils in. Didn't look at invoice so no dicks were seen. @Dell'orto I pulled the old box apart and there was fuck all oil in it. 2nd gear looked physically okay, but was all black and burnt. Reverse had chipped corners from missing 4th a few too many times.1 point
-
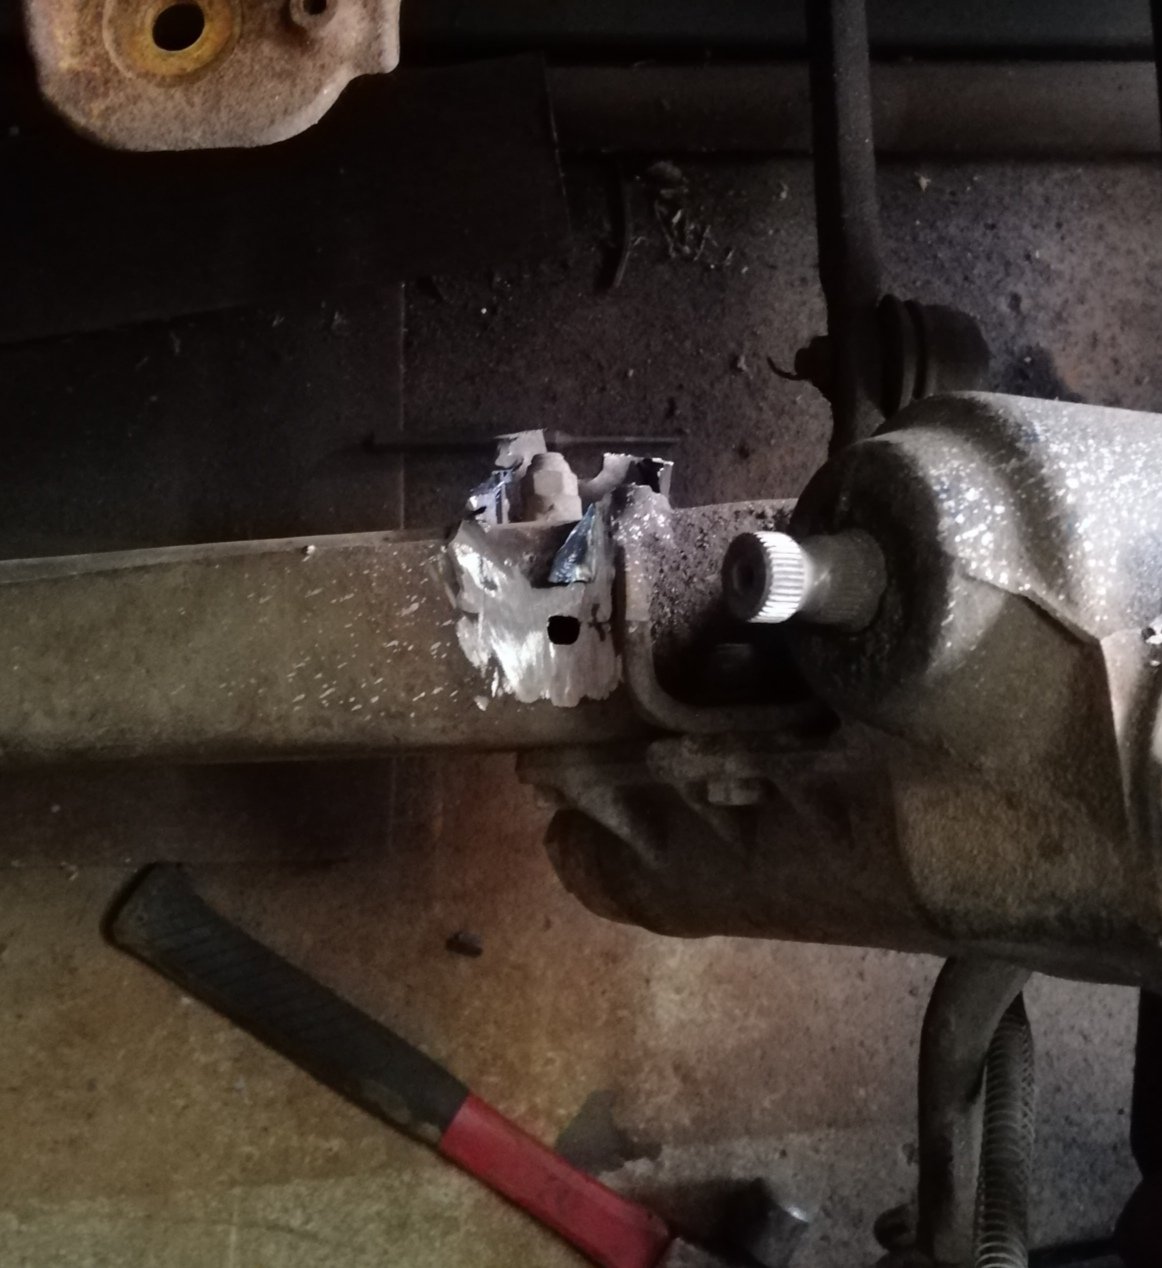
Thanks. It's a torsion bar that goes inside the tailgate hinge for my woodie. The ends are ground square to fit into a cast bracket. One end shown below.
1 point
-
1 point
-
So upgrading the ECU and got a Wideband set up as well - Link G4X + Innovate WideBand - Have also grabbed and expansion loom + stuff to wife up plugs for the CAN1 point
-
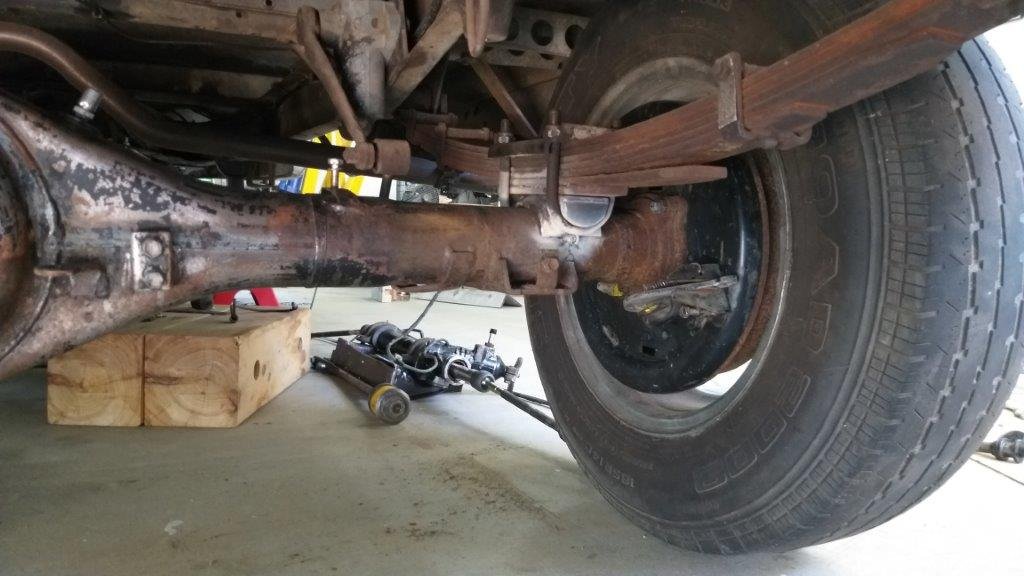
Grovelled under the Thames and fixed the cut off rear axle perches to the original leaf springs using the original Thames U bolts. Then offered up the HiAce rear axle. Took some measurements to make sure that everything was aligned correctly then hot glued the axle to the perches. It's only tack welded in position for now as I may have to fine tune the pinion angle once the gearbox is mounted in its final position, but at least I could get it back on its rear wheels to get a feel for how it is sitting.
1 point
-
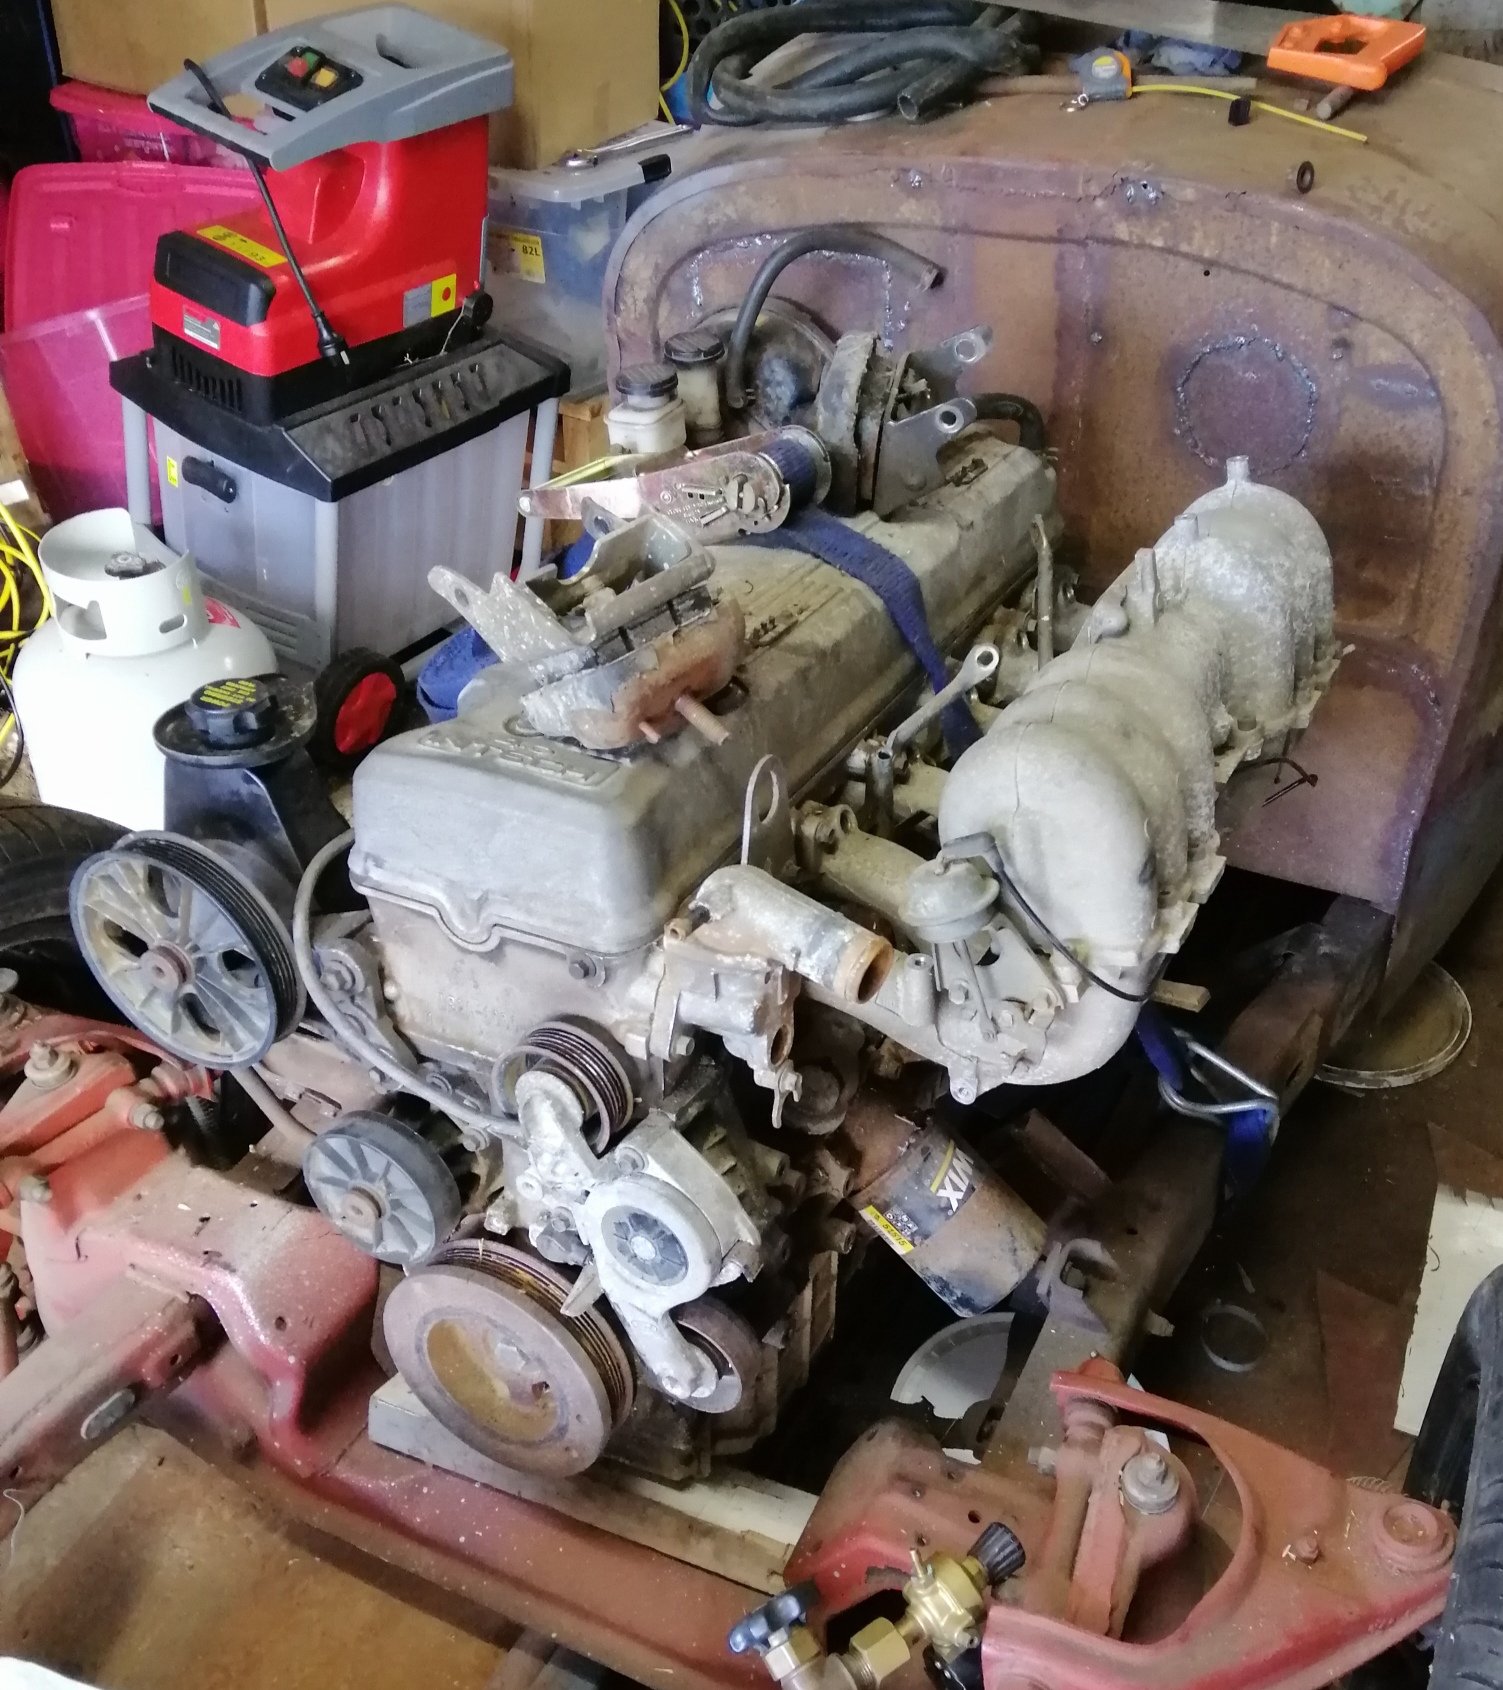
It's, umm, substantially bigger. Dropped it in the hole, jumped the gun a bit. Needs to go back another 150mm, but need to remove old mounts as the oil filter fouls on them. I'll need to fit a Z700 (Cortina) oil filter for more room. Tunnel appears to have enough clearance. Much better than that other engine
1 point
-
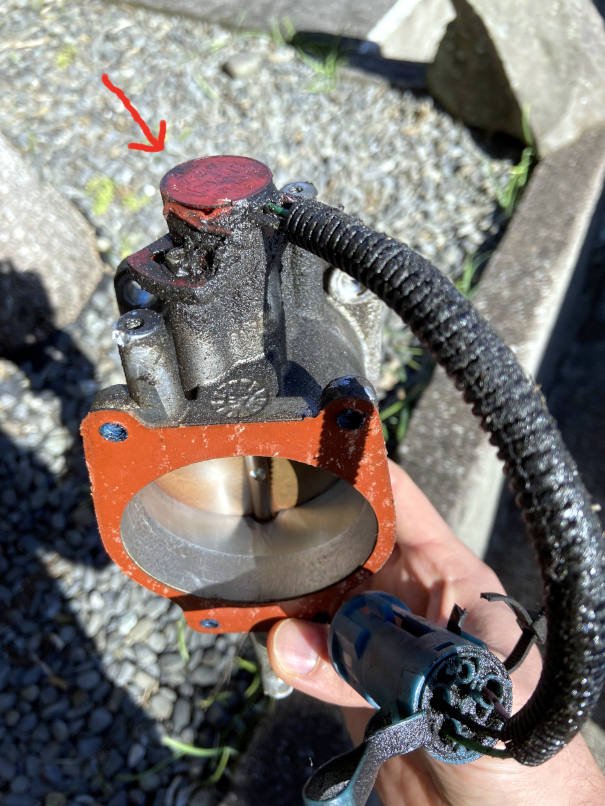
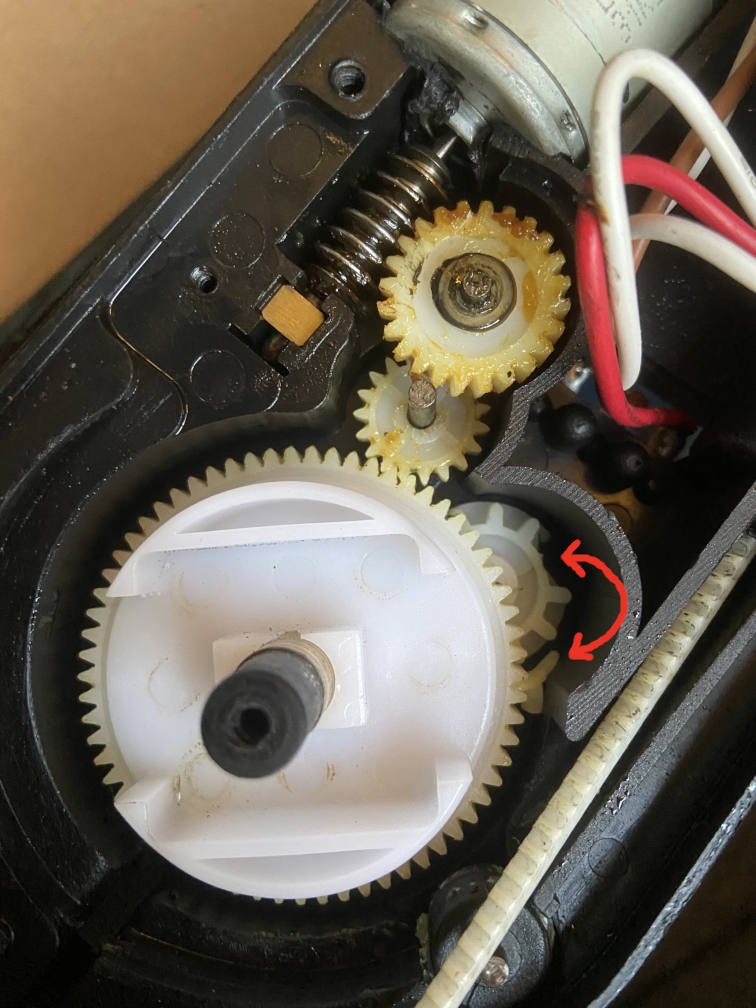
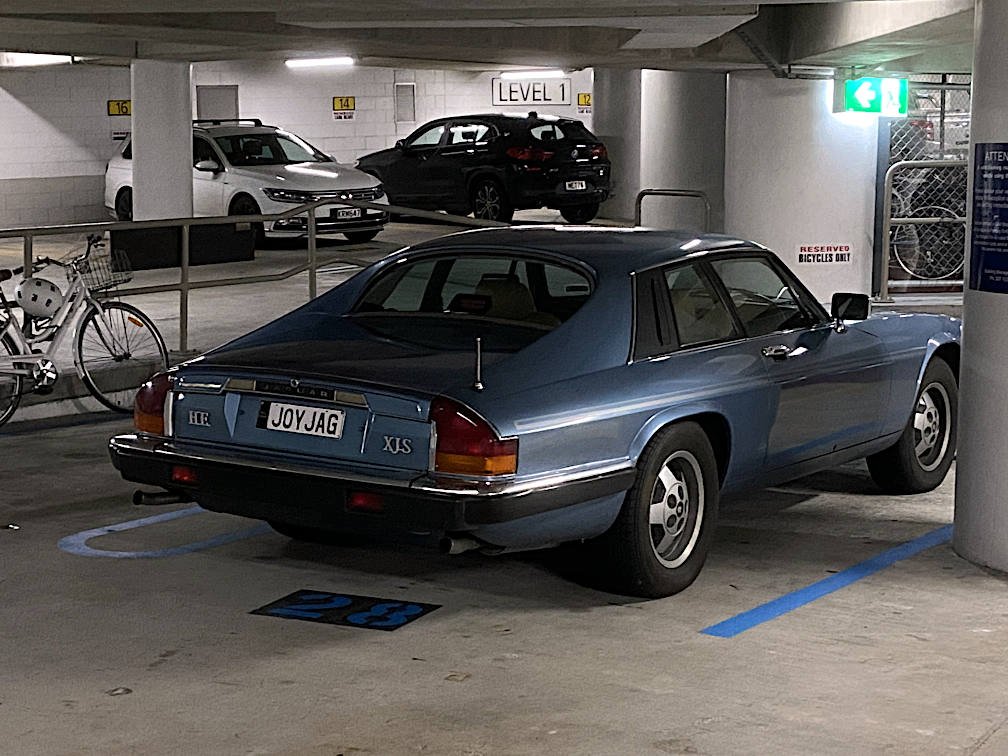
In my last post I thought I'd made the idle better, but it turned out I just made the car idle faster when warm and hardly run at all when cold. So I kept researching. Most results relate to the more-popular V12 engine, and you also have to contend with the fact that the AJ6 had at least two different fuel injection systems on it over the years, with and without various anti-pollution devices. Here I've removed more of the intake bits to check for gunk and vacuum leaks: Some crankcase oil must end up condensing on the throttle plate and running down into the throttle position sensor mounted underneath it (TPS arrowed, throttle assembly shown upside down): I cleaned the TPS and measured its resistance. It seemed correct and linear except slightly higher at idle than immediately off idle. I measured and adjusted the throttle plate gap, reassembled everything and followed the idle setting procedure. Basically you fake the coolant temperature reading to cause the idle stepper motor to close, then you unplug that and set the base idle speed with the air bypass adjustment screw. I couldn't quiiiite achieve a low-enough base idle even with the air bypass fully closed, which I guess isn't ideal. The idle speed seems good now (hot and cold), but the car still struggles into life if it hasn't been started in a day or two and its idle still stumbles a bit. I tried new plugs and I tried spraying flammable stuff all around the intake to check for more leaks, but no luck. The next step of the idle setting procedure is to check the exhaust CO at idle, but I'll obviously need to find a shop to do that. I think you adjust the CO with a calibration screw on the airflow meter. My iteration of the AJ6 engine has no exhaust gas oxygen sensor, therefore I guess it just bases the fuelling on the AFM reading, a wing and a prayer? (fun fact - this is better than the early AJ6 EFI which just used manifold vacuum with no possibility for calibration - the vacuum would deteriorate at quite low mileages because the engine's valves didn't seal very well, or something nightmarish along those lines...) Anyway, my aftermarket electric aerial destroyed itself already. A piece of a little cog broke off and jammed the big cog..... ....but the Jaguar inline fuse did not blow. Instead the motor got very hot and began to melt the surrounding plastic, until a wire connected to the motor burned through. Electric aerials are very important and I couldn't deal with mine being out of action, so I bought another of the same brand. When I opened it up to oil the crap out of it, I noticed it had been revised - the cog which broke in the old one is now made out of a black material in the new one. Hmmm. Also, I spotted this XJ-S (not mine) with a lame personalised plate: It looks like they've parked their planet-pillaging V12 in a bay reserved for bicycles only, which of course they could get away with....because they've got a Jaaaaaaag.
1 point
-
Yep, goes in the tailstock drill chuck, it's free to move on the arbor. Back half takes 2" dies, front half takes 1" dies. I still need to make adapters for 13/16", 1.3" and 1.5", but the cost of dies is so crazy that I probably won't make them until I need to. I had a test hoon with it earlier, it cuts like 80 mm of M8 thread in about 10 seconds. Single point threading that length would take me forever and probably turn to shit due to part deflection.1 point
-
A fair bit has been done since the last update. I spoke to Trevor at Holden Diagnostics. We agreed that the tune was causing the issues, and he could sort it out. The guy who did the original tune has been known to have trouble with VT engines. I had a bunch of people coming round from work on Saturday night and wanted the car running. Trevor sent me a spare memcal and said send your old one back when all is good. Thursday night I fitted the new for the water pump. The old one looked pretty tired. I put the throttle body and everything else back together and fired it up. Then swapped out the Memcal and all good. I spend a lot of Saturday working on the car. a couple of hours went into getting the wiper motor fitted. I had made up an adapter plate ages ago which was fine. The challenge was getting clearance for the motor body on one side and the actuator arm in the plenum chamber on the other side. Using a couple of washers under one side of the adapter plate did the trick. Sorry no photos. I also put in my Dakota Digital interface box to make the speedo work. This is mounted behind where the kick panel will be. Hopefully it wont be annoyingly loud. To night, June 30, had been my goal date to have the car finished. I finished off the wiring for the wiper motor back to the switch, installed the instrument panel, and went for a drive. I consider this a win. It has got some real get up and go, the brakes actually work pretty good and the steering is OK. The exhaust is too loud, so a balance pipe will get made, the engine idles at about 1200 in drive, I'll have to work that out, and there are still lots of finishing off things to do. Not to mention registration and certification. Here is the view from the drivers seat
1 point
-
Here's a tool I've been making recently. I still need to make a good handle for it, but to be honest the cap screw is probably stronger than any handle I could make. The clutch in the middle is hardened to reduce the risk of galling when it slips (adjustable preload, allows slipping when die binds or you hit a shoulder)
1 point
-
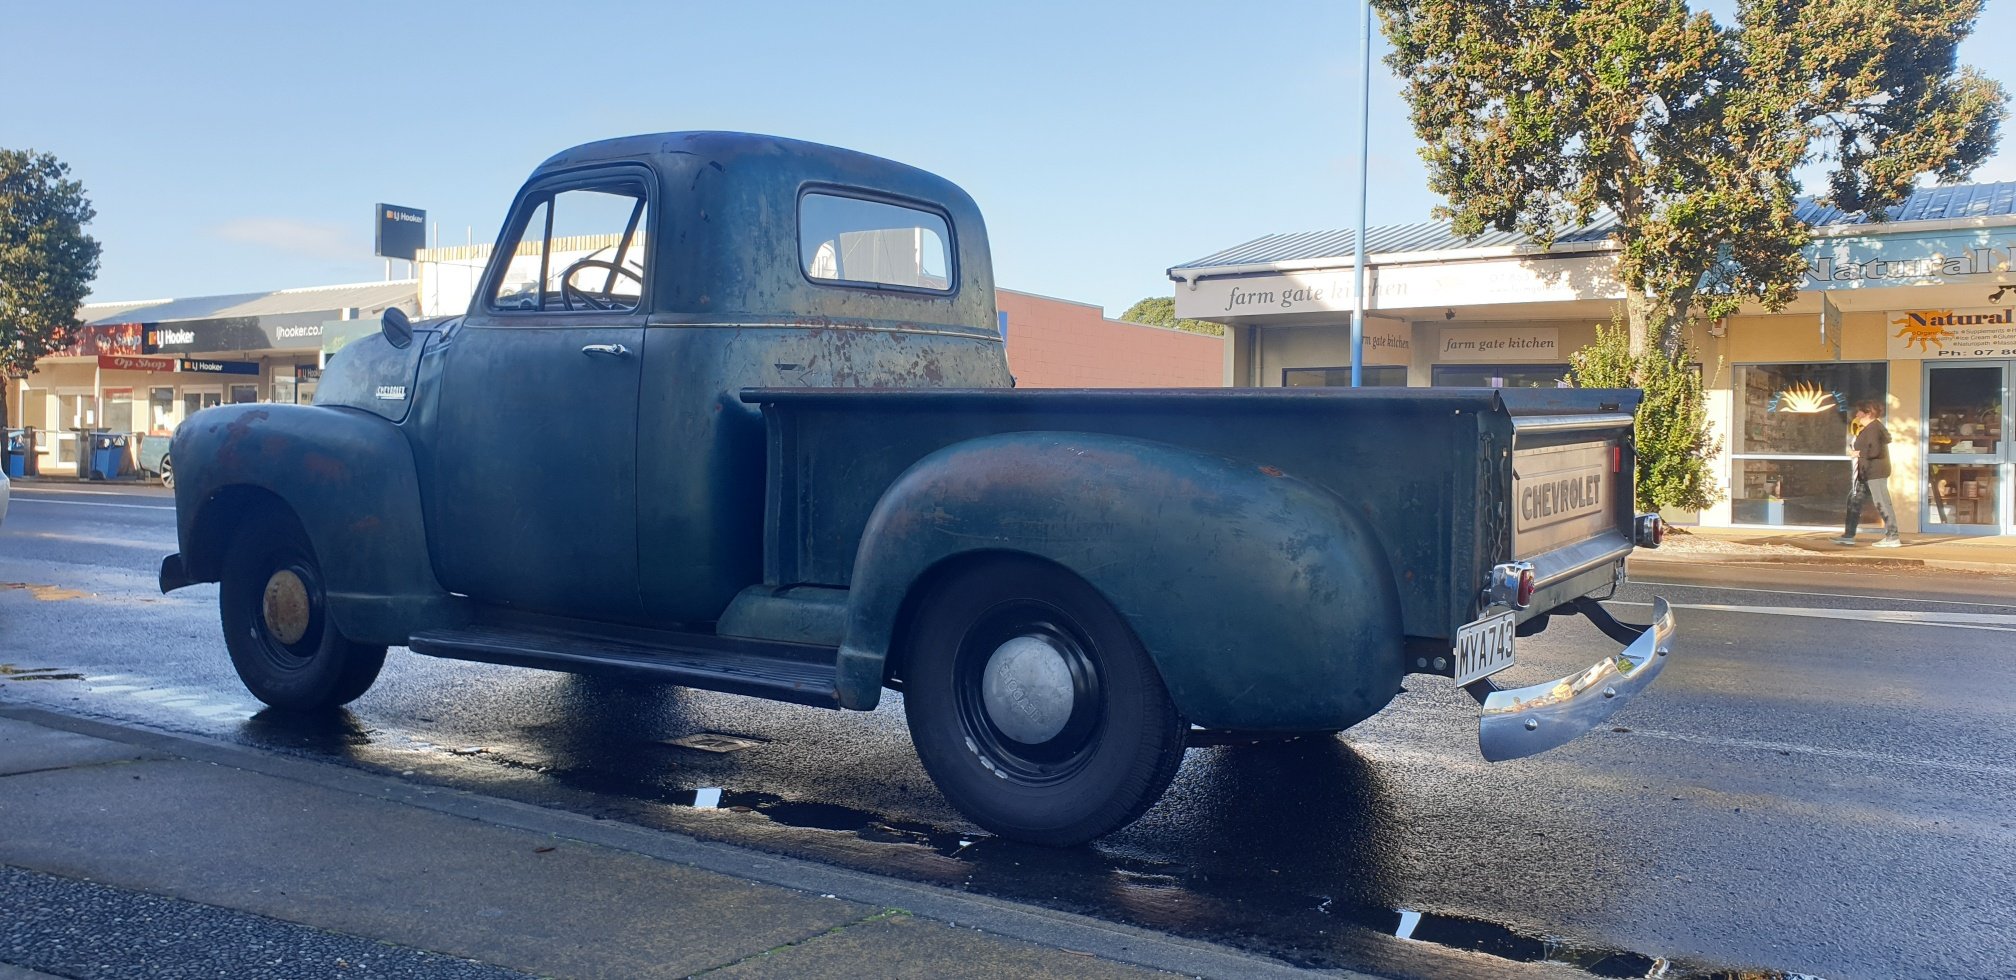
Took the truck for its first major drive on the weekend did a 40km return trip out to Waihi Beach and she run flawlessly! Have had the Artilleries rebarreled as after sandblasting they had a heap of holes in the barrels. Wheel and Frame in Cambrdige rebarreled them with 7 inch barrels instead of 5.5 they were factory. Centres were riveted in from factory so they drilled these out and welded the centres into new barrels. Mate lined up to paint these this week then the whitewalls can go on!
1 point
-
So looking at the "path of least resistance" I've decided to stick to something closer to standard road height. Not only does it solve my rubbing front wheels, but it addresses a few other smaller challenges including a steering rag joint that is rubbing on a chassis leg. Someone on the Book of Faces posted a pic of their Thames running on 15 inch diameter Torque Thrust 2s at standard road height. He is running 6Js up front and 7J rears. The 15s fill the arches really nicely. The Torque Thrusts give a similar look to the Dragways, but the chrome on my Dragways is flogged and would cost moonbeams to re-chrome. The Torque Thrusts are alloy so no similar problems going forward.
1 point
-
Both sides have the inner re attached to outer and all the pie cuts stitched up. Lots of triming of the metal flare and managed to tack one side on today. Needed to get it out in the open to have a good look at how its sitting. Starts and finishes in the original body line and is same height measured from quarter glass as original, should be able to make the original wheel arch chrome work with a bit of bending
1 point
-
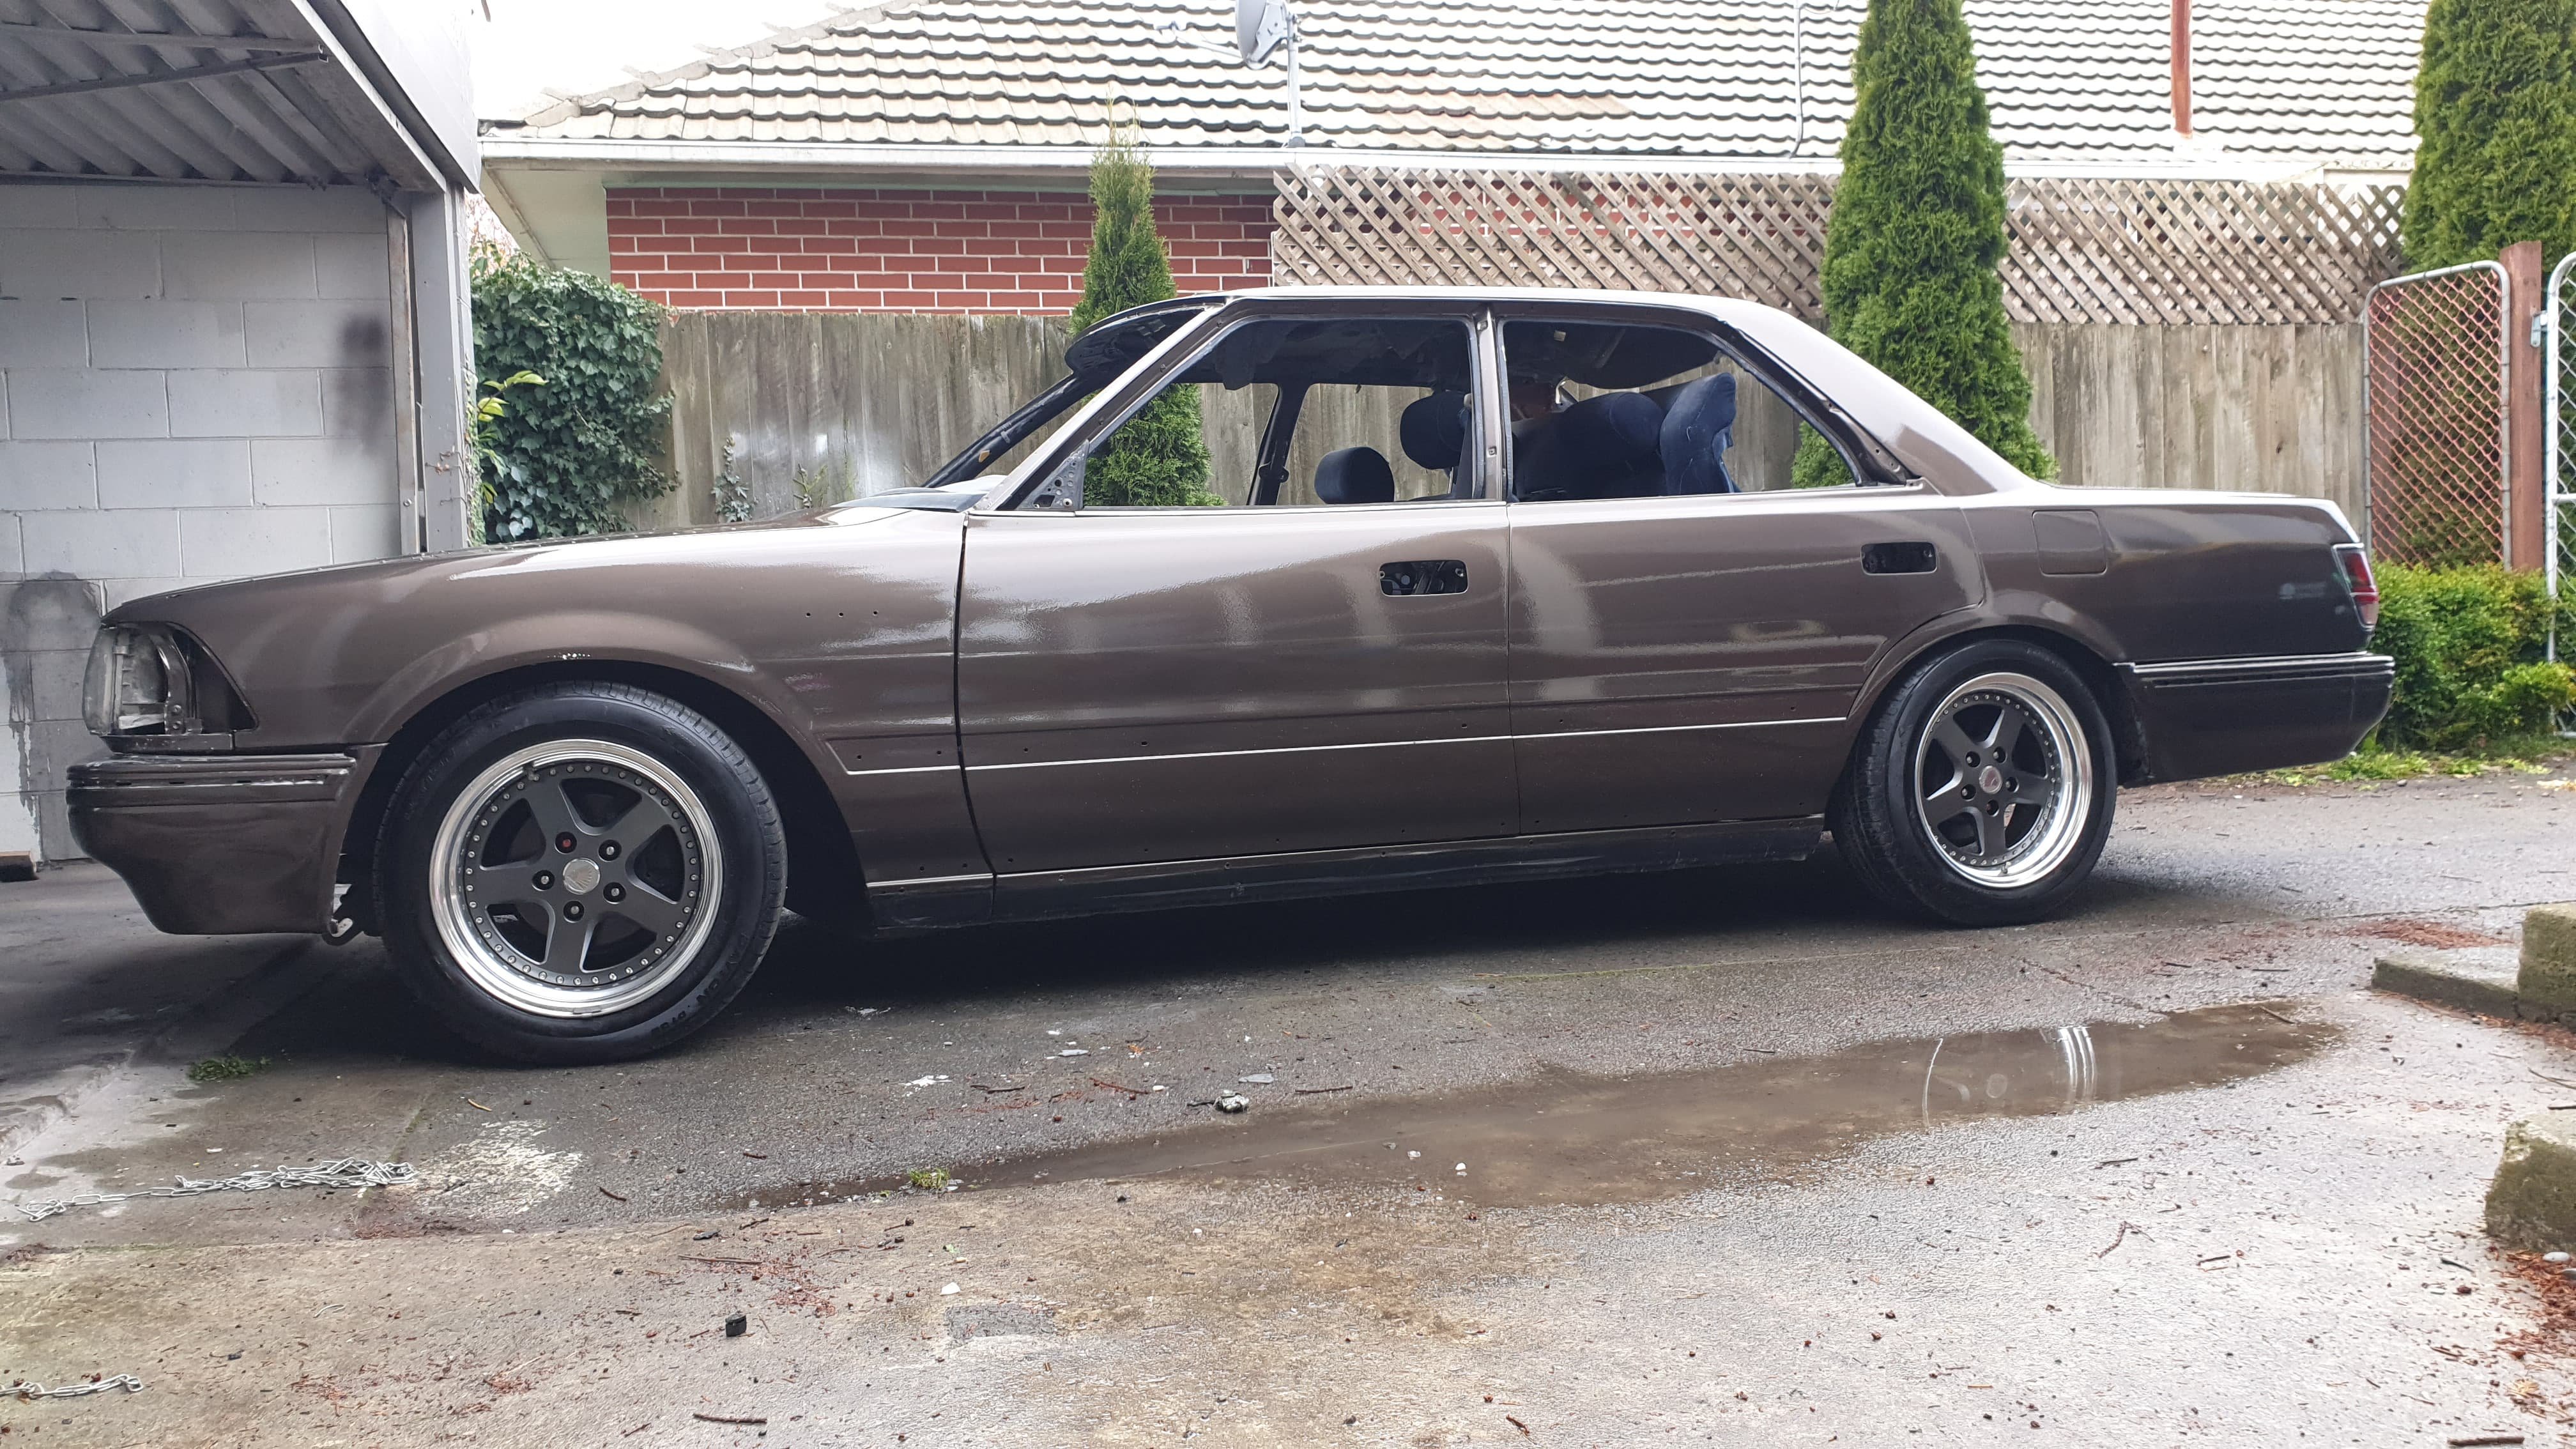
I am still working on this thing. Took some photos today as I dragged it out of the shed to turn it around to do some work on the drivers side. Don't judge me too harshly, obviously there a lot of things half done on this, but I reckon it's looking good. I call the look Mad Max meets prerunner. Next goal is to get all the bar work finished and drag it in to work to get it blasted and primed so I can put some raptor liner on it.1 point
-
Well that VHT was a fail. came out sandy brown despite the cap being pretty lush and yellow..spewing. Quick dash to Mega and I got some more stuff as nothing suitable at work or repco BRO! Not even close, looked like arts n crafts time sans macaroni elbows. Wasnt about to go and get a $40 can of hammer-rite gold cause it was suggested it was a lighter gold and it’s a bit of a gamble/Jew. SEND IT. Actually looks great in person. The back is smooth yet the front is stippled so it calmed it down nicely, and the shadow effect from inner of spokes helps. Gonna let them sit inside overnite and smash some clear tomorrow. Fine print on VHT wheel clear says 7 DAYS to cure. god damn it. Let’s hope it’s hardy AF.1 point
-
Convert it back to left hand drive and piston power!1 point
-
Well, that's me being a big fat liar. Next few months, my foot. Got one on me over the past couple of days & decided to go full Waltons spec. Pleased. Also,we may have a new contender for the paint. Bit struck by this from Chevy's 1972 range. /Would look mint with the slot mags.1 point
-
I don't believe in imperial so re tapped the manifold Chopping board carb spacer I tapped the adapter plate but didn't have any bolts long enough. Popped into bunnings for a bit of threaded rod and some loctite All bolted together1 point
-
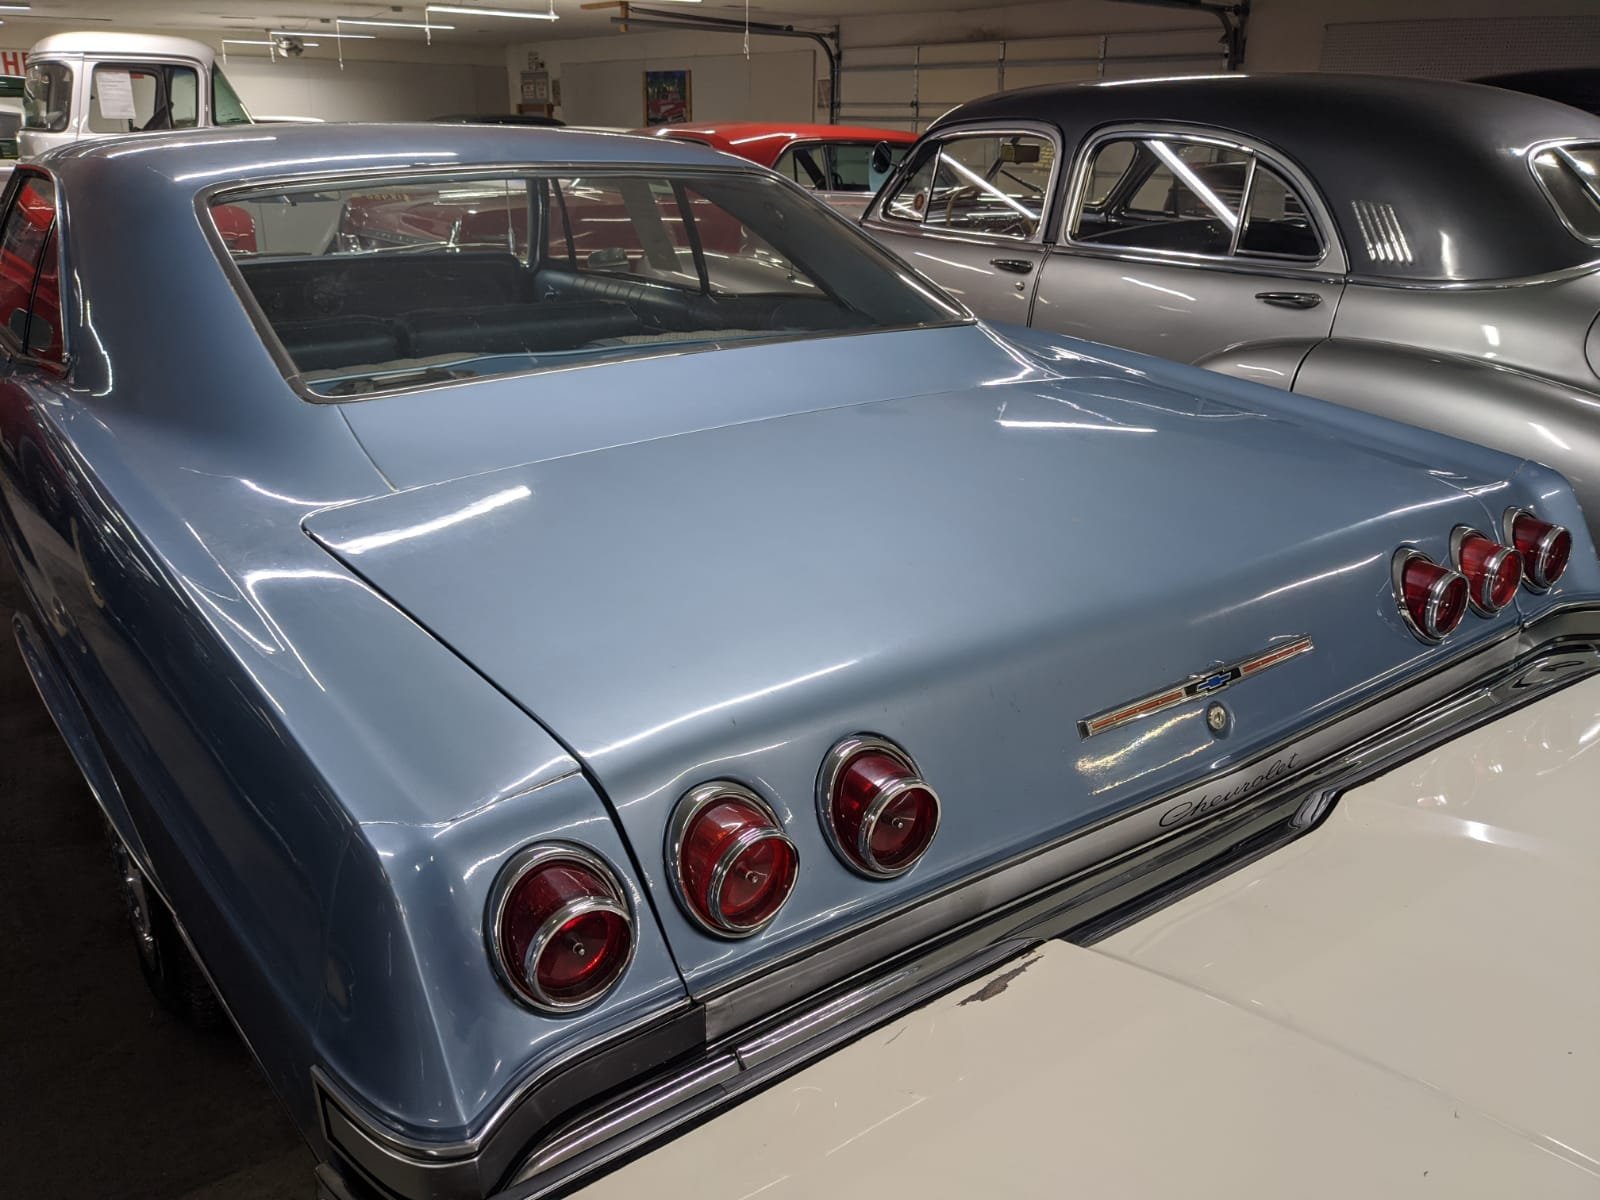
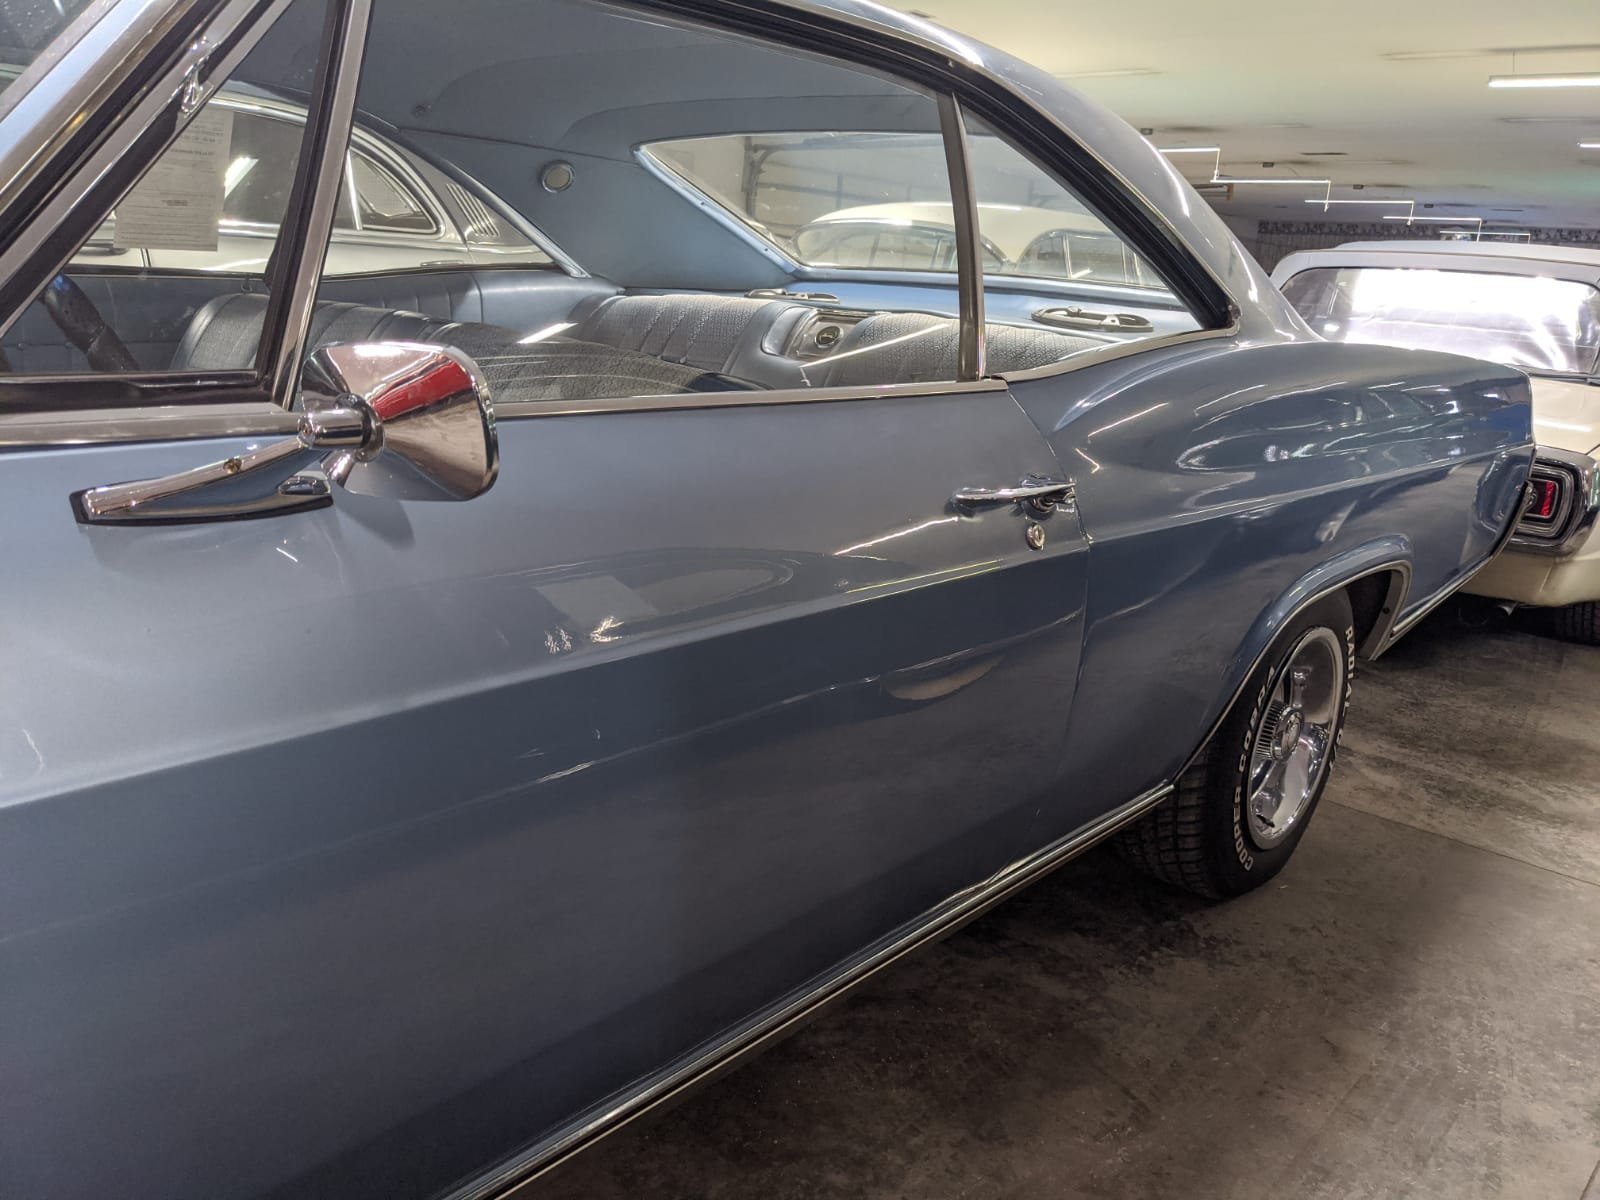
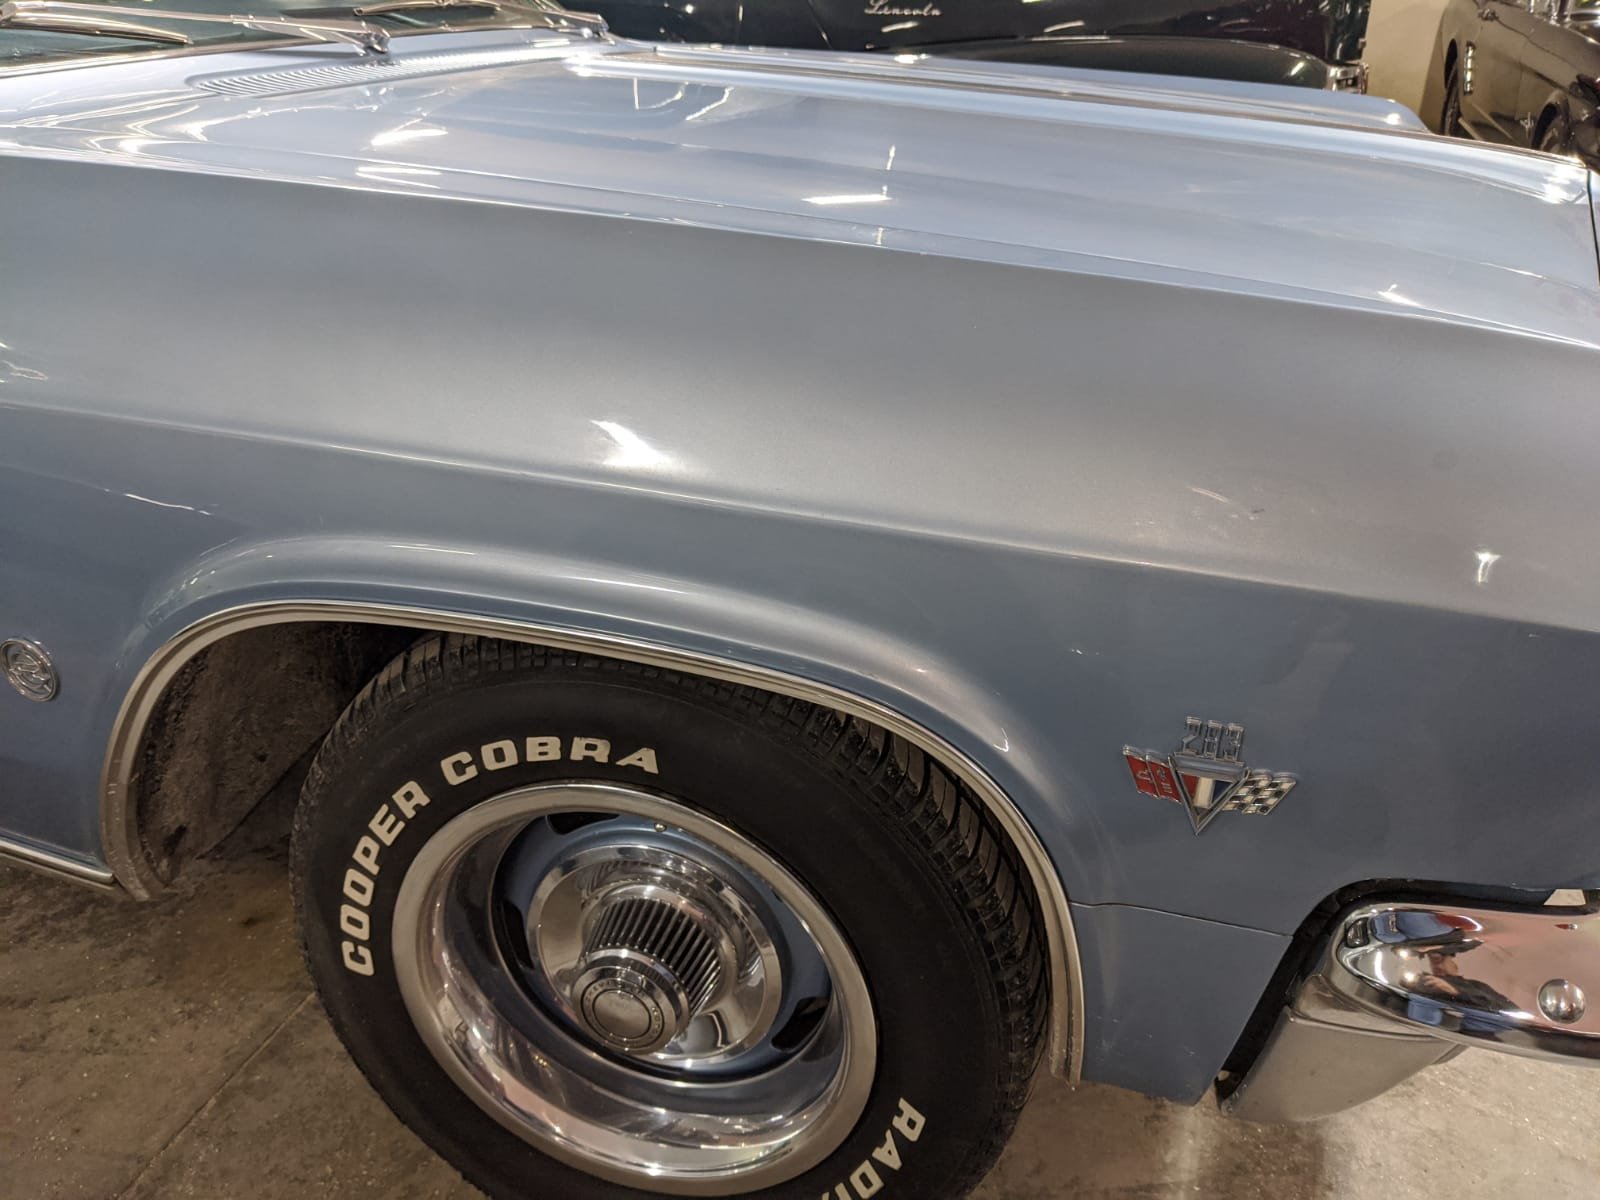
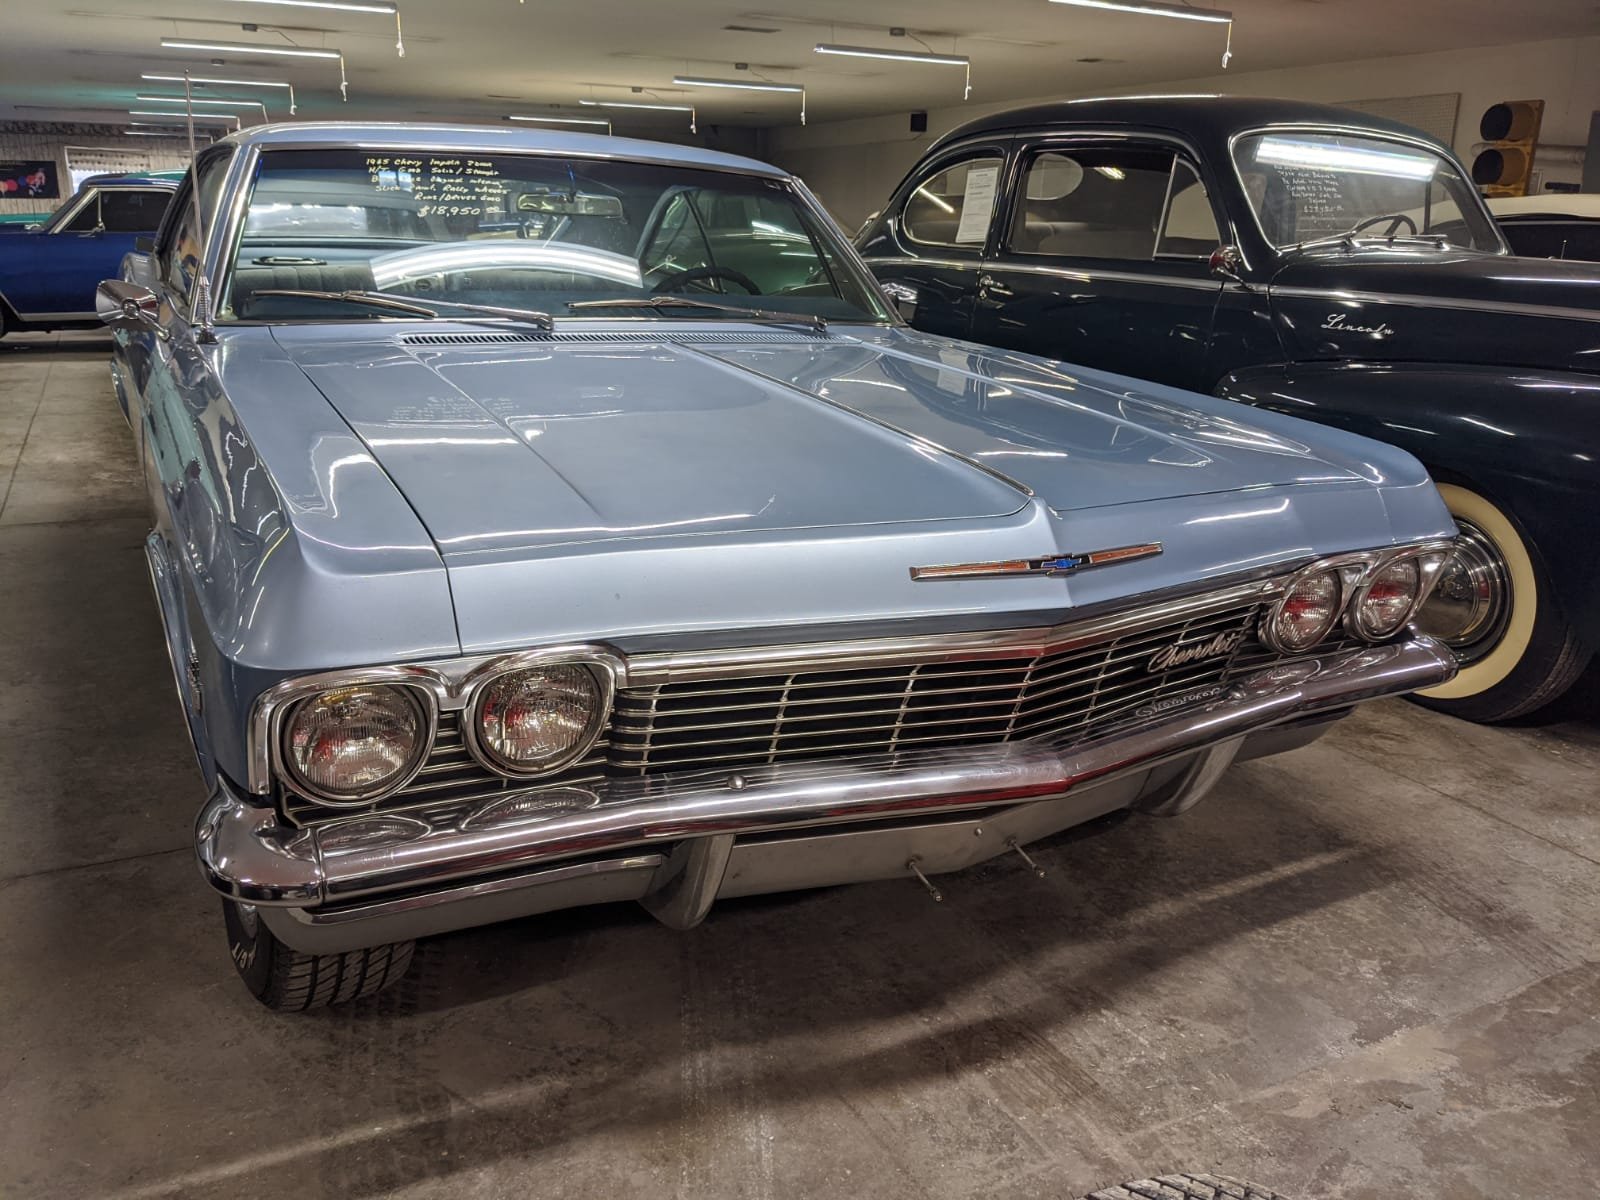
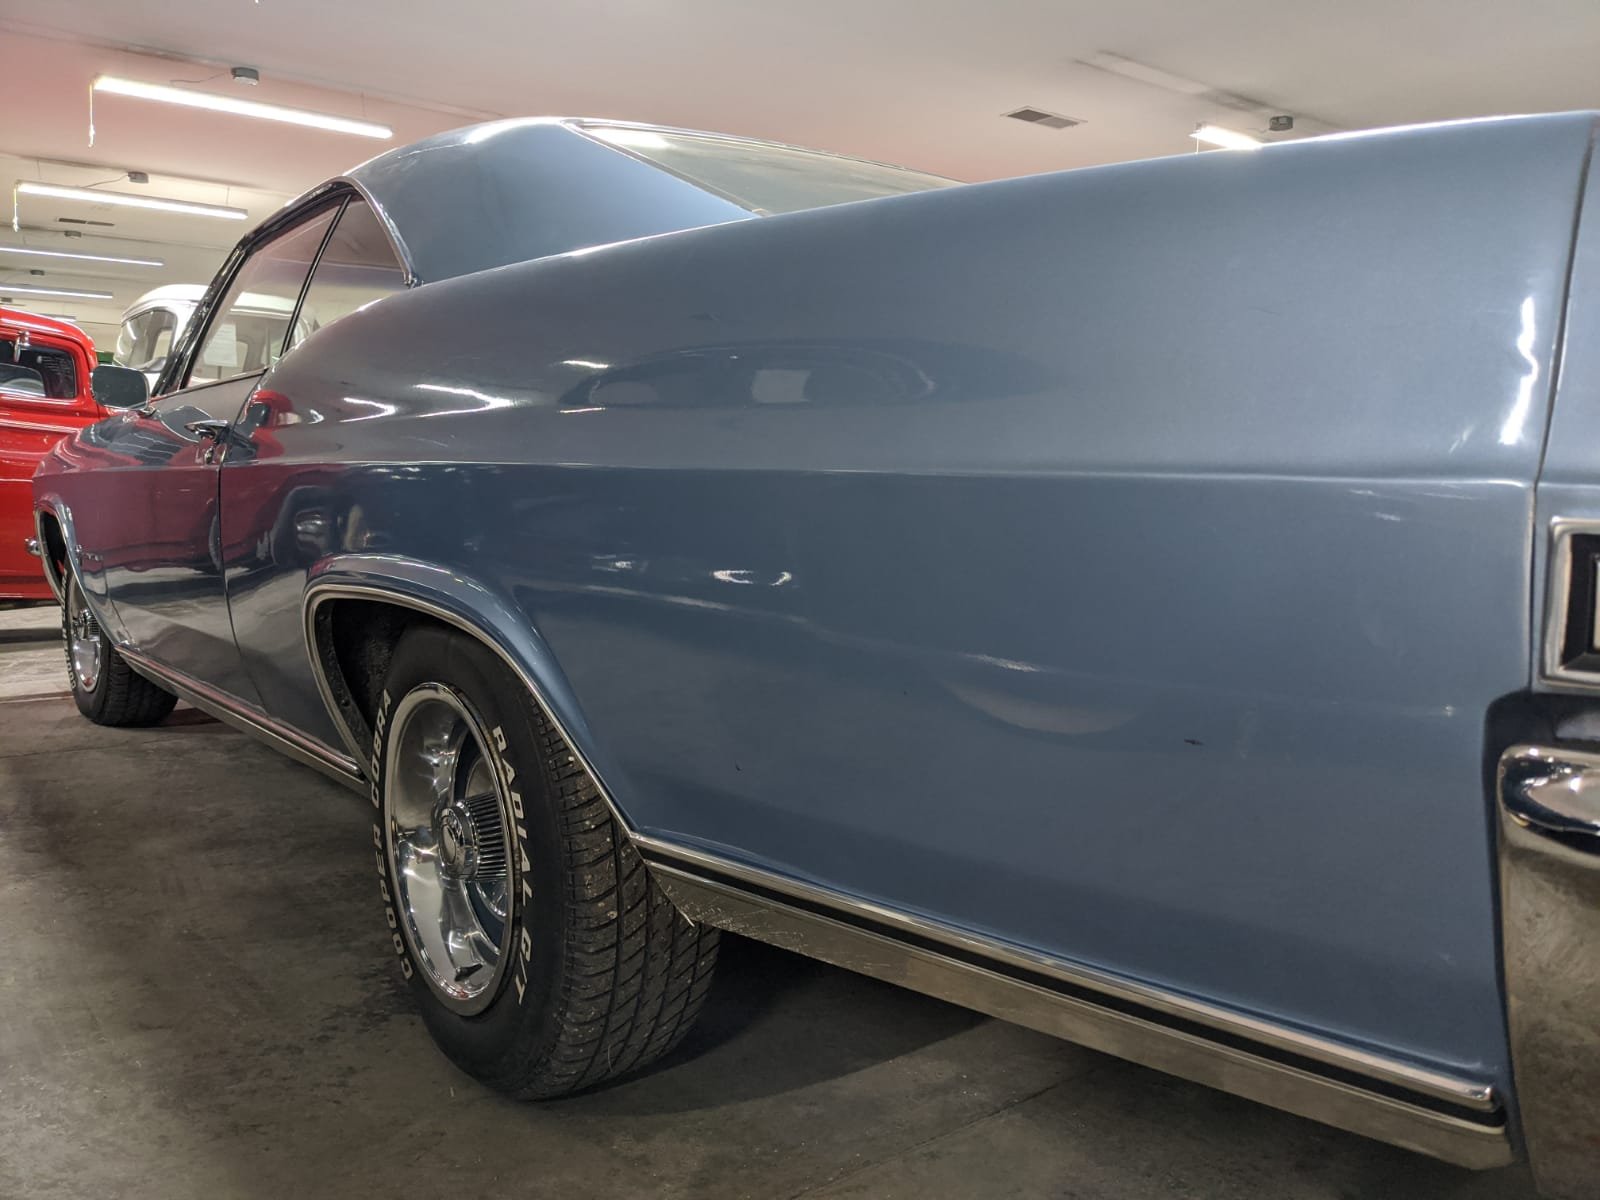
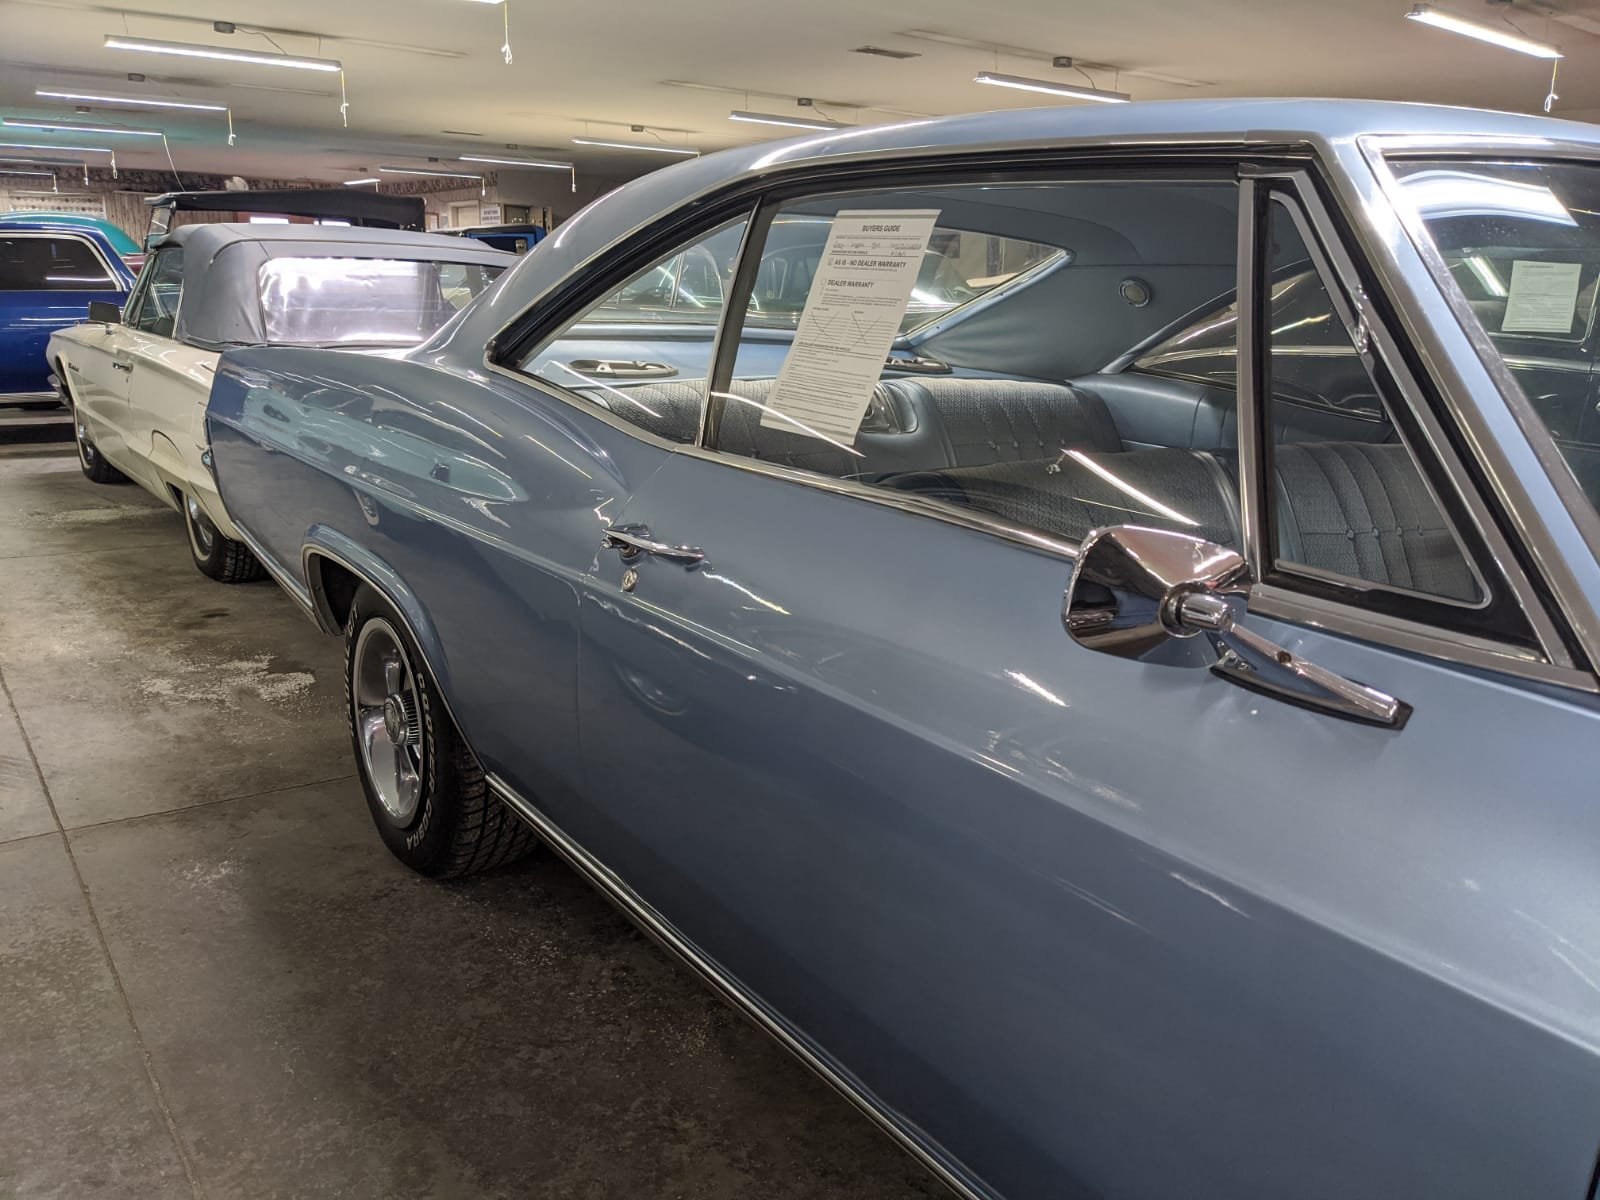
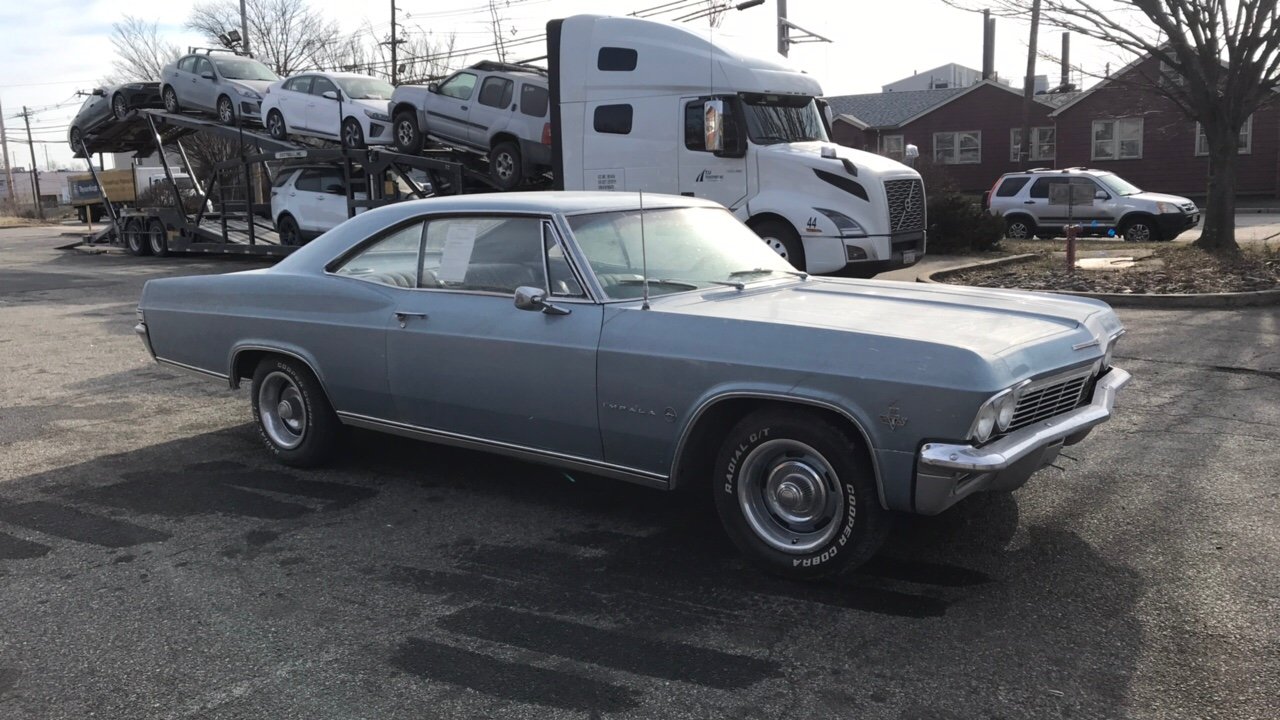
Hi, Thanks everyone for the advice. Pics of my car below. Currently sitting on the wharf in New Jersey awaiting to be shipped. So hopefully I will be able to get it here and certified to enjoy this up coming summer cruising. Cheers
1 point
-
12 inch stockies on for a change, rides like shit but it’s ‘lively’1 point
-
was hoping to get a bit of sun so i could take a photo for this thread. but redid the paint job, this time not being an idiot about things, and aside from some clear coat orange peel which is very fixable. its come out bloody good. i had also repainted the centers of the epsilons satin gunmetal grey which im also very pleased with. looking forward to seeing it in some sun to let that metallic shine!
1 point
-
Skeet skeet felt really good to finally drive it again, change gears, and get past 7000rpm. the falcon has been ok for daily duties but it’s not in the same league. Might need to sandbag it to get back to old ride height now there’s no towbar and less bog
1 point
-
Seals arrived from Canada, can’t wait to Chuck the screens in and go for a drive!
1 point
-
THIS FUCKING TIME! On recommendation from some other painters who do home jobs outside work, I went with Baslac 2k and high solid through RA Johnstone. its fucking sweet, covered like a boss. I gave them the tin with the dregs from the first time I painted it a few years ago and it seems a good match. Haven’t had it in the sun yet but wag better than the orangey metalux stuff I’ve been spraying and sanding off lol i changed up my style a bit and whipped the bonnet and boot off to reduce overspray dry spots. Shot Michael laid on a 60% foundation coat after flicking come on any rub throughs or dark patches and let it go tacky then 2 decent coats and a final, 20% thinned full-bore last coat. i got a moth stuck in the first coat and a flake of paint off the masking but both were recoverable. otherwise it went perfectly. it has a tiny peel to it but it might flatten out after the fact, the heaters and lights are still on in the shed.1 point
-
The clearcoat was such a disaster and although I had good success in sanding most of them out, on several prominent areas I had cut through to the basecoat. Which also cast alot of doubt on how thick the remaining clear was. I probably could have just touched up those areas, but coupled with a few other defects such as some spots that were a little light on basecoat that I wasn't sure how to fix, I made the call to restart the paint. So I set to cutting the whole car back and will hopefully learn my lessons from round one. The bumpers are good so I'll leave them as is, which will mean I've got heaps more room in the shed. If I hadn't already, this car is firmly cemented as a forever car. Despite the horrific amount of elbow grease I've had to put in, I still love it. Can't wait for it to be back on daily duty.
1 point


.jpeg.4cc308cf6dfe6911da70f6d50cb5a3d5.jpeg)
This leaderboard is set to Auckland/GMT+12:00