
Leaderboard


Popular Content
Showing content with the highest reputation on 02/02/20 in all areas
-
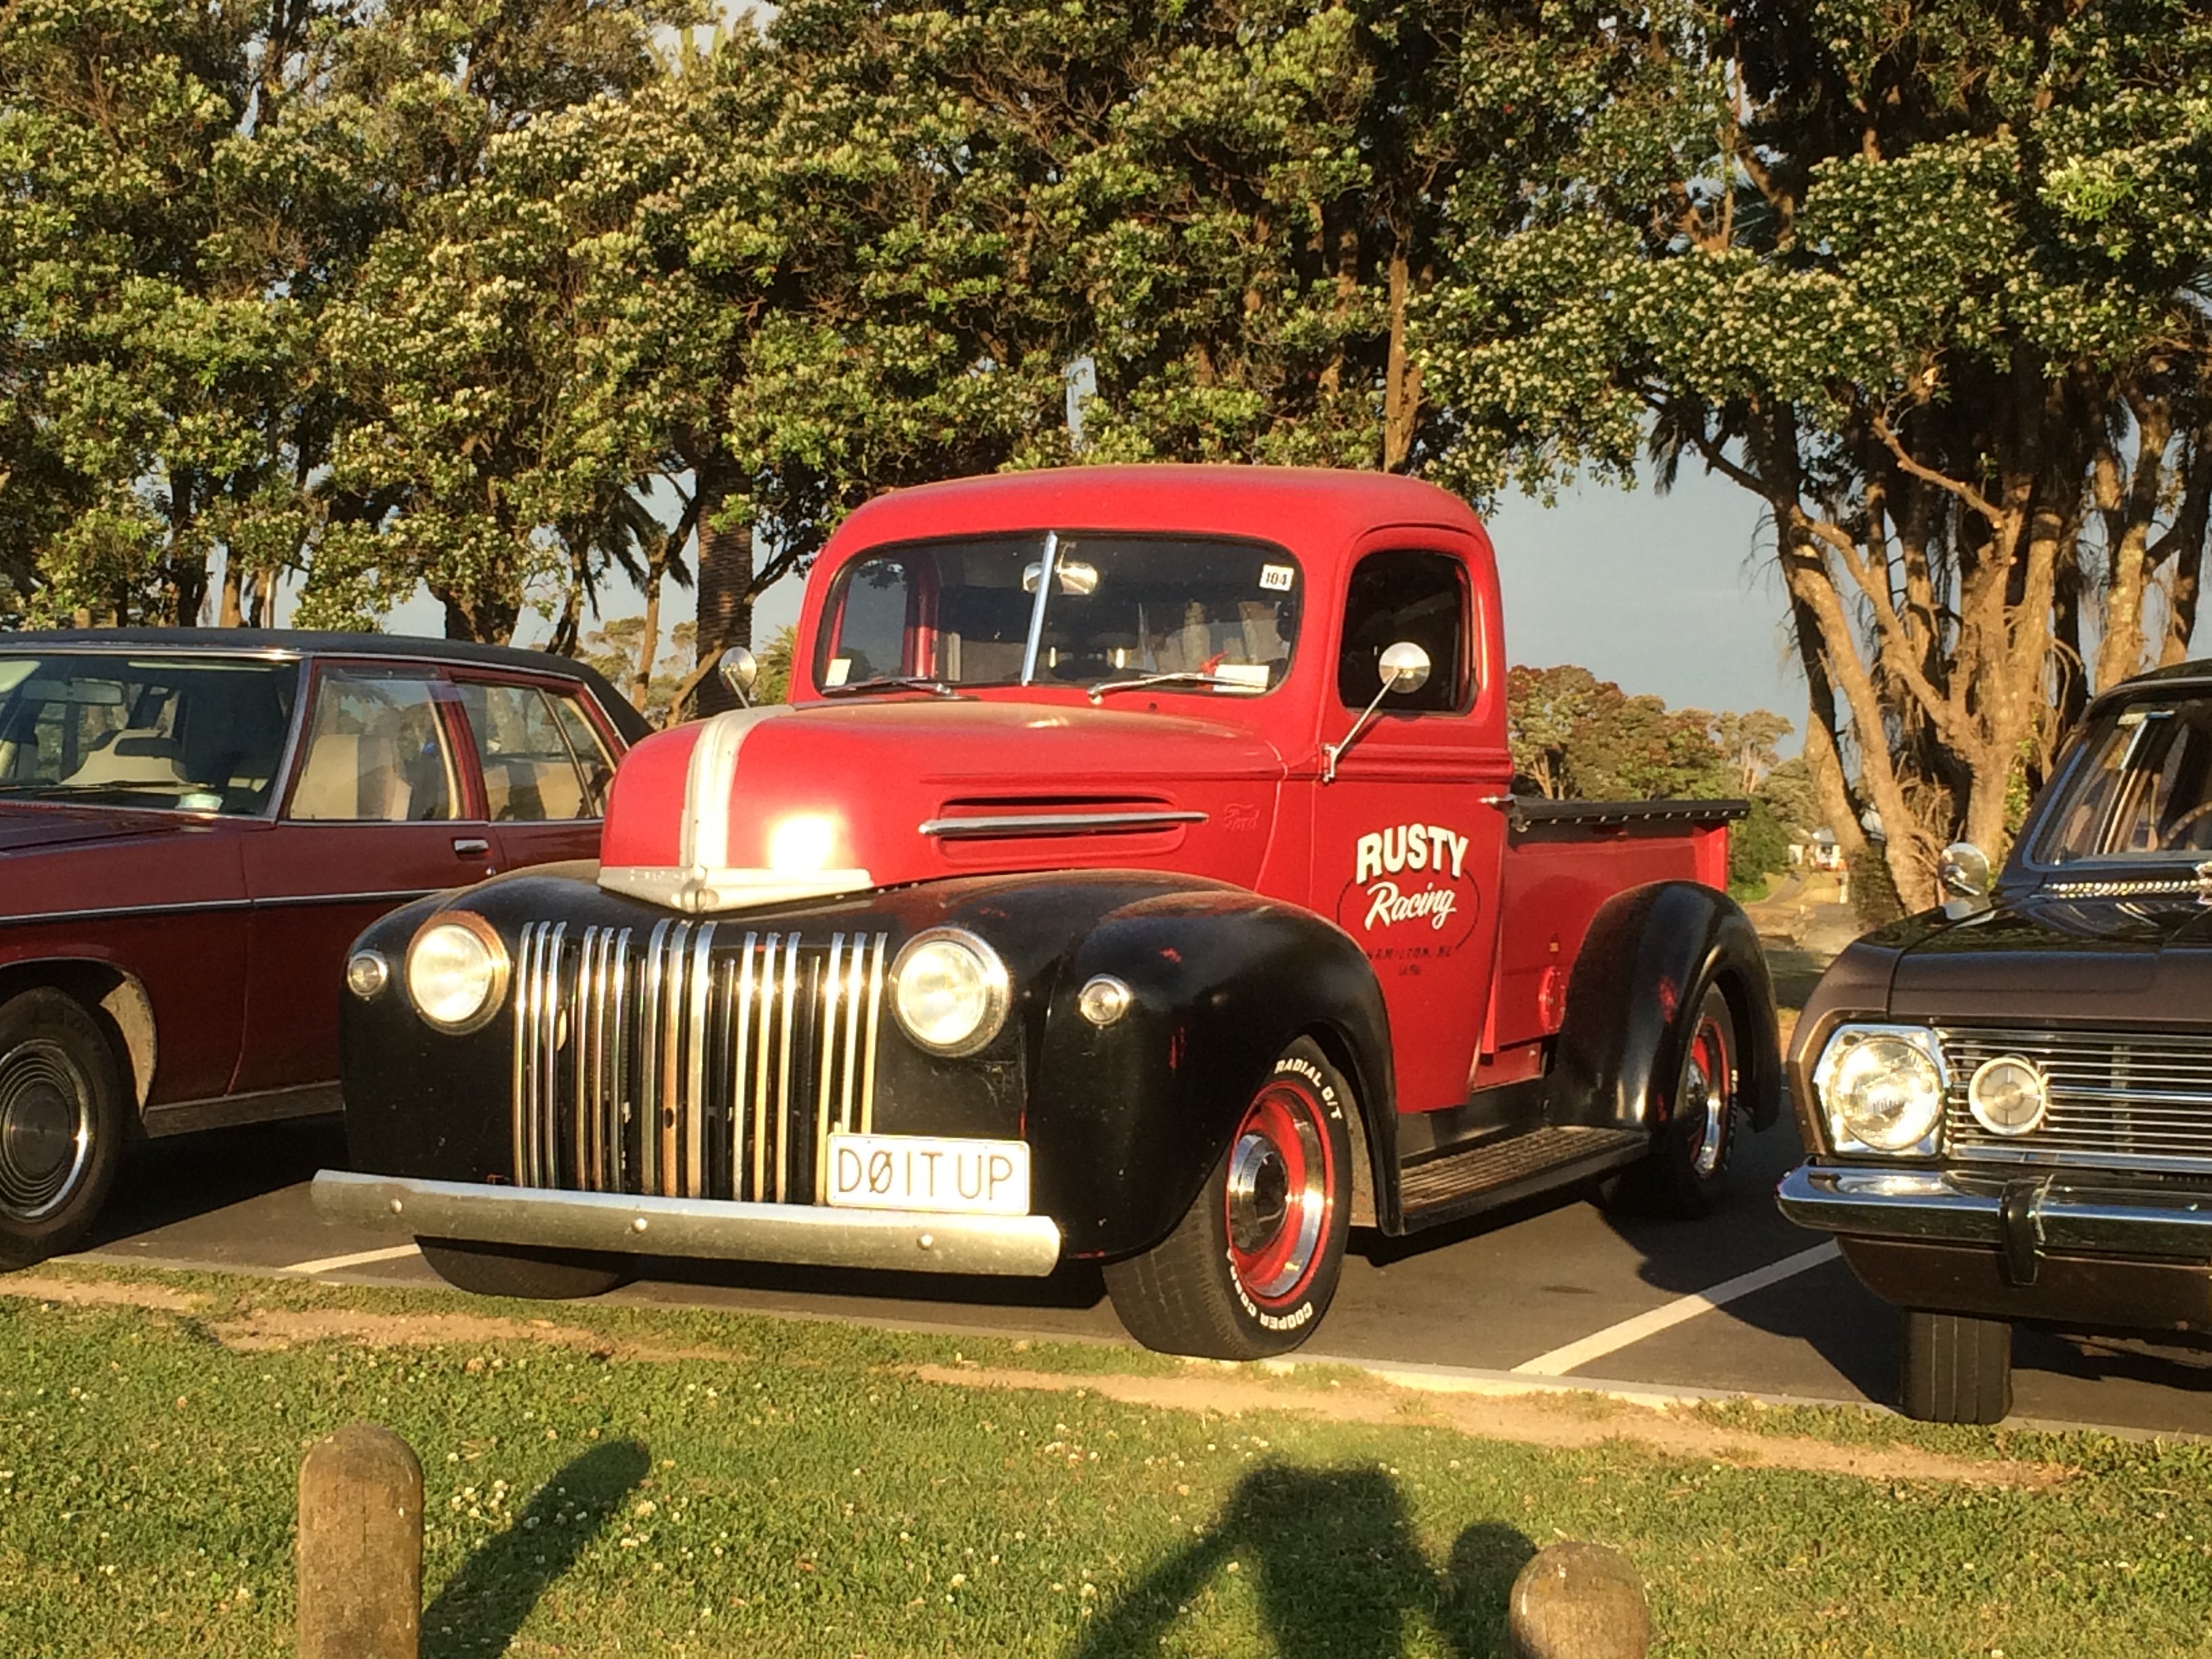
Hi everyone. Its been 4 months since the last update so explain whats been going on. thought, no point getting a wheel alignment with fucked ball joints so i removed these. and well, just go buy new ones it was the most scary drive of my life driving to the wheel alignment shop. obviously i didn't get it as close as i thought i did. the day before my 30th i went to get gas for the kombi i found myself underneath it tapping the starter motor, thinking it had shat itself after about 3 months of use. it was the ignition barrel that i had brought instead. so we by passed some wires and my i have a cool push button ignition. from here i was egar to actual put a wof on this car and get a few things sorted. one was my tail lights on it. seemed to have been a bit weird. well turns out i had a normal indicator stalk on the bus. mine should be a U.S one. turns out they made new ones, which are shit so that got returned and i ended up getting a 2nd hand one from a mate in Thames. put that in but the ring that gets tight on the center shaft was a little flogged out so i made a spacer so it would tighten up. all sorted and my tail lights and everything works well now. next up i decided i wanted to upgrade from points CB performance magnaspark 2 is legit. im not going to try explain the brains of it but if you have 2mins just watch this we went on adventure to whitianga for a vw catch up, which was cool to see everyone. ended up doing some on the side of the road repairs. the light was staying on so i just removed the power and pushed it back in its hole. Ice Creams Kombis All of the bugs I was using it for a work car quite a bit and just getting good use out of it. It was getting close to xmas now and i was pushing Beth to go away in the kombi over our break, but she was pushing back to have the rust done. so i talked to a mate and he got busy doing the jobs he felt comfortable doing. everything out! turns out i don't have any photos of what he done but look what i done. actually here you can see some out riggers on the other side done and painted grey. rust be gone brought this channel from the vdub shoppe along side a few other peaces. had to cut and bend it for some reason, cant remember now. the U channel was welded in 1st and then this these panels came with the kombi when we brought it so i kinda knew what i was in for. looks something like this ohhh i remember why the ends of the U channel were bent. they go to the inner sill which you can see here in the above image and in the below image. you can also see another out rigger welded in close to the hoist arm, and above the hoist arm is another one that needed to be welded in. got that from the vdub shoppe also. The inner sills came with the kombi for both sides. the inner sill was welded in place in the above image and we then placed the outer sill replacement panel on, put a scribe in the white paint and then i went about cutting the amount off that we no longer needed. came across some bog pretty standard for a car of 50 years old that was probably worth scrap value at some stage. nice straight line. outer sill tacked in place waiting on a @bobby1930 to tig it up. put the front and rear section on as well. i went through and plug welded the bottom of it all in place while i was able to get away from work. the following night bobby came over and tiged it all up and i was able to take it home while drew was away on holiday, allowing me to finish the rest of the rust. it was good to have it home. i managed to get away for two days over new years and came back to work on the 3rd. so we didn't make it away in the kombi but we made progress. on dads anniversary of 15 years i stopped working and had my day to myself and got this kombi water tight. went like this. old mate @Geophy came over with @Beaver and i put him to work. well actually both of them went to work. they both had large help with me drilling the plug weld holes to the I and U beams that were under the floor floor all welded up. well now it is after adding these other peace's of steel prior to all this i saw @oftensideways put a bunch of sound deadening in his little kp starlet and hit him up to see what he was using. Turned out the brand was kilmat and it was a crap load cheaper than dynamat. for example there is a dynamat kit on trade me for 369 for 3.3 square meters so around 110 a square meter or you can get kilmat for 43 a square. Or I paid to have it fast freighted and it still only cost me 58 a square. I ended up ordering this just before xmas and it turned up on the 7th of jan while i was doing the floor. this is now the day after dads anniversary and i really just wanted to get this stuff on. boom all done. for reference i got the 50mil stuff (lighter) they do a 80mil one but not in 50squar feet so that's why i didn't go for that one. i will probably use the 80mil stuff in the front half of my kombi. link : https://www.amazon.com/Kilmat-Deadening-Automotive-Insulation-dampening/dp/B0751G6TMV back to work i went. old @Bistro and i went shopping for some rubber grommets for his car. He brought a couple of different sizes which one didnt fit his car but man what a great fit it was to my kombi. i was now aiming to reach kumeu car show but i didnt quite get there. so i just went hard out on just getting the kombi sorted for @Neds birthday week away at kai iwi lakes. so straight to it. time to do the upholstery before everything else goes back in. ahhh whats that little black thing for greg you may say. well. it turns two lights on and the fridge. what you have a fridge?! well i didn't at that point but Beth came across some money so we splashed out on a 49 letter fridge ohhh i now needed to do my headlining before i could get a wof. as you see i dont have one here but you can see the new LED interior light foam down 1st to pad it out. help with sound deadening as well. i also filled the pockets on the side you can only just see two done here. boom we have a headlining wanted to paint the side of the van where i had done the rust repairs, so i done a botch job on that. and painted it white. now you can see how bad the bog is. oh i also added a house battery to the kombi to power the lights. i got this sweet gadget from super cheap which allows the charge to go the 2nd battery but wont drain the main car battery when we are camping. back to upholstery. put some black carpet down in the back then covered with with a bed. a rock and roll bed that is now that was in time to move on to installing the fridge and cabinet. 1st part was to sort out the sink. hole in the floor and it now drains in the center of the bus now that is done the fridge can get screwed in perfect fit. now back to more upholstery, here is a before hand of my drivers seat. a during and a after not bad for 1am upholstery. made Beth a little holder in the cabinet we also put shelves in there the weekend we went to whitianga shit i still had some more rust to do before a wof but we did get a wof beth likes to pull the sheets up and just keeps pulling them when we are in bed. been the kombi doesn't really have anything to tuck the sheets into i sewed a buckle to the bottom of the sheet and the quilt. which goes around some brackets under the seat ready for camping15 points
-
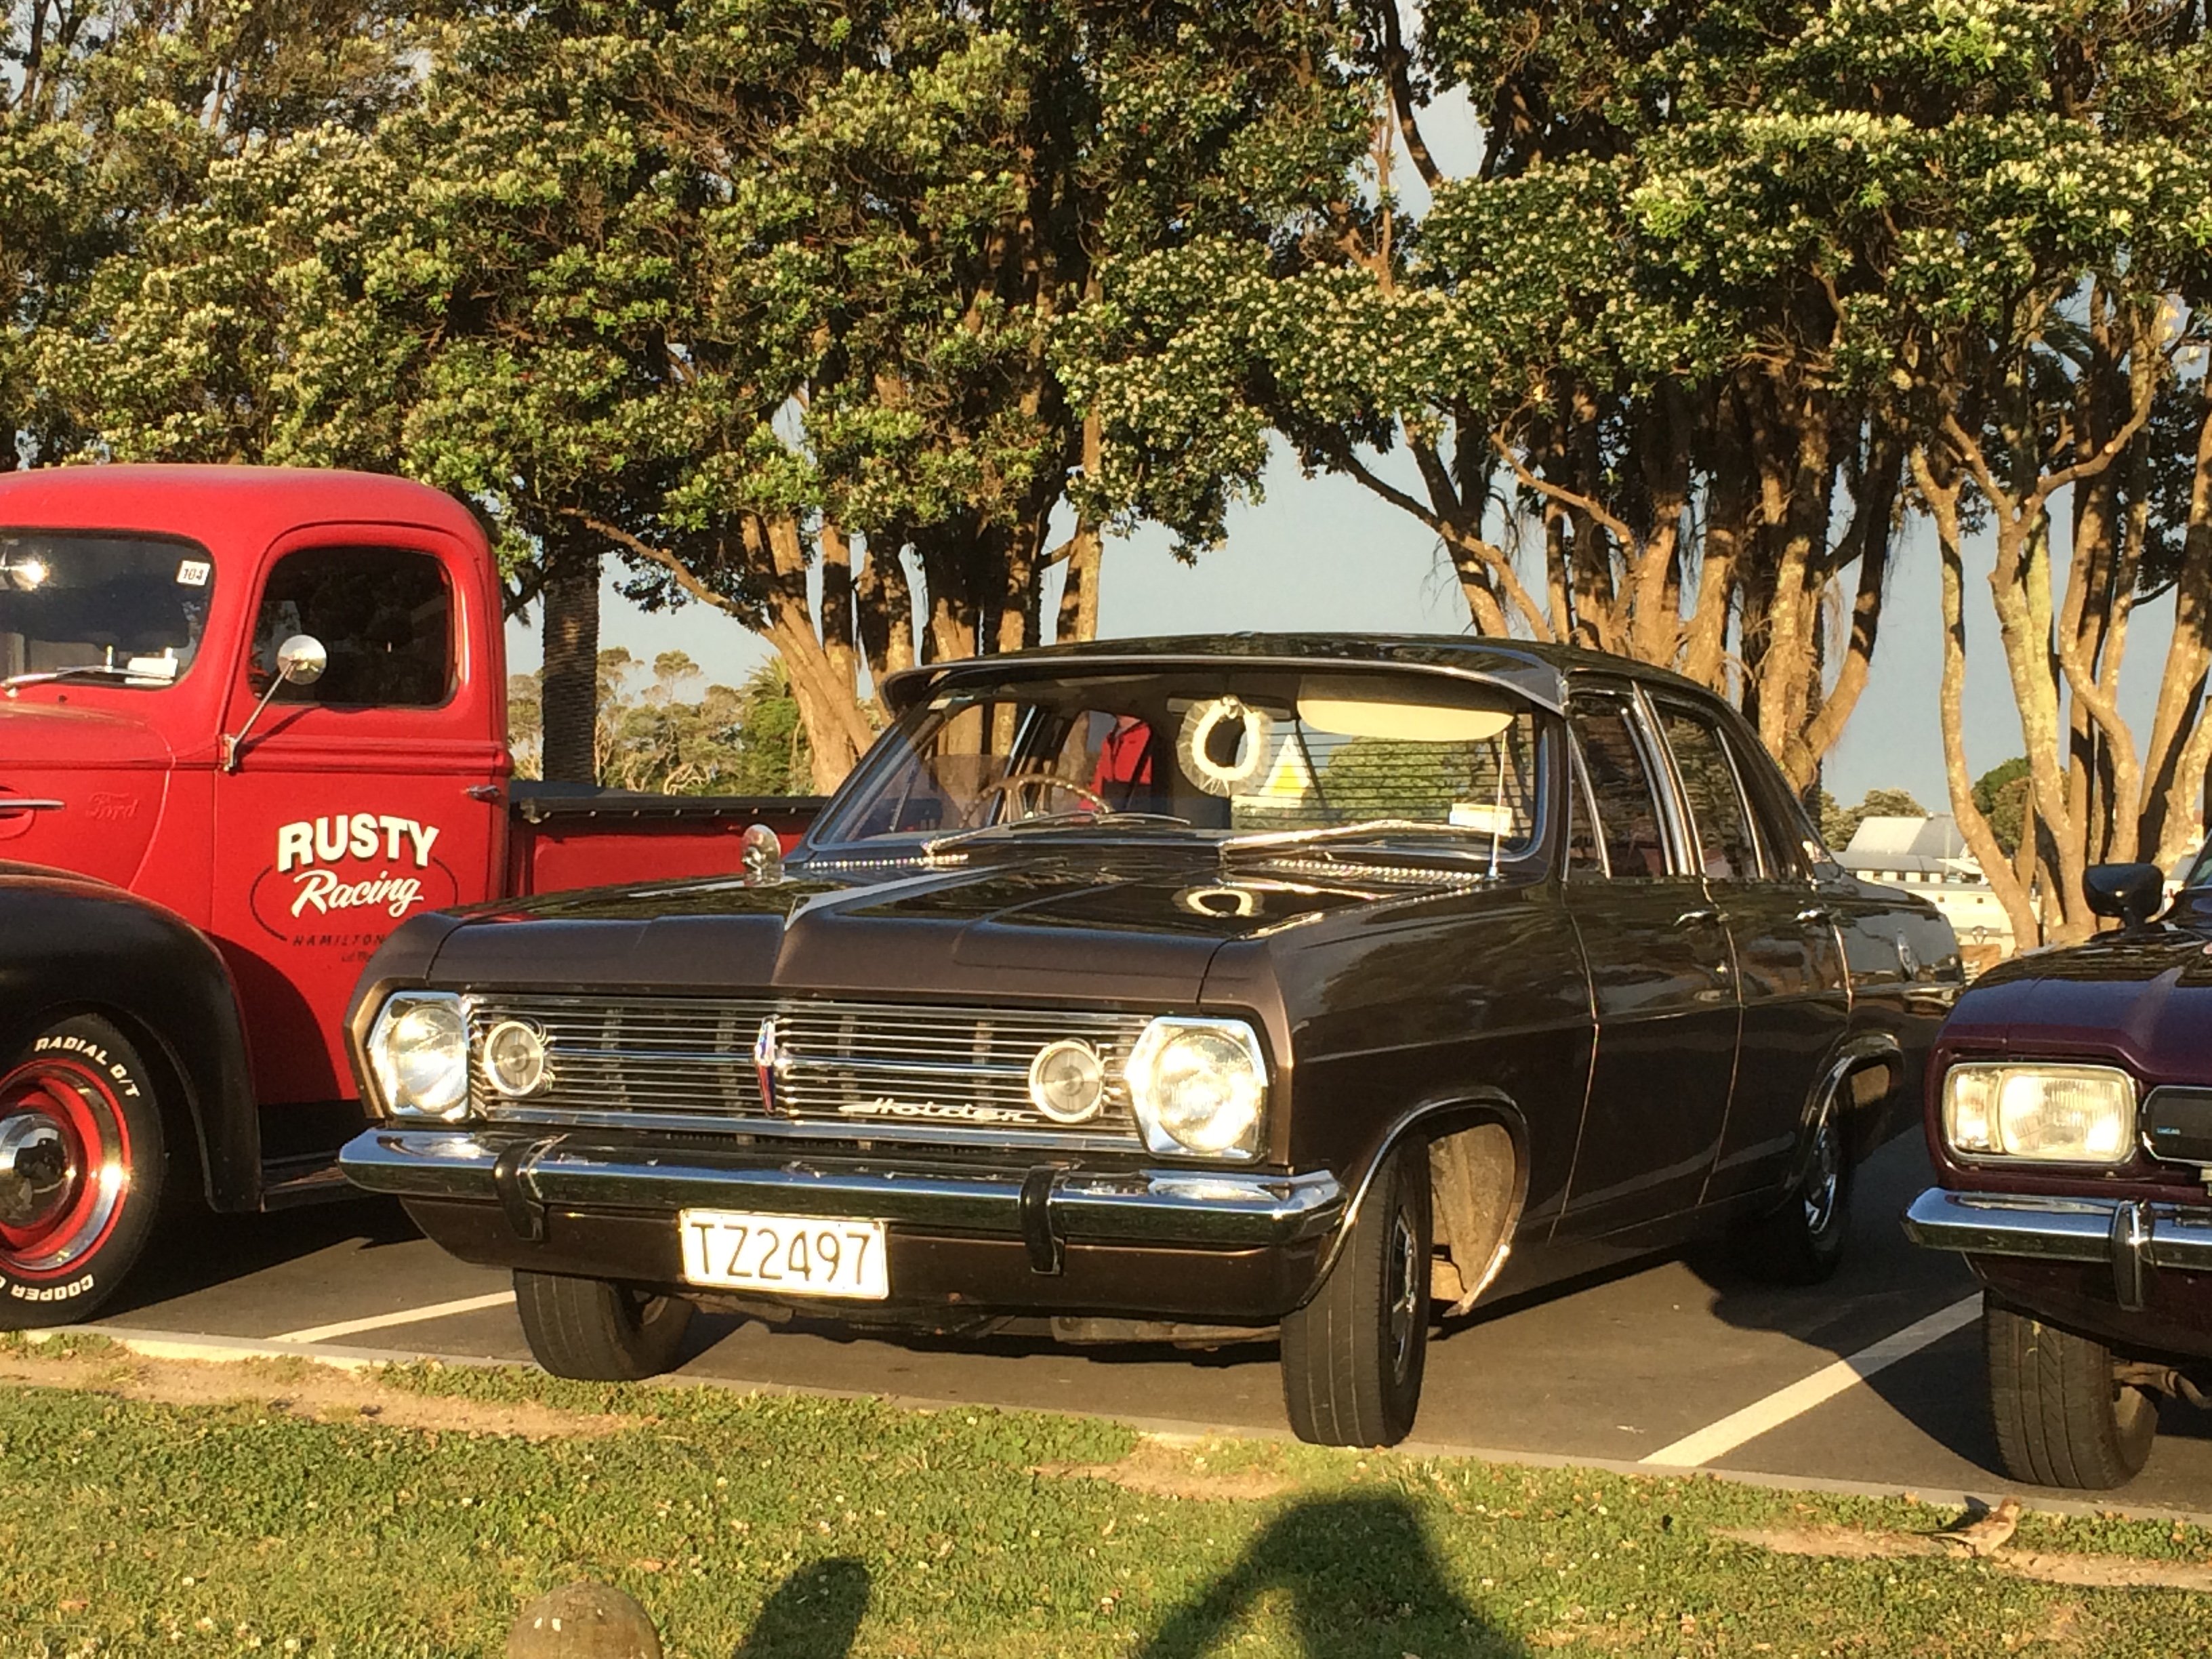
camping was legit. we cruised on up the motor way and done a few stop offs on the way up. had to deliver some rx2 carpet and beth wanted to stop in at her Auckland office. we made it to kai iwi lakes and got a sweet photo set up camp and got straight into it a nice photo of @Mrs 64valiant happy to be camping in a kombi with a wof, reg and insurance. with our newly acquired fridge our battery we purchased for our house side of thing wasn't quite cutting it. So i ended up having to go for a drive each day while we were camping. this wasn't really much of an issue for me due to really enjoying driving the kombi and wanting to explore what we have to offer in nz. so one day you probably saw in spam i took @sentra for a drive to a romantic beach. old @manlymanman and @Mrs 64valiant 3rd wheeled our cute date. we also went on a group adventure up to Opononi and to see Tane Mahuta. bloody hippies in there old cars old Tane Mahuta is a pretty large tree! Liv was kind enough to get a couple of cool pics of the kombi driving through the Waipoua Forest Beth and i had a rough work out on how much gas the kombi is using on our way up to kai iwi lakes. i think it worked out to be around 9.4kms per letter which is what my subaru out back does on a average day. gets to about 11.5kms per letter on the open road but not as much smiles per miles thats for sure. while we were away we decided if we wanted to stay in one location more than a day we would need to go for a drive or we should get a solar panel. that comes to todays purchase. done some online looking and worked out that if we wanted one it would probably be better if we got one that was fixed to our kombi other than another thing we have to pack and unpack which is on the bottom of my list of things to do. my main reason of going with this one was the size and the fact i got it today. it fits perfectly inside out roof rack spot on the kombi. cant be seen form standing at grass height unless you are tall unlike me but also means i dont have to go drilling holes anywhere and having the possibility of water leaking in. so with wagnats approaching very fast ive got 3 days to mount this in place and wire it up so i can still service it or get to it when i need to. well thats me for now. we will see you later13 points
-
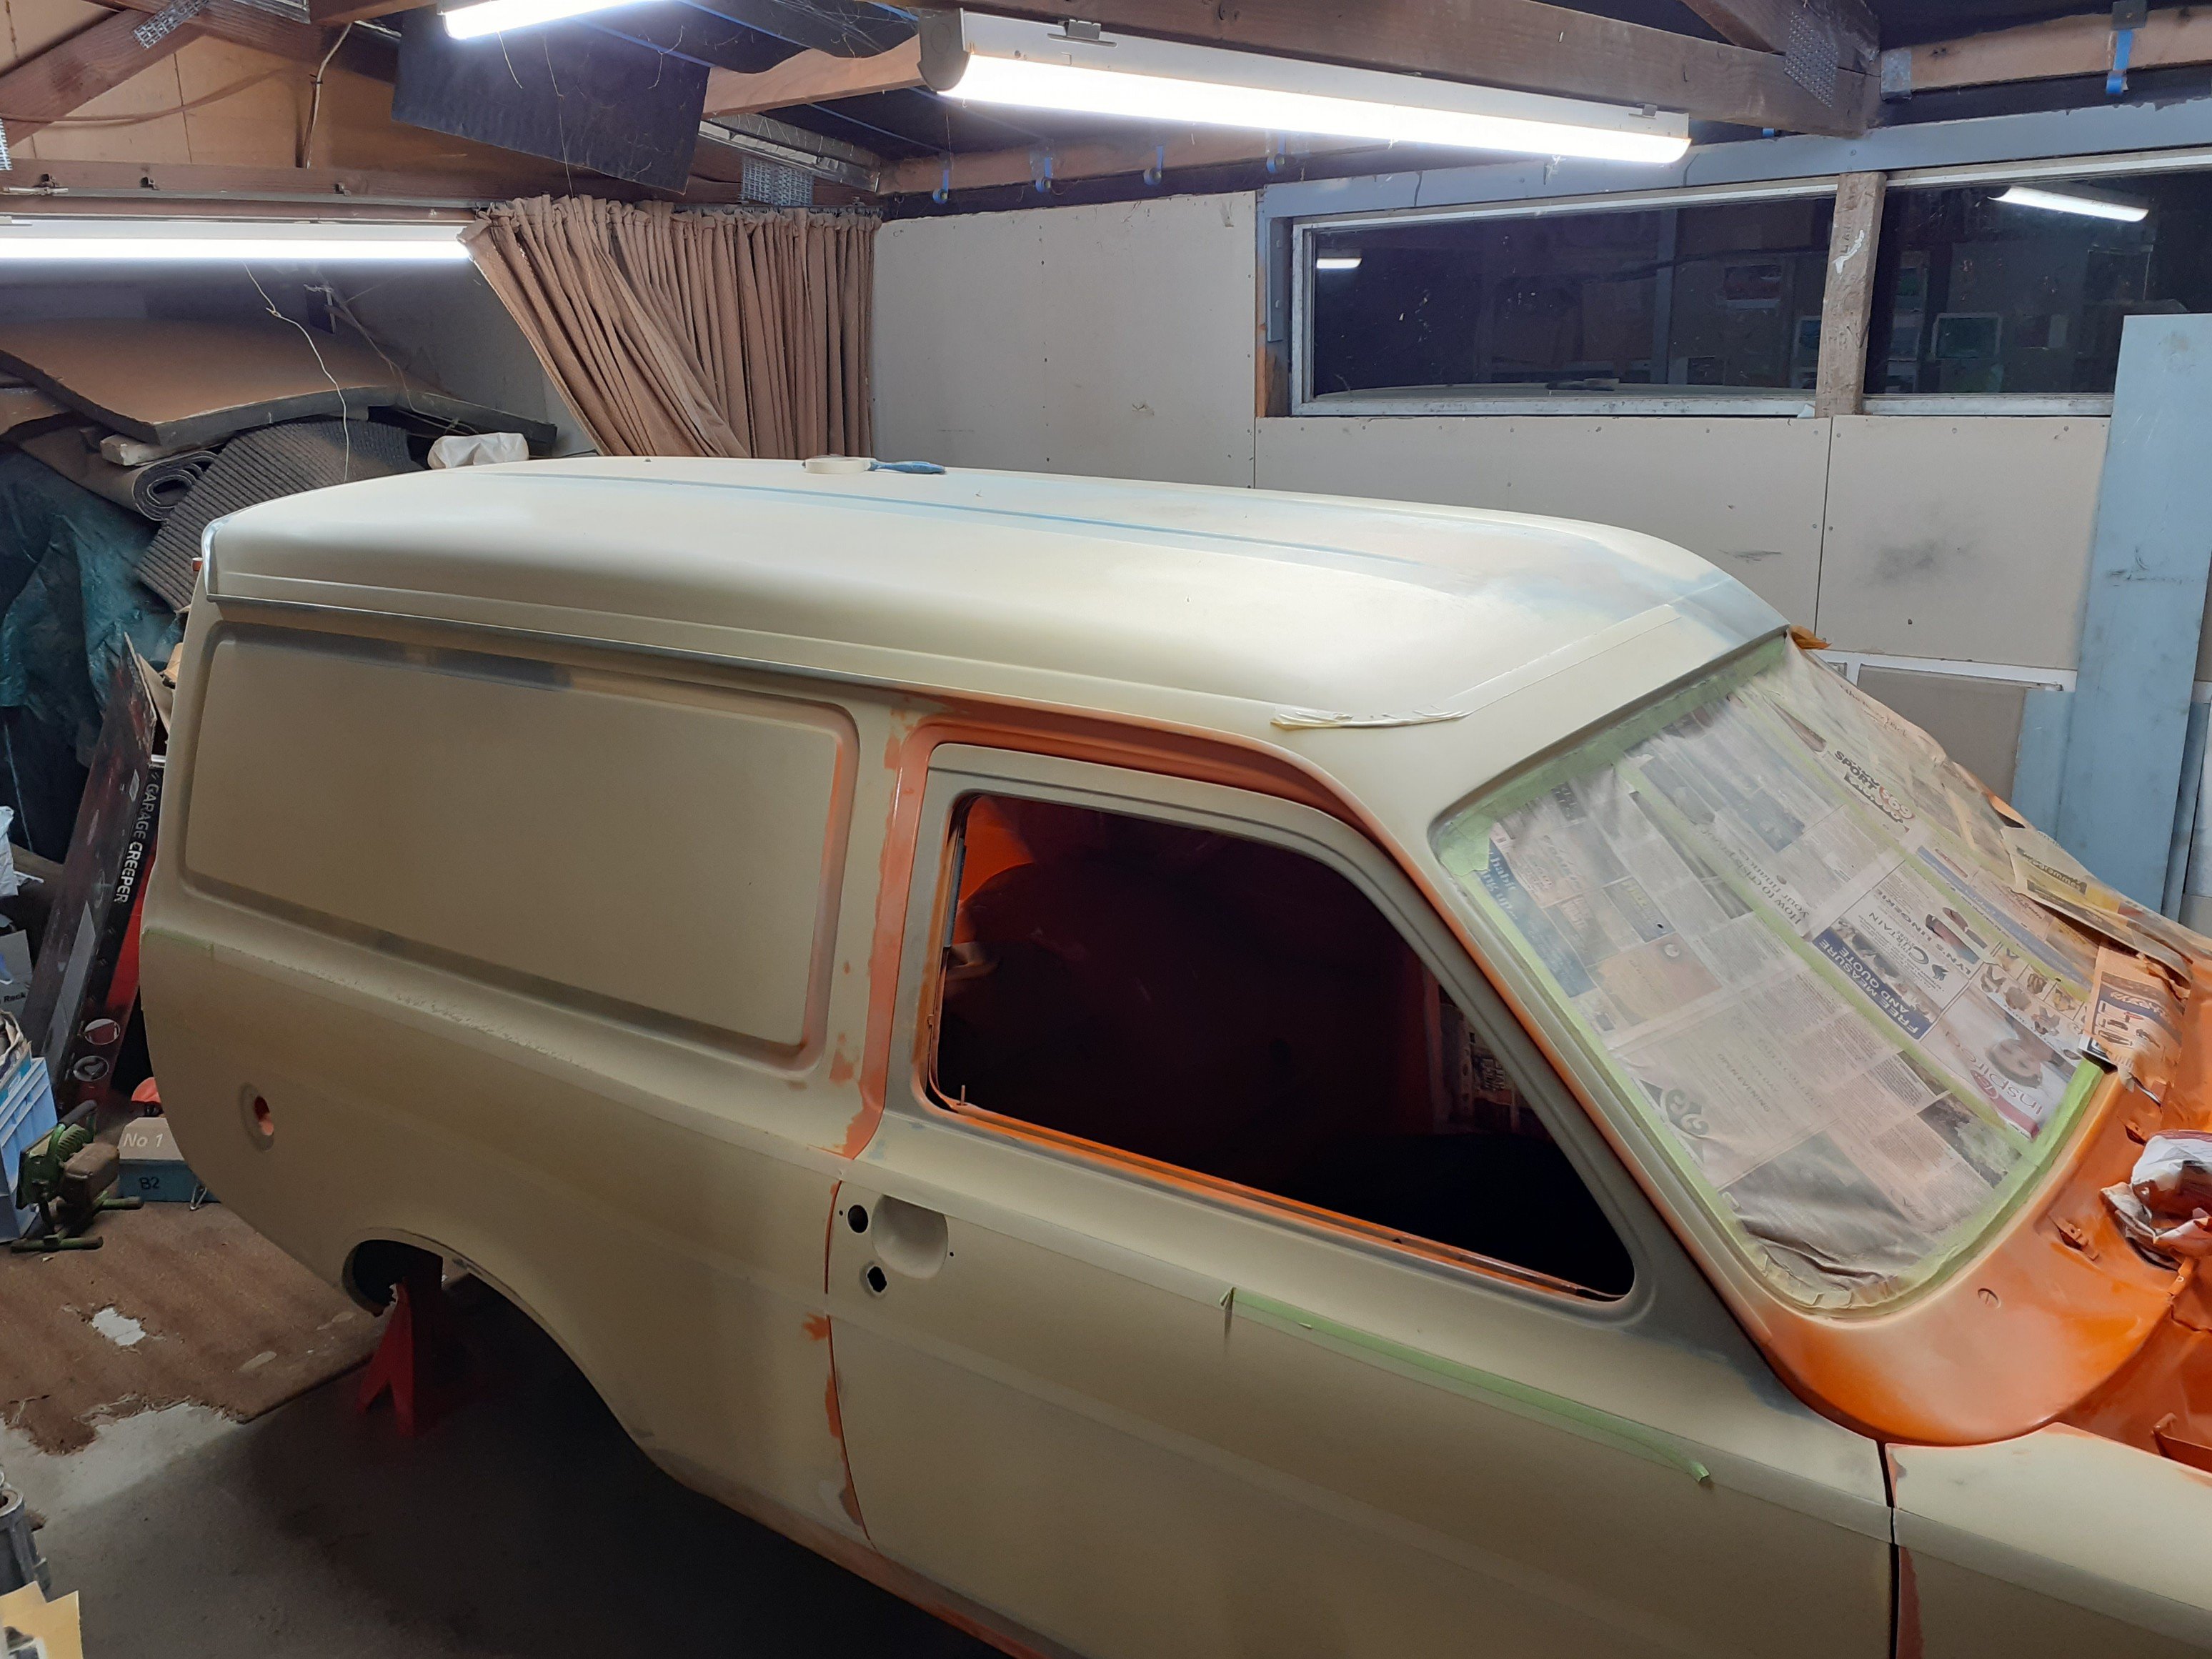
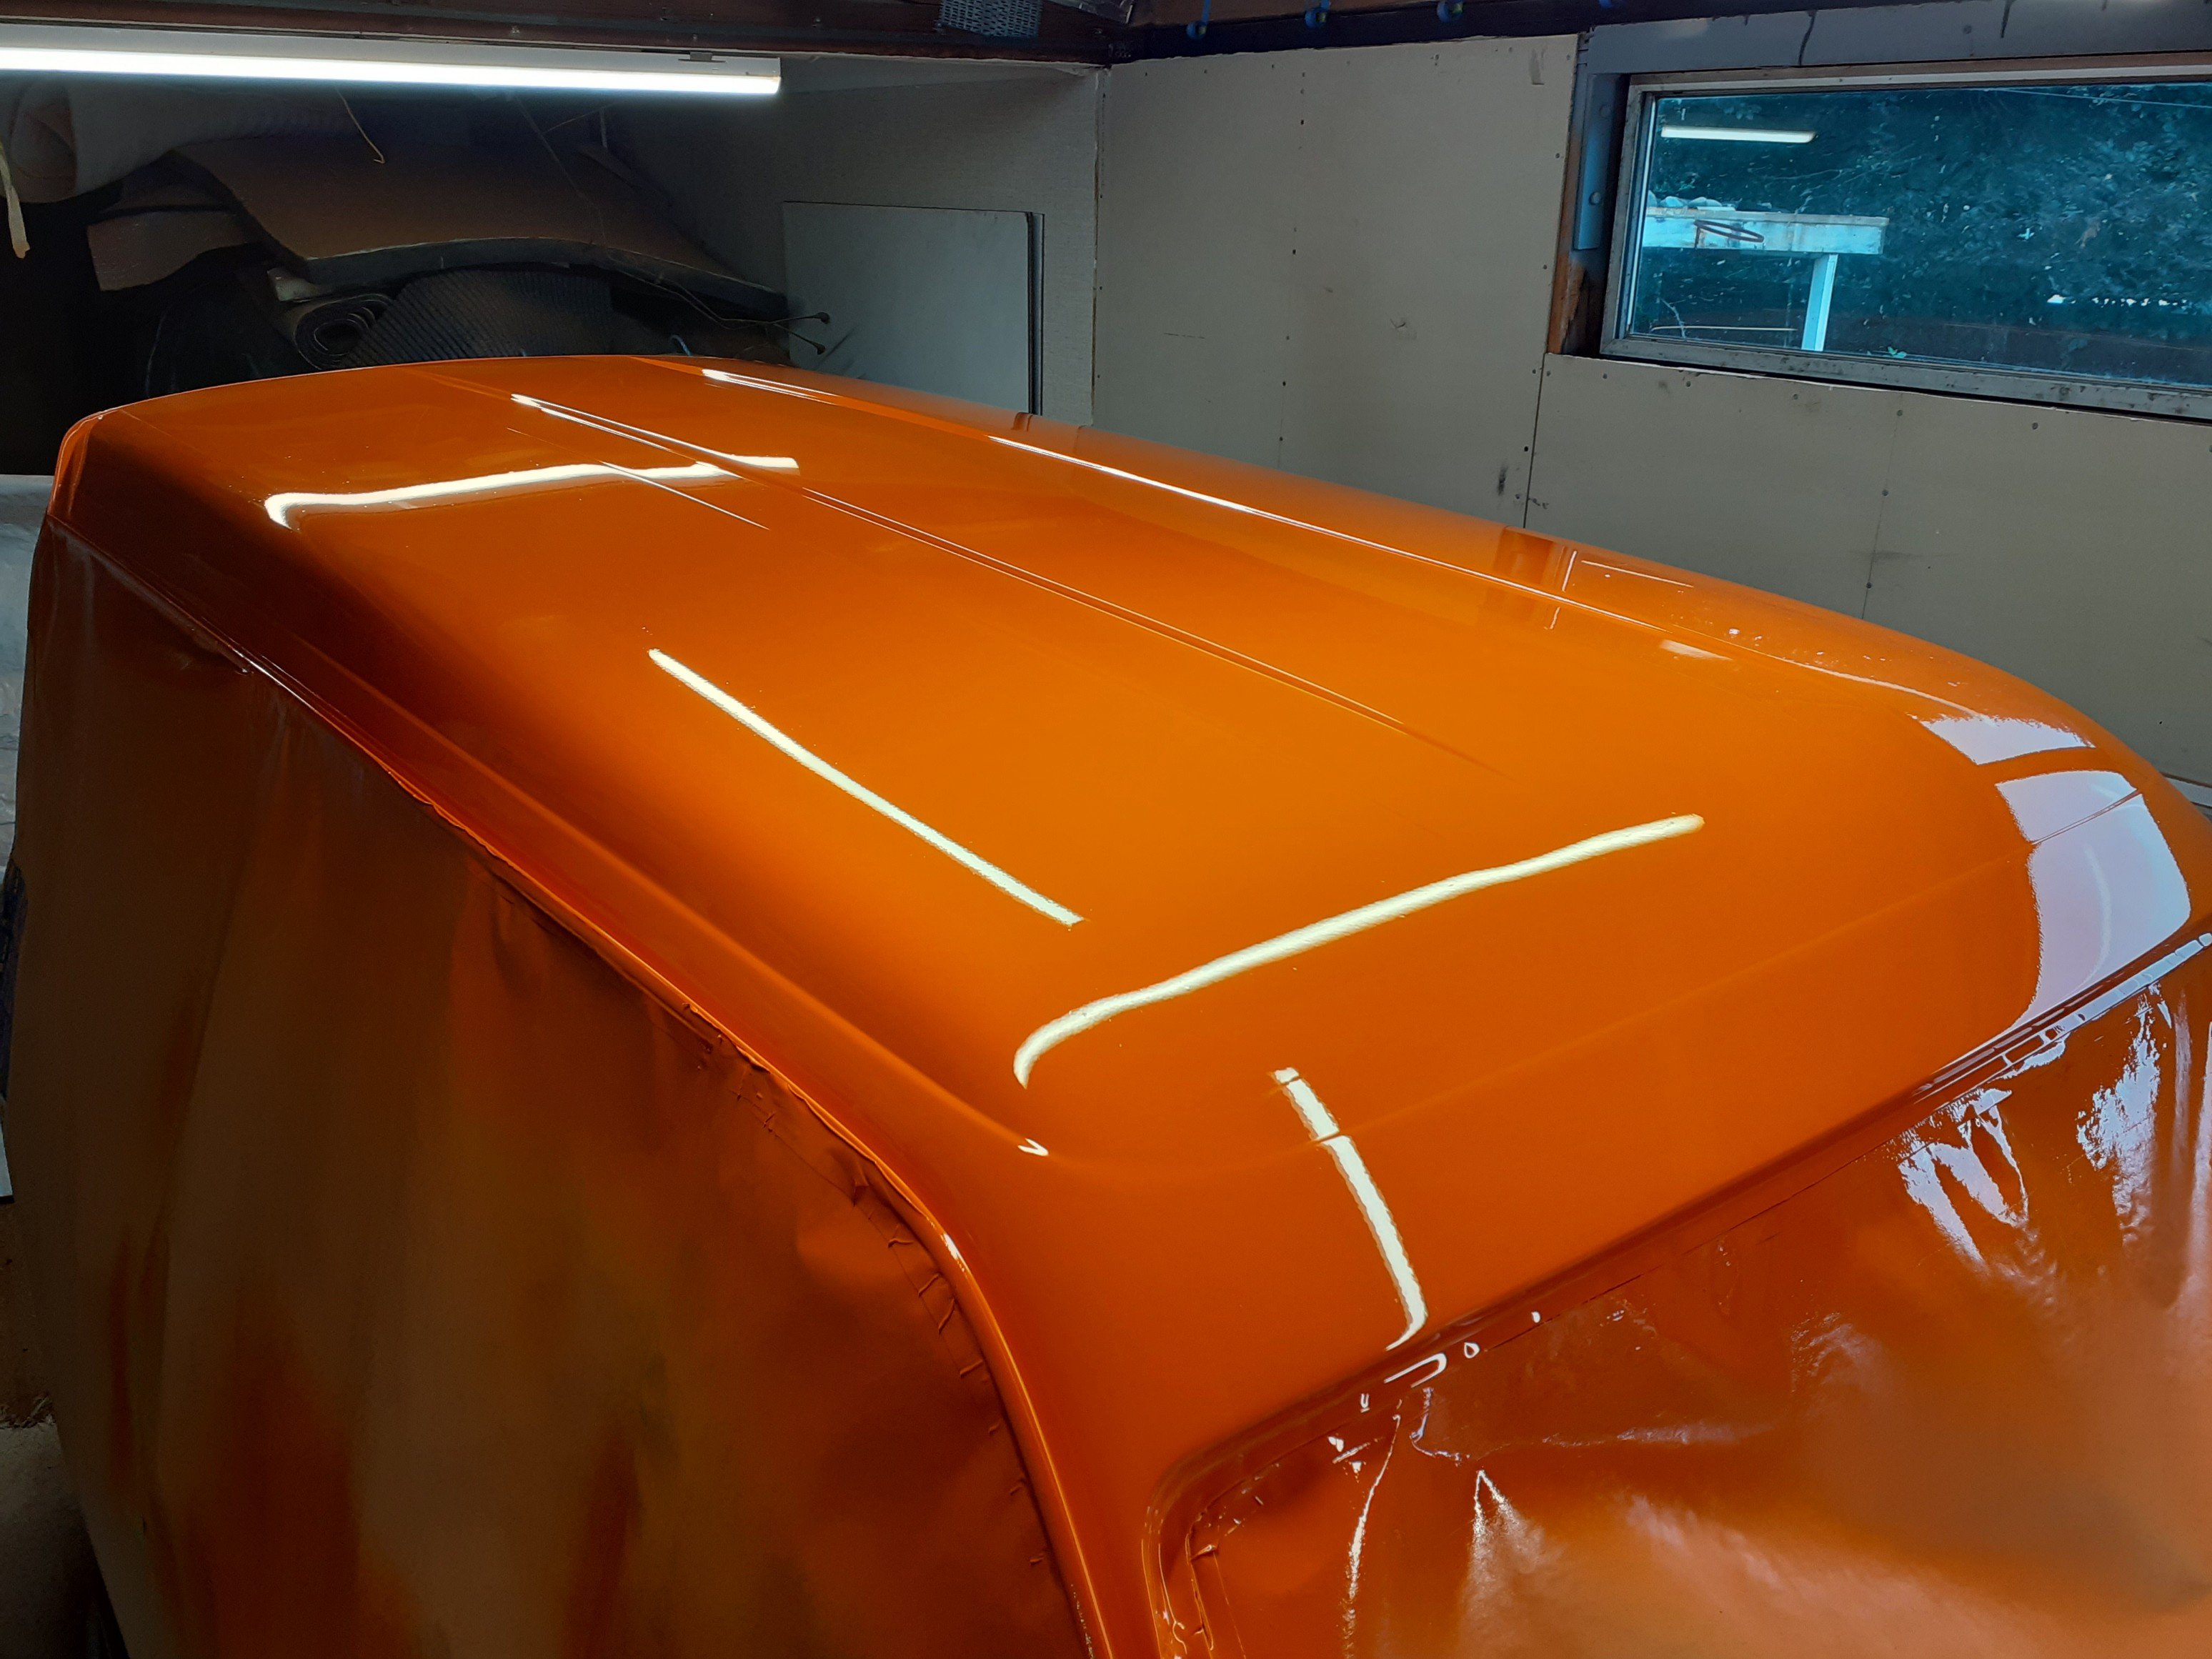
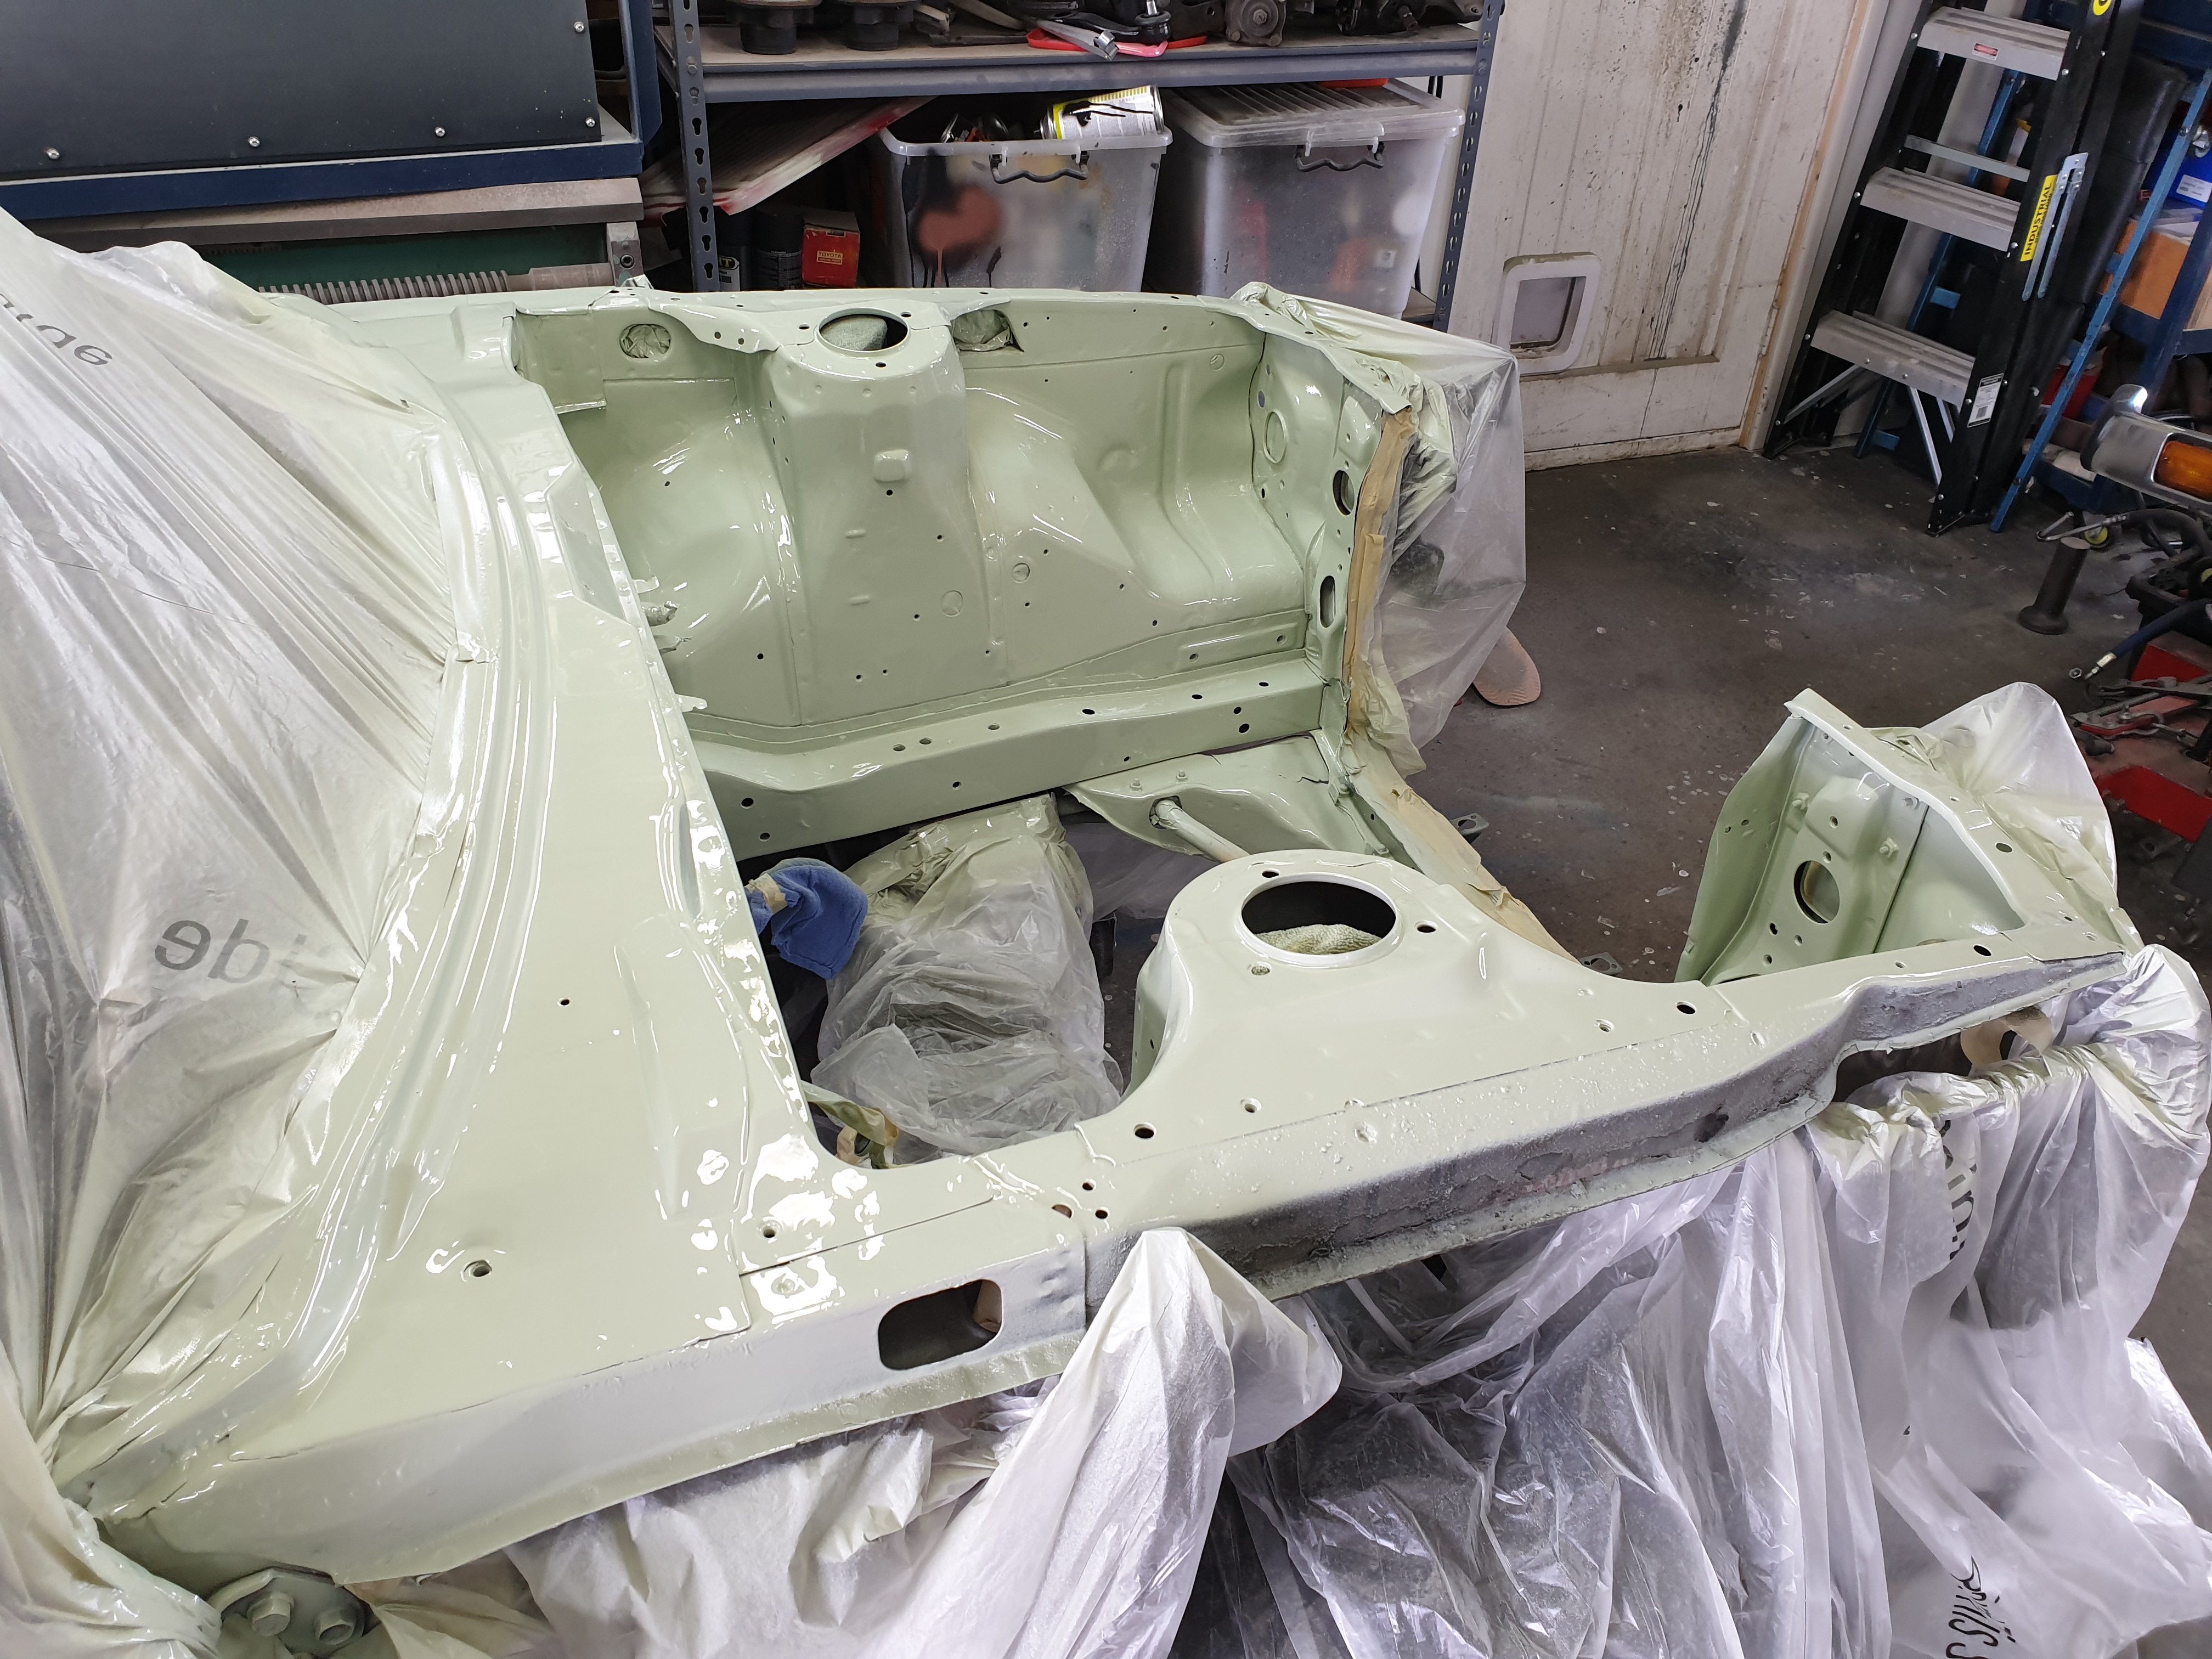
Finally getting back into this after a few months away. Have decided to paint the outside in two sections which hopefully makes it a bit more manageable. The obvious way was to section off the roof. The other reason for doing it this way is to ensure there is plenty of paint in the gutters which are prone to rust. By sectioning it off, it gets painted when the roof is done, and again when the sides get done. This ensures maximum paint without making a mess. Have been sanding for the last couple weeks. My weak little office arms really struggled with painting the roof today but I'm pretty happy with the outcome.
 12 points
 -
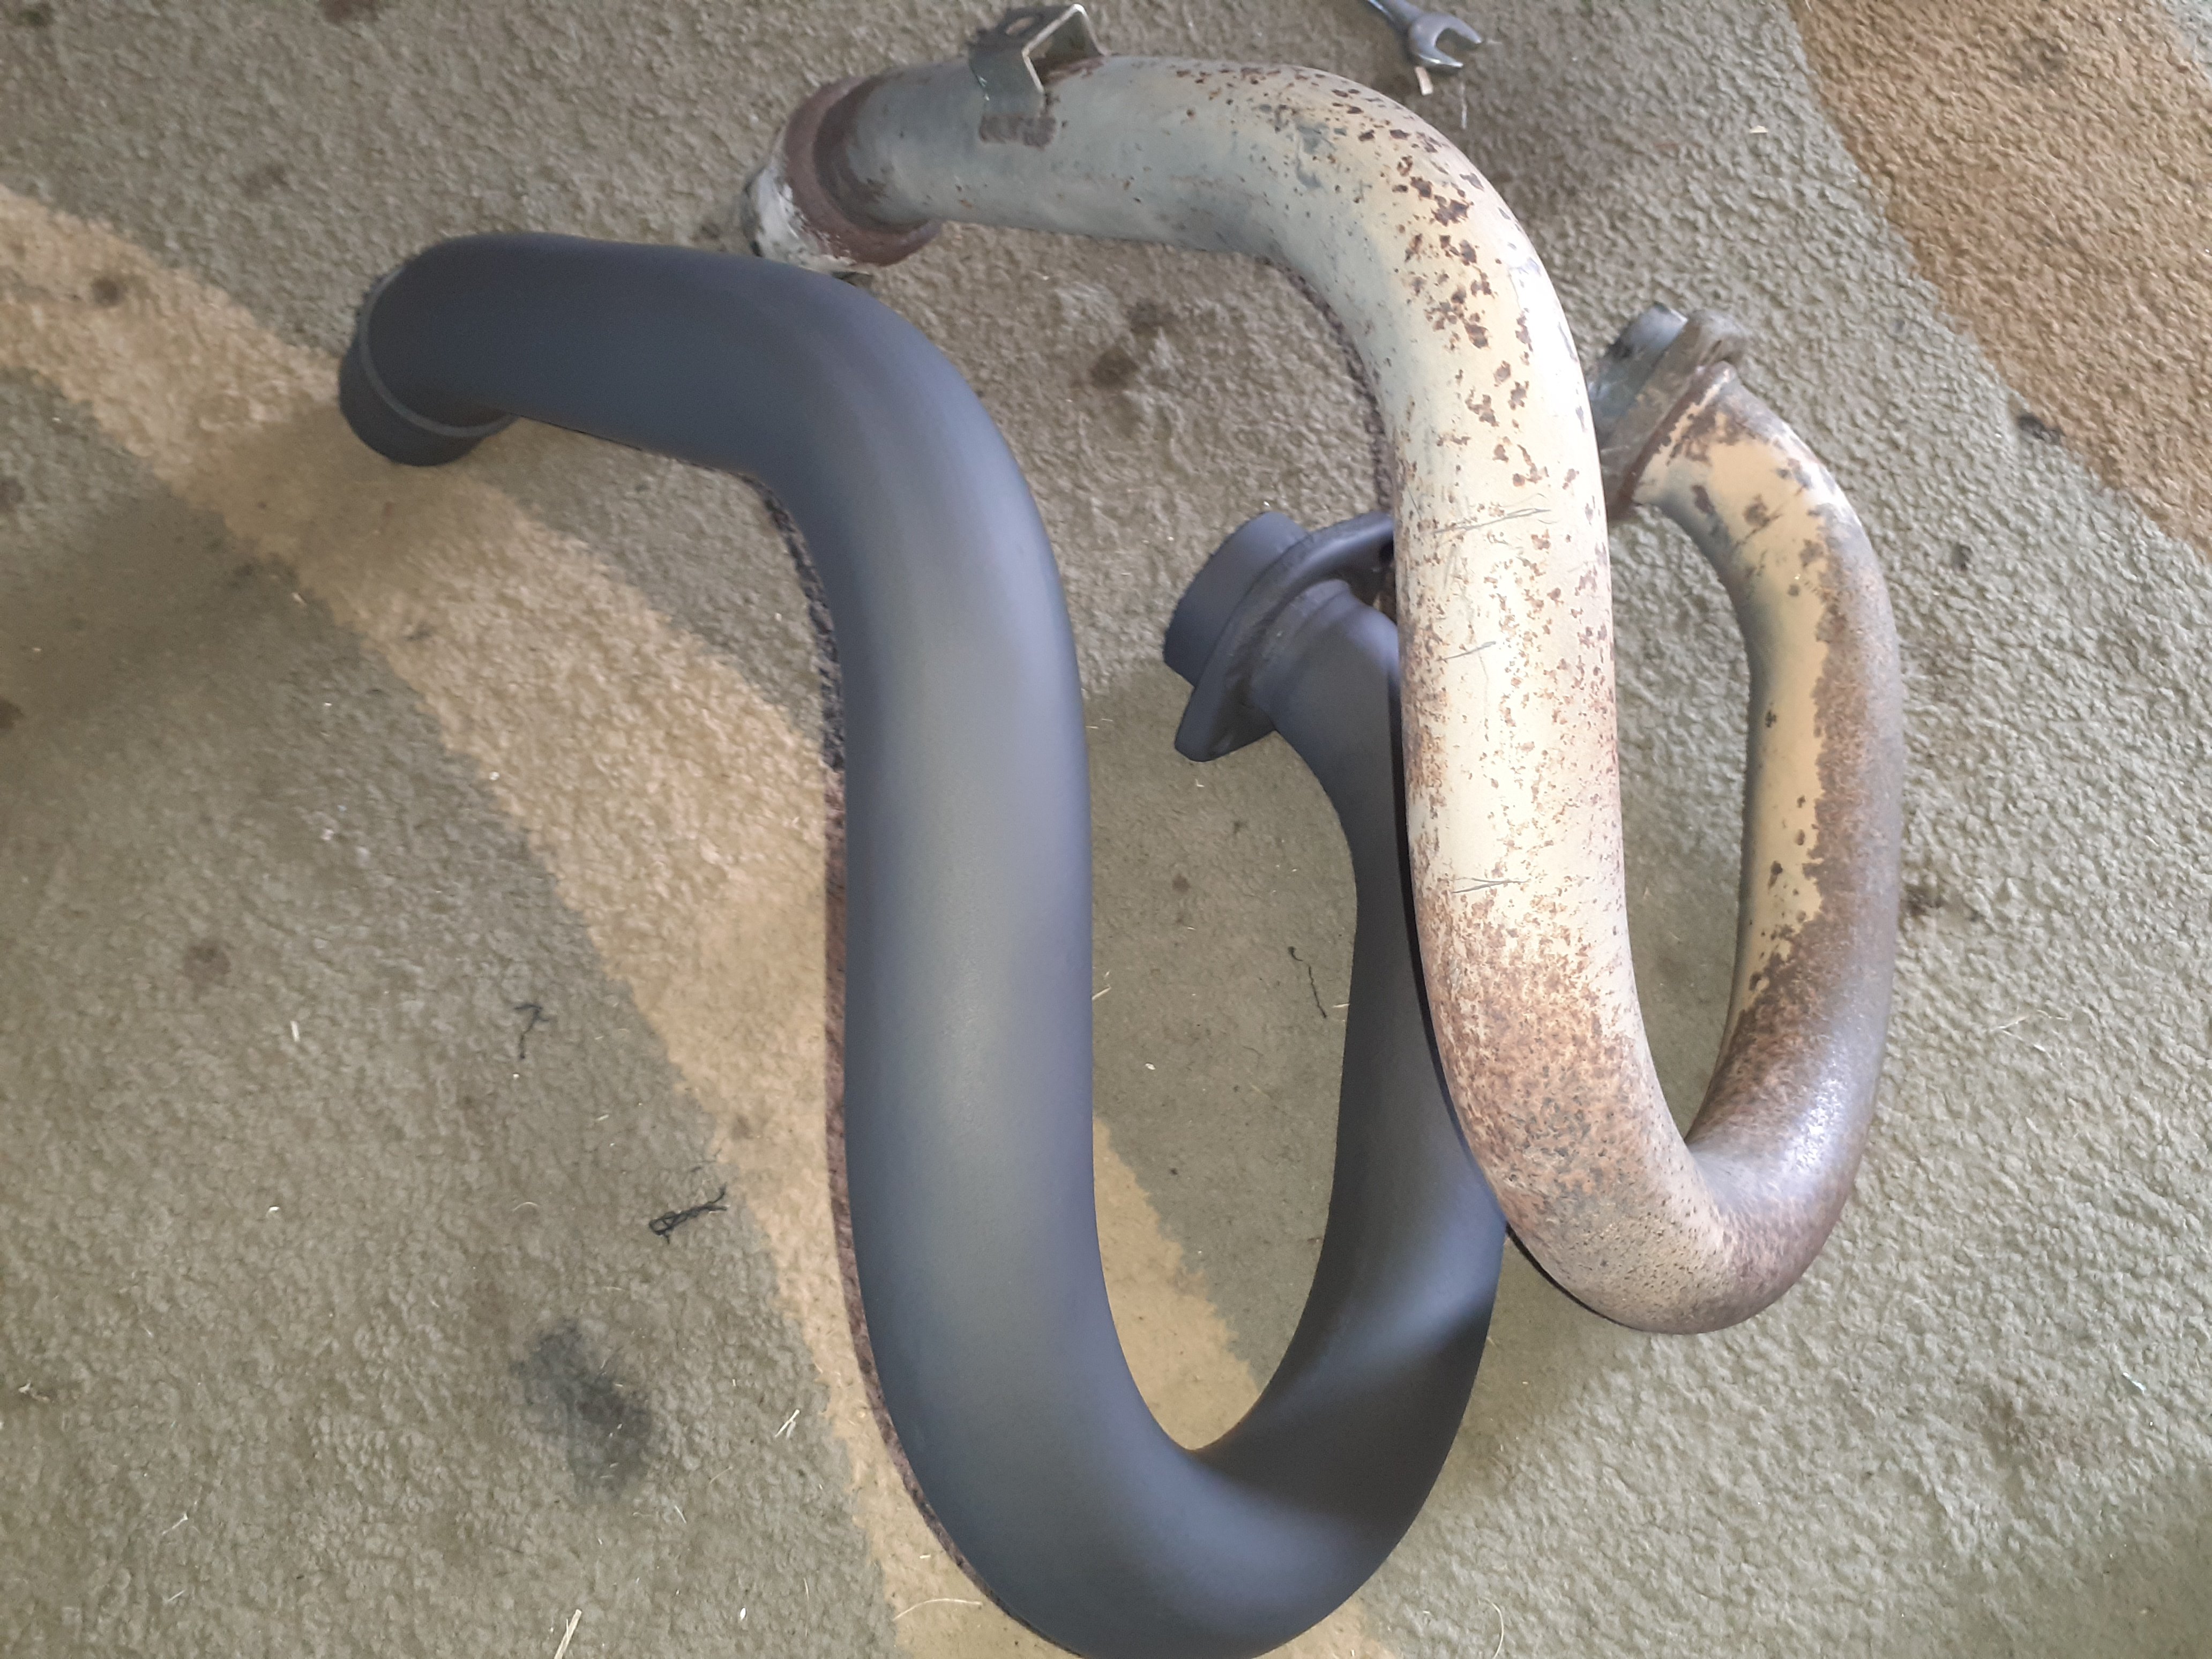
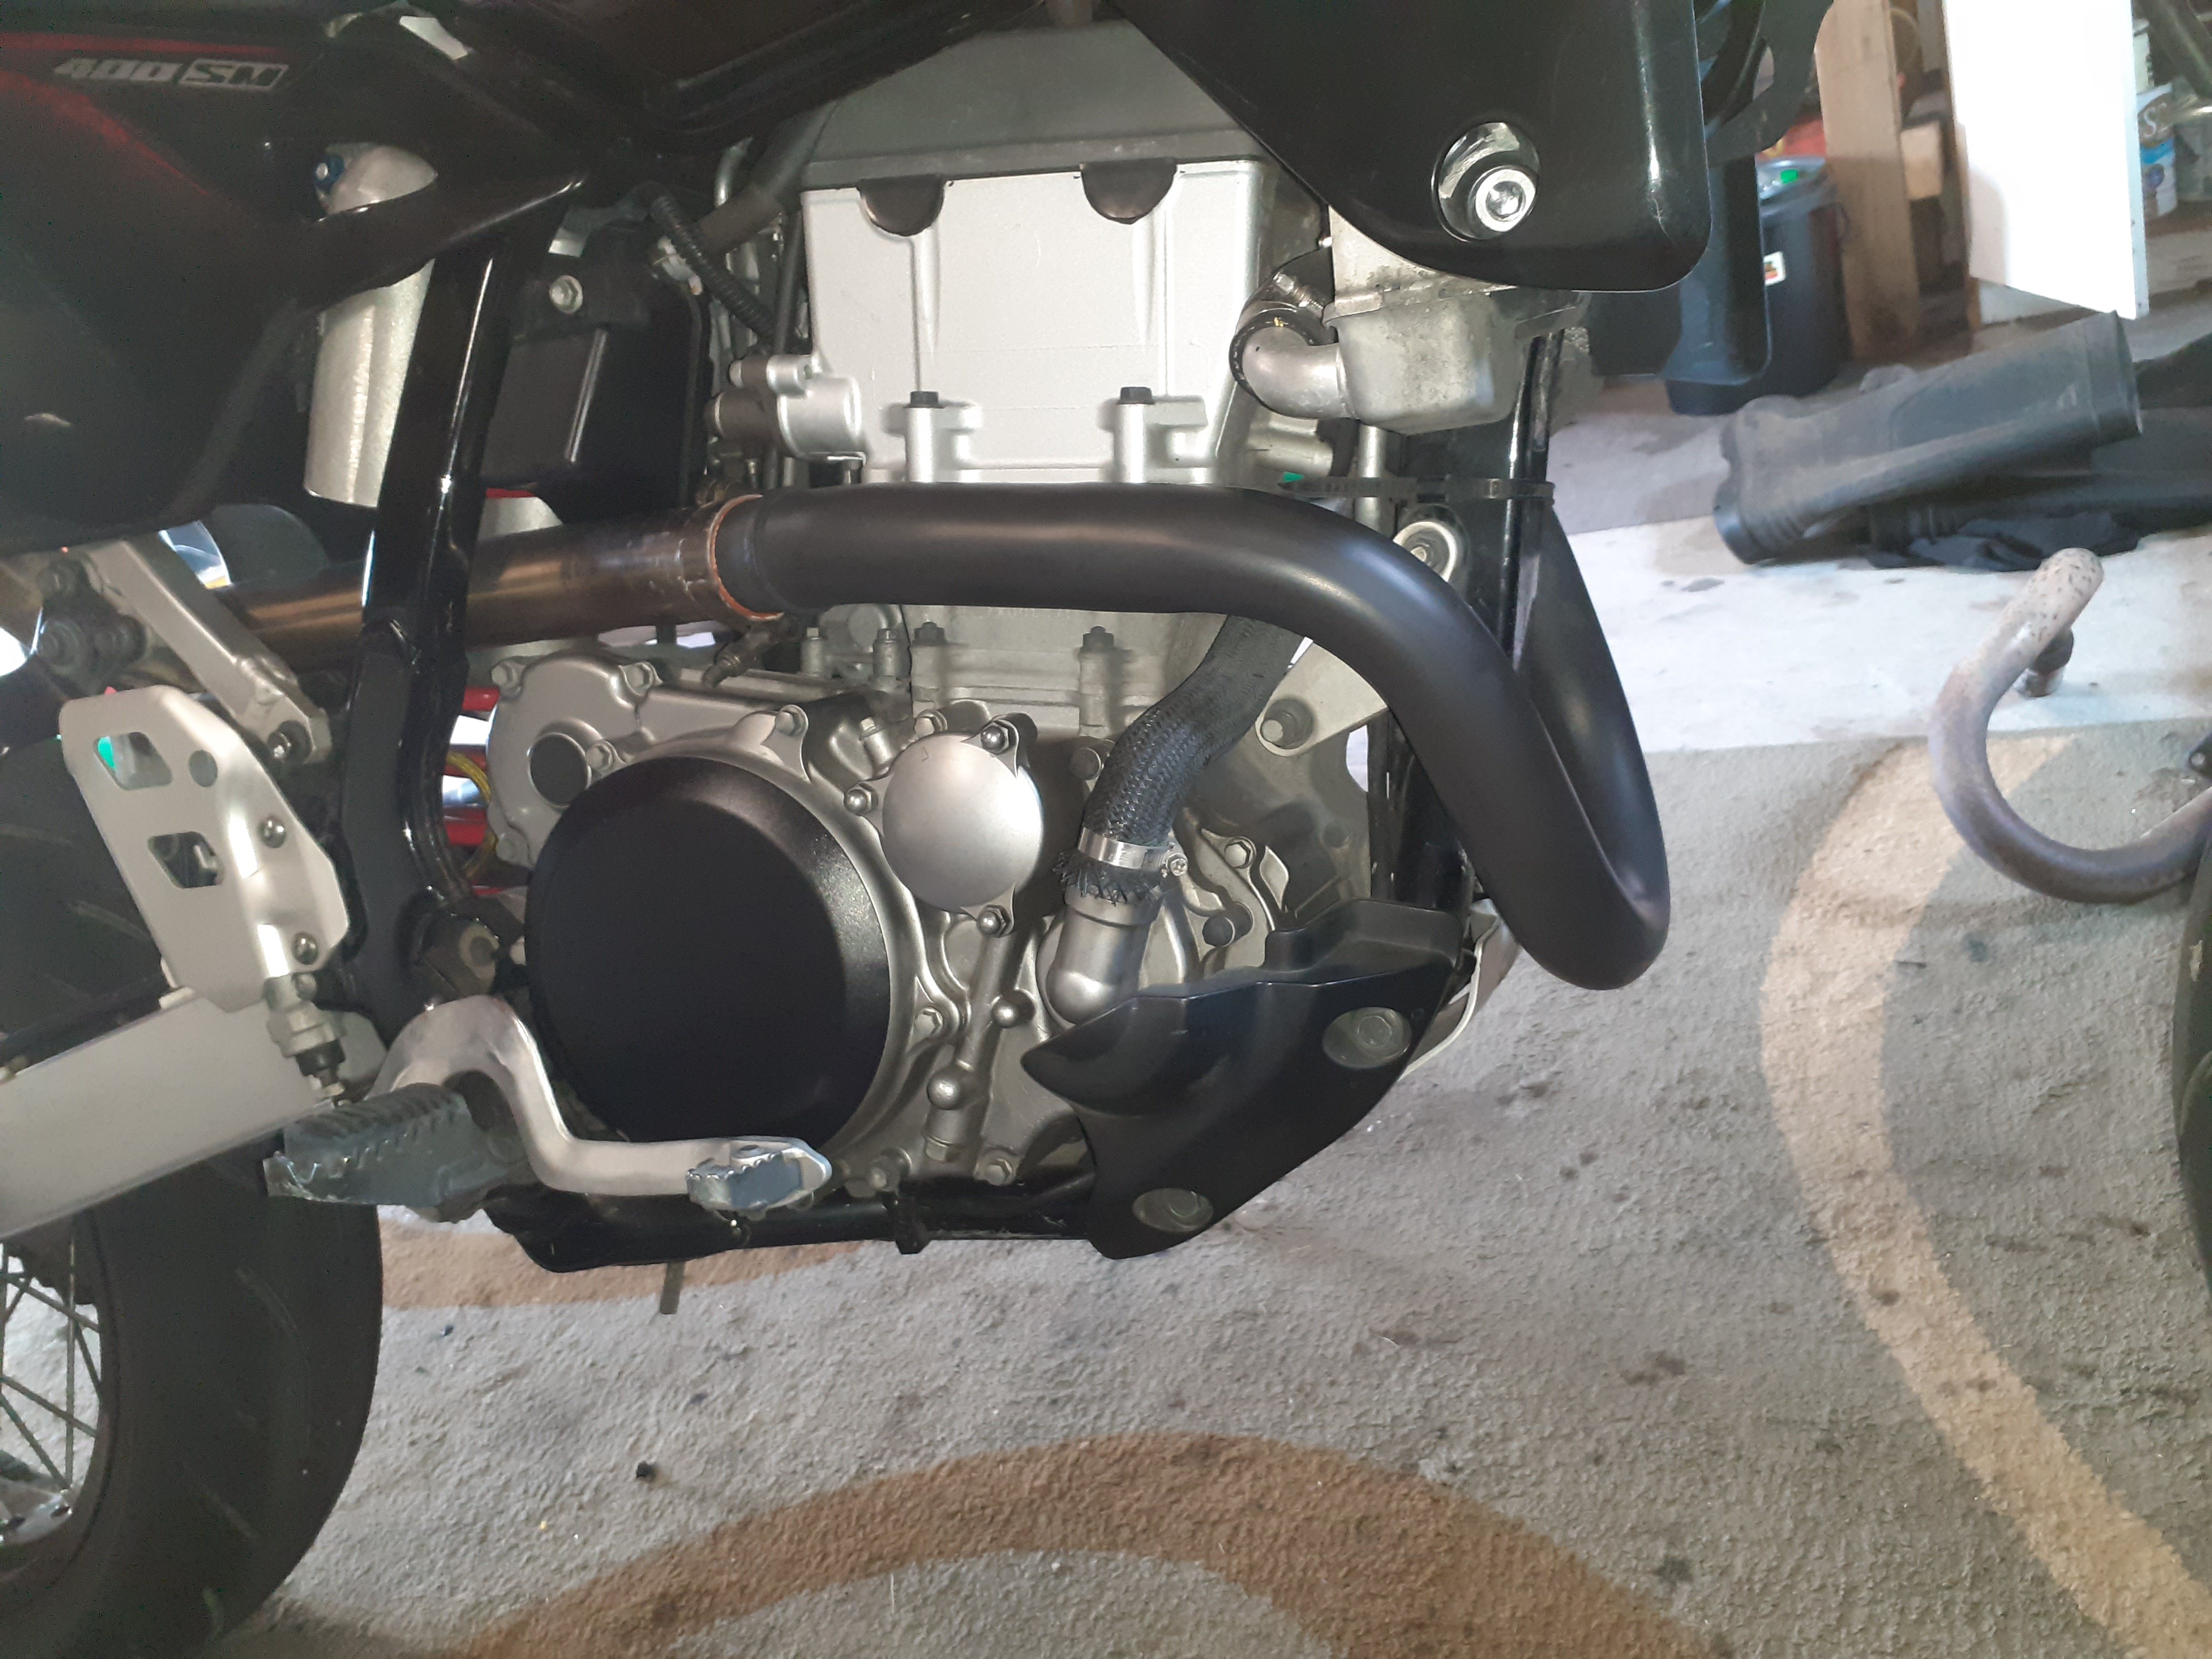
Found a DRZ400 E front pipe on trademe, tidied it up, painted and put it on. E pipe is bigger than S or SM, not by much (I think its 38mm vs 42mm ish od) but now it matches the rear pipe size better Bum dyno shows no noticeable change but at least it looks tidier
12 points
-
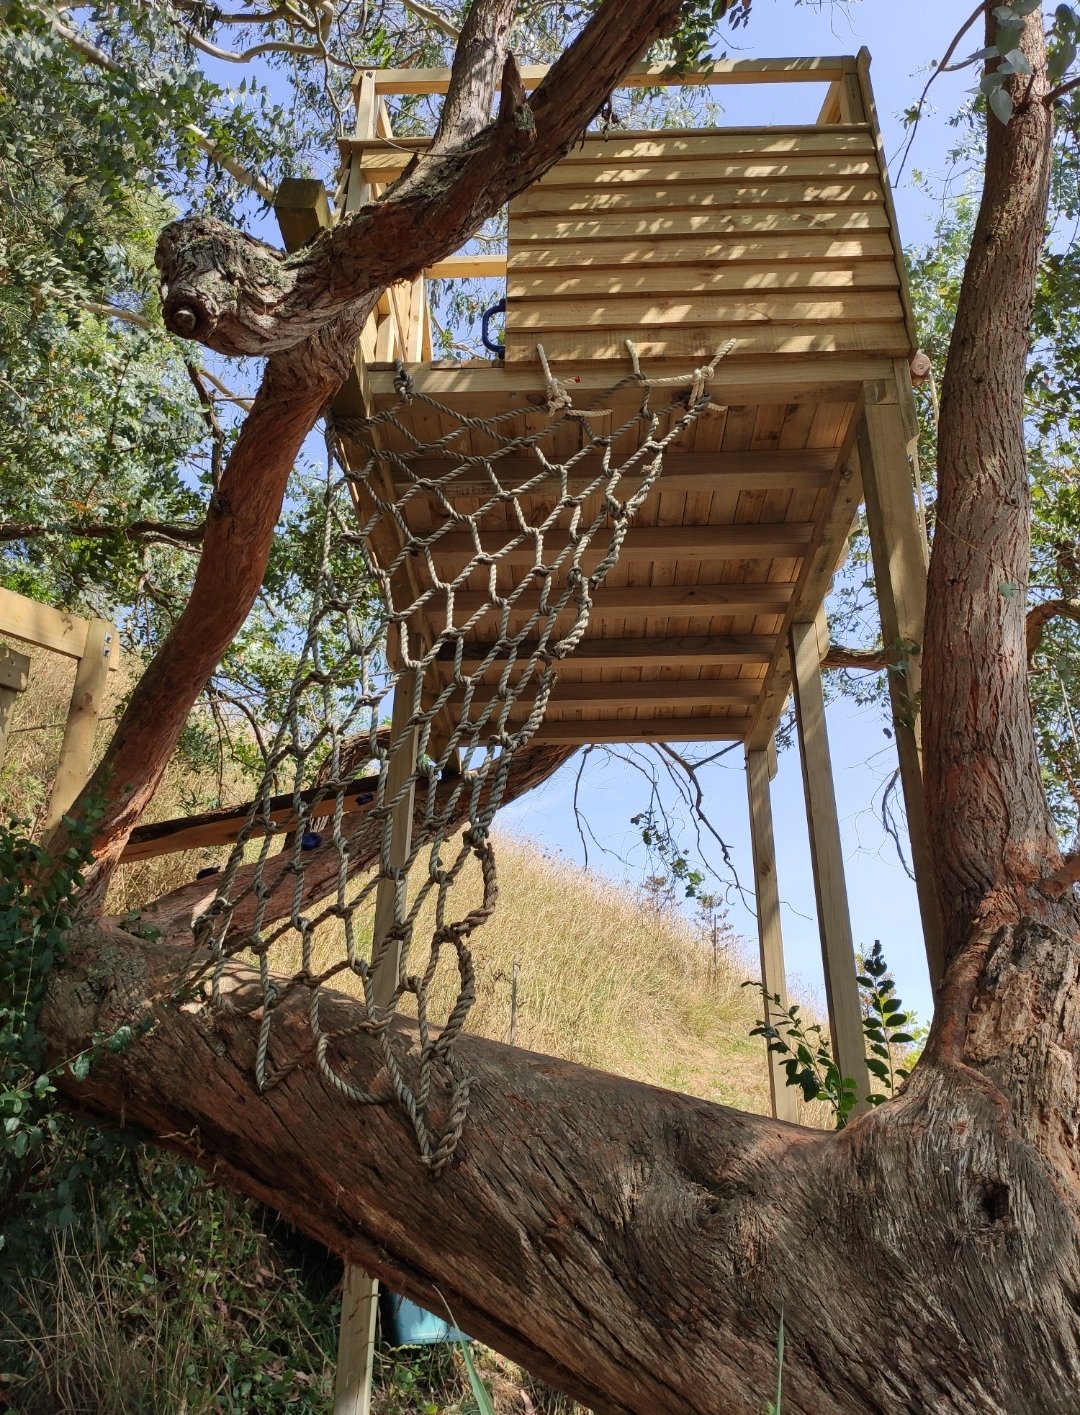
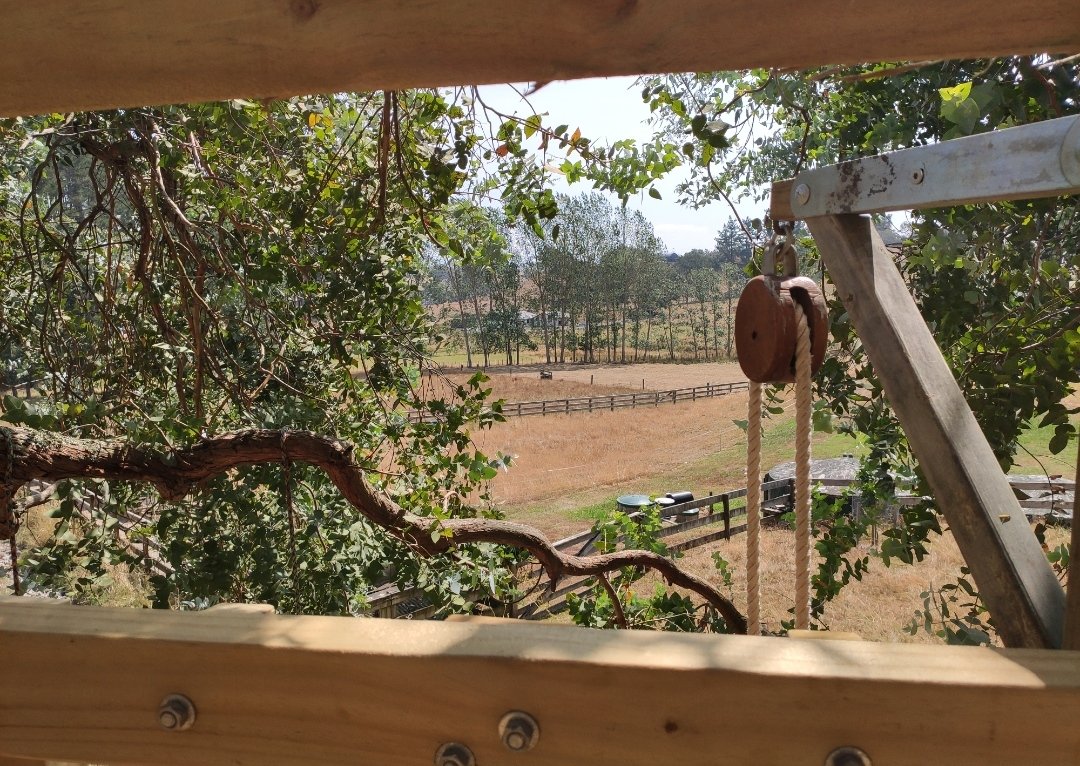
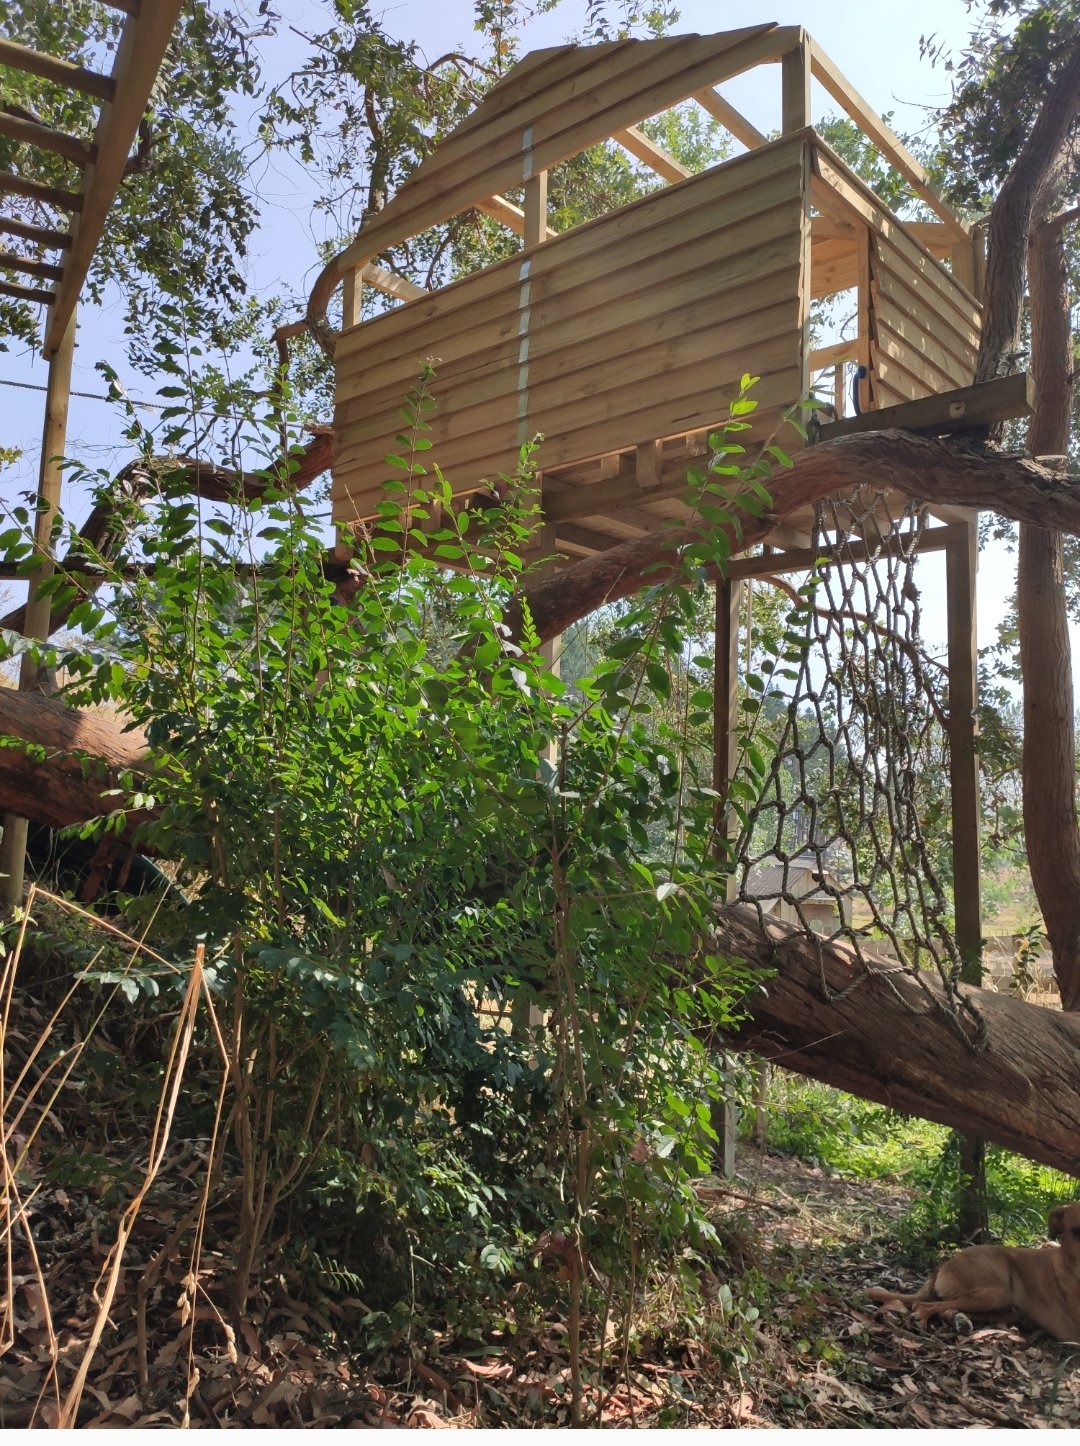
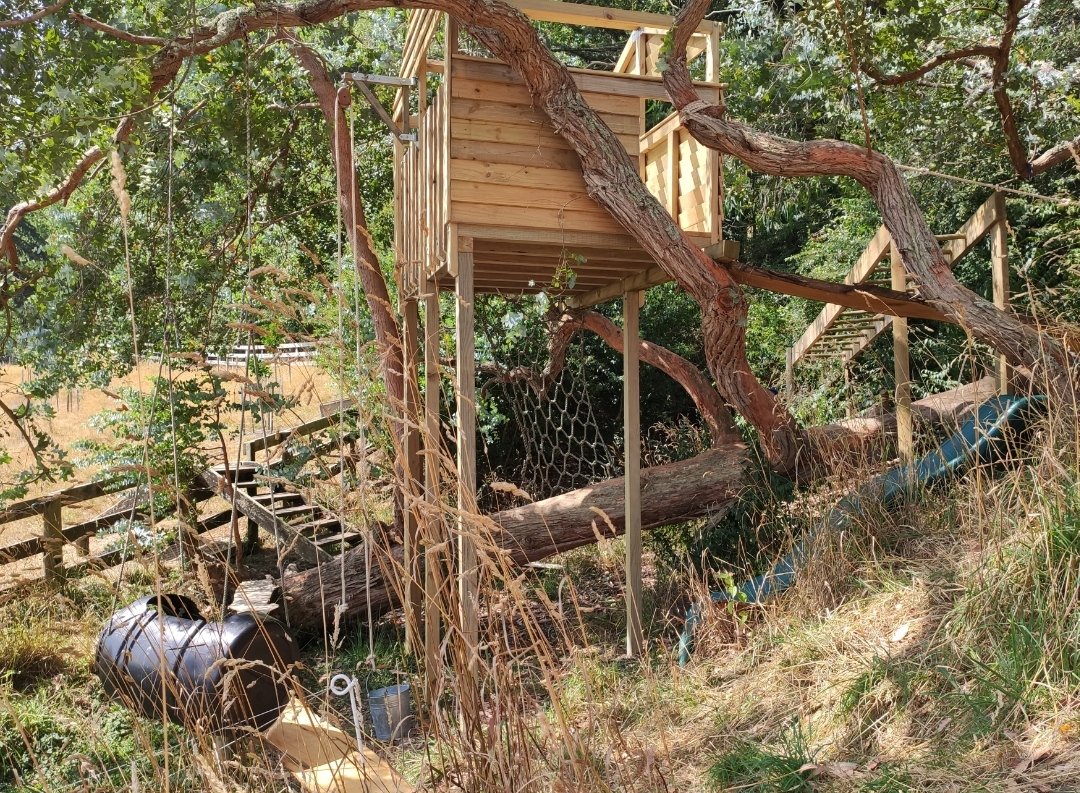
School holidays project with the boy, super fun building this kinda stuff get to channel yet inner 8yr old. Still needs iron and a few other things, but mostly there: View from the top deck, stoked with the pulley scored it off TM as salvage from some old ship
11 points
-
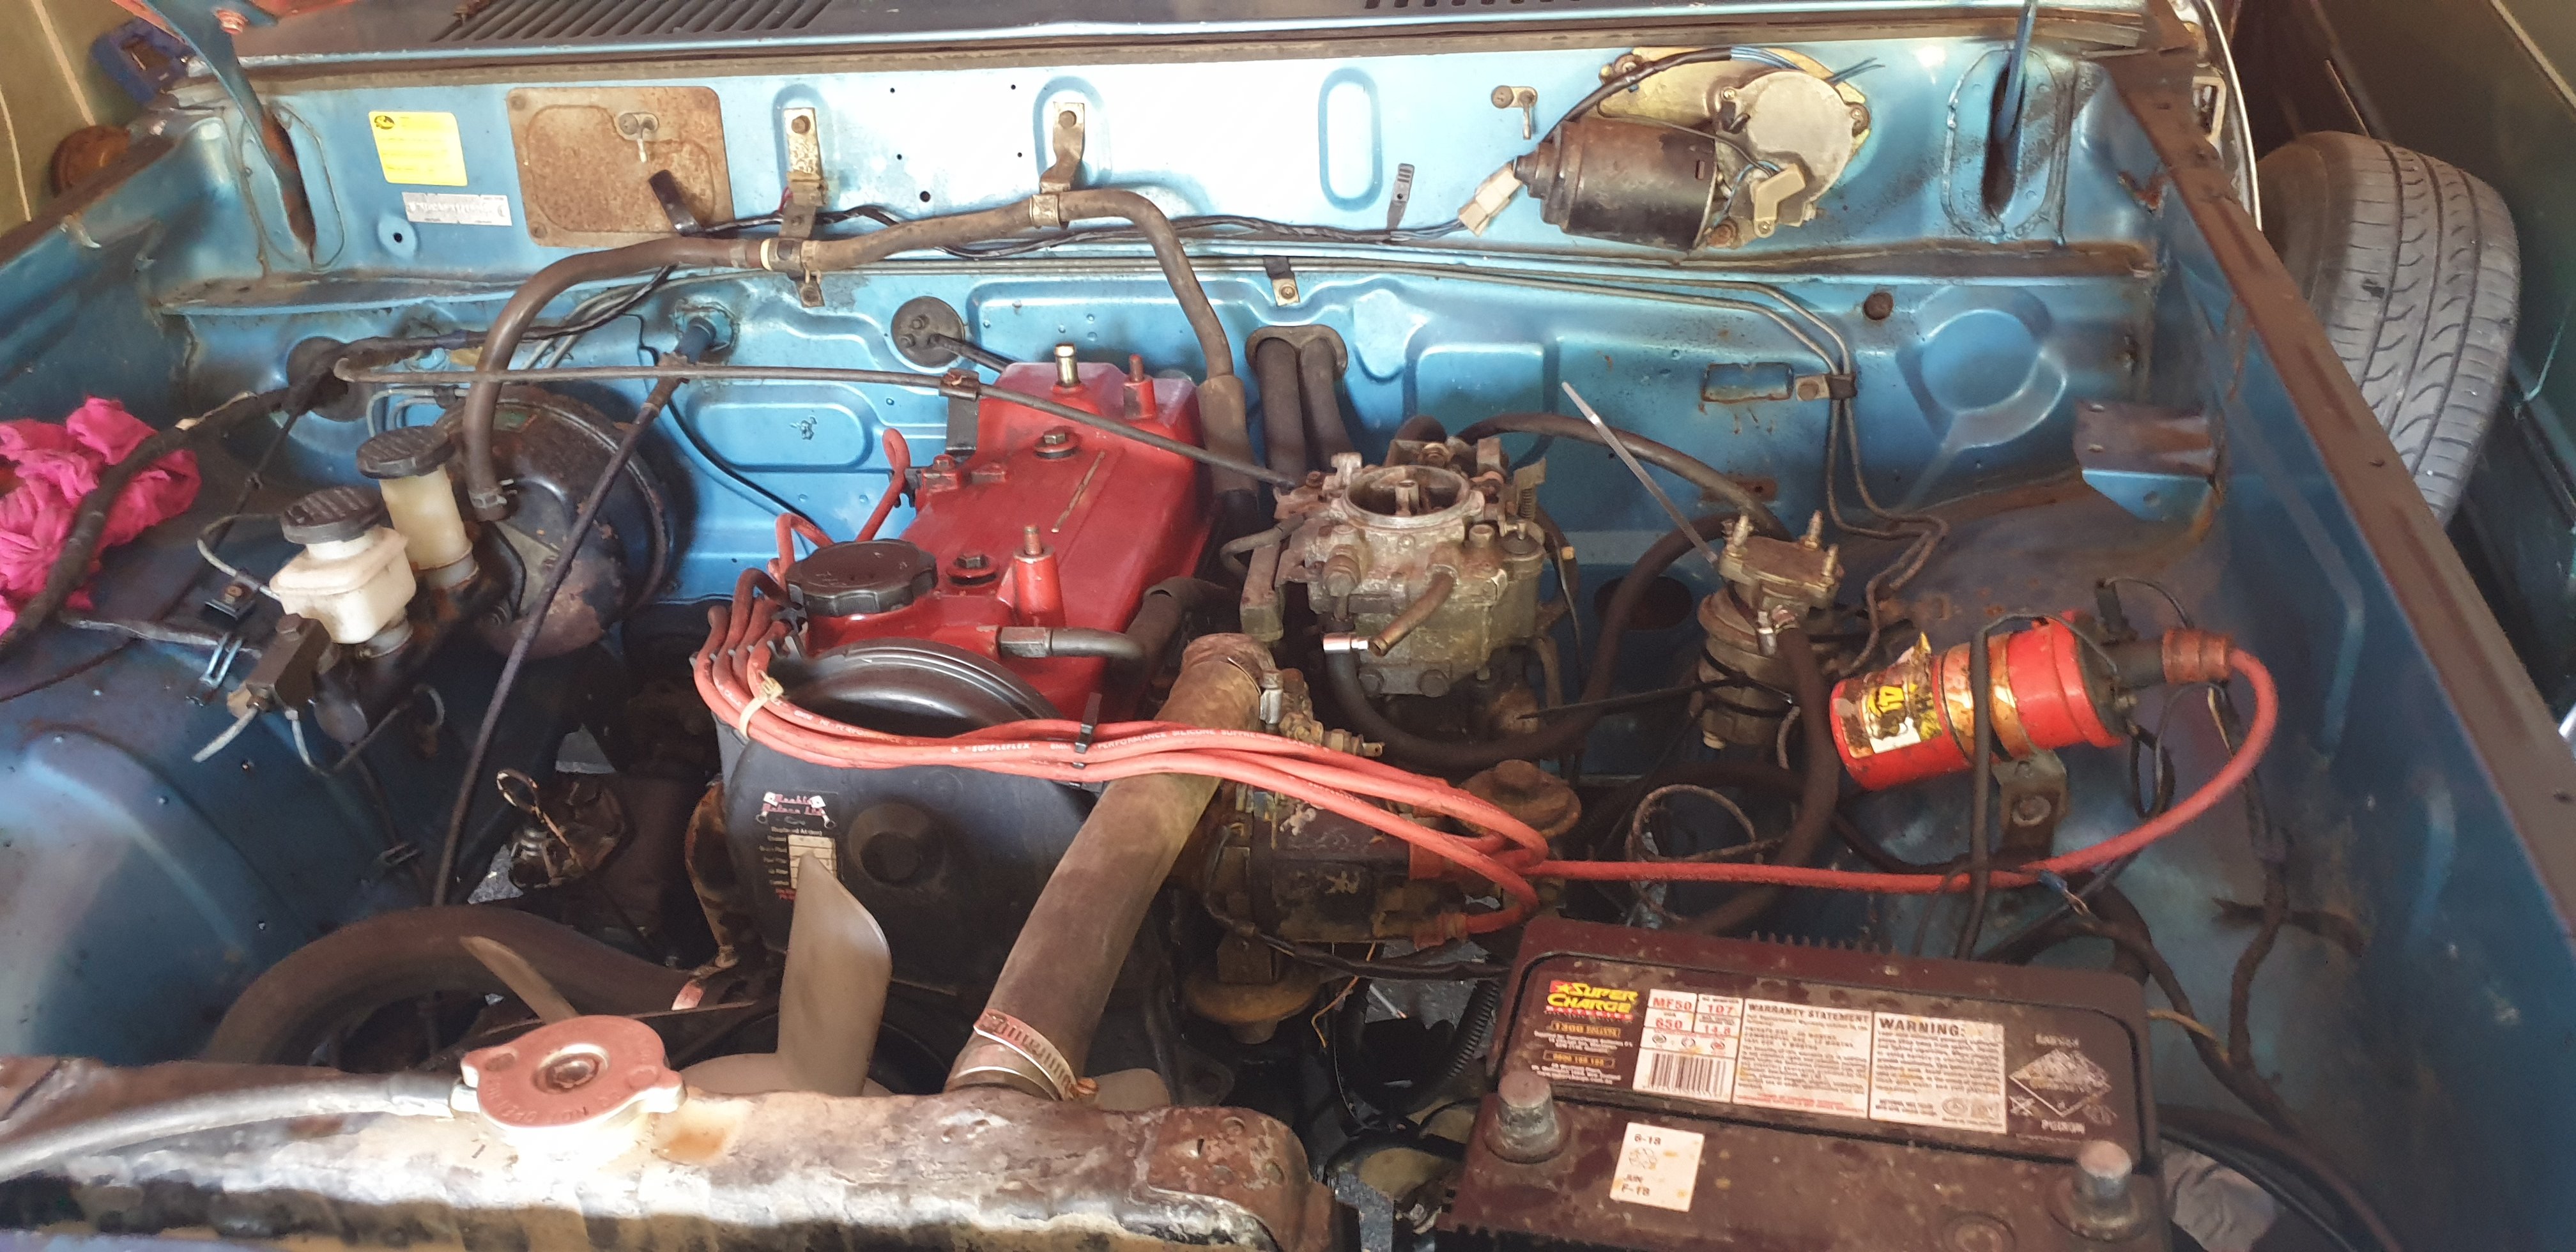
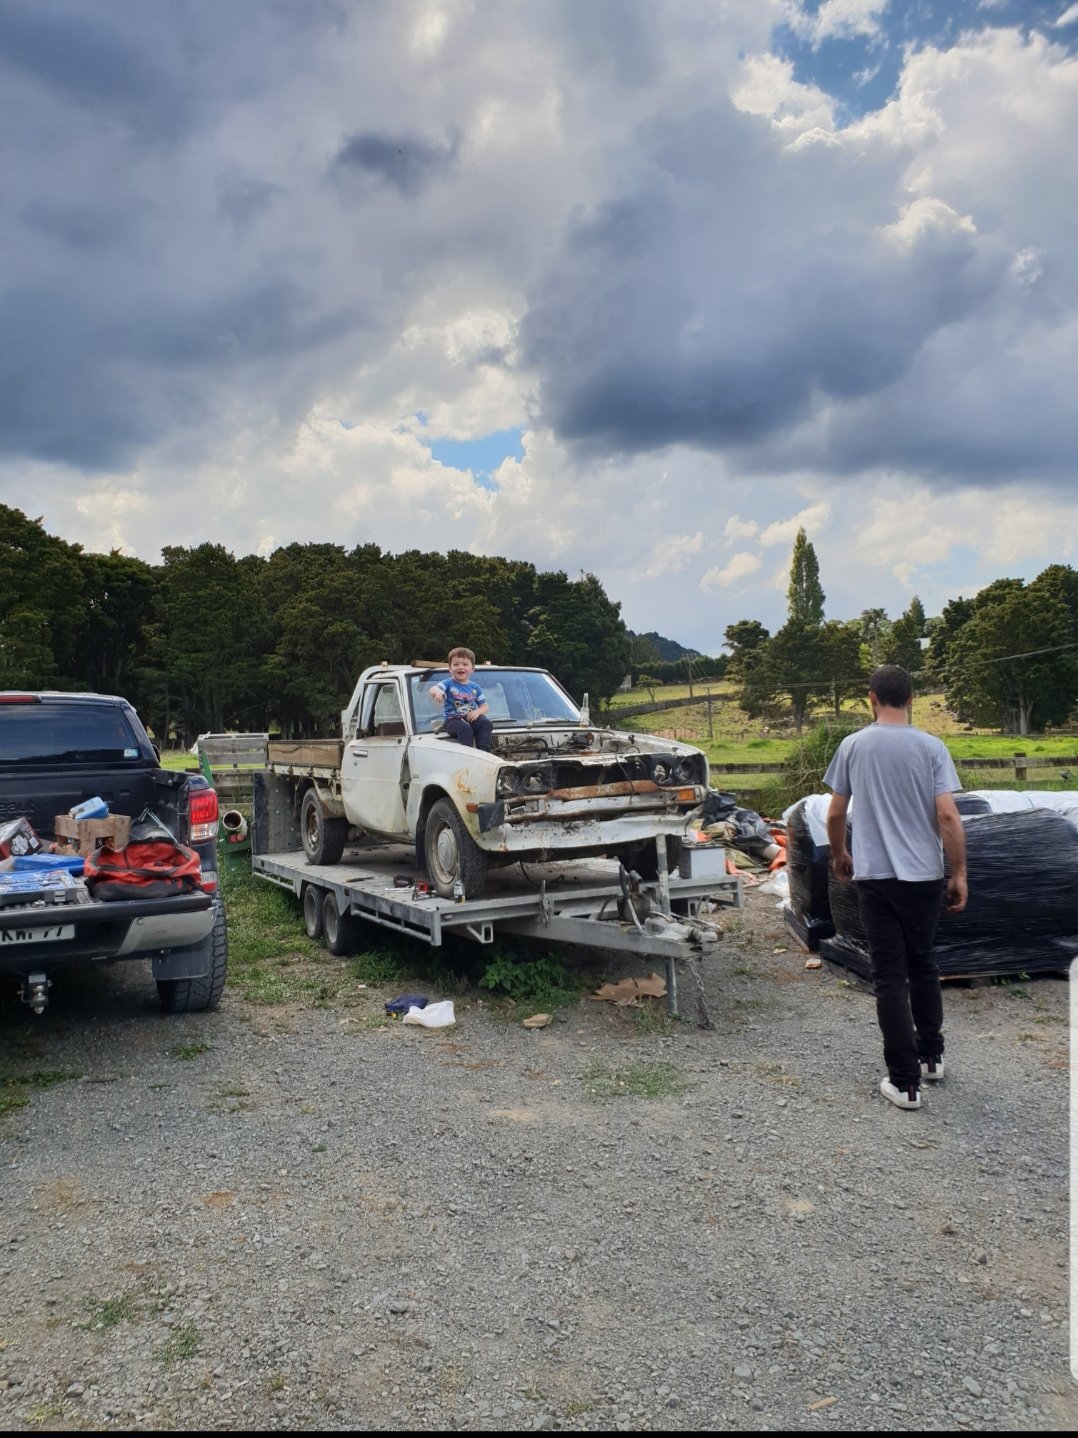
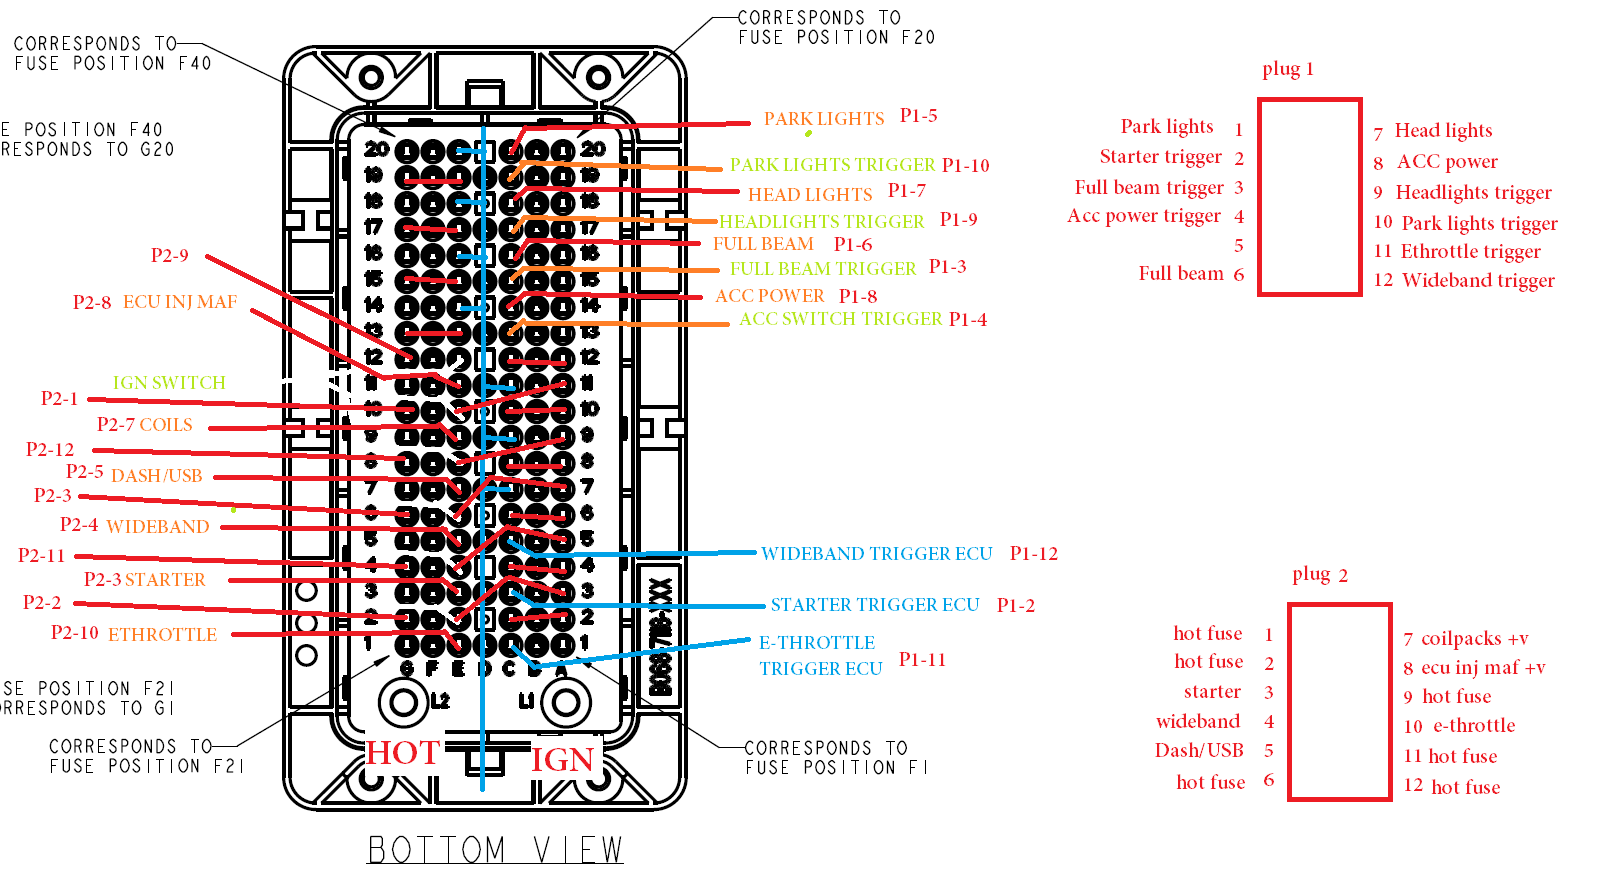
put a headlight relay in to take the load off the wiring in the headlight switch. Toyotas switch the negative at full current through the headlight switch and after a while they like to set themselves on fire. so Nick the sparkey wired in the relay. put the front back on and did more tidying of the wiring inside the car. which was such a mess that im to embarrassed to show a picture of how it was. ill put the headlight back in the drivers side too. so its better now, still not finished but there's not much left to do then the wiring is finished and i can have a go at starting it. oh, its got oil pressure and fuel pressure without leaking anywhere. 2020-02-02_01-43-52 by sheepers, on Flickr 2020-02-02_01-44-14 by sheepers, on Flickr10 points
-
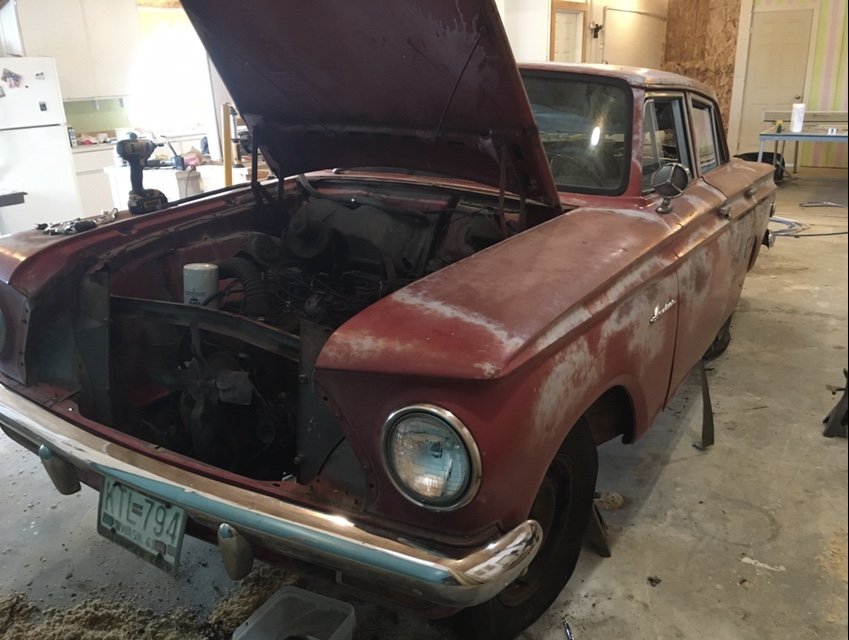
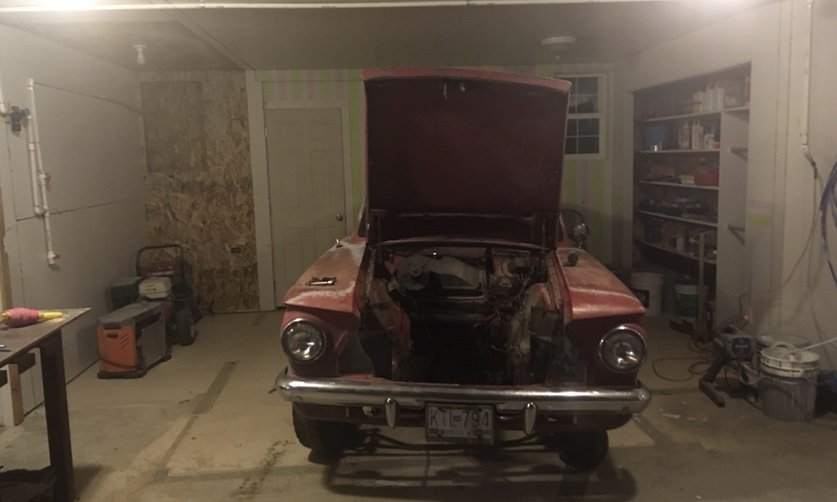
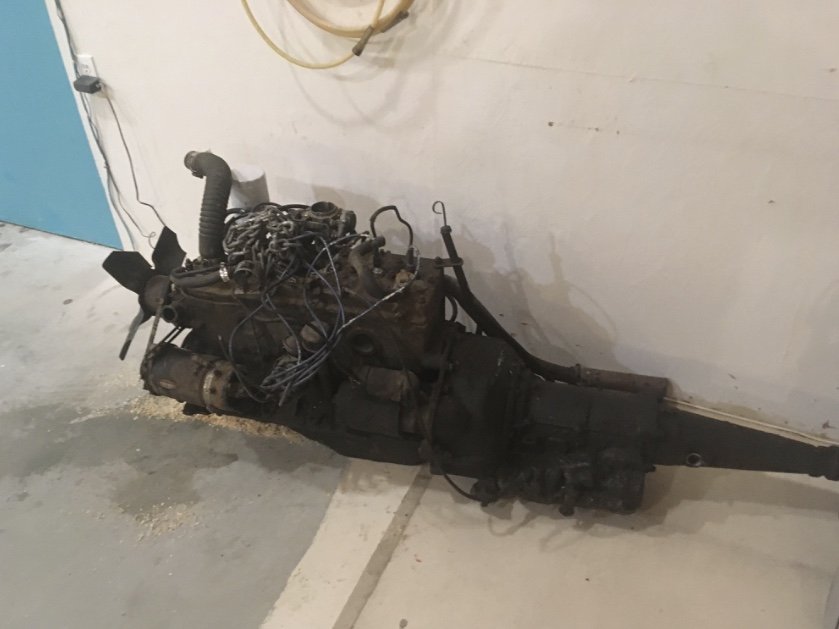
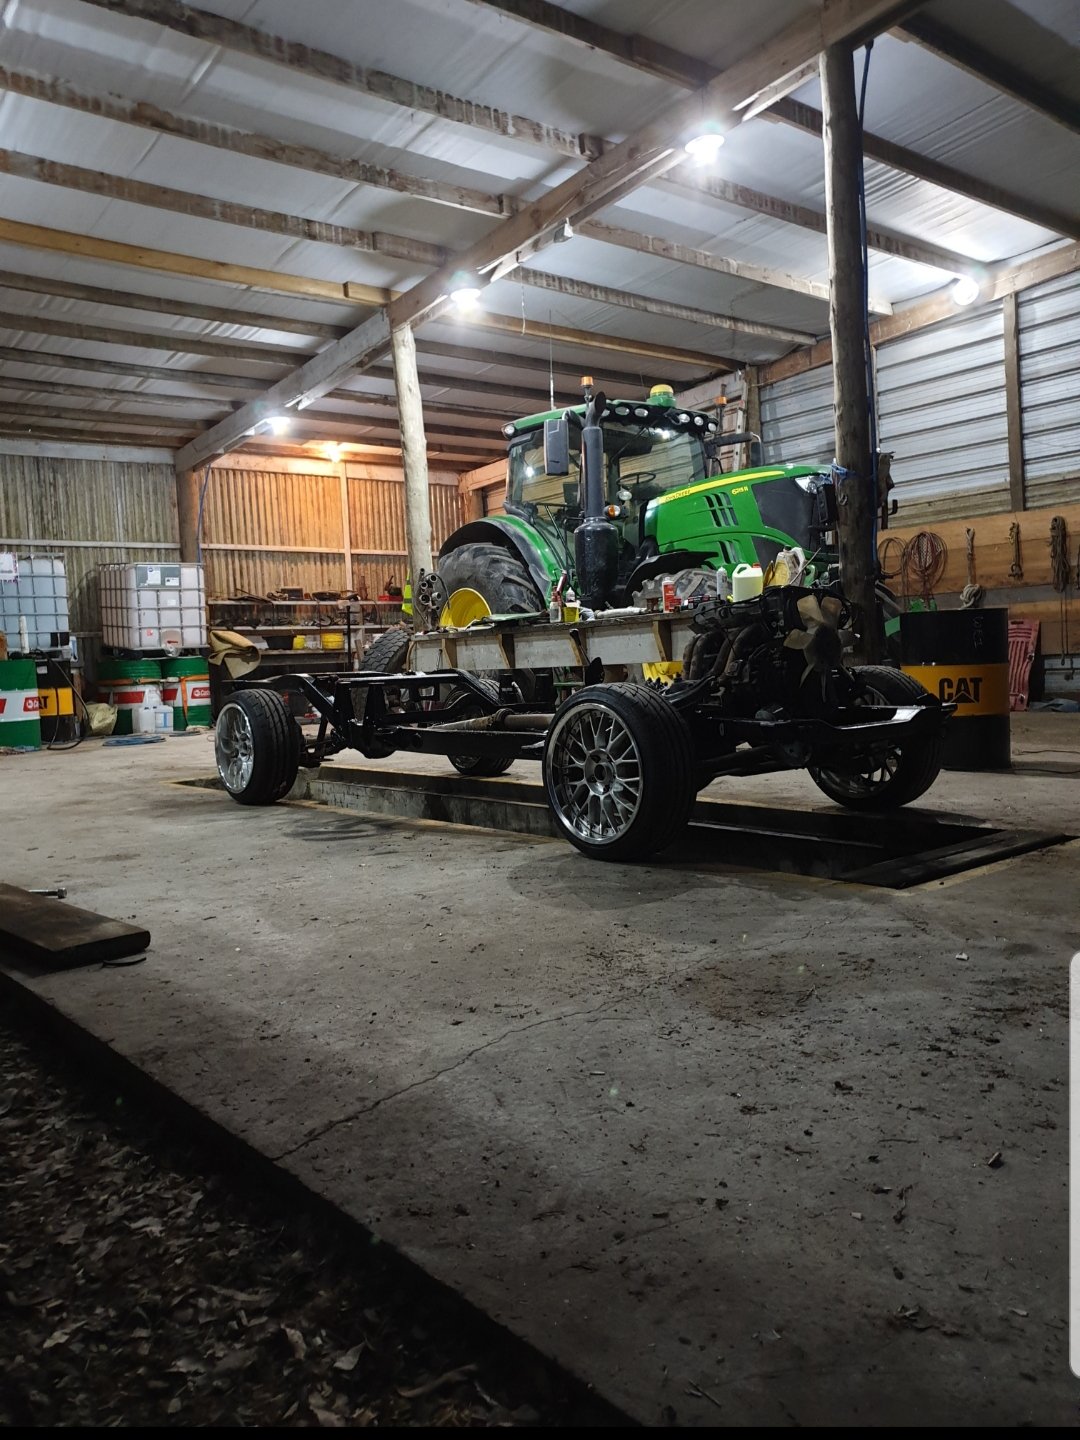
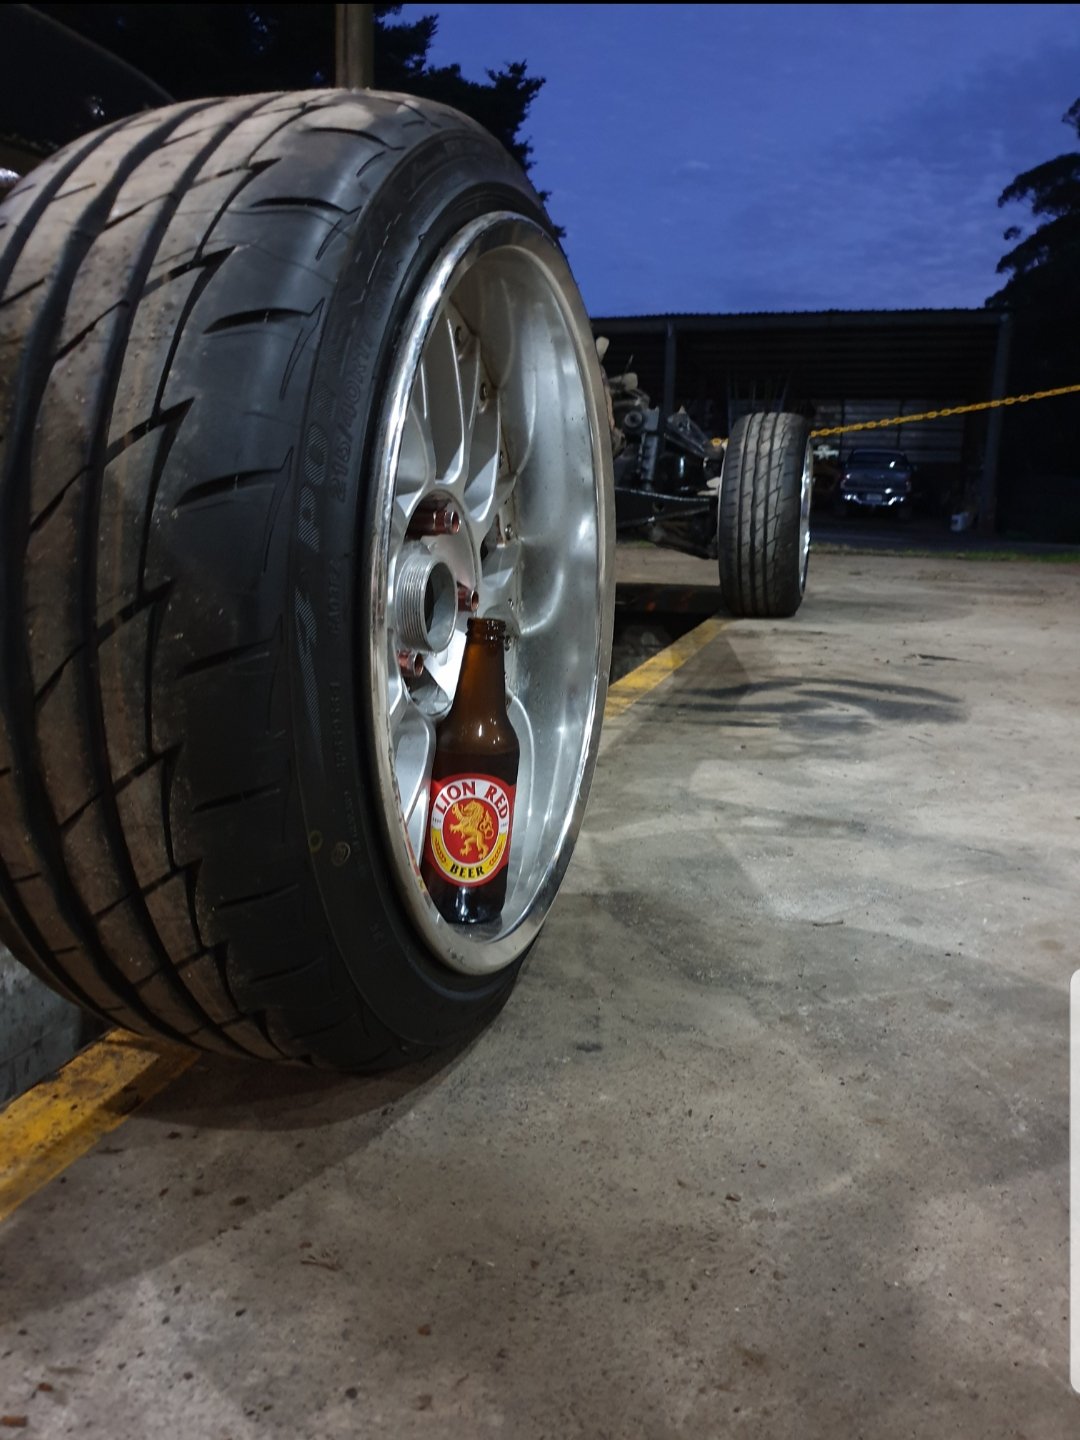
Anybody still holding ya breath? so ya never could get the brakes apart and I realized this project needed more time and money than I had at the moment. So off to the weed patch while I built myself a house and spent every penny I’d ever saved and some I haven’t yet. Best part of that is I now have a nice warm shop and needed something to tinker on. Pulled the Rambler up and evicted a few mice, holes in the floor are maybe a tad bigger but no real new problems. I’ve been thinking of finding a donor rig for a repower. The Rambler is leaf sprung rear wheel drive so I’m thinking a complete drivetrain would solve a buncha problems. Been eyeing crashed two wheel drive pickups on Craigslist and FB. For now I decided to pull the engine and tranny and see about welding up my rust problems. Coupla holes in the floorboards and the drivers inner fender is going to need some work. The simplicity is amazing, coupla hrs and a tractor assist and we have a empty hole drivers side tires leak air so bad I had to pump them up half a dozen times to push it 20’ into the back corner...... and yes the back corner does have purple and green stripes on da wall . lush I know gotta say the flathead has sex appeal, all da cool kids want generators over alternators
9 points
-
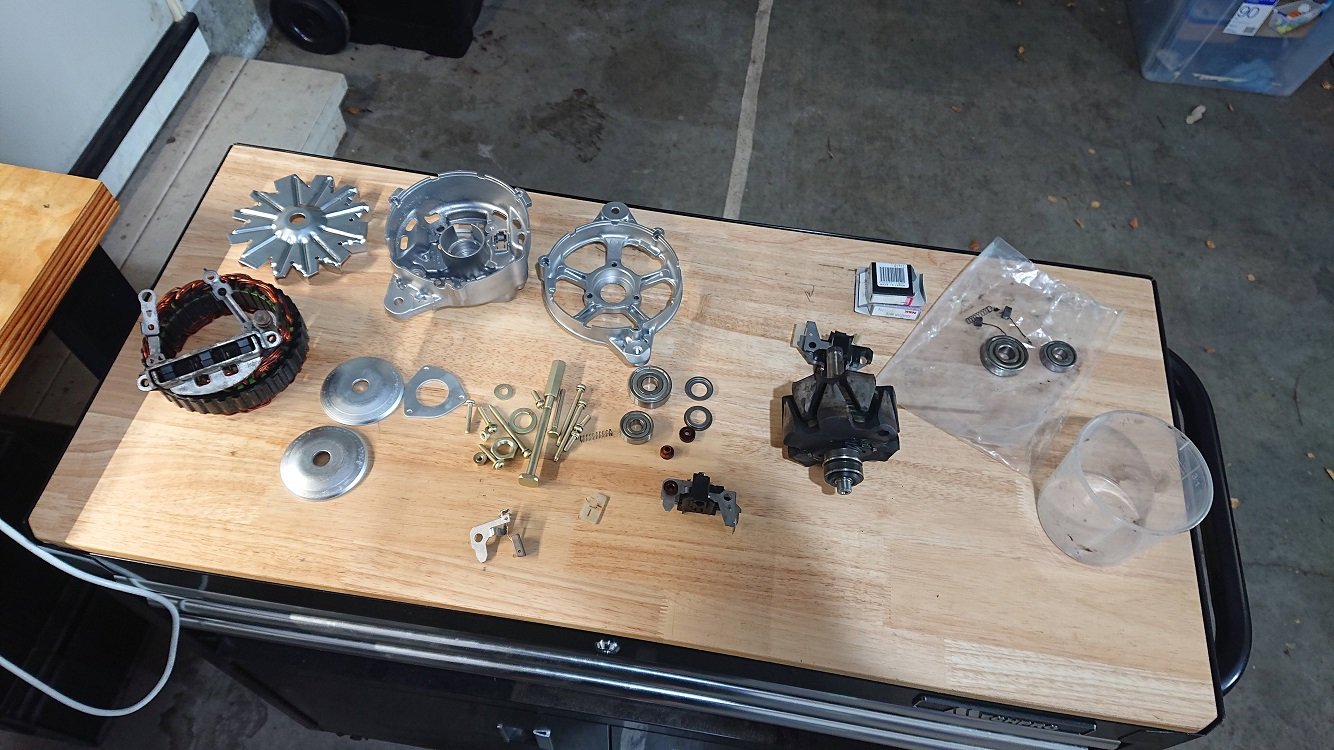
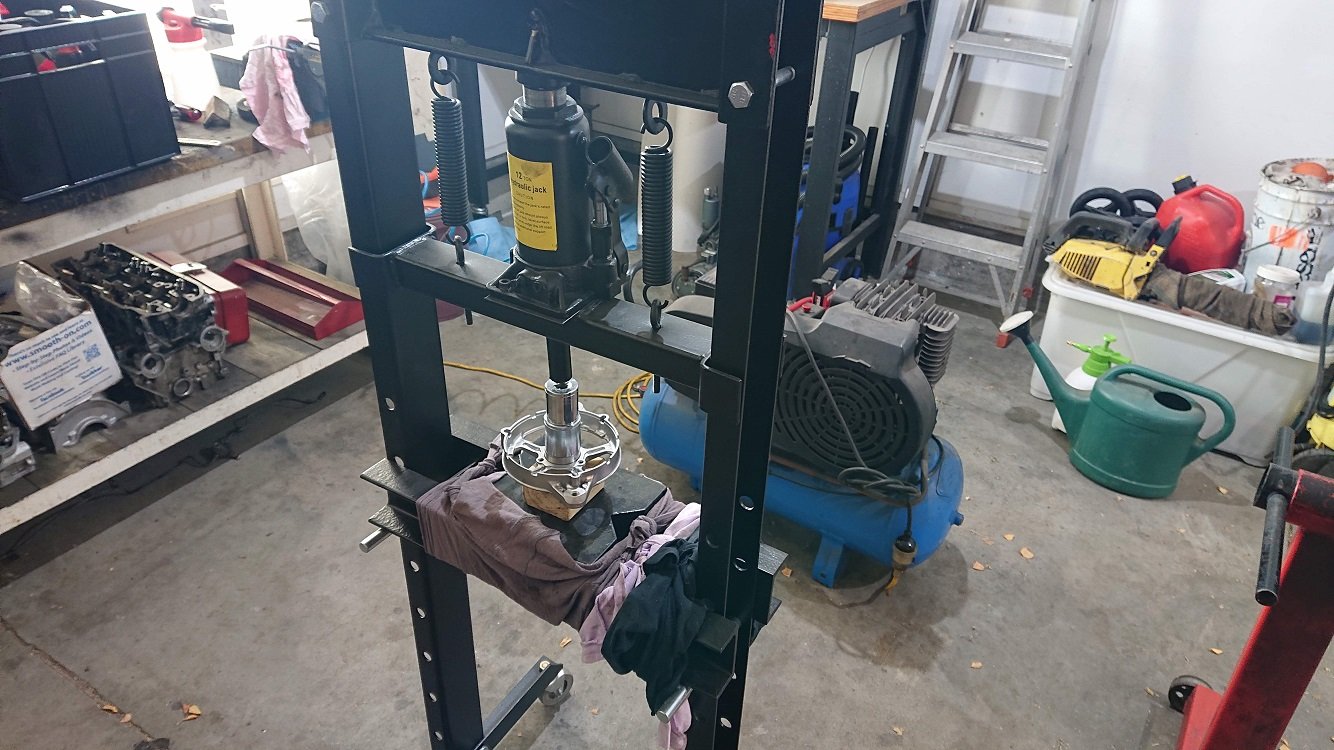
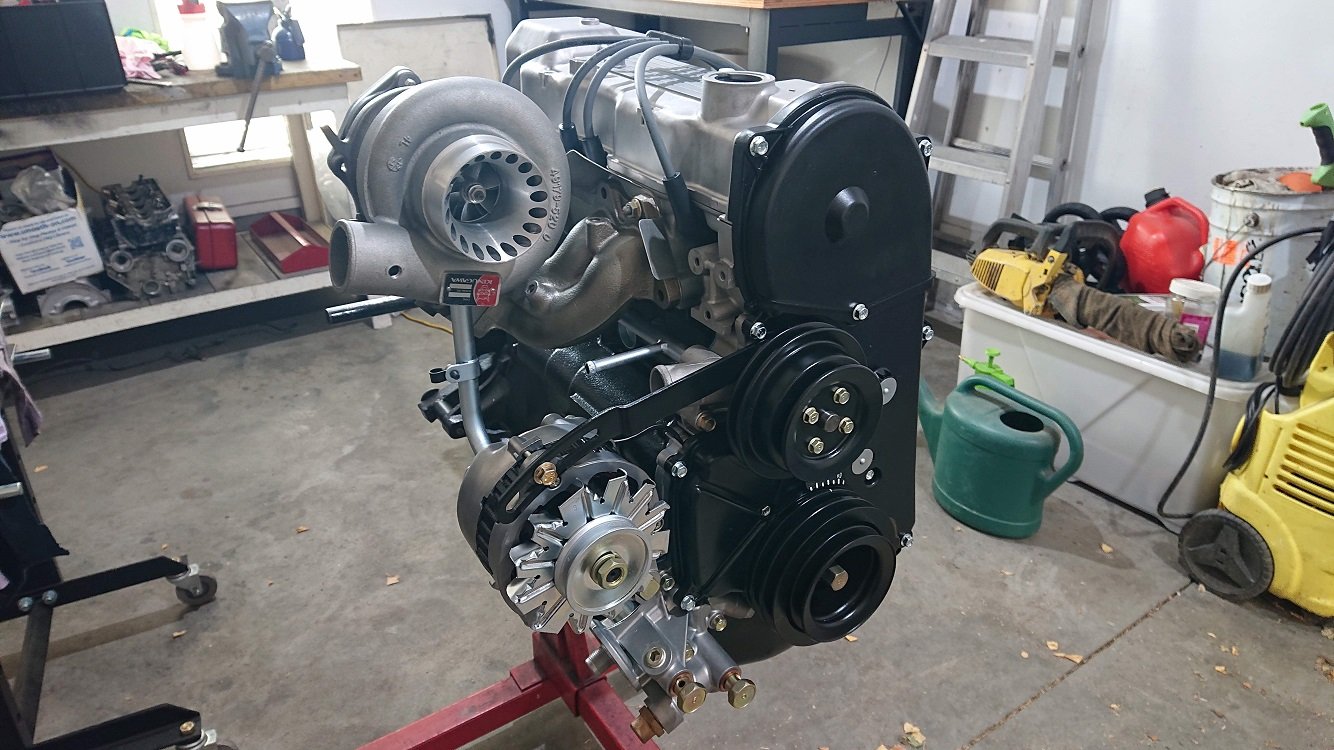
HOLY FUCKING SHIT IT IS HOT TODAY. Needed a quiet easy project to do in the heat, collected up all the bits for the alternator jigsaw. A couple of months back the alternator on the side of the 4g52 in the truck at the moment spat the dummy, brushes were doneburgers. I couldn't find a replacement one second hand locally, as they're different to the ones fitted to 4g63's, which are pretty common. I grabbed a 4g63 one anyway, thinking I could at the least harvest some bits from it. Turns out the voltage regulator / brush holders are the same, so I swapped those over and my truck was charging again. This left me with a super crusty 4g63 SOHC alternator, with worn out brushes and dry bearings. I took it apart, ordered everything it needed and vaporblasted / zinc plated everything. The replacement reg / brush holder I ordered was damaged in shipping, so I harvested the new brushes from it and swapped them into the reg / brush holder that had originally been in the 4g52 alt. Then had to remember where all the plastic isolators went. Got it reassembled with some new bearings pressed into place too. My workspace is just a typical internal access double garage. I don't complain as its better than what many people work with, but It does mean I need to keep things mobile, and stored away when not in use. This is about the cheapest press that money can buy, but does the job for 99% of what I do. Putting it on wheels was one of the best things I've done, as its so easy to store out of the way the 360 days a year its not needed ;-). Nothing more super exciting about the job, everything seems to fit up. The zinc plated fan and pulleys are a little bling though, they might get some rattle can black action. In other news the 1/4 BSPT to AN-4 adaptor turned up, so I could fit that to the back of the oil filter housing the start eyeing up the turbo oil feed. I'll need a 45 on the oil filter housing end, and a right angle on the turbo end, plus some heat sleeving. The bits to make the ignition leads also turned up. I got the spark plug ends all done, but the manifold / coils are still at work, so couldnt do those. Next week maybe, but I'll be away up in the Coromandel for Ledfoot, so maybe not. Now I think it'll be time for come cider in the sun.
8 points
-
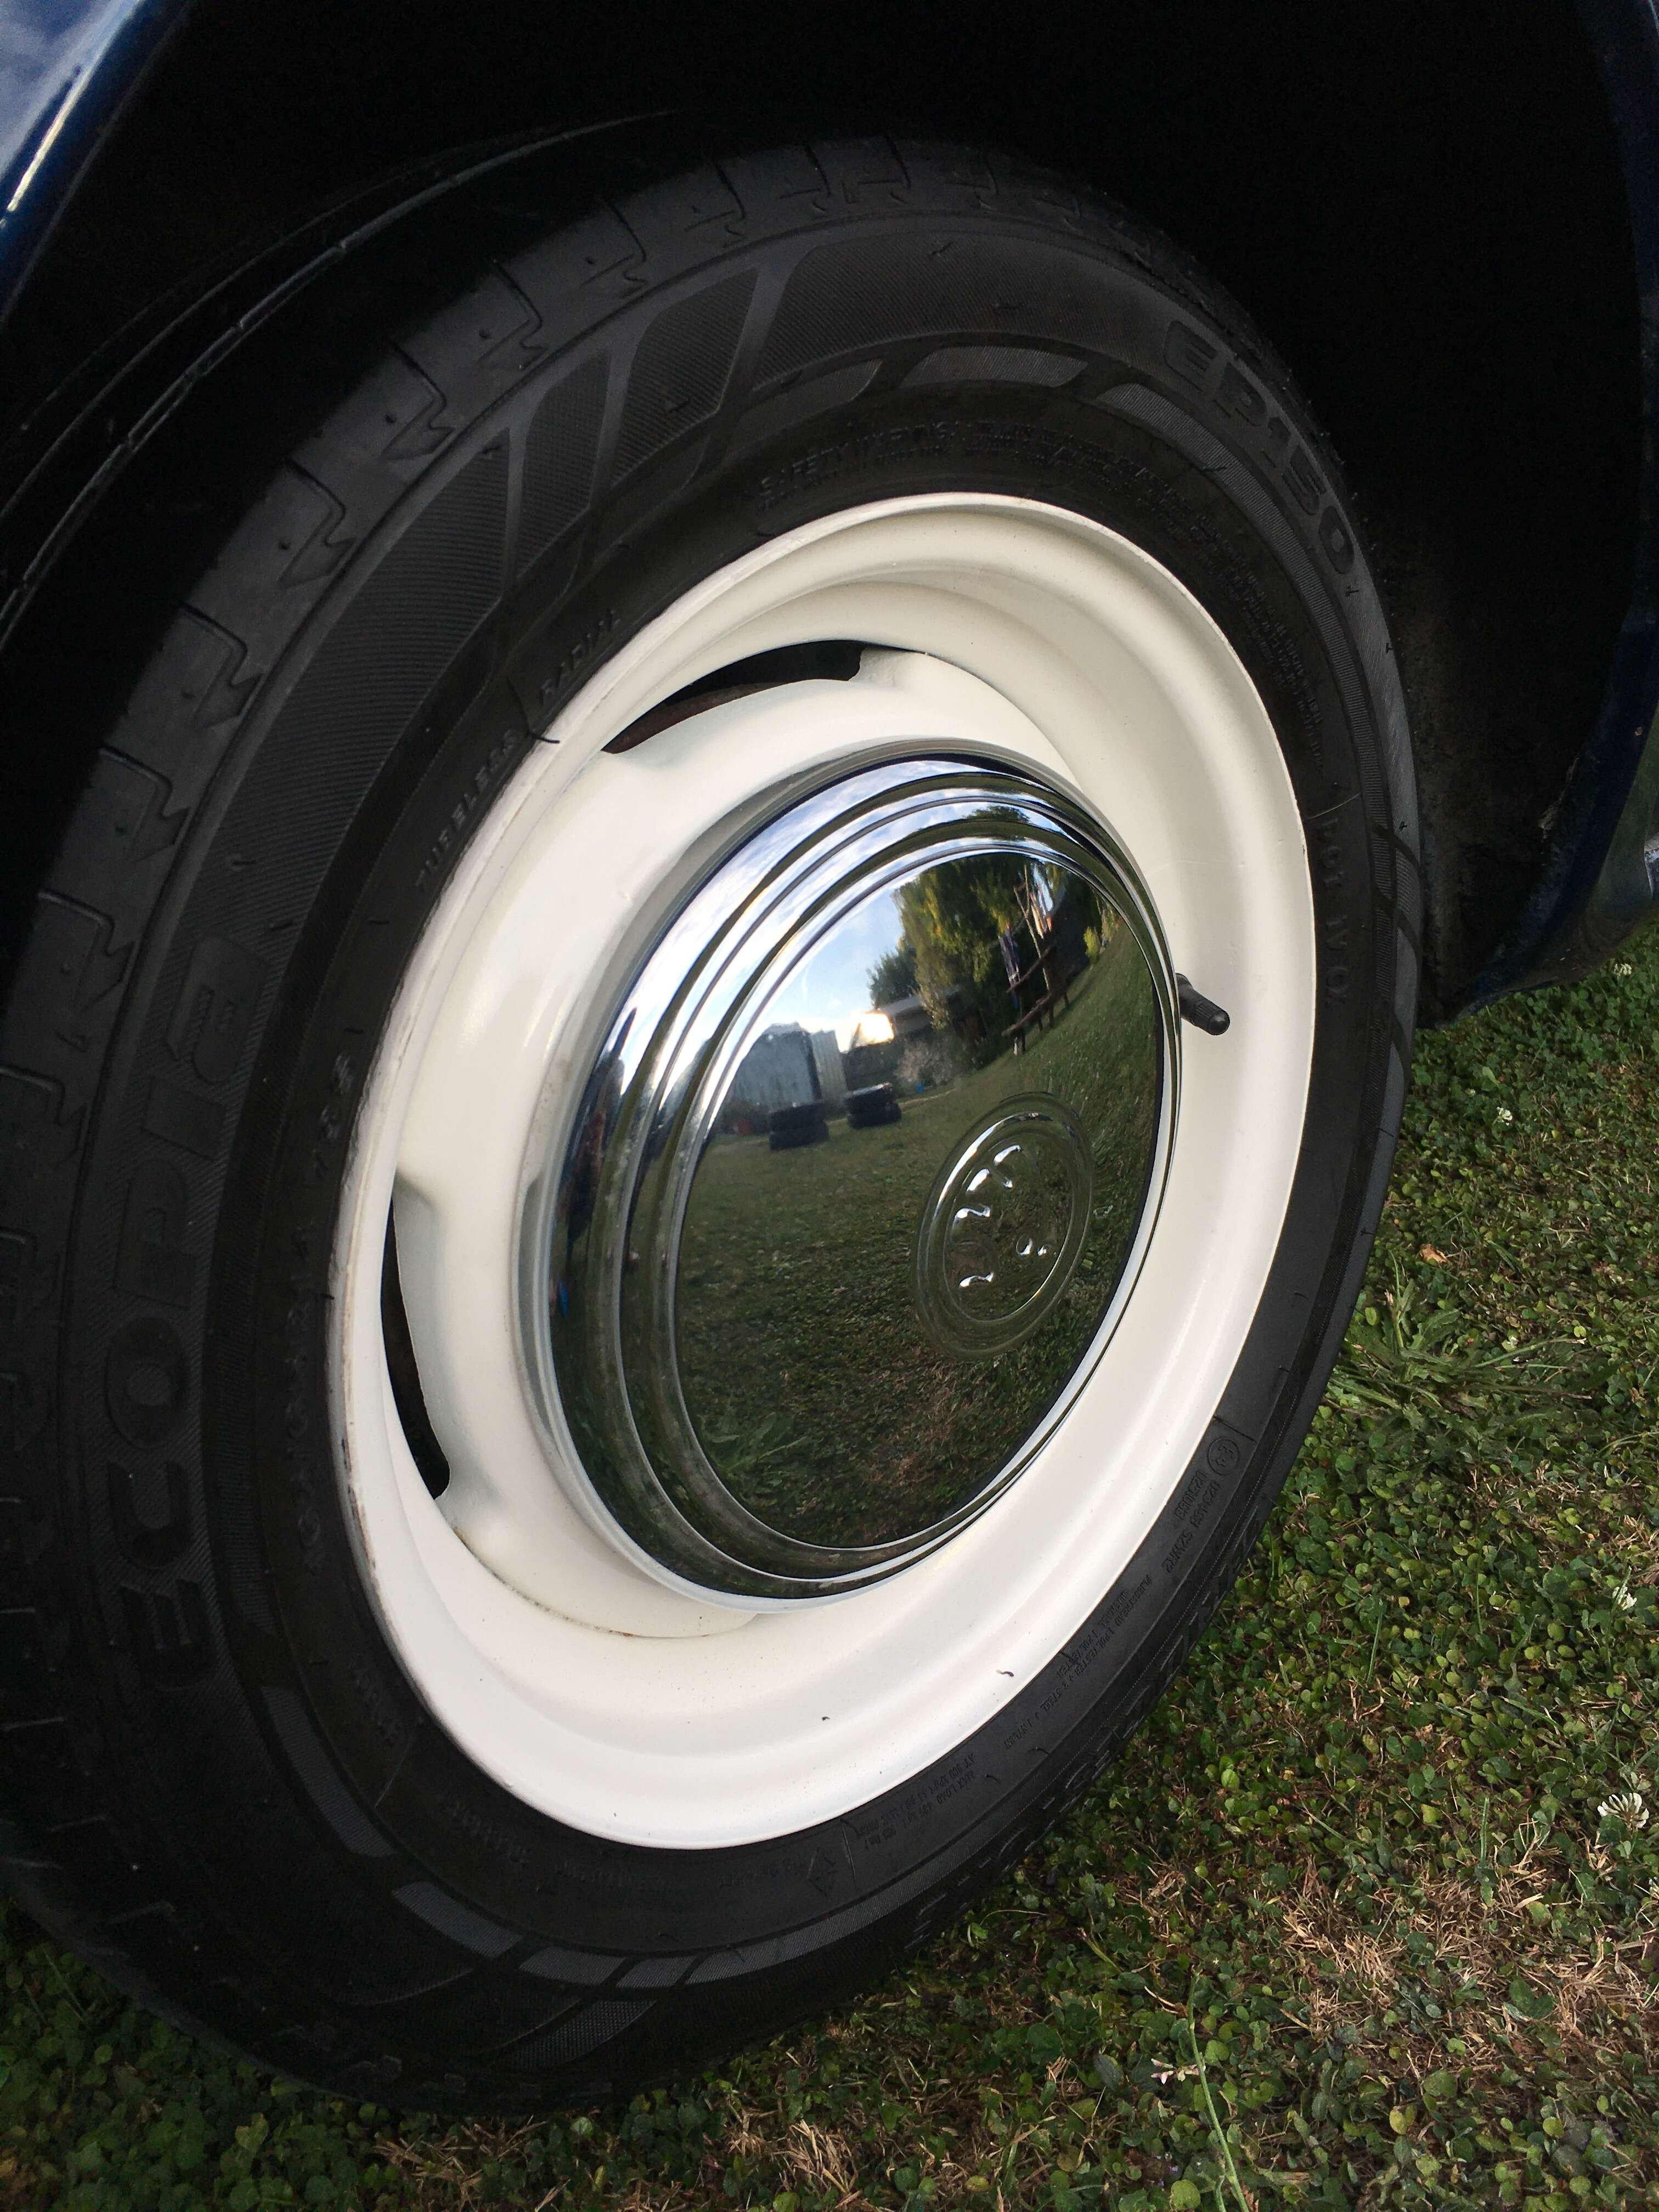
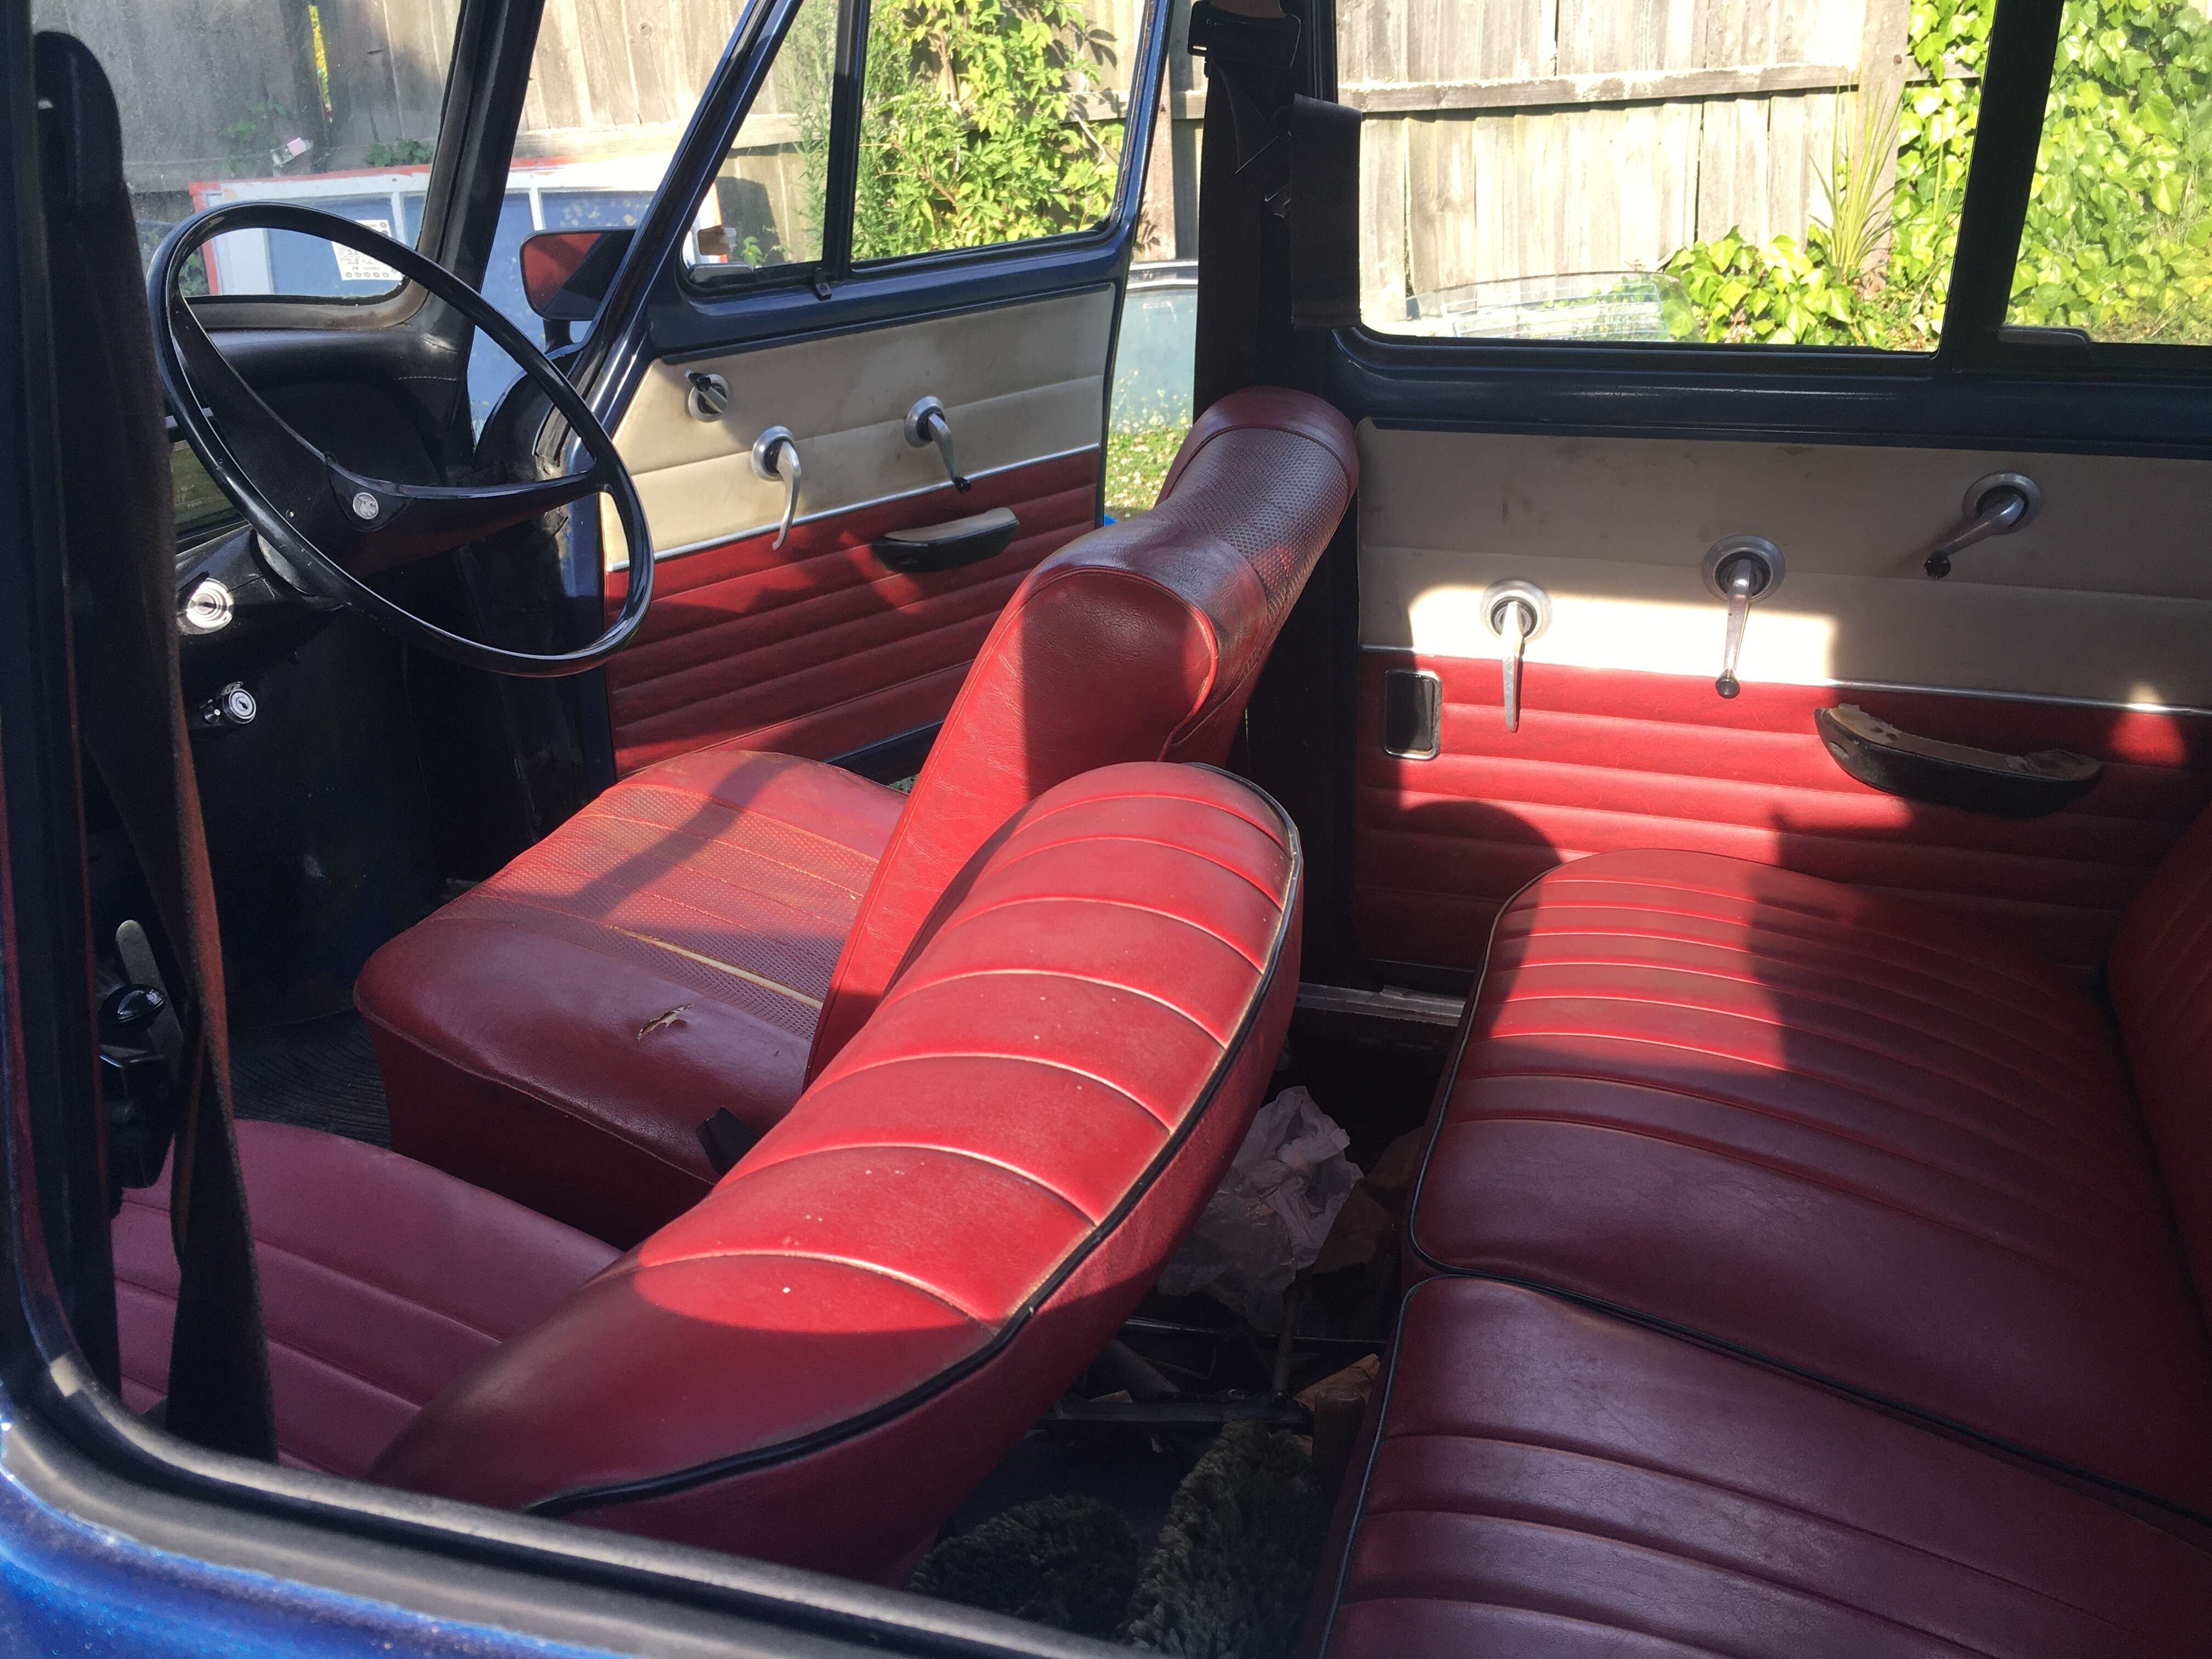
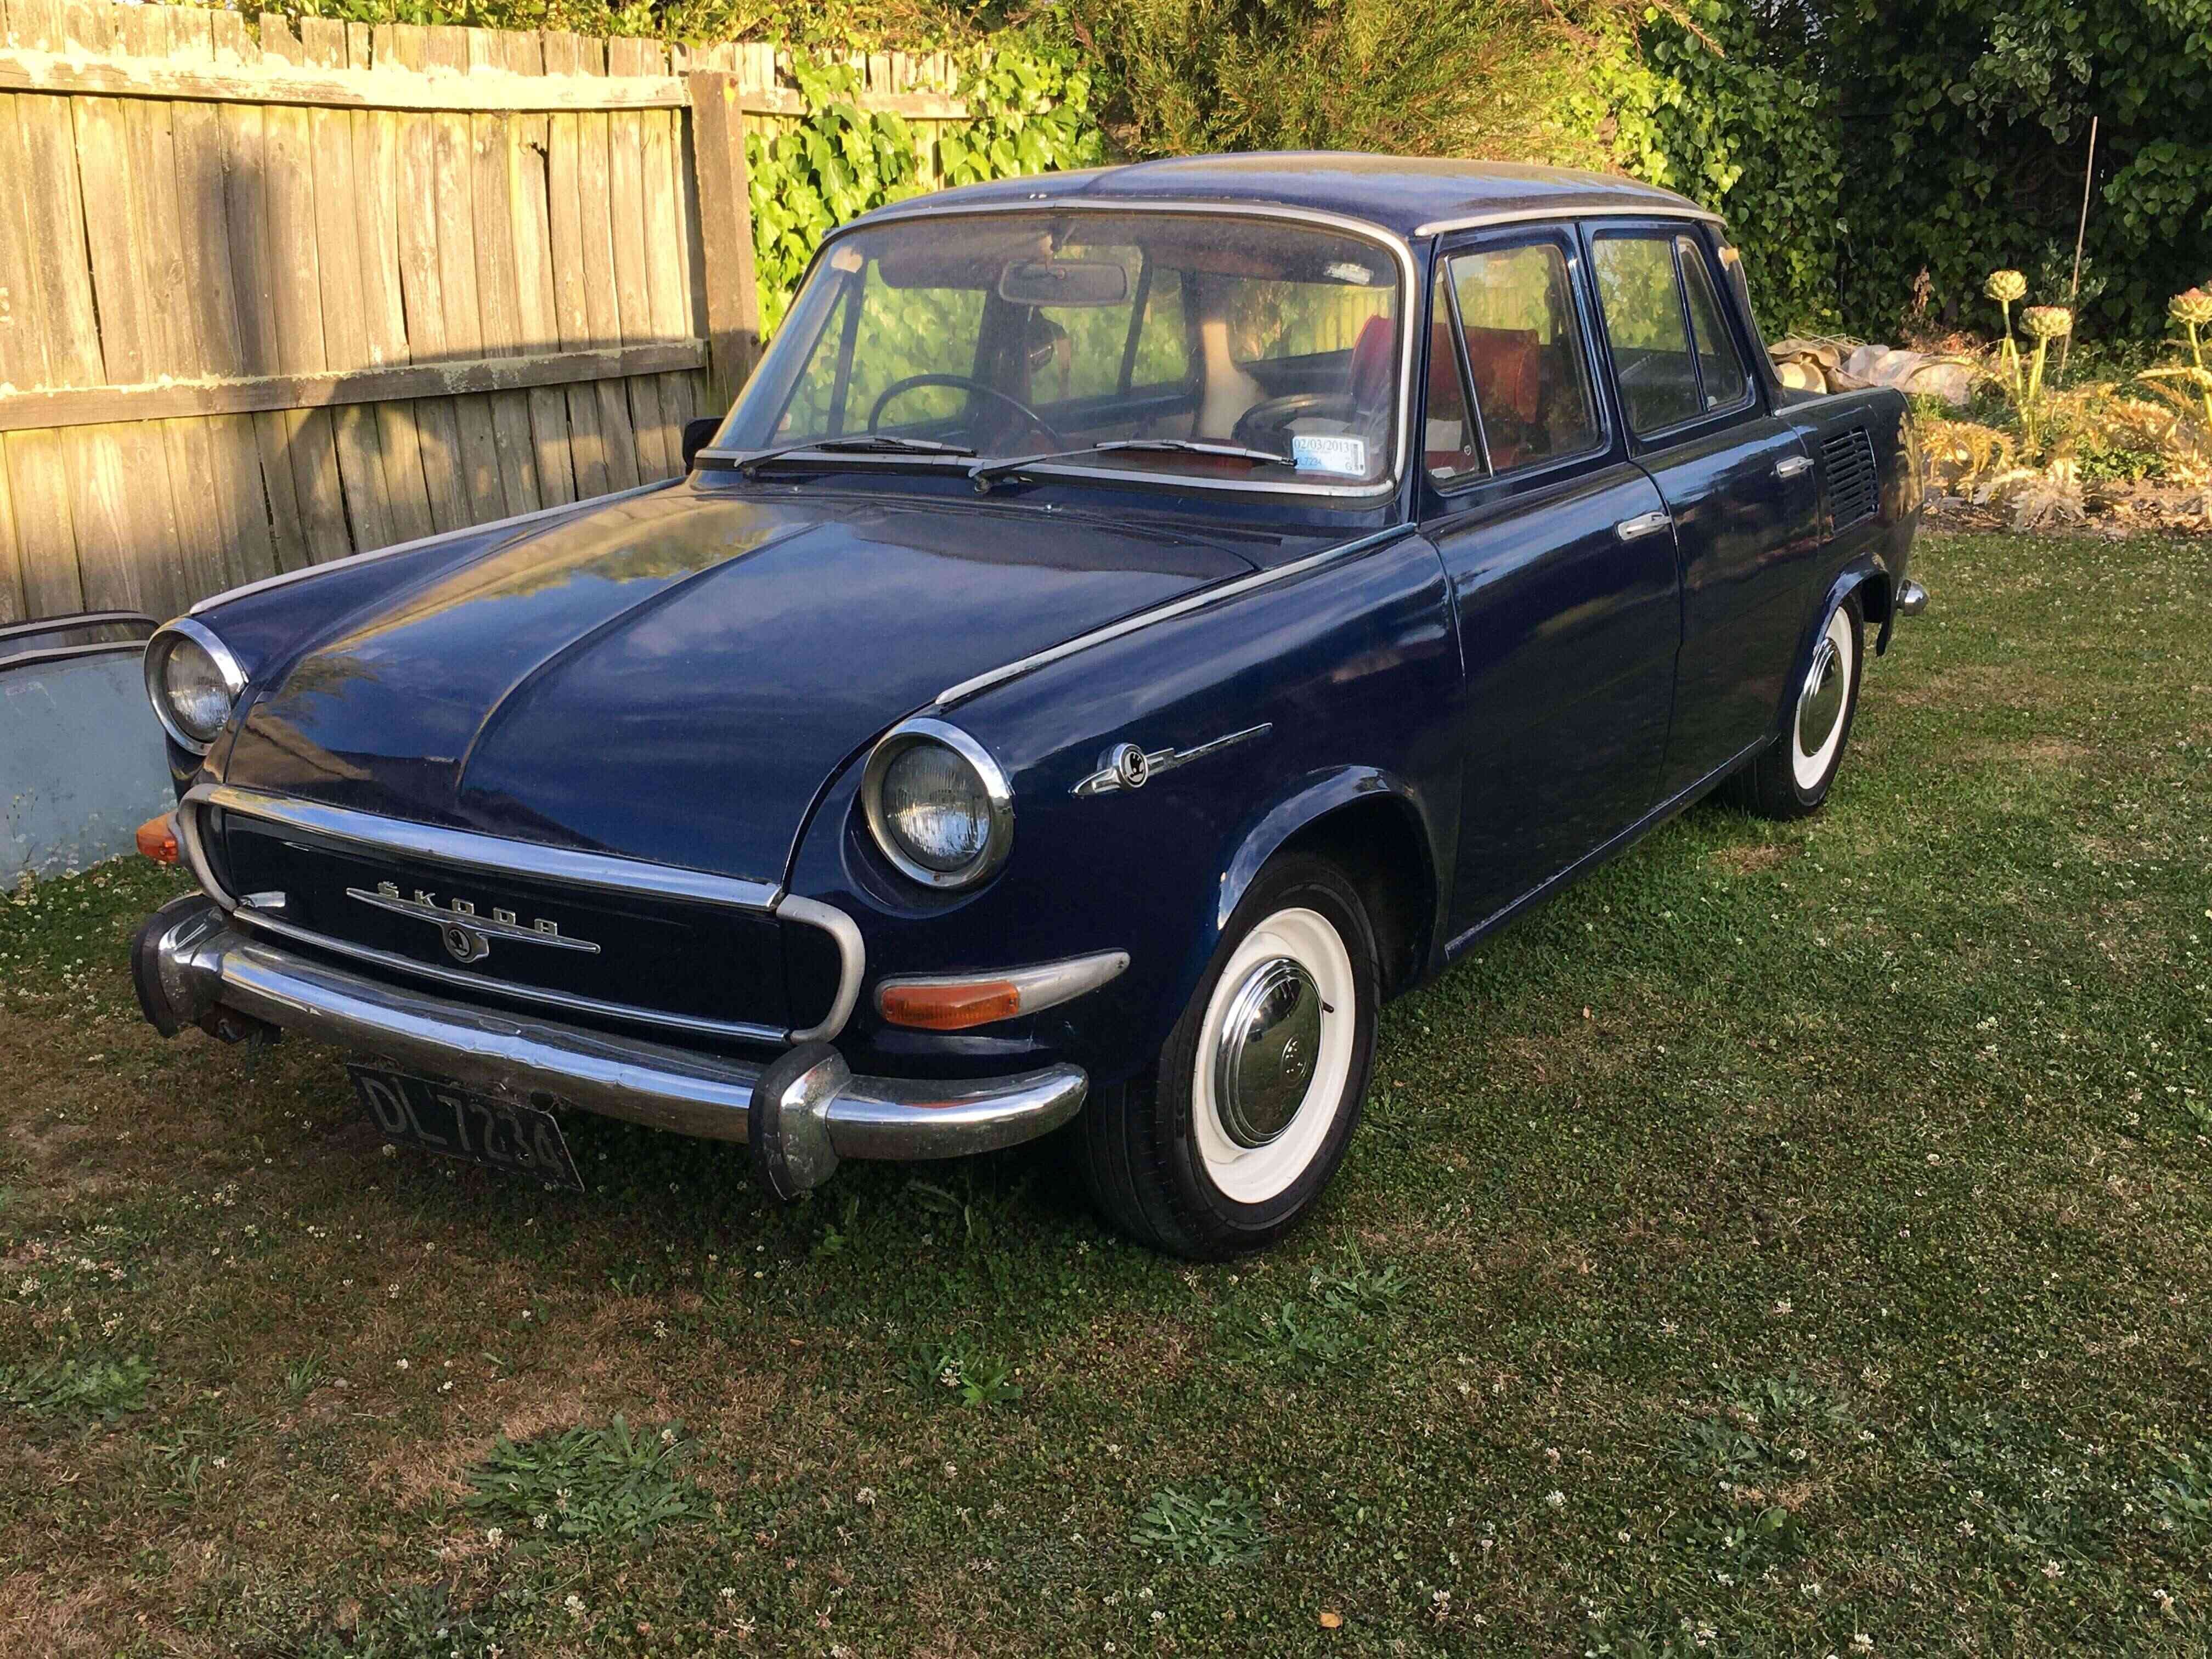
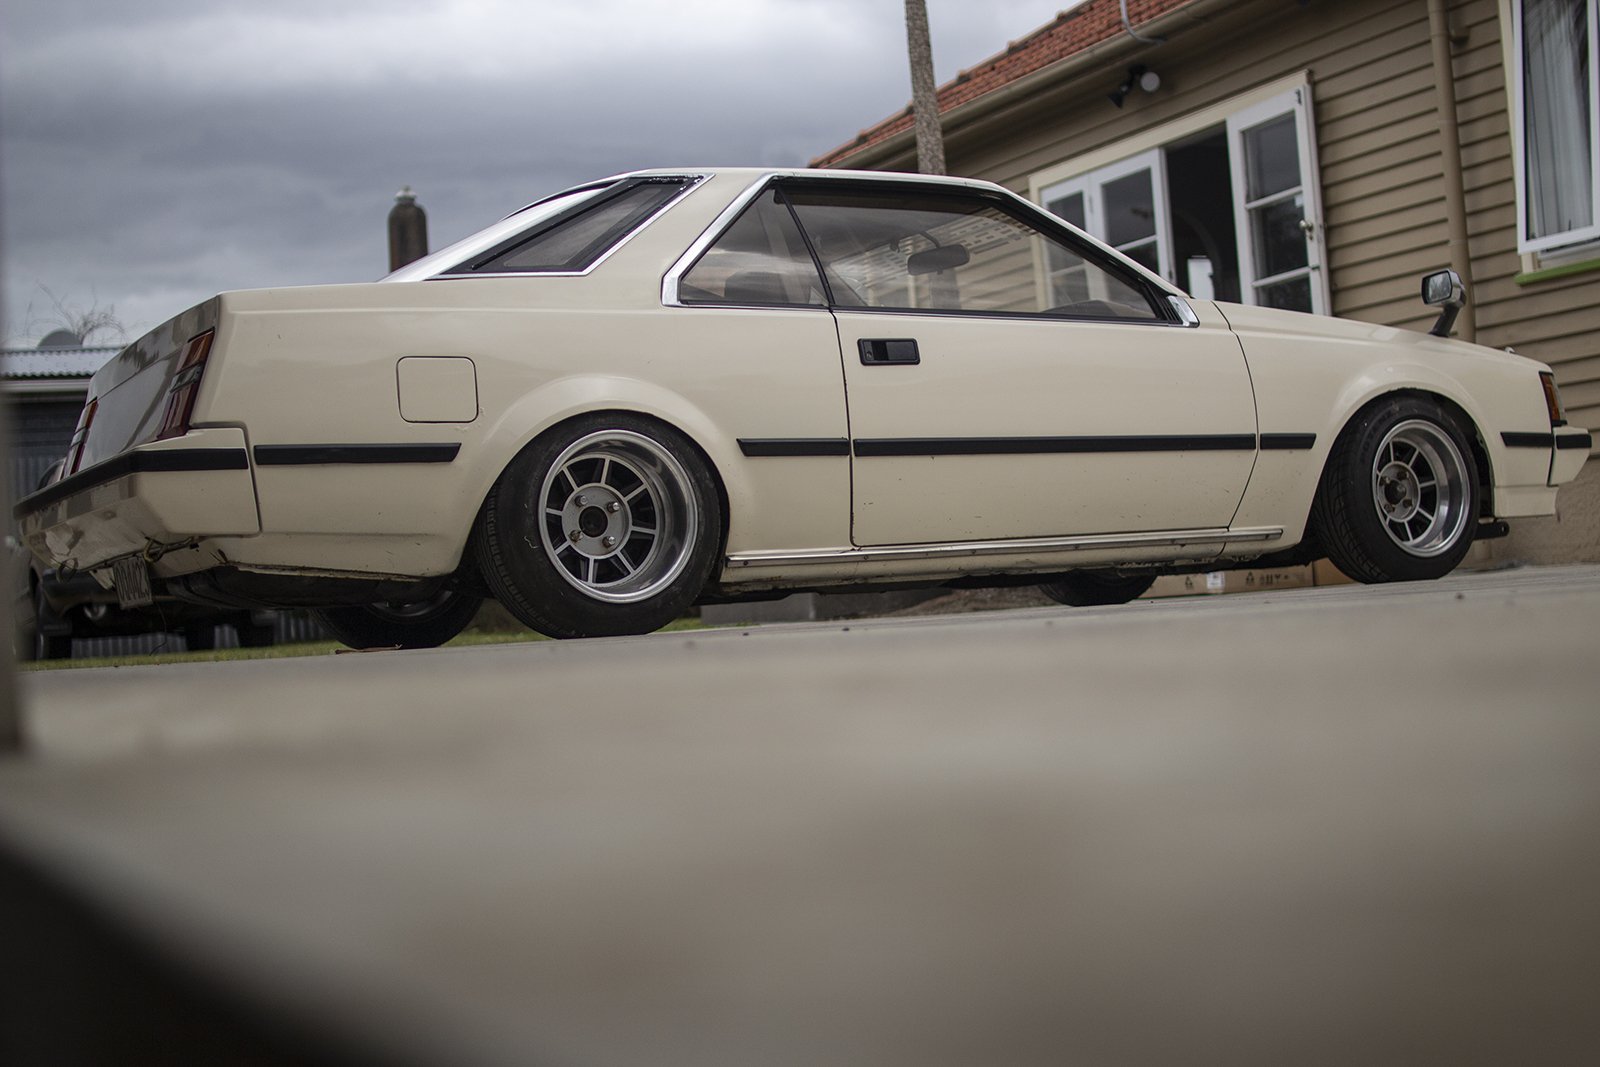
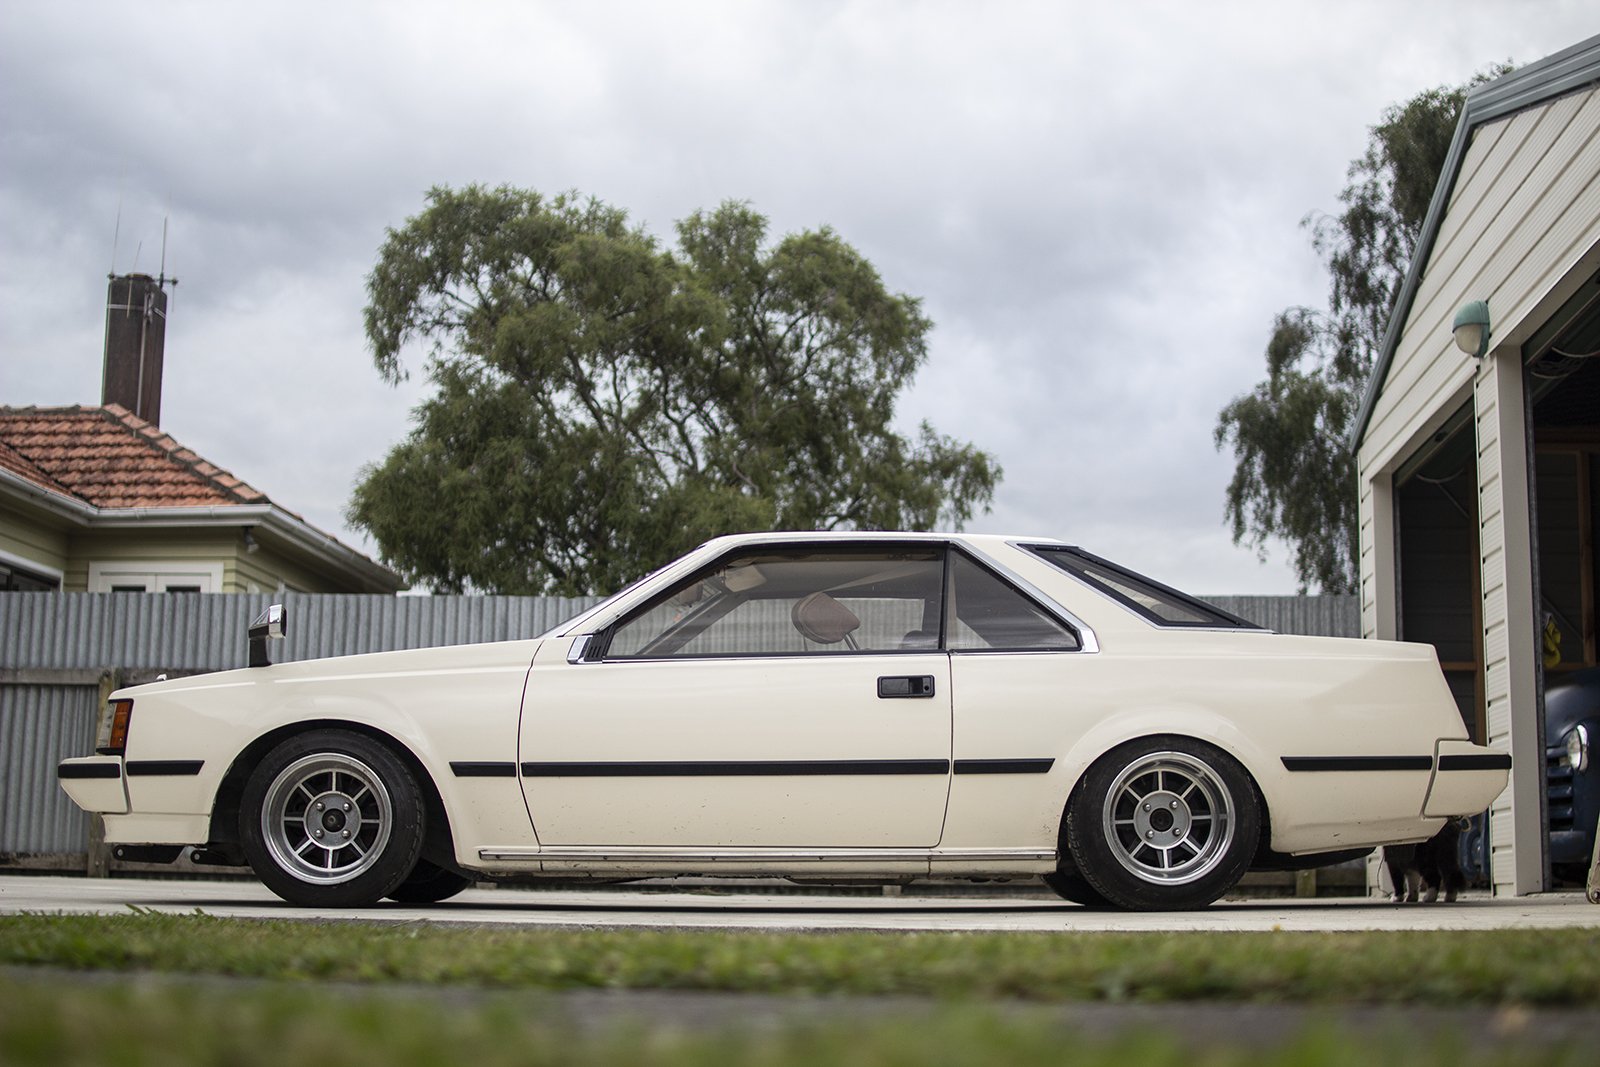
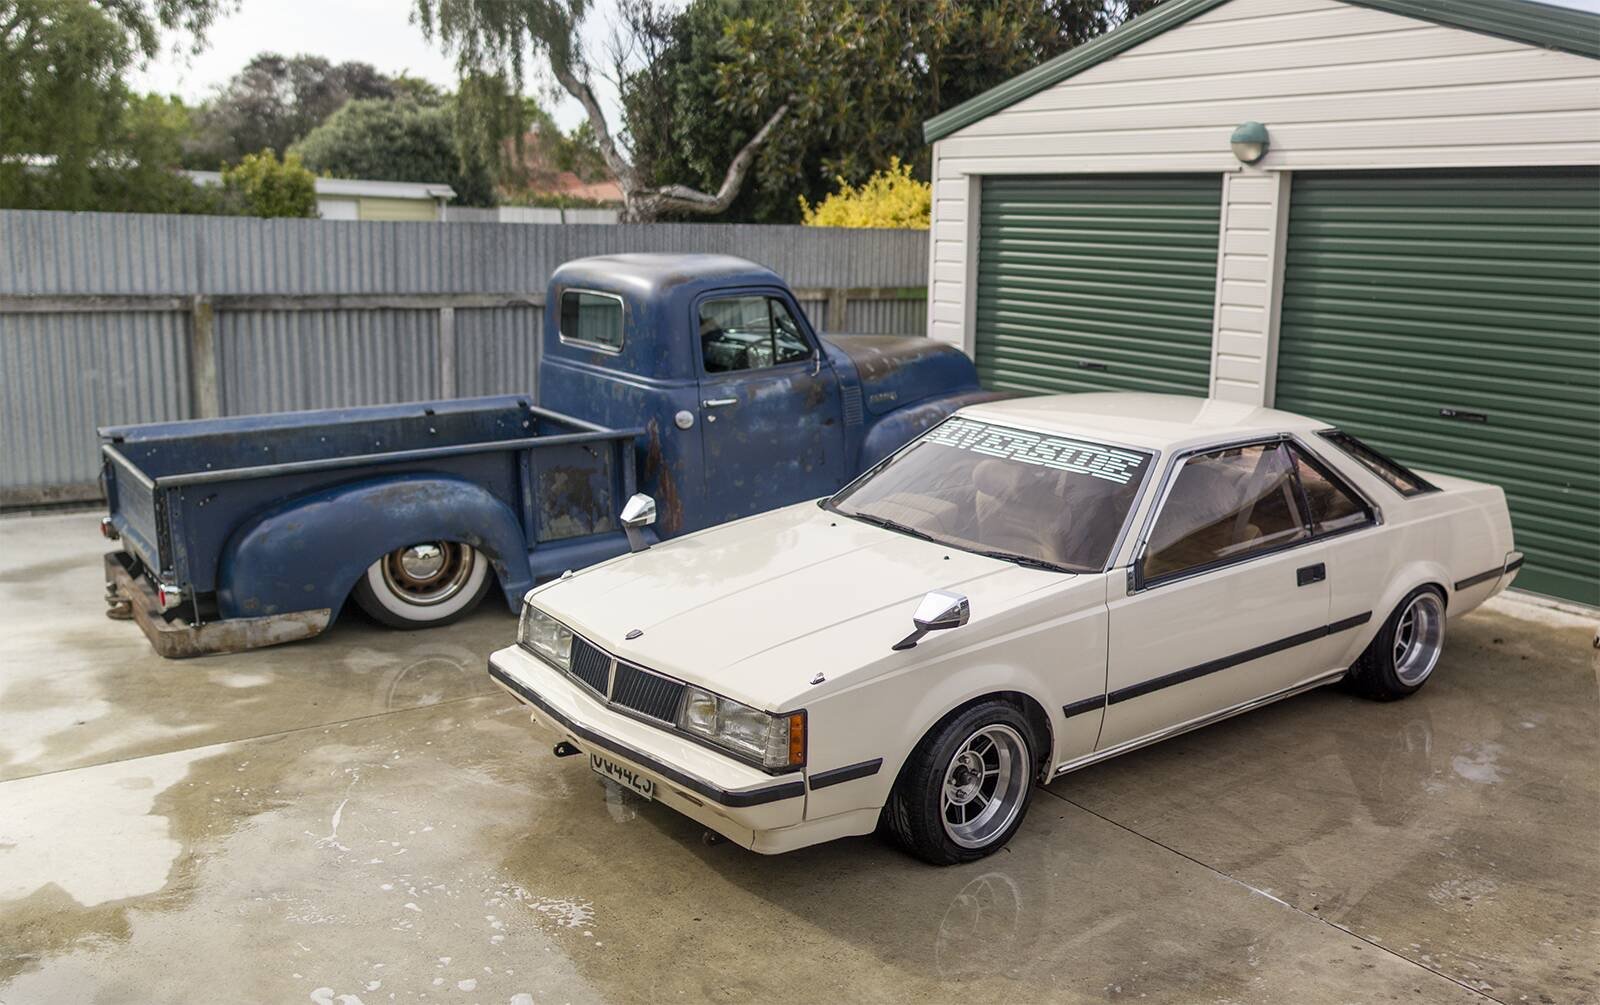
So, Sabre is now in Christchurch so I can slowly get some jobs done while not working on the house. Got the rims from Marshlands sandblasted/painted/fitted and I'm super happy with the result. Suits the car so much better being back to original compared to the 13" wheels. Also fitted the seats from the wreck I got (see earlier posts) but found the front seat frames were pretty wrecked. Managed to fit the replacement covers over the seats that were in it (S110L seats) but the Sabre seats have a different back - will need to get the drivers one fixed before fitting. You can see how the Sabre/1000MB seats are way more shaped and styley than the later ones (drivers side)
6 points
-
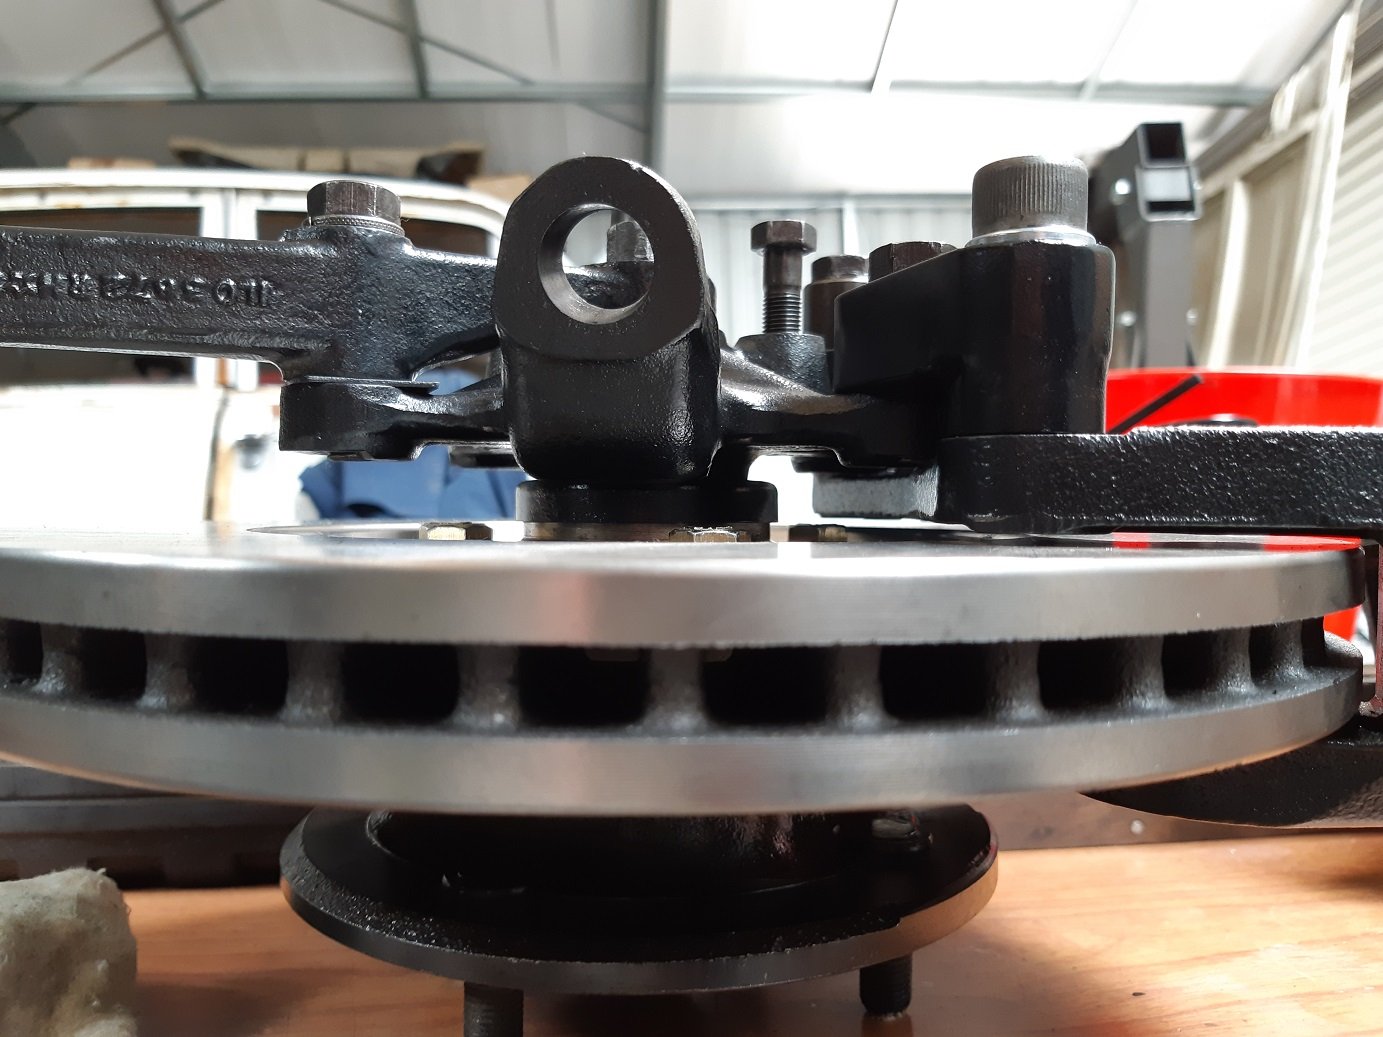
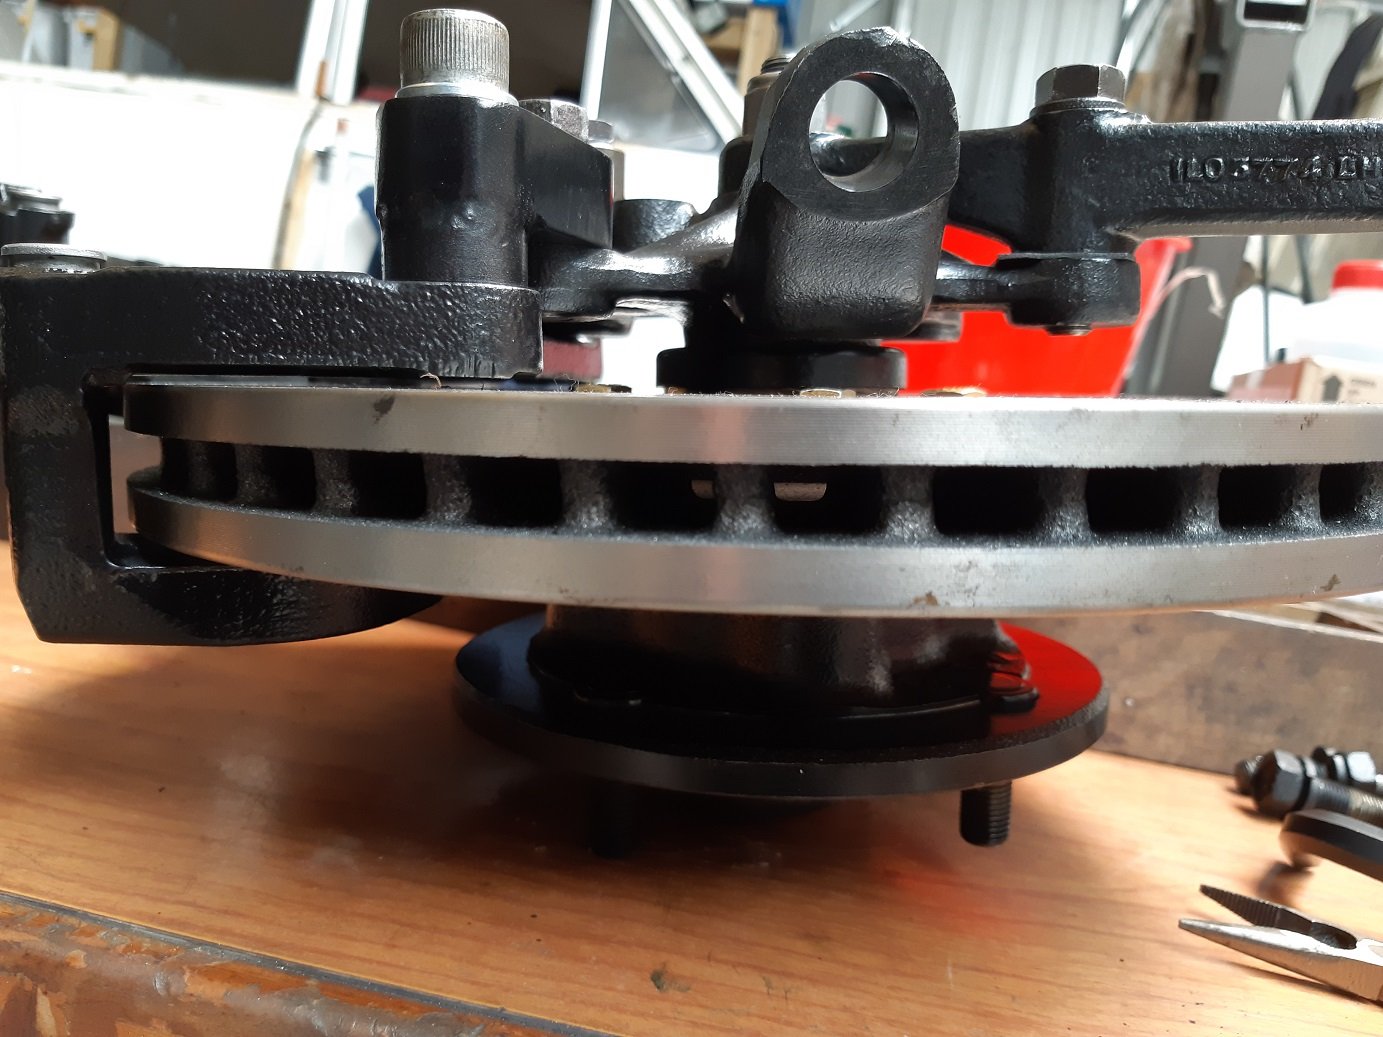
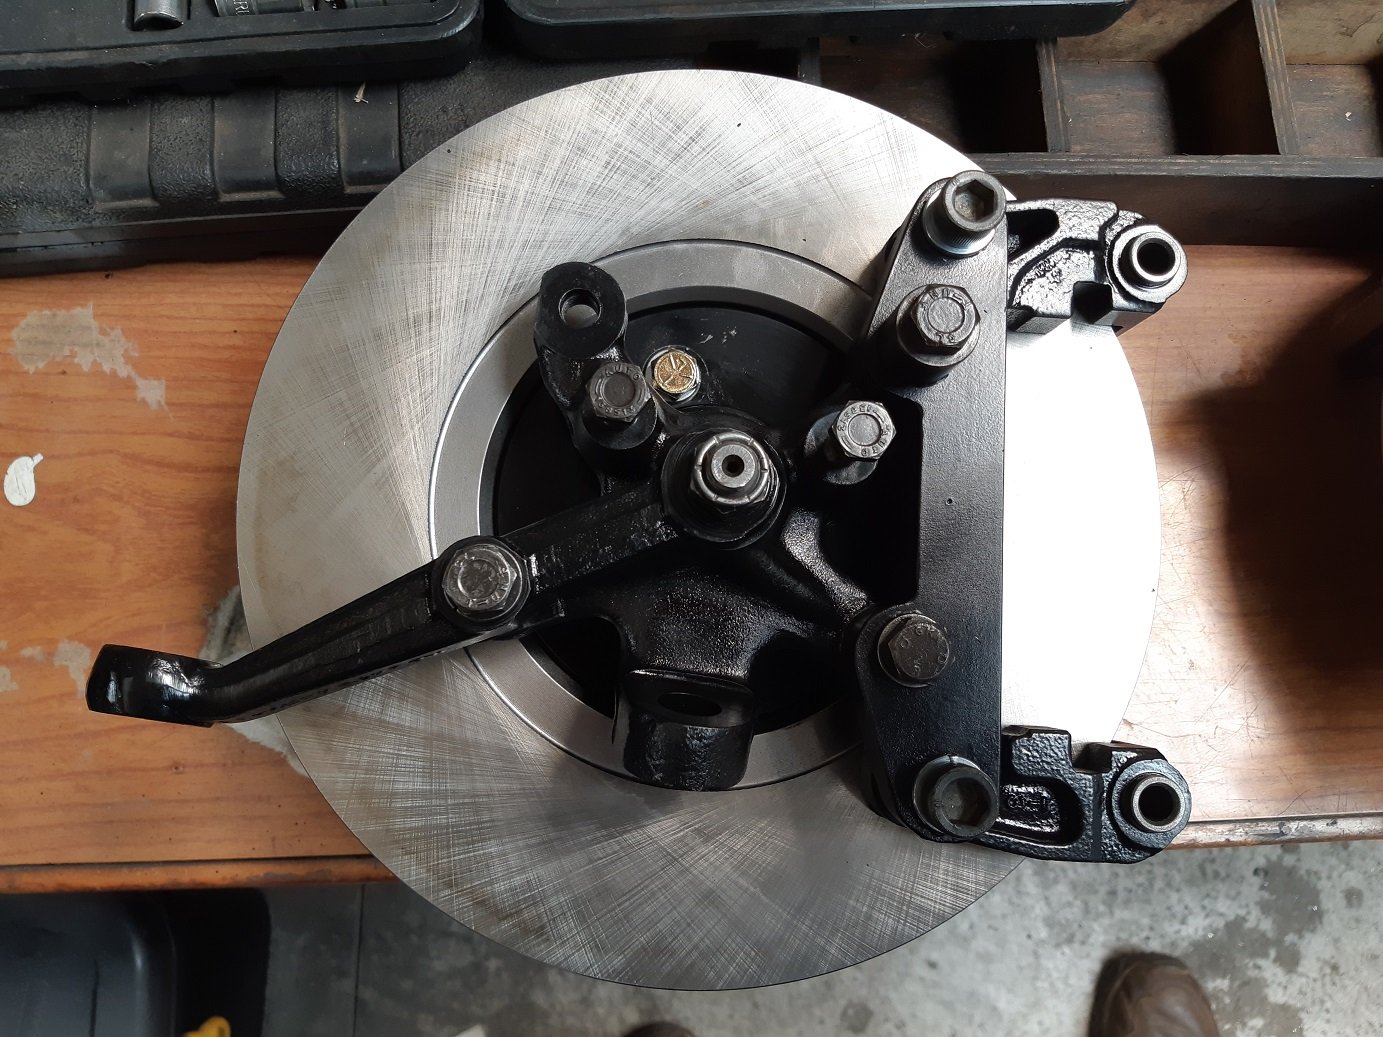
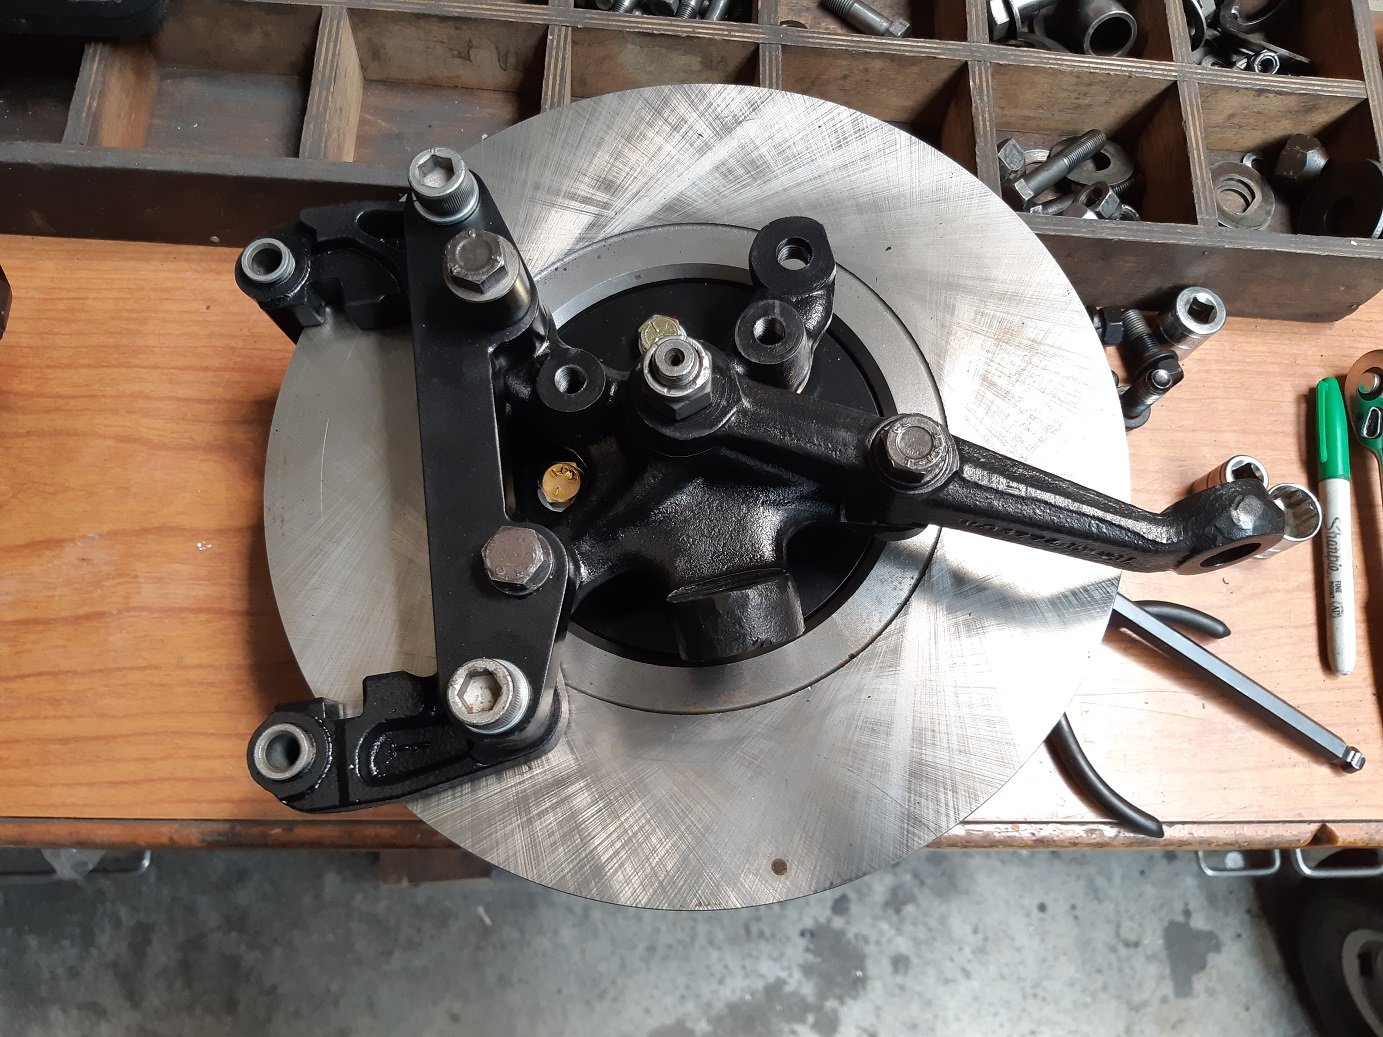
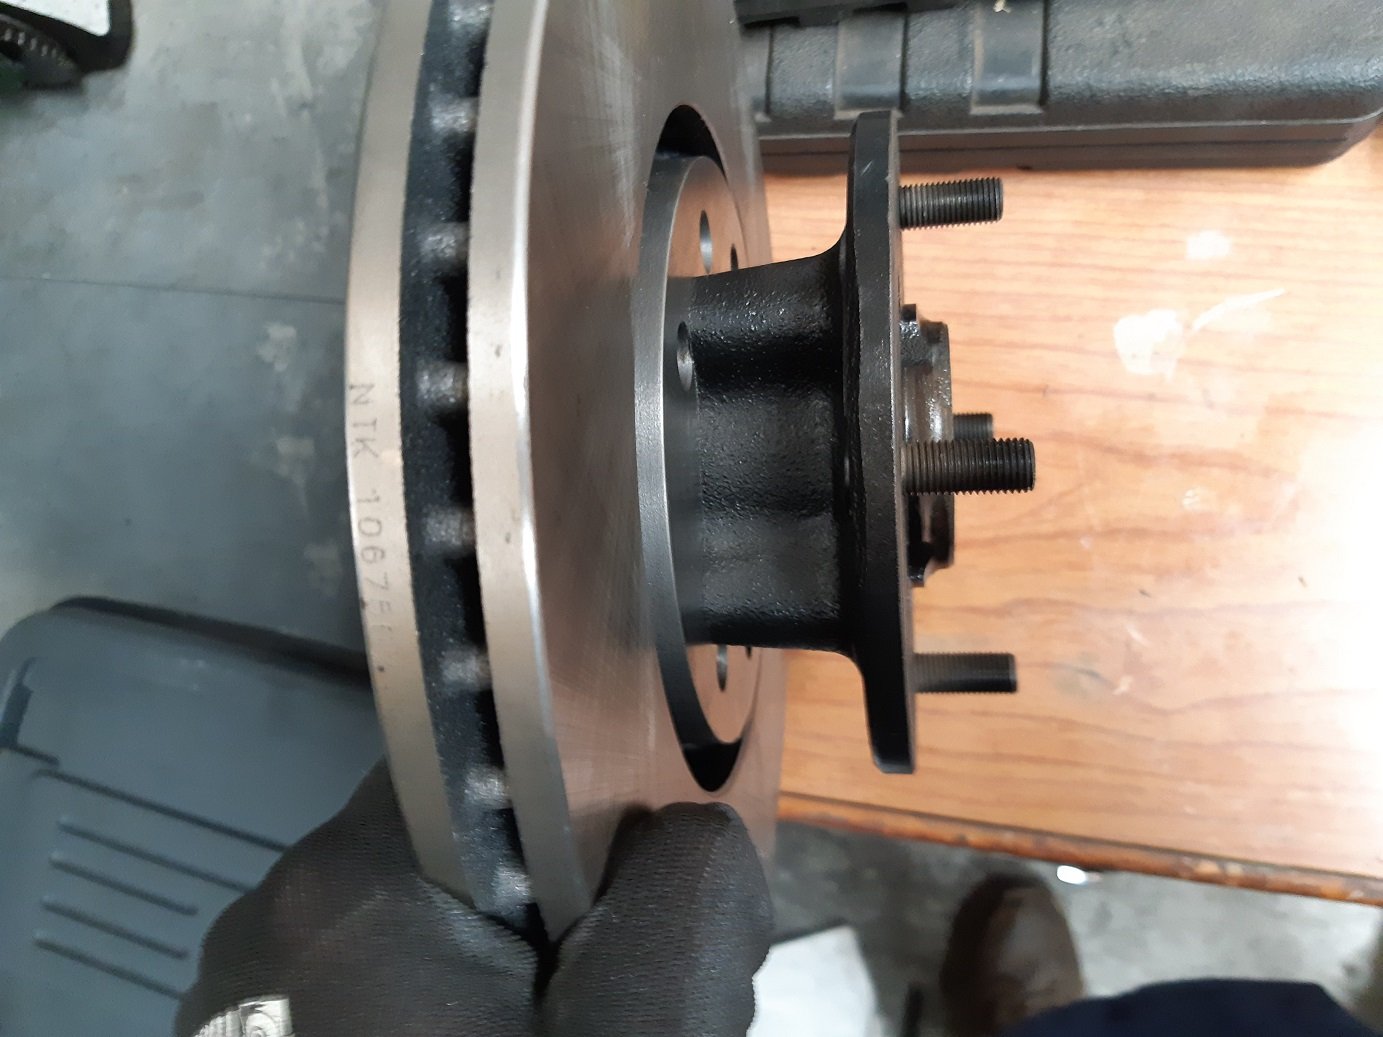
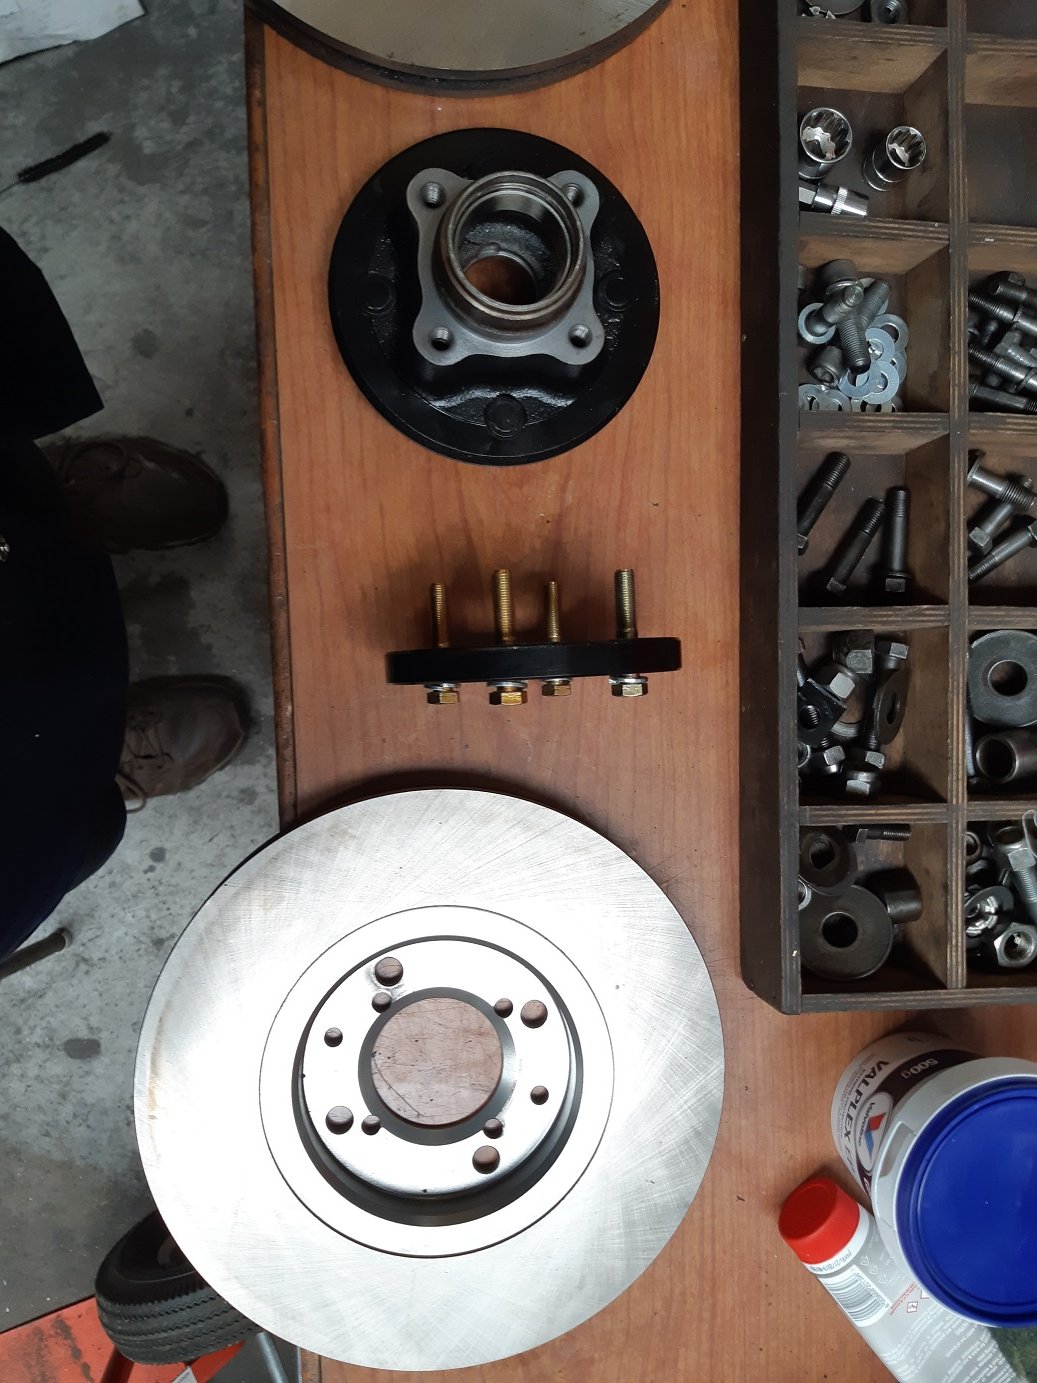
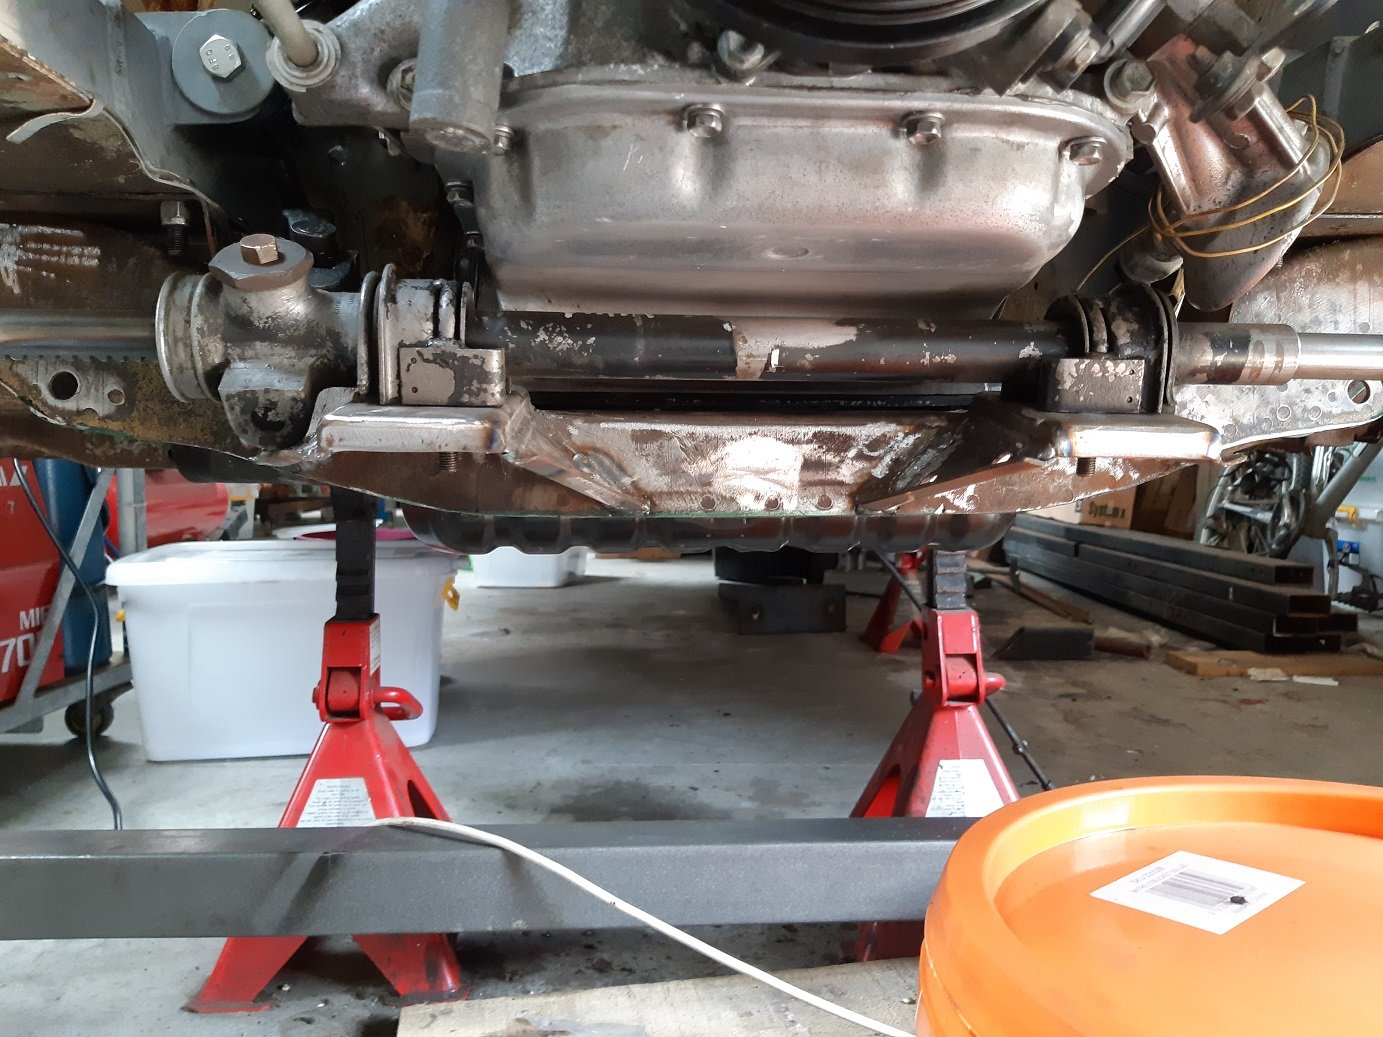
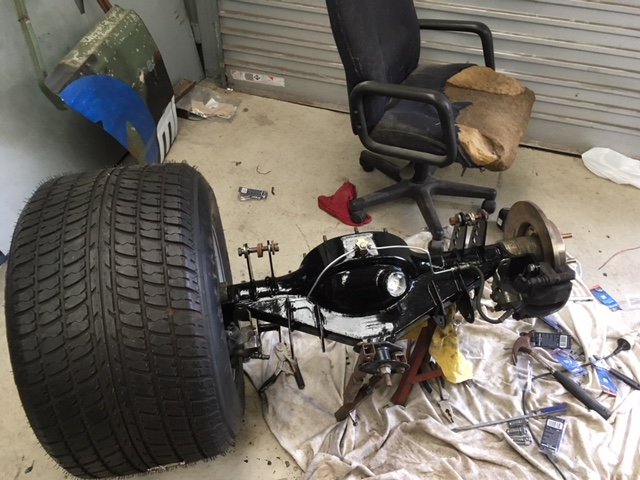
I did actually do stuff to this over the xmas break. But I didn't take many photos. I finished modifying the front cross member and permanently mounted the rack. The easiest option ended up being to replicate the factory brackets. With the sump modified, I could lift the rack back up(still lower than factory) 16mm which meant I could remove the spacer between the rod end and the steering arm. This also gave me loads of clearance between the rod end and the wheel rim. When I finished the cross member I thought, well, I guess it's time to take the suspension off the yellow car(where I was mocking up) and put it on this car. I looked at the suspension and thought, I don't want to put those dirty, rusty parts on.... I guess I'll clean and paint them first. Cleaning and painting took ages. I used it to justify, to myself, buying a blasting cabinet. I got new bearings. And ball joints for the lower arms. I had a bit of a WTF moment when I tried to dry assemble the hubs with the discs and calipers.... And the calliper brackets didn't fit, like not by miles. After being confused and sad, and sleeping on it. What I think happened was that the hub I used to make the caliper brackets had some ridges worn on the stud axle that caused the bearing to sit 4.5mm proud. I decided that to only way to fix it was to machine 4.5mm off the back of the hub to move the disc. Now it all bolts together. I
4 points
-
My inner 8 yr old just weed his pants in excitement/jealousy...4 points
-
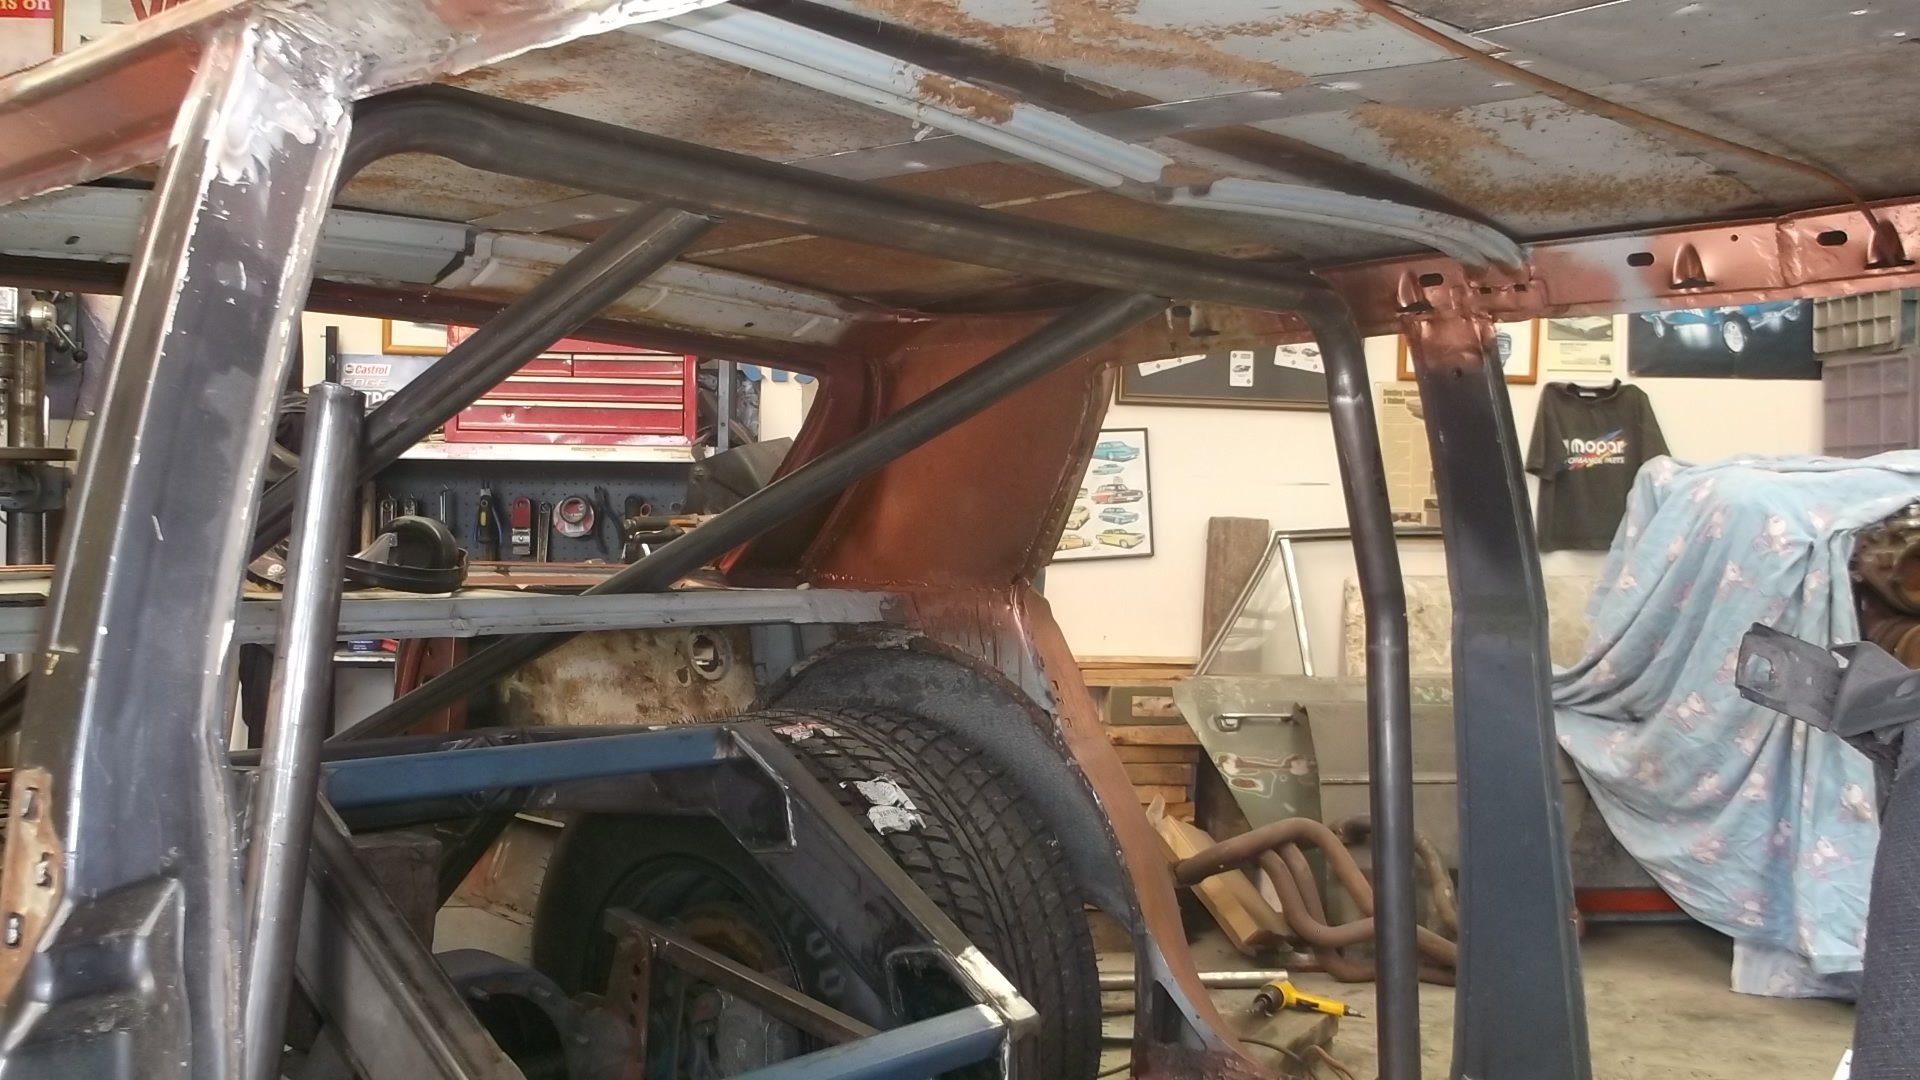
got the roof welded on to day
4 points
-
more stuff. exhaust is all back in. all the plumbing is done, it has a clutch, oil in the motor, power steering fluid all over the floor and save one radiator hose that i cut the wrong end off it would have water in it too. all the wiring forward of the fire wall is finished as well. i had to notch the chin spoiler to accommodate the oil coolers and hopefully it doesn't look to stupid when its all back together. tomorrow i should be able to crank it and get oil pressure up and also test the fuel system at pressure. good. 2020-01-31_06-25-47 by sheepers, on Flickr 2020-01-31_06-25-28 by sheepers, on Flickr art. 2020-01-31_06-49-13 by sheepers, on Flickr4 points
-
Crikey! Its been over 3 months since I last updated this thread. The reason being I have been busy just enjoying summer and driving the Imp whenever I can. Its such a hoot . I'll use any excuse I can to take it for a hoon. We have now covered over 3500kms since getting it on the road at the end of May last year. Considering we work from home so no commute I was quite surprised at how much its had! Its been incredibly cheap to run (very easy to get over 40mpg while still having a laugh) and is sooooo much fun to trash along on windy roads. The reception we both get whenever either of us uses it for a shopping run etc is fantastic. It really does make people smile- which is nice A few various friends, some from Oldschool, have also taken it out for a good thrash. Its really interesting seeing how different people drive it, their style, ease with the handling and gear change, confidence. Generally they have all found it super easy to drive and all seemed to love the handling. If only it had another 50 bhp... I have done a few little jobs here and there to improve it. Back in the last exciting episode I left off with some sexy photos of a new Hitachi carb. I swapped the relevant linkages/cable stops I had made for the previous carb across onto the new one , bolted it in place and hoped for the best. Started the car up but flooded it because the new carb seems to have a more effective choke. Cleared it and started it proper. Straight away I noticed how better the engine sat at idle. I few twiddles of both the throttle stop screw and the idle mixture and I had it running sweet at idle. I then took it for a hoon up the road. WOW- what a difference. No more flat spots, the transition off idle was smooth as, the transition onto the secondaries was smooth. No stumbling when coming to a stop and a super smooth idle. The jerkiness at slow speed in high gear was gone. Overall a huge improvement. Best $120 I'd spent in ages!! Here's a pic of said wonder carb.. Next job on the list was to improve the brake pedal feel. They work really well but I would still prefer a firmer pedal. I knew that the original Honda Civic brake hoses on the front were far too long, needlessly long. So that was a good place to start. I ordered a pair of new stainless braided hoses from Nelson brake services, impressed I was with the previous set I had them make for my Viva. $55 each which is a bargain. I fitted them and noticed a big improvement in feel. much nicer firmer feel with a better defined bite point on the front. But it can still be better and I think that its possible the brand new Lada master cylinder fitted has a slightly weak seal. If I press hard on the pedal and hold the pressure the pedal will slowly sink. I can also pump the pedal up a bit harder and I have done so many attempts at bleeding it I am pretty sure there is no air in the system. @NickJ ever so kindly sent me a spare set of seals he had. However Nick has warned me that they are from the same vendor he got the master cylinder from, which did come wrapped up in newspaper with these two fellas on the front... Interestingly the seals are a odd shape I have not seen before in a brake cylinder. They have a curved edge, like a worn o-ring outer rather than a lip that is forced against the bore like most brake seals I know.... I thought this was possibly the problem but after some googling it turns out that this master cylinder design and bore diameter is a very commonly used item across many Fiats, ladas and some other brands. So the seal design must work fine in use. Hannah's mum has come over from Blighty for a holiday and essential sun. So over a few weeks previous to her boarding her plane I kept an eye out on Ebay UK for anything interesting. She ended up bringing this stash of goodies... Apart from the very obvious Marmite with proper actual taste I bought a Haynes cutaway book filled with lots of Terry Davey's best pics, plus two old magazines with road tests on Imps- one of which was printed at the release of the Imp and is filled with heaps of articles, photos and fold out pages with extra large exploded diagrams. A total treat for any Imp nerd and one which kept me thoroughly delighted while reading it in the sunshine on coffee breaks... Lastly and more recently I have decided to sell on my Viva wagon. I'm not using it and have utterly fallen for the charm of the Imp. I would rather someone else make something of the wagon and what money I get for it can go towards this car (as well as another few projects in mind, and probably pushbike stuff...) So with that in mind I decided the VIva did not need fancy Recaro seats but the Imp does. The Mx5 seats are ok but not quite as figure hugging as I like, nor do they seem to offer the same lumber support that the Recaros do. Plus the Recaros just look so damn nice and fit in well with the little nippy go kart like car ethos I like in Imps. I was worried about them being a lot heavier but they only weigh 3kg more each. I can live with that for the comfort they offer! So I had to add some slightly wider spaced mounting points. Because the mx5 seat mounting points were welded on the back/inside of the box sections before they were welded on the floor I had to instead make up some flanged threaded bosses... which I then tigged in place (rather then risk mig splatter everywhere)... It was when tigging I remembered the steel was zincalume and made my welding a bit messier then I had hoped as the fumes came through... But all good and strong. I shortened the reach adjust levers while I was at it.. I also had to fix the mountings for one of the plastic covers which no matter what I did with the old push in plastic rivets would always come loose and rattle about . I machined some wee stubs and epoxied them in place... This (blurry..) pic dates the seats somewhat... (kids- ask your parents) I finally mounted them in proper and they look great. Much better to sit in and they also swing forwards further than the Mx5 seats - which to be fair really were never designed for a car with rear seats were they. The Recaros have a more suiting mixture of grey and black which suits the interior better I think. However I'll still keep looking for some suitable red leather sports seats much like the ones in my previous Viva for they were the best looking seats I've yet seen, although being slightly wider for 'larger" Alfa Romeo drivers and covered in slippery leather they were in use a little less hugging than these cloth Recaros. So that lot takes us up to date. Next on the list is to fit some carpet, now that I seem to have finally sealed the windscreen properly although the car has not seen much rain recently- its been so dry here since the start of December. I'm still tempted to play with injection. I bought a spare engine for $100 from the local wreckers. Its a 1500 and has the later oval port head. Larger ports and larger valves. We stripped it down together and its pretty good as far as wear goes on the guides etc. Certainly a good head I can clean up and fit without any machining. I have a inlet manifold to suit. However.... I may still yet re-power it with another engine, yet decided on. I do really like the idea of regaining my rear parcel shelf, currently cut to allow the valve cover to go through, because its missed and would be very handy for the weekly shop! Datto engine in the van after pickup... A tiny little tool box a found at the warehouse which was just soooo cute I had to get it... Goes here.. A tiny little trailer we built for some locals kayaks. Had to size it up... I sold the race car shell and it headed south to Queenstown on what was a comically huge transporter. Fuck I laughed... My Imp making other normal cars look huge... Finally my parting shot- because well... I just like this photo4 points
-
3 points
-
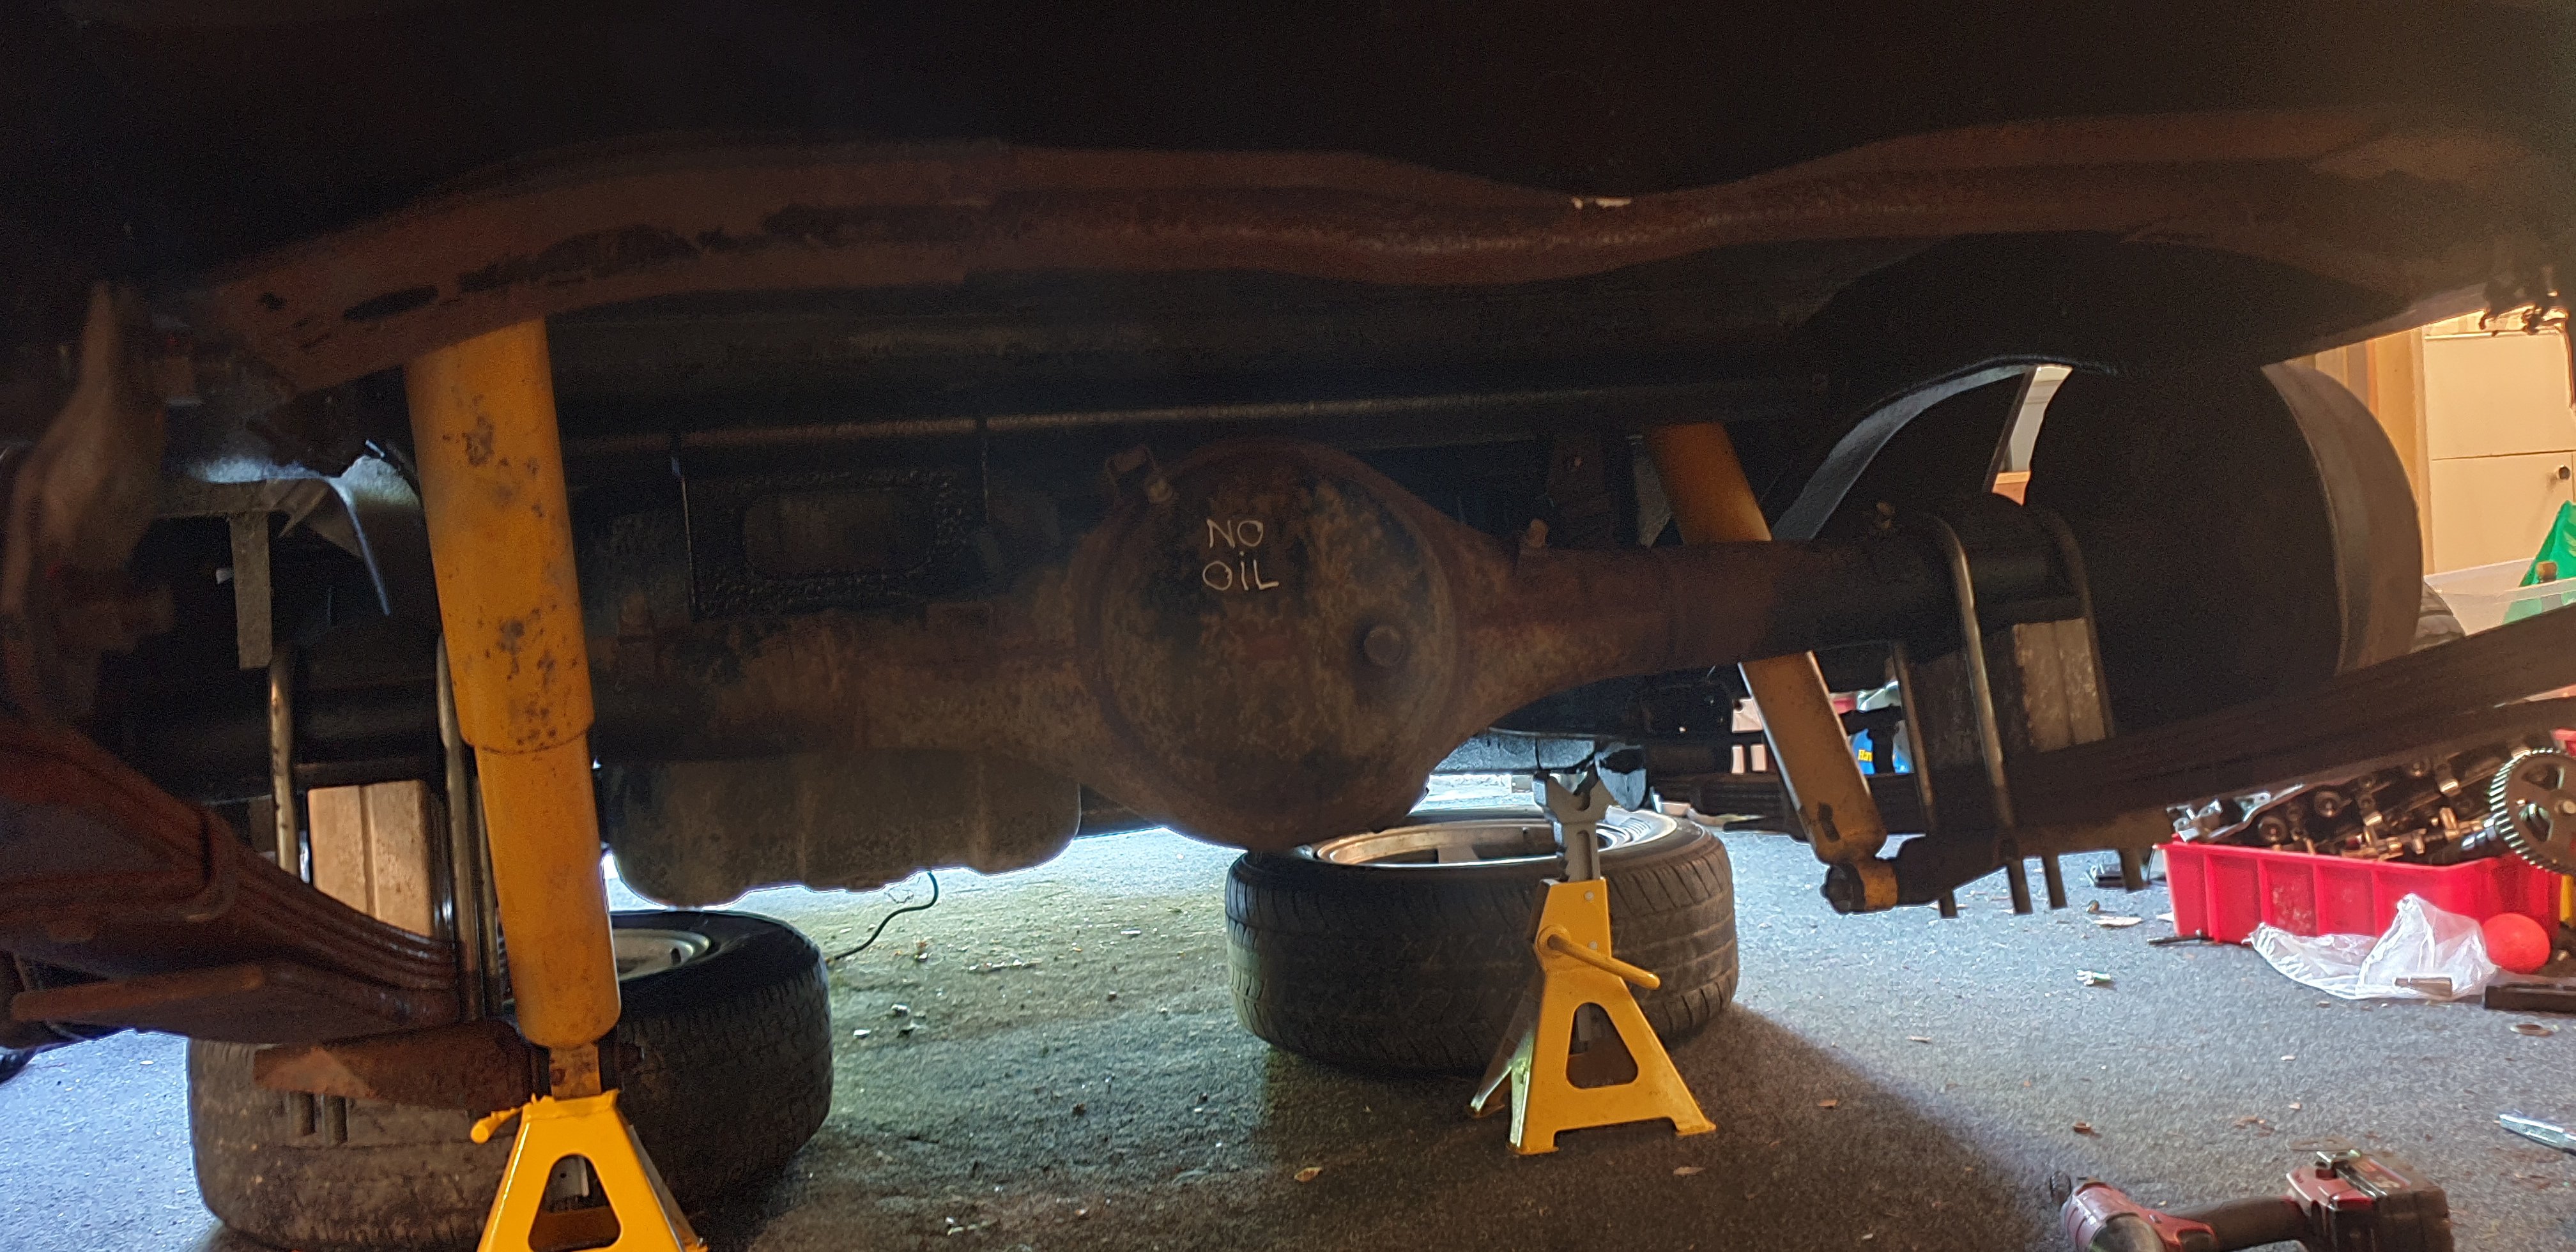
So with the wider diff I've had trouble getting wheels to fit, my mate has lent me some 14x7 pro stars which fit but the 215/70 tyres will be replaced with 185/60 tyres. Eventually I'll get diff shortened so I can fit 14x8s but that's out of budget currently. Also was always planning on running air shocks in rear but beach hop is getting closer and my goal is to drive there legally kinda so pinched some good condition monroe shocks out of the 4wd parts vehicle for the mean time. Did a few little bits like fill up diff oil, new shock bushes, fill gearbox oil, spray undercoat under the gaurds. All the little things that are kinda important. Forgot to add earlier that the motor I had in this I swapped into my lancer, so I took the old lancer motor, (4g63 sohc) did a gasket set, another head, and valve grind etc. And got it to start as of yesterday but will not stay running so my guess is its something to do with ignition circuit. Will leave that to my mate josh to investigate as I'm no good with electrical shit but it started which is chuuurrrrr
3 points
-
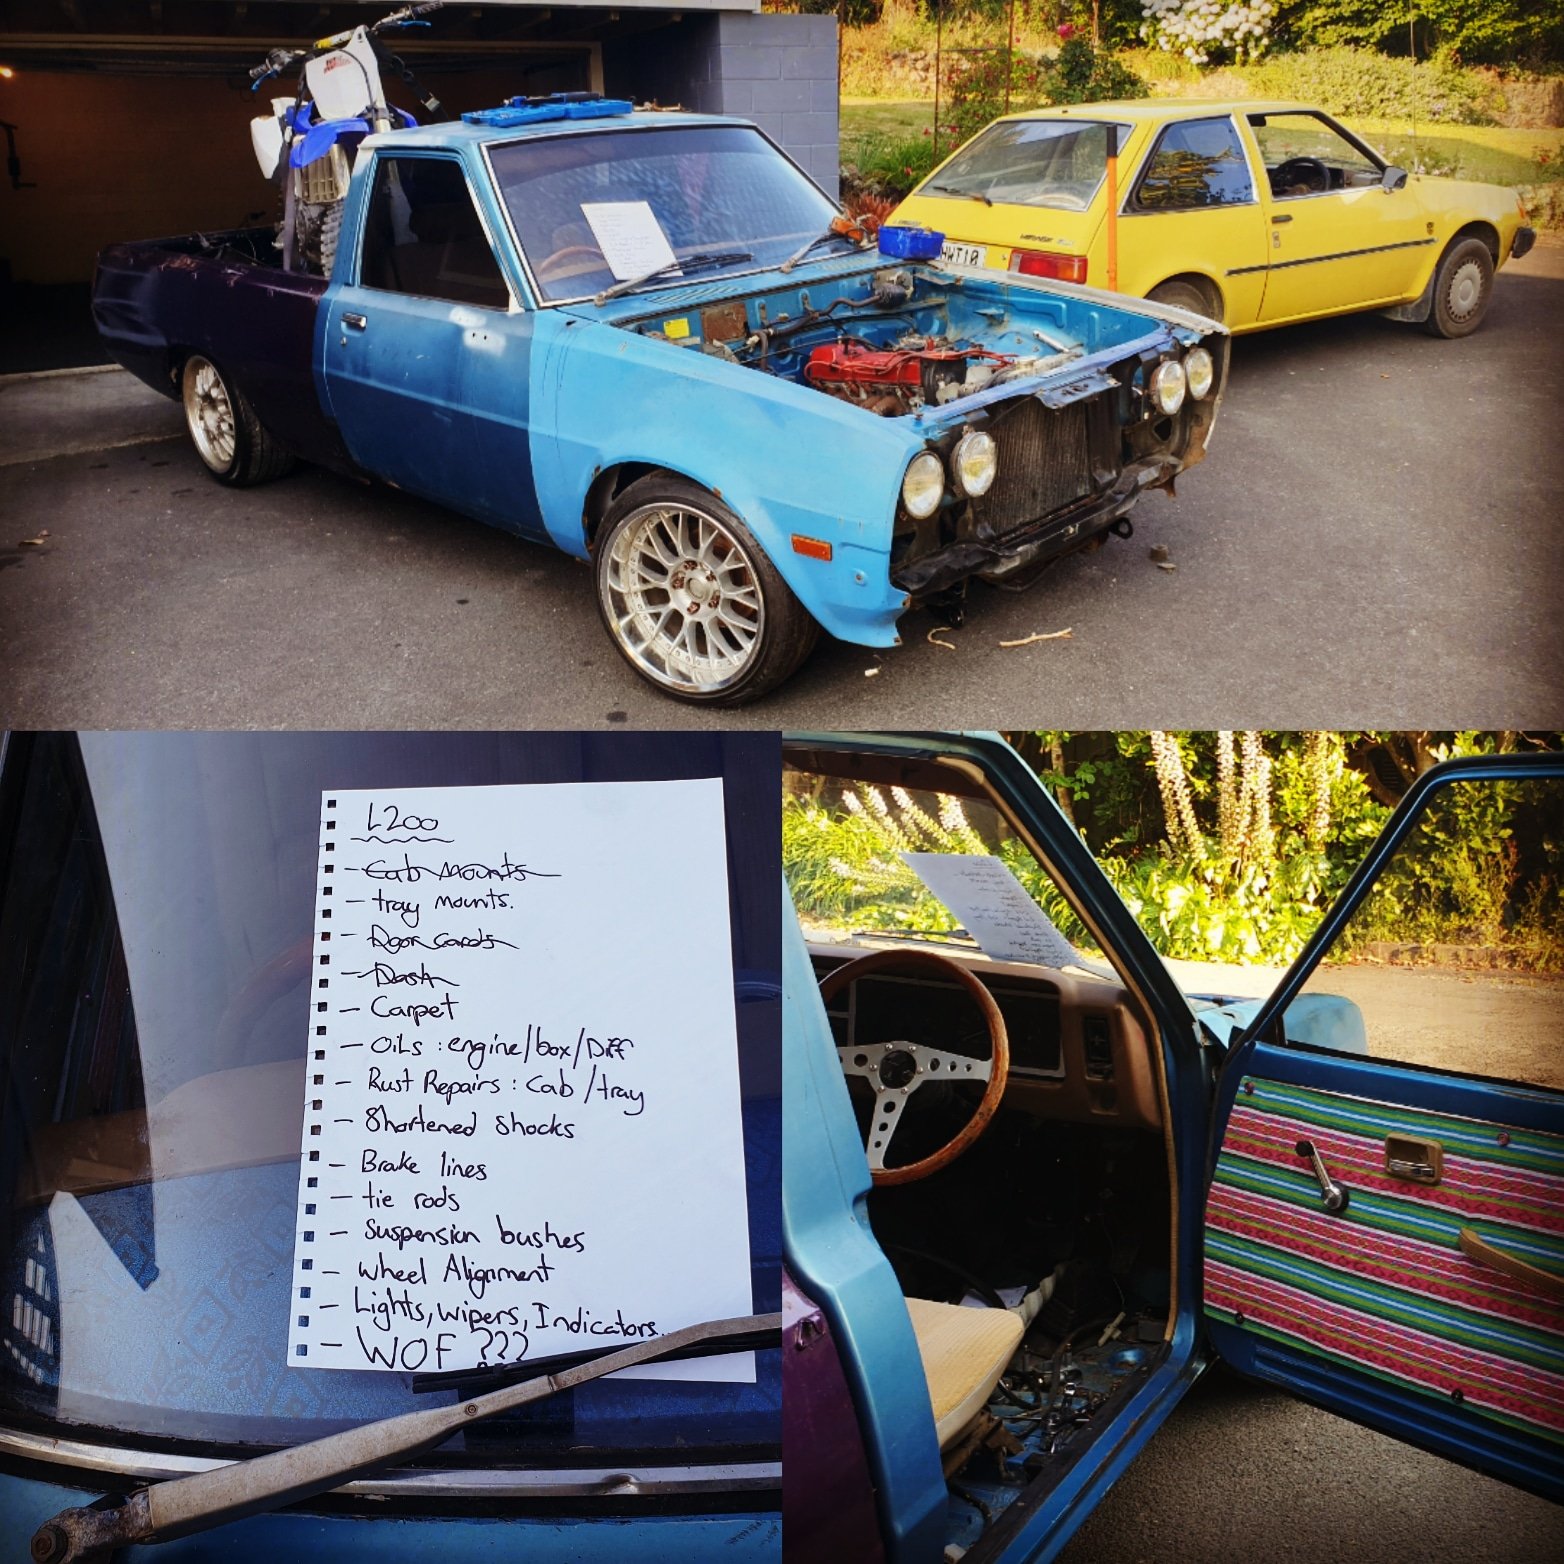
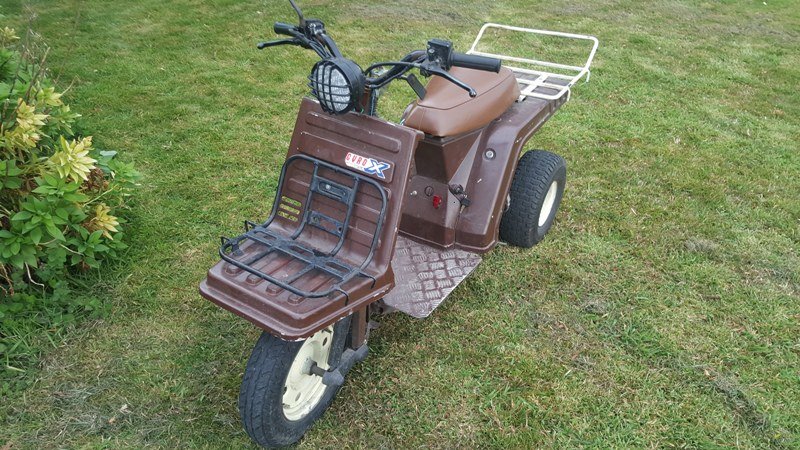
Decided to make my own doorcards using Mexican blanket style material, ados glue, a stapler, and some m6 bolts/ rivnuts off wish and MDF packing sheets I get for free from work. Turned out okay, this ute ain't no show pony so it's good enough. Also test fitted the dirt scooter as that's the whole reason I'm building this ute
3 points
-
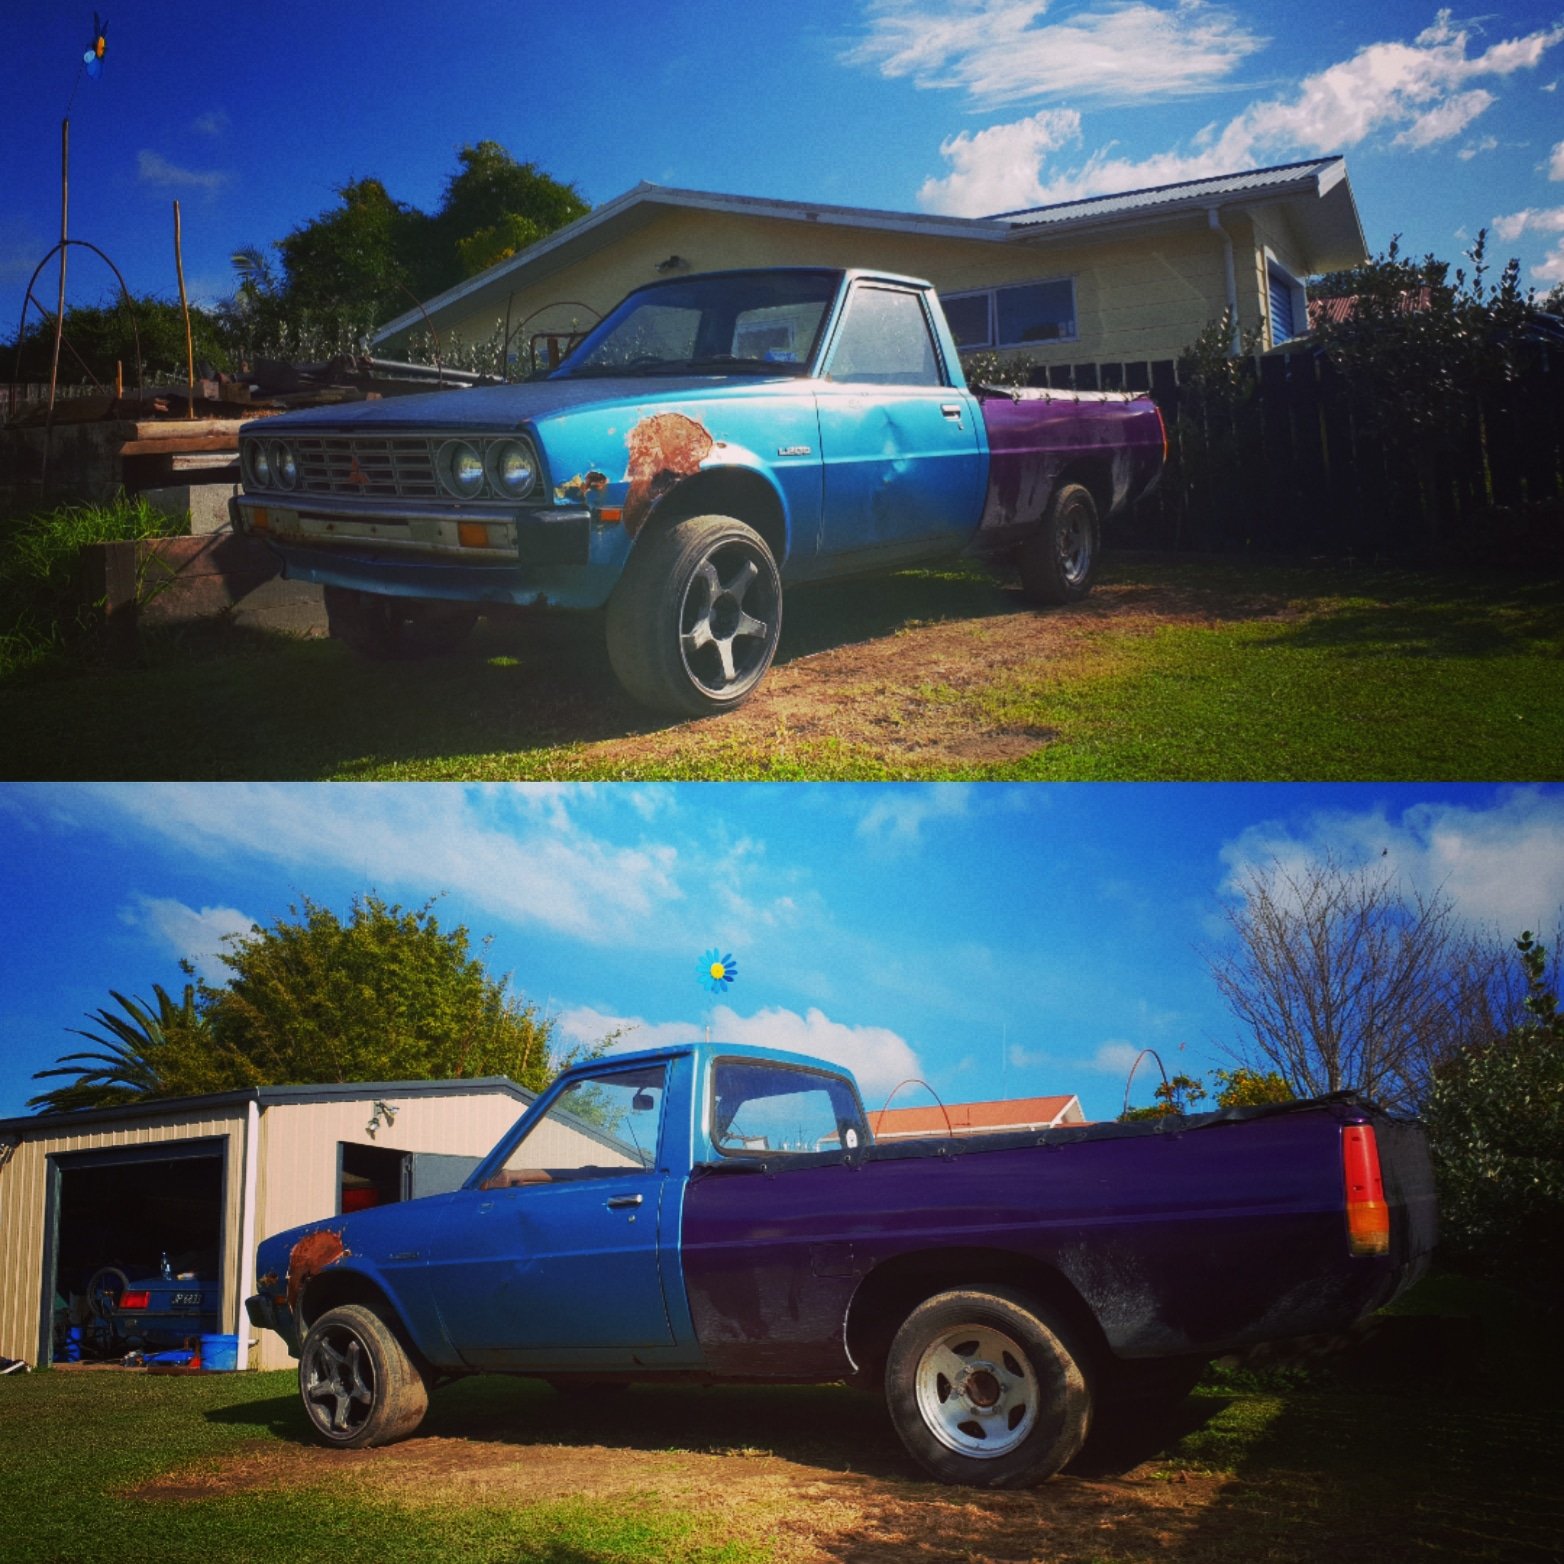
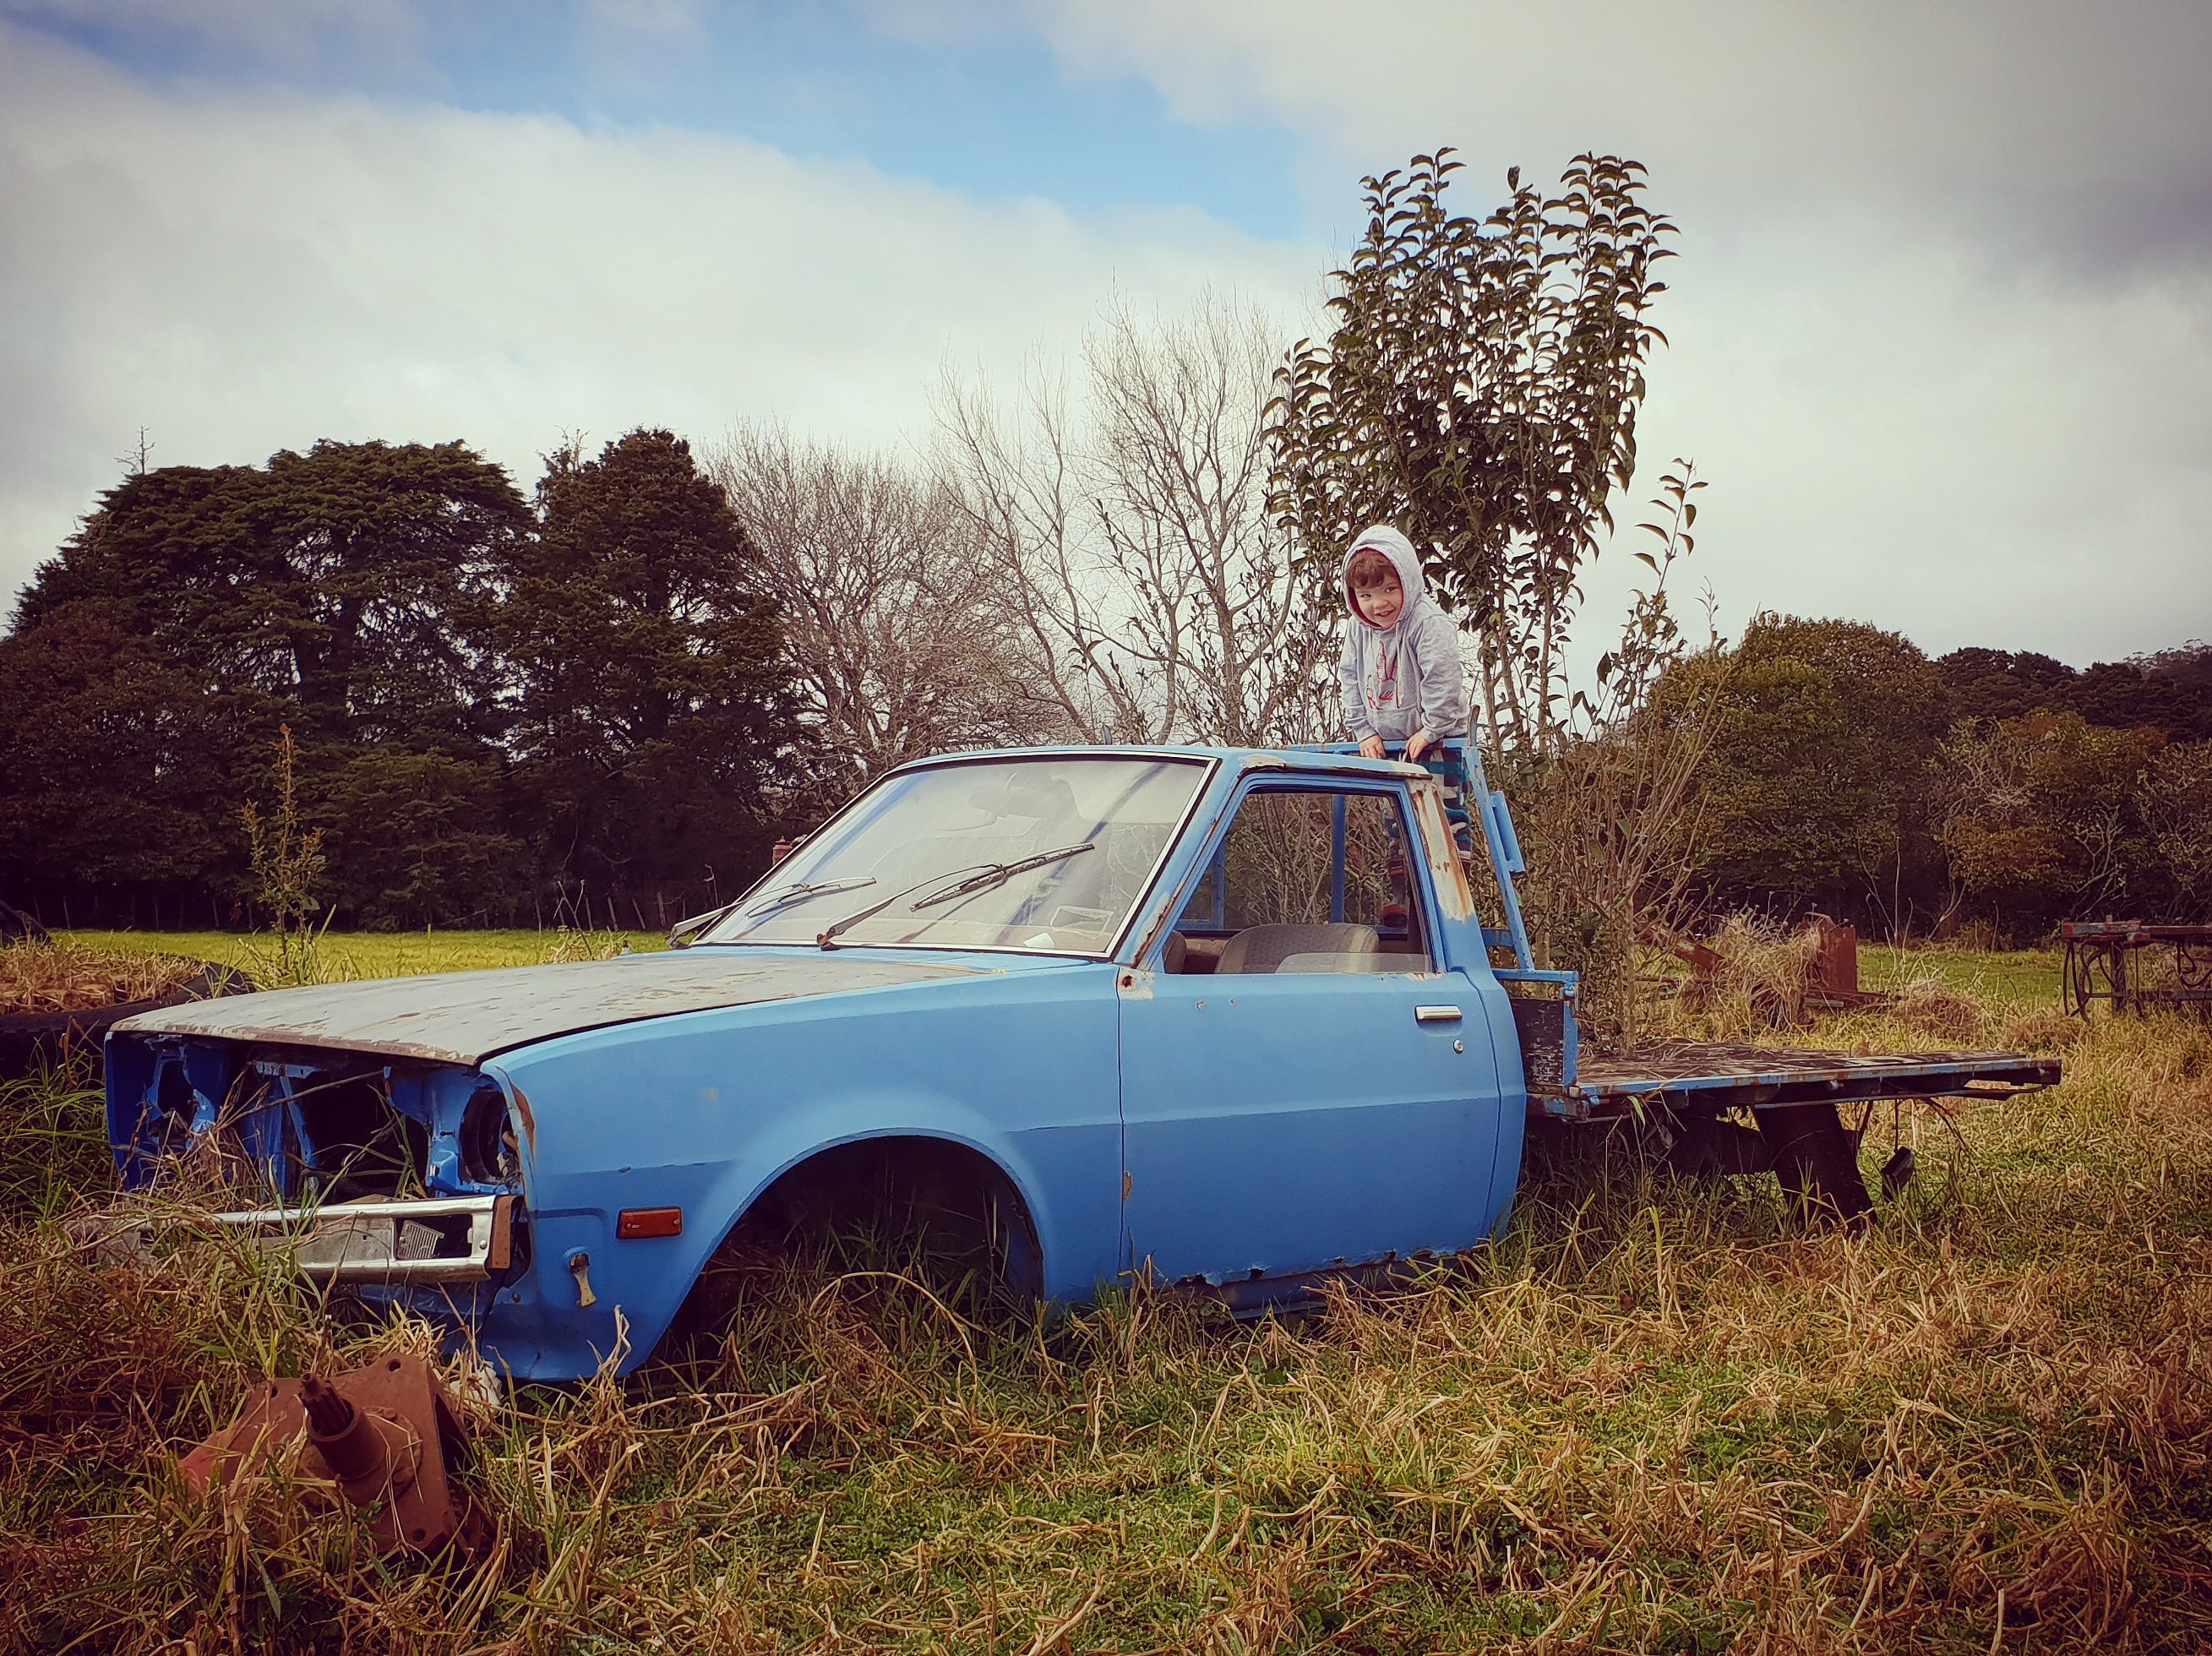
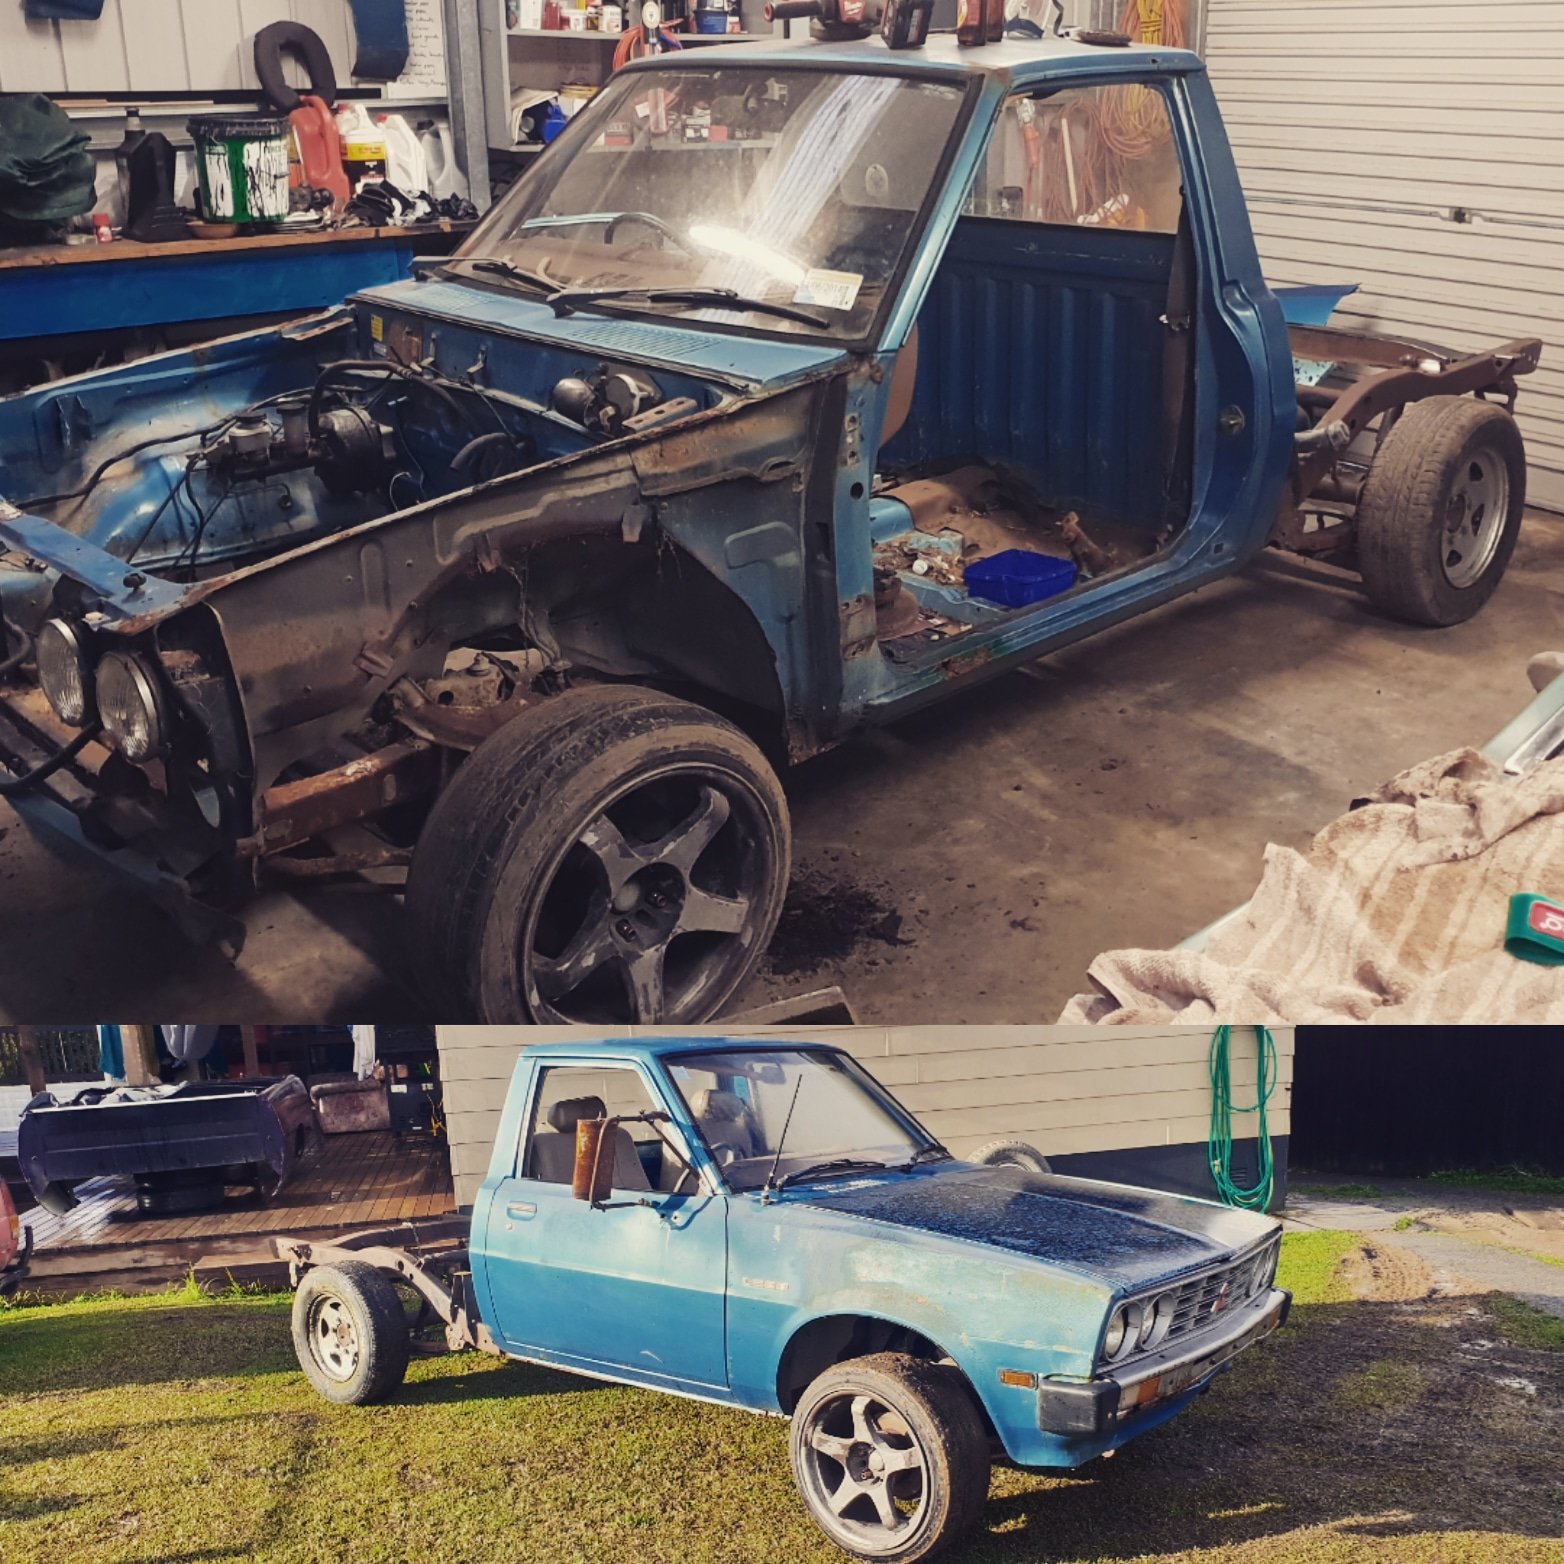
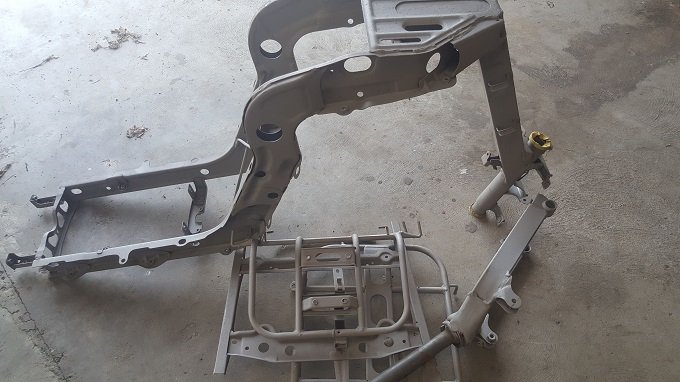
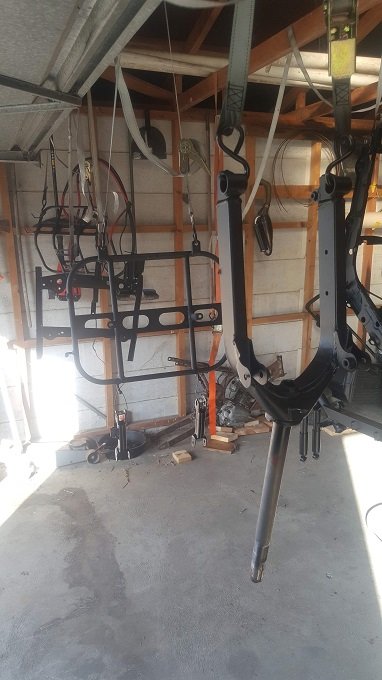
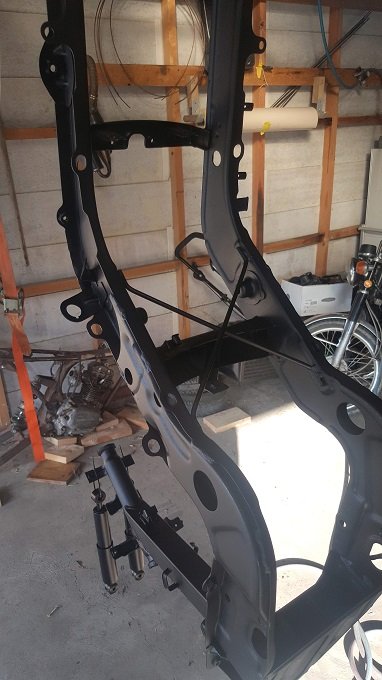
Probably first thing I did was convert front end to 5 stud using L300 van hubs, why? Because I had a sweet collection of 5 stud wheels..... Also managed to swap the flat deck tray for a decent condition welside tray, which I was stoked on Also found my mate had an L200 laying in his padock so went and raided any decent parts I could And started stripping things back for rust repairs..... yay!
3 points
-
Have the roof open up for a telescope3 points
-
Blasted and painted, better start re-assembly before alzheimers kicks in.
3 points
-
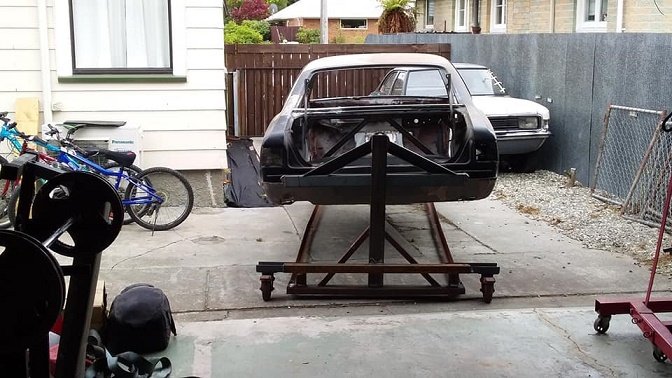
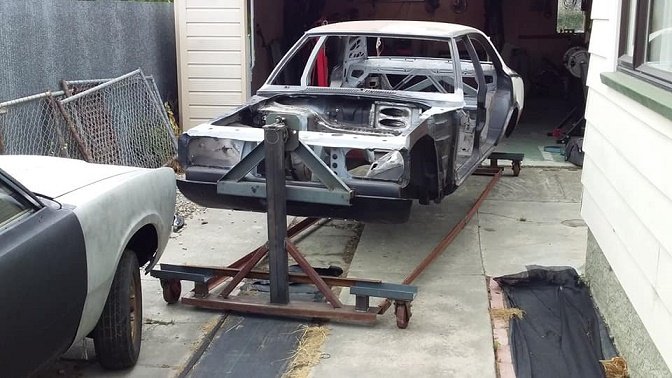
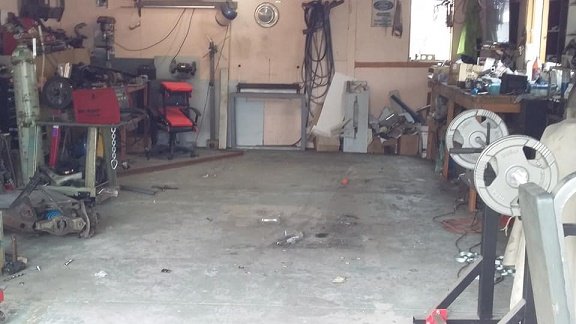
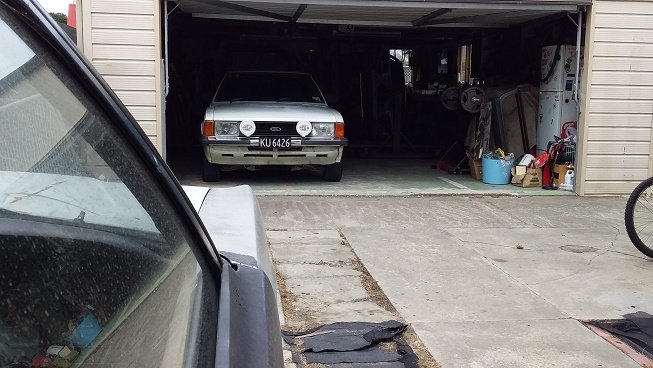
so start of a new year (even tho its February now lol).thought i would clean the garage out and that met putting the mk3 back on the rotisserie and also making casters for it so i can move it out side....ive got some metal prep to do before POR15 and that en voles being able to hose it down..and dint want to do that in the garage.. bit of a bloody mess all cleaned and ready to go
3 points
-
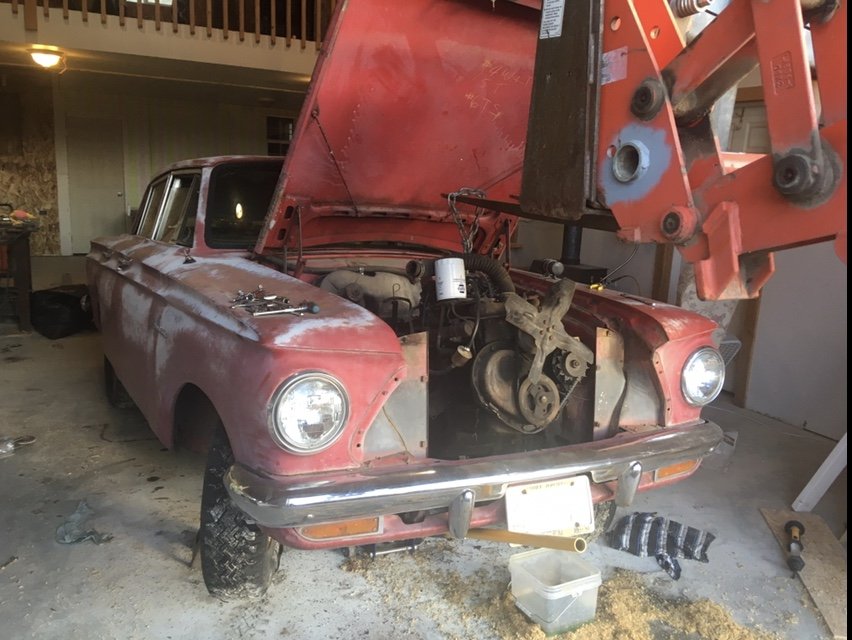
So I ordered a carb rebuild kit and new plug wires with the objective of seeing if I could make her run. Carb was a bit sketchy, the instructions showed a washer that I never saw on tear down. But cleaned out a ton of varnish an junk an slapped er back together. It's a one barrel Carter carb feeding 196 ci FLATHEAD STRAIGHT 6. Yep 90 ponys! so the plug wires were a bust. Way wrong. Oh well, took em back an got a universal diy kit. Till then we made due . Fed it with a portable boat fuel tank and shorted the starter with a screwdriver, as one does. She fired up straight off and idled nicely. Blew a bit of smoke an all but quite happy. The fuel pump discharged all the old gas into an EPA approved bucket and after running for a couple minutes I changed the oil and filter. Had one spare tire so slapped it on front and aired up the back one, it holds air for about 10 min or so. With a quart of atf it backed off the trailer/work station, I made a half assed attempt to bleed the brakes before hand ( with a 8 yr old for a helper) but just used the hand brake. by this time the cars fuel tank was empty so hooked it back up and added a few gallons. And drove down the driveway and back. Yep gravel driveway handbrake skids more as it happens dont hold yur breath an more pics next time hopefully3 points
-
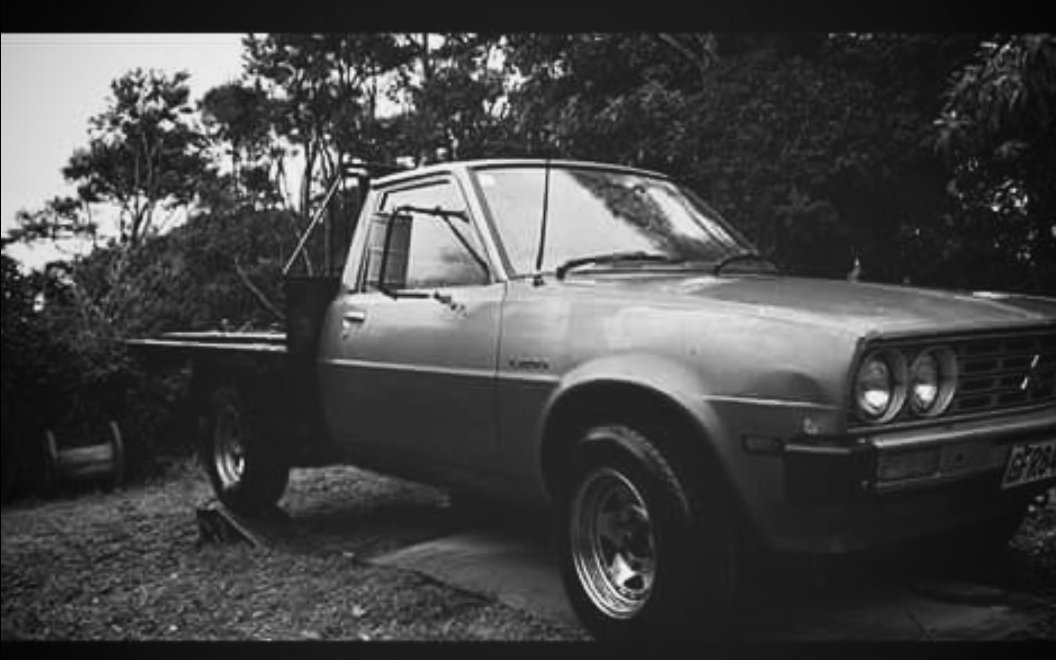
Okay like always I haven't been on here for quite some time, so here's what I've been working on the last two years or more. So here's a few posts hopefully in order all at once.... Purchased this sweet L200 off westley, I think hes on here, another mitsi buddy. Was rolling body, didn't look too bad rust wise but whole reason I bought it was because I'm a sucker for twin round headlights This is where it started Discuss here...
2 points
-
More just driving! The fuel line banjo bolt came slightly loose and I could smell fuel while driving, pulled over to see it spraying fuel everywhere. Not ideal. Tightened it back up and problem free for the rest of the drive. Drill the bolt and lock wire? Loctite? A different kind of fitting? What's the go to for these? (weber dcoe)
2 points
-
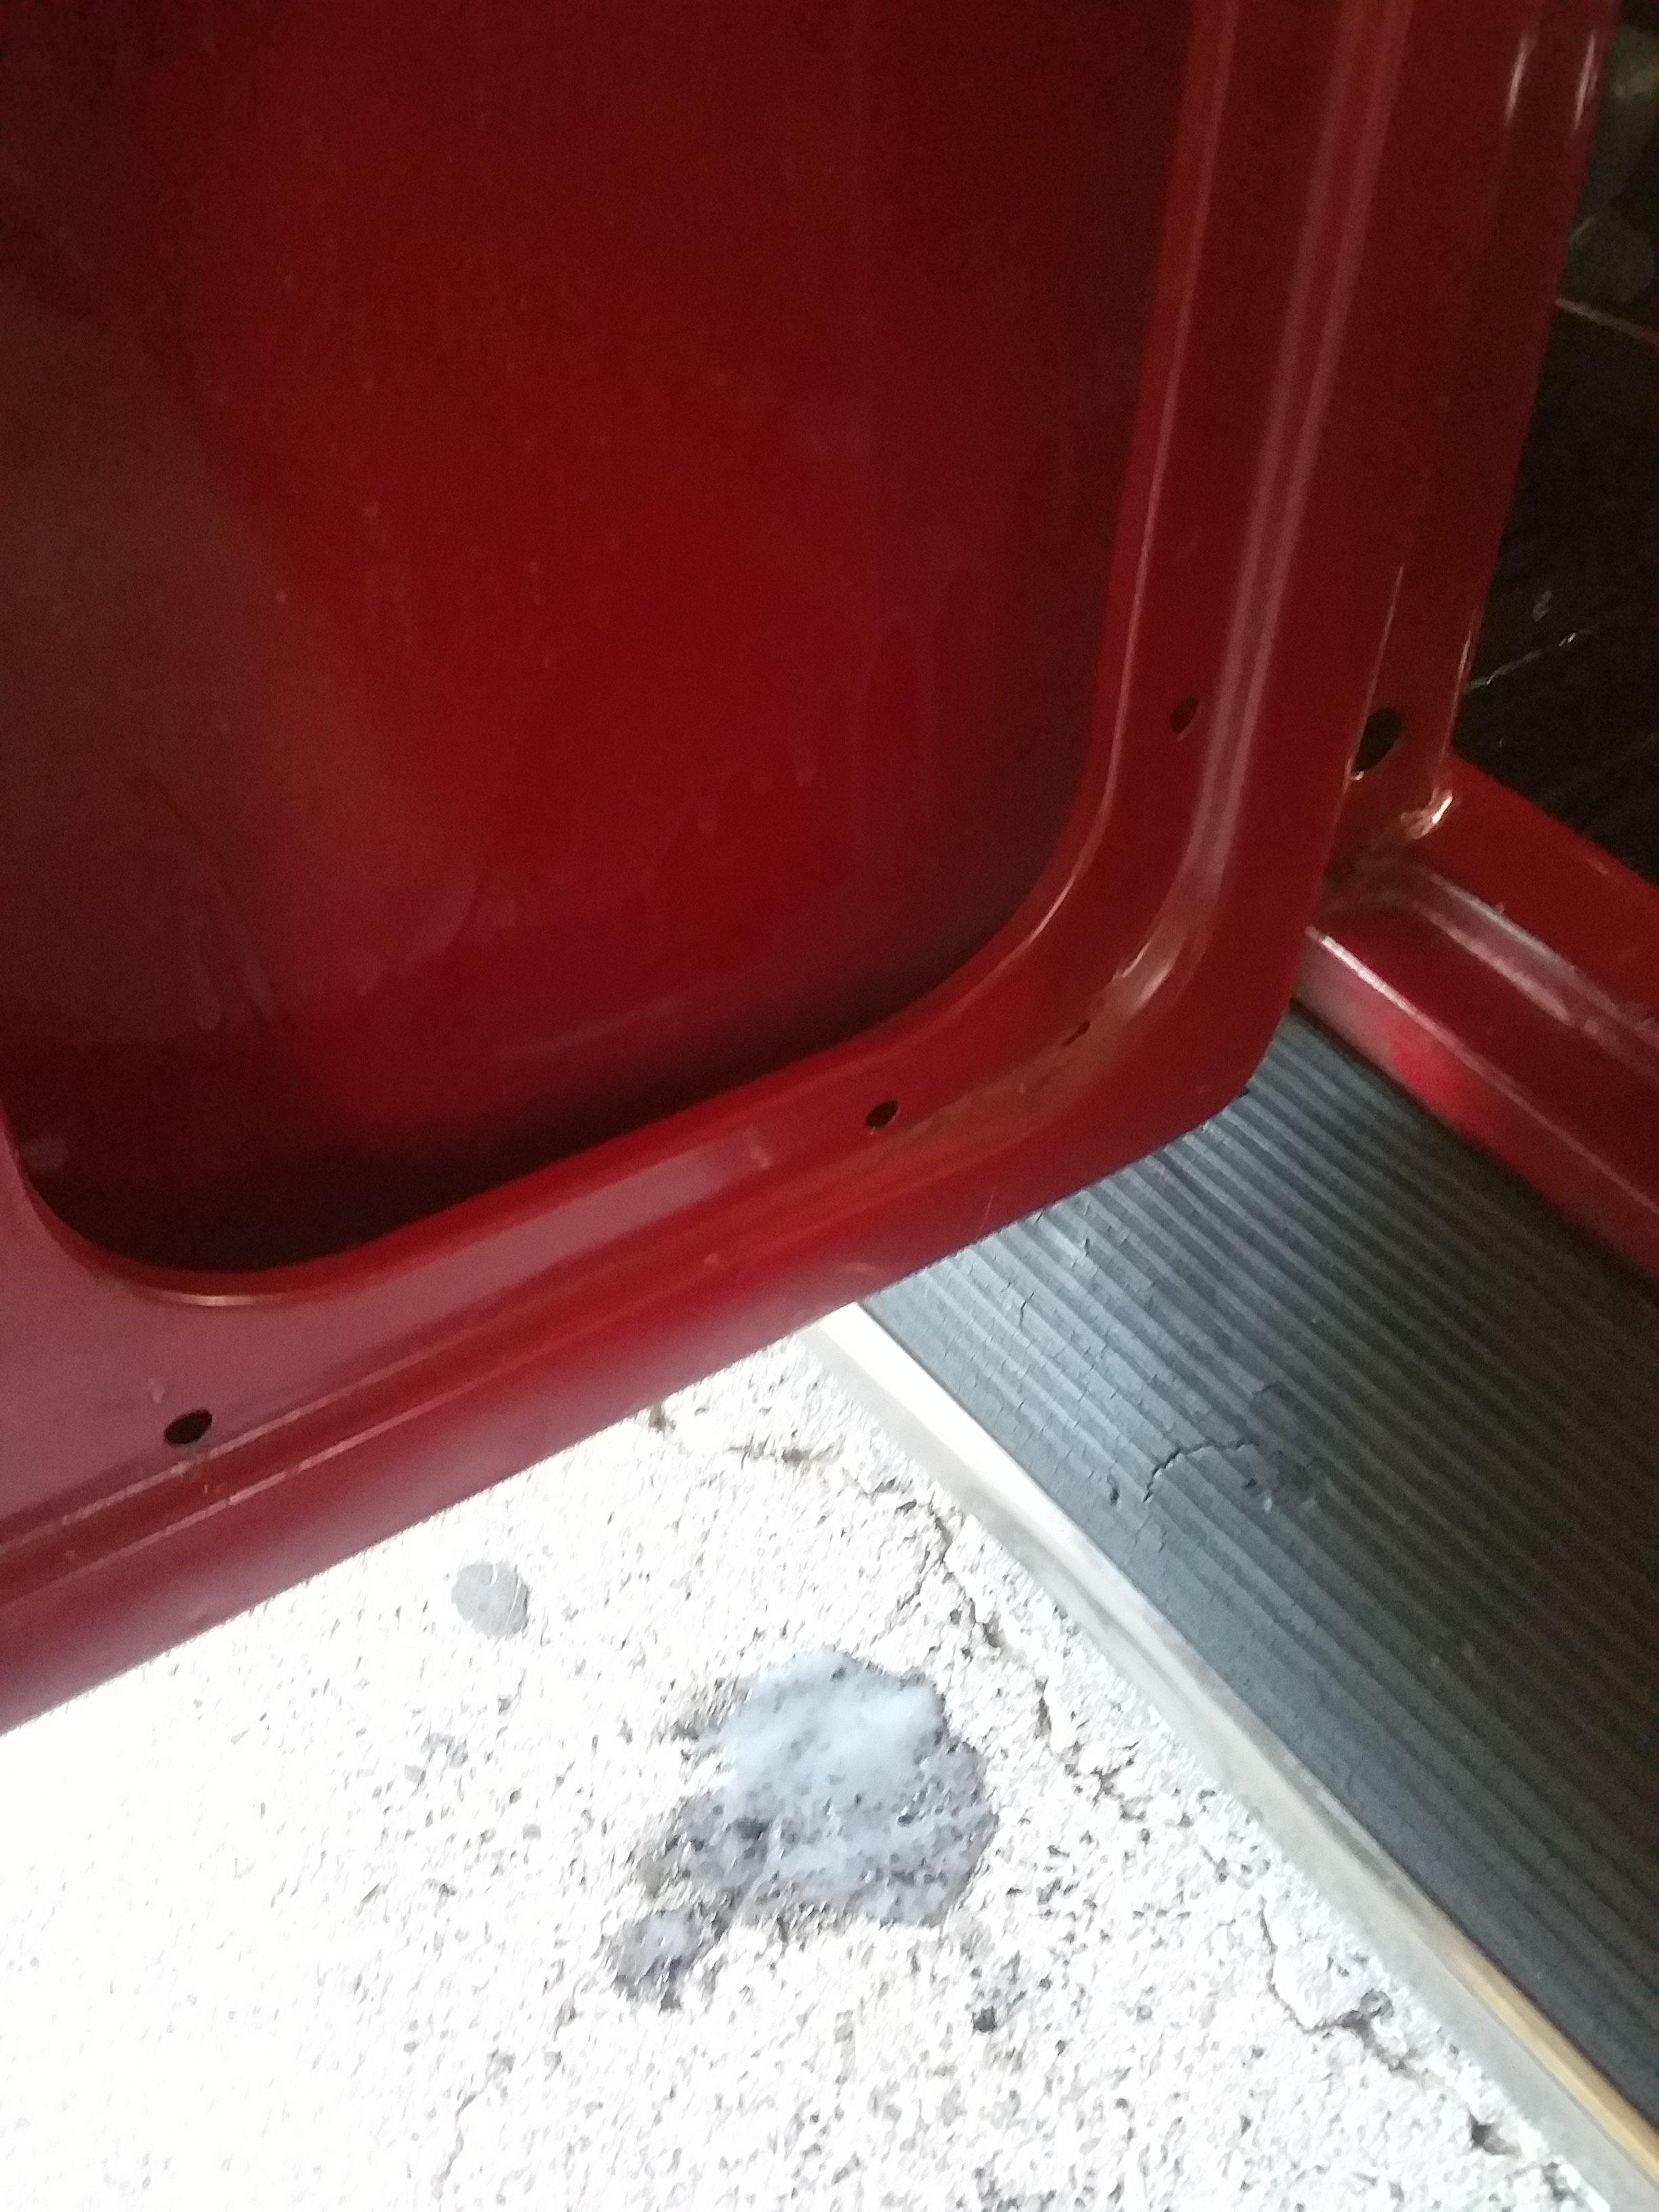
Maybe I'm crazy but why would you put it in a place that's going to get covered in shit the first time you drive the car?2 points
-
Having some kinda issue at normal boost level. (13psi) suspect clutch is starting to slip. or possibly some kind of airflow issue, as it pretty much brick walls at 200kw even on 16psi boost. So in the meantime re did the tests at 6psi boost Red line is the same length at green line in above post. - long pipes cut down 25mm Blue line is with weld elbows - suspension tower in the way so had to use tighter radius bends Green is normal setup all of the runs were done within an hour of each other So yeh, maybe another 20 -30mm shorter should be the sweet spot. Not really what i was hoping for but still some not bad gains through midrange - around 5%. The good thing is that 5% multiplies with boost.2 points
-
Yeah man just made my first purchase off rock auto today, sooo much cheaper than local stores! Ordered almost every bush, tie rod and balljoints for front end.2 points
-
2 points
-
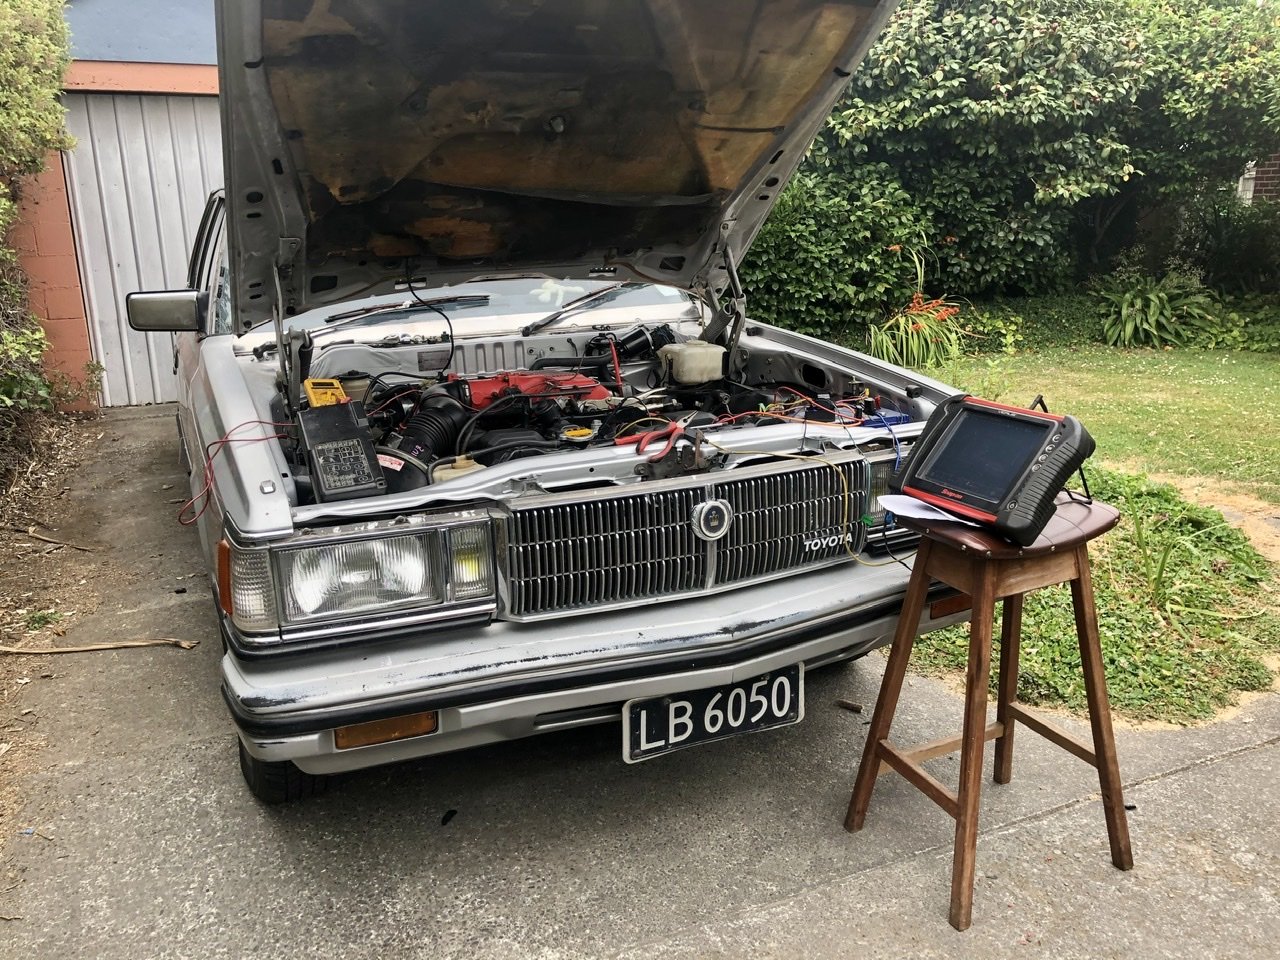
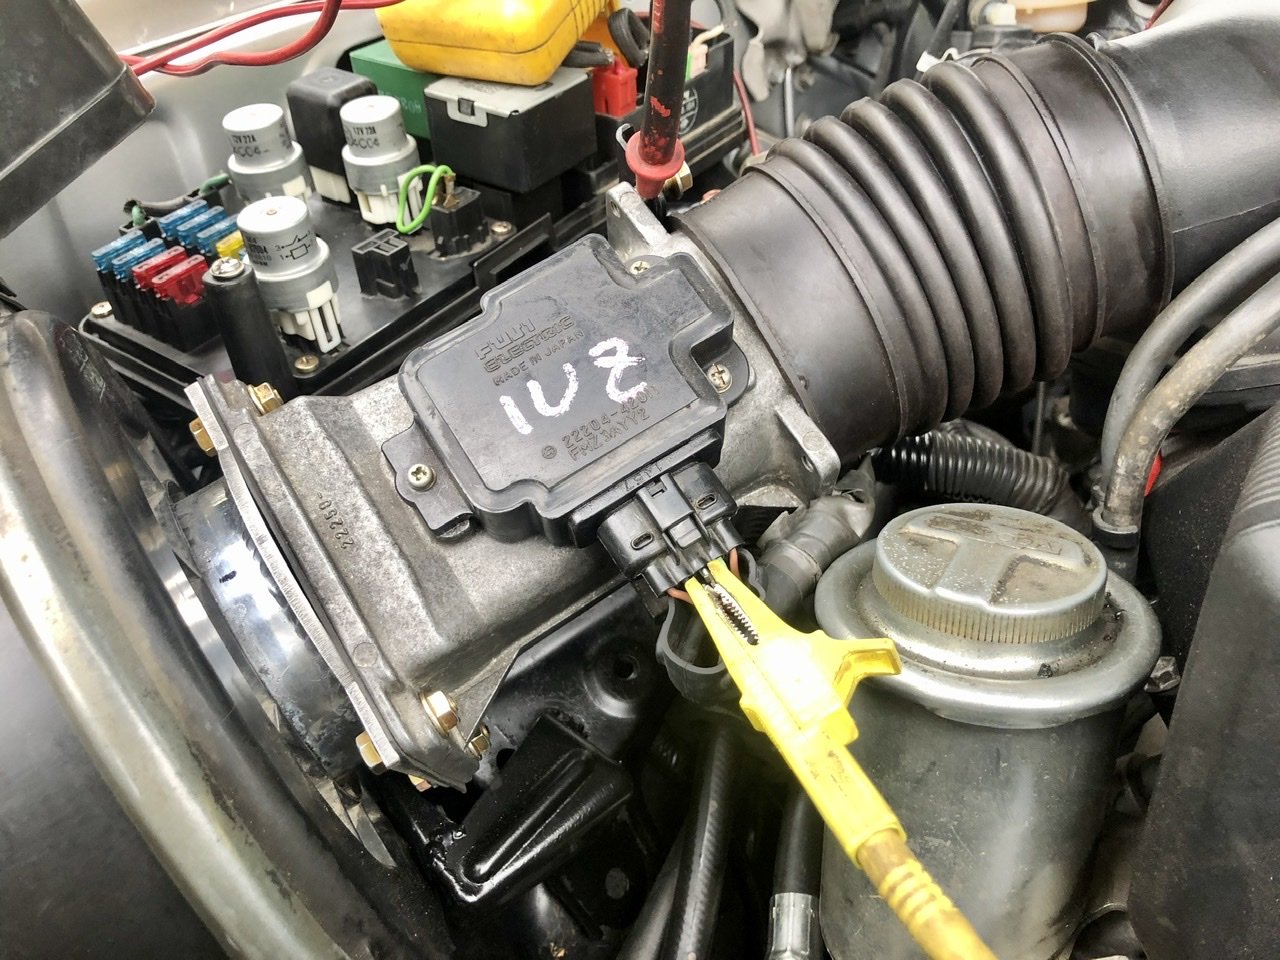
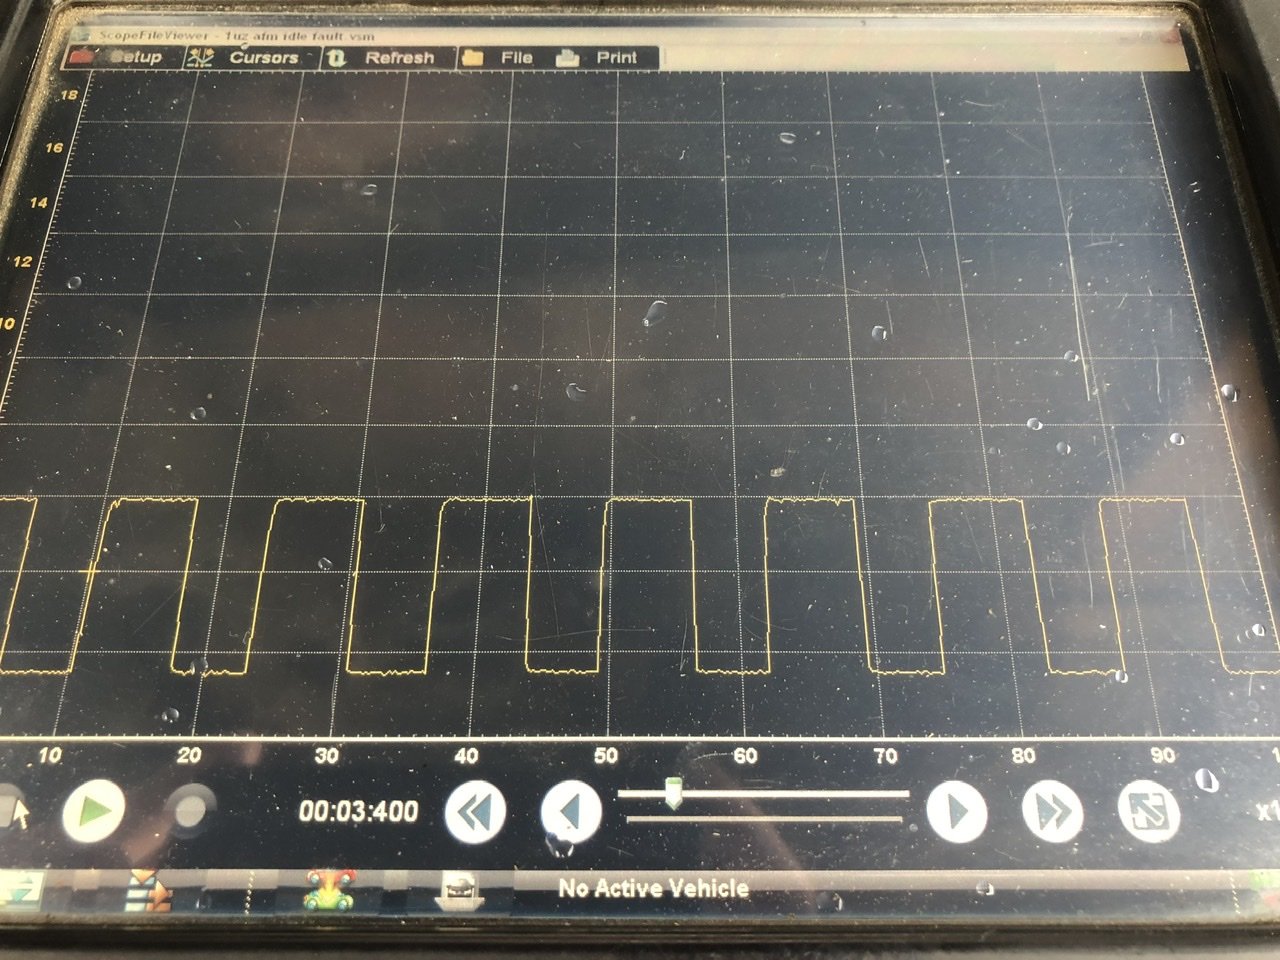
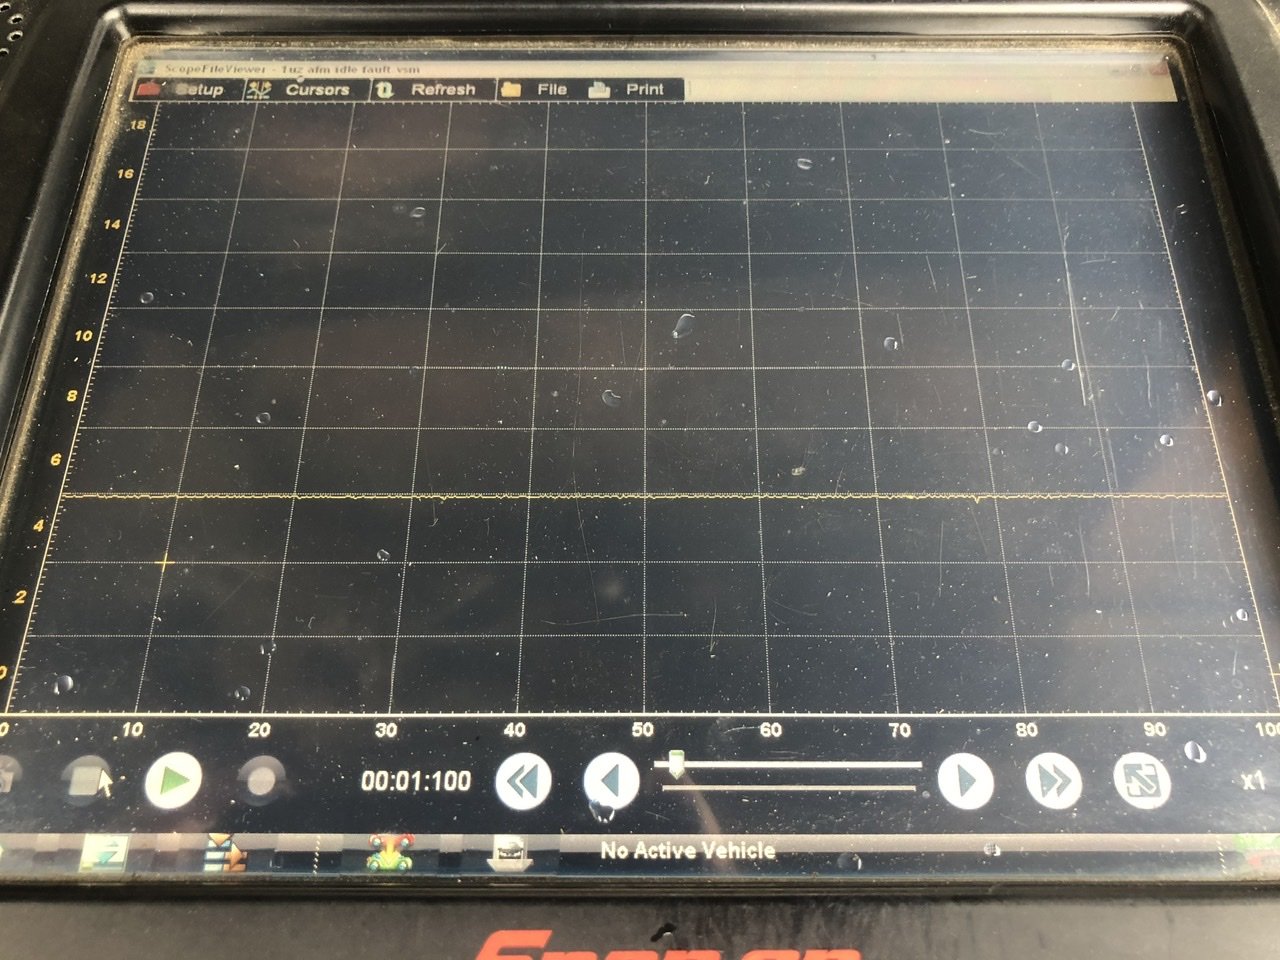
So all back together with the new injectors, running much better but not perfect. It’s still got a stumble off idle and still seems a bit rich. The o2 sensors for both banks are reading a constant rich 0.9v at idle, then start a healthy 0.8v-0.2v cycle after 2500rpm. That’s about where it starts running really sweet too. I knew the injectors, leads, plugs and TPS were all spot on at this stage, but I had no reason to trust the air flow meter other than it runs rubbish without it. So I plugged in the scope and had a look. At first I thought I had a bad connection, but after triple checking everything this is the signal at idle. Nothing at all! After revving up past 2500rpm she starts running sweet, leans out and at the same time pops out this signal... Gotcha! It all makes sense now. Time to hunt out another air flow meter. That raises the question, secondhand or chinesium? I can’t imagine it would be easy to make a reliable Chinese Karmen Vortex on the cheap? But it’s got to be getting hard to trust a 30 year old part too... Anyone have any experience with new aftermarket afm’s for the 1uz? Cheers for reading!
2 points
-
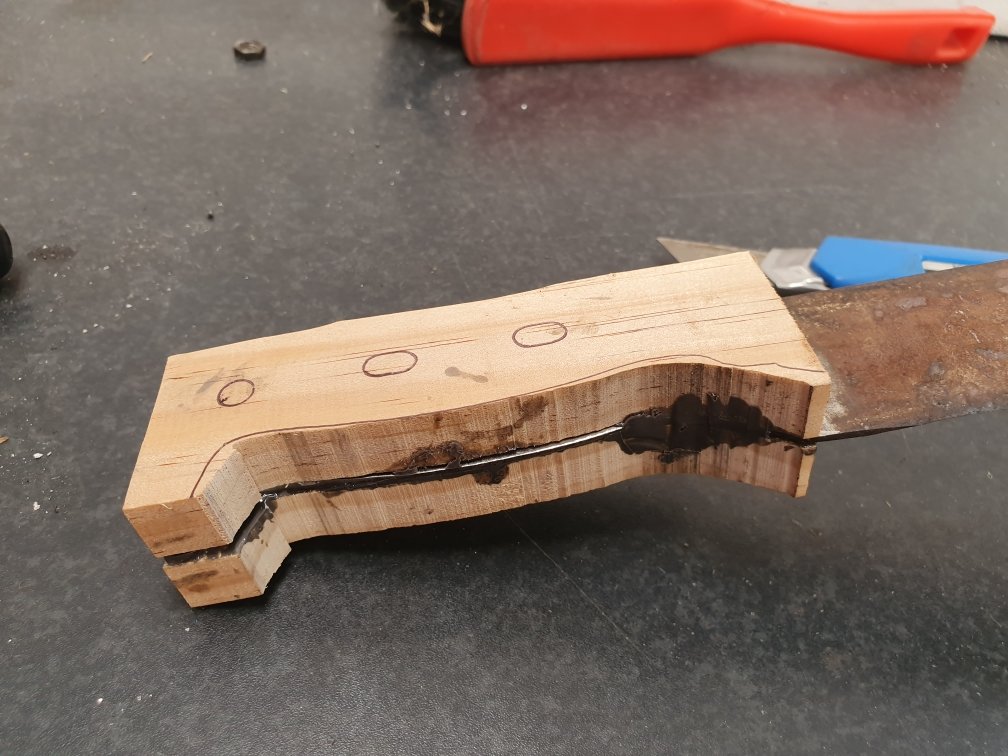
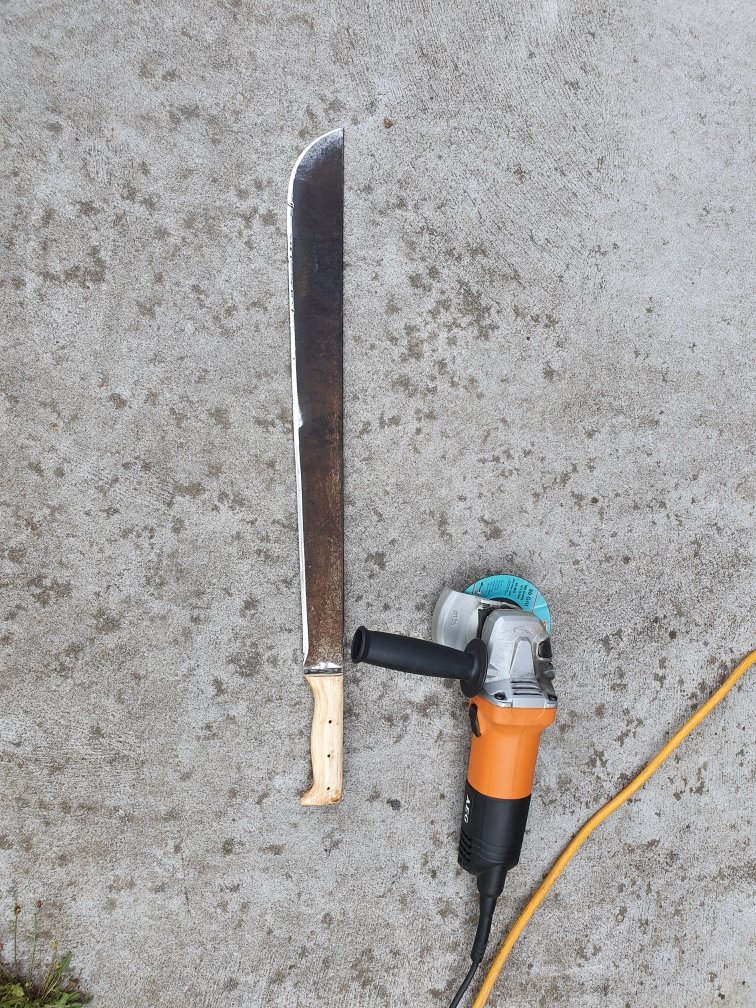
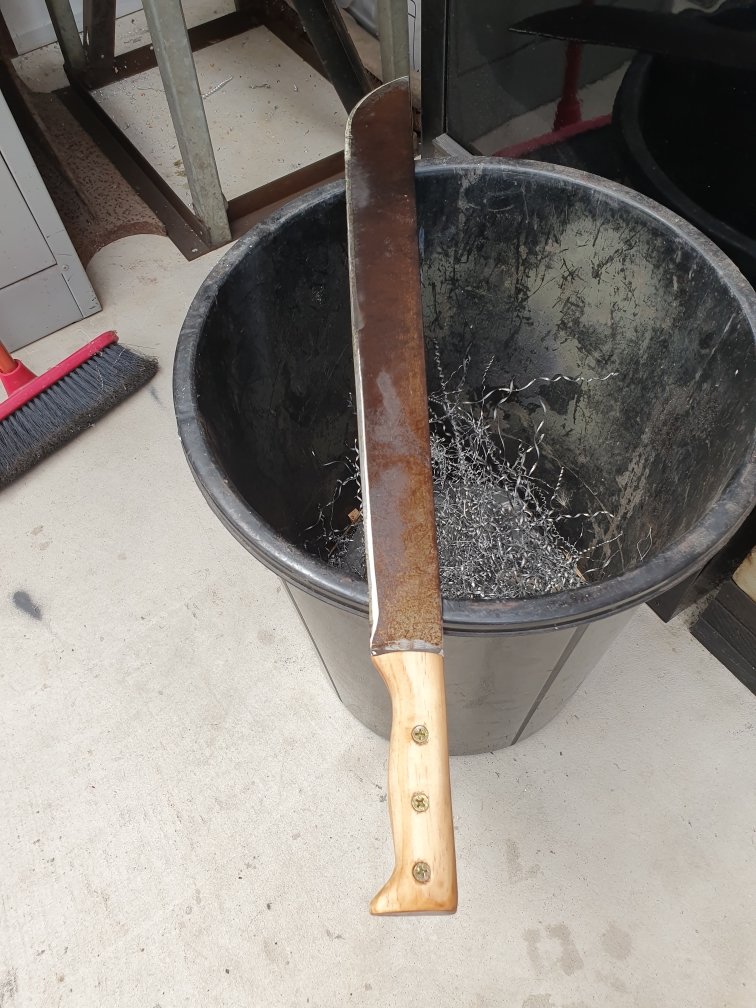
I've had this for over 30 years. Its had 2 other handles in that timeframe and on Wednesday the last handle broke again after 20 plus years...so onto No3... Took the time to reshape it a bit more this time. When I say "took the time" I'm talking 5 minutes to glue it together and then leave it overnight...and about 10 minutes tops to shape it with a flap disc.
2 points
-
It's not a graph, but, its MSpaint used for something MSpaint shouldnt be used for. Which is in keeping with the spirit of things.
2 points
-
2 points
-
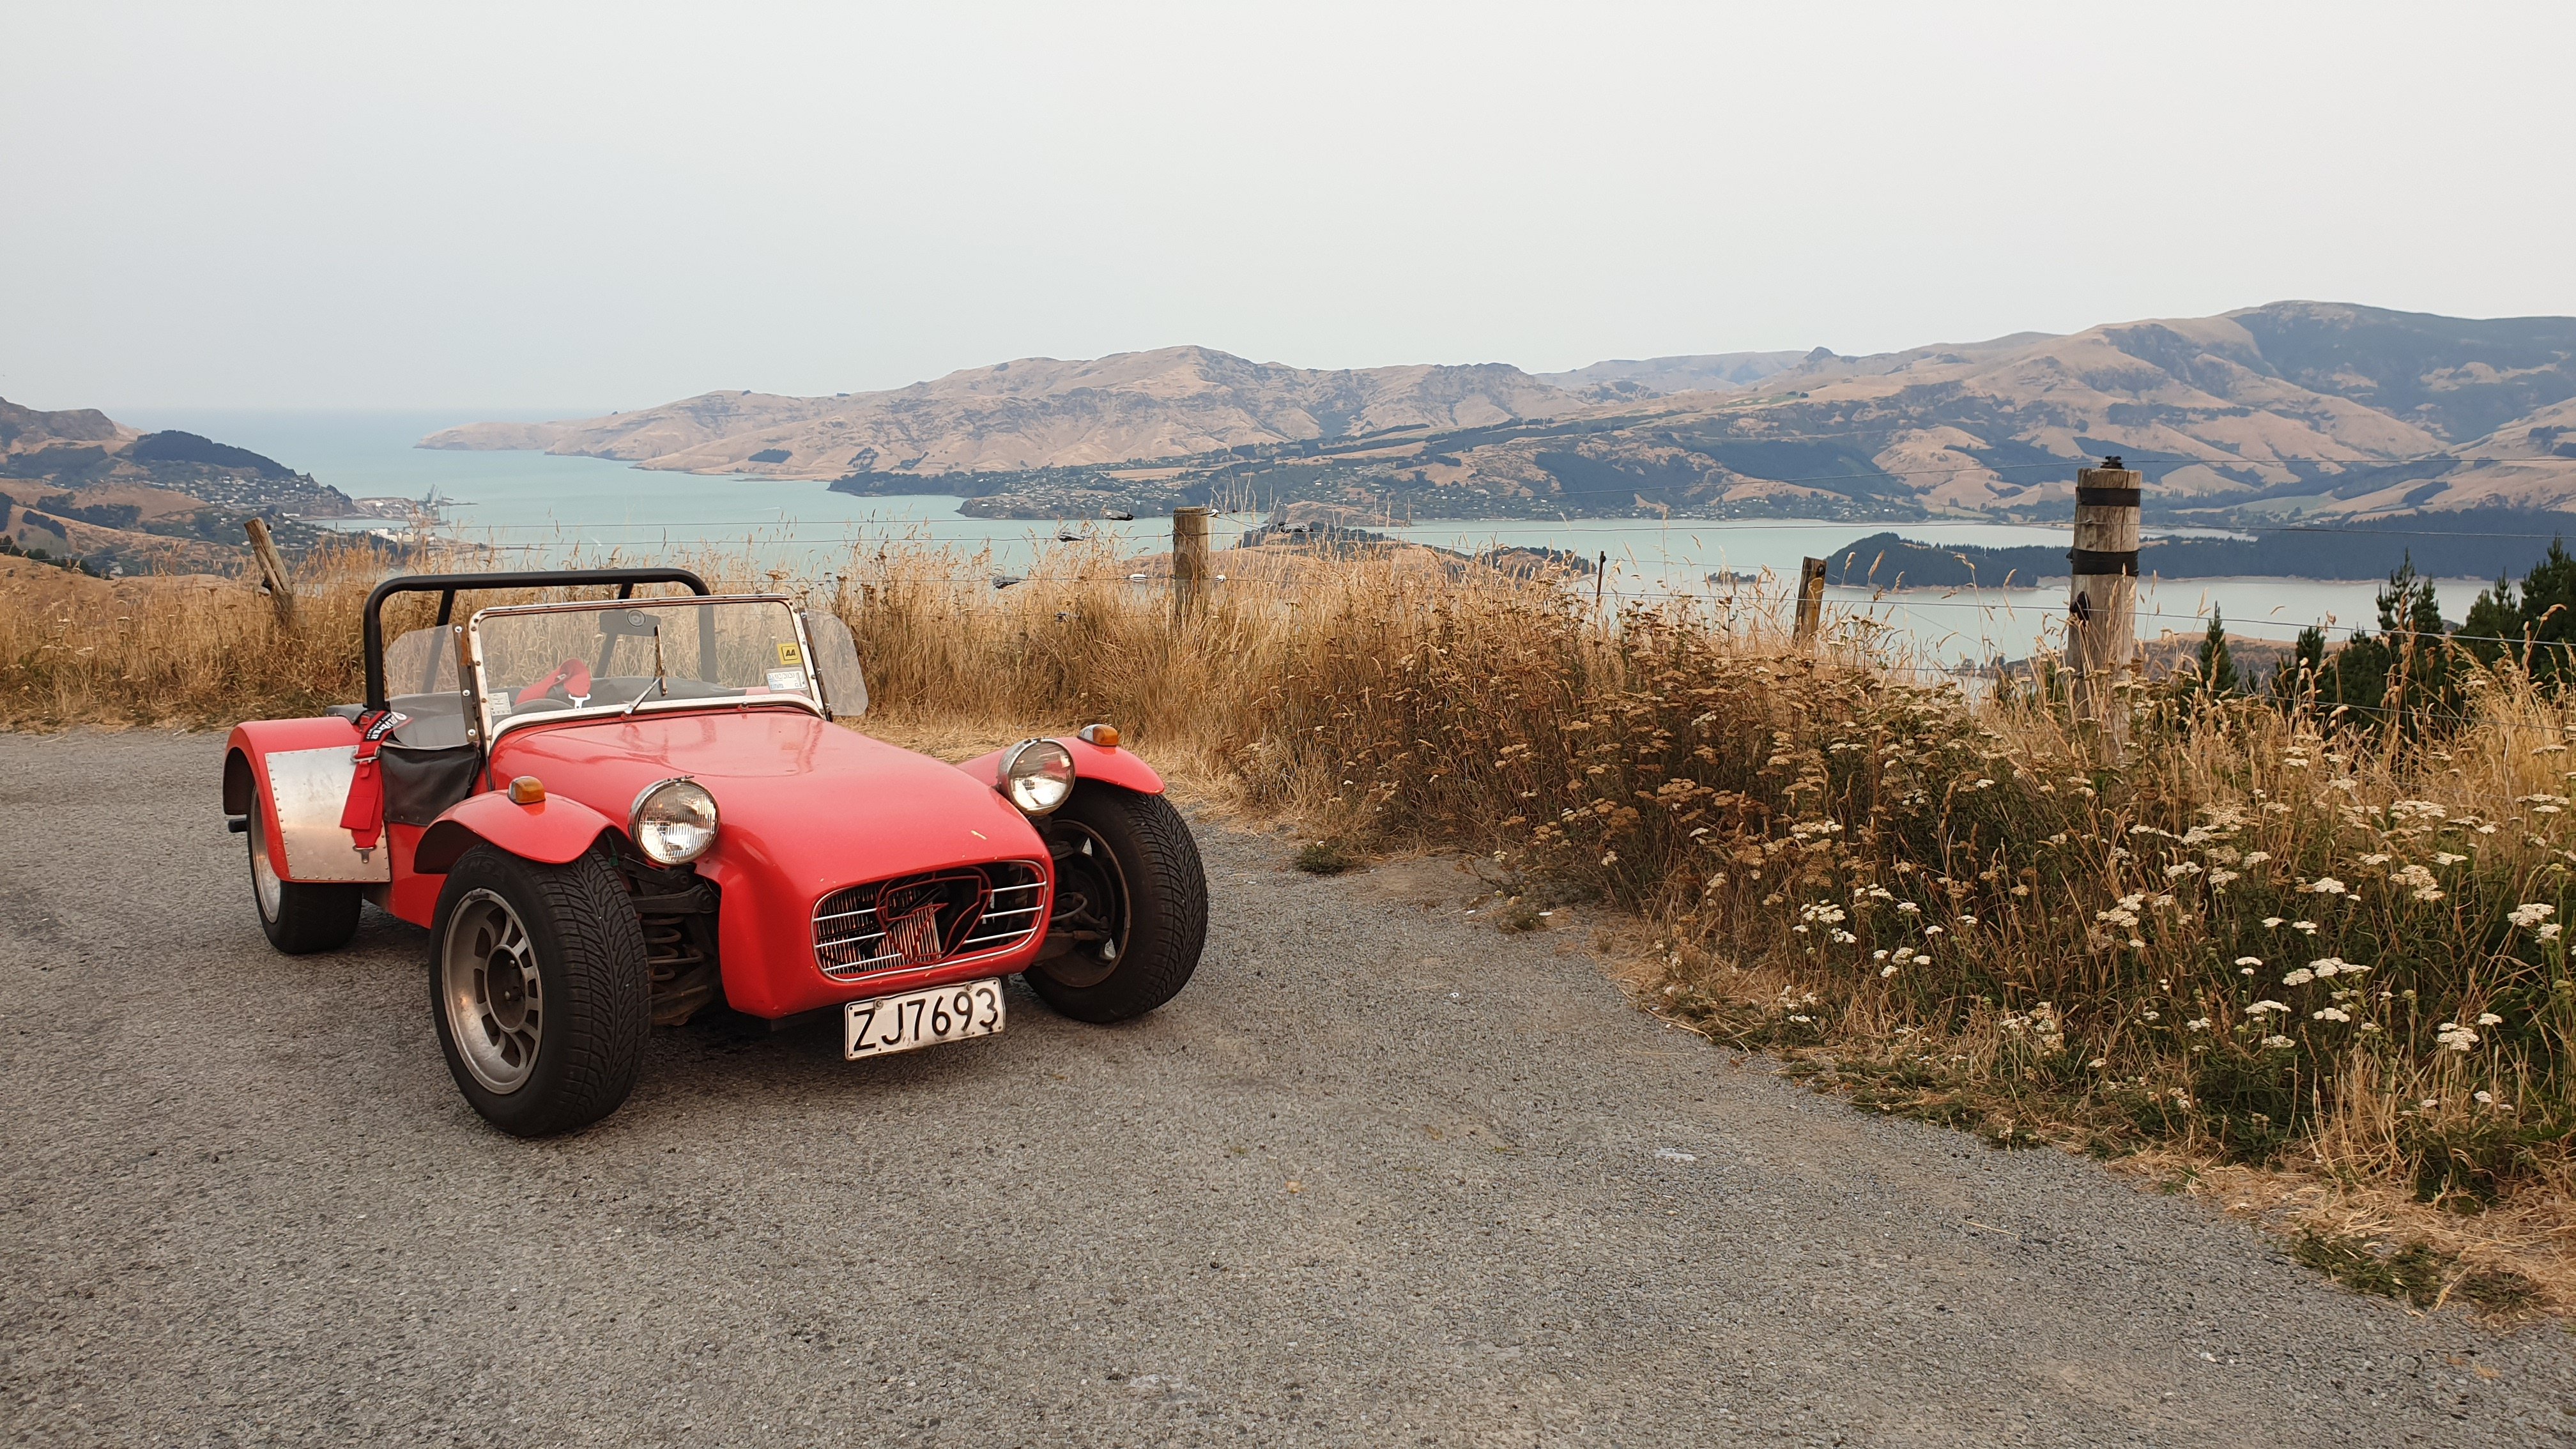
So a while back I gots ta painting, Then I gots ta putting it back together again. I then gots ta making up new front and side panels for it, out of 2mm alloy sheet, That shit came out OK. But then I had to make a bit to fill in the gap behind the dash (as the frame is now longer, and the steering wheel is mounted above rather than below the steering shaft mount bar thing. Did some CAD. Then made a thing. Then decided I would have a crack at welding it on. I've never TIG'd alloy before, but how hard can it be? All my test runs were lovely, but fuck me wrong with a rubber goose, every time I tried to weld the hood, everything would go wrong. It near on drove me insane, but I got there in the end, kinda. I still need to make the under tray, and weld in something to protect the headers, as they are the lowest point, but its bloody close to done. Me and a couple of mates took it out today, on some fast gravel roads, and scared the bejesus out of ourselves. It really needs front brakes though, because it takes a fucking long time to stop on gravel. Its like trying to stop with only a handbrake. It went really well, apart from one or more of the carbs being a bit of a cock, causing the plenum to fill up with gas and flood the engine. Luckily @keltik had a rag and little girly hands, so kindly mopped up the lake of gas through the intake. It was running really rich, which caused it to have a two-stroke like power-band, which made things even more exciting. But yeh, apart from that and a few very minor issues, it went quite well.2 points
-
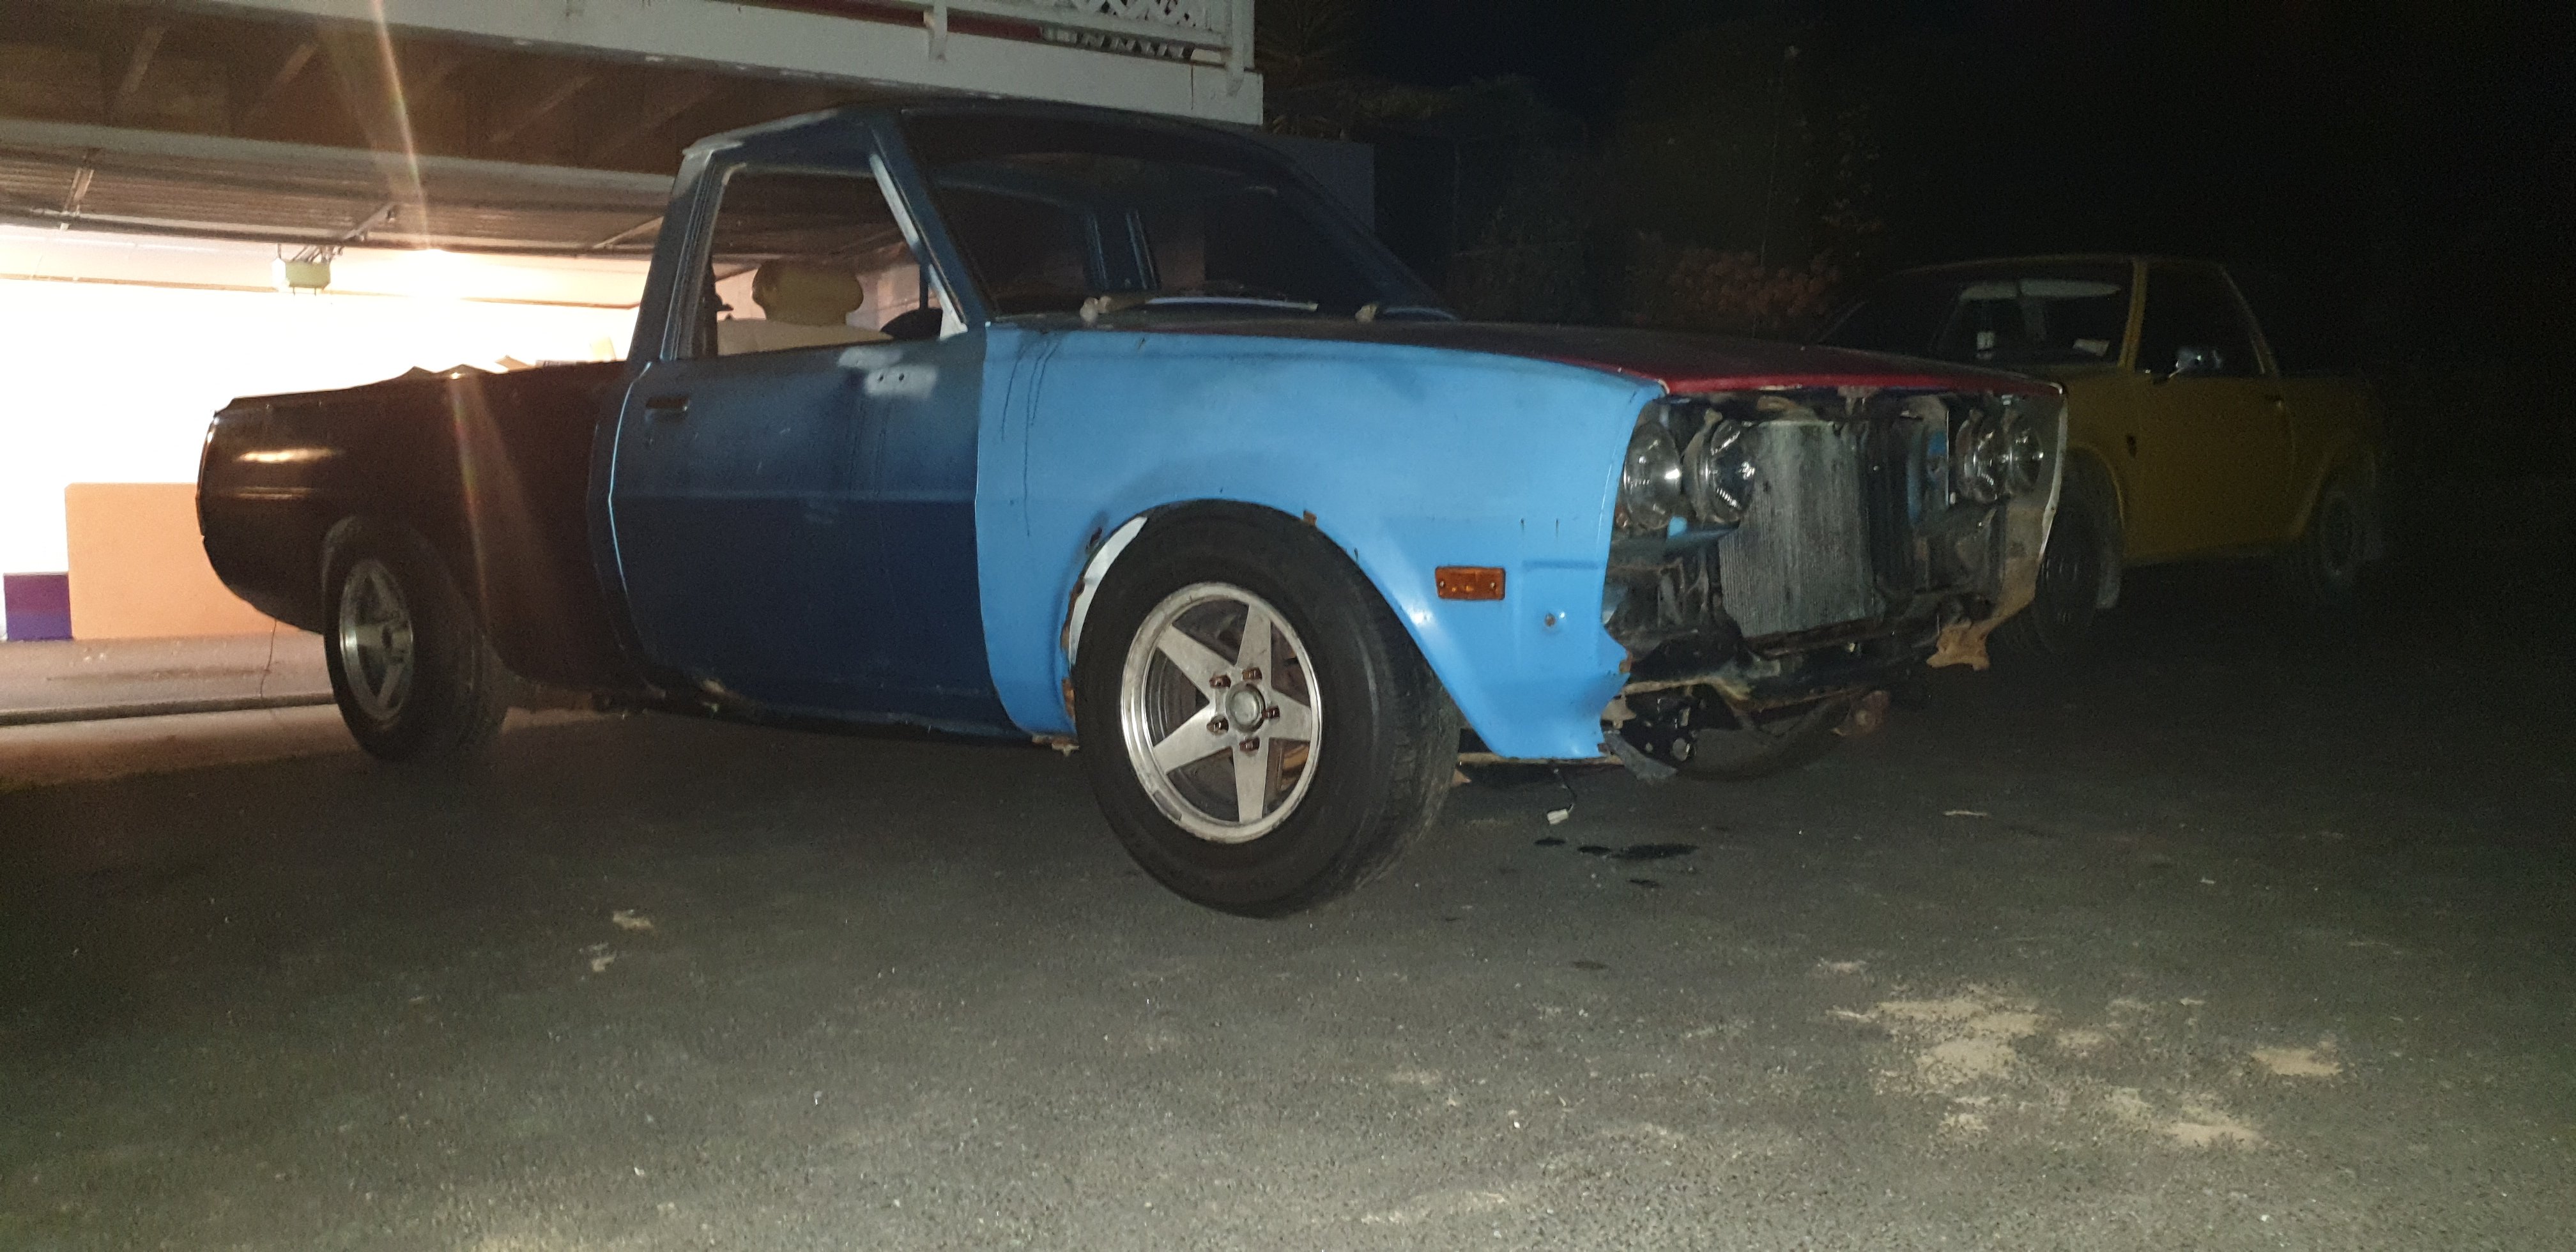
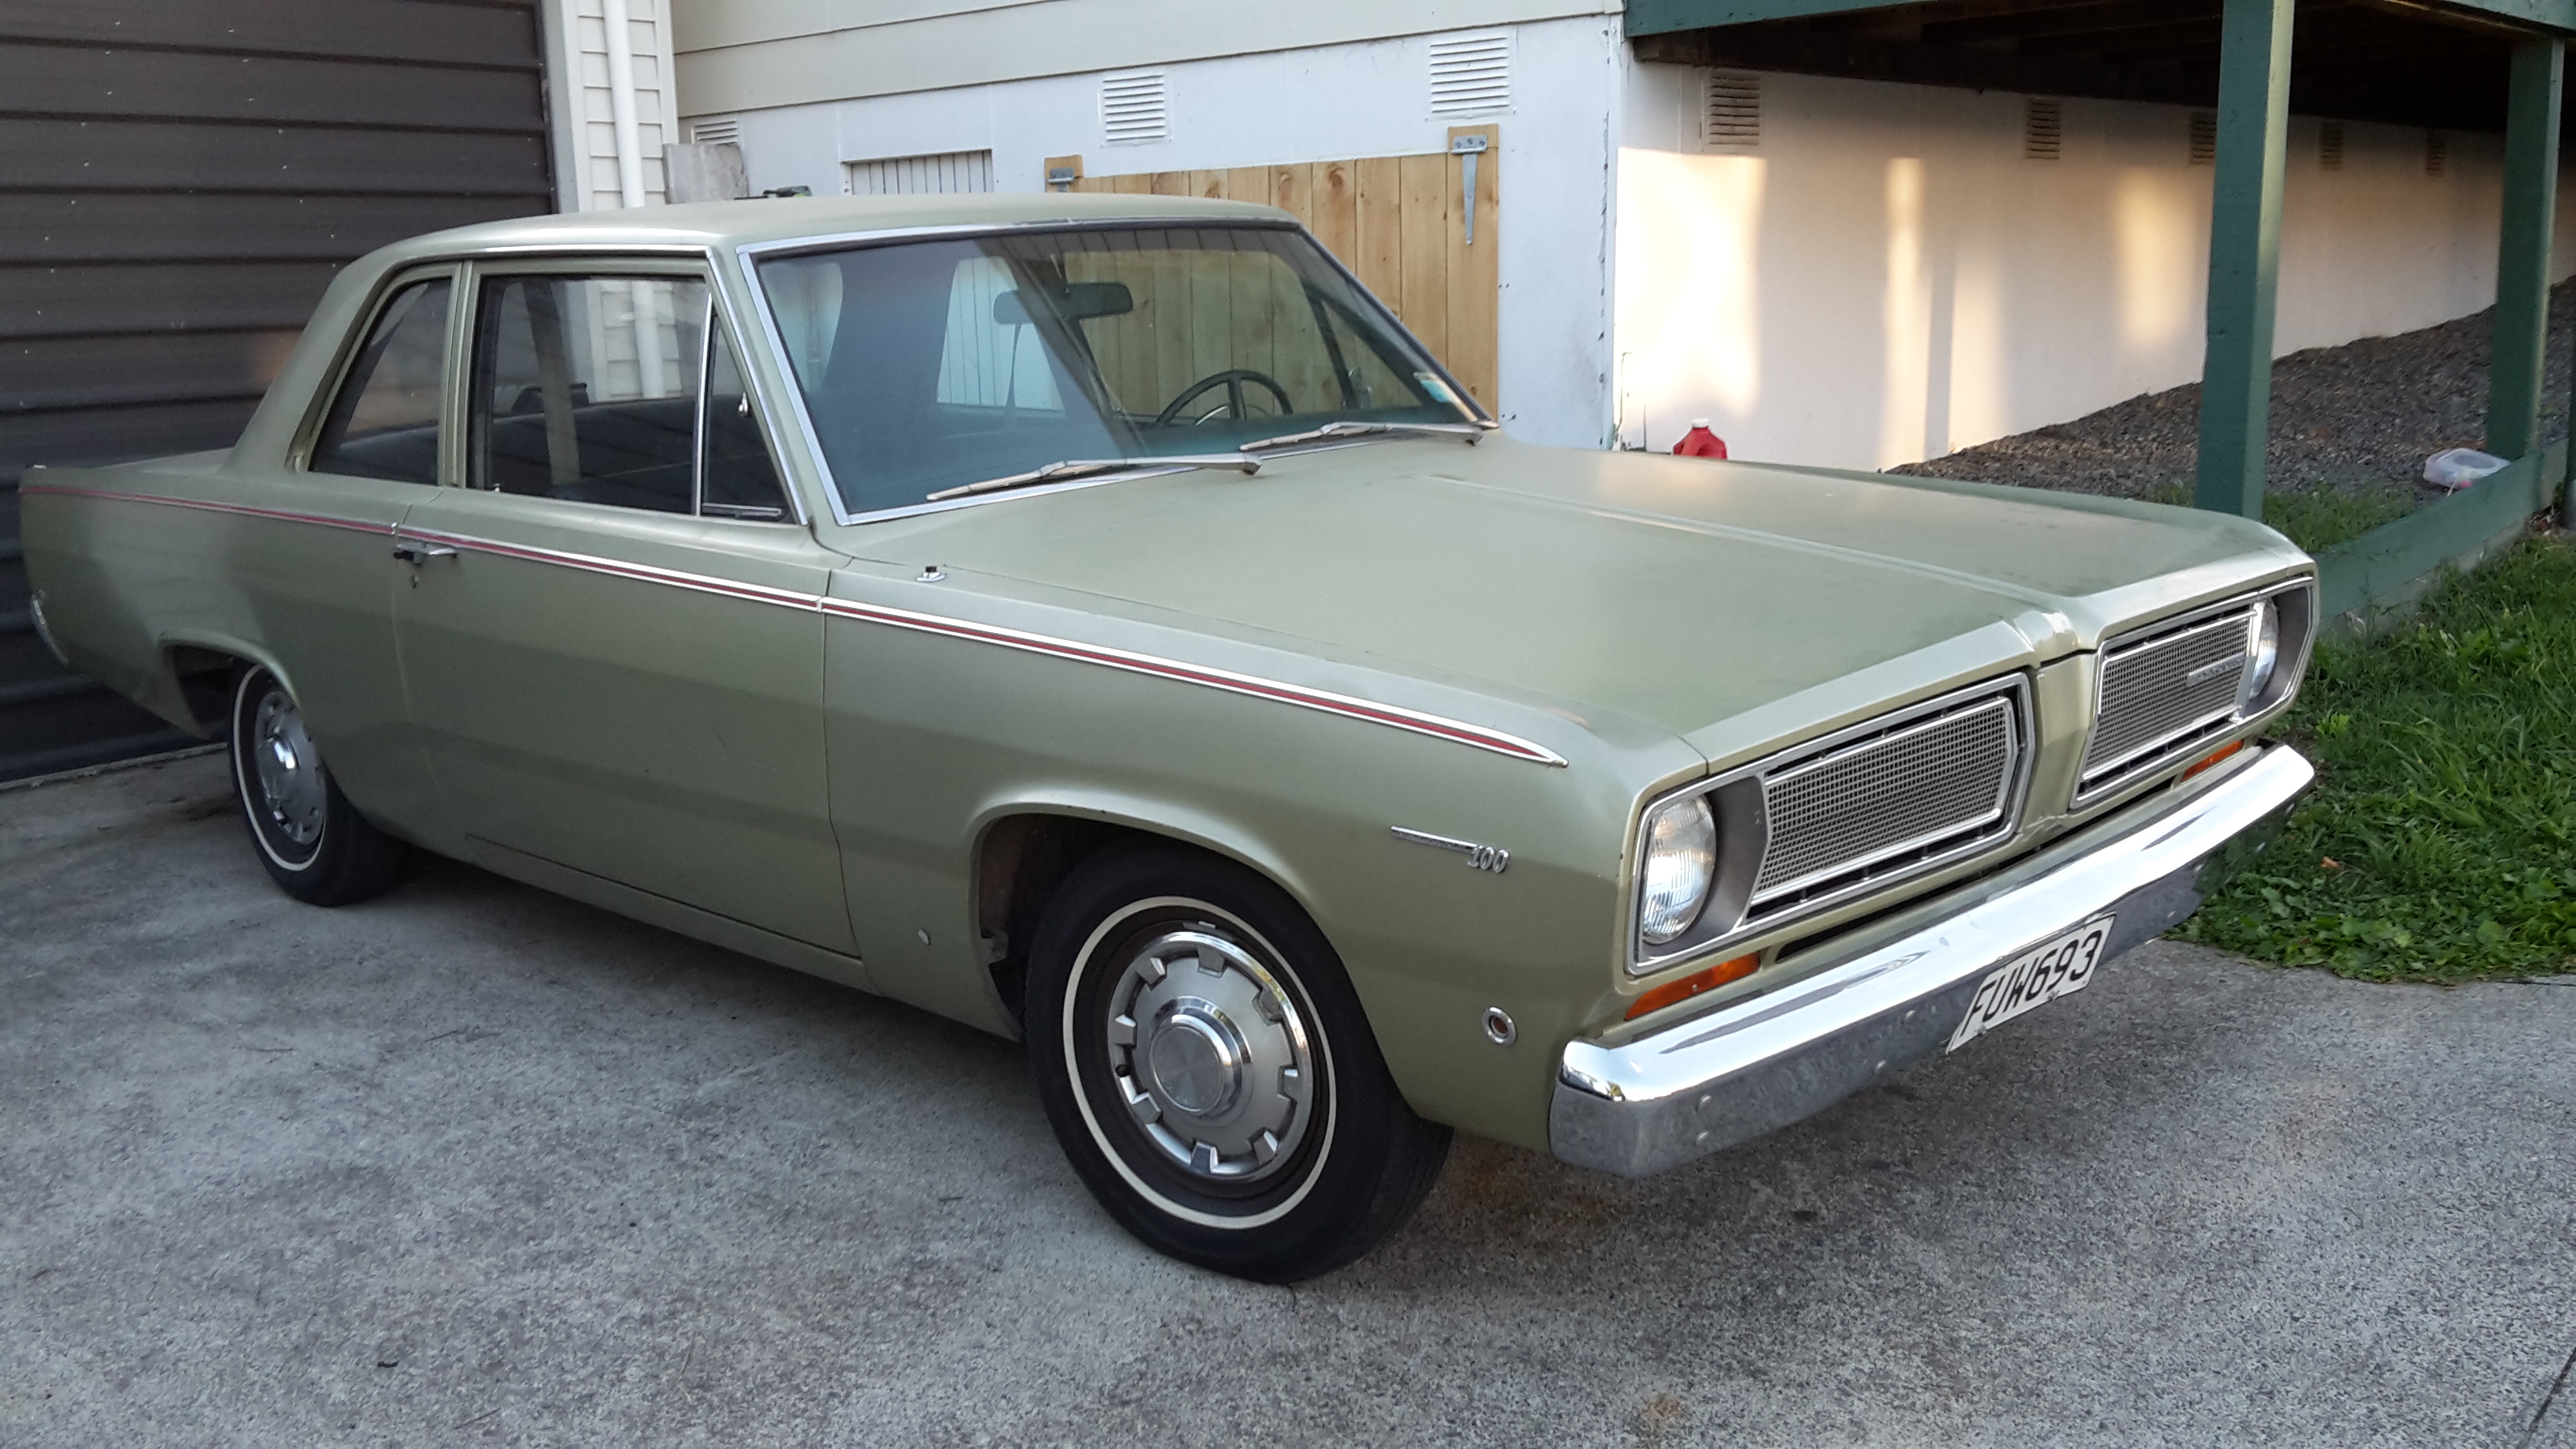
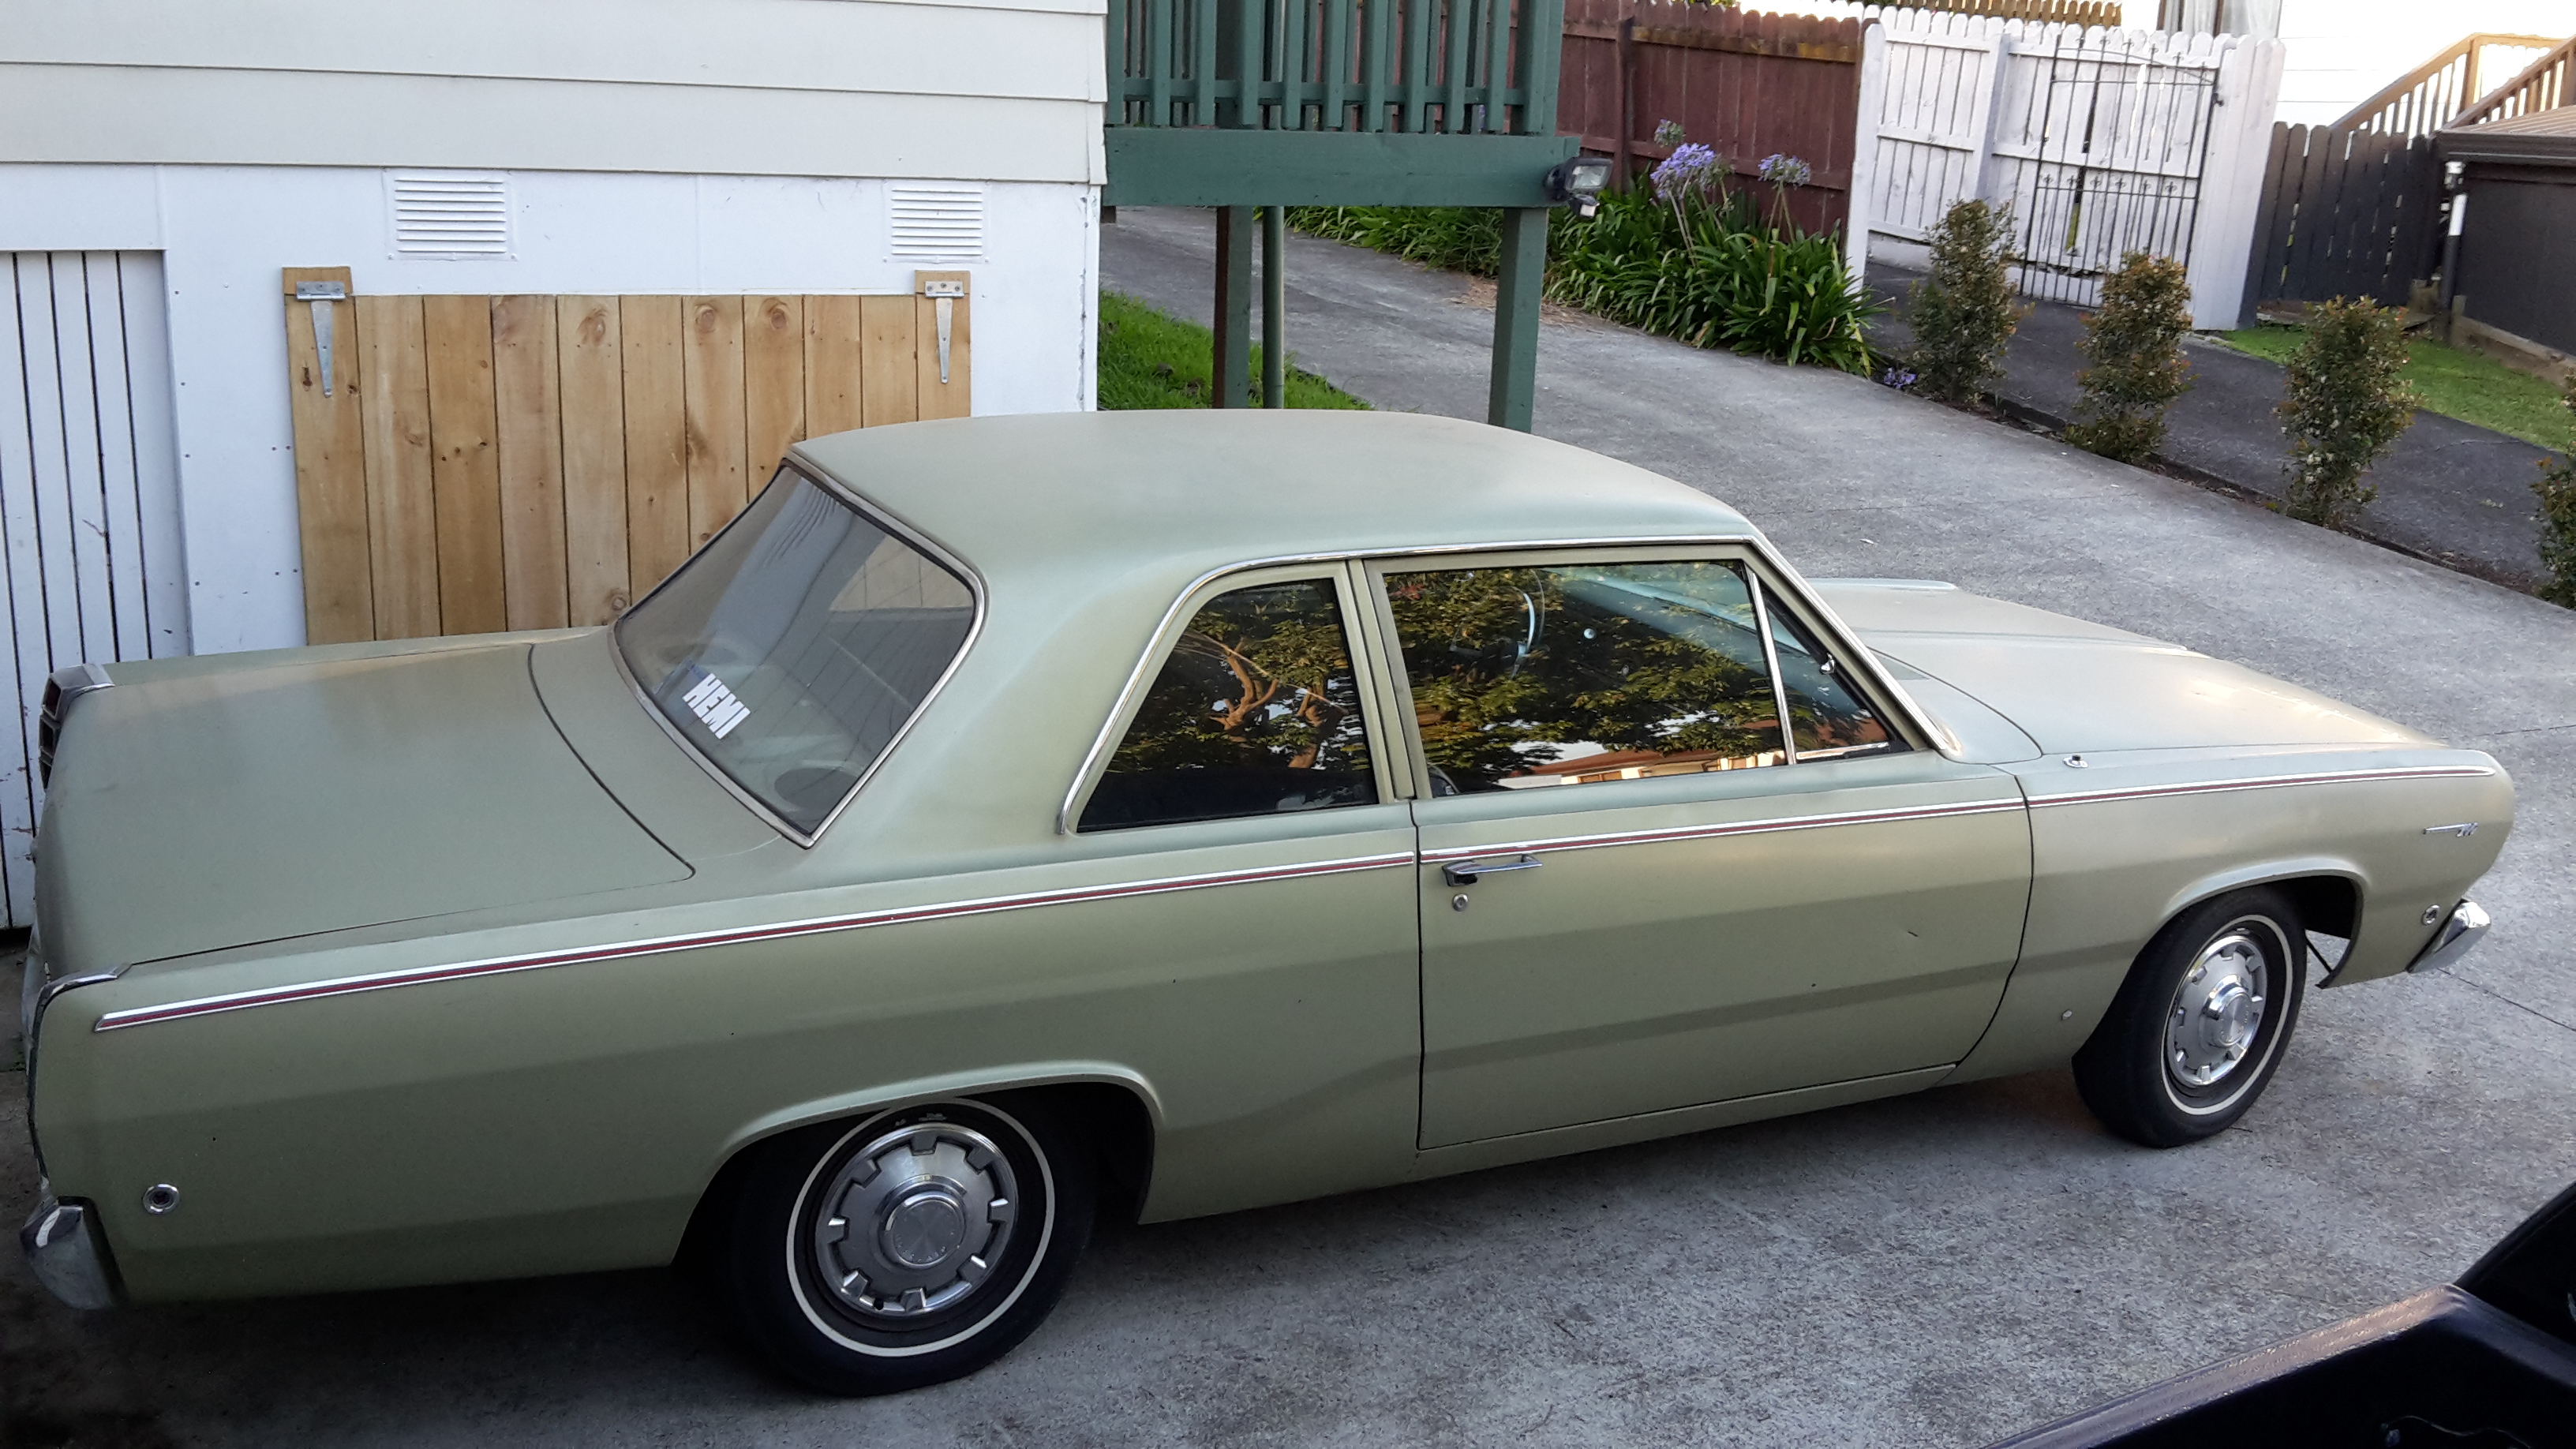
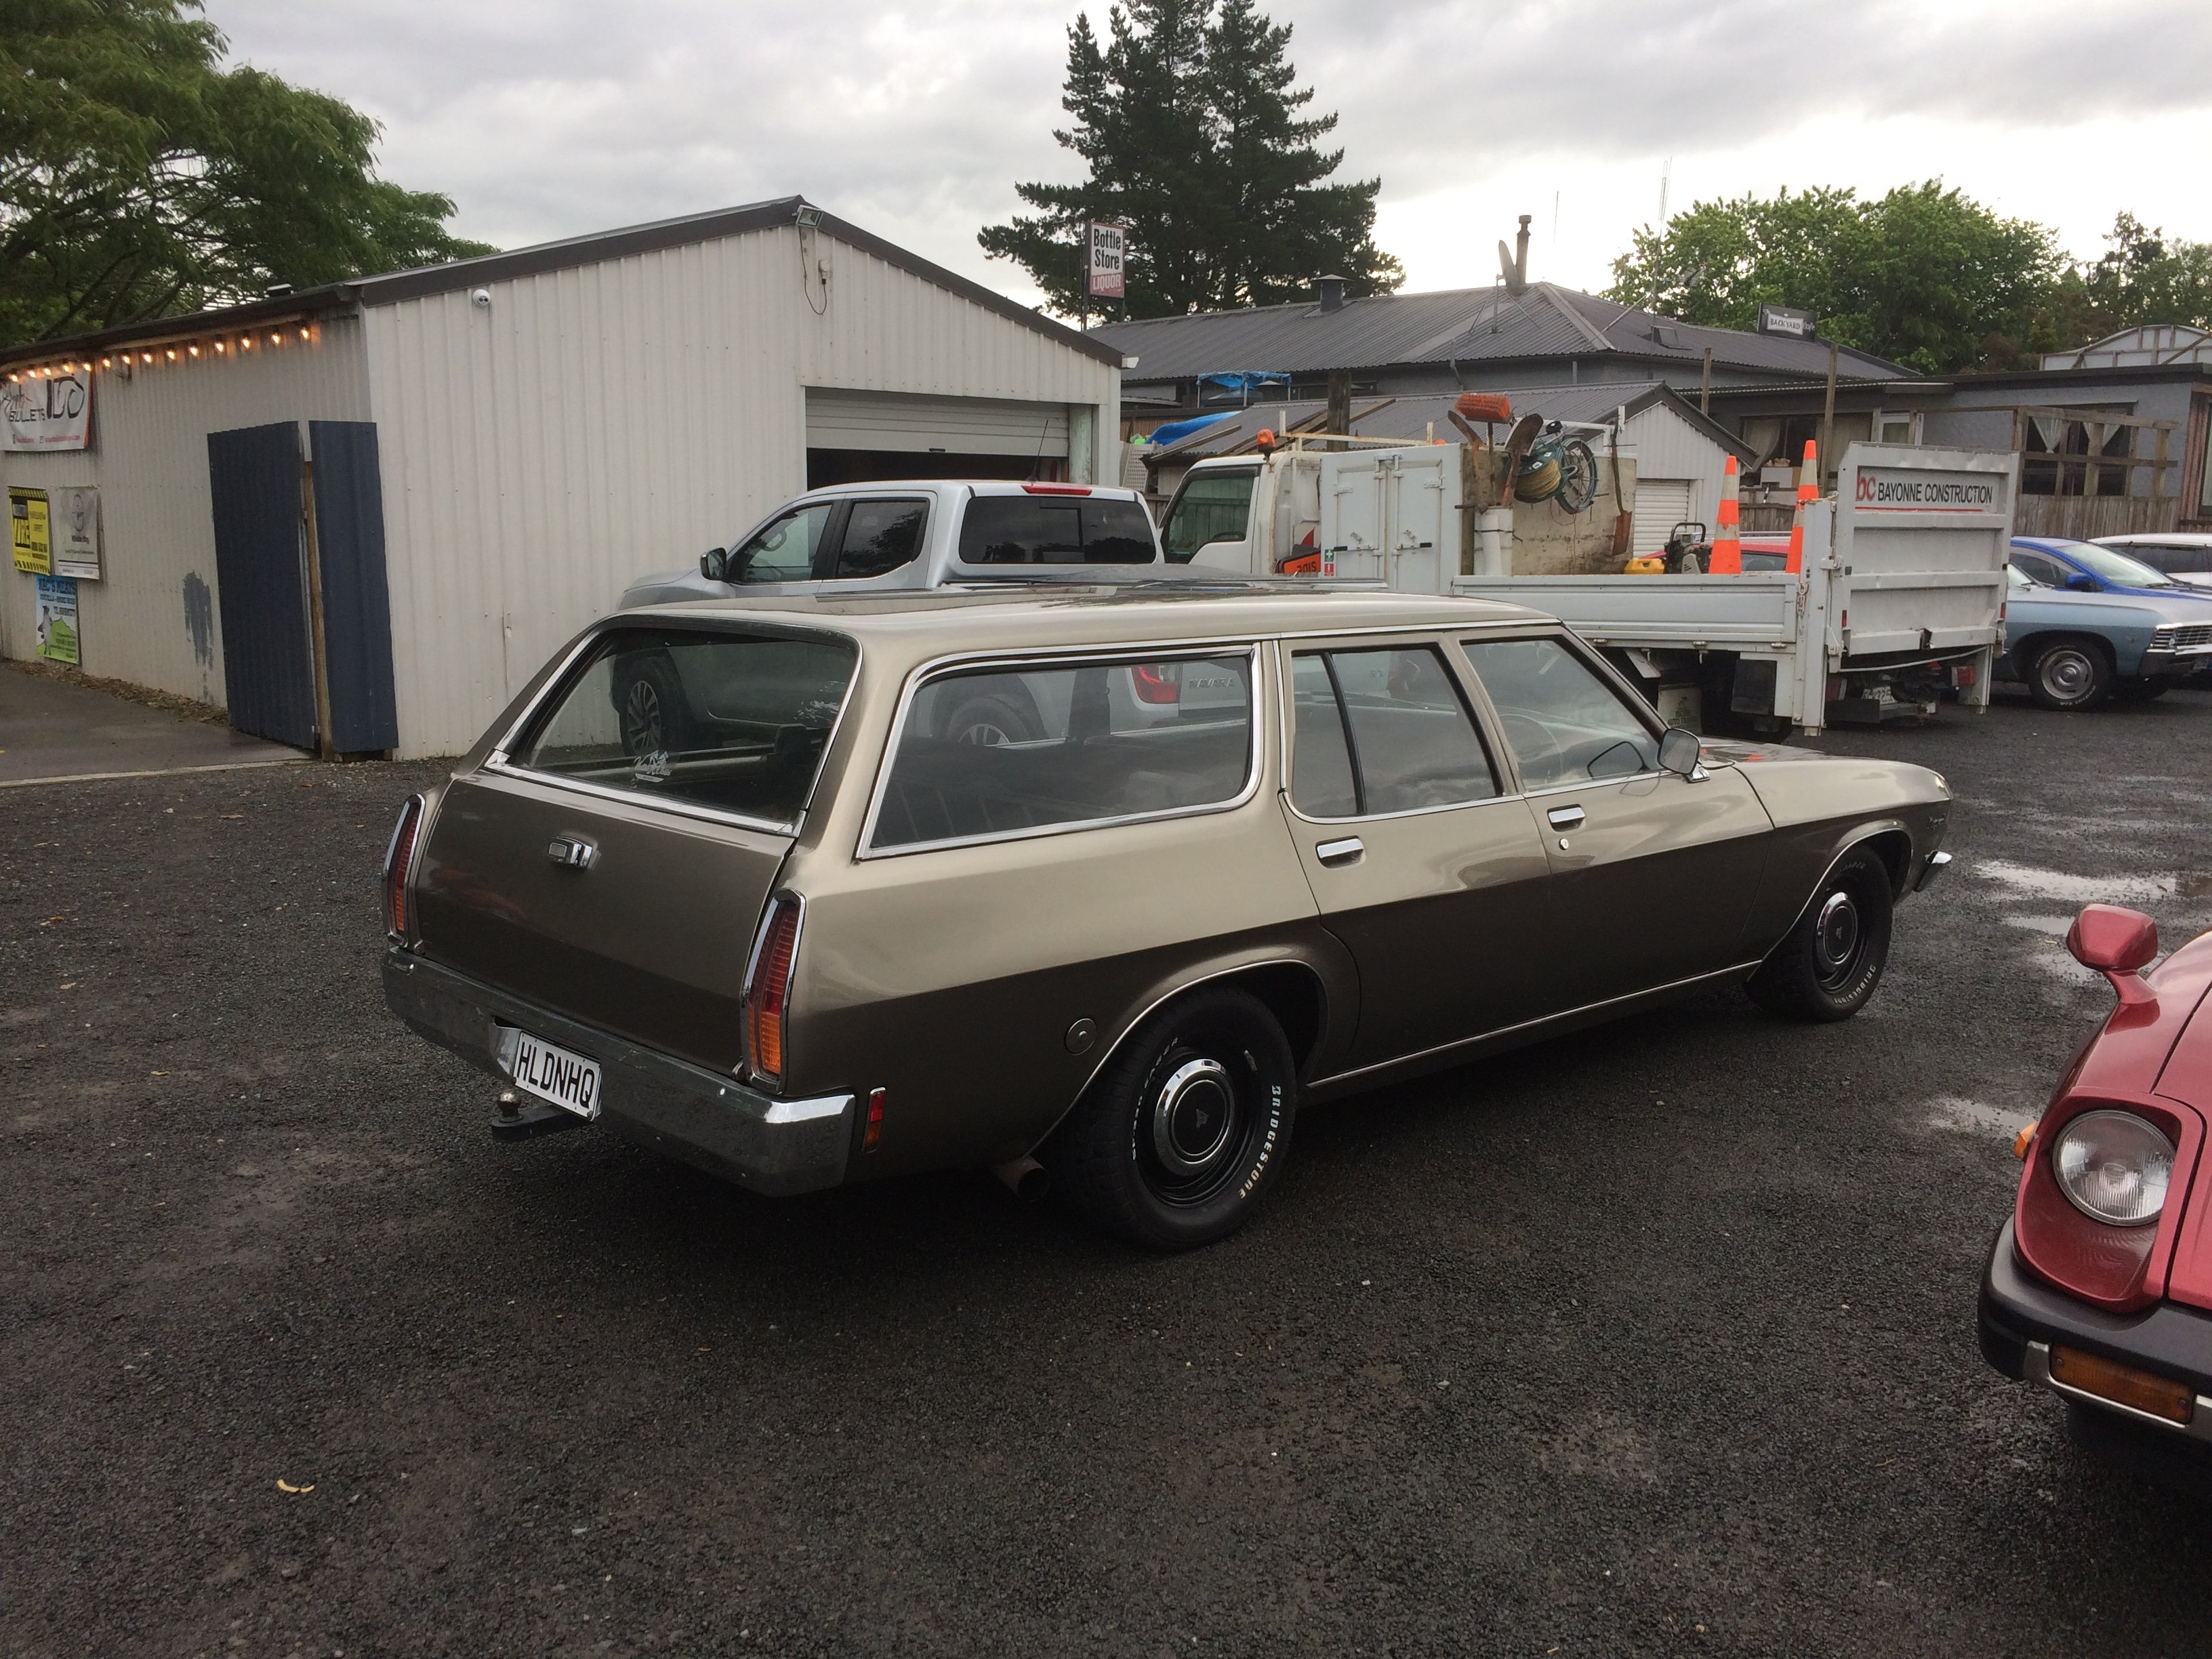
discussion Brought this home today, it's the reason for selling the hardtop. It's a 68 Plymouth Valiant, has a 'leaning tower of power' 225, auto, has power steer, 13" wheels hah, drums all round. Most of the paint is original, it has a couple of bits where it's been repaired that need touching up. I'll probably get it repainted in the same colour at some point. It belonged to a mate of mine that died in 2015. It's a bit special to me because of that, I went with him to have a look at it, had one of the sketchiest rides I've ever experienced when we went for a drive after he got out of hospital and was still on something. He always wanted to put a V8 etc in it but he ran out of time. His family kept it since but decided to sell it, and his mum rang me to give me first option on buying it. They are keen to see it get an 8 so it will get the turbo 318, 727 and 9" I was going to put in the hardtop. I'll drive it for a while till I've got everything ready then bolt it all in. Obviously this one will need a brake upgrade as well and I'll put some 15" wheels of some sort on it
1 point
-
Why would you put the VIN in a place where it'd get pounded by rocks & rot off in 6 weeks?1 point
-
Yes, E has a thinner cylinder base gasket as well for more compression. It's funny, the first question on any drz400e wrecking auction on tm, is 'how much for the carb?'1 point
-
I'm still requiring that clutch pedal bruv....1 point
-
I like that you have a 30yr old machete that is used often enough to wear through three handles, and a tube full of arrows by your back door1 point
-
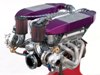
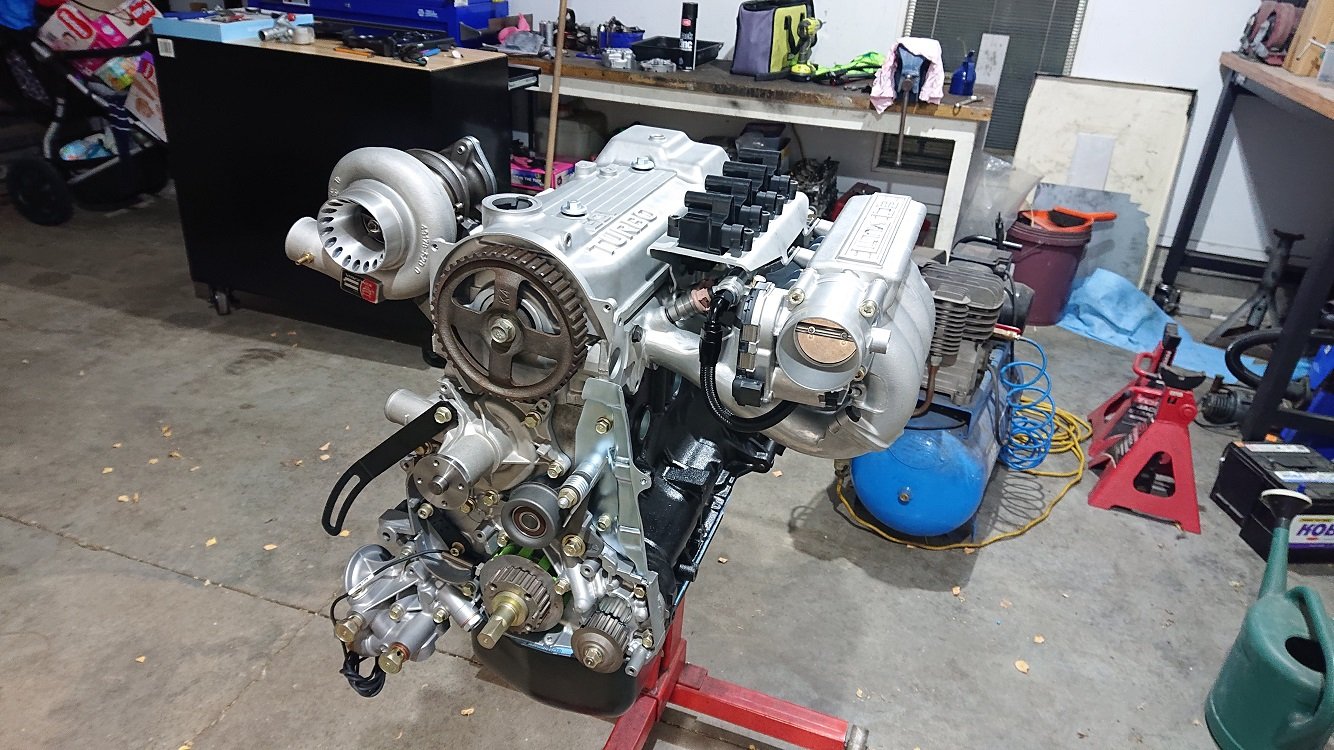
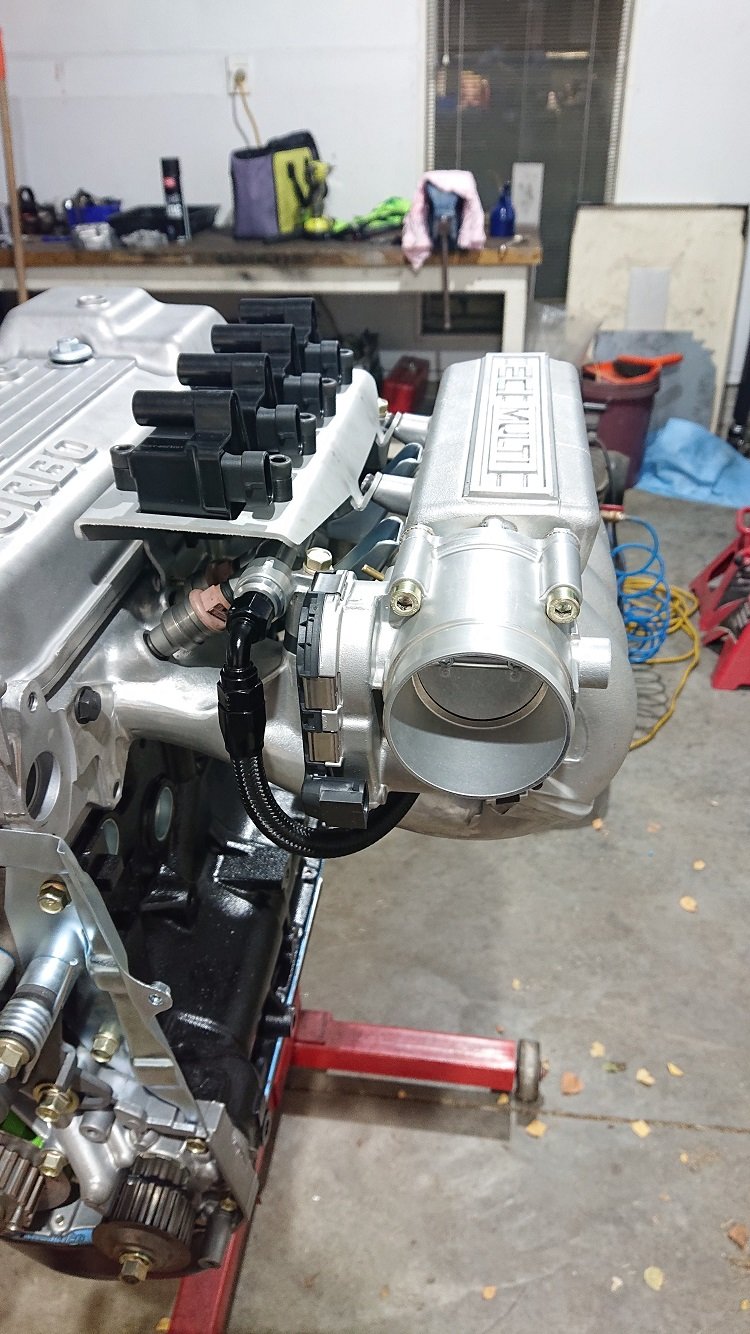
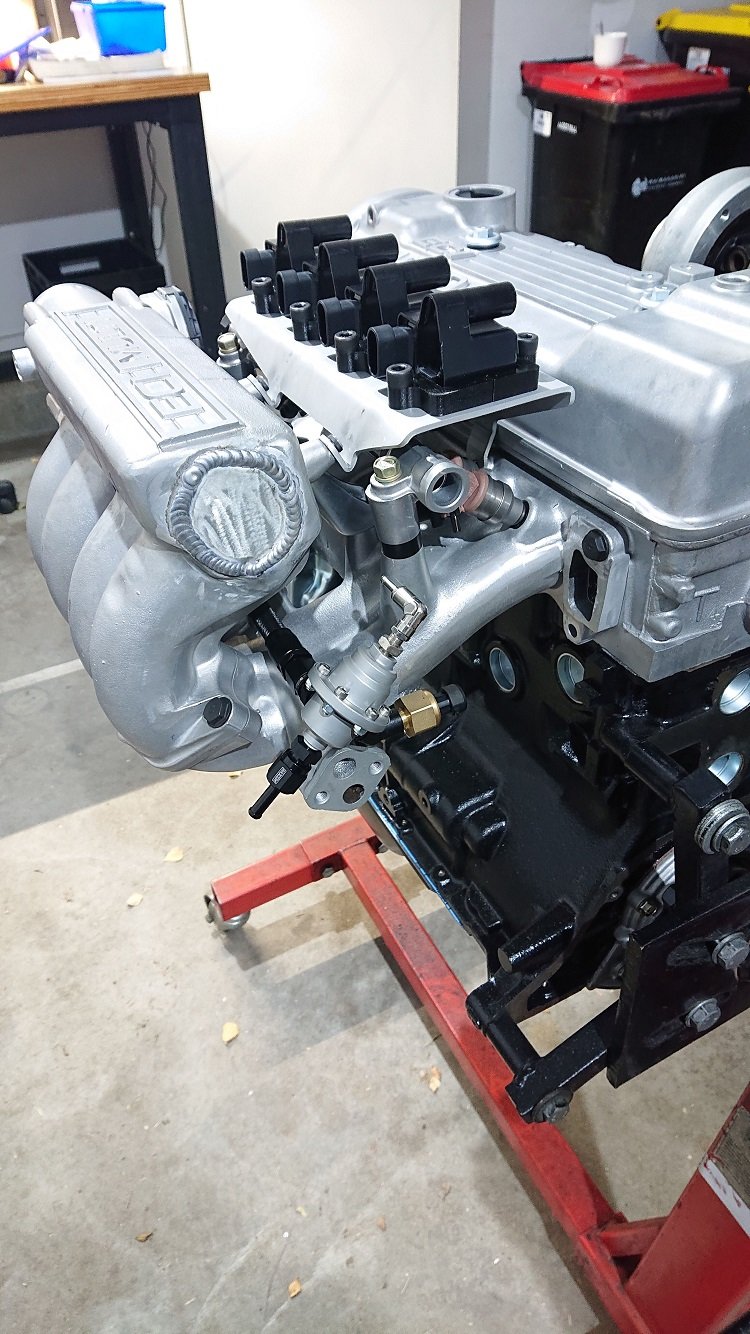
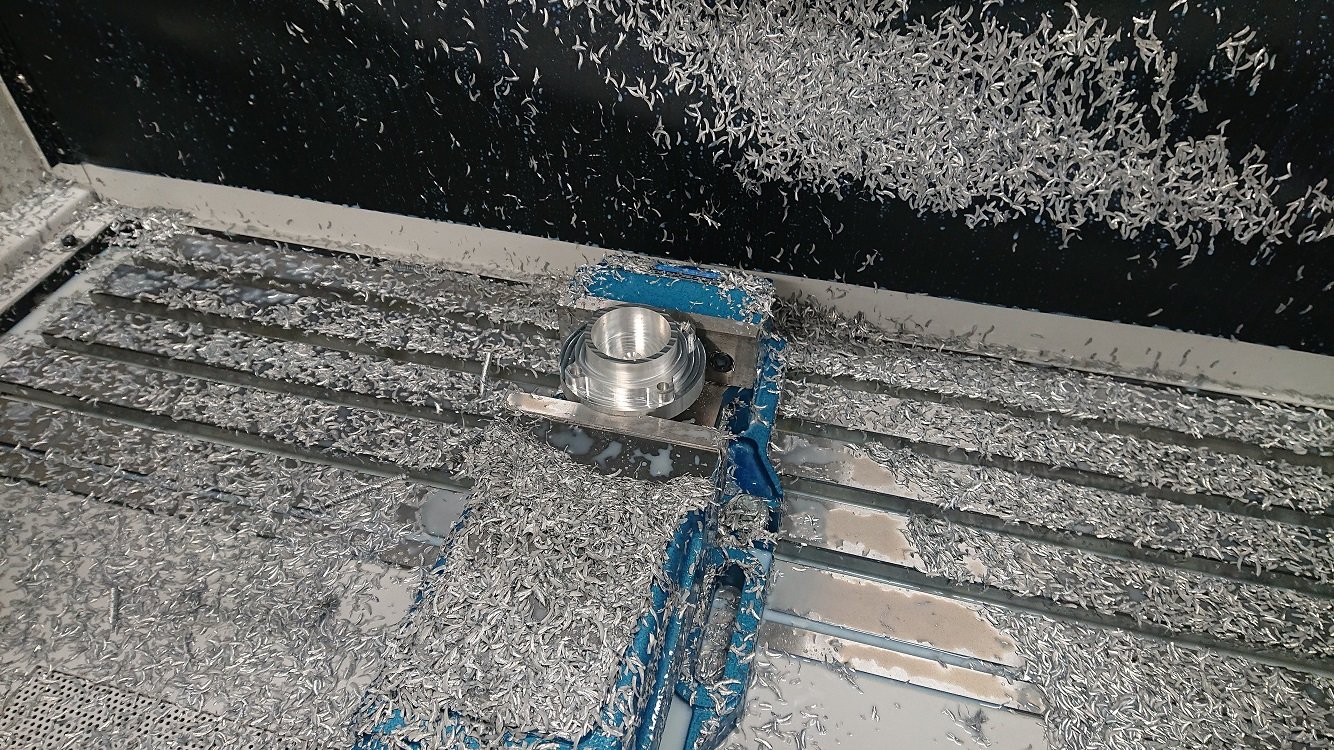
Bugger all progress on this in the last week unfortunately. Lots and lots of kids (include my own's...) birthdays organised and attended though, hah. I got the throttlebody flange machined. Went perfectly as soon as I added coolant. I'm almost wondering if this 6061 isn't heat treated, and that's why its gummier than I'm used to? Anyway I made lots of chips and released this object that was hiding inside the bar-stock. I got it tacked into place also so I could check the fitment of everything. Shot myself in the foot with the fuel rail though! I got some weld in AN-6 plugs for either end, thinking it would be nice and weldable like the rest of the Mitsy castings from this era (in my experience anyway). It is not. It spits, goes mad porous, and generally doesn't behave at all. Luckily I tested this on one of the mount ears that needed to be removed anyway for the throttlebody to clear, so no harm to the actual pieces I need. I've since ordered some M18x1.5 -> AN-6 adaptors, and tapped the ends of the rail accordingly, will seal it with some buna-n bonded washers. I'll have to machine the end surface of the fuel rail nice and flat for this, but no drama there. The weld in bung is just sitting there in that shot, its a nice fit, shame I can't use it. Sorting the fit of the FPR now. It's Tomei one that I took apart a years ago to clean out as it was full of junk, thus the bolts holding it together instead of rivets. The housing was all scratched up so I've blasted it. They're a nicely made piece of gear, the diaphragms are really tough, but I hate how they mount, it's really annoying using the PCD of the clamping bolts. I haven't quite figured out what I'll make for it yet, but something will come to mind I'm sure. This end of the fuel rail will also have an AN-6 fitting, to a 5/16" barb. As my truck is a sport model, its got a feed and return fuel line already, which are 5/16" and 1/4" respectively, thus the 1/4" barb on the bottom of the FPR also. I just need to put in high pressure rubber hose instead of the carby stuff, and fit an EFI pump after the tank (decided not to go in-tank, too much faffing at this stage, will just live with noisy external pump for the moment) and that should be the fuel system sorted. The pressure sensor is a low cost brass bodied one, but is still a Honeywell part, and safe for fuel, just $70 instead of $170 ;-). It's coming together slowly, the turbo looks ridiculous (...ly awesome), but it really is just an EVOIII 16G, the compressor cover makes it look much bigger. I've got the front plastic engine covers painted now, and it looks nice and tidy with them on. Once my fuel line fittings turn up I can go a better dry-fit of everything, a little bit more scanning and then design the weld on thermostat housing, which I'm really procrastinating about.
1 point
-
So the rust proofing has a interesting colour/look @sheepers dunno what happened to your gun mate, but as soon as I turned the air on it shot it's load all over the garage, seems stuck on?
1 point
-
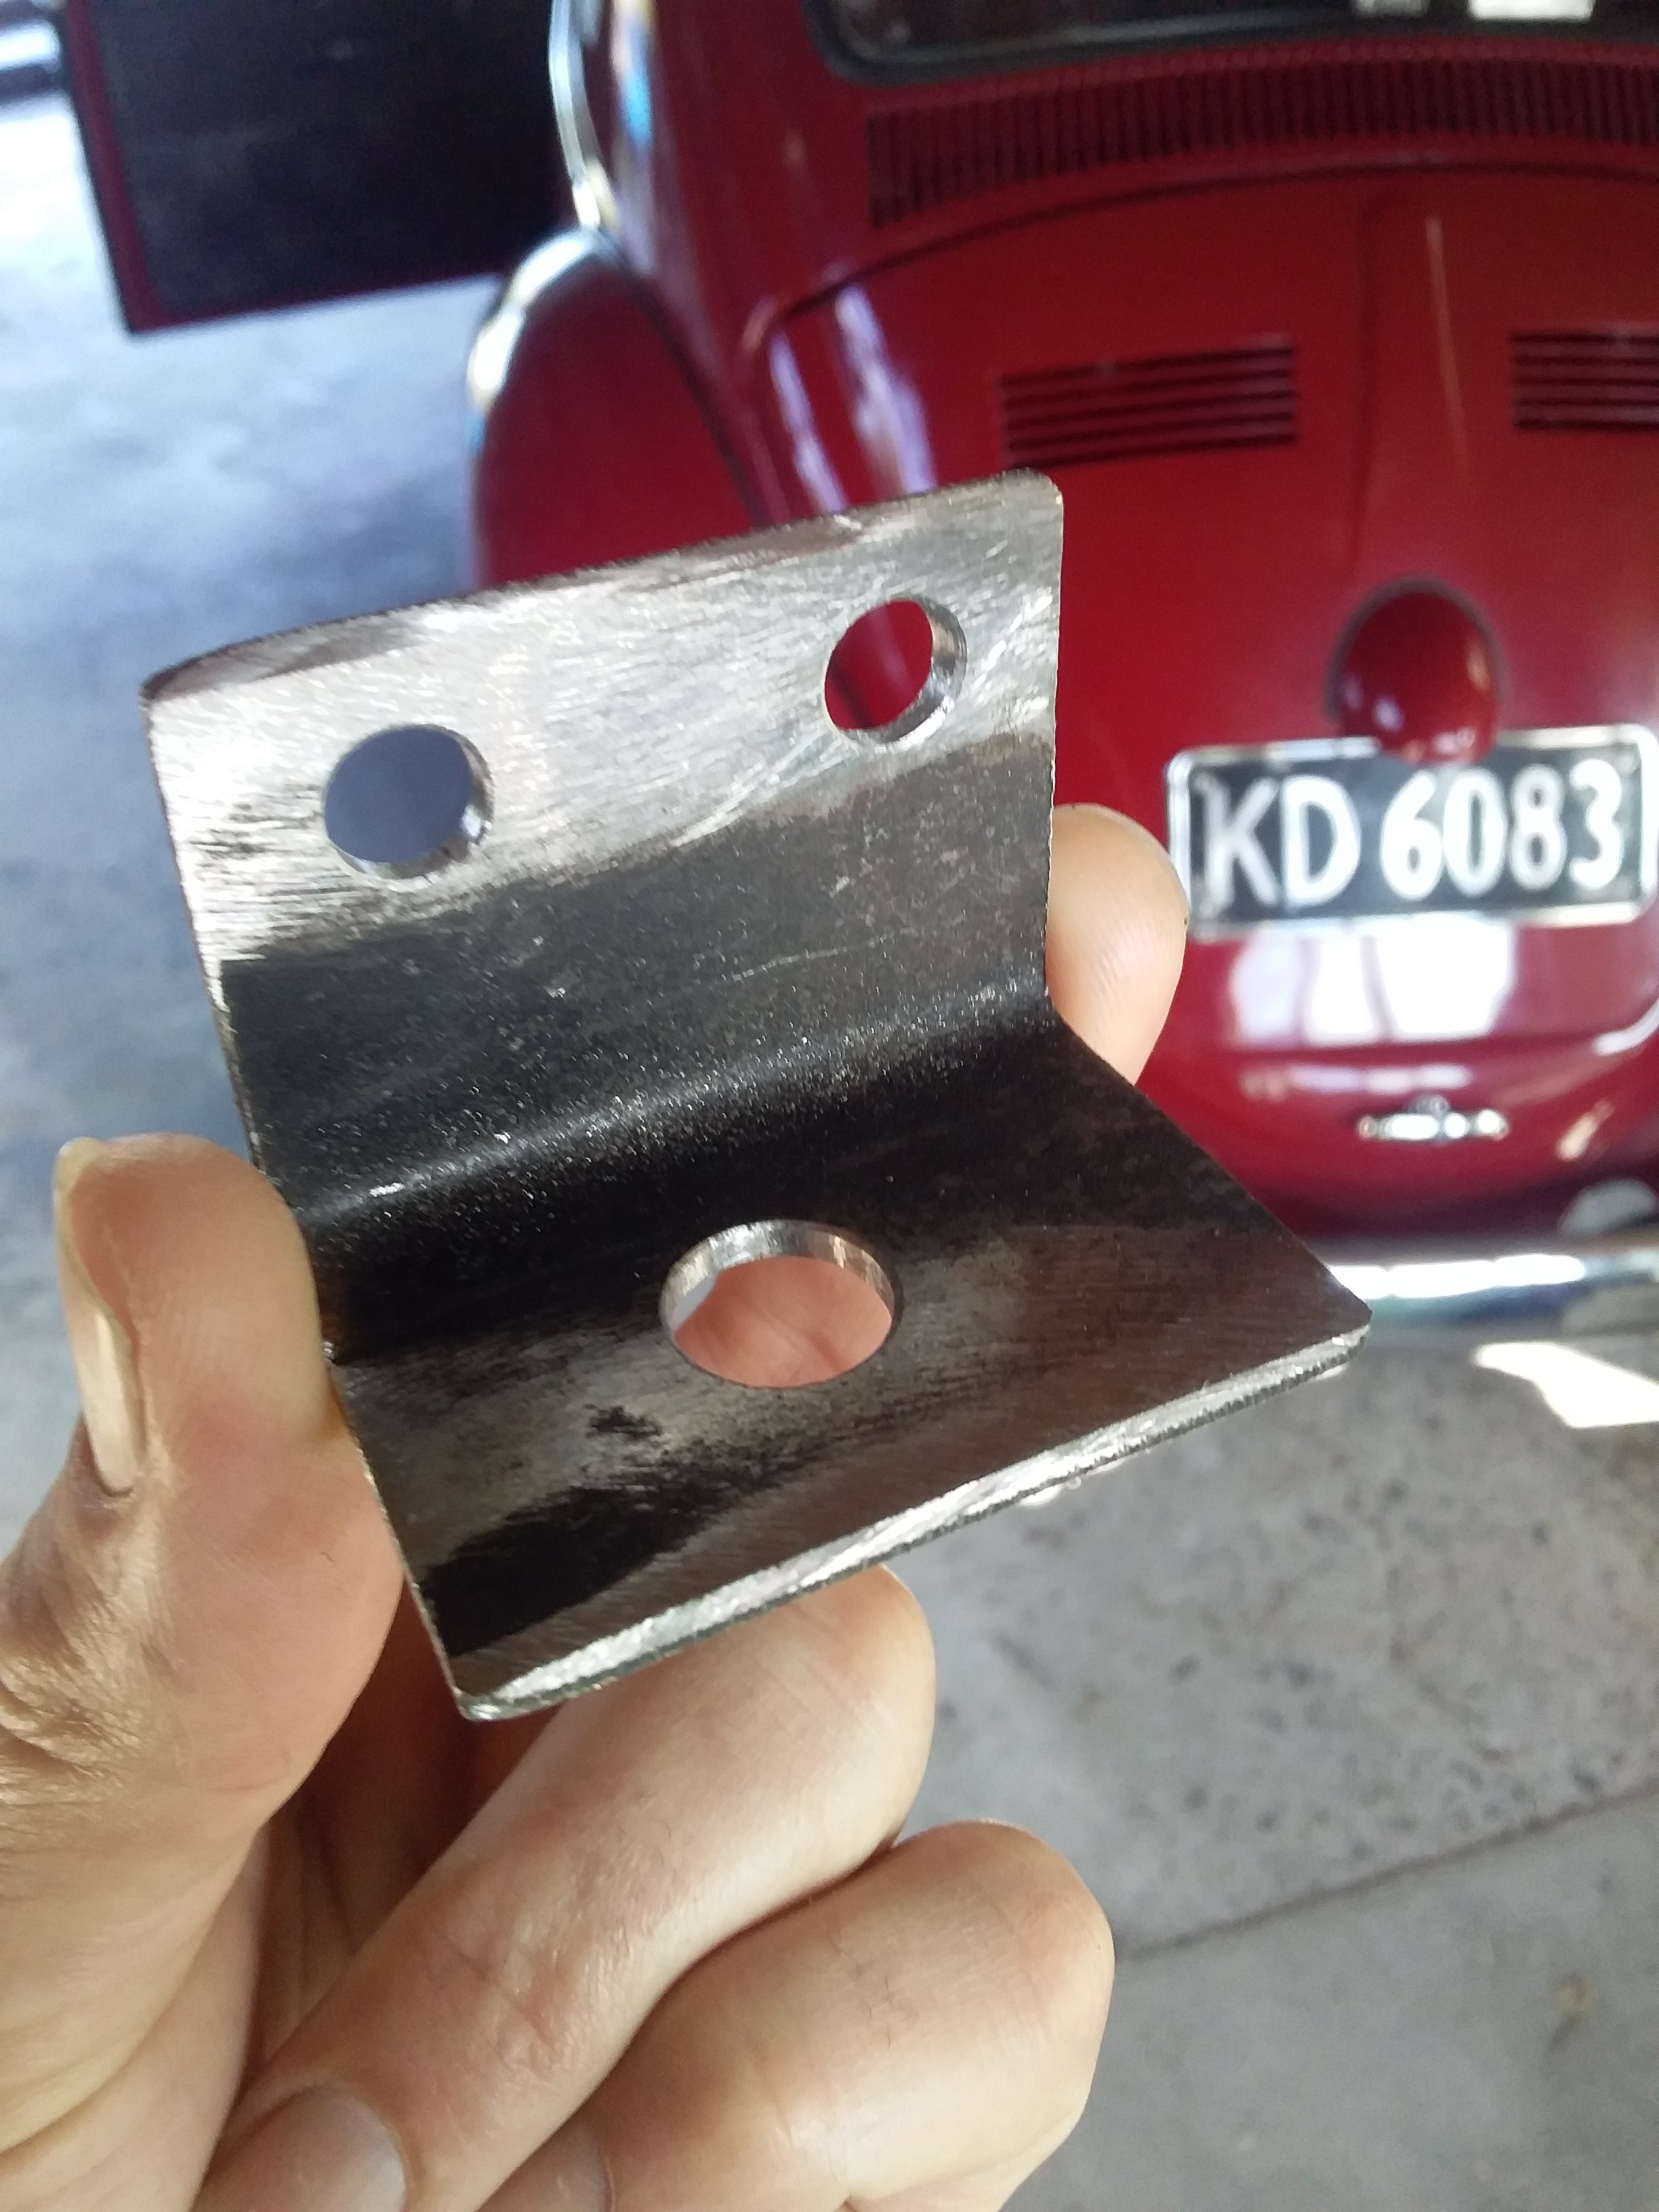
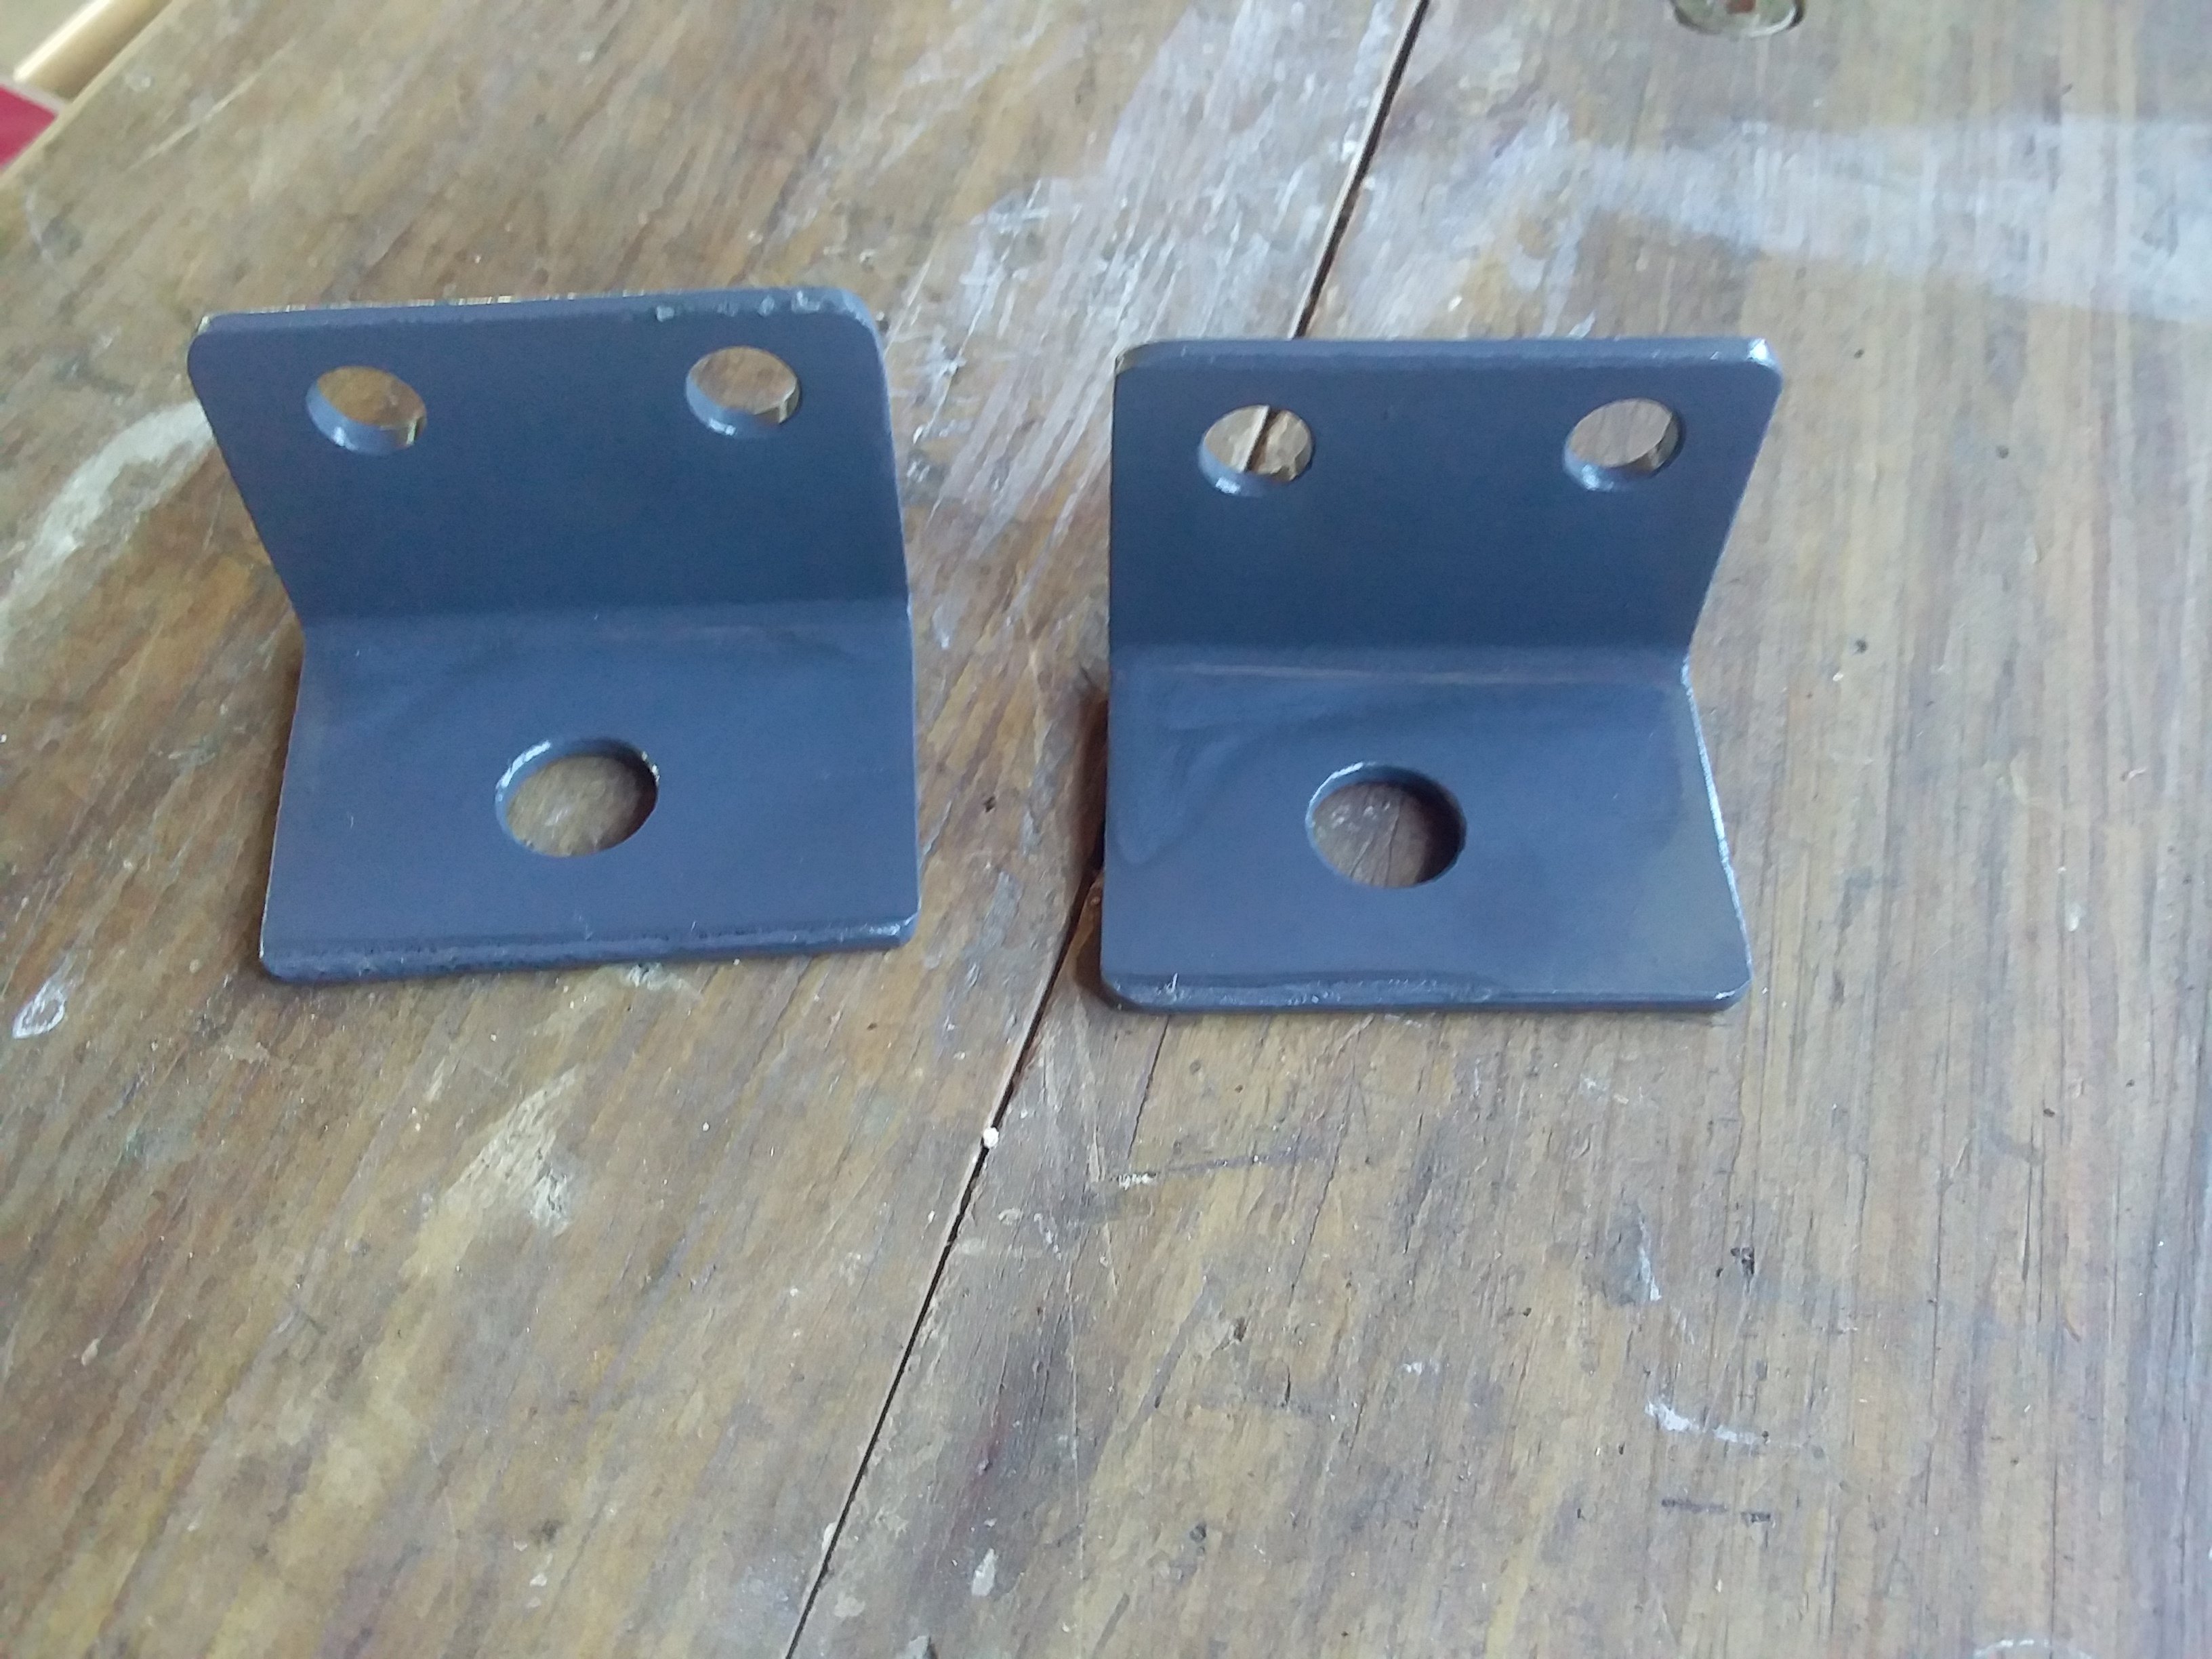
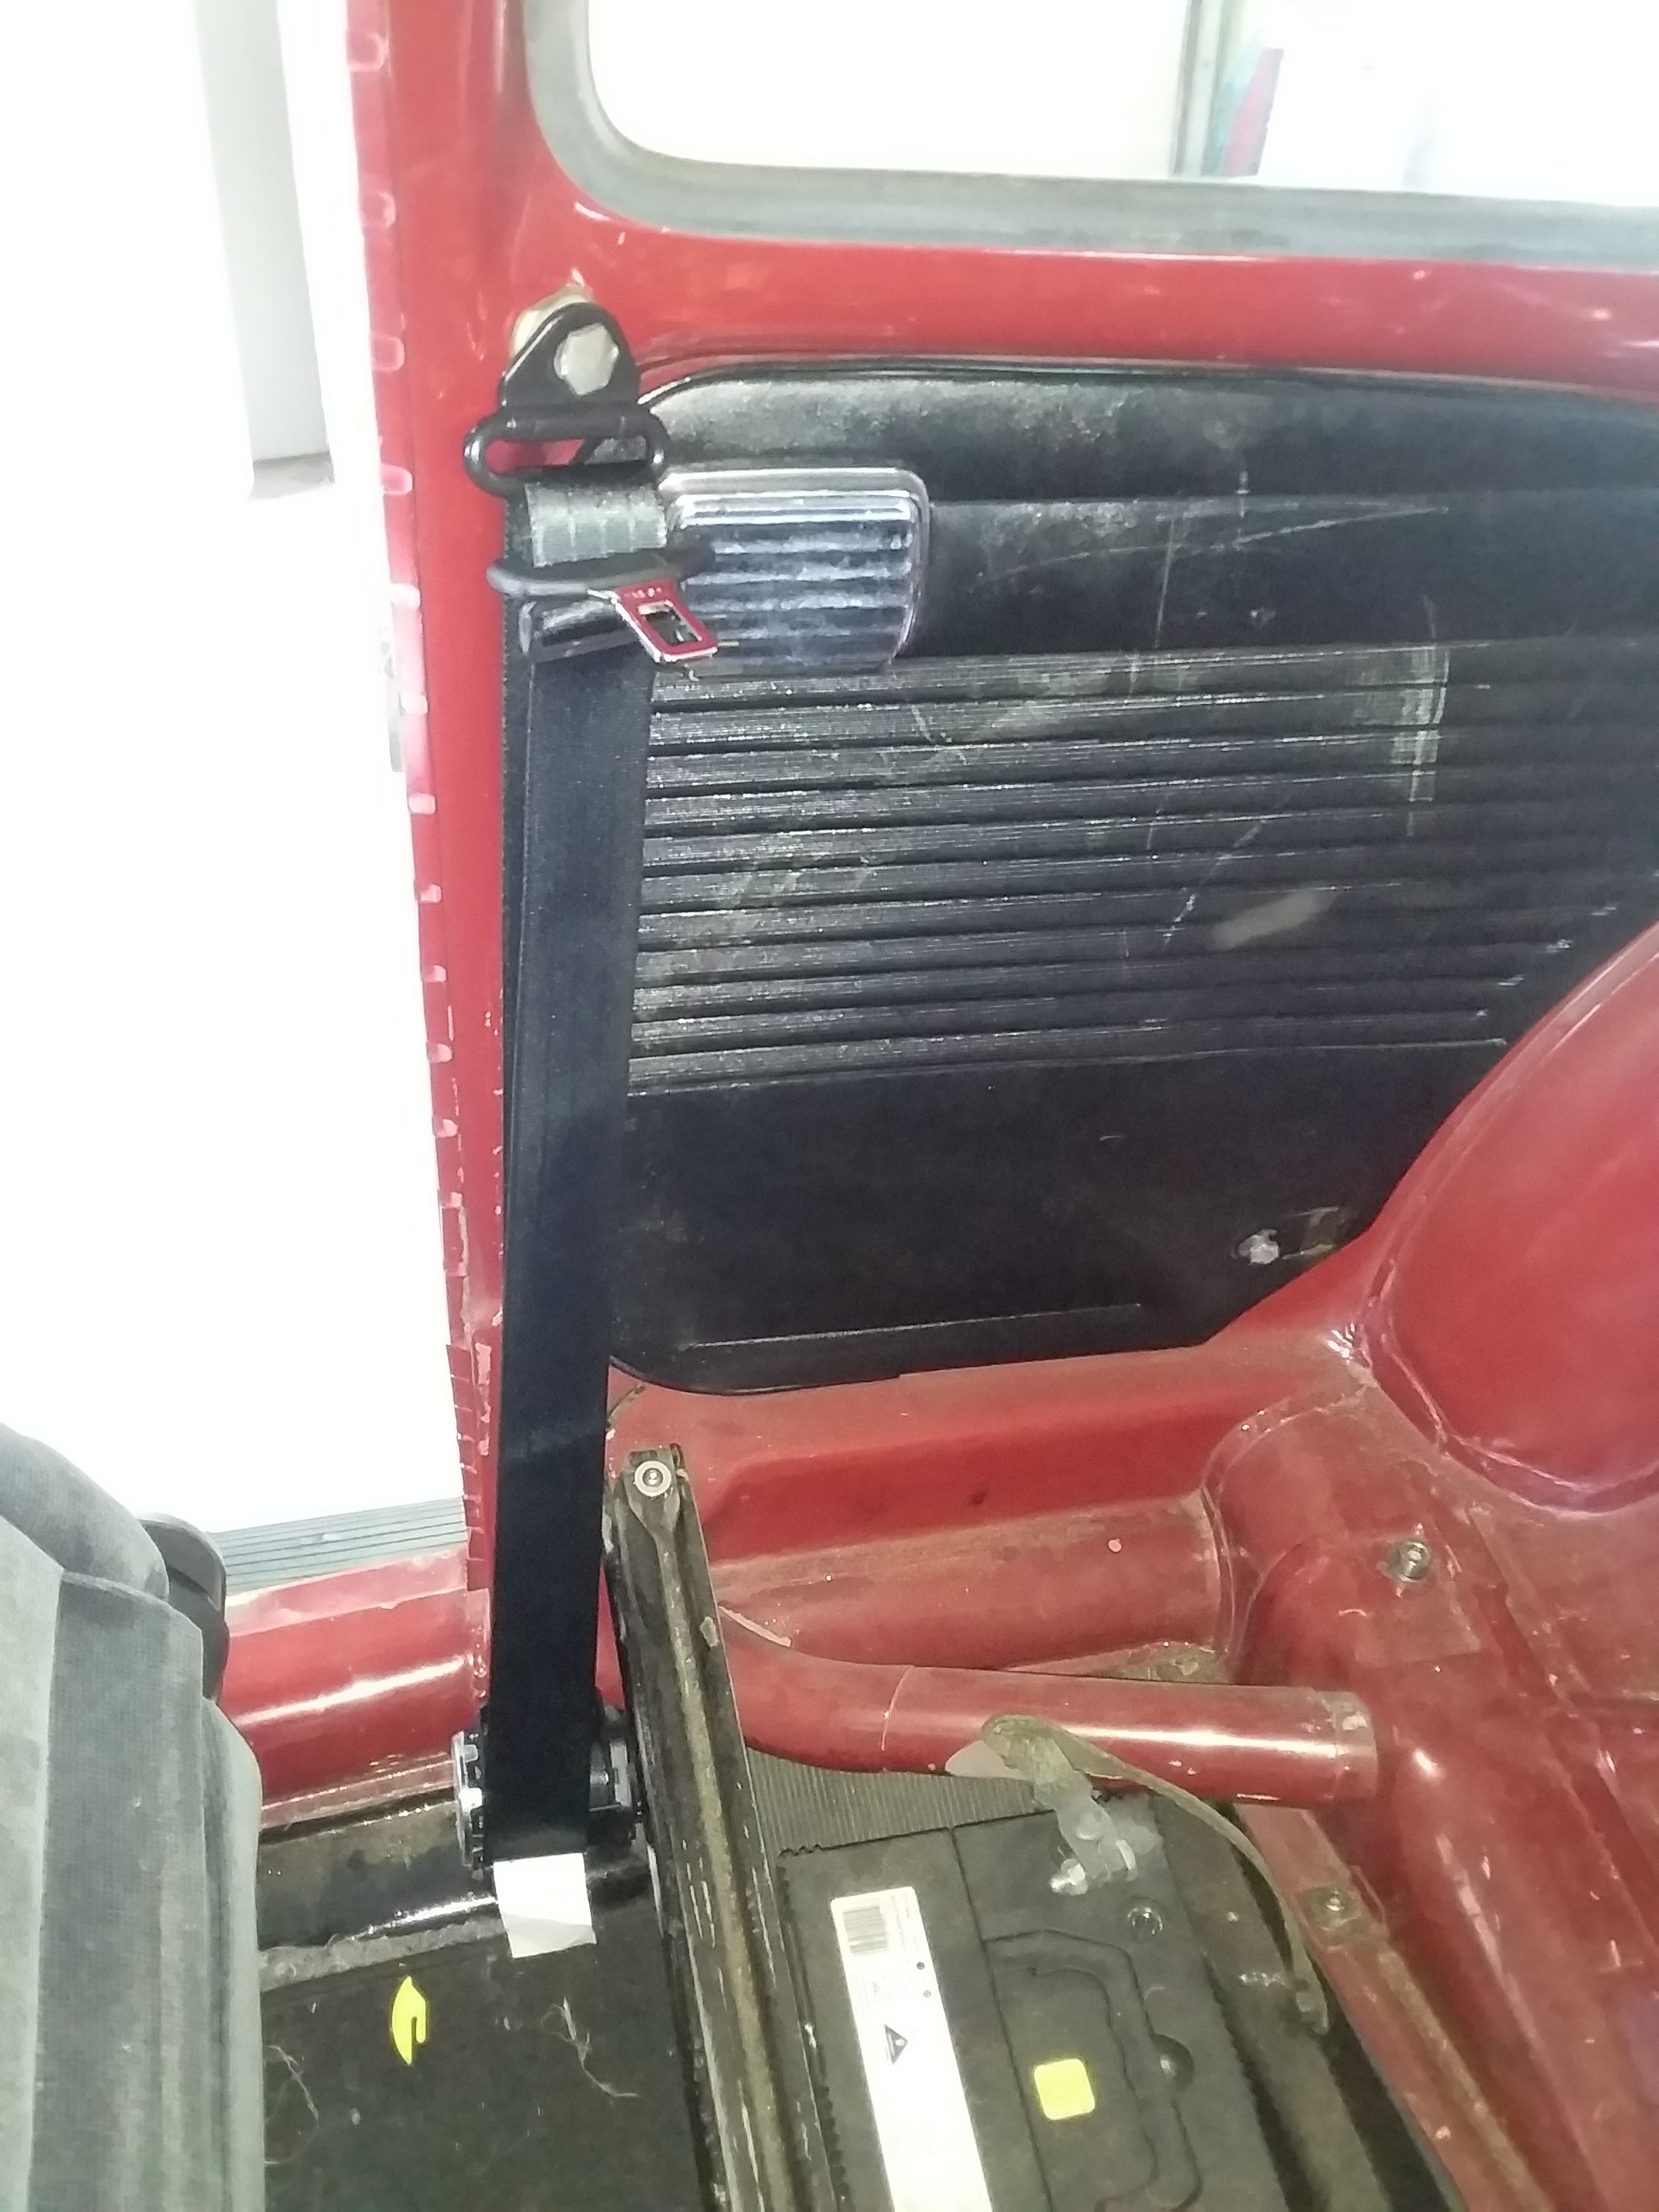
Made up these little things to mount my fancy new seatbelts. Gave them a lick of paint. And, for the first time ever! Reel up seatbelts!
1 point
-
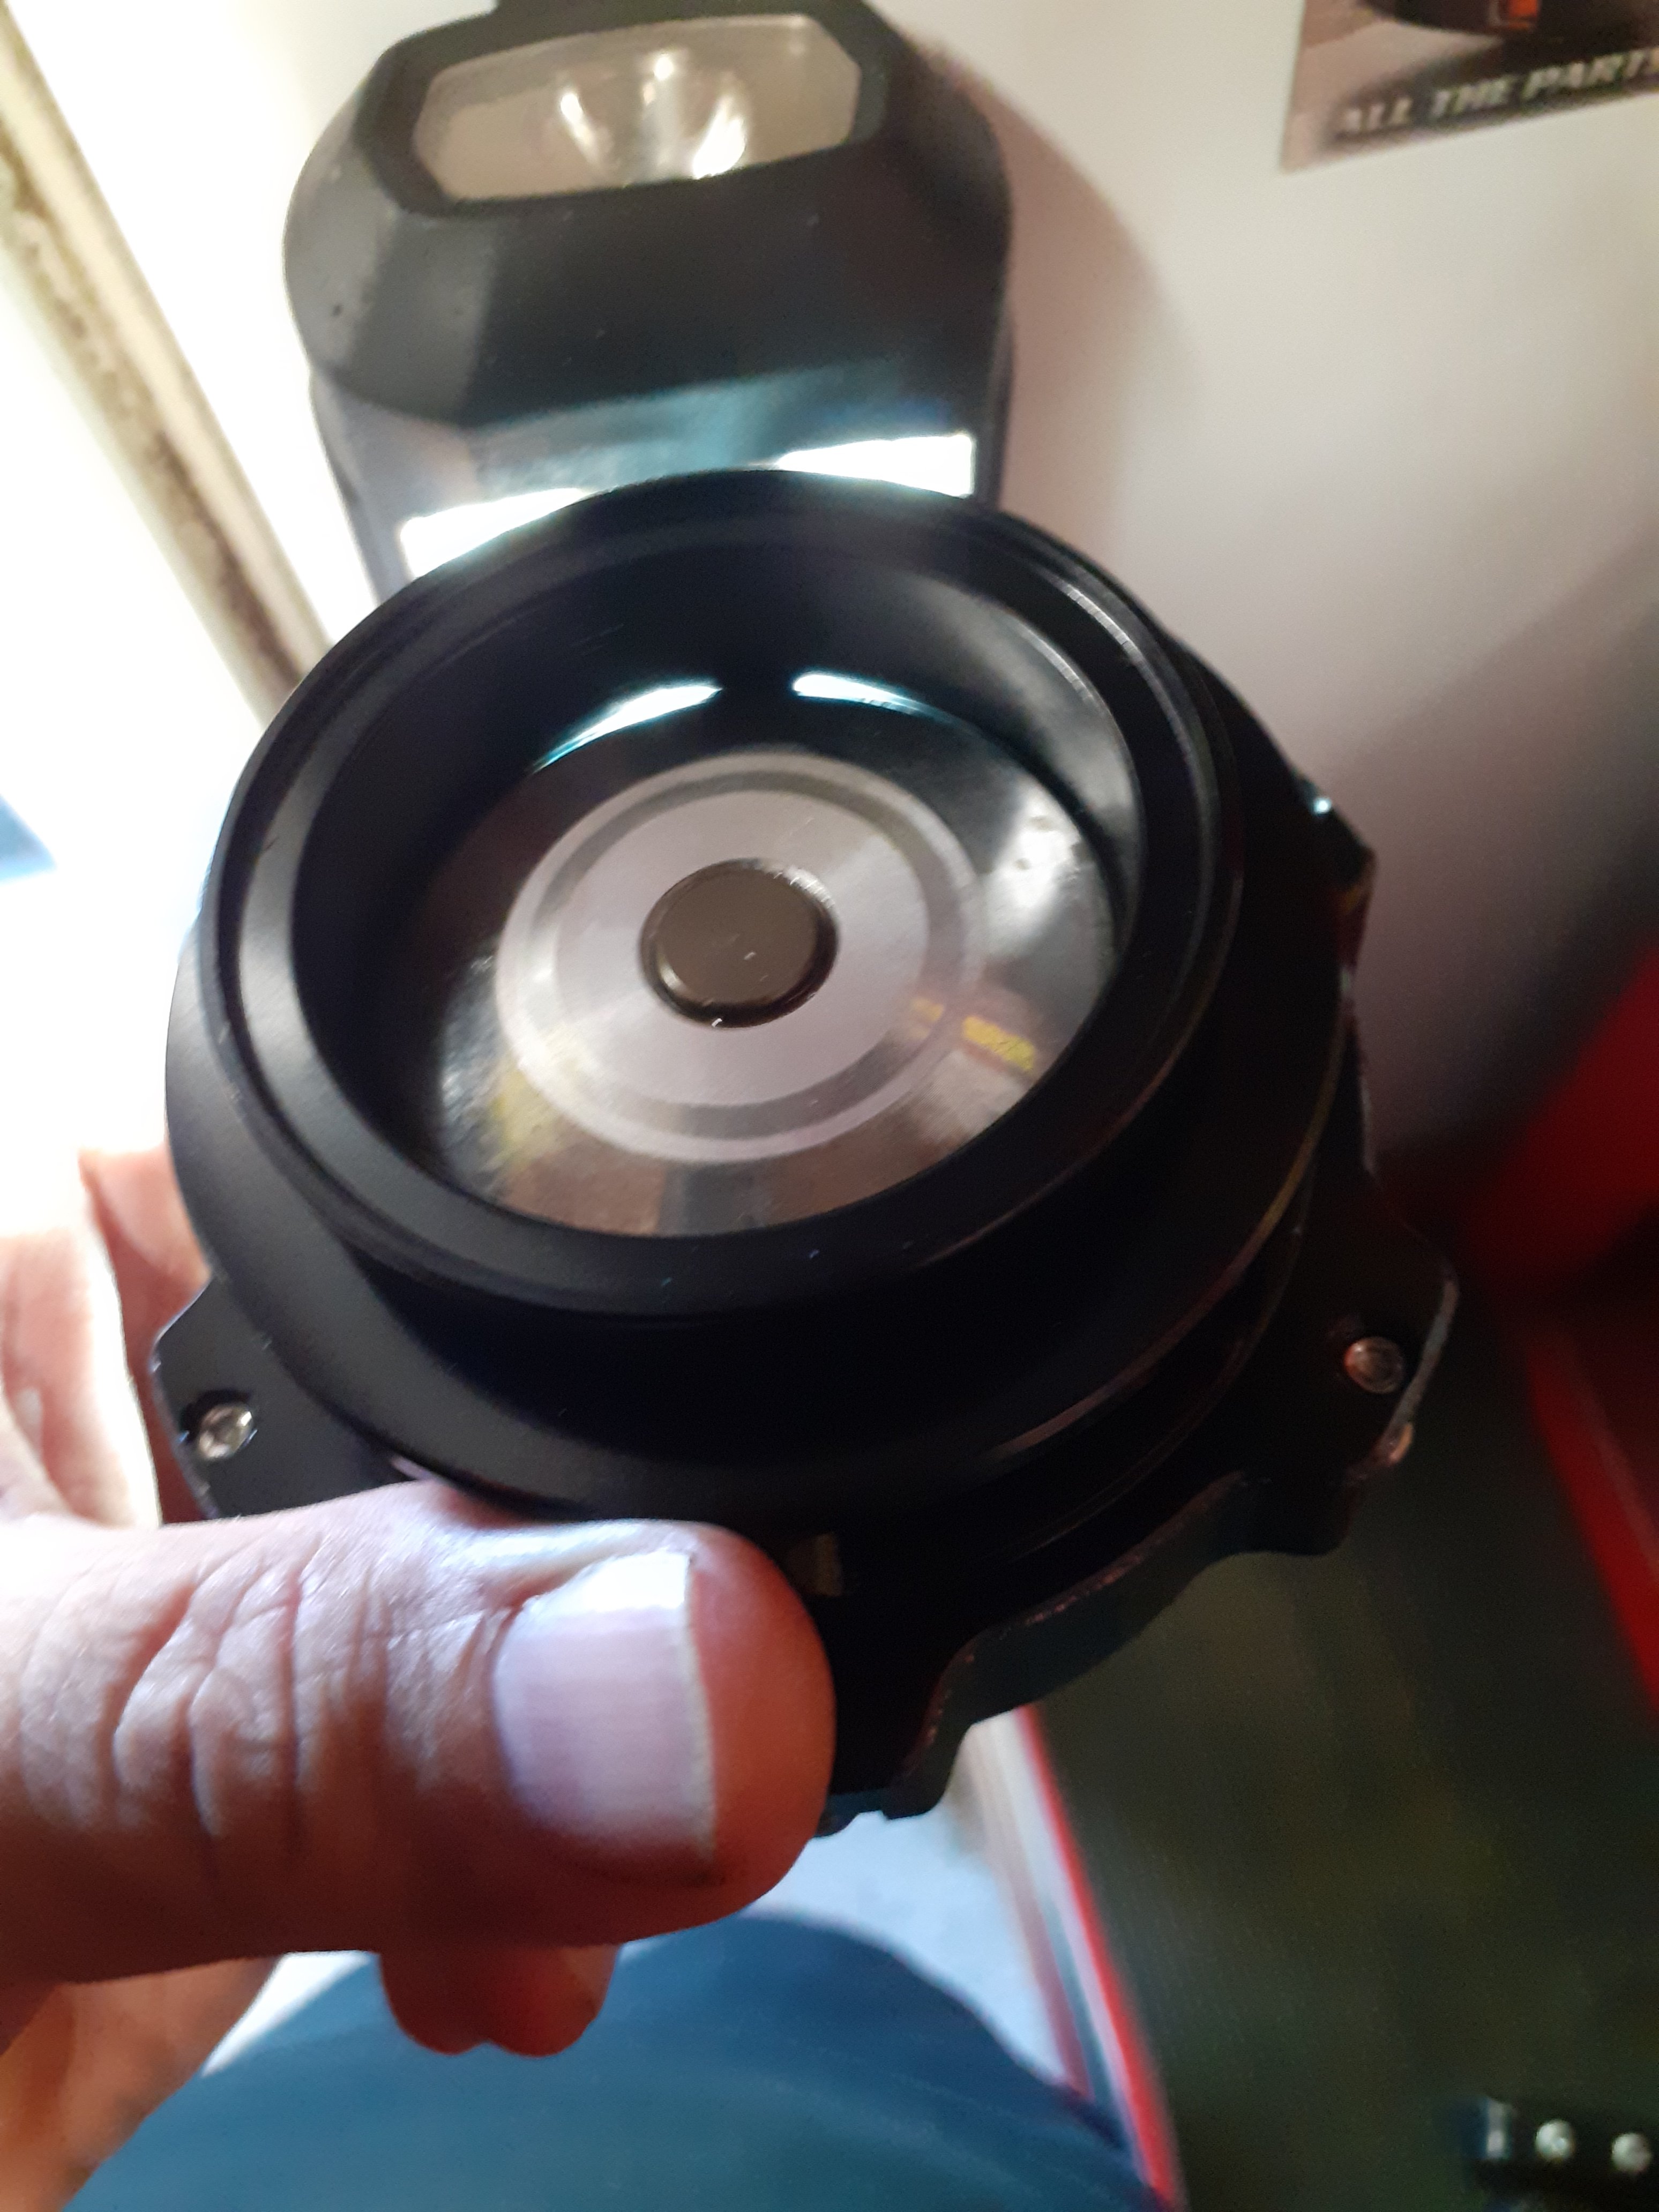
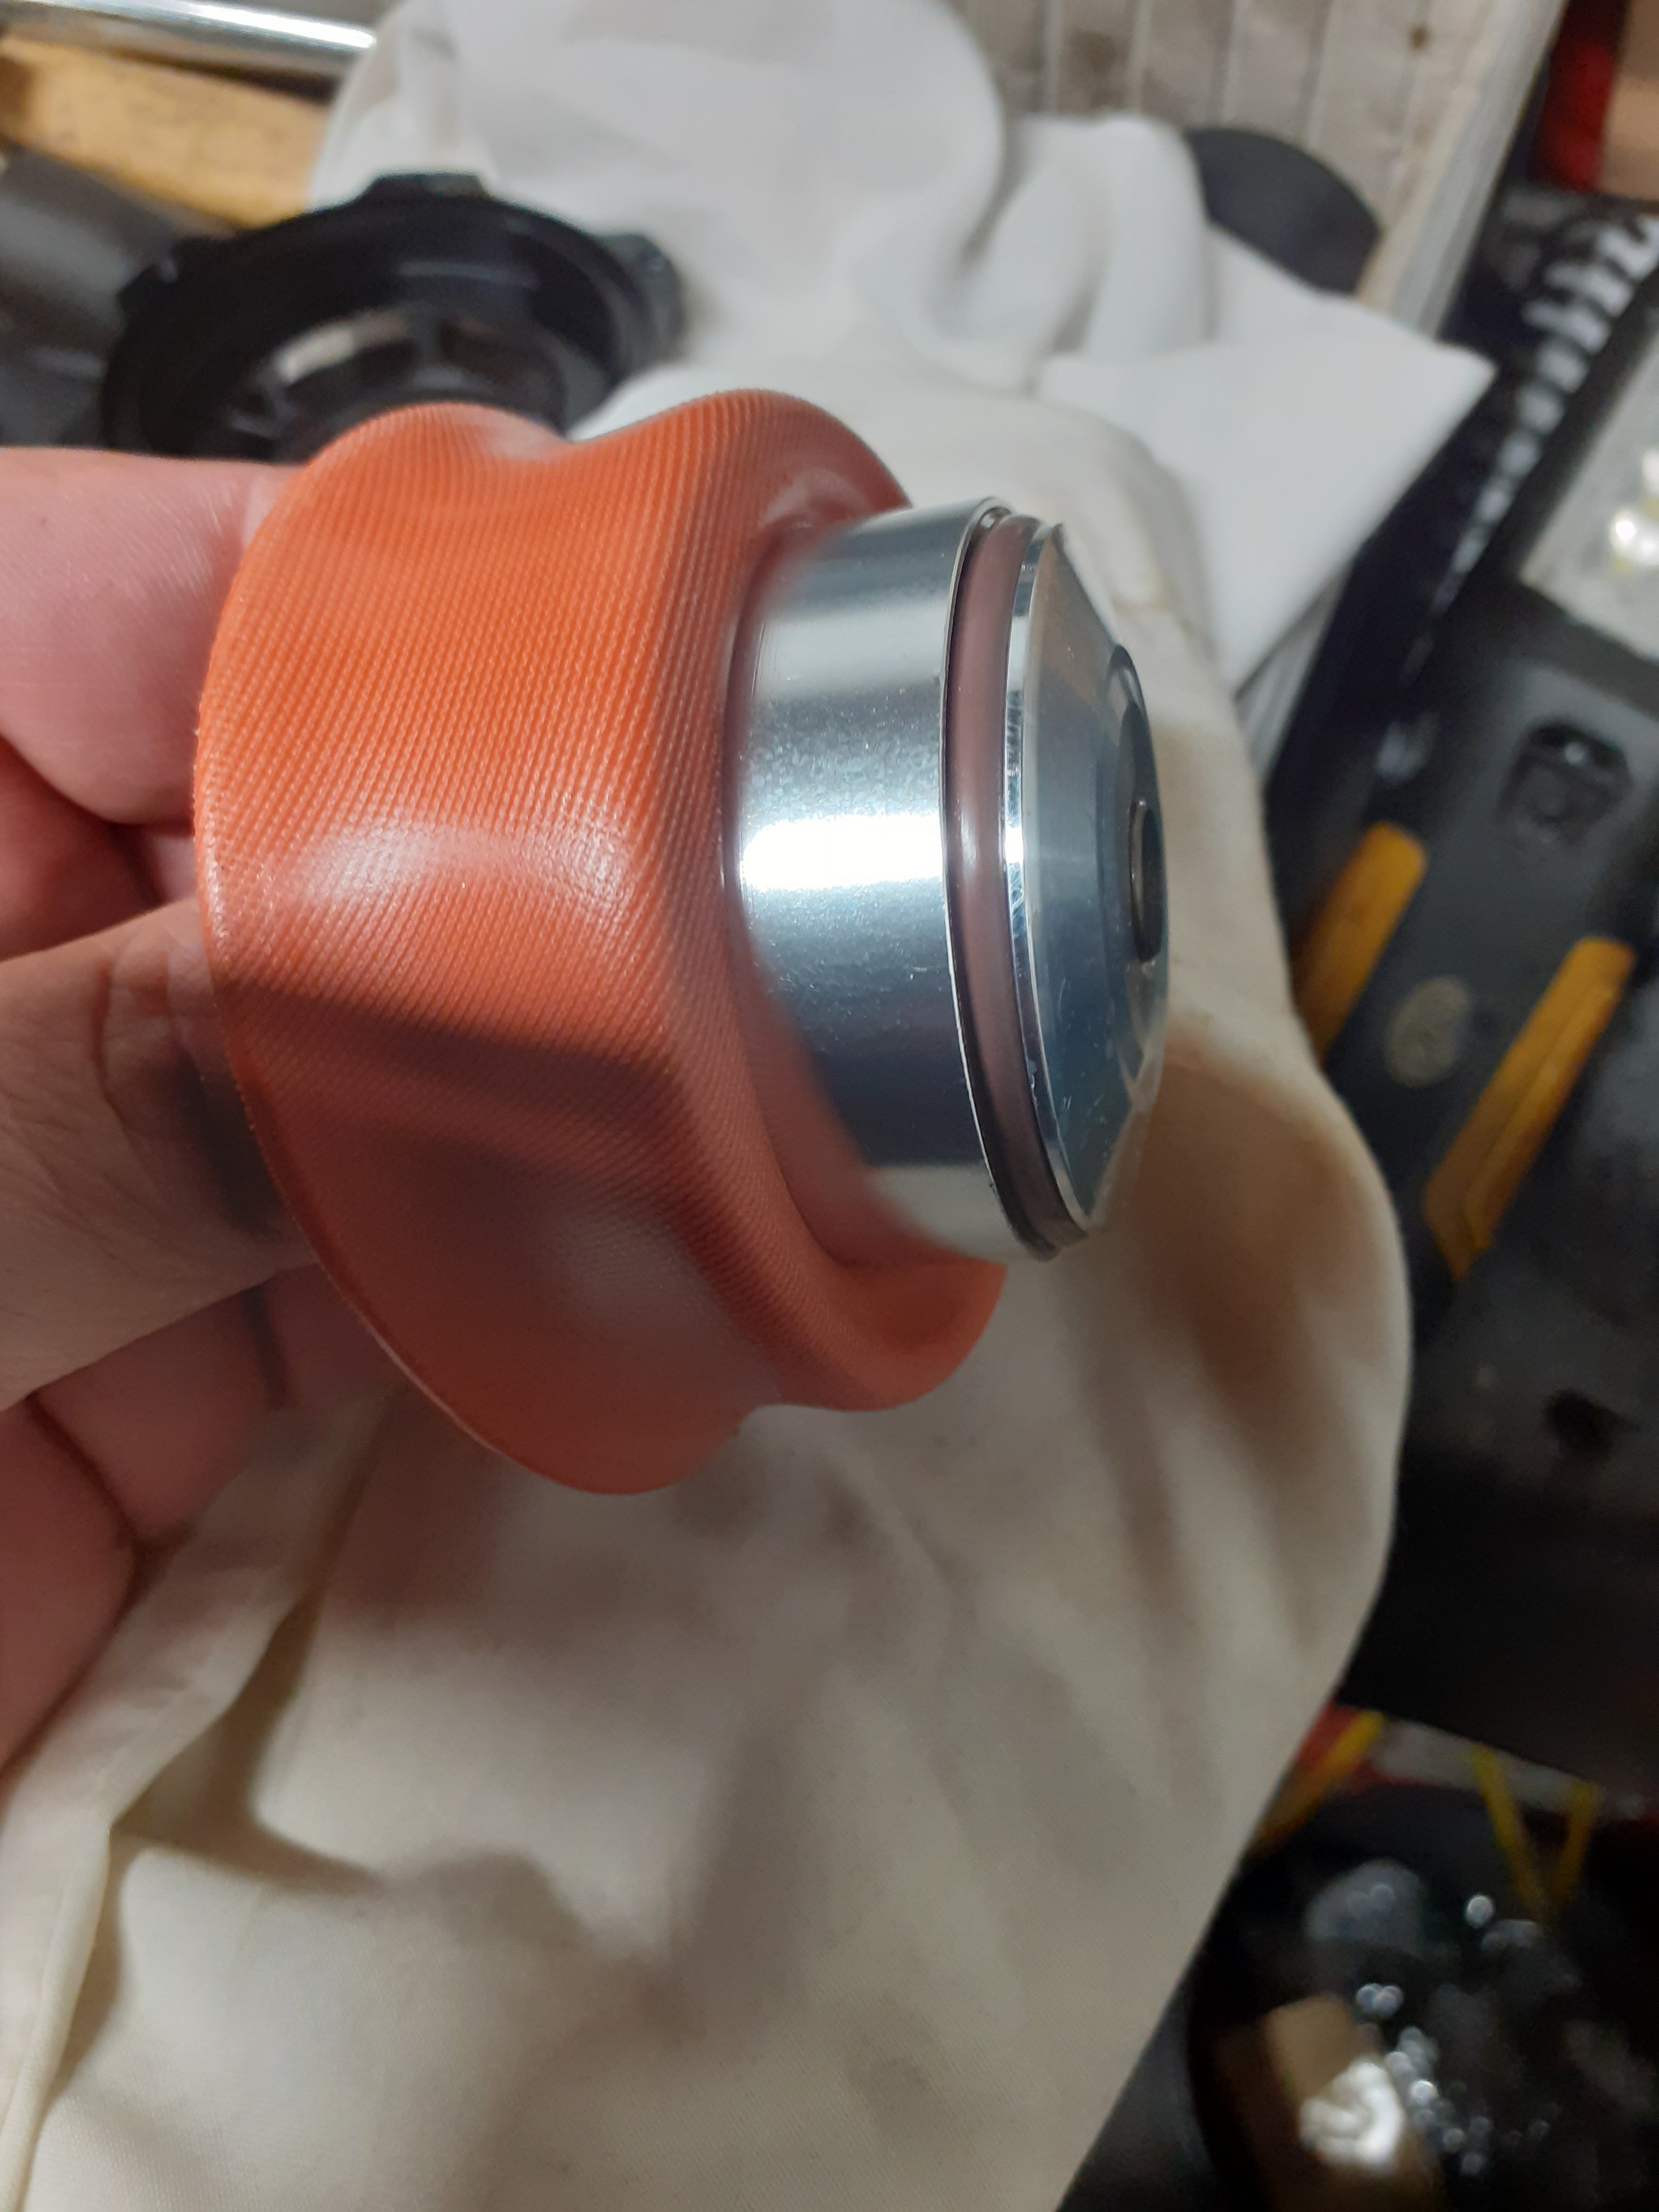
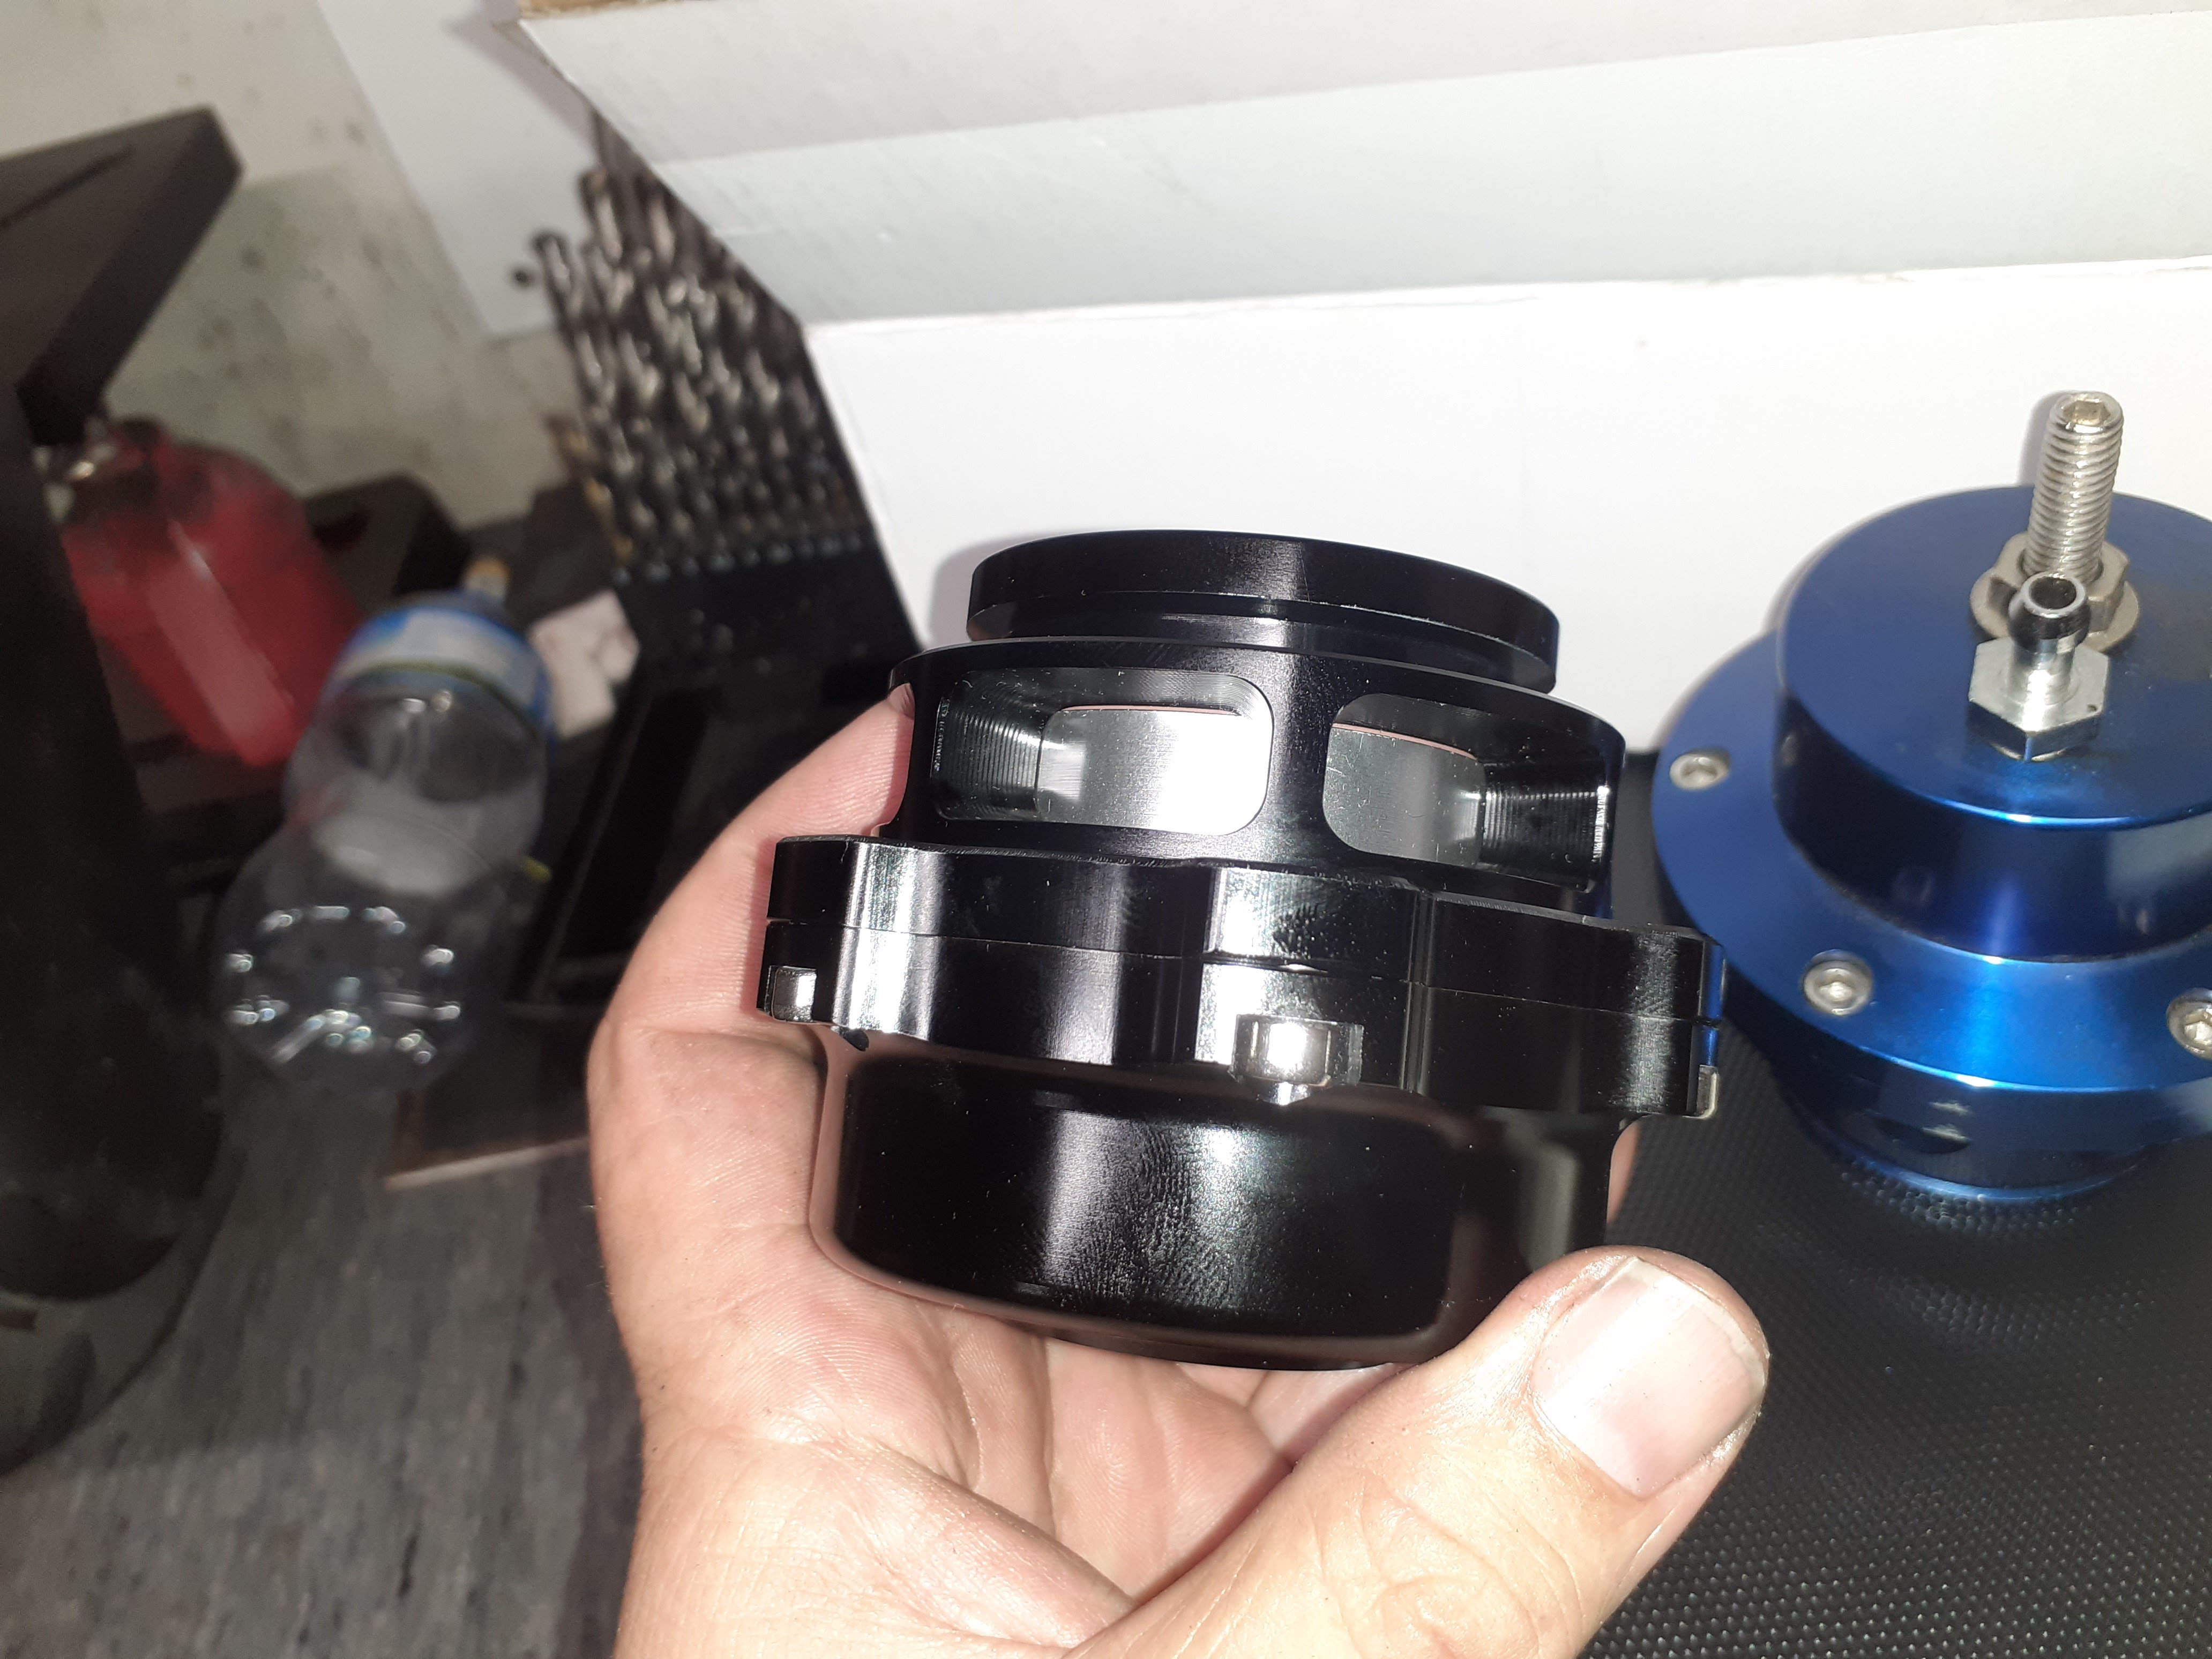
Anyhoo I'd already pulled it apart and ol xin p. ling at the blow off valve factory has been putting the wrong size o rings in, got a couple of new ones and tried it, now it seals pretty well
1 point
-
Started testing some more intake stuff yeh nar didnt run them that long ^ but made this abortion Red line is one of the best runs i could find from the itb setup Blue line is the run from the setup in picture above Green line is the same as blue, but runners cut down 25mm As can see cutting runners down the 25mm moved the peak higher in the rpm range. and starting to push the big loss off the end of chart Cant cut the current runners shorter due to tower clearance. so awaiting some tighter bends to carry on testing. Goal is to try get it to do the same thing as my na setup. get that peak to sit between 7000 -8000 rpm and gain about 15kw up top. depends if the sharp radius bends are an issue or not1 point
-
If anyone wants me to check our copy of the ETRTO (I think we have the 2015 edition) then send an email to me at work and I can check for you. (PM me for my work email address) I plan to update the Tyre-Rim infosheet, with all the info from the ETRTO, but its a time/priority thing.
1 point
-
motor in. pretty stoked tbh. its funny how quickly i forgot how little room there is around this thing when its back in the bay. also the bonnet fits. 2020-01-24_05-44-54 by sheepers, on Flickr 2020-01-24_05-45-02 by sheepers, on Flickr 2020-01-24_05-45-10 by sheepers, on Flickr1 point
-
I think it would be pretty rare to get a cert on a 1st inspection, but you might get lucky. When I took the Mercury in there was a fair list of minor items to attend to. I'm about 1hr north of Wellington and could loan space/tools if you like.1 point
-
Primer.
1 point
-
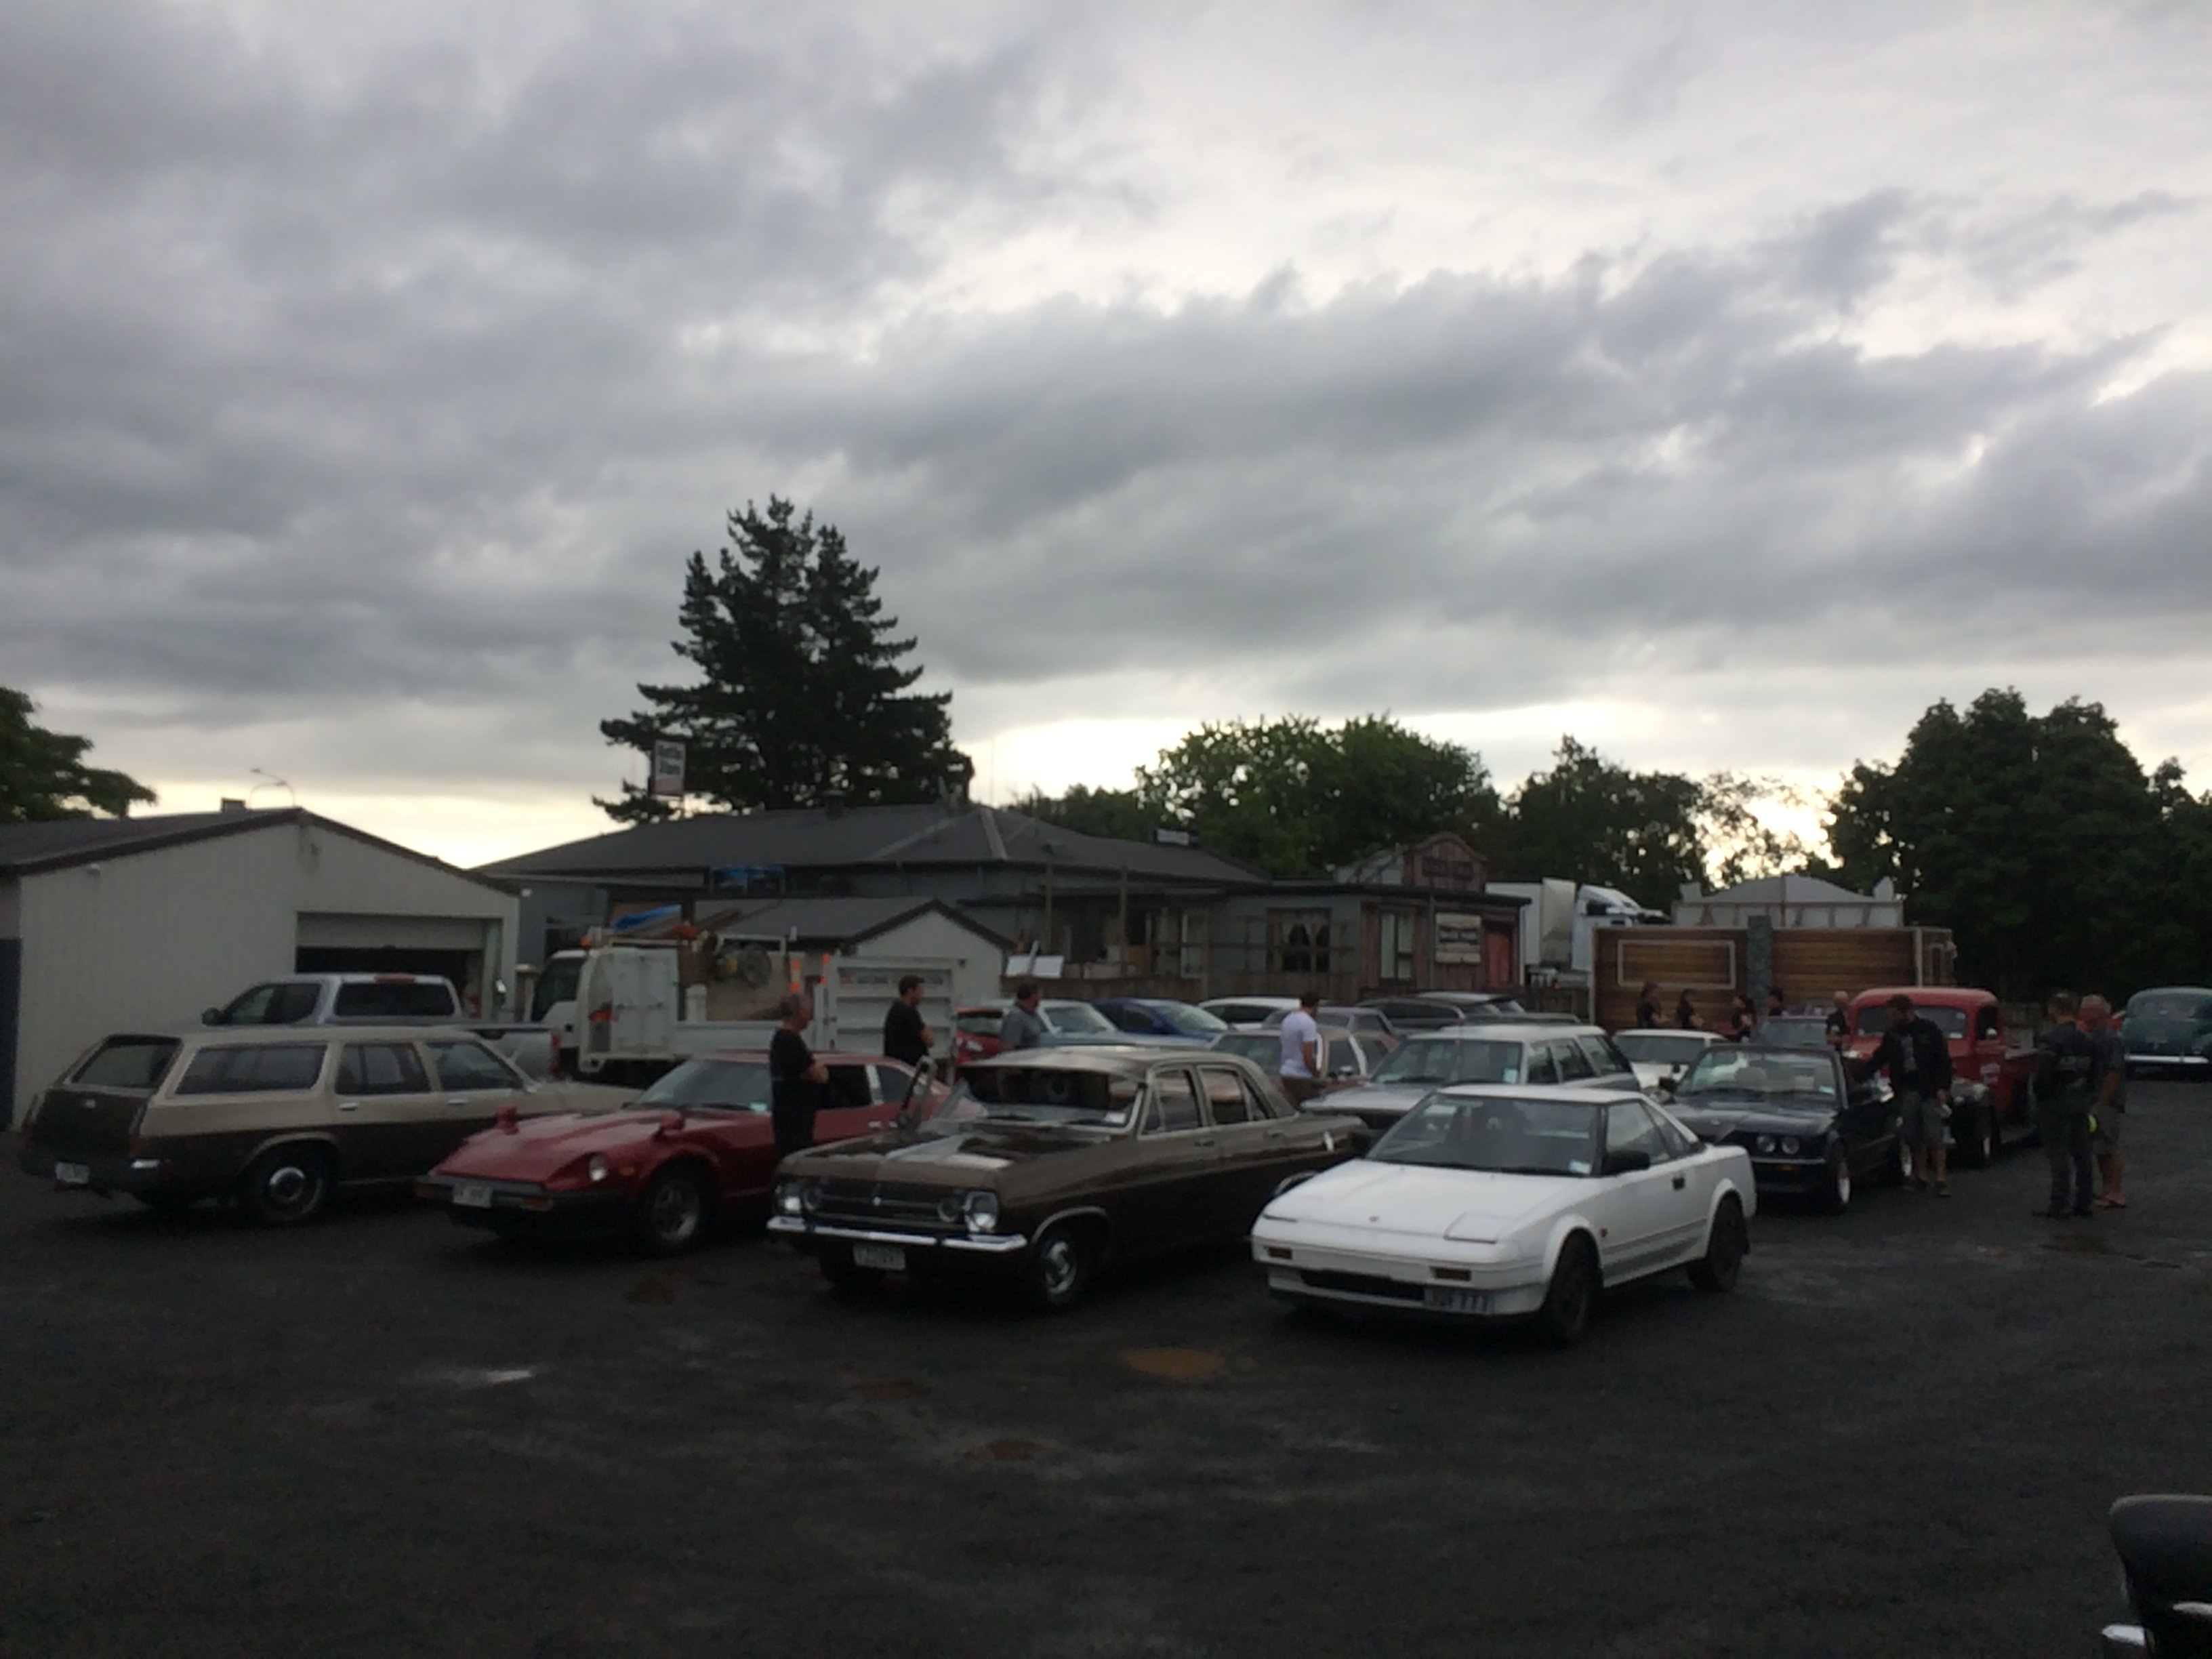
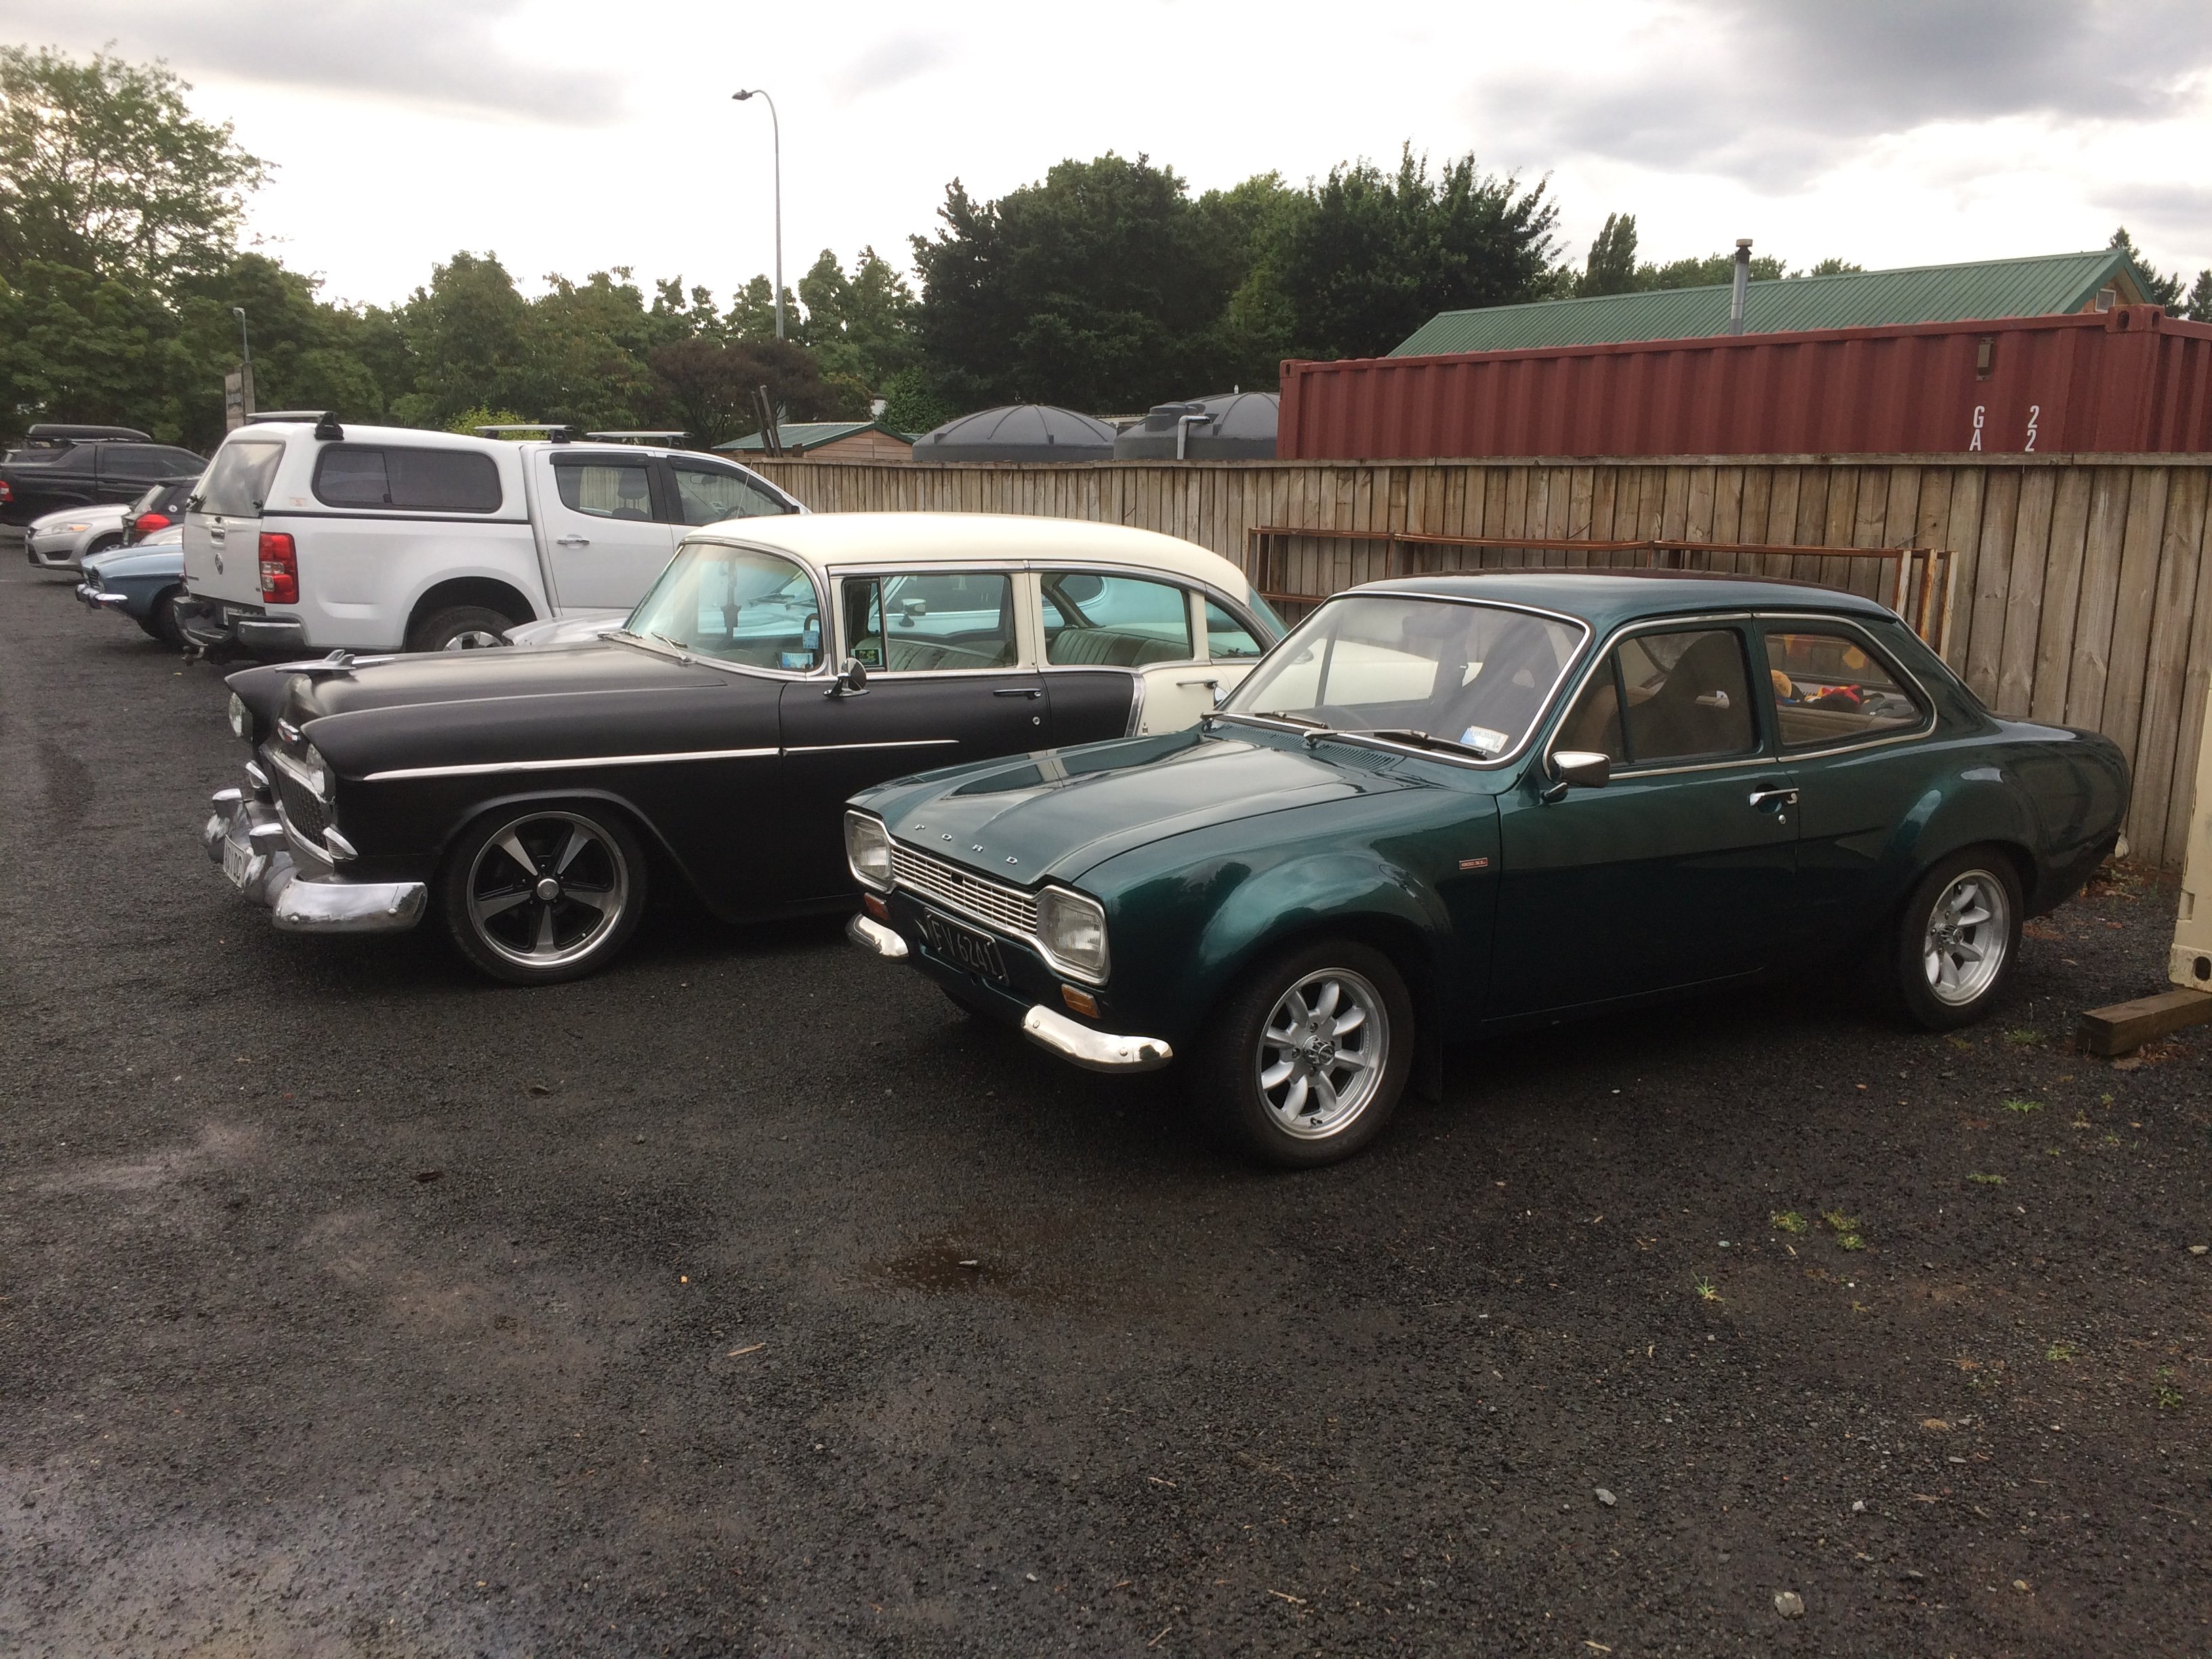
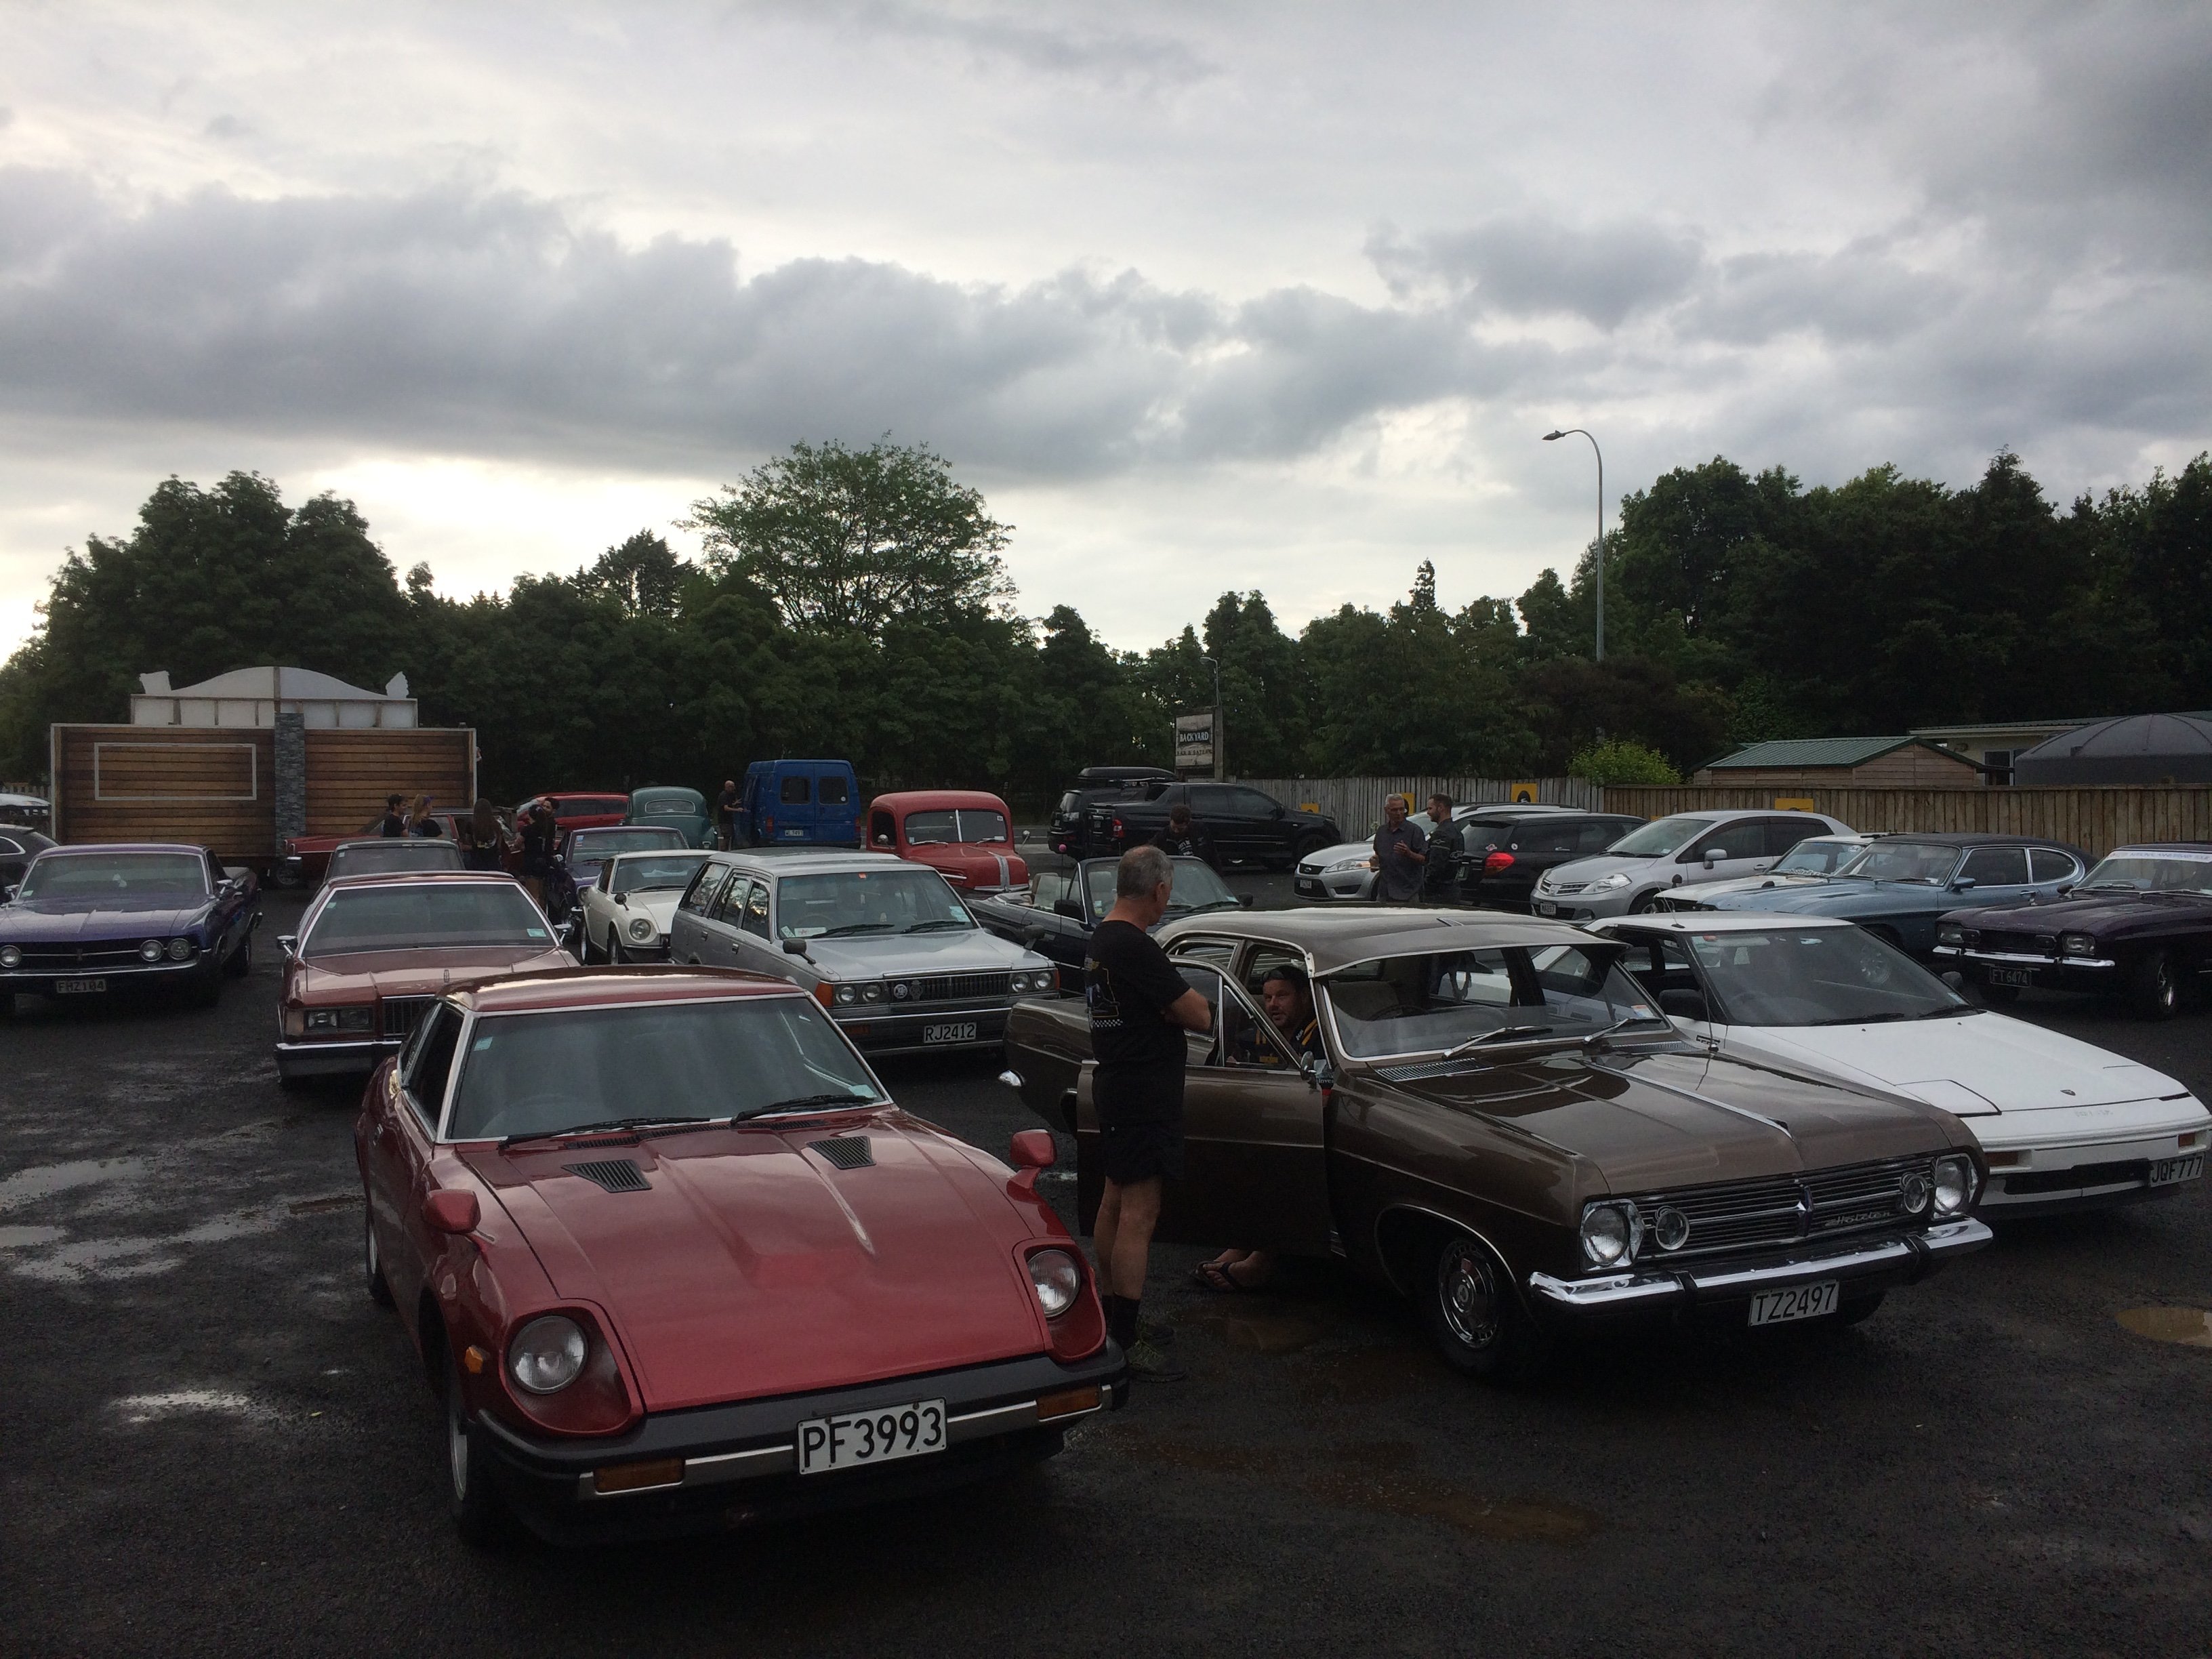
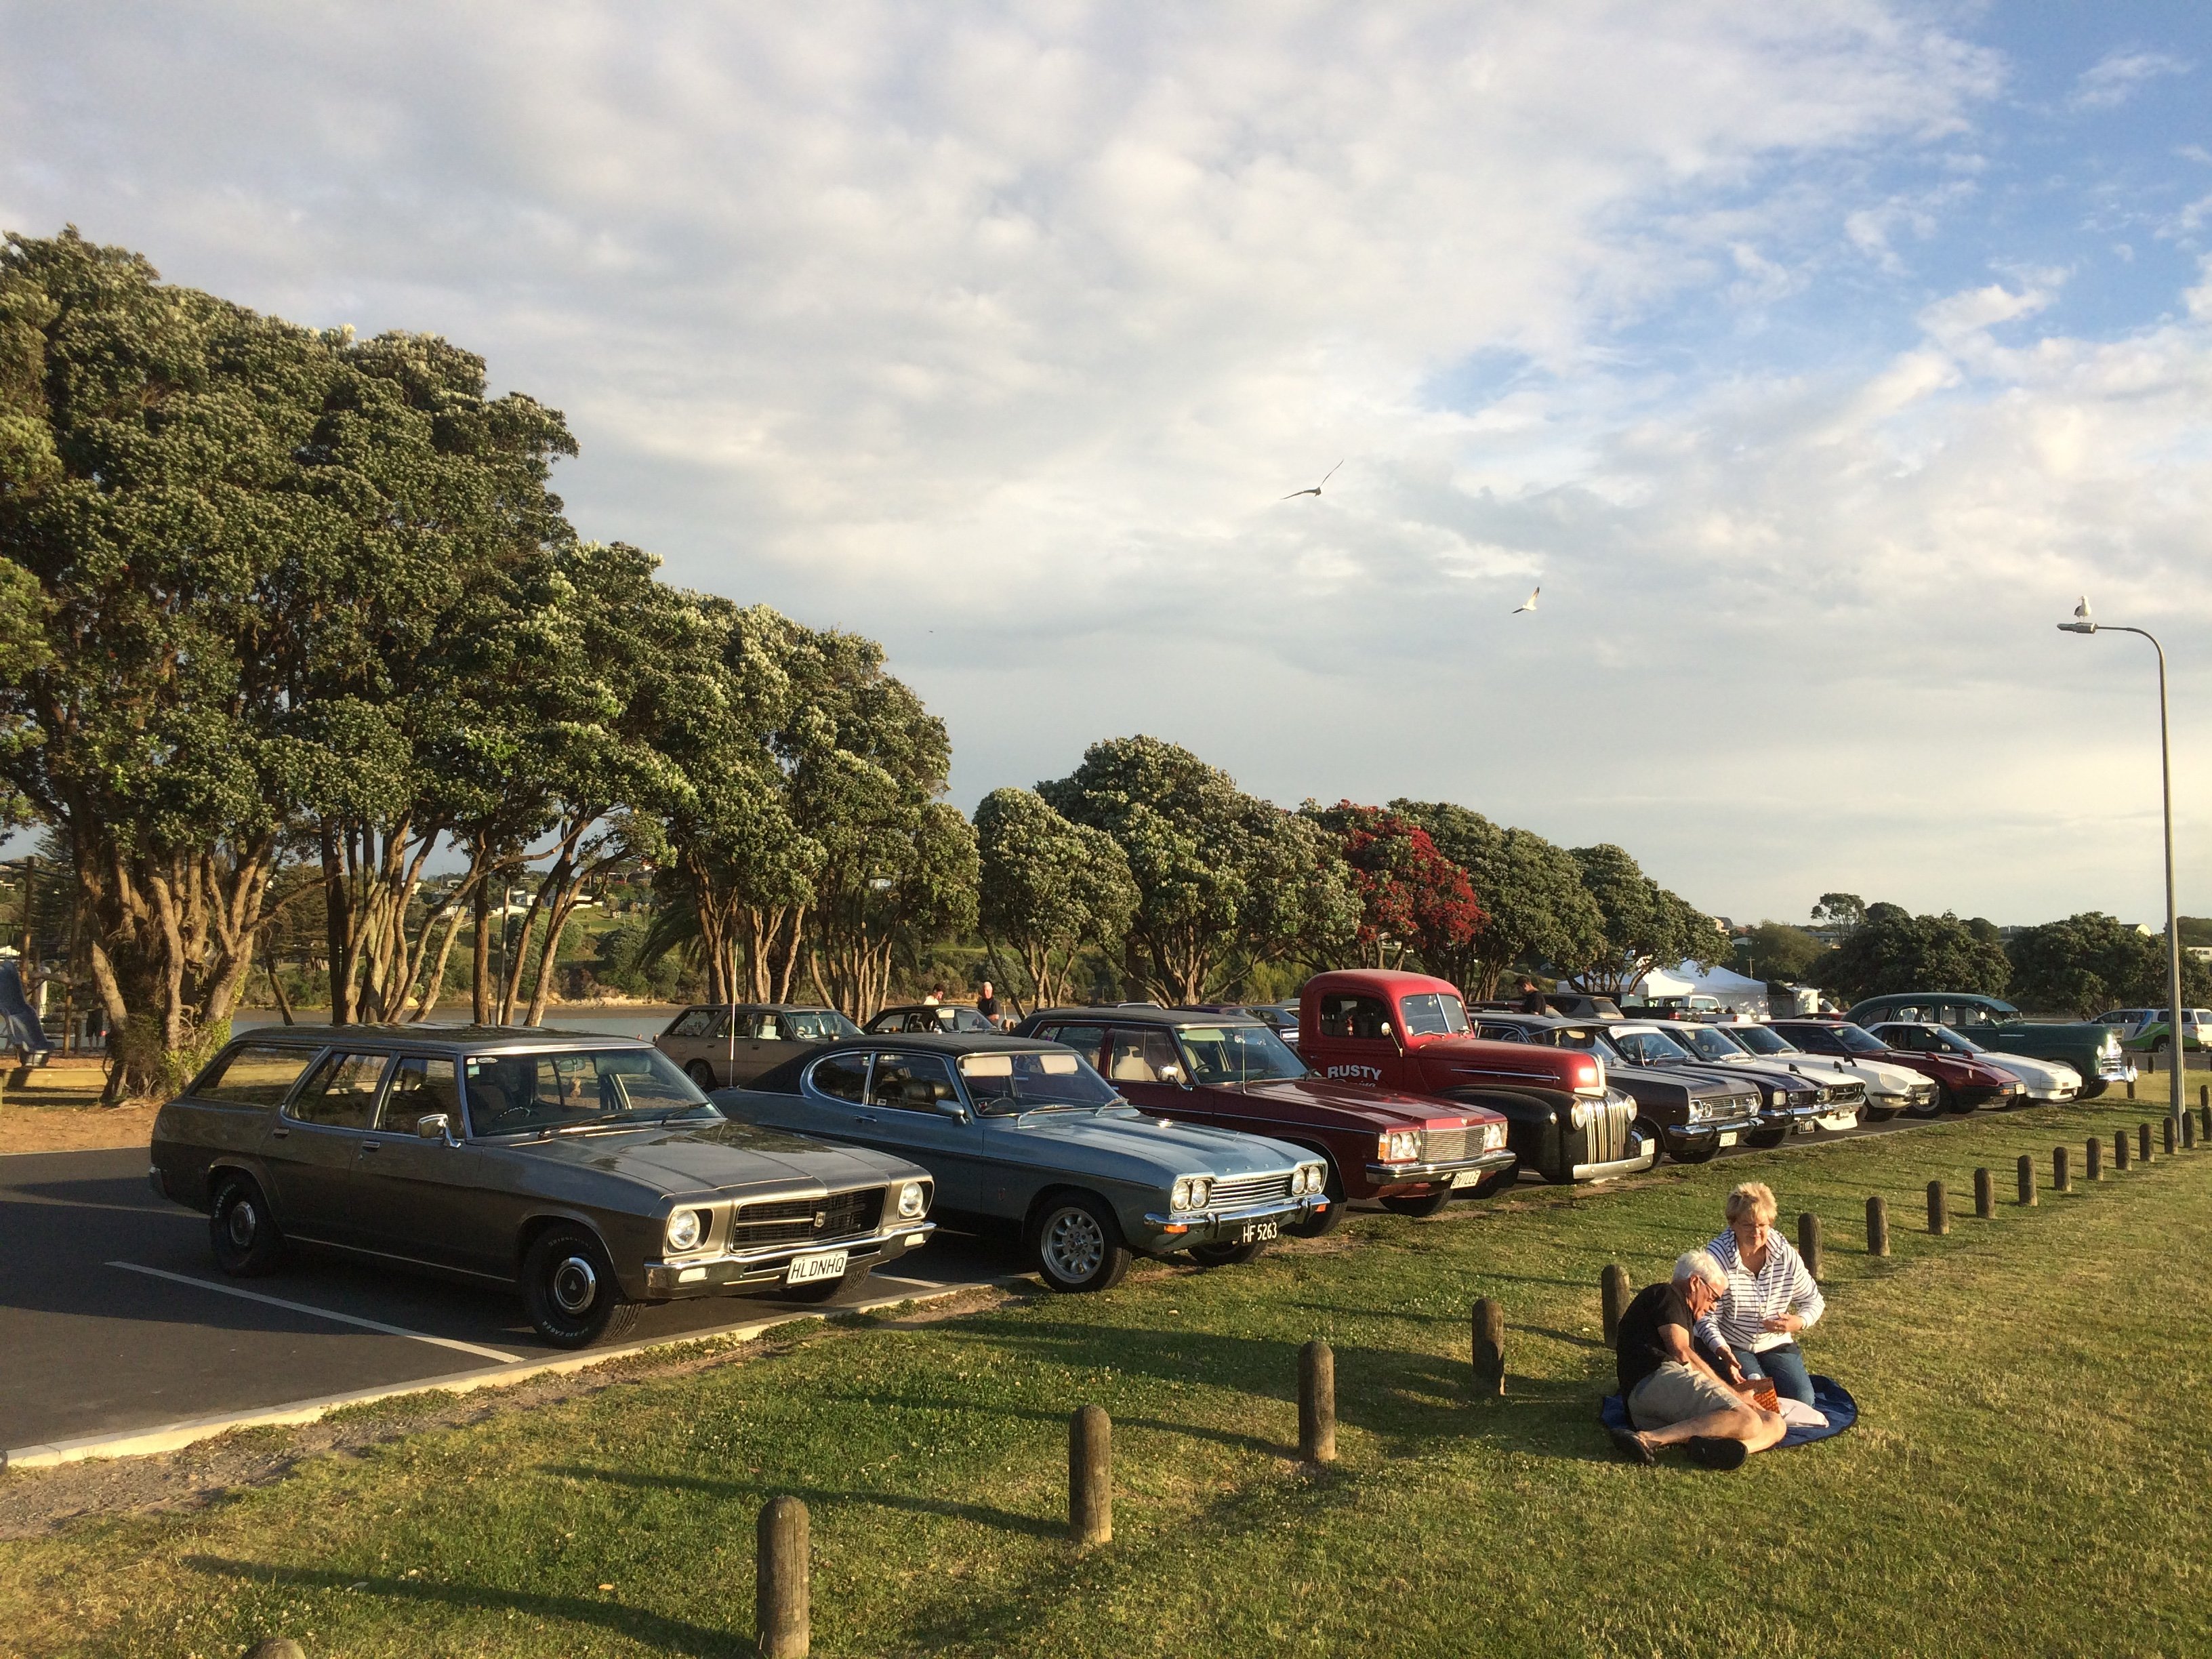
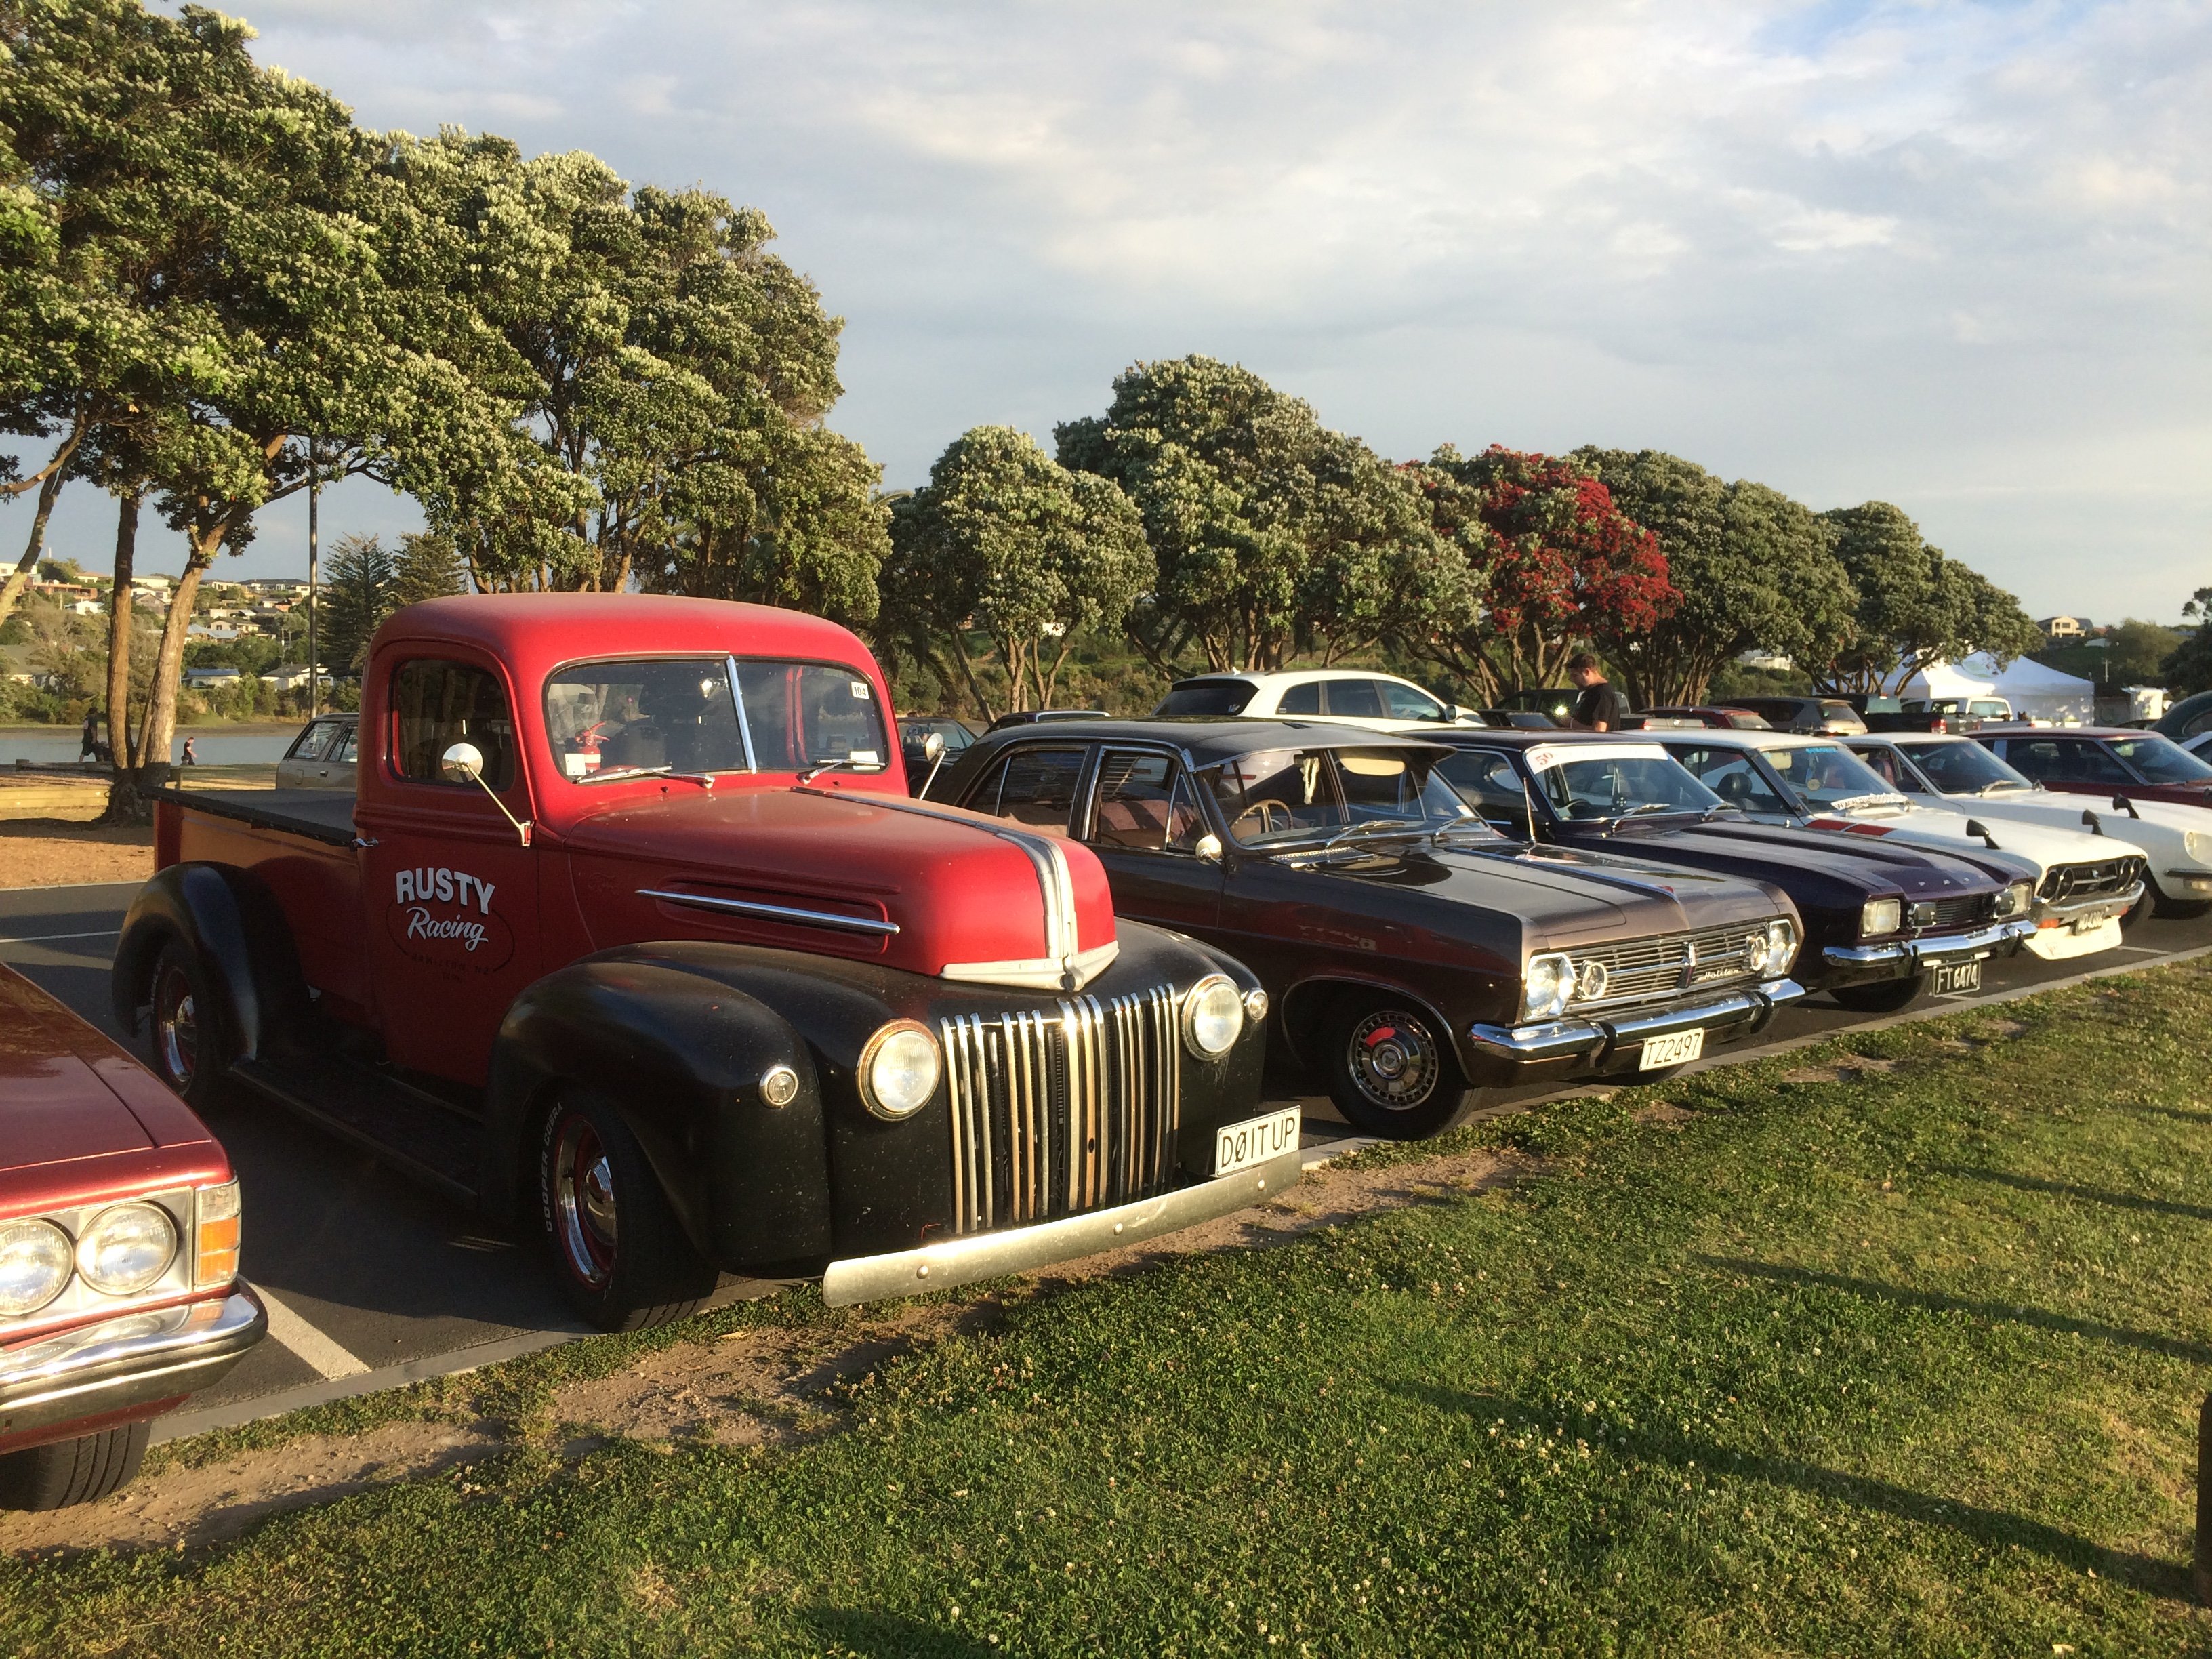
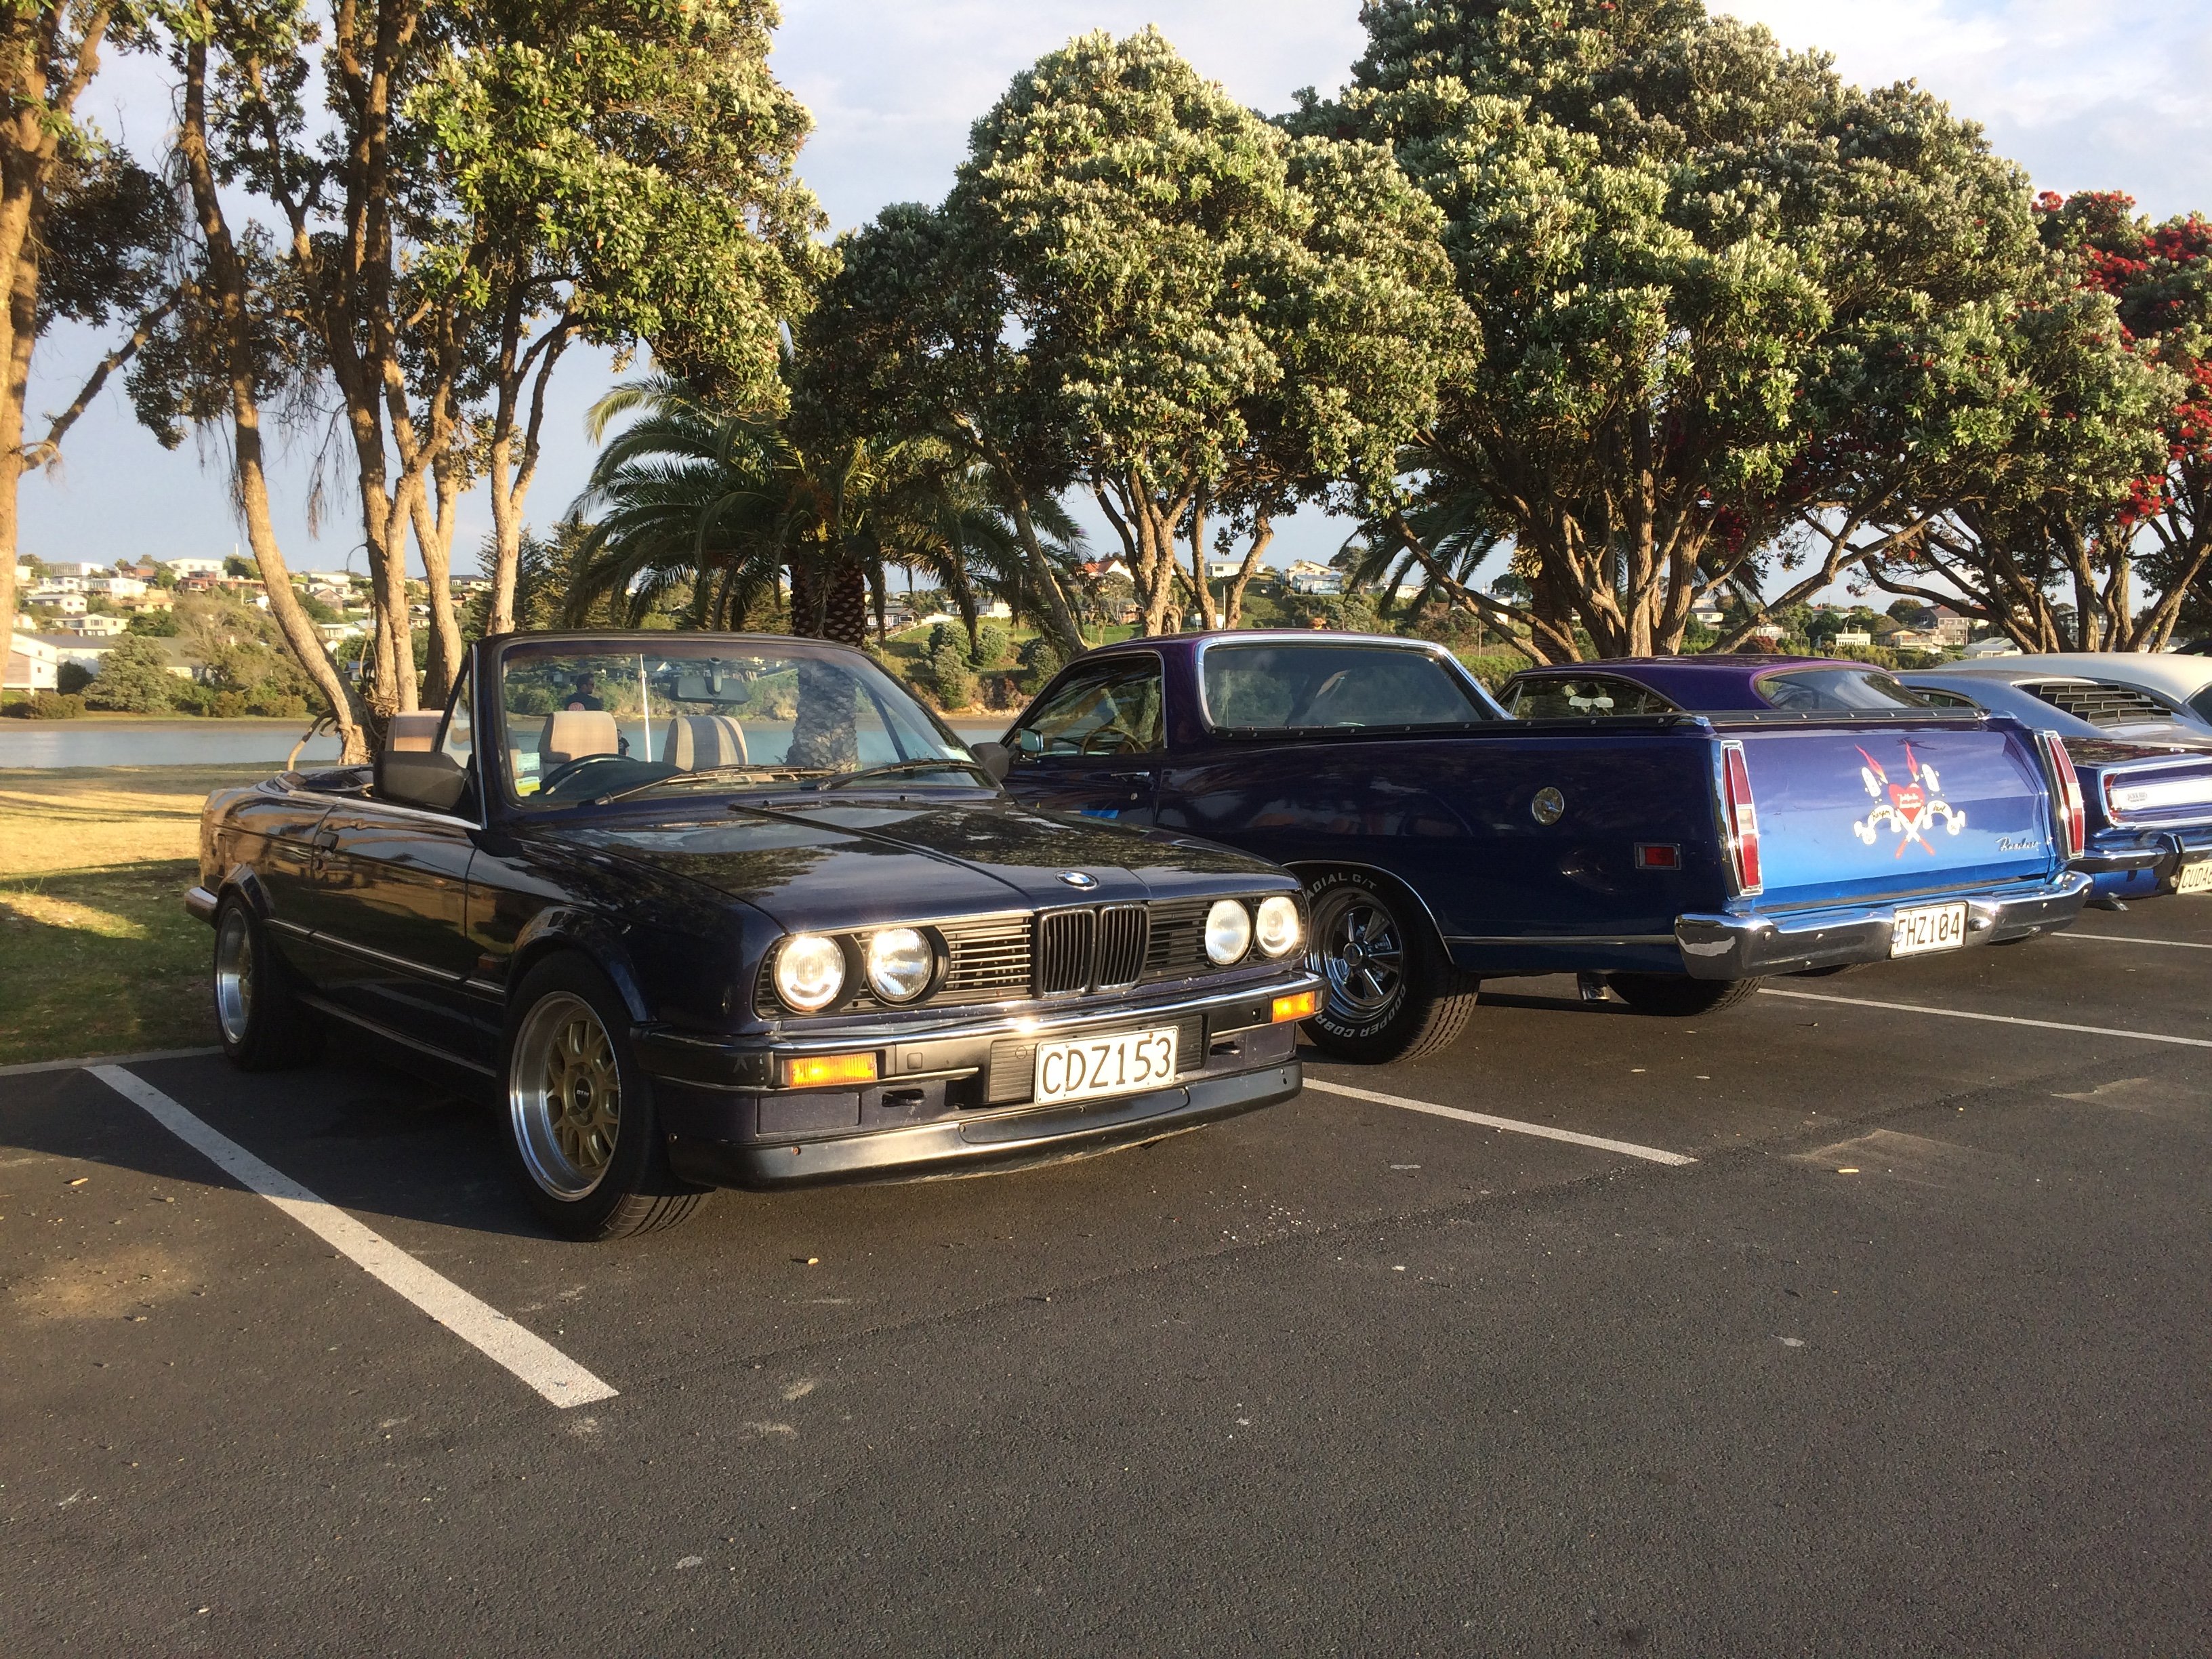
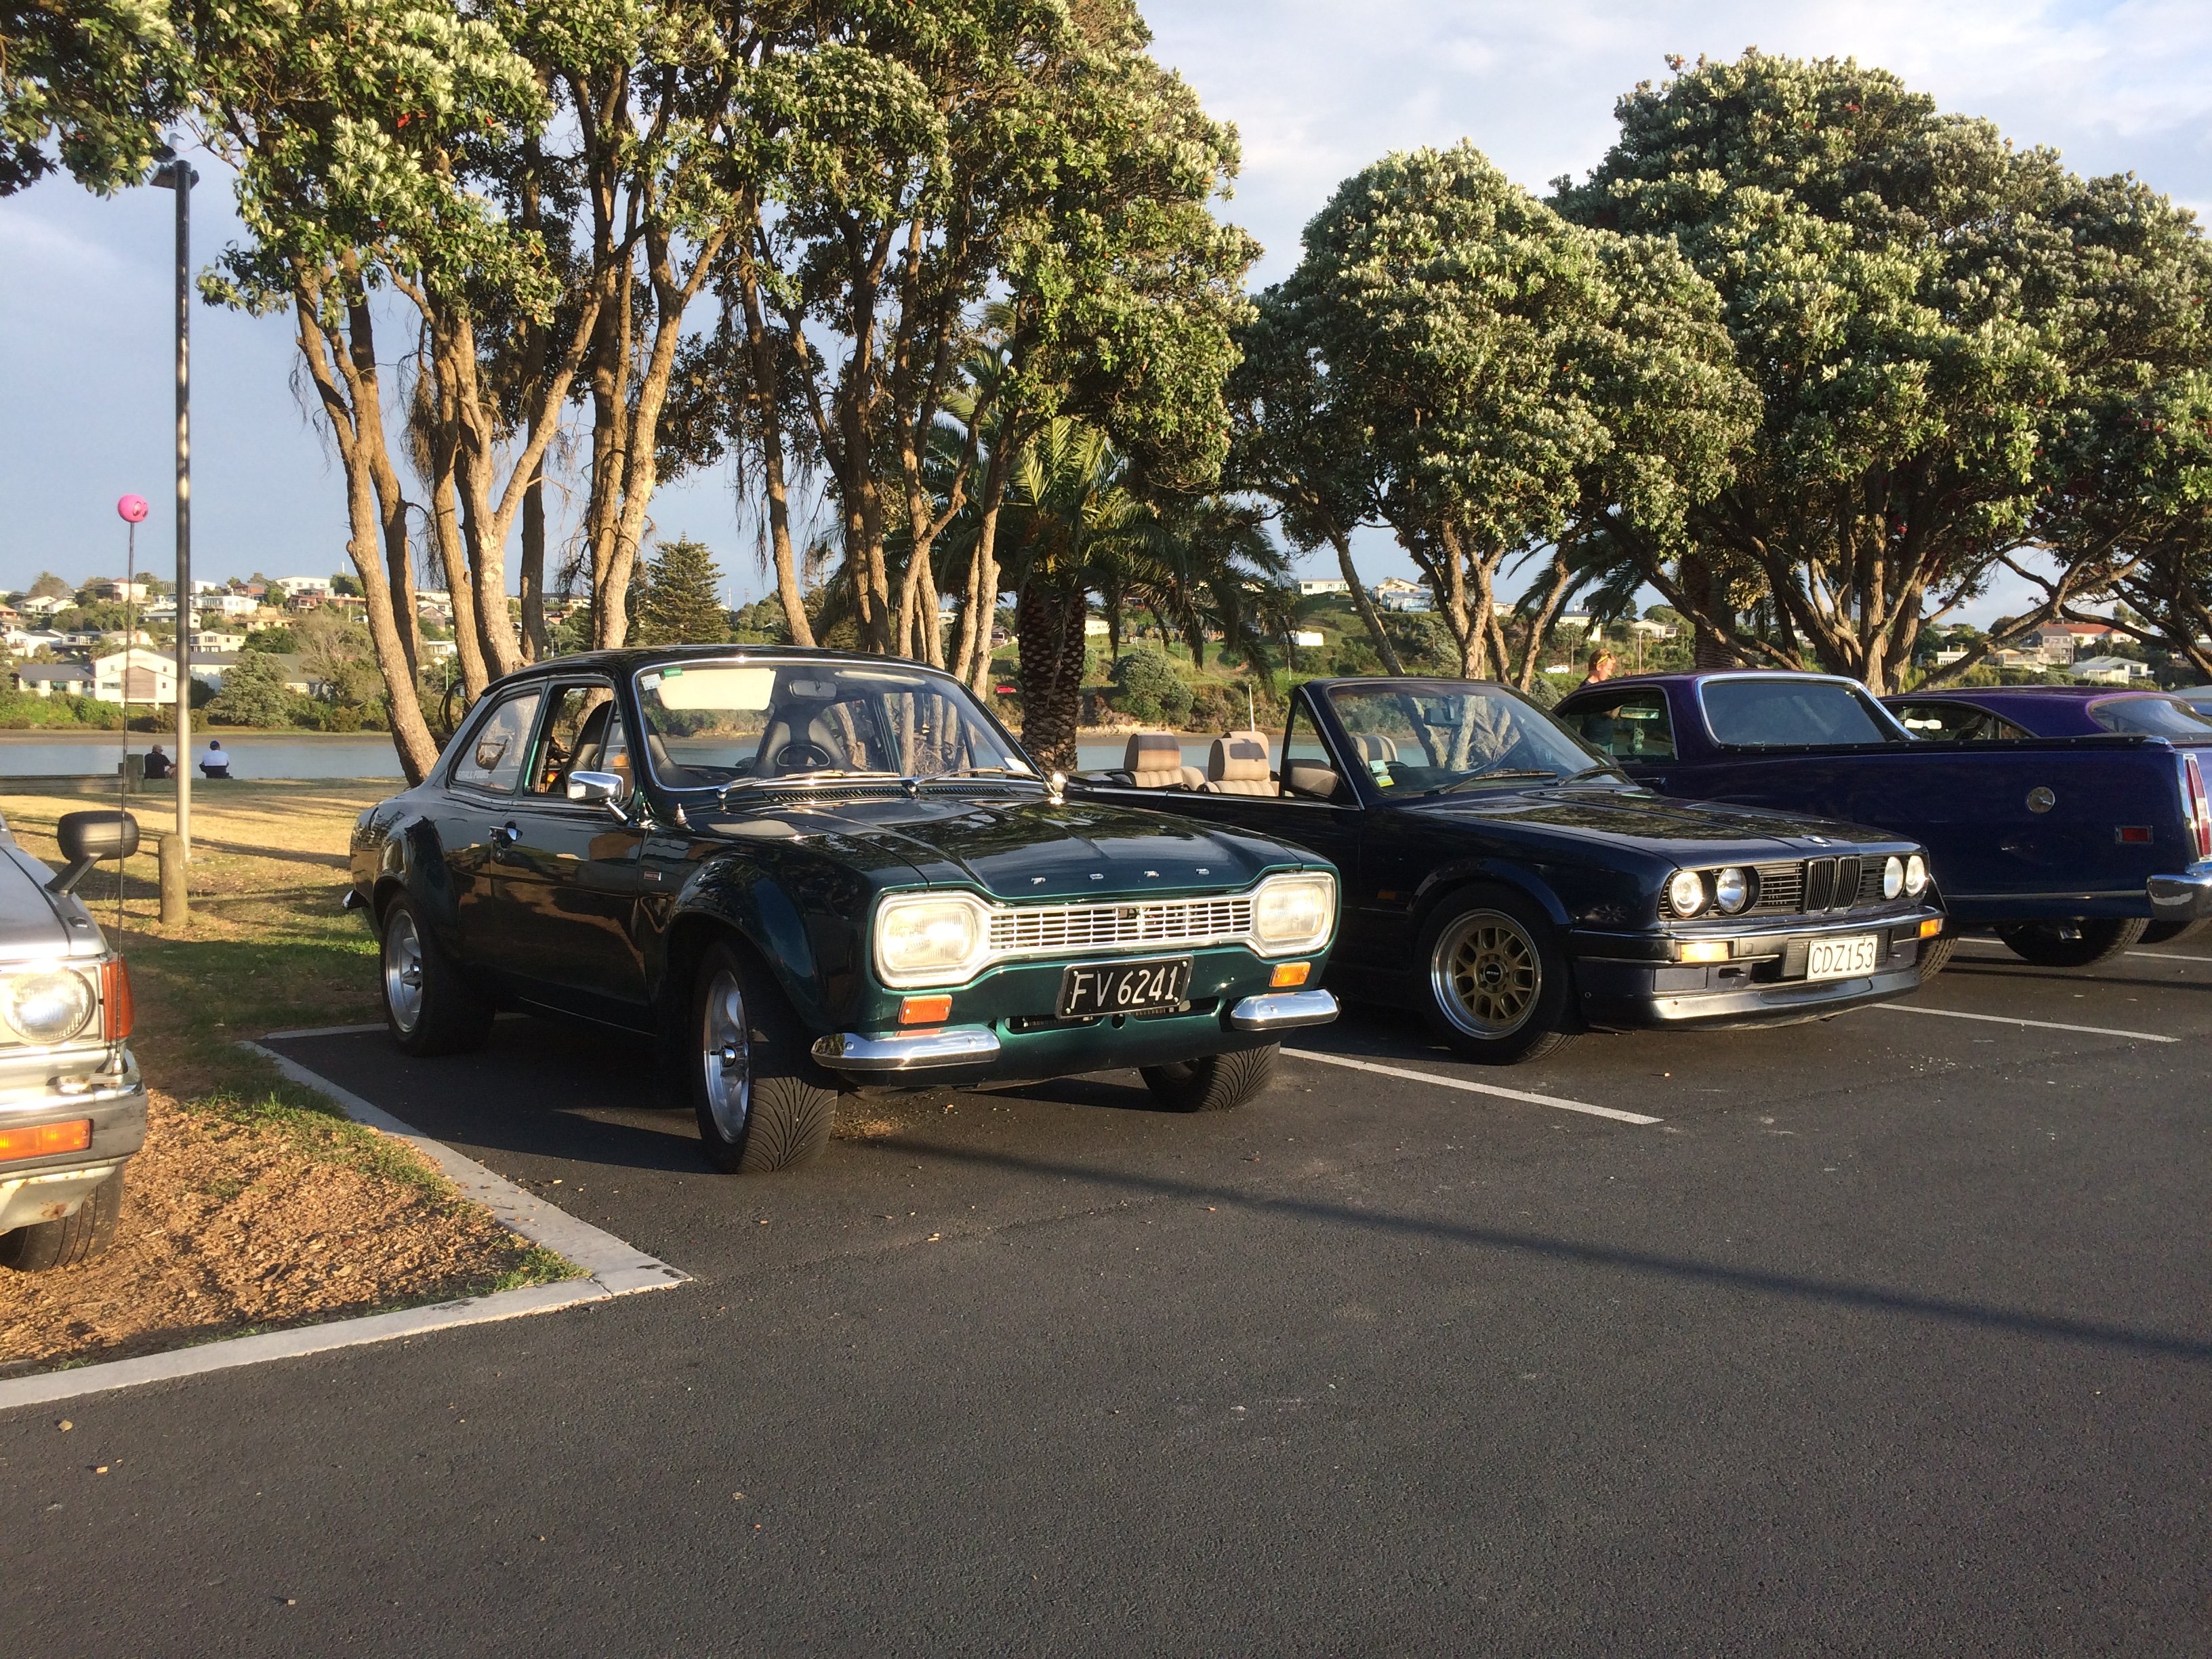
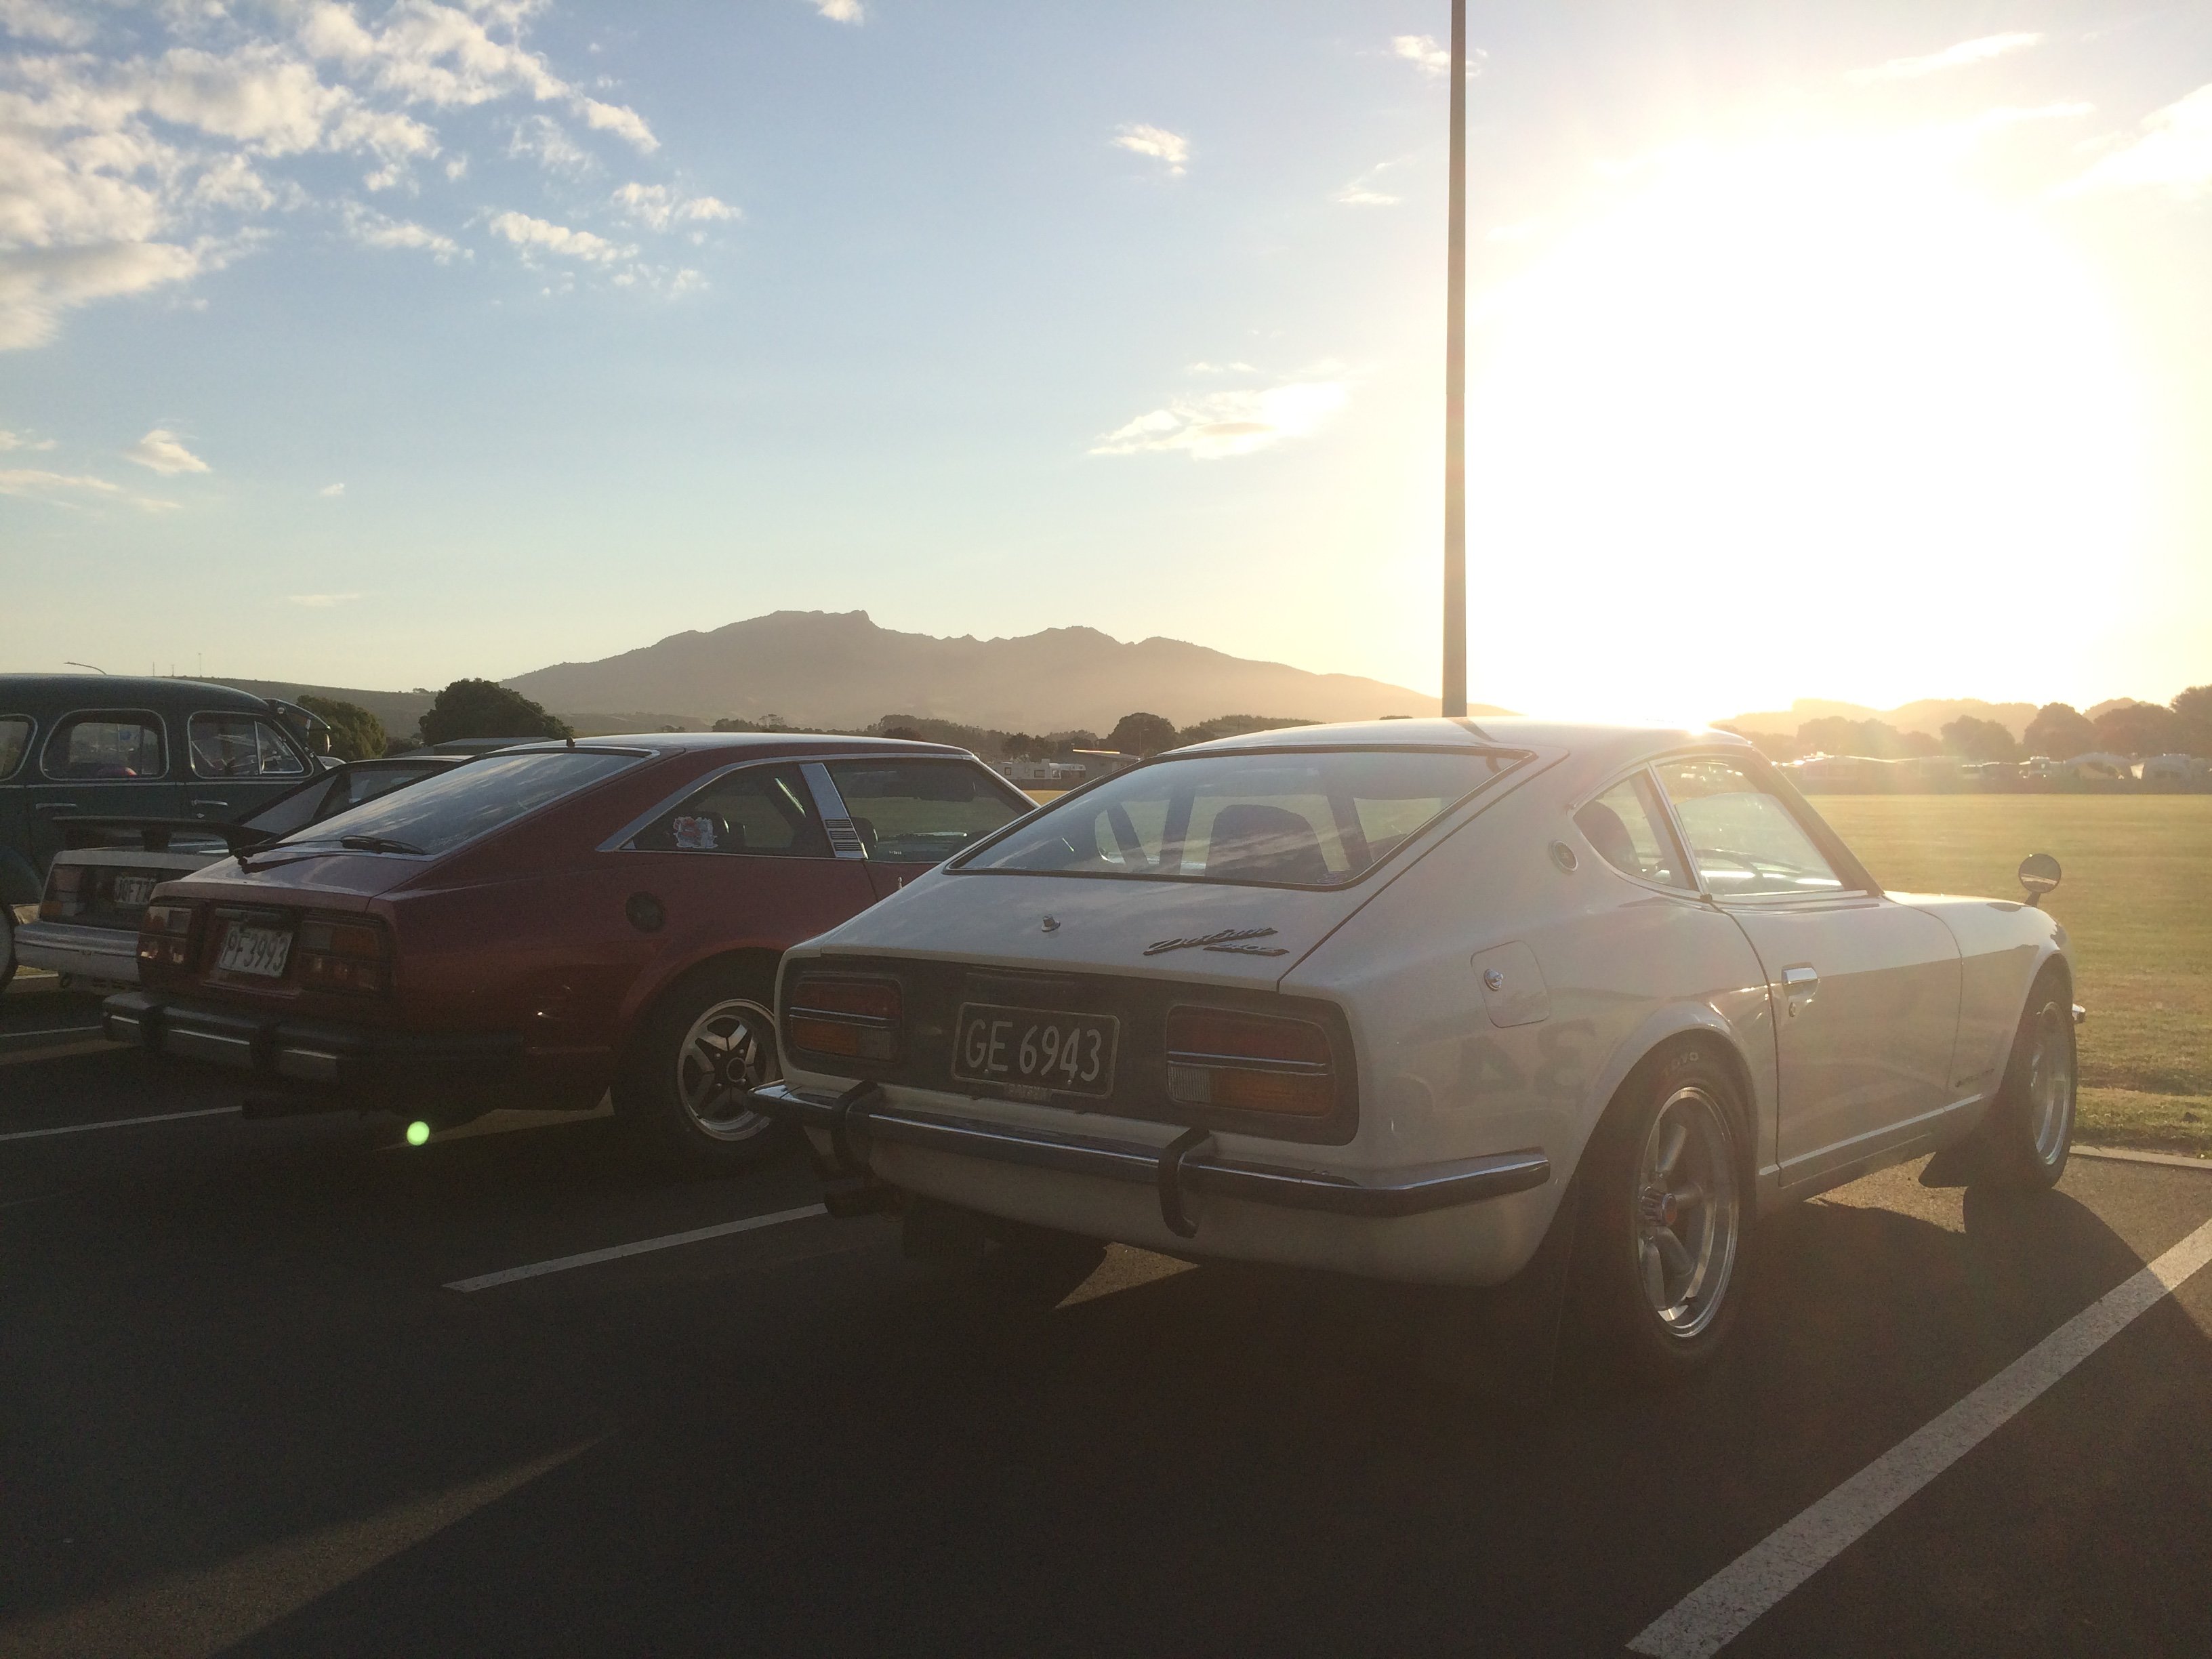
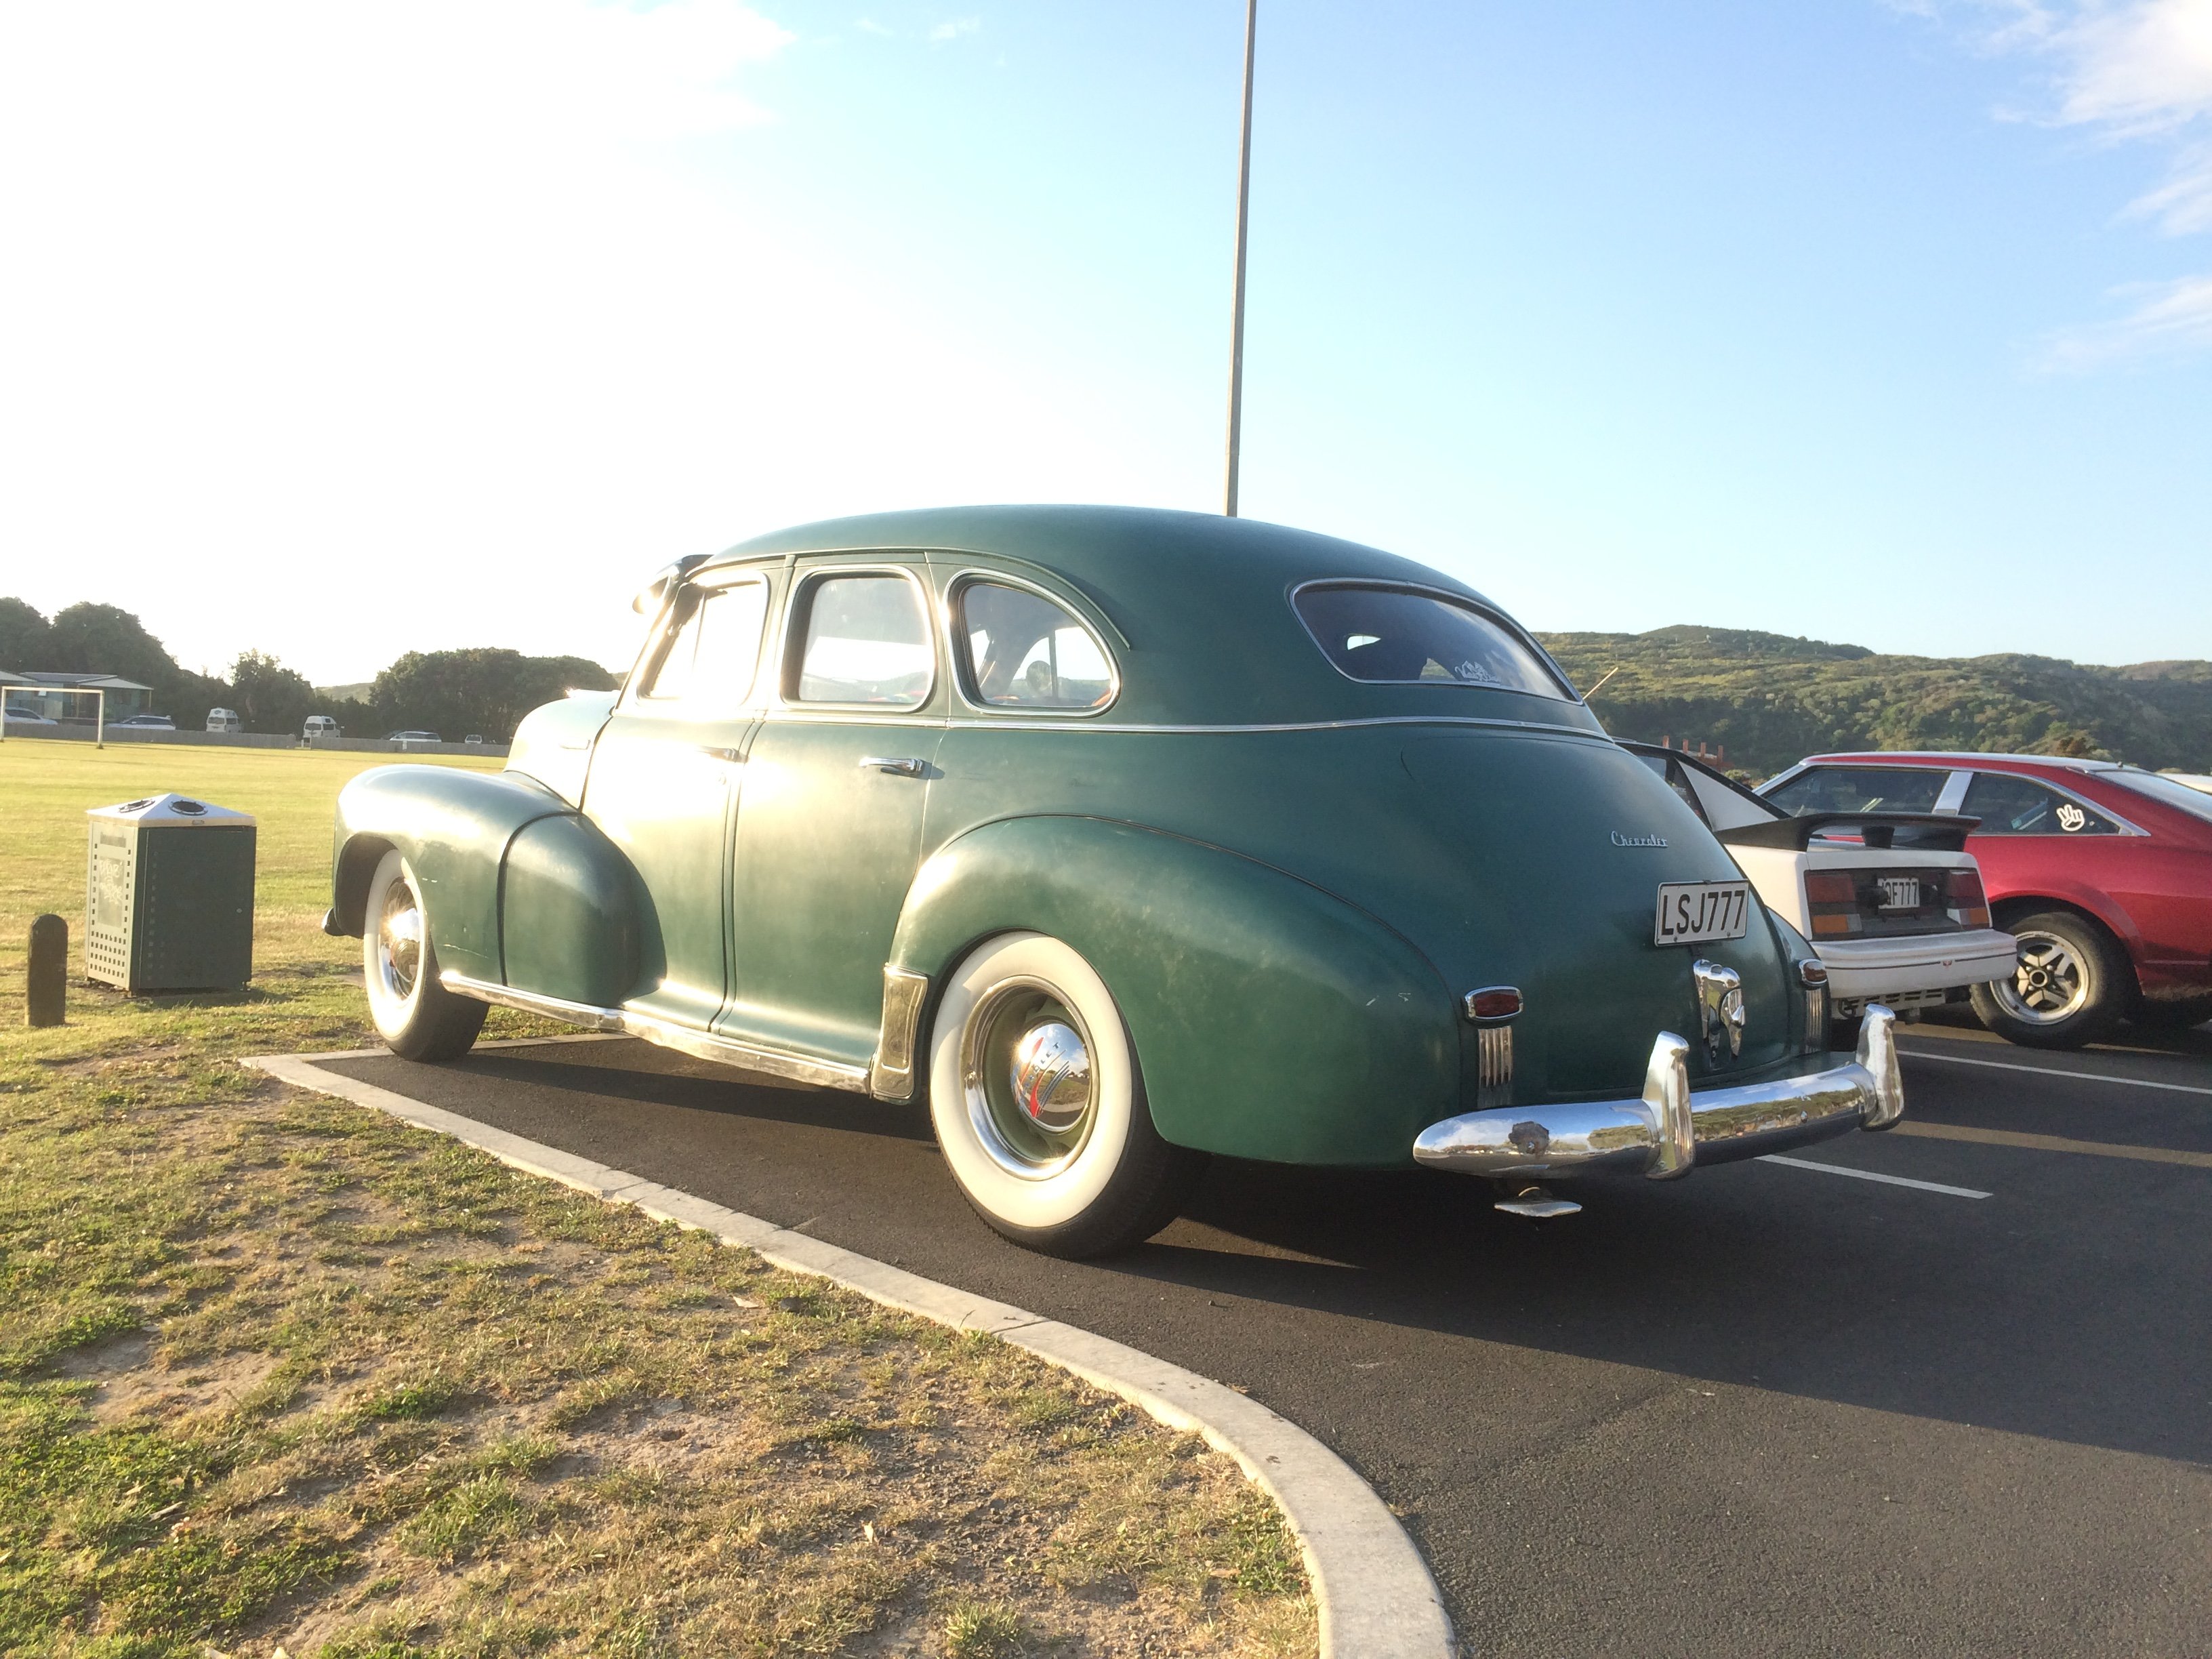
That was a fun meet. Cool to involve another club and meet a few new people. Plus the Raglan weather was great!
1 point
-
diff and rear wheels,and rool bar and rear legs in
1 point
-
And now this.......pffft..... SOLD
1 point


.thumb.jpeg.384ff72c8d2b0ee0d34a7bdedb55bdcf.jpeg)


This leaderboard is set to Auckland/GMT+12:00