
Leaderboard


Popular Content
Showing content with the highest reputation on 01/16/20 in all areas
-
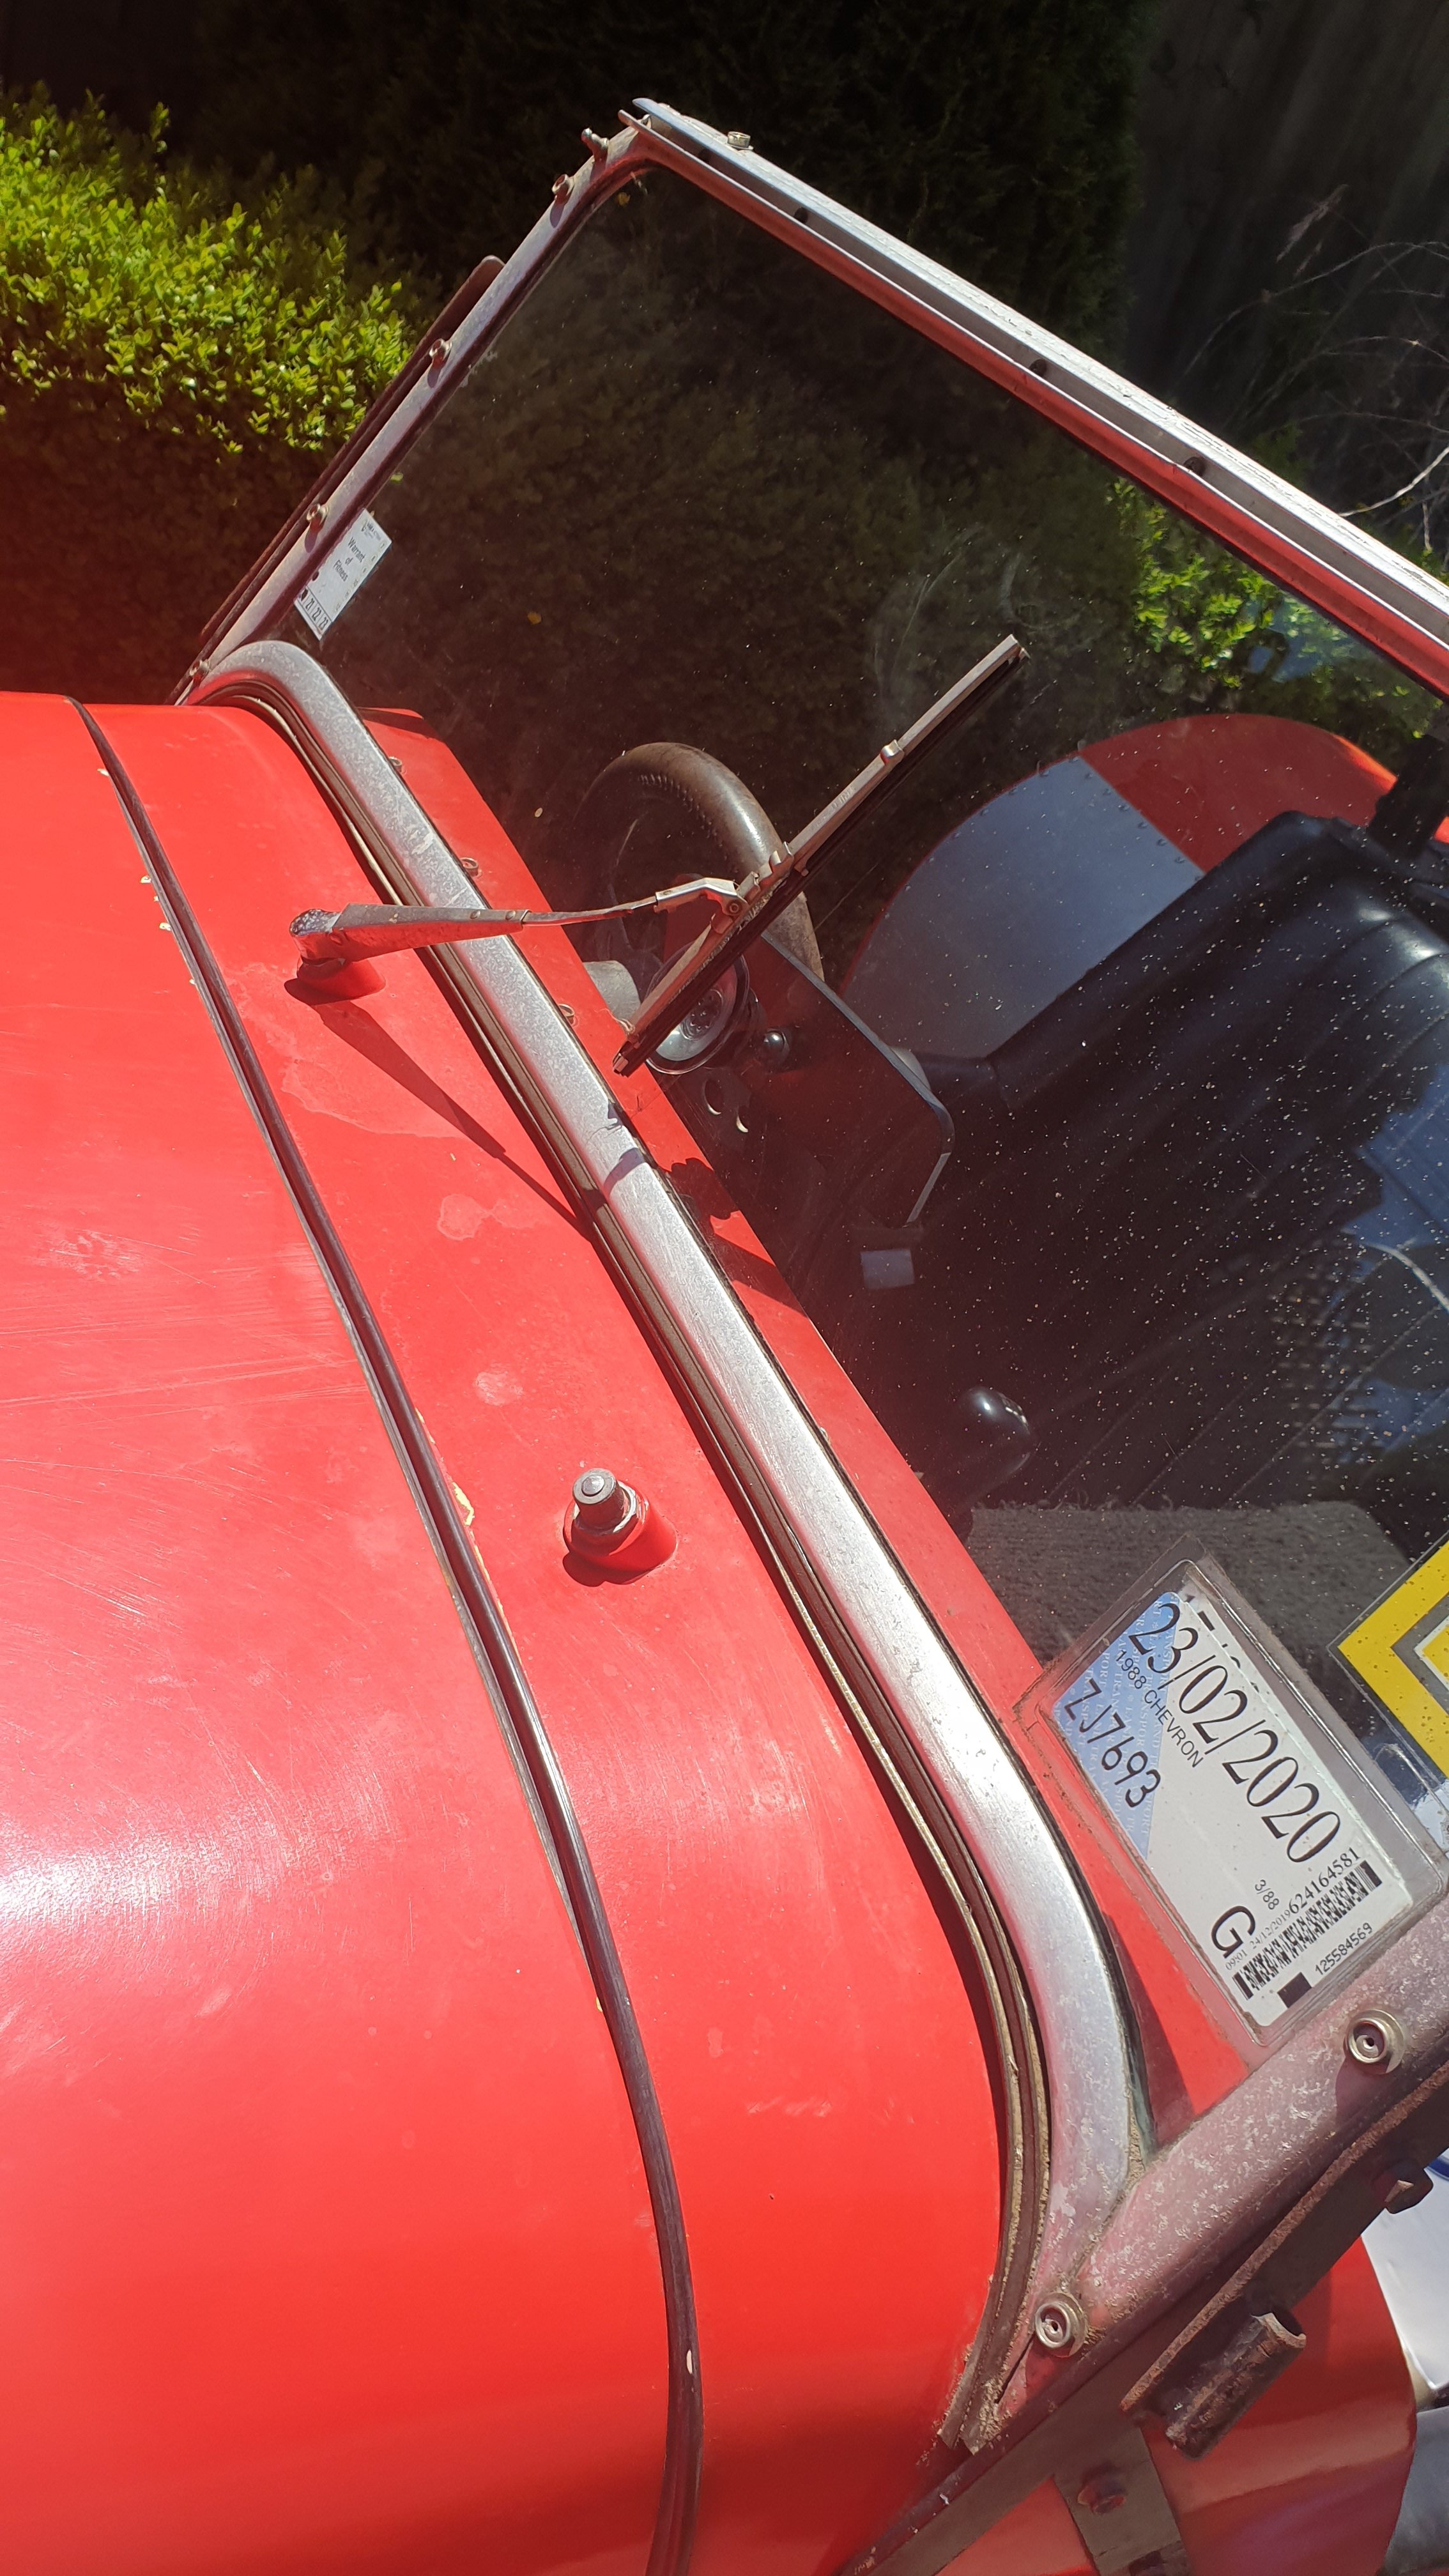
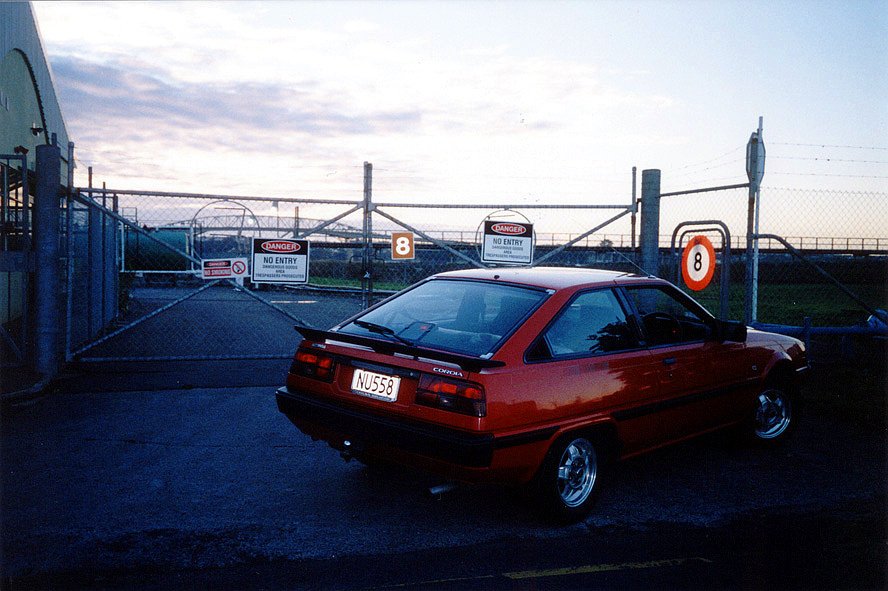
Ive been driving this a bunch and im really beginning to remember why i love old cars so much. it so much fun. except at above 75kmh.... then its a windswept hellscape. 100kmh and its borderline undrivable. there is such a huge amount of turbulent wind blast that i knew id have to do something. first port of call probably should have been to test drive it with the full doors on, but they are now burred in the back of my shed behind the crown. so i threw together some basic deflectors at work today, and figured if they showed promise then ill pretty them up, make them adjustable and removable ect. well turns out they work pretty bloody well. its still windy, but not unbearable, and i may be able to tune them better once i make them angle adjustable. after all its still an open top car with the flat windshield. another suggestion from someone at work has been to lift the screen up creating a gap at the bottom to hopefully equalize out the low pressure zone behind the window, i may give this a go, but will cause problems with fitting the roof. i think some form of ear protection may be a good idea as the wind rush can get quite loud, if anyone has any suggestions for something that can sheild my ears from the wind, but wont mean i cant hear surrounding traffic ect making it dangerous id love to see them. i tried some old ear phones but they blocked out too much surrounding noise for my liking. ive driven with a hoodie over my heat and its much better, but often not practical.7 points
-
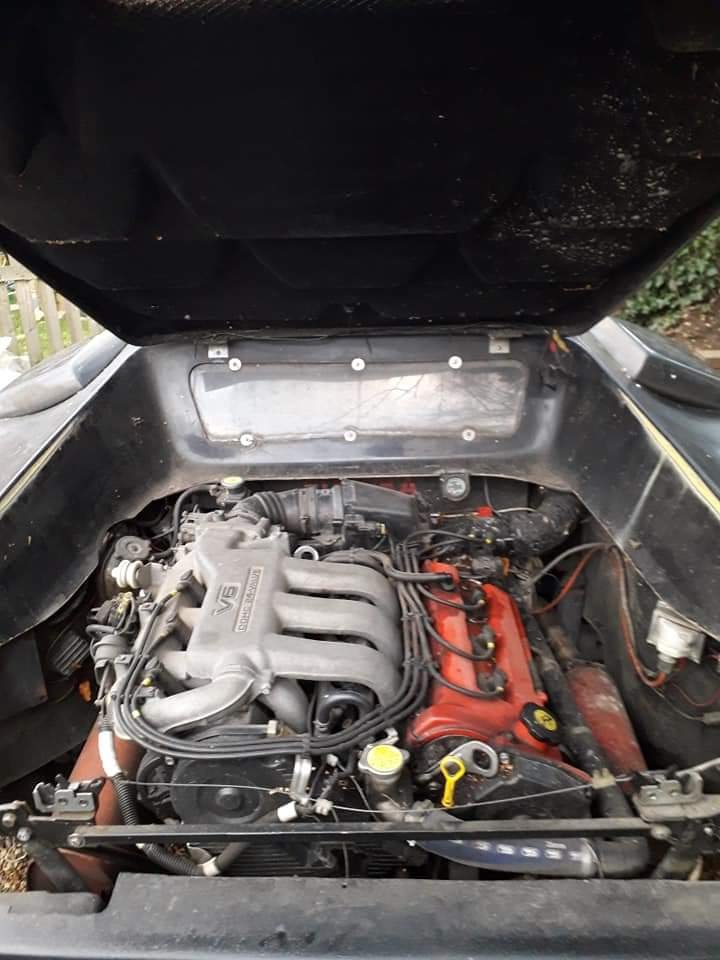
Do you reckon the engine / gearbox from my Alfa 33 would fit? This photo is from an installation in a mid-engine Porsche 550 Spyder replica.6 points
-
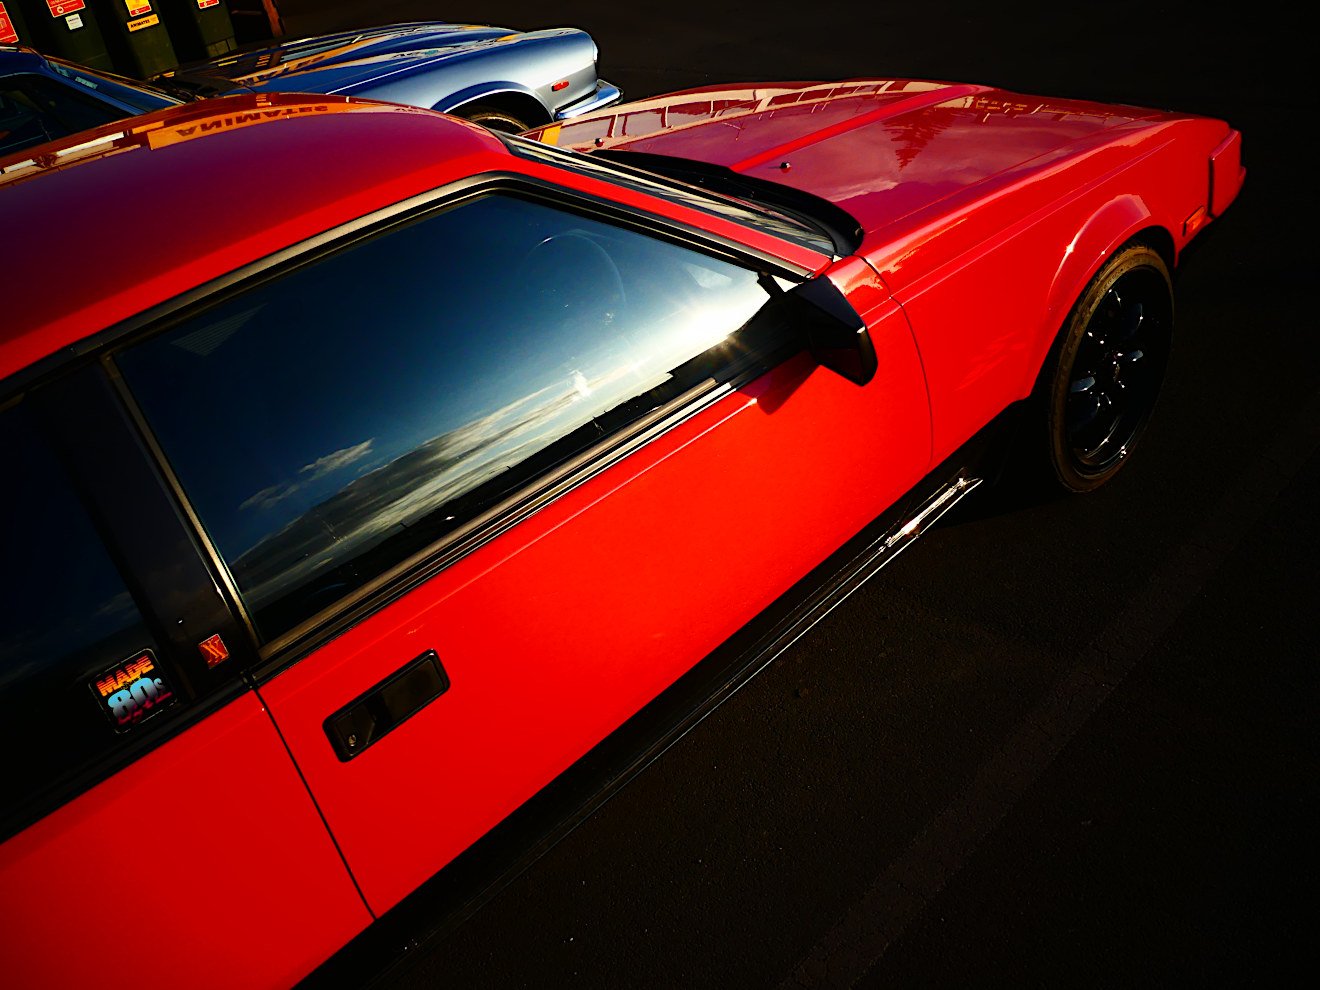
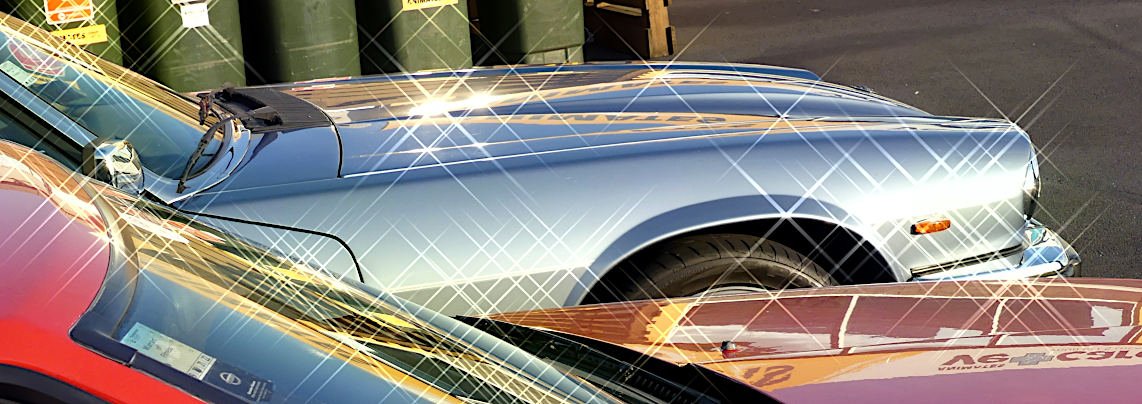
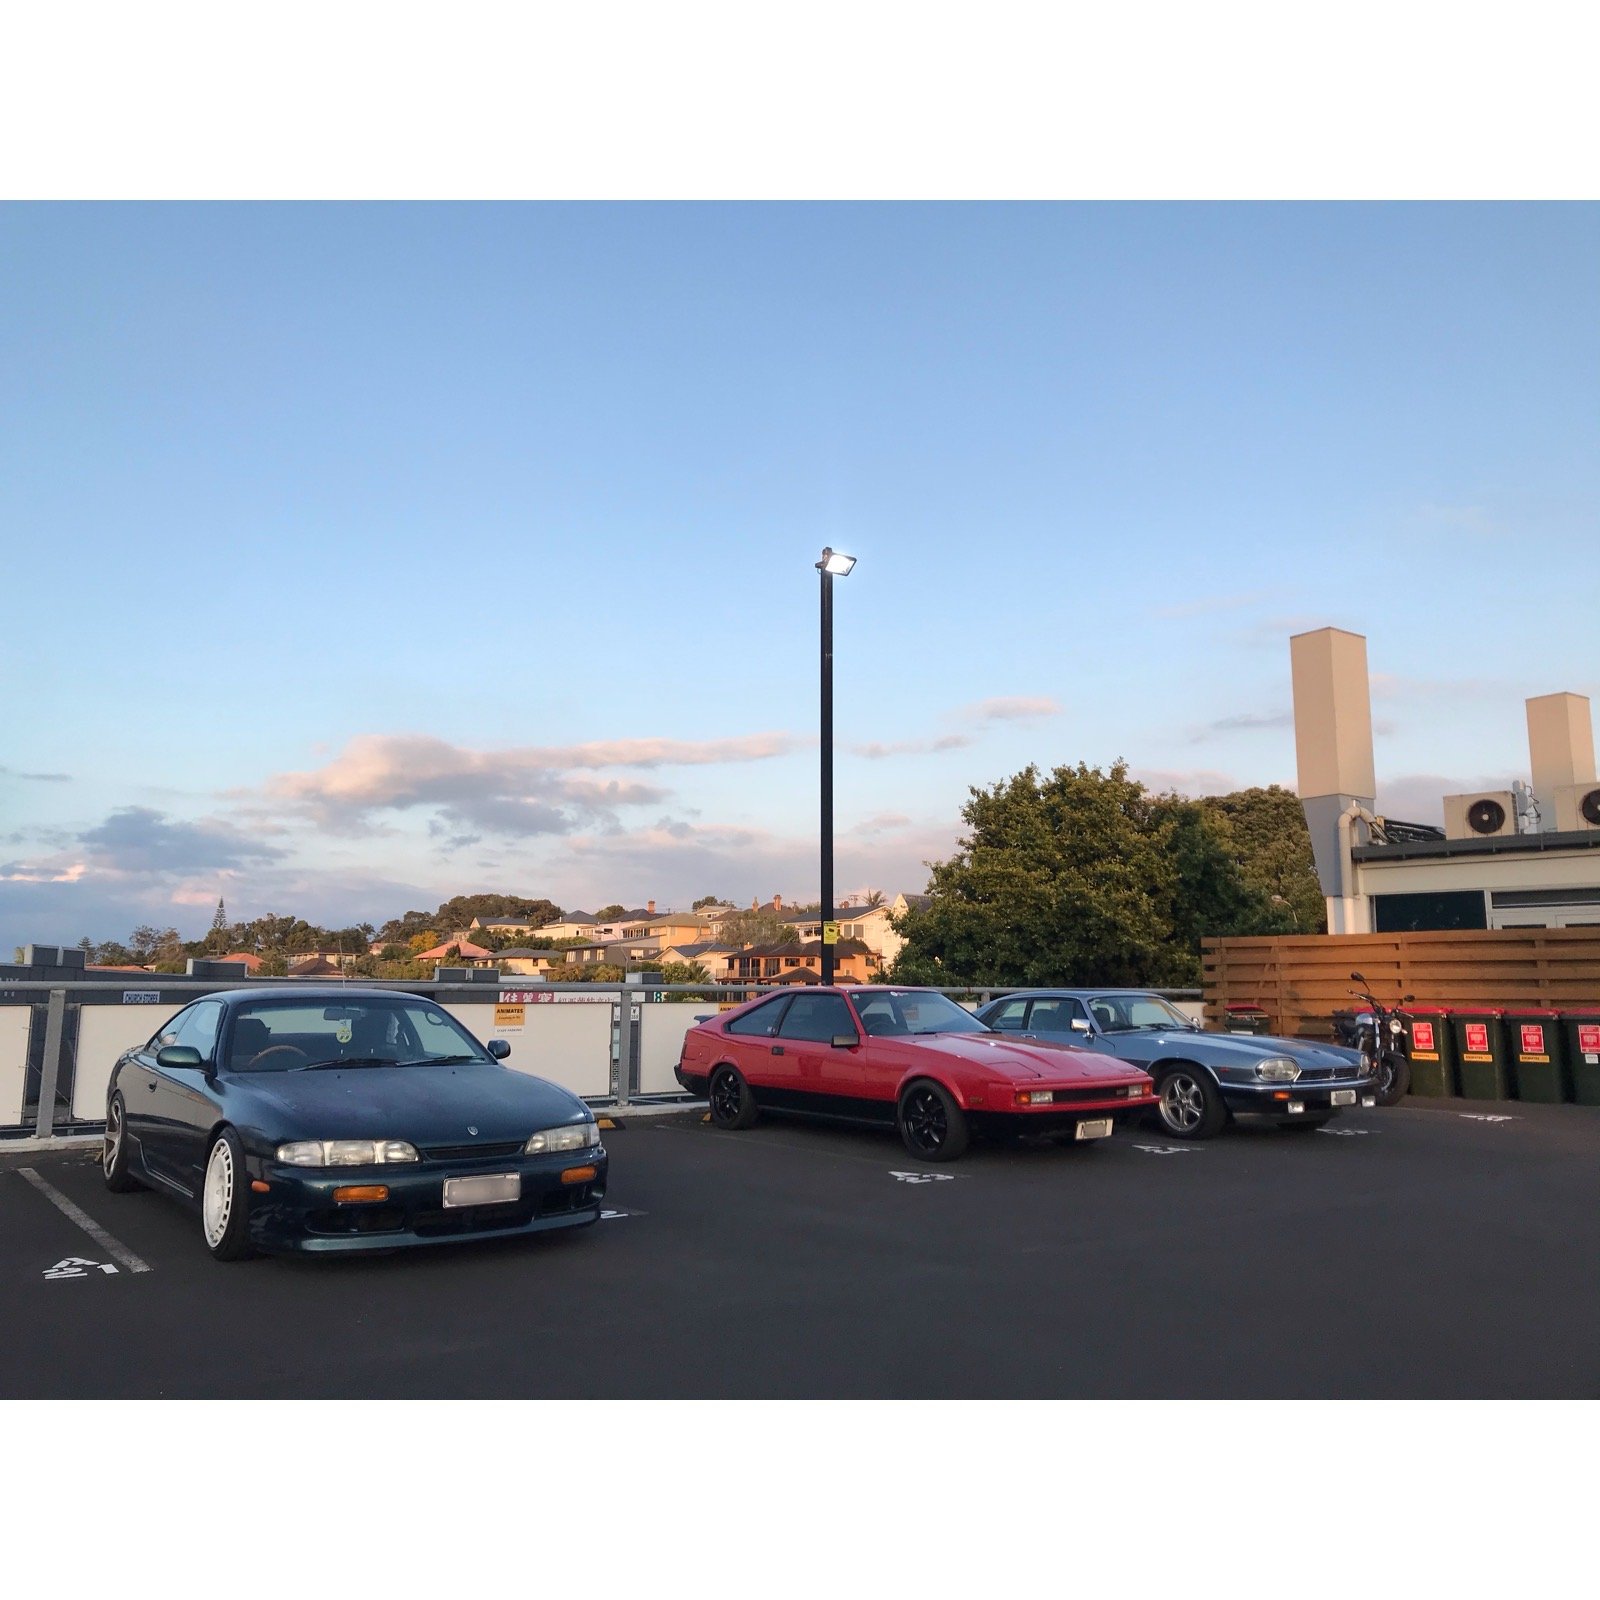
Attendance was better than last month - we had two oldschool cars, plus a bike and a 'modern' S14 Silvia. =) Sparkly filter adds ALL of the sparkles!
 6 points
 -
Pre-WOF-Recheck shakedown complete. Goes hard g. Recheck on Saturday, and then I should be good for some less risky motoring. Will be good to be legal for British Car Day in Feb.5 points
-
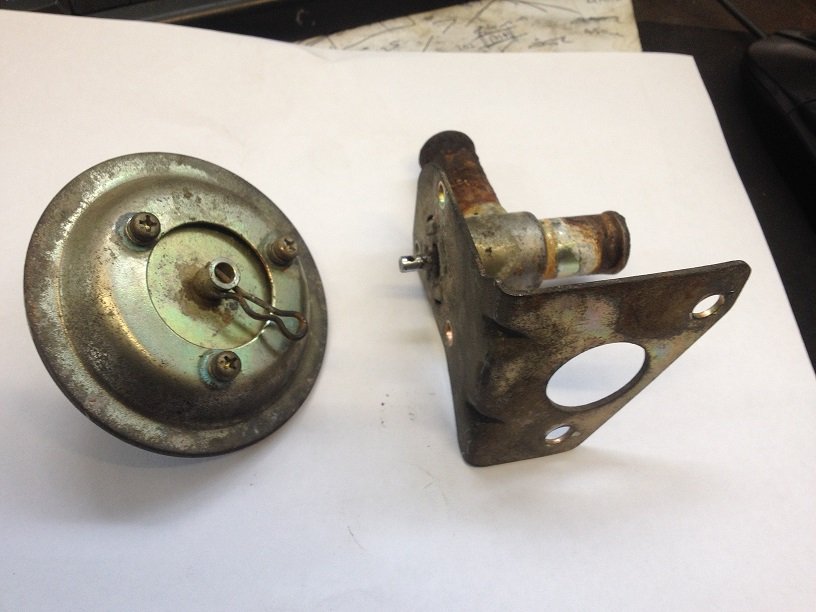
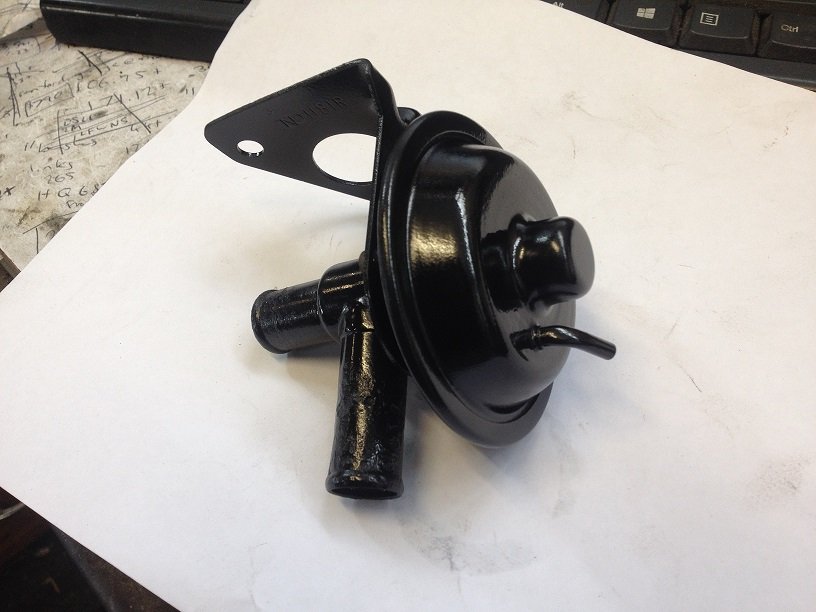
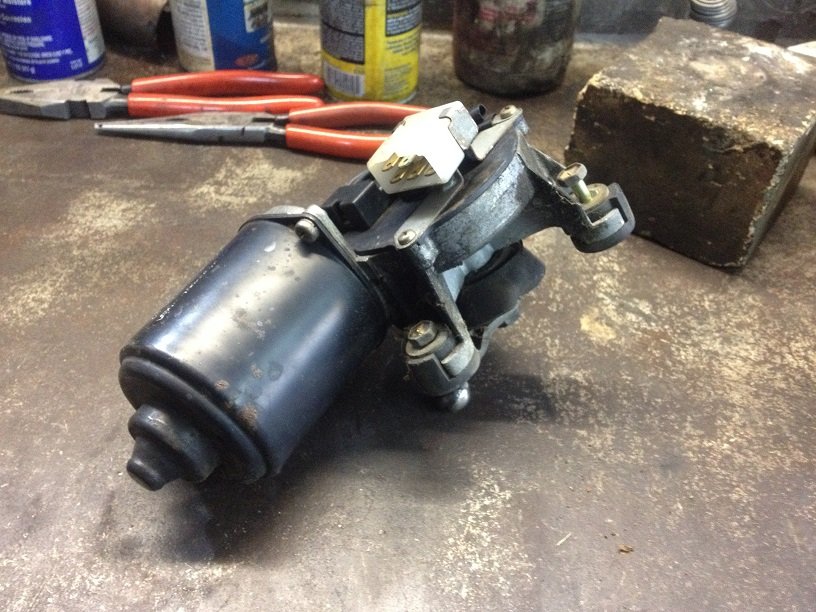
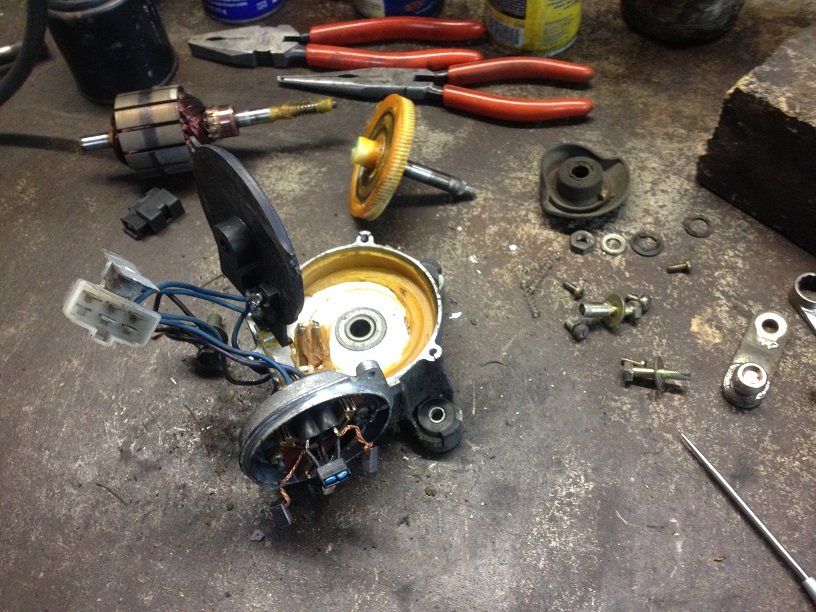
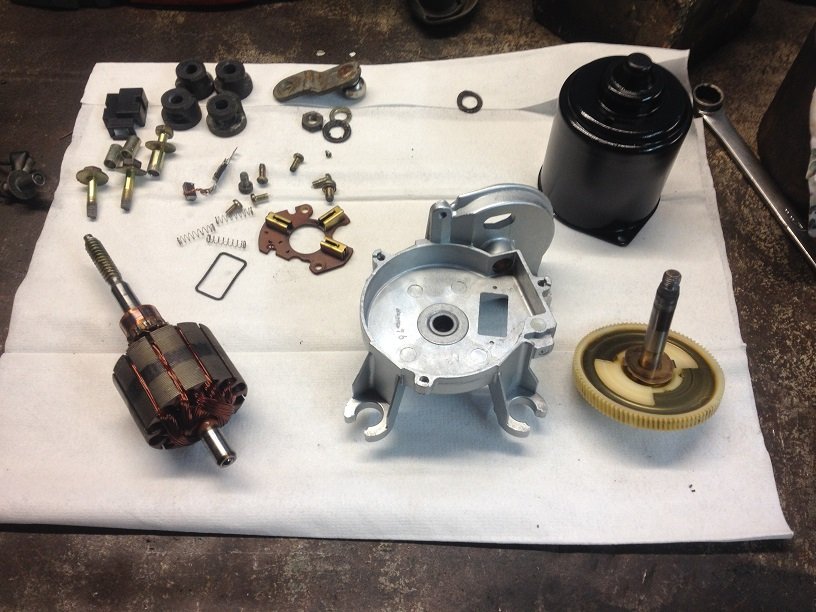
It's the little things in life (that I seem to put off). The heater tap works thank goodness, doesn't look like an easy one to source. Wiper motor also good, just in need of a clean, re-grease & paint. A combination of Z hoses & random bits from Super Cheap 's hose bin got the heater core connected up. Next up will be the air filter. I'd like to avoid a pod filter, I'll see if the factory 5M-E filter housing might be usable.
5 points
-
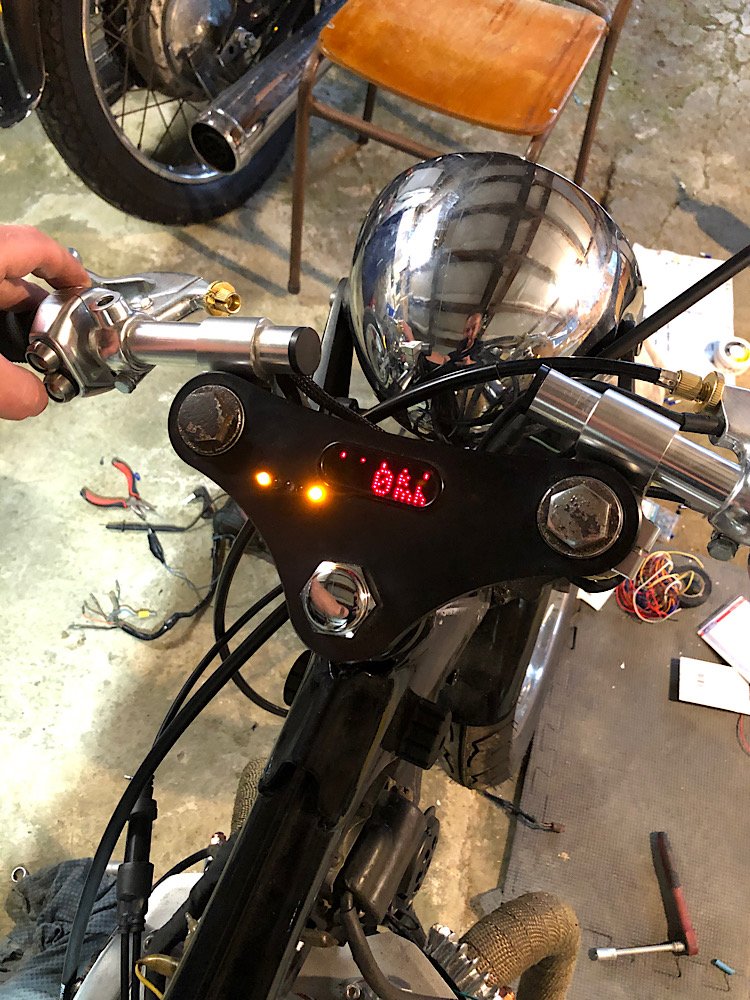
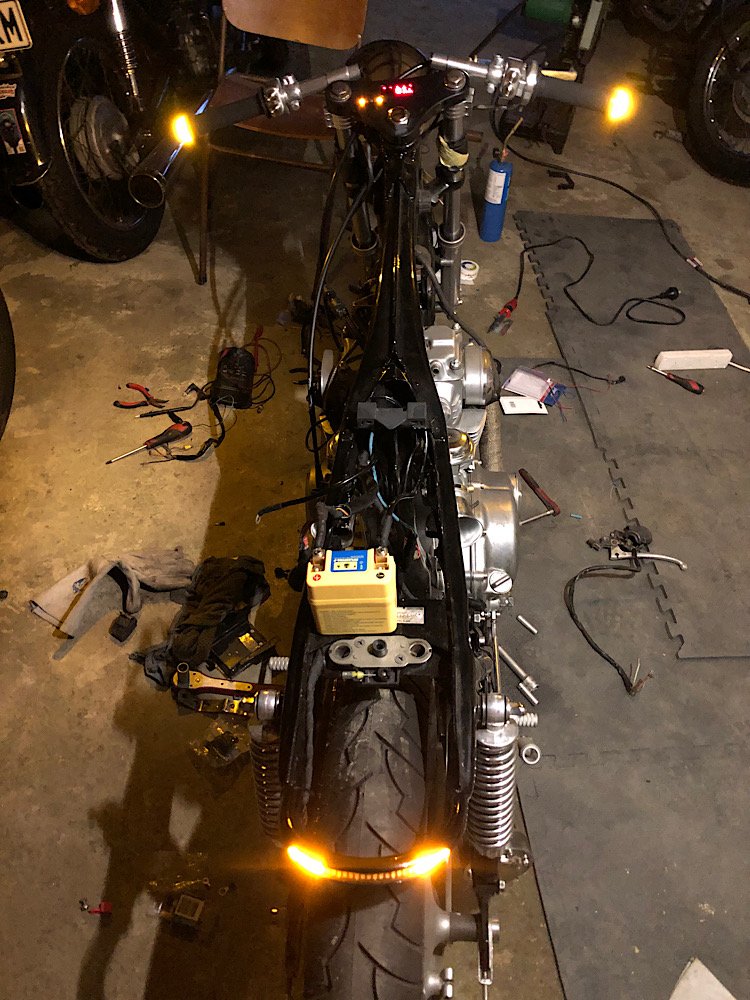
Been working on the wiring. Everything is working as it should except the indicator unit. Hondas actually use a 3 pin relay and I’m trying to use a 2 pin one, no idea why a 2 pin wouldn’t work but I’ll pick a 3 pin up to try tonight. Those AliExpress handle bar buttons are legit, really nice buttons with a mix of momentary and latch style buttons. The motogadget mini sensor still needs to be wired in but the display lit up all nice. Hooked up the starter motor solenoid which spun up when I hit the starter motor but didn’t crank the motor over. Need to check the engagement rollers on the crank as I suspect they aren’t there. Getting close now!!
5 points
-
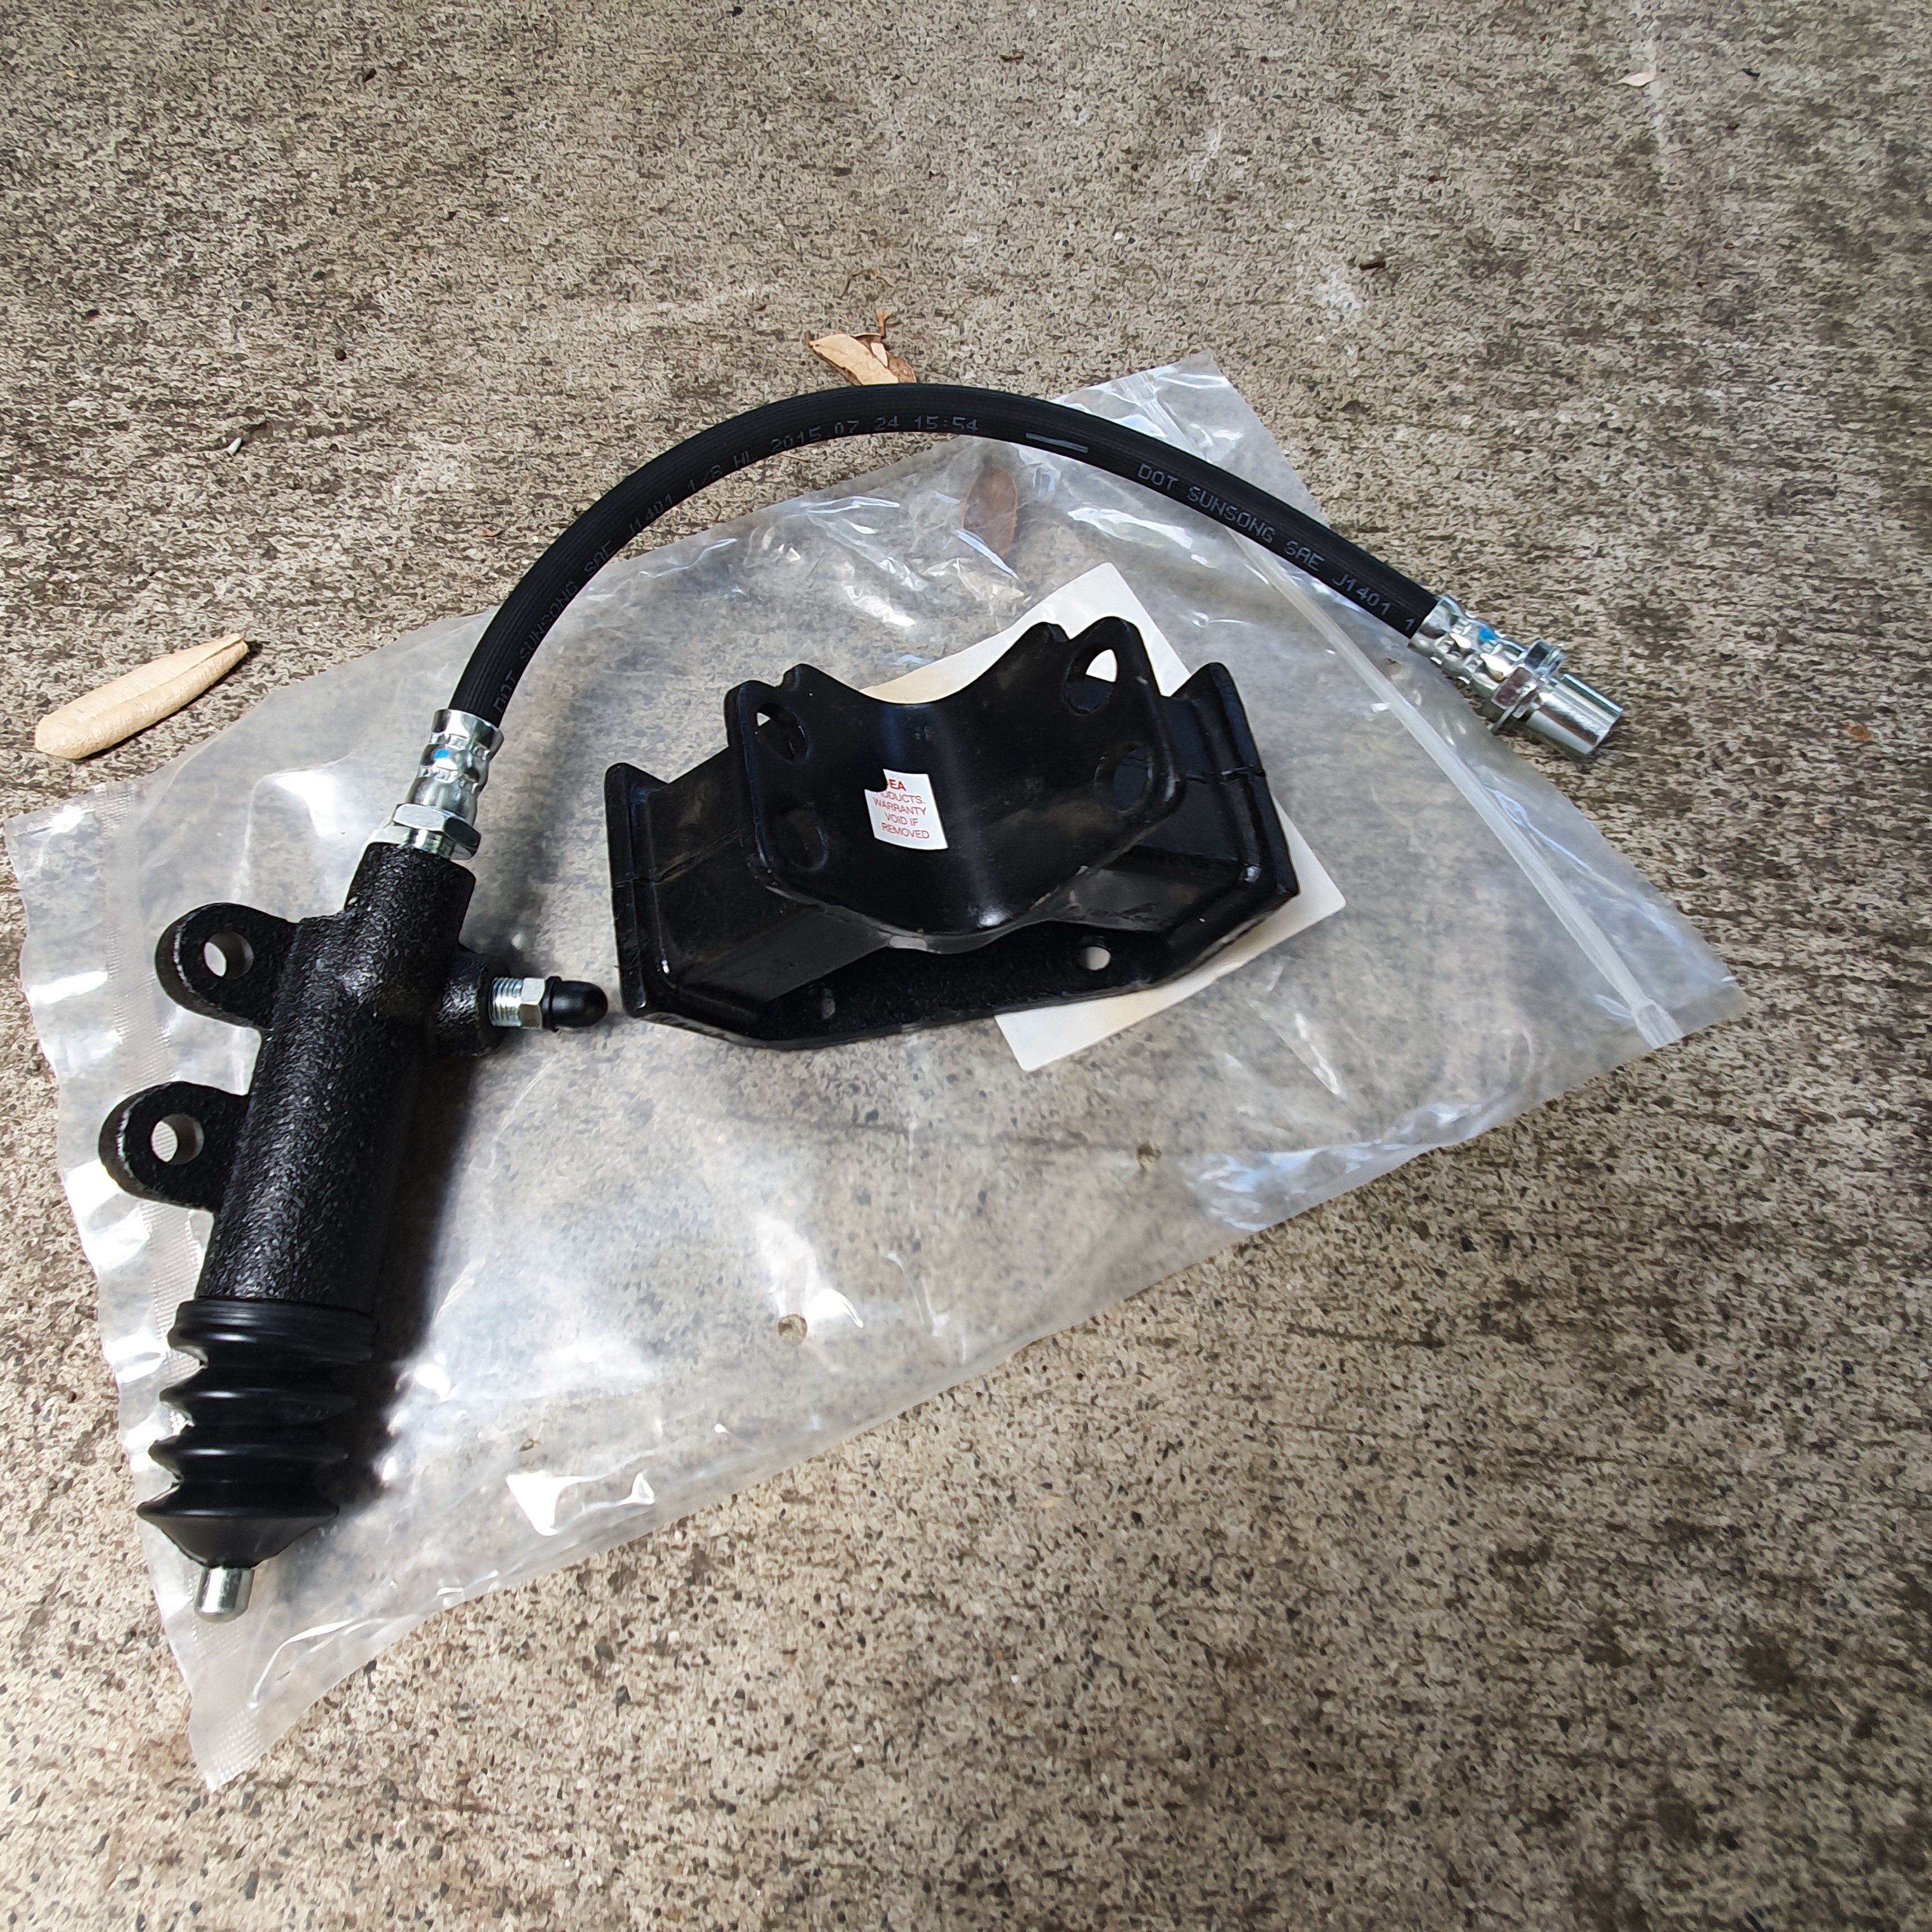
Clutch slave cylinder and rubber line along with gearbox mount arrived from rock auto Waiting on pieces from various places to reassemble rear end hopefully ready to start up shortly. The list gets smaller each day untill I remember other things then it grows again
5 points
-
Not really ready for it but I bought a clutch for this. I did a bit of googling, the standard Starion clutch is 225mm, some of the 2.6L ones had 240mm clutches, which from what I can figure is basically the same clutch that goes behind 6G72 engines in like Tritons etc, and is the same as an FC RX7 clutch. So I got a 6G72 clutch, the friction surface on the flywheel is large enough that the 240mm plate will fit, I'll just have to redrill the pattern for the cover. I'm going to lighten it a bit as well and get it rebalanced. The clutch I bought needs to have a 0.5mm step in the flywheel so I'll do that as well.3 points
-
I should've decided to outsource the panelbeating long ago... Progress is coming along nicely. Auto tunnel is now fitted.
3 points
-
Good catchup
3 points
-
Legal! So stoked. A tentative 2 months rego incase it all goes sideways haha.
3 points
-
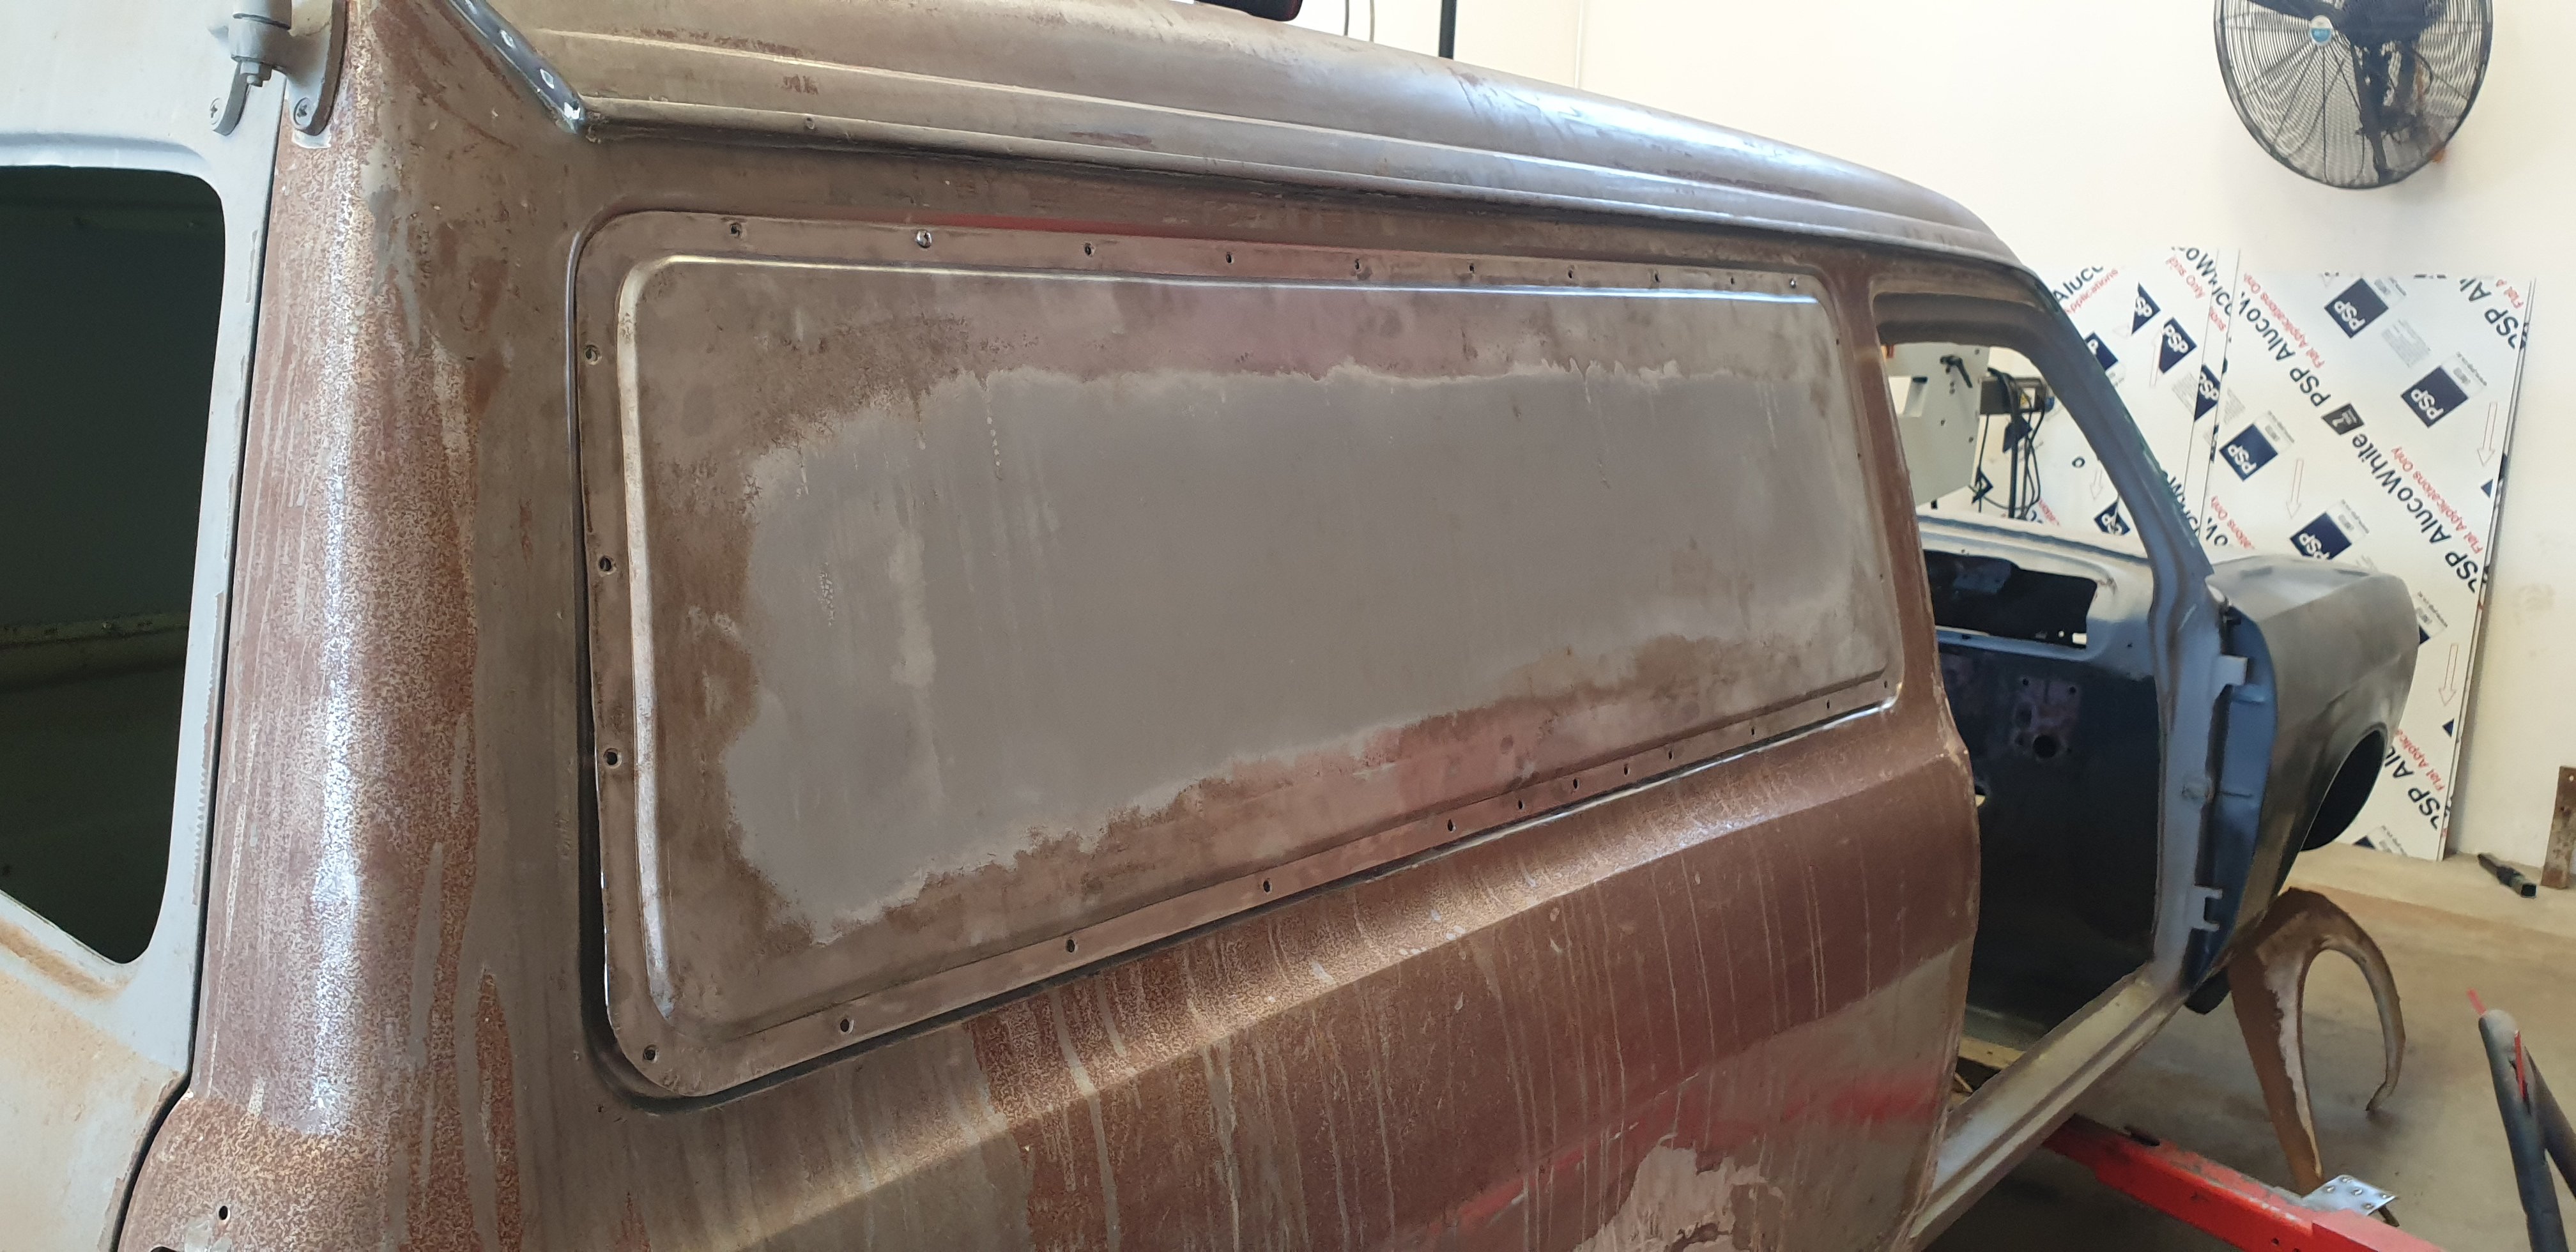
He removed the panel and rolled on edge into it to see what it would look like. As it turns out he can reuse the original panel with some clever magic he does when I'm not there taking pics!
2 points
-
i use these https://www.torpedo7.co.nz/products/-0S8AN6SE/title/ear-plugs-2-0 for surfing as i have bad surfers ear. They cut out the wind but still let you hear, and come with various bits to let you size them to your earholes - recommended They have come out with a v3.0 now, so wait till T7 puts the v2 on special (the price is more than i paid from a proper surf shop a couple years ago, just first link i found)2 points
-
Dakar's in Bolivia now. I rode some of the tracks. Bit bumpy2 points
-
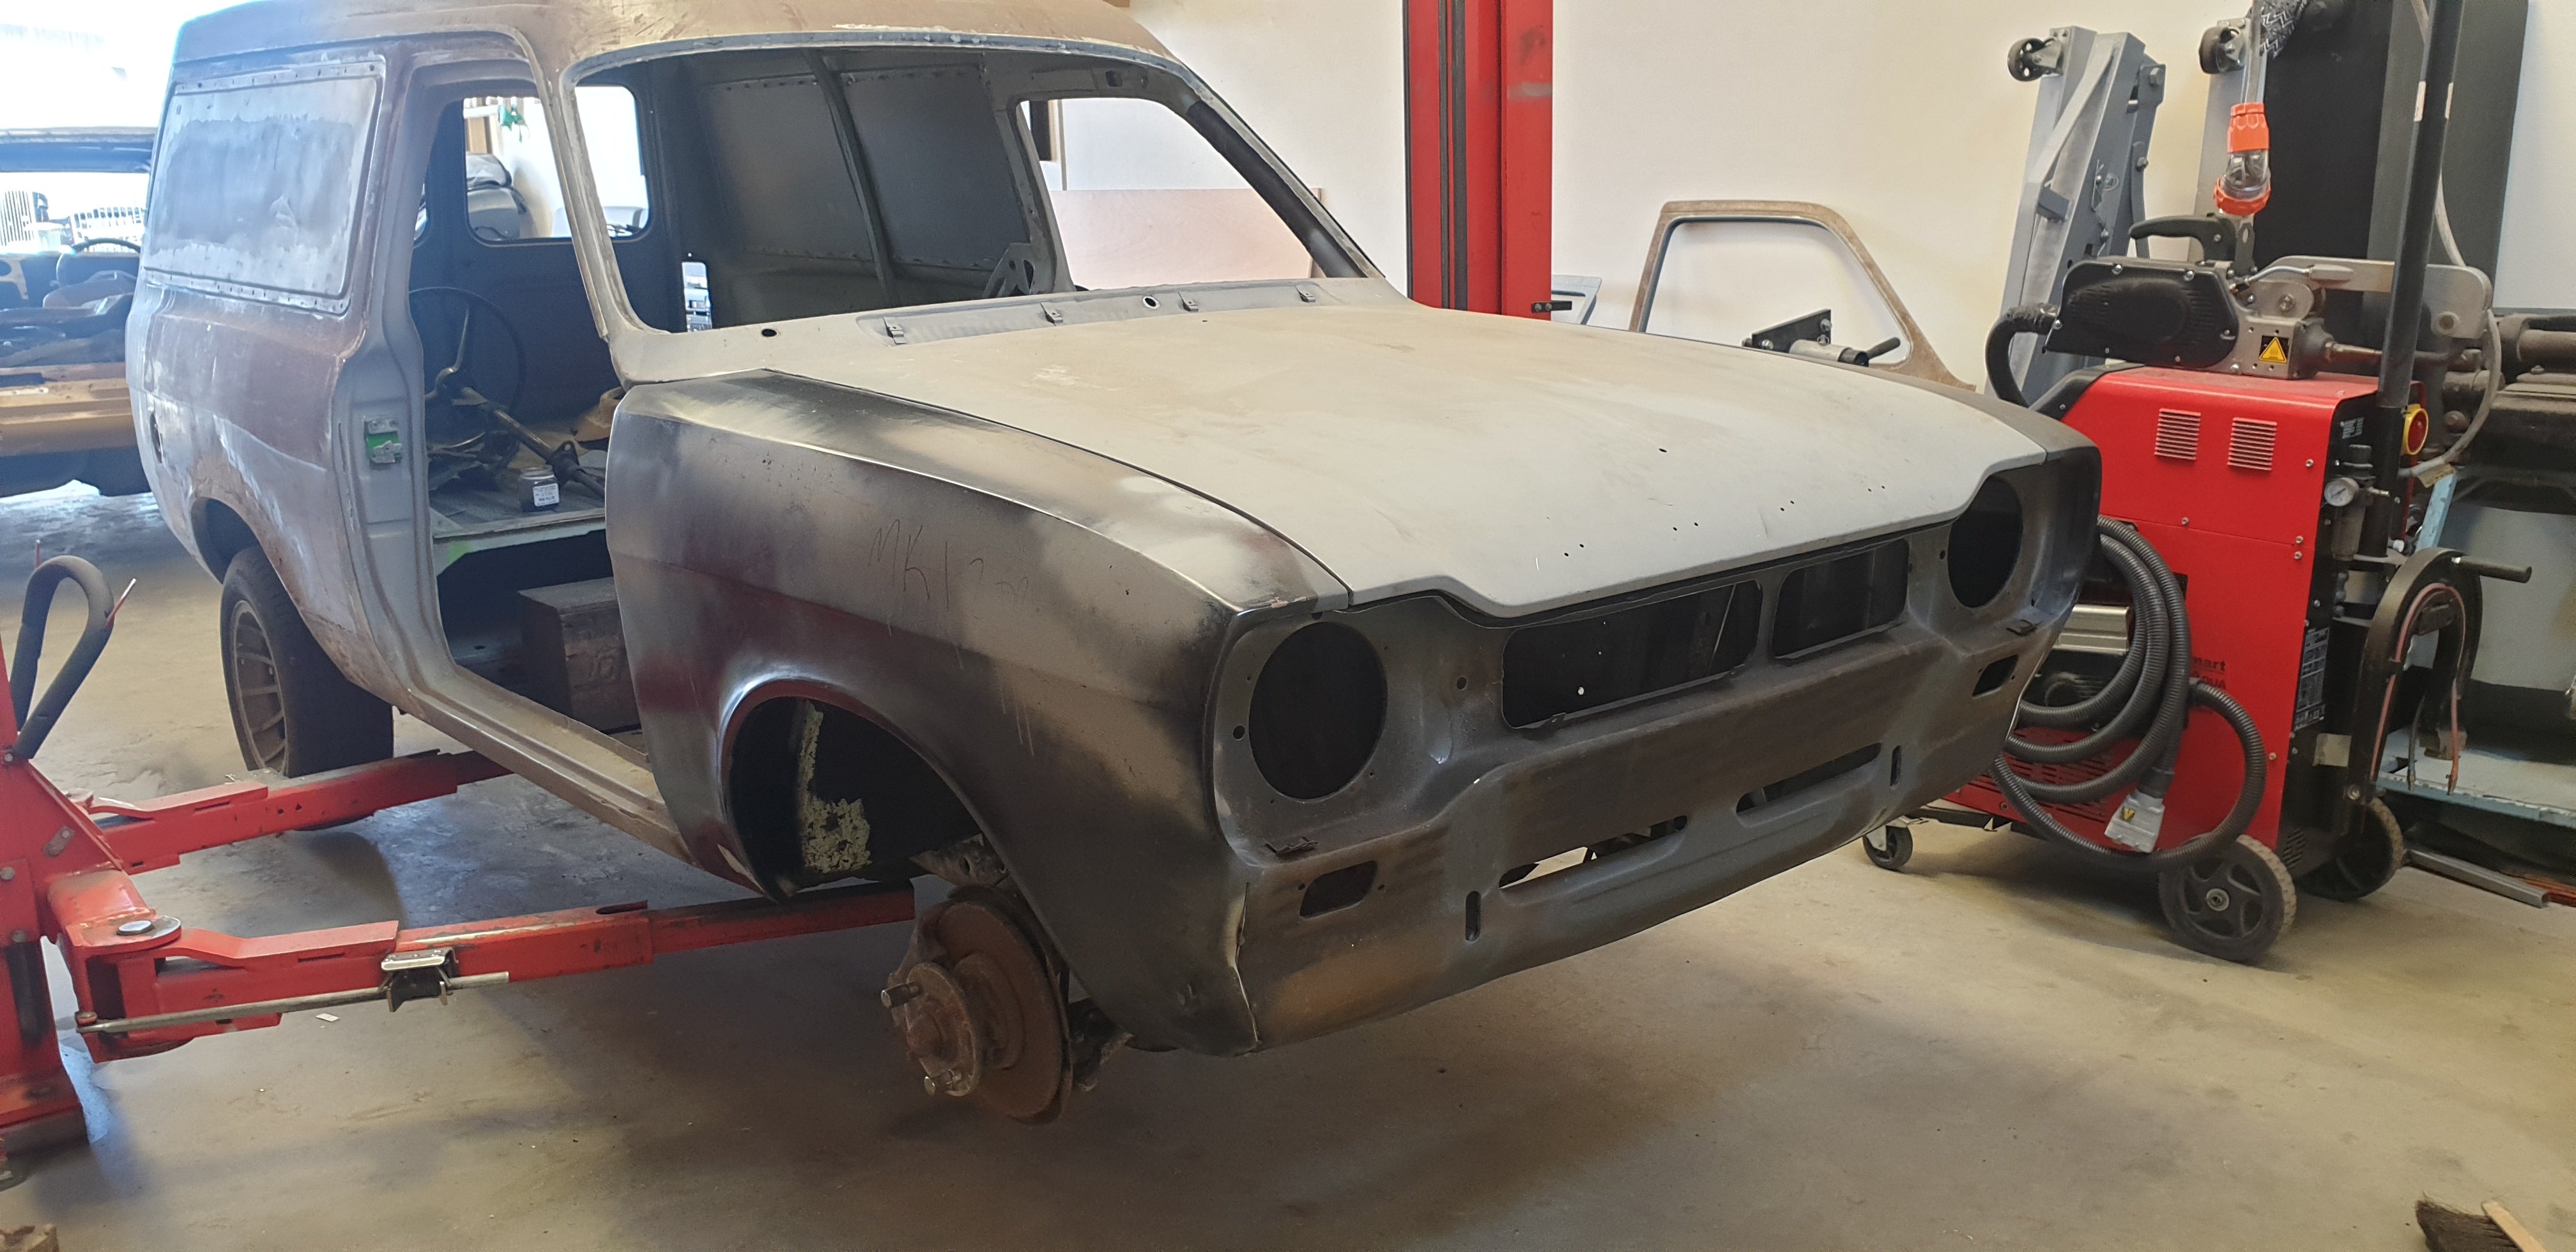
Front end has been panel gapped and is all spot welded on.
2 points
-
I got charged for having headlights adjusted while having wof done. I asked them why didn't they check the switch that raises or drops the beams,it was a Nissan taken to a Nissan dealership for wof ffs....they said no worries,I had to make a point of asking them to fix the problem they caused,and re reset the level to where they were in the first place. No clue.2 points
-
'N' was a very good year. Every road-legal car I've ever owned has been an N plate, except my black Alfa 33. /spam
2 points
-
Good to see the others who turned up tonight.2 points
-
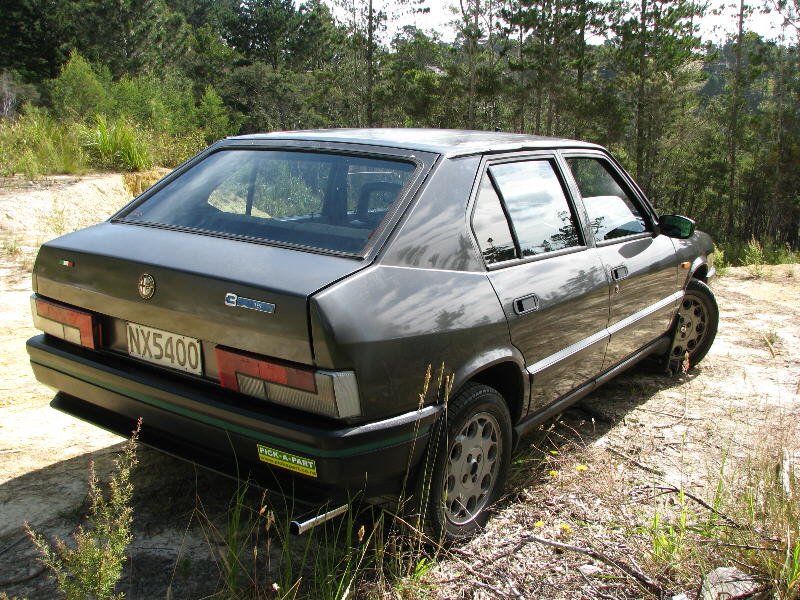
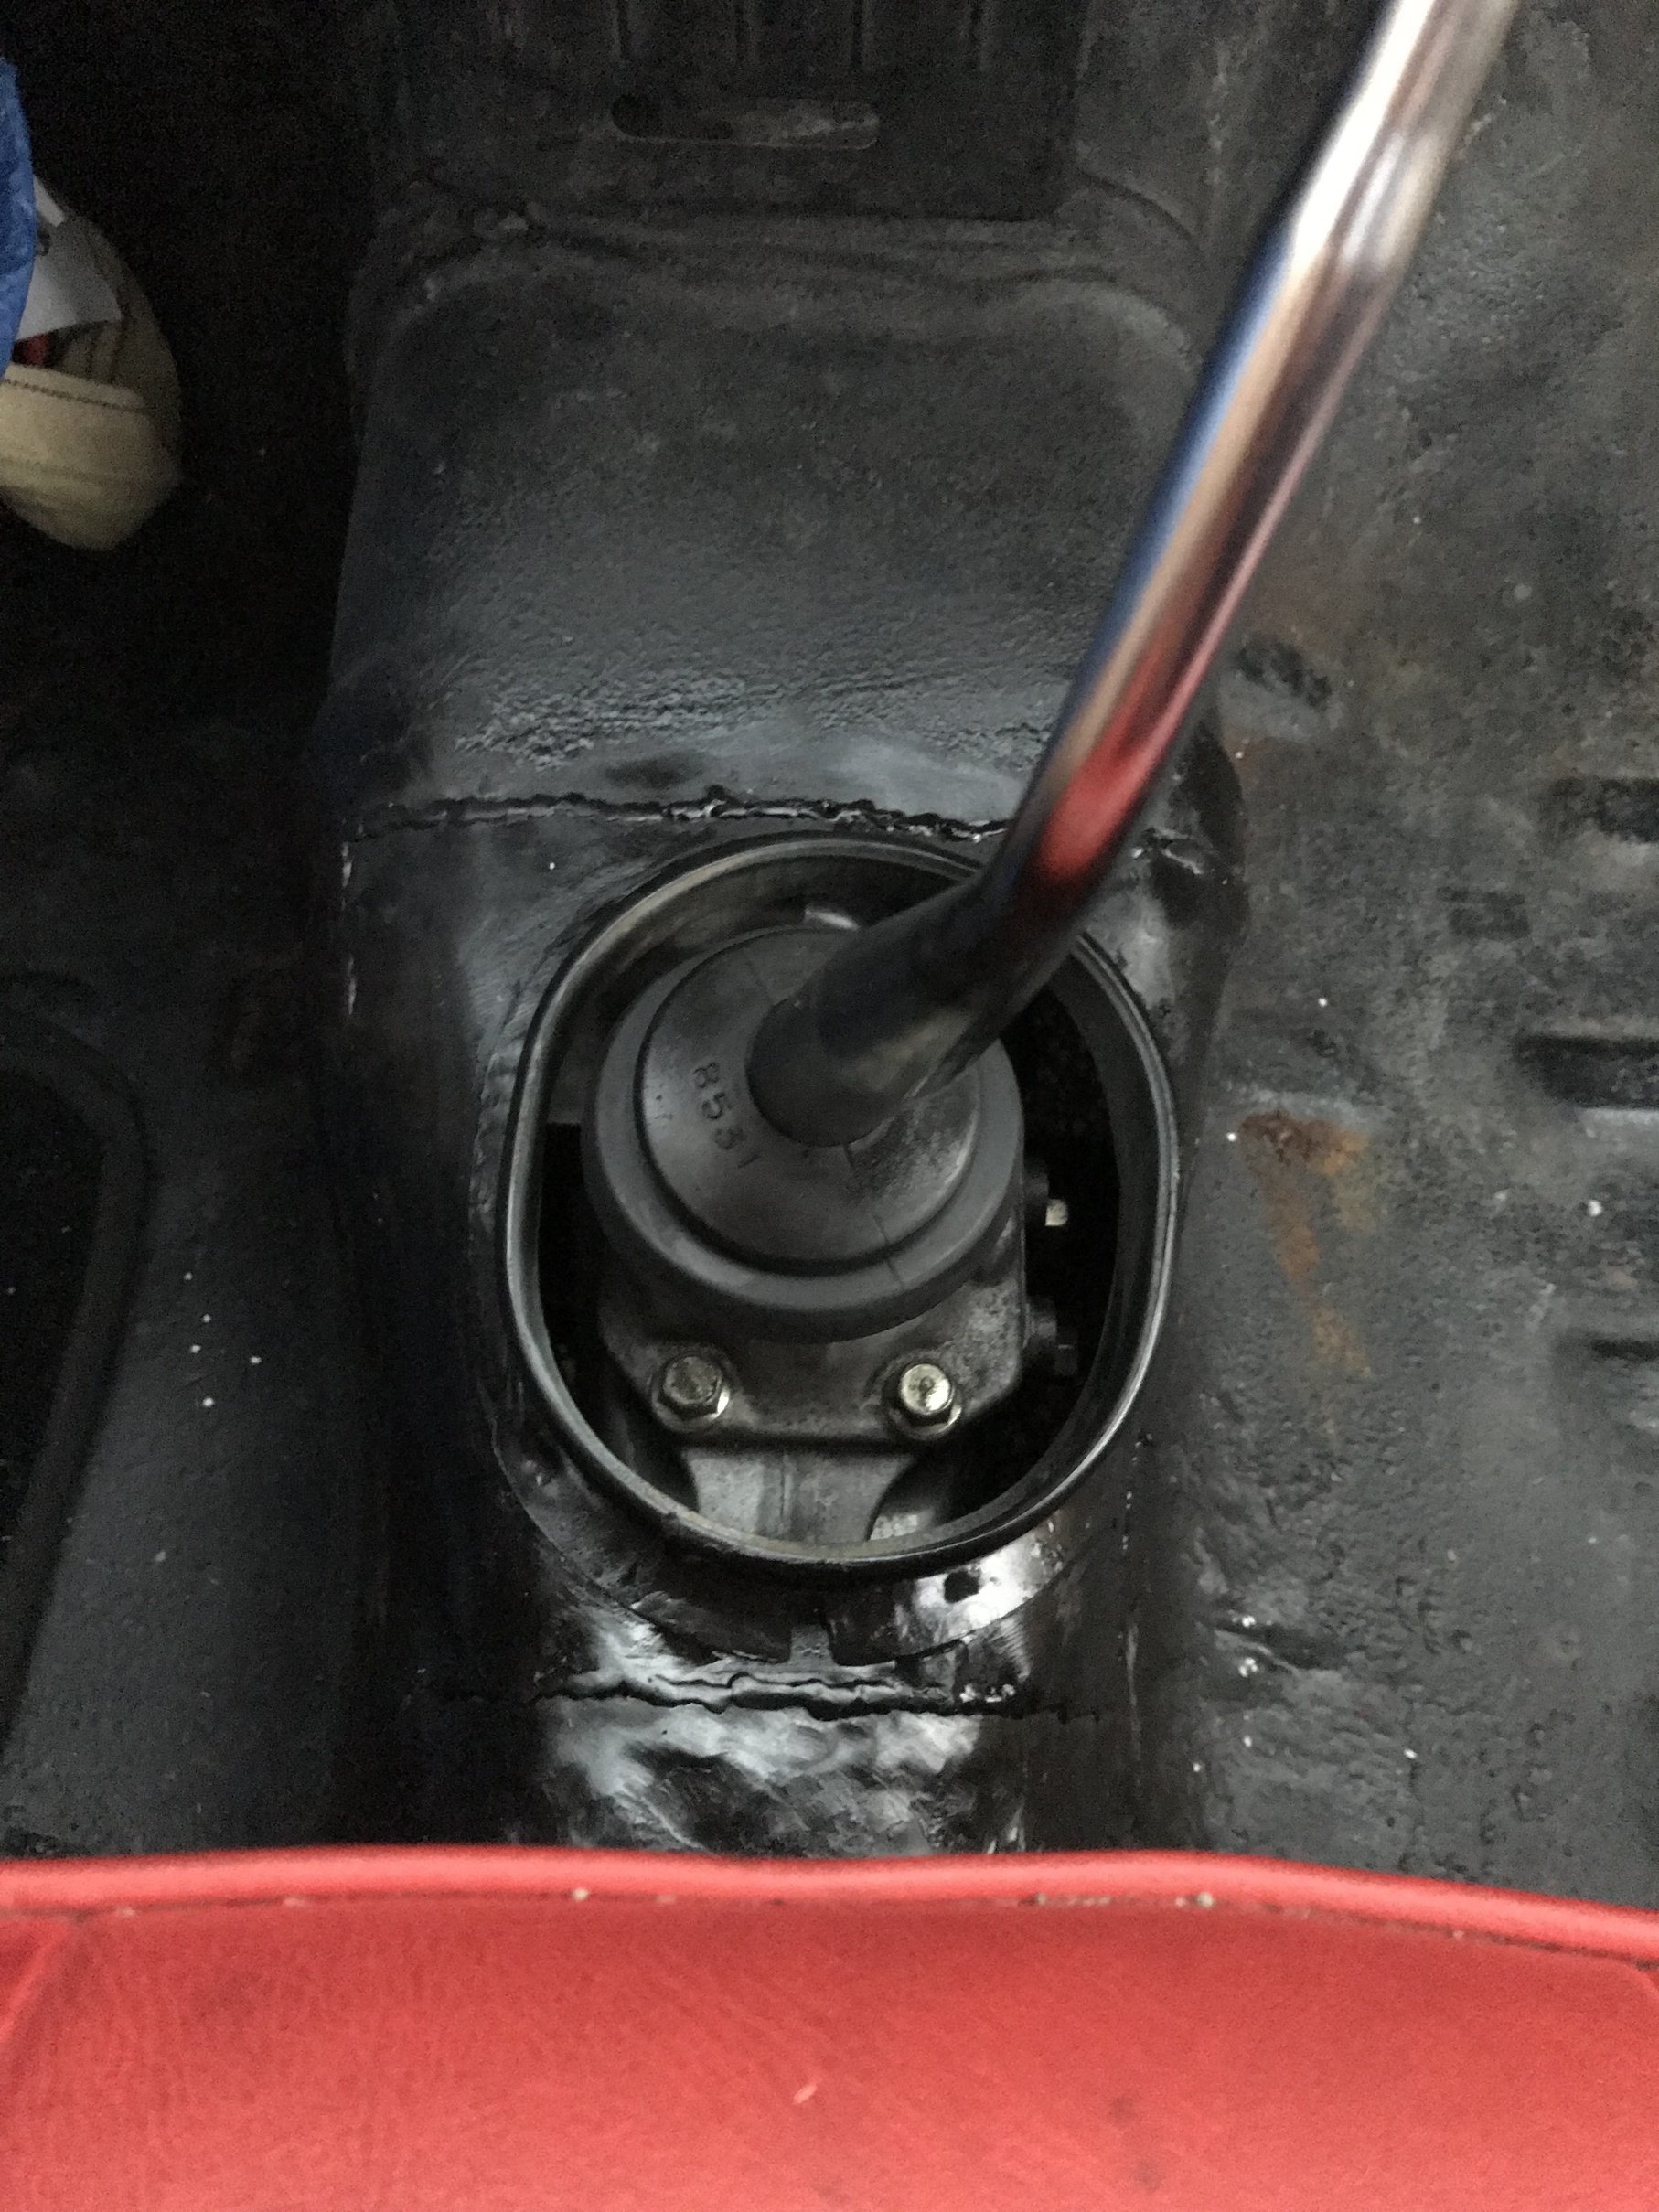
Over the Christmas break I dropped this old girl out to Alex @yoeddynz, really stoked with his work, he rectified the holes that had been cut in my inner guards, blanked the stereo hole that had been butchered and added the floor shift tunnel I had cut from the courier. It was a long drive out to the Abel Tasman ringing its guts out trying to do 100kph so next on the list is putting the courier diff nugget in, fingers crossed it should be a 3.3 or 3.5 so should make a huge difference from 4.8 hopefully. Also the gearbox is really noisey so will swap that out at the same time.
2 points
-
2 points
-
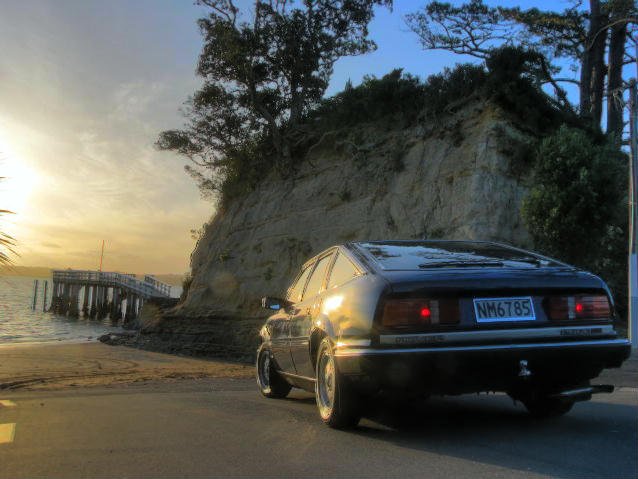
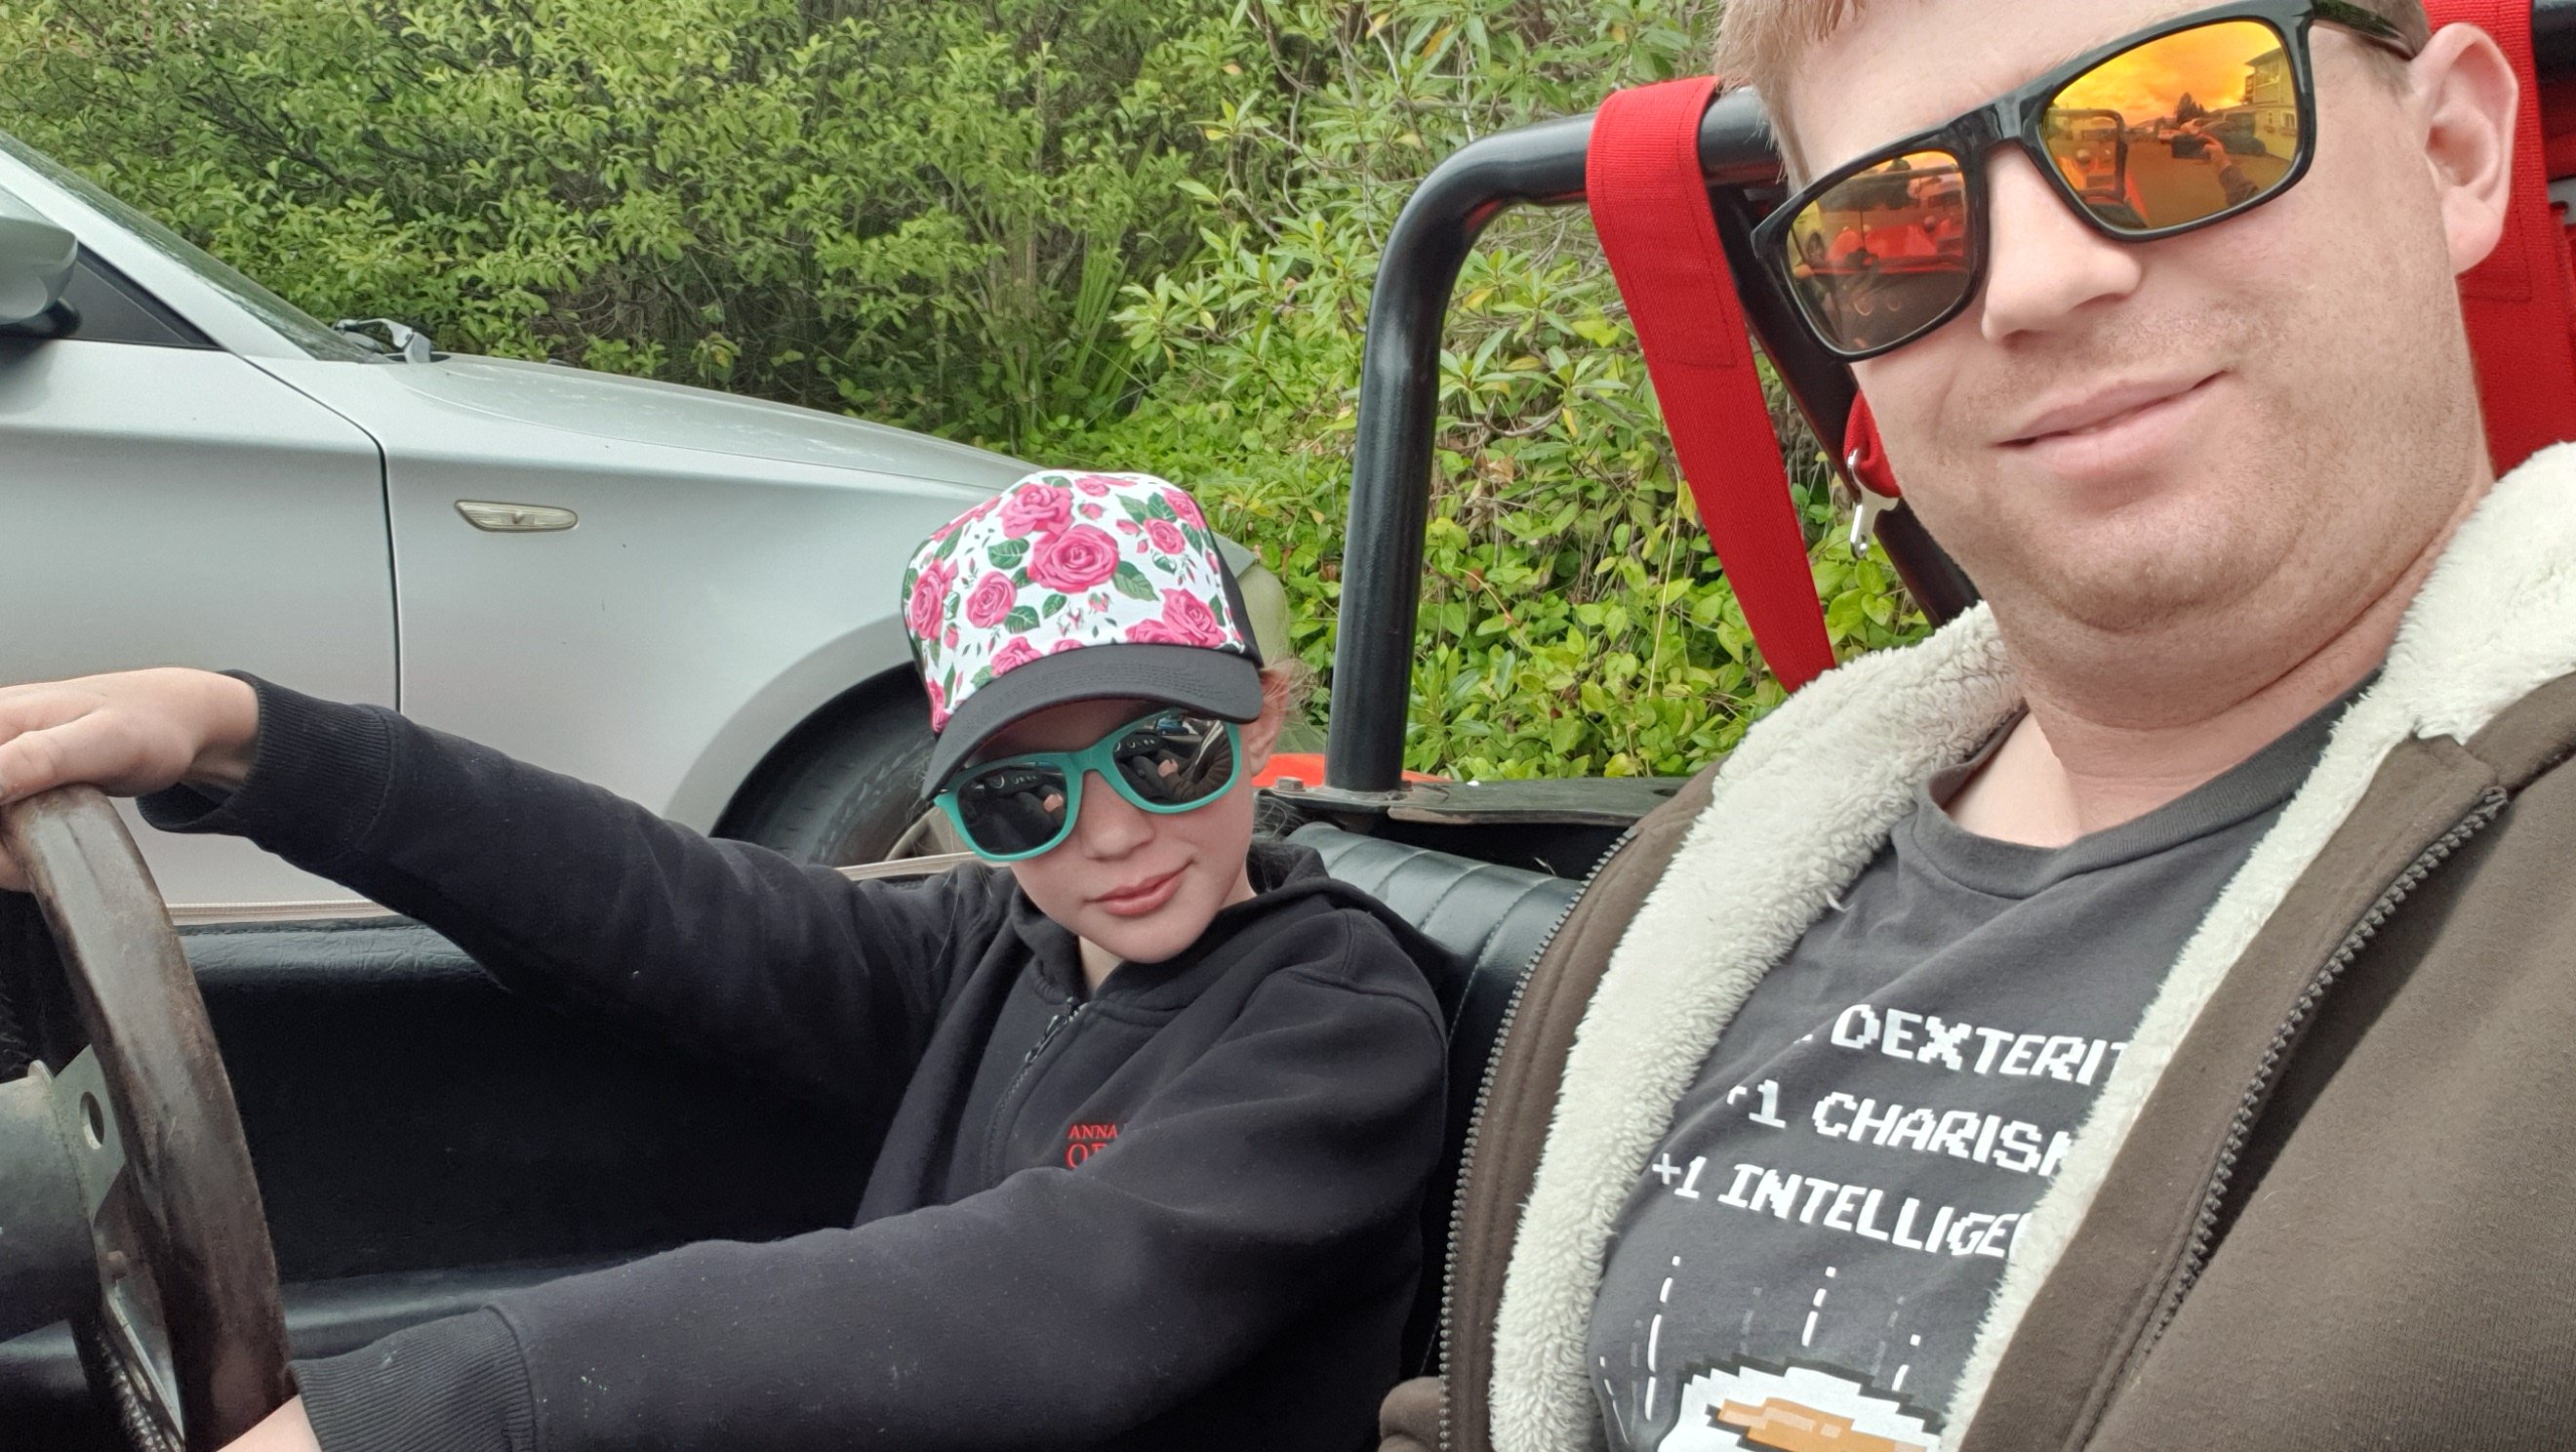
Finally got a chance to take this on a real drive. 50km round trip this morning, out to governors bay hotel for a coffee and some wedges and back through lyttleton and through the tunnel back towards home. The drive was awesome and the car performed beautifully. Only issue was the steering doesn't want to return to centre very well, probably just an alighnment needed but will check over the uni joints and the rack. Wasn't pushing it hard at all because it's very early days, but it seemed far far too easy to keep up with normal cars through the hills, I suspect it just eats the road up better than anything I've ever driven.
2 points
-
I got this off Zac a few years ago, it's been sitting in storage but I'm getting the bits together so I can assemble it then it'll get sold. I bought some 0.5mm oversize NA (9:1) pistons and bearings from Rockauto. The block was bored by North Canterbury Engine Reconditioners to suit the pistons, he also decked the block and polished the crank for me. I'm converting an Evo 3 head to use the cam and crank trigger setups that some of the other 4G63s ran, I bought new sensors also from Rockauto. I've welded up the injector holes on an Evo 4 inlet manifold so I can use it with the Evo 3 head and have the throttle body facing the correct way. Still need to get lots of other bits, oil pump, sump, turbo and manifold, flywheel and clutch etc etc.1 point
-
Same, hopefully the WoF guy is kind on the day. It already has a VIN plate so it doesn’t need to go through full compliance testing. They are intensely bright but yeah slightly nervous about it. In good news I picked up a 3 pin flasher relay on the way home from work and it works perfect. Stoked! Note: Rear wheel is crooked, haven’t put it together properly yet
1 point
-
@Toddy415 I have a hose or a vast array of cleaning products. Flick us a text when you're close. I'm around all day as I'm still on vacation1 point
-
Phwoar thats compact! It'd probably fit with an adapter to the VW transaxle, wouldn't be room to have it mid engine like that one though. Also, that's fckn cool.1 point
-
Not sure how I missed this, very cool. Quite surprised how big it looks in there though! Maybe its just the huge intake manifold design? I wonder if he HAD to cut that much of the fibreglass away or fit its just for easy access? I better call Stephen again, seemly less likely it'll happen. Have been busy not finishing the 200sx wiring, N360 rust and buying an aw11 because, I don't really know... reasons.1 point
-
I'm in. Bike sorted, picked up an old PX150 so will keep up. Fun times now making it Paris Dakarable.1 point
-
It's still worth the swapmeet. The other stuff, not so much. I'm told if it's 50% private BBQ sponsored by 10,000 car and motorcycle enthusiasts this year, less people will be going next year.1 point
-
Fuck I am over kumeu now, been going almost ever since it started but it has crapped out so bad1 point
-
Just go to new place. No issue (obv you pay the wof fee at the new place)1 point
-
I have that same led stop/indicating light strip and was wondering if it's okay for wofs in nz? I haven't fitted it yet because I have doubts...but keen to hear if it's okay?1 point
-
My wife's Laser was hard to start for some months. Once started it ran fine. The problem was thought by many to be fuel related but eventually turned out to be a faulty ignition module.1 point
-
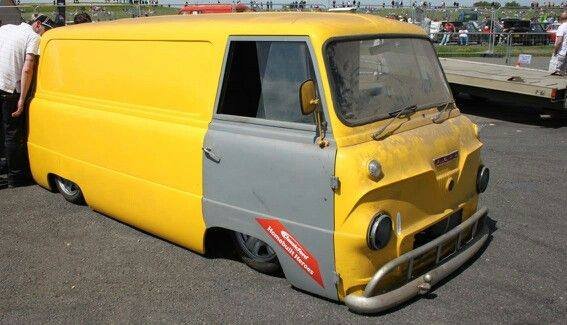
'Body transfer vehicle' Could apply to any car haha1 point
-
Teaser Without the snow
1 point
-
That said, it's not going to have metal mulisha/FOX etc stickers on the rear window either.1 point
-
Dedication is a polite way of putting it Browndog ! My next door neighbour used a slightly more colourful term when he saw yet another scruffy looking van pitching up yesterday. Waited for him to go out before I parked it right up against the shared fence. Don't think he is going to be too happy, but it was the only place left to park it ..... the joys of suburban life. Yep, L300 and HiAce share the same Ford stud pattern as far as I can tell. 12 slots seem to be a popular choice here. I've seen pictures of two OZ based Thames vans that have been fitted with 12 slots. I've yet to remove wheels on the donors to take my own measurements but from the info I've managed to find on the net the L300 has a front track of 1449mm compared to 1346mm for the Thames. HiAce rear is 1445mm compared to 1397mm for the Thames. Should close up the fender gap a bit more and if need be I can move to 7J rims over the current 6Js. I'm not a fan of the current look where the wheels sit way in from the fender lips. From the brief measurements that I have taken I reckon I should be able to dial in some low with the stock L300 front end just by the way it will be positioned. If I need any more low I can source a set of dropped stubs from the USA where the L200 utes were Dodge badged. According to what I have read I would need to swap the L200 stubs left to right to retain the forward control steering setup. The Thames rear axle currently sits on the underside of the leaf springs. So to get matched low at the rear the simple option would be to mount the Toyota axle on the top of the leaf springs and convert the back from the Thames hydraulic arm dampers to shocks. Or keep the axle on the underside of the Thames leafs and get the springs re-radiused. Half of me thinks that I should consider going to a 4 link rear setup with coil overs which would allow me plenty of flexibility with the back ride height in the future. When I did the Bedford I stuck to the original single leaf springs which I had to have re-radiused when I fitted the dropped spindles and although it looked good I was pretty stuck with the ride height after that. Would be keen to get some input on a 4 link rear setup from anyone who has done this as it would be my first time. Or there is always this bagged UK van that has been seriously modified for ultimate slam.
1 point
-
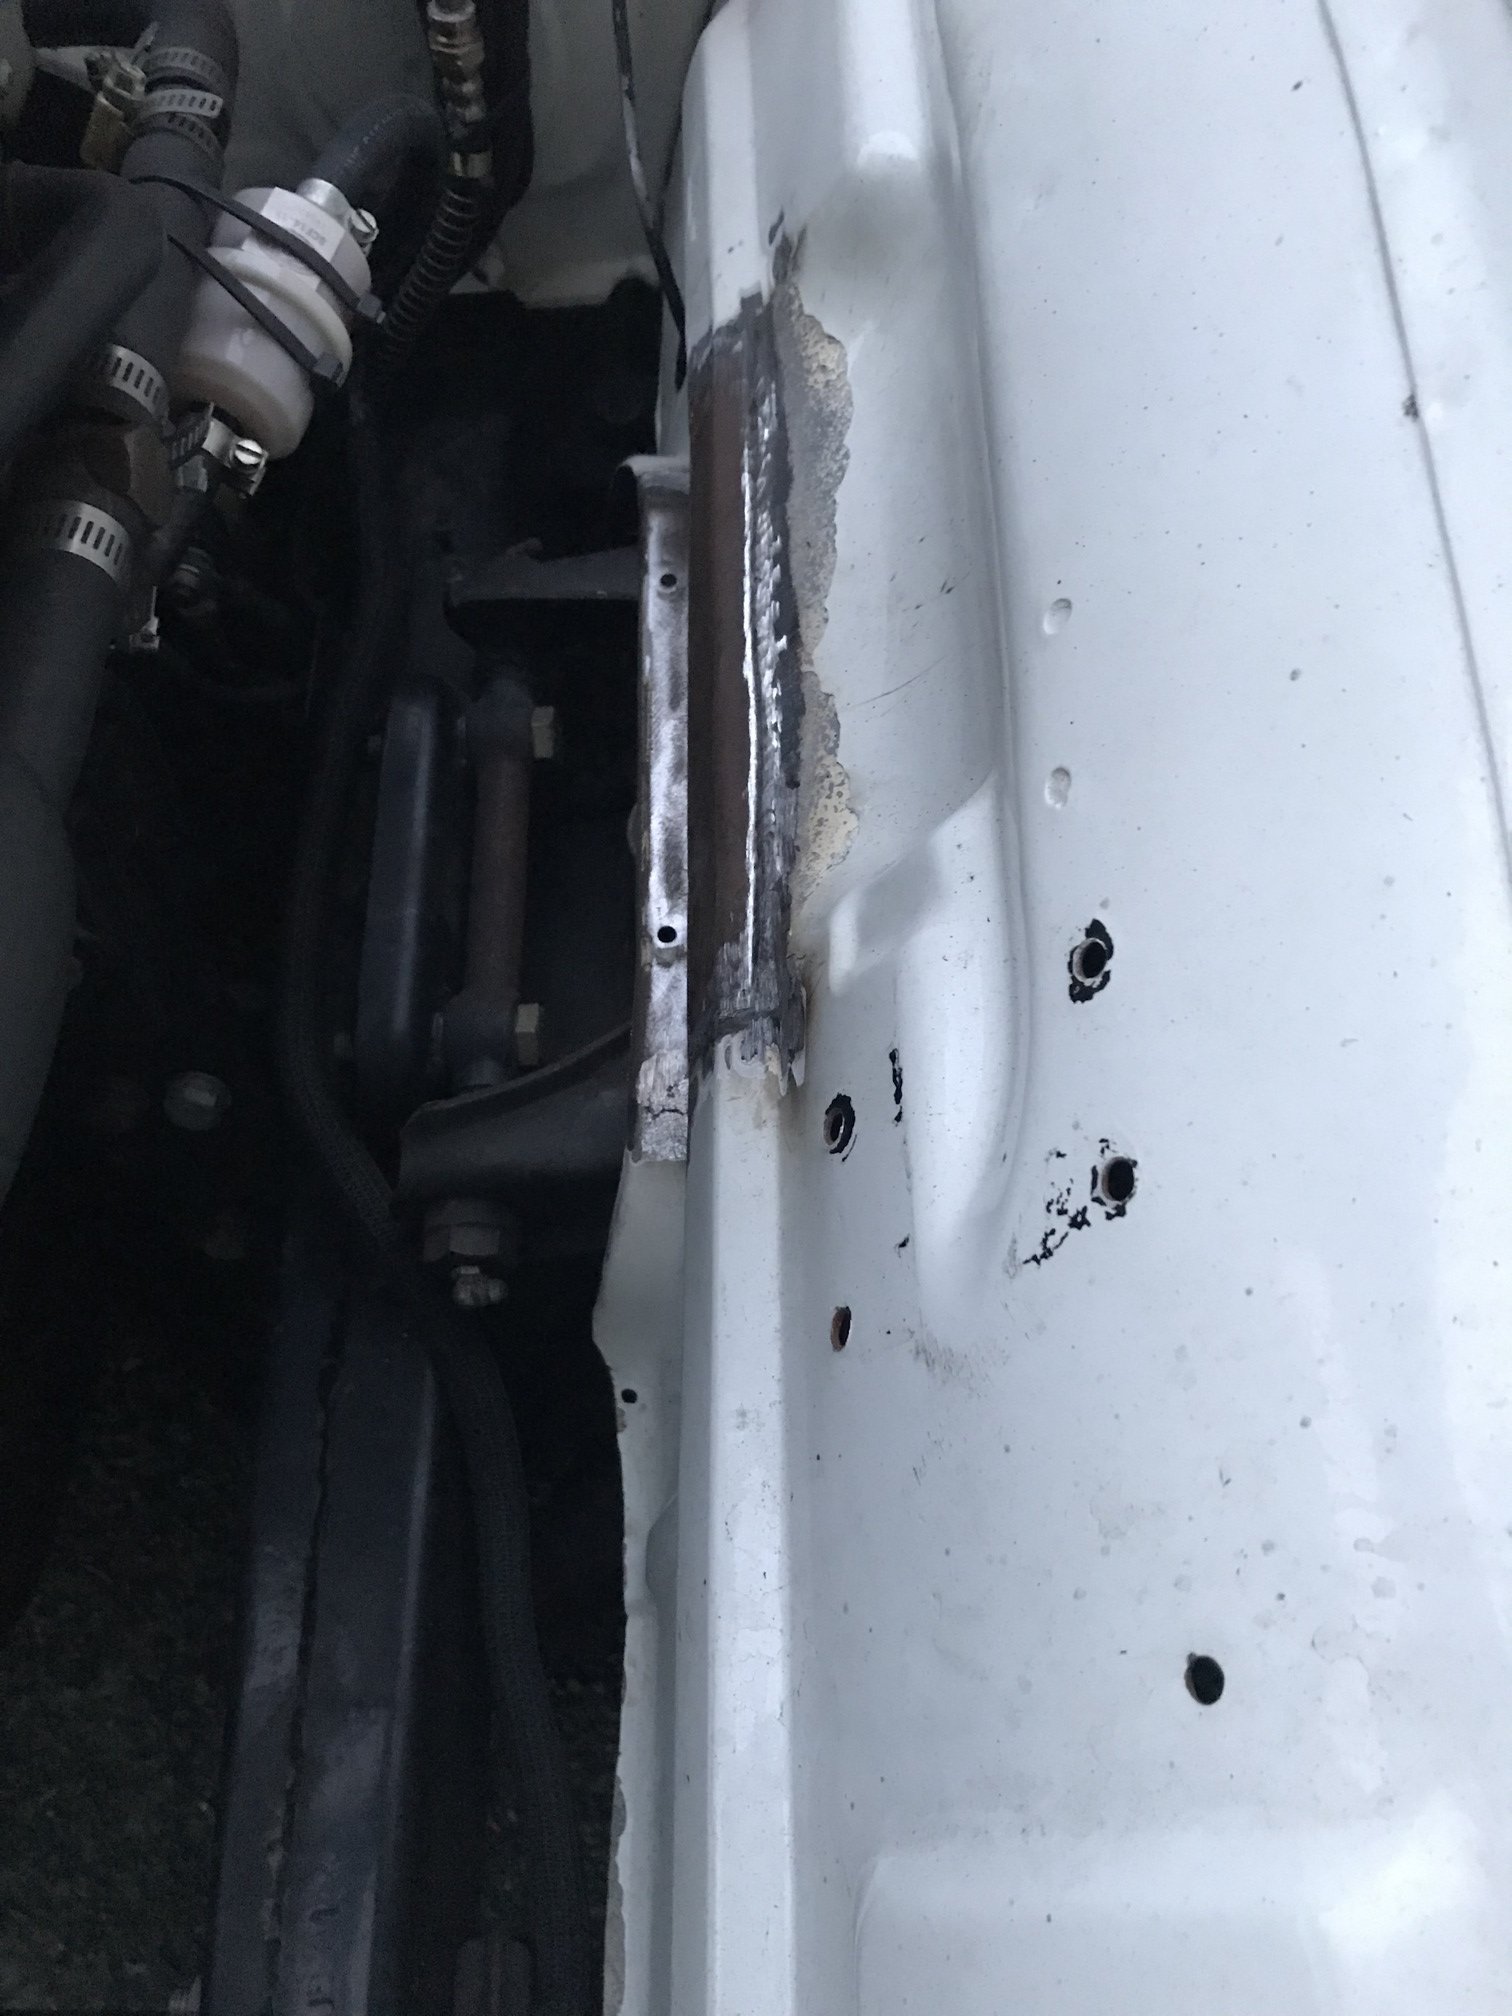
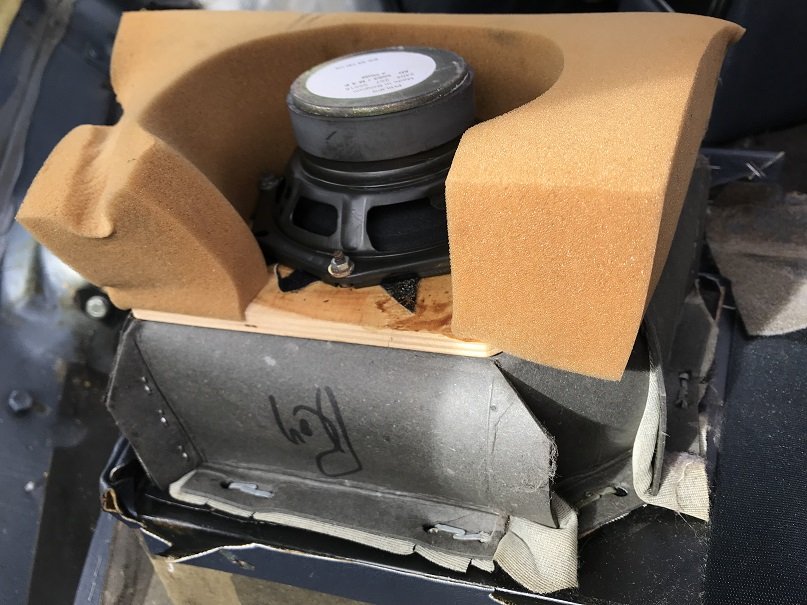
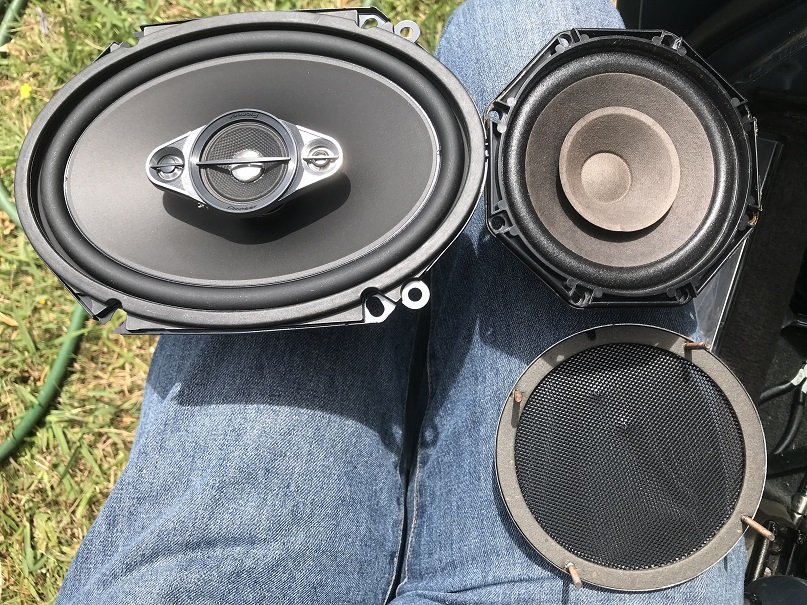
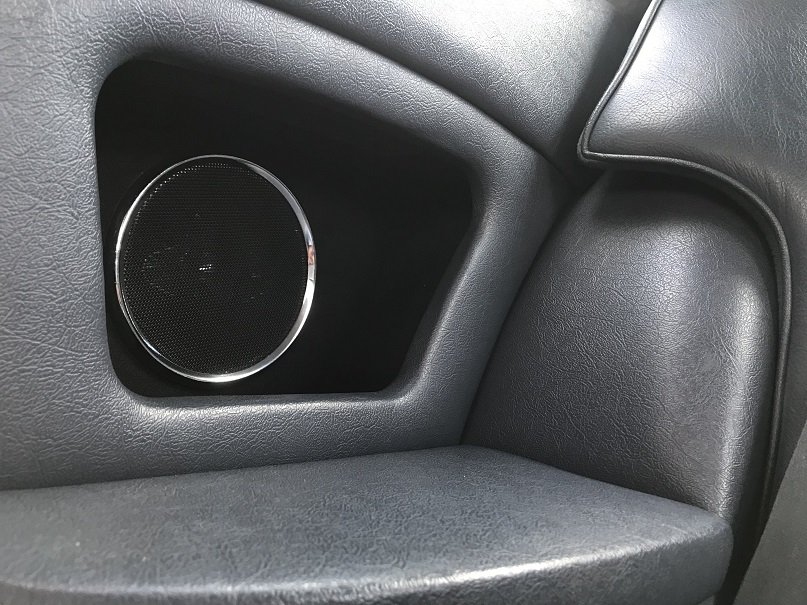
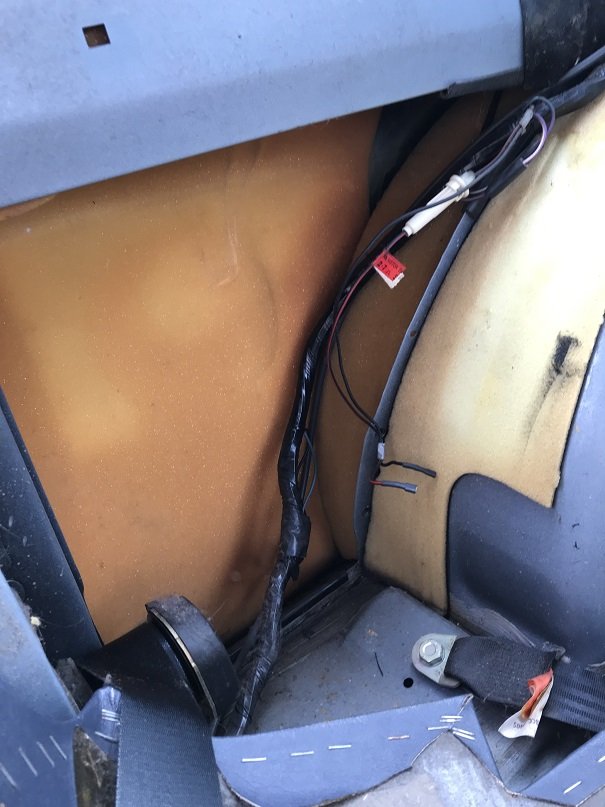
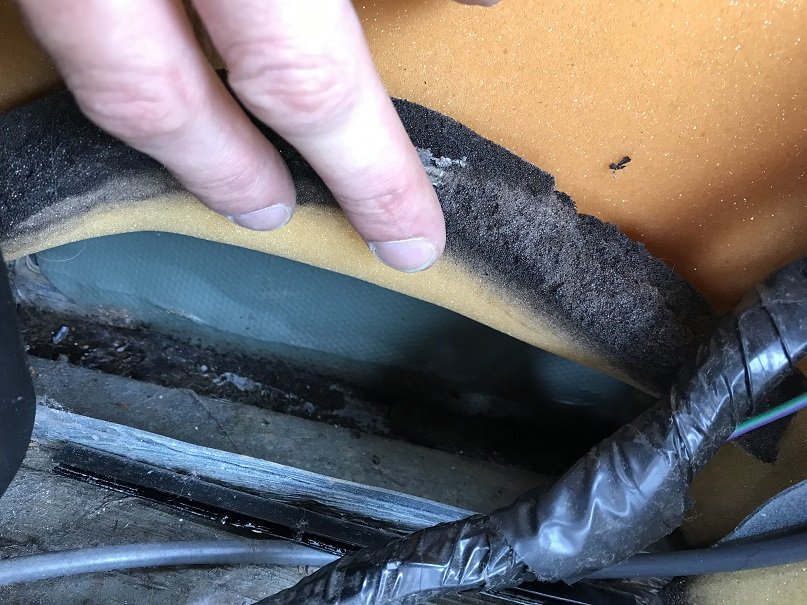
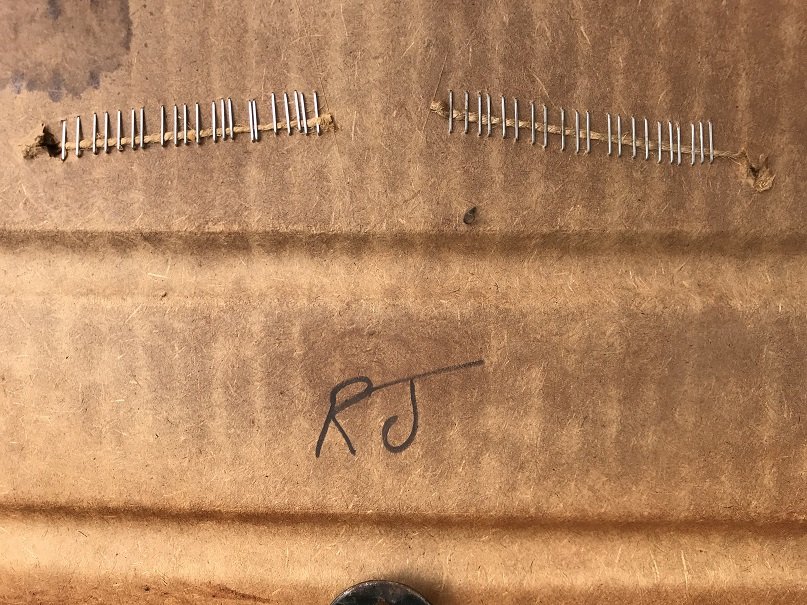
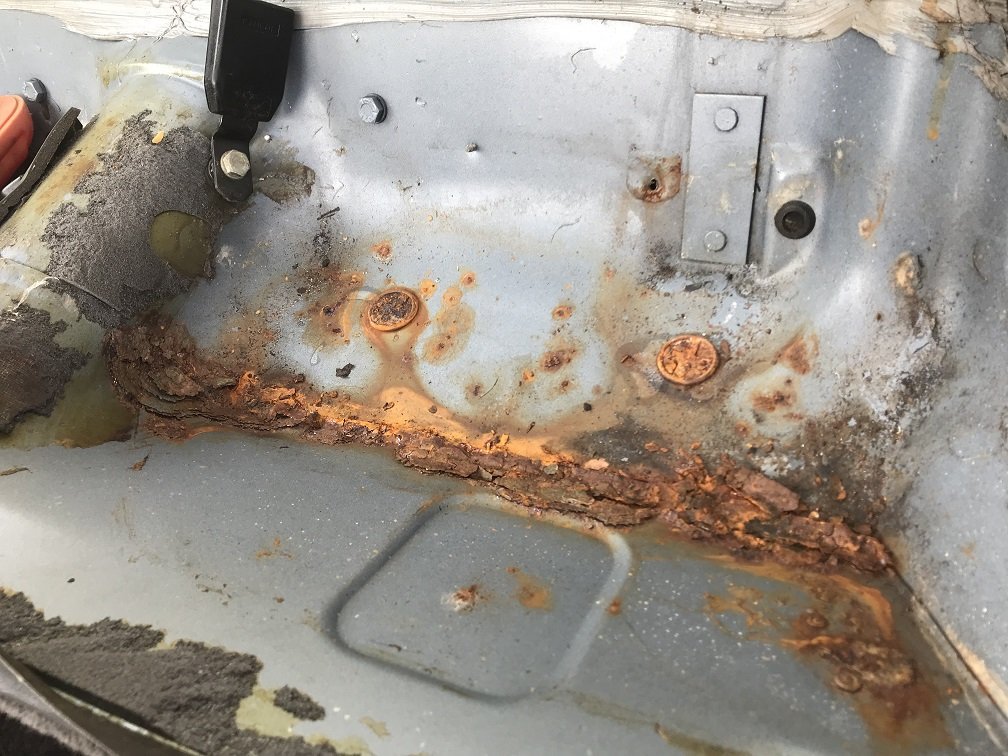
I needed to replace the speakers in a musical keyboard, so I thought I'd scavenge the factory rear speakers out of the Jag for this purpose and put some new ones in their place. Sounds straightforward. To take out the interior trim panels which hold the rear speakers, you have to take out the rear seat base, rear seat back and front seat belts. The lap section of the belt attaches to a rail which is bolted to the floor of the car, and the lower threads of its mounting bolt protrude below the car where they get all corroded. When you remove these bolts, they get destroyed and their nuts (welded to reinforced sections of the floor) get damaged. Then you're left with no seat belts. So then you have to drive around with no seat belt to visit speciality stores during business hours and buy some stupid imperial 7/16 UNF bolts and a stupid 7/16 UNF thread tap that you will never use again. Aaanyway, here is one of the factory rear speakers: They're mounted to an actual piece of plywood, rather than to flimsy door card like the front speakers. As with the fronts, though, the speakers are mounted on the rear of the panels via threaded rods which are welded to the speaker grilles. I measured the plywood panel dimensions and got the biggest suitable speakers which could be mounted from the rear without modifying the panel (most speakers weren't suitable for rear mounting as they don't provide a standoff ring to stop the edges of the cone contacting the panel). Here is a new speaker, a factory speaker and the factory grille: Then I recessed the mounting nuts for the speaker grilles and cut down their threaded rods as short as I could. This allowed me to slap the new speakers onto the back of the panel while keeping the factory speaker grilles in place. Result: It looks factory (good), and sounds factory (not so good) except a bit clearer. There's still not much bass and the sound starts to distort when the head unit is still quite far from its maximum volume. I probably won't try to improve things further though, because there's no ideal spot for amps / subs in an XJ-S. While I had those interior panels out of the car, I got a look at Jaguar's superb rust traps. Behind the rear speakers / below the rear side windows, there's a join where the bodywork meets the sill. Rather than installing drain holes in case water gets in, Jaguar just fitted lots of foam to absorb the water: This seems like it would promote rust, and indeed it does. My car's not too bad for rust just yet, which is why I was not prepared for this rust under the sound deadening below the rear seat base! Water must have been getting in and pooling at this join, helped by the foam stuff. I took a few handfuls of rust out, revealing some holes. However, the holes revealed that this seat framing is not the floor of the car - there's heat insulation below here to stop the passengers getting toasty bums from the inboard brakes and exhaust. I just hit it with rust killer / corrosion primer / fish oil and hid it away for another day, since it's very easy to access. Before putting the rear seats back in, I noticed they were made by the notorious Jack the Stapler:
1 point
-
After getting my cushy posterior punished on Te Ureweras, i decided to look further into the suspension department. the rear has like 0 travel in those old shocks, might as well be hard tailed jim. So when a mudbug came up for wrecking on trademe, all i could think of was how cool this would look with those quintessential yellow springs on the rear. Took a punt and wanged them on. they are in average condition but what mudbug isnt? popped the standard suspension mount bushings out and swapped them into the mudbug shocks and was direct bolt on m9 country calendar theme plays1 point
-
well, that was fucking stressful. first time ever laying a candy/3 coat colour and it so very nearly went very very wrong. i completely fluked it and managed to get it looking right but i was seconds away from disaster on more than one occasion. im fucking turbo stoked with how it looks, its got some dust in it but i couldn't give a fuck, theres way more right than there is wrong and thats a fucking win. 2020-01-09_06-20-37 by sheepers, on Flickr 2020-01-10_07-39-39 by sheepers, on Flickr 2020-01-10_07-39-48 by sheepers, on Flickr 2020-01-10_07-39-58 by sheepers, on Flickr 2020-01-10_07-40-05 by sheepers, on Flickr1 point
-
Intercooler pipes mostly done. Need to sort a bov and tidy/paint them Also sorted a water pump pulley and crank pulley combo- these I had bought ages ago as a box of parts off a marine engine which never fitted anything so had to modify a few things, now I can mount the alternator on the front of the lh head which is opposite to how they usually are1 point
-
a wee while since the last Blizzshop update as i havent been up to too much other than work and painting the bloody house. Had great fun for a wee bit on the wee GP from above then promptly sold that on for some good coin. Have a new small bike project replacing it which i will put some info up about when i pick up the rest of the bits later this week. I have been getting over staring at one of my favorite bikes i own that is by far also the ugliest bike I own, so i have started de-uglyfying it. The grot rattle can canary yellow RD04 XRV750 Africa twin is yellow no more. previous photo for reference lawl So first up I stripped it down, paint stripped the Fuel tank, etch primed it and started bogging up some dents, still got some more work there to go. The only mechanical issue the bike had was being very hard to start from cold. When not used often these bikes have a notorious habit in which the choke plungers get jammed on (enriched). I dont know what happened to this one but one plunger was disconnected and some numpty had jizzed half a tube of RTV down the plunger hole to block it, after picking most of that out i found a partially drilled out and extraction attempt of a now mangled choke plunger. Unfortunately for me the idiot mangled the wall of the carb while drilling it out, so the carbs are now junk. $400 later i landed a new set from Austria. Fun fact, the rear carb runs a richer main jet than the front carb to compensate for the hotter running temps of the rear cylinder in the V formation, i wonder how potatoes get around this issue with only sucking from one carb, but then again they probably dont go fast enough to get airspeed to cool the front cylinder. Anyway, the replacement carb has slightly richer getting than my factory one (118/122 opposed to my one at 115/118) on doing research the richer jetting is stock for this model of bike. I will run it like that anyway as mine was a bit lean with the straight through muffler on it. so hopefully that all fixes the starting issue. Next on the agenda is to sort out the horrendous lack of side covers are i threw the even more horrendous checker plate in the trash. I borrowed some RD07 later model side panels but didnt like how they fit, especially once they will be painted white so am going to pick up some XPS foam and have a crack at making my own fibreglass plug / mould / glass side covers which will be a fun project as i haven't worked with glass before. i have a sweet little tail section on the way which will get rid of the big monstrosity thats on there are the moment and i also got some lush as frig but slightly damaged adventure spec soft cordura panniers for cheap. These are currently with @64valiant getting some repairs done, once thats sorted ill make up some racks to hand them from this thing. Plans at this stage is to finish this body work, repair the cracks in the front fairings and then paint it all white and get the lads a watermark to do some sweet rothmans livery. will re do the dash setup and make a few other small changes but wont dig too deep. once this is all done ill ride it for a year and then probs fully strip and powdercoat the frame and do all the bearings and shocks and stuff. oh also need to do a preventative mod to the fuel pump. These things have a small mitsi fuel pump to supply fuel when the level drops below carb level (about 1/4 tank) and the points are notorious for welding themselves together. There is a wee mod to add a diode into the pump which through electrical magic reduces this sparking and stops the pumps from clagging out all the time. Looking forward for some adventure times1 point
-
On Facebook mazda k v6 page this fella just joined up. He's in the UK. He's done a conversion with a klde onto the vw box. He's planning on fitting a scooby box for better gearing /more strength.
1 point
-
Got the bits, and they actually correct, very dirty but correct so that's good. I had to drill out the hole in the oil pickup that goes over the stud as it wouldn't fit, I'll have to wait until the main cap is on to see if it needs any other mods. That's pretty much everything I need to assemble a long block.1 point
-
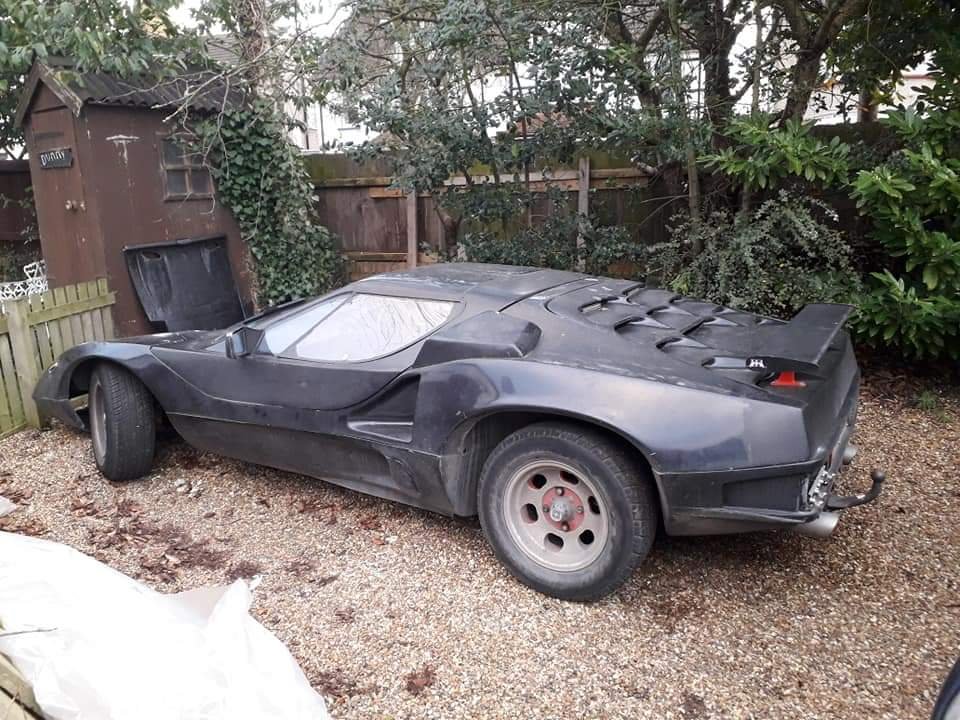
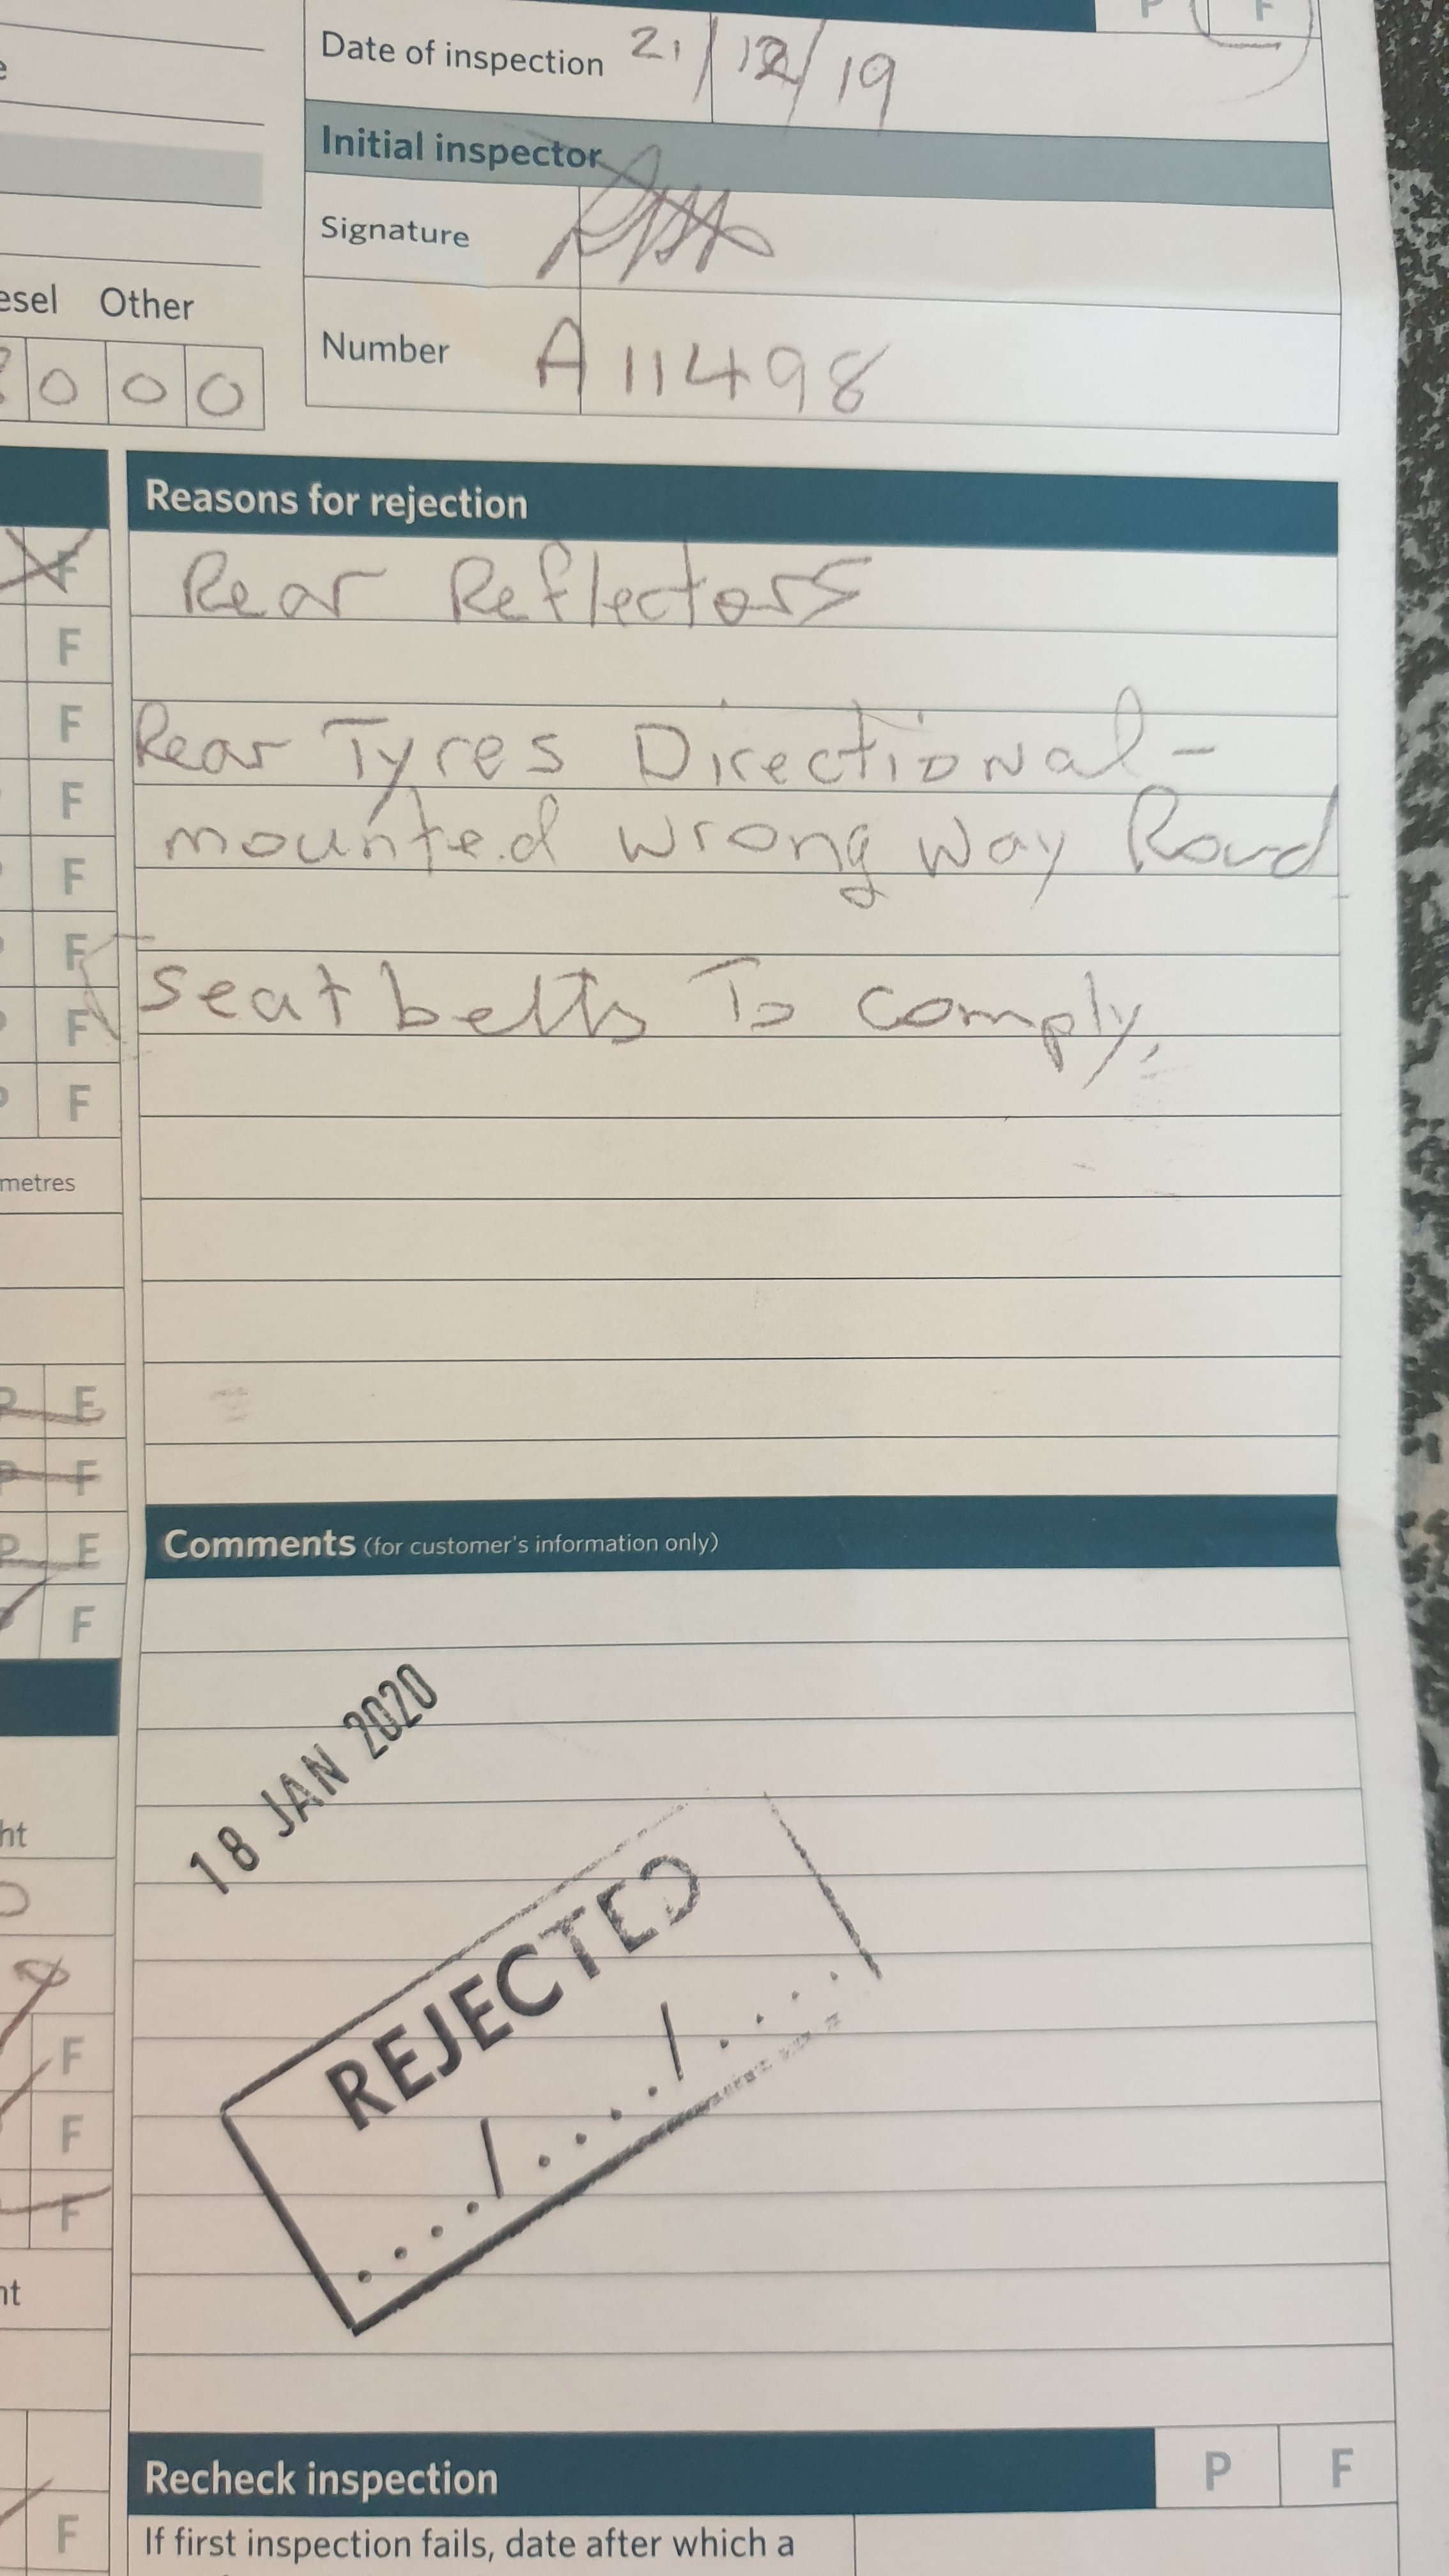
Took it for a wof this morning. Never been so stoked on a fail in my life! I was prepared for serious issues given how long this has been sitting, although I'd been over it and felt everything was good. Maybe I should just back myself more. Only failed on No rear reflectors - new tail lights don't have them and I never noticed. Rear directional tires backwards - dumbass me out the wrong wheels on the wrong side when in a hurry the other day. And the only real sticking point being the harnesses, the wof man wants to ring land transport and clarify if they are OK without an authority card as the car was built with them. Not sure how this is going to go and I'm about to post in the wof/cof/cert thread, but feel free to comment on the discussion page if you have input. I would be happy to run a lap and diagonal belt on the street and a 4 or probably 5 point harness on the track coupled with a new roll bar, but don't want to stray into cert territory. There's a slim chance land transport will give me an early Xmas present on Mondays though...
1 point
-
painted engine bits. not sure if ive mentioned before but im going to repaint the RA28 to a modern mazda red. i have the paint code written done somewhere but its a 2017-18 mazda red that i really like. anywho, the silver/black combo of the engine is meant to work with that red, not the shit dirt black/purple it is now. now that the engine is getting close to finished ill start painting the engine bay. as always i want ot change a few things around and do a few things etter thatn before so ill be doing that soon. but first here's the engine in paint. 2019-12-19_05-31-21 by sheepers, on Flickr 2019-12-19_05-30-55 by sheepers, on Flickr 2019-12-19_05-30-46 by sheepers, on Flickr 2019-12-19_05-31-04 by sheepers, on Flickr1 point
-
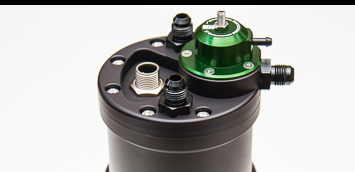
I was in a rush to get it all done for race day, so if i had run a FPR I would have had to find out the pressure it was running at before then match it, plus would also had to run all the return lines, this way i didn't have to get a retune, or stuff around with the rail. I also plan to put a surge tank in at some point, and i'm looking at a Radium one with the inbuilt FPR so would be a waste of money to buy another one in the meantime. http://www.radiumauto.com/FST-R-Fuel-Surge-Tank-with-Integrated-FPR-P348.aspx The other thing is simplicity, I hate how race cars have all these hoses going everywhere for fuel, it's just more points of failure, all that shit should be built into the tanks/surge tank. Normally you see in race cars (for returnless) Tank > Filter -> pump > Surge Tank > FPR > Filter > Rail FPR > Surge Tank Surge Tank > Tank Currently I have Tank > Filter > Rail Future Radium Setup will be Tank -> Surge Tank (FPR) -> Filter -> Rail Surge tank > Tank. That's pretty simple, and simple means more reliable and safer also. /end rant about how people designing motorsport products aren't understanding the problem the customer is trying to solve...
1 point
-
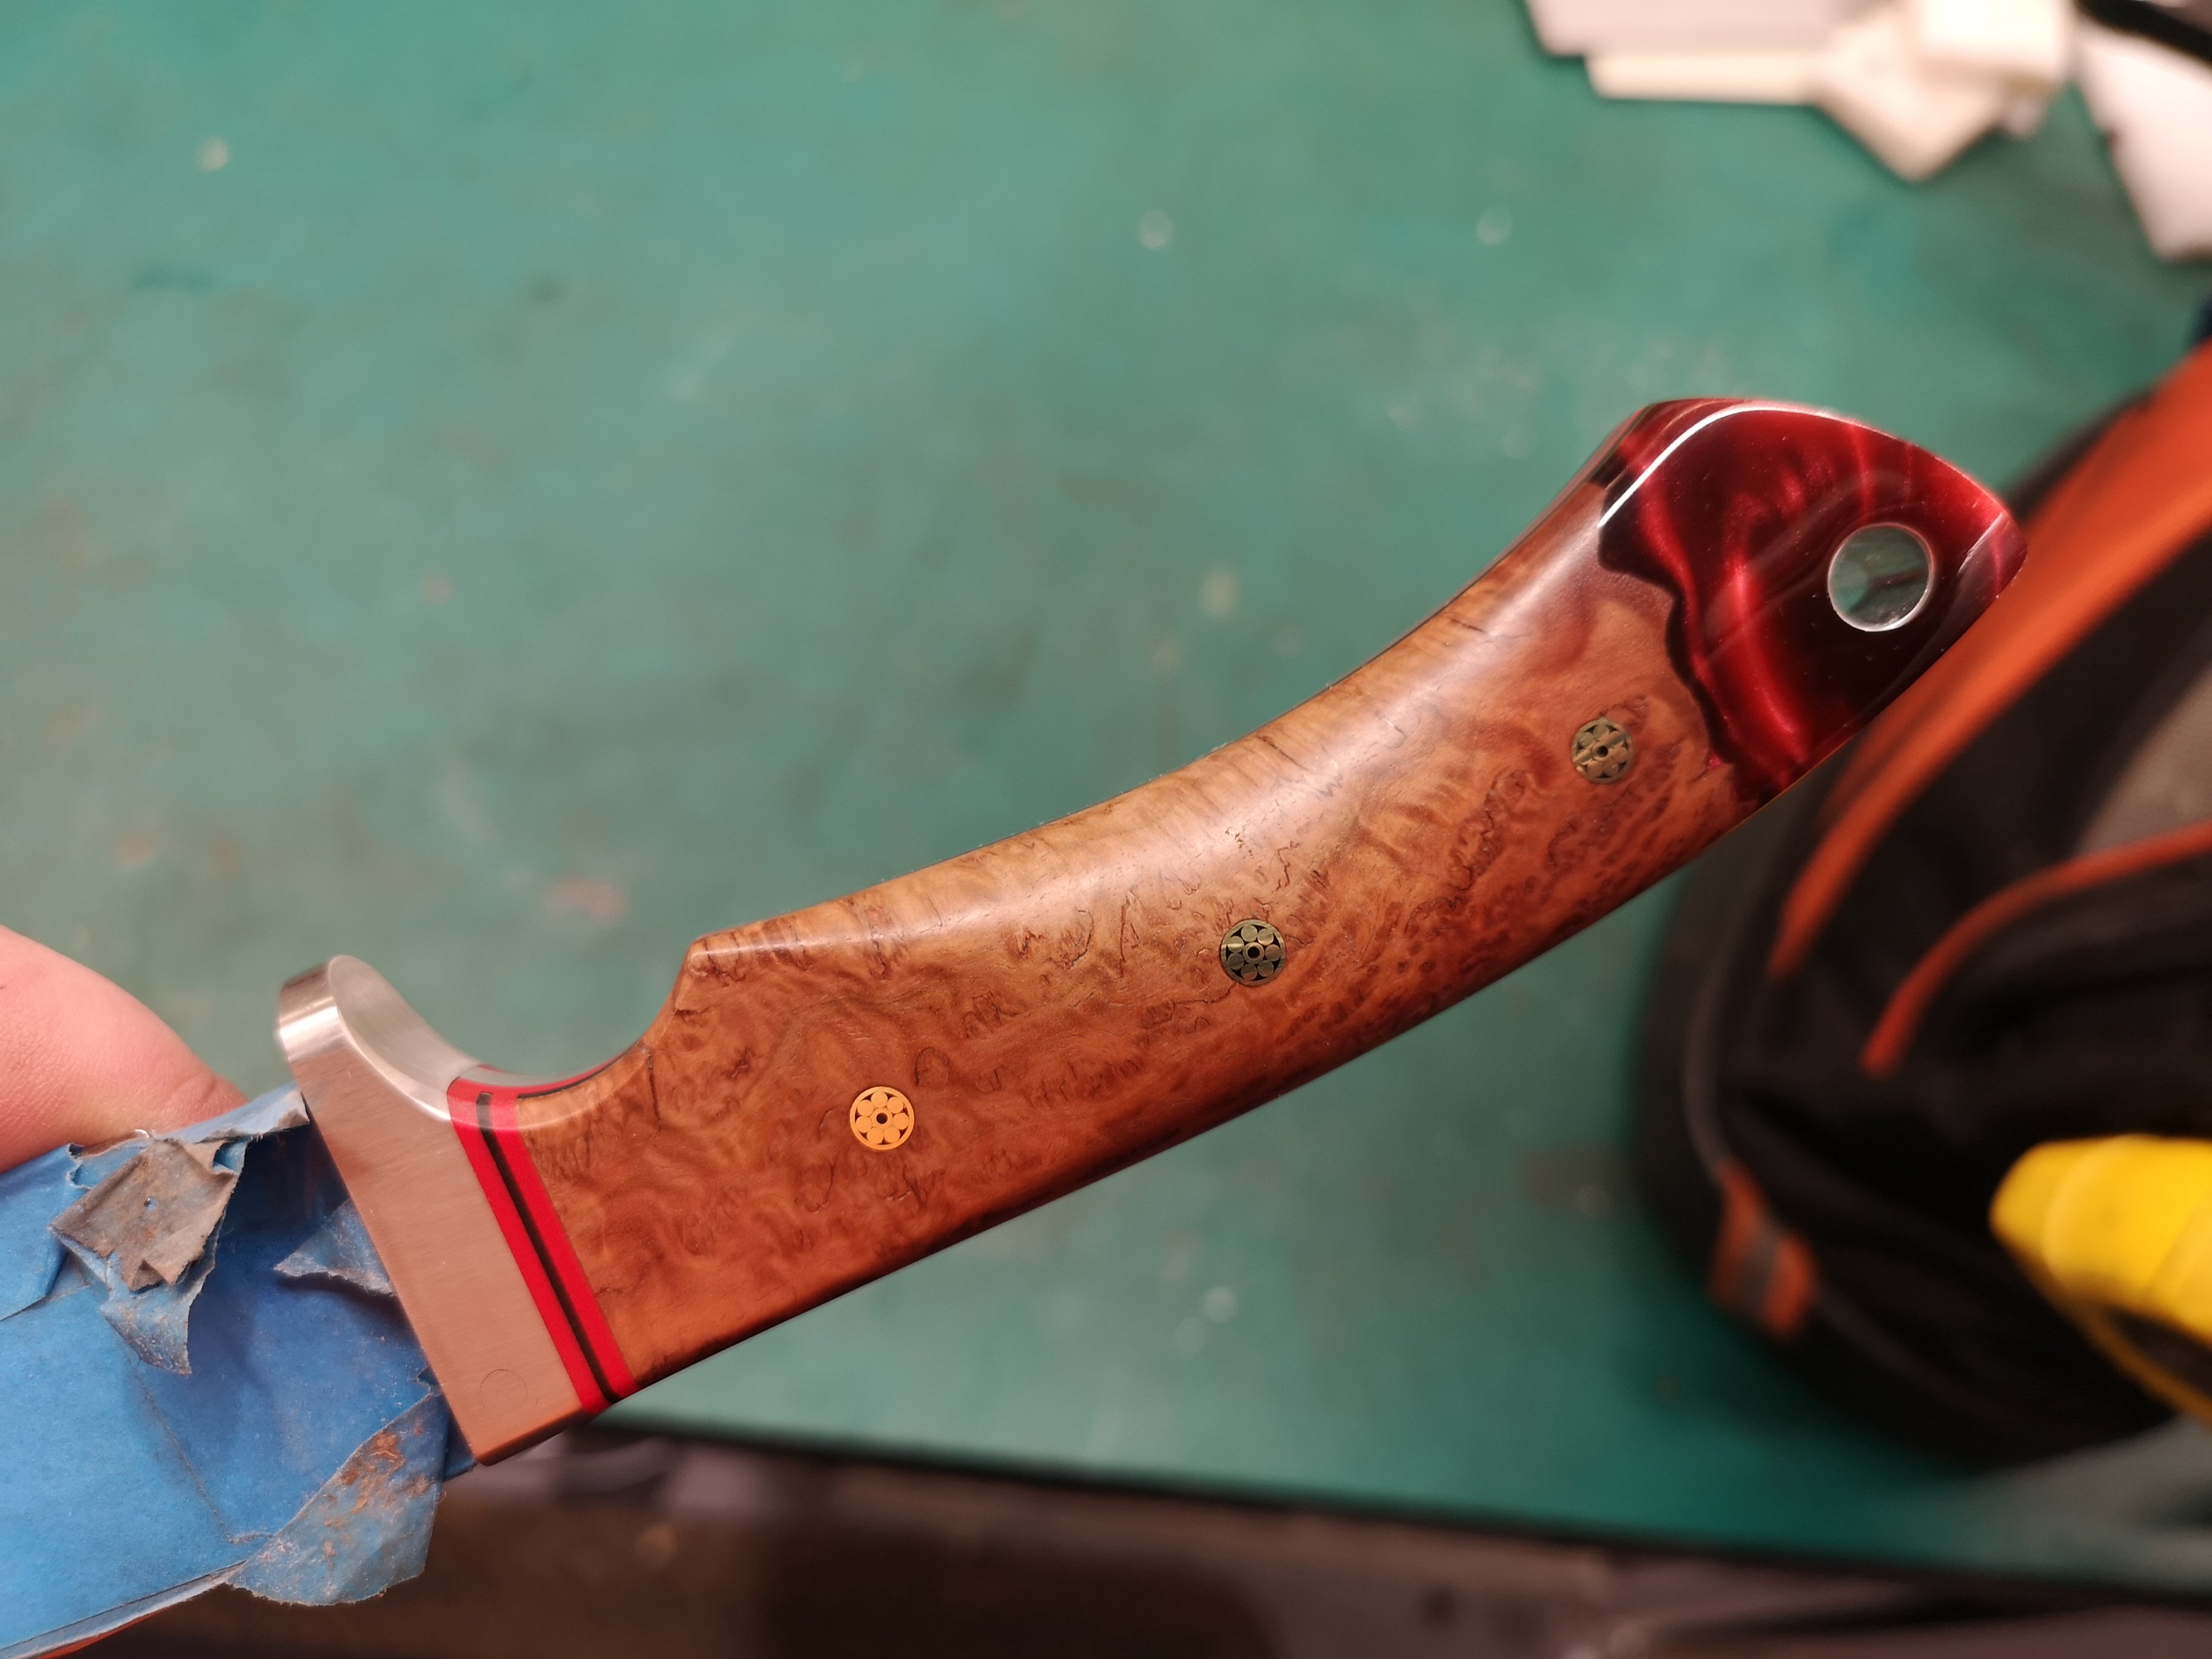
Made up another blank with some wood, workmate turned it into a handle for one of his knives he makes.
1 point
-
Front end back together after a year and a half. Now she's out in the sun all the body issues are painfully obvious! I've got some rust to fix over the R/R wheel and in the boot, and the clear is coming off in sheets, but it drives sooo nice. It's like night and day from the old 5M, and definitely glad I went manual. I've still got a long list of small stuff to tick off before cert, but I feel I'm on the home stretch now.
1 point
-
It made it in a few magazines recently. Performance Car in the 4 & Rotary Jamboree section. Petrolhead in the Beachhop section. NZV8 Beachhop Edition. And the recent NZV8 in the editorial. Had the transmission pulled apart and the forward clutch was burnt out. After waiting a month for the trans to be rebuilt and getting a price back, I decided my Dad could have the rebuilt one and I'd pull out the one that was bolted up to a dummy engine in one of his projects. It looked to be in good condition from the outside. Grabbed the bits I needed off my old one and swapped them over. Hooked it all up and put some new oil in. Went for a test drive and it goes way better than it has ever had!! Has been my daily for the past few weeks (sorry neighbours! The 6-7am coldstarts with the compressors kicking in must get annoying haha), haven't had any major issues! Have done over 1000km in it since the new trans has been in. Went out last weekend and took some decent photos of it.1 point
-
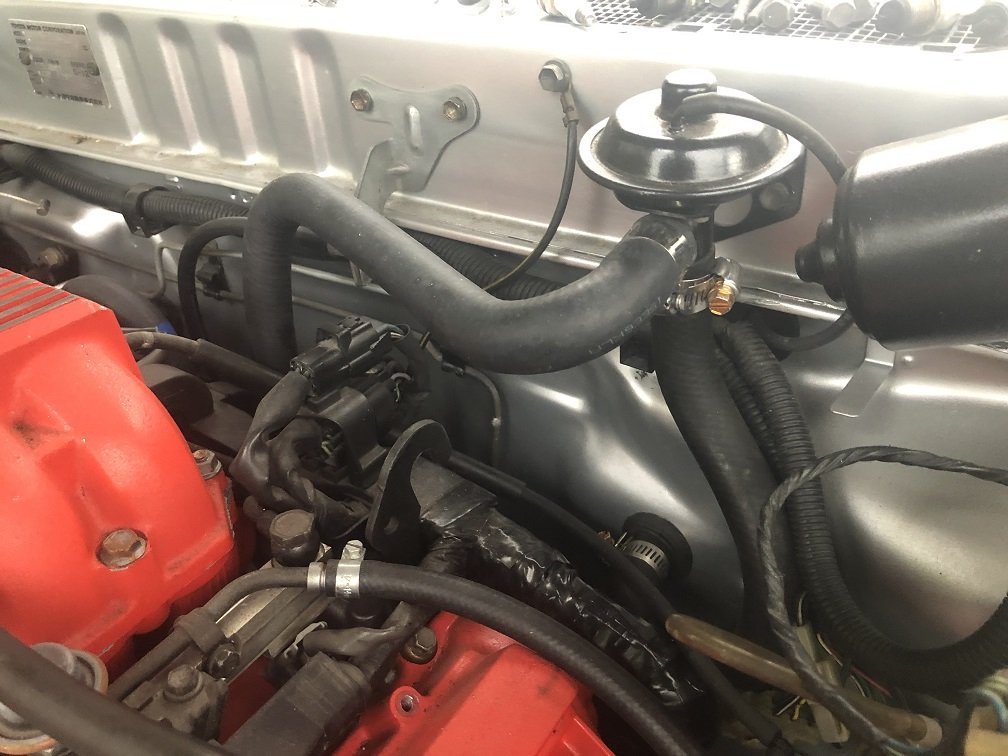
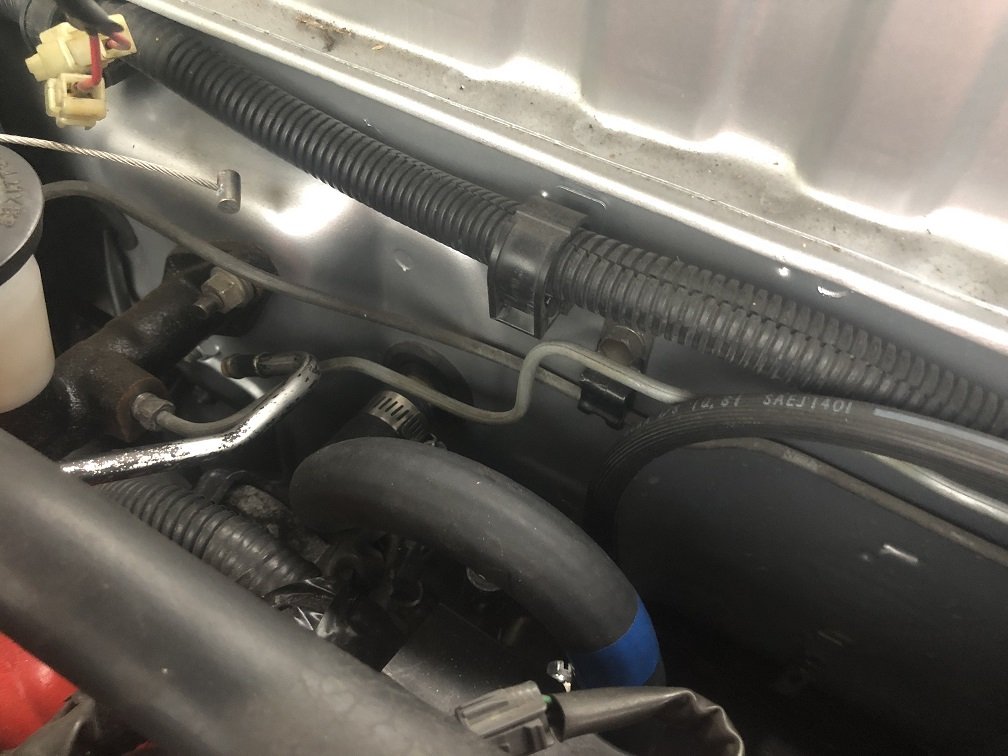
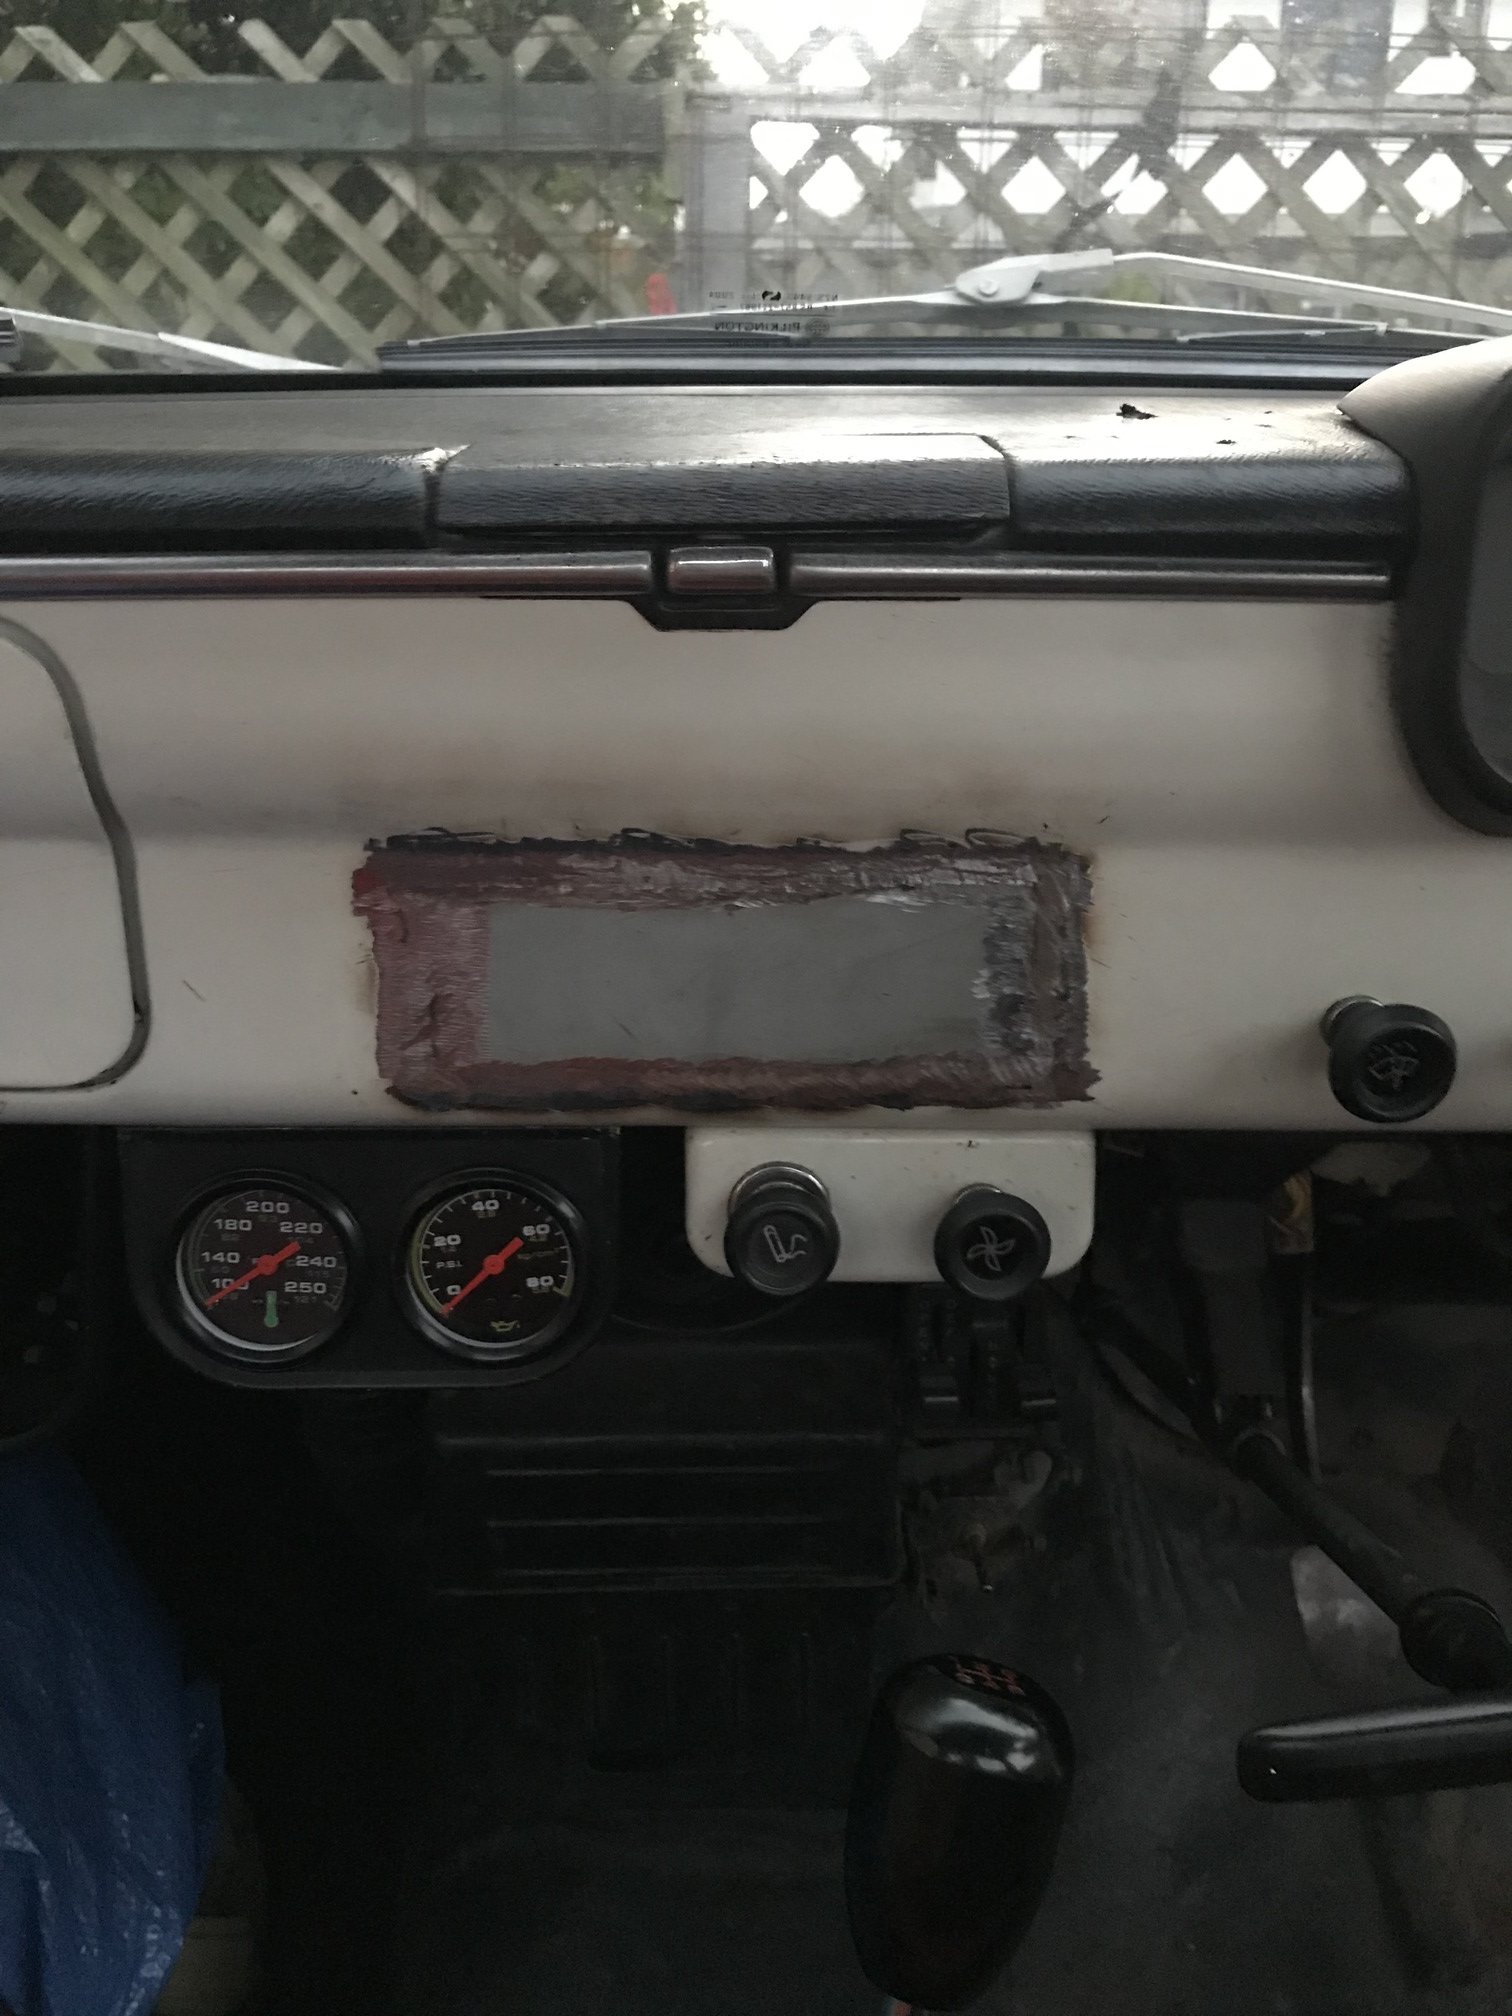
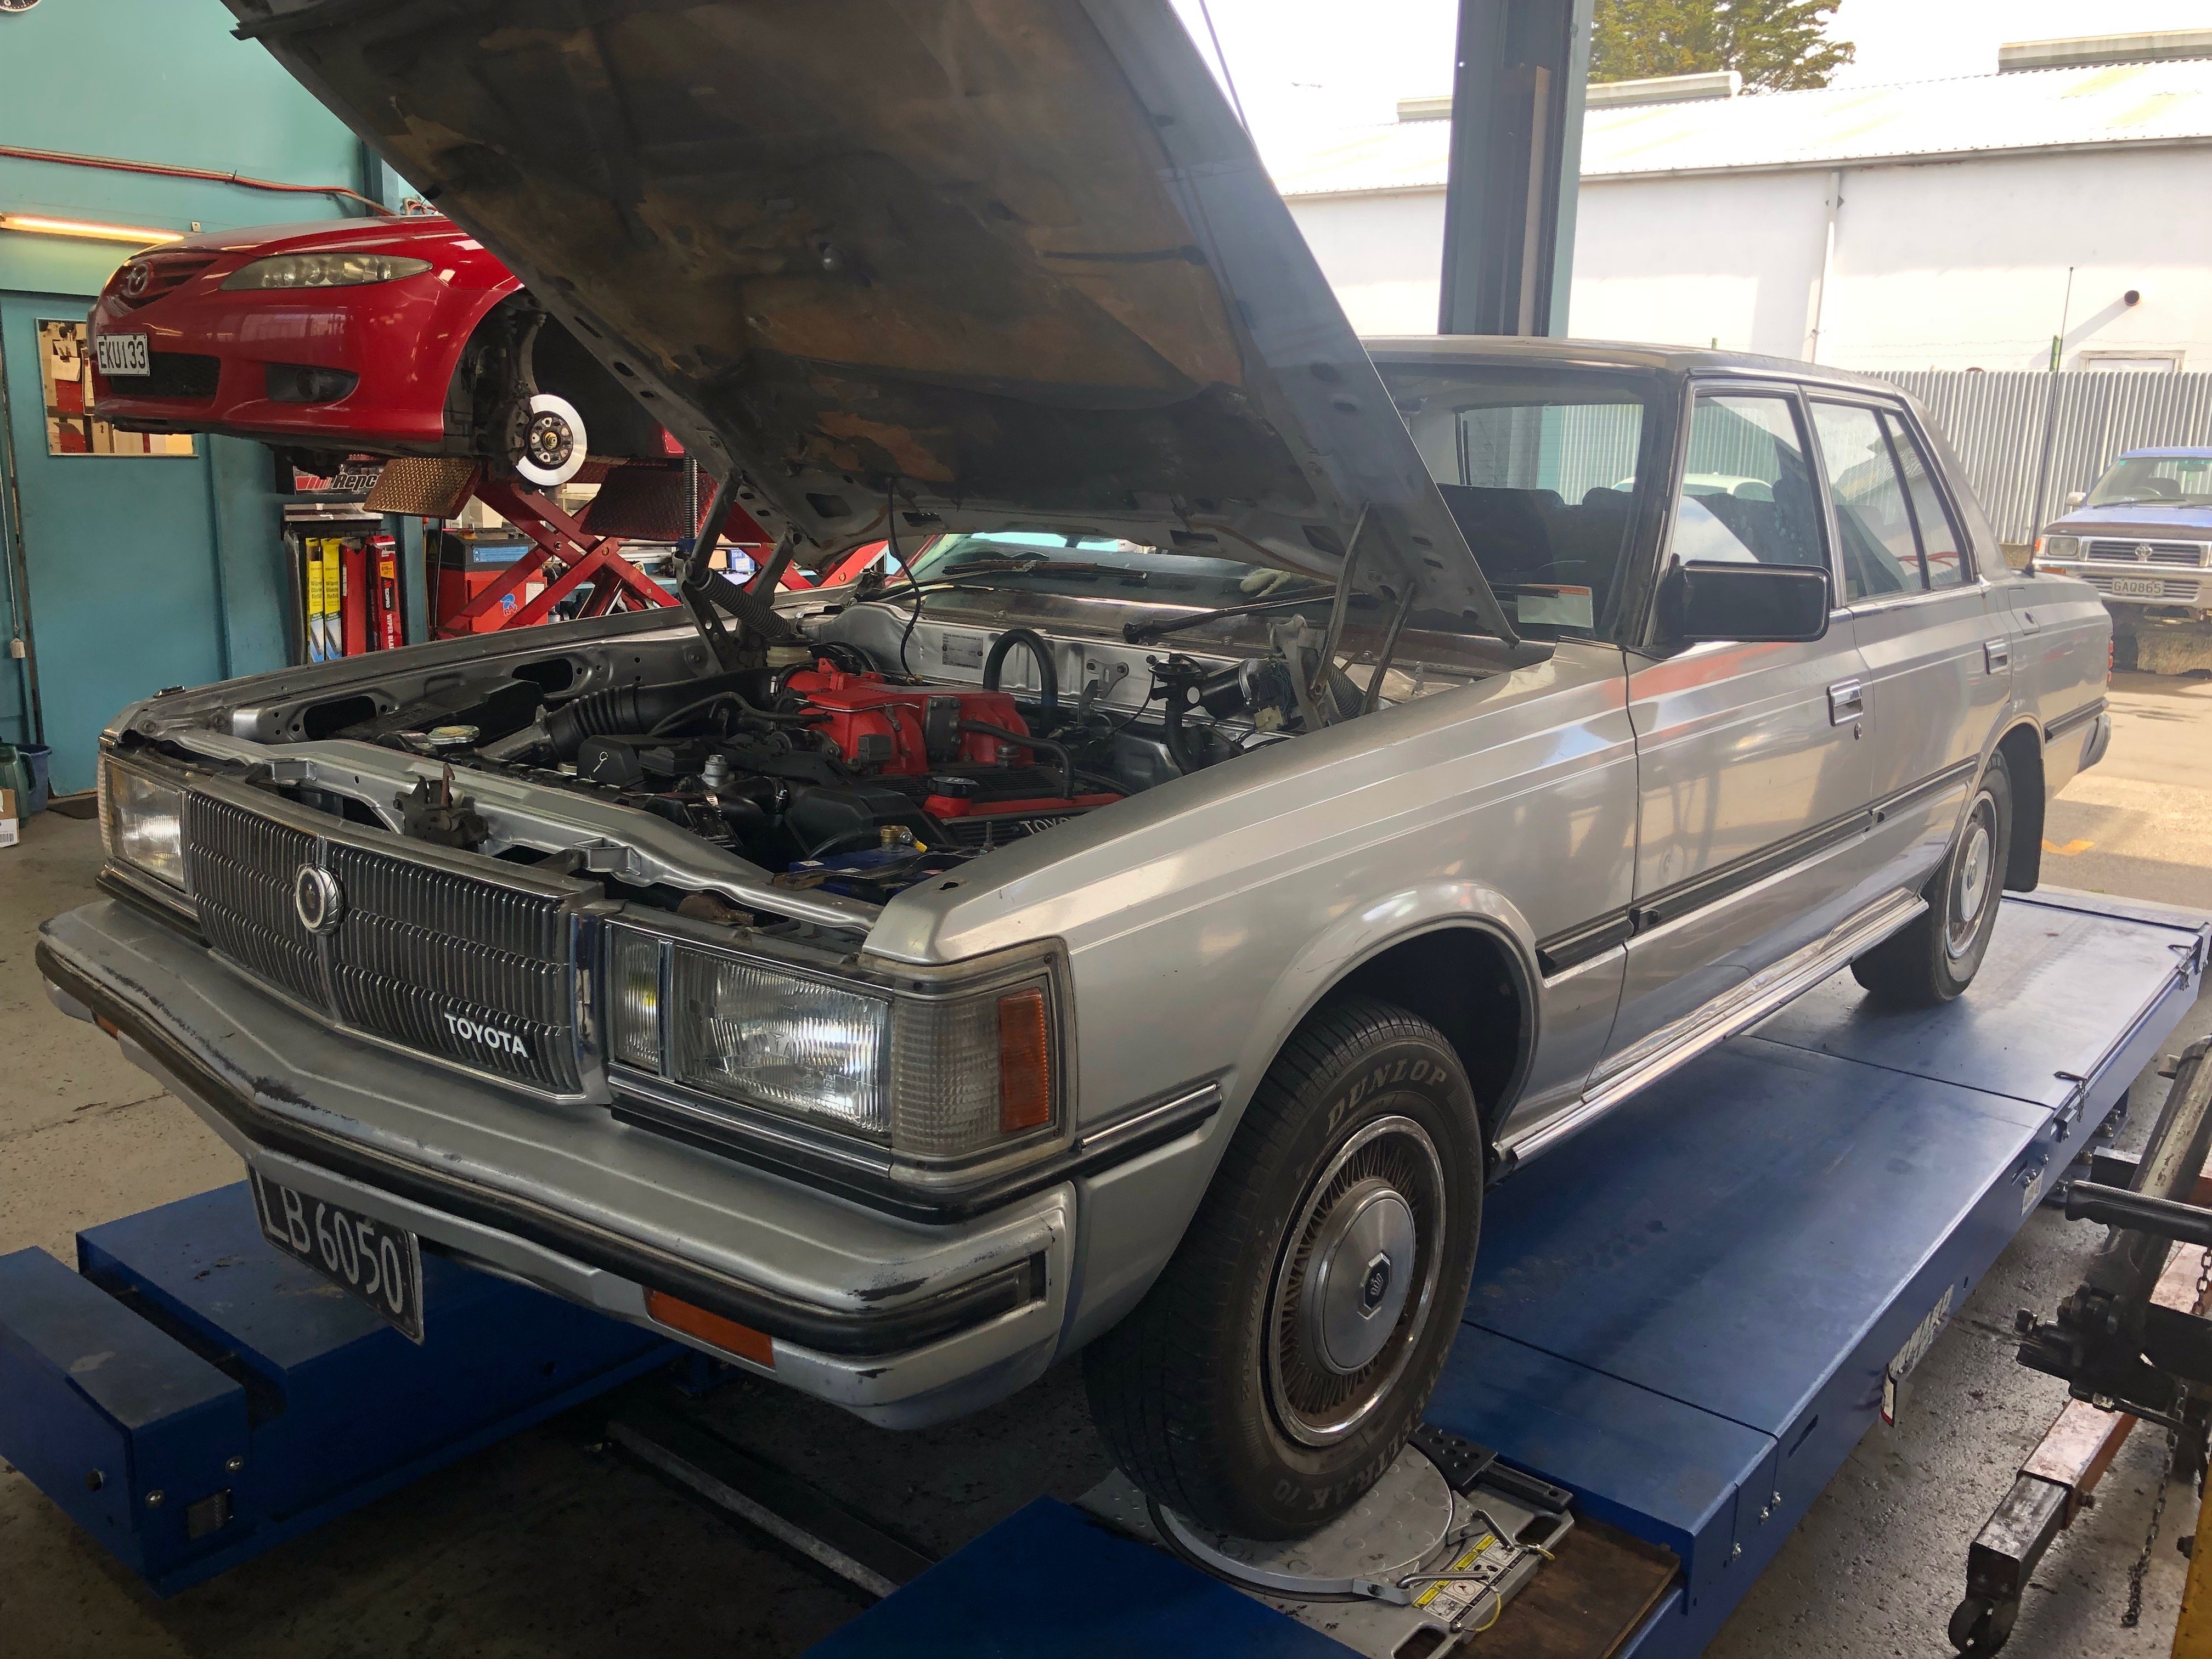
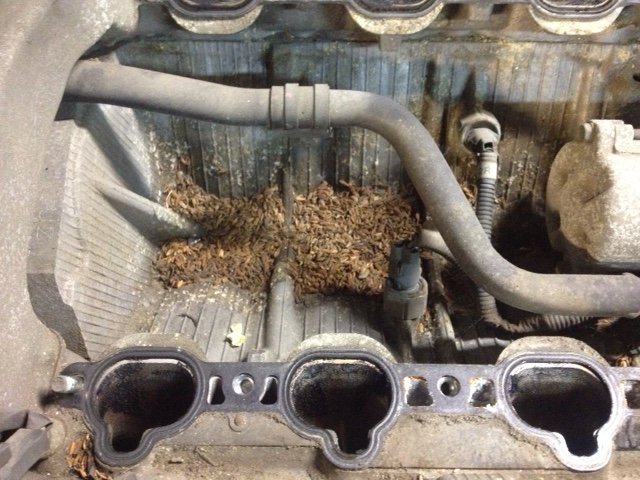
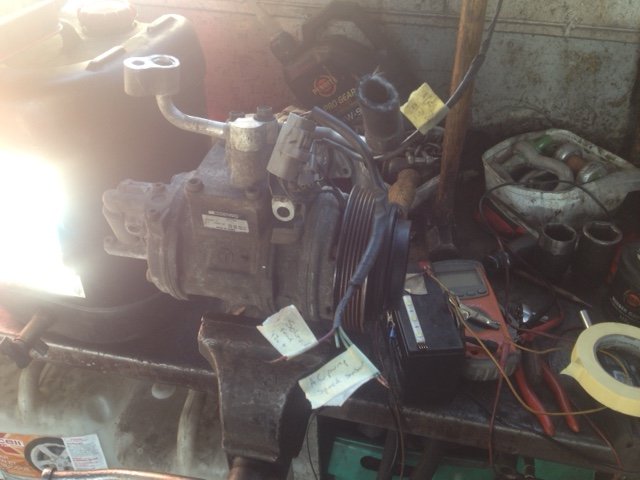
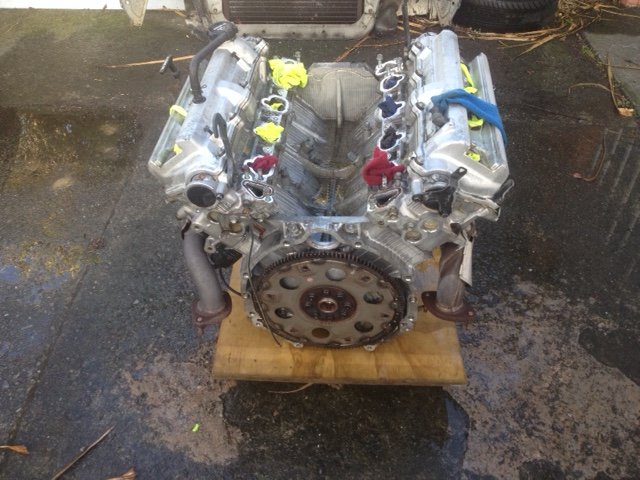
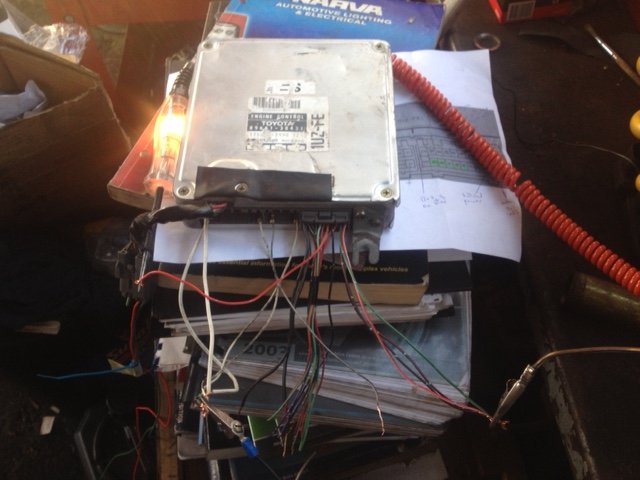
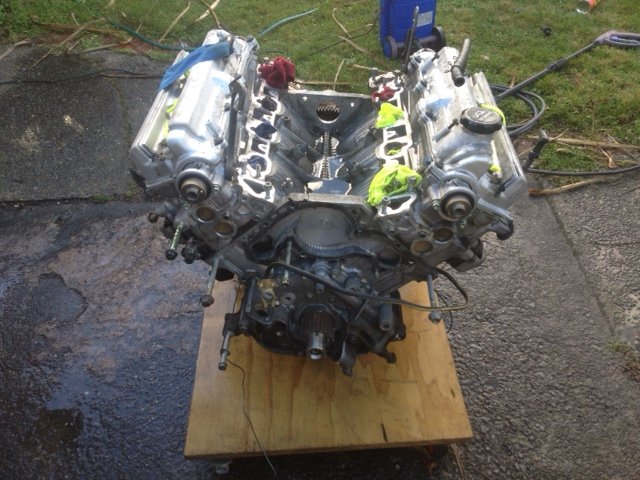
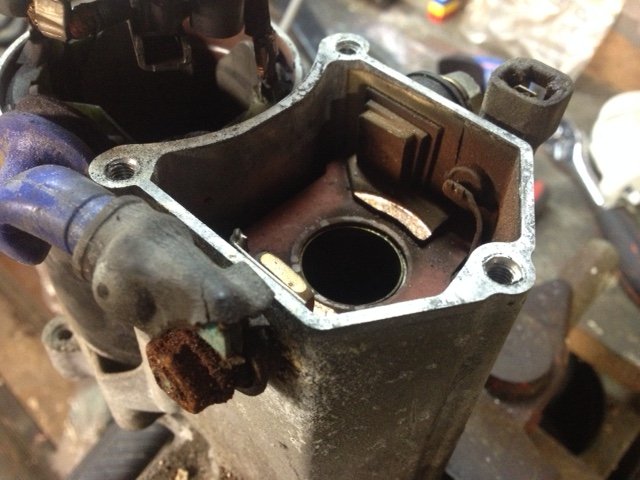
So I went through & cleaned out each injector, every one was stuck and the fuel rail was full of sludge. The starter had been sitting in water for a while, so it got some new bearings, contacts & plunger. I had to get the vacuum out to clean up the valley, and gave the whole thing a careful wash while I'm waiting on cambelt bits. I'm quite keen to get the A/C working so I can experience the Crown parcel tray fridge! A/C pump got a new pulley bearing & I had a look at the wiring. Looks like magnetic clutch feed, 2 wire speed sensor & a 12v feed to a solenoid at the rear of the pump. Anyone have experience getting these 1uz pumps working in a conversion? I also finally found a body plug for the ECU! Mine is the early 3 plug type with a 22 pin body plug that is usually missing. Turns out they have the same plug as found on a 4age ecu, but completely different to a 4afe ecu. With the plug I could fire it up on the bench to make sure it wasn't a dud. No issues there, it quite happily popped out fault codes for the unconnected sensors.
1 point


This leaderboard is set to Auckland/GMT+12:00