
Leaderboard


Popular Content
Showing content with the highest reputation on 12/23/19 in Posts
-
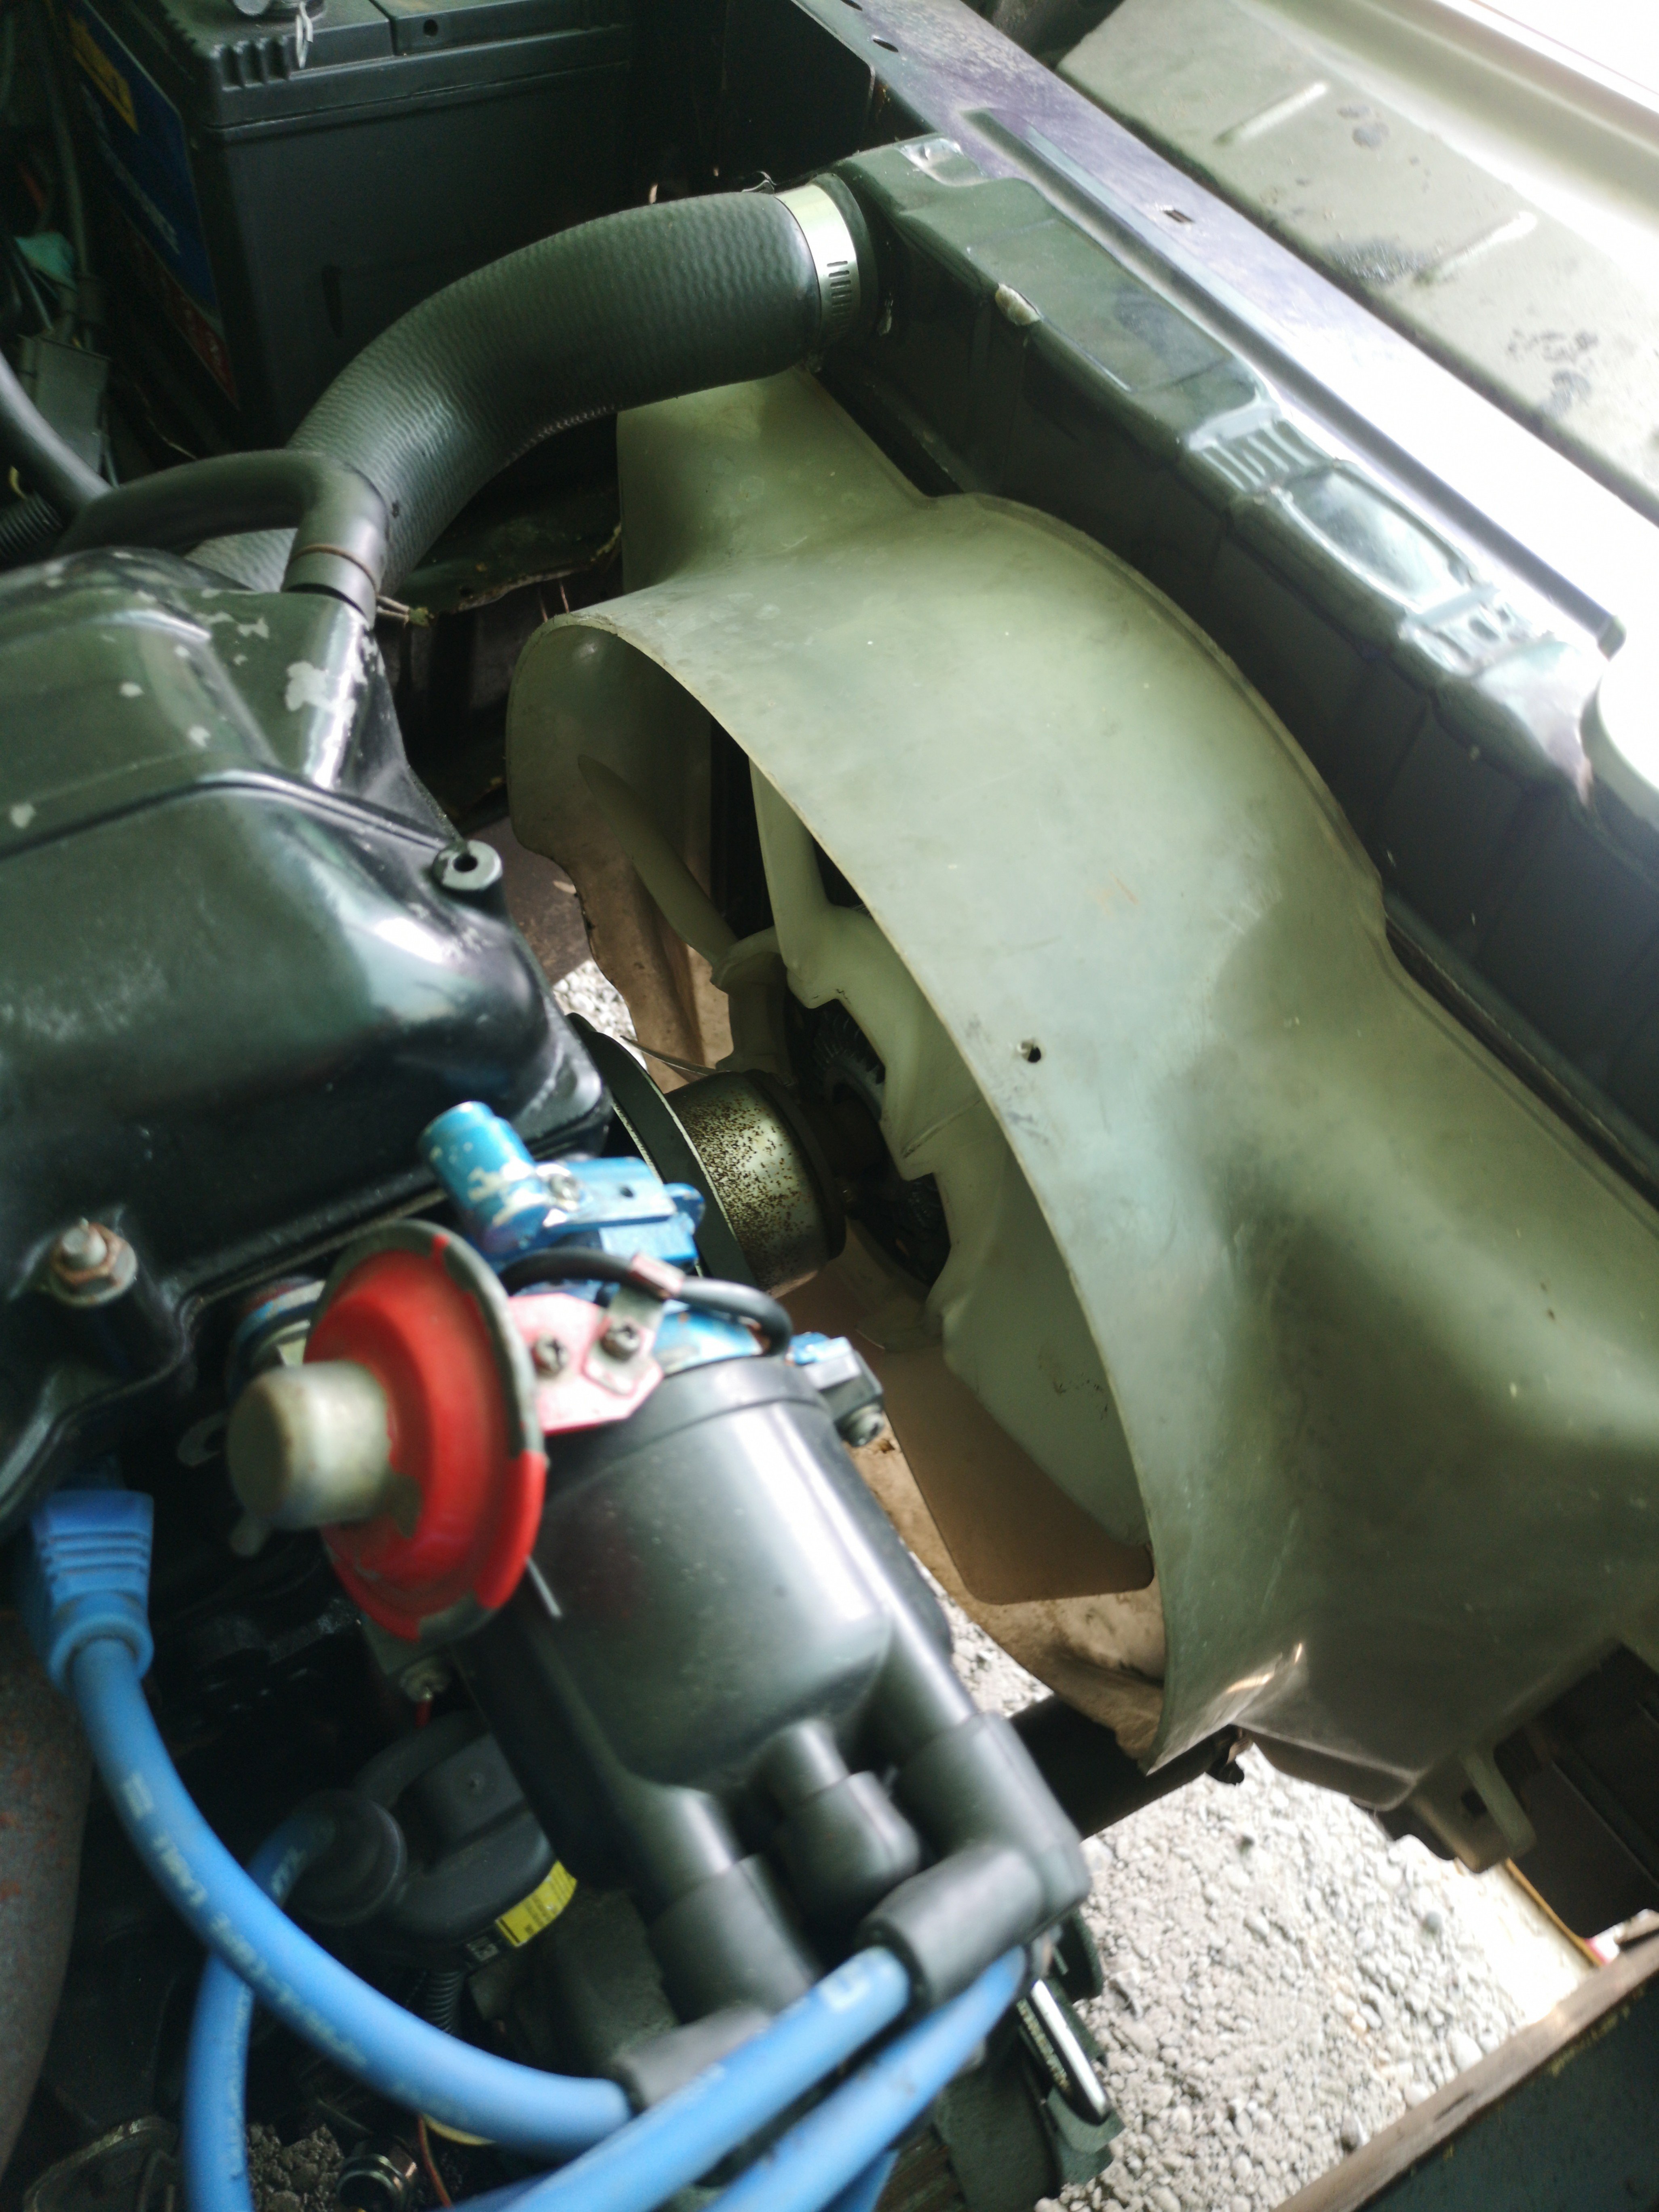
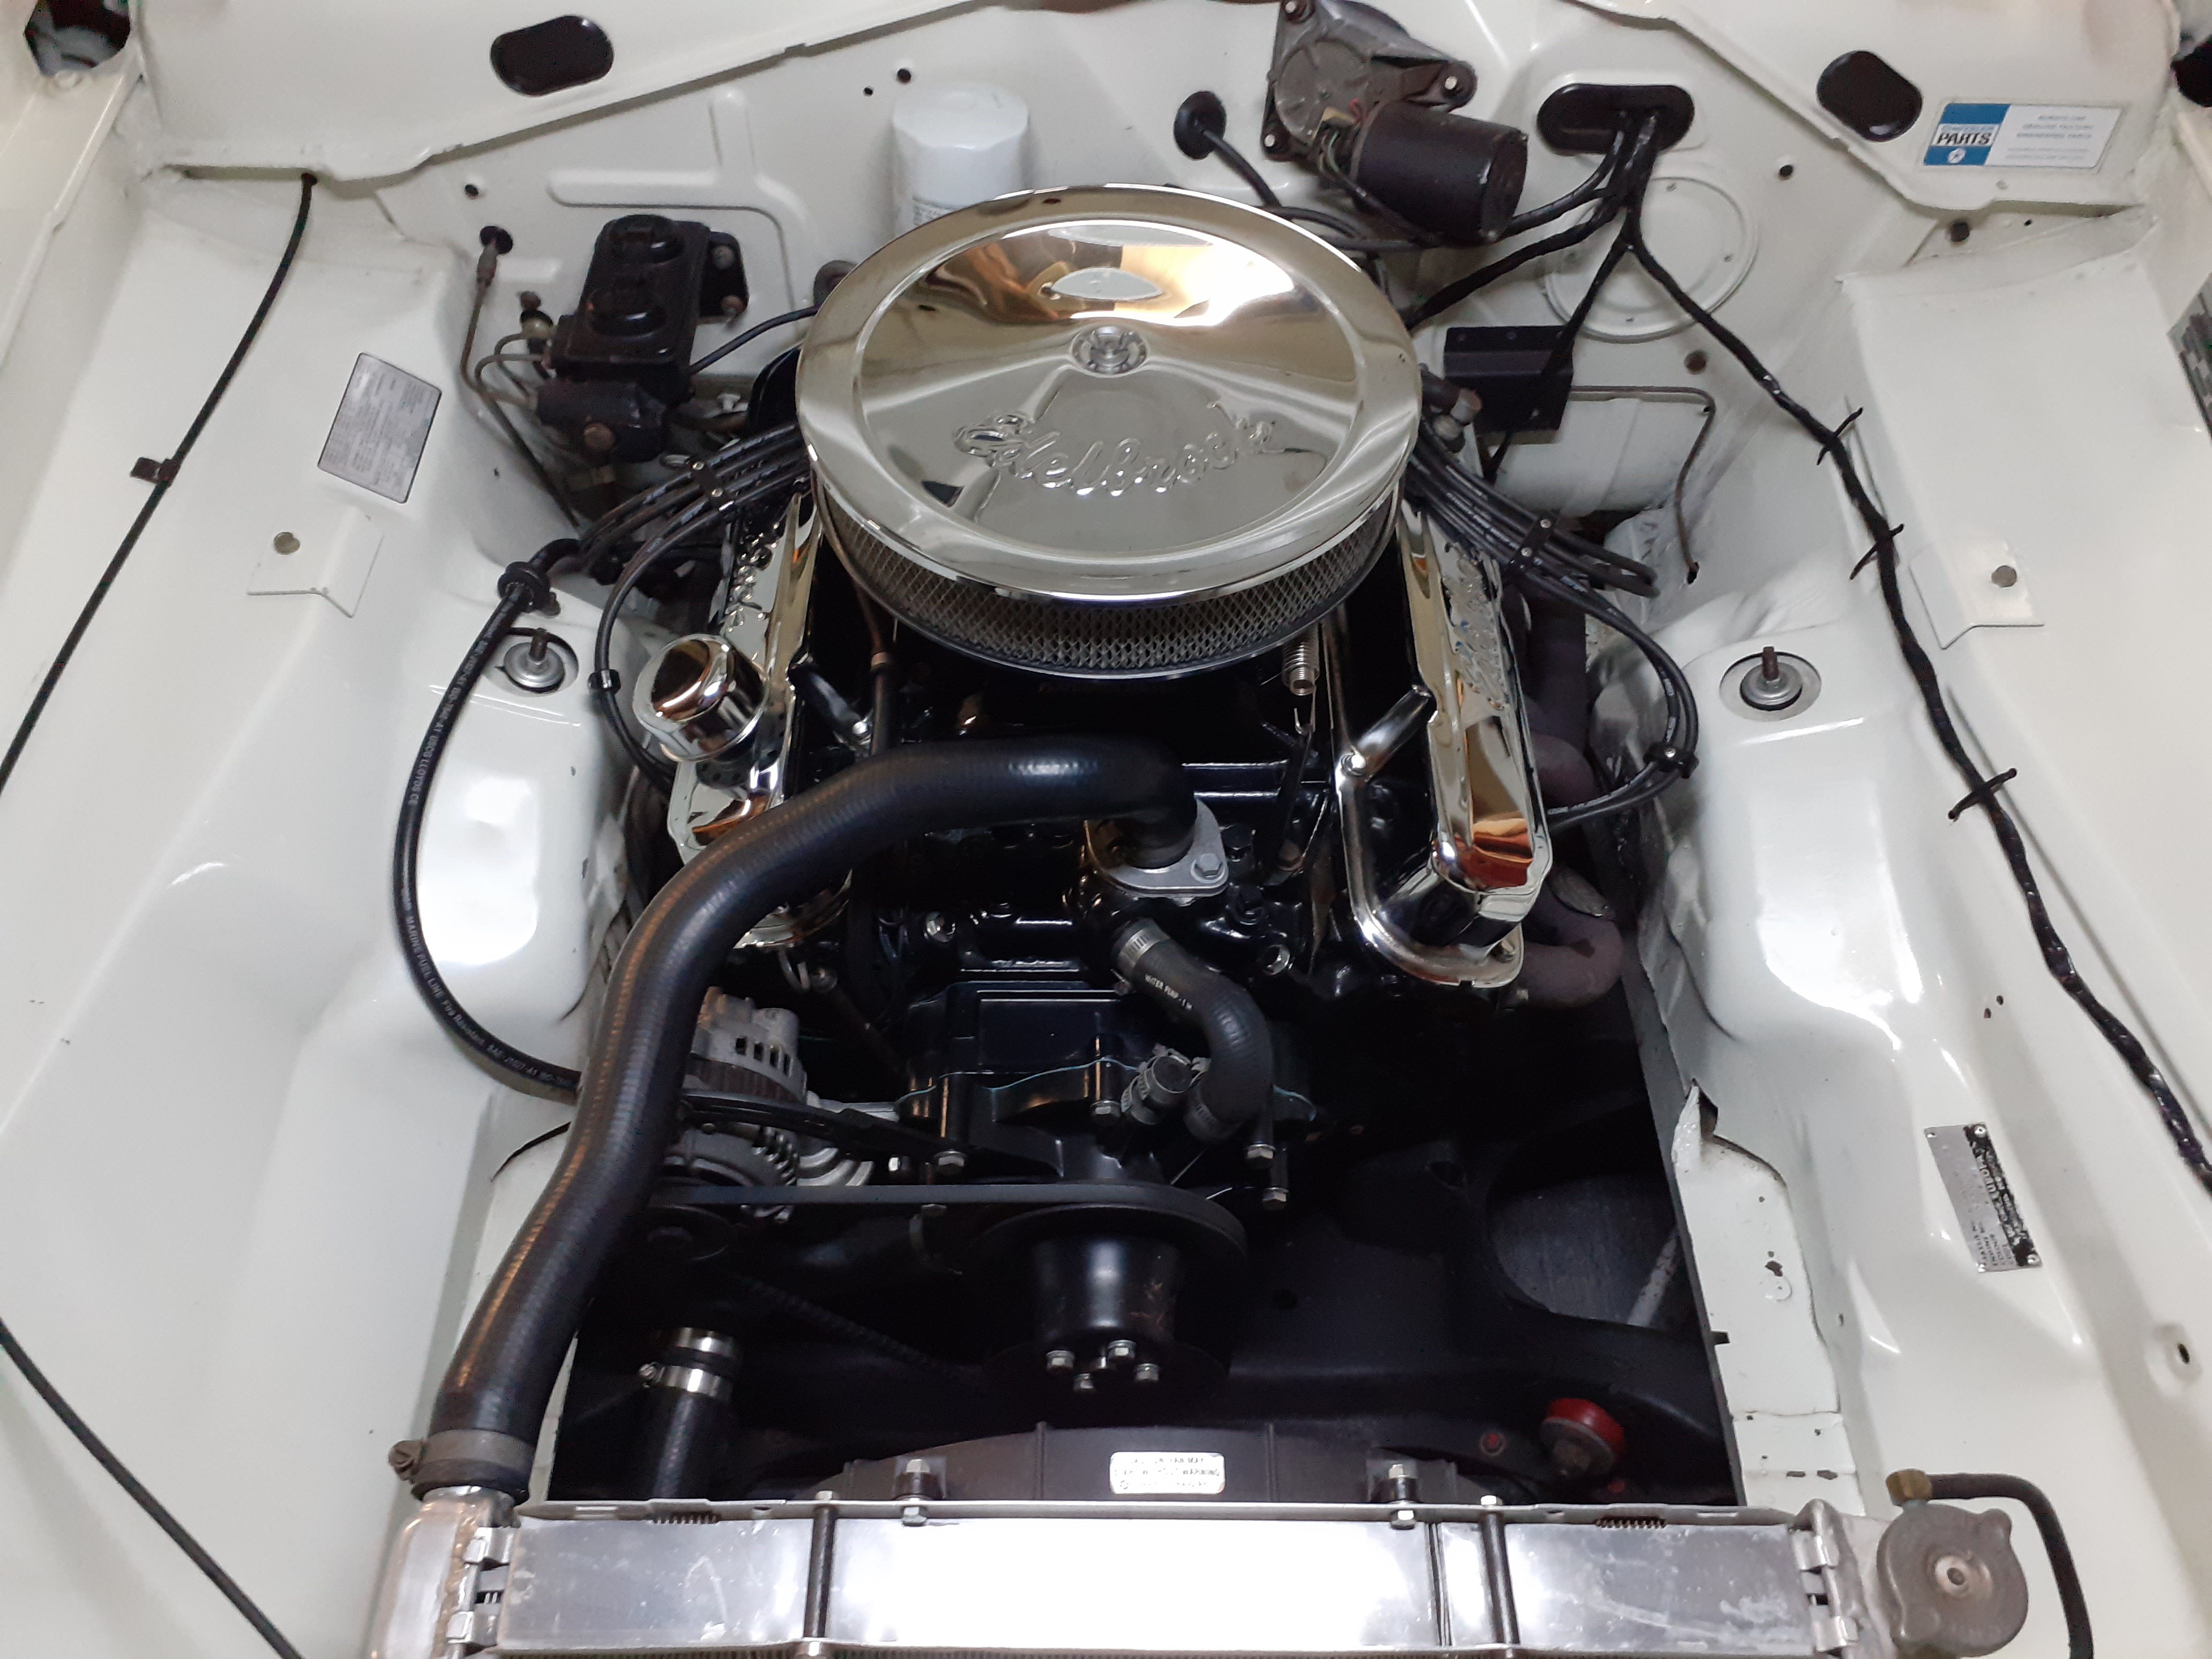
Got a little bit more adventurous yesterday and went for a longer drive out on the 80k zone so I could open her up a bit. Goes so much better, who would've thunk that efi and an 60mm Tb would make this sort of change. Finally found some info on this particular iteration of the f/ma, came out 82 the 1982 luce 2000 sg-s and not the cosmo like I previously thought, no wonder I couldn't find anything.. Was pretty healthy too really, considering they "upgraded" to the fe, 120hp/167nm vs the 12v fe 120/178. I was always of the opinion that it was a total boat anchor at only 90hp, I've done bit of work to them in the past and they've gone pretty good but efi is hands down the best modification, shits all over the 45dcoe I had on my 626.. Just don't remember it being this quick sans turbo.. Anyway like I said took for a spin, got it up to about 5500rpm a few times.. Once it hits about 4k you can really feel the vibration through the pedal compared to the carb, think it comes down to the way the linkage is orientated so at wot the cable is sitting at almost right angles to the linkage (kinda hard to explain without a pic) might need to adjust it round a bit. All went good till (luckily) I got home and it started running like a bag of dicks again, but this time an electrical miss, down a cylinder. Checked leads and they were definitely firing, pulled off an injector plug.. ahhh. 4 and 2 not pulsing so inj pinout #1 and sure enough when I wobbled the cable it came back. Ended up being some dry solder joints on the main plug, resoldered them and bob's. Also managed to get a viscous hub of an fe, was pretty loose so I topped it up with some silicon oil. They work a bit different from the Asian hubs on the toyotas as they unbolt and come apart in half whereas these don't come apart at all, instead the of a bimetallic coil they have a strip that when hot bows out releasing a little plunger type pin underneath which in turn somehow activates a valve inside. To top it up you have to get the oil through that little hole whilst letting air out (it was a cunt) works anyway and is much quieter than the fixed fan that was previously on there. Got a new oil pressure sender as well, the old one was leaking like a mofo.. No wonder the bottom half of the engine is covered in shit.. Ended up getting an aem wideband. Reviews said it was the best but more expensive than the innovate, trademe disagreed and someone had them for about 60 bucks less. I'll weld the bung on in the new year and get about tuning it a bit. Here's a great pic to prove I actually did something and didn't just want to talk shit, I forgot to take pics of everything else..
 13 points
 -
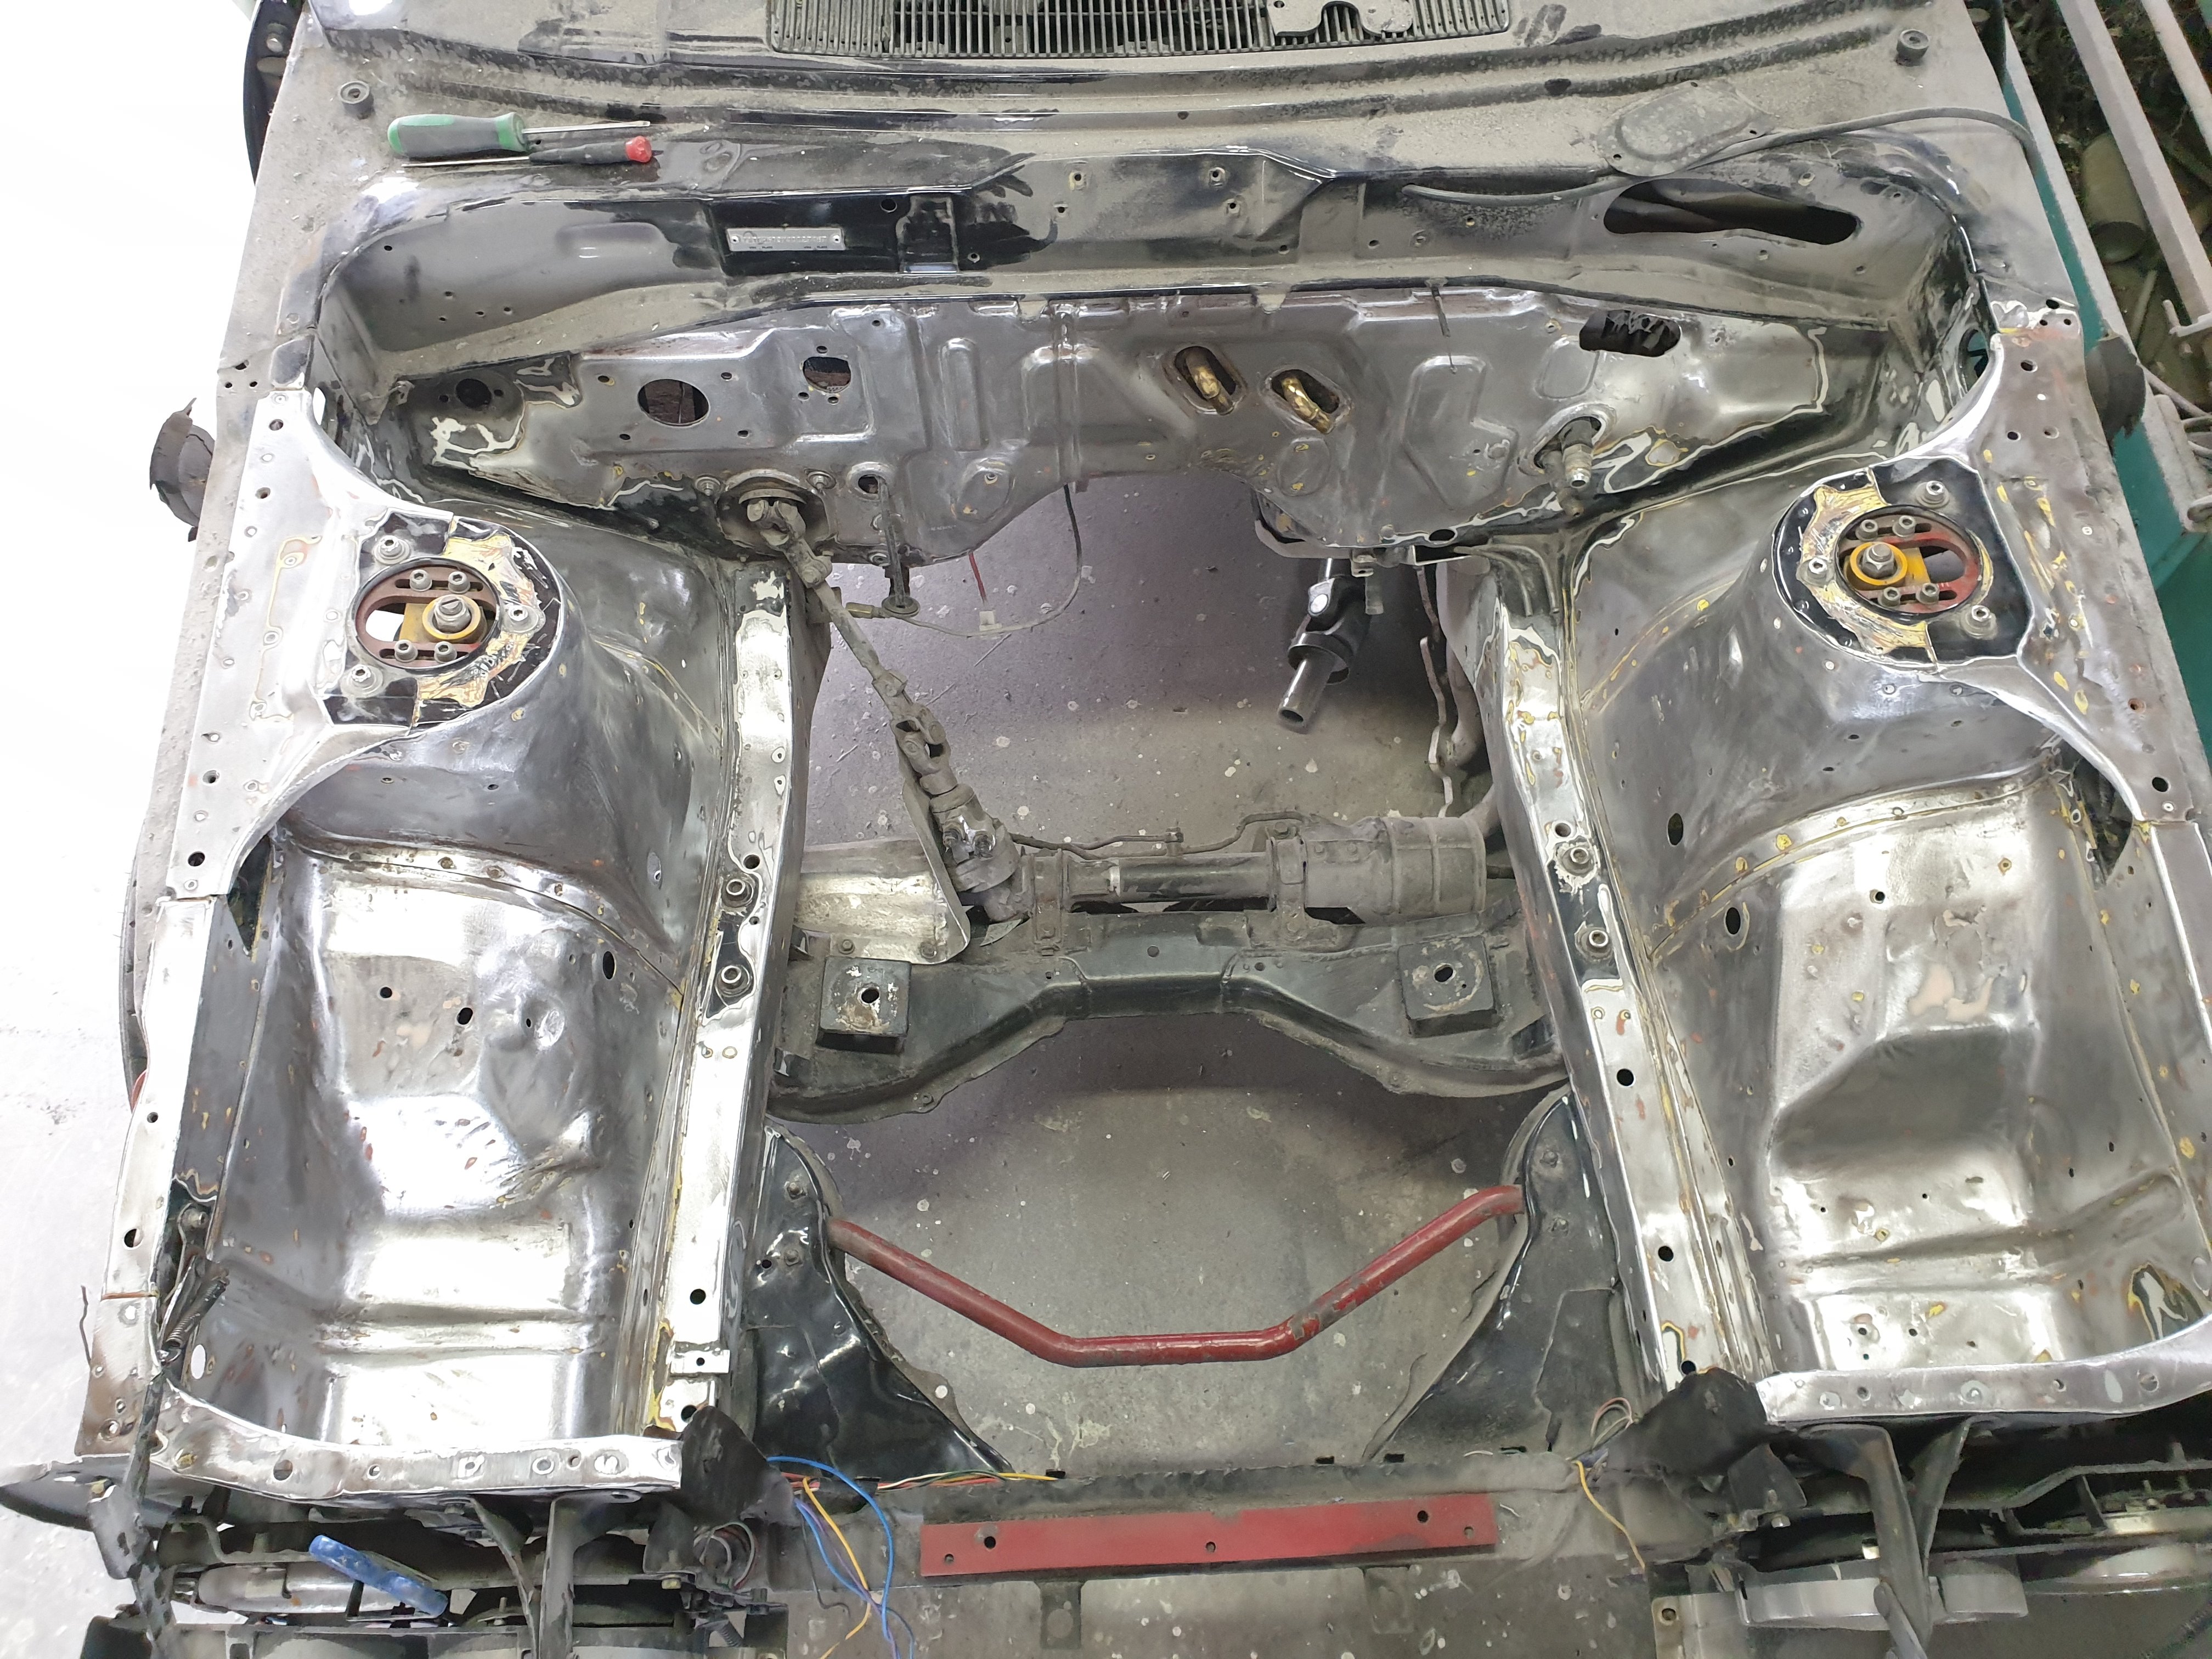
Yay. So I started sanding and it became immediately apparent that there were a bunch of layers and lots of them are fucking nasty. There is a layer of black dulon in there which is fucking everything up. Nothing for it but to strip it all back to metal. Side sharn, I bought this car in 2006 but I'd seen the car in about 1999. At that stage it had a black engine bay and a 3T sitting in it. The rest was in primer. He must have primed over the black art some stage. So anywho, fast forward to today and most of the paint is gone. I'm feathering the edges where it's a real cunt to get to and hopefully the epotec will seal the nasties from coming through. Time will tell. On the plus side I'll probably get primer on it before crissy then it can sit for a while before I sand it. Give it some hope of settling down. Still got strut tops to do and the top of the firewall
12 points
-
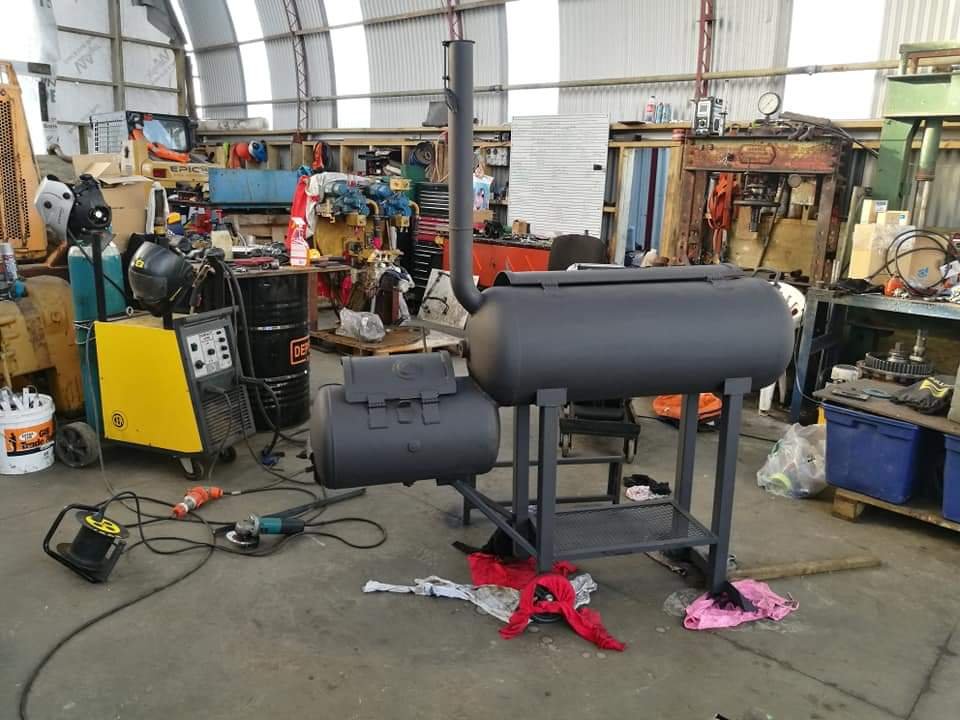
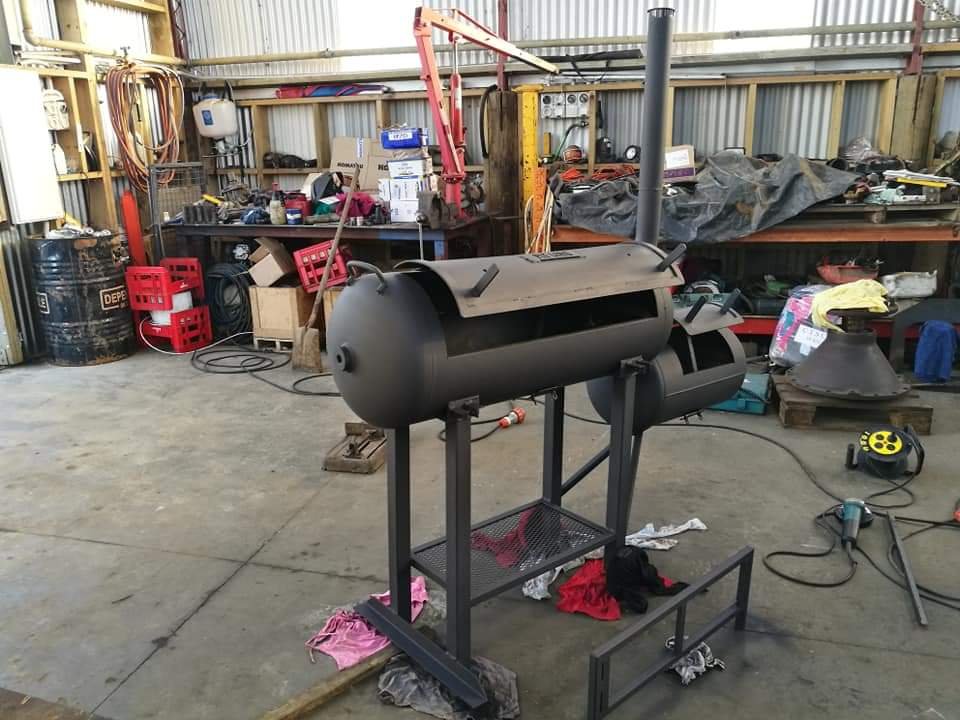
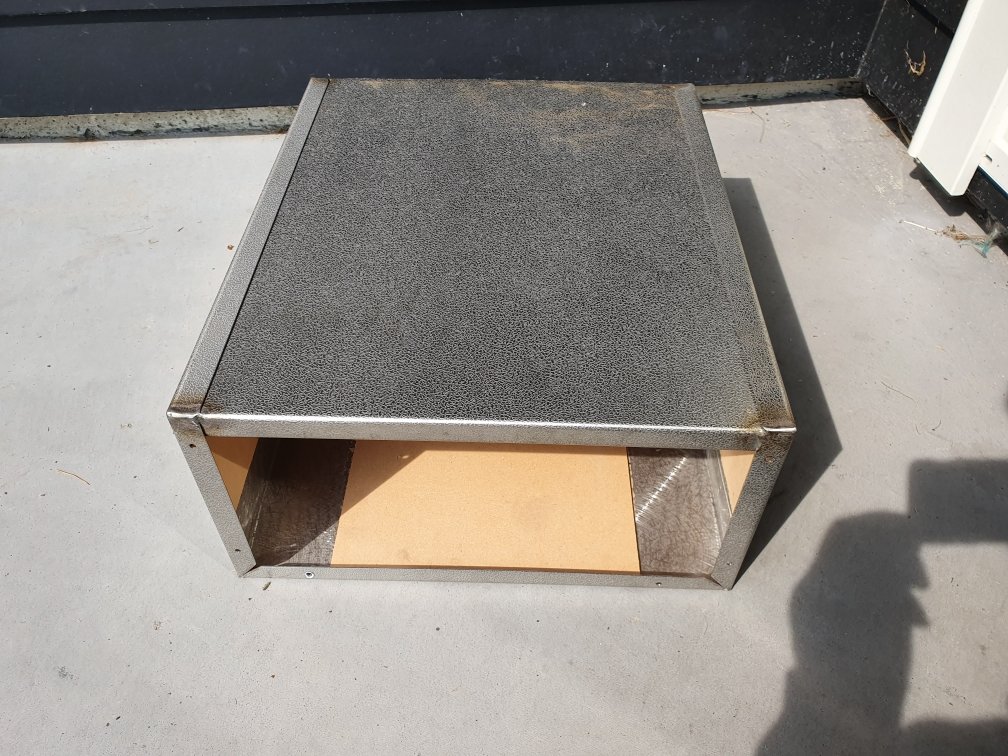
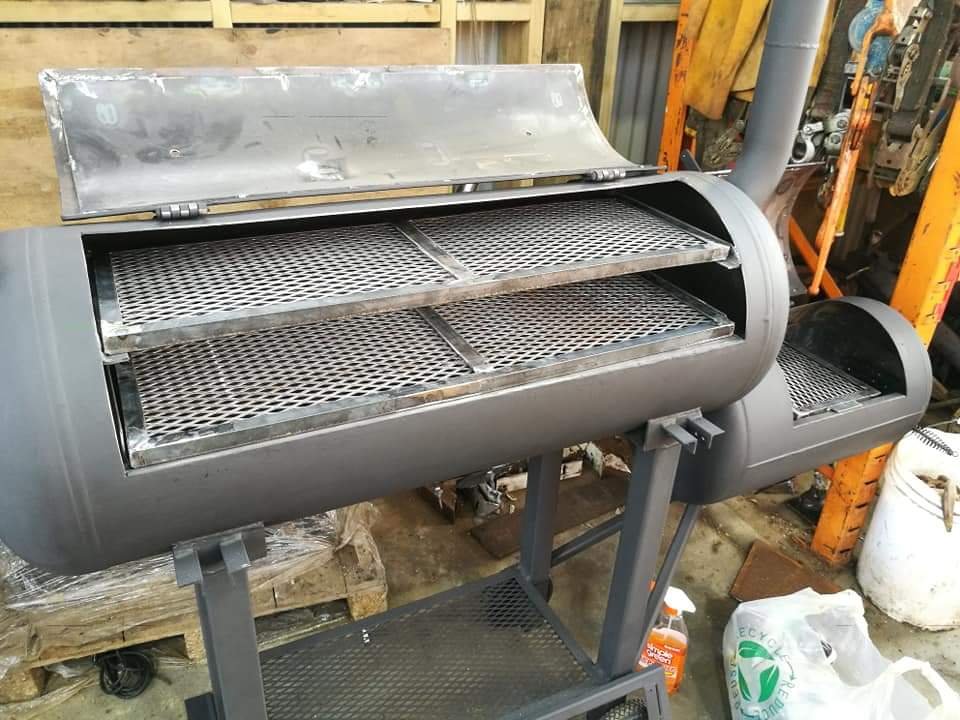
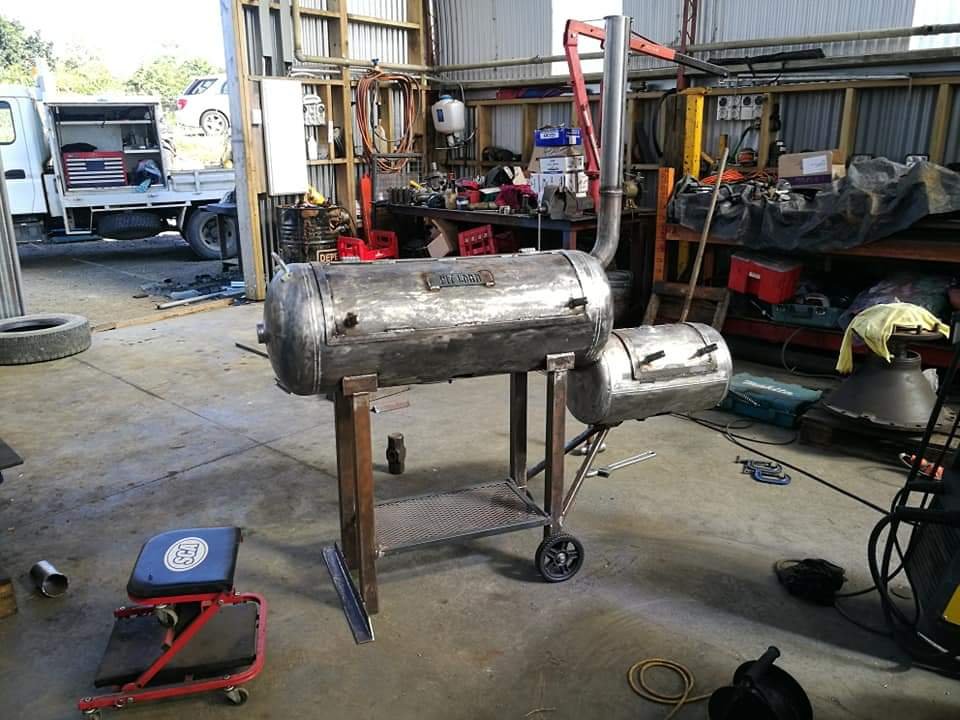
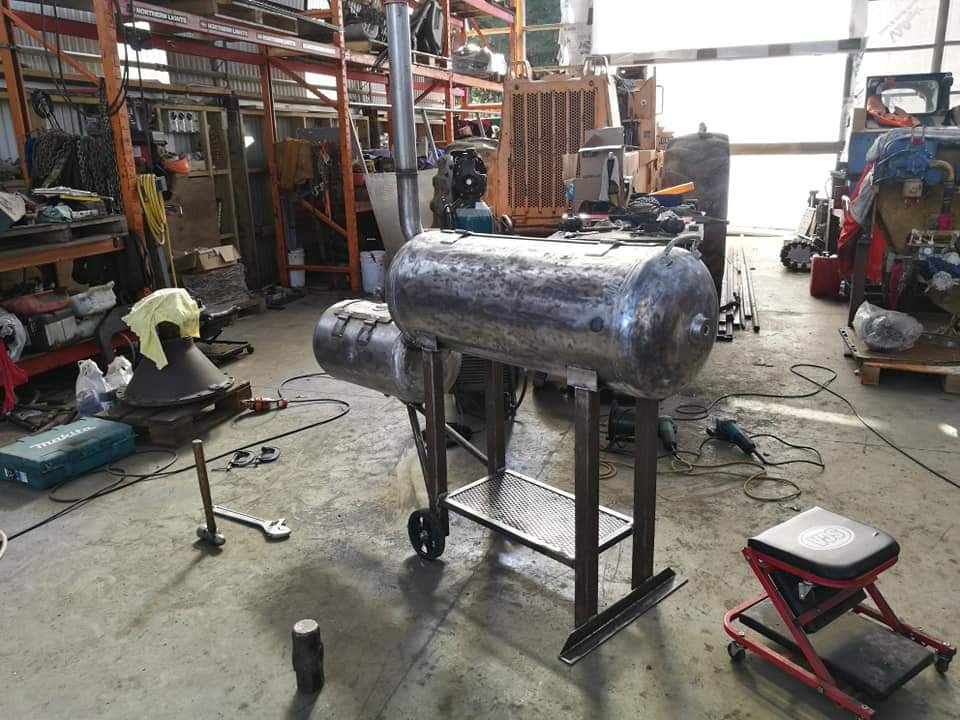
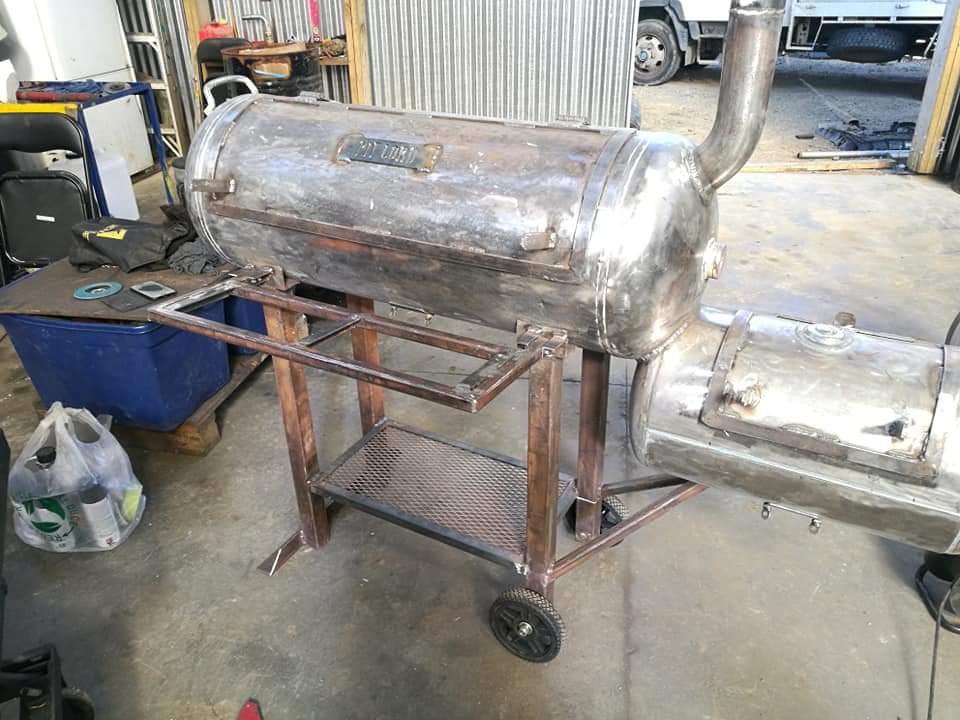
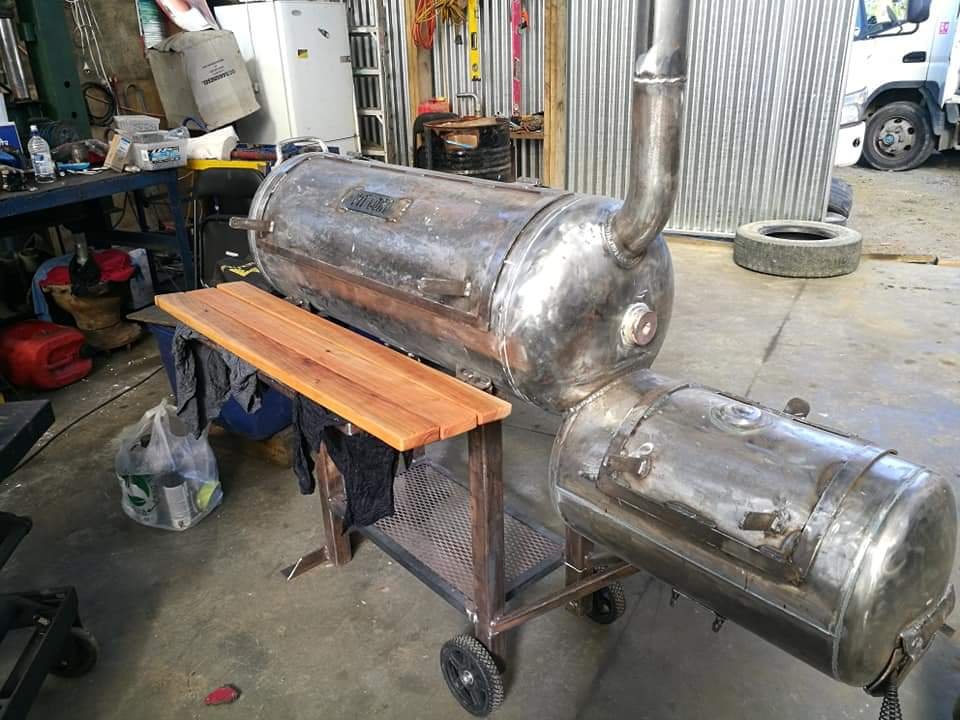
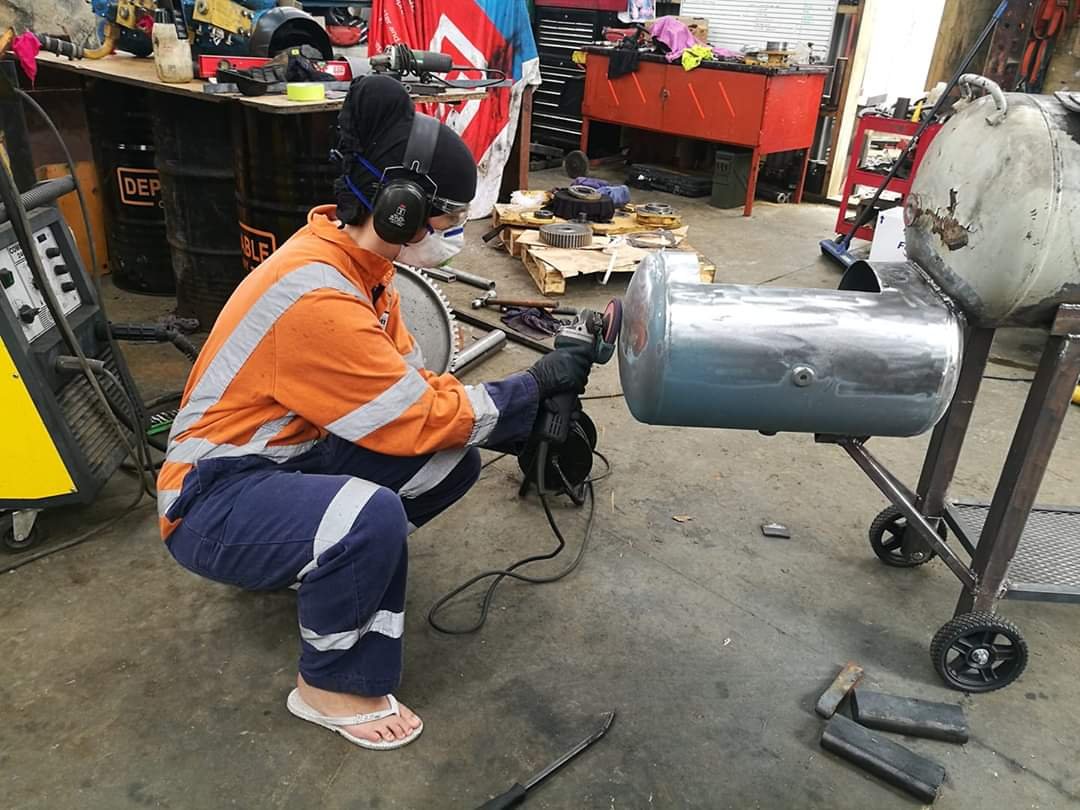
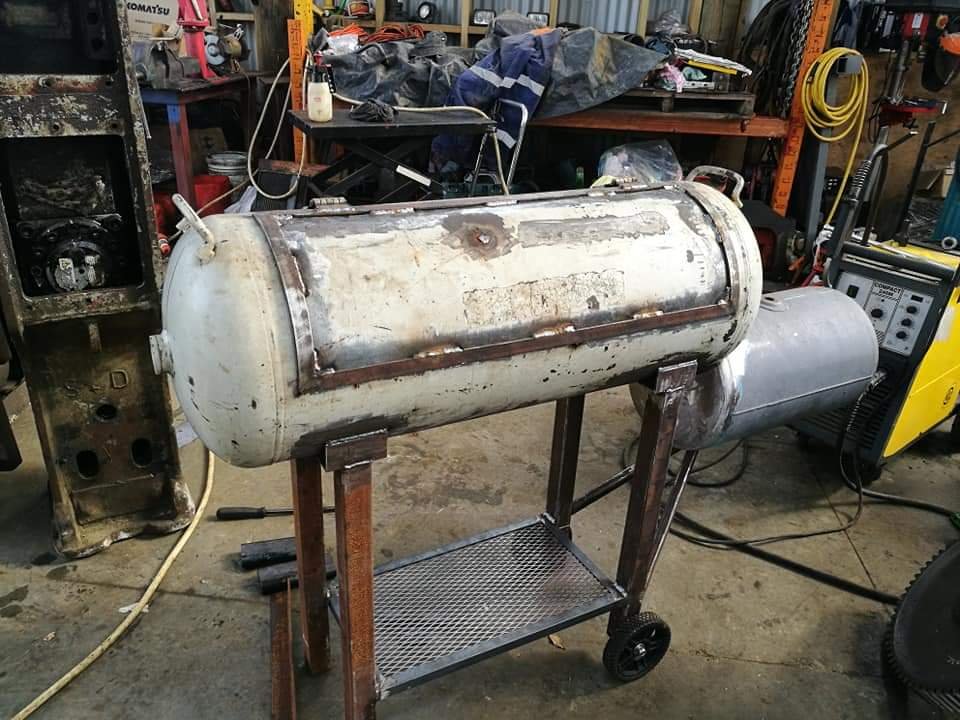
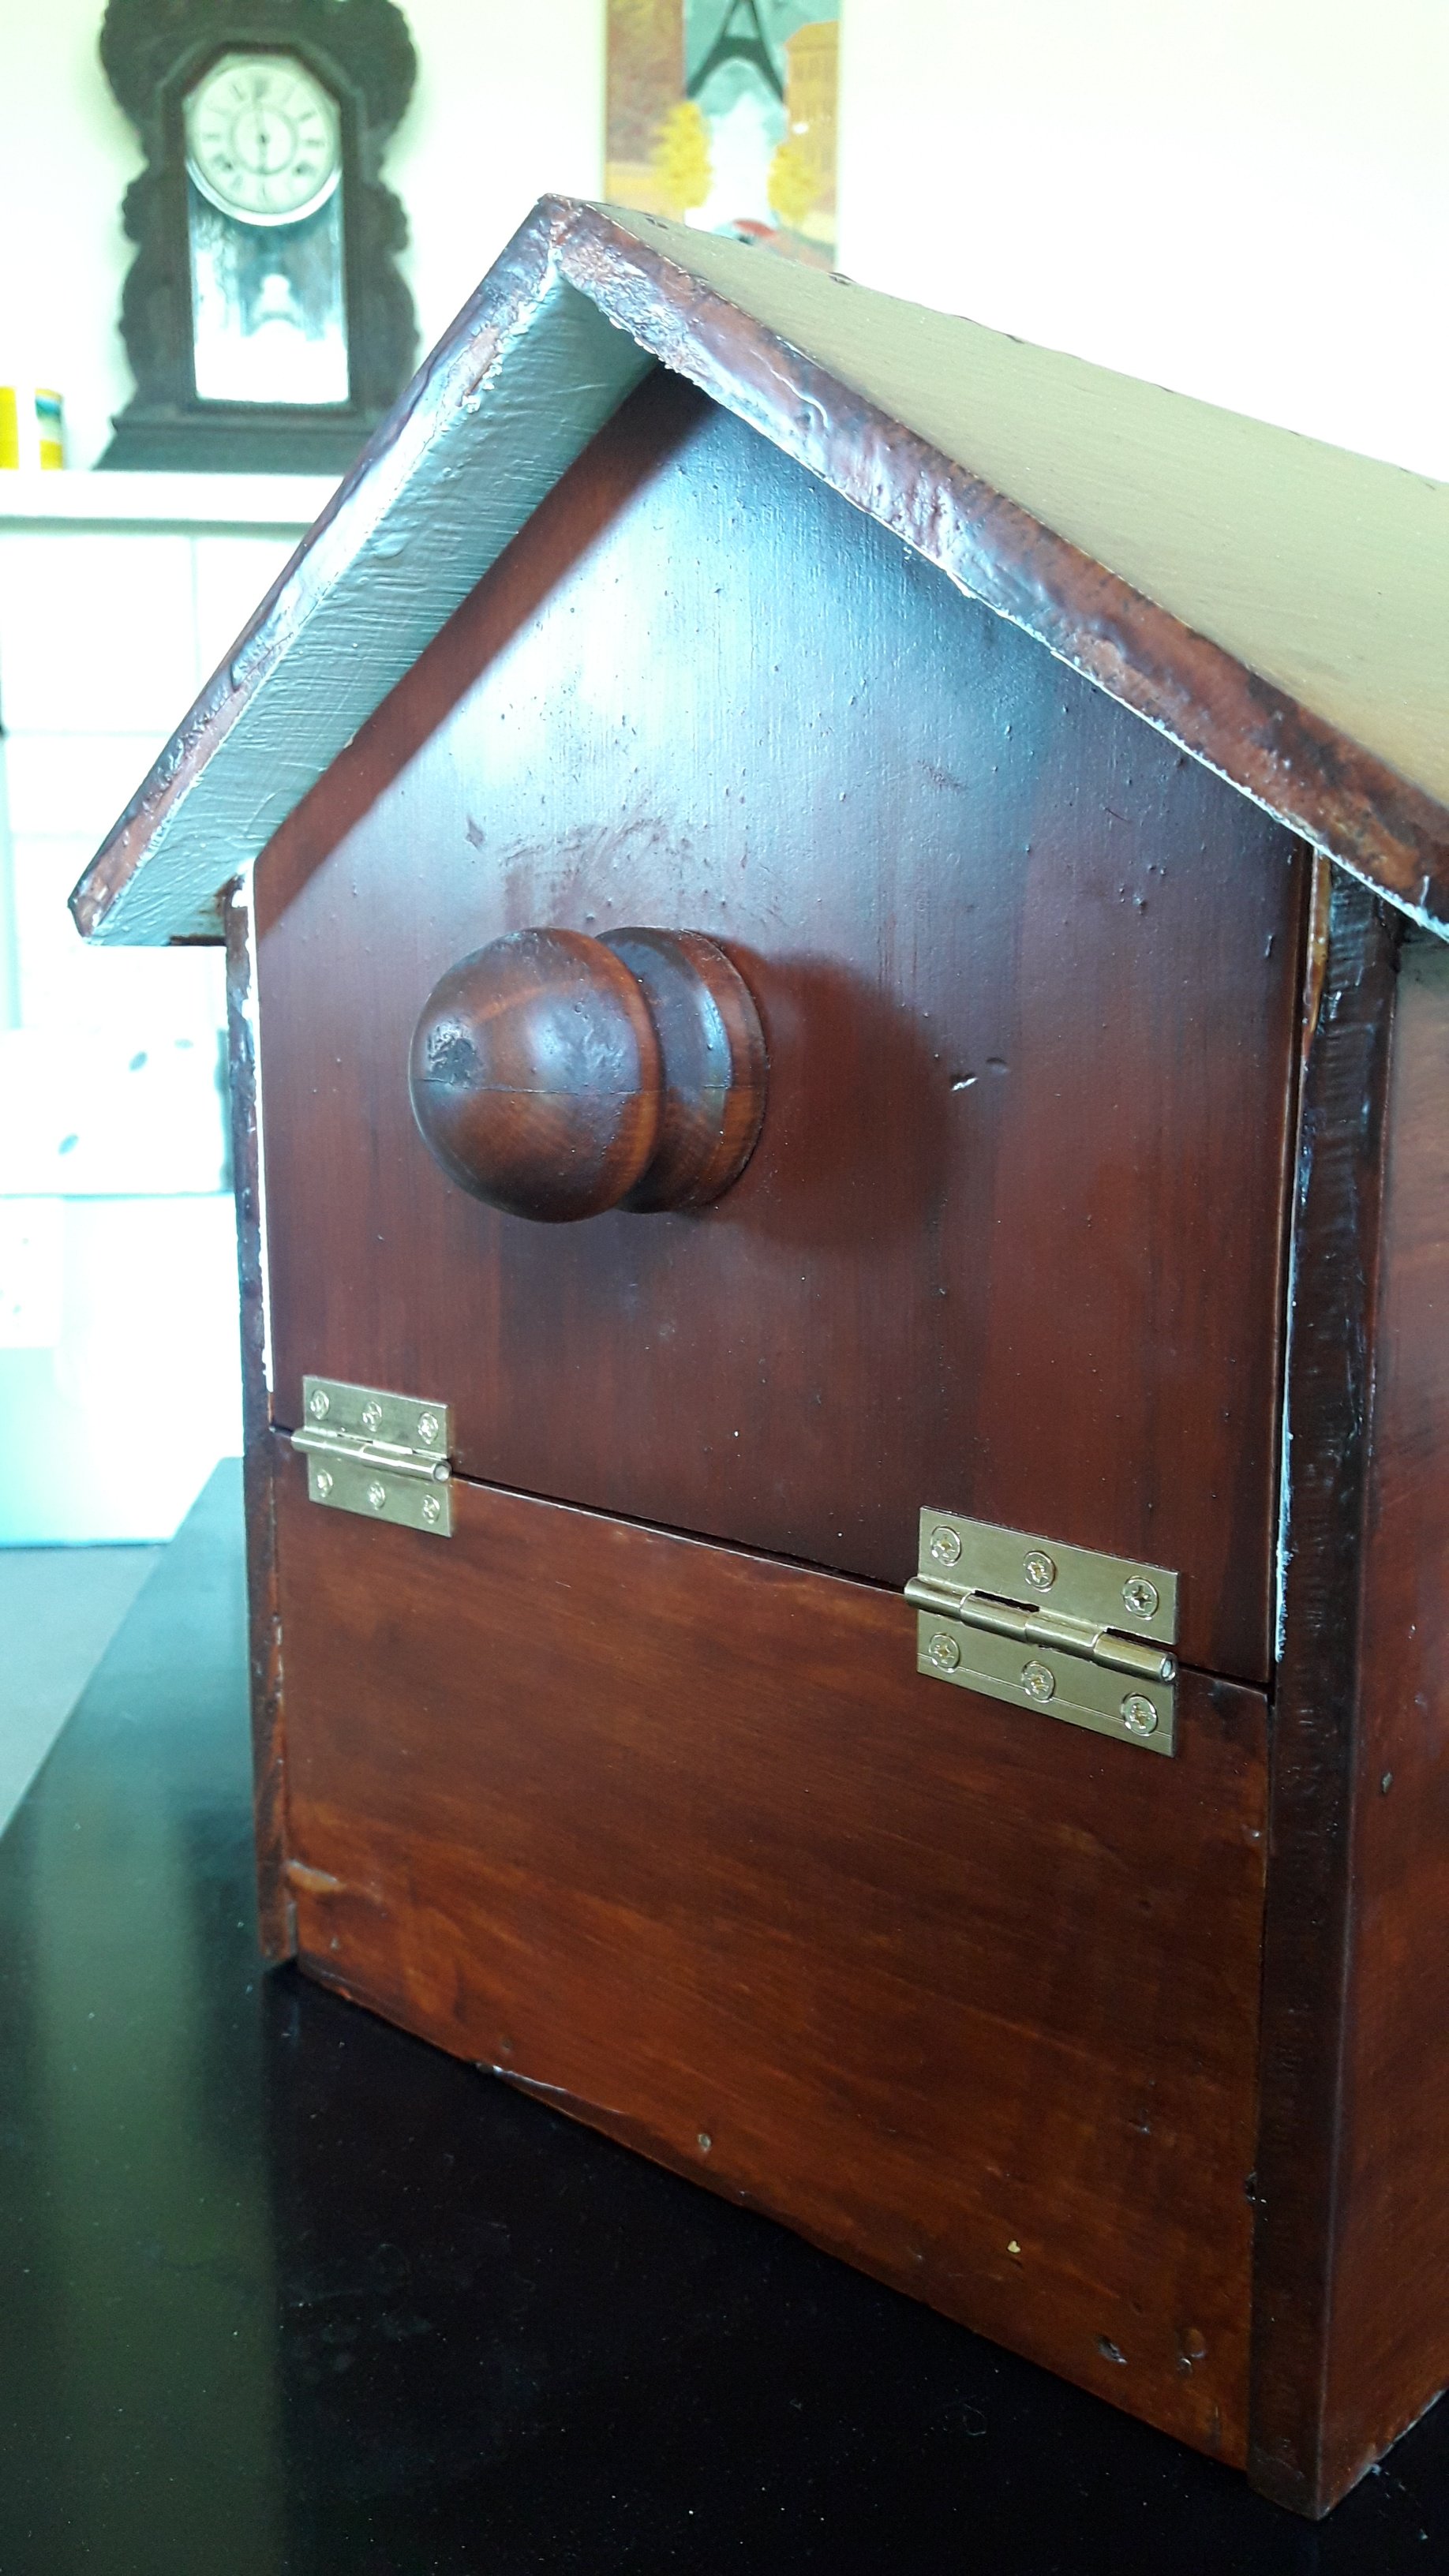
Couldn't stop there, went into overdrive and cleaned it with some simple green degreaser then a few go's with the wax and grease remover. Then finally got this in one colour, just used the rustoleum high temp paint from bunnings. It had a picture of a bbq on it so it must be legit. Looking pretty swish, almost like a brought one haha. I only had a few cans of paint and it didn't go very far so only got about 2.5 coats on it. It will be interesting to see if it lasts or not. All that remains is fitting the wood and making the grills. This will be tomorrow's job if all goes well. Chur
10 points
-
9 points
-
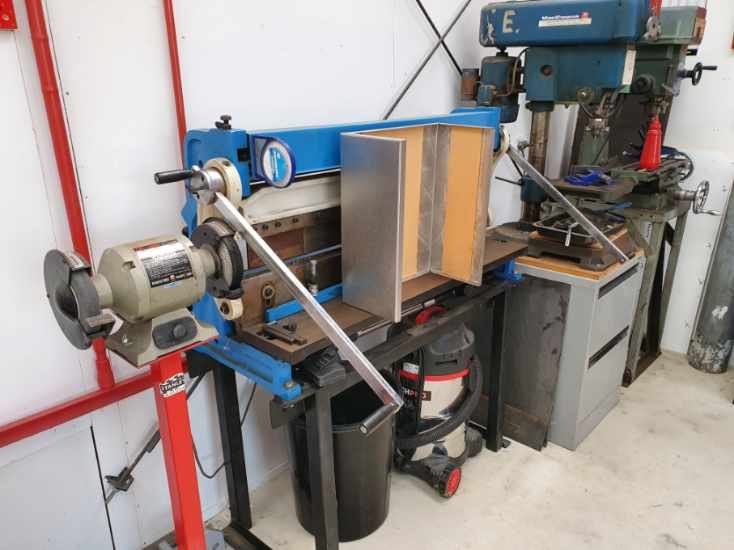
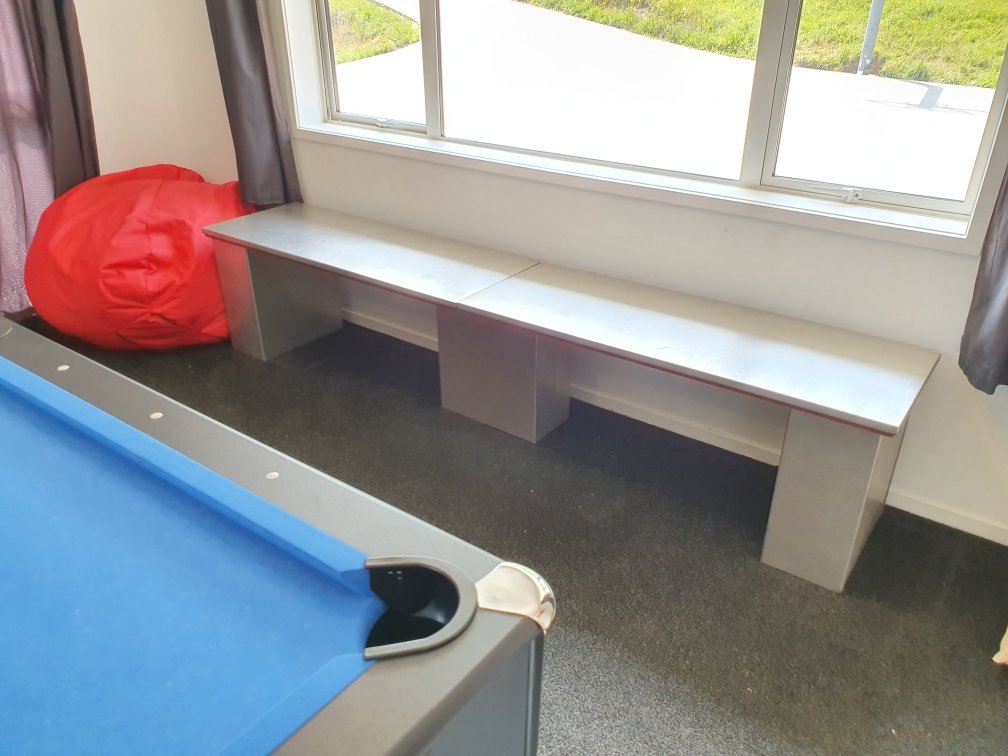
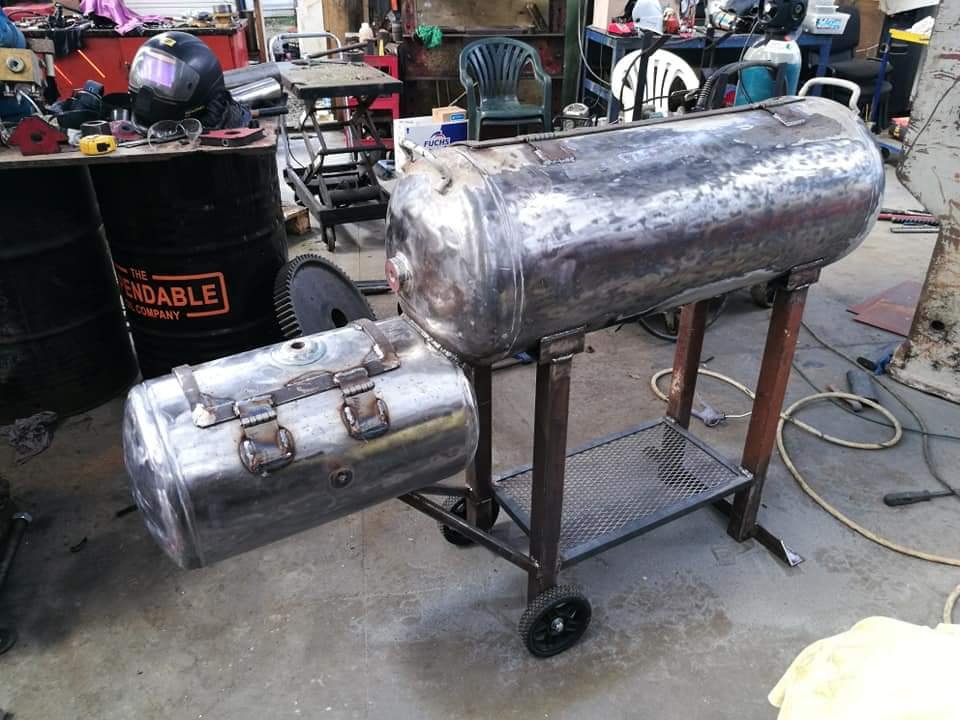
Straight to the pool room! I had some scrap stainless steel that has been taking up room in my shed. The plan always way to make something furniture related, however I only had a limited amount of material to work with. After some careful thought, I realized that I could make a bench seat out of it, and not a scrap more... Cutting and tig welding it together along with some smacks from a big hammer...all this activity at 8am is sure to please your neighbors? *Insert bender joke* Folded and tig welded to keep it together. I had to do it this way due to the sizes of the scrap I had to work with. And finished. It's not perfect...but I had to work with the limited resources I had. Theres a few dia4mm holes in the left side that were in the material already, but hey you can hardly notice it and it was free...so calling it a win!
8 points
-
Spoke to Evan Fray from Chevron Engineering today. he said they were only ever intended to run a lap belt from factory, and the laws support this configuration so ive got some lap belts to put in tonight. that should see it wofd. but we all know how dangerous that would be. even the wof guys agree the harness is much safer, so ill probably put the harness back in for actual driving, but fingers crossed itll be wofed tomorow.5 points
-
So, i did this again using the same coil overs and springs. 8kg springs 210mm long Front compressed 91mm adding both springs together. so 91mm x 8kg = 728kg Front Rear compressed 63mm adding both springs together. 63mm x 8kg = 504kg Rear 1232kg with almost empty fuel tank (60L), no idea how much fuel it had when weighed it last time, but guessing would have been empty because it always is. worst case its about 100kg lighter than the 1376kg it was, All the weight come off the front. Which is what ive slowly been chipping away at. 59% front 41% rear with empty fuel tank. still not great but better than 64/36 Should be able to pull another 10kg out of the front if swap out the brake calipers and intercooler. Anyone got some fc/fd rx7 calipers hanging about ?5 points
-
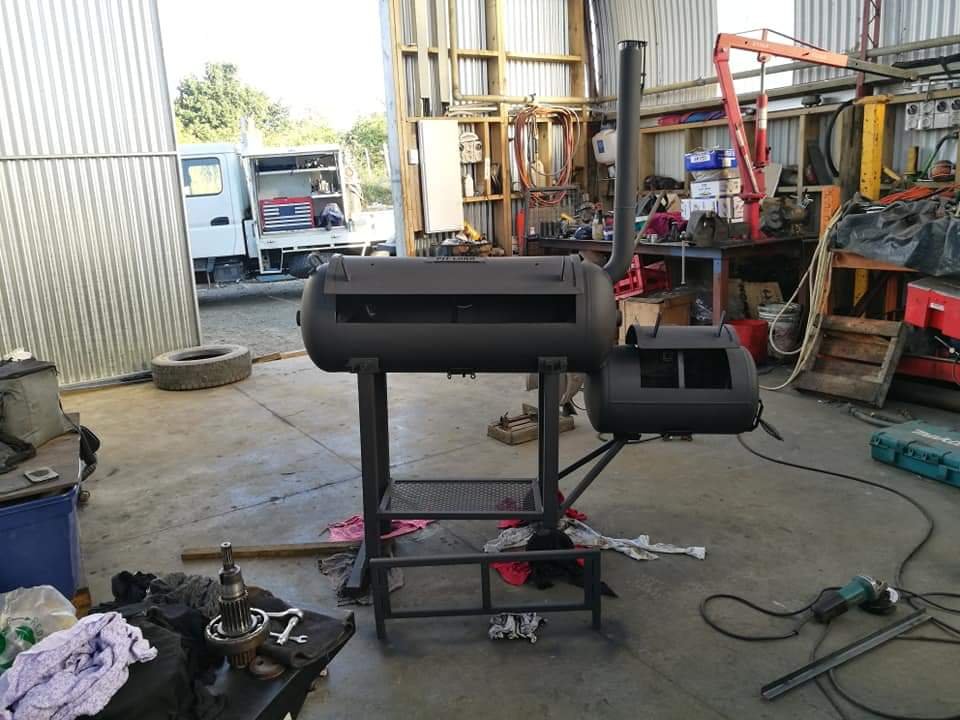
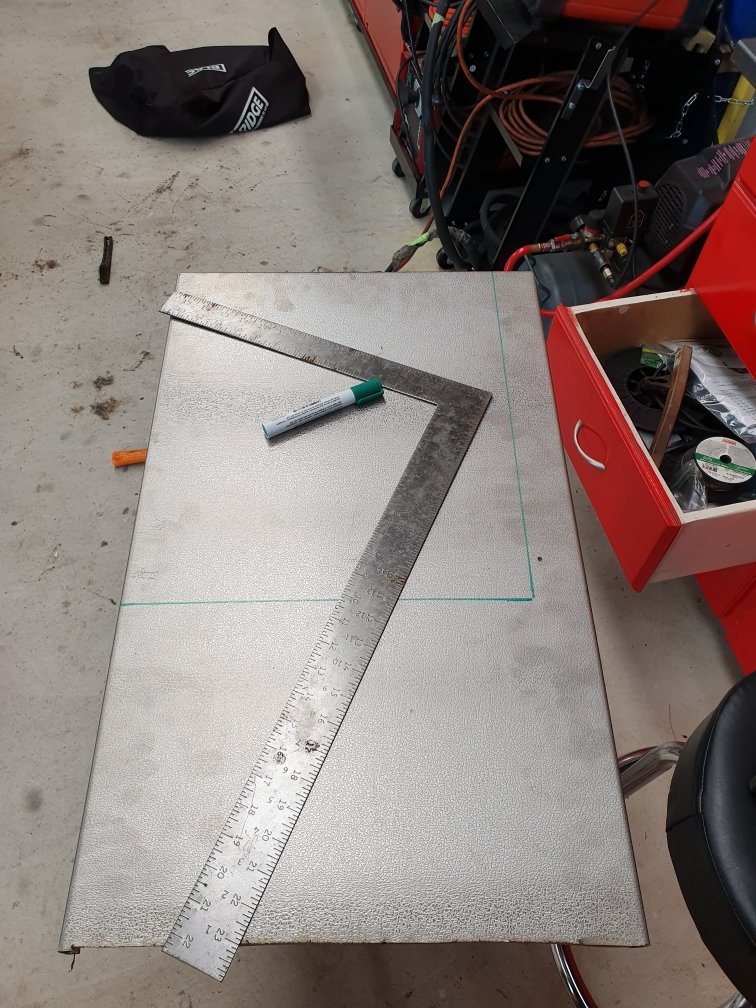
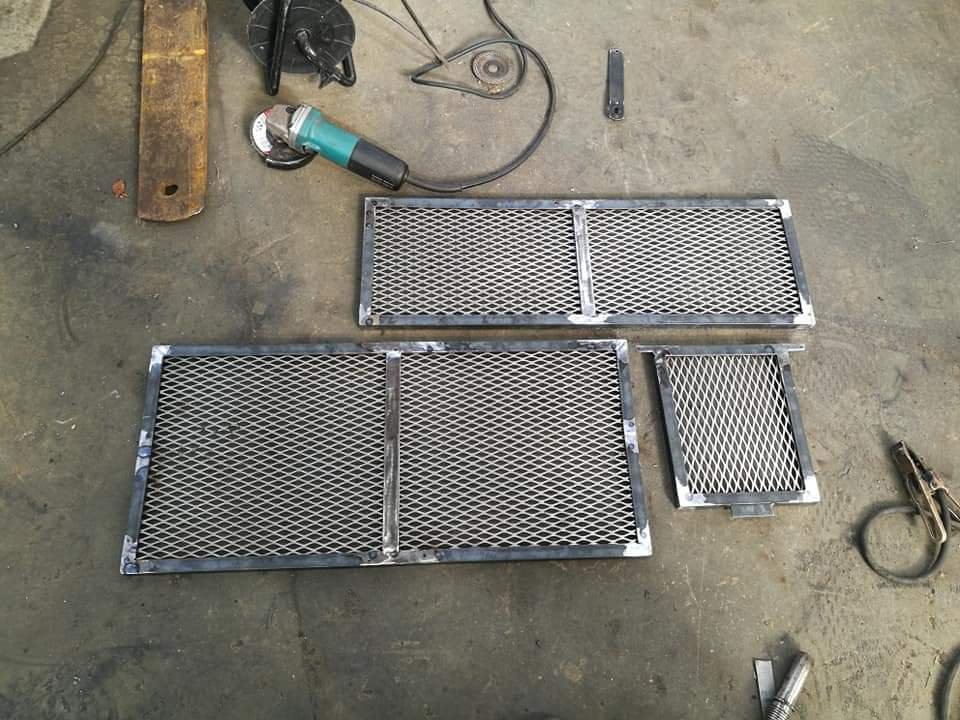
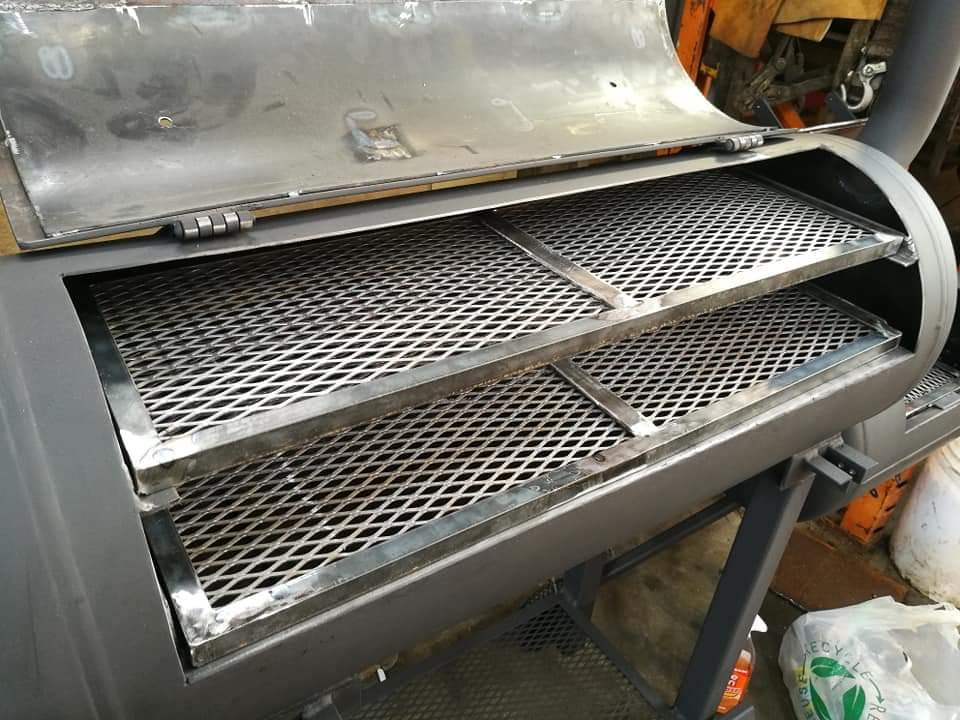
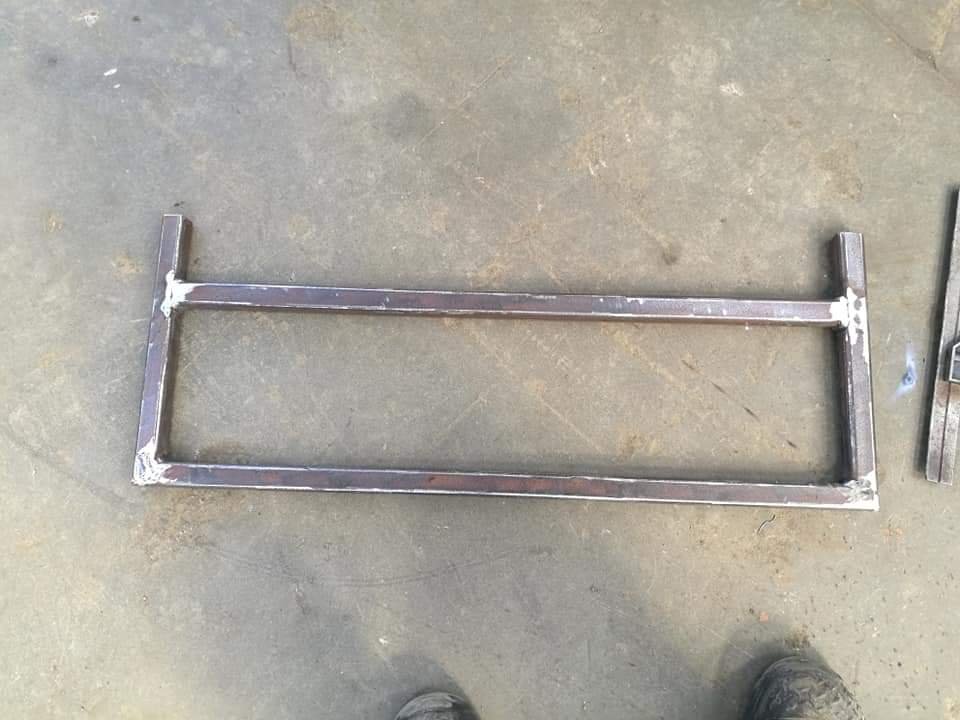
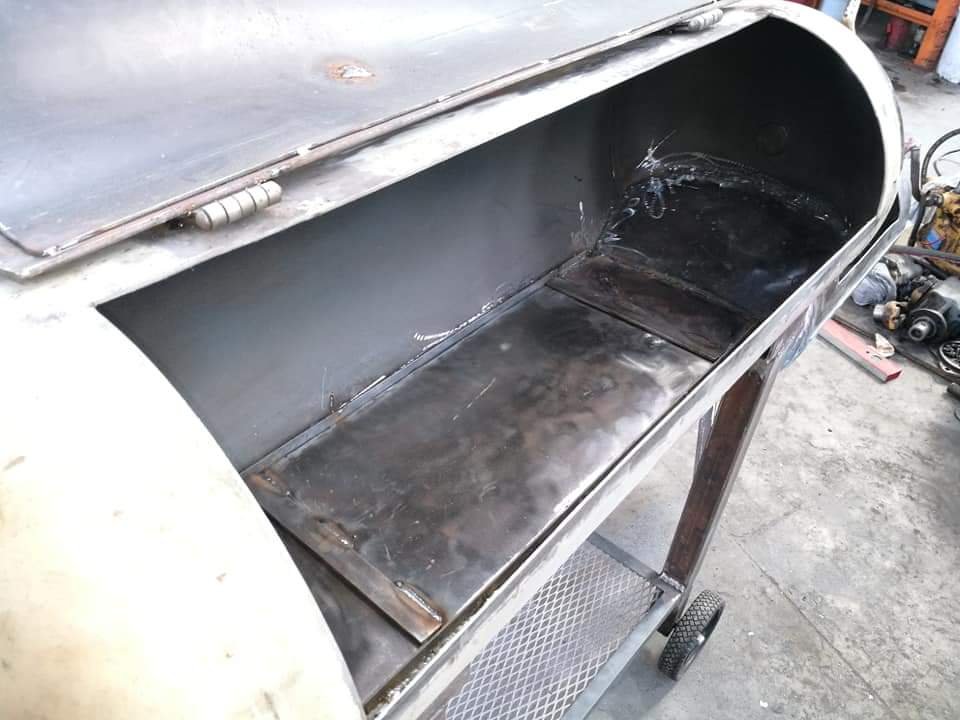
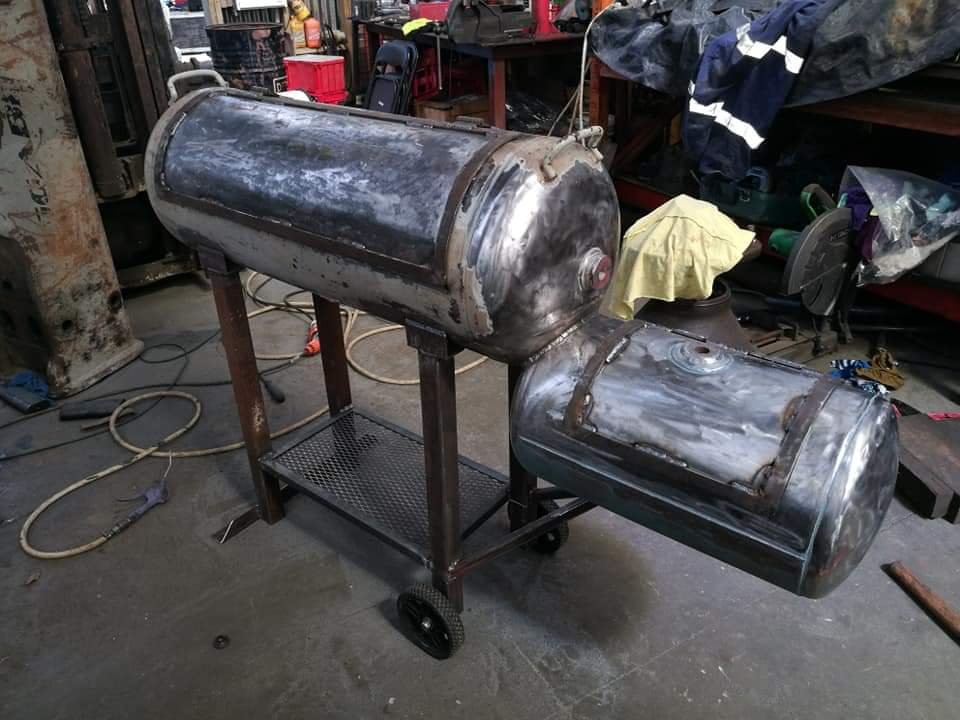
So got the last bits sorted today. Cut some steel and made some grilles. Had to stuff around with the firebox grille to get it functional as the setup was different to the cooking chamber. Also because the rails I fitted to the cooking chamber weren't square I had problems getting the lower one to look right. Everything is kind of shortly but it is functional and looks pretty awesome. I've actually finished this and got it all together but we shall wait til xmas to get some better photos. Hopefully my brother is as stoked as I am with it haha.
4 points
-
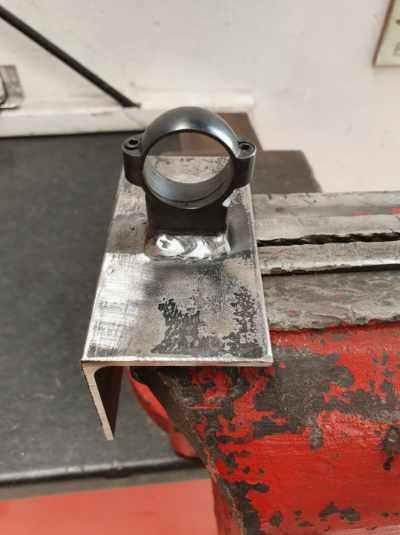
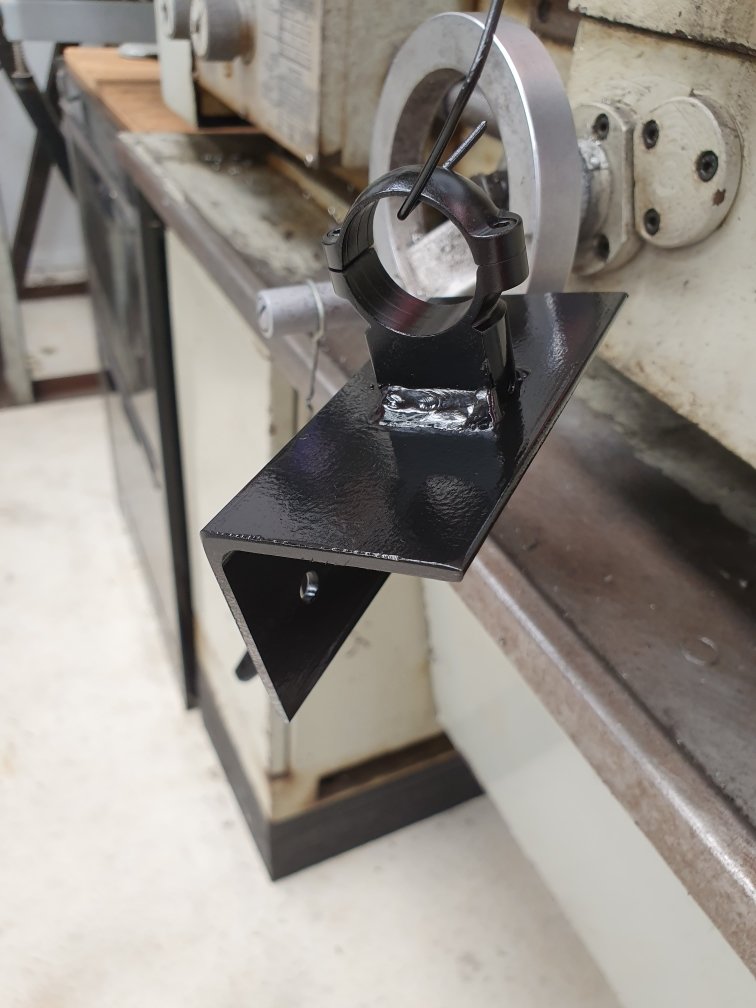
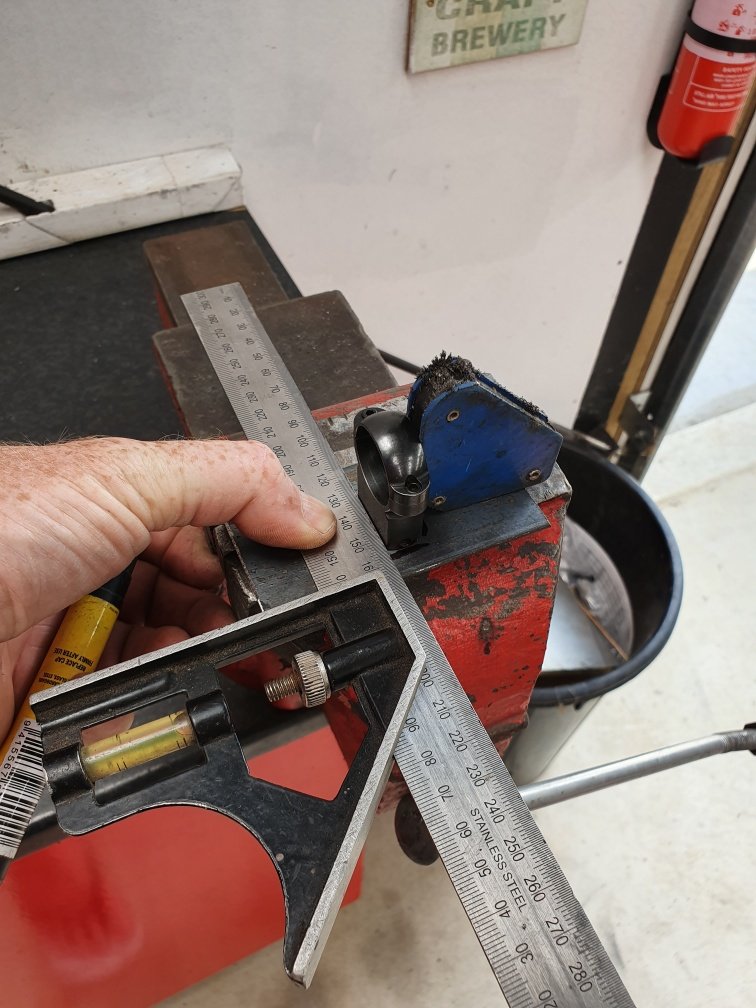
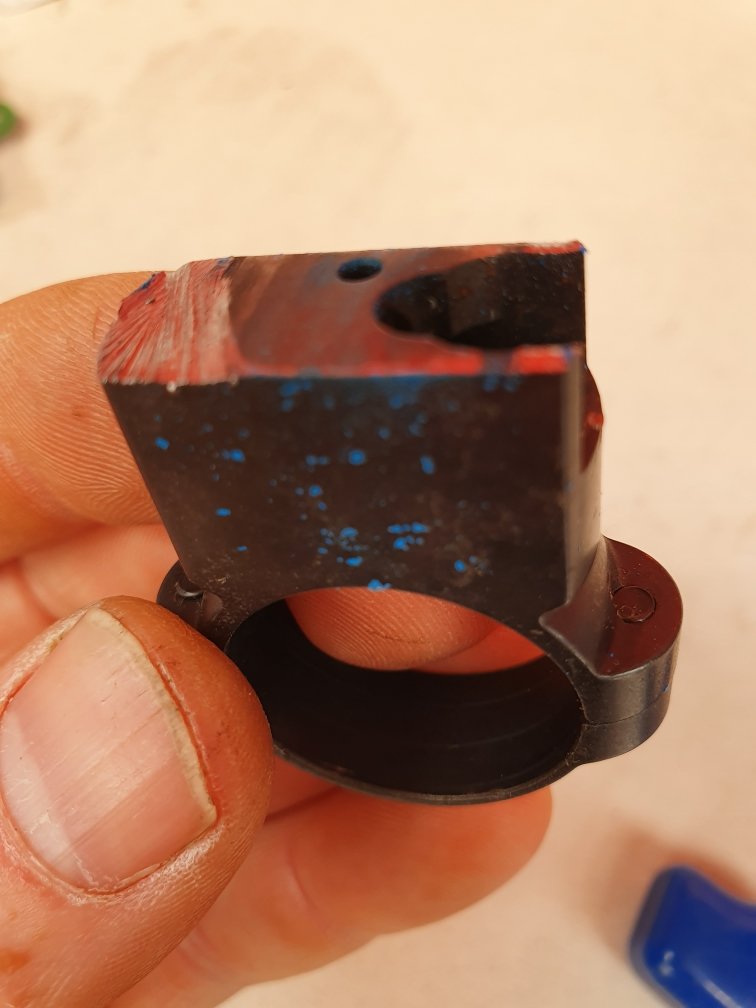
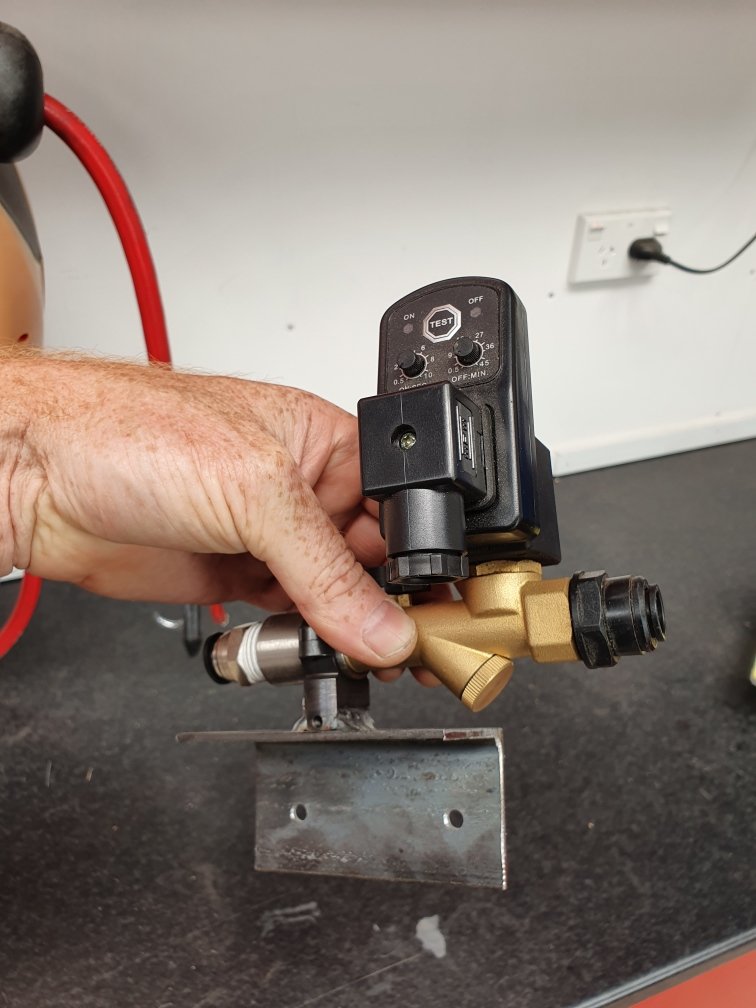
On a mission today. Rifle scope mount welded to angle iron. This will hold a solenoid valve, that in turn is connected to a timer switch. This will automatically drain the water out of my compressor... Test fit Yup, nice! This will work, so paint it and install it tomorrow. Small things...but makes life easy if you never need to think about it again.
4 points
-
4 points
-
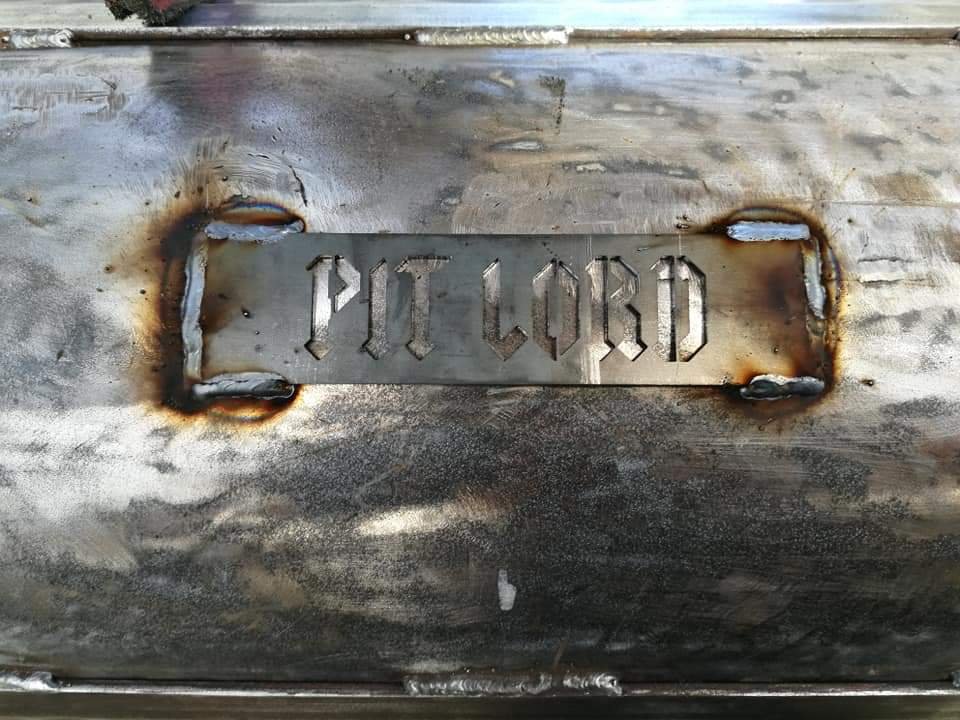
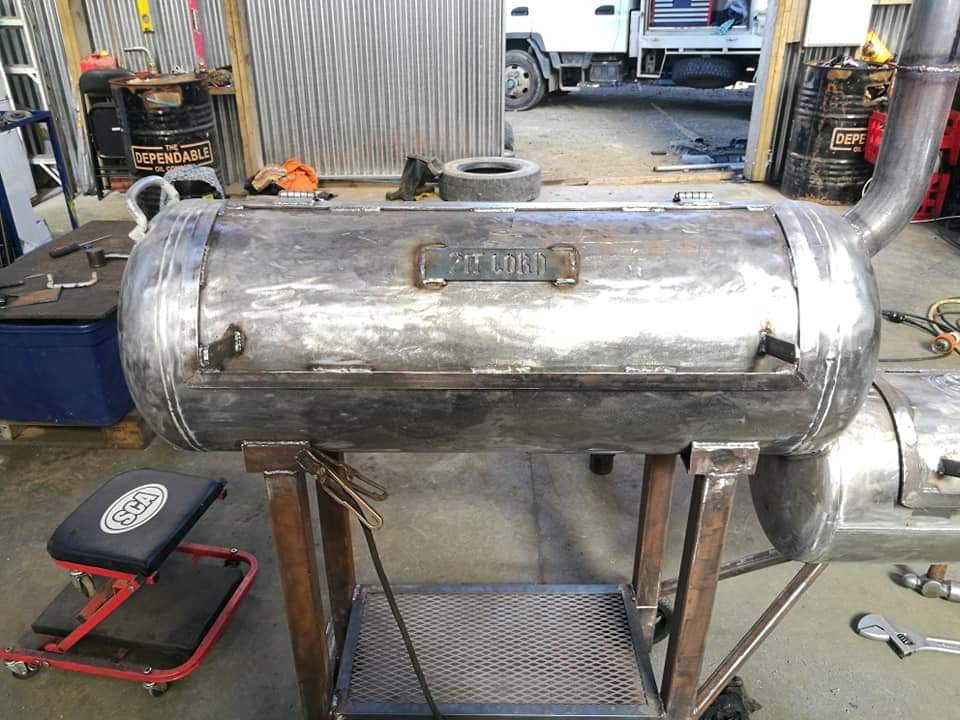
And the creme de la creme. Had a mate at one stop cutting shop sus this out. Did an awesome job and it adds that finishing touch. So happy with how it's looking now. Had also welded up the remaining holes and bent the firebox lid so it sits a bit better and tried to sand back the paint on the inside of the firebox. All that's left now is to sort the front bench, drill some mounts for the thermometers/temp gauges and paint! Home stretch! Chur
4 points
-
Less wood burning hotter gives much better smoke, but will require more frequent refuels. Try lump charcoal with just a couple of lumps of wood instead.3 points
-
I had a huge smoker fail yesterday, omg. Smoked ham that makes your tongue go numb3 points
-
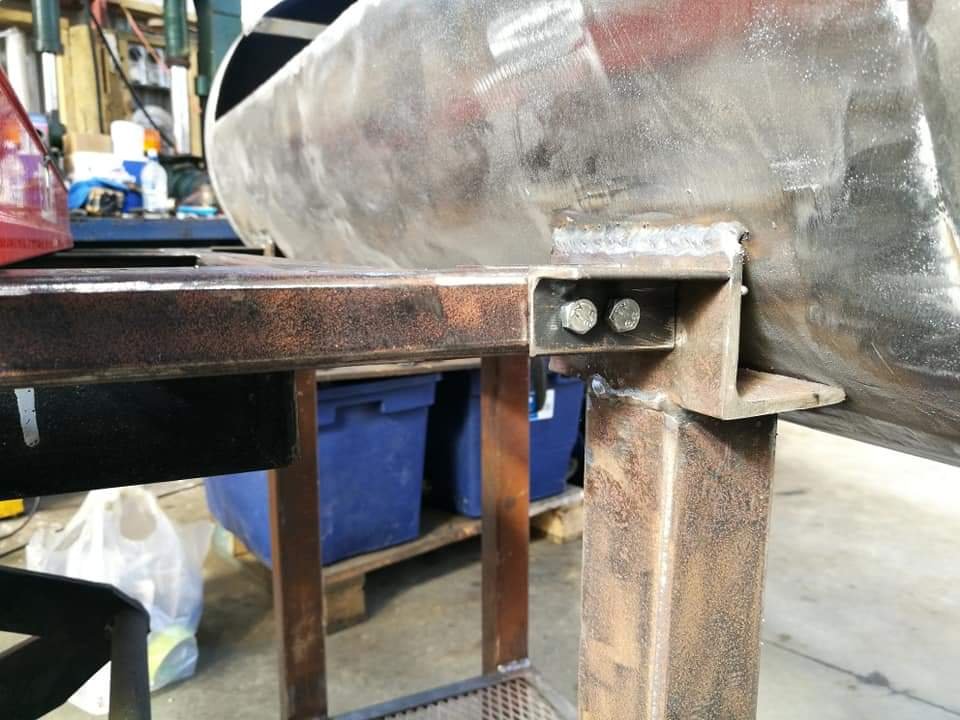
Sorted out the front bench. Cut up some 25x3 box and some 25x3 angle and welded up a frame (forgot to take a pic with the angle fitted). Drilled some holes and tested fitted with the mounts in place. Then placed the macrocarpa on top to have a skeeze.
3 points
-
Fuck does it do skids..3 points
-
started cleaning/stripping the engine bay ready for paint. also started tidying up the wiring so its not in the engine bay. got a good chunk of it done, just need to extend the wires for the passengers side headlights etc and its done. ill probably start sanding today 2019-12-22_10-19-17 by sheepers, on Flickr3 points
-
Well shit, I put the body bolts in and took it for a skid or two up the driveway, it feels good. Only into third cos the drive isn't that long, but it does good skids on the gravel lolol. Doest feel bouncy or wallowy, steering is good seating position is good. It feels pretty lively too. Everything seems to be working as expected, brakes and clutch need another bleed but still. Fucking stoked, might need a crywank now. Neighbor took a vid, I will post when I can get it.3 points
-
3 points
-
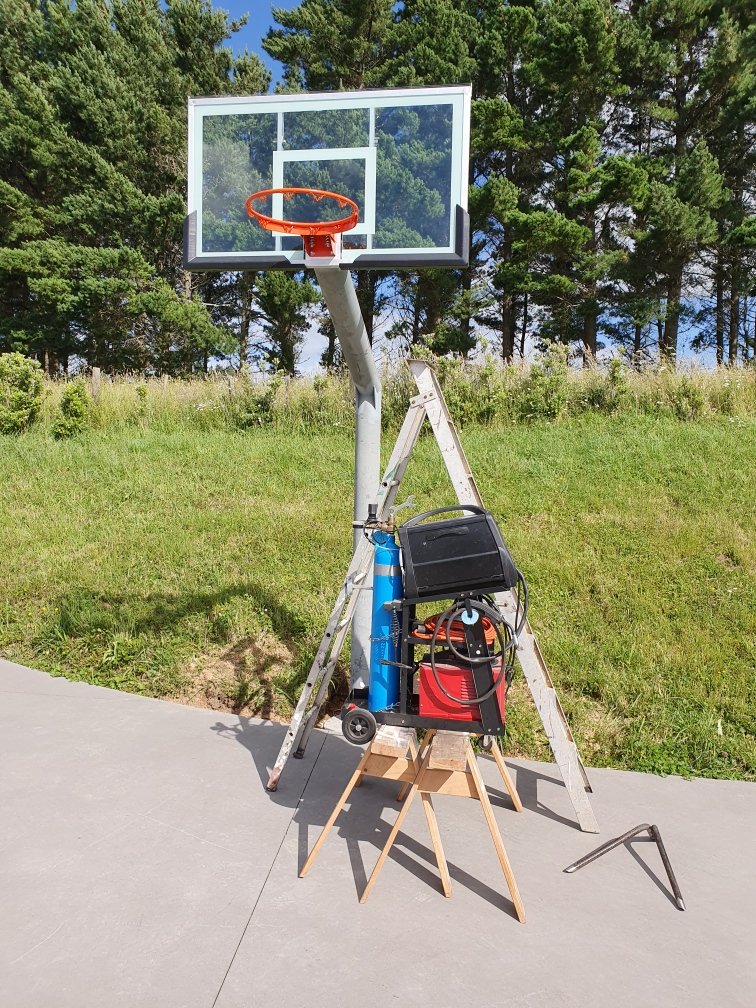
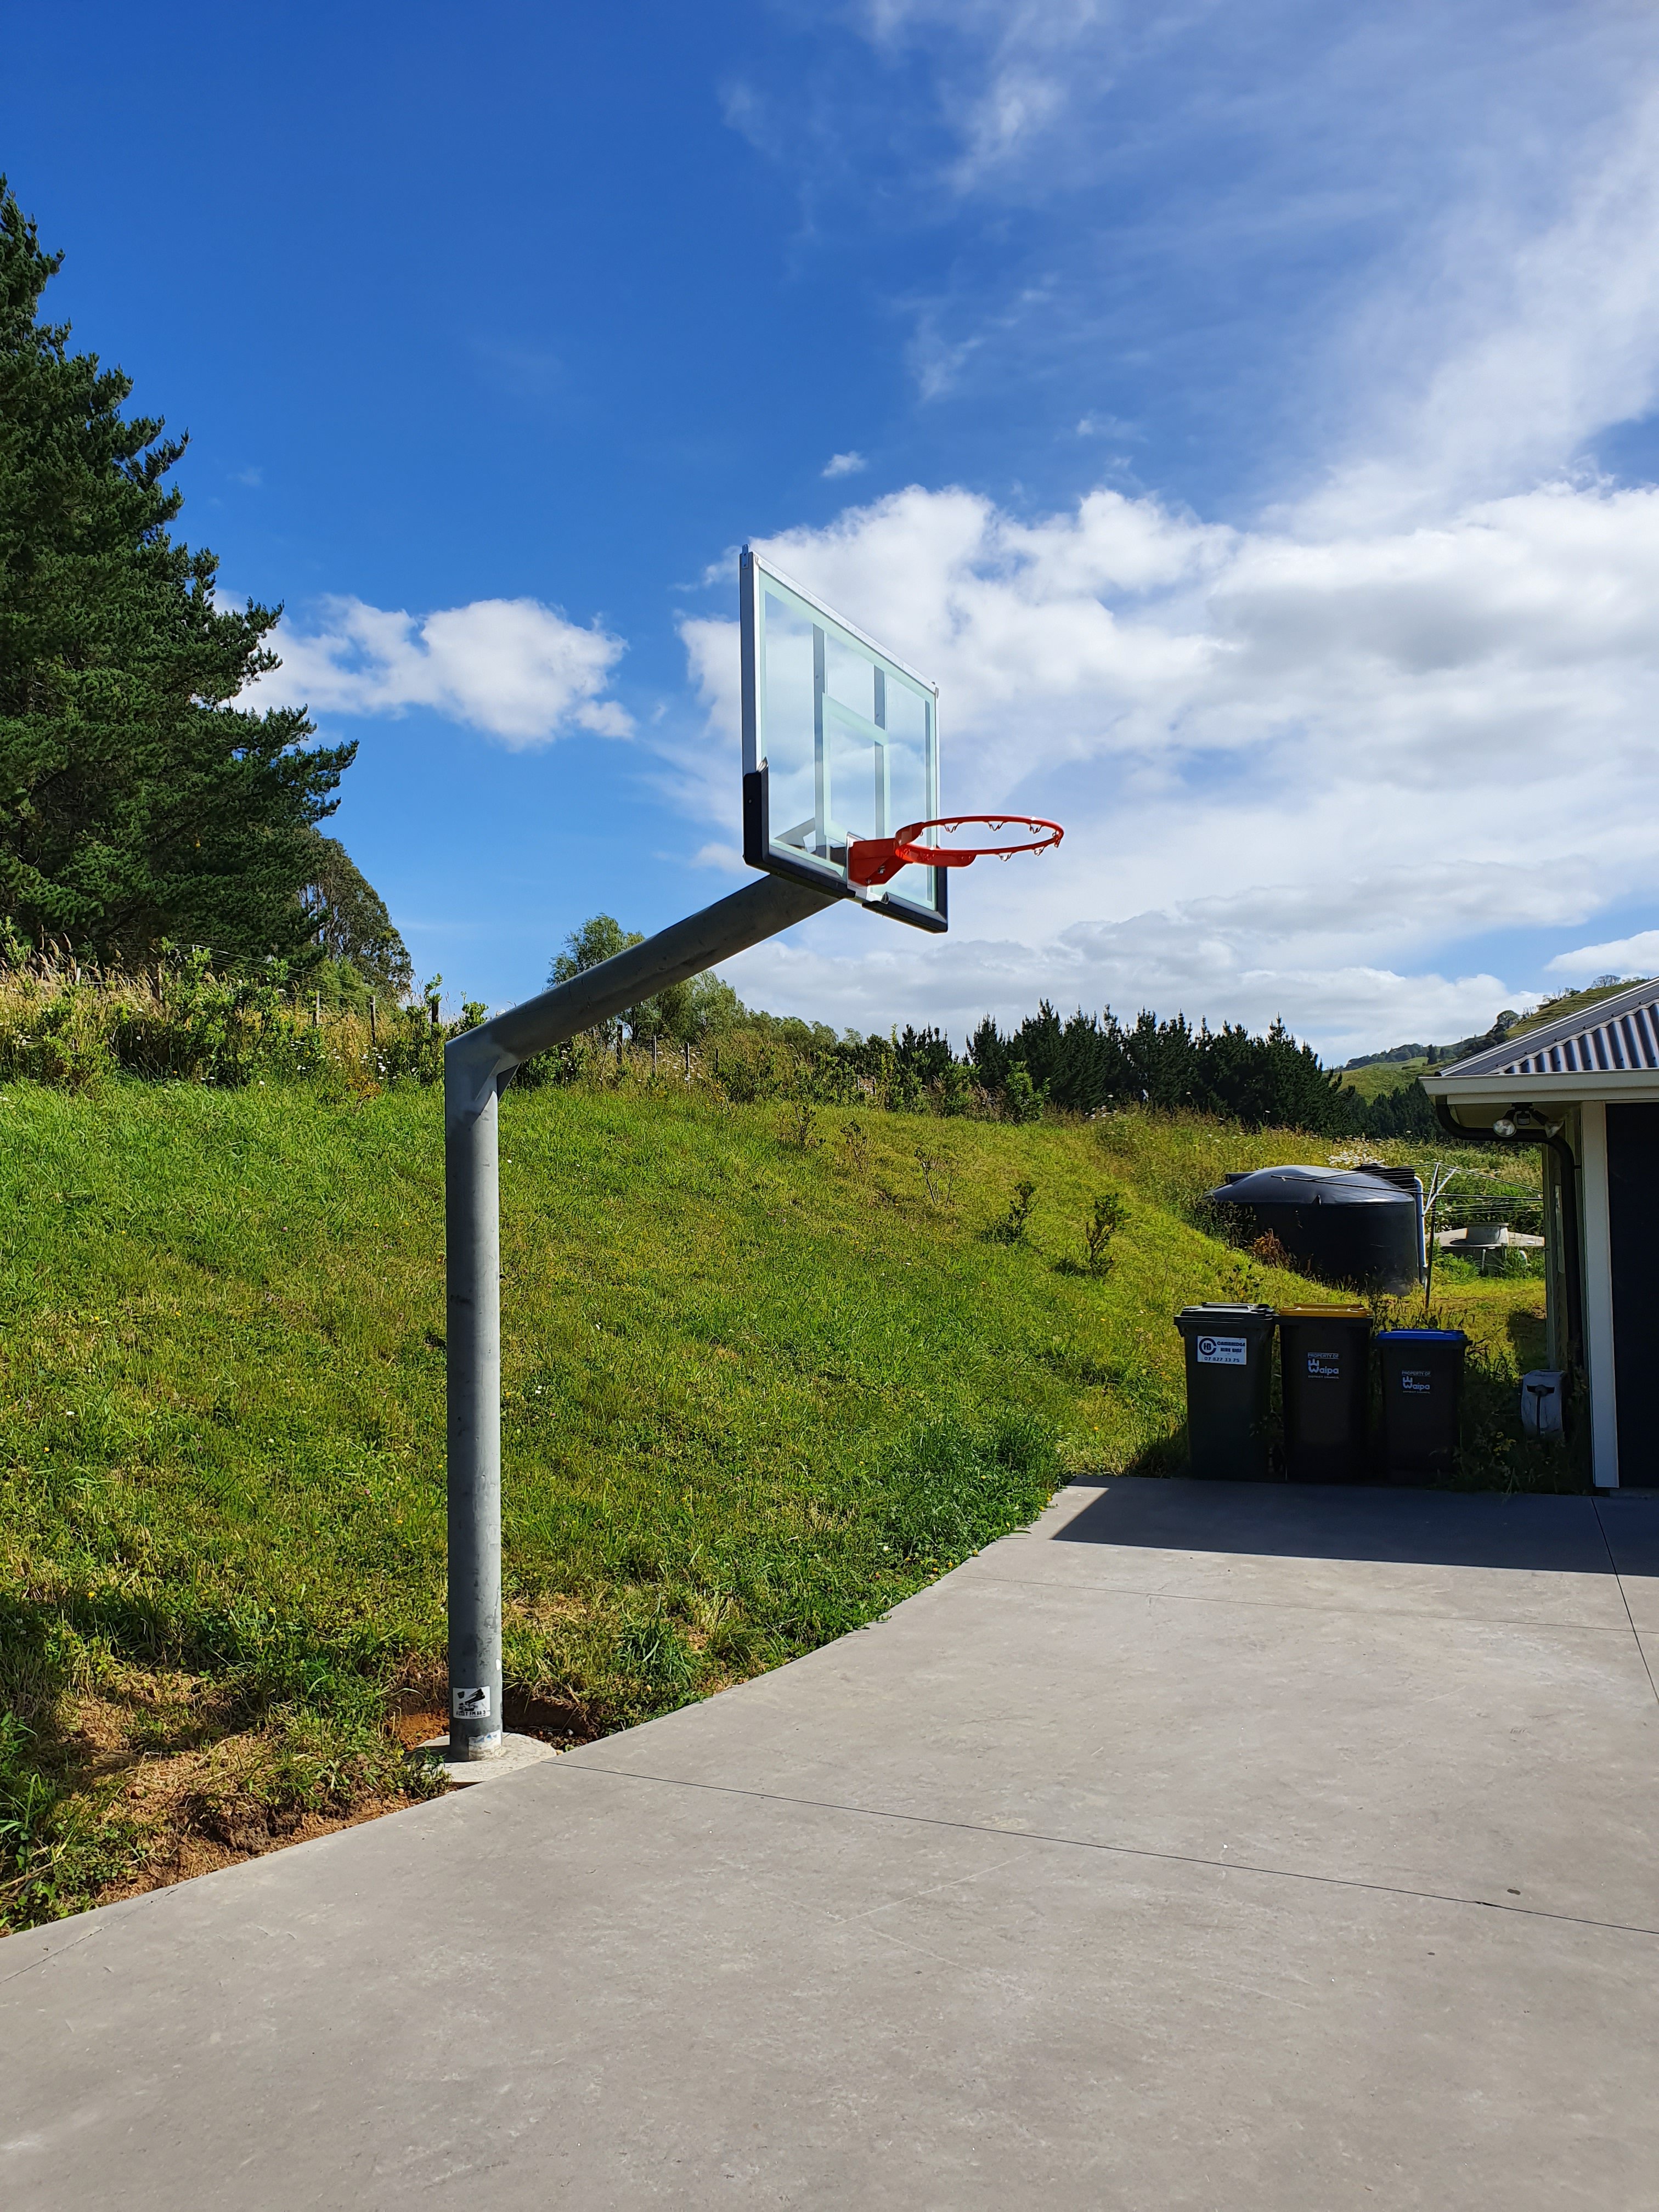
Now you may be wondering how I achieved this engineering marvel... Well there's an entire chapter on health and safety written on the use of ladders... I ignored all of it, getting this 80kg colossus glass backboard all the way up there by myself. Its wose than you'd think, the glass backboard is one part, the hoop is separate again, and all of it is held in place by 4 M10 bolts with next to no room to access them. #suffersfromashorthose
3 points
-
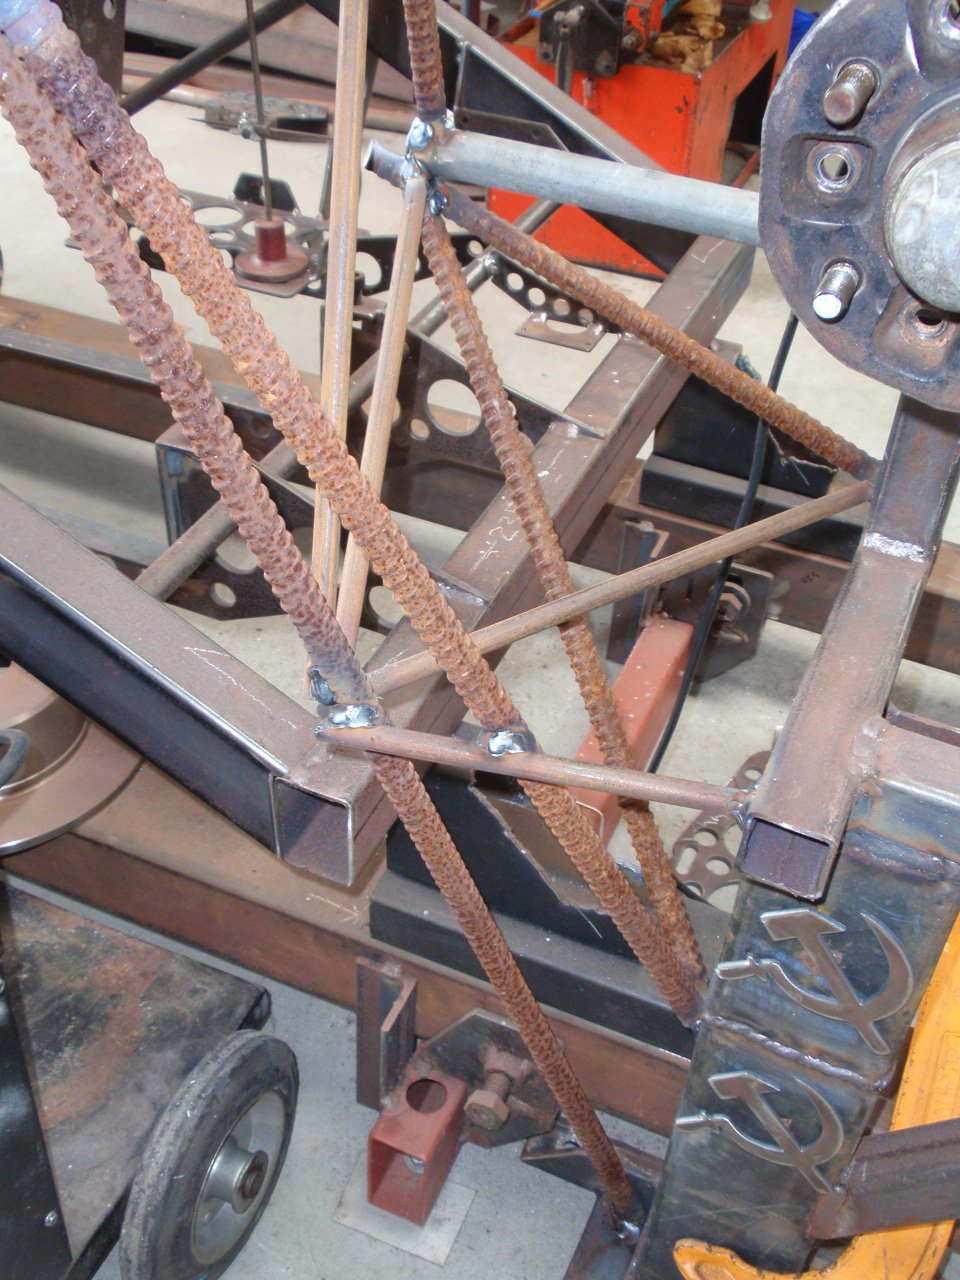
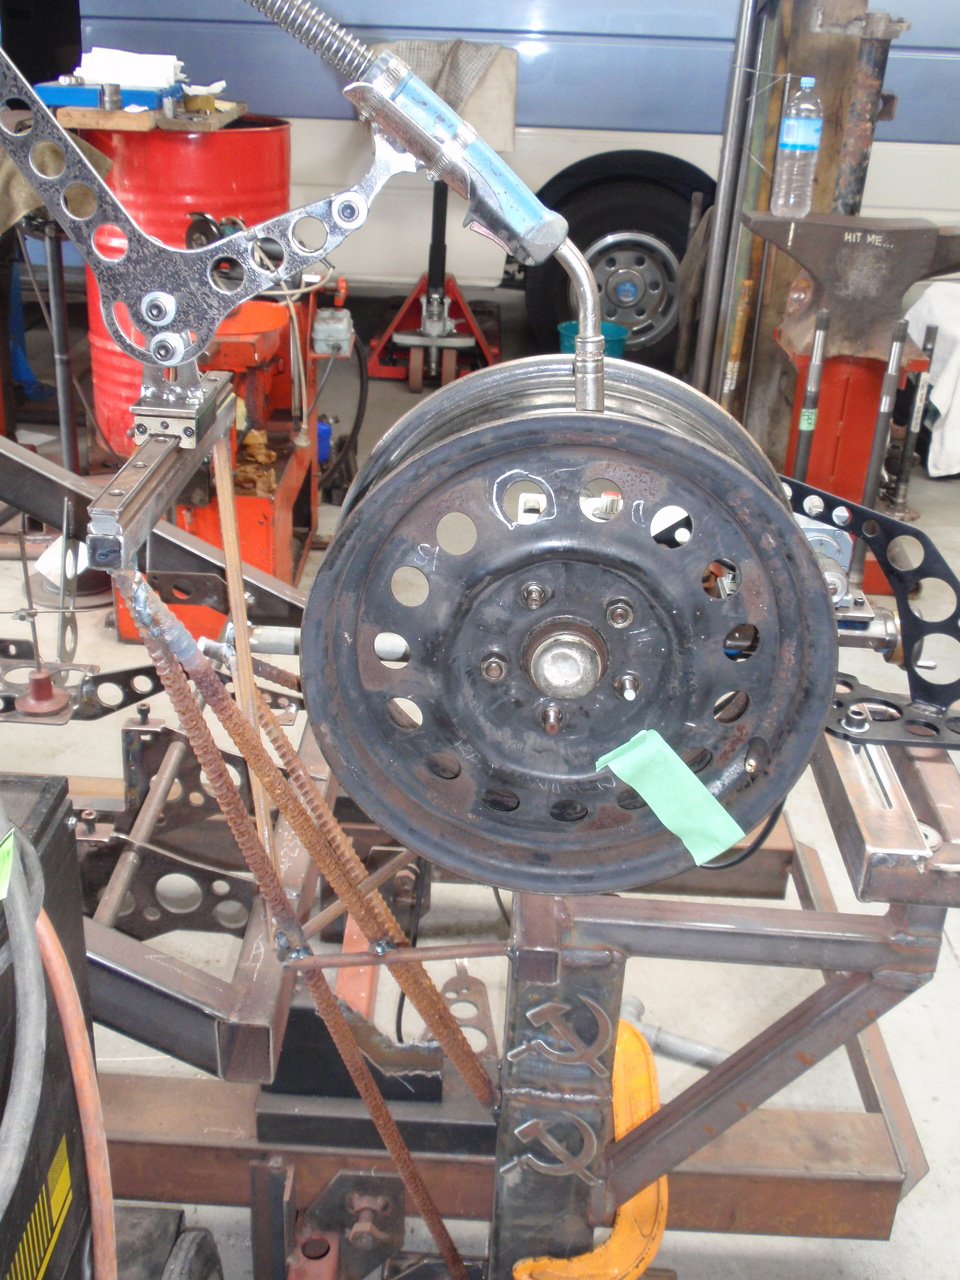
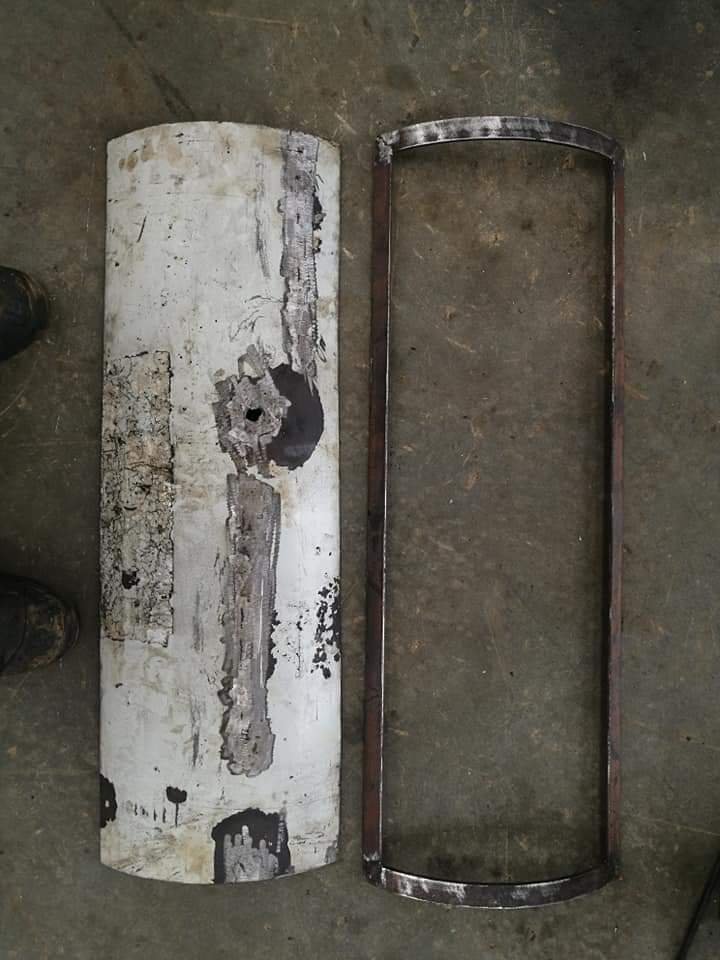
Recycling reo ... recycling anything that will get it done, comrade.
3 points
-
Put the other distributor in, now has vac advance again. Runs a bit better, I'll see if its more ecom on pertol over the holidays I managed to pull the ends off 2x leads swapping them over which is a pain in the bum, a couple looked a bit manky in the ends so ive ordered a new set off my favorite supplier of parts. Who, it appears, sort out the GST issue at purchase so no problems there.
2 points
-
Yeah, that's a thought. Will think on it/do something when I am working on it/finishing it all off next. I pulled the electric motor off in order carry out some isolation works but got waylaid. I want to isolate it (electrically) from the rest of the structure and welder. I am not sure why except to say its an AC unit and I don't want the welder to earth thru it or fuck it in any way ... and turn everything electrically hot (if that's possible) I am not a electrician so don't know the intricacies of it all but just going to isolate the fucking thing so its not an issue. I am going to earth directly to the rim I think. It only does one revolution so don't need a fancy swivel or anything. Will see. Cheers.2 points
-
Im gutted it doesn’t have a stack2 points
-
Looking good.. May I suggest that you get a fire going in it as soon as possible. You are going to need to set the paint well, before its first use.. the smell from the high heat black is pretty horrendous. It will burn off tho, and then you will be all good, till next year, when you will need to paint it again. Also check on the can, but with the pot belly black that I used from bunnings, it said that you have to recoat within 16 hours, otherwise leave for 7 days then recoat. I didn't follow the instruction when I painted my spit, and it all bubbled off in the first burn.2 points
-
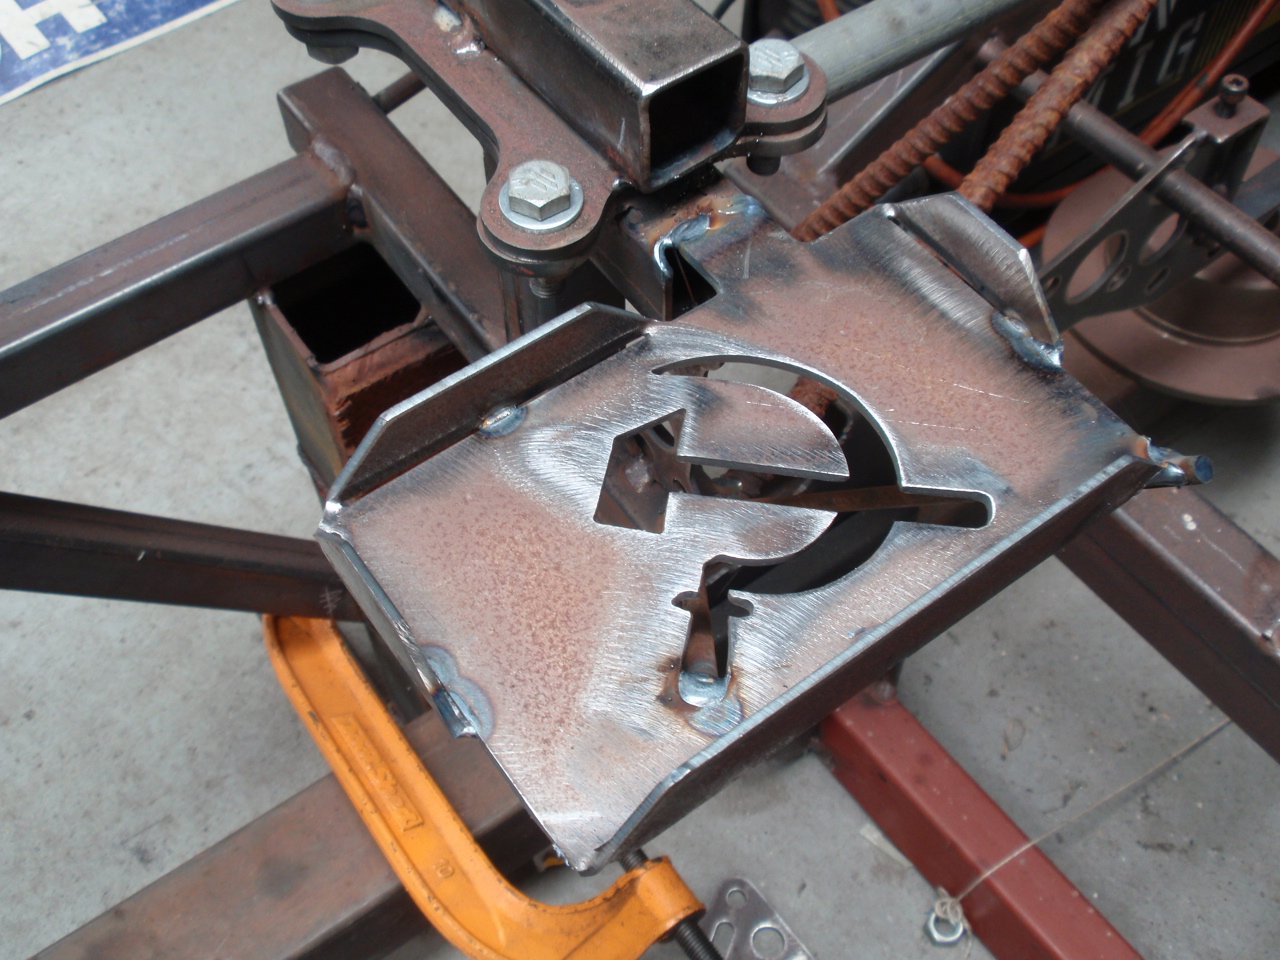
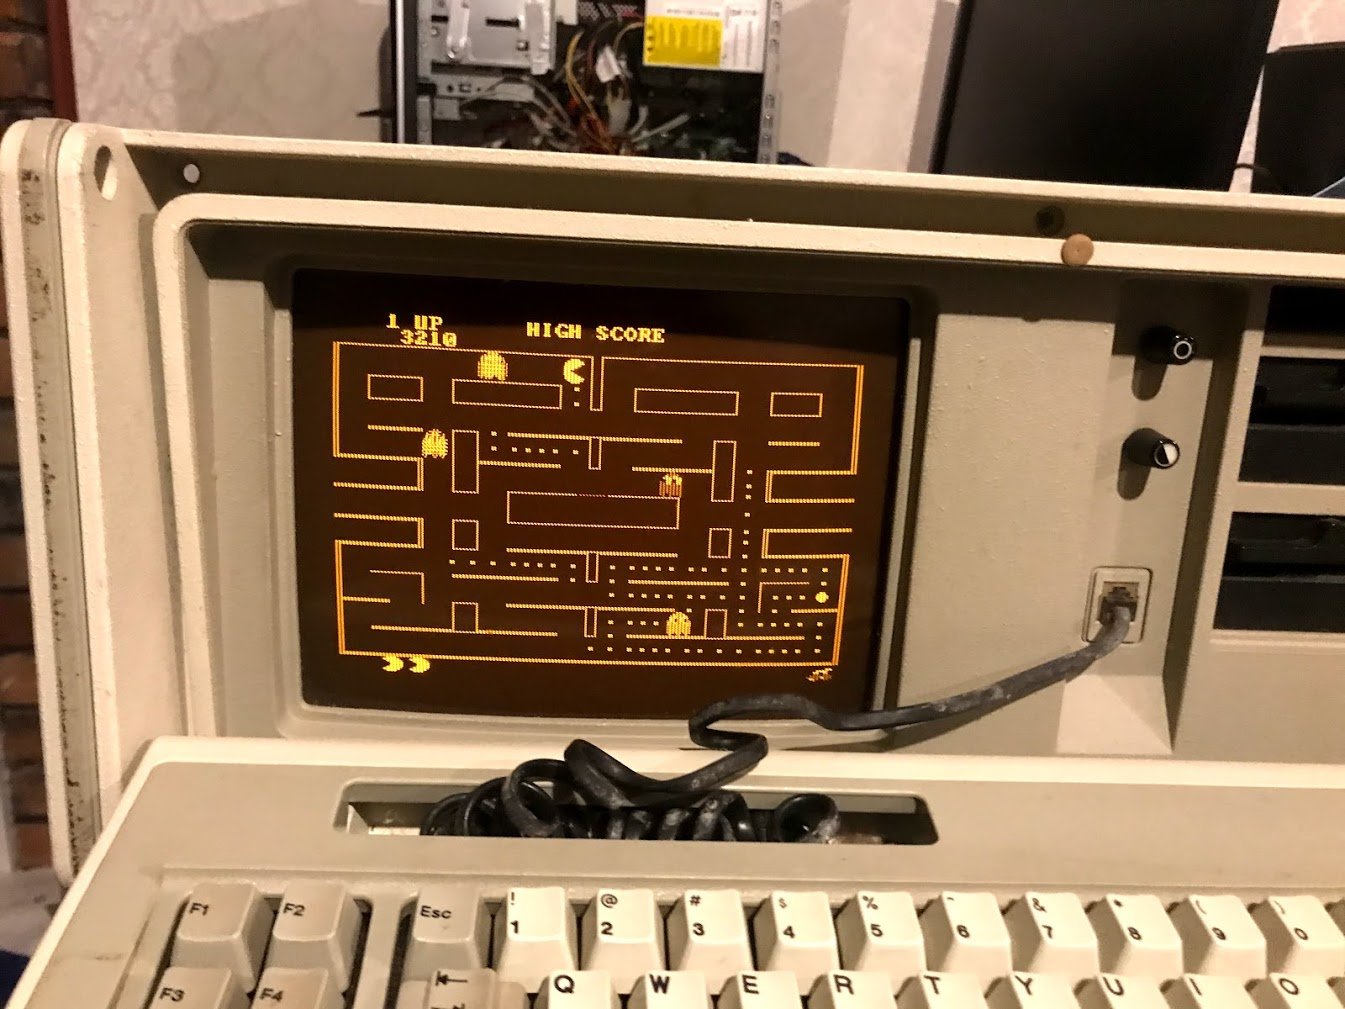
Oh yeah, pacman:
2 points
-
motors all back together and pretty much ready to go back in the car. got a couple of little things left to tidy up but nothing major. and with that i started stripping out the engine bay for repaint. 2019-12-20_04-33-06 by sheepers, on Flickr 2019-12-20_04-35-02 by sheepers, on Flickr2 points
-
So a quick bit of back ground (sorry this is the first place I've had to keep 2 build logs going and I'm a bit slow on the follow up lol) I've had the car since 2007? Give or take. She had 80 thousand and was in speccy beautiful condition. Plan was always for a simple clean blacktop 20v and daily. We then moved to tas and fast forward to 2014, not much had changed. She had wheels and suspension but that was it. I started to gather bits, 3sge and 6 speed, ecu etc for a conversion before my first boy was born..... Then in late 2014 I was admitted to hospital for a mystery condition. Turns out I had had a severe reaction to a common medication. This admission lasted 6 months and left me permantly disabled. Im pretty lucky with the depth of side effects considering what it put my body through. So the last 5 years have been predominantly rehab, learning to walk again, and gain basic functions back. Over the last 18 months, things have progressed well, and ive been abke to start playing again and have made some solid progress. I'm under the pump a bit to get my car running by the time Leo my son starts school full time in the new year. So hence the recent burst of enthusiasm lol. I'll try and keep things clear and logical but feel free to ask for clarity in the discussion thread...2 points
-
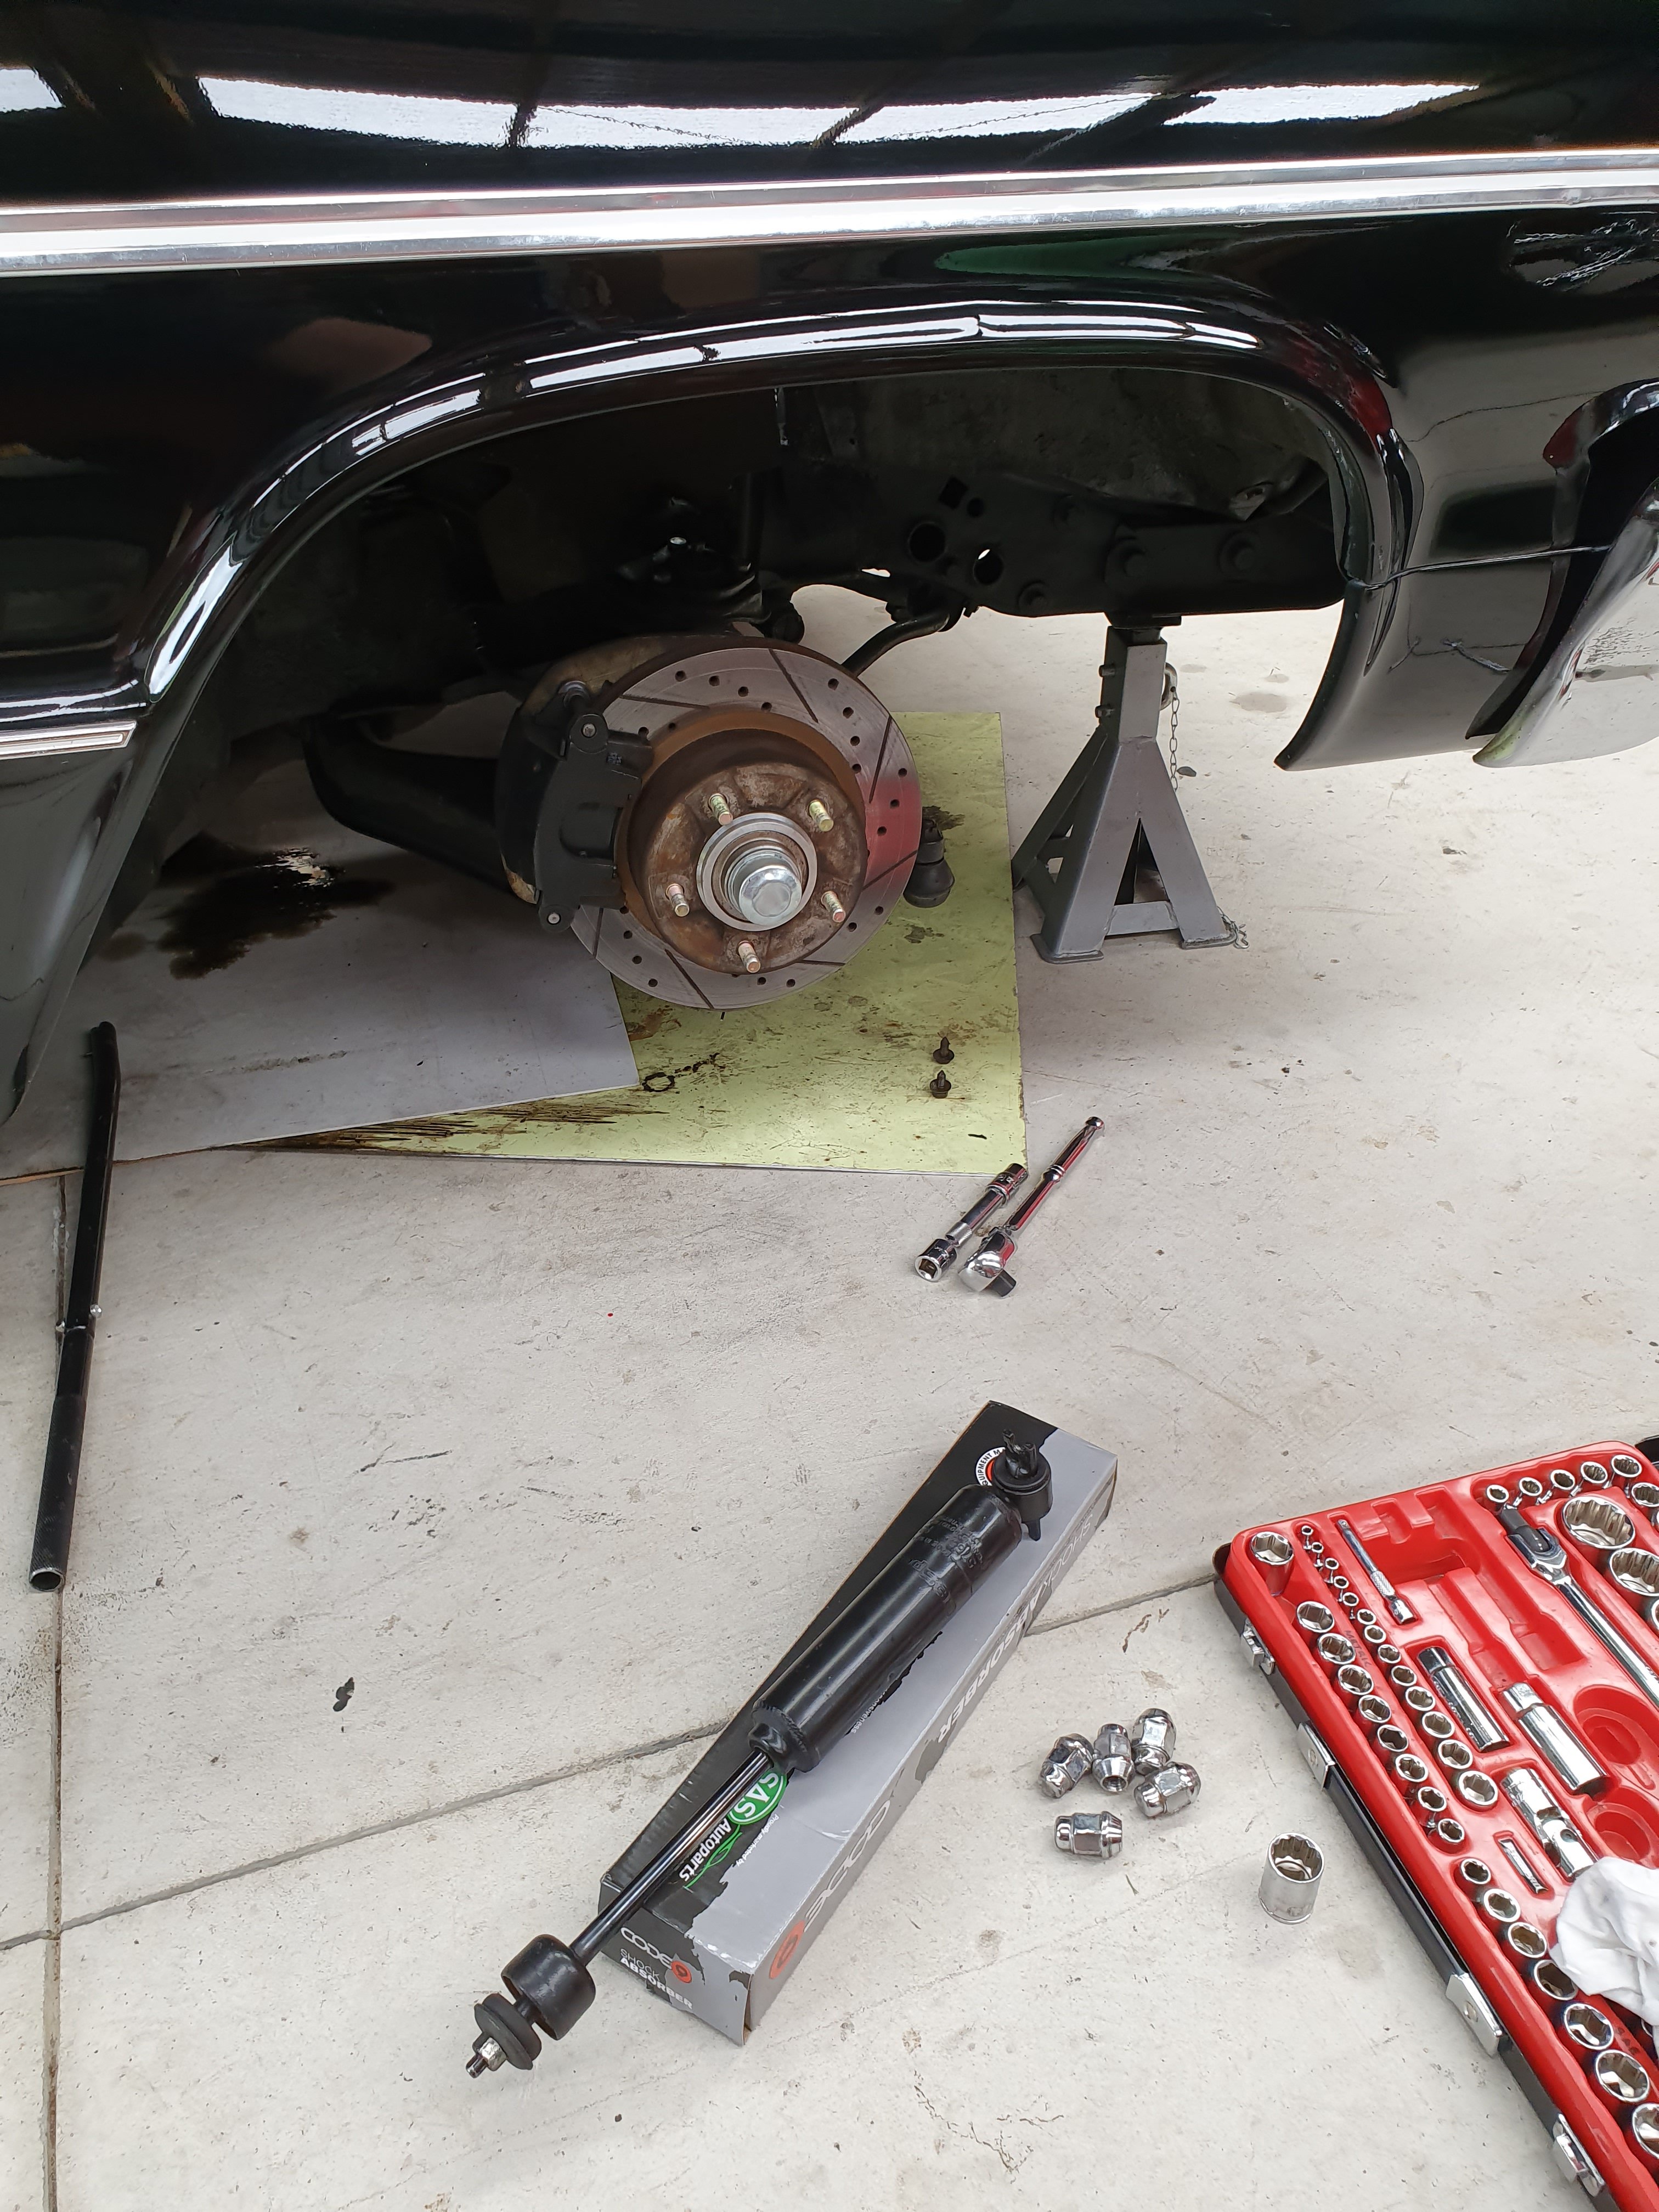
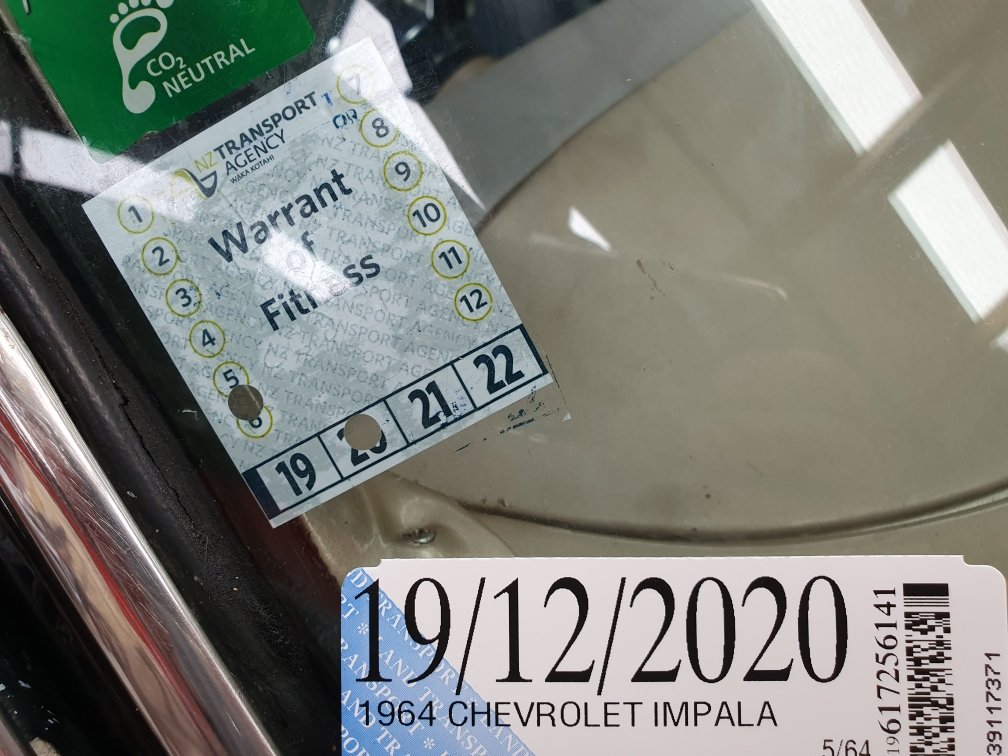
New shocks in front: Rides like a dream now on new shocks, plus all new ball joints and springs all done within the past 6 months. And legal as fuck! WOF/REG/CERT...fuck yeah!
2 points
-
Booyah...mother fucking boooooyahhhh!!!
2 points
-
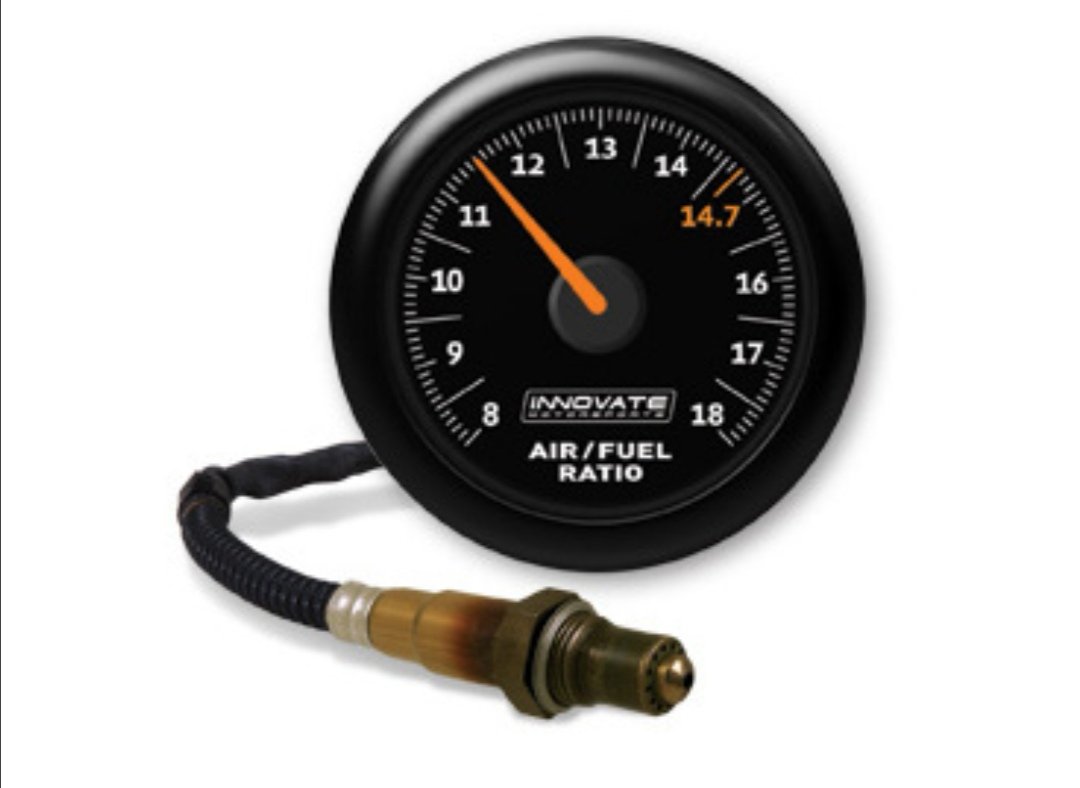
Some encouraging news, after my last outing I was too paranoid to drive it to the Christmas meet. Took it out this arvo for a spin round the block and it seems to be going good. Did have a massive flat spot of idle but I fiddled with some of the settings regarding low rev accel and injector wake and it looks to mostly have disappeared. Fuck does it go better than the carb, doesn't run out of puff at 4k like it did and actually pulled way harder than I was expecting, had to back off the gas as it just kept going.. Good Times. Just have to tidy up the plumbing for the fuel pump at the back and get myself an air filter (and a wideband) I also need to sort a fan but I think I'm just gonna get a viscous hub of an fe that way it'll flow more air and I won't have to worry about wiring up a fan and overloading my alternator, then she should be good to go.. Speaking of wide band, not really sure which one to get. Was looking at this one But I guess I should let the link do all the boat cut etc since all the functions are the and just use it solely for tuning in which case I should just get this one, Or go analogue and get this.. Maybe a little Xmas present to myself, then I can tune other things..
2 points
-
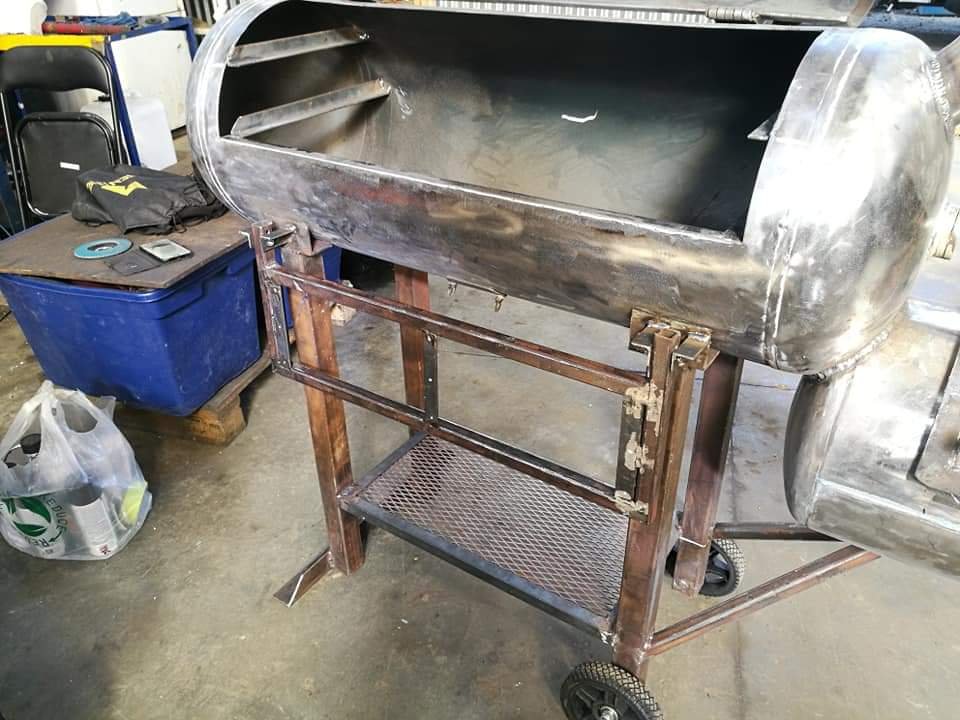
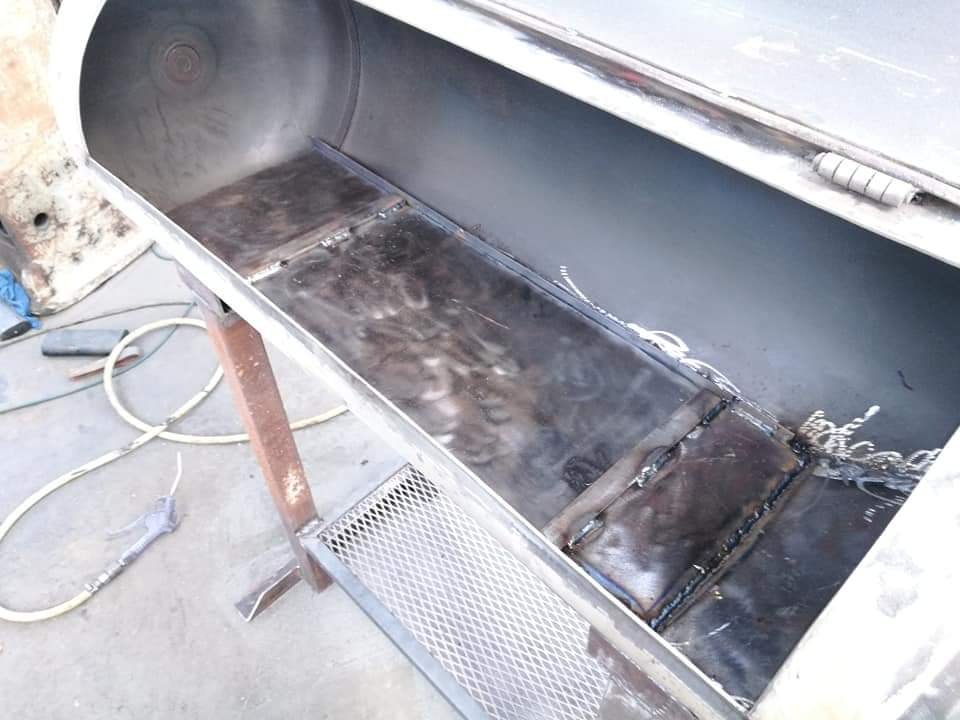
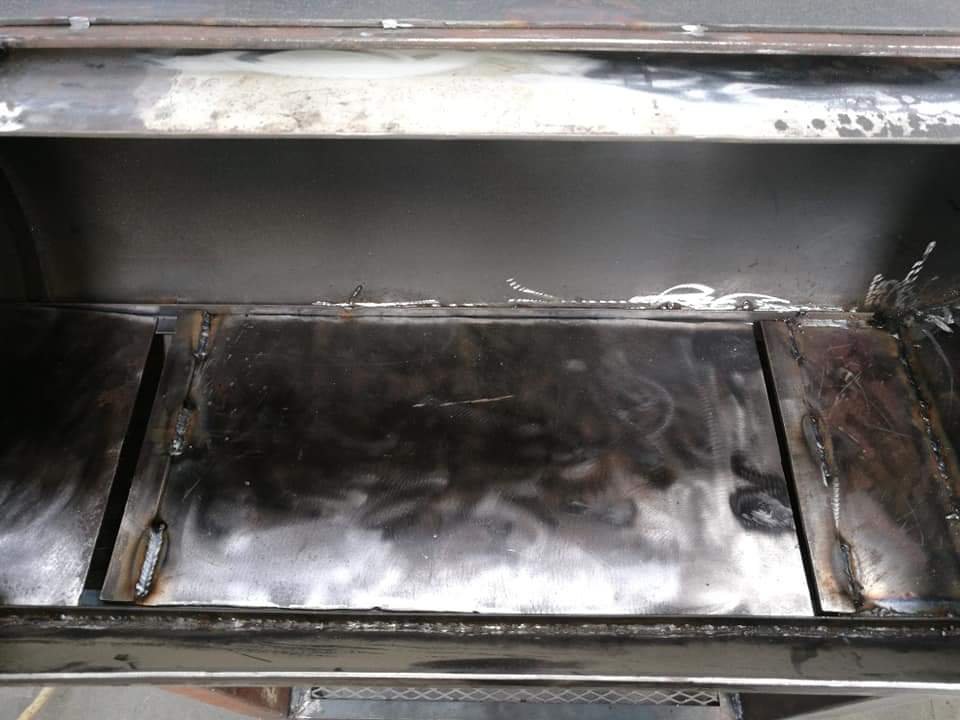
Here's the baffle/tuning plate setup. Used 3mm plate with an overlapping step to try and keep everything sealed half decent. Might look at changing to 5mm plate later and possible more plates to help with different heats. It's all removable for easy cleaning. It's not the tidiest but it should be functional, keep in mind a lot of this has been rushed as I don't have much time left and I'm not a precision engineer haha. And my minion/fiance gave me a hand with the sanding and metal prep which helped a lot! Gotta love the Samoan safety boots.
2 points
-
I would think putting in something fairly solid bull bar wise to protect your legs in the event of a smooshin would be the go. A couple of solid supports but then the external bars could be alloy tube to save weight?1 point
-
That should draw good with the decent length of flue you put on it, be easy to get it blazing to pre heat it before a cook1 point
-
Unlikely, there's about 300m2 of concrete with a purpose built turning bay facing the other way to back into. However if one of my wives friends comes for a visit...who knows, I wouldn't rule it out. Some of the fucked up positions they wedge their vehicles into always has me scratching my head in bemusement!??1 point
-
I wonder how long it will be before you reverse square into that pole1 point
-
Ah Michael, your humor knows no bounds. I was going to paint it in the many hues of your inability to finish anything, but of course, I'm only painting a car, not an aircraft carrier.1 point
-
You best be putting a steel chain net on that1 point
-
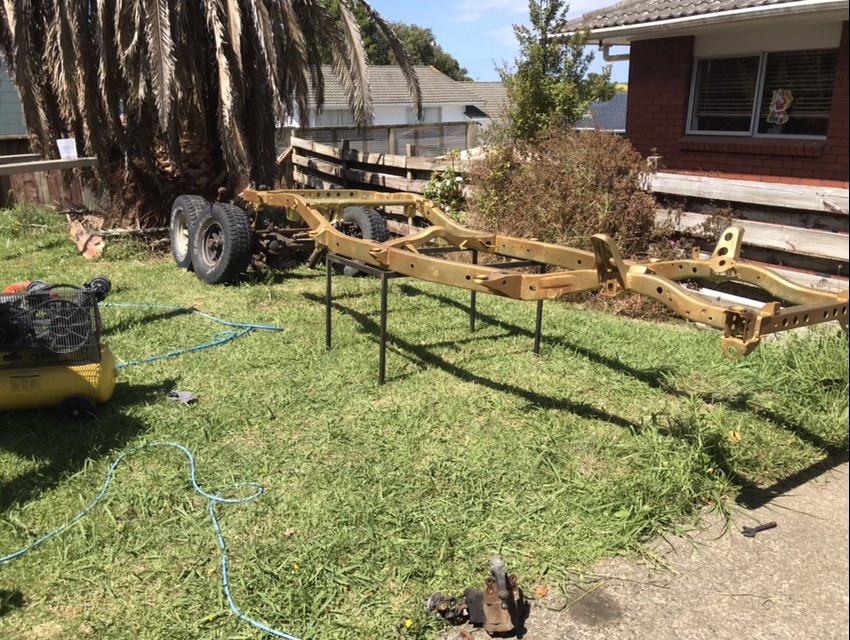
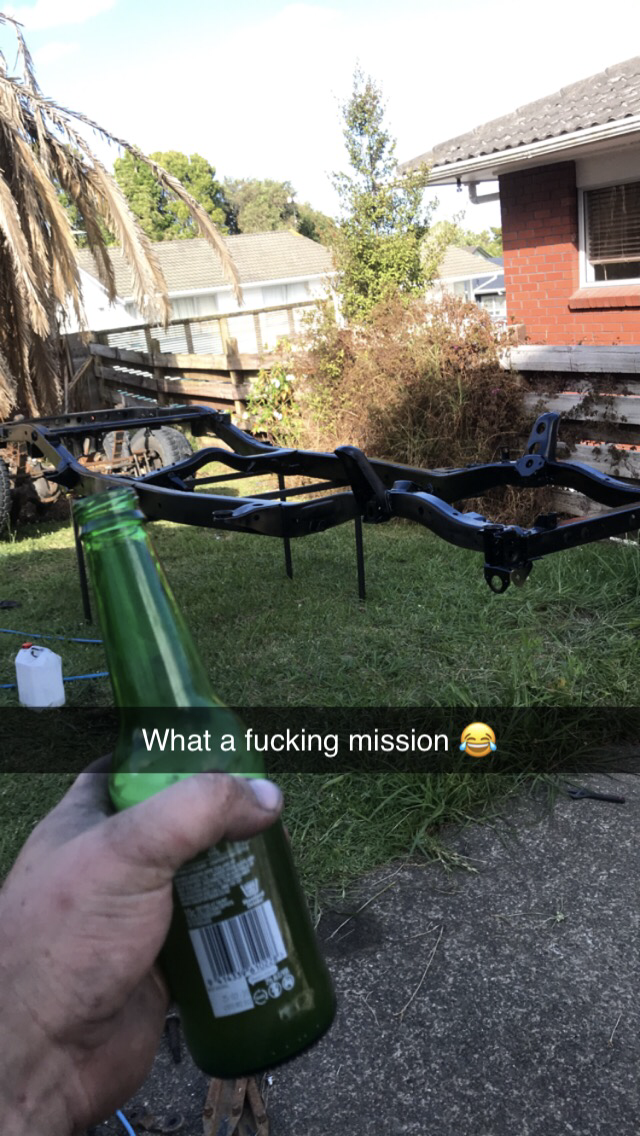
Picked up some acid etch. $58 for a 2L kit. Sprays super thin. was hot today so just started with light coat from front to rear, then straight back to front again and kept doing that till it was all used up. Left it looking pretty blinging! started on the 2K black where the gun packed up. Only spraying like an air brush it took hours to get one coat. Then the needle seal gave out and started spraying paint out the top of the trigger covering me. Continued on as I was already to far gone. Had about 80% done where it then decided to work properly, did a couple strokes and let off the trigger and it stayed on full tit so I just kept going and did a whole pot in one go without the trigger coming unstuck. What a fucking disaster! Least it’s had a full coat. And my mate that’s an actual car painter said he’ll head over and sort it for me haha fuck my life
1 point
-
Now that I have broken the seal for vids on this thing, here is a quick walkaround. Just need a few more hours bolting things back together and all going well I will take it for a drive... The only shit moment was when the oil light did not go out when i got the cab on, this turned out to be the haynes manual wiring colours being wrong, once I swapped the gauge and warning light wires over then both worked properly. It is idling a bit high still, I need to mess with that linkage a bit more. But yea, sweet.1 point
-
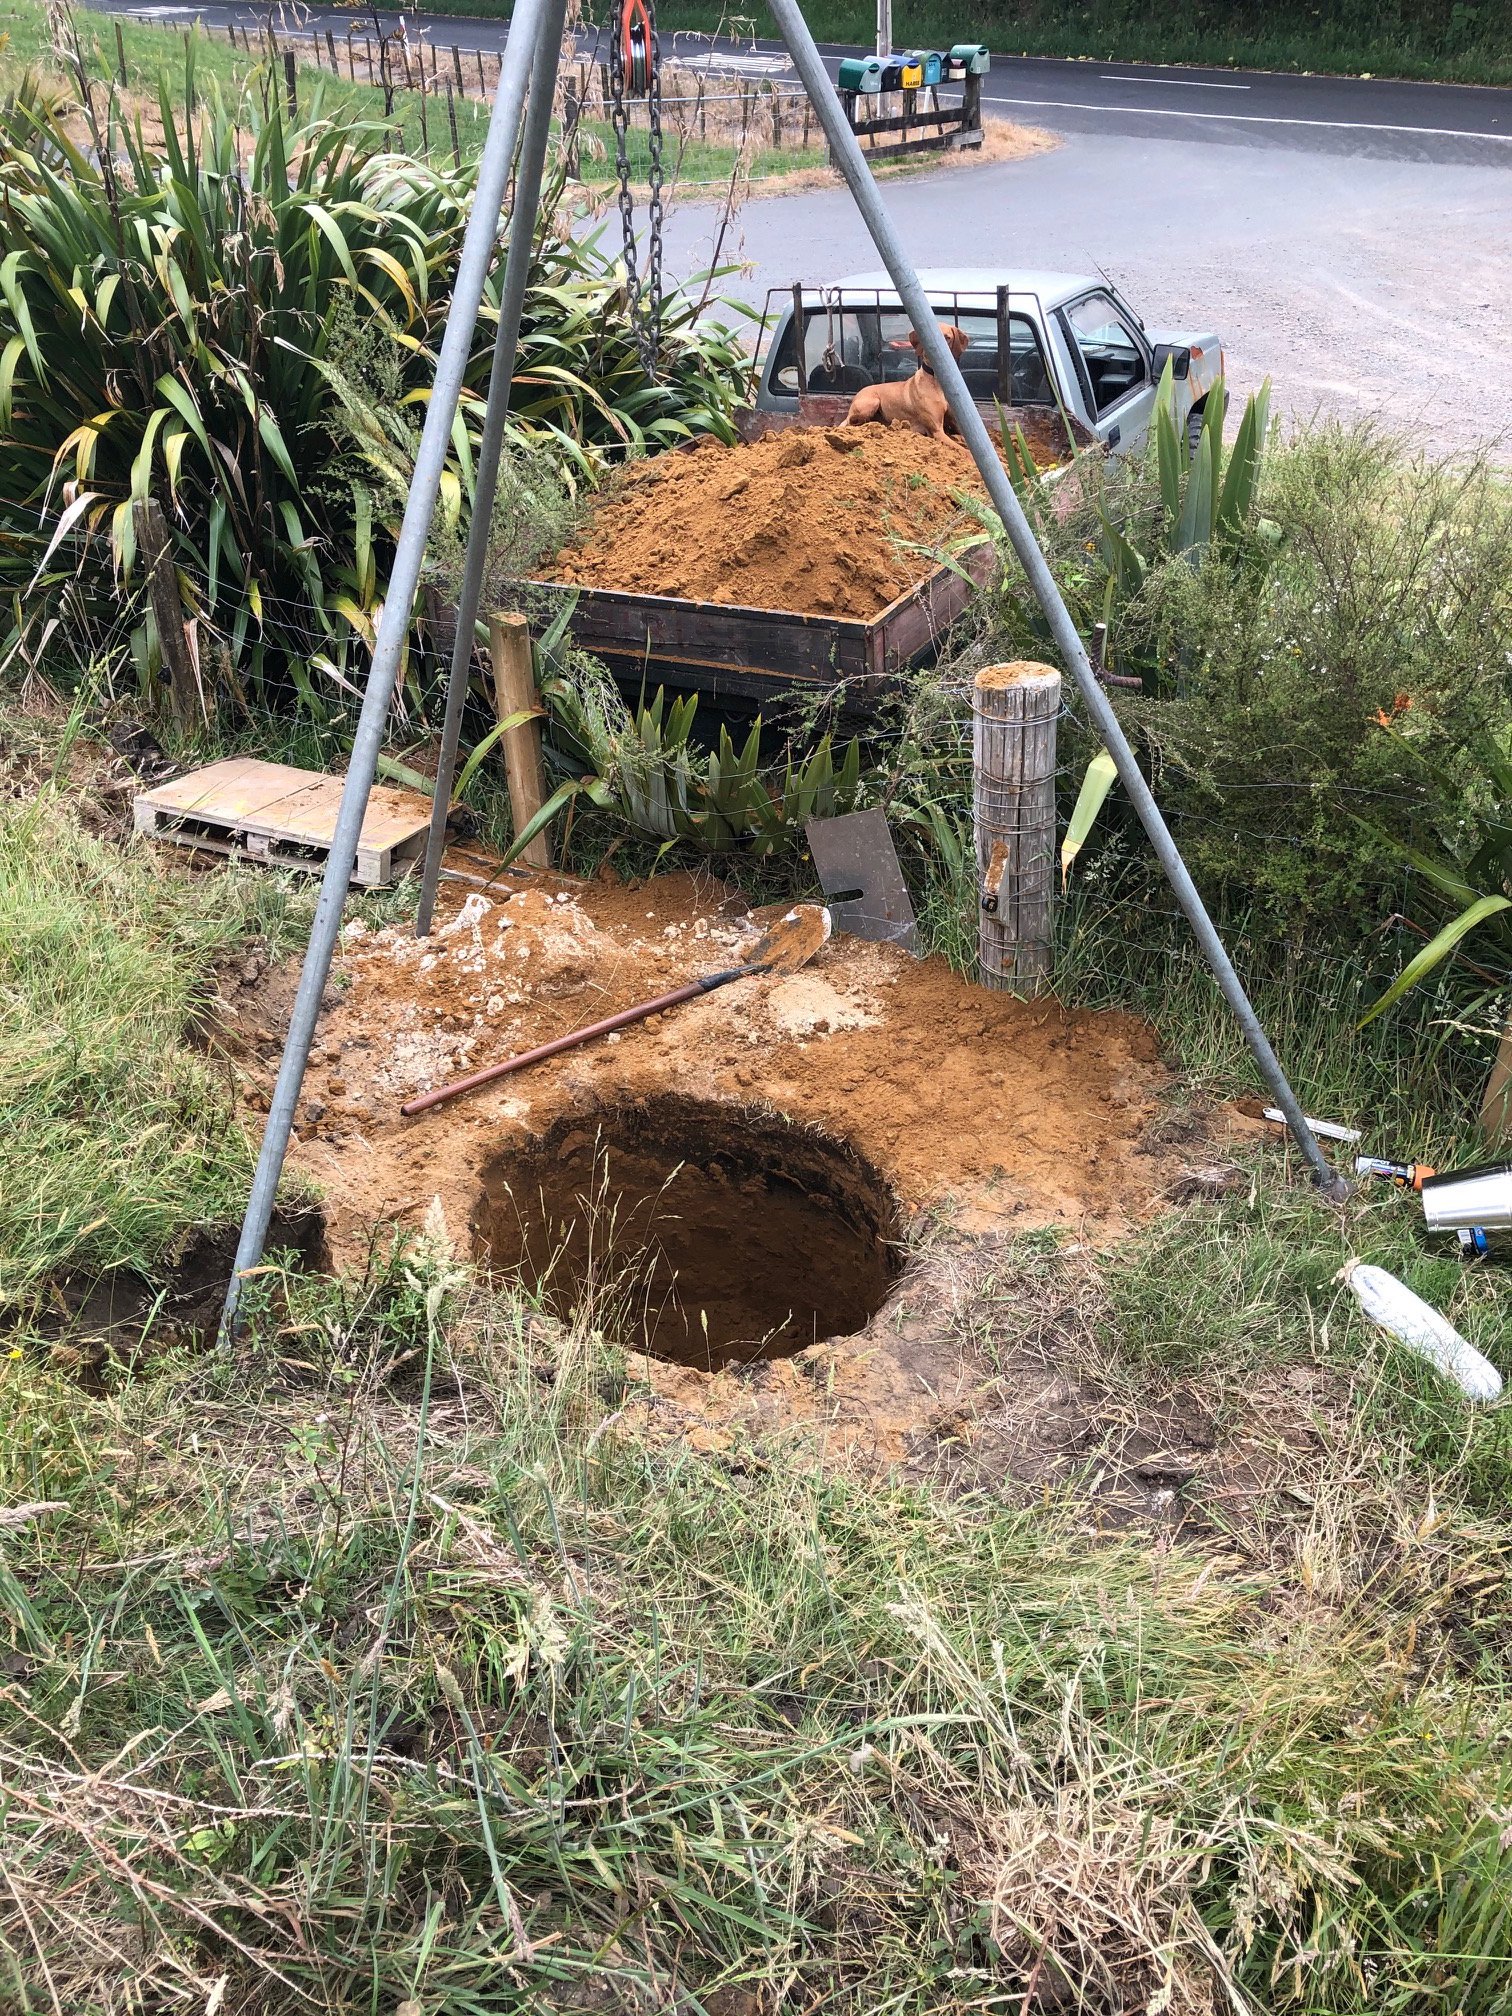
Sounds like a sweet project and i like the idea of divining for water, giz a yell if you need a surface dude to pull up the buckets of clay while you shovel them out1 point
-
Thats some sweet primitive engineers Max but 2 questions, how you know where the water table is and how you gunna sort out water ingress once you hit the water table and still have 3 meters to dig?1 point
-
started digging a well today for water got to 3m deep, water level is 5.2M would like to go to 7.2-8-2m deep. have 900x900 well rings coming next week. can't afford to pay a well driller to put a bore down.
1 point
-
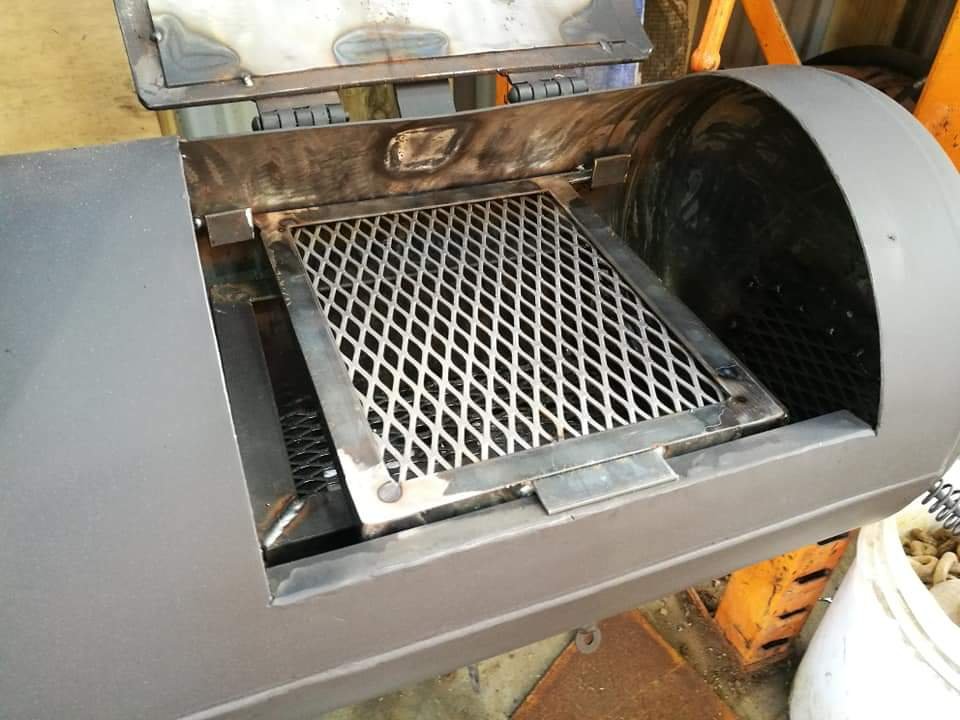
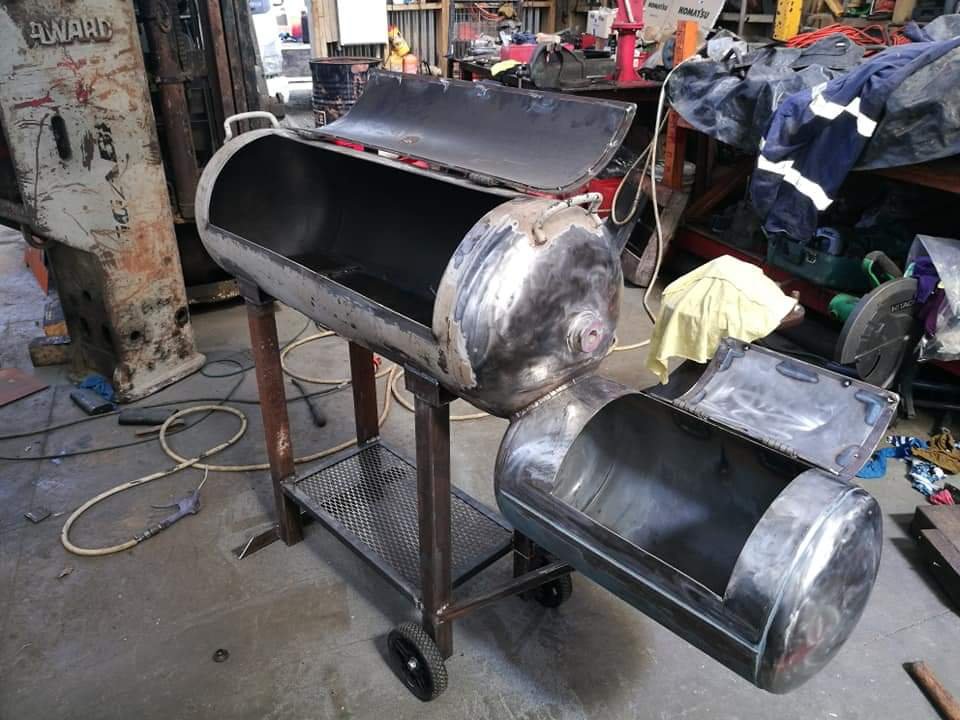
And lastly we got the firebox door sussed. I had a harder time getting this one kind of right, and the bends close enough to work. Forgot to take pics mid build but it was pretty much the same as the other. The main difference is that the door opens further back, this is to allow for more room for grilling/searing. Pretty happy with how it's all looking right now. List of things remaining are the mount for inner firebox, inner/removable fire box. Grill rails for both chambers, grills for both chambers, front bench frame, chimney with vent and firebox vent. These plus mounting up the gauges, doing the lid handles and paint. Also hopefully get this done throughout the week. Man this is a lot more work than expected haha. Ahh well. Chur
1 point
-
I was thinking of adding a pivoting arm that I could hang my water blaster off, kind of like those washworld places. But yeah, it will be used for the above for sure, as current I hang the odd deer in our house garage much to my kids delight and my wife's disgust.1 point
-
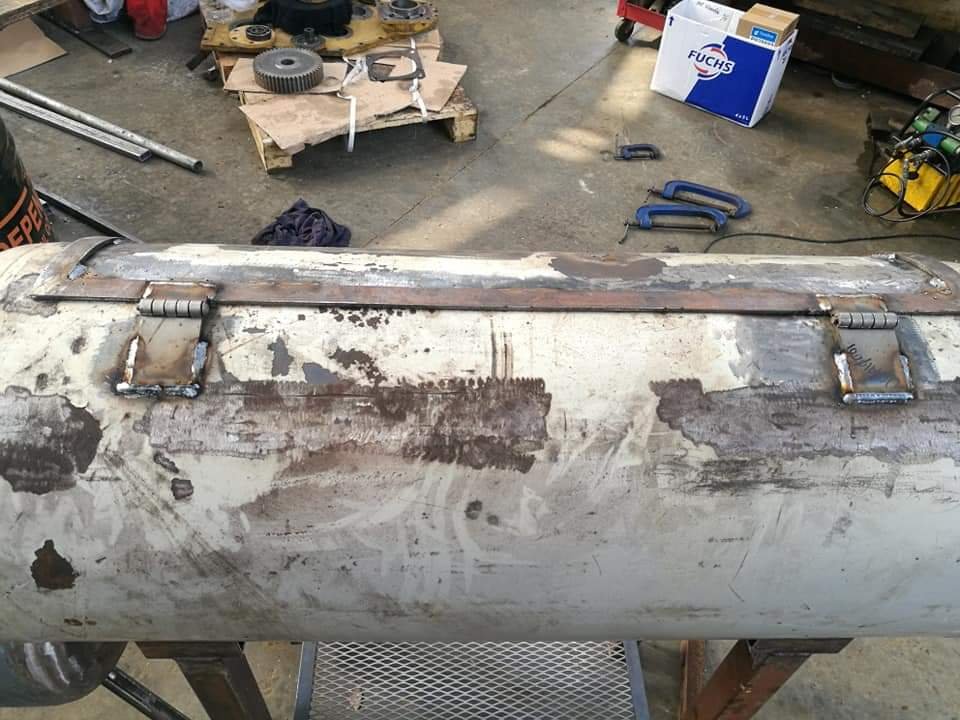
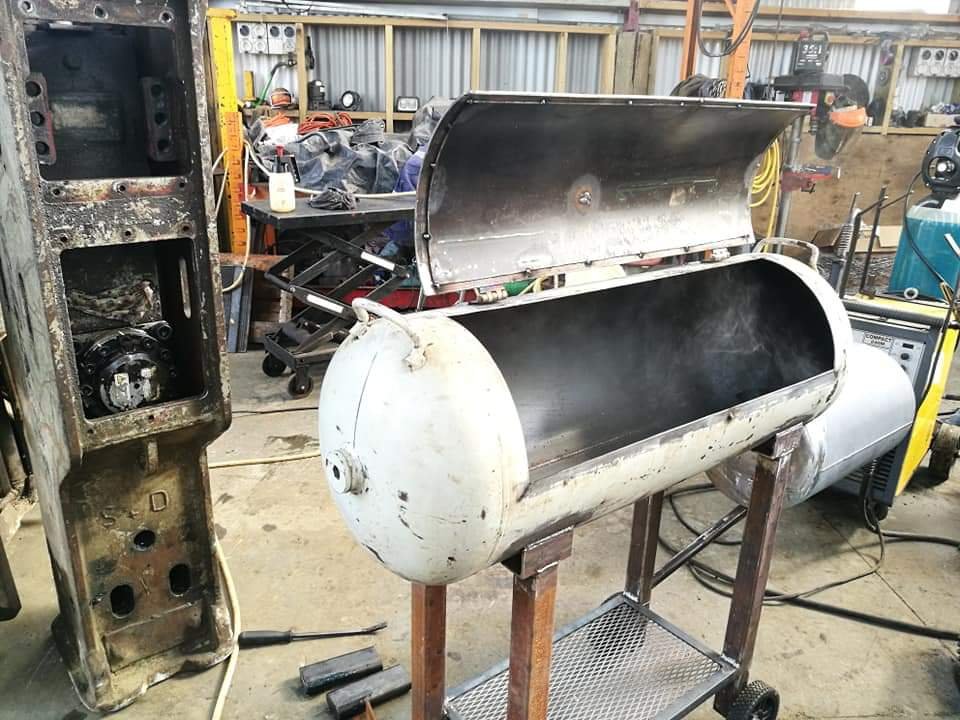
Ok guys I managed to get a about an hour and a half in today and now I have reached an awesome milestone and pretty stoked with what I got done. Finished off the door/lid (bar handle and temp gauges). Stitch welded the outer section of the frame. Trimmed and welded on the hinges, and now we have a functional door/lid. It sits pretty well, should be relatively flush once I trim the spot welds underneath and it's weighted well and sits at a good lean when open fully. Going to get a full day in tomorrow so hopefully it will be mostly finished. Cheers
1 point
-
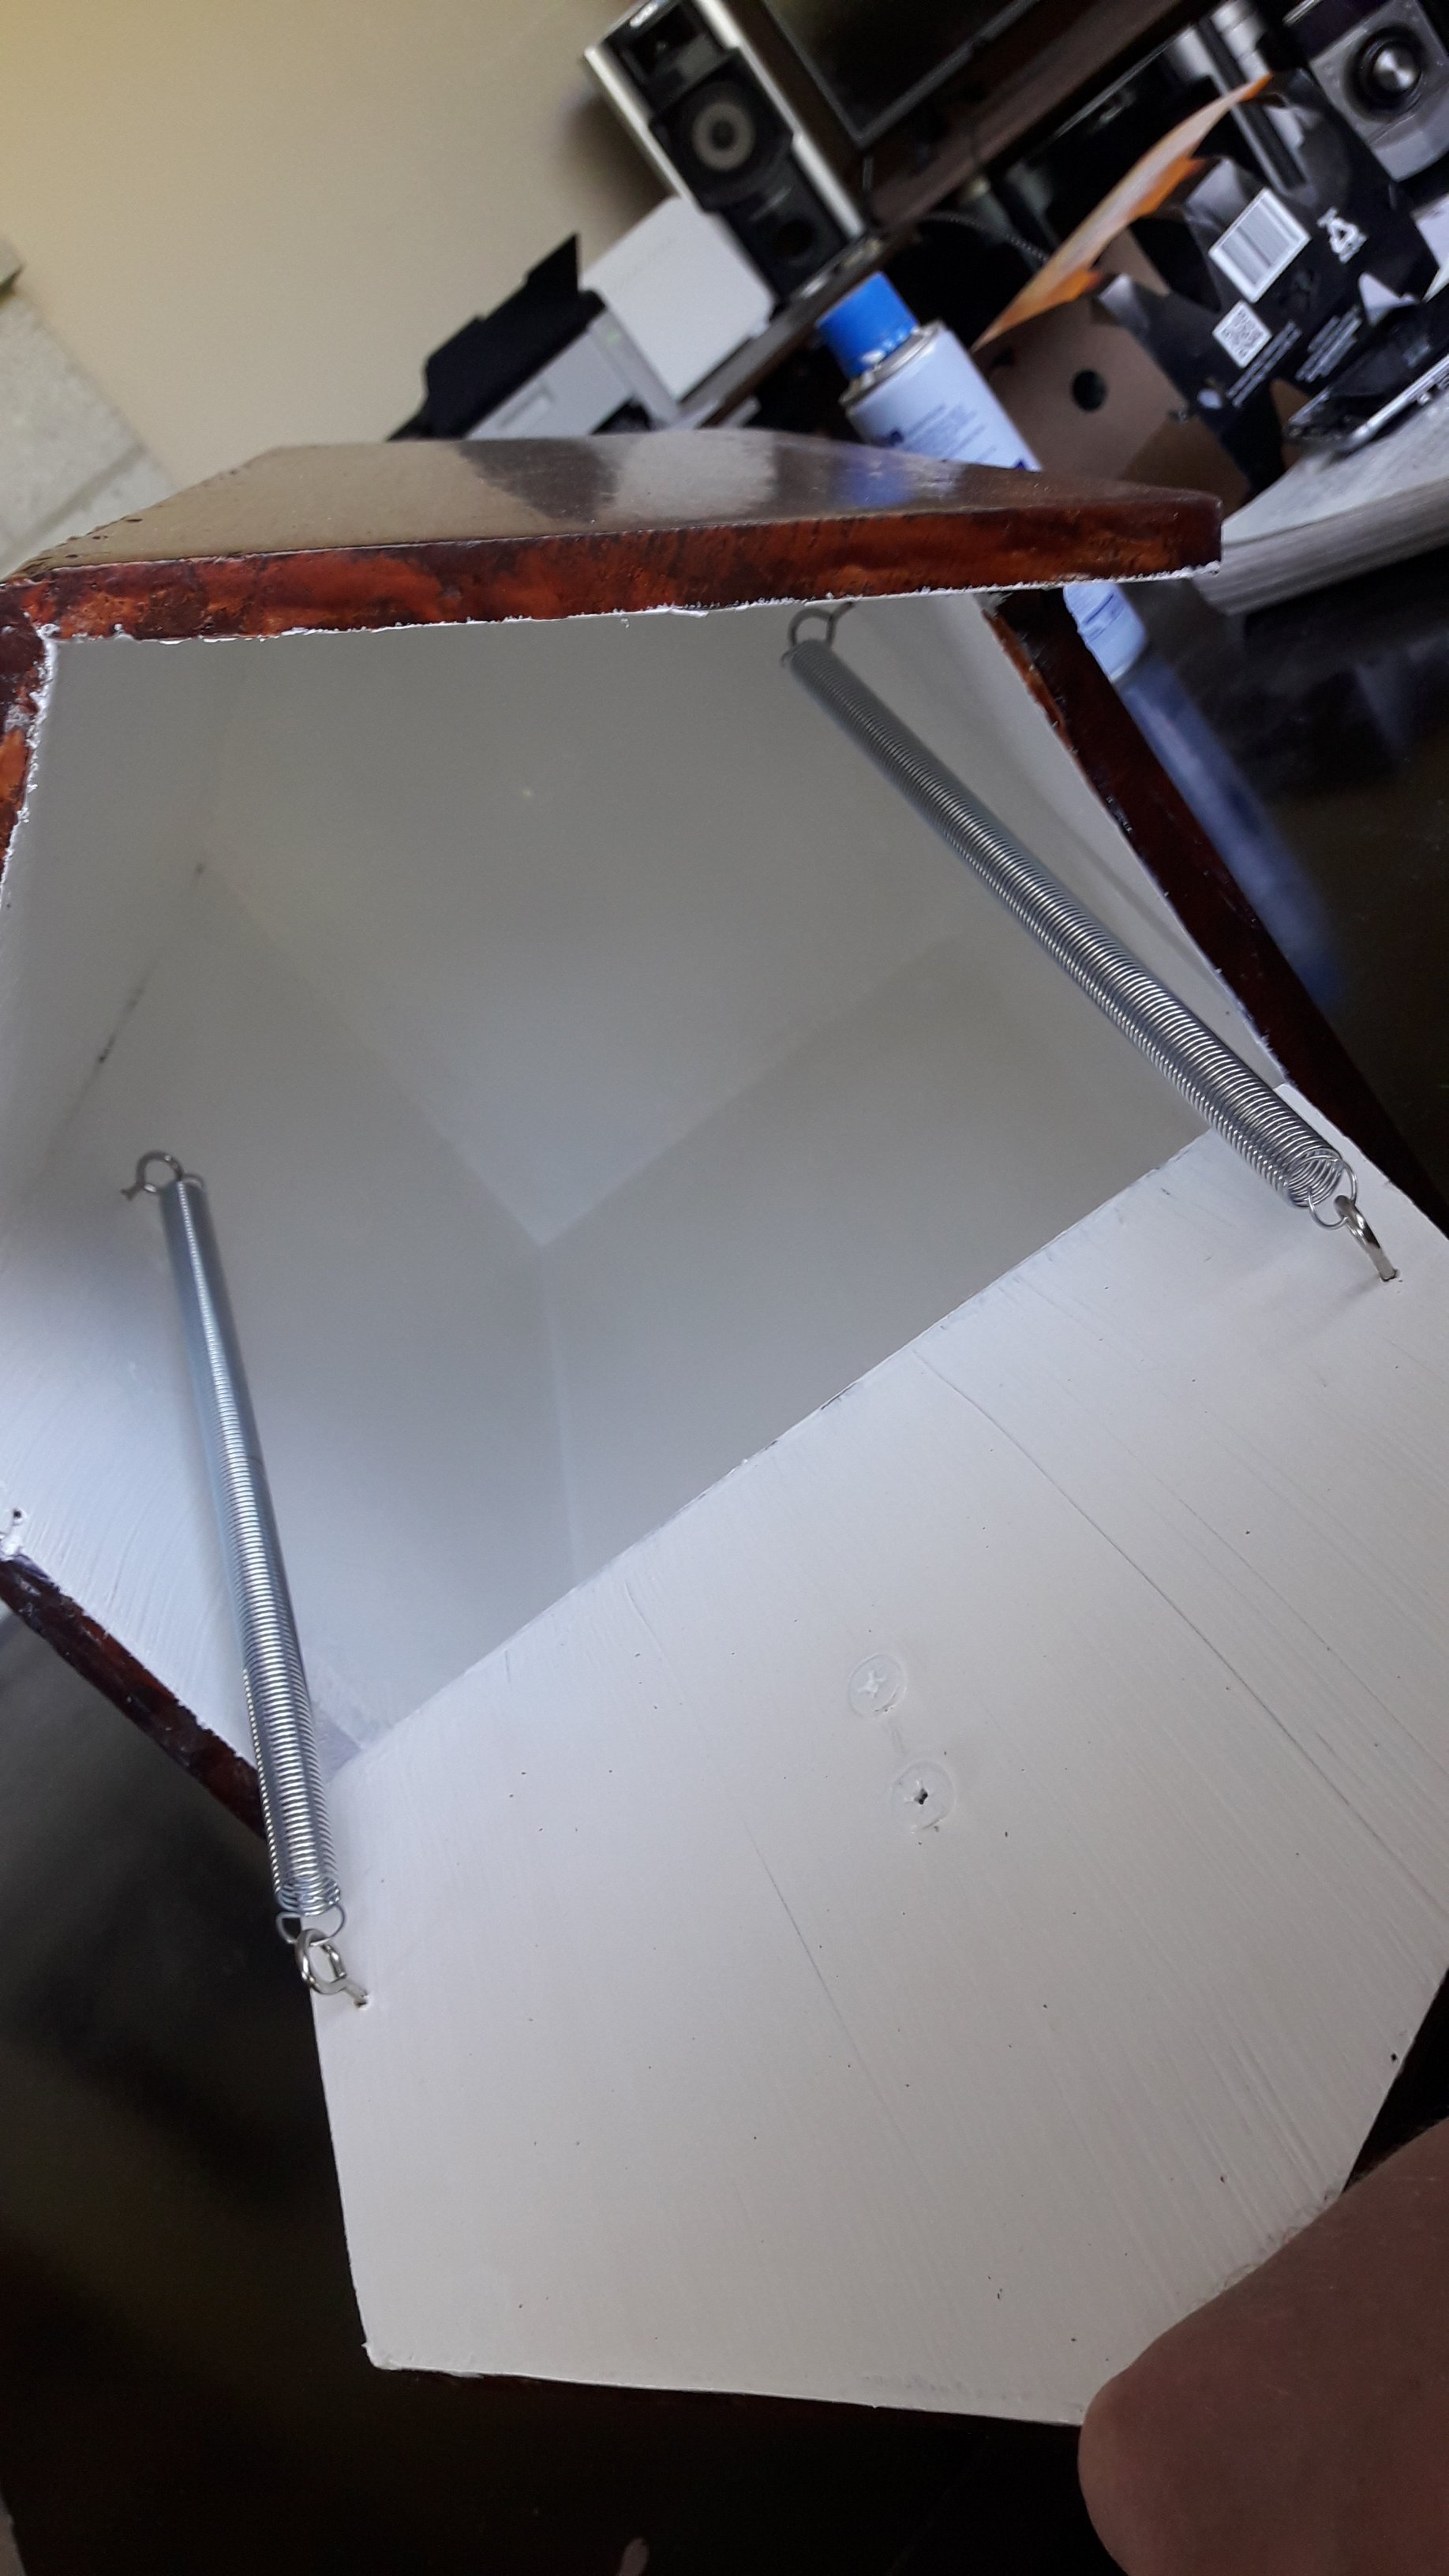
It now has a self closing door, should keep the rain out. Even features a home made knob
1 point
-
Ha Left it till the last minute before drag day, finally got around to getting some 50 thou shorter pushrods 5 years later. Put them in tonight but a bit late for road testing and waking up all the neighbors, but it did start, and didn't rattle Also rock auto to the rescue again, got a distributor with a vac advance so in another 5 years I might get around to putting it in
1 point
-
rebuilding power steering pumps. ive done a few of these now and had great success with all of them. you might do it a different way, whatever, this is how i do it. firstly, take a picture of each stage of the disassembly, there are many subtle differences to the orientations and alignments that will fuck the whole thing up if you put it back together wrong so take pictures as you go. the pump off my UZ was really fucked, lots of really bad scoring on both the stater plates and the rotor, but the inside diameter of the eccentric ring was good so it could be fixed without to much drama. 2019-12-03_09-20-52 by sheepers, on Flickr 2019-12-02_06-38-54 by sheepers, on Flickr so, how to do? you need a good flat two sided stone. not one that has been used to sharpen chisels or knives but a flat one. i have one i only use for this type of work so i know its flat. you're going to be trying to polish the plates to within 0.01mm over the surface so the stone needs to be good. also so good cutting oil will help no end. the other thing you really need is a micrometer, for two reasons, obviously to measure the parts as you go, and the other reason is that the mic can give you a really good feel for where things aren't parallel or where the high spots are. once you give it a try you'll see what i mean. 2019-12-02_12-07-21 by sheepers, on Flickr so, mic all your parts and write down what each one measures. (this picture shows after stoning so there are two measurements but more on that later) 2019-12-02_06-28-53 by sheepers, on Flickr polish the parts on the stone using circular motion or a figure of eight motion (don't do long strokes along the stone because you'll grind the surface out of flat and its very hard to get it back) and rotate the every couple of passes so your pushing on a different part of the plate. use the mic to measure the plate and make sure its still flat and both sides are still parallel. keep going until the plate is smooth. i couldn't get the last deep score out of this plate so it will just have to live like this, its not to bad but these deformations allow oil pressure to get between the side plates and the rotor pushing them apart and you loose line pressure. 2019-12-02_12-07-14 by sheepers, on Flickr in the above picture you can see the scratch marks from the rough side of the stone. once you've got the scoring out and they are flat and parallel you can give them a polish on the smooth side of the stone. this serves two purposes, they need to be smooth so they work well and dont score again in service and it gives you a second chance to check your work. 2019-12-02_12-07-28 by sheepers, on Flickr you can see on the rotor the area to the right is not flat, that only showed up after smooth polishing. i had to go back and re-do it to get it flat. this meant that i had to remove 0.04mm from the rotor. because of that it meant that the vanes were to wide so i had to stone them too. to check that the vanes had correct clearance in the rotor i used the mic. in the two pictures you can see i set the mic on the rotor, then inserted a vane, i was easily able to move the vane in and out confirming the measurement. 2019-12-02_12-07-54 by sheepers, on Flickr 2019-12-02_12-08-02 by sheepers, on Flickr once i had the rotor flat and the vanes 0.01mm thinner that the rotor i needed to address the eccentric stater plate. this sets the spacing of the whole assembly and because i had removed so much material from the rotor there was now too much clearance between the rotor and the side plates. this pic shows the "after fixing the rotor fuckup" measurements. 2019-12-02_06-29-11 by sheepers, on Flickr you can see the initial clearance was about 0.04mm and i have removed 0.04 from the rotor so i had to remove the same from the stator plate (i didnt write down the final measurement for the eccentric plate in the picture so it still says 15.03 but i actually polished it to 15.00 to keep the 0.04mm clearance). so, once thats all done the rest is simple, new o rings, new seal and a new bearing (which cost the grand total of 38$) and the pump is good as new. hope this helps you in future, like i say, theres more than one way of fucking a cat but this is how i do it.1 point
-
It's been a good summer winter chugging all over the place. I'v noticed some bubbles here and there. The bonnet is of concern I'll never get another one. So lets look at some rust. A true feature of H330's rear seam wheel arch where the back joins on corner of a door bonnet full of filler. yay1 point
-
See that's the thing about today's suck hole world - the mindset drummed into us is to 'throw it away and buy another one' when its worn out. Cunts laugh at you wanting to fix up and continue using old gear. Fcuking consumer world. I laugh my arse off seeing late model shitters starting to come into the yard. Each one of them represents someone having paid a small fortune for the turkey and then it broke. They couldn't fix it themselves and neither would the insurance company because it cost too much. Lol! Get a dirty old LN106 and never pay anyone to fix it up for ya because they are simple and don't break that easy. Good for picking up scrap iron too ... Fucking luxers - Look the business, is the business :))1 point


This leaderboard is set to Auckland/GMT+12:00