
Leaderboard


Popular Content
Showing content with the highest reputation on 11/13/19 in all areas
-
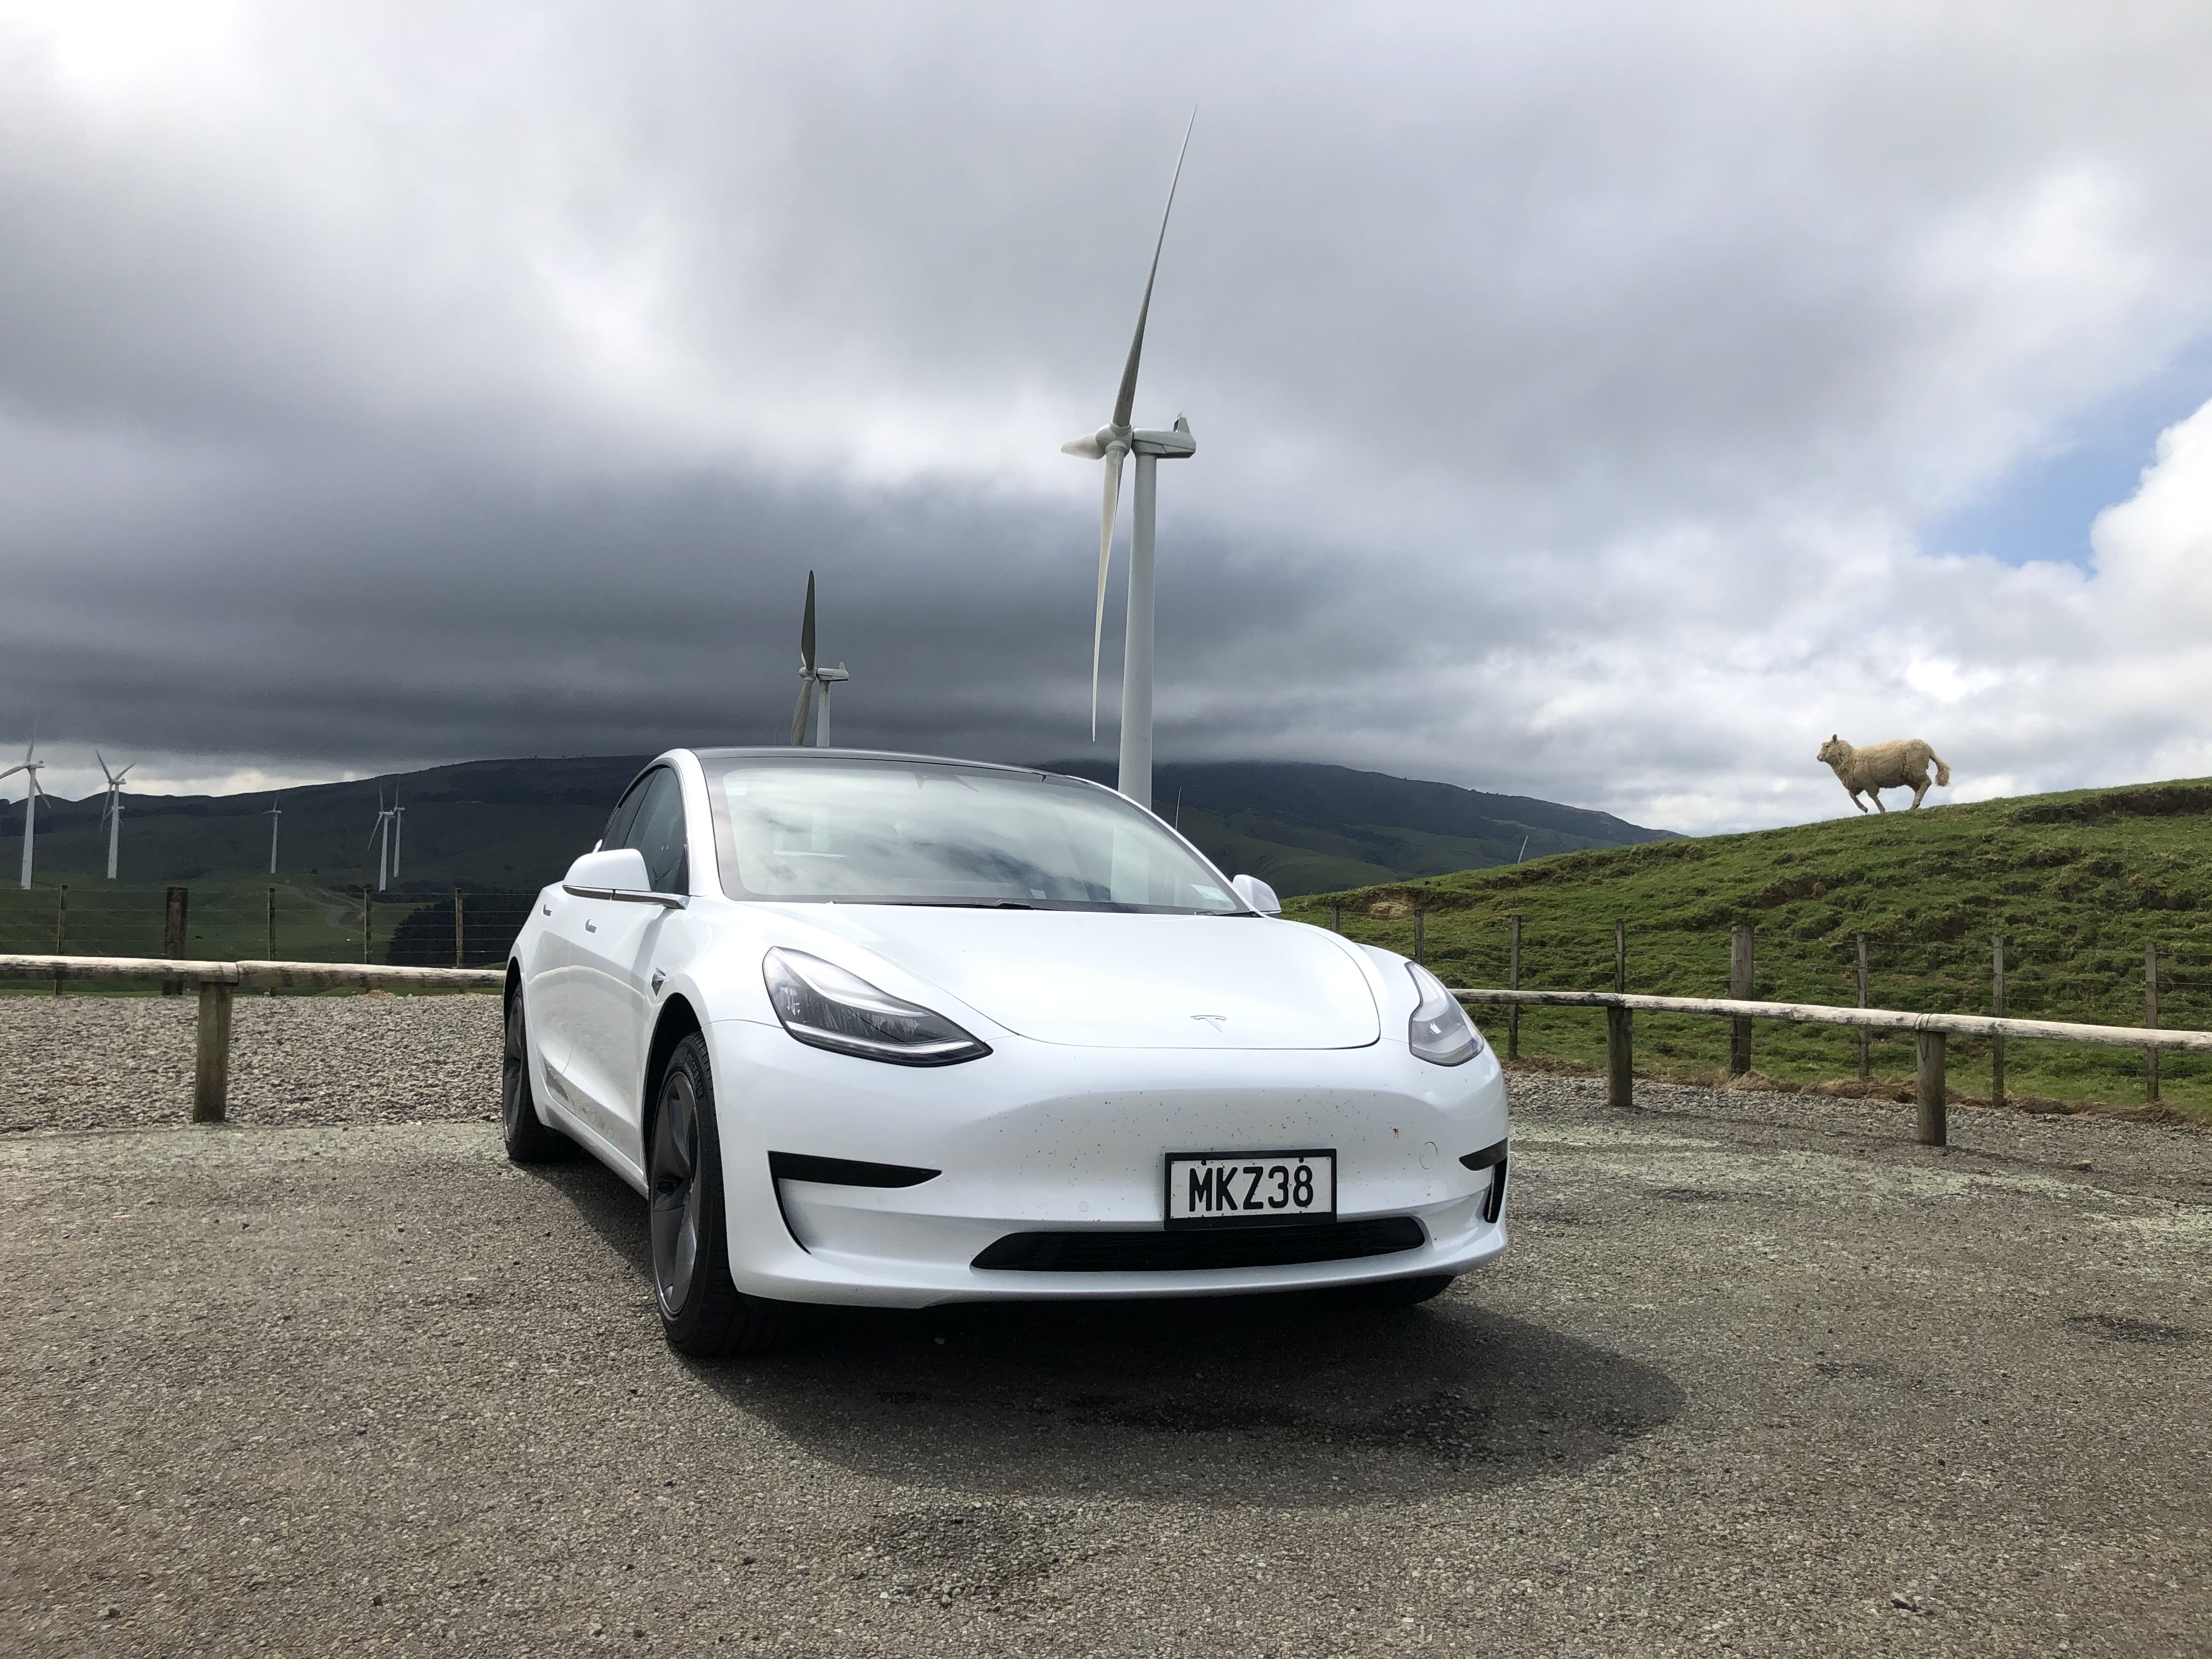
So I went and found the absolute most polar opposite vehicle to something oldschool If mods think this is a boring daily feel free to delete. My now 1 month old Tesla Model 3 Standard Range +. I have been a Tesla fan for many many years and it has been a long term goal to own one. So this is the new daily. All I can say is what an absolutely phenomenal vehicle. All you need to do is drive one of these and you will be sold. I am still into oldschool so dont get me wrong but man, these cars are really next level. Thought I would throw a post up as probably a bit out of the ordinary for oldschool haha. Anyone got an oldschool sticker for the back window ha? Here it is on its maiden voyage down south from Auckland:
 26 points
 -
I'll send you a sticker when you tang and desprang.15 points
-
Click the link to make Prius/Leaf owners shudder (video): https://photos.app.goo.gl/uRc2eN1EWPMey9Jp7
8 points
-
I have lowering springs for it already haha. Its not getting 35mm treatment like the Mark II as I am old an mature cunt now and it is my daily. It just sits at a slightly too rude height at the moment so the 1inch drop its getting should help fix that. Apart from that I will probably get the OEM performance spoiler for the rear as I like that look. Chrome delete and tints. That should probably do it for now. Maybe in the future when I get bored it might get some wheels. The wheels in the above picture are actually hubcaps ontop of mags. I kept them on for extra efficiency when I drove it down to Christchurch but they are long gone now. I dont like them. The wheels look like this after removing the aero caps:
7 points
-
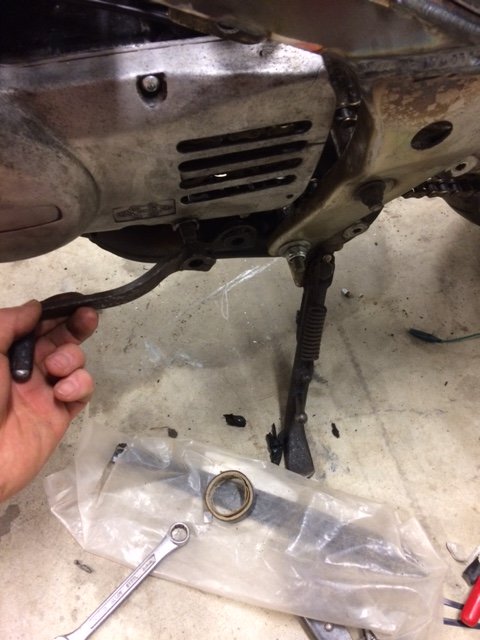
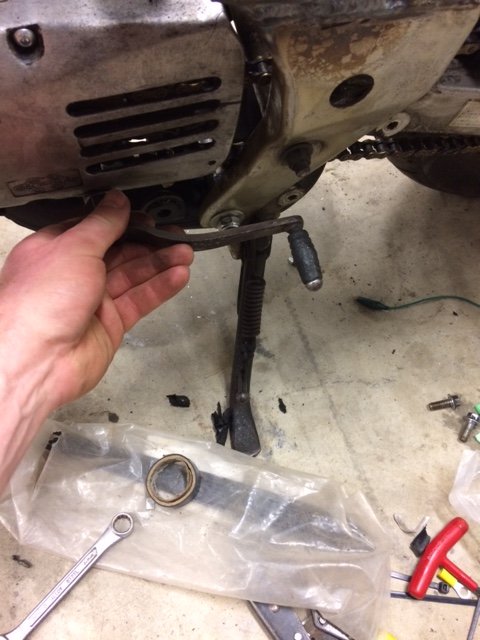
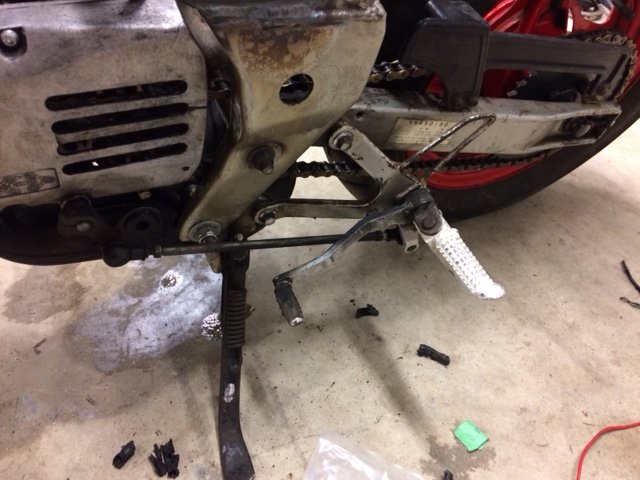
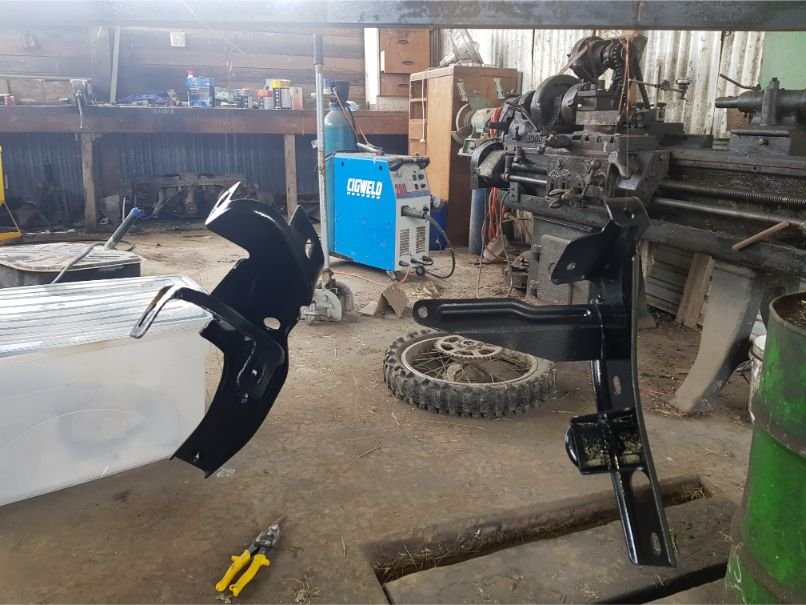
We just cut the factory peg off it’s steel mount, drilled a hole through it and mounted an FXR foot peg equipped with its own shift and linkage which didn’t require any modification, they were even the same internal spline!
6 points
-
Stopped at SuperChargers in Hamilton, Taupo and Palmy for about 20mins at each. We went via Hawkes Bay for a night so had a charge up in Hastings on one of the Charge Net chargers for about 30 mins. One quick 20 min charge in Blenheim while we had a toilet break and another in Kaikoura while we had fish and chips and that was it. Basically every time we stopped we got something to eat or drink, had a stretch and a toilet break and maybe waited for 5 mins in the car and that was it. Very stress free and not at all an issue. Some of the charging we probably didn't even need to do it was more just piece of mind and it also meant I could give it a good thrashing from time to time with plenty of juice.5 points
-
Sweet ride, pretty jelly. That article about lowering improving efficiency says tests were done at 150kph lol5 points
-
Funny how this topic comes up, but a year or two on these are still working sweet, opening and closing several times daily. They are near impossible to move against the air pressure, and if you do, they will slam on you as you try. No locks needed, the air pressure even when low holds them tight as a mofo! I still use the timer overnight to stop the compressor from running at nighttime. In the morning it usually drops to about 100psi which is still plenty enough to open and close the gates all day long even if there was a power cut. It really is a cool system with no real issues. I've adjusted it to open or close in about 5 seconds now. The gate moves fast, then hits the air cushions and soft closes the last part of the stroke. Kind of like a kitchen draw... a lot faster than in that YouTube clip. Overall I'd definitely do it again. The only negative is if you leave it open all day and night it can flatten the battery. I always have a second one ready charged to swap over. If you're careful and only open close as you need to, the battery lasts about 6 months without needing a change. Another possible thing I'd do differently next time would be to use steel posts. The timber swells and shrinks with the seasonal changes. This lifts or lowers the gates about 20mm at the non hinged end. It fucks with my OCD and I find myself adjusting them about 3 times a year to line them up again to meet perfectly in the middle. The joys of OCD5 points
-
Shannon who is on the list but not on old school has reached out to me re: the second night in Gisborne. He’s from there and has a house; he knows some of the Tauranga engineering crew from last year through work. Sounds like he may be having a wee congregation at his on the Saturday night and if people want somewhere to smoke beers and drink cigarettes then everyone on the ride will be more than welcome. May work out better than 20 hour waits for food and the staff being intimidated by burley bikers at Smash Palace. Each to their own of course; but the offer is there. Edit: Space for skids apparently.4 points
-
What a fucking baller cunt. My brother will be jealous as fuck. Leaf ain't no Tesla.4 points
-
Outer camtree patterns 1 of 24 points
-
Its certainly a far cry from anything oldschool and even a far cry from most brand new combustion engine vehicles TBH. Bloody outstanding vehicle, worth every penny. Might go and make a post about it, I am sure some people will be interested.3 points
-
man i hope someone rings in some te urewera strippers3 points
-
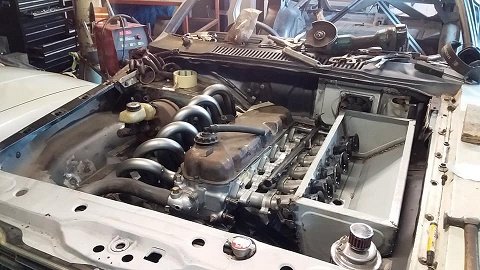
Ended up not going to training tonight so decided to get the cam installed and degree’d found TDC, then set the Dti gauge up on the lifter (Ended up welding two old lifters together to make it easier to get the Dti gauge set up) found max lift and set Dti to zero, wound engine back .100” and then forward to .050” before max lift, noted the number the pointer was at on the degree wheel, the wound engine over until the lifter was at .050” after max lift again noted the number the pointer was on again, added the two numbers together and then divided by two, this gave me 112.5° intake centreline. Cam spec card is for 102° so was a bit out. pulled it all apart and advanced the cam 4° and started again, ended up with an intake centreline of 101°, so that where it will stay. Tomorrow night I’ll get the heads on an confirm there is no clearance issues.3 points
-
This is the slow one. 5.6 seconds. Although it got a 20HP bump in an update on Friday so might be lower now.2 points
-
Thats the long term dream for sure. Some Tesla Powerwalls and a solid solar setup.2 points
-
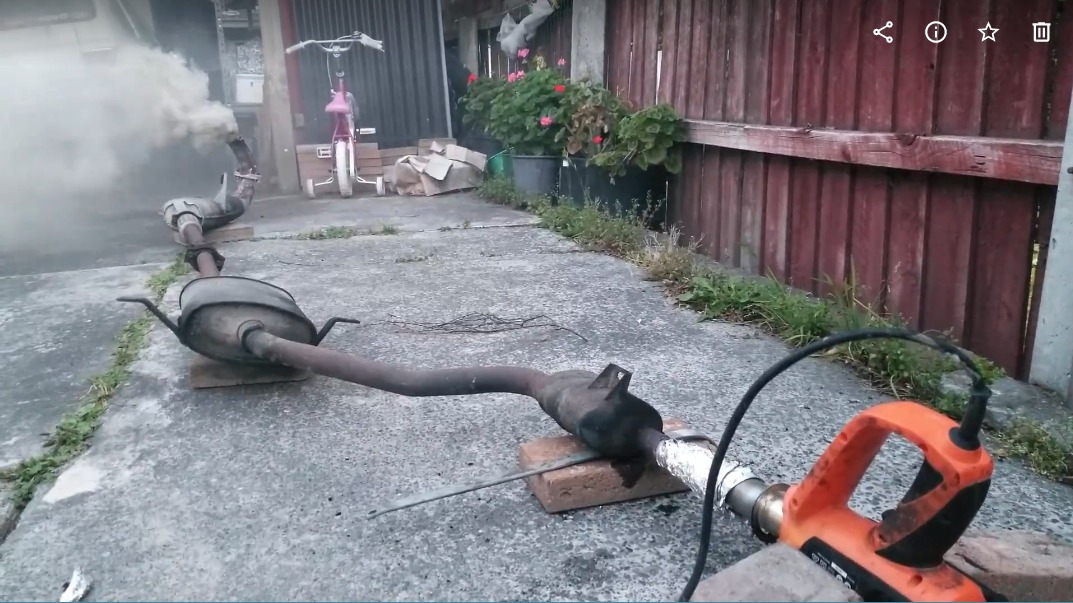
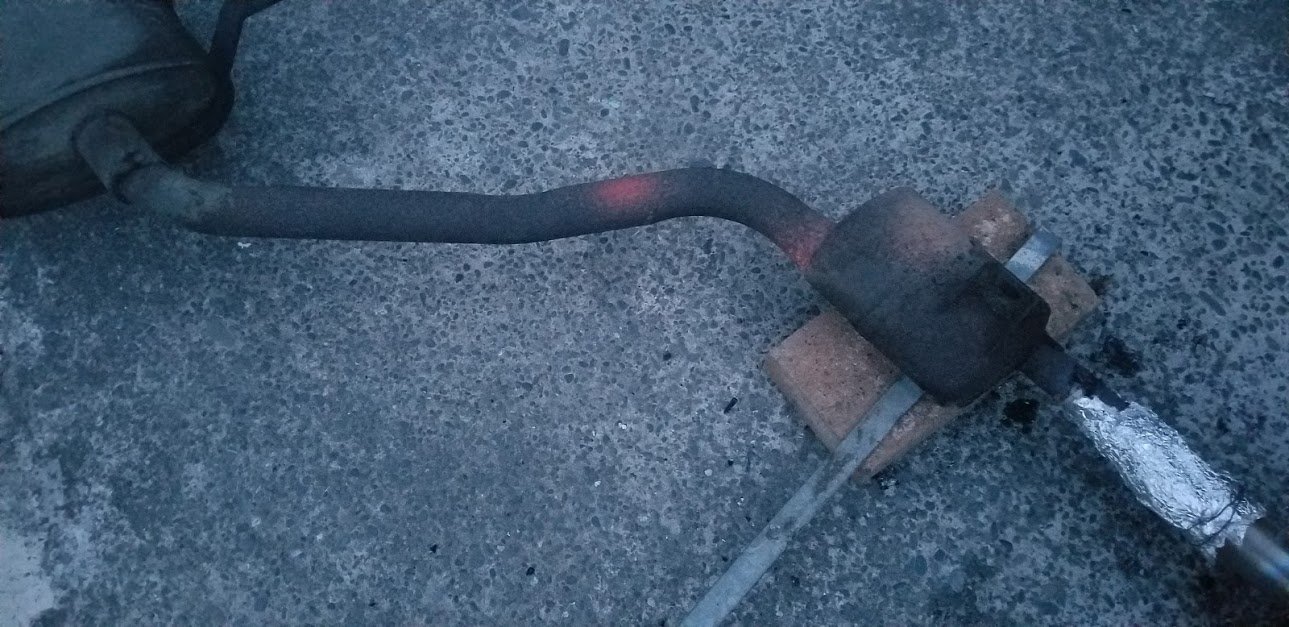
Have split that into assemblies, and had another go. Some observations: It works rather well (6" flames out the oil clagged expansion chamber just now). https://photos.app.goo.gl/t8qnrSrJkiMN4Fev8 The heat gun seems to work well for getting them started, but sometimes needs just a touch of butane into it to ignite the internals (WOOF!) say, about 1 second too much butane trashes the heaters on your heat gun in about 2 seconds (ask me how I know) That crap smells vile! Like creosote. The red band where I presume the internal carbon is burning creeps along the pipe at about 1 foot per 20 min.
2 points
-
https://cleantechnica.com/2019/07/16/lowering-the-tesla-model-3-increases-efficiency-an-astounding-7/ "Lowering The Tesla Model 3 Increases Efficiency An Astounding 7%"2 points
-
Fuck that sheep looks maaasssive.2 points
-
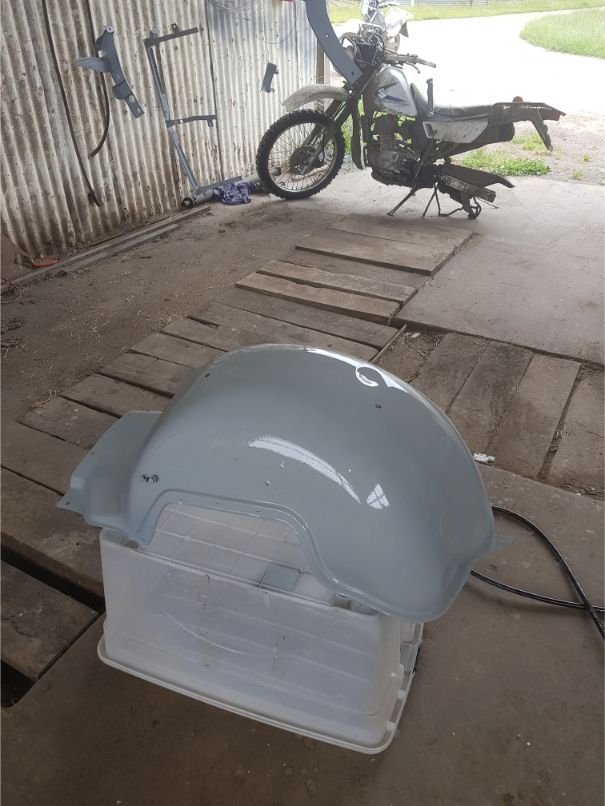
A much better lunchtime experience. I put yesterday's failure down to grabbing an old can out of the shed and not agitating it enough / not testing spray pattern before applying. Same can went mint today anyway... And some bits arrived from Simply Seagulls yesterday, should be able to assemble it over the weekend...2 points
-
I just wired a relay up and used the existing ballast wire to trigger the relay when I did the electronic conversion2 points
-
2 points
-
1st half of the inner core pattern printed. Printer is running like a champ at the moment. Nice quality.2 points
-
Cam tree coming along quickly. A real one Patterns2 points
-
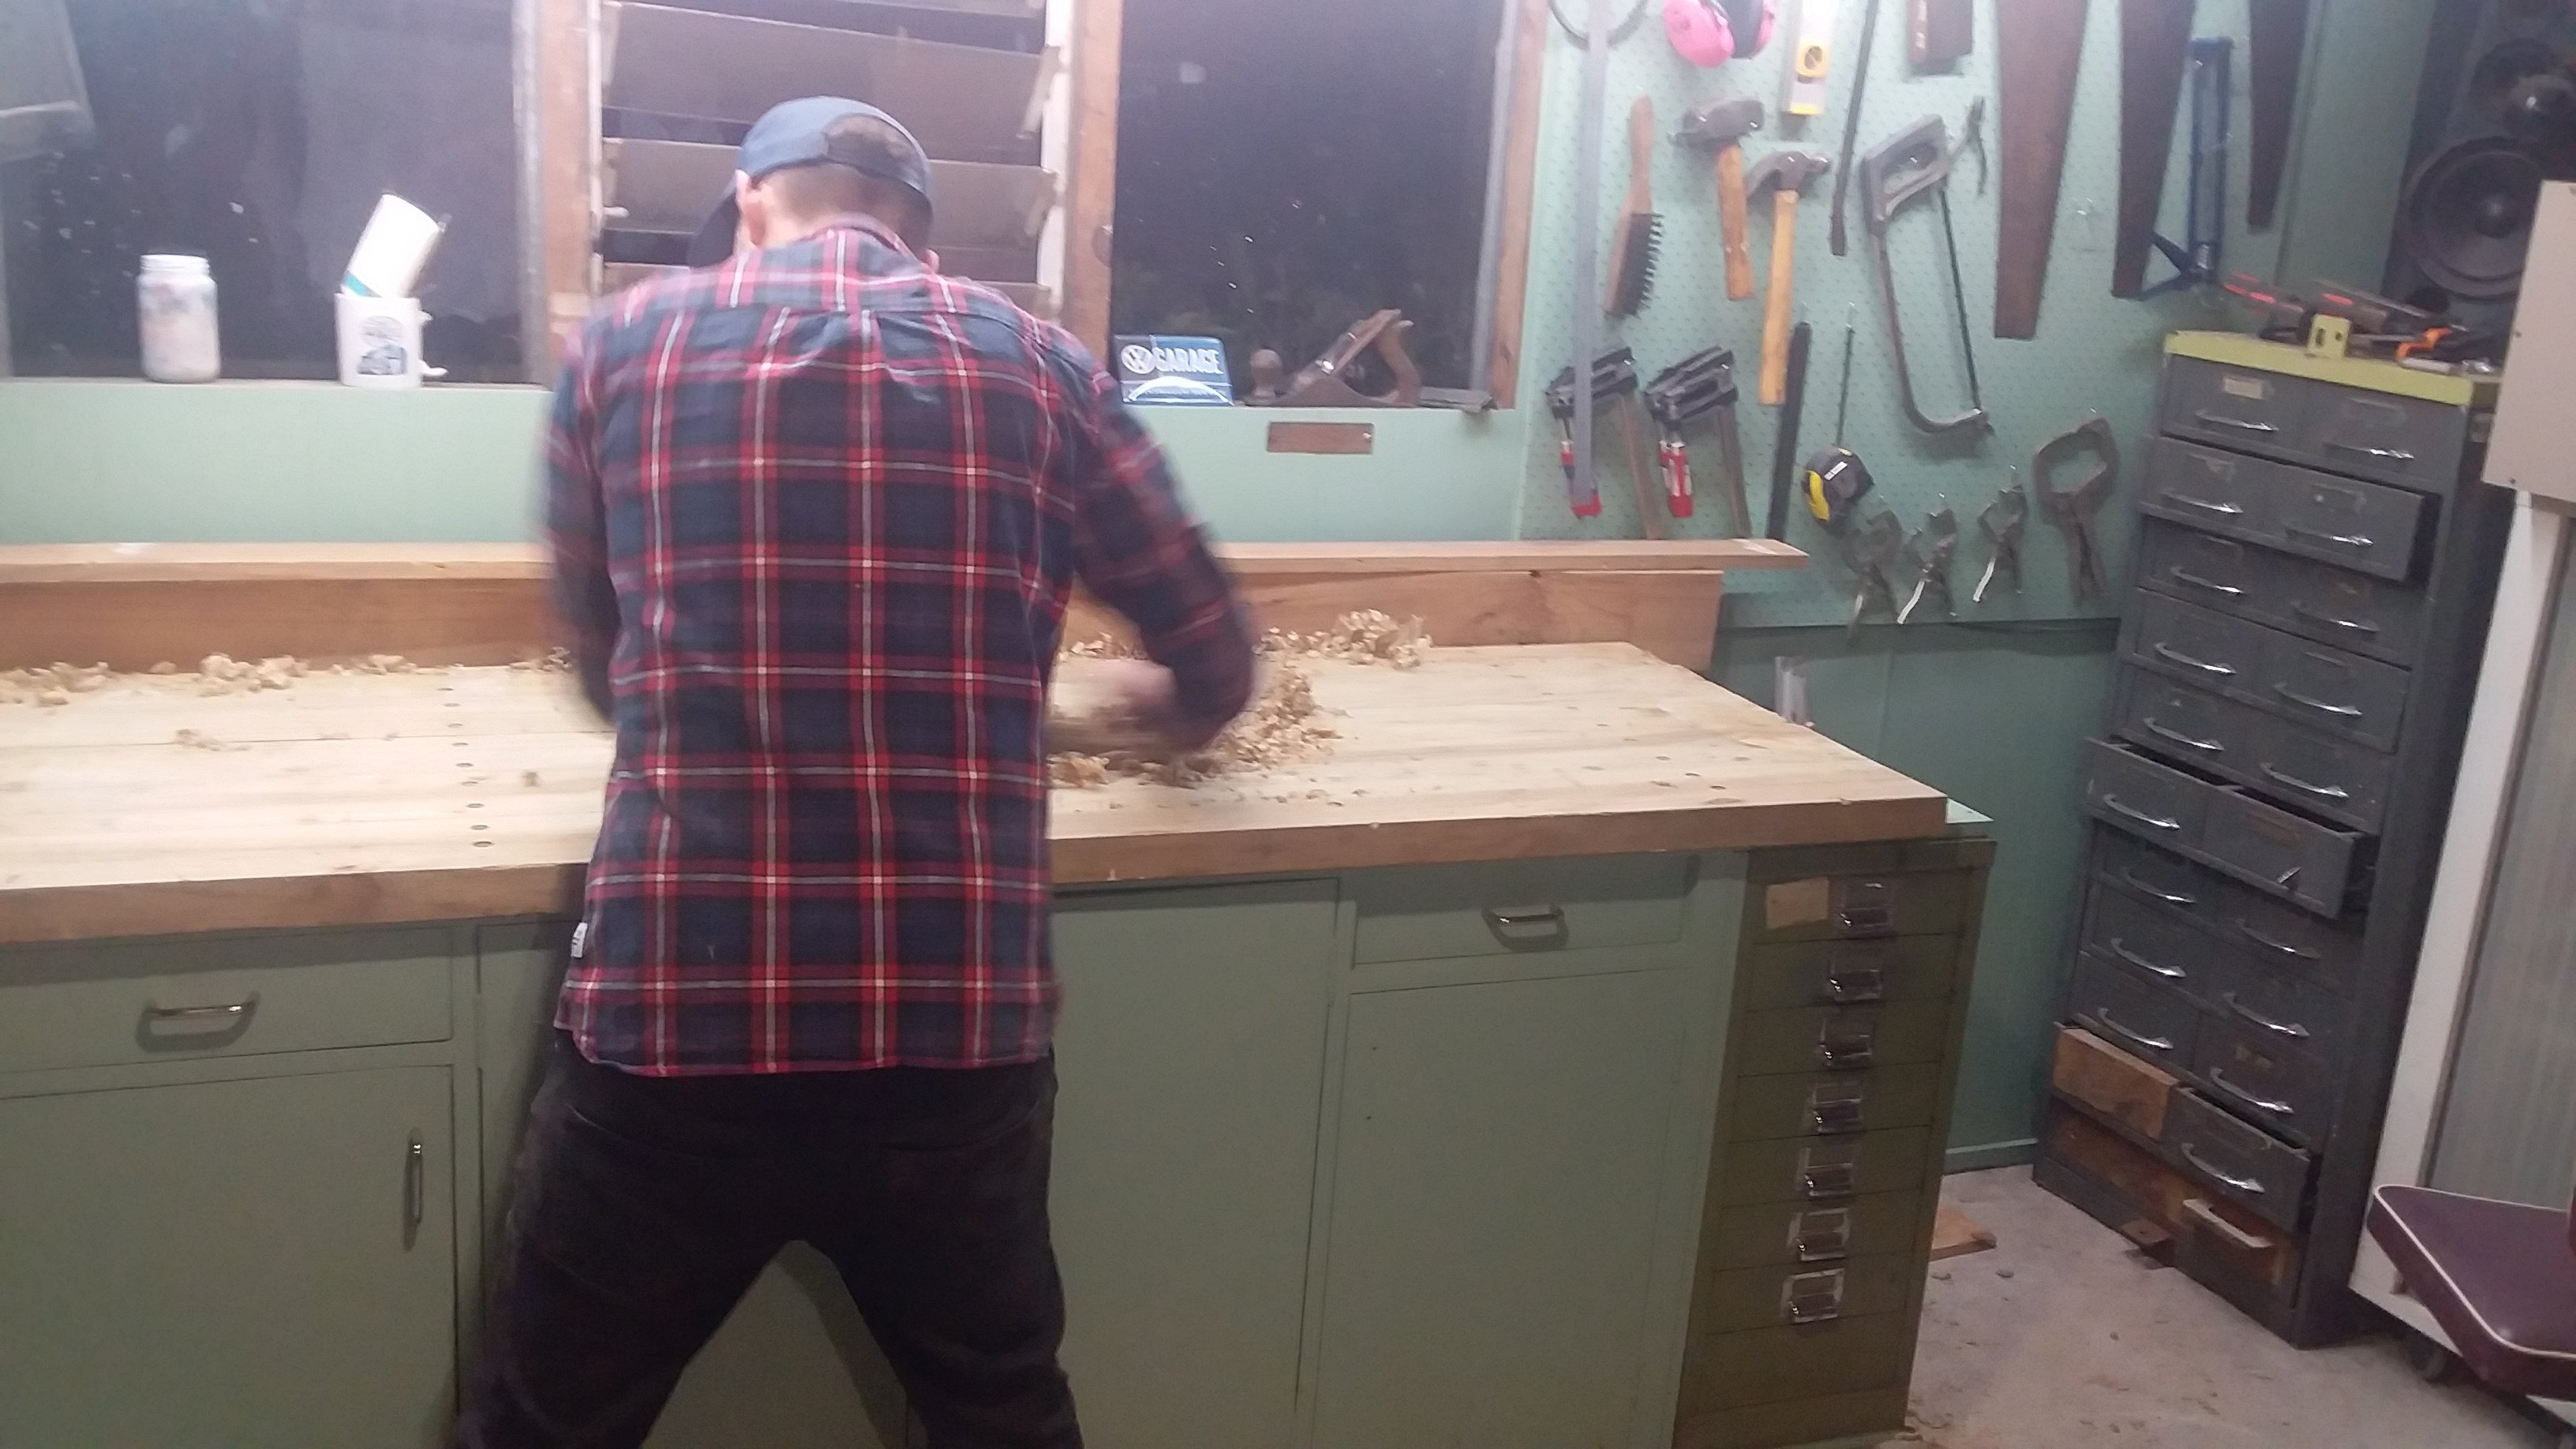
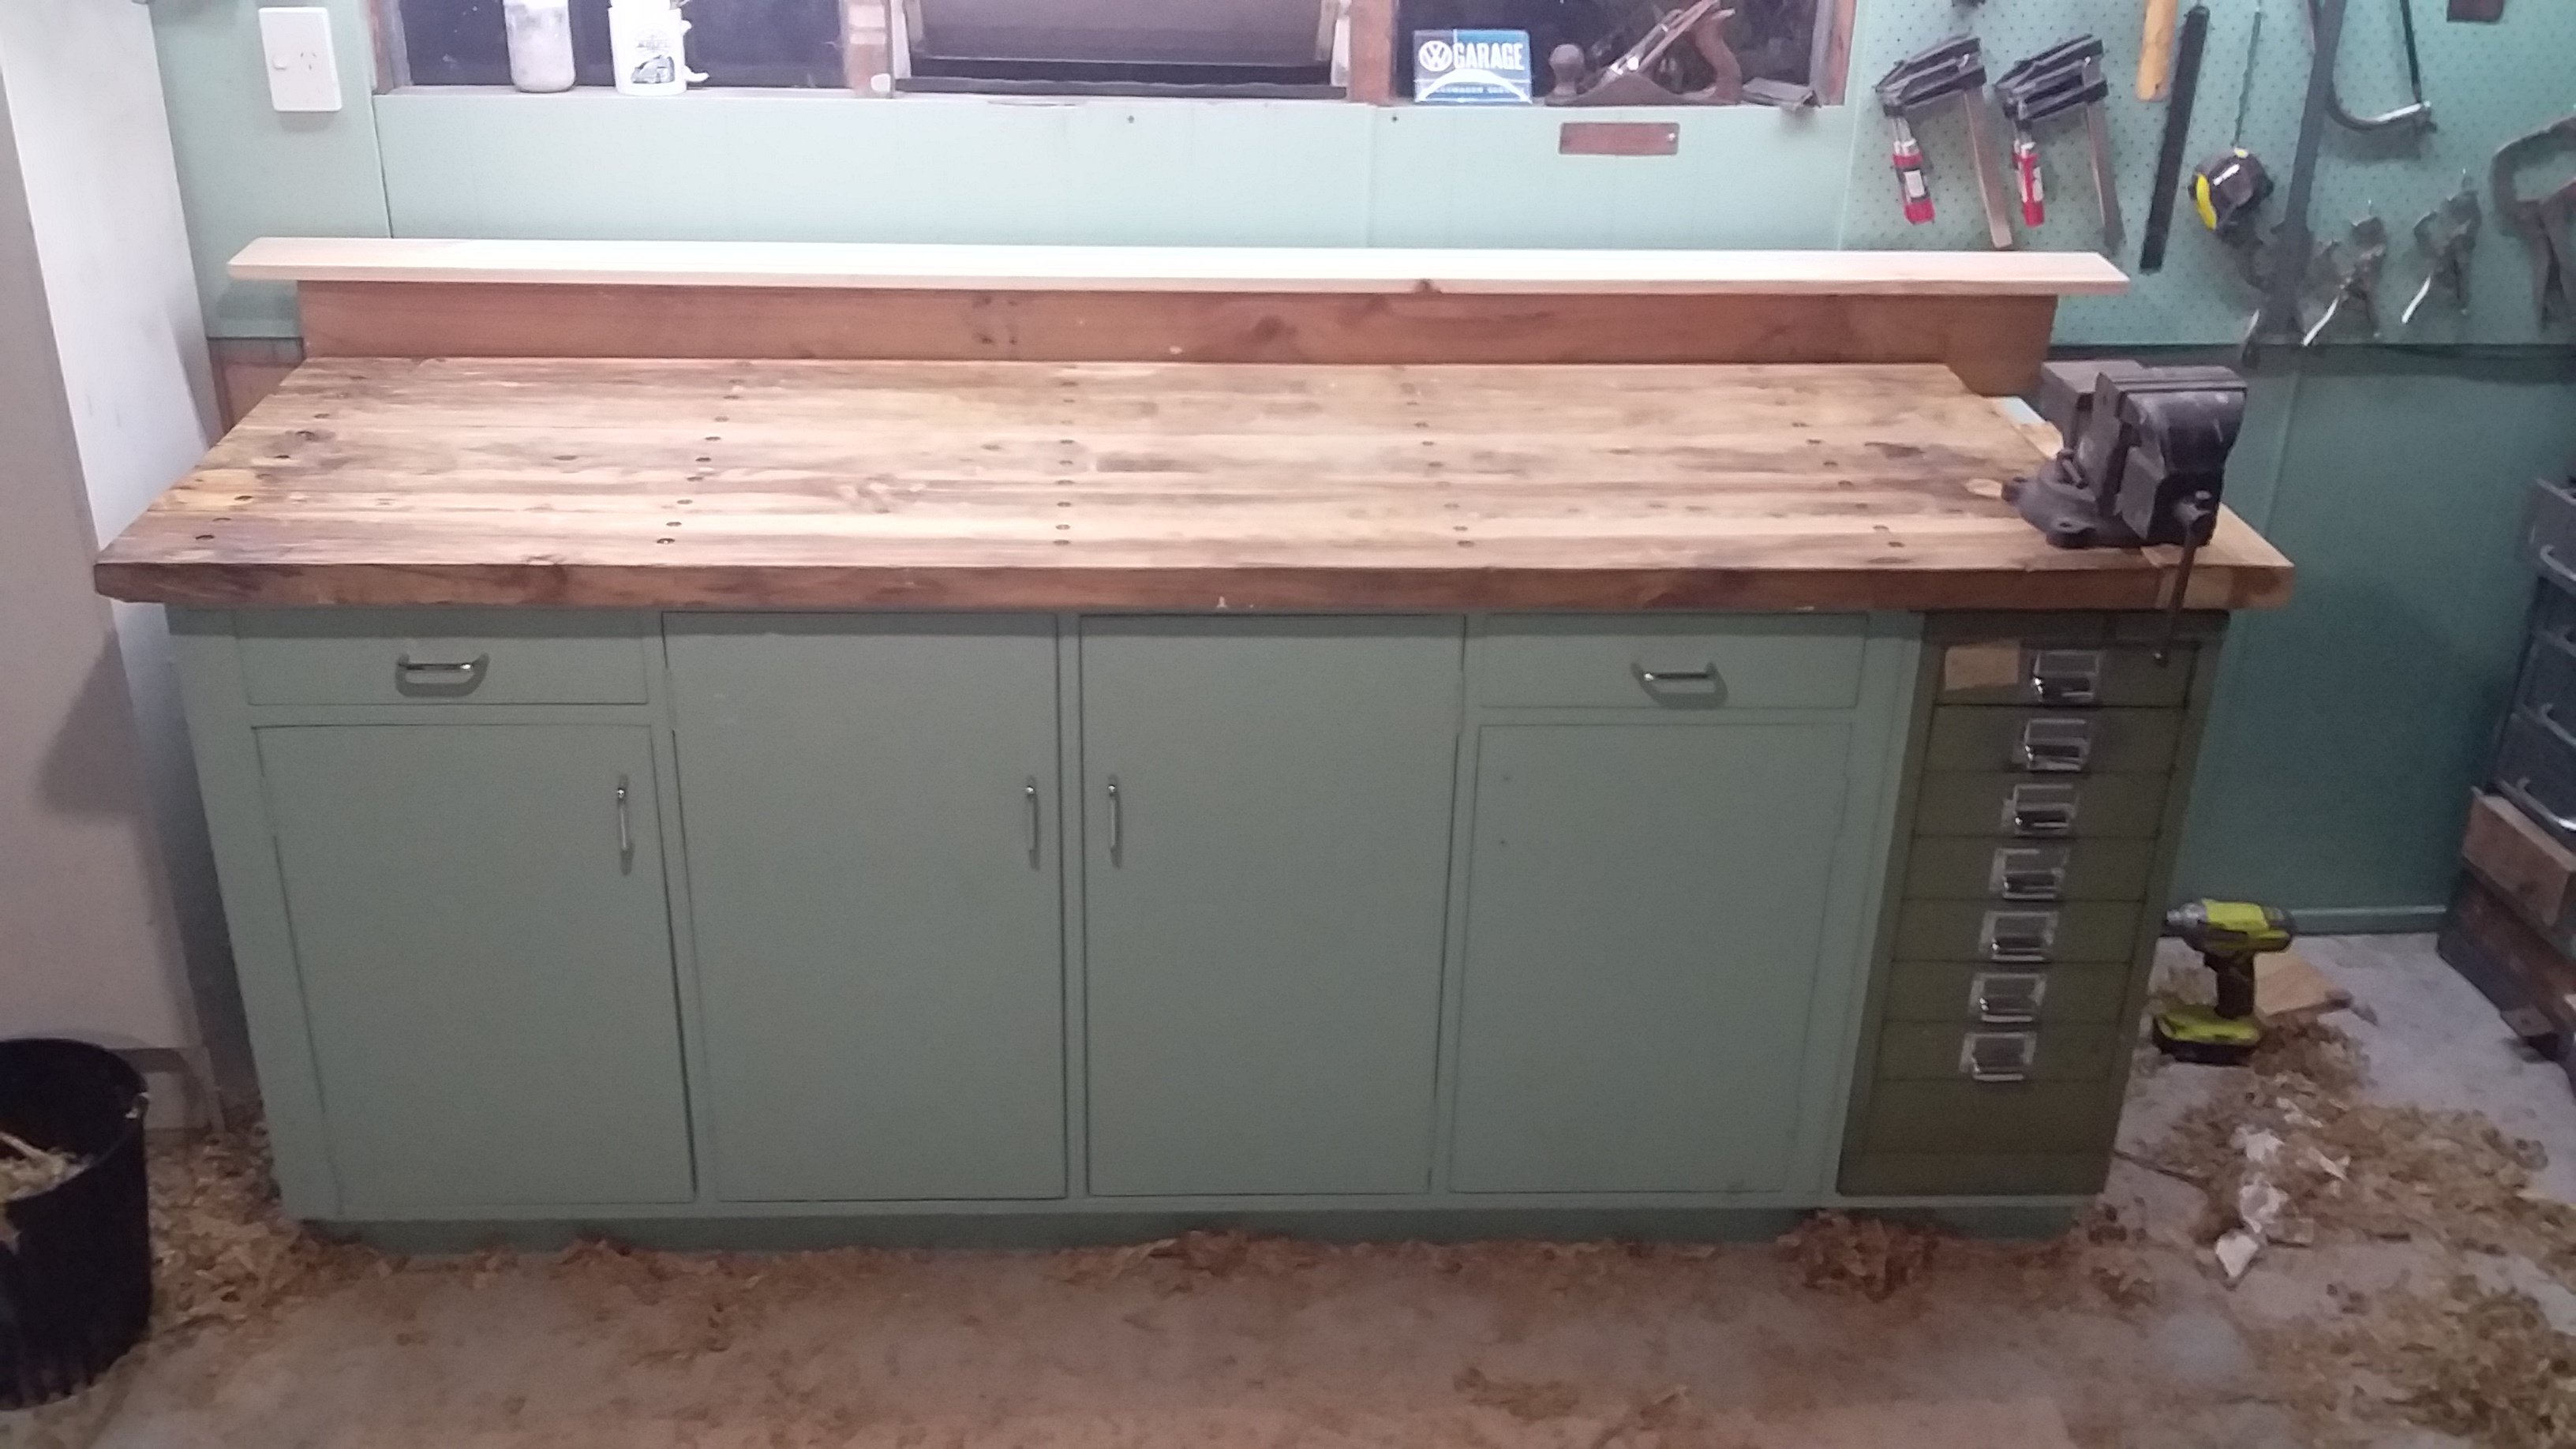
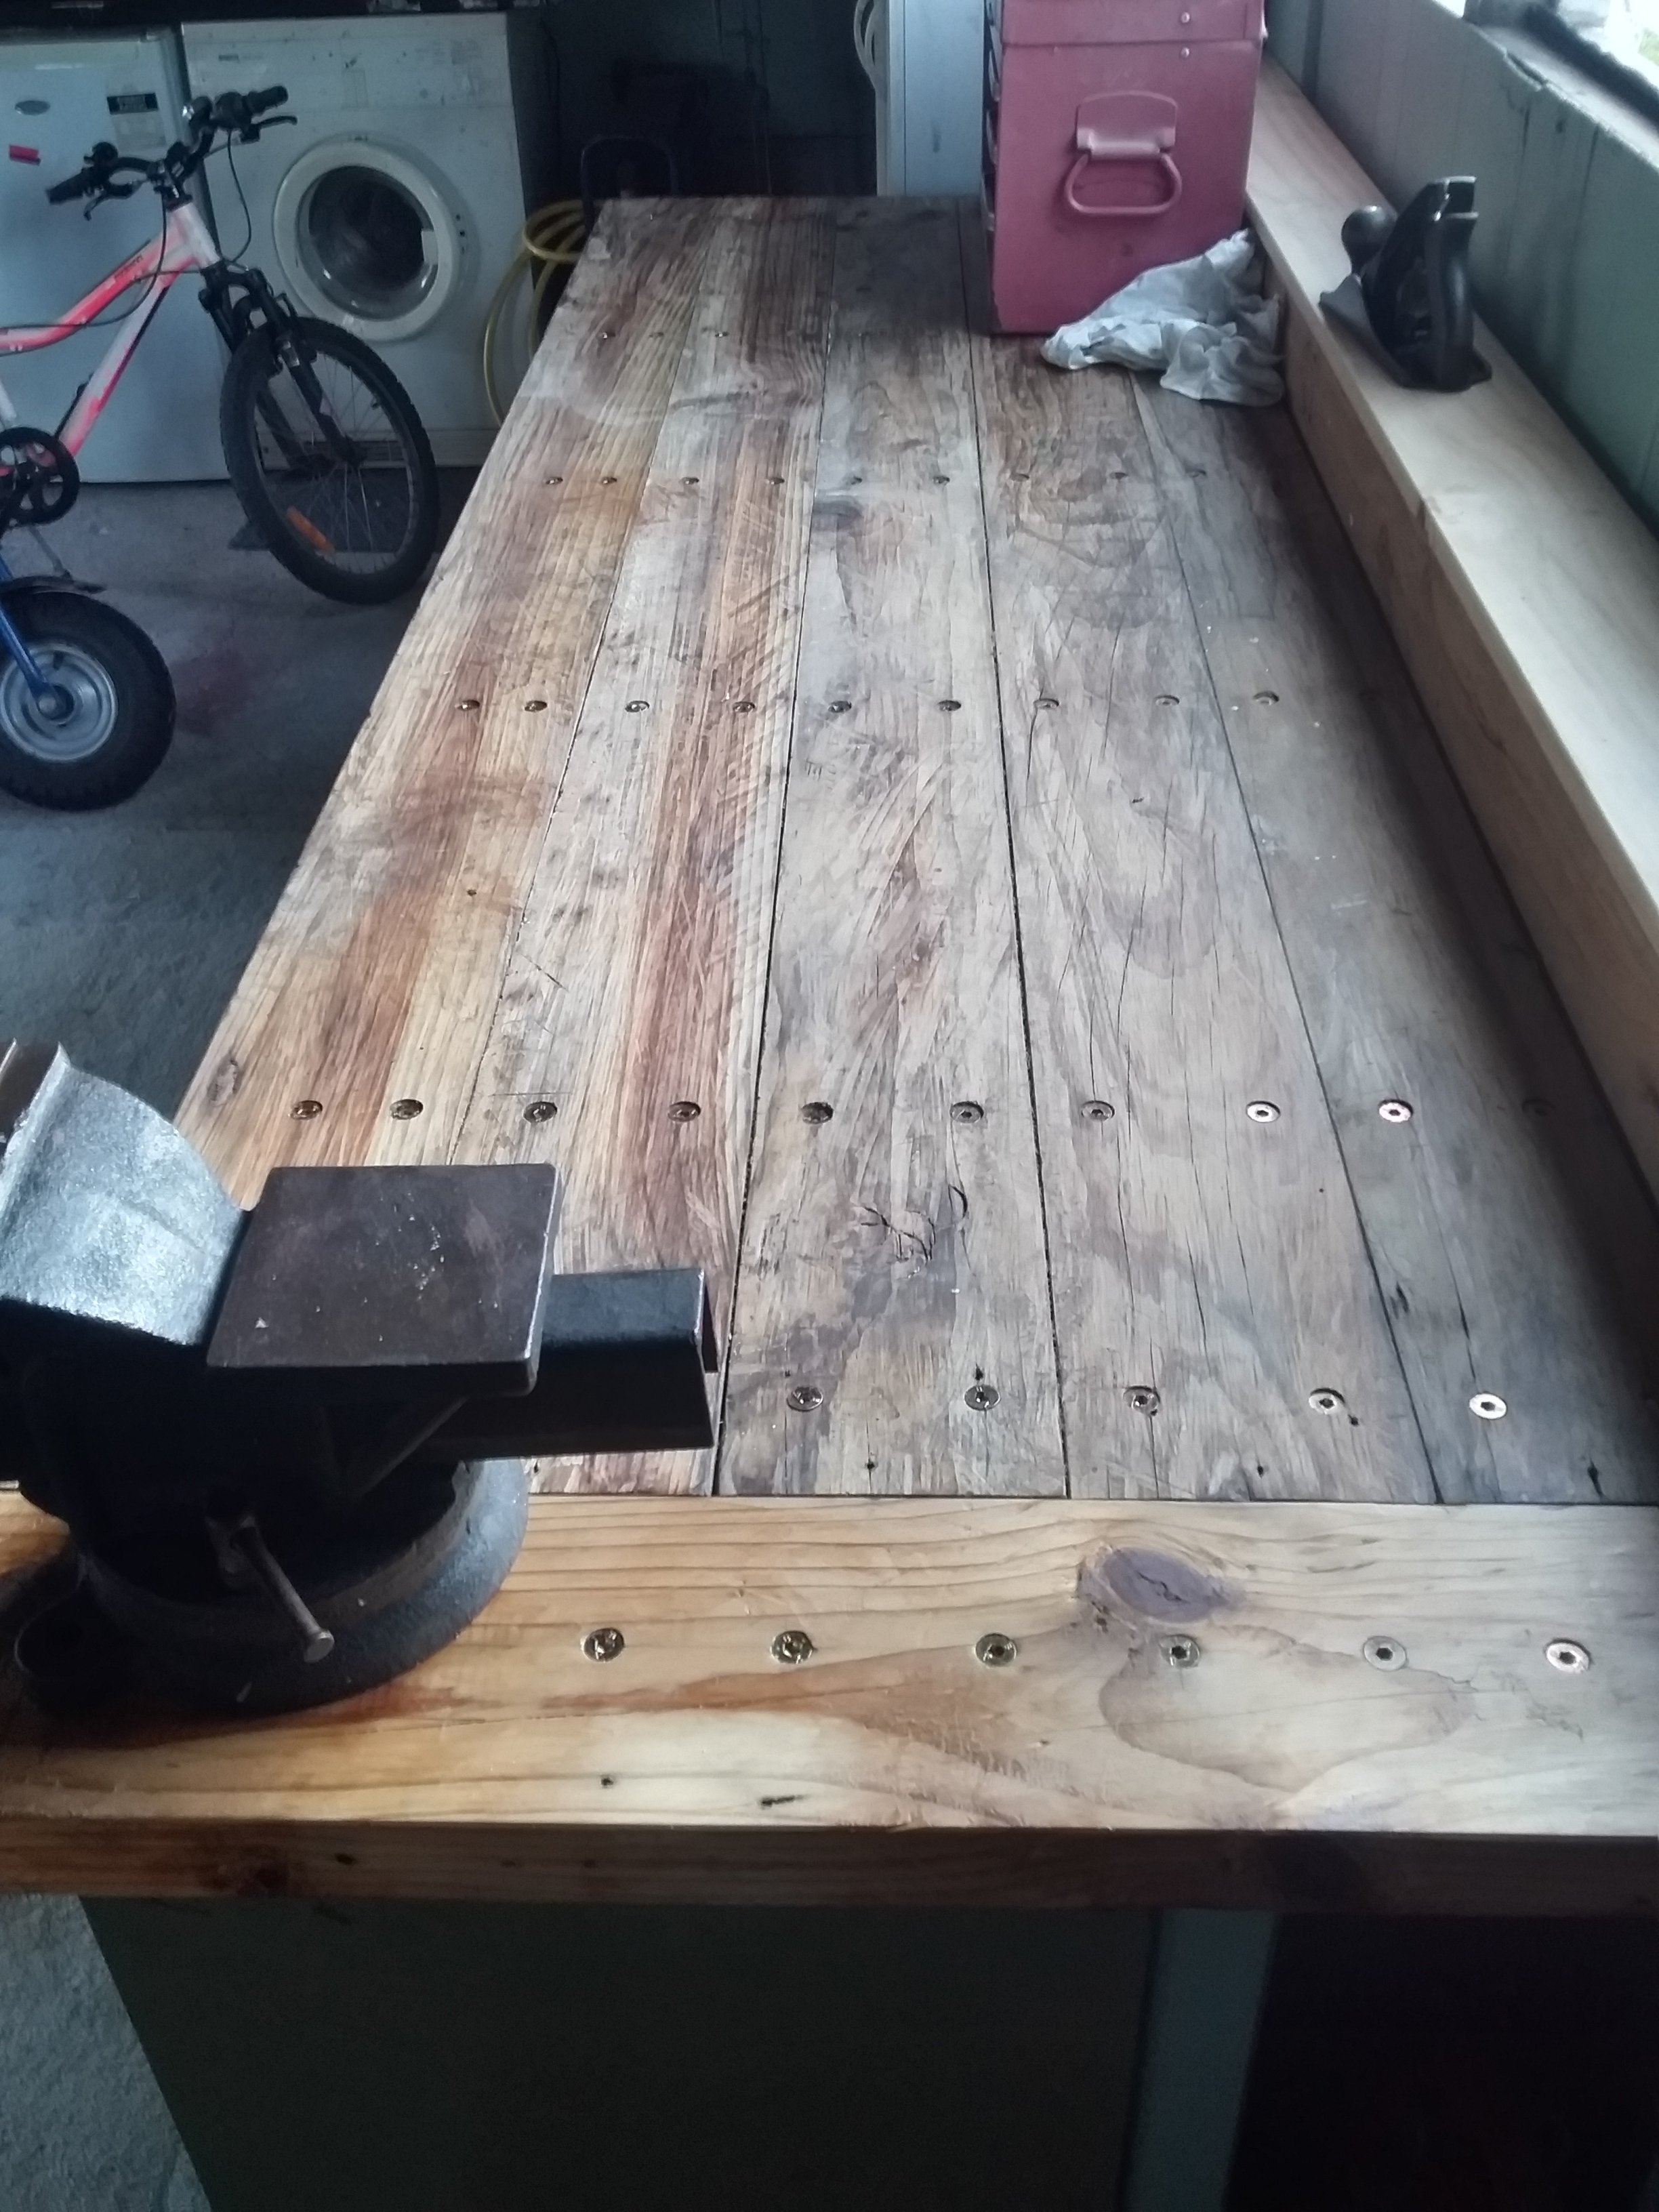
So old mate Ben gave me a kick in the ass Saturday and we cracked into it. Counter sunk and drove the hex heads down, then planed the fuck outta it for a hour or two, made a lot of mess! Little bit of boiled linseed oil and looking good for a bunch of reclaimed recycled and remanufactured junk. Finished off the end bit today, very happy, can't wait to bolt the vice down. Thing is stupid heavy, solid and will keep everything inside tidy.
2 points
-
Rockauto delivers again. This time I ordered parts Monday. Received them Friday. just for the size comparison here is the later model dodge starter vs the factory one. Fairly sizeable difference still plodding away on cleaning and painting suspension parts and replacing the bushes. No pictures as I’ve not actually finished any this completely yet. And now I’ve run out of etch primer Got the bill from the machinist for the engine work which ended up being a reasonable amount more that planned (there was extra work done to justify it) which has completely drained the bank account. Also my headers are in the country now so just waiting for them to clear customs etc, all in all still chipping away at it.2 points
-
Yeah the car will find the Tesla Superchargers on its own. Otherwise there is an app called Plugshare which shows you all the public chargers and their locations. Very easy. Have not needed a public charger since we got back to Christchurch though. Wake up each morning with a full battery charging at home.1 point
-
All totally reasonable then, awesome!1 point
-
This needs to be moar slammed than your toyota. (The silver one, I dont know what model it was/is)1 point
-
Saw a blacked out one recently, not sure which model (was a sedan) but looked tough as fuck. Good stuff man.1 point
-
So damn cool bro !1 point
-
wow you finally got one. sick they look so crazy with no front grille, like you forgot to take protective shipping wrapping off. any mods planned or keeping it stock?1 point
-
you know it.1 point
-
@piazzanoob Came over and ended up helping (Did all the work) and reshaped the heater hose connection that was leaking. Massive thanks for that! It saves me pulling the dash out and replacing it. The other reso wouldn't clear things nicely so its staying out. Just need to swap the carpet over and finish the radiator mounting and filler off and its good to go.1 point
-
Yup, much the same as last year, we racing for slips this time?1 point
-
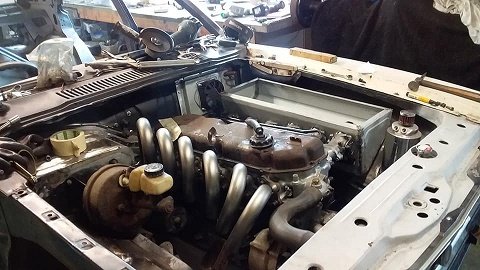
Been a while since and update, headers turned up, pretty happy with them considering how cheap they were to buy and ship to NZ, started and finished de-burring the valley (what a crap job to do) next up was to clean it all down to get rid of and filings from the de-burr and to get rid of any solvents/etc from the machine shop, picked up a bottle brush for getting into all the little holes etc and grabbed a tube of engine assembly lube, Found a perfect use for the shower in the garage then started to assemble the bottom end, fitted new Clevite crank bearings fitted the new rear main seal and crank, put new Sealed power big end bearings in the old ones had seen better days, then fitted new Mahle piston rings and dropped the pistons back in, All in all a productive night after training on Wednesday I should get the cam in and timed up. Then I can slap the rest of it together, also I still have under seal to scrape, but I’m being a slacker and have left it for a while1 point
-
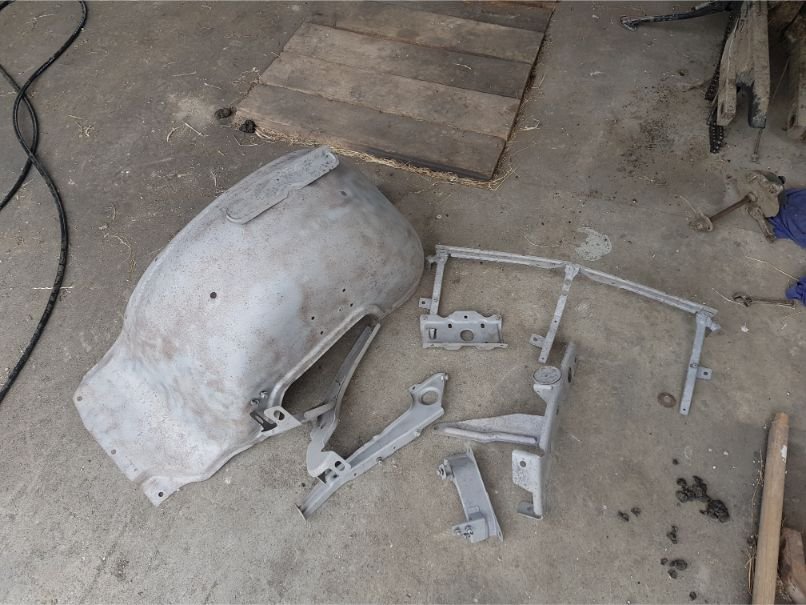
Blasted and painted anything I could. Pretty tedious work bit real happy with the result. Think from memory I replaced the bottoms of those inner guard things because they were all rust fucked too
1 point
-
some exhaust bits turned up so i made a start on my 1st set of headers ive made.... just need to get somemore bits and ill fully make them up.
1 point
-
Inner core patterns for the cam tree complete.1 point
-
Not me but my dad. He spends rather a lot of time in his shed.1 point
-
This is running again. with some some mixed results. Makes the same power as the old setup, with almost identical power curve. This is good, wasn't expecting it to make anymore power. runs nice. Swapped in the big inlet cam. As on old setup made another 15kw on same boost, but ran junk. (see top of this page) Ran better on this setup but still rough idle. Now where it gets weird; Had to add a decent amount more fuel, but only had very small power gains over stock cams. Tried all sorts, no dice. Still unsure whats going on. Ended up swapping back to stock cams. One major benefit of the itb setup is how well it runs down at idle. before with the big plenum and single throttle it would stall out real easy. much below 1000rpm and would just die. now it will go right down to 500rpm and keep chugging along. Have also added a simple on/off air bypass solenoid. programmed for idle up on cold start and when fans come on. Also doesn't vibrate it self to bits like the old setup. Still need to fix and tidy some stuff up. plus finish the tune. then im a gonna go destroy the paddock Next up steering servo for full scale rc hilux:1 point
-
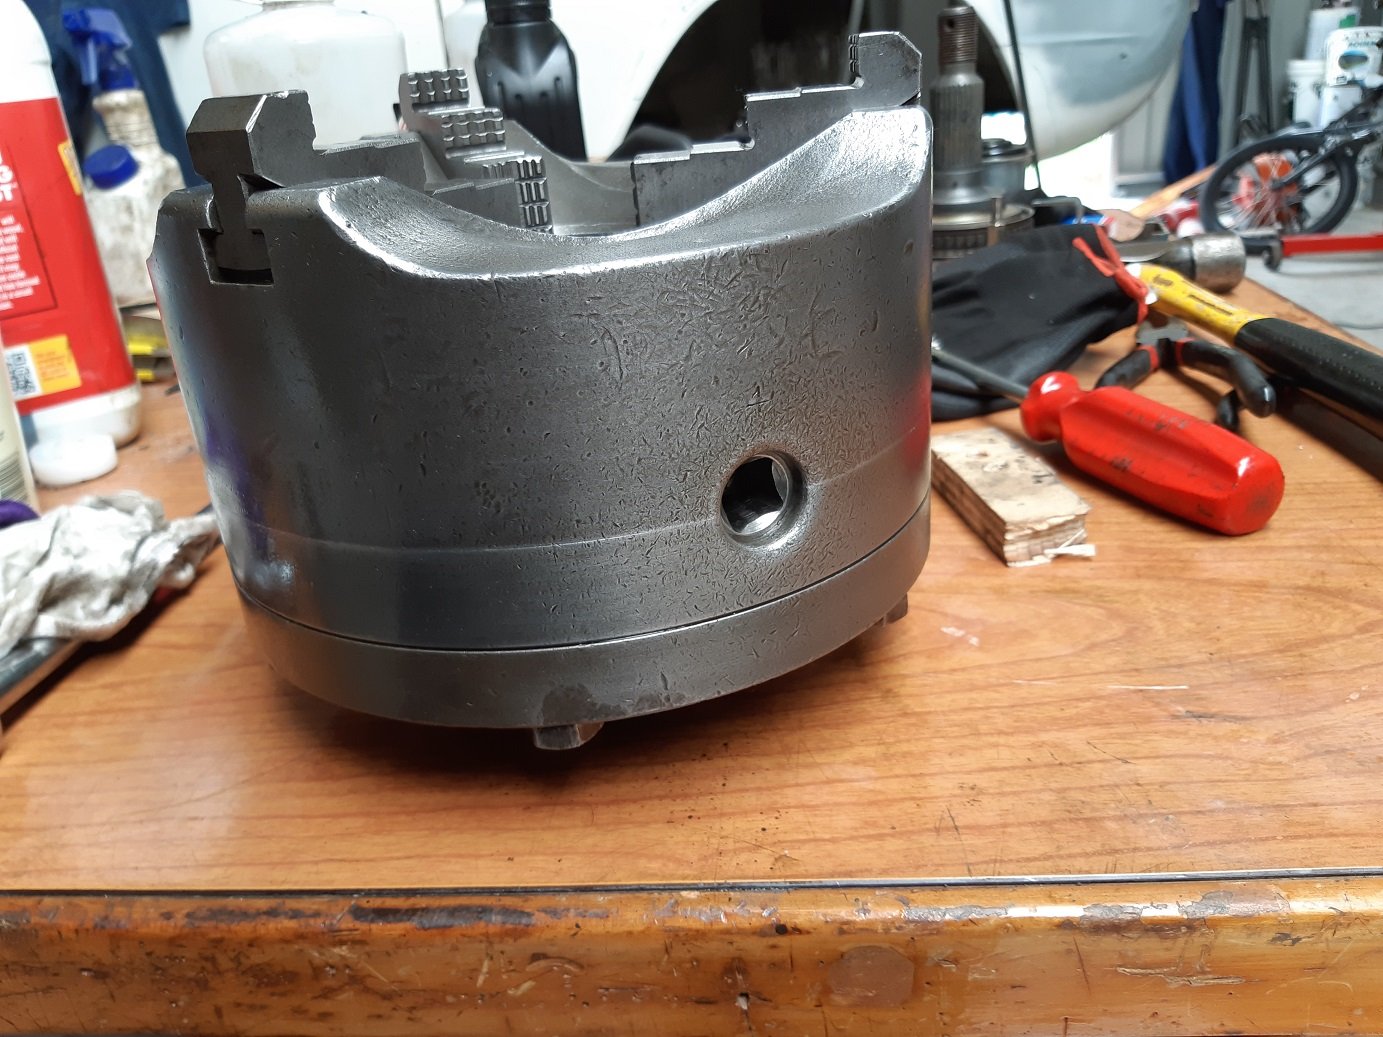
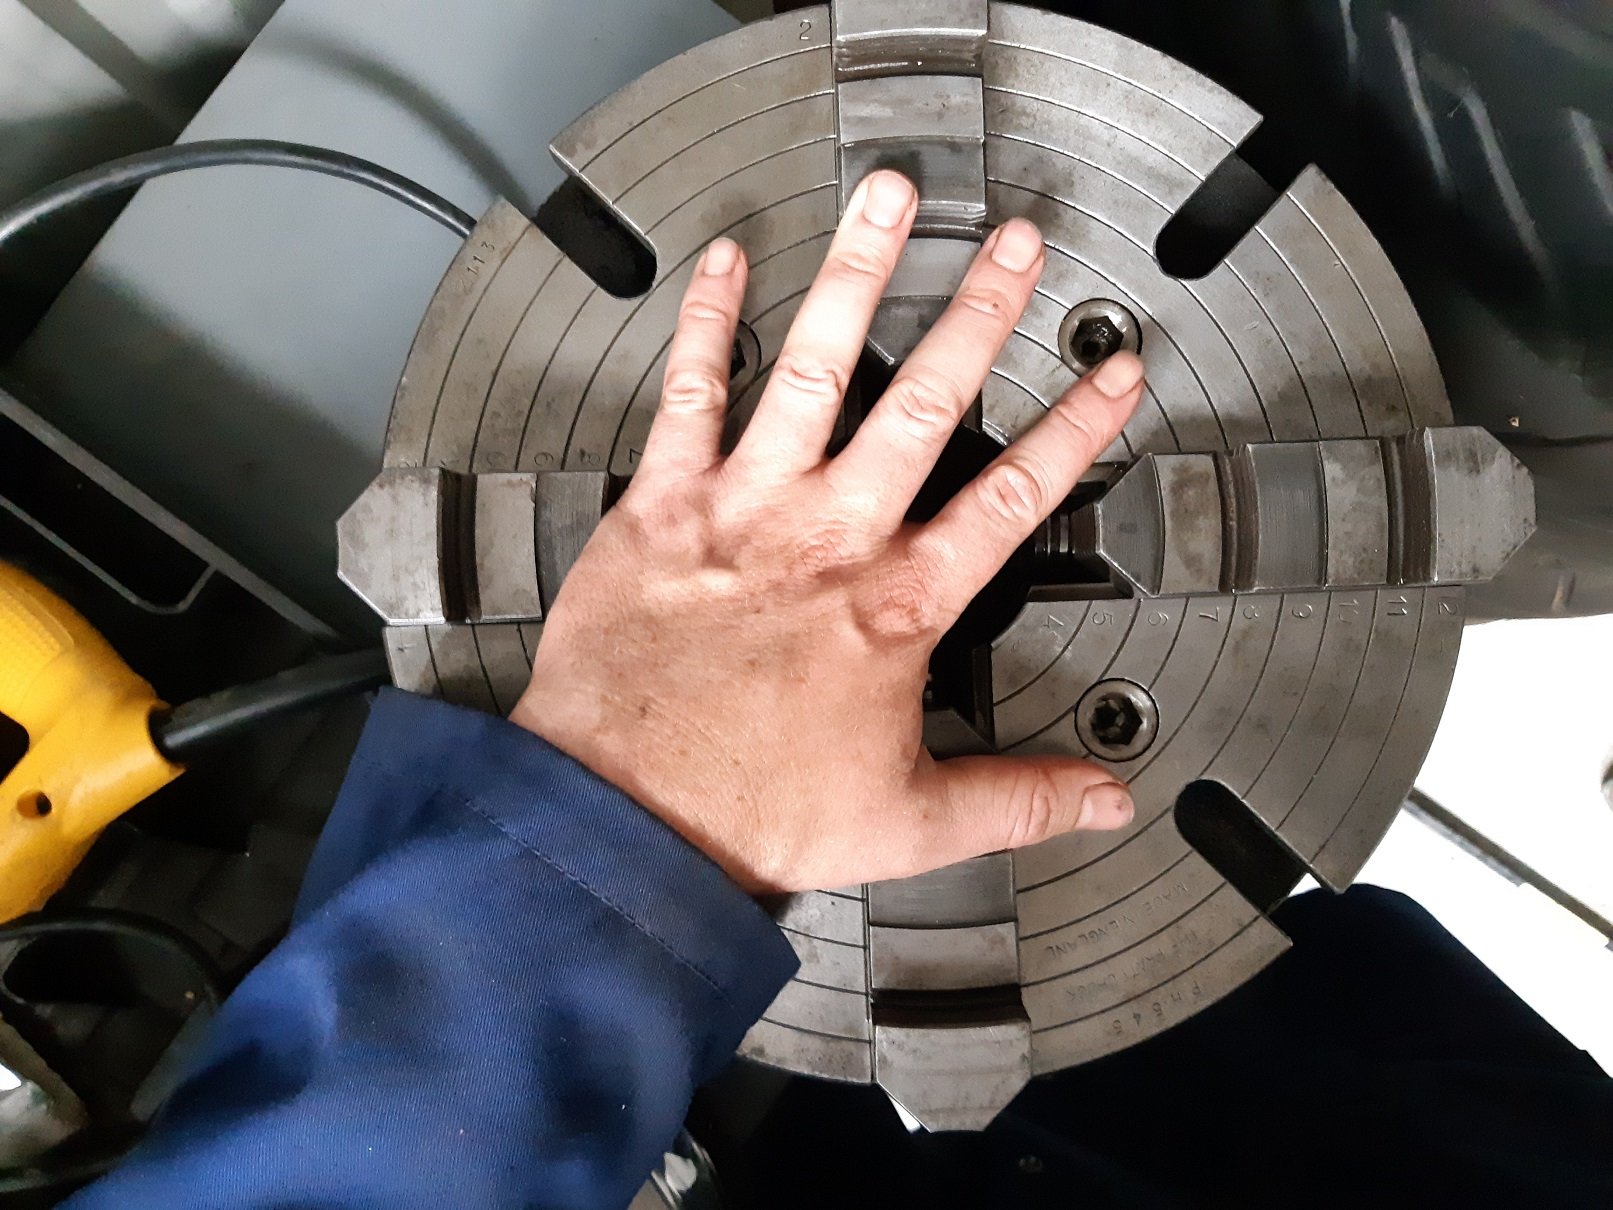
I lightly sanded some of the machined surfaces with 400 grit to get the rest of the black off. It opens and closes smooth as now. It had to force it in some spots when I took it apart.
1 point
-
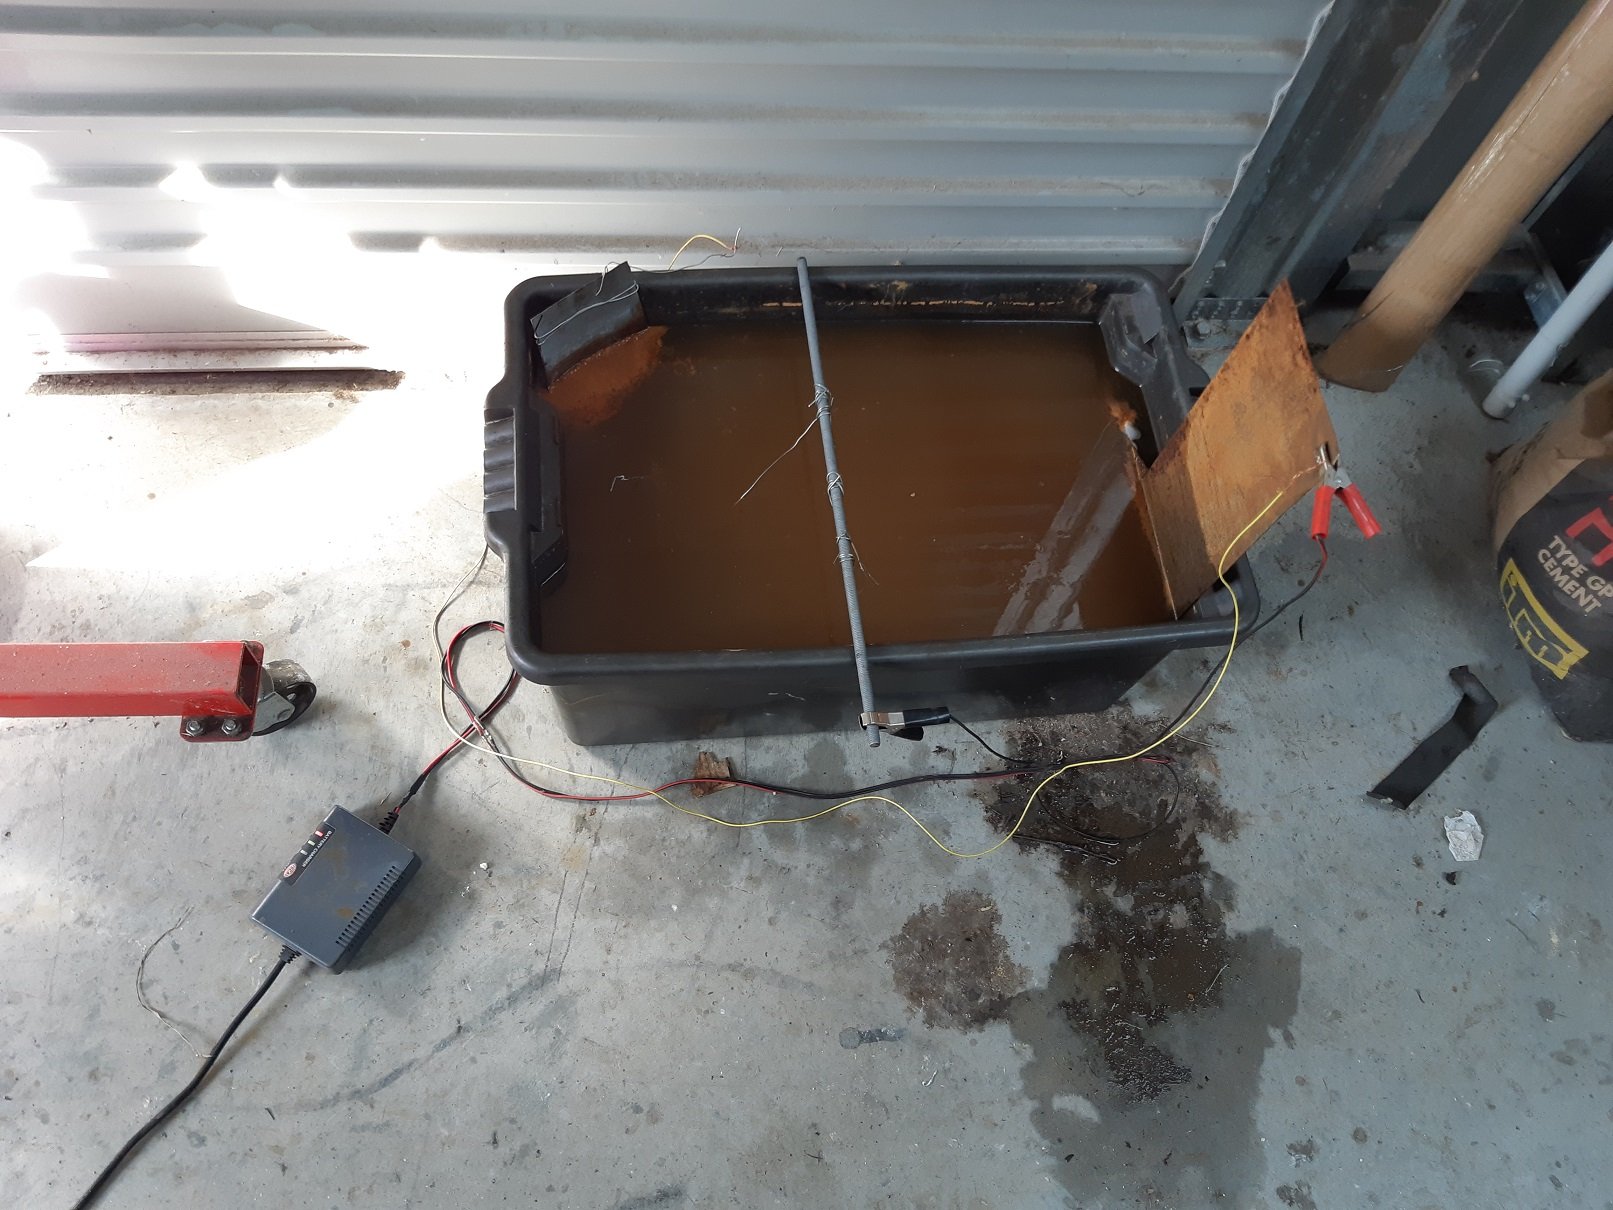
That would probably work. I got my Bicarbonate of soda from Mitre10. It's with the laundry powders. It's called laundry soda or washing soda or something like that. It looks like almost clear, big crystals.1 point
-
We used to do Rose & Crown back in the day. It worked well.1 point
-
and @Vintage Grumble mags tucked at the back I hear bush is coming back1 point
-
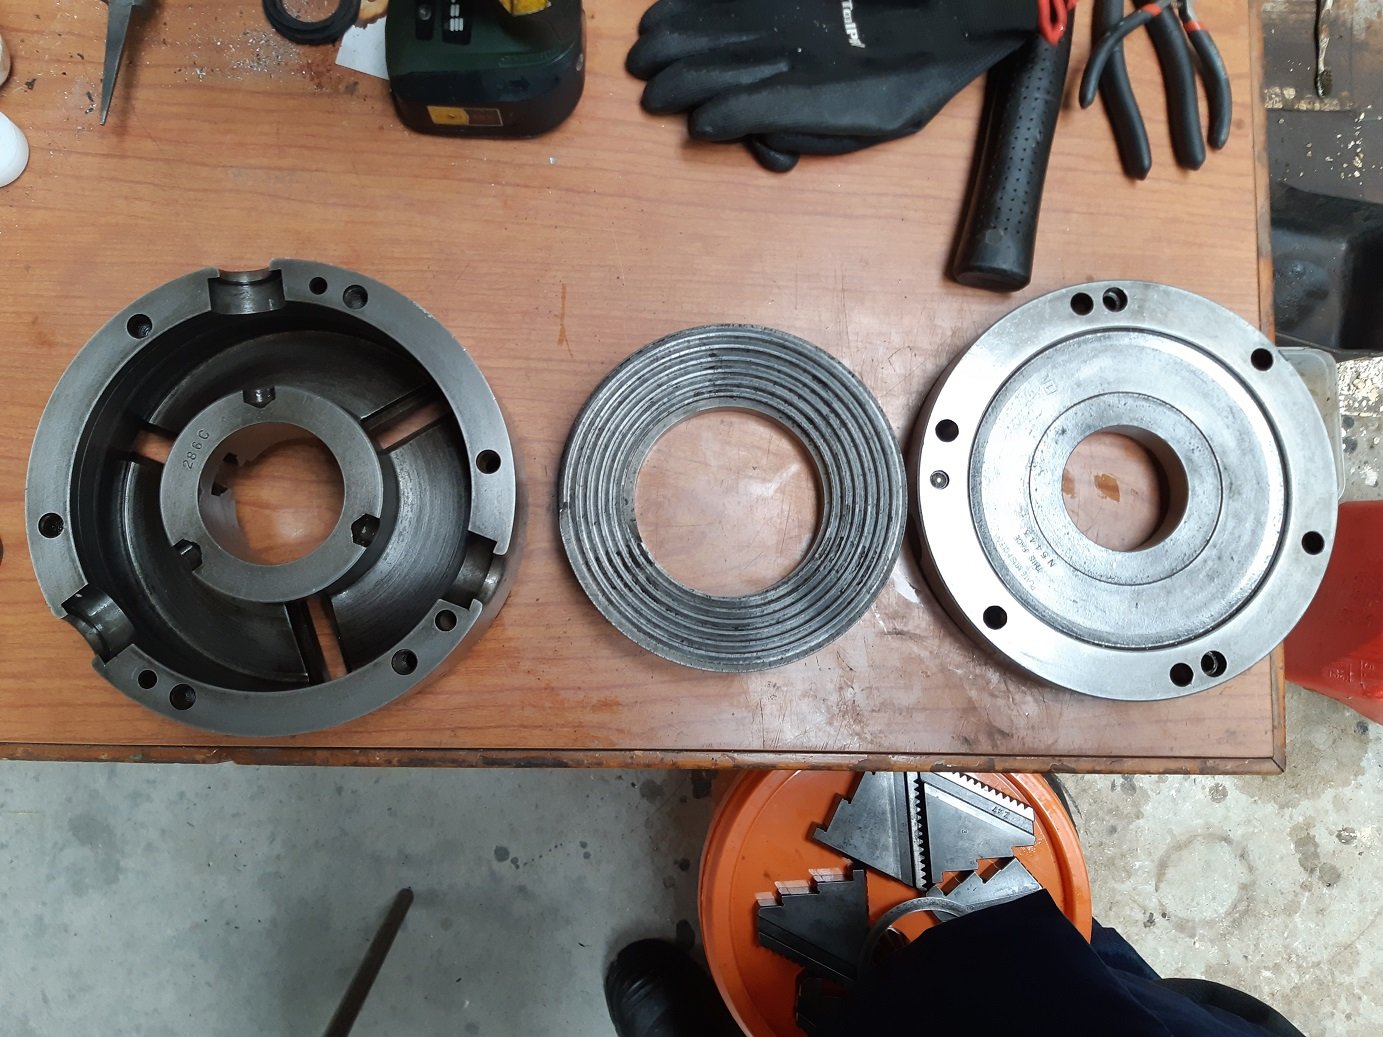
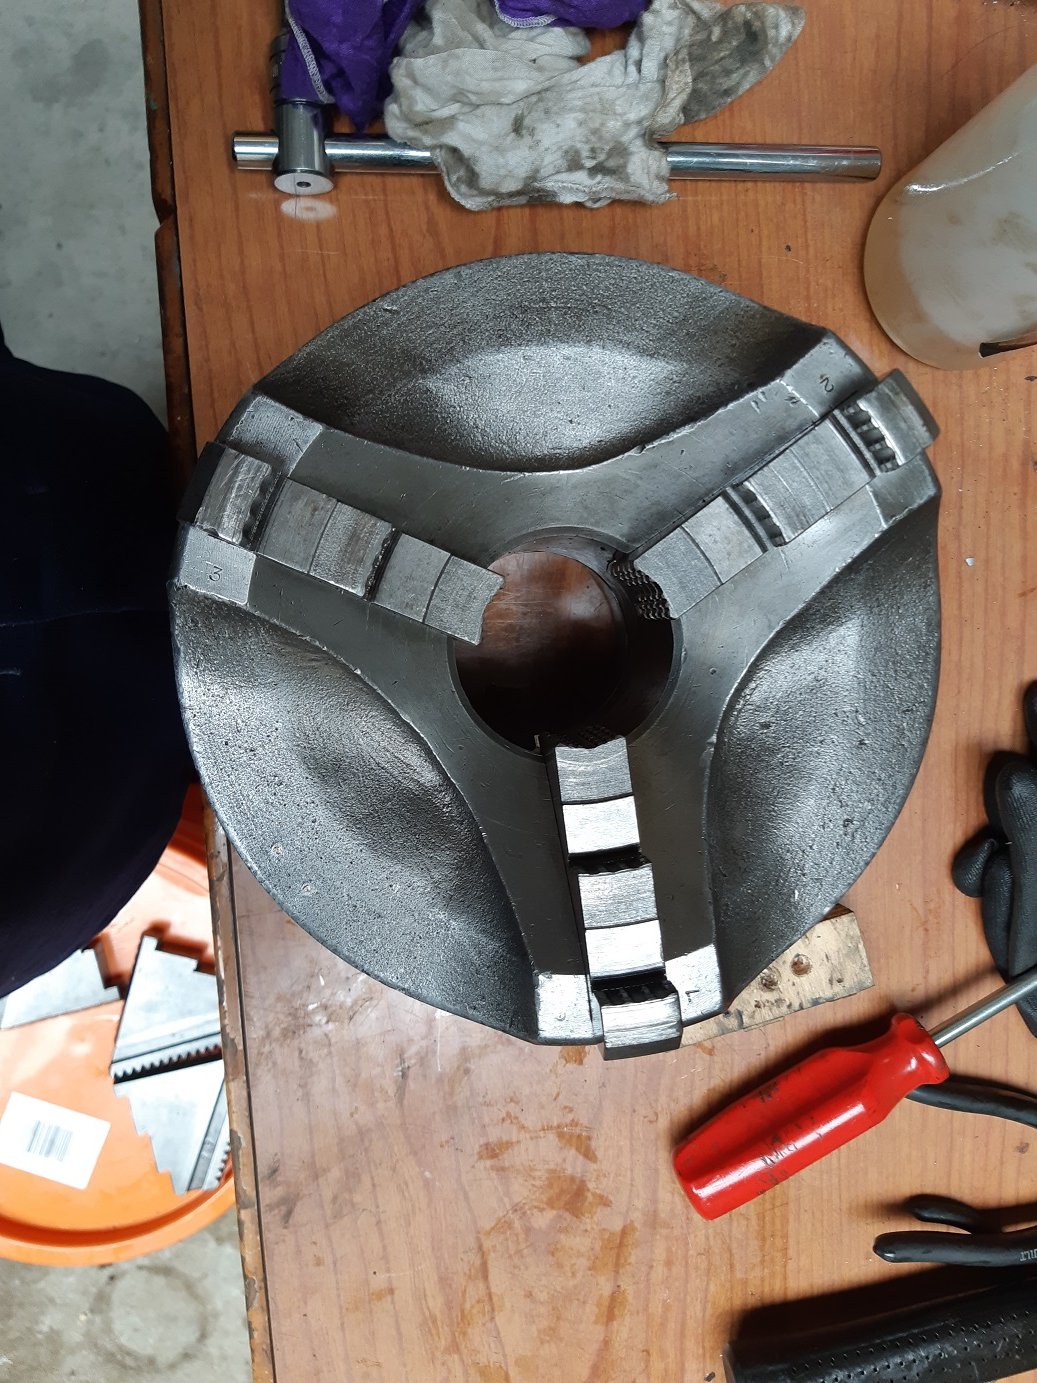
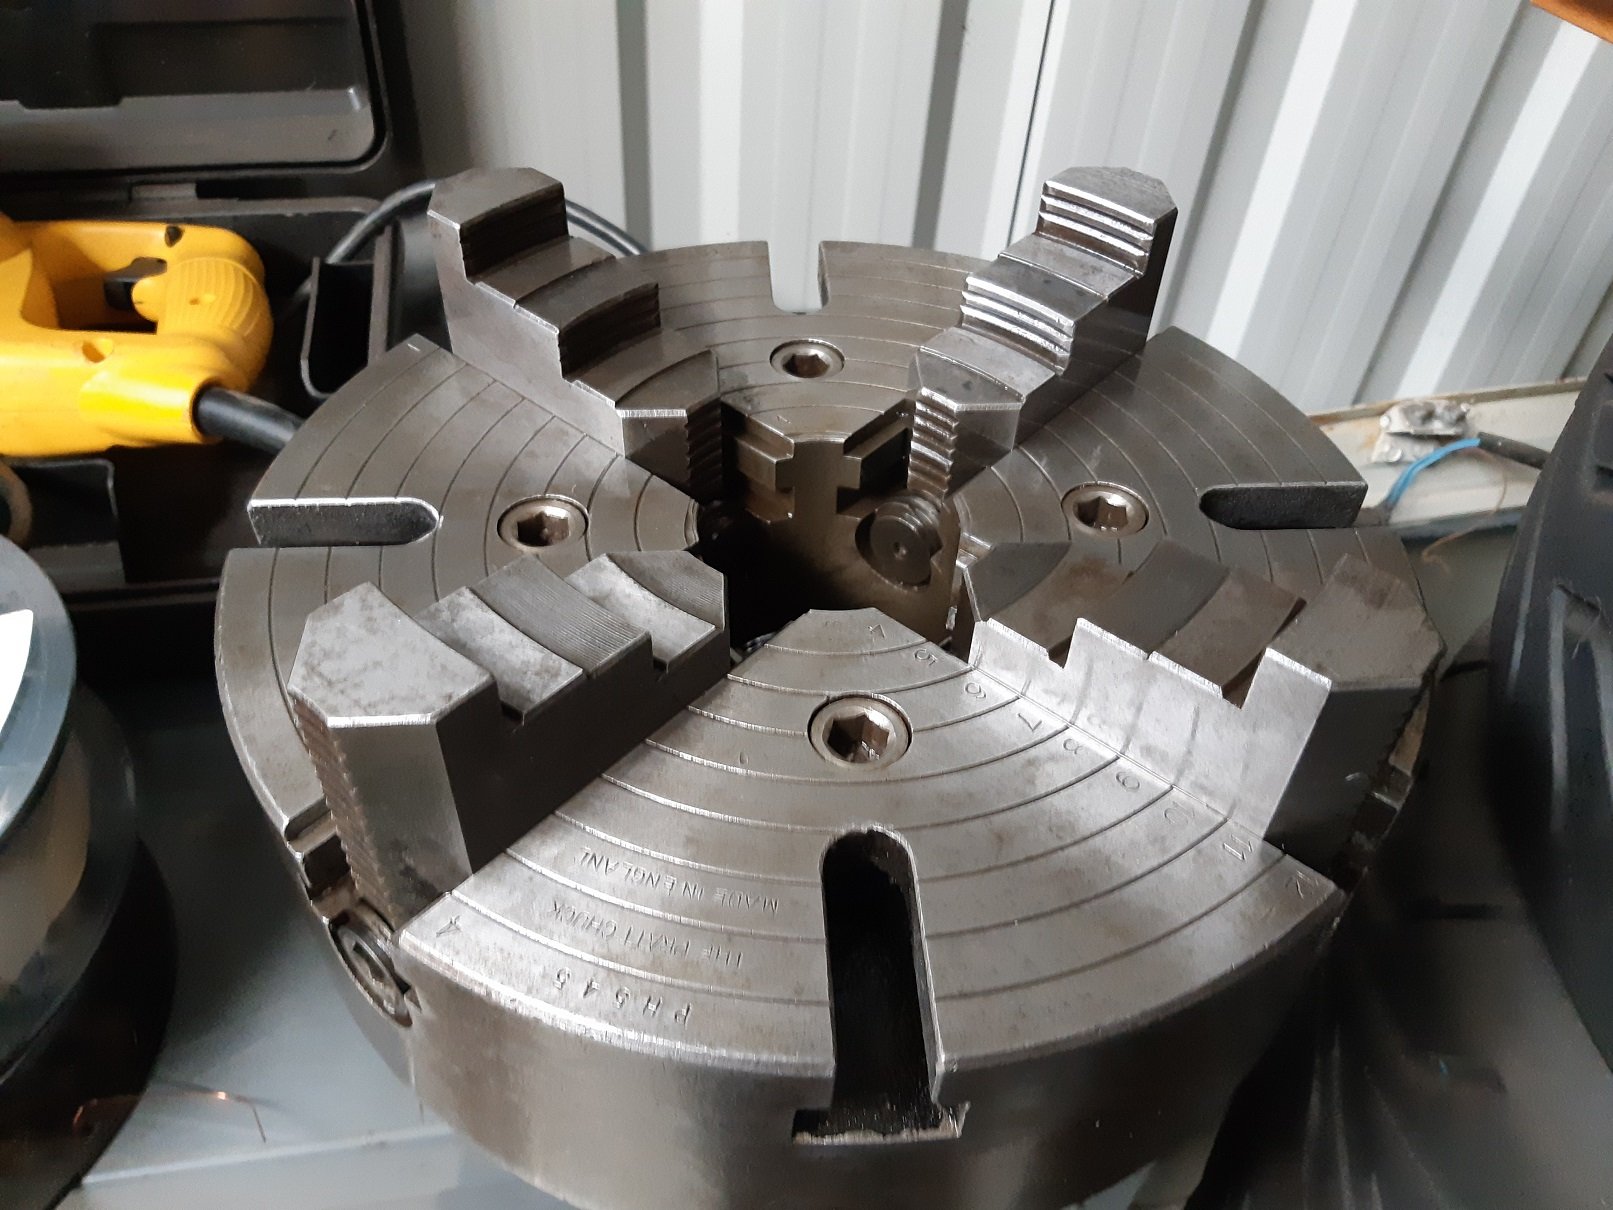
Electrolysis for the win. Ans a scourer pad... and soapy water. Came up well. I oiled the 4 jaw so it doesn't rust again.
1 point
-
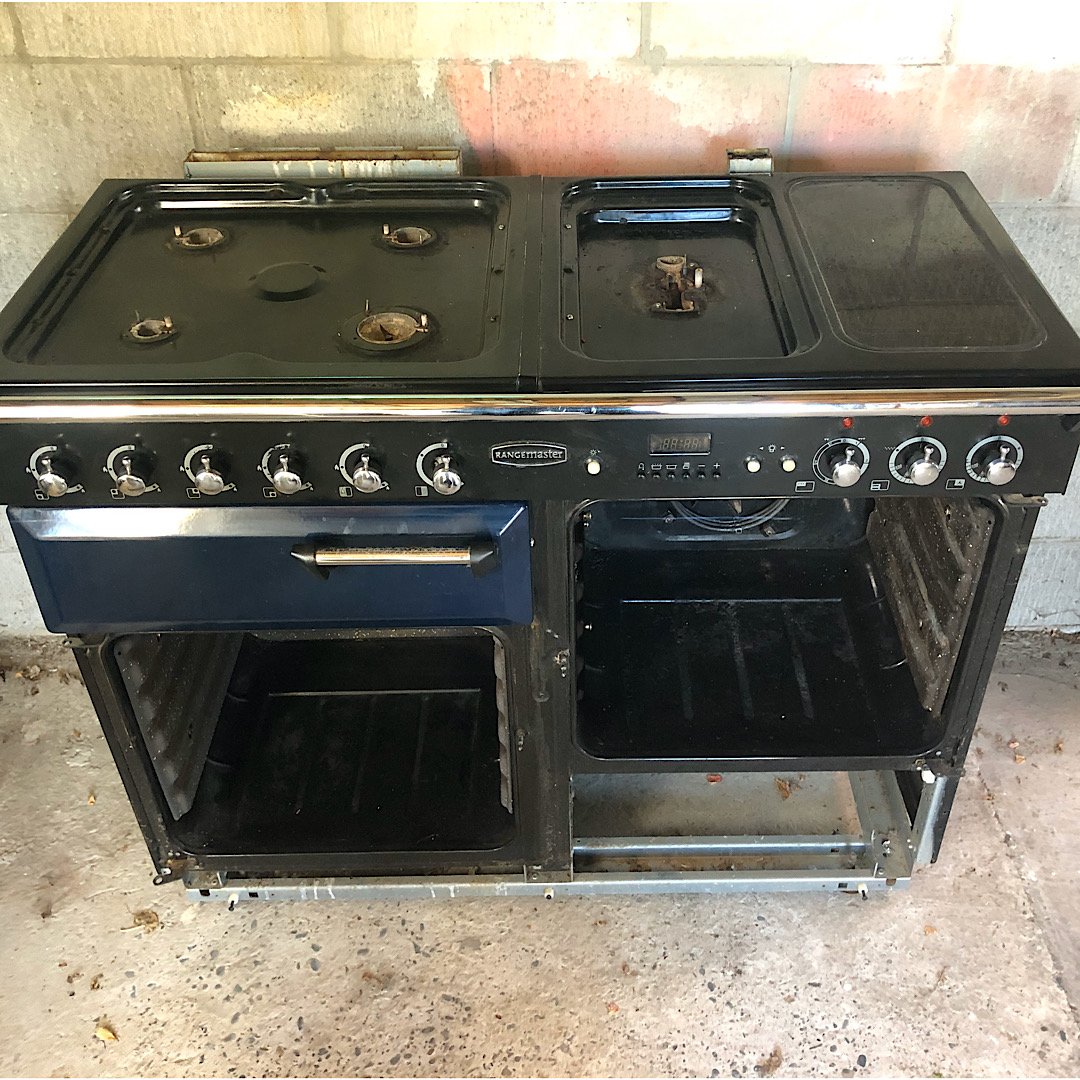
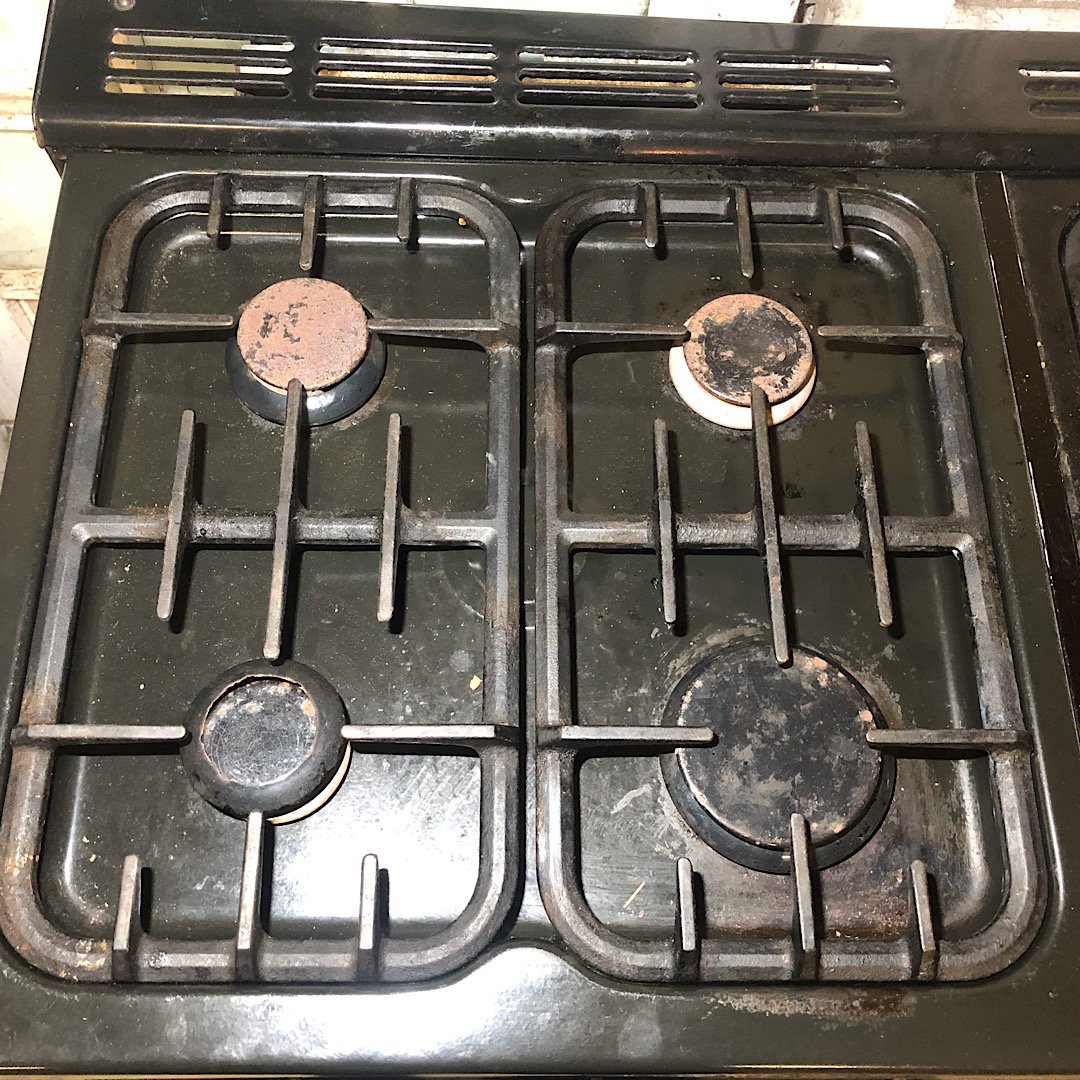
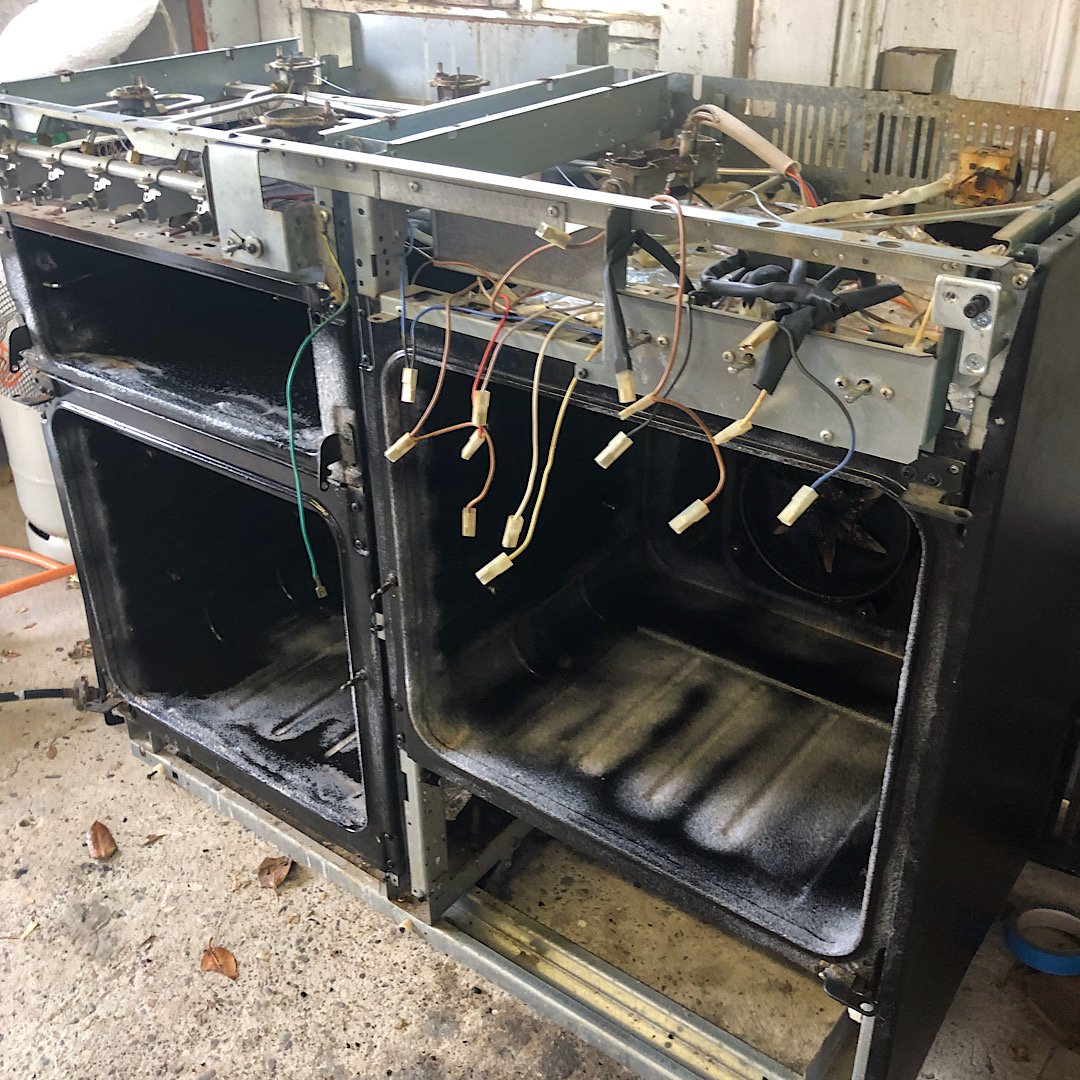
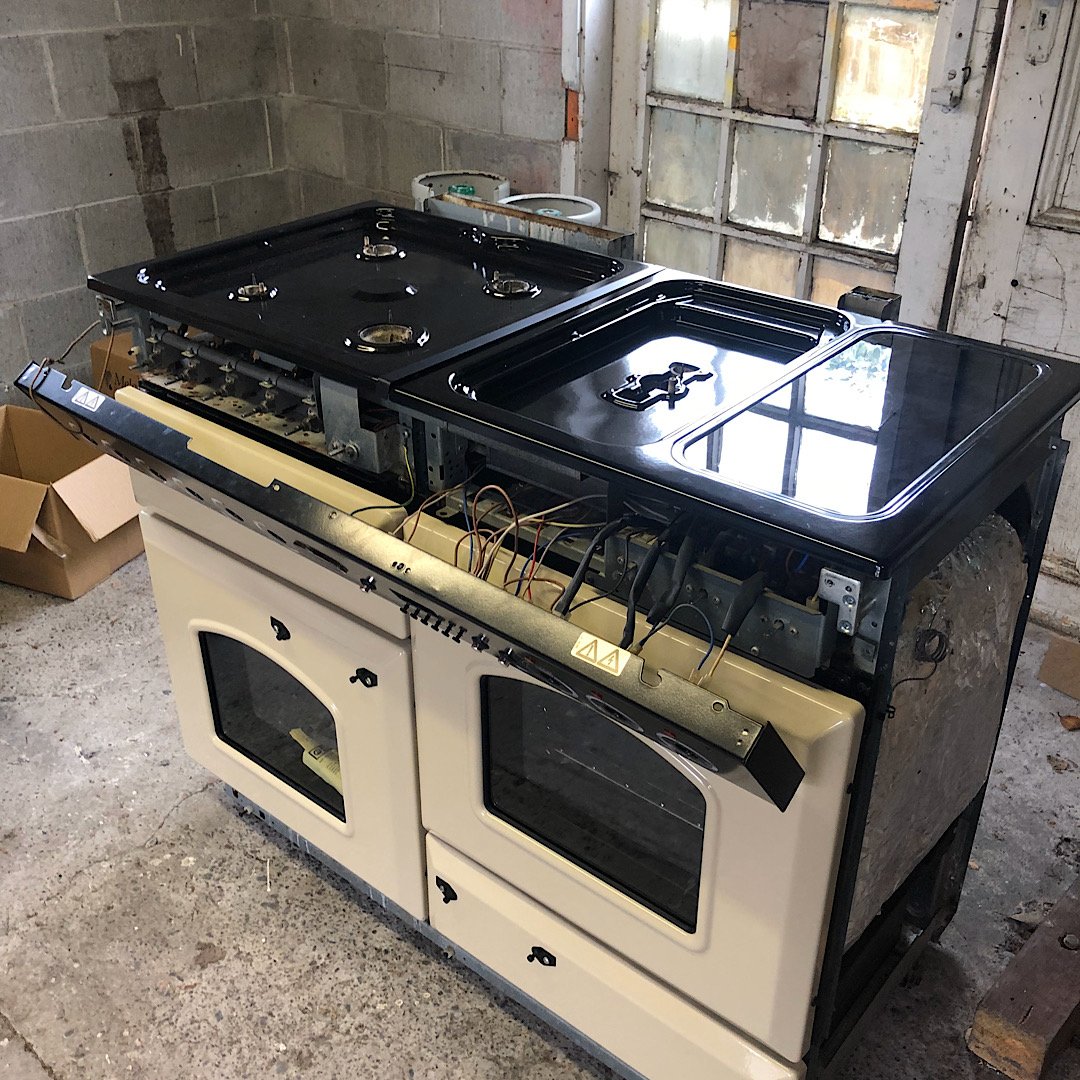
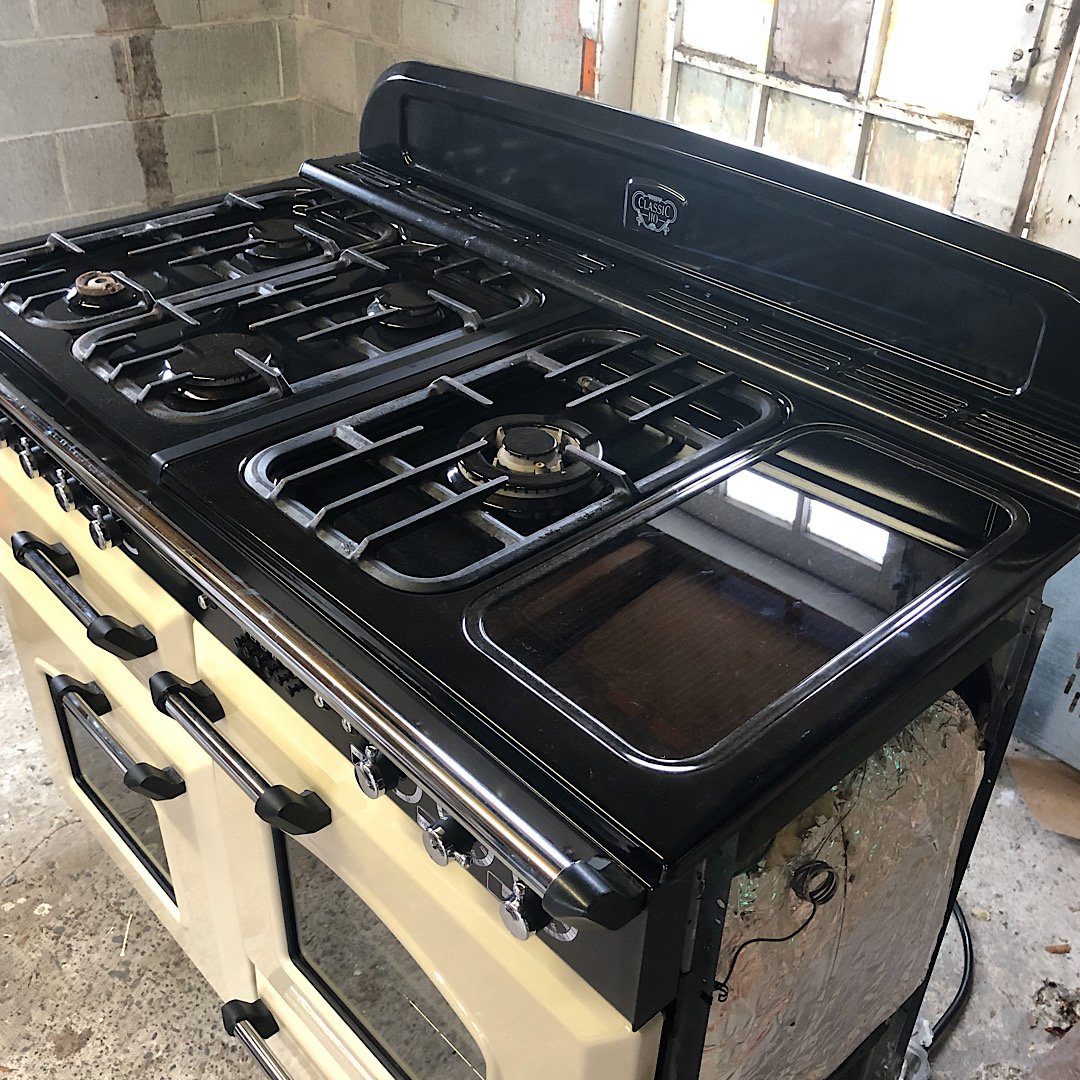
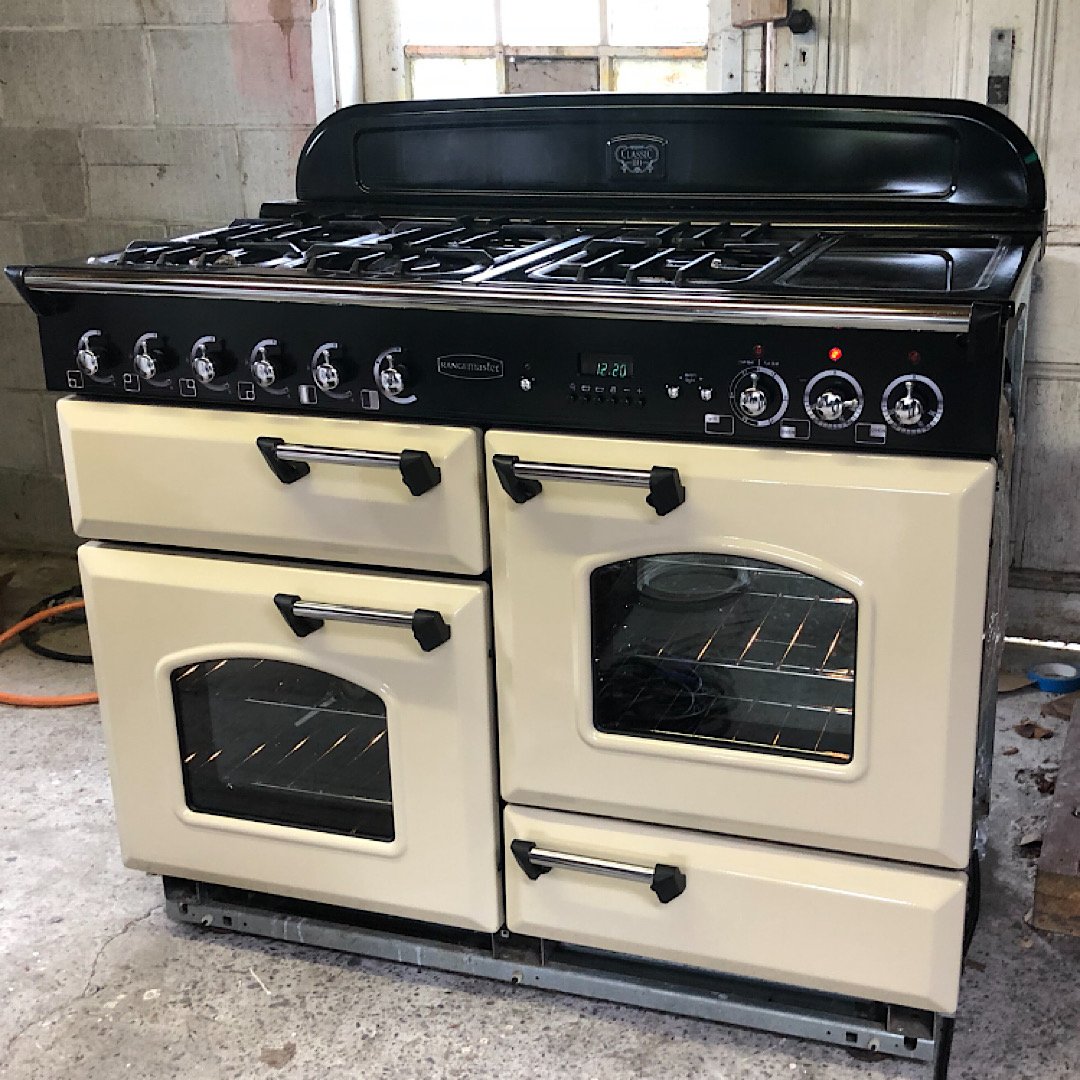
I wanted to upgrade our oven for the wife’s 30th, but there seems to be some kind of kitchen tax on nice ranges. I had no idea you could spend so much on a glorified indoor BBQ! So I got a ratty old one of Trademe that was supposedly a good brand and got stuck in. It was in a poor state, looked like it had never been cleaned a day in its life! I found most parts needed replacing and there were a few mouse nests inside... Friends and family were keen to help out which was great. After a few weeks of scrubbing and some parts hunting I could put it back together. I lucked out with a UK crowd that were dirt cheap on shipping and had most parts I needed. I had to get some bits locally, like some lengths of towel rails for the handles. It came out mint, and a fraction of the cost of a new one! Now I’ve just got to shoe horn it into our small kitchen!
1 point
-
Plan is to finish wiring Richies KP then hit this thing hard. For now have swapped out the front carpet as it was a bit shit, and fitted the lights. Its back in storage now. There's a looooong way to go.1 point
-
Taking way longer and changing more stuff than planed. Although thats fairly normal with this thing. Fuel filters were in the way of new intake. so have run new fuel lines. mounted new filter by the fuel tank. line splits in engine bay for the 2 rails. reused and remounted the old hard line feed for the return. Not much to look at here. pretty clean under there, because all the dirt is now in my eyes. ali exhaust hanging in there. Pulled the transfer case mounted e brake off. handbrake cable doesn't fit with throttles. that was enough of an excuse to throw that junk in the bin. Its heavy and have hated on it since i got it. will be no handbrake guy for awhile. untill i get motivated to make a new setup. chucked a new driveshaft seal in while was there, since leaky Throttles assembled and balanced ready to go on vac rail finished. air bybass on back. map,bov,fpr on front. some butchery of an old throttle body welded on bottom for throttle linkage throttles bolted on for good. fuel rails and lines mocked up ready to go. yeah i cheaped out on fancy banjo fittings. Moved ps reso to other side of engine bay and redone all the lines, as they were pretty janky before. moving the reso along with new intercooler pipes, frees up the whole corner in front of the turbo for a better airbox setup. that someday may make. hmmm wires, not keen1 point
-
Since my last update I have re-kitted the P/S pump I’ve also shimmed the relief valve to lower the assistance given as the steering was too light at higher road speeds, I’ve replaced all the inner and out tie rod ends and the drag link, I dropped the block, crank and heads off to my machinist, block had been acid tanked, honed and had the cam bearings replaced. The heads have been checked over, machined, machined to take the valve springs, couple of worn valve guides replaced. The valve springs turned into a bit of a headache, the double springs supplied with my cam kit ended up having 140lbs of swat pressure which is was too high for a hydraulic flat tappet cam, We ended up ditching the inner spring and shimming the outer to end up with 100lbs seat pressure. A bit annoying but at least it didn’t turn into a major. Dont have any photos yet as it’s all plastic wrapped as it will be a couple of weeks before I start assembling slowly coming together, made another couple of orders from rock auto got a cam thrust plate with a tensioner (from a Dodge V6) as the factory 318 doesn’t have one, got some rubber lower arm inner bushes as apparently the complete polyurethane bush kit I got for the car doesn’t come with them (and no one lists a poly bush for it) ordered new rad hoses, bypass hose, rear spring shackles (as mine were too rusty) also ordered a starter motor from a 1992 dodge Dakota as with the headers I can’t use my factory starter due to the size. You can buy A/M mini starters but they are around $400, or as most of the guys in the states do you can get a Dakota starter and it’s basically a factory mini starter and at $71usd plus shipping it’s still way cheaper than an A/M unit. For now I need to let the bank account recover so ill be working on tidying up the rear suspension mounts and springs.1 point


This leaderboard is set to Auckland/GMT+12:00