
Leaderboard


Popular Content
Showing content with the highest reputation on 11/09/19 in all areas
-
Okey, attendees as of 9-11-19, no more please. @johnnyfive @Vintage Grumble @MopedNZ @GuyWithAviators @Shakotom @cletus @tortron @datlow @keltik @Truenotch @TimShadboltfan27 @WankBankA100 @BLIZZO @MaxPower @Dolan @Mitch.W @Tumeke @Tumeke's brother Brett @UTERUS @Ned @RUNAMUCK @Zeubin @Atex Lee Dan Shannon @Deano Mike @mark105 @Geophy @Duke Blackwood @Geophy's Dad @peteretep @Beaver @Archetype Lance/Julio Ryk Chris/Tofa @anglia4 @anglia4's Dad Paul ThatSlowGuyOnTheRuckus/Dan @RUNAMUCK You've specified you're riding in a support vehicle? Pretty sure no? At this stage I've turned the entry form off, as we're at about the number we were last year. I understand not everyone that has entered is travelling by bike, and not everyone entered will make it to the start (be real). If anyone feels like they're really damn keen to come still PM me, or post up in here with your explanation for being late for the class (the shame). Logistically its going to be impossible to guide everyone around the route, as ~40 bikes and 3 cars and trailers stopped at every intersection is not happening. There is no way I could wait and point each person up X road then make it to the front by the next one. I will try and provide some rough printed/digital directions on the route. Kinda like 10km turn left on shit creek road 110km turn right to rape dungeon alley I might try and specify a few major/safe places for regrouping, its up to the individual, but the vehicles and slow people at the back will appreciate it. All I ask is that everyone doesn't just blindly charge on, following the guy in front, assuming they're on track. Have some idea of your next meeting point/turn. As far as 3 vehicles and trailers go, well, OK. But consider like a kilometre (if together) of slow ass bikes clogging up narrow rural 100km/h roads, then 3 vehicles with trailers doing 30km/h up a slight incline behind them. That sounds awful. Also one person stops for a durry, nek minute the road is impassible with people everywhere just pulled up all over the place. Gives me nightmares. Young Brody in his venerable bush Hilux, just wants to go poach some deer, wasn't expecting this, and has no patience for it. Hes 3 rocks deep this morning and isn't slowing down for anyone. So yeah, if everyone could be prepared, self sufficient, and a bit thoughtful of themselves/surroundings. That'd be greaat. Coincidence group of un-associated biker riders, you do you.9 points
-
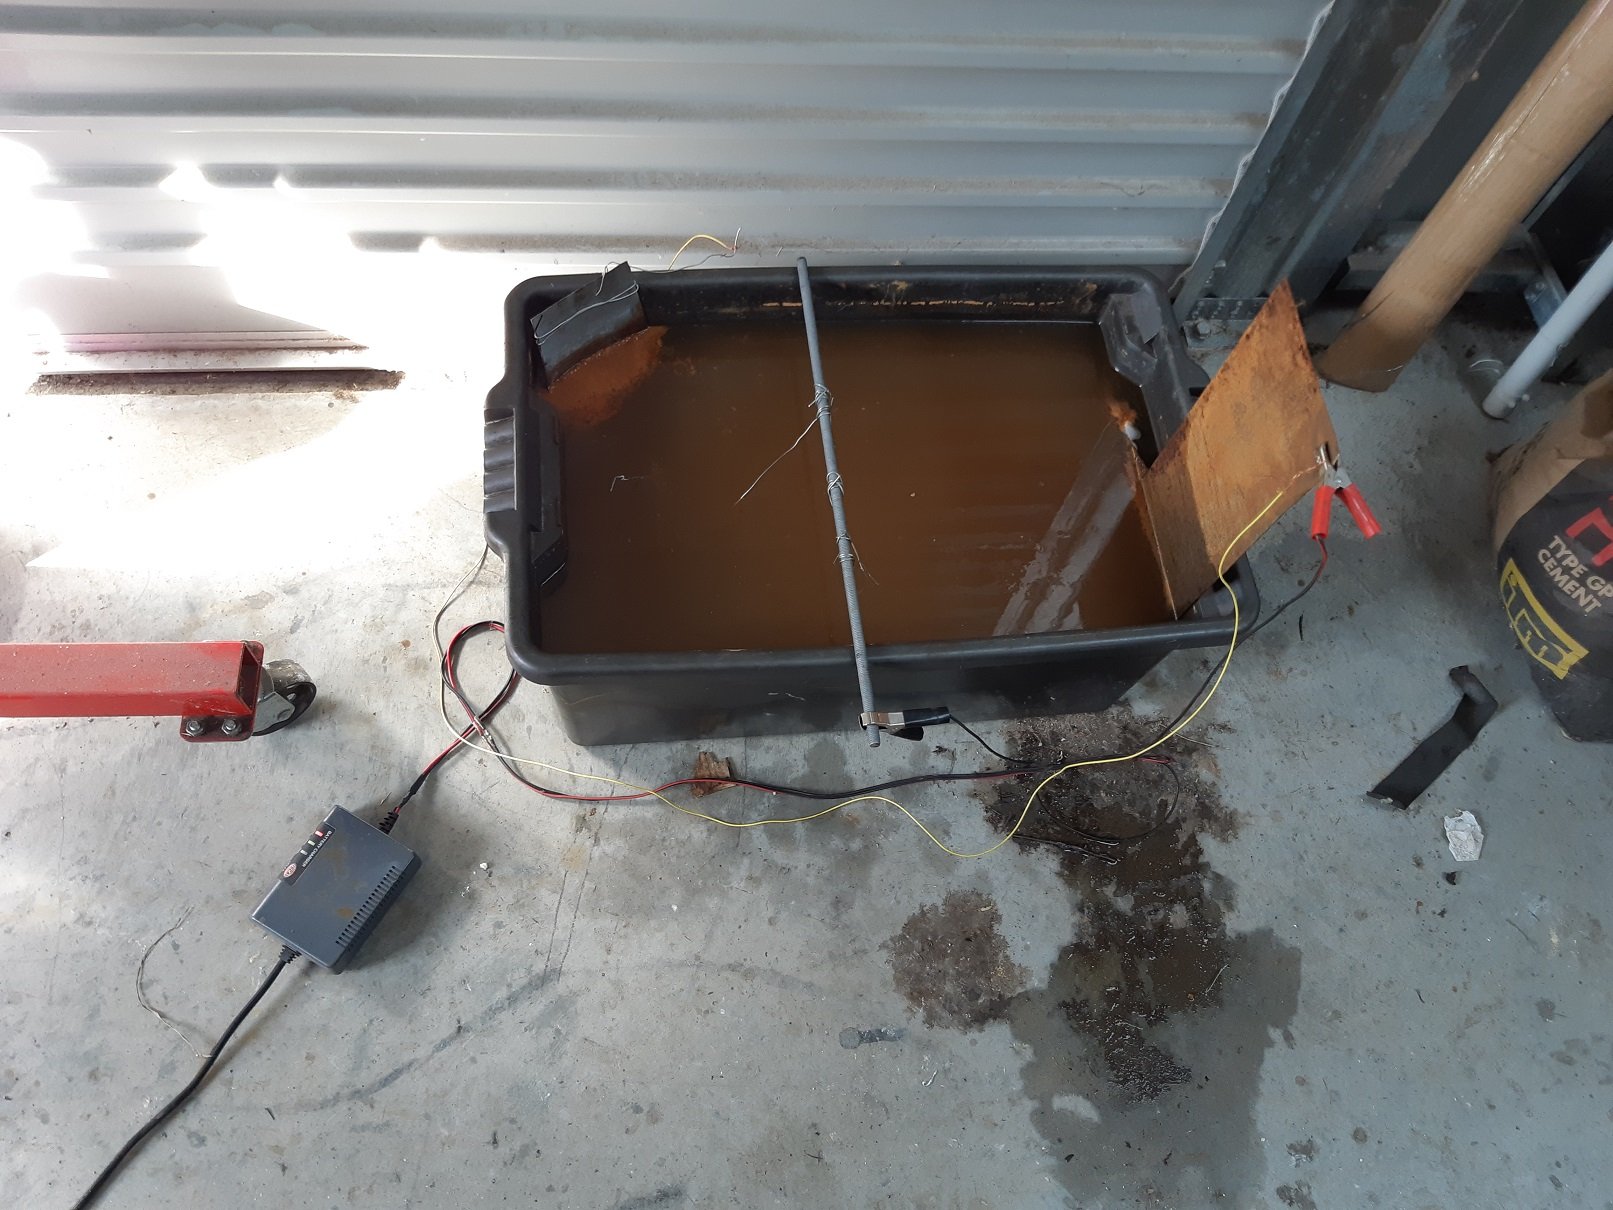
Thanks! Basically it's just: Degrease. Because the electrolysis doesn't work so well if it's oily. Put in electrolysis bath for a day or two or several days. Each day, or whenever, give the sacrificial electrodes a scrub with the wire brush to remove the crusty shit so they work good again. Rinse with hot water.(I have a hot tap outside) Clean off black stuff with hot soapy water, scourer pad and wire brush. Most of it will come off with minimal effort. Rinse with hot water. Parts will start to flash rust as they dry. Blow dry with compressed air. Spray with WD40 to remove any left over water. Wipe with cloth. Much of the flash rust will wipe off. Sensually massage parts with oil. Wipe with cloth to remove excess oil.7 points
-
I haven't seen Brody in years. Just realised I better do a sticker for this, guaranteed to be as shit as the previous ones, so don't fret guys.7 points
-
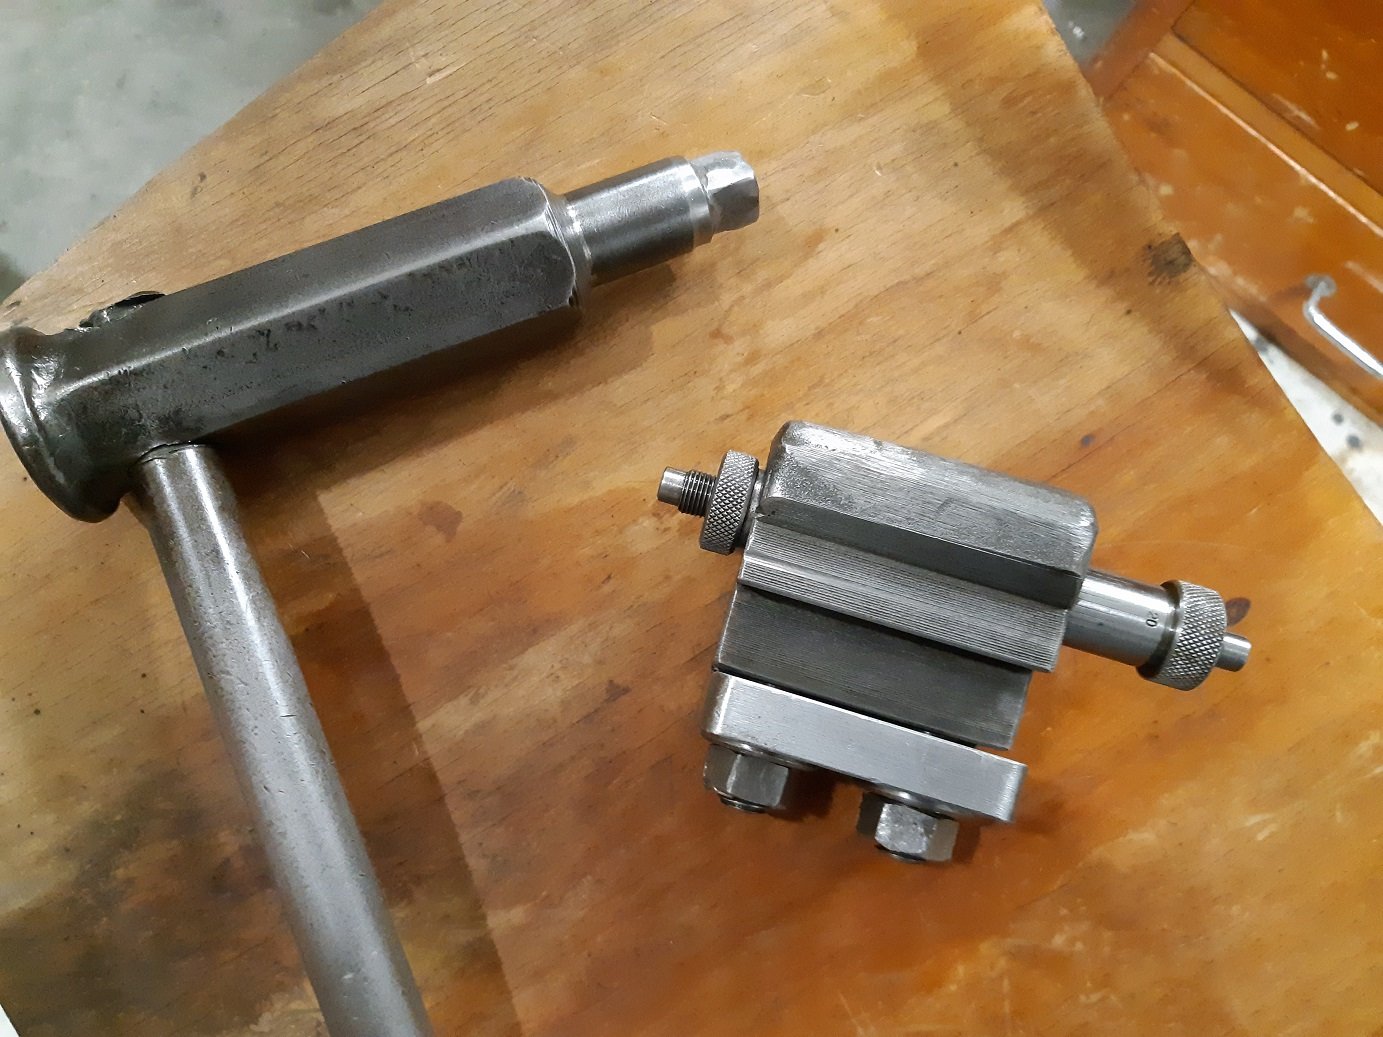
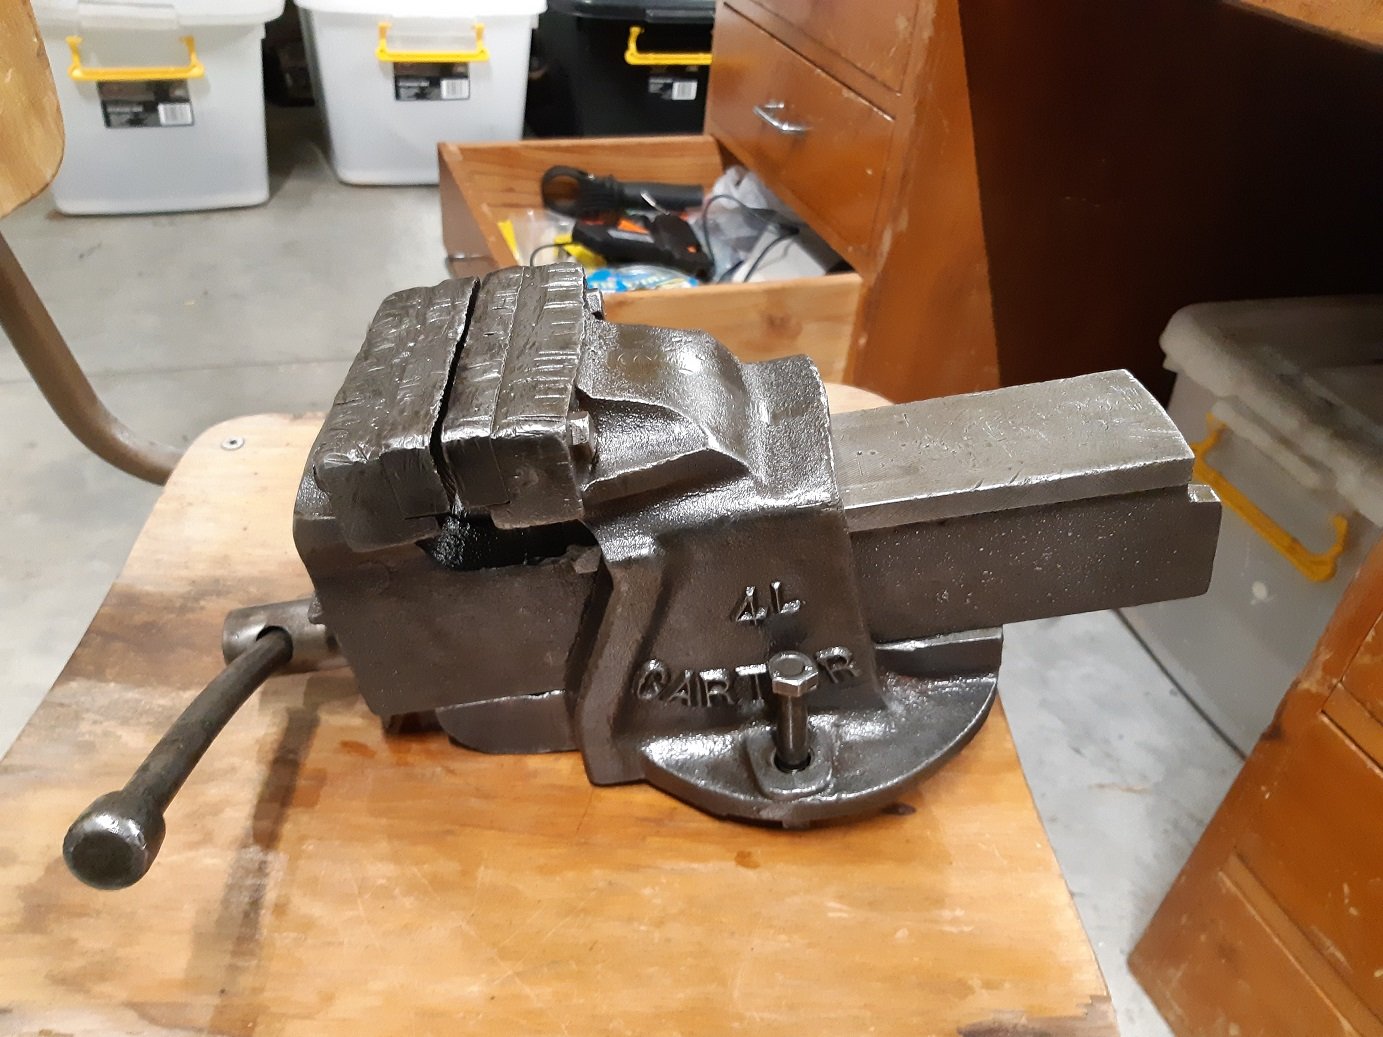
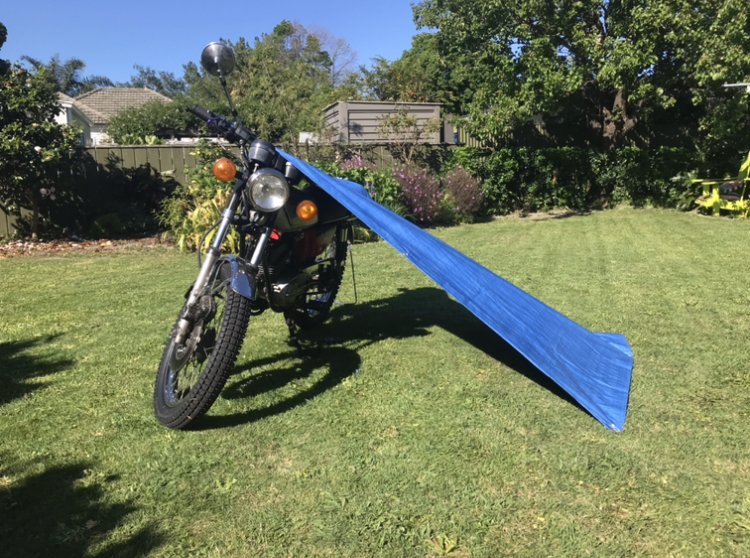
Today out of the electrolysis bath we have. The big chuck key and the vernier carriage stop. The carriage stop had filler/paint on the rough cast surfaces, but it was mostly chipped off. I decided to leave it bare metal and just rub it with oil. And not lathe.... but I got a little vice for $30 on trademe. I left it in the bath for a couple of days. Then used the wire brush on the drill. The casting was too rough to use the scourer pad. The casting is pretty rough, not much grinding/cleanup seems to have been done, so I suspect it was fairly cheapish when it was new.
 7 points
 -
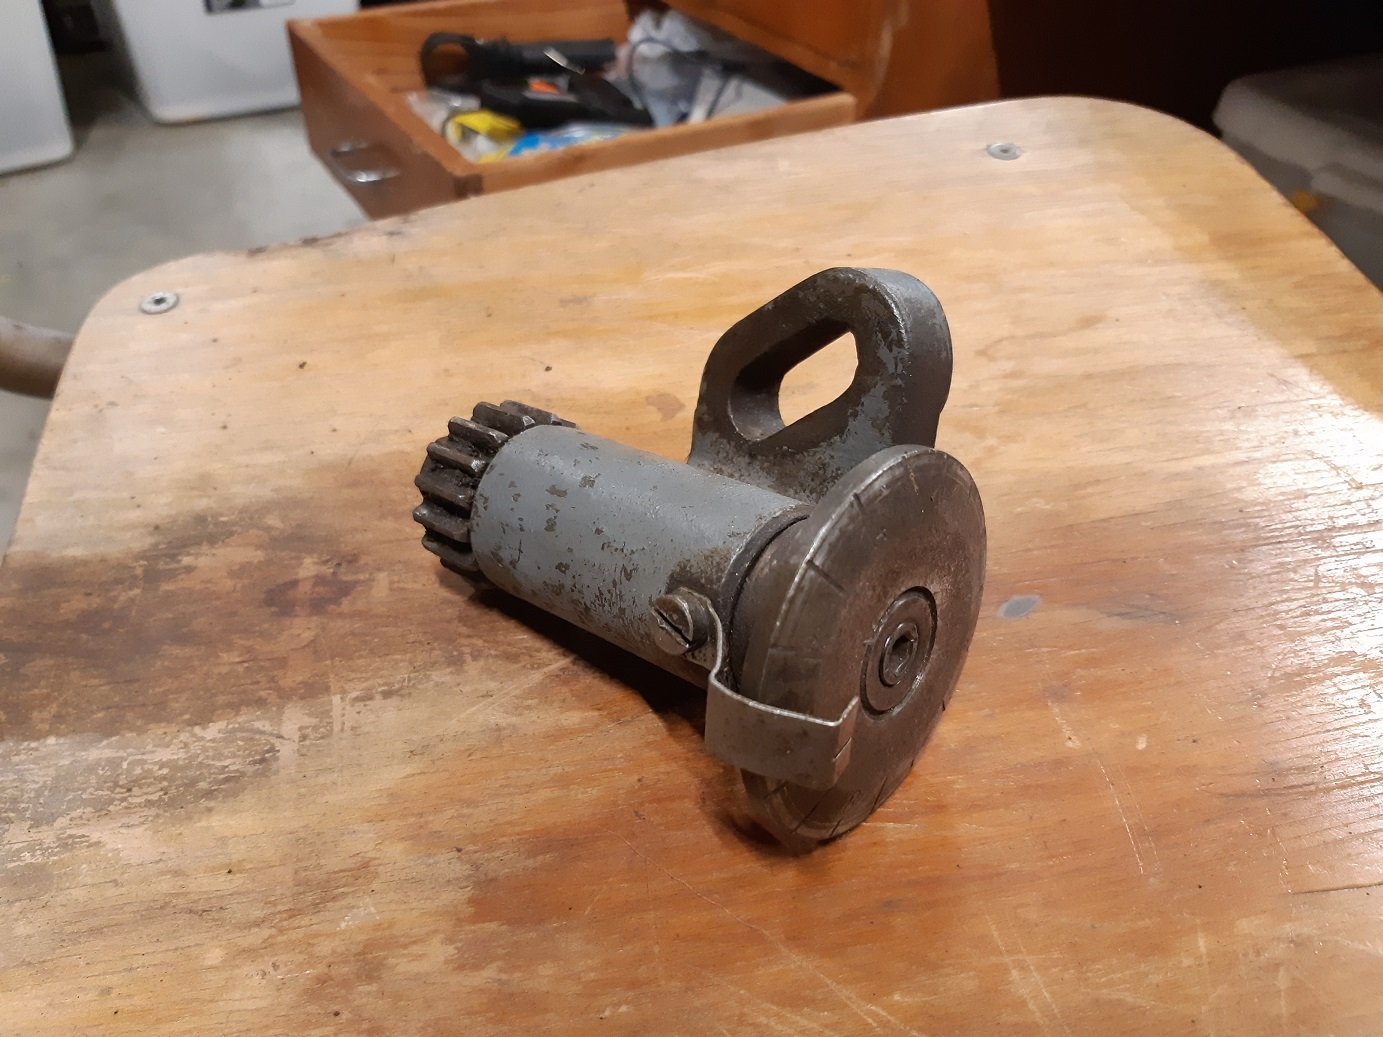
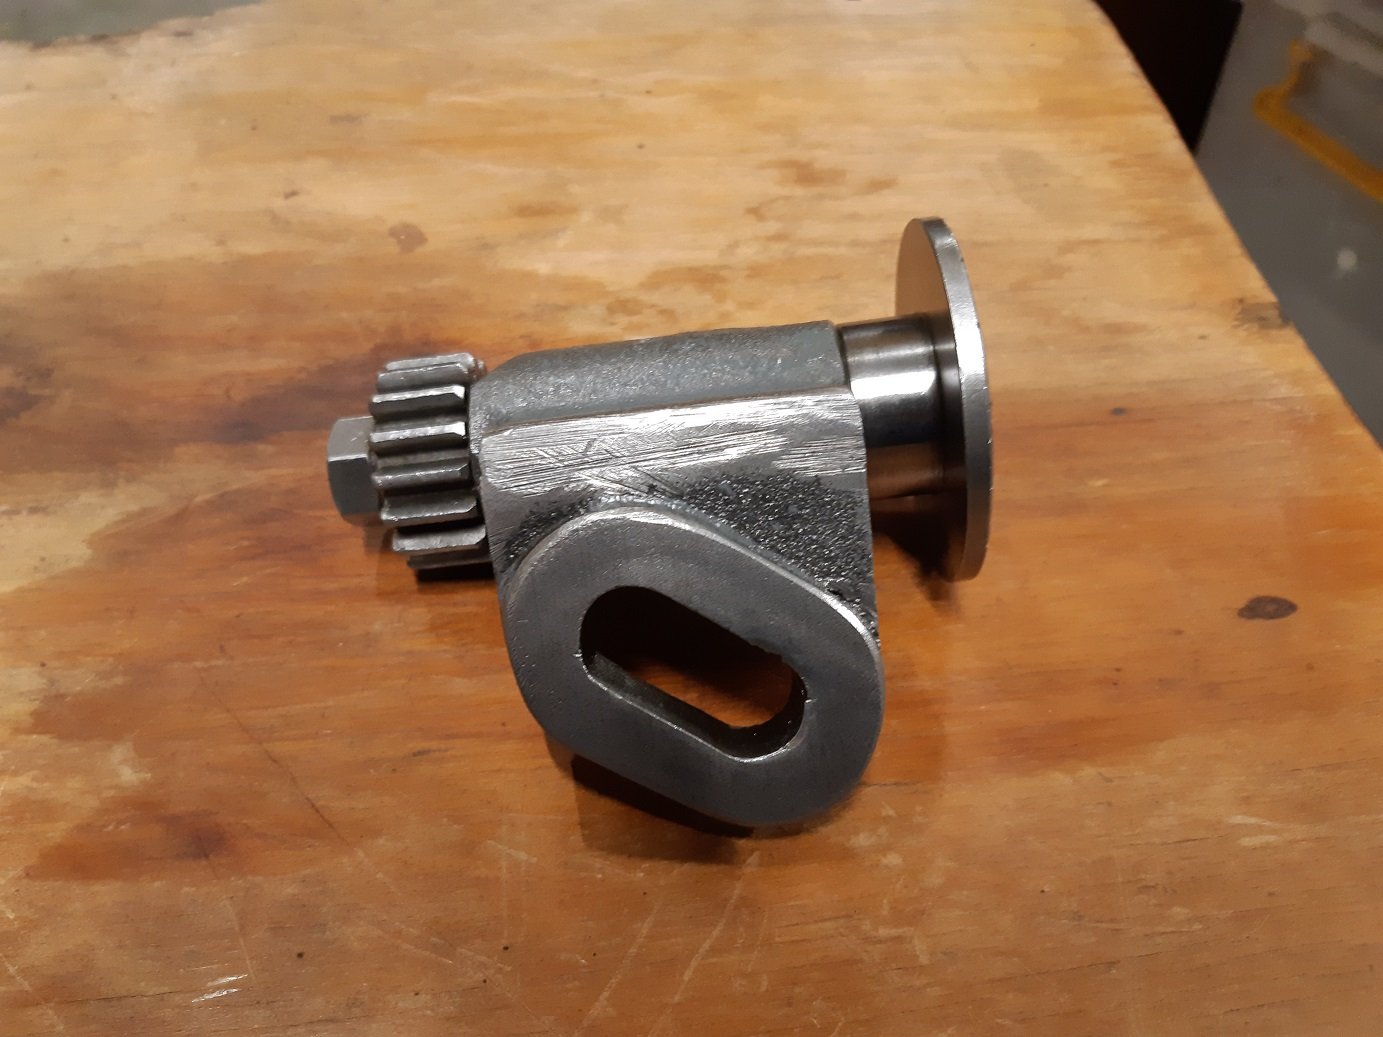
Cut small notches with Ali diamond dremel disc and seems to locate ok... And soldered a copper tab on for the HT contact. Snotted a bit of gasket paper underneath and it has a small dimple for the sprung HT lead contact... And finally separated gearbox cover, was really stuck on, and took some effort to get it off without fucking it. Many decades of oxidation holding it in place so big relief to get this apart... And been using the Stahlwille Whitworth spanner I picked up for 50c at a charity store. Knew it would come in handy one day... Then spent the rest of the morning tidying shit up and sorting bits in boxes. Ignition bits... Fuelly bits... And gearbox bits... So now just a case of cleaning and reassembling. Feel much more organised now...6 points
-
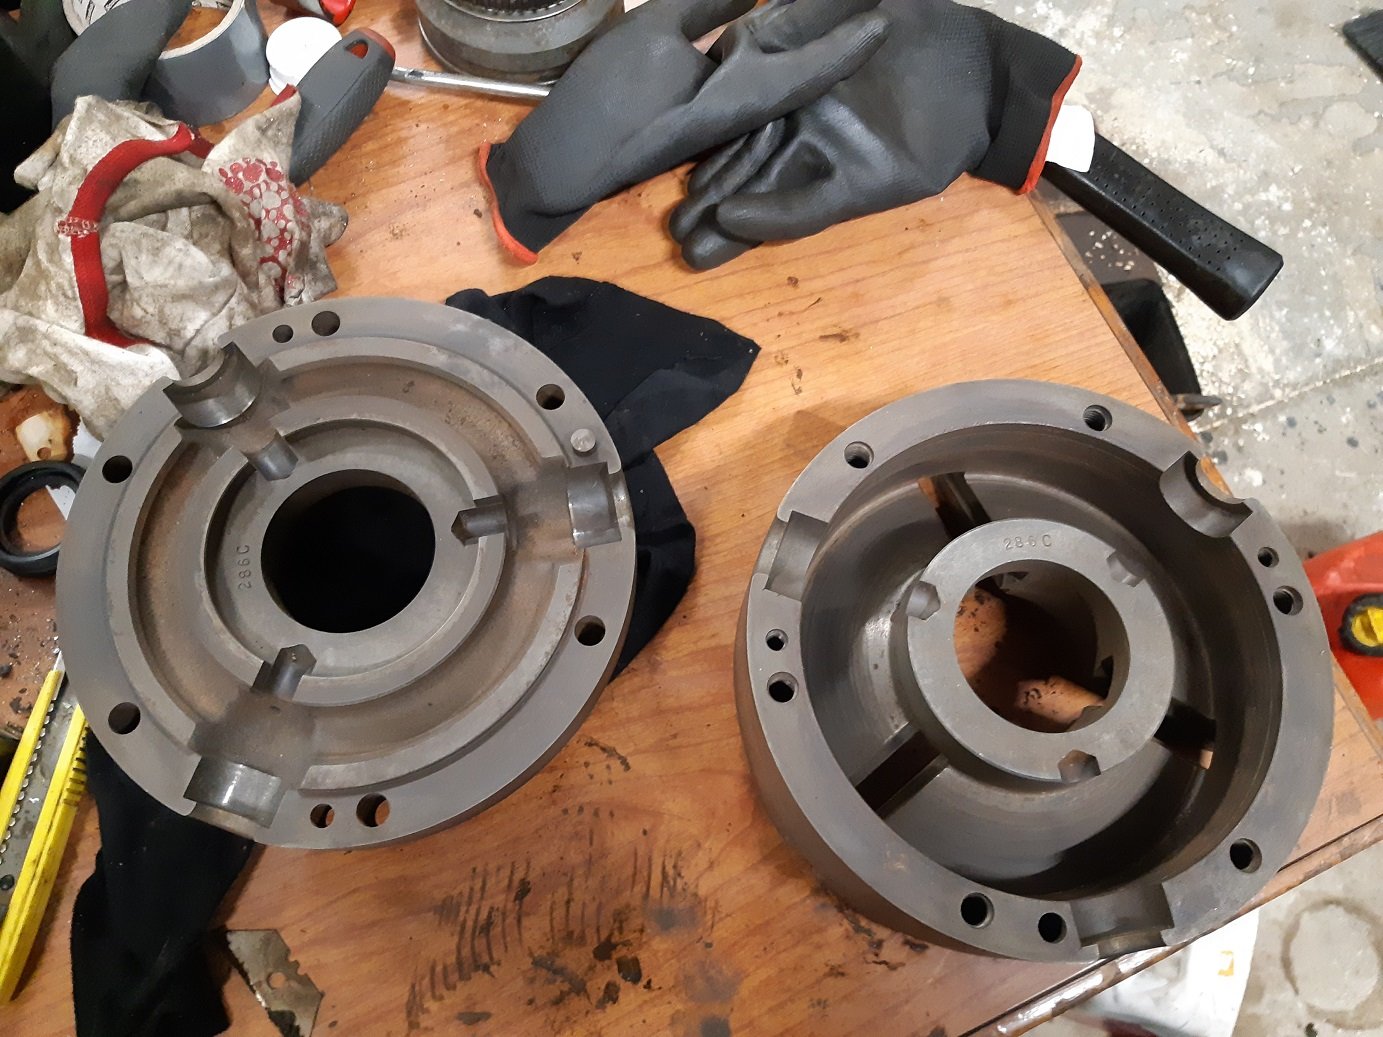
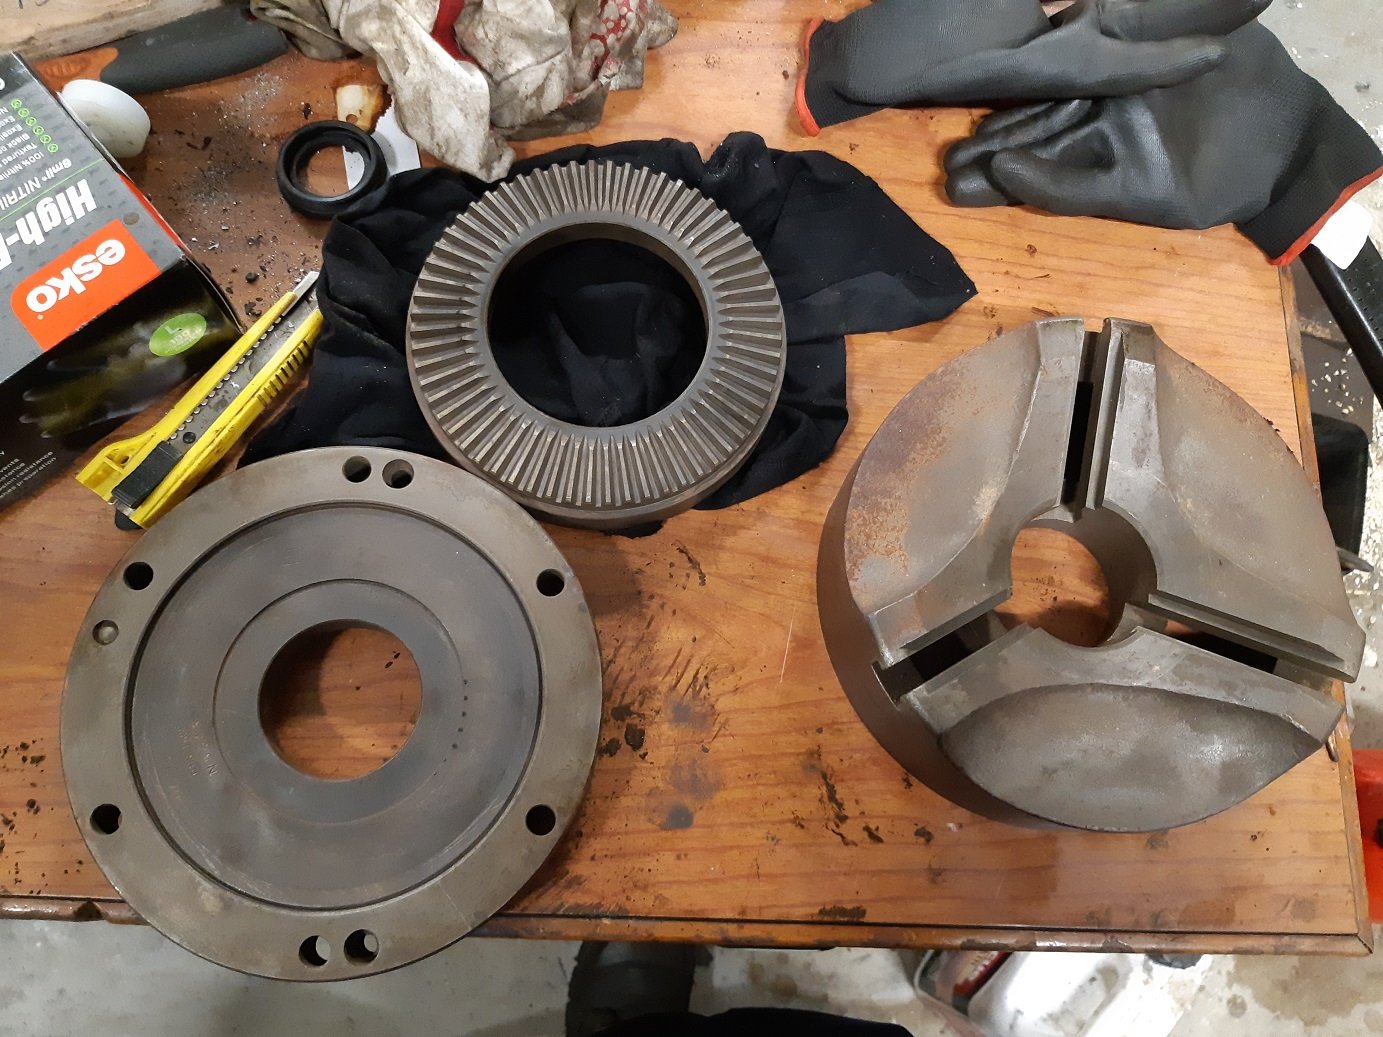
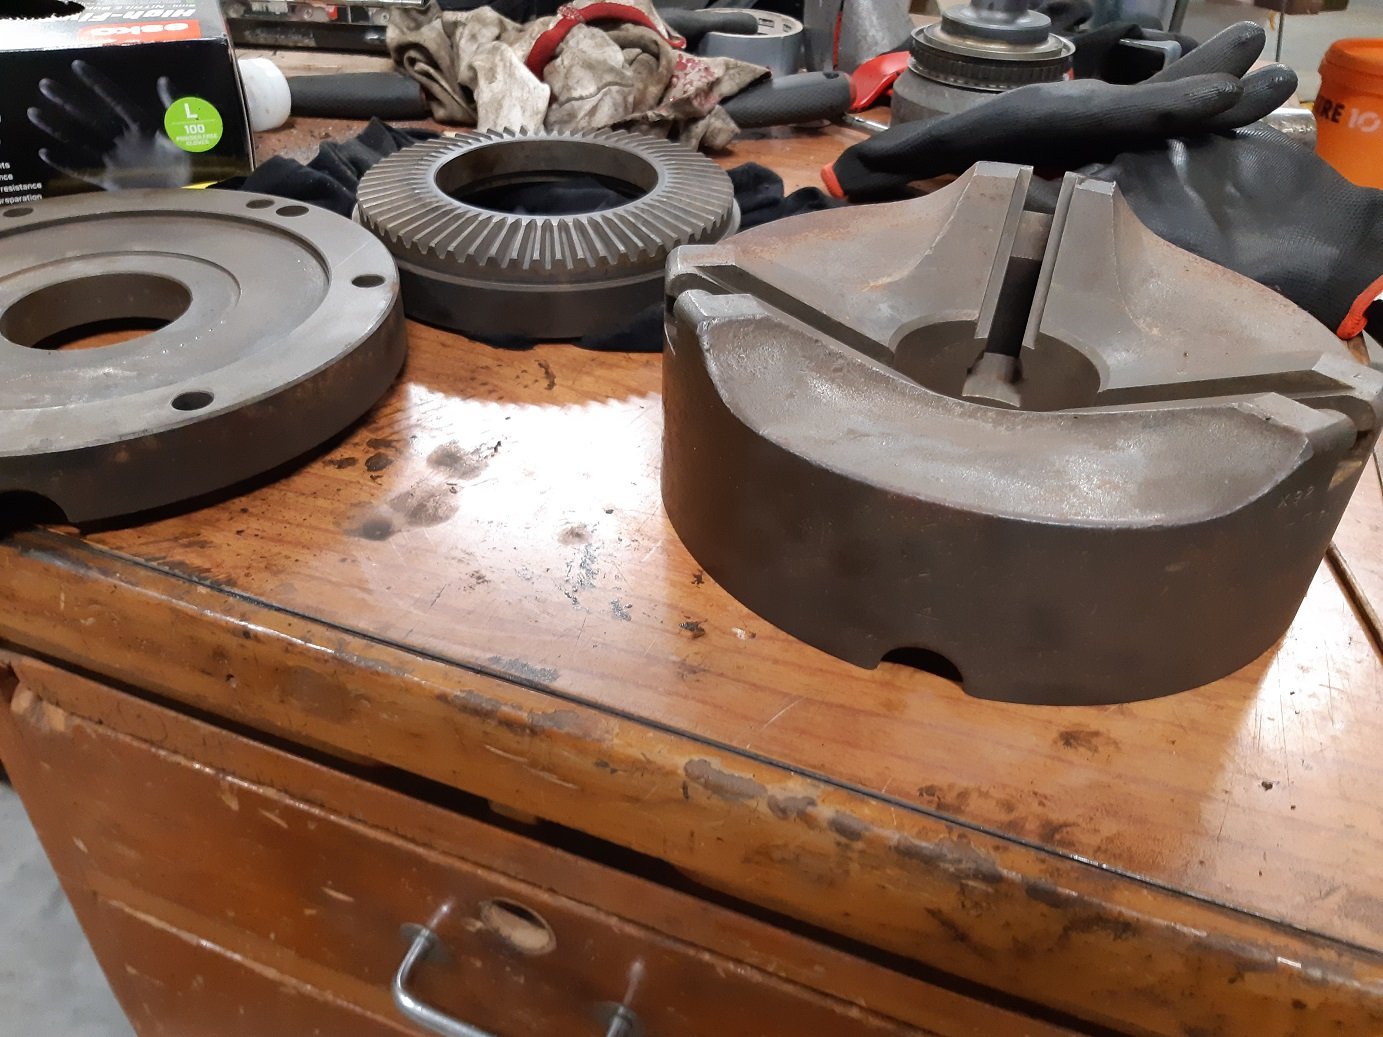
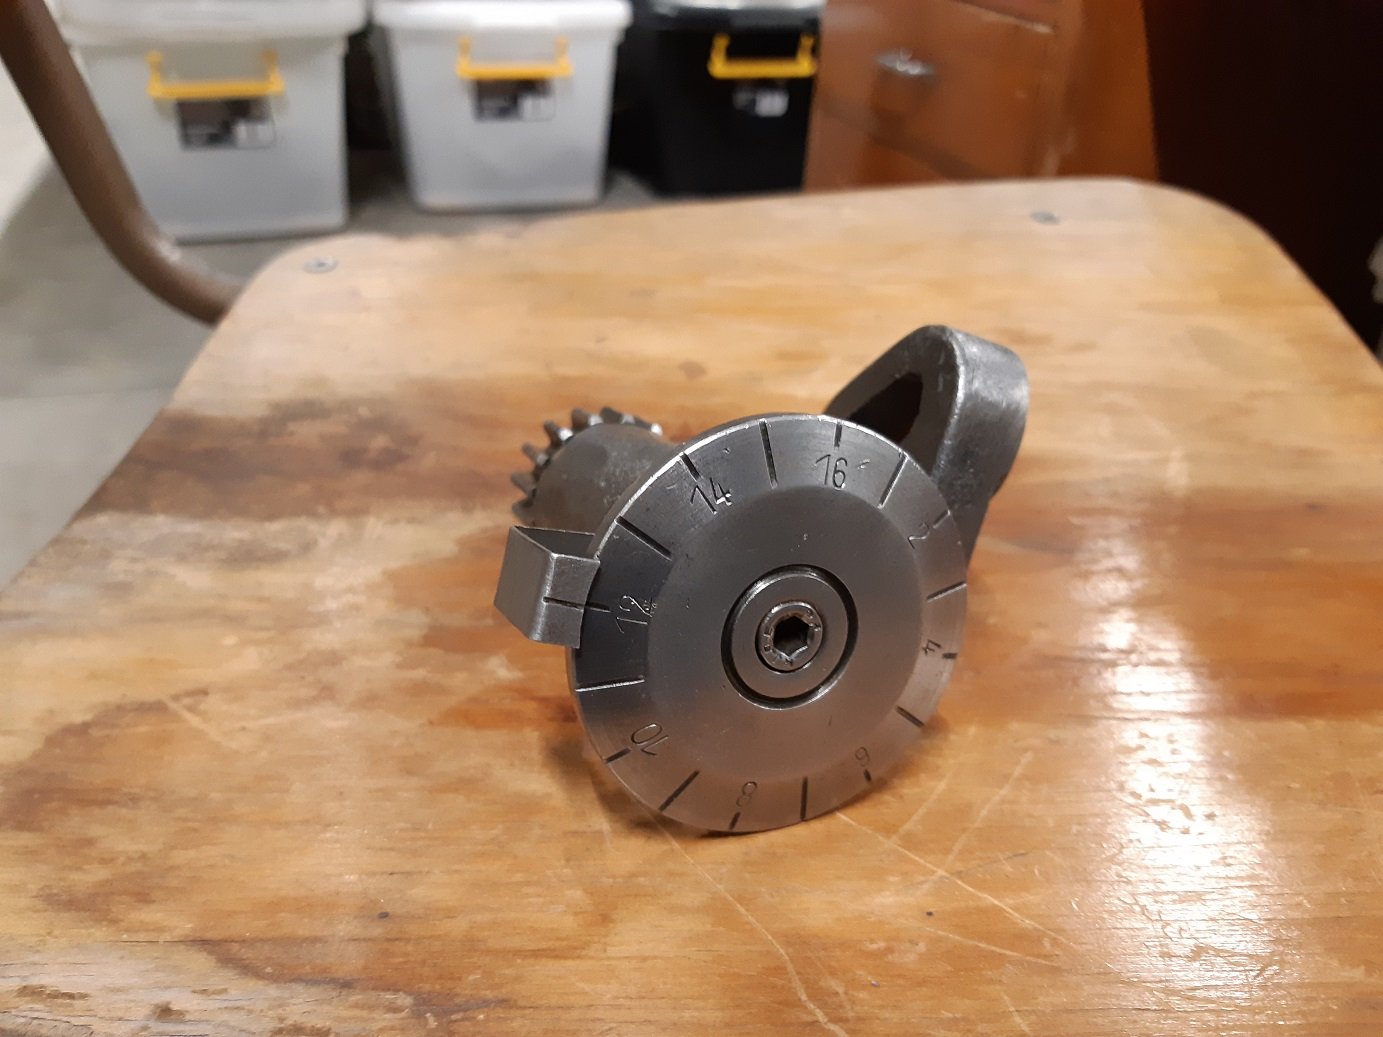
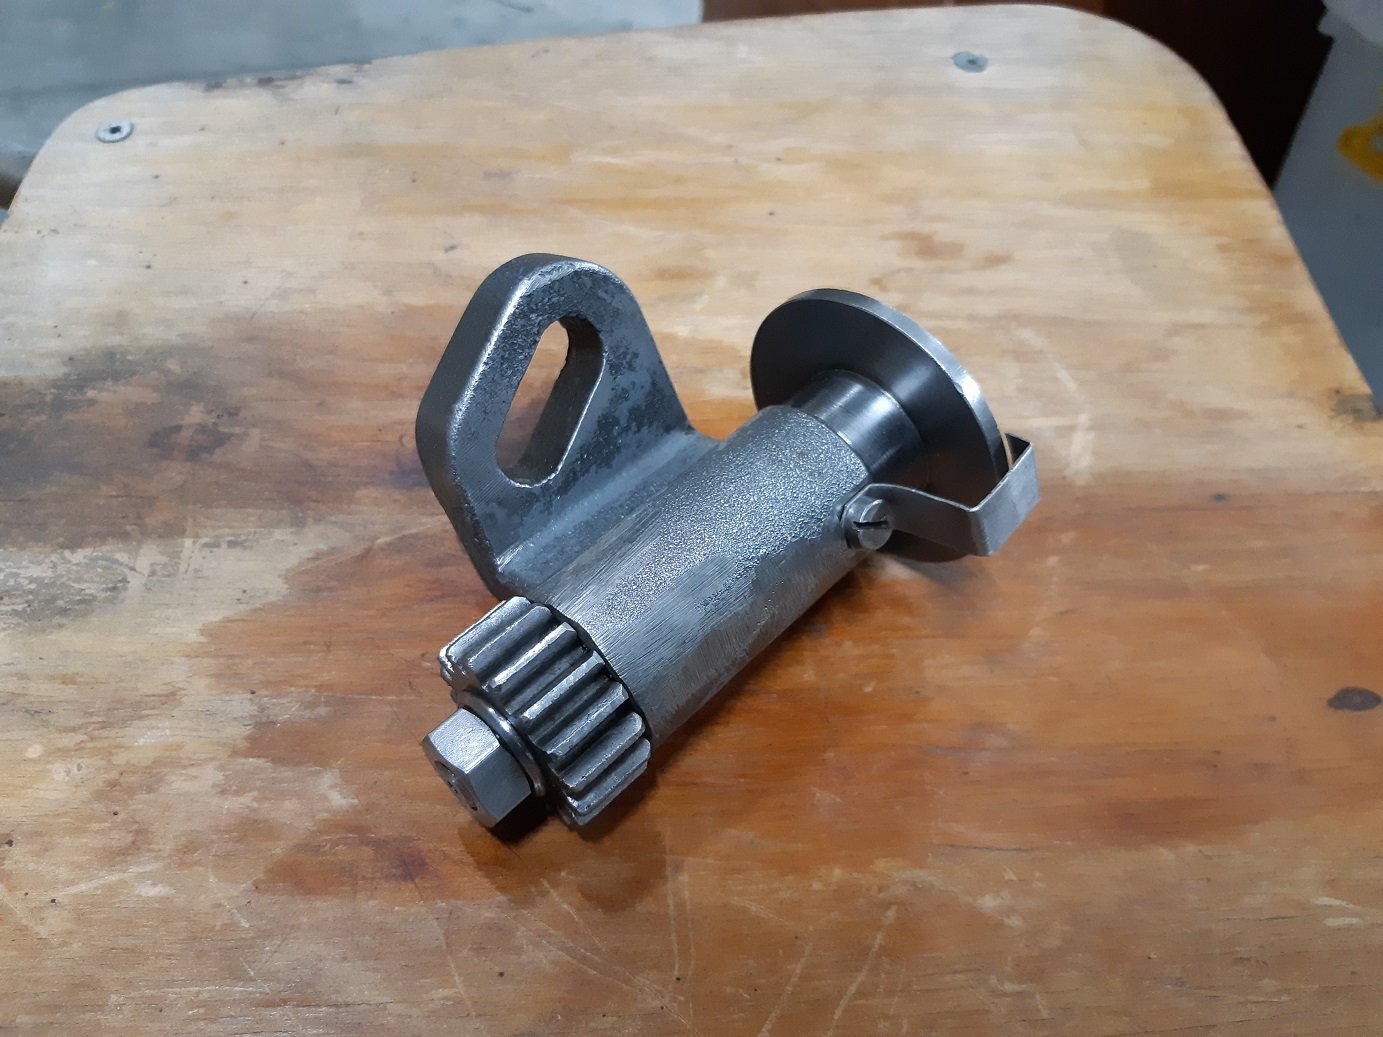
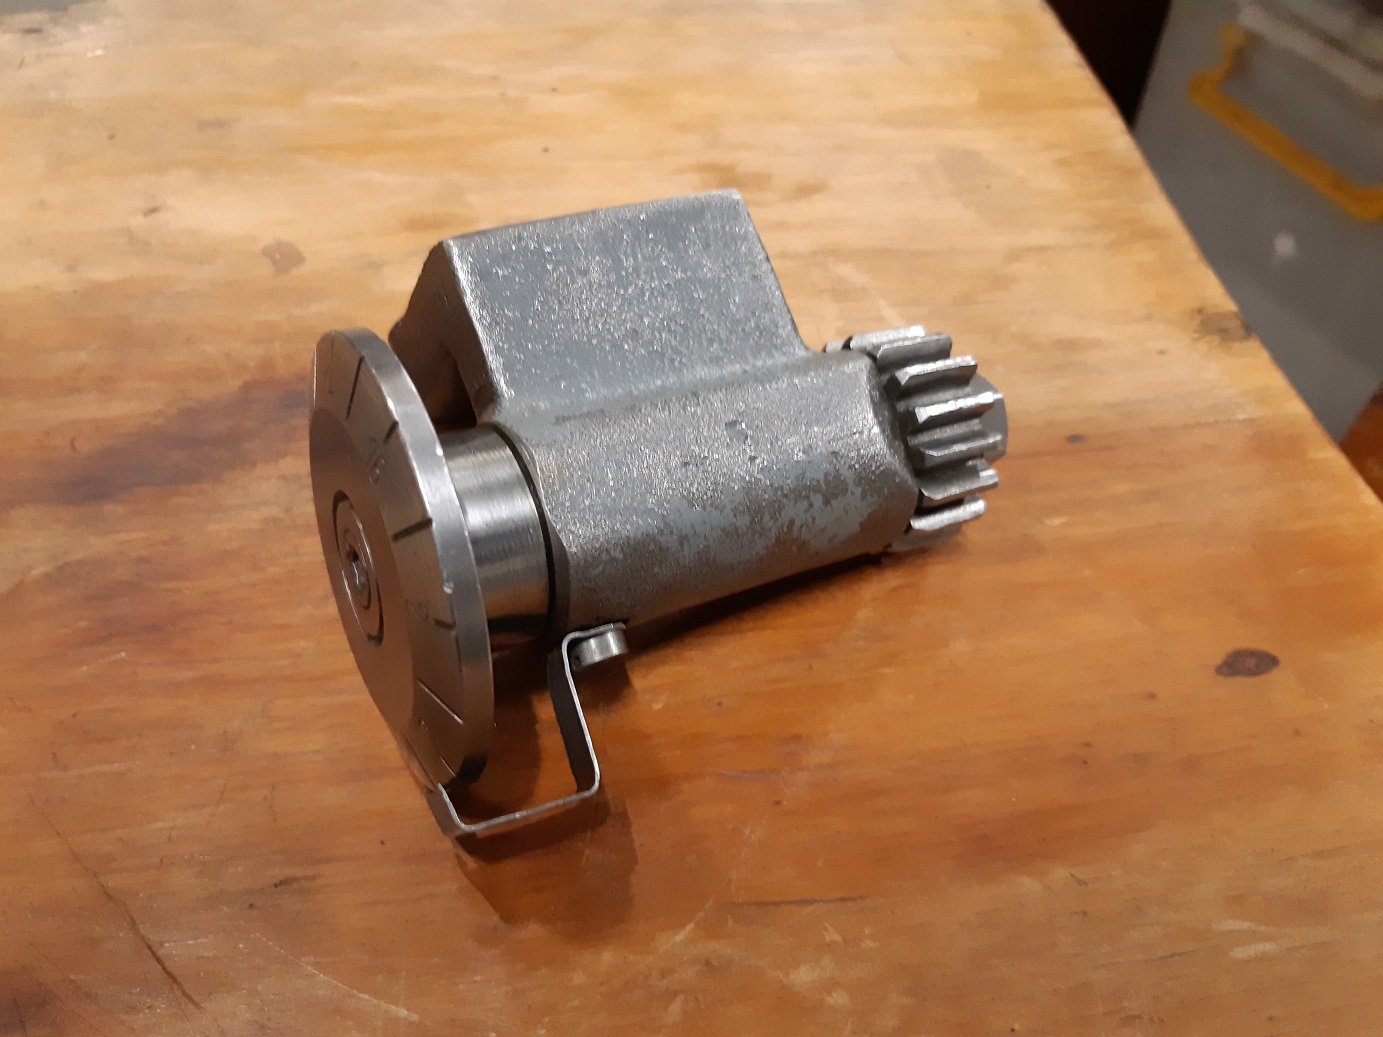
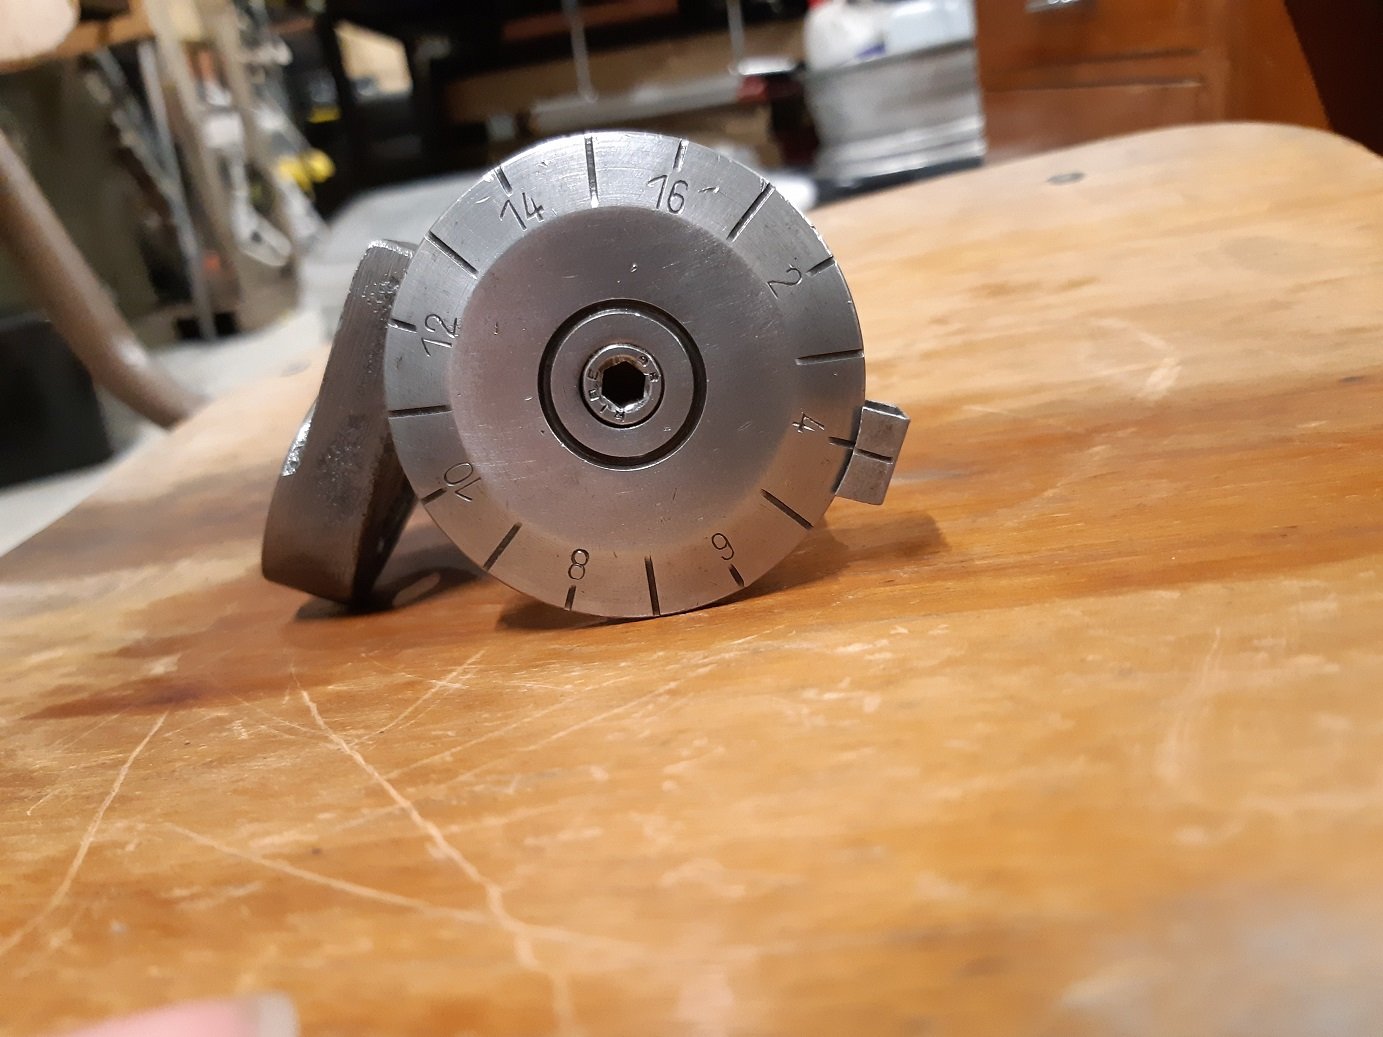
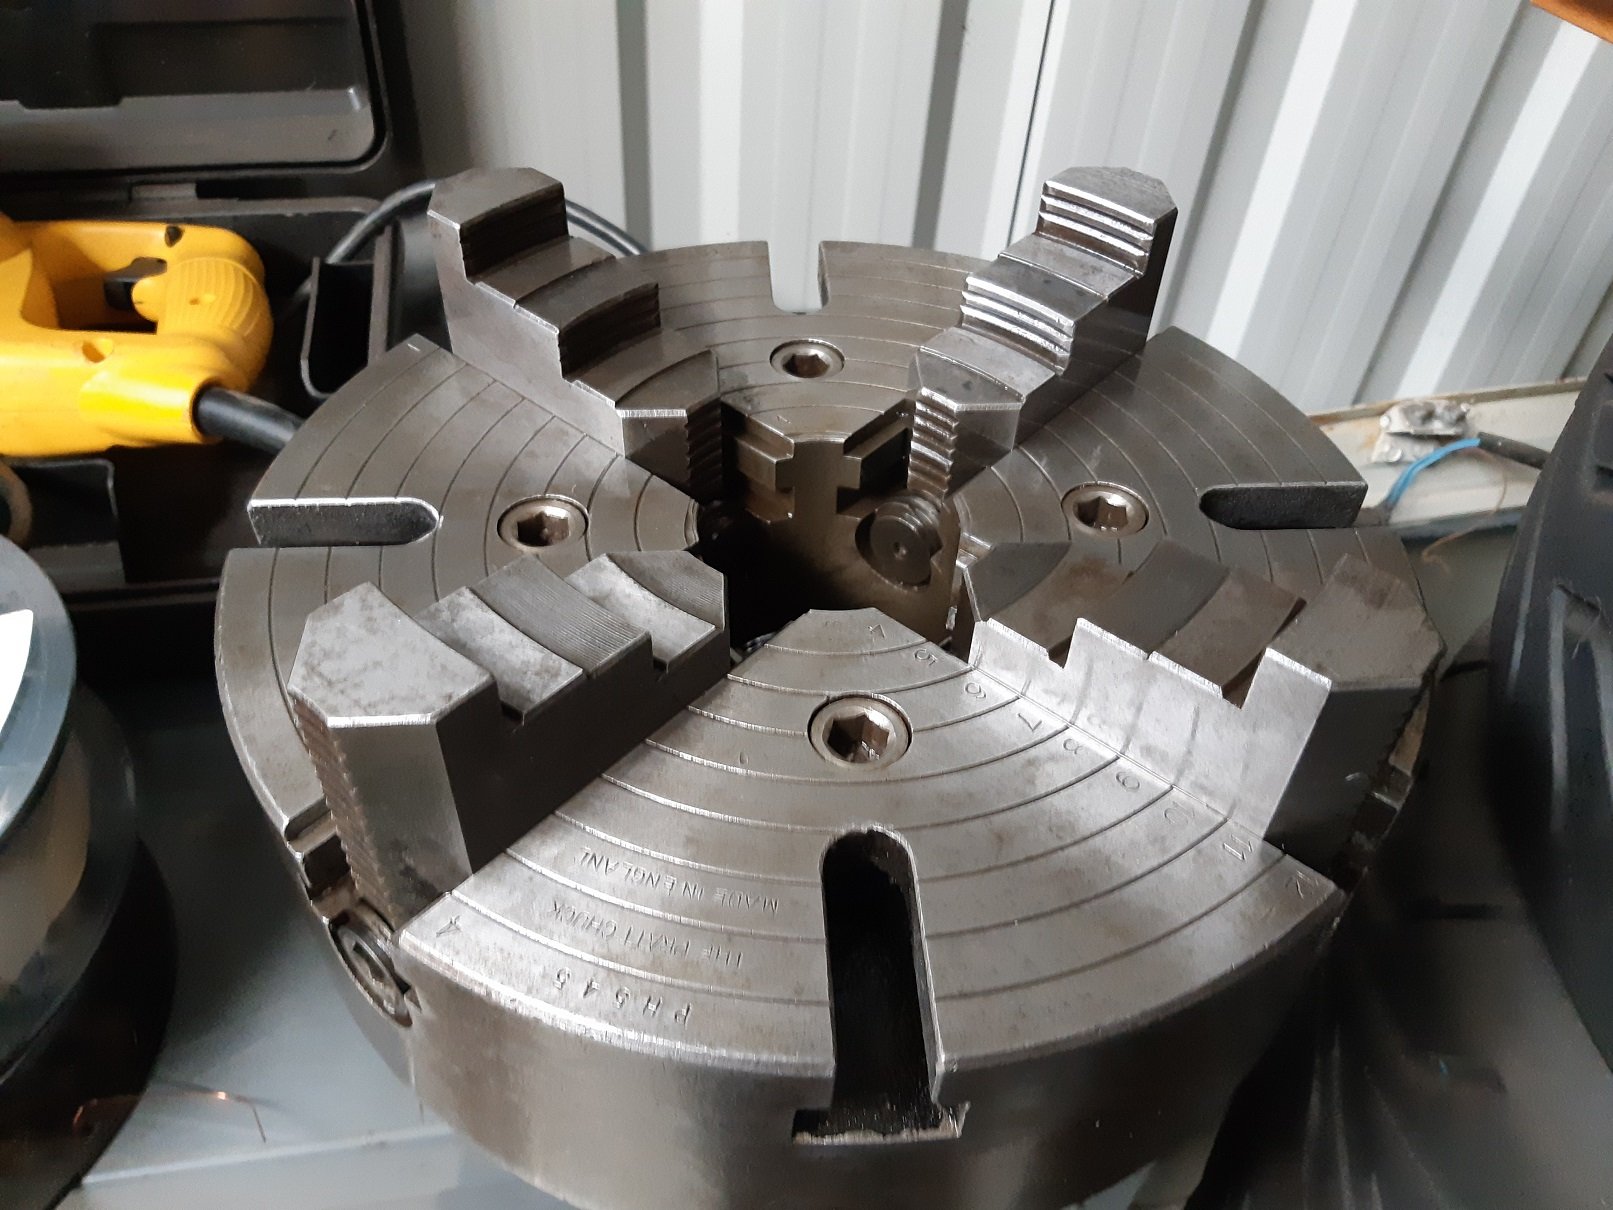
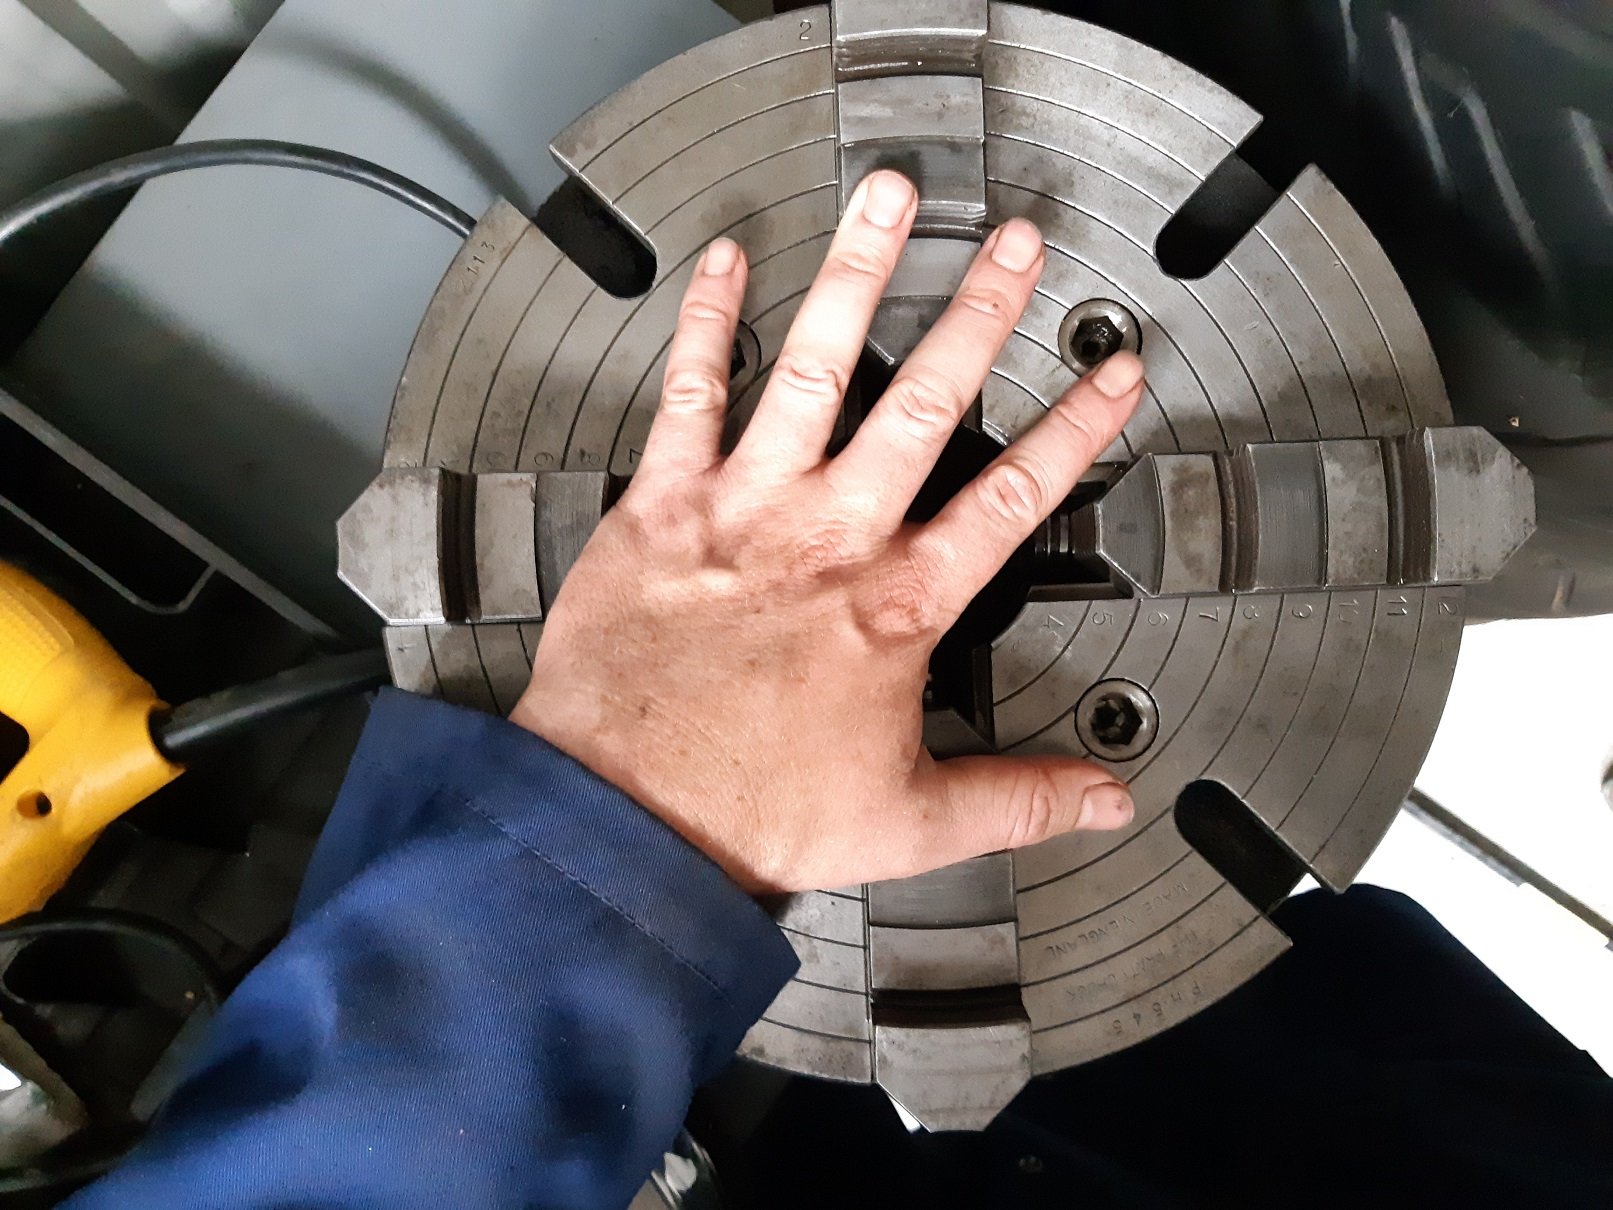
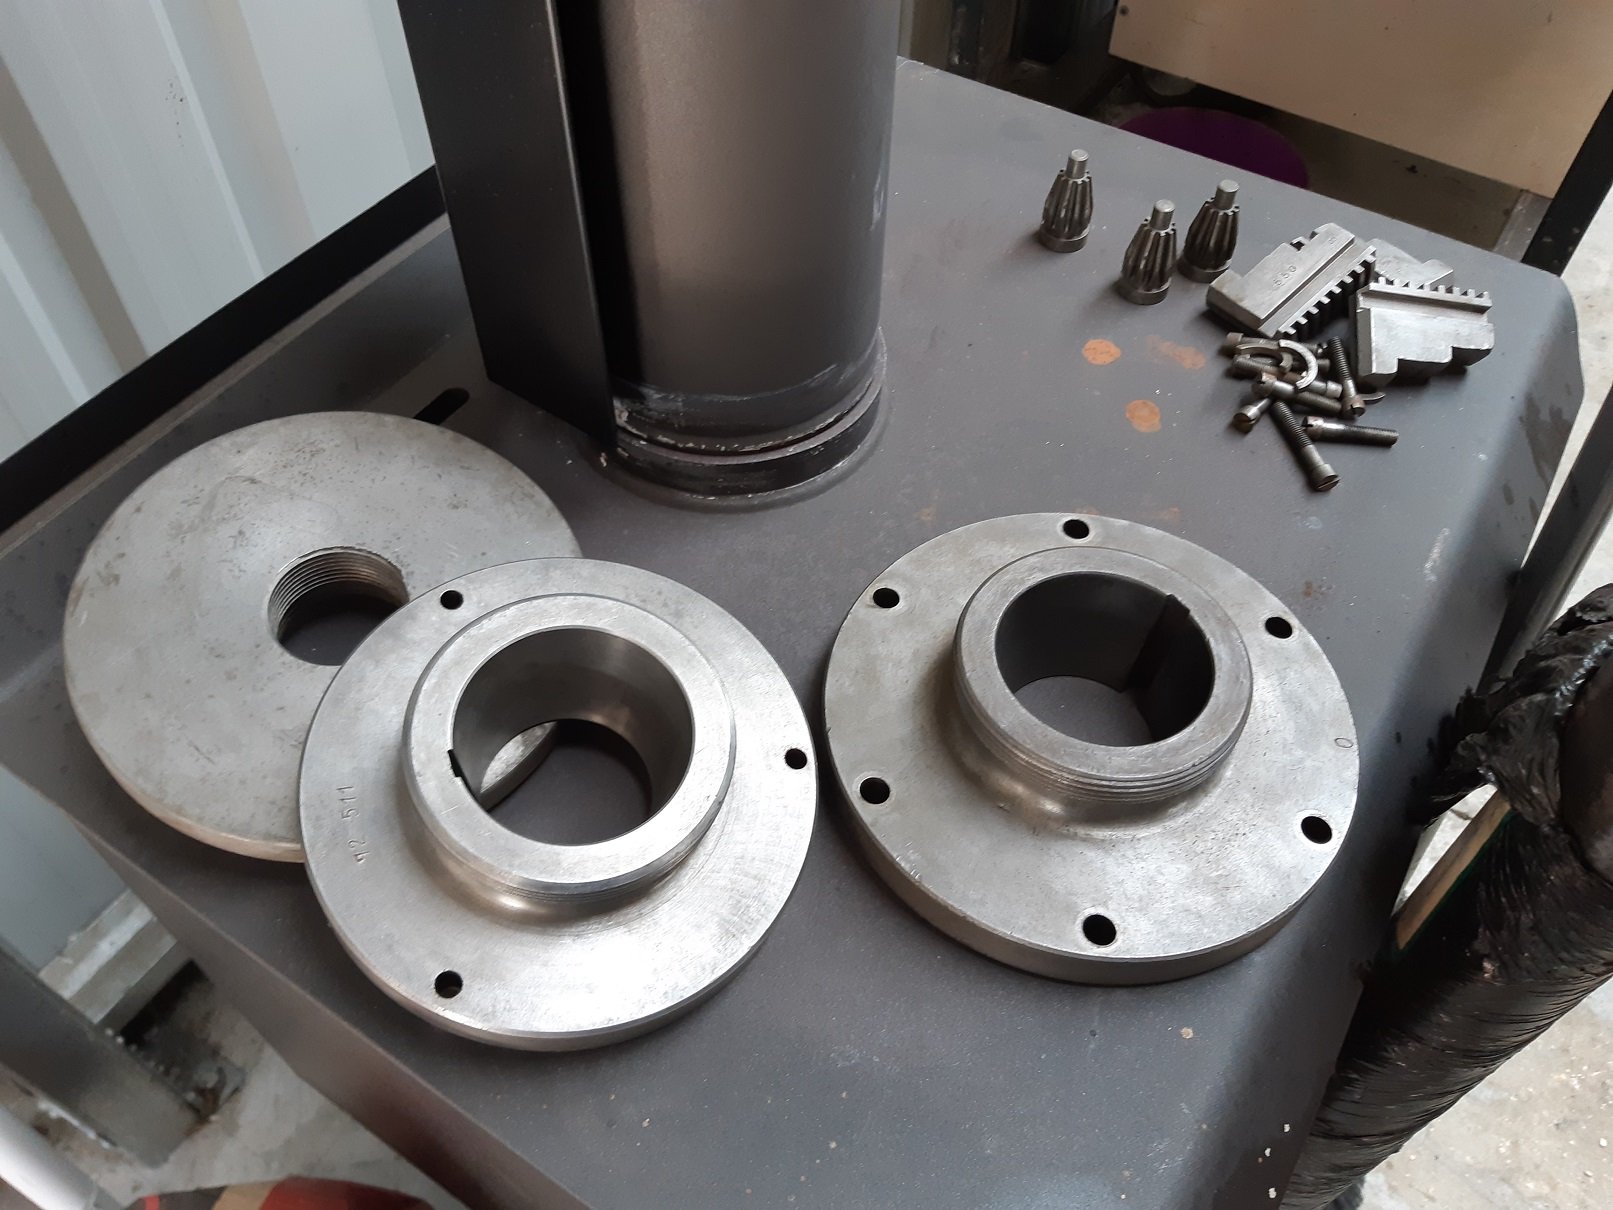
In the bath now is the 3 jaw. I degreased and cleaned it with petrol. It was pretty filthy inside but otherwise seems okay. It's a weird chuck. The jaws slide on an angle. It makes it stronger I think? And the threading counter thingy. I've degreased it and put it in the bath too. I'm running out of stuff to de-rust!
6 points
-
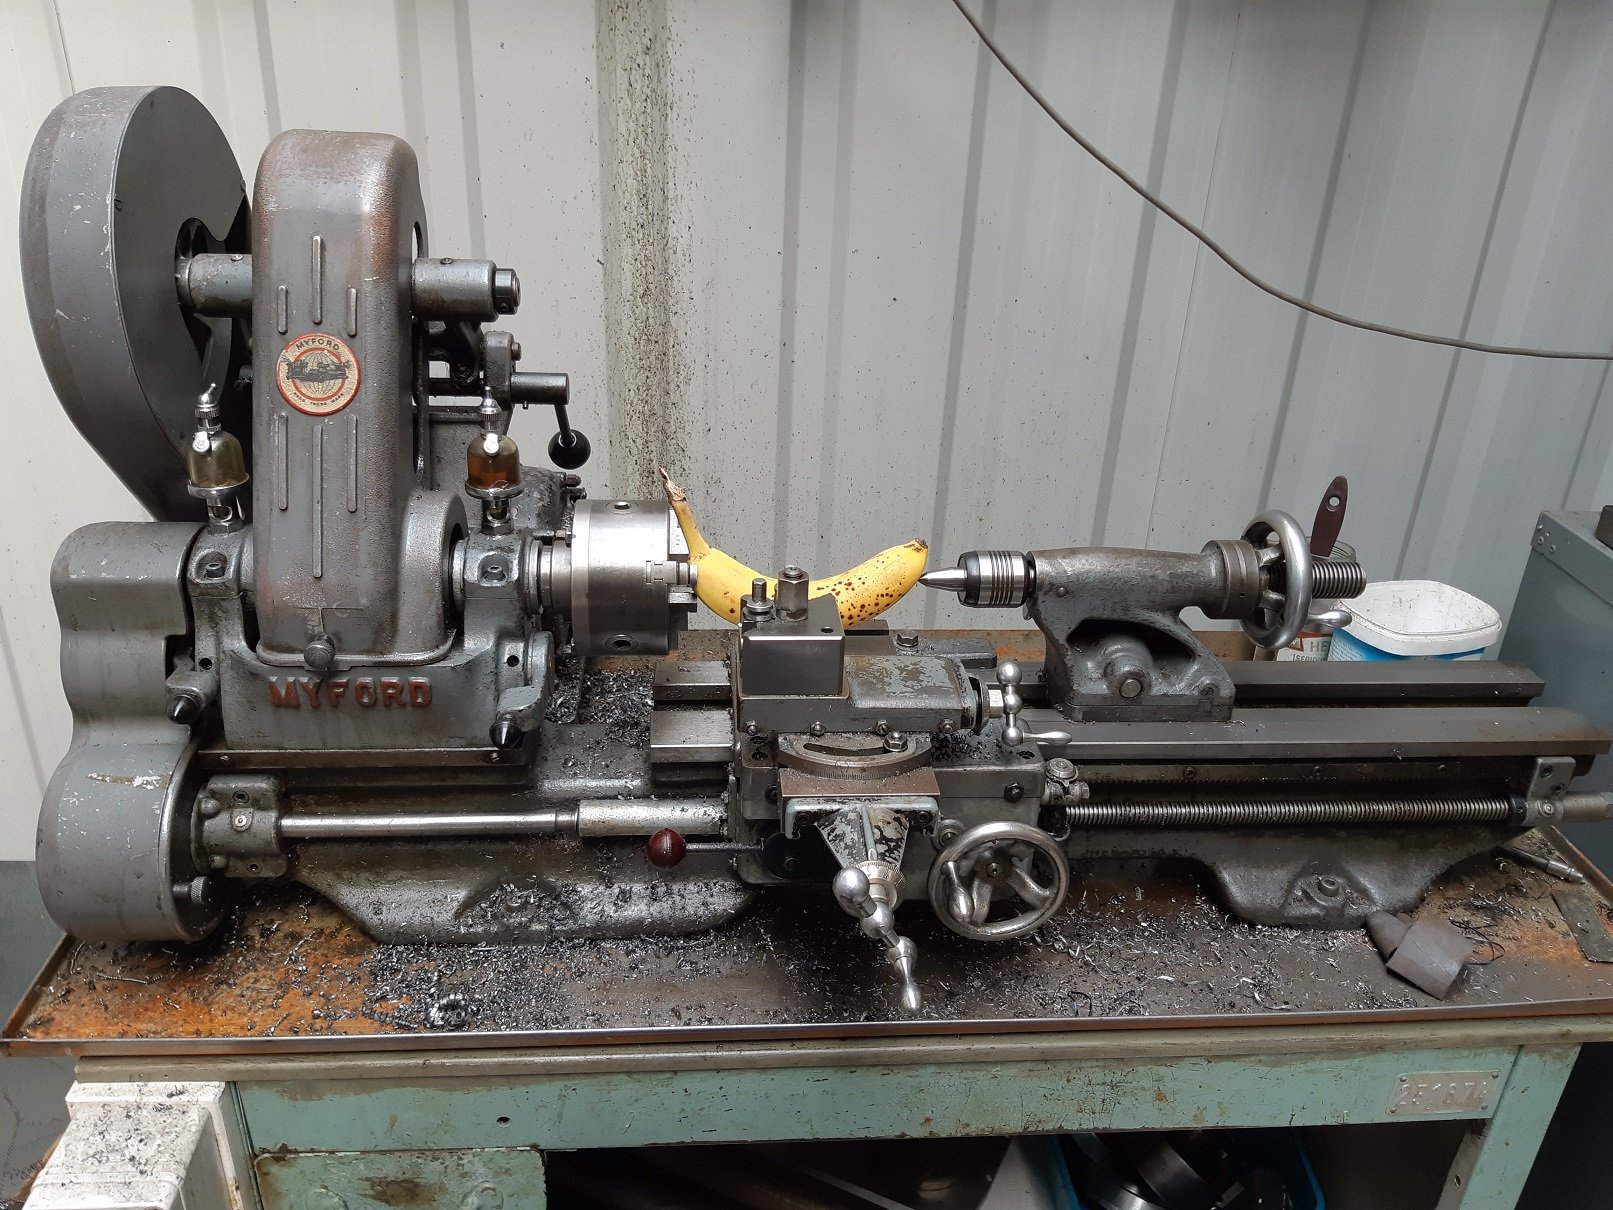
Step 11 Wrap in waxed paper and write on a card tag what it is before popping on the shelf and never getting around to putting it back together Looks great. Please place the myford on the bed once it's all painted to show size5 points
-
Sweet, got my sleeping arrangements sorted! but seriously, probs won’t be much worse than the tent I’m using /wats waterproof
4 points
-
I'm happy to print copies off, just a matter of what will travel well/get looked at. Can also provide GPS trail for those taking a GPS device3 points
-
Better keep out of sharning distance from any GNs then3 points
-
Clean. And I straightened the.... pointer bit. There's a little bit of paint still on it, but it's good enough.
2 points
-
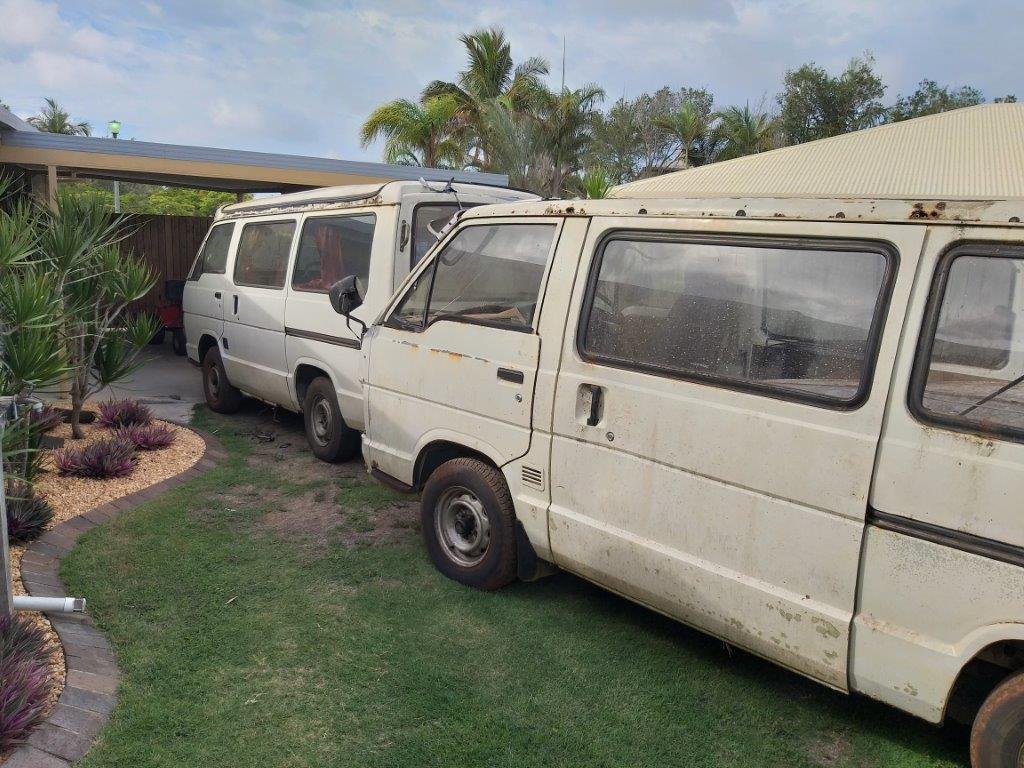
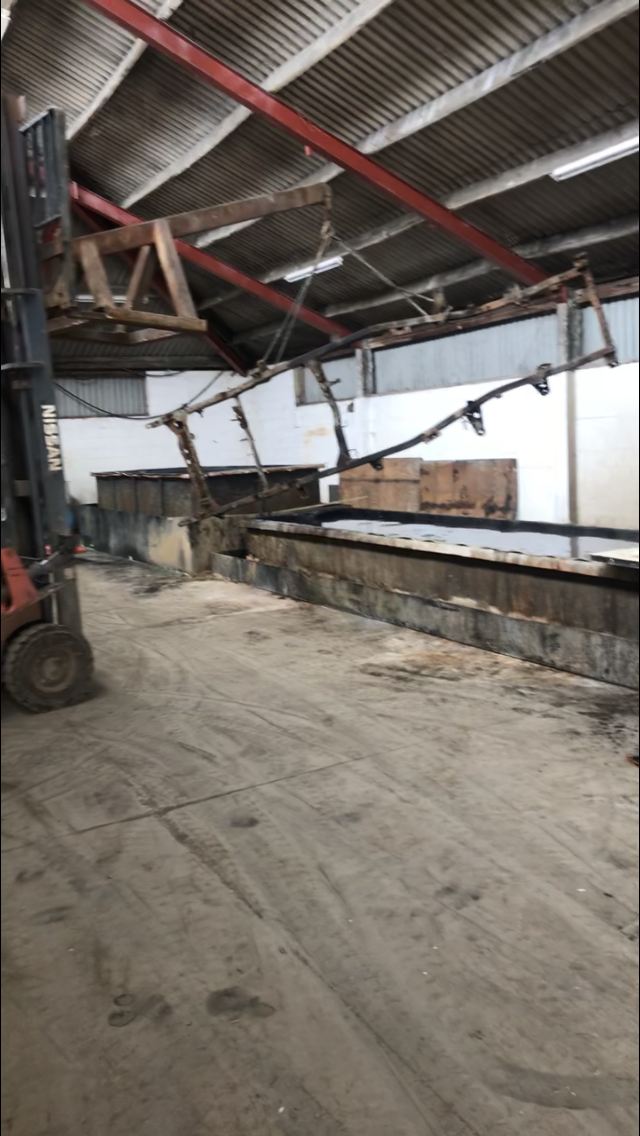
The van furthest away in the pic has the motor and gearbox still fitted. The gearbox is a 5 speed column shift that looks like it has had a rattle can reco. The engine is a 4Y that according to the previous owner has been reconditioned. Both engine and gearbox are bolted up in the hole, but nothing else has been connected up. On the gearbox side of things the linkages are there but not connected, the drive shaft is sitting in the back of the van and the clutch slave cylinder is missing. The speedo drive is also AWOL with the speedo cable just hanging in space. On the engine side the radiator and exhaust are sitting in the back of the van and most of the electrical wiring and fuel pipes are all disconnected. So looks like previous owner lost interest mid job. Makes for an interesting time ahead for me. Anyhow I got today off as we are in limbo at the moment waiting a visit from the building inspector before we can carry on with the house, so thought I would spend a few hours trying to get the donor van running. Managed to find and connect up the wiring on the starter motor and the coil and fiddled around with the connections on the distributor until I successfully got spark at the points. Not getting spark at the plugs yet, but hoping to get some time on it tomorrow. First prize would be to get the engine running to assess it's condition. Thanks for reading.2 points
-
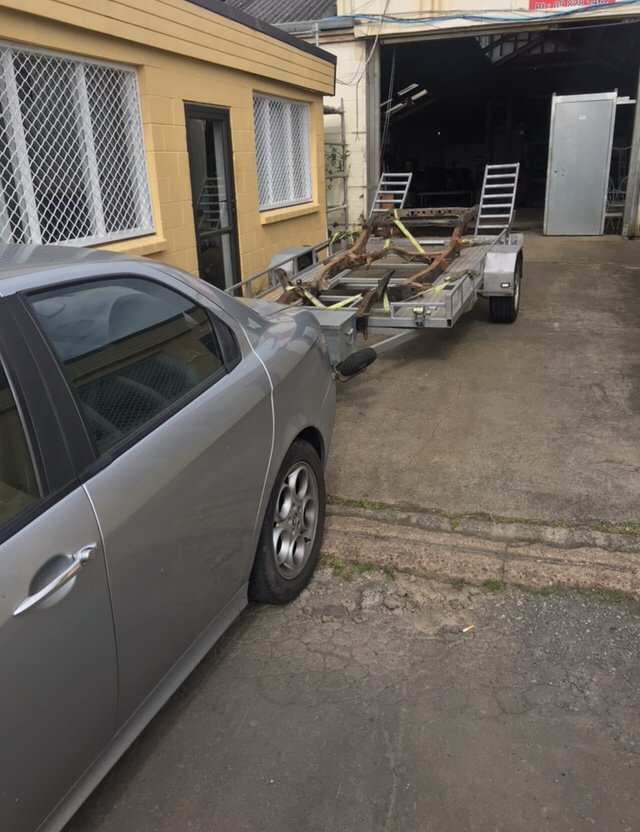
Yikes time flies. Can't believe its almost 10 months since my last post. Our house reno has taken up all of my free time this year, but I did manage to spend some time thinking about the direction I want to take on mechanical upgrades for the old Thames in between and also did a bit of pesting on the tech forum seeking some advice from those more knowledgeable than I am. Result is that I have kind of set my mind on going with some form of Toyota running gear to replace the rather dated original kit. Main reason for this is that the engine box has very limited space so I will need to stick with a non cross flow motor if I want to keep the floor pan stock. Also first prize would be to retain a column shift but go for a 5 speed gearbox. With this in mind I set a target on a mid '80s Toyota HiAce van as these came out with a 5 speed column shift manual box. As luck would have it back in march I tracked down a 5 speed column shift gearbox. Only snag was that the seller wouldn't sell the gearbox on it's own, so I had to take the whole van. To make matters more interesting he offered me a second spares van for free if I took it away. So I ended up with these two beauties sitting in our back garden.
2 points
-
2 points
-
@johnnyfive Yeah I'm two wheeling it fo sho. Old sausage fingers must have herp-a-durped the entry from. If that digital rally notes is done far enough in advance, I'd print my copy. Or maybe @- i5oogt - could run off 40 sheets, and I'll bring them up. (I dont have any means of printing shit myself)2 points
-
Take the one off your trailer for the trip. /must have mixed them up //ling2 points
-
Took the FS1 for hoon with the Speedcocks after work. Good practice for Te Urewera, but it would have been nice to be on the MX! When I got home I was inspired to work on the MX. First up, I took a video of the rattle that I suspected to be caused by piston slap: The camera did a good job of picking up the sound. It didn’t sound this bad IRL. I had a re-bored and oversized barrel/piston on rev other MX, so pulled that off and swapped them over. Here’s what it sounds like now: Much better! It has a bit of lean-hang going on, so I’ll pull the carb apart, clean it and check the jet sizes before a shakedown on @mark105‘s paddock this weekend. Here’s a pic of it looking more complete for good measure:
2 points
-
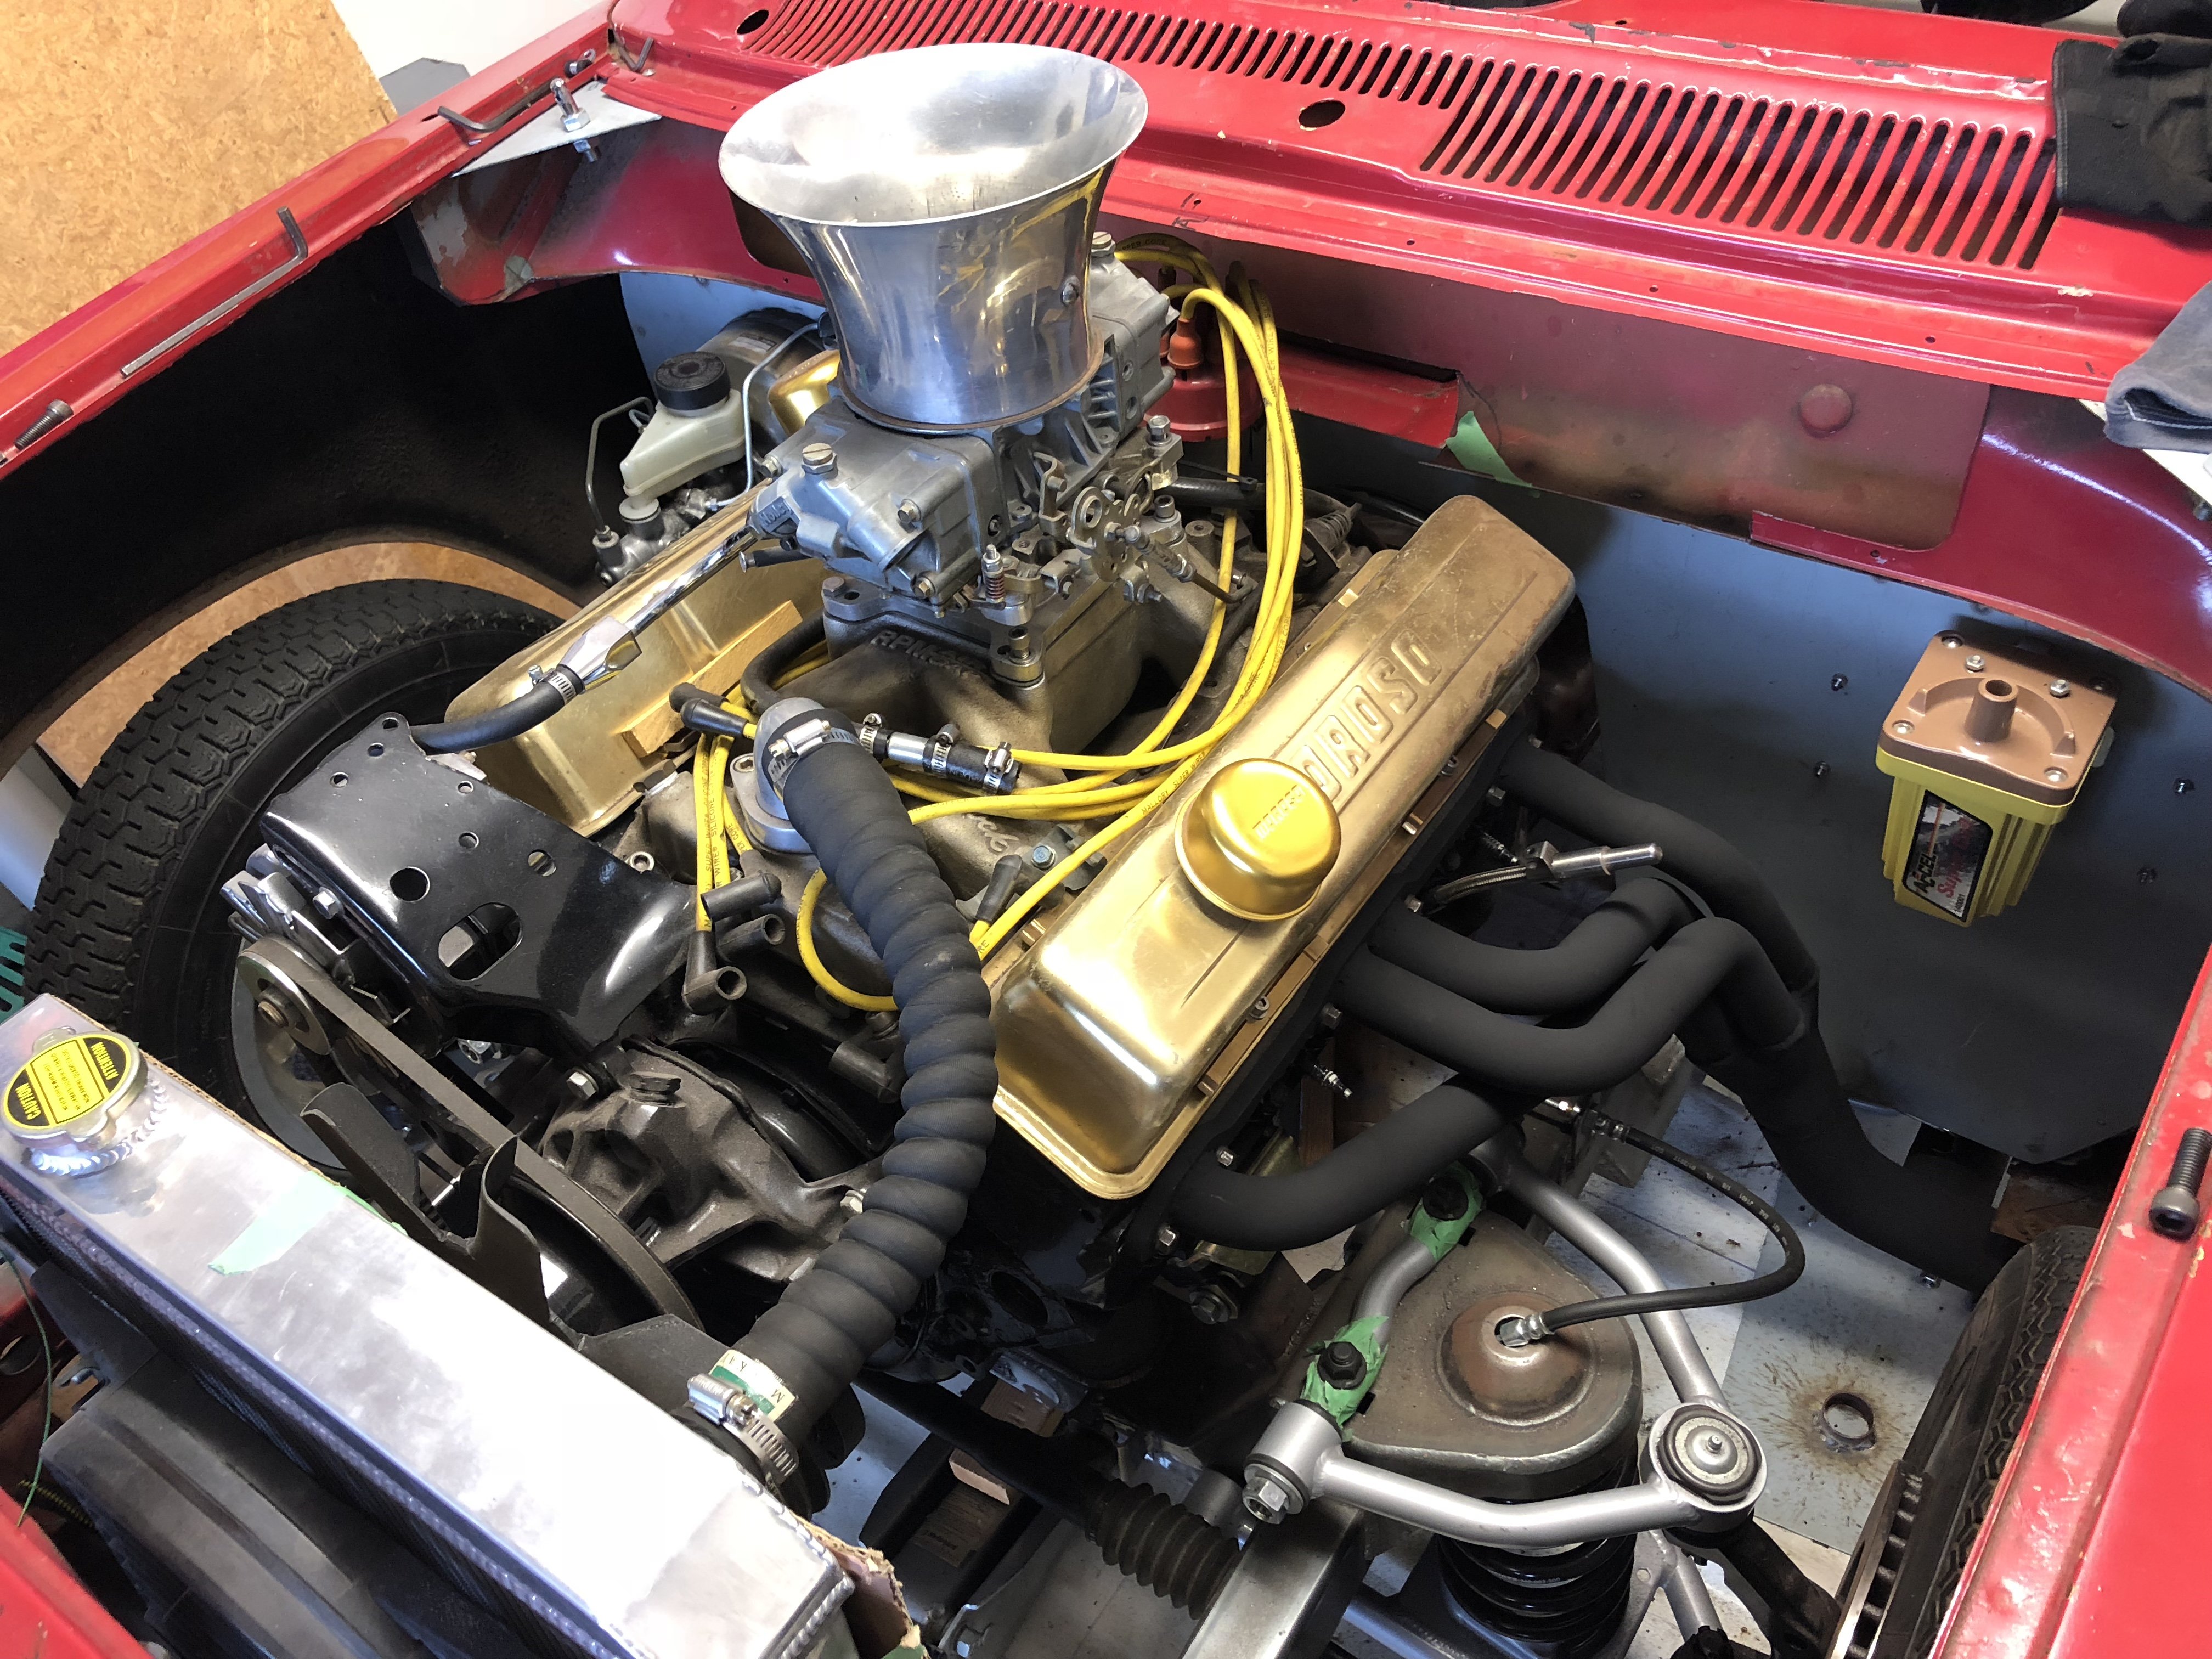
Right here we go. I’m not giving you the ultimate performance package I’m just suggesting an option which will give the 'Mighty' standard (ish) Holden Red easier starting, better fuel economy, smoother running and a bit more power (especially with a set of headers). And it will fit under a standard air cleaner to keep the natives confused! Step 1: Find a second hand 9 port aftermarket inlet manifold designed to run a twin choke 350 Holley. They are cheap and there’s heaps out there but don’t be tempted to try the 350 Holley on a Red six. It’s a prick of a combination that eats gas and requires constant tinkering , believe me I’ve tried!. (Hunt around and you’ll find a manifold for under $100). Step 2: Find a 28/36 DCD Weber carb, they are very common and were fitted to 1500 Cortina’s (yes!) BMW 202’s hot Escorts,…etc. Don’t be fooled by the smaller motors they came out on A 28/36 will flow to approx. 270 CFM (a 179 at 5K uses 258 CFM), they run sweet on most motors with little or no re-jetting and the smaller primary delivers smooth low speed running and greatly improved economy. (Carb should cost about $80). Step 3: Get the cordless drill out and re-tap to make the stud pattern fit the Weber, bolt it up, fit fuel, vacuum and acc. linkage and give it the jandal! A few final notes: · A little cutting and welding (or creative pop-riveting) and the EH air cleaner base plate can be made to fit, at a casual glance the whole lot will still look bog standard. · There is a 32/36 DCD Weber out there that will do a similar job, (Looks the same). · The Weber 34 ADM carb of an XE Falcon is another (and slightly higher flowing) option but you’ll need to run the Falcon air cleaner (that will really keep the natives confused!). · Even the mankiest DCD out there can usually be resurrected with a strip, clean and gasket set. Throttle spindles usually show little or no wear and they are a joy to work on. (See my build thread, there’s a few pictures there). · If your aftermarket manifold comes with water heating, don’t be put off. Despite a cold intake charge being desirable the raise in temperature helps the atomized fuel avoid condensing on the longer uneven length runners resulting in more uniformed fuel distribution (i.e. the advantage outweigh the disadvantage). · I have seen standard alloy red manifolds with a plate welded to it filed and drilled to fit a Weber – could be a cheap option if you have access to aluminium welding? · The only Holley I’ve had running well on a Red Six was a 4 barrel 390 – with progressive chokes like the DCD.2 points
-
Short version of the story goes, the guys who sold me the pallet of 18rg parts to help me repair the corona engine also had a Lotus Seven replica also running an 18rg on twin weber 40s. Has been in their barn for the last 14 years, but recently they dug it out. Some fresh fuel and a slight fiddle and it was running again. I heard through the grapevine that he was was looking at selling it, and it had my name ALL over it. So several phone calls and a bit of time passed and a deal was struck. So a car I've always liked but never thought I'd really be able to own was mine, even better it was RG powered. Traikered it to the ferry, drove on, drove off, allegedly a quick fang through Picton and onto another trailer back to chch. From what I can see, the webers will need a rebuild kit thrown at them, an oil leak from the sump plug, probably just a new copper washer, and the wiring for the lights repairing. Then wof time! Included in the deal was a roof, doors than can also zip in half, and a torneou cover which can also zip in half speedster style. I love it so much, even my wife admitted it was really cool, and she's usually indifferent to my cars.
1 point
-
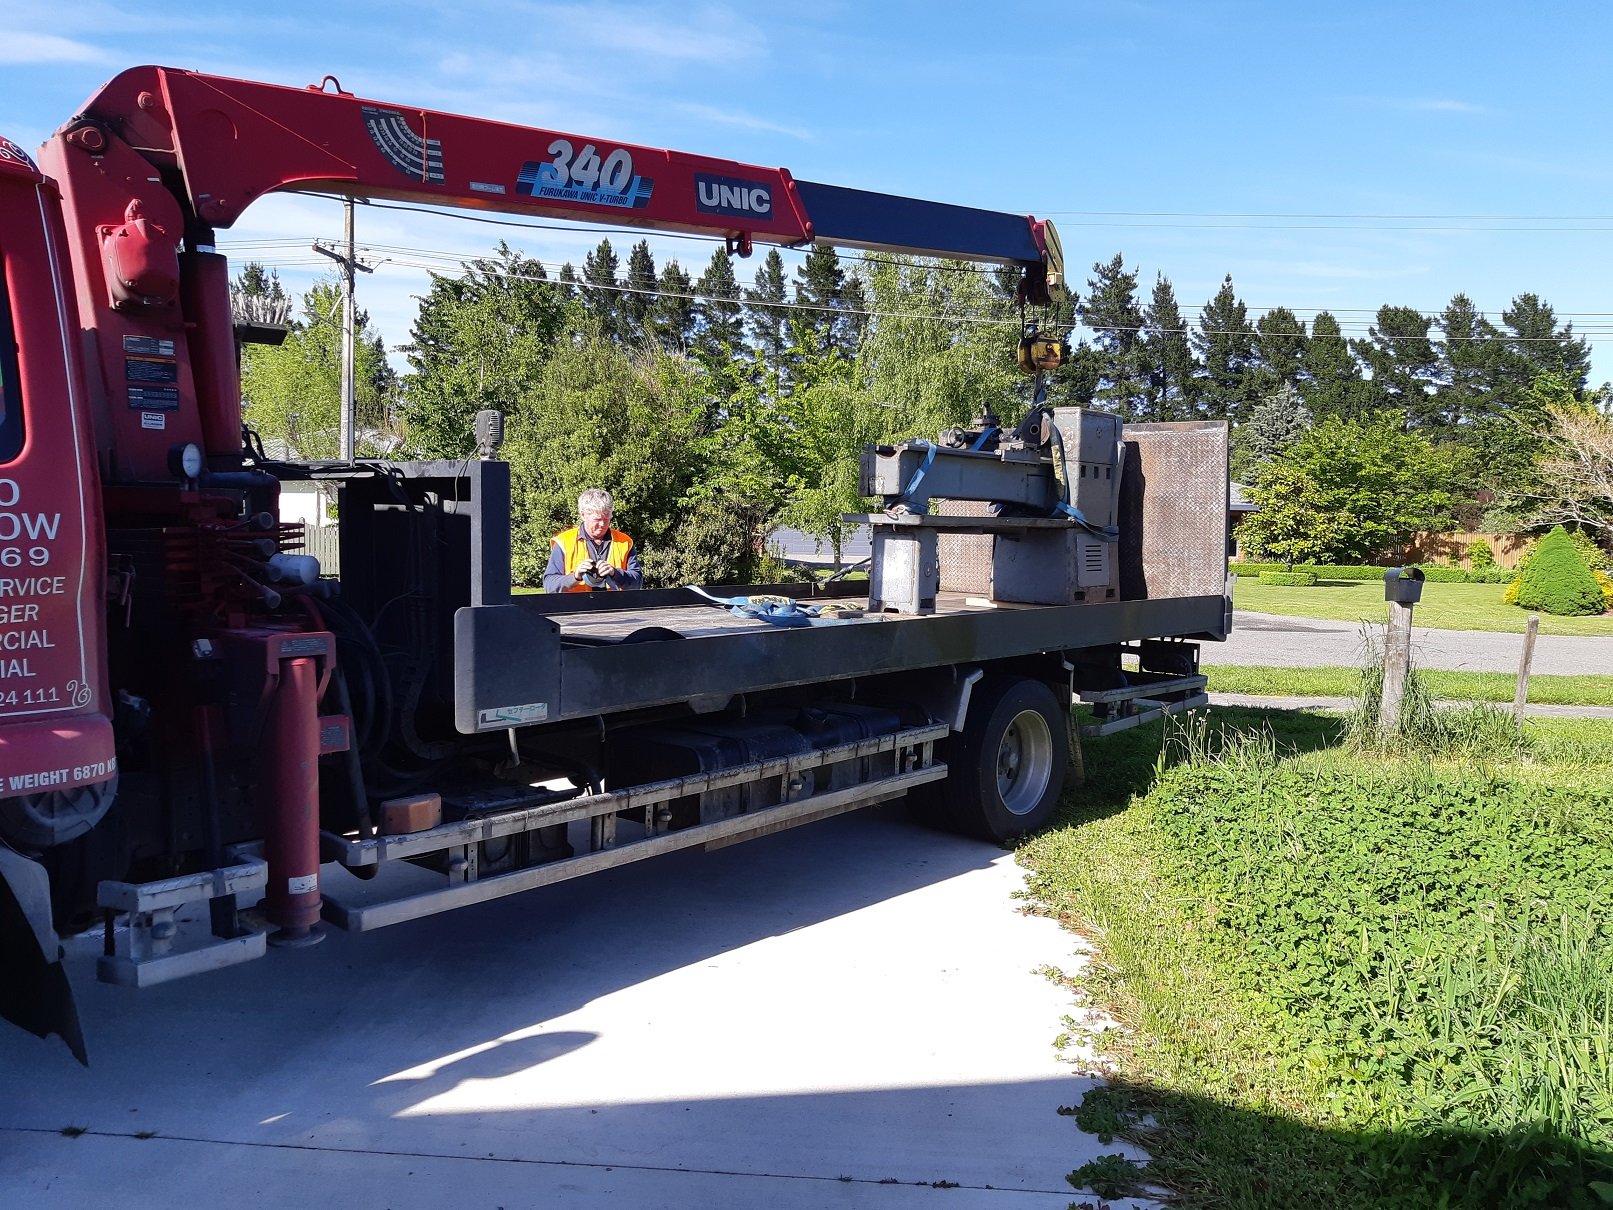
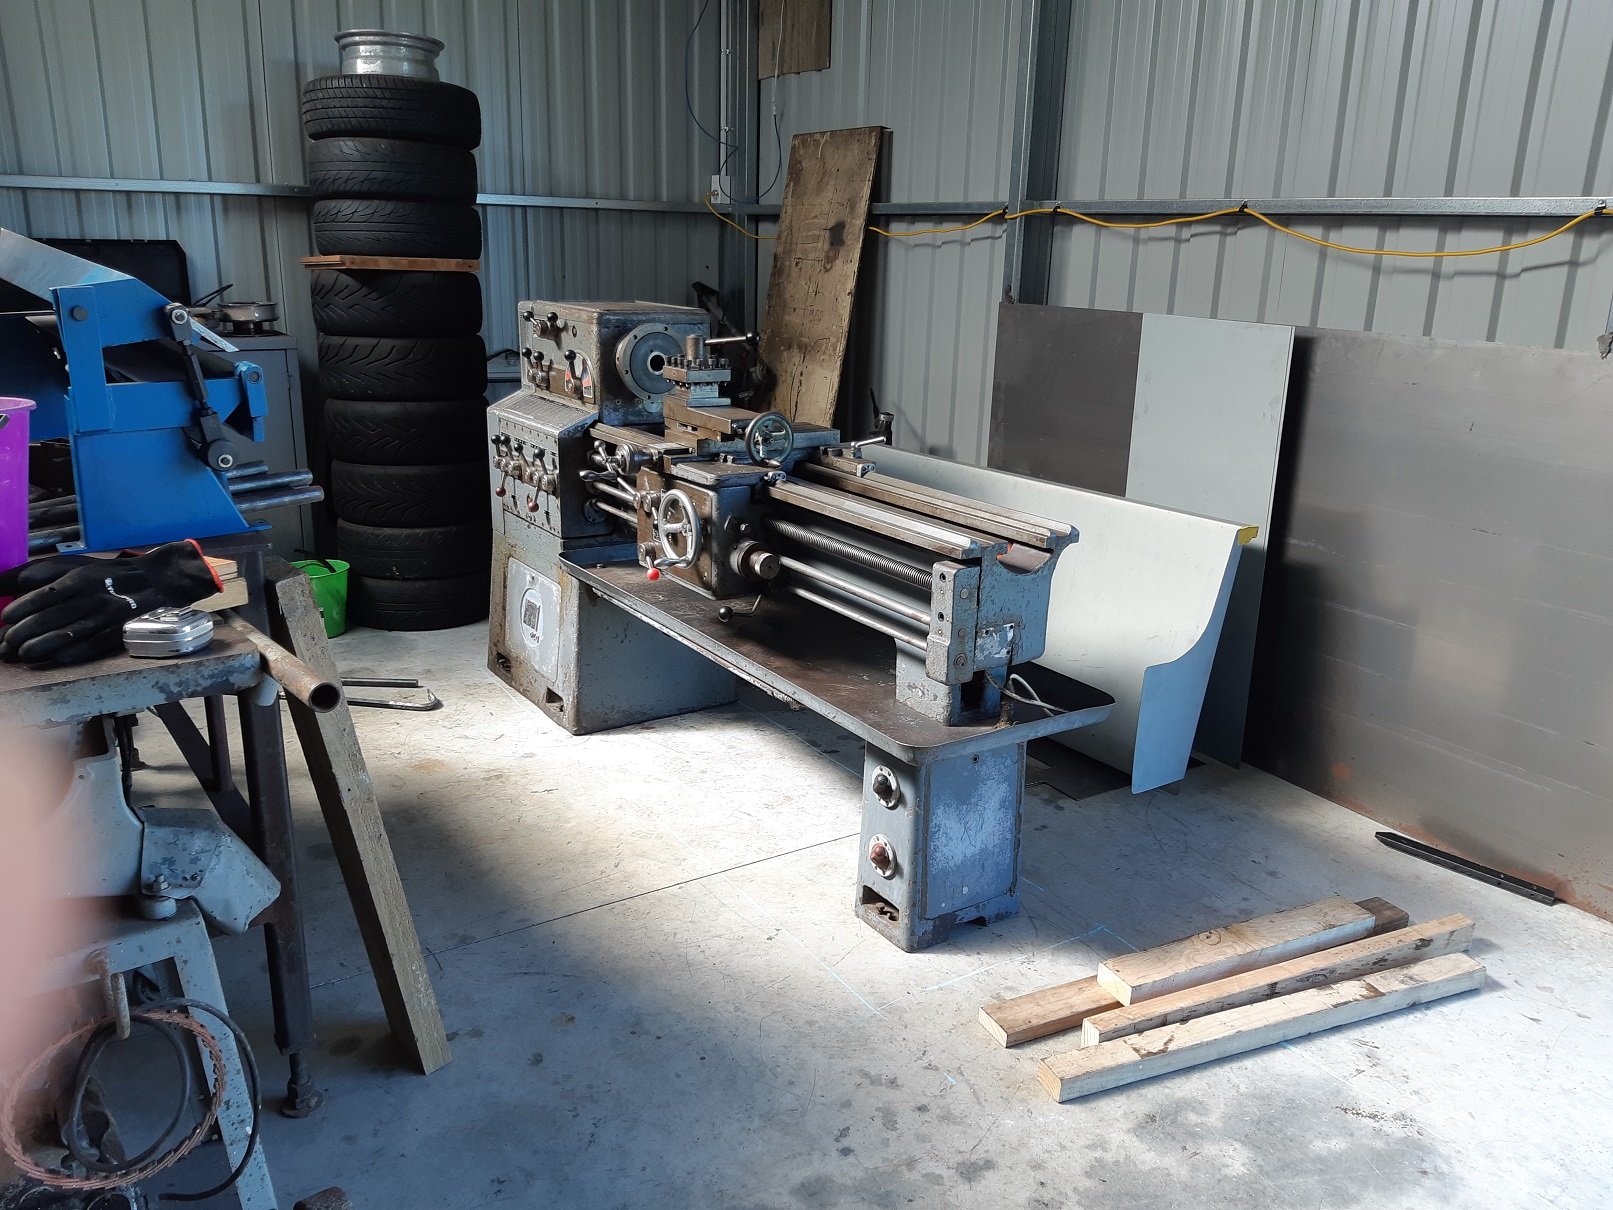
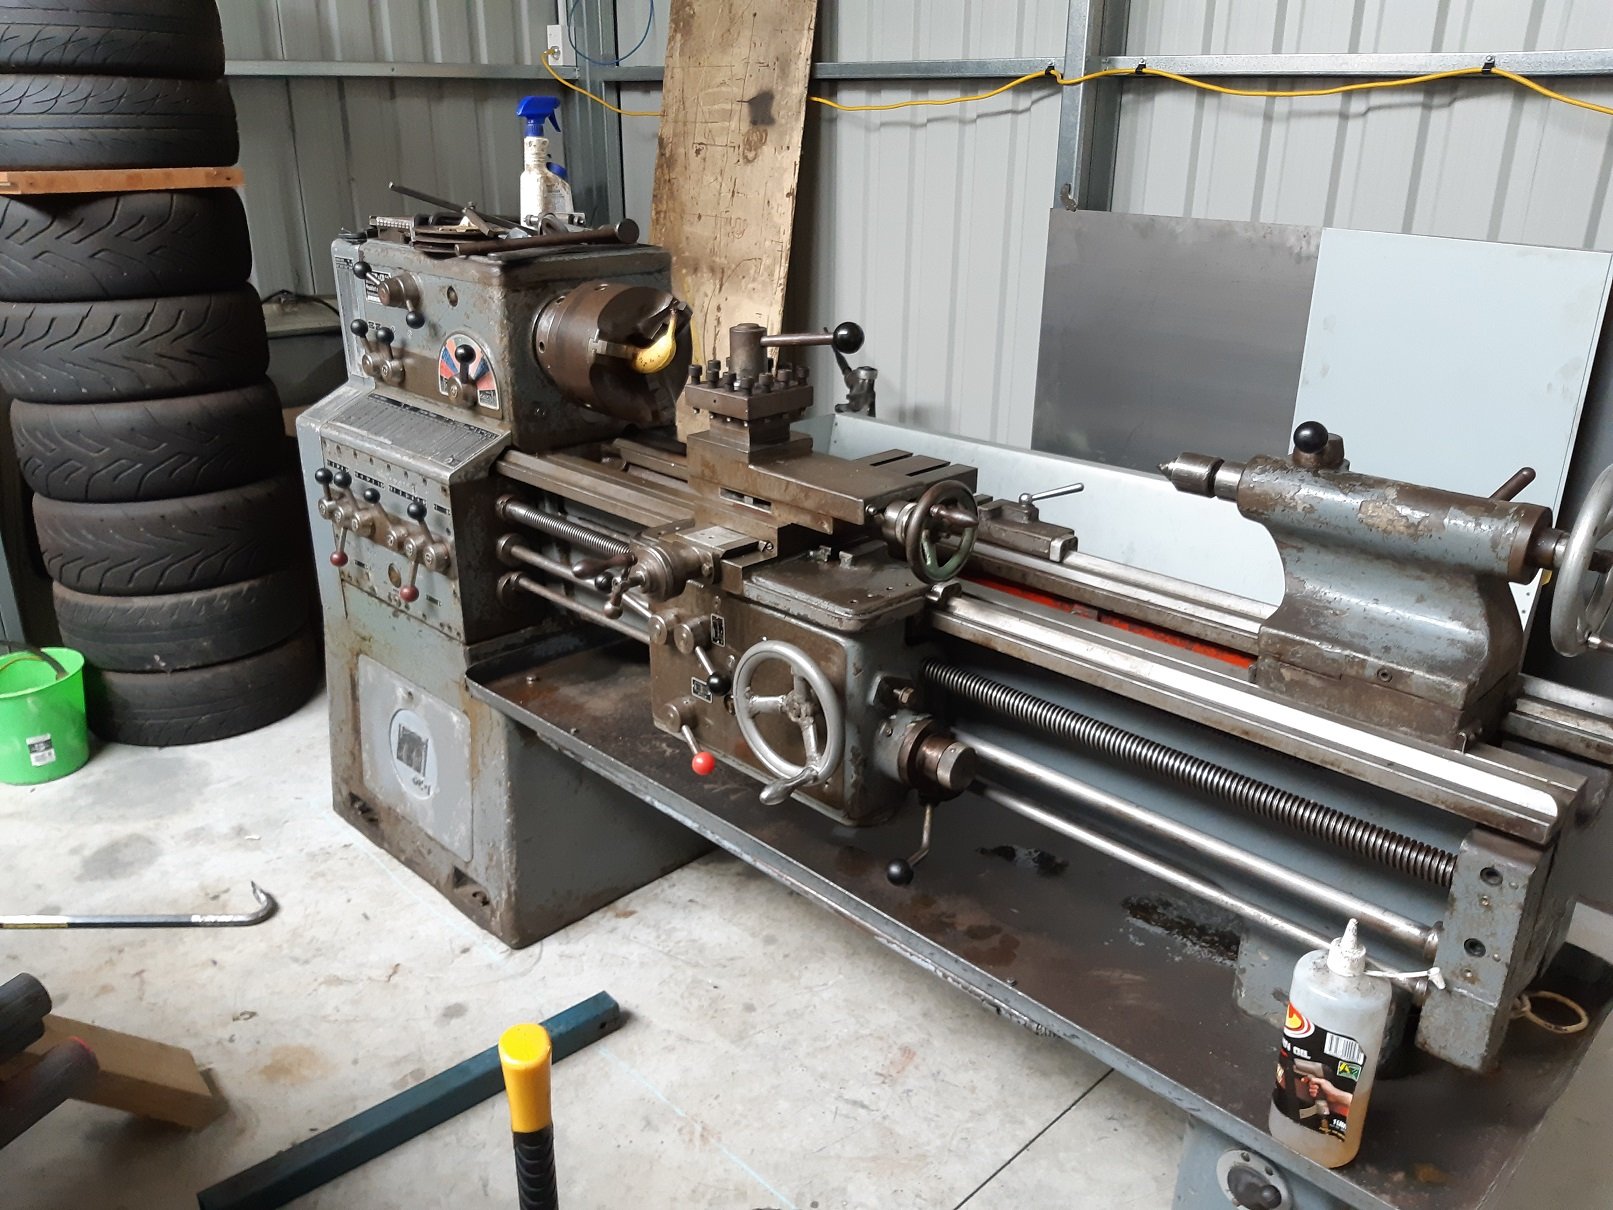
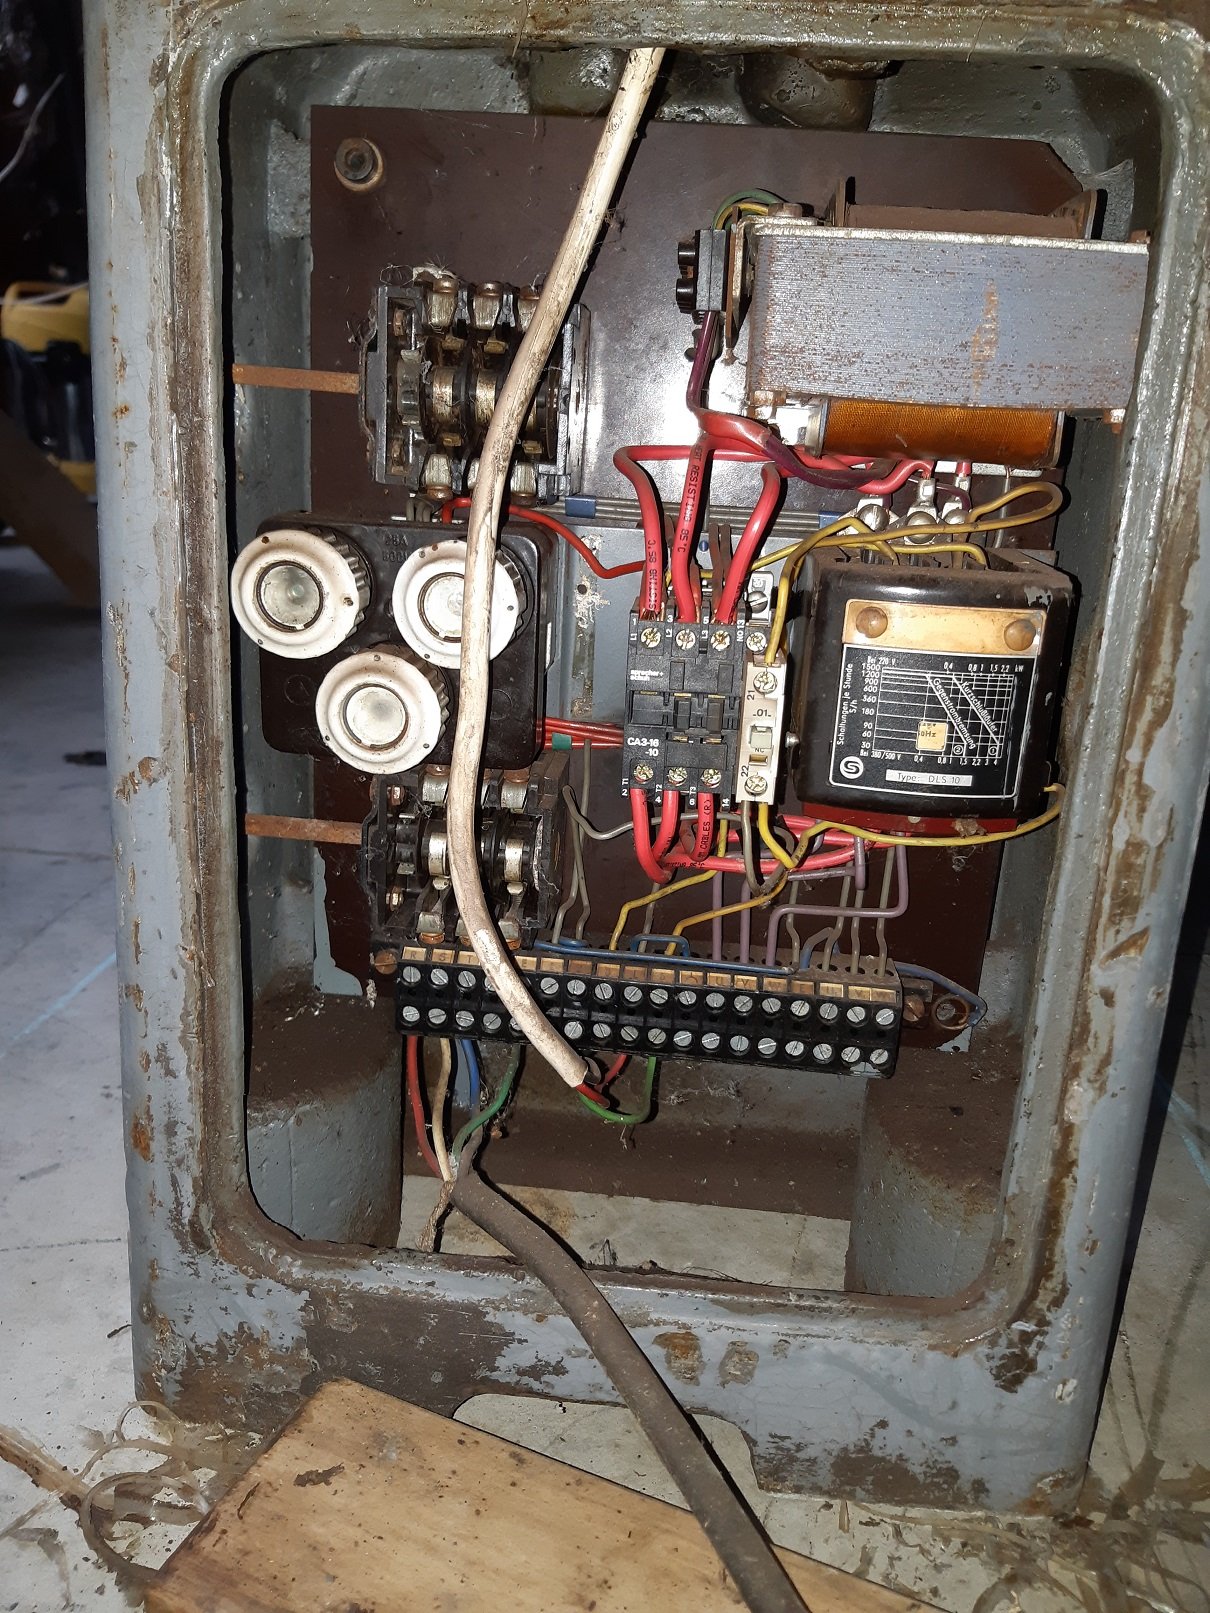
So I got this. It was so close to home, only 3.6km, I just had to click buy now. I got the local towie with his HIAB to pick it up and move it. It took ~1.5 hours. $120. We had to do a bit of manual handling because the truck could not get close enough and the crane boom was too high to fit in the garage door. At the pickup, the old fulla used/abused his engine crane to get it to the door. Then used the hiab to drag it over some bits of ply so it was close enough to lift. At my place, ideally he needed to park across my garage door.... but the driveway doesn't really let you do that. So we ended up with this compromise. My garage door is 3m, but the crane only barely could get under it. We got the headstock in, and placed it on some 25mm round bar. Then picked up the tailstock end and got it just in the door. Once it was in, I found it was pretty easy to roll on the bars. I took some size comparison photos to compare with the myford. And "What's behind the SCARY DOOR"? Buuuuuhhhh... Obviously it's 3 phase. It came with a motor, that was not installed, because he was going to install a different one. I'm going to see how I go with a 2.2HP single phase motor. I'll just wire it independently... But back to the scary door. It was sealed closed with some old as silicone. The black cable is the 3 phase feed. The white cable goes to two limit switches on two of the feed screws. The cabling to the motor comes out from behind this lot. The thing in the middle appears to be newer than everything else. As far as I can tell, it's an anti tamper breaker/switch, I believe the door presses down on the white bit when it's closed. That box to the right.... no fucking idea. Those three round things on the left... uuuh, fuses maybe?? There are two big rotary switches. Not sure what both do. I assume one makes the motor go. The other could be reverse maybe? They have no names, just 1 and 0. And a transformer. But why?? I've found fuck all documentation. I'm not even sure what the model is. They don't seem to have model numbers on their lathes. I suspect it might be a version of the M0 model.
1 point
-
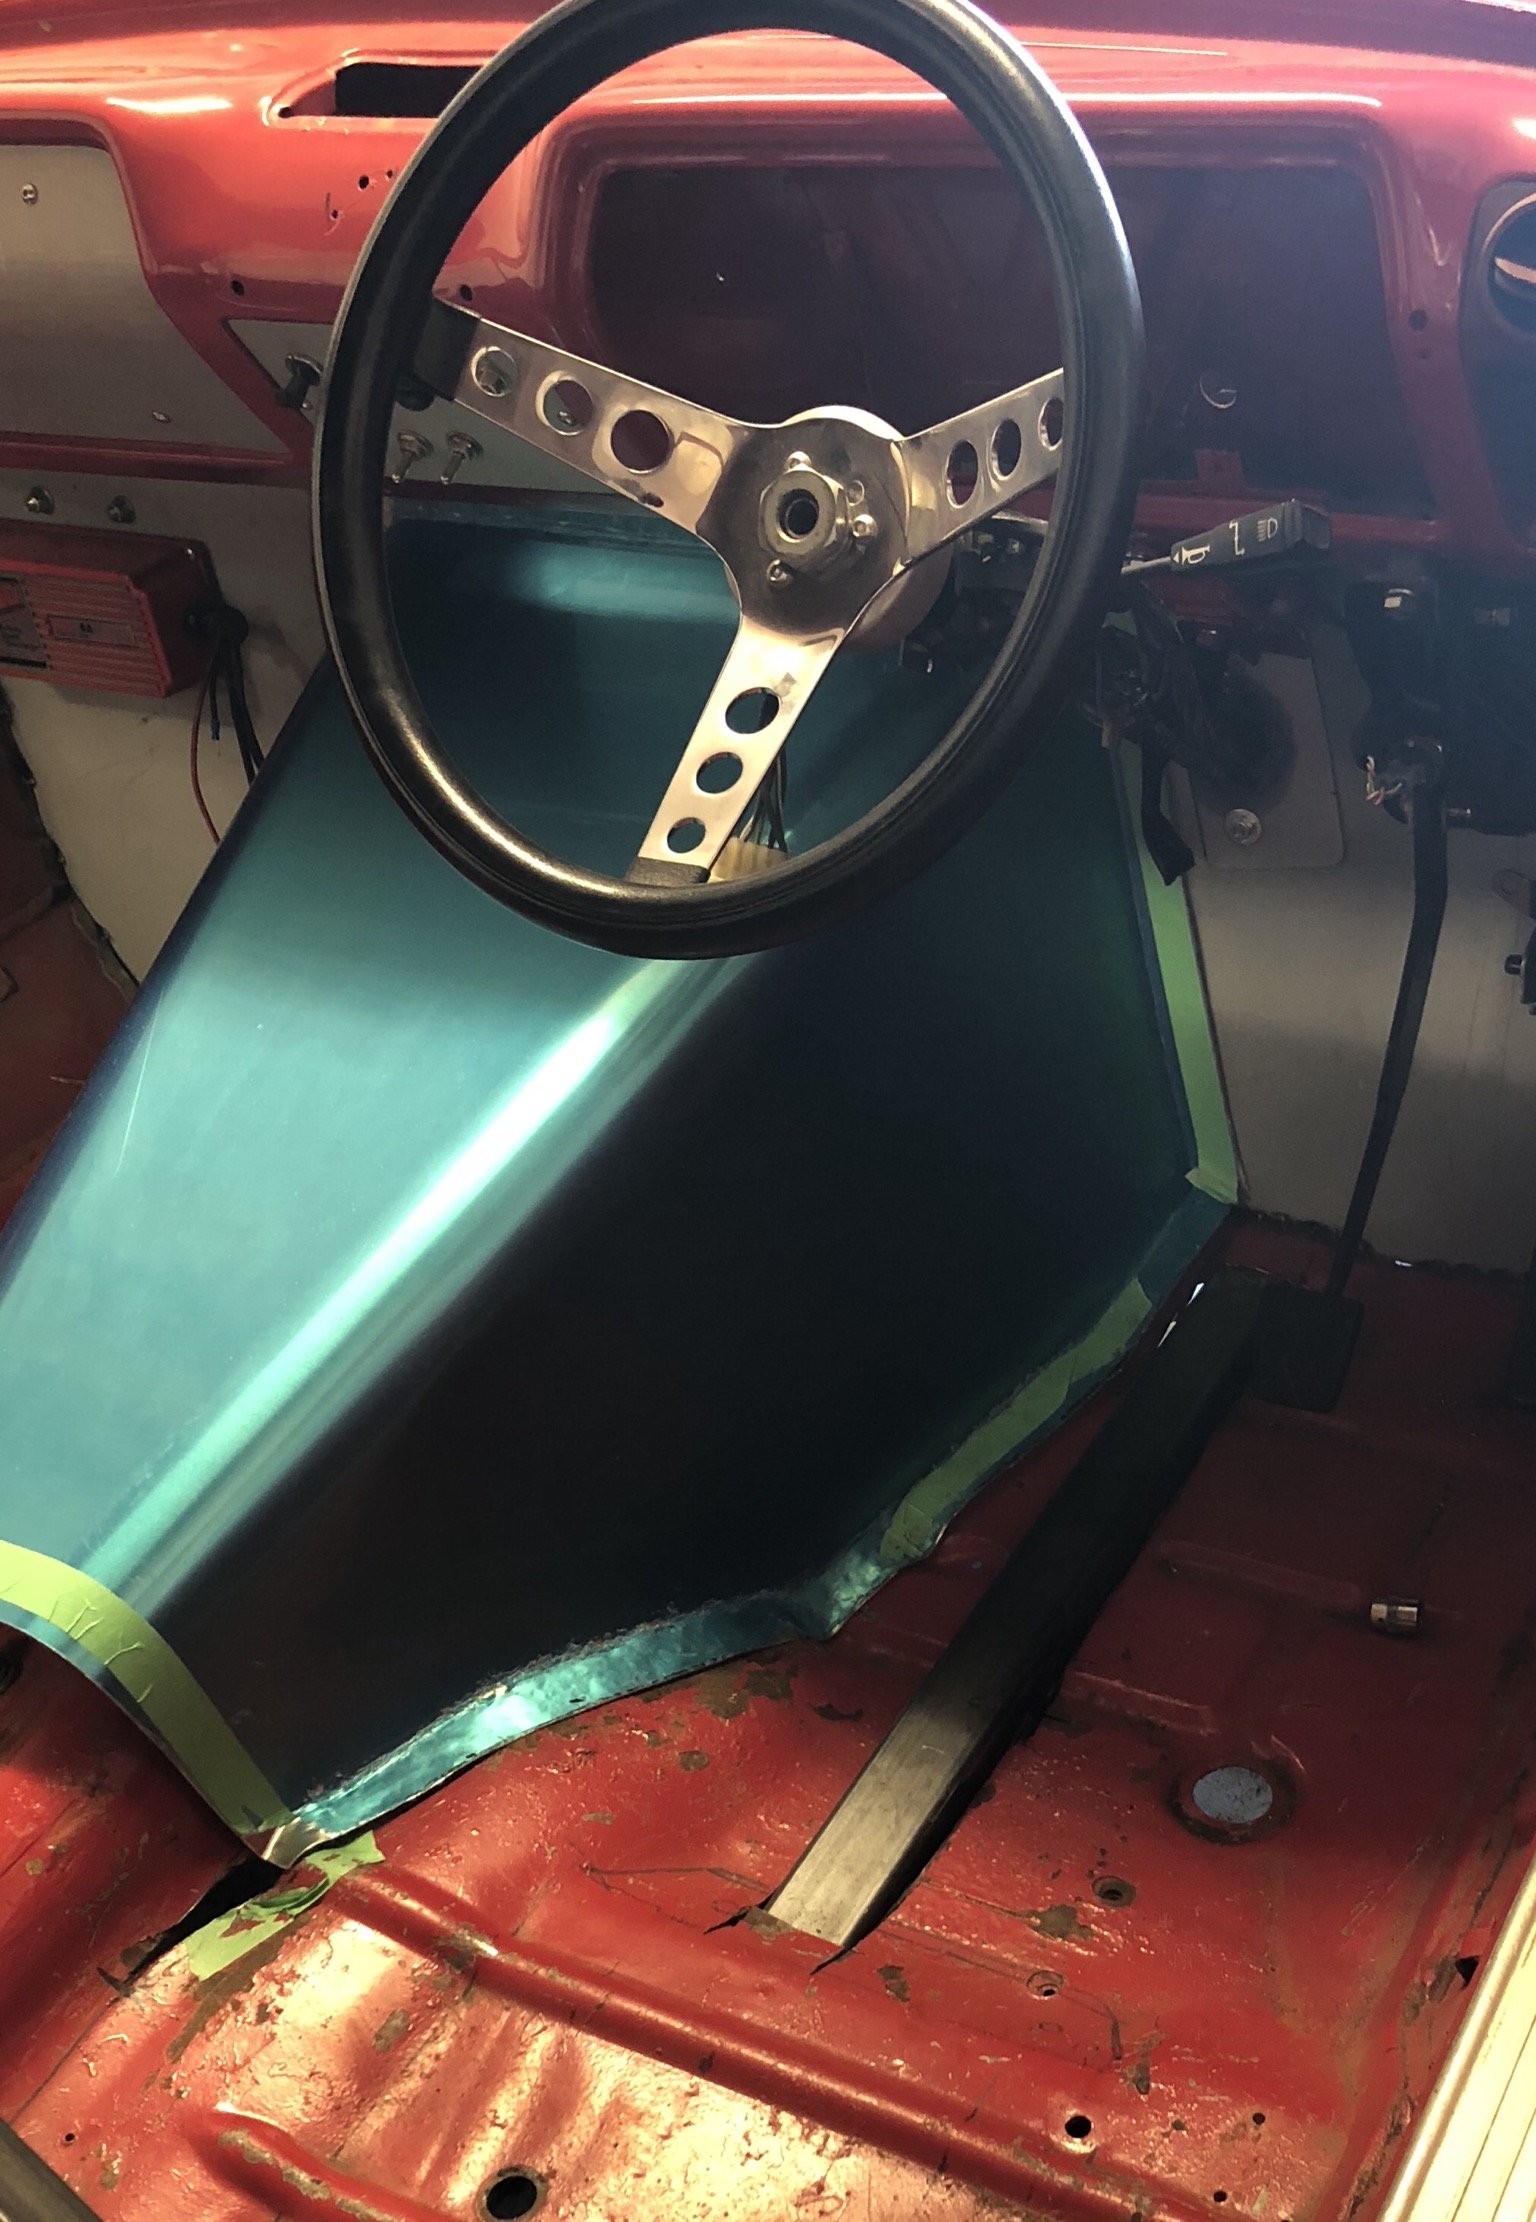
Discussion thread (add your feedback or comments, keeps Build threads Tidy as per OS Community Standards ) Amy has been on about getting a cool old car for a while and the opportunity to grab this came up a few weeks back and 'unveil' it at an event on the weekend Absolutly Stock as a rock "barn find" from local, was an old Barry's who passed away & wife kept it in the shed & rego lapsed, Mate found it in 2015, revinned & now we have it with under 100,000 Kilometres on the ODO push button AM radio 3 Speed Auto 1147cc Fury 1st mod was to rob the Hotwires off the Avenger (Only Mags I have that will fit, they may not be permanent) Probably the only time I am allowed to do modify her car and yep Amy has joined the forums on the 'quiet' and to do that I had to find spare wheels for the Blue 'one' to get the Cheviots off to fit to the Red "one" hence the 'new' look recently, and hunt for Car dollys to fit more cars into sheds frigging cool, but Mines heaps faster (at the moment) have already acquired a set of headers from Josh in CHCH, seeking spare springs to hack (or lowering options) and talk of a spare 1500 near by is getting me frothing and just hunting a Manual cog swapper now for period correct Updates also fyi I spotted Sam's one for sale on the Facebook last night too if you're looking for something Similar (Motueka) already with a few tasty mods that didn't last long! Discuss :
1 point
-
This shows it better
1 point
-
Would you like some more bits...1 point
-
Hey now I've learnt something too "The effective length is a measurement of the entire length of the Micro-V but it is measured at the cord line versus the outside circumference of the belt" http://www.mechanexpert.com/how-to-read-a-micro-v-belt-pk-number-a-technical-tip-from-gates/1 point
-
^^^^exactly what sparky said. Up until a few months ago, I didn't even know Blacks sold cheese bolts. (Low tensile) Just go to blacks, and when you're paying tell them [my place of work] cash sale please @Bling. You'll get a pretty decent deal. I havent been asked for my staff ID for years when doing that. But if they ask say ah fuck it's in the truck at work.1 point
-
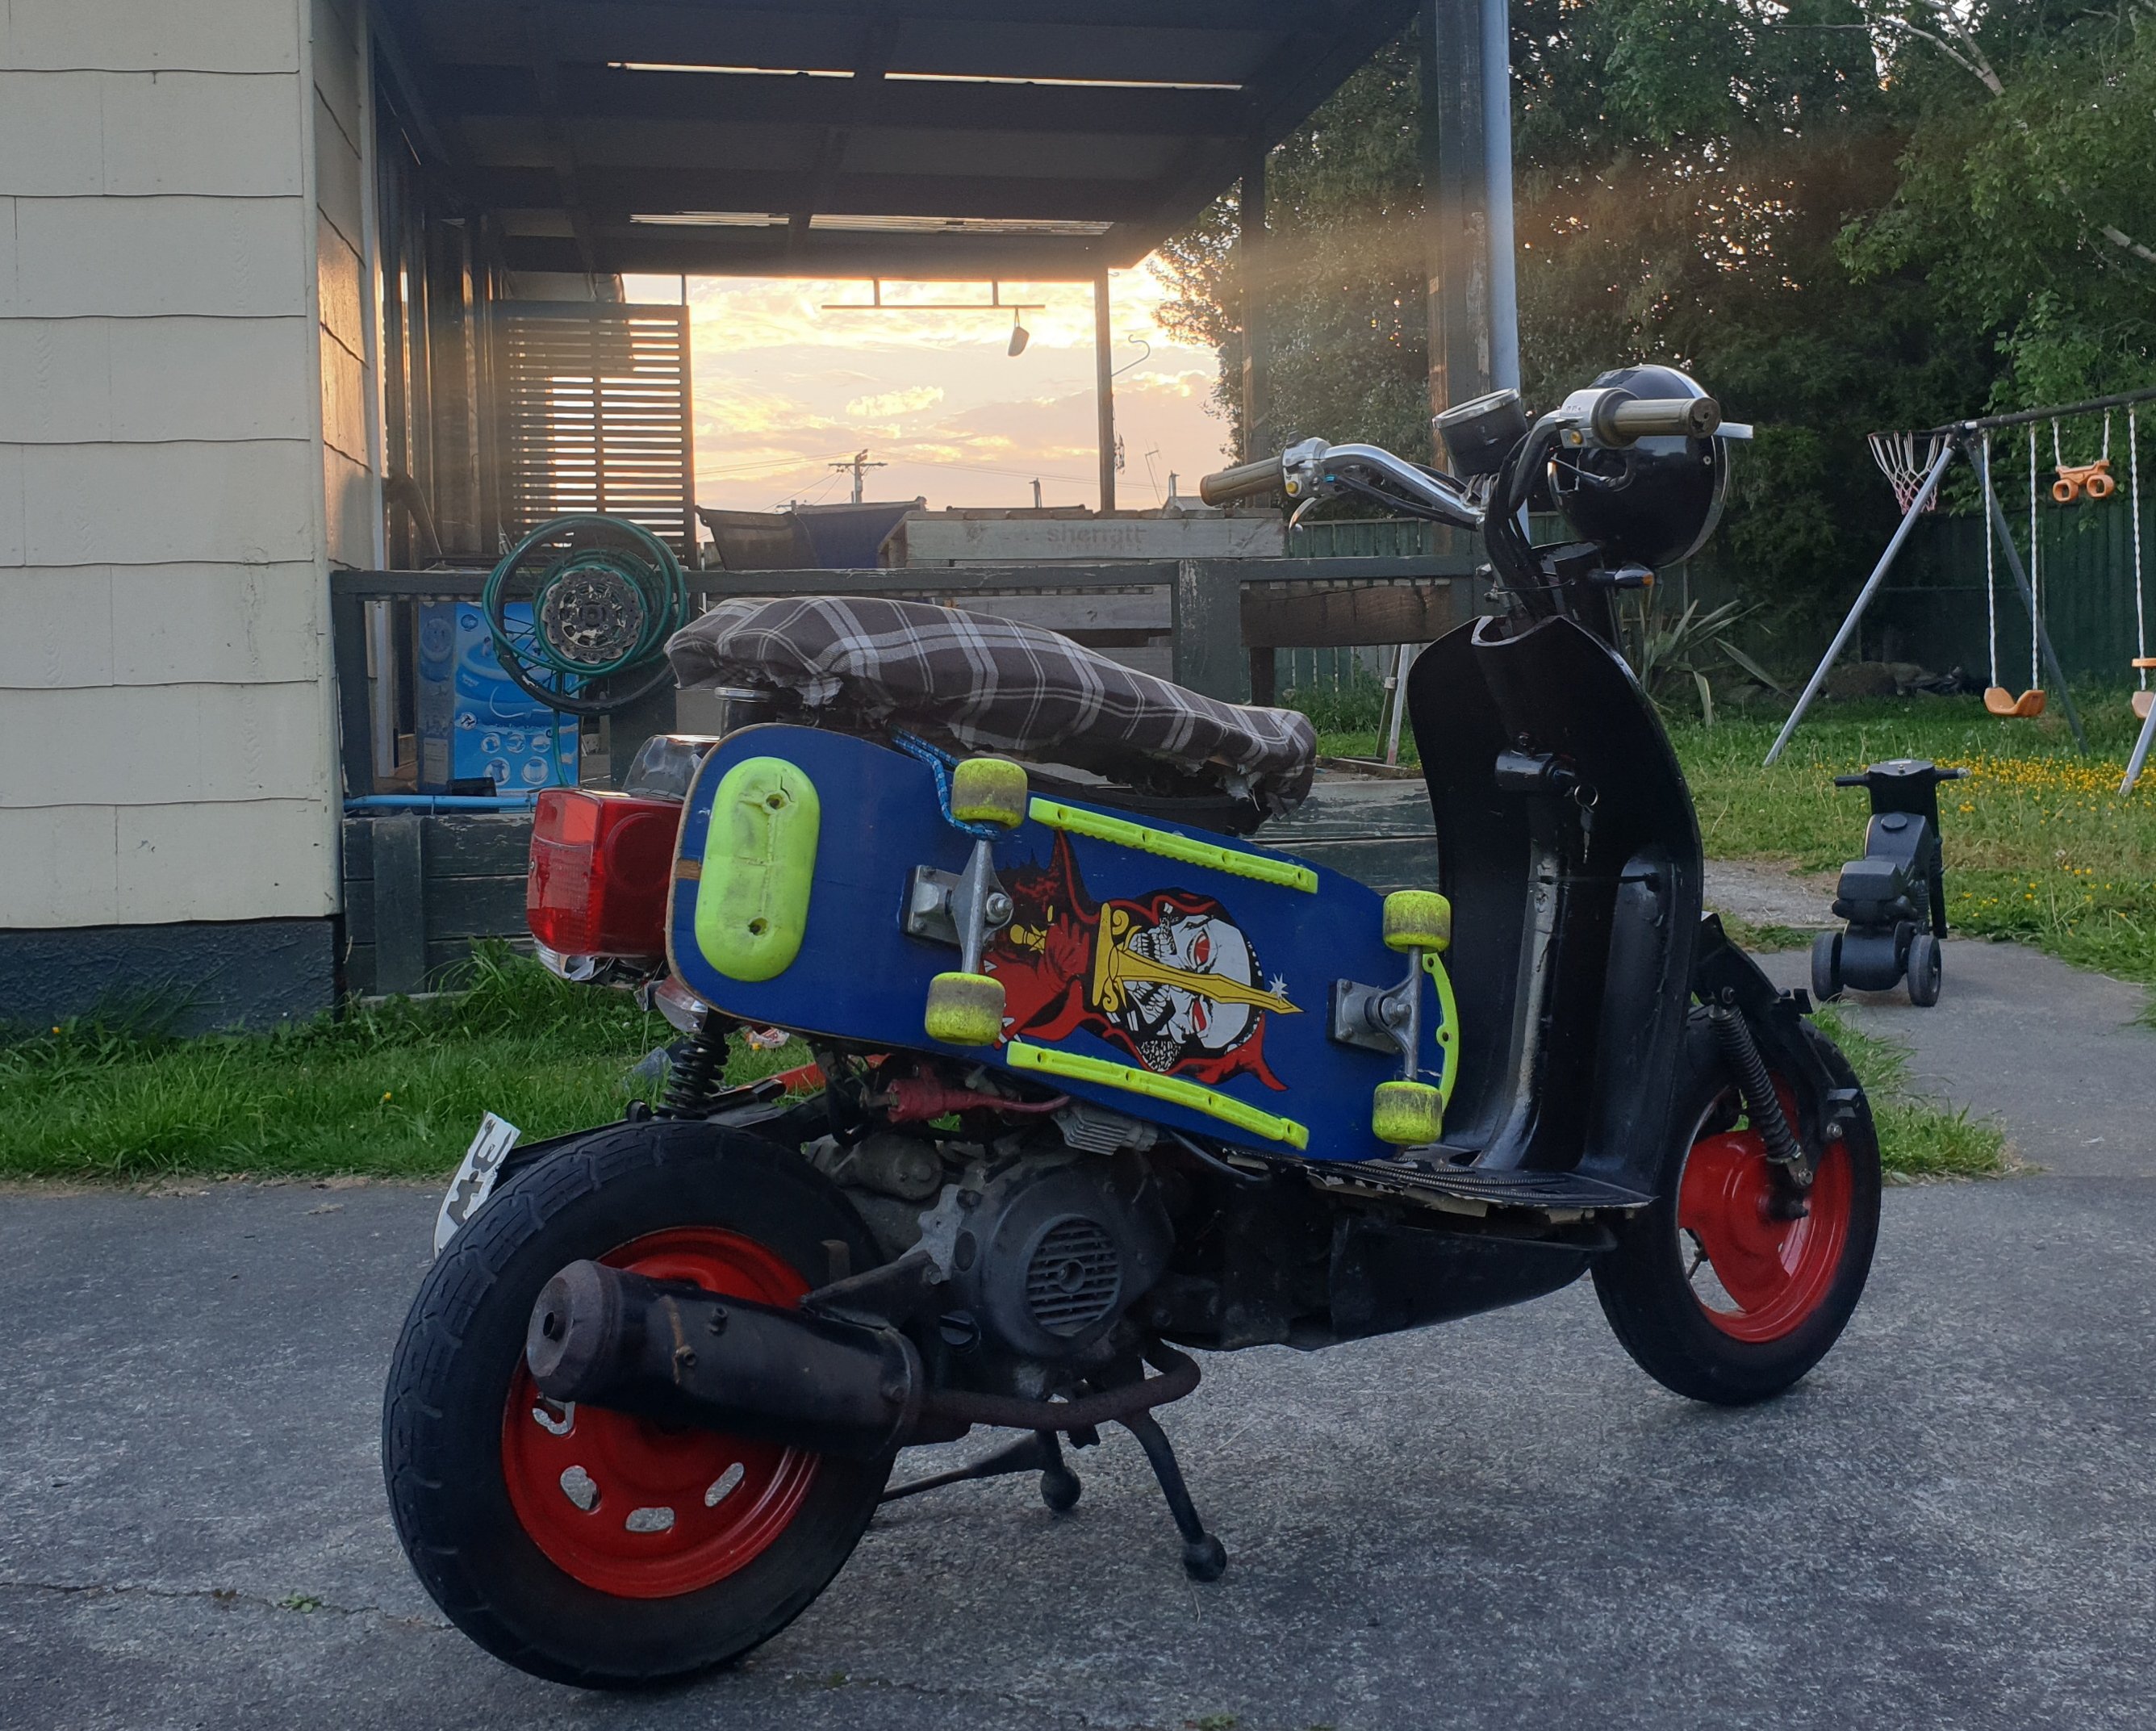
The wheel hub brace works a treat i have absolutely torture tested this thing the last 2 weeks! Probably clocked up 70-100 ks on it now on gravel and grass fitting a bigger fuel tank and will keep riding. Have changed throw on throttle as it was very on or off now is heaps better.1 point
-
I too would be ecstatic to not visit a hospital this time. Probably have more fun not all bruised up to shit as well.1 point
-
Yeah 3 would be a bit annoying. @johnnyfive‘s call, it’s his ride. While it’s a popular event it’s still just a wicked idea he wanted to do one time that’s grown a large amount. It would be nice for John to be able to enjoy the ride instead of spend 3 days managing people and worrying about who is where. Managing a ride of 50 people on a route of 45km was difficult enough for 3 of us a while back. 40 people over 3 days on some very remote areas with zero reception is going to require all of us to be on our A game. It’s not really for anyone else to decide what happens with support cars and other ride details except John. Having extra people following for lols ain’t the goods. If people are planning on being in a support vehicle maybe triple check with him first for confirmation if it’s needed. I really hope people are doing some solid shake down runs on their bikes Think of stuff like spare throttle cable, tyre levers, the tools needed to remove your front or rear wheel from the bike. Wet weather gear. Warm riding gear. Last year it was sunny and awesome a lot of the way but Motu had its own crazy climate and I was surprised how cold I got. A small first aid kit is a good idea. If you’re coming in a small group then chat to each other and figure out where everyone has their stuff stored in case something untoward happens. This is the highlight of my 2 wheel event calendar every year. I can’t wait to come ride with ya dudes and then get home safe in one piece. See if I can make it 2 out of 3 events without injury.1 point
-
When everyone is being so serious and u wana just take the piss hahah
1 point
-
The price difference it's so little that I use 8.8 everywhere, unless I've decided to use 12.9 cap screws.1 point
-
that nanosecond between starting the bike and WOT.1 point
-
Is anyone going to have WOF & Rego? Surely noone actually rego's a motorbike...? React trophy for Yes. Laughing for No. Edit: can't react to my own post but1 point
-
So I should build a foil for my seagull powered dinghy then...? Here's a pole piece with M5 stud, doesn't look out of place... And the new coil arrived so I did a bit last night. It's a bit shorter so made up some spacers, used a 7/16" bolt to fill magnetic air gaps at end of rod, a tight fit so I tapped the hole to M4 so I could get them out if they got stuck.. and made a couple of plastic spacers as well, pic shows comparison to original coil... And how it looks in place (but upside down so I could see grub screws)... Problem now is the BA thread? [edit - not BA, standard 5/32"] grub screws only just touch the edge of the coil rod, and I broke one of them trying to tighten it enough to prevent the coil from turning. I'll probably tap out the grub screw thread to metric, and either screw the metal spacers to the new coil or file notches/flats in both pieces so they locate in the right position. Also have to make a brass/copper contact pad for the HT lead to connect to. Coming together though...1 point
-
J5's link has a technical data sheet that shows some single phase wiring.1 point
-
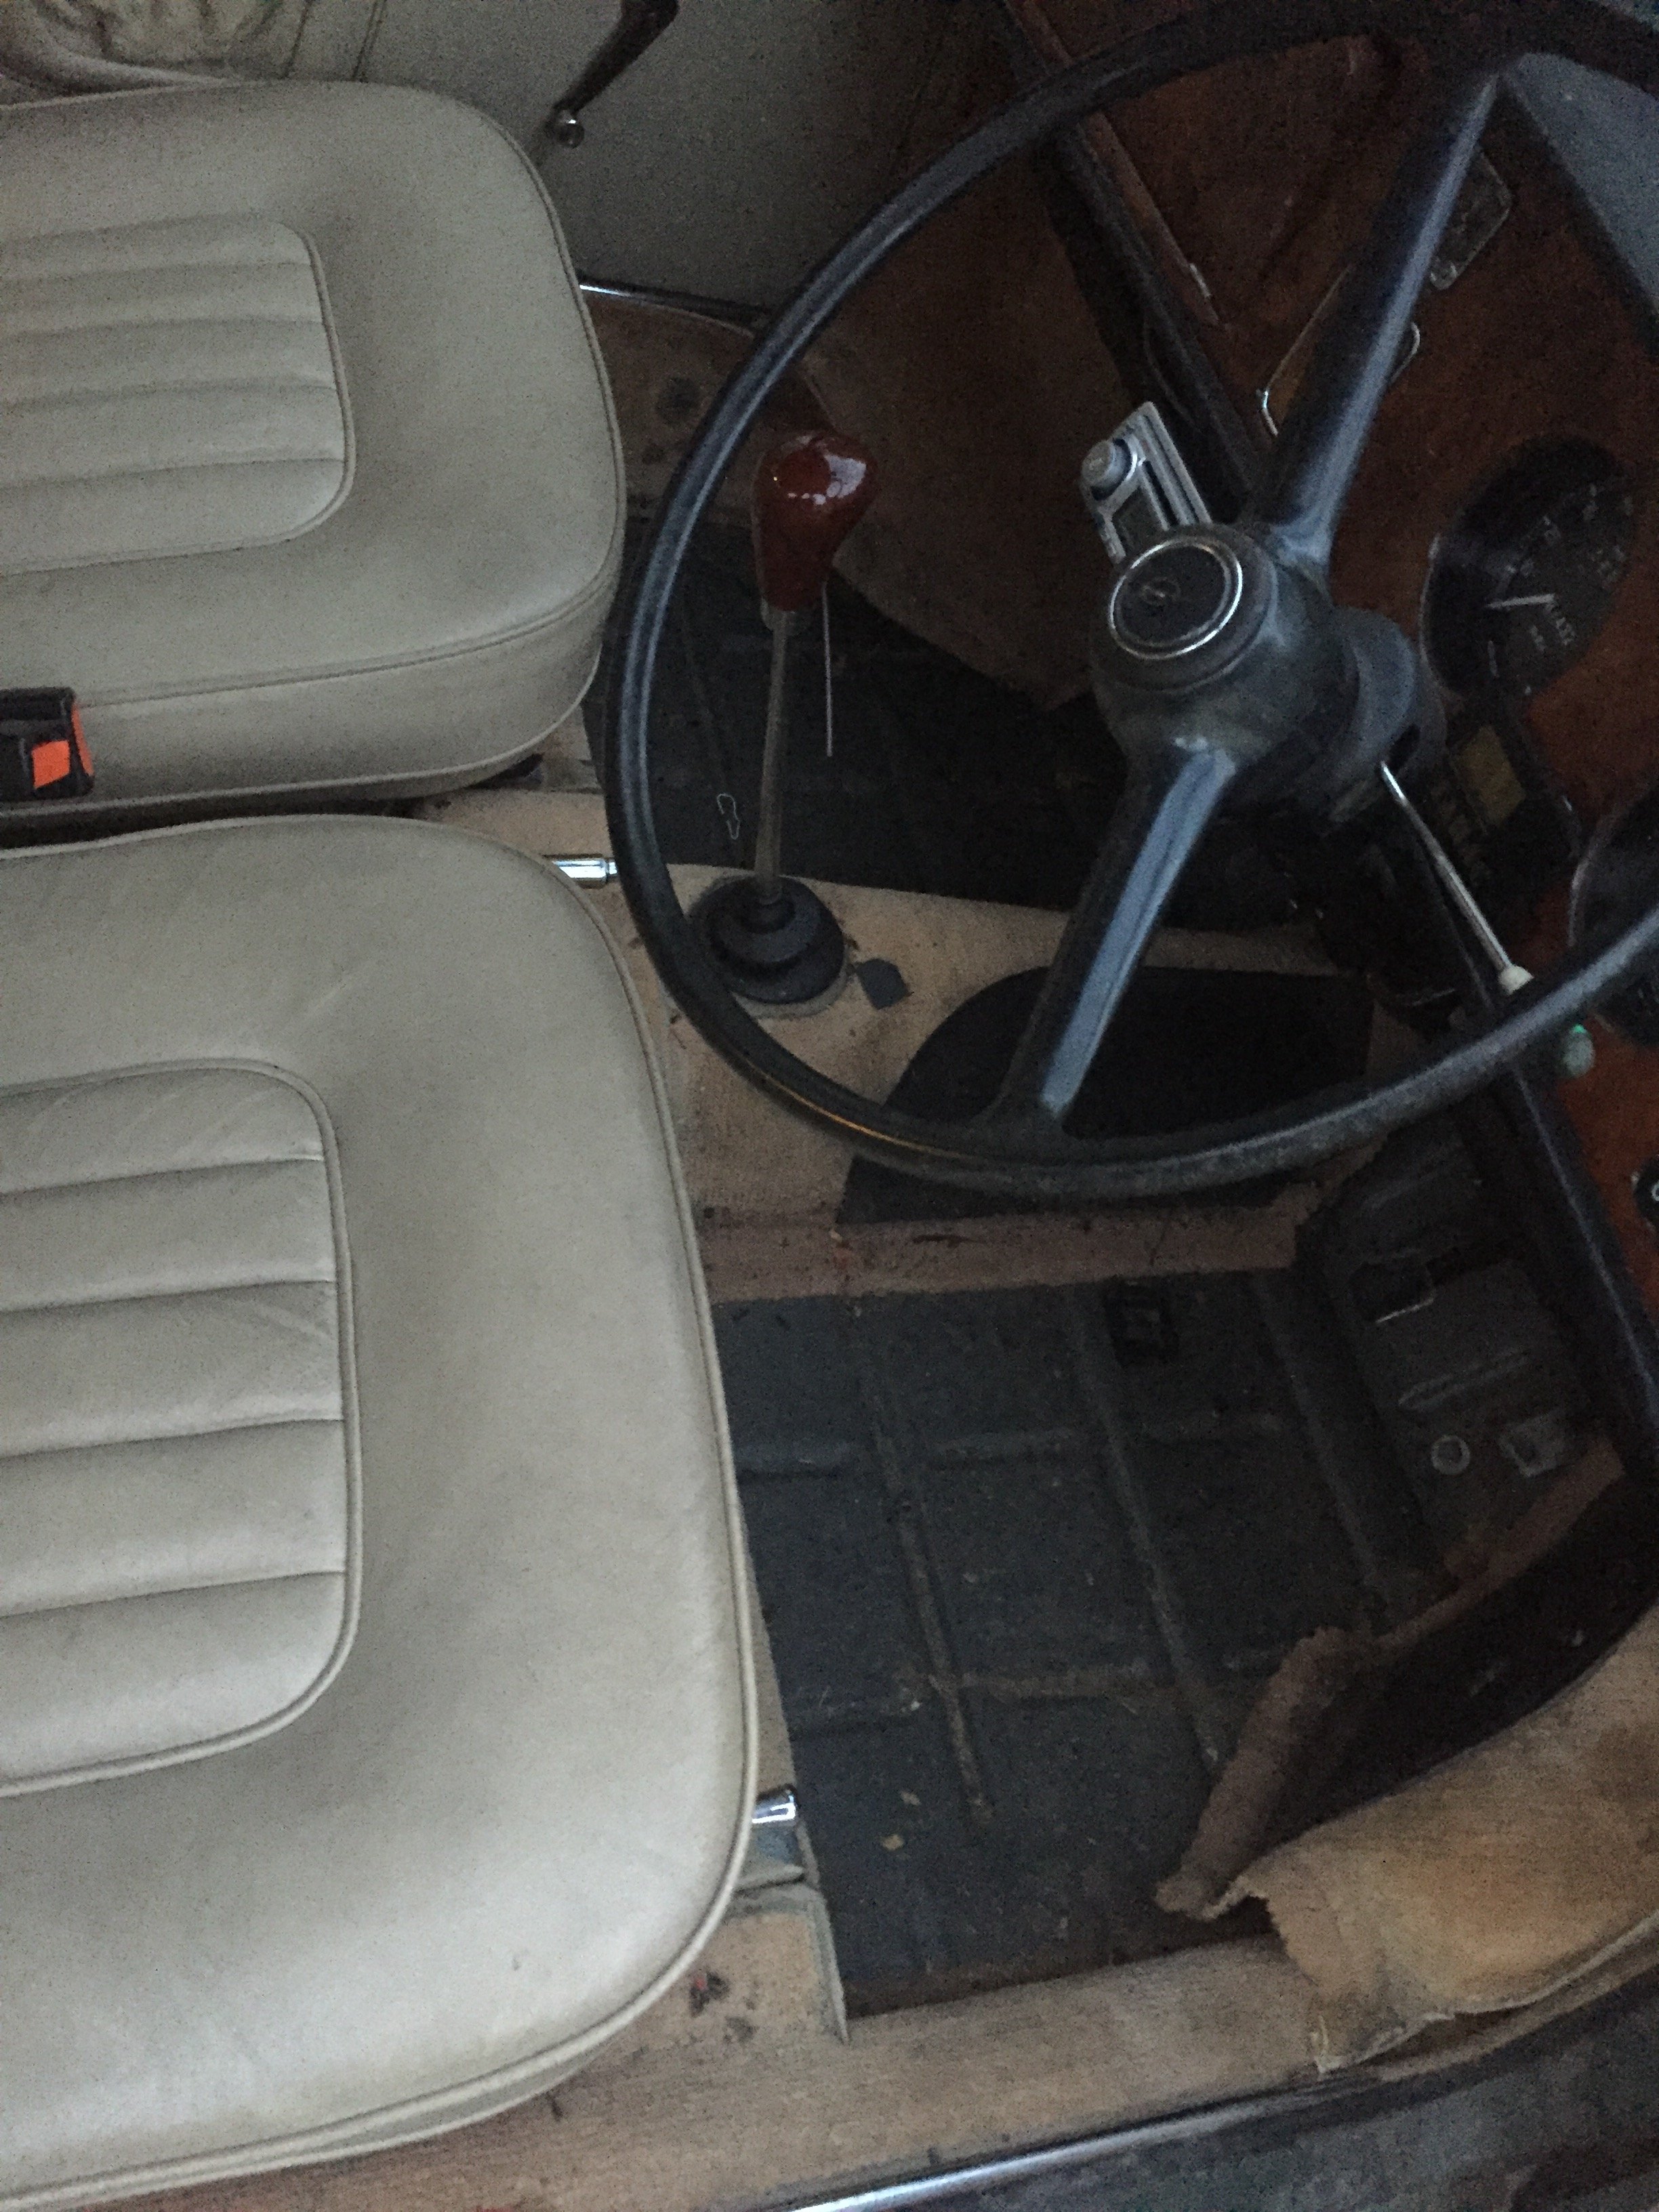
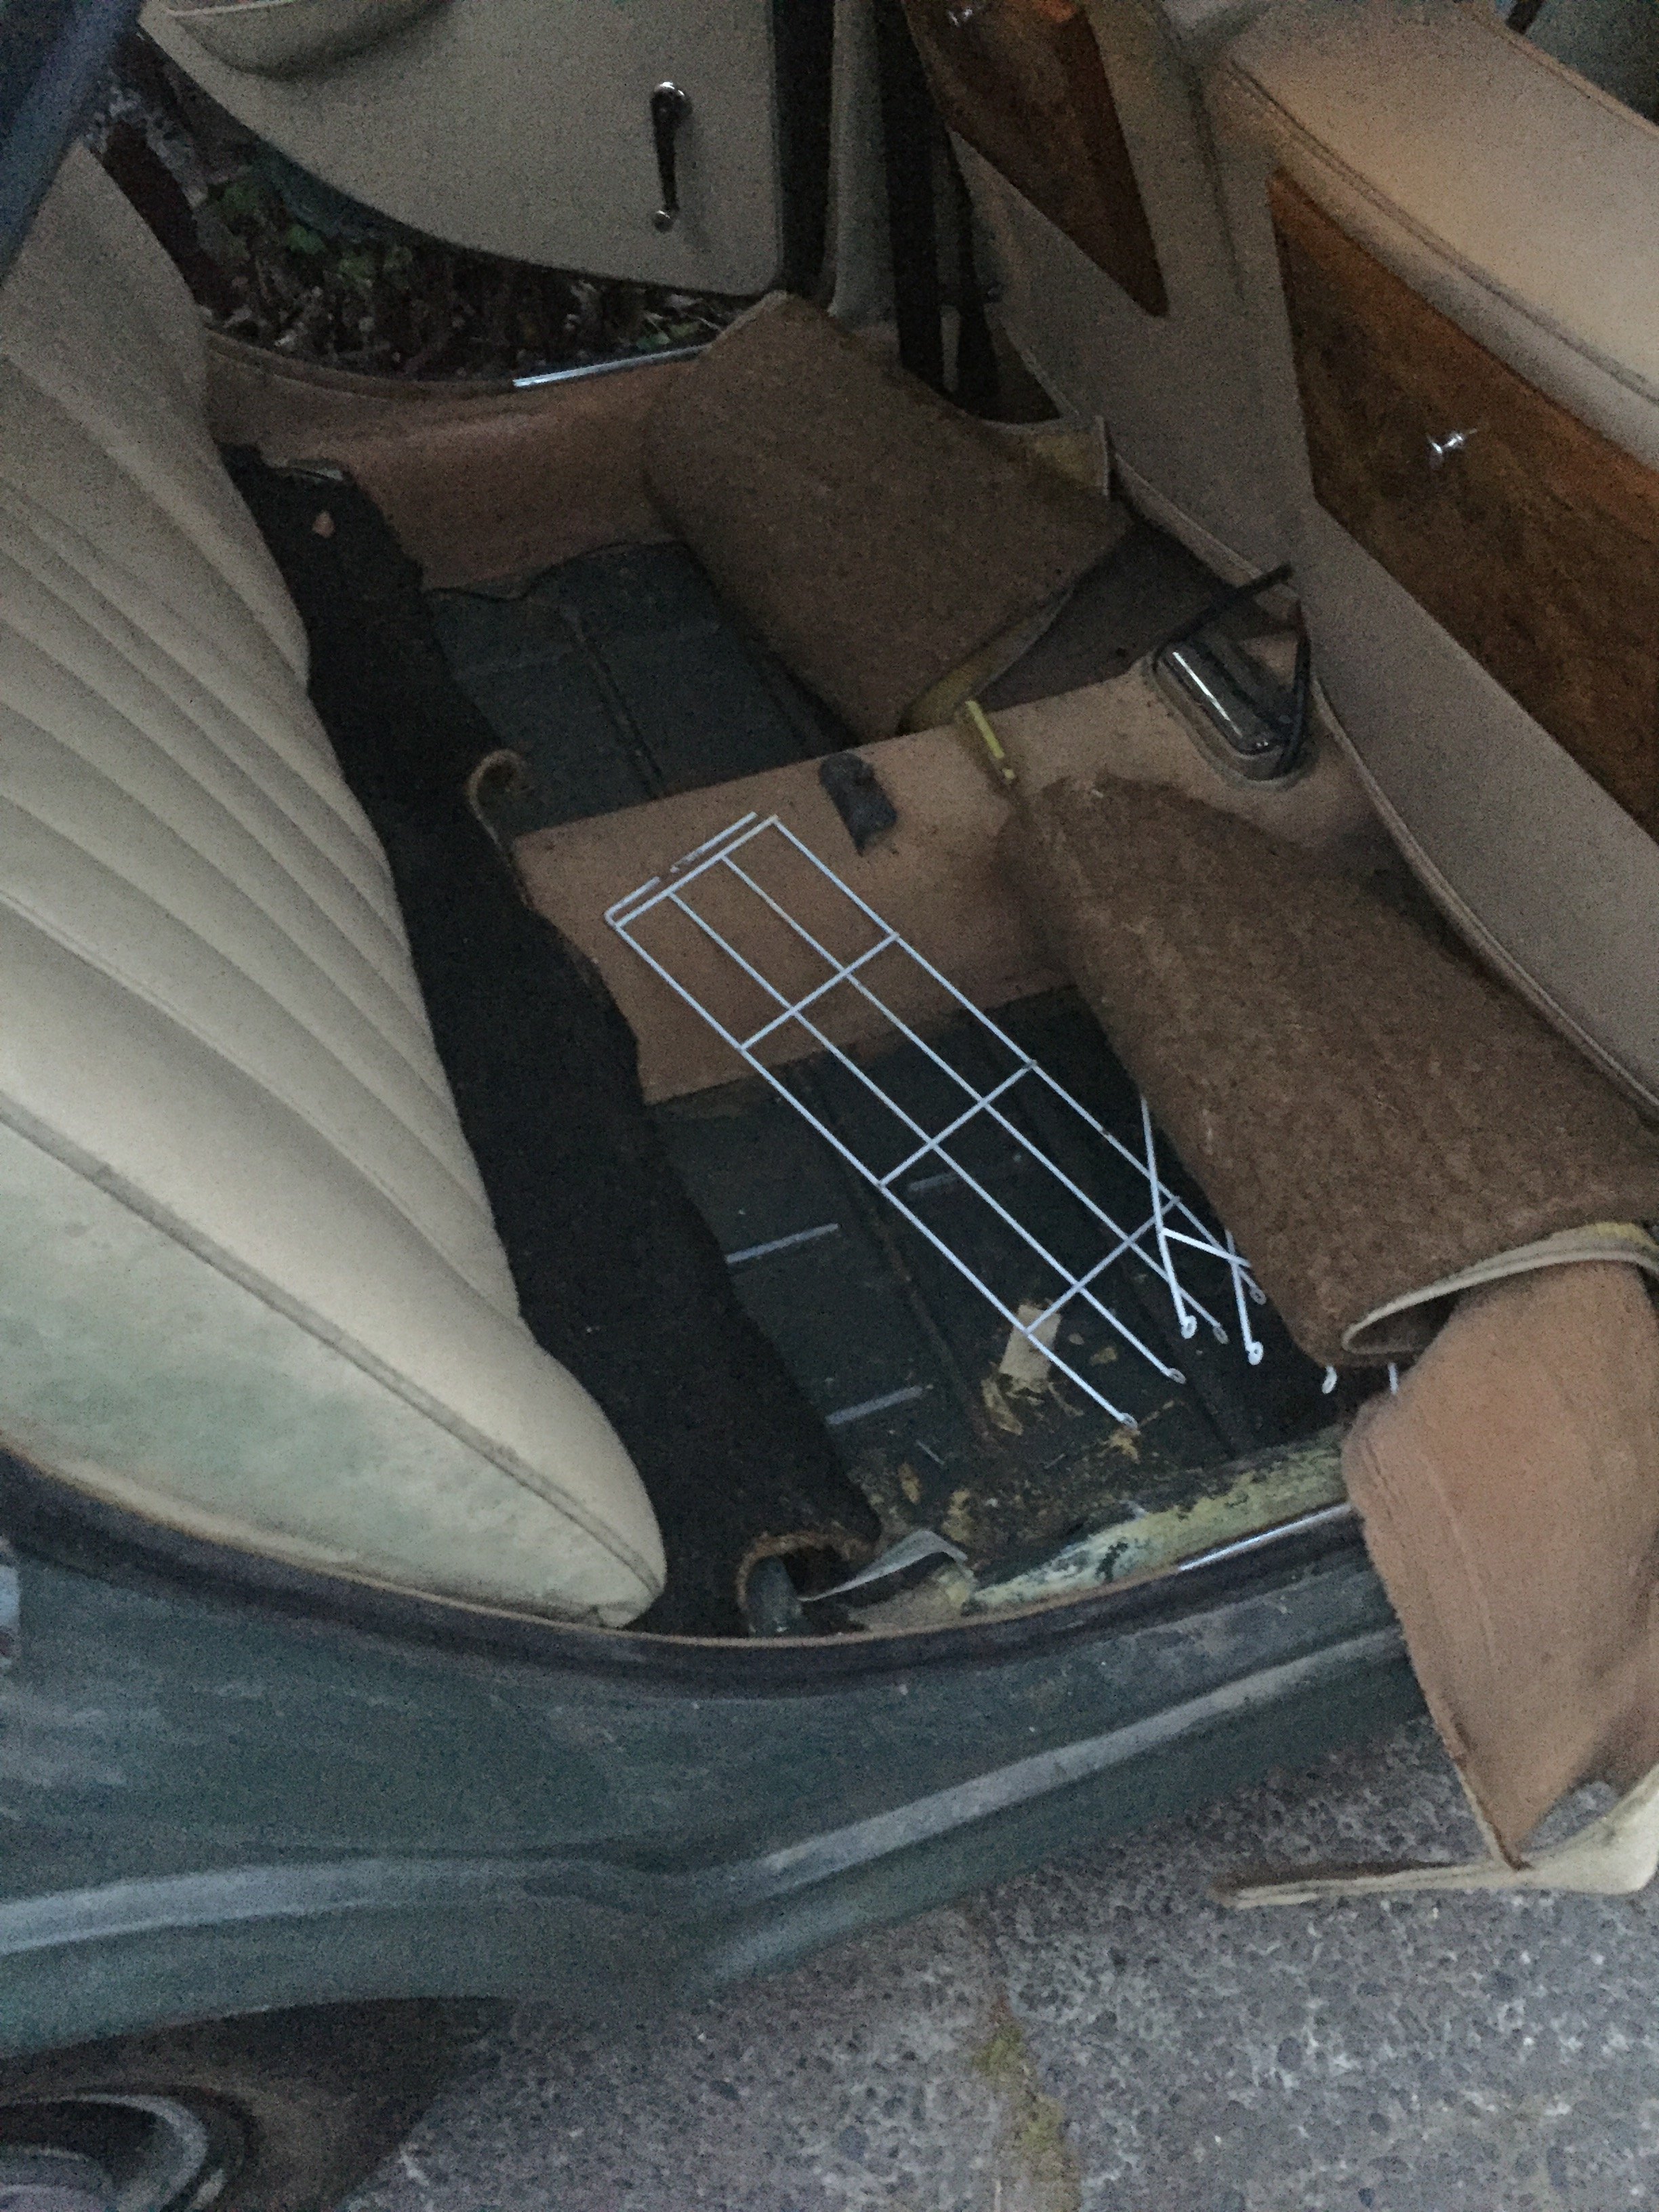
Well I’ve started taking all the carpets out and will clean them up - they are all the original carpets and seem decent. A bit of water has got in to the car so drying everything out. Headlining is a bit grubby so I will need to google a solution that won’t stuff it or if anyone has suggestions. Steel work under carpets is remarkably good as is the rest of Car now that I’ve had a good look over it. Took spark plugs out and they are sooty but things look good in there . Clutch pedal was stuck up and Slave was stuck engaged - I loosened the slave and the actuator spring back - tested master and all good so only a slave needed here - no siezed clutch mechanisms- YAY!! . I have ordered a slave . Have been in contact with a local guy with the same affliction as me and he has a hydrolastic displacer I will swap out - involves removing rear sub frame so ..... yea . Will get battery and get this baby started soon - suspect dicky icky pump and shiddy fuel but who knows
1 point
-
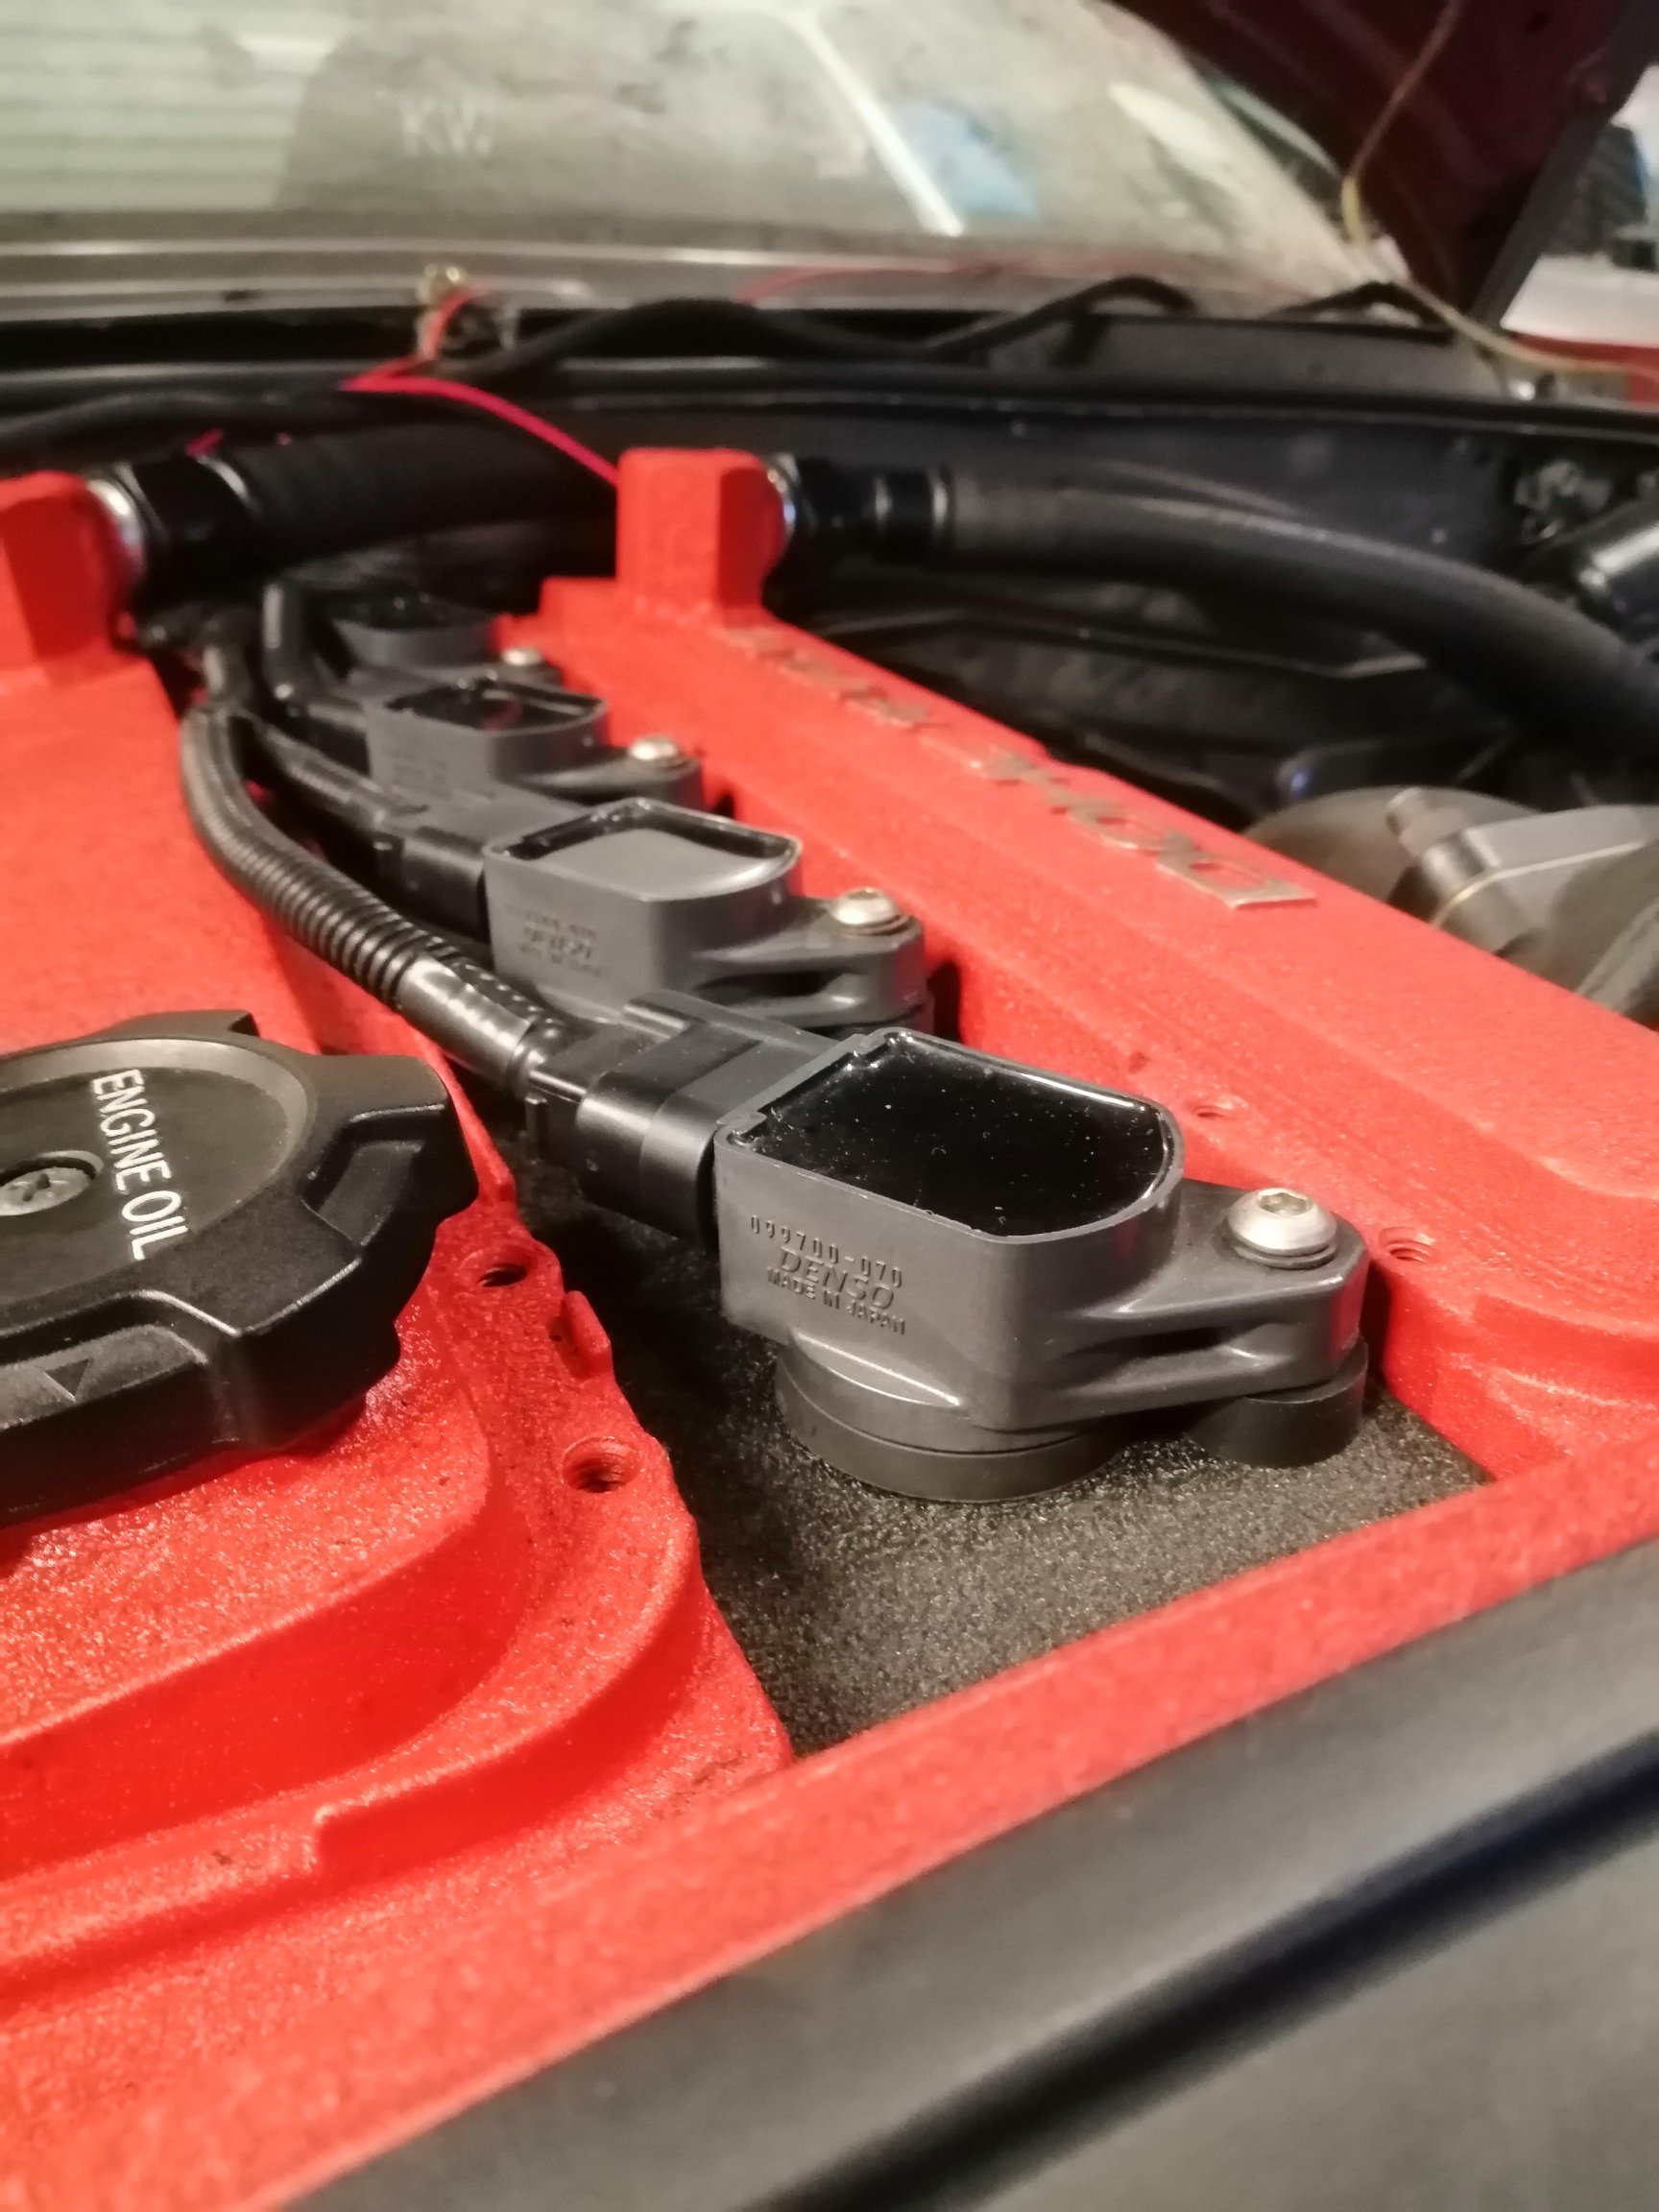
had to google k24 engine rotation.. nice work.1 point
-
Dip it is. 200 in folding it’s far cheaper then sand blasting. should be ready end of next week where it’ll go off to the electro platers
1 point
-
1st half of the inner core pattern printed. Printer is running like a champ at the moment. Nice quality.1 point
-
That silage bale green paint brings back childhood memories of garage cabinets that smell of mouse nests and have screws and bolts that have sat in there for 20 years without moving1 point
-
Discussion thread here. Pulled the carbs off last night to check a few things before I order some rebuild kits. The head has been ported so that's pretty cool. Didn't take any pics cause I was enjoying myself and forgot.1 point
-
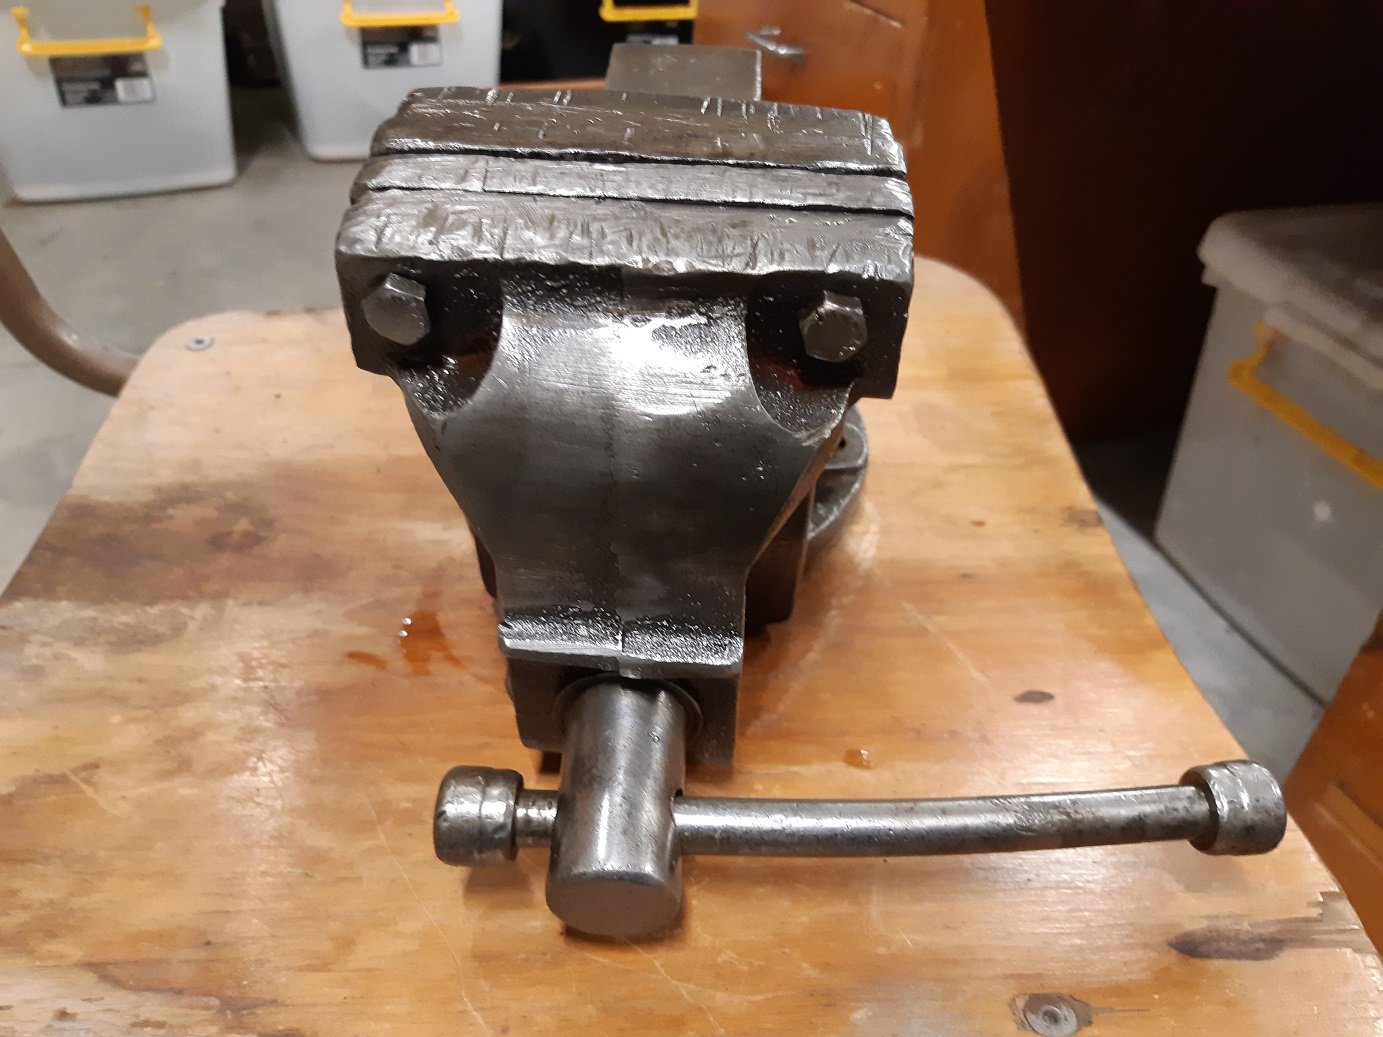
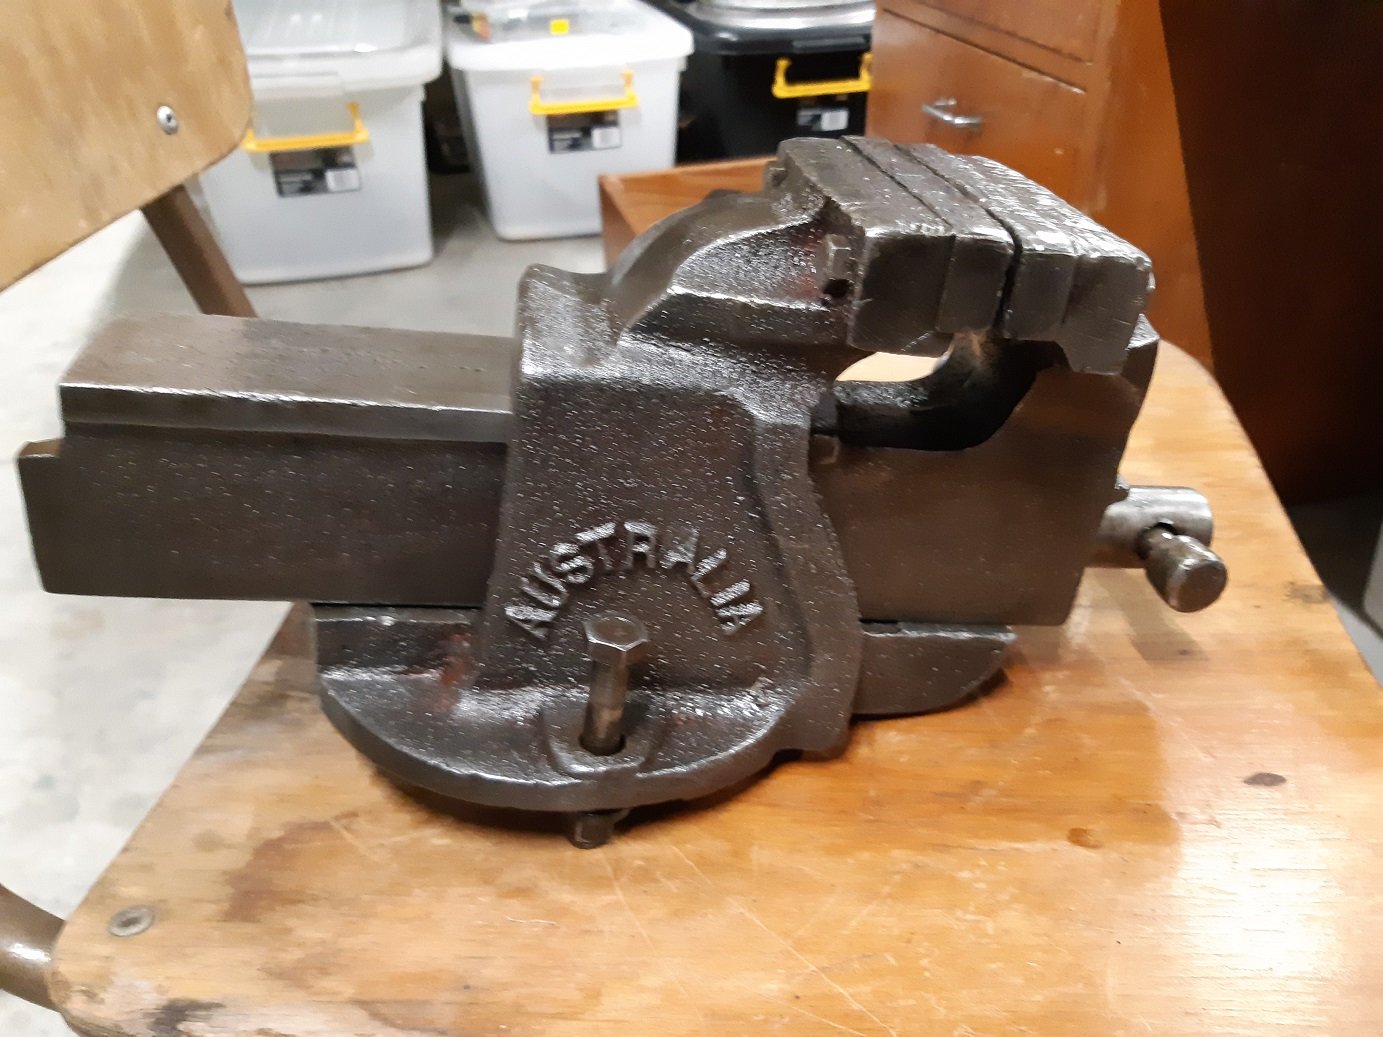
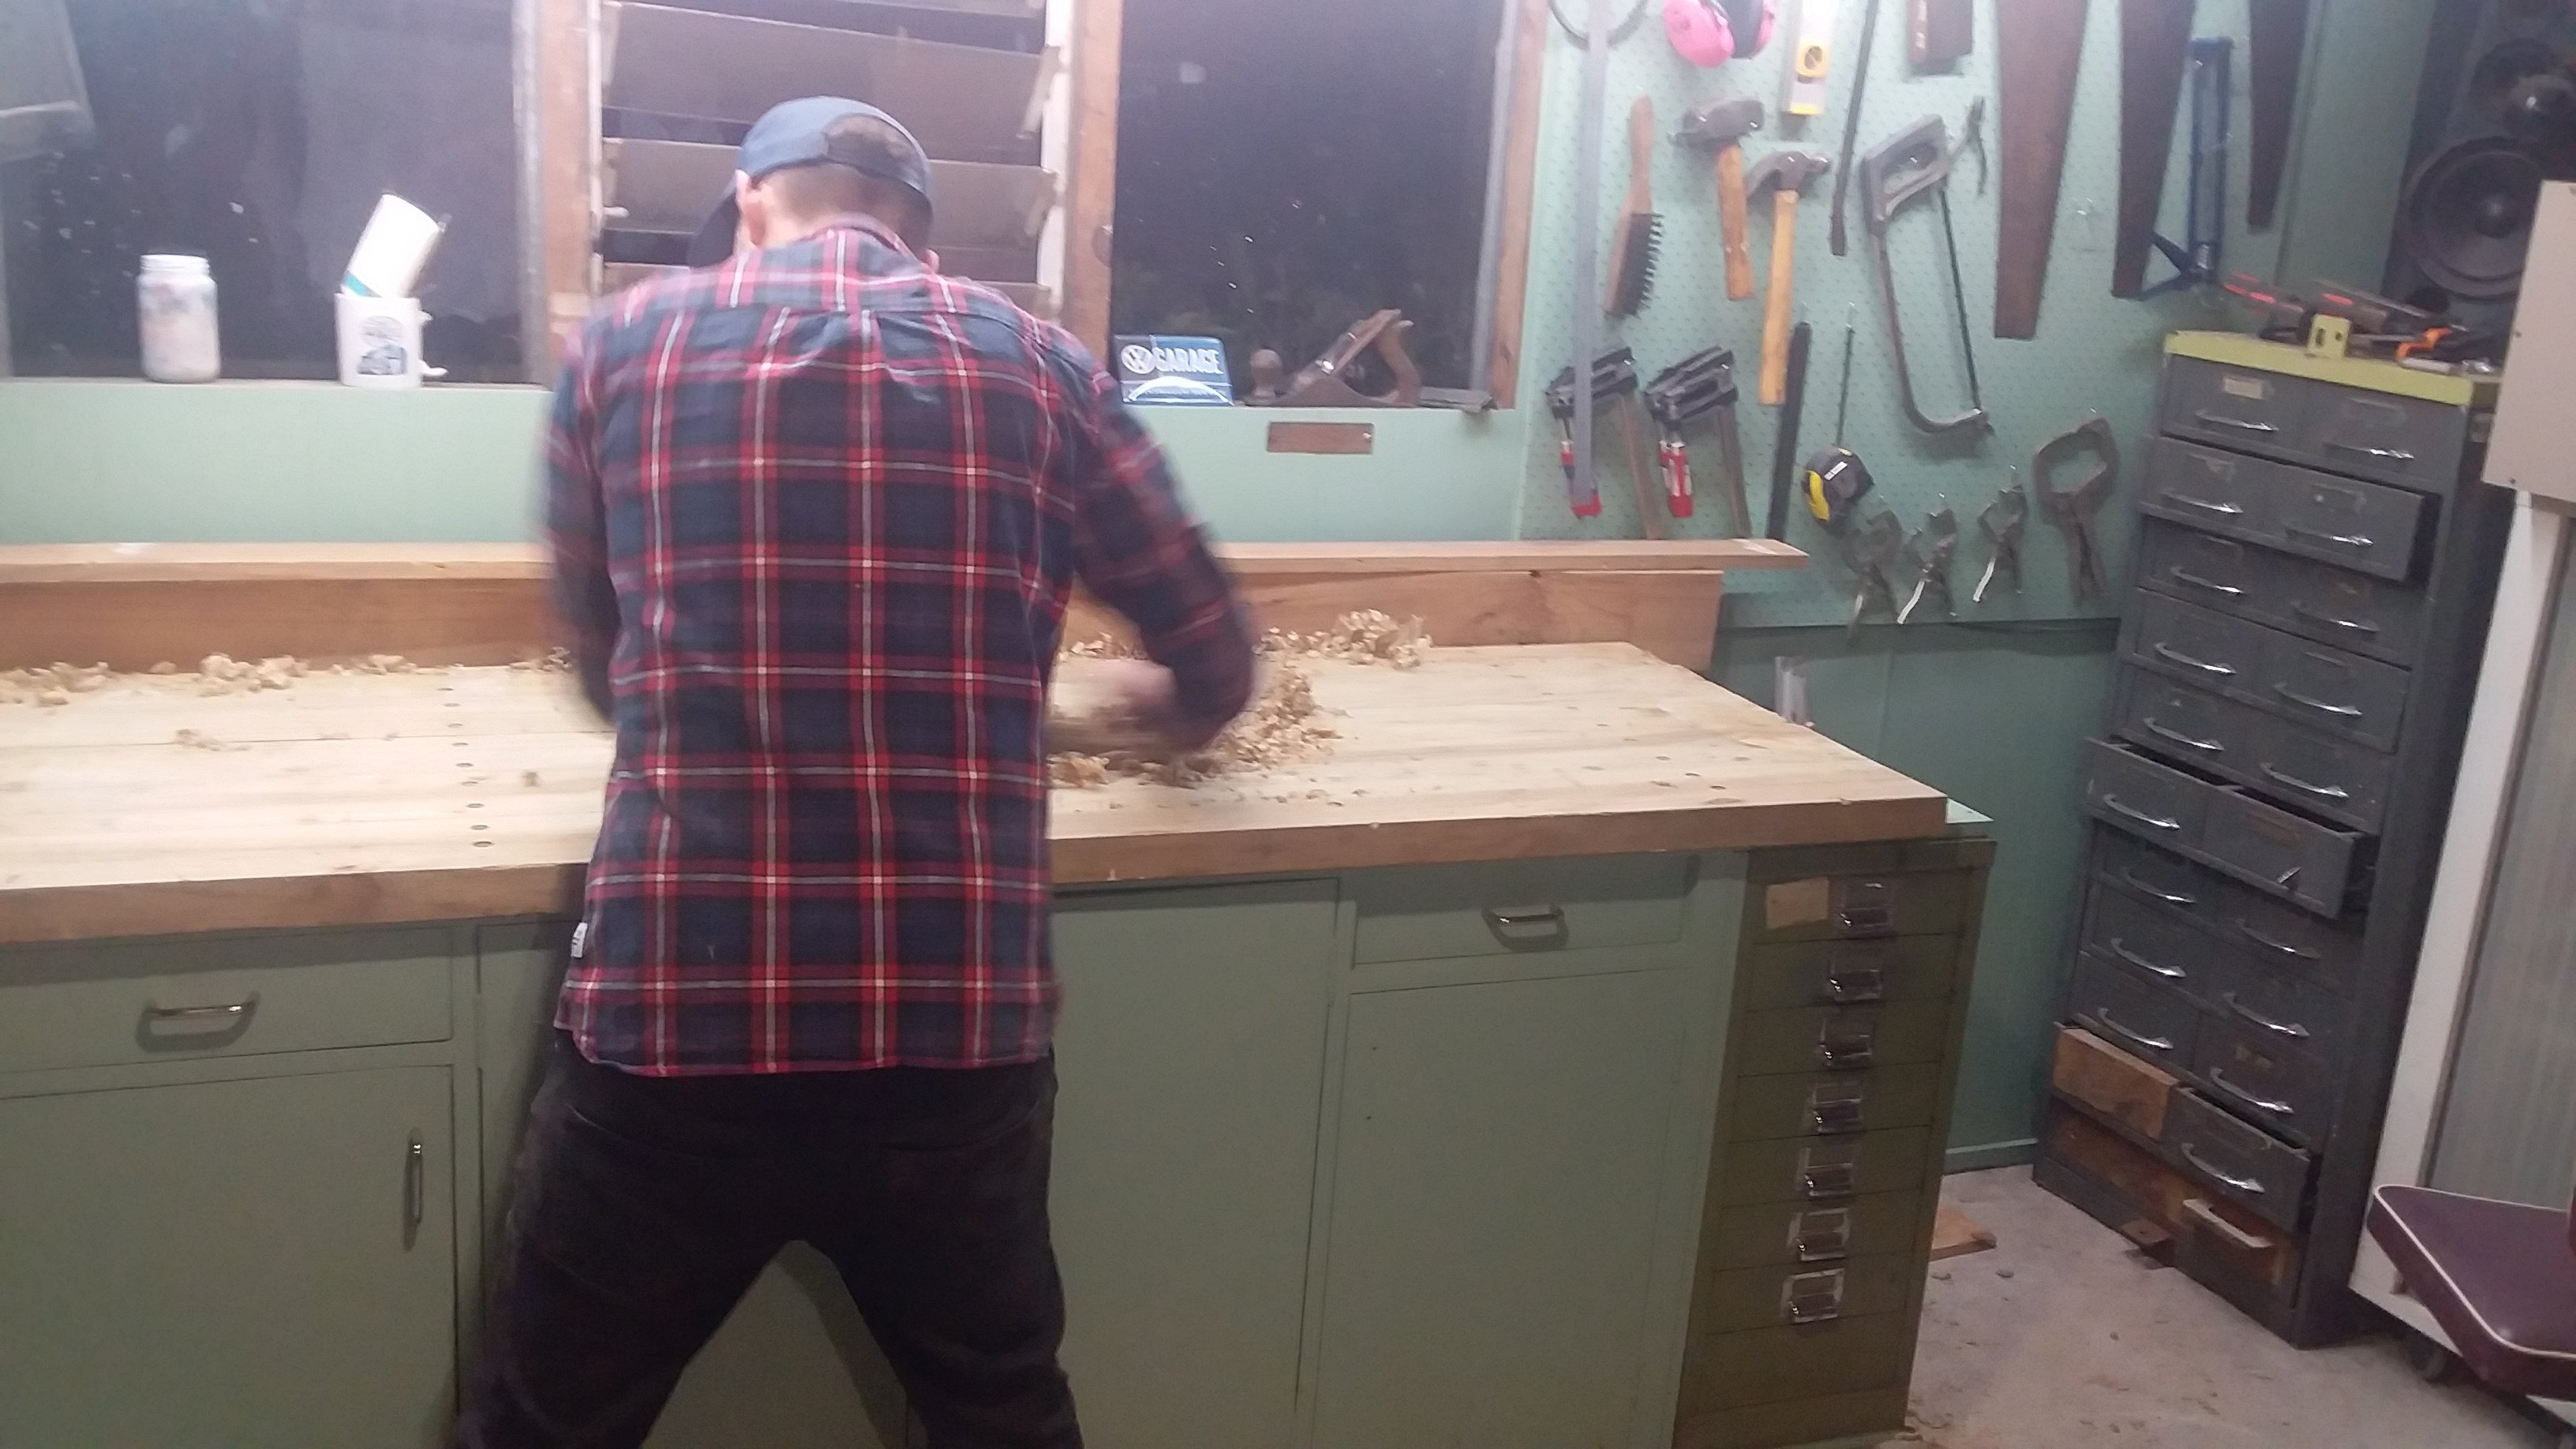
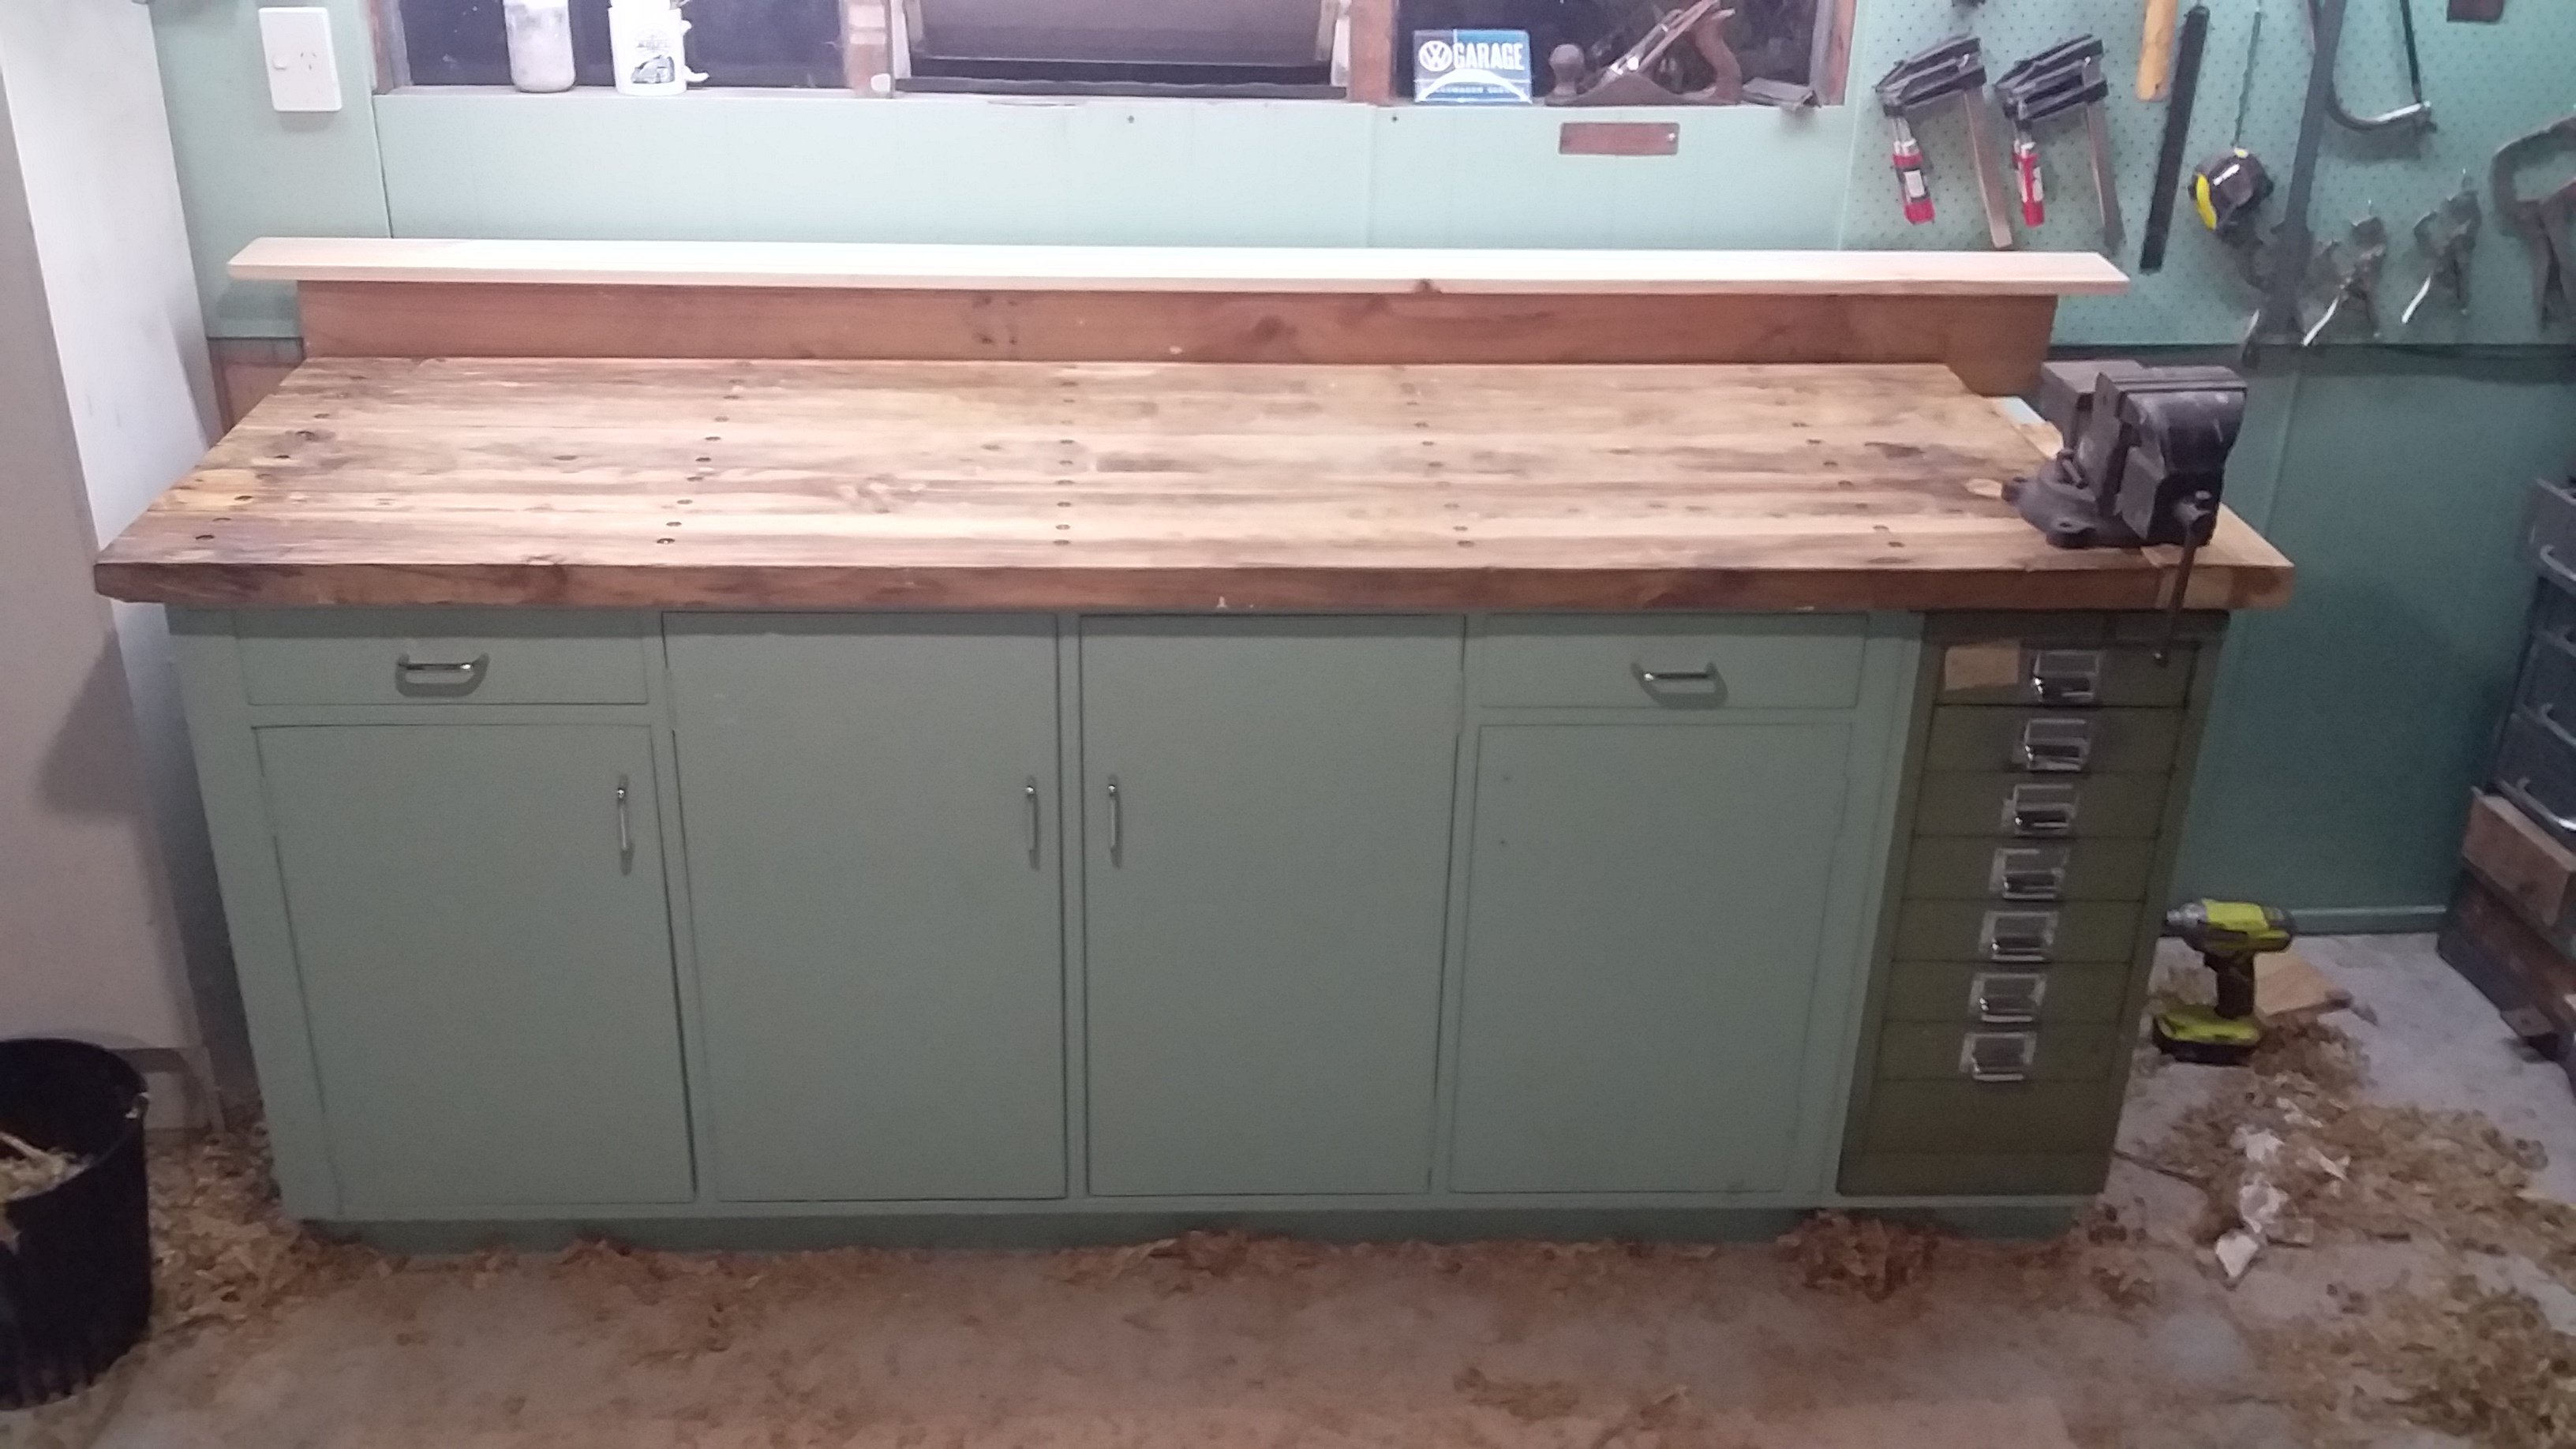
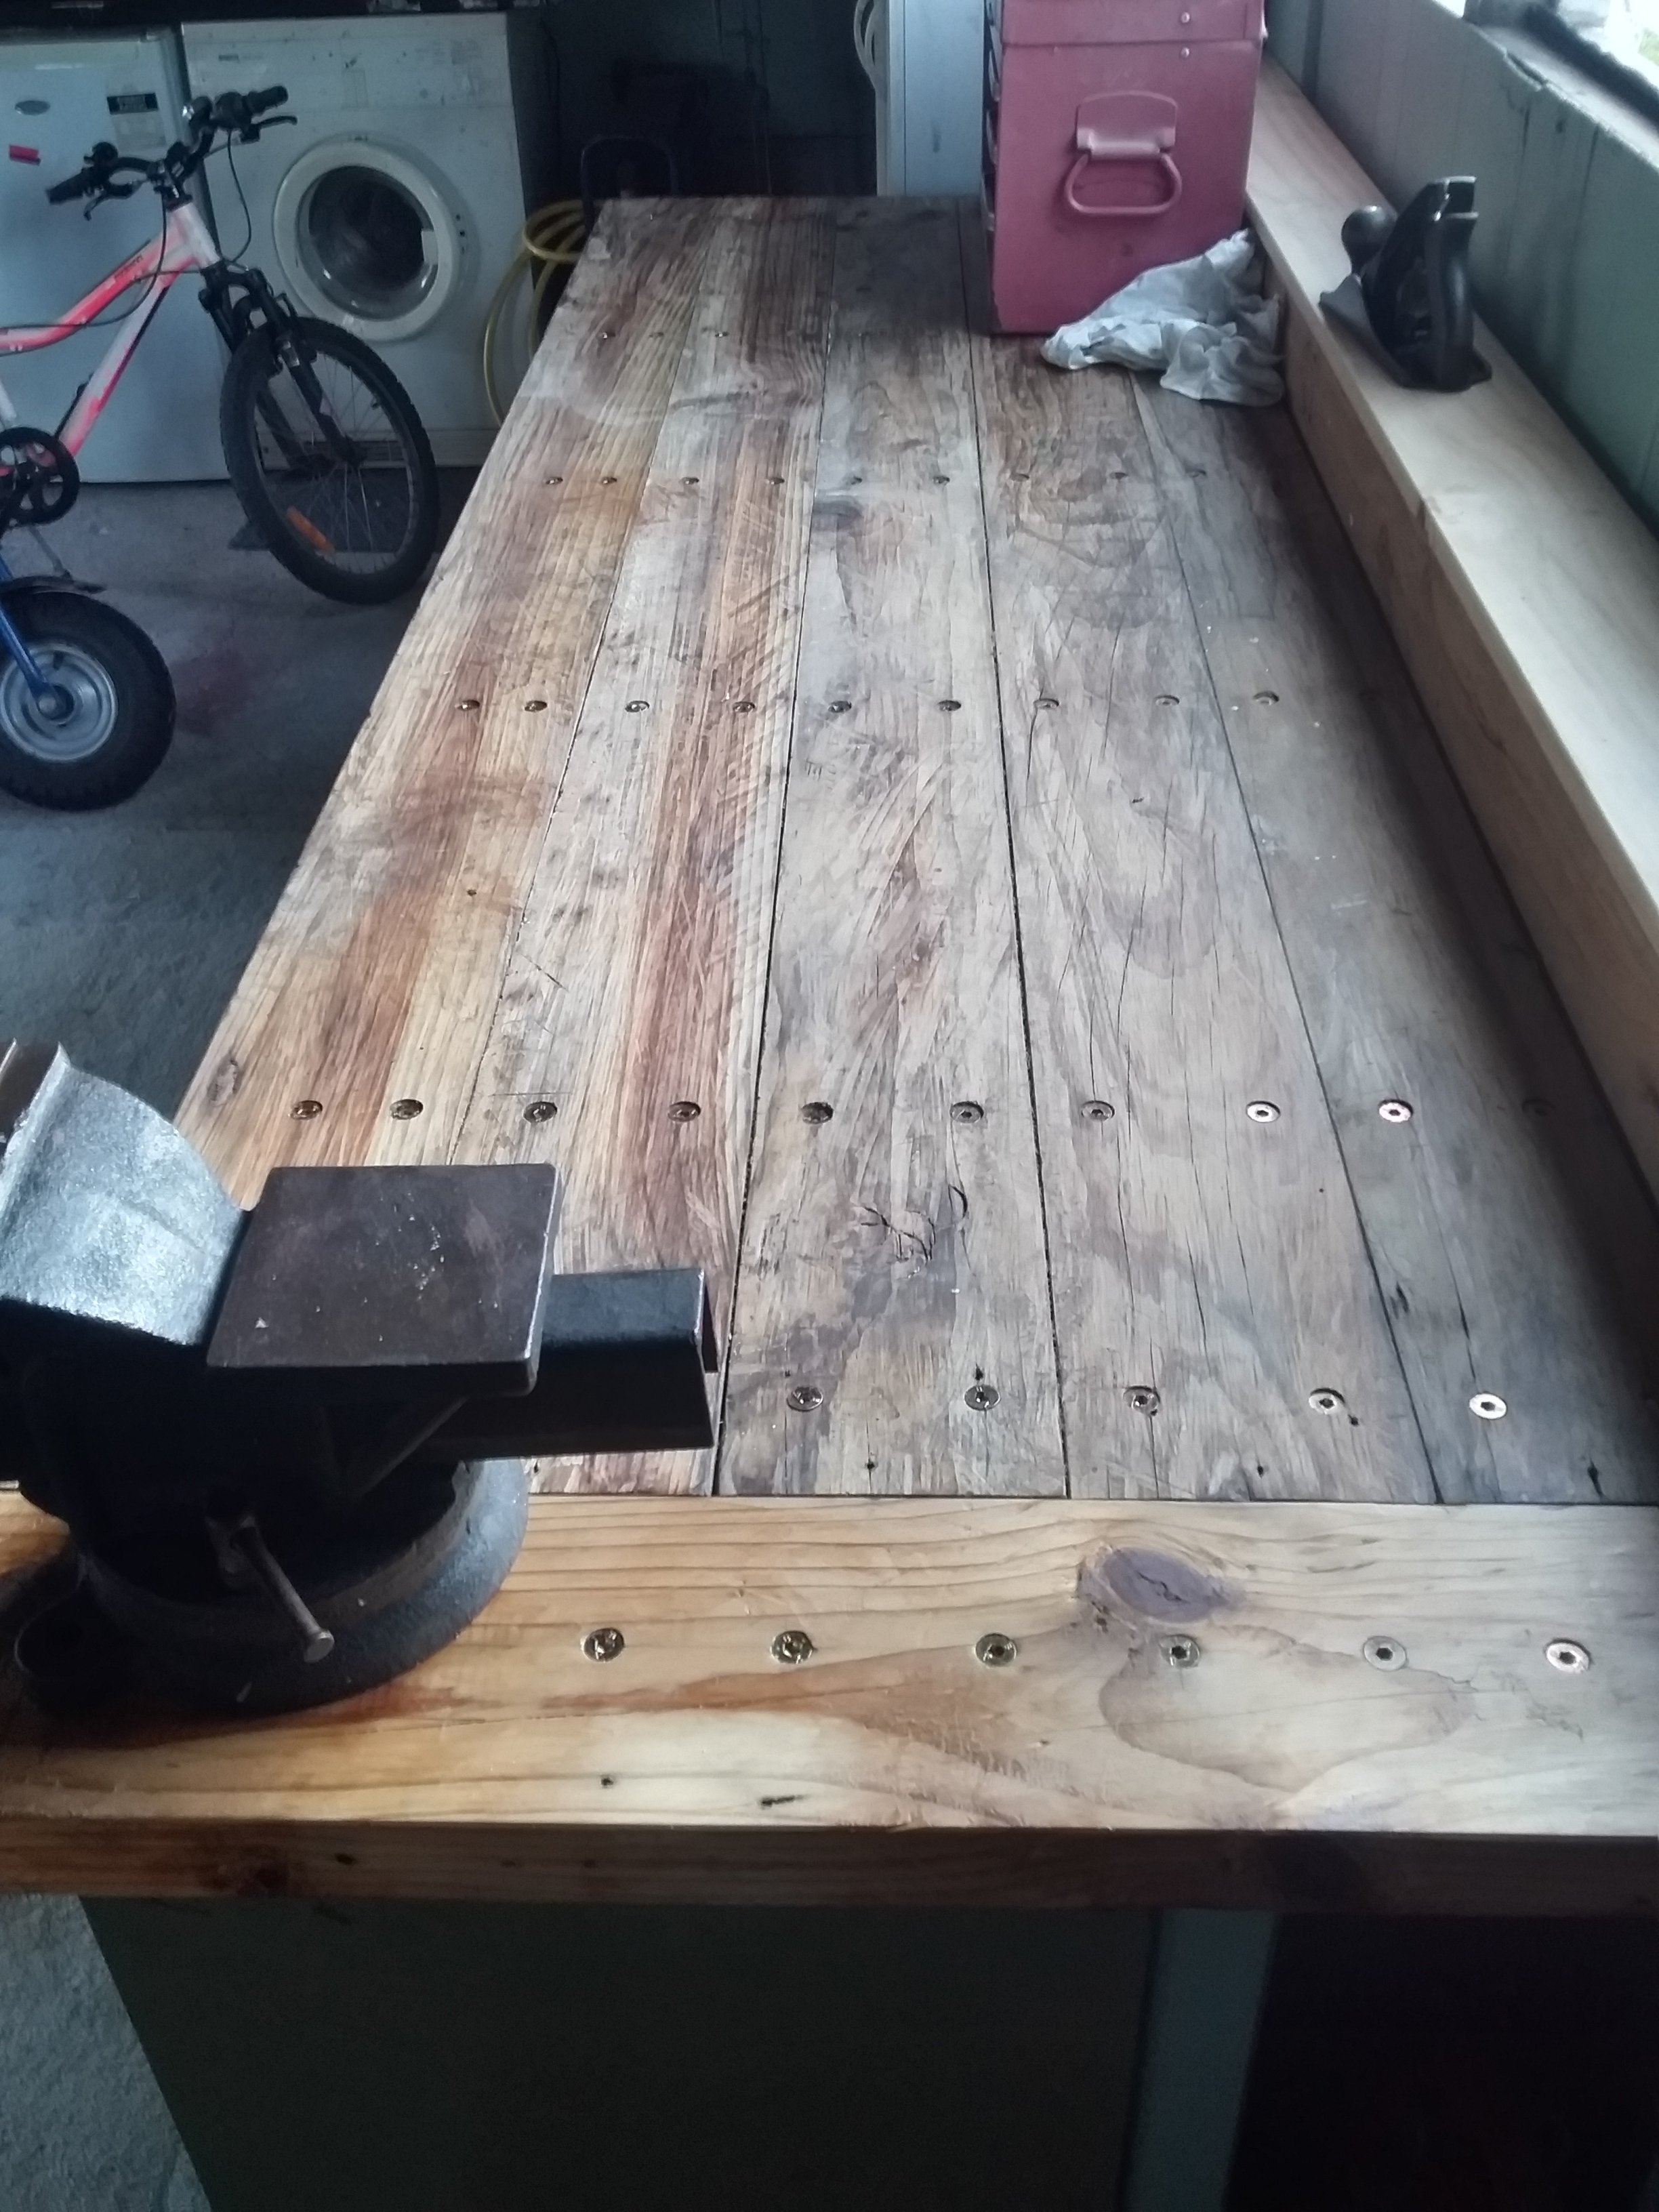
So old mate Ben gave me a kick in the ass Saturday and we cracked into it. Counter sunk and drove the hex heads down, then planed the fuck outta it for a hour or two, made a lot of mess! Little bit of boiled linseed oil and looking good for a bunch of reclaimed recycled and remanufactured junk. Finished off the end bit today, very happy, can't wait to bolt the vice down. Thing is stupid heavy, solid and will keep everything inside tidy.
1 point
-
Electrolysis for the win. Ans a scourer pad... and soapy water. Came up well. I oiled the 4 jaw so it doesn't rust again.
1 point
-
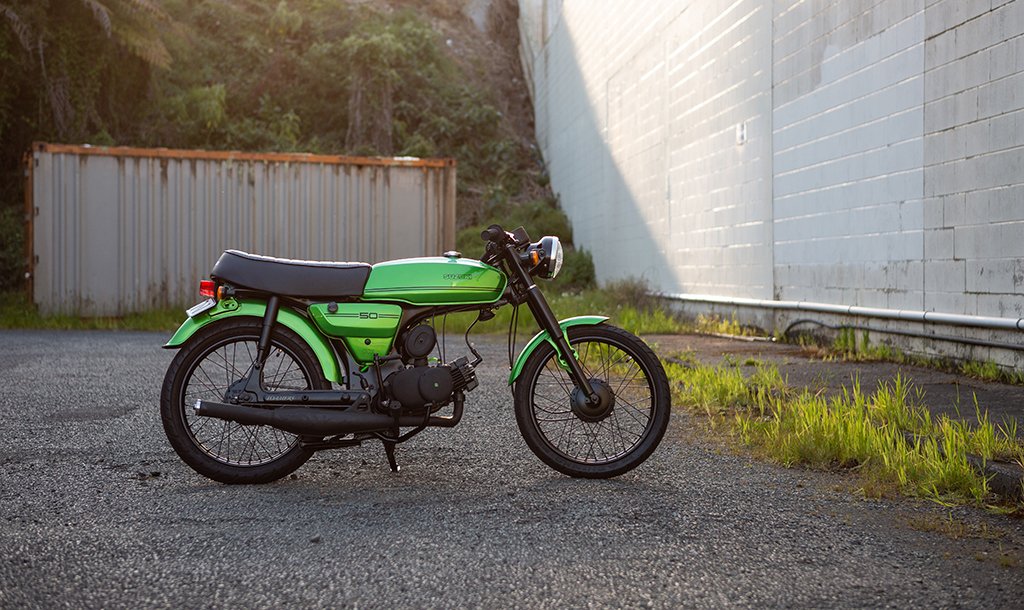
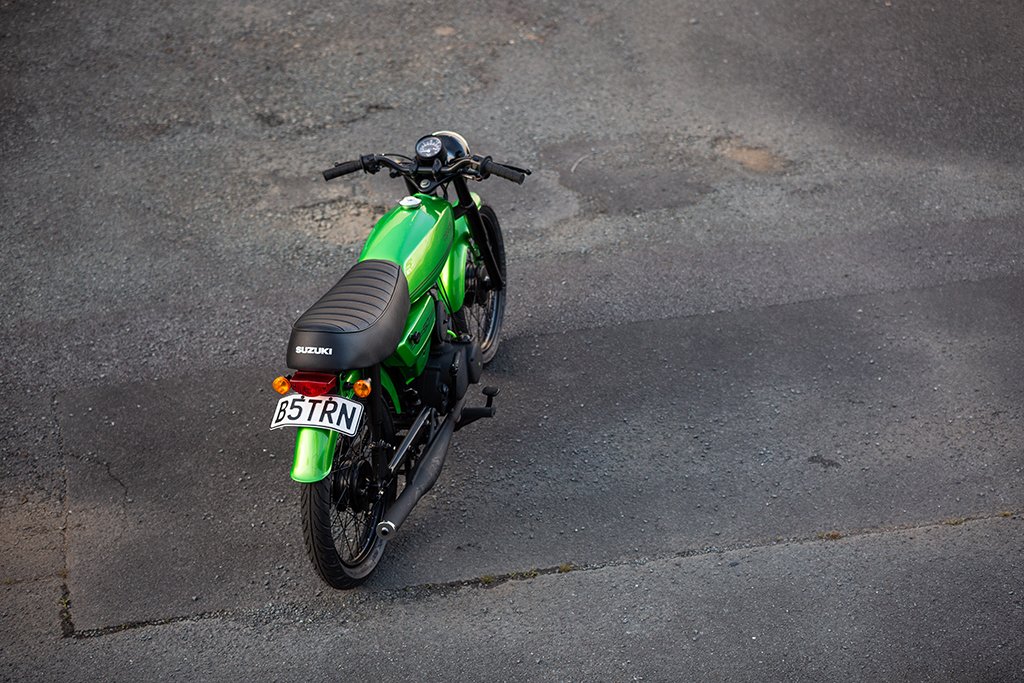
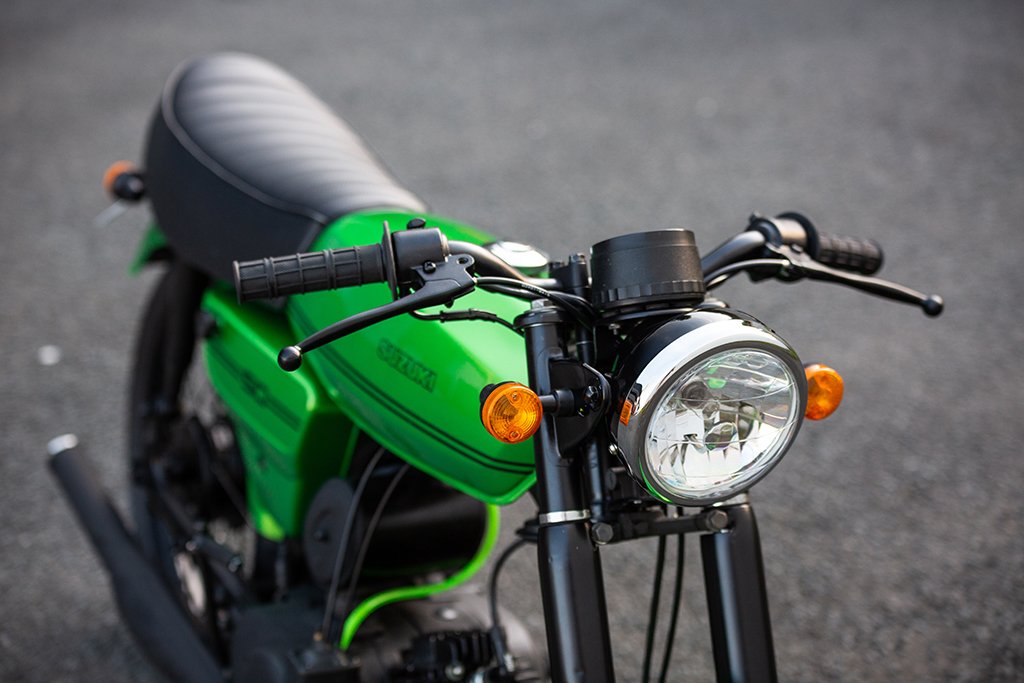
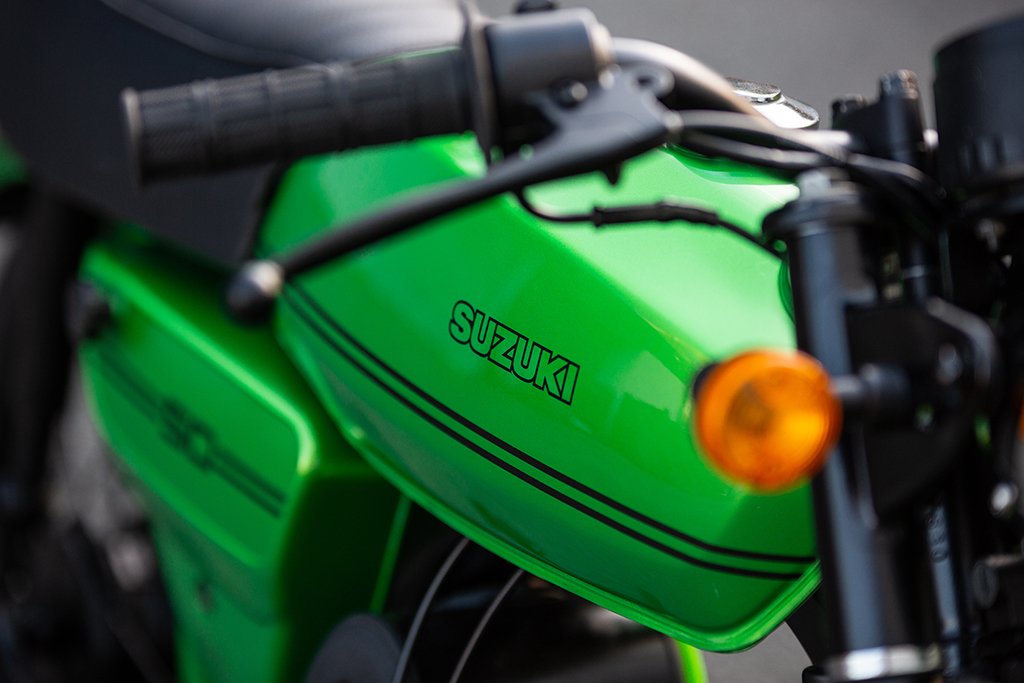
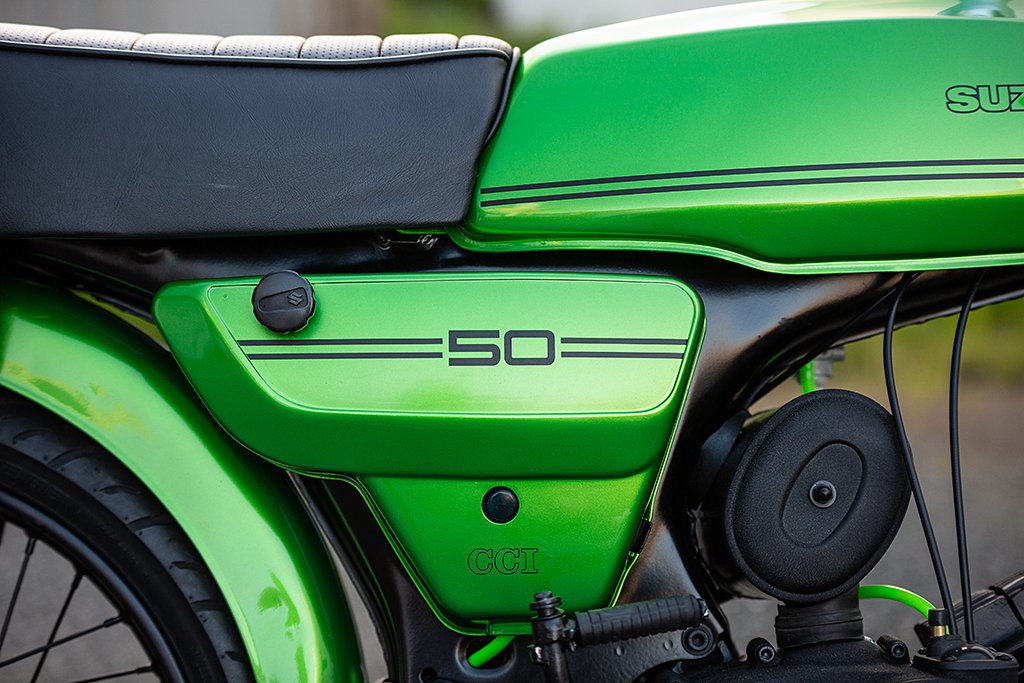
Been building this up since picking it up from @Bellicose at the end of August, so happy to be back on an A50! Thanks again to @Bellicose, @64valiant, @Truenotch, @Archetype, @MichaelJFox, @MopedNZ, @Shakotom, @GuyWithAviators and everyone else who helped out along the way! 77 Suzuki A50, 45mm K50 big bore kit, Jamarcol expansion exhaust, lots of new genuine parts and a lot of other things done. Will post up some pics of the build later probably
1 point
-
Can't believe how good it looks takes me back I use to build those cars I was the trimmer and a made quiet a few parts for the car ! Yes the dash was out of a camria they gave trouble from the start door handles etc were mirage . Car looks great keep up the good work Wayne maisey1 point
-
1 point
-
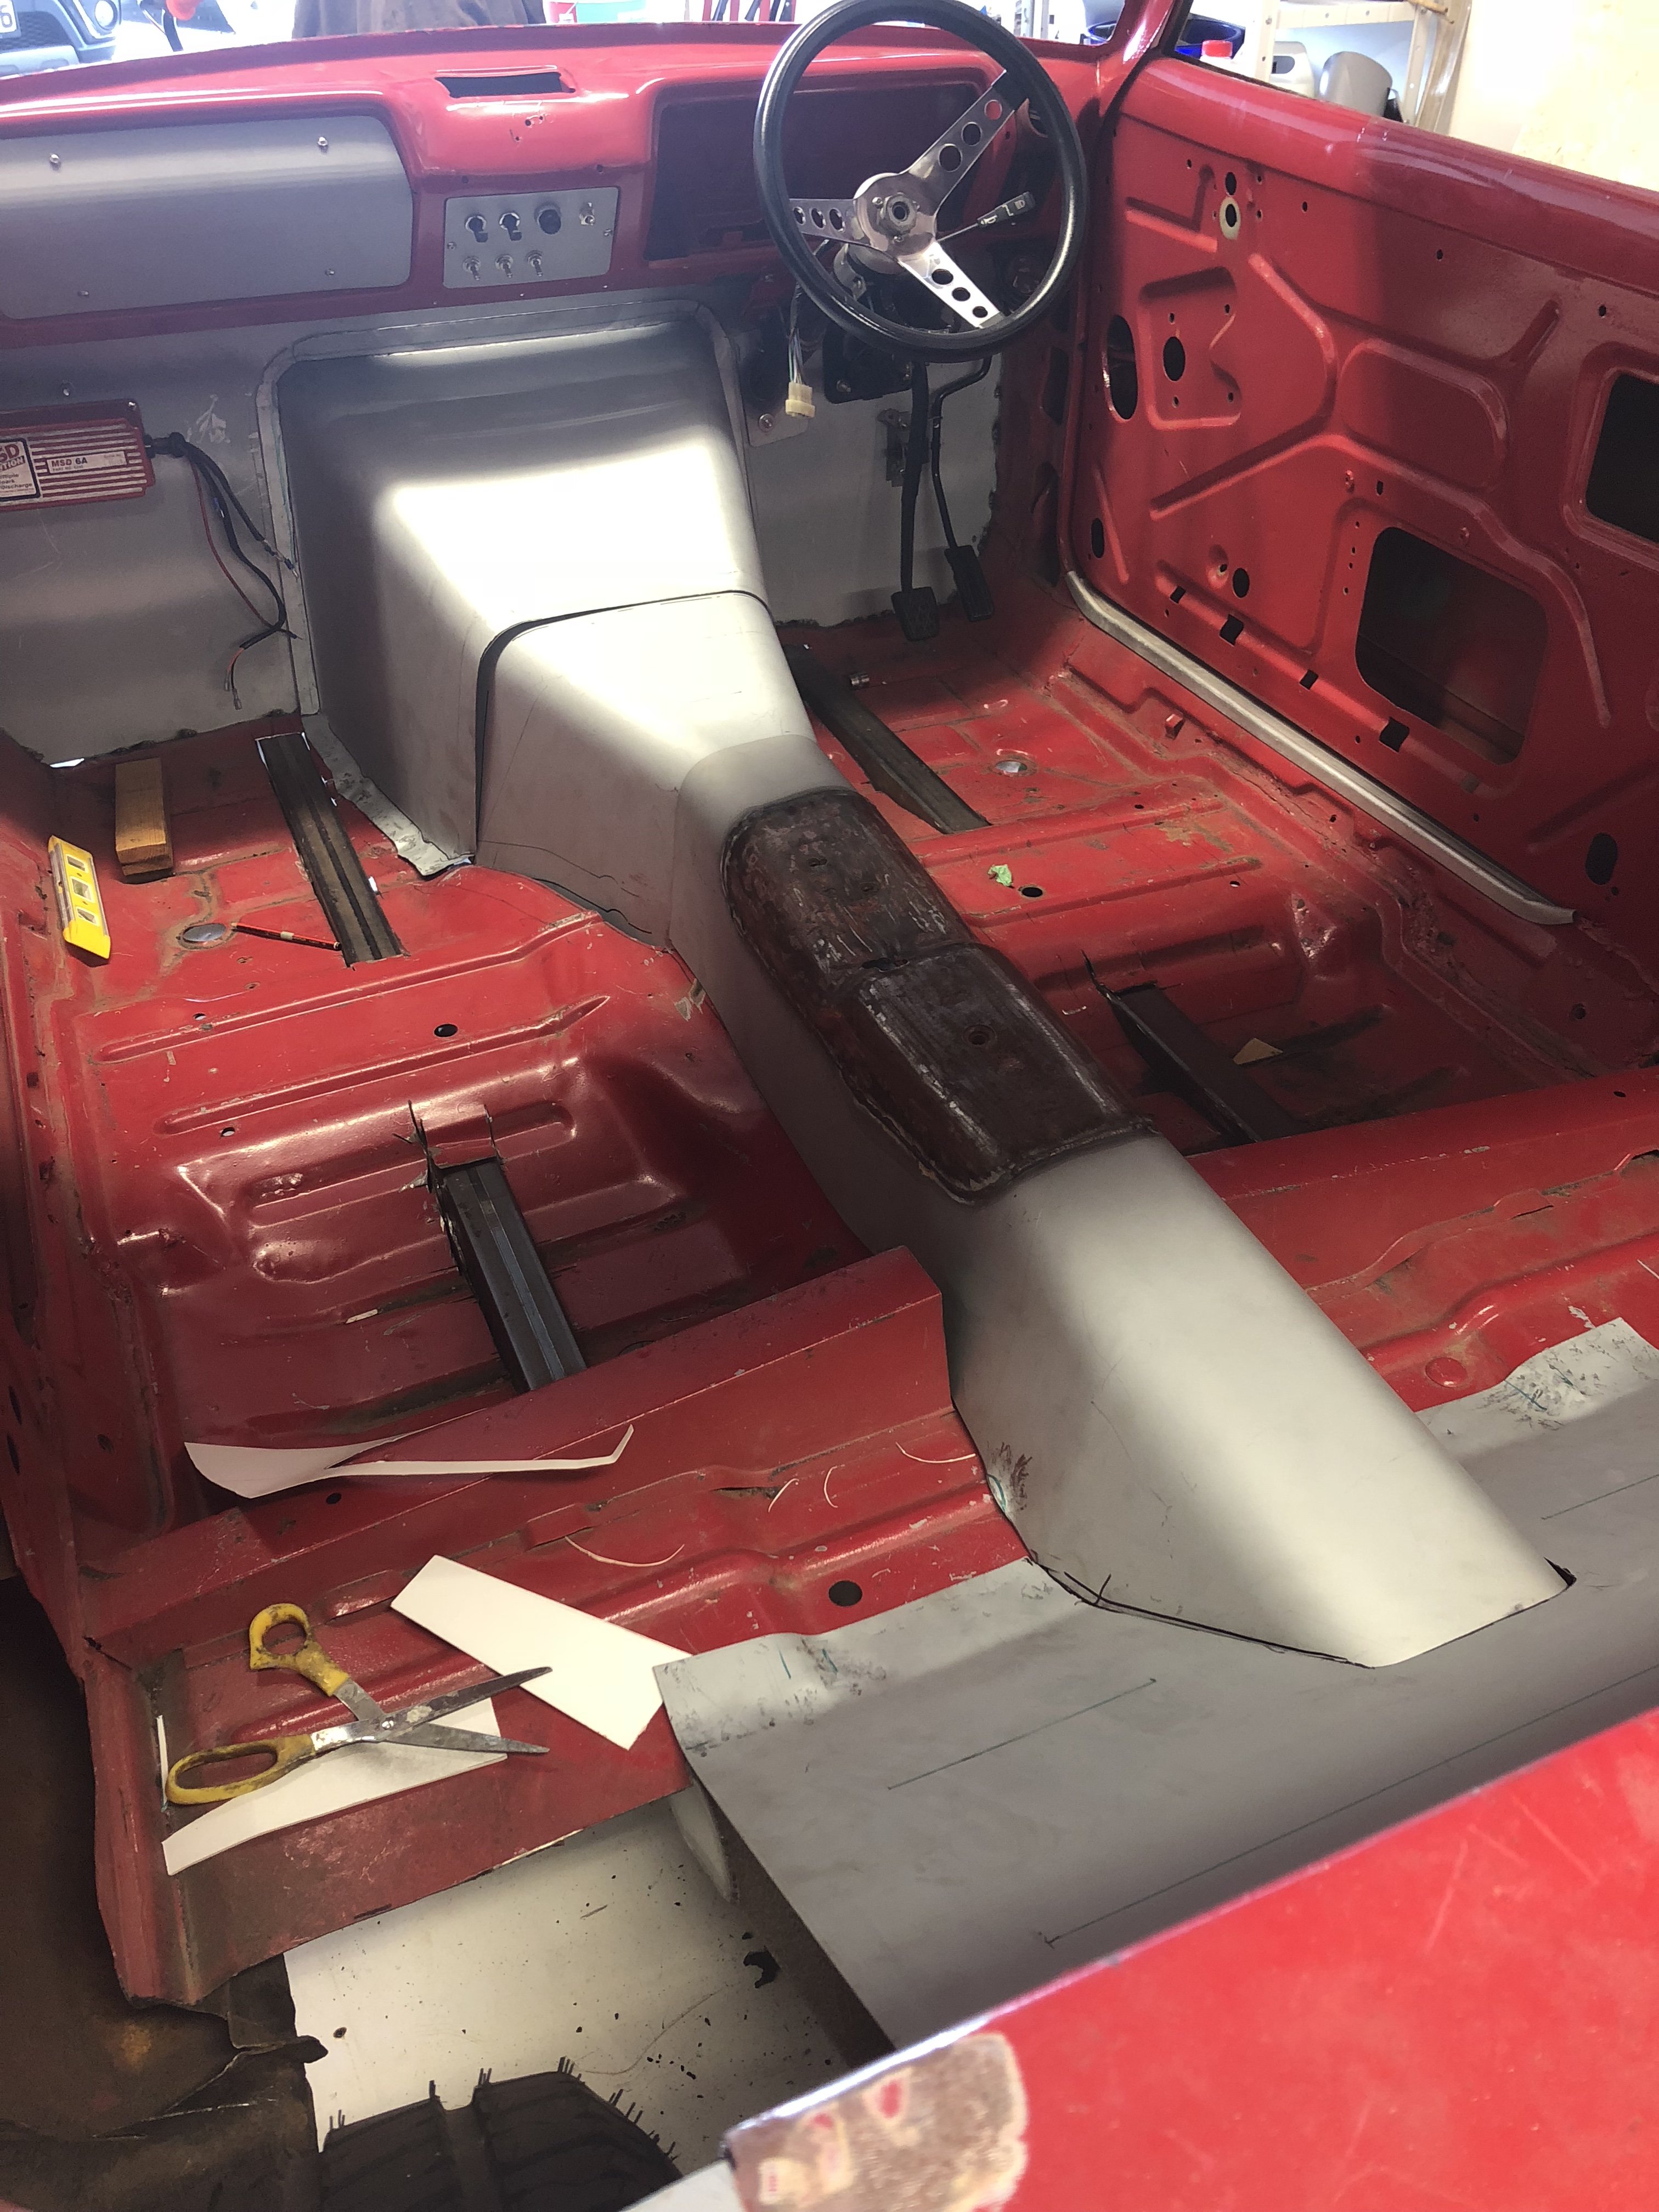
Vivas got such an awkward floor pan.
1 point
-
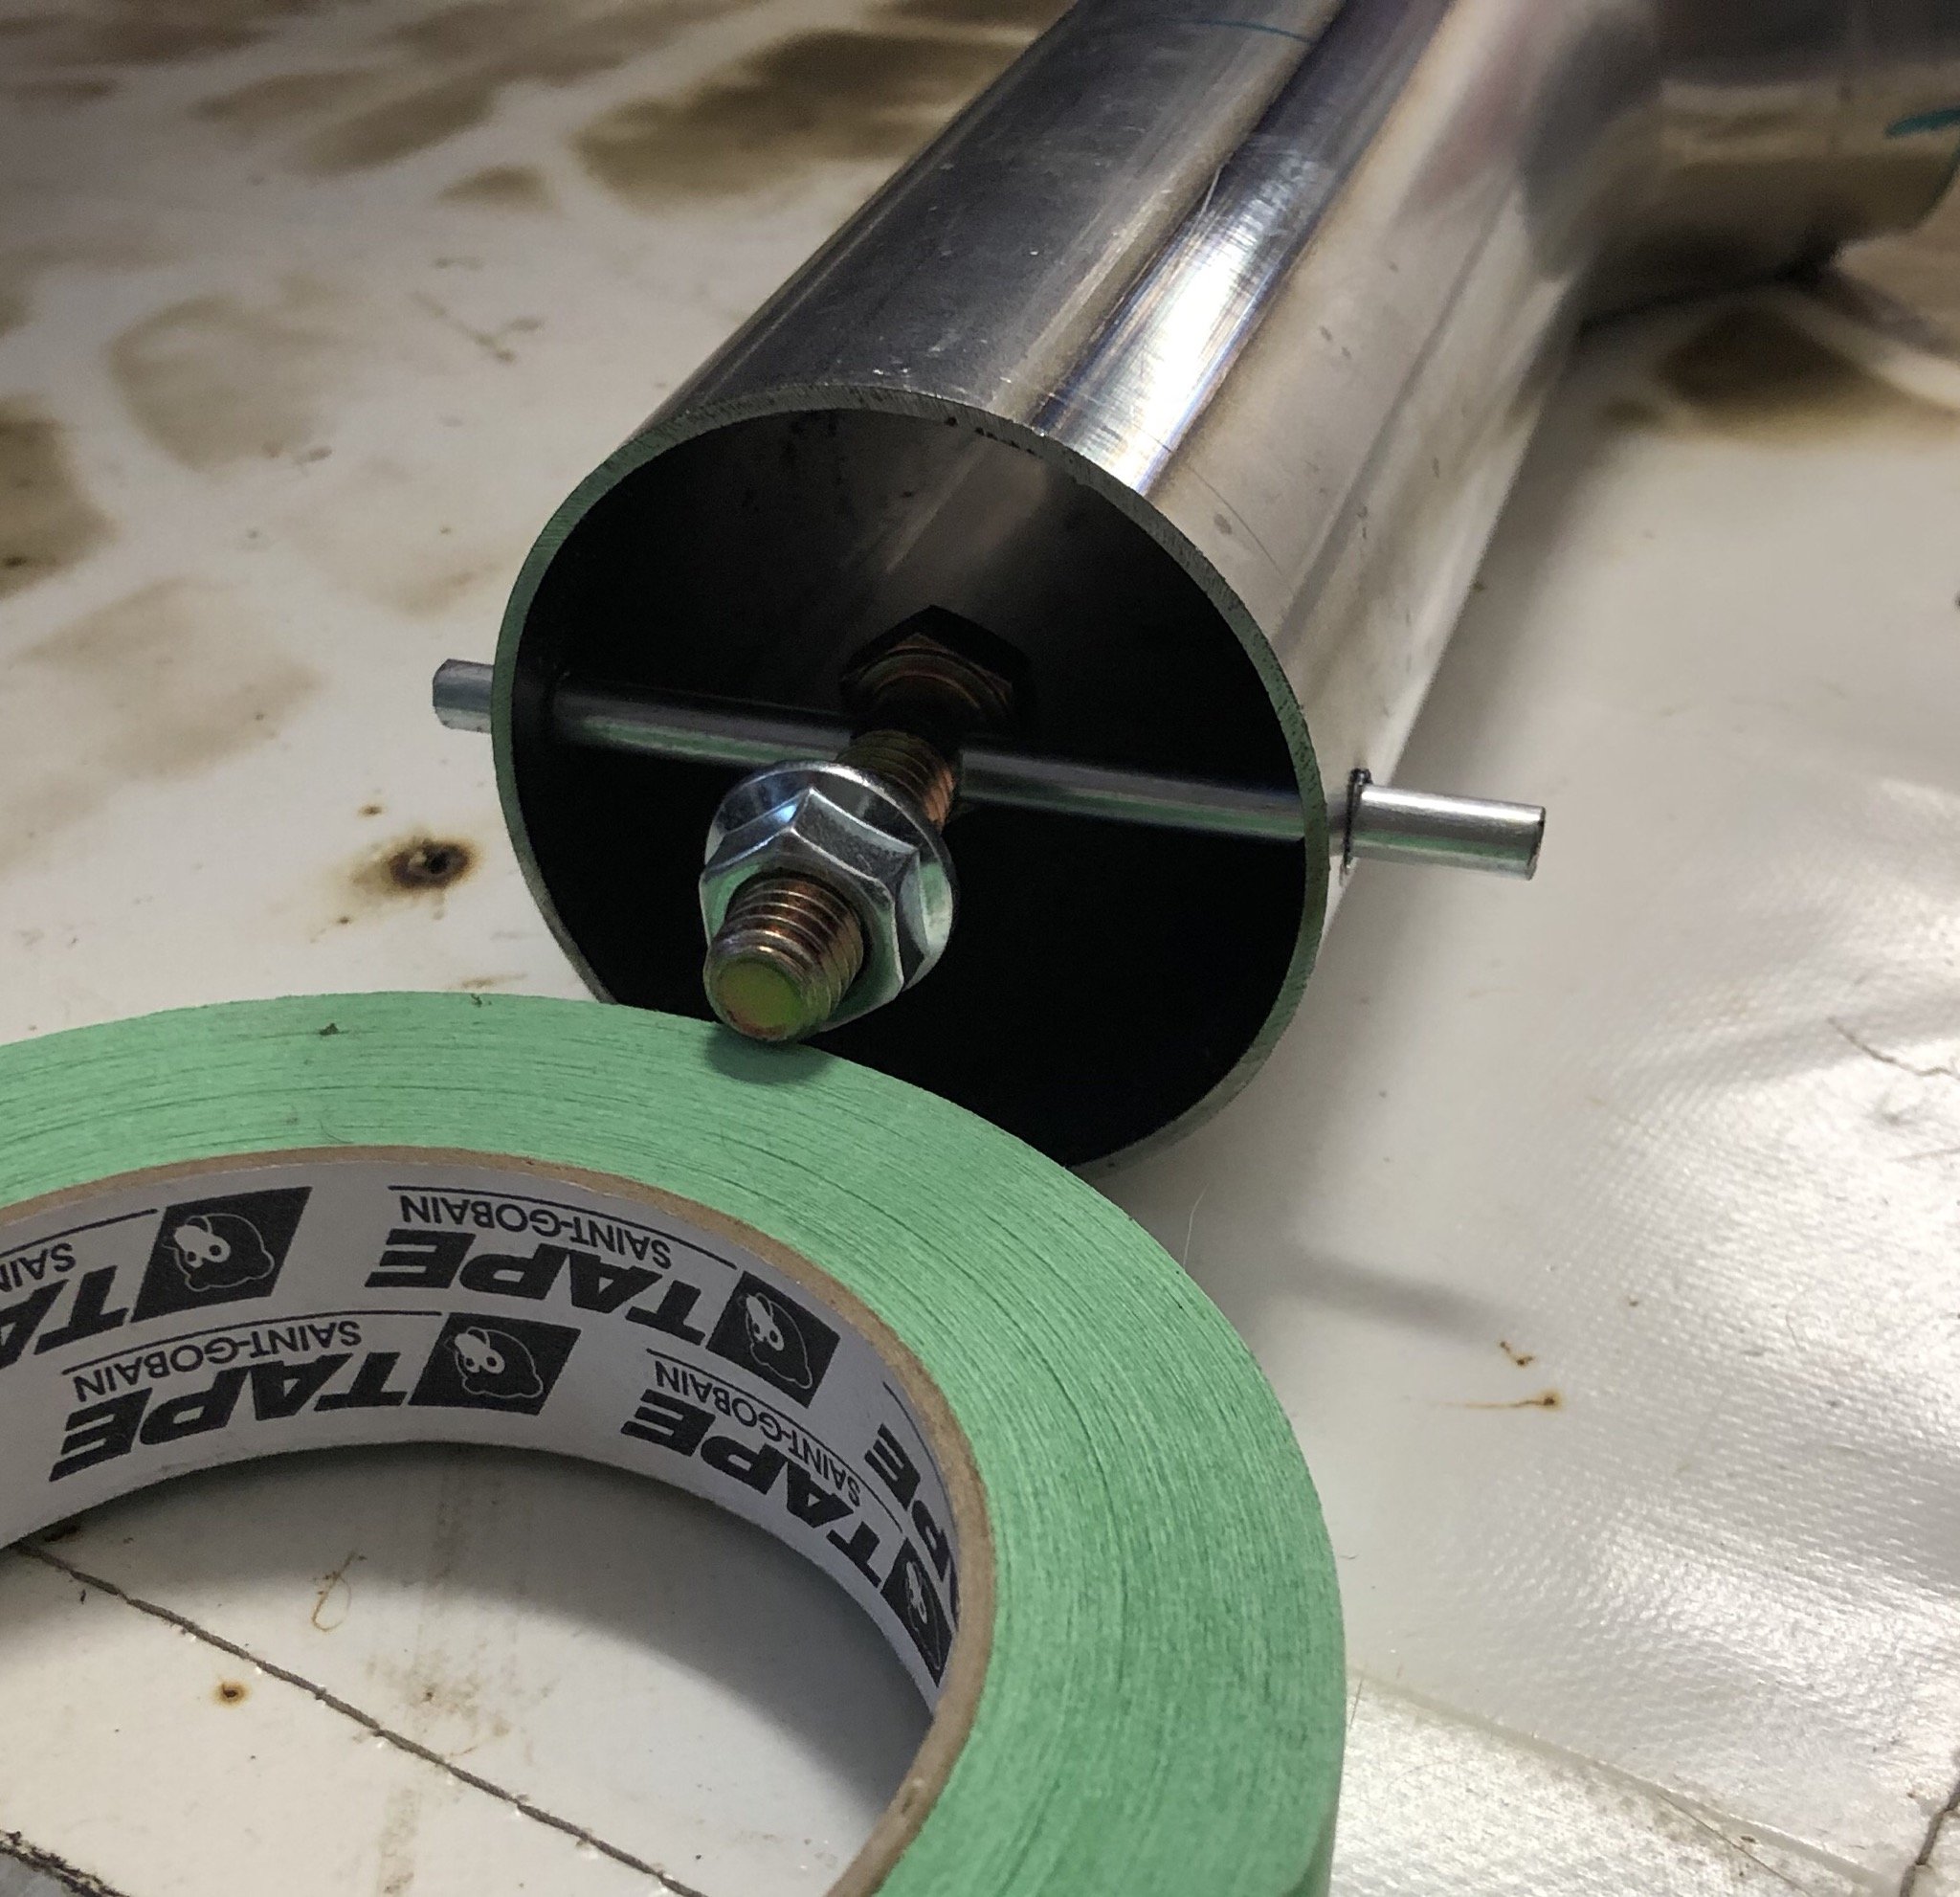
Here is my cheap version of header cut offs. old school idea..weld the bolt to the rod and weld the end of the rods..cut off excess. make up 5 mill thick circle blank off with bolt hole. undo one nut and it’s full noise.
1 point
-
oh man, i definitely need to remember these meets. drive the 1 minute down the road to spitfire square and add the crown to that sweet lineup of big body toyotas1 point
-
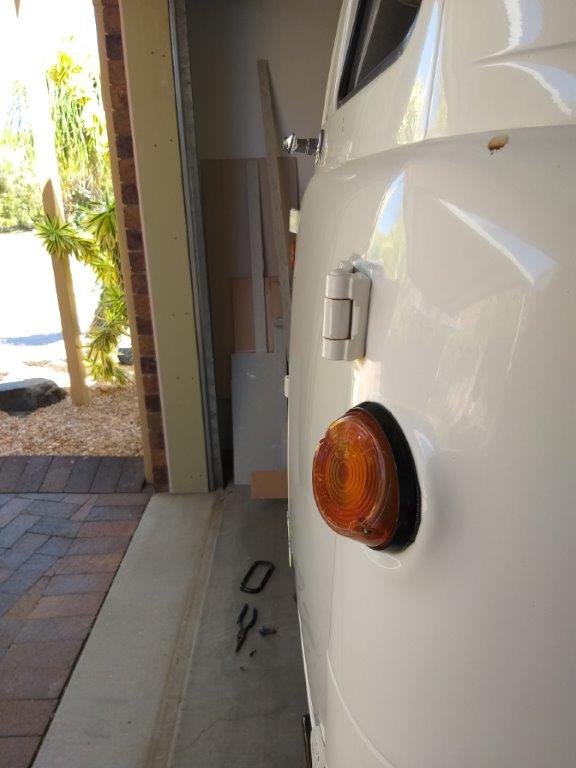
Got a few minutes in the shed yesterday arvo and spotted a few things that need doing. Looks like the rear indicator lights have been fitted incorrectly. The van looks cross eyed at the moment. Sun visors are flopping about and only have a single self tapper holding them in. I found the other self tappers in a clearly marked zip lock bag in the box of bits and pieces that came with the van. There must be a reason why these haven't been installed. Also in the box of spares are the original back bumperettes which I'm keen to fit. Will get on to these when I next get a gap. Many other things still to add to the list.
1 point

.thumb.jpeg.384ff72c8d2b0ee0d34a7bdedb55bdcf.jpeg)


This leaderboard is set to Auckland/GMT+12:00