
Leaderboard


Popular Content
Showing content with the highest reputation on 11/01/19 in all areas
-
So as it turns out there is NOTHING in the way of a big bore kit for an A50 available, I can find listings for them from no later than 2005 so a bolt on A50 kit quickly became not an option. But I did discover that until recently Suzuki made another model, the K50 that was essentially a 3 or 4 speed low power version that was popular in Europe, main difference seemed to be that the K50 used a reed valve set up instead of the rotary disc valve found in the A series. Pics looked good so figured the 45mm kit would be good to go, so I ordered a kit from Denmark along with a new head, center stand, kick starter and other bits, also learnt that Danish KR is worth almost twice the NZ$ of Swedish KR Looks good right? Wrong Close to throwing a cover over it and walking away for a while a mate took my factory cylinder, welded on a new fin and said he'd hone it out after I ported it to try and get rid of at least the worst of the chamfering gouging. WIN! Or at least a win until I started trying to port it... The cylinder wall was paper thin and crumbly between the bore and the port, even a light touch with the die grinder just ripped chunks off So back to the K50 option... Black K50, Green A50 CNC plasma cut adaptor Cylinder skirt hit the crank webs and the cooling fins fouled the engine cases, so a bit of high precision engineering took place Cut a couple 1.6mm base gaskets to get the port timing right Not great! But we can fix that, we have the technology The kit head seemed to have come from a soup bowl factory Close to 3mm came off that! Fitted the clutch cover etc and gave it a couple kicks to check compression Not great, but better than the factory 95psi rating at least. Fired it up at 10:30pm one night, in the house, using air freshener as engine start so I didn't break my Mrs no petrol or engine start in the house rule... 2nd kick and it burst into life!!! And since it was so late, the exhaust port was all the exhaust it had and I didn't warn her, my Mrs just about had kittens hahahaha Spare room smelt like a warm summer breeze and I'm now banned from the air freshener, but I was so happy to hear it run!! Next day I fitted the pipe and pushed it outside, tipped a few liters of premix in and ran it for a couple heat cycles, once the rings bedded in a bit compression came up to closer to 120psi too. Fuel tap leaked like a sieve though. Sorted! Still a bit more to cover on the engine, it's actually still an ongoing thing, but you've read enough of my drivel for now lol18 points
-
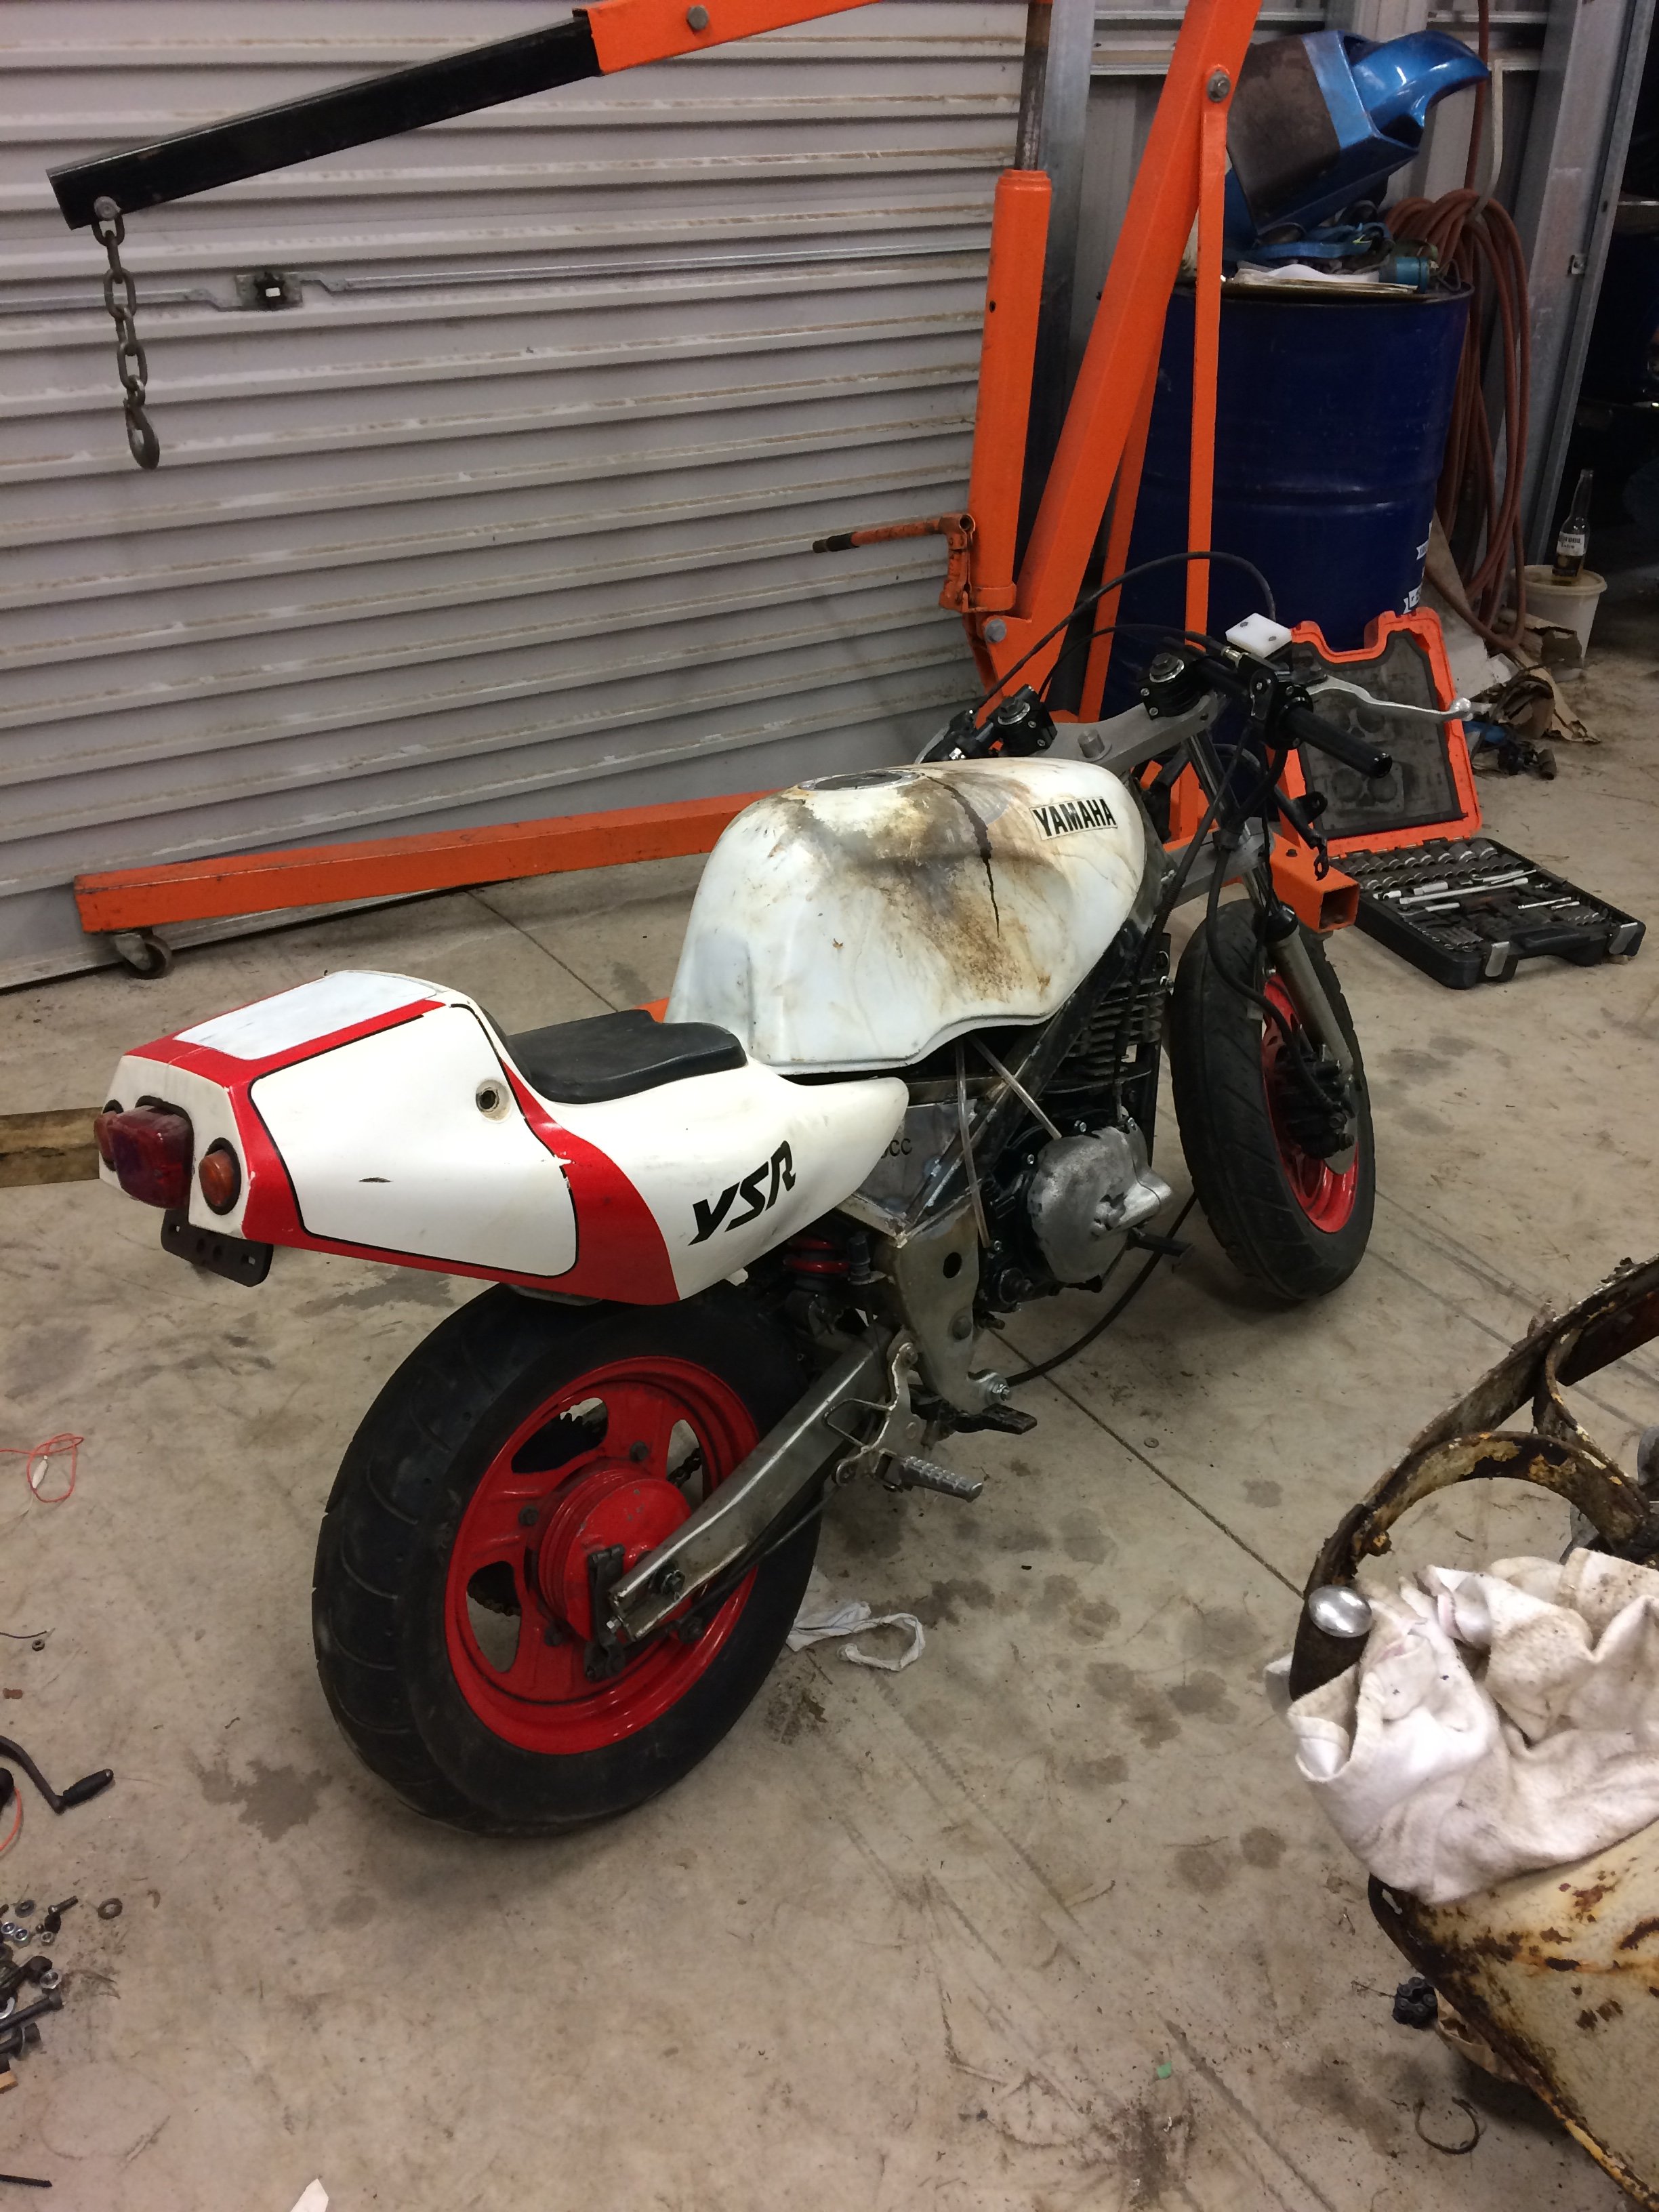
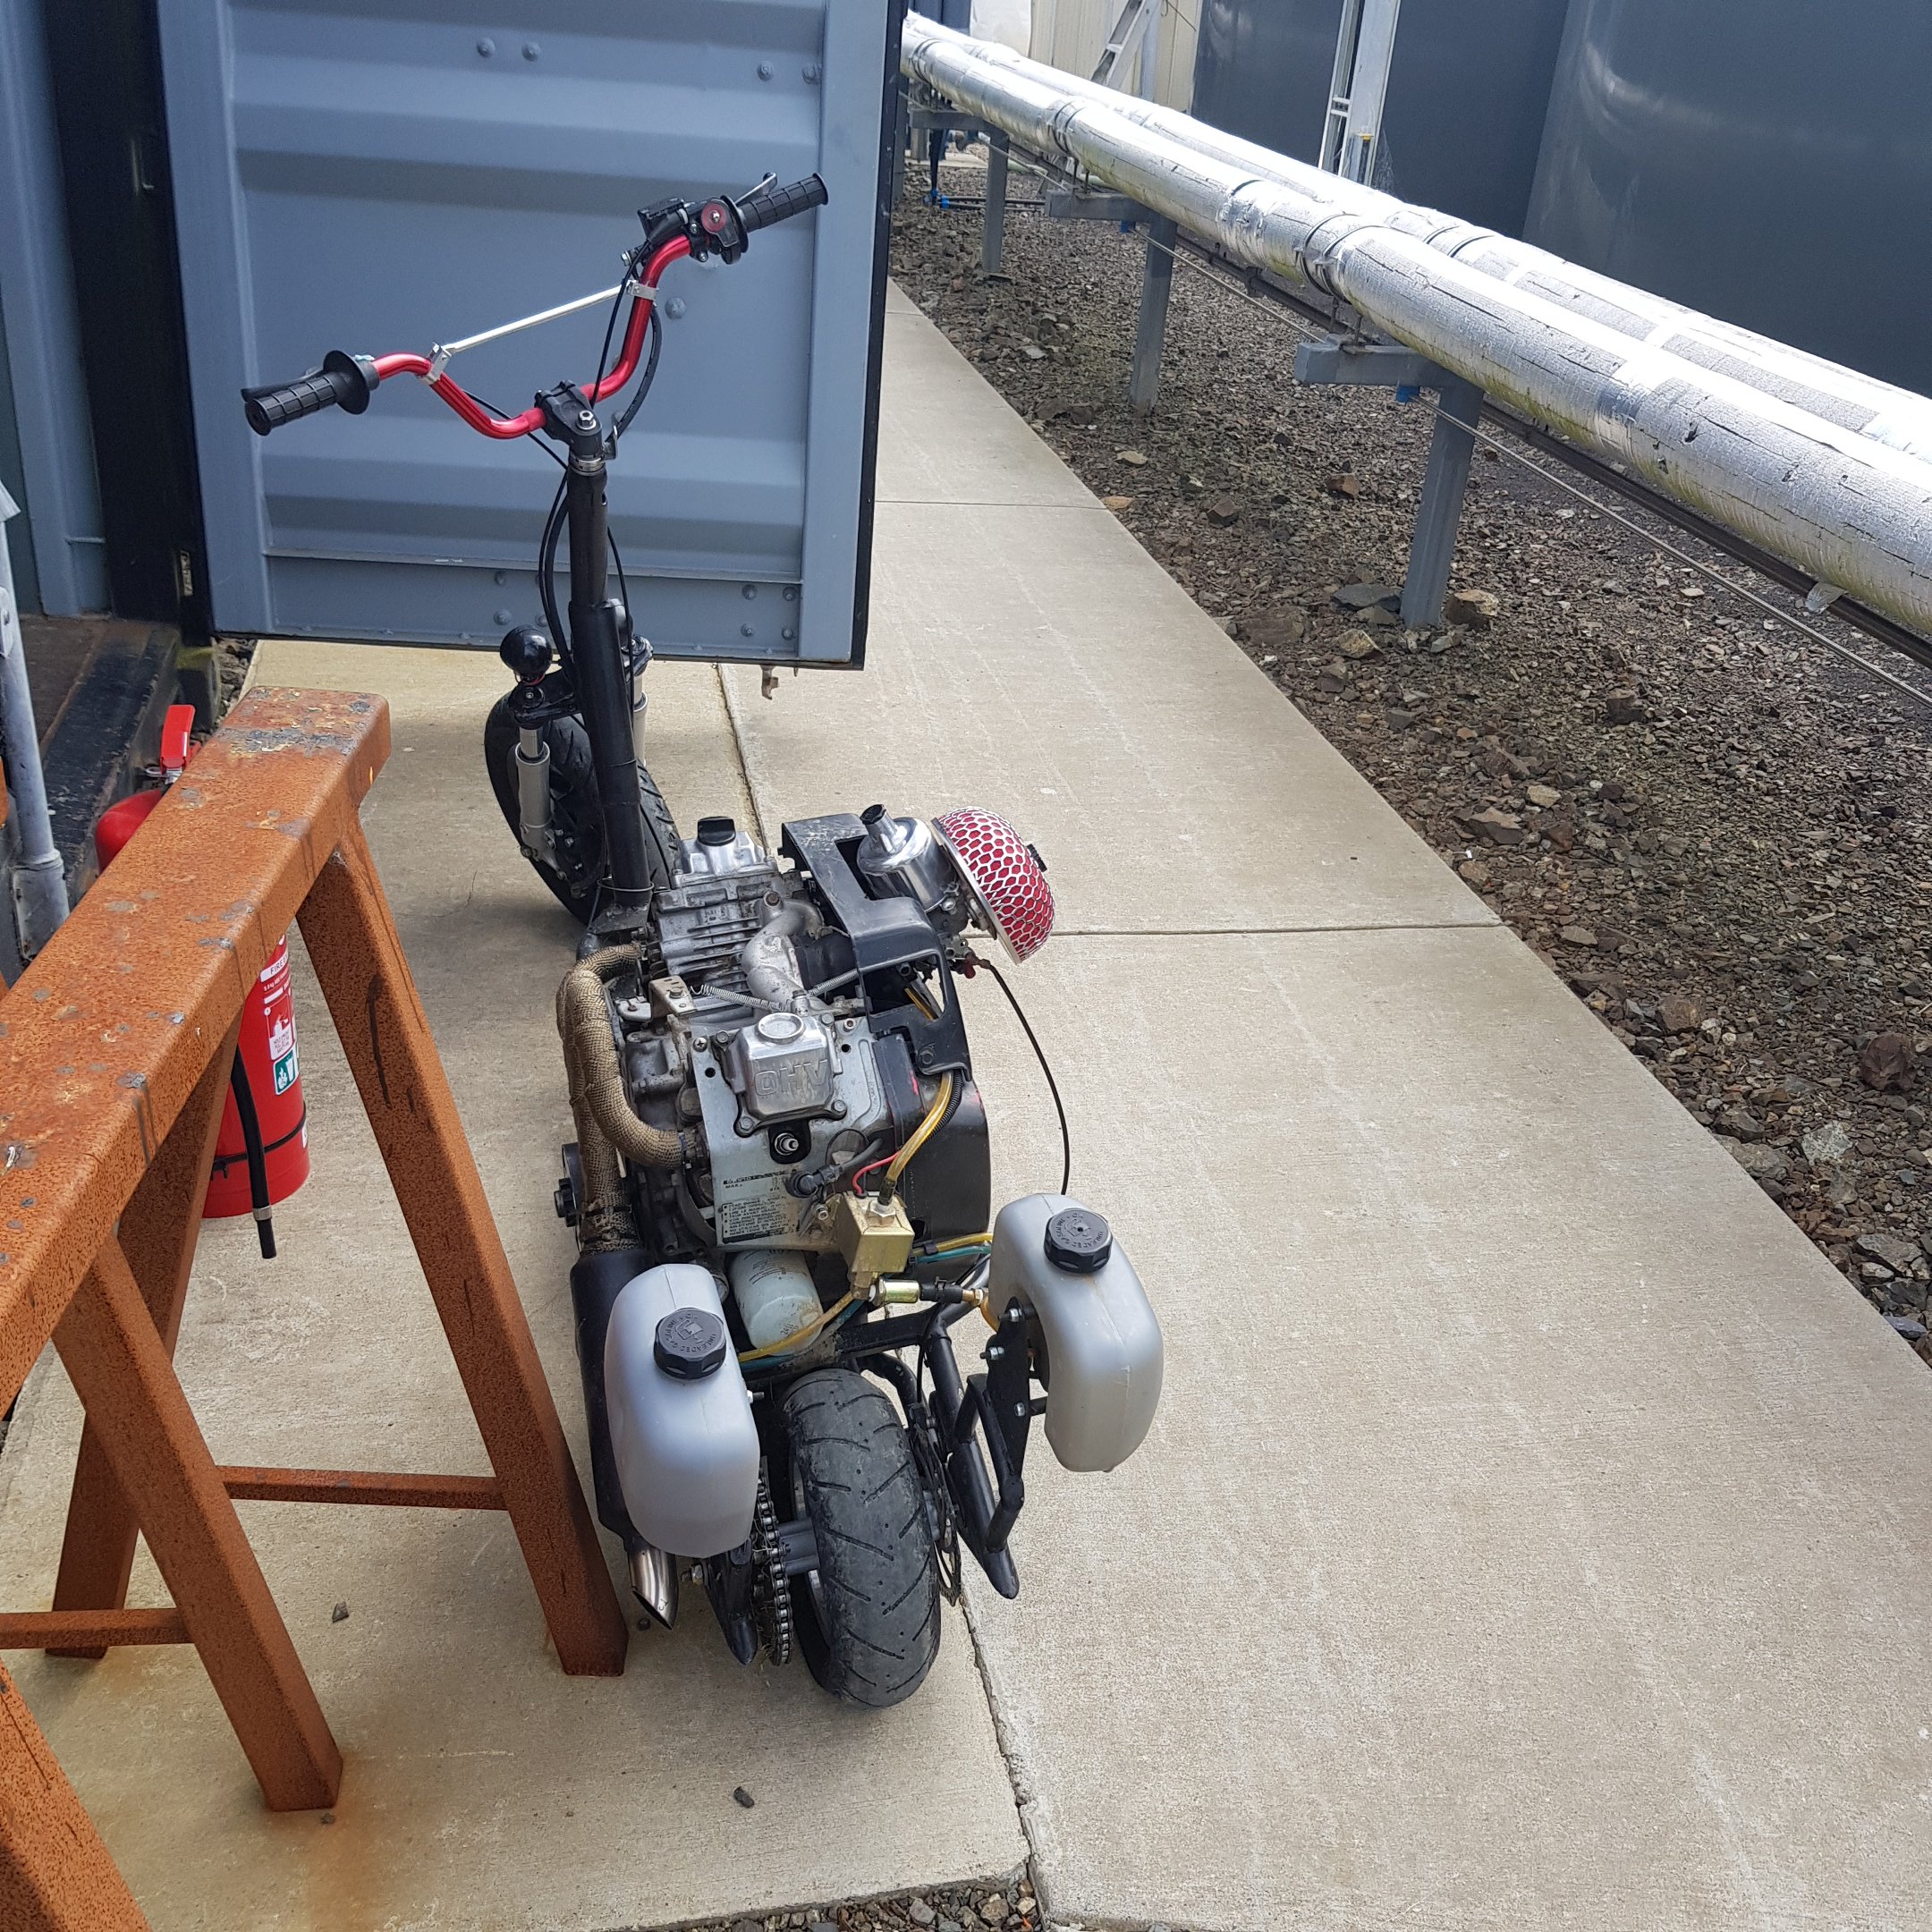
Plan is to finish wiring Richies KP then hit this thing hard. For now have swapped out the front carpet as it was a bit shit, and fitted the lights. Its back in storage now. There's a looooong way to go.10 points
-
While we're on the subject of human contact points might as well cover the bars. The A range had 3 different bar options, bug antenna, MX and low bar, of course this came with the most common option, bug antenna! Tried out a random China scooters bars from my junk pile Close, but no. Then @GuyWithAviators offered a pair of bars from a Vmoto Millan of all things, worth a try That'll do it! But that speedo looks rude sitting up there! Much better! And as luck would have it the Vmotto bars are pretty much the same as the rare A50 low bars, so when I accidentally ordered a low bar clutch and throttle from Suzuki they fitted right on without any shortening! @chris r gave me a hand to solder up the end of the new brake cable though.9 points
-
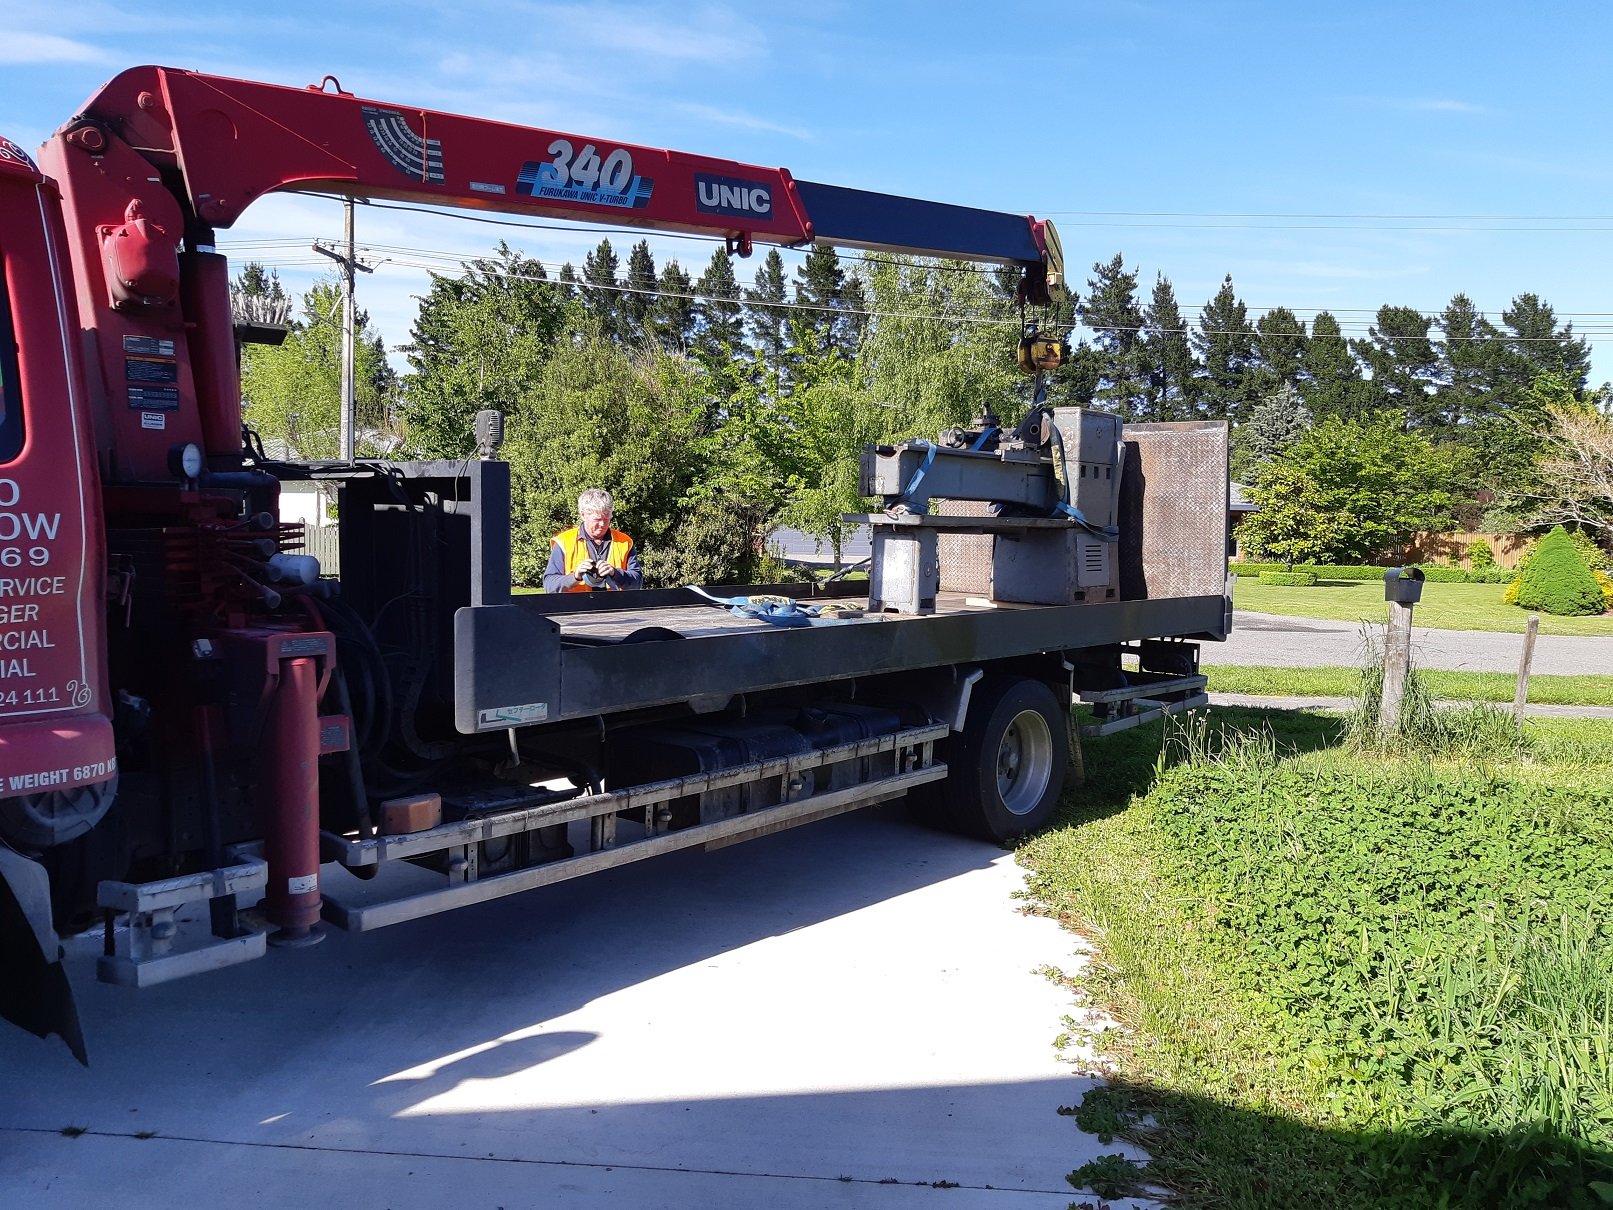
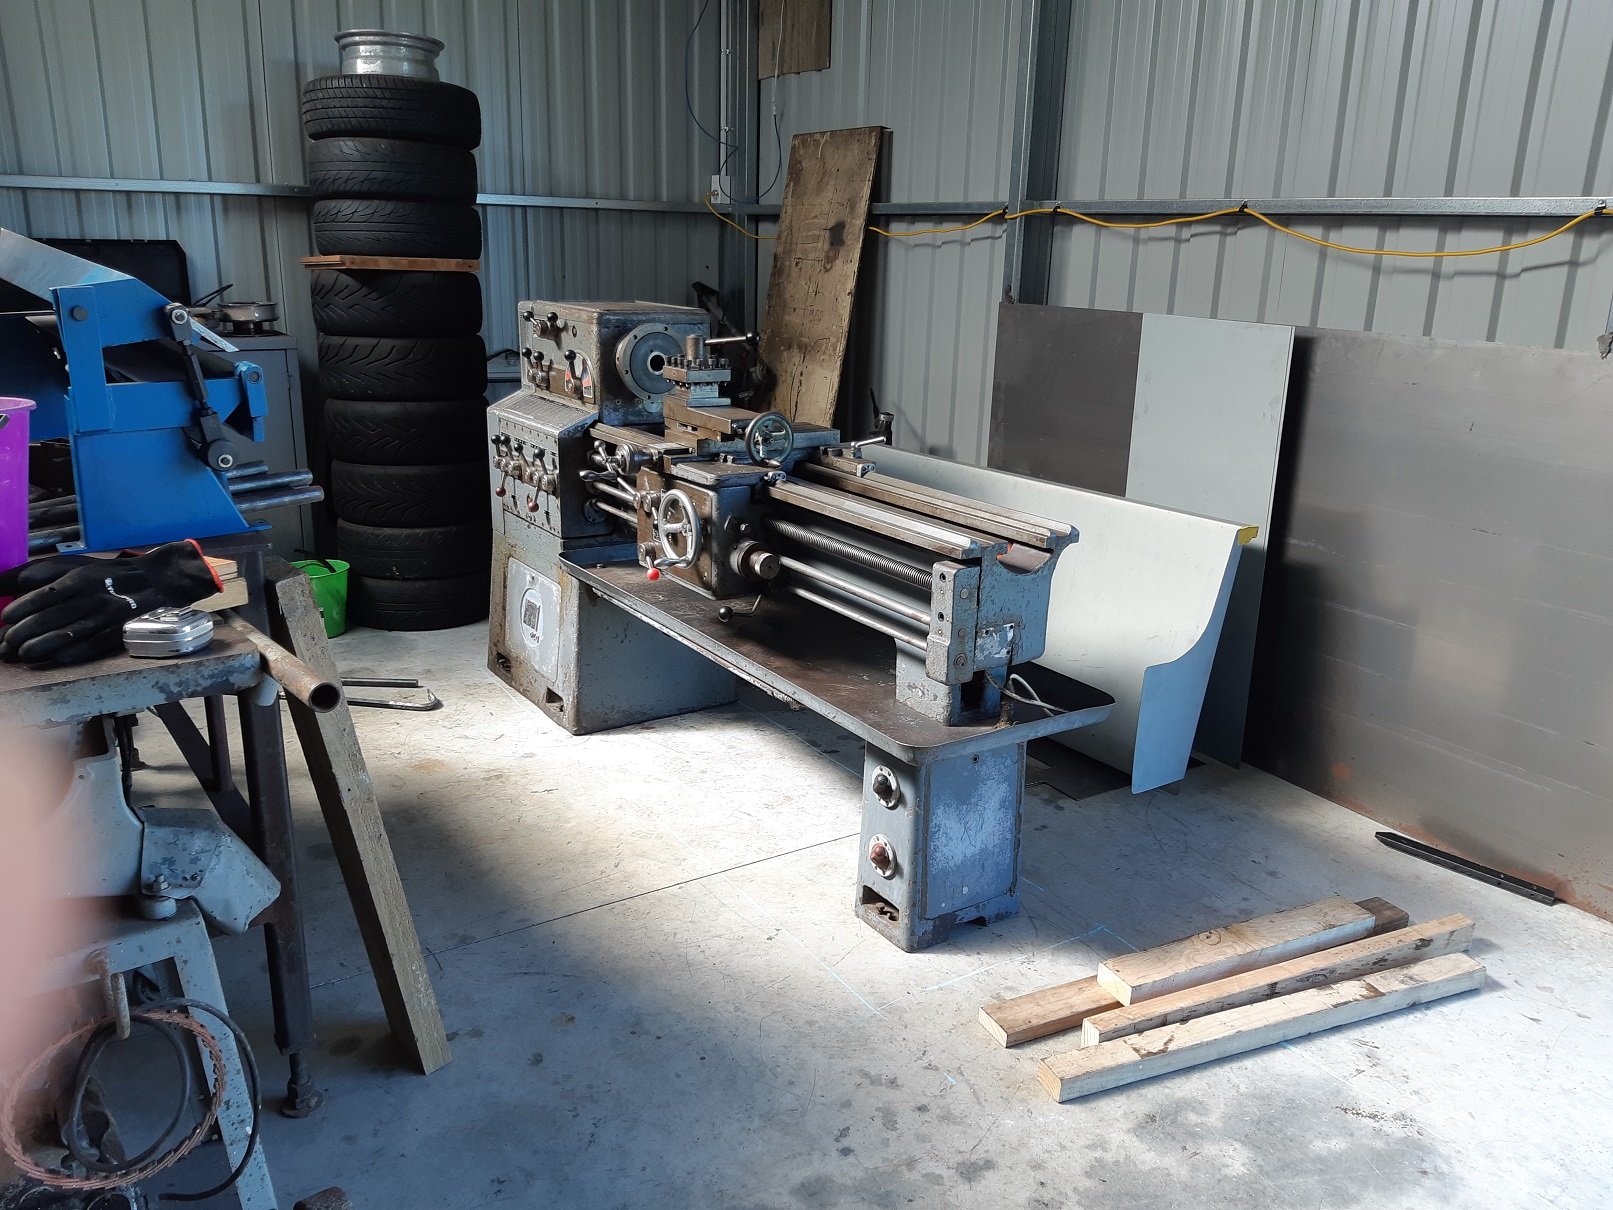
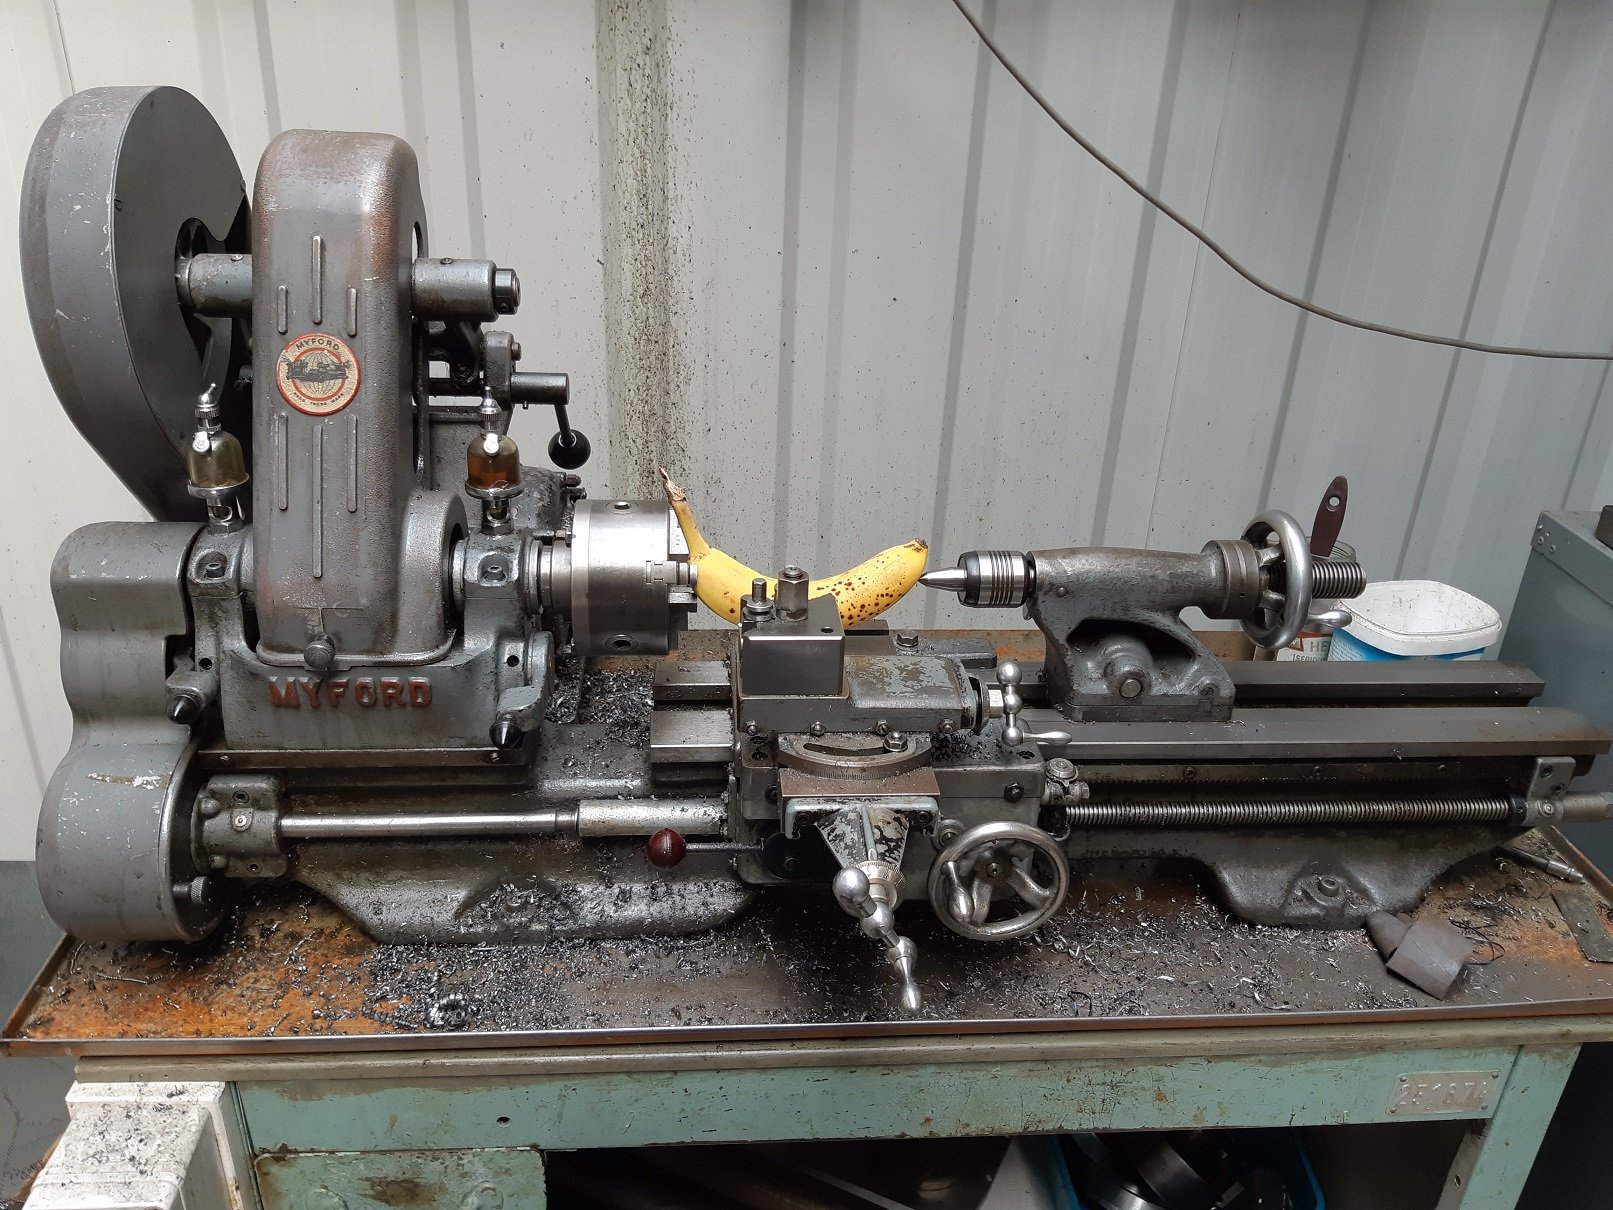
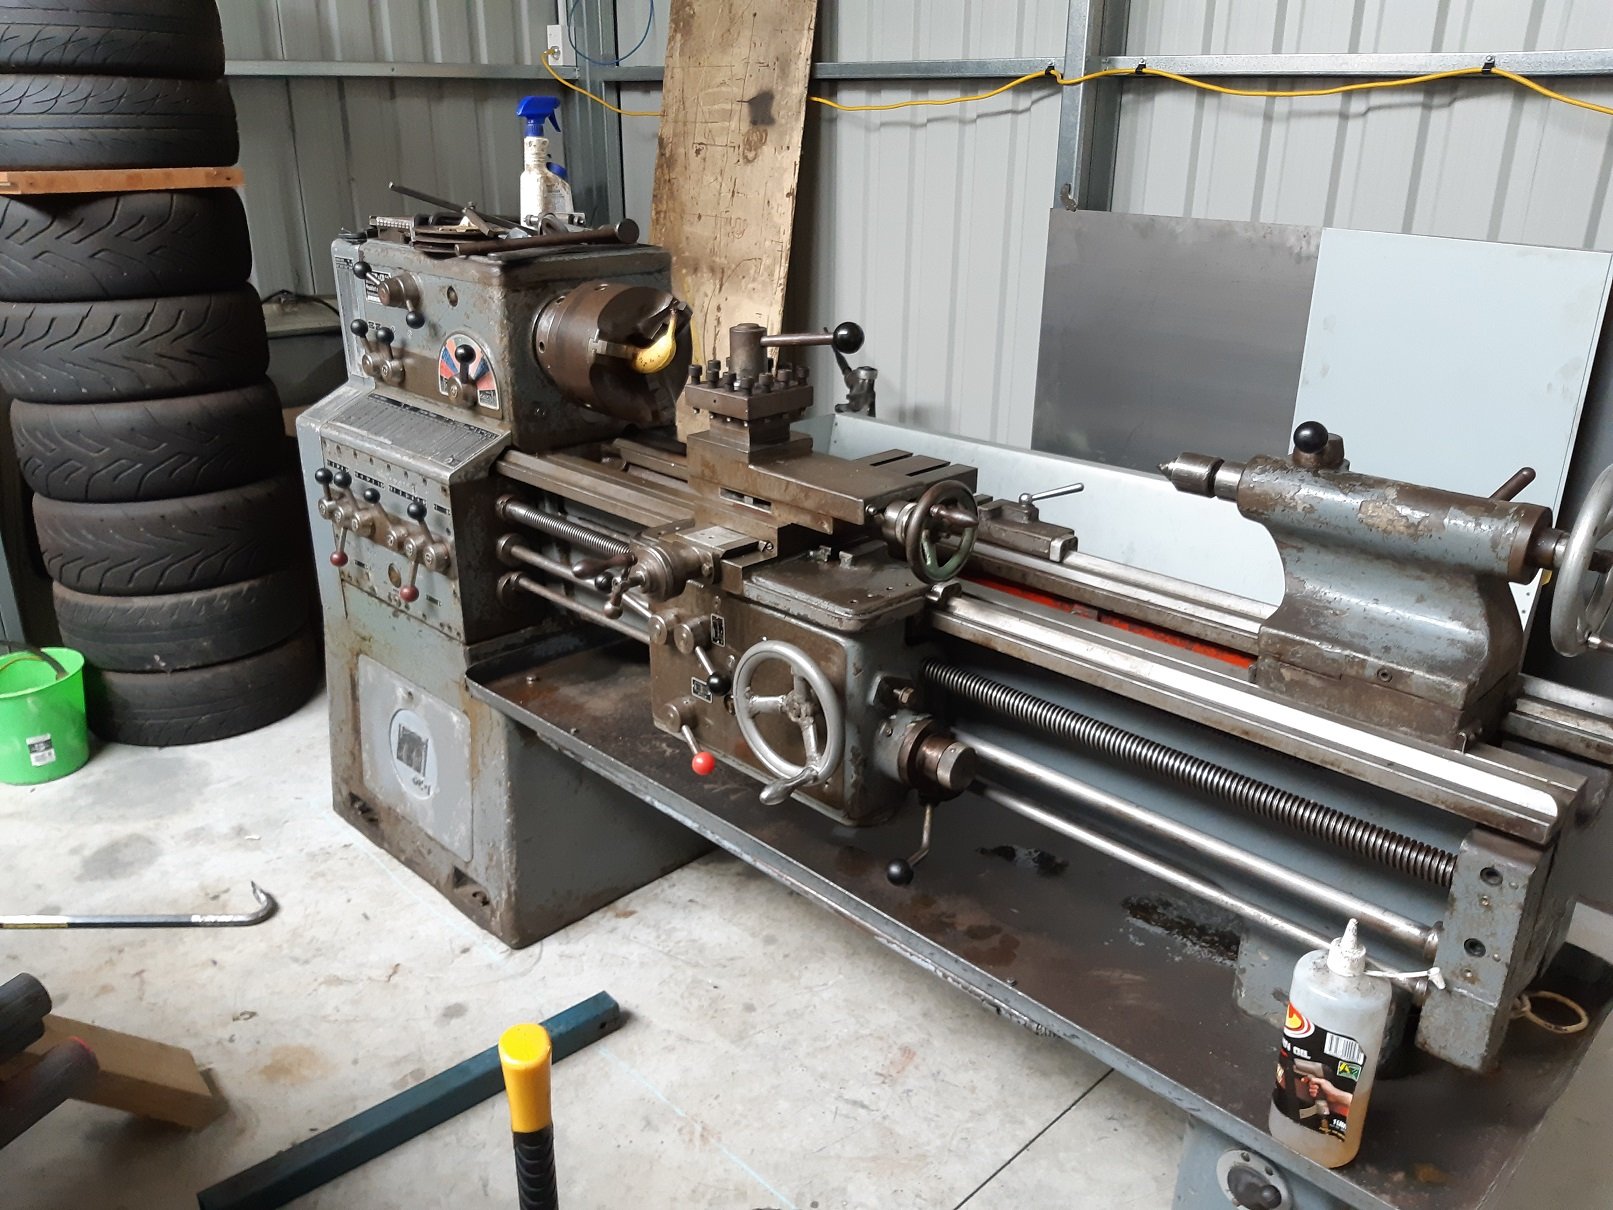
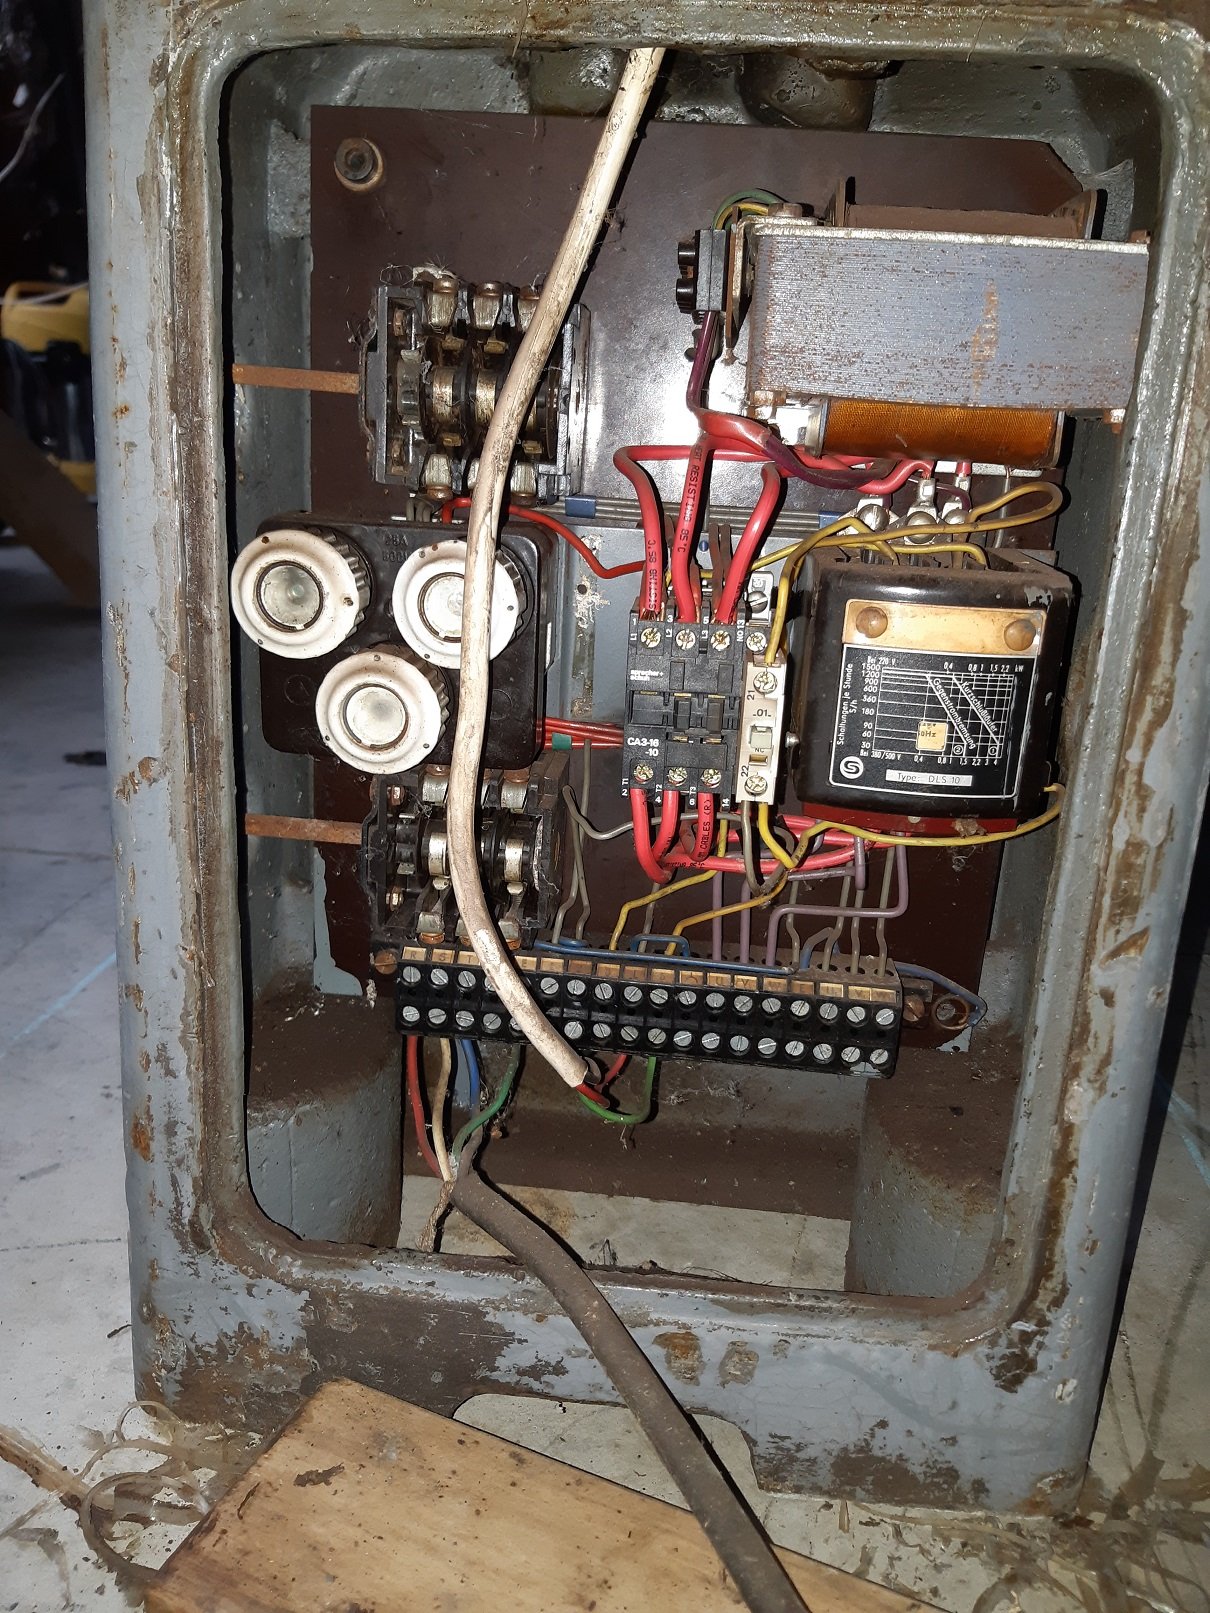
So I got this. It was so close to home, only 3.6km, I just had to click buy now. I got the local towie with his HIAB to pick it up and move it. It took ~1.5 hours. $120. We had to do a bit of manual handling because the truck could not get close enough and the crane boom was too high to fit in the garage door. At the pickup, the old fulla used/abused his engine crane to get it to the door. Then used the hiab to drag it over some bits of ply so it was close enough to lift. At my place, ideally he needed to park across my garage door.... but the driveway doesn't really let you do that. So we ended up with this compromise. My garage door is 3m, but the crane only barely could get under it. We got the headstock in, and placed it on some 25mm round bar. Then picked up the tailstock end and got it just in the door. Once it was in, I found it was pretty easy to roll on the bars. I took some size comparison photos to compare with the myford. And "What's behind the SCARY DOOR"? Buuuuuhhhh... Obviously it's 3 phase. It came with a motor, that was not installed, because he was going to install a different one. I'm going to see how I go with a 2.2HP single phase motor. I'll just wire it independently... But back to the scary door. It was sealed closed with some old as silicone. The black cable is the 3 phase feed. The white cable goes to two limit switches on two of the feed screws. The cabling to the motor comes out from behind this lot. The thing in the middle appears to be newer than everything else. As far as I can tell, it's an anti tamper breaker/switch, I believe the door presses down on the white bit when it's closed. That box to the right.... no fucking idea. Those three round things on the left... uuuh, fuses maybe?? There are two big rotary switches. Not sure what both do. I assume one makes the motor go. The other could be reverse maybe? They have no names, just 1 and 0. And a transformer. But why?? I've found fuck all documentation. I'm not even sure what the model is. They don't seem to have model numbers on their lathes. I suspect it might be a version of the M0 model.
 8 points
 -
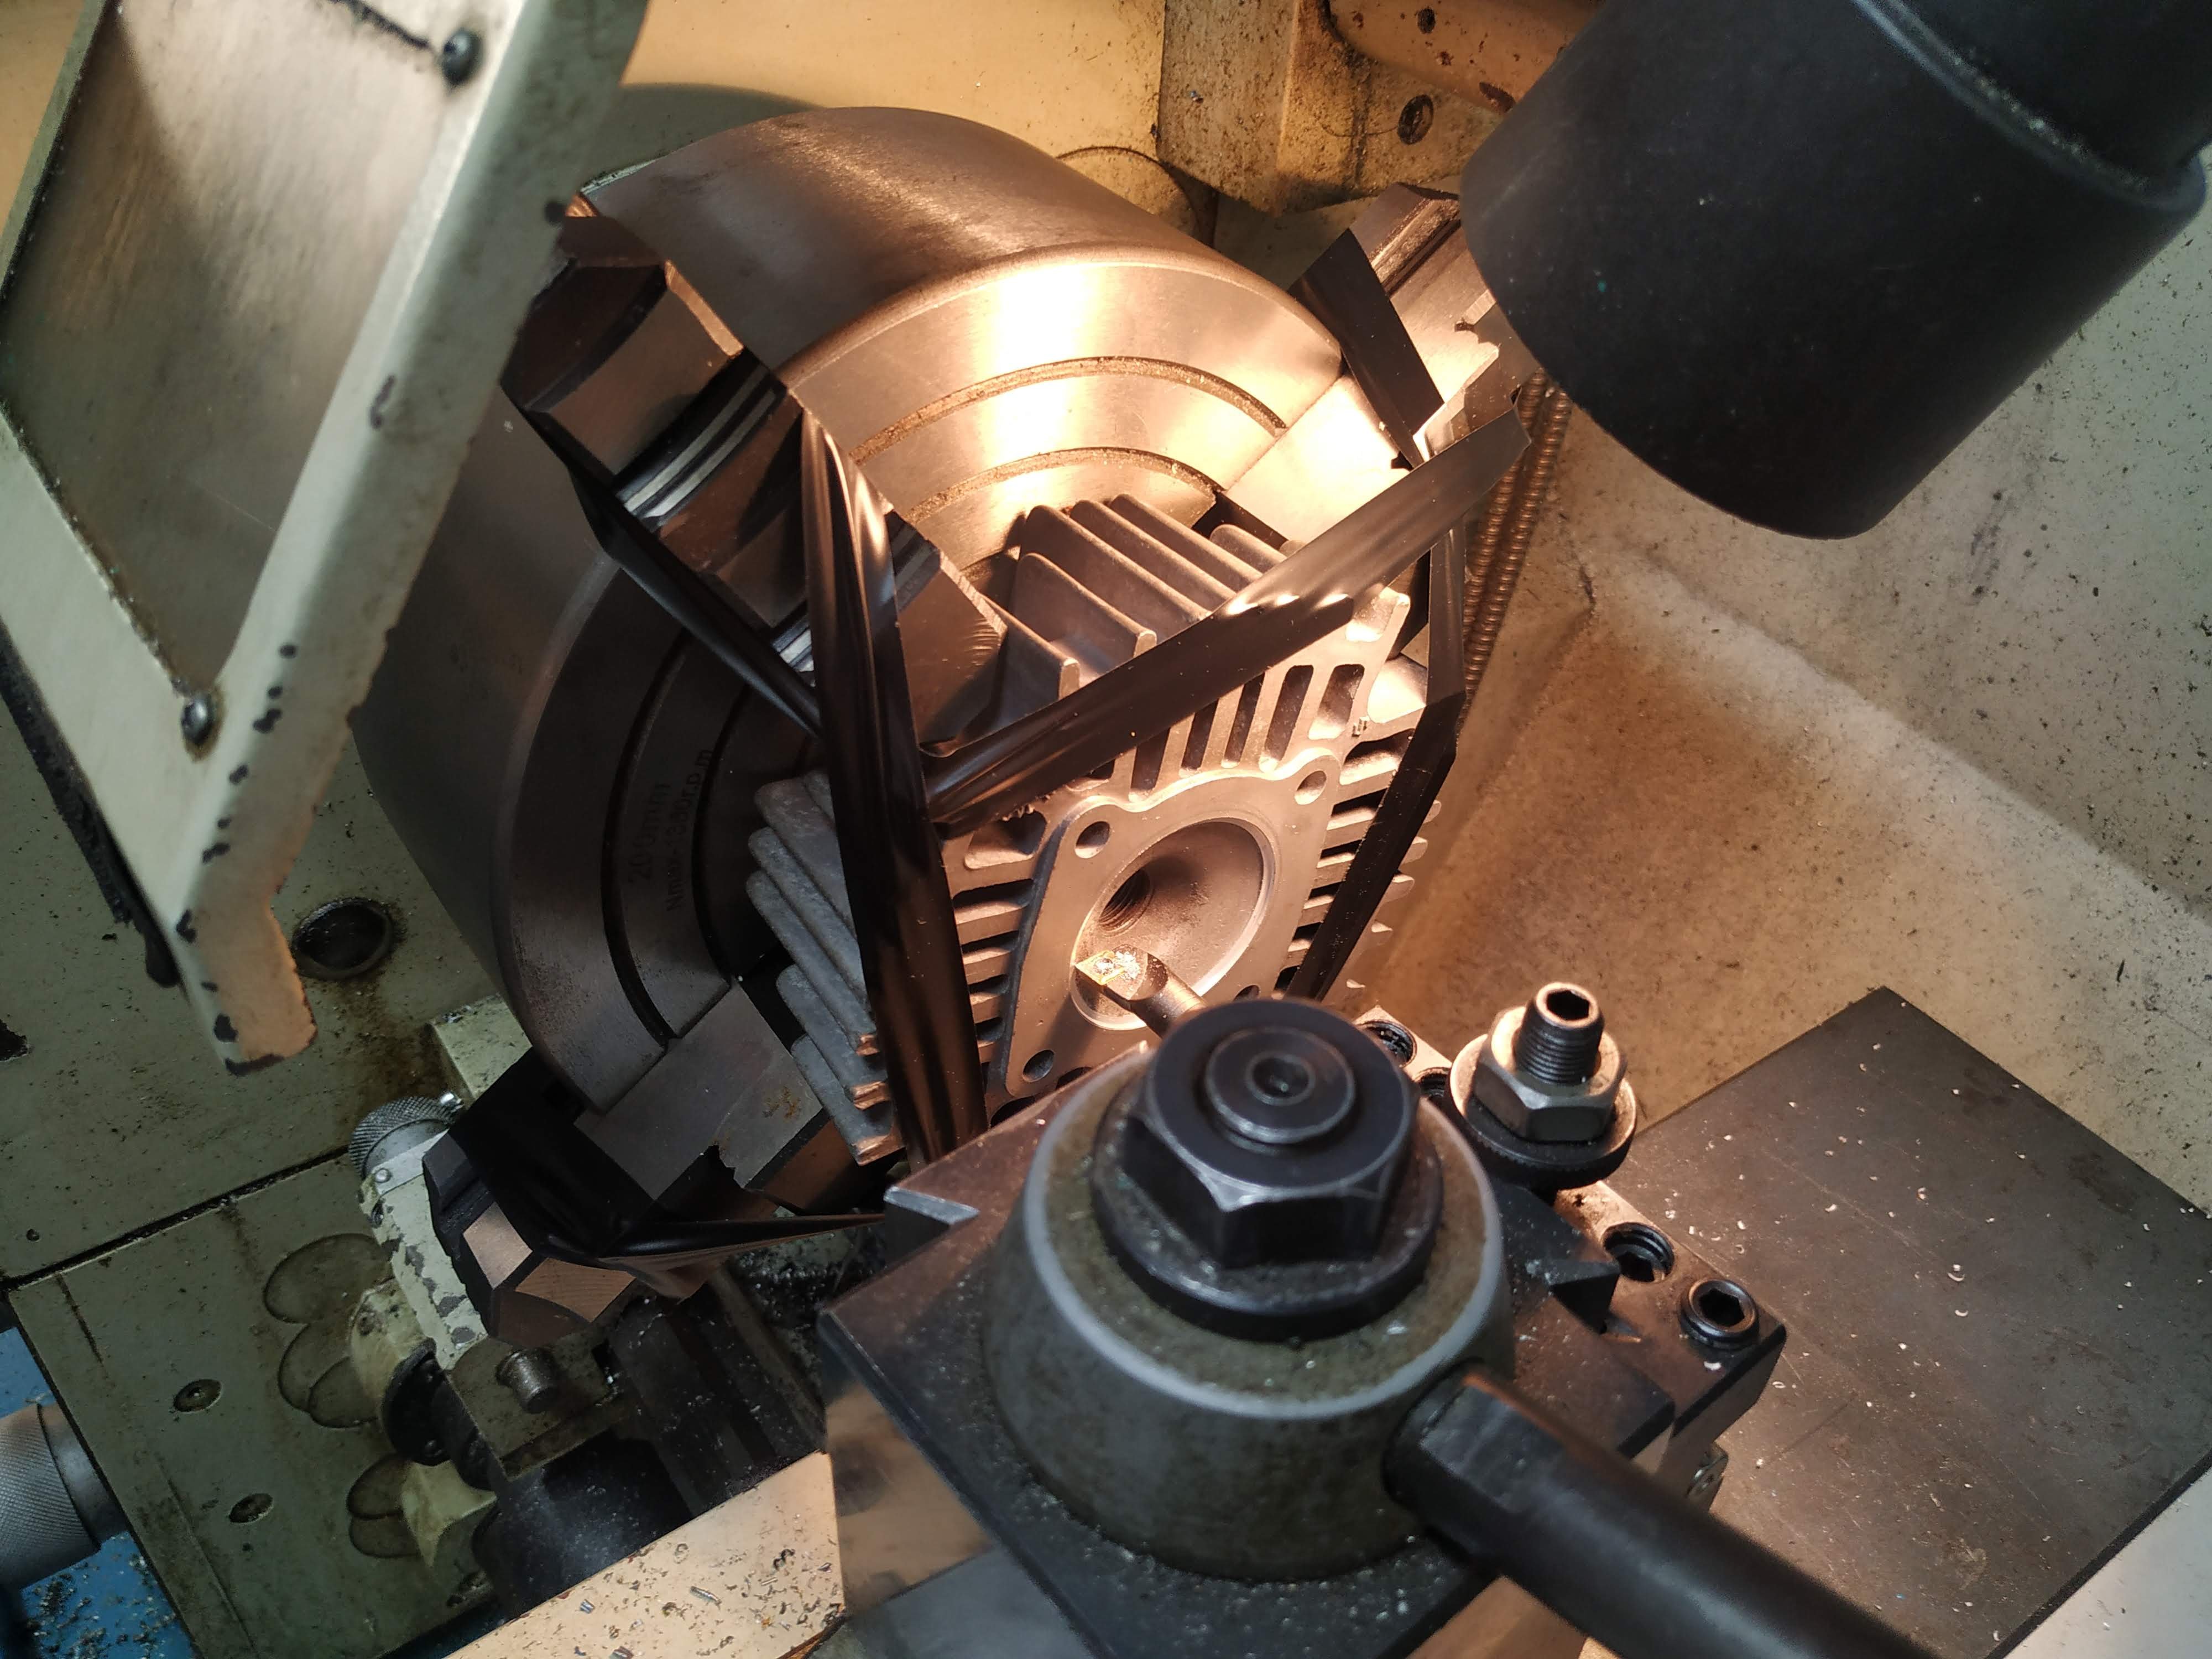
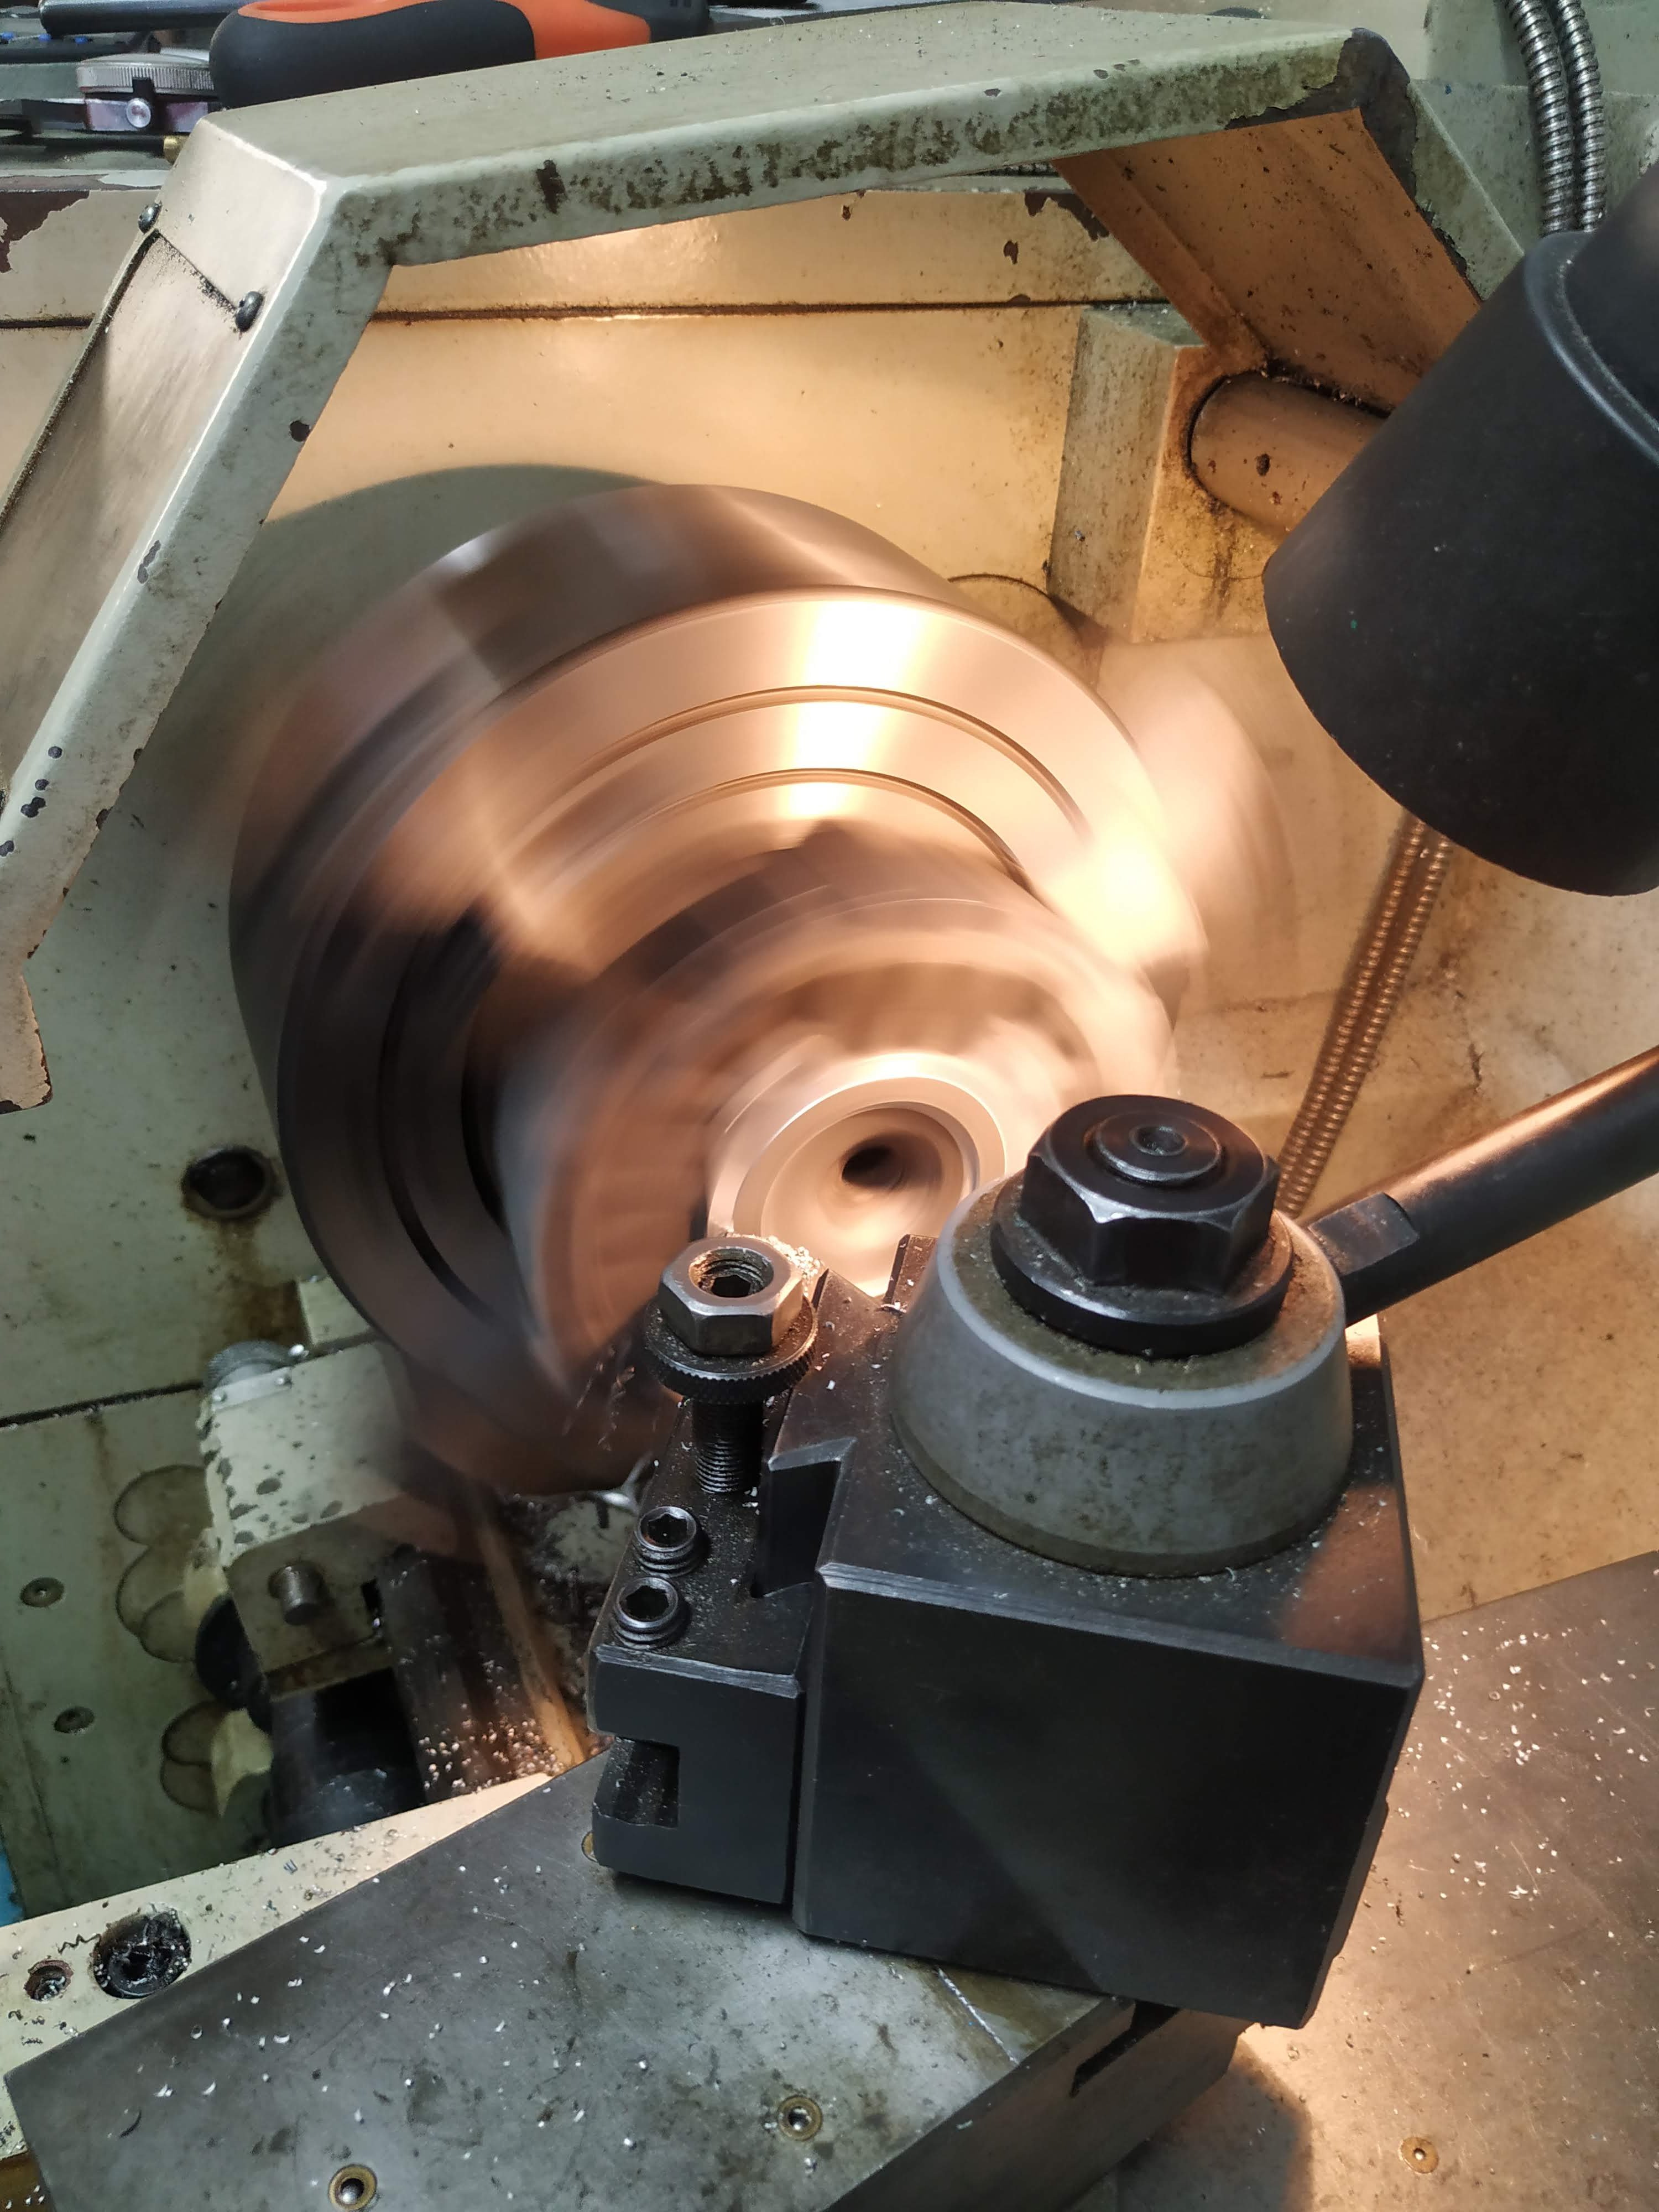
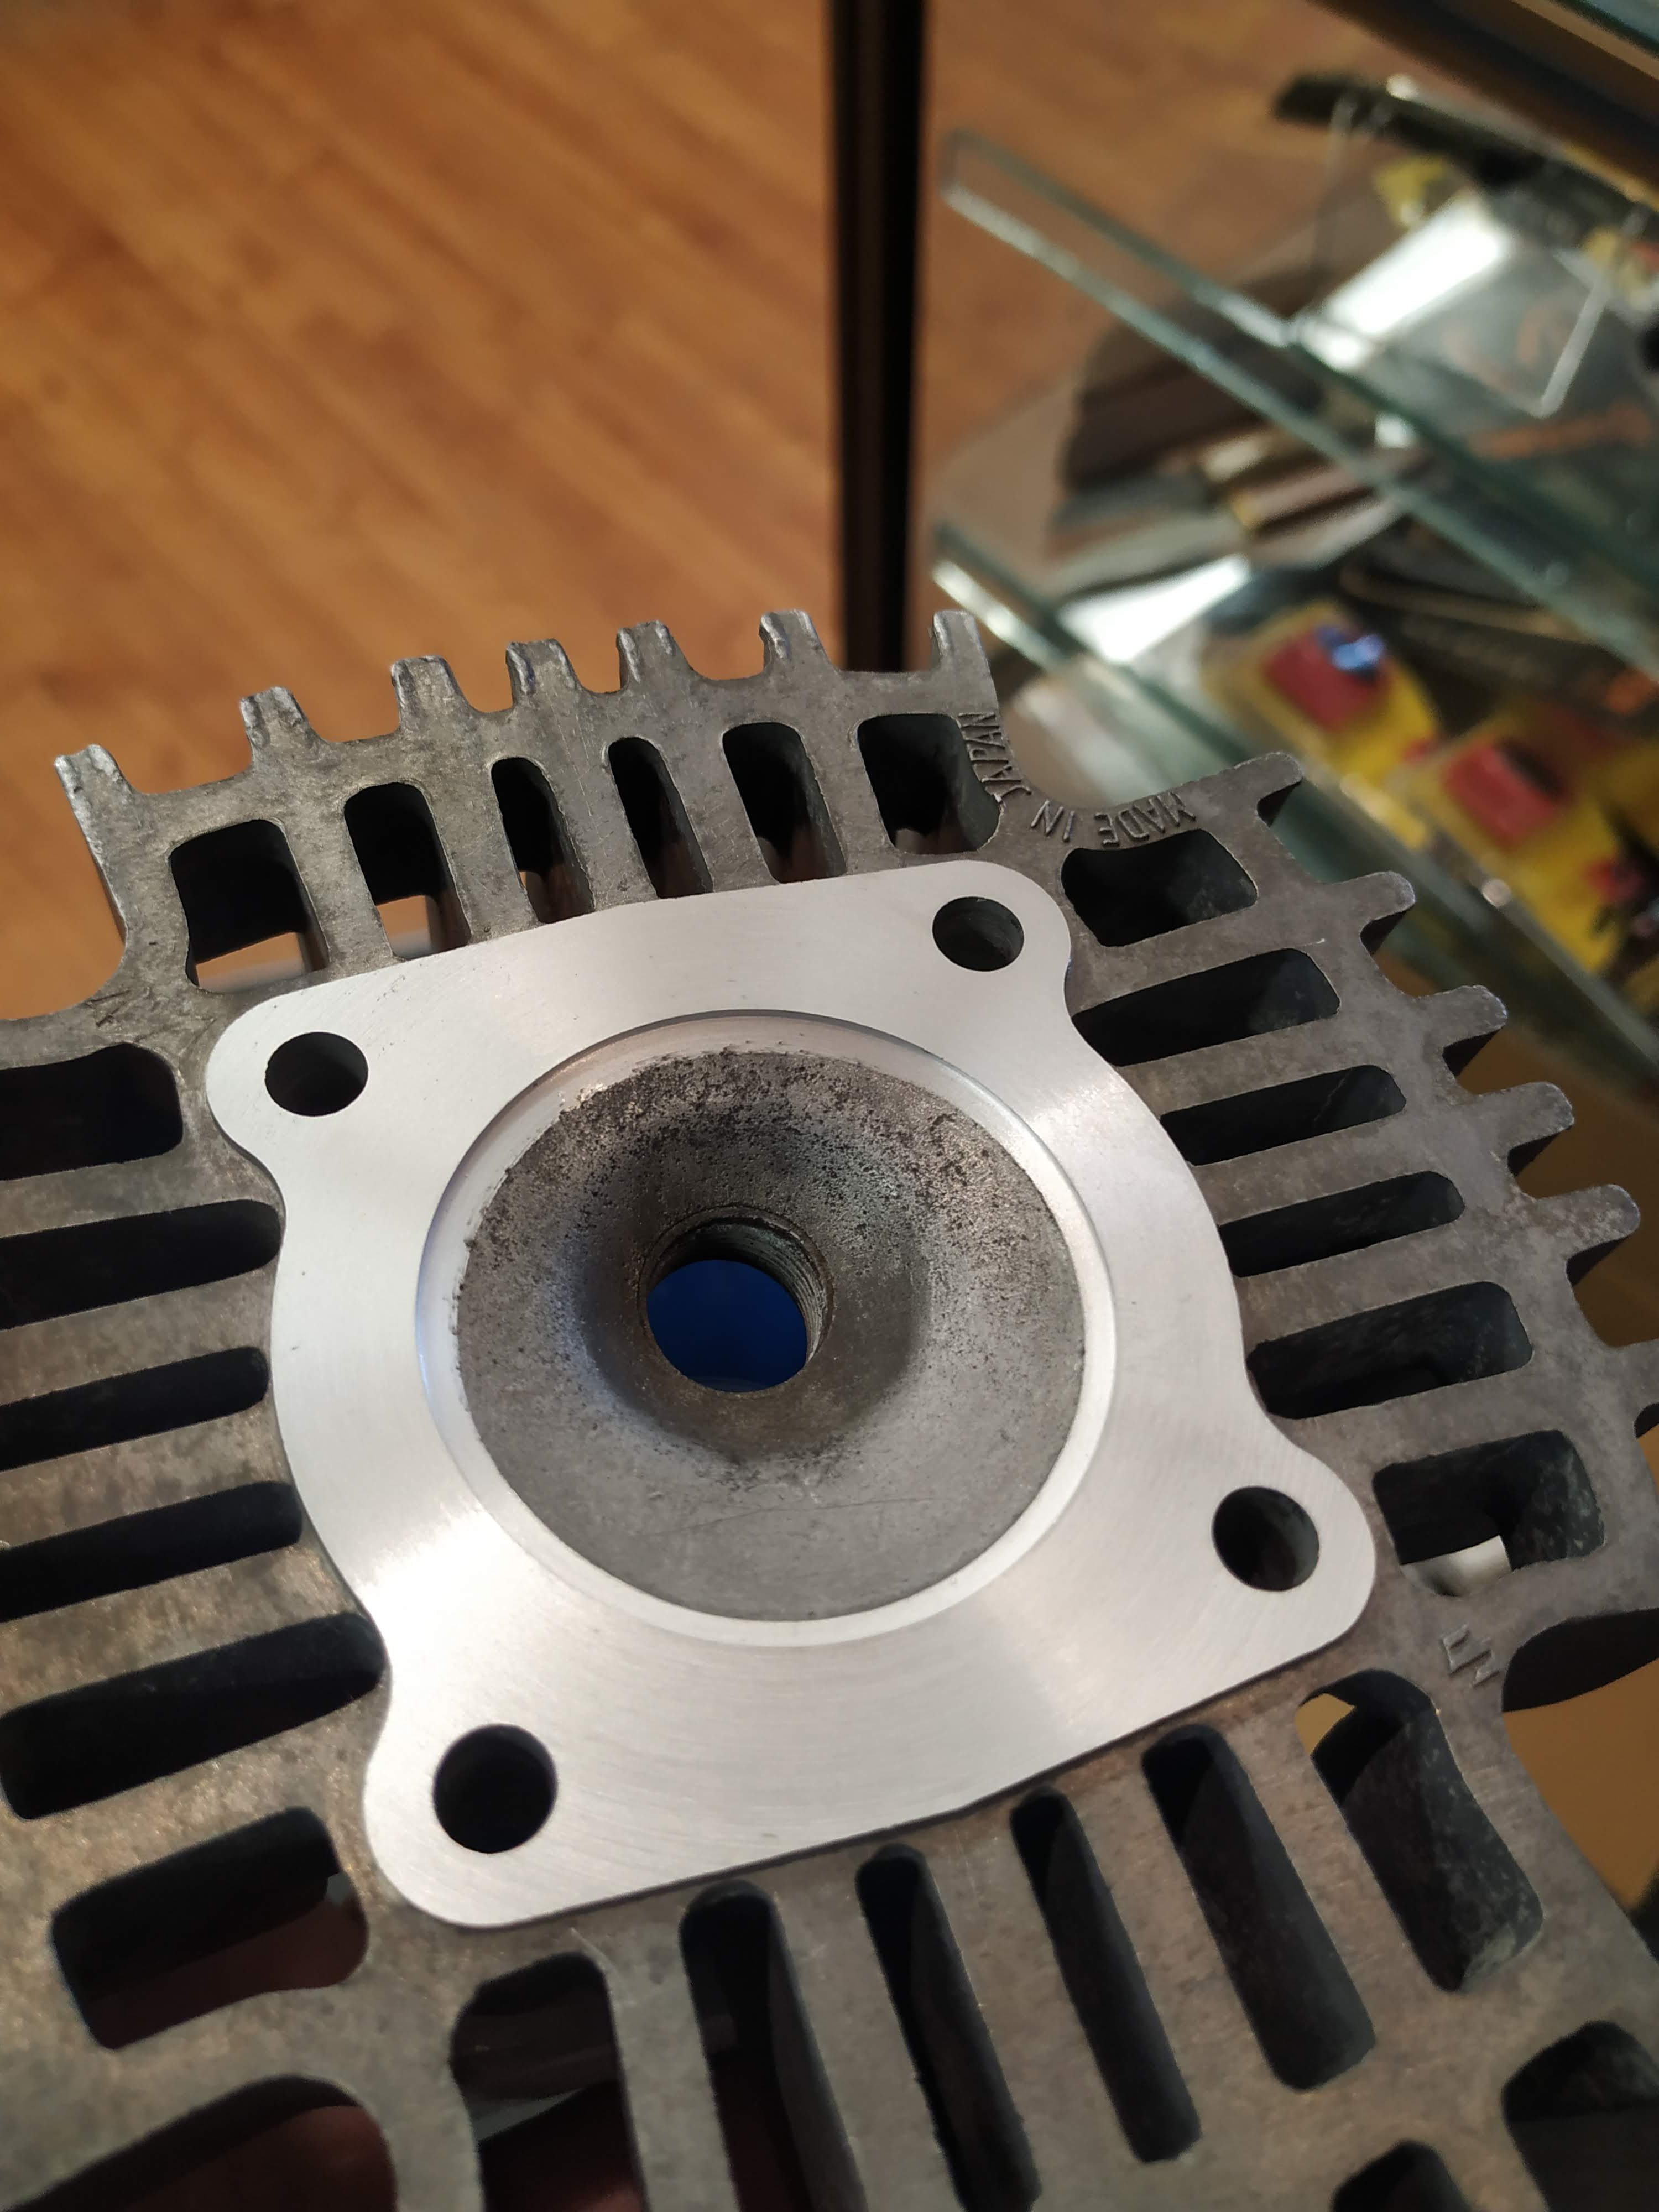
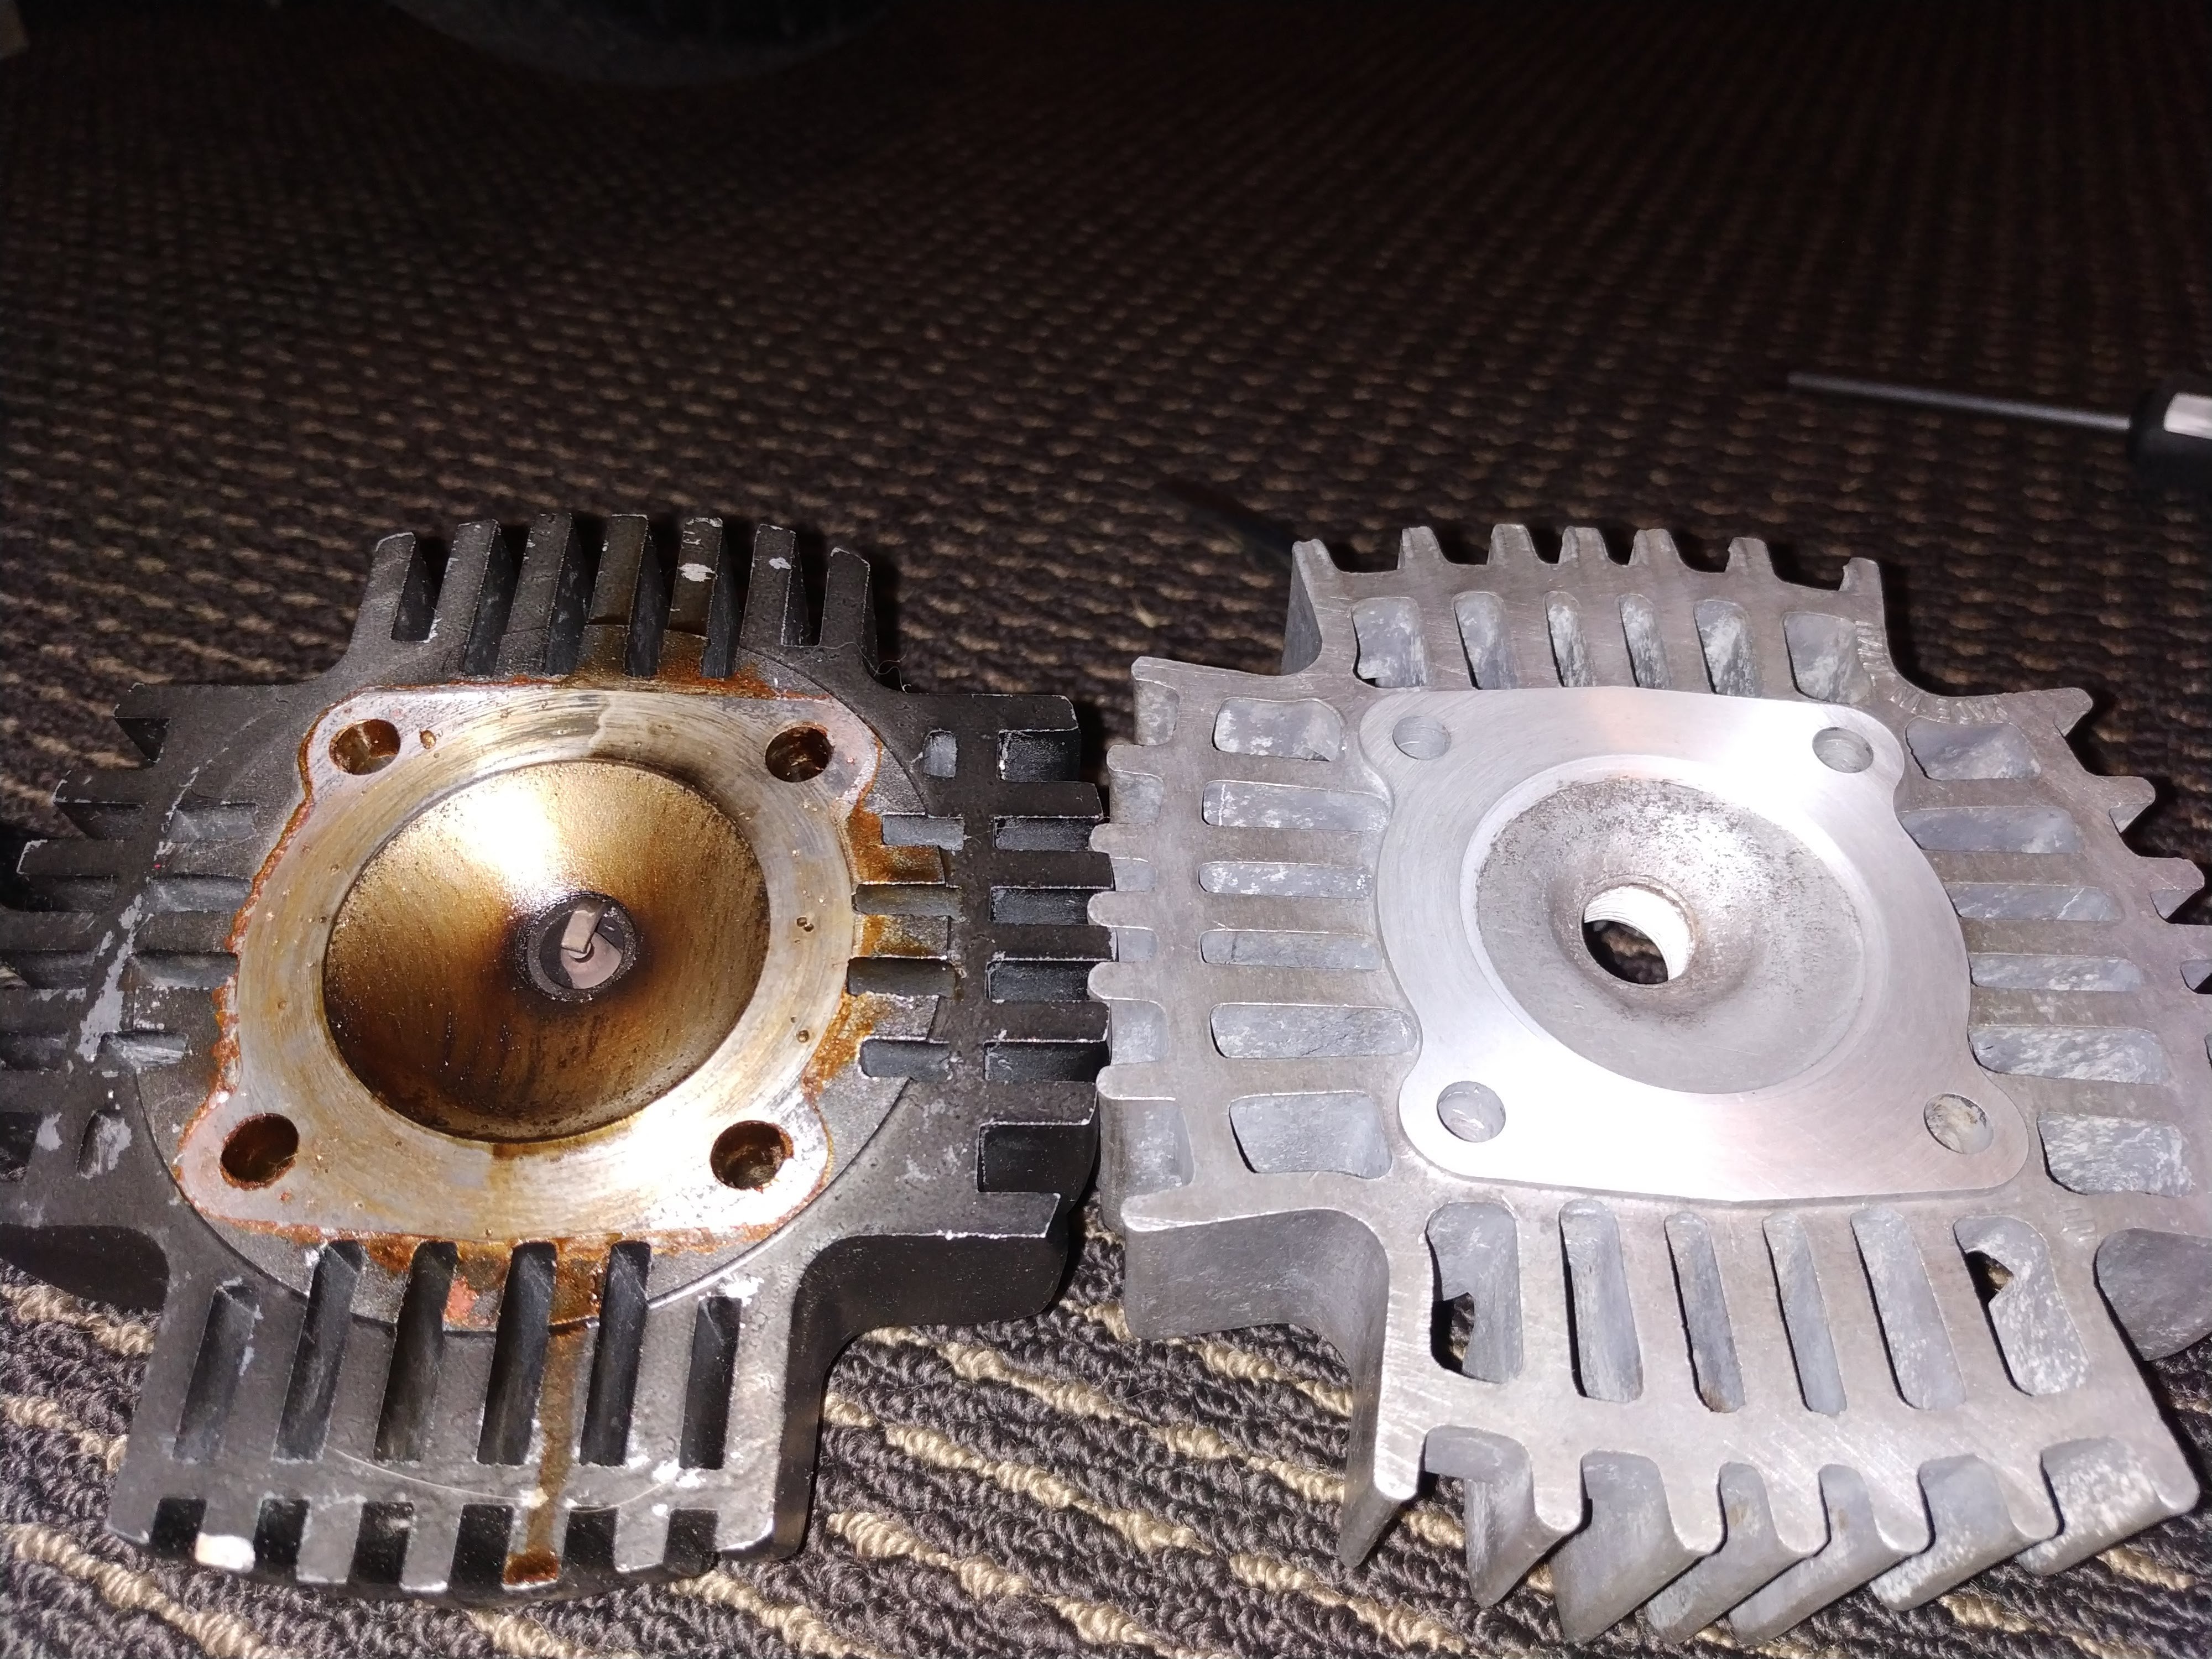
Back to the engine, 120psi-ish and zero acceleration in fifth or on any incline wasn't going to cut it!! Soo back to the lathe!! That's the factory 41mm bore head, added a 2mm squish band to take it out to the 45mm it needed to be to suit the cylinder and also took .5mm off the face for luck! Can see just how much deeper the aftermarket finned soup bowel is! And the plug after pesting about in Auckland, looking a touch rich if anything. So added another .45mm base gasket, .4mm head gasket and ended up at .86mm squish with the refreshed factory head fitted, looking for some .2 copper sheet to make another head gasket out of to gain just a little bit more nang. Much better! And I think it would have come up a bit higher if I could have got the rubber push in fitting to seal better in the plug hole. Drastic improvement to power, shift at the right time to keep it on pipe and it will pull to the top of fifth now! BUT now that it has compression it wants a lot more fuel!! Have to order some pilot jets from MikuniOZ for it as once warmed up it is running HOT and has the worst lean hang I've ever come across Suzuki used a non adjustable version of the Mikuni VM16 so there's no screw to fiddle with to try and make it happier in the mean time, so a little A50 waits again as I've put too much into this thing just to melt it down in the quest to pest! Oh and as it turns out, having more than 6 and 8 or so psi in the tyres really improves acceleration... Who'd of figured... Think this post has the engine work pretty much up to date, until the bits I ordered yesterday arrive in NZ at least So here's a pic of @Archetype hard at work transforming the whole look of the bike
7 points
-
As much as I wish I could take credit for the pics, they are the work of @MichaelJFox But here's some of mine, just need to step back in time a bit! Anyone who knows Suzuki "A bikes" knows the the seats are huge long things, and sure enough mine was too and I knew from before I picked the bike up from John that the facotry seat would never fit the direction I wanted to take this build, but the almost typical skateboard seat really isn't my style -the goal for this bike was always a clean build that if you didn't know something wasn't factory then you'd be left wondering. One of the first things I did was pull the old cover and foam off the seat Then chopped it up Before putting it back together Stepping forward in time again the week before Labour Weekend old mate @64valiant worked his magic on it While he was shaping foam I was at home making a taillight + plate bracket (among other tasks that I'll detail in the following posts) To say I'm happy with how it's turned out would be a major understatement!!7 points
-
5 points
-
5 points
-
On its way back to straightness.
4 points
-
Oh, new page? Might as well do a post on the engine instead of go to bed then. The engine is still a work in progress, with a long term plan of swapping it out for something like an RG150 or similar unit but thats long term and I figure I might as well do what I can with the factory engine in the mean time right? My plan was just to get it running and give it a coat of paint, but that plan lasted for all of 5 minutes before I hit order on a 45mm piston kit along with some other goodies from Sweden Sent the original cylinder off for a rebore, anyone that reads the bike spam thread knows how that ended up though... While waiting for it to come back I set about cleaning, painting and changing all the seals and bolts etc etc on the bottom end. (That smell hung around in the oven for a week, I still hear about it now ha!) New points and condenser fitted up too And then this4 points
-
Oh yeah, cheers to @MopedNZ for the Shikos. 70/90-17 and 90/80-17 which works out to 2.72 and 3.54 in the old money, or to put it another way: huge compared to the factory tyre sizing!!4 points
-
I scrounged around pick a part today and came away with a jazz filler/cap assembly and a alto rad hose/thermostat housing. 16 dollars sure beats the 40-100 for inline fillers that are too big anyway. Next week the rad should arrive and I'll get the filler welded up and i'll be away laughing... hopefully Can pretend it looks factory too.3 points
-
Ah! I think the transformer is so you can have a 230 volt work lamp!3 points
-
FYI - below is what the LVVTA exhaust noise standard says in regards to the maximum dB limits. I'm guessing your rotary is probably closer to 95dBA. A 6-10dB increase is what most human ears would detect as doubling loudness. Decibel level requirements 2.9(1) The maximum permissible decibel level emitted by a low volume vehicle tested in accordance with this standard, must not, except for in the case of where factoring must be applied for one or more of the situations specified in 2.9(2) to 2.9(4), exceed: (a) in the case of a moped (LA or LB-Class), 91 dBA; or (b) in the case of a motorcycle with an engine capacity of 125 cc or less (LC, LD or LE-Class), 96 dBA; or (c) in the case of a motorcycle with an engine capacity of more than 125 cc (LC, LD or LE-Class), 100 dBA; or (d) in the case of an MA, MB, MC, MD1, MD2, or NA-class vehicle that was manufactured before 1 January 1985, 95 dBA; or (e) in the case of an MA, MB, MC, MD1, MD2, or NA-class vehicle that was manufactured on or after 1 January 1985: (i) if first registered in New Zealand before 1 June 2008, 95 dBA; or (ii) if first registered in New Zealand on or after 1 June 2008, 90 dBA. NOTE 1: The decibel figures specified in 2.9(1) are the figures set by the Government, as specified in Land Transport Rule: Vehicle Equipment Amendment 2011, and may change from time to time as Government policy dictates. Such changes will be reflected in an amendment to this low volume vehicle standard. NOTE 2: ‘dB’ refers to ‘decibels’, and the ‘A’ denotes ‘A-weighted decibels’, which is an adjustment process that takes into account the varying sensitivity of the human ear, to different decibel levels at different frequencies. Low frequency sounds are quieter to the human ear. The ‘A’ weighting curve primarily takes into account the 500-10,000 Hz frequency range.3 points
-
One adventure Tyre fitted, so I’m pretty much ready right......3 points
-
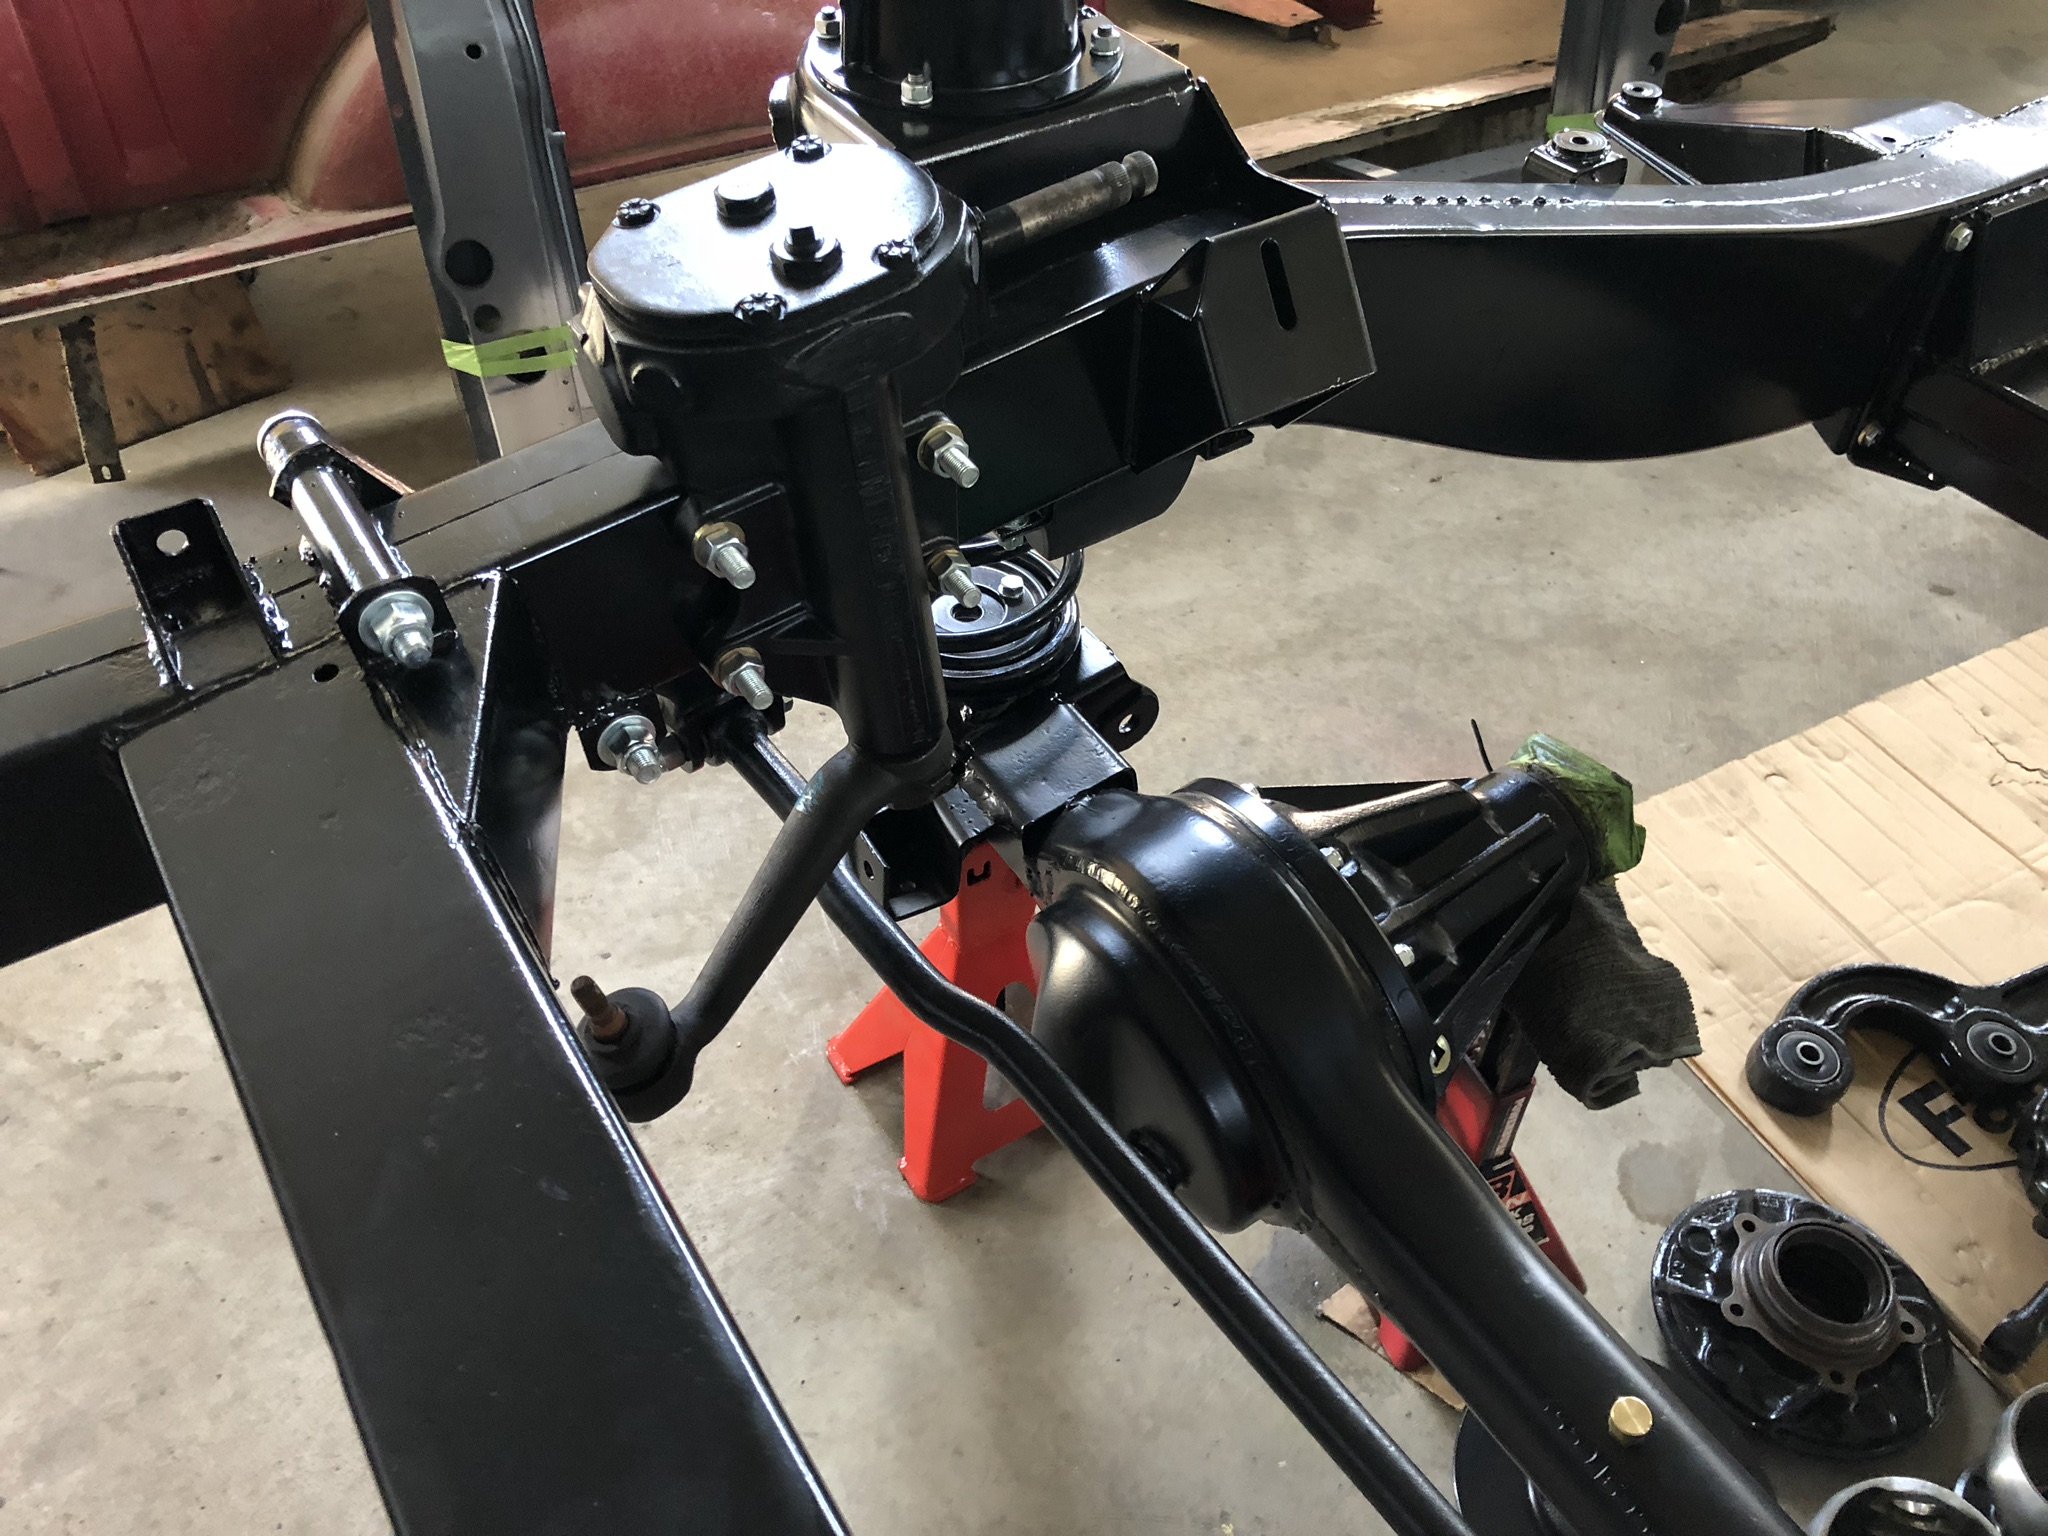
Long time no update! Bathroom renovations and other life suff getting in the way of projects. Front axles and swivels all built up with new rotors, bearings seals etc. Refurbished Borge Self levelling unit fitted with new balljoints and gaiters. Original Rostyle wheels got blasted, primed and 2k painted by Paul from Darth Vapour Blasting Service out West. Damn he did a good job. Much better than the factory would have ever! Fitted up a set of old tyres I had laying around so I can get it rolling, still need to nip a few bits up in the suspension department but I had to stick them on to feel some progress. I will need to replace the tyres with a nice set of Michelin's when I find a place in the UK will to send me a set. Paul also went to town on my gearbox and engine. Can't believe how good they came out with a squirt of the vapour blaster. Before After!
3 points
-
Its alive..... been sitting at back of a shipping container at work waiting for my attention to fix the busted wheel. Turbo tubing has arrived. When i get some time will start on the manifold aircraft dude at work is porting heads for me.
2 points
-
Nah the one i used was same colour as yours had been retrofitted for modern cutting tools etc. probably went up for sale about 6 years ago. I learnt on my granddads myford from around 5 years old. Lathe is on my bucket list.2 points
-
Remember how I said the headers were close but cleared the rad?..... well they don't. I was wondering why the gauge was cooler than normal and I had to keep topping up the coolant. A new EF half size rad is more than I want to spend and probably too wide as well. I had a look through a few radiator catalogues online and found nothing that'd work. I thought about walking around zebra/pick a part with a tape measure but chances of success were slim. My inner barry then remembered something about the americans using a VW radiator. A little bit bit of google fu and the mk1/2 golf radiators apparently fit nicely under the rad slam panel where the ac condenser used to go, bonus is they have the same hose size as the b18 so less mucking around. Only downside is it has no filler but I can either get a inline filler or go raid a newer car for its remote filler and get a piece of pipe welded onto the rad. I found a alloy rad on trademe for less than the ef half size so I've ordered that. The measurements all seem to work out so hopefully it fits. the buyer also pulled out, then said the crx wasn't for him.2 points
-
I'd personally leave undersealing until its been inspected, just so you dont have that "are they covering something" niggle from an inspector.2 points
-
2 points
-
I don't know the exhaust noise emission standard that the new Mustang meets but it would have had to have met one to acquire the compliance documentation. Manufacturers don't just build a car and say "she'll be right Trev" and then kick it out the door and let the country where it is going to assess the vehicle. It's safe to assume that some international standards are more relaxed than LVVTA standards, but the same standard in another region might be harsher than LVVTA. During entry compliance a vehicle must have compliance documentation for a standard that is recognised in NZ. So as long as you are willing to go through the required testing regime and meet a non LVVTA standard then it can be accepted too. But you can't cherry pick a portion of a complex FMVSS standard and say your vehicle meets that standard but test part of it using the testing regime from a less complex but more strict LVVTA standard. The LVVTA system was created so the average person can afford to build a car without spending 10's of thousands of dollars proving a vehicle meets a standard.2 points
-
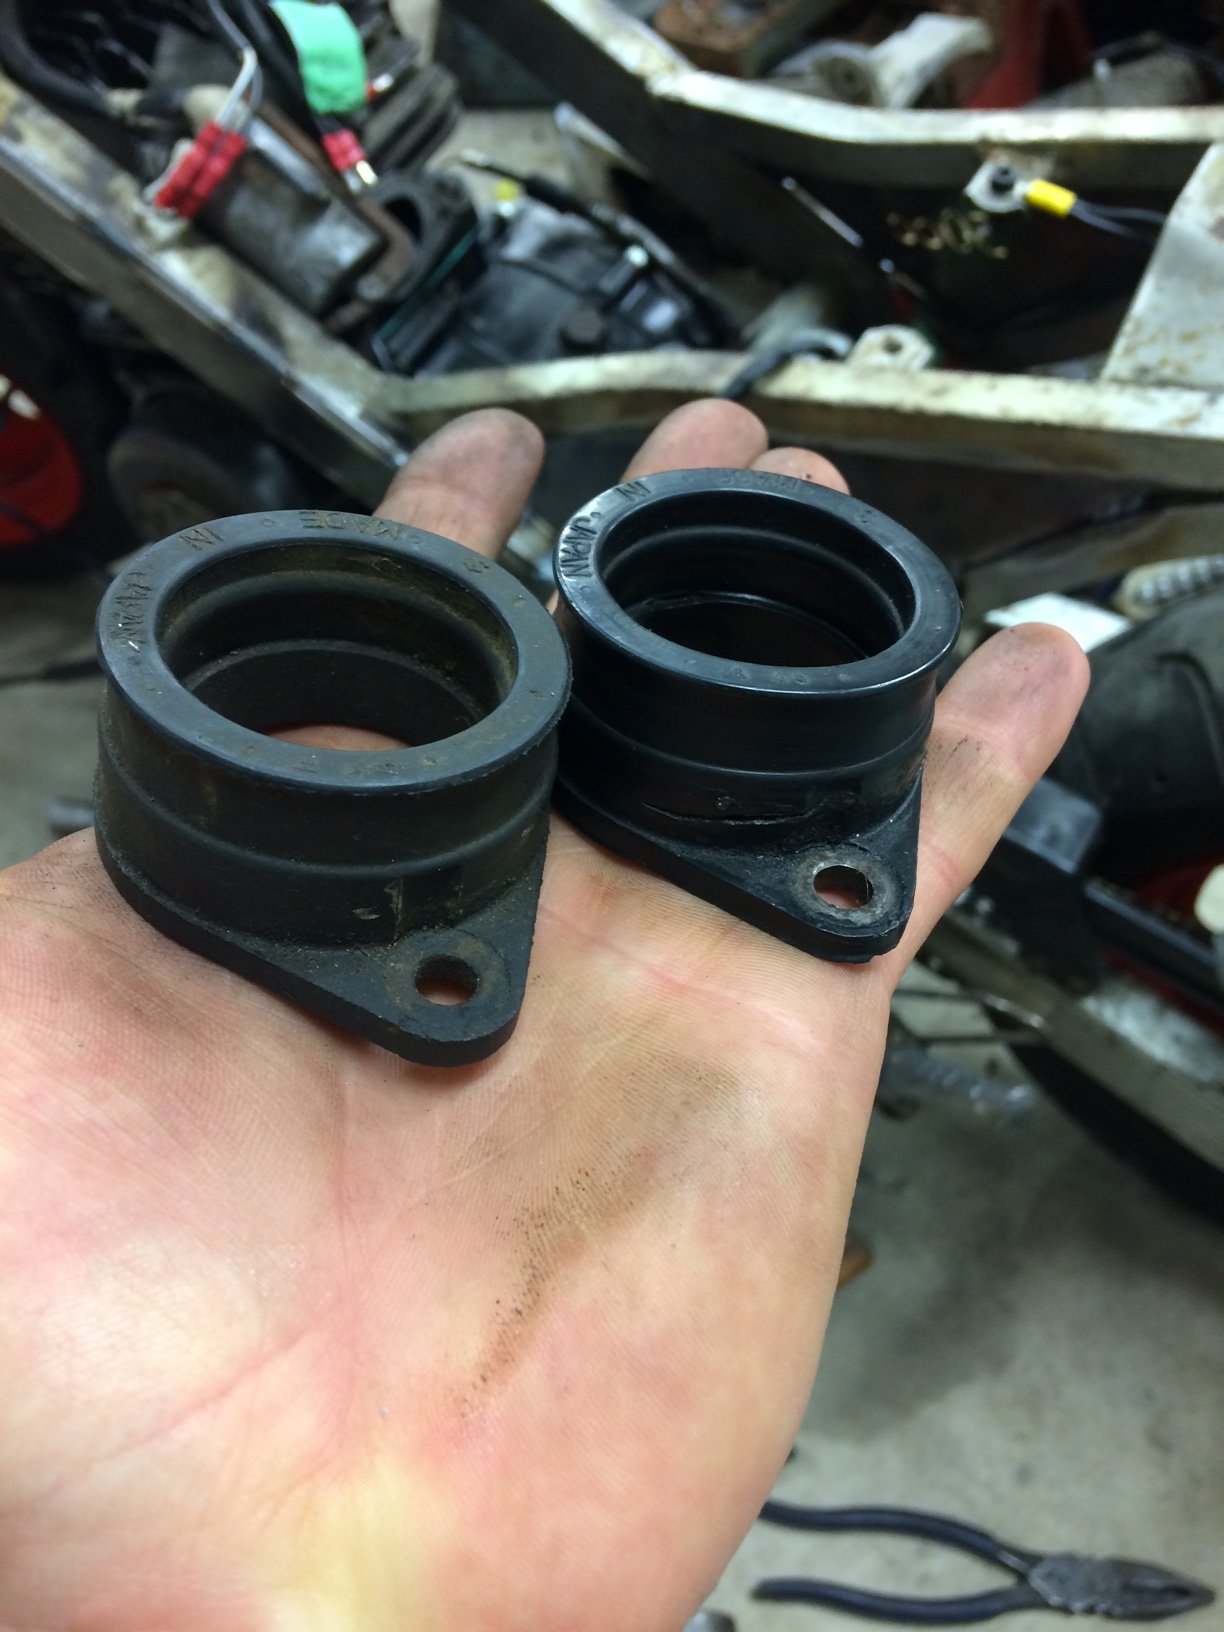
I opted not to modify my motor and instead have simply re-installed it with fresh gaskets. I’ll worry about my oil setup once I’ve got her assembled; I’m really starting to fret about the looming Urewera trip and ensuring that she’s ready and reliable. I’d really like to be looking at a shakedown ride in the next couple of weeks, but there’s a lot left to do. Getting all the lights to work and secondering a legit plate will be two major hurdles. Repairing and installing the kick start and shifter will be bigger jobs as well. In the background I have sourced a replacement intake manifold from the local wreckers for $20 (win) and Dad Blackwood machined me a new rear shock pin to reduce the massive swing arm play. I’m also one weld away from having a functional exhaust system. Gotta maintain momentum otherwise I’ll have to ride, ‘gulp’, a normal bike...
2 points
-
Been pretty busy getting my shit sorted and moving to dunedin. Settling in now, so a bit of a belated update on the ol 125. On the way to the WoF man, gave it some doort and it started running on 3. FUUUCK Turned out the old greasy filter sock got cookie cuttered. Ripped them all off and ran #nofilter Underside up on the hoist, i never see this view otherwise oil is mostly cavity wax, but there a pretty bad diff leak, again, not enough to fail tho, so woot! Thats all 3 road legal ready for convoy in a couple of months. Then pretty much straight into storage, not actally had these side by side before, Spot the differences, 1969 model italian mid sized executive family sedan vs 1989 model polish farmers truck storage for the next couple of months1 point
-
Will be welding the 2-1 collector on the turbo flange this weekend needs to be done with mig as our tig at work where I'll do the pipes is a bit better suited to light stuff. Going to be doing tuned length if possible like whats on there now but in stainless its 1" into 1 1/2" tube to keep the velocity of gases up right up till they smash into the turbine. Should be fun.1 point
-
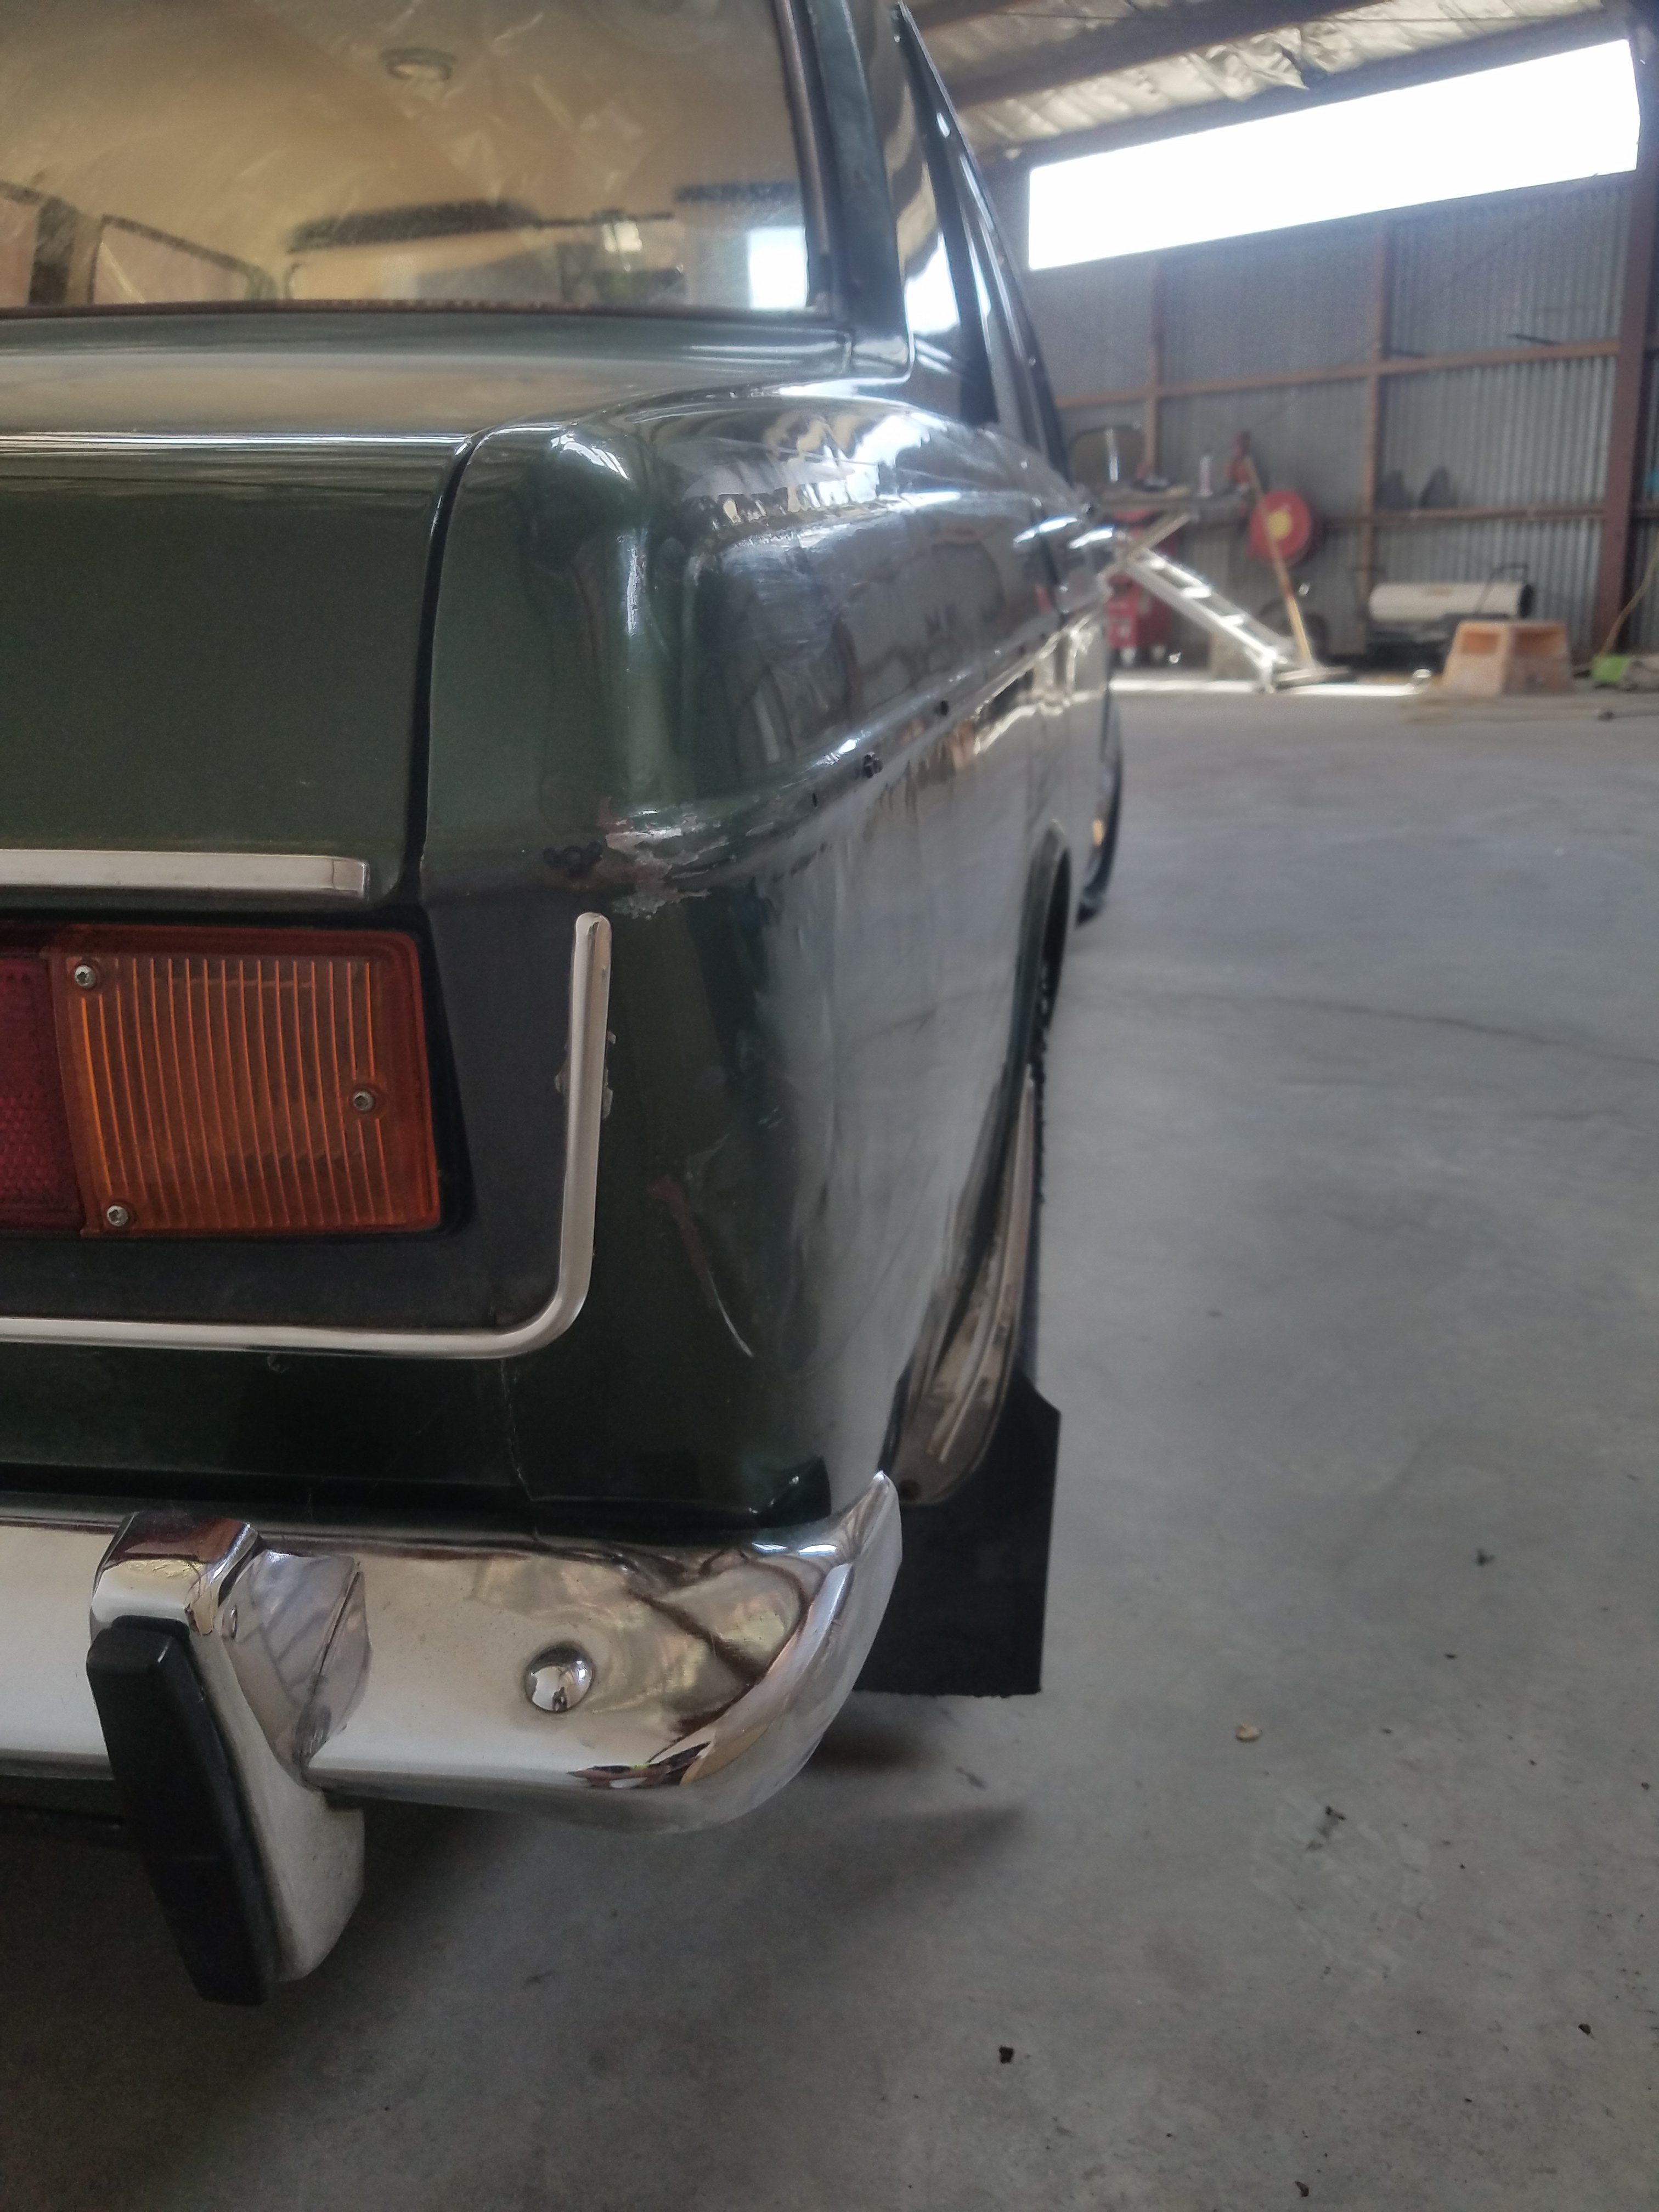
minimal poohs which im bloody stoked with.. he said this was 30mins work, he'll chuck 16 hrs at it. the door handle was pushed in a bit so he'll sort that aswell as some pesky dents that were already there.. thatll make it straight as down that side only leaving a crease in the left front doort and small dent in the front left guard. im really 50/50 whether to respray this or not ( same colour)... the patina of the faded worn away paint is cool but being a mint paint job is also lush...1 point
-
This is one of those weird things where the more bits you put on it the smaller it looks1 point
-
I just re registered a Falcon, inspection cost $400. I had already undersealed the bottom as it had spotty surface rust.1 point
-
Possibly talking to two different points here. Well aware of noise requirements, as my FD is a fresh import, and needs to meet 90dB for entry certification. Assuming that new vehicles with factory variable exhausts do not need to comply as in theory they will have some form of compliance as referred to in 2.7(4), like you referred to earlier. Tl;dr: Brand new fast cars from overseas can be loud.1 point
-
1 point
-
gotcha, I read your comment wrong, saw 1 + 1 and in my mind it = 31 point
-
1 point
-
Just did 50kms of pesting/dodging trick or treaters. 500kms come at me.1 point
-
Nice work dude. Epic resto....1 point
-
https://www.cjponyparts.com/resources/active-exhaust-modes New mustang: Quiet mode: 72 decibel Normal mode: 82 decibel Track mode: 86 decibel /fits within normal standard1 point
-
Not rejetted but you better believe they flipped the handlebars upside down and matty b'd everything.1 point
-
Damn son, that's some nice progress.1 point
-
seems to on the neighbours Maserati, altho i recall maybe petev8 saying you can pull a fuse (on his aston) and its always loud mode also hes a street over and i cant hear it from my house so not thaat loud1 point
-
Are you weighing it and keeping a eye on scrap prices?1 point
-
Lol 54 come alongs... From memory it's a fair hike up to the shed too. Last time I bought a 720 King cab off him, I got another 4 720s in bits. When he Barry collects he does it to the extreme1 point
-
^^Hardcone, know your self worth, you're a frigging genius in my book.1 point
-
I love the way you are utilising so much modern electronic shit on such a dinosaurus car. You truly are some kind of genius.1 point
-
ive said it before and ill say it again.......... fuckers1 point
-
Taking way longer and changing more stuff than planed. Although thats fairly normal with this thing. Fuel filters were in the way of new intake. so have run new fuel lines. mounted new filter by the fuel tank. line splits in engine bay for the 2 rails. reused and remounted the old hard line feed for the return. Not much to look at here. pretty clean under there, because all the dirt is now in my eyes. ali exhaust hanging in there. Pulled the transfer case mounted e brake off. handbrake cable doesn't fit with throttles. that was enough of an excuse to throw that junk in the bin. Its heavy and have hated on it since i got it. will be no handbrake guy for awhile. untill i get motivated to make a new setup. chucked a new driveshaft seal in while was there, since leaky Throttles assembled and balanced ready to go on vac rail finished. air bybass on back. map,bov,fpr on front. some butchery of an old throttle body welded on bottom for throttle linkage throttles bolted on for good. fuel rails and lines mocked up ready to go. yeah i cheaped out on fancy banjo fittings. Moved ps reso to other side of engine bay and redone all the lines, as they were pretty janky before. moving the reso along with new intercooler pipes, frees up the whole corner in front of the turbo for a better airbox setup. that someday may make. hmmm wires, not keen1 point
-
Hole in the exhaust was an easy fix, but is somewhere i think i will be visting again eventually Stuck all the many many chrome trims back on And backed it into the sun then down the road and reversed up the drive - this side has been drying for a few weeks so it got a quick polish with the big slow grinder then bunged the trim back on this side too, now its all back together. Last pic of a car in this shed got to be parked on the lawn in waiting for me to bung it into storage for a while sheds now starting to fill with boxes and about 2 vanloads of stuff taken to and from storage and the op shops1 point
-
Done a quicky on the painting, minimising the work to get it done, and by done, i mean water proof and ready to roll quick high build prime over the sanded back repaired areas then a blow over with the blue. i mixed a bit much paint and instead of waste it, I got a few sags instead Still, unmasking is just the best Front door bits swapsies. Its surprising how much lighter a car door is without all the trimmings! took bits off all three to make one 'good' one Again, this one fit straight in the hole a treat (after a shim here and a hinge shave there) and now opens and closes the best it ever has so ive decided i quite like the look of these doors and they can stay Tidied out the inside of various mostly empty boxes and various screws, trim and clips, that are now consolidated into one bin Put the grill and headlamp assemblies, nearly all the bulbs now mostly work after a wiggle or a tap. Still a bit of a list of things to do, - Exhaust has a leak, looks easily accessed - handbrake cable buzzes on exhaust - i messed something up when i assembled the rear door, the window snags on the door lock rod when its wound down - sand the runs, flies and dust out the of the paint once it hardens a bit more - polish - clean and install chrome trims I also put the interior of the doors in and gave the dash a wipe. . Looking forward to giving this thing a good blazz again soon! Its mobile and driveable now and only the exhaust really needs sorting for a WoF, and now its together it also means i can start sort a lot of stuff out of the shed and into storage etc1 point


_sedan_(23230030334)(1).thumb.jpg.34d765361d66c78db614bae6ea2c156a.jpg)


This leaderboard is set to Auckland/GMT+12:00