
Leaderboard


Popular Content
Showing content with the highest reputation on 12/31/18 in all areas
-
2 points
-
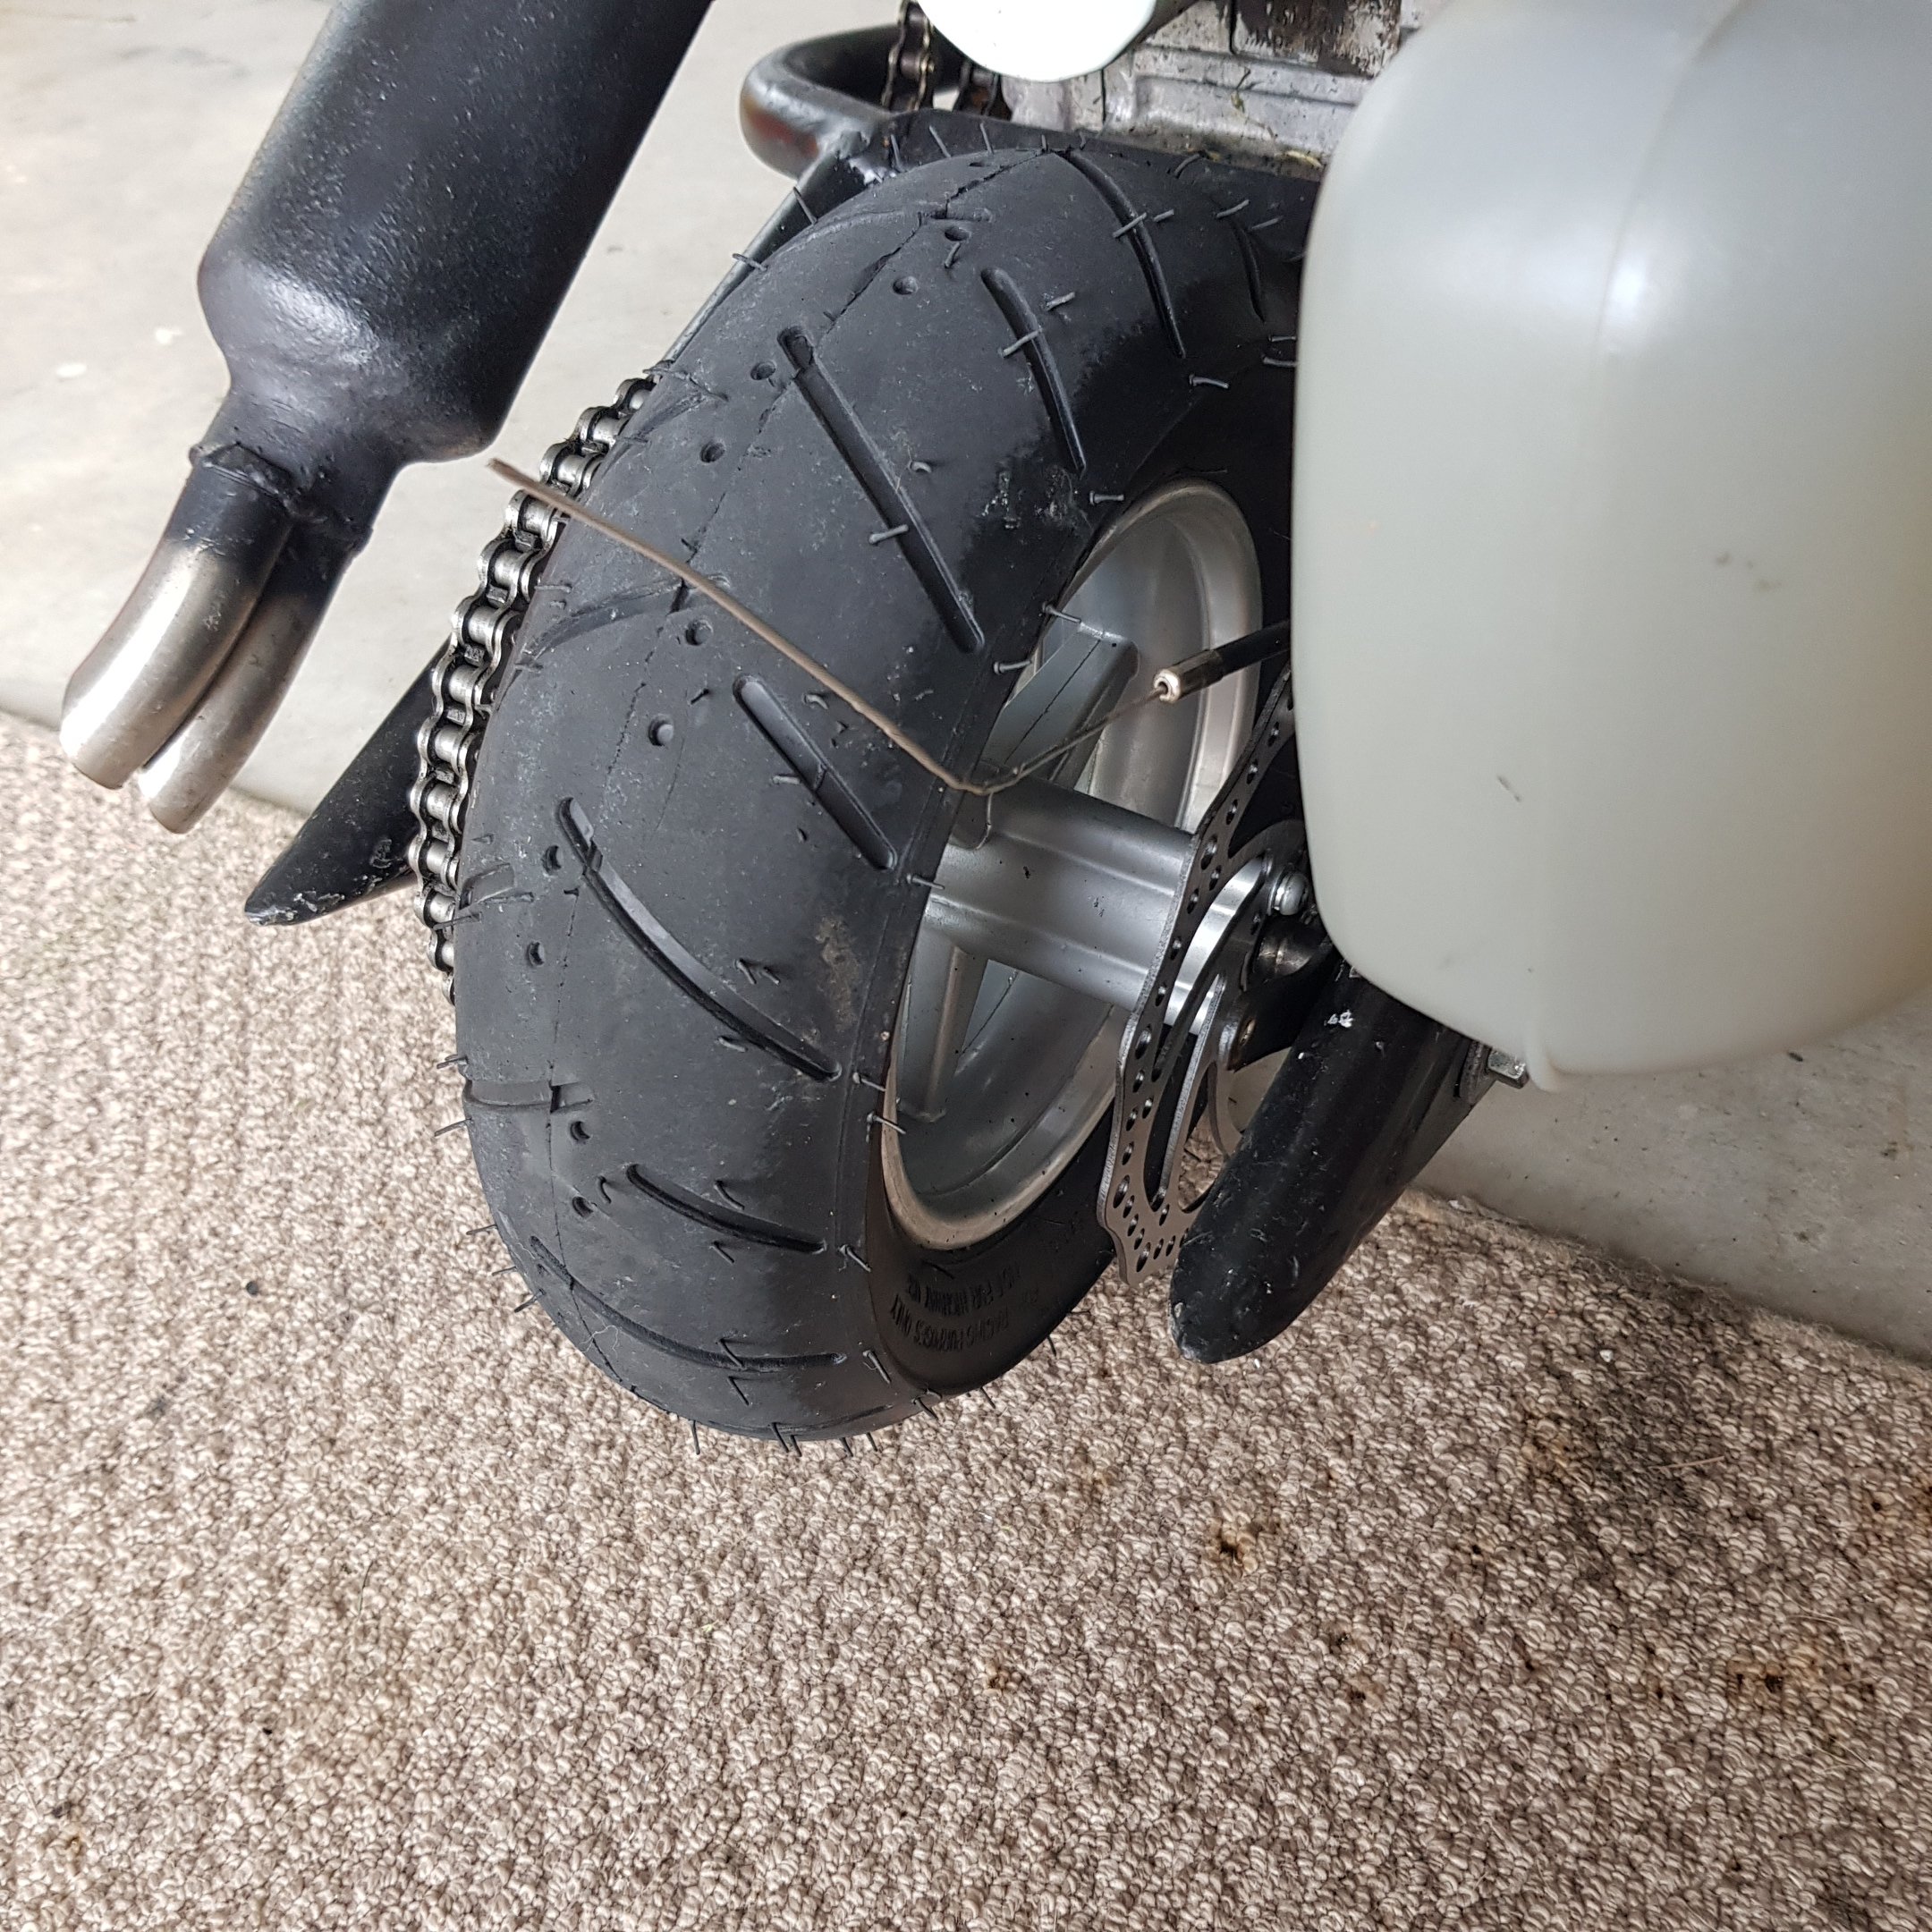
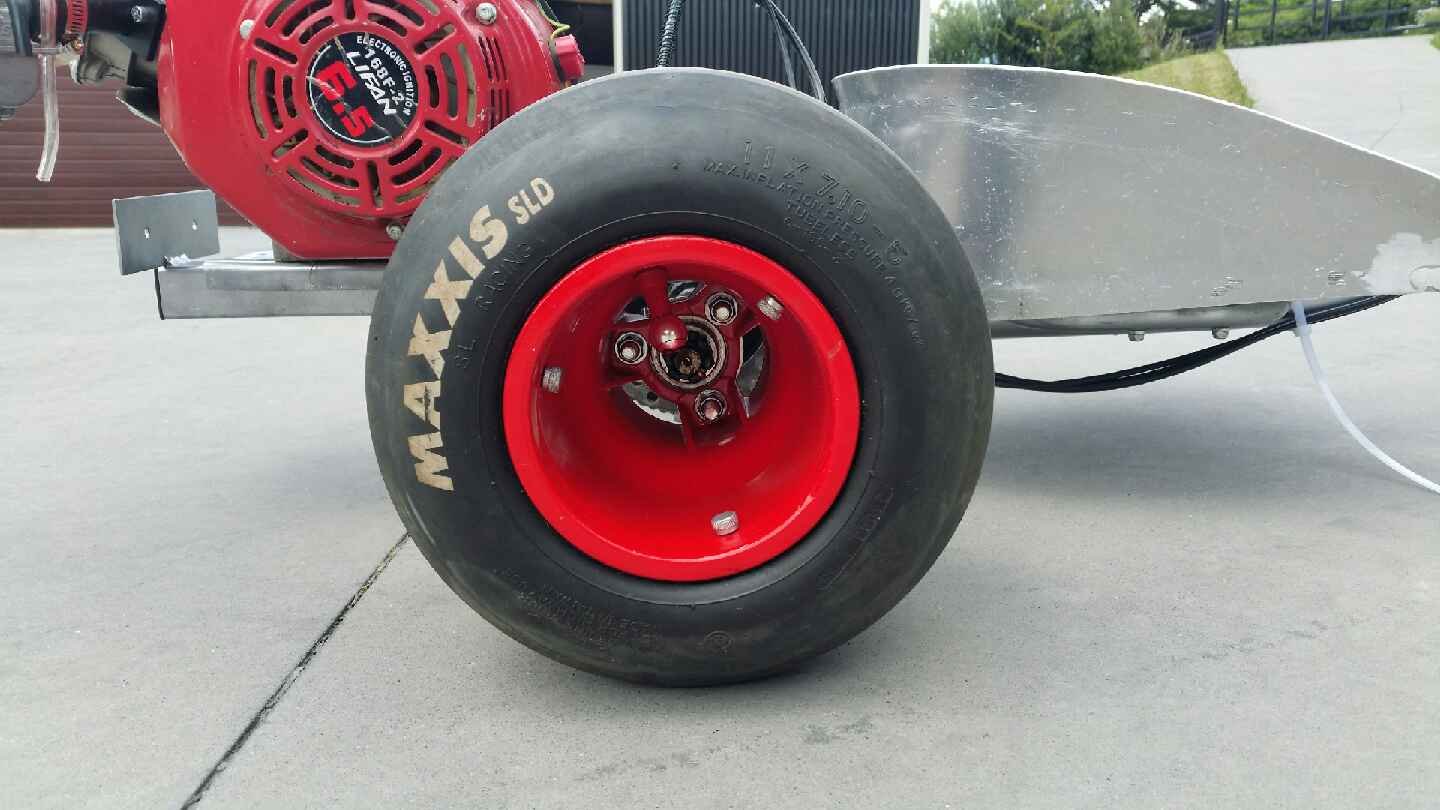
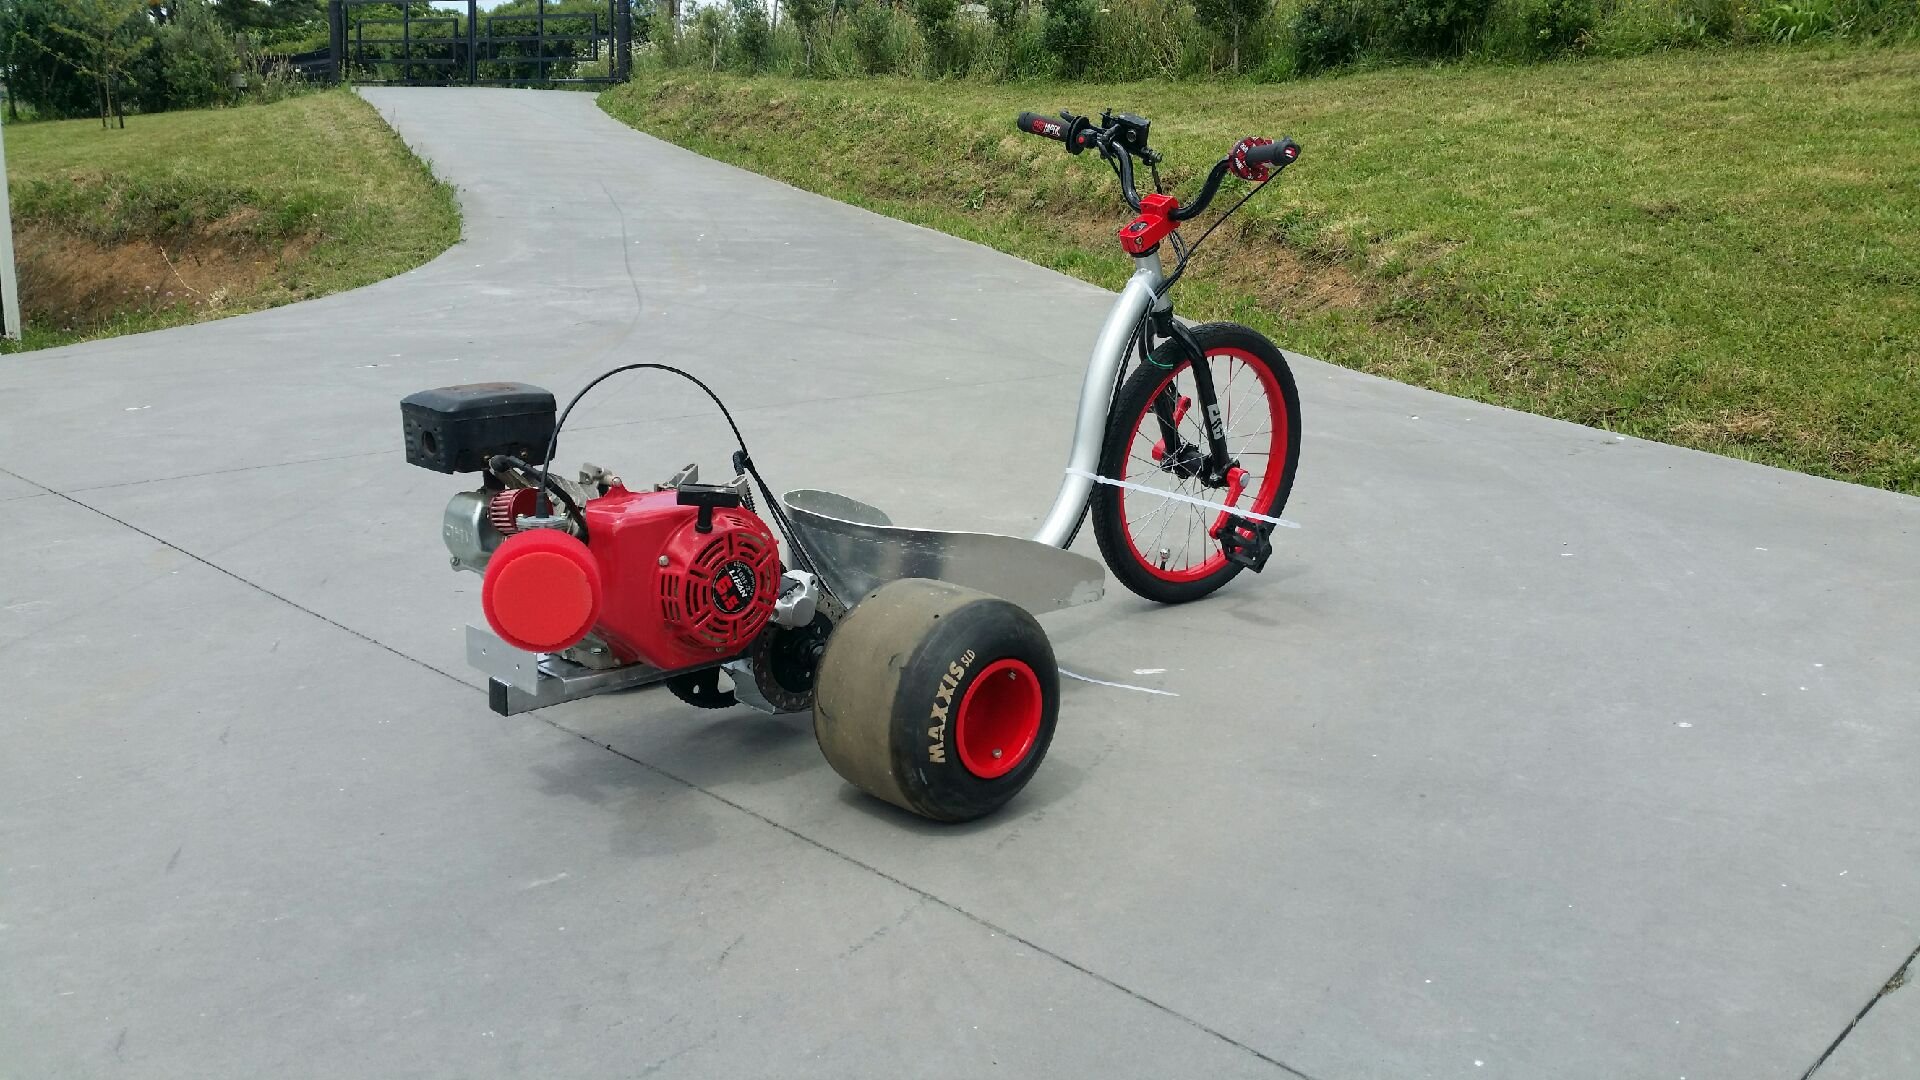
New tyre and rim with big diameter disc on gotta sort a caliper mount looks fairly easy. Took it for a spin up road literally new tyre made it bloody squirmy my grumpy neighbor loves it so much hes started recording me every time i ride it......
 2 points
 -
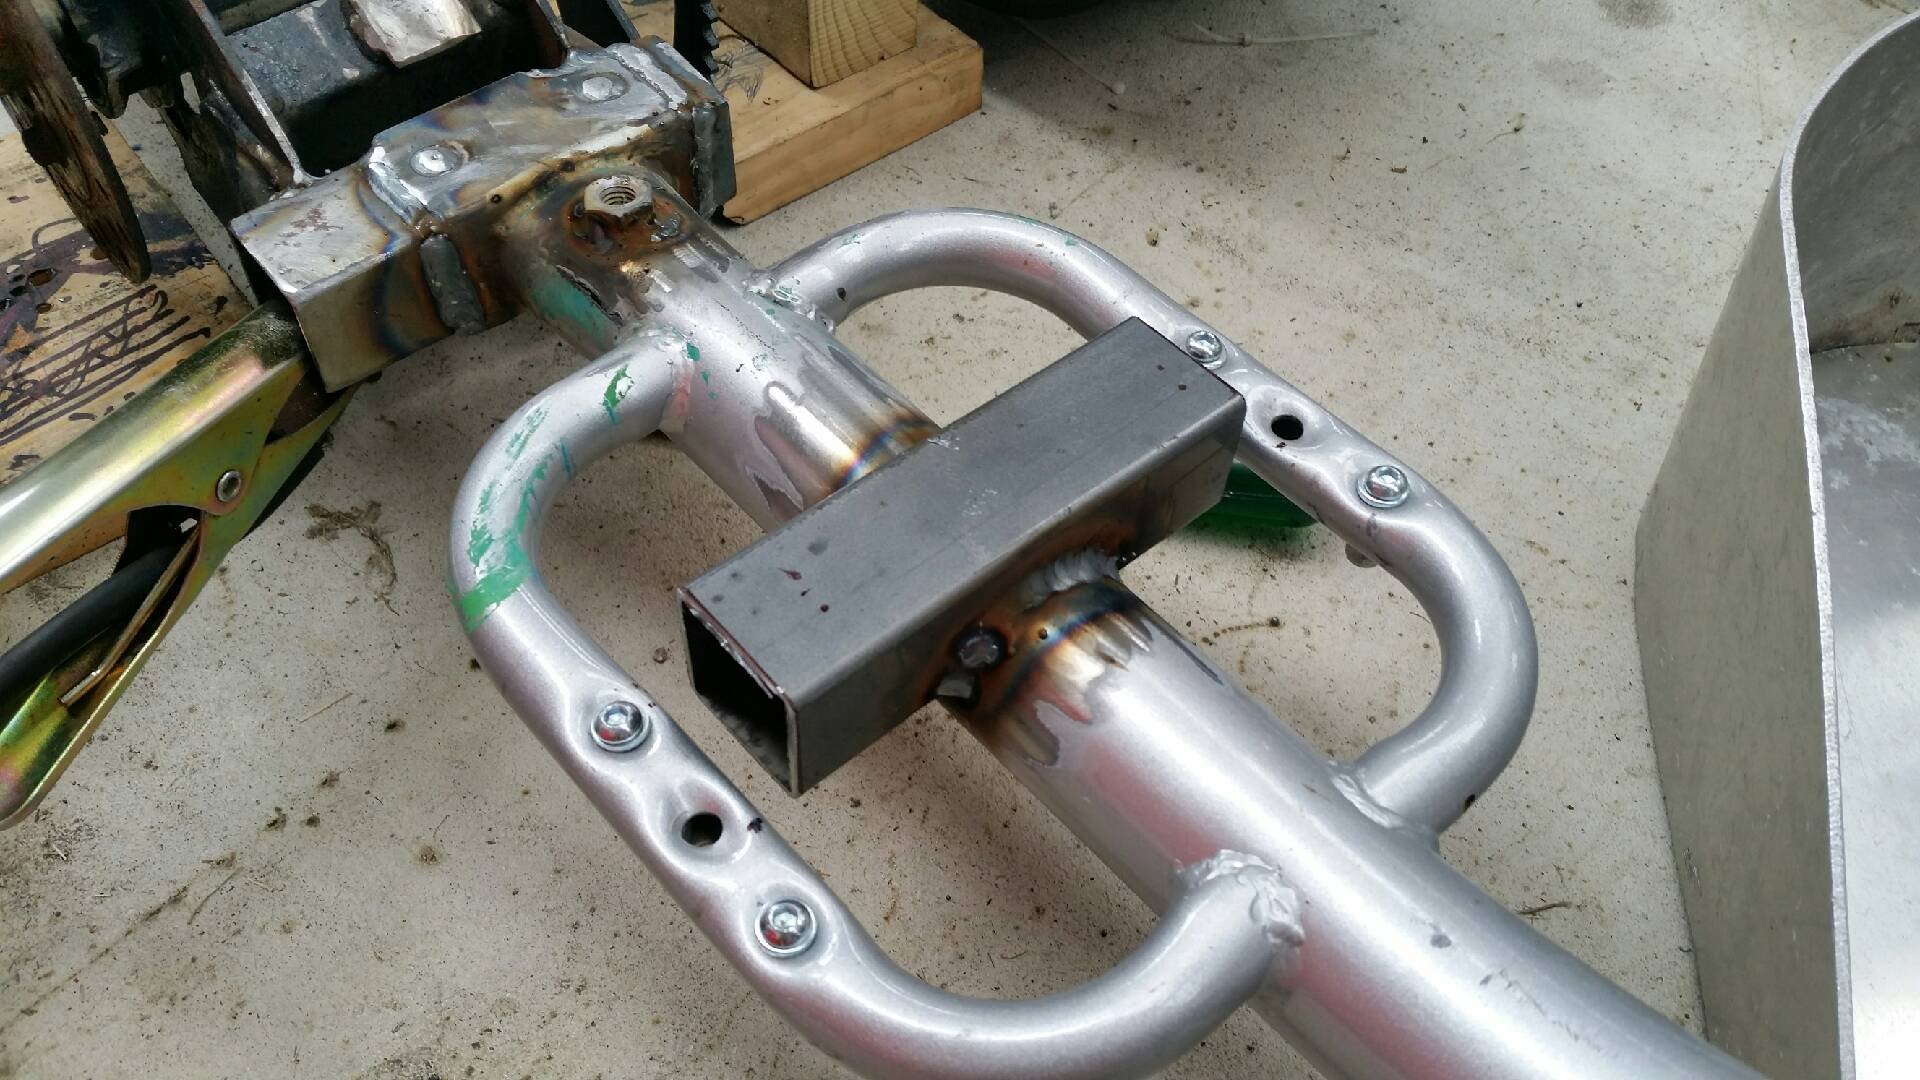
But then I would have needed to weld another bung ontop of the now flogged out first one #stepdrilllyfe2 points
-
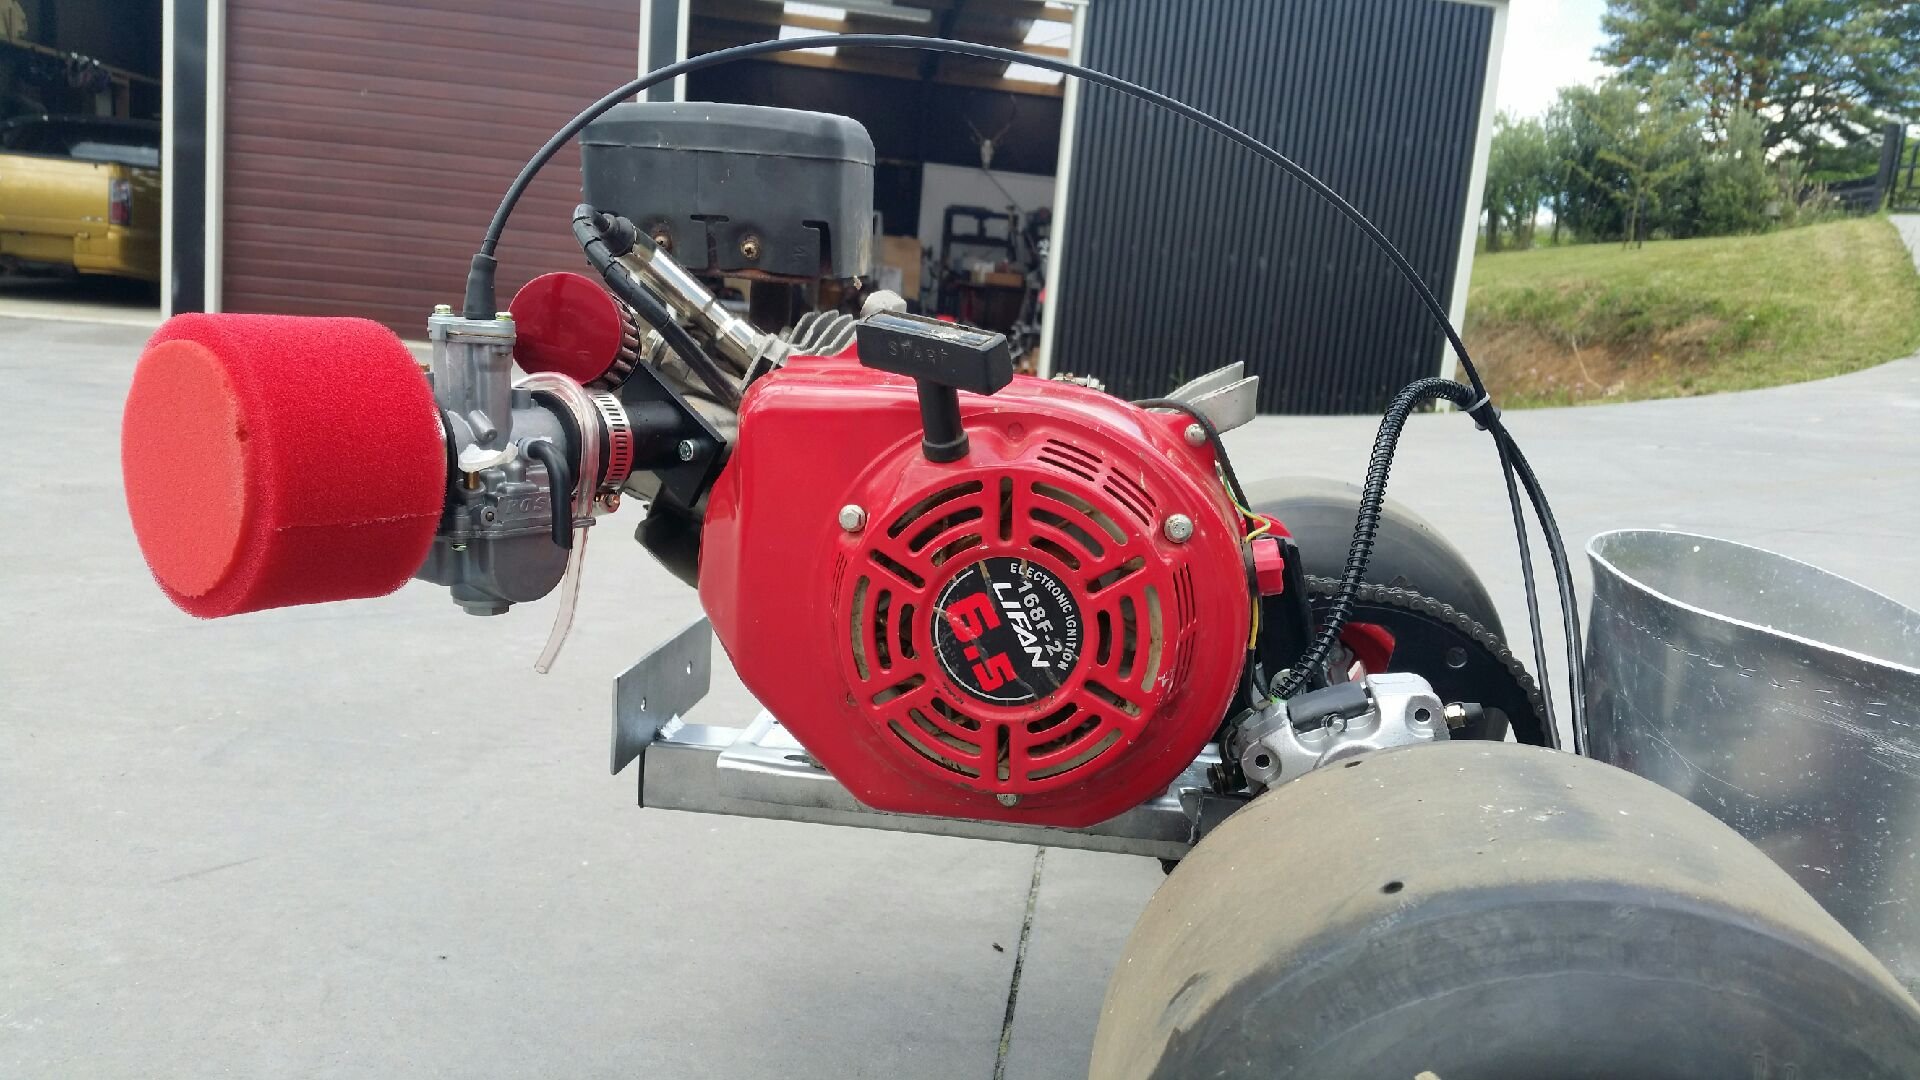
It's alive!!!!! Maweahaha.....it's alive!!!!! "Goes hard for what it is bro!" And a cheeky test ride with no sleeves. The tyres grip so hard it can't be steered like this without the sleeves on. But it's fast and has some real potential.2 points
-
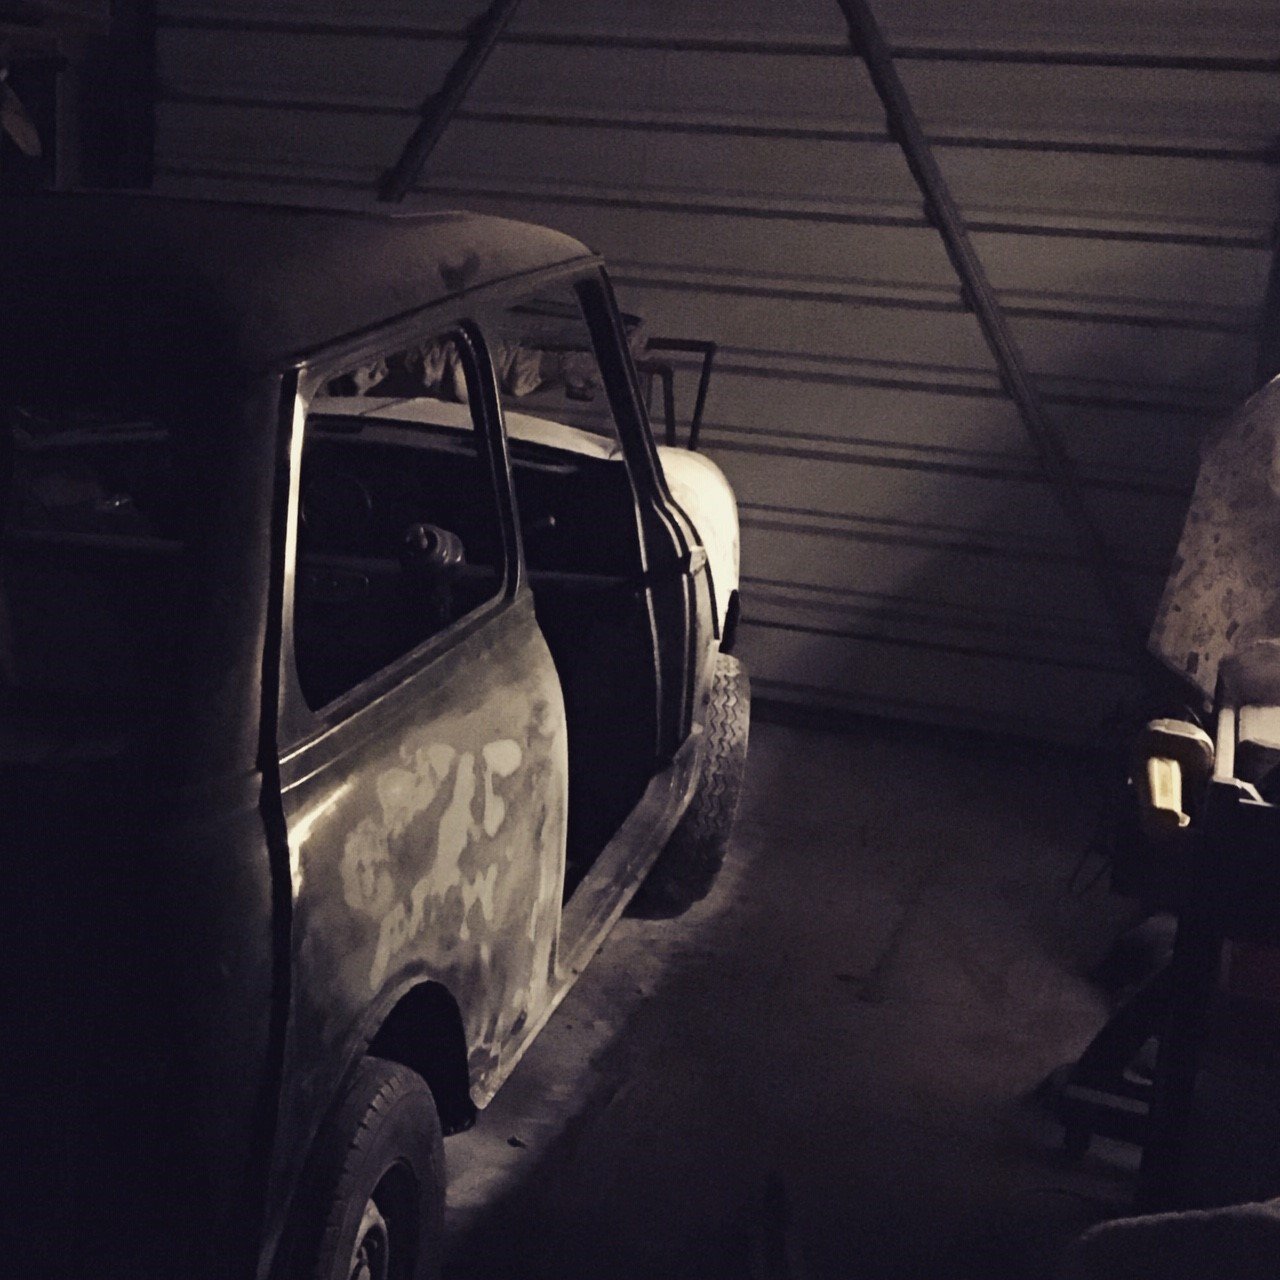
Buys italian project vehicle. Is surprised by random issues and electrical gremlins.2 points
-
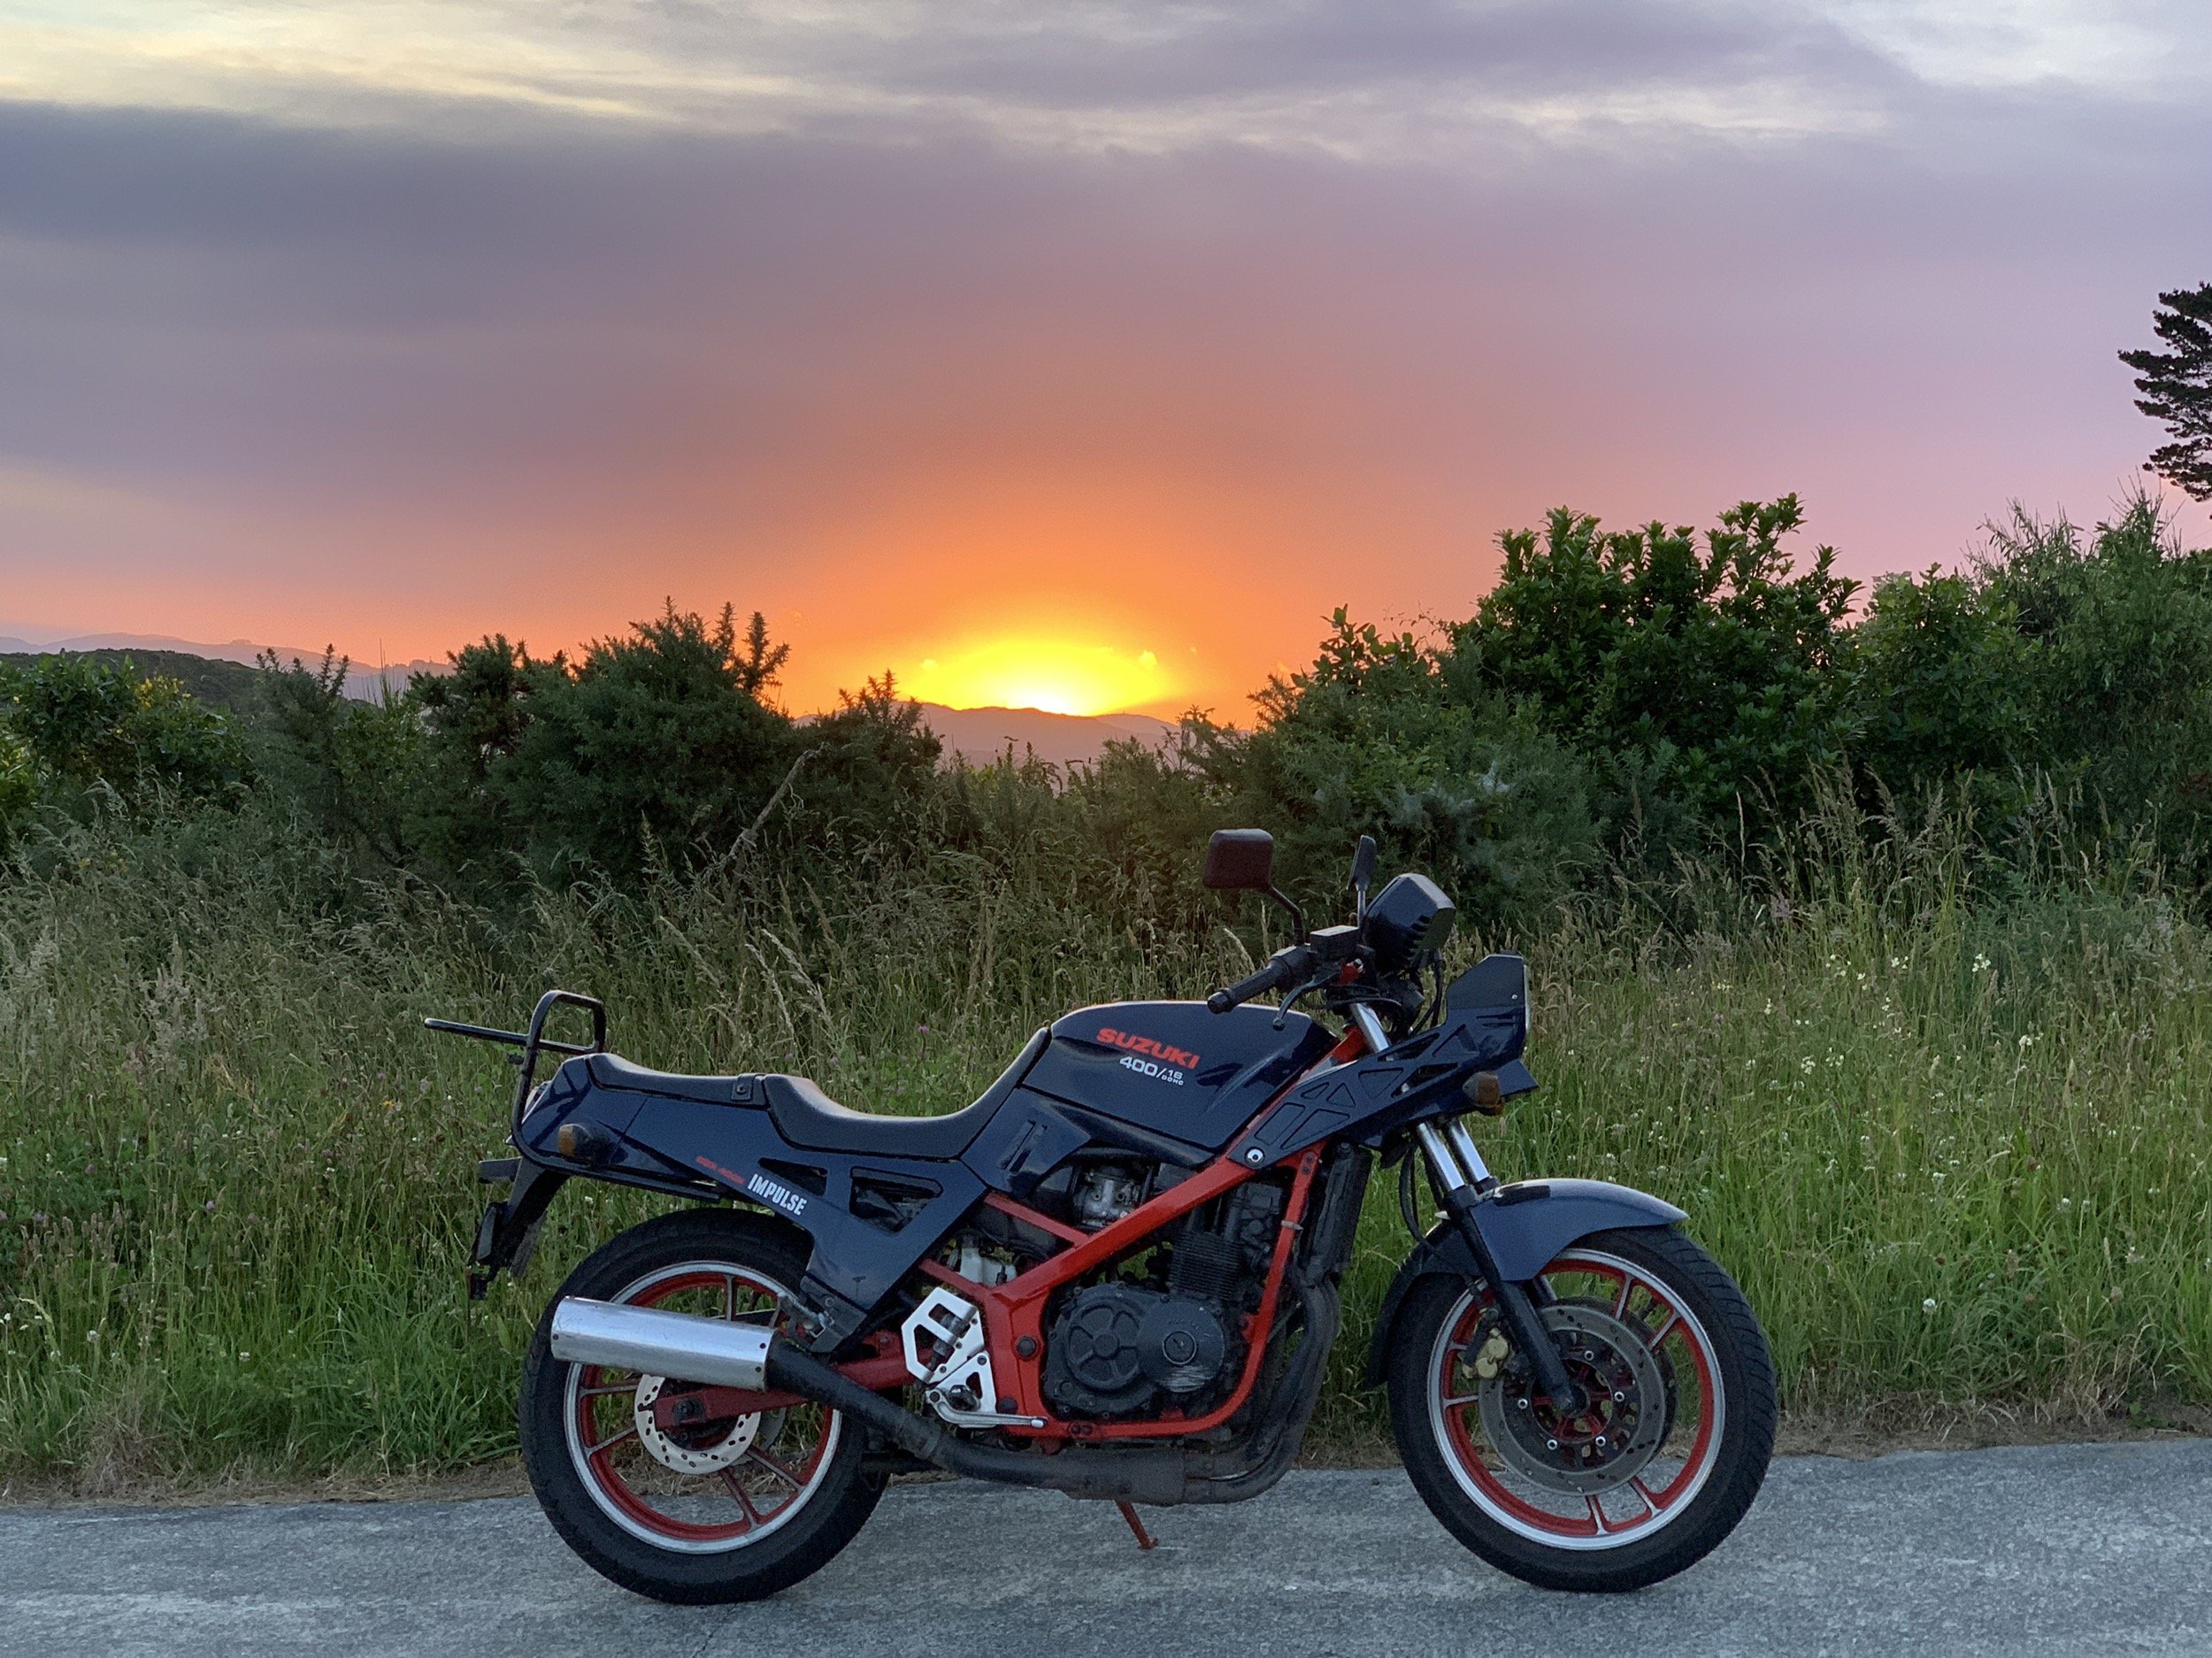
Hey so it's been two years since last update. Rode the bike on epic trip from Wellington to Banks peninsula for nats. Ran very well, certainly a lot of fun to ride. Gets very happy in the higher revs! Had my first crash while at nats. Lost control coming over a ridge while on gravel. Bike went in the ditch and managed to snap one of the forks! Limped back to camp, found a replacement fork locally(ish) and installed it in time to ride back to Picton. Hoping to go on lots of rides this summer!
2 points
-
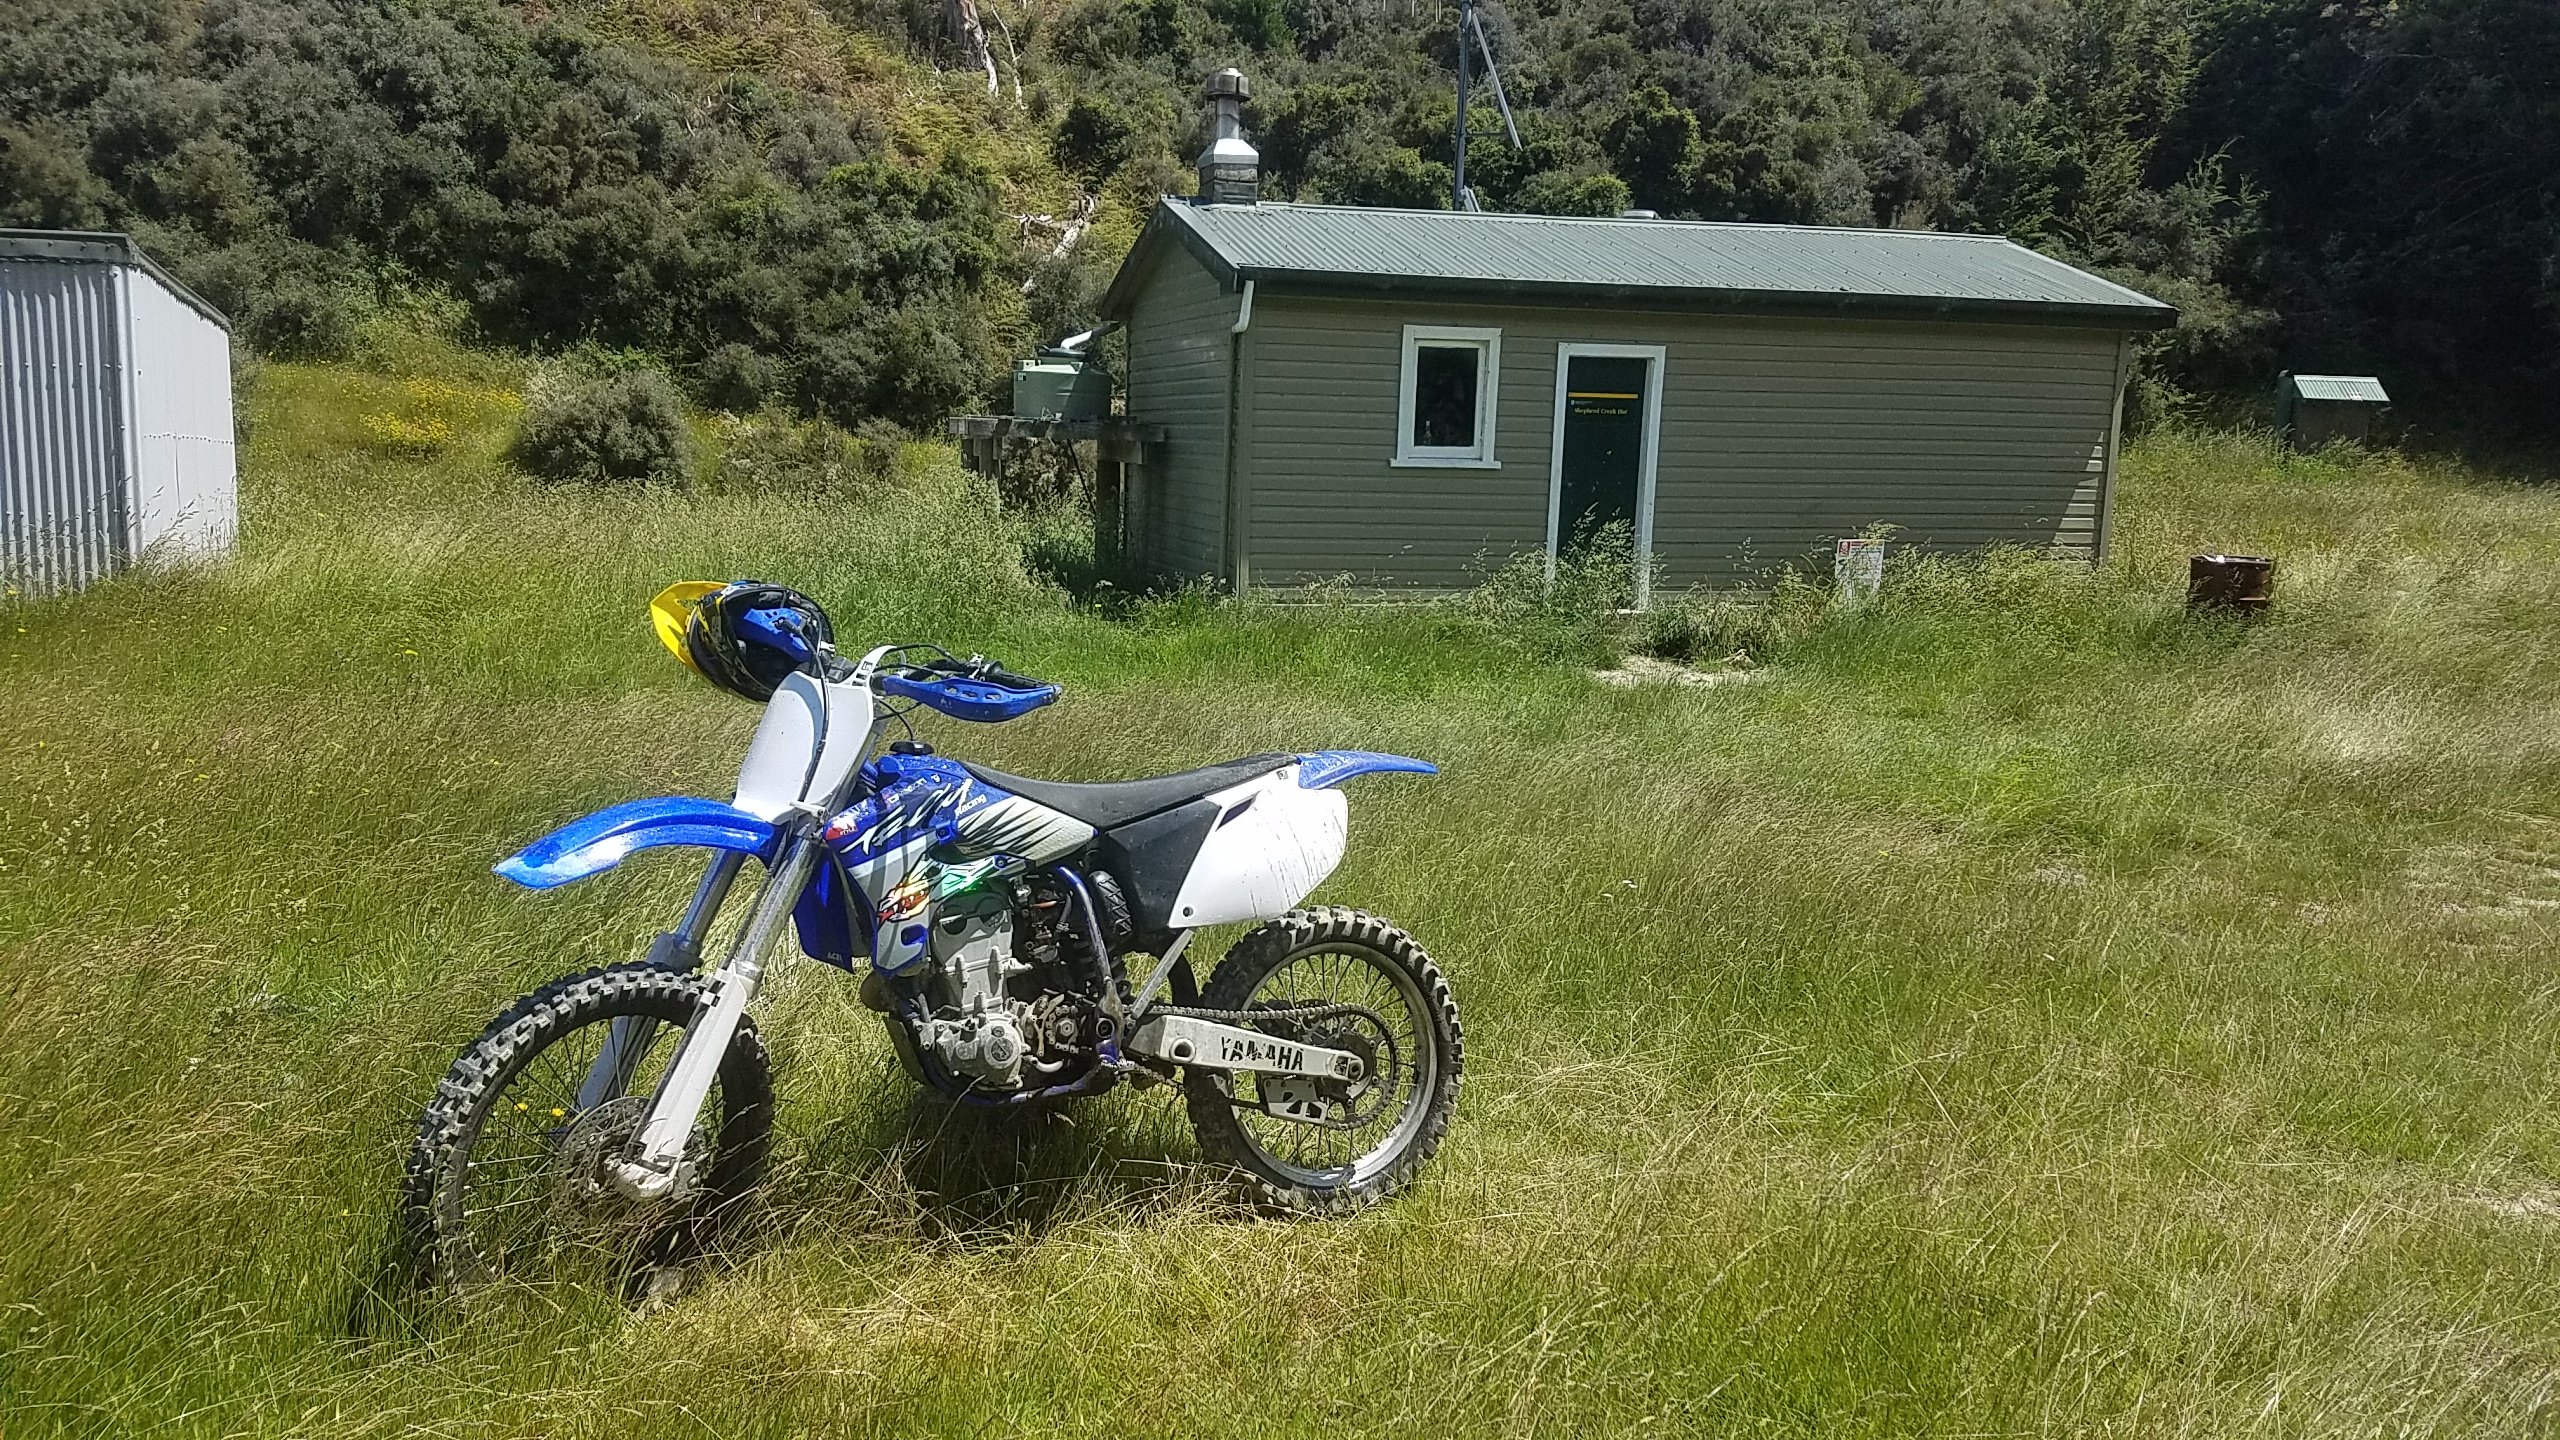
Took the yz into the Eyre mountains today after going to QT to do a site visit. 20km return, about 12 river crossings, plenty of washouts.. good fun. The 4spd box is shit for trails though with the long 1st (wide ratio).. Barely got past 2nd most of the way. Stalled the bitch in a river crossing, think it sucked in a bit of water through the rocker vent hose, oil is now milky. Drain it tomorrow and checked it's all good.
1 point
-
Painting in the garage means cleaning outside. falcon diff for escort and H165 for 1200.1 point
-
Here's a photo of the broken fork from once we got back to nats camp.
1 point
-
Clint plz come down do some riding in the waikato! Everyone down here seems to have reasonably fast small bikes so rides are to kawhia etc are real fun (50% of the time, atleast) (I may have to work later this week but was REALLY hoping to go for a decent ride if the weather isnt too lame)1 point
-
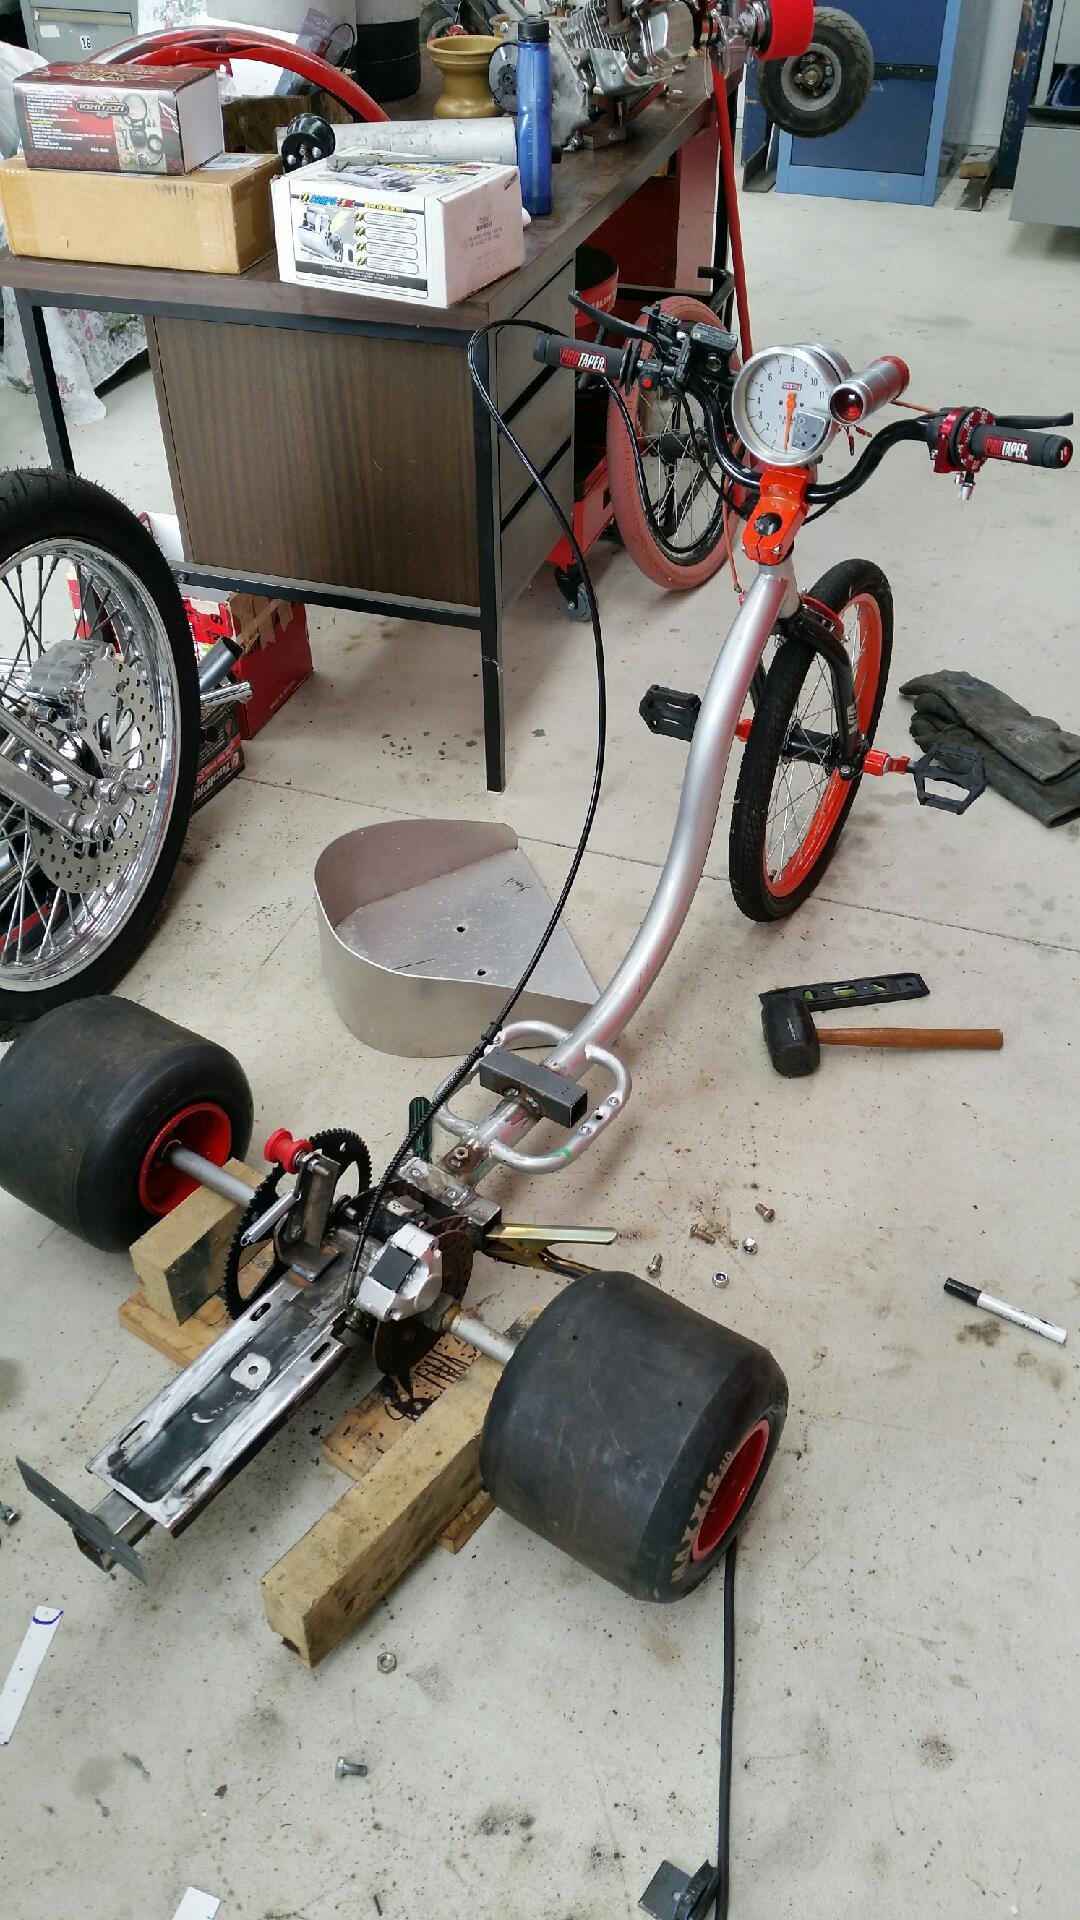
90% done now. Just need fuel tank, wire up kill switch and buy some sleeves for the rear tyres. Oh and turn front tyre around as I've got it facing backwards and my OCD is nagging me to fix it. I did some crude panel beatin on the seat to flair out a lip. Way better! Here's some cool little touches: And the nearly finished product: Yes I did repaint all the orange bits to red. That too was fucking with my OCD...fixed now:)
1 point
-
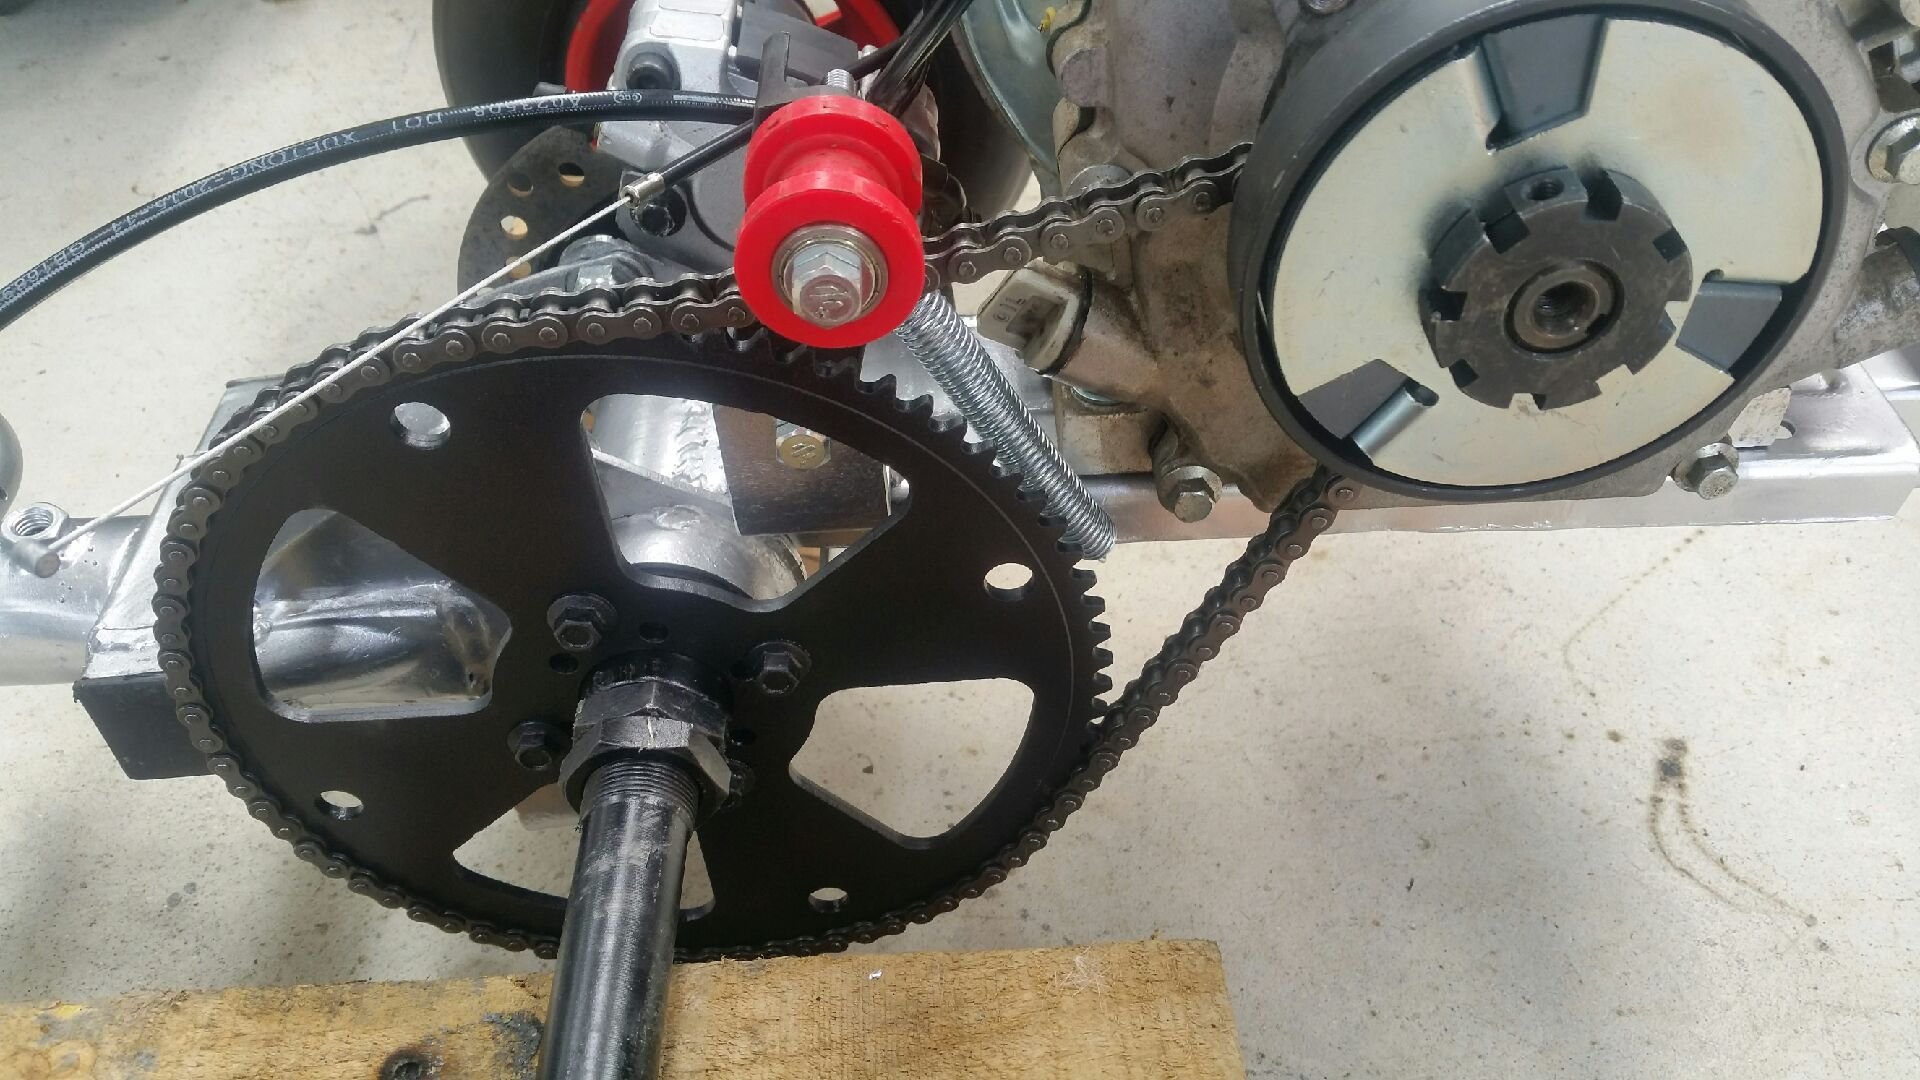
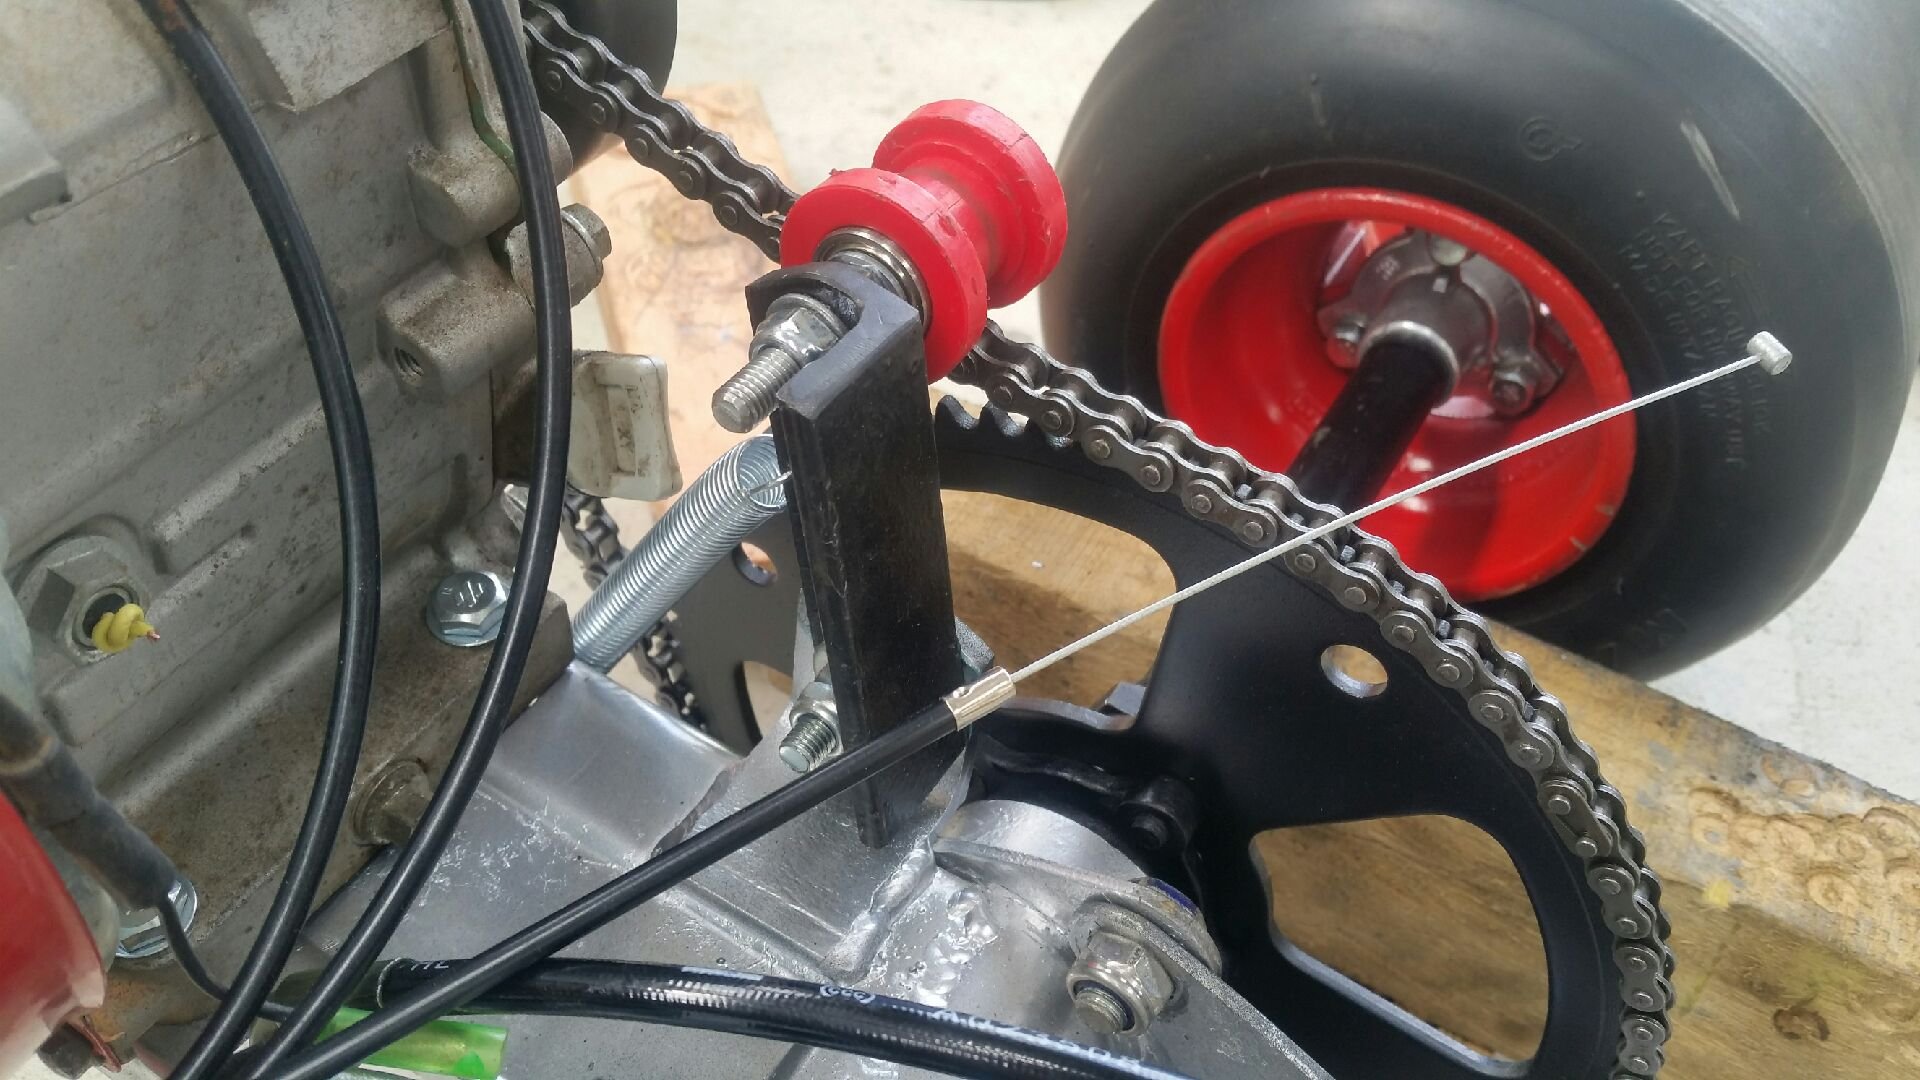
Trikes all assembled now. Here's the finished chain tensioner. Chains coming off is the main issue we've had with these things. It's mostly due to the really shit Chinese chain I brought. Getting quality chain in #35 pitch isn't easy to find...so kinda stuck with the Chinese shit that probably has a 7 year old making it on ex soviet machines from WW2 and a 4 year old doing the QC before it heads out the door. Anyways...hopefully this is a work around that enables it to function.
1 point
-
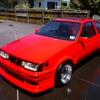
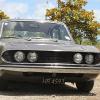
Lime! This is a cool car. Was the neighbour of my Starlet for a while in it's previous shed location. Good choice of wheel, I like a Longchamp.1 point
-
Got the old girl at home with me, like I did this same time last year. Going too get the interior cleaned. $$. It's got a bit of mold in it from being in the shed. Going too improve the storage situation in the coming days. Haven't driven it much since last year. I took her in for a WOF yesterday, and it failed on the left front wheel bearing, it's real bad, you can hear it quite well. And the left rear diff seal. Both quite easy jobs. Other than that, she's my daily driver for the next few days. Also going too paint and clear coat the rims today. Cheers.
1 point
-
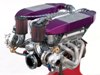
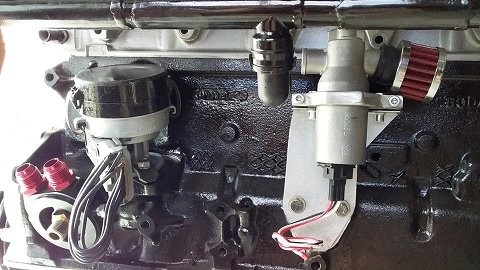
I wasn't completely happy with using bolts with each mounting flange being tapped to hold each throttle body on. Not least because all my untamed strength acting on the quarter inch ratchet managed to strip one of the alloy tapped holes on the first try. So I decided to swap the whole lot for steel studs pressed in from the back side of the flanges. So, two minutes of turning later... You get these delightful little fellows: And then pressed into place. Which gives me a much more professional looking nut rather than bolt with a neat little button head on the back. While I was in there I also added an extra throttle return spring. I'm much happier with the throttle now. I wasn't quite returning to its seat after lifting from light throttle but now it snaps shut far more satisfactorily. Next job is at the other end of the car...1 point
-
A few loose ends done this morning. Seat was just sitting there until now... I welded a nut to the rear of the frame and added a short cross brace to the front of the seat. M10 bolts will hold it all in place. The all important number plate bracket is done, and a wheelie bar. Yes I added a fucking wheelie bar as this thing should pull wheelies all day long if you feed it the gas.
1 point
-
Although, it can be done, if you want a technical challenge: https://forum.arduino.cc/index.php?topic=102181.01 point
-
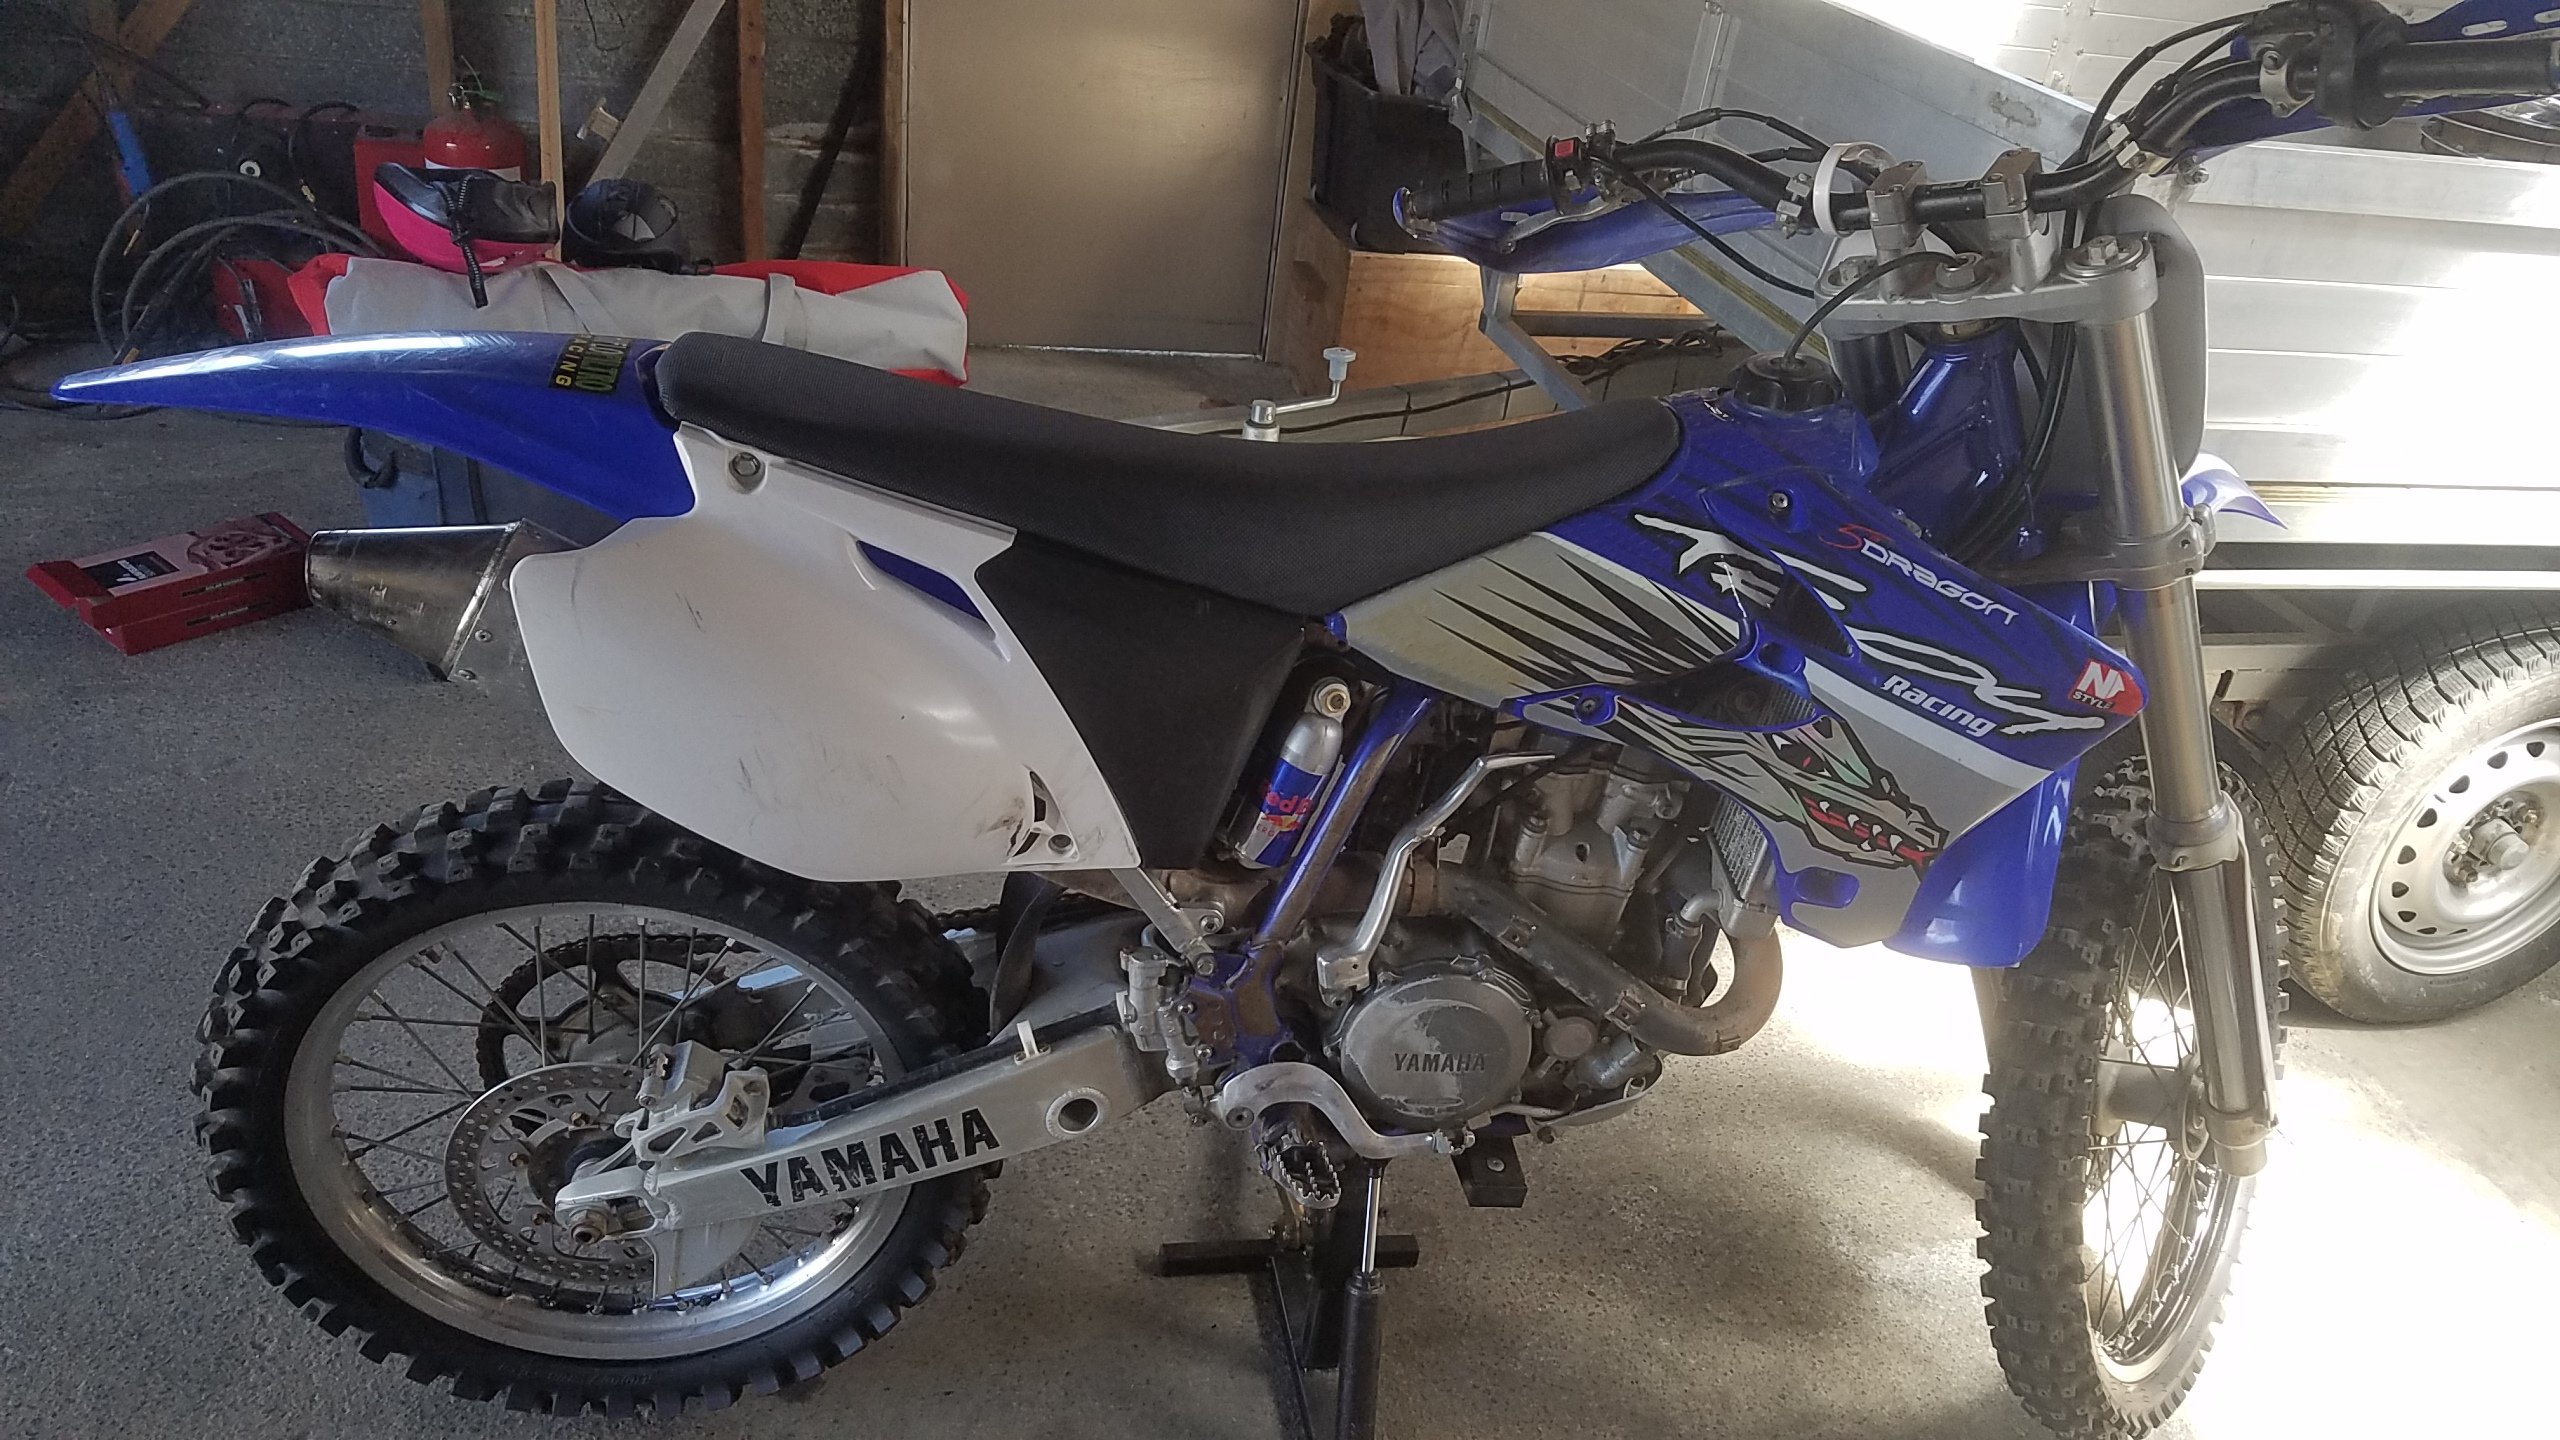
Offloaded the 135 in a straight swap for a yzf450, we'll see how this goes. It's a much tidied bike overall, nothing appears to be hacked like the 125
1 point
-
spent today buttoning up the drivers side rear quarter. the other MS75 i bought off Tom came with a full boot cut that happens to have the rear quarters attached. i had a dig around the boot cut rear quarter and it looked to be in pretty good nick so i cut the piece i needed off the boot cut and welded that to the coupe. the eagle eyed among you will notice that the sedan rear quarter is slightly shorter that the coupe, making the back of the wheel arch further back in the sedan than in the coupe. ill make a little piece to bring the wheel arch in line and its done. saved me heaps of time. would have been a few days making all the innerbits and getting everything fitting and welded up. this was way quicker. in other news i put the back bumper together after paint and its a fucking abortion. im fucking embarrassed as to how badly i got the curve wrong between the sedan bumper and the coupe chrome top piece. i dunno what to do with it. either ill re-do the whole thing of just slap it on and fix it when i paint the whole car. not sure but i am sure that its too bad to put a picture of it on the internet. Richie's starlet is arriving here tomorrow to get the engine bay painted so ill be a few days doing that before i can get back into this. i really want to get this thing complied and drive it around, its fucking rad. 2018-12-28_04-22-16 by sheepers, on Flickr 2018-12-28_04-22-24 by sheepers, on Flickr1 point
-
Welded the tubs and zinc sprayed. First one went well, second was a bit gappy and had some blowouts but cleaned up ok.Will be smeared in sealer when finished so.. Left the ends Incase I need some movement for final fit. The escort heater bubbles always rust out. Mine was decent but it was certainly going to reappear if not chopped out fully. I made some patches years back and glued them in today. Hit it with the sand blaster first, the rust started again since I had bare metalled areas before storage. That lip usually pokes out an inch the whole way but I’ve pushed it down for clearance of engine and to drain better. It can chill like this until I start mounting stuff and then can be trimmed more or brought back up or whatever. i started on another patch but left the rust killer and copper spray drying, filled some screw holes & pinholes and called it a day.1 point
-
Hah Went to go for a ride today cause sunshine Scoot no go. No spark. About 2 hrs later found a shitty connection at the cdi unit Ah well at least I learned some stuff about vespas1 point
-
You can reliably bet it doesn't go?1 point
-
Funny add. Pretty much has Bluetooth wiring, wheels, fairings...ummm....pretty much everything is held together by Bluetooth connectivity. Oh and no motor...but its reliable???1 point
-
Found some I replaced. Head is 25mm across. Square bit is 11.8mm have a few, most in pretty good condition. Might find the spare new ones. If you're in a bind come grab them. Txt 0274725454 Mike1 point
-
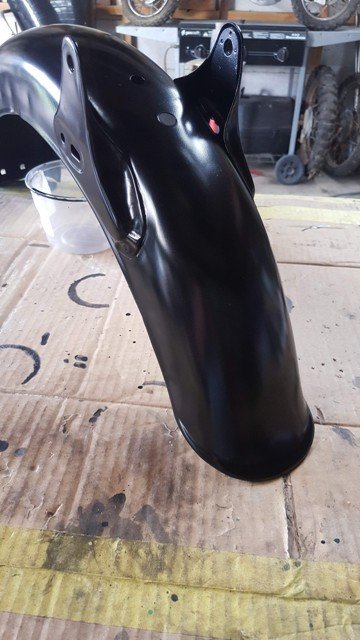
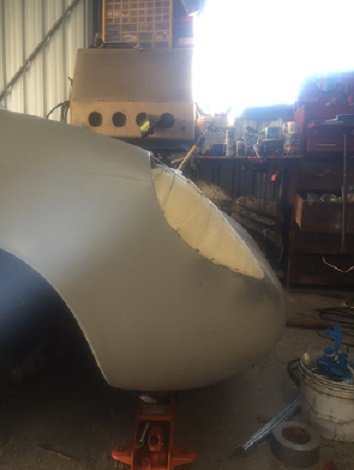
Still plodding on this, bodywork progress doesnt make exciting piccies. Everything rubbed down And our first coat of primer, alot of sanding to follow. Did I mention this is my first attempt at a full body respray, and first go using 2K? Its new to all of us1 point
-
I bought some from Aliexpress a few years back, could be an option1 point
-
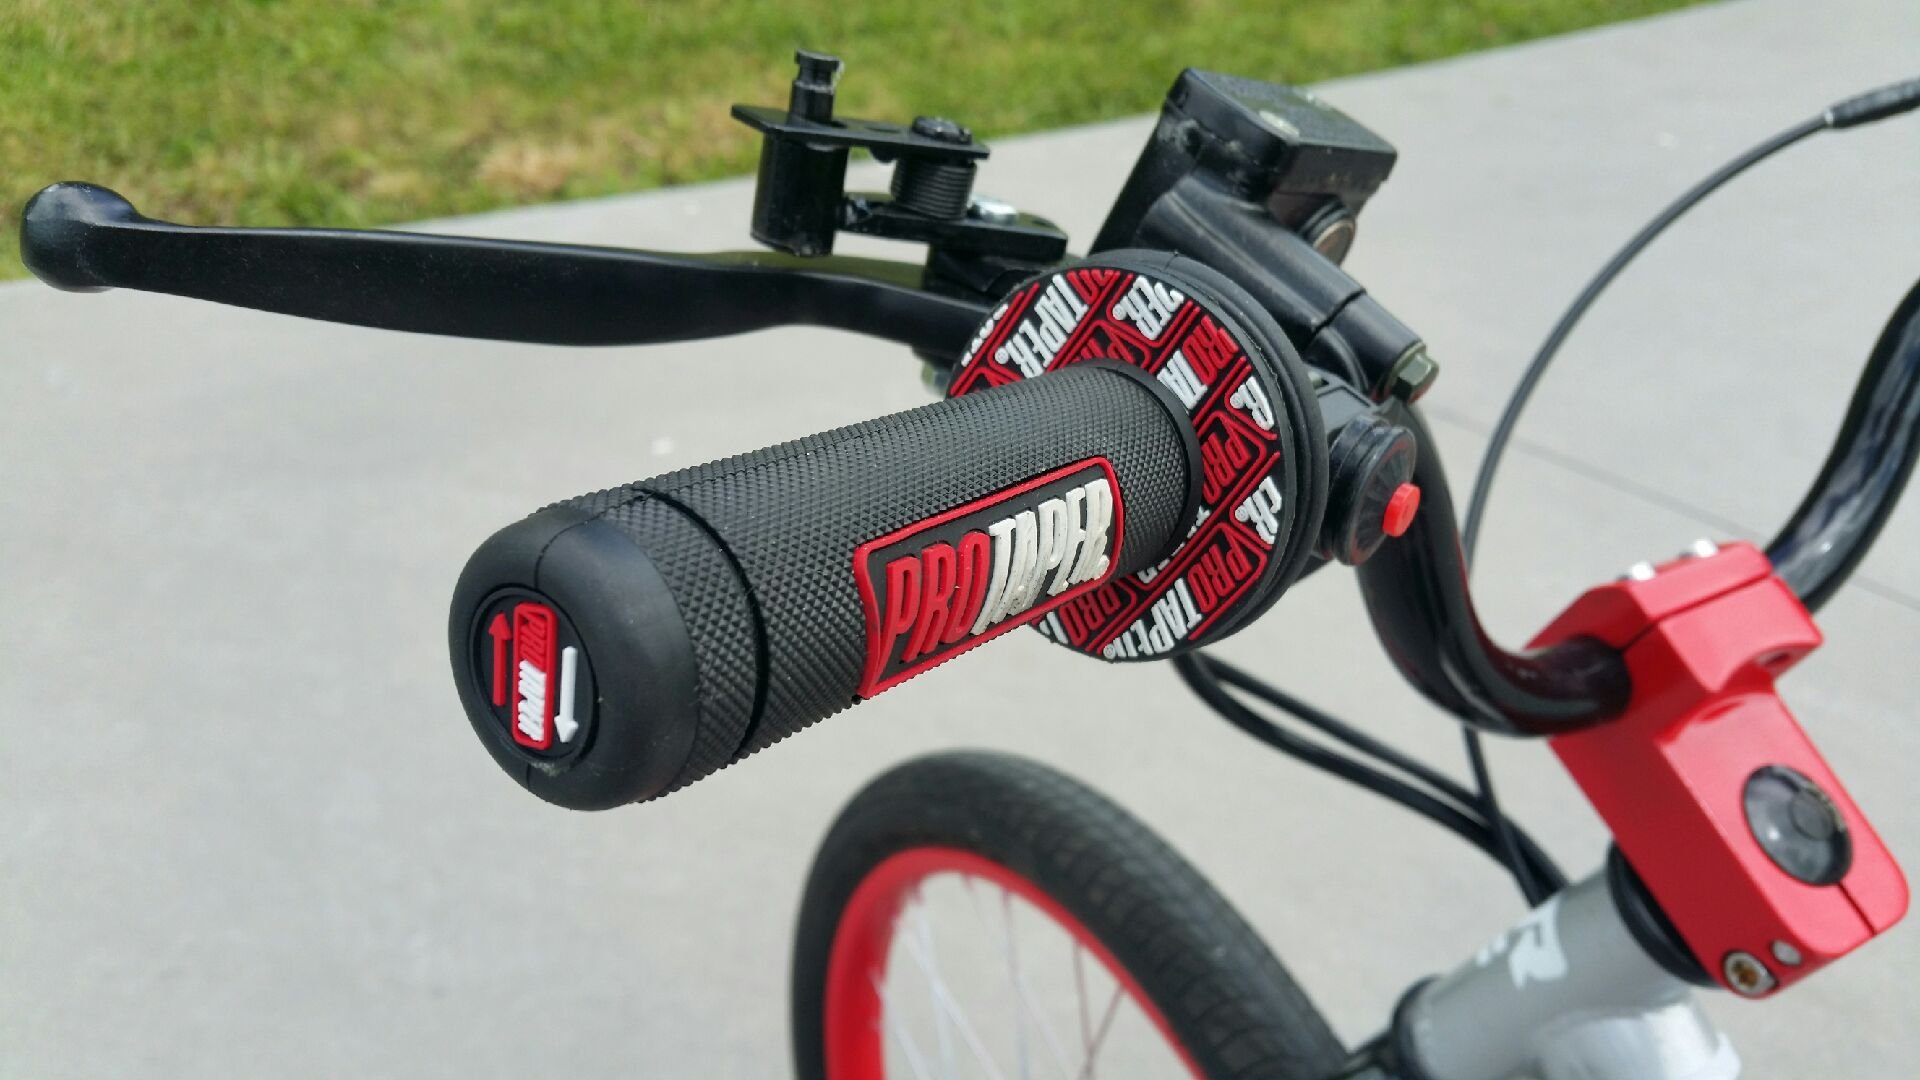
Pretty sure the bike shop next to me has the same exhuast set up as mine which would be a legit upgrade for you. Your going to have a ball. Such a great scoot.1 point
-
If you want nice new ones people like classic industries in the US have them for all sorts of cars. The prices are usually pretty good as well.1 point
-
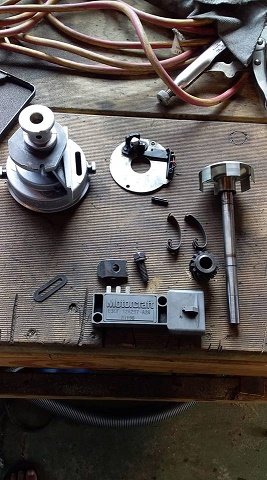
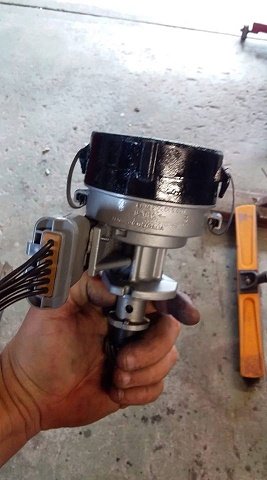
thought i would have a play with falcon TFI dizzy i had that came with all the injection bits i bought. only wanted was the hall effect as a trigger for the ecu and also for the oil pump. so pulled it a part cleaned it up and cut the top off and capped it...rebuilt with a new plug.......good to go
1 point
-
1 point
-
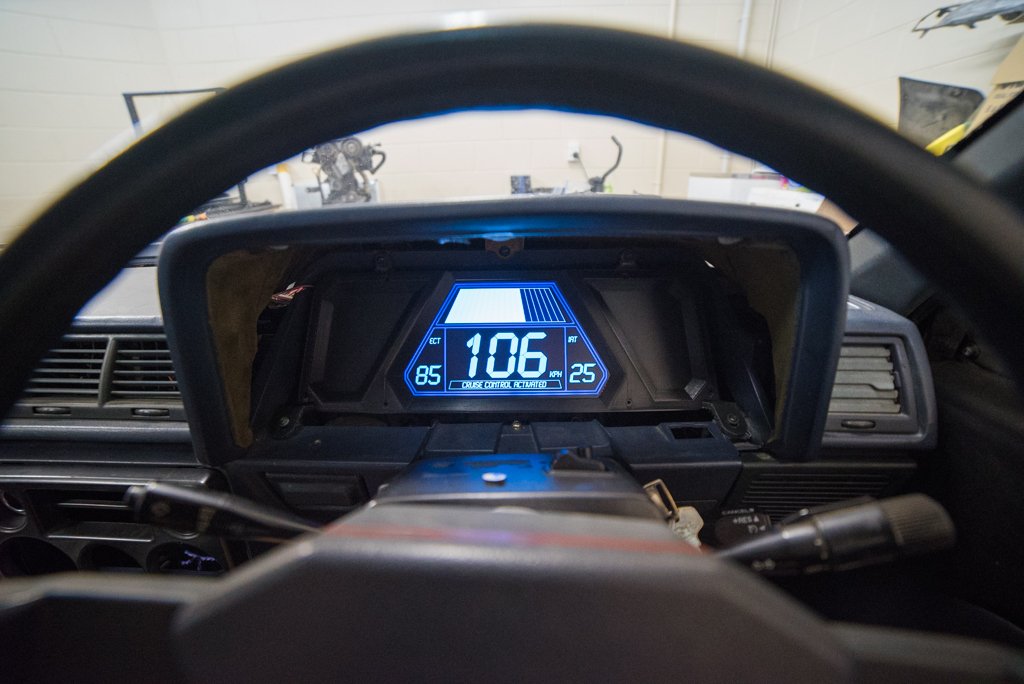
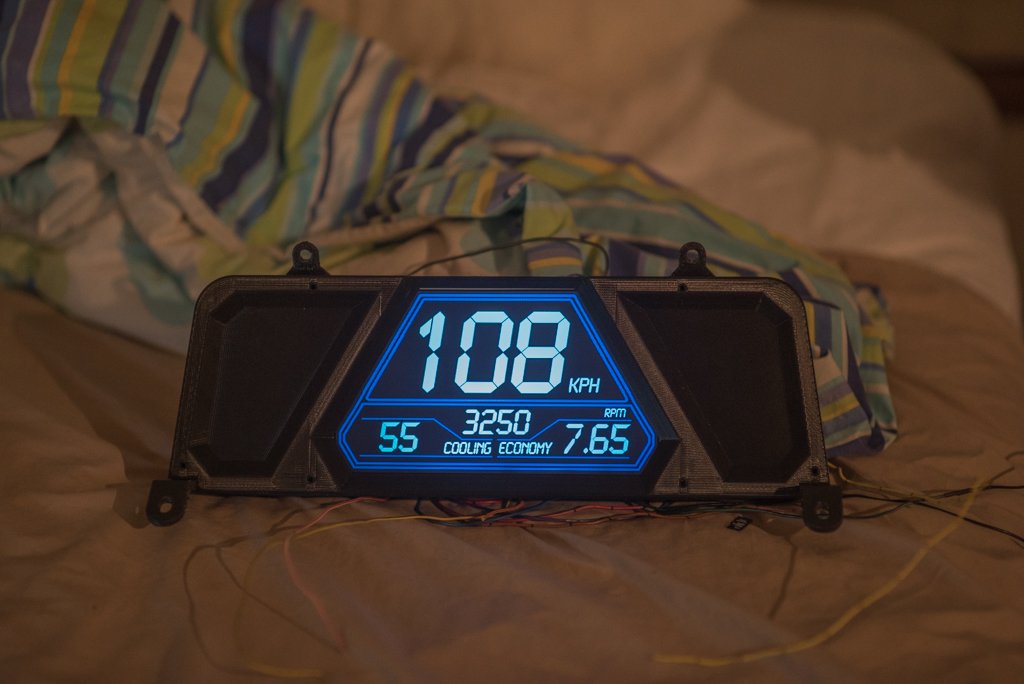
Digidash is coming along slowly too. Just need to figure out what to put on the sides. Waiting on some parts so my circuit board can interface with the 12v stuff from the loom plugs like lights, indicators etc. Still might change the design around a bit but I want to look 80s obnoxious / look like it belongs in the car / still be nice and readable. Currently only receives canbus info from ECU, and has an internal bulb to make the alternator work haha. Getting there but a fair bit of work left to do. Excuse the yuck graphics, work in progress:
1 point
-
The OS Auckland shed crawl visited that Bmw last time round1 point
-
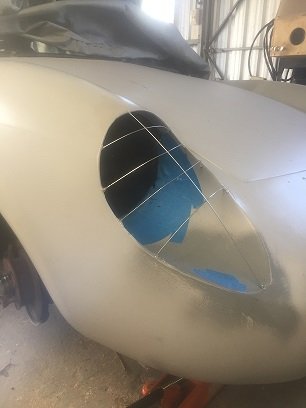
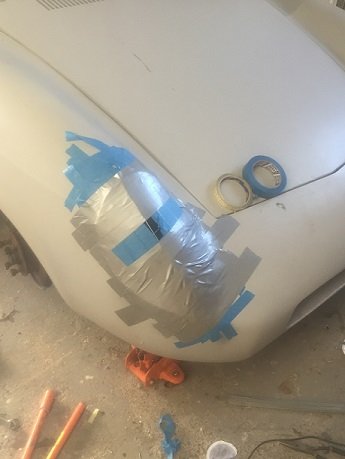
Lately I have been pondering the headlight covers. With no off the shelf parts available I'll be building them from scratch. After a bit of research it came down to material use and forming method. Materials: Plexiglass (Acrylic) vs Polycarbonate. There are others but these are the most readily available and commonly used. Plexiglass: Much cheaper and easier to obtain at different thicknesses however weaker and is less resistant to heat. Workability is easier however drilling becomes harder and more likely to split (especially at the edges) Polycarbonate: Much tougher than plexi-glass, more resistant to heat, can be drilled easily near the edges however it is harder to obtain and quite expensive. Both have excellent thermoforming properties however Polycarbonate has been my choice. Not due to heat as I would imagine the old fiat bulbs don't produce much heat (causing them to yellow) but due to being able to drill near the edges (Essential for mounting) and being much much tougher. I could write a post alone on vacuum-forming vs cold-forming vs heat forming but the google God has many an answer. I will be heat forming due to it's awkward shape and my lack of vacuum forming experience. Here are the basics to building a plug. 1. Shape: (More support wires were added) 2. Seal & Wax : Wax and tape inside walls. Stronger the tape the better - Leave a small hole for pouring. (Hole got moved to the top after a recommendation) 3. Fill: (Alumilite Super Foam 320) 2-part mixture https://www.alumilite.com/store/p/973-Super-Foam-320.aspx 4. Result: Pretty close. Needed more foam Buggar ahh well, get it with the next stage Next Post: Smoothing & Finishing If you have tips or tricks I'm all ears...
1 point
-
Just a quickie. More filler work this week, should be able to shoot the primer in a few days. I came across another boo boo, this panel has a very slight sweep back to the wheelarch but someone has done a bit off repair in the lower corner (probably just burried the mig in it) and distorted the panel. Only way to fix is to cut it again to relieve the stress on it. A few mm makes a massive difference here... Also, cue artsy shot....
1 point
-
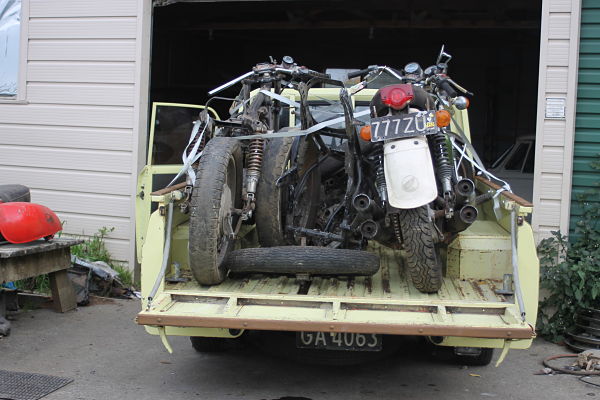
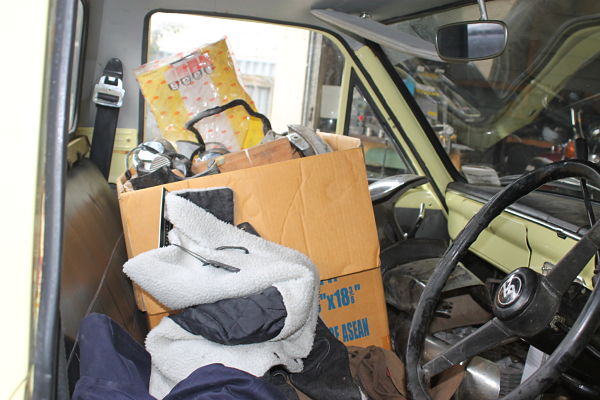
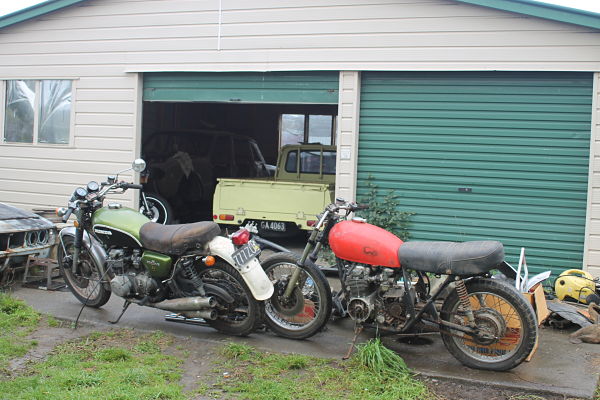
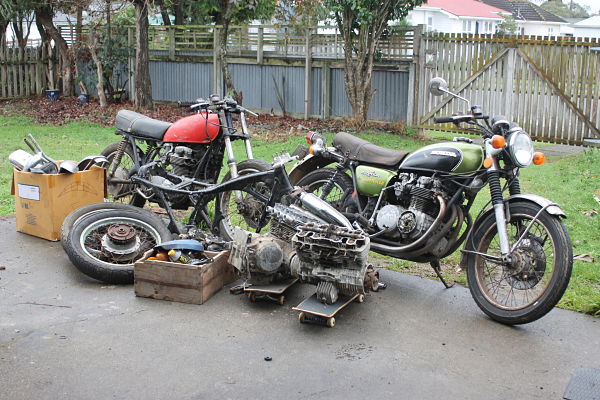
So another deal came up for some more cb500/cb550 stuff, i couldent pass the deal up so the other week i jumped in the ute and picked up this hoard of honda goodness! The green one is actually a super good example, its all complete theres just alot of patina! the plates still in the system so that will make it super easy to get it back on the road, I really wanted to make my original cb into abit of a cafe/brat but it was just to good to hack up, and even this green one is just to good, I proabally wont have time to do the green one, so that may possibly be coming up for sale soon, but thats not guaranteed yet, but then it also came with this red one its missing a few parts, but that makes it a perfect candidate to build into to something sick! i wont feel bad about cutting bits off! theres just no plate! so im really hoping it wont be a big hassle getting it back on the road! it also came with a couple of engines and a heap of spare parts! super stocked with all this stuff! so i gave the carbs a clean on both of the bikes chucked some spare engine bits on the red one, and i manged to get them both running which is a massive bonus!
1 point
-
I stumbled out of Alex's shed in the soft light of a golden bay dawn to have my morning piss when I saw that beast for the first time, as first impressions are everything, mine were along the lines of god that car is filth, how did Nissan get from Hakosuka to here? I wish you all the best for your future smoking holiday reds at the kennel club while placing $5 bets on your brother's mate's husband's greyhound1 point
-
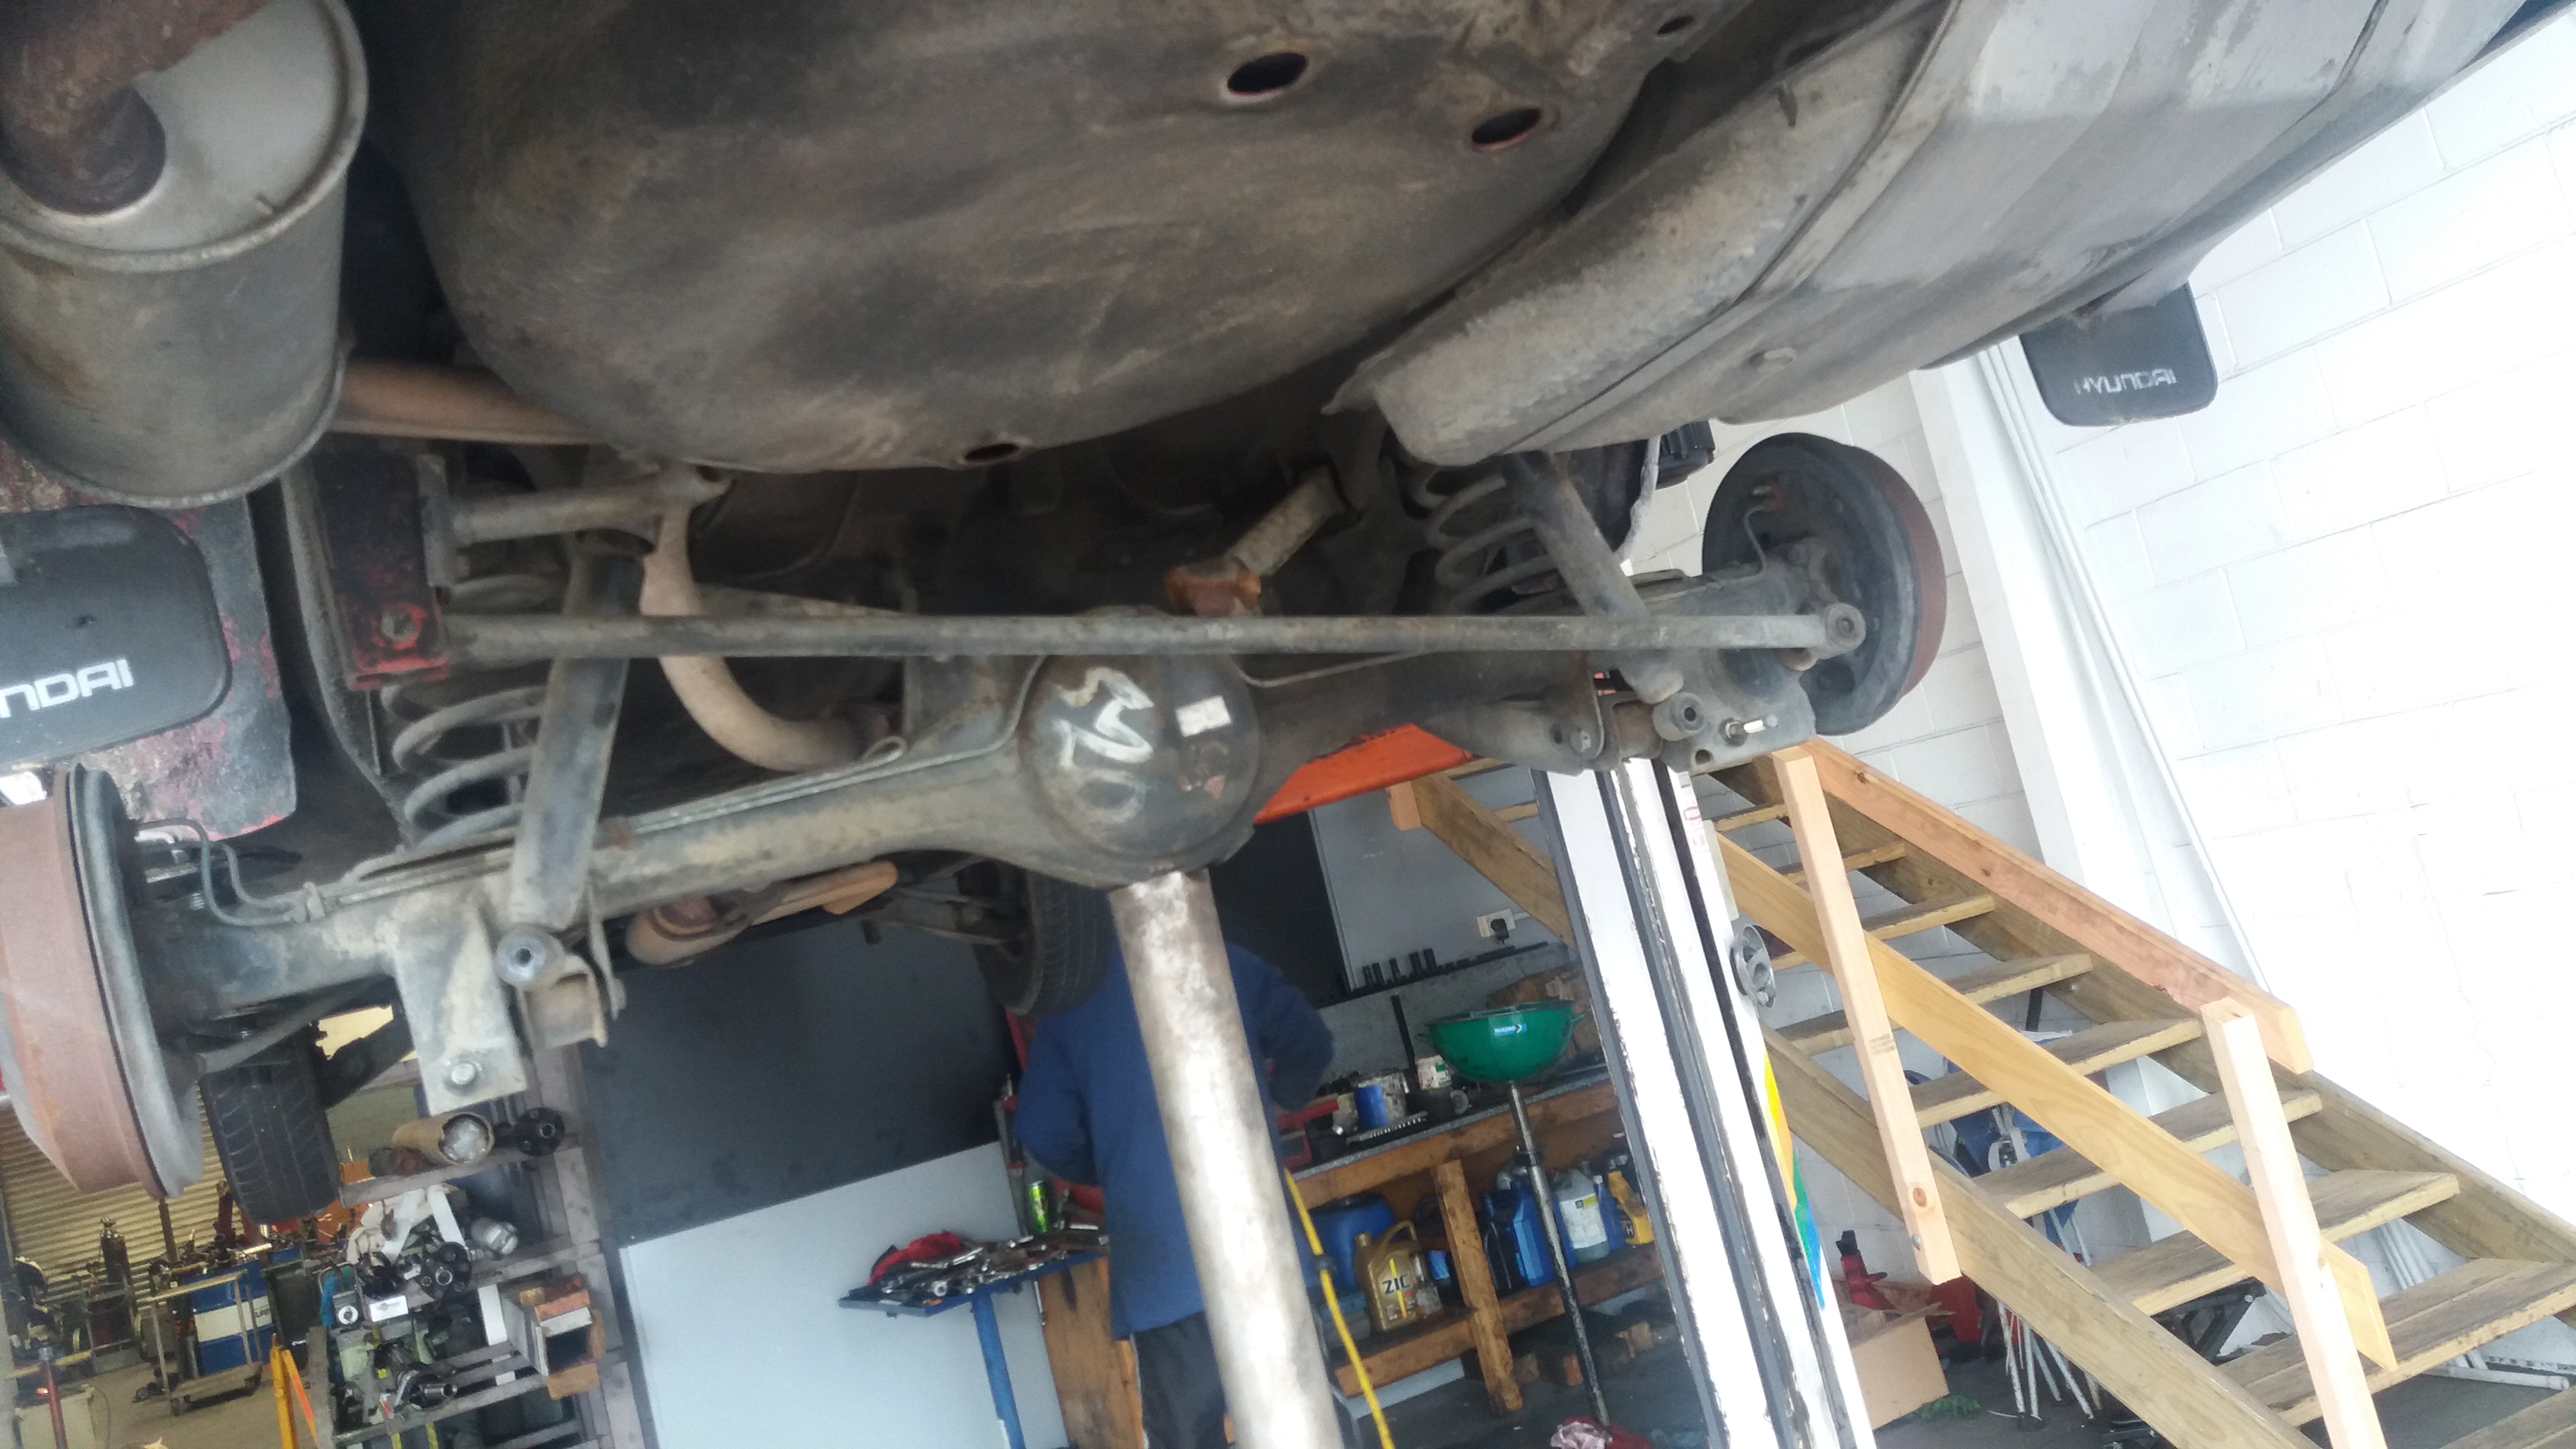
Been a while since the last update, she's been driving really well, and I haven't had any issues at all. Shes I'm at my mechanic this morning having both rear trailing arm bushes replaced. Couldn't be bothered doing it myself. Will throw down a few pics of the progress this morning.
1 point


.JPG.54bc86c29e66ff4f1548ad8a48564829.JPG)


This leaderboard is set to Auckland/GMT+12:00