
Leaderboard


Popular Content
Showing content with the highest reputation on 08/20/18 in all areas
-
13 points
-
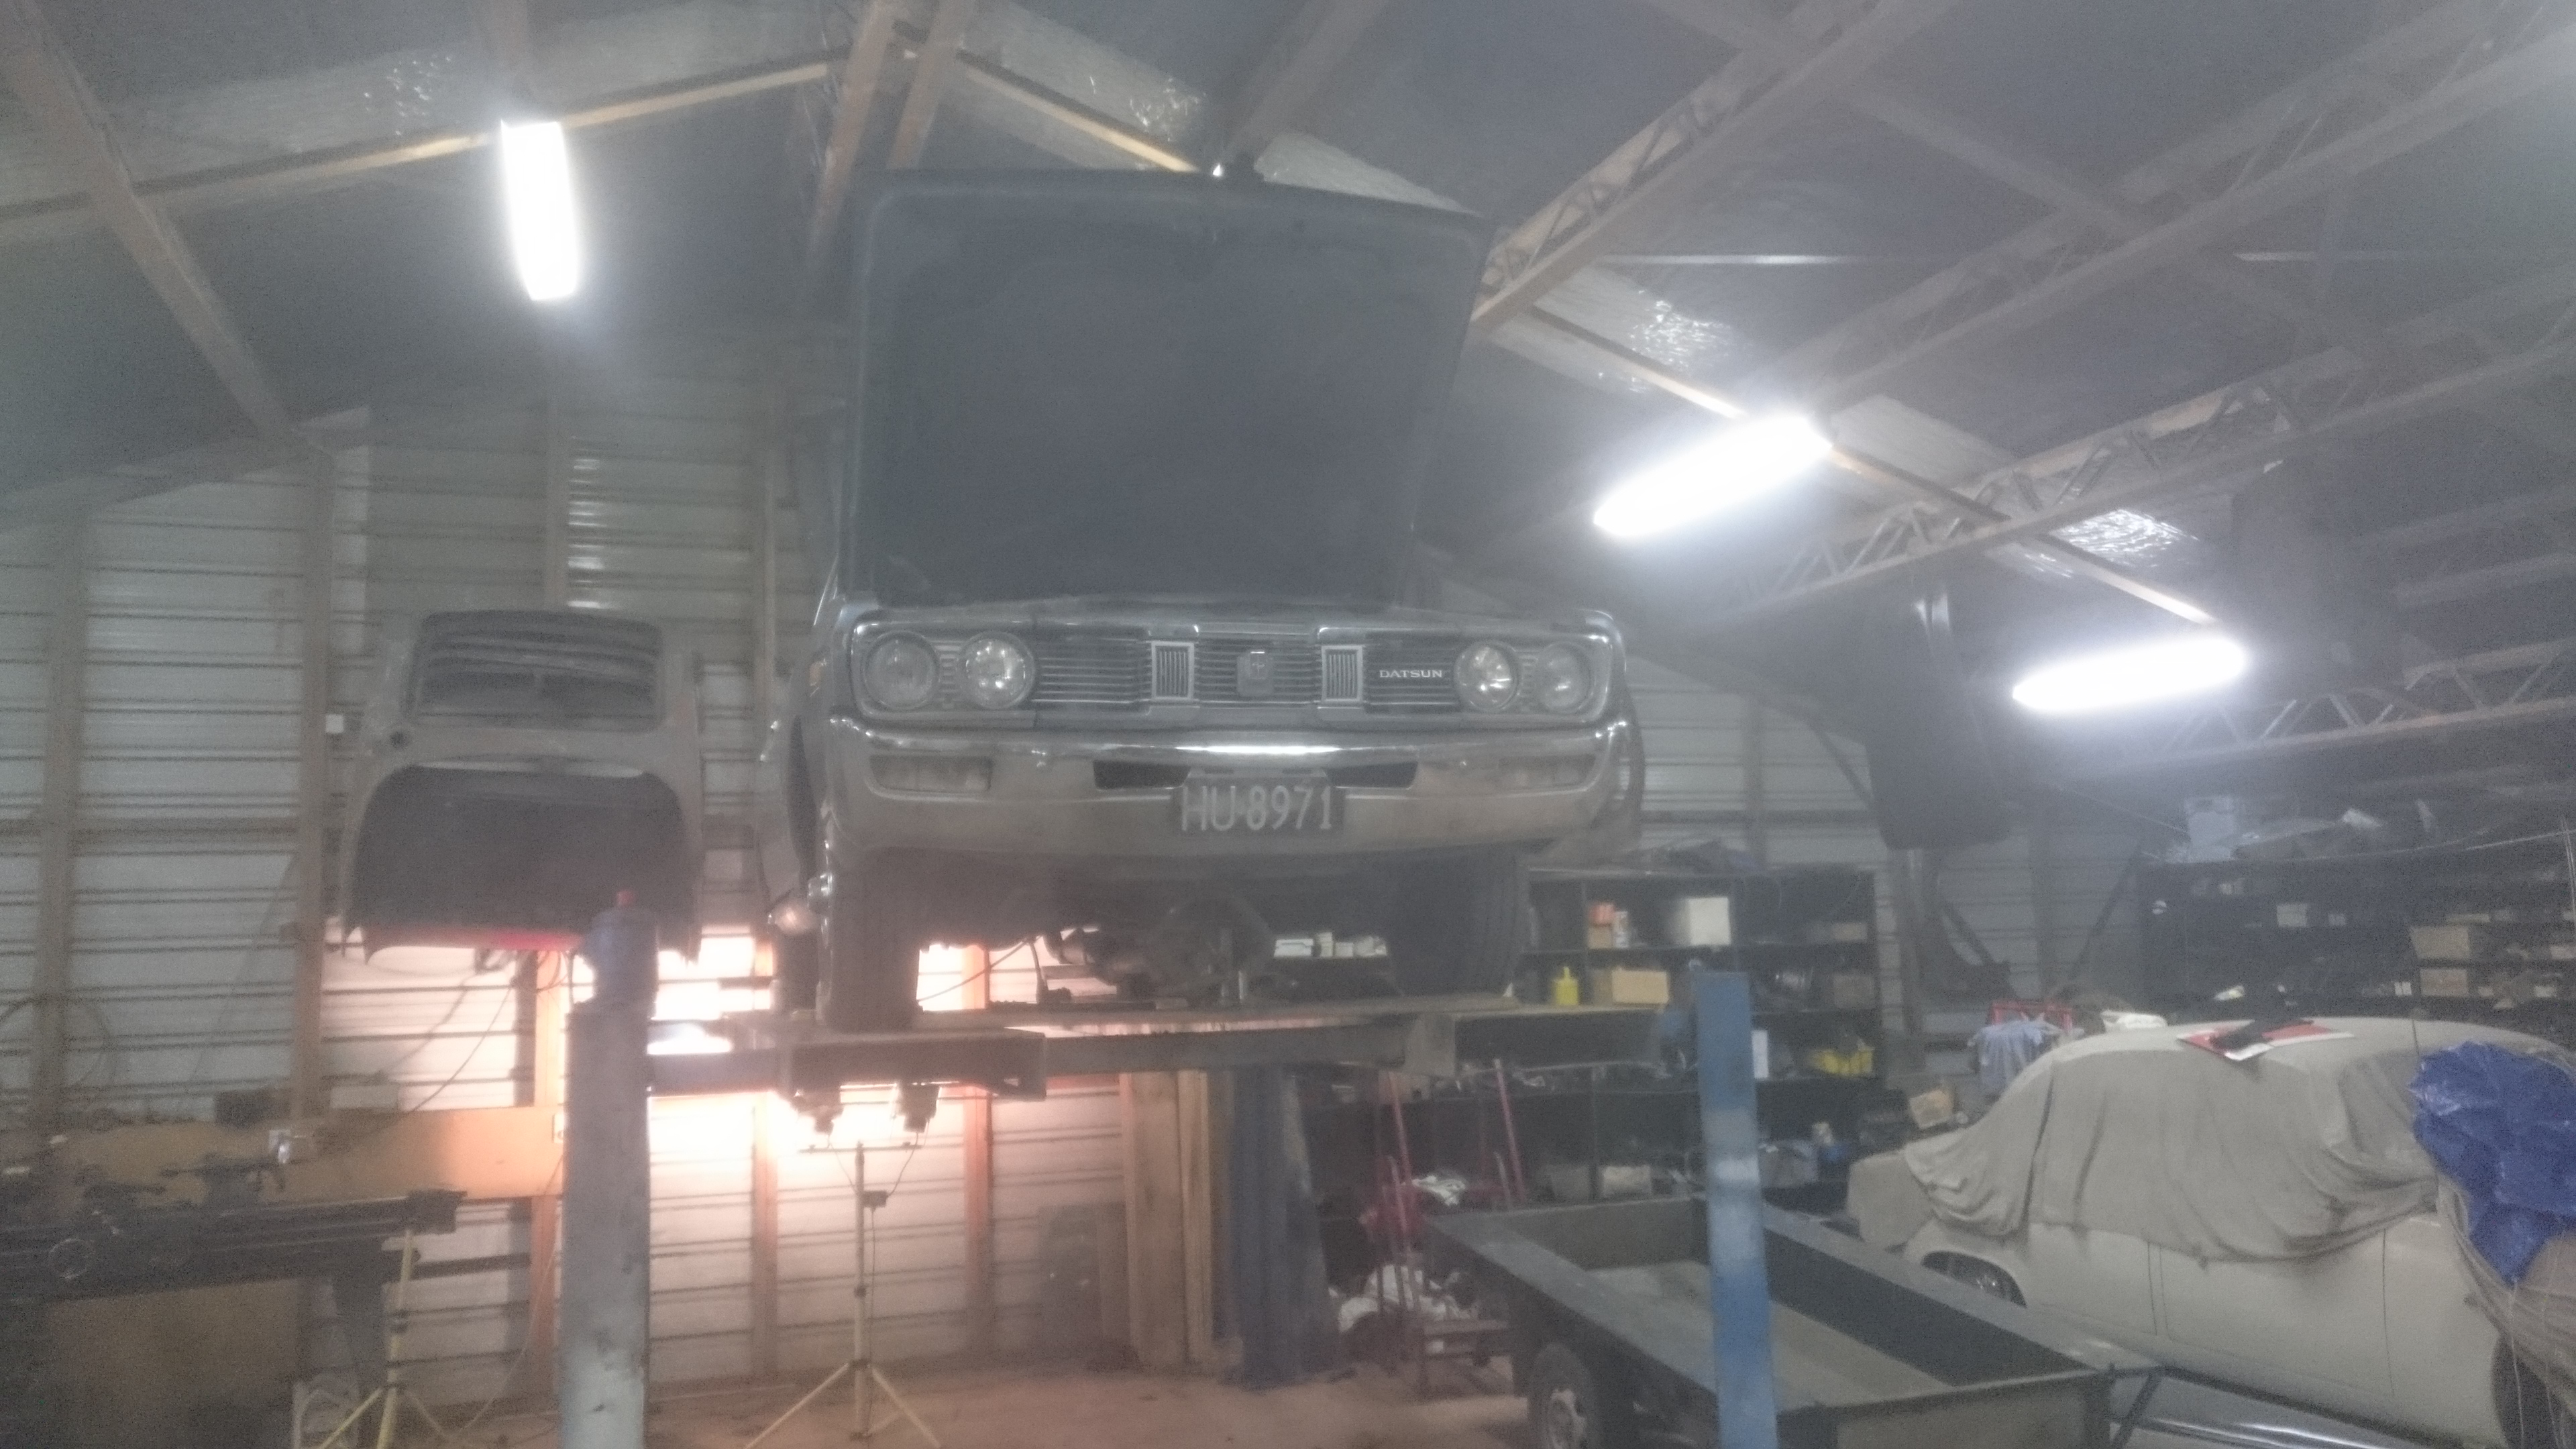
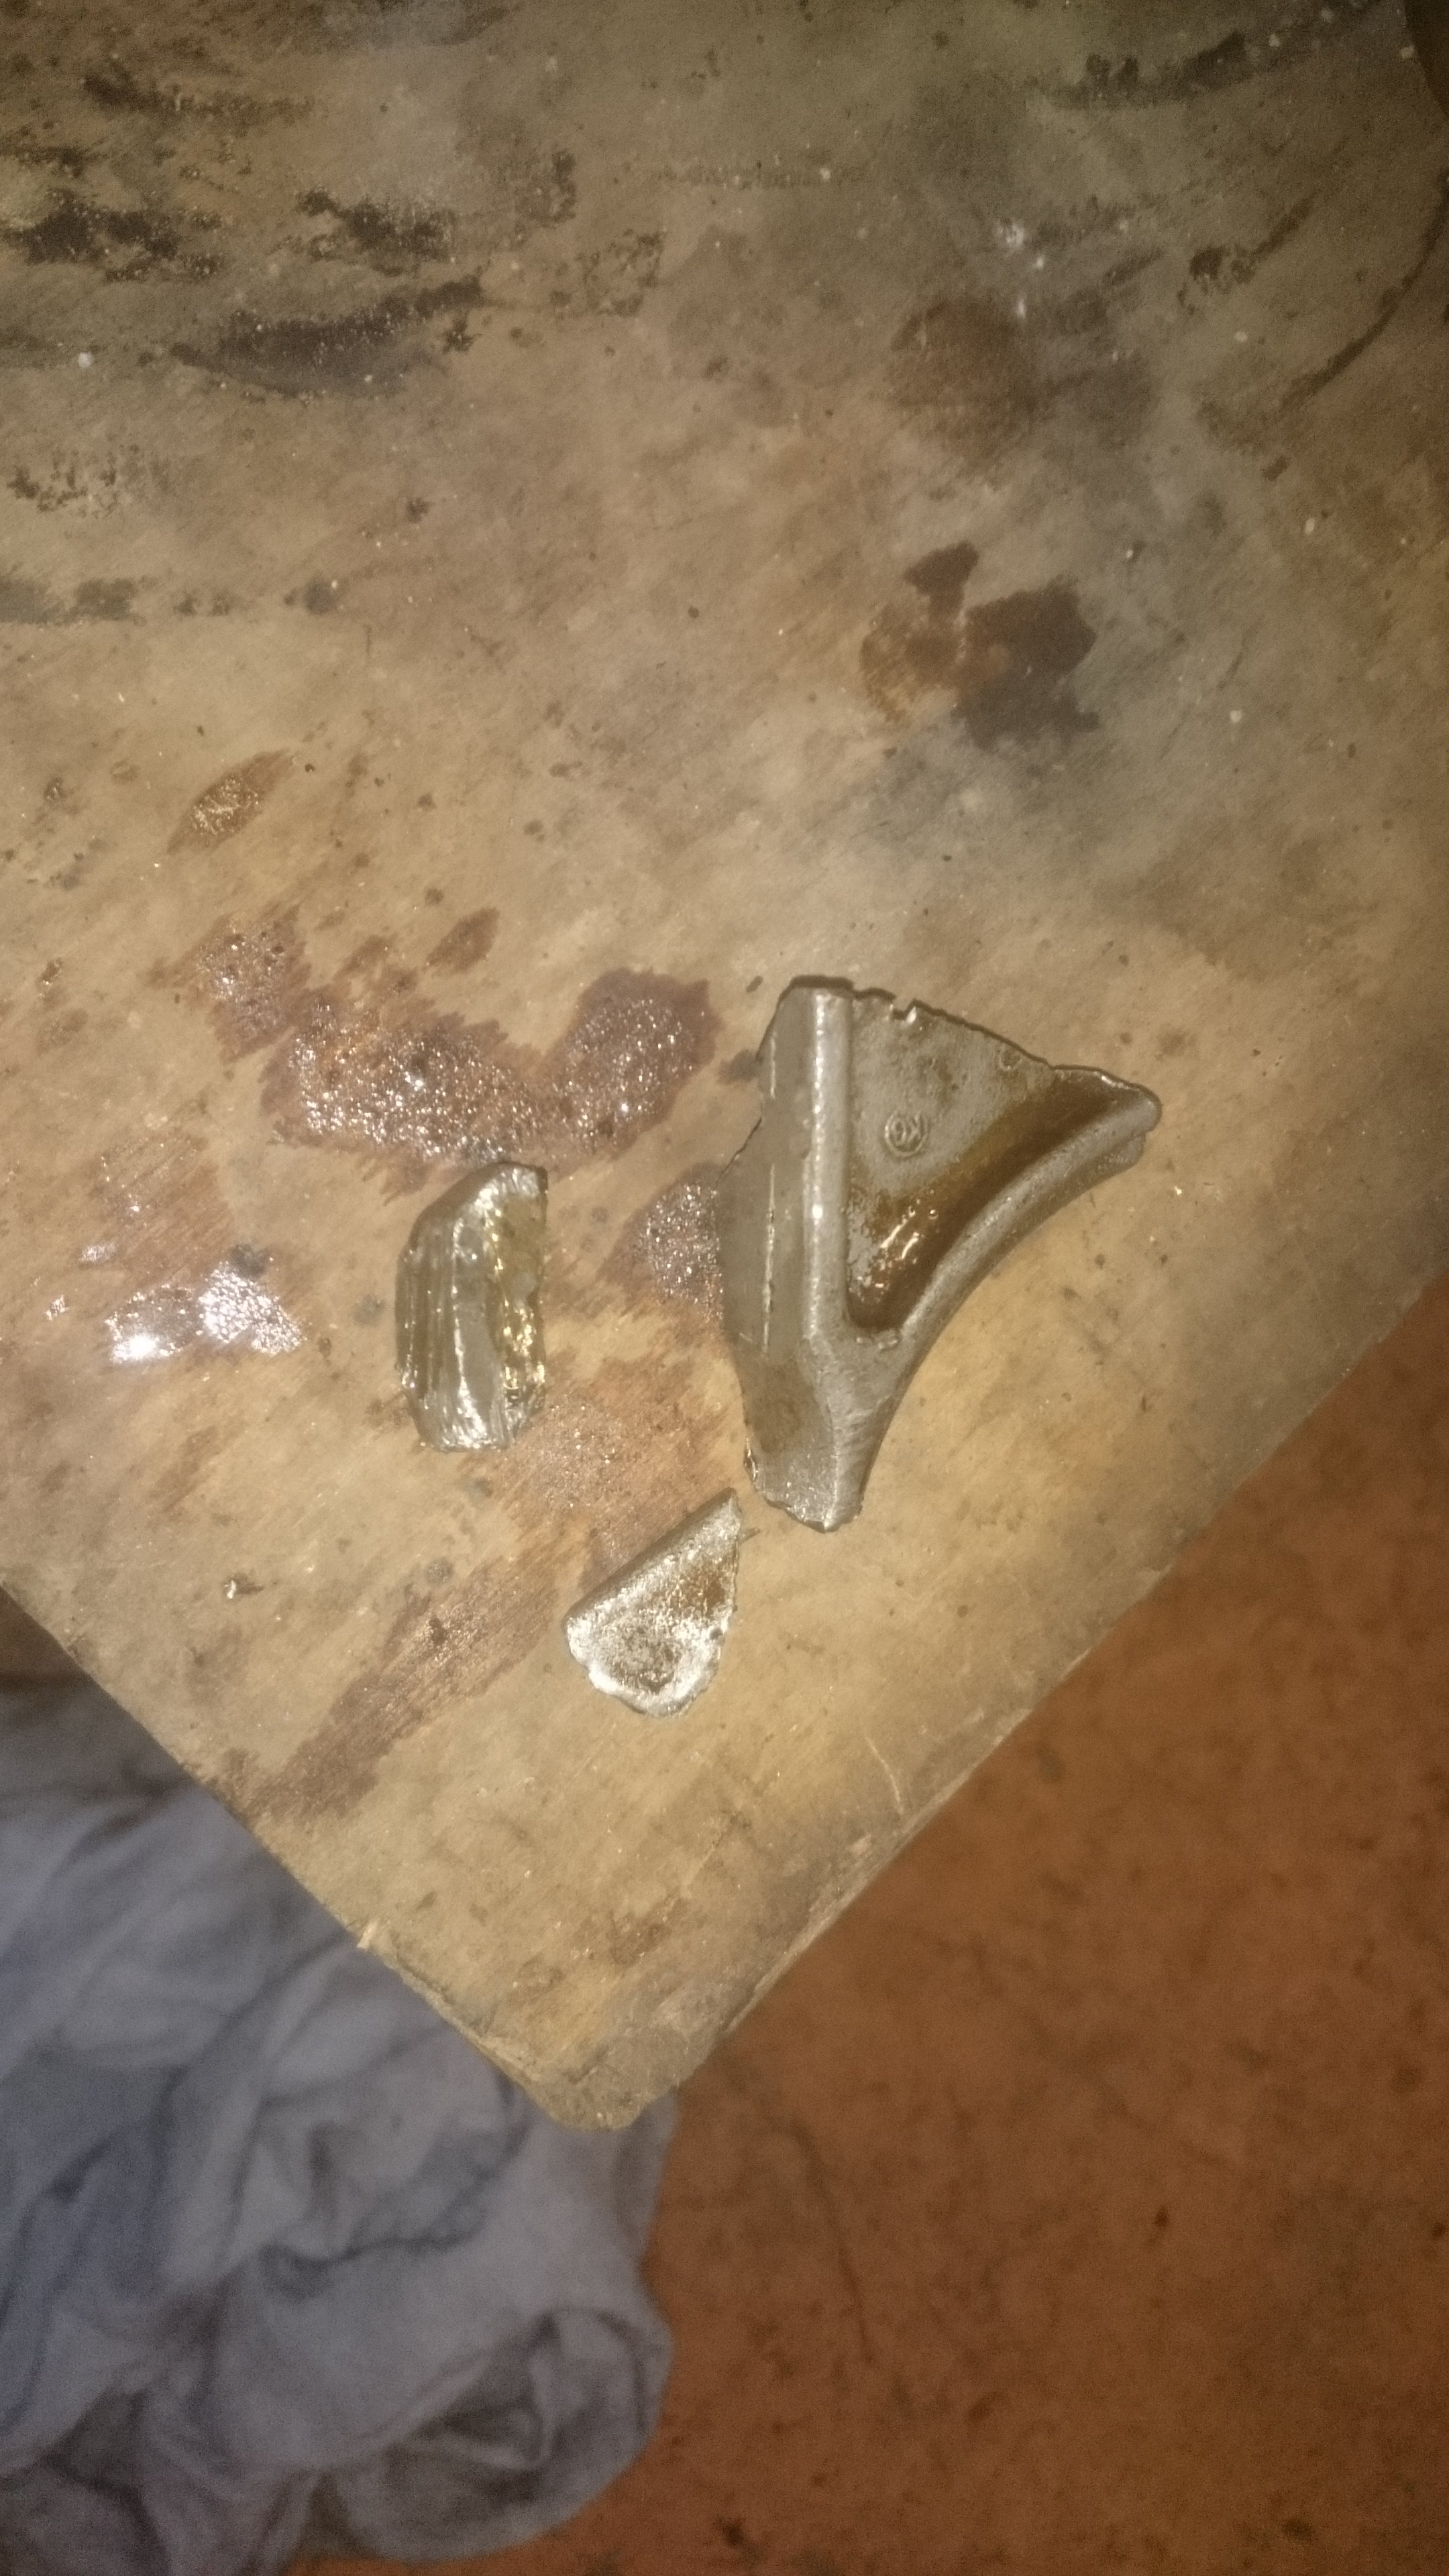
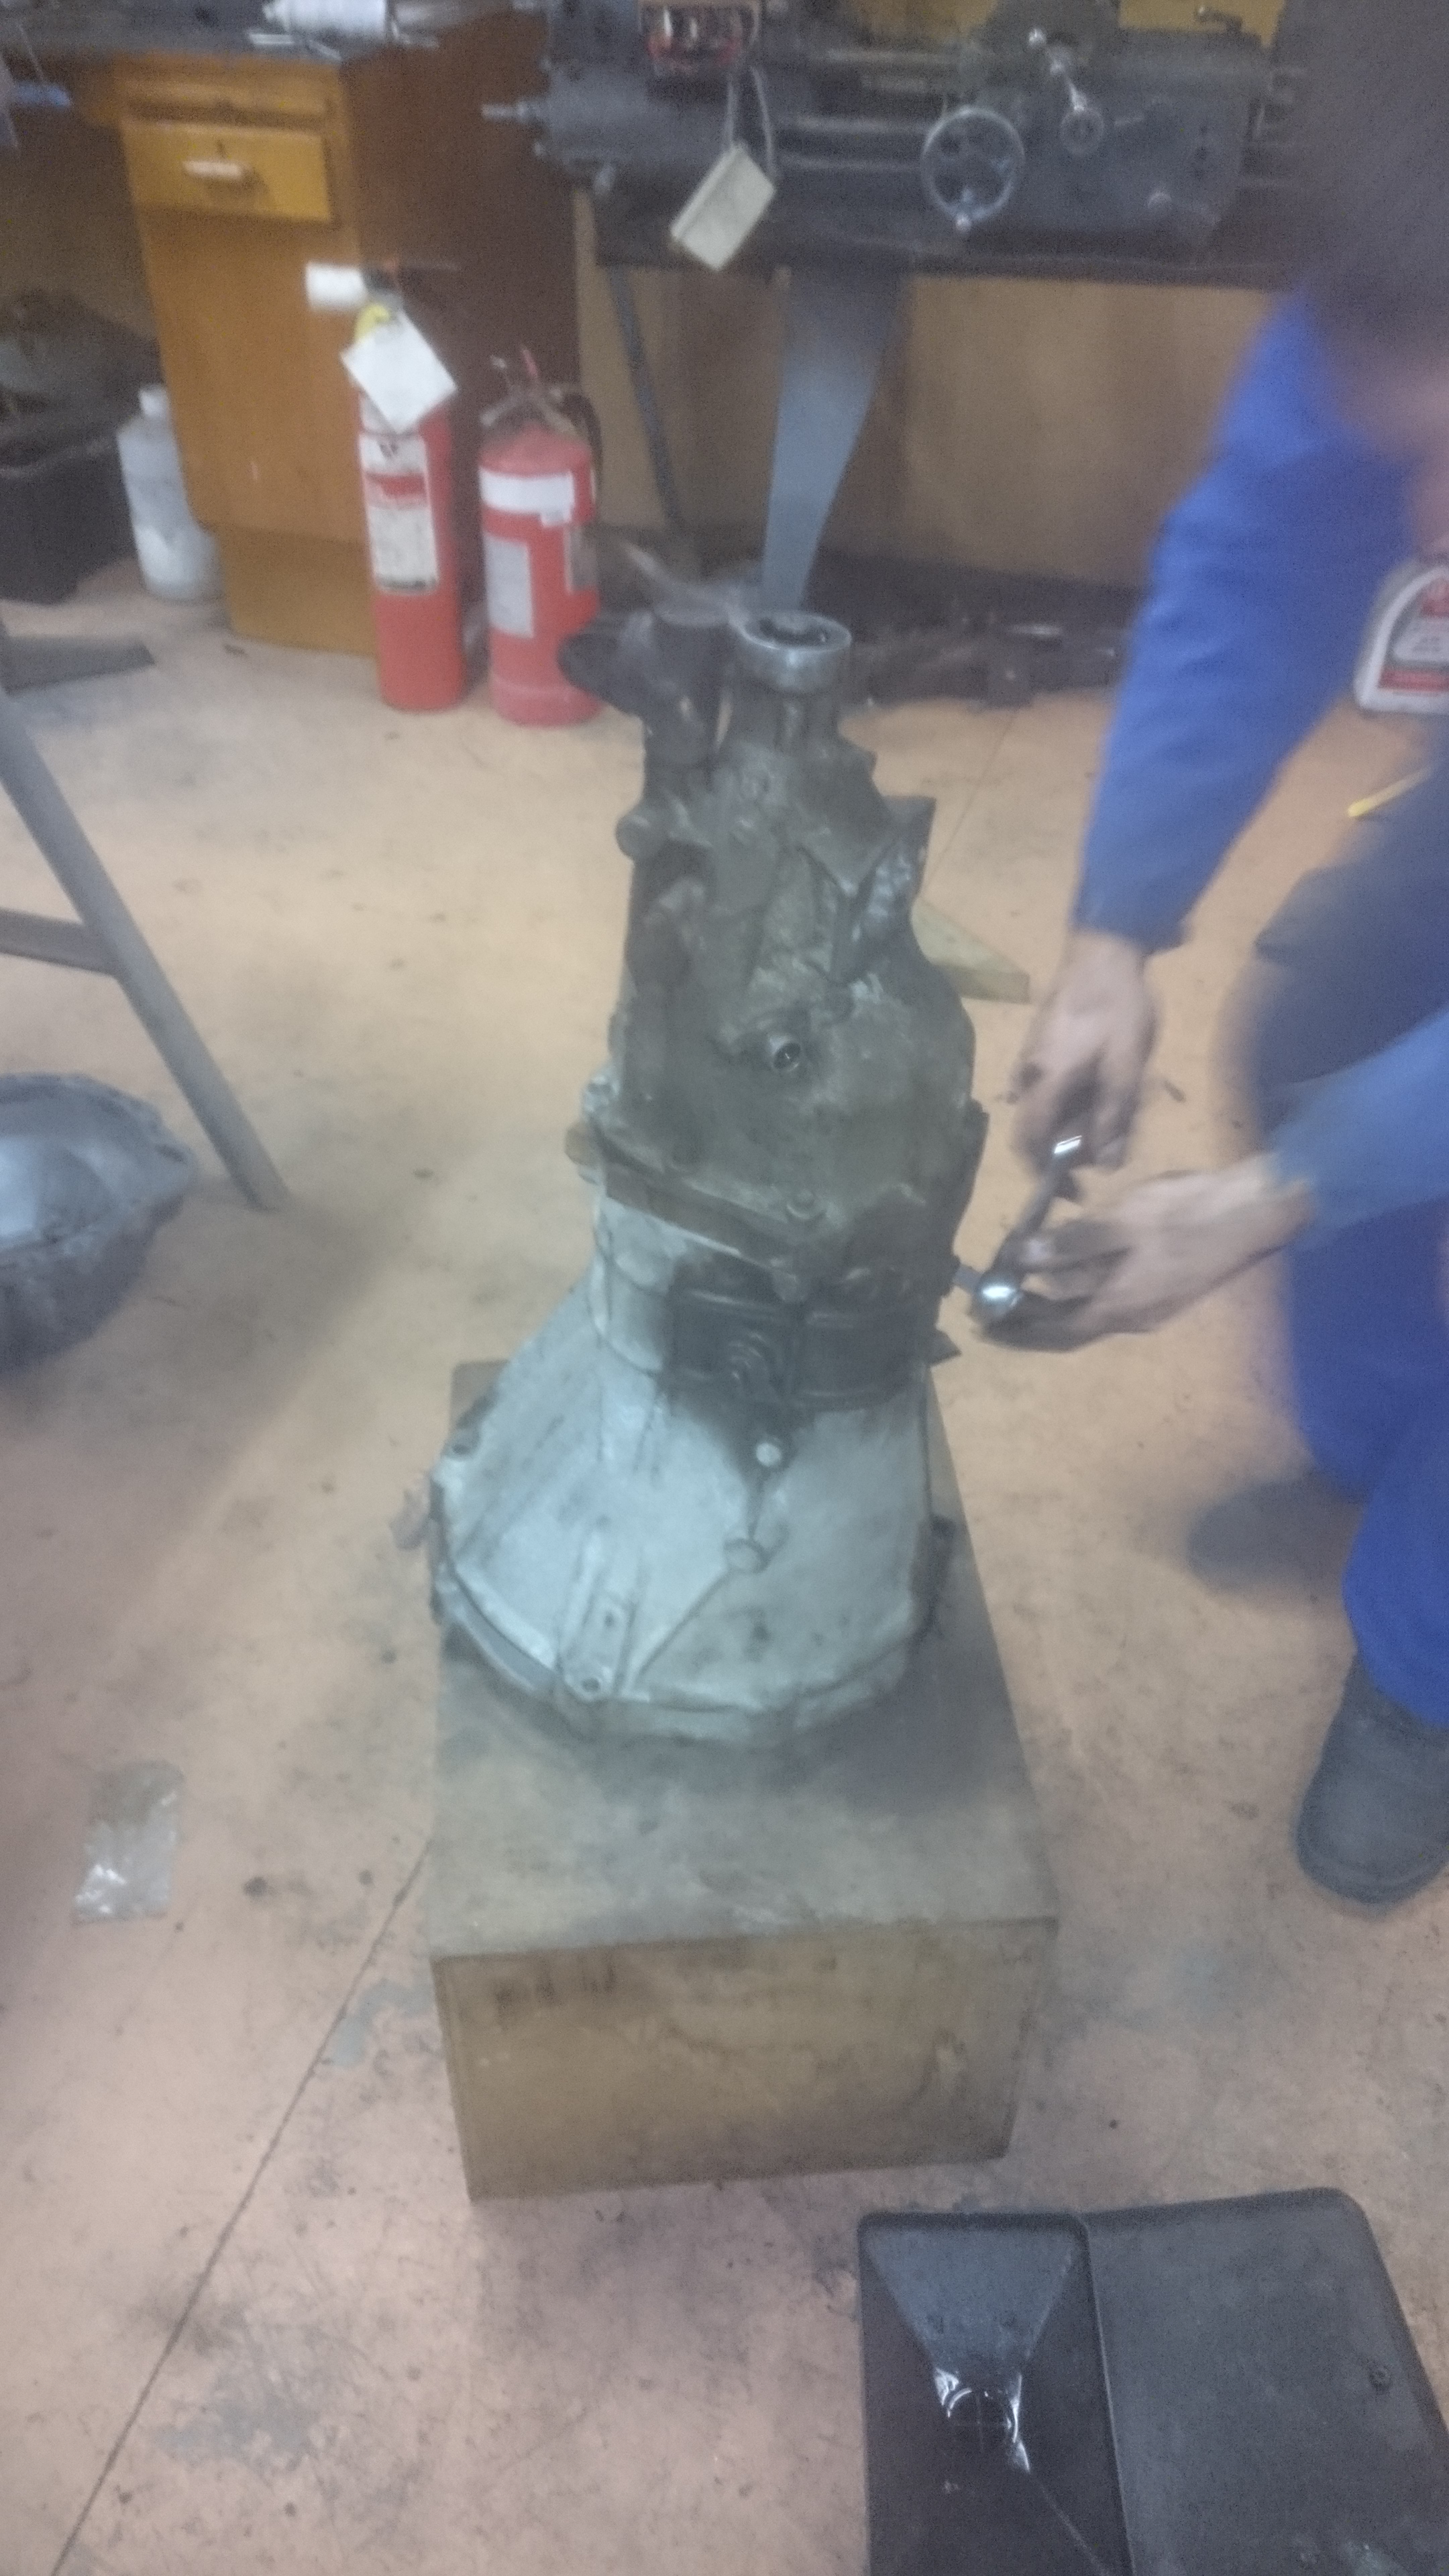
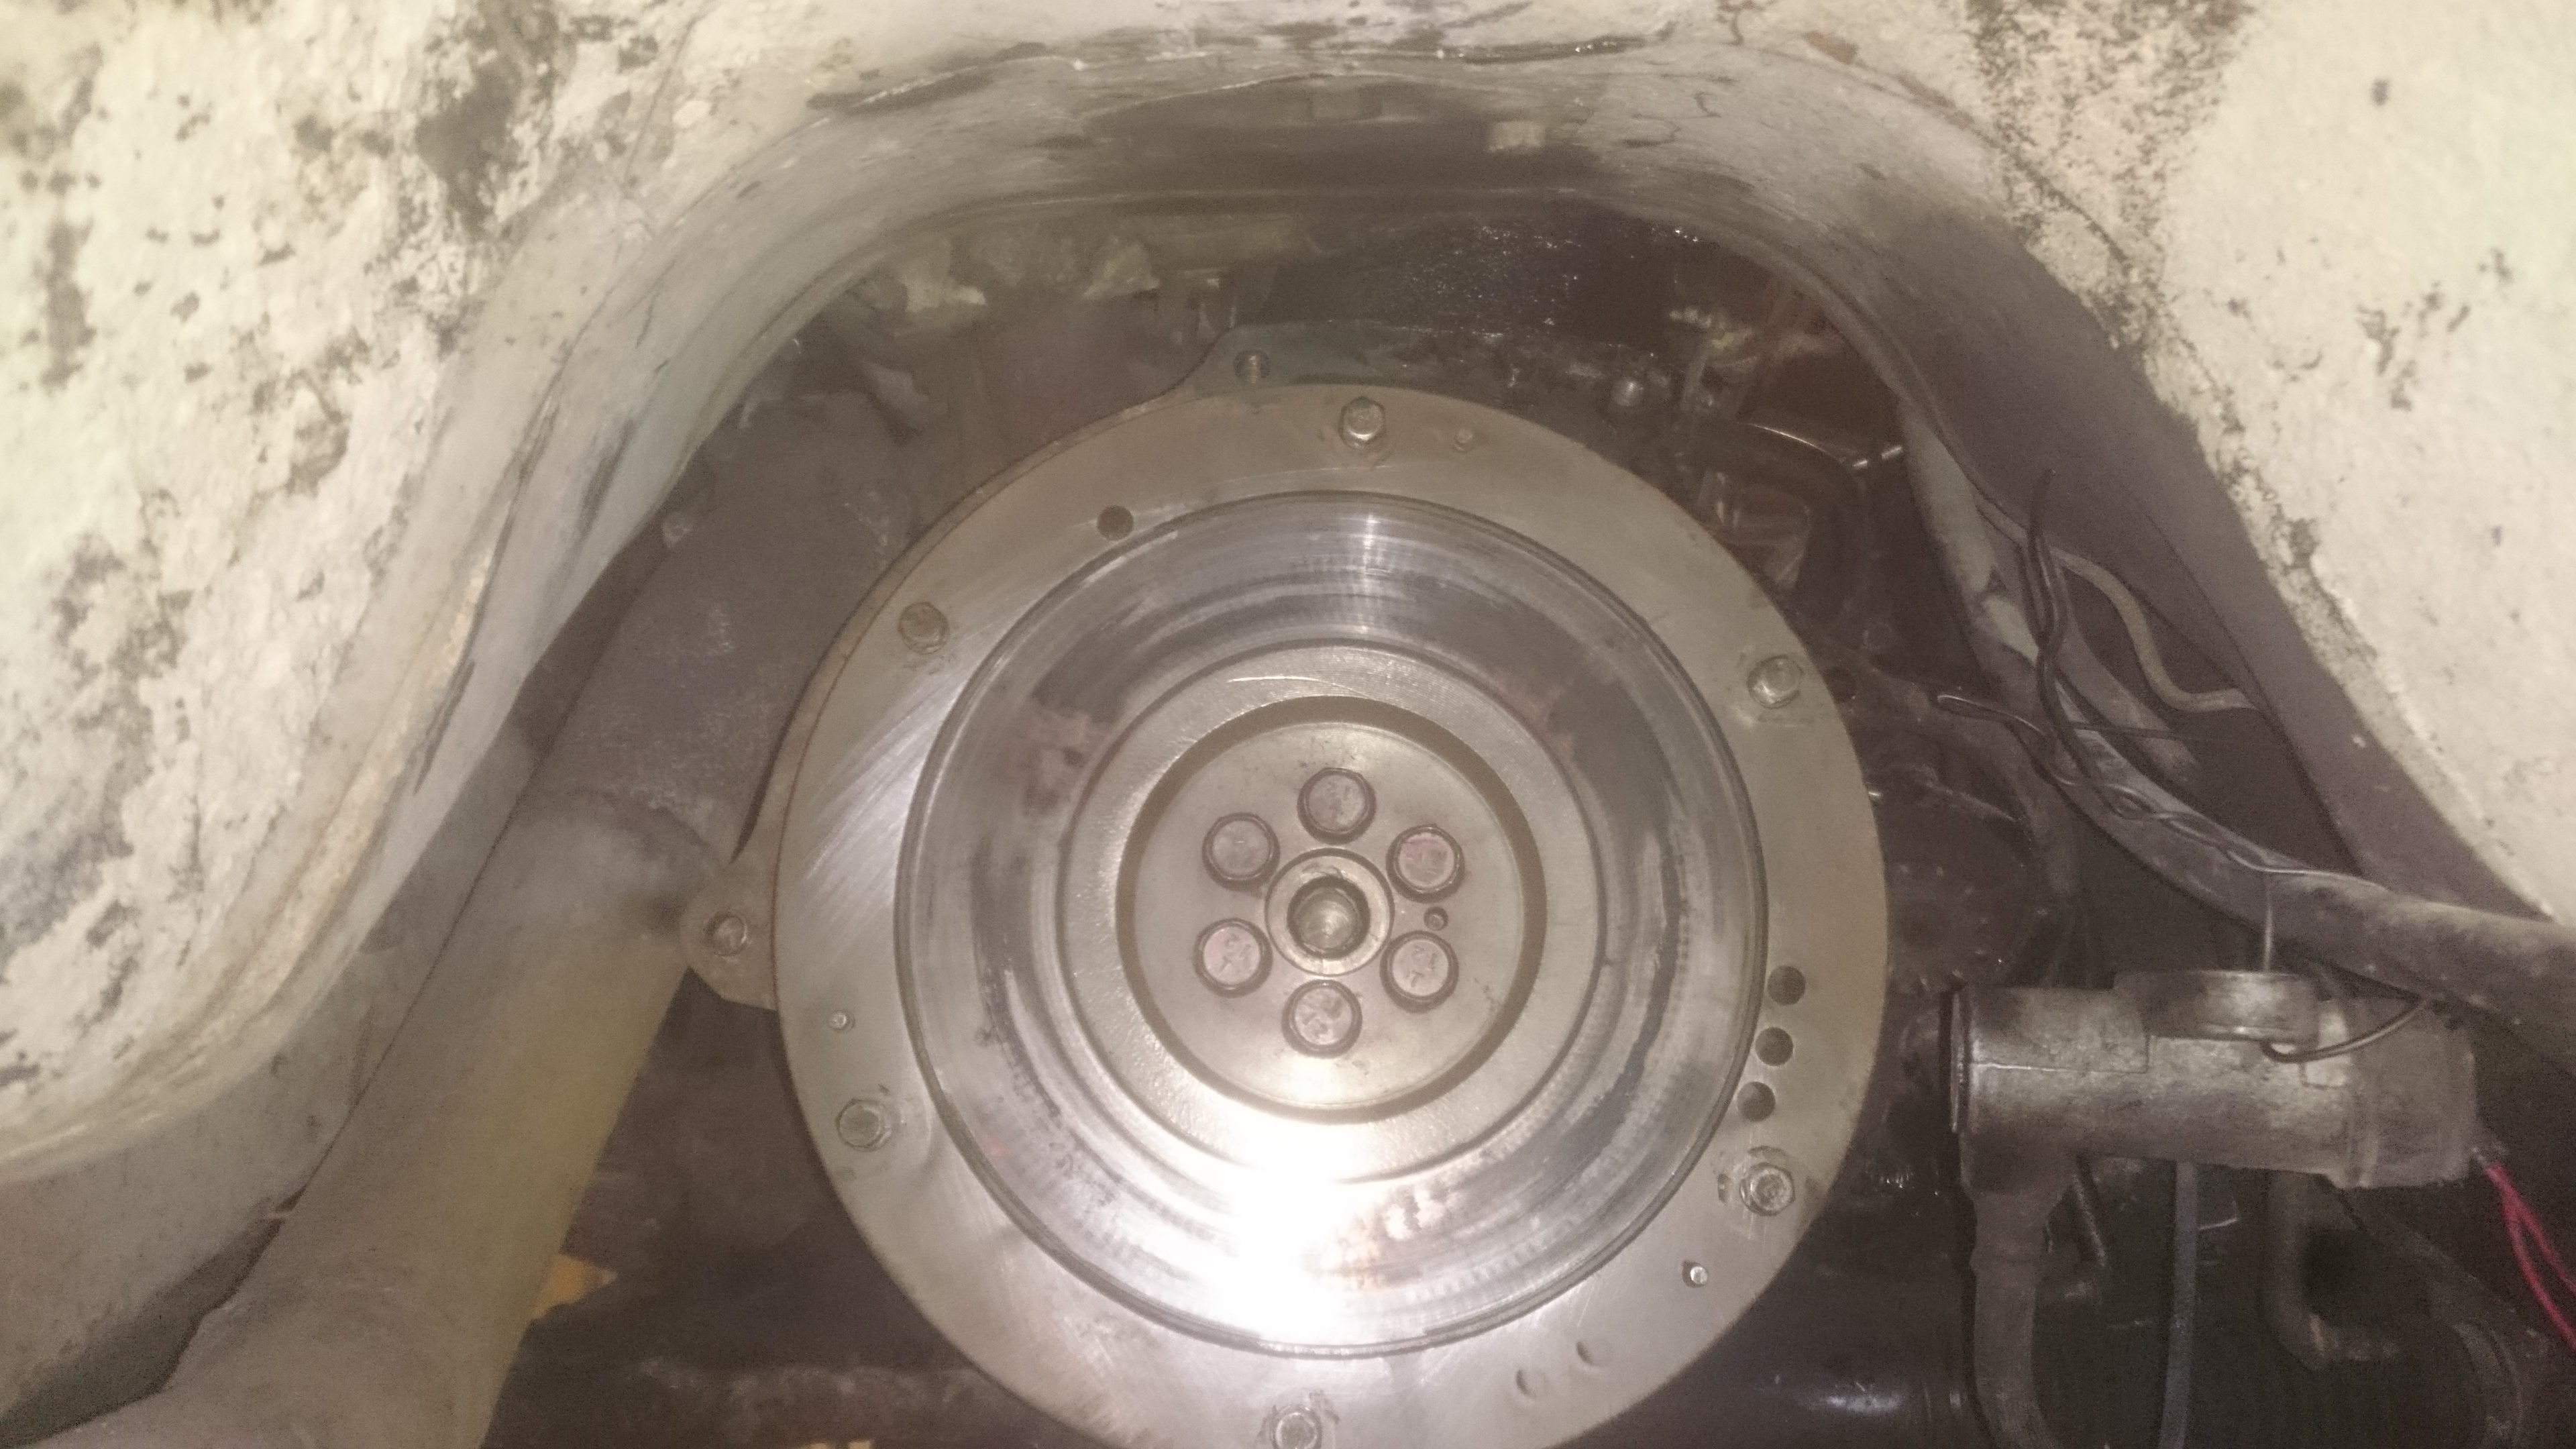
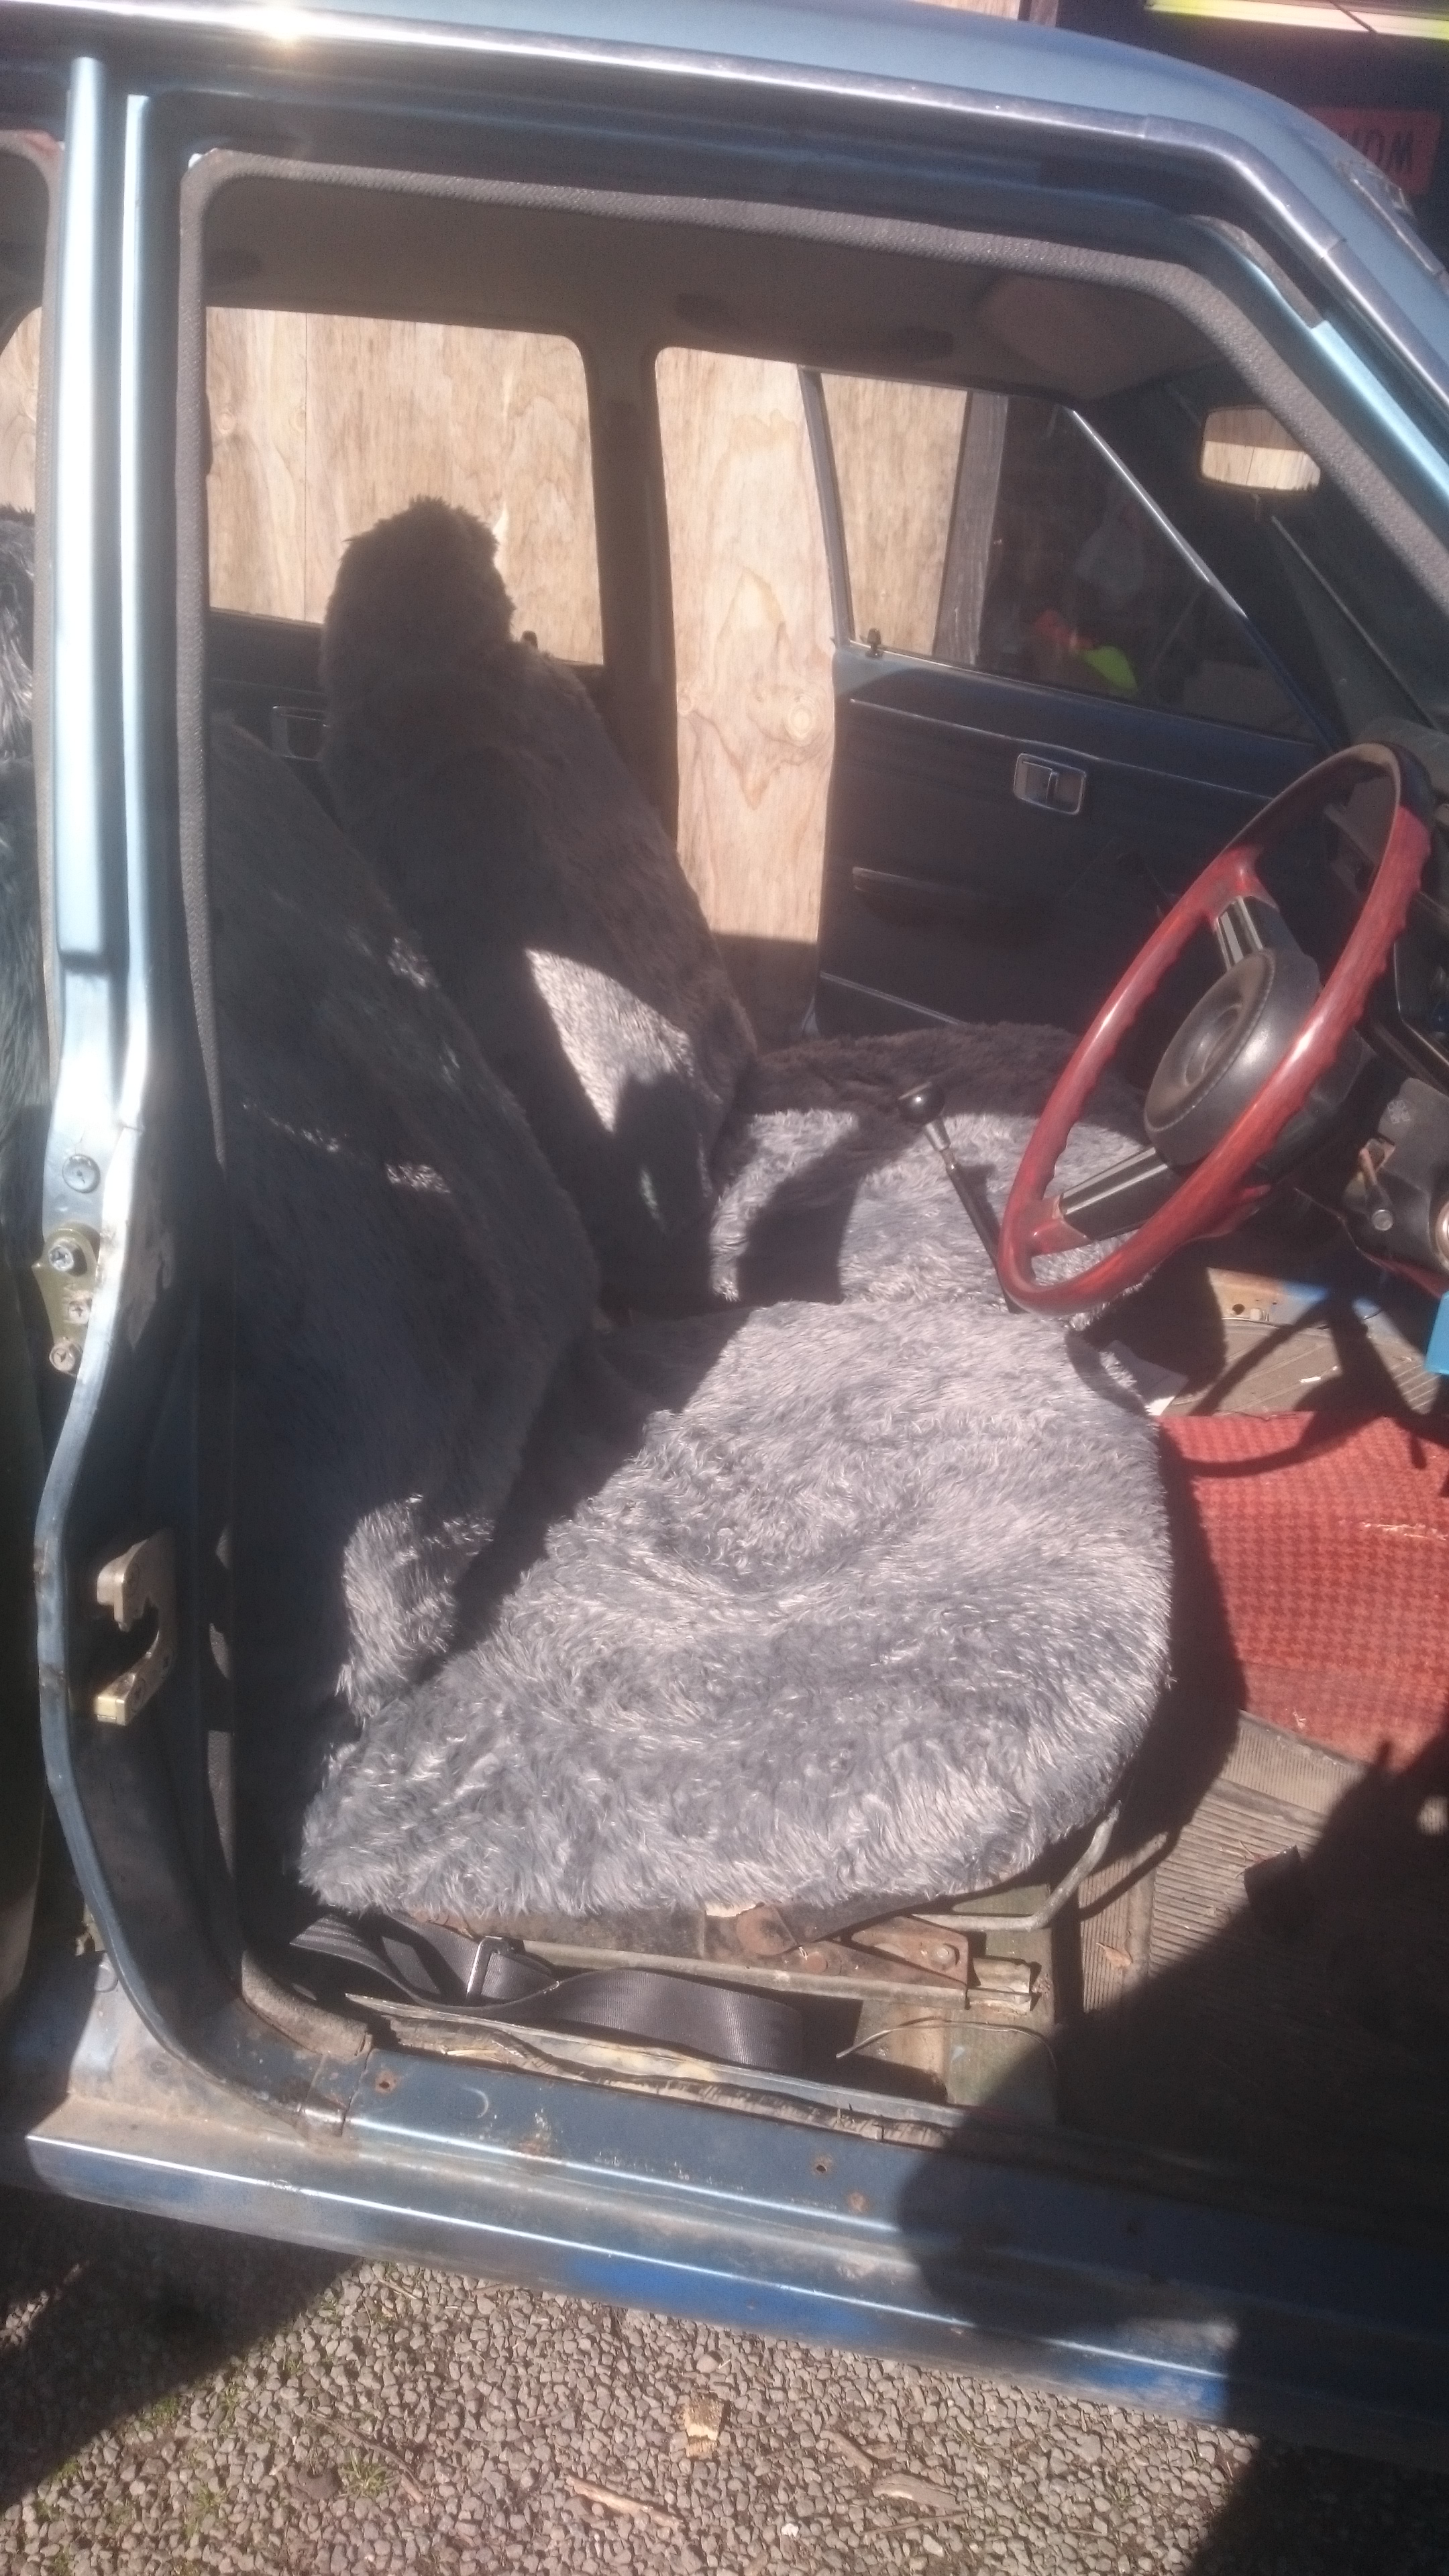
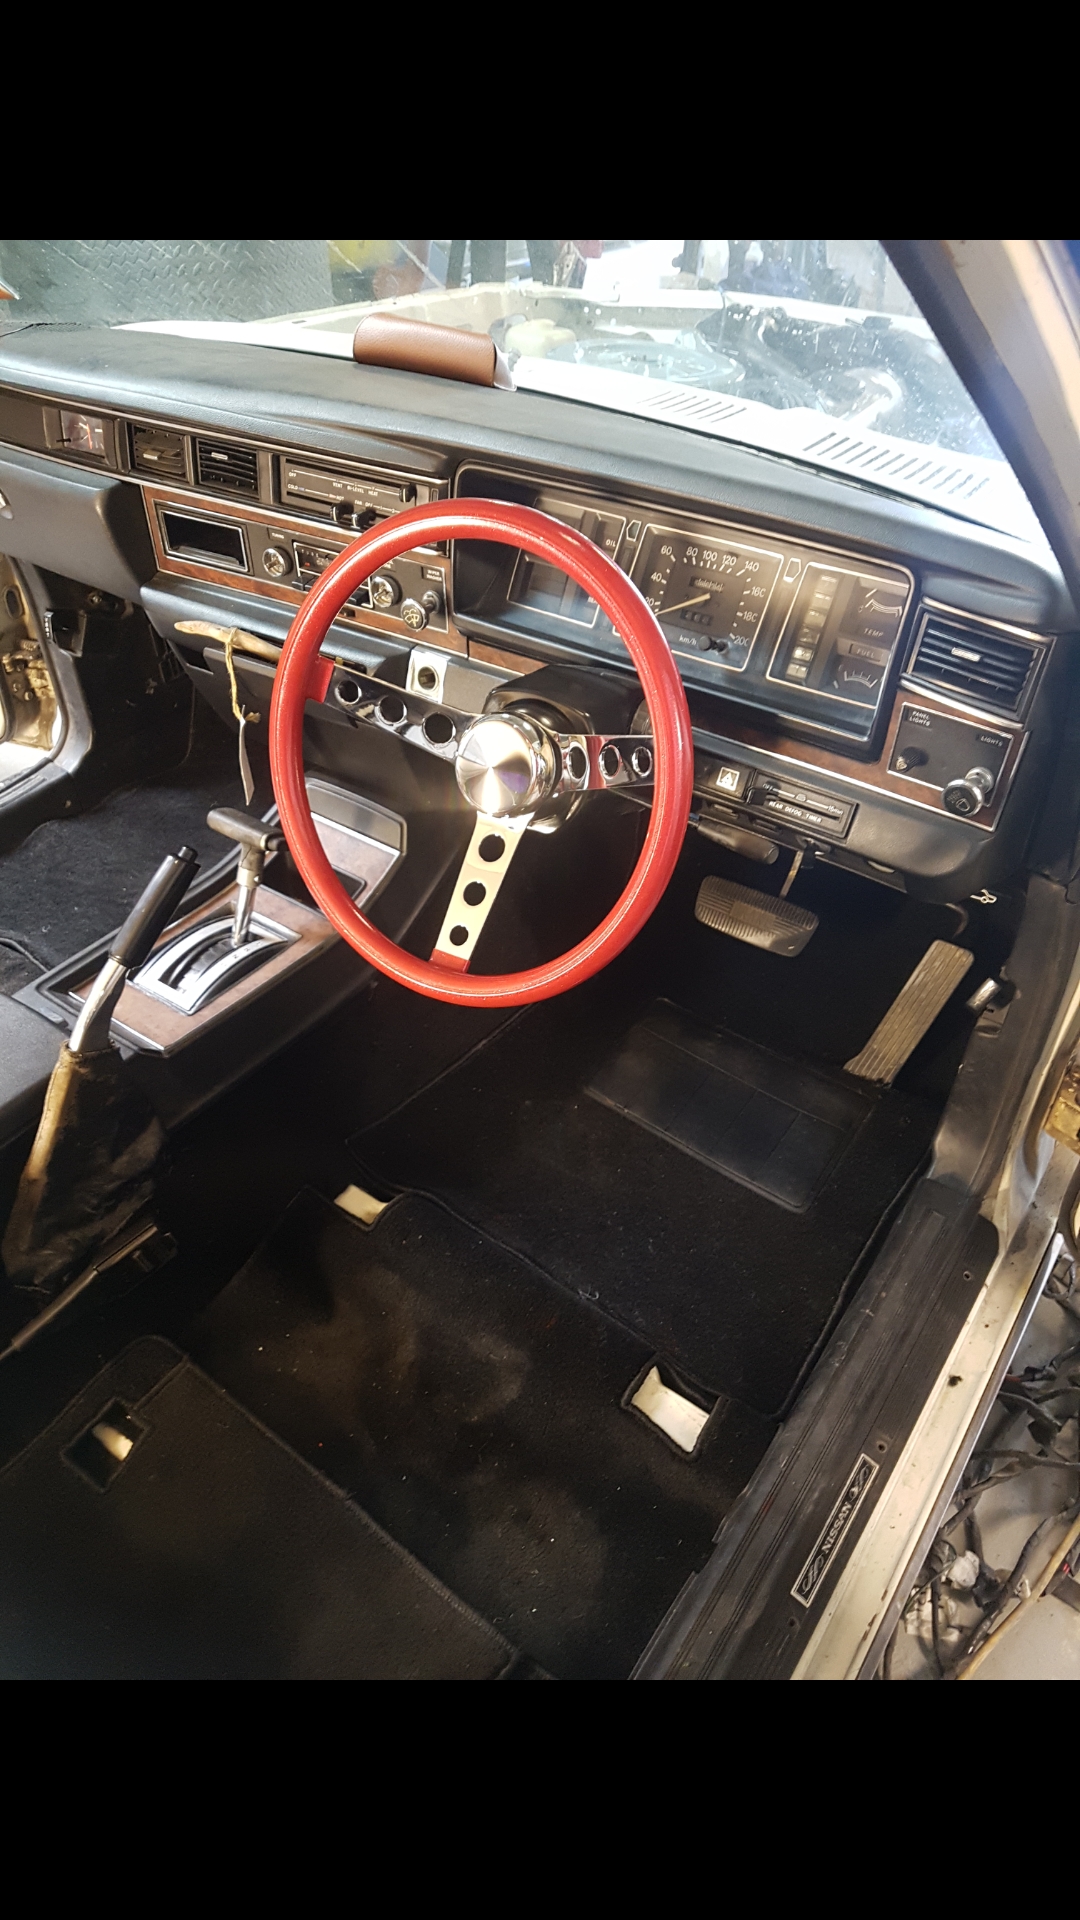
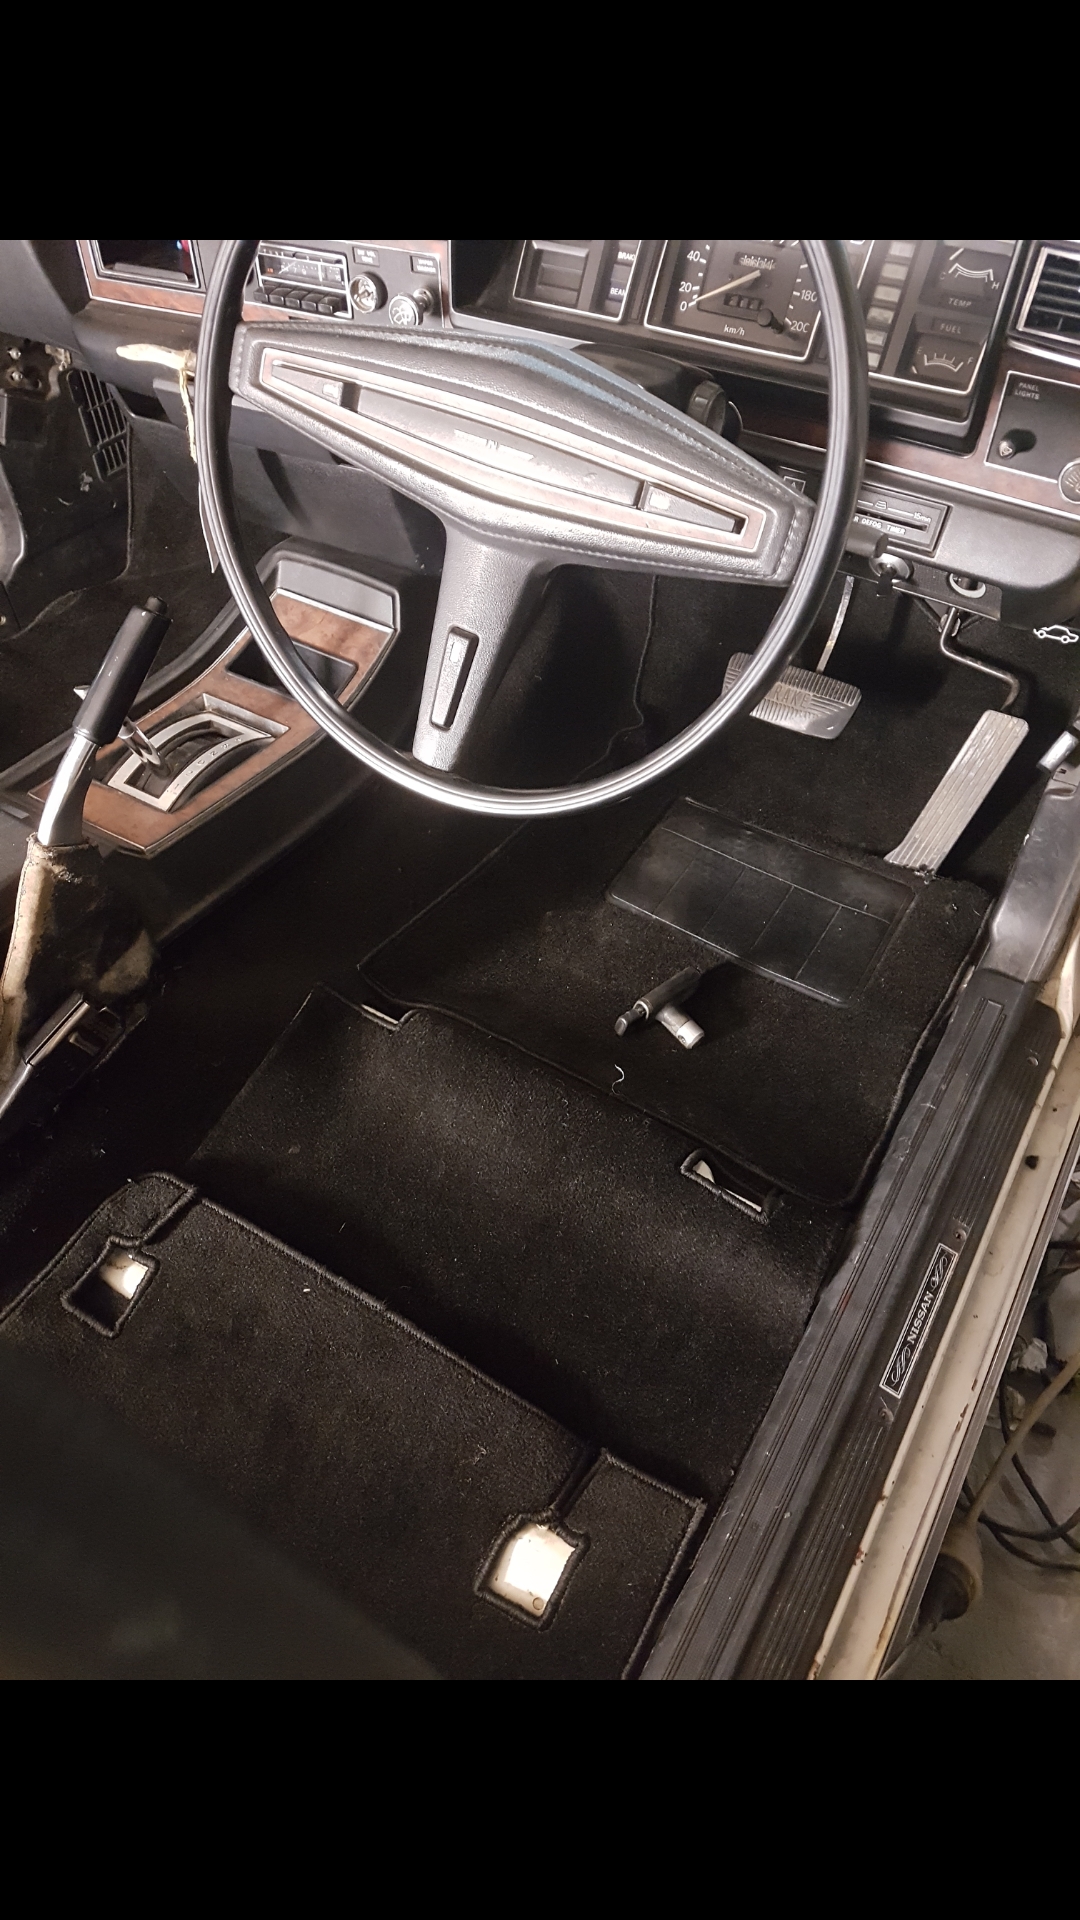
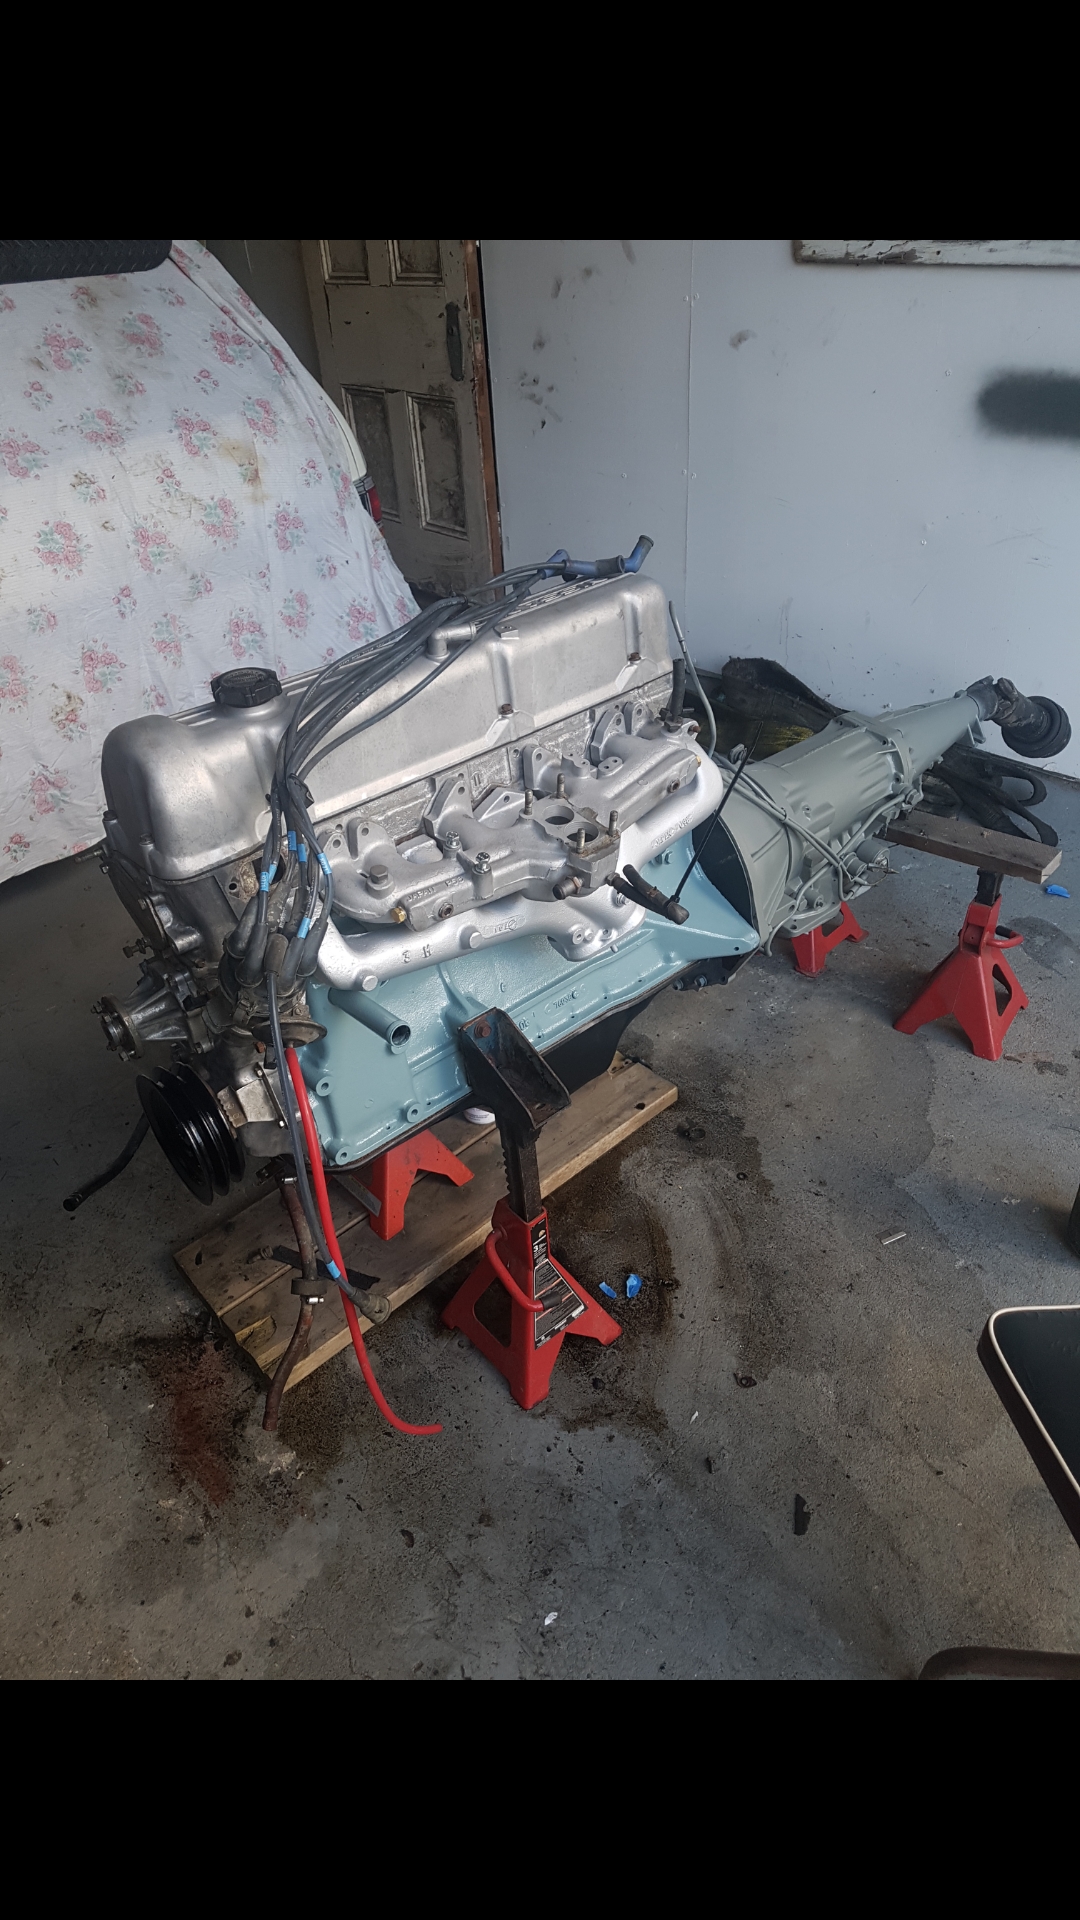
Update time, took this to hanmer at the begining of the month. all was going well until on the way back... pulled off the road to adjust one of the kids seatbelts. went to pull away and had no gear selection. turns out the box was jammed in 5th and had snapped a selector fork.... fuck... managed to drive it back from just outside of Hanmer to Christchurch in 5th, there were a few dicey moments like the big hill out of waikari and the turn back onto sh1 but made it back. fast forward to the weekend just gone and its fix it time, man i need a hoist for myself. it made the job a hundred times easier. because of the lack of good gearboxes in stock we converted the car from short case r30 gearbox to long case box out of a 280zx. that did unfortunately mean loosing the bench seat thanks to @JustHarry the total GC for sorting the use of the hoist helping to get her done
 12 points
 -
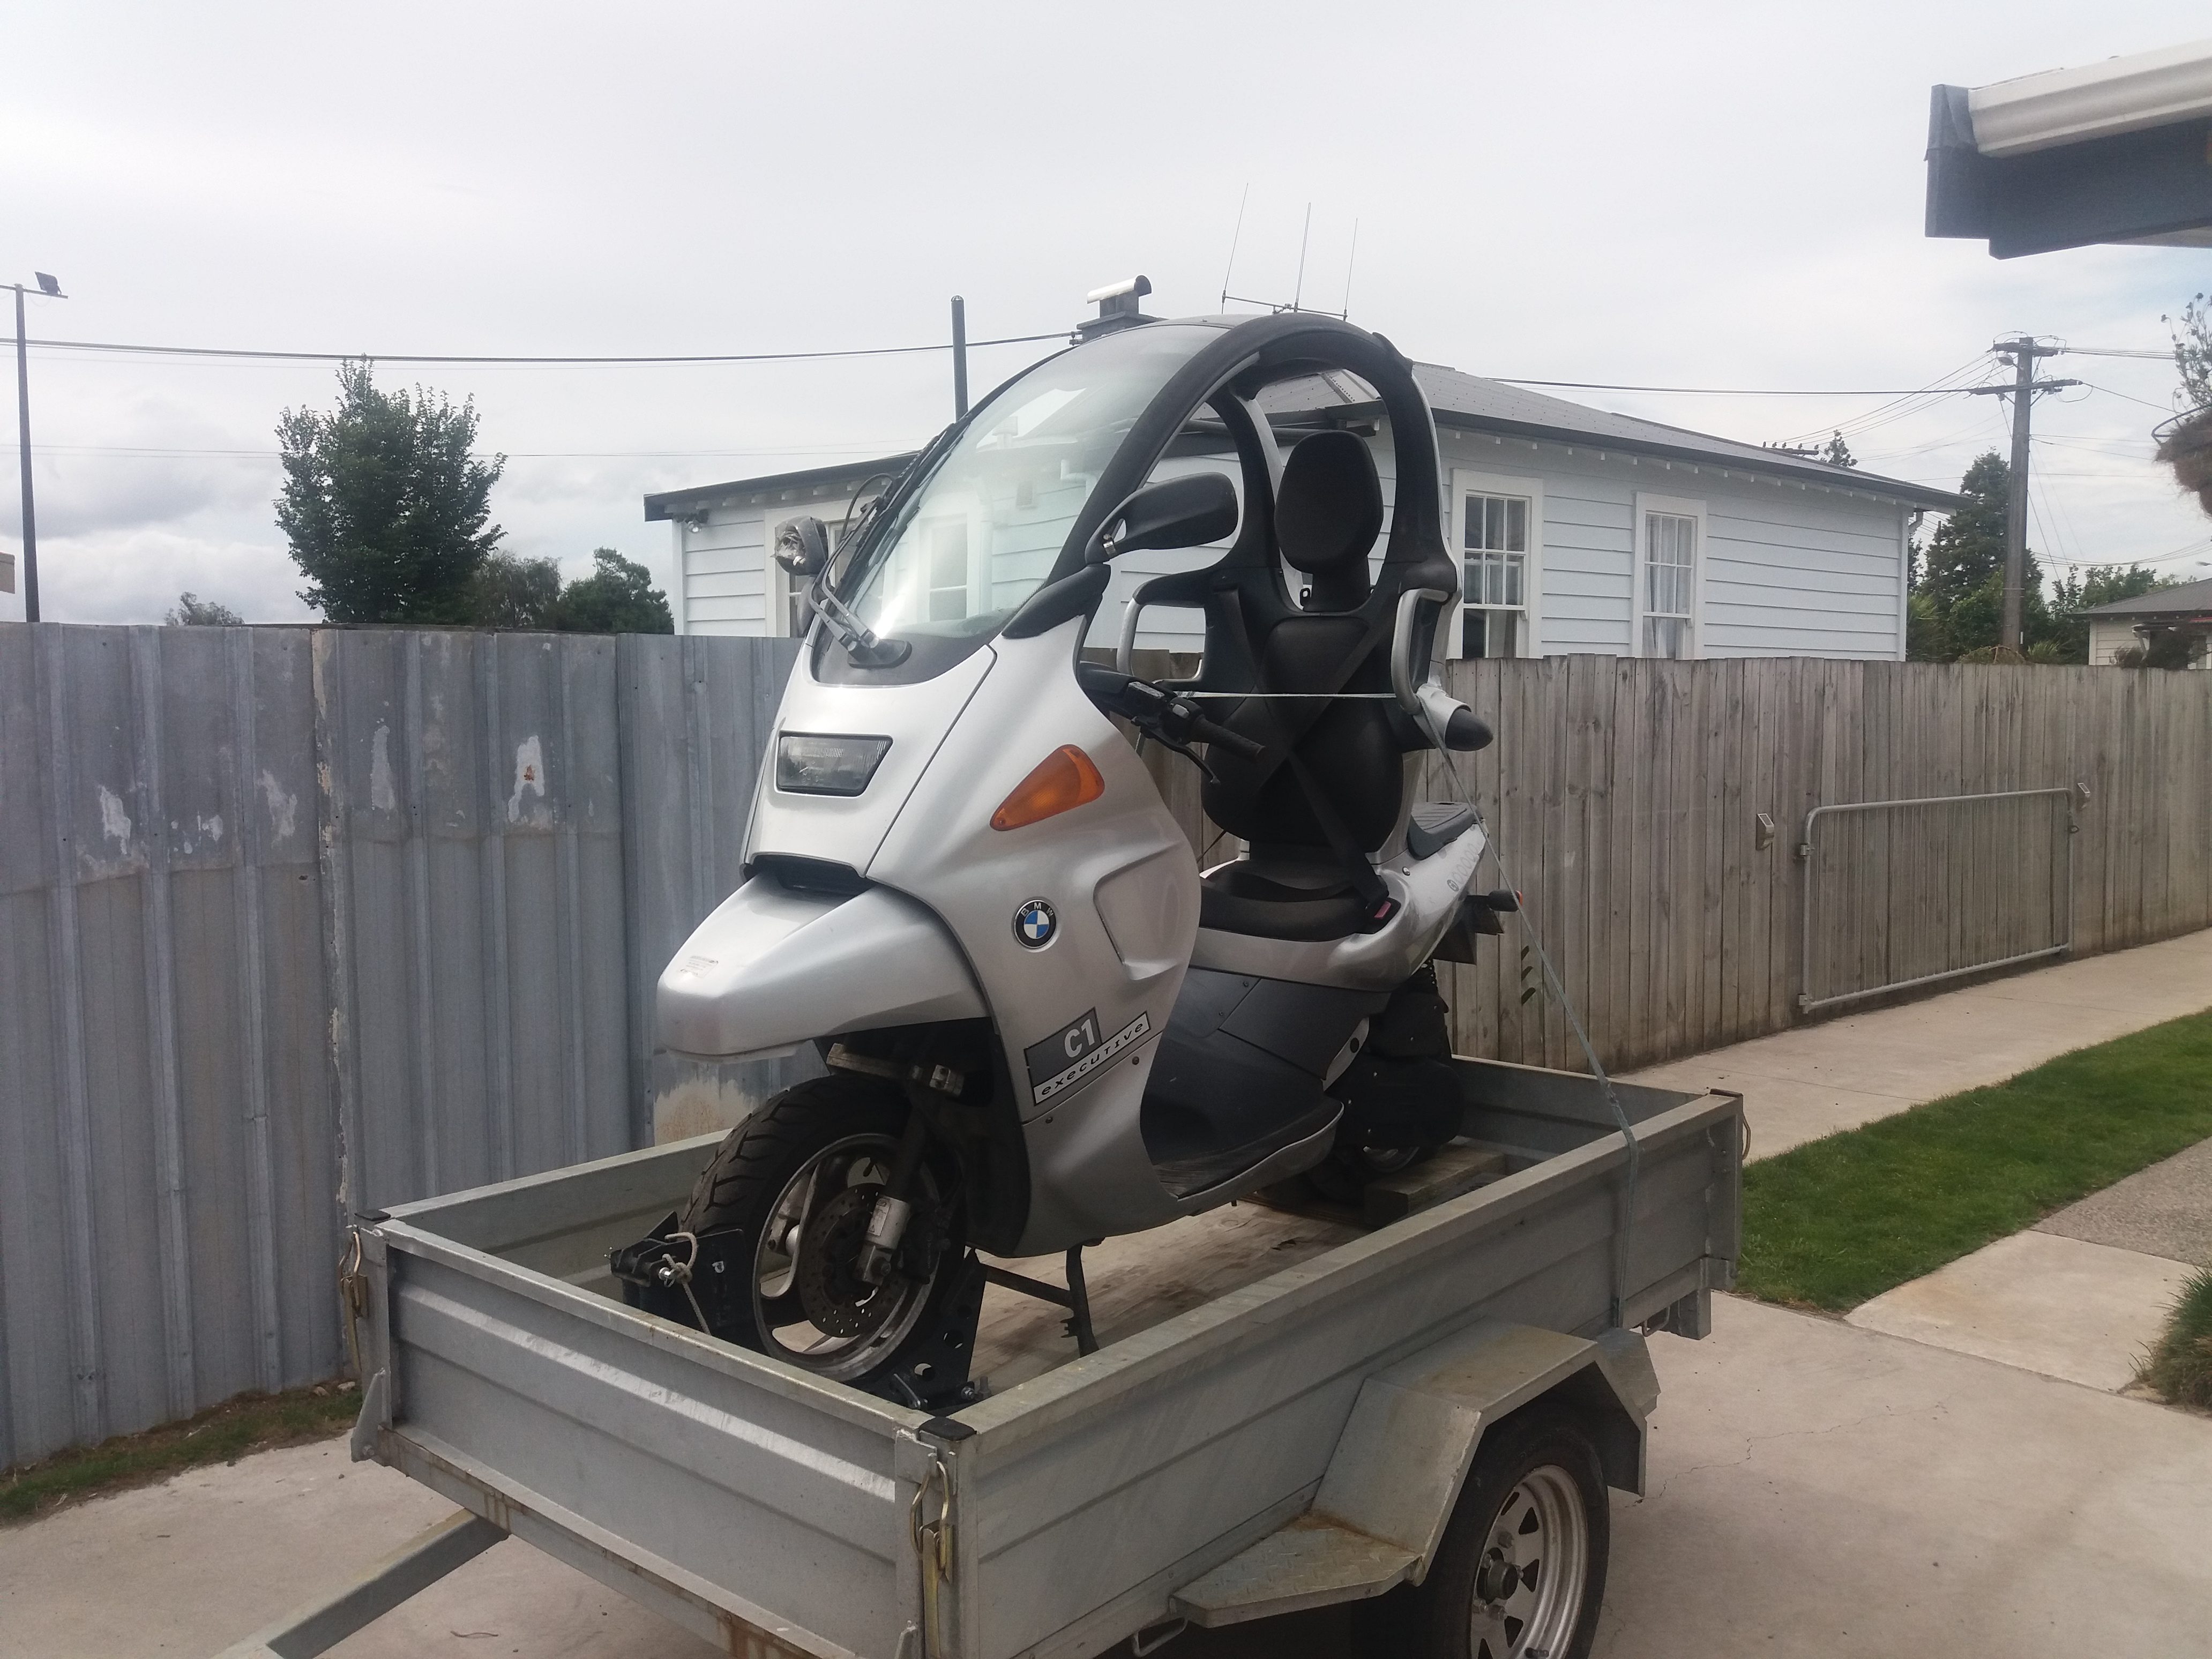
hooooly shit. Just read through all 28 pages of this trip. I'm keen to do it on the C1 now that it's legal if people are still good to sign on at this late-ish stage? @64vauxhall I'm down to tag along on your extra journey just lemme know which days I need to take off work. Looking to find/make some roofracks for it or just use tie downs.
8 points
-
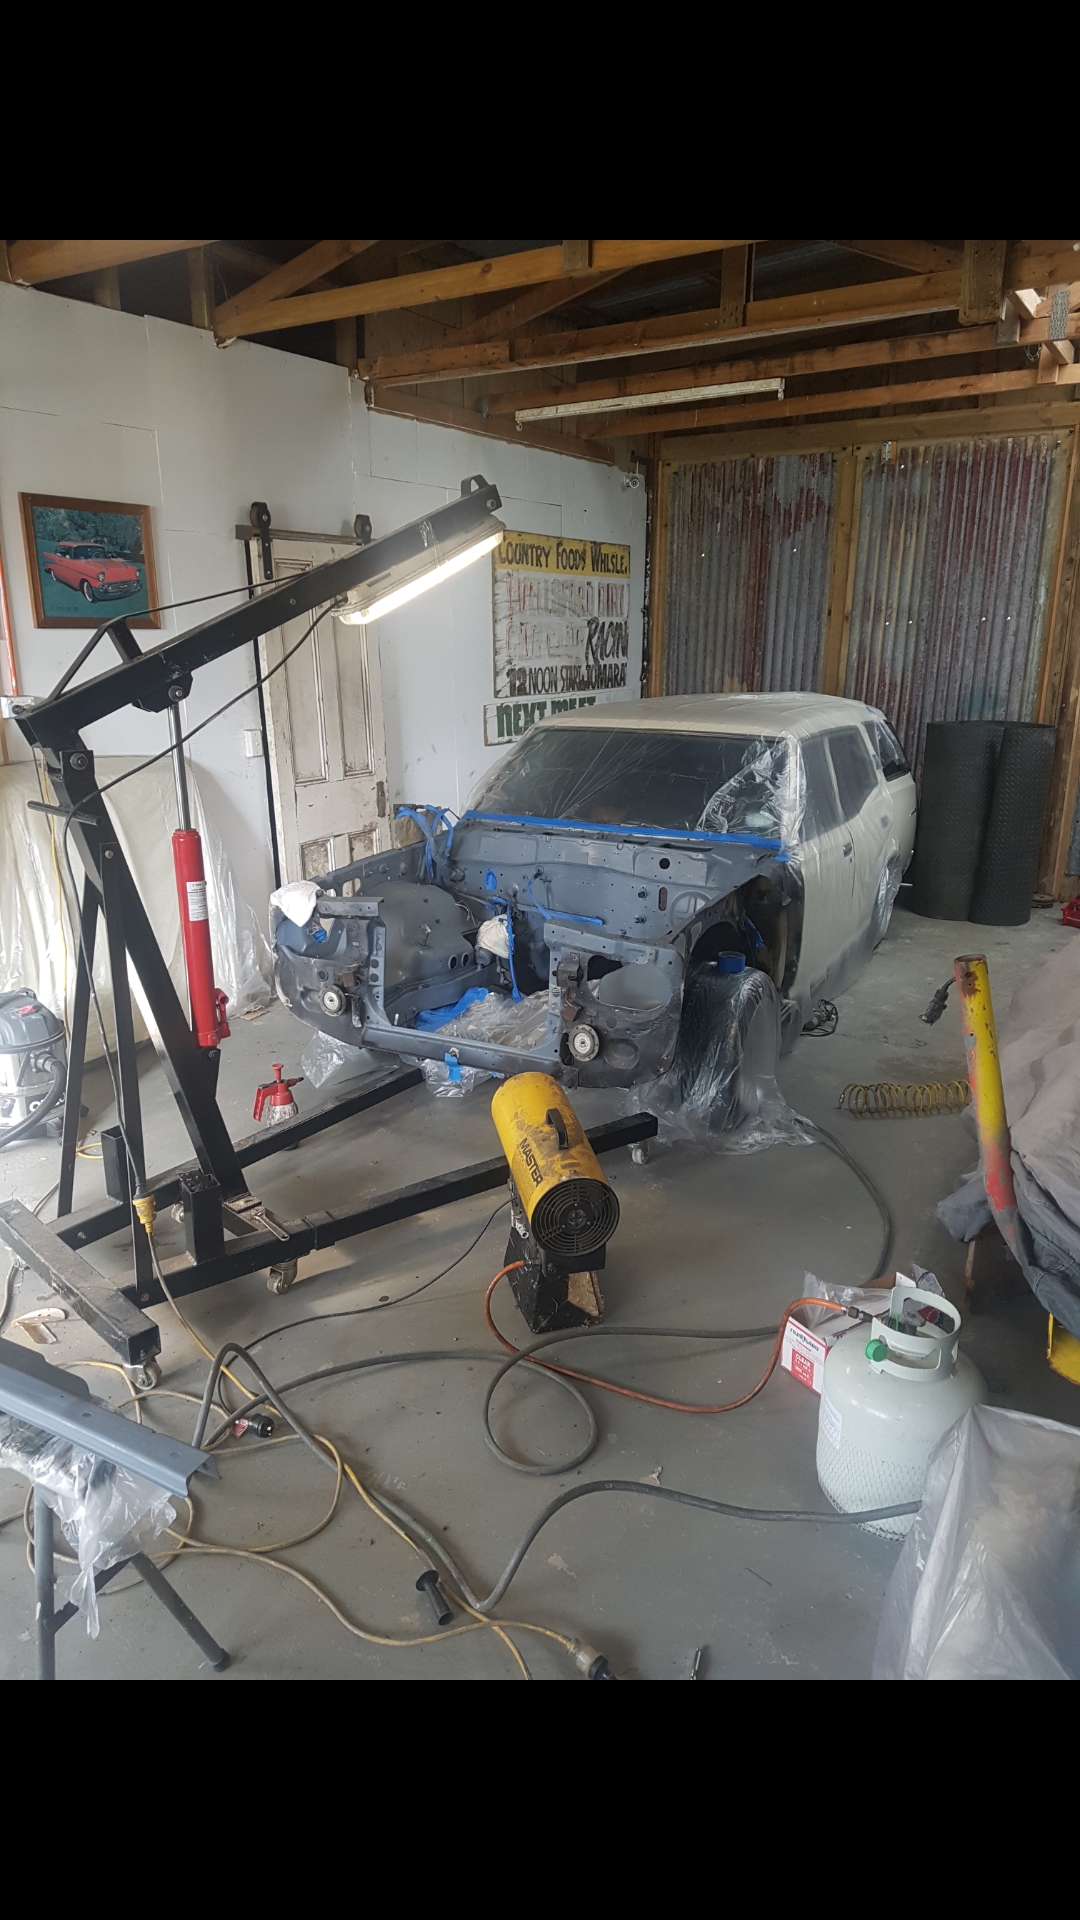
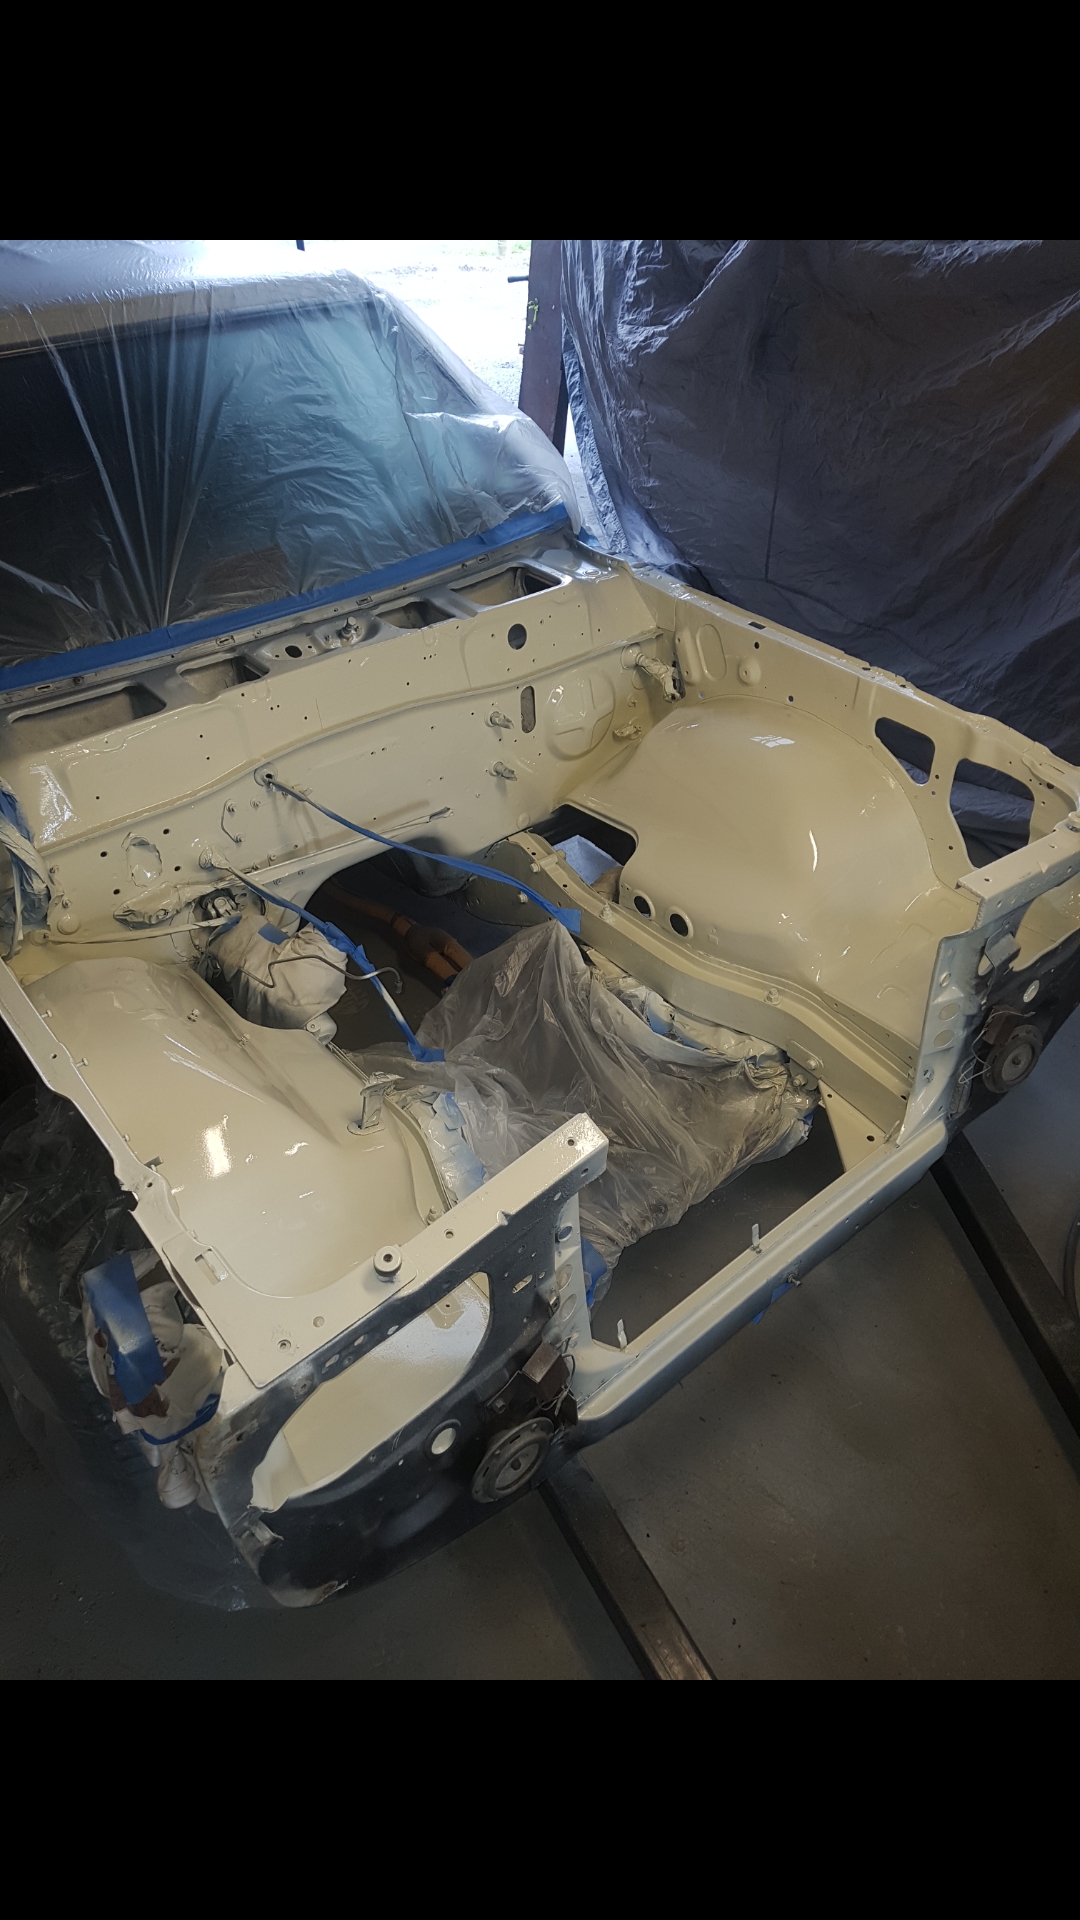
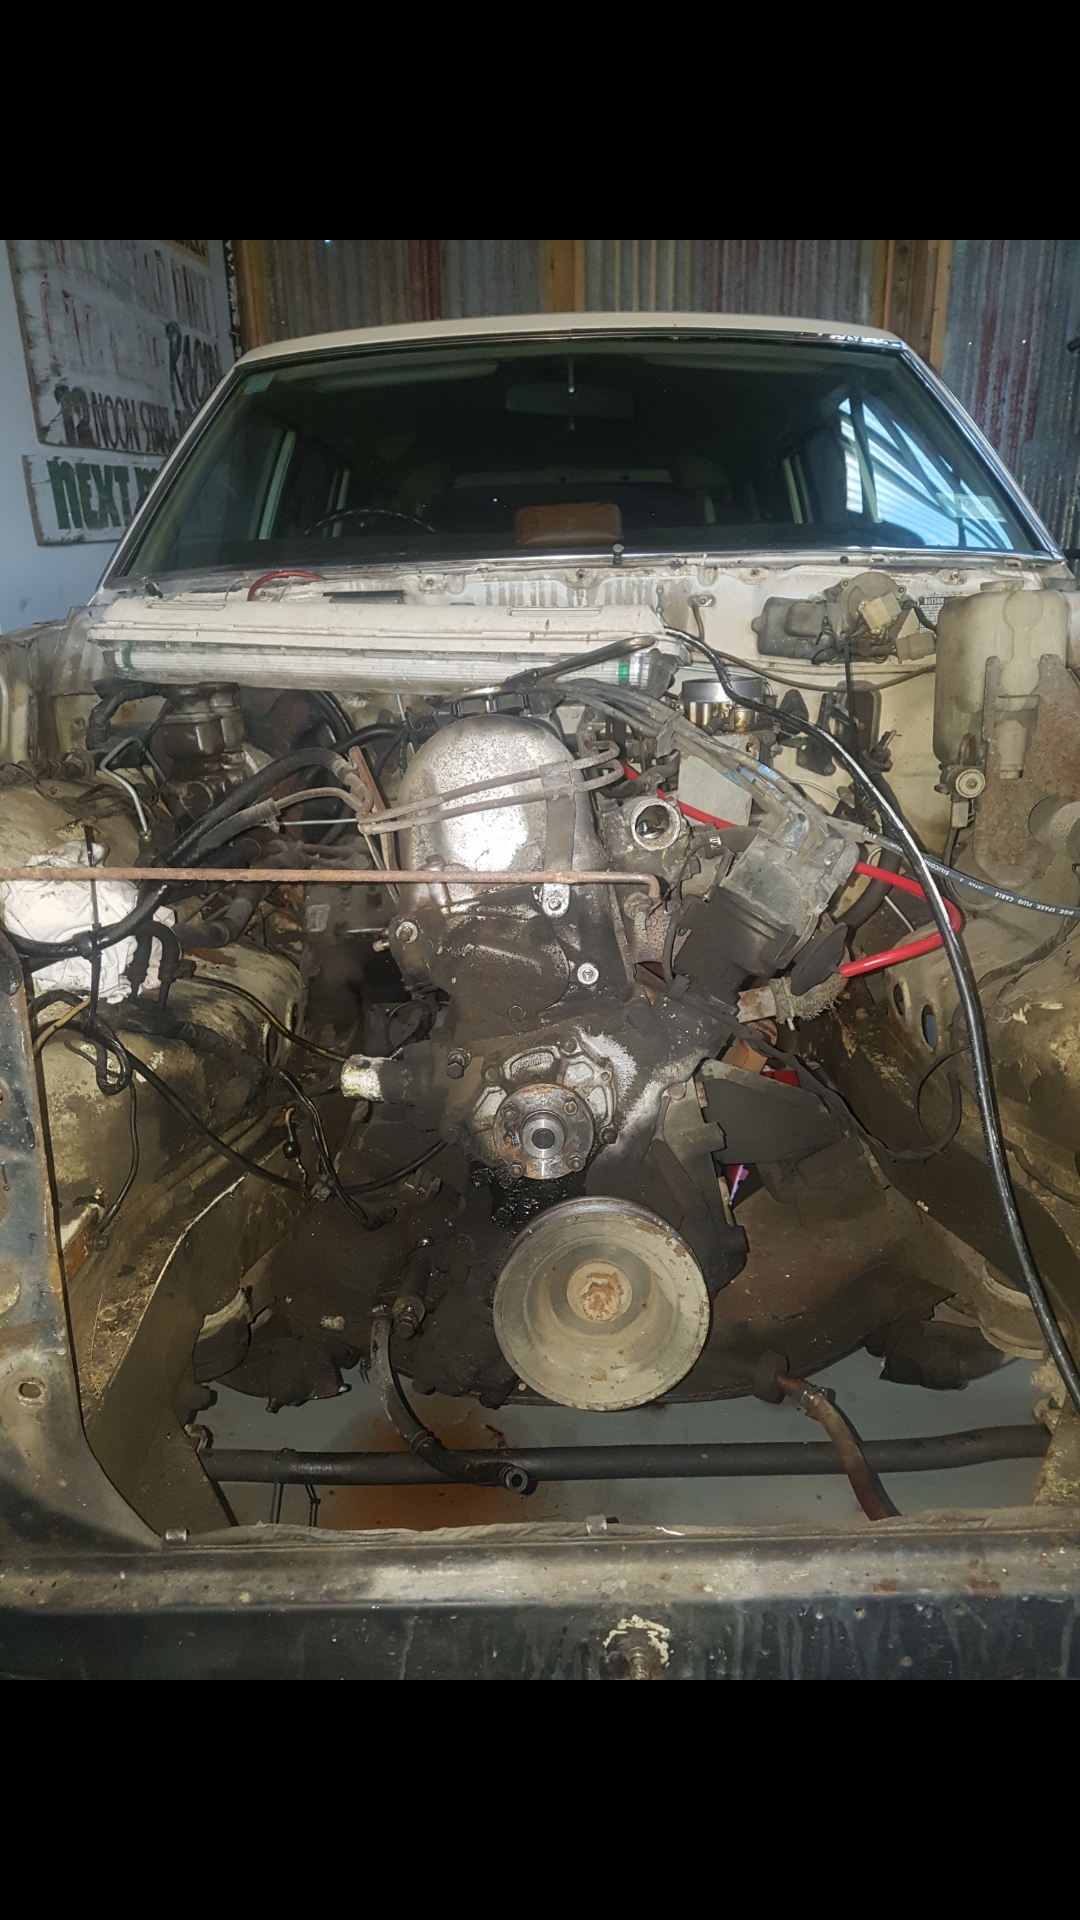
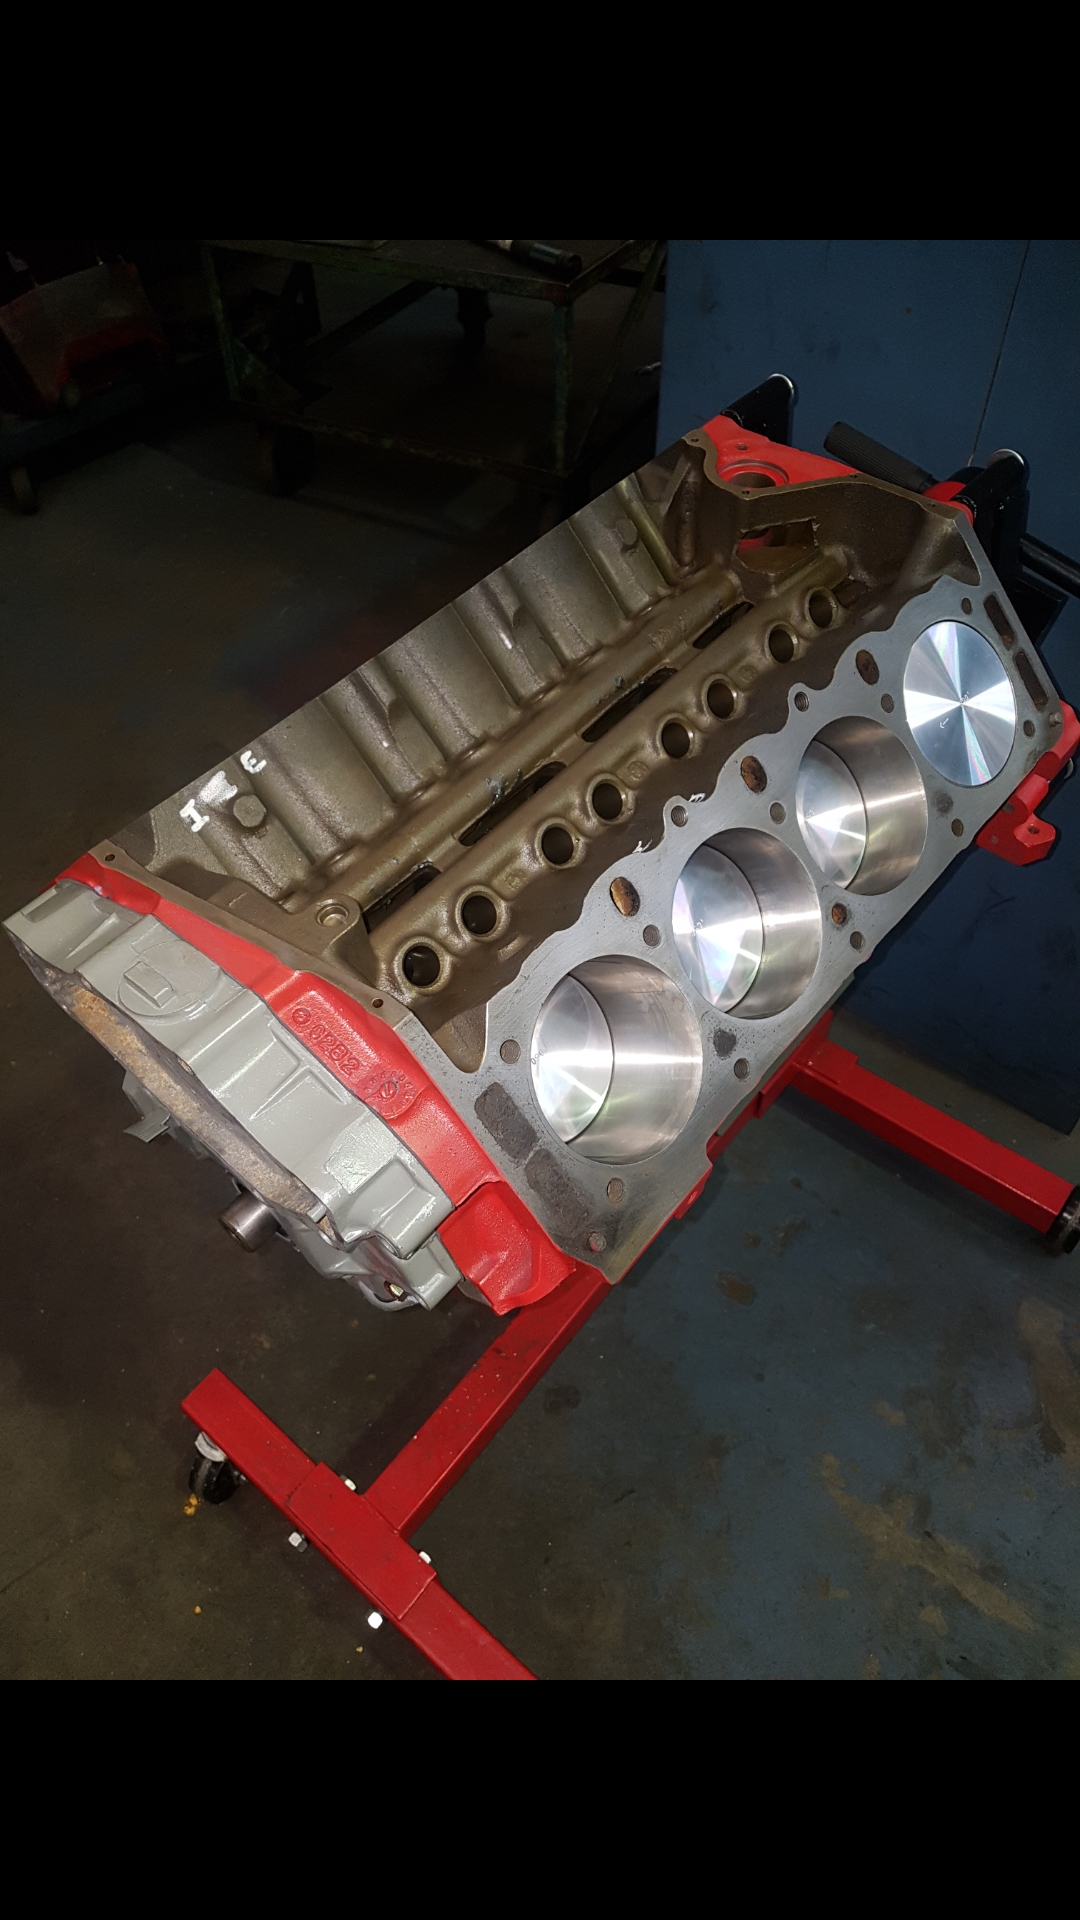
Decided it was a good time to pull the front end off and pull the motor out to clean up the bay and motor since it was a bit shabby looking.
8 points
-
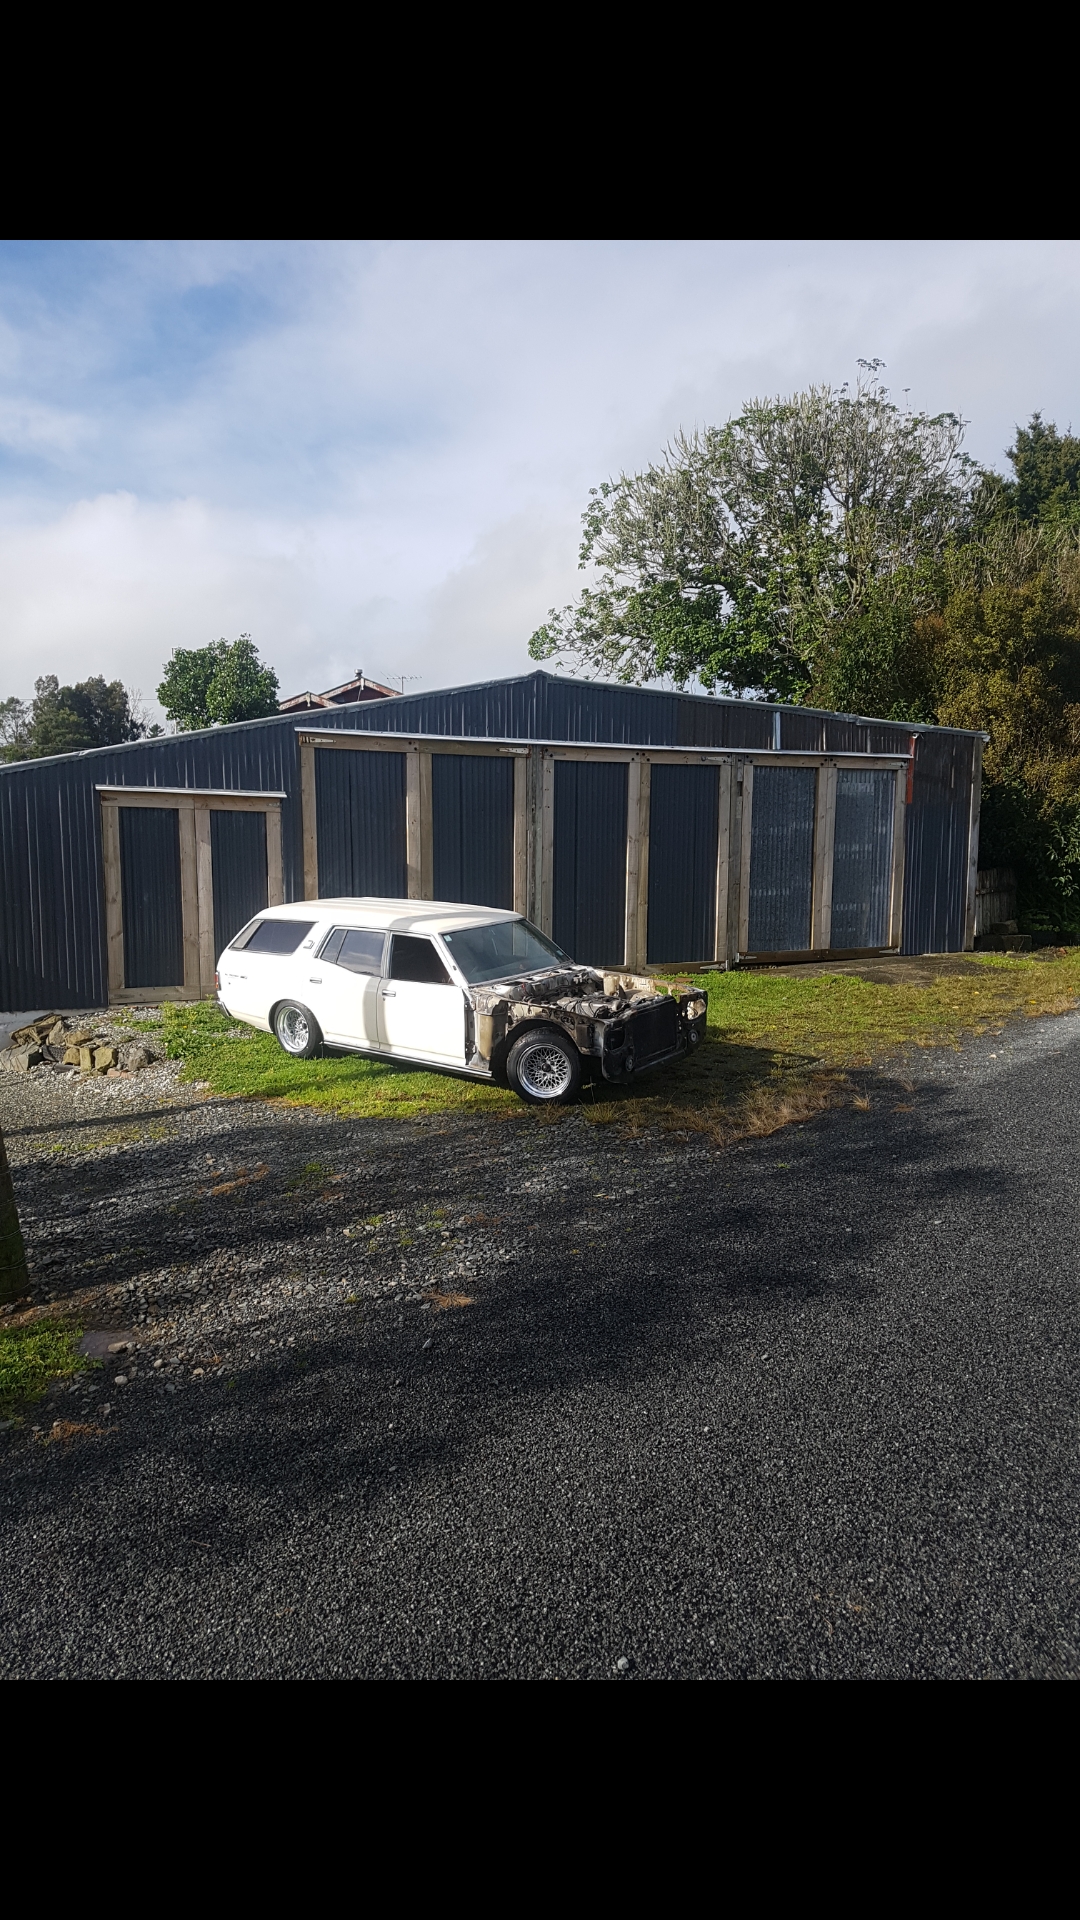
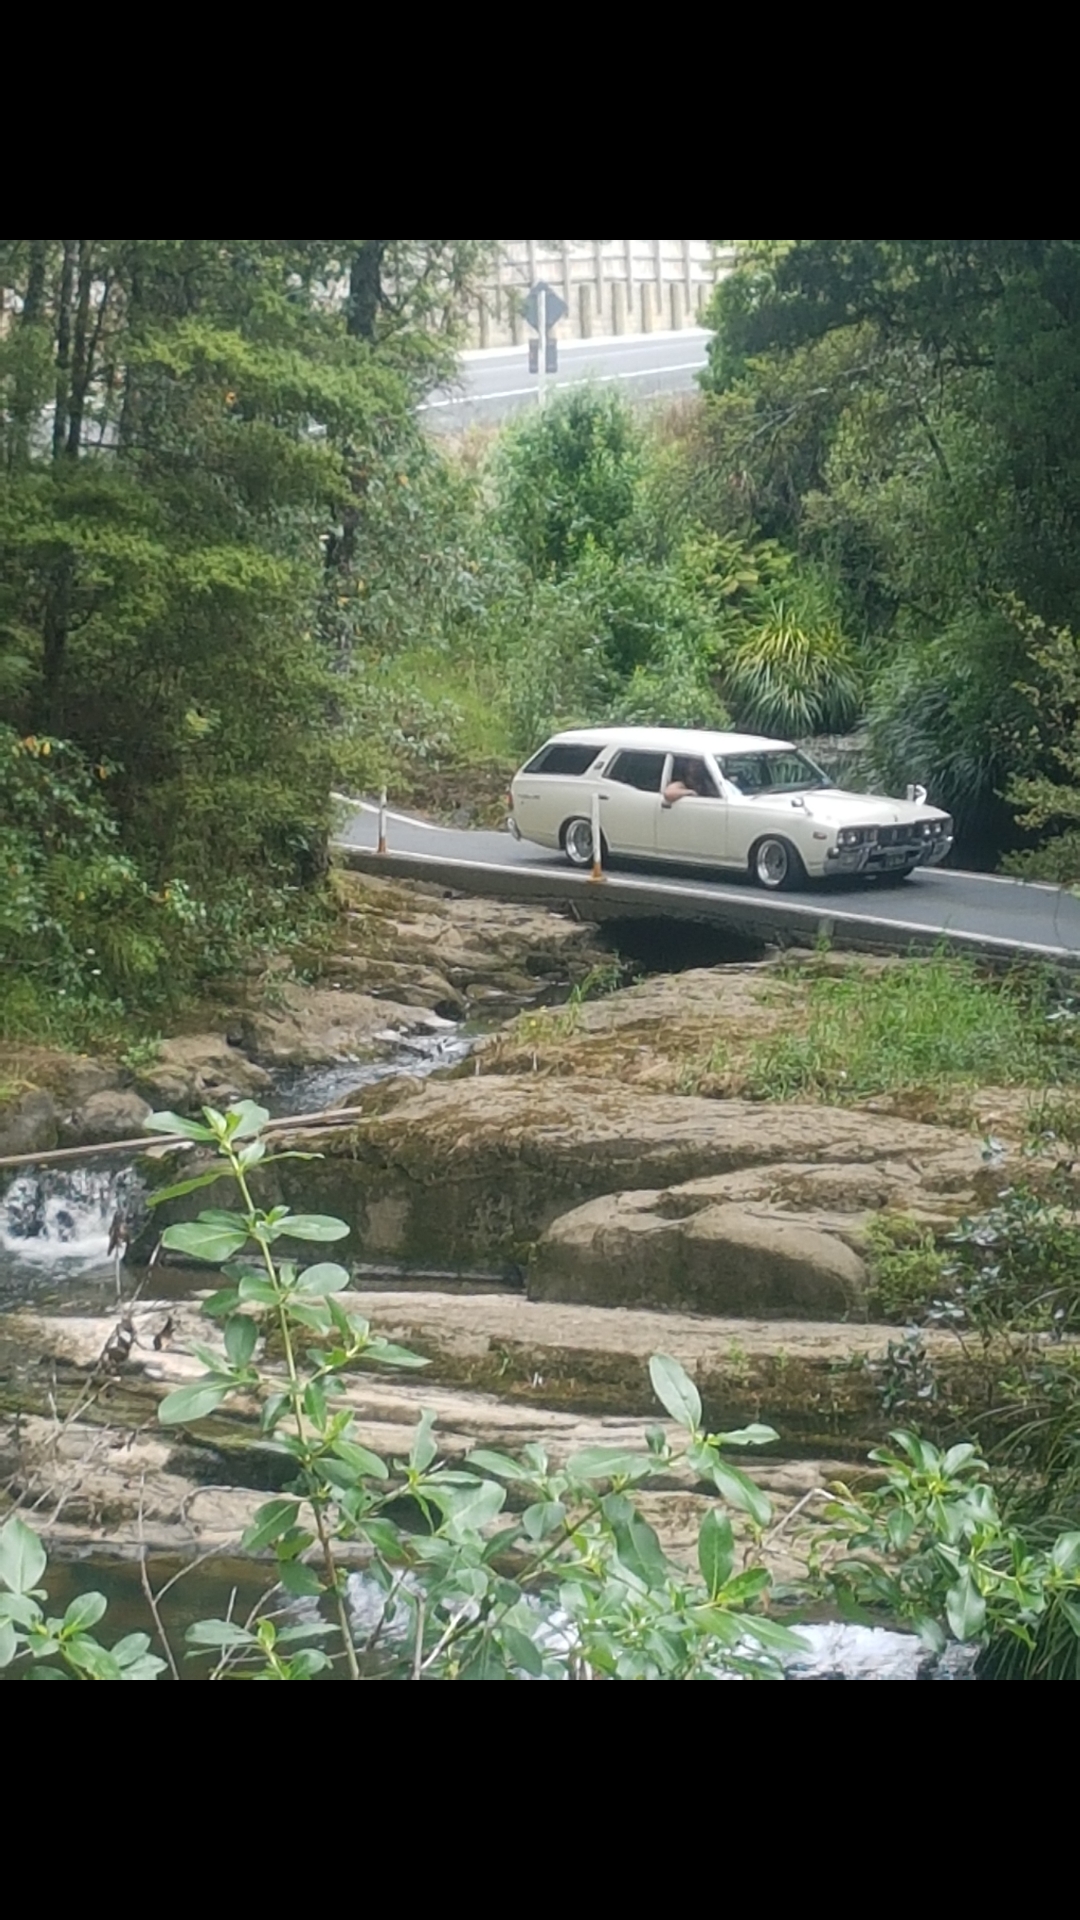
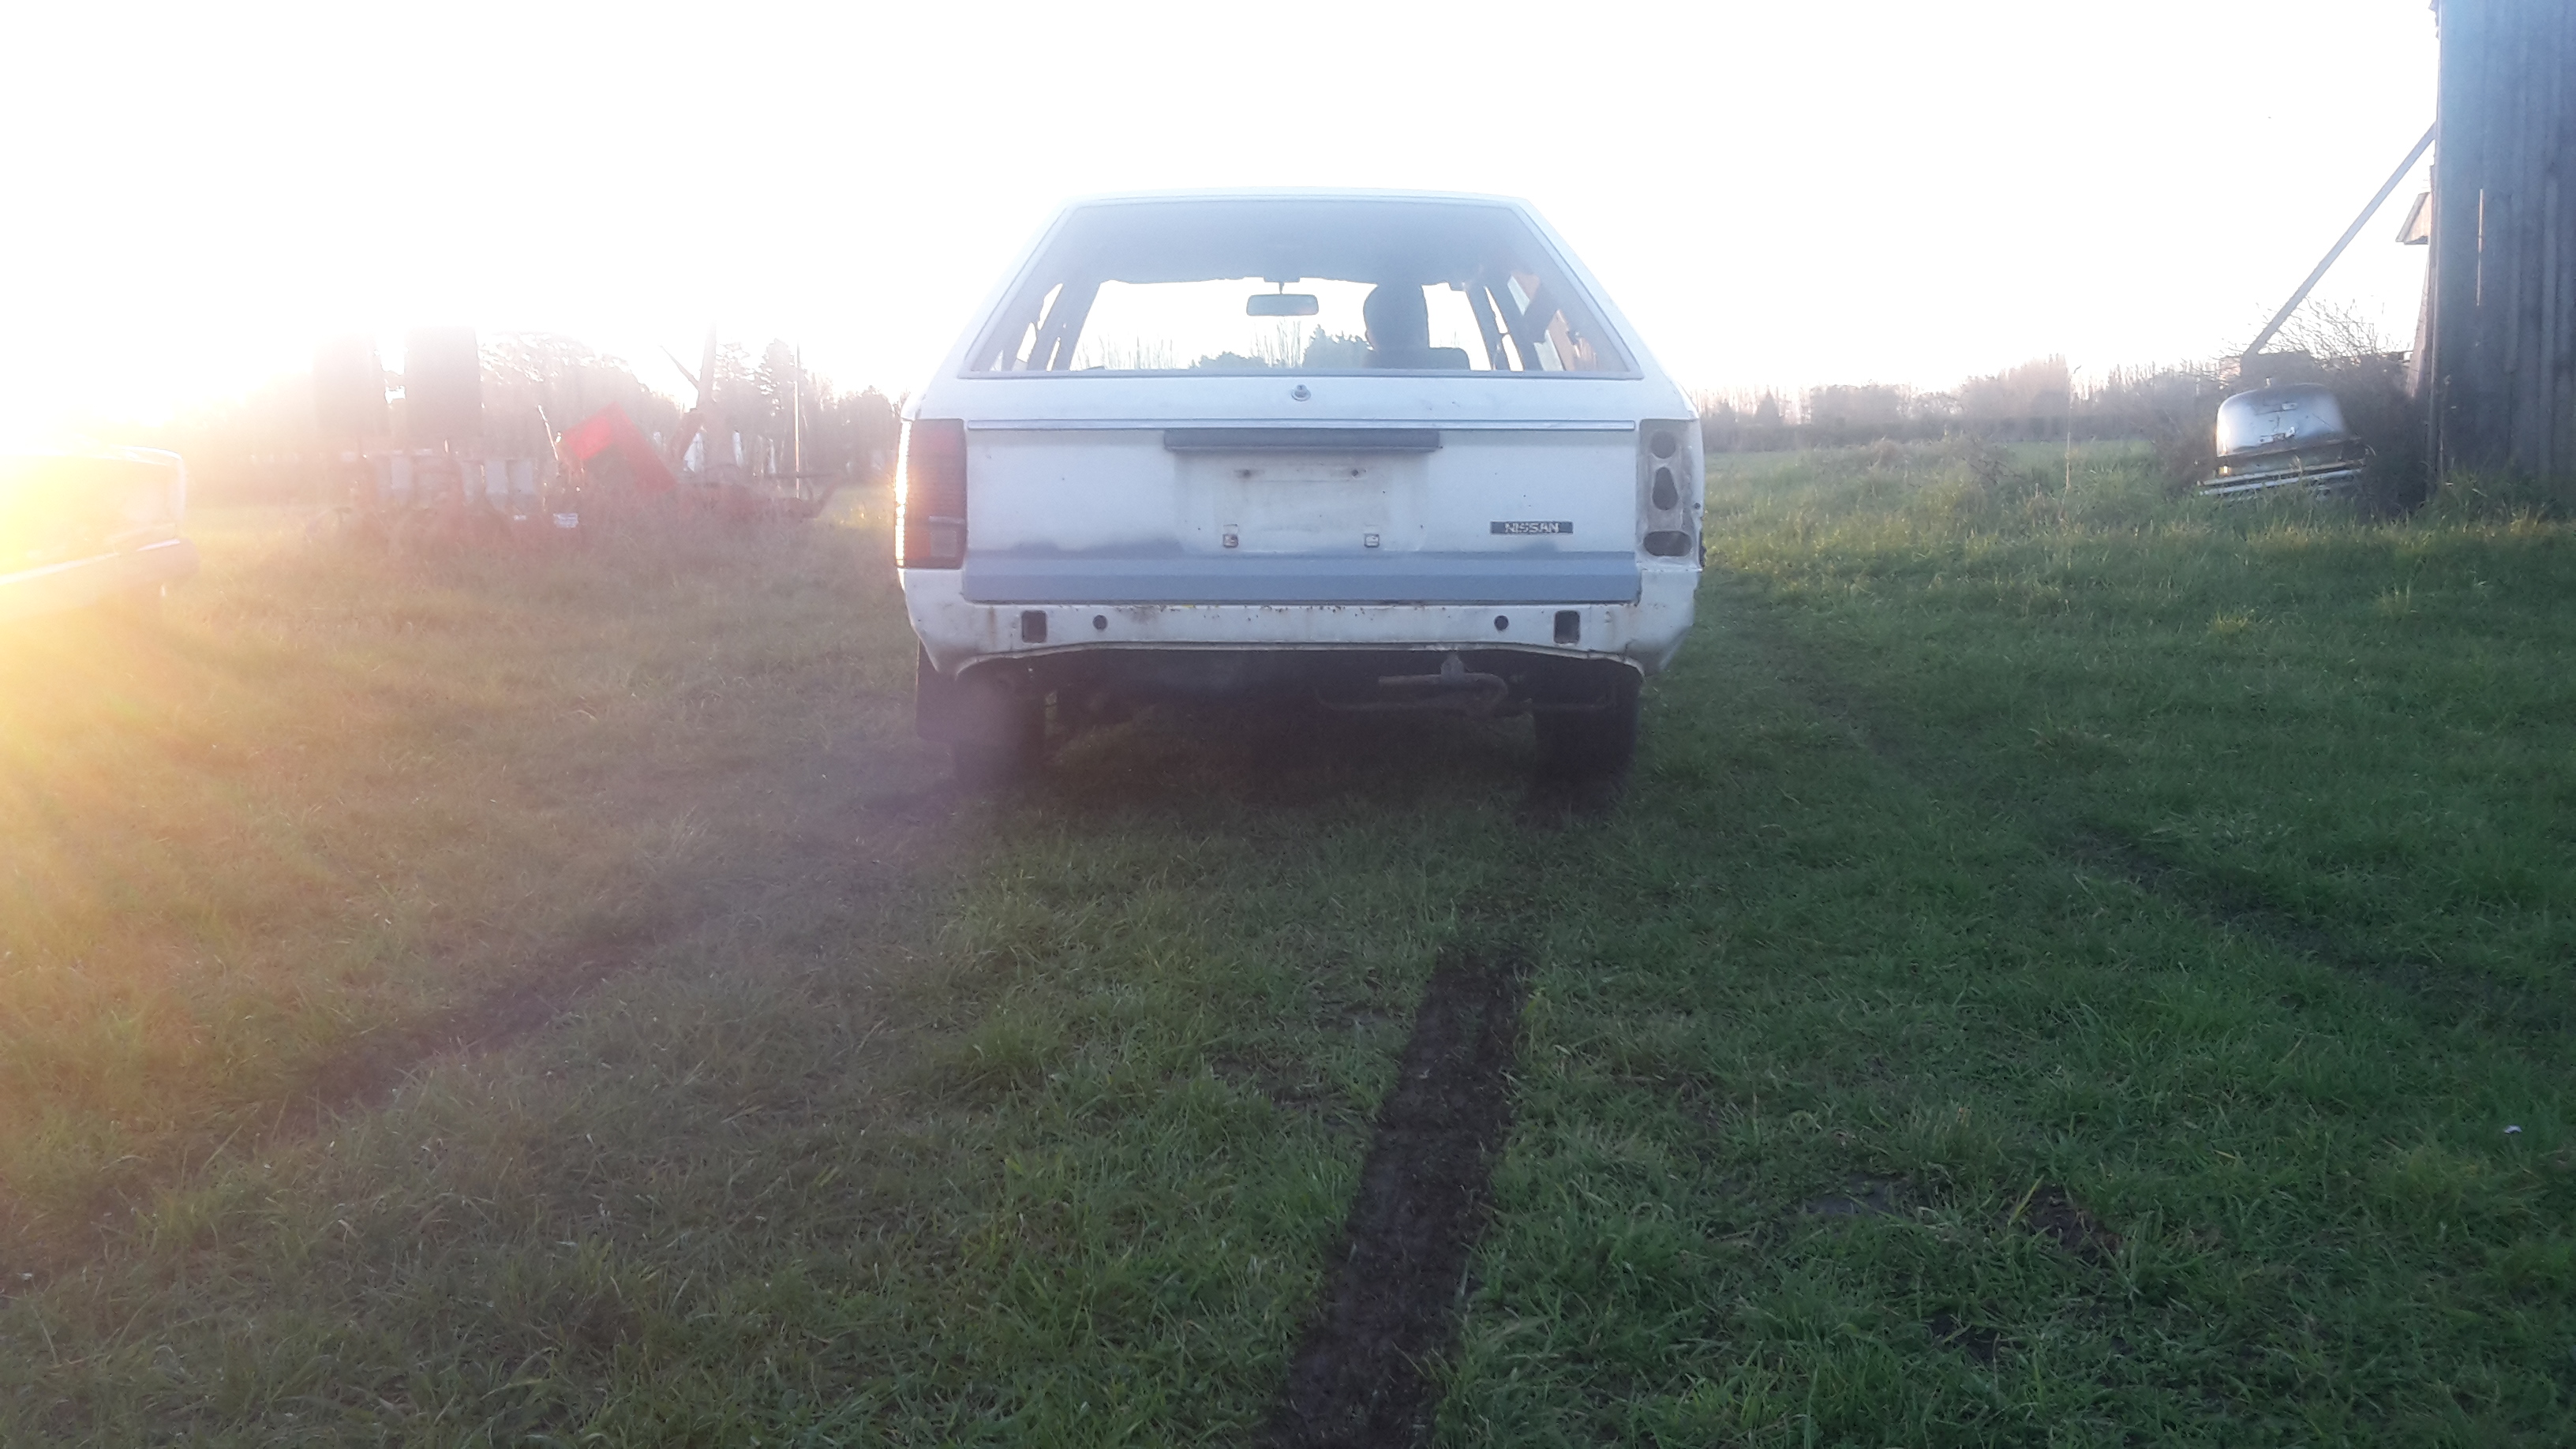
So I bought this wagon off ol mate Aaron over a year ago got it shipped up here and drove it around all last summer to Leadfoot festival etc.
8 points
-
What the fuck is that7 points
-
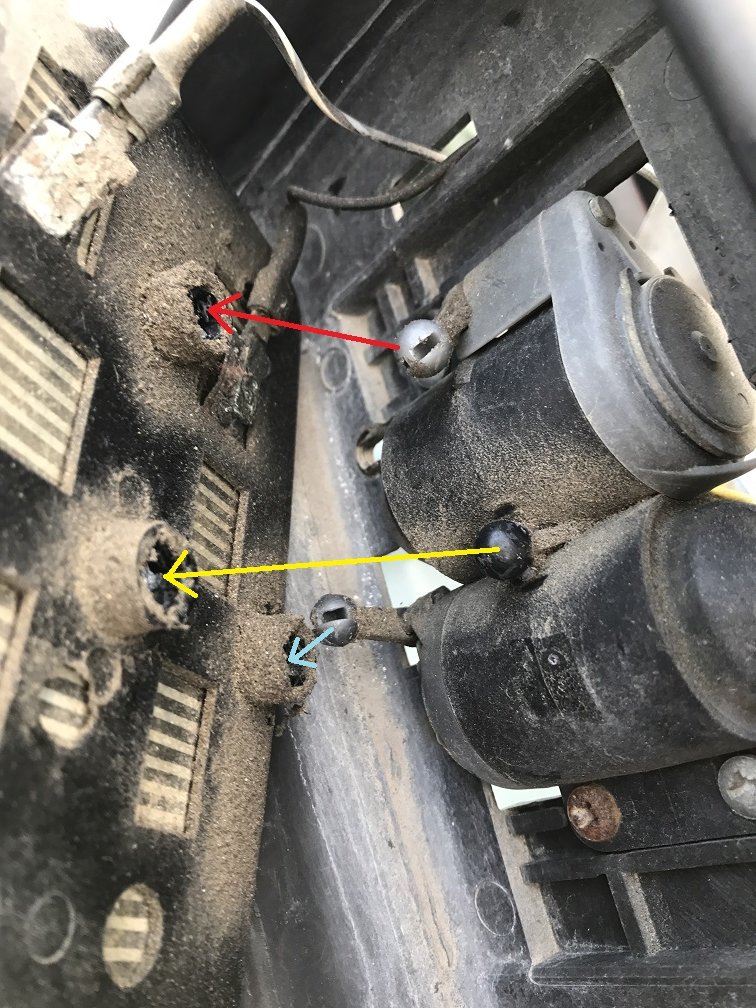
Here's what's inside a Jag electric mirror: I opened it because the mirror glass shook around too much to see anything while driving. On the left of the photo is the glass backing plate (complete with heating element because England), and on the right are the two motors. The 'fixed' central ball-and-socket pivot mount with the yellow arrow had in/out play for some reason. I put a washer down its socket hole to pack it out and take up the slack, and it's improved. Another even more important thing I needed to fix was the radio aerial. The original motorised one had failed (big surprise) and the previous owner had replaced it with a manual one. This made me die a little bit inside, especially as the aerial is out on the rear wing. One does not feel very wealthy pulling over and getting out of one's car to go and extend the aerial in view of passing commoners. I bought a new electric aerial (universal, not Lucas) and fitted it with much excitement. Antenna goes up, antenna goes down. Antenna goes up, antenna goes down. I feel like a yuppie. Antenna goes up.. ..and thankfully stops short of my very low garage door. Just need to find an adapter for the annoying coaxial connector on the Jaguar cable back to the head unit. Tomorrow the Jag is going away for a while to get those inboard rear brakes and their awful grinding noises sorted out. Expect some horror stories, but also expect some form of exhaust modifications to be done at the same time.
7 points
-
6 points
-
Canadian club plz. Blue diesel will cause removal of engine and a worn out one installed instead6 points
-
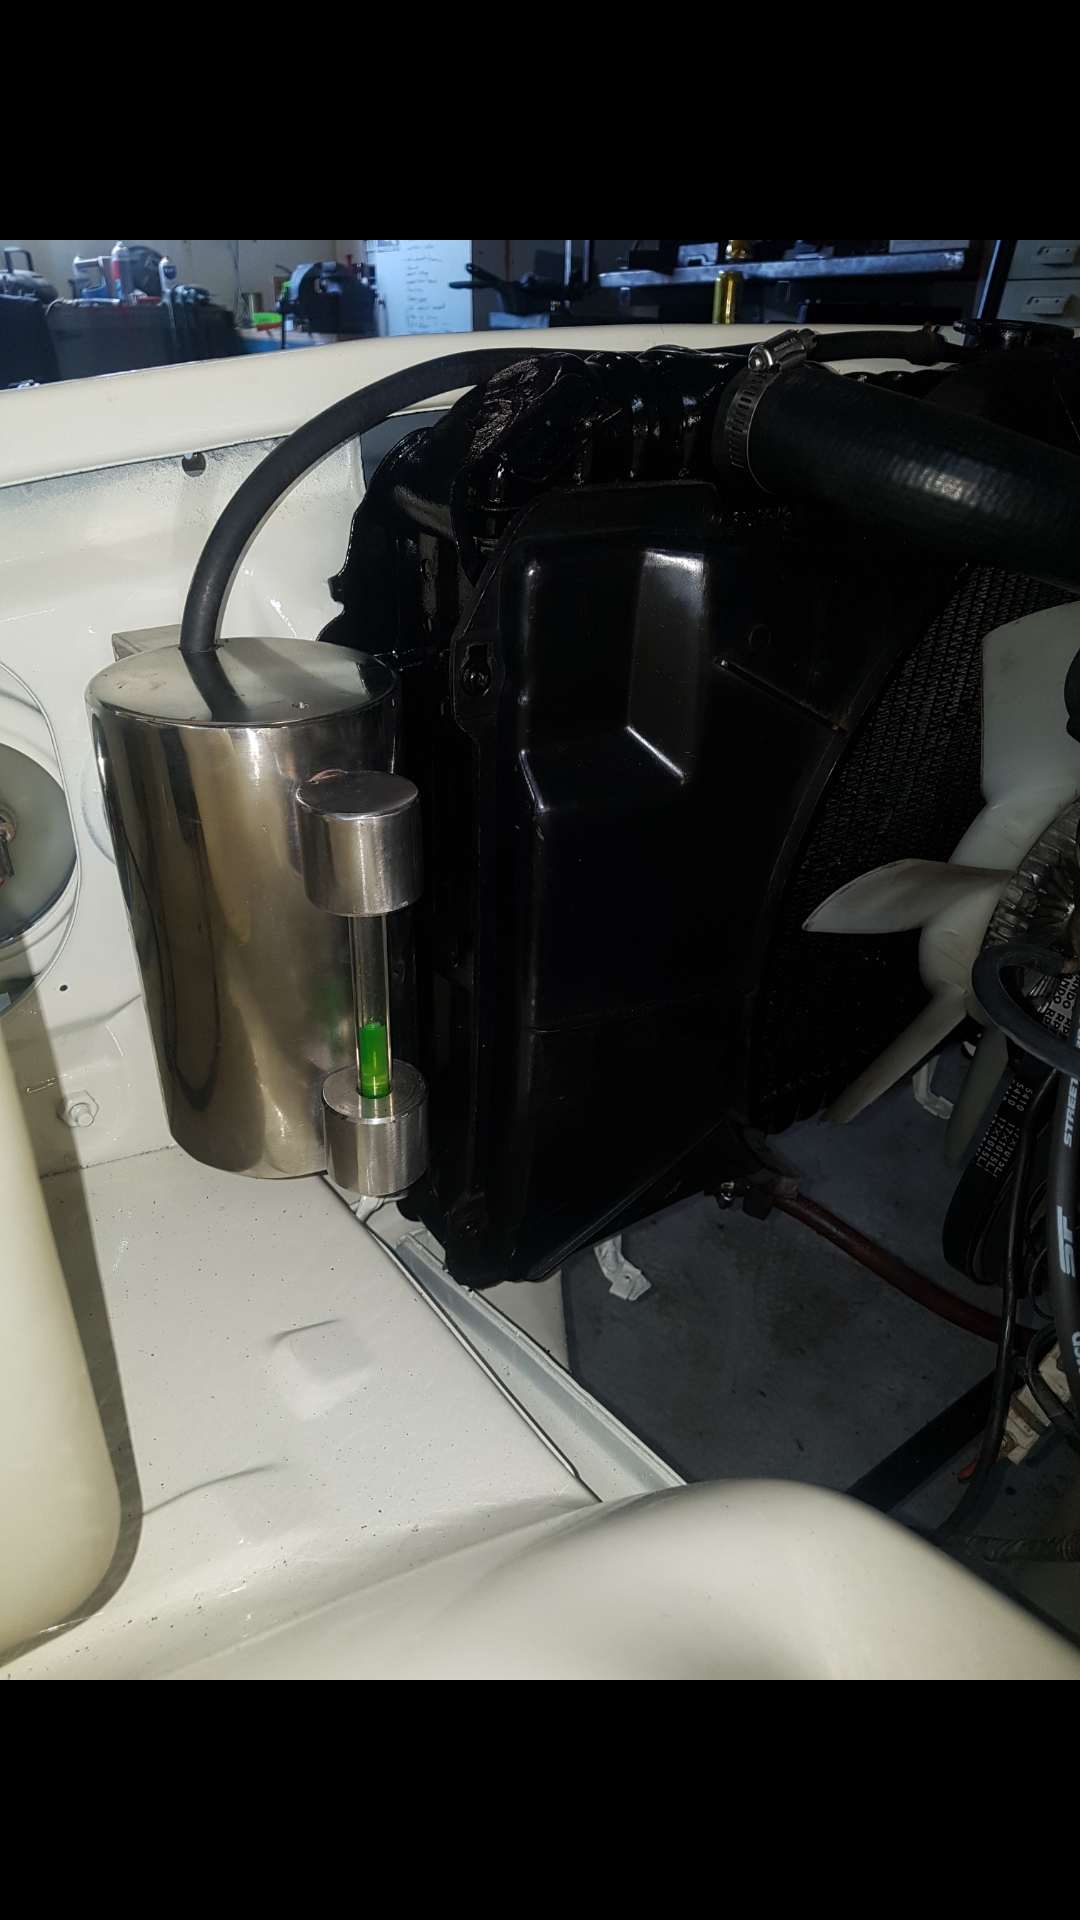
Added a few other things into the wagon New carpets, tig welded up an over flow bottle out of stainless, seats are at midnight upholstery currently, and new moon glitter bomb wheel.
5 points
-
Holy lols, thats quite a thing. Yeah no trouble, should have a proper entry form for everyone shortly, I'm holding things up need to pull finger etc. But yeah, do it.4 points
-
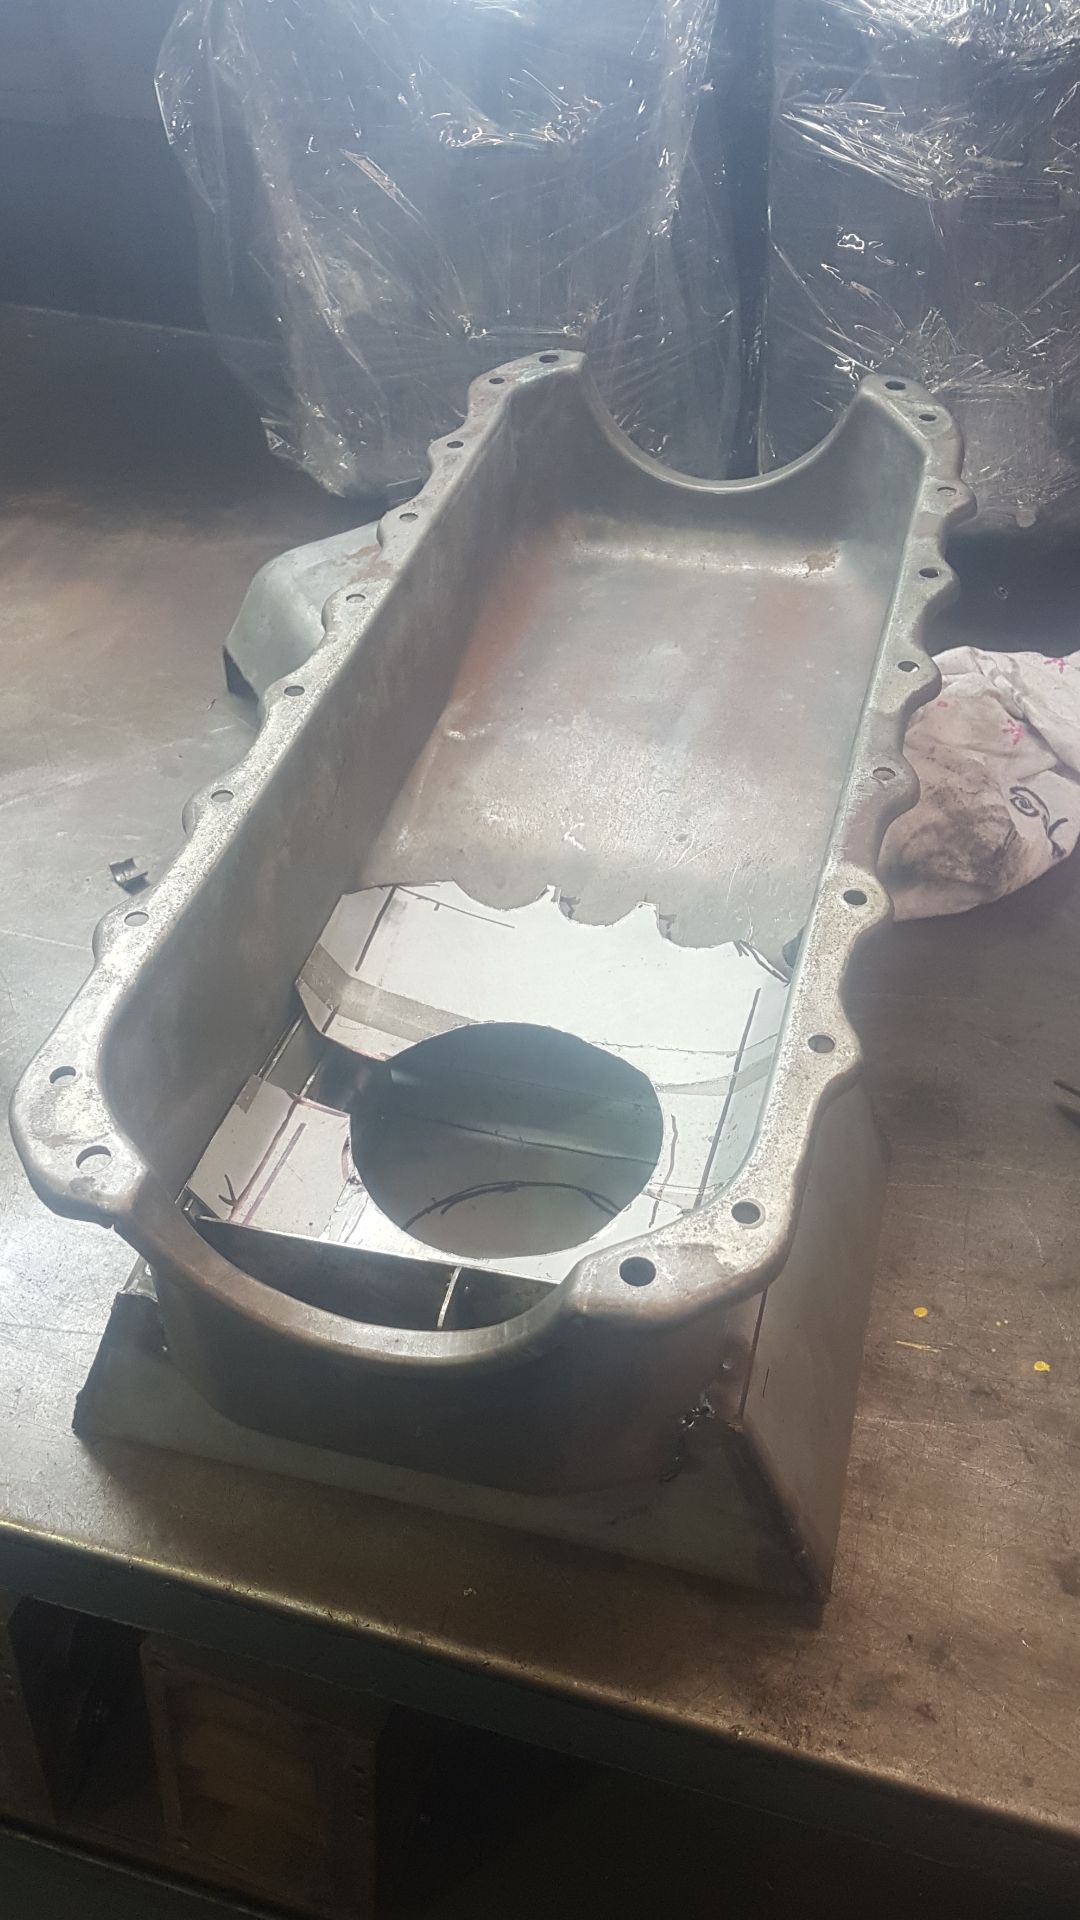
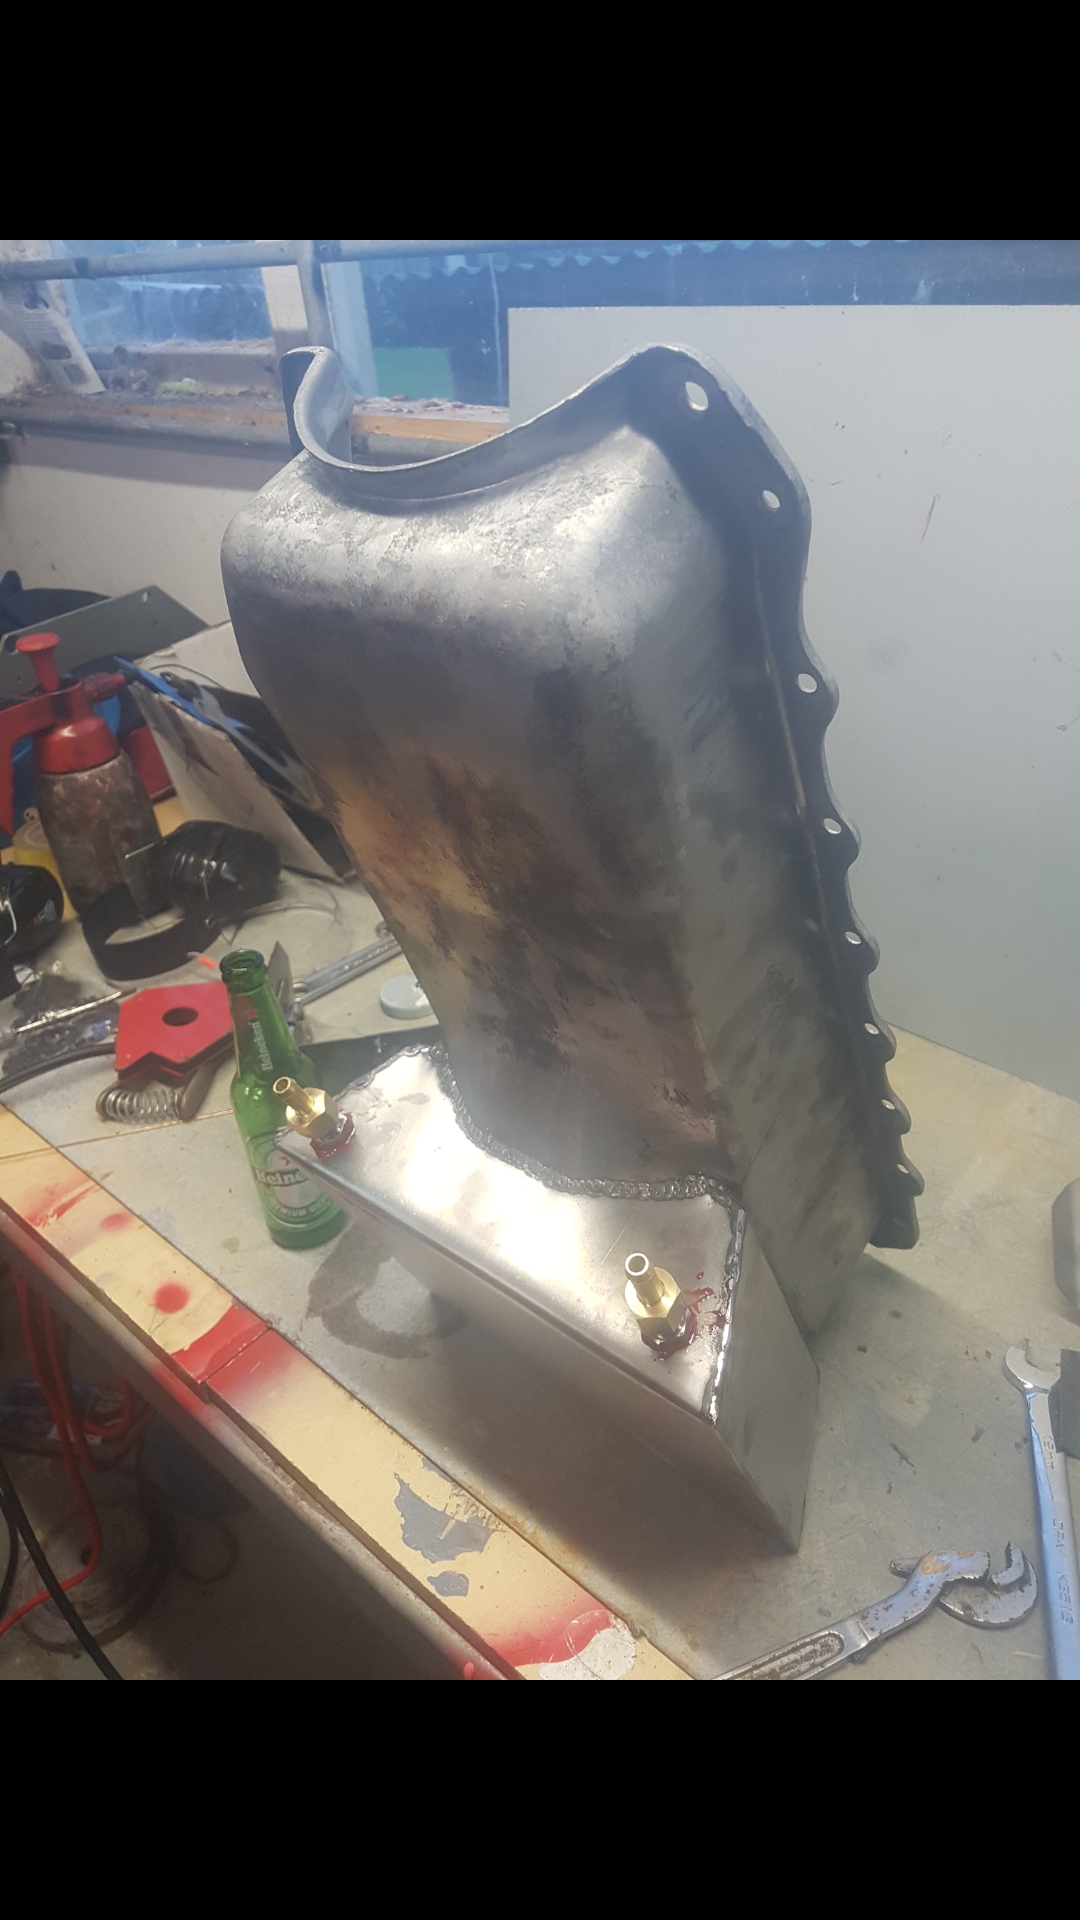
Been a while since last update. Been getting a bit carried away with my datsun of late. Baffled sump all made up with water cooled copper line inside Going to be putting engine back together this week
4 points
-
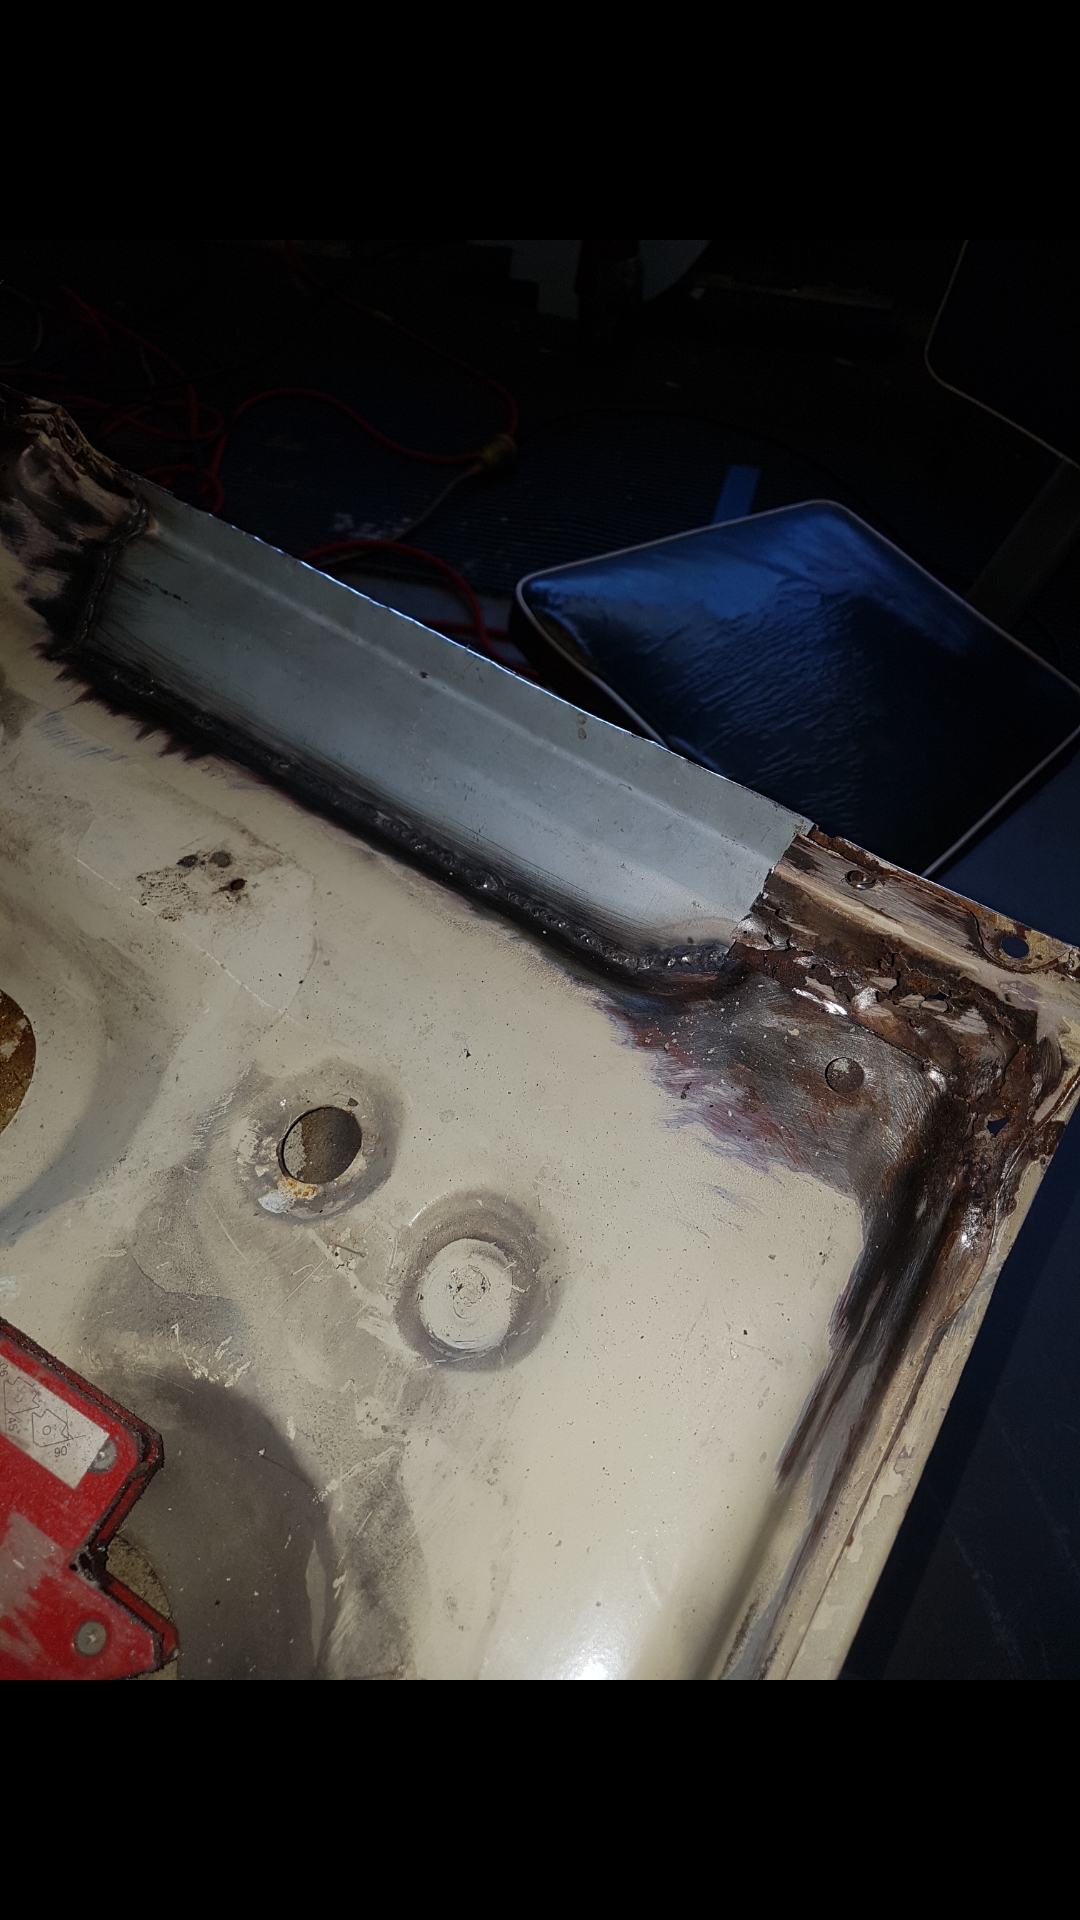
So I said it should be sweet. Was I fuckin right or what?! I started by making each face of the new wing in separate pieces of steel and tacking them together. There was a time when I would have tried to fold it all out of one piece but it was much easier to do it this way. With it all tacked up, I snapped it off the pedal box and welded it fully. Then tacked it up again and welded it to the box properly. Then I marked and drilled the appropriate holes to mount up the master. The bottom bolt is a bit of a pig to get in and out because it ended up right on the wall of the original pedal box. Eventually, I think I'll swap it for the studs that the master originally had but shorten them a little and run a nut on the inside of the pedal box. Should make the whole situation a lot easier to mount. Finally, here is the pedal at clutch fully out, And fully in. Next I knocked together this little fella, And filled up the old clutch cable connection point. Their powers combined they make this: A neat little adjustable pedal stop with a rubber button from the original Mazda pedal. Much better than putting a nut and bolt through the floor like I've seen suggested on some pages online. With that, the pedal box modifications are finished (at least in the clutch department anyway). Now I just have to get on to mounting it. To start, I ground off the return on the doubler plate and clutch cable conduit where it would foul the new wing. Then I made an extension for the doubler plate and welded it on. Finally, I had to drill and cut the holes to allow the master cylinder to penetrate the firewall. It just so happened that the center of the main hole was inside the clutch conduit hole so a hole saw would have made a terrible mess wandering around everywhere trying to cut the hole. Instead, I bolted up the pedal box and used it as a template to make the two smaller bolt holes. Then I made a temporary support for the hole saw and bolted it to the bulkhead with the new holes. Which let me cut it out from the other side. I might weld up the oval parts of the original penetration but it works fine as it is for now. As tempted as I was to bolt the pedal box and master cylinder straight up, I figured I'd get a little more fab done in the area while I was here. So I made up this little guy, And tacked it in place on the firewall. I also threw the pedal box and master on while I was there, Before mounting this sweet piece of kit. It's a leftover from my old man's roadster when he mistakenly ordered the wrong kit for his braking system. I reckon it fits really nicely in there and I'll only need a short 90-degree elbow to connect it up. The whole thing came out looking kick ass and I'm really happy with the result. It's going to be fantastic when it's finished and running. I'm just leaving the mounting pedestal tacked on there for now until I find a brake master cylinder that will work in case I need to shift it to make it fit. That leads me to a request for help. What brake master cylinder should I use? Bearing in mind I plan to use princess four-piston calipers on the front and I'm not sure exactly what on the rear yet. I am going to use the R31 skyline diff that I have but I'm not sure what brakes to use on it. I don't have any for it yet and I'm looking at probable disks of some sort but I'm not sure which and I'm open to suggestions. I'm looking at a Datsun B310 master right now because it's the same bore as a standard Mk2 Escort master but it has the under and over mounting holes. I'll have to run a remote booster but that won't be an issue. My only concern is whether or not it would be compatible with disk brakes in the rear due to its internal residual pressure valve. I'm open to suggestions if you have any. Please let me know here:4 points
-
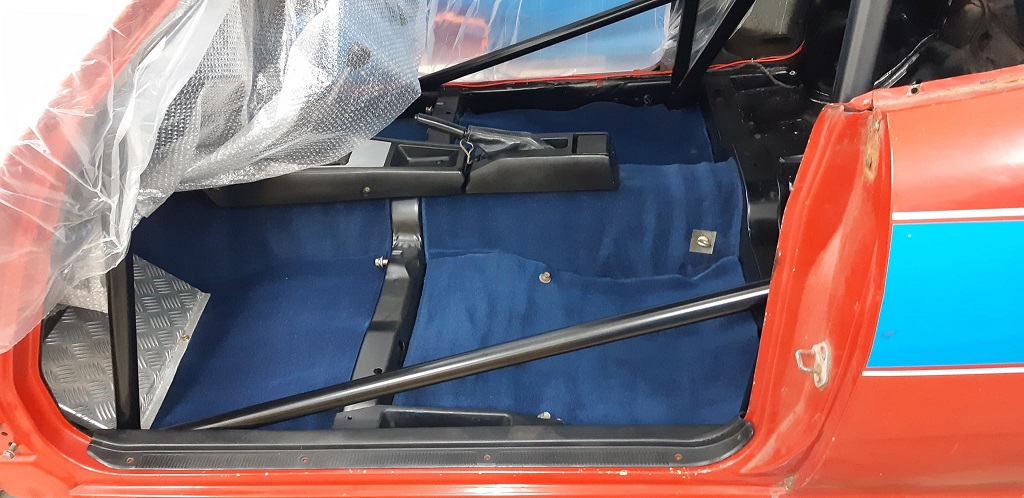
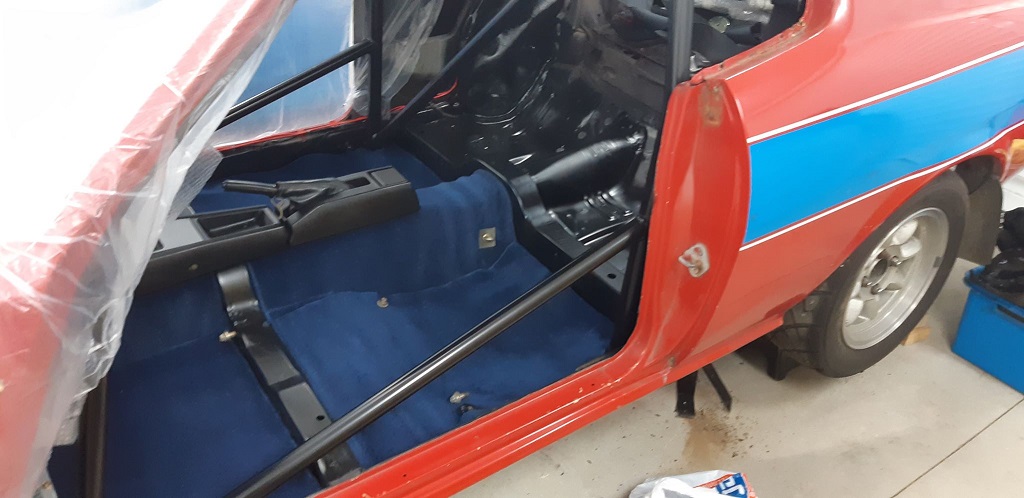
Getting more confident at this metal foldy bendy stuff.. Centre console bracket was missing from this car so i copied the one from my other celica. Carpet all installed Back seat area all cleaned/painted Wheel arch vinyl was tired so i resprayed it And finally stopped procrastination and primed the drivers side roof
4 points
-
Have owned this over a year now I should probs let everyone see what I've been up to. Will start adding to this tonight stay tuned3 points
-
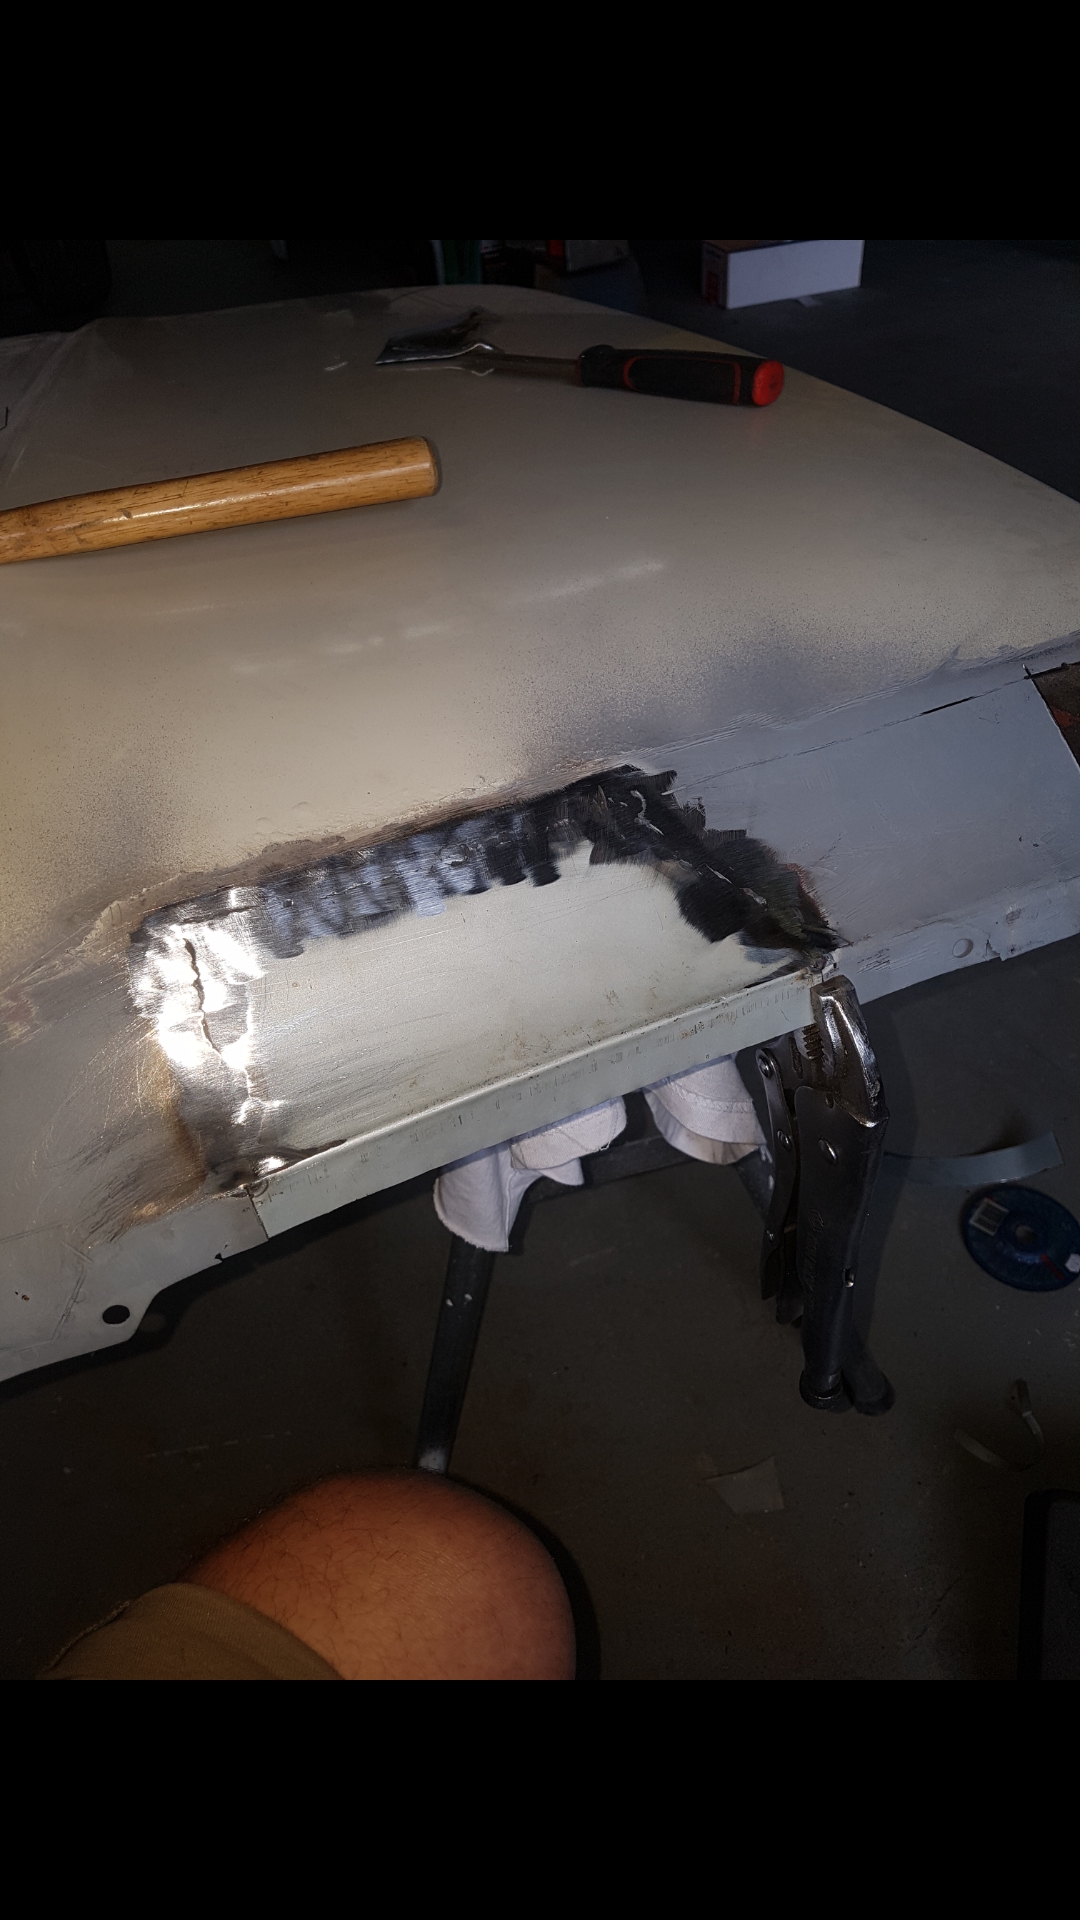
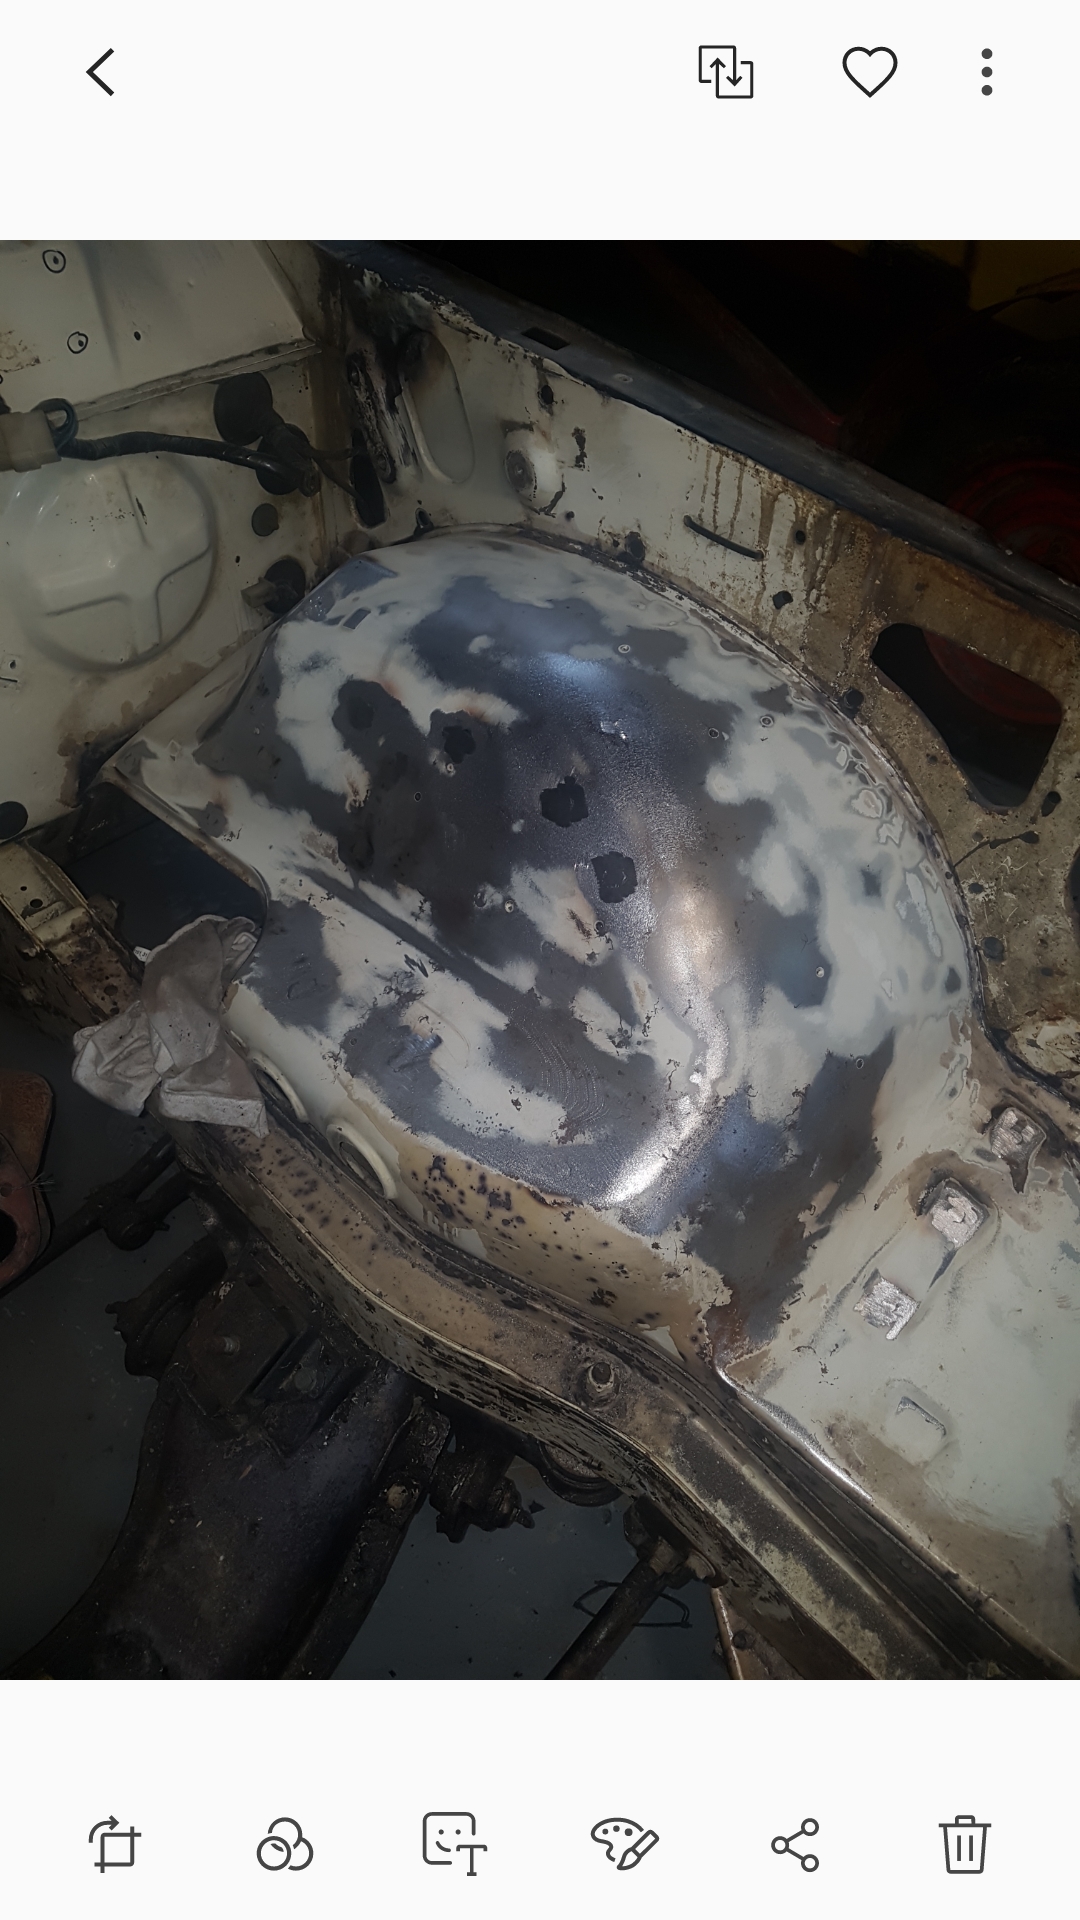
Currently fixing the rust in the bonnet ready for paint.
3 points
-
3 points
-
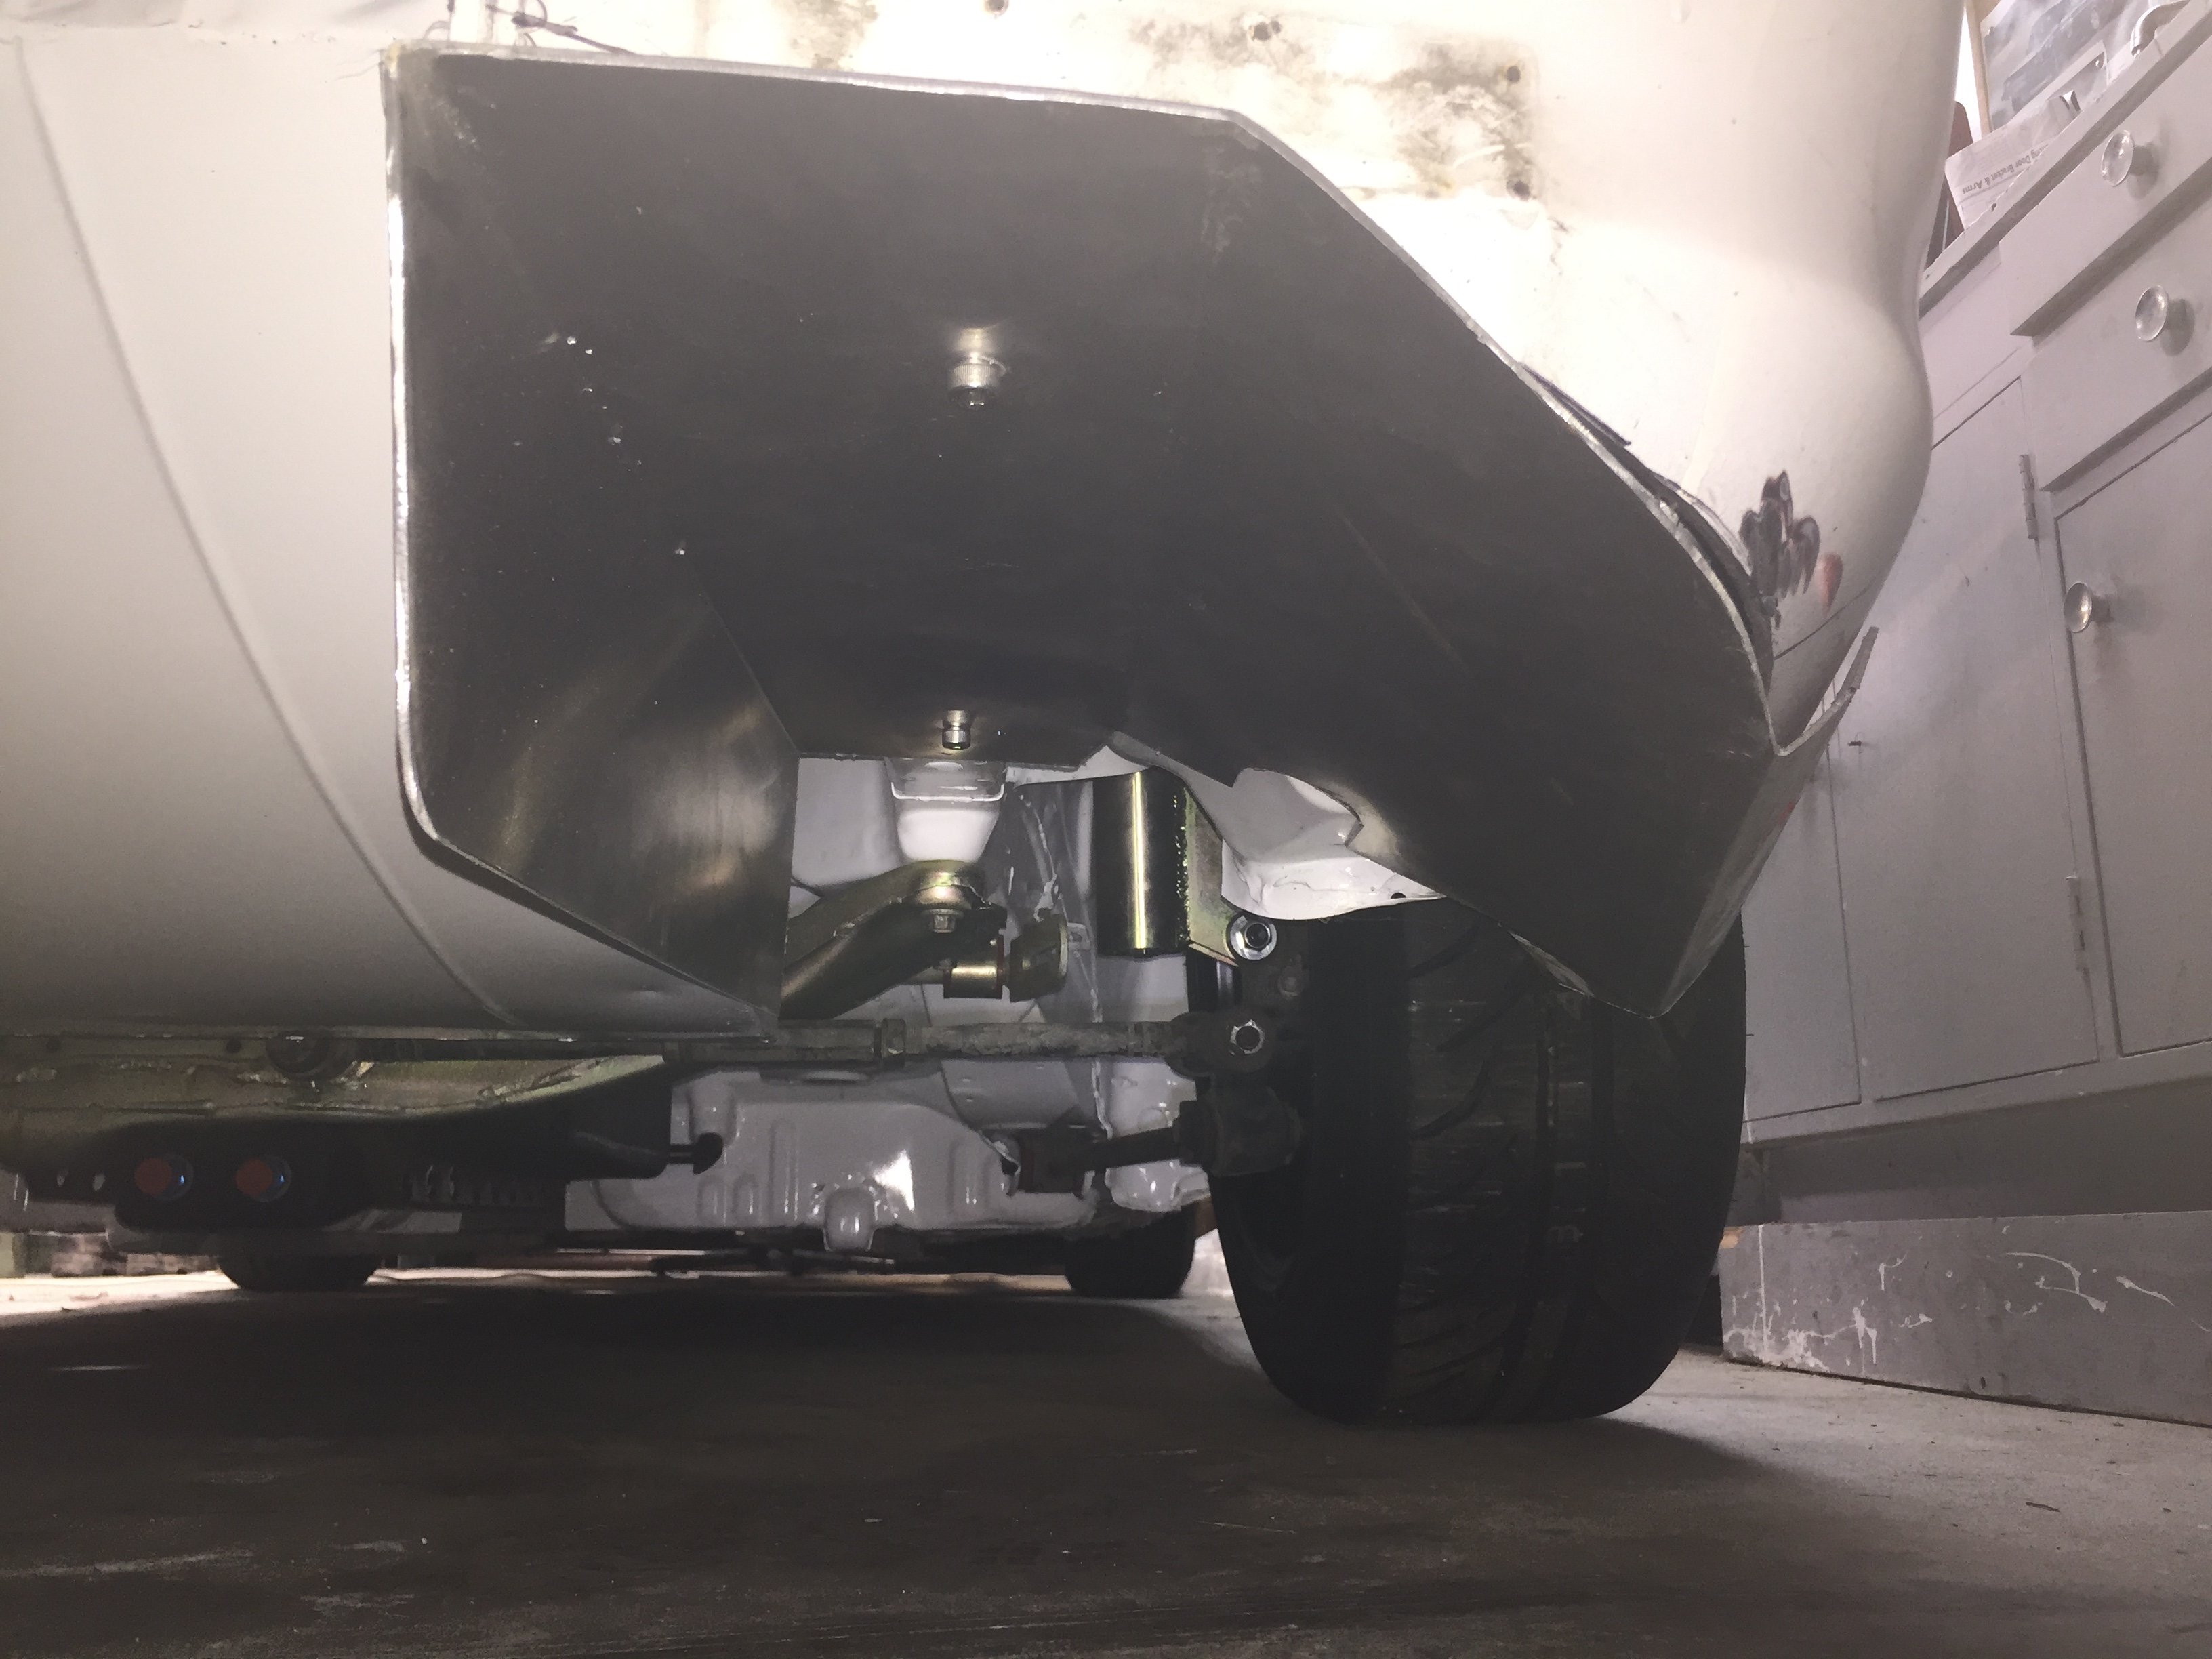
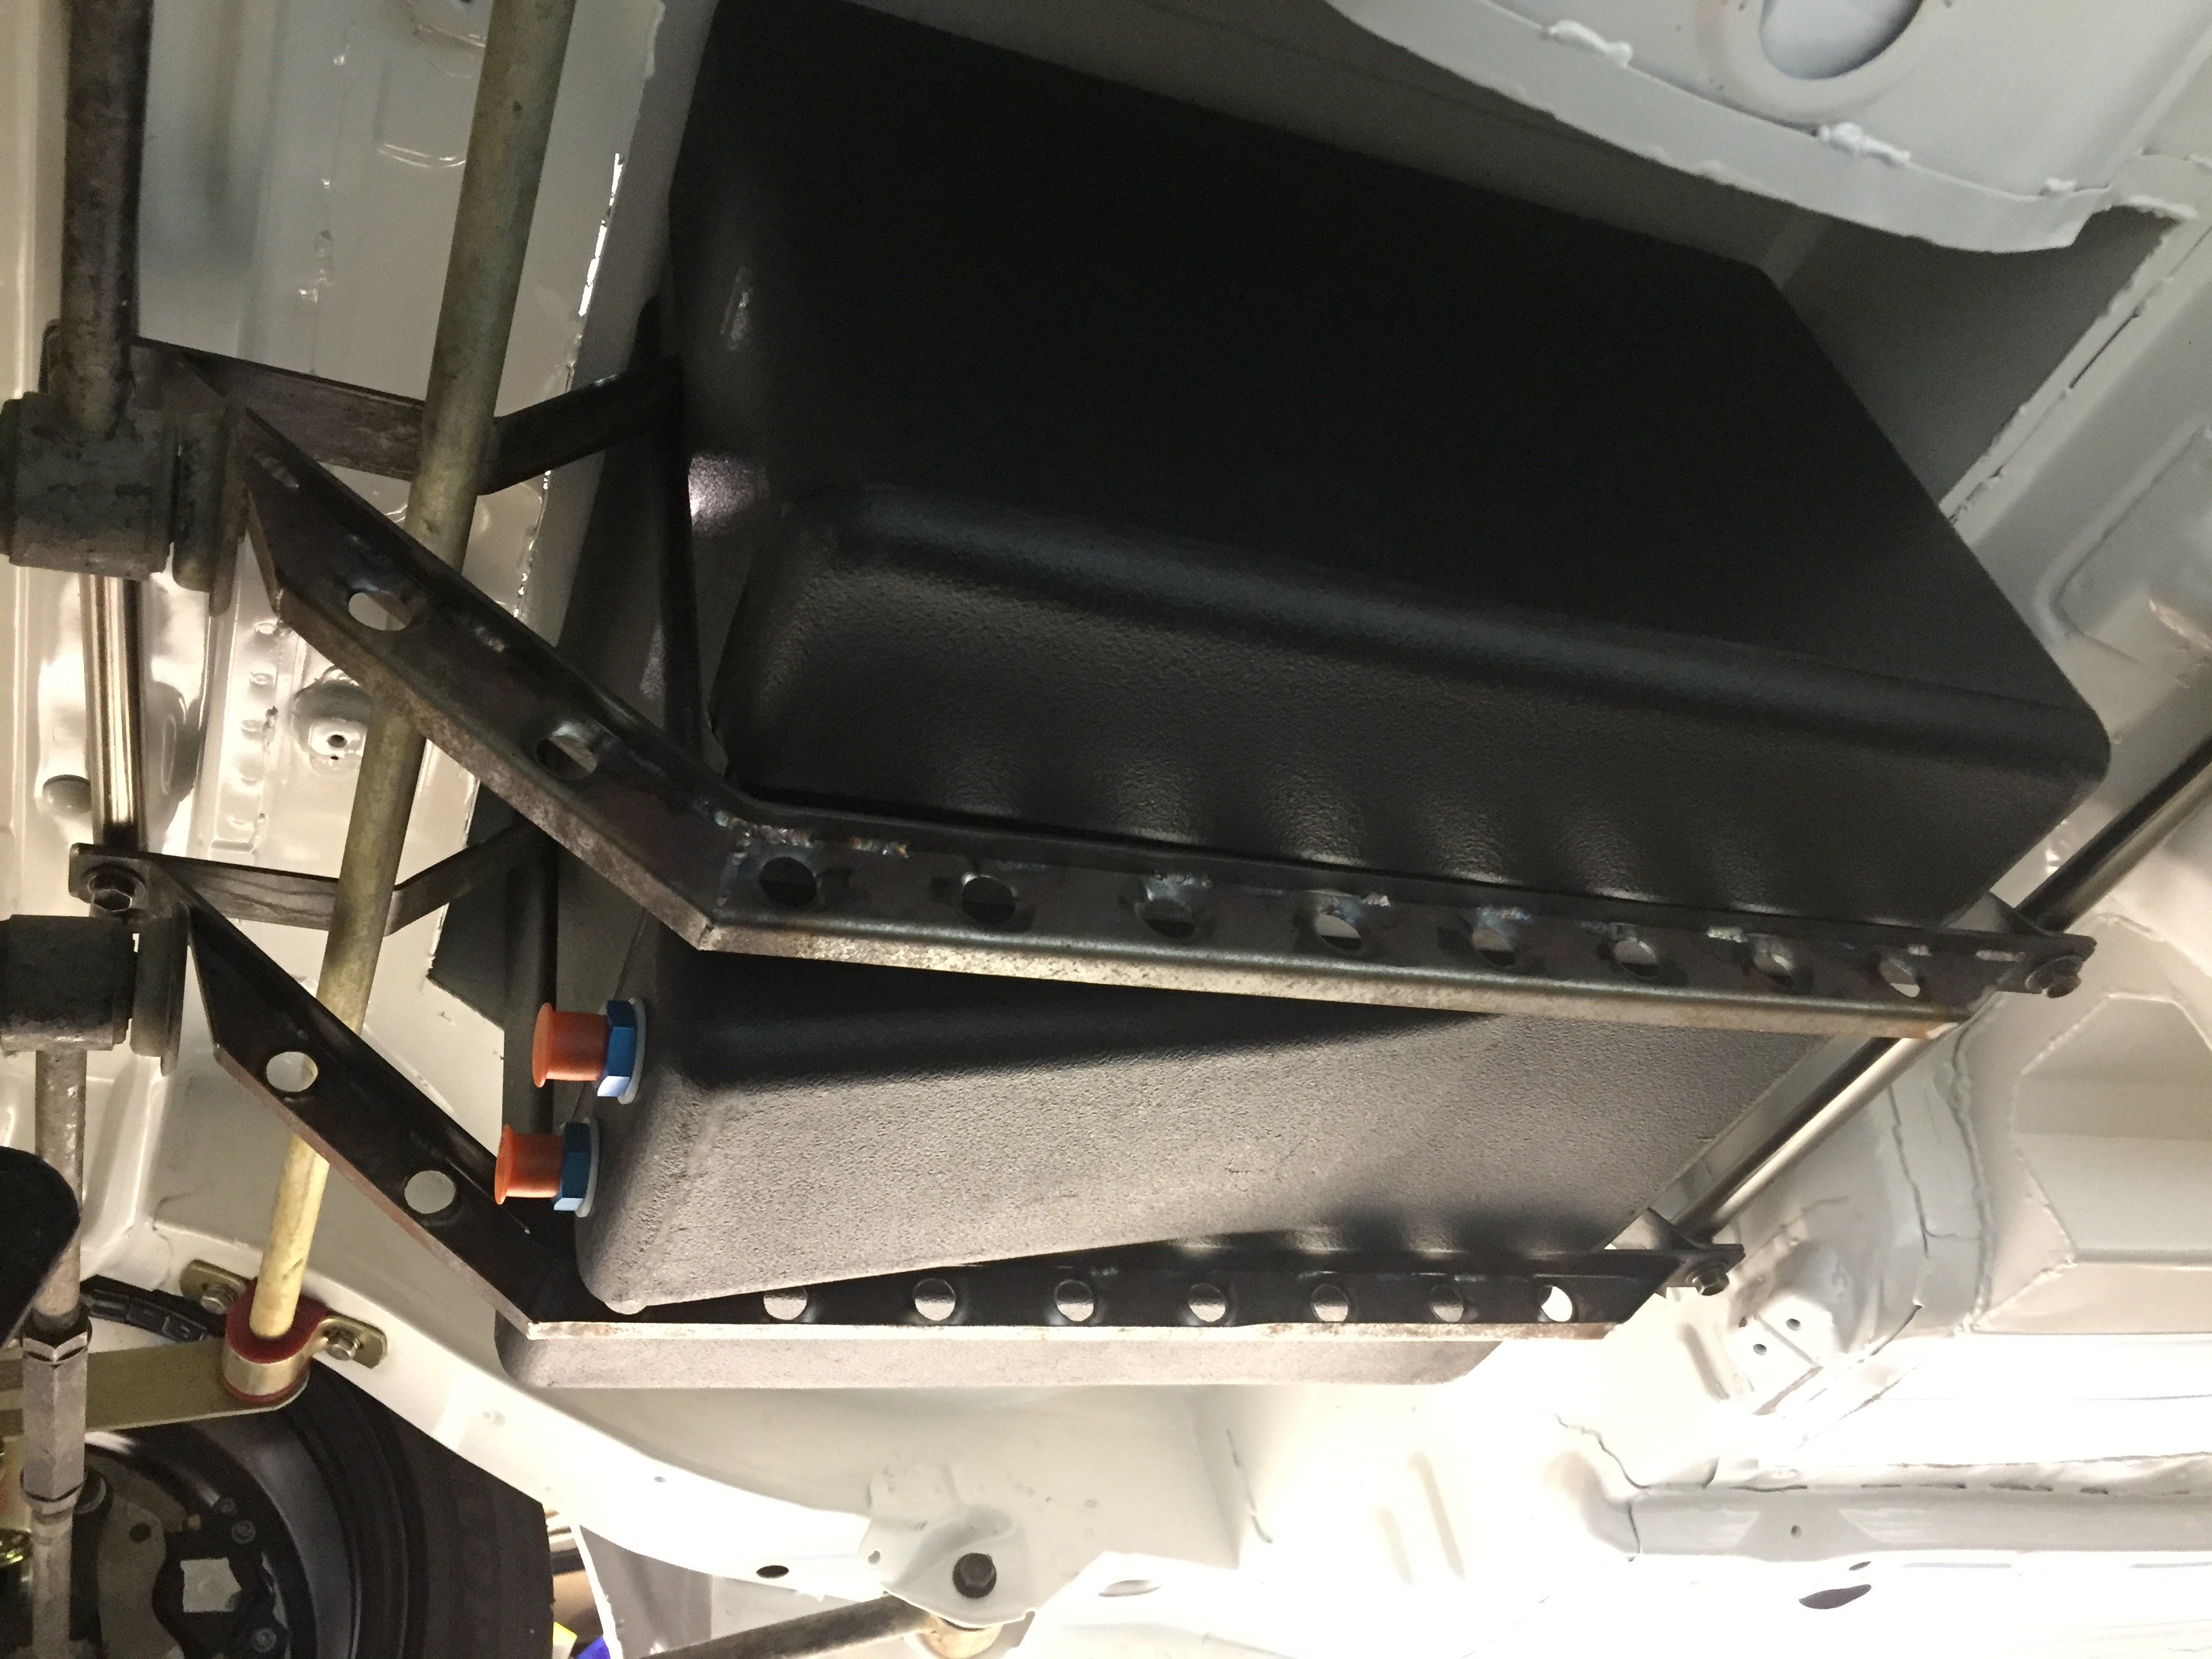
So it’s probably about time I put an update on this. Since I last posted a lot has changed. I bought a house and got engaged! New shed is grouse and been actually working on the car and other people’s car quite a lot. Namely supercharging a k24 Honda engine. Damn it goes good. Progress report; rear diffuser side plates folded and fitted. Aim here is to empty the air from the rear tyre wells cleanly and just look cool and be functional-ish Lots of room for activities (got to get a bloody exhaust out here somehow too - but that’s a problem for another day) Fuel cell mounting is now complete also. Maybe over engineered it a little but it’s not going anywhere in a crash most importantly. Mounted straps to stainless tubing front and rear with bosses welded in. Was the strongest/lightest combo I could think of doing. Pretty glad this job is done it was a pain in the ass Haven’t finished off the plumbing for the top end of the fuel cell yet. Maybe it should be next on the list?
3 points
-
Keen on a couple trees. And yeah our crew is chillin at the same motel as most others on friday night. Was gonna camp out somewhere but we wouldve been on the road for a few days at that point so a shower and a spot tp charge the phones will be ideal. Plus keen as to wear our Smash Palace tshirts from down here at the Smash Palace in gizzy3 points
-
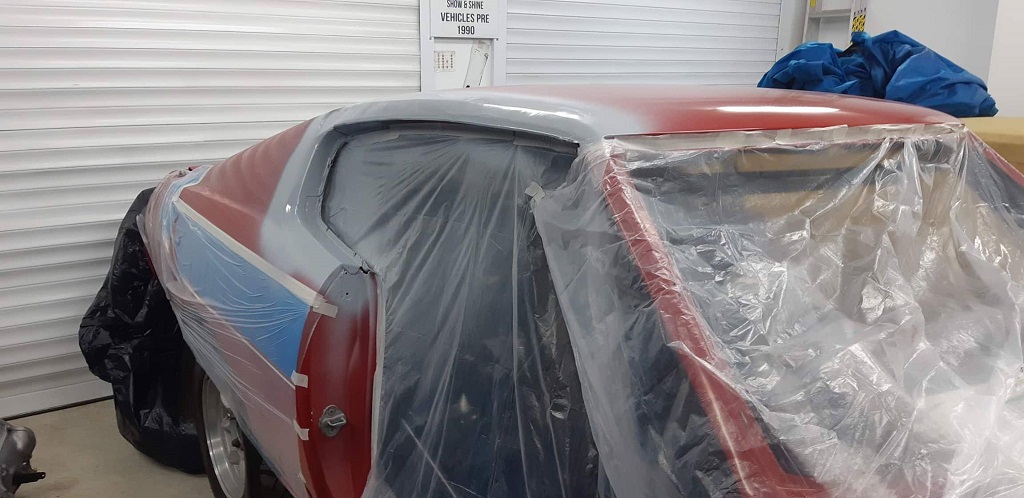
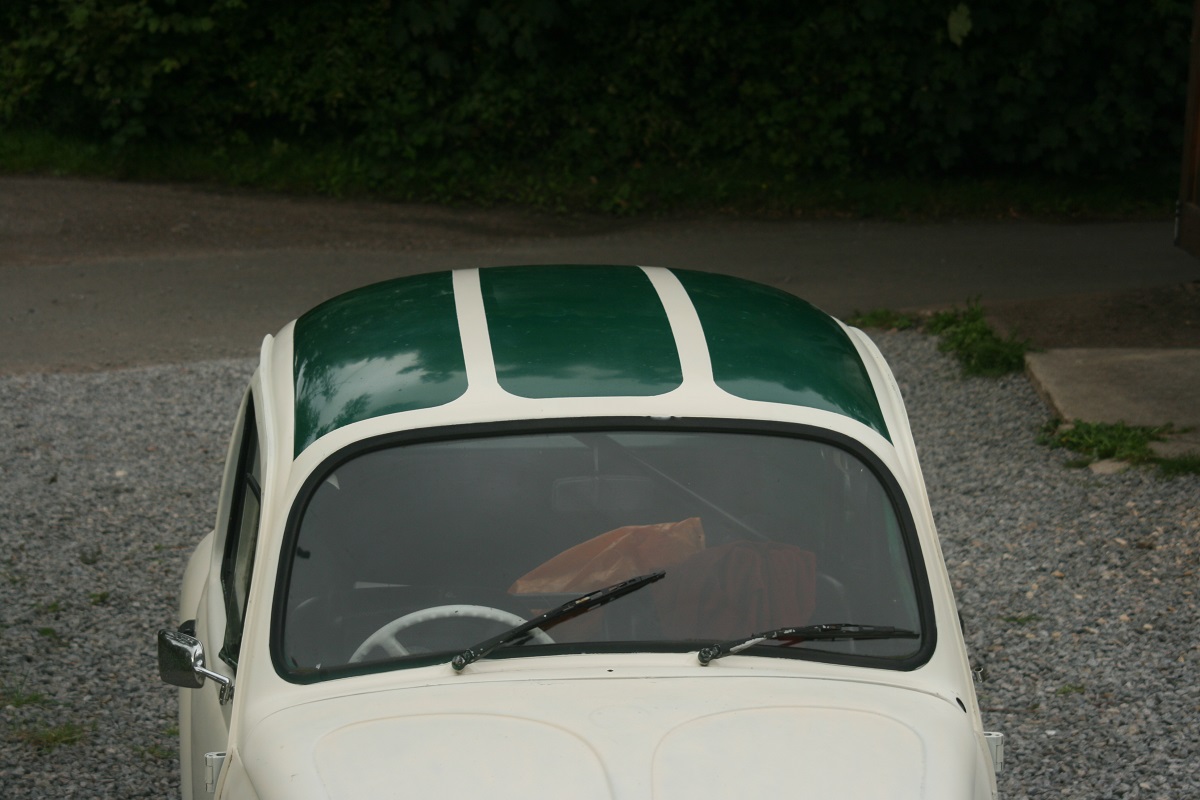
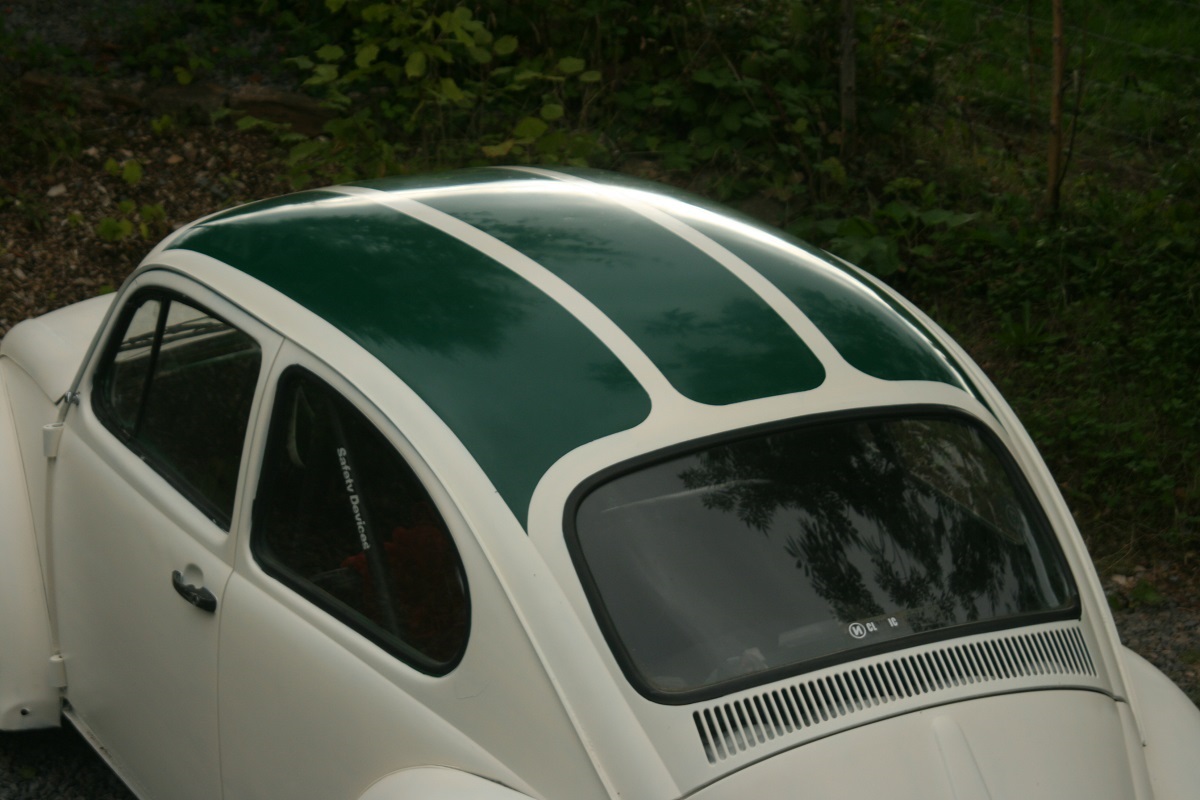
Finally got a bit of paint on it, started on the roof today. Striping/lace/flake to follow in the week when I get the chance. Defo not going to Baja it now, not only because I'm about to crack into the HiLux but also my stepson is about to start driving and stock beetles are about the cheapest thing to insure when you're 17. Sticking with the 1200 too, but still gonna drop the front. And maybe put the 8" rims on the back. Pics
3 points
-
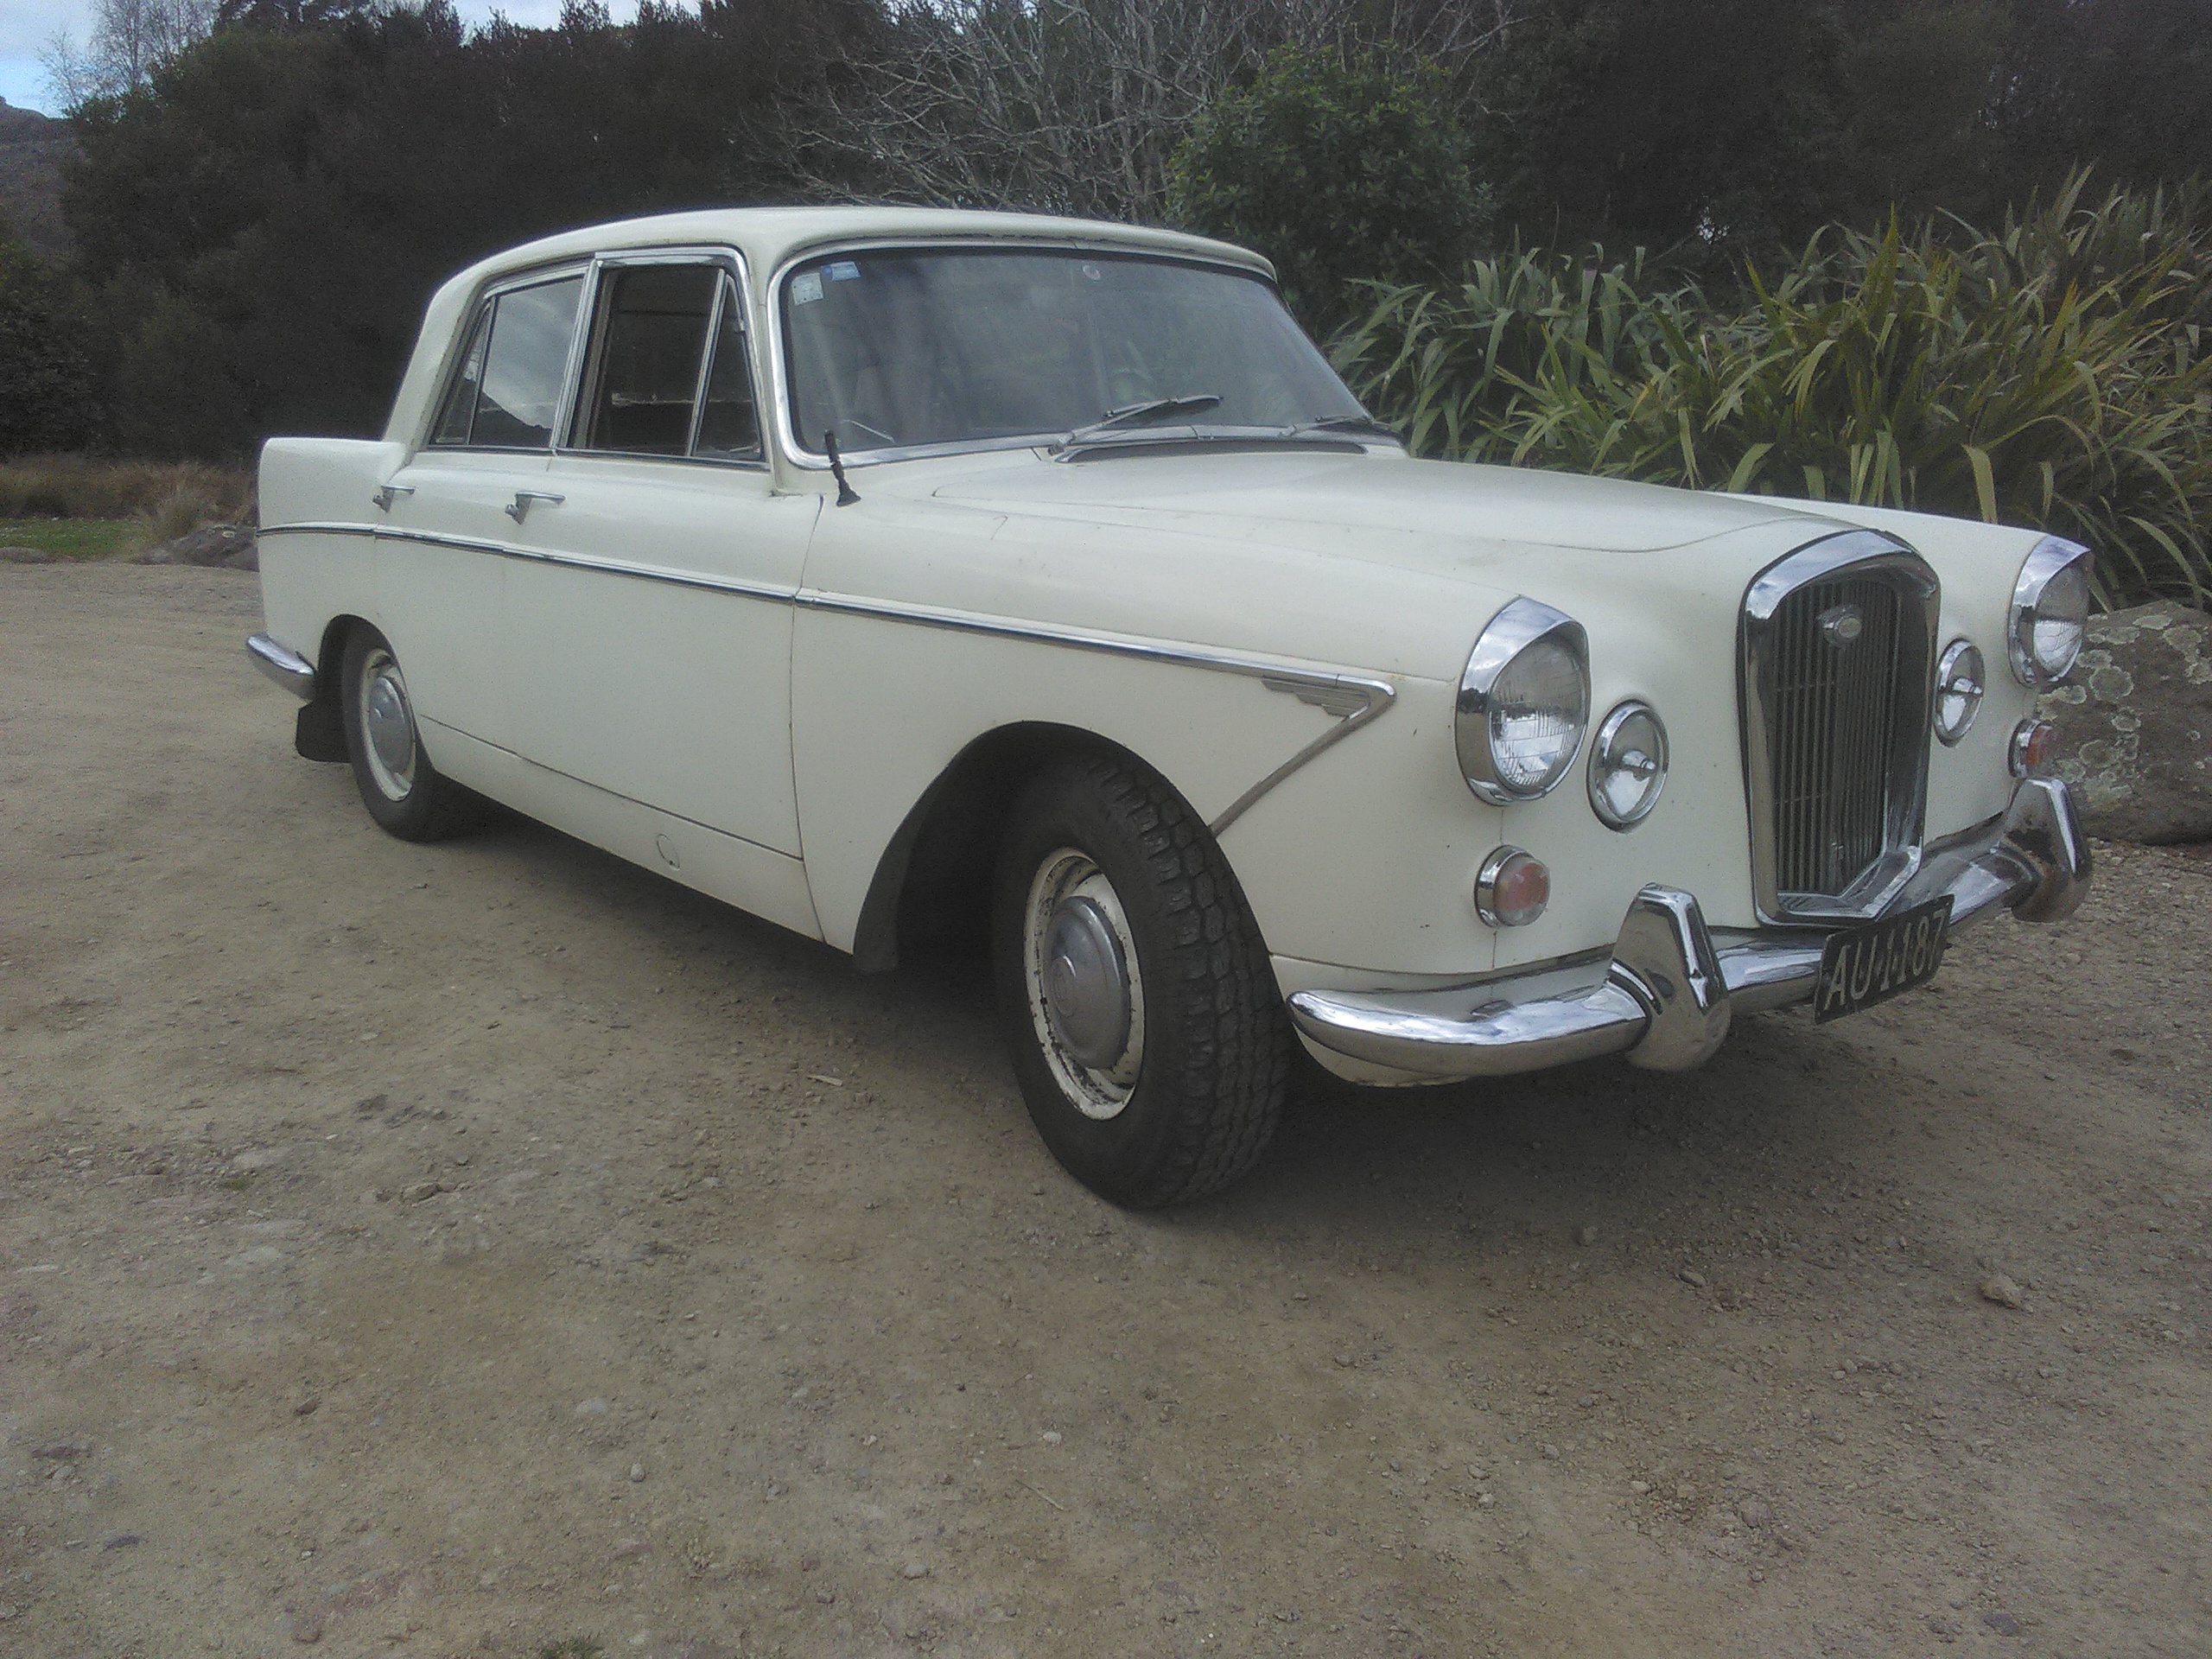
Broom broom, took it for a Hoon.
3 points
-
3 points
-
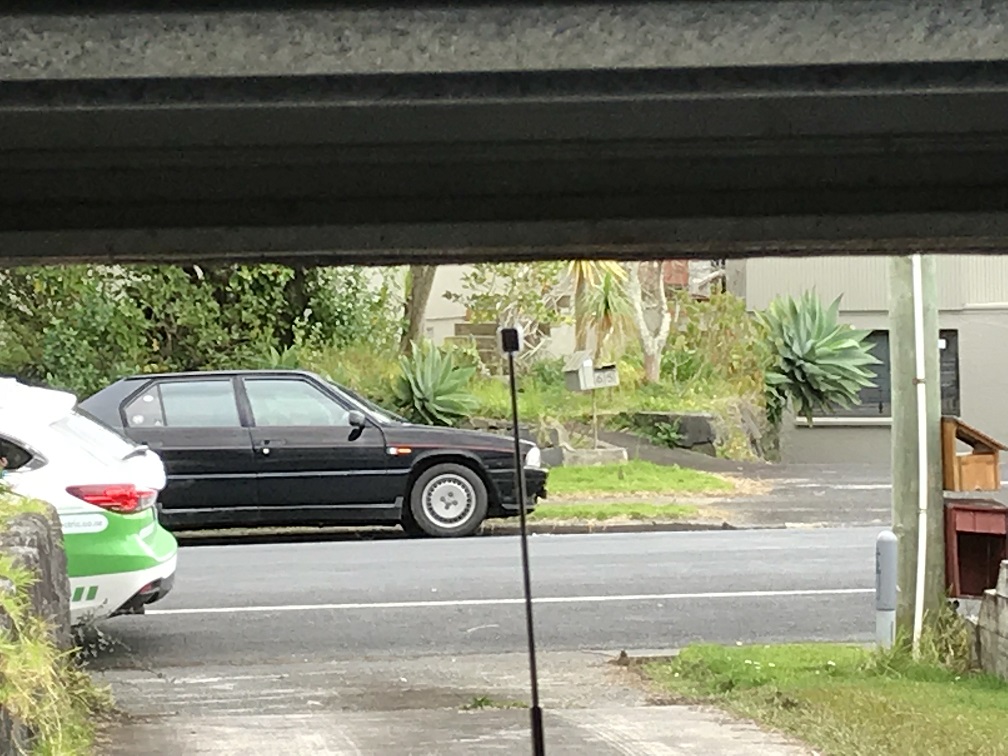
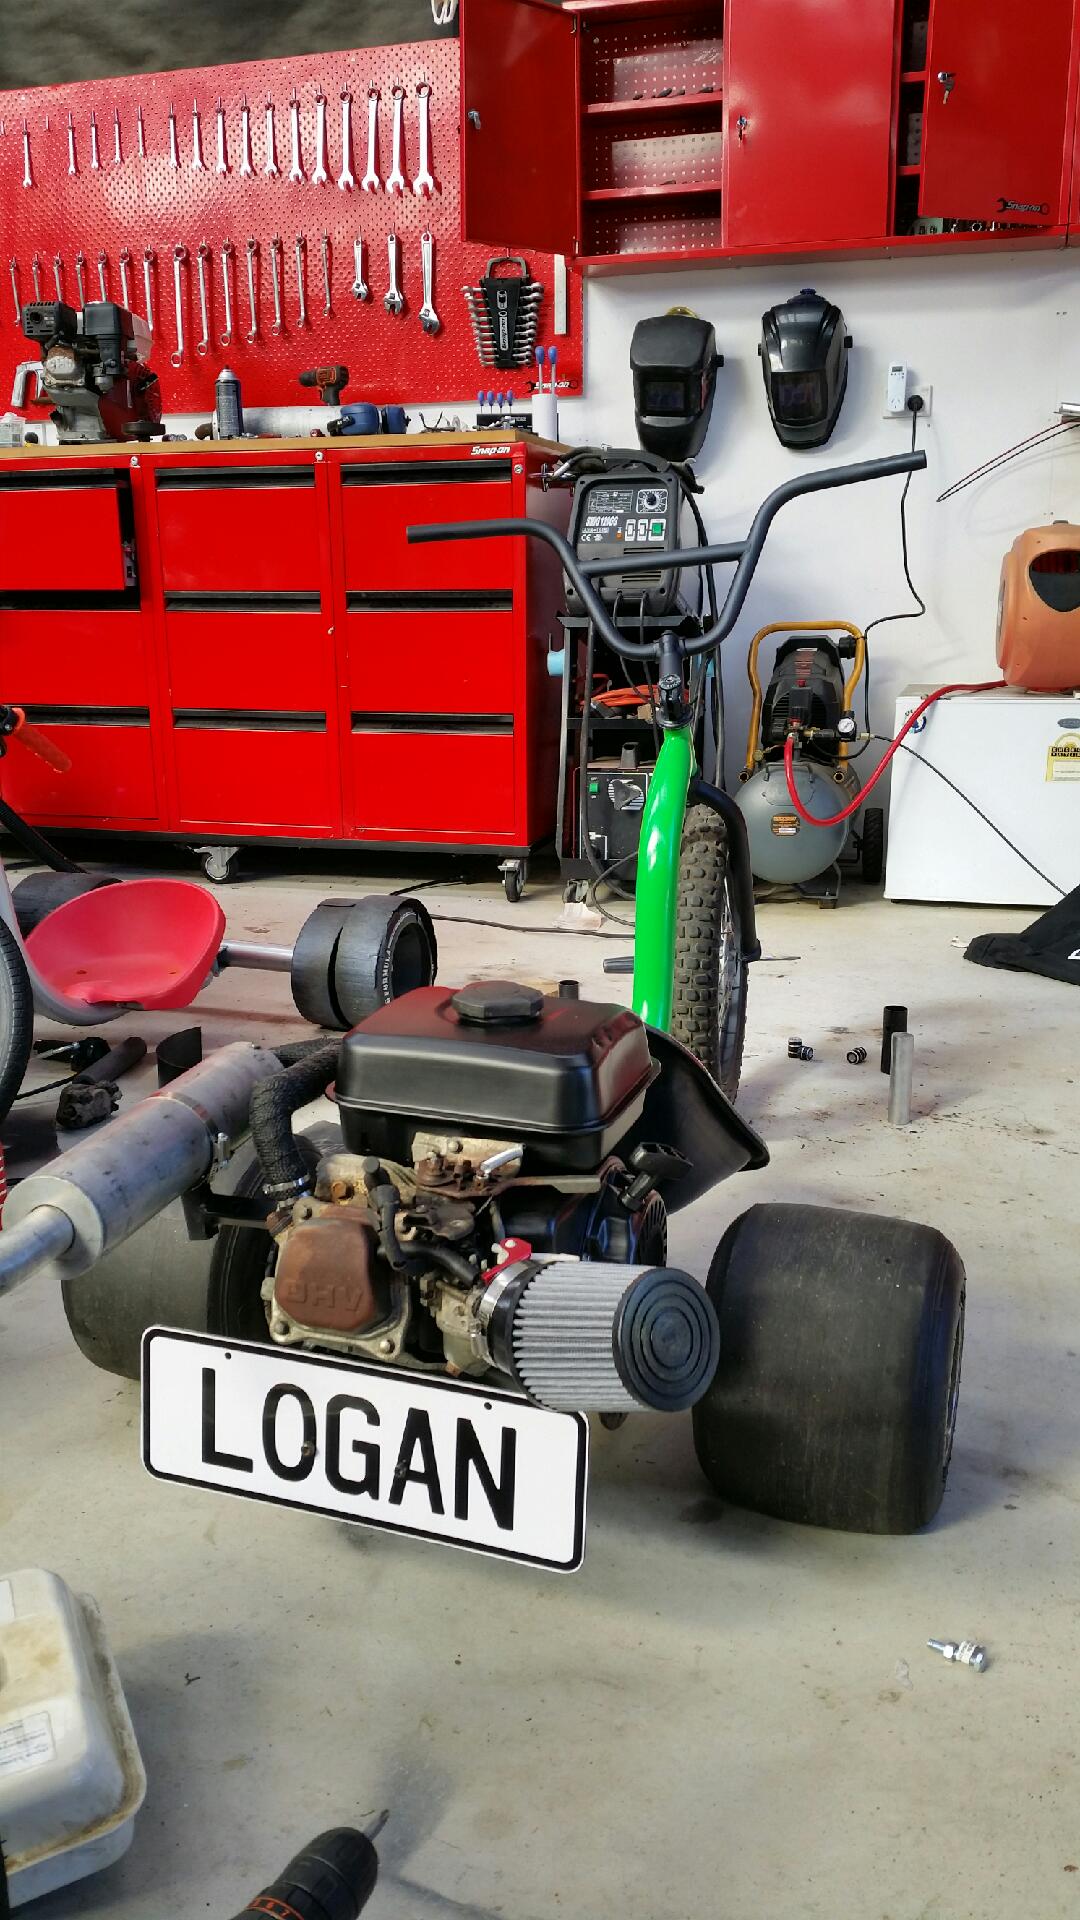
BMW C1 176cc's of European finesse and styling haha yeah, ugly asf but thats why I like it. It has seatbelts and an interior light! Fixed it up with my dad after saving it from the scrappy for $500.2 points
-
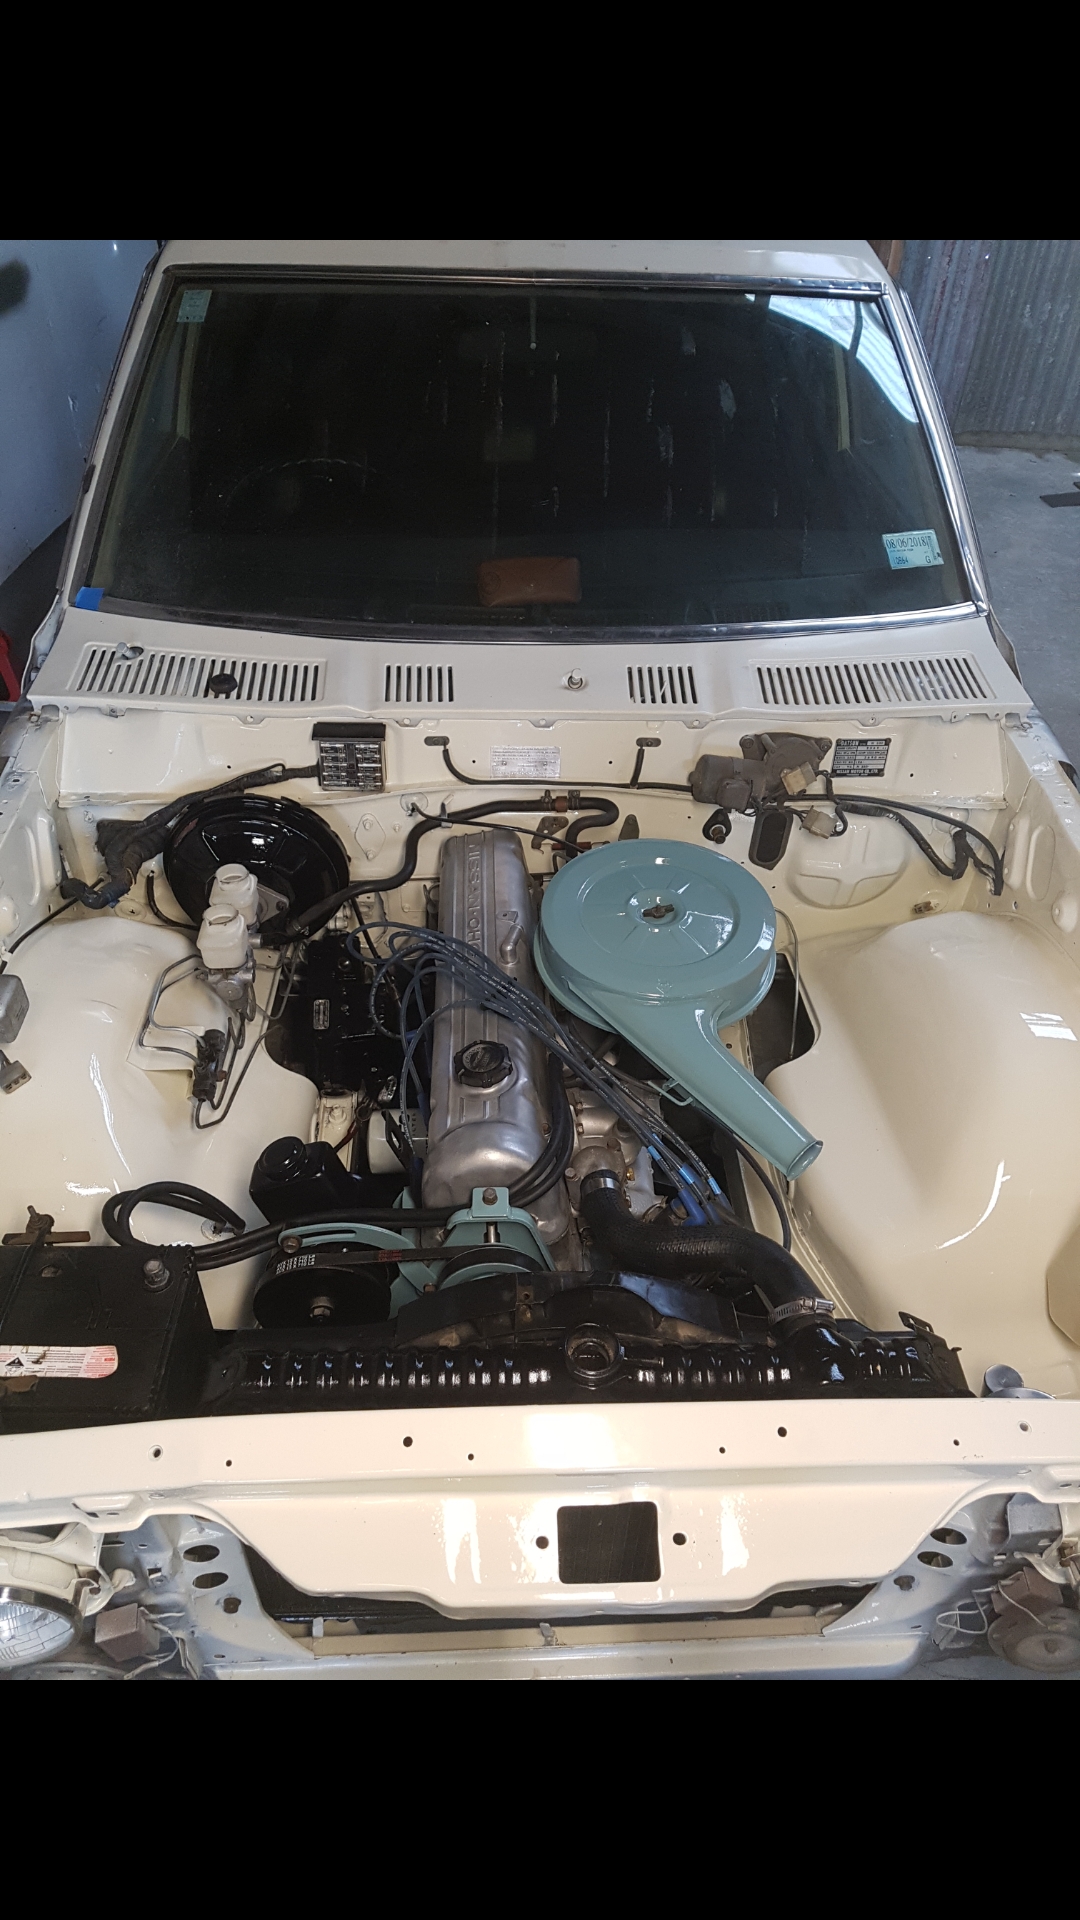
Re routed the spark leads with a custom set from segedins.
2 points
-
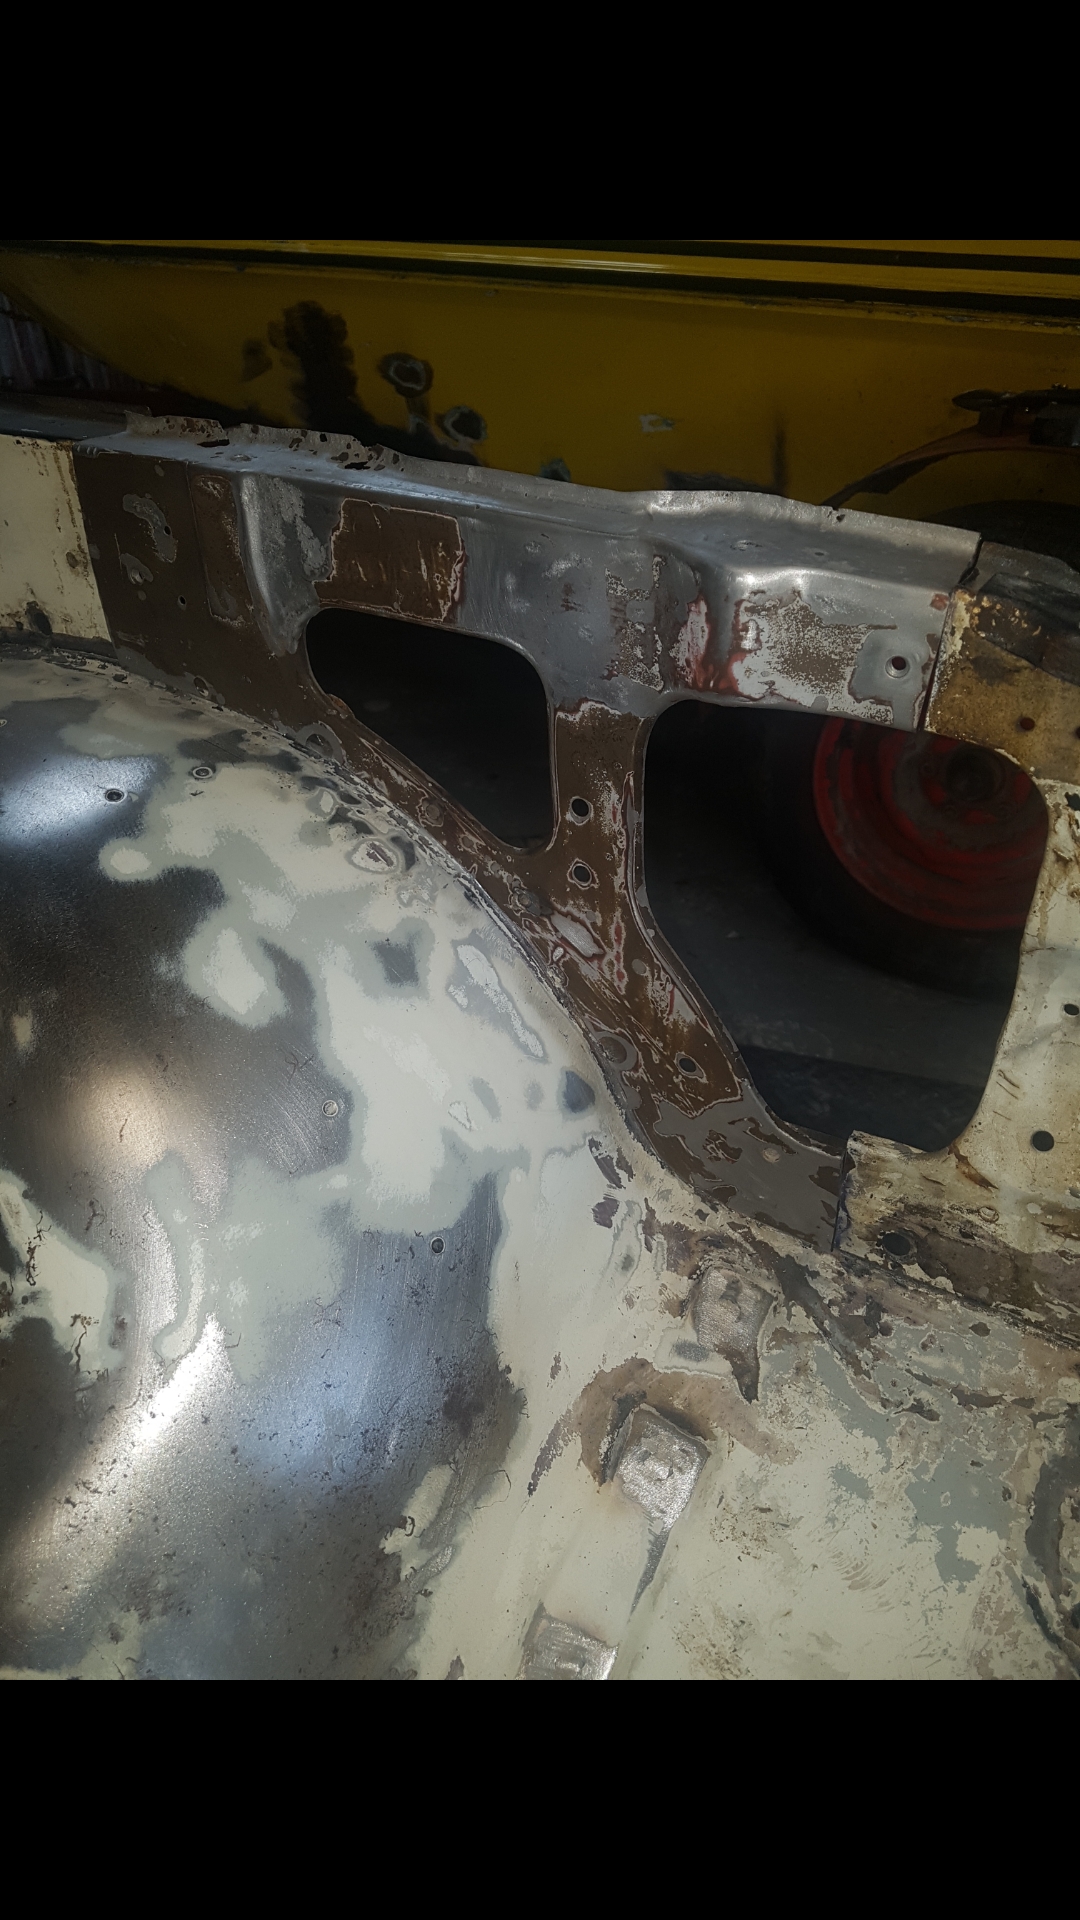
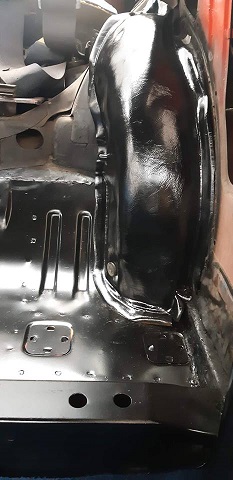
Welded up all the holes in inner guards to clean it up. Also had to tig a new panel supplied from @Carsnz123 because of damage from Aaron's ex girlfriend. All came up pretty nice
2 points
-
@- i5oogt -, @Carsnz123 said i can come up and drink your beer while you work. Will see you soon.2 points
-
thats tomorrows job... after @JustHarry, @76rolla_gurl and myself finish it off tonight2 points
-
Battery in the 121 is at least 9 years.. as is the one in the zephyr2 points
-
Beers Purple Goannas.2 points
-
I bought a $90 jobbie off aliexpress can charge at 20 amps but also has enough balls to jumpstart, bonus feature is a desulphation function which breaks up the acid crystals that fuck batteries. Its revived several big 6 volt deep cycle batteries now bloody good value.2 points
-
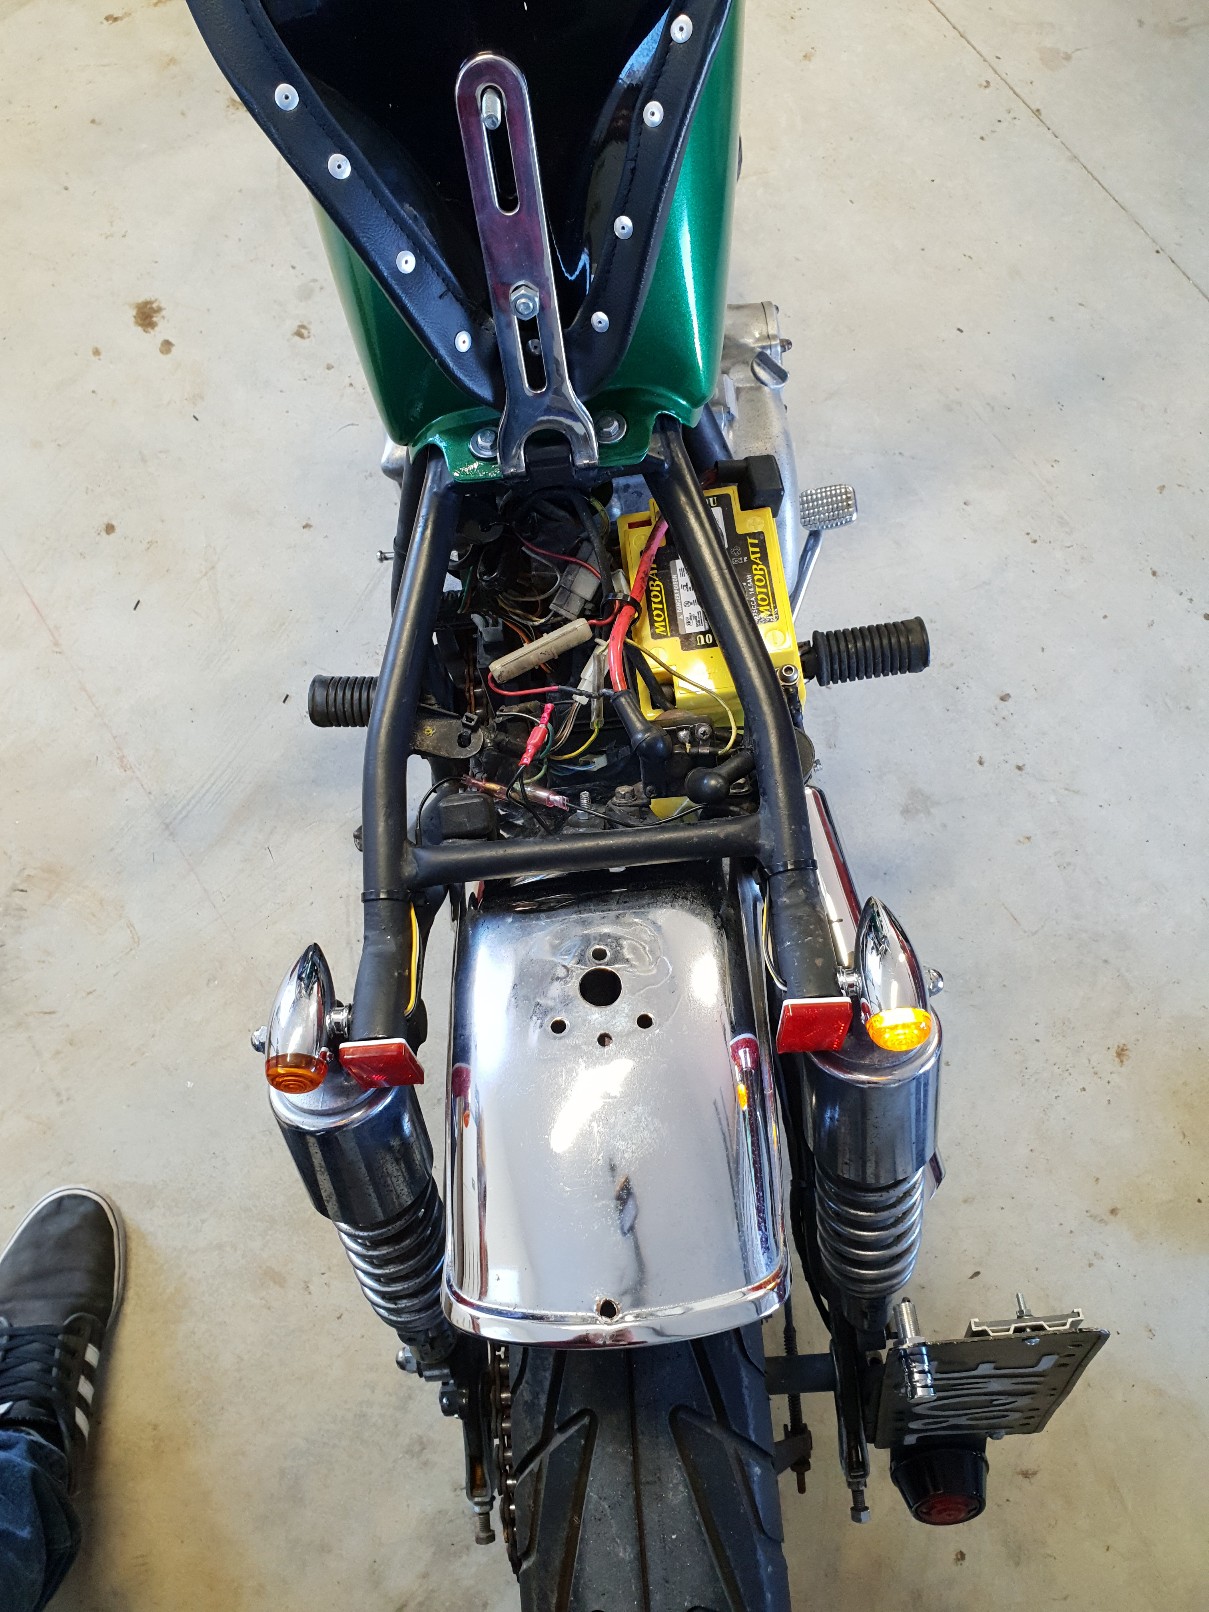
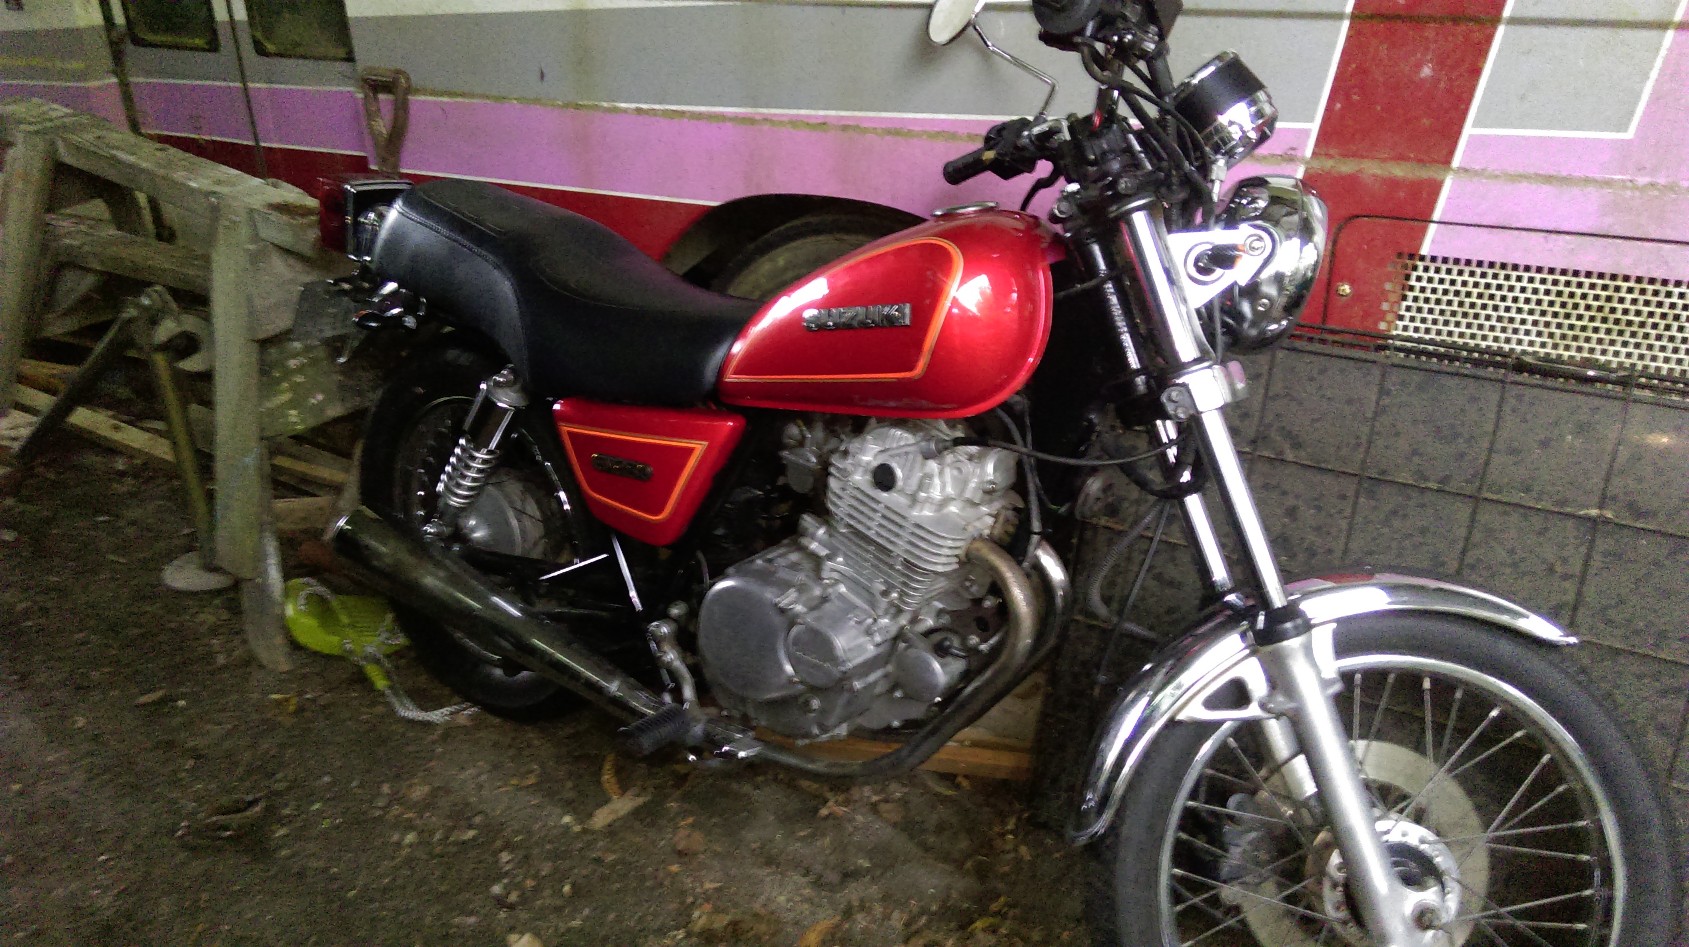
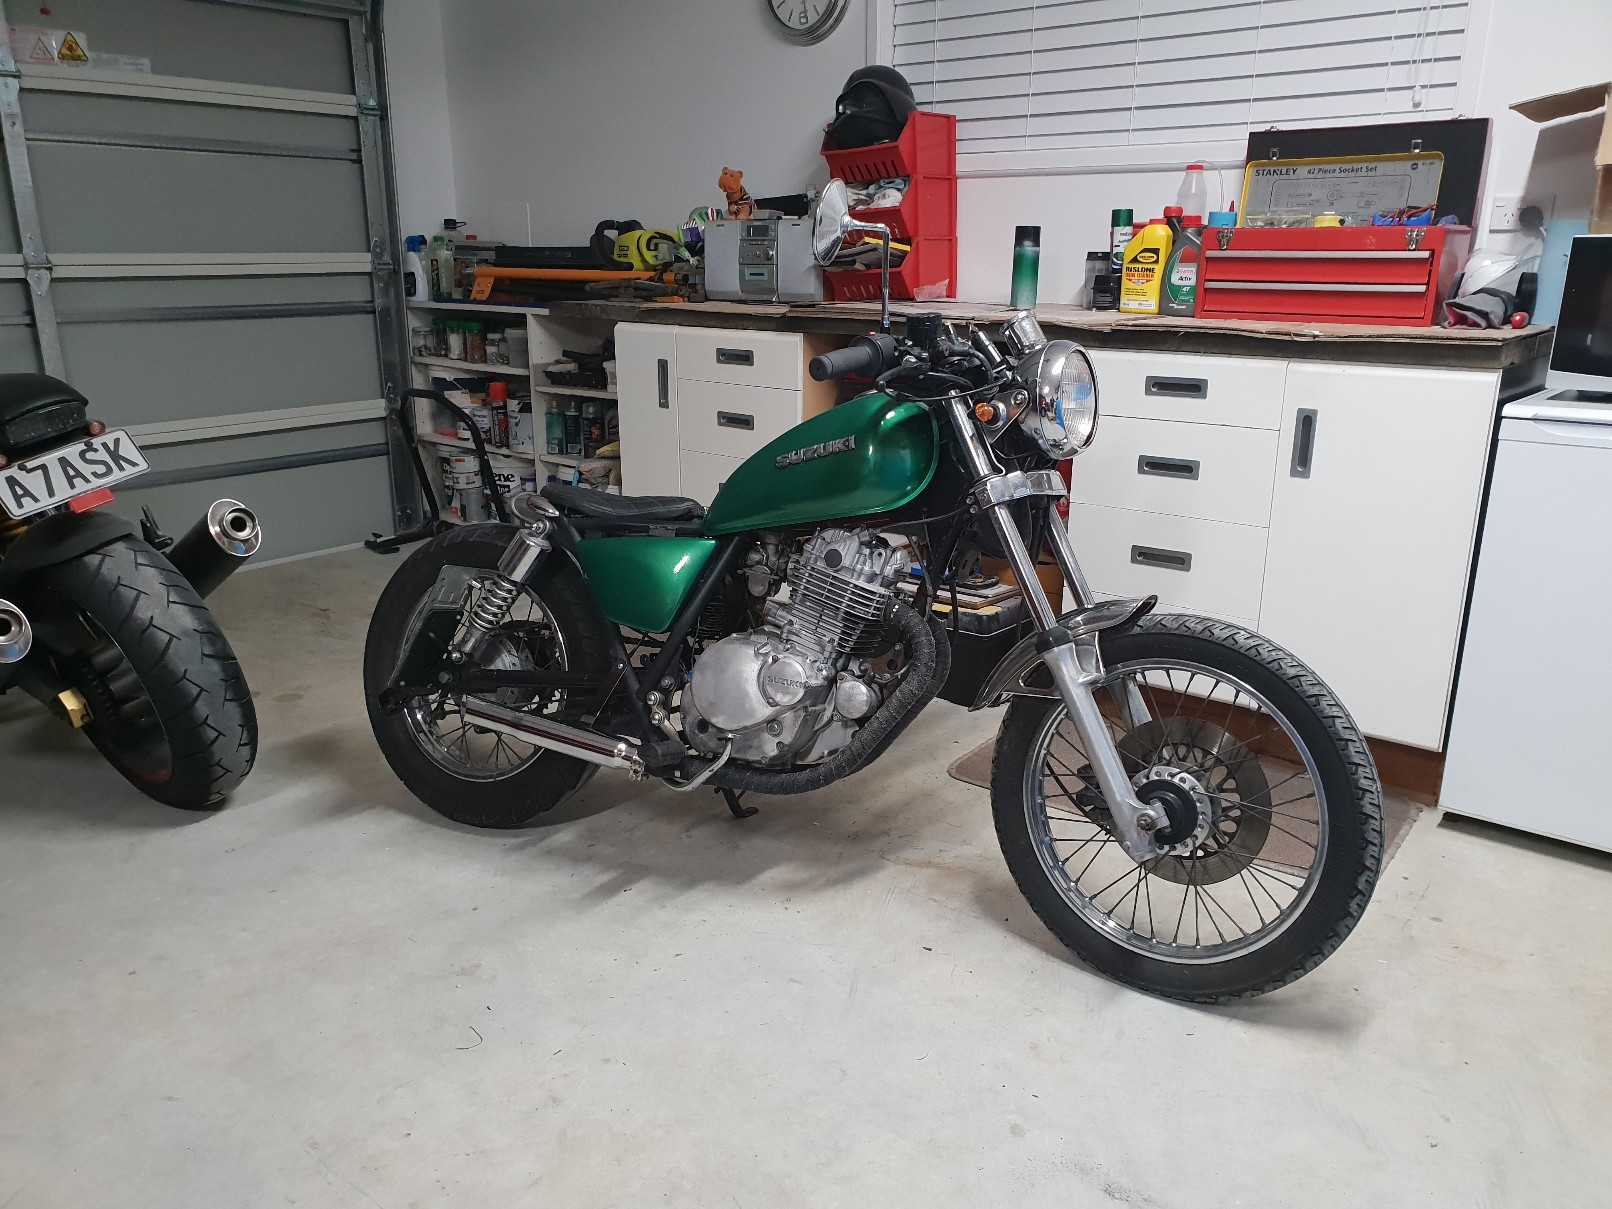
Indicators finally arrived last week so fucked around with the mess under the seat and got them all working. Also brought some lame ass reflectors so as far as I'm aware I should be ready for a wof! Also went through my old phone and found a photo of the bike when I first go it, and am pretty happy with what I've done Hopefully sort warrant and license by next weekend and I'll be hitting the road. Before After
2 points
-
glued the screens in today. it went ok. ended up using a Henkel product which is the right stuff apparently, we'll see........ i reckon a car doesn't really look right until the screens go back in. so, the screens are back in. 2018-08-18_12-17-15 by sheepers, on Flickr 2018-08-18_12-17-08 by sheepers, on Flickr2 points
-
2 points
-
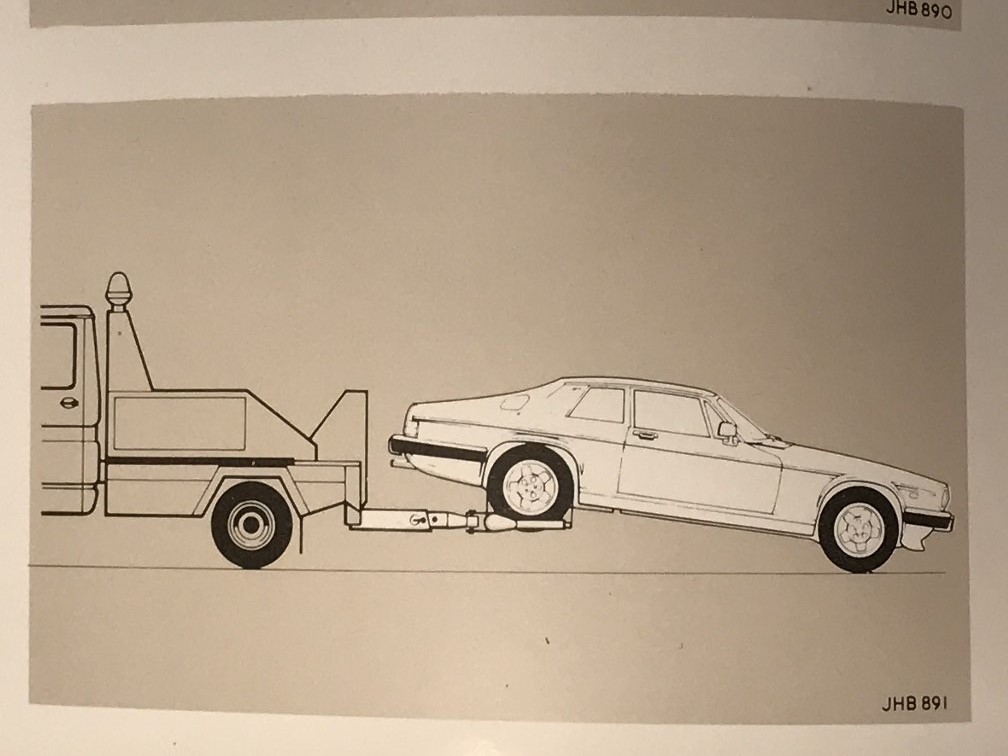
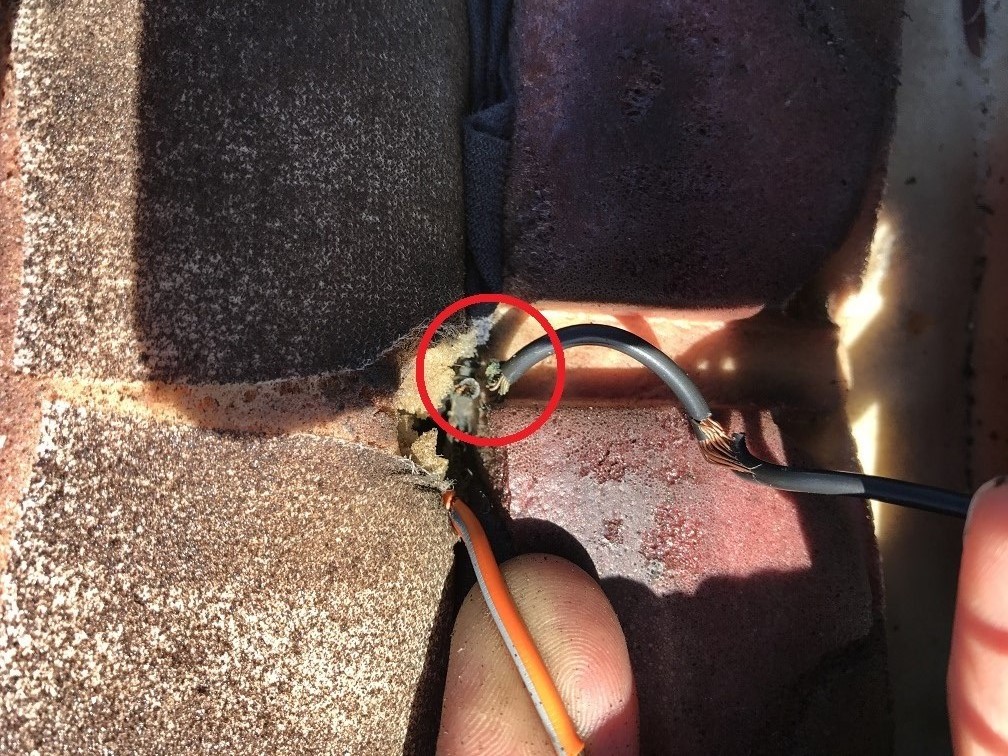
I've been trying to resist driving the Jag too much because of the condition of the rear brakes, thinking that my local Jaguar Barry was ordering me in some brake parts and would be contacting me any day once they'd arrived. Long story short, brakes not fixed and I need a new Barry. =( Meanwhile, the drivers seat had come loose and the seat heater wasn't working, so I took the seat out to have a look. What's it mounted with? Bolts that take a Torx T35. The seat heater wiring insulation was brittle and cracking and the wire had broken at an inconvenient point: I used a crimp joiner thing to fix it, and confirmed that the seat heater was working with a current clamp before putting the seat back in. Fortunately the reason for the seat being loose was just the rail coming unbolted from the frame (Jaguar appear not to have used washers), and I found a compatible replacement for the missing bolt. Now I use the seat heater at every opportunity, but considering the state of the wires and the amount of sag in the Jaguar seat bases, I don't imagine it will last long. Rather, one of these days it'll attempt to catch my arse on fire. Another thing I "fixed" is the squealing from one of the two cabin ventilation fans. I thought that the squeal plus a lack of air from the central vents meant that the motor wasn't spinning, so I took the fan out to test it. This wasn't actually too difficult - only some of the passenger side of the dash had to come out. The fan housing was getting a little rusty but the motor was OK and the brushes weren't too worn, so I lubricated it heaps and wrestled it back in place. I then realised that the central vents only lack hot air, but cold air works fine once I understand the controls. Still, the undignified motor squealing did spoil the ambience and I'm glad it's fixed (or at least stopped for a while). While trying to understand weird things about the dash, I checked the owners manual. I got a laugh out of this section, which aims to psychologically prepare you for life as an XJ-S owner:
2 points
-
RIP, Herons WOF expired and the the alternator belt broke. Piazzas WOF expired and the batterys toast. Sounds like the start of a "good" country song... One of the Volvo's might start though...1 point
-
Booked in for wof tomorrow.1 point
-
Problem is I live an hour from the car so have to delegate the last shit I didn't get done in the weekend. I think I'll look like an alcoholic with all the Blue Diesel that I'll have to buy for the happy helpers.1 point
-
I see my worker @Kass has signed up to oldschool.co.nz Pretty sweet of you @MopedNZ to sus him a bike for the ride.1 point
-
I welded my brake pedal pad. You'd never know. I'm happy with it... better then the stock weld poo. I live life on the edge man.... just me and my 50bhp.1 point
-
Goez hrd 4 wat it iz........
1 point
-
1 point
-
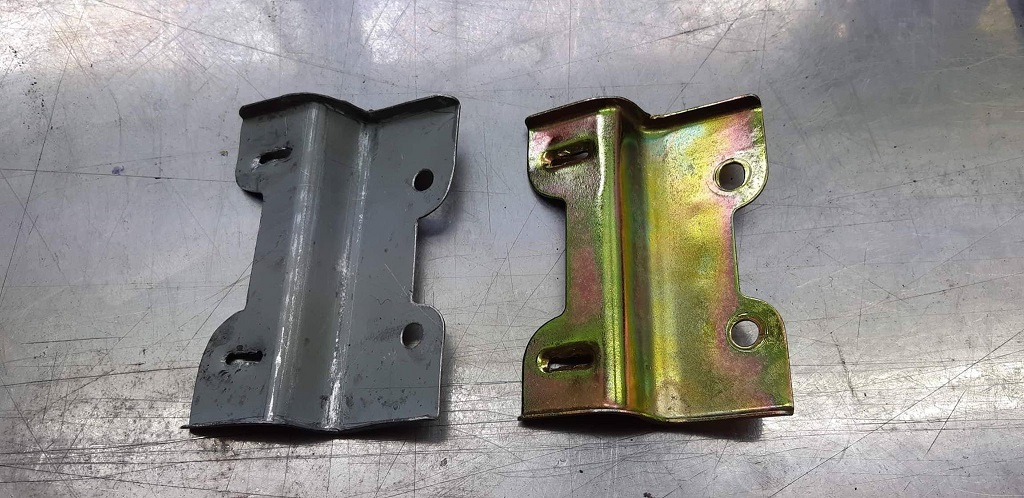
Tonight decided to make a start been a long week. I removed the engine mounts. The original mounts appear to be still attached but grinded off half n squared with chassis. Hopefully joining onto them will be easy. Gave it some hammerite metal protect.you can see the mount cut off about 15mm inside the weld line.1 point
-
Will at least be easier to push if it breaks down.1 point
-
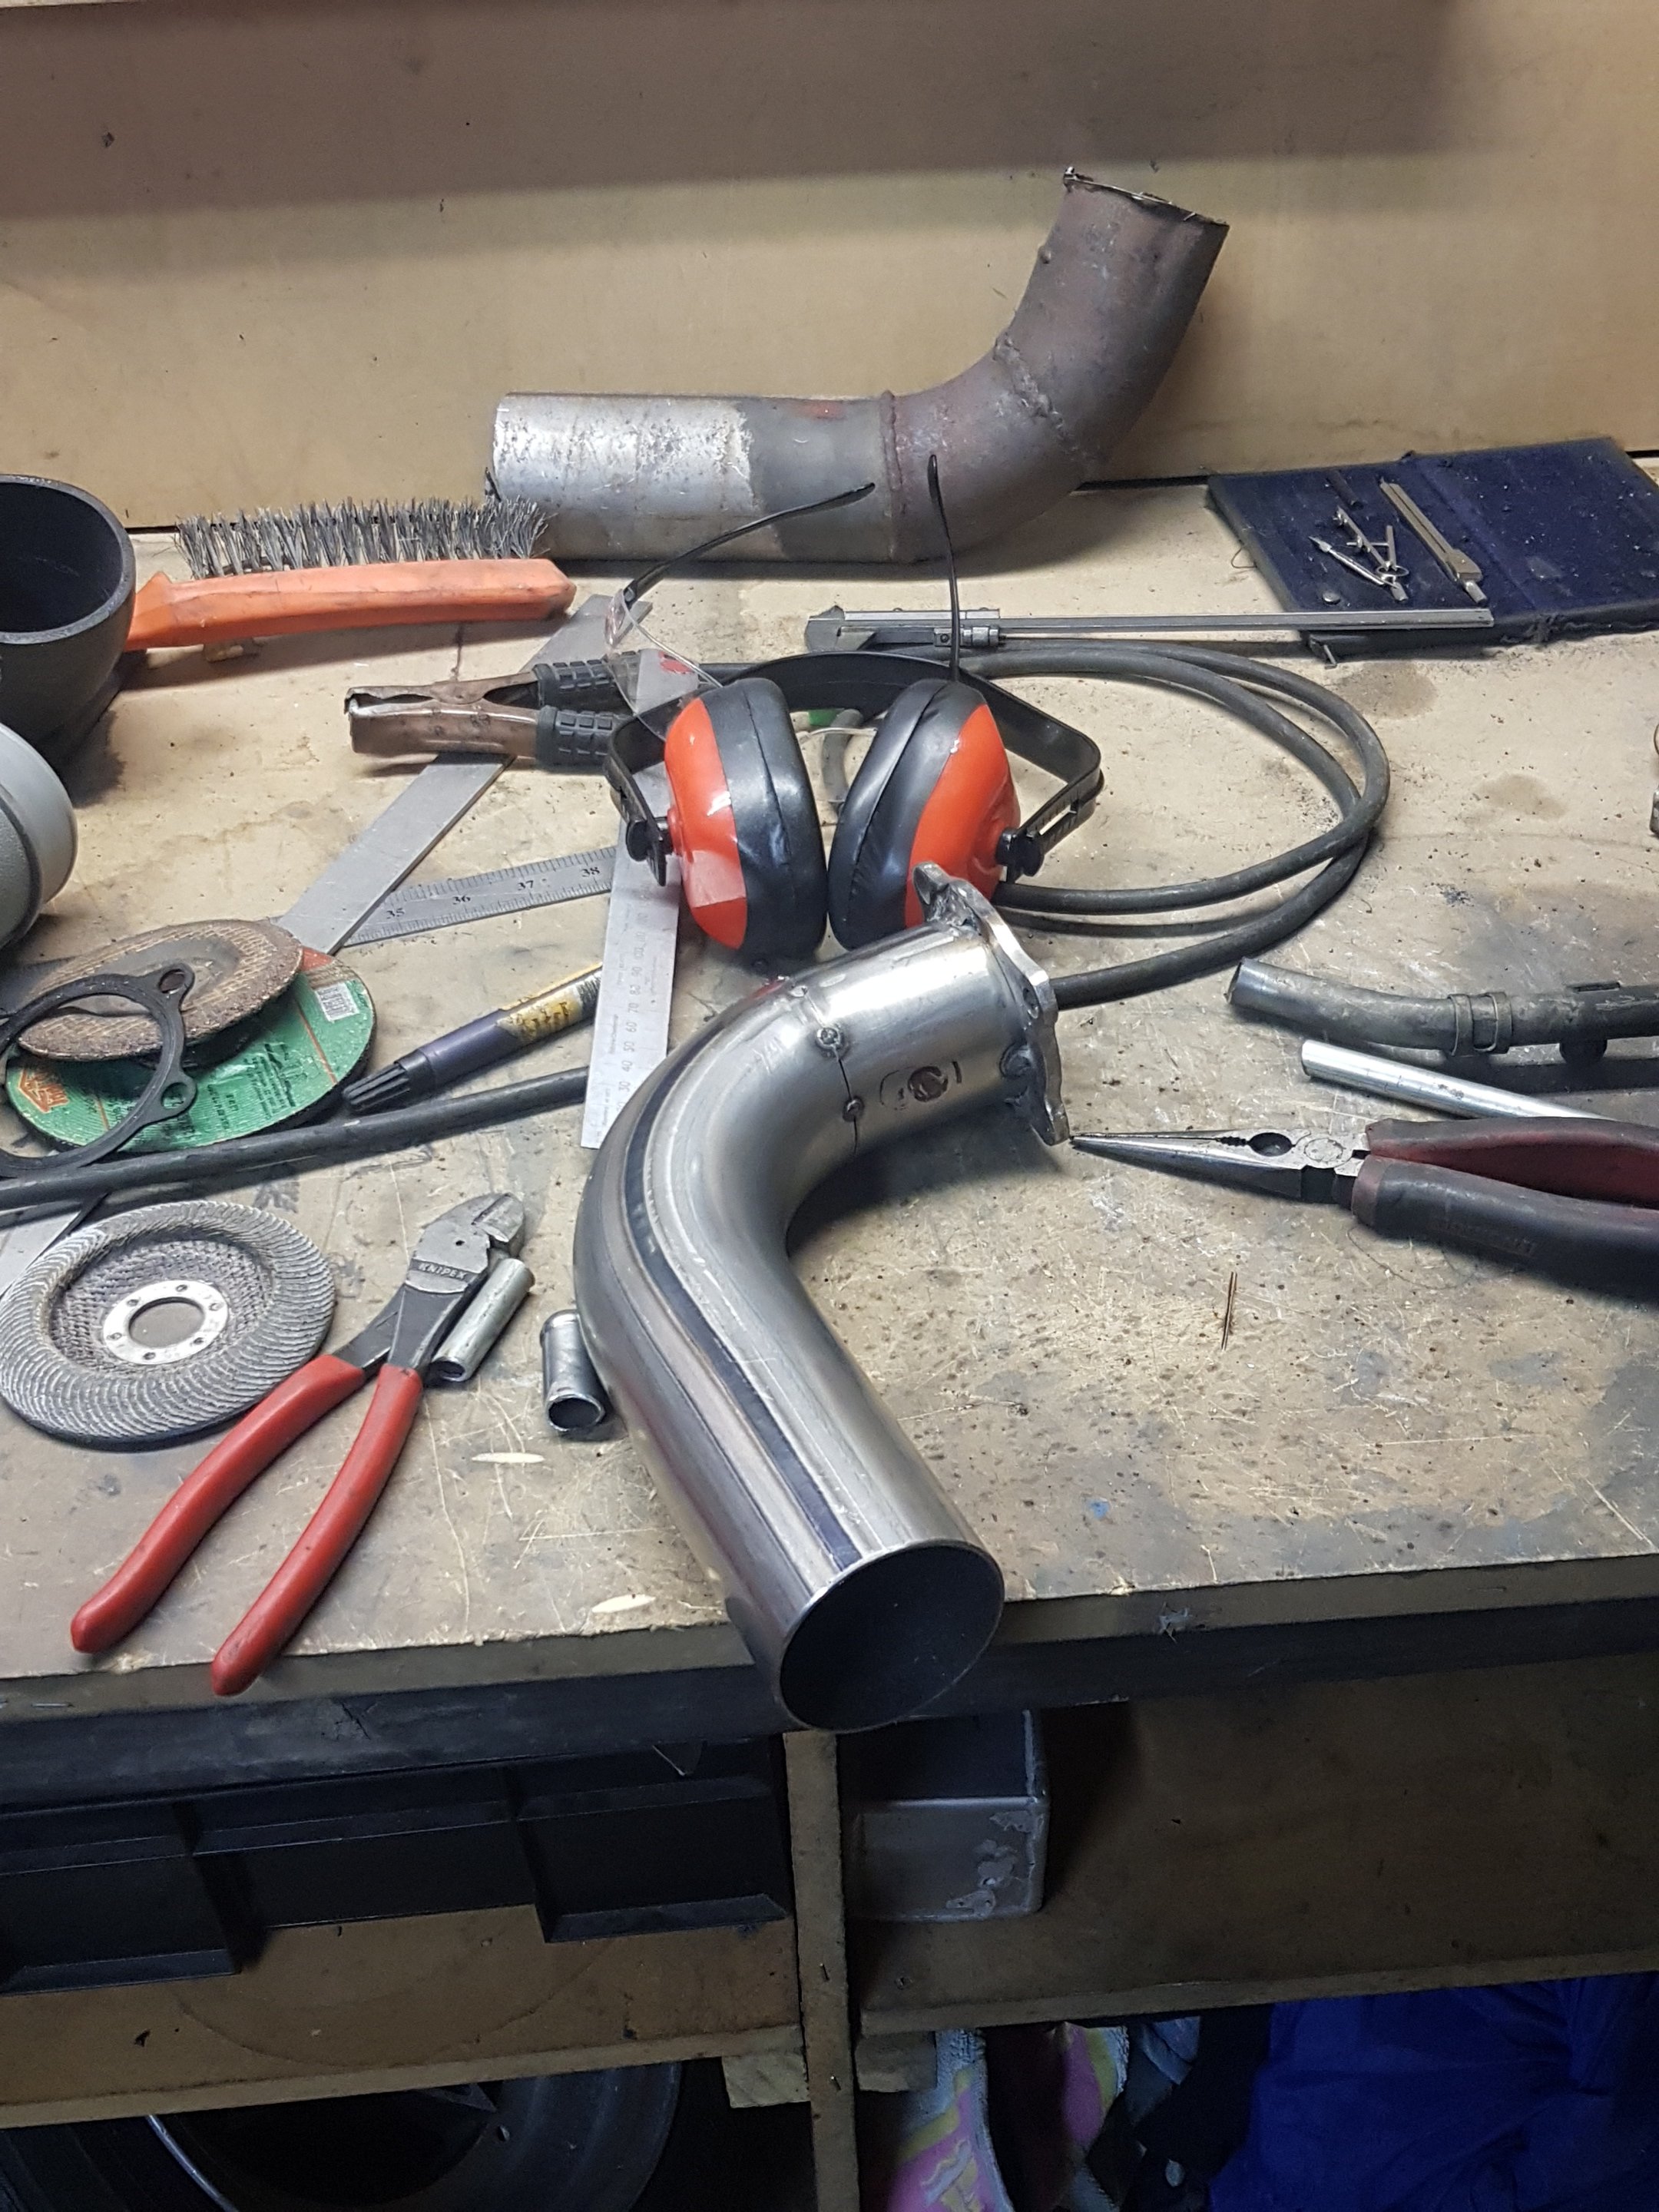
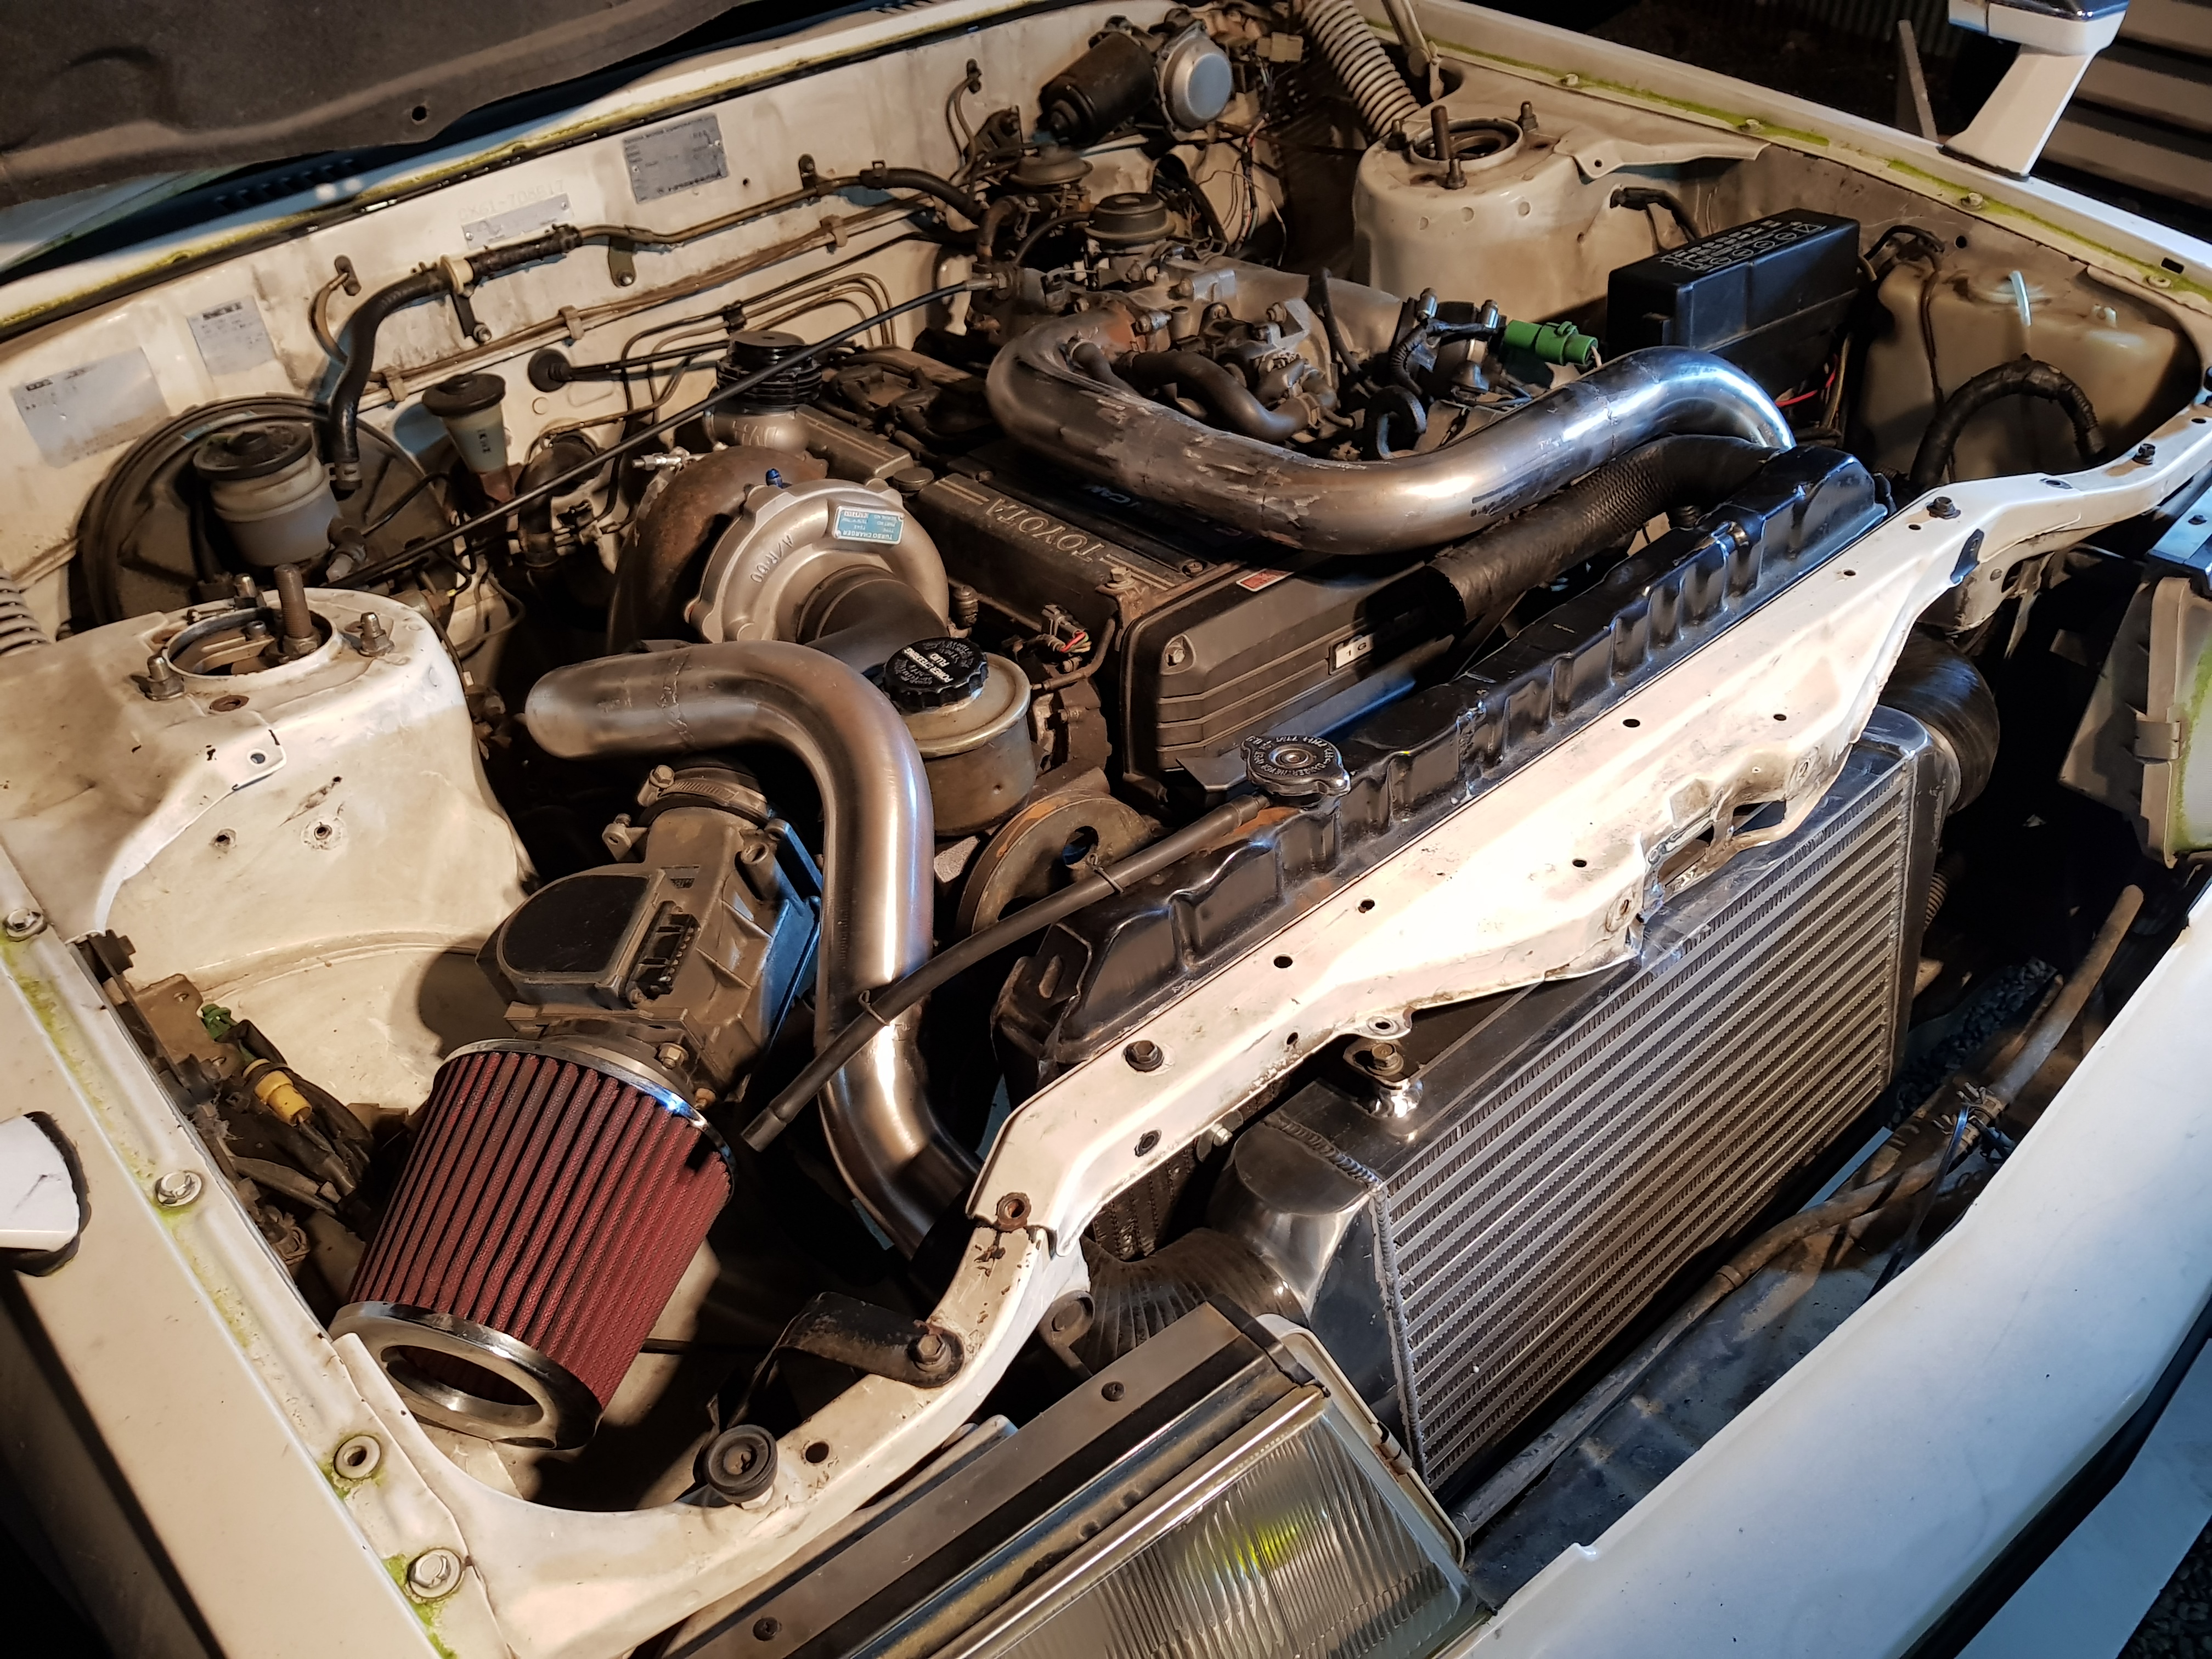
Brought myself a decent welder so now I'm finally teaching myself to weld! woo! This has pretty much been my first real go at fabricating metal stuff. So suffice to say i made some hella average intercooler piping then proceeded to cut it all up and make it again, pretty happy with how its looking now. (after a lot of grinding) I still don't know how well this whole endeavour will pan out so I'm holding my breath. Next stop is relocating the thermostat and all the water lines.... more over sized pictures to come
1 point
-
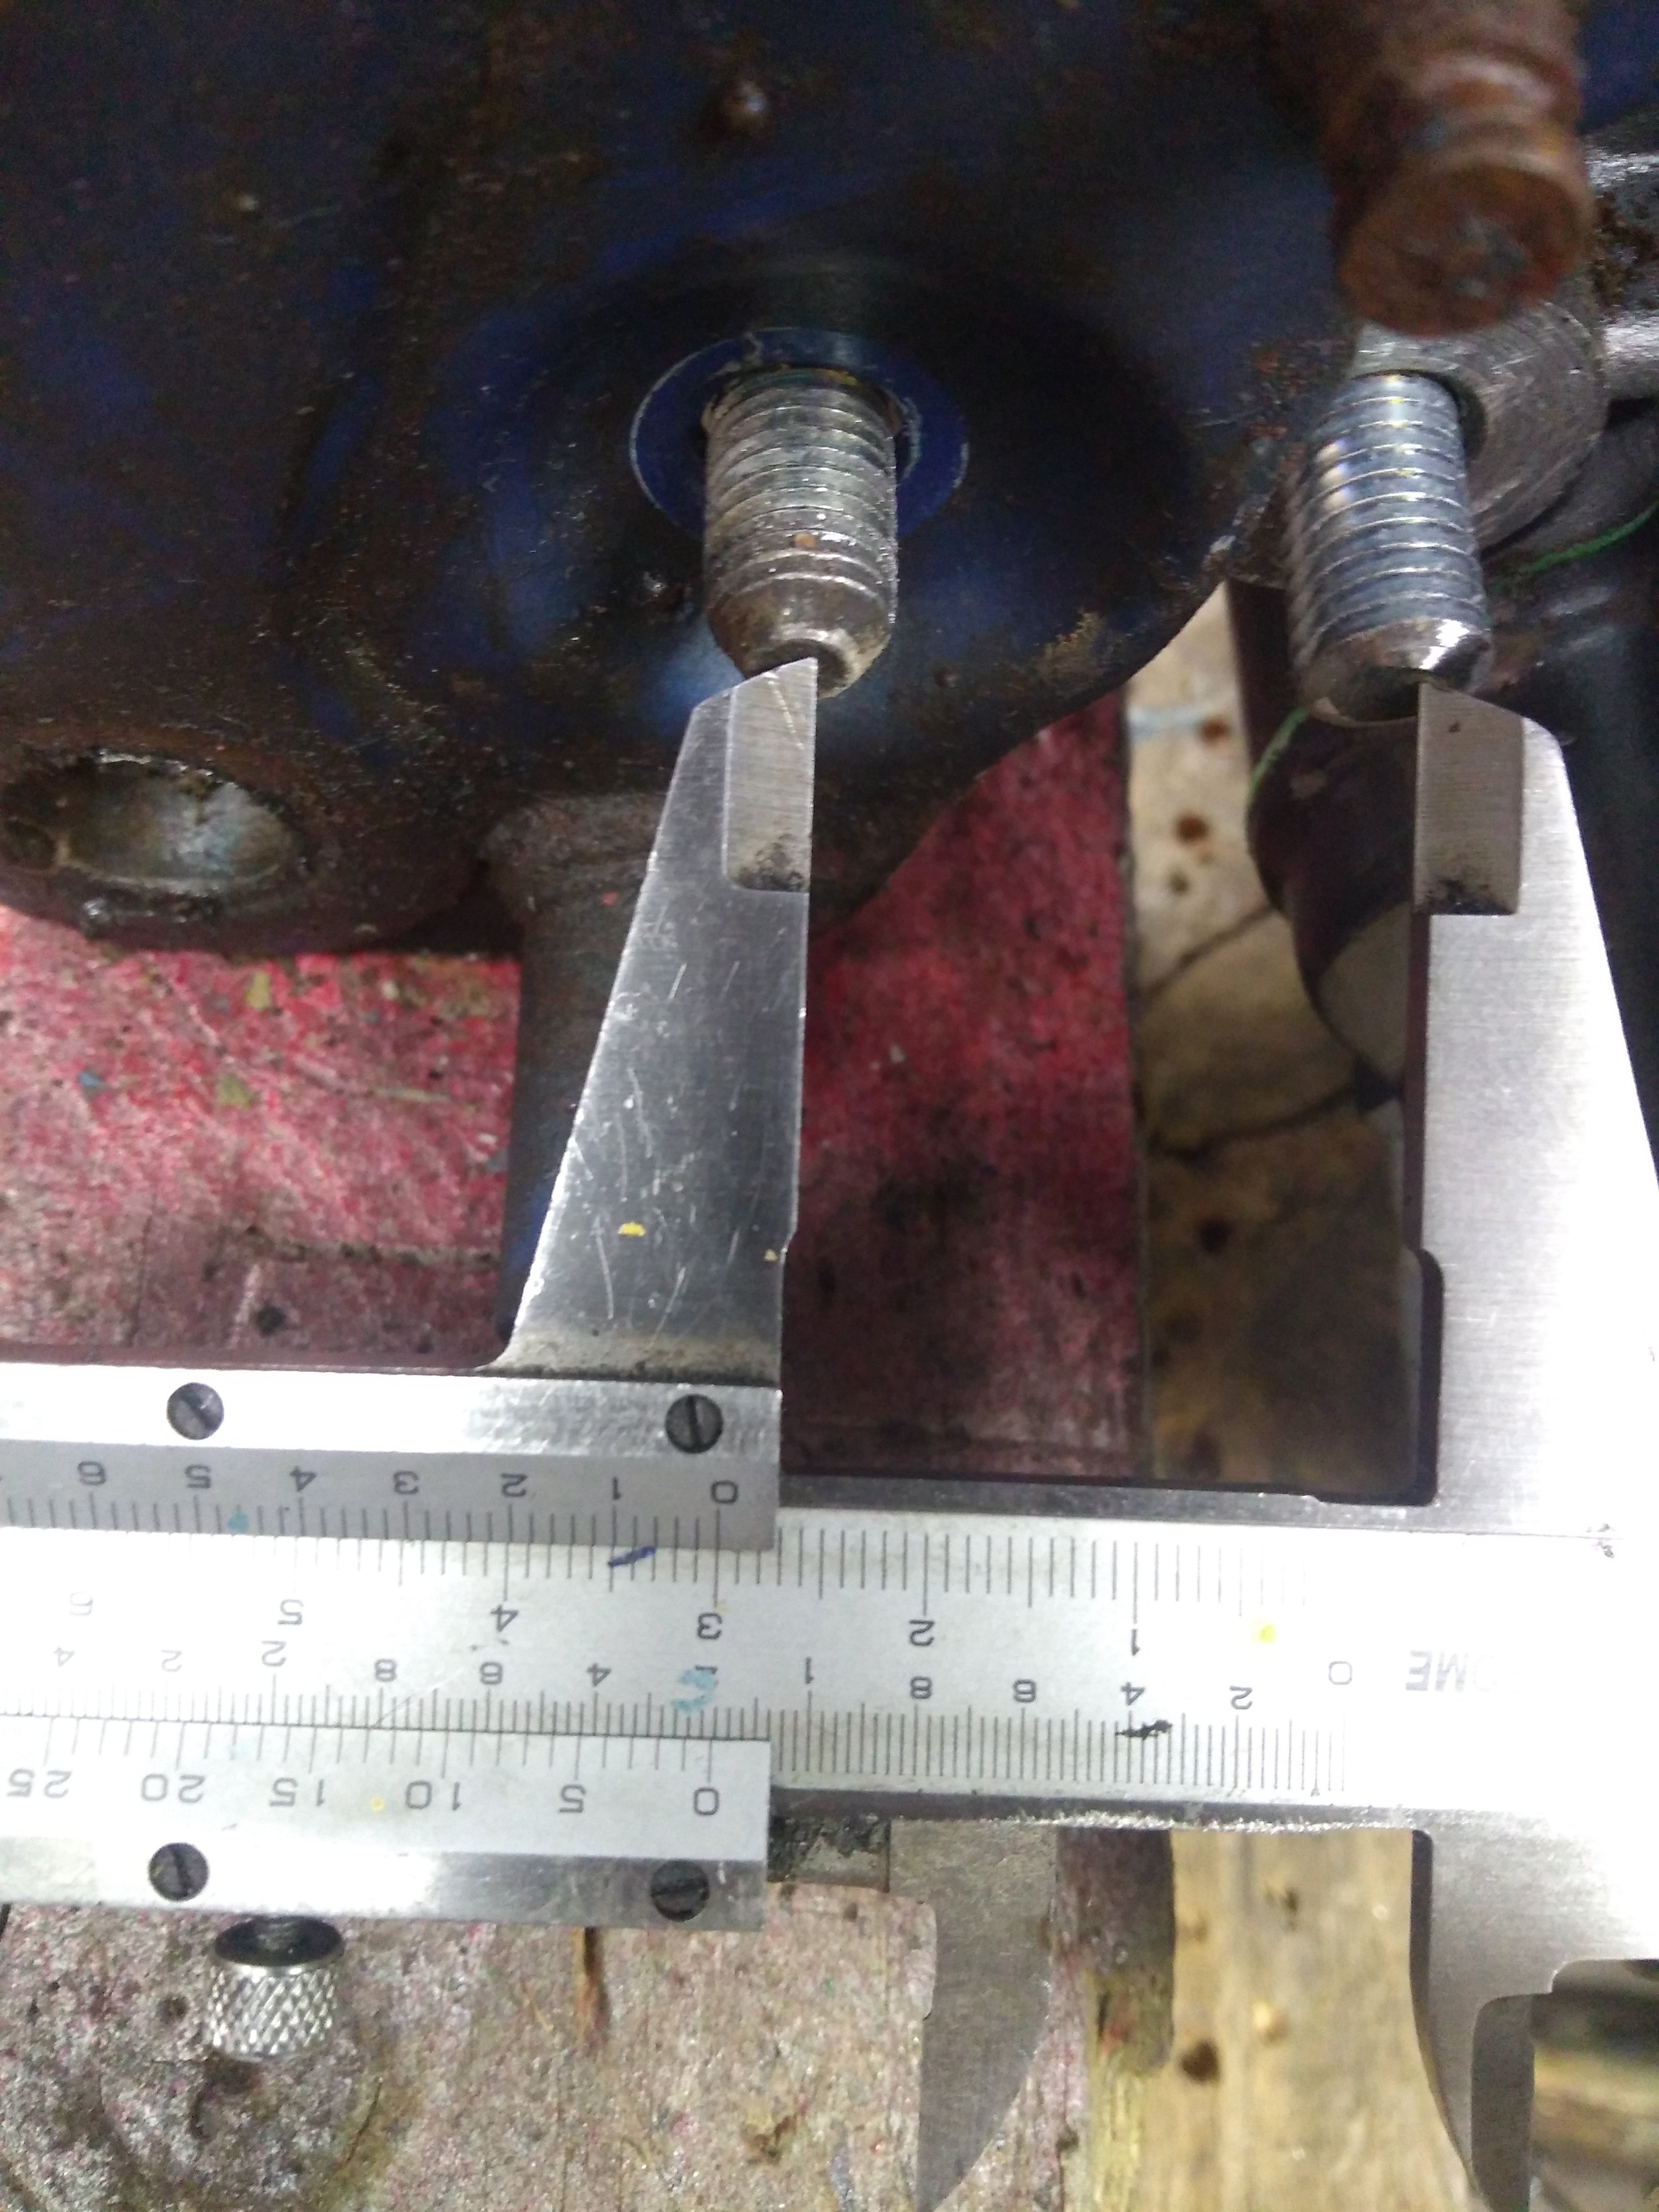
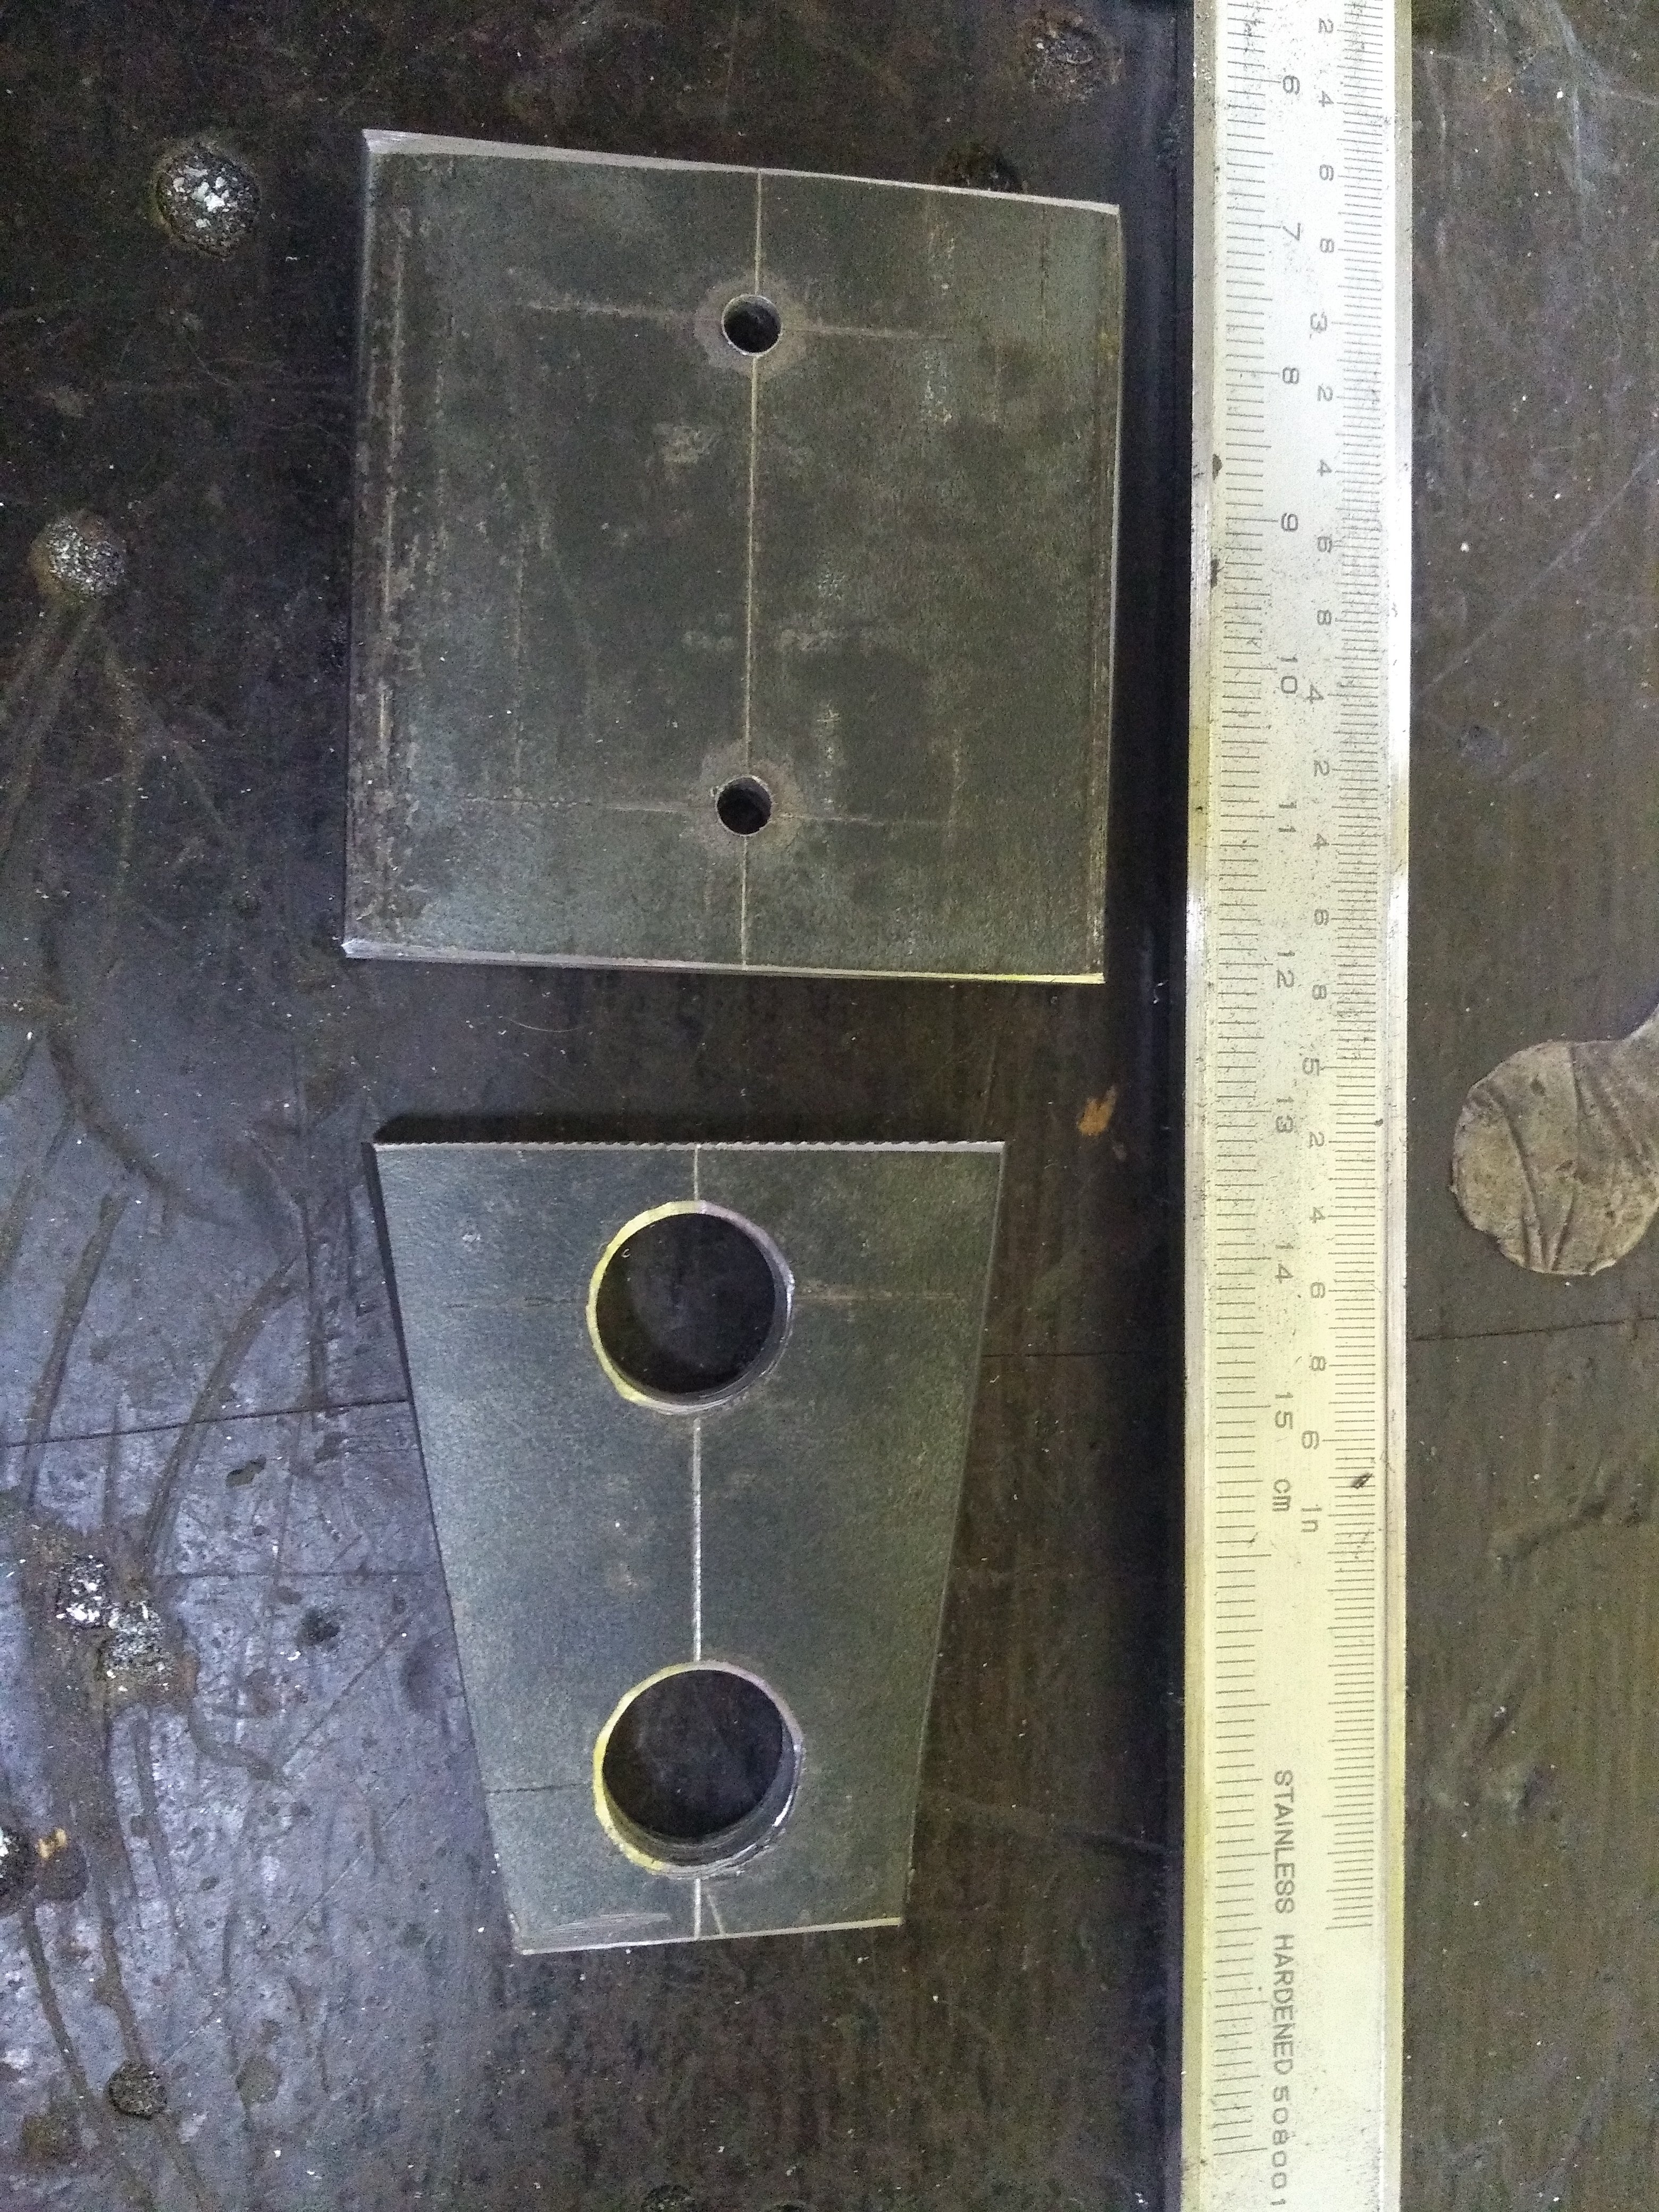
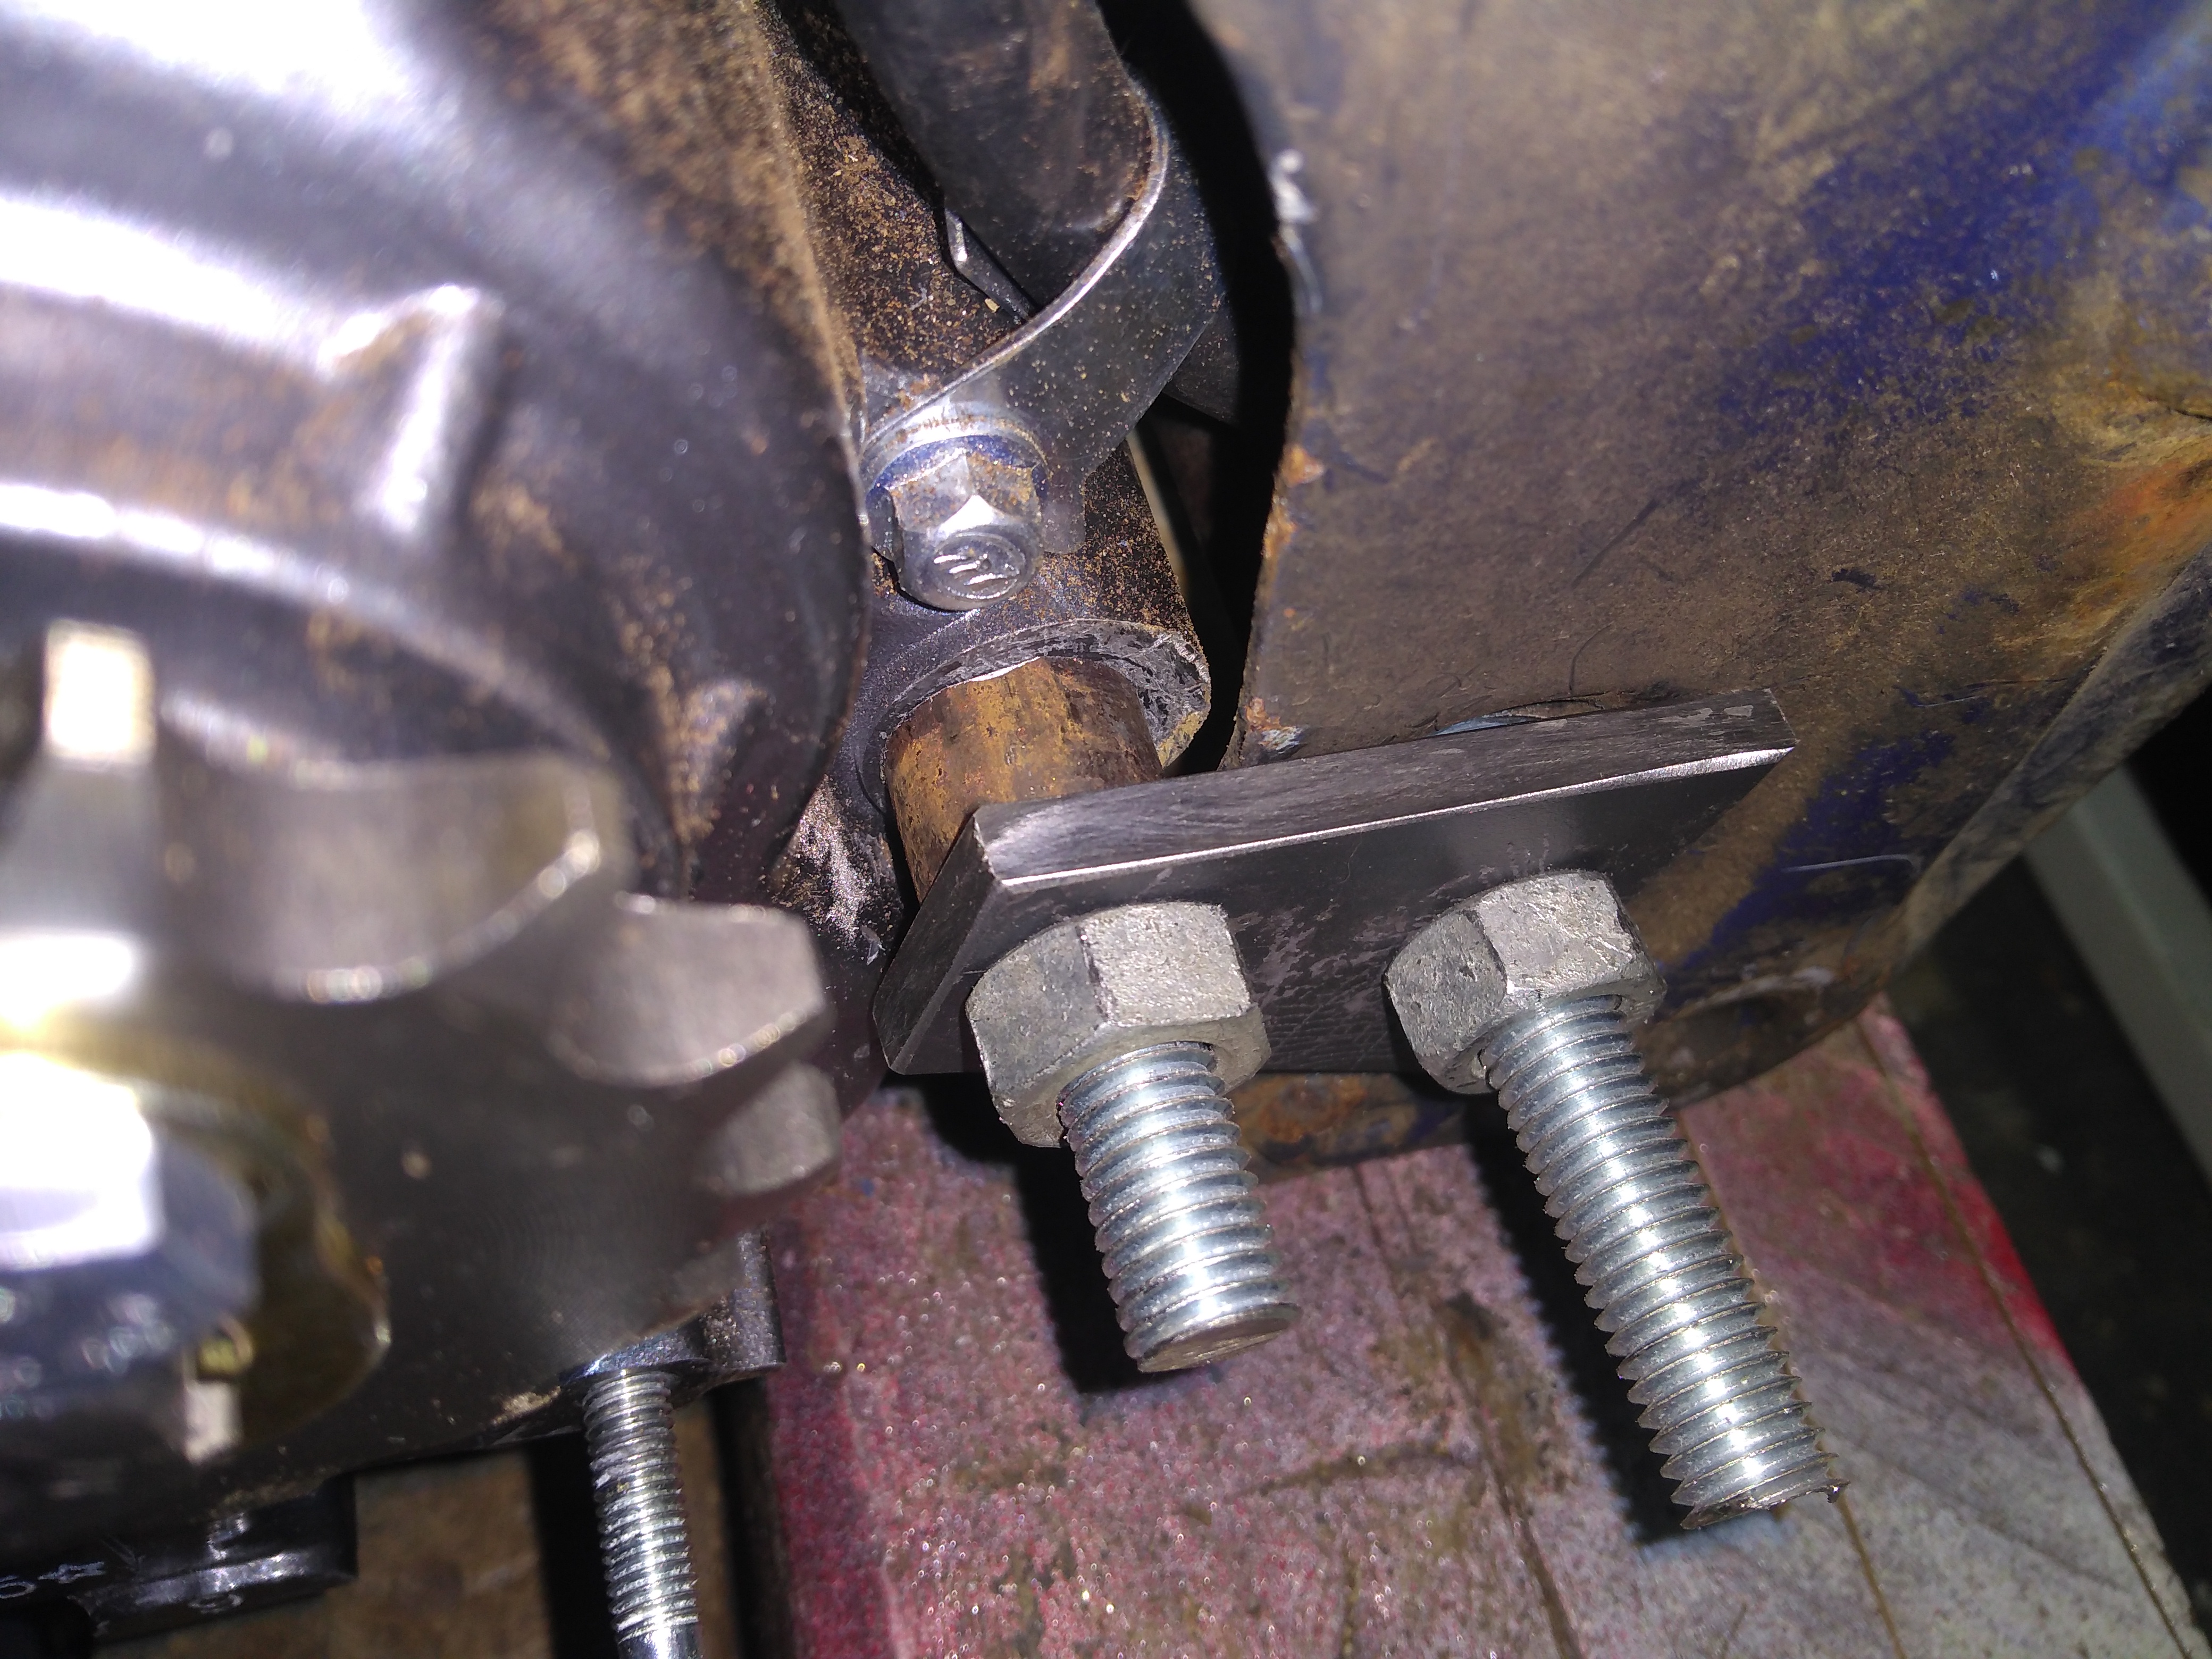
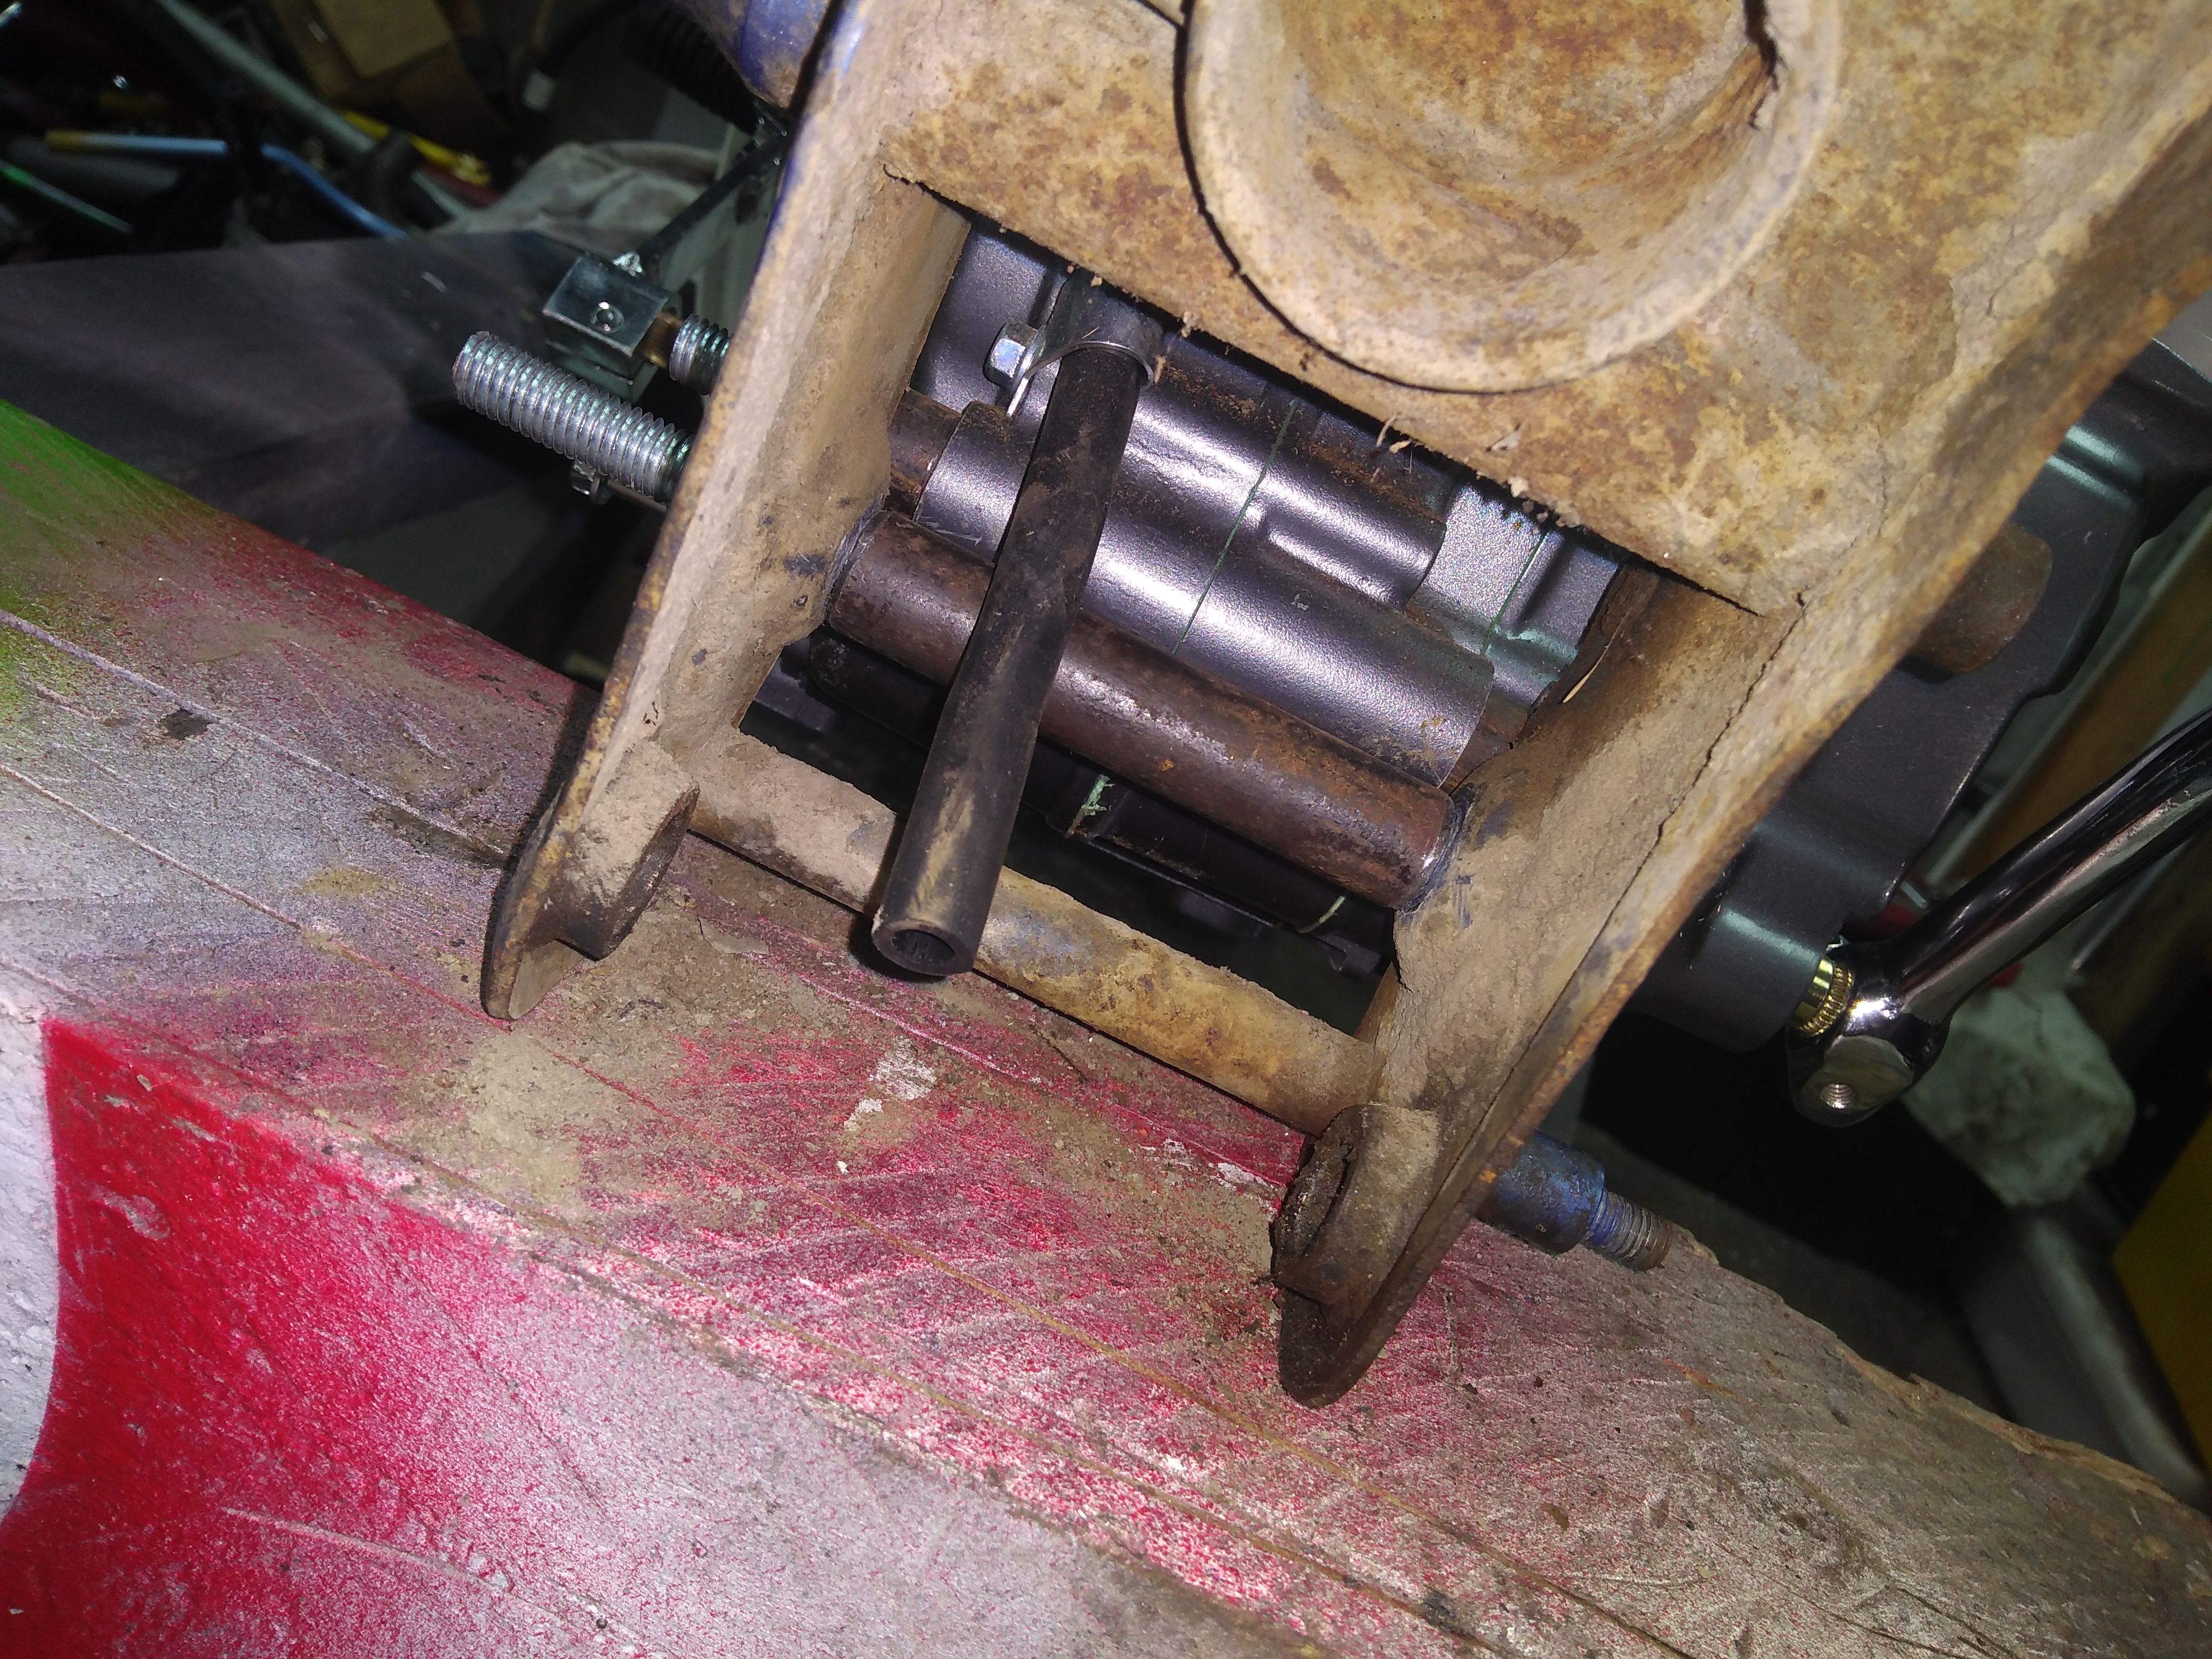
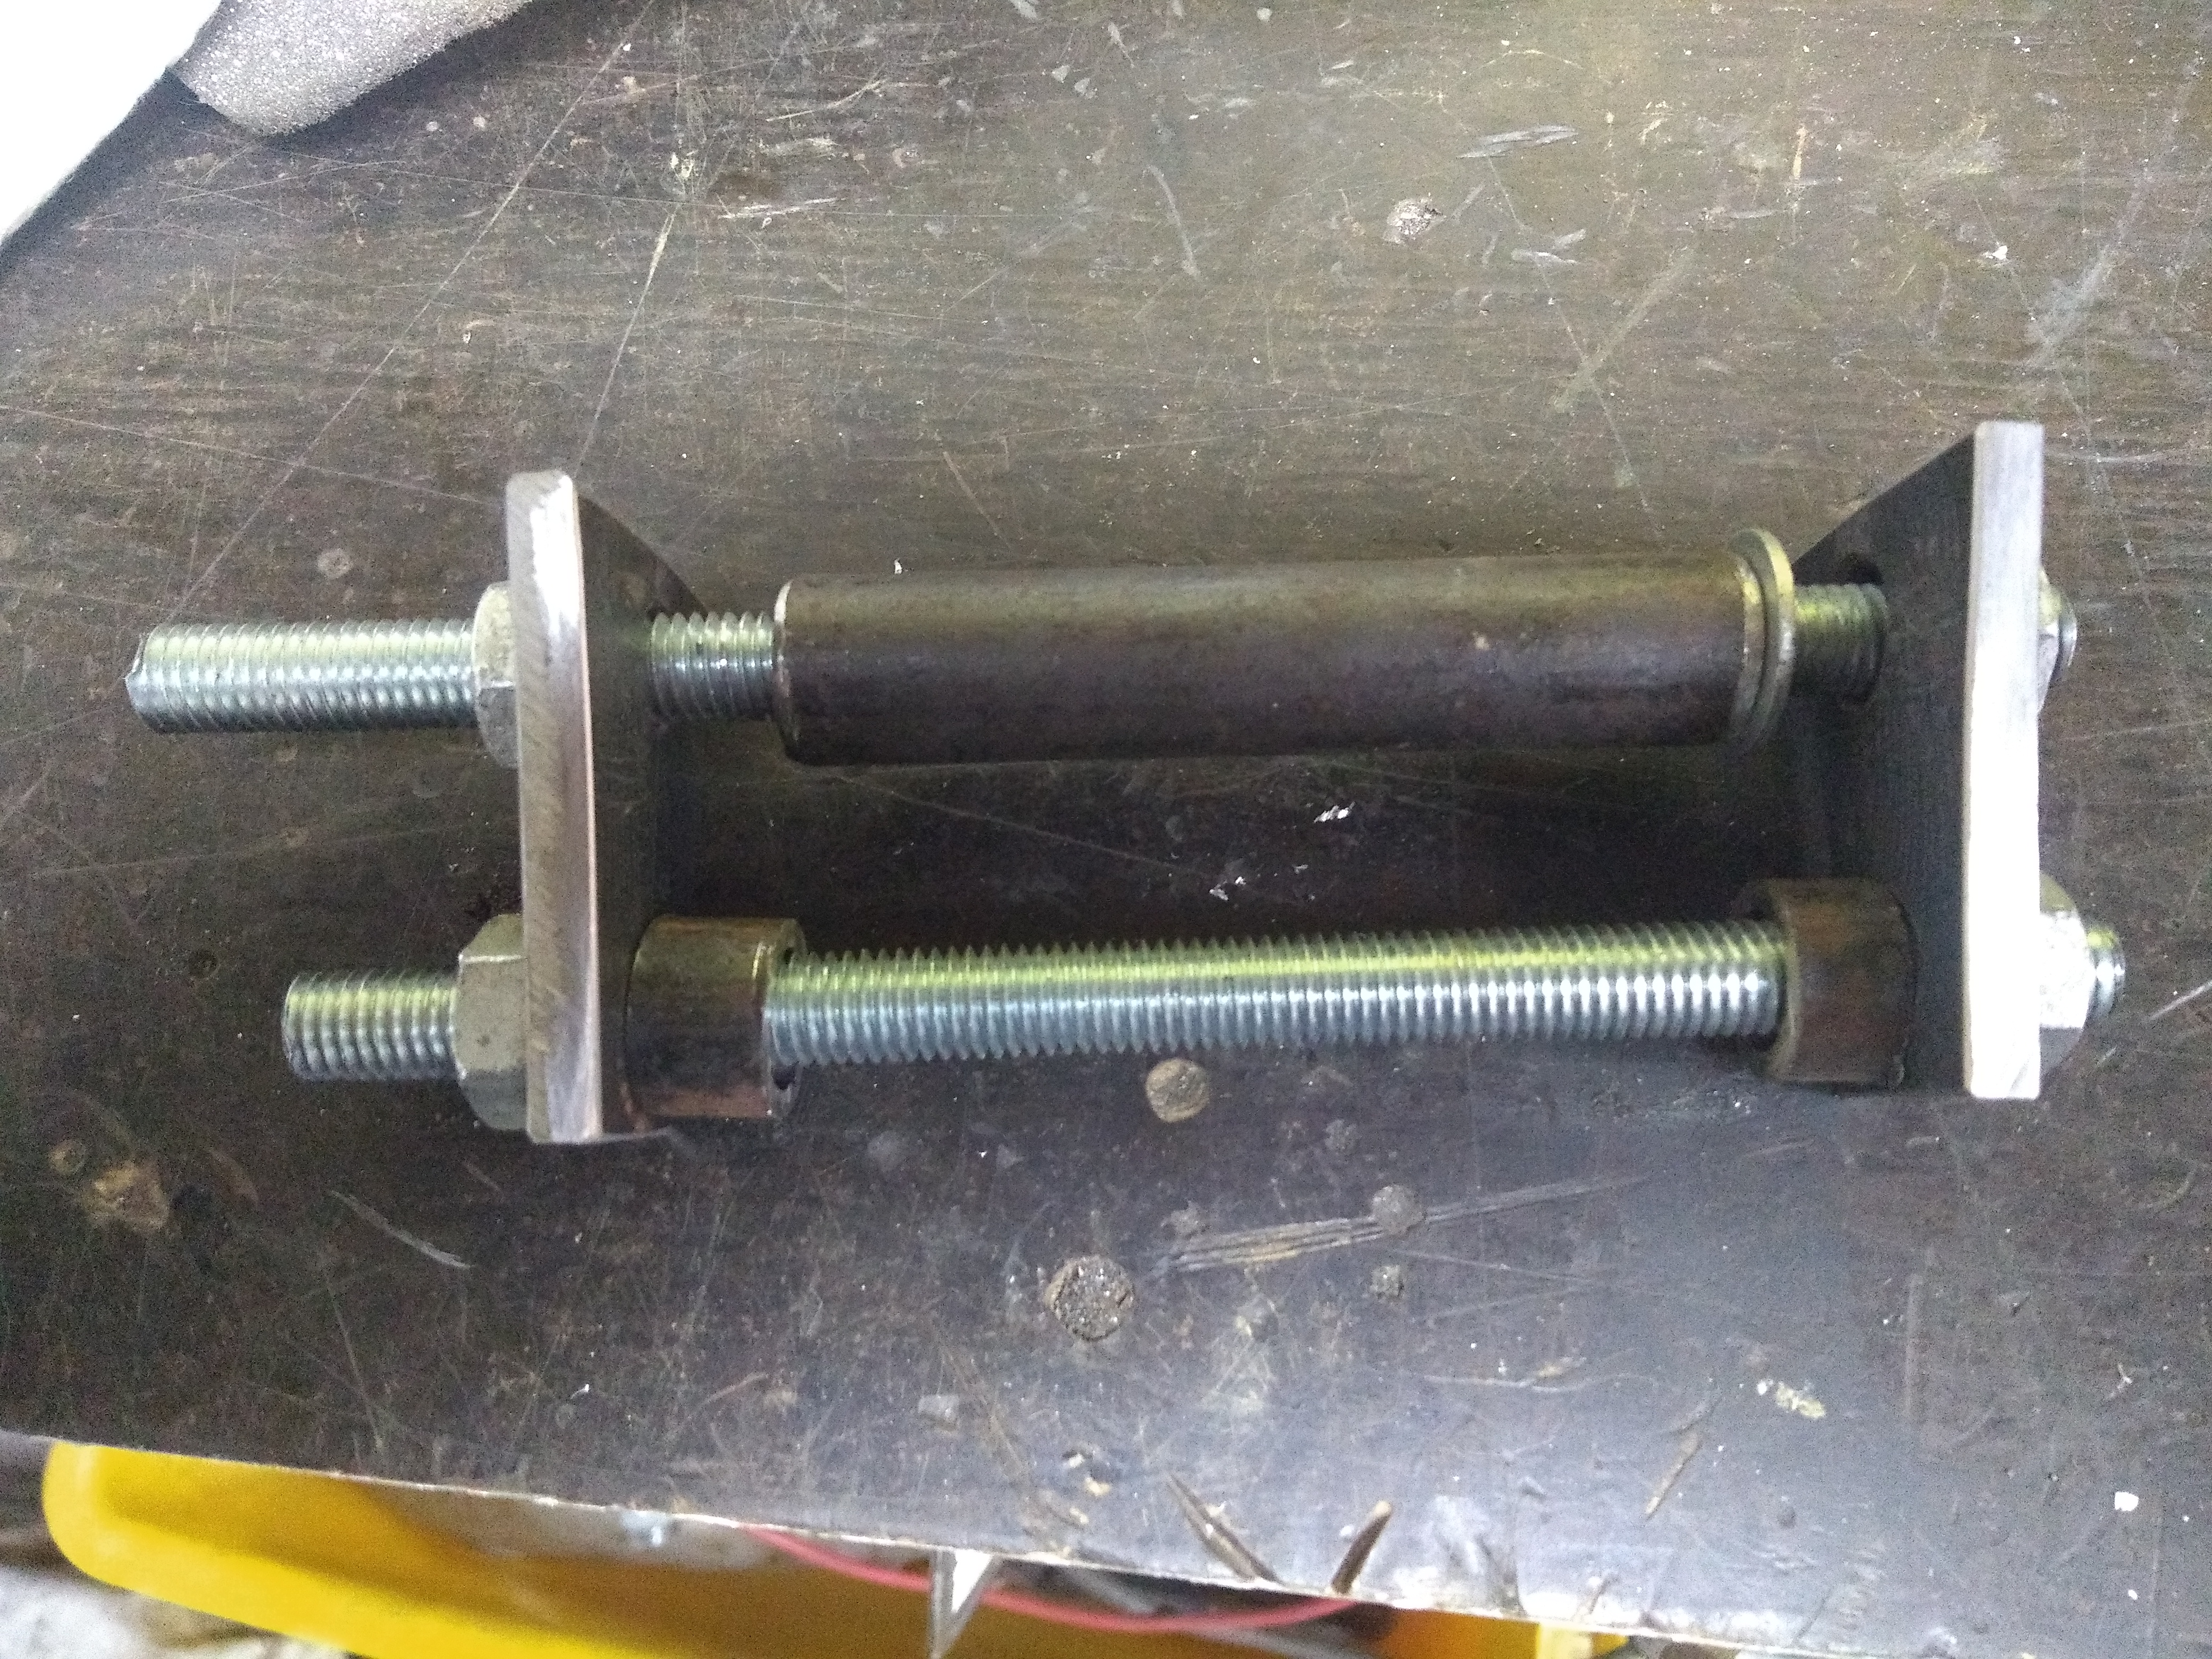
Tonight's job was making the engine mount, engineers, please bare with me cos this may be painful to look at, but my engineering skills ain't that flash.. First was put the engine where I wanted it to sit and measure the distance between centres from the original engine mount location to the new mount location. (which was 30mm BTW) Next cut some 50mm x 6mm strap to 50mm lengths giving me 50x50x6 plates. Drill 2 pilot holes 30mm apart along the centre line of the plate and drill them to 11mm (10mm bolt plus wiggle) Cut down the sides to a nice taper then repeat x 2 Next measure the gap from the engine to the plates with them bolted in, each side was different (8mm one side and 10mm the other) Also cut a spacer to go where the engine used to sit (90mm wide but I fucked up so have to add a wee washer on one side to pack it out) Fit the plates with spacers and tighten it all up, VOILA! a mount is born. And here are all the parts back out of the bike. I intend to radius the corners of the plates and weld the small spacers to the plates and then weld the plates to the frame. But I ran out of time tonight. It was incredibly strong as it was by just tightening up the bolts, but for longevity I reckon its probably best to weld the plates in place. I may linish down the smaller spacers yet, because it might be a mission to get the engine in and out with the snugness it possesses currently. Anyhow if you have any criticism then fire away. Although this seems a much easier method than the way other people have described to me how they did it. Also I won't be using threaded rod in the final version - I just used it for mock up purposes this time around.
1 point
-
Lol I wouldn't bother pulling out an anchor just to put another anchor back in1 point
-
anyone here know a thing or 2 about twincharging??
1 point
-
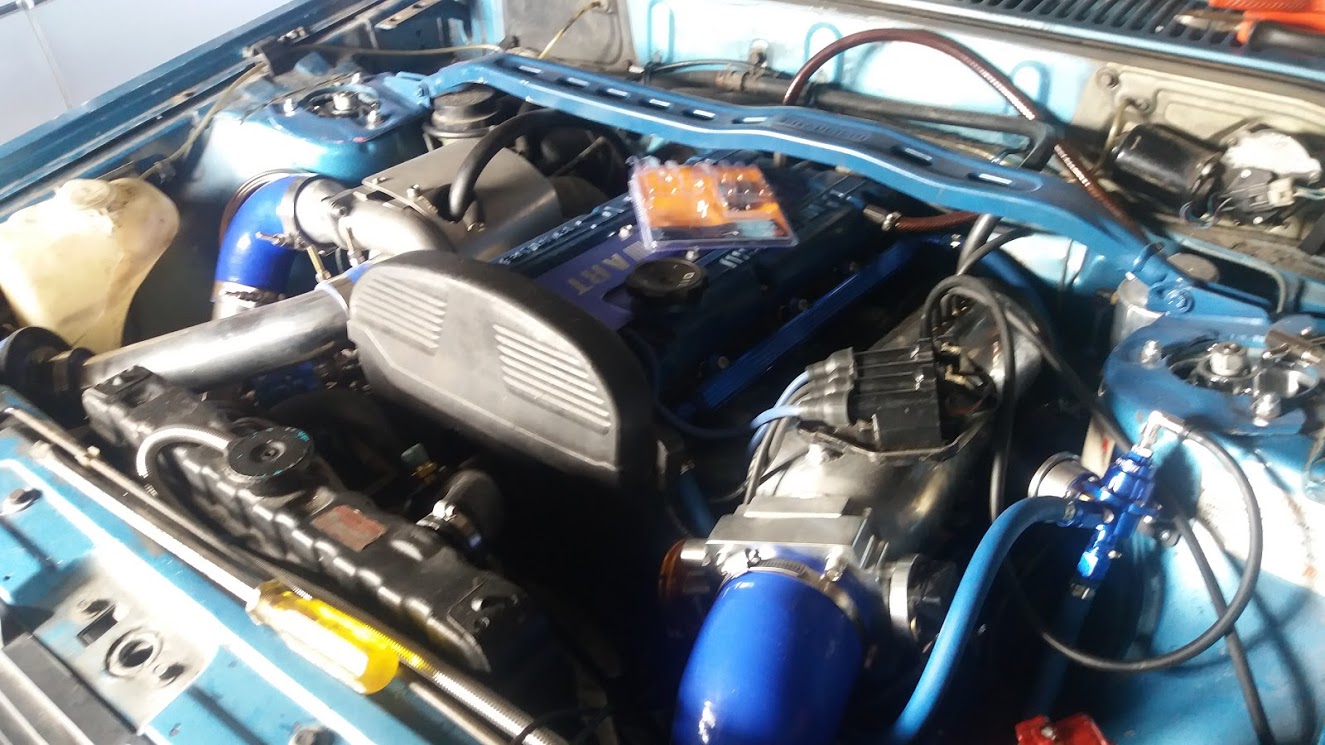
this is the engine bay in its current state i mean it looks alright i am getting somewhere at least right right? i think i am loosing my mind i got too sort out about 11 more items and ill attempt to get it all certed and road legal
1 point
-
Slowly getting these shocks installed. Been getting tophats laser cut, new wheel bearings in front and waiting for 2 of my wheels to come back from being used to test-fit on dads ae82. Top hats sorted. Thinking I may cut the strut tops with a slightly larger opening then tack in a lip to add strength removed when I cut it larger. Rear is a bigger problem than the front but have a solution for now (not entirely pretty though) Got 1x strut installed. Pretty happy with the lengths and heights etc. Guna be so slam. This is full droop.... So here are a few details about the shocks that make them the tits and worth all the extra money over what I would call a 'street/track coilover' which are fairly light duty (high spring rates, no huge impacts). Some people perhaps have never seen this style of shock before or pulled one apart. Big strong clevis made for doing jumps and hitting big rocks (all their gravel rally shocks are built exactly the same). Also notice the spring perch not having the stupid double locking setup most coilovers have - it has a small grub screw which locks it once adjusted. You'll notice the camber washers above. They have been supplied with 3 combinations of camber washers to adjust camber at the hub bolts. This is often done rather than at the top hat to help with guard/strut clearance along with having an adjustment which can't be moved (most rally cars don't have slotted top hats as they can move it you hit something big enough. Shock is held in the strut by one big bolt at the bottom (also notice the adjuster inside the shock shaft) Pull this out and you can slide the shock out of the strut. Essentially the shock shaft you see on the outside is the body of the shock and the shaft is inside the strut body. The main advantage of this is that the body is much stronger when taking impacts - especially on macpherson strut setups where it is essentially transferring force through an 'L' between the hub and the spring/strut top. The next main advantage is the strut body itself has two brass bushes which guide the shock body and essentially eliminate any load on the shock shaft. These are fully serviceable/removable/regreasible and are a pretty robust solution as its easy to replace the dirt wiper seal or bushes. Looks like they have only been supplied with rebound adjustment which was a bit different to what I understood. Just means I need to spend another $3k for the external canisters at some point to get the full potential from them. Keen to get the car going like this though, will add external canisters when I eventually get around to doing an event like Targa etc. Good things take time! Hoping to have it back on its wheels this week fingers crossed!1 point


.jpg.4724025bf2b3bf42a2b76bb2baf7ca42.jpg)


.thumb.png.46e518f714cdc319554c389f990e75a4.png)


This leaderboard is set to Auckland/GMT+12:00