
Leaderboard


Popular Content
Showing content with the highest reputation on 10/24/17 in all areas
-
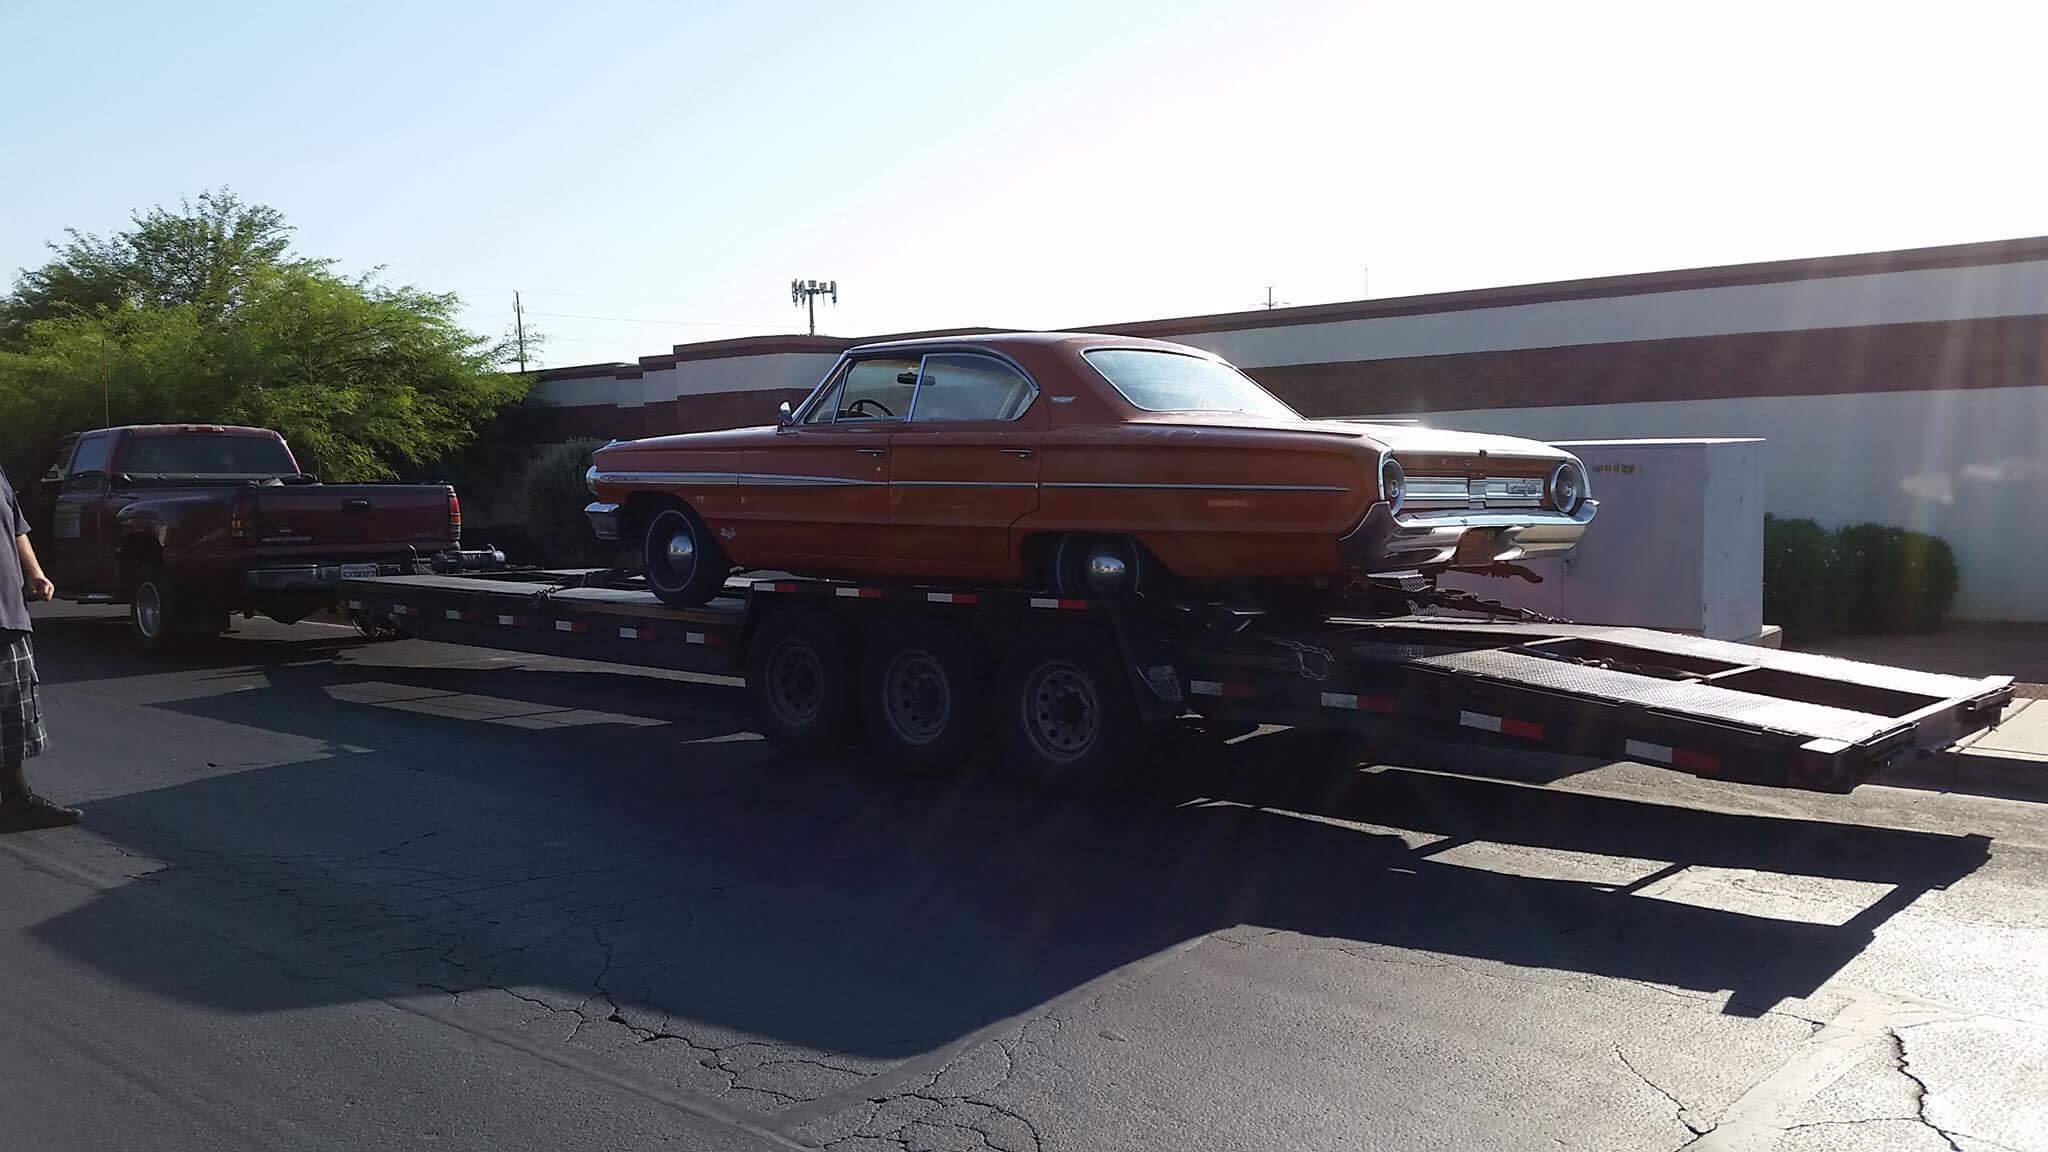
So with my trip to the USA in late 2016 me and a few others met up with their buddy scott. so after talking for abit and spending some time with him and inspecting a car i liked which had too much bog for my liking we both decided i would leave him some cash and when i found a car i liked that met my budget i would get him too inspect it. then many months went by searching craigslist couple times a week with no luck. then a mid 60s Chrysler newport popped up in my price range so had it inspected but ended up needing a full interior and had missing parts all over so that was a no GO few weeks later a 64 galaxie comes up slightly out of my price range but there was nothing else that i liked worth inspecting at that time. so a deal was done to purchase it. sent scott some extra coin to get some parts that it needed also along with getting some cherry bomb mufflers. about a month and half later it started its trip back home starting from phoenix AZ to LA about 4 months later it arrived into nz and being cleared by maf and customs Ready for collection As i go over to collect it from its secure yard the person informs me the paperwork says its a non runner what!? soo it has a flat battery well after swaping a charged battery into it it fires into life meanwhile while i move my car out of their yard and the shipping company (Non reflective) employee moves the galaxie out of the storage lot he starts to crunch a few gears then almost hits the wall a few times trying to park it. By then i was ready to throw him out of the car. then he asks the question on how im going to take it away? well im driving it mate And too much surprise he replies in shock it has no brakeees. oh yeah algood mate guessing he just has no clue about cars. so i hop in and brake pedal goes straight to the floor this is going to be interesting so i crawl up the road a few kilometers by changing from neutral to drive and trying to use the useless handbrake when needed soo a right turn comes up that i need to take ah not going to make that stop so i keep rolling in the median strip to the next street on my right. the next T intersection i roll through slowly followed by another right turn I have now arrived at my old mans workplace to check the brakes out so i can drive it home So i top up the empty brake reservoir and bleed the front brakes and we are good to go! so i cruised on home
 17 points
 -
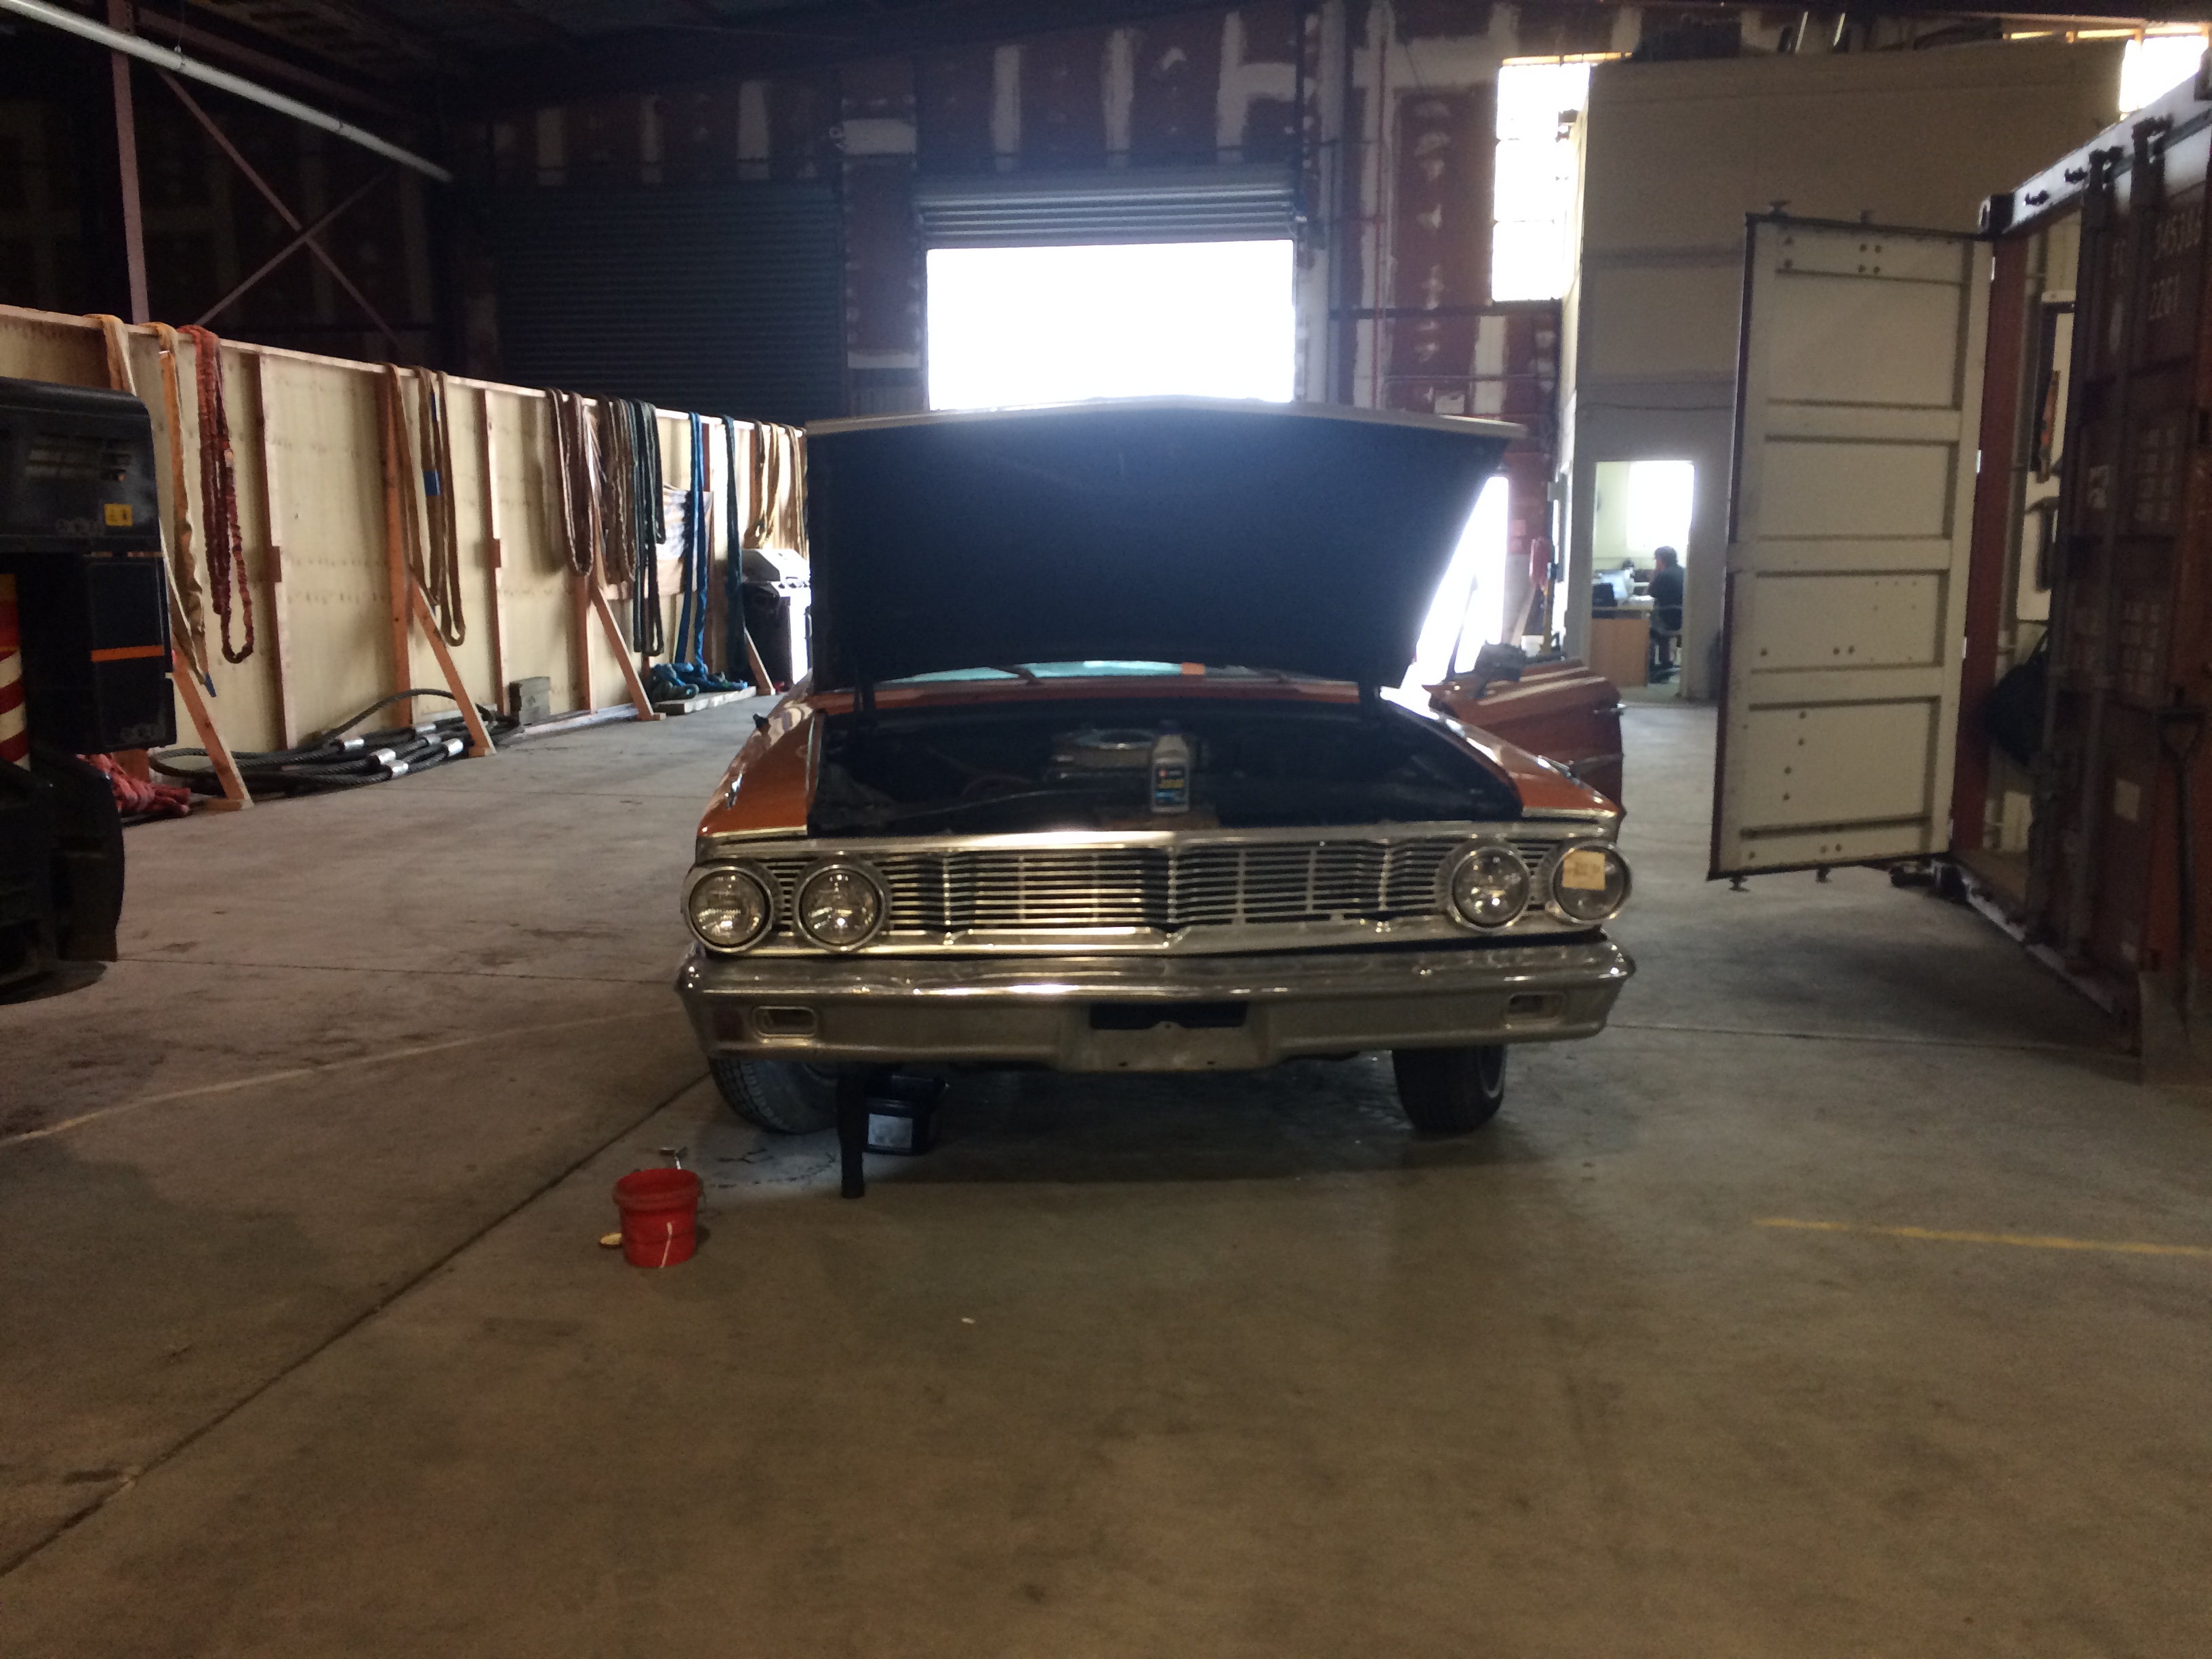
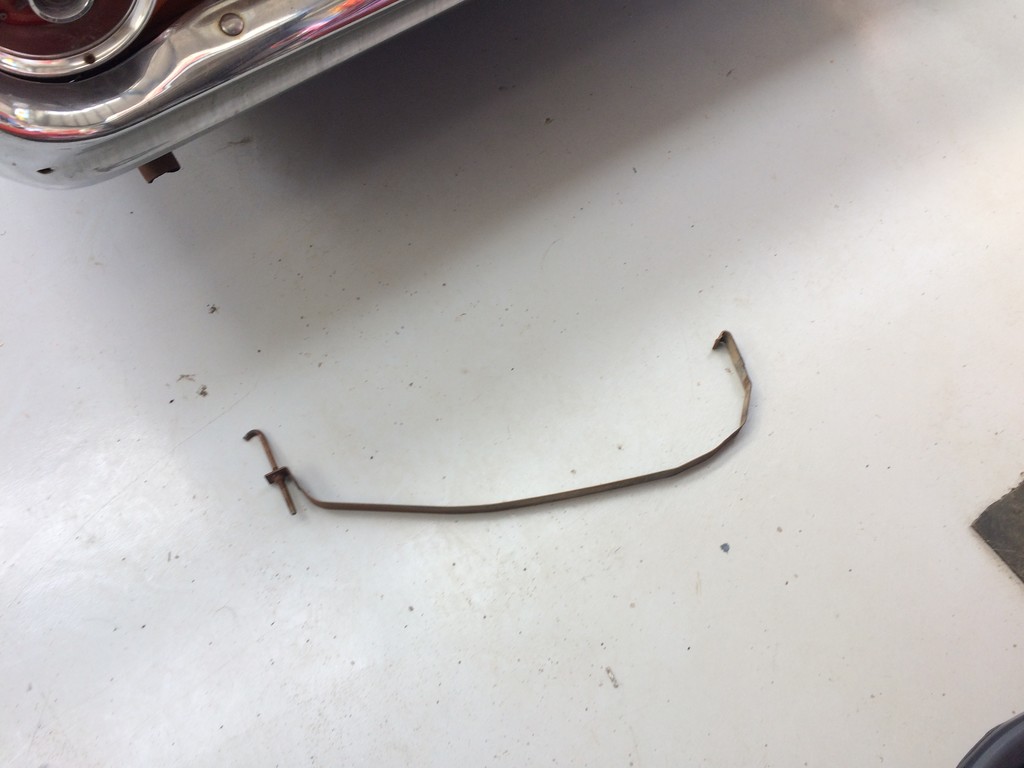
made it home in great condition so i put the dog in the front with me and backed it out the drive way to turn it around then as i pull out clunk!! drive forward and look whos here fuel strap decided it did not want to be on no more although the car is abit long and low in the ass end which makes me have to go on a angle to get in the drive way. FT my mums not so great camera skills so the ol girl is running a 390 FE big block mayte with yet to confirm exactly what but i suspect running a cruise o matic trans.
15 points
-
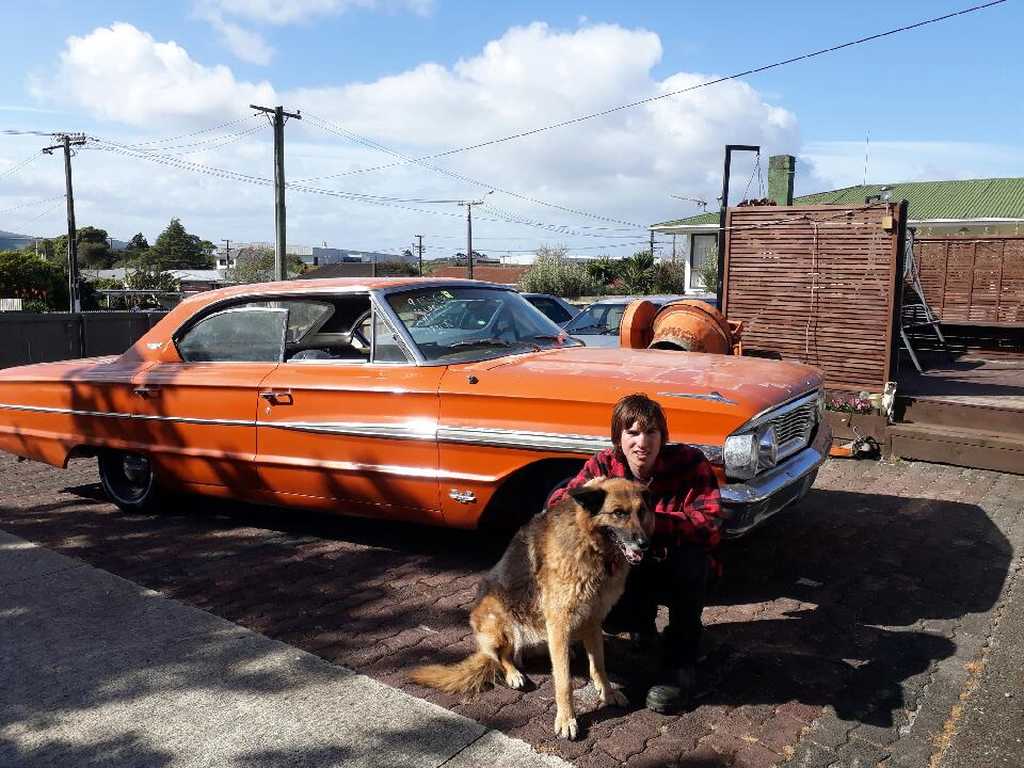
also did a two second peeelout on the drive way when hard for what it is along with a cloud of smoke.
10 points
-
Pumped up the 32s today and they hold air which will be sweet to keep it rolling, they're bald though so I've got a set of 31s to go on. Looking pretty boss though!8 points
-
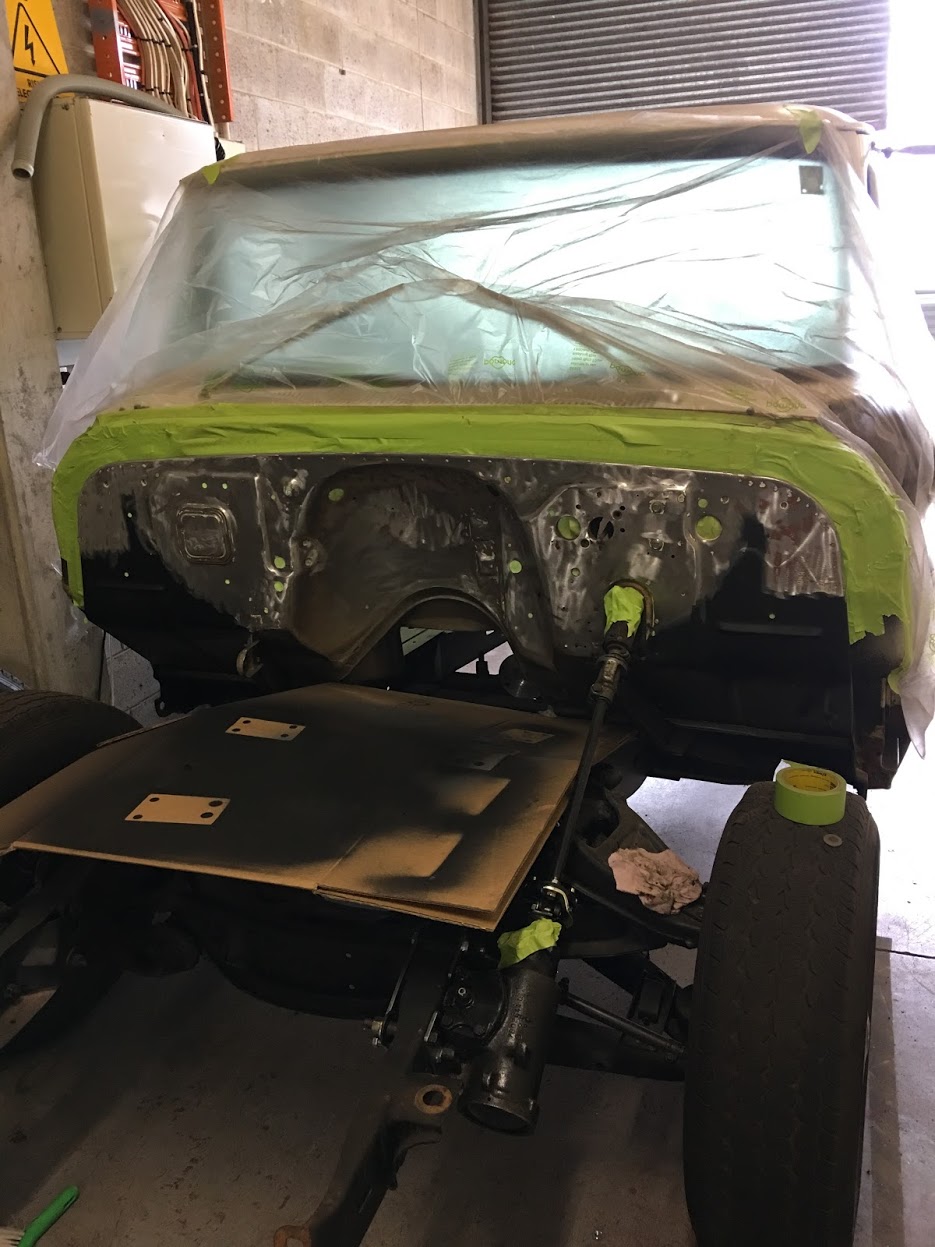
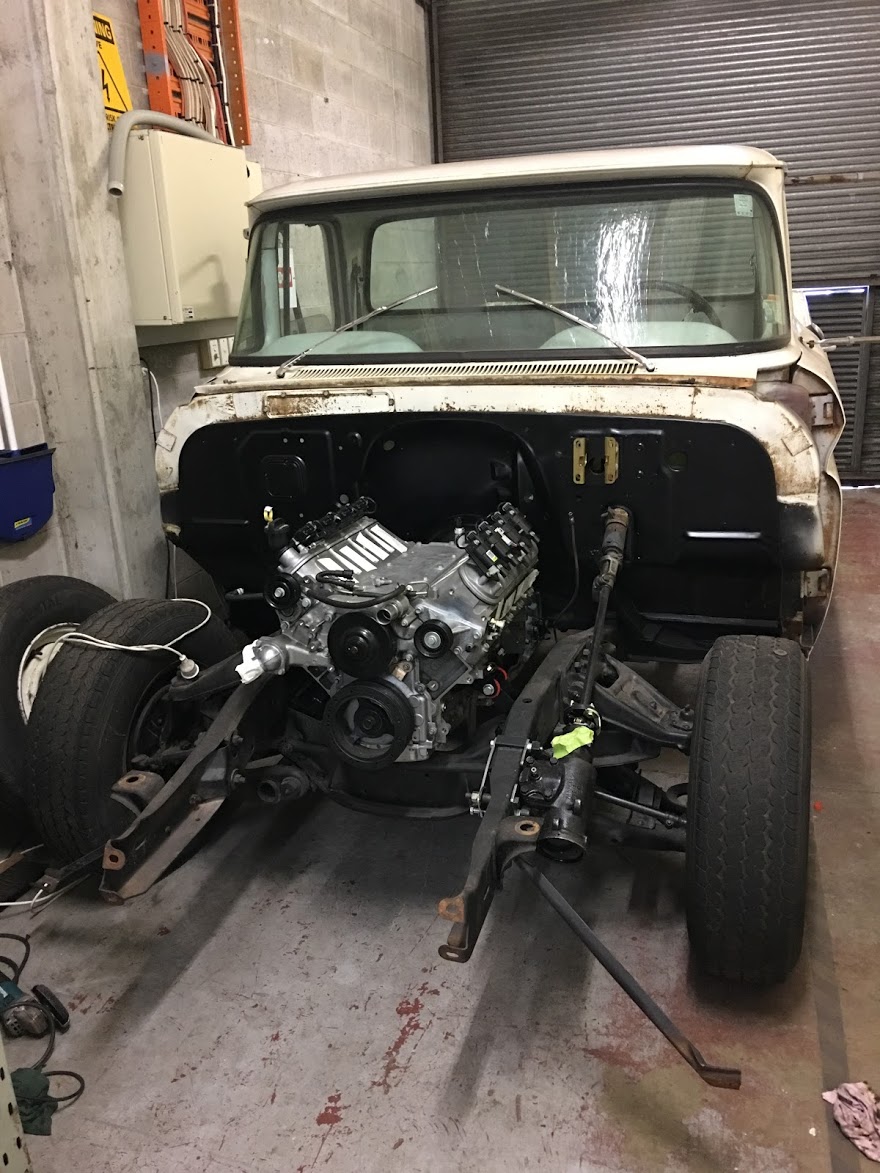
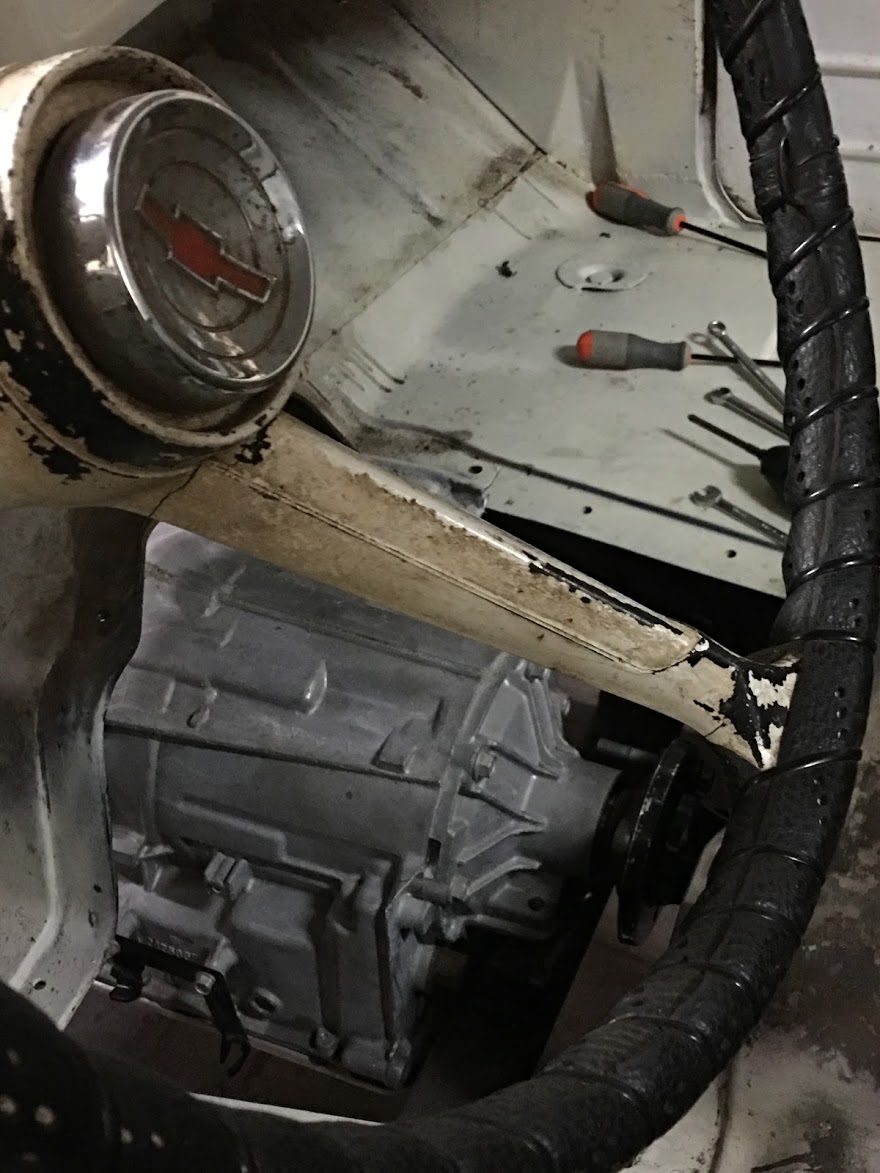
Been pushing along... 5 lug rear end rebuilt with eaton tru track for 11's. Driveshaft rebuilt and balanced, although I screwed up the size on the last U joint. All the mounts are now fully completed and in, firewall painted with extreme rattle can goodness, fuel lines 90% there. Interior stripped out. Full week on it in a weeks time, hoping to smash out wiring and get the front end on.
7 points
-
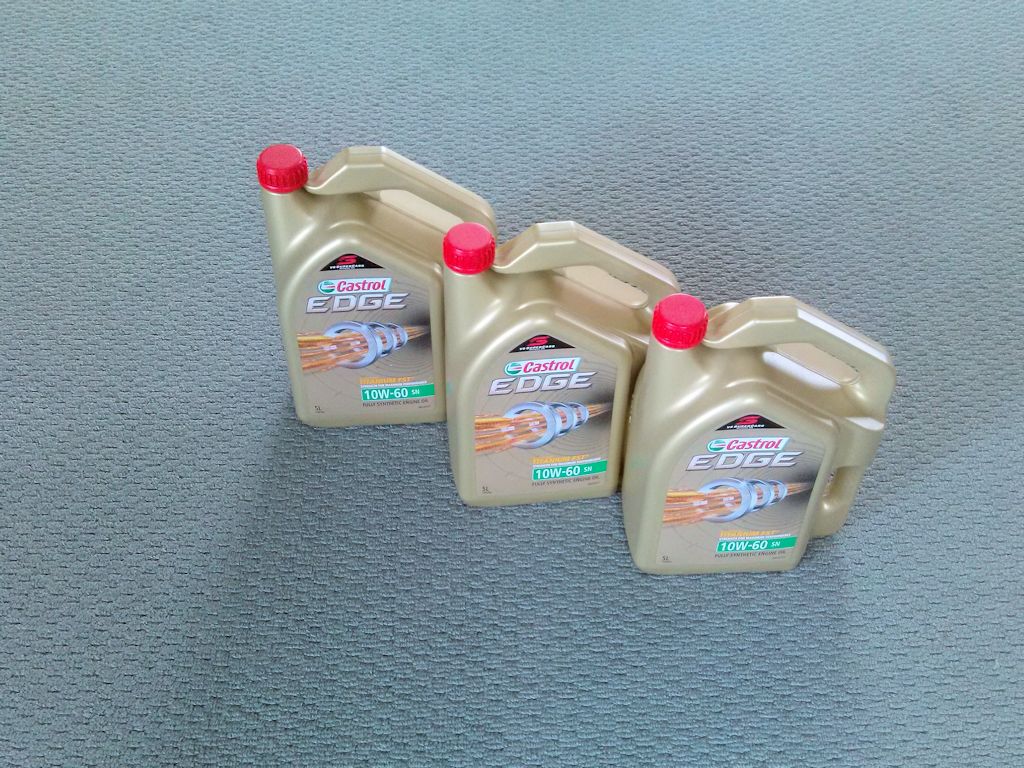
Spoke too soon, GC's at castrol sorted me out with a few oil packs. Pretty happy to get a bit of a reward for all the hours been put into it \
6 points
-
Then within an hour off having it off the trailer I had the front torsions wound up and test fitted one of the wheeeeeels The grub approves too.6 points
-
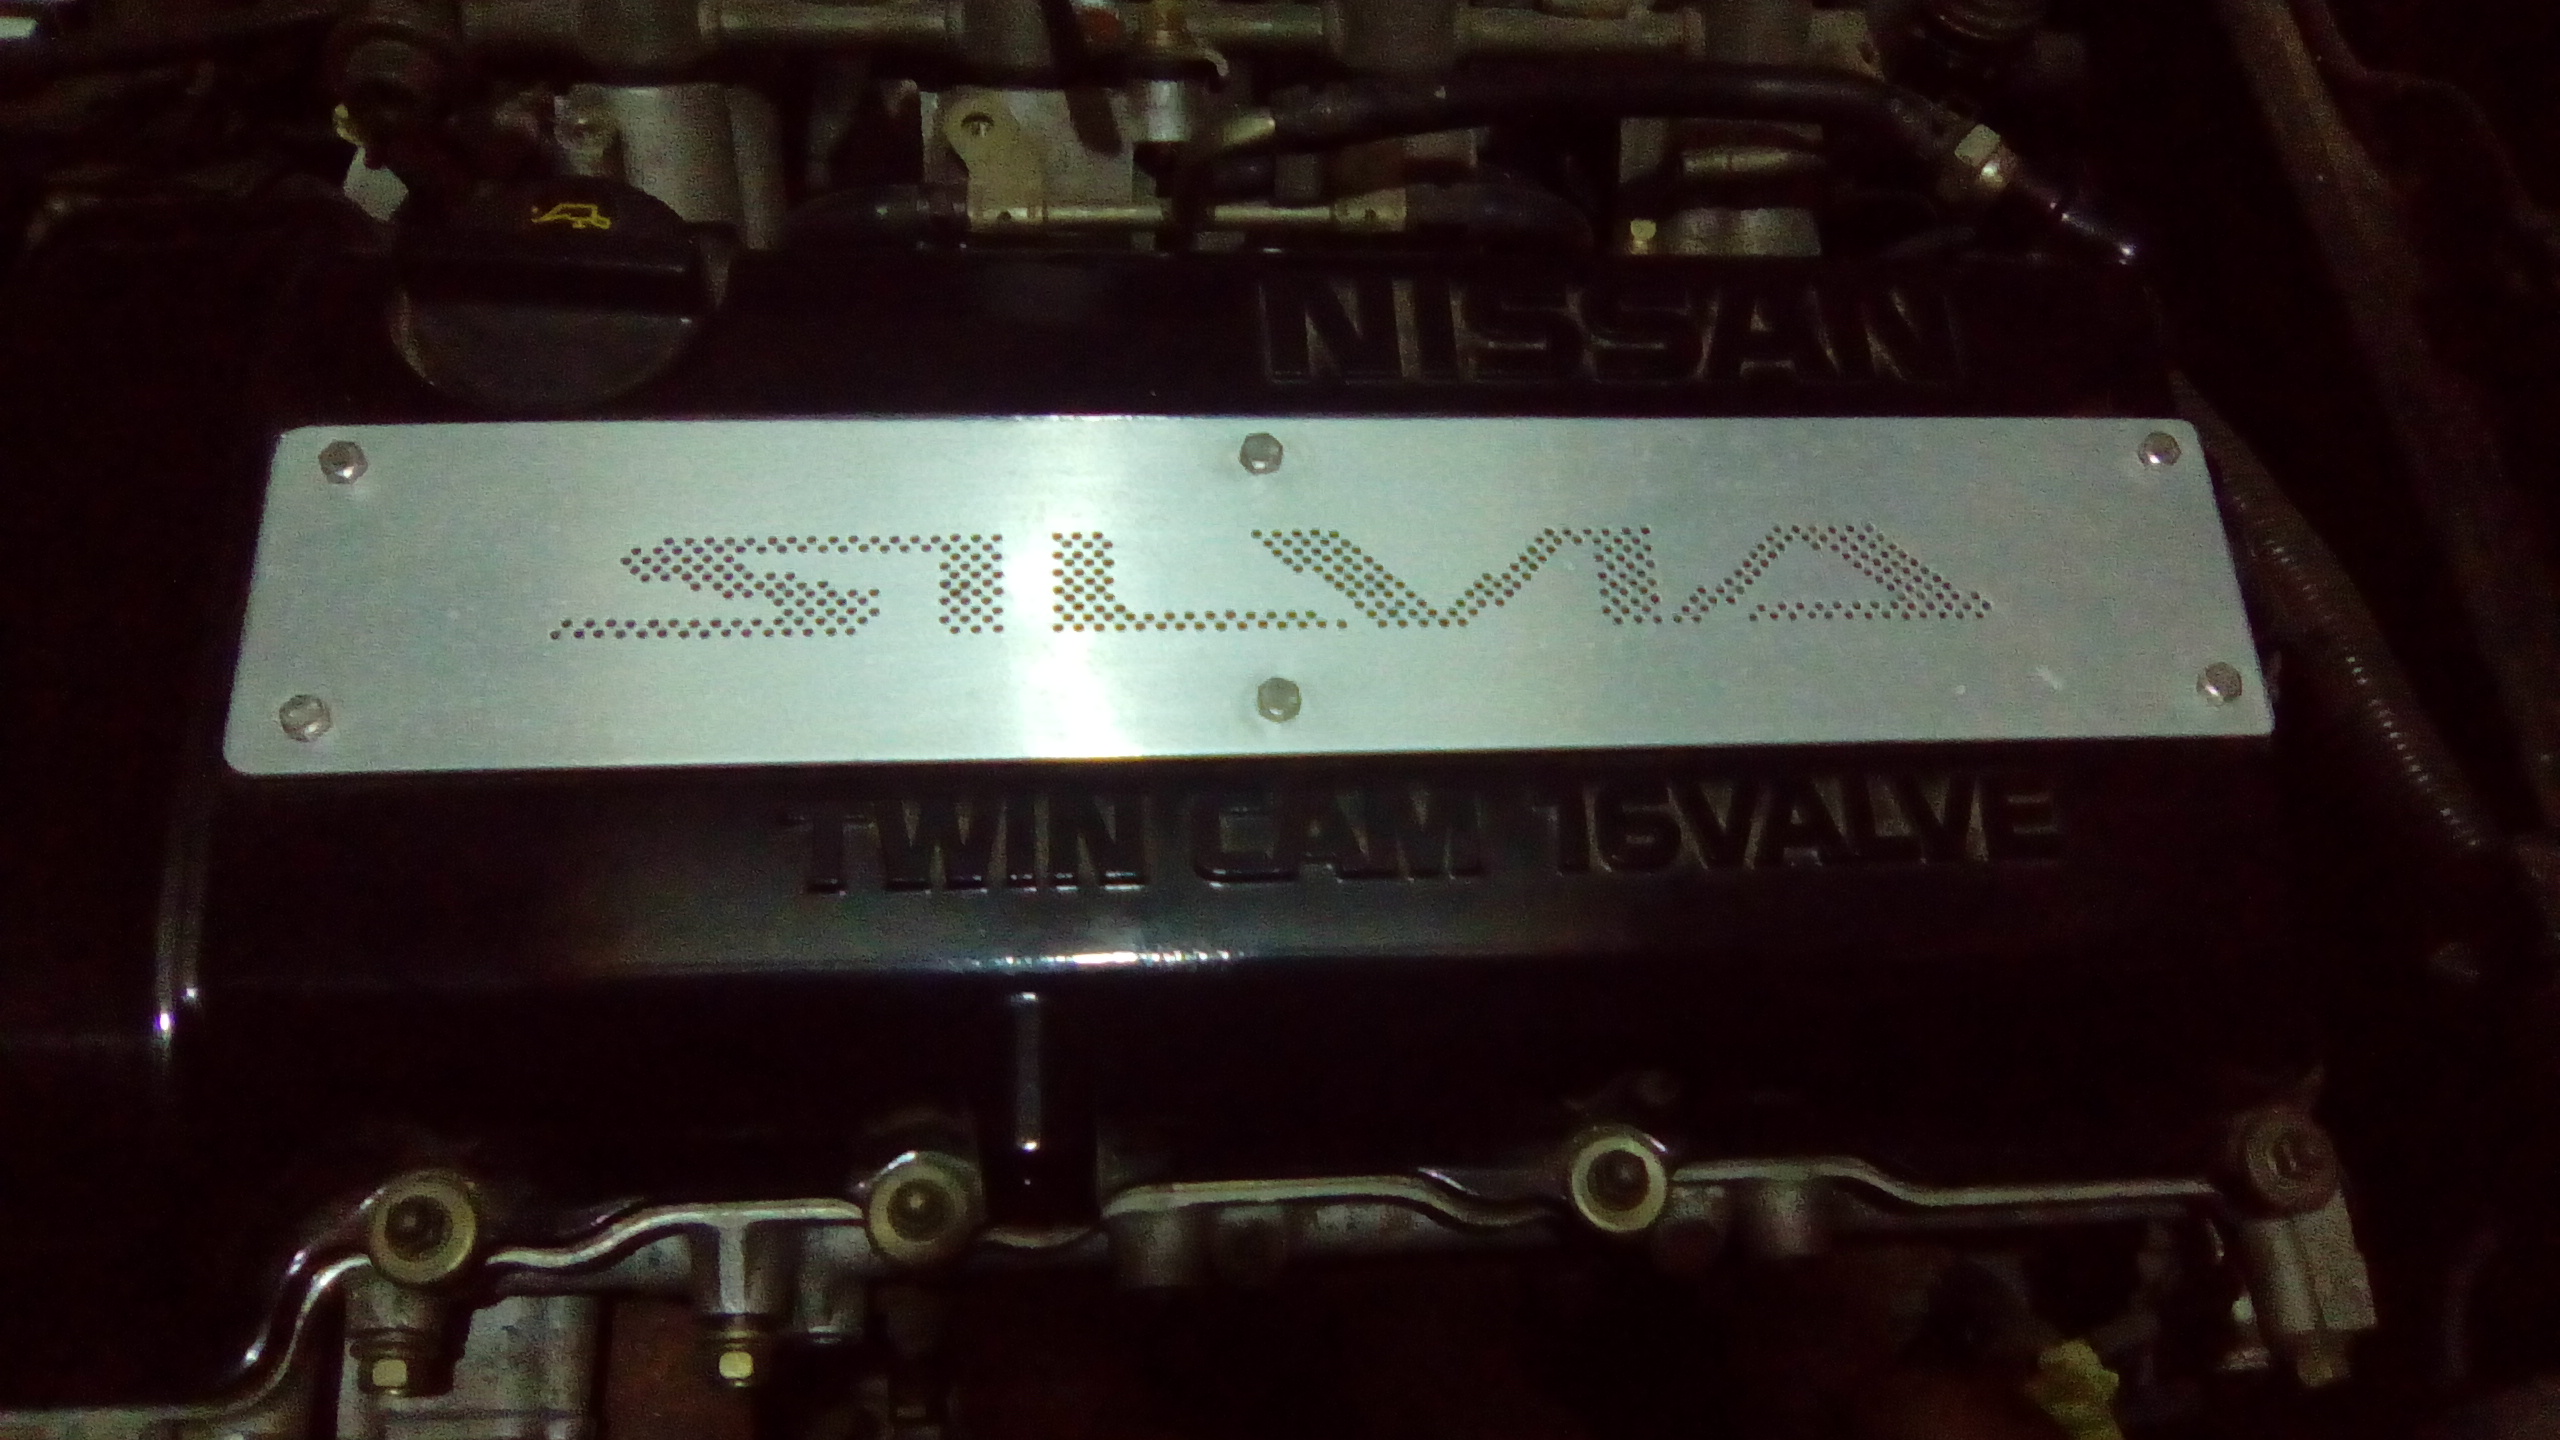
Made this a while back. All old school, traced a badge, marked out a grid and transfered it to the ali, then carefully drilled all the holes.
5 points
-
The passengers door lock actuator seized at some point, only noticed it last week. When I was pulling the door apart I noticed there was a bit of rust coming through the front inside of the door, and since the door was basically half in bits I thought I may as well fix it now. Looks like there may of been a previous repair done here. Now I just need enough courage to fix the rust that will most likely result in a respray haha5 points
-
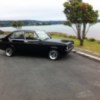
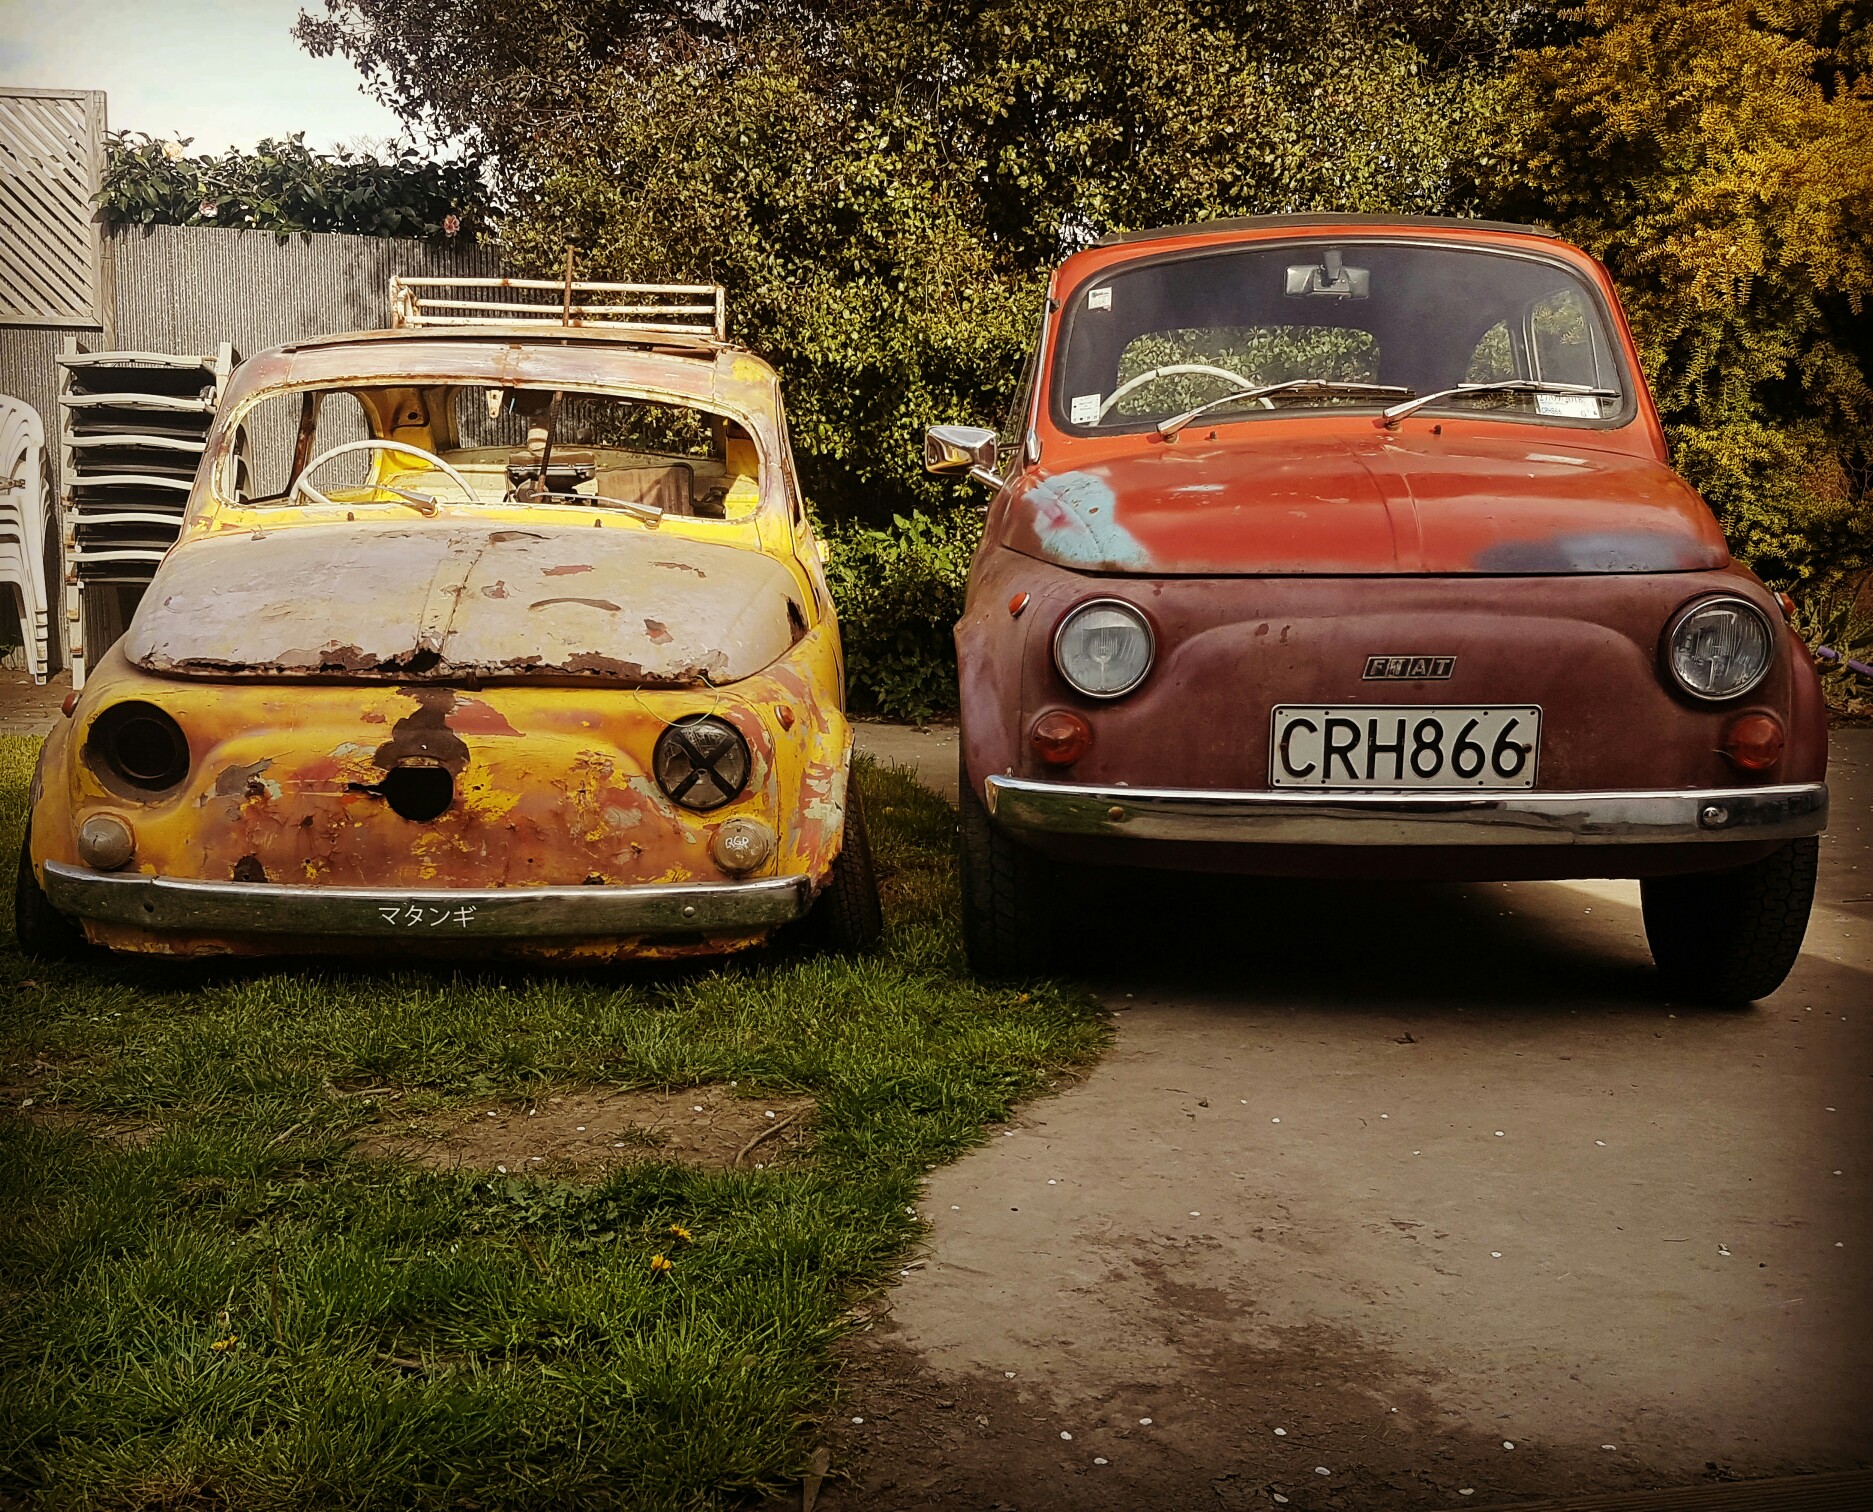
So umm, yeah, this is now mine. Discuss here Partners grandparents have had it the last 20 odd years and it failed it's last wof on a bit of rust in the tailgate area so asked if I wanted it, being that these are fucking rad I obviously said yes! Went down to oamaru and picked it up this weekend, actually runs pretty good too, bit spluttery on startup but once it's going she's good, is a 1.8 g62b so it's pretty gutless. Has rust especially around tailgate hinge area but I grabbed a mint tailgate a few months back so that's half the work done. The old fella has barryfied it nicely, has a big fuck off vacuum gauge on the dash and a oil pressure gauge sticking out of a hole in the dash. Has been painted a beautiful shade of "fence paint green". Plans are to fix rust and get it a wof, lift it a bit, mud tyres (which I've already got along with some sweet 15x8 alloys) not gonna bother trying to tidy it up, it's pretty rough and I kinda like it like that. Eventually kit it out as a camper but lada takes priority over this. Check this flash Shit out, Still works too!4 points
-
Sold. The car is going to the British car museum in Hawkes Bay. If anyone happens to see it on its journey up in the next week or when its in the museum feel free to post pictures. Happy to have it going to a good home.4 points
-
http://www.pirate4x4.com/forum/shop-tools/2530753-400-cdn-cnc-plasma-table.html3 points
-
Swapped the 175/50/13 yokohamas onto the starsharks. It's so slammed now haha. It's also nicer to drive in most ways because it sits at slightly higher revs, apart from high speed cruising which still isn't too bad. Speedo is waaaay out now though!3 points
-
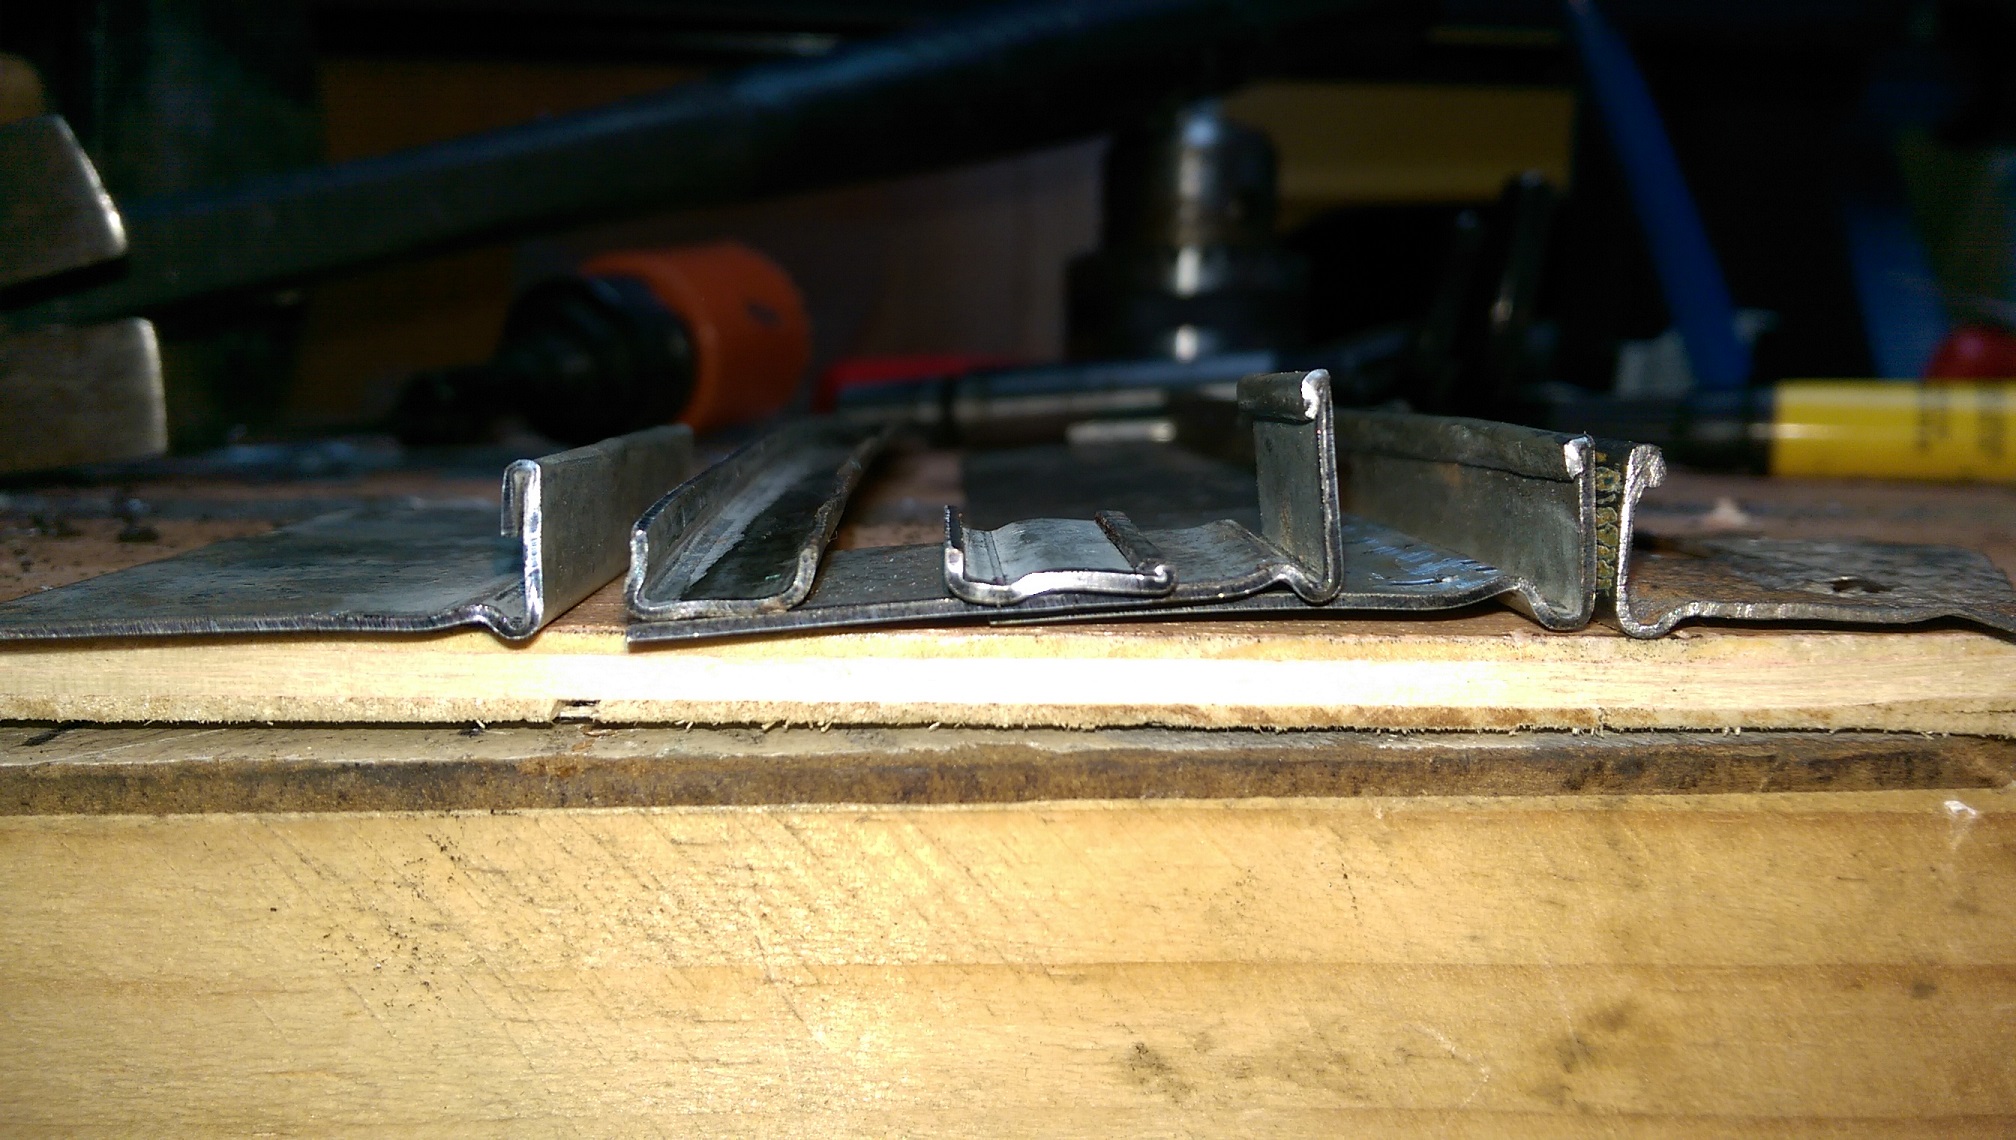
Only took five attempts. The one on the right is the rusty original. 2nd from right is the closest I could get it. I made the up-bump on the bottom by bending it 90 degrees, then trying to un-bend it again. To do the folded over lip, I used a 8mm plate as an anvil and hammered the edge over, then kept hammering until I got it flat. I also made it long enough so I have enough for the other side of the car.
2 points
-
.056 or 1.4mm wasnt big enough , went to 1.5 as have no drills between 1.4 and 1.5 ( nothing imperial , no number drills or gauge drills... need actual jet drills ) ... it was slightly on the rich side ... drove sweet when hot but still stuttery when cold... might have a bung plug after all that... will throw plugs at it this week and see what happens... if it fixes all my problems i might have to kick myself in the face2 points
-
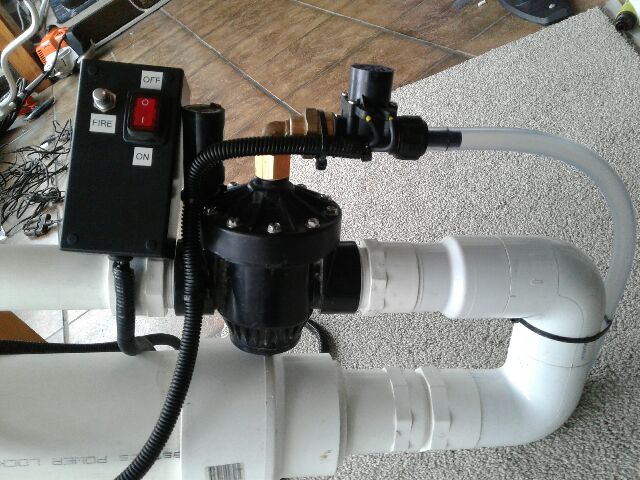
Instead of having to fire the "bait launcher 240" (240 because thats how many meters the frozen sinker that i made went) by squeezing an air gun, that was attached to the top of the irrigarion valve, that I built earlier, I decided to make a electric trigger system for it. Used a 24 volt solenoid and a couple of switches. Works wonders. Just about blew the window out of my conservatory with the 80 psi I had in it.
2 points
-
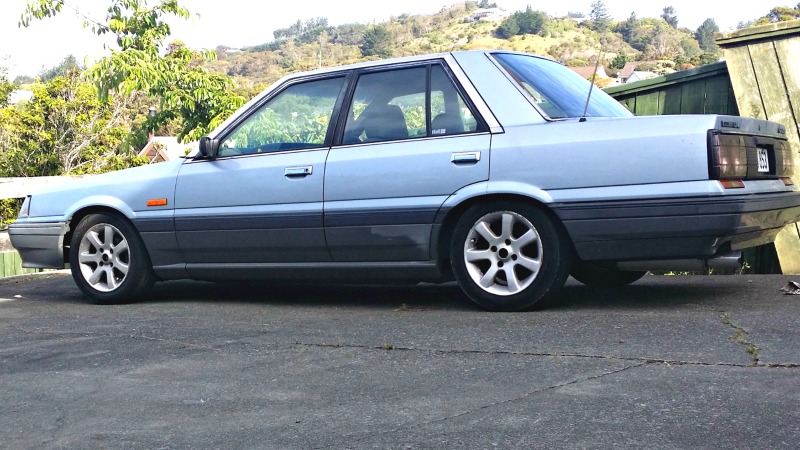
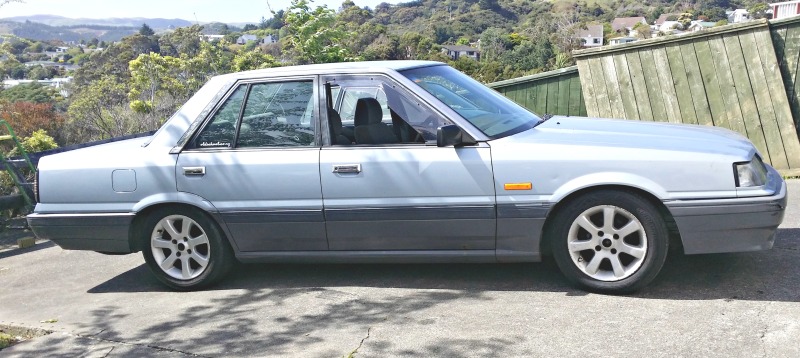
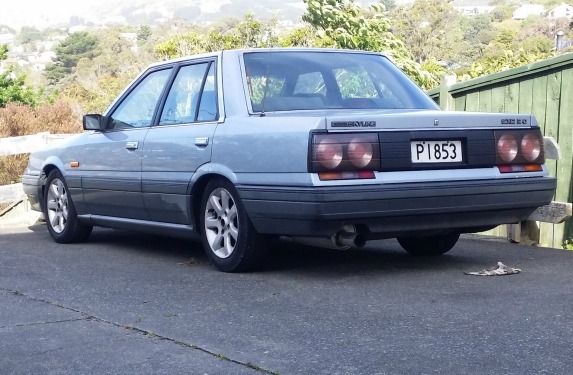
So its Labour day and I have a low R31. 1.5 coils removed from front and adjustables in the rear. Still rides decent enough too.
2 points
-
today i bolted it all together and set it up as best i could with a tape measure and a straight edge and then i drove it. the car is transformed. no more diving when the road has undulations and the steering is heaps lighter too. tomorrow im going to try and get the settings better but its pretty good now. im definitely calling this a win. i didn't take any pictures because im useless.2 points
-
experiments with scrub radius. so the front end is less than perfect with the 245s on the front and a really positive scrub radius its pretty twitchy. i couldn't get the wheel any closer to the strut, its basically touching now. i started thinking about the clevis type mounting of the strut that lots of modern stuff has. that design would allow me to move the wheel inboard and decrease the scrub radius right? so, choose one that has lots of parts available and is really well supported by aftermarket shit. S15. parts for days. so i bought some S15 front hub carriers and LCAs and had a bit of a measure. straight away its clear that the Nissan design moves the ball joint 30mm closer to the centre line of the tire. whilst all other things remain basically the same. win. on first inspection it looked like it could work. there were a couple of things that might throw a spanner in the works but i rang the guys at Techno Toy Tuning and they could supply me with a fabricated lower control arm that would bolt into the AE86 crossmember and have the right balljoint taper for the S15 hub. good. so with a bit of fucking around i amassed the following parts that in theory would all come together seamlessly to make it work, S15 hubs S15 Tein coilovers MX70 cresseda inner tie rods TTT LCA's made to adapt S15 to celica/AE86 (ring them, they make heaps of them apparently) complete with castor arms stock S15 tie rod ends bolt it all together then attach it to a celica and it all fits. bump steer measured at +2mm from ride height to full bump and + 2mm from ride height to full droop. a total travel of 140mm and a total toe change of 2mm positive. that will do me just fine. have i fixed the scrub radius? well its all theory at this point because i only trialed it today. i need to get the struts rebuilt and find the bracket that came with my front brakes that will bolt my calipers to the S15 hubs. but, the ball joint is 30mm closer to the centreline of the tire. at 2 degrees camber the strut top is much closer to the center of the car that it was before. when you draw it all that change in line angle makes a big difference. also there is now a 20mm gap between the strut and the wheel so i could move the wheel in by 20mm and decrease the scrub radius even further if i need to. im calling it a win. im going to get the struts rebuilt and find the brackets then bolt it all in and see what happens. here are some random pictures of things. 2017-09-30_04-59-07 by sheepers, on Flickr 2017-09-30_04-58-57 by sheepers, on Flickr 2017-09-30_04-58-39 by sheepers, on Flickr 2017-09-30_04-58-30 by sheepers, on Flickr 2017-09-30_04-58-21 by sheepers, on Flickr 2017-09-30_04-58-05 by sheepers, on Flickr2 points
-
I was thinking about various options to make the seat situation better as it has always been shit. The arse of it was saggy and one time I was hoofing it up a hill when it had the good engine in it and the seat back broke. When I fixed it I mucked around with the springs to de sag it a bit but it ended up very uncomfortable as you end up sitting on your tailbone which hurts after 20min driving. I was thinking about putting some late model seats out of something else but didn't want it to look dumb. So I pinched the seats out of the plymouth and aside from the hooks for the rear seat back being in a different spot they fit straight in, I had to take the seatbelts out because the seat goes slightly further back and hit the retractors- I put static lap and diagonal belts in instead which I also got out of the plymouth. Interior is now mostly black so I think I'll vinyl dye the door cards black as well. I forgot to take pics apart from cletus Jr acting the goose
1 point
-
Wish the garage had been this clean when I was working on the car here1 point
-
Well just when you thought i couldn't finish my current projects, i thought why not add another! Discussion click here So here is my 1972 Vauxhall Viva Estate. Last registered in 2012 and been off the road since. It use to have the stock 1259cc but that has since been removed. A bit of a special car too, being the first in NZ with plate number 1. The previous owner has spent a lot of time and effort in getting the new motor built up. Its a Blydenstein 1259cc (1.3L now) and lets just say its not stock anymore. Heres how the car sat when it was on the road: Stay tuned in the coming weeks1 point
-
this is actually barry genius*, its easy to work and shape holes to suit, and dead flat when installed, will insulate from heat soak and over time will expand to fill any gap and prevent airleaks. *Untill it catches on fire1 point
-
Ooooohhhhh shit yeh. These give me a semi. Colour is perfect and will look so rad with big tyres!!1 point
-
Oh hey, this thread has photos again! Unfortunately, this post doesn't bear a whole lot of good news. The venerable Escort has been doing daily duties for a year, the new engine is sweet, and goes as well as can be expected from a 1300 Kent. But... Sadly, it failed it's WOF last month on rust in the L/H A and C pillars. So after being inspired by @Hurmeez efforts in rust repair on his Mk2 i figured it was time to start digging at the rust. Over the long weekend, I watched more and more of my Escort disappear into dusty piles on the floor... It started off so nice. After removing layers of bathroom sealant from behind the dash, I found a small hole in the inner guard, by the firewall seam. Figuring this was the rust the WOF man was talking about, I decided it would be fairly easy to patch with the front guard removed. After drilling out the spot welds along the upper guard seam and watching most of the headlight surrounds disappear into thin air, I found the centimetres of bog in the front valance, and after the guard came off, the dodgy looking bits at the top and bottom of the A pillar. At this point there was no going back, so out came the poky screwdriver (with results illustrated below): This is the bottom of the passenger's A pillar. The driver's side isn't as bad, it only has a hole in the pillar, the sill on that side looks intact (at the moment, anyway) After finding the fist-sized hole in the floor, I threw caution into the winds and attacked any other dodgy-looking bit of the car I could find. This is the rear wheel arch, which looks like it's had a repair in the past and has continued rusting. There are a couple of small holes in the driver's A pillar section, and the guard seam is pretty sad. The heater bubble has yet to come off, but there is serious work there too judging by the holes around the base of it... This was Dad's contribution: leaving Psychedelic Furs lyrics on my car while my back was turned... So yeah. I've never tackled any kind of rust or metal forming on this level before, so any tips and advice are greatly appreciated! Discuss/offer advice/sharns/tell me it's fucked here:1 point
-
Running! Video here: Watch 125cc Lifan in Chaly go Brrrrrap. Time to tidy up the loom and get her all run in before Raglan.1 point
-
Ive also been doing mechanical stuff too, new engine mounts (and transmission mount too), they were all soft and bung, so should tighten everything up alot. got carried away, some rustoleum spray paint i got to try is not a match to the body so trying to use it up... New Starting reassembly, (after a waterblast and lots of degreaser!) incl new shaft seals to hopefully keep the oil inside. New waterpump , tensioner fitted and cambelt to go on too I dont have a crank nose seal so thats ordered for next week, so stuck here for now Also - Drained the radiator and removed it , cleaned out out the overflow (gross) , - drained the engine oil (gross) and filter, - checked the gearbox oil (way overfull, but clean), - drained the diff oil (gross) and removed the passenger side axle to replace the leaky seal but the 125 seals (30*48.6*6) wont fit, but 124 ones do (30*45*6) do, so i have them coming next week to finish that off too. The diff may therefore be a 124 type with 125 mounts selded on, if so then a Russian LSD could be a goer at some point. Tomorrow im heading up to storage to get rid of some stuff and bring some back down, will grab my 34DMS carb as the one on there is still leaking gas pretty bad even tho it works quite well otherwise, and will remove the mechanical pump that the electric one pumps into, that also leaks.1 point
-
Bog, is boring so skipped ahead abit, the spare door cards were in the way, so sapped them over. This is what i had, which were ok apart from the massive holes and wobbles. And this is what ive got, 2x passenger side 125S (for Special!) door cards, complete with GOLD AND PURPLE trim. Passenger side swapped right in Drivers was a bit more of a mission. I ended up ripping the vinyl off to reverse the door card to reuse the factory holes for the door pop-clips and stuff, but better than before, and thats a job that is now finished! While i was in there I have also - cut down some foam for the underlay - removed the shitty stereo (will probably put a head unit back in with speakers in the kick panels, and gauges under) - removed the heater box - so i could access the hood opening mech (now sorted)1 point
-
Woo hoo, It’s finally time to fill the big gaps in the front of the Rover. Wow its a double post day today! I haven’t spent much time working on the Rover recently, but don’t worry, it’s still here and still loved I have been trying to source a set of good fog lights for the SD1 since I got the car. I got a pair from the previous owner, originally from the car, but both had damaged lenses (one with a hole in it, and the other was properly smashed). The reflectors were also a bit average. One light had been “modified” somewhat too, so that was no good. Finding any, let alone a good pair, was damn near impossible locally but fitting them to the car was fairly important to me. Without the fog lights I was left with just a pair of big gaping holes in the front I finally sourced one good pair of fog lights…. in the motherland, Britain. Thankfully my lovely wife just happened to be in Britain last month for work, so I put two and two together, and got the lights shipped to her and she brought them back in her very overfull luggage. They may or may not have also been the reason her bags were searched by customs…. but we aren’t sure on that They were used lights (I had the option of New Old Stock/NOS ones too, but they were a lot more expensive and harder to justify), and not perfect. One had a very bad reflector. The reflector is made of steel with some super thin reflective coating on it, and over 30+ years the quality British steel has suffered badly. One of the lights that came with the car has a better, but still rusty, reflector. I carefully applied rust converter to the worst areas, but I didn’t want to risk further damage to the reflective coating. This was the reflector I chose to use. So the aim of the game was to take 4 average light units, and make two good units. The replacement lights had lenses fitted; one good and one broken, but the seller included a perfect spare NOS lens. To get the reflector units apart, and remove the lenses, there are small clips holding the stainless surround to the reflector. They’re easy to remove, either lever them out, or preferably, push the long leg down and unhook from the surround. With the clips out the whole lot just comes apart. I replaced the lenses and reflectors and built a good pair. Before fitting the lights I had to actually dig out the wiring for them on the car. I had seen the LH side wires in the past, sitting up on the under tray But the RH side ones were nowhere to be found. I did some digging, after removing some screws on the under tray I found the wires jammed up between the under tray and the front panel. I plugged a spare bulb holder into the wires and tested that it actually worked Success. The light works, but the switch needs rebuilding (like the rear fog switch it doesn’t latch). Even the dash light works The housings are easy to get into place. They have a push-pin on each side and an adjustment screw on the top. You hook one pin in, and using a small blade you push the other pin in whilst slipping the housing into place. Screw the adjuster screw in, and BAM, done. Rinse and repeat on the other side Plug the bulb in, and then the reflector housing pushes into place until it clicks in. Now to fix that switch. Off comes the dash top, and then the button pushes out the front It’s a prick to get at the wiring for the switch though. It’s the big red plug that needs two hands to undo Off comes the cap Pull off the cover and see why the switch doesn’t latch. The latching pin has come adrift thanks to the useless little plastic tab breaking off. Same as with the rear one, I used a small screwdriver heated up with a torch to melt the plastic over and secure the pin into place. Whilst there I also fully stripped and cleaned the contacts, just so I didn’t have to do it again later. They were pretty corroded. Once reassembled…. we have light! And then LIGHTS! I still need to align the lights, and also replace the bulbs with a pair that match. I’m happy already though, looks so much better with the lights in place.1 point
-
.1 point
-
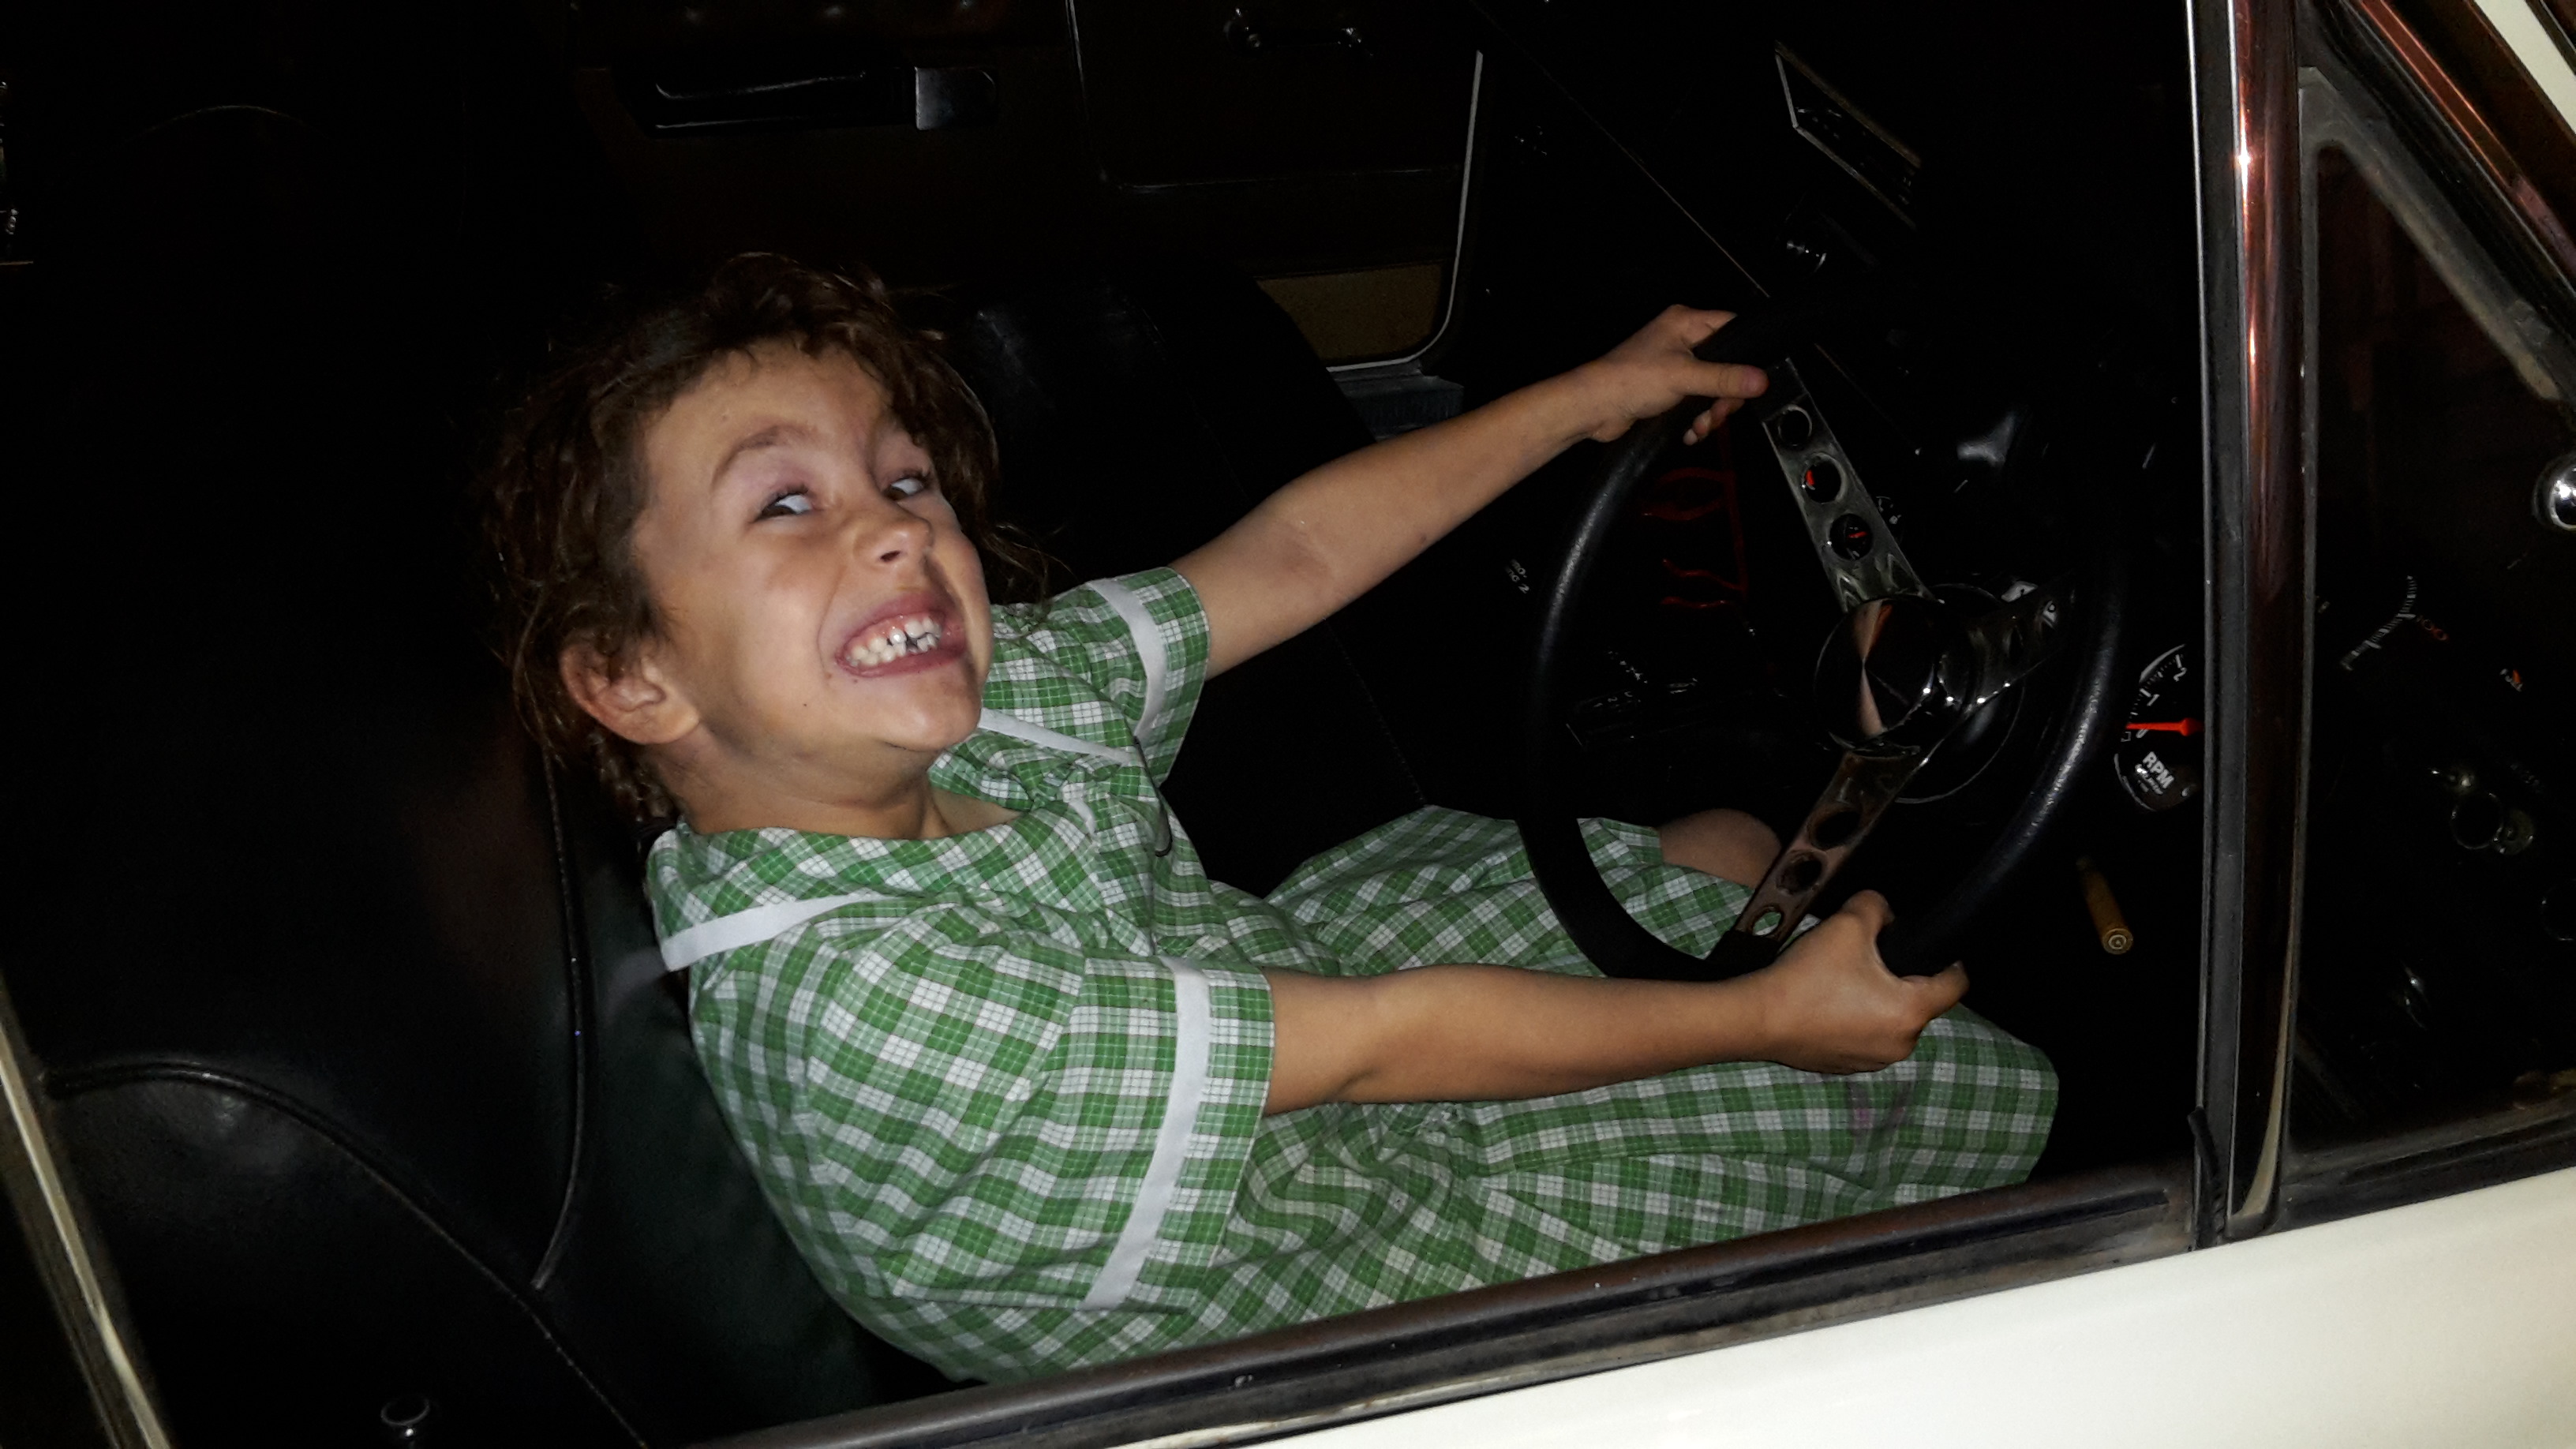
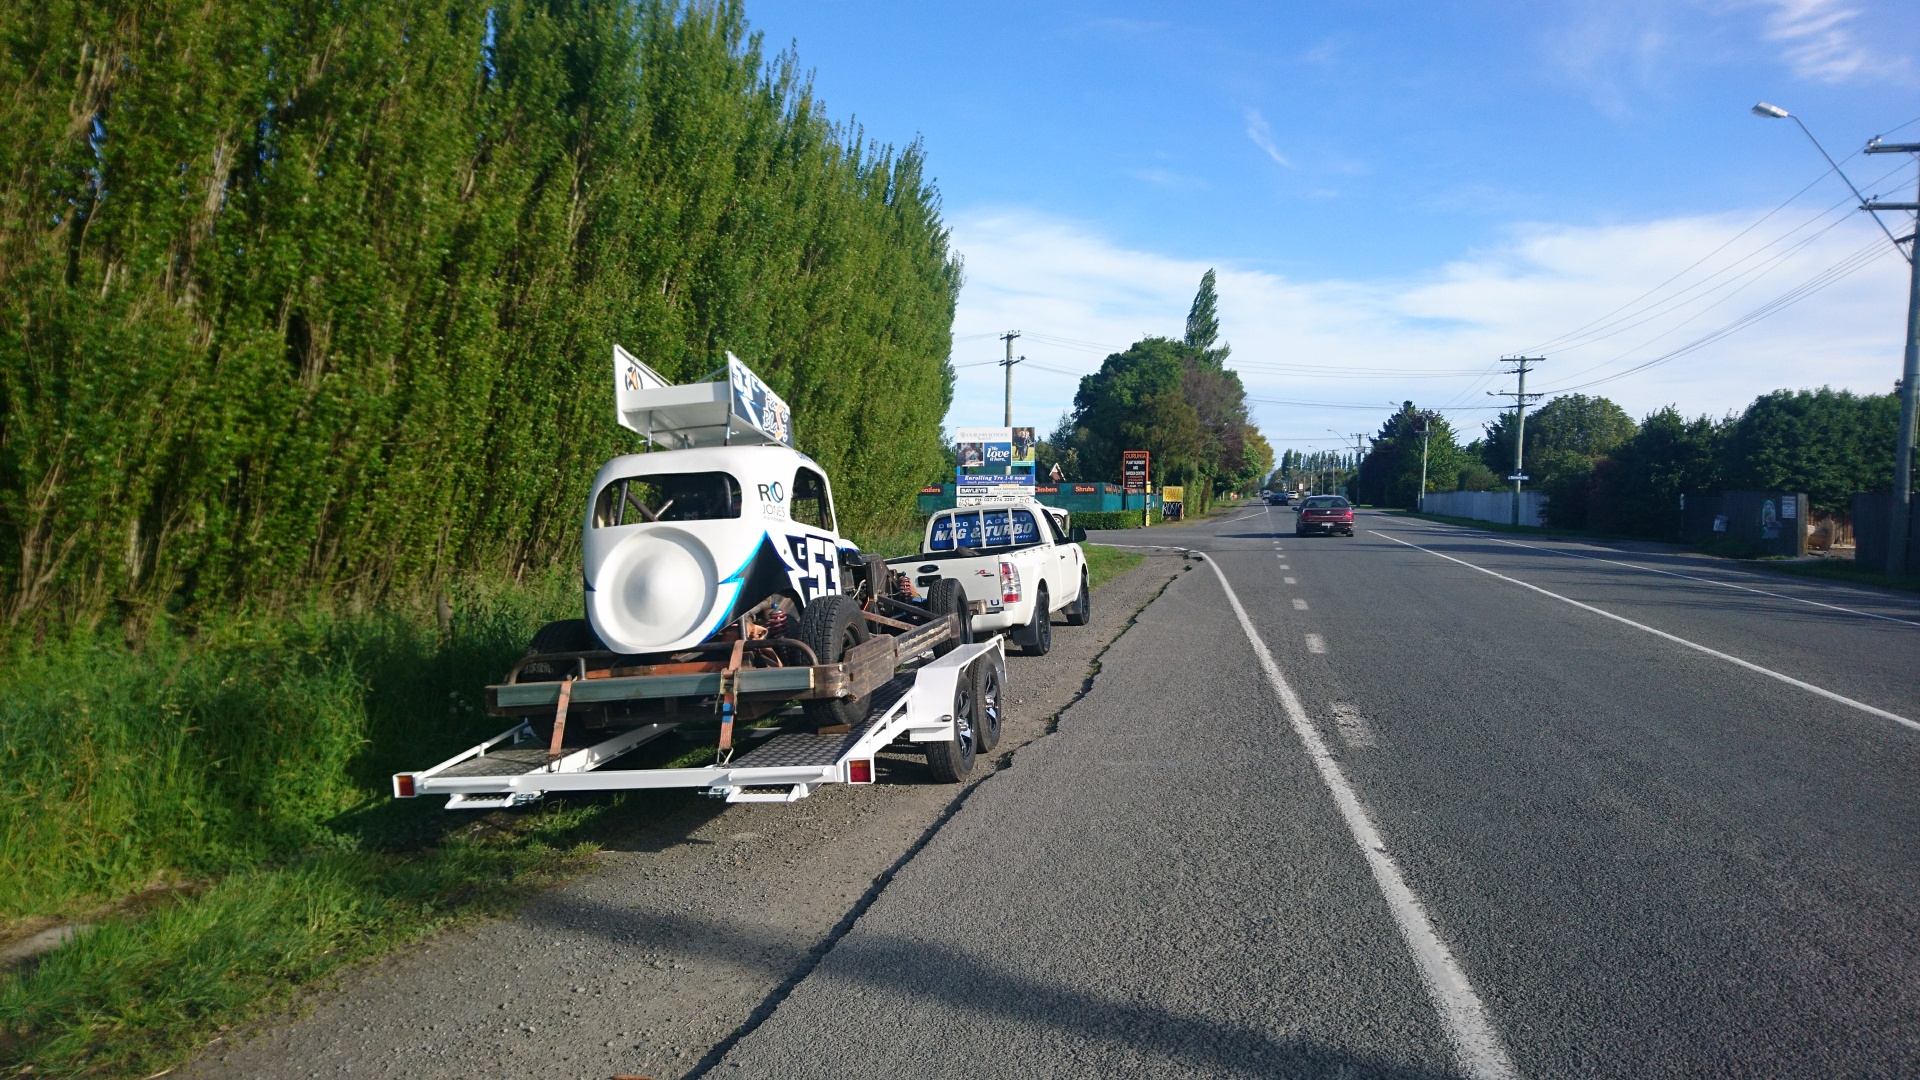
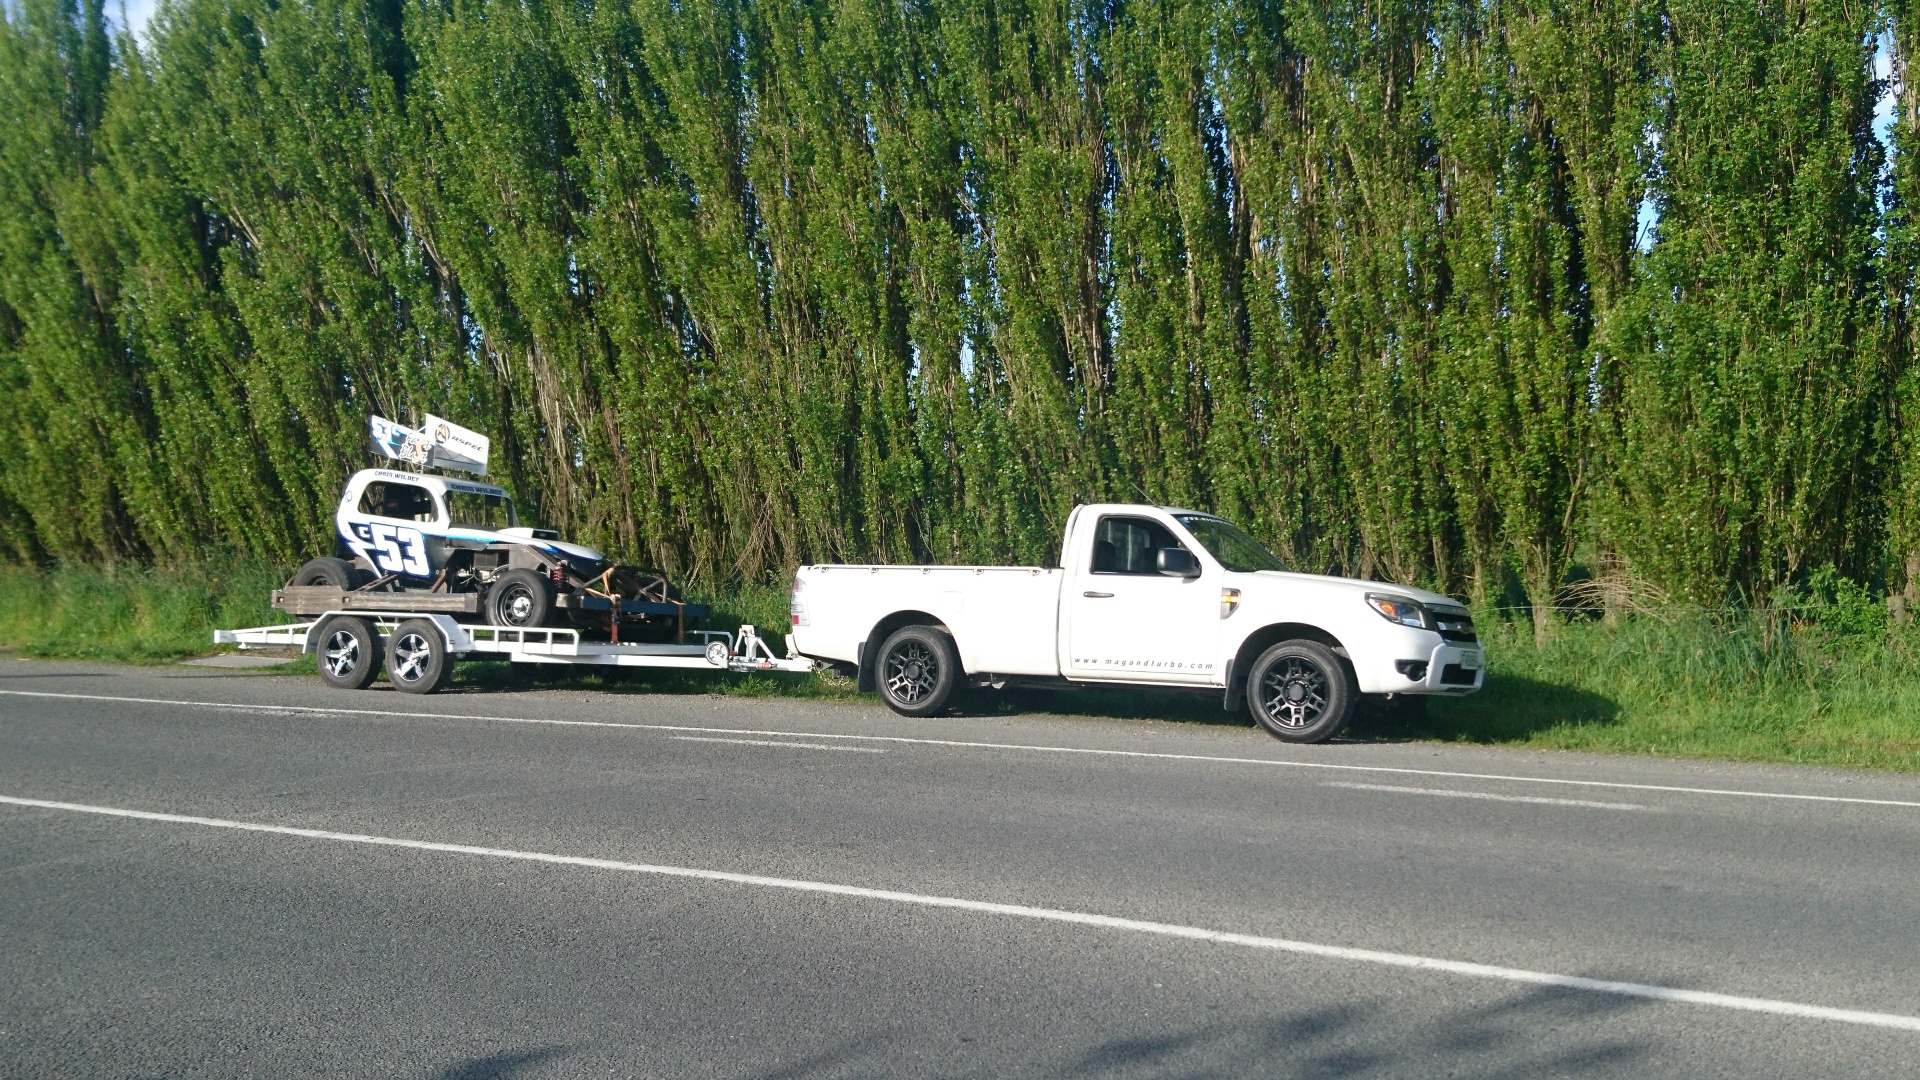
Headed back, loaded up the car. Raring to go for opening night tomorrow night!
1 point
-
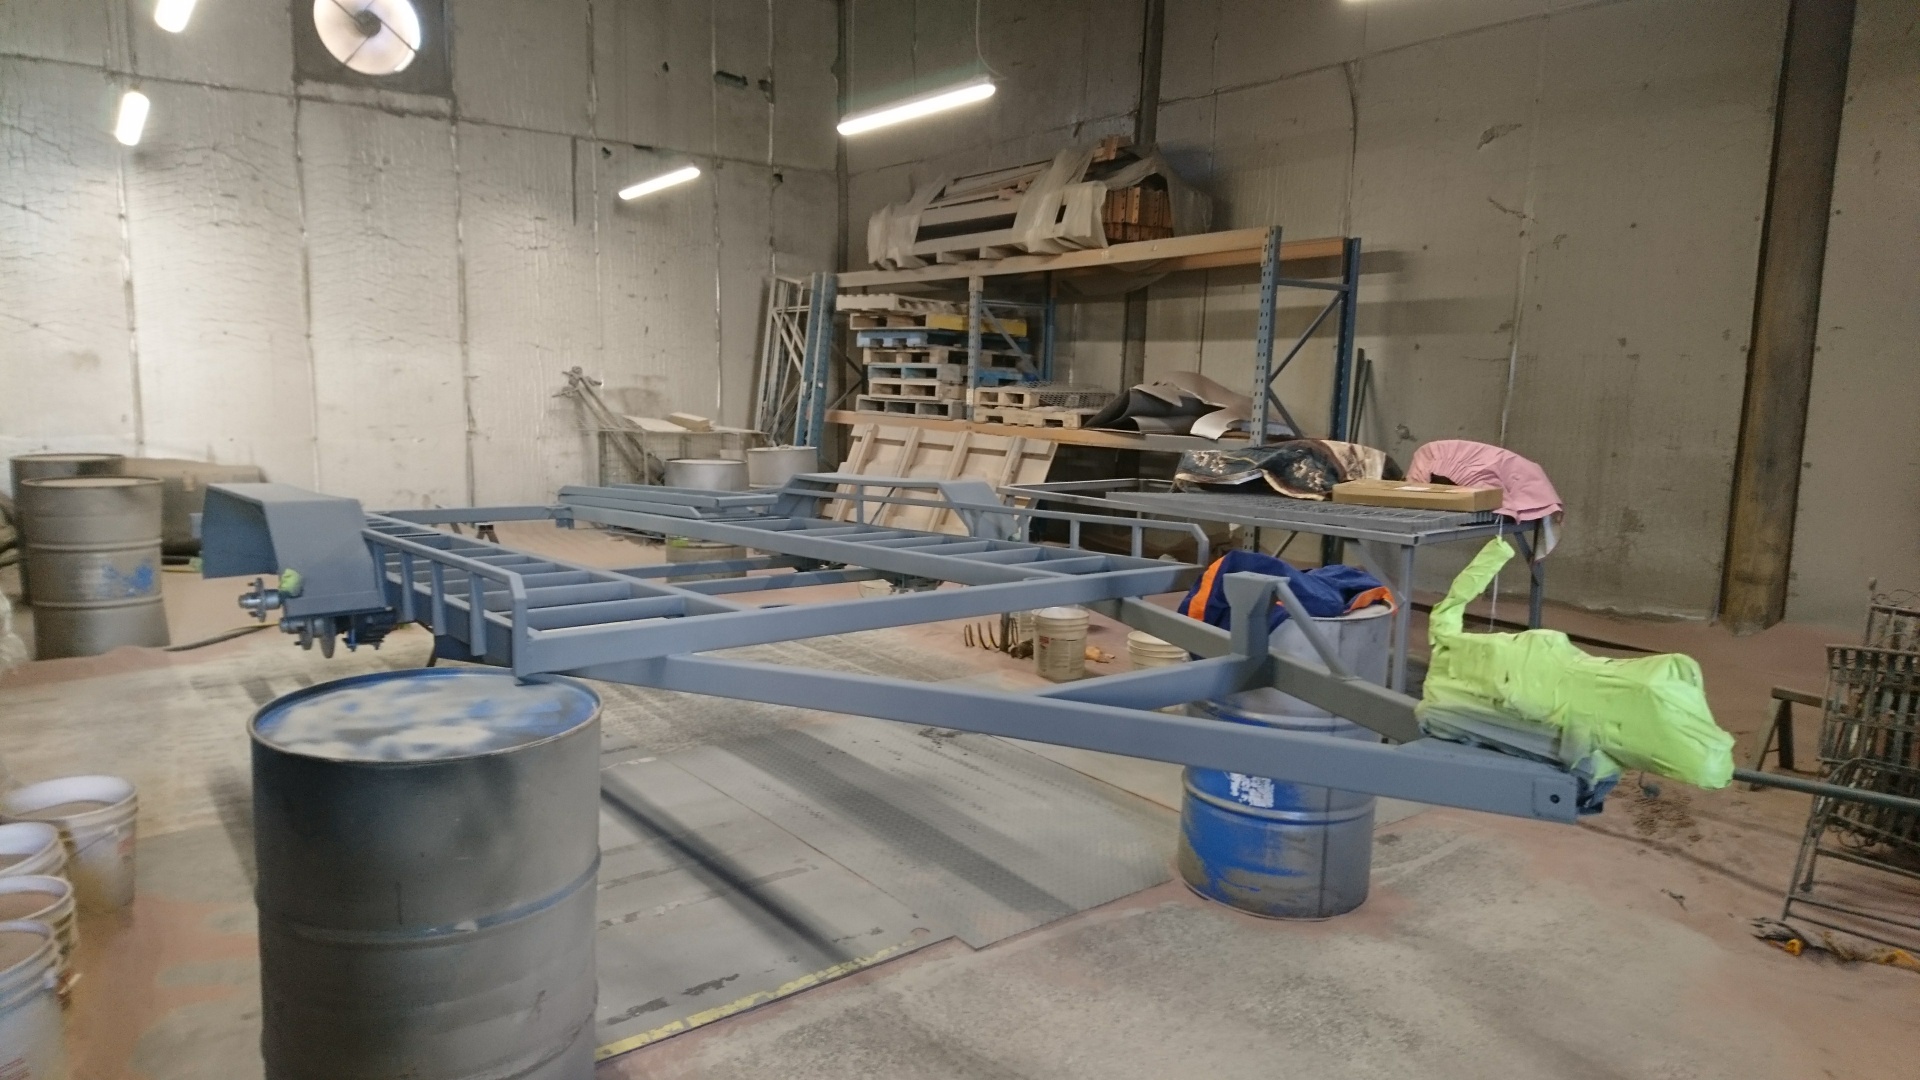
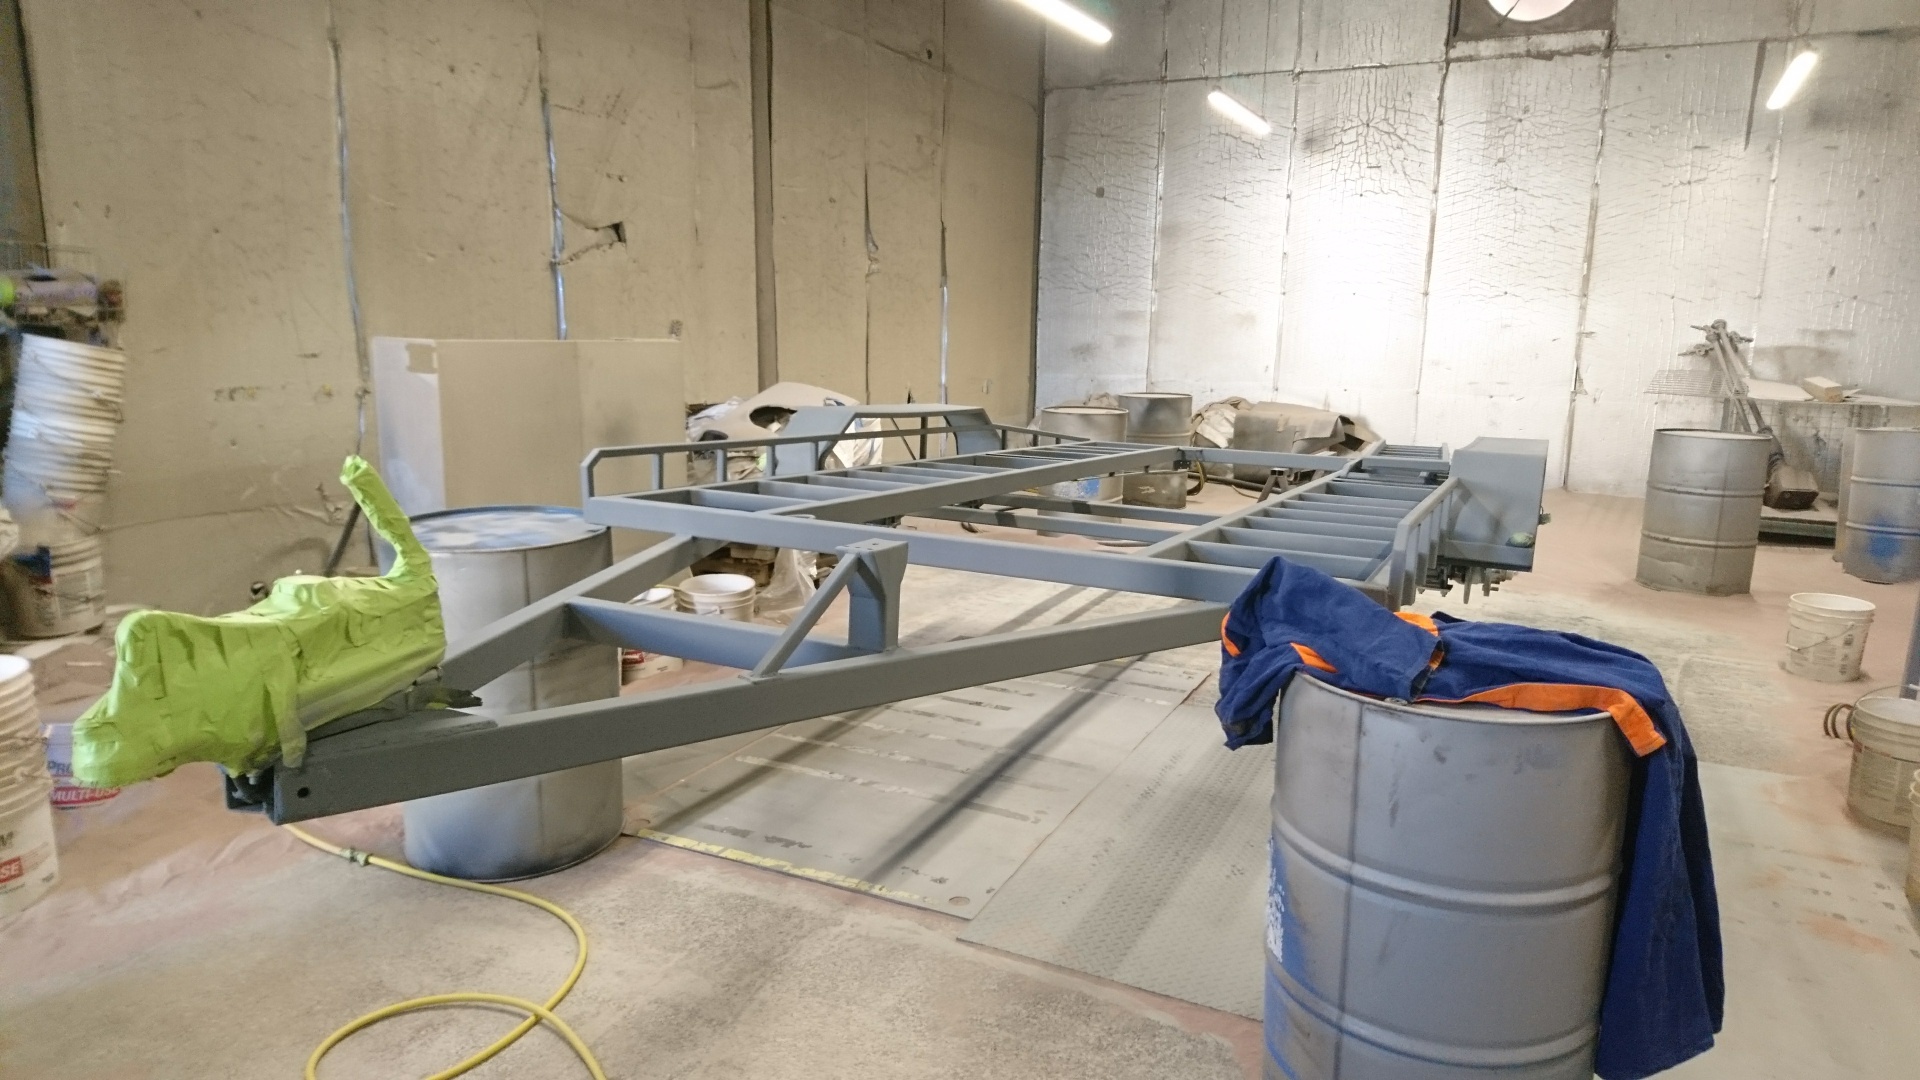
Got a wof, made sure everything was up to scratch before blasting it.. Blaine from Fast Blast kindly Sandblasted the chassis for me, and then together we Primed the chassis, then called it a night
1 point
-
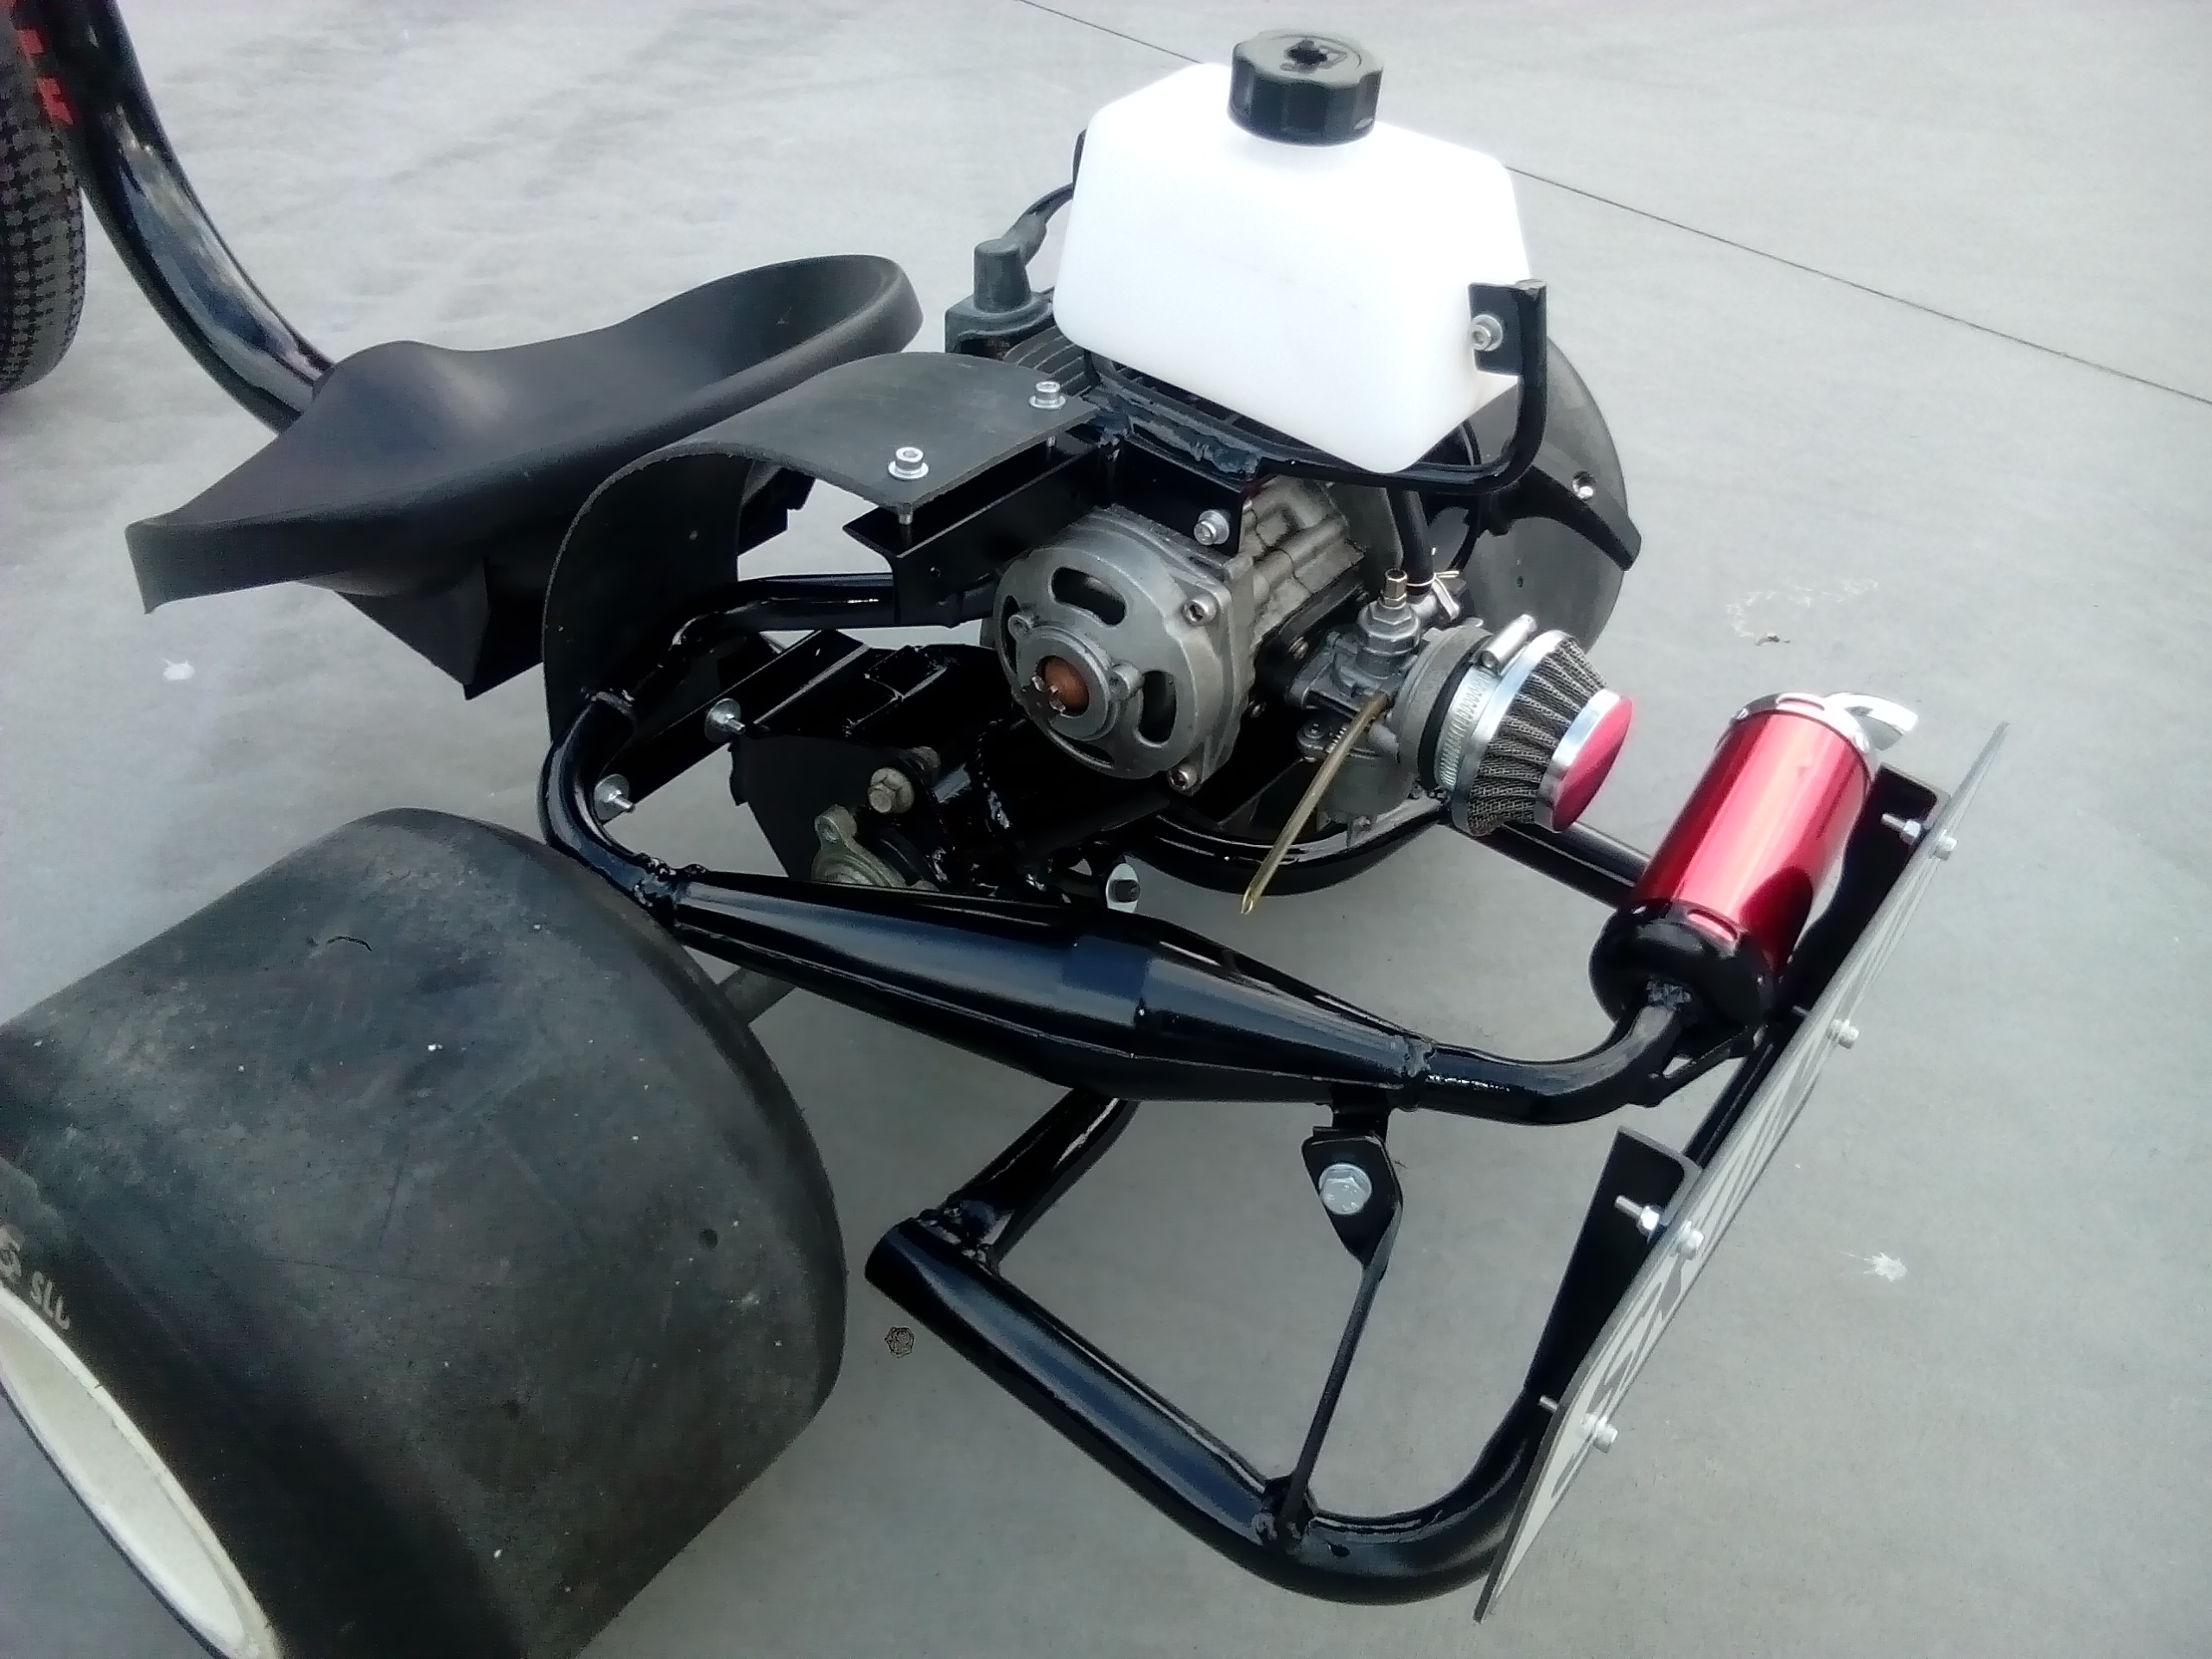
It's alive!!! The motor was built out of left over parts from other such projects...very pleased that it goes so well. It has very high compression so should be good to go!1 point
-
I'll be driving a '98 Toyota Corsa sedan. Leading by example etc. See you there.1 point
-
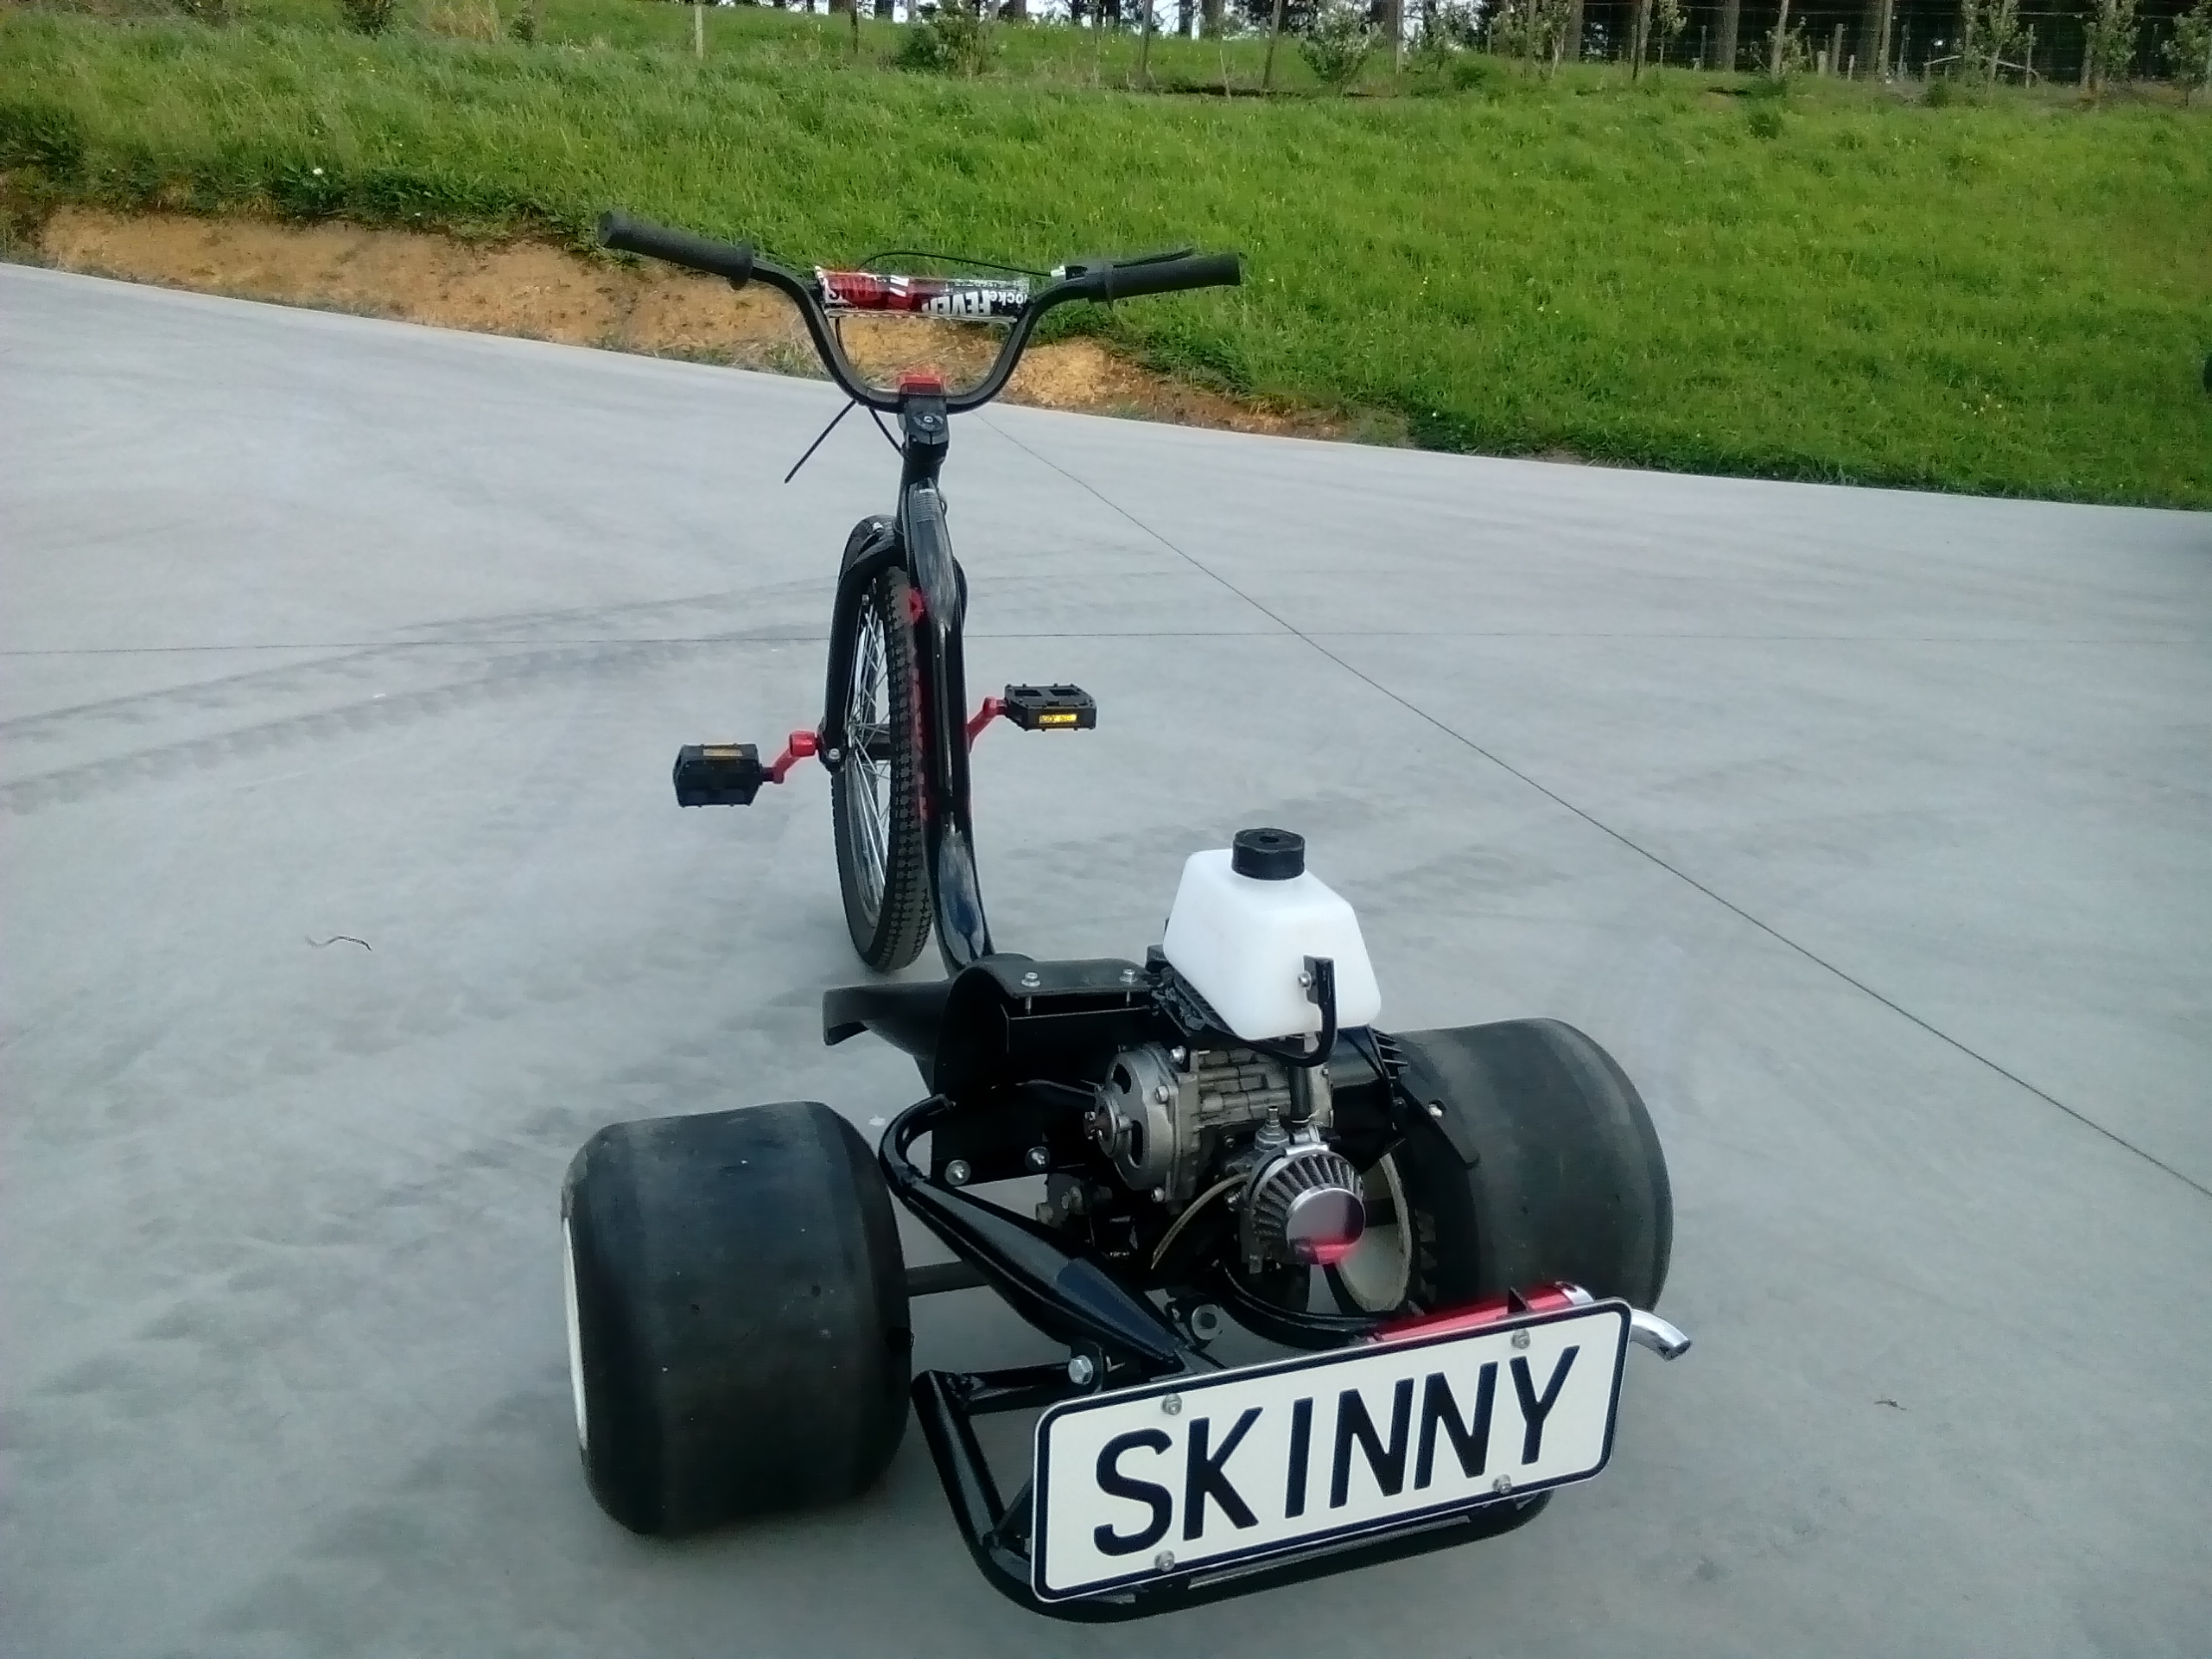
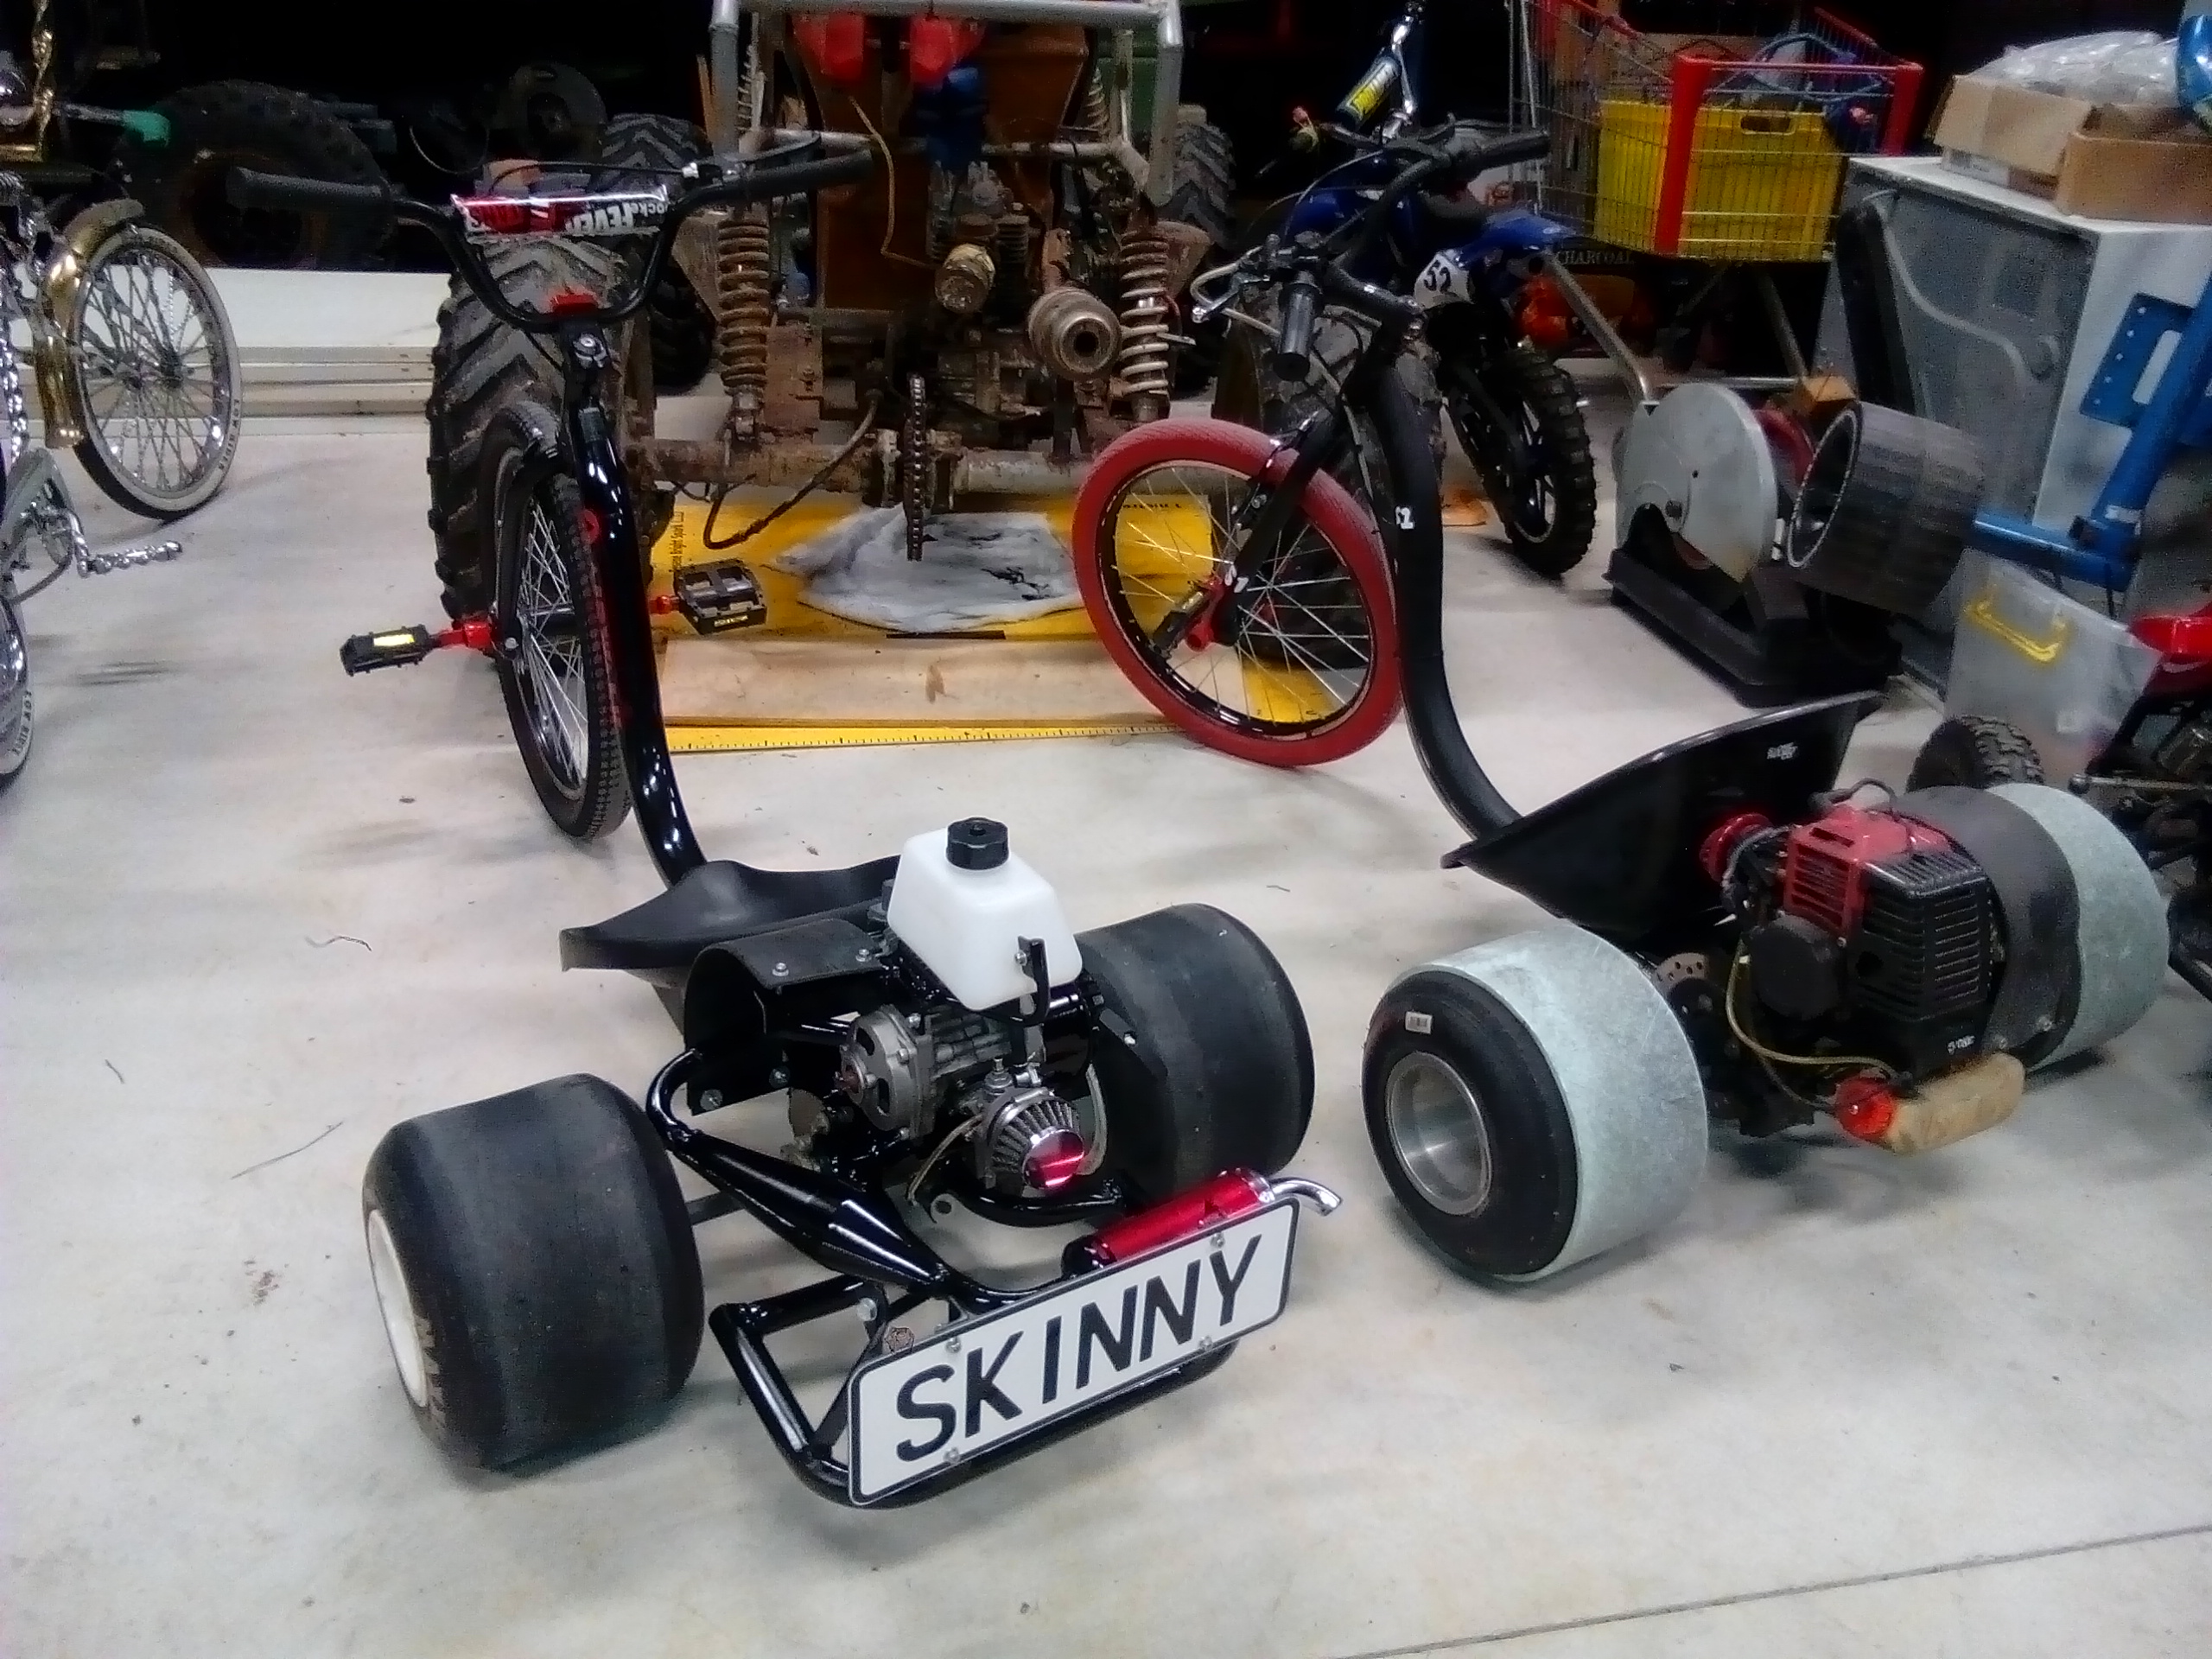
Pretty much finished, just waiting on a sprocket and throttle cable to finish it off. I've made it as a gift for a mate (nickname "skinny"). I already have one, so the only thing better than one is racing your mates on another one. photos:
1 point
-
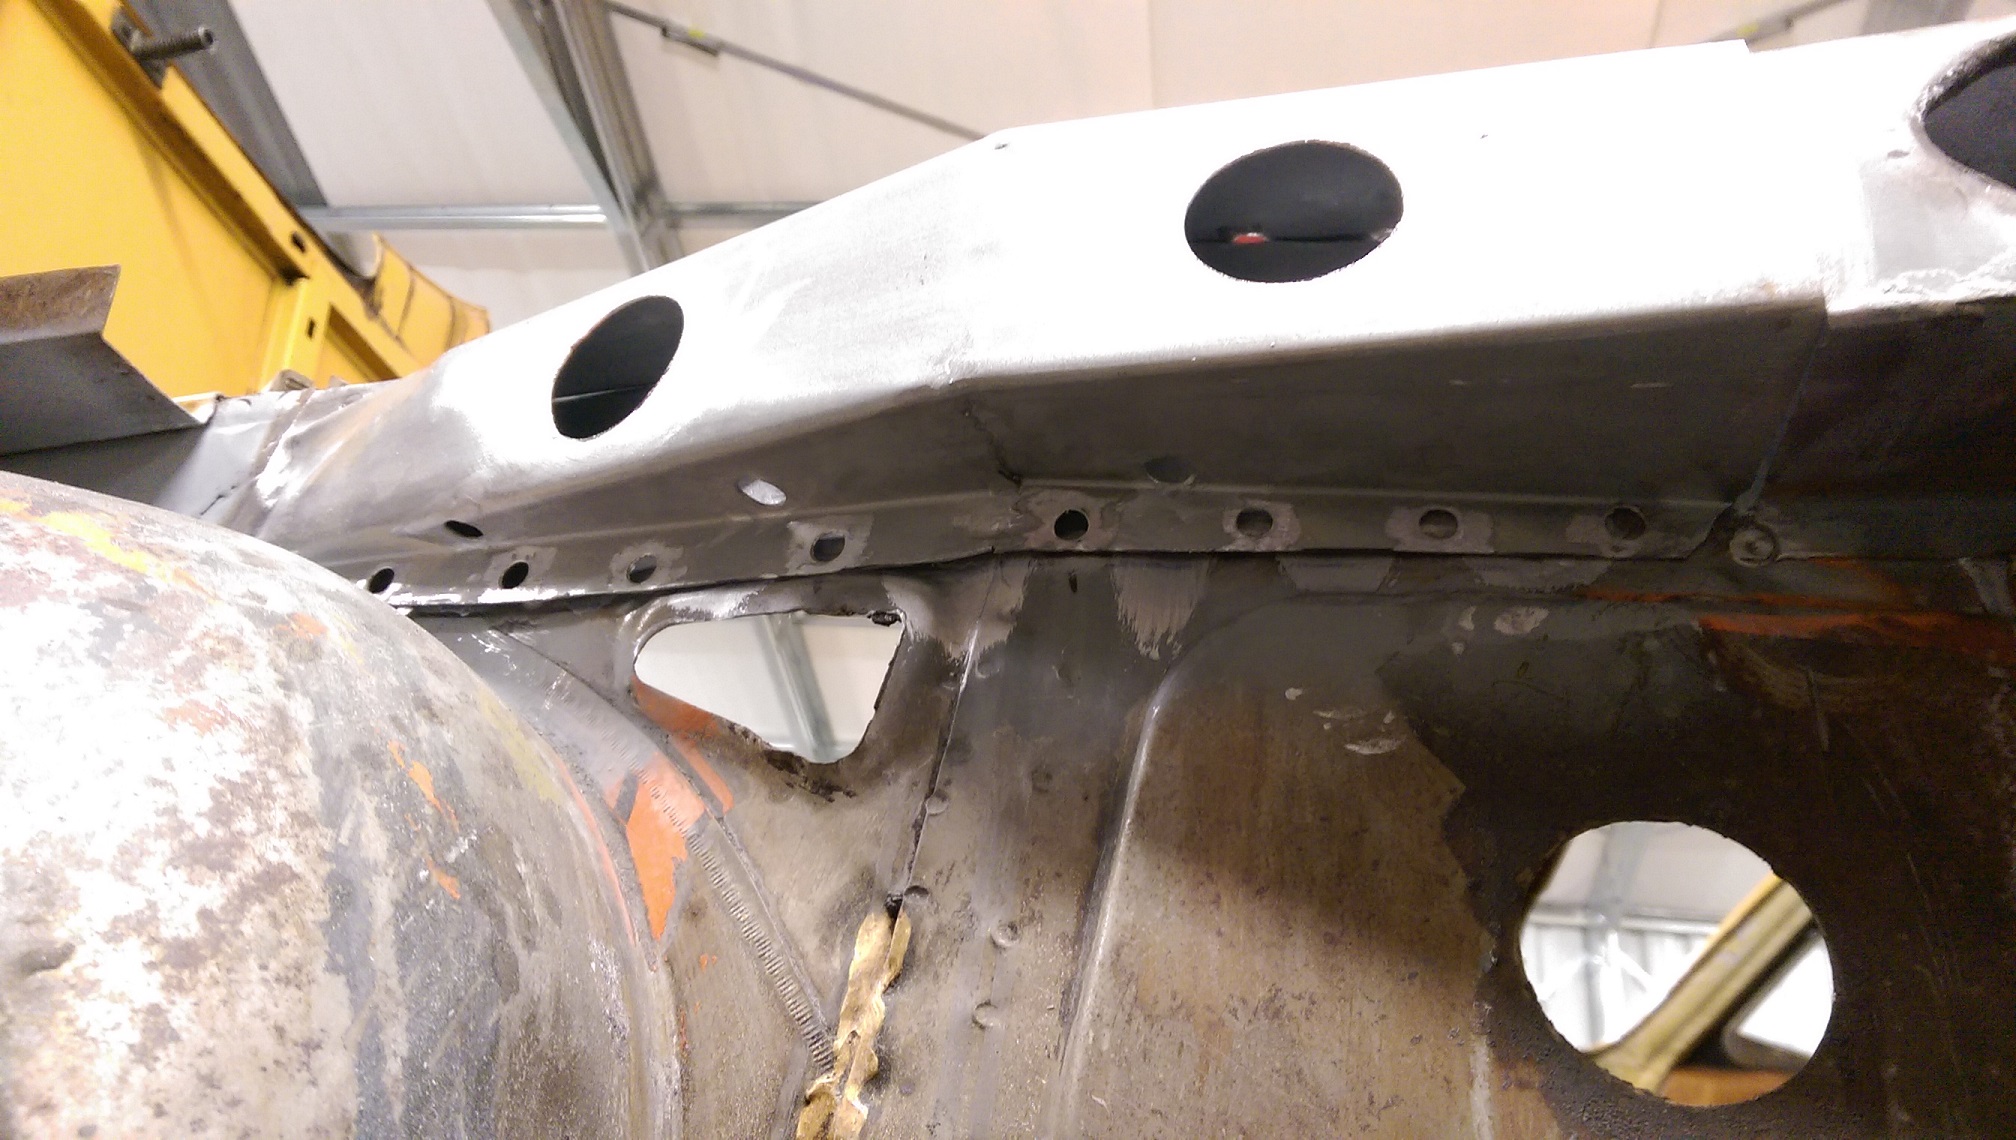
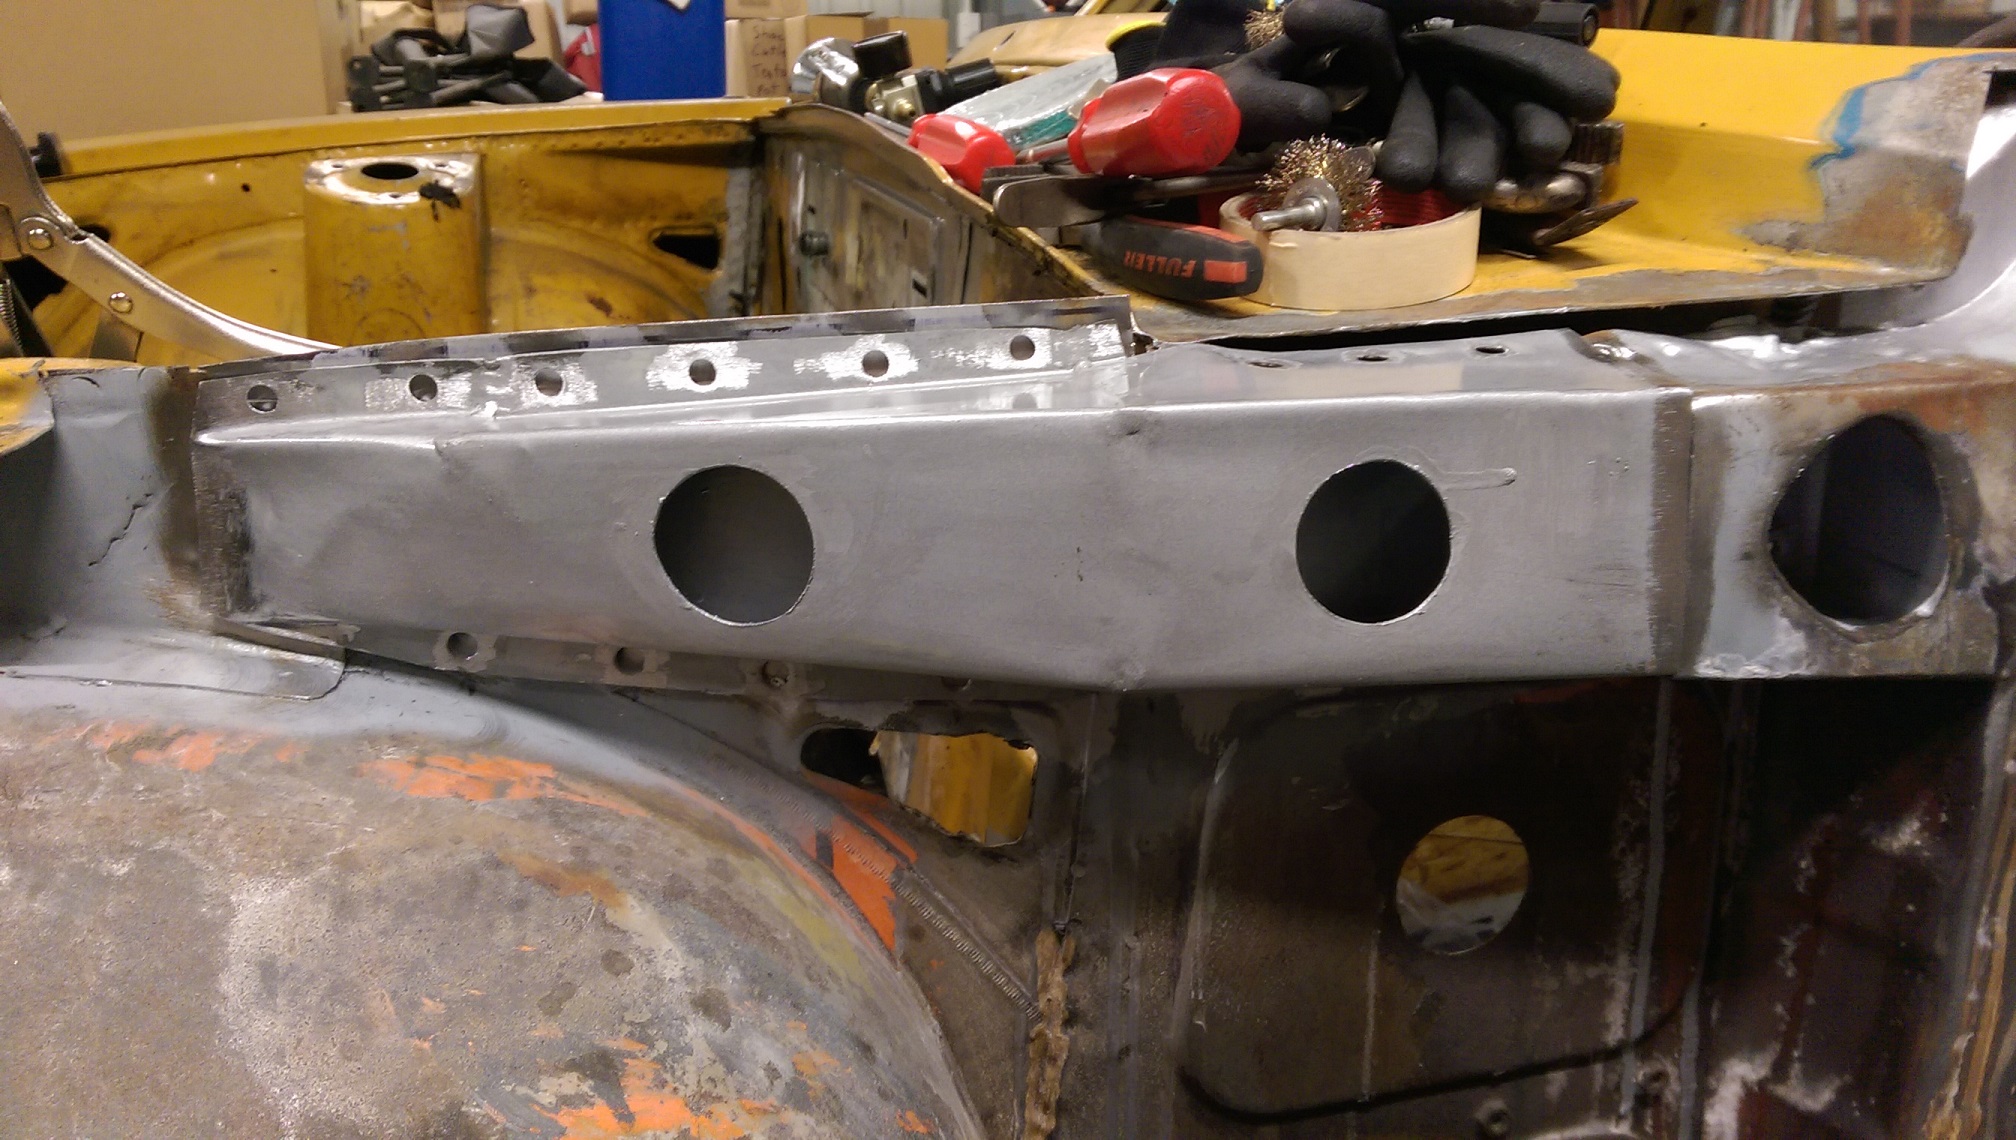
I drilled the spot weld holes and cleaned up where welding is going to happen. I also added some holes so I can stick some more paint in the back of the seams once welded. And just in case, I added some drain holes. The original had a hole in the top, that let water in but no way for the water to get back out, so the bottom rusted out.
1 point
-
Man, it's looking great! I'll chortle if your neighbours ever get jealous, smash their house down and do the same thing - leaving only a hidden brick wall and some concrete from the original structure.1 point
-
Price drop now $4250.001 point
-
c'mer girls!1 point
-
Replaced the front wheel bearings, and it's now all road legal and still owes me sub a thousand. Now the boring bits over time for some fun. Also took it back to the old owner and he said he still has its original black plates and will dig them out so I'll hopefully get them back on the car
1 point
-
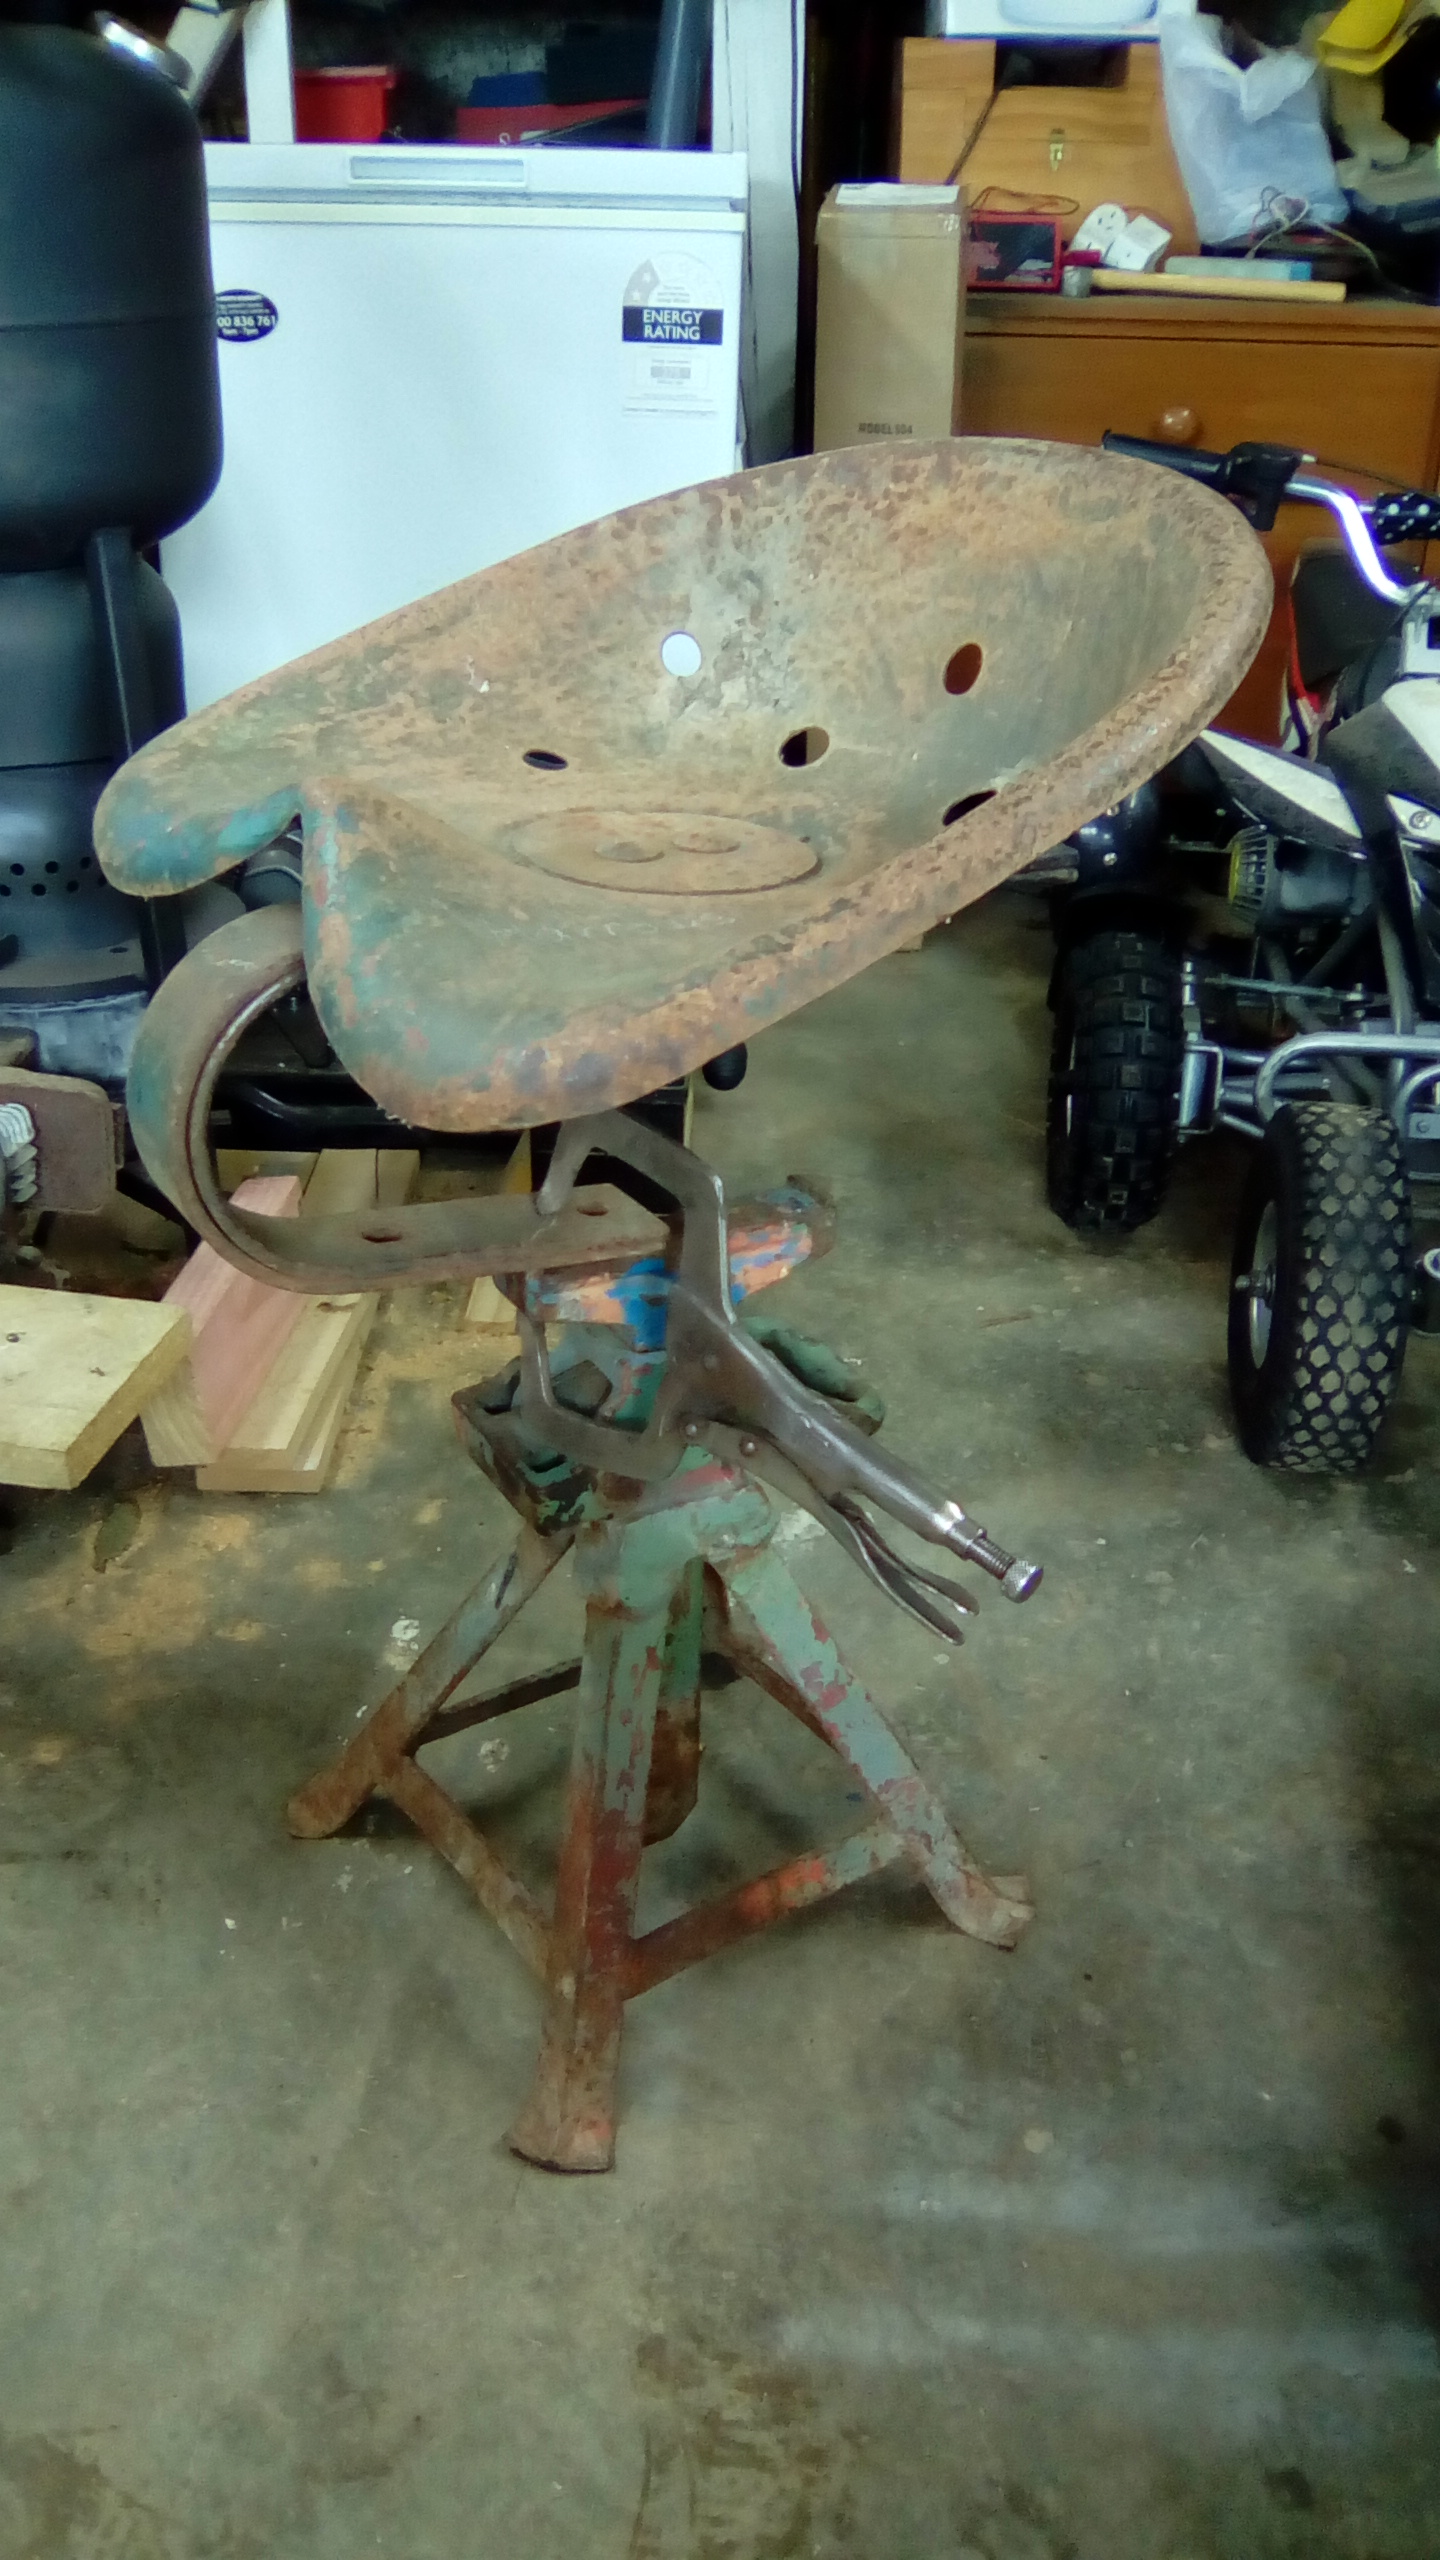
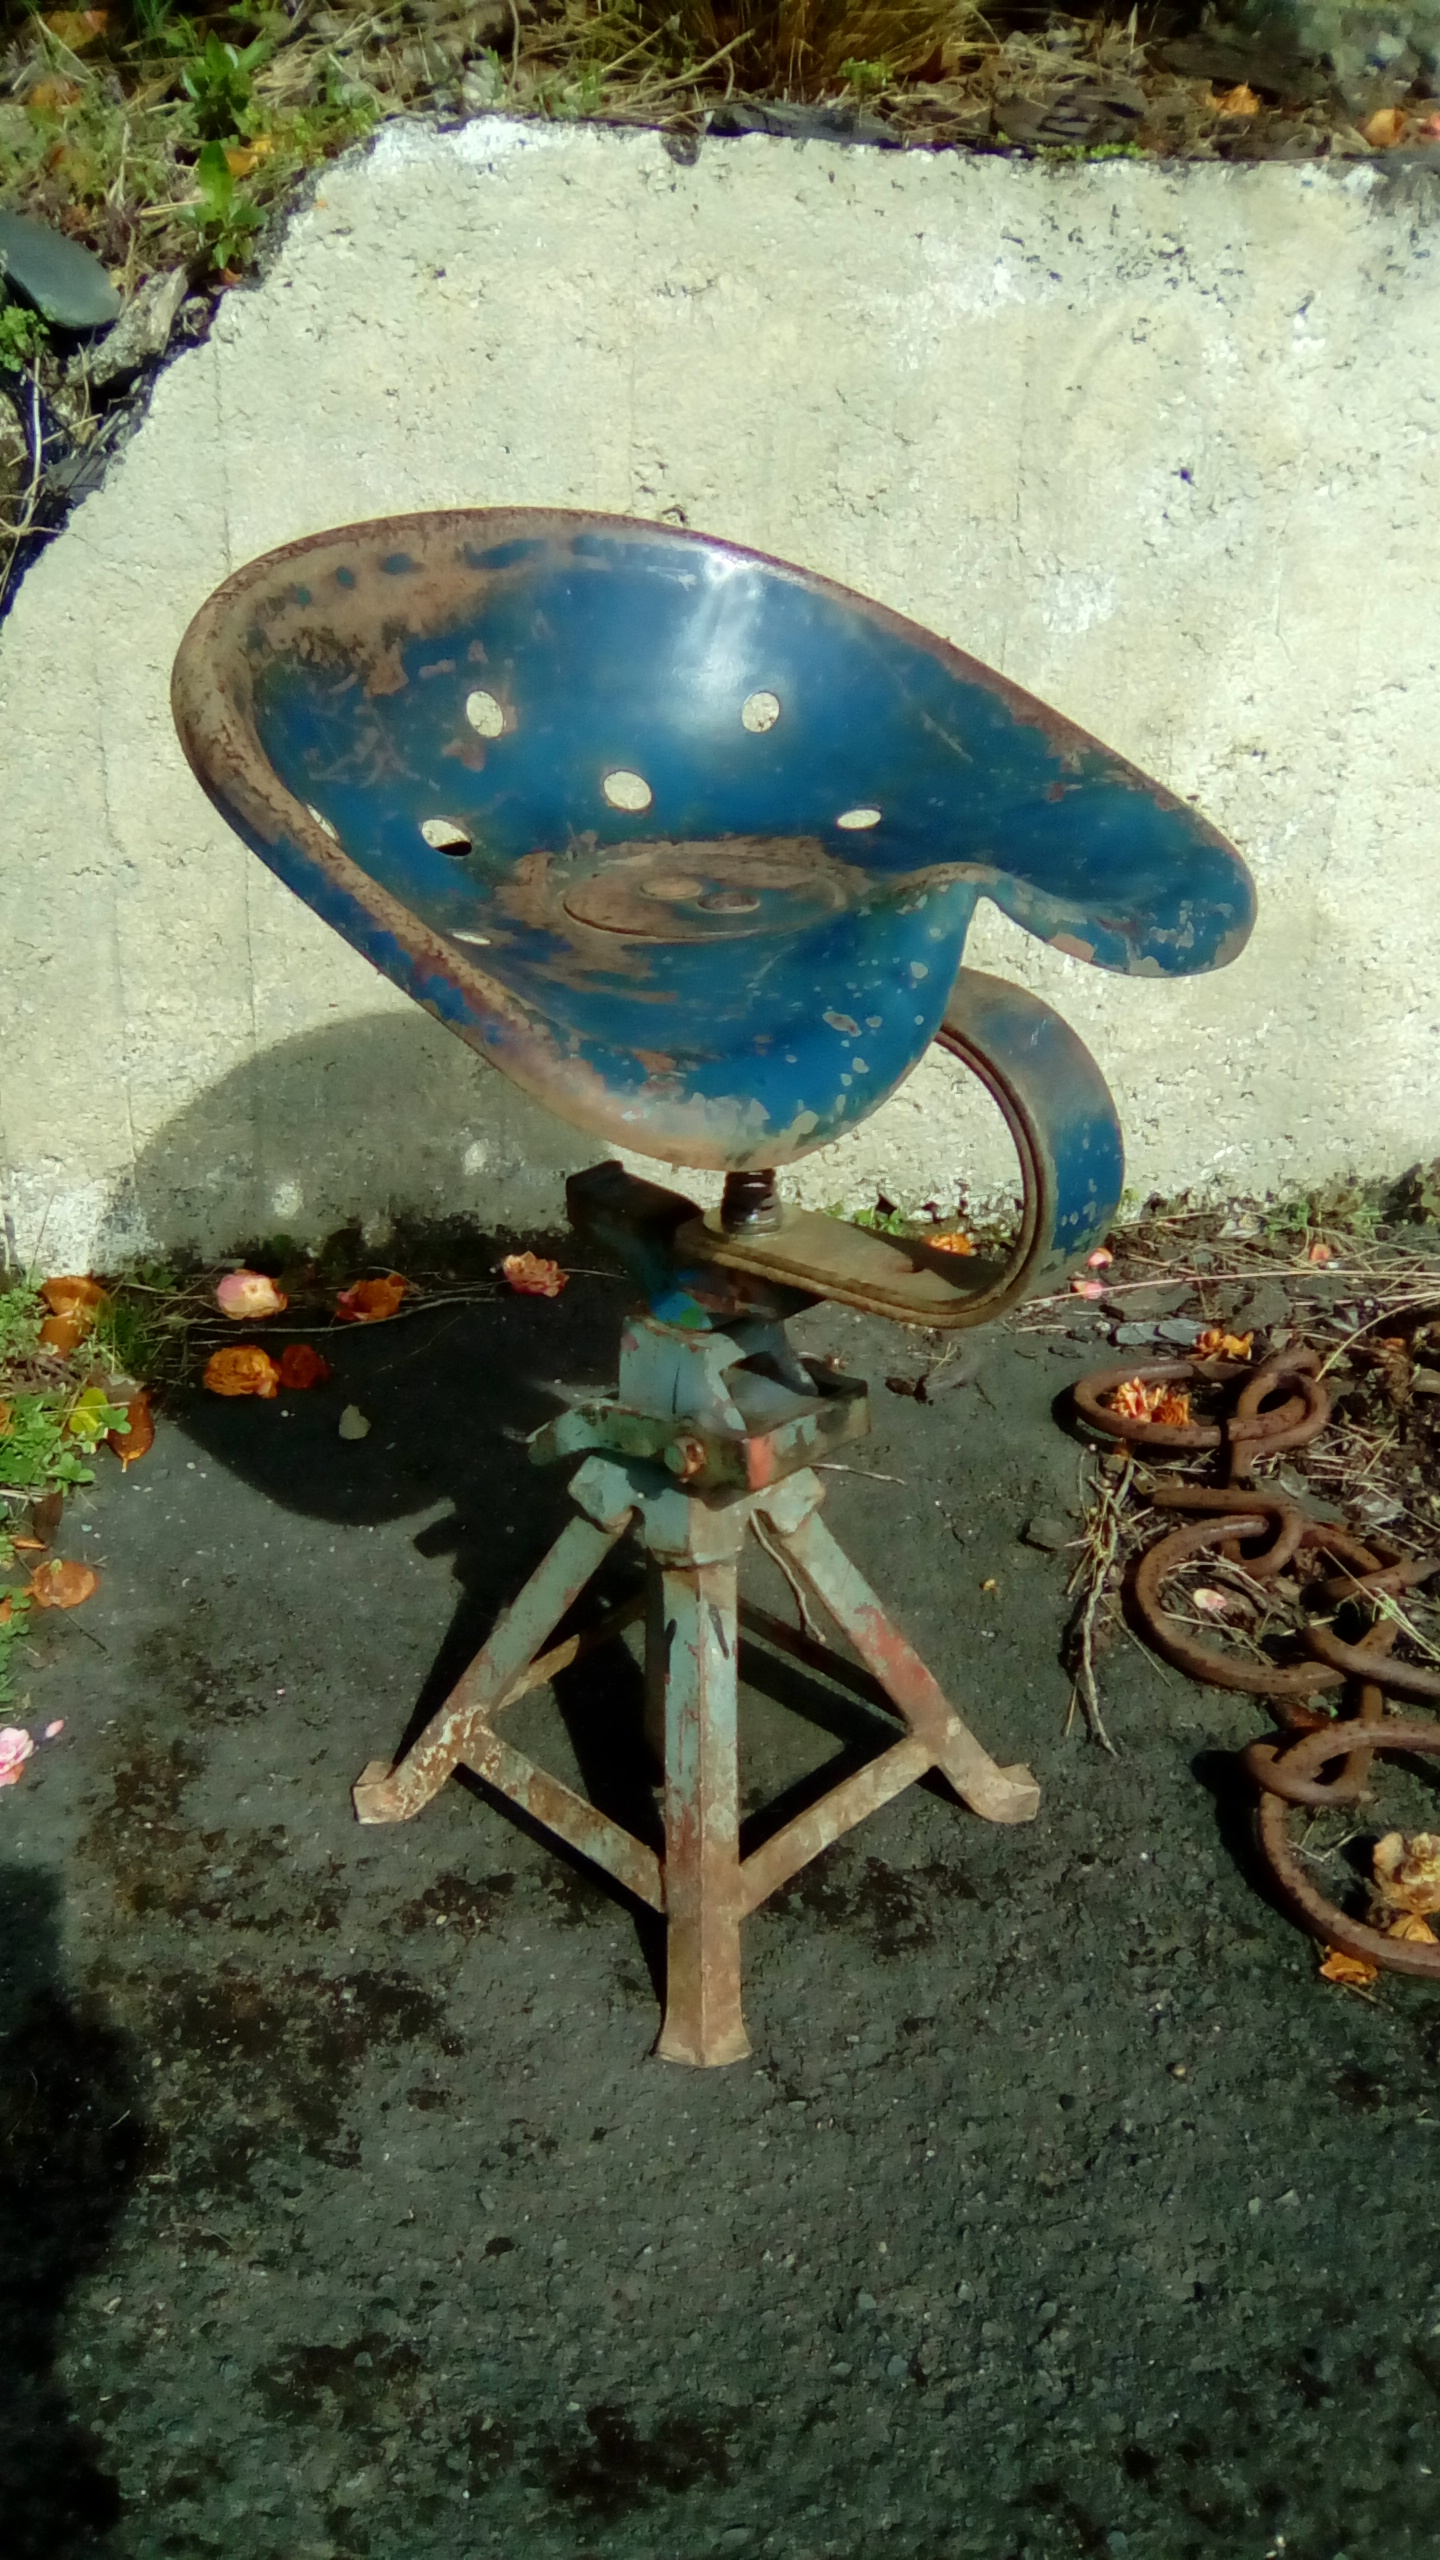
I've got a customer that collects interesting pieces of old farm machinery etc then gives them to me to make something out of. The simple things are sometimes the best. A mock up of a tractor seat and stand And bolted in place and a light wet sand to bring out what's left of the ford blue paint.
1 point
-
Proof I need new shocks1 point
-
Still for sale everyone, although now Rego and Wof and running perfectly!1 point
-
Started on my cuts as I have sourced all of the replacement sections that I am needing Found a patch on the car, shame it's rusted through. the whole thing will come out After many hours of using paint stripped which did absolutely next to nothing, i went with a wire wheel on a grinder. Will continue more next weekend after I drop the subframe out etc. Discussion https://oldschool.co.nz/index.php?/topic/56136-pbaines-1977-toyota-corolla-ke30/#comment-18443191 point
-
So after getting it legal i decided that it needed to sit a little bit lower. To do so i sent the rear springs off to Chamberlians (If that is how you spell it) and get them compressed by 52mm (transferring to 65mm at the wheel.) The fronts we were told we could just cut and they would still be captive which was true. it sat a little bit lower but i still would've liked for it to be slightly lower. This is the perfect height as it doesn't rub what so ever and only catches on the front guard corner on the center of the tyre when at a certain angle. heres how it sits: We then took it for a run to ensure it was all going well for the Kaikoura Hop, taking it to the Amberly RocknWheels meet and the Kustom Car Club Breakfast. It preformed amazingly and got alot of attention for being a different and rareish car.1 point
-
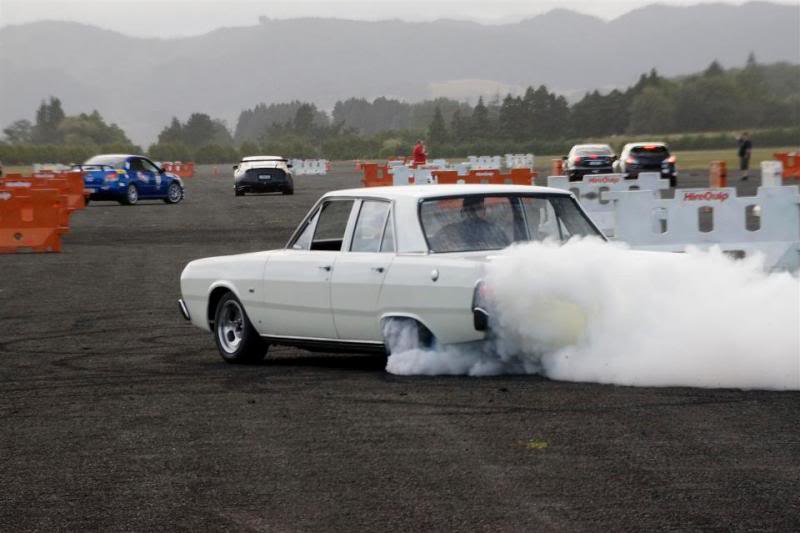
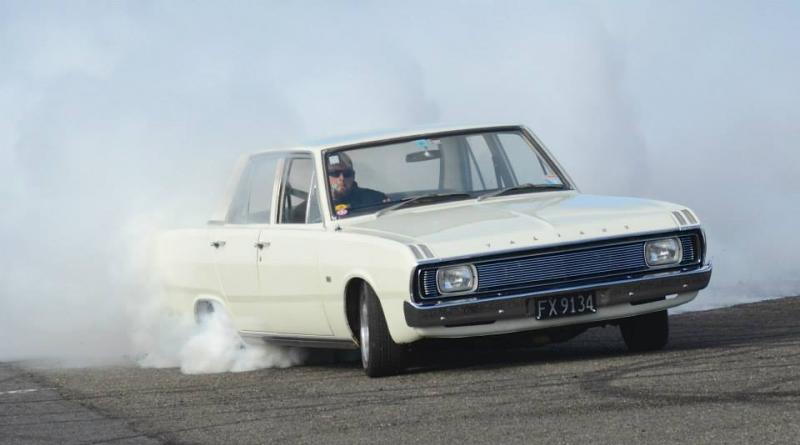
since photobucket has turned into a bag o' dicks i downloaded all the good pics and deleted it. to celebrate heres some burnouts i did when i was cool and had a turbo still
1 point
-
So Manfield finishes up... And I'm enjoying doing superlap and the camaraderie between competitors. Buuut everything else in life was starting to feel a little stale. I have been daydreaming about moving to the South Island for the last few years, but I'm not a planner person... I figure if I wait until I have a plan, I will never do it. So I made a bold move - To just hand in 30 days notice at my IT Manager job, with no idea what I'm going to do next. I knew this meant sacrificing the remaining rounds of Superlap, and would probably lead to some hard times financially and otherwise. But it was just what I felt was necessary. All I knew was that I wanted to move out of Auckland for a while and start on a fresh page after some tough times over last year or two. A few days after this, I see an ad pop up on facebook... "Remote Dyno tutor/manager at HP Academy in Queenstown" Awww hell yes, could that be any more the ideal career/city change, at exactly the right time?! I applied for the job - and got it Then not long after, thanks to Bigfoot, I had some accommodation sorted too. It was the most low effort career/city change ever! Within the course of a week it went from my family probably thinking I was a bit of an idiot for quitting my job without a plan. (and a fair bit of doubting myself as well) to, "God damn it you're a jammy bastard Dave" To anyone who has along the way thought "David why not just take your car to a tuner instead of wasting your time doing all of these stupid tests/graphs/etc" Well, all of these things that I've done were a major contributing factor towards me getting the job. So there's probably some motivational message there about following your dreams or something. But end result is I'm pretty happy right now, and working at a company where drawing graphs and looking at datalogs etc is par for the course. Which is bloody exciting. So I packed my echo full of essential stuff and drove on down to start a new way of life down here. So far so good! Keeping some relevance to this thread though - My Carina is still back up in Auckland. It's packed full of "want but dont need" items, it's ready to hit the road as soon as I've organized a place down here that has a garage to store it in. I've been learning so much from Andre and the team, it feels like getting an apprenticeship from one of the best engine tuners in the southern hemisphere. I feel like I'm only just smart enough to be on the cusp of understanding some of the stuff Andre talks about. But I think I know just enough, that he doesnt feel like it's a waste of time explaining things to me. I expect that by the time I've got the Carina down here, I'll be ready to redo my tune from scratch using the new knowledge and tools now available to me. Cant wait! A new southern chapter of graphs, nerdiness, and awesomeness awaits the Carina. The next post in this thread, when the time comes. There will be graphs, oh yes, there will be graphs.1 point
-
Oh right, so you wanted the rest of the story too? Sorry, here goes.. Repower, pt.3 So I took a Friday off work, parked the car in the garage and started stripping stuff out of the engine bay. A surprisingly short amount of time later, all the mechanical bits started falling out. Oily, broken 1100 begone! Sorry, I didn't get any air guitar shots, it was too hard to take selfies while lifting the motor out... And it's in! After fitting the ancillaries, filling it with fluids, fitting the manifolds, timing it and winding it over to get oil pressure, the moment of truth arrived. It fired up and ran sweetly, so I had to take it for a cheeky test run sans bonnet. Excite! The valve clearances had closed up a bit, but after adjusting them and checking the head bolt torques, it's been fine. I also replaced the starter solenoid, because one of the terminals broke off. And the Hitachi carb works alright too, I might still play with jet sizes if I can find some others to experiment with. The difference between the engines is night and day though, like it actually goes up hills now. The transmission is smooth, and all the fluids seem to be staying in their respective places, so i'll call it a win. Since then, it's continued to provide effective, reliable daily transport. I gave it a polish and it came up pretty nicely, considering it's actually six different shades of orange And I took it camping at Whatipu over the New Years period. Had to stop on the way home for an obligatory gravel road shot: discuss/tell me to put a rota in it: //oldschool.co.nz/index.php?/topic/48306-mk2martys-1976-escort-moredoor-discussion/1 point
-
Oh yeah, so this happened. In truth it happened back in August, but we'll overlook that. A broken Telstar and other stuff got in the way, so the promised rebuild kept getting put off. But eventually it happened, so sit down and i'll tell y'all a tale In the last update there was a melted Kent that looked like not a lot more than some gunk-encrusted, blue-painted scrap. I didn't have high hopes for it initially, but upon further investigation, some not-so-bad bits started to appear. Once I pressure washed all the oily crap out of it, it was actually beginning to look useable. The thing that saved it, though, was when Dad found a set of NOS pistons in a box in the basement, that he'd had since the '70s. He says he'll never own another 1300, so they were mine. Cheers Dad! The bores, surprisingly, were standard size, so i guess it was made to be. Otherwise, aside from the lipped bits at the top of No.3, the rest of the engine was serviceable, I made sure the bearing clearances were within spec and inspected everything visually and it all looked OK. Sure, if I wanted to do it properly I would have rebored it, ground the crank and thrown some bearings at it, but that can wait until I do the original and matching-numbers block (which in all truth will probably end up with a 1300 crank and rods anyway. Who can tell from the outside?). So with a bit of a hone and some new rings and gaskets, I put the engine back together. Thankfully all the melted alloy came off pretty easily, unfortunately the lack of a flexi-hone meant that the straight hone I used makes the lipped bores seem worse than they actually are. Oh well. While i was there, I fitted a new water pump, timing chain kit and associated ancillaries too. There was a slight hiccup with the new timing chain and sprocket, it turns out that some bright spark at the factory put the timing mark about ninety degrees out. However, after a little thought, it's pretty easy to tell where it should be in relation to the dowel. So after some comparison with the old sprocket I made a new mark, and all was well. I cleaned the head up, checked the mating face with a straight edge, and cleaned and lapped the valves in. And after many, many kerosene baths to get all the encrusted grime off, I put the valve gear on. As an aside, thanks to a donated manifold from Dad i've decided to run a Hitachi 2-barrel carb (found as standard equipment on a myriad of '80s Japanese classics), removed from a Mk1 facelift Laser 1500. It has a manual choke and a vacuum secondary, and is mounted on a modified Kent manifold. Two venturis must be better than one, right? I torqued the head and set the valve clearances, attached the inlet manifold and hoped like hell that it would run without any nasty noises. If it was going in anything more than just my daily transport i'd have thrown more time and parts at it, but as it is it should last for a while. Up next, the gearbox...1 point
-
All right then. Fairly soon after I got it: Came on these wheels: Some sweet bog work by the last owner (post coilovers) - EDIT can't find this picture, here's the rad patch it was covering Mating up the W55 with Doin Donuts. Also note Uterus and my old van. Nice. EDIT: Can't find this one either, have a bonus pic of the van. Lookin' nice (just the car) Wishful thinking A few weeks ago:1 point
.jpg.1494ad671ec93695e0520de495c07c58.jpg)


This leaderboard is set to Auckland/GMT+12:00