
Leaderboard


Popular Content
Showing content with the highest reputation on 08/20/17 in all areas
-
weather boards and the butinol done on the veranda. 2017-08-20_05-37-46 by sheepers, on Flickr 2017-08-20_05-37-37 by sheepers, on Flickr 2017-08-20_05-37-29 by sheepers, on Flickr wires and shit. 2017-08-20_05-37-20 by sheepers, on Flickr2017-08-20_05-37-29 by sheepers, on Flickr rondo for attaching the ceiling 2017-08-20_05-37-11 by sheepers, on Flickr steps for getting up to the roof storage 2017-08-20_05-37-01 by sheepers, on Flickr12 points
-
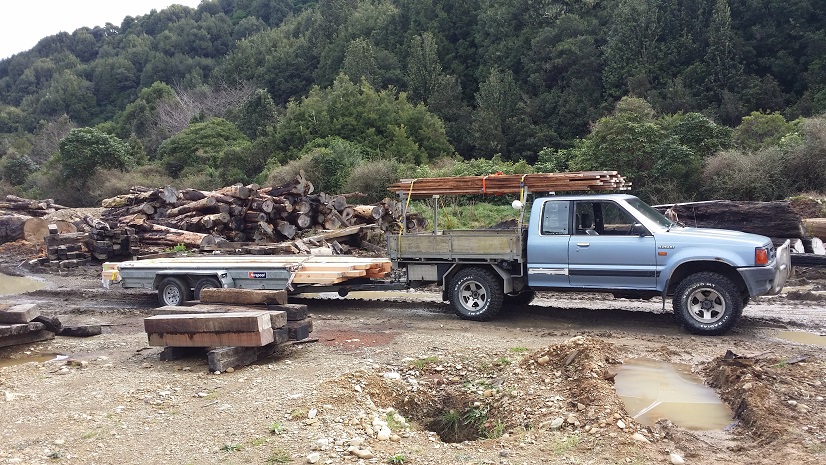
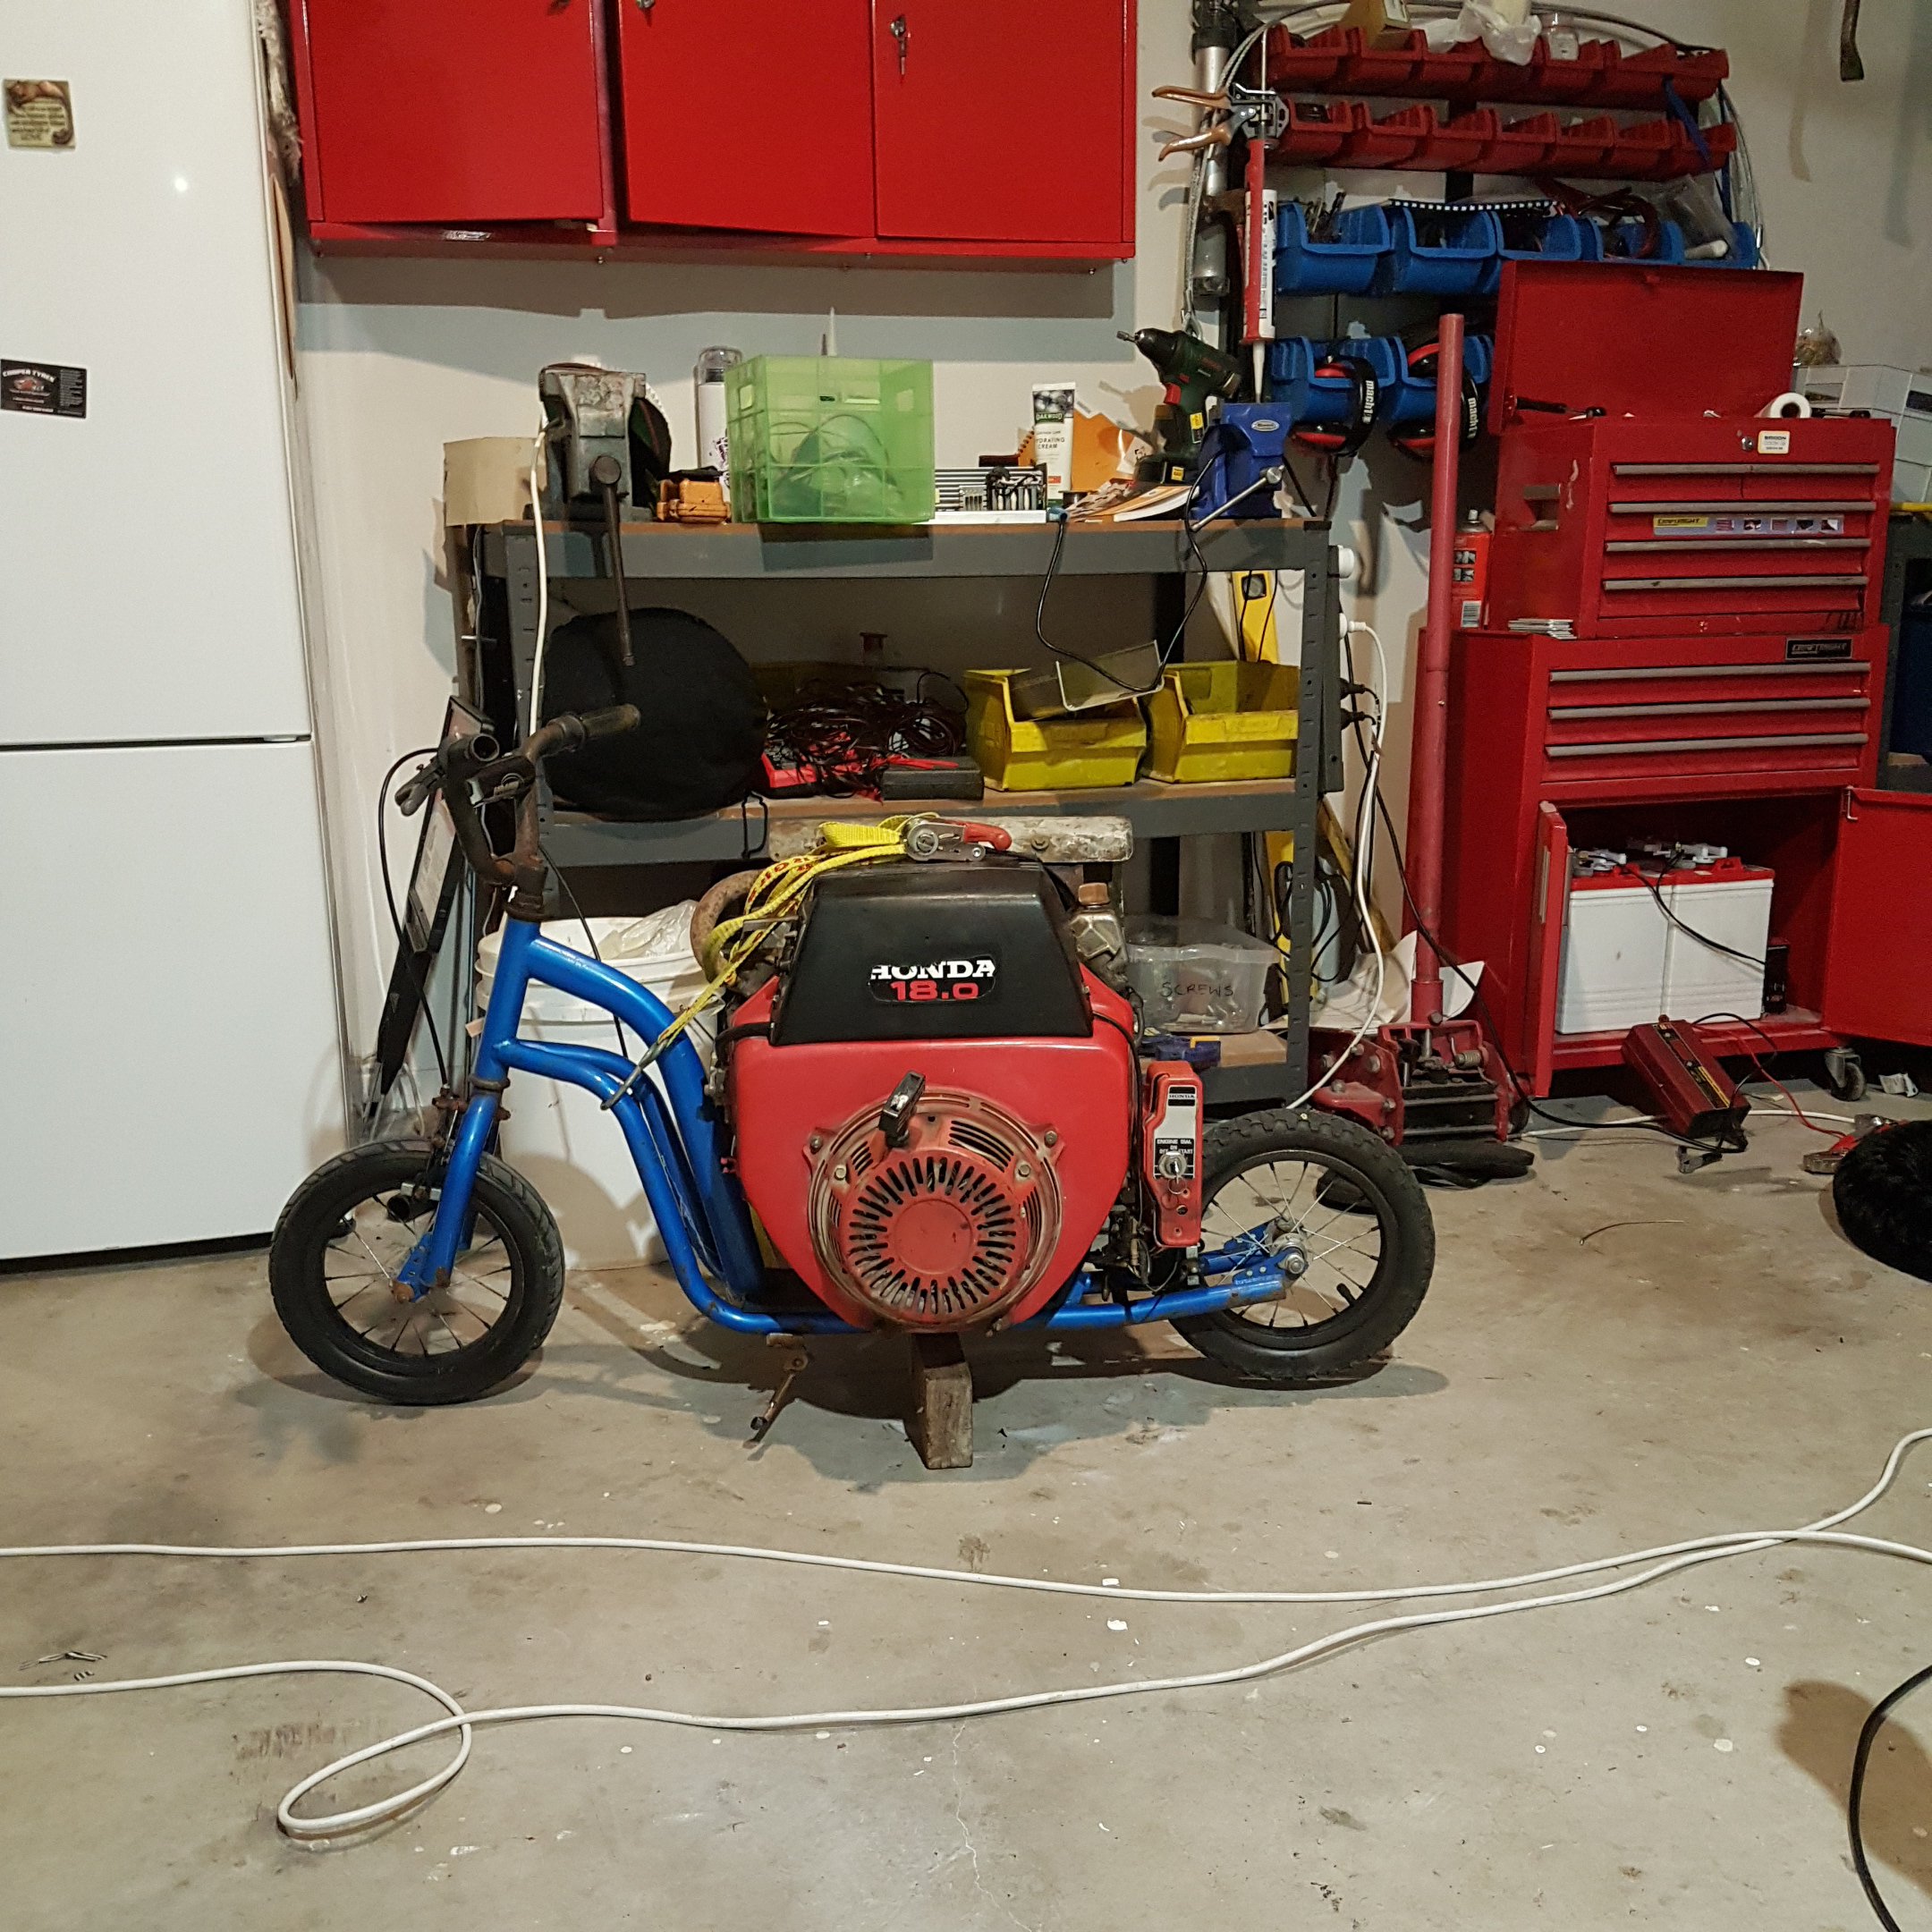
I've been collecting timber from a sawmill 'up north'. Is my ute OS? I reckon it are. It's also bloody awesome. It has self canceling indicators and power steering, but everything else you need to do yourself. The objects in the mirror are precisely their own size and I need to get out of the cab to engage the free-wheeling hubs. I love that ute. Sadly the generator died last weekend (as did a number of other things). It's a real challenge trying to keep tools dry enough to use up there, but after forking out a significant portion of the cabin budget on a replacement generator I managed to finish another frame today. I've gotten a bit better at calculating tangents... but of course there are mistakes aplenty. Sorry about blurry photo. It was almost dark
 10 points
 -
we had a roof shout and it was fucking great. approx 11 thousand people turned up and had great times. this is the last people standing. 2017-08-20_12-29-17 by sheepers, on Flickr9 points
-
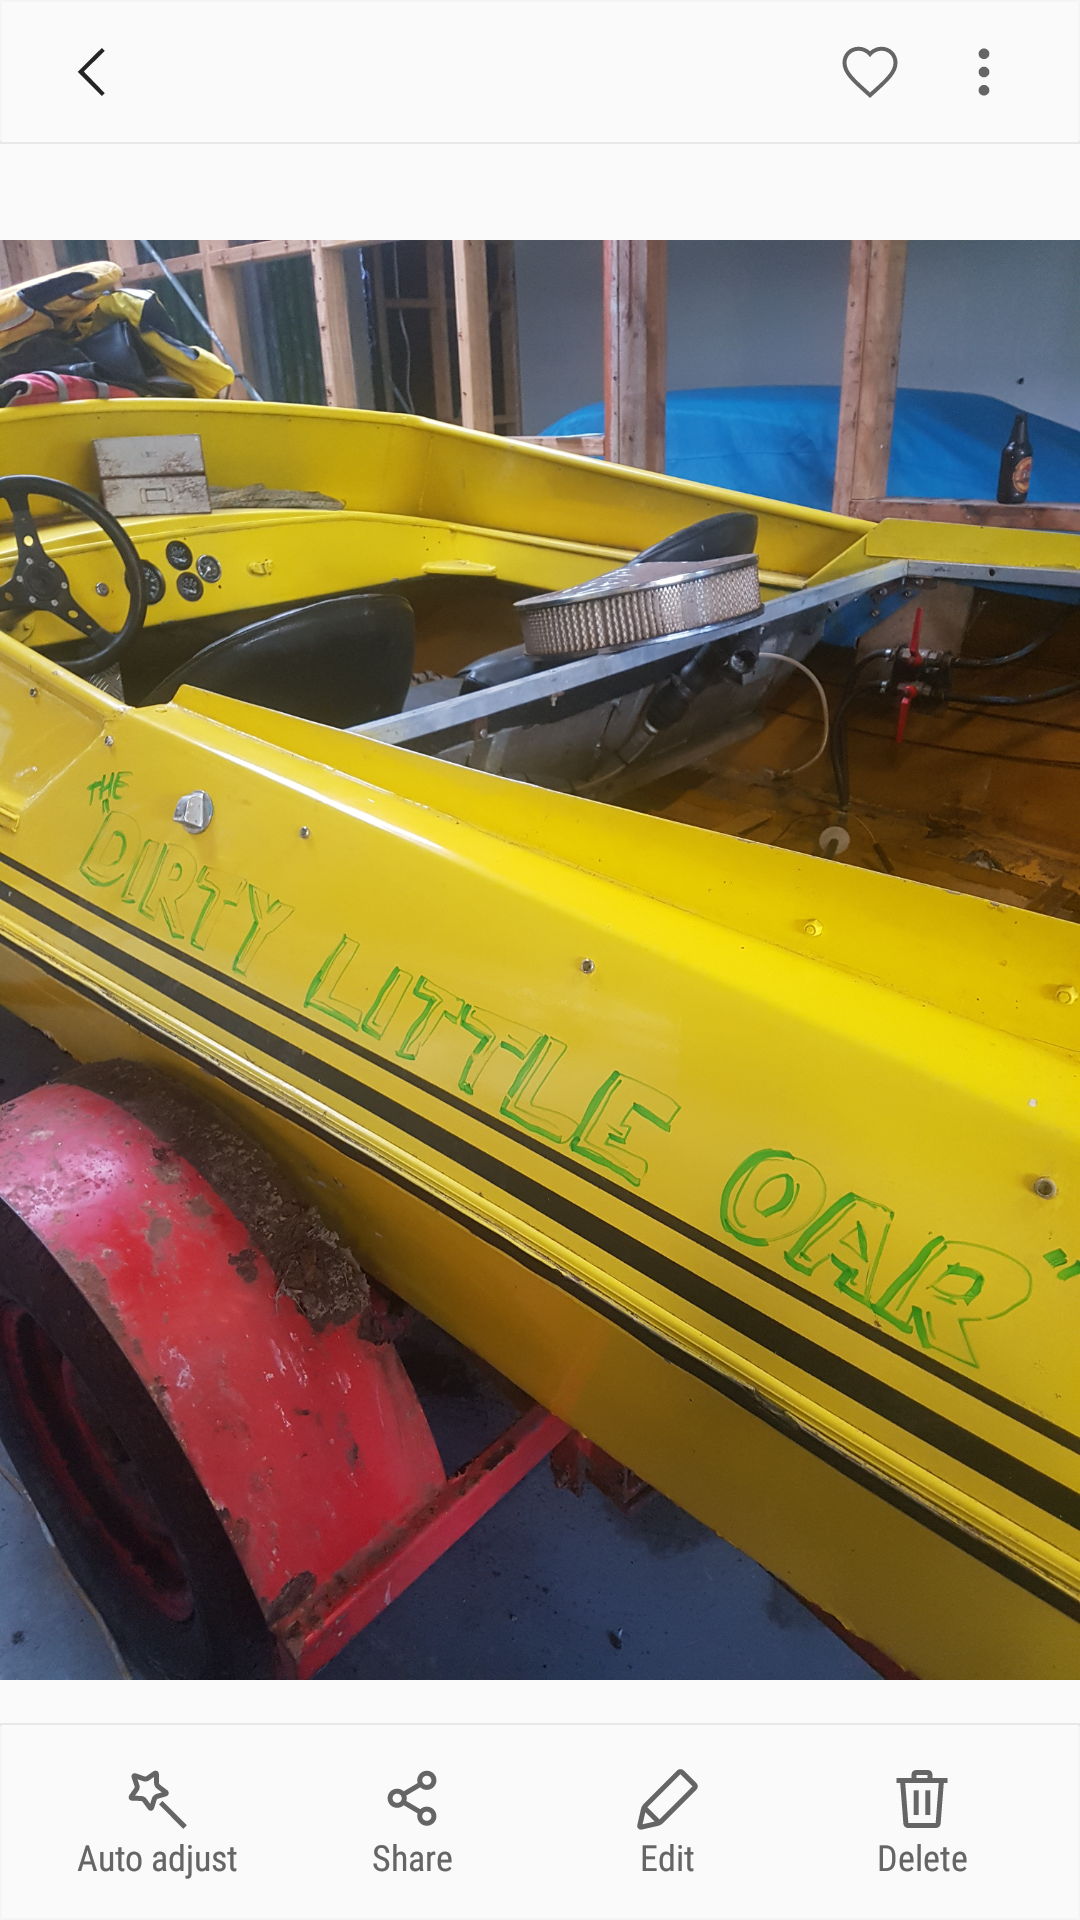
Paint it pink, call it wet on the inside7 points
-
Cytherea. Don't google that with your mum around though5 points
-
Currently taking submissions on boat names. Trying this one on today
5 points
-
Went for a hoon over the hills and took in a few country pubs with some other 1200s and a 260, car went well and no issues. Today I butchered a couple of old standard A12 downpipes I no longer need and made a flange so this will make life a lot easier in the future! Not to mention tidier looking. There's a pie cut left open cause I don't know what angle it needs to be yet
4 points
-
Finished the stand Some noise makers turned up4 points
-
Top coat on, terrible phone pics but you can get the idea... Sat the engine in And all the bits have come back from the platers. Thanks to Phill at Electroless Coating Systems Next up is getting the front wheel sorted, Seat covered and the cream insert painted onto the tank. Then the fun part, bolting it all back together!!3 points
-
This is Next SUNDAY. SEVEN DAYS. so youve still got heaps of time to test ride your bike, then bodge whatever breaks. or just ignore it and hope it starts on the day
3 points
-
3 points
-
3 points
-
ready For Hanmer
3 points
-
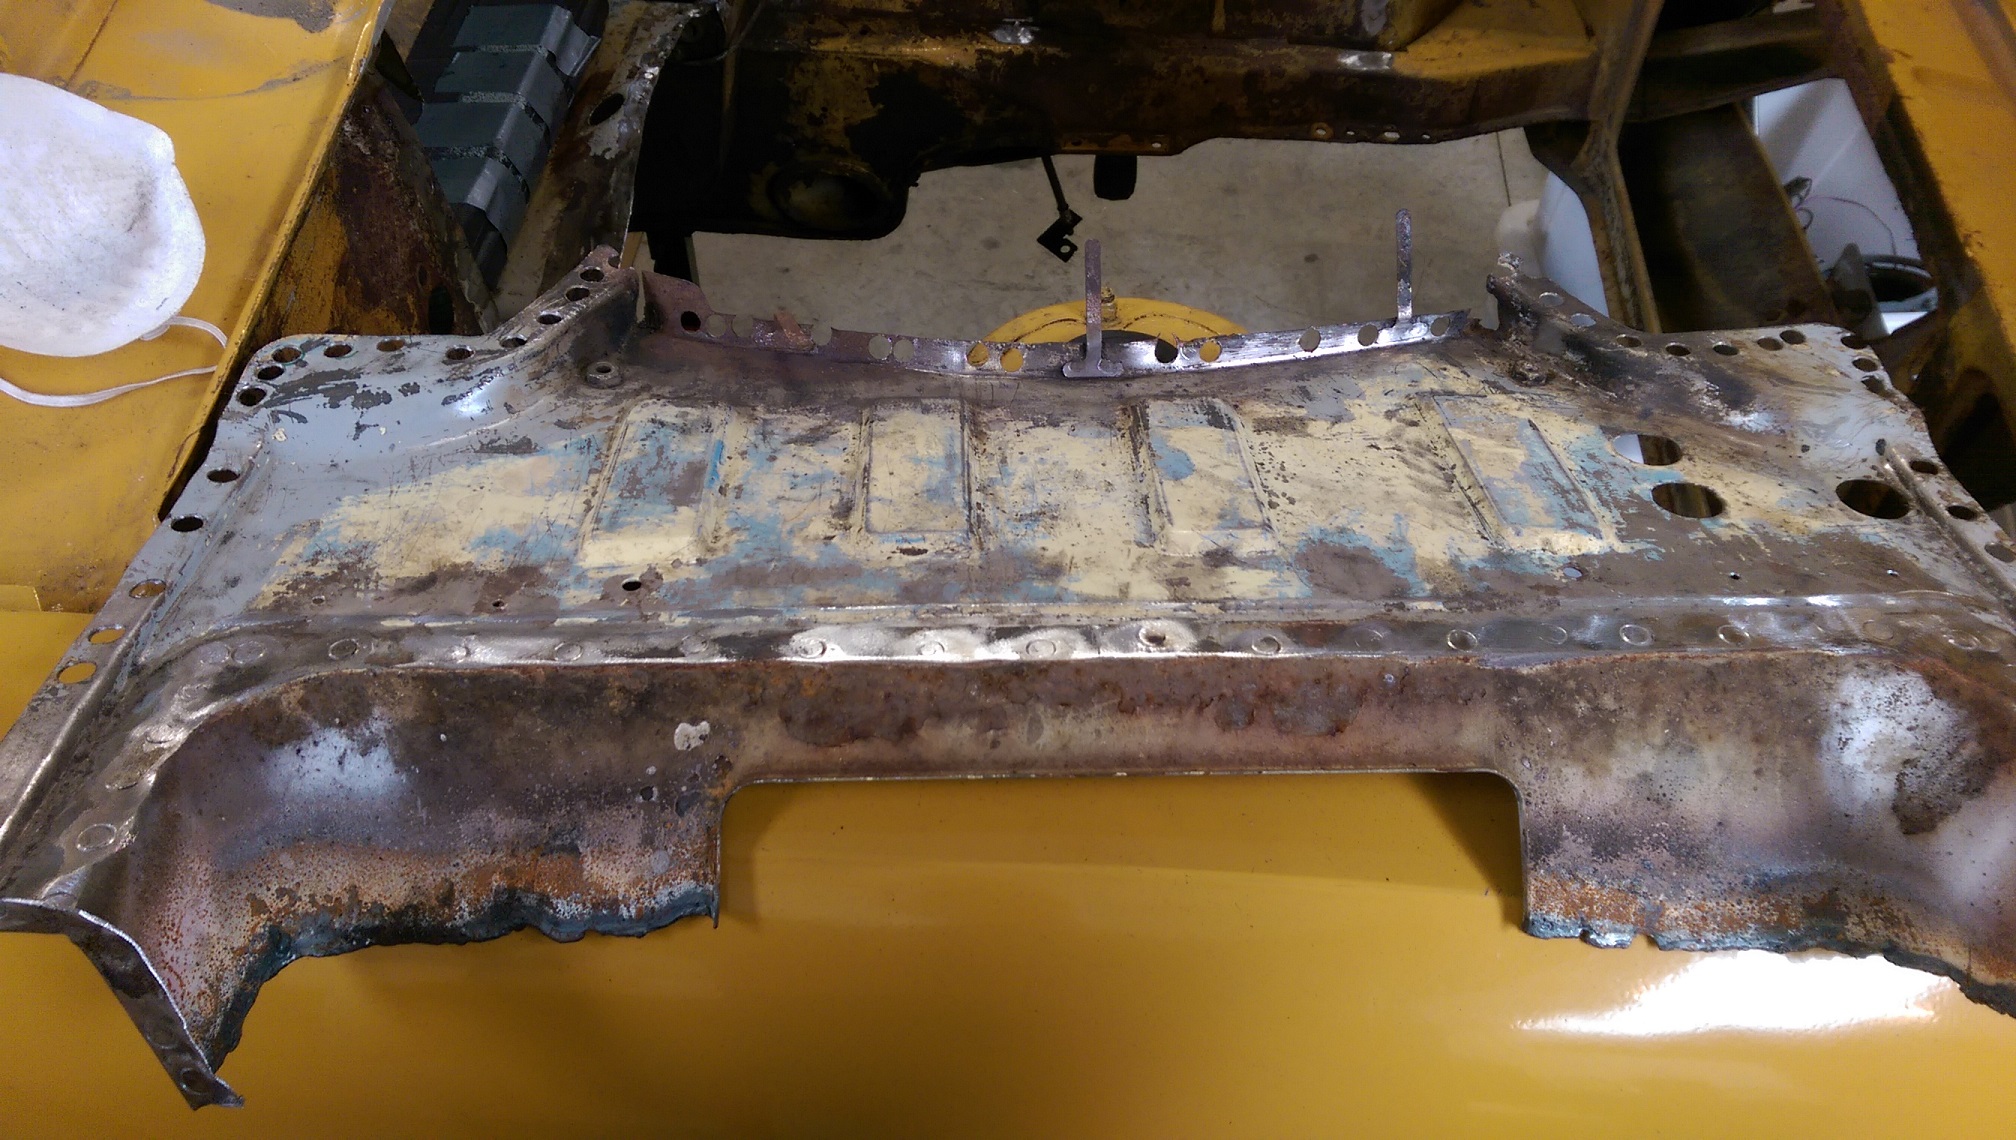
Used a bunch of wax and grease remover and a lot of rags and a little wire toothbrush and cleaned the underseal off around where I need to weld the firewall in. I thought I might make a little patch for the floor to make me feel like I'd made some progress. But then I realised that I still needed to remove the underseal from the underside of the floor where I need to weld the patch in.2 points
-
engine mounts welded and fitted to spare block silly non used egr plate trimmed back for critical room around the rear of rh head /firewall interference area before pic After trimming2 points
-
Holy crap they all turned out the same2 points
-
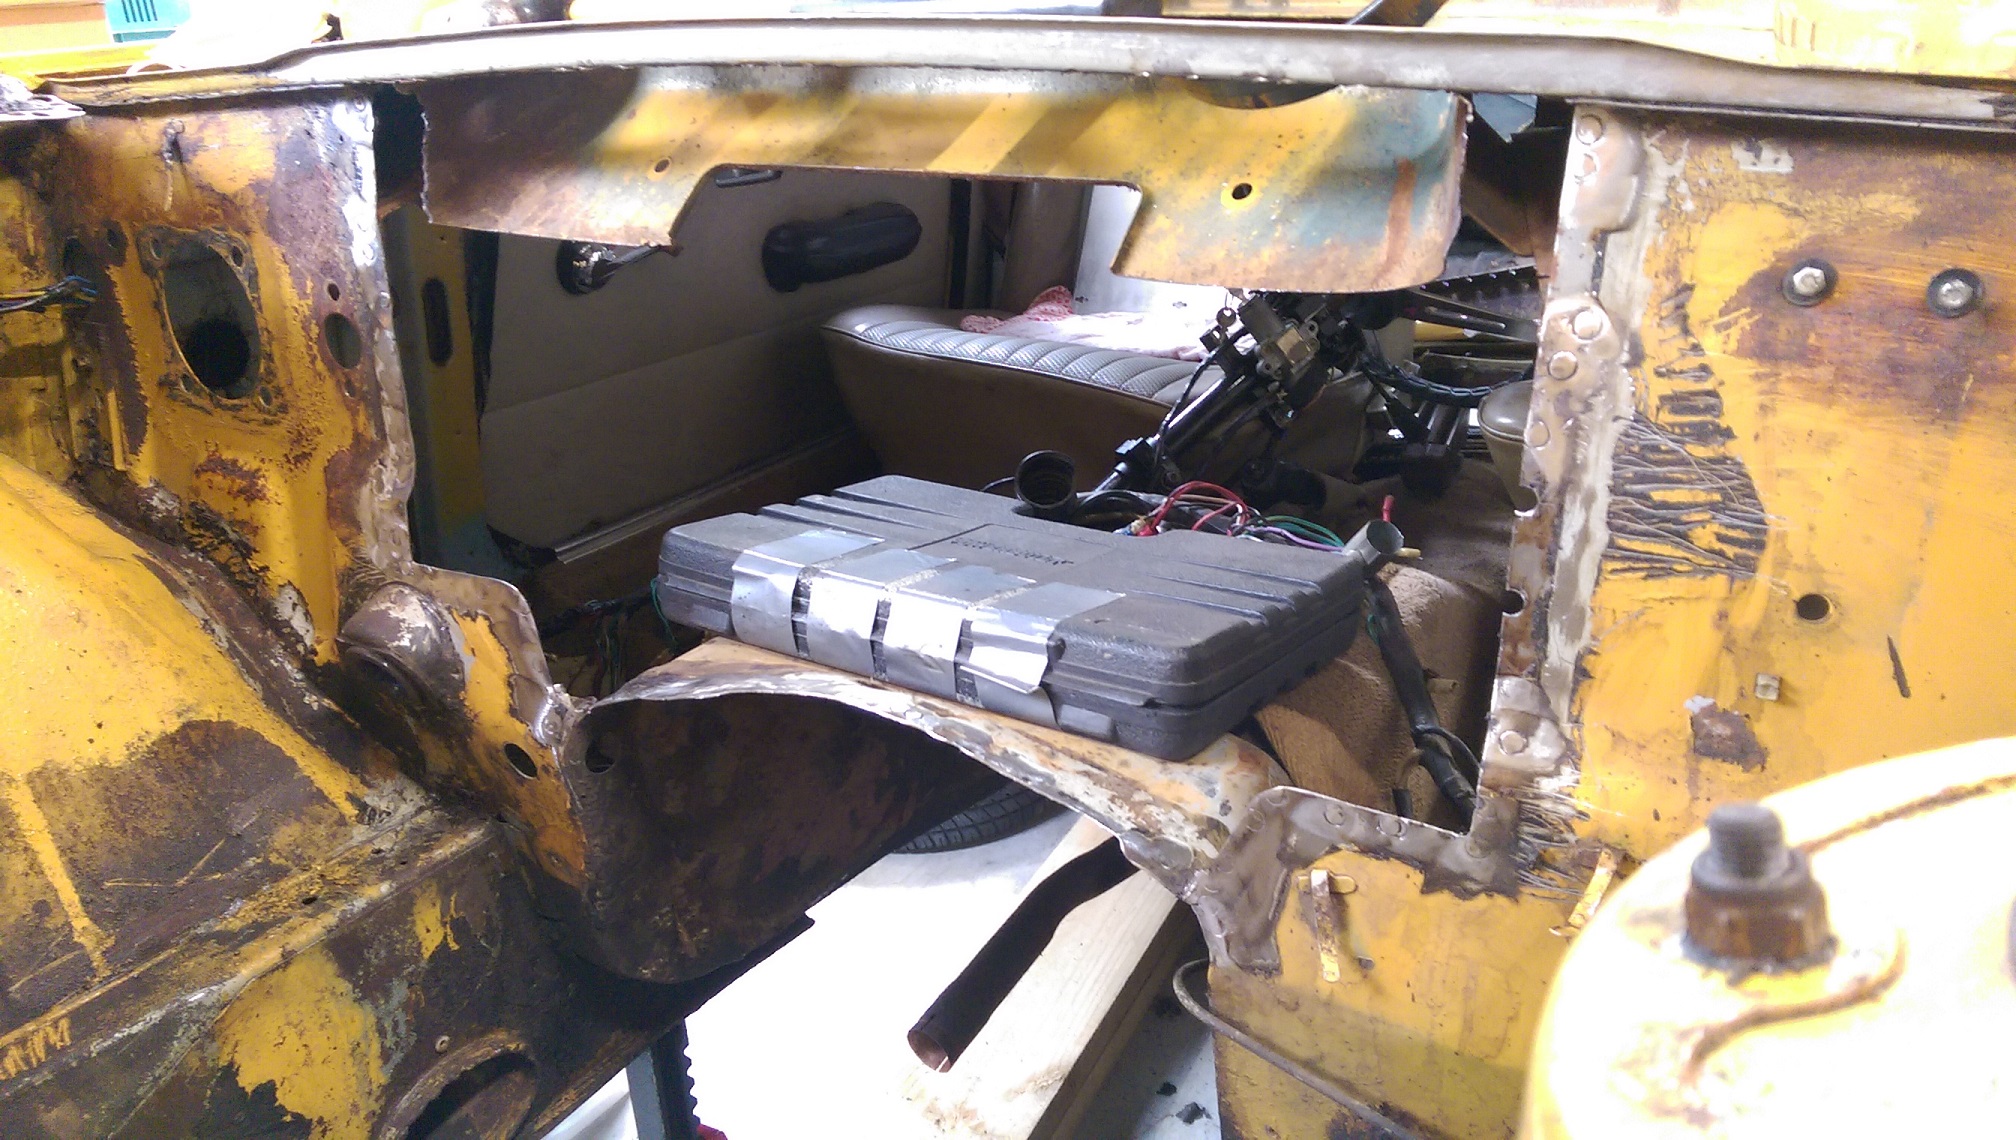
Well it's been a while but I'm finally getting back into it now the weekend's come back. I made a start by cutting out the part of the inner guard that needs replacing. It took a bit of cutting and spot weld drilling but it came away easily enough. Before: And after: You can see a really dodgy "repair" that's been welded over the outside of the rail, probably something to do with the collision that caused all the buckling in the inner wing sometime in the past. I doubt it would have stood up to any sort of cert and it looks hideous so I'm going to cut it from just behind it and get rid of the whole lot. The replacement panel is all made up months ago before I realised how much of a mission the whole job was going to be. Everything you see here is going to be replaced. Before I can do that though, I have to cut out the bad stuff. I started by cutting the whole lot off just where I said. Now to stop all the stresses building up in the same place I'm not going to join both the inner and outer skins at the same point. So I'm going to carefully peel the outer skin back without damaging the inner skin and join the two in two different steps. So, here's the peeled rail. Came away pretty simply. This is the new outer rail mocked up to see how it will fit. Snaps on nicely so I must have made it pretty damn close to the right size. It's way too long currently but it'll be trimmed down to size later on. I learned a couple of things from cutting off the end of the rail. It's a little more complicated than a straight rail on the internal skin. There's a pressed kink, obviously some sort of rudimentary crumple zone. It sort of looks like a shadow in this photo but it goes between the two cut away parts. Now as much as the thought of a pristine front end and a steering column through my face in the event of a crash is appealing, I'd rather not screw up my pretty teeth. Therefore, I'm going to reproduce these features in my rails. I'll have to figure out a set of dies to press them in. On the Mazda motor front, I've got the car turning up on a truck either Tuesday or Wednesday so the next exciting chapter in that saga will begin soon. Until then, more cutting and head scratching today.2 points
-
Hmm i only sat it on this so i didnt have to carry it..... this is how the other one came to be.
2 points
-
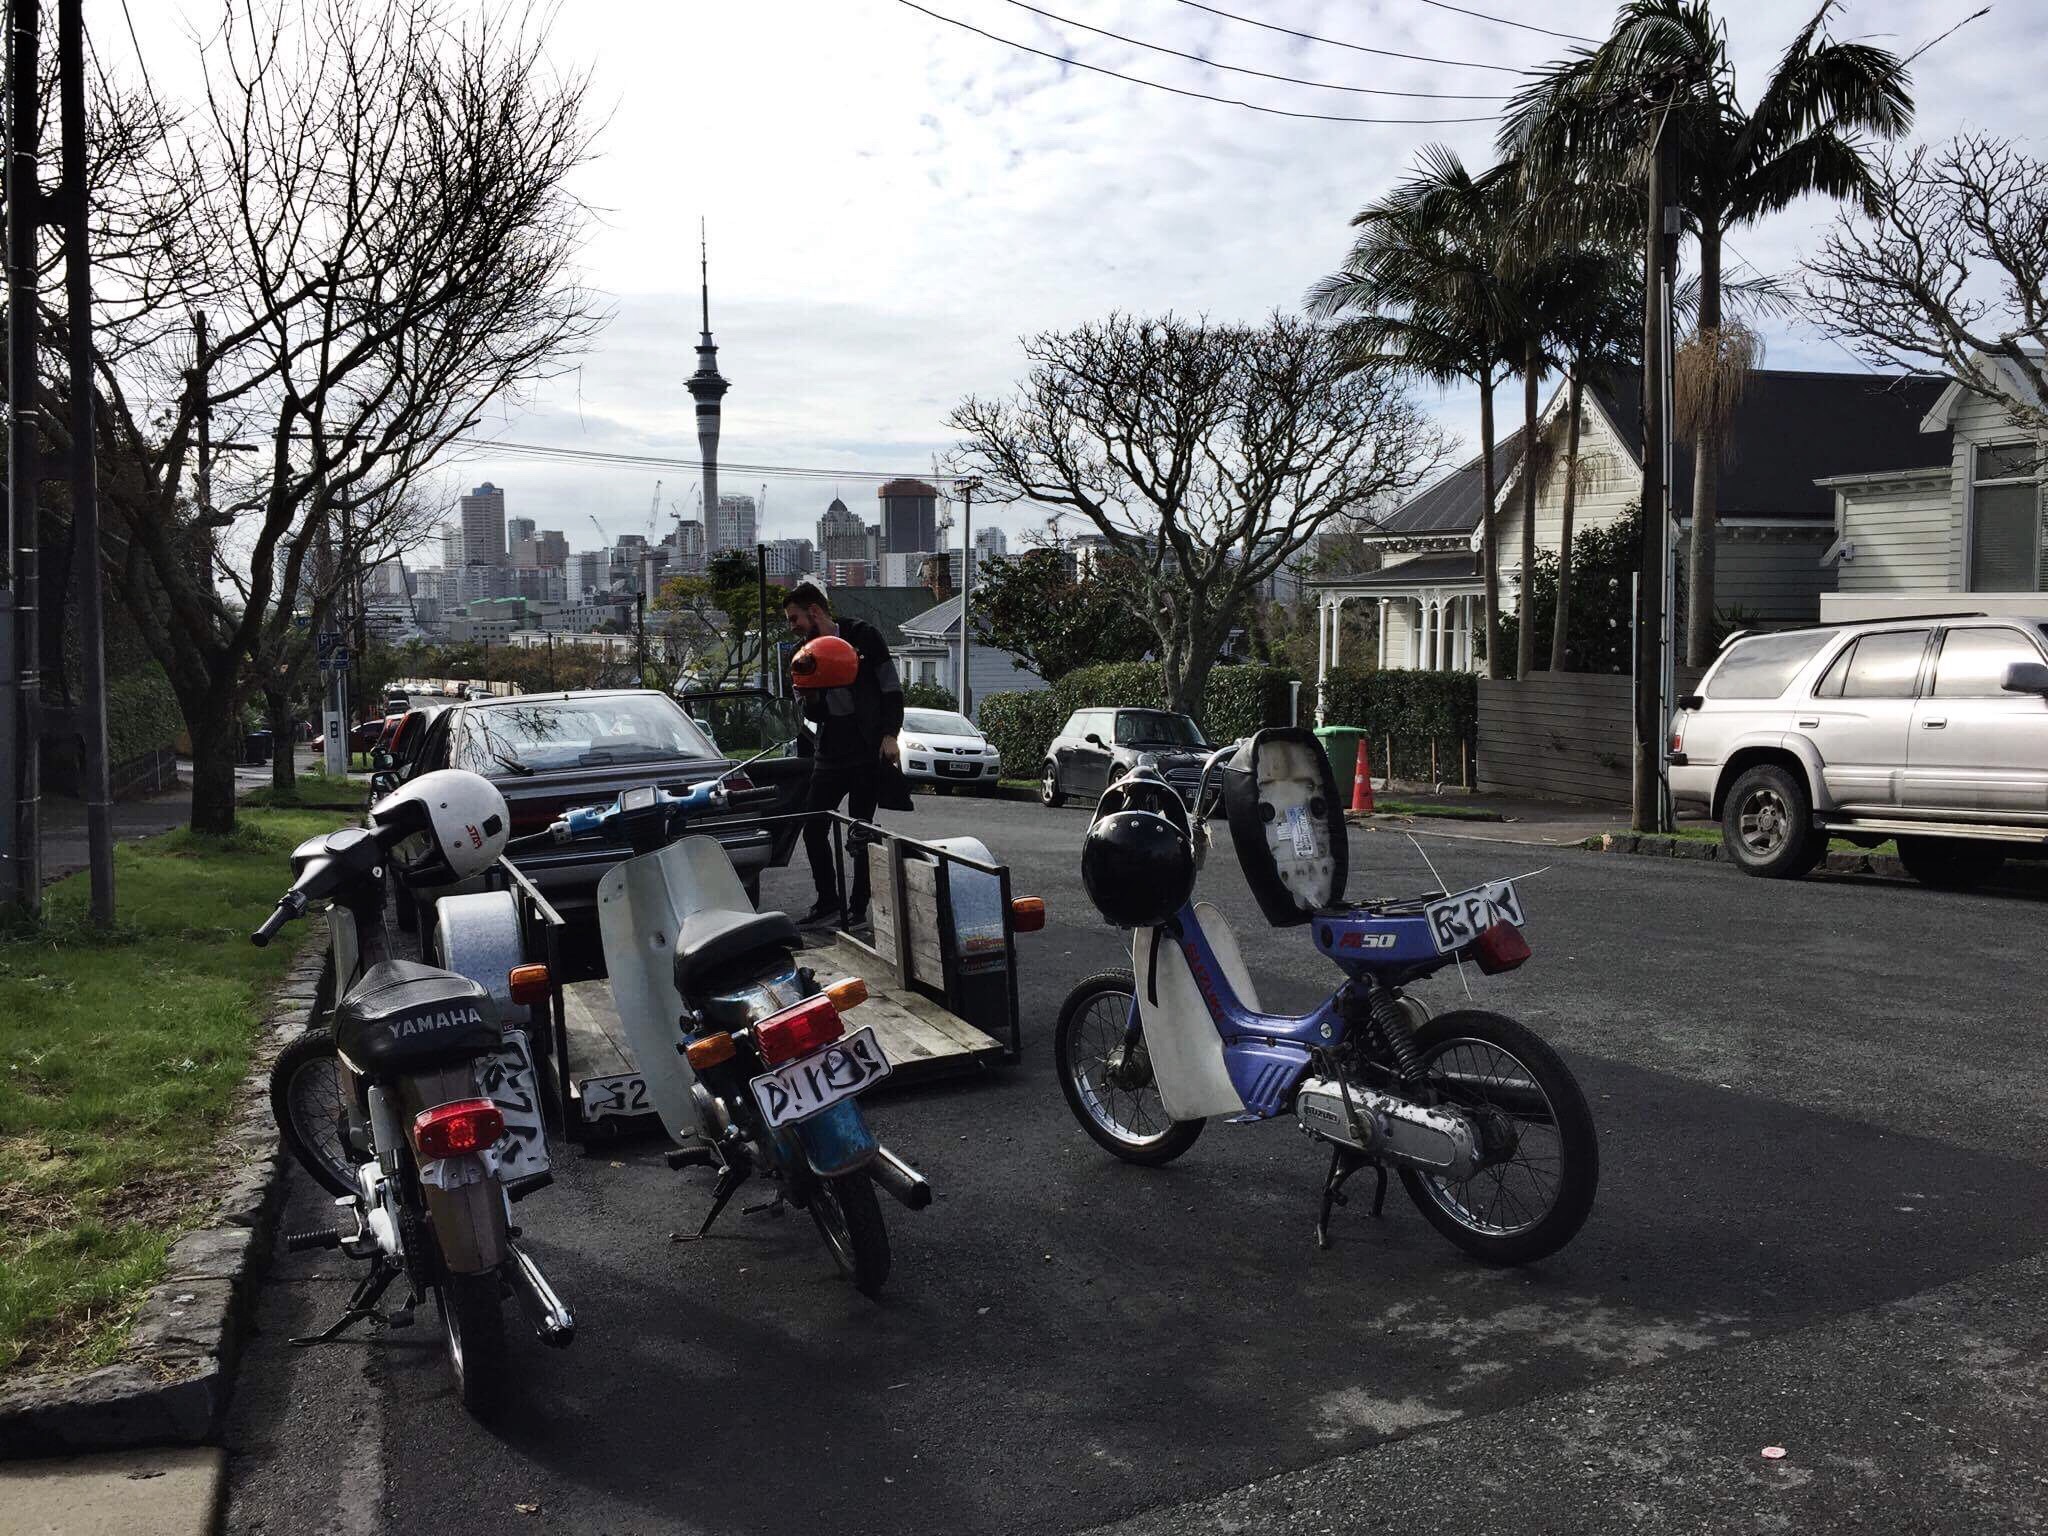
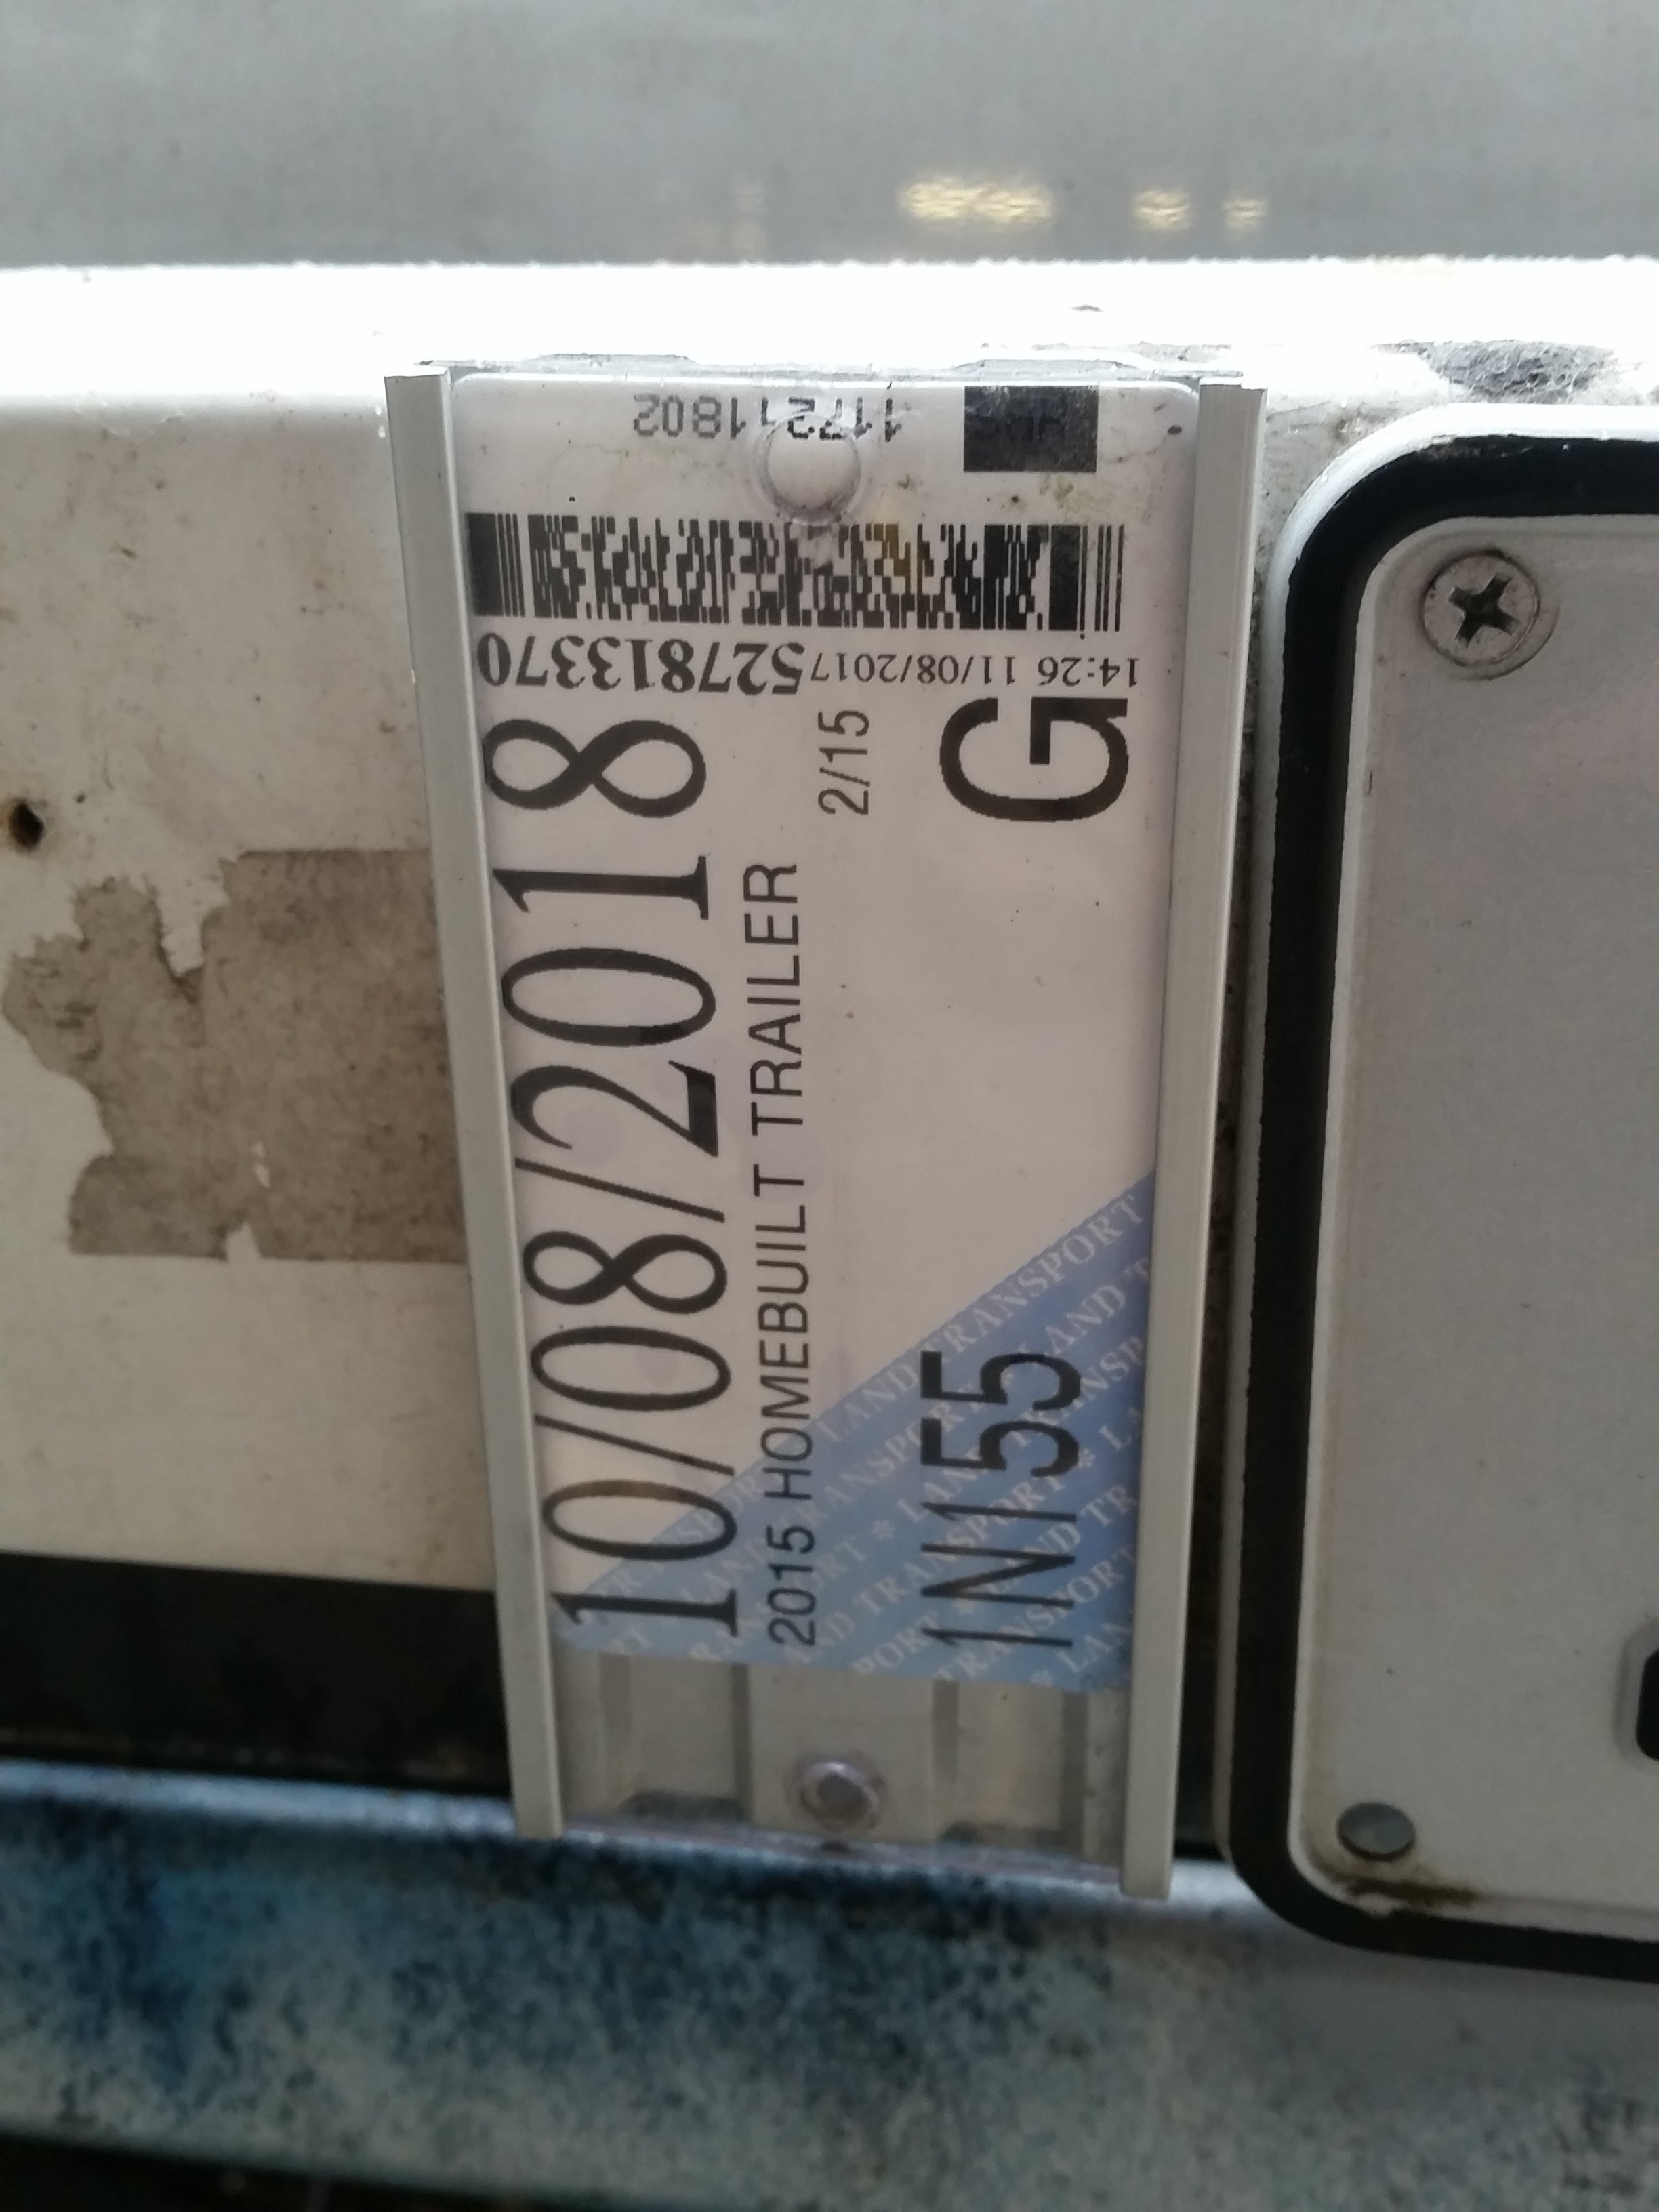
Both vehicles are legal as now Hanmeet is going to rule.
2 points
-
2 points
-
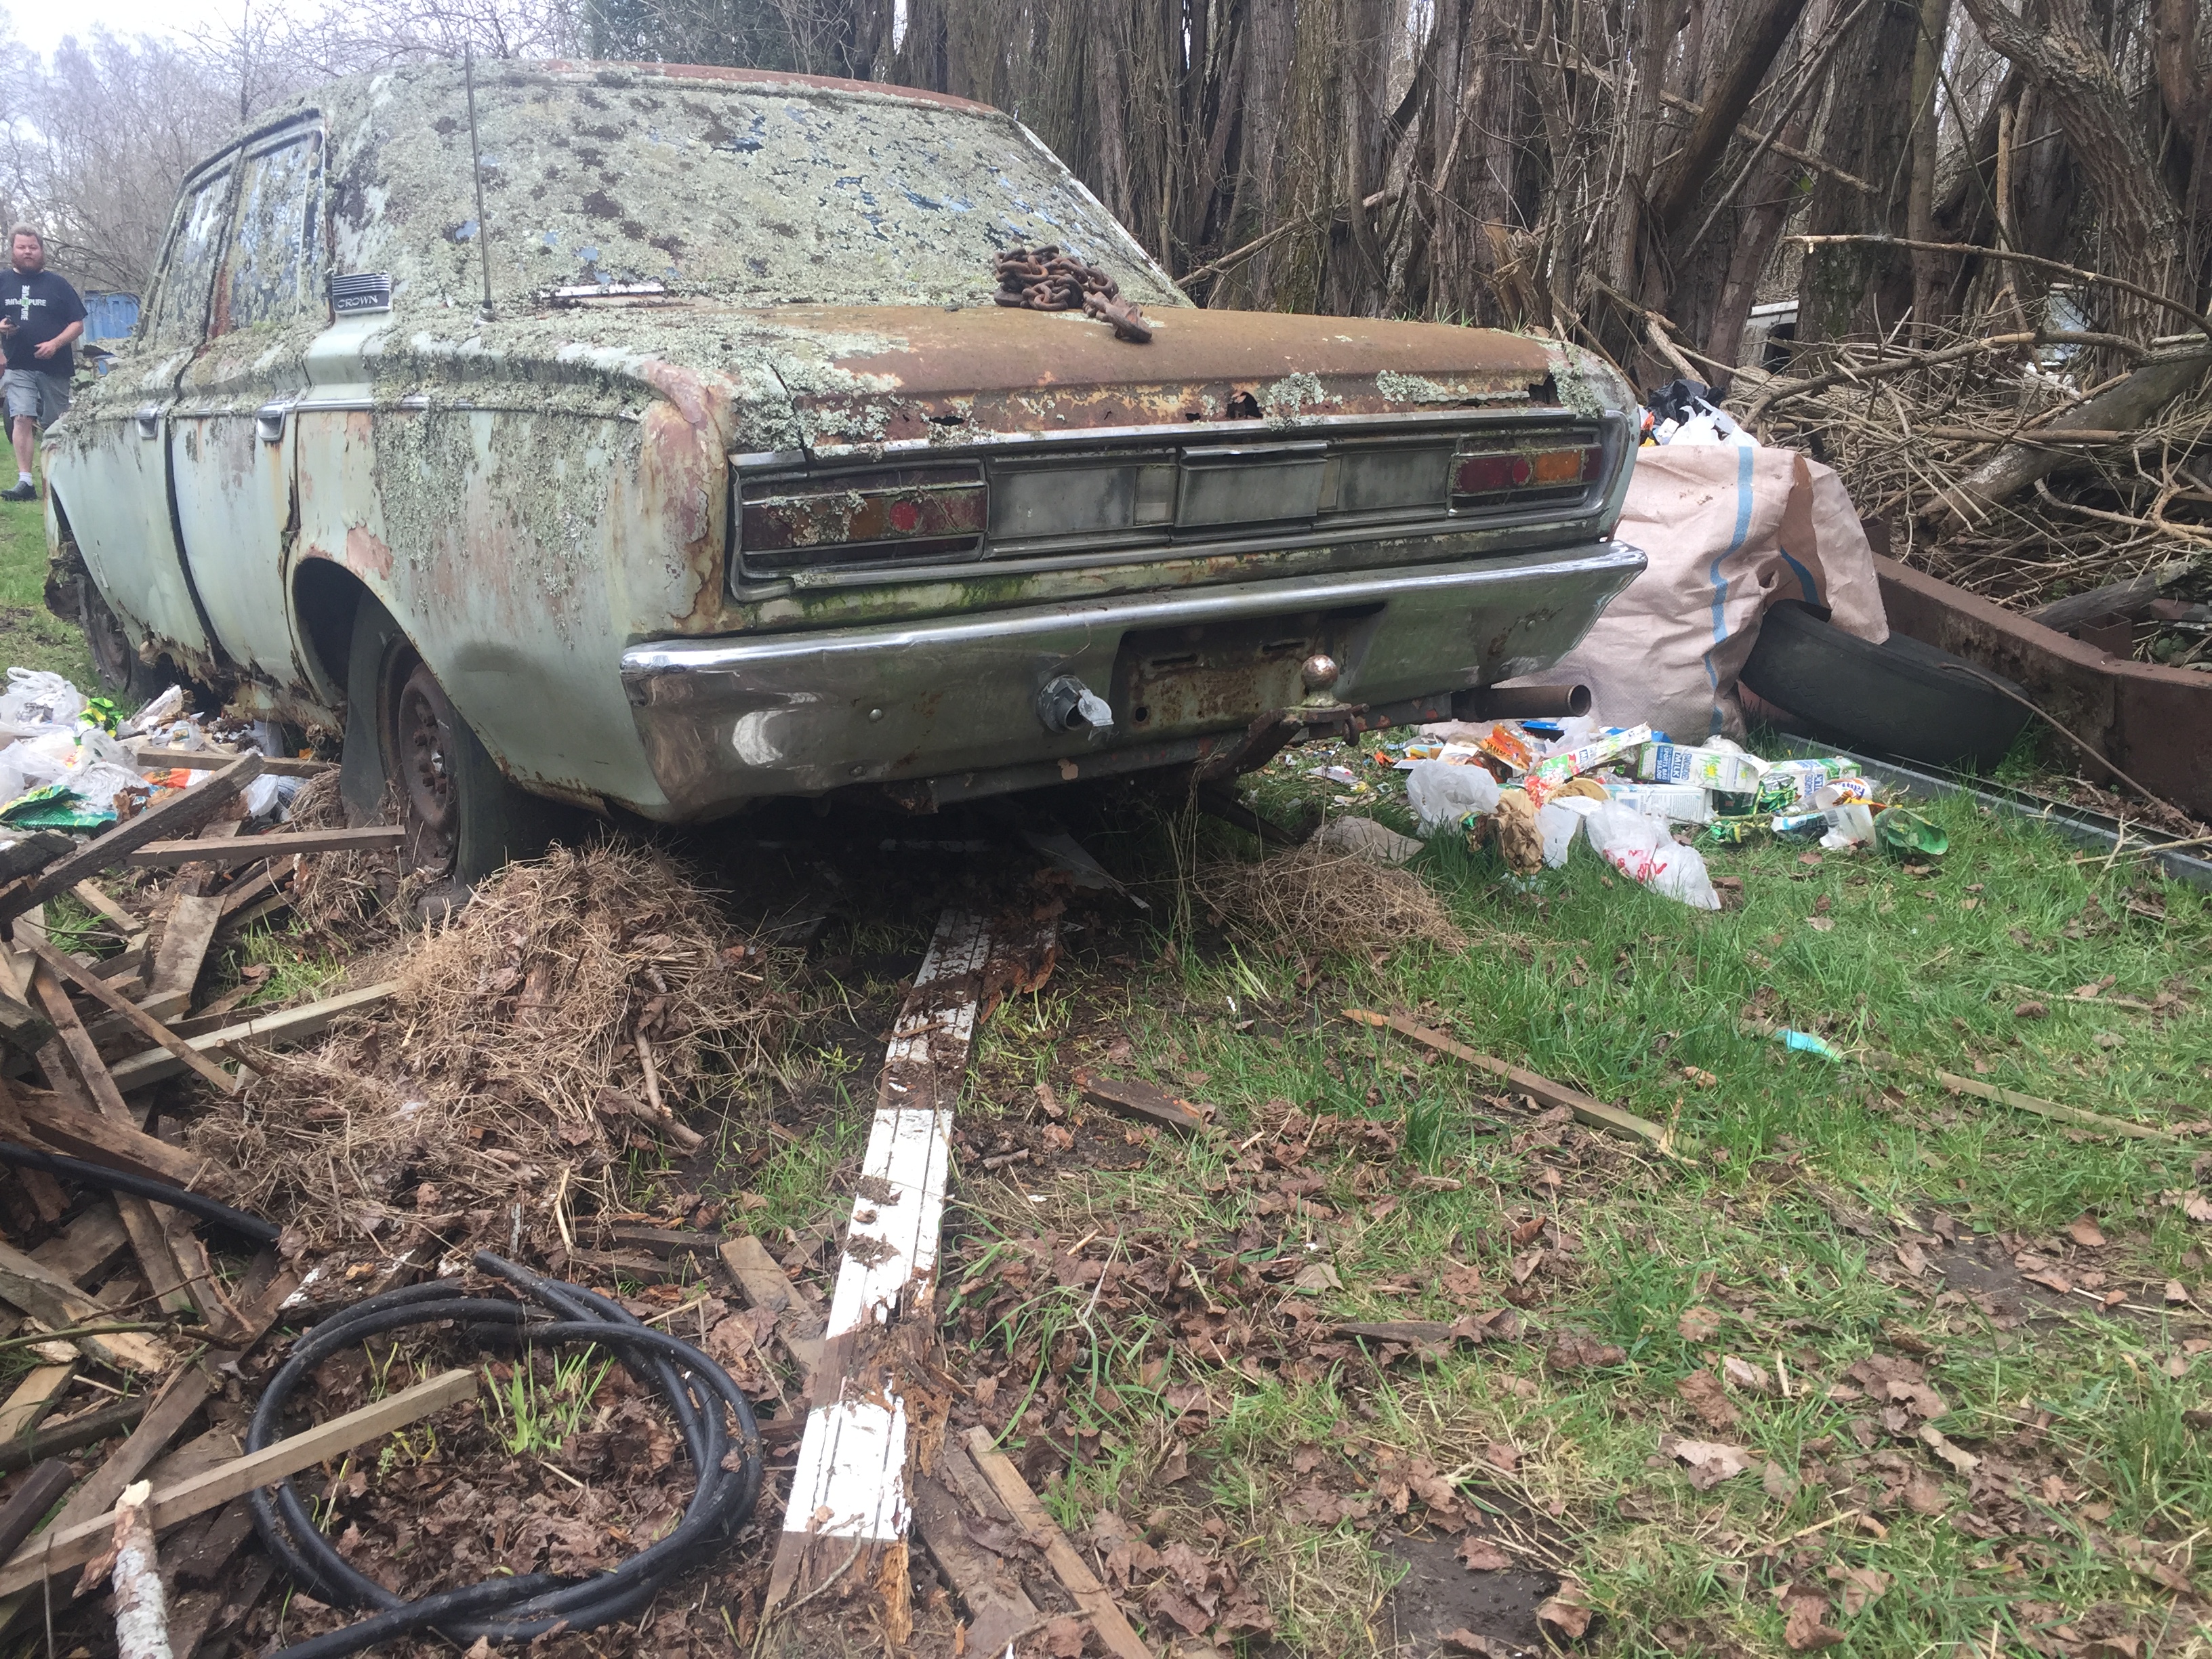
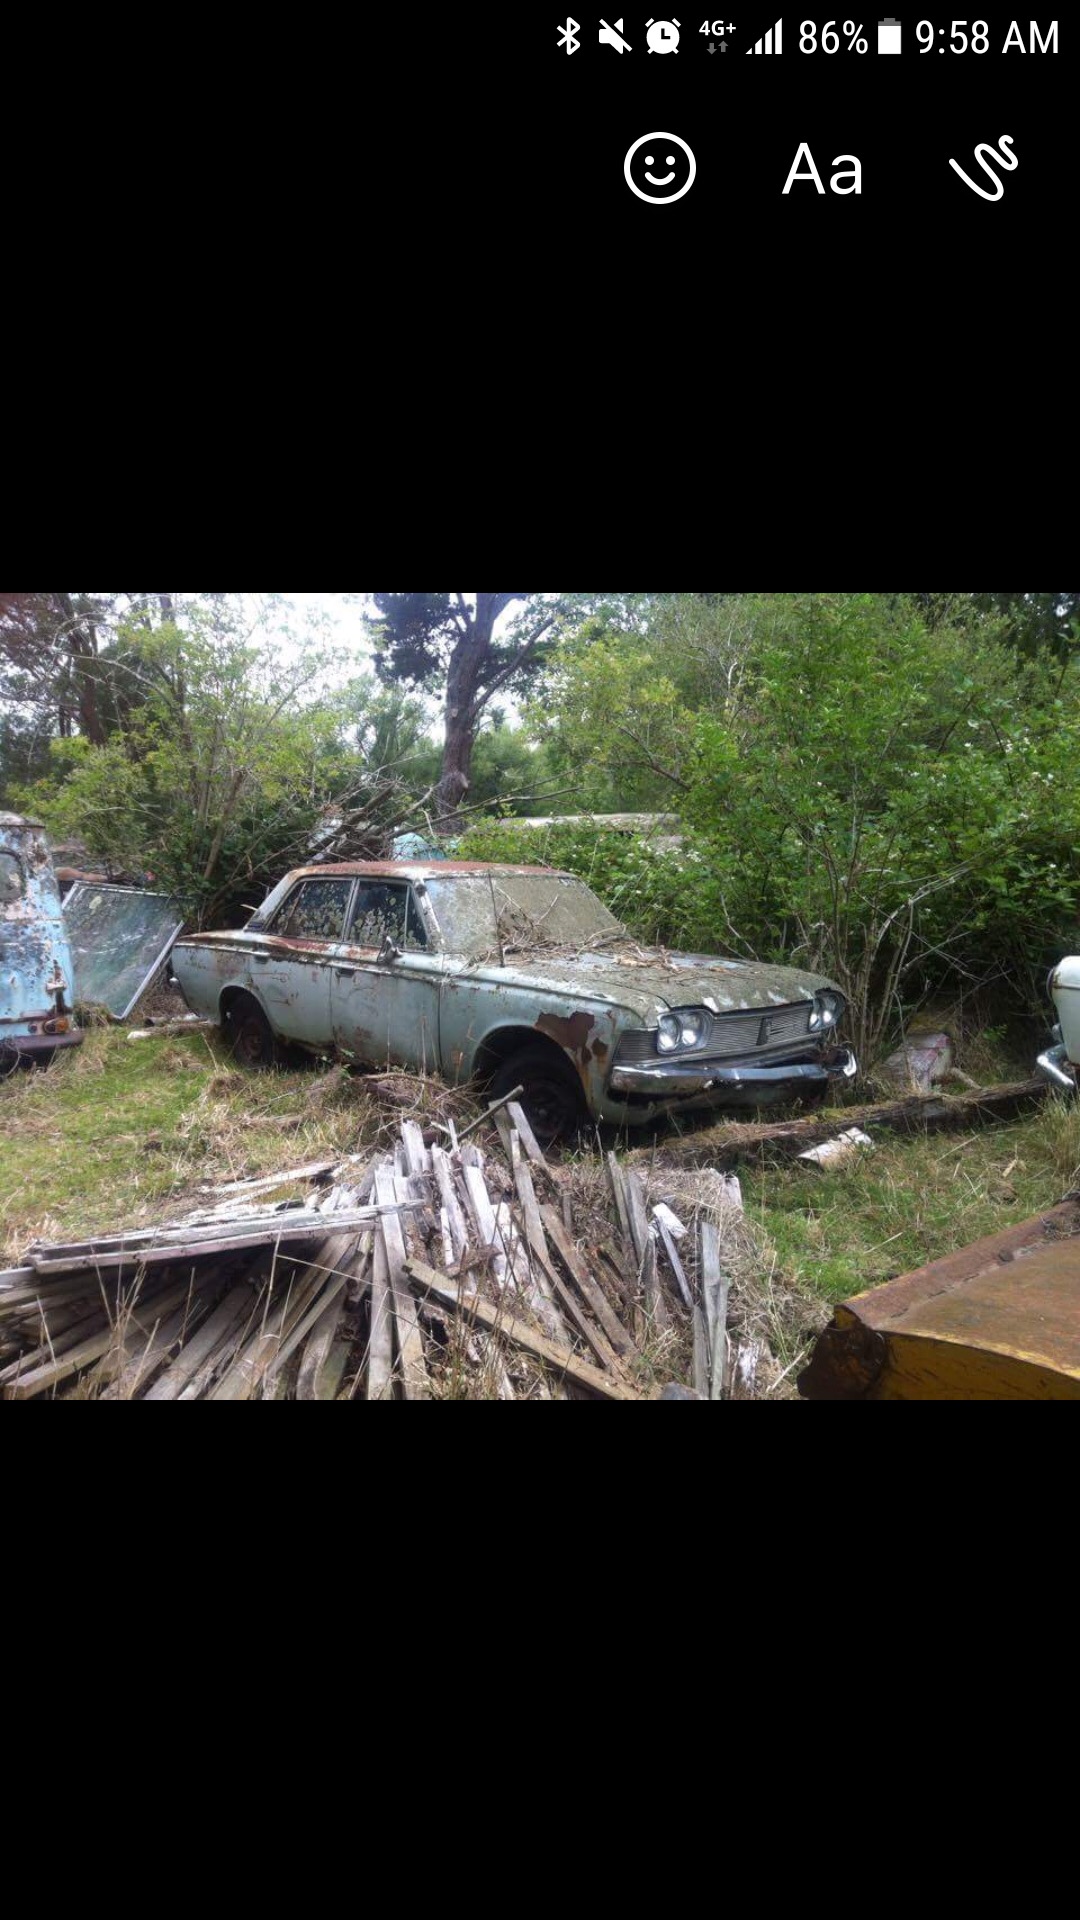
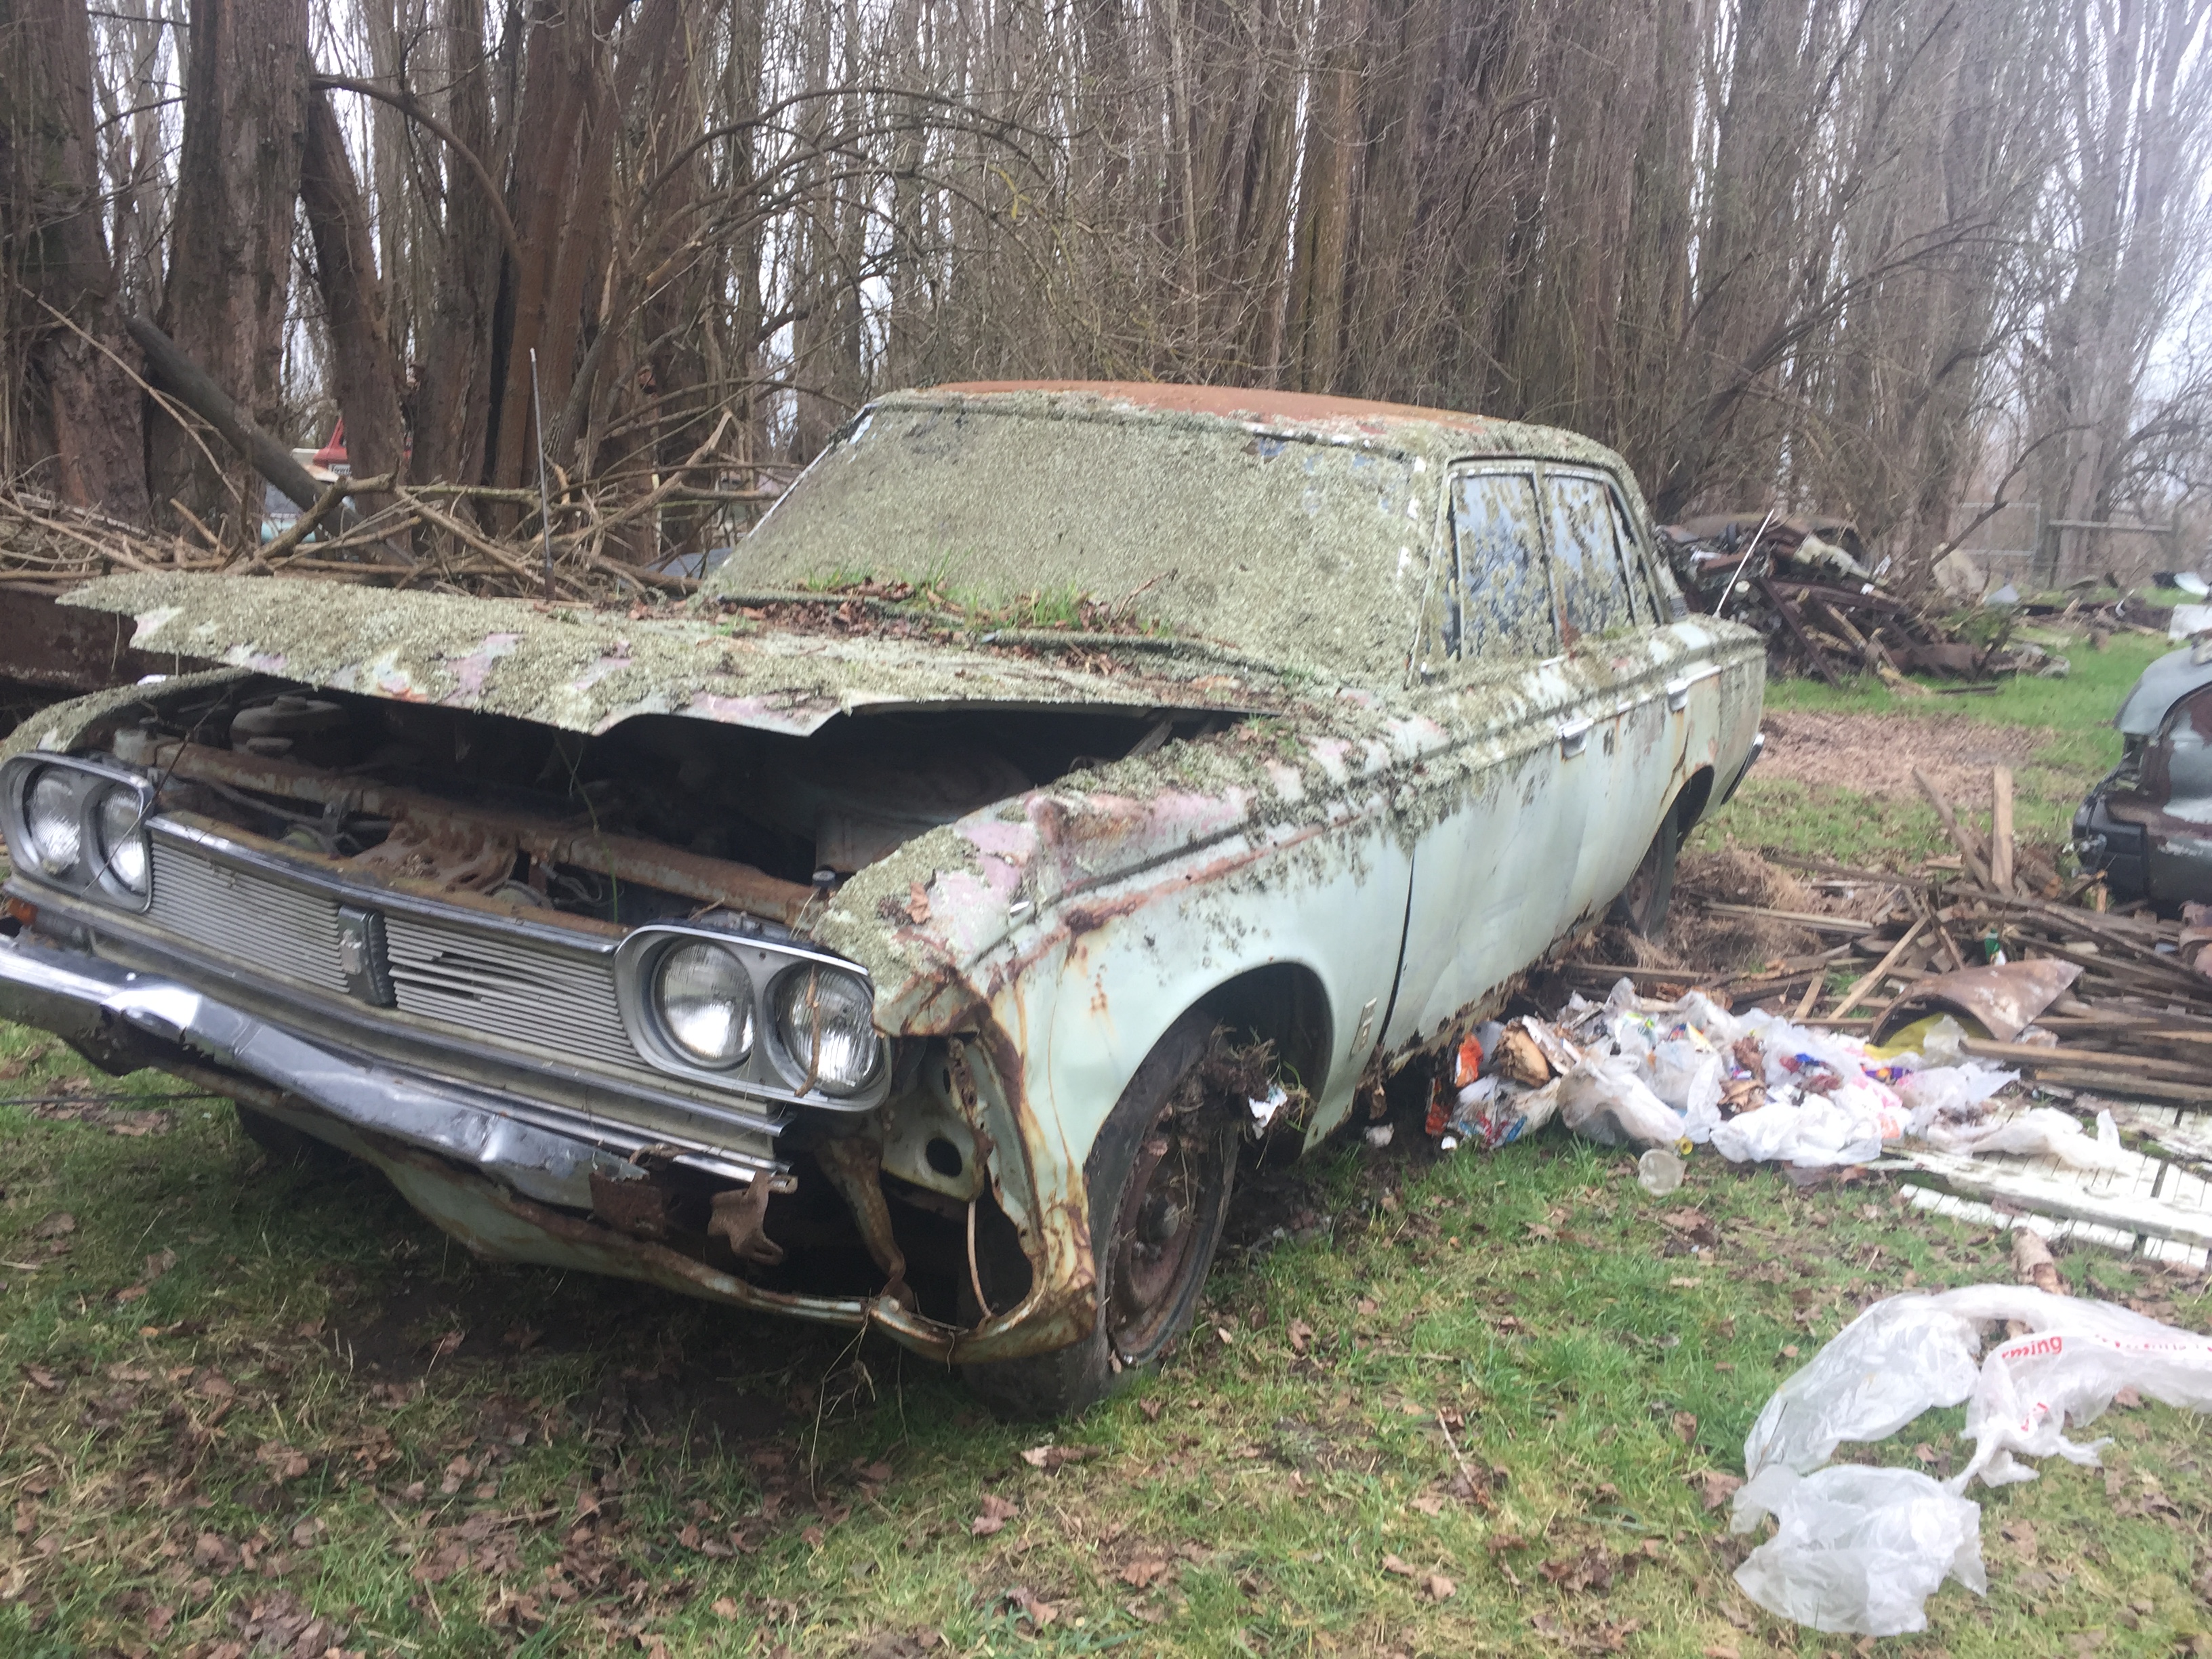
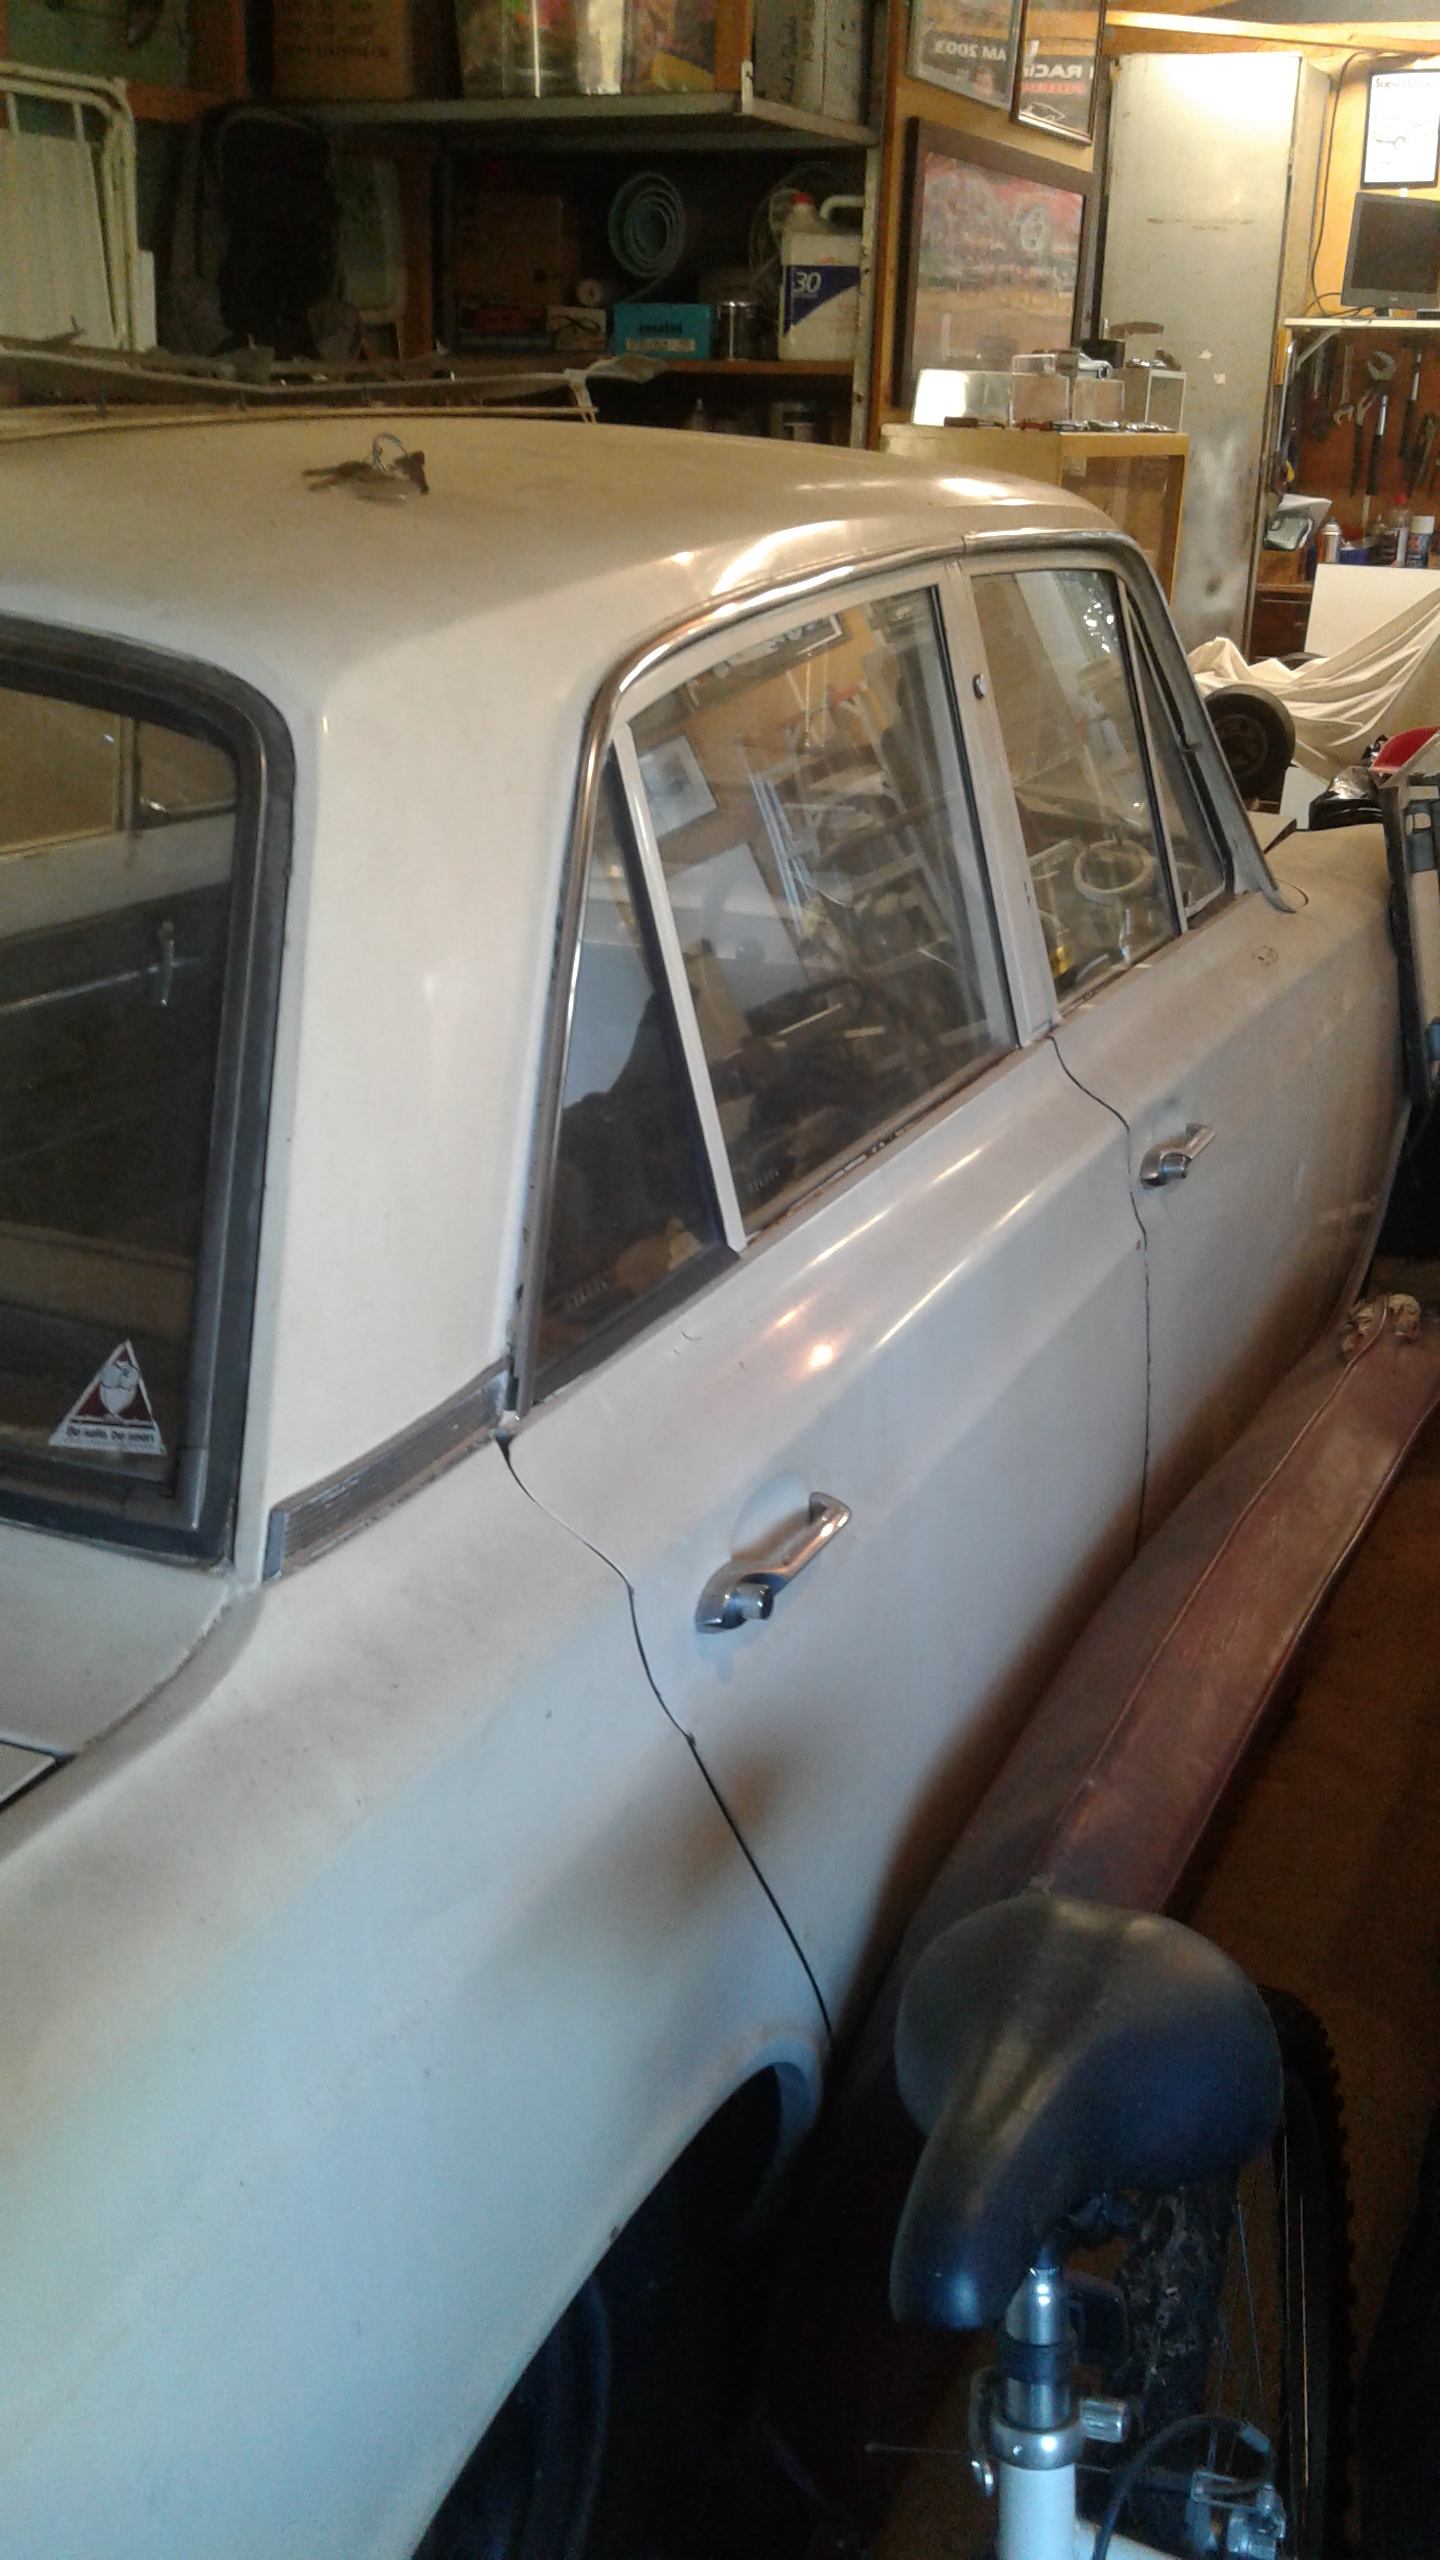
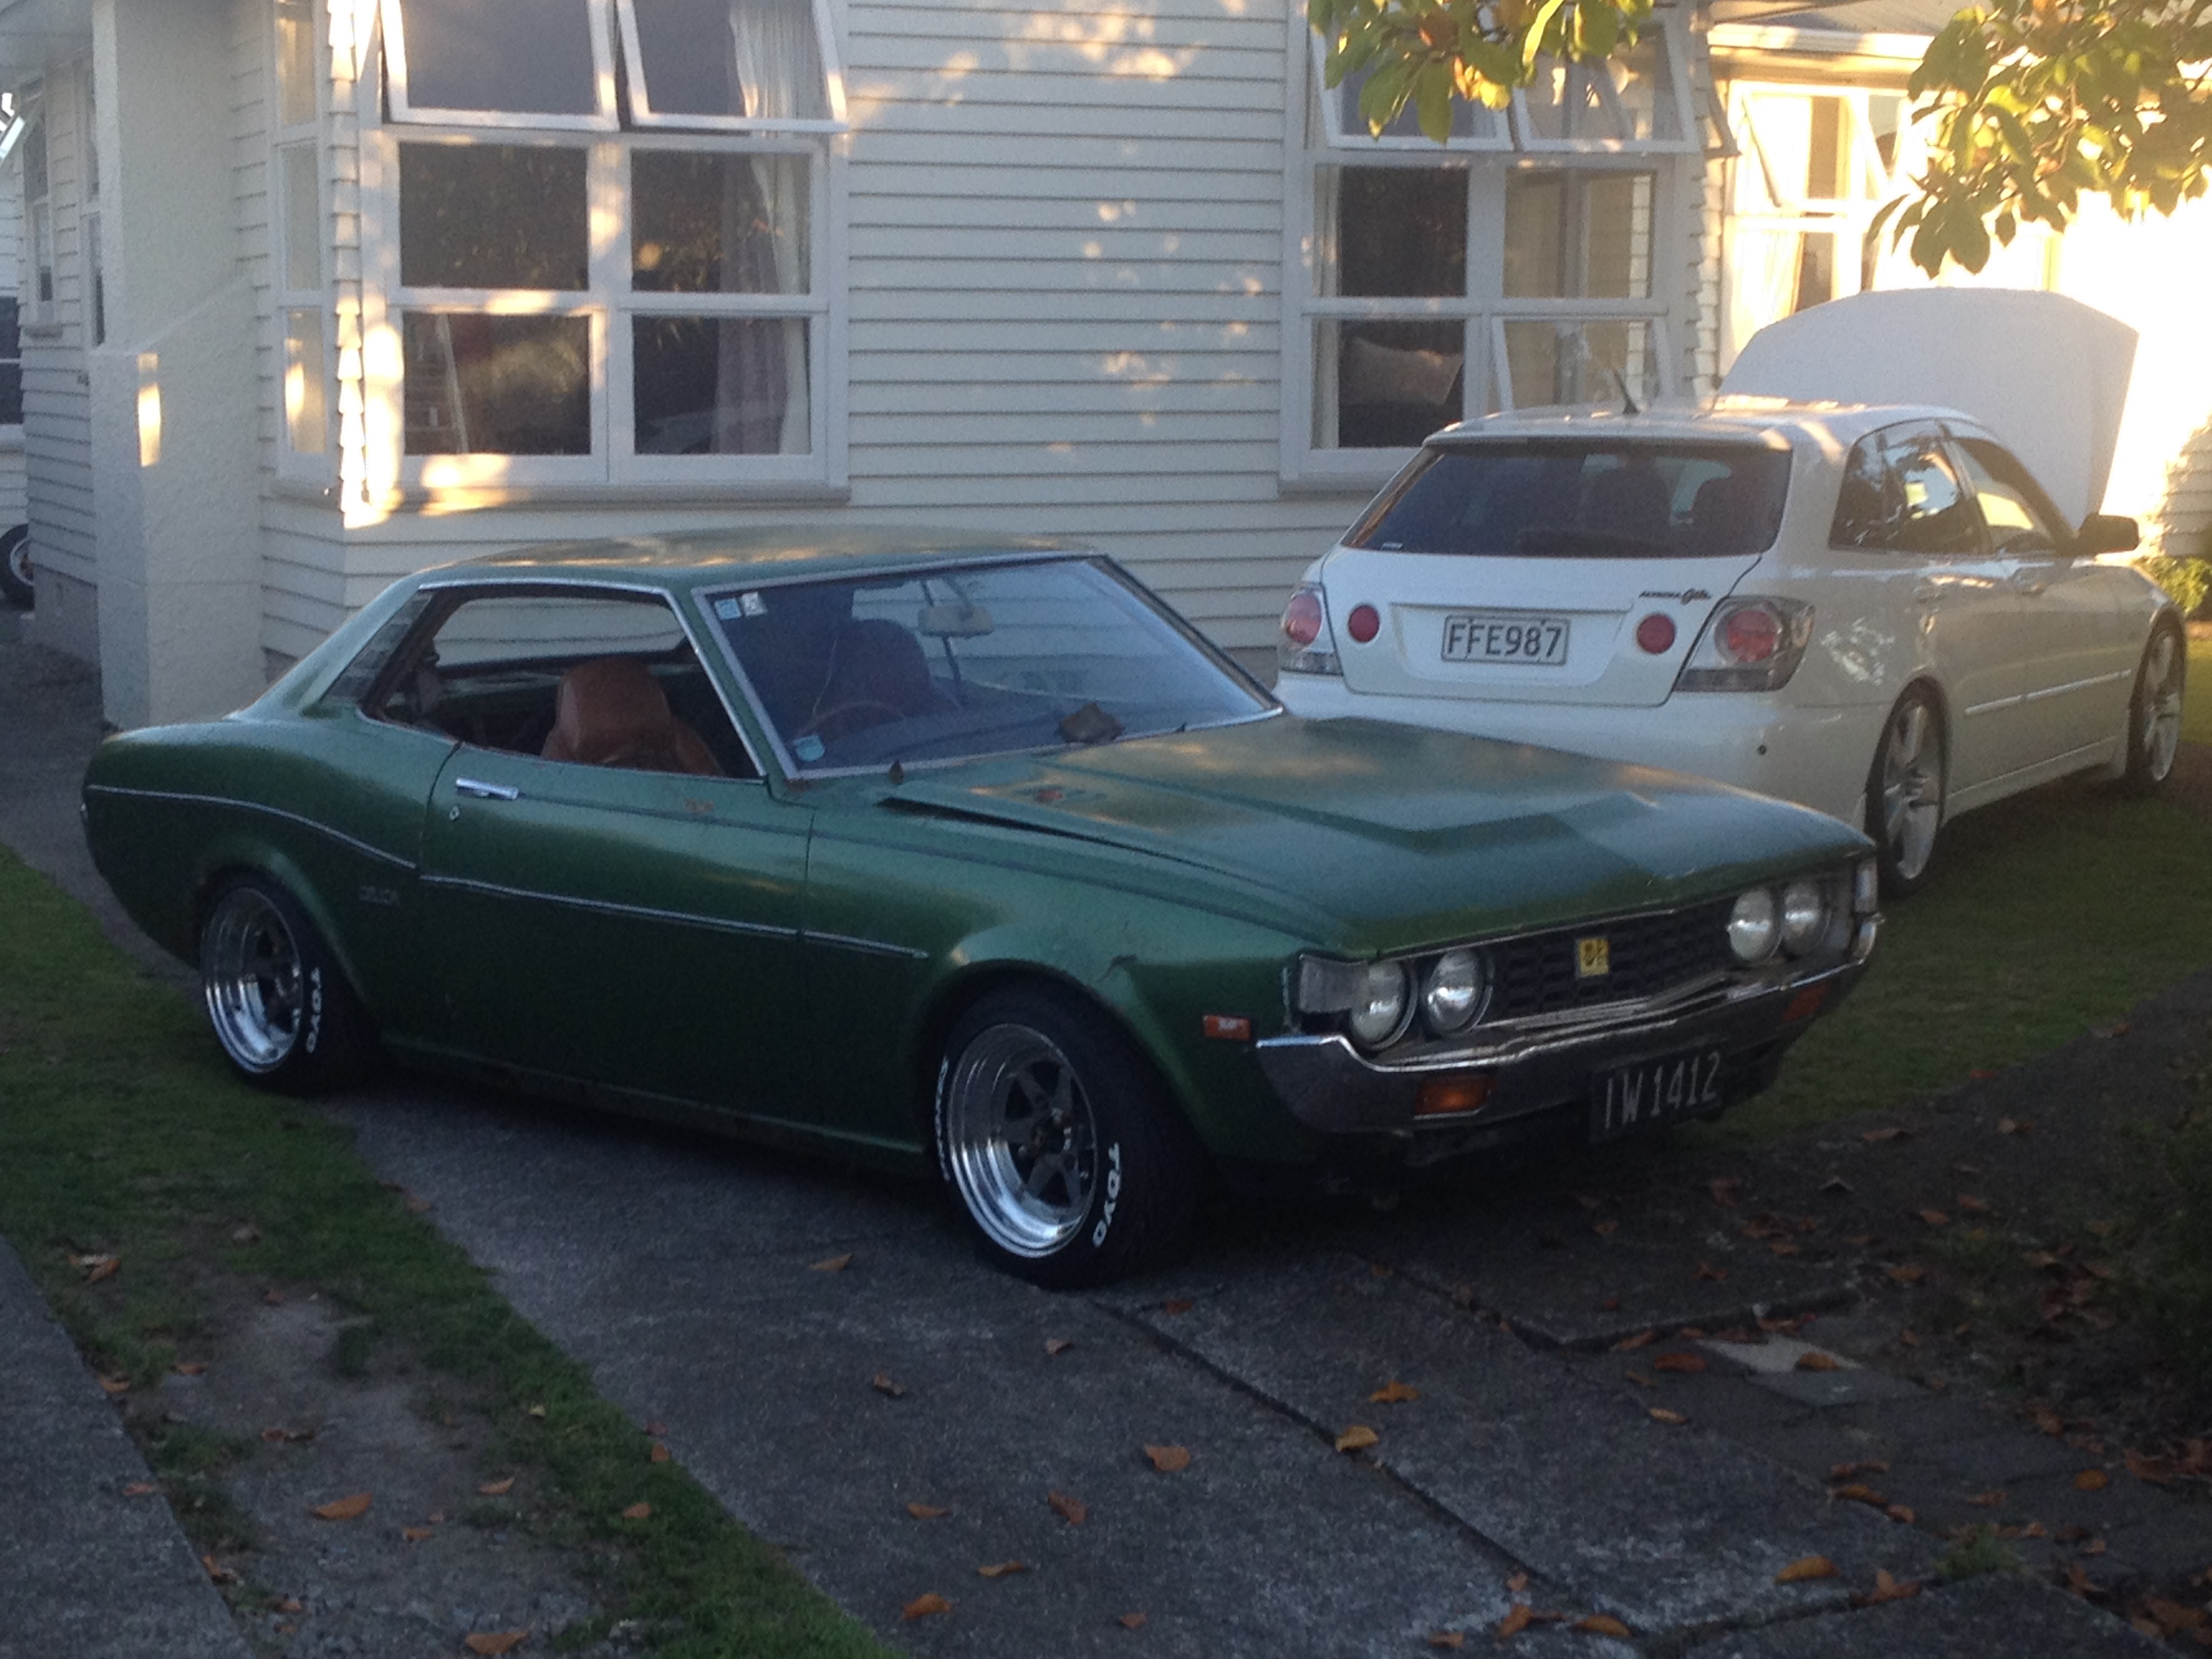
So, I thought i started a thread for this car but i cant find it anywhere - or even the other photos i had of it. I inherited this from my Grandad a few years back. He used to pick us up from school in it and when i went around and mowed the lawns (i was about 8-9 years old) id always drive it around the 1/4 acre section. Did my first "skids" on the lawn in this, much to Nana's disgust. "Janee" was grandads nickname so ive named it that. I was up in Hawkes Bay this last week and took a few pics of it again. From what i can gather and have been told its a '63 Mk1 Cortina Consul that was column shift until grandad (in his late 80's) couldn't shift it properly. Dad converted it to floor shift with an extra long gear stick which apparently helped. Dad says it has an Escort engine in it but there is a couple of "kent" blocks at the grandparents place in the shed. Its had more parking hits than tina turner due to grandad touch parking everywhere from getting it in and out of the shed to parking at the RSA. We've removed the front bench seat as it wasnt original and was poorly mounted - so will be on the hunt for a couple of bucket seats. Amazingly (bad news in a way) was that he and dad wrecked out a 4 door GT as parts for this (FFS guys you got it round the wrong way) but i have a bucket load of spare doors and bumpers etc which will come in handy. Plan is to load her up fully with all the spares and get it to CHCH, hopefully using a couple of relo jobs through work to move the trailer up there and back. Ill get it running, Rego and Wof and drive it. I want to leave the patina on it for now as thats how i remember it. Will get some decent non shed pics of it asap.
1 point
-
*YARN THREAD* Walking around the Kumeu car show 2015, the old man was telling how one of his mates at work had two Escorts he wanted to sell, a Mk4 convertible and a Mk1. But seeing as I was knuckle deep into turbocharging my MX5 at the time I merely shrugged it off as I didn't have anywhere to keep another project. Two years down the line I was eating a tuna steak at The Esplanade in Devonport and all of a sudden "Boy, remember that Escort I told you about a few years ago, would you like to go and see it after lunch?" "Sure why not".... you can work out the rest Beatrix is a November build 1969 Ford Escort 1300 Sport assembled in Lower Hutt. When I brought her in March she hadn't run for about 15 years and her rego has lapsed. I got the engine going with a bit of fresh fuel and some new plugs and did a few laps around the block. I then pulled her apart to have a look at what we got and got a few good surprises, Some spring adjustable front shocks 4 pot AP racing front calipers a 711M 1600 block and the biggest surprise apart from the battery tray, no real rust to speak of. The plan at the moment is, rebuild/replace all that's perished over the years of sitting still. Rebuild the engine. Reregister her. Replace the seats with something less offensive. Repaint it back to its stock color, Ford Diamond Blue.1 point
-
Hi team. After a bit of attention in the whipping a v4 thread i figure there is some love for a dirty old transhit so here we are First impression Discussion:
1 point
-
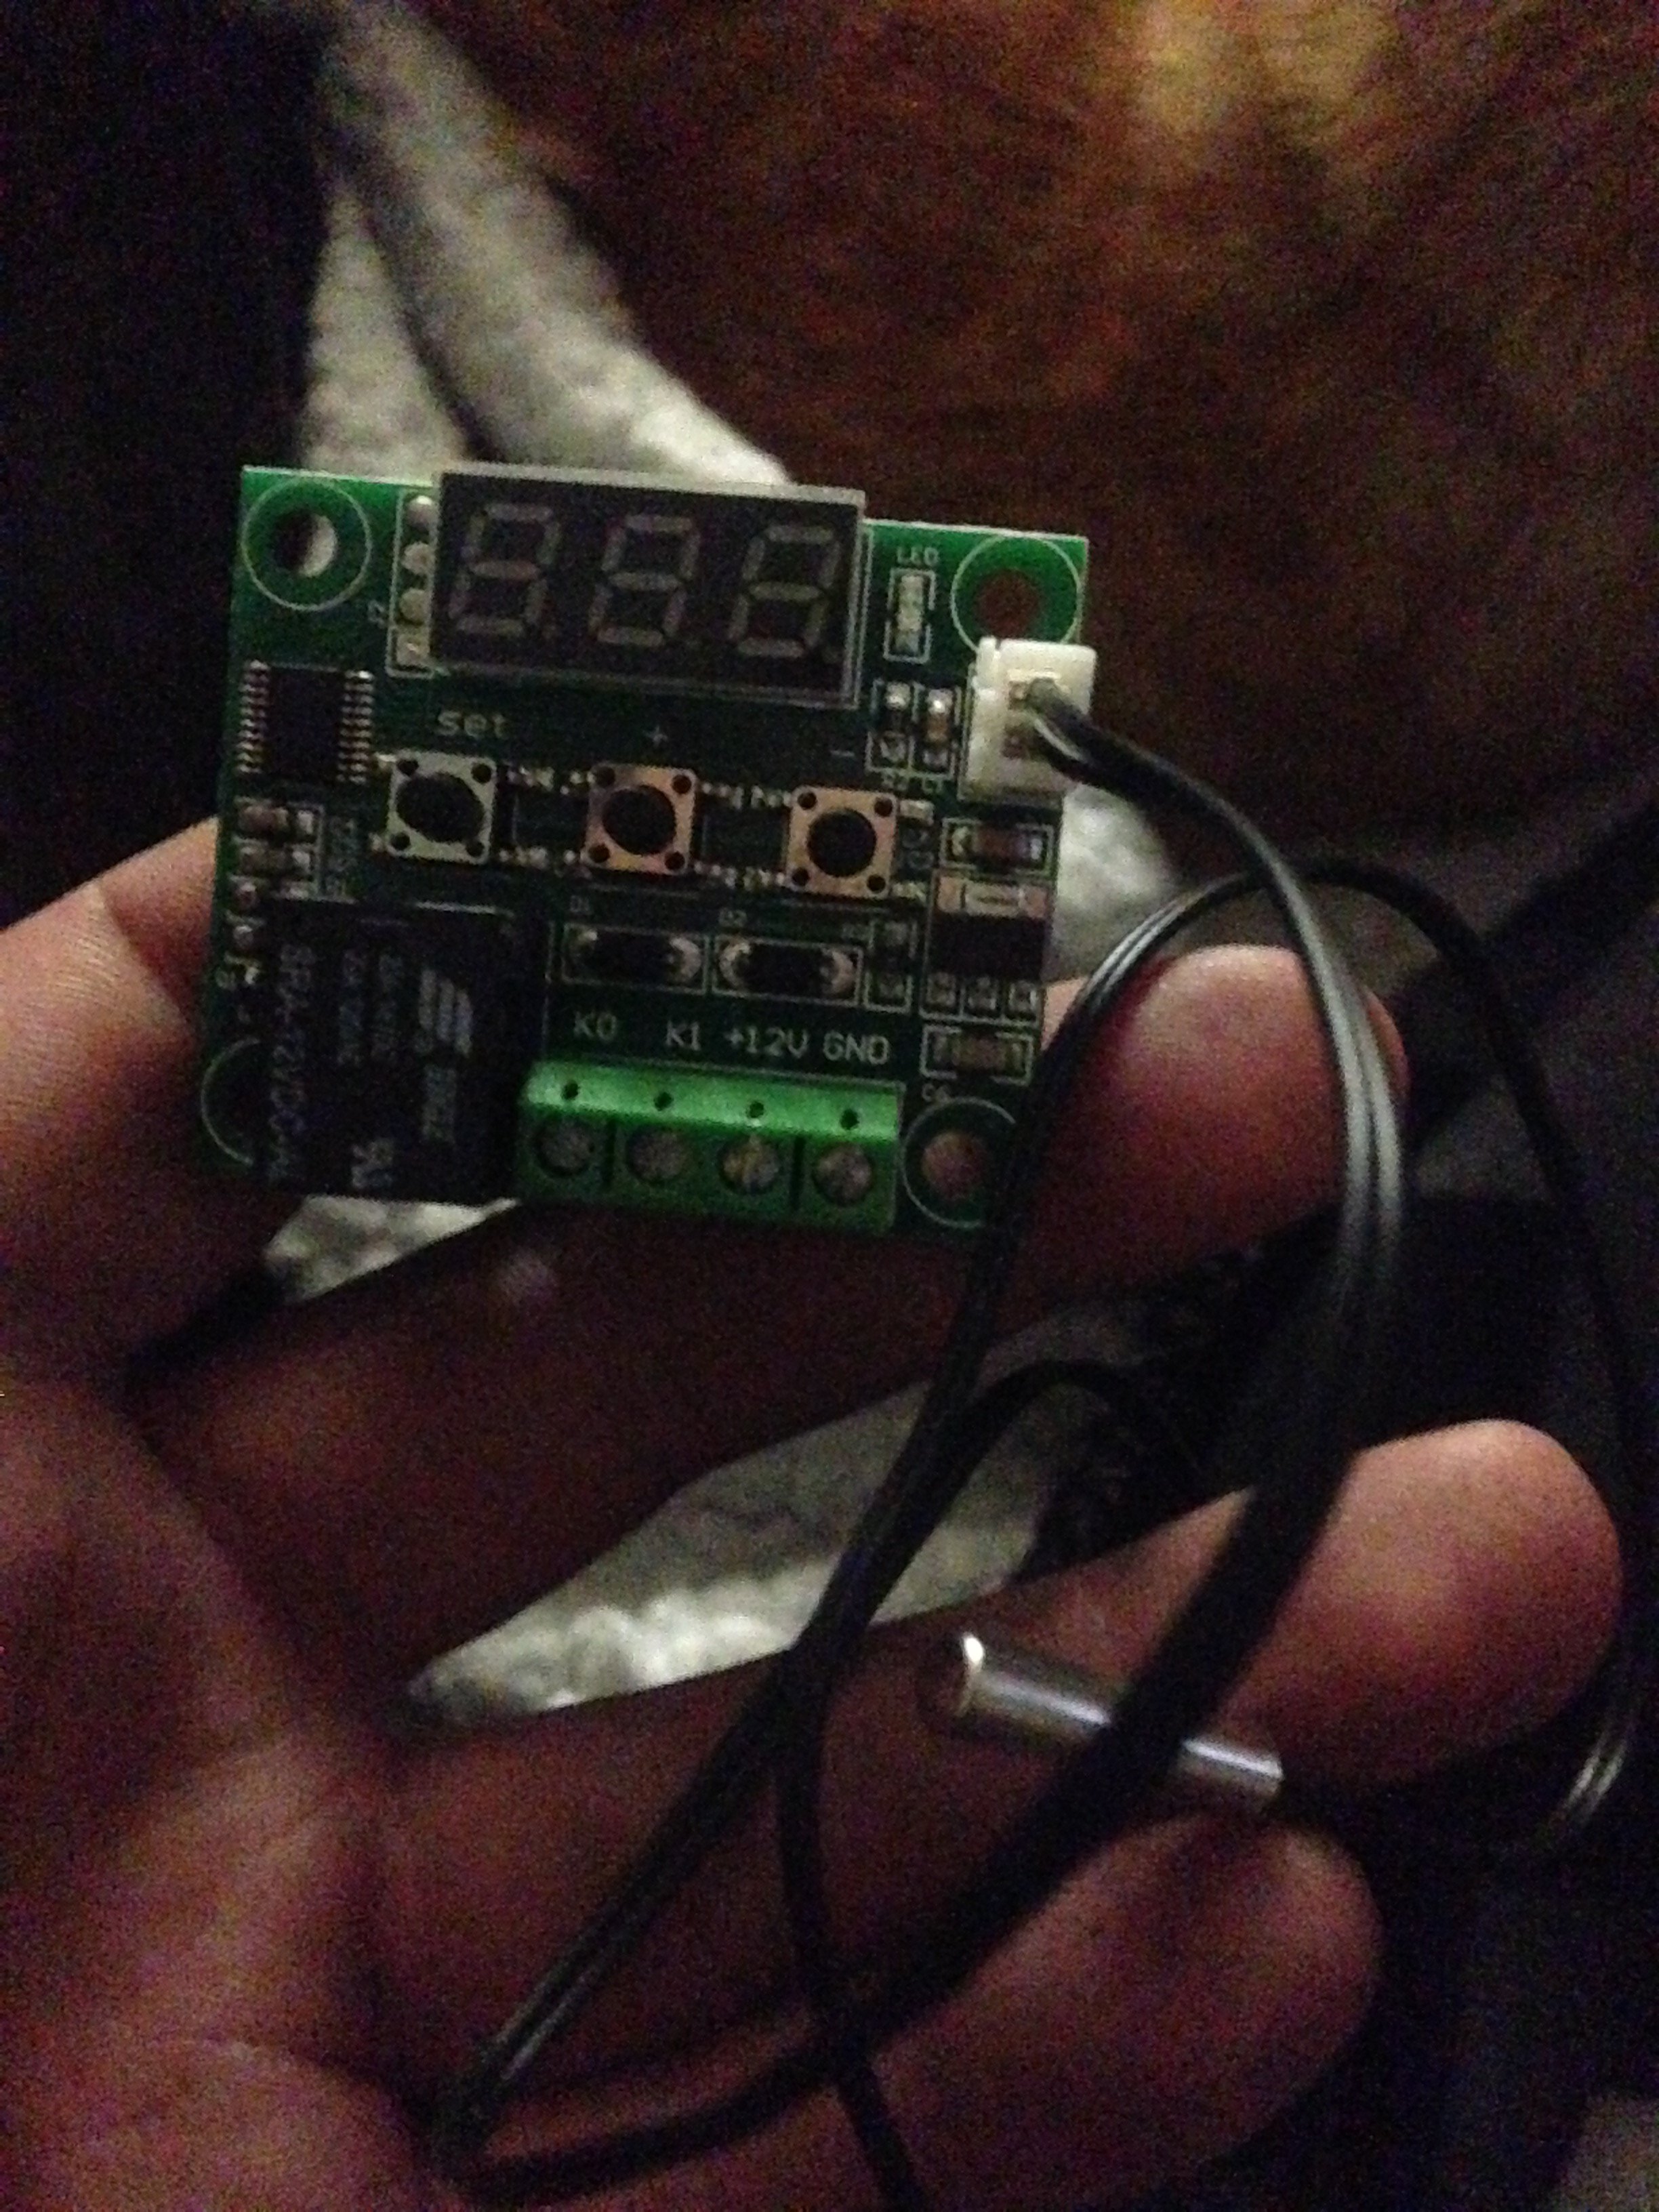
Picked up cool Adriano thermo switches for the fans. Means I can stage the fans at any temp. pulled the standard rad out of my old AW11 and tidied it up. Fans are pretty bad in spots so I'll see if I can get replacements or something to press in???? going for wof next week if I pull my finger out and drop it off stands. plans for respray next!!
1 point
-
1 point
-
Just in case anyone has been thinking.... I wonder what happened to this. I have hit a major curve. The holes in the heads that the pushrods pass through are making contact with the pushrods at about 3/4 lift... File it out I hear you say, but alas, these need to seal against the pushrod tube seal, and they have already been moved so they are hard against the valve cover rail. And welding and machining opens a whole new can of worms. So to "fix" the interference issue, I will be reassembling, trying the set up with the old smaller cam and maybe go to a different ratio rocker if the adjusting screw centreline is closer to the pivot point, and hopefully I can find enough clearance to make it work. I can probably sort it and have crappy rocker arm geometry, Ill go there if I have too. Pushrods are 1/2" diameter and tapered at the ends. Because this engine is not exactly off the shelf, Pauter (the manufacturers) were contacted, they no longer have castings made and all their current heads are billet at the amazing price of $8k usd a pair (holy fuck is the correct expletive here). Unfortunately if plan A fails this is where I am at, which is why I have mothballed it for a while. This week, next weekend Ill get it together and start trying shit.1 point
-
wiring ... my favourite part ....1 point
-
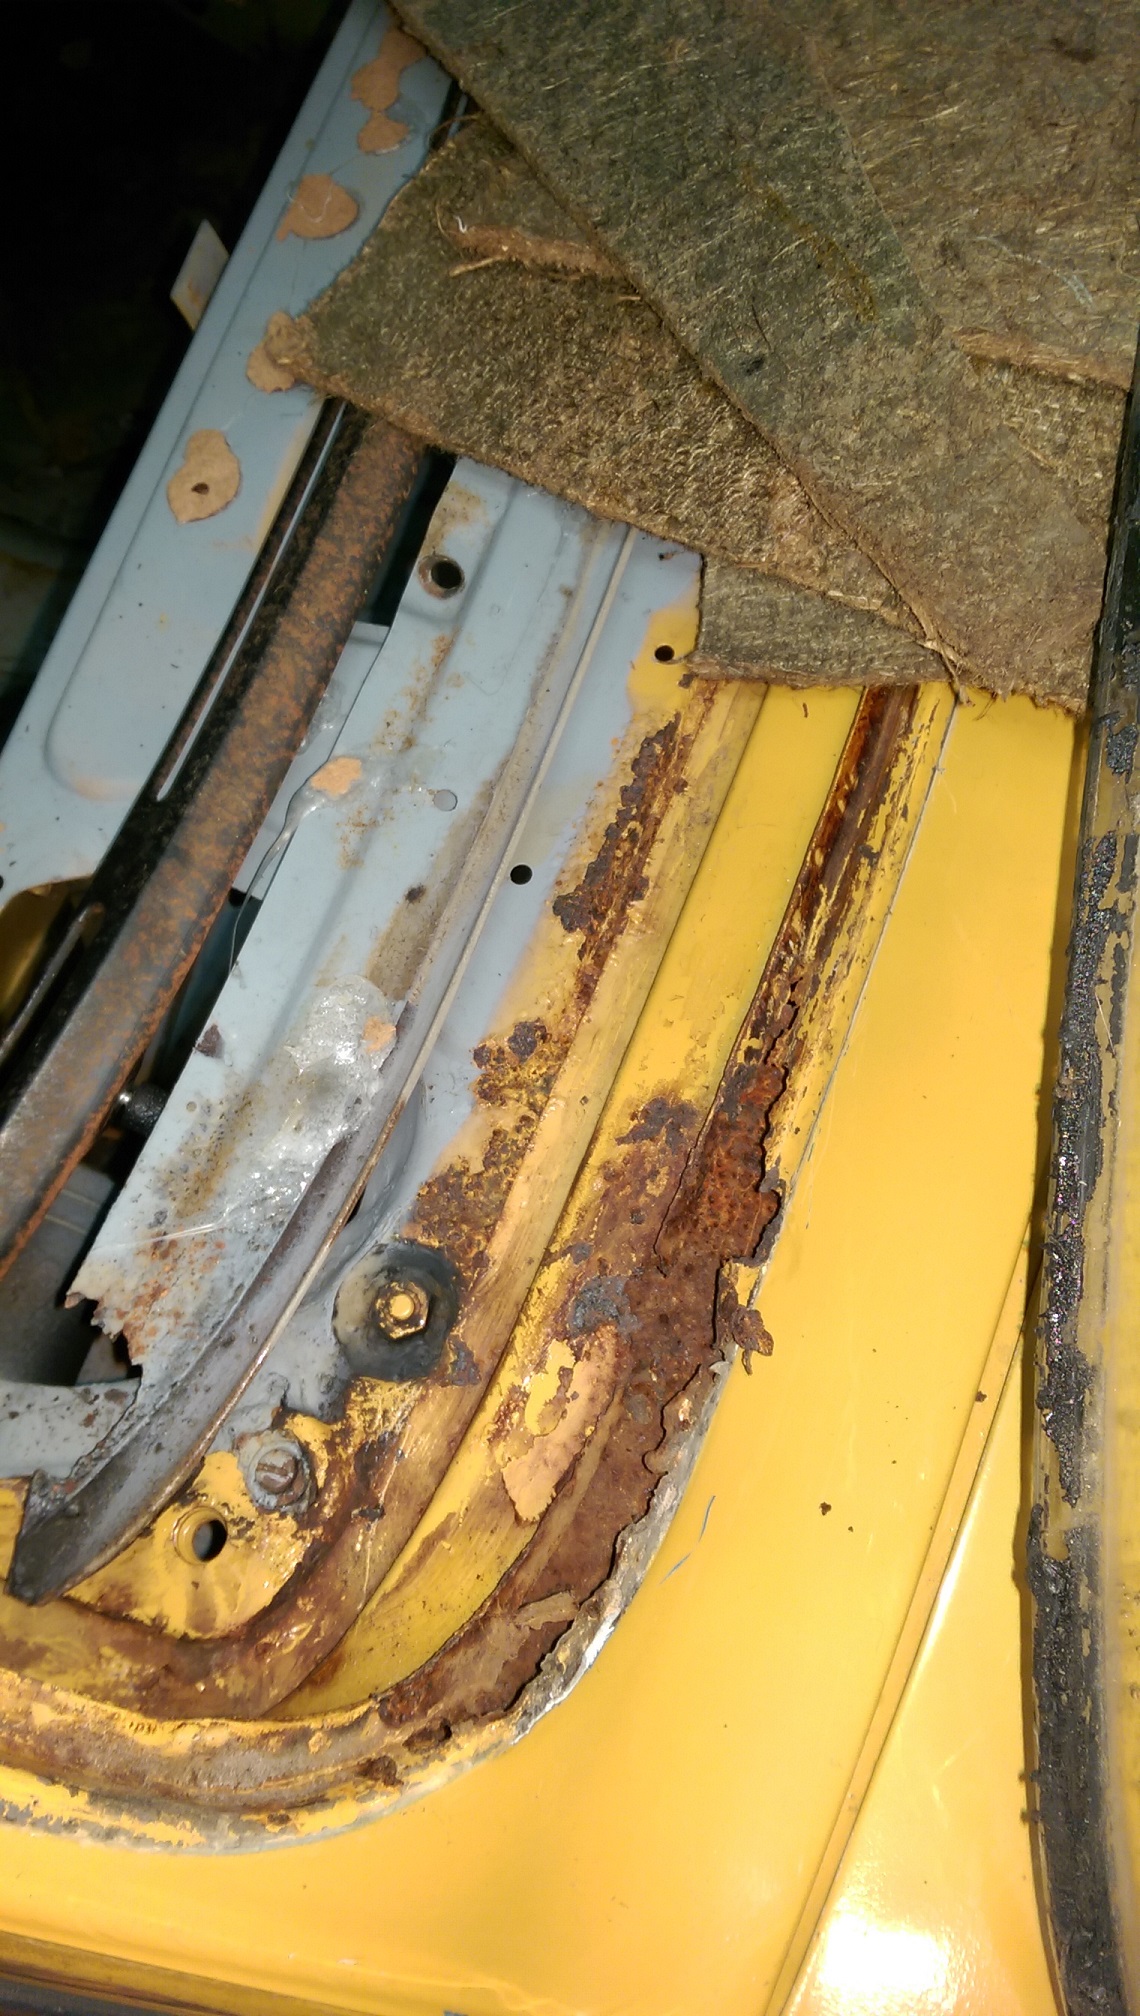
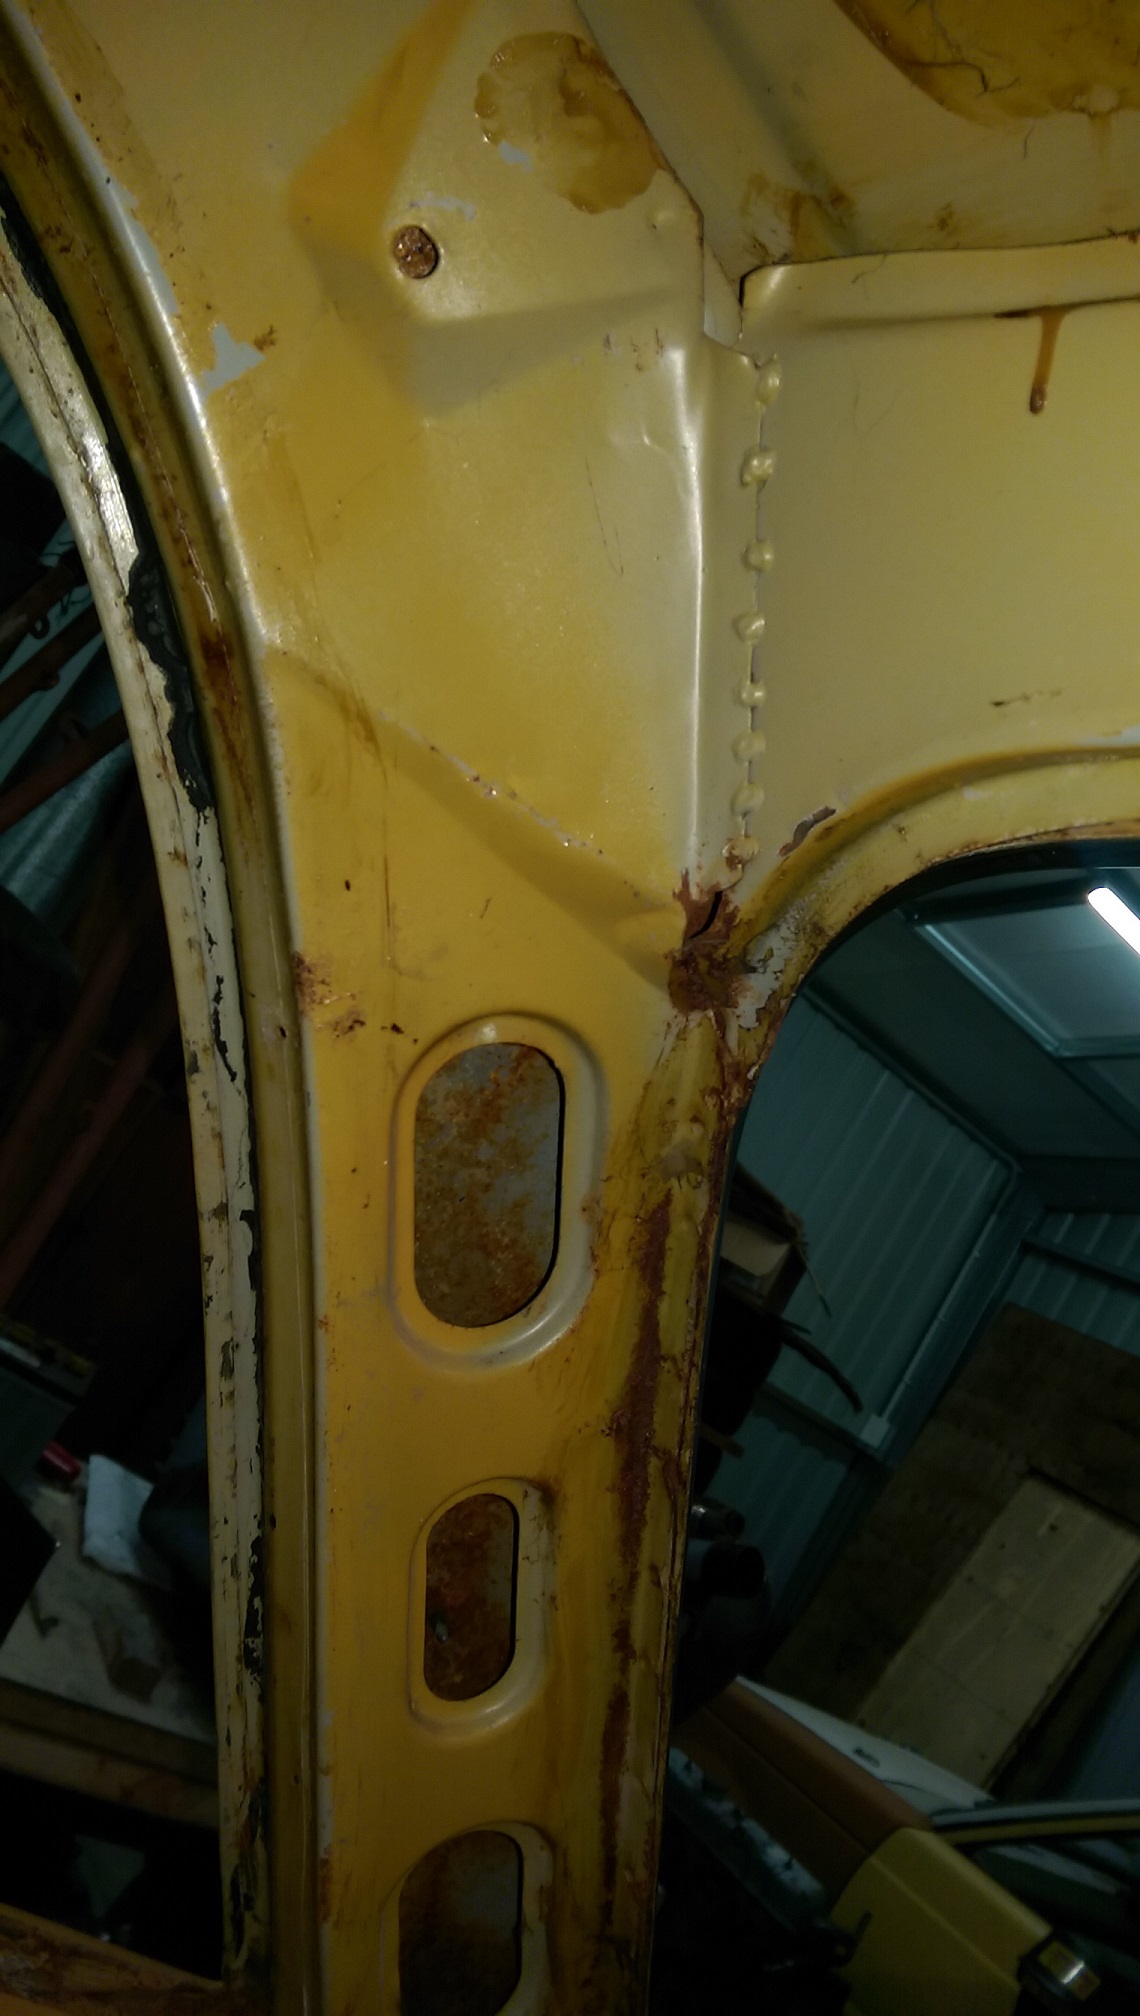
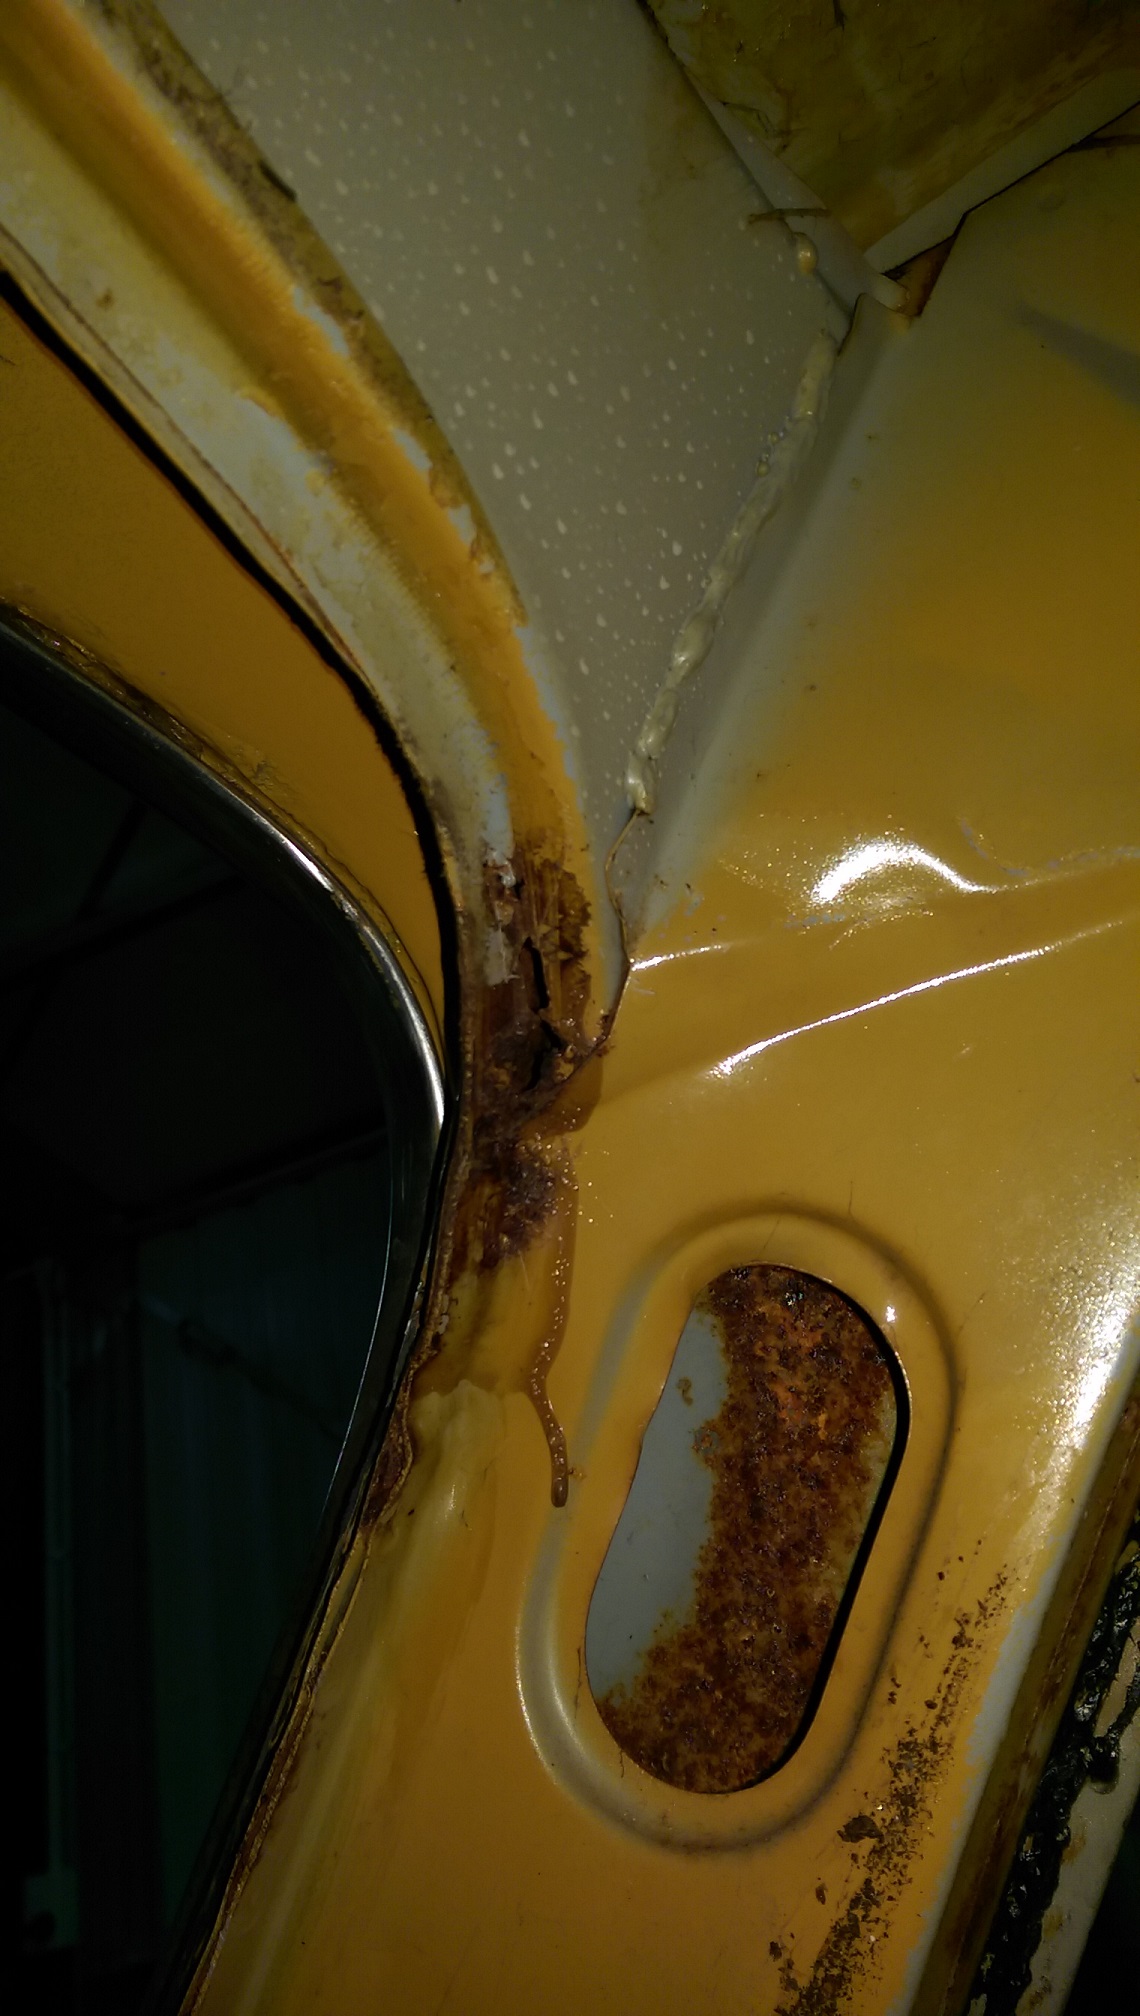
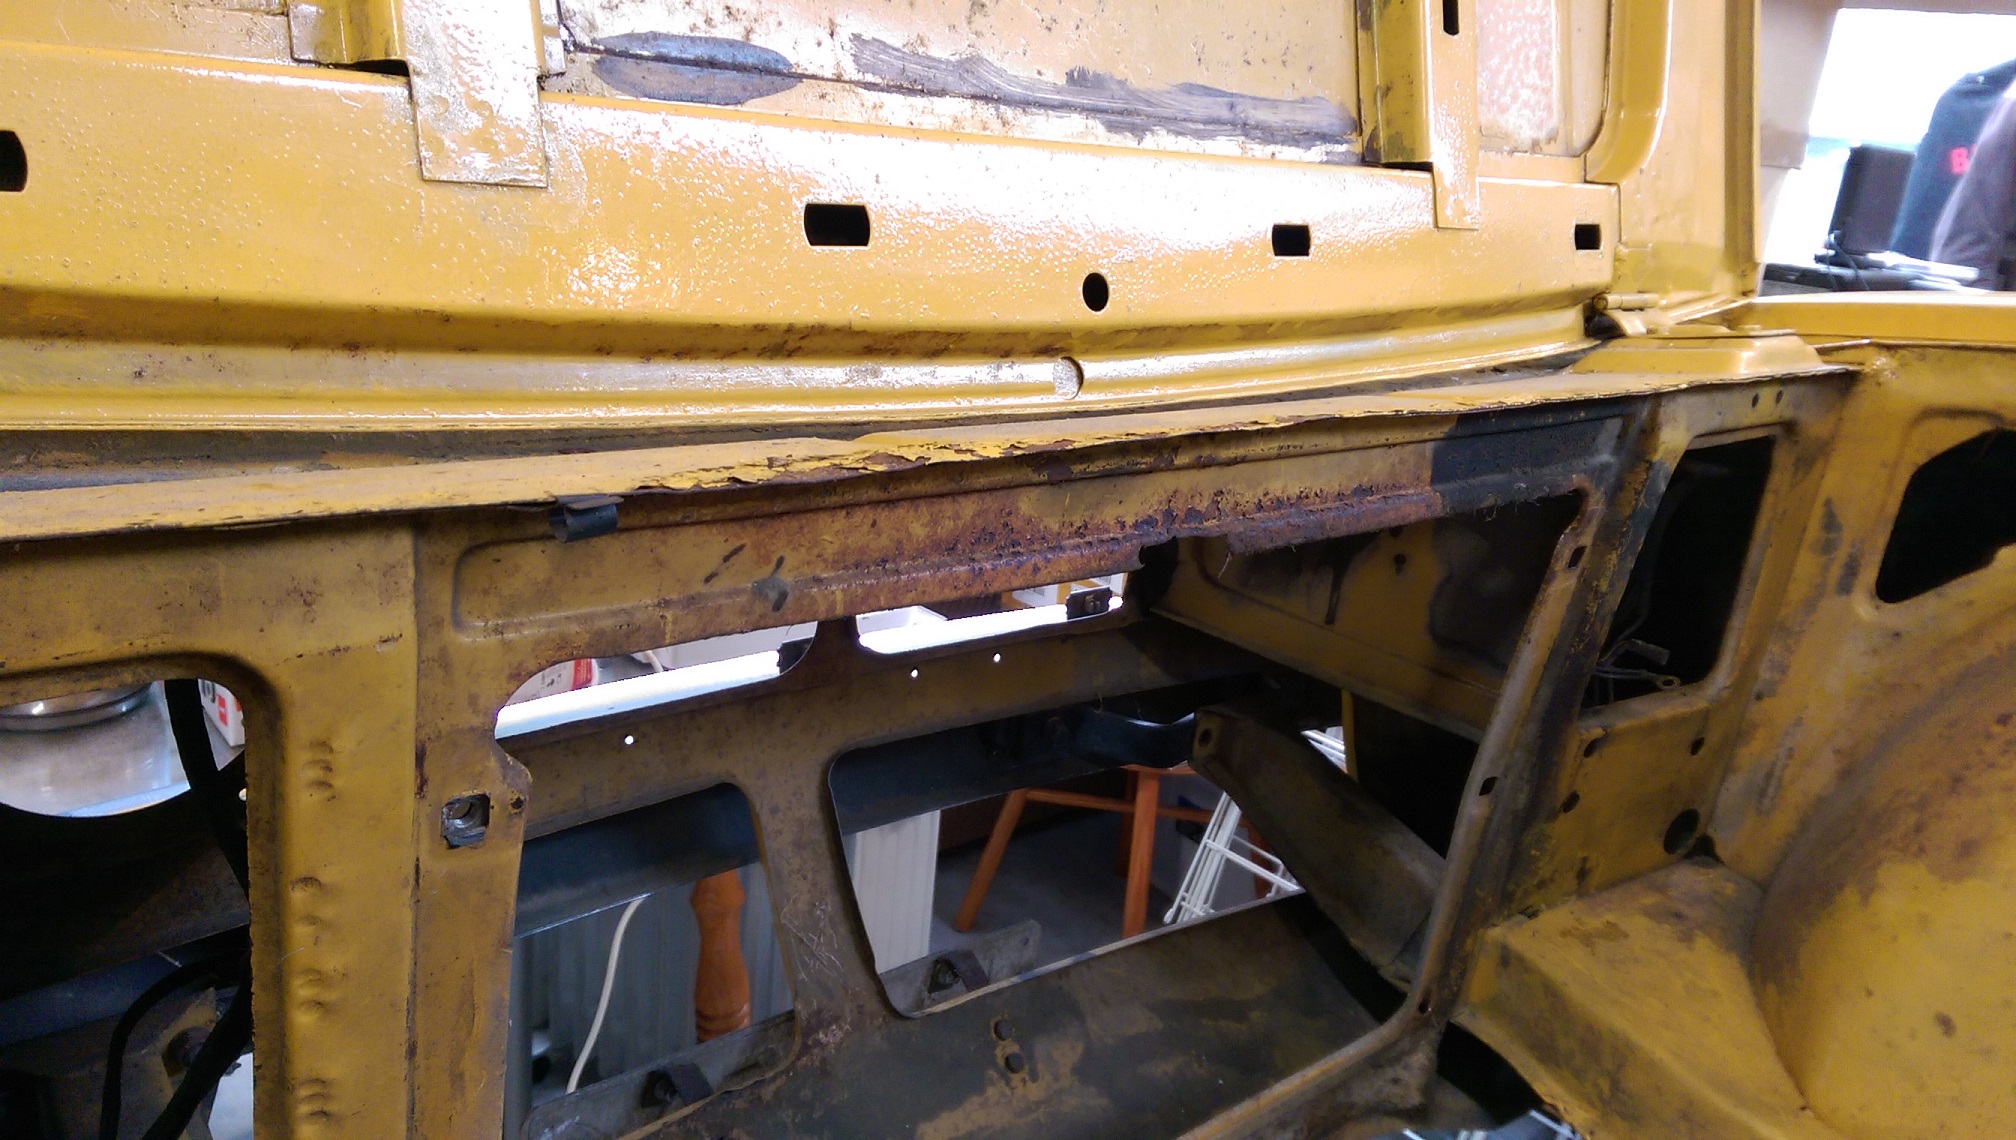
Removed the rear screen. Found some rust. I knew there was something going on under there because where the trailing edge of the parcel tray meets the gutter around the boot, it's just crumbly rust. I thought I'd have to try repair that from underneath... inside the boot. Now I'm just going to cut this whole thing off, repair the parcel tray, then patch these panels and put them back on top.... well that's what I think I can do.... I also removed the roof lining and found a mouse nest! And some more rust. Same place on both sides. Maybe it gets condensation there and it just sits on the panel.... Also removed the front screen. Didn't damage the stainless trim! They used a shitload of mastic. No rust at the front. yay...
1 point
-
spray bottle of soapy water, gentle does it, it will just pop in1 point
-
Fixed1 point
-
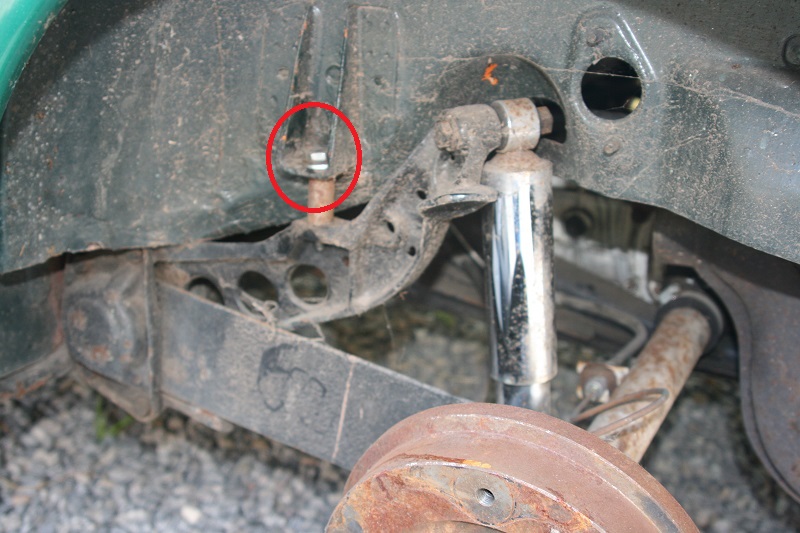
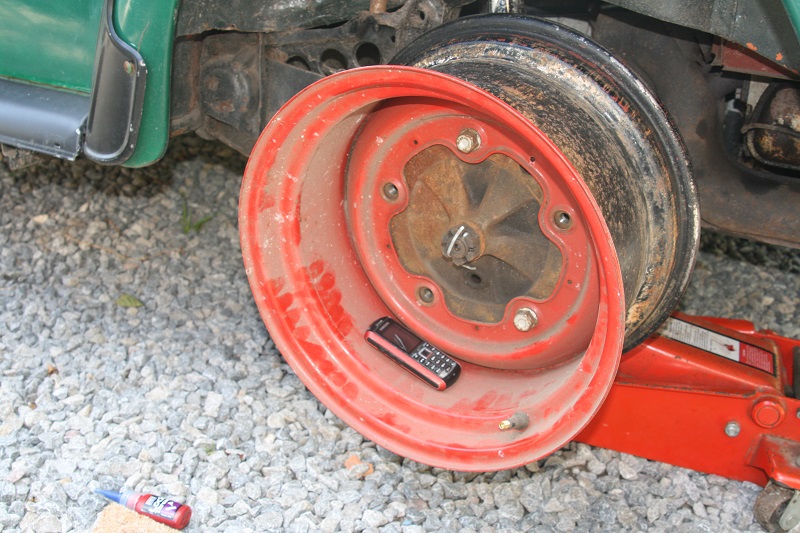
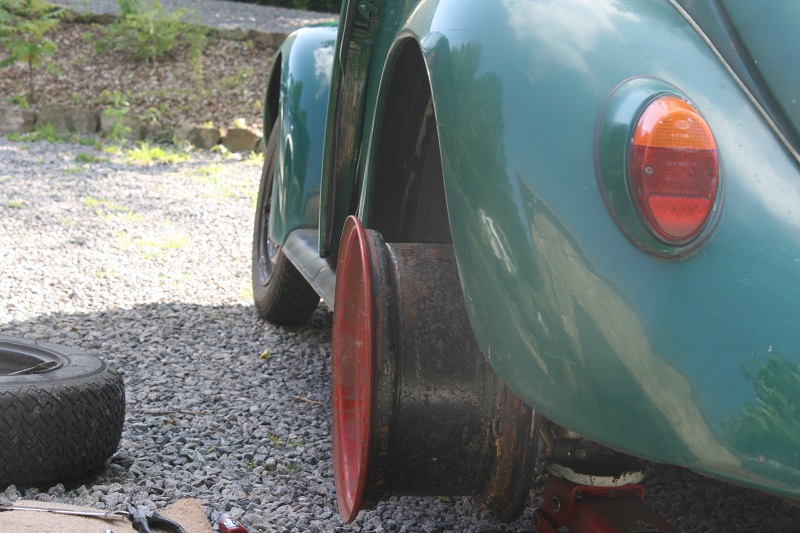
Got a few things sorted. Gear lever lock-out was all spiffed to fuck so you could hit reverse instead of second, not much fun on the way down the gears. Adjusted with hammer/drift. Fine now. It's been a bit crashy over holes in the road, I thought it was just a Beetle thing.Turns out the rear body mount bolts were loose. One needed a bit of a nip, the other had backed off about 1/2 an inch. These 2 things sorted have made the car totally different to drive. Also tried the rims on for size, they're 8" and they are going to look mint. Going to have to do 2 & 1/2 inch flares which is fine. Anyway, pics. Loose bolts/chrome shocks aye Phone shot Nice.....
1 point
-
Continuing with the brakes I pulled the caliper and line off tonight, caliper was pretty well stuck, neither the slides nor the piston wanted to move.So yeah that required a bit more investigationDoesn't look too bad right?So how about after applying a bit of compressed air into the bleed nipple hole?Mmmmm tasty!Believe it or not I'd already given everything a good squirt of brake cleaner and a wipe down with a rag.Gave everything a damn good clean, used some 2000 paper to clean the bore and piston etc, seals were in remarkably decent condition so I lubed it up and reassembledAlso cleaned out the master cylinder and flushed the line, refitted it all and bled it up.Feels like it's working nicely now, decent pressure etc.The Dio line is way too short for the Gyro though, but I've got a brand new 1100mm braided SS line that was too long for the Let's, which should work out nicely!1 point
-
So another package showed up from Japan this AM The one on the left, now what could that be? YAY CANDY! Now back to the Gyro, went out to the shed and the front fell off Then another went most of the way on!! AF35 Dio ZX front end fitted to an AF56 stem. Needs a little bit of trimming and maybe a gusset welded in under here, just so I can actually turn lol My stock bars aren't even close to fitting, need an AF35 speedo cable, brakes don't work but they might get away with just being bled as it all looks in good condition.1 point
-
This is a morris 2 tonn truck loks simlar1 point
-
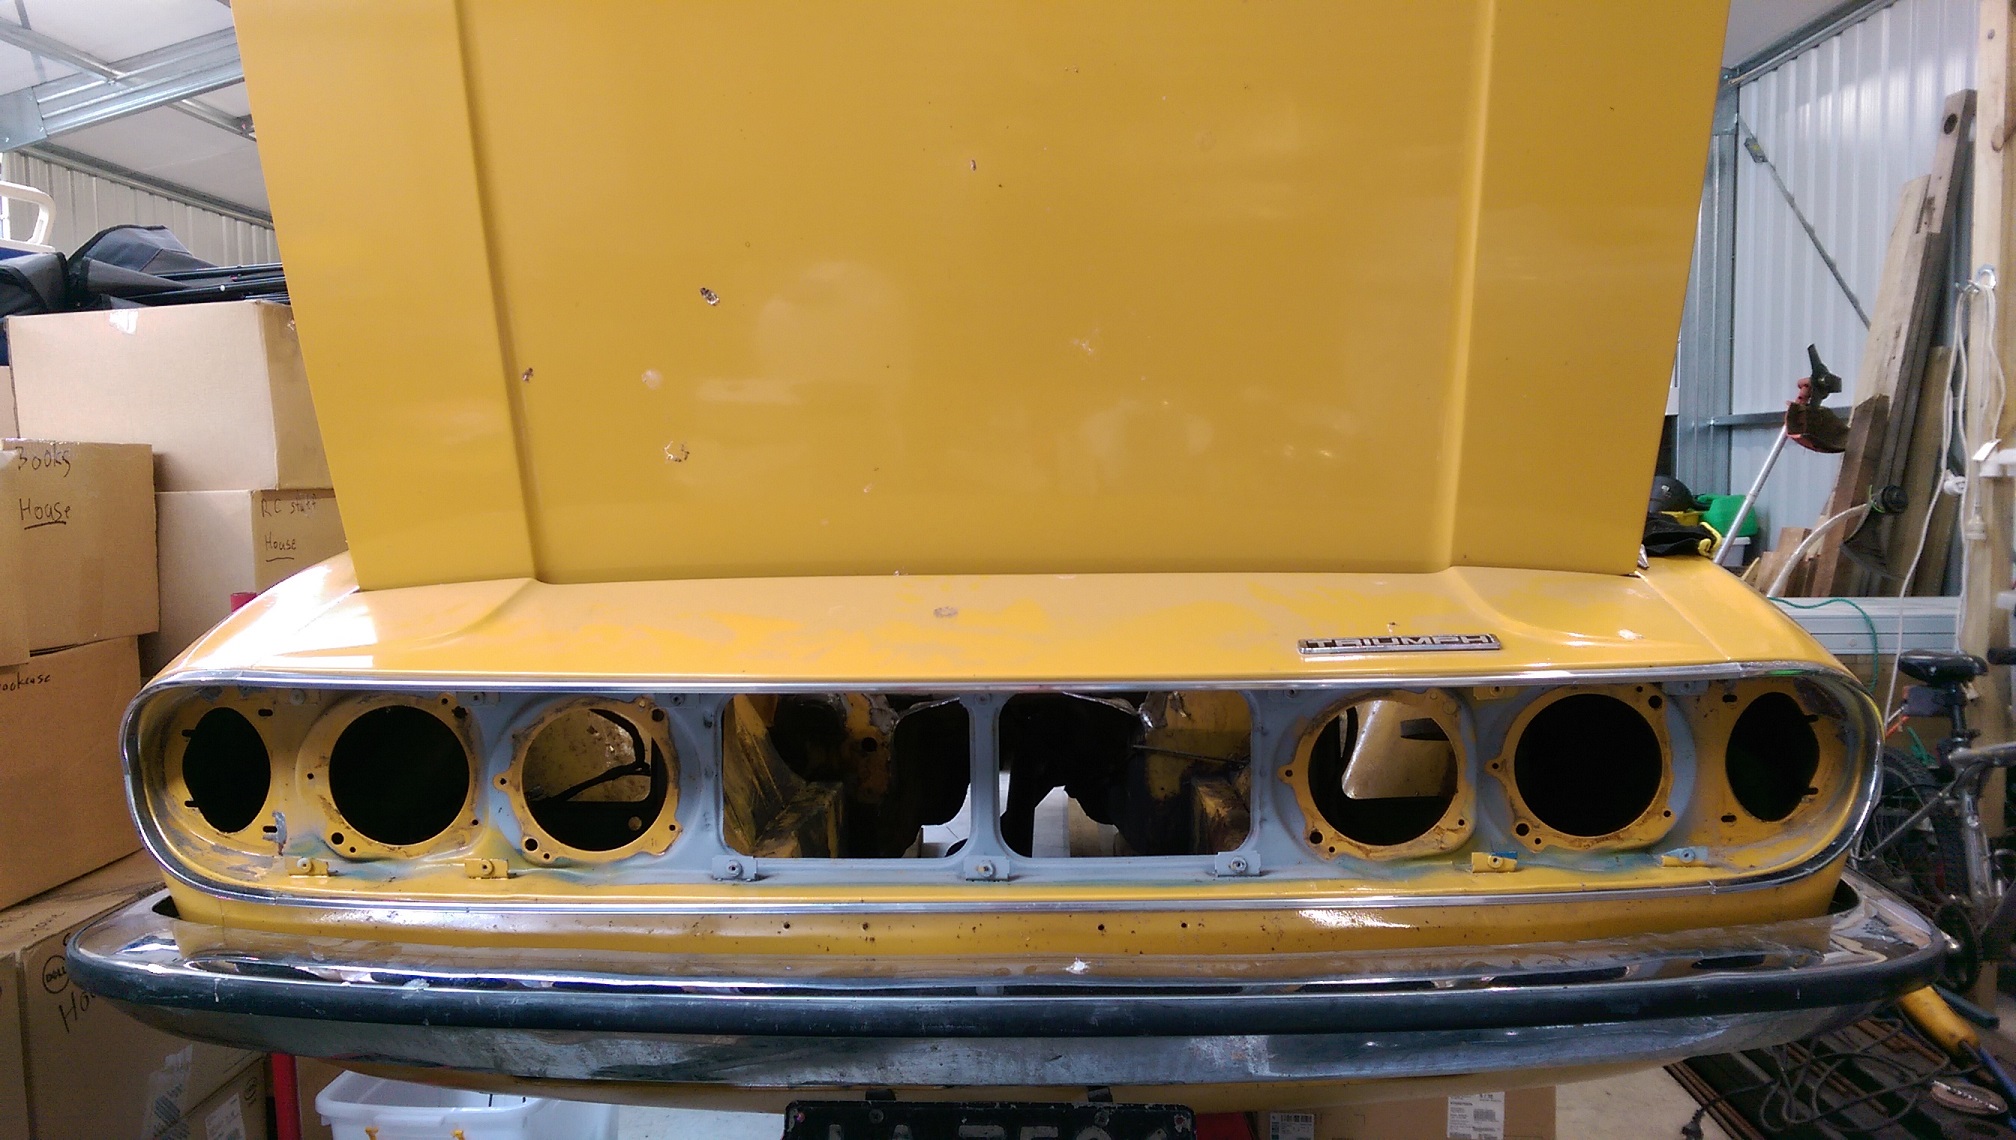
Not loads of progress... Took the lights and grill out. Had to drill out some rivets to remove the headlight bowls. Didn't find any rust there! Used my mallet as a dolly and straightened this flange, just because. Scroll up to see how wobbly it was. Used the flappy sanding wheel on the grinder to remove the old welds. I'd like to go nuts in the engine bay with the paint/rust removal abrasive pad on the grinder, but the dust goes everywhere. Maybe I need some drop cloths for my 'kitchen'.
1 point
-
Progress has slowly been made, first step was to sell my GTiR to free up some funds, I only got one picture of all the toys together Turns out the guy I bought the car off had a pile of parts to got with the car, a spare carb, the half bumpers, couple spare boots, and the cars original Rostyles! Sadly the lip on one is very rusted but will be saved later on. I bought another set of wheels, just because Took a photo next to my buddys Datsun and discovered why the engine gets quite hot, quite quick1 point
-
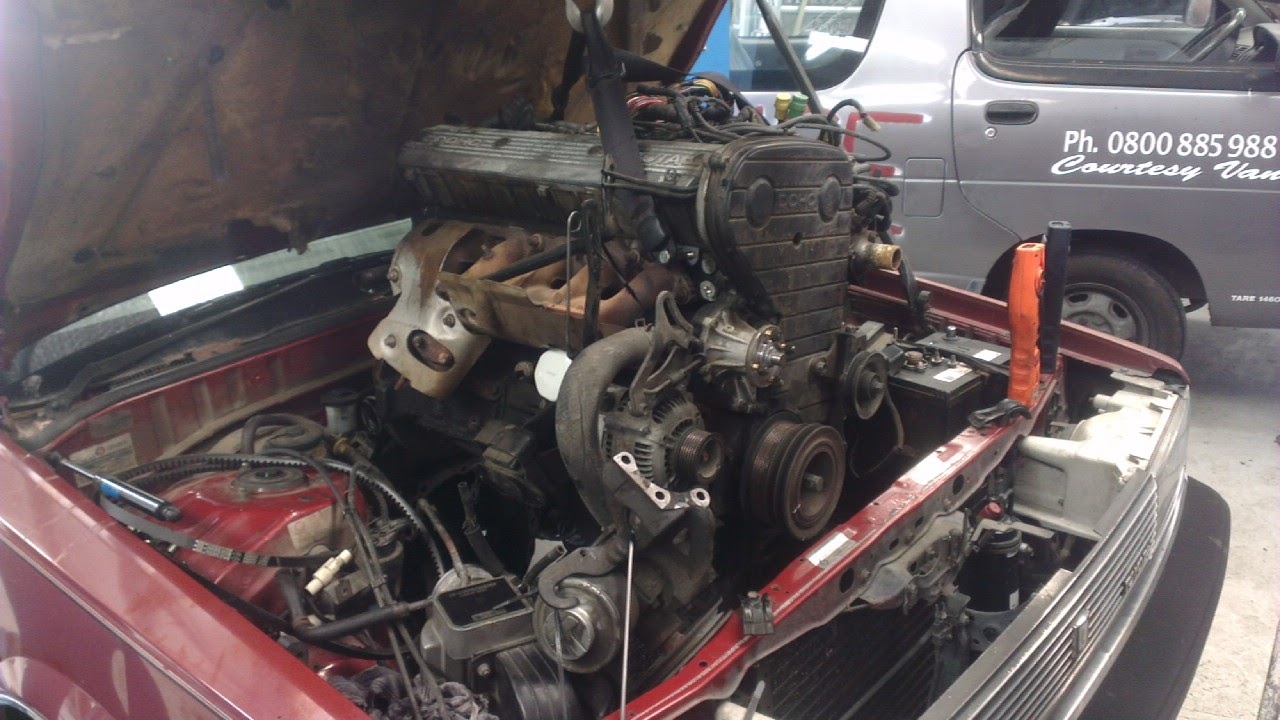
Prepare for a let down of an update... The exciting update turned out to be somewhat of a disappointment. Over the last couple of weeks I've been inspired by @yoeddynz 's Viva and I've decided I want to put the mazda klze v6 into the escort. I did some quick measuring up using dimensions I found online and it looks like it will fit (tightly mind), with some small modifications. I want to put an rx8 six speed gearbox behind it because it is very similar in length to the ford type 9 and puts the shifter in the right spot. There's a guy in the UK that makes adapter plates to out the rx8 box behind all sorts of motors and it's a fairly well documented swap. So that's my new plan; find a kl motor and an rx8 box. I started by looking around for an rx8 box. They're hard to find and the ones on trademe are wanting $1250! The whole reason people started putting these boxes into escorts was because they were cheaper than the seirra type 9s! So for now I'm just going to keep a lookout for wrecked rx8s with either the 5 or 6 speed because they both have the same bellhousing bolt pattern so any adapter plate I make or get made will fit both and I can upgrade a 5 speed if I find a 6 later on down the track. Then I started looking into where to get the engine from. Luckily I found this on trademe. It's a Mazda Capella wagon jap import with the 200hp higher compression klze engine in it. The ad said the gearbox was dodgy and would probably needed replacing but I won't need that. Most importantly, he only wanted $900 for it and it was only in Auckland. I figured I'd drive it home babying the gearbox, pull the engine and sell the rest as parts to end up with a fairly cheap motor. That was the plan anyway... We got down there this morning to find that what he meant by dodgy gearbox was actually a completely non-functioning gearbox that wouldn't pull it away from the curb. Poo. That said, the engine sounded fine and the rest of the car looked really good so the new plan is to find out how much it will cost to get it transported home and as long as it's not too bad I'll truck it back up north and set about stripping it for parts. I'm undecided whether to throw the pinto in for the first while so I can still drive it while I build up the v6 and get it organised, or whether I should put the v6 in to begin with so I can do all the fabrication on it at the same time. At the moment I'm leaning toward the second option but I also really want to get in it and drive it as soon as possible so it's a hard choice. Feel free to give me any suggestions or advice on this mad new development here:1 point
-
This is my inspirational pic Keeps me fizzing
1 point
-
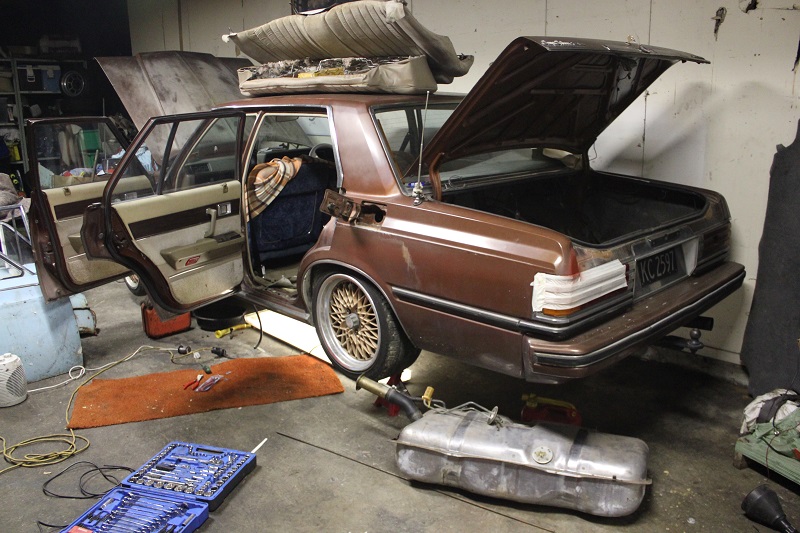
Let tank dry out over night and gave it a good clean out today. Plugged it all back together and put it back in. Confirmed the filler hose was trash. Spose 40 years up to ya bits in leaded petrol will do that. Have got 2 new flexy joiners coming and 2ltr of brake fluid. Could it be a running driving van this weekend? guess we will have to wait for next week on..... im a transit get me out of gear1 point
-
And tank had a fair amount in it. Think the flexi hose that connects filler to tank has perished to buggery1 point
-
1 point
-
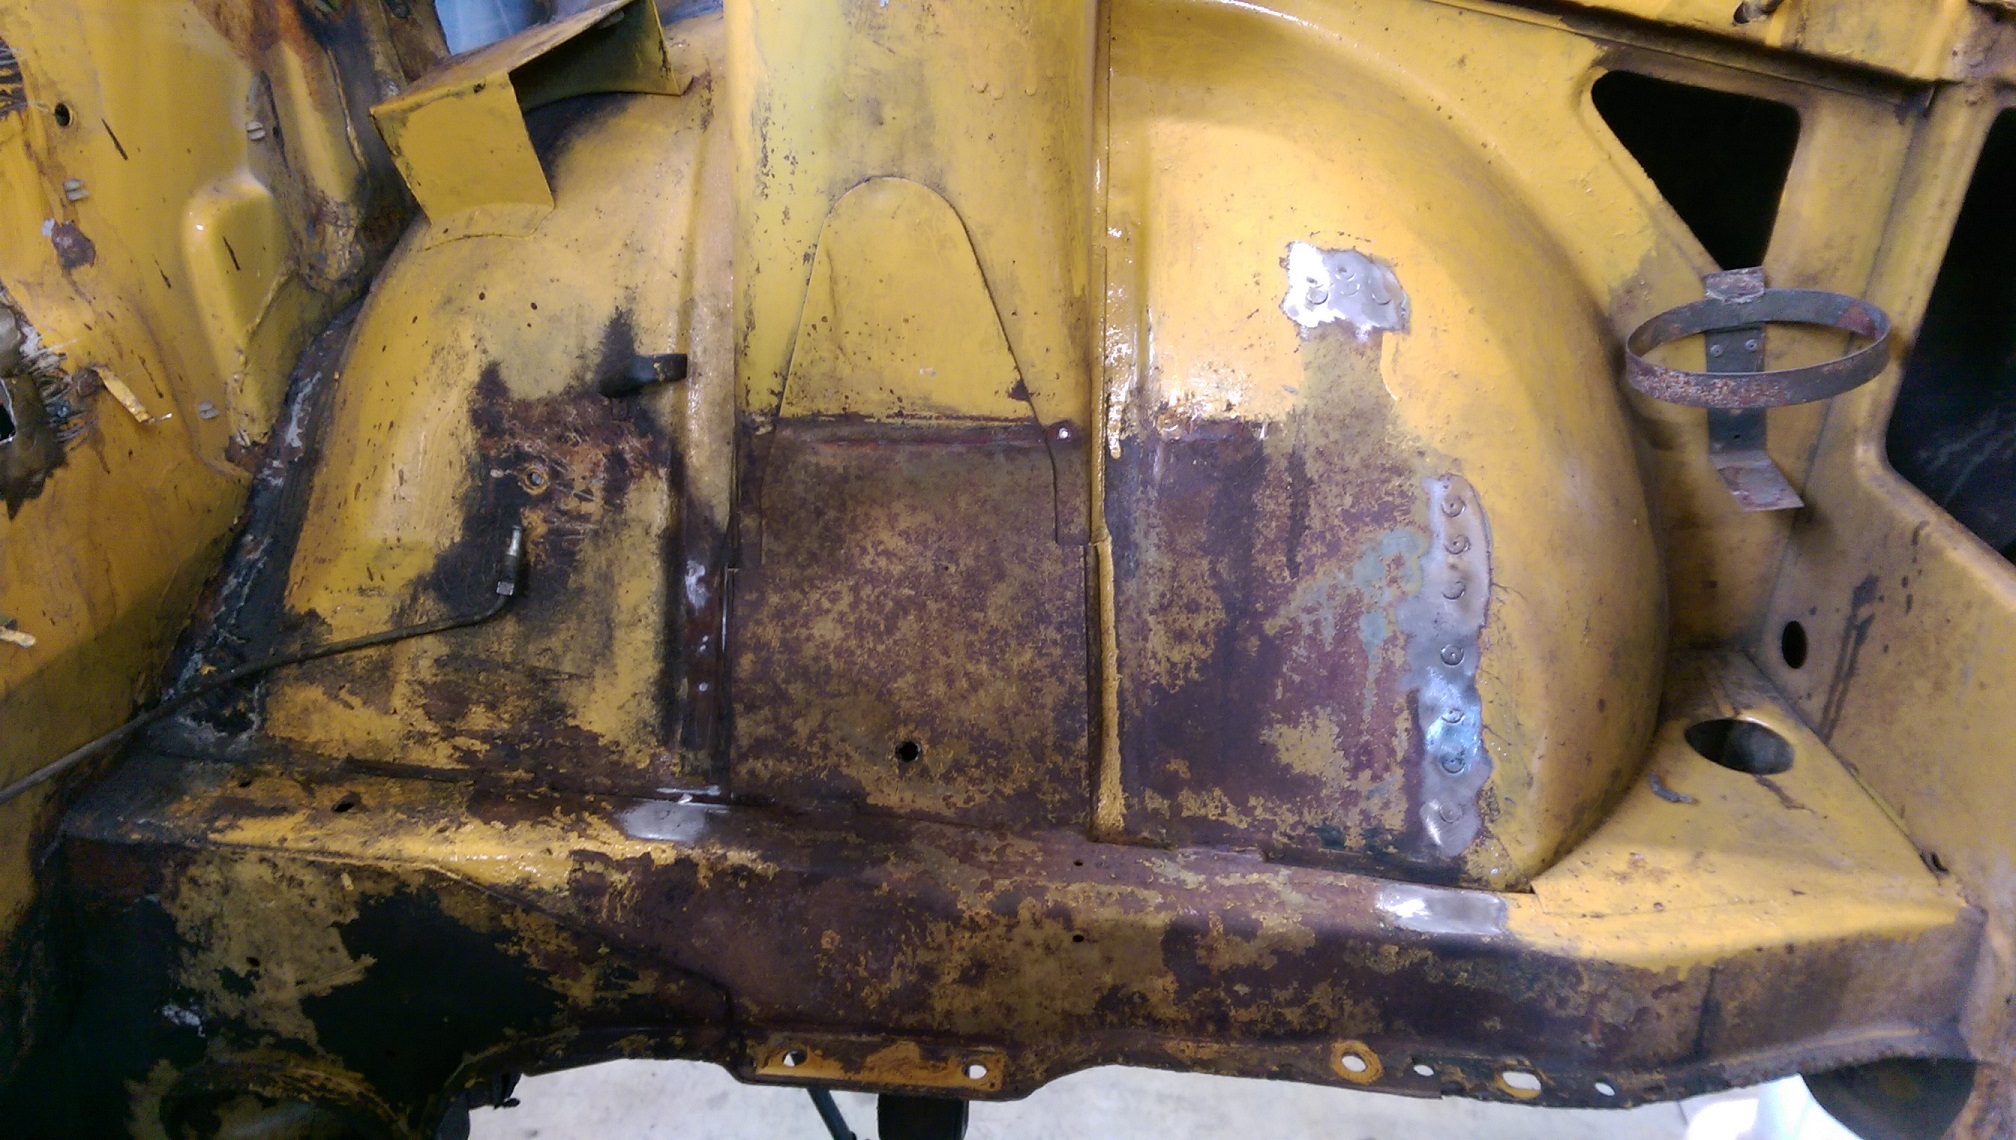
It's been a while because I'm back at school now but finally the weekend happened so I got back into it. I didn't take any photos of the other repair panel but I did it the same way as the first. Then I moved on down the front edge of the wing. This is what I had to work with. I decided the best way to deal with it would be to cut most of it off and rebuild it. I started with a paper template. Started to transfer it to steel, Once it was close I cut out the rotten steel and began to offer it up Then I started to trim the panel up to fit the hole. It was about now that I decided it was all going to well and that I should fuck it up to mix it up a bit. So I cut off too much and had to fix the cock up. Finally I got it trimmed and fitting nicely and clamped it in place to check. Primo. I ran out of time to tack it in but I checked all the measurements and it's centered and square so I'll tack it up when I get a chance. I also picked up a new (to me) bonnet which is full of fish oil or some sort of greasy rust inhibitor and in much better nick than my one. So that's another win for me.1 point
-
Also installed a new secondhand fuel pump and its still not pulling gas up but if youbungy cord a gas tank to guard higher than carby and siphon the gas in it runs. It runs good. Doesnt even blow a shitload of smoke. Drove it forward a meter. Finally found reverse and drove it back some meters amd then forward again. Its almost a real deal living van1 point
-
So i lovingly removed the plugs and gently turned it over. Got some fresh plugs in. Checked the oil was still oil And put a battery on after changing battery and adding another battery coz ive got 3 and they were all dead. It spins. Wouldnt fire so i gave the points a quick tickle and added mor ether to the carby it fires!!!!!!!! Wont run buy itself but for 3 seconds at a time if you feed carby it runs1 point
-
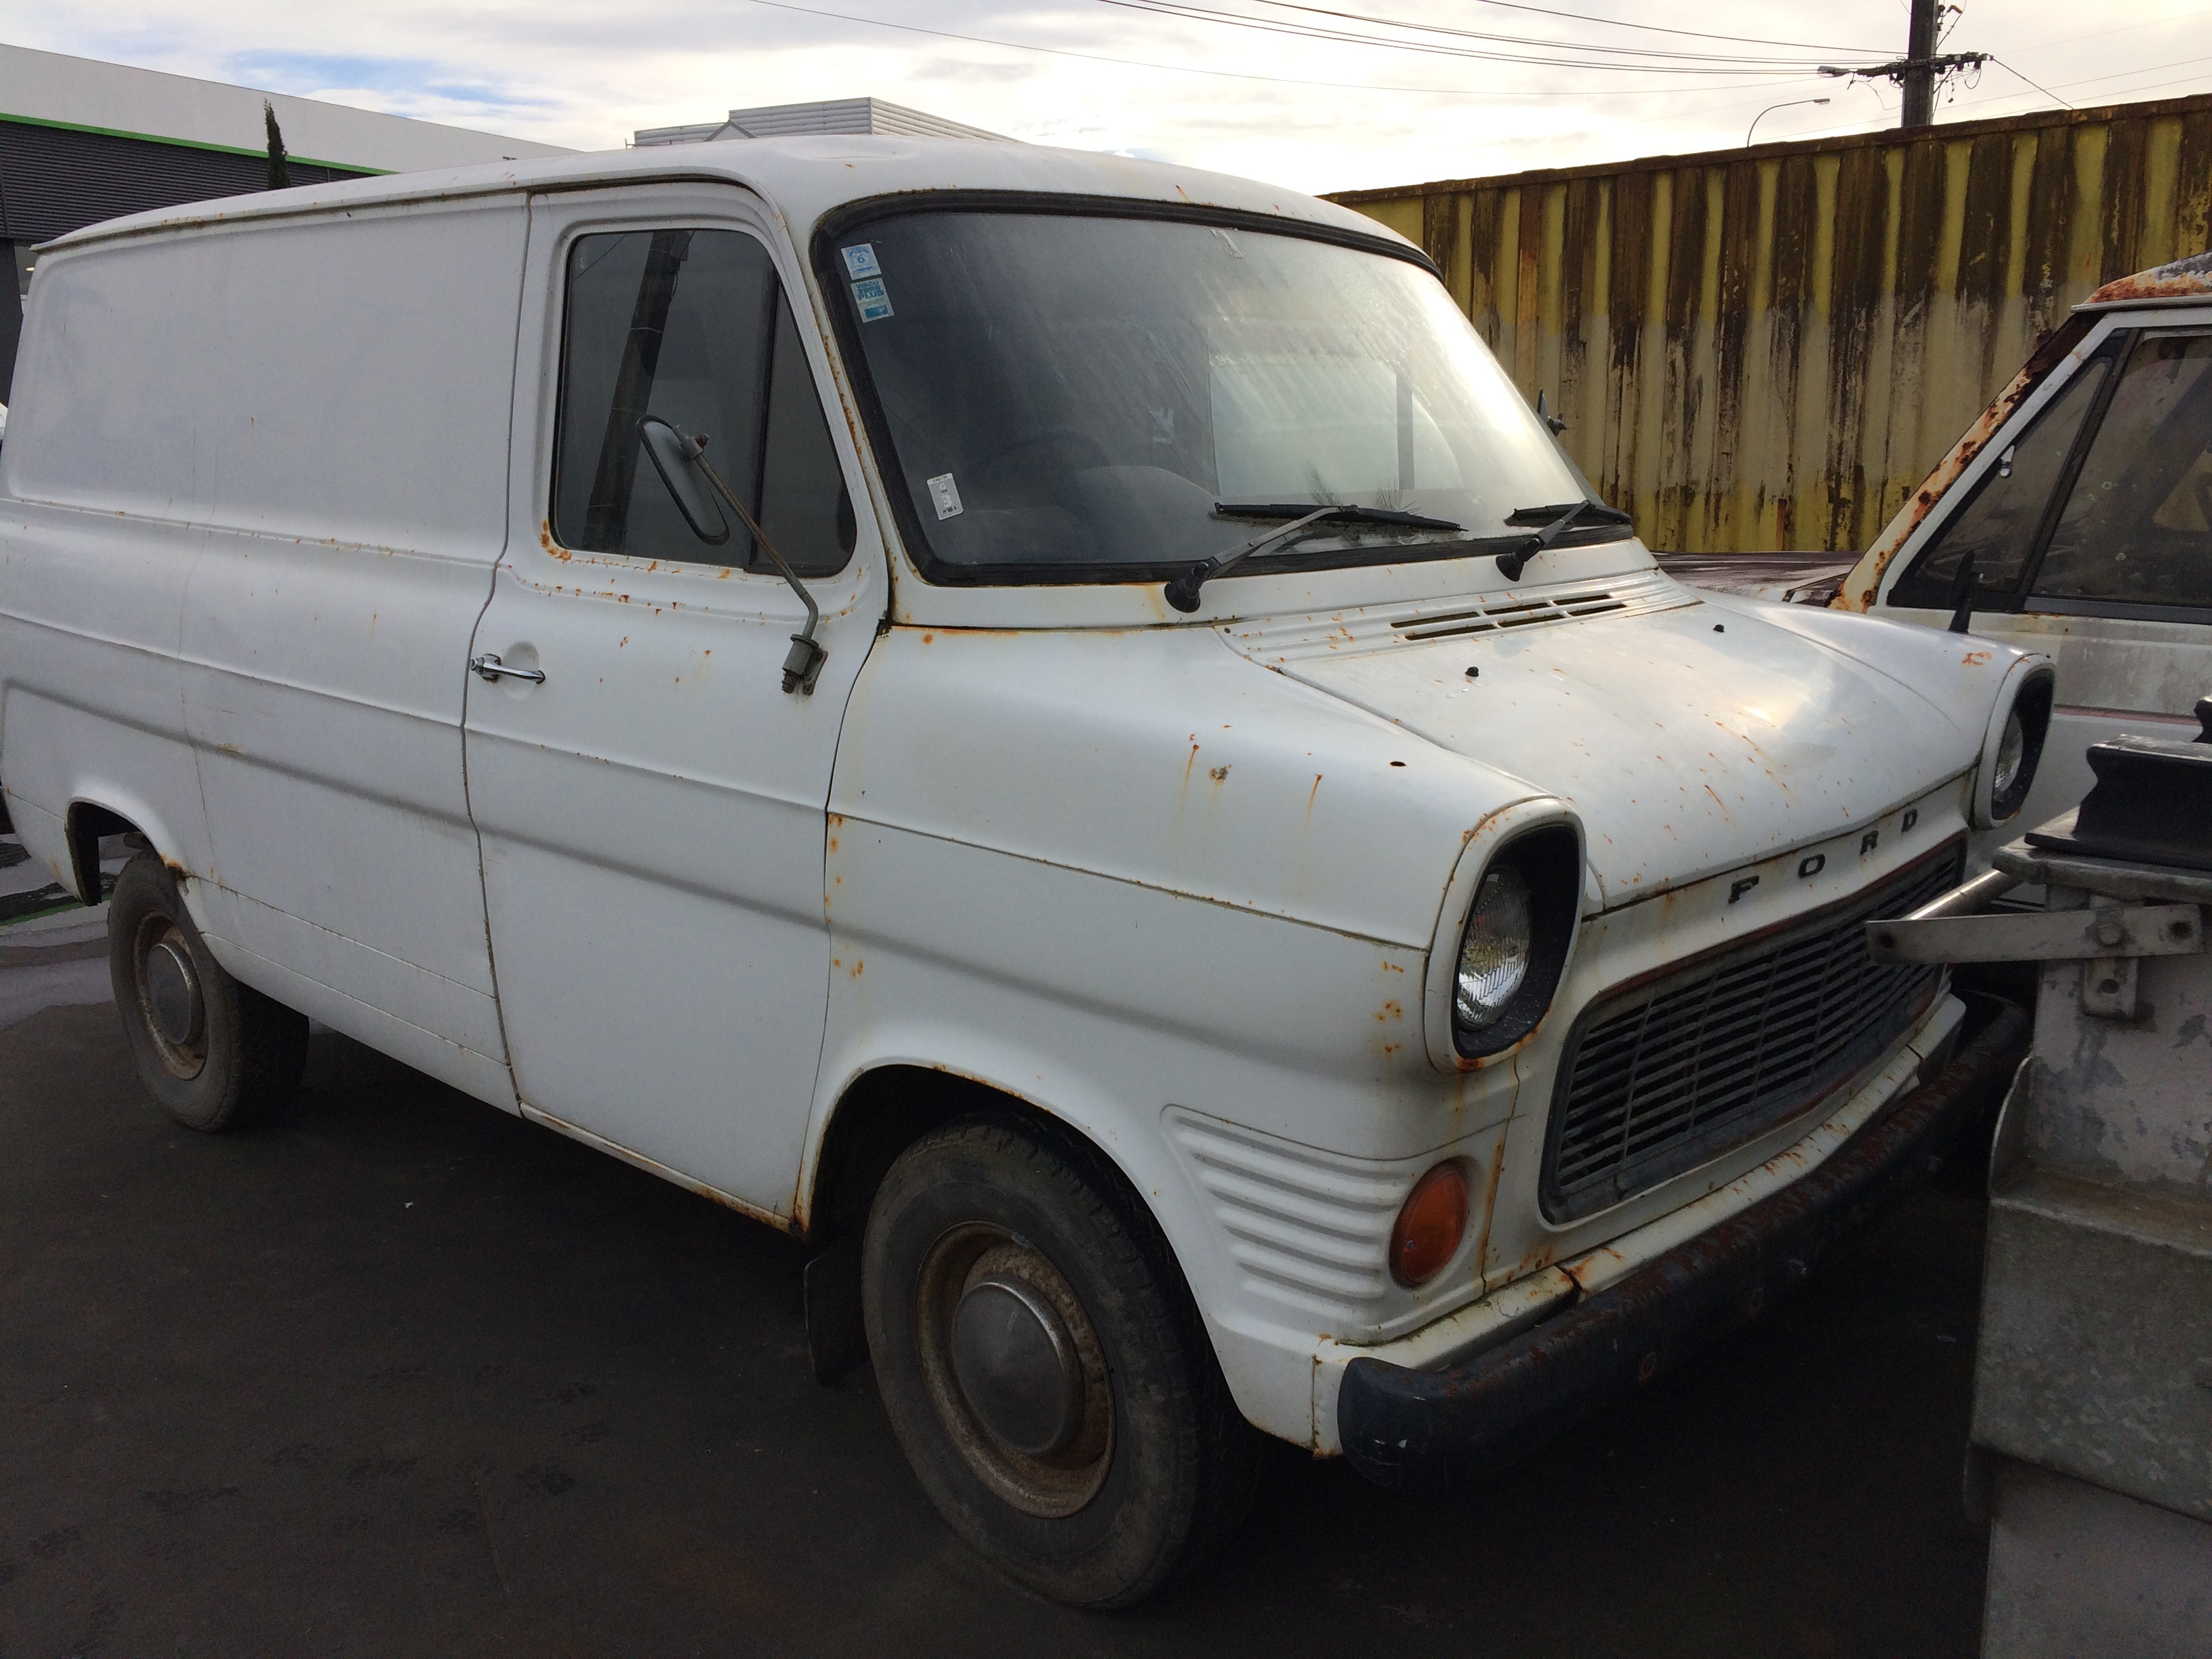
From day dot I determined this one is staying dead stock standard. As the kray brothers would have used as a getaway motahh. Hasnt run in atleast 2 years. Has no brakes. Last reg is march 98. I did some snooping via facebook amd the old boy that had the van died in 2014. No kids or family to speak of. Aparently he used it to collect his produce in orchard. And has always been barn stored. Hence the not being rust fucked1 point
-
Got all the nuts and bolts polished up ready for the platers The last big thing that had to be sorted out was the front brake, my original plan a few years ago was to use this super sweet Benelli item With my plan now to try make a period style racer it was a bit out of place, i remember finding a picture once of a bantam racer from the 50s that had a twin front drum made out of bantam hubs, i think this would look pretty cool as well as hopefully adding a bit of braking performance. A friend sent me a couple of spare hubs he had.. Bit of hacksaw action Faced true Clamped and tacked, I turned up a tube to go through the center of the 2 half's to ensure good alignment before welding Should do the trick1 point
-
Replaced the water pump. Car is running great again. I love this car, its so damn good. http://www.tasteslikepetrol.net/2017/04/rover-sd1-water-pump-replacement/1 point
-
1 point
-
1 point


.jpg.27415e420274596778ffef5e9c8290c7.jpg)


This leaderboard is set to Auckland/GMT+12:00