flyingbrick
-
Posts
11652 -
Joined
-
Last visited
-
Days Won
2
Everything posted by flyingbrick
-

Italian shed ornament - Nick's cnc router repower
flyingbrick replied to NickJ's topic in Other Projects
Good morning friend. Why didn't you install that pre-compiled (I think thats the word) version of linux that has linuxcnc pre-installed? That's what I set up on mine and it works great (jitter is a bit shit but within acceptable ranges) Does that pendant interface with the mesa card? -
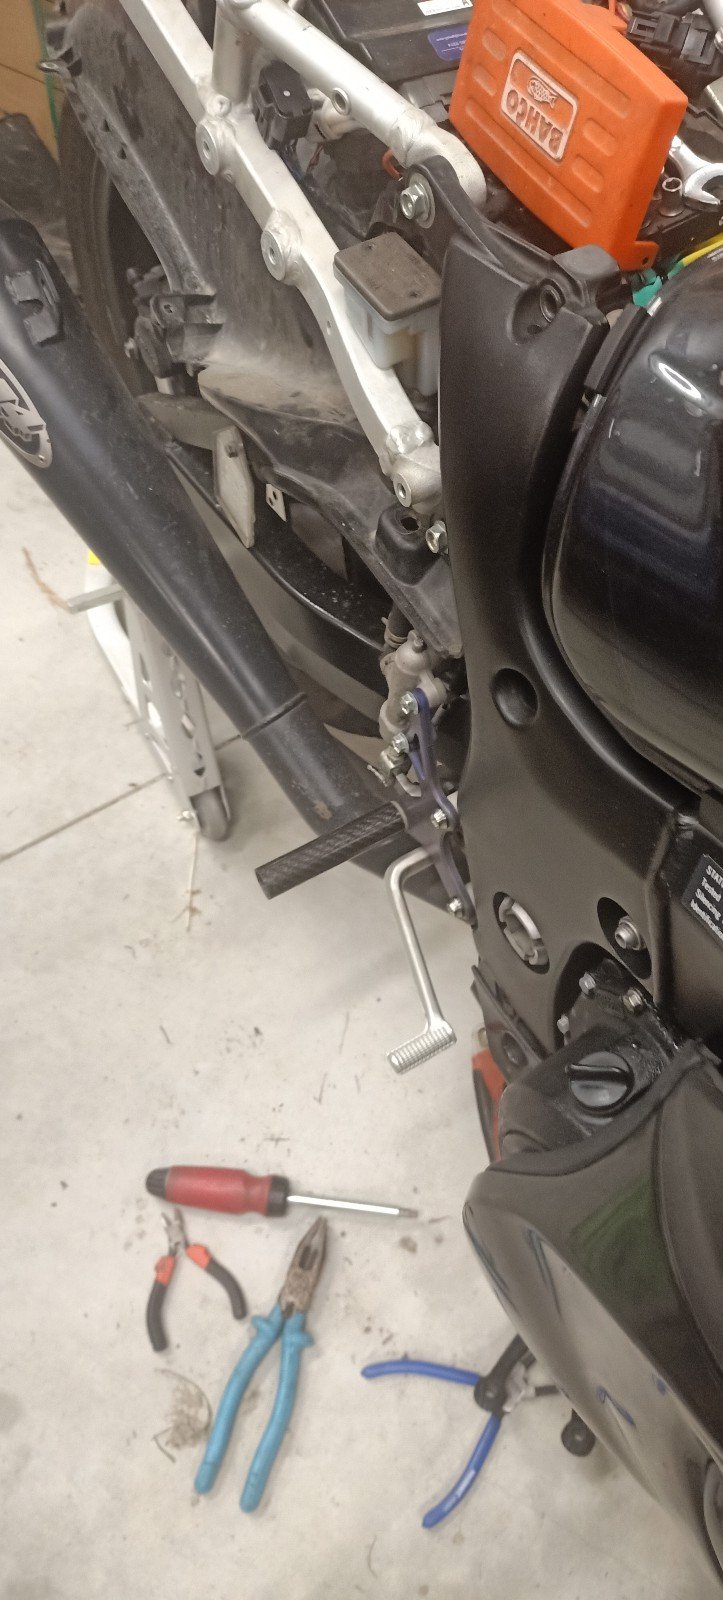
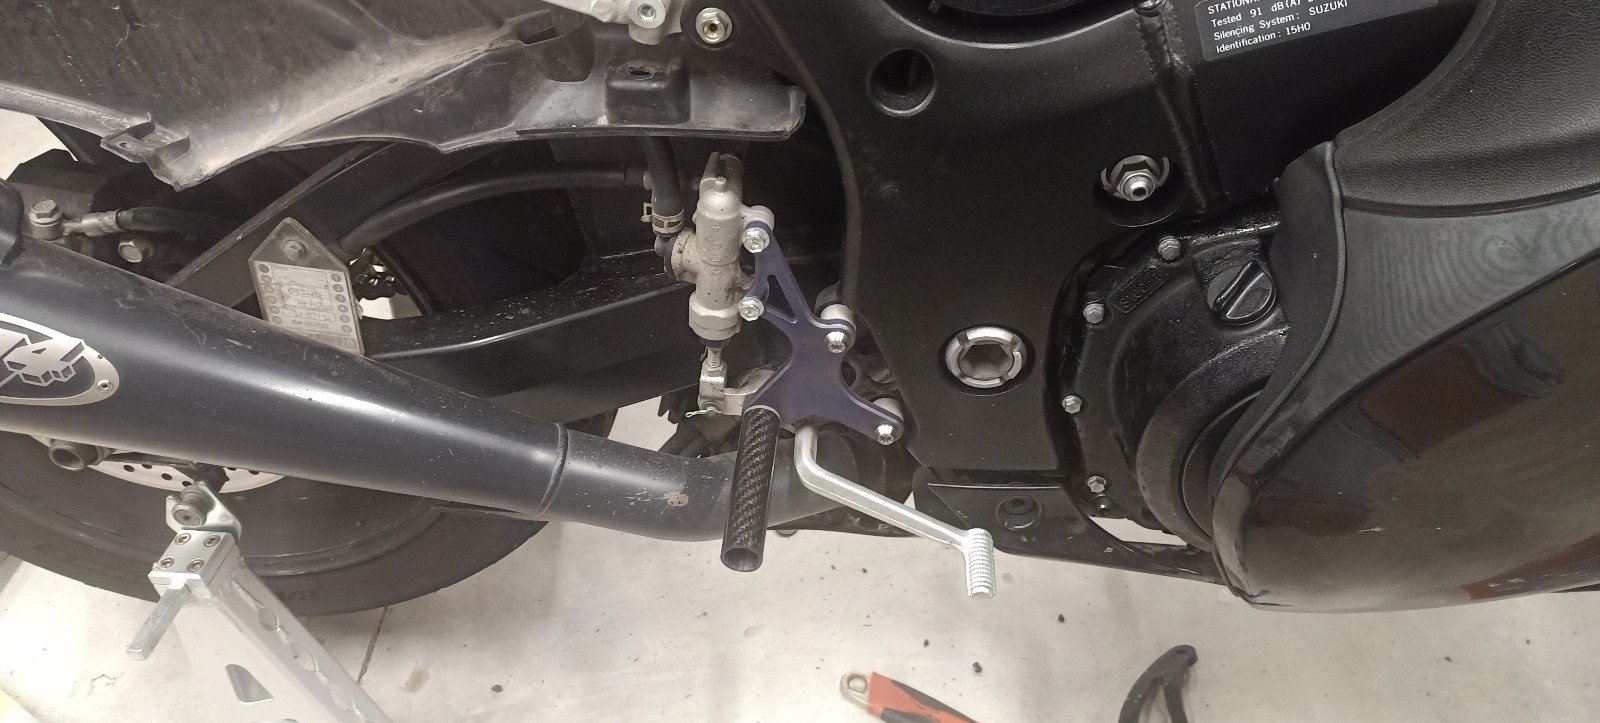
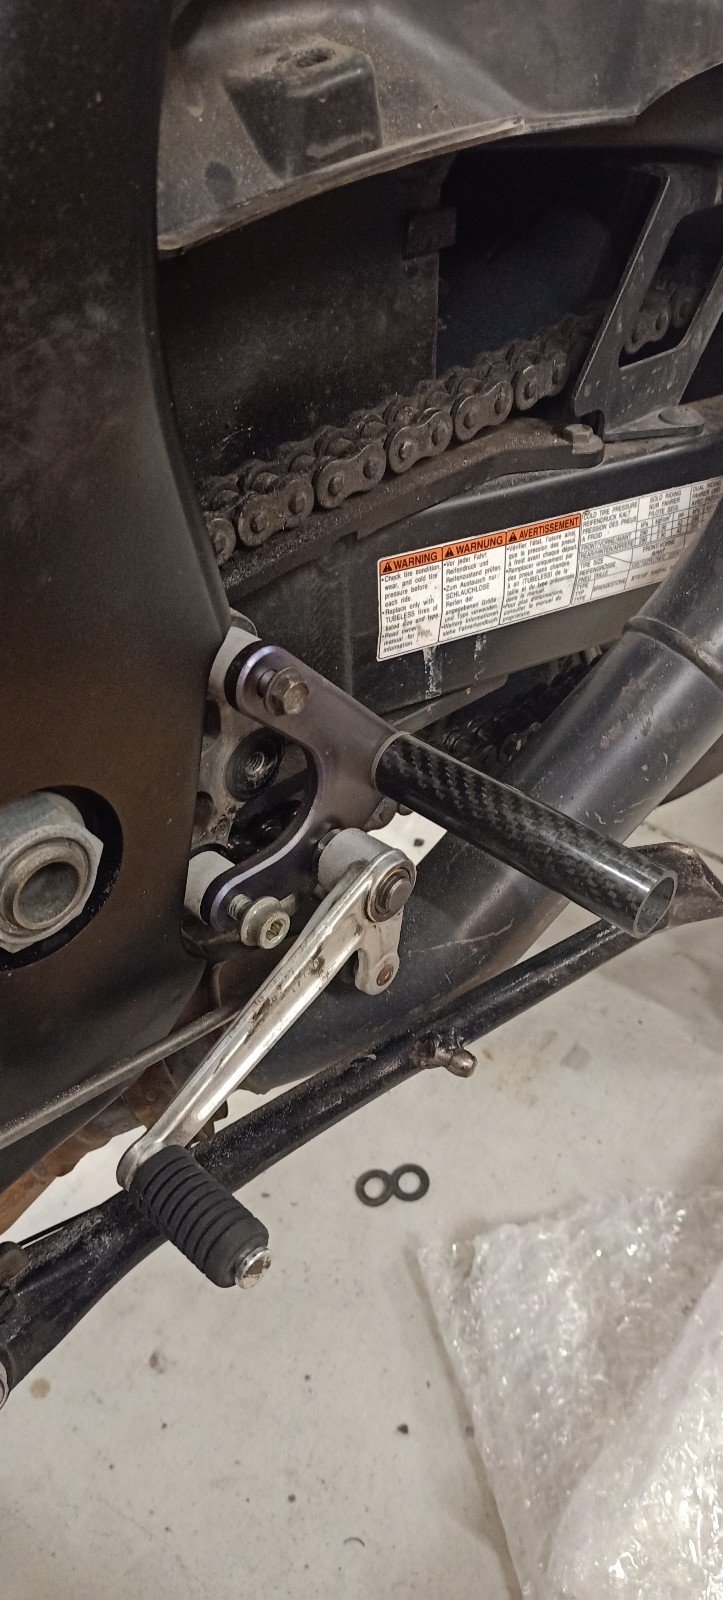
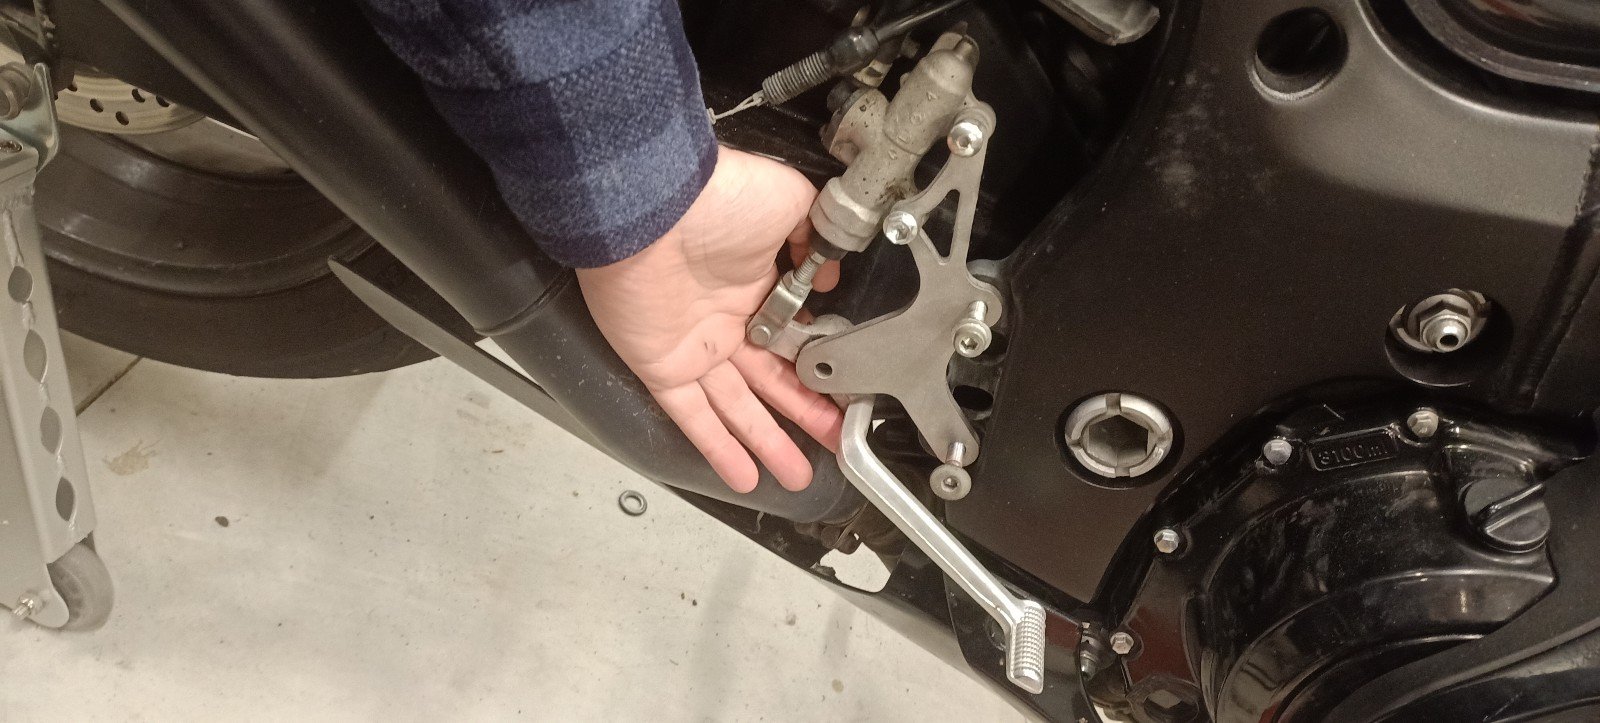
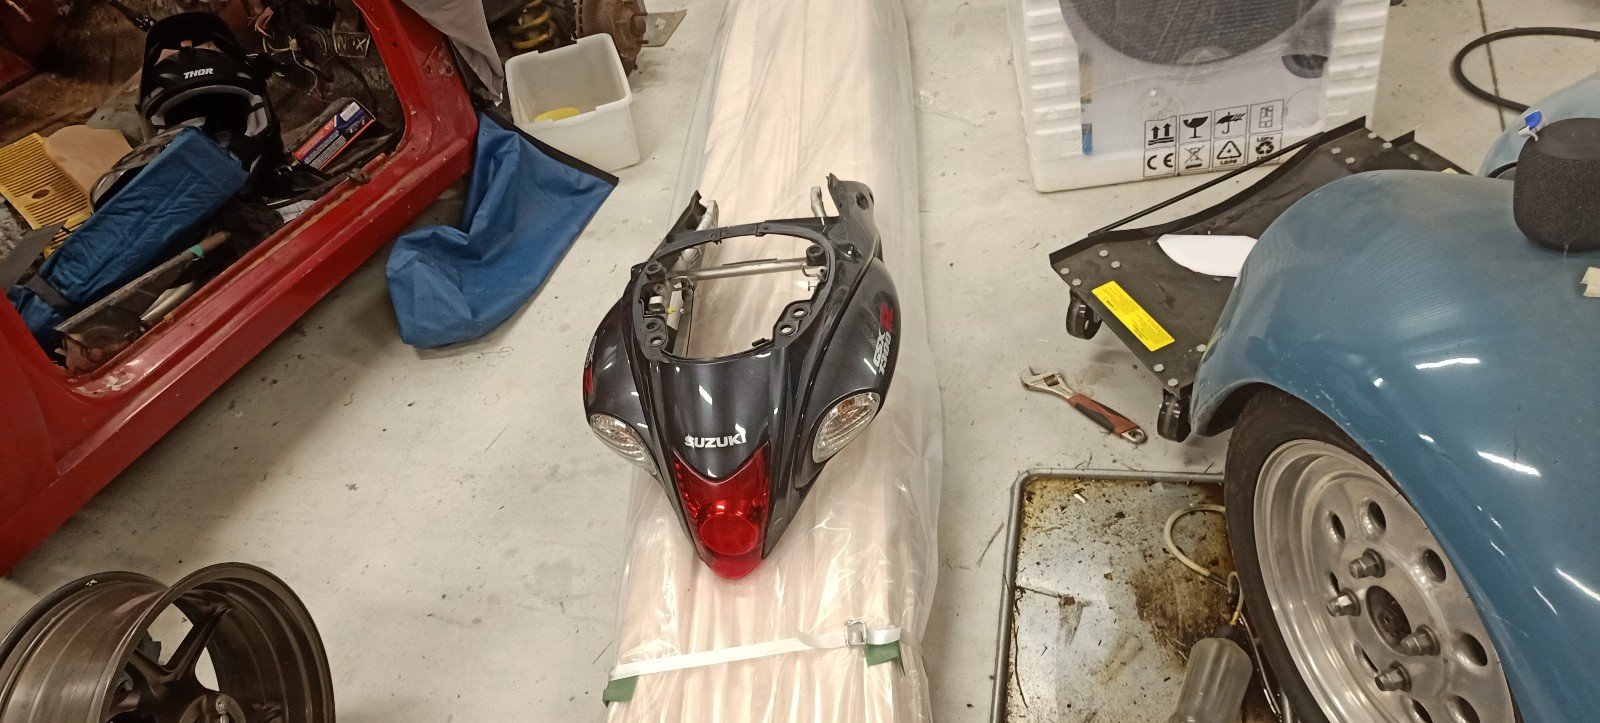
Right hand side mocked up to check for any serious issues. Everything works as expected.. Which was kinda unexpected. The factory brake lever looked heavy to me but is actually exceptionally light.

-
When I was picking up the aluminium bits from @Kimjon he says to me "how are you going to stop them being slippery" I say, "im going to get some skateboard grip tape" and he's like " brb" comes back with a roll. Such a good chap! Grip tape is not on the pegs yet in the images- I wanted to abuse them a bit first with a hammer and with protected legs jumping up and down...it passed He's also just machined up the steel pivot boss thing for my brake pedal. So dreamy.
-
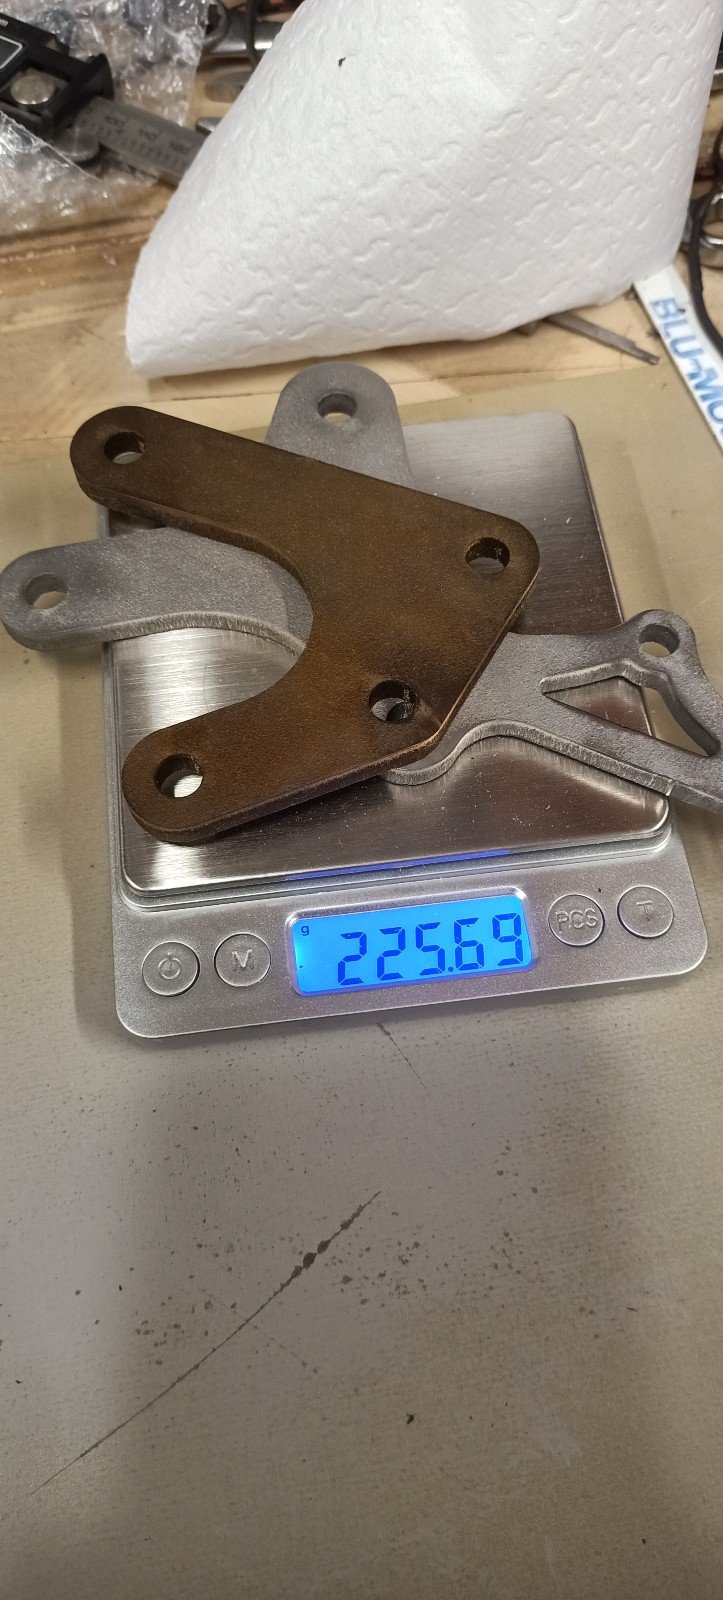
Of course. I used a company called YUNCH, contact mandy.shi@yunch.tech. First class service. The cost of these two plates was just under $200. half of this was freight. Next time I'll be pushing for use of a cheaper freight option (But this was very fast, so i cant complain). One tip is to search AliExpress for services. Often they will have a product for $1usd. You purchase one unit, send them the drawing etc, get a price, then pay the rest of the bull by purchasing more units. This also means you get access to that super cheap (But slow) AE shipping. Although that $200 may seem expensive, that is material, freight and cutting.
-
Hahahahahaha actually laughed out loud
-
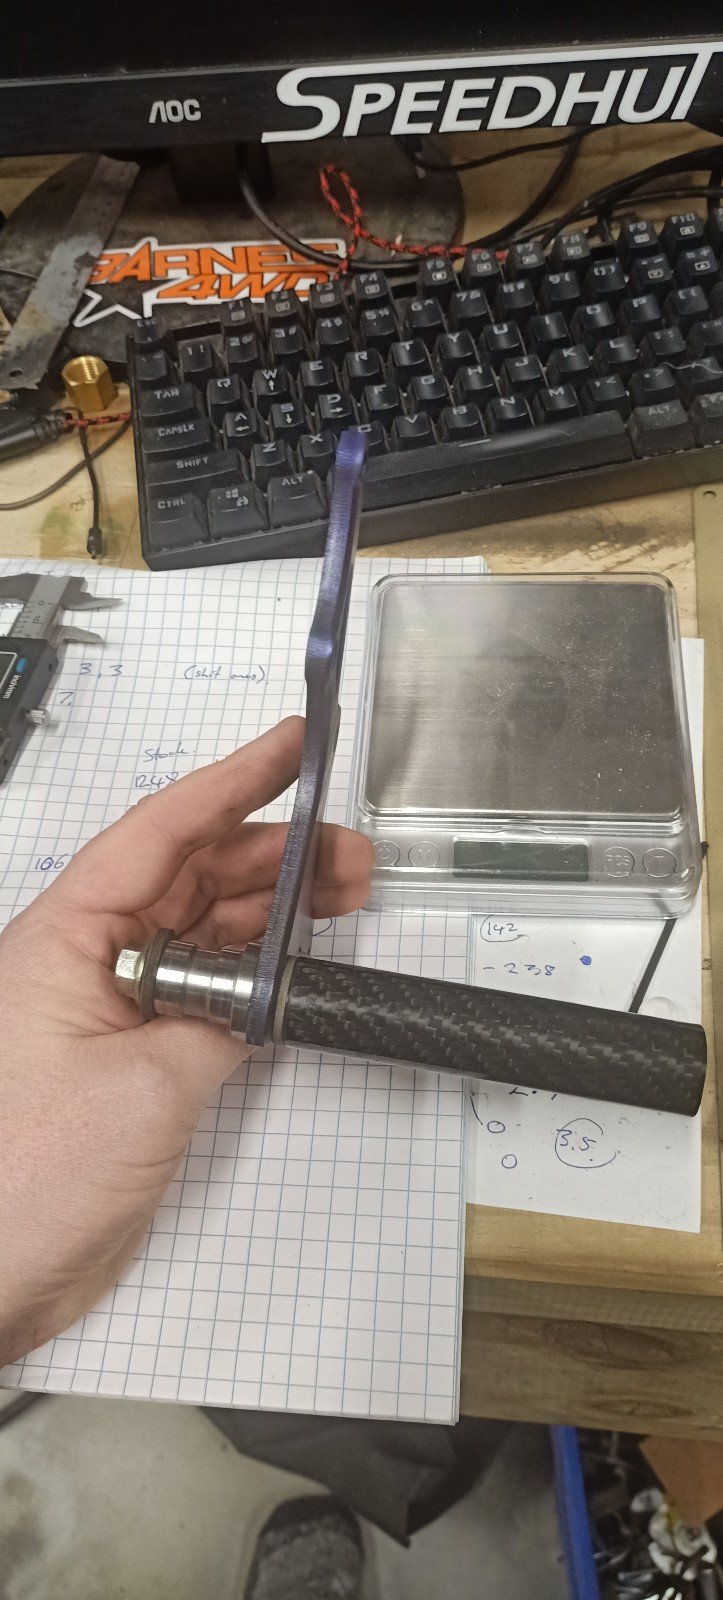
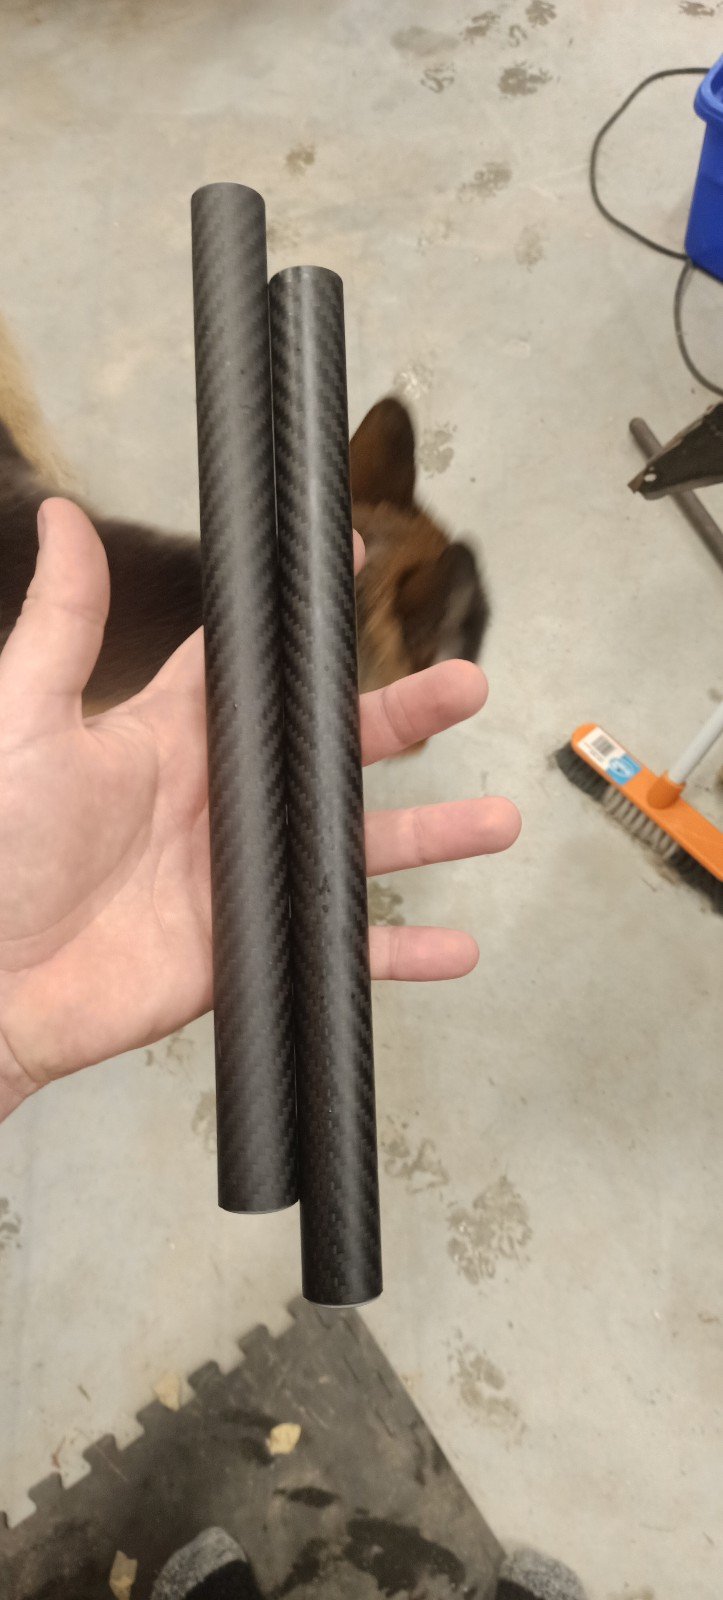
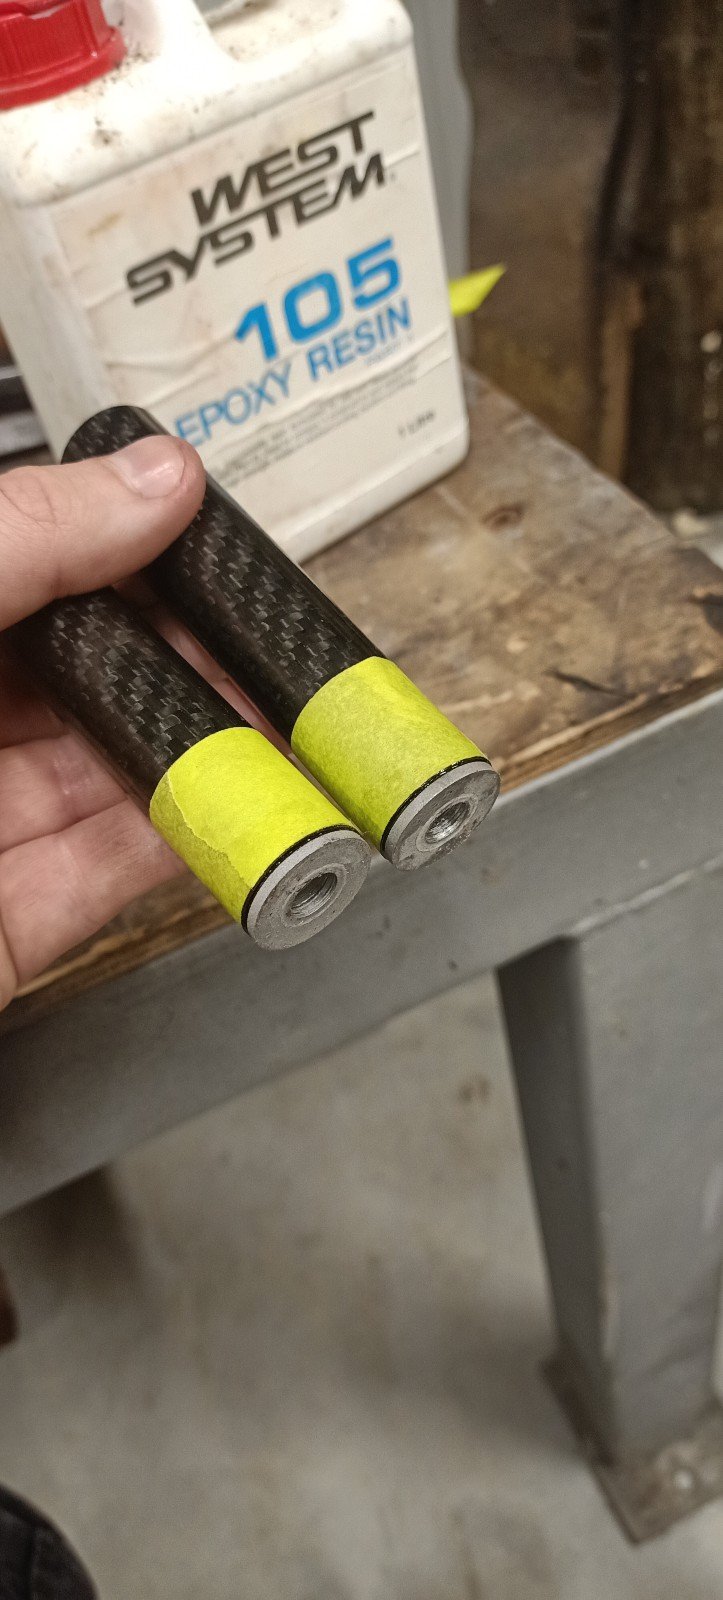
Left hand side peg assembly nearly complete. Carbon bars Titanium bolts Iv got some assembly to do once some fasteners etc arrive but on track to a 20kg reduction vs stock weight. Enough to be felt! Once assembled that will likely be the end of this project because any more weight removed becomes fairly expensive...unless I can be bothered trying to mold some fairings. Edit. Just spotted, total is already 333g too optimistic as have counted front weights twice.
-
Gotta admit.. At first I didn't understand. But now we are 25 pages deep and I find your stuff quite impressive
-
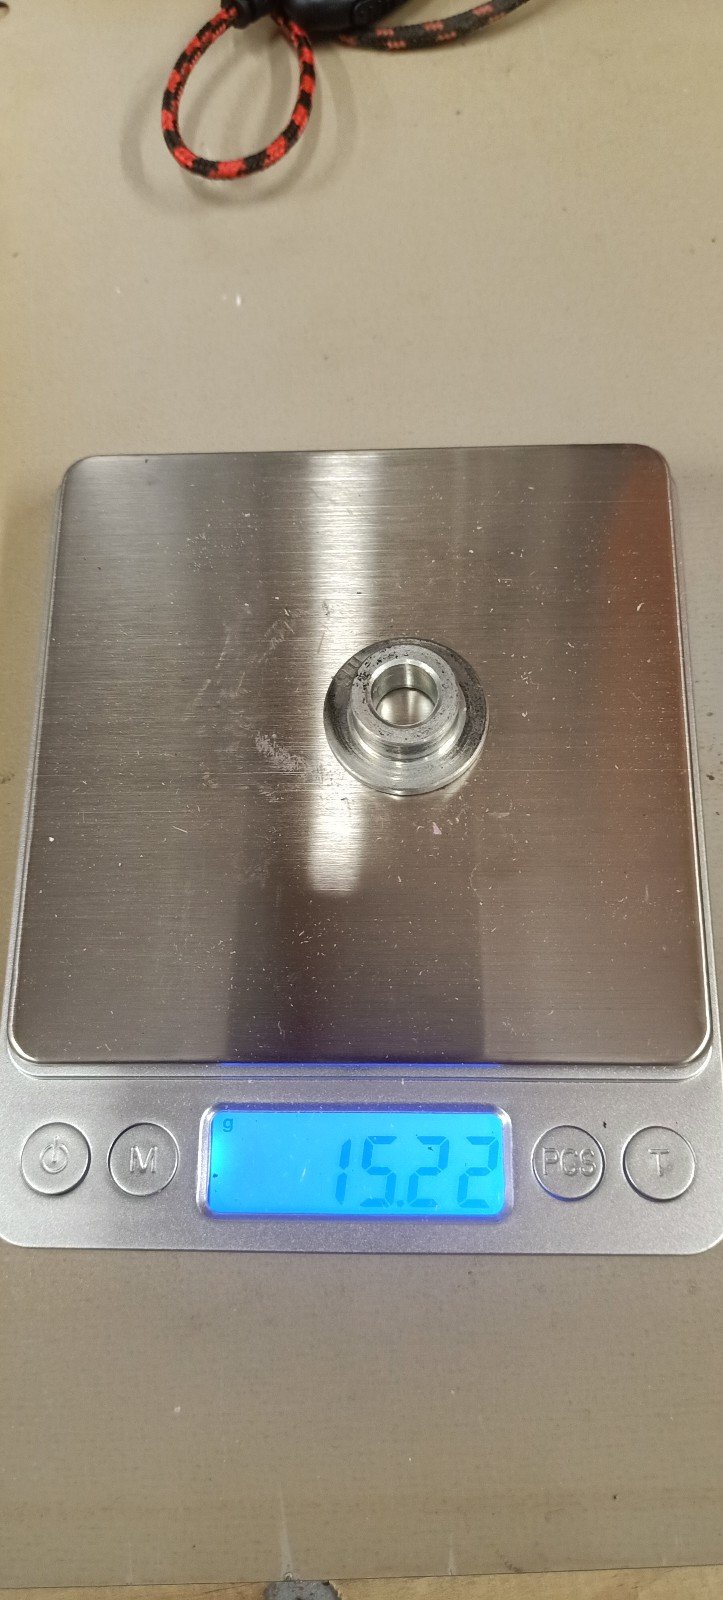
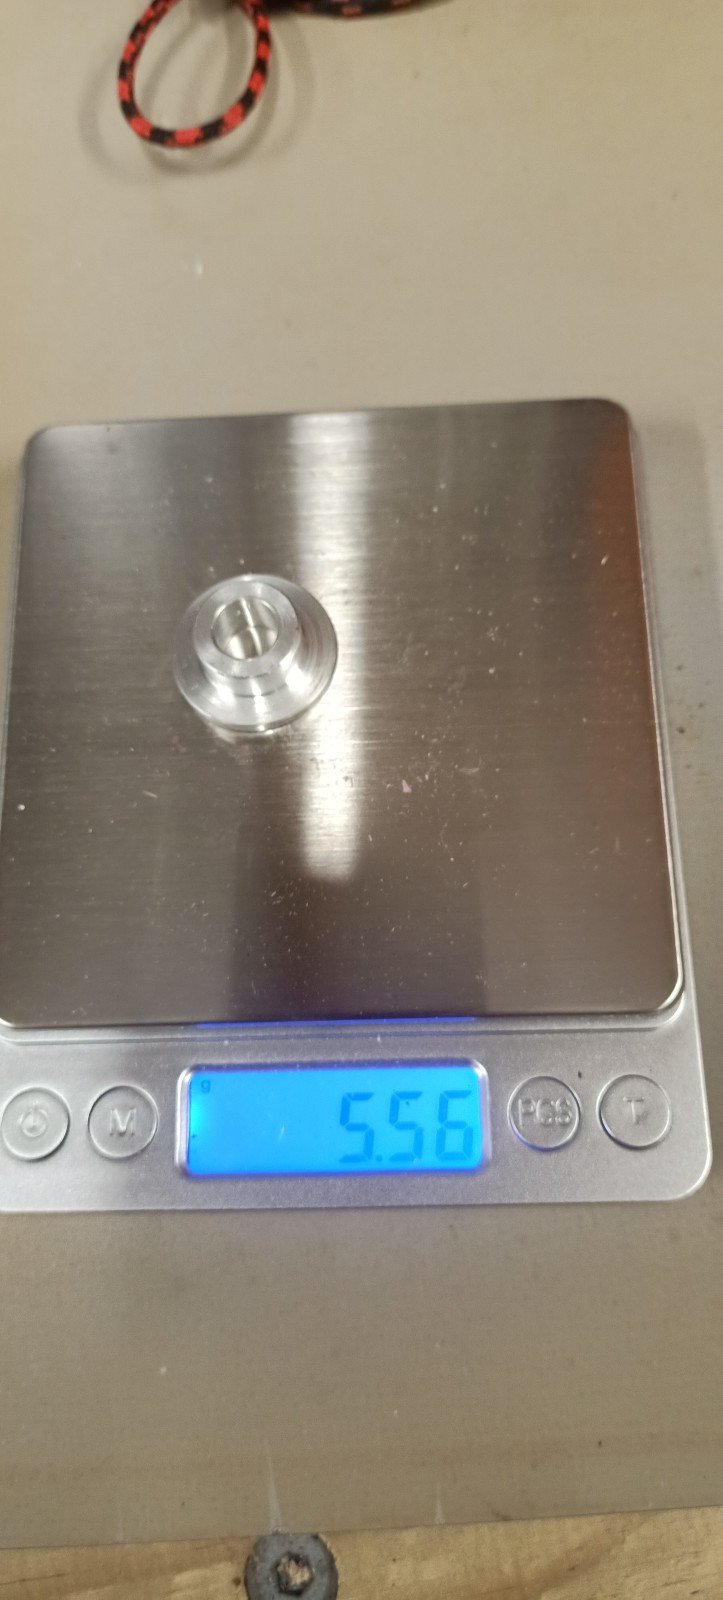
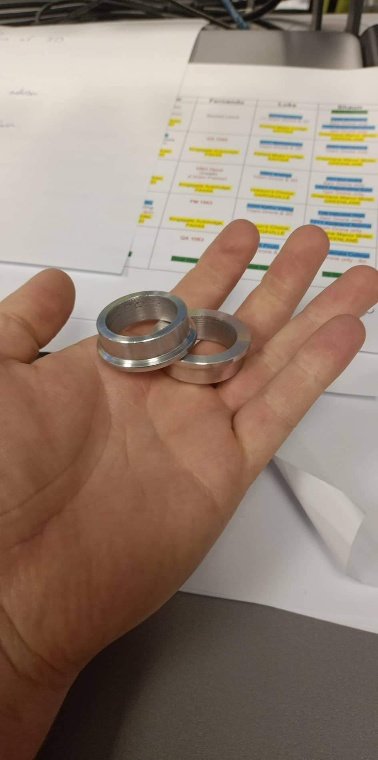
And I replaced all of the bikes steel tophat bushes with aluminum items, made in NZ this time.
-
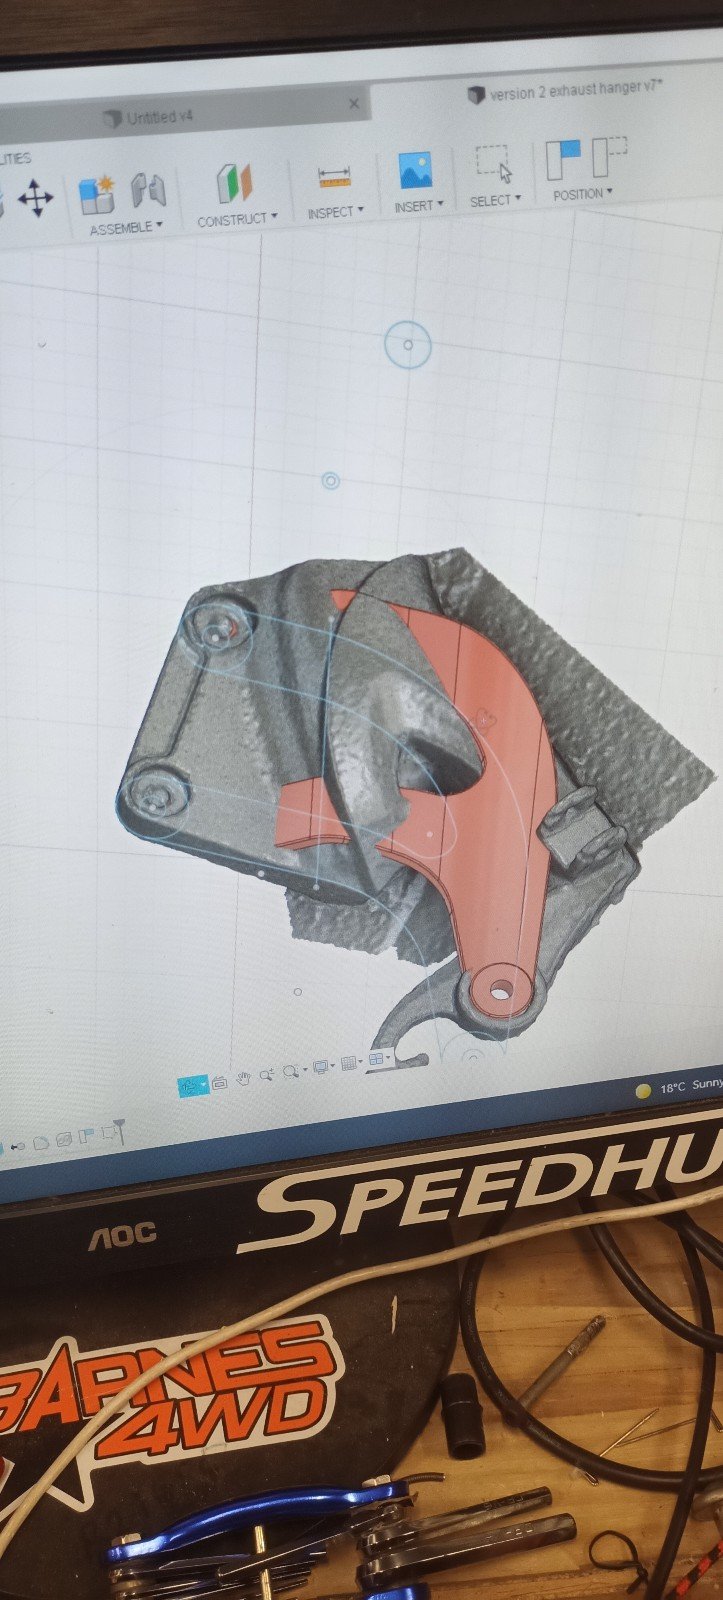
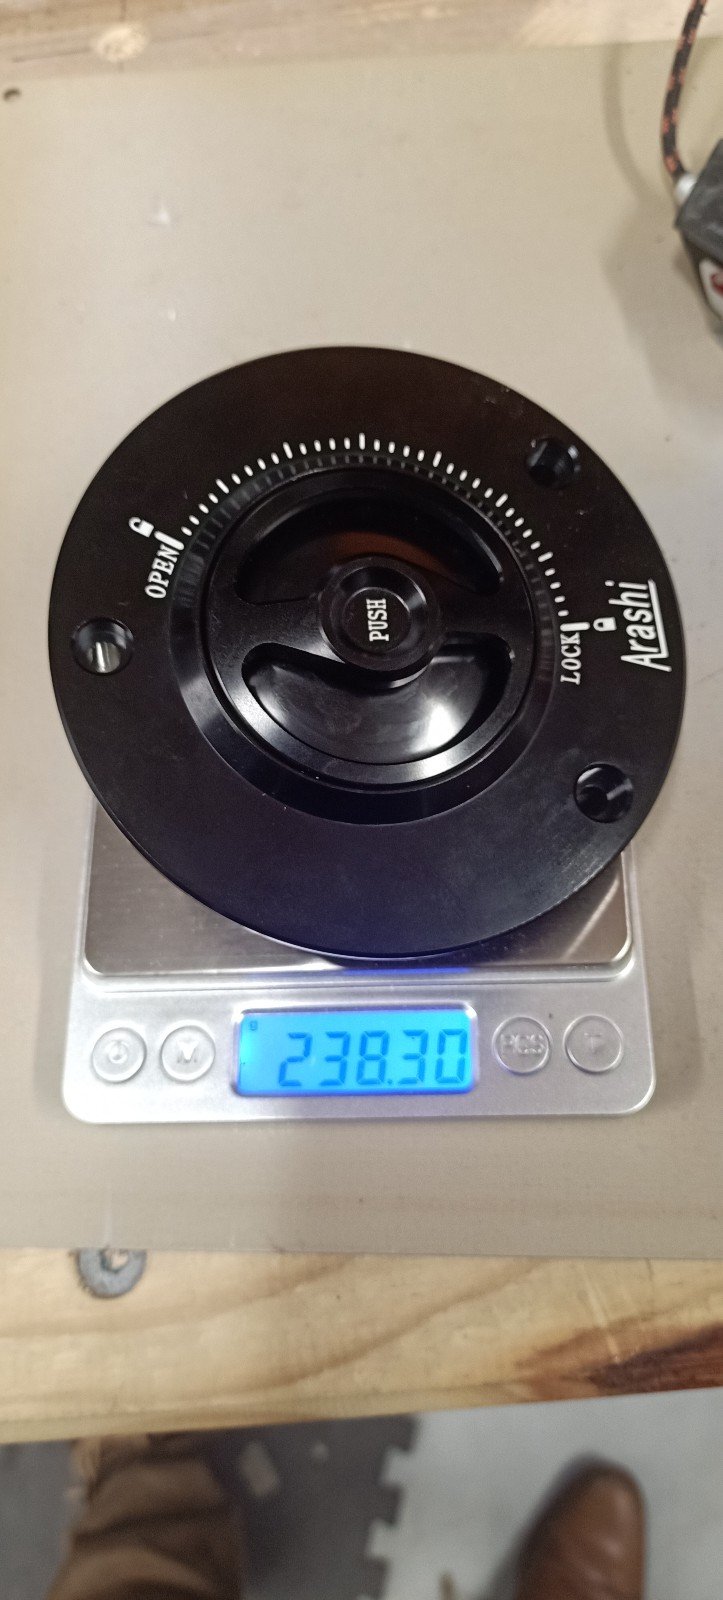
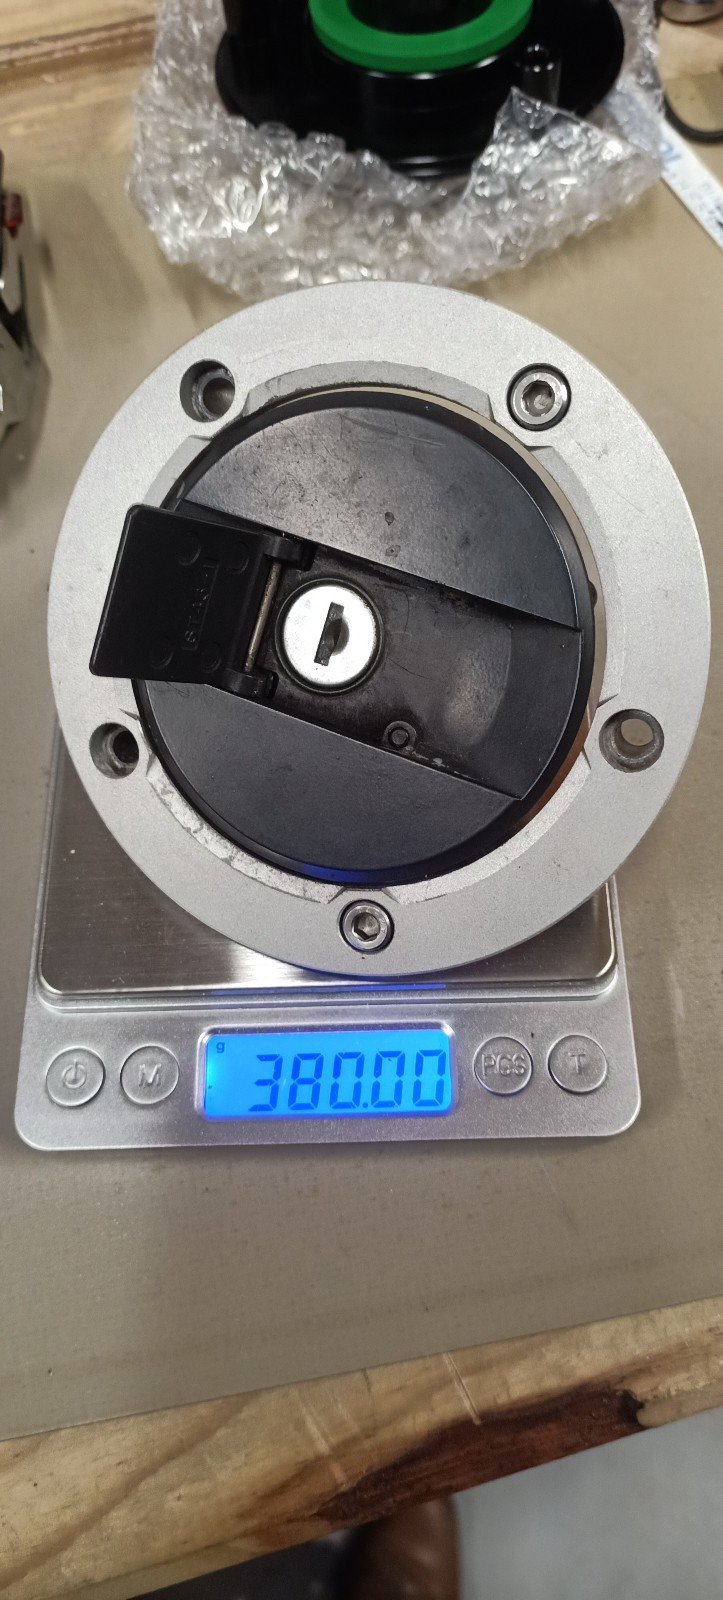
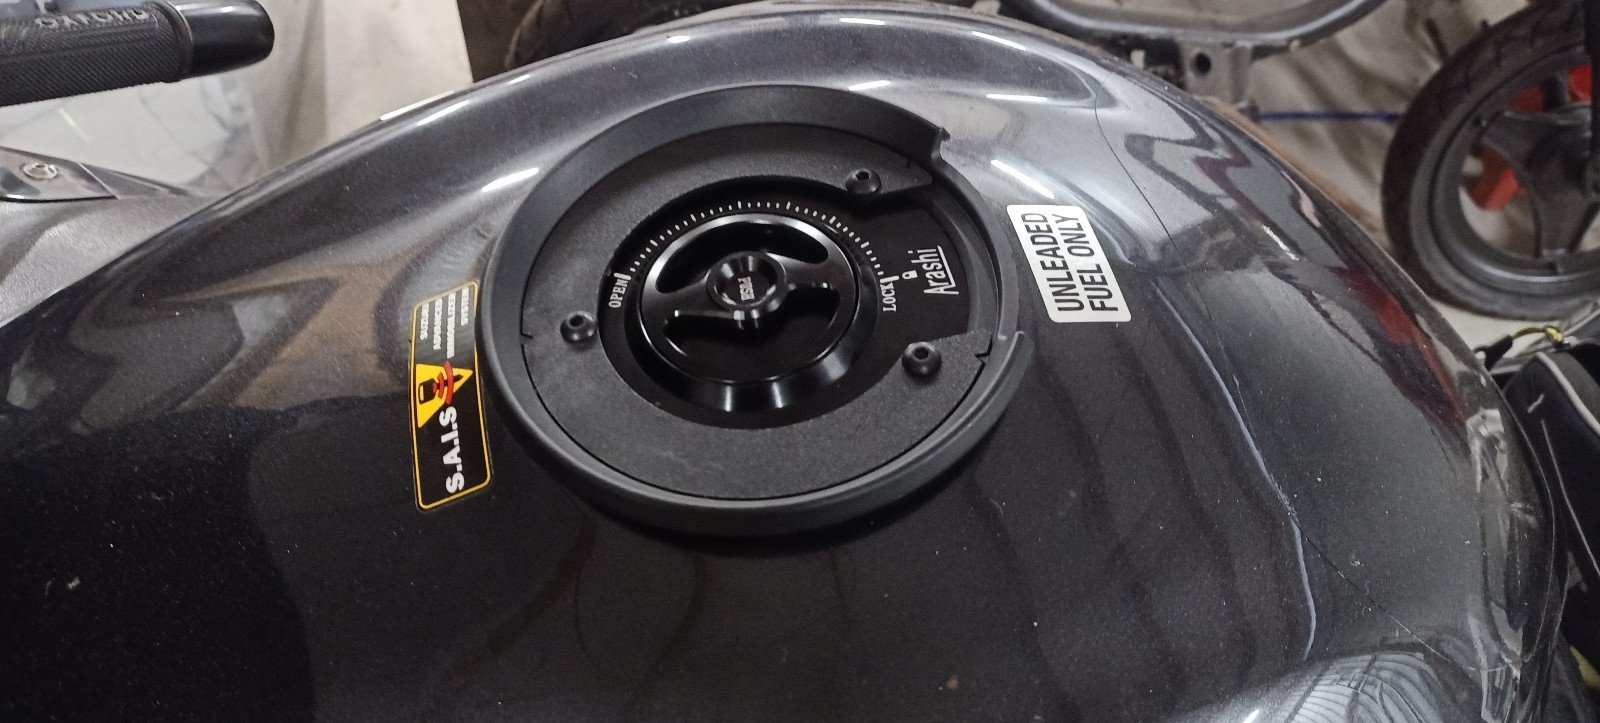
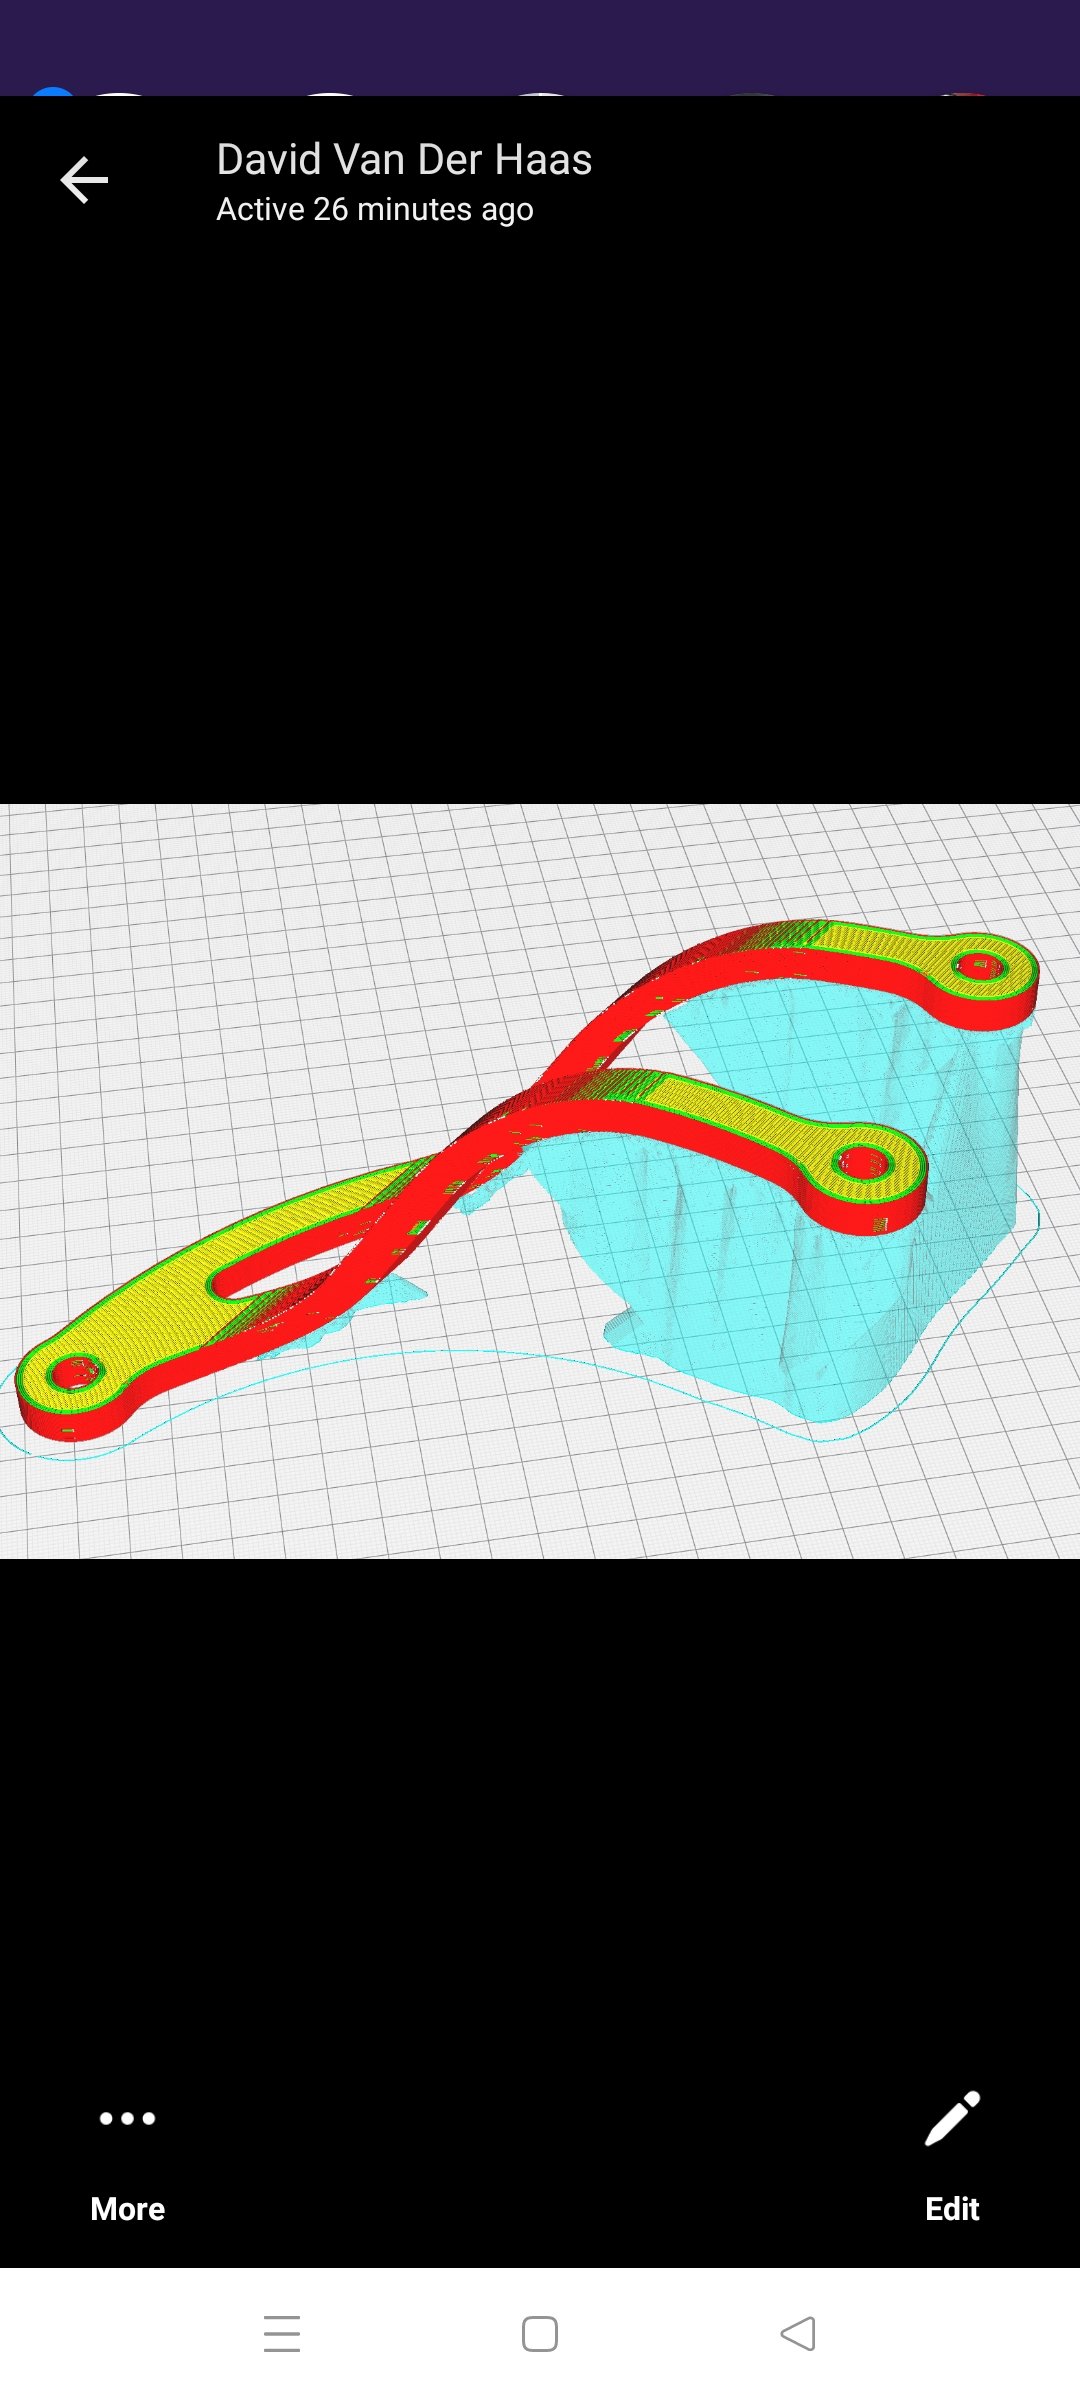
The exhaust hanger thing was still Happening in the background. It's a tough shape that has to come out of the factory fairing in a very specific place. To double check it's shape (so that I didn't waste any more of Davids printer flament) I took a scan of the factory part and merged them together. This worked extremely well!! And yes, it fit. Ali express provided a new light weight fuel cap for an insanely good price. Very happy with quality too
-
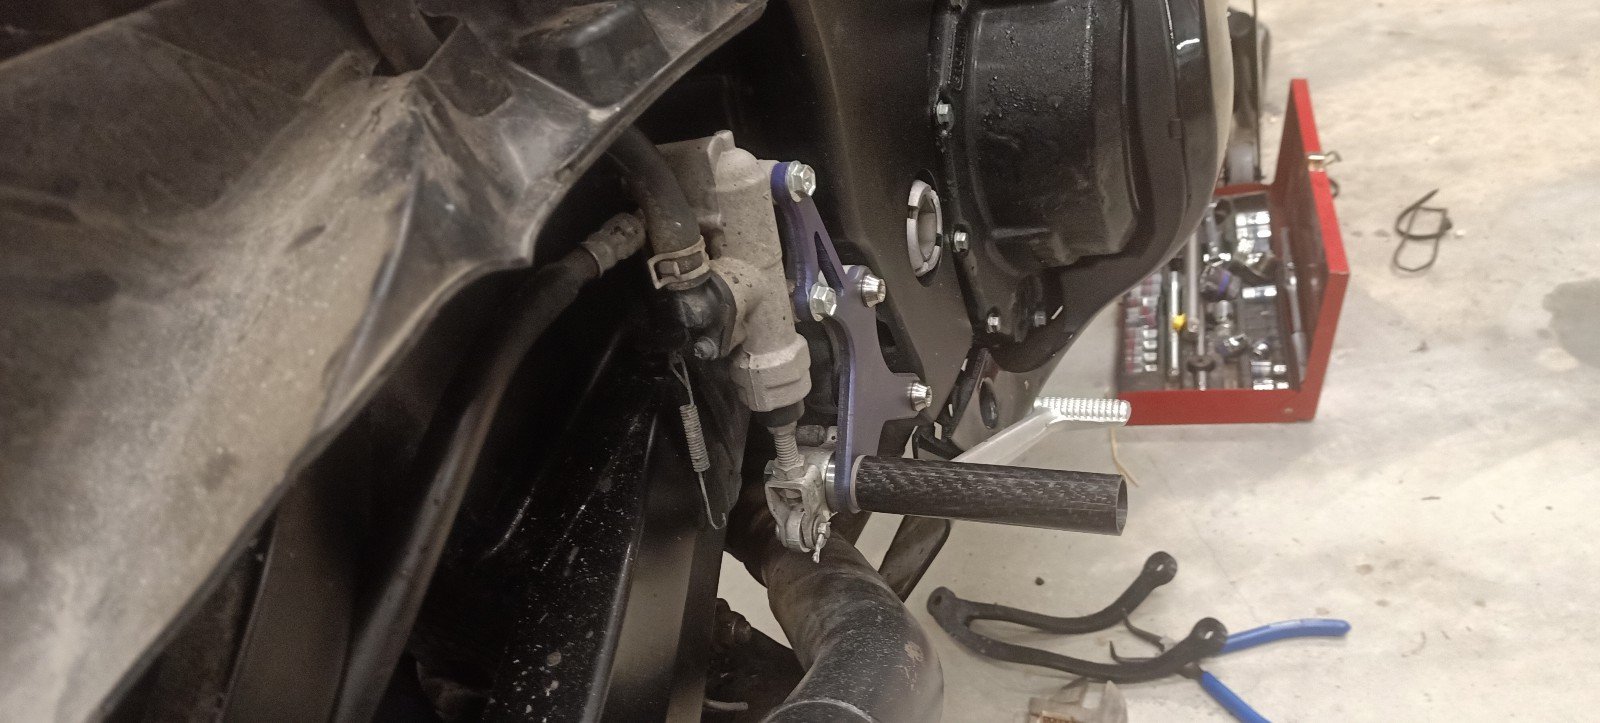
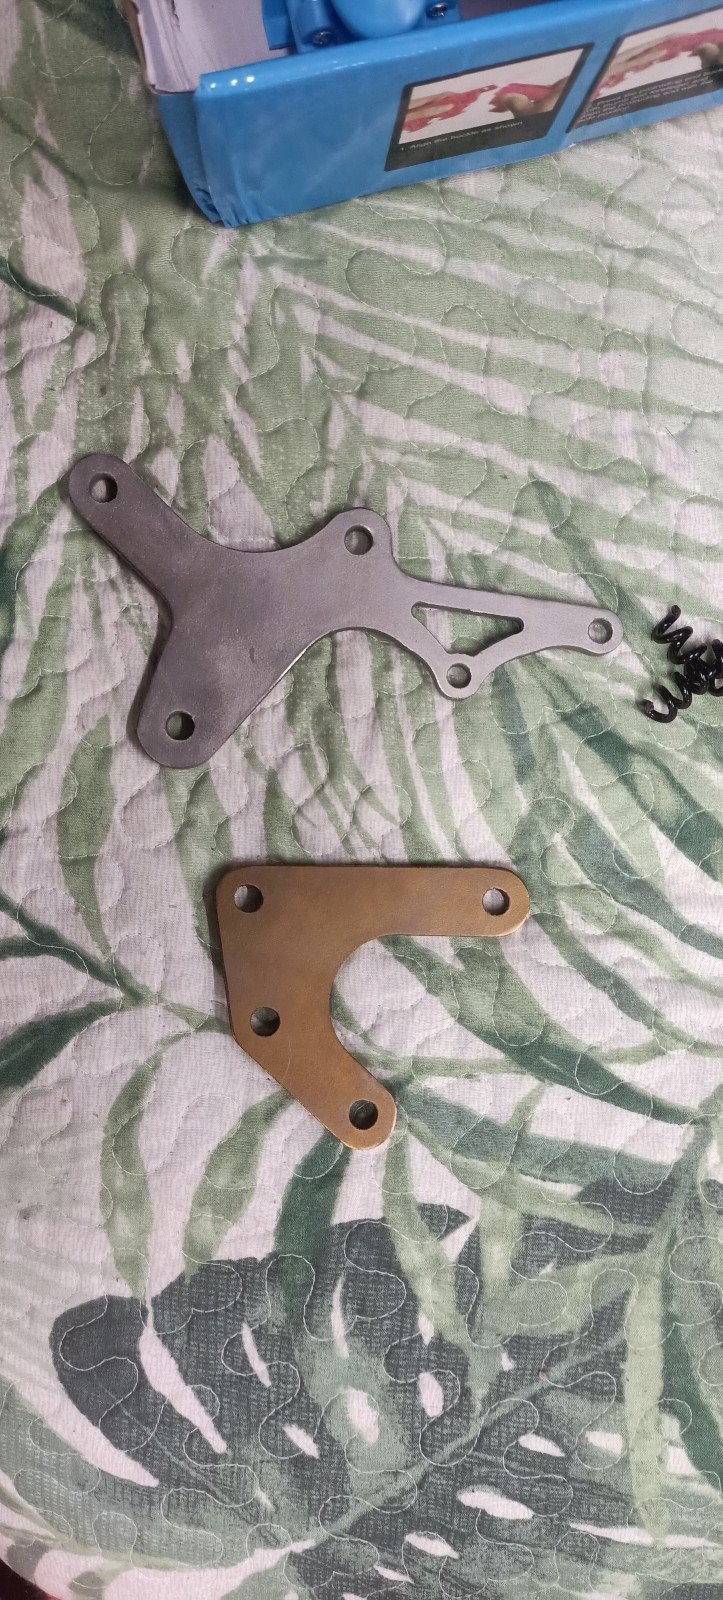
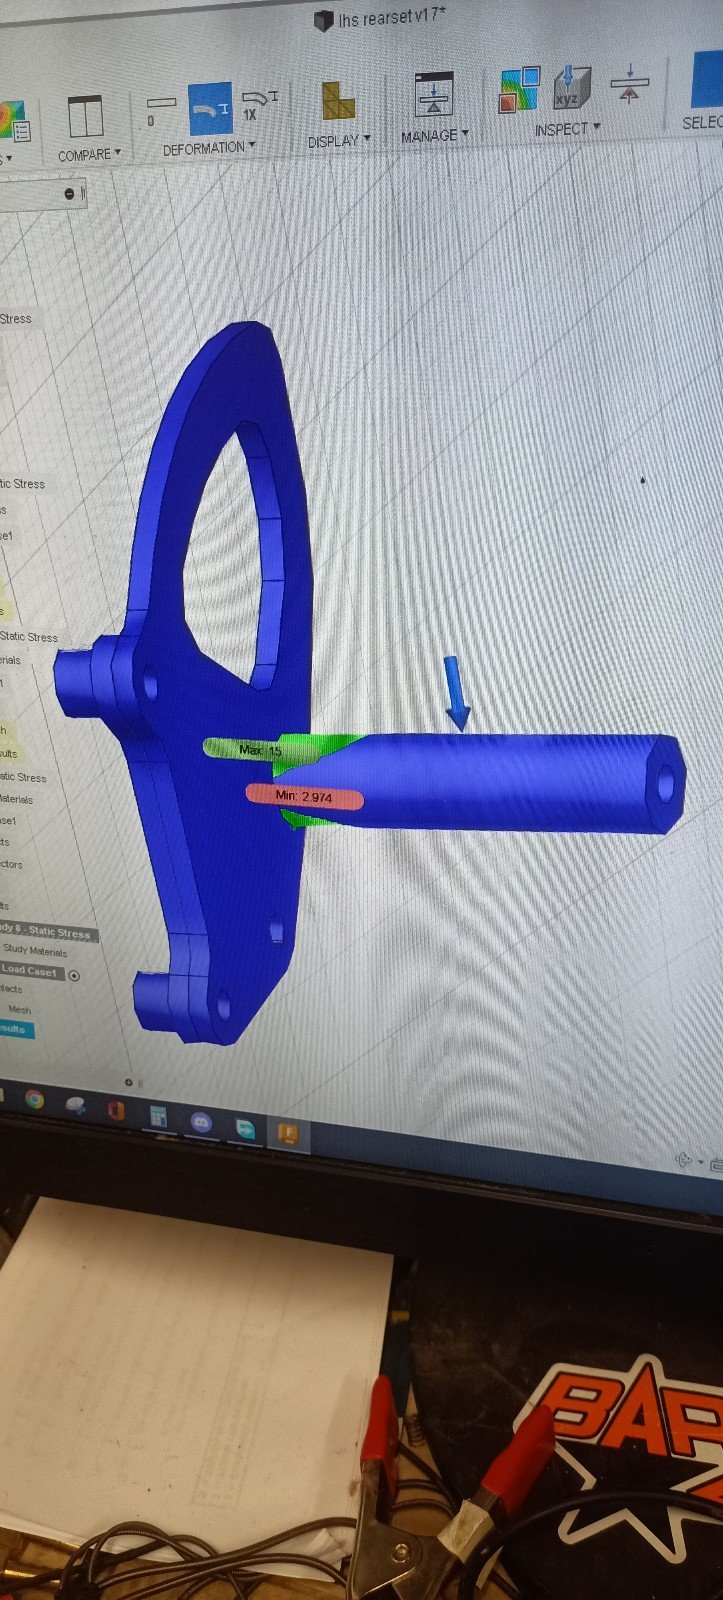
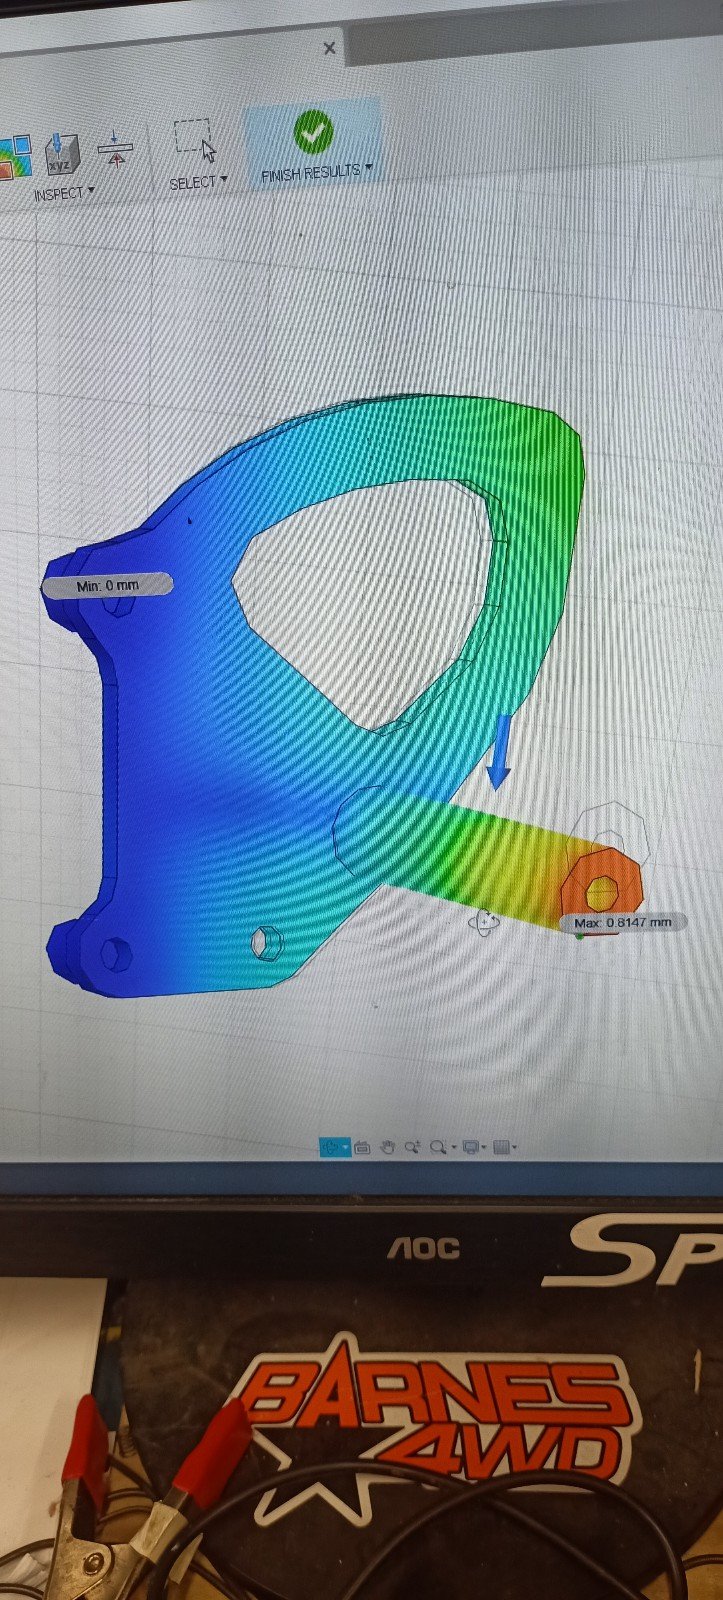
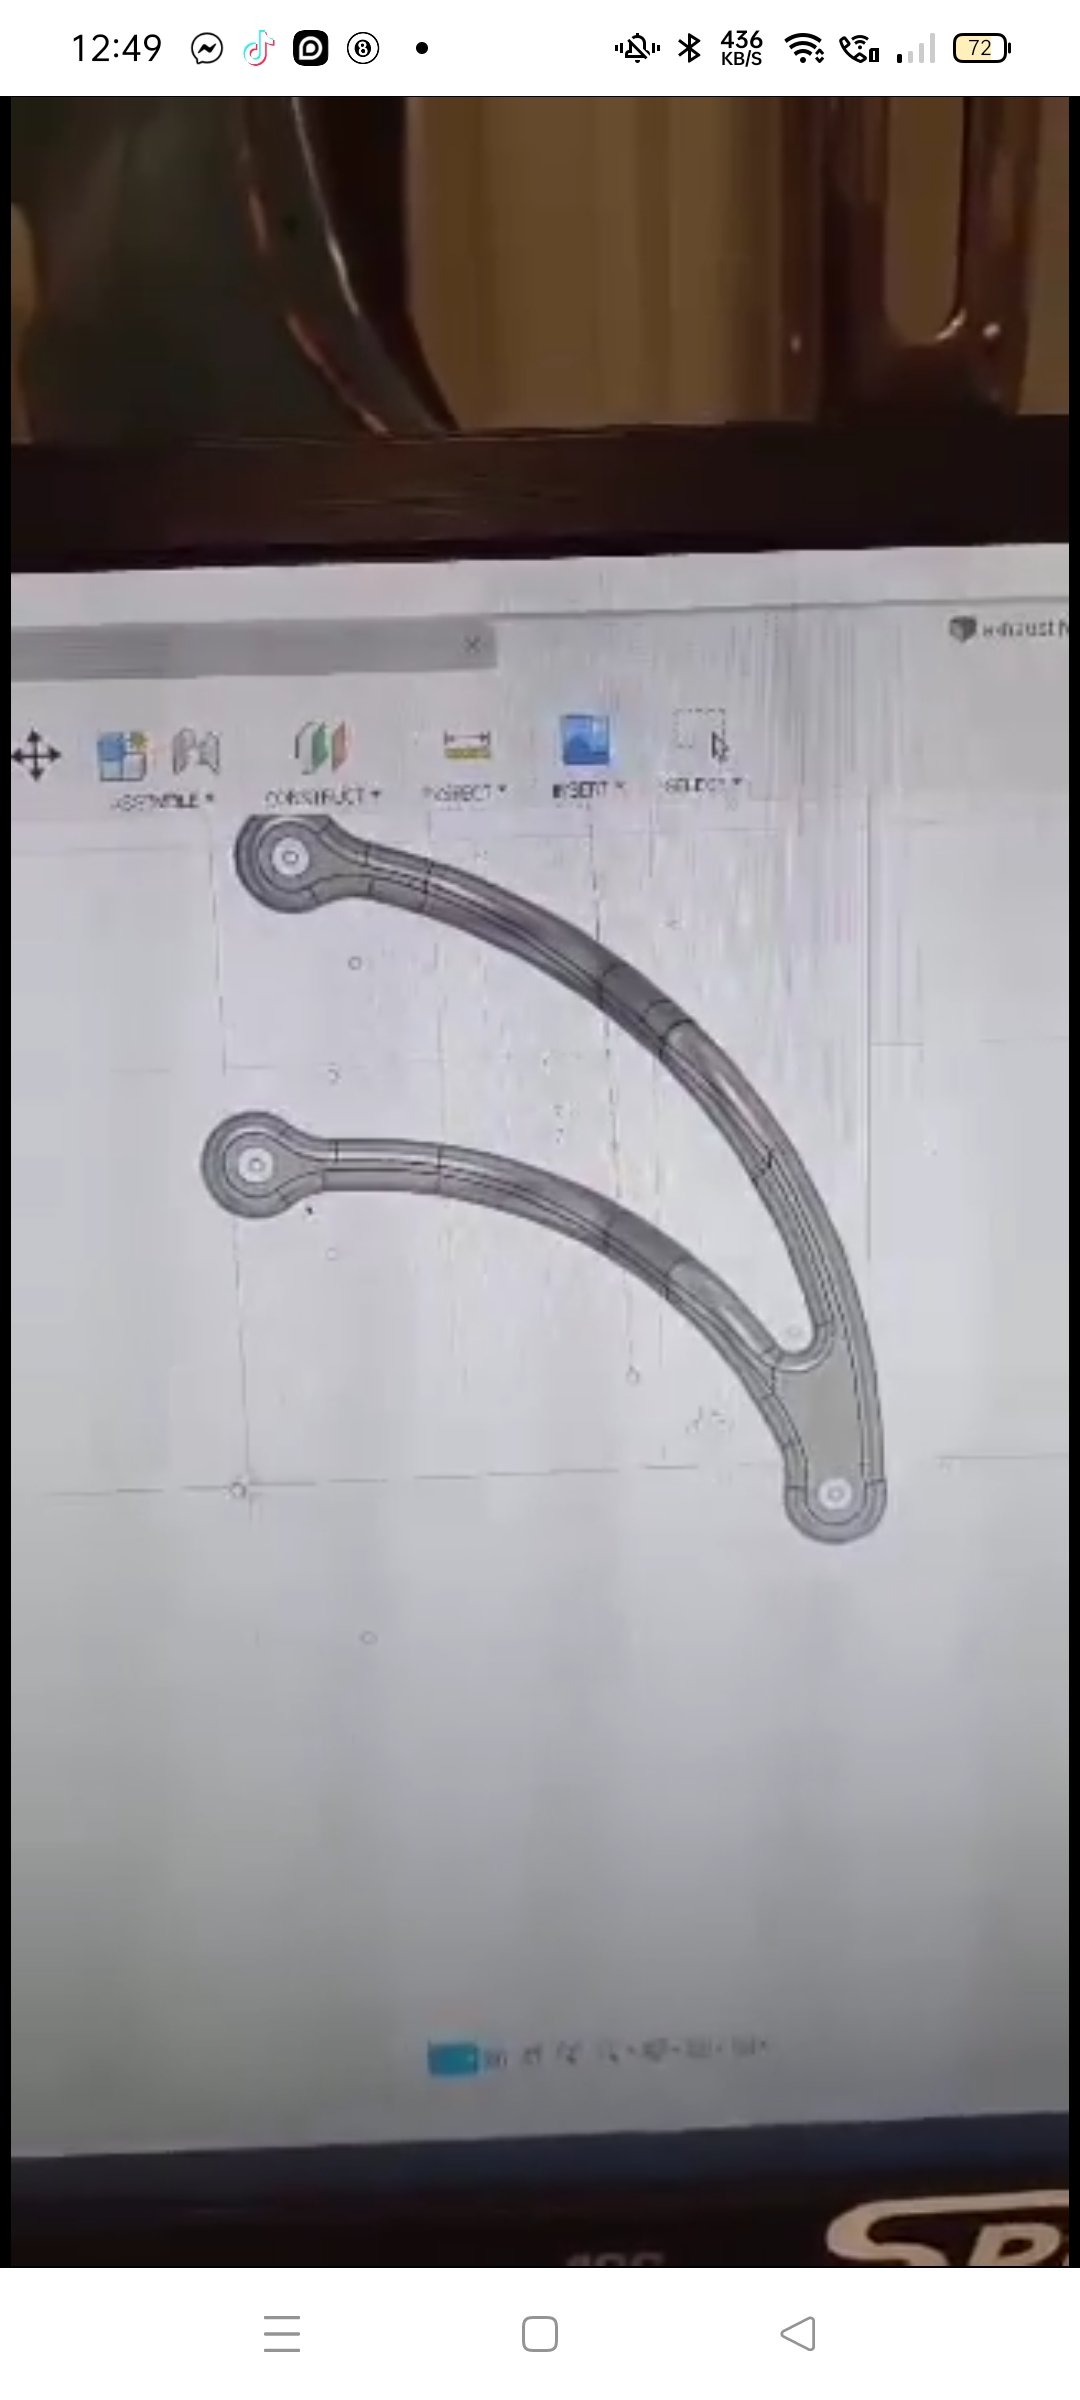
So I started again with grade 5 titanium. By this stage I'd stopped taking photos as I'd run so many simulations it was getting a bit old, but the results were good, the anticipated weight of each component was great, and I'd never played with titanium before so seemed like a good time. I sent some emails out within NZ and China. Its sad because companies in NZ really can't be fucked with smaller jobs and the associated admin. I got a few replies after waiting a few days and these replies ranged from not being able to secure the material (they couldn't be bothered) to having a minimum cut fee which made this only economically viable if I got three sets cut (I ain't paying for enough material to make that happen). China made me feel like a king with absolutely great customer service, though I was still not 100% that I wasnt getting scammed... But after a few weeks my titanium rearset plates arrived! I haven't had much time for filling around but need to tap some holes and buy some pegs, then they are good to go on permanently. Weight saving from the change to these Ti plates is 500g, however when I include the change to the associated light weight pegs, nicer bolts etc will be well over 1kg. Colour change is due to some DIY anodising- super easy with titanium!!
-
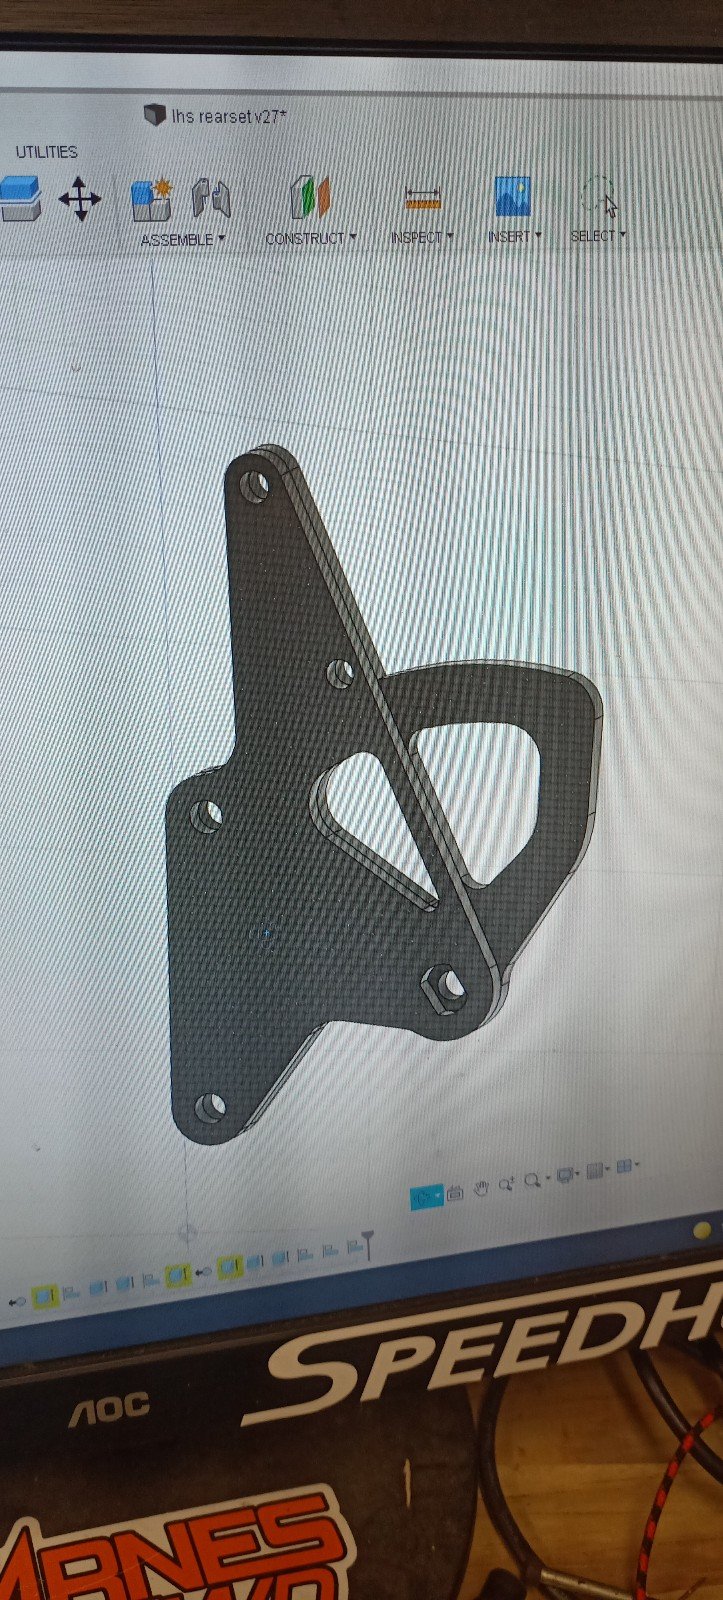
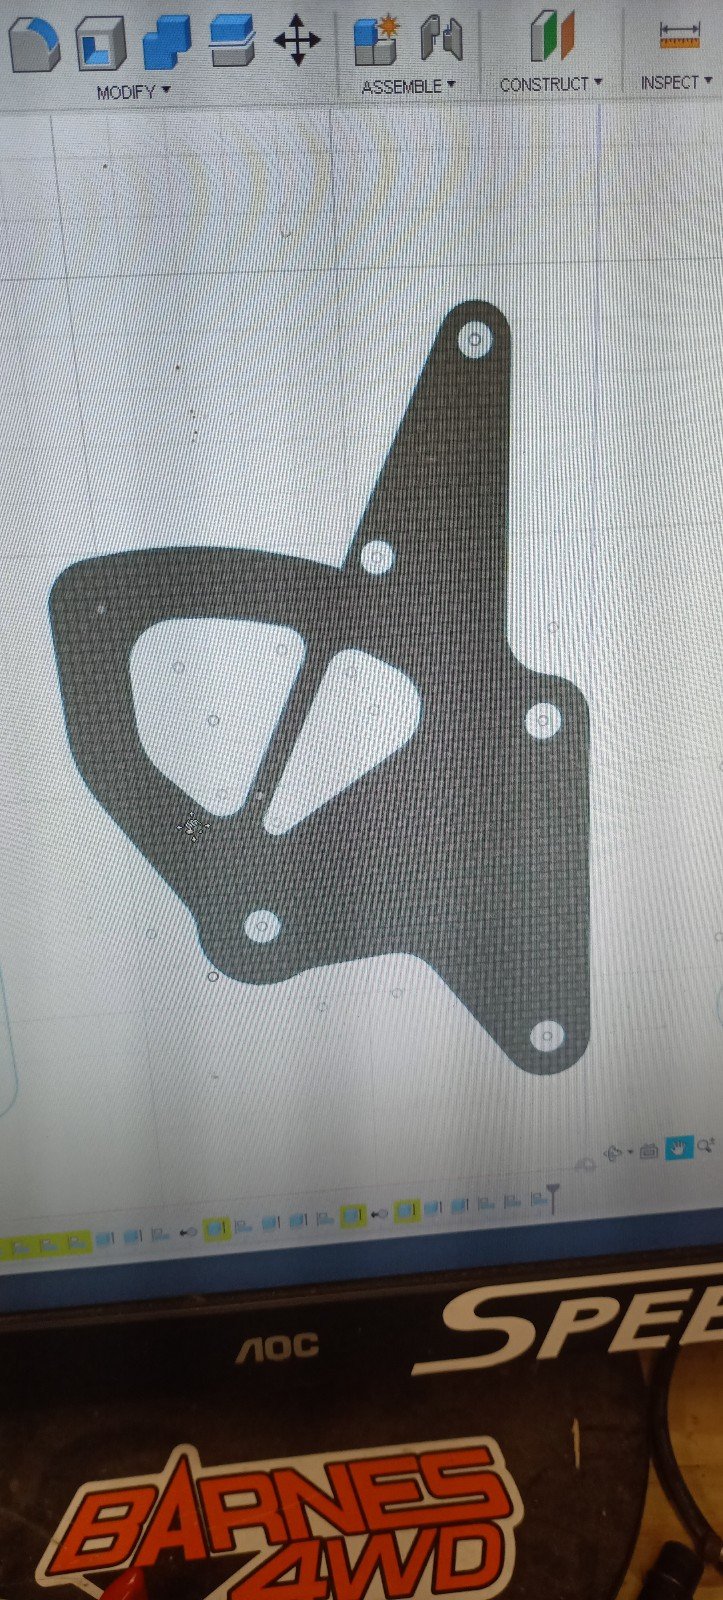
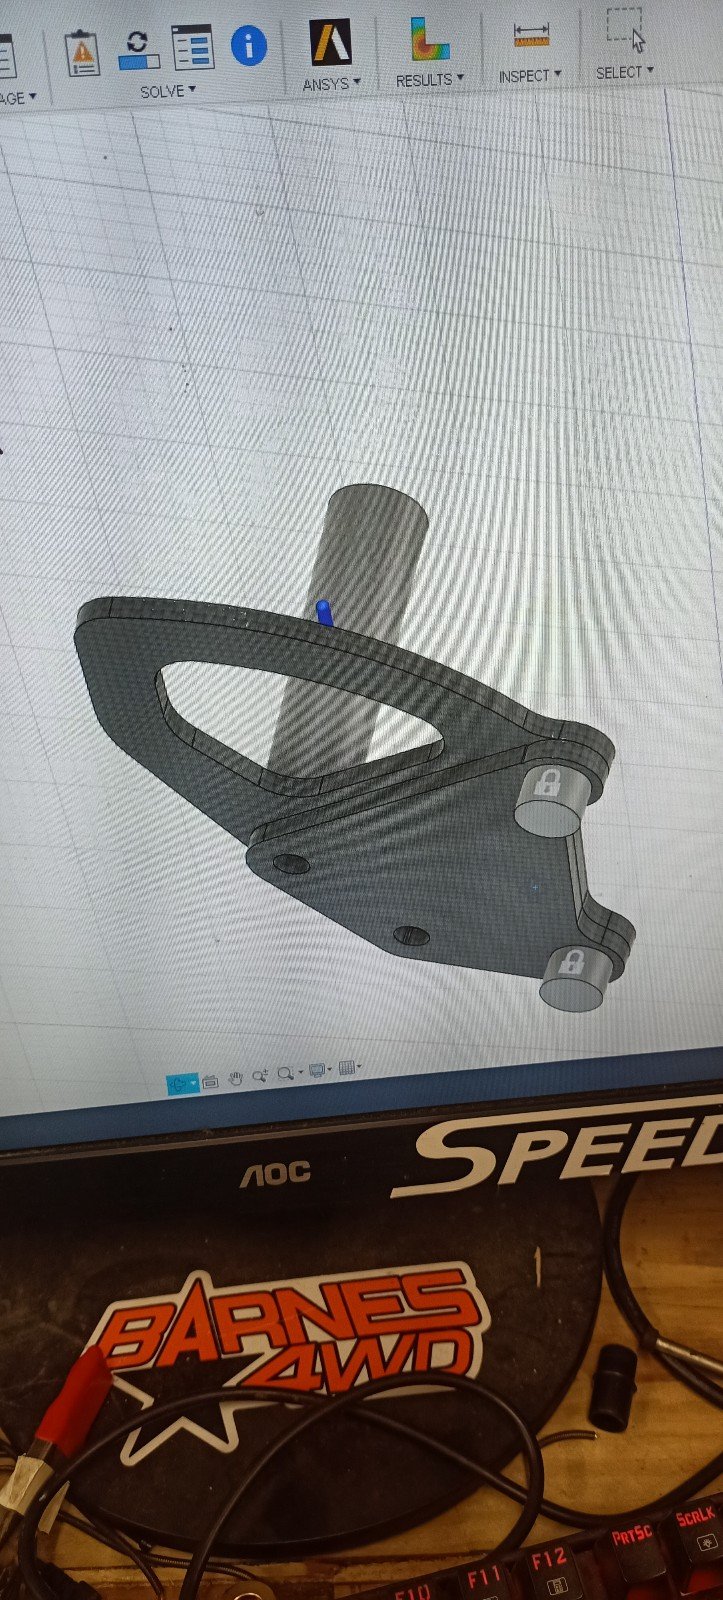
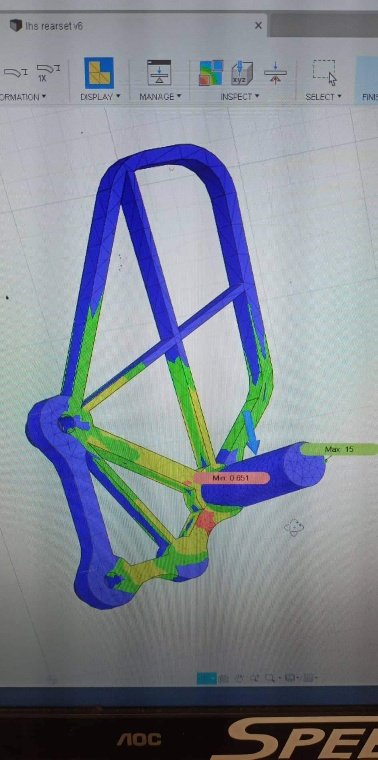
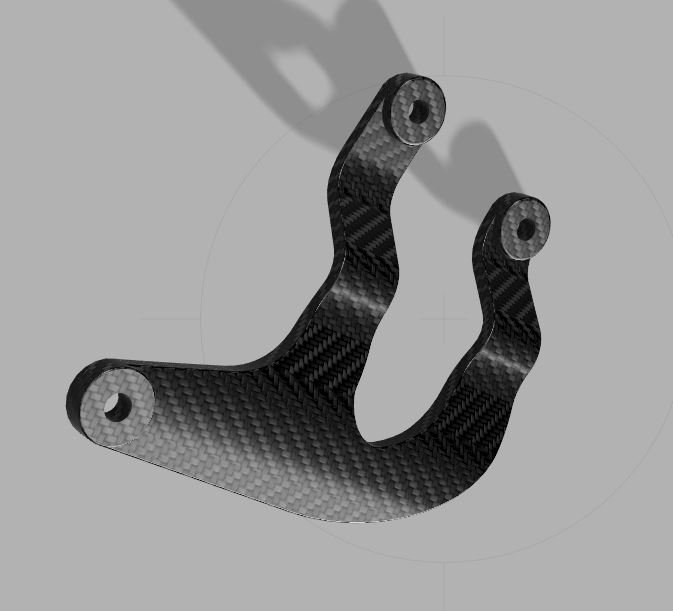
I decided to make my own, initially out of carbon fibre plates that would be waterjet cut. This was very very interesting as ended up using fusion 360's simulation package to calculate my designs strength. I ended up getting absolutely insanely strong parts designed in CF but at the last moment got a message from a friend (experienced in composites) saying STOP COME VISIT ME FIRST. He gave me an extremely valuable lesson on carbon fibre strength and how f360 was not actually giving me an accurate simulation, and although they may work, the properties of cf plate were always going to place a question mark over their suitability and working life, so back to the drawing board!
-
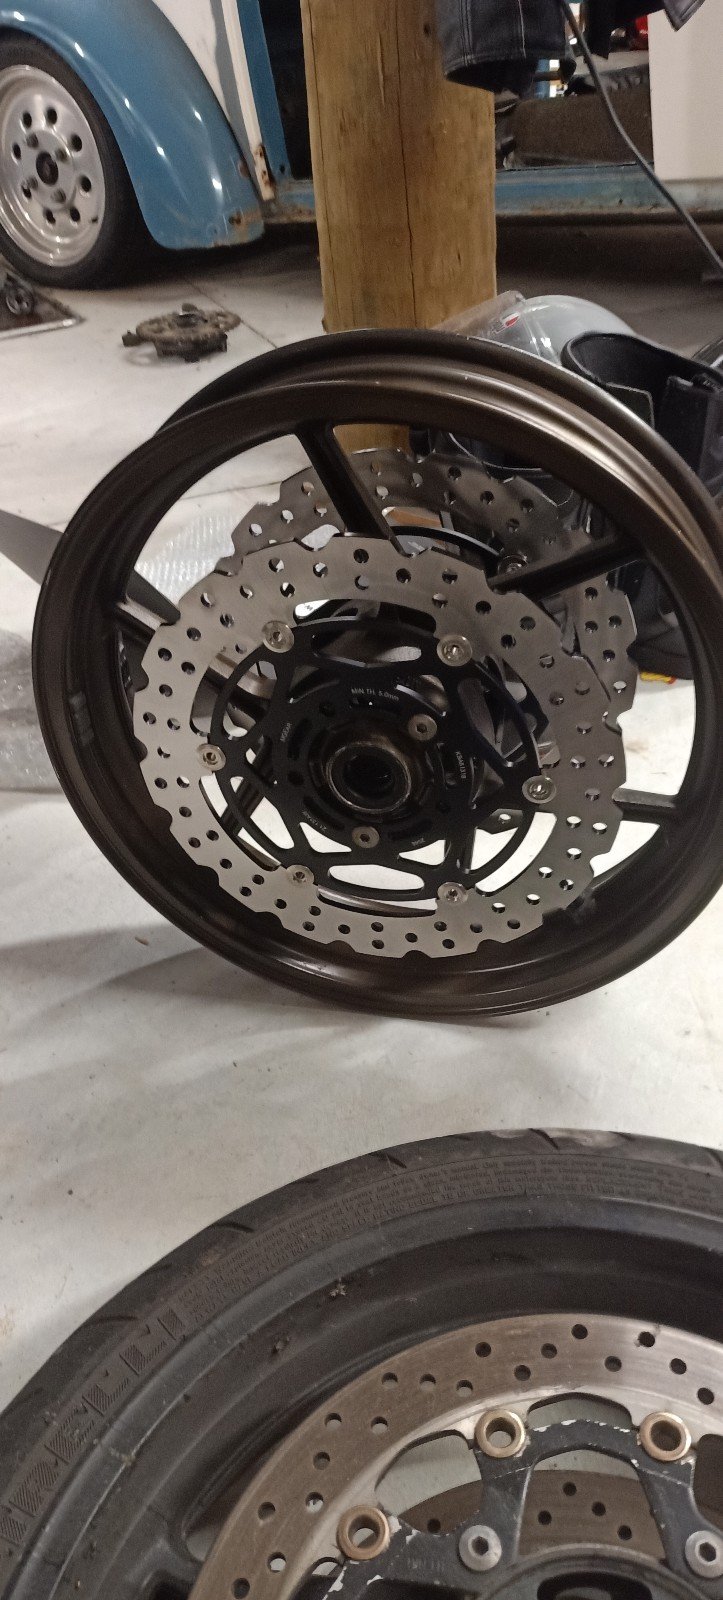
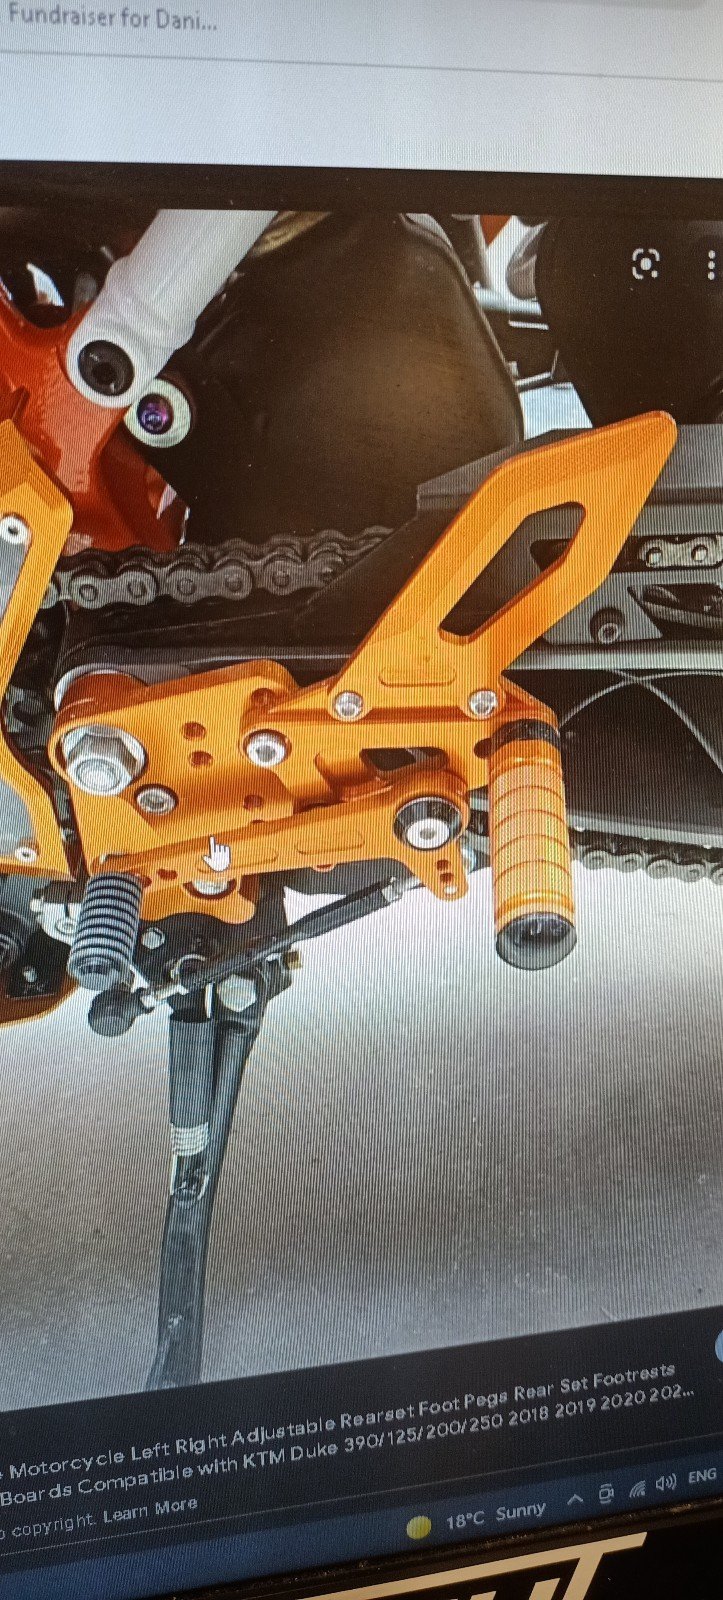
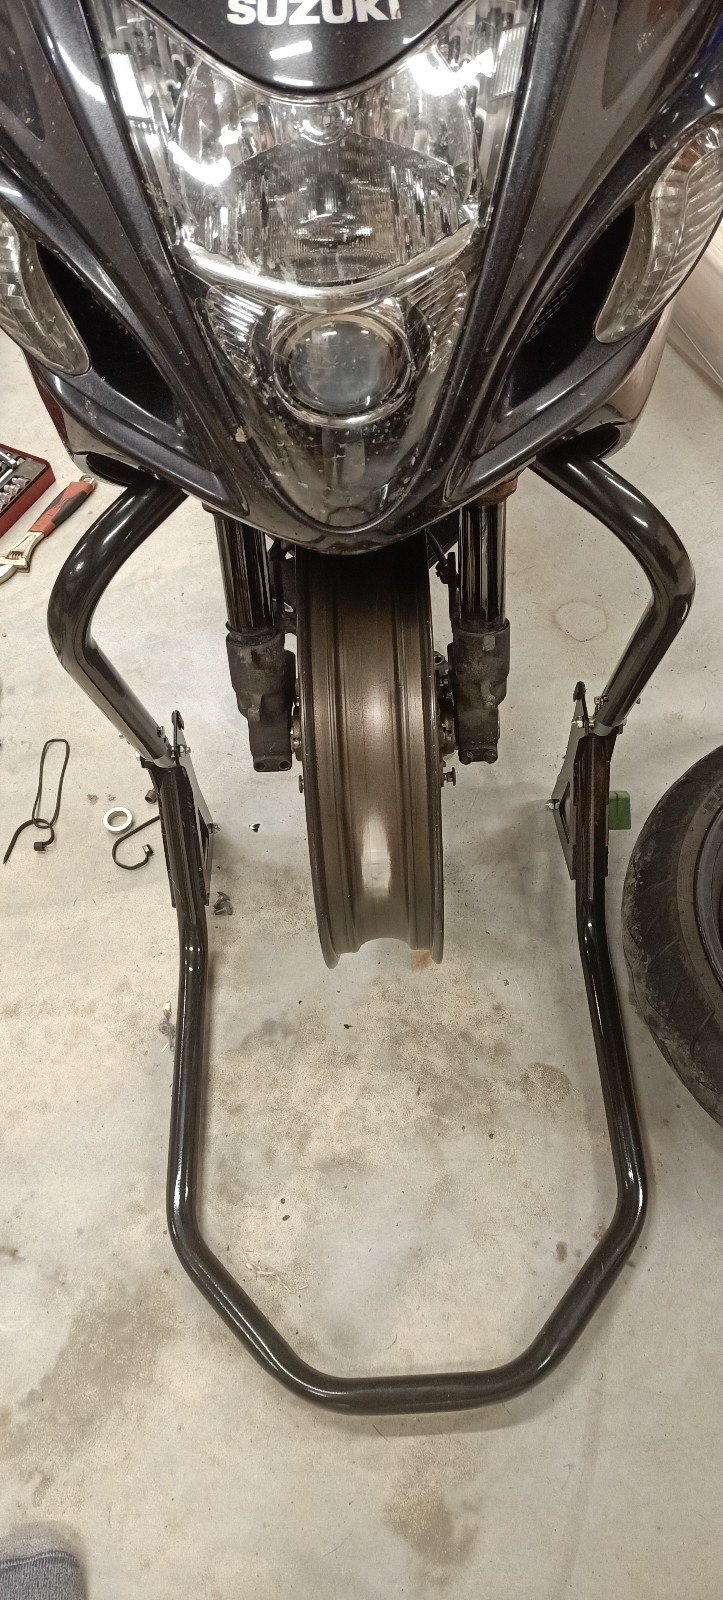
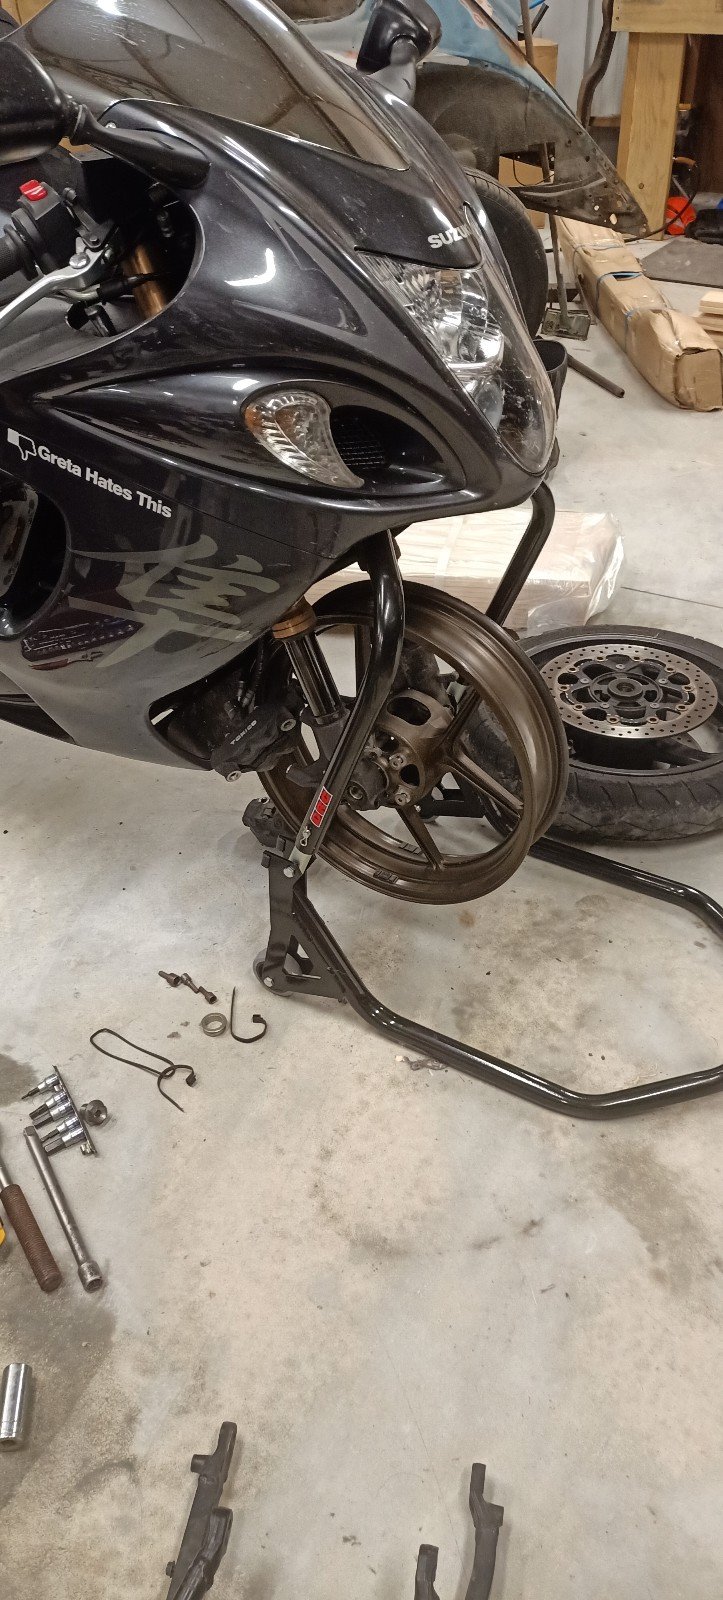
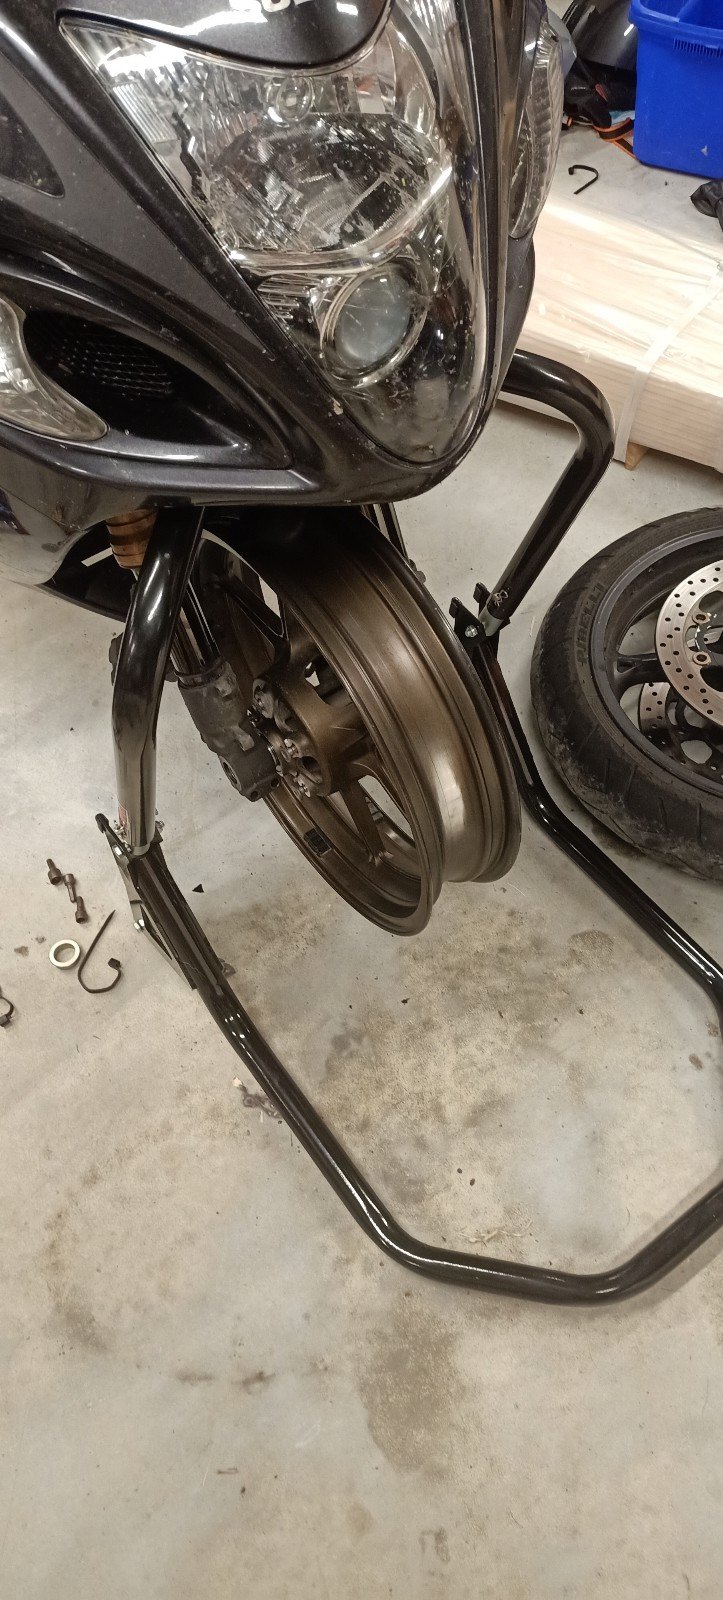
Disks to suit the zx10 wheels turned up and some little aluminium spacers are sitting at work. Aside from getting a tire fitted it's all ready now to go back together will be interesting to do a proper weight comparison (need to get tire pulled off the factory wheel first). I have wanted aftermarket rearsets for ages but $$$ and I'm never happy with how the aftermarket rearsets all seem to be a series of aluminium plates stuck together with adaptors. Jankey as.
-
interesting. That could be around 1500kg yanking on the rod, which would have a yield of like 15x that, but I have absolutely no idea what im taking about.
-
Italian shed ornament - Nick's cnc router repower
flyingbrick replied to NickJ's topic in Other Projects
From what i can tell, it is a "proper" real time solution..... However i think its only better at being "real time" and seems to suck at quite a few other things, like reliability and ease of setup. You put GRBL on an arduino and plug that into the cnc. Then you use a "code sender" to send the G-code to the arduino. Then the arduino plods along by itself and runs the cnc. Most people seem to say that mach3 is far far far better and more reliable than grbl though- and grbl is going to have issues if your g-code asks it to compute steps faster than it can manage (This might be your issue if you have microstepping set real high?) I'm 100% sure i want to use linux cnc now. I was cautious because I've had linux on a few PC's and although it was great (fast etc) it just didnt function as well as windows. I'm going to run linux on a Pi. I'd have bought one today if they werent all bloody out of stock. Looks like an extremely nice interface and full of features that are not present in many other systems. I've done a few hours reading about this now so I'm an expert. No practical experience at all- just google. Anyway, you are welcome. -
Italian shed ornament - Nick's cnc router repower
flyingbrick replied to NickJ's topic in Other Projects
Why did you choose Linux cnc over the many other options? I think I have settled on simple grbl but open to other better options too. -
Shit!! I have a tabletop here for our entranceway and needed some legs. This is a perfect Idea
-
Italian shed ornament - Nick's cnc router repower
flyingbrick replied to NickJ's topic in Other Projects
Hah funny!! I saw this (or maybe another author) on trademe and wondered about it. Even watched a few YouTube vids. I just wasn't sure if it was usable as a cnc for doing cool stuff or just for milling up kitchen cabinets etc. -
Yeah buddy, slot anything in there so that it doesn't become a doorstop.
-
I've looked lots for the bike and everything I read said that valentine was the best. They also seem to support their customers REALLY well with updates (i think you could even send your unit in to them to have it upgraded when there were hardware updates)
-
Version 2.
-
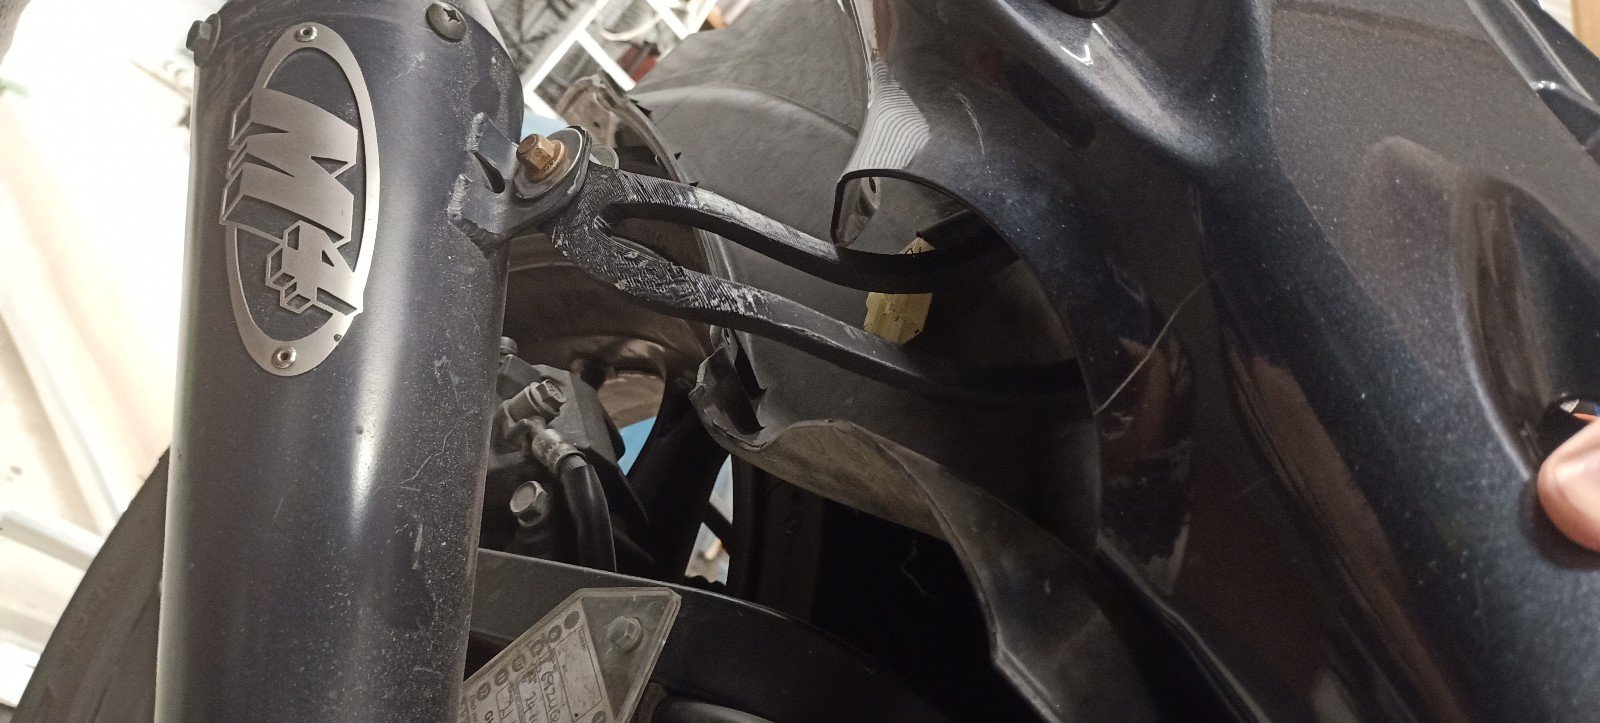
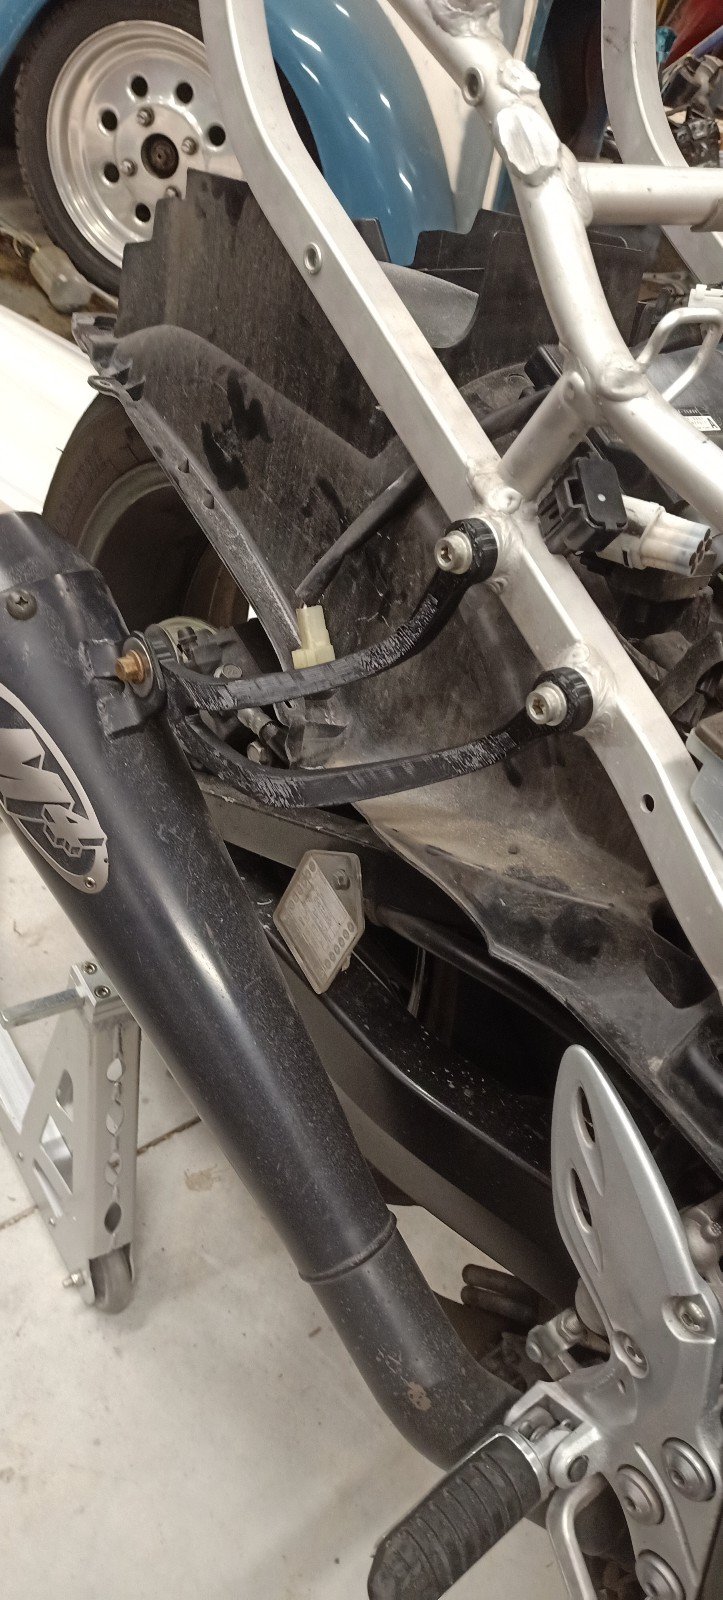
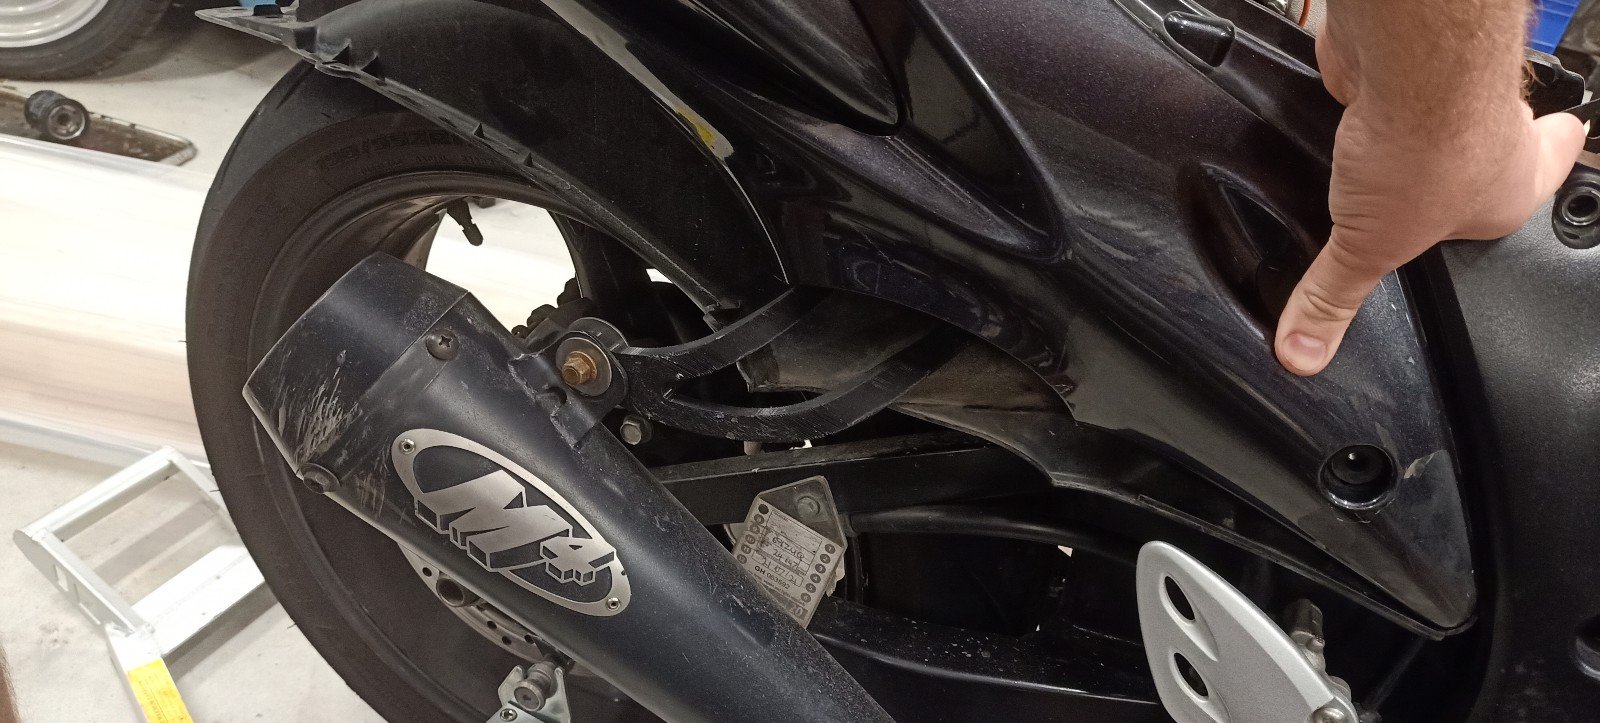
Next up was the Exhaust hanger brackets which also hold the pillion pegs. These are cast aluminium, sculpted to suit the shape of the bike and they weigh 700g each! I love making carbon fibre stuff so I started really stretching my brain to figure out how on earth I could DIY produce something that is robust and aesthetically pleasing. These are made for MANY other bikes, but unfortunately not the busa. First I took some measurements, then I guessed the bulk of the profile and made a thing in fusion 360. Eventually I'd like @ThePog to mill some MDF molds for me, but before then I need to make sure I can actually draw the thing properly in F360. This is TOUGH and requires skills that I don't yet have. V1 was printed overnight by legend @Roman so I could test fit it the next day. you can see that the mounting locations are all correct but the legs of the support exit the fairing in a less than ideal location (it needs to come further out as well as further forward) one of my main problems is that I'm good at Draftsight but my licence has expired and I dont want to spend a few hundred on renewal so am struggling along.
-
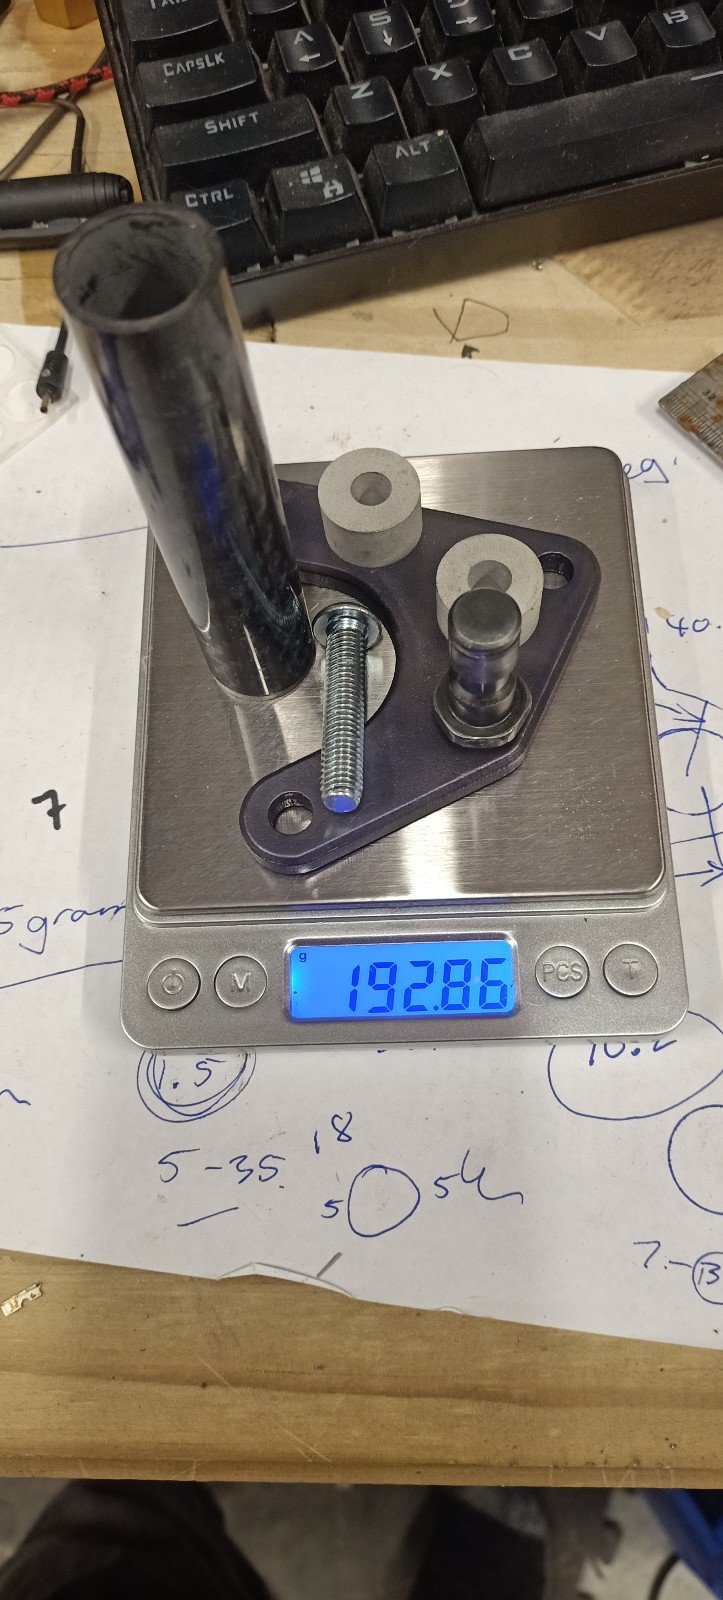
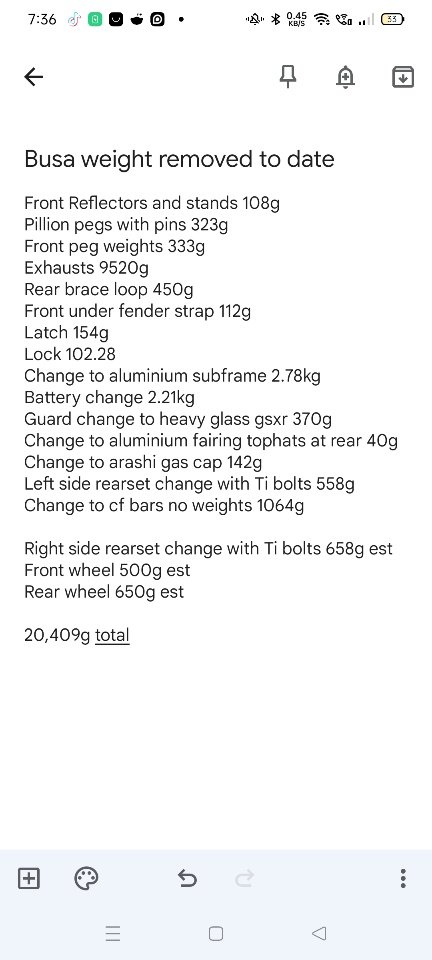
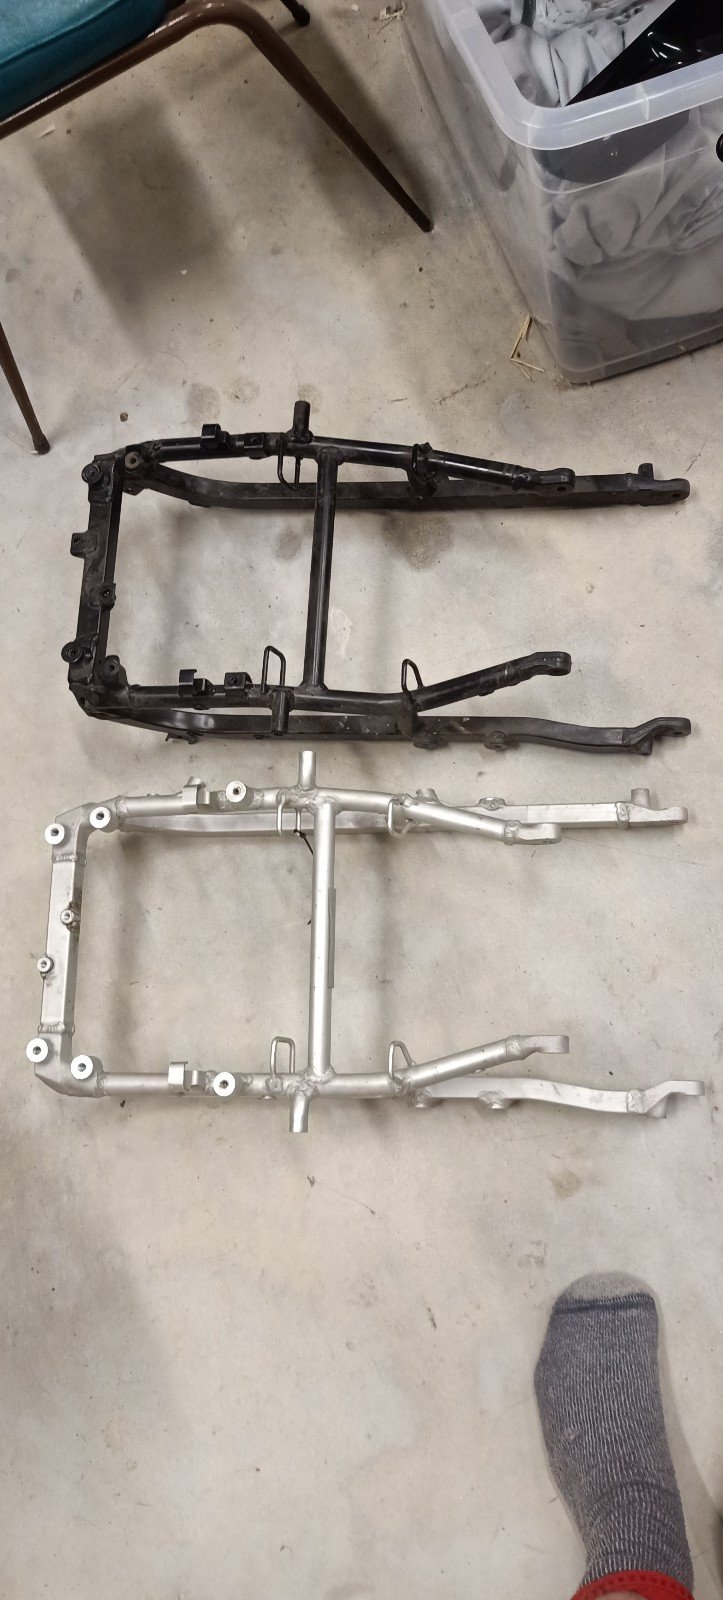
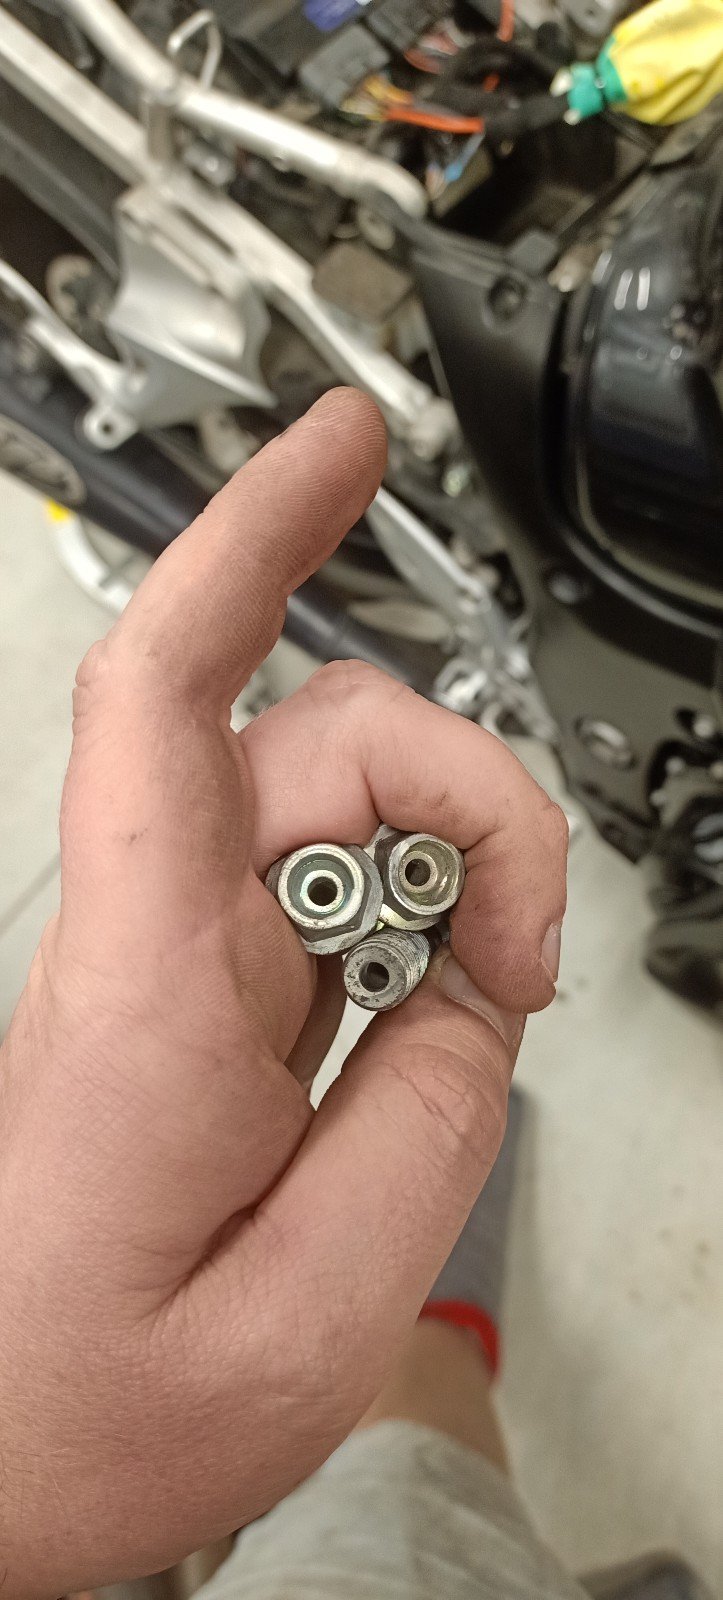
Also happening in parallel with the wheels is a weight loss plan involving nearly everything else. I bought some digital fish type scales and have my super accurate resin scales, so I started just pulling stuff off and finding lighter weight replacements. A list of weights so far is below- the Exhaust was done by the previous owner but the factory exhausts were included so I was able to weigh and compare. The most fun of these items was the rear subframe. This is an aluminum subframe as used during the first three years of Hayabusa manufacture and I bought it in from Norway (ebay). IT was bloody cheap, but after freight and conversion etc came out to around 190 NZD. There was one recently on trademe for $400, so thats a bargain. Its needed a huge amount of bracket trimming and cleaning up- I'm still not quite finished (have some threaded aluminum bosses being made for me which will need to be welded to the frame) but the comparison when you compare the weights is incredible. Being for a gen1 some of the fairing mounting bosses are in the wrong place- but there's enough in the right place to mean its not too big of a job to get the alignment correct- and the important things like rider seat retention loops are in the correct place. The other items were all very very easy- footpeg weights to lessen vibration, pillion pegs, etc etc. Also, strikes me as funny that they go through the trouble of using subframe mounting bolts which are drilled and relieved for weight reduction- when basically none of the other bolts on the bike are. Just seems futile considering the very minute savings. All in all, 16.3 KG is not bad so far! but lots more to go (lighter wheels etc will help, plus stuff covered below)
-
I then started researching ways to chisel weight from the big thing. If you have a million bucks its EASY. You can purchase carbon or forge wheels, carbon fairings, titanium axles and bolts for the whole bike, etc etc etc. I'm always more interested in the more DIY approach which utilizes factory parts where possible. Its still expensive, but comparatively cheap. Big news on busa forums is the R1 wheel swap idea. Guys take R1 wheels, buy a conversion axle for the front plus theres a few spacers required for the rear. The R1 wheels are lighter (though finding an accurate measurement is difficult) and they look a ton better than the factory tri spokes. But. R1 wheels are not readily available here in NZ. They are also expensive when they do become available (1k for the pair) and the conversion axle for the front wheel is less than elegant (its a smaller OD to fit the smaller R1 bearings, has ugly sleeves to step up to the hayabusa forks, is SOLID rather than hollow like the factory item and uses an ugly industrial bolt and washer to pull the lot together. Once I figured that out about R1 wheels I decided to do my own research. Just because that swap exists, doesn't mean its actually the best solution! I went on Trademe and FB Market place and found modern sports bikes being wrecked. Eventually I found a couple which had wheels available so I enquired to find pricing and then hit Google to figure out widths and bearing sizes. I settled on gen1 ZX10R wheels which were 400$ for the pair and most importantly, share the same size axles and seals as the busa. I paid the money and they arrived a week later, then I slid the front wheel onto the busa axle with busa spacer and took some measurements. It fit near perfectly with the only modification being to the factory wheel spacer, which required 1.25mm taken off its length to center the kawasaki wheel. I have weighed the bare wheel, this looks to be 450 grams lighter for the bare front wheel than a bare Hayabusa wheel, so not bad and in line with the best case measurements I've seen for the R1 front wheel swap (+ the lighter factory front axle!) Also, these wheels are made by enkei and look fucking great. I had some chap machine me up the new shorter front spacer. Theres a spare for a mate with a few race bikes, he is wanting to swap to these wheels now too. Next up, I need to buy some new front discs from a gen2 zx10r. They have the same wheel PCD and the same diameter as the hayabusa. At worst these discs will require some thin washers to center them perfectly in the caliper
-
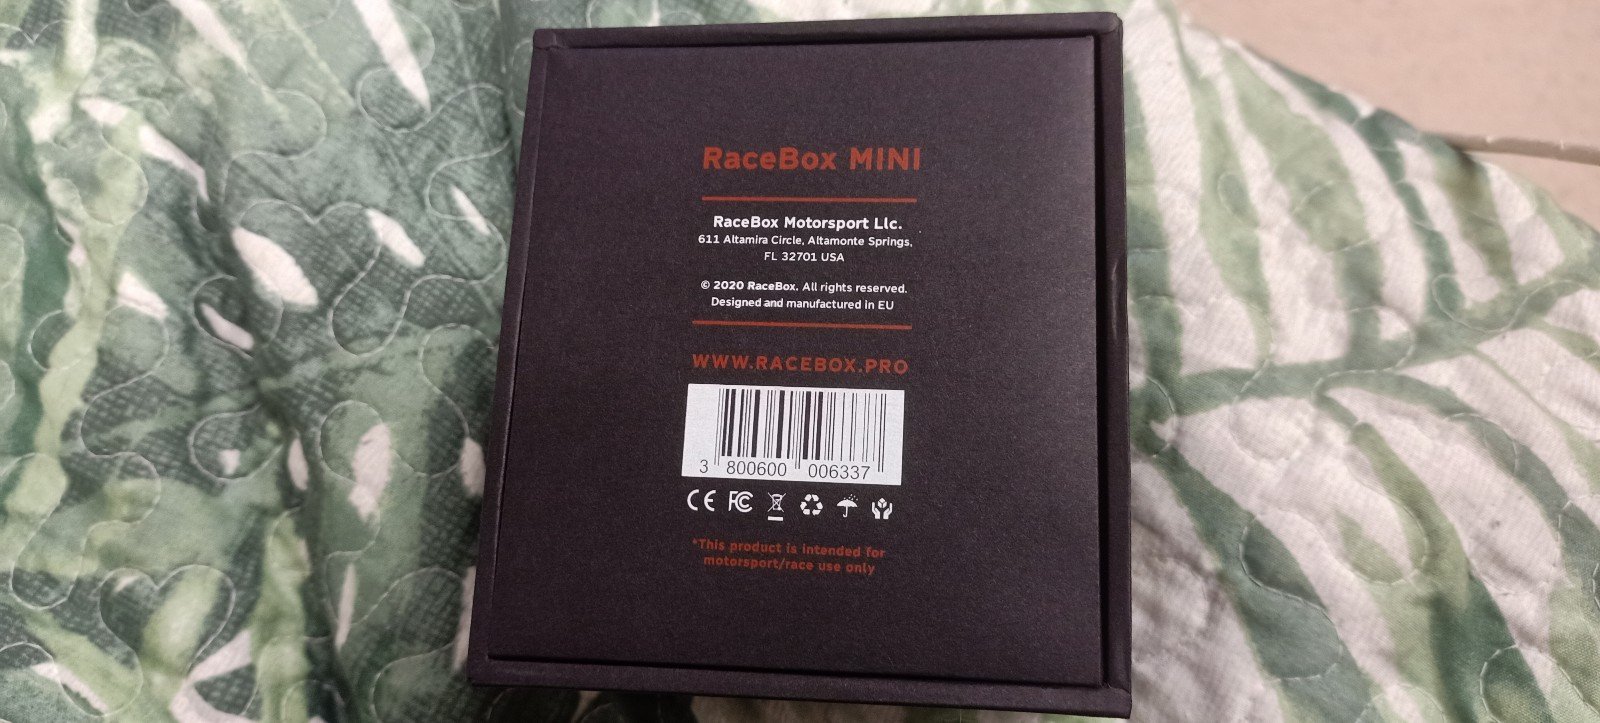
When I was very young I had a Gtech timing device for my cars. No idea what happened to it but practicing 0-100 times was a hoot. I'd love to take the busa to the strip one day (The solid clutch center contributes to this) and so when I stumbled across an indegogo project for the RaceBox Mini, I was pretty excited. Its basically a compact GPS/G sensor unit which mounts on the bike (or car) and then provides a huge amount of data on acceleration, timing, lean angles and G forces via your smart phone. I'd never signed up for any kickstarter type thing before so I was anxious, but the result couldn't have been better. But yeah unfortunately the bikes now in bits and the rain had set in prior to disassembly so its not even been used .... But unboxing pics below. Its a quality bit of kit! https://www.racebox.pro/products/racebox-mini