yoeddynz
-
Posts
17389 -
Joined
-
Last visited
-
Days Won
133
Everything posted by yoeddynz
-
Ramflo is at least an extra 20 bhp plus the everyday excitement of if it might do this...

-

Discuss here about Yoeddynz's little Imp project...
yoeddynz replied to yoeddynz's topic in Project Discussion
Thanks man. Yeah I'm really stoked with how they turned out. Now I've got to make sure all the other engine bits and engine bay look nice and neat so not to spoil the show But hell this build is starting to drag out - just as many others on here have no doubt discovered it's that typical build thread 'all those little jobs adding up' stuff. -
We had the bloody JWs drive all the way up or driveway the other day, park in the yard and come up to try and convert us. They got told where to go very promptly. I need to build a gate.
-
Discuss here about Yoeddynz's little Imp project...
yoeddynz replied to yoeddynz's topic in Project Discussion
For now but now I have to add all the extra crap that engine blocks need to run -
So where I left off last time was the oil filler pipe and sight window ideas. I don't really need a separate flange now I have decided to run the pipe shorter in height. So I dug out another old bit of alloy, gave a it a clean in the lathe and welded up a new pipe.. While in Nelson city a week or so ago I popped into a plastic place that told me on the phone they had 25mm thick walled acrylic tube. Turned out they didn't and instead I left with some thin walled lexan (polycarbonate) tube, closer to 25.4 in size. It was cheap so I thought it gives me something to play with. I picked up some thin 25mm O-rings on the way home and started to suss out a way I could make it work. The plastic was way too thin to machine Oring grooves into so instead I machined some alloy ends with grooves. Cut a short length of plastic tube to suit.. Which was pressed onto the end caps.. I milled a window into the side of the filler pipe. Now I had some bits to assemble.. Fitted in place.. The bottom of the stub which the filler cap screws onto is pretty much at 100mm oil height. Bottom of the sight is 80mm. So if I aim for a 90mm height I'm smack in the middle. Some led keychain trinkets turned up in the mail from China and I have a metal 'momentarily on' switch from Jaycar electronics. I'll have a play about and see if I can make a neat enough attempt fitting it within the filler cap so it does something like this (using a bike light)... Back to proper jobs now. Painting and finish assembly. First though I wanted to check the TDC marks are correct and make some timing marks to suit on my alternator pulley. I set a DTI up and found TDC. Luckily it seems the factory marks are bang on. Paint time. I had bought some paint for the engine a while ago. I gave the block and heads one last clean and masked them up. Primer first.. Then top coat. I decided on alloy finish, similar to the original colour. Really just too tidy it up and stop the alloy getting that annoying light corrosion. Then that fun job of removing masking tape to reveal a neat finish.. I masked over the original hand painted OK checks - just because I like them. Engine painted I dug out the brand new head gaskets Id bought very early on... Torqued the heads in place and then moved onto the camshafts/camshaft and follower housings.. In place... Now I needed to finish the trigger wheels which meant getting them phased in the correct position. I laid out all the bits that go with the cam covers and pulleys. This alloy bit was damaged from when the original Goldwing bike must have been dropped (I think the engine must have come from a low mileage bike that had been involved in an accident many moons ago) It wasn't sitting flat and needed a bit of a straighten.. Simple I thought. I'll use the press. I carefully set it up on the press with various bit of metal so I could bend it back straight. I got it pretty good - but it needed just a little bit more... Bang! Whoops. * Pic is taken after I'd already started prepping it to weld. I preheated it in the oven and then carefully sticthed it back together. Not the nicest casting to weld but it turned out ok and luckily the repairs are not on display.. Welded both sides.. Trigger wheel time. First off I wanted to work out the wire polarity on the oem goldwing VR sensors.. Now I knew the timing marks are good I set up the main crank position trigger wheel in place and marked it. Then welded a stub of steel in place which was cut down to form a key that locates in the cranks keyway. I doubled checked the megasquirt MS extra build manual and removed the appropriate tooth so creating a 36 - 1 trigger wheel with a 50 degree offset. Then I fitted the brand new Gates cambelts I had also bought ages ago. Sadly I discovered they are English made which means they'll probably leak.. Now I could setup the camshaft position sensor trigger wheel - needed so I can run the injection mode as fully sequential. I had made this wheel a while back but had not yet removed the half moon of material. Annoyingly I forgot to weigh the wheel before I removed material. I now had no real accurate way of working out what to mill off the opposite side to balance the wheel out. Balancing it is probably not super critical but considering that at 6000rpm this wheel will be doing 3000 rpm I really wanted to avoid any extra throw out stress on the pulley or camshaft/camshaft bearings. The final nail in the coffin for this wheel was it slipping in my makeshift rotary table (actually just the mill vice which can be rotated to mill the concentric slot - which I did by hand) It slipped, the end mill grabbed and became two pieces with a loud bang. So I made a new wheel. This time I weighed it before removing the halfmoon. Then I was able to mill the exact right amount off to balance it as best I could. Weighing it before milling out the final weight reduction slots.. Setup in place.. All that sorted I could move on to a fun little job I was looking forward to. Painting the cam covers and sorting out replacements for the old badges. After a really good clean and some light sanding of the covers, which have been through the wars and have extensive welding repairs due to the same crash I guess, I laid down some primer. See one repair here... Due to the fairly rough finish I decided on wrinkle finish paint because it can hide sins and blemishes. I've used this same product to good success on that Mazda V6 I had plonked into my Viva HB so I was pretty confident on getting an OK finish. Covers were warmed up in the sunshine and 3 thick coats were laid down, 5 minutes between each coat. Once the paint did its magic thing they came up ok. I'm happy. Now the badges. I was going to try a couple of mates about getting something with the word HONDA 3d printed or machined in alloy but I really wanted to do it all myself and thought about some nice machined ribs to insert. they turned out neat.. Carefully fixed in place as per original badges with double sided foam tape... Covers bolted up in place. I'm really happy with the look
- 97 replies
-
- 80
-

-

-
Discuss here about Yoeddynz's little Imp project...
yoeddynz replied to yoeddynz's topic in Project Discussion
It's all done now. I'll do an update soon -
There goes my piggybank
-
-
So even worse for tasman places. I think the hourly rate at the place we got this wof yesterday is 80 plus. Very friendly, helpful and we'll reputed garage I've known for years.
-
-
Took a customers van in for a wof today. $70 (we've usually paid $50 at our other garage) Cost increase is apparently due to the wof sticker prices jumping from around $480 to close to $1100 for, iirc, I think 7 packs of 30 stickers. Don't quote me on the figures as I've forgotten already but yeah - huge increase. From now on wof/cof testers entering the system don't have to pay the $1000 'registration' (or test fee) - this price is now absorbed by the wof sticker price. Quite a few other changes going on too. Looks like lvvta pricing structure will change too? https://www.nzta.govt.nz/about-us/consultations/archive/regulatory-funding-and-fees-consultation/proposal-6-changes-to-fees-and-charges-for-motor-vehicle-certifier-activities/
-
Iirc they were/are often used in race engines that have terrible pressure buildup on startup. Some folks used them on the vauxhall slant 4 twins which have the oil pump mounted high and always took a while to build pressure (so terrible that I've seen photos of race mechanics having removed the top mounted dizzy which shares the drive and priming the oil system with a adaptor on a drill, then refitting dizzy quickly and starting the engine.
-
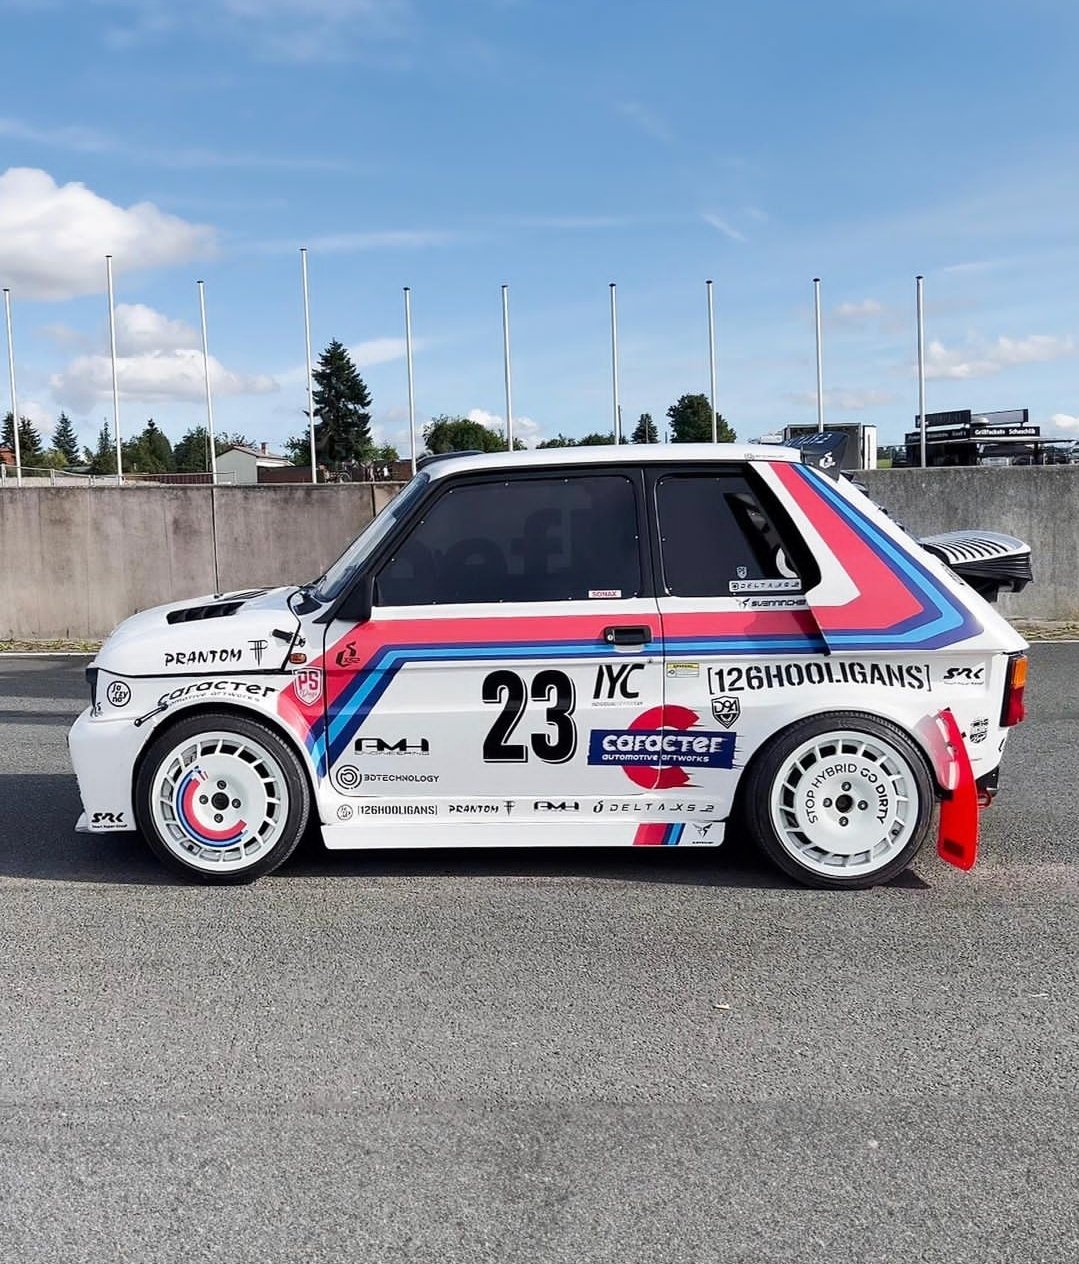
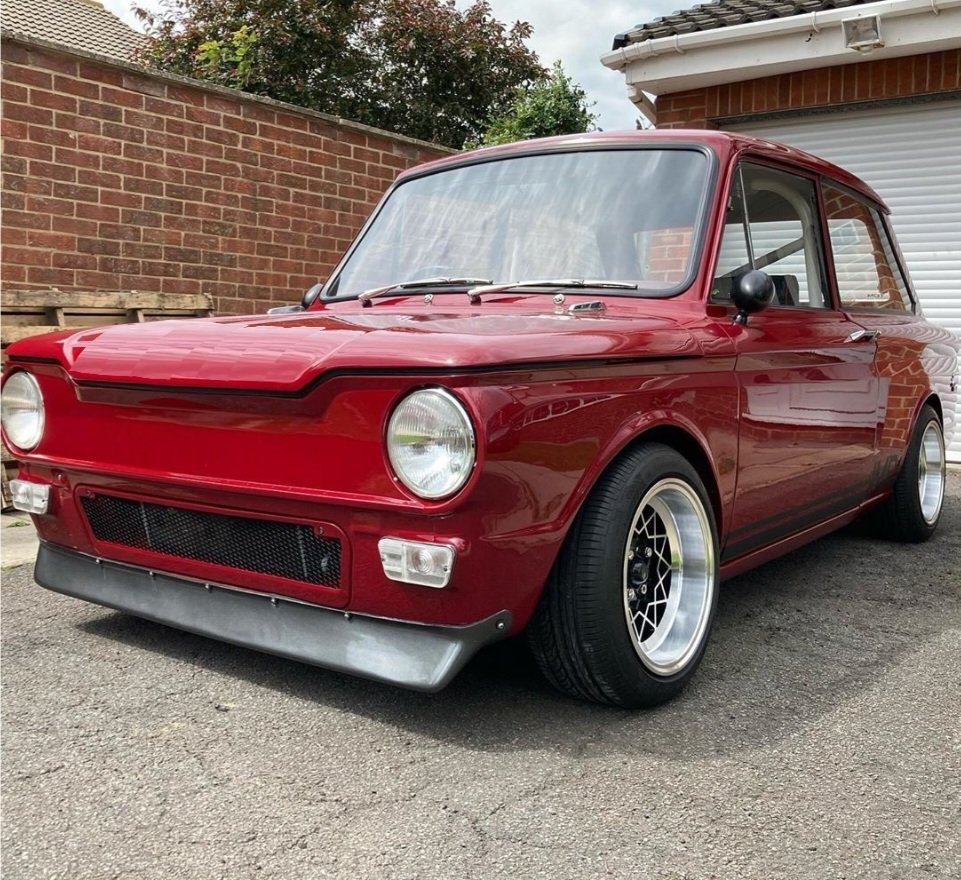
Also.. I fixed the problem with that above imp..
-
I think I'd probably end up with any chin spoiler fitted just spoiling a judder bar somewhere as my imps fairly low (hence swing back plate) but yeah - they do look cool with them!
-
Oooooooh. Where did you get that spoiler from?
-
Off to the scrap steel place? Bugger. I need some Iron for some wood and bike sheds etc
-
Discuss here about Yoeddynz's little Imp project...
yoeddynz replied to yoeddynz's topic in Project Discussion
Cheers stu. I'll try out the tube first though because I think it'll work out well and the place said their sell me a short length. -
Discuss here about Yoeddynz's little Imp project...
yoeddynz replied to yoeddynz's topic in Project Discussion
@BlownCorona cheers for ideas! A few months ago I rang a plastic supplier in Nelson and inquired about clear plastic tube. They can supply 25mm od tube. The inside of the alloy tube is 25.4 iirc. So if the plastic is thick enough I can machine some o ring grooves at each end of a small length (say 5mm longer each end of the sight window I'll machine out from the alloy tube) this should be fine to seal up and remain removable if I make the cap fitting removable (a through pin or grub screws?) I'm making a new one peice tube setup now, without the joining flanges. -
@Indiana_Jones how much did you score the tamiya spray setup for? I'm keen on one, not just for models but also little jobs in workshop. I figure there's possibly clones available on aliexpress but not yet looked.
-
Discuss here about Yoeddynz's little Imp project...
yoeddynz replied to yoeddynz's topic in Project Discussion
the reviews are.... 'interesting'.. -
Discuss here about Yoeddynz's little Imp project...
yoeddynz replied to yoeddynz's topic in Project Discussion
so many other uses too... -
Discuss here about Yoeddynz's little Imp project...
yoeddynz replied to yoeddynz's topic in Project Discussion
perfect -
Discuss here about Yoeddynz's little Imp project...
yoeddynz replied to yoeddynz's topic in Project Discussion
Yeah what he ^ said. I'm going to be running synthetic oil which seems to stay clearer too. I am tempted to drill out the cap and fit some tiny momentarily on switched led to light up the tube. But I need to find something suitable to use, like off a keyfob etc. Keen on links to something suitable. Has to be tiny. -
I've not done as much on this project as I'd hoped recently but still chipping away at it. Crankcase ventilation is sorted. I had a rummage through my box of fittings and found a suitable vent pipe thingee... Into the lathe and with a tiny boring bar I was able to reach in to machine the hub down to a neater size... Covered the vital bits to avoid swarf getting in the works then drilled and tapped a hole to suit.. Drilled two drain holes to avoid any build up of of oil accumulating.. Next jobs in line were to add some extra baffles to help stop oil surge. Remember a while back I had put many bits through a Jenny Craig program in a bid to make them lighter. Well I realised I should have left this plate at its full fat weight and not added this big hole which will let oil surge too easily... Silly me. Now I had to fill that hole and I was damned if I was going to disassemble all that lot to do it. So machined up a plug, as light as I could but still heavier than the material I had removed in the first place. Oh well.. I also wanted to stop oil flowing out of this area under heavy braking so I made another flap. I now have two flaps. I machined up a bit of alloy angle.. It was bolted here... In a similar fashion to the 'oil door 3000' its purpose is to help stop oil wafting up the back of the bellhousing plate under heavy braking. Content with the sump baffling situation I could now start sealing and bolting the plates in place. I bolted the backup thrust bearing mount in place on the bell housing and then the bell housing was bolted up to the block.. The thrust bearing was bolted up.. The engine mount plate was then bolted up. I had bought a load of flange bolts for this and the sump but they had serrations under the heads which I had to machine off first.. Plate bolted up well. Now to connect the last bit of pipework for the oil system. But I wasn't really happy with my transfer port block sealing arrangement. This thing here... I had designed it to seal with sealant, held in place with a sealant groove. But picturing the sealant being squished inwards towards the holes started the paranoid cogs in my brain turning. Yes it forms a nice neat bead and its pretty strong stuff but the thought of possibly having a tiny bit get dislodged in time and finding its way into the oil way to potentially block the crank feed did not impress me. So I decided on a change of design using O rings... I cut a big lump of alloy off some stock... Cut that down and machined it.. Did some very careful measuring, marking and setting it up in the four jaw chuck so I could machine some oil ways and O ring grooves.. Sealed the end of the transfer port with a plug and welded it in.. Bolted it up and I'm now able to sleep again. More holes to seal. There were two remaining air injection ports to seal up, one on each head and getting rid of these ugly lumps of metal. I cut and drilled some stainless plate to suit... Much better. Another little job ticked off was the sump plug magnet. I drilled into the stainless plug just deep enough to fit a very powerful tiny magnet I'd found on a keyfob thing.. Epoxied in place.. Continuing on with all things oil I shortened the oil filler neck to a height I was happy with. I'm now trying to decide on how best to possibly add a little sight window into the tube. The flange I had made to allow the filler neck to be removed so the cambelt cover can be removed easier is possibly not needed any more with the neck being so short. The planned oil level is also at or just above the flange join thereabouts. I'm going to have a think about this aspect a little more before I commit to final epoxying of the bits together. Luckily its all easily unbolted so I can be changed anytime in the future anyway.
- 97 replies
-
- 52
-
-

.jpeg.8b2dc86092b03edf3fd890eb7047317b.jpeg)