
Leaderboard


Popular Content
Showing content with the highest reputation on 06/20/17 in all areas
-
Darrell came over and gave me a hand last night, Cheers D.Progress was hampered by my dumbass misplacing the pivot bolts for the bonnet hinges. I did get the engine lid on at least.9 points
-
I initially went out to the garage to pull the injectors out so I can get them cleaned at some point, as usual I got carried away and decided the loom needed some attention as well. The injector plugs were shit and falling apart, as was the tape holding the loom together. Only the cheapest finest aliexpress injector plugs and tesa tape will do. There is nothing like a relaxing few hours playing with wiring.... (I do actually enjoy it) @yoeddynz Very kindly loaned me his copy of the factory wiring diagram so I was able to identify which injector plug was which. I owe you a beer or three for that! You can see the general shitness of the tape and plugs there Like any barry instead of doing it properly and replacing the plug and wiring I patched it up with more wire and a few layers of heat shrink That was the state of the plugs. The mazda pins clicked nicely into the aliexpress connectors too which was good. only one needed to be cut off as the wire had a few splits in the insulation which I wanted to heat shrink Man barrel crimps are so satisfying when you get them right, from a distance you can pretend they came from the factory. After I replaced the plugs, identified the injectors and partially taped them up The worst bits of the loom have been repaired and I'm happy enough with it. Eventually I'll completely redo the loom as lots of the insulation is getting a bit hard/brittle8 points
-
the good.the bad.the gun spat here on the left rear fender.so I stuck heaps of paint over it so I can hopefully polish it out so it sagged here.and when painting inside the air vent I made this mess, looks like I'll be learning to wet sand paint now!All in all I'm pretty stoked and glad it's over, heaps of runs and spots of over spray and areas of orange peel etc..but not bad for a noob in shed in west auckland.looking forward to assembly.5 points
-
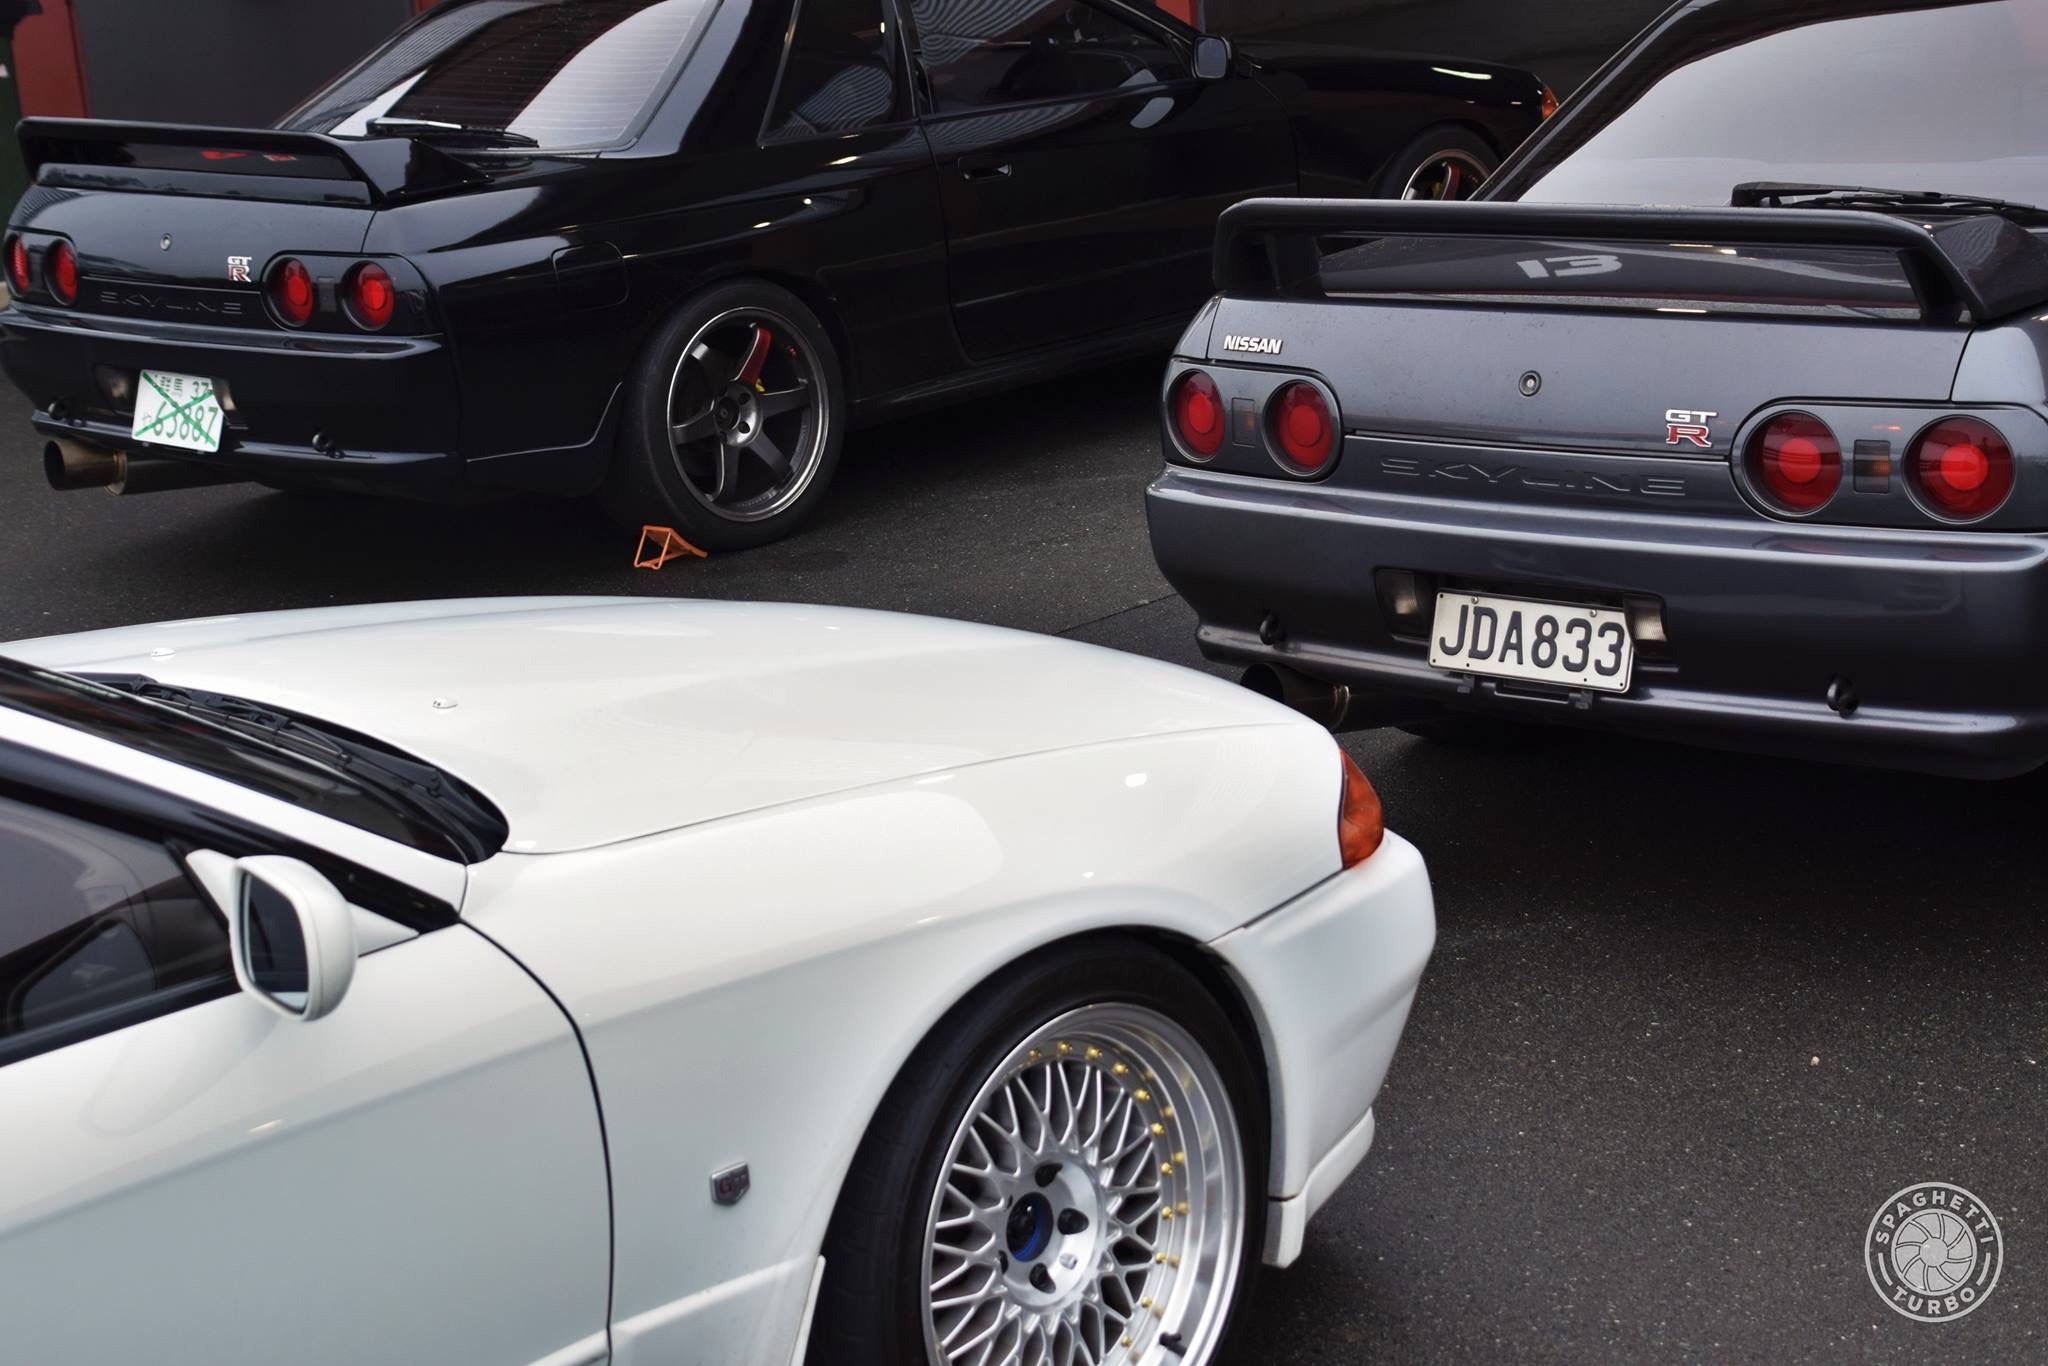
Wow A skyline with the passengers air vent still intact2 points
-
well 1st trip with the trailer after finishing it. and glad to say both car and trailer survived it....arse end of the car dropped when he dumped the logs in.
 2 points
 -
Went Hampton downs sat for a club day. Was a bit wet and foggy to start with but dried out pretty quick.
2 points
-
http://ranchotransaxles.com/rancho-subaru-5-speed-conversion-for-type-1-2-and-vanagon/ I'm going to leave this here for later.2 points
-
Its Monday. Did the concrete get poured? HAS ANYONE DRAWN DICKS IN THE CONCRETE YET?2 points
-
Inadvertently got a good test of my solar system. Last week at Mount Tremblant I met a guy with a Westfalia in the parking lot who killed his batteries overnight. I isolated my house batteries at the switch and jumped him. I was looking at my volt meter today when driving and noticed it wasn't charging the house batteries off the alternator (not showing 14v). I was worried I had blown my charging relay or a fuse when I jumped him but my dumb ass had just forgot to de-isolate the battery banks. Switched it back on and all good. So I've been operating the fridge and other 12v on just solar all week with no issues and didn't even notice.2 points
-
I though I'd have a go at being a locksmith today as I didn't have a key that worked in the doors. It only took a hour which I'm pretty happy with. I had to sacrifice three locks to get the right combination of wafers but we got there in the end. Barrel out And coded to the key I gave it all a grease and will install it soon I smashed out the passengers side lock in about 15 mins, Luckily I had enough of the right wafers from everything to make it work. It looks like there is no central locking on this so I'll see if I can steal the latch I kept from the parts shuttle and make it fit2 points
-
It's time to waste a whole lot of time and money that should probably be spent on other stuff. Some people on the forum will know our 1963 AP5 Valiant Regal but for everybody else who is interested here is a little history. My Dad purchased this car in 1983 and it was our regular family car for many years. Here is a photo taken some time in the early 80's. Dad had 2 AP5's at the time, the grey one on the right was a dedicated tow vehicle and was modified accordingly. The green one on the left is ours. About 7 years ago we were lucky enough to get our hands on this original and well looked car however a few things needed attention fairly quickly. Almost immediately we did a few safety upgrades. The car got a front disc brake conversion, new seatbelts and we replaced the wheels and tires in order to make it safe to drive in the rain. Until fairly recently I was hanging out on another forum dedicated to the fine products of the Chrysler Corporation with a few other members that have since come across to Oldschool and unfortunately a lot of the details of the work completed on the car to date was lost when the forum closed earlier this year. Lucky for me the Oldschool forum is awesome and I am very happy to be joining you all over here. This is how the car looked after its first round of upgrades. We drove it around for a while with the stock drive-line and aside from a little oil burning/leaking issue all was well. Then this happened. This was coolant leaking from a very bad place, yep cracked block! So naturally this happened next. And finally with the help of a local engine builder here in Auckland this happened. Sounds simple enough but it actually took nearly 12 months to resurrect the Slant 6 as the engine was in bad shape. We were very keen to salvage the original block and keep the car numbers matching but it was no easy task. I did as much work myself as possible but given the challenges involved in fixing the engine I was very happy to be working with a skilled engine builder and I am very happy with the result. This engine is awesome and it's still a numbers matching car. That's all for now, next post will be all about the current build. Feel free to discuss here. //oldschool.co.nz/index.php?/topic/56384-1963-ap5s-valiant-regal-discussion/1 point
-
sweet even better. see if we can do a deal buy one get one free? lest of freight1 point
-
Progression?1 point
-
(also on my to do list)1 point
-
or straight from the source in Sydney? https://www.facebook.com/Subarugears/1 point
-
This photo shows the work being carried out on the inner wing and chassis leg using parts from a donor shell to replace the damaged areas on the Dolomite.1 point
-
Parent hood is slowing progress but im determined to get this done for the next toyota fest. motor came out and striped the firewall ready for paint.I ended up getting the car touched up as i had put a few scratches and stone chips in it .Ive since just got it back from the painters at it looks so fresh,the metallic paint just pops off the shiny clear coat. things to do now is reassemble the whole car and get it ready for cert.i need to either fix my flywheel or find an aftermarket one,if my factory one doesn't work out would a JUN lightened flywheel work for street use? its 1.6kg lighter. Only thing stopping the motor going back in is flywheel,bolts and a clutch setup. also found a good set of SSR F.5 that just need a repaint and widen out to 14x8 hopefully this Canterbury weather holds out for weekend work on the car1 point
-
Got up early, excited like a little kid on Christmas. Last night I was faced with the dilemma of where I was going to mount the compact bender. But in the early hours of the morning I had my epiphany! If I mount it with (4x) 16mm dynabolts, into the concrete floor it's going nowhere. And if positioned just out from a door pillar, I can get the full 270° of articulation when both doors are up. The arm can come off and hang on the machine, completely tucked out of the way...and it's in what I would call dead space in my shed i.e. a space that has no other use...win, win...win! It handled the 16mm cold rolled solid rod with relative ease, producing a perfect bend on my first attempt! Fuck yeah...love this tool!!!1 point
-
I wasn't going to start the suspension work for a couple of weeks but I had some time this afternoon and decided to get stuck in. @Valiant was kind enough to send up his homegrown upper ball joint removal tool and I was itching to try it out. I tried to remove the joint with the upper control arm still installed in the car as a couple of members had suggested but it was super tight and I had no hope of moving it. I think this was mostly due to the fact that I was only using a 1/2 inch drive breaker bar and a 3/4 drive adapter. It might have worked if I had a proper 3/4 drive breaker bar. I persevered for a while but I was afraid of slipping and damaging the front wheel arch or guard so out came the control arm and I decided to go big and get some proper leverage happening. The control arm bushes require replacement to I ripped out the guts allowing me to pass a piece of round bar through. Next I held the removal tool in the vice so I could hold the ball joint and had a go at turning the control arm around the ball joint. It took a couple of good swings but I heard a delightful little crack and the joint started to turn in the control arm. Once it started to turn it was easy to remove the joint using the breaker bar and removal tool. After giving the control arm a bit of a clean up I installed the new joint. I had a bit of fun getting the joint to screw in straight but a couple of OS members who have done this job before told me to expect this. After few false starts the new joint started to screw in nice and straight and actually went in fairly easily. While I have the removal tool in the workshop I think I will do the other side so I will see my friends at BNT tomorrow and grab another.1 point
-
It was jammed last month, ended up parked on the grass off the end of the overflow-overflow carpark around the side, and this was arriving just on 10am. Lots too see tho.1 point
-
I had a mate with a cr250. He used to give it death. I tried it, and it scared me bad enough I didn't go back for seconds. Mate reckoned he didn't want a CR500. Said he valued his life/having the use of his legs too much. Tl;Dr, do what hemi said Clint......1 point
-
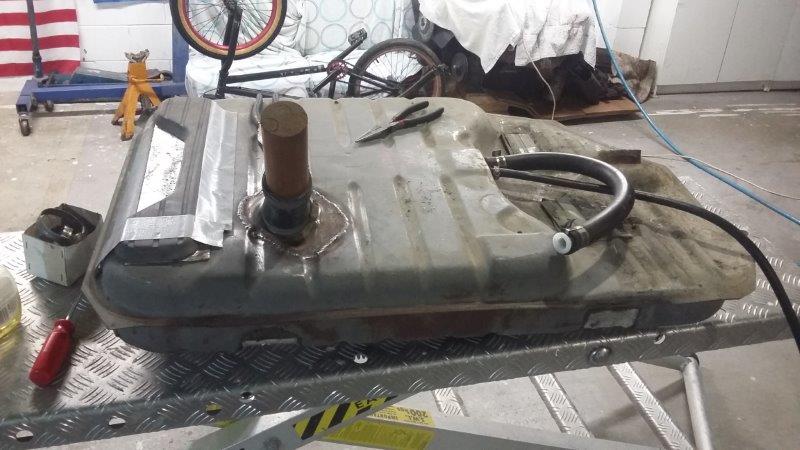
Here is something from Monday night last week. Being the proper engineers we are after modifying the fuel tank we pressure tested it for leaks on the weld. My compressor is over the other side of Auckland so had to go round the corner to my mates place who is doing the welding to use his compressor. Here is the tank all sealed up. Pressurized it to 8psi and found 1 hole in the weld on the new filler neck and 2 in the cap for the original filler neck. Had to take it back to my house, fix the welds, then back to the compressor to check again. Tank is now in the car!!!
1 point
-
I use Permatex plastic Epoxy where i have two plastic parts that need bonding. Works really well on ABS bike fairings. If you need to fill holes, fab up new tabs etc, i have had some success with melting lego bricks.1 point
-
Looking good the motorcycle Barry in me says that's a leaf sprung leading link fork you are building not a girder fork (girders have linkages at top not bottom) but it does look evil and dangerous so big thumbs up1 point
-
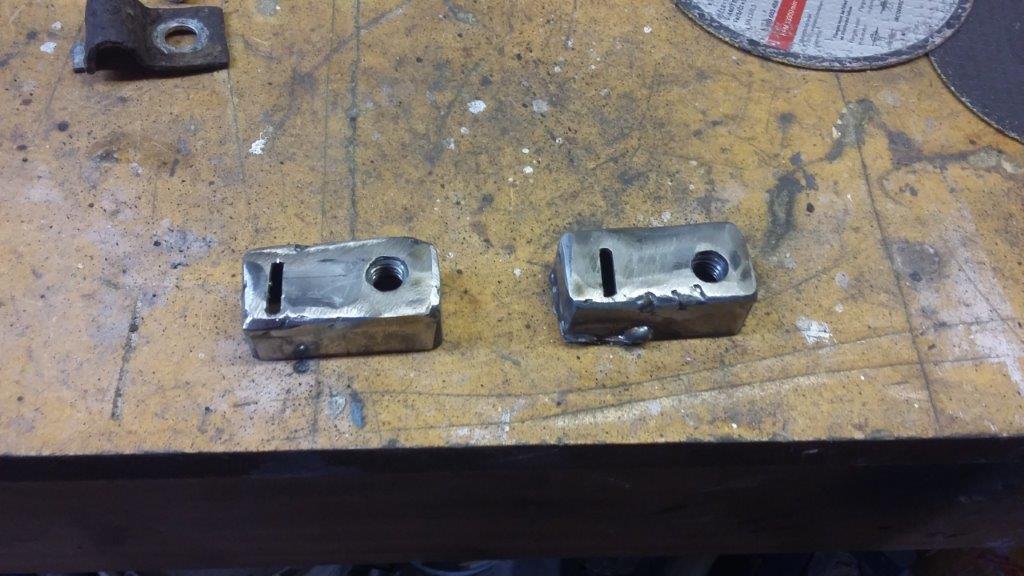
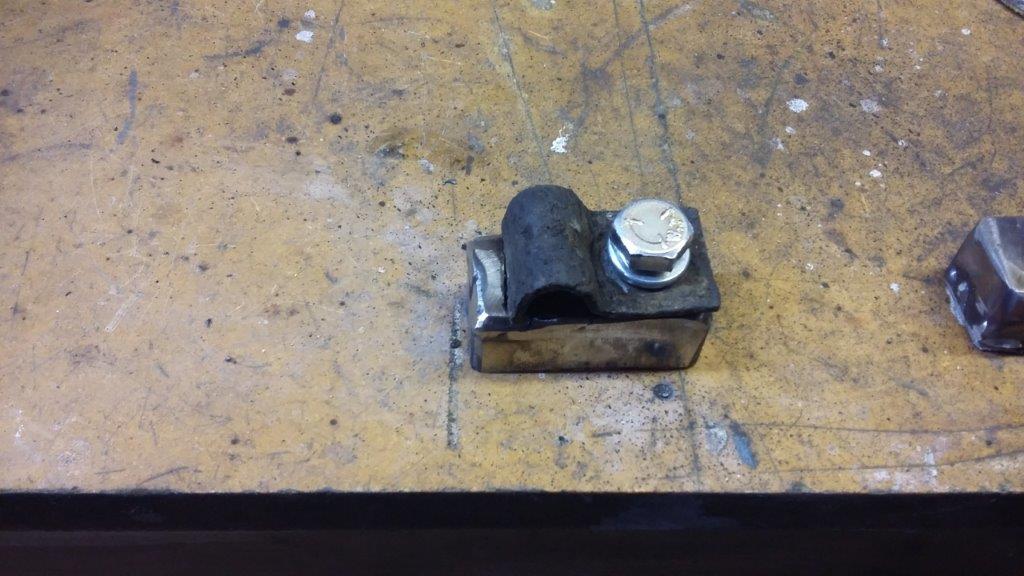
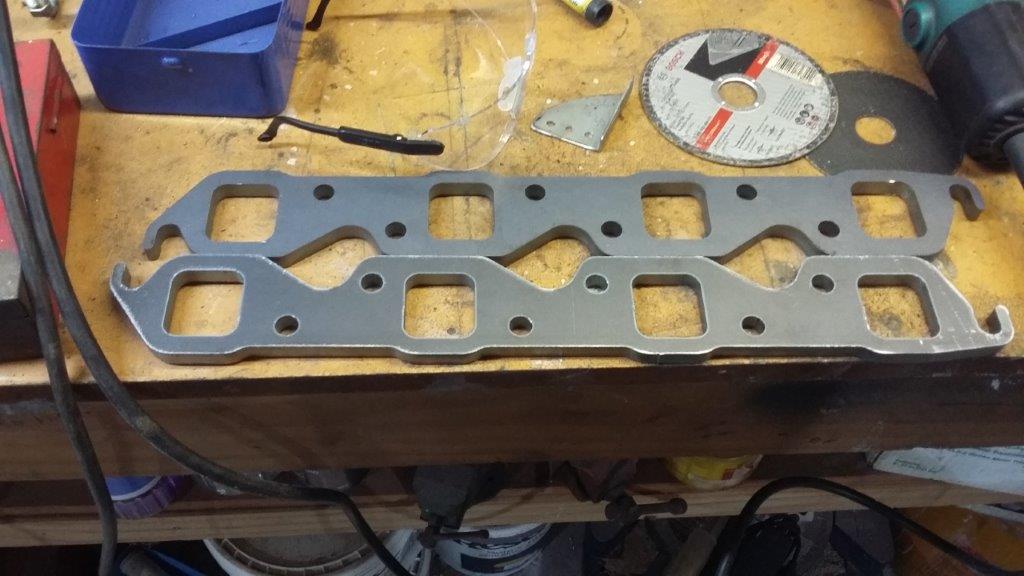
Some more photos Todays effort was to make a new mount for the park brake cable under the car. Another build the first version then have to make the same again. The one on the right was the first version which was OK until I cross threaded the bolt and stuffed the thread. Here it is the mounting bracket attached. Here are the header plates that came from Autobend. I have the passengers side one in place. It looks like I might have to open a couple of the bolt holes to line things up. I have been thinking about the headers a lot. The plan is to try and build a set of Tri-y's, the pipe lengths will be all over the place because of the lack of space. Off to Autobend on Wednesday to buy a bunch of U-bends and reducers. Any thoughts or ideas welcome on the discussion thread.
1 point
-
Stupid amount of effort going into this project, but it's kind of fun bodging together cheap parts to make something cool. Seat arrived today all the way from China. Fucked if i can work out how they can only charge $17 for a leather seat including free postage from another country door to door? Anyway: Seat stripped down, set back pivot made up and fitted Seat posts with a M8 captive nut in each. Plus pivot front mount. Test fit Hmmmm leather...sexy!!! Going to swap the leather on the tank to match. Will try simply sanding it first...nothing to lose trying that. But otherwise, back to the $2 shop to get another belt. Edit: Easy fix on the tank leather, simply turn it the other way around. I'll lacquer it another day to match seat.1 point
-
Engine bayback of dash/trunkdoor jams and inside of doorsinner wheelwellsand back side of rear valance.Done.1 point
-
block work is done. concrete to fill blocks is booked for Tuesday after queens birthday. 2017-05-26_04-10-33 by sheepers, on Flickr 2017-05-26_04-10-20 by sheepers, on Flickr1 point
-
Gave it another nudge today, got a fair bit done. Welded in new rear end View from behind, with new fat rear tyre. Moved jackshaft location and made up a lower mounting bracket to support it all. Starting to take shape now. Kj1 point
-
I bought it some new wheels because I've always disliked the ones on it. 18x9.5, +24 offset fits perfect, I re used the tyres that were on it already, 245-40-18 I also spent a few hours touching up all the paint chips and scratches. Looks tidier.
1 point
-
One complete box ready for action. Body work will start again in a couple of weeks so looking forward to finally getting progress
1 point
-
discuss1 point
-
scored some parts off an early super saloon in the weekend,what was left of it!! some black interior trim to finish it off and these sick badges i love the detail in the badge,i also have the side pillar ones but theyll need fixing as there tarnished i now have a wee collection of fuel flaps,all but one are cracked,standard,deluxe and super saloon and a ms55 deluxe badge i could put on my spare flap1 point


This leaderboard is set to Auckland/GMT+12:00