
Leaderboard


Popular Content
Showing content with the highest reputation on 06/14/17 in all areas
-
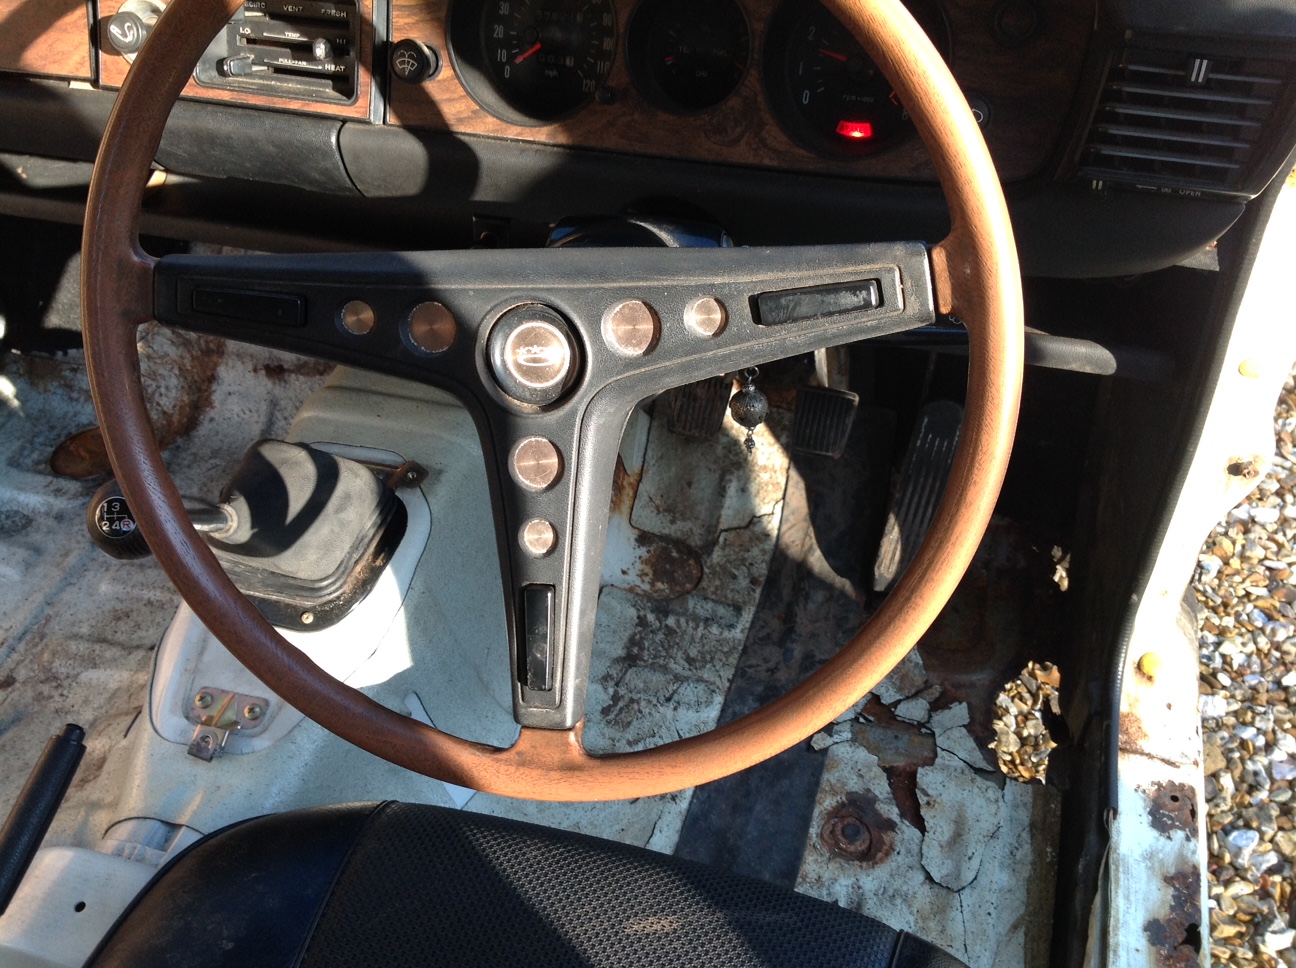
Haven't done much more to the dash apart from fit it into the cab, as I am undecided how to approach the rusty holes under the gauges yet, a bit too many complex shapes! My Dad had a 55 Chevy steering column laying around, so we started to mock it up. The shaft out of that column had been welded in multiple places so we found another column that had a mint shaft and it was also longer so didn't need an extra universal joint added. The outer tube of the column was pretty average, had lots of extra holes, cutouts and had been shortened, so drew a new one up in Solidworks and got it put through the Tube laser at work. It's now made from 2 inch stainless tube.15 points
-
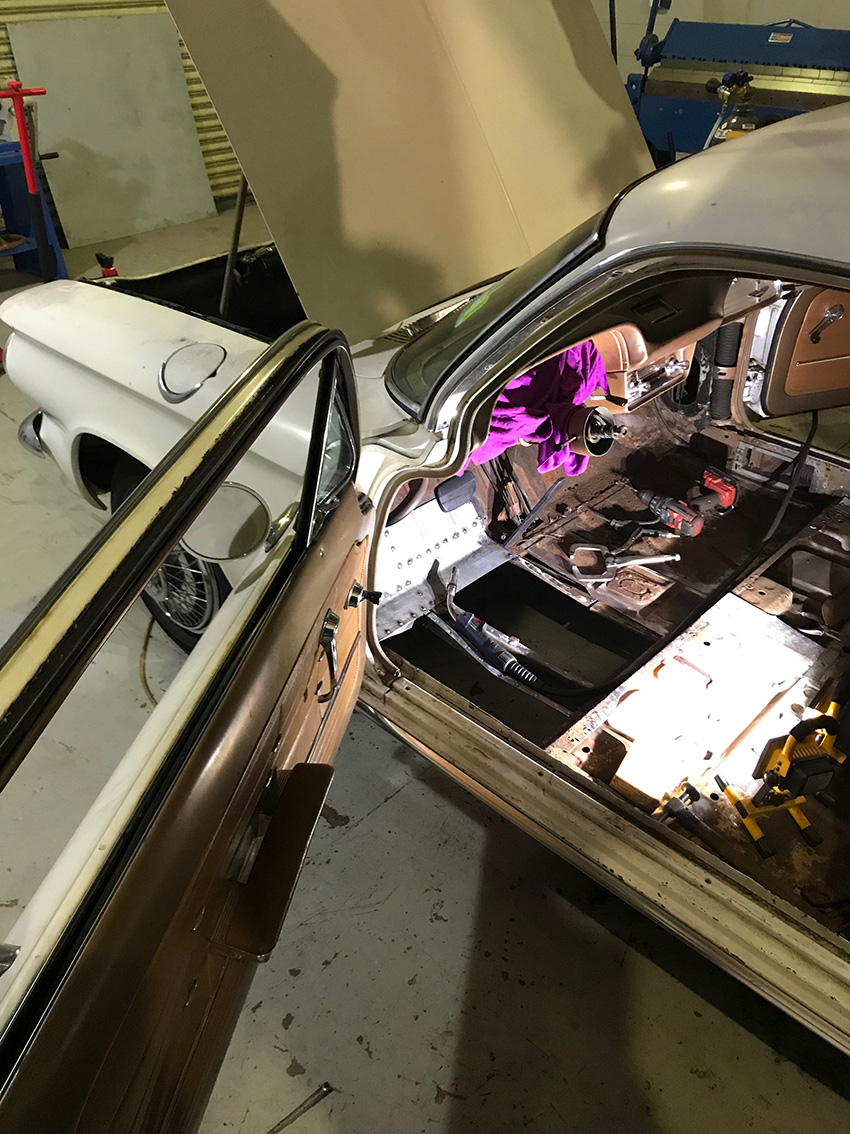
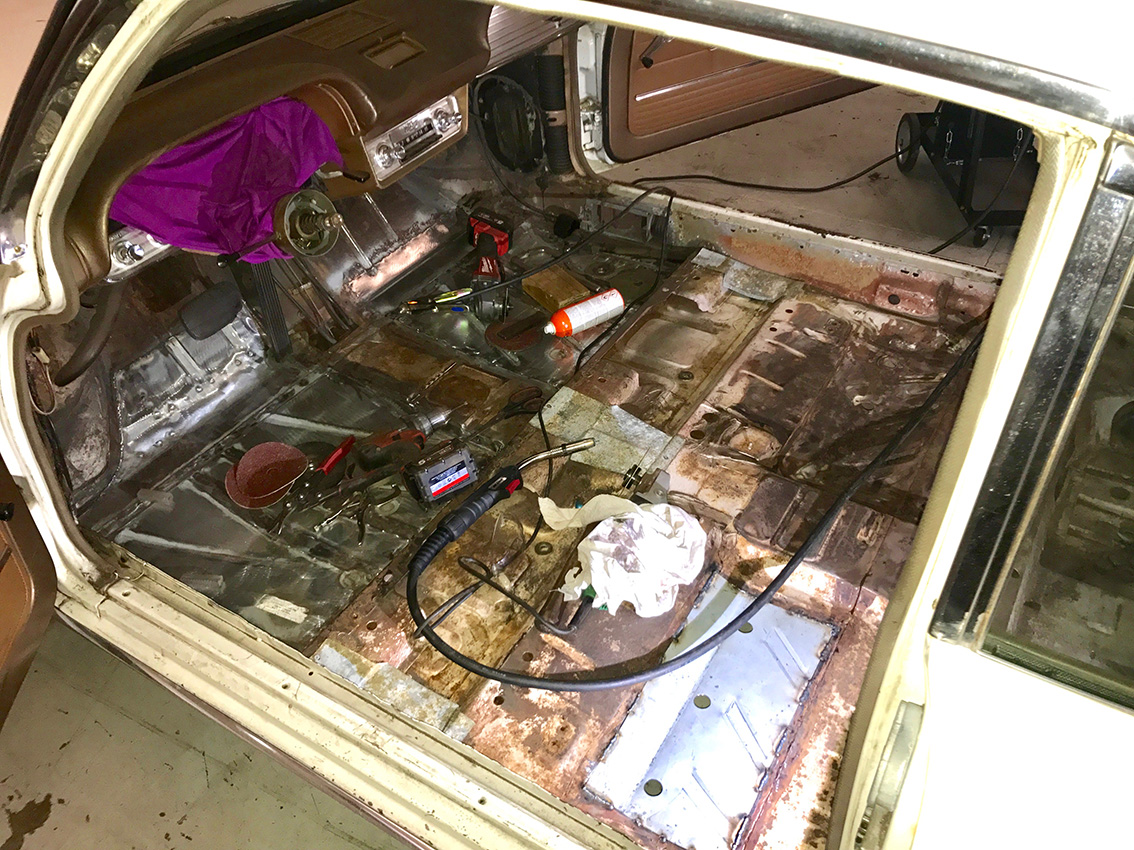
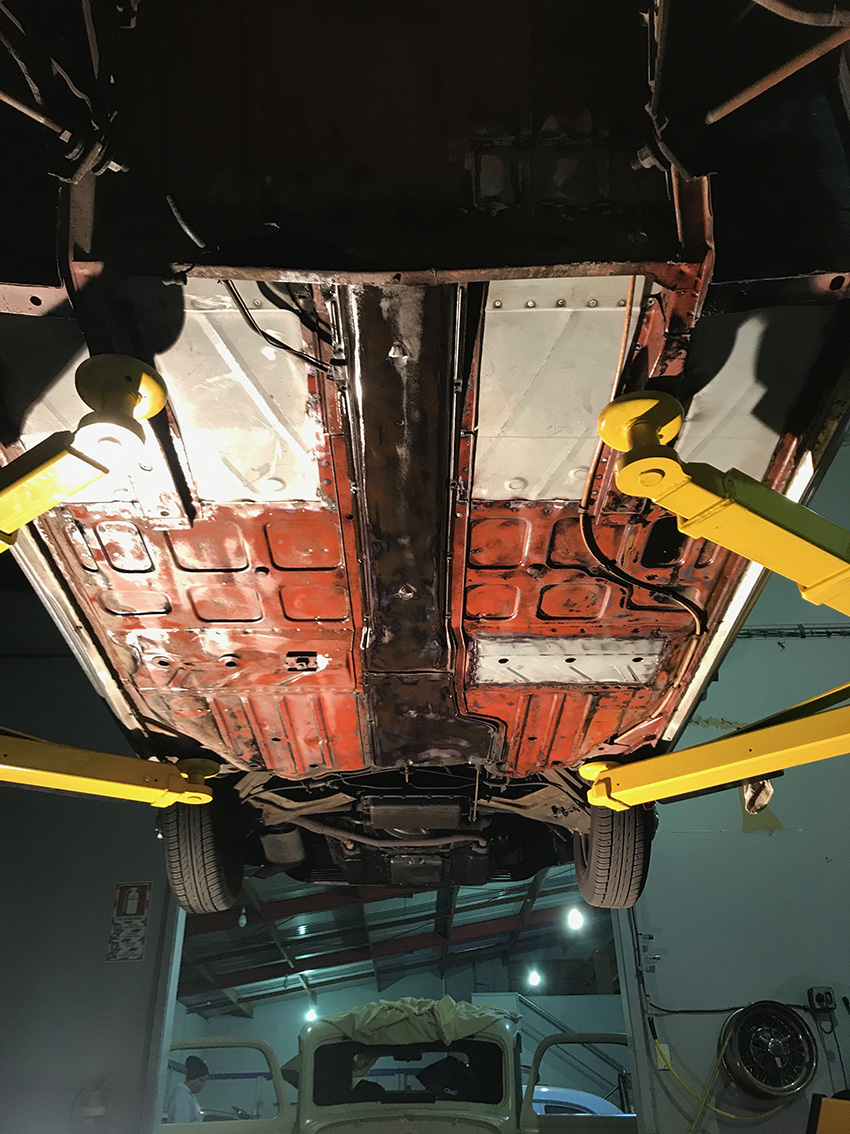
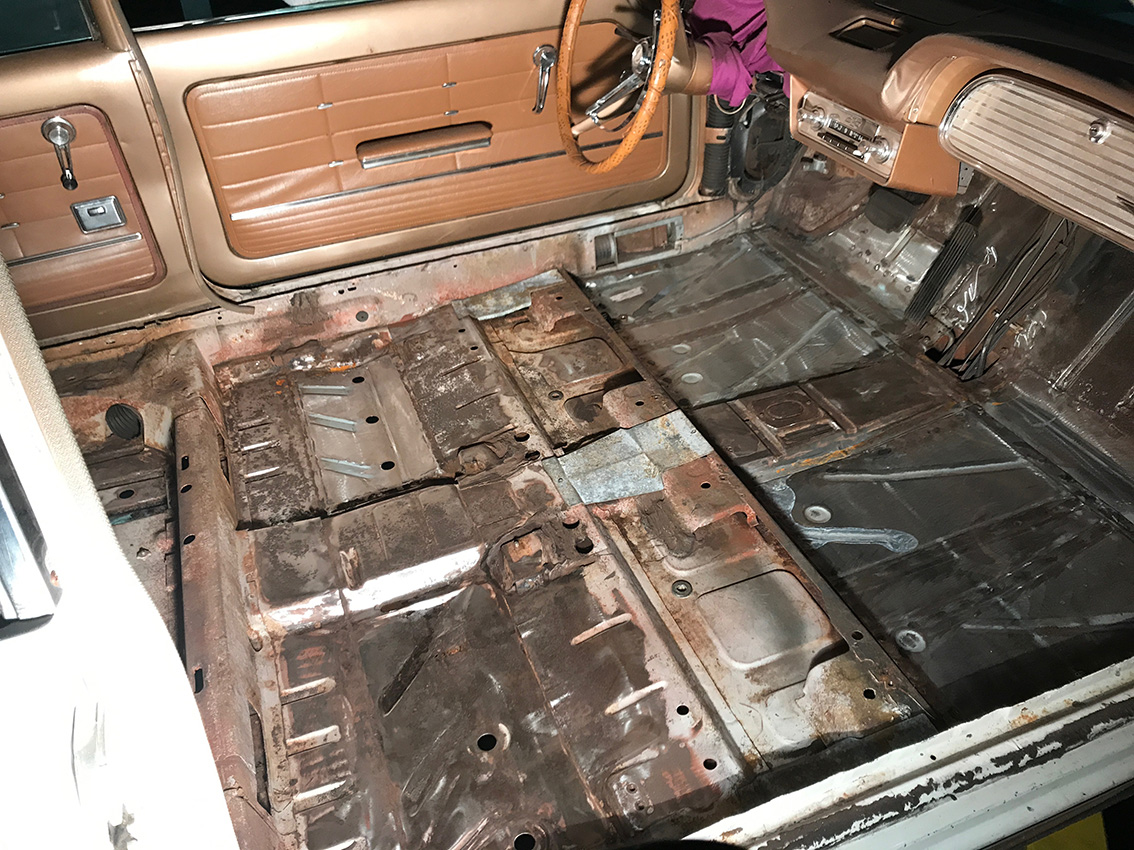
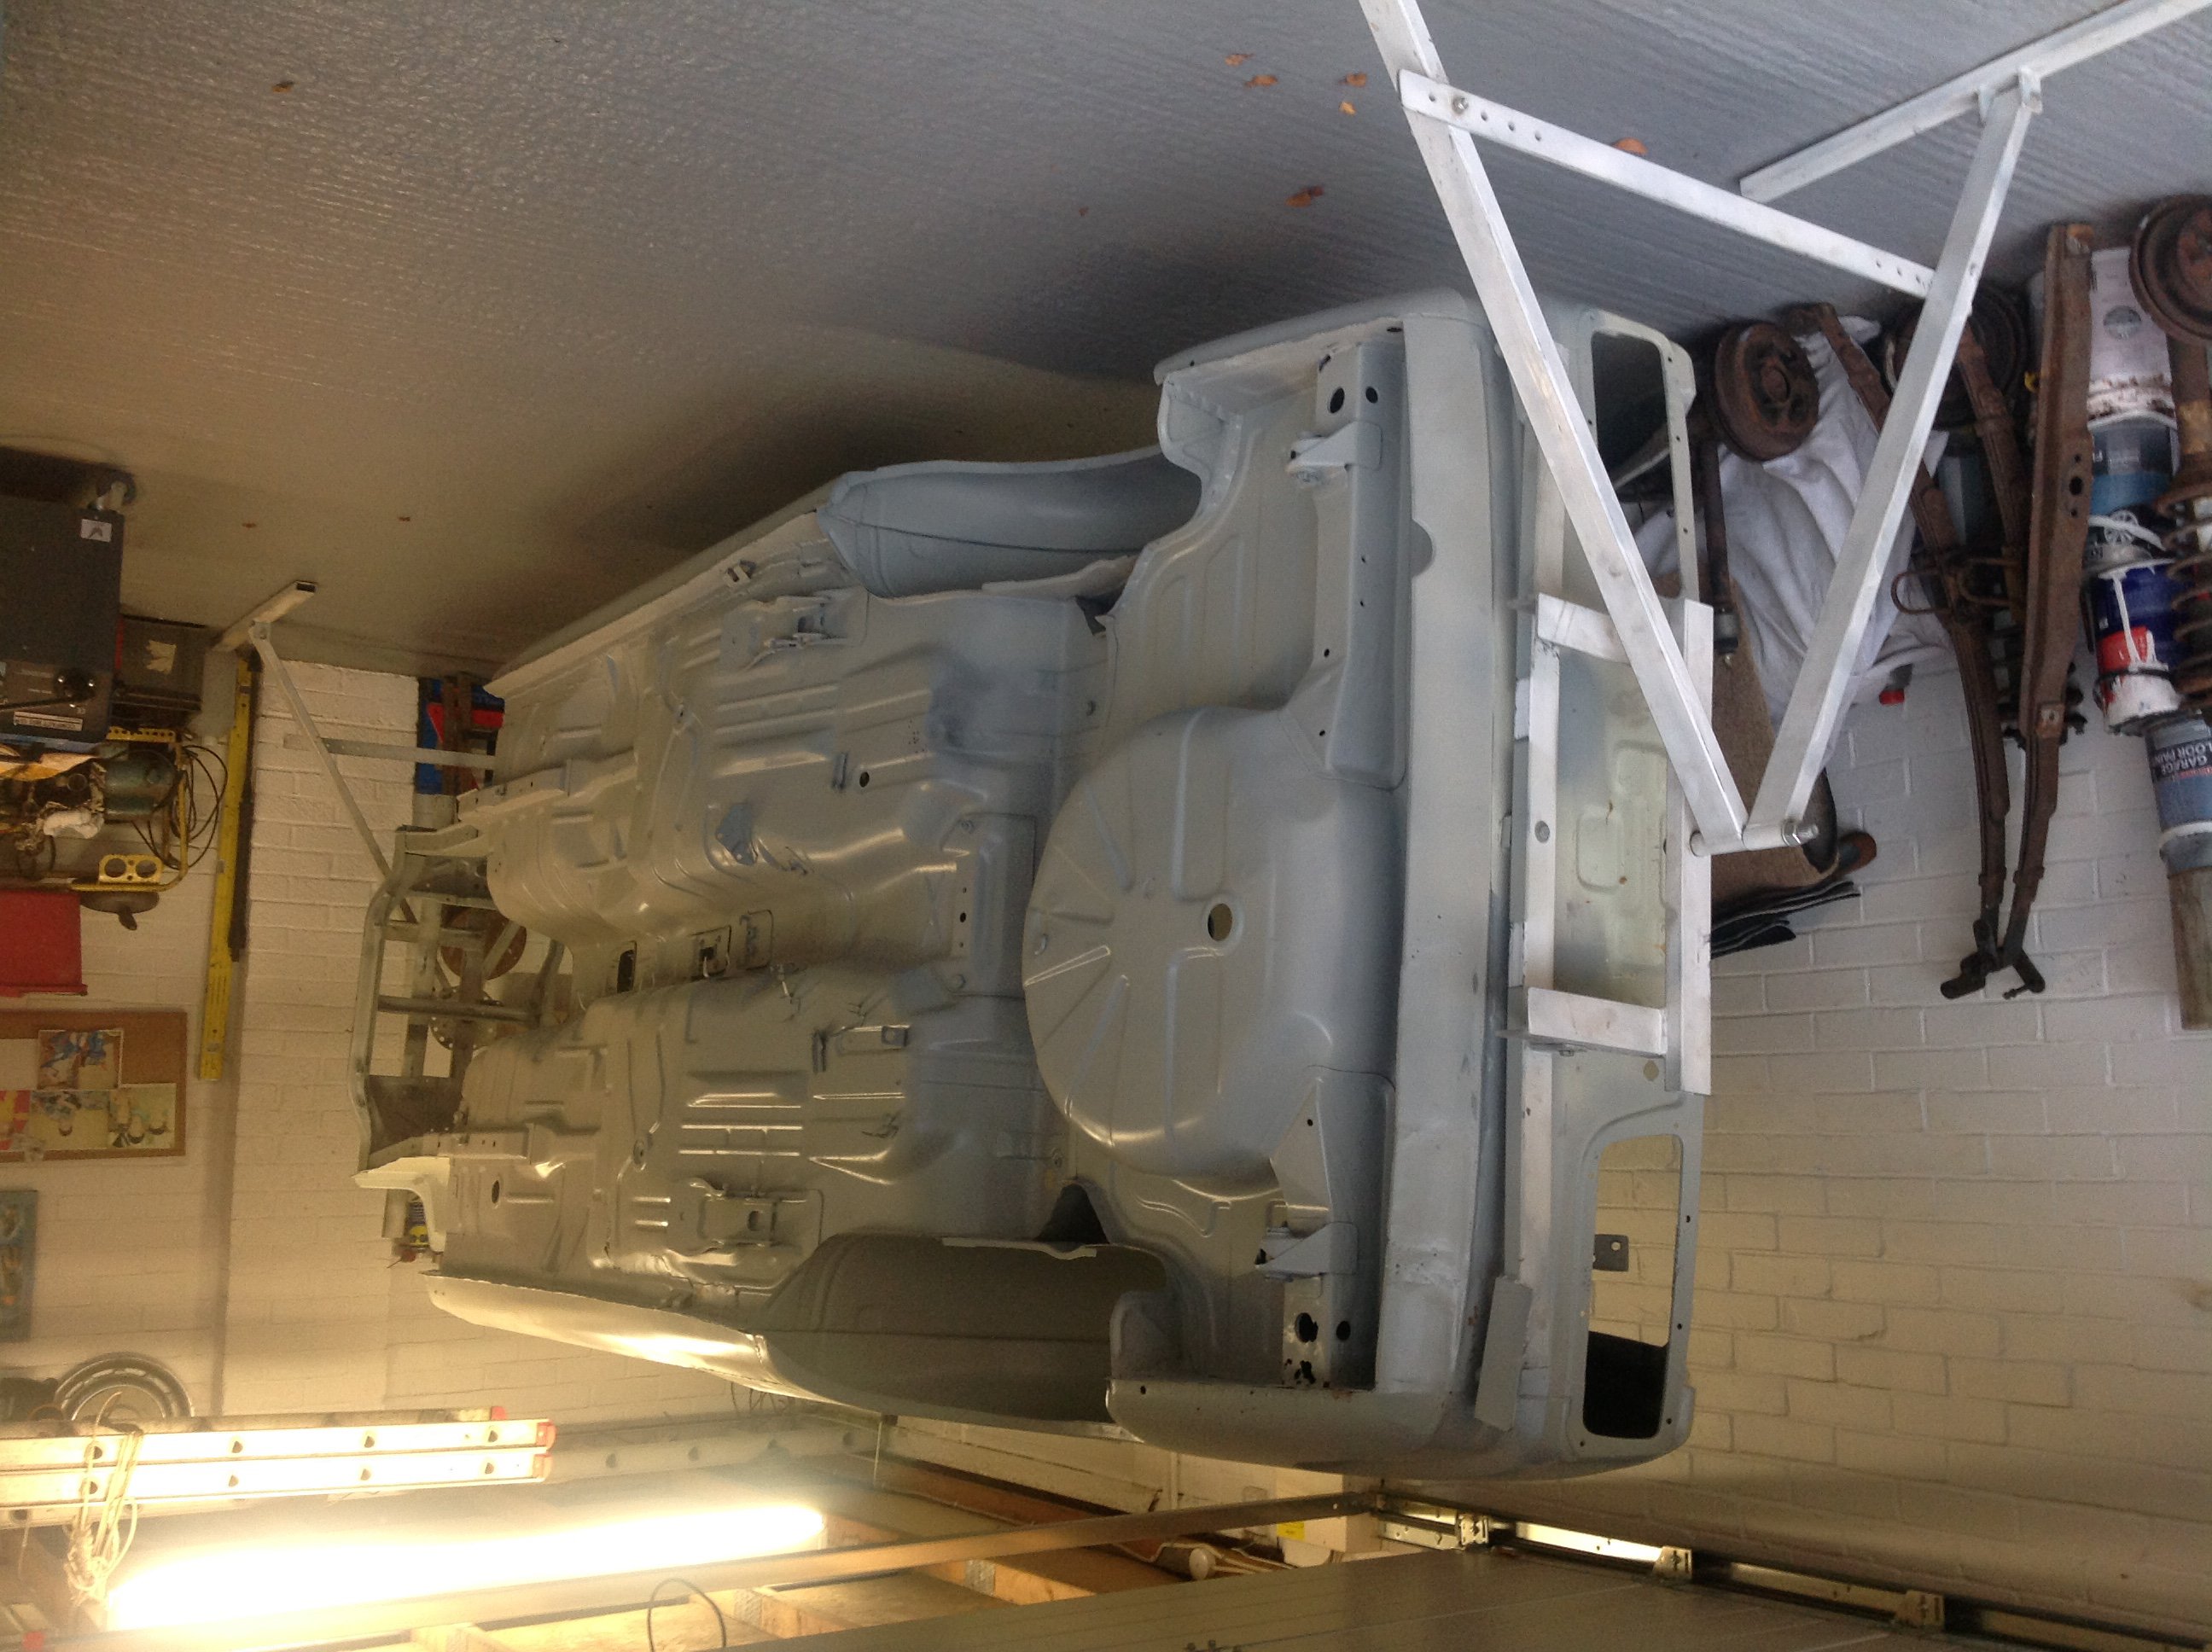
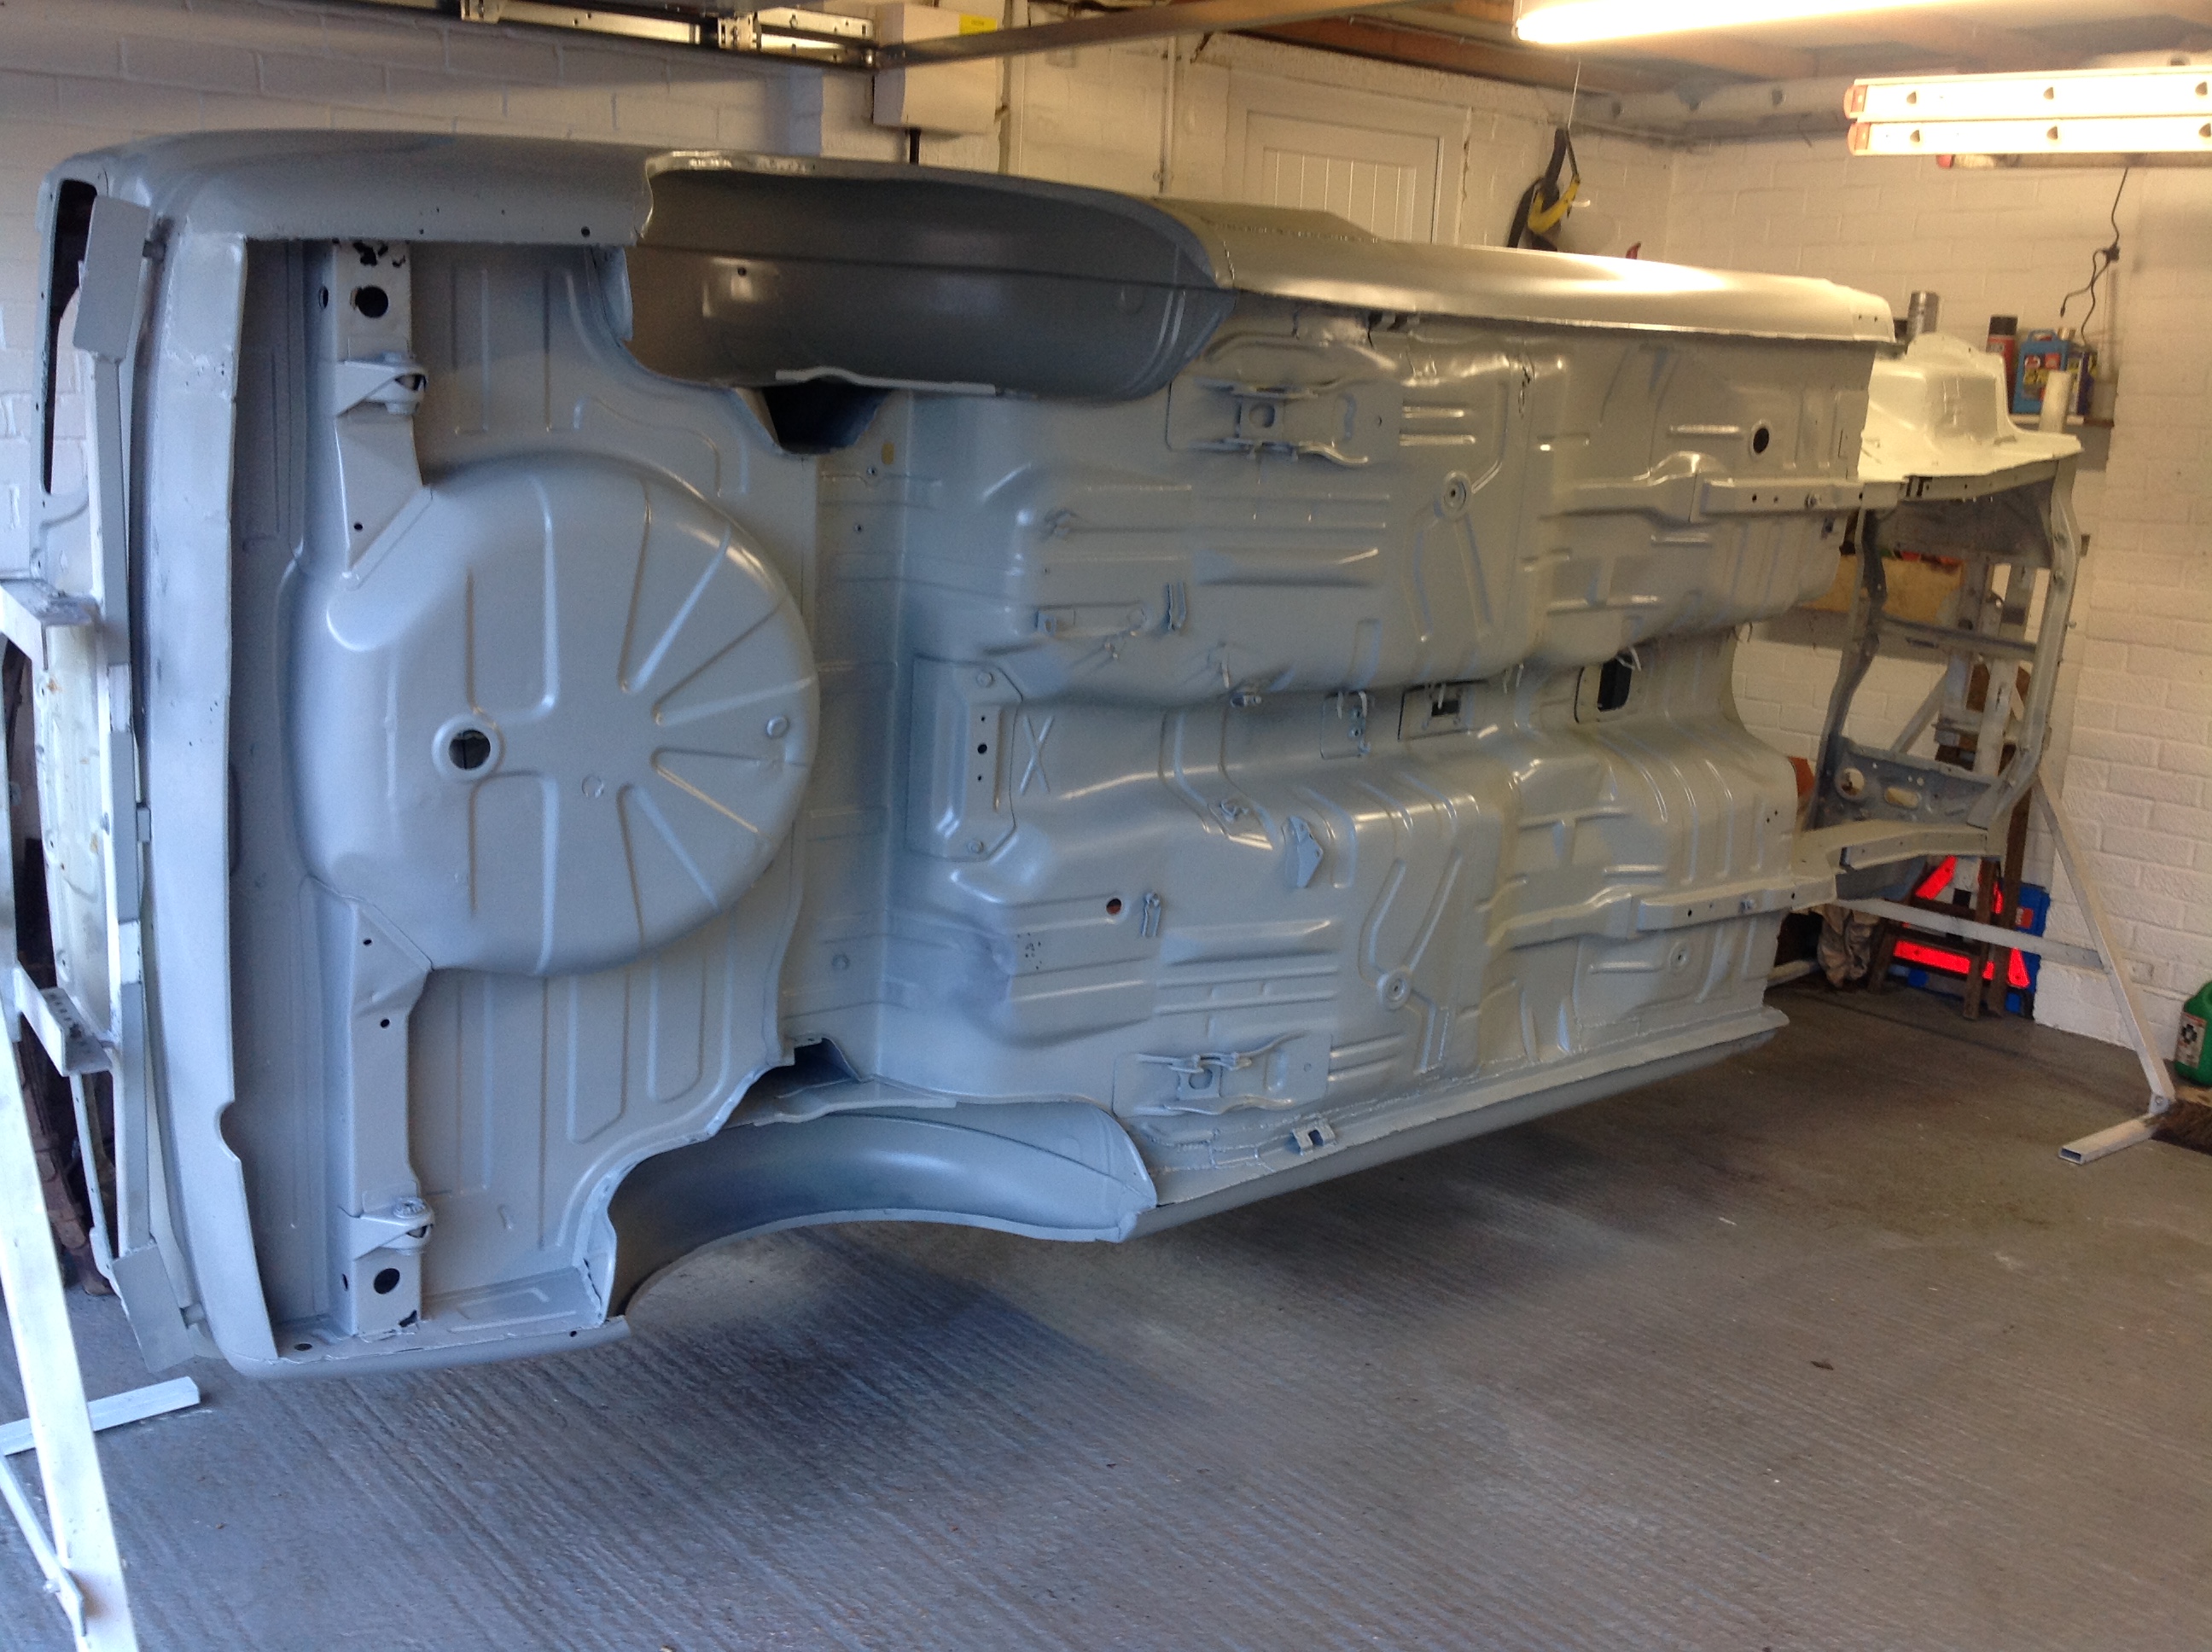
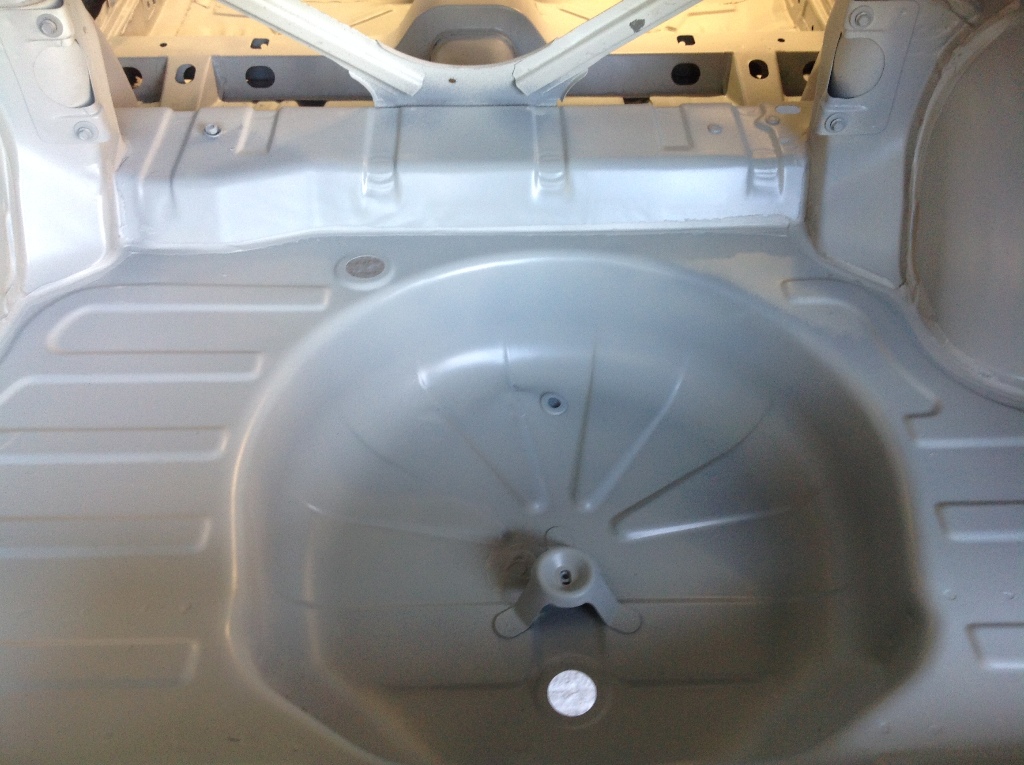
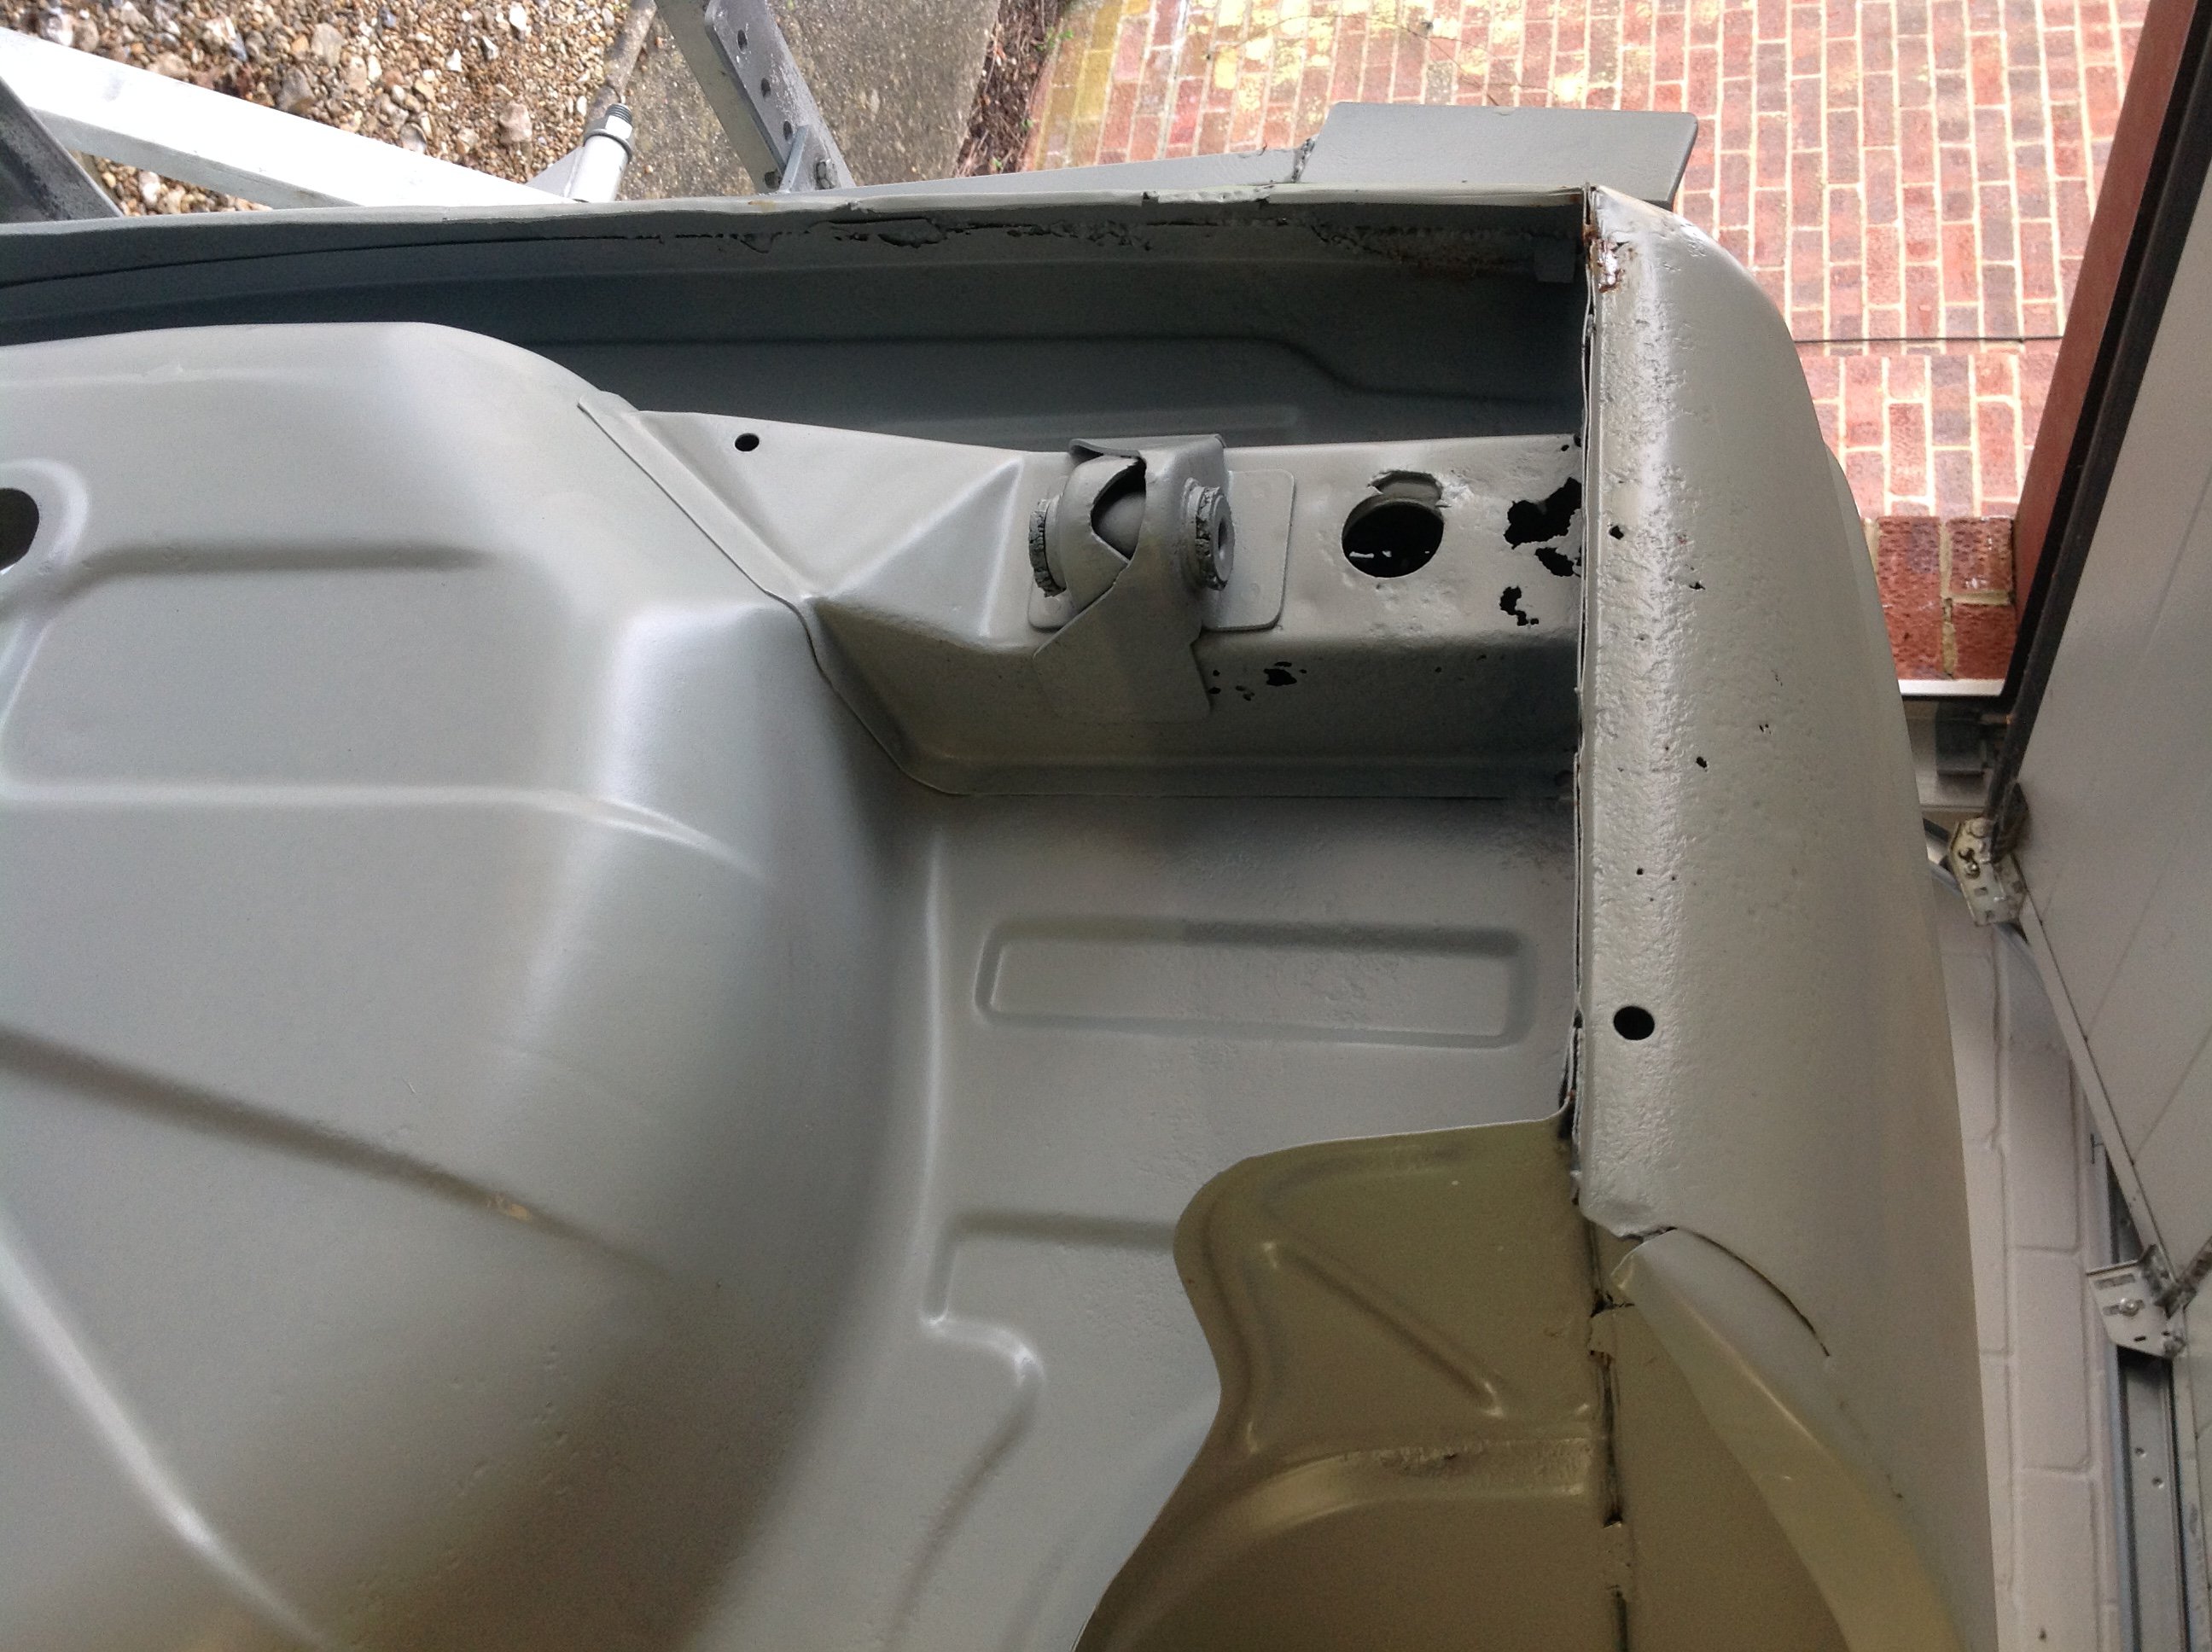
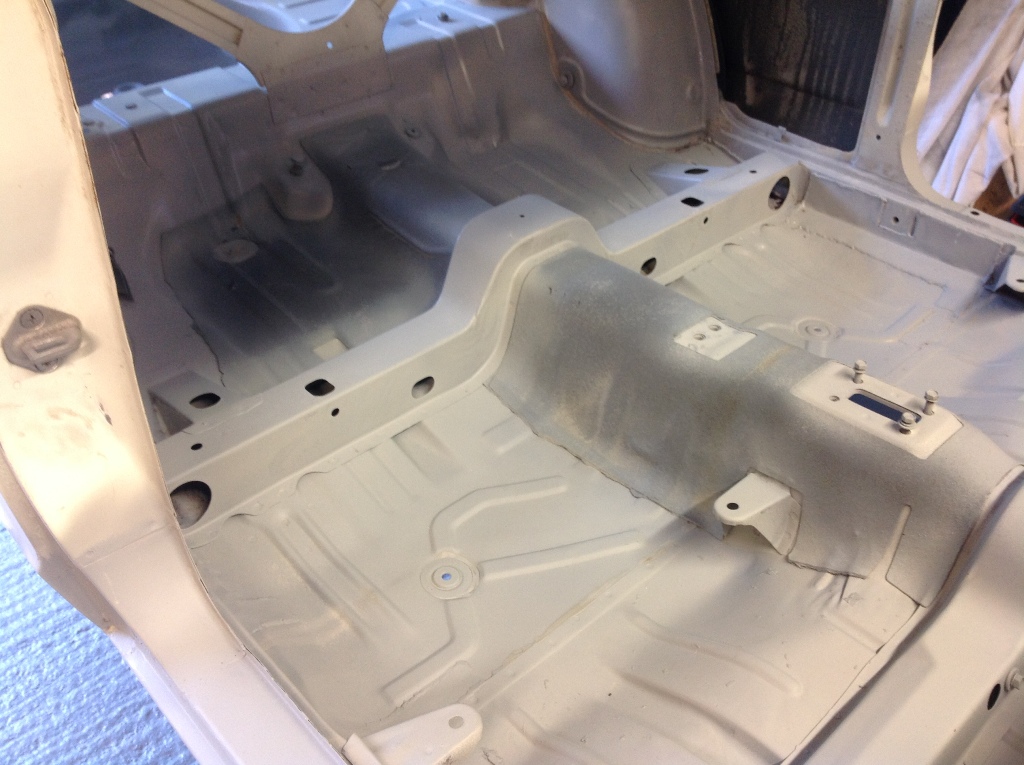
Been doing a bit of work on the Corvair. I took it down to my brothers workshop and they've removed the rust in the floors. Its starting to look good... I got the fun job of cleaning the floor panels of any surface rust to keep the repair certifiers and vinning people happy. Now that the rust is pretty much done with sealing left to do we've been talking with the vinning people to figure out seat belts and what they want. Hopefully go with lap belts. I've been busy collecting 13" four spoke Cragar's. I've found another set; standard offset 5.5" that are in decent condition and have one more 13x7 on its way from America.
 4 points
 -
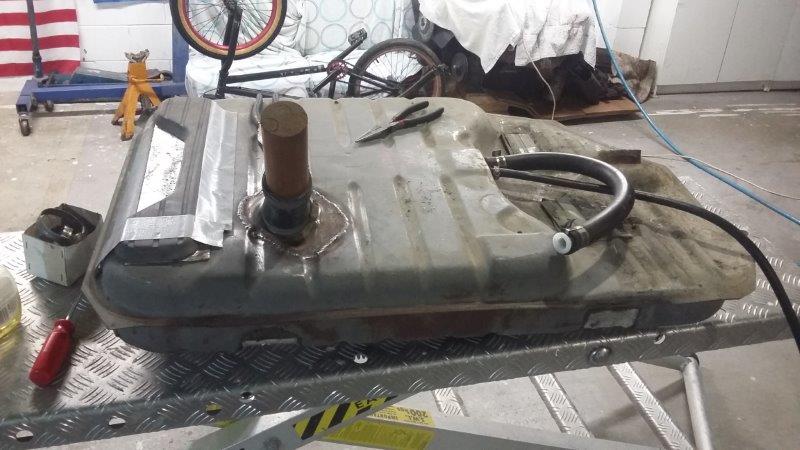
Here is something from Monday night last week. Being the proper engineers we are after modifying the fuel tank we pressure tested it for leaks on the weld. My compressor is over the other side of Auckland so had to go round the corner to my mates place who is doing the welding to use his compressor. Here is the tank all sealed up. Pressurized it to 8psi and found 1 hole in the weld on the new filler neck and 2 in the cap for the original filler neck. Had to take it back to my house, fix the welds, then back to the compressor to check again. Tank is now in the car!!!
4 points
-
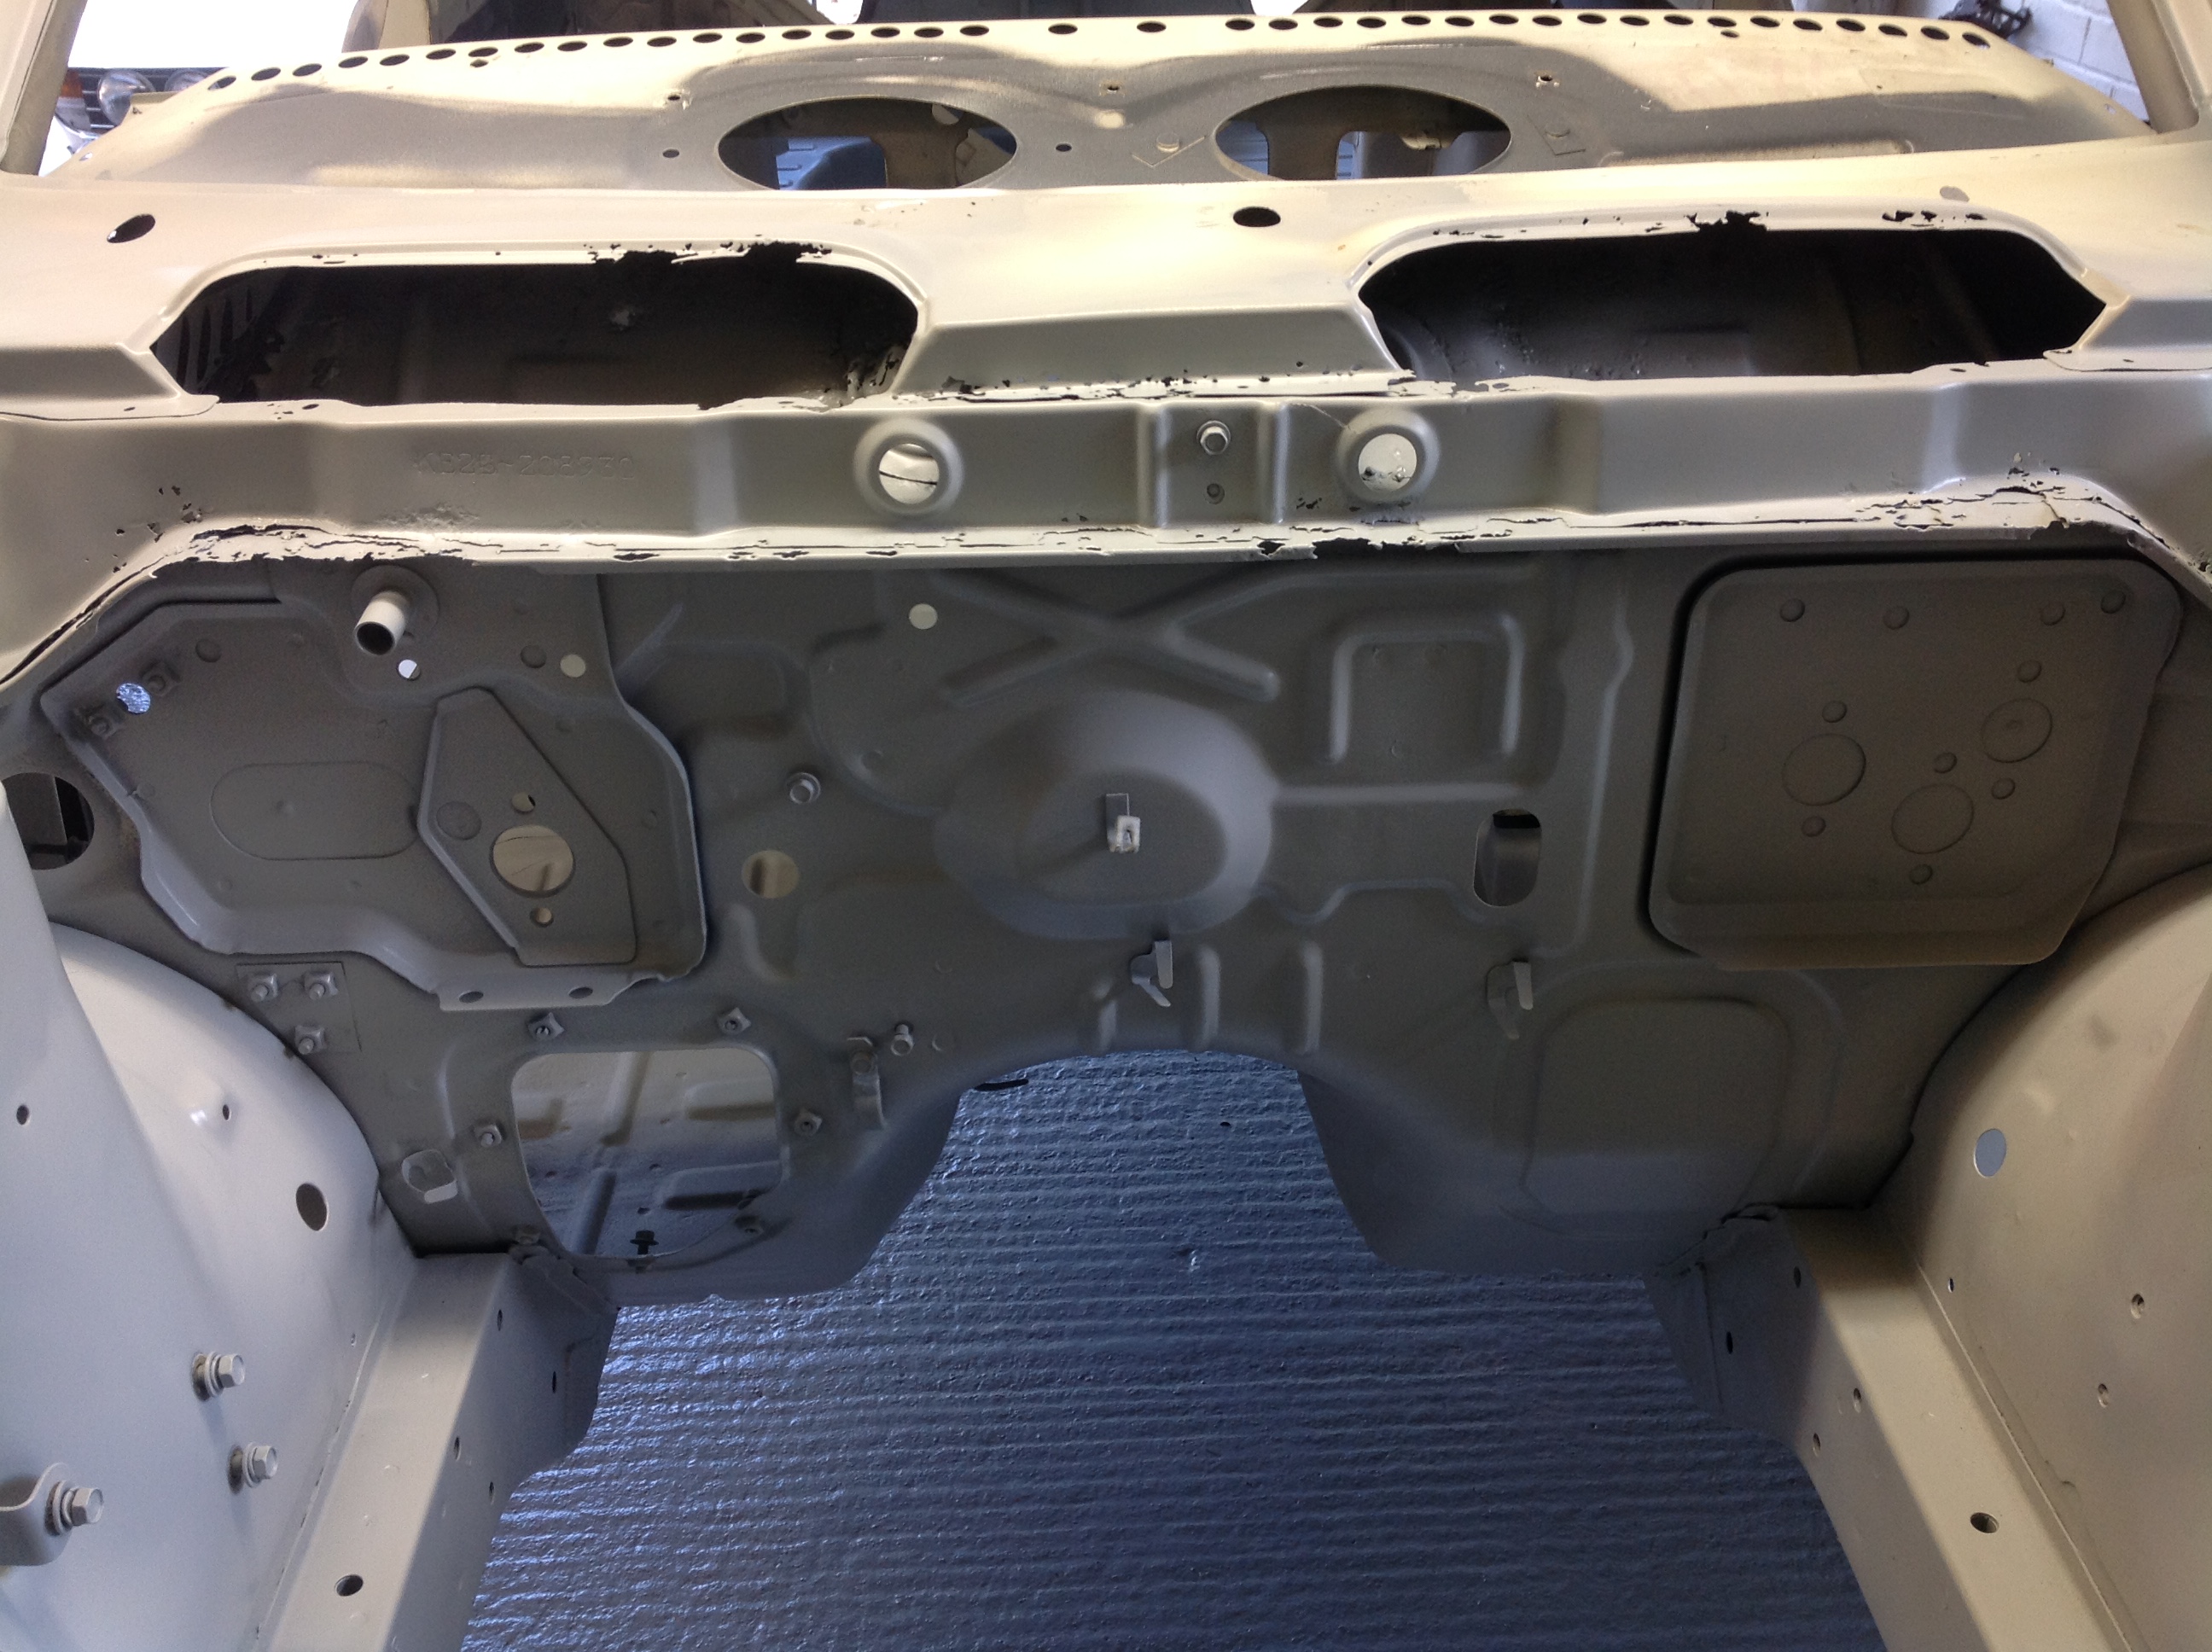
Main part of roof primed over the weekend, so pulled out the windscreen tonight - came up easily after cutting the rubber on the inside. Only one little hole needing welding. Cowl vent looks OK from the top side.4 points
-
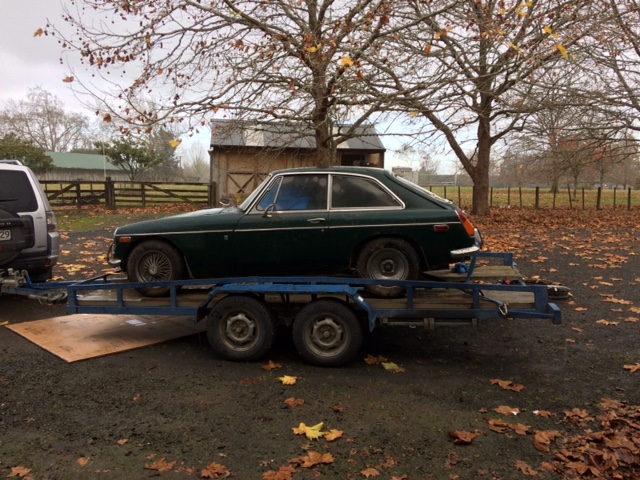
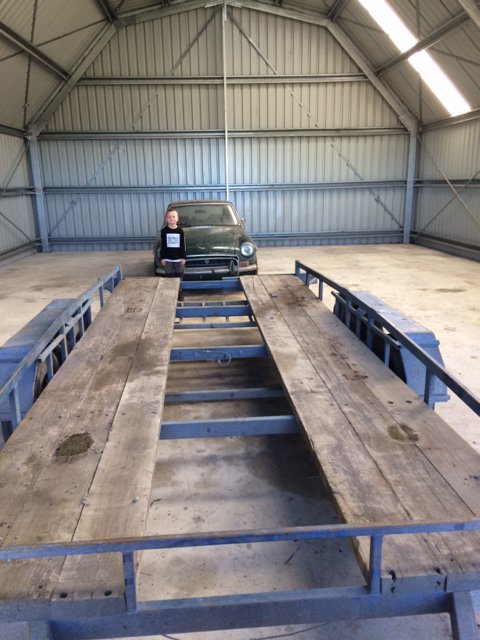
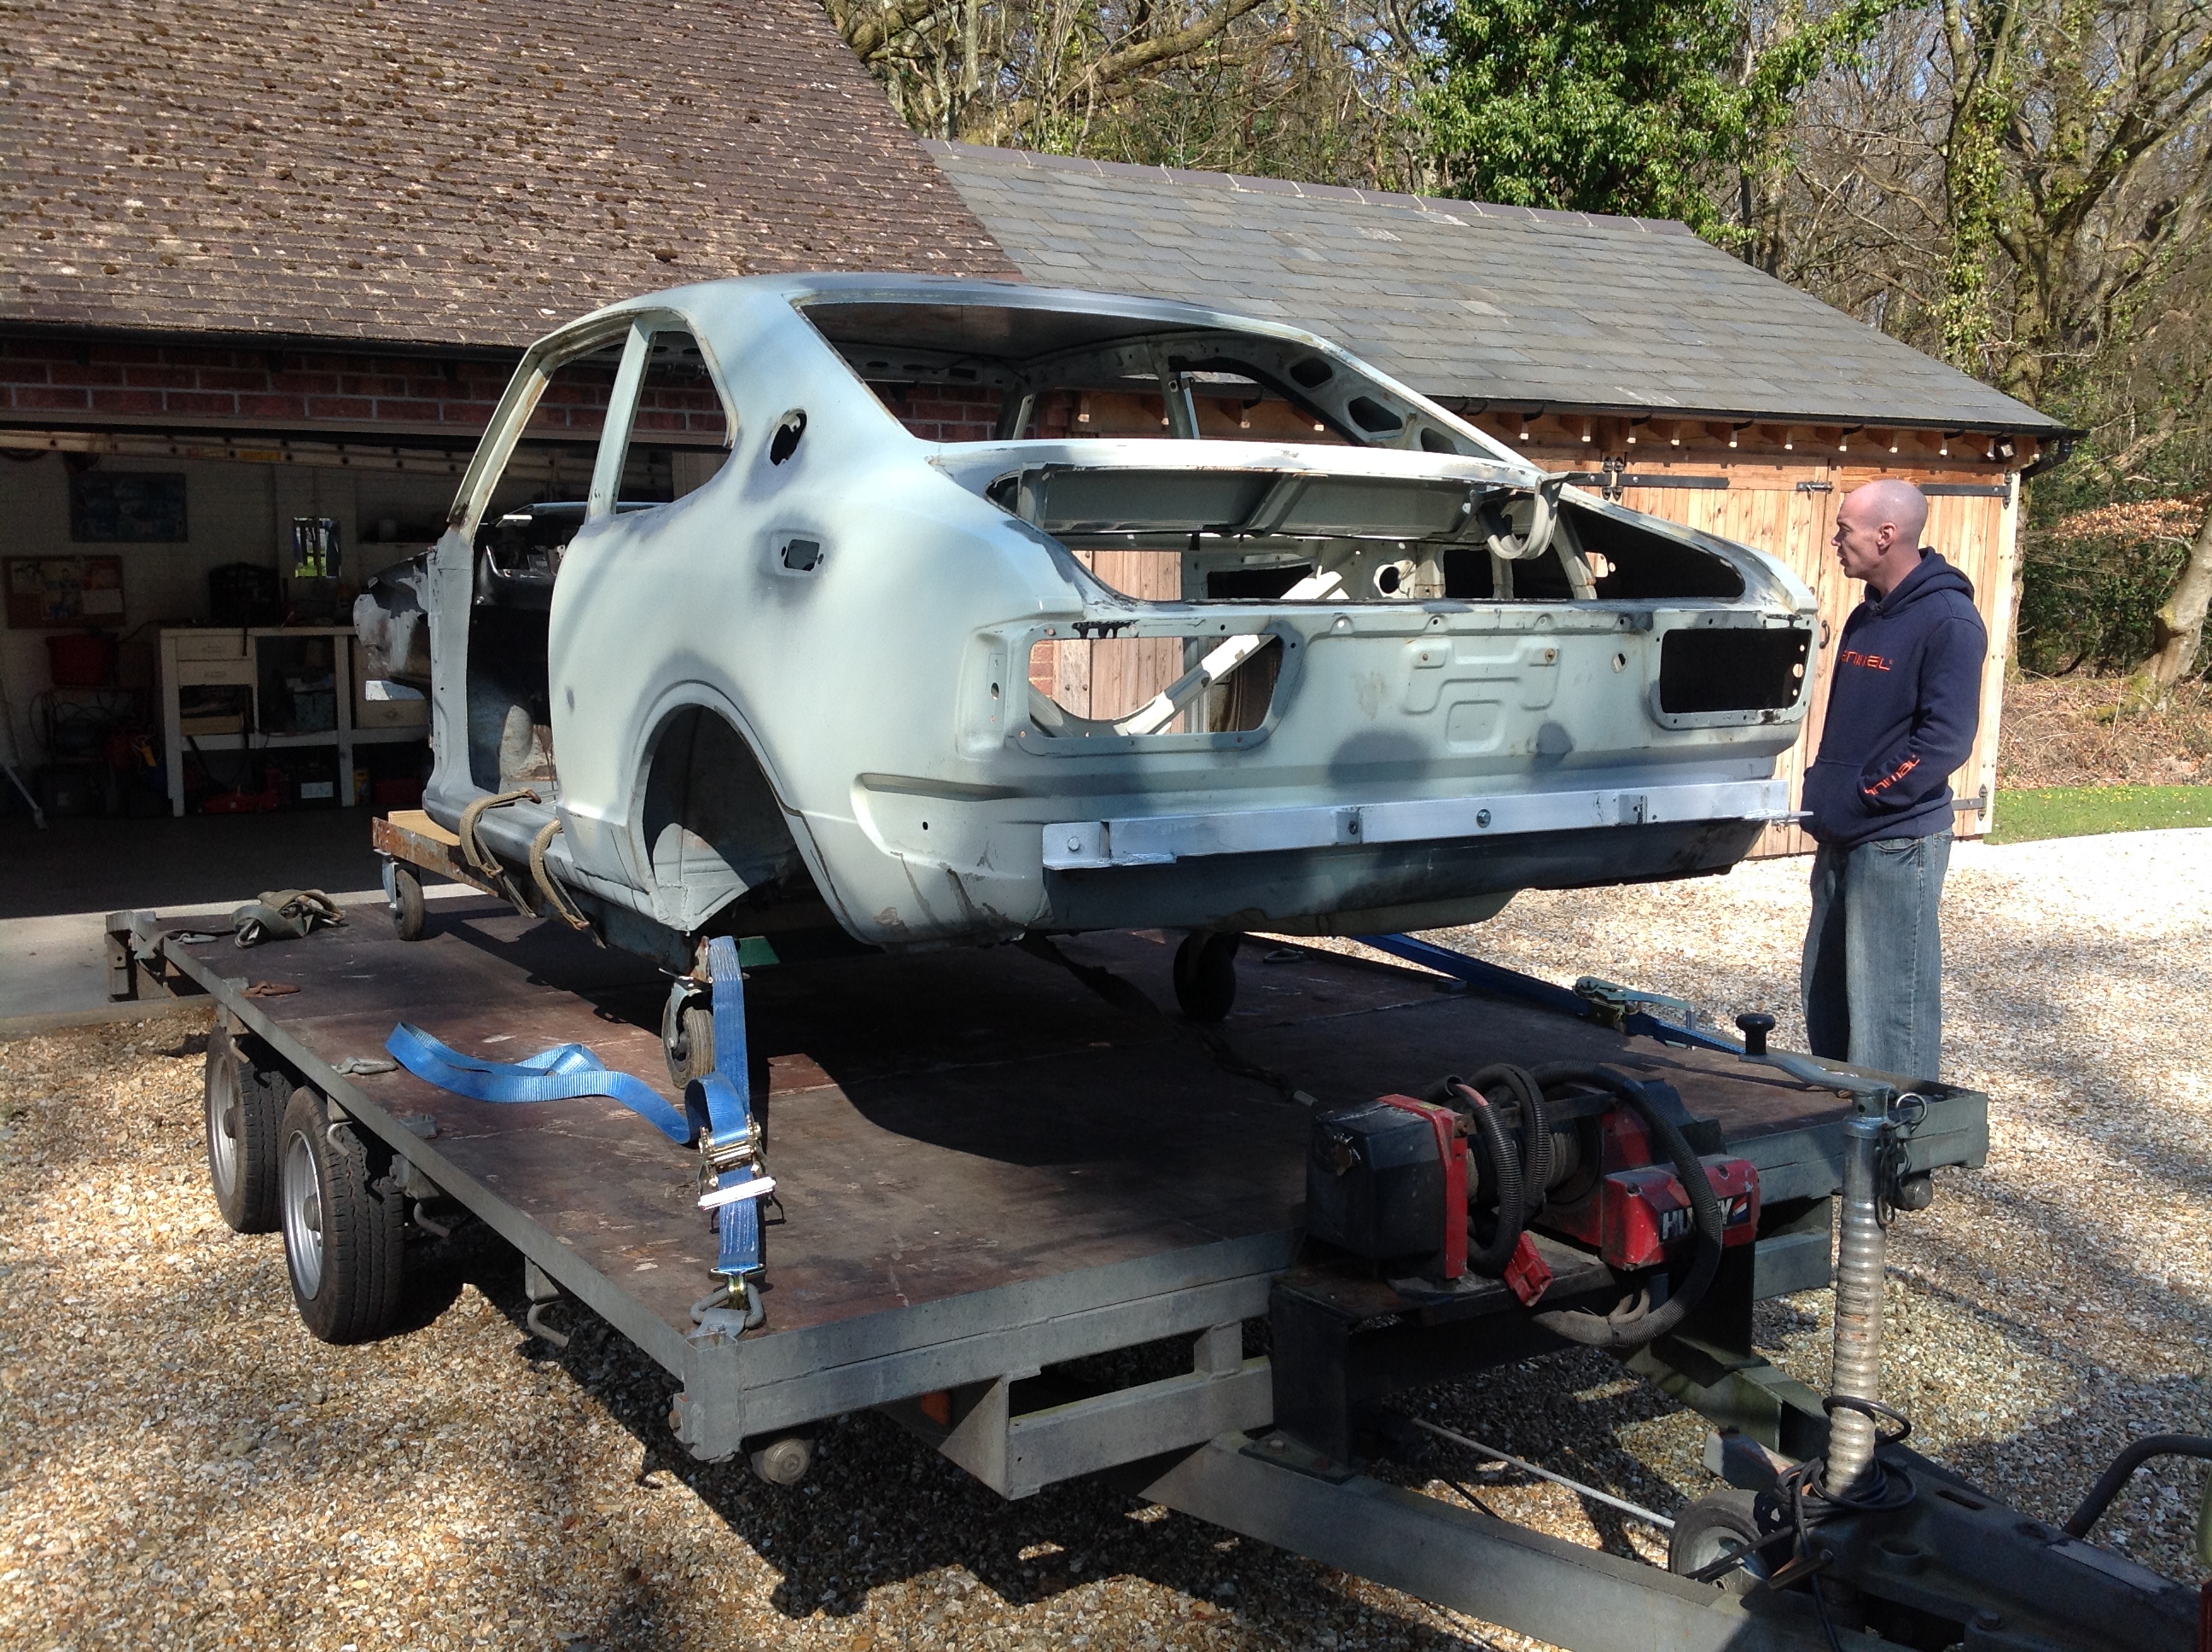
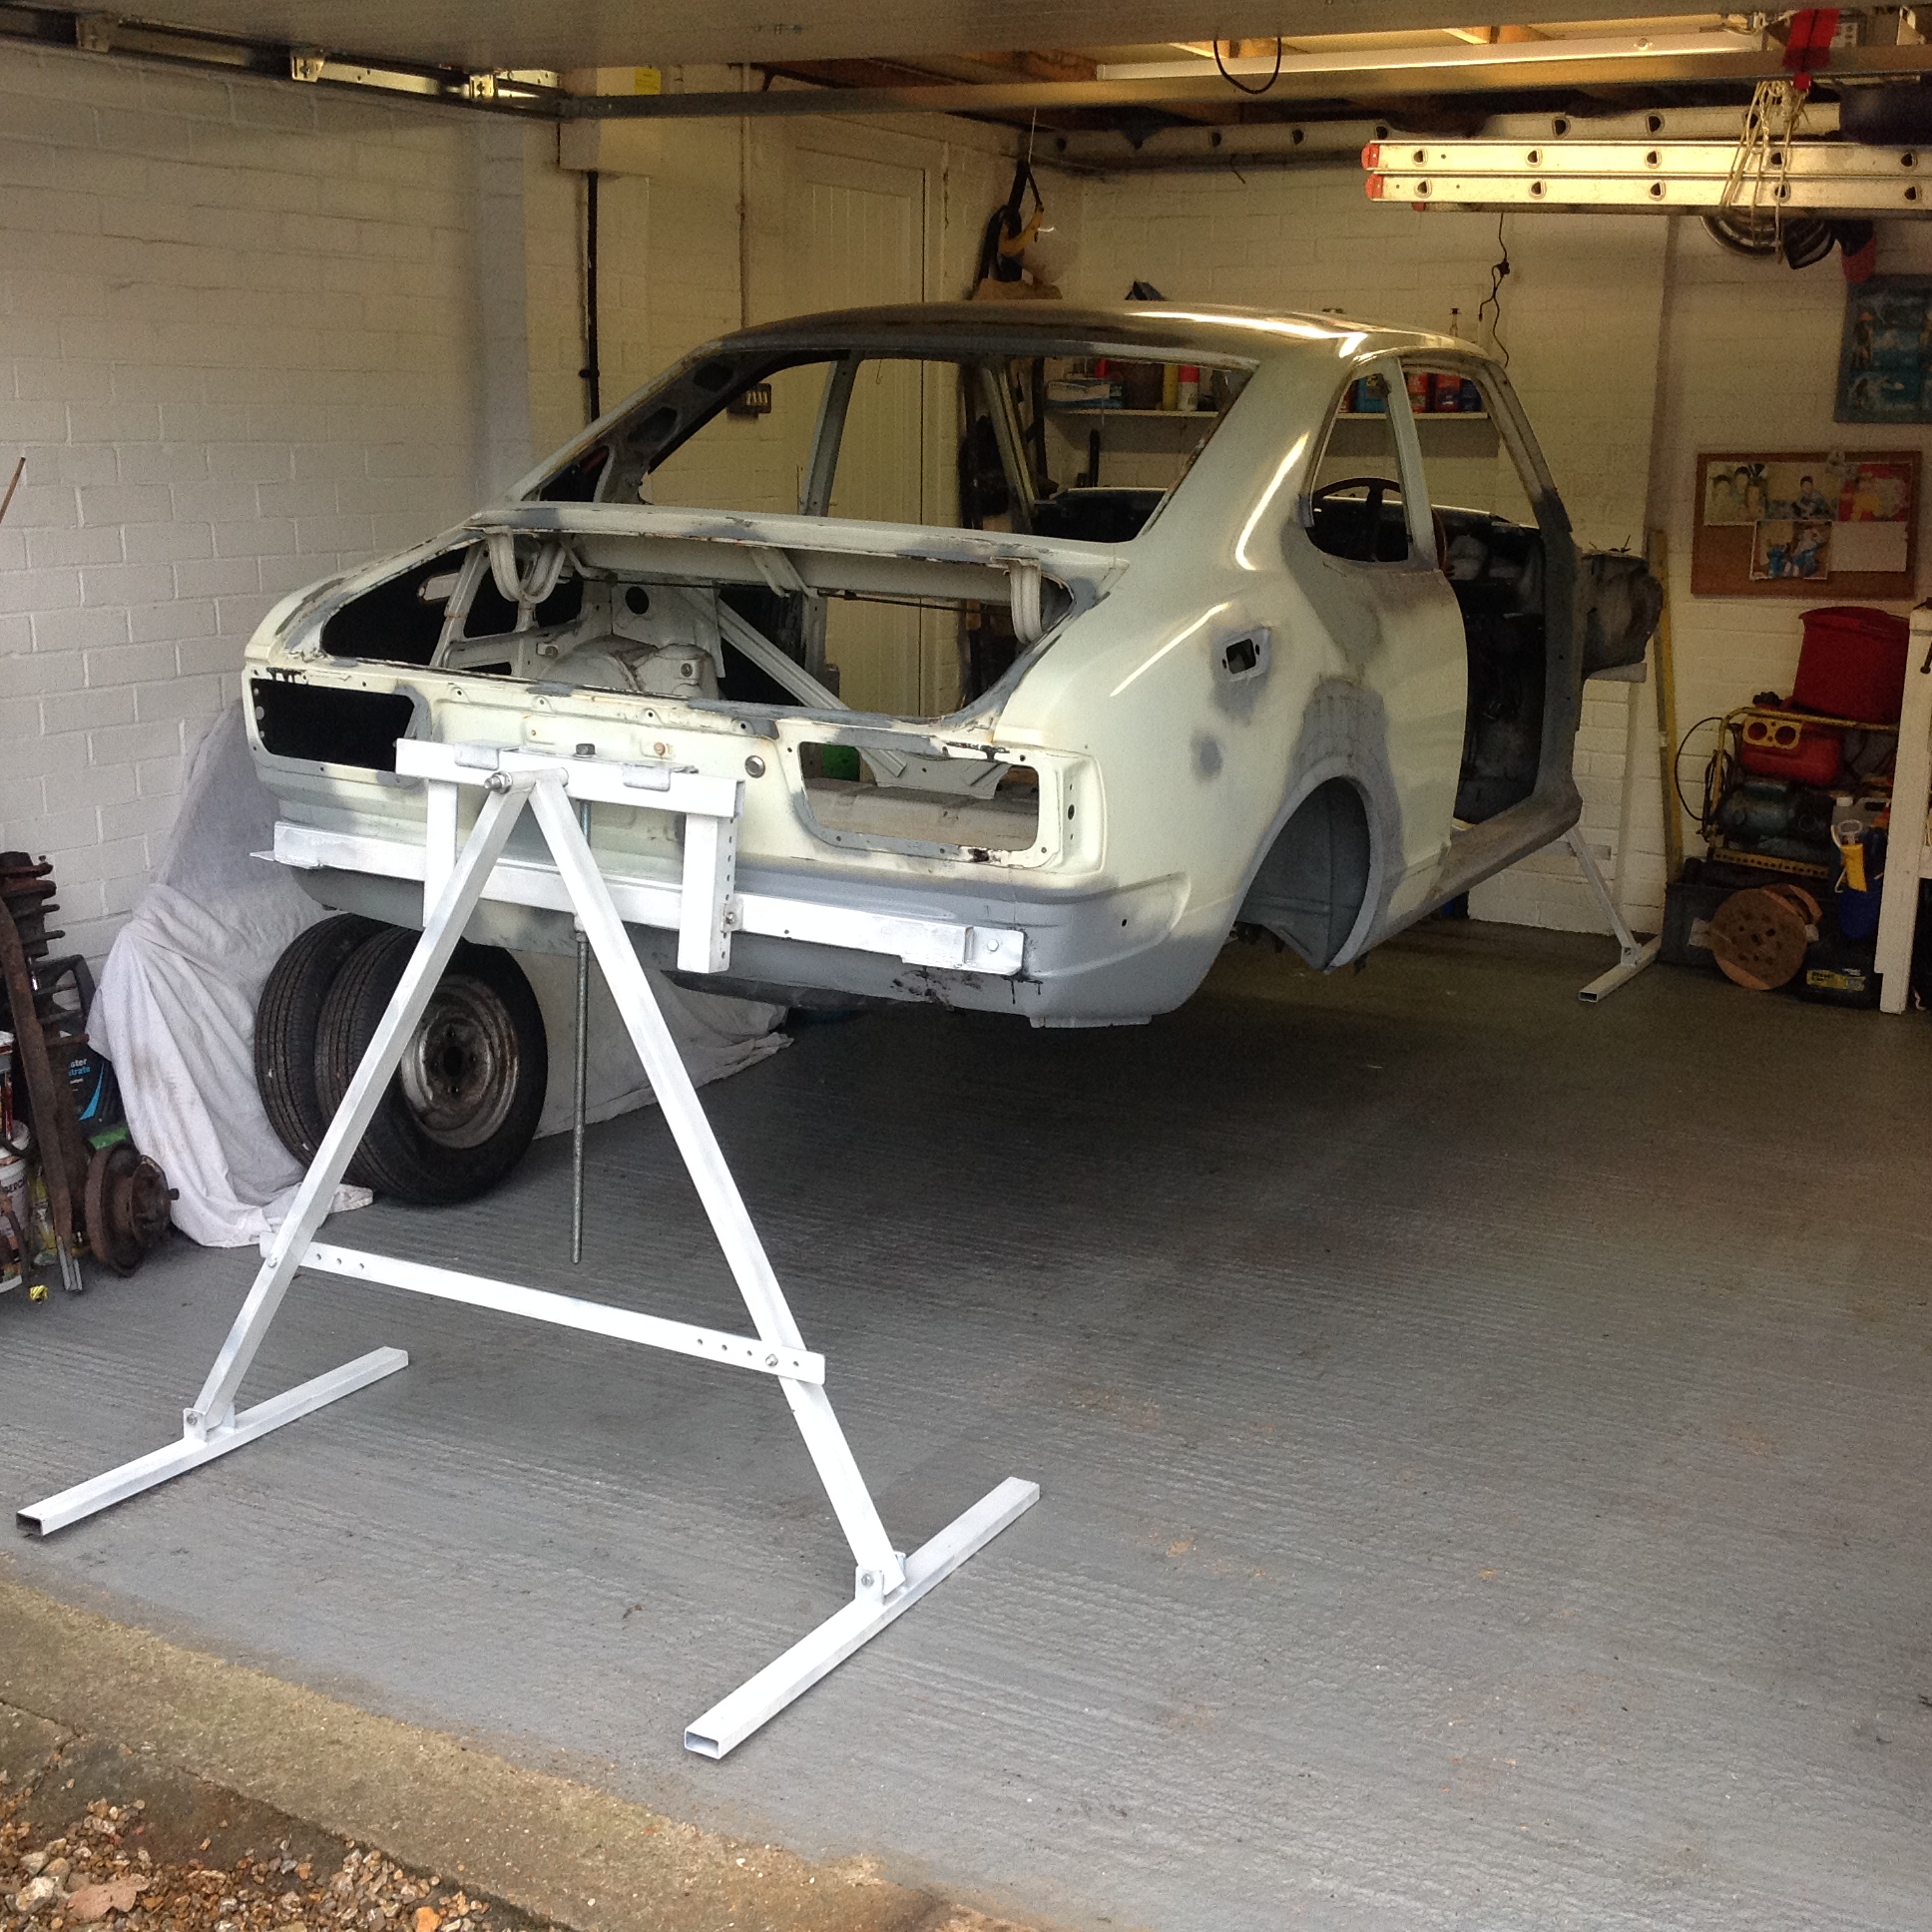
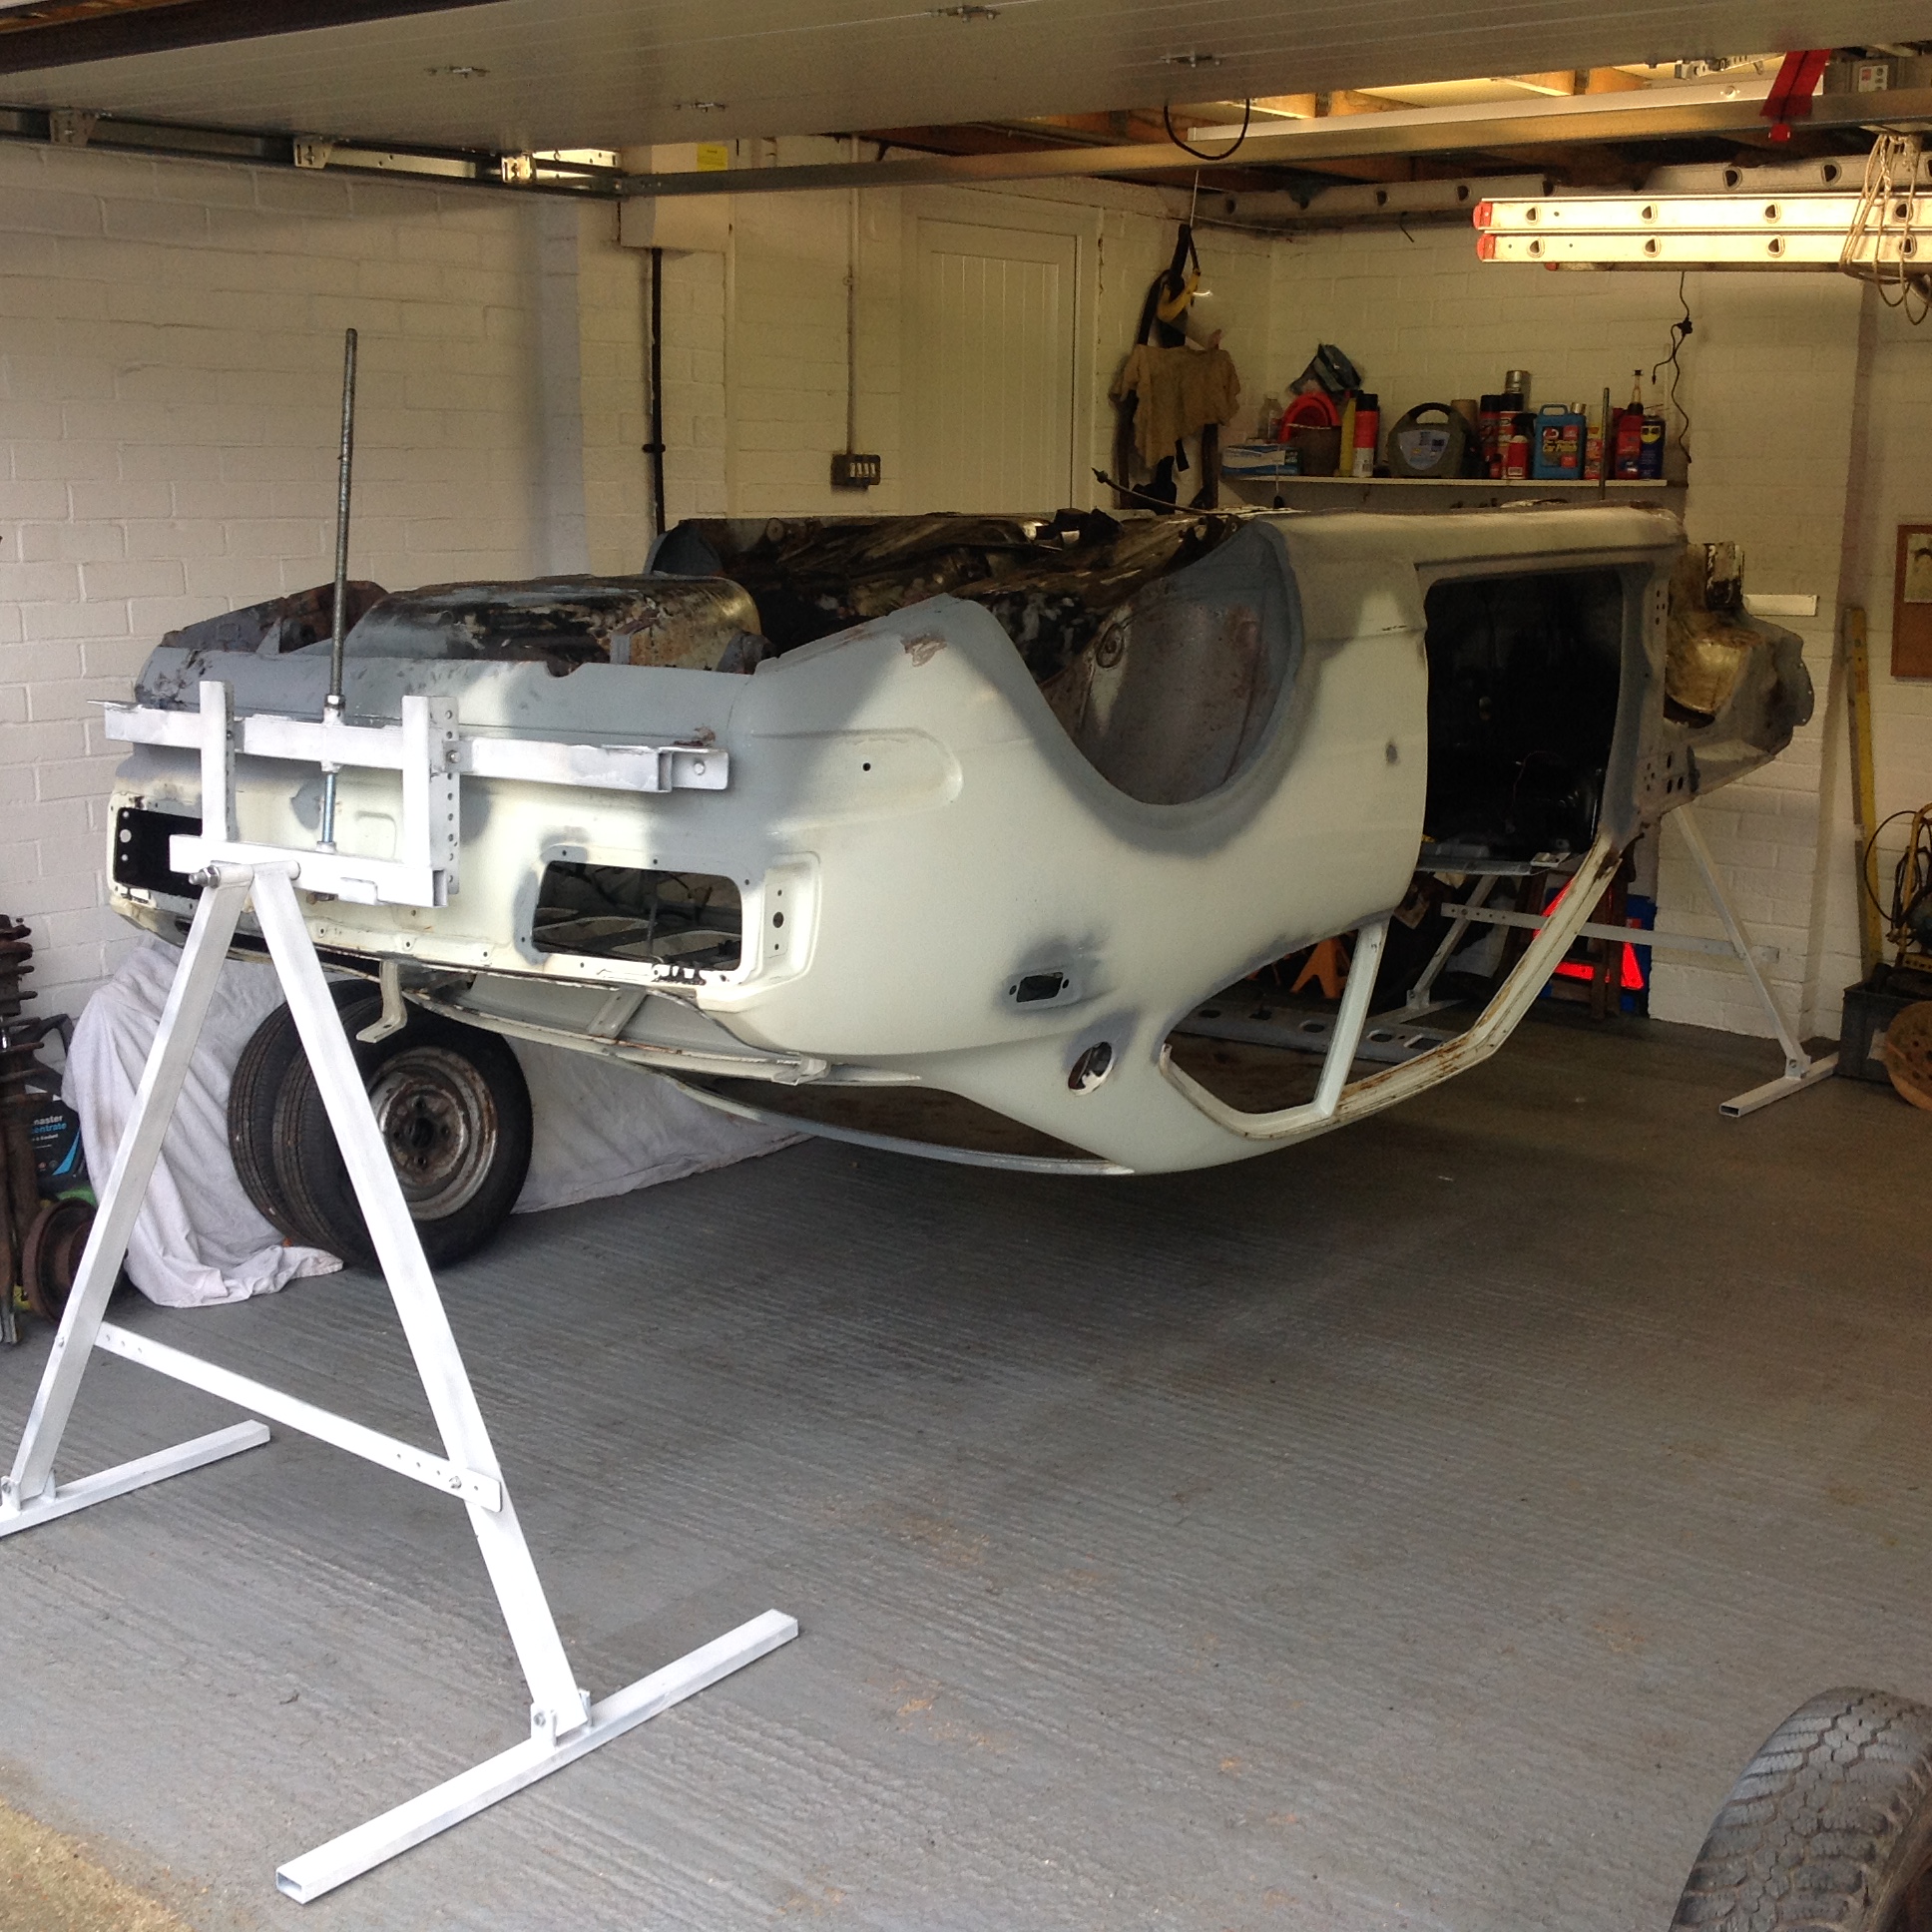
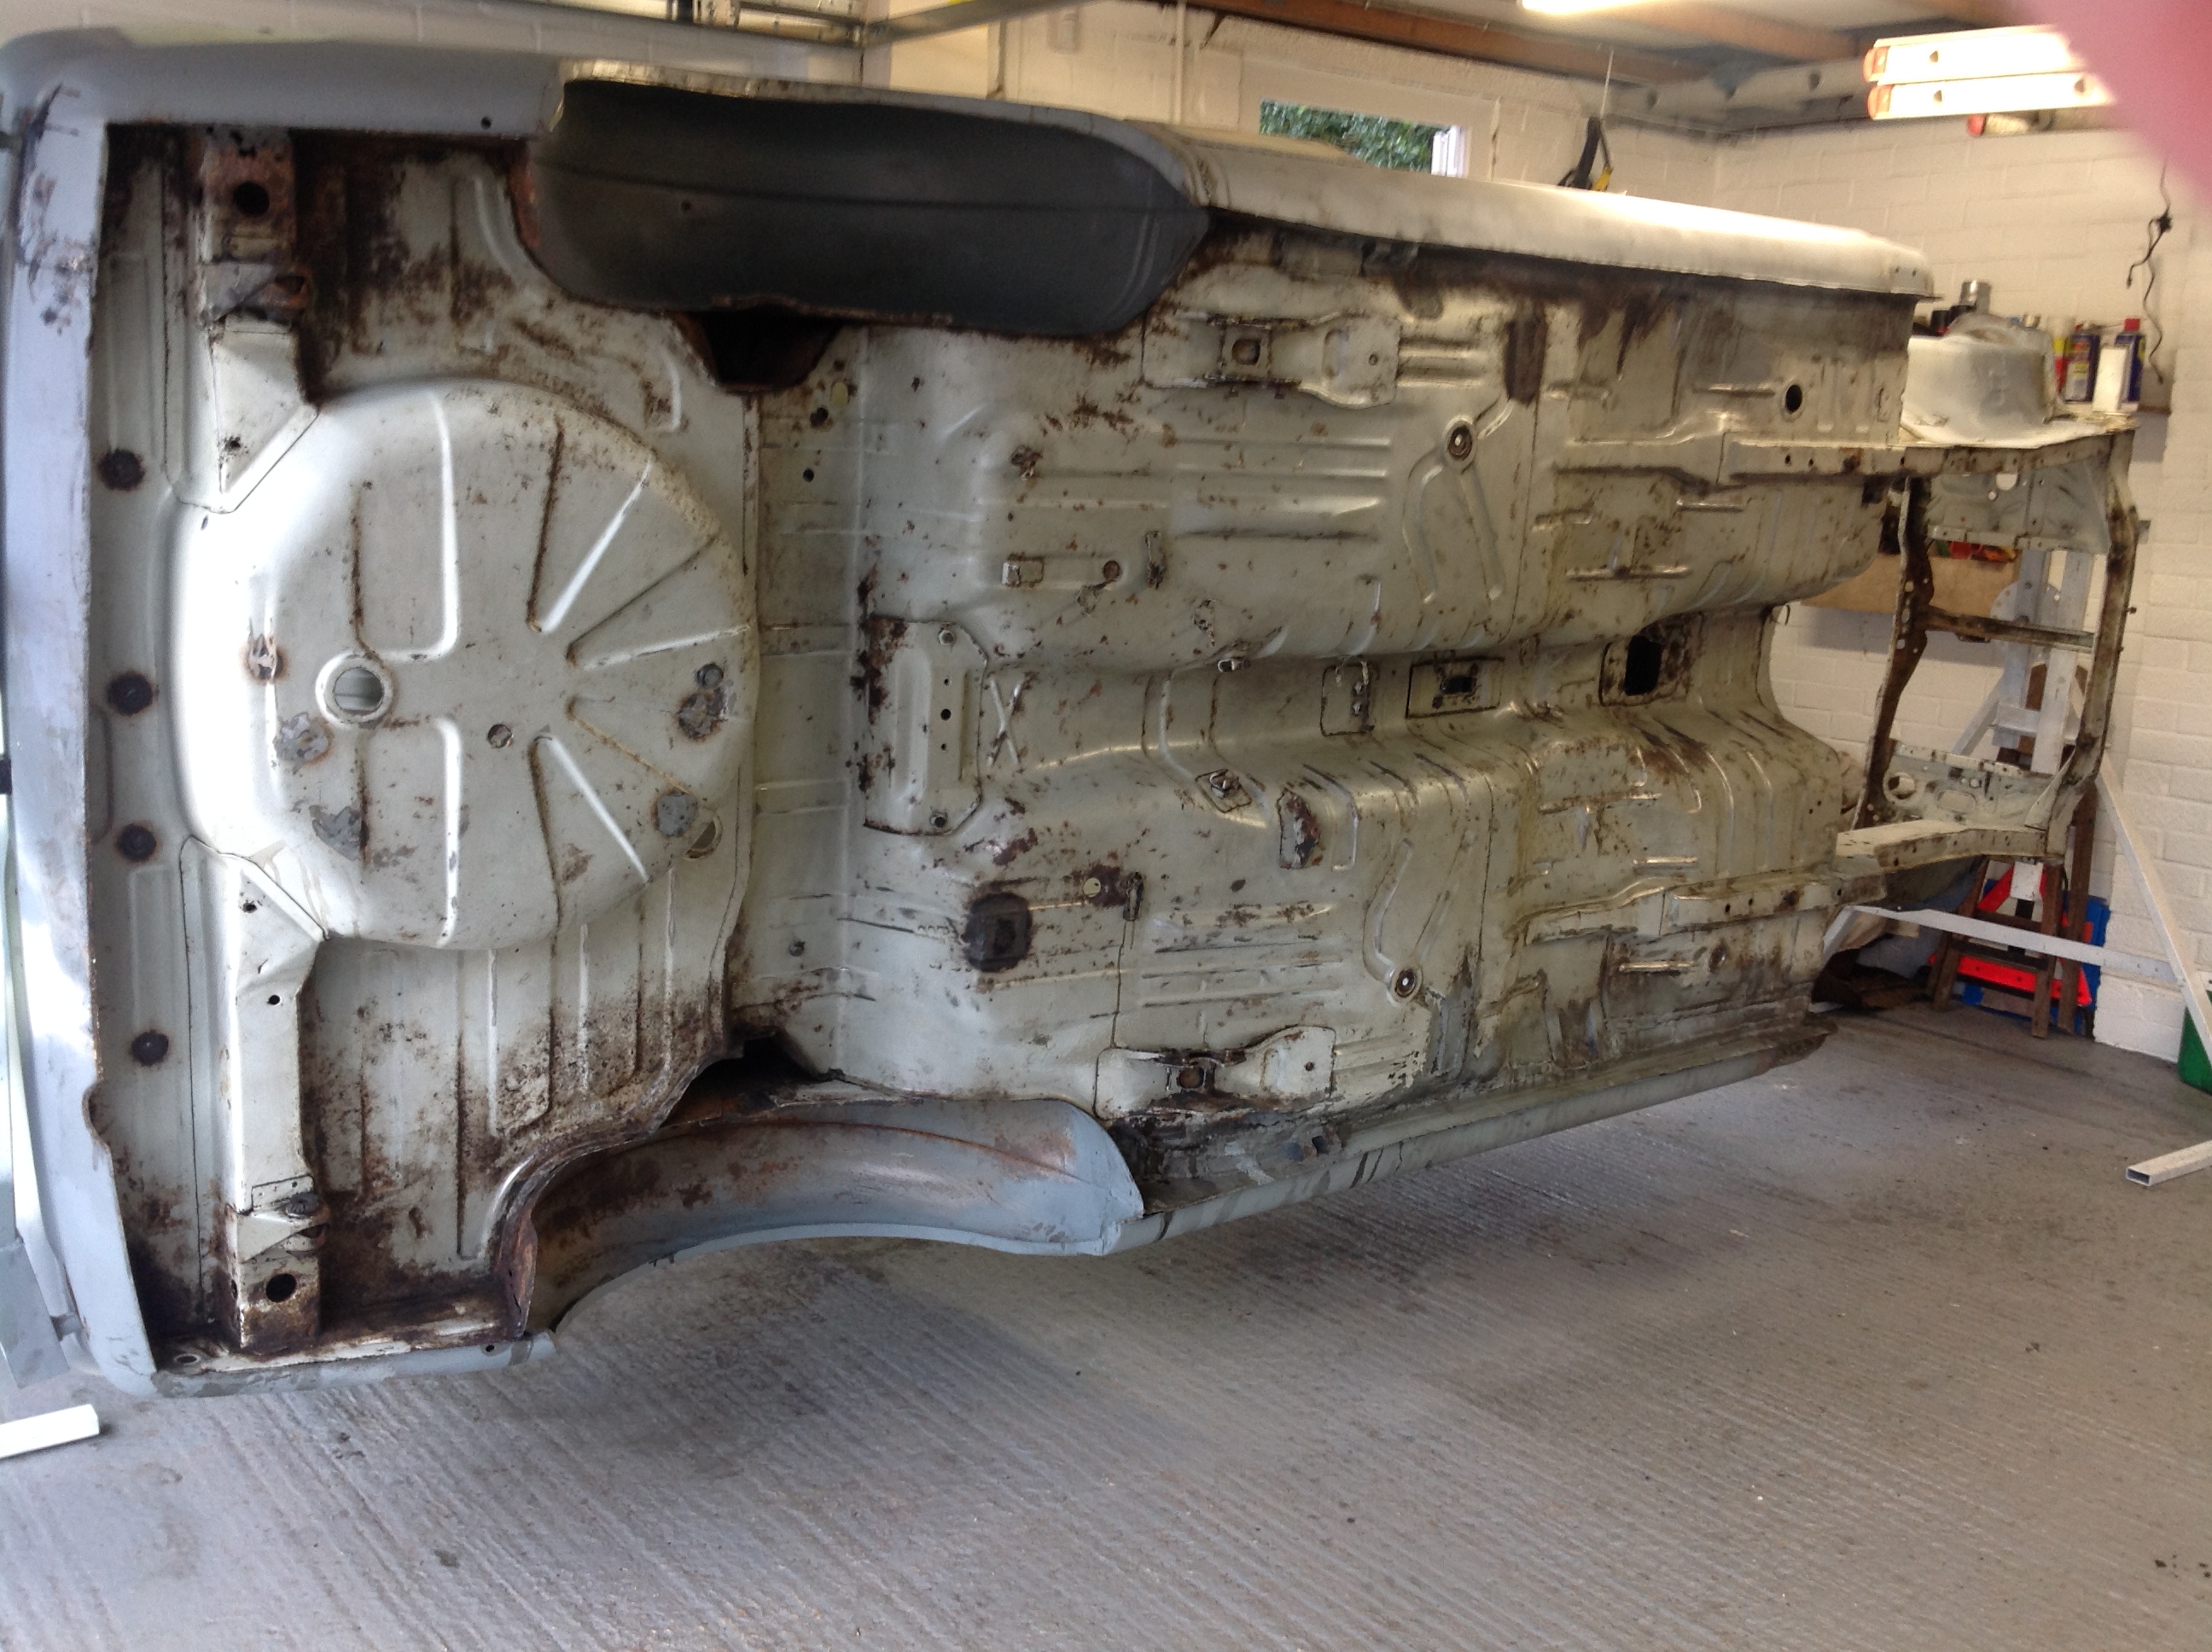
I have just returned from an epic roadie to collect a new toy. Actually I arrived 4 minutes before midnight Sunday, but mentally it's taken til today to catch up. Awesome trip, but I am reminded that I'm not 20 anymore. Did the drive from Clevedon to Rangiora in one day with a loaded tandem. I booked a cabin on the Ferry. I highly recommend. Dragged this out of a damp rotting dirt floored cow shed from where it hasn't moved for 19 years. Back story, yarning to work colleague while on layover in LA and somehow got talking about this MG he got out of North Dakota in 1993. The conversation ended with an offer of said MG in return for a box of craft IPAs. So, big hammer to smash the brake drums, a shot of air in the cracked tyres and onto the trailer... Many hours and litres of diesel later... to wind up here That's apprentice No 3 looking very excited in my NEW SHED!!! Bought a 10 acre block with this beauty on it. Upshot, no time or money for cars because house building. Anyway, this thread is about my Fiat, so, Relevance? Picked up a 5 speed box for the Fiat on the way.
4 points
-
Another day, some more progress. In my last post I commented that whenever I put the Zeal into gear the engine would cut. Some awesome members (thanks!) of a couple of forums I post this on mentioned that it was probably the side stand switch. The switch is designed to do just that; cut the engine if you put it into gear with the stand down… only problem, since my bike is on a paddock stand, the side stand is up. Time to investigate. The switch lives here, down by the stand (sans a bolt I already removed) It was a tad dirty down there. Here it is removed I gave it a real thorough hose down with WD40 and Contact Cleaner whilst actuating it. I cant find any way to disassemble it, so that will have to do. I suspect the bike was on its stand for most of the last 5 years (going from the pooling of fuel in carb No1), so the contacts have probably corroded. I checked the connector in the under seat area, and it looked all good. I also mentioned that I had some issues with my clutch, way back in my first post and I made a post last night about it on the 250cc forum. The helpful guys over there pointed out that it was probably the cable needing adjustment at the engine side. Sure enough, when I looked at it today, it was hard up against the stop at its longest position (hard against the lock nut in the photo). I wound the adjuster out a few times and managed to arrange it so that the adjuster on the bar lever is in the middle of its adjustment, and with only minimal free play (as required) This shows how it was adjusted, in the bottom LH corner This allowed me to do this I ran it through all the gears, and it does everything it should. The clutch comes on and off, and all the gears go in and out without issue. 6th has a little rumble, but that’s probably because it’s running on a stand. No nasty rattles or anything though. As seen in the video too, I also had a play with the idle and got it to idle with zero choke when warmed up. Obviously I was playing too much, as I ran out of gas at the end of the video >_< Since I was in the garage and I had to wait for the smoke to clear again, I decided to have another look at the gauges. I had previously had a go at fixing them in a previous post, using super glue. Unfortunately the moment I tried to fit the tacho cup the screw broke the glue and the mount came free again. When I was in Repco the other day I noticed this on the shelf. Selleys Plastic Fix glue. It’s a two-part system, where you paint on the primer with the pen, and then apply glue. Smoosh the two bits of plastic together and hold it for 30 seconds till it “grabs”. I’ll be damned if it didn’t “grab” and set solid almost instantly. It worked VERY well. Whilst it was drying I had a crack at mounting the Speedo cup. Looks good. So good that I had to jam on the Tacho and cup again. Excellent. I have a new headlight on its way to replace the rusty and dented POS there, so that will be sorted at some point. Next up I think its time to strip the bike down and get the frame sorted.3 points
-
2 points
-
These are headers made by Castle Headers for a 304 into EJ/EH https://i.ebayimg.com/00/s/MTYwMFg5MDA=/z/eDcAAOSwdGFYt6b4/$_20.PNG2 points
-
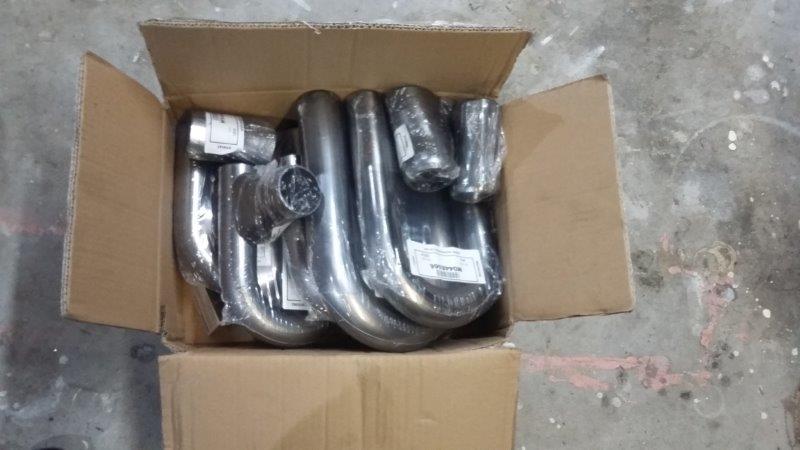
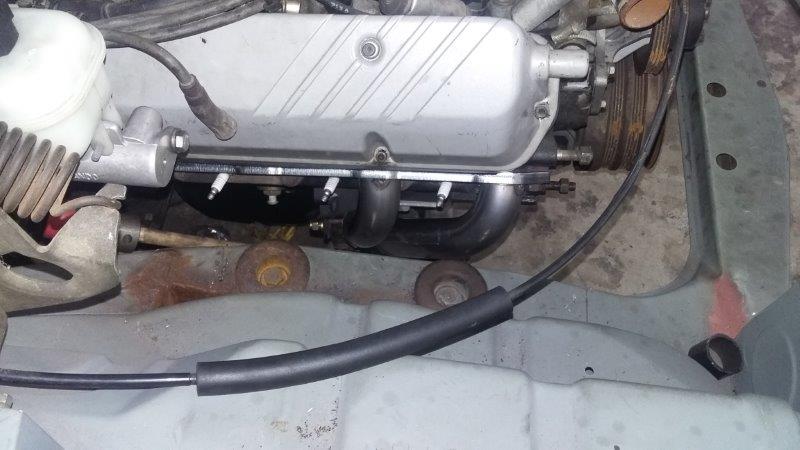
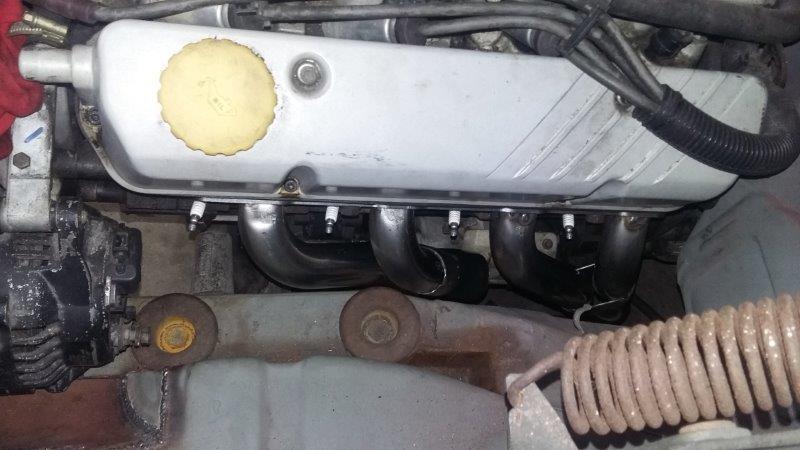
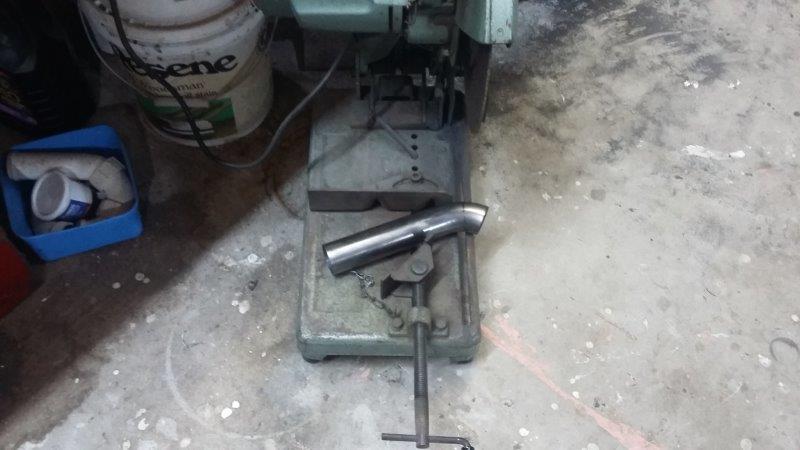
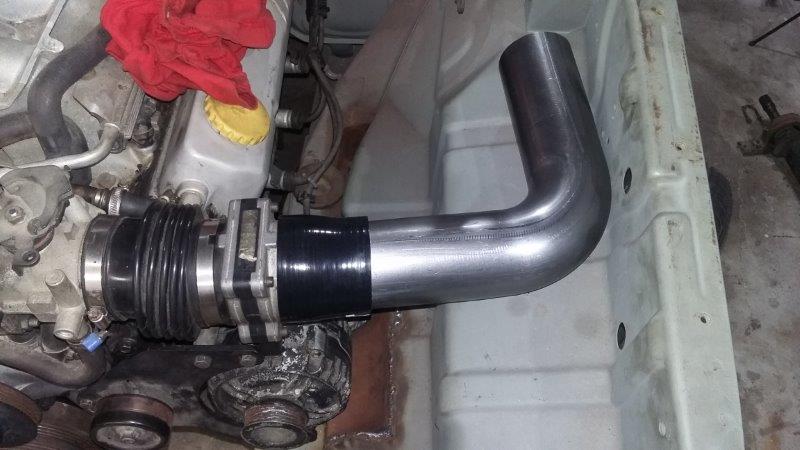
I went shopping at Autobend last week and came home with this lot. I still need to go back and get some more, they were almost out of the 41mm 2 into 1 cones, I got 2 and need 4, Some more U bends will be needed as well once I hve used up this lot and figure out what I need to finish off. Here is the start of the drivers side First 2 pipes are tacked into place. There is no way to get proper firing order tri-y design Passengers side Not much space down there, nothing hits!! Had to stop last night at 10:15 because the cut off wheel made too much noise and the kids wouldn't go to sleep. Here is a mock up of the intake I'm going to cut down the bend so it sits in the middle of the inner guard and will have a cone filter on the end. I wanted to make a cold air induction but no space.
2 points
-
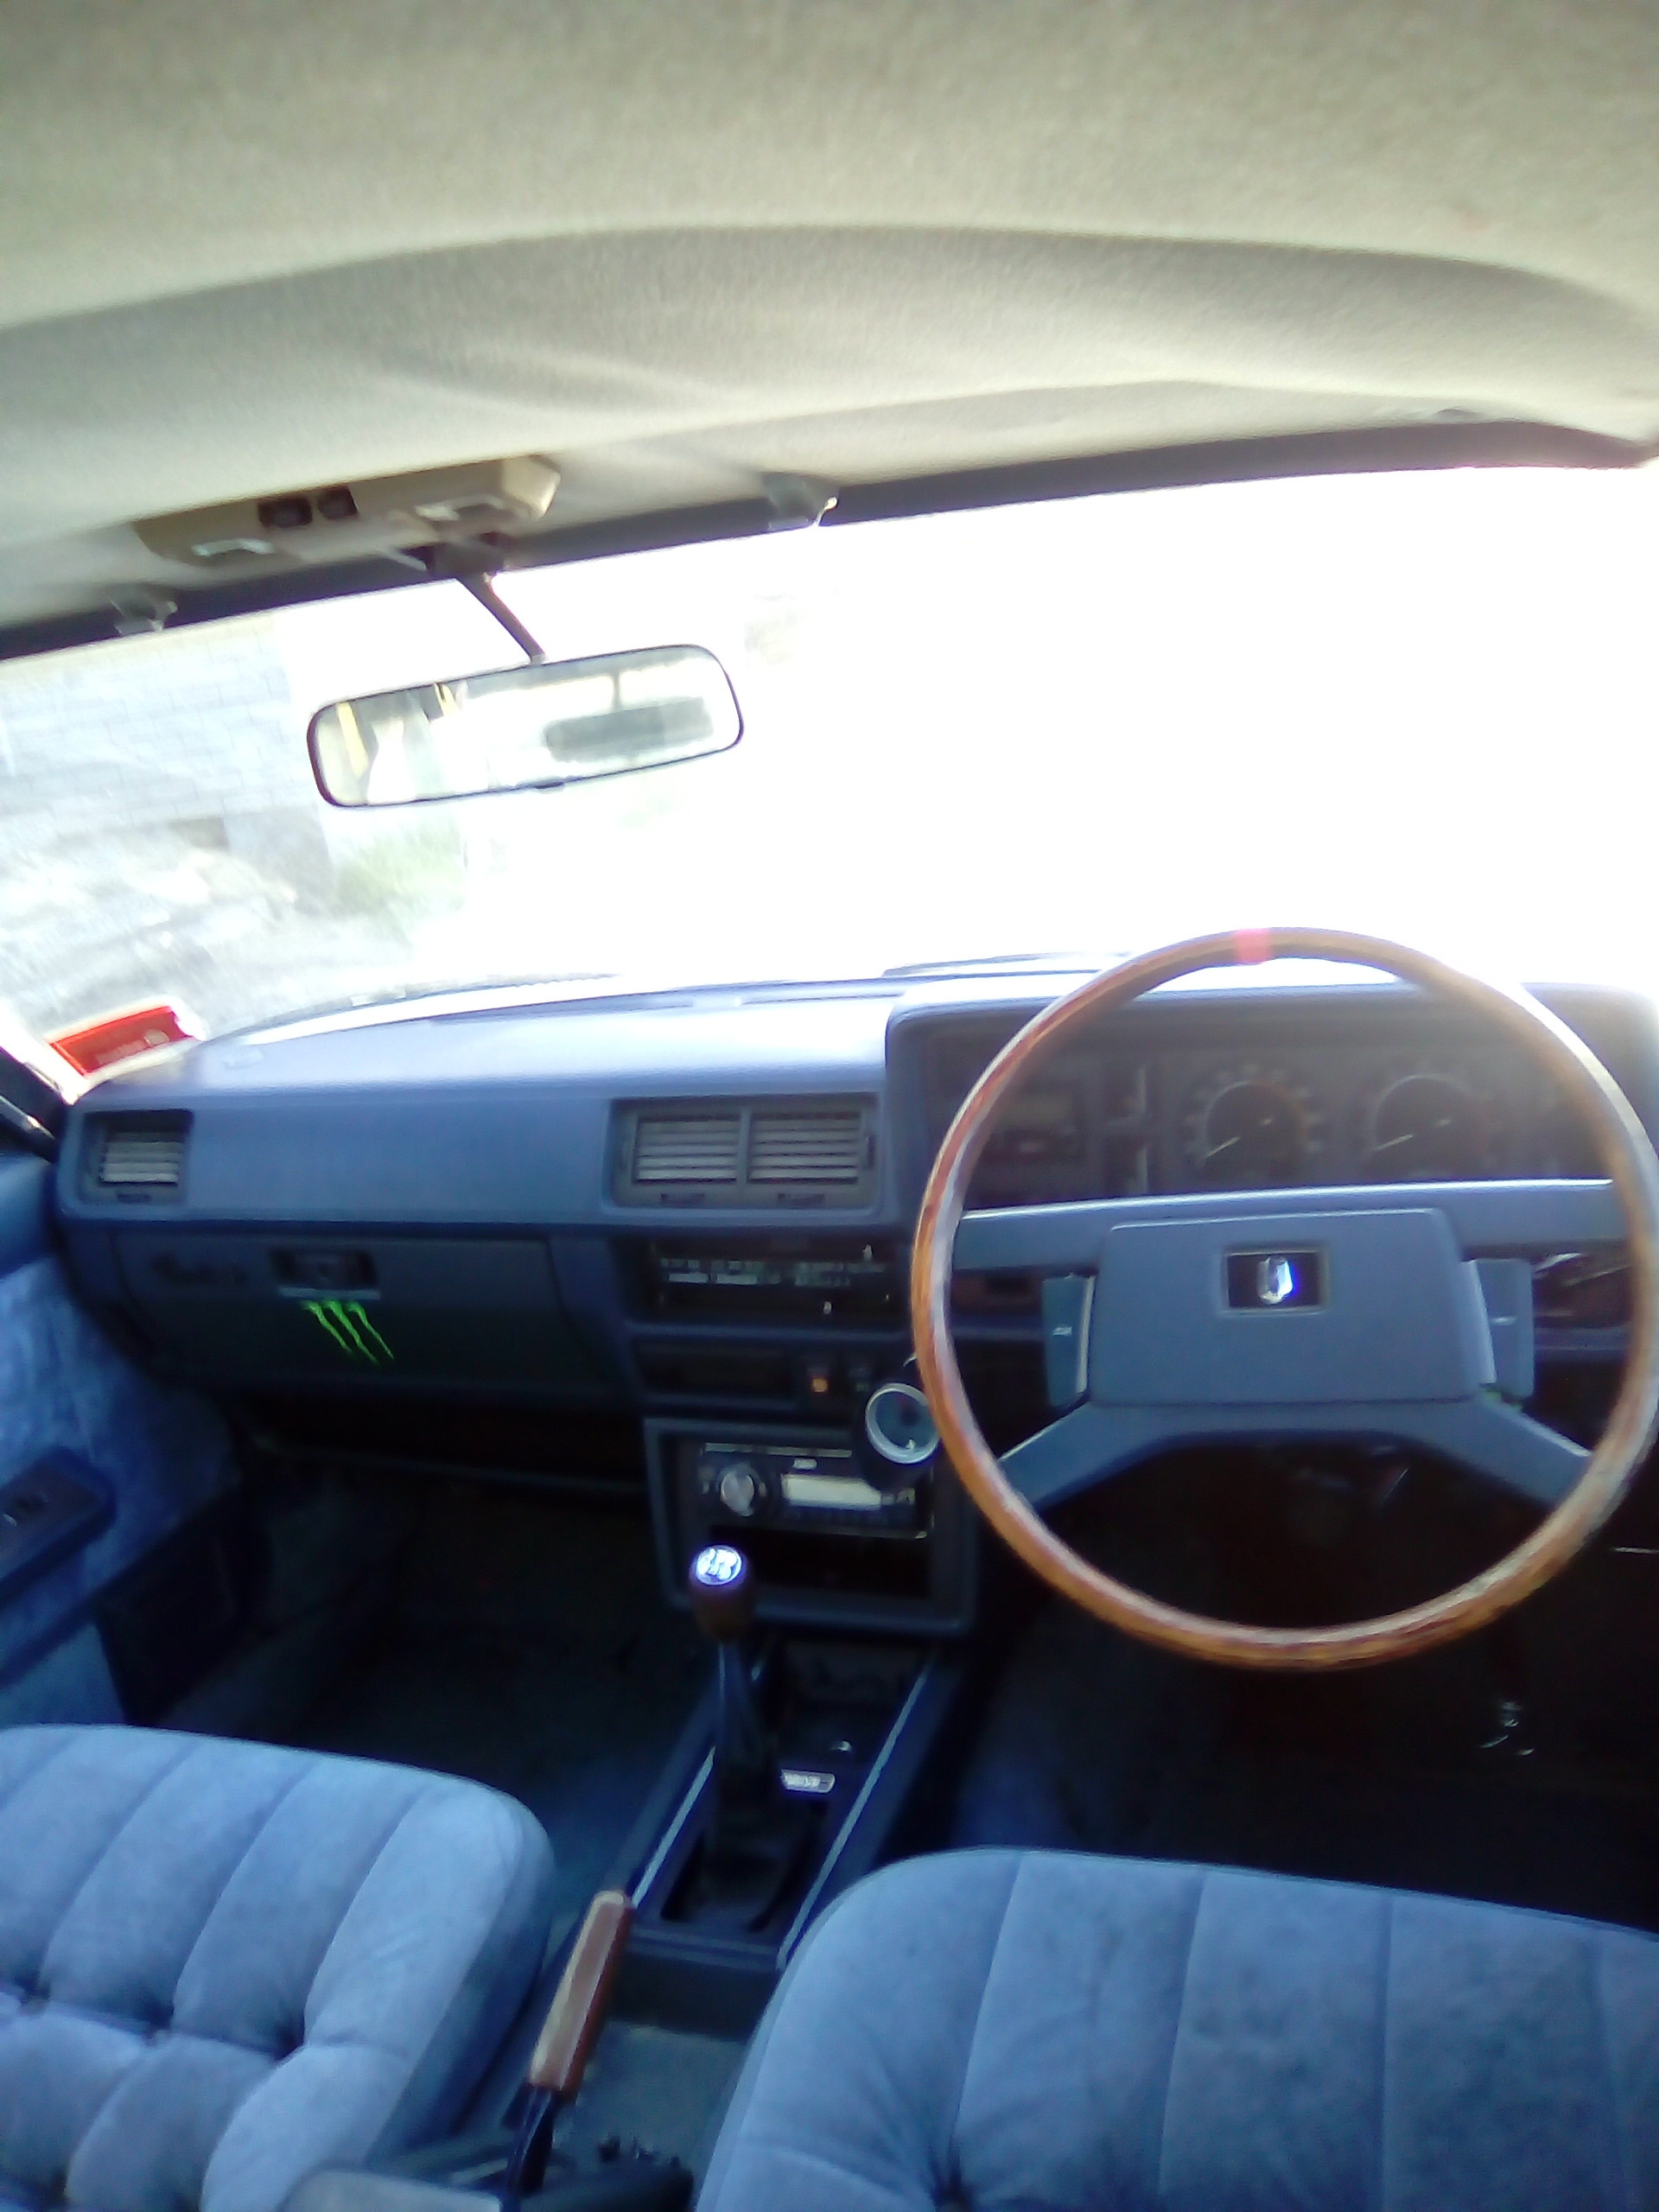
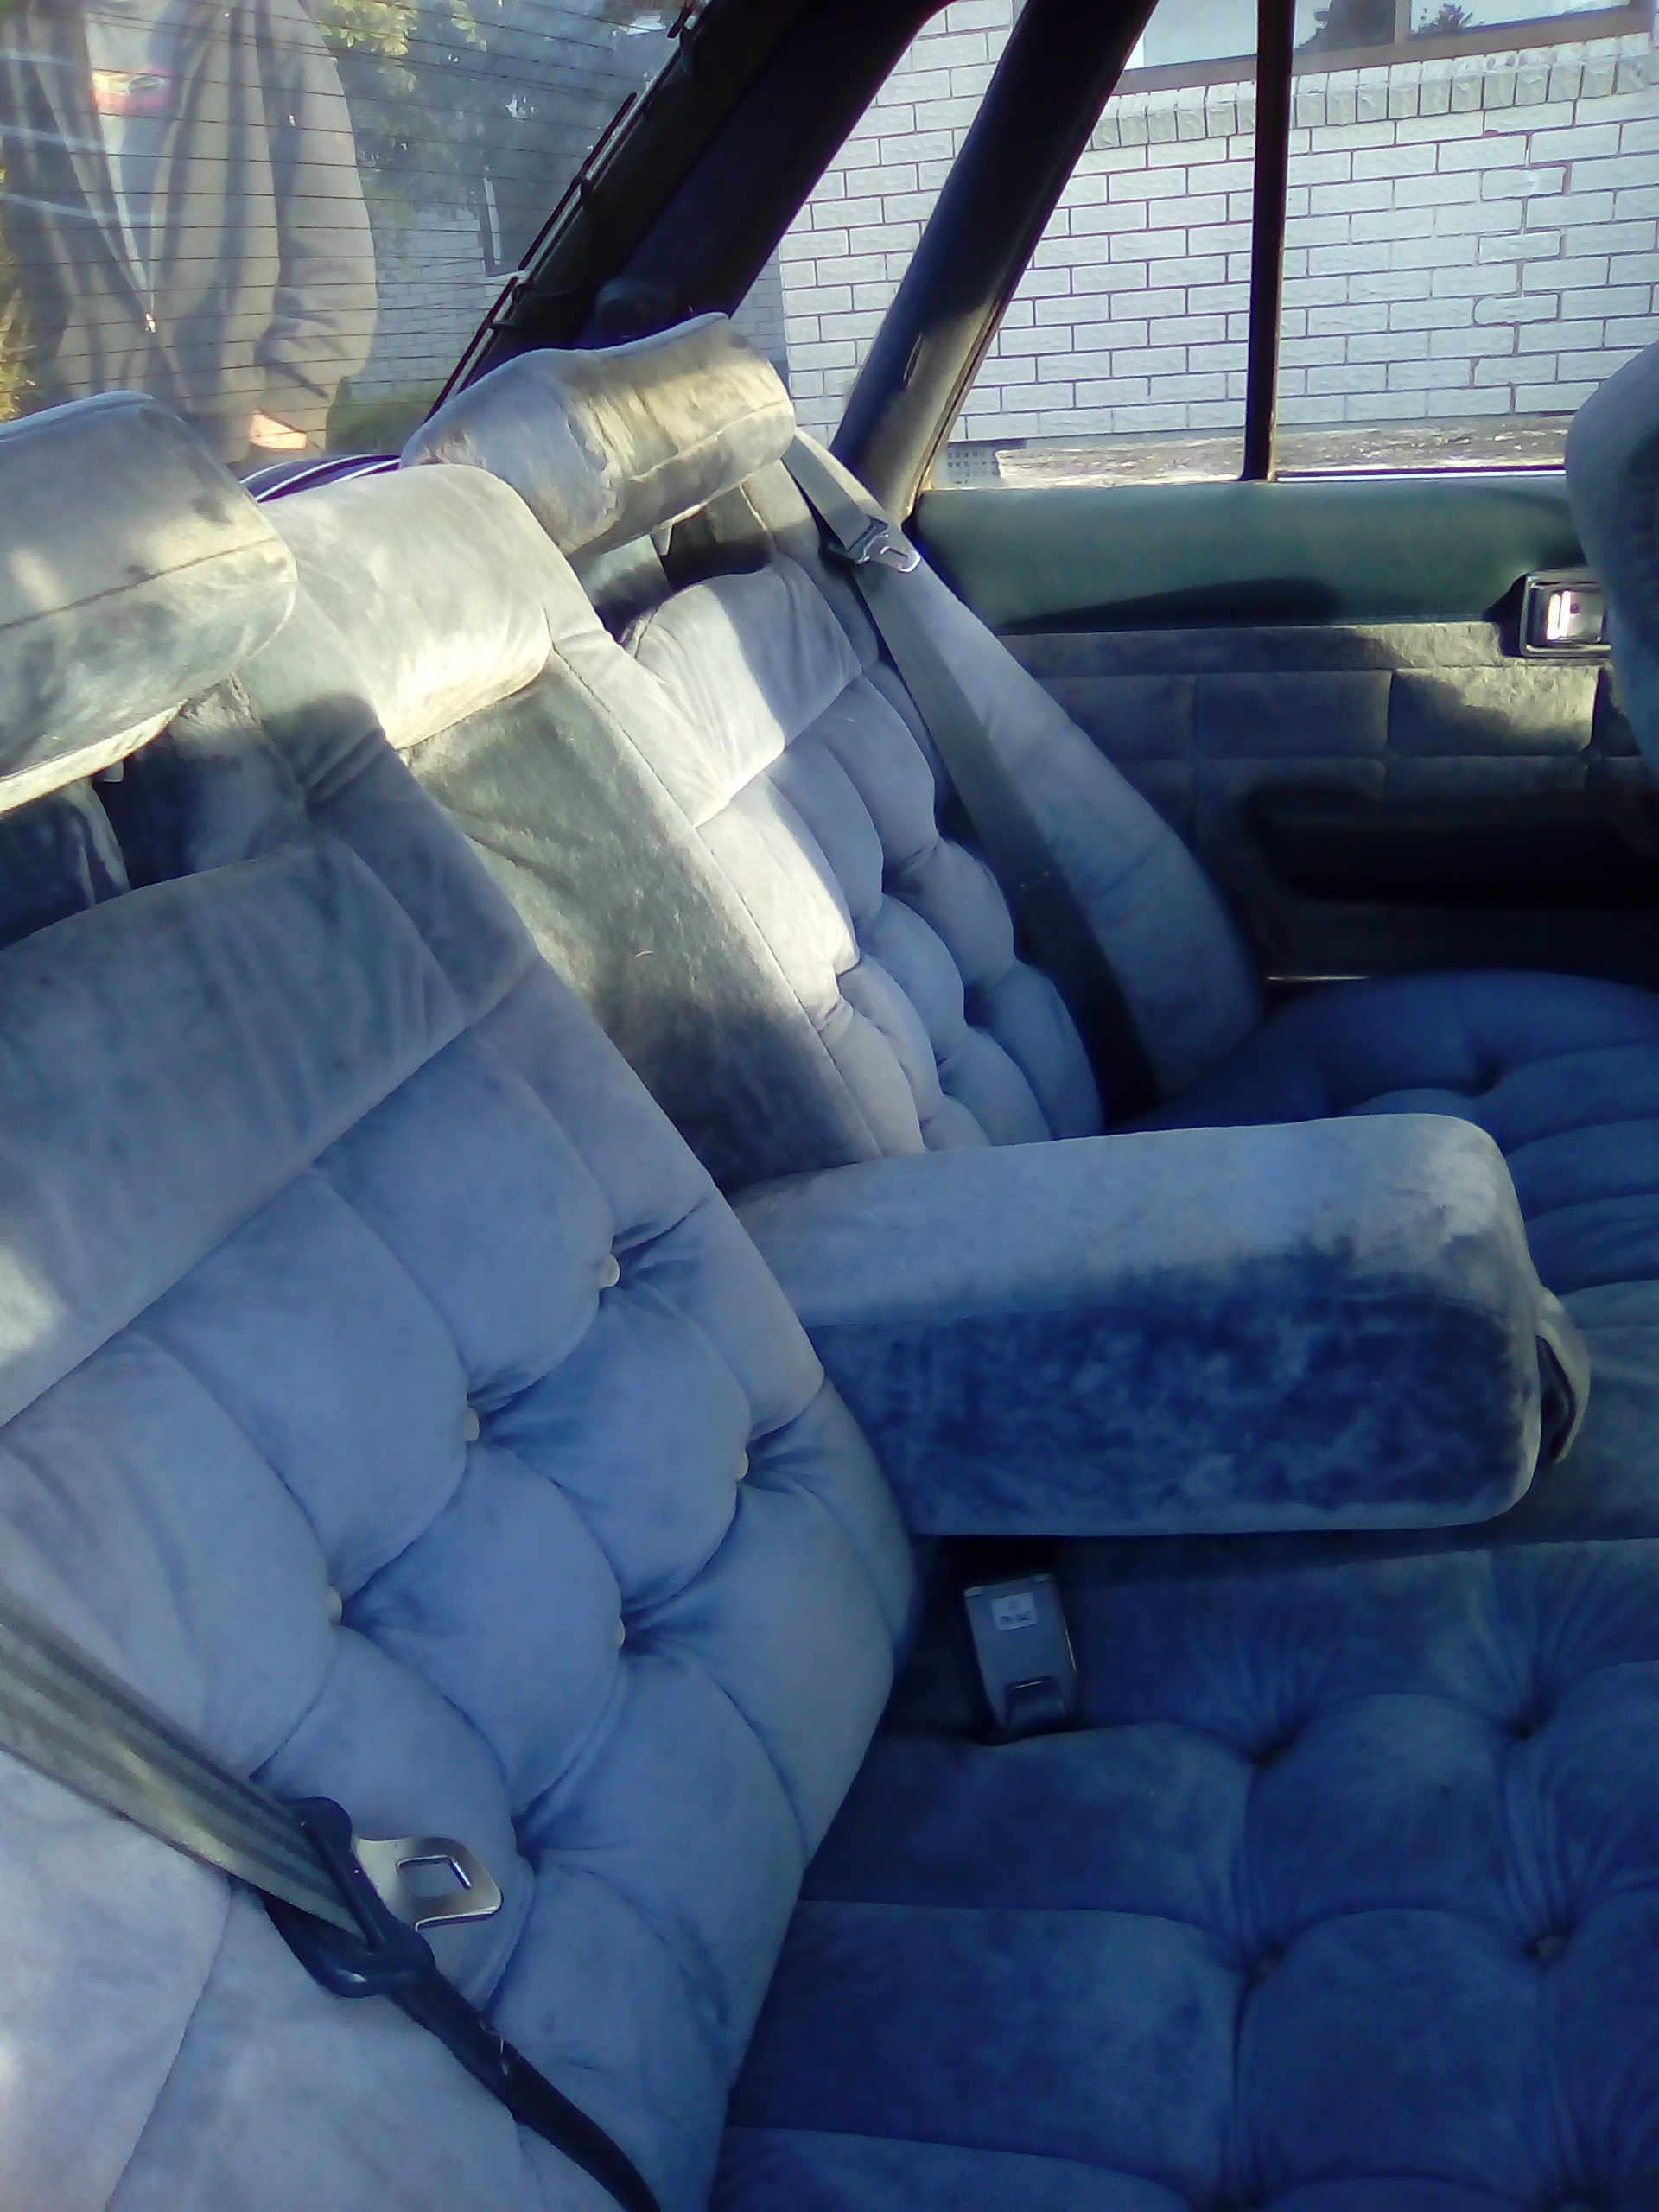
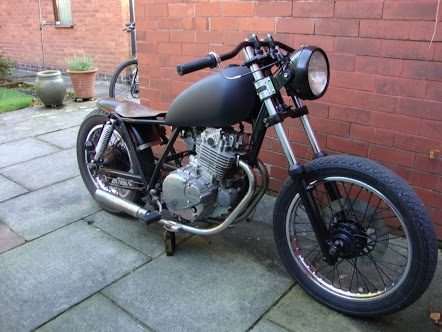
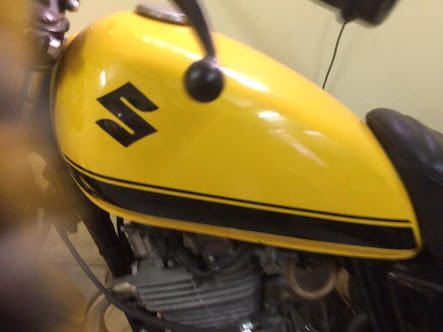
Thought i would stick some pics up for insperation and so everyone knows what im going for also taking suggestions for colour scheme - currently think yellow and black as per the last pic. Cheers guys
2 points
-
I noticed that I was starting to wear a groove in the negative battery post by disconnecting and re-connecting the battery. I don't trust the 54 year old electrical system in the car so I always disconnect the battery when I park the car in the garage. I have decided to install a battery isolation switch and I would like to be able to operate it remotely (without opening the bonnet) to make it slightly more convenient for regular driving. I had this switch kicking around so it will do, pretty sure it is a marine switch for a boat but it has a very high current rating so should be perfect for the Valiant. The first thing you want to do when modifying a switch like this for remote operation with a push / pull style rod is to make things way more technical than they probably need to be. I cut a leaver out of a piece of fiberglass sheet that I had left over from another project and glued to to the switch knob with some hard core marine epoxy. Next I made a bracket to mount it all in the car. I had a nice piece of angle that looked like it would do the job but it wasn't quite big enough so I got brave and broke out the little arc welder. I don't weld very often so I am always stoked when I successfully stick bits of metal together. And here it is all ready to go in the car. There is room to mount the switch below the battery tray out of sight and I plan to operate the push / pull rod through the grille removing the need to open the bonnet every time I drive it. Should be way more convenient and will stop me from destroying the battery terminal posts.2 points
-
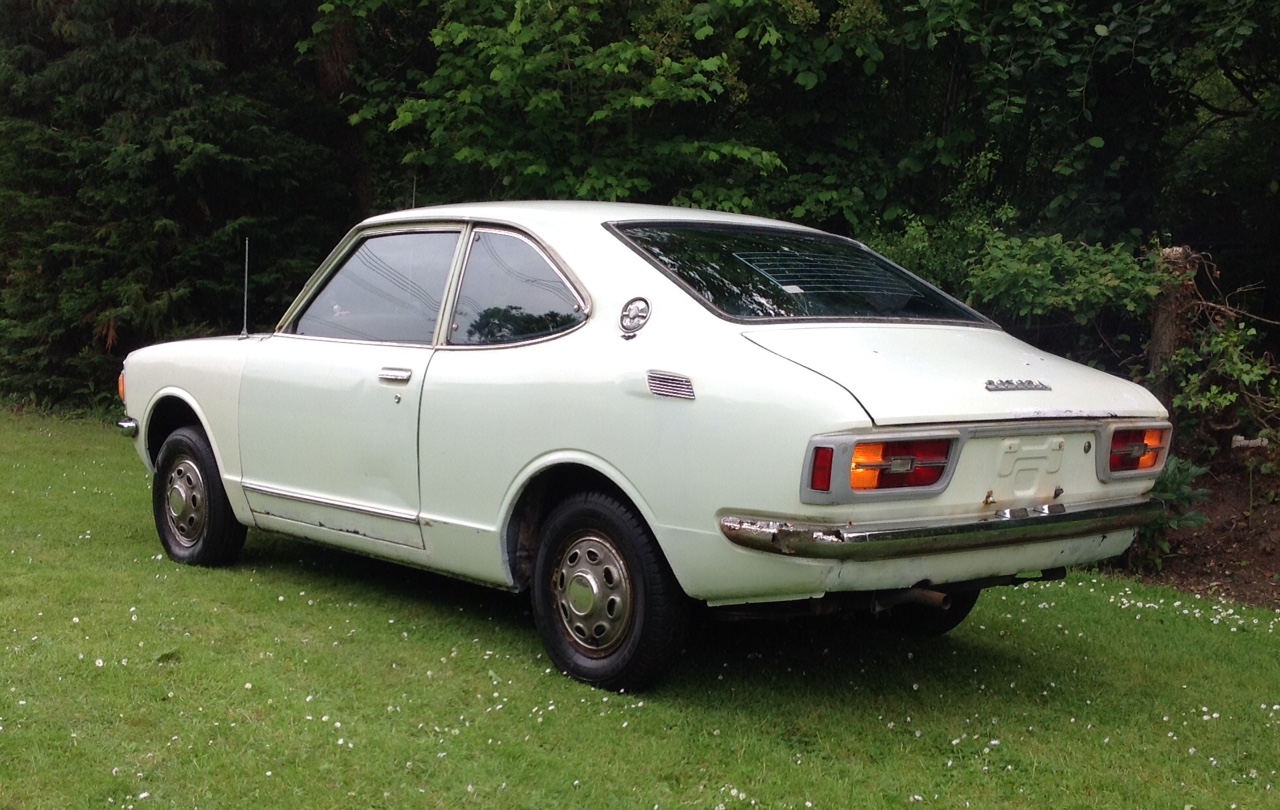
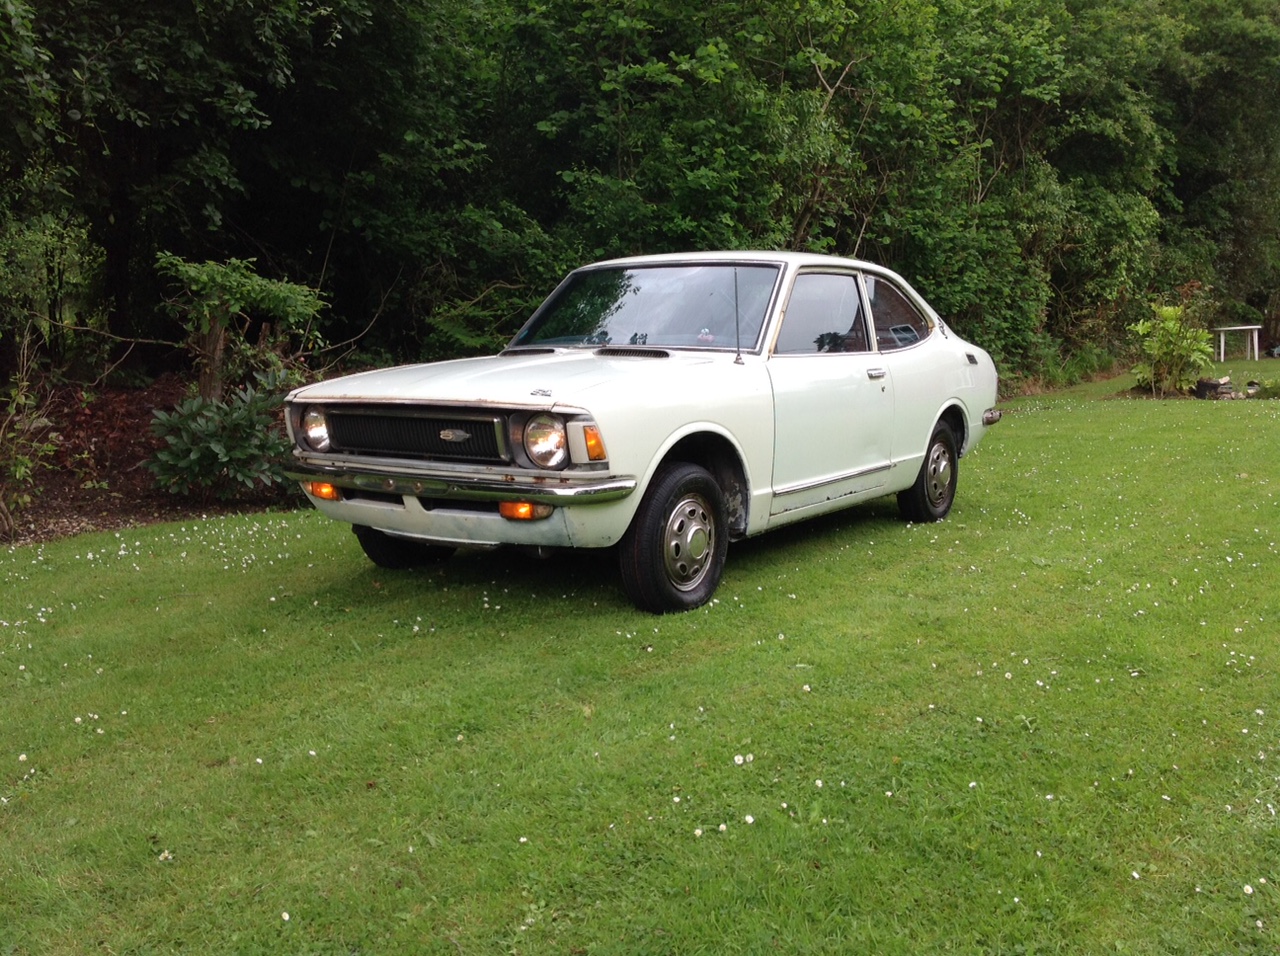
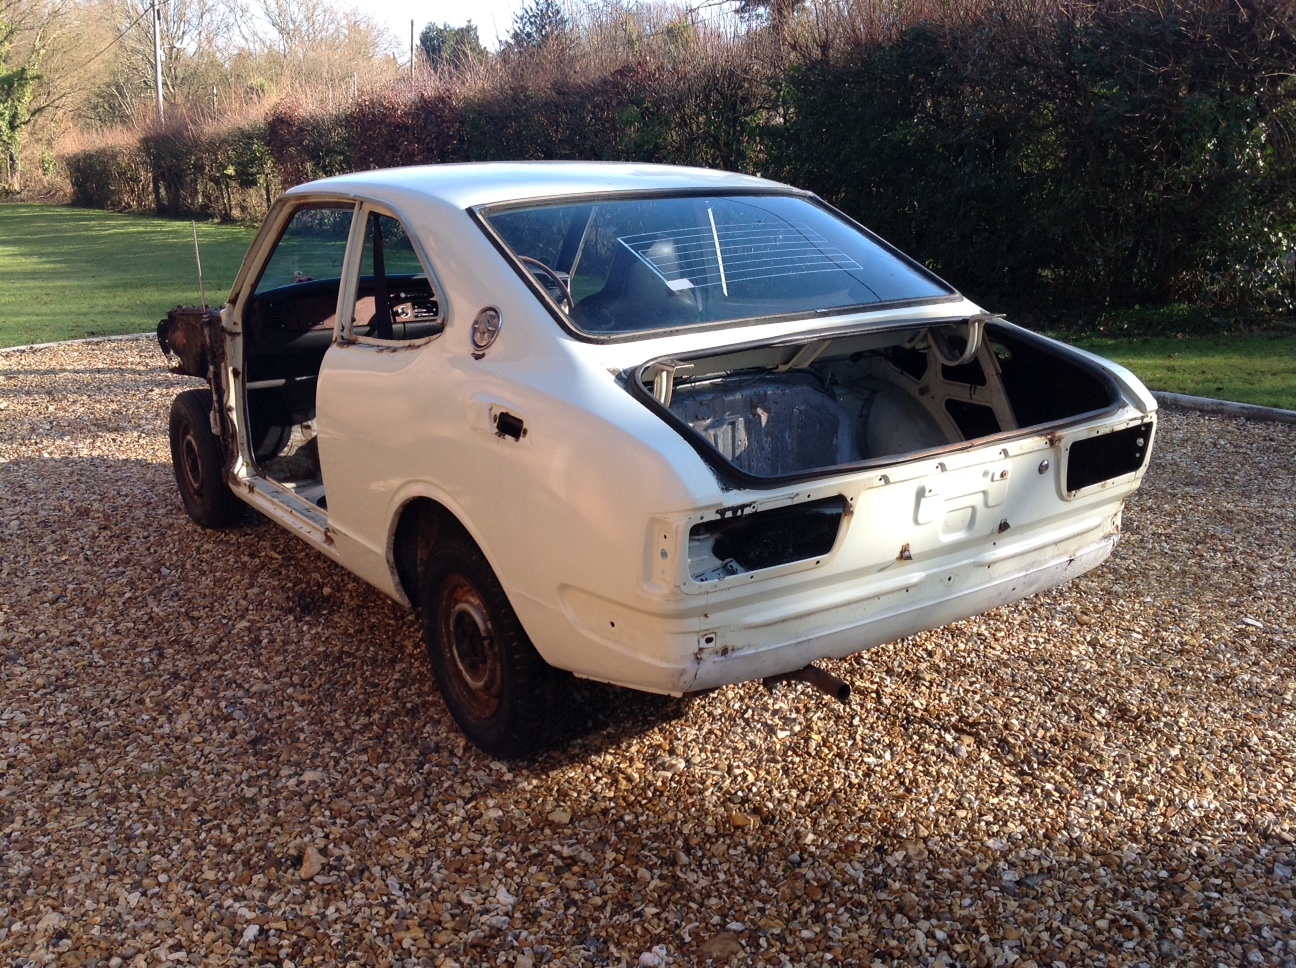
Hi to all im new on here and have the privlidge to start a project on a 1972 Ke25 Corolla im at the early stages at the moment just stripped the car down complete and had it sand blasted the plan is to fully upgrade to a Te27 all bodystyling, so will the help of you profesionals on here.
2 points
-
the good.the bad.the gun spat here on the left rear fender.so I stuck heaps of paint over it so I can hopefully polish it out so it sagged here.and when painting inside the air vent I made this mess, looks like I'll be learning to wet sand paint now!All in all I'm pretty stoked and glad it's over, heaps of runs and spots of over spray and areas of orange peel etc..but not bad for a noob in shed in west auckland.looking forward to assembly.2 points
-
The bike is pretty much ready for stripping down and painting now, just have to finalise a couple more details
2 points
-
Just find a cr500 motor, lkike they just lay around , should move you around just fine a i reckon.2 points
-
Made some brackets to mount the valves. For some reason the holes ended up too far out so had to slot them a little. They're held in with countersunk screws so it's all still flush underneath (not that anyone will be able to see underneath anyway haha). Played around a bit with the location for a while and decided this was the best. Wasn't really enough room for the compressor to fit in between. Will mount a compressor on each side of the bed, just above the exhaust area. Back to fitting and fixing the rust in the dash now. Cut out the good/un-butchered section of the dash that some idiot tried fitting a commodore cluster in. Glad to finally throw this shit out! Pic for motivation2 points
-
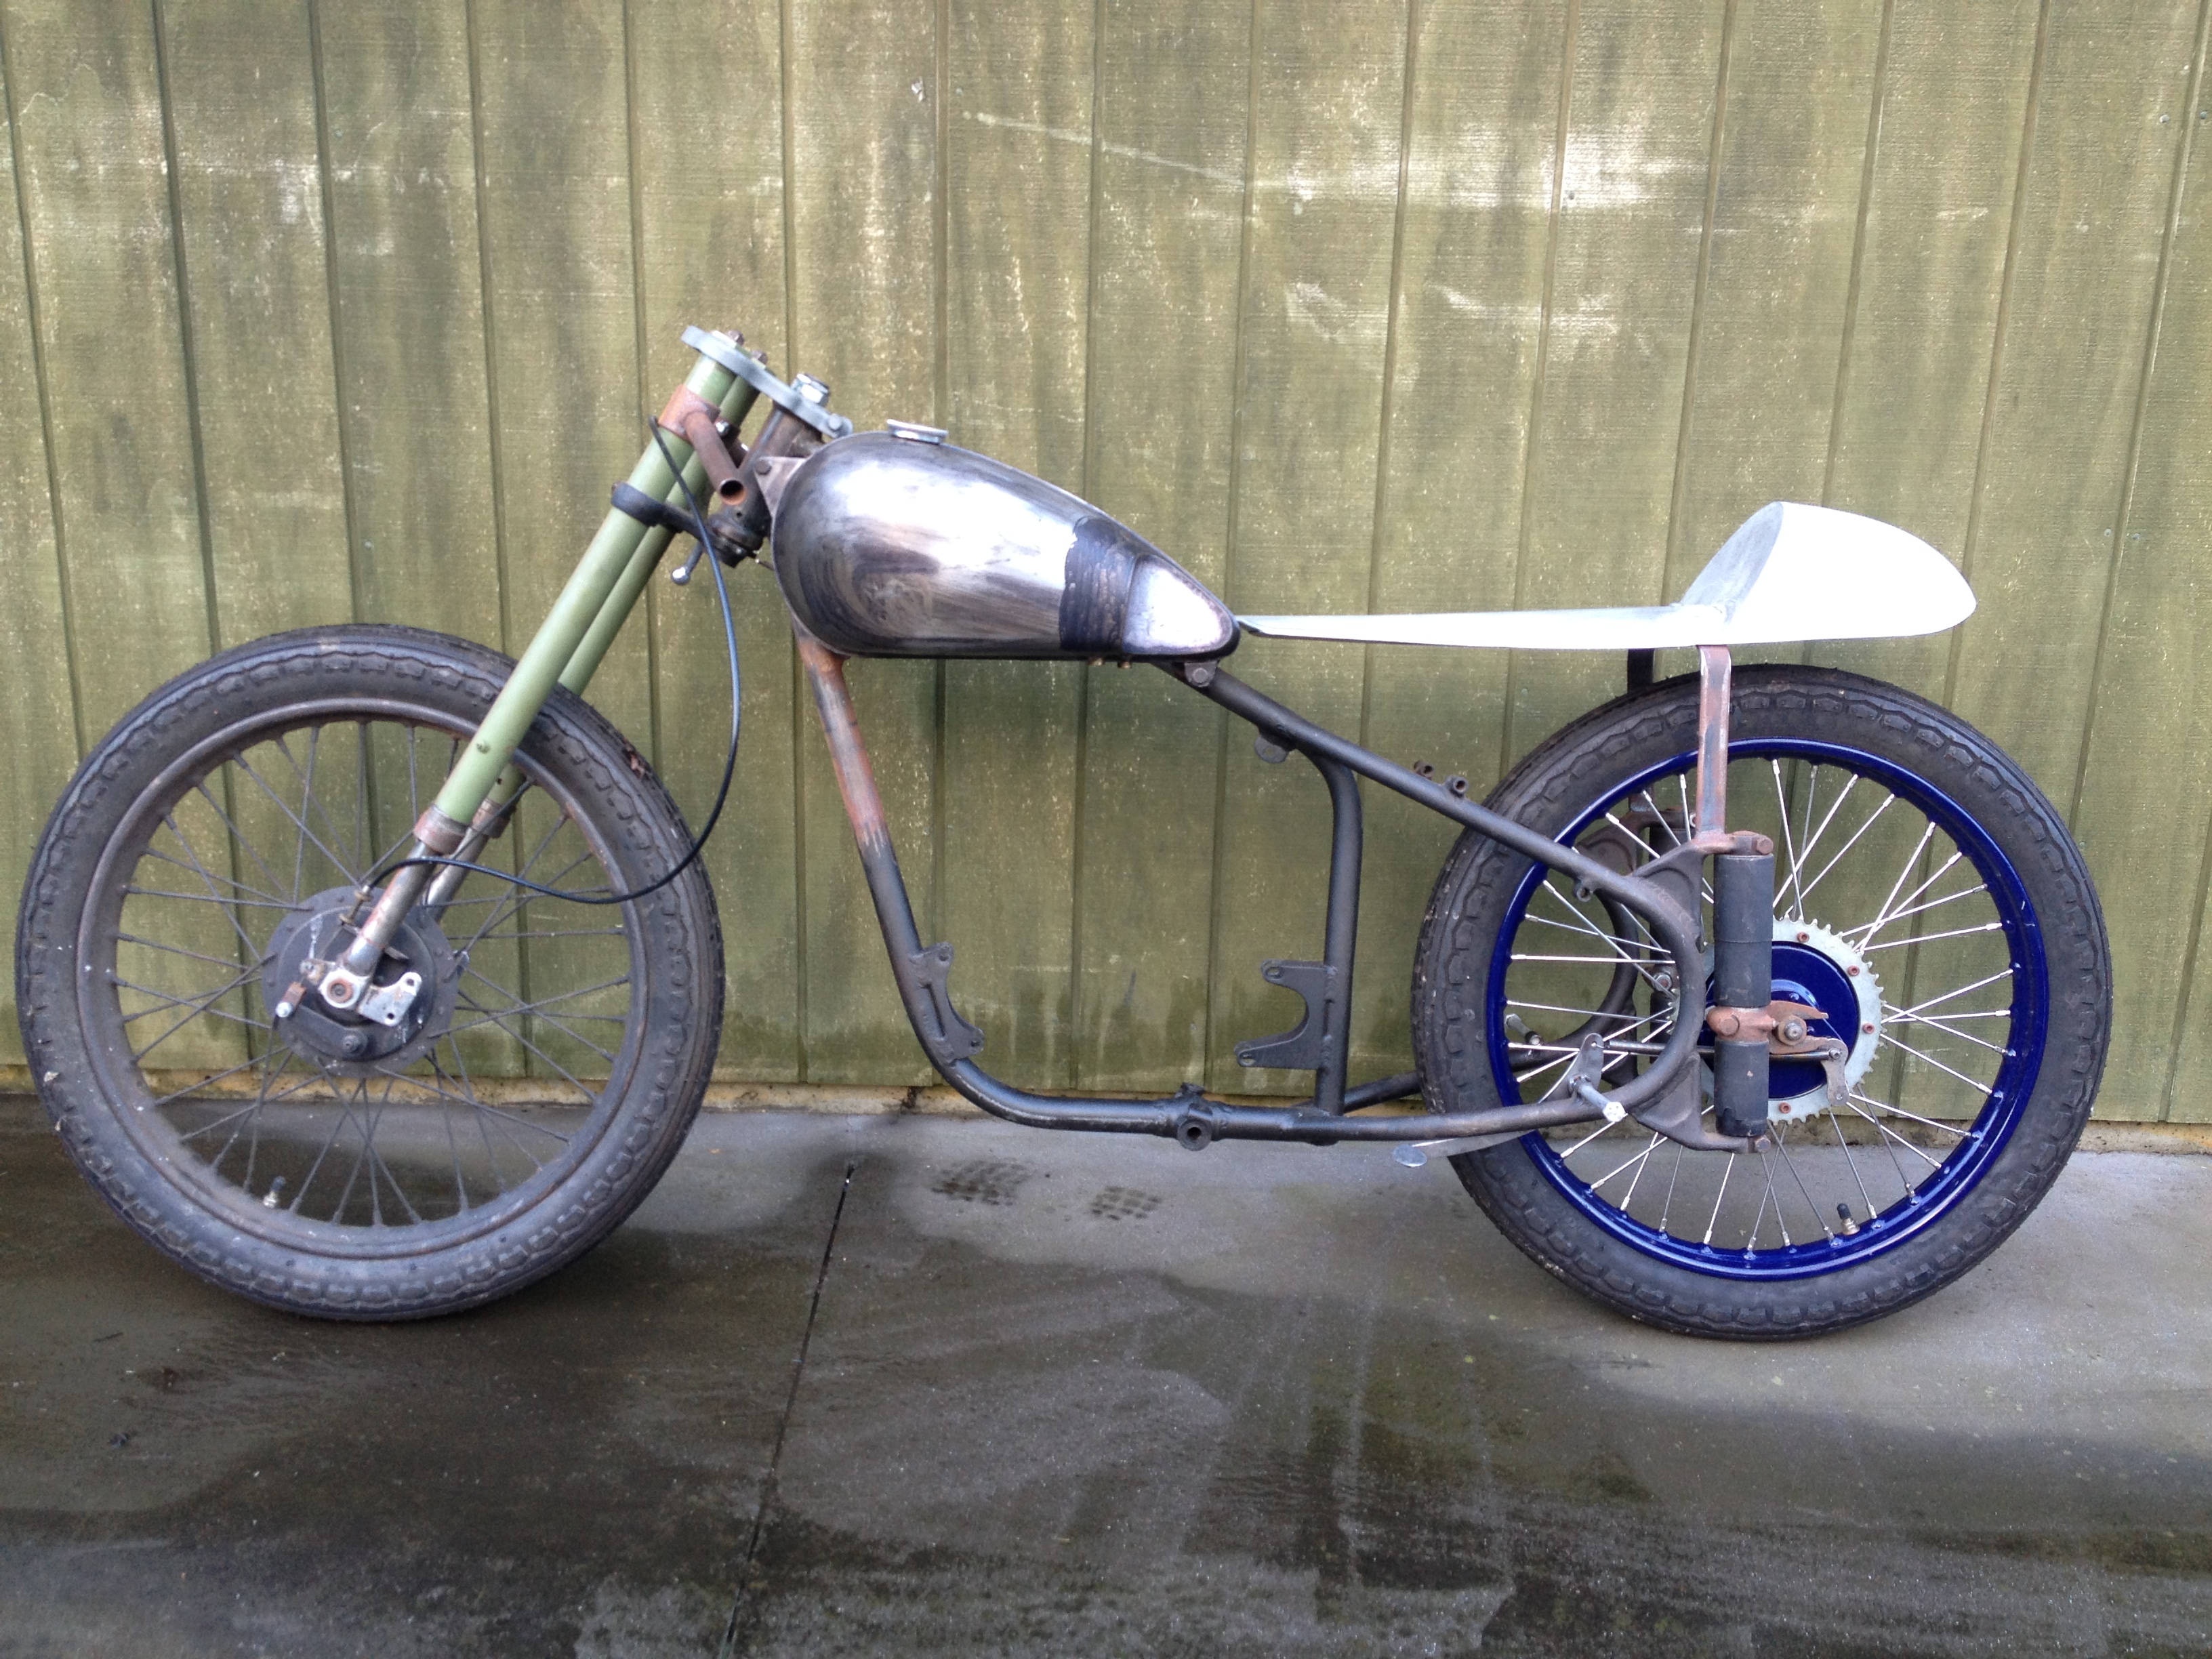
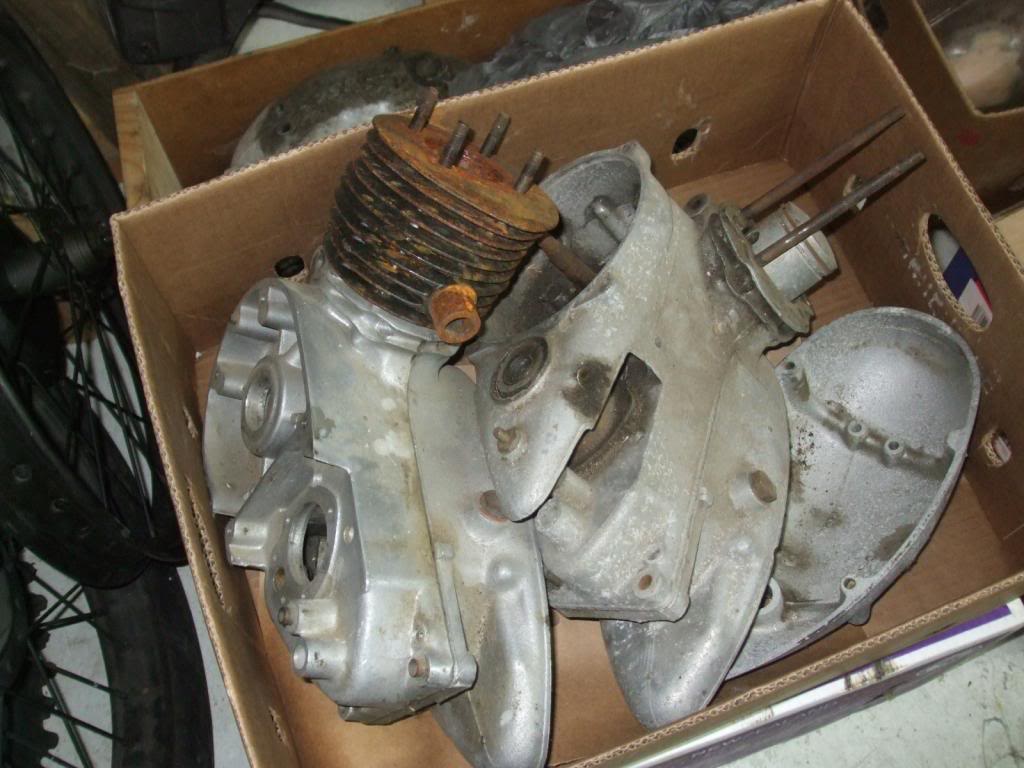
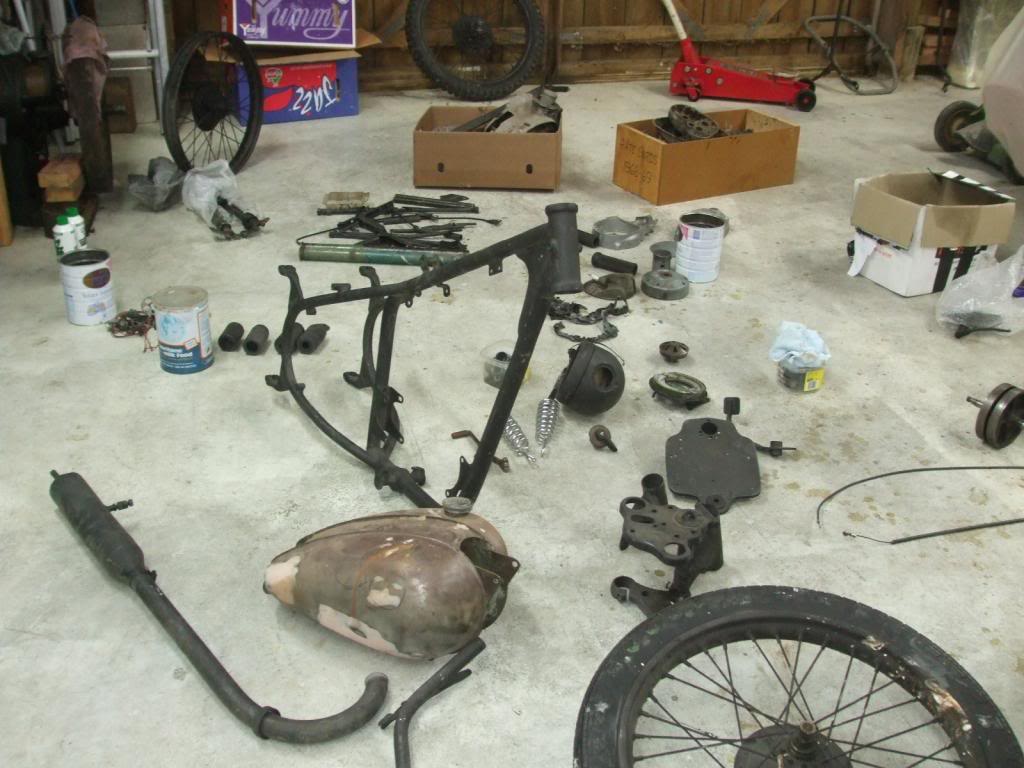
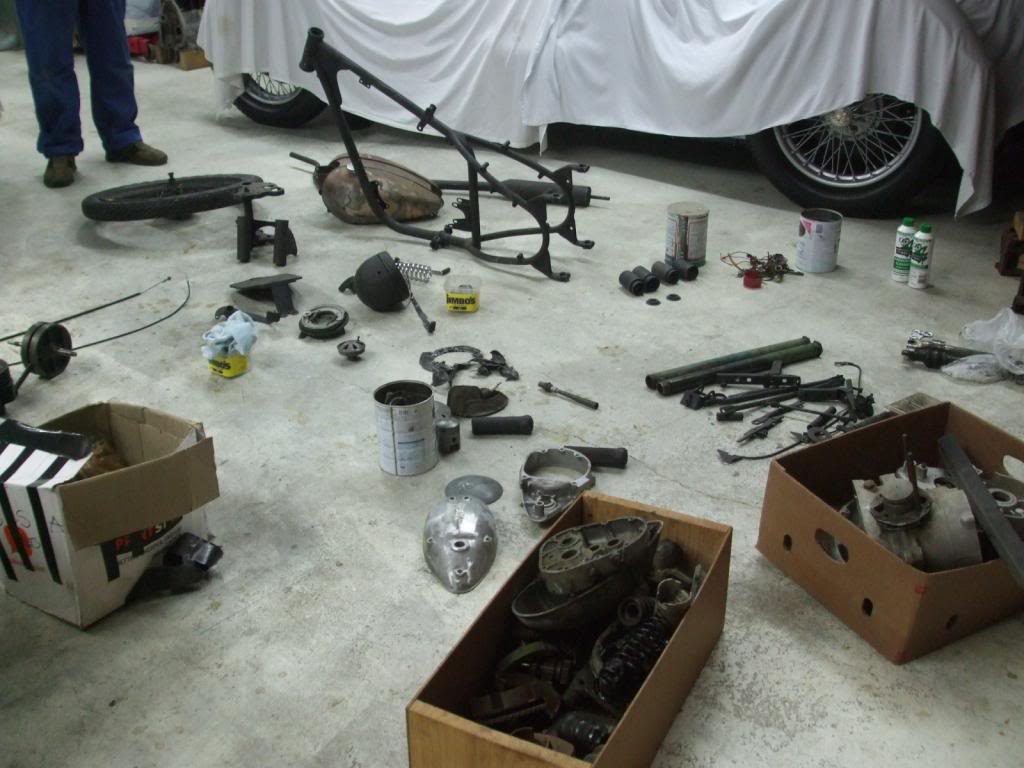
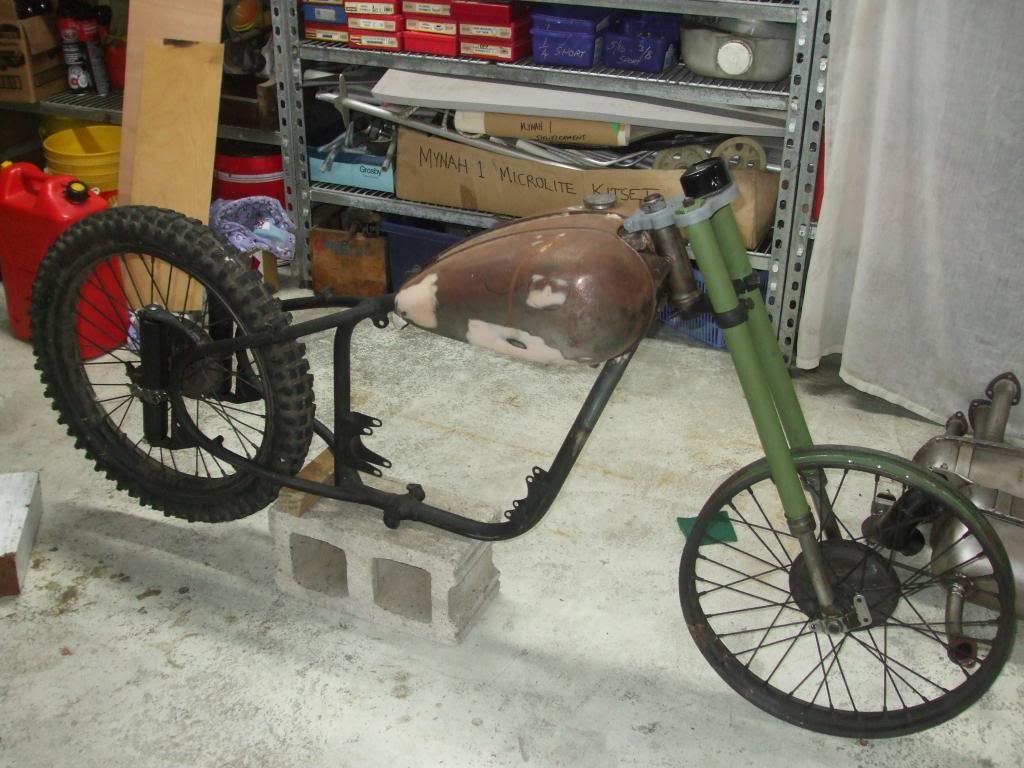
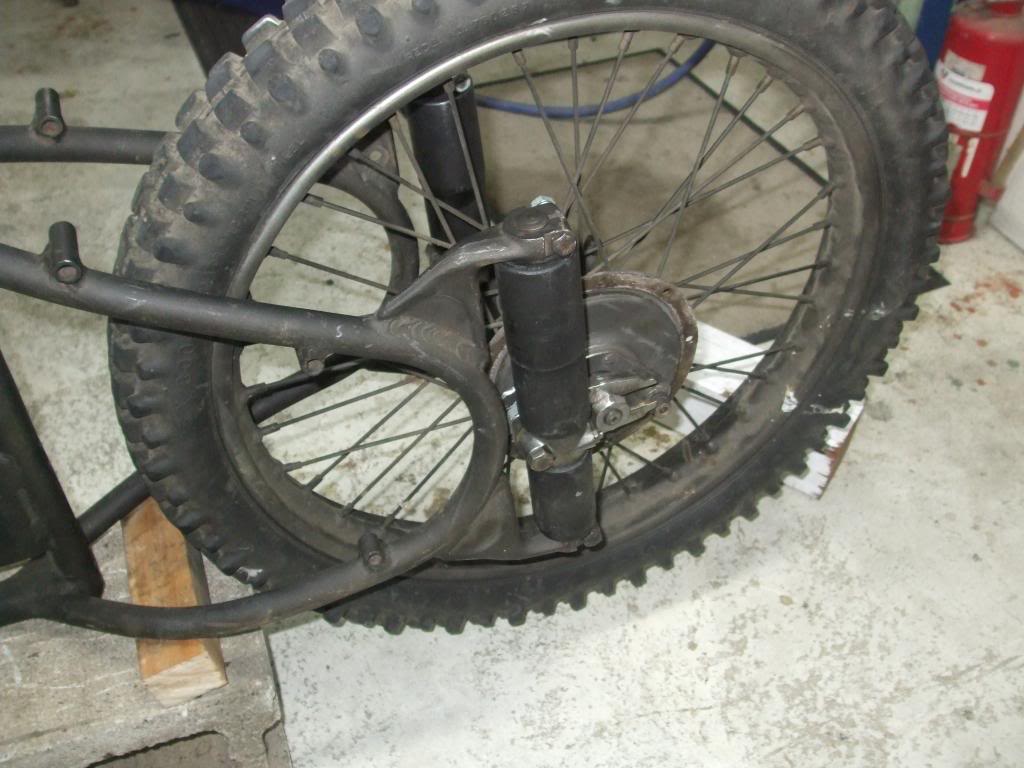
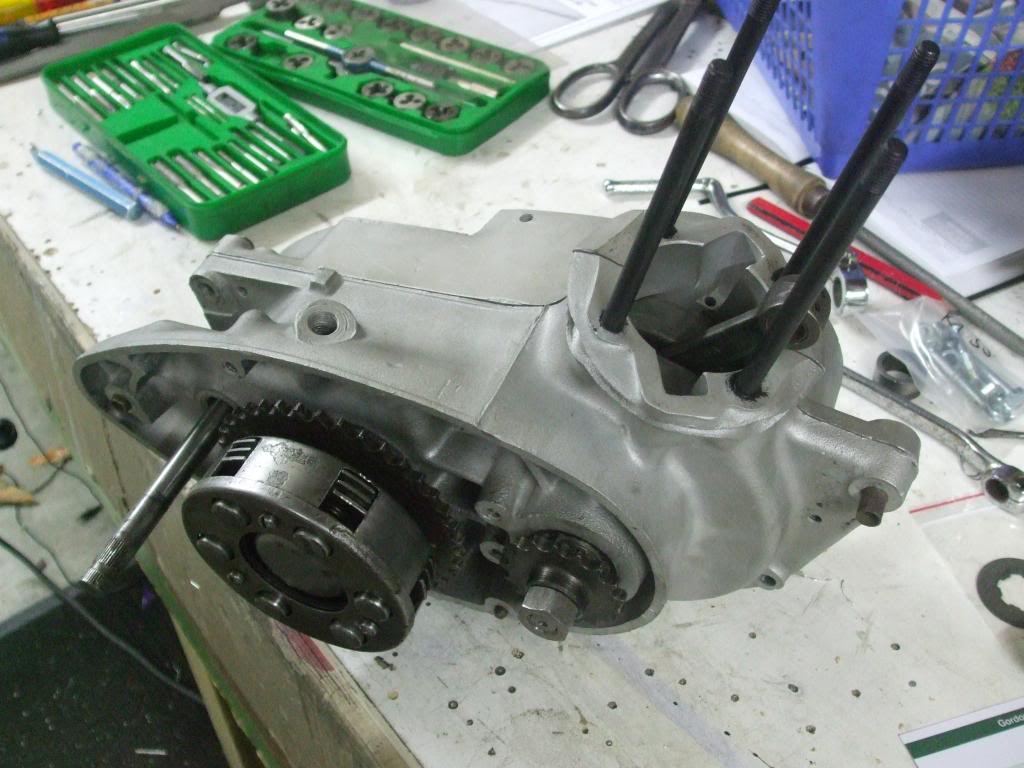
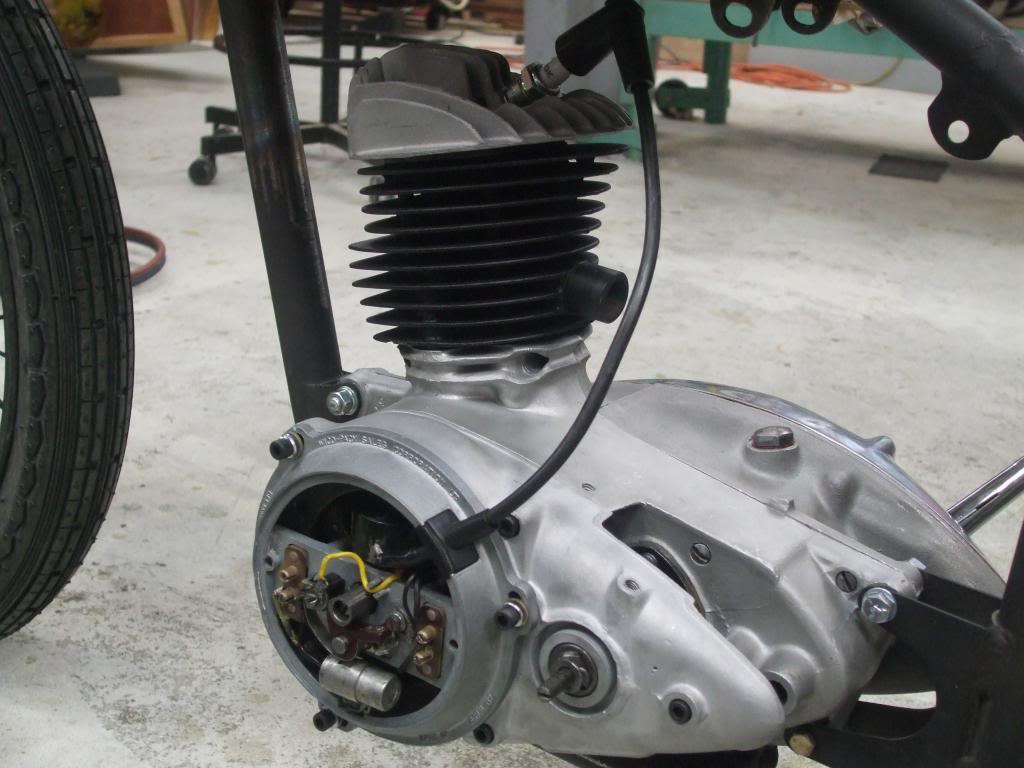
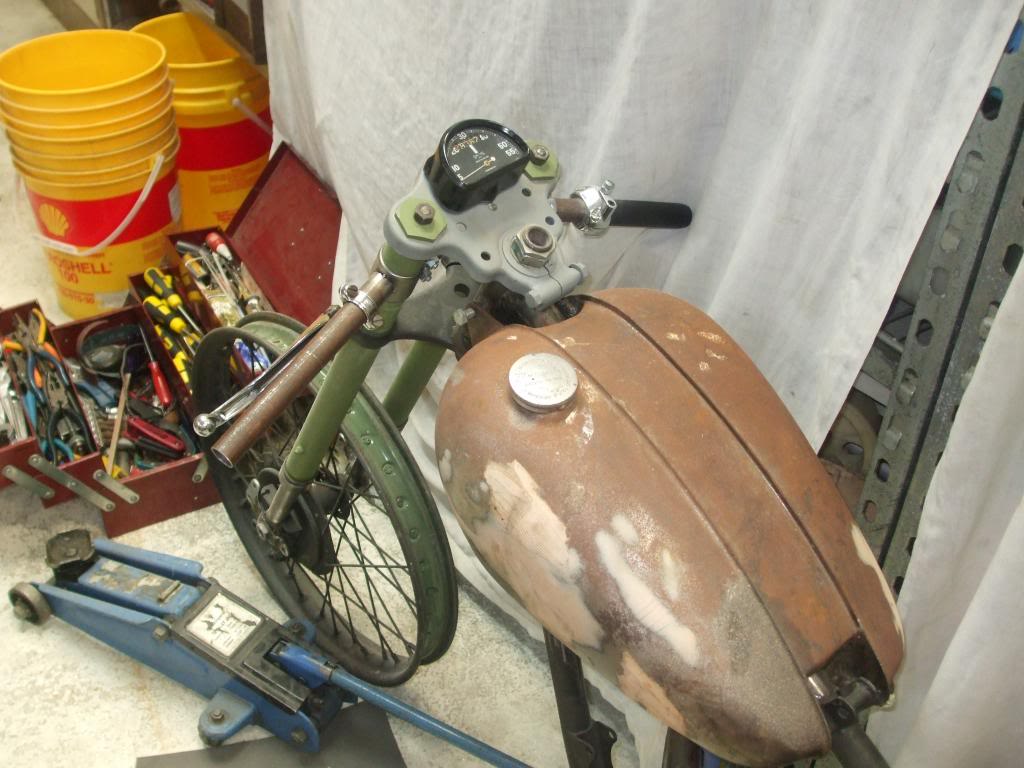
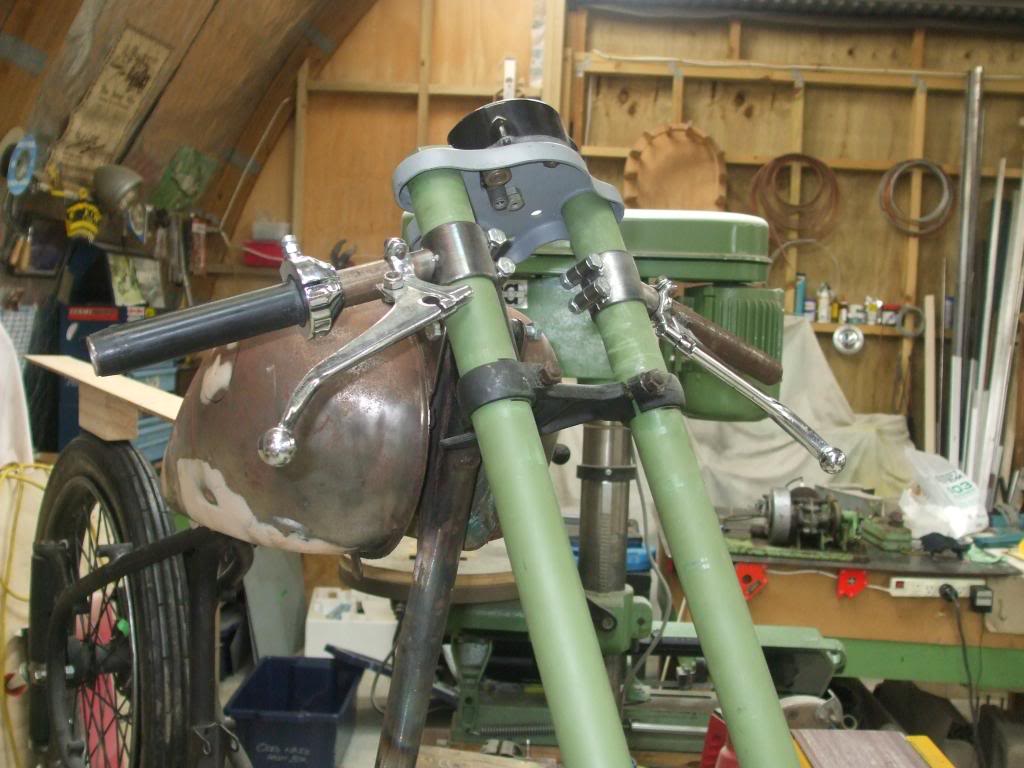
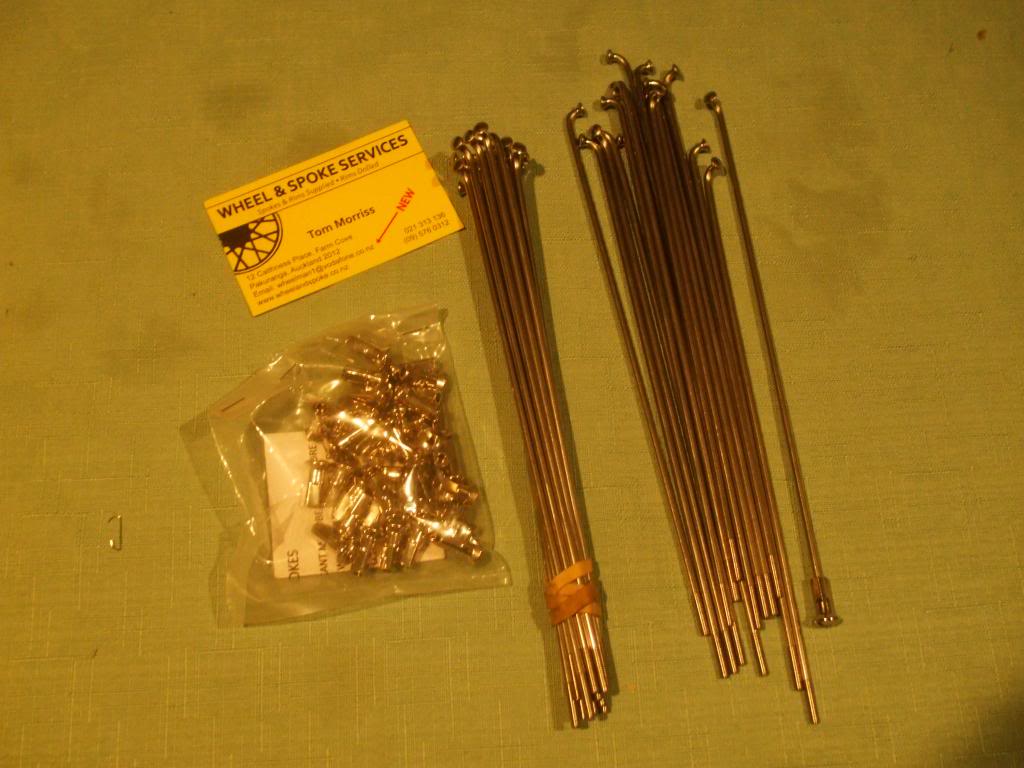
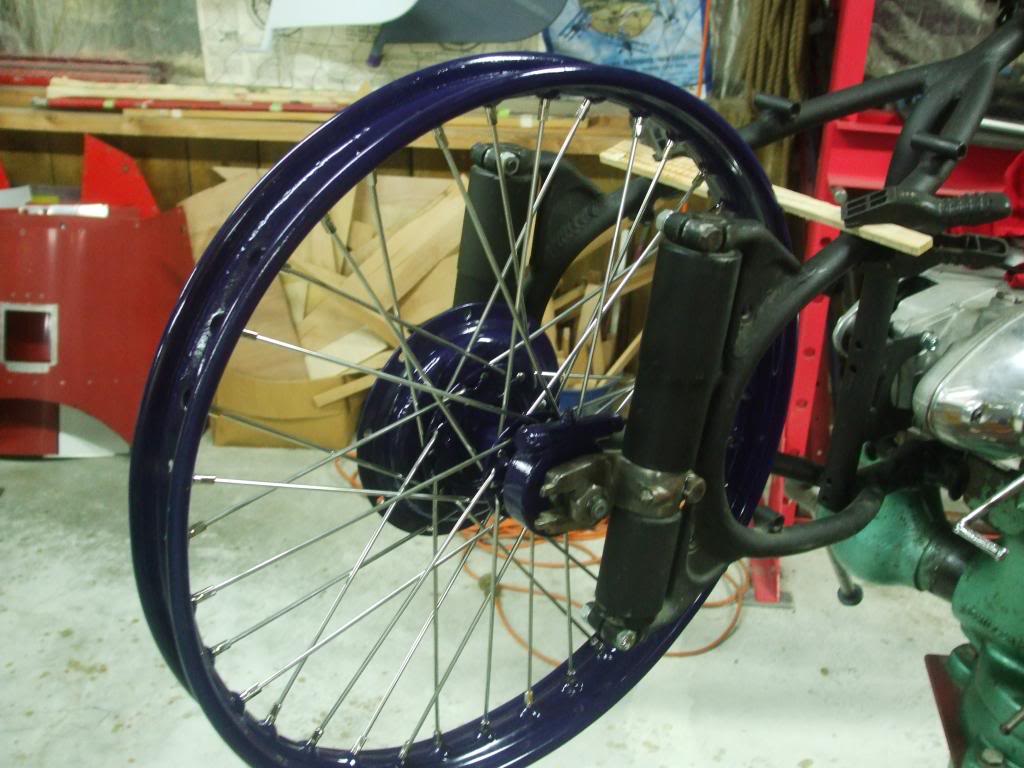
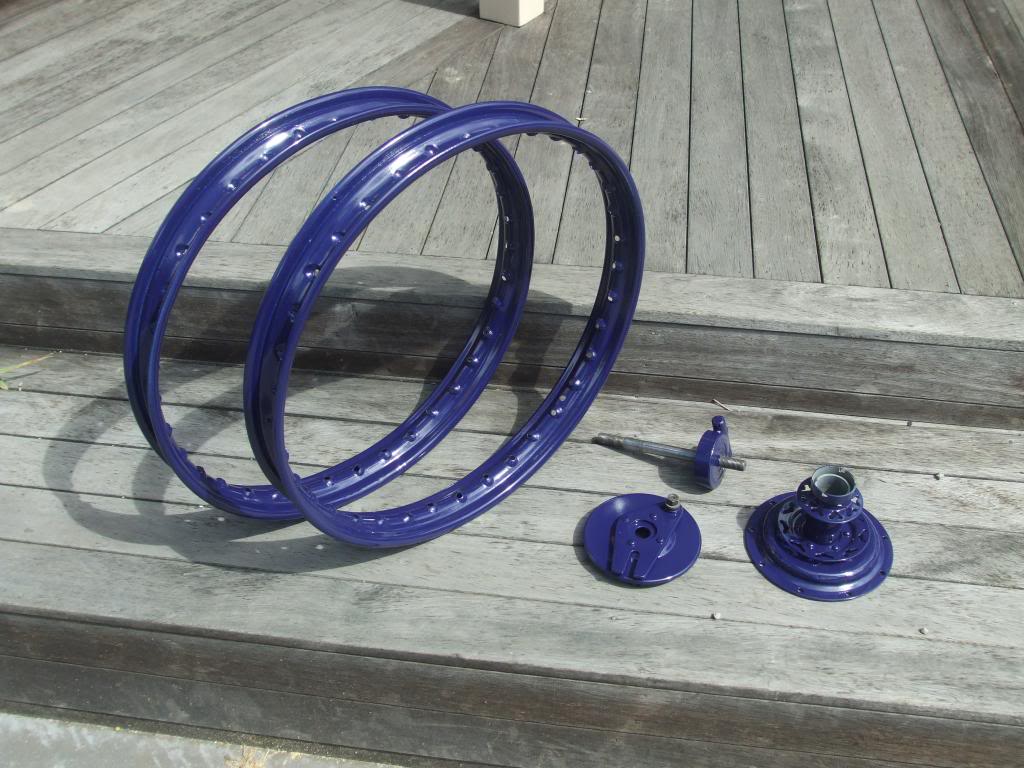
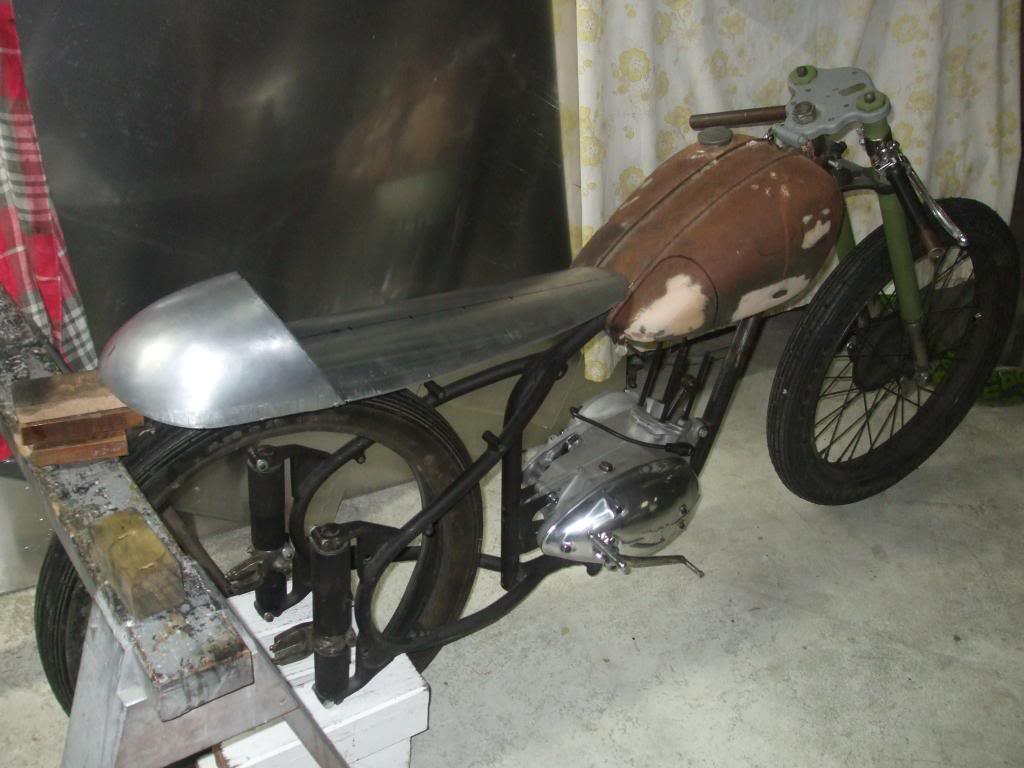
This is a project i have had on the go for quite a while now, it always seems to get put aside when other projects come up but i am determined to have it finished this year, Famous last words haha. I wanted something a bit different from the standard bantam and seeing as the project was a basket case i didn't feel bad about making something different out of it, so racer it was! Anyway here is a pic as it stands today I got given a basket case bantam project in 2013, i did a fair bit of work to the bike 2013-14 and most of the pictures following are from that period The project.... Frame with reassembled forks and rear suspension I got the engine cleaned up and back together with new seals, bearings, clutch pates, sprockets and gaskets I had the engine running at this point but i have since fitted a big fin 125cc barrel and head which i had bored to fit a new piston. BSA only made the big fin 125 for 1 year before going to the 150cc motor so i was quite lucky to get it, pic below is the small fin barrel Next job was making up some clip on bars Tacked on found some levers at a swapmeet as the original bantam ones are part of the handlebars At this point i decided on a colour, Ceramco blue so got some bits painted up And Tom Morris made me some stainless spokes for the rear Rear wheel laced up
1 point
-
I swear by the moon and the stars in the sky And I swear like the shadow that's by your side I see the questions in your eyes I know what's weighing on your mind You can be sure I know my part 'cause I stand beside you through the years You'll only cry those happy tears And though I make mistakes I'll never break your heart And I swear by the moon and the stars in the sky I'll be there I swear like the shadow that's by your side I'll be there For better or worse till death do us part I'll love you with every beat of my heart And I swear I'll give you every thing I can I'll build your dreams with these two hands We'll hang some memories on the walls And when (and when) just the two of us are there You won't have to ask if I still care 'cause as the time turns the page My love won't age at all And I swear (I swear) by the moon and the stars in the sky I'll be there (I'll be there) I swear (and I swear) like the shadow that's by your side I'll be there (I'll be there) For better or worse till death do us part I'll love you with every beat of my heart And I swear And I swear (I swear) by the moon and the stars in the sky I'll be there (I'll be there) I swear (and I swear) like the shadow that's by your side I'll be there (I'll be there) For better or worse (better or worse) till death do us part I'll love you with every single beat of my heart I swear I swear I swear1 point
-
I am using standard Holden rubber mounts. There is more clearance than the photo shows, there is about 10mm to the lip where the 2 halves of the subframe are joined together. I will be cutting that back when the engine comes out. Fingers crossed that the motor doesn't move that much.1 point
-
Ben is still mint mate had been well looked after apart from the young guy I got it from done a dodgy wiring job but body is still straight as an arrow getting painted gun metal gray once I get a top mount single turbo manifold and link the ecu tidy it all up she'll will be beautiful again haha1 point
-
I just can't believe how small they are in the metal ( or what's left of it lol)1 point
-
Cheers mate i know what you mean. Dont really want to copy anyone but just dont want it to look like a gn (but i guess it doesnt anymore anyway). Took a look at the side covers, could probably cut abit of the edge off to bring it in but that would mean cutting off the tabes that attach them to the bike, so would have to do something about that, but i like your idea definitely gonna look into it further. Thanks heaps1 point
-
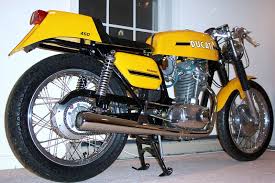
Cheers dude, i had a look, i like what they do when its has yellow with a black strip and the Ducati within the strip. Like thus ⬇️
1 point
-
Yellow is cool. Nearly went that with my cafe. Check out some Ducati 450 sport images...1 point
-
Thanks! At home it's the complete opposite actually, just a cheap non-branded single phase welder, ain't the greatest for heavier stuff. Otherwise the ones I have at work are big 3 phase Lincoln ones1 point
-
He knows quite a bit of stuff and he's a good painter but there are many things he does that I shake my head at. The finer the starting paper the less chance of rub through, so I can't see the point in the bog because you're increasing the chance of stuffing it up. But I guess after 34 years in the game there will be a few things I don't agree with lol.1 point
-
I'll try for the Sundee arvo Kempy - as long as it's not pissing down etc!1 point
-
So I got around to compression testing this thing which didn't quite go as planned. Long story short I wasn't able to get enough juice to it (via jumper leads from a running car) so it was pretty sluggish to turn over and it wasn't cranking fast enough to build decent compression (Putting my finger over an open glow plug hole was enough to slow it down haha). Would get zero on a cylinder, then try again one same cylinder and get like 200 then try again and get zero again. One take out was that all cylinders seemed to behave the same and no obvious signs of one being worse than the others. So that said have decided to commit to chucking it in and hope for the best. Watch this space.1 point
-
i had a thing we made at work to destroy pallets and it was super helpful, still had to remove every single nail by hand. cannot move back today.1 point
-
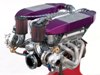
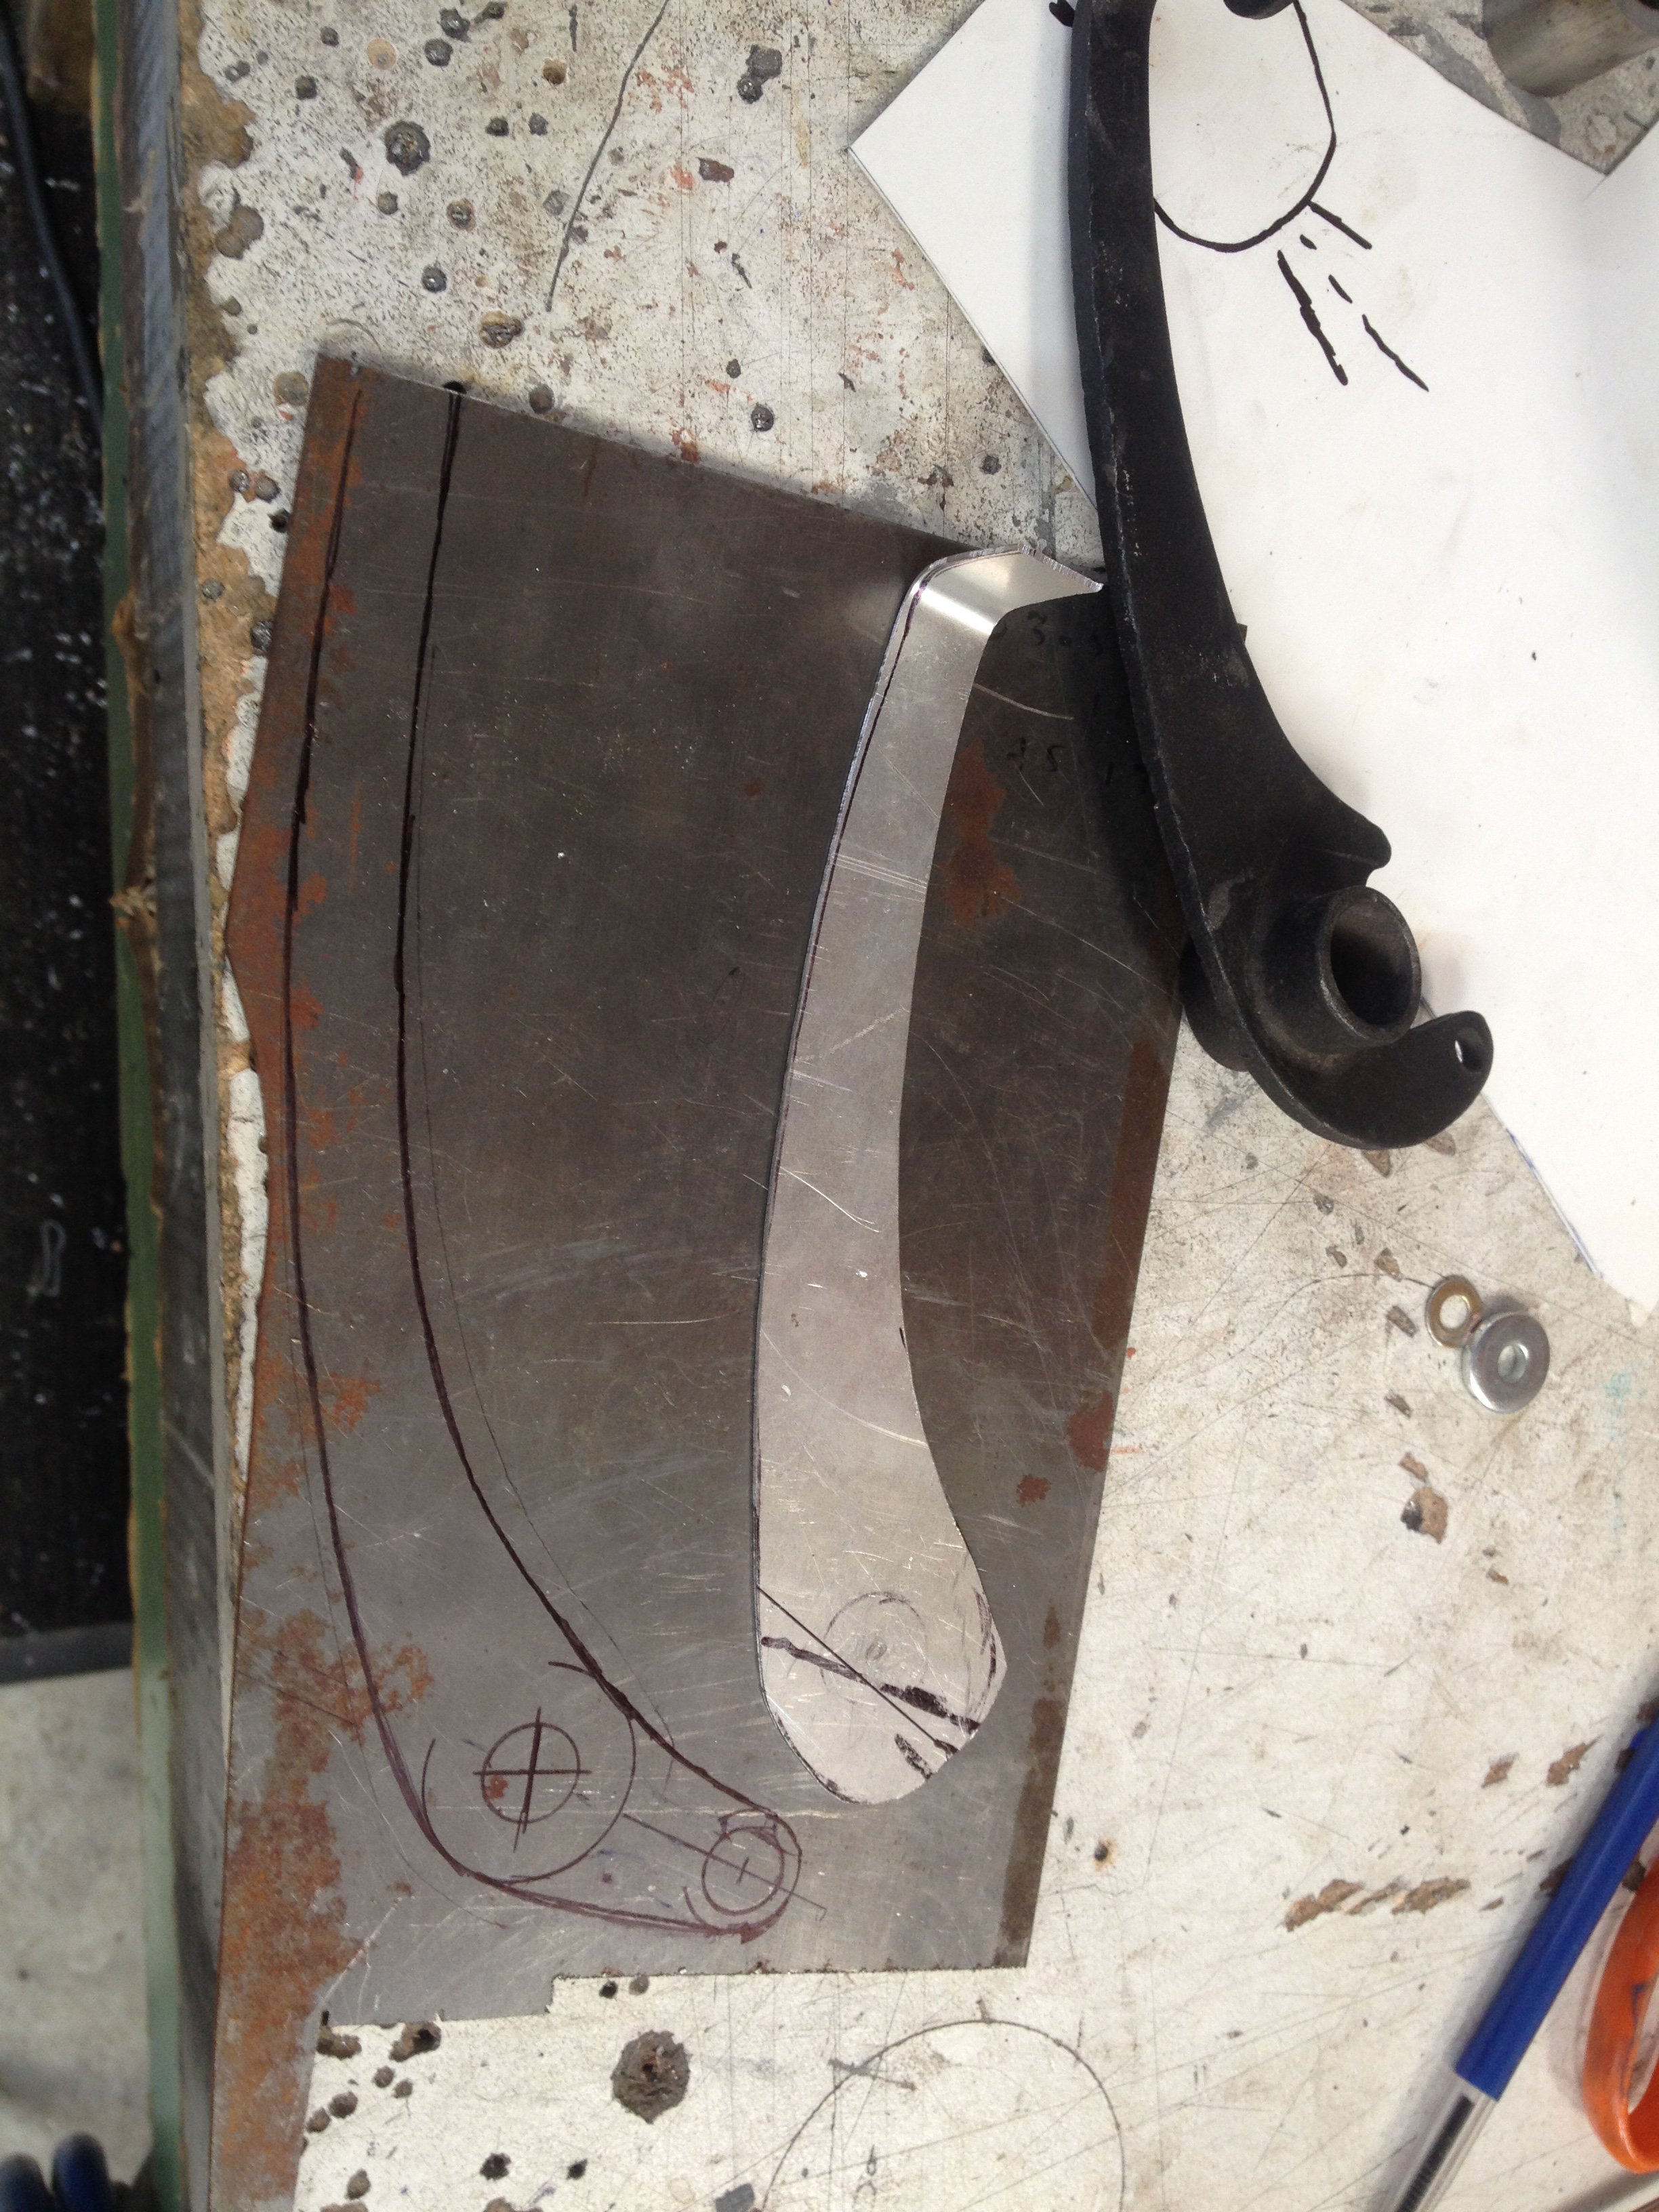
As the original bantam pegs and foot controls are in the wrong place for the new seating position i need rear style pegs and controls Making the new brake lever, 4130 sheet. Original on the right Pivot boss welded on
1 point
-
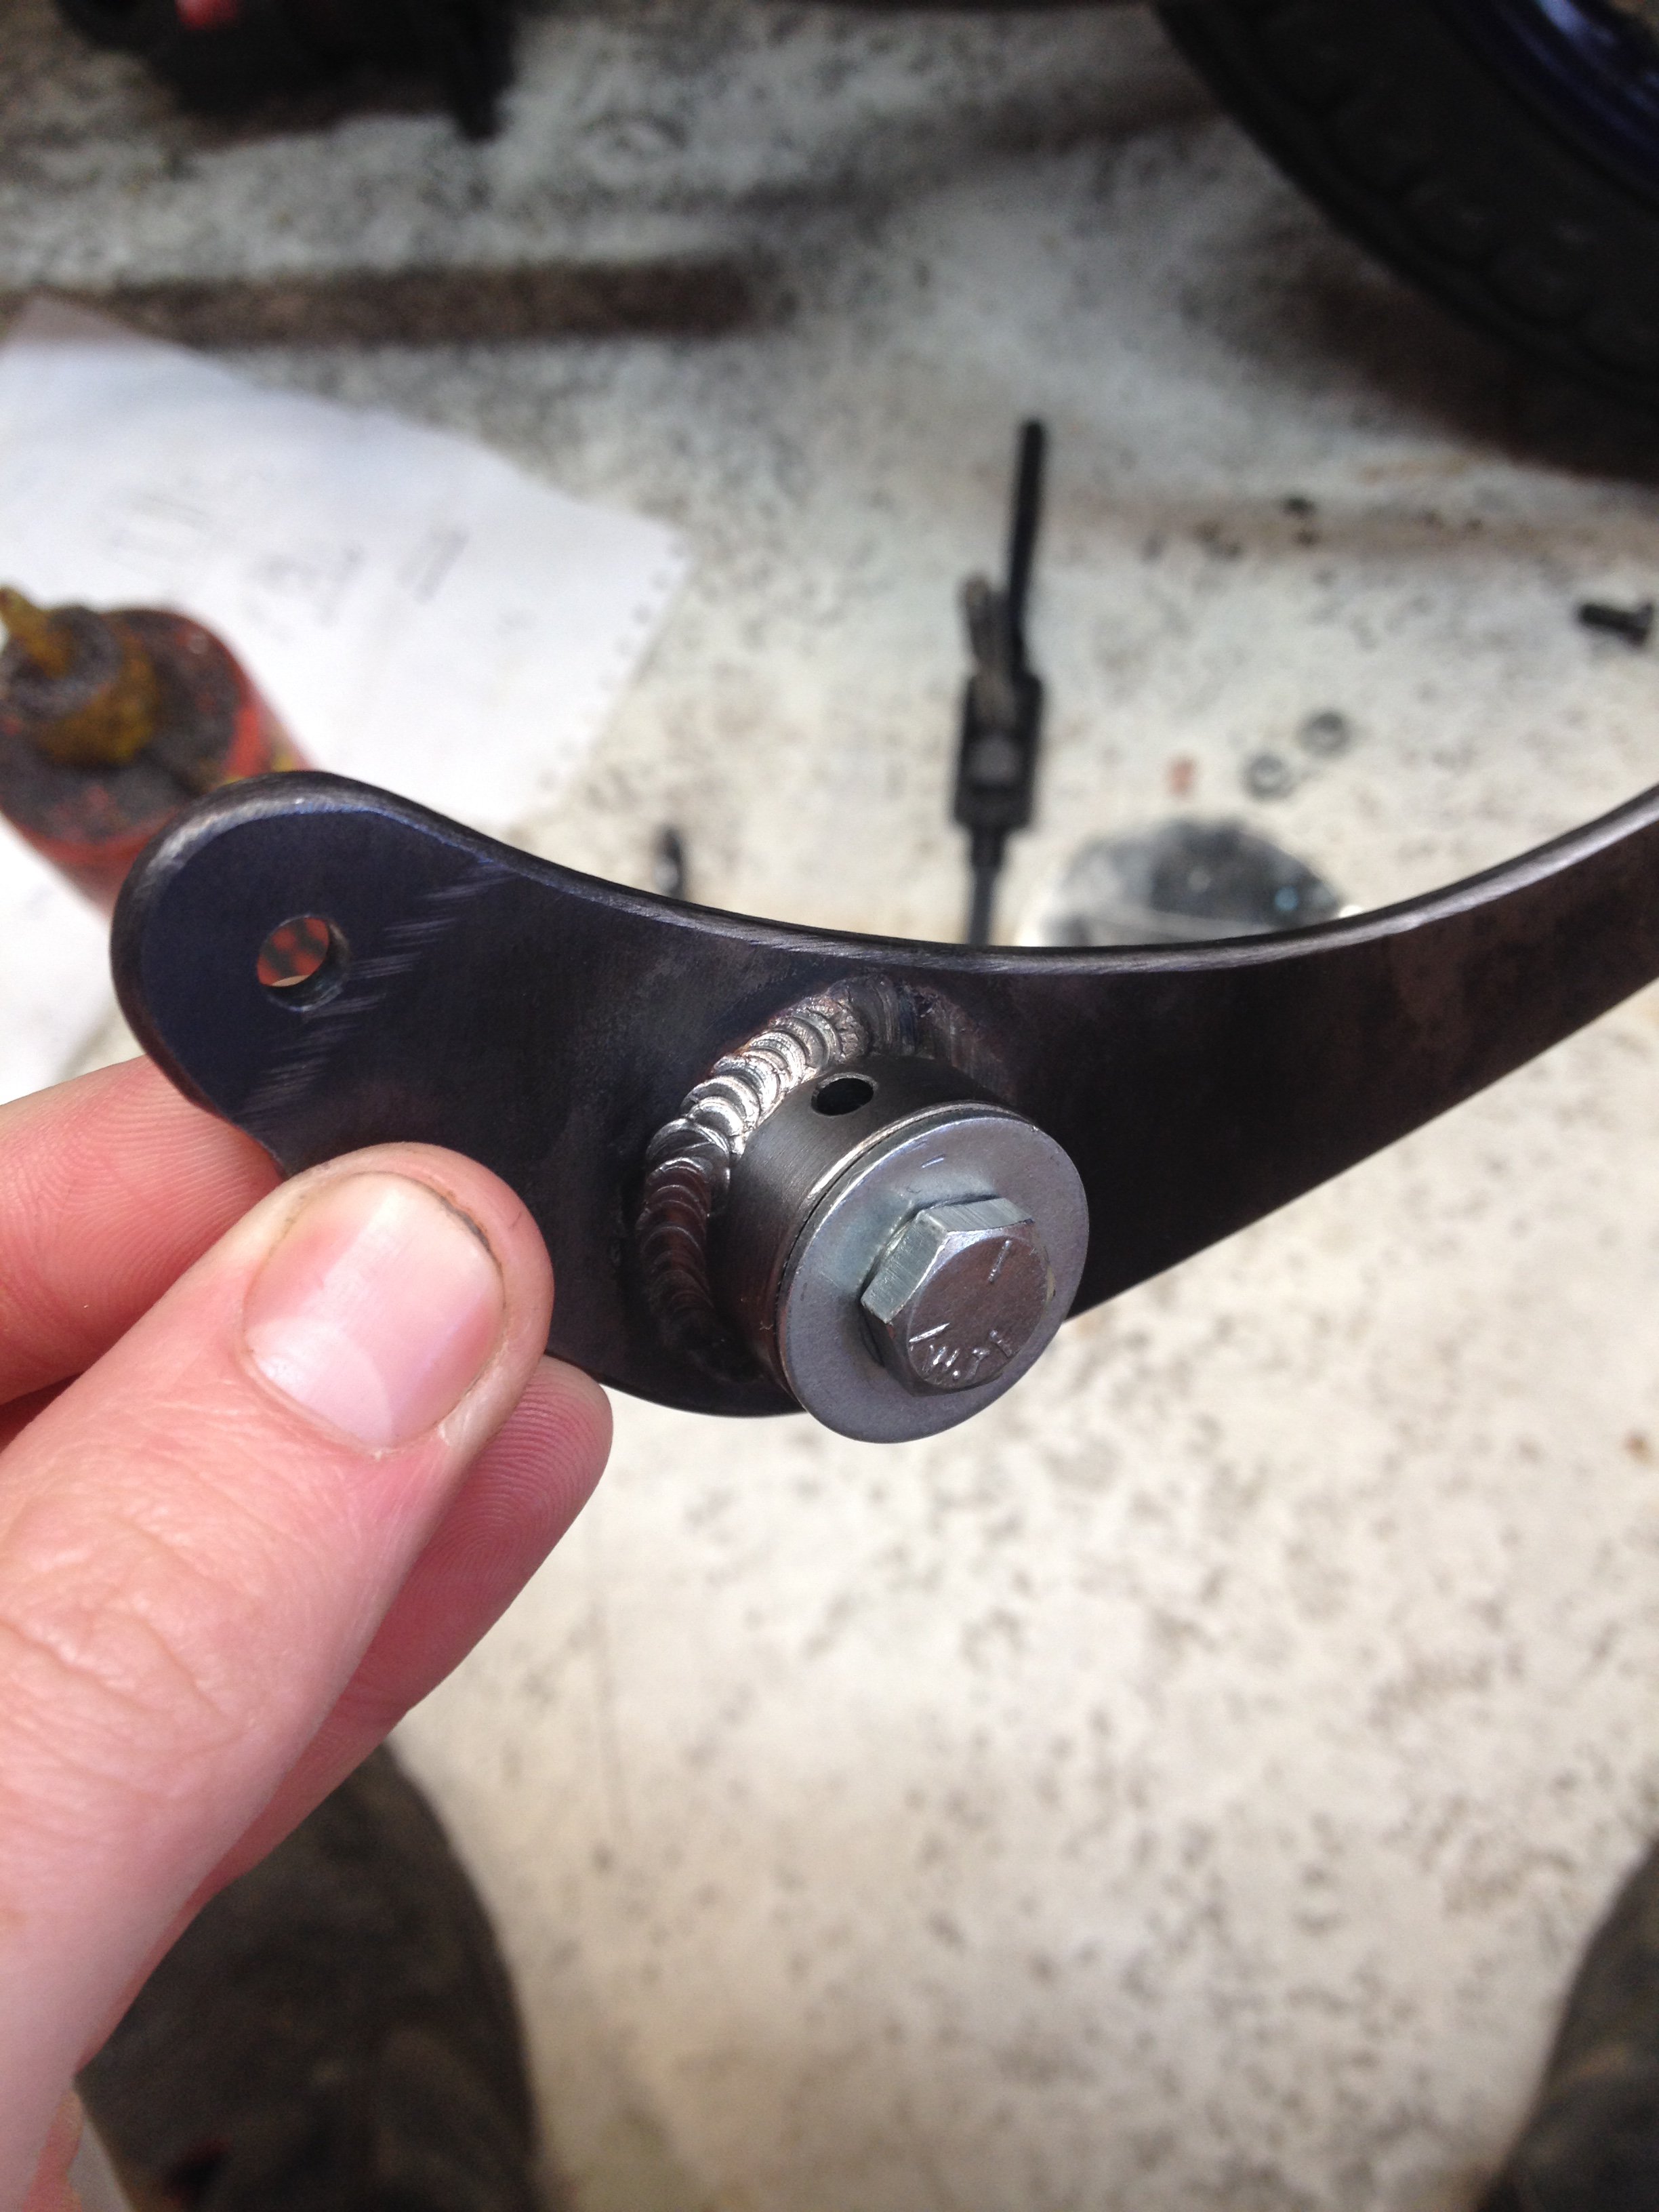
Made up a transfer pipe as the original setup only fed from one half of the tank leaving a far bit of fuel on the other side trapped, not ideal on a racer. Found a nice fuel tap and welded all the bits on
1 point
-
Fuel tight (hopefully)
1 point
-
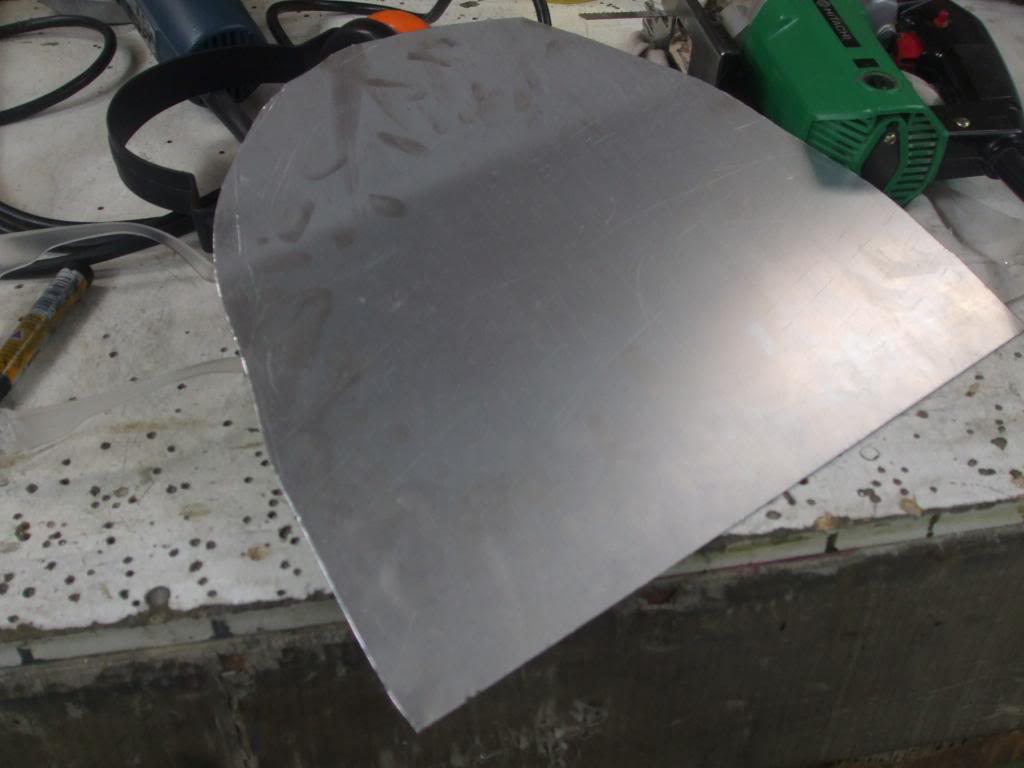
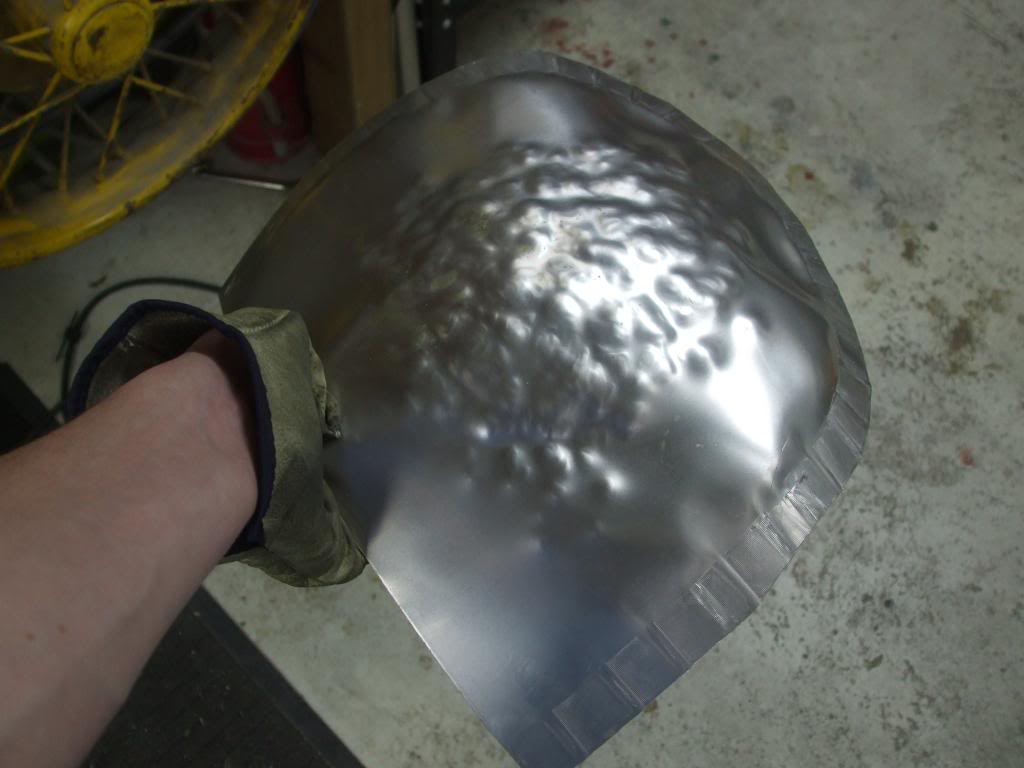
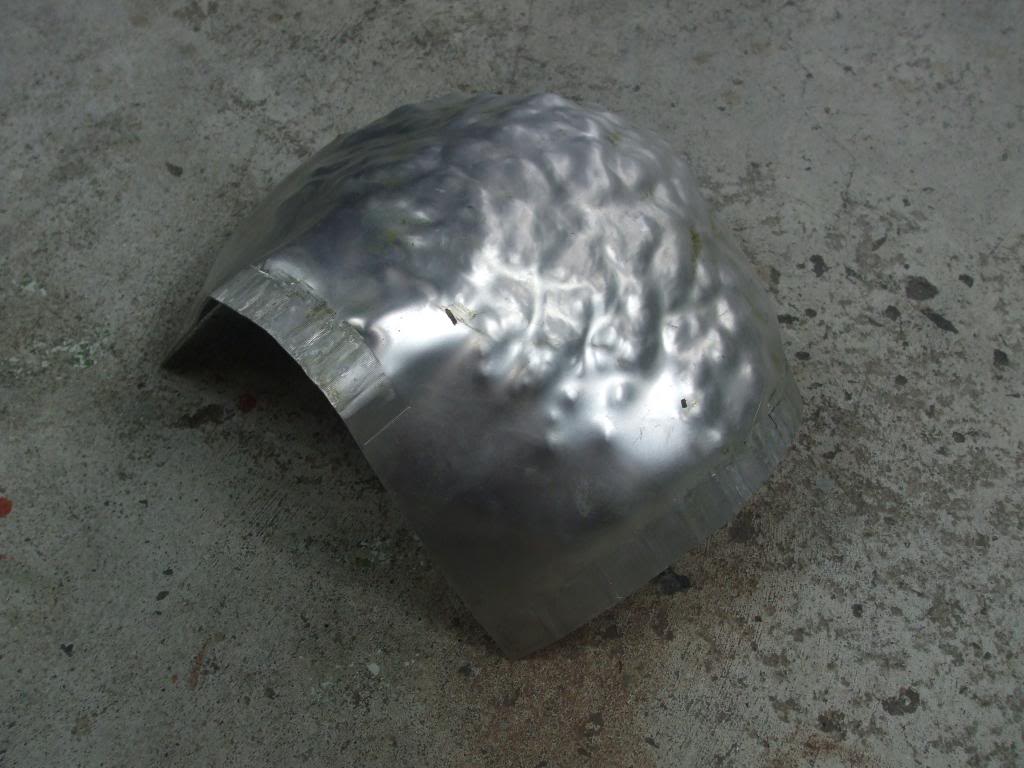
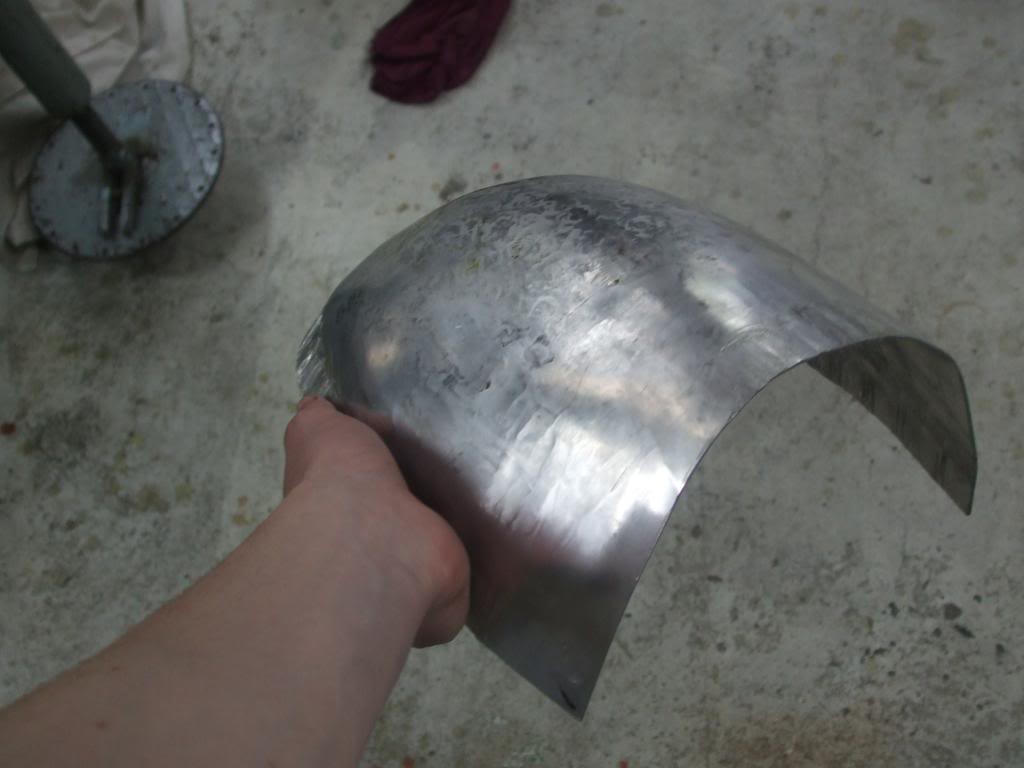
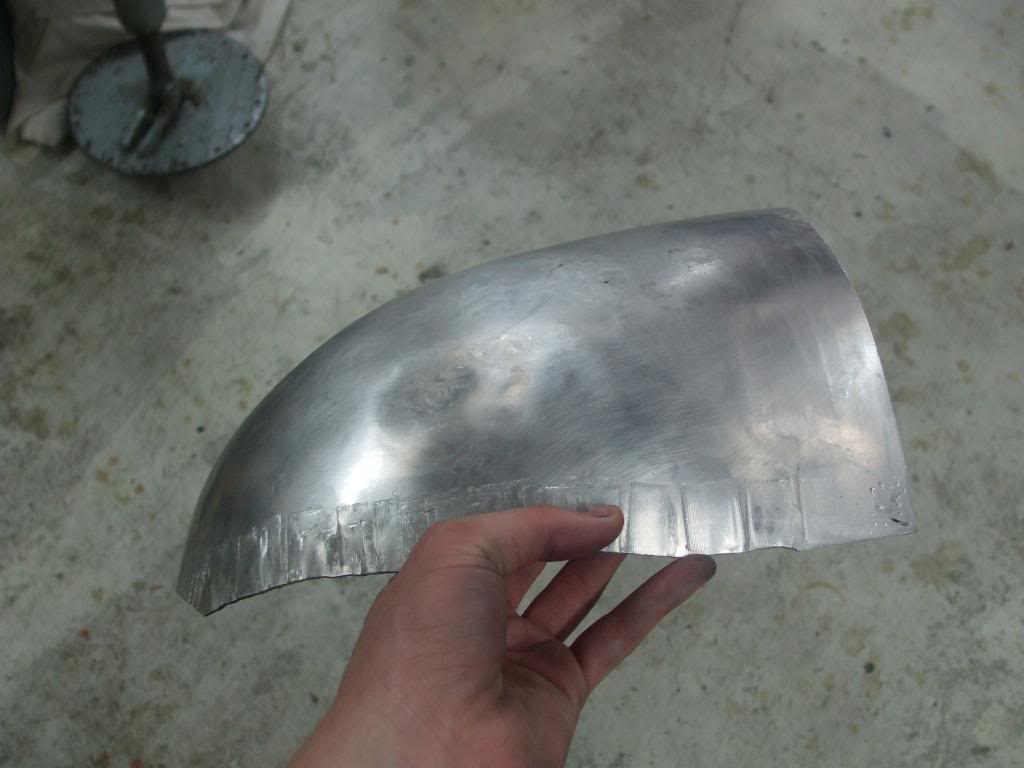
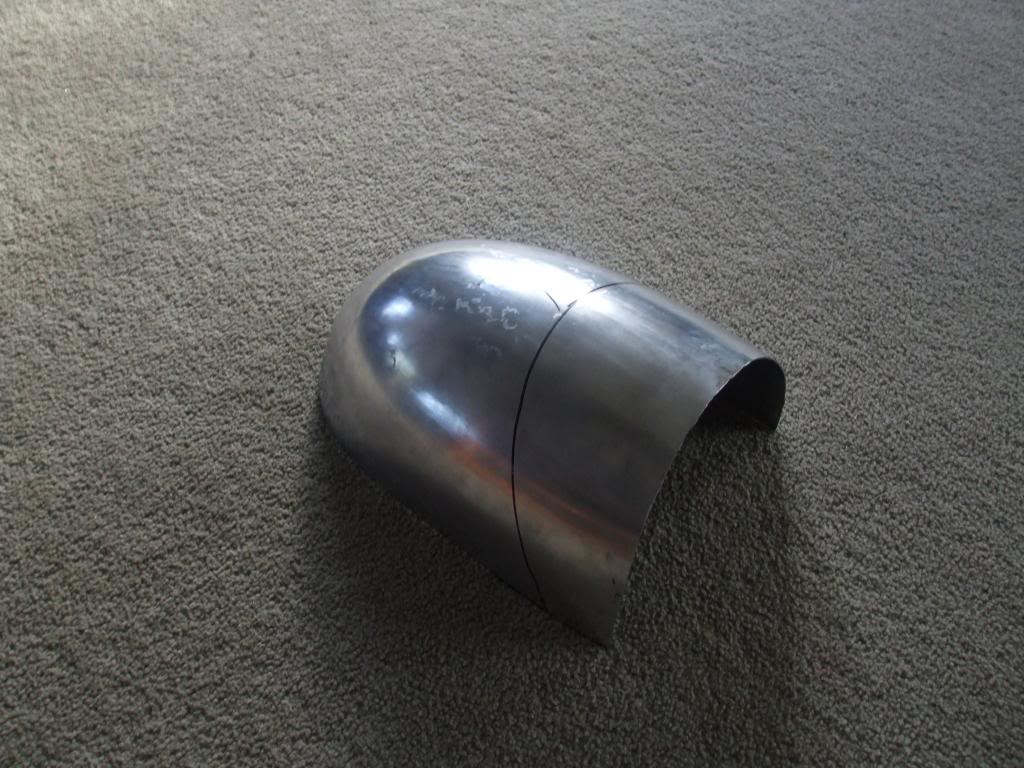
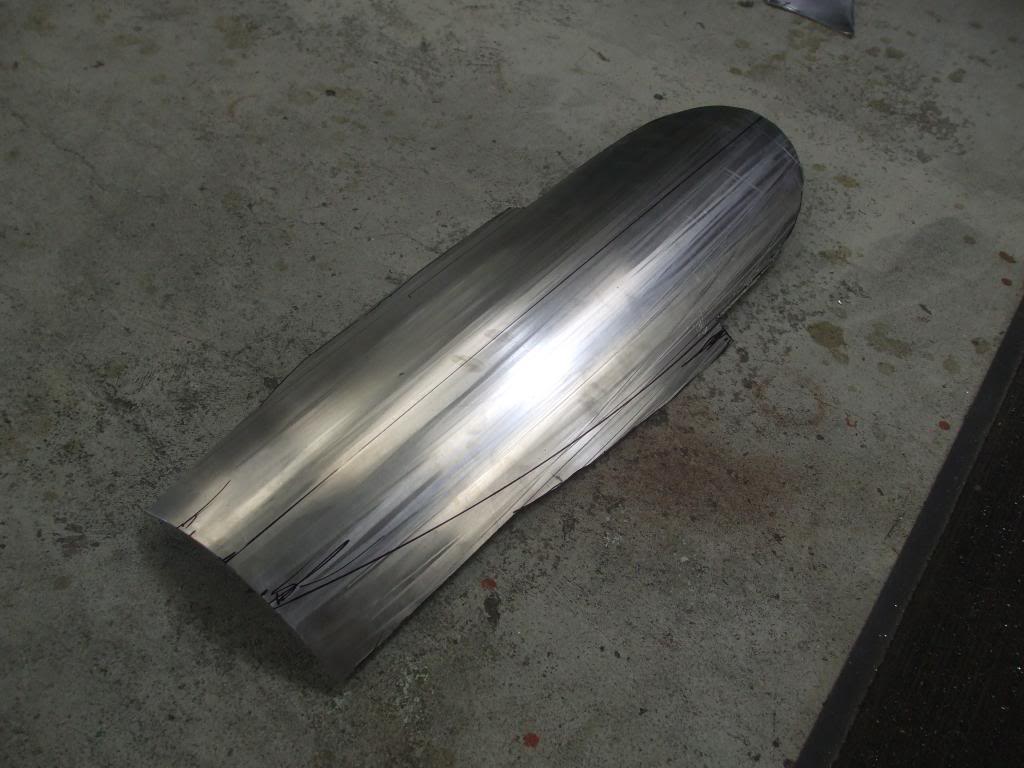
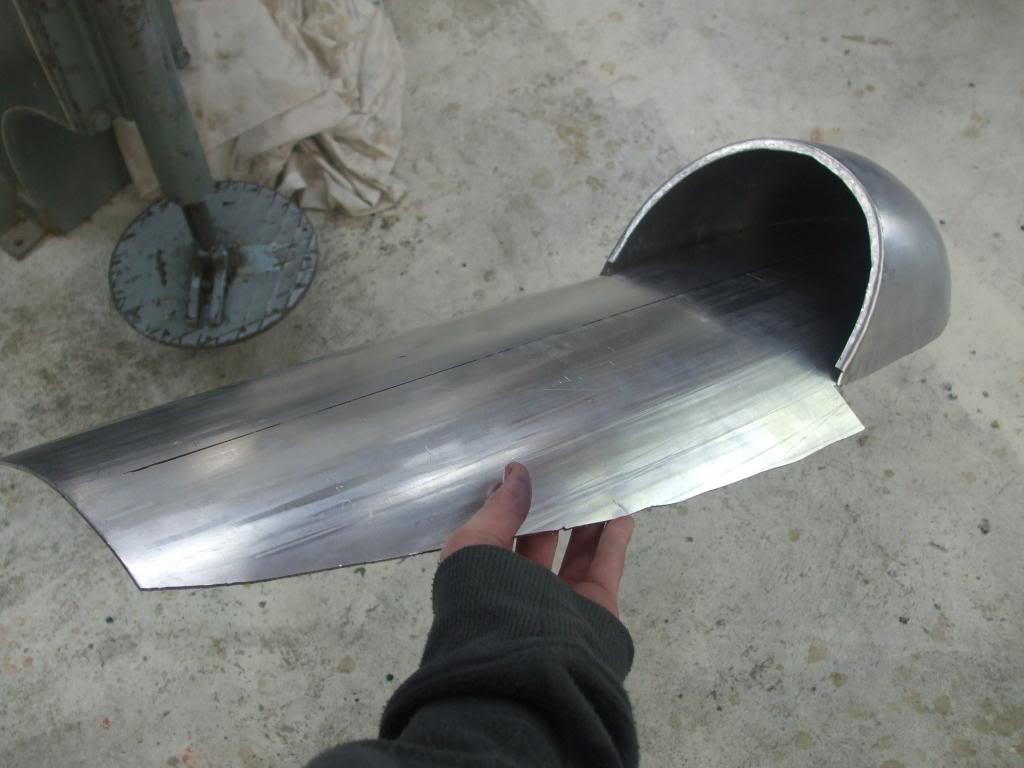
Here's the pics from making the seat 1/16 ally blocking the sheet to shape lots more hitting and shrinking around the edges A few passes through the wheel and its starting to look like something After final wheeling and trimming The base was made out of slightly thicker material, no blocking required though just a few passes through the wheel Mock up This is how the bike looked sometime in 2014, after this pic was taken progress pretty much stopped while i was working on other things
1 point
-
Seems to be working pretty good so far. got some softer springs on the way for the front. as its sitting a bit high. Now the front works better than the rear, and has shown up a few issues back there. is a bit harsh going over stuff compared to the front. Have adjusted the top spring lock out, so it stays on the softer spring rate till later in the travel, which has made it a little better. have got a few more things i can tweak, but will likely have to remount the rears for bit more up travel and add hydro bumps, to work as well as the front. thats not gonna happen anytime soon.1 point
-
..or people who like the natural look of wood.1 point
-
Girder frontend underway Still a fair bit left to do, but it will have to wait until next weekend.1 point
-
Got the tray and cab back on. Plenty of room for the exhaust to go out between the chassis rails and guards. The cab was sitting slightly on the driveshaft hoop, so cut a hole and made a patch. Then cut a big hole in the floor!1 point
-
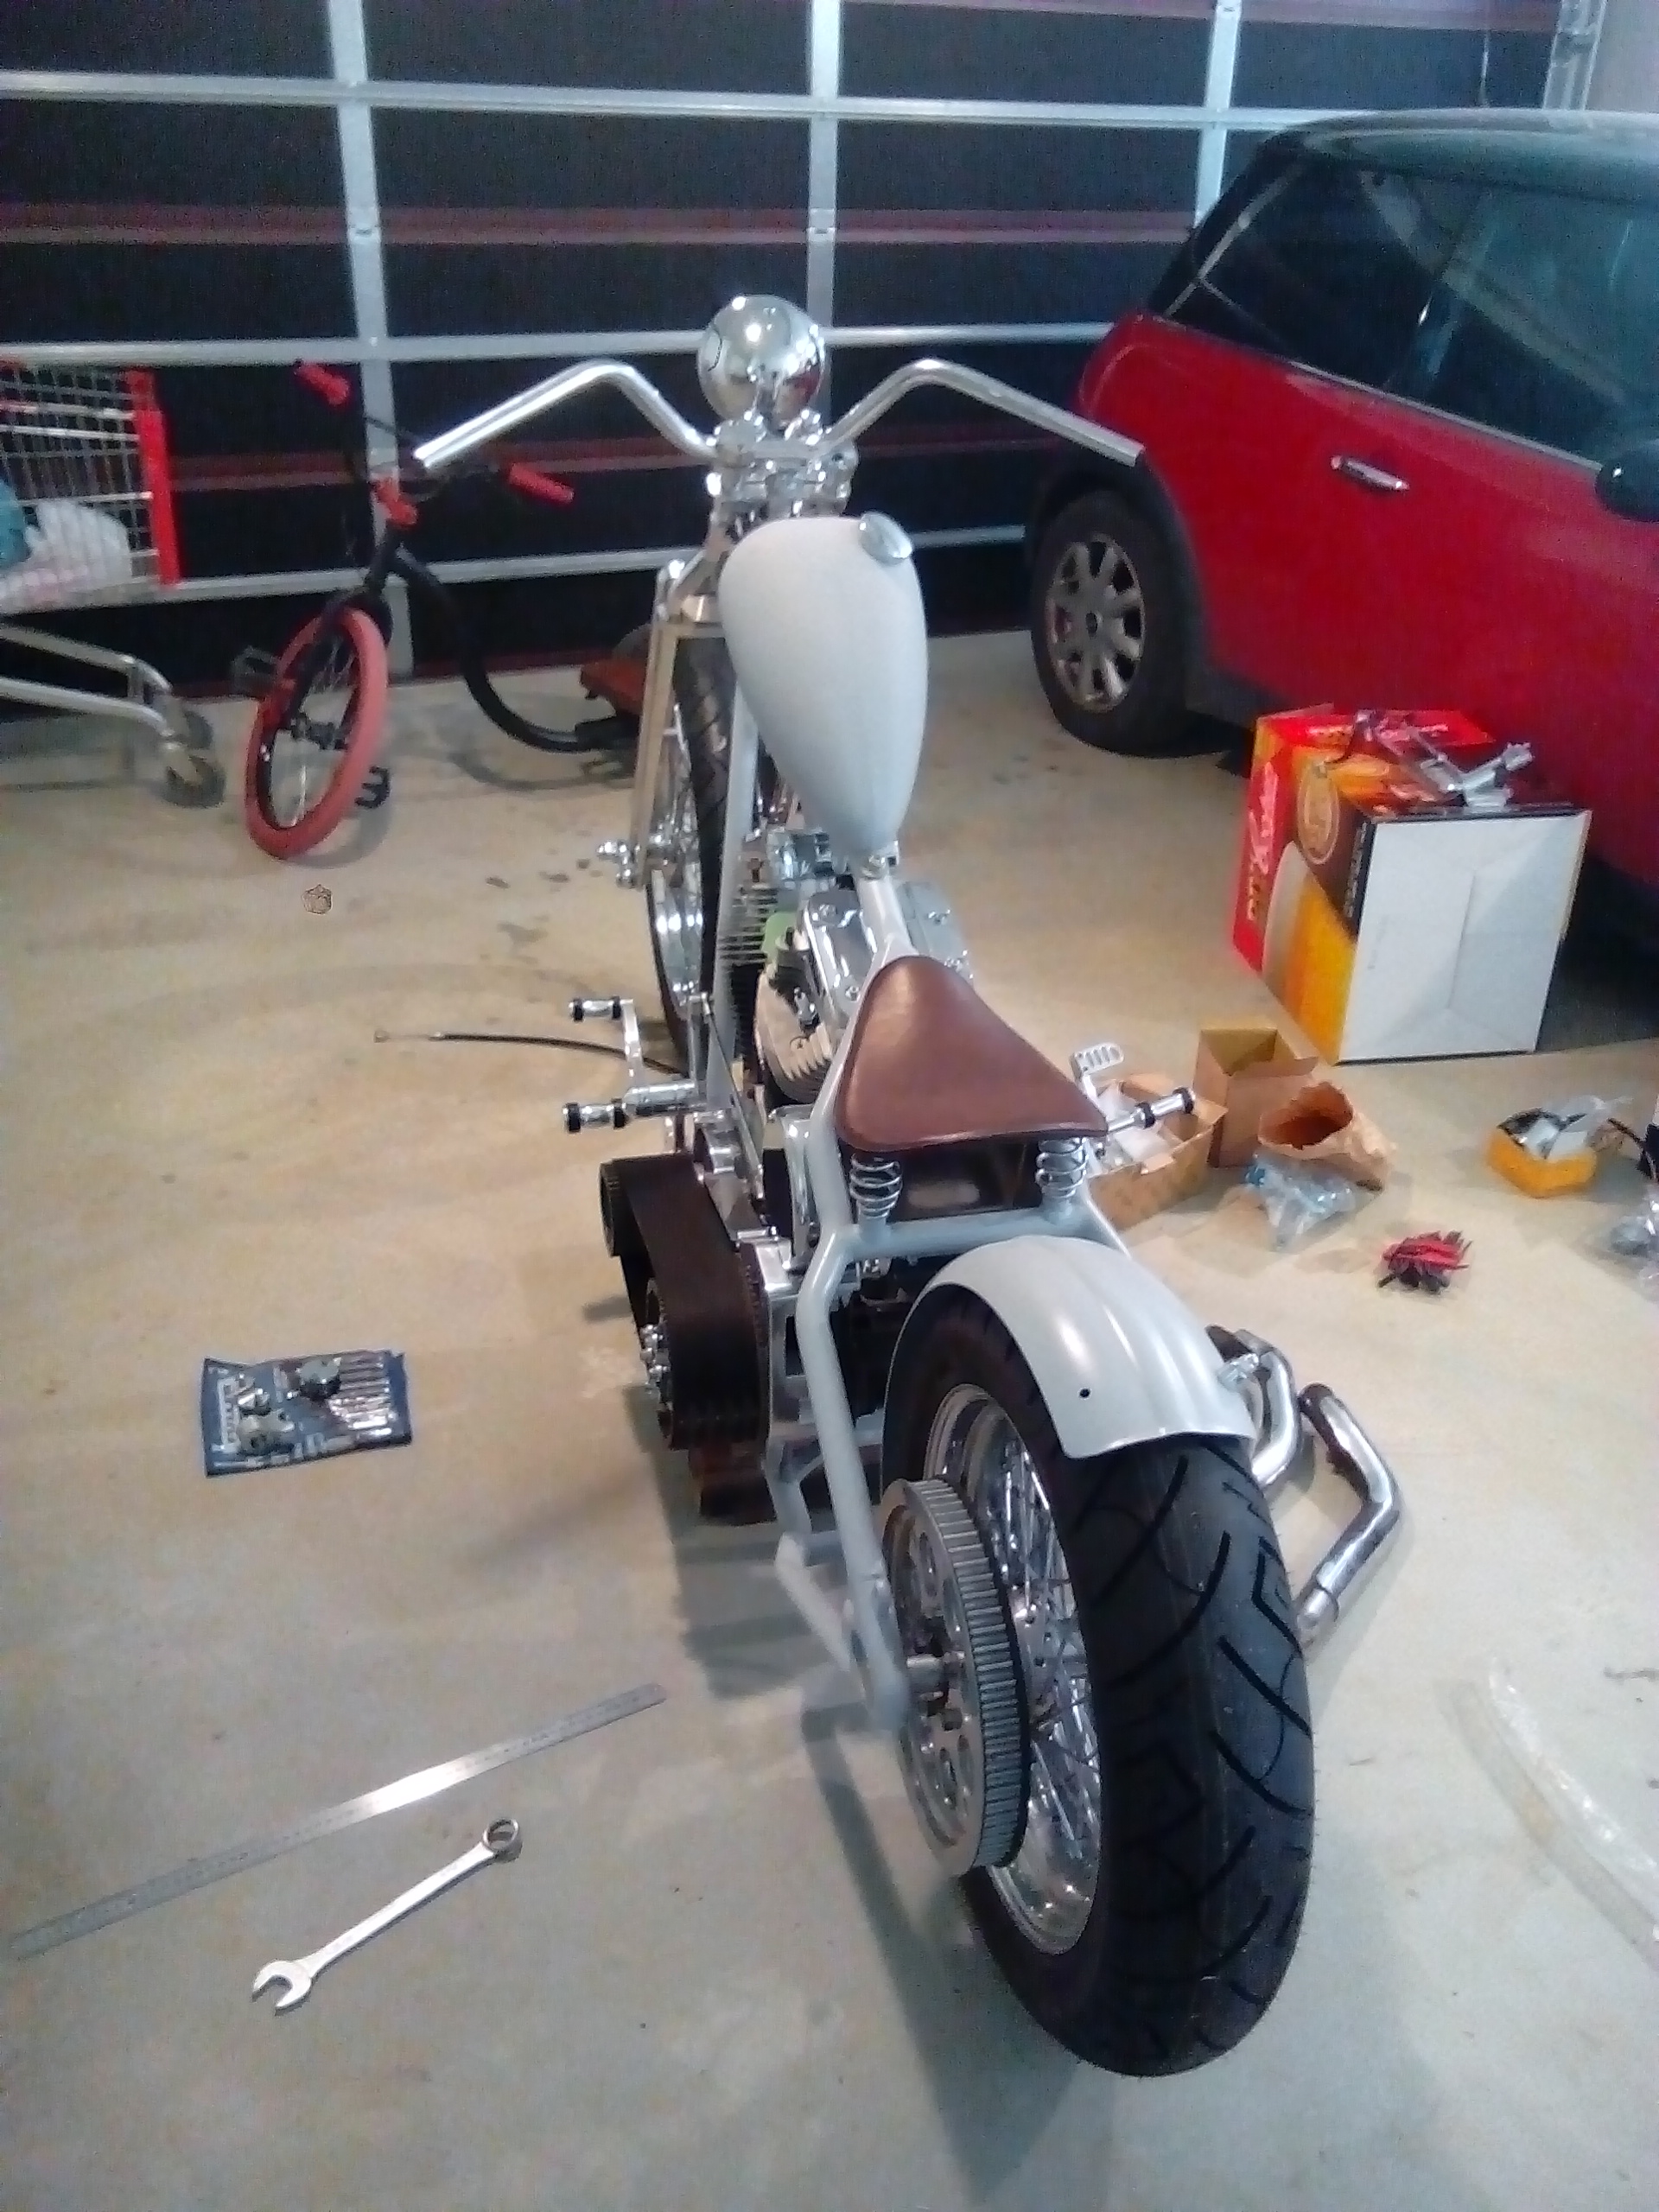
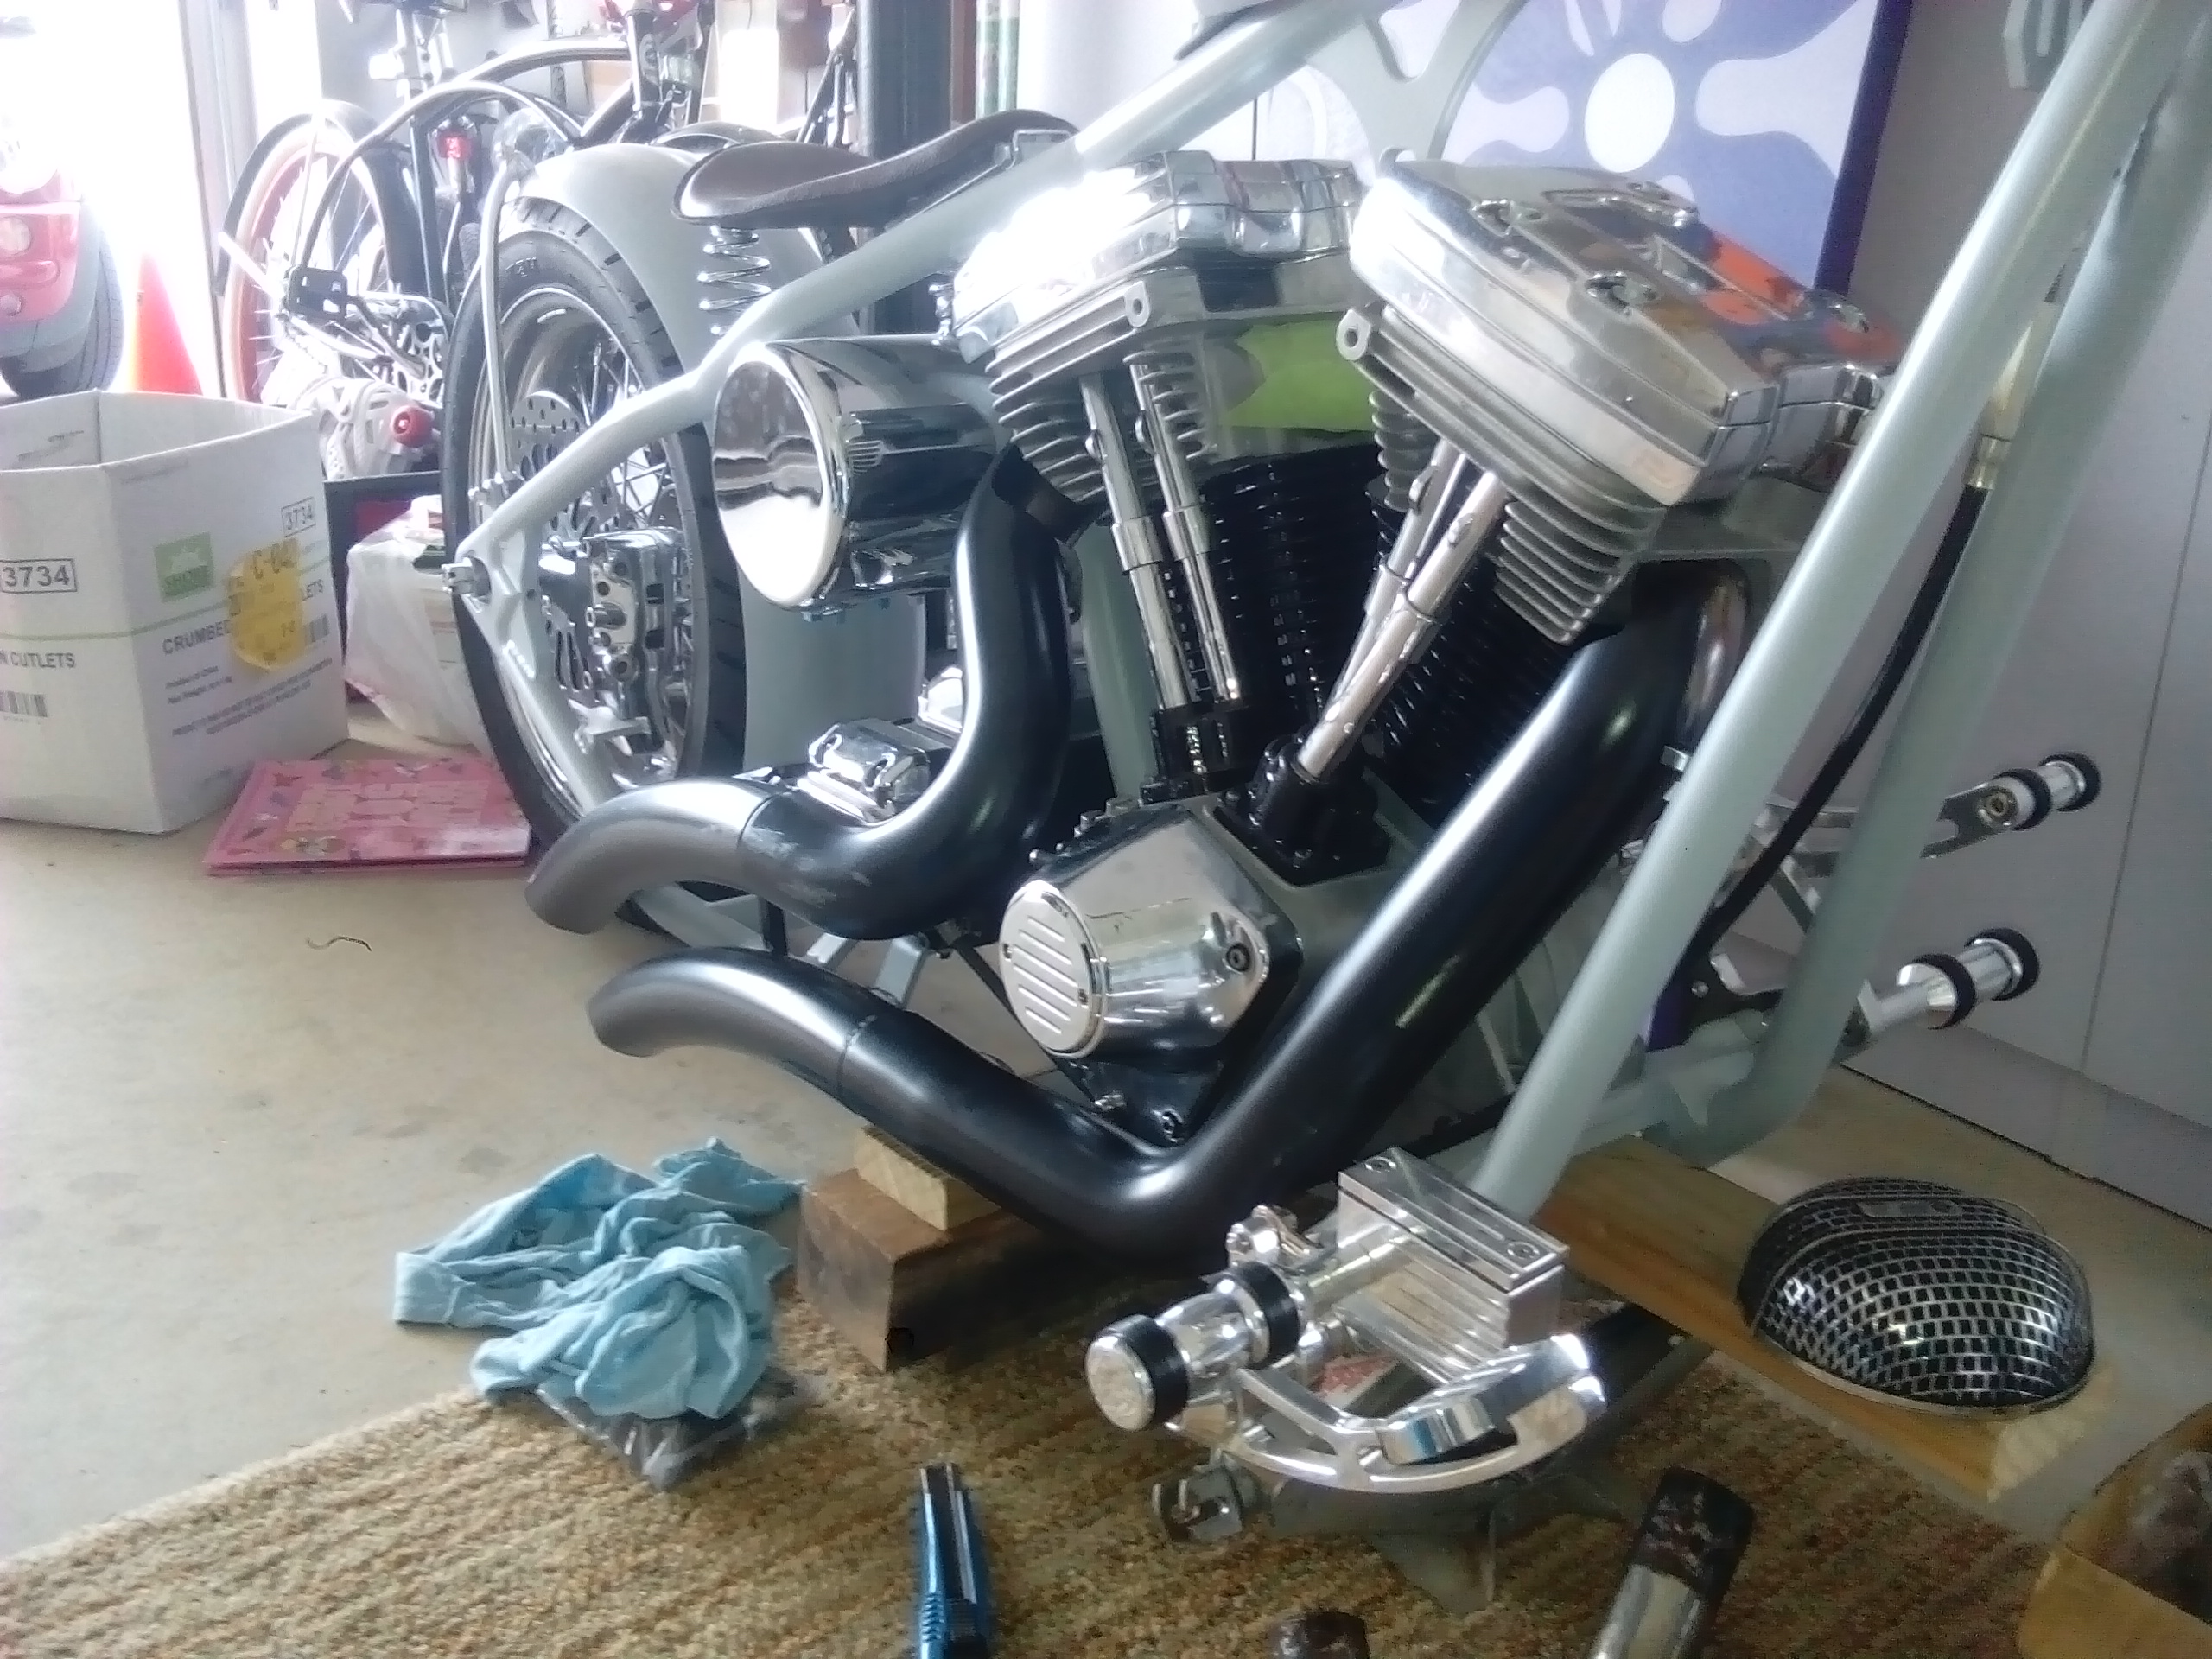
Photobucket sucks balls. Can't be bothered updating the pictures, and without them this thread seams pointless. So revised; long story short I've made a hardtail harley motorcycle. Started with nothing, now looks like this!
1 point
-
When we last saw our intrepid hero he had welded up the rear strengthening panel and had cut the other end of the channel and the A pillar open. Well I don't have a photo but the rear panel is welded back in place and looks just like the other side now, I then chopped even more of the rot out and last week sandblasted the lot. front side inside the bottom lip on the front of the channel there was not as shot as the passenger side, so I decided to keep it and try to weld up the small pinholes caused but rust pits and some idiot with a spot weld drill(me). I also sandblasted the top of the sill, where the carpet holder strip was welded on. The metal had very bad surface rust and really needed sorting, I'm still in two minds about replacing this rust trap of a thing, do you guys think it would look super weird without? my other idea was to get some stainless sill steps made up to fit, any thoughts? carrying on, out with the old shit, in with the new. goes here. including my world famous pat. pending dents. just finished welding up the heat pipe last night, while I had the blaster out I cleaned up the air scoop that goes inside the channel, and bent up the inside panel that it mounts to. Just need to smooth the welds on the heat pipe out and weld into the channel, was hoping to have it done this week but i kinda forgot about the heater pipe things. Chur1 point
-
Ground it down on the weekend, looks okay. here's a crap pic, camera focused on the bench more than the patch.1 point
-
another update guys This thing is all stuck together, I welded it in place last night. This thing still sucks. not quite finished the welding/grinding in the very corner. I also need to finish the wheelwell panel before I can fold the edge over, which I'm working on now. The door seems to fit well, might need a 2mm spacer, but I can live with that. The problem I'm having, is that the lower hinge screws are really hard to tighten, REALLY hard! I'll do them up as tight as I can, and the door/hinge will still move. But much easier with the spacer in between the hinge and the A pillar, and tight as a nuns. ??? The thing that confuses and pisses me off is I tried real hard to use as much factory metal as possible, only the outer "cover" of the A pillar is repop steel, and it all seems to line up pretty well. I guess something somewhere has moved or whatever. Maybe I need to tap the threads out in the bottom of the A pillar? Ah fuck it! I'm looking forward to finishing up this side and starting the other.1 point
-
Soon my pretty, soon. mocking up the twins1 point
-
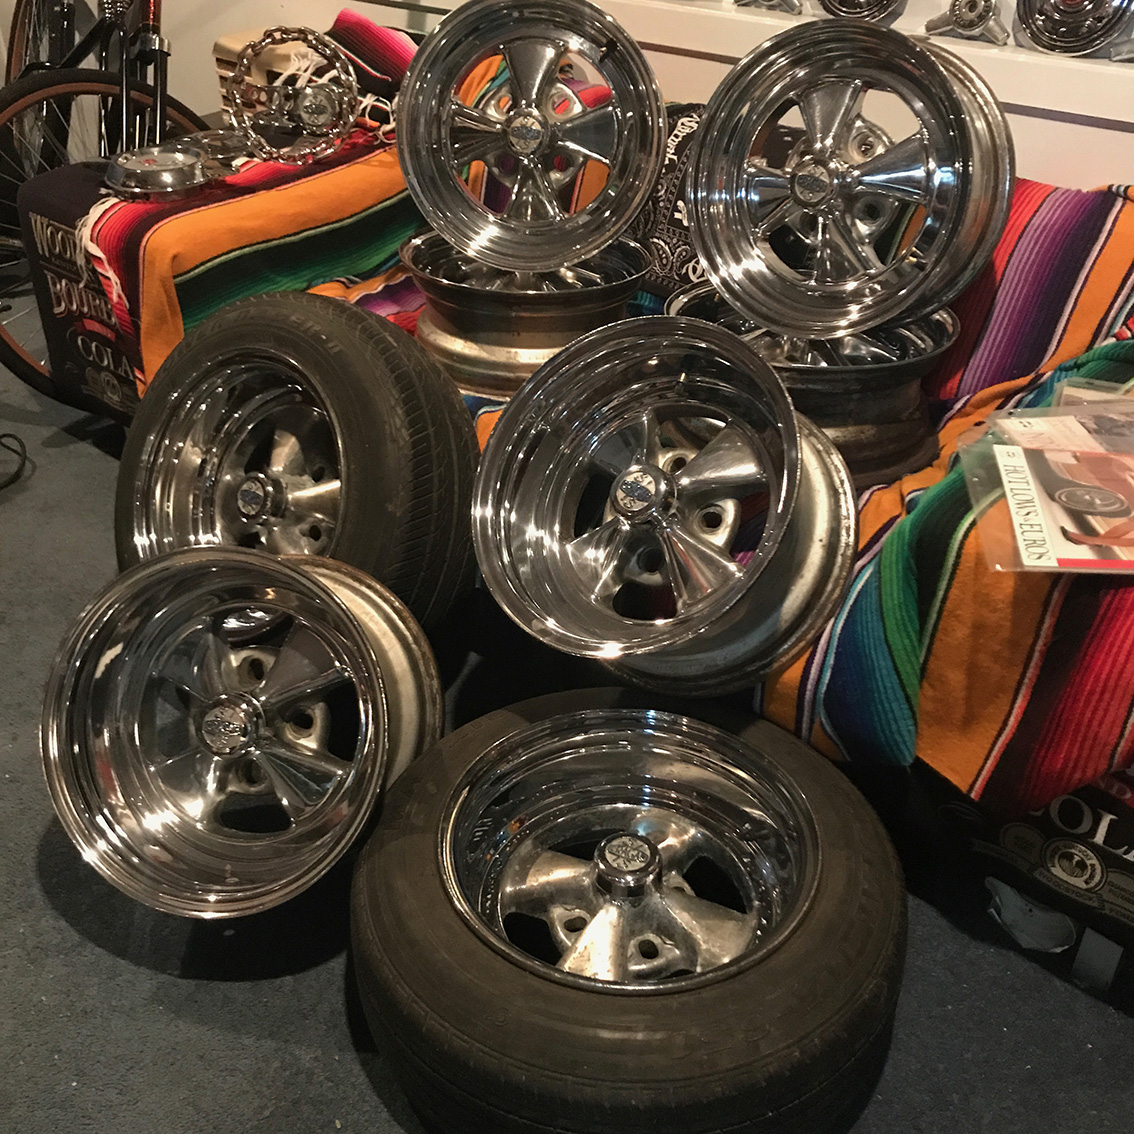
I also made these this week. this is the end cap thing for the front of the heater channel these hold the nut plate things in place inside the channels, the second one I made was a much better design. and goes together like this. The old nut plate(is that even what they're called?) where badly pitted so I had the guys across the road knock me up some new ones. this resto is brought to you by woodstock bourbon and cola.1 point
-
Whats this?? oh yeah. better that christmas!1 point
-
Right, got this finished up. stuck the dents and air pipe in. goes here camera is on the way out, flash has stopped working. not all that happy with this join, but will be covered by the inner wheel well. this is better ONTO THE NEXT BIT!!!!1 point
-
The next phase in fixing the channel is going to be bloody tricky. Many parts converge here, the channel, the bottom plate with end cap, the front firewall, the wheel well, the A pillar with door hinge! dissection of a volkswagen.1 point
-
So another bite of the ellefant. welded the outer panel back in place and smoothed it all out. I think I might leave the quarter panel off till I've finished with the sandblasting, so much crap gets down the inside of the panel and once it's closed up I'll never get it out, maybe, I'll get bored one night and start welding it up knowing me.1 point
-
Sorry about the boat loads of pictures, got a bit carried away with it! This must be the trickiest area to fix, I took HEAPS of photos so hopefully I can put everything back in the right place. Carrying on from the last post, spotwelds! what fun! meters and meters of fun, stuck together every 10=5mm apart. holy shit thats alot of spotwelds! These ones where not so bad, this is the outside edge of the channel, where the running board attaches. the inside edge however! was a fucking bastard of a thing, I don't think there was enough room to get the spotwelder in like the other side, it was really stuck. and some where invisible, and then someone had double tapped these ones. Like I said such fun! The trick I found that worked good for me, was to drink quite heavily while doing this mind numbing work and listen to very loud heavy metal or punk, Motorhead, bad religon etc... And before you know it the week is finished and victory is yours! this is going to take some thunking. another double layer for strength/rust. There was also a scoop that attaches to the hole, it pretty much fell out. rear end of the channel, Ones I've seen overseas/online have a second pipe running inside the sill, you will notice the lack of any kind of heater pipe inside this channel, wonder if this an aussie car thing? trimmed abit more from the front wheelwell to get a better look, hmmmmmmm. I think I'll start at the back and work forwards, give myself some time to think what to do next, any help would be greatly appreciated, I have no idea right now/suss it as I go. Any sane person would replace the whole thing, but to be honest that scares the crap outta me!1 point
-
Time to get the sills sorted!1 point
-
been bustin my ass on this thing this last week, sleep when you're dead bitches! I think I blew a hole in every single one of these, I think when I drilled the spot welds out all that time ago, I had drilled though about half the bottom layer as well, making the metal very thin, very well stuck together now. the frankenfender is taking shape this is the difference between the two fenders. this is me trying to hold things together, in the correct place. it's alive! it's alive! might just pull this off go everything ground down on sunday, gave the fender some hammering, starting to look good. chur1 point


.JPG.bb031f1bda4b9573425cd10b7dcd0c2b.JPG)


.thumb.png.46e518f714cdc319554c389f990e75a4.png)
.jpg.c6183b0b298cfc77c94c55f61cb4eab9.jpg)


This leaderboard is set to Auckland/GMT+12:00