
Leaderboard


Popular Content
Showing content with the highest reputation on 05/25/17 in all areas
-
block layers are laying blocks. 2017-05-25_03-59-28 by sheepers, on Flickr 2017-05-25_03-59-15 by sheepers, on Flickr7 points
-
Long time lurker but I may be able to help here. I run drift days mostly based out of Taupo, we have done a number of days where what we have done is split the field in half and dont 1 group of drift and 1 group of grip (usually for a bunch of people who want to go play together or from a club who dont feel they will have the numbers to support a day on there own) so am happy to help out on that sort of front.6 points
-
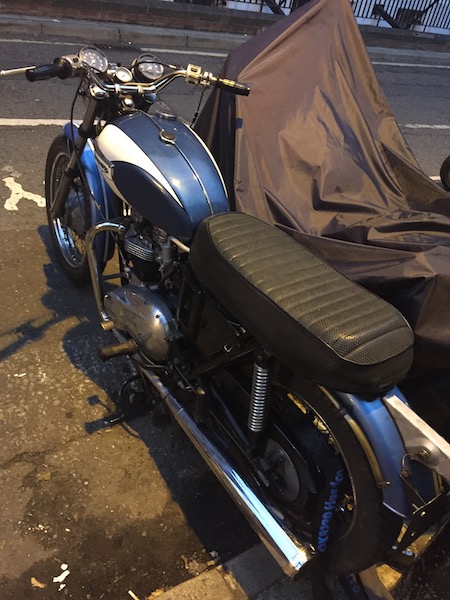
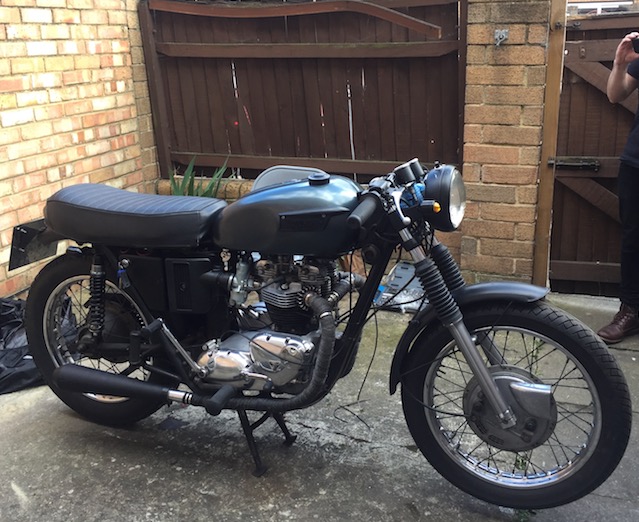
Been working on a couple of my mates bikes over the past year too. Massive amount of effort went into getting this 1971 Triumph running again. Started off life with looking alright with chrome, metallic blue and white scallops. But yikes underneath was a different story, fuel tank was so rusty it leaked fuel on one ride ruining the factory blue paint, cooked no less that two Pazon electronic ignitions before we completely replaced the wiring loom. Positive earth wiring really? New carbs, cables, shocks, tires, etc.... Boom, cafe spec.... runs good now! 650cc 4 speed, but my, such a brut to ride with so much torque on tap. Also did some work on a 250 Honda Superdream, I really like this bike, sits low and has those sweet Comstar wheels.
 4 points
 -
4 points
-
Finished another patch of rust. Hate trying to do them when you can't get in behind with a dolly, makes it difficult. Made up some strap sort of things to mount the fuel tank. Spent a lot of time trying to figure out how to mount it and decided that adding another bar between the chassis rails was the best. The straps pull the tank up against the top brackets, should hopefully hold it in place well enough. Made up a aluminium tray to mount the air tank and compressor in. Being able to draw stuff up in cad, program it, laser cut and use a CNC press-brake is pretty great! It's pretty tight but fits. Will swap the tank to the back as the tank will look better being visible through those holes than the compressor. I'm sure I'll paint it black so it's a bit more subtle. Got the rest of the exhaust tacked together as well. Not sure if I'll change where it exits, because at the moment it sort of comes out between the tailgate and bumper or just leave it as is. I think the whole exhaust has 10-12 u-bends in it now haha.4 points
-
Looking good! What sort of time frame have they given you for the 'reno'? I especially like the blocklayers PPE.3 points
-
Got this back today. Will be putting it back in on Friday. Just waiting for the new brake caliper brackets to be finished. So clean and shiny3 points
-
It looks like this now, a guy I know bought it off Chris
3 points
-
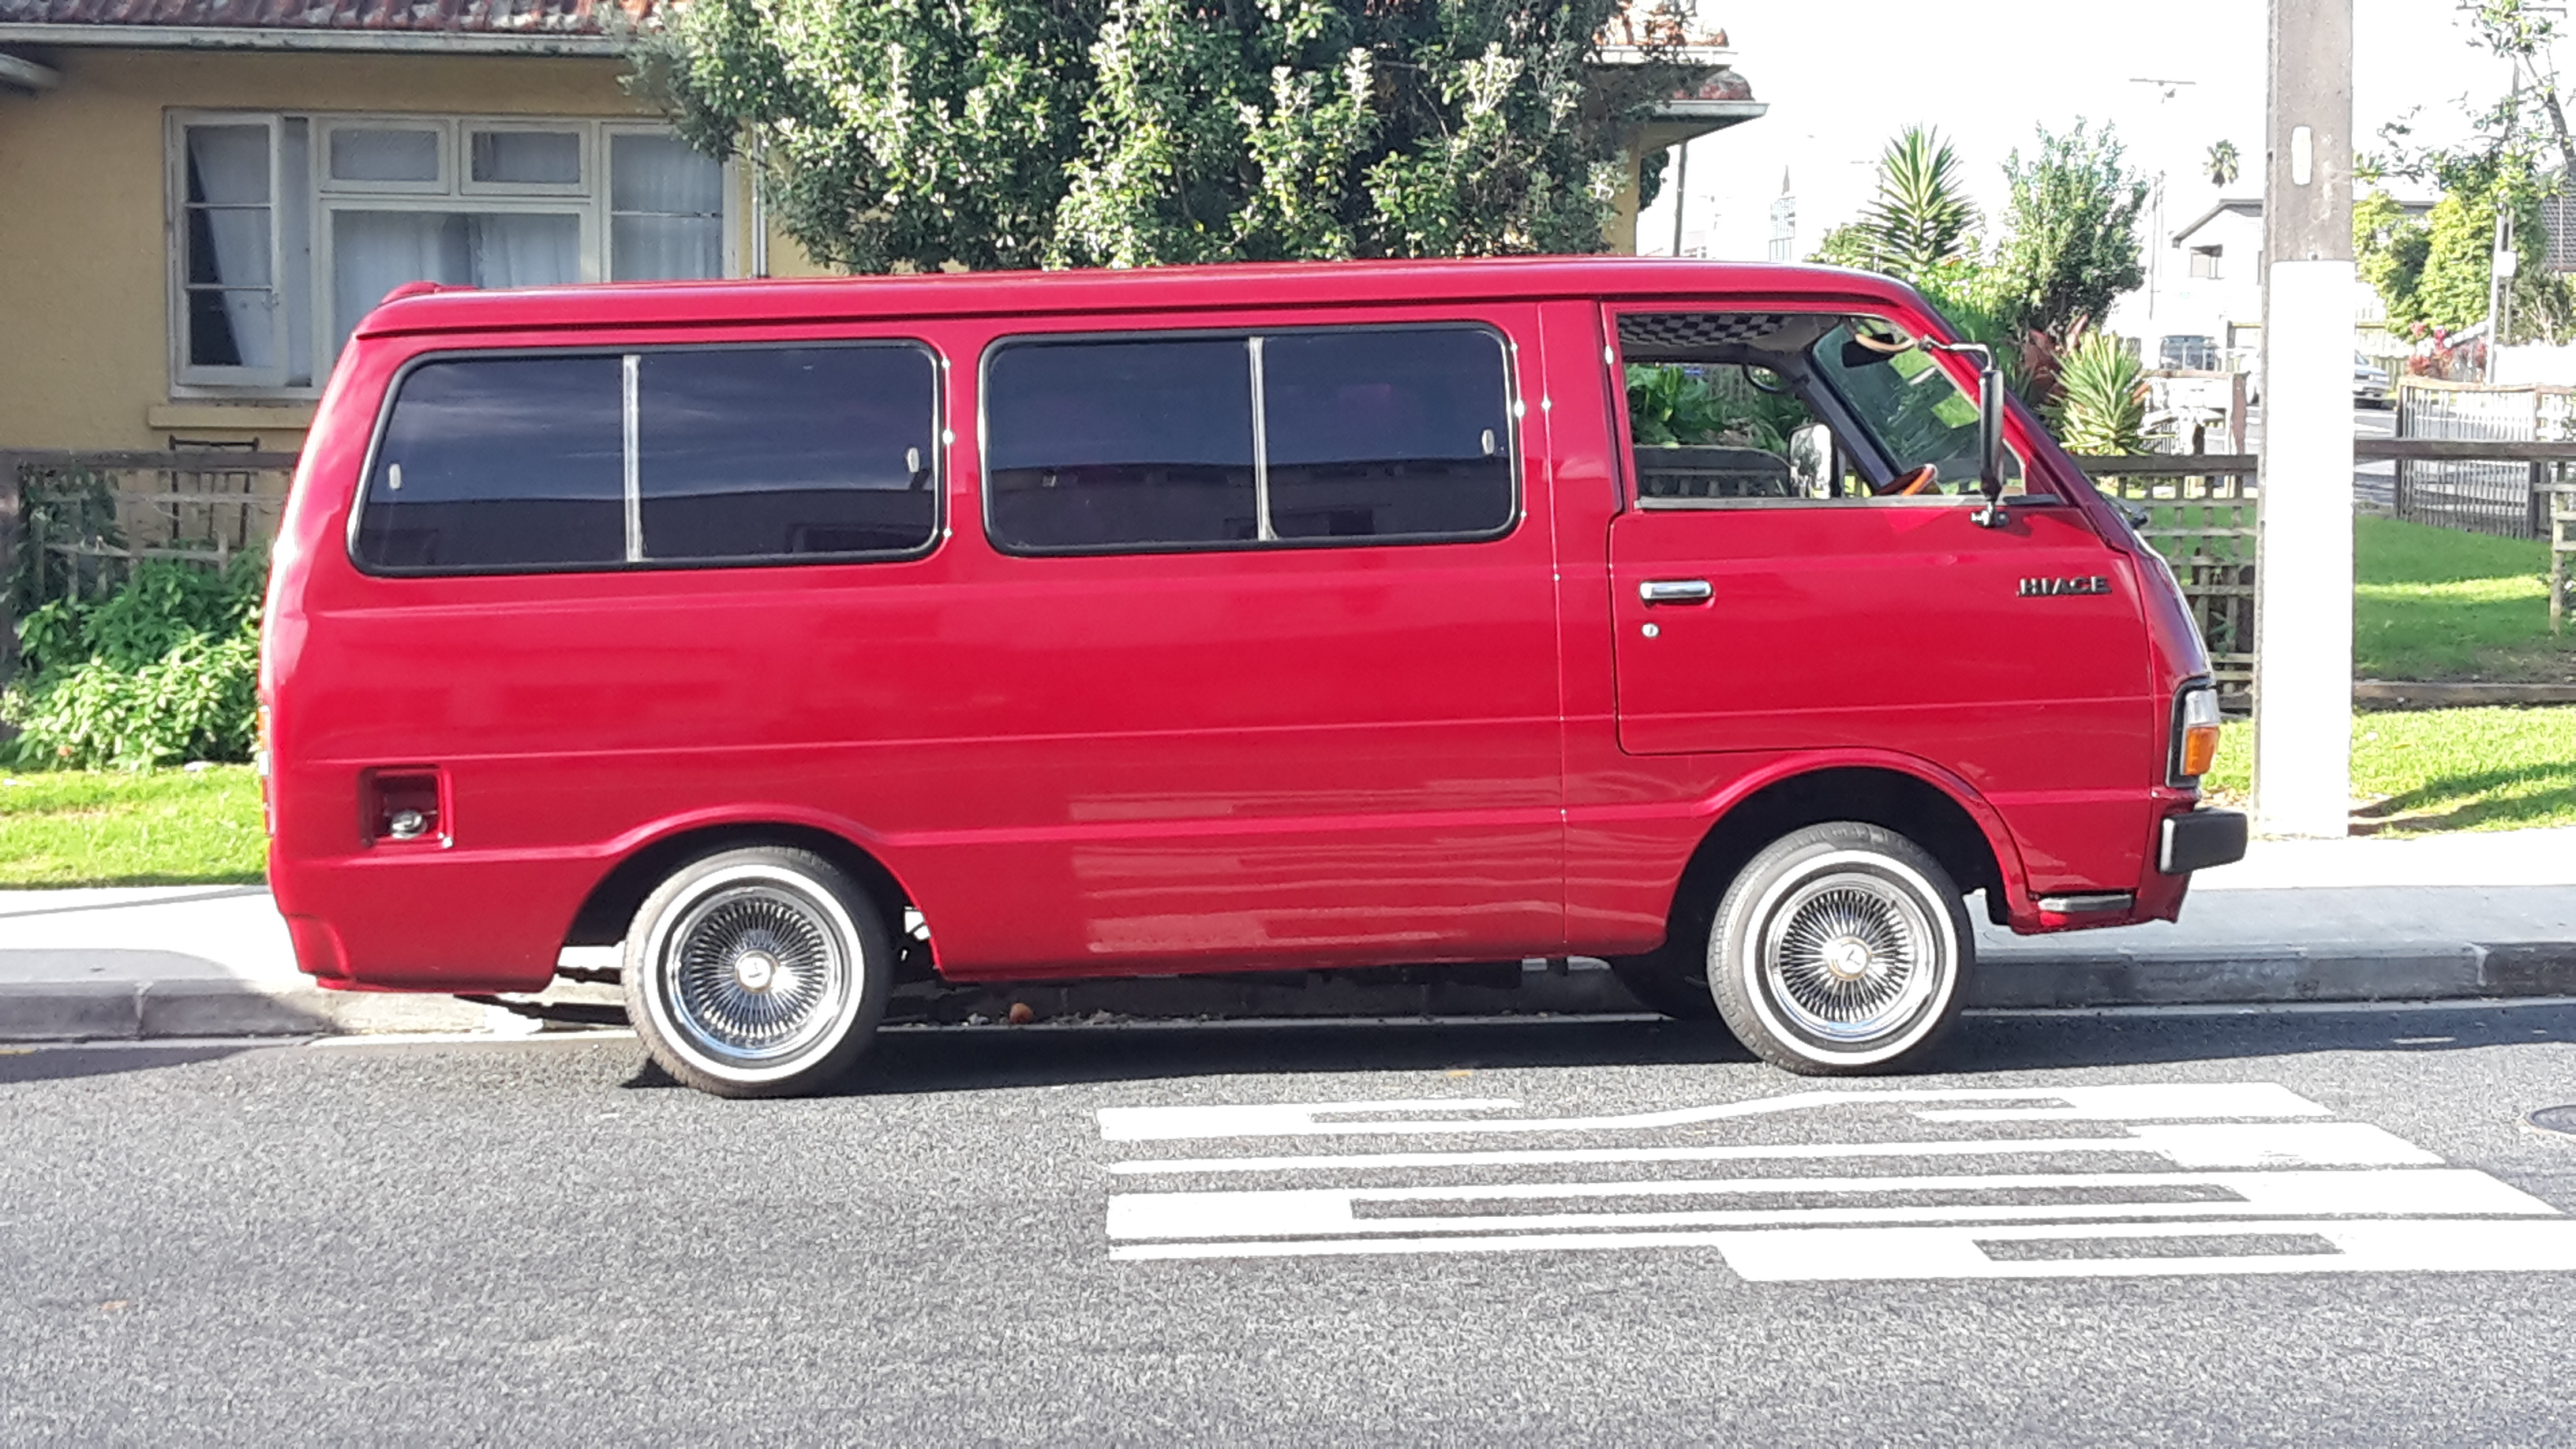
So you want to bring your vehicle home from the usa and can't find a write up either well here is the process I went/am going through. My memory isn't 100% but I'll make is as accurate as possibly I found my van in phoenix and had a friend look over it, He gave the ok and went and got it. If you are lucky you can get your friend/contact etc to act as a agent for you saving a $75 us title transfer fee. Make sure you get a bill of sale at this point in time. Now is the time to order whatever parts you want and stick them in said car. When you are ready contact your exporter/shipper, They will give you a SLI form. you'll need to fill in your details and the sellers or the person acting as your agents details. Complete it and send it off to the shipper. Your agent then should hand the title, bill of sale and and any receipts for parts along with the vehicle over to the shipper. When the container lands you will get a arrival notice. If you do not have a customs client code you'll fill in a form and send it off with proof of photo id. When that has been processed you will get a customs certificate shortly followed by a a invoice for gst and customs fees. For me in may 2017 they are customs import transaction fee of nz$42.85+gst and customs facility fee of 49.99 + gst, You will also pay import gst. My understanding is this worked out on the total cost of parts, the vehicle, and all shipping to nz. Pay this and a few days later you will get a invoice for shipping. I've broken it down here - Fumigation - 165+ - Destination cartage 235+ -Destination port service charge 395 - International freight 2270 - Origin cartage (im my case shipping from phoenix to la, $450 usd) - 687 - EDI processing fee 40+ - Customs clearance 65+ - Container handling - 150 - MPI inspection fee - 85.00+ - NZTA border inspection fee - 95+ Once that is cleared (I've just paid so i'll update this later) you'll receive the release documents and be able to collect your ride. I assume I will recieve my title and bill of sale upon collection of the van TLDR: A rough cost (less duty) for a van from LA to Auckland in a container is NZ$3611.74 Add $100 for customs fees and 15% of the vehicle purchase price & shipping. Hopefully this helps people on here who are thinking about bringing something back from usa. I asked/researched as much as I could and had a idea of the process but not what the costs were, its a bit more than I expected but I expected that I used cfrline to bring my van back and am happy with their service so far2 points
-
Yeah, I found the current owner whilst browsing Facebook a while back and have had a few yarns. He got it off the guy I sold it too. Doing my time again, Would not bother with the injection. Not enough room unless I had the budget for more intense fab work, but then I would likely chose a better motor altogether.2 points
-
rollies are all the ppe you need mayte. there are penalties if they aren't finished by the 24th of December but given how good they're going now i reckon they'll piss it in.2 points
-
We can check, we have had guys take their kids out for laps and stuff like that2 points
-
I can vouch for Daif/Nu Del.2 points
-
What sort of time frame are you guys thinking? Say, 2 months away, to give us time to organise the track day and get are cars ready? That's right in the middle of winter, so we run the risk of getting rained out or freezing to death, summer's too far away to wait, I reckon.2 points
-
Sorry I didn't attend was sharing the night together with dr hook although I was the only young fellow there as a milf said to me your too young to be here i was much too young! Too young to be 162 points
-
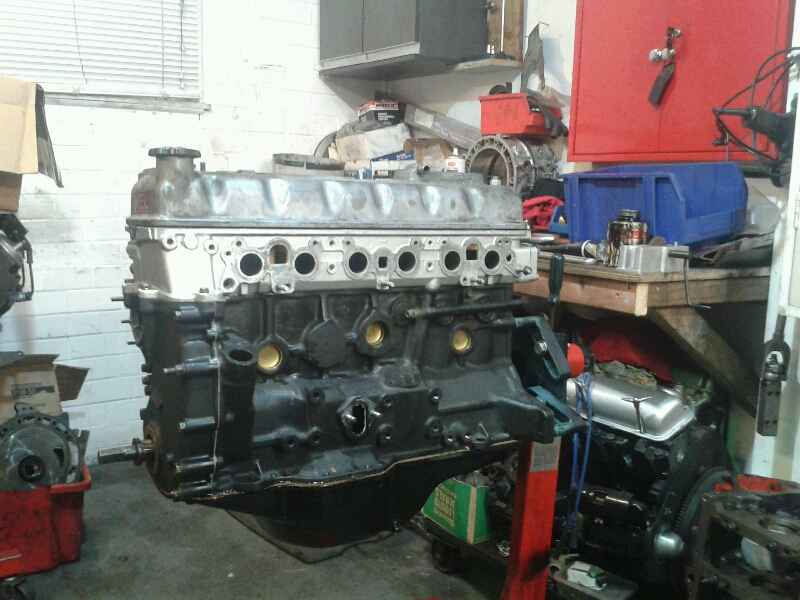
Oh hey, an update, of pretty much the same old boring rinse and repeat sort of shit. Axuillery shaft bearings turned up and were correct. Deff feels alot nicer in there. Then all my work mates were on my case telling me its stripped down this much, why not pull the crank out and do a complete check over. So that was my Saturday. After a bunch of measuring found that number 1 main bearing was measuring up a bit odd diganoly across the oil holes and had a tad bit of extra clearance. So we worked some magic and got that sorted so it's within spec. So, hopefully, the combination of the main bearing and the Axuillery shaft bearing clearances now being a bit better will cure this oil pressure problem. Motor is now all buttoned back up, and with a bit of luck I will be swapping it over again this weekend, just depends on how packed with cars we are come Friday. Other option is I do at lock up, which will take 3 times as long most likely. Anyway. Exciting I know! Heres a picture of what looks like all the others of this motor lol. In other news I have been driving this with the 2l all this week. Has been nice using it, especially since the heater started actually making heat haha. But my god its slow with that engine.
2 points
-
Mine or Josh? If it's poxy spray a bit of blackguard/rust converter around in there? Then maybe cavity wax or don't leave your car out in the weather for years on end?2 points
-
Instead of cleaning it I replaced the cap,coil,rotor, leads, and plugs. The air/smog pump lines are a a bit of a pain to work around but I got there in the end. I wernt to replace the air filter and noticed all the seals around the tbi unit and air filter base were perished/gone and its been eating dust for a while. I'll give it a good clean and see what I can find in the way of seals. I replaced the brake fluid in the master as it was nasty, I'll give it a good bleed another day when I have a helper I replaced all the shocks, that went smoothly. I still need to finish off the air lines for the rear shocks. Front is in And the passengers side rear. I think they were going for longest shock bolt award too. It goes through the frame and into the wheel well. I went to do the drivers side and noticed this. Thoughts on the spring? Be a cheap cunt and pull that leaf out on both sides and use as is? Replace it with a random leaf thats about the same size? Get reset/lowered springs to match? I'll have to arrange getting the tyres flipped so the whitewall is on the outside at some point too2 points
-
I don't remember. I removed it because it had both heater hoses Going in and out. So I got no flow through the heater. Being cold su ks worse than a flat spot.2 points
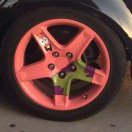
-
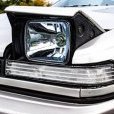
Woo, more stuff. Good and bad.... So the good. Had the windows tinted. Has made it much cleaner looking. Excuse bad photos. Fitted up front lip. (Fitment isn't 100% due to slightly warped guard.) Looks so much coooolleerrr. Swapped factory engine mounts back in. No more vibrations through the car anymore. Note to self, for street driven car, do not put polyurethane engine mounts in. And the bad Took it for a drive to Tauranga last weekend. All good, or so I thought. Lifted it up on the hoist at work to do a quick check over on everything and oh good lord, fluid everywhere. Rear gearbox seal and front pinion seal on diff are leaking terribly. And I've blown the left rear shock. So, back home and on stands again. Seeing as I had to pull the diff out, I decided to replace the crown wheel and pinion so I can get my rev and speedo to more friendly. So managed to track down a 3.5 Hilux diff, bought that. I've got a drivetrain specialist swapping the crown wheel and pinion to my current LSD centre, tightening the LSD a bit more and giving it a freshen up with new bearings and seal/s. Should be perfect afterwards. While it's in pieces, I got the axles checked to make sure there was no runout as one of the brake rotors was grinding on the caliper. No issues there so I think my caliper is a few mm to close to the hub, so I'm getting new brackets cut out as well to improve that. So it's in pieces, random photo for the sake of another photo. I've still got to take a shock out to send to Autolign so they can match it with some damper adjustable Bilstein ones. Also had to go through and pull my drivers door apart to get the window out as one of the plastic guides for it had fallen off. Thankfully I had a complete parts door I was able to pull apart first to see how difficult it was. (Turns out it's easy as shit.) Factory plastic guide had a crack through it so it had come loose. Put the one from the parts door in, and it's perfect. And because we were working on it late one night, group photo at my work! Once the diff is back in, I'll take it somewhere nice to get a couple of decent photos of it. I haven't managed to take any proper ones since it's been road legal.2 points
-
With the car now off the rotisserie its time to start looking at the front end. As is blatantly obvious there is a slight lack of one currently. Its laying outside somewhere. The old Hudsons one although fine in the days of dirt track NASCAR was a little lacking for what I was after. That being an updated drive train with disk brakes, power steering, airbags and room to fit the engine & trans in. Unfortunately the heavy old setup fell short on pretty much all these points. Now I think I have already rambled on about the process of deciding what to do up front and so wont go on about it to much. Basically it boils down to shelving ideas such as restoring & updating the old setup, to a Fatmans front clip, to Jag IFS, to a Holden HQ-HW setup, to the current custom made setup that is made to my ride height, weight, drive style with zero bump steering, anti dive and all that guff. It also meets all the rigorous New Zealand certification requirements. The little progress we did on Saturday was just assembling the fronts hubs & brakes along with nailing down the desired and final air out height up front. So nothing to hardcore. Using a Wilwood setup. Main thoughts being I already had Wilwood at the back, they sell the complete hub & brake kit so things should fit together easy, and they should give no worries with stopping the heavy hung of iron. Also the kit should fit under most 15" wheels but would be fine with larger wheels upto say 20inch. - yes im still unsure what im using wheel wise. The kit used is a 6 piston, vented, drilled & slotted 12.19" rotors with ford stud ( part no. 140-10741-D ) purchased from Summit who had them on special and nicely also chucked in stainless hose brake kit for free valued at near $60 USD. Nice perk that will make it not only fit all together easier but will look sweet as well. I must admit I think Summit Racing is one of my favorite stores in the world *~*' Bearings and aluminum hubs all fitted together nice. packed up with high temp grease. Of course Wilwood would have to be different and used bleeping star shaped T40 & T45 headed bolts. And naturally we had to drop everything to pop down to the local engineering shop to pick up a half inch set so we could torque em up. Once back said newly purchased sockets firstly snapped trying to torque to a small 20 or 25lbs then twisted trying to do the next size ups 40lbs. Was more than disappointed with Teng Tools quality and they will be going back. these happened to be the only ones they had in imperial at the time. It will all be pulled off anyway when we go to paint everything but still... holdups and crap tools. Sure many of you know the frustration of it all. And whats one of my posts with out a bunch of photos... Setup on the welding table. Sitting in front of the car. Drilled holes in the shock bars at air out/low height and have it set to that. This is the car at our original ride height. note the 25mm/1 inch bar up front under the car. Bleeping low and we have decided to raise the front up another inch so will have two inch clearance at this lowest point when air out. Will also give a slight rake to the car whats cool. The rear can be raised or lowed as well as its on its middle setting but we are planing to keep it there currently. And to give a better idea of how high it currently is.. a pic of yours truly standing next to the car. Love how the roof looks chopped but its still factory. Again note this is air out not at ride height.2 points
-
2jz eeeer day1 point
-
damn. just saw this, i happen to have a tire machine at work that i can use at my disposal1 point
-
Are go karts allowed at OS spec track days? Like at lunch time sort of deal?1 point
-
If its a little bit down the line I will be keen for taupo track 3, but have to repair my car and move house somewhere in the middle1 point
-
A revival of Taupo Track 3 would be lush.1 point
-
I was just thinking about starting a thread last night for some sort of OS track day event. We can either tack ourselves on to a Playday type event (saves the hassle of trying to organise everything and stressing about numbers), or maybe do another Taupo Track 3 hire, like Markku suggested.1 point
-
^ that OS track day at taupo was one of the most fun things I've done in a car. Keen for more hoons now I have a more suitable vehicle for such activities1 point
-
the only part the engine oil cant reach! back on topic. The progress looks great man! just keep it in the garage this time1 point
-
i own brit cars and i support cavity wax1 point
-
Personally as a old man I would just replace to standy spec if you can be bothered. Removing leaves or lowering big-useful leaf sprung vehicles usually makes them more shit for not much gain.1 point
-
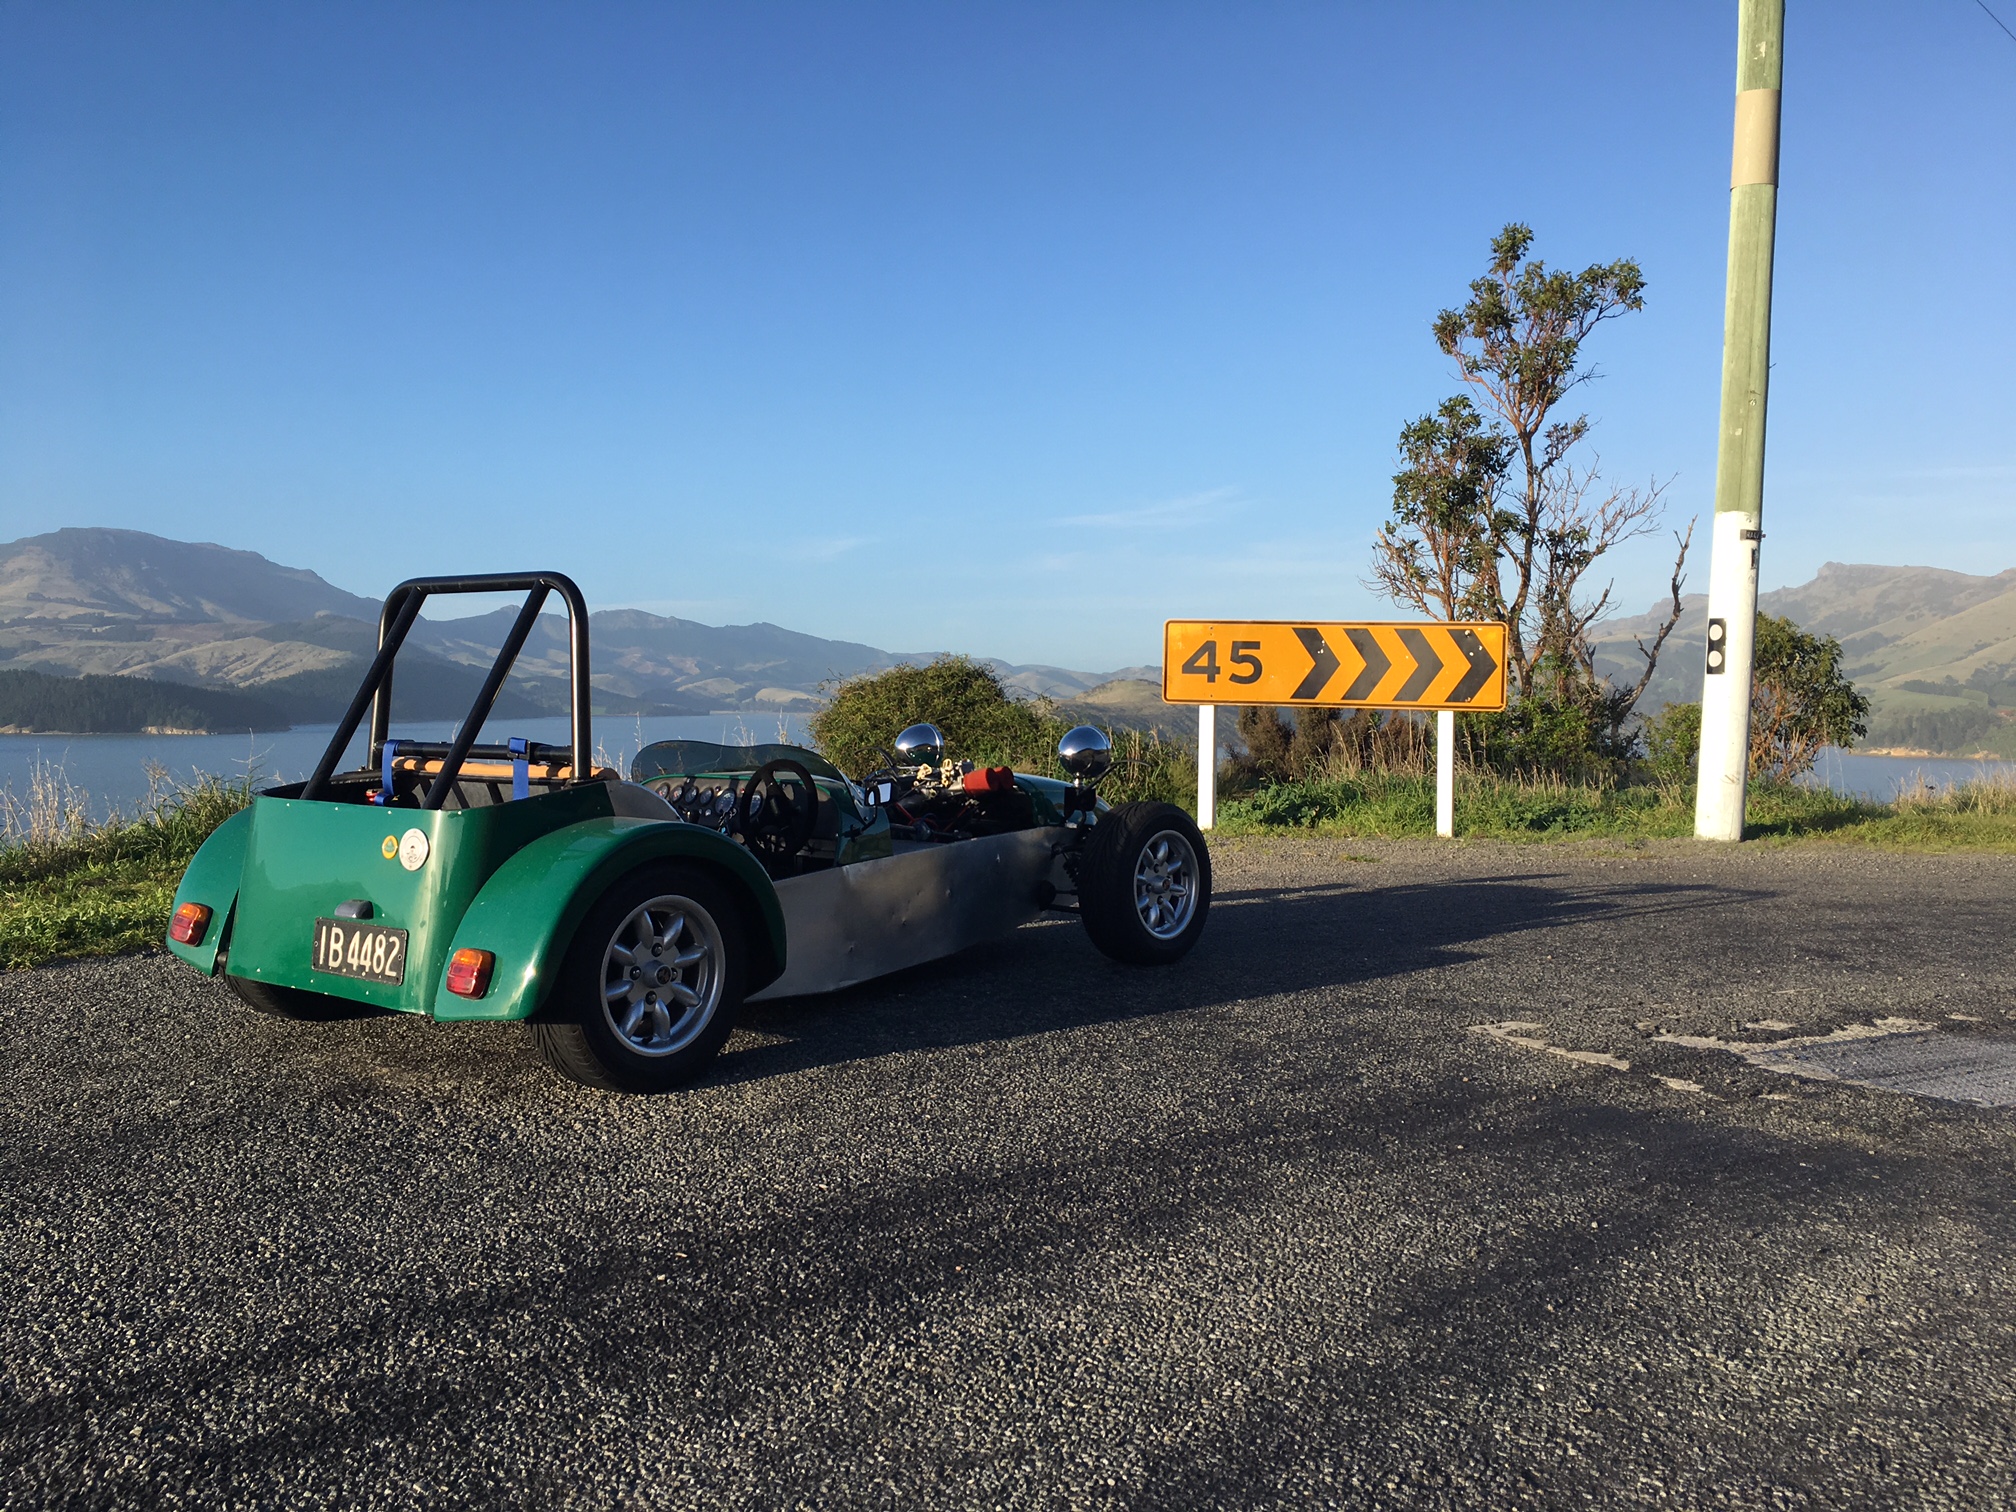
Have put around 800k's on this so far, nothing has really gone wrong apart from the clam shell bracket breaking, the diff continuing to whine, and being caught out in the rain on 3 occasions. Looking to change to cycle guards- will have to figure a plan out for that. Also looking into changing the diff- might go for a helical LSD. Fitted some nice low profile side mirrors. Also need to sort a bonnet- which I will need to get fabricated. Currently it has a single side draft, but the manifold is on quite a rake, so there will need to be a hole in the bonnet so the carb can protrude. A solution would be to switch to a twin carb manifold which would keep the carbs horizontal, and run twin 40's so I get full bonnet clearance, but this is a further expense, further complexity and it's running great with the single 40. Anyway- photo from the last outing Cheers
1 point
-
Thread is 10 years old. She hasn't posted for 8 years or been online for at least 3. So chance of an answer is minimal sorry.1 point
-
I should have the 1929 Plymouth wofed by then. It only cruises at 70 so if anyone wants a really leisurely trip follow me. I might have a couple spare seats too.1 point
-
It just fits down the side of the house... I got some more pics today in the daylight. Dat ass For some reason I really like the twin pipes hanging out Lush chairs If you line the side doors up and press the retaining strap in the right spot they open up really wide, Wide enough to hit the passengers mirror hence the open front door Crappy under bonnet(hood) shot and the worlds longest dipstick. Its longer than my leg. It smells the same as my old c10. I guess a mix of 350 horsepower sweat (have to find somewhere for the power to go thats not the wheels) and dust. I had plans of washing it today but had a nap instead1 point
-
Yep agreed, great write up. Not many people take the time to do this since Facebook came along and most forums died off. (Note: FB is a fcking awful alternative to forums).1 point
-
So here's the plan. Last time I pulled this car apart it was a major, it was properly broken and couldn't be used until a whole lot of stuff was fixed. This time things are different as the car is running great, has proved to be very reliable and doesn't really need anything major in order to keep it on the road. This project is all about fixing up a whole lot of little things that are bugging me and I want to starting getting the car finished to a higher standard. The to do list: My friendly WOF guy politely suggested that I should replace the upper control arm bushes and one of the upper ball joints before the next warrant check so this will be done. The weather belts on all the side windows need to be replaced as they are all in bad shape The side window glass is all pretty average as well and I have collected up a full set of replacement glass for the car so all the side windows will be replaced. Door seals are leaky and looking very shabby so all will be replaced Door cards require some attention to repair and replace the trim clips that hold them on, a couple are held on by screws that don't look too flash. The stainless trim on the side of the car also requires some renovation, a couple of them are held on by rivets so they will be removed, repaired and refitted with new trim clips. There is a little bit of rust showing in the left rear guard and this will be repaired before it gets nasty. I am sure I will discover plenty of other little things to tidy up along the way but I want it all finished before the start of summer so will do my best to stick to the plan.1 point
-
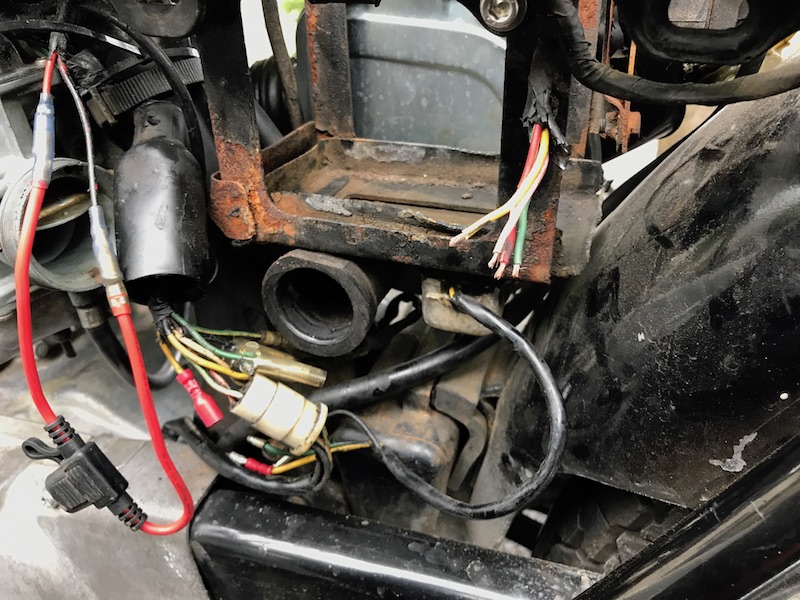
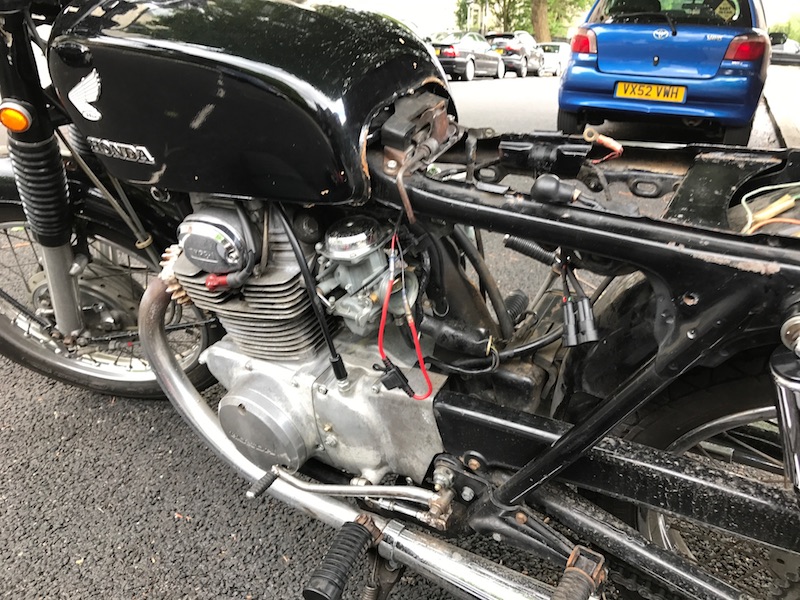
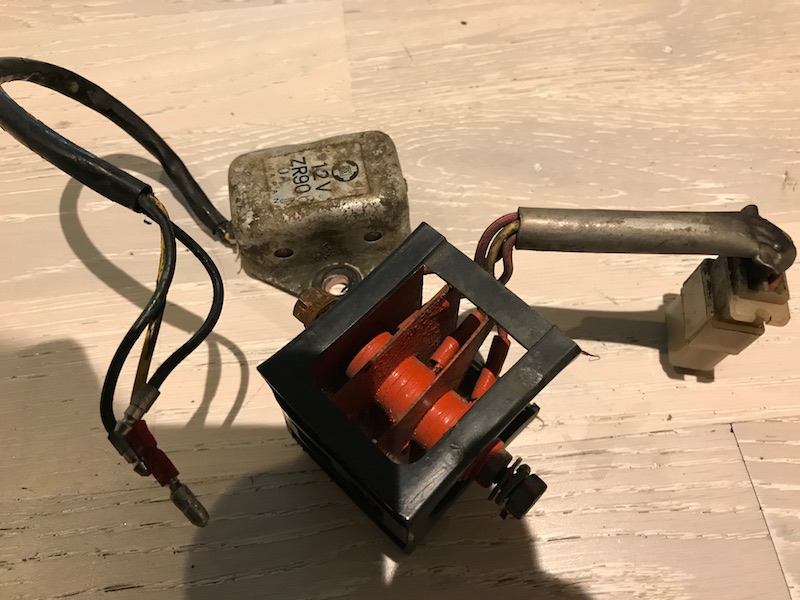
I decided I like the factory chrome look so I added genuine Honda indicators to replace the old rusted out ones. I painted the triple tree and handle bar mounts in VHT Epoxy satin black. Slowly getting this bike tidier. Now these bikes are know for their charging systems being weak, a common mod on these is to remove the old regulator and the rectifier and replace it with a modern 2 in 1 regulator/recifiter unit. Got started pulling out the wiring and noticed it was pretty rusty round the battery holder so that all came out for a freshen up. Can see the factory regulator tucked under the bottom of the battery tray. All removed The original regulator wiring is left disconnected in the loom. The original rectifier (orange fins) is removed and the wiring for this is used for the new regulator/rectifier unit. Yellow and Pink wires are from the alternator, green is earth and red is positive. Cleaned up the battery holder, stripped to bare metal and gave it a couple of coats of epoxy paint. Luckily the new regulator/rectifier bolt holes almost lined up to the original regulator holes on the bottom of the battery holder. A quick file to slot the holes and bam fits mint. Added some super seal connectors for reliability and bolted it all back together. Gave it a polish, as it stands now:
1 point
-
Up in Nova Scotia now, just left cape Brenton national Park, quite an amazing drive if you get to do it. It's been a bit cold and rainy but I totally recommend the off season, apparently a zoo in the summer. All the campgrounds were "closed" but no one said anything about us parking there, so it was an affordable few days . Got some biking and hiking done. Also I totally recommend carrying tire plugs and and air on long trips, got a nail in the tire, much quicker to just fix it then swap it. I use a co2 paintball cylinder and a fixed pressure regulator but a 12v compressor would work too.1 point
-
Since the car has been on the road again, I’ve put on a set of Bridgestone Potenza RE003’s and printed some custom hub-centric rings. For the hub-centric rings I used ABS plastic which should be okay, its transition temperature is around 105c and it would probably still be okay around 140c. Really its only used to locate the wheels while doing them up and don’t really serve a purposed after that. This is where I am today, almost the middle of 2017, 12 years after buying the car. Where to from here?1 point
-
Come on bro.. it's not the movies.1 point
-
Lol, no doubt Chris will tell you that converting this wasn't easy based on all the intake fab stuff. I did the same conversation using a factory twin carb motor. That was actually a piece of piss, just had to do very minor notch in the chassis rail around the distributor area. So fucking keen on another one of these vans. Trying to convince the lady that buying a pop top camper version is a good idea. Keen to see pics of yours!1 point
-
Went out to buy some resonators, realised how overpriced for how simple they are, so decided to make my own. Rolled up some perforated sheet, wrapped in stainless steel wool and fibreglass strand. Will probably make another couple to put in behind the diff, which hopefully will make it reasonably quiet. It's a real shame no-one is going to see underneath here once it's done.1 point
-
Got the cab back from sandblasting. Has also been etch primed. They did a very good job of it. Patch panels for the right hand side floor should be here in the next week or two. Made up a plate to replace the door hinge captive nuts that were turning. Plug welded it in. Pic for thread because these updates aren't that exciting and so I don't forget how cool this will look once it's done.1 point
-
Just a quick photo from when I had to move house: This is sitting on the front suspension above. Adjustable spring perches in the rear and ROH 15x7 +6 wheels I got of my Grandfathers Studebaker.1 point


.thumb.jpeg.384ff72c8d2b0ee0d34a7bdedb55bdcf.jpeg)


This leaderboard is set to Auckland/GMT+12:00