
Leaderboard


Popular Content
Showing content with the highest reputation on 05/21/17 in all areas
-
Towers done. Paint isn't really the same colour, but i'm sure it will all blend in through the first mud hole Gotta weld a bend to the compressor housing to clear the tower. other than that everything seems to be fitting7 points
-
Managed to get it all bolted up proper, apart from the flex plate. Couldn't find any bolts the right size (but have made the centre bore the right size). Starter and teeth on the flex plate look to line up which is good. Might need to play with the plate spacing from the crank but that's easy enough (bearing in mind this setup is purely for cranking the engine for a Comp test, will be using the real parts from the old motor so will all bolt up perfectly)
 6 points
 -
5 points
-
It's time to waste a whole lot of time and money that should probably be spent on other stuff. Some people on the forum will know our 1963 AP5 Valiant Regal but for everybody else who is interested here is a little history. My Dad purchased this car in 1983 and it was our regular family car for many years. Here is a photo taken some time in the early 80's. Dad had 2 AP5's at the time, the grey one on the right was a dedicated tow vehicle and was modified accordingly. The green one on the left is ours. About 7 years ago we were lucky enough to get our hands on this original and well looked car however a few things needed attention fairly quickly. Almost immediately we did a few safety upgrades. The car got a front disc brake conversion, new seatbelts and we replaced the wheels and tires in order to make it safe to drive in the rain. Until fairly recently I was hanging out on another forum dedicated to the fine products of the Chrysler Corporation with a few other members that have since come across to Oldschool and unfortunately a lot of the details of the work completed on the car to date was lost when the forum closed earlier this year. Lucky for me the Oldschool forum is awesome and I am very happy to be joining you all over here. This is how the car looked after its first round of upgrades. We drove it around for a while with the stock drive-line and aside from a little oil burning/leaking issue all was well. Then this happened. This was coolant leaking from a very bad place, yep cracked block! So naturally this happened next. And finally with the help of a local engine builder here in Auckland this happened. Sounds simple enough but it actually took nearly 12 months to resurrect the Slant 6 as the engine was in bad shape. We were very keen to salvage the original block and keep the car numbers matching but it was no easy task. I did as much work myself as possible but given the challenges involved in fixing the engine I was very happy to be working with a skilled engine builder and I am very happy with the result. This engine is awesome and it's still a numbers matching car. That's all for now, next post will be all about the current build. Feel free to discuss here. //oldschool.co.nz/index.php?/topic/56384-1963-ap5s-valiant-regal-discussion/4 points
-
Success, Karapoti completed trouble free. image upload no resize4 points
-
So, steering box had a bit of a leak. ID'd it as a 2nd gen l200/starion/dodge d50 box. ordered a kit from the states stripped it down, input and output seals were dried out, output seal shattered to bits when I removed it. Teflon inside was looking sad and the fluid was pretty dirty tight as to pull it out, but not as bad as it could be cleaned up and resealed back in and bled. went alright actually, but id be a rich man if I were getting paid hourly4 points
-
You're a more patient man than I. Mine took a number of sledge hammer blows and went to the big slant six factory in the sky.4 points
-
Minor progress. picked up a rb30 auto box and whipped the front housing/bell housing off and it bolts up to the rd which is good (internet never lies) and starter motor bolts up to. Next is to modify the l series flex plate Ky gave me (to bolt to crank, needs the centre bore made bigger) or find a cheap/free rb flywheel or flex plate so I can bolt it all up and comp test. Seems like a heap of work but I'd rather do it now and keep the wagon going than pull old motor out, fit this one and find its proper fucked.3 points
-
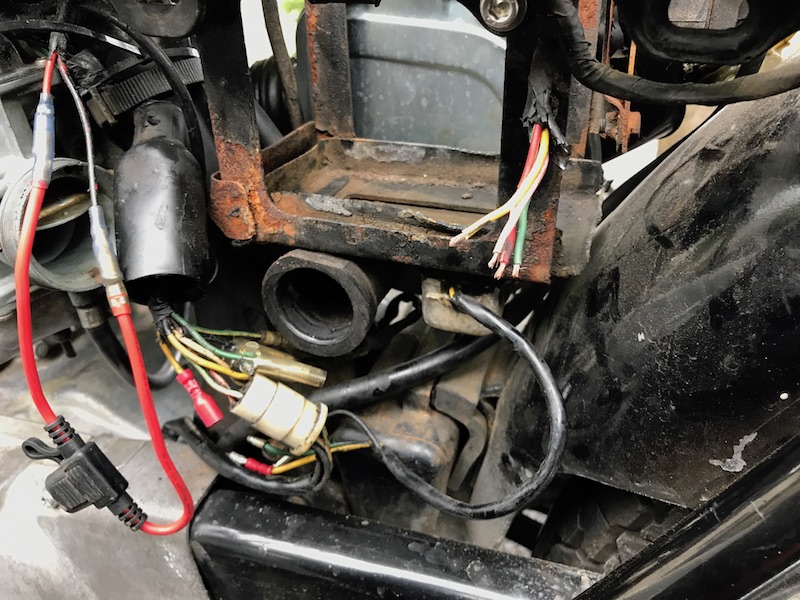
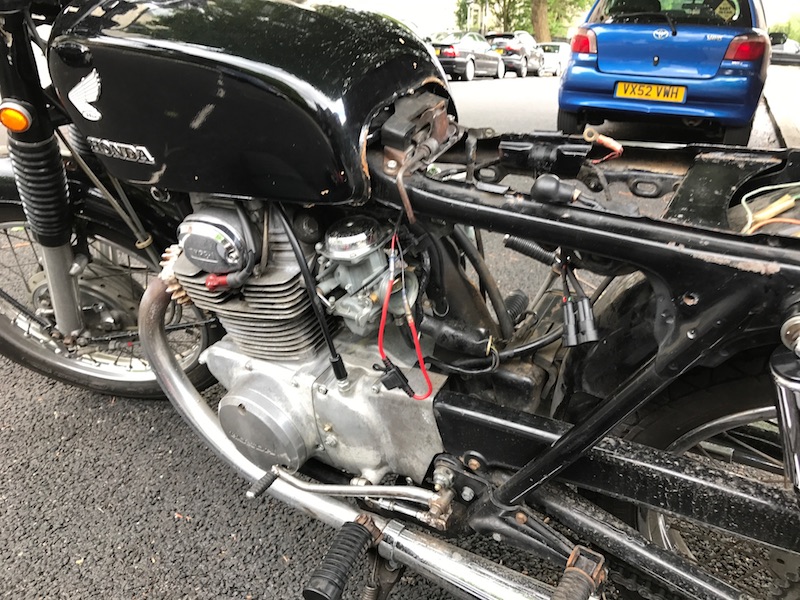
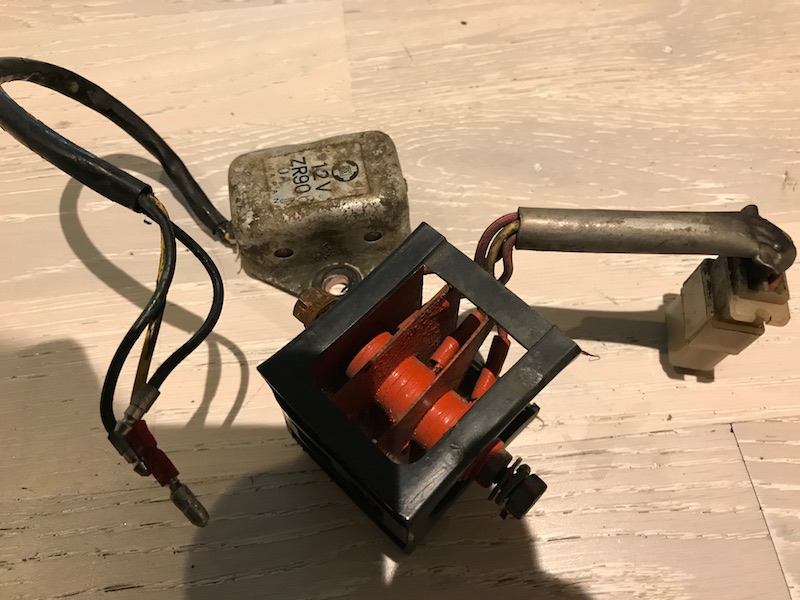
I decided I like the factory chrome look so I added genuine Honda indicators to replace the old rusted out ones. I painted the triple tree and handle bar mounts in VHT Epoxy satin black. Slowly getting this bike tidier. Now these bikes are know for their charging systems being weak, a common mod on these is to remove the old regulator and the rectifier and replace it with a modern 2 in 1 regulator/recifiter unit. Got started pulling out the wiring and noticed it was pretty rusty round the battery holder so that all came out for a freshen up. Can see the factory regulator tucked under the bottom of the battery tray. All removed The original regulator wiring is left disconnected in the loom. The original rectifier (orange fins) is removed and the wiring for this is used for the new regulator/rectifier unit. Yellow and Pink wires are from the alternator, green is earth and red is positive. Cleaned up the battery holder, stripped to bare metal and gave it a couple of coats of epoxy paint. Luckily the new regulator/rectifier bolt holes almost lined up to the original regulator holes on the bottom of the battery holder. A quick file to slot the holes and bam fits mint. Added some super seal connectors for reliability and bolted it all back together. Gave it a polish, as it stands now:
3 points
-
Thought I'd better post a pic of my latest family member and life long project car... NZ new, second owner and only 77 thou k's now, rust proofed when new so very very tidy, everything works including air ride, digital dash and not a single squeak or rattle while driving. I real gem I recon. Got a few reliability plans for the EA82T to keep it alive forever (under bonnet air/water intercooler to get that intake temps lower and stainless exhaust plus a few other tricks learnt over the years), but keeping it as standard as possible will be the mantra throughout. Bit of a dream car for me to be honest from the moment I saw one in 1985 at a motor show, i even had the Tamiya model of this exact car/colour/interior as a kid!. I think it's an interesting car from an interesting time that people either love or hate (both the time and the car haha) Joins my Brumby as a permanent member of the family along with the everyday drivers.2 points
-
Word, will dig stuff out2 points
-
That's the only way to beat a slanter!2 points
-
Just a small update We have Low thanks to 2" lowering springs up front and 2"blocks in the rear.
2 points
-
Oh yeah I'm in the habit of leaving stuff in gear due to British brakes2 points
-
Limit straps on may have an issue with inner guard clearance. fine when the suspension is fully compressed on both sides. but at full flex, have tyre to inner guard contact. because of where bumpstops are mounted. will likely never get this much travel,, so maybe a non issue. putting a rubber bumpstop on shock shaft, or cutting the inner guard some more will fix it, if it turns out to be a drama currently getting the outer towers sorted. passenger side almost ready for paint on bumps2 points
-
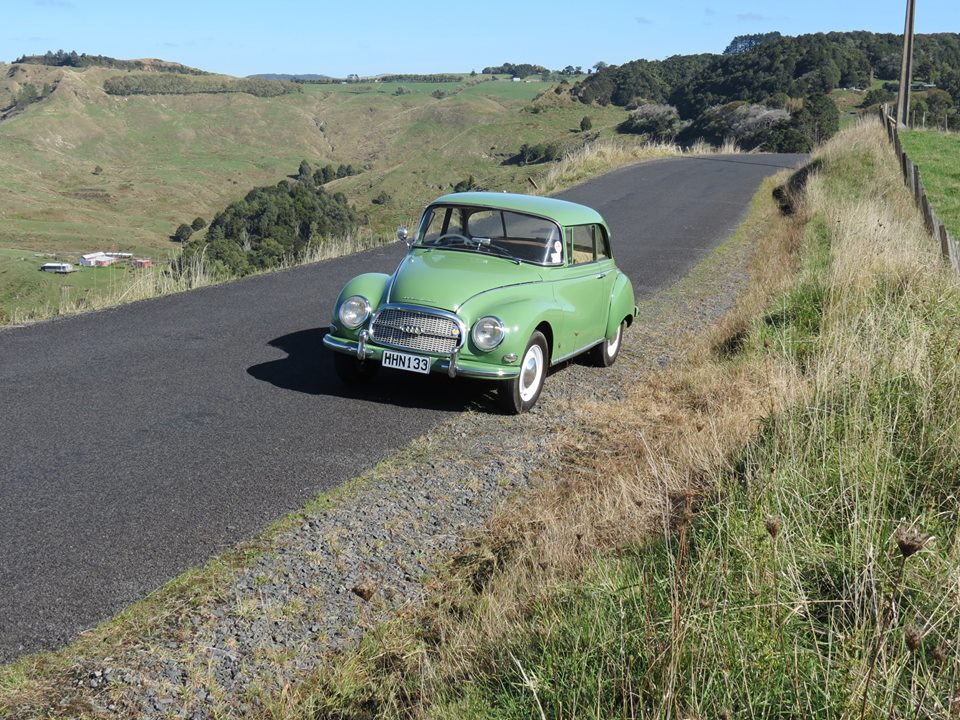
OK - it's been a bit quiet here - this is my 1959 Auto Union 1000. The 1000 is a rare sub-type - eclipsed by its much flasher brother, the 1000S, which had a lot more chrome, a few extra horses, duo tone paint as standard, interior clock, rear ashtray, stoneguards etc... This one is in its original colour of AU409 "Moosgrün", with a white interior, with green trim. Some of you may have seen me about with it.
2 points
-
Small update. Massive thanks to old man KY for sending up a camshaft (thats not in two bits). Whacked that in and chucked the belt back on, engine turns over by hand with no odd noises or oddities (such as sudden loss in compression) which is a good start. I was hoping to compression test it but turns out its not really practical to do out of the car (cant bolt up starter etc without bell housing). Although might see if I can find a rb bellhousing for a loan as it will likely bolt up. Recent trip to Japan sourced a few goodies (crystal shifter, lace seat covers, stickers etc), and got my pine back on for some nice wheels so spent last night browsing yahoo japan. Also found a mooneyes visor haha https://wing-auctions.c.yimg.jp/sim?furl=auctions.c.yimg.jp/images.auctions.yahoo.co.jp/image/dr000/auc0212/users/7/0/8/5/mackys_1-img383x263-14818565326td6al22809.jpg&dc=1&sr.fs=20000 Need wof for nats so thats the primary goal (booked in for next weekend). Have done some work already that needed sorting so shoudl be straight forward.2 points
-
So here's the plan. Last time I pulled this car apart it was a major, it was properly broken and couldn't be used until a whole lot of stuff was fixed. This time things are different as the car is running great, has proved to be very reliable and doesn't really need anything major in order to keep it on the road. This project is all about fixing up a whole lot of little things that are bugging me and I want to starting getting the car finished to a higher standard. The to do list: My friendly WOF guy politely suggested that I should replace the upper control arm bushes and one of the upper ball joints before the next warrant check so this will be done. The weather belts on all the side windows need to be replaced as they are all in bad shape The side window glass is all pretty average as well and I have collected up a full set of replacement glass for the car so all the side windows will be replaced. Door seals are leaky and looking very shabby so all will be replaced Door cards require some attention to repair and replace the trim clips that hold them on, a couple are held on by screws that don't look too flash. The stainless trim on the side of the car also requires some renovation, a couple of them are held on by rivets so they will be removed, repaired and refitted with new trim clips. There is a little bit of rust showing in the left rear guard and this will be repaired before it gets nasty. I am sure I will discover plenty of other little things to tidy up along the way but I want it all finished before the start of summer so will do my best to stick to the plan.1 point
-
I only seen a couple of oldschoolers today, and they were too busy driving fast to talk shit with me. Plus I spent most of my time there hiding in the bushes with my camera. With such a wide range of vehicles it made for an interesting day and listening to all those unmuffled engines as they flew past was worth braving the cold morning. I will start off with photos of Matts(MattJ) Anglia and Tonys (Ynot) Punto. Followed by random shots So i've been thinking about over the winter months to having our meets at a local spot (Pub, Cafe, somewhere) on a set date every month like alot of the other cities do. Whats peoples thoughts on this? location suggestions welcome1 point
-
Poor thing Didn't want to start for me last time I tried so I cranked it on the starter until it got here. I'm actually quite liking the steelie/whitewall combo. I need to tidy the garage enough so I can get it inside. I have ordered some bosch ev1 plugs off aliexpress so I can replace all the fucked injector/temp sensor plugs1 point
-
There are sicko's in the US that have slant six powered cars running in the 10's.1 point
-
I highly recommend you download the video series on rebuilding rotas. I got it years back just for curiosities sake and thought it was extremely well made. Pretty sure you should pay for it but there are other ways1 point
-
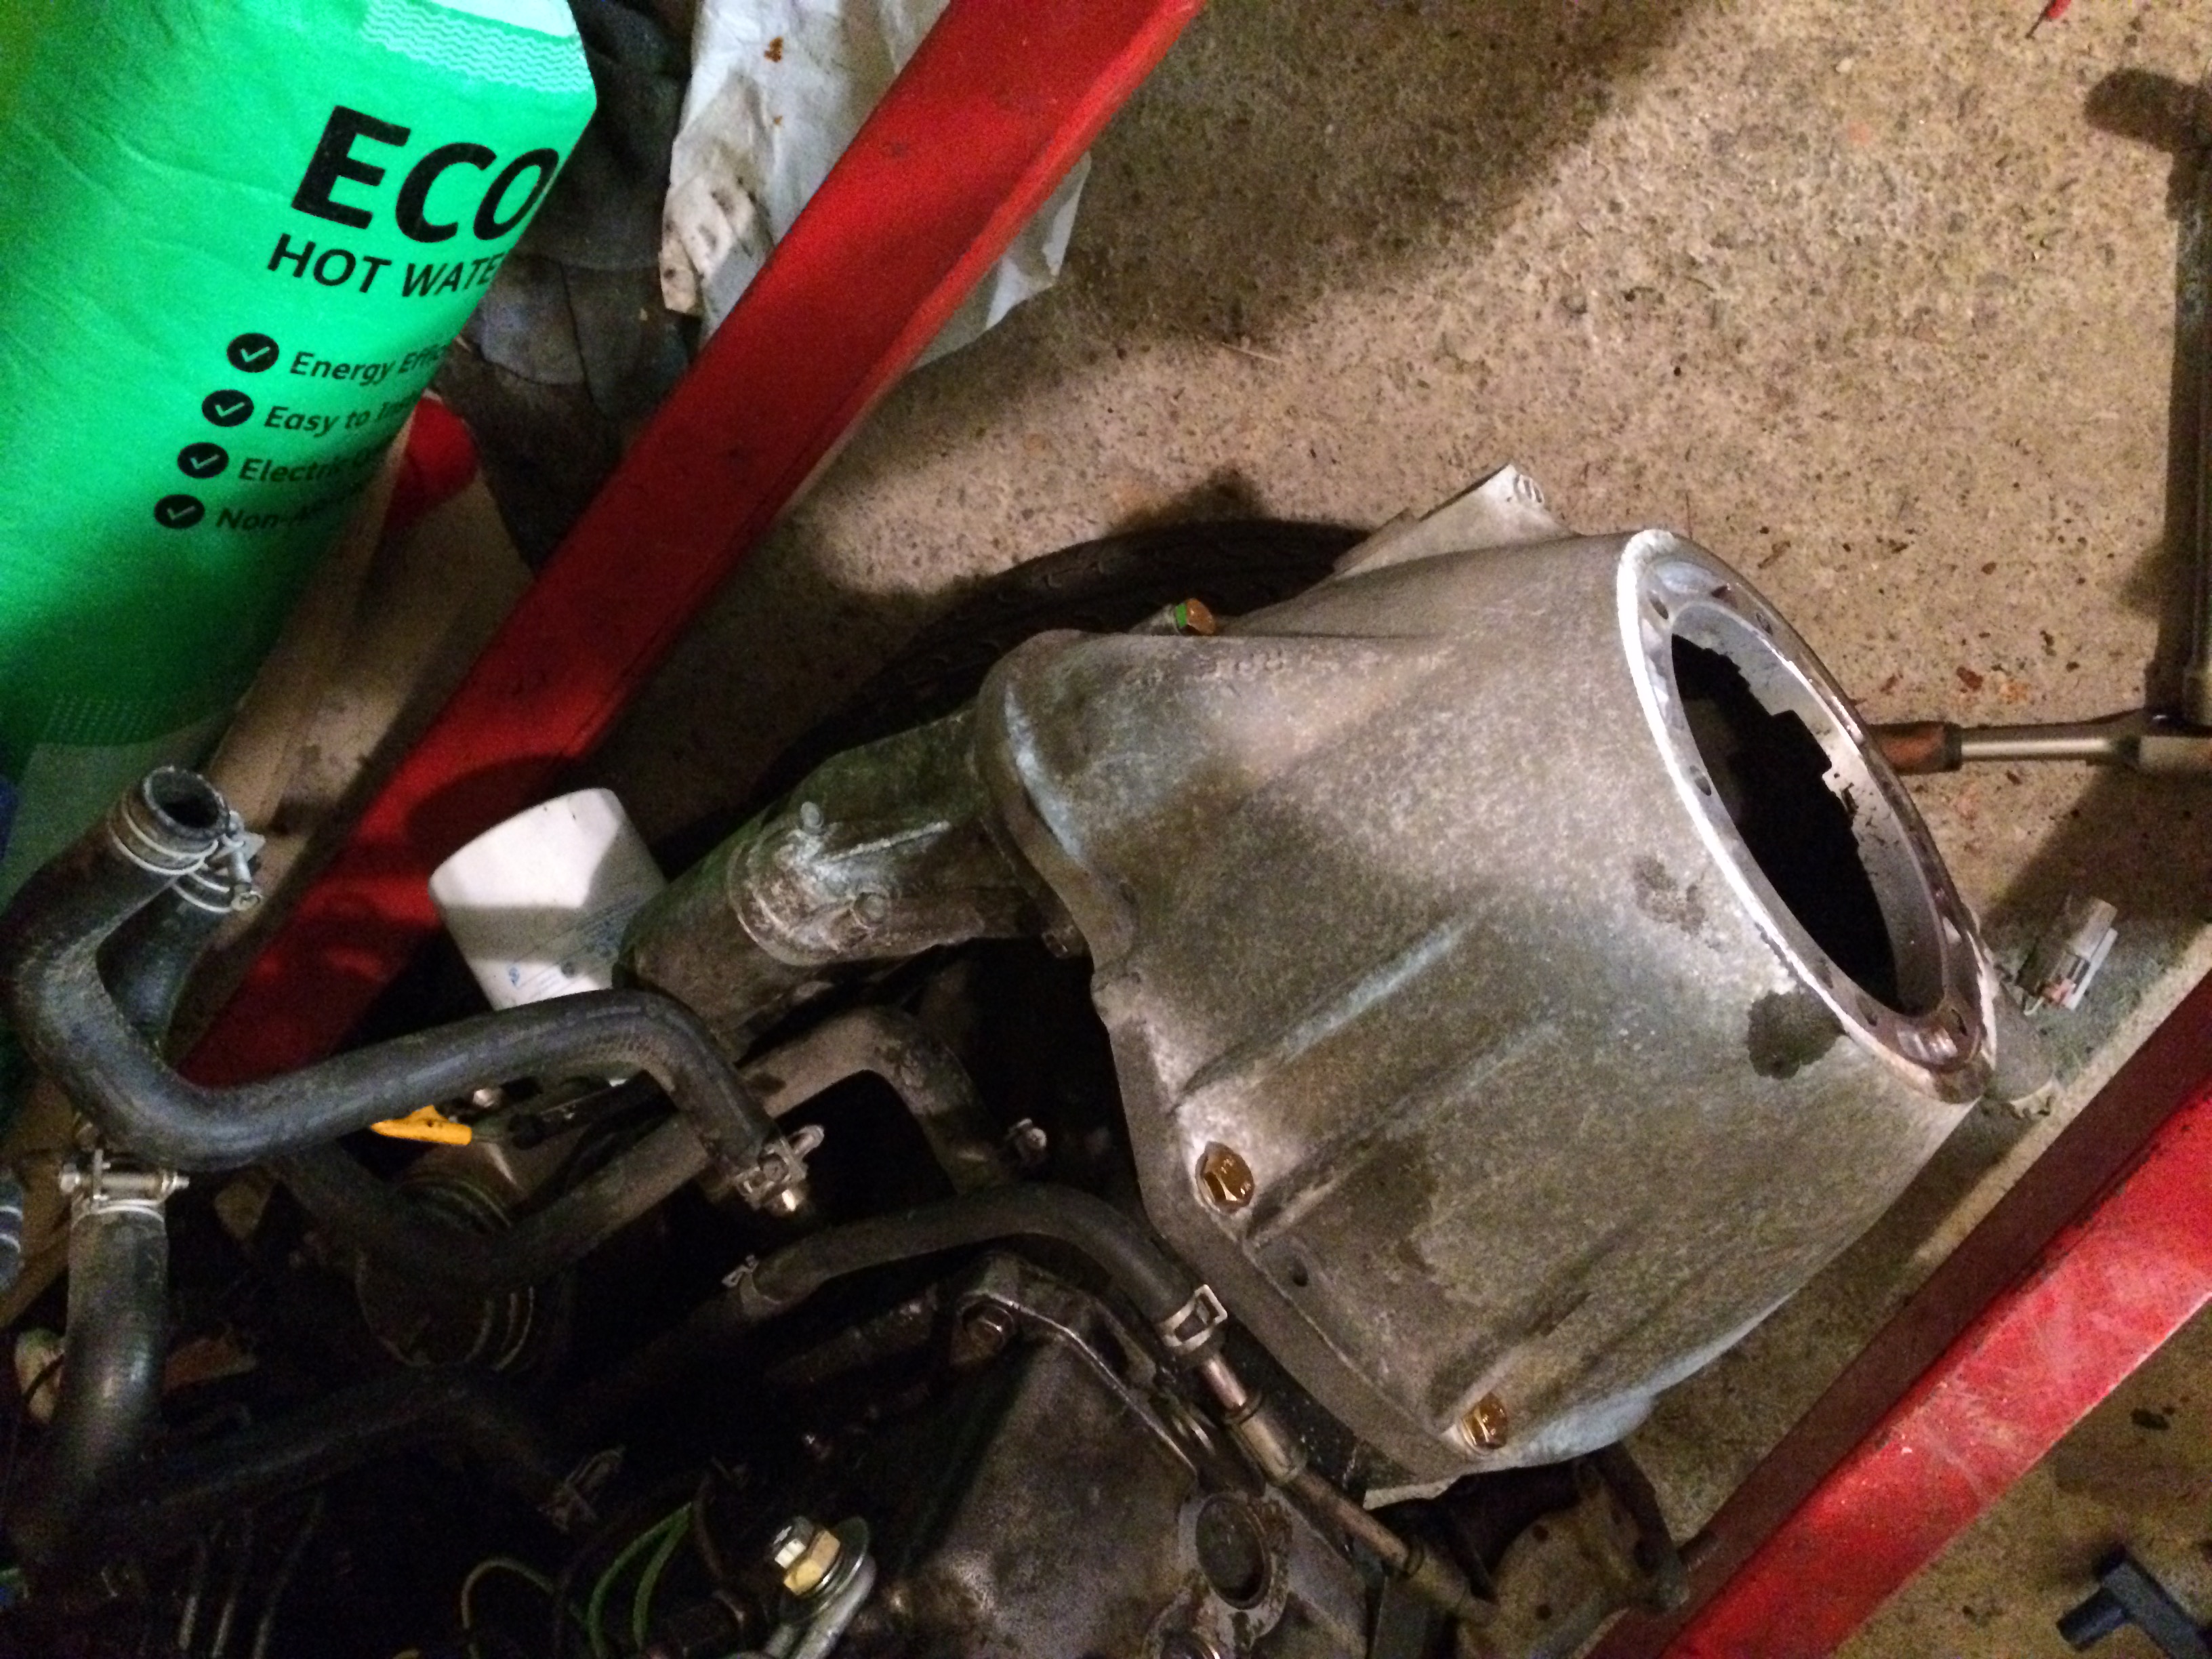
That is interesting. The casting was very thin around one of the welch plugs on my engine. It may have been that way from day one as I suspect that manufacturing techniques weren't as good as they could have been 50 years ago. I doubt it would have always had corrosion inhibitors in the cooling system over the years and eventually the thin area cracked and leaked. It was quite a challenge to fix as it is difficult to weld 50 year old cast iron that is thinner than you would like it to be. Welding guru however got it done and the repair has held up well so far.1 point
-
It seemed like a scratchy day and I didn't achieve as much as previous days but it all counts. Seam sealed where needed and threw the door back on, couple of patches where the guard bolts on Going to be a laugh making this cunt again! HAZAH! Moved the car across and Got the drivers guard off and the sill is far far better! Guard it's-self not as bad as passengers but the brace and bottom is still cooned1 point
-
Nice to see another AP5 here, oddly mine had a cracked block when I got it.1 point
-
This is how close the vn instrument cluster is to the l200 cluster Obviously the gauge bodies won't fit without cutting the housing. I could adapt the l200 glass to the vn body. You would have to cut off the idiot light section and make some mounts. I'm going to put the vn gauges in the l200 body mainly because I have to remake the pcb as a loom because they are old and cracked and not worth fixing and no repos available. This suits me because actual wire and some proper connectors will be much more reliable than thin copper traces on floppy plastic, and more forgiving when removing the plugs as I've damaged the current one by having it in and out too many times. Also, either way I will have to remove the idiot lamps to fit it in. Couple that with being able to get rid of half of them because I won't need them (and most Commodores never used them anyway). It looks like I can use the l200 indicator lamps on the top either side of the speedo but the rest (oil, battery, check engine, parking brake, fog lamps, and high beam and low beam) are going to be a challenge. Either I make a strip up from the vn cluster and install it on or in the dash someplace, or I could use small LED's embedded in the gauges much smaller than the originals and either remember the colours or gave some stickers made up.1 point
-
Ebay=special with a fist worth of extra length . . . RIP Raleigh 20 forks pictures upload1 point
-
Going up some dirt tracks this Sunday so gave it a small birthday. Really should get a seat made! image upload no limit Removed one chain link and replaced pensioners. New Zorst. Removed center stand and made a side stand. Made blanking plate for starter motor (man the motor on the other side is ugly!). New bars. New Clutch & Brake leavers.1 point
-
Since the car has been on the road again, I’ve put on a set of Bridgestone Potenza RE003’s and printed some custom hub-centric rings. For the hub-centric rings I used ABS plastic which should be okay, its transition temperature is around 105c and it would probably still be okay around 140c. Really its only used to locate the wheels while doing them up and don’t really serve a purposed after that. This is where I am today, almost the middle of 2017, 12 years after buying the car. Where to from here?1 point
-
So I have been looking at bigger brakes. Looking at S30 upgrade info, the first port of call are Toyota Hilux calipers, 4 piston and vented. Sounds good, will they fit? Don't know yet. I picked up a S12+8 caliper for a vented disc off a Landcruiser for a dollar to do some measurements. Stock caliper mount bolt centre to centre is 3.5", so is the Toyota caliper, yuss. Stock caliper mount boss is 19mm thick and the bottom mount slots in between the steering knuckle and the spindle, Toyota caliper is 19mm too so no problems there. Fitting the caliper looks sweet, now to find a disc that will work with minimal mucking around. After trawling through the DBA disc catalogue the vented 5 stud Z31 86-89 Turbo (DBA604) one looked promising. Stock Z31 Disc OD 271mm 274mm Disc ID 81mm 81mm Thickness 12.5mm 22mm Width 43.5mm 35.5mm Only thing I wasn't sure of was the bolt pcd as the 260C one is around 103mm, so I ordered some hoping that Nissan had kept it the same. Bolted up to the back of the holes sweet. An 8mm-ish spacer will get it sitting in the right spot. A couple things I'll need to check later is how the disc fits in the caliper, the disc is 22mm and the caliper slot is 23.3mm and also the disc is 3mm larger in diameter and the calipers both have the same distance from the mount holes to the bottom of the slot, should be a simple fix if needed.1 point
-
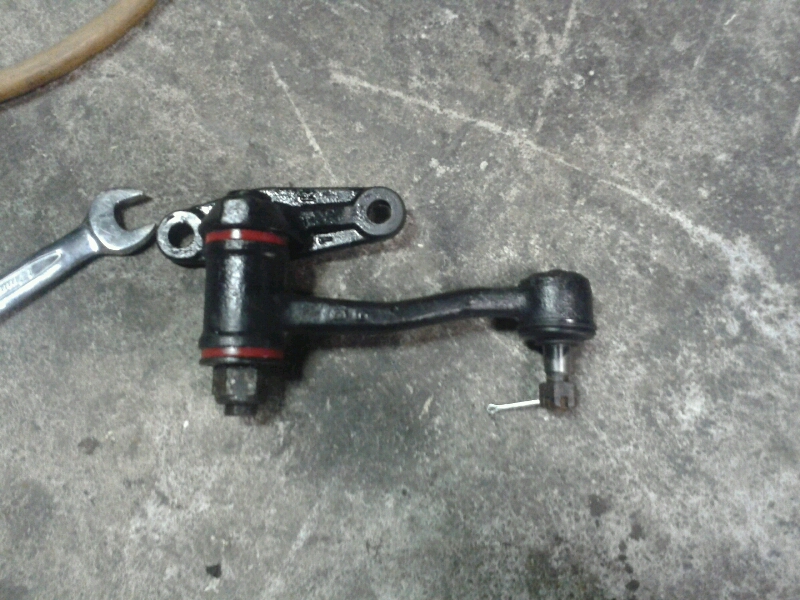
Well wof on Monday never happened, due to a bunch of fucking around with different parts places trying to figure out this steering idler. Anyway way figured out what I needed about 5.25 yesterday evening and much to brad doritos naysaying they turned up today. So hopefully everything is now repaired to vtnz standard. Idler went in this evening. Off to vtnz tomorrow again. Digits crossed.
1 point
-
still sanding....1 point
-
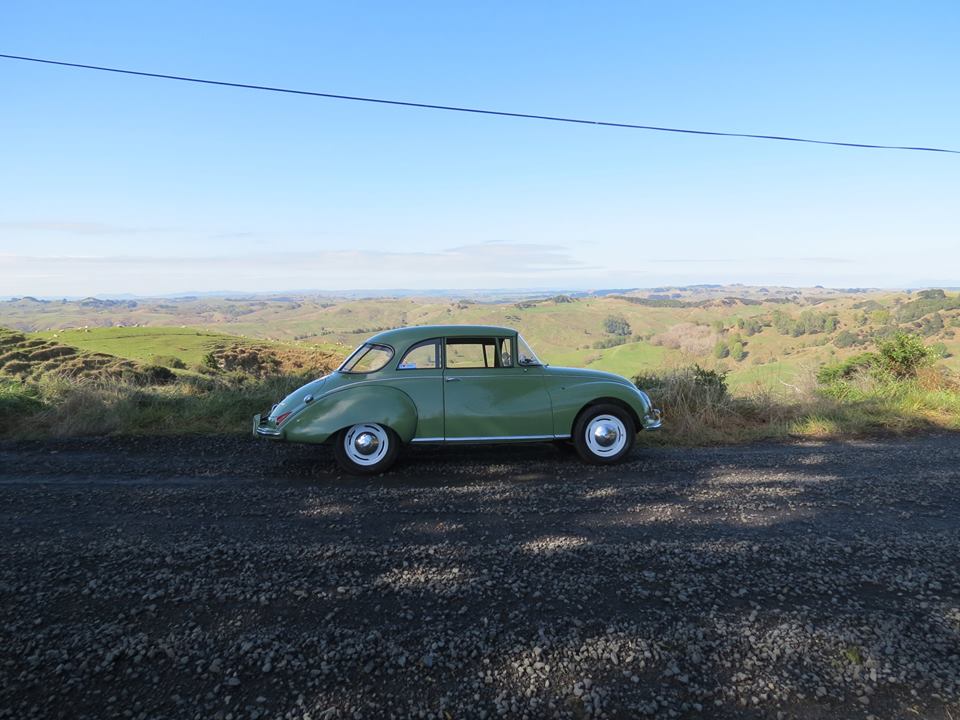
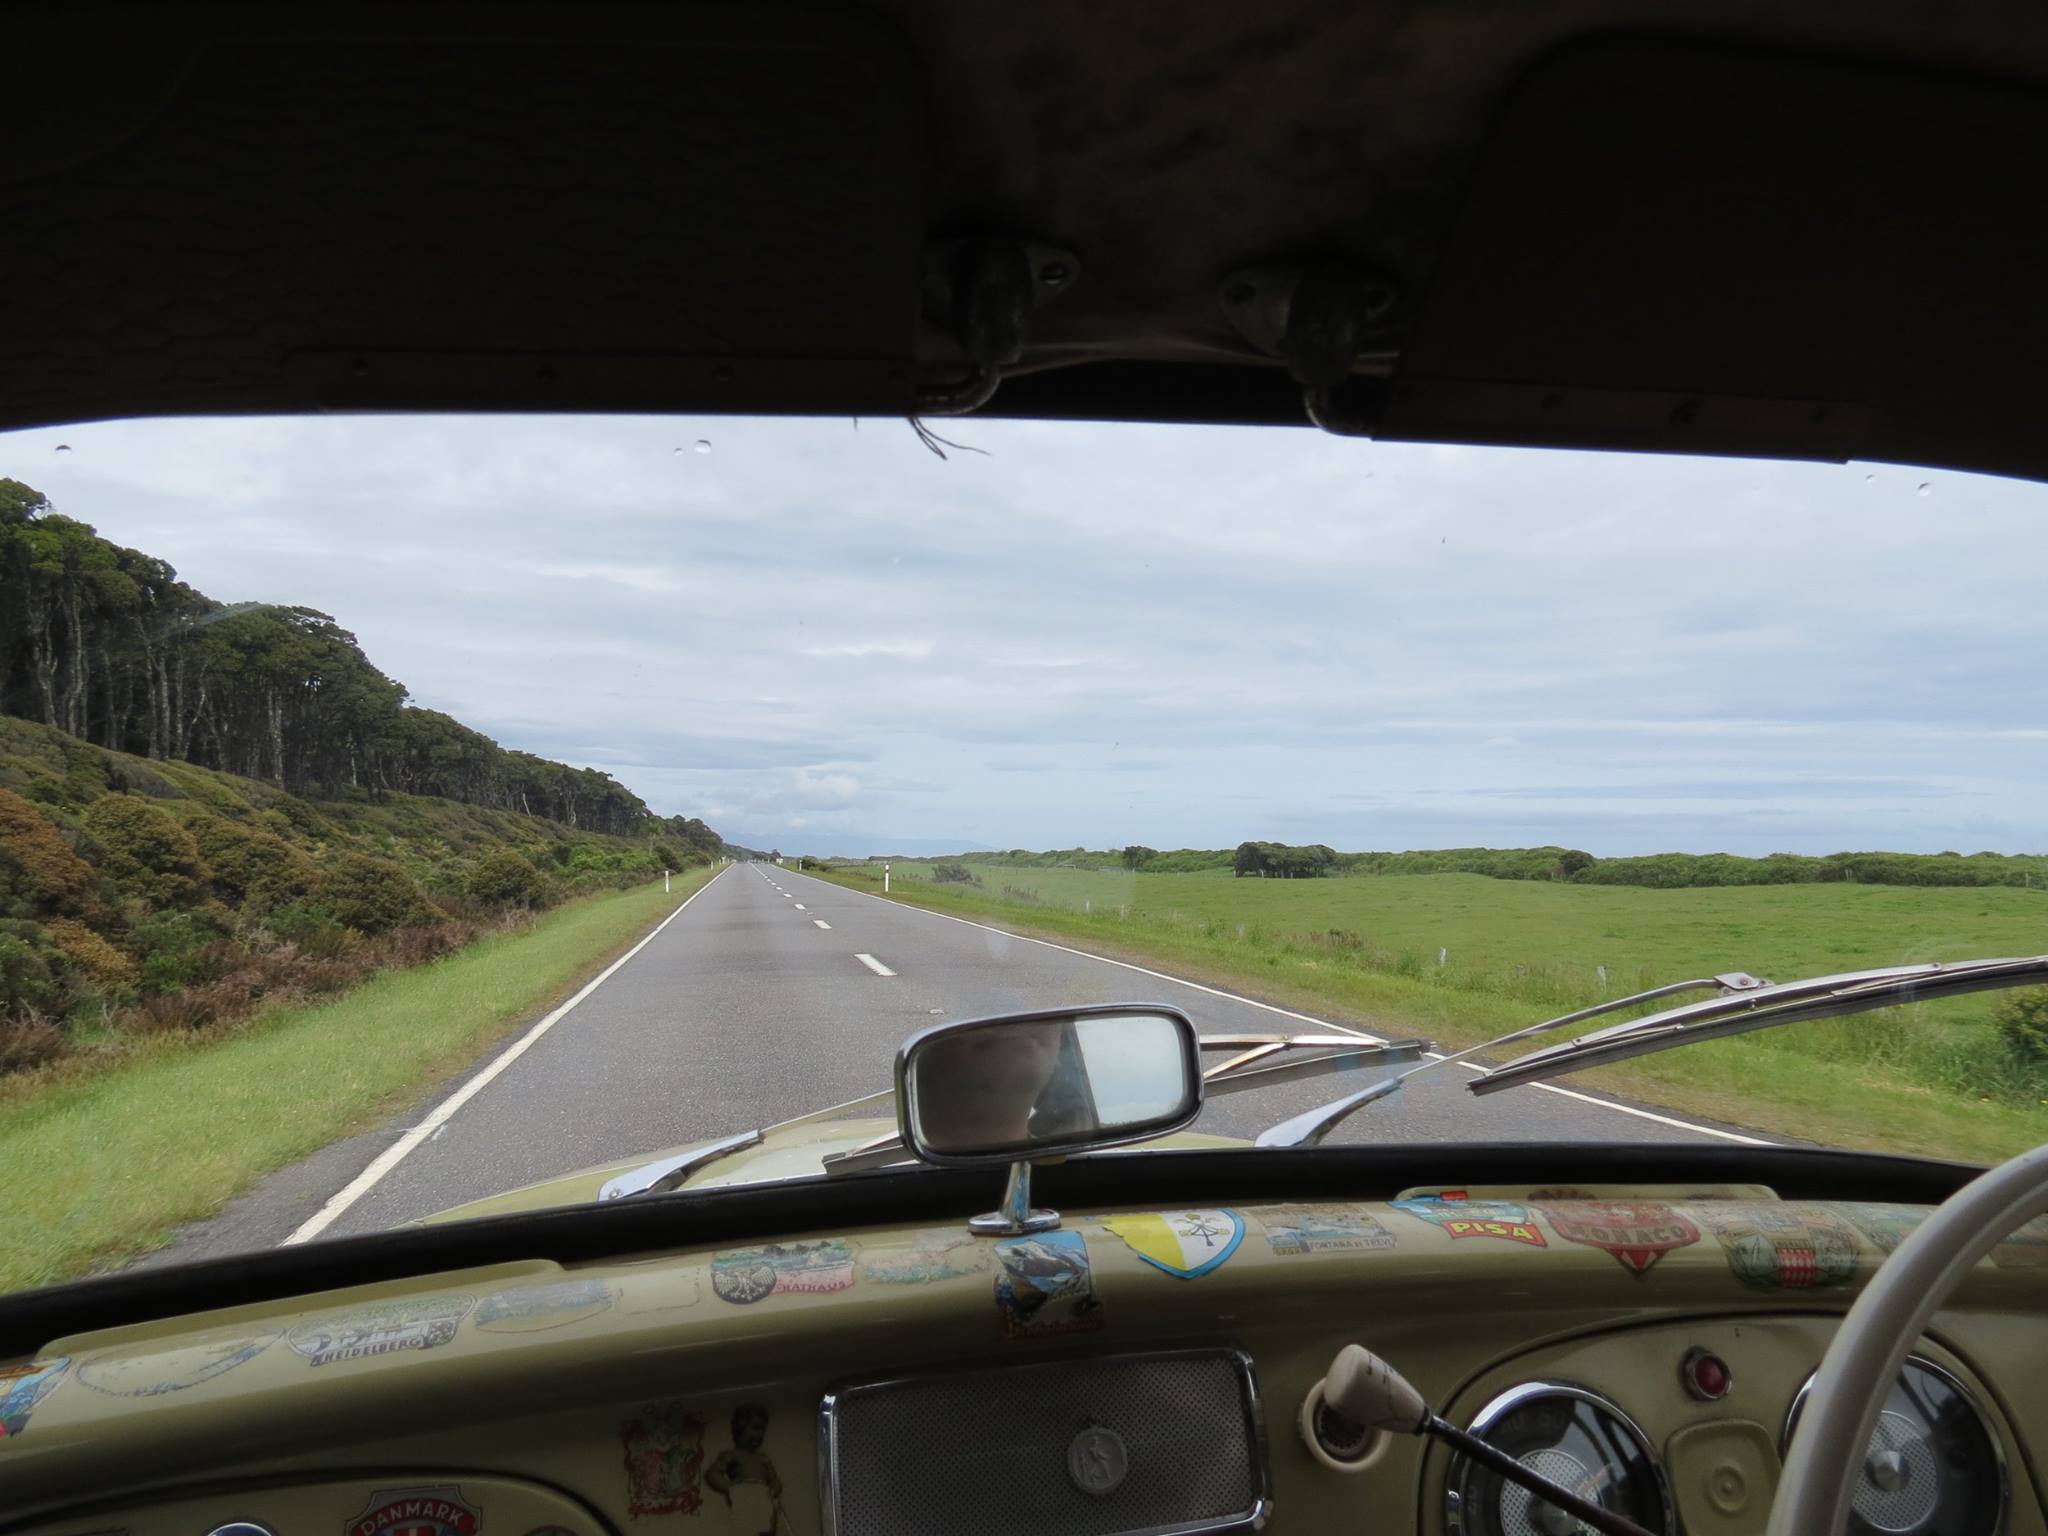
Moo'ing out on the farm1 point
-
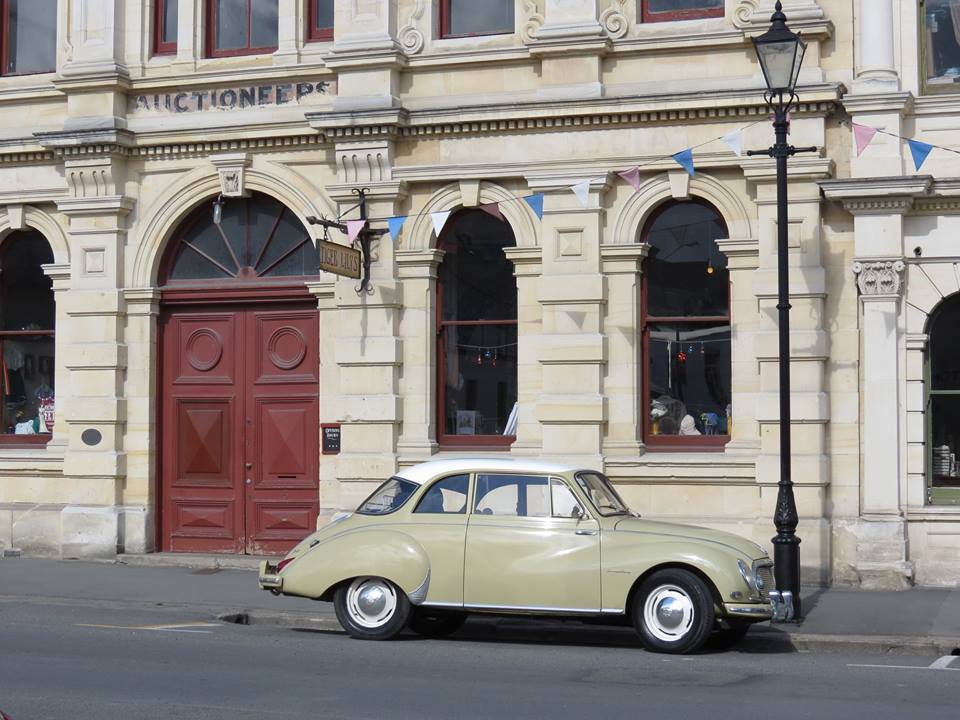
and this is my '57 DKW 3=6 F93 "Spezial" saloon (RHD drive for export);
1 point
-
Getting pretty far ahead of myself but I'm amazed and getting pretty excited by the variety of neat looking tyres for old 4x4 vehicles. Current pic of the bunch when the time comes will be Deestone D503 in 7.5-16 I think. Posting this here so I remember. Hopefully I get to this point.1 point
-
Hey team, done a couple wee things on this ol girl lately! Chucked some new bars, grips and throttle on, made a front mudguard, and got rid of the ol oil tank. Also passed a warrant which is rad! Been having loads of fun ripping around the streets, exhaust pops and farts and is pretty loud so it's sweet for winding people up. Got pulled up the other day though, Cop said he was trying to catch me for 5 mins haha! But he was a GC and let me off with compliance for not having a motorbike license haha.. Also brought a new motor thats been ported and had a few other bits, apparently it'll be an extra 10hp which would be epic! Will try and get that in over the next couple weeks. Also brought a bunch of jets off Ebay so I can try get this running good with the new motor. Also will try and mod my PE175 pipe to fit at the same time. Happy days!1 point
-
Yeah NOS photo hostingcertificity.com1 point
-
So over easter weekend i cracked into the firewall rust Gave her a bit of the ol razzle dazzle and filled everything up with rust converter and coated with PA10. banged seam sealer in all the seams. there wasnt any so they were filling with water everytime it rained. Ol mate had jammed some jb weld in the rust holes to stop water getting in the cab and covered almost all of it in black silicone. pulled all that awful crap out and did it right. the firewall had pretty much separated from the A pillar/guard area so was just kind of flapping about, and there is pretty much no original floor left so some of the previous fixes were a bit rough but i got it sorted well enough. coated what needed it with underseal, everything else left in primer till i can spray some top coat/never because il want to take the engine out. Also adjusted the steering stops so the tyres wont rub on the sway bar and steering box on hard turns1 point
-
This morning I got a text from Joe and it has been picked up! I'm fizzing now. I found my exhaust gasket material so I can hopefully fix the leak, I've ordered a flexible too as it doesn't have one. I'll have a good look over it and make a wish list. But first I'll do the diff & drive shaft bolts and annoy the neighbours with tang noises down the road1 point
-
So Manfield finishes up... And I'm enjoying doing superlap and the camaraderie between competitors. Buuut everything else in life was starting to feel a little stale. I have been daydreaming about moving to the South Island for the last few years, but I'm not a planner person... I figure if I wait until I have a plan, I will never do it. So I made a bold move - To just hand in 30 days notice at my IT Manager job, with no idea what I'm going to do next. I knew this meant sacrificing the remaining rounds of Superlap, and would probably lead to some hard times financially and otherwise. But it was just what I felt was necessary. All I knew was that I wanted to move out of Auckland for a while and start on a fresh page after some tough times over last year or two. A few days after this, I see an ad pop up on facebook... "Remote Dyno tutor/manager at HP Academy in Queenstown" Awww hell yes, could that be any more the ideal career/city change, at exactly the right time?! I applied for the job - and got it Then not long after, thanks to Bigfoot, I had some accommodation sorted too. It was the most low effort career/city change ever! Within the course of a week it went from my family probably thinking I was a bit of an idiot for quitting my job without a plan. (and a fair bit of doubting myself as well) to, "God damn it you're a jammy bastard Dave" To anyone who has along the way thought "David why not just take your car to a tuner instead of wasting your time doing all of these stupid tests/graphs/etc" Well, all of these things that I've done were a major contributing factor towards me getting the job. So there's probably some motivational message there about following your dreams or something. But end result is I'm pretty happy right now, and working at a company where drawing graphs and looking at datalogs etc is par for the course. Which is bloody exciting. So I packed my echo full of essential stuff and drove on down to start a new way of life down here. So far so good! Keeping some relevance to this thread though - My Carina is still back up in Auckland. It's packed full of "want but dont need" items, it's ready to hit the road as soon as I've organized a place down here that has a garage to store it in. I've been learning so much from Andre and the team, it feels like getting an apprenticeship from one of the best engine tuners in the southern hemisphere. I feel like I'm only just smart enough to be on the cusp of understanding some of the stuff Andre talks about. But I think I know just enough, that he doesnt feel like it's a waste of time explaining things to me. I expect that by the time I've got the Carina down here, I'll be ready to redo my tune from scratch using the new knowledge and tools now available to me. Cant wait! A new southern chapter of graphs, nerdiness, and awesomeness awaits the Carina. The next post in this thread, when the time comes. There will be graphs, oh yes, there will be graphs.1 point
-
The last few trackday events I've done, they have all been on very hot tracks in summer time... lots of grip for R888s which were coming up to temperature nicely, very quickly! Thanks to all this grip I've had, I've been able to wind the brake bias heaaaapppssss more rearwards than I ever have been able to previously. Which is awesome, it stops the car up great. Then, the Manfield round of Superlap... I was greeted by an intially damp, very cold track. First run out, feeling a little too confident... by lap 3(?) I still had almost no heat in the tyres, was pushing it a little too hard, and the brake bias caught me out. I spun off turn 1, ending up stuck in the kitty litter which was embarassing, and I felt bad for delaying the session while I was towed out. I went back to the pits, took a few winds out of the brake bias (it isnt adjustable in the cabin) Second session, wowzers! Track came up to temp nicely and the car was running great. I was still getting familiar with things as I've never driven there before. But had an awesome time. I was driving conservatively as I didnt want to be "that guy" that crashes twice in a row haha. Feeling confident lining up for the third session of the day, and ready to push a bit harder. I get waved out onto the track and my driveshaft makes a clunk noise. Try go forward again... same thing... shit. I head back to the pits, and it looked as though the hanger bearing had crapped itself, so the centre of the 2 piece driveshaft was free to flop around. It felt okay to drive "normally" so I said my good byes to friends at the track and went back to accomodation (Thanks Lachlan) I packed the car up and started driving home. I got about an hour out of Manfield, and driveshaft noise was getting bad going up a hill when it was under load - Boom! The front UJ broke, and the driveshaft went smashing around in the tunnel like a MFer! Lucky I had driveshaft loops in place or it would have made a bloody big mess. Once I got safely to the side of the road, and had a look under the car. It dawned on me that I am 6-7 hours drive from home, with a car that's fucked haha. About 1/2 an hour later, something magic happened! Some other competitors saw my car on the side of the road, and stopped up. They couldnt really help, but wanted to see if they could assist. Then some more competitors came past - this time with their track car on the trailer behind tow vehicle. They stopped up, unloaded their track car from the trailer so they could tow my car home - and drive their track car instead. These guys lived near Hampton downs, but drove all of the way to Glendene in the pissing rain to help me get my car home by about 2am. Which meant they didnt get back to theirs until 3 or 4am after a very long day. Absolutely blown away by the help. Big thanks to Jakke and Matt for being awesome well beyond the call of duty. Sometimes when you're up to your eyeballs in shit, and someone helps you out - The sort of thing you remember for a very long time. Some good memories and good friends, made by a bad situation.1 point
-
I bought it some new wheels because I've always disliked the ones on it. 18x9.5, +24 offset fits perfect, I re used the tyres that were on it already, 245-40-18 I also spent a few hours touching up all the paint chips and scratches. Looks tidier.
1 point
-
China IDA plz.1 point
-
It looks so lush. I was very tempted by this myself but.... no spare coin. Maybe one day.. but by then they will finaaly be hit with Mazda tax and out of reach.. Anyway- I have this that I'd bought in the UK at some random swap meet. Might be of help! I want to keep it but totally happy to post it up to you. You use it/copy it and when finished post it back. PM me your address.
1 point
-
I did a bit of engine bay cleaning of the S5 in the downtime. But it was actually really fun getting this going. Super glad it actually ran (not that i didn't think it would) Cherry on top was getting it drivable and doing some skids. Jeah.1 point
-
He moved the other tang and put oil in the van. I found the remnants of a bag of weed in the glove box too, I found a farm rego label in the glovebox from 20101 point
-
FS5W71C Floor Shift 5 speed Warner synchros 71mm between shafts centers C revision box. (Larger countershaft front bearing, larger 1st/2nd synchros+ selector) R4W71B Remote (column) 4 speeds B revision. Etc FS5C71B Same but the C stands for Porsche type steel servos(synchros) I have found these in random zed's but in no particular pattern. RFB twenny debt and 25 no debt and s13/14 have the C type box with the 6 bolt plate at the back holding the shifter. The bellhousings are mostly interchangeable. If you try to run a C onwards gearset in a B housing you will need to machine a bit of clearance for the larger counter gear and bearing, and drill out the 1st/2nd selector rod hole from 14 to 16mm. The B gearset goes straight into the C housing with the C bearing, but you need to sleeve the selector hole down to 14mm. The gearbox revisions went all the way to H. The later ones had synchros on reverse and double synchros on 2nd. I have a good selection of boxes, parts, new synchros etc in stock if you need bits. Barry out...1 point
-
We can see if our parts dock nicely1 point
-
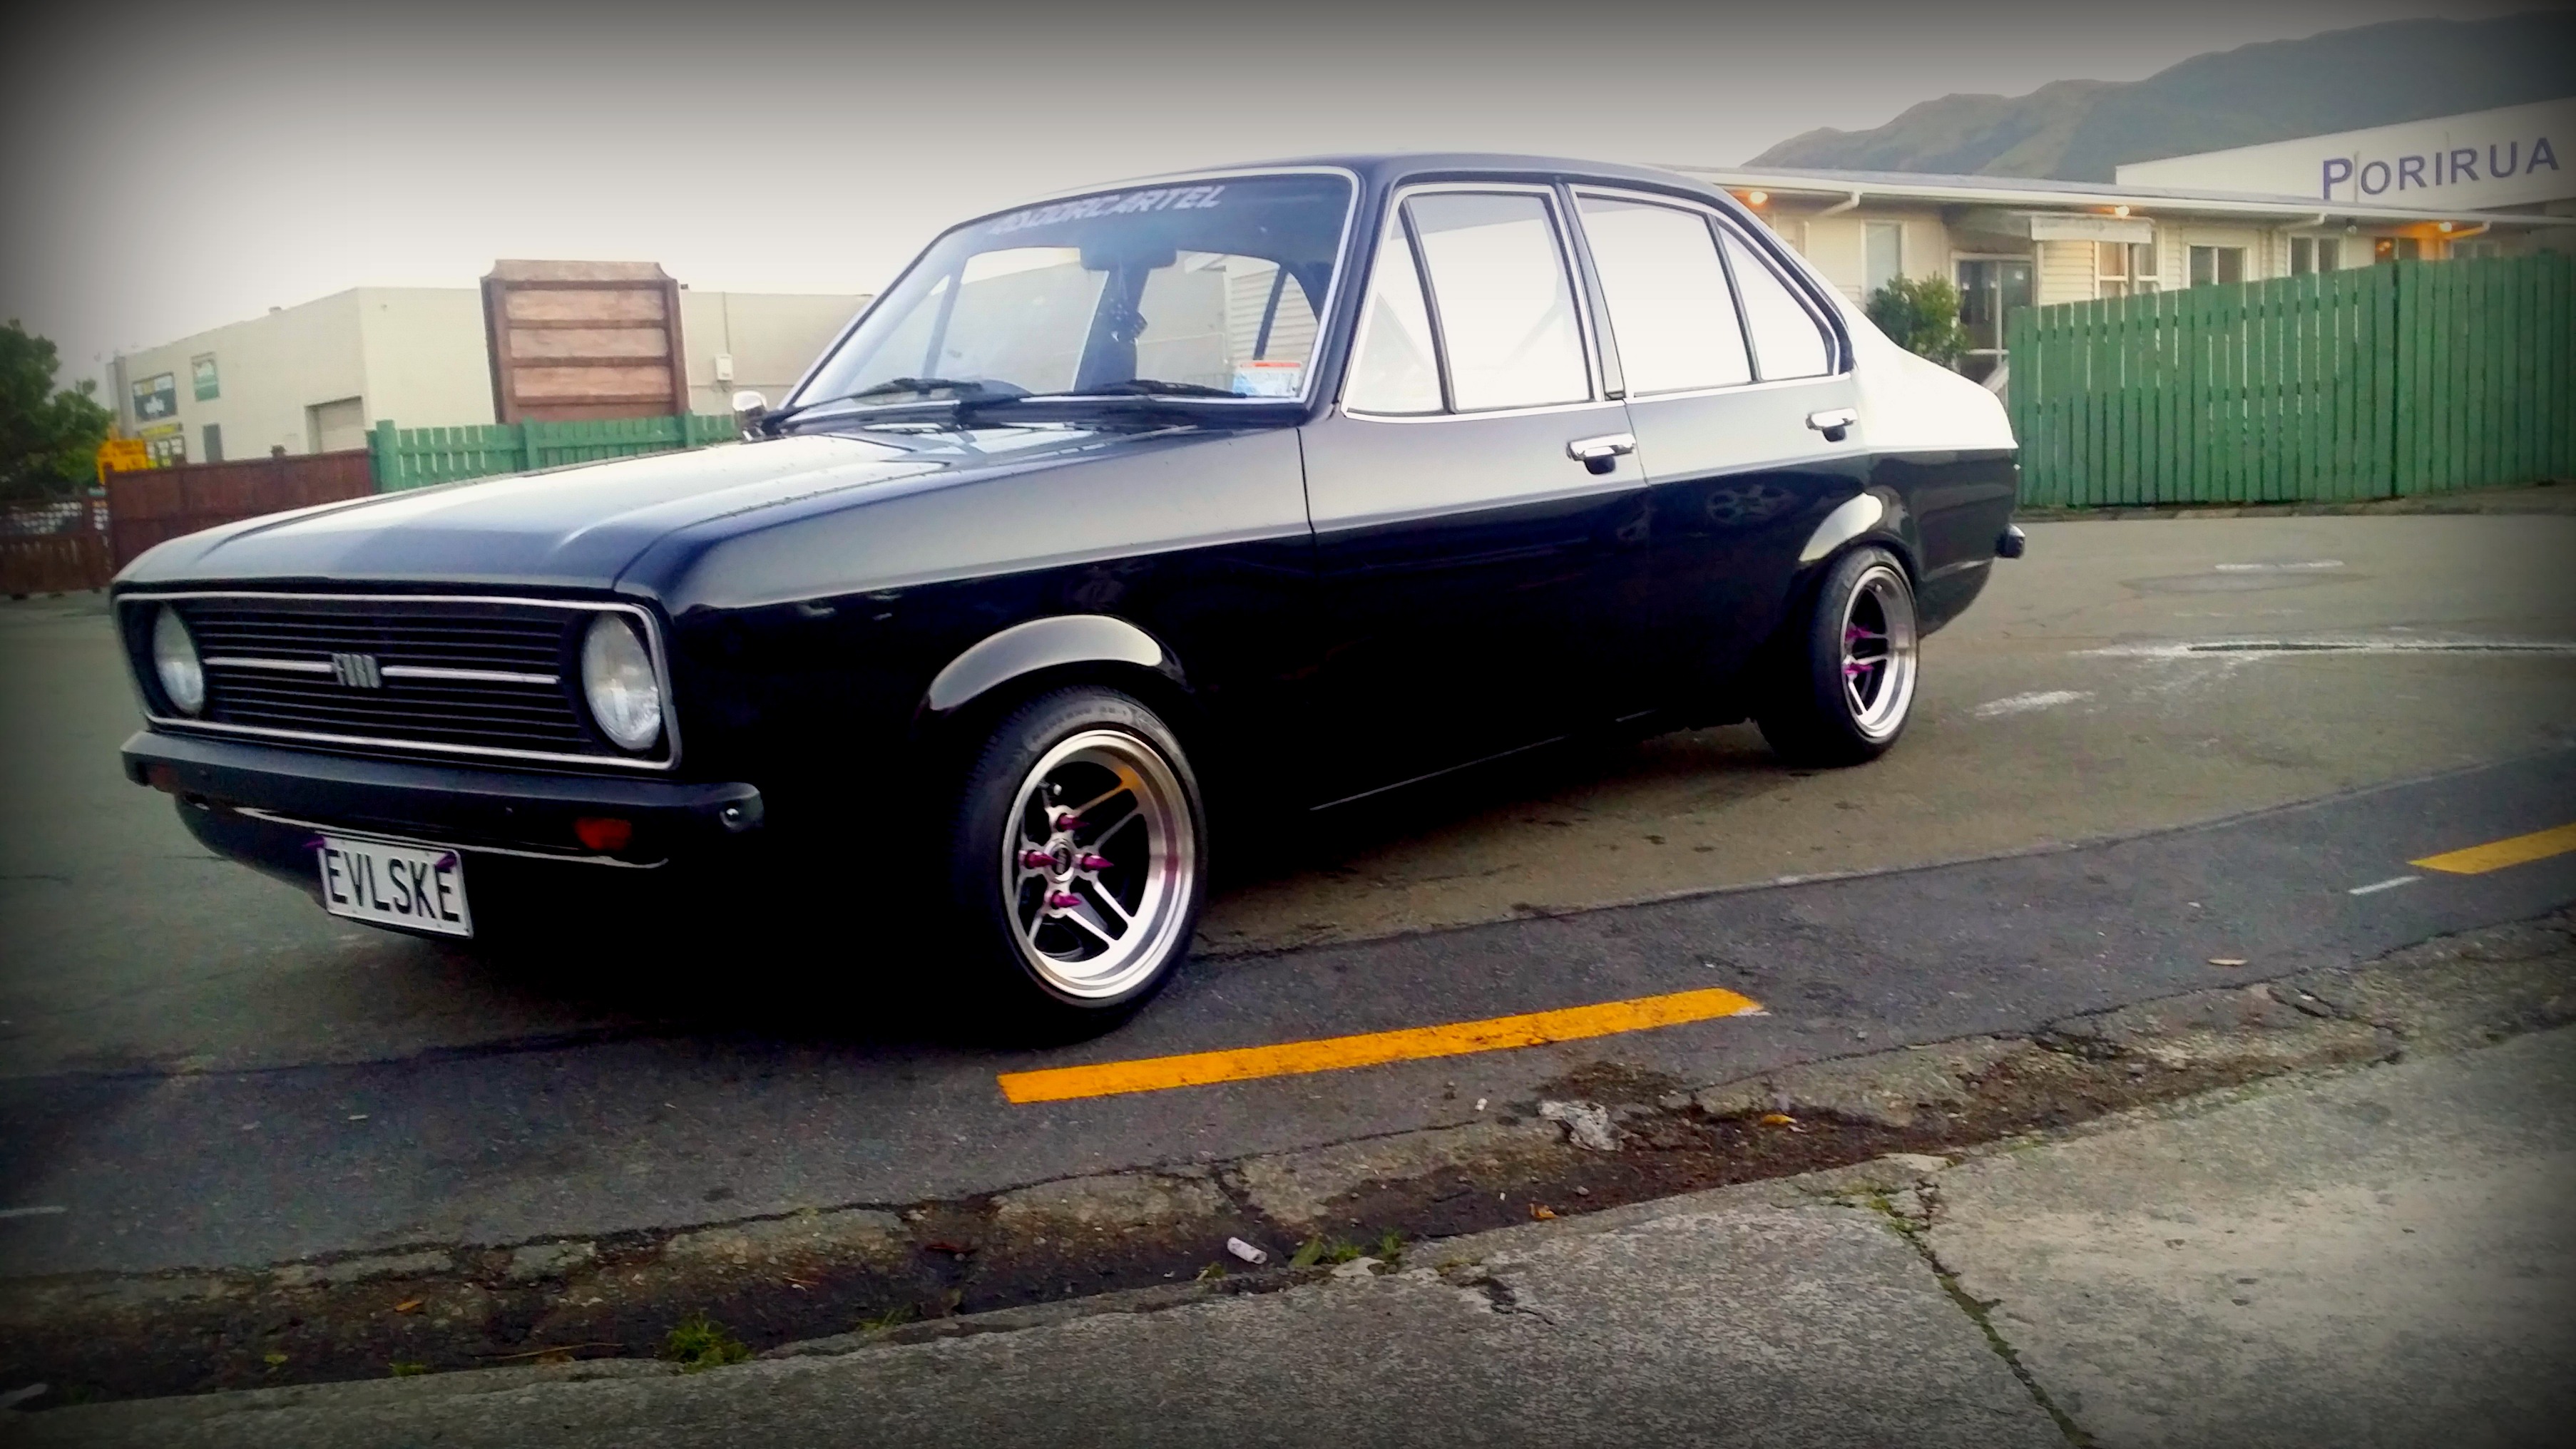
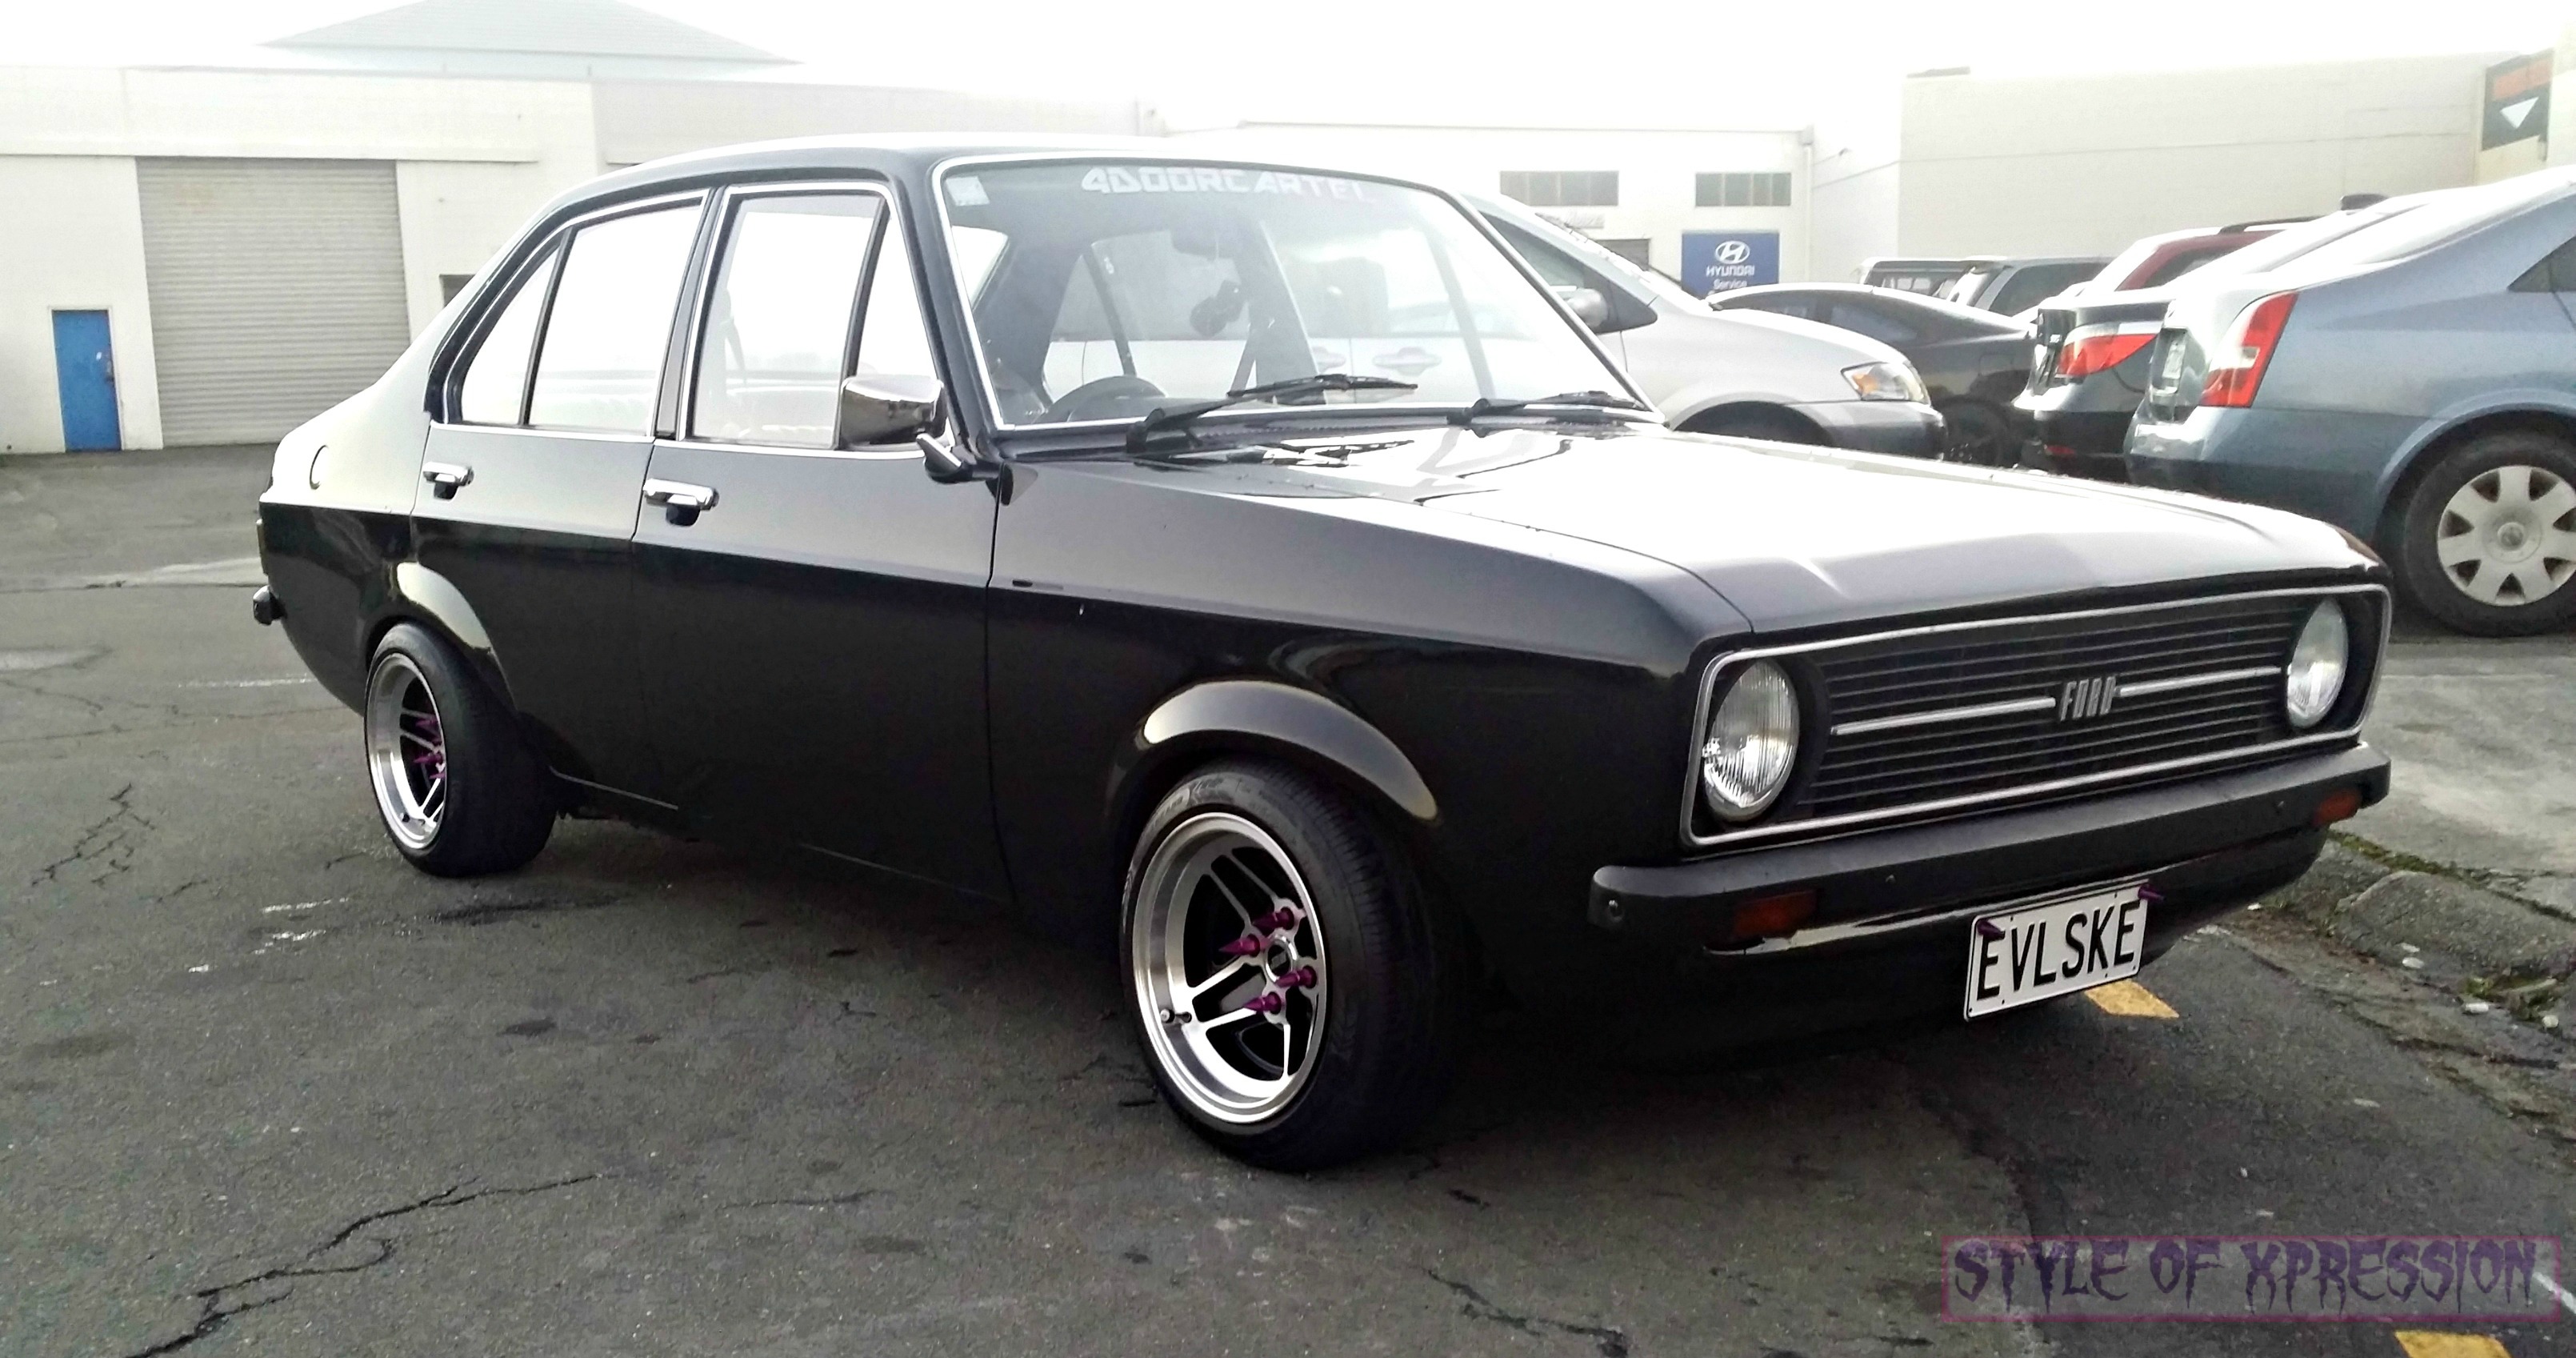
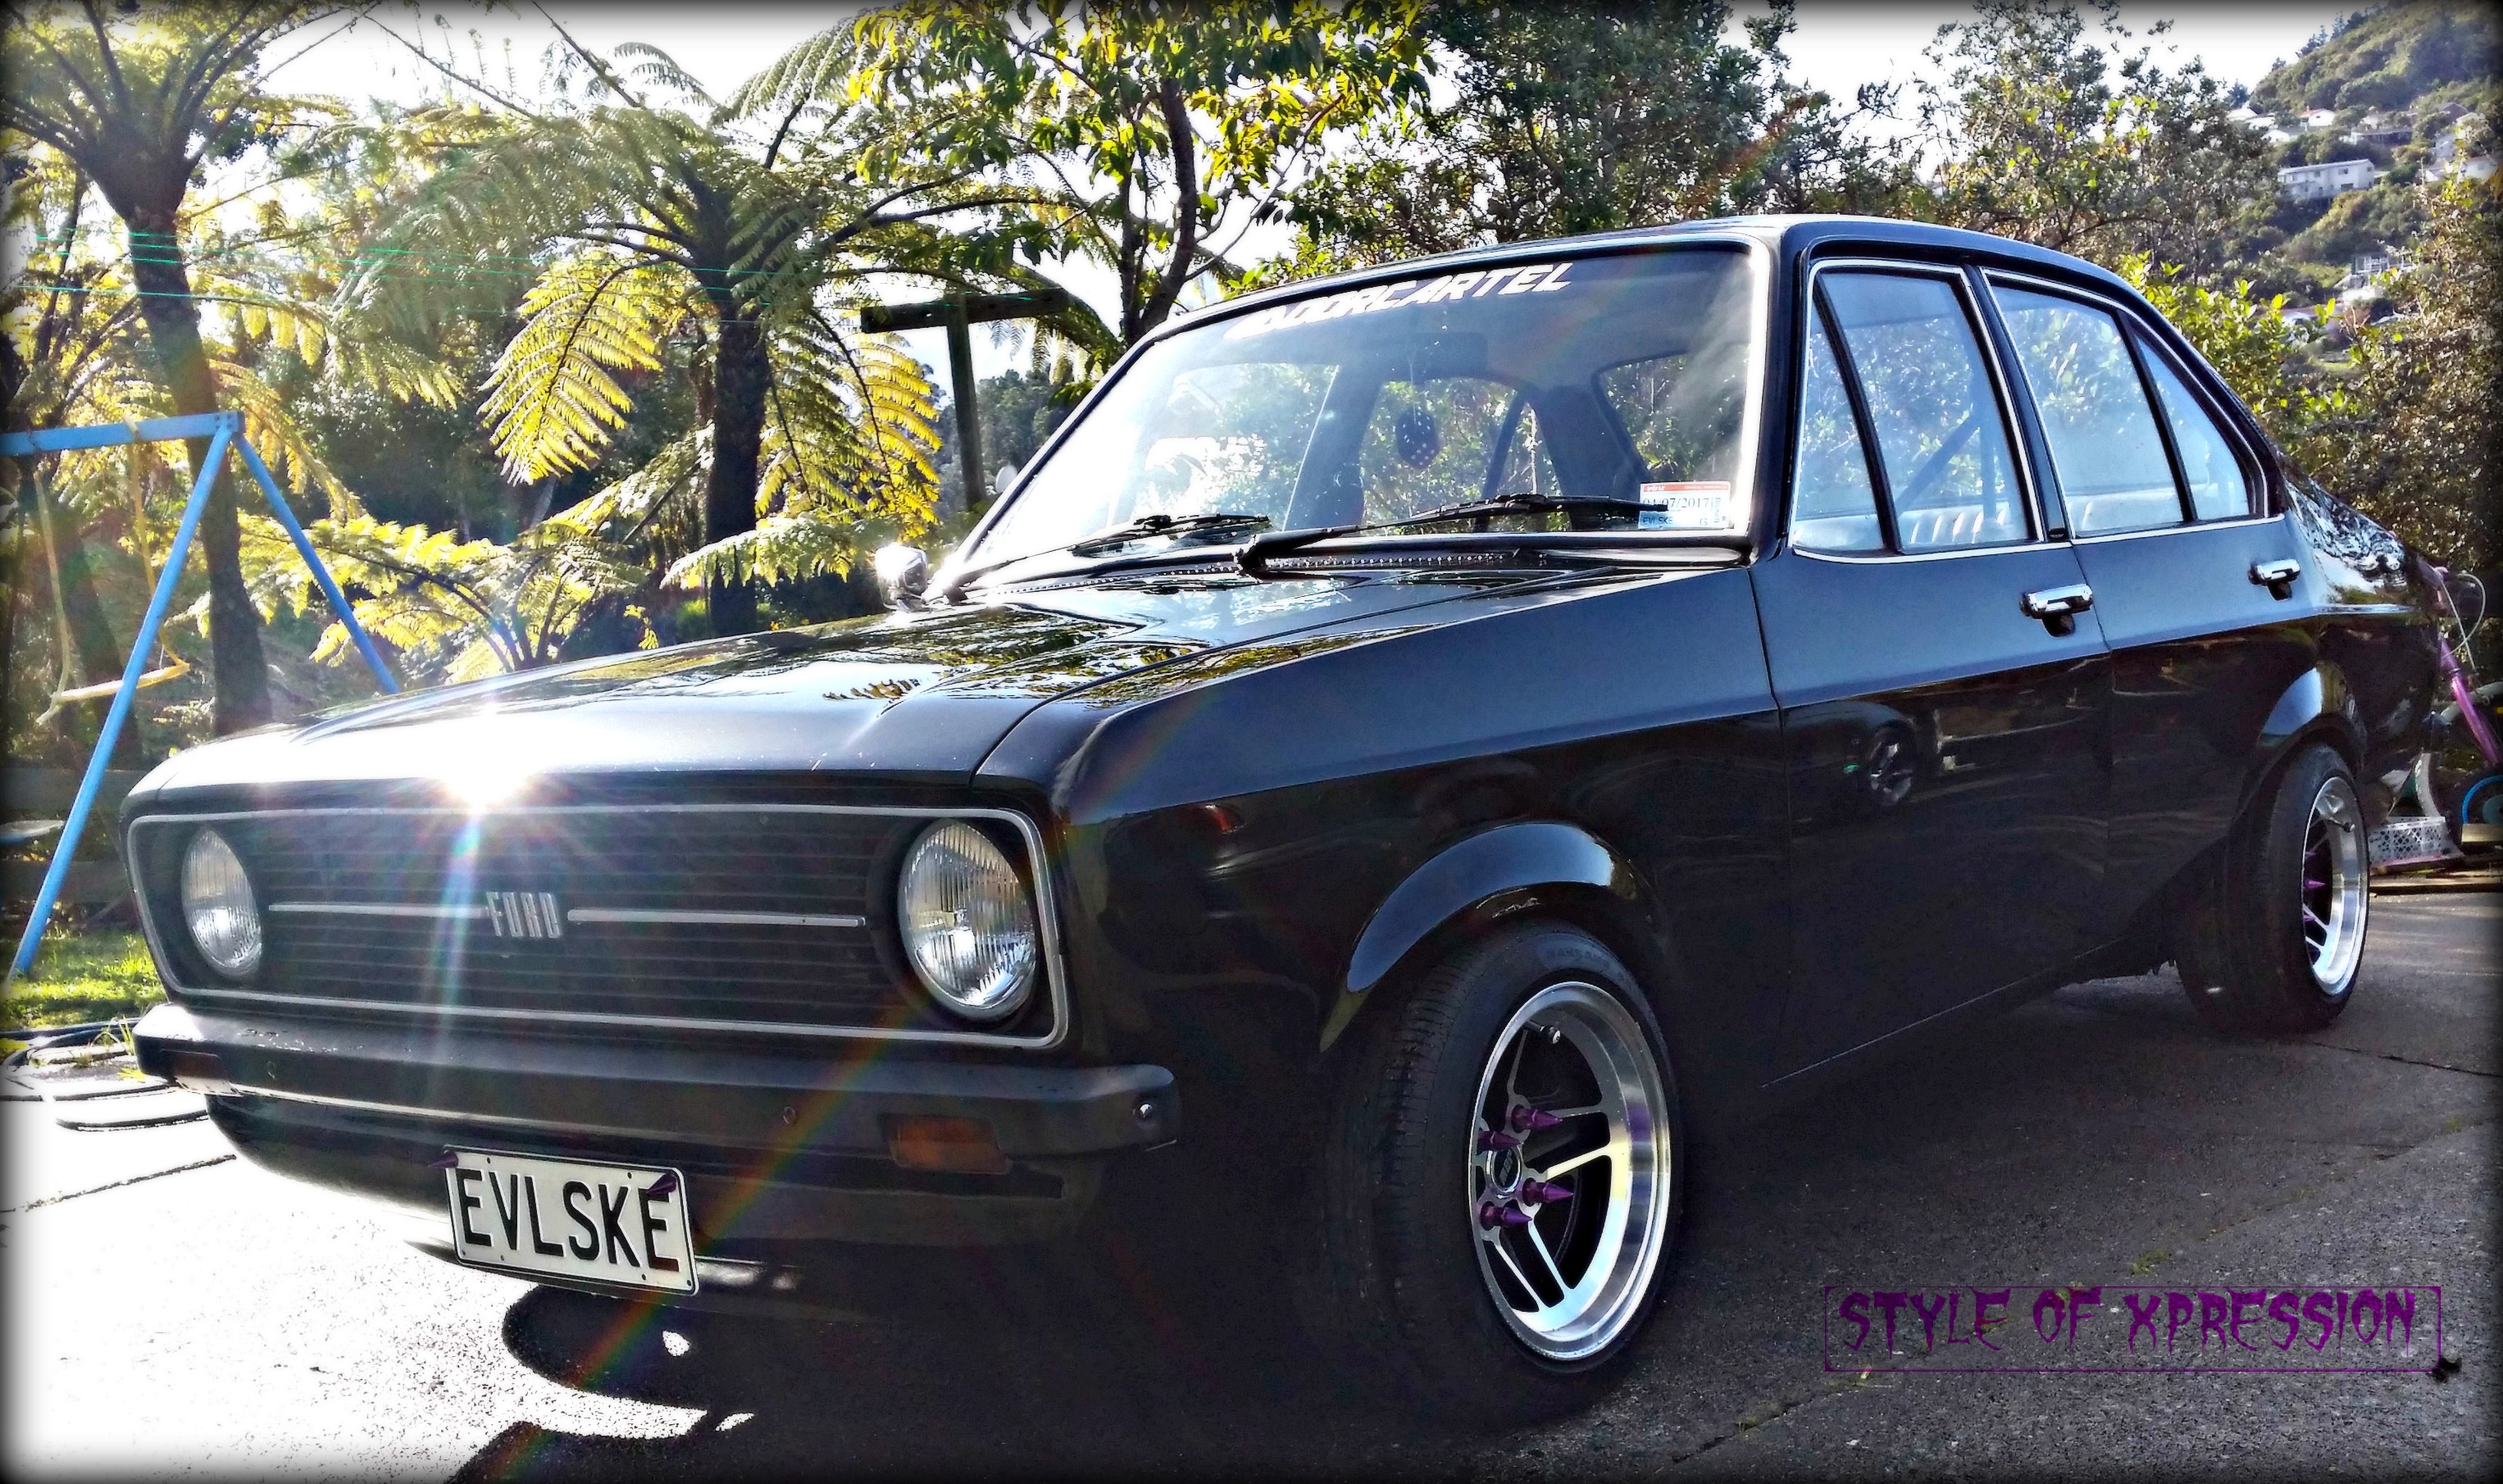
Been a while. I have mounted the rev counter in the dash, installed headunit, speakers and some doof doof. Yay purple wheel nuts Attended Hardpark and enjoyed myself more than I expected I would Also hit the Ford day in Kapiti, the weather was real bad and it actually got called off but it was fun while it lasted. Driving home my wipers got slower and my lights got dim....the alternator died Thankfully (in a weird way) I still run points and EVLSKE made it home Replaced the alternator and we were back up running again annnnd we attended the British car day So all was going well but ya know how it is with old british cars....the headlight switch burnt out on the way home from the inlaws farm in Levin, no problem the lights stayed on so we got home. Unplugged the switch and all good. The next morning was the day of the Shannon auto spectacular, we drove to the inlaws and my lady and 2 of the girls stayed there. My eldest daughter and myself carried on through to Shannon. We stayed for a couple hours and then we headed back to the inlaws. The back road between Shannon and Levin was nice and quiet so I put my foot down to stretch the legs on the Escort. The gearbox had other ideas. There was a major internal malfunction and the internals exited through the gearbox housing and left a trail of destruction in its wake. So this is the view from under the car I picked these up off the road It came out in 2 pieces 2 weeks later and we are running again! Scored a Gearbox for a good price, new driveshaft universal, some fluid and its all good (Y)1 point


.jpg.a68a3028369a7f3281dcaee1e1f9acc0.jpg)

This leaderboard is set to Auckland/GMT+12:00