
Leaderboard


Popular Content
Showing content with the highest reputation on 05/08/17 in all areas
-
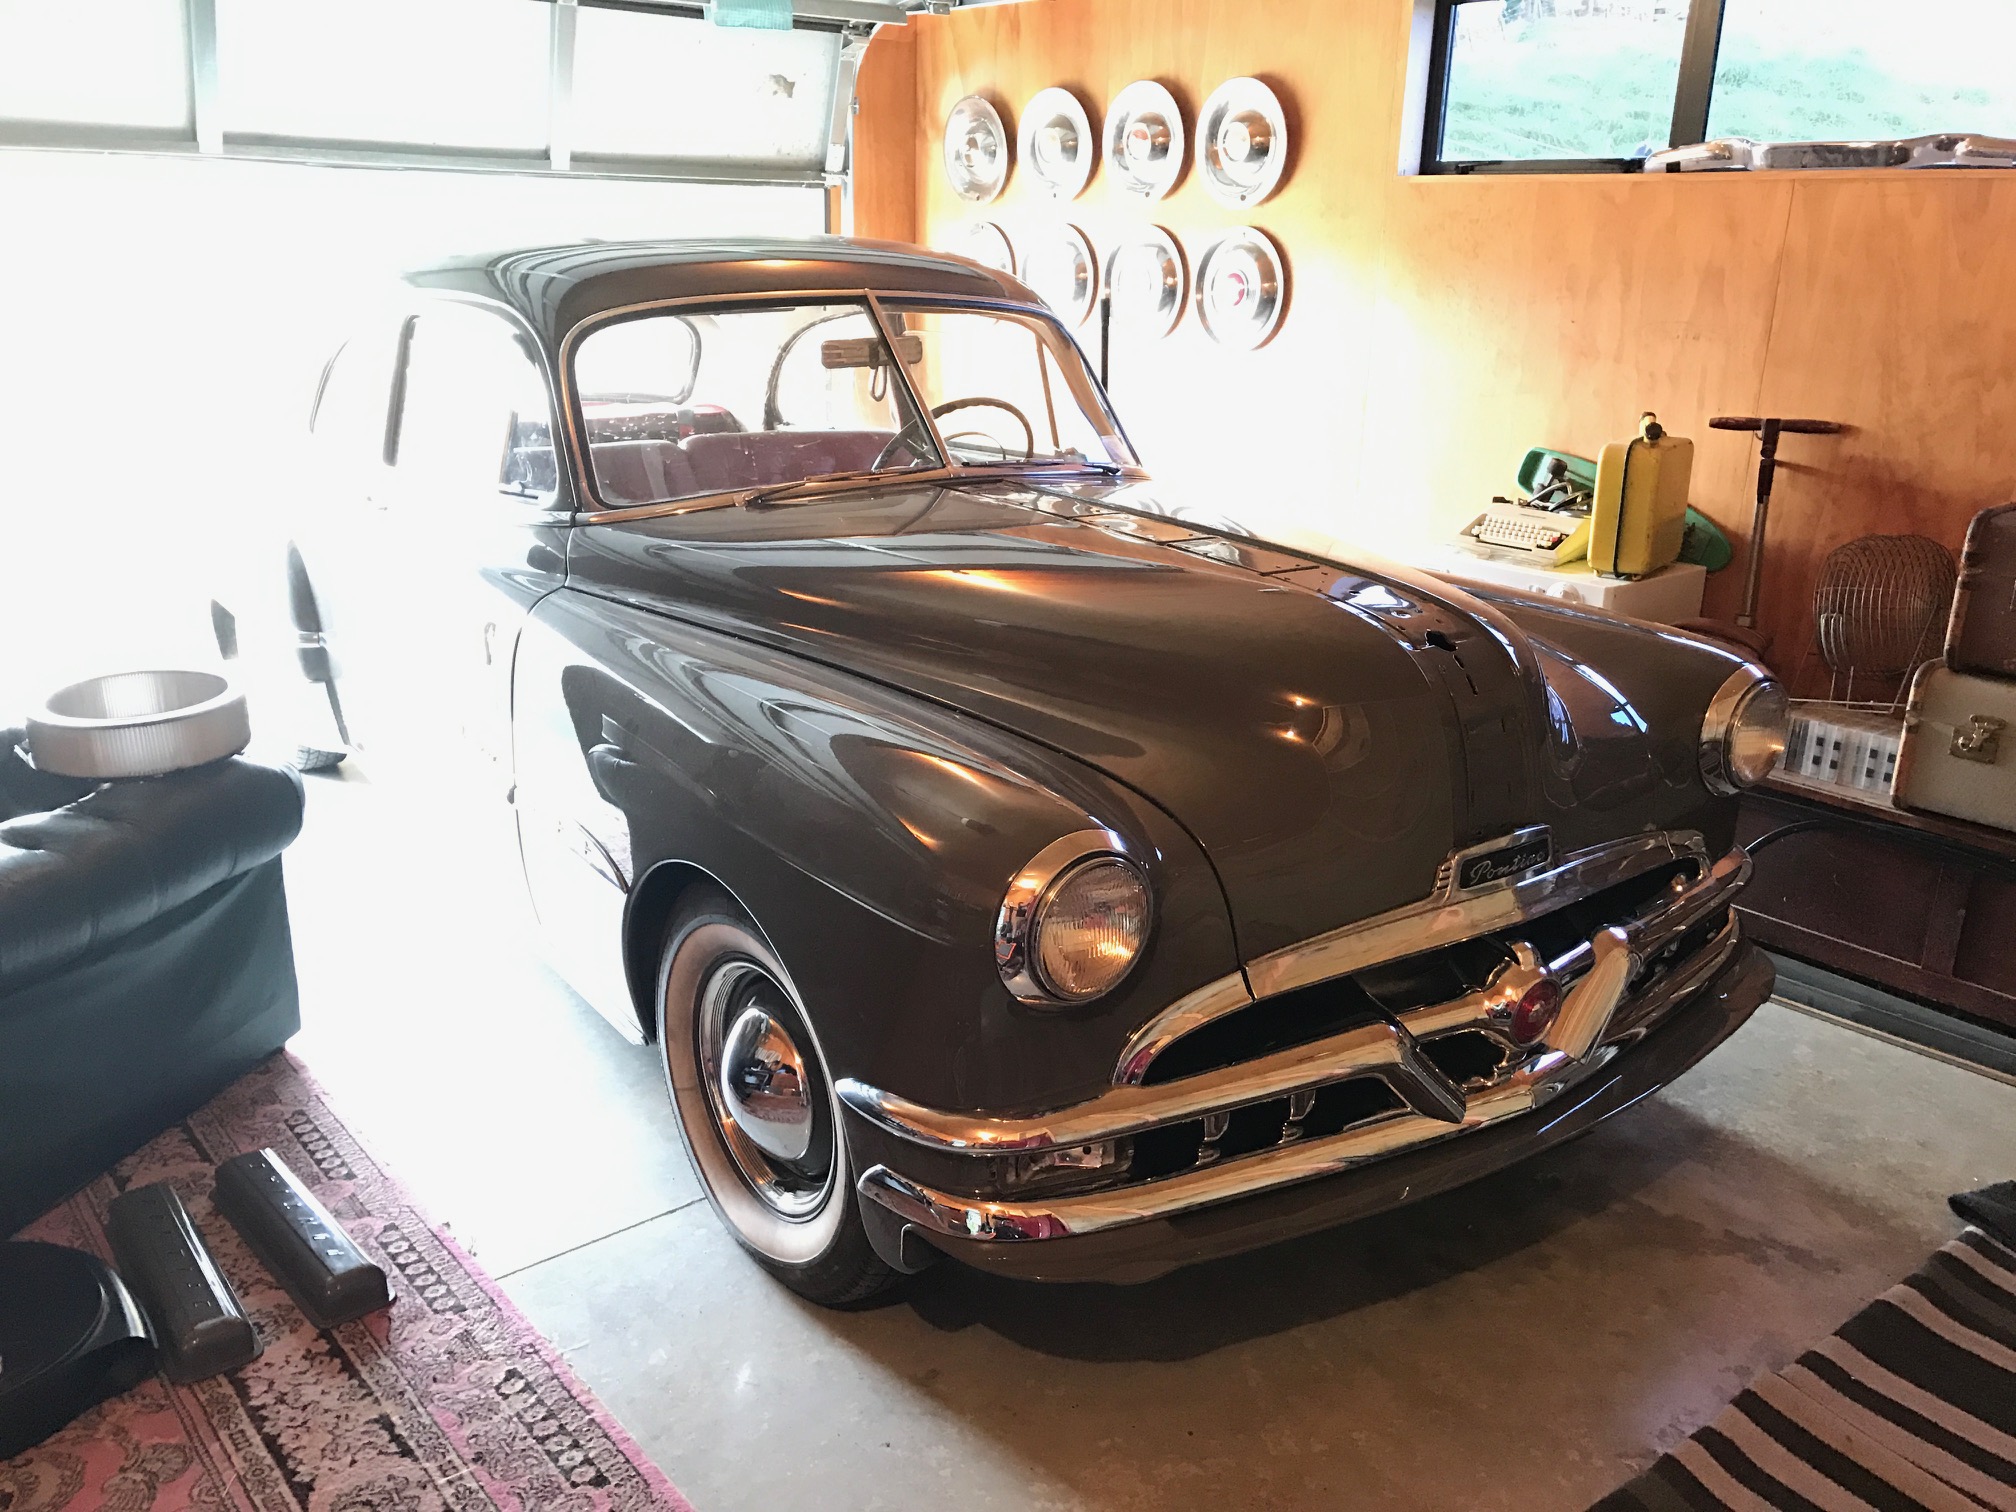
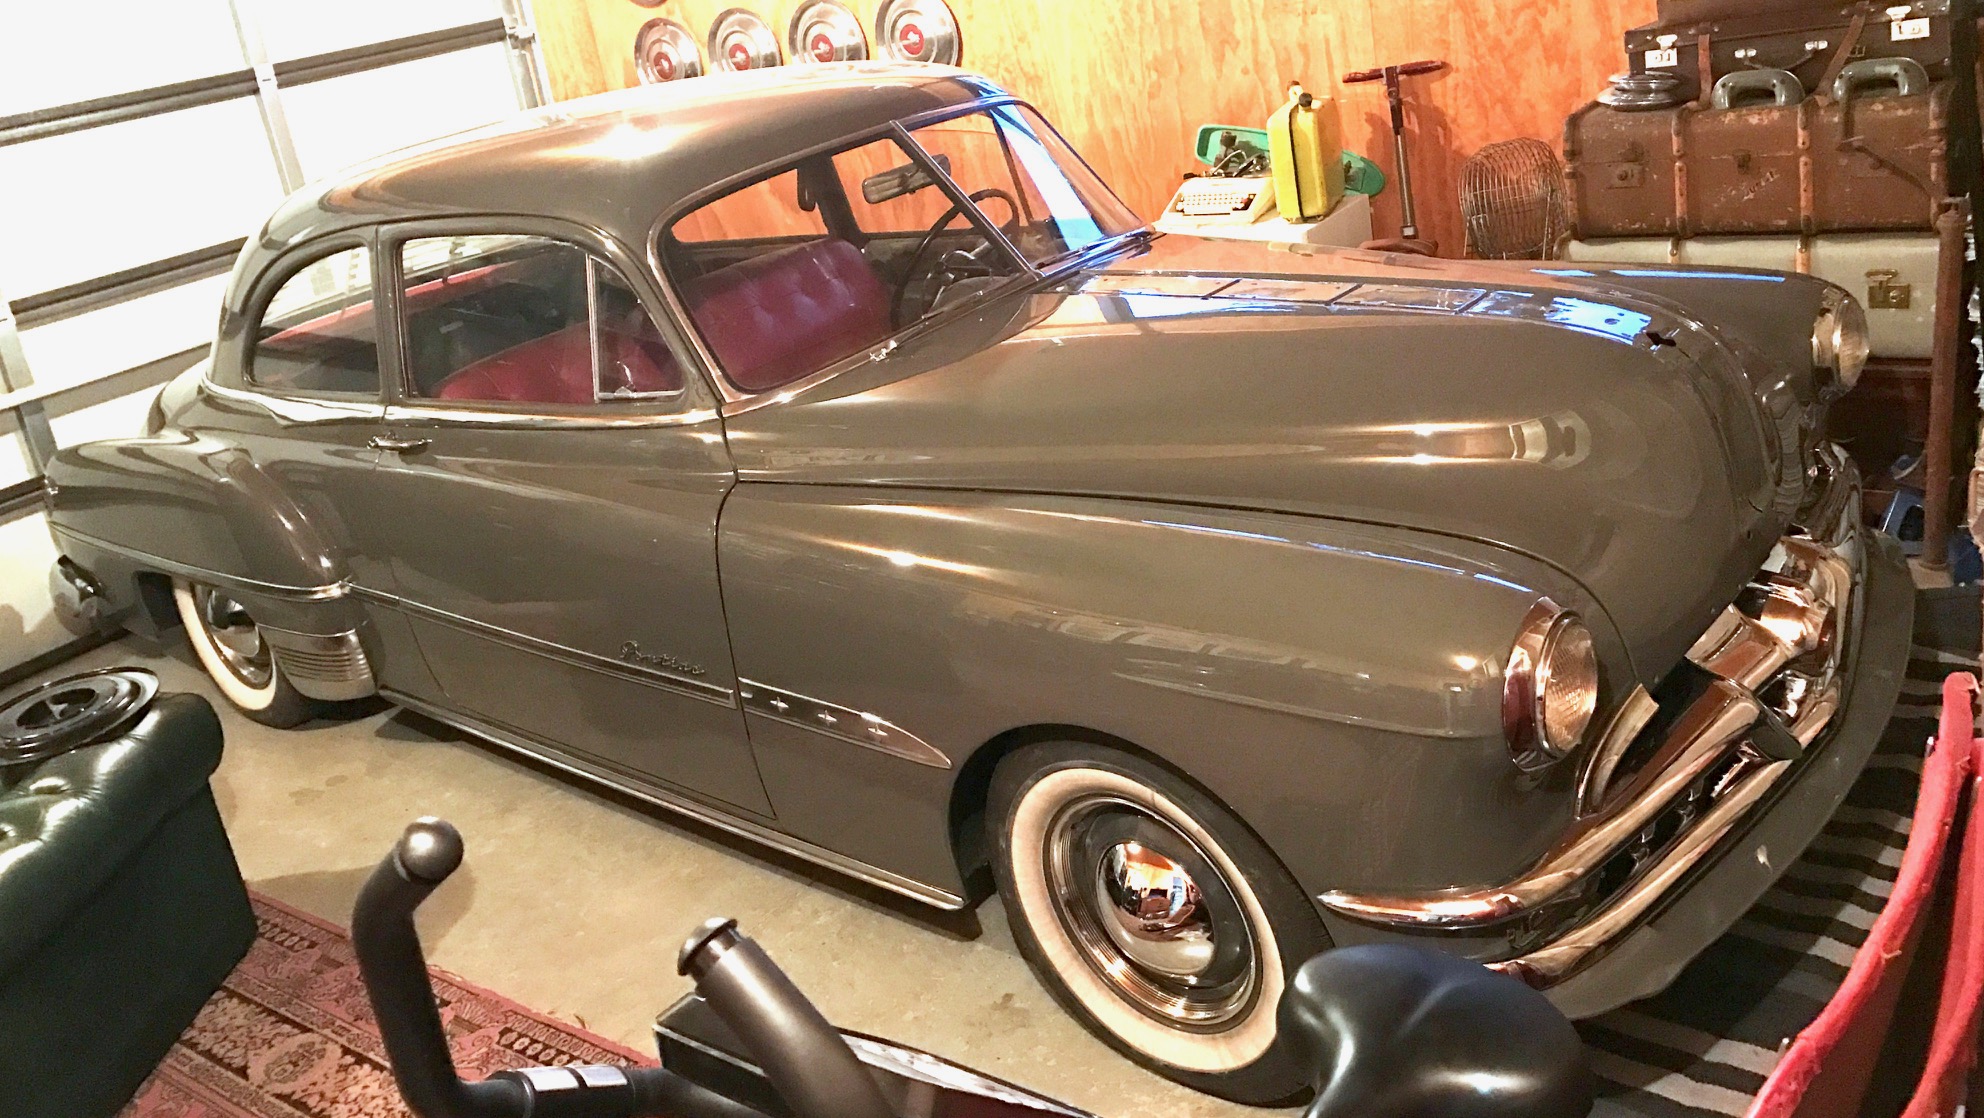
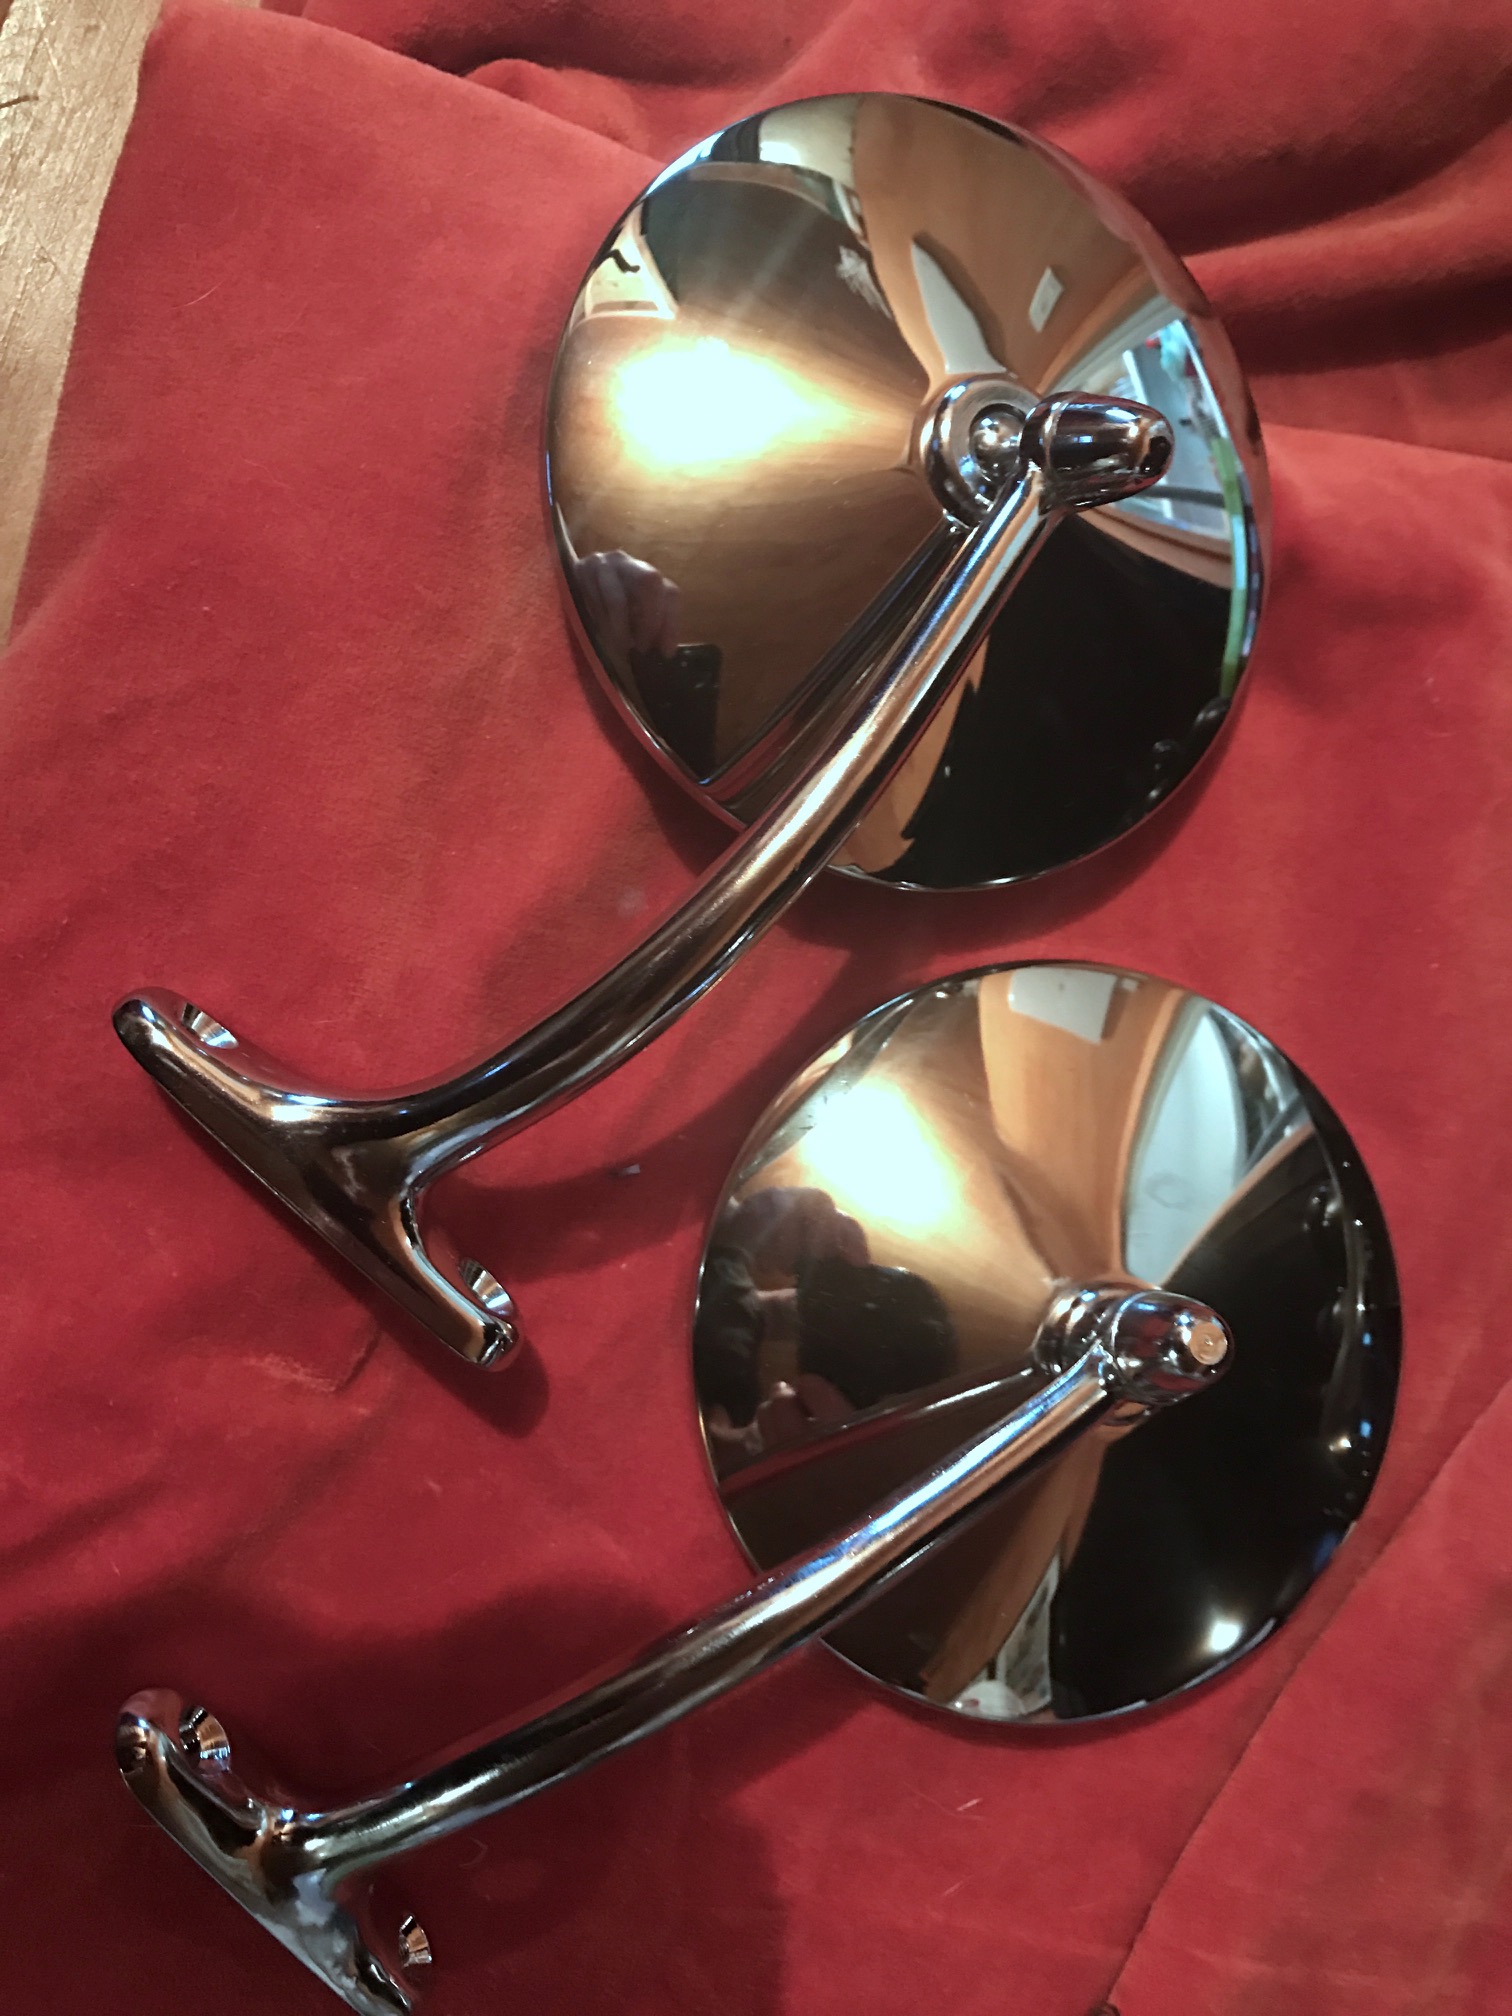
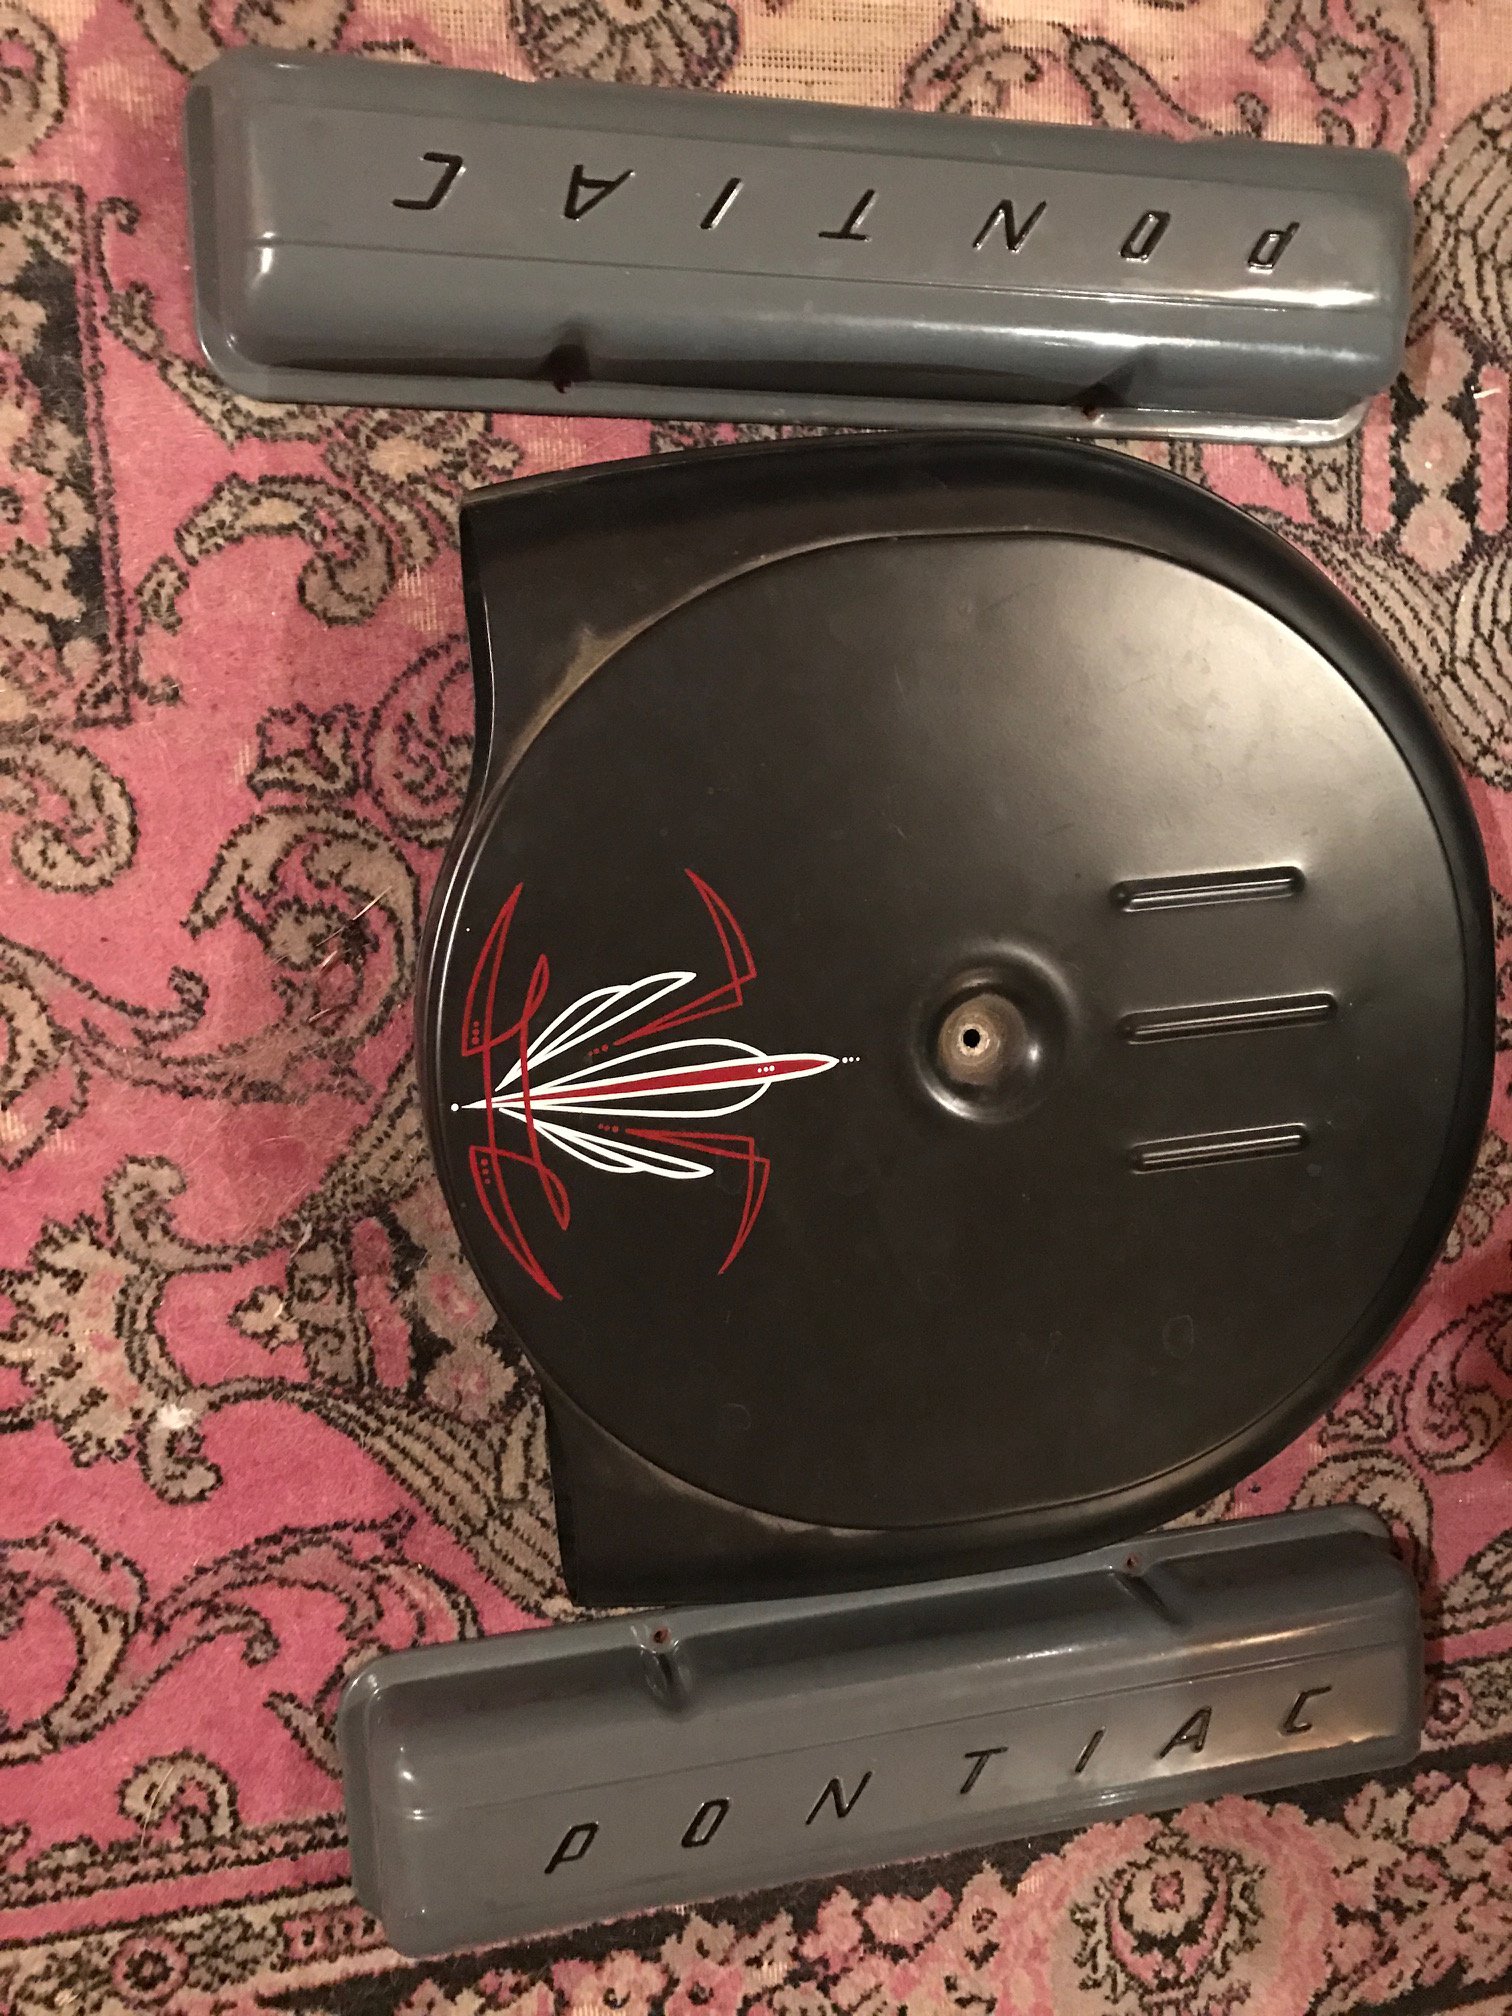
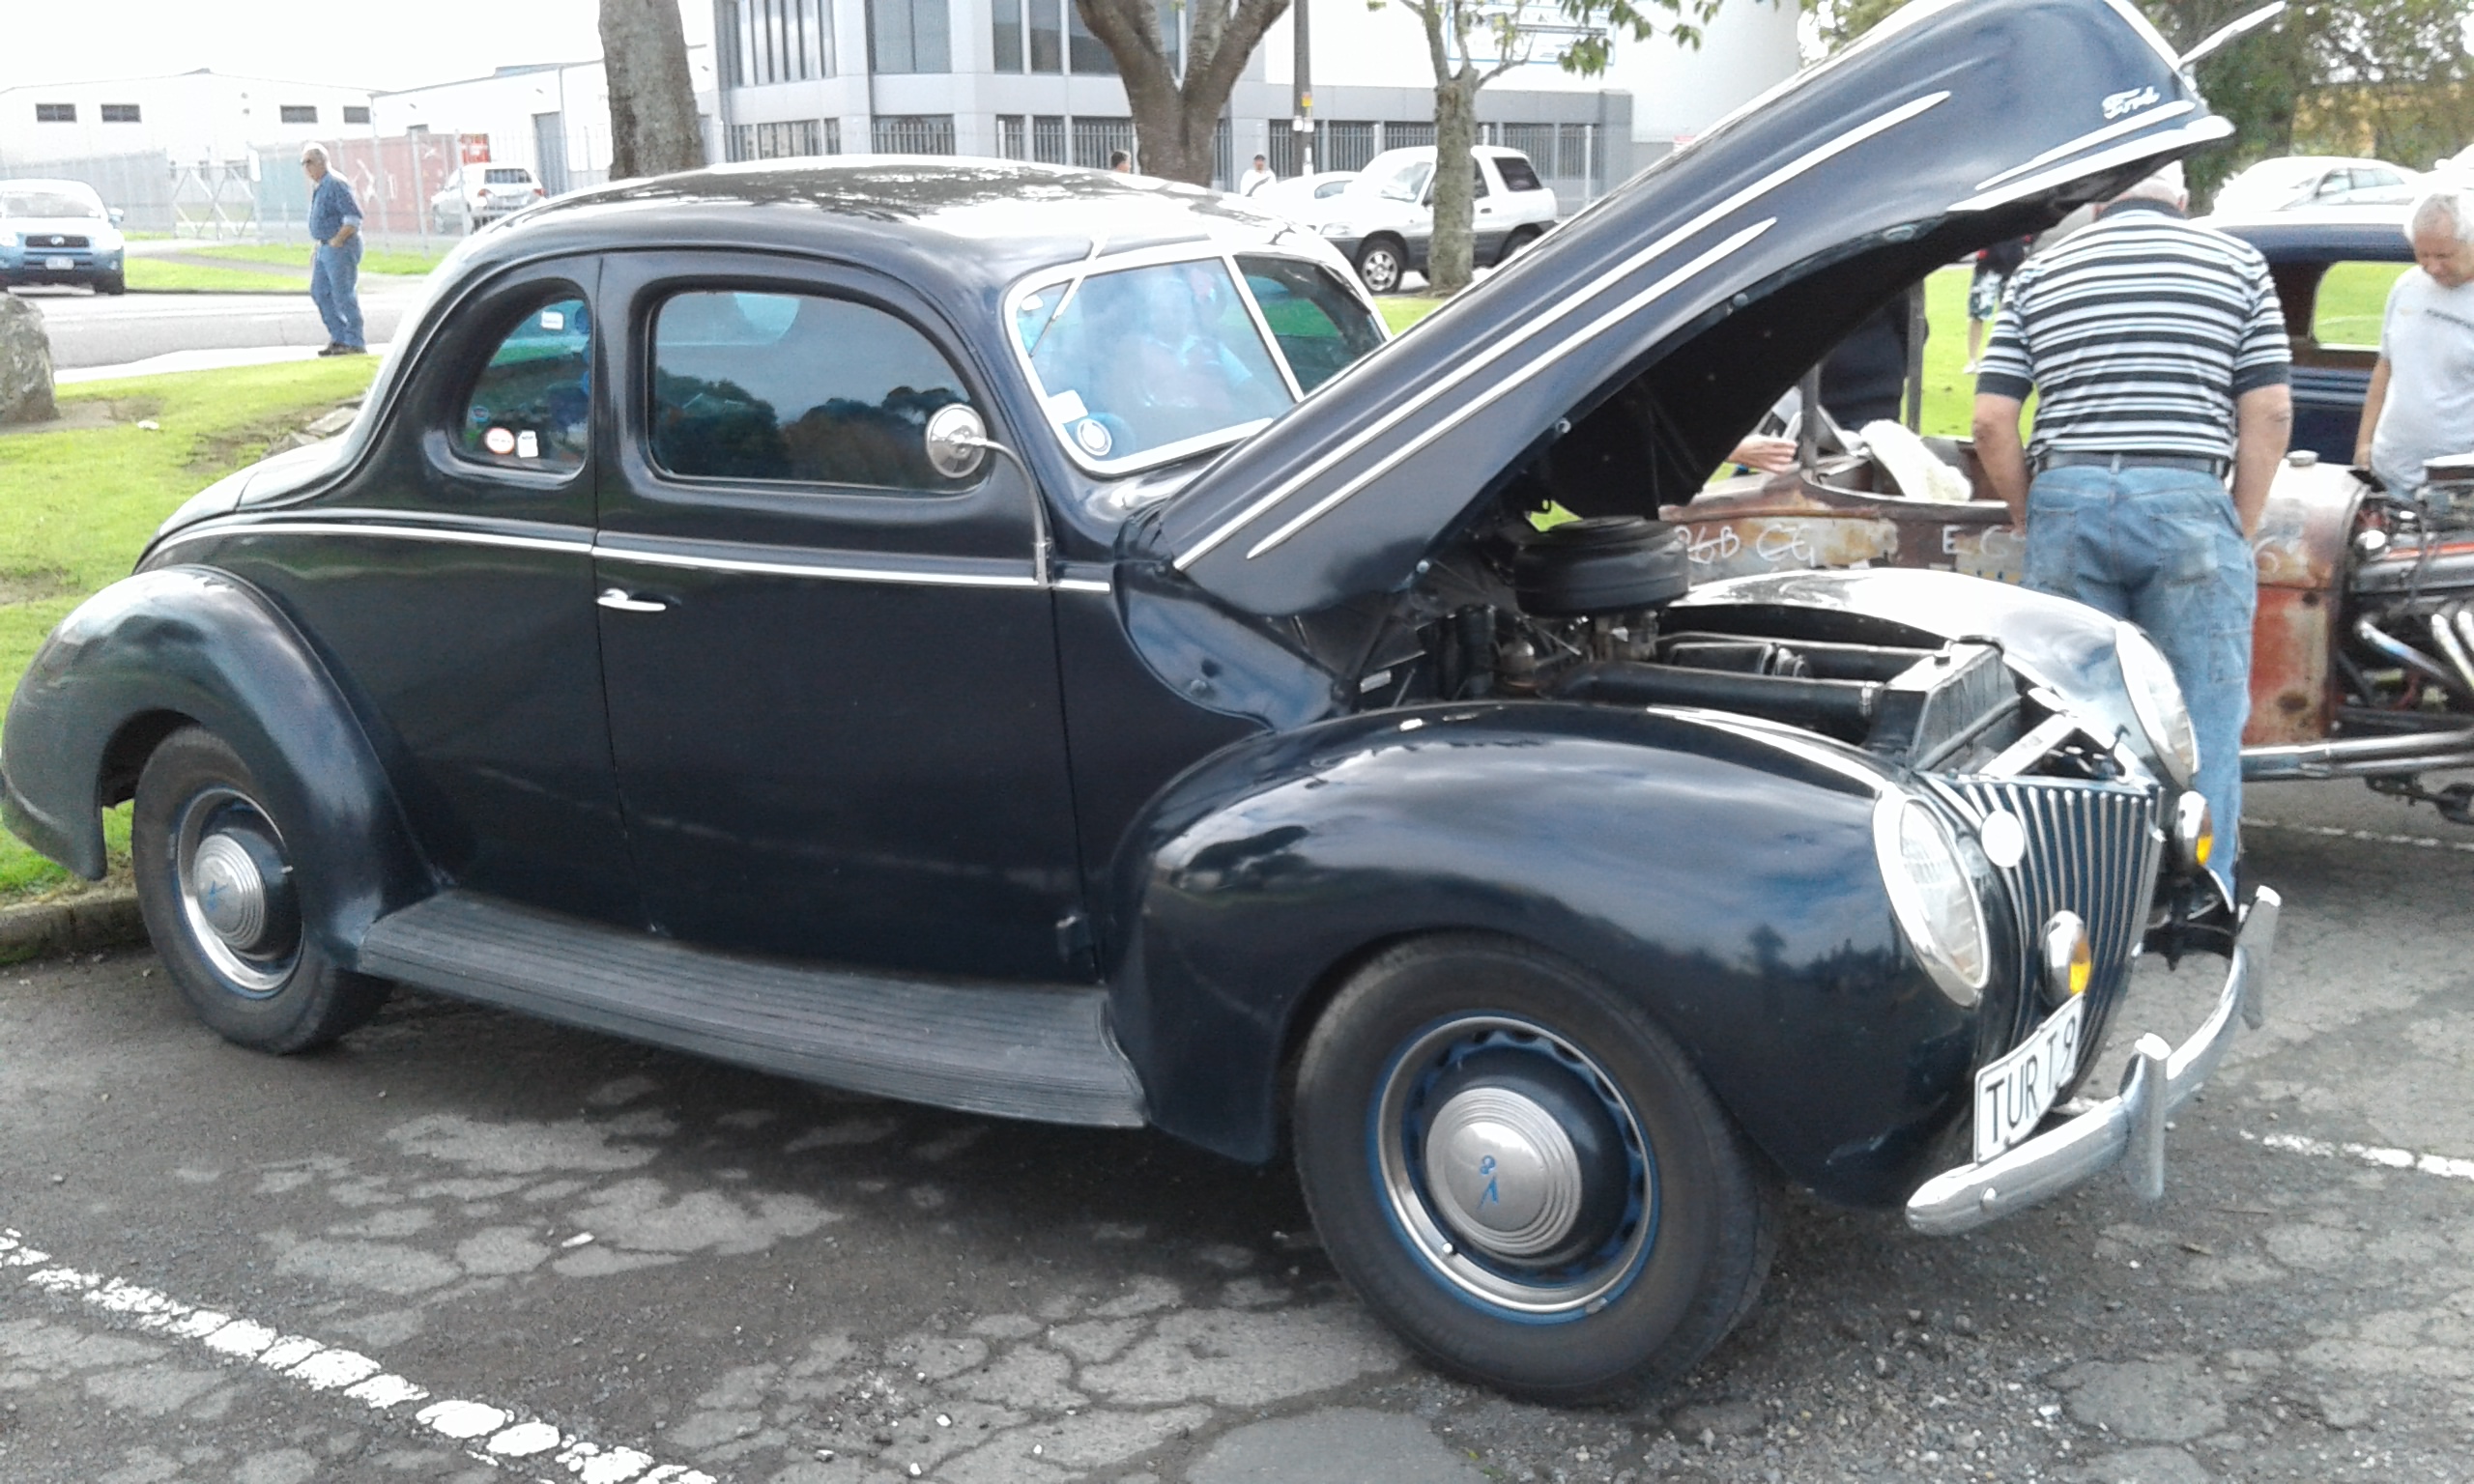
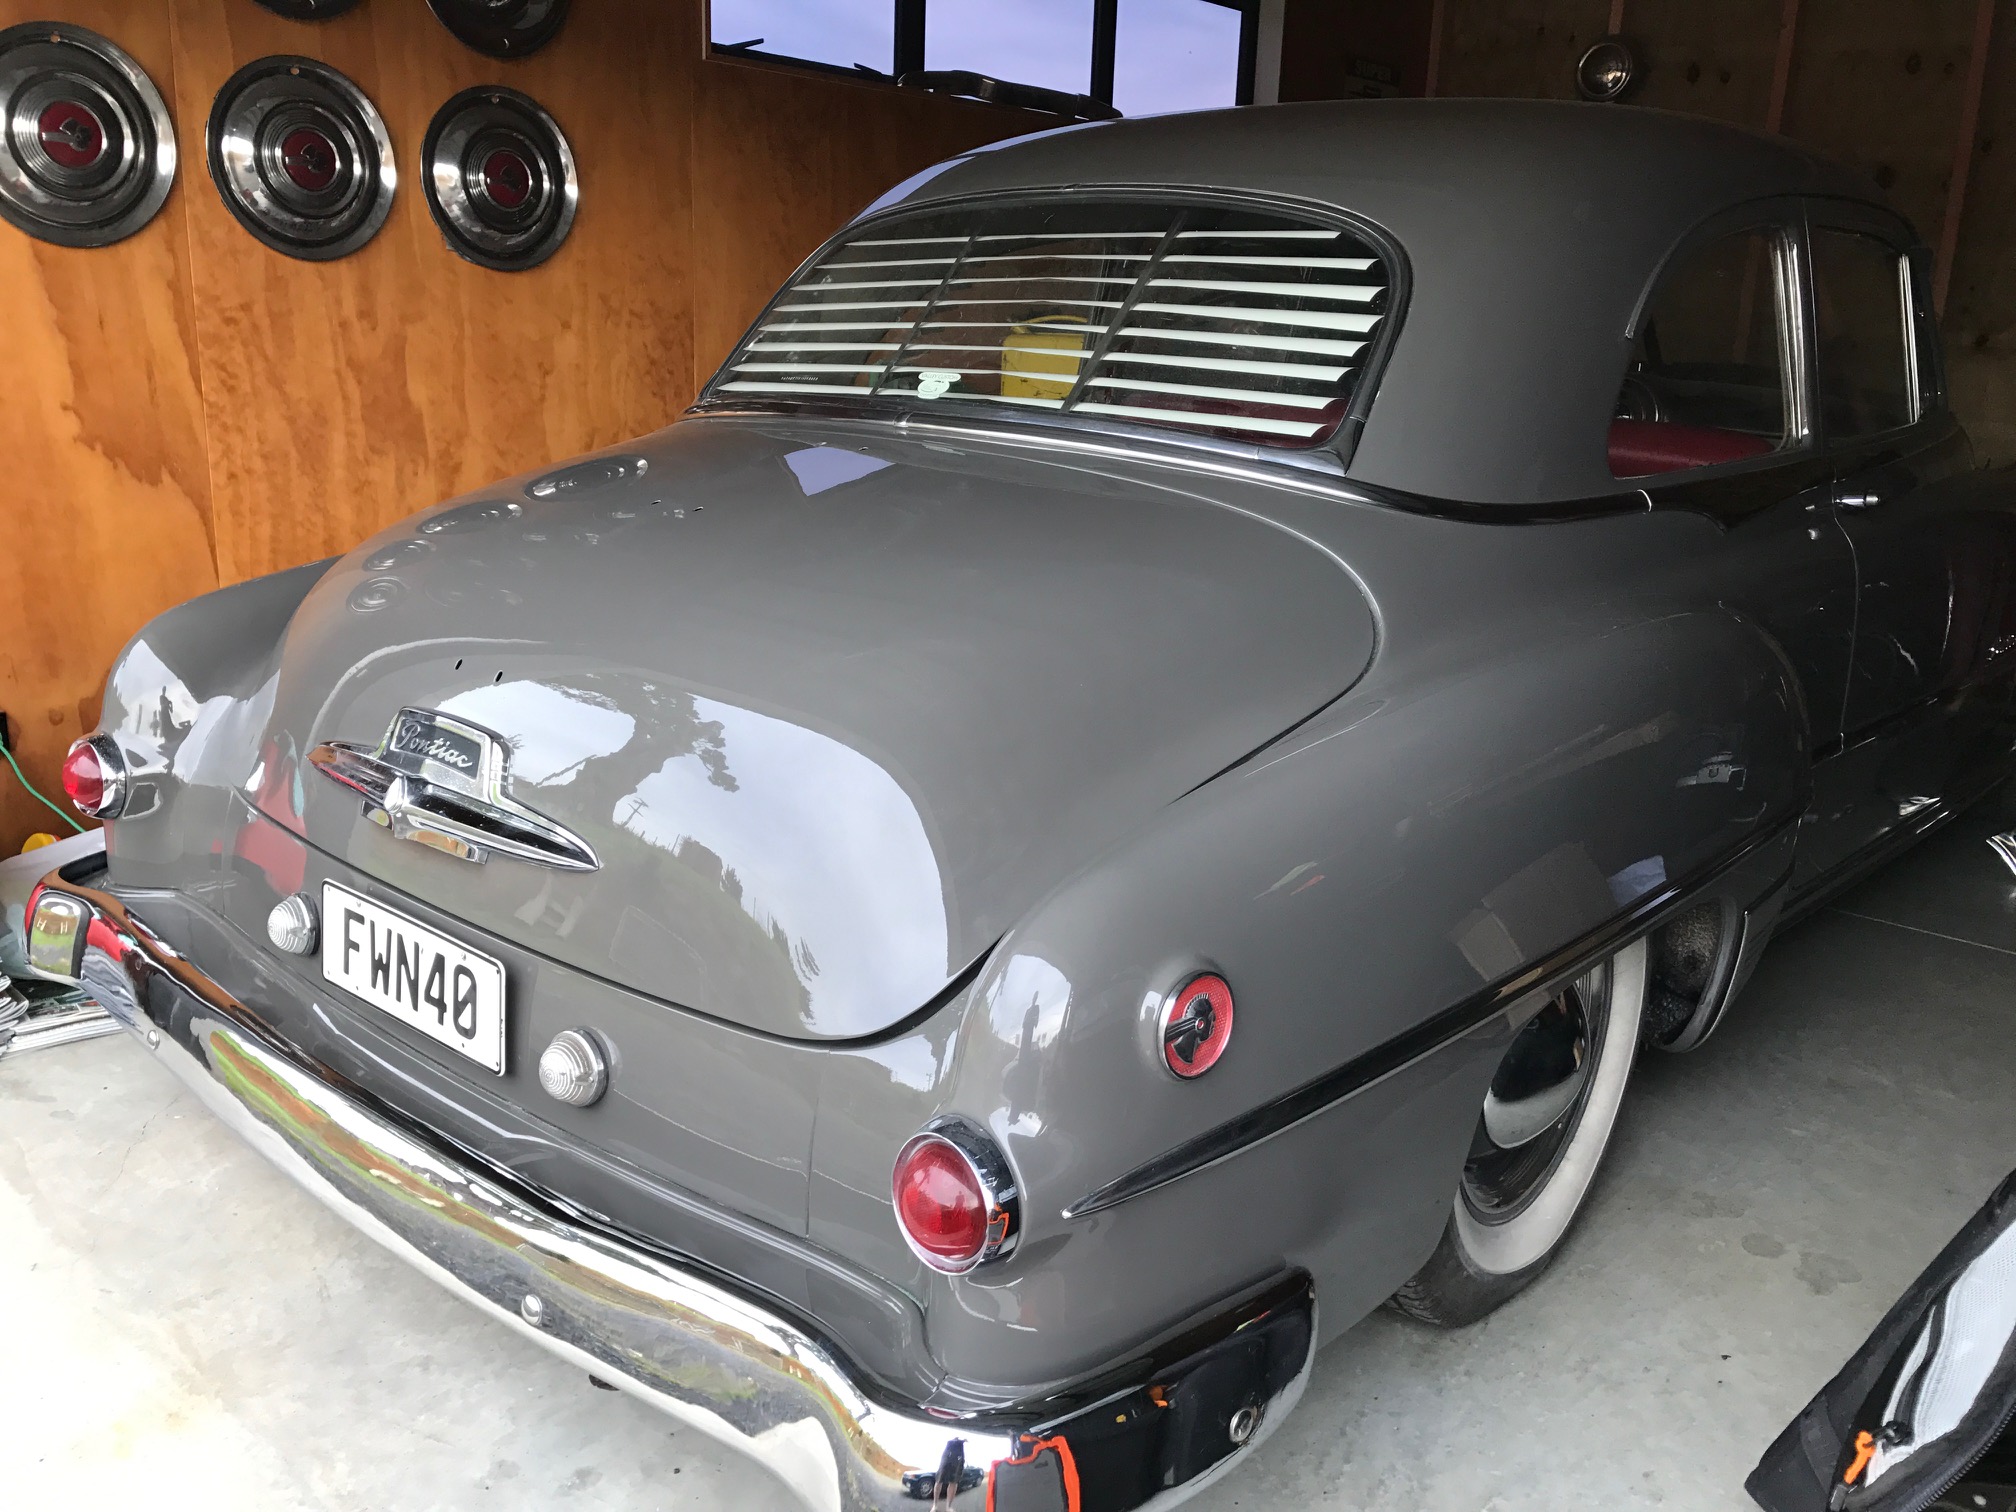
Busy as with work but still chipping away/hurting the credit card when I can. Bomba aka Kenny and Nick kindly came around and helped get the grill in place. Was recommended to do it without masking tape being fresh paint and all, which I thought was going to be a pain but went into place pretty easy. Every bit of chrome and stainless going back on makes such a difference and there's still heaps to go. Pulled apart side mirrors to get chromed and new glass cut but on closer inspection they weren't original so wasn't worth the expense. Hit eBay for some repro King Bee mirrors which are nicer and cheaper in the long run anyway. Dusted off some engine dress up bits which have been patiently waiting on the shelf and drained the stale gas out of the tank. And that's about it. Waiting on my stainless for the hood and trunk and skirts which are getting paint where applicable, then will get visor and mirrors mounted. My tyres are still annoying me too. They're about 3/4" - 1" too thin on the whitewall for the look I want. Which is going to be an annoyingly expensive fix but it's going to keep bothering me. So let me know if anyone is in the market for some near new 205/75r15 Coker radials. //oldschool.co.nz/index.php?/topic/53947-shifters-51-pontiac-chieftain-talky-stuff/
 11 points
 -
By some weird-arse miracle I started patching in the last part of the pillar I've been working on, and it was going supr sweet. My patch panel was sitting bang on, and my welds were sweet, and only half the sparks went in my hair and burnt my head. It was the best day ever. Pre bog pics shown here. So I gloated about it on spam here about how good my day was going. I was stoked; such a sweet, smooth process. Then I decided to take off some trim on the A Pillar to prime and respray it as part of the general overhaul. And of course, as soon as i pulled off the trim I found a big rusty fucking hole... Beware the jinx of Gloat9 points
-
A little more progress! I rebuilt the front hubs and swivel housings. Nice new brake rotors, wheel bearings and coat of high temp paint for some of the bits. New favourite tool - Gift from the wheel bearing gods (Mitre 10). Front end light surrounds and grill powder coated - looks good but the old one had some small areas of filler which hide the small dents. Any recommendations on powder coating places? Hope to get the bumpers and steel wheels done shortly. Front headlights also got a refresh and secondhand light surrounds came up well after an afternoon of polishing. I've started to rebuild the callipers and I hope to have them ready to bolt on next weekend with new flexi and hard lines. The old callipers were seized solid and the pistons are pretty stuffed - luckily the bores are still in good condition! A coat of high temp paint and they are starting to look good again. Assembling bits in the living room. I'm still on the hunt for some bits - if any one has any, let me know! I'll end on a full Barry moment. Factory tool kit that is 100% complete and what looks to be brand new. Half of the bits look like they have never been used! (which is strange if you own anything British). Duncan out.8 points
-
So nearly four years after mentioning it and well over four years after coming up with the idea. Here it is! FINISHED! I took it for a quick ride up the road, it feels awesome, taught, light, and responsive. I'll take some better photos of it in the sun over the weekend. *Pine*6 points
-
new proportioning valve with one new line to the diff flexi (other one is from teh master and thats a hoist job, so nope!) - i slotted the adjustment slot a bit more than factory so it may even have enough rotation to work with the lowered suspension now. You can also see the end of the 'new' (i mean better) hand brake cable from my parts stash featuring intact dust boots and slightly less used new pinion seal in. New Remsa pads and discs, the old discs are ok, but the old pads were very sticky from when i was having caliper leaks ages ago. Id suspect the brake issues were: - sticky pads - master was a bit grogey - maybe old proportioning valve - everything else is nice to do and i may as well since ive got the bits now The blue HEL brake lines i installed a while ago. The calipers dont leak, so Ive theft them well enough alone! Also wanged in some lower rear shackle bushes, these were the only ones that needed replacing, lucky cause i only these ones to use - i got a 10 pack cheap, they fit the 2300 too but it used 4, so 4 still left!. Ended up with quite a pile of old and crusty stuff replaced Nearly ready to go back in, Just need to bleed them now. I have a few other things on the list to do including pondering the following questions: - why does the battery keep going flat? (ignition switch needs rewiring i think) - why do the tyres keep going flat? (time to swap the rims for another set) - why does my Italian car that lives at the beach like to rust? (time to extend the garage)6 points
-
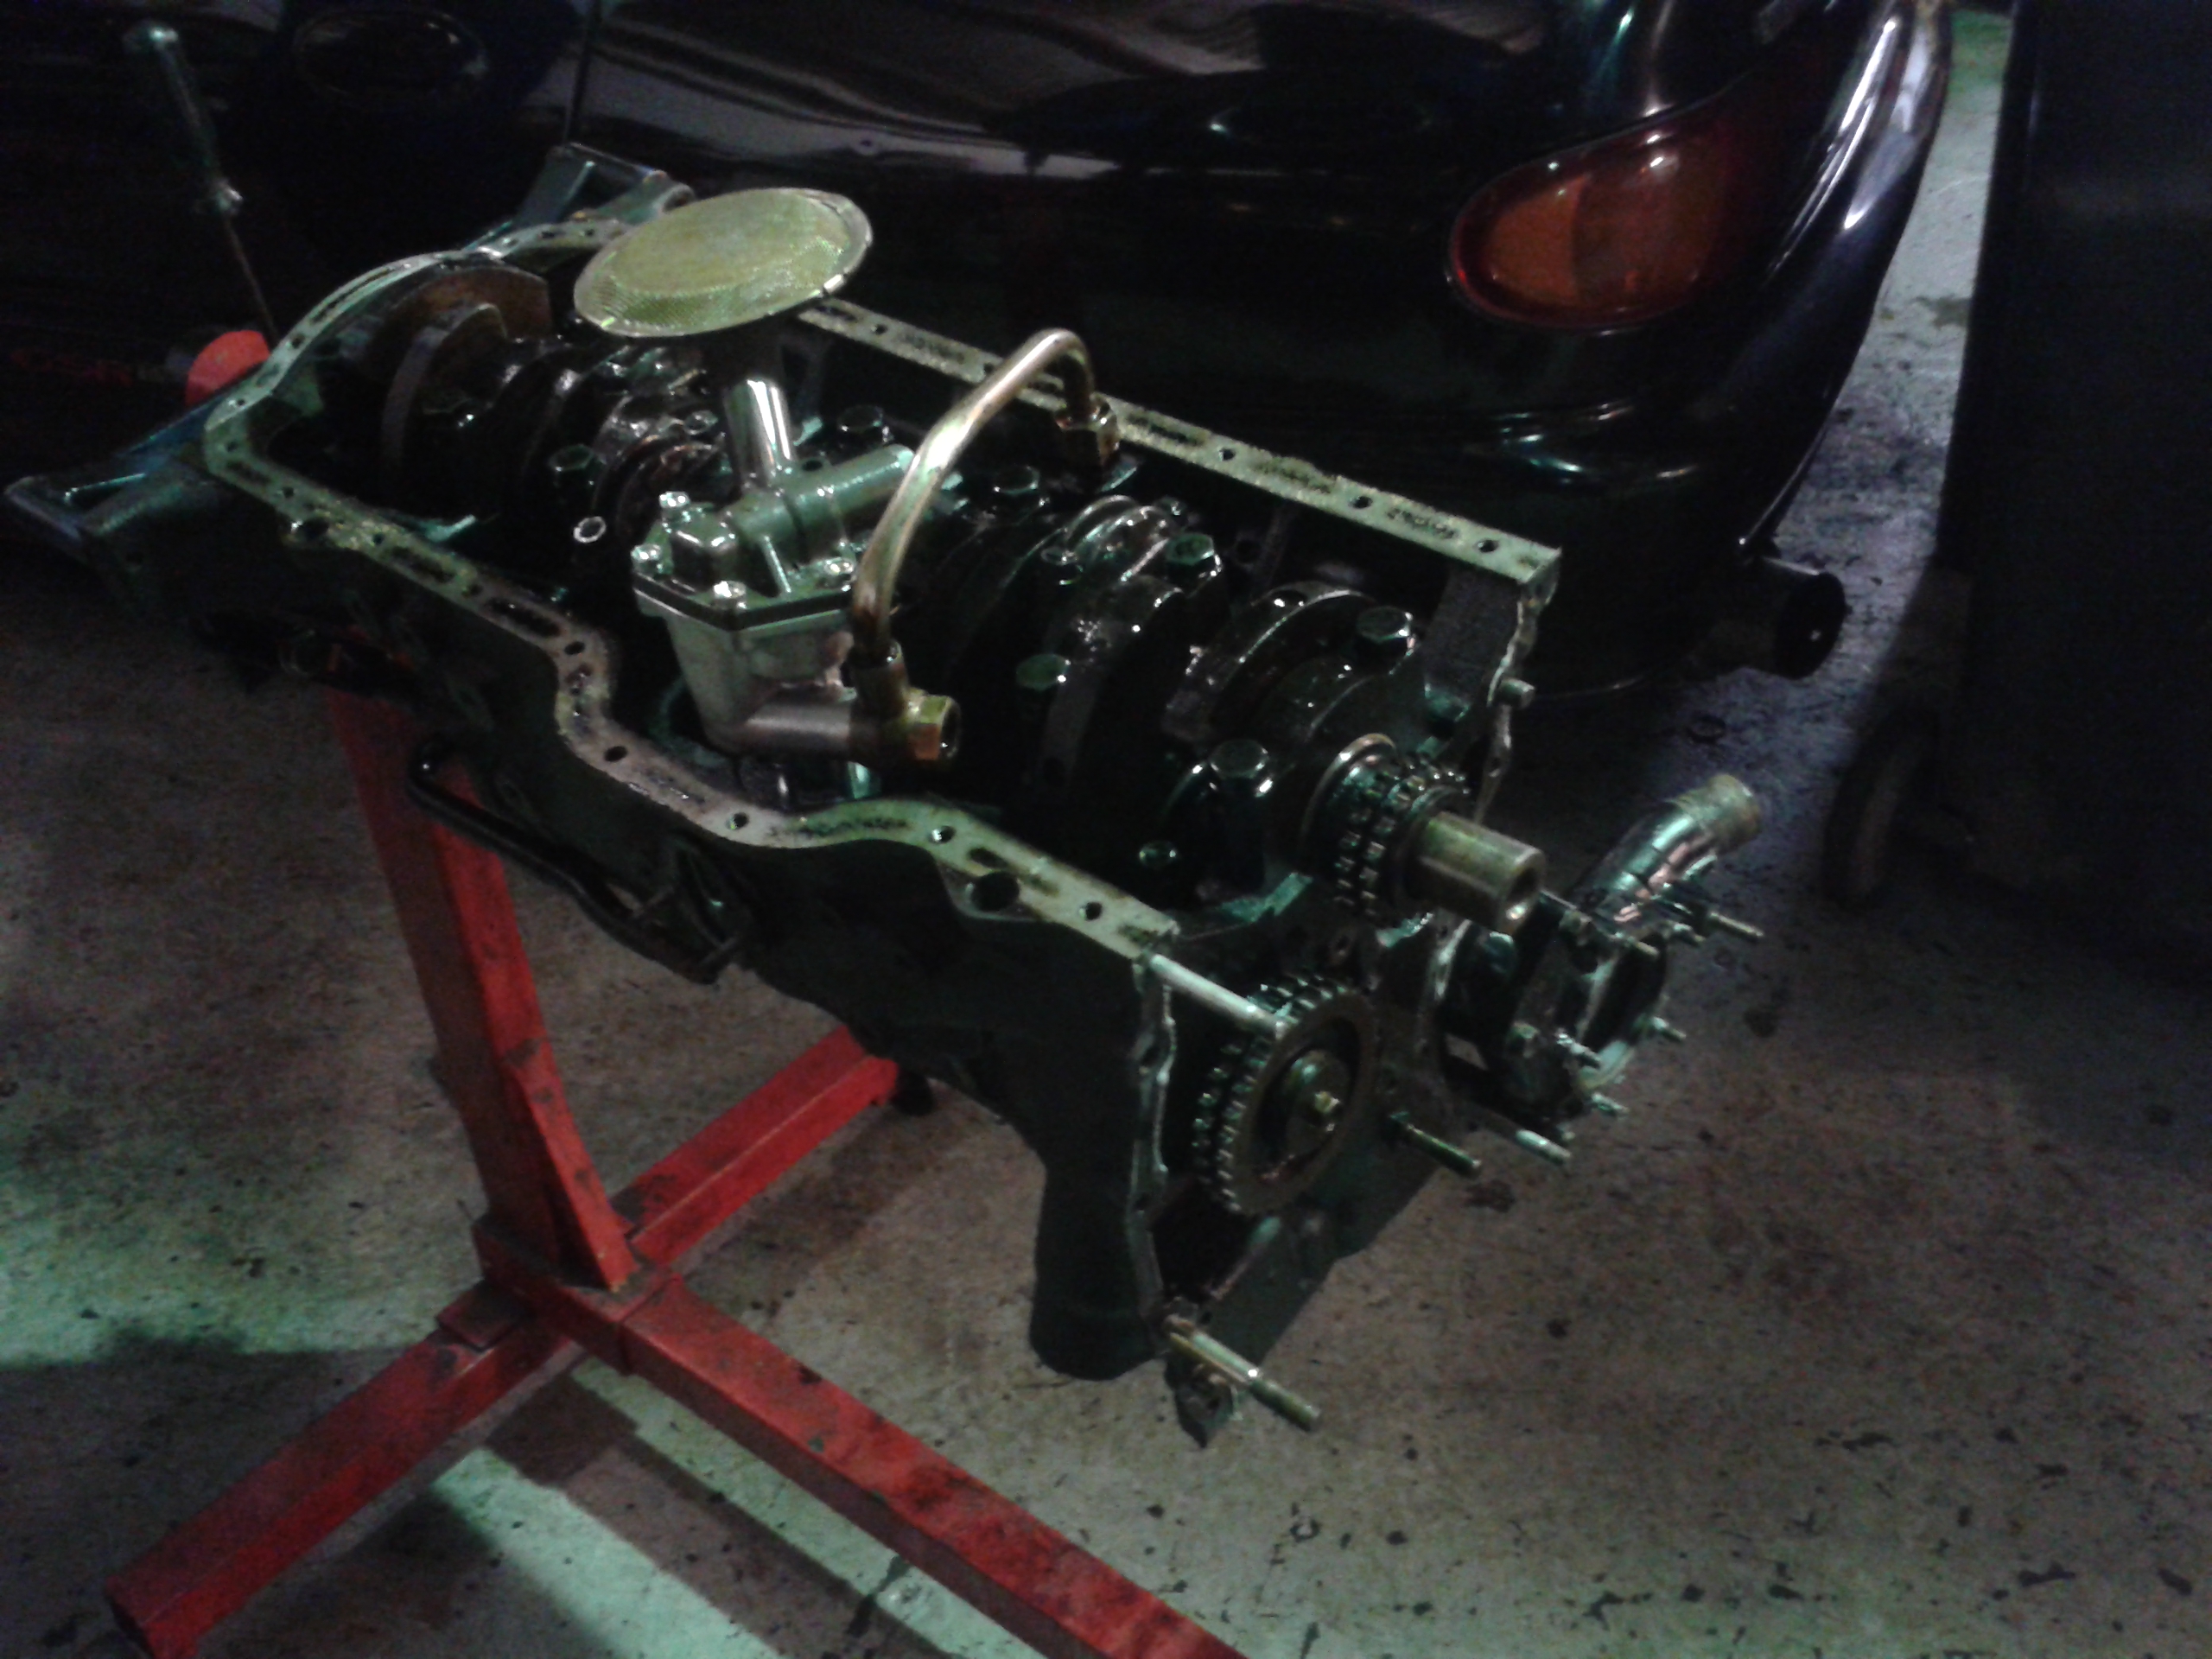
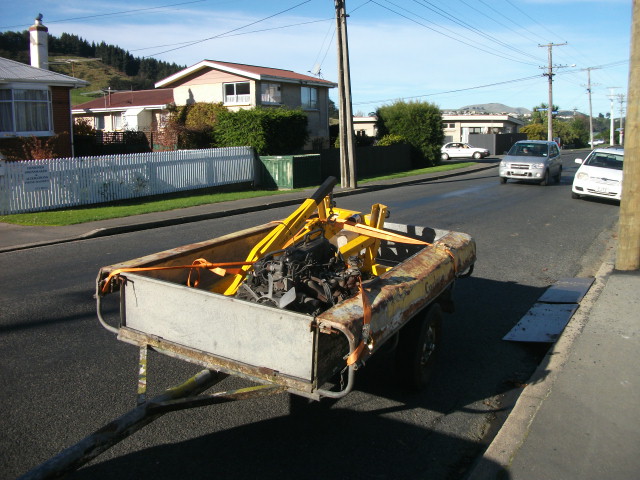
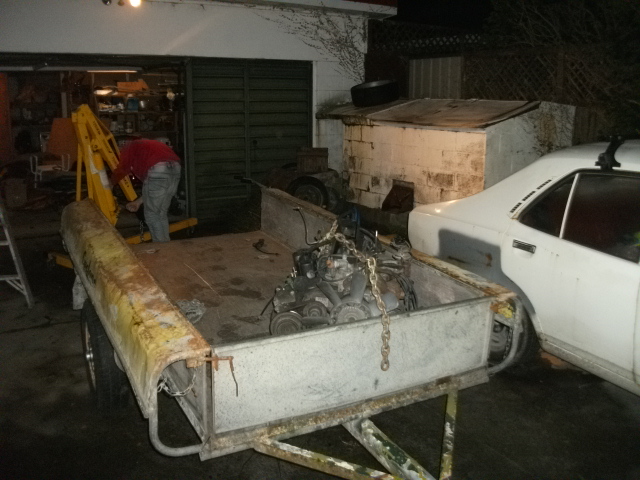
Right, so with my Crown sedan waiting on its cert plate to turn up, I figured best not let the momentum die off now. So tripped over the 5m out of this at work today and thought fuck it, lets get that apart so I can get this wagon actually driving good instead of the under powered over fueling turd it is now. So this happened. So far I am pretty certain the issue is what I have always suspected, the bearings for the auxiliary shaft. Had a look at them and feel terrible. But can also move tge shaft latterly in the bearings. So most likely worn and letting the oil escape. These are feed after the crank, so probably a good thing. But will have a proper measure tomorrow to confirm. Then its a matter of tracking down new ones. Research suggests they are the same as a 7mge etc.
5 points
-
so got this Austin 1100 for cheap here in nelson, was going to use it for its engine and interior for the white car but turned out wayyyyy to nice and needed less fixing then Emily, so after changing the alternator, all the lamps and a new exhaust pumping the suspension back up to an appropriate height she is now ready for a wof, paint is a bit rough but I'm not fussy =D happy days of owning now 2 austins4 points
-
PLEASE READ THE FOLLOWING At last months' meet, we had a disgruntled resident turn up and cause a fuss. Accusing us of being unnecessarily loud and a blight on his tranquil neighbourhood. He was unreasonable and arrogant. He then complained to several of the businesses in the area and convinced other residents to also complain. We have since been asked by the majority tenant of the premises to refrain from using the upstairs carpark, though we have been unable to contact the property owner to confirm this. Even though the property owner themselves are the only party that can prevent us from using the carpark, this months' meet will go ahead BUT it will be in the downstairs carpark. DO NOT use the upstairs carpark. While we aim to sort out this issue, let's not try to agitate things any further. Also be aware that the same complaining resident may show up again. I will try to be there earlier this month so just direct him to me and I'll stand there and listen to him rant for as long as I need to. Cheers, Neal.4 points
-
Link to Discussion Thread Hello team, Thought I would start up a project thread for my old Range Rover project. It all started with my parents vehicle choices. They had a bunch of rad old cars (most all sold now unfortunately) from Triumph TR2's & 6's, split window Kombi's, old Mercedes and Jags and a bunch of old english motorbikes. The ones that really got me were the Land Rovers. It must have been the family holidays bouncing around the back in the SIIa Dormobile camper or their old Range Rover. Anyhow, long story short, I have a couple now that I am working on that you will see in the following posts but this will mostly be for the 1971 Rover. This truck is Masai Red and was brought over from the UK in 1973 and then sold to the chap I got it off in the same year. They used it regularly to pull their jet boat and horse floats up until around 2000 when they purchased a diesel vehicle and parked the rover in a shed. During their ownership around the mid 80's they added the stripe down the side, re trimmed the interior and wrapped the C pillar in vinyl to make it look like a later model one ( it should be painted to match the body colour like in the first photo). As it sat in the shed, untouched for around 18 years! I purchased it of them around November last year and have been slowly chipping a way at it ever since. Great thing as it was shed stored it is pretty rust free but I will need to do the sills for a WOF. Another bonus is that the registration is still on hold! Bunch of small jobs done (coolant and radiator flush with all new hoses, new distributor, coil and condenser and a few other bits needed to crank an engine that hasn't moved in so long.) Good progress this weekend, Leak in the coolant system sorted and clutch bleed and we now have it moving under its own steam! Still a long way too go... Next weekends job is replacing the old discs and pads and some of the brake lines and look at giving it a bit of a tune.3 points
-
Yeah mate I will, there is a Cub the same colour in the garage, I'll take a photo of the two in the weekend. This is sitting in the corner of the lounge now, it looks like Christmas morning circa 1985, but for adult piners.3 points
-
when your mates on a big A series pine and has a bead blaster at work, pretty things happen3 points
-
Go hard for wat they iz?3 points
-
Now I need to buy a sheet metal folder to make these parts decent. I only have a vice and a chunk of railway iron to form shapes but this being structural, I need it to be proper.3 points
-
hell , you can have it for postage...easy come easy go2 points
-
Sure did. Just as well I wasn't driving. Might have got a bit loose on the unsealed bit. (Probably not in someone else's car.) A good day out all the same. Post merge can eat a dick.2 points
-
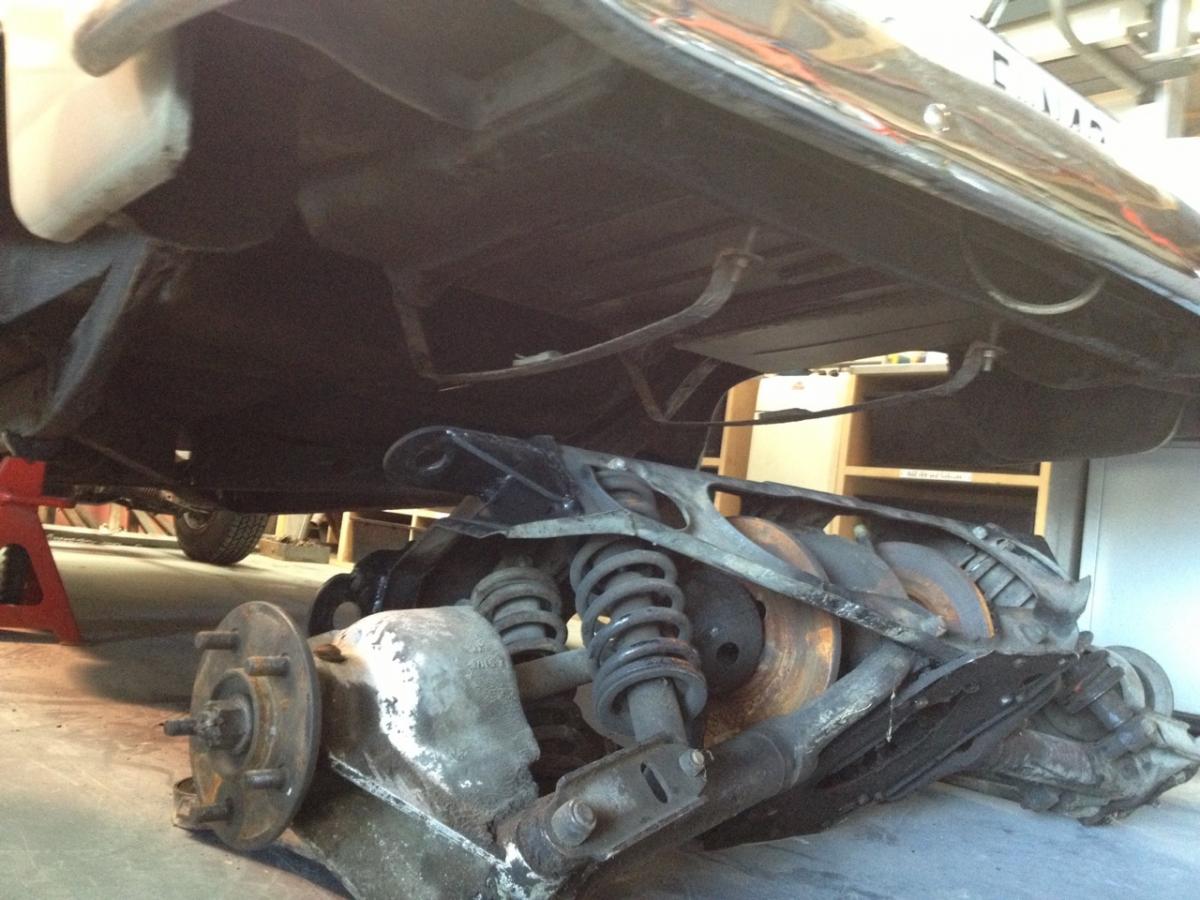
pads welded on diff for hydro bumps. in the pic below the whole weight of the truck is on them. about 10-15mm travel left and they are super hard at this point. jumping up and down on the front of the truck, they move a little further. the first part of the travel is fairly soft, can push them down a bit by hand if put all my weight on them. Im not sure what kinda pressure they are shipped with, but they are tuneable by adjusting the nitrogen charge between 100 - 250psi. along with the coilovers, guessing im going to have to spend a bit of time getting it all to work together nicely. but should hopefully destroy the leaf spring setup out of the box . still have to fit limit straps and brake lines in there somehow..2 points
-
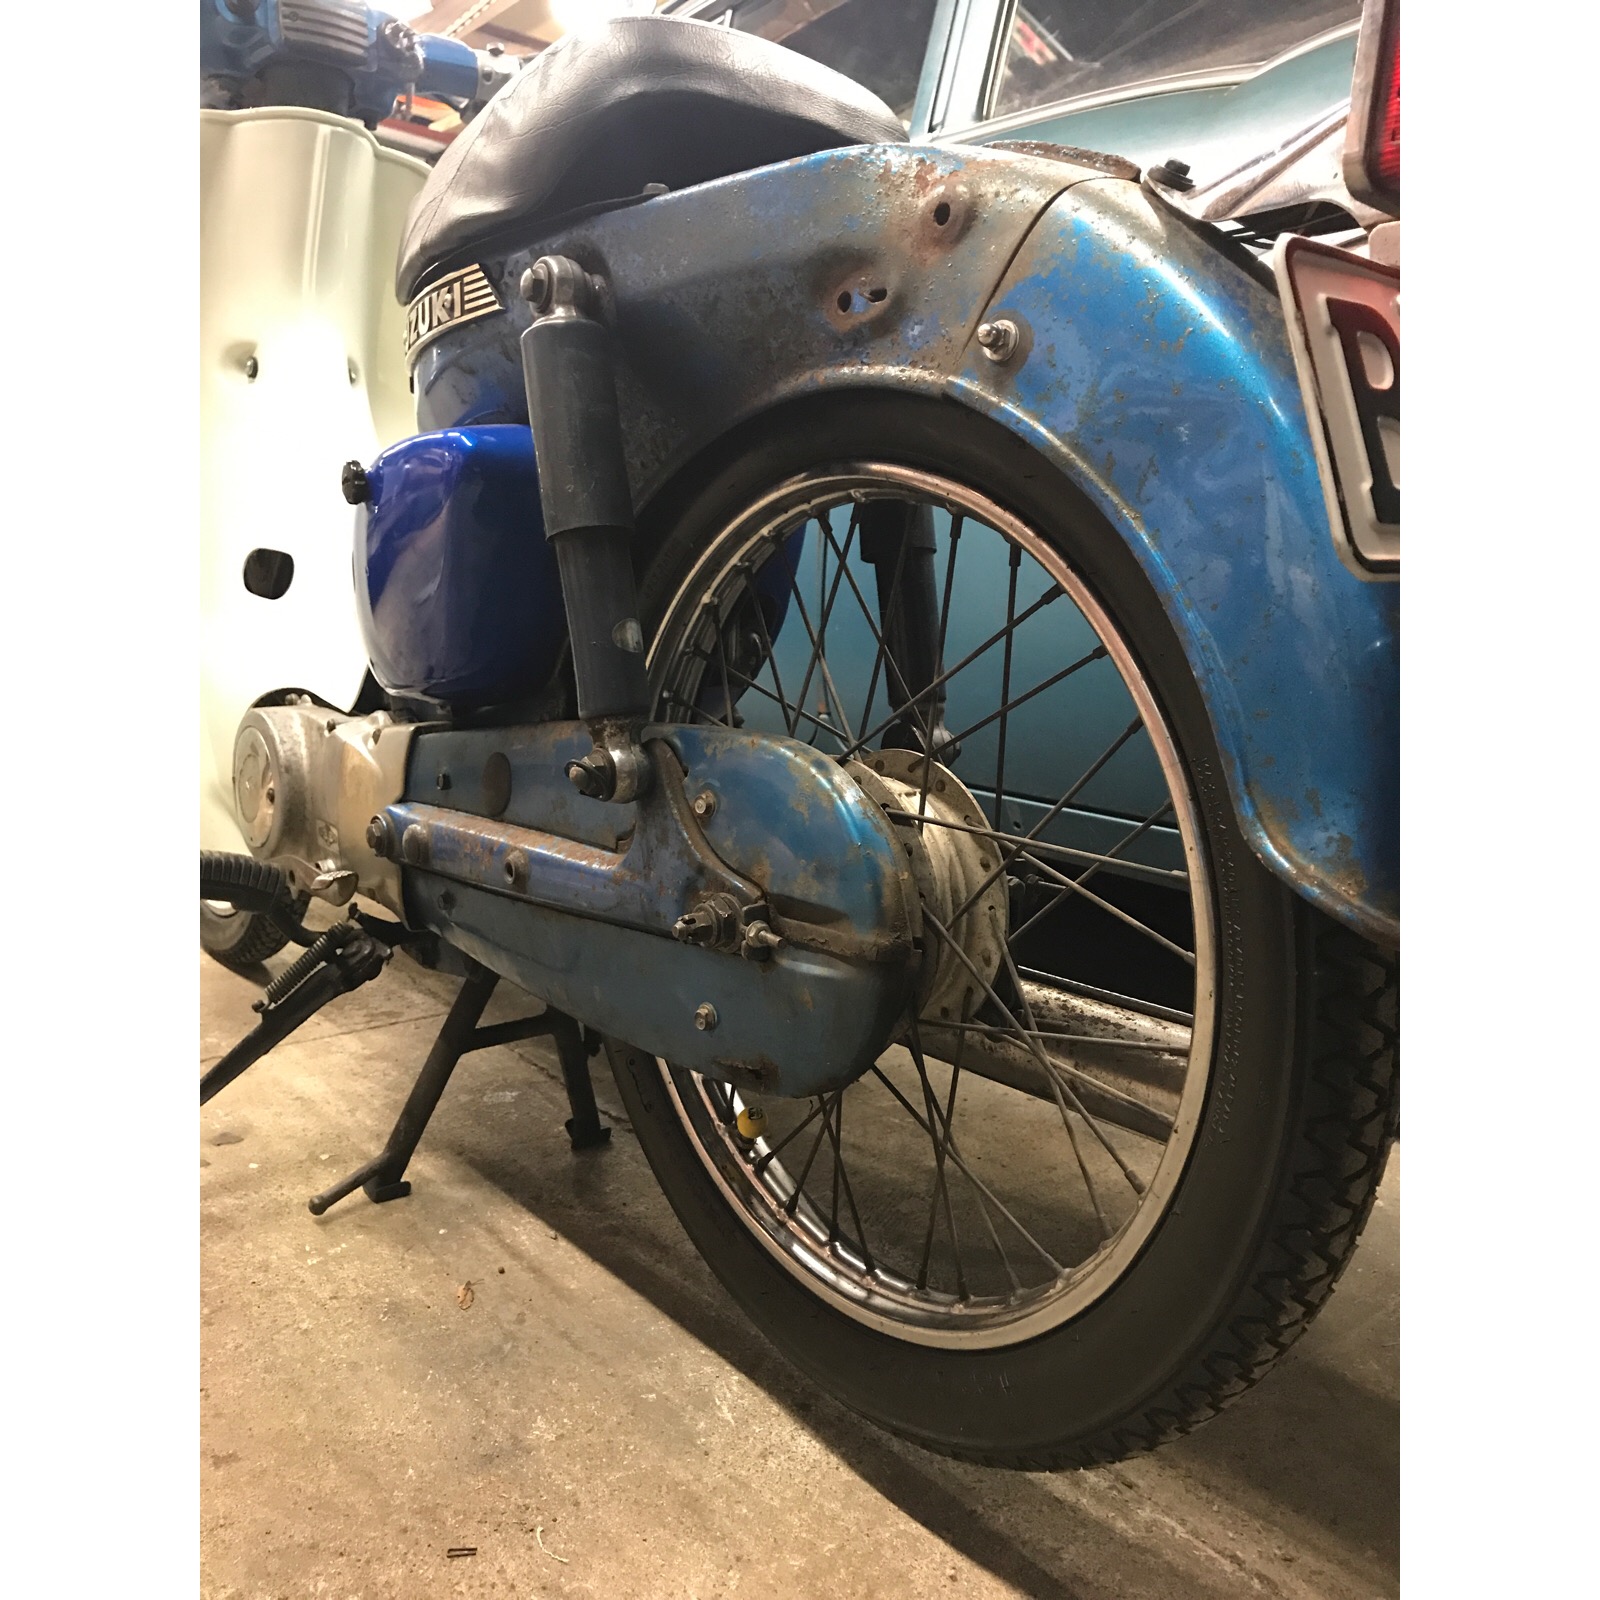
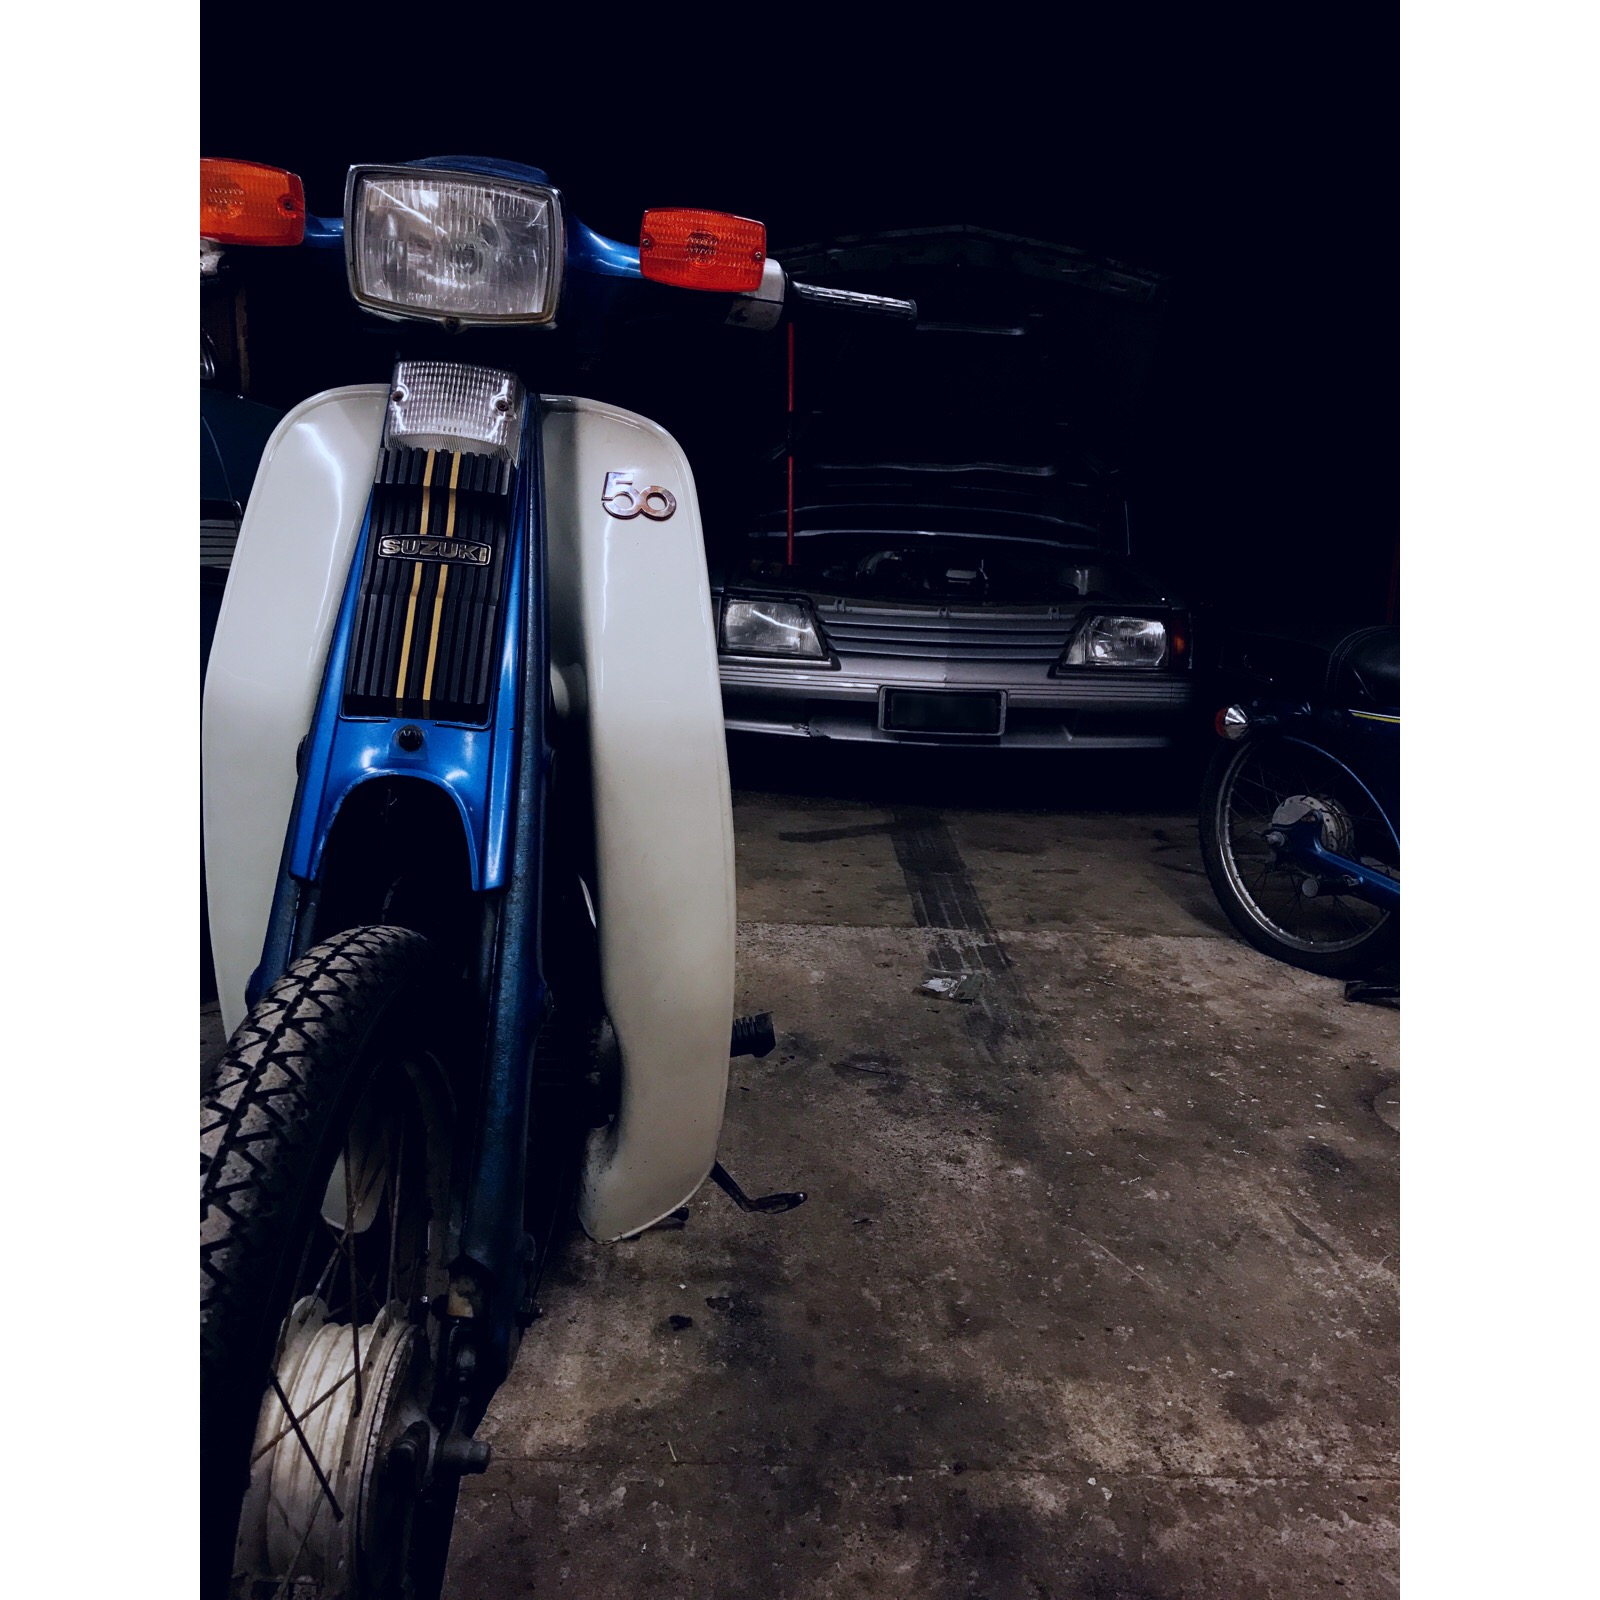
As as I said, I collected that twisted up FR solely for a few parts it had on it that I had been hunting for for a while and couldn't find. Tonight I started to strip that down for parts and fitted them to my good FR50, namely being the one bit I had been hunting for since day of purchase -a complete chain guard with upper and lower halves. As well as other rubber grommets and washers/spacers to places that they were missing from amongst the frame pine. Makes the bike look so much more complete. Stoked!! also, fitted the NOS FR50 leg guard badge I purchased from Suzuki Japan
2 points
-
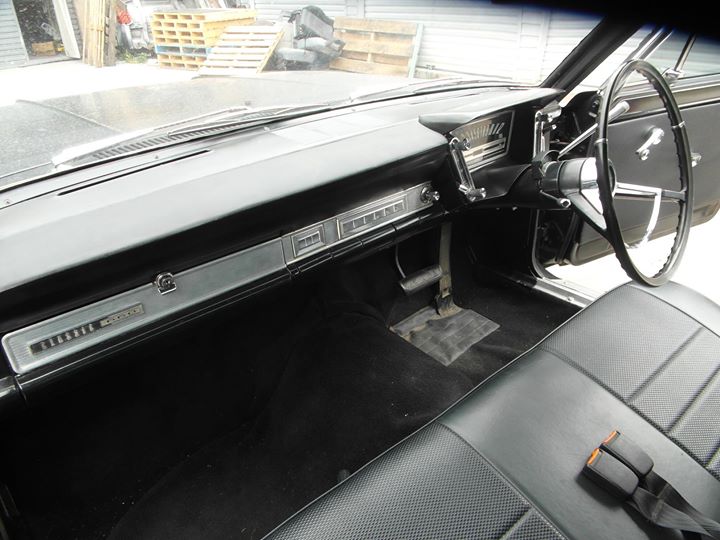
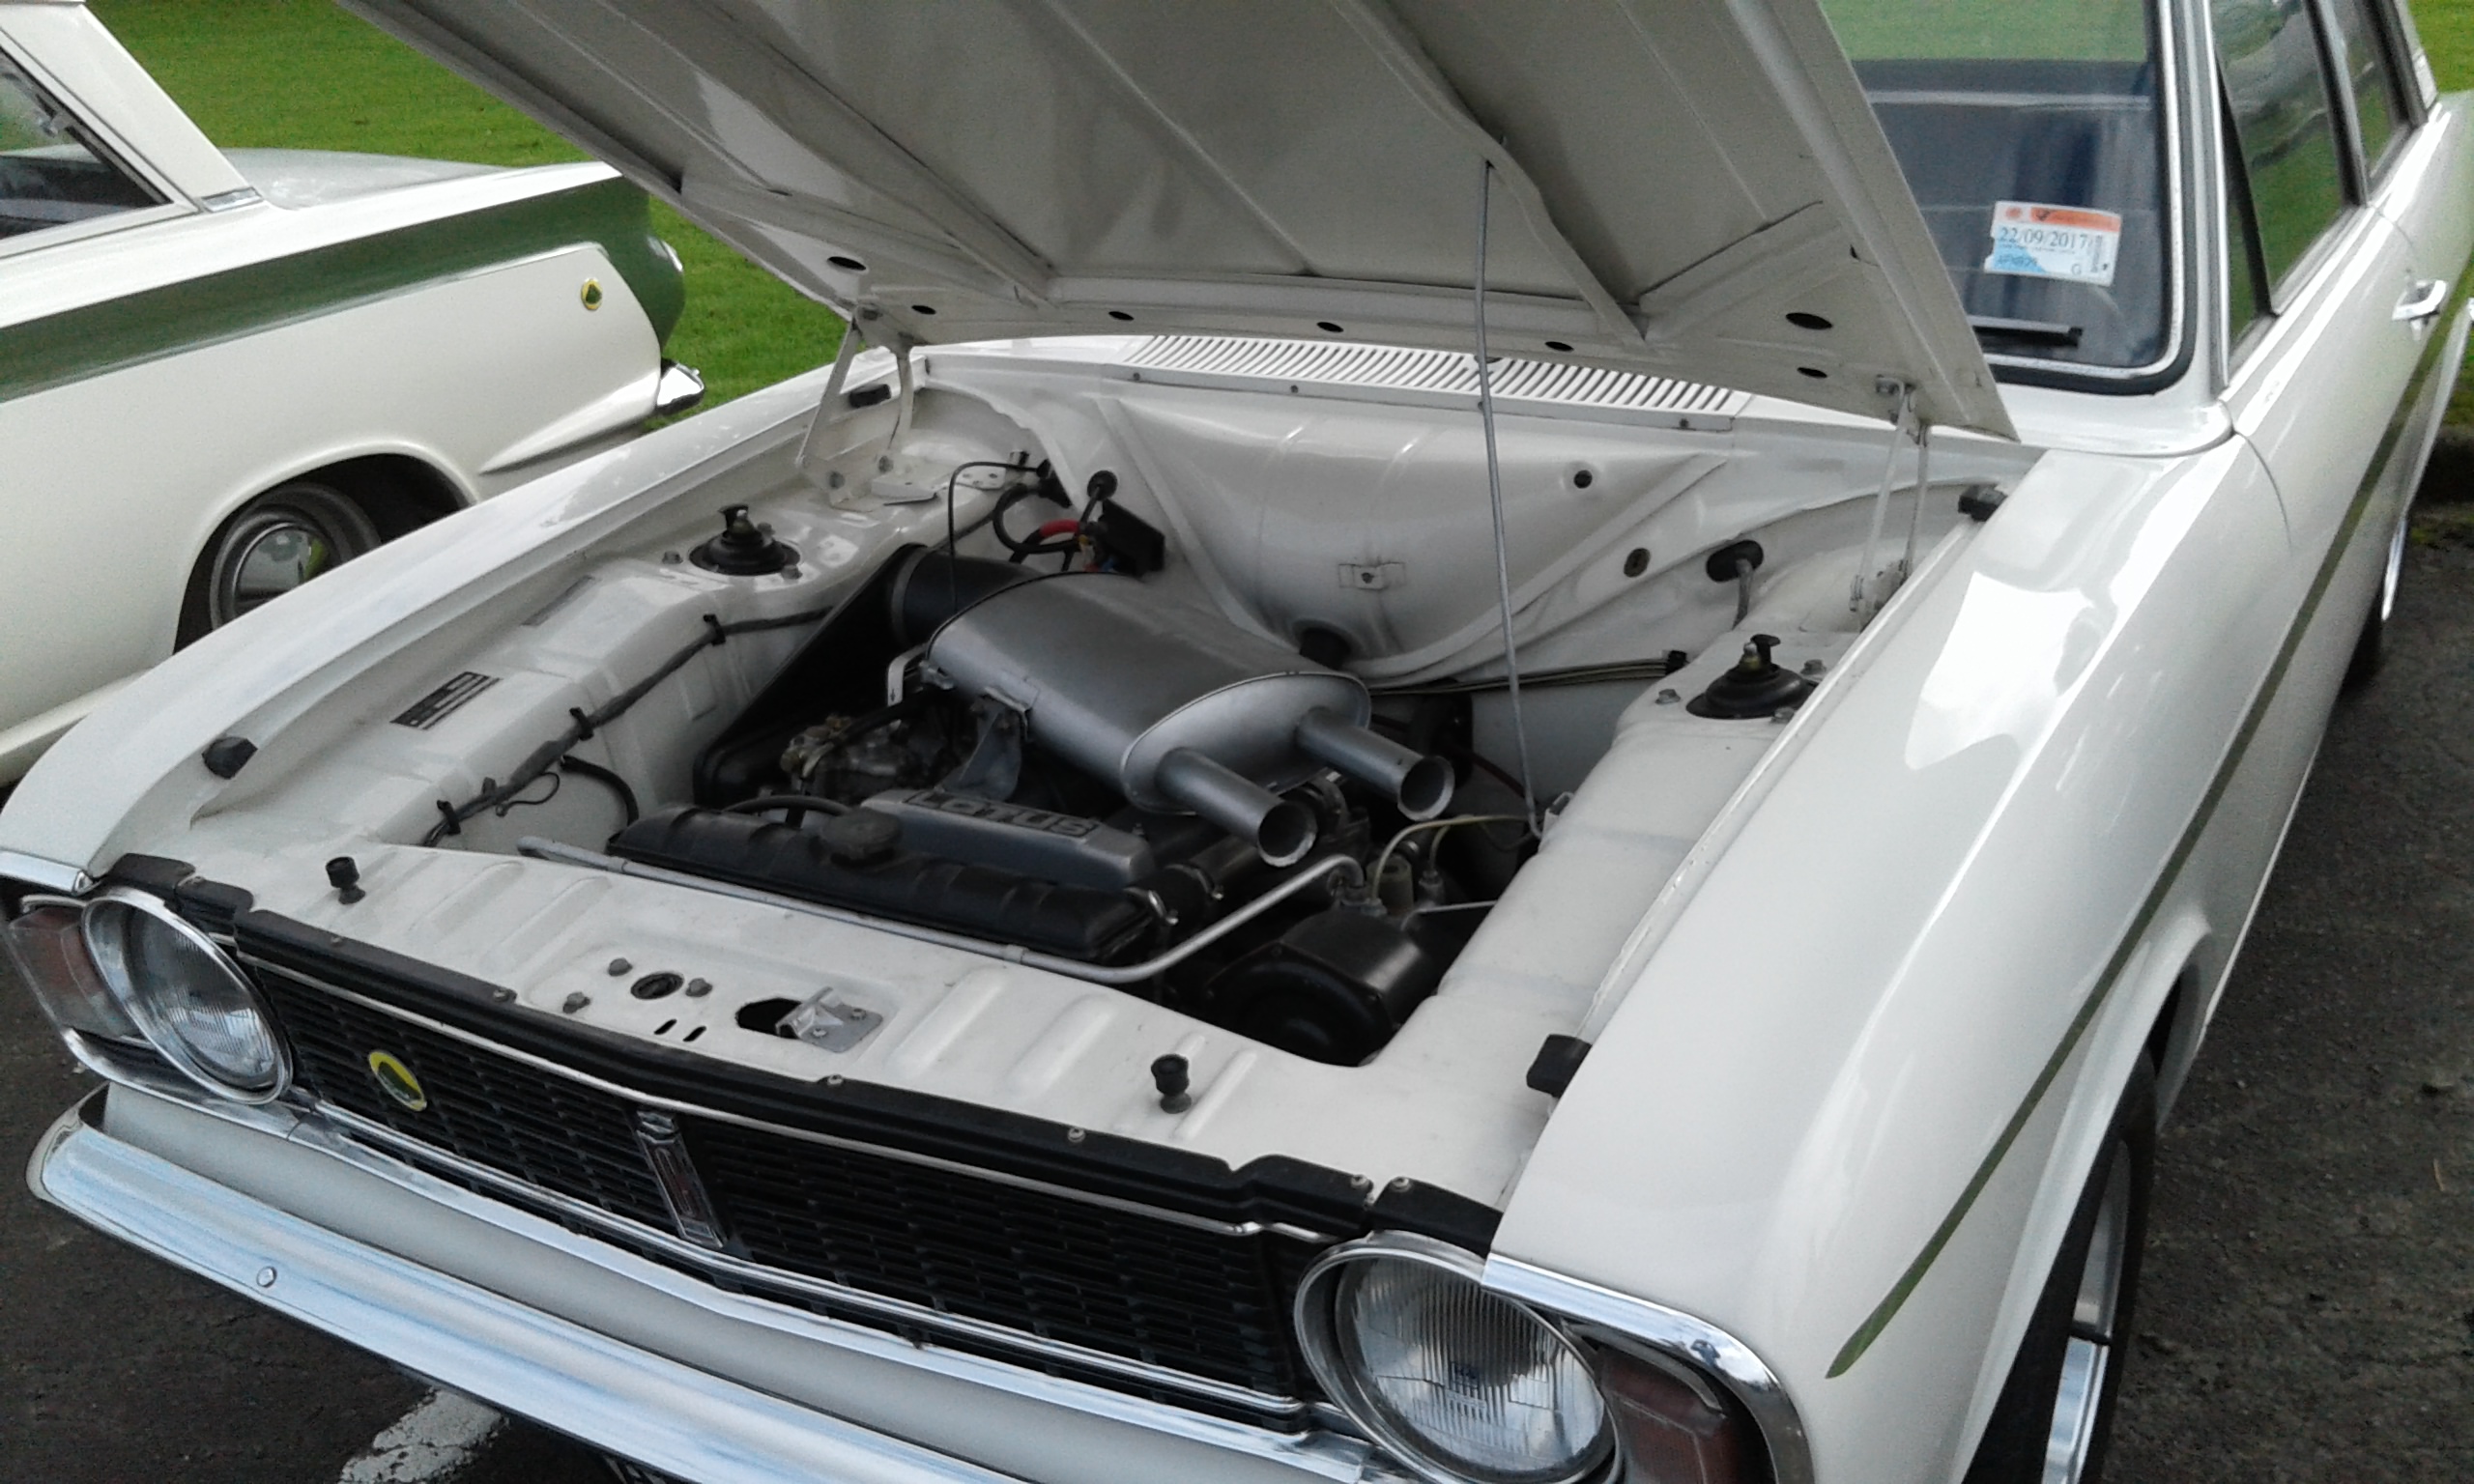
What you have is a third generation Galant wagon, called the Chrysler Sigma in Australia or Mitsubishi Galant-Sigma in other parts. Mitsubishi did indeed make smaller bumpers for the European, Japanese and Asian markets.2 points
-
So if you were wondering what those things do, they are 3" travel hydro bumpstops. If there are any hidden objects hidden in the grass, whilst rounding up the cows. these will prevent occupants of said vehicle, from cranium to moldy hood lining contact. or just doing skiz cunt jumps. pretty much overkill for this truck, but while im under there..2 points
-
There are a few reasons why you guys may be having drill issues these days. Eg, today you can buy extremely powerful battery powered tools that can spin a drillbit way too quickly. You can also have the ability to buy cheap Chinese junk that probably didn't exist in the olden days. You get what you pay for! Same with taps...a $100 set that covers every size is going to be crap compared to a single $25 tap of reputable make. If all else fails then maybe you just suck at sharpening drill bits.2 points
-
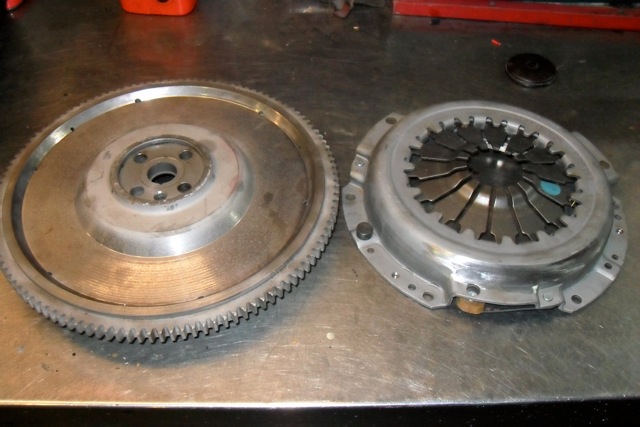
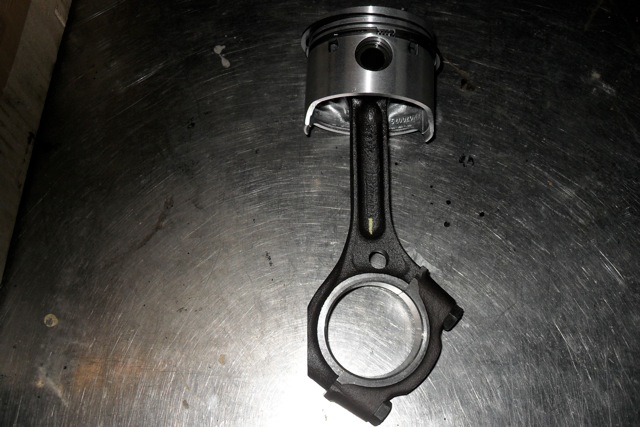
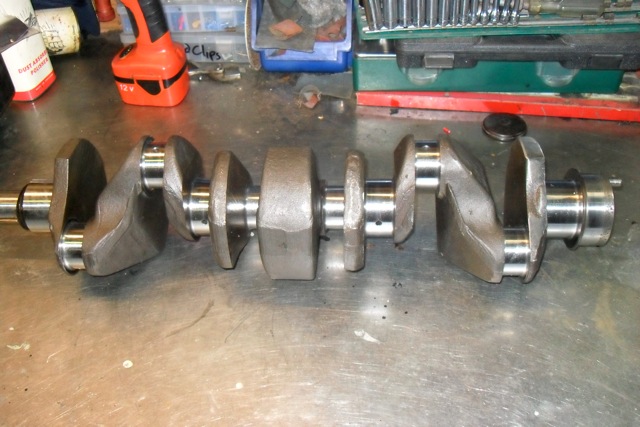
Probably time for a little update on the Trumpy. So the new engine is currently being built up from an old PI motor that was lying around in a garage down south. Basic details are .40 thou over, forged pistons, Newman cam, lightened flywheel, balanced pistons/rods and rotating bits, 10:1 comp, extractors, and the EFI setup based on the old PI bodies. There is also a power steering rack and pump getting the treatment in town which will go in at the same time... Please enjoy some pictures
2 points
-
No real updates yet. Work seems to be getting in the way! Hopefully getting started on a brake rebuild this weekend Anyway, my buddy Kieran who is helping out me took these rad photos with his Leica a few weeks back.2 points
-
Discussion Thread hi all after an epic trip to auckland i picked up a 1965 rambler classic verry tidy inside and out running the std 6 and auto lowered on charger rims just a mint tidy cruiser will upload more pics soon
1 point
-
Project Discussion here //oldschool.co.nz/index.php?/topic/26634-seedy-als-brown-crown/ So................ most of you porobaly dont know that I have had this Wagon for some time now, like, from not long after beach hop even Got it off Simo 95, thanks to Joe (flange) for flat towing it picton for me man, you are the Fucken Shit, love ya to bits etc Anyway, the Deal its a 1980 Ms110 Toyota Crown wagon, bench seat, column change,, dicky seat, all the bizz really. When i got it, it had been sitting for some time, had no rocker cover or alternator, and a few other things, So first step was getting it running, located rocker and alternator, scored both for $50, water pump had siezed, and frost plugs were leaking, so i pulled off the manifolds and fixed all that jazz. next was the brakes, master cylinder was poop, so managed to match one up of a gx71, which i scored brand new for a box of piss becasue the threads were rusty So now it braked. from there i had to rebuild the Window channels as they had pretty much all come off there runnersor rusted out something crazy, plus the seals were super soild, so gave those a mega hot bath for a while and that fixed those too. Since doing all the work its pretty much sat out the back of Work, waiting for me to get my a in to g. And now I am, as i want this going for new years. So since then i have been busy as on it, Fixing the little rust it has (besides the drivers door, which is fucked), getting the temperature and fuel gauges to work (Damn eletrics) and fixing bits and peices, like the broken tail gate handle etc. Have a few gifts coming for it, have ordered an external visor, which is coming from OZ, which hopefully arrives this year, otherwise it wont be till march!!!!! Also some wheels spacers, to fit the Gold SSR's off my van onto, and some brand new tires to boot, as the van ones are like a million profile Um, fuck yeah pics and more later this is pretty much hope it is at the moment, door is off to fix rust and paint yeah bench Seat And my sweet tailgate handle mod, yes that is how it looks, Anyway, got to get back to the whore, hope to have it in for warrent for thursday, and still got the other side body work to sort. FUUUUUUUUUUUUUUUUUUUCCCCCCCCCCkkkkkkkkkkkkkkkkkkkkk CDL1 point
-
Hey all. I'm in the US and just picked up a 1978 Colt wagon that was in decent shape, short of needing a new 3 speed auto and some patch. I found out right away that there is no such thing as parts for me over here so I am looking out your way. Does anyone have a good suggestion of a vendor that has a kit or parts for dropping the wagon a good inc-inch and a half? I ask folks here and all they say is, " what did you say you're driving?"1 point
-
Nice work Pete as always !! Can you take photos of it next to a 16" bmx for scale. It looks like a brought one !1 point
-
Try to lock him in a British Leyland sharn. Eventually he will glaze over and make an exit, never to return. In keeping with my record this year, I will not be able to attend this meet due to being elsewhere. 5/5 fail.1 point
-
3.6 works well with the R154, i would guess you'd want to go a bit lower if your going to run small tyres and a W57. keep in mind that the UZ is not a pushrod shithouse V8. they love to rev and sitting at 2800ish is no drama for them. in my limited experience with the underside of britcrap trumphs id say you will be biting off a VERY large chunk of work to get a nissan subframe to work.1 point
-
Yeah NOS photo hostingcertificity.com1 point
-
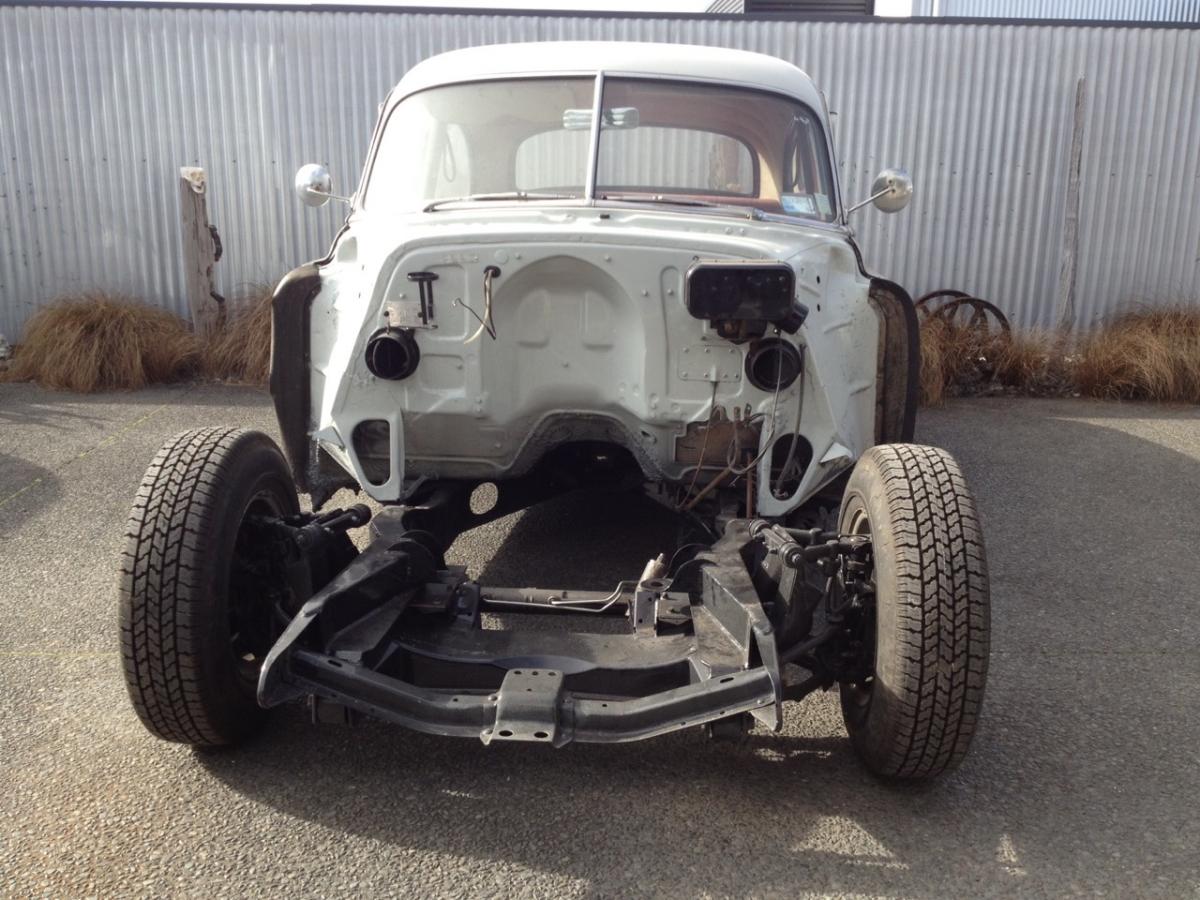
Bit of a lurker but always enjoy following the build threads on OS. Came across a few pics of my car so figured I'd post a few up to now, and then update going forward. Got the car off a friend in stock form. It was "restored" in the UK at some point but from what I understand the guy emigrated to NZ but had health issues and passed away once here. I think the car sat for quite some time after. Anyway, I got the car and promptly broke it. The OG six needed a rebuild which priced out pretty high and as I had always planned to make it more of a daily driver I figured there was little reason to throw $ at the six. Isn't hindsight a wonderful thing. That's exactly what I should have done. Oh well... So, the short version... Jag IFS, 350 SBC crate motor, TH375 trans (yes 375!), HQ diff, rewired. Some other stuff. Would like to point out rather quickly that I'm pretty hopeless with the tools and although they entertained my efforts knocking round their shop, all the real heavy lifting was done at Valley Custom in Cambridge. However, Valley Custom wasn't the first lot to have a crack at it and I'm picking this up from when I dragged it to their shop. Long story short, none of the first lot of work was up to cert standard inc engine mounts (had even bent on trailer ride over), gearbox crossmember, rear Jag IRS mounts, and steering rack mounts. But the firewall was painted so totally worth it.
1 point
-
Been shopping on trademe, road trip to Port Charmers to pick it up today. Long awaited 2y crank trouble is its still wrapped up inside an engine. Now to strip it tomorrow night & get crank off to probuild
1 point
-
yeh, if you make more heat than you can remove by heating coolant or give it less time than it takes for the material to move it, then shit starts getting hot and science happens. also i noticed drills (evacut in my case) are usually supplied as bright finish or that LV Martin gold coating malarky. I've always used the black jet ones, there's a set at my old work that i got in 2006ish, most are still original and still in (ab)use, they seem to sharpen up fine.1 point
-
No but there was a sweet yellow Jag cruising around. I also had a sneaky play in the train....1 point
-
Are they shaped/single sided? The one in my ute is just like a thick felt and could be reversed1 point
-
and after doing battle with the welder all day I got fed up and left it there. Have a patch tacked into last picture.1 point
-
Nightcaps Ohai I've never seen someone more excited seeing a sheep than Nick was...1 point
-
Just plugged a 10.5mm hole through a broken m8 stud and 4mm stainless with no worries. CDT and slow speed wins the day.1 point
-
Barry wont have any metric though1 point
-
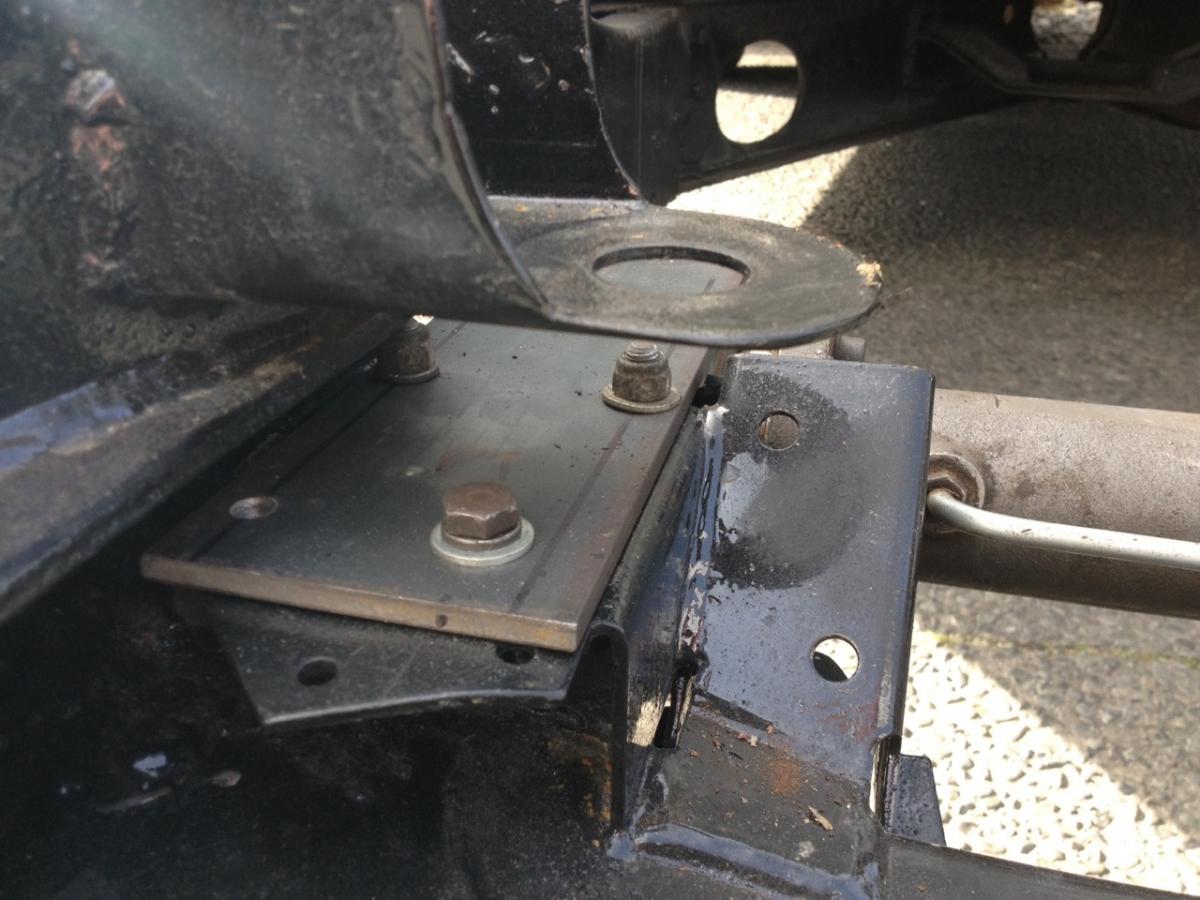
the old a-body cracked chassis by the steering box... classic.. Might as well throw one of these kits in while its out.. https://www.summitracing.com/int/parts/cca-k64-247-4/overview/make/plymouth1 point
-
Few more details of stuff. Decided I needed a collapsable flagpole.... searched around on the internet a bunch for something that didn't suck, then realized I already owned the perfect thing. For those here who aren't back country skiers... it's an avalanche probe, essentially a thick tent pole with a spike on the end. I just cable tied the flag to it and it all folds up and rolls into the sleeve it comes in. Perfect. Changed out one of the grommets for a sport climbing bolt hanger so I didnt have to unthread the cam buckle strap every time. Yes... I realize it isn't a rated carabiner and the bolt hanger should pull down ... Window nets that rebecca made. There is also a big one for the side doors. The strip magnets don't hold for s#!%, glad I have the circle ones. The rear ones also are bolted through the hinge. Little ties to hold them up. Cargo net in the back. The tan bag is our sleeping bag. For anyone who wants a bada$$ two person backpacking bag I'm a huge fan of the Nemo Tango Duo, it allows the two of us to carry one less bag and weighs no more than one normal bag, 800fill down and backless. The window nets and flag pole live in the cargo net as well when not being used. The flags were brought to me last month from a friend who was in India. Some pics of the roof in use Needed a place to stand so I stole this idea from someone on Expedition Portal to use cut down ute loading ramps. Now I need to figure out what to do with the second ramp since they are only really useful in pairs... freebie if you pick it up to anyone who wants it. Had the van out for its first shakedown overnight run at Cunningham Falls State Park. We were the only people there. It of course rained, but I was very very happy with the ARB awning, we were still able to cook outside. Also took it out to a local horse race last weekend, Maryland Hunt Cup. The tailgating area was full of yuppies so I picked the coolest looking guy I could to park next to. The other guys van was more of a tail gaiting rig, he pretty much spends all weekend driving between porting events, but he did have a removable bed platform. He had only finished it a few months ago so we chatted a bunch about our builds, cool guy. Lots of TV lots of sound Lots of batteries Lots of amps and lots of air for an air horn1 point
-
Urgh. Old people. YOU JUST DON'T GET IT!!1 point
-
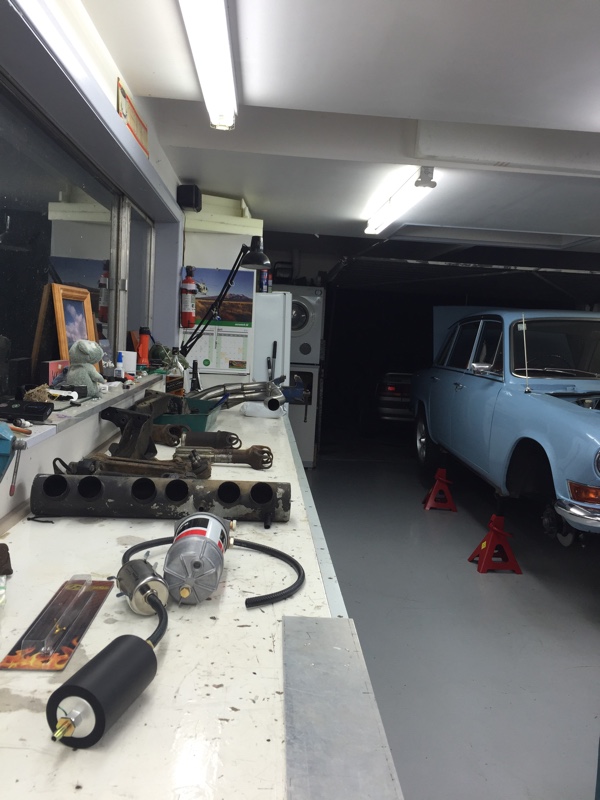
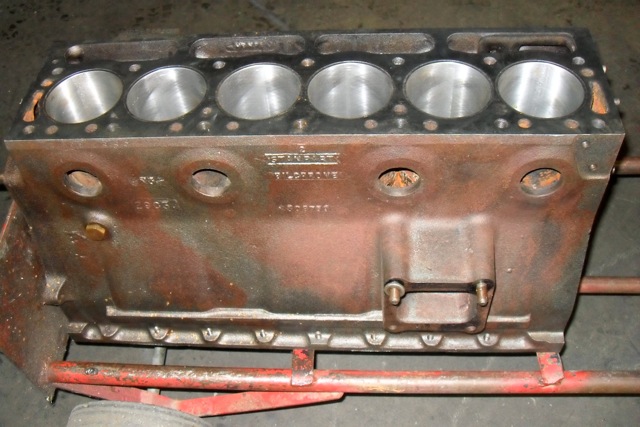
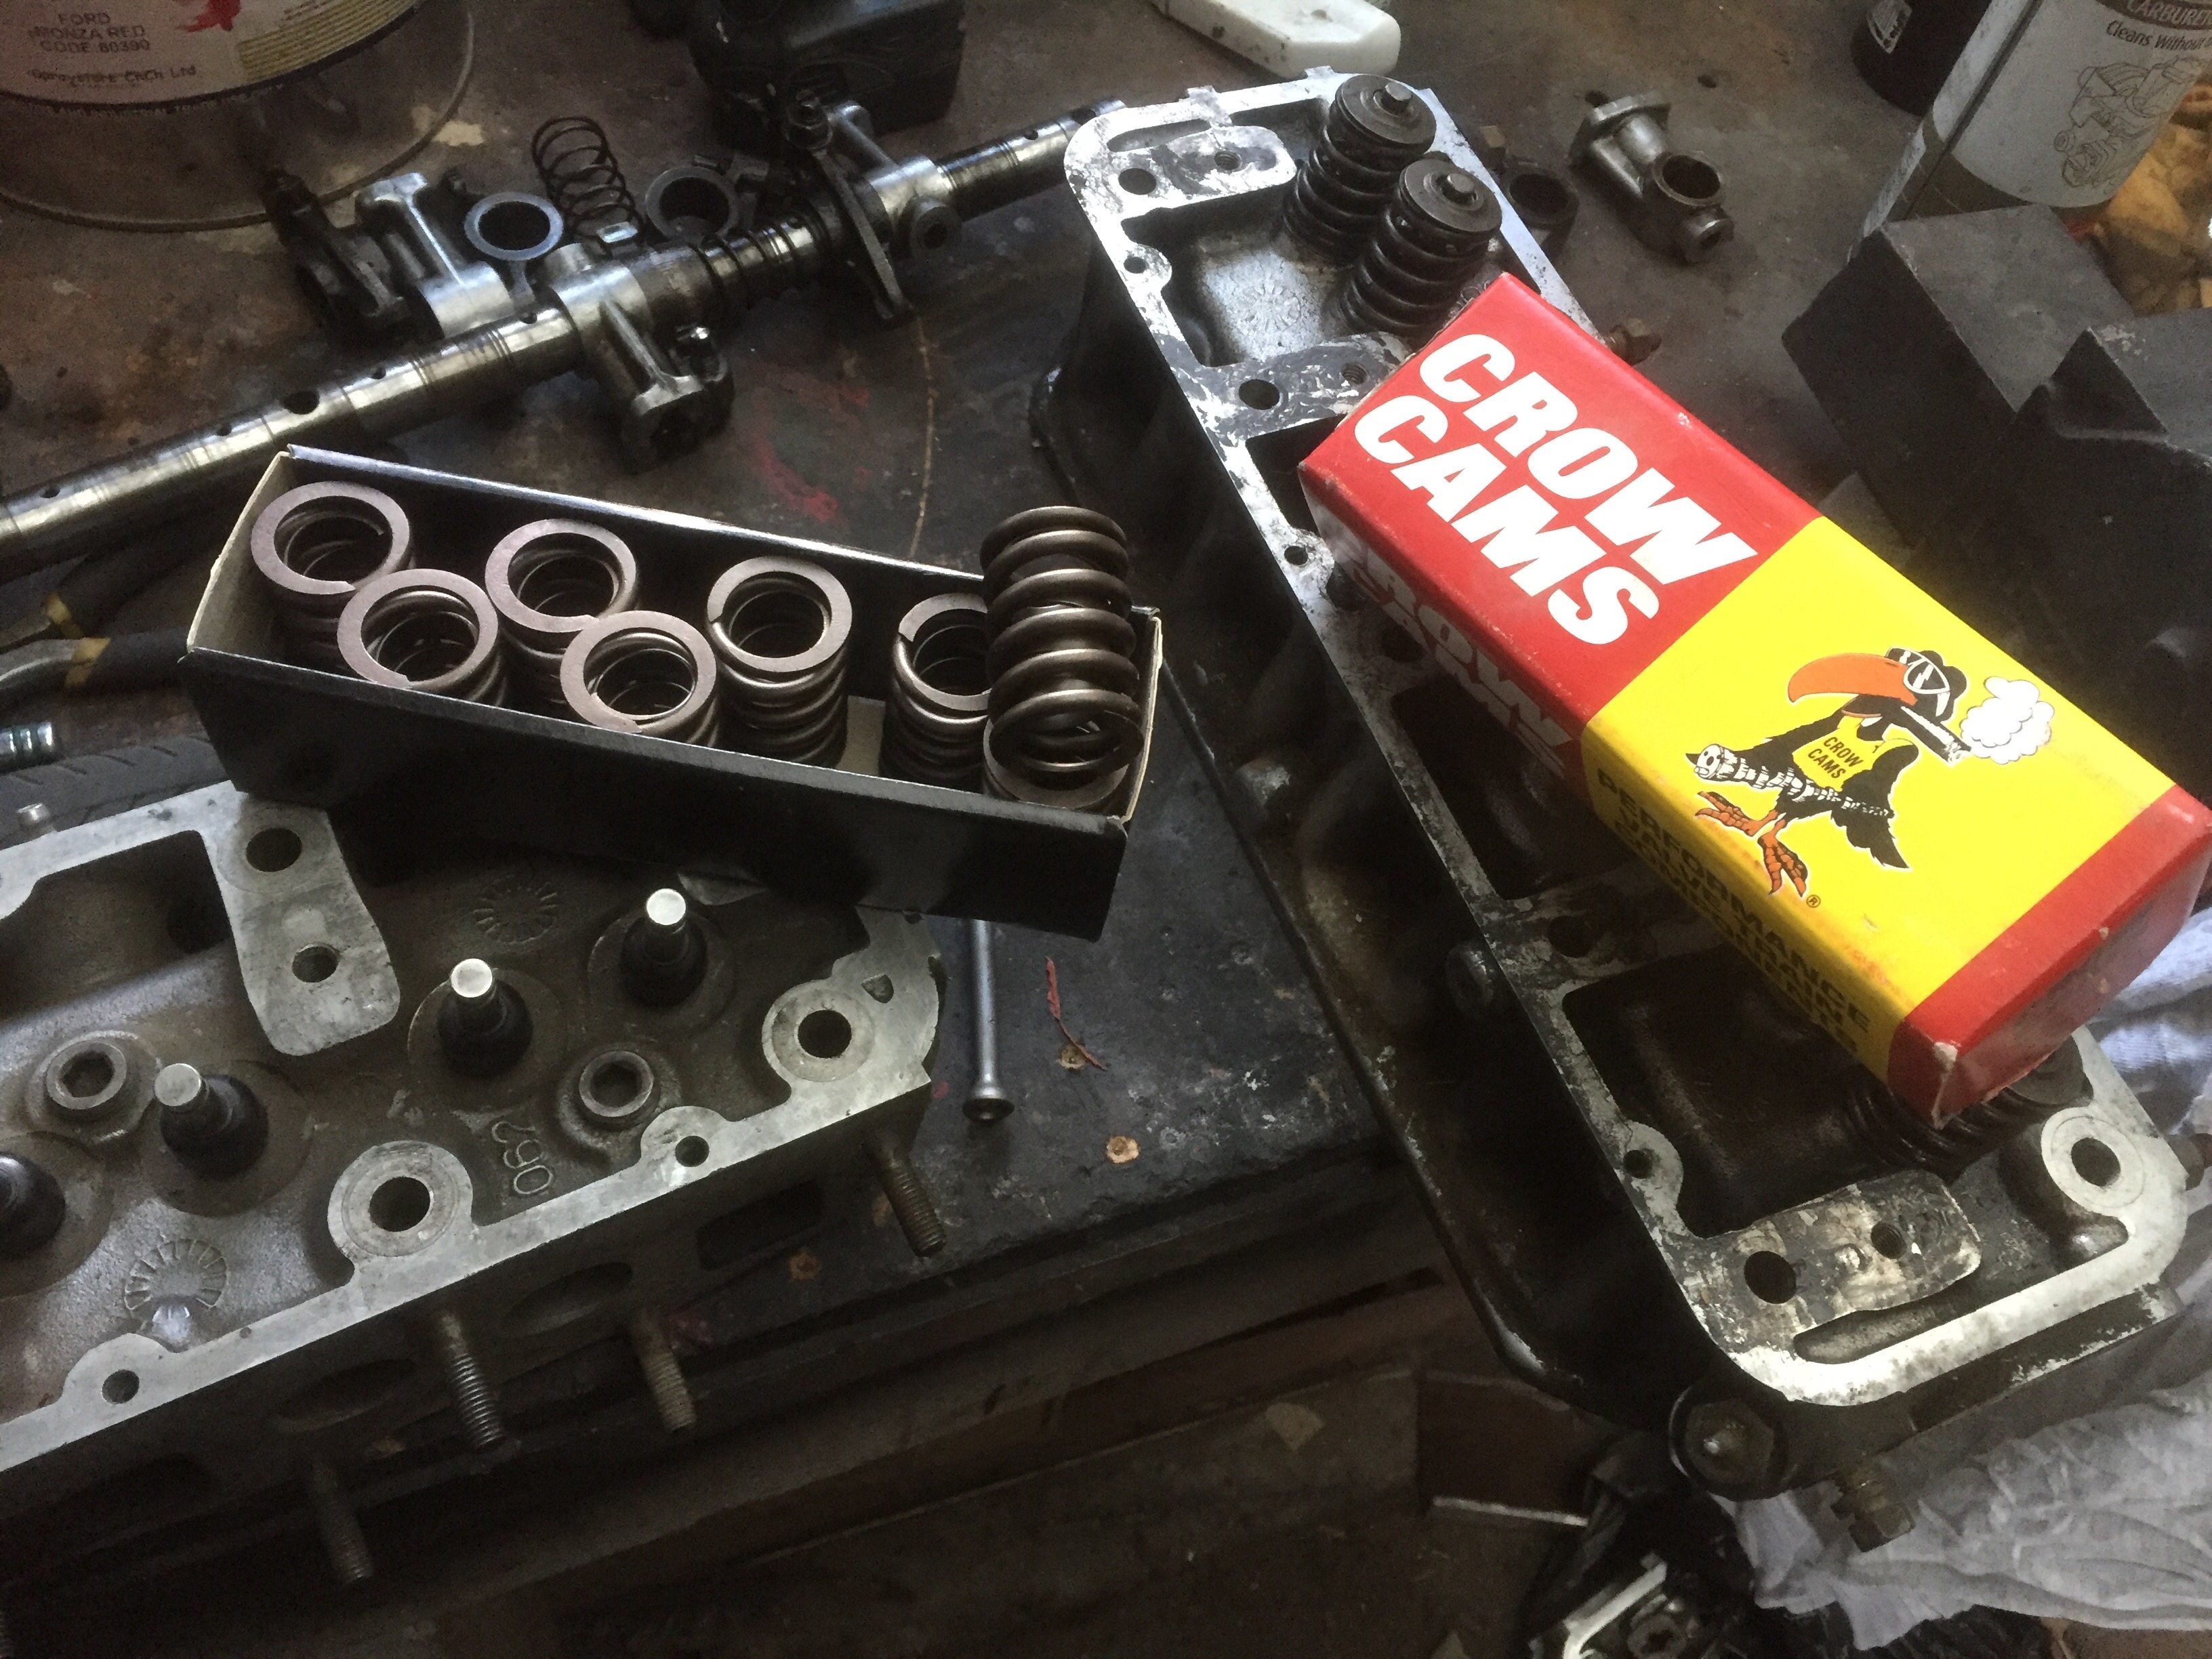
Pretty randomly our rep at work got to yarning with a codge who wanted rid of some Datsun stuff his son left in behind. $100 got me a set of new crow valve springs, 2 A12 heads and set of barely used valves and sparkie plugs. At least $300 worth realistically. Hoped one would have a rocker shaft cause all mine aren't quite 100% but alas. I also decided that cam bearings would be cheap insurance since mine weren't mint so got a set and a spare just in case but overthought it bitched out on installing them myself in case I wrecked the new cam soon after firing it up..they are buried inside the block, and scope for disaster is wide, so dropped the block and head off at reconditioners.
1 point
-
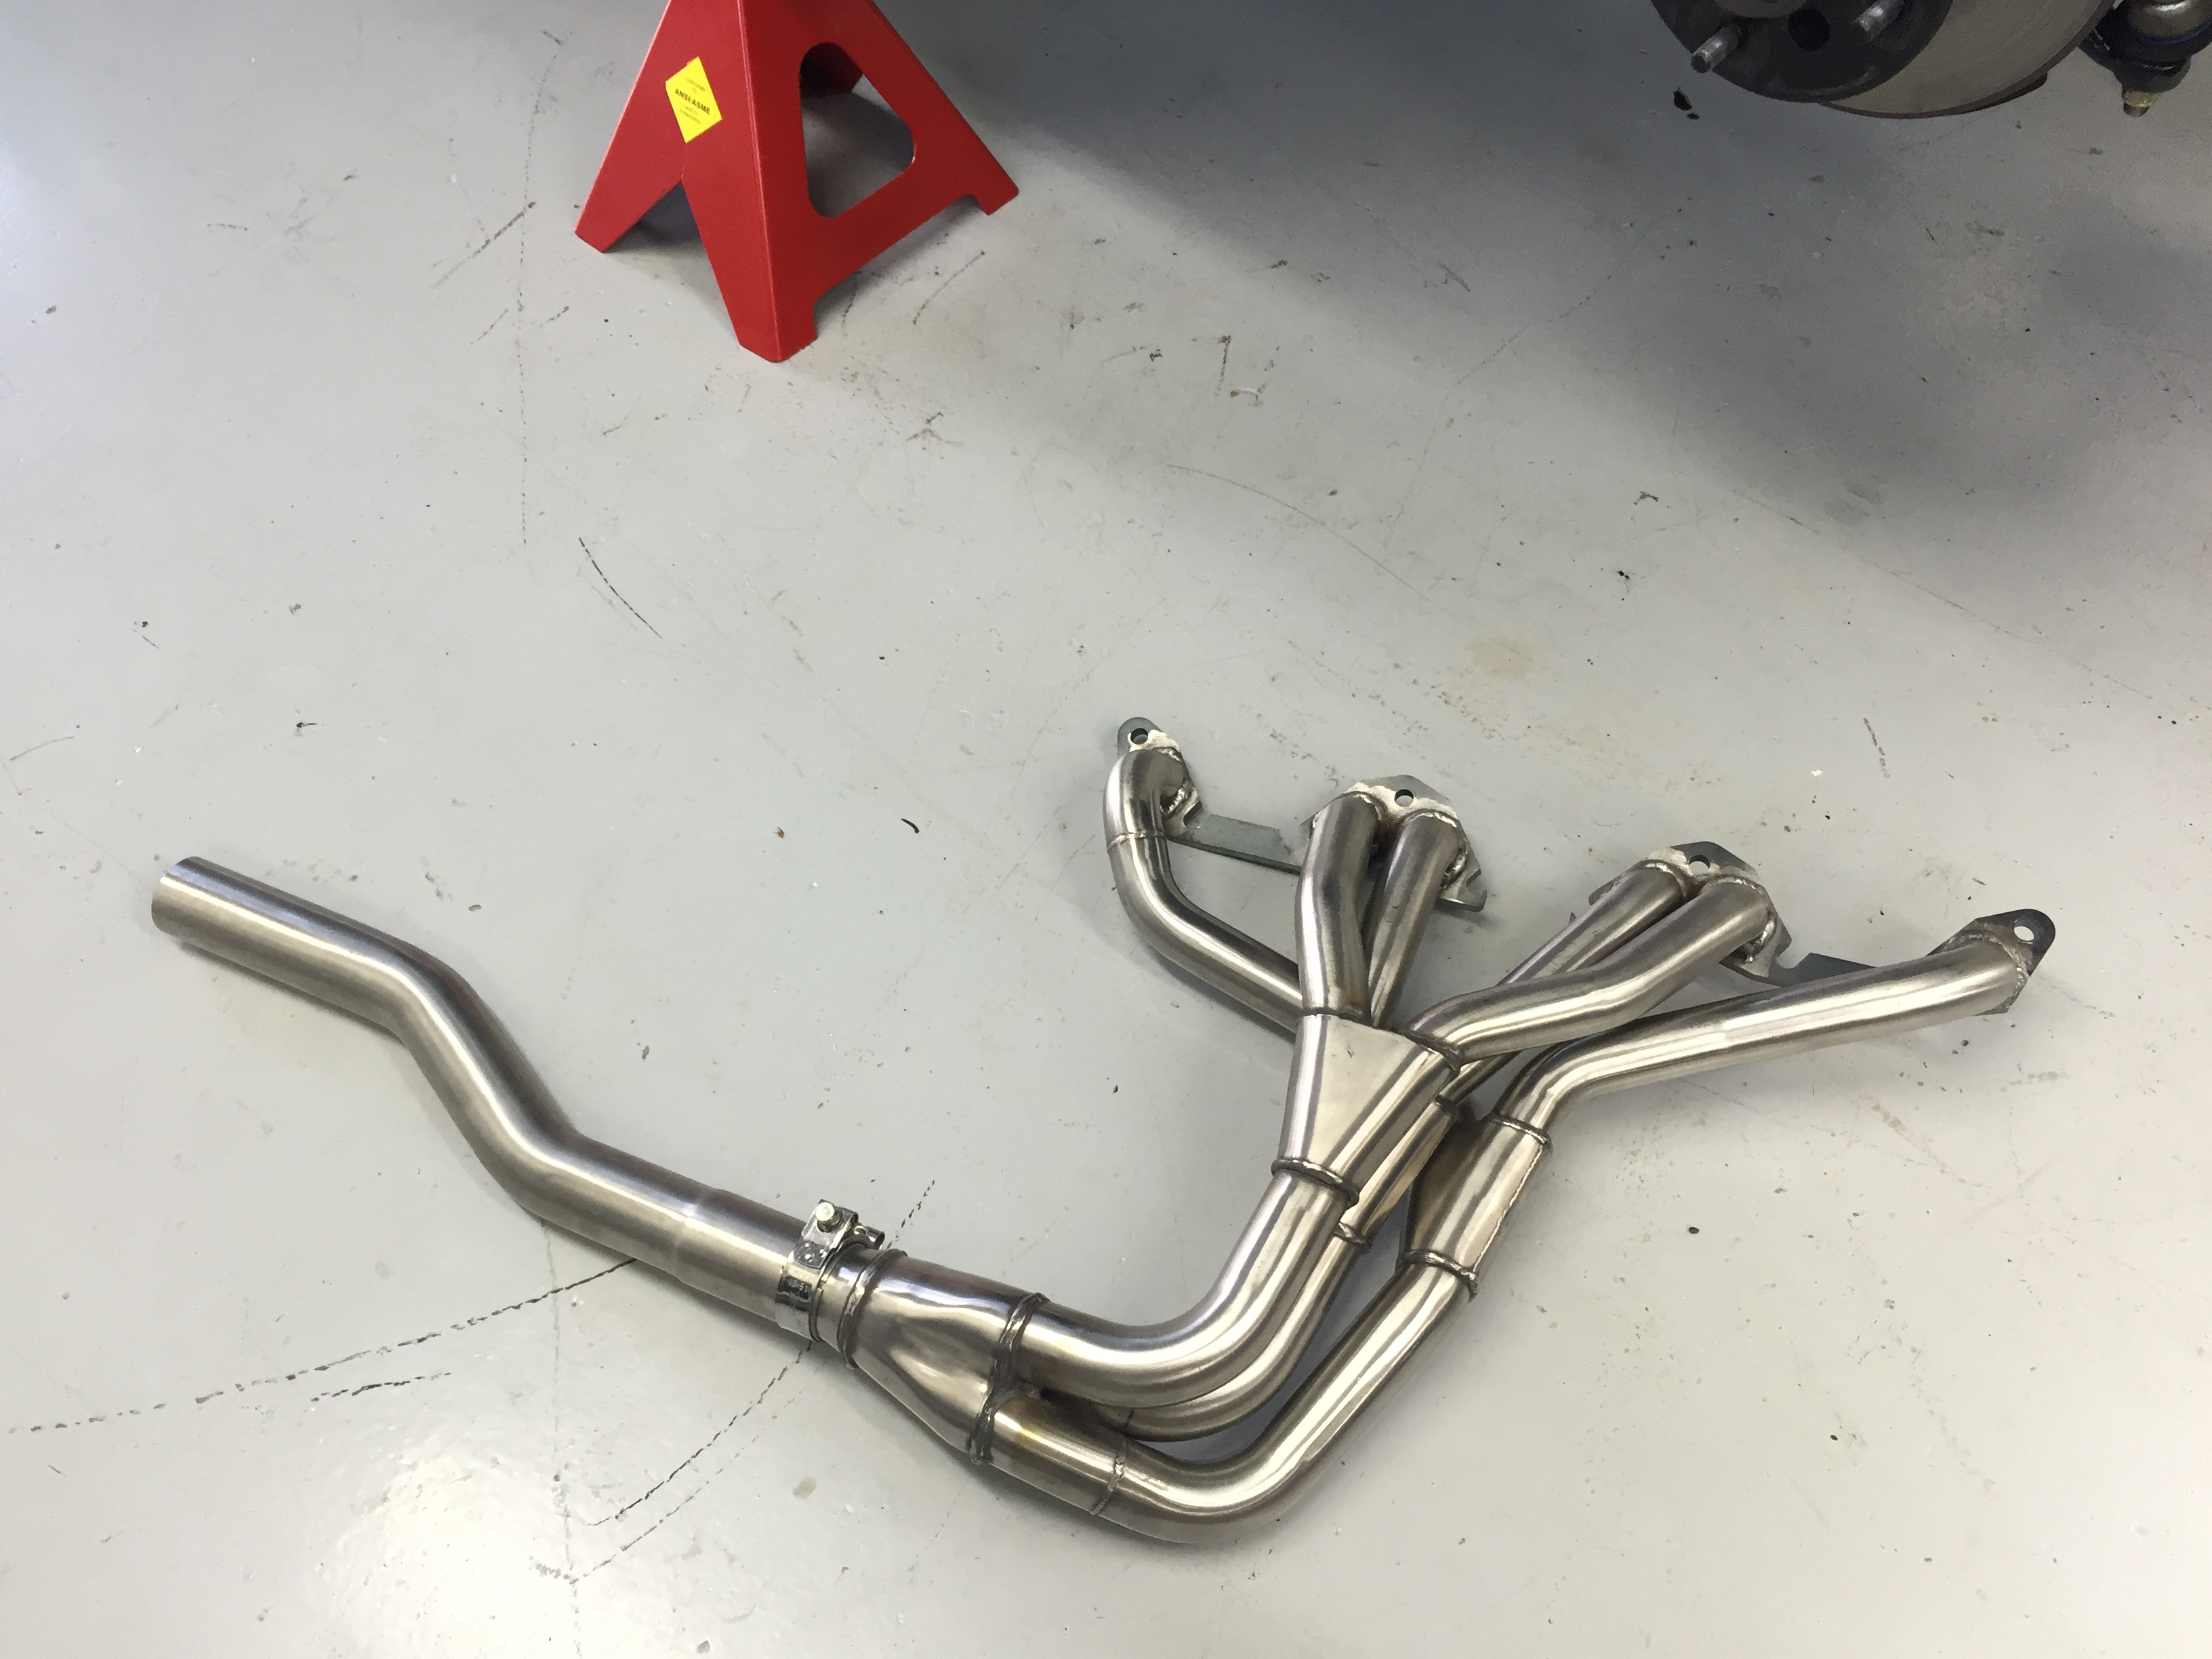
I know the sta bends are a bit shit but they are cheap so for that reason alone I like them. I've ordered a couple of resonators and some pipe to go with the rx7 stuff and I'll re do the exhaust. I thought about getting the new headers to fit the existing system but it'll be nearly as much work as redoing it in 2.5 vs who knows what size it is now. Token photo of stuff before I butcher/ruin it1 point
-
Not relevant to the topic, but please don't do that stupid F shit. This isn't facebook, commenting F does not notify you when there are replies. Do this if you really want notifications for this topic, don't spam up the thread.
1 point
-
Well now it looks good in and out its time to make it move faster! (Yes i still haven't cut and buffed it because I feel I can put it off for a lot longer X-D) As part payment for hacking the rust out of Bart's Val, he's given me this A15. I got the headers a while back in preparation. I tore it to bits today and she is a pearler! Still standard everywhere and bores are sweeter than a hot damn. Im making moves to grind a wee cam to help it along and will run GT 323 twin carbs on a modified manifold. They are a veeery similar design to standard Datsun but likely updated a bit, mine have airbox and linkages and all that shit to make it easier. (sitting on a spare A12) It's a bit like the twin K-series Toyota carb conversion which used to be the go-to mod when they were more common.1 point
-
Small steps...
1 point
-
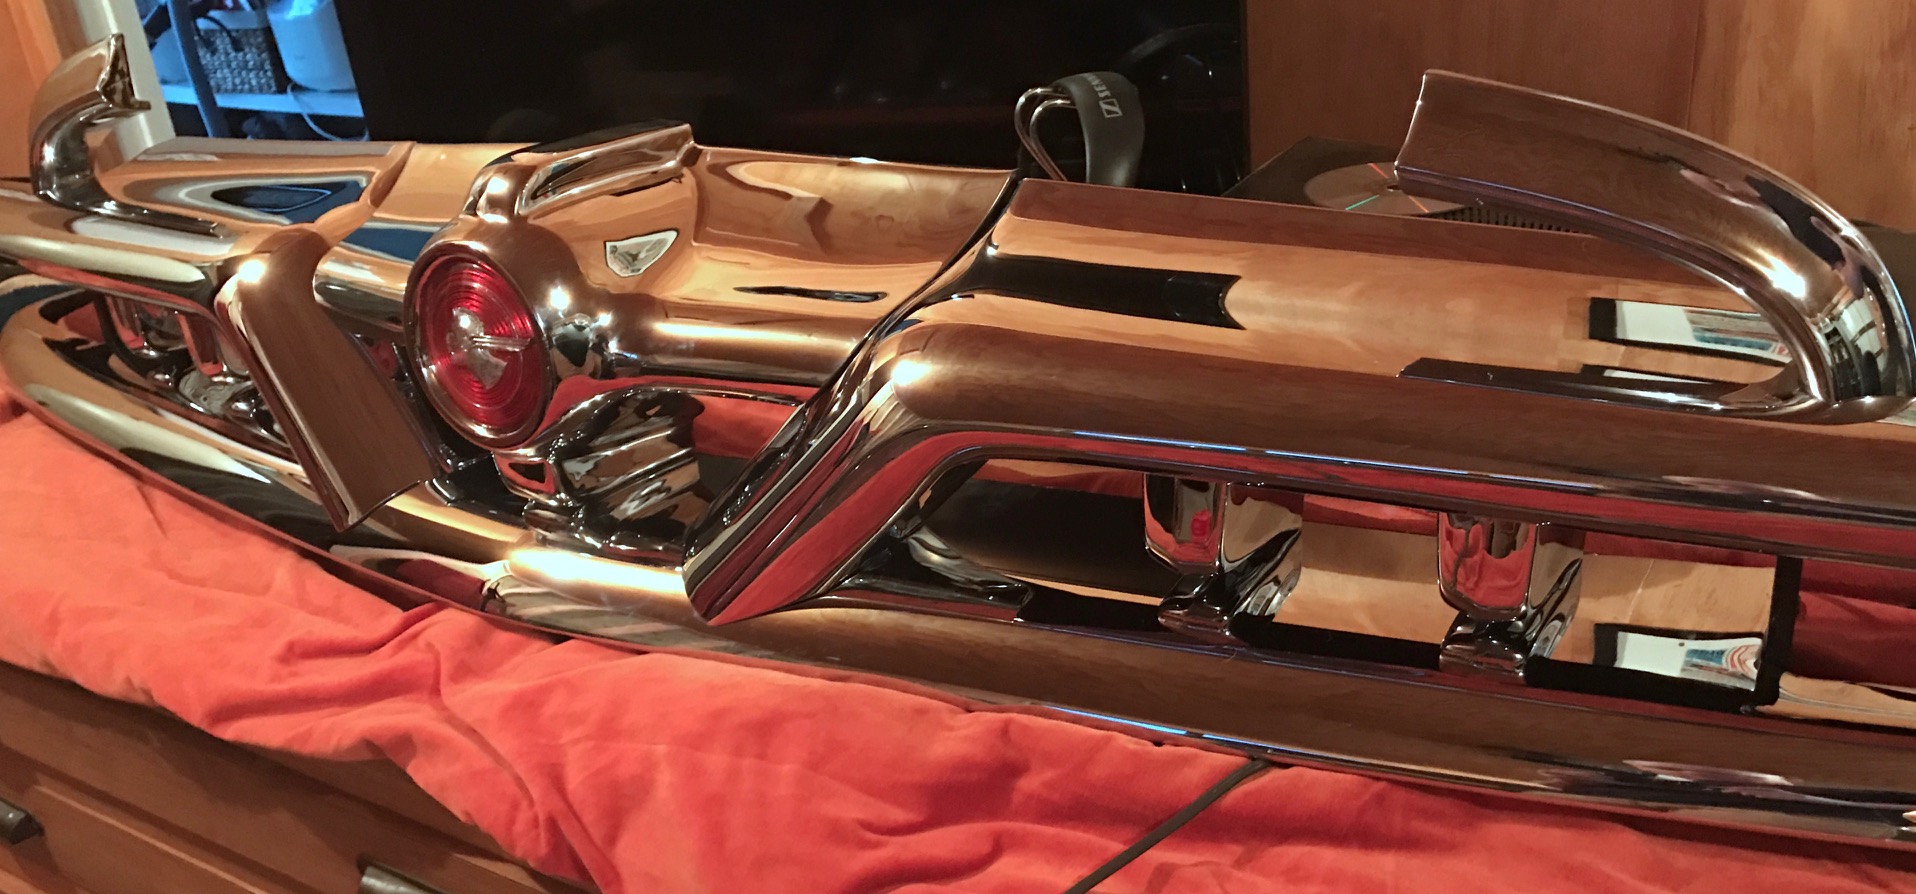
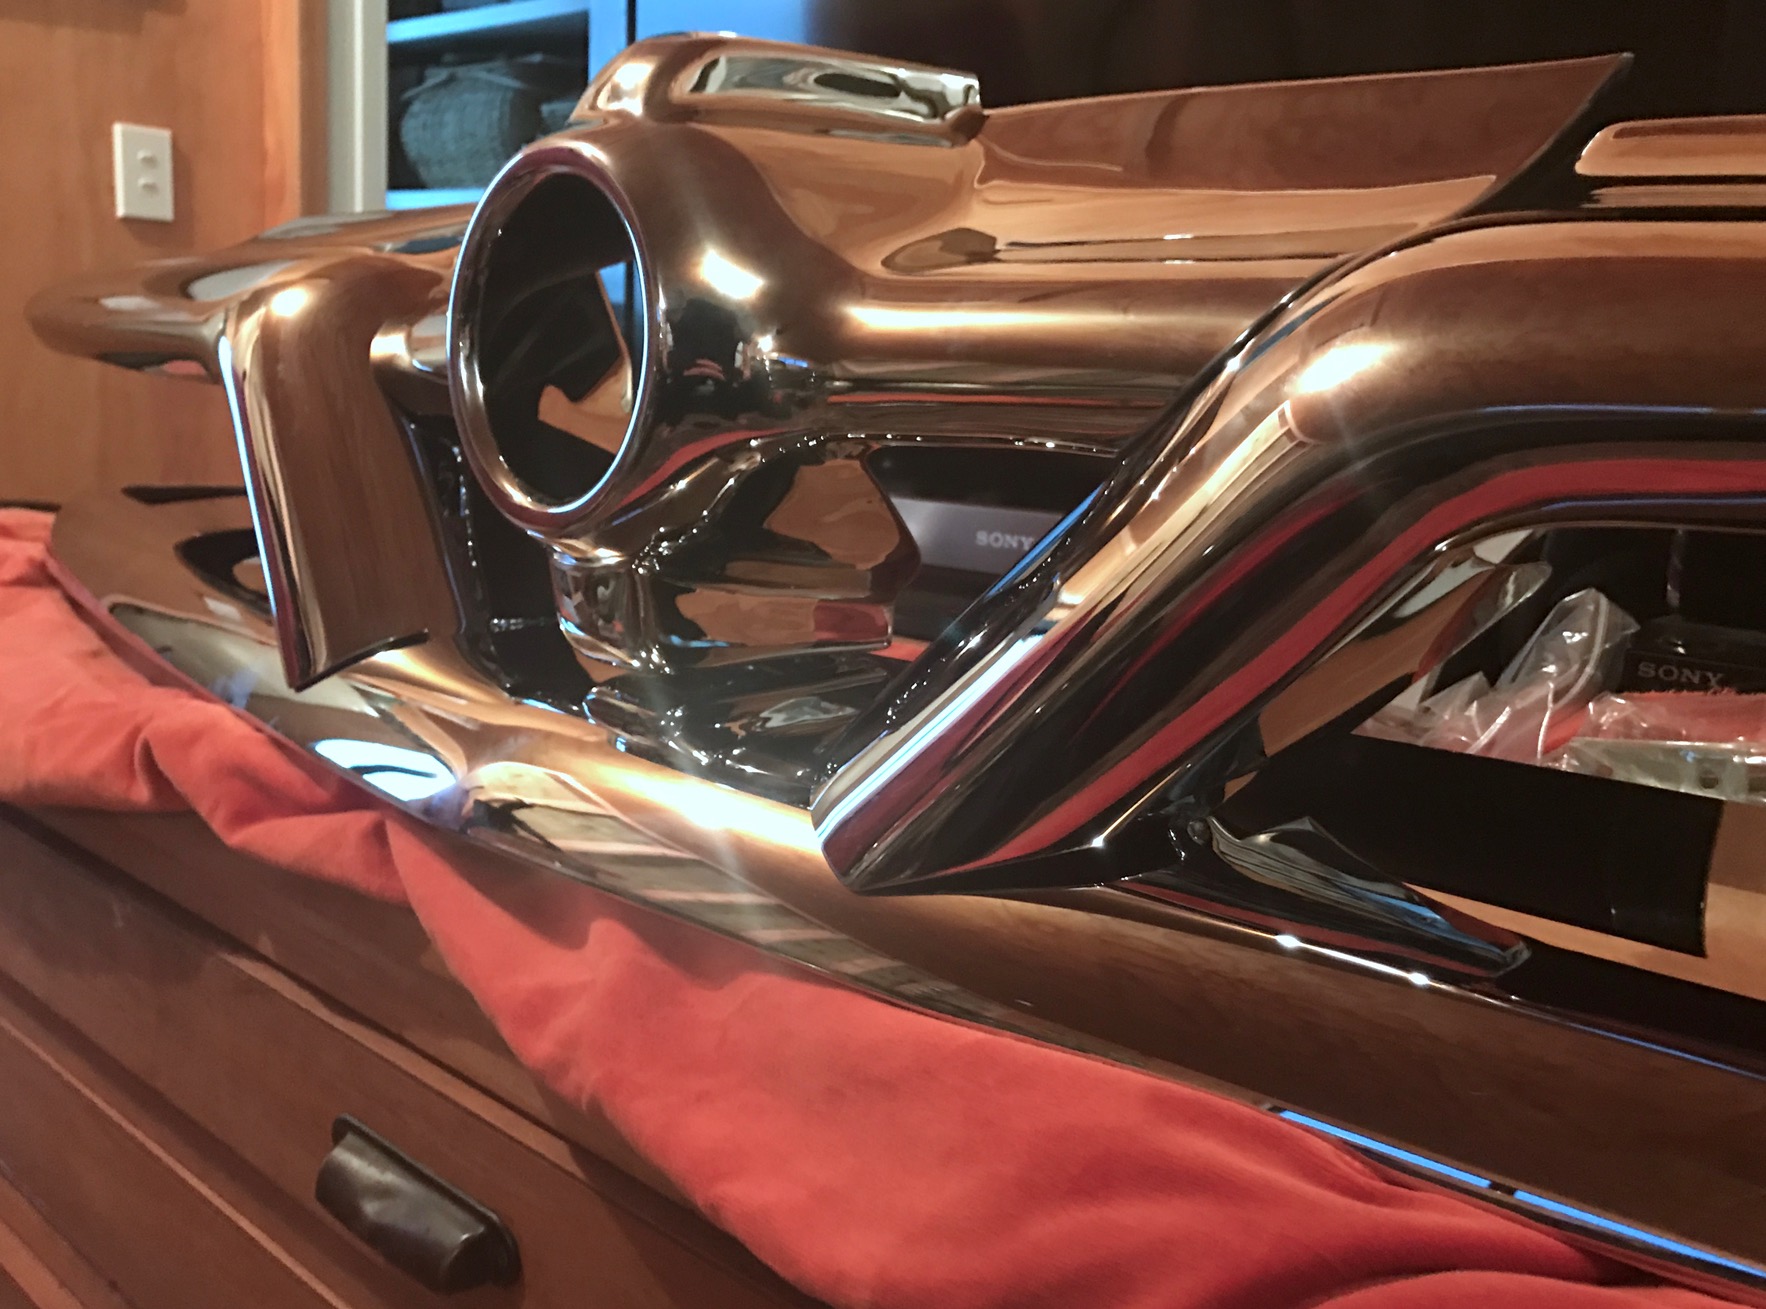
Been crazy busy at work so not a great deal of progress being made, but been hitting the chrome and stainless with metal polish and jamming it back on the car bit by bit. Also got my grill back from Bumper Replacements in Auckland. Really nice job and had a fair bit of rust on it before so the difference is just massive.
1 point
-
I know this is a video of a Disco' but it's related so I'll post here for you rover fiends to enjoy also I like your build and enjoy reading your updates!1 point
-
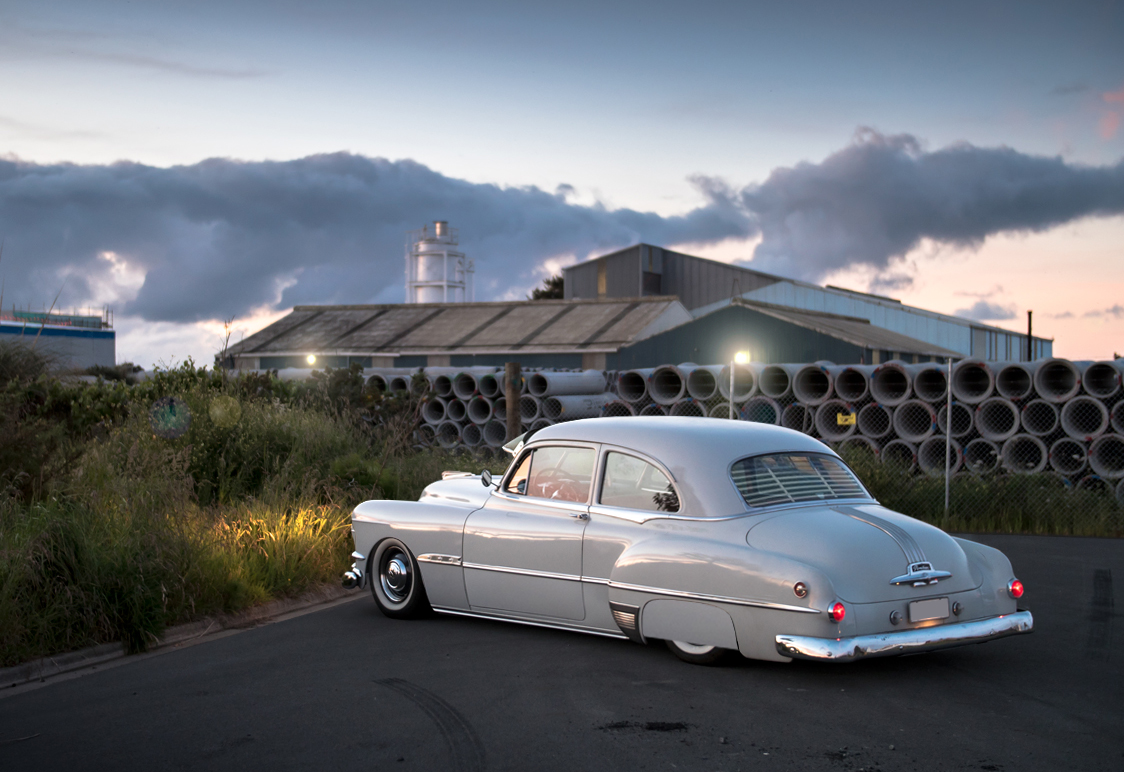
Found this photoshop I did ages ago... This is pretty much the end goal. Bagged but not on the deck. Found skirts on eBay and they've been blasted and will be painted shortly with the rest of the car. Bought some venetians too. I go through stages of wanting a wider whitewall but looking at this they're not too bad as is when the ride height gets addressed.
1 point


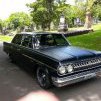


_sedan_(23230030334)(1).thumb.jpg.34d765361d66c78db614bae6ea2c156a.jpg)


This leaderboard is set to Auckland/GMT+12:00