
Leaderboard


Popular Content
Showing content with the highest reputation on 07/30/16 in all areas
-
Did a bit over the week; Cut out some grot Had a genius idea for the roof corners a wee while ago, so I implemented this. I did this cos it is really hard to get flat steel to become spherical... The radius I used for my little brackets to roll the sheetmetal around is 40mm, one of my suppliers has hollow spheres, one of which is 80mm diameter, so I cut one up and used it thus; This worked out really well (for now at least, we will see what fuckery happens when it comes to laying down the sheetmetal) Finished laying out the roof frame tonight, It just needs a couple of hours tomorrow to get it all fully welded, then some between the sheet action will ensue.5 points
-
TranzAlpine. Pretty much a perfect day for it.4 points
-
Saw these in Melbourne last week. Future upgrade?2 points
-
Wow 6 weeks between updates! Bonnet is all painted and looks bloody good considering I haven't had much experience in painting 2K. Chose not to remove the front trim as it has been attached with some pretty hefty rivets and I can see an old repair to the front edge I didn't want to agitate. Made a start on the brand new old stock drivers door I scored. Spent about 3 hours sanding the stock primer off the door as it was powdery and brown so to avoid it coming through the top coat I went back to bare steel and etched the whole door, Even being brand new it required a small amount of filler in a few places from being knocked around. Finally I tackled a job I've been holding off for ages and I swapped the internals of the carburettor into a new housing as the carb I was using had a hairline crack in it which was allowing fuel to leak. While I was in there I gave everything a thorough clean and its been sitting on the bench waiting to go back into the car for about 3 weeks. I have a couple of weeks off in mid august so my plan is to get the unpainted parts of the car finished, replace front tyres and rear shocks and get in for a WOF check while I am on leave. No photos this time as my work computer is blocking me from uploading them. Ill upload from home later!2 points
-
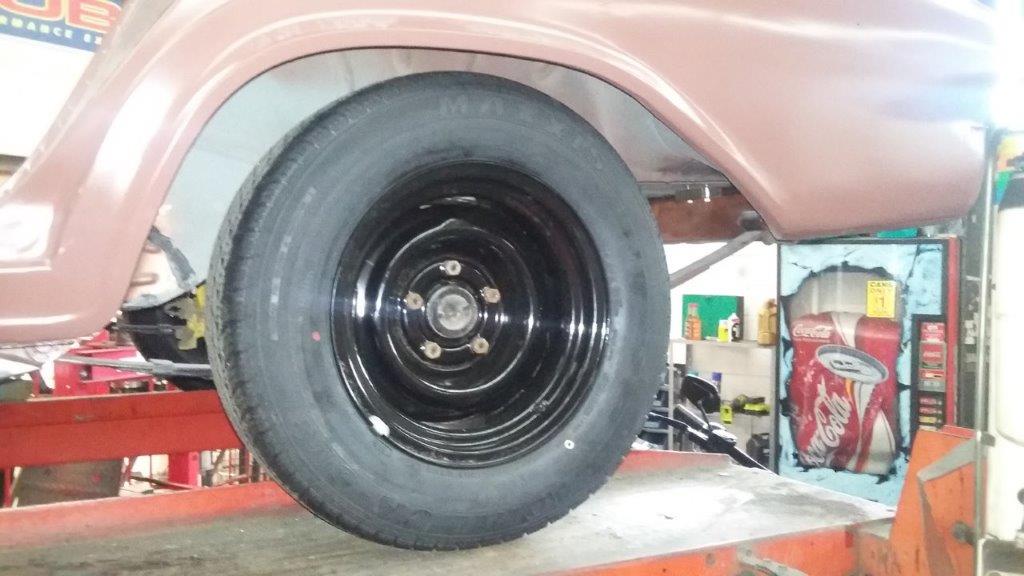
Getting stuff done! The bonnet bulge had been painted red and masked up so it's ready to have some white sprayed on. Looking foward to this being finished so I can get the bonnet back on the car. Luggage rack back on and wheels all balanced up and fitted, starting to look complete. Windscreen back in! As far as I know now I just need to treat one spot of rust and get the bonnet on and I can go for a wof... Here's hoping for monday2 points
-
I'm looking forward to this!2 points
-
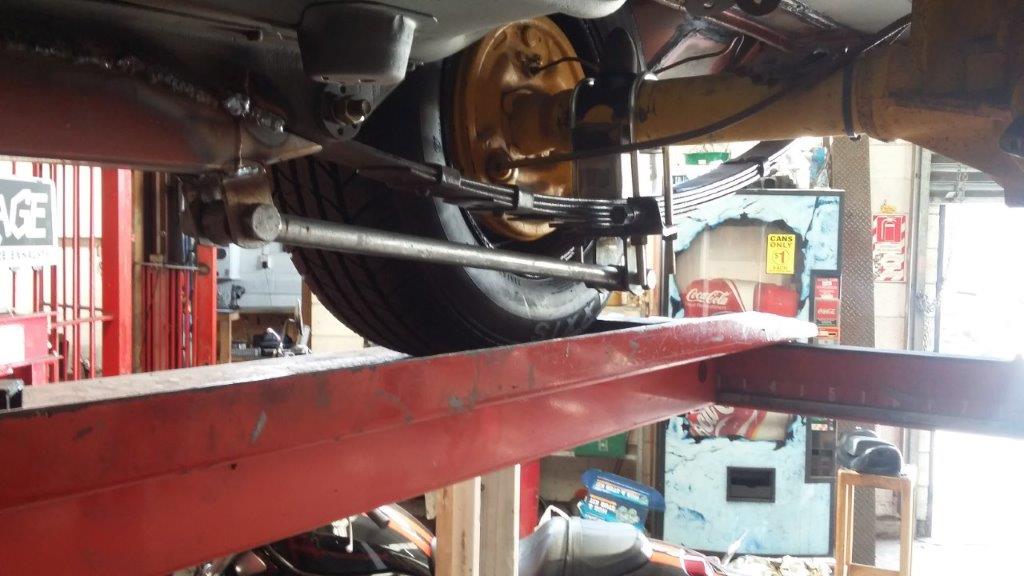
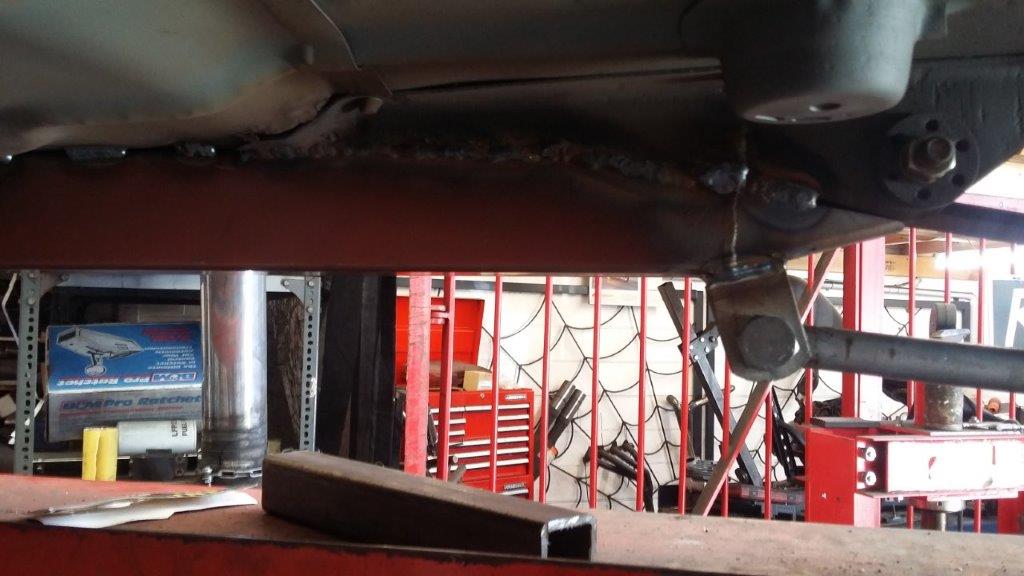
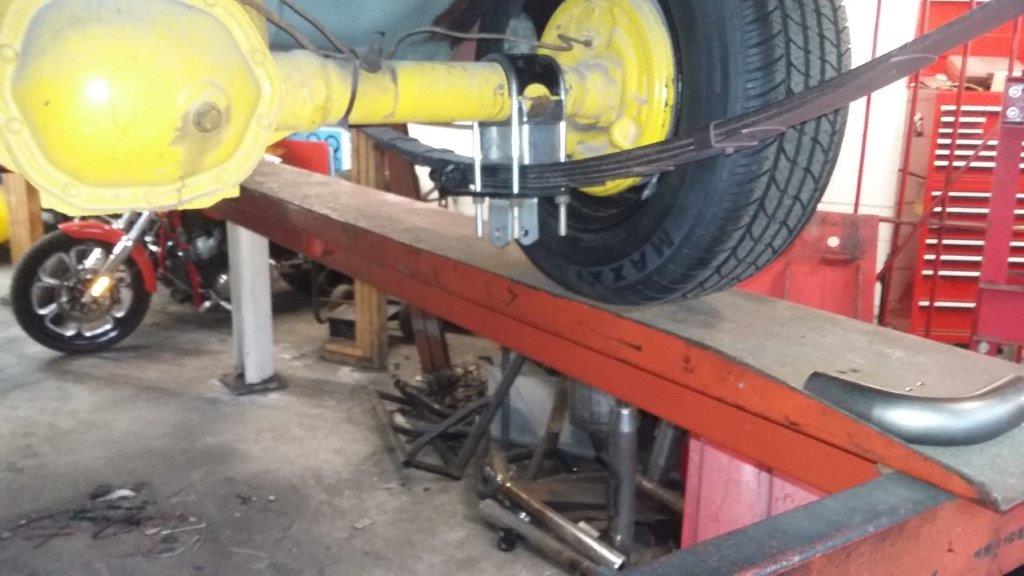
Here are the promised photos. I got a text from Dave at A1 exhausts saying the welding was done, translation come and bring me some money Traction bars Once everything is back in the car they should be just about level which is about right as far as I can work out. If anyone has better idea put it in the discussion thread Chassis rails The final welding by the spring will be done once the spring is out, I didn't want to cook the new bushes. The rails are stitch welded to the floor and also welded from the top where the ribs in the pans were cut out to make the rails fit. Torana front end mount passenger side And drivers side This side is a bit funky so the handbrake still fits. The cuts in the bend still need to be welded again new bushes that didn't need to be cooked. There is a lot going on down that side, hand brake, steering column, column shift mechanism and exhaust. Really these cars aren't very big.
 2 points
 -
It will still burn oil. Everyone knows the three diamonds Is the hyroglyphic sybol for blue smoke.2 points
-
Ever noticed that if you rearrange the words WAITANGI that it also makes the words I WAGNAT I. That's right.2 points
-
Christchurch roadmap2 points
-
Poor engine! I actually get sad when I see that shit.1 point
-
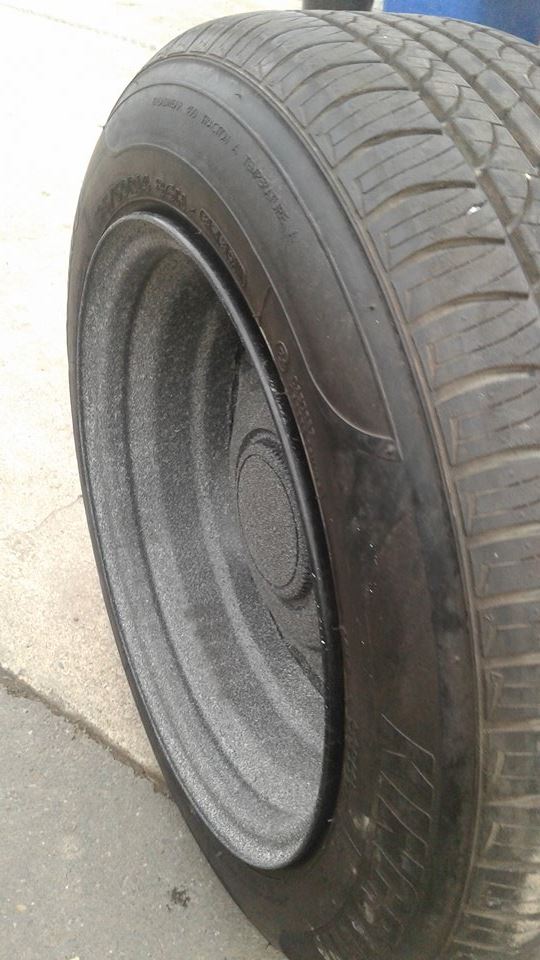
Wow. Someone hasn't been changing the oil at the right times at some point. Poor lifters.1 point
-
made a new crossmember at the rear to mount the springs inboard of the chassis rails Will also add a jacking point in the middle before i weld it in.1 point
-
Today I cut yet more of the roof off, it is nearly all gone now Then I added some window frame top and bottoms. Then I spent 4 hours welding it all together. then cleaning it all up ready for sheetmetal. I stupidly left all the insulation from the cut off roof inside it, I set it on fire a number of times, this was lol. This shot was before the welding but it looks the same same as after the welding, you can see my extra windowy bits.1 point
-
Have been collecting bits for this over the last couple weeks, so far have got New Cobra "low" springs New front shock inserts (to be shortened) New nissan vanette front shocks, for the rear of the mirage (did a big hunt on monroe catalogue to match up some shorter shocks and these were around 80mm shorter than standard mirage rear) New Points, condenser, rotor, cap, eagle leads (already chucked new plugs in the day i got it) New fuel, oil and air filters and new oil. New bitsssssss Got as far as doing the ignition side of things today and timed it up (chur to thegreatestben for lending me timing light) and fitted one of the rear shocks to see how it's gonna sit at extended length, fits up mint but will have to make some sort of spacer for the top or use a heap of washers haha. then the dickhead rain came along and fucked my day up, god i miss having a garage. New rear shock at extended length, gonna be captive as fuck with mega low springs, stoked!! Photo doesn't really show how low it is though.1 point
-
Lol. If you have ever been to a wagnats you will realize its almost about everything that leadfoot is not.1 point
-
Hey Mike.. yea my idea was to just paint the roof white and leave it like that for a while. I've got good memories of the family P76 with the pop up sunroof and you could remove it too like this one can. Yep, I'll take care of it mate for sure1 point
-
oh god what am I doing1 point
-
This sounds awesome! You better order some more explosive cannonballs. Oh and the bus will need strengthening to support the turret.1 point
-
Yup, that's her, my mechanic and his wife both used the same description of her when I was chatting to them. The good news is the car got clean sheeted straight through so now is VIN'ed, no problems with the rear windows that actually have extra tint film on them.. Good@! I am going to sort out Peaches next week, she has all the paper work still for the car... I'm thinking of importing a Toyota Coaster Camper that I have been offered an awesome deal on over here, so no doubt I will have to be dealing with her again in the future.1 point
-
We've booked houses the last couple of years, and have found Cooks Beach to be a great spot! Nice and close, has a mean fish and chip shop. Whitianga was rad also but the drive's quite long at the end of the day. If you book a house now I'd say you'd be able to fill it with OSers!1 point
-
Went to see some wild gaskets this morning.1 point
-
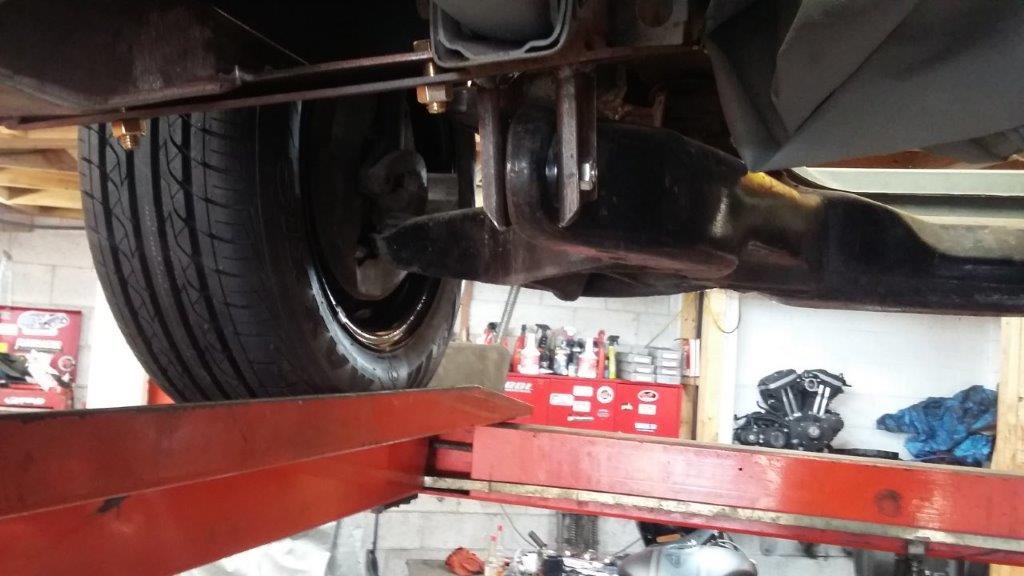
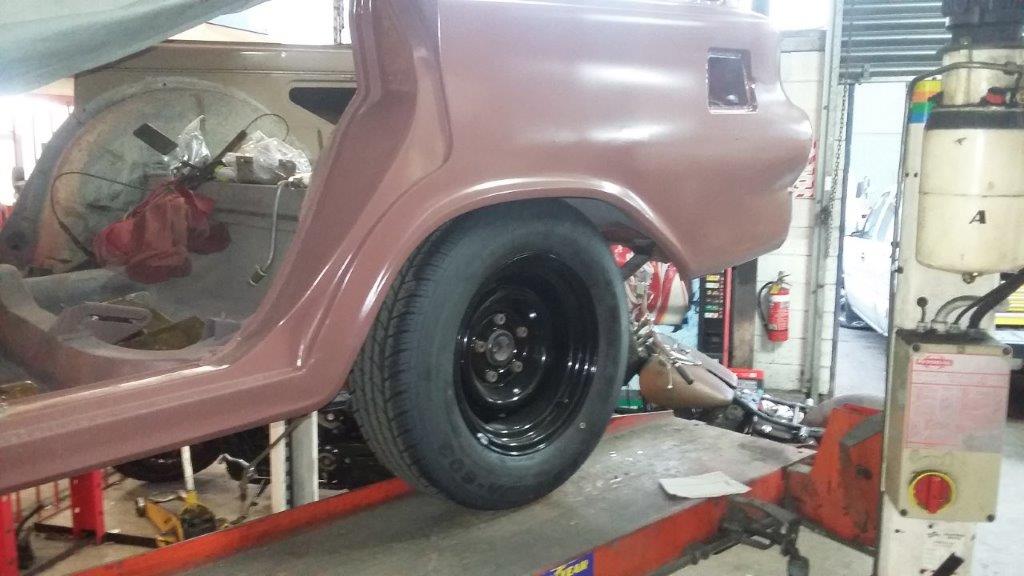
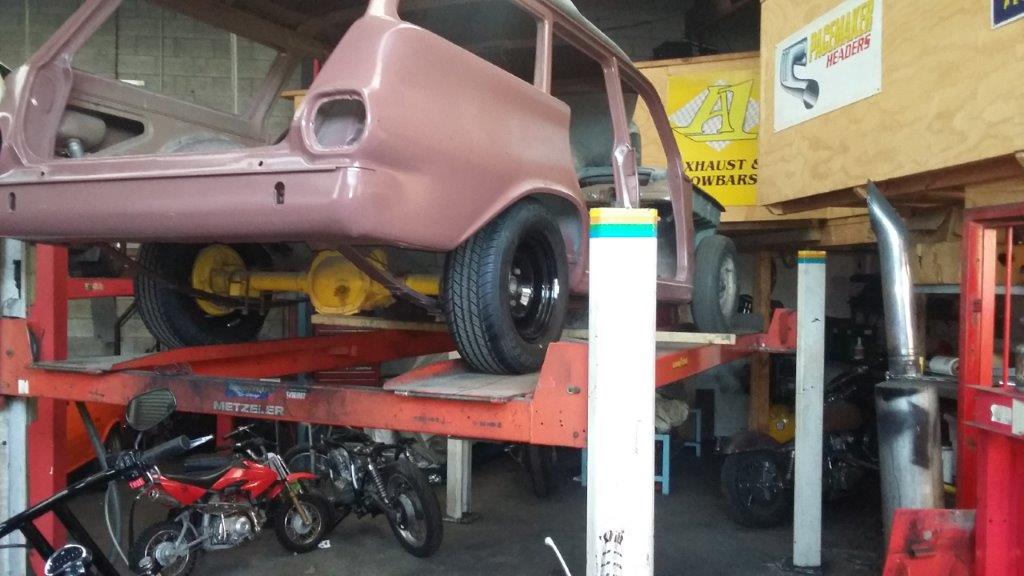
The car has taken a great leap forward. The chassis rails got welded in today. The lowering blocks are in, HQ type with matching u bolts and the rubber pads removed. The diff angle still needs to be set once the engine in in. I'm expecting the back to drop another inch or so once everything is in the car. The front wheels with HQ disc rotors are on I still have to try the front guards, I think that the front will have to come up a bit so the tires don't hit on full lock. There are other bits like the tamp bars mounted and rear mounts for the torana front end that are done. Good progress, but still heaps to do. I will post more pictures next week.
1 point
-
275 on a 9'' rim fits with plenty of room1 point
-
Went to this sweet Falcon sanctuary1 point
-
my Hypertune intake manifold turned up and its fucking amazing 2016-07-25_04-58-11 by sheepers, on Flickr 2016-07-25_04-58-21 by sheepers, on Flickr 2016-07-25_04-58-43 by sheepers, on Flickr 2016-07-25_04-58-52 by sheepers, on Flickr 2016-07-25_04-59-03 by sheepers, on Flickr1 point
-
Carrying on from the above, tune was unlocked through...methods... I bought a W58 getting ready to replace the W55 and glass bead blasted it while I was at a customers servicing the room Drove it to work one day about a month ago and got nearly all the way home. Stopped on the motorway offramp and couldn't get back into gear. Managed to smash into second so drove it home like that and parked it up to get the box out. Clutch slave body and pin had seen better days Then took all the bellhousing bolts off and found no matter what levering I did I couldn't get it to pop off and it seemed to always spring back into place which indicated something was catching the pressure plate. Had Chris/EURON8 around again tonight and decided to holesaw the bellhousing to be able to undo the pressure plate bolts. Got that off and suddenly the box popped off without even levering and found the clutch plates looking like so... This disc was free but had pretty fucked splines This disc however has twisted and locked onto the input shaft. Even some hefty hammering hasn't freed it to allow the pressure plate and this disc to come off. Both clutch discs have cracks and the plates inbetween have some pretty good gouges so need discs and plates at a minimum. Hopefully the flywheel section and pressure plate are salvageable. So likely a bit more money to be spent to get it mobile again! Did buy this lush gearknob in the interim from http://www.nostalgic-grains.com/ Laser engraved Rosewood1 point
-
so was going to go with 185/55/14 all round but some 195/60/14s popped up for cheap so i got them put on and leak tested and balanced on the 9's and all went great but i think ill source some 185's for the 8's as they wont have much stretch otherwise.
1 point
-
And dropped back into engine bay to check measure clearances etc [/url] next missions are plate adaptor for starter motor engine mounts sump chop new clutch ...1 point
-
Slow progress Picked up another v6 cheap for bits looks clean has plenty of parts for spares as i experiment with bodging Visited Alex and Hannah and looked at their awesome shed and mighty v6 viva for inspiration Countersunk the holes for adaptor to engine bolts csk allen screws in m12x1.5 are not cheap Shoulda not drilled the 2 bottom holes so much and tapped them for for stock bolts thru from the front woulda saved $ Cheap tardme countersink bits were great cut mild steel so clean and easy cut a slice off the starter motor mounting to get it to match up to flywheel - dont grind alloy at home kids its dangerous ended up being a nogo on using rx7 starter - pinion way too small to match up so its steel plate for here and use the v6 starter even bought a new rx7 starter too keen ... 1 step forward 2 steps back started looking at hose routing lost most of the ugly mass of hoses off the v6 lower rad hose routes to rear of block in the valley flipped the thermostat housing to route heater hoses towards car heater and lower rad hose to drivers side where mx5 rad inlet is removed a big ugly hose tee and blocked it with a frost plug1 point
-
The cylinder head needed new valve seats, guides, etc, so I decided to put it on the shelf and buy a ported big valve head. The rockers were pretty worn, so I also picked up some 1.5:1 roller tip rockers. The head sat around for about a year and a half before I fitted it. I had been grinding near the head (came wrapped in plastic) but it turned out the bag had a hole it, so the head ended up full of metal filings. When I finally noticed, I stripped it apart and gave it a good clean.1 point
-
Here are the photos of the rear wheels on the car. There is enough clearance to go lower. I'm going to use HQ Holden lowering blocks and take out the rubbers that go between the diff and the springs. This might make for a bit of extra harshness in the car but I think that having the diff located more firmly will help tame the power of the V8. I also found these that have been in the garage for 25 years. Must be well over due to use them. There has been a fair number of hours gone into making the chassis connectors. Here is part 1 Hopefully Clint, our resident certification genius will be happy. I think so.
1 point
-
also because i have no idea how to plan anything i bought these flares. $_57-2 by sheepers, on Flickr $_57 by sheepers, on Flickr1 point
-
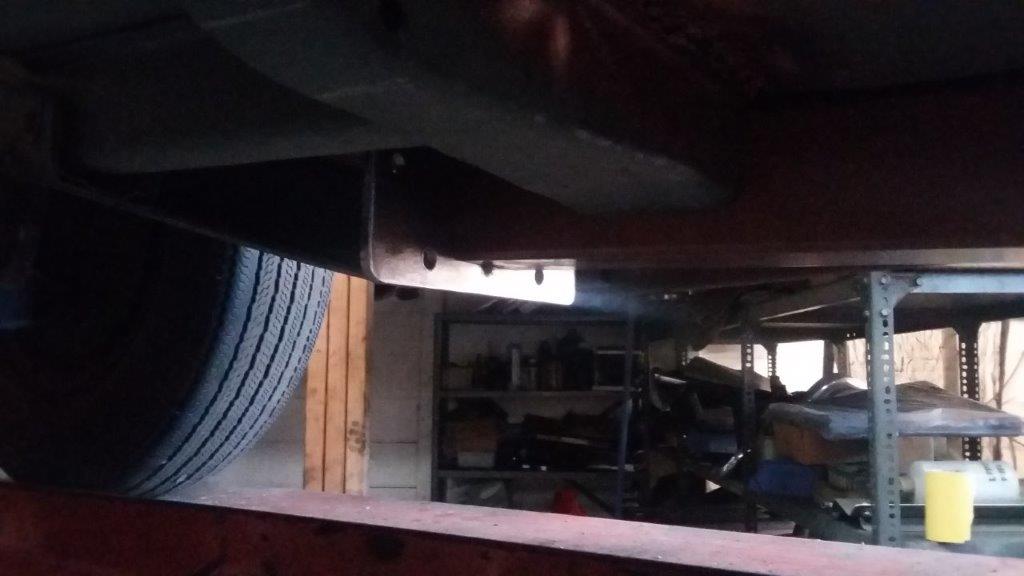
underneath these bits done, have to make a couple of patches for rust in one side, and weld some bits from inside the car. later will blast underneath, epoxy prime and sealer on the joins in the tubs1 point
-
some progress.1 point


This leaderboard is set to Auckland/GMT+12:00